Blog by Steve Laug
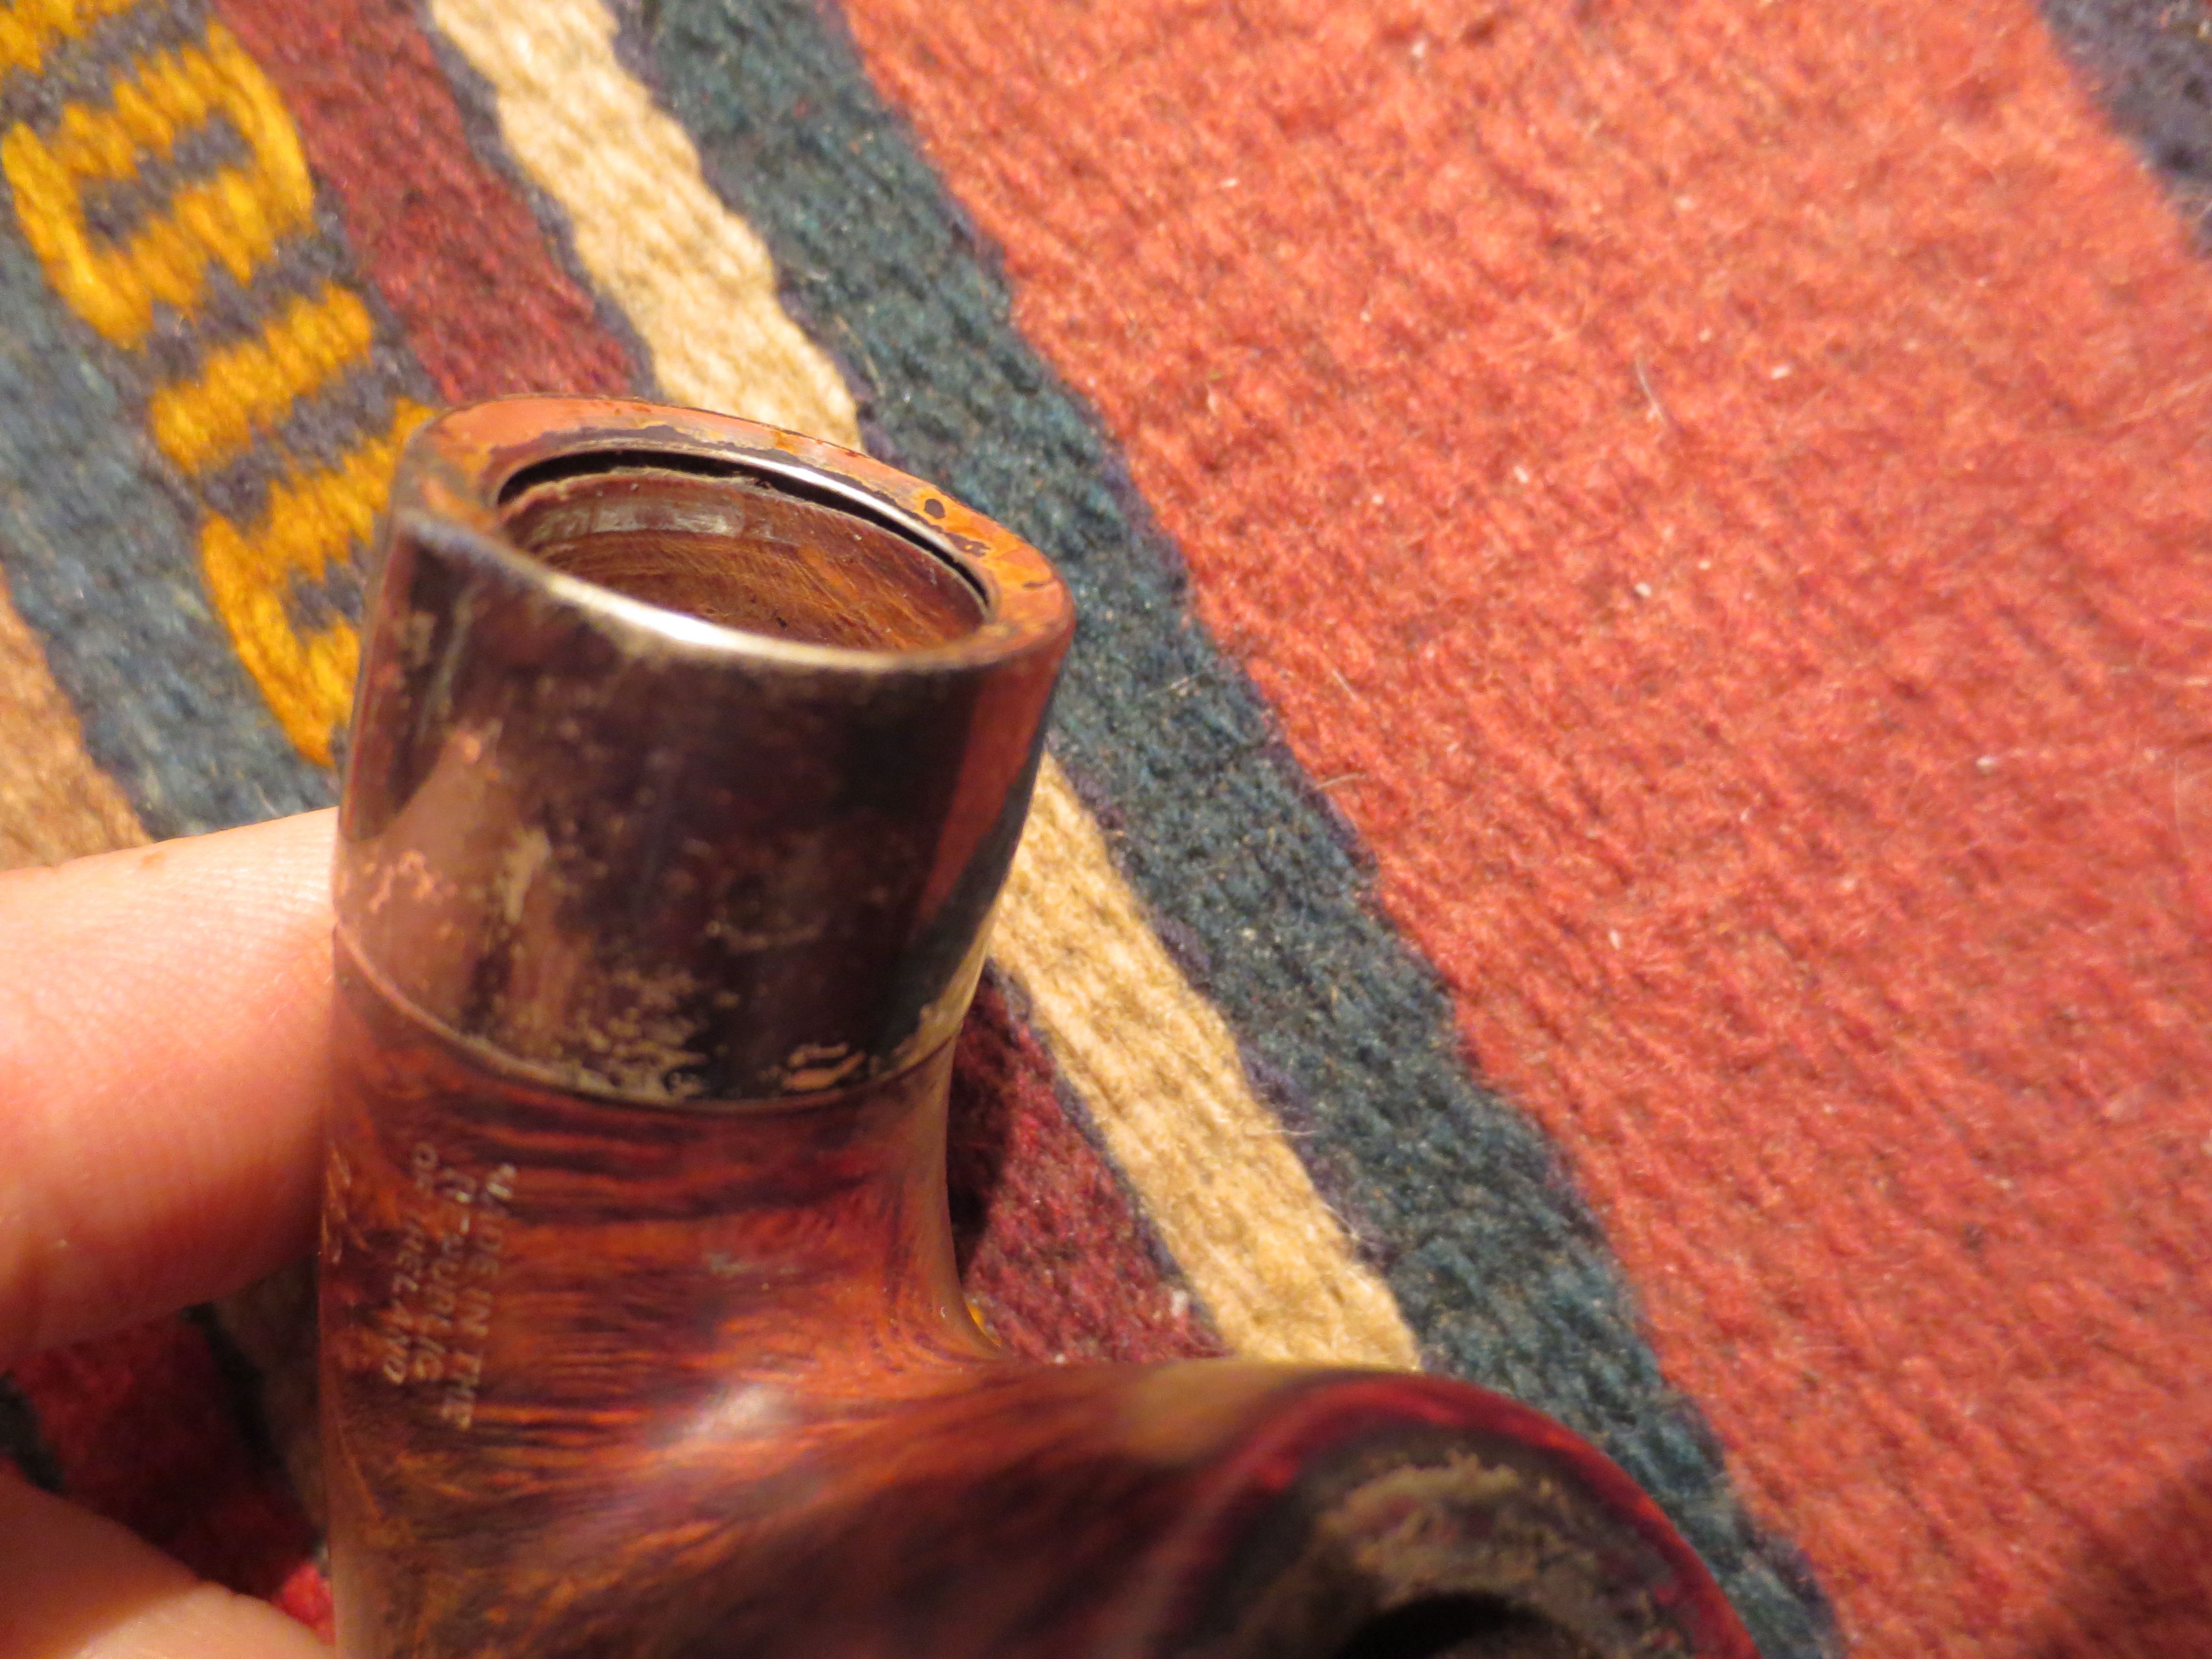
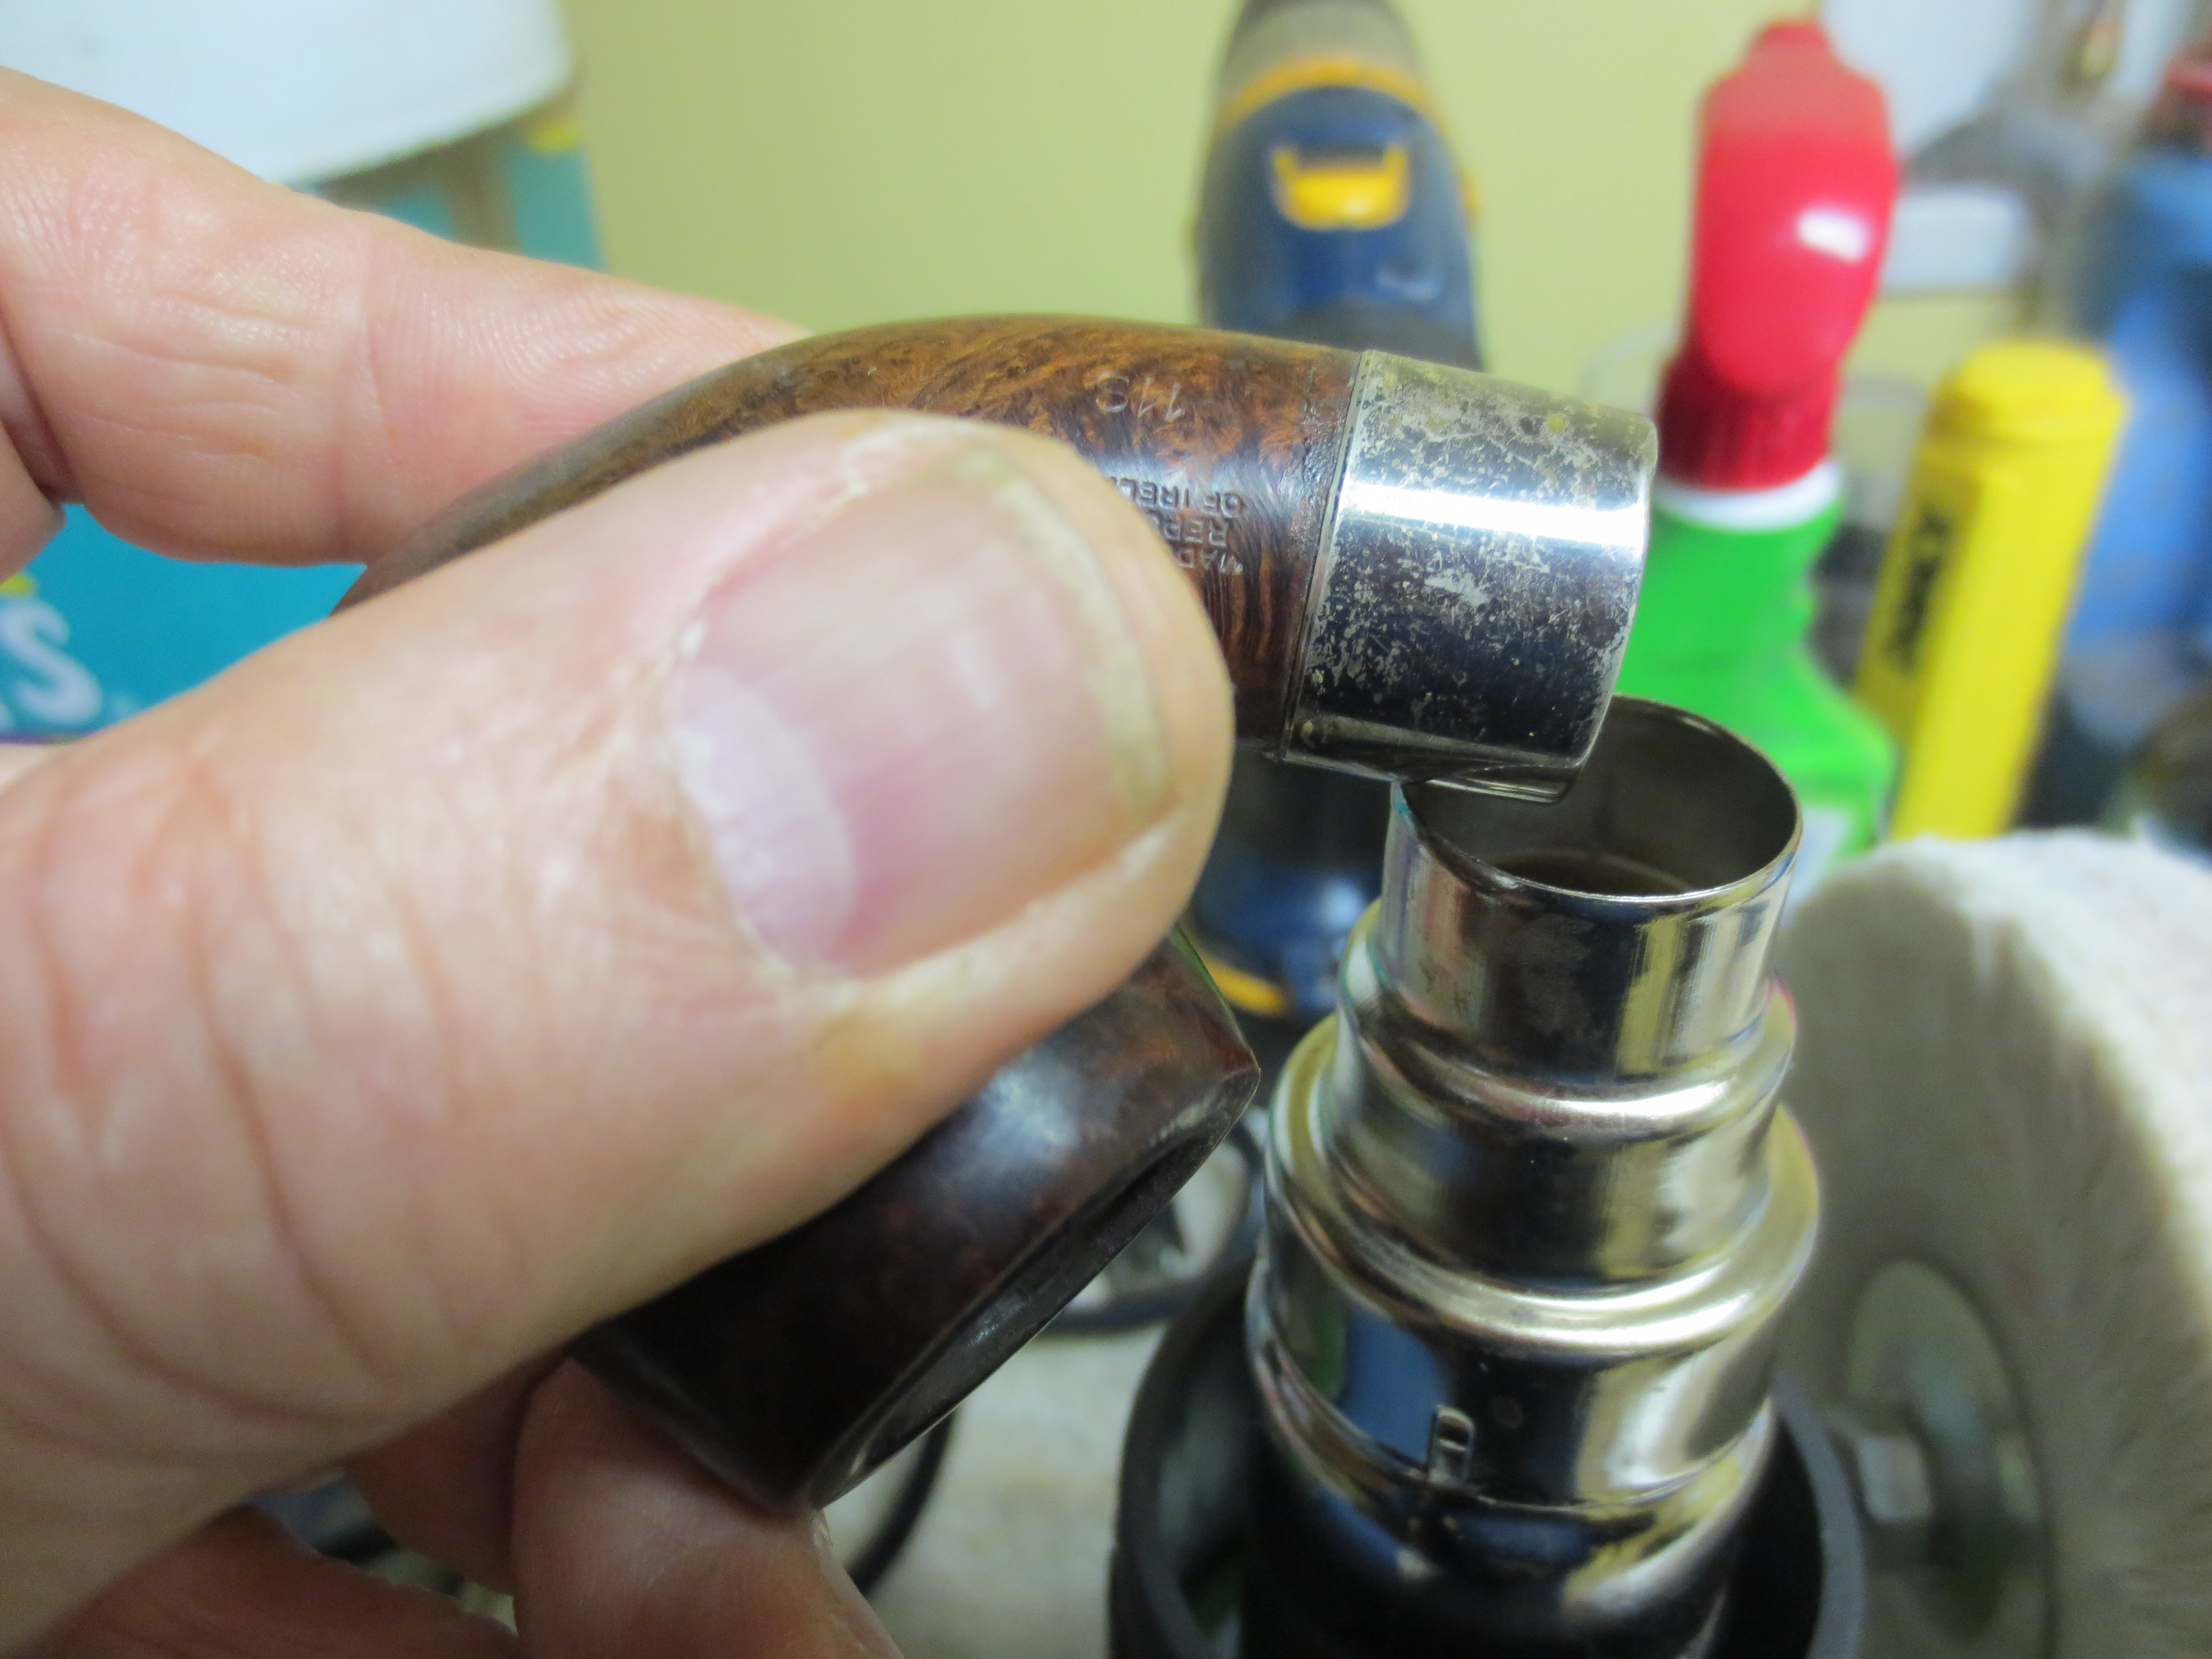
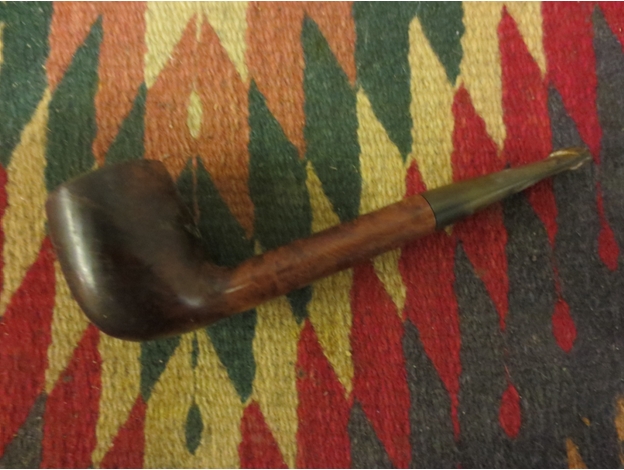
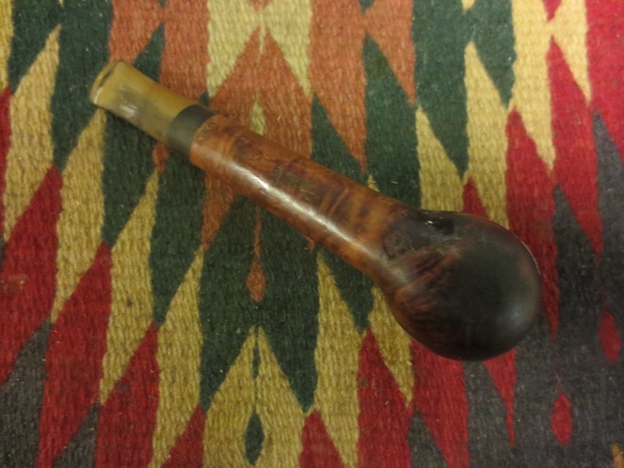
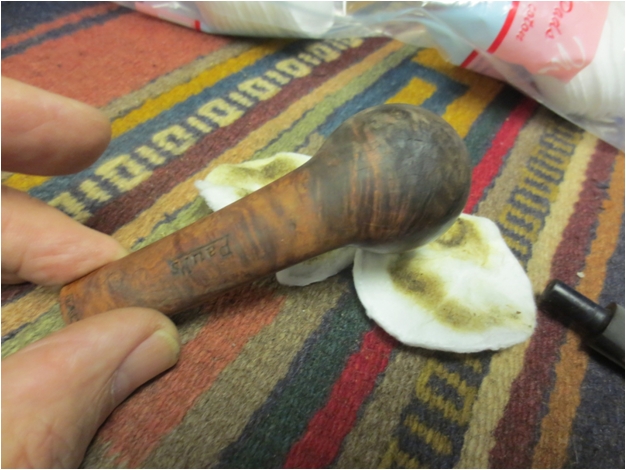
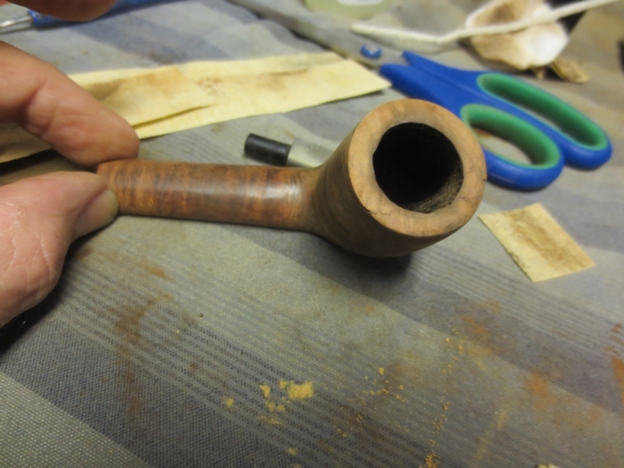
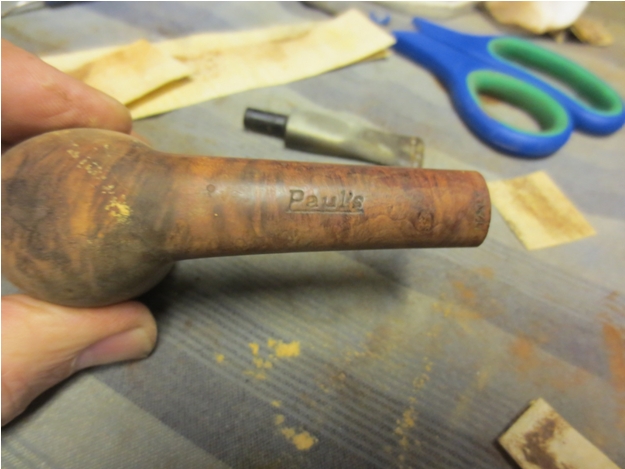
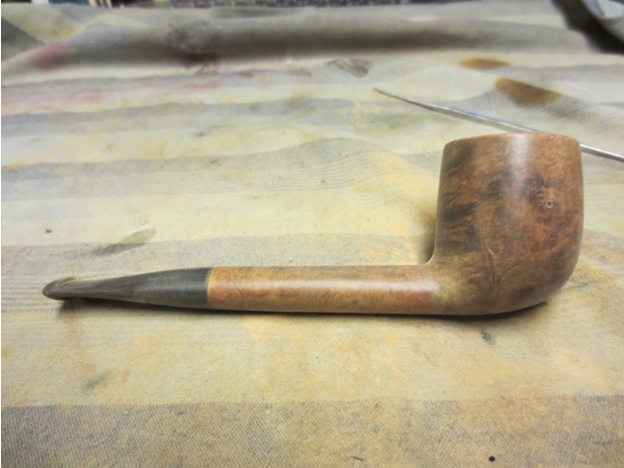
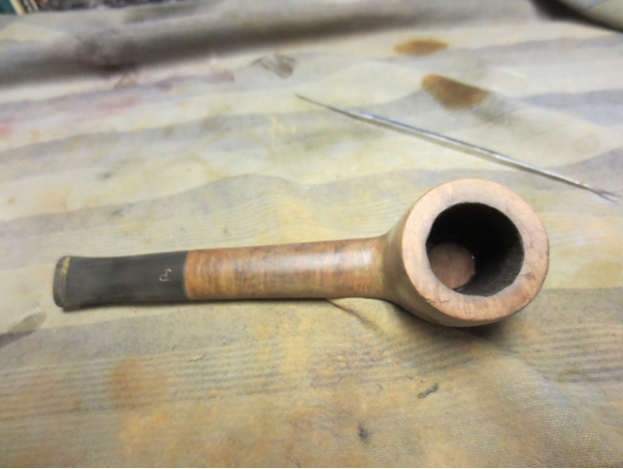
I am finally getting around to cleaning up the pipes I found on my recent pipe hunt. I decided to choose what I thought would be the easiest one. It was filthy and greasy. The top looked like it had been used as a hammer. I figured that it would clean up quickly and I liked the look of the briar that was peeking through. The bowl was stamped PAUL’S on the underside of the shank and Italy across the end of the shank. There is a stylized P on the stem. There was a sticky glue on the briar in several places that I think came from the price tag that was on the pipe. The bowl was really dirty and over reamed. The bottom of the bowl was almost flat. But there was a buildup of carbon from the top down about half way and there was tobacco fragments in the bowl bottom. The sides were no longer parallel and the airway entered above the bottom of the bowl. The stem was oxidized and had tooth chatter on the top and bottom of the stem.

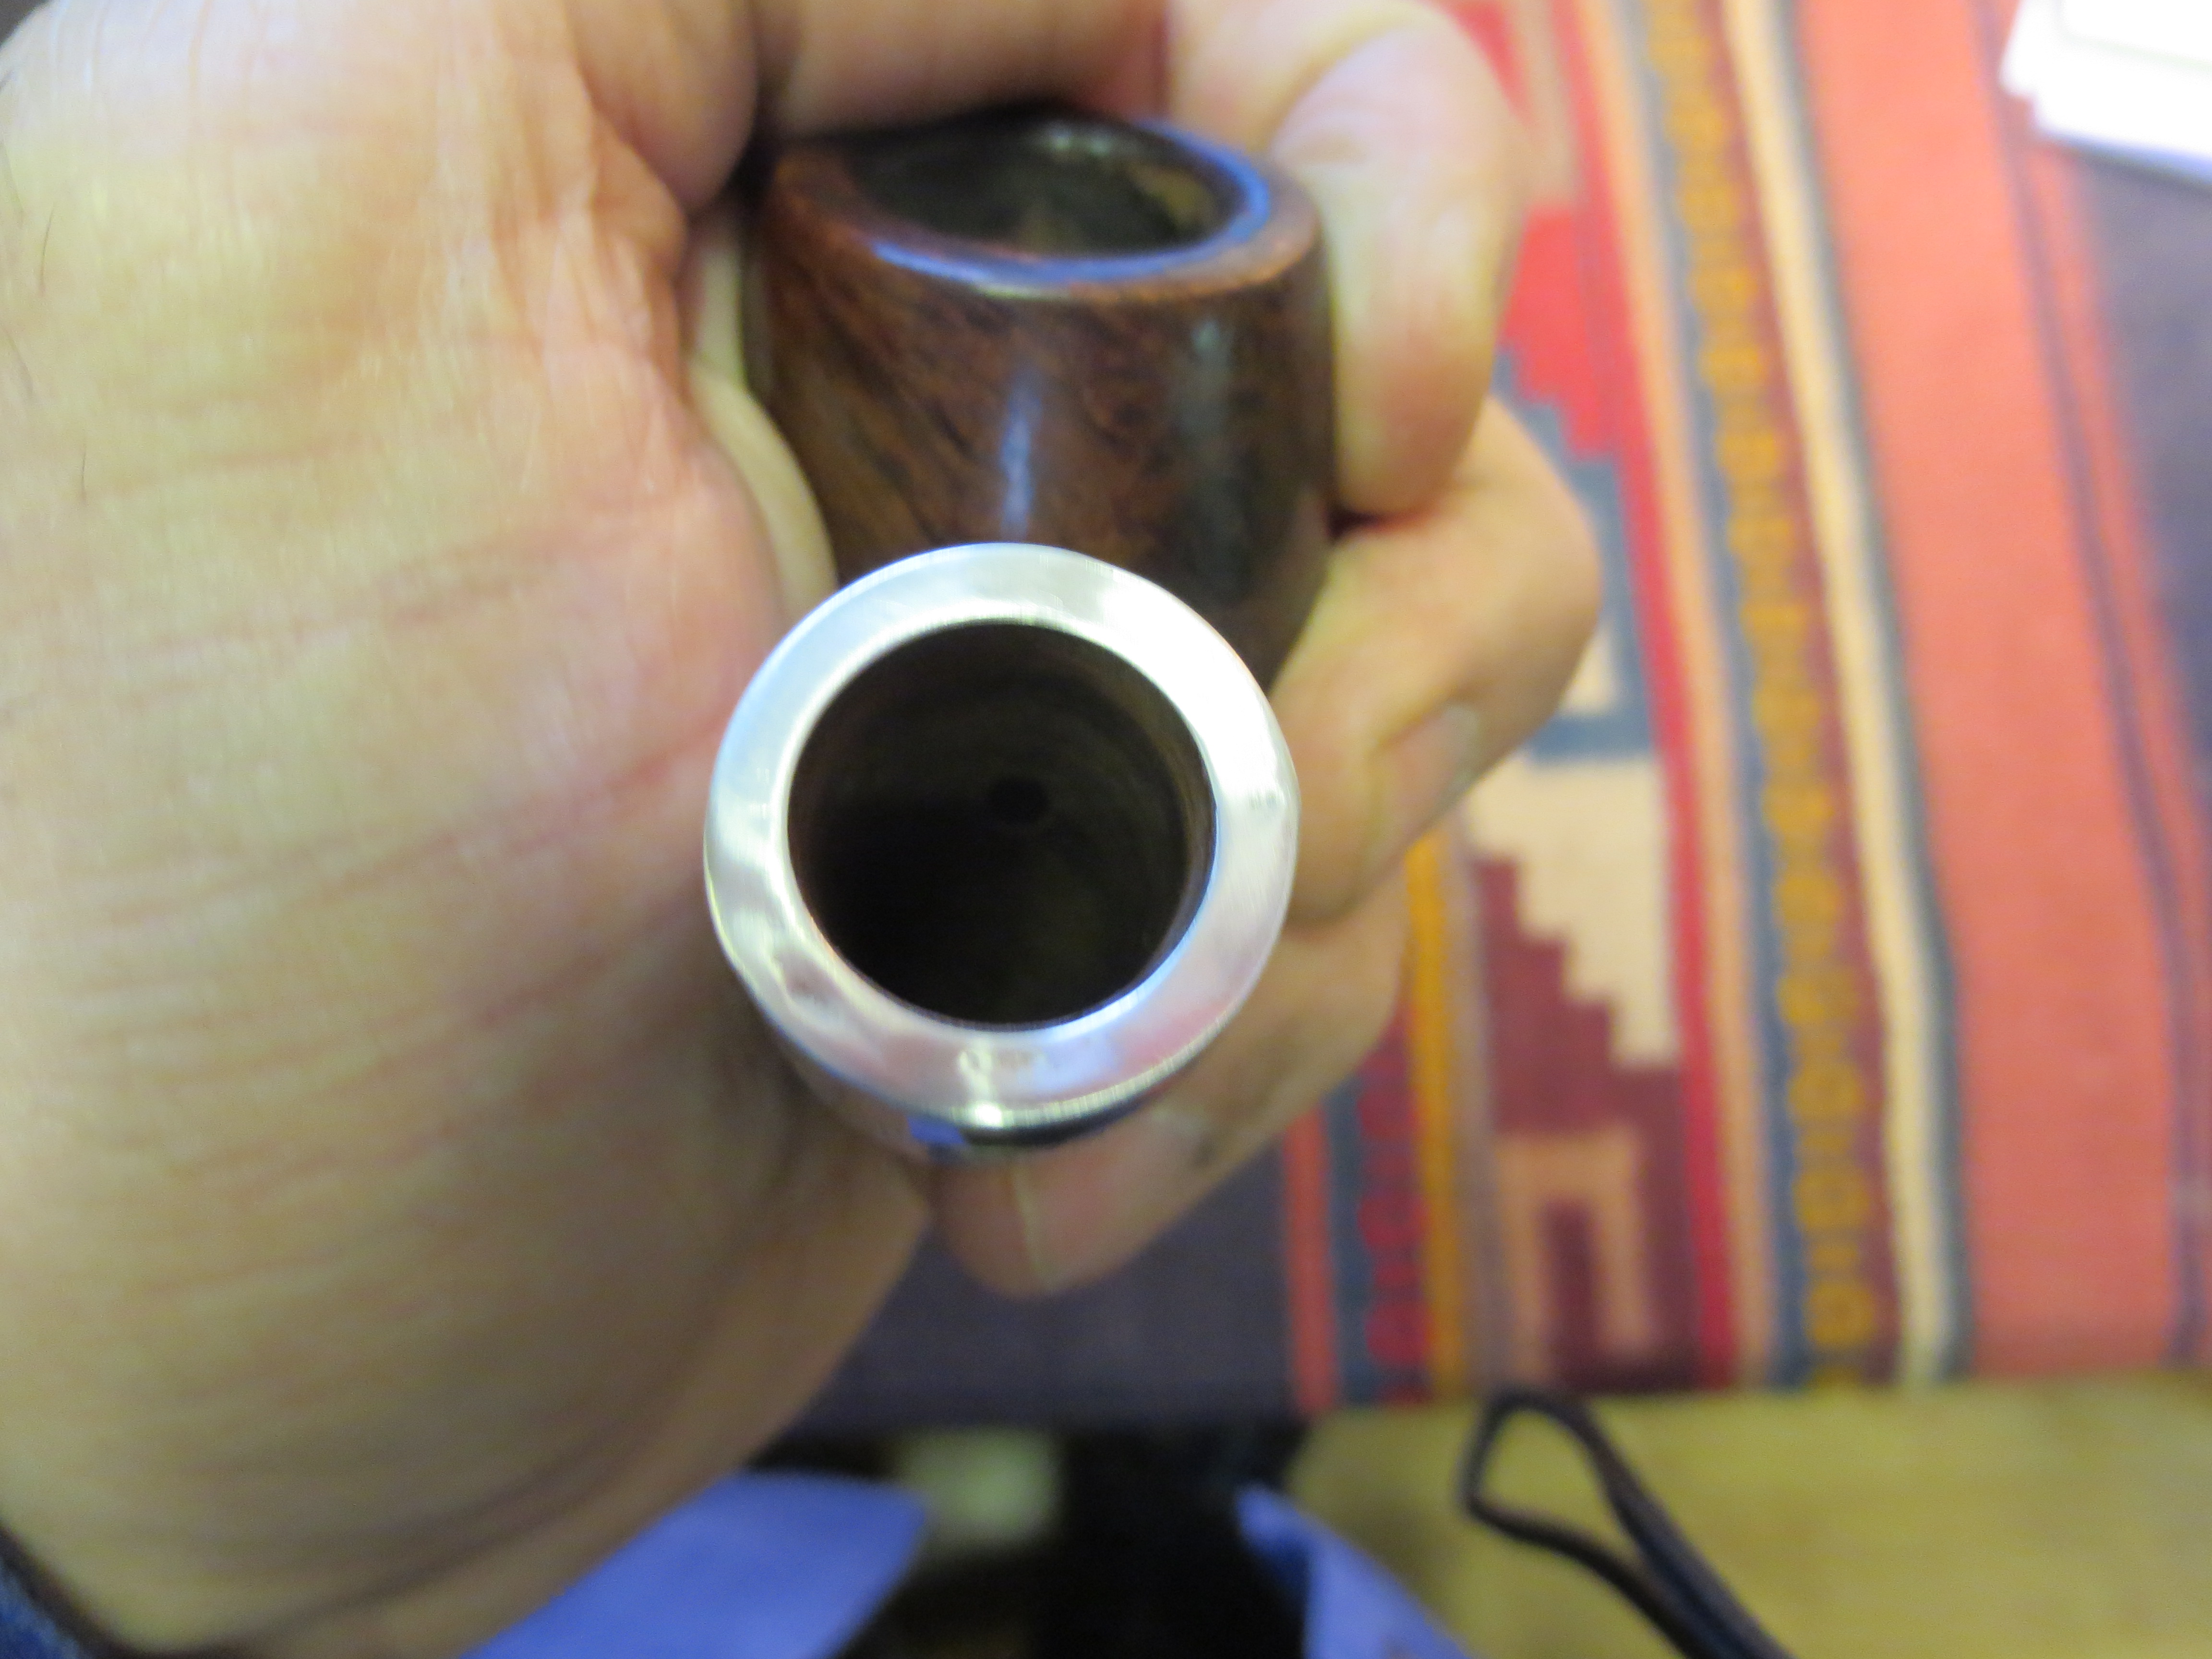
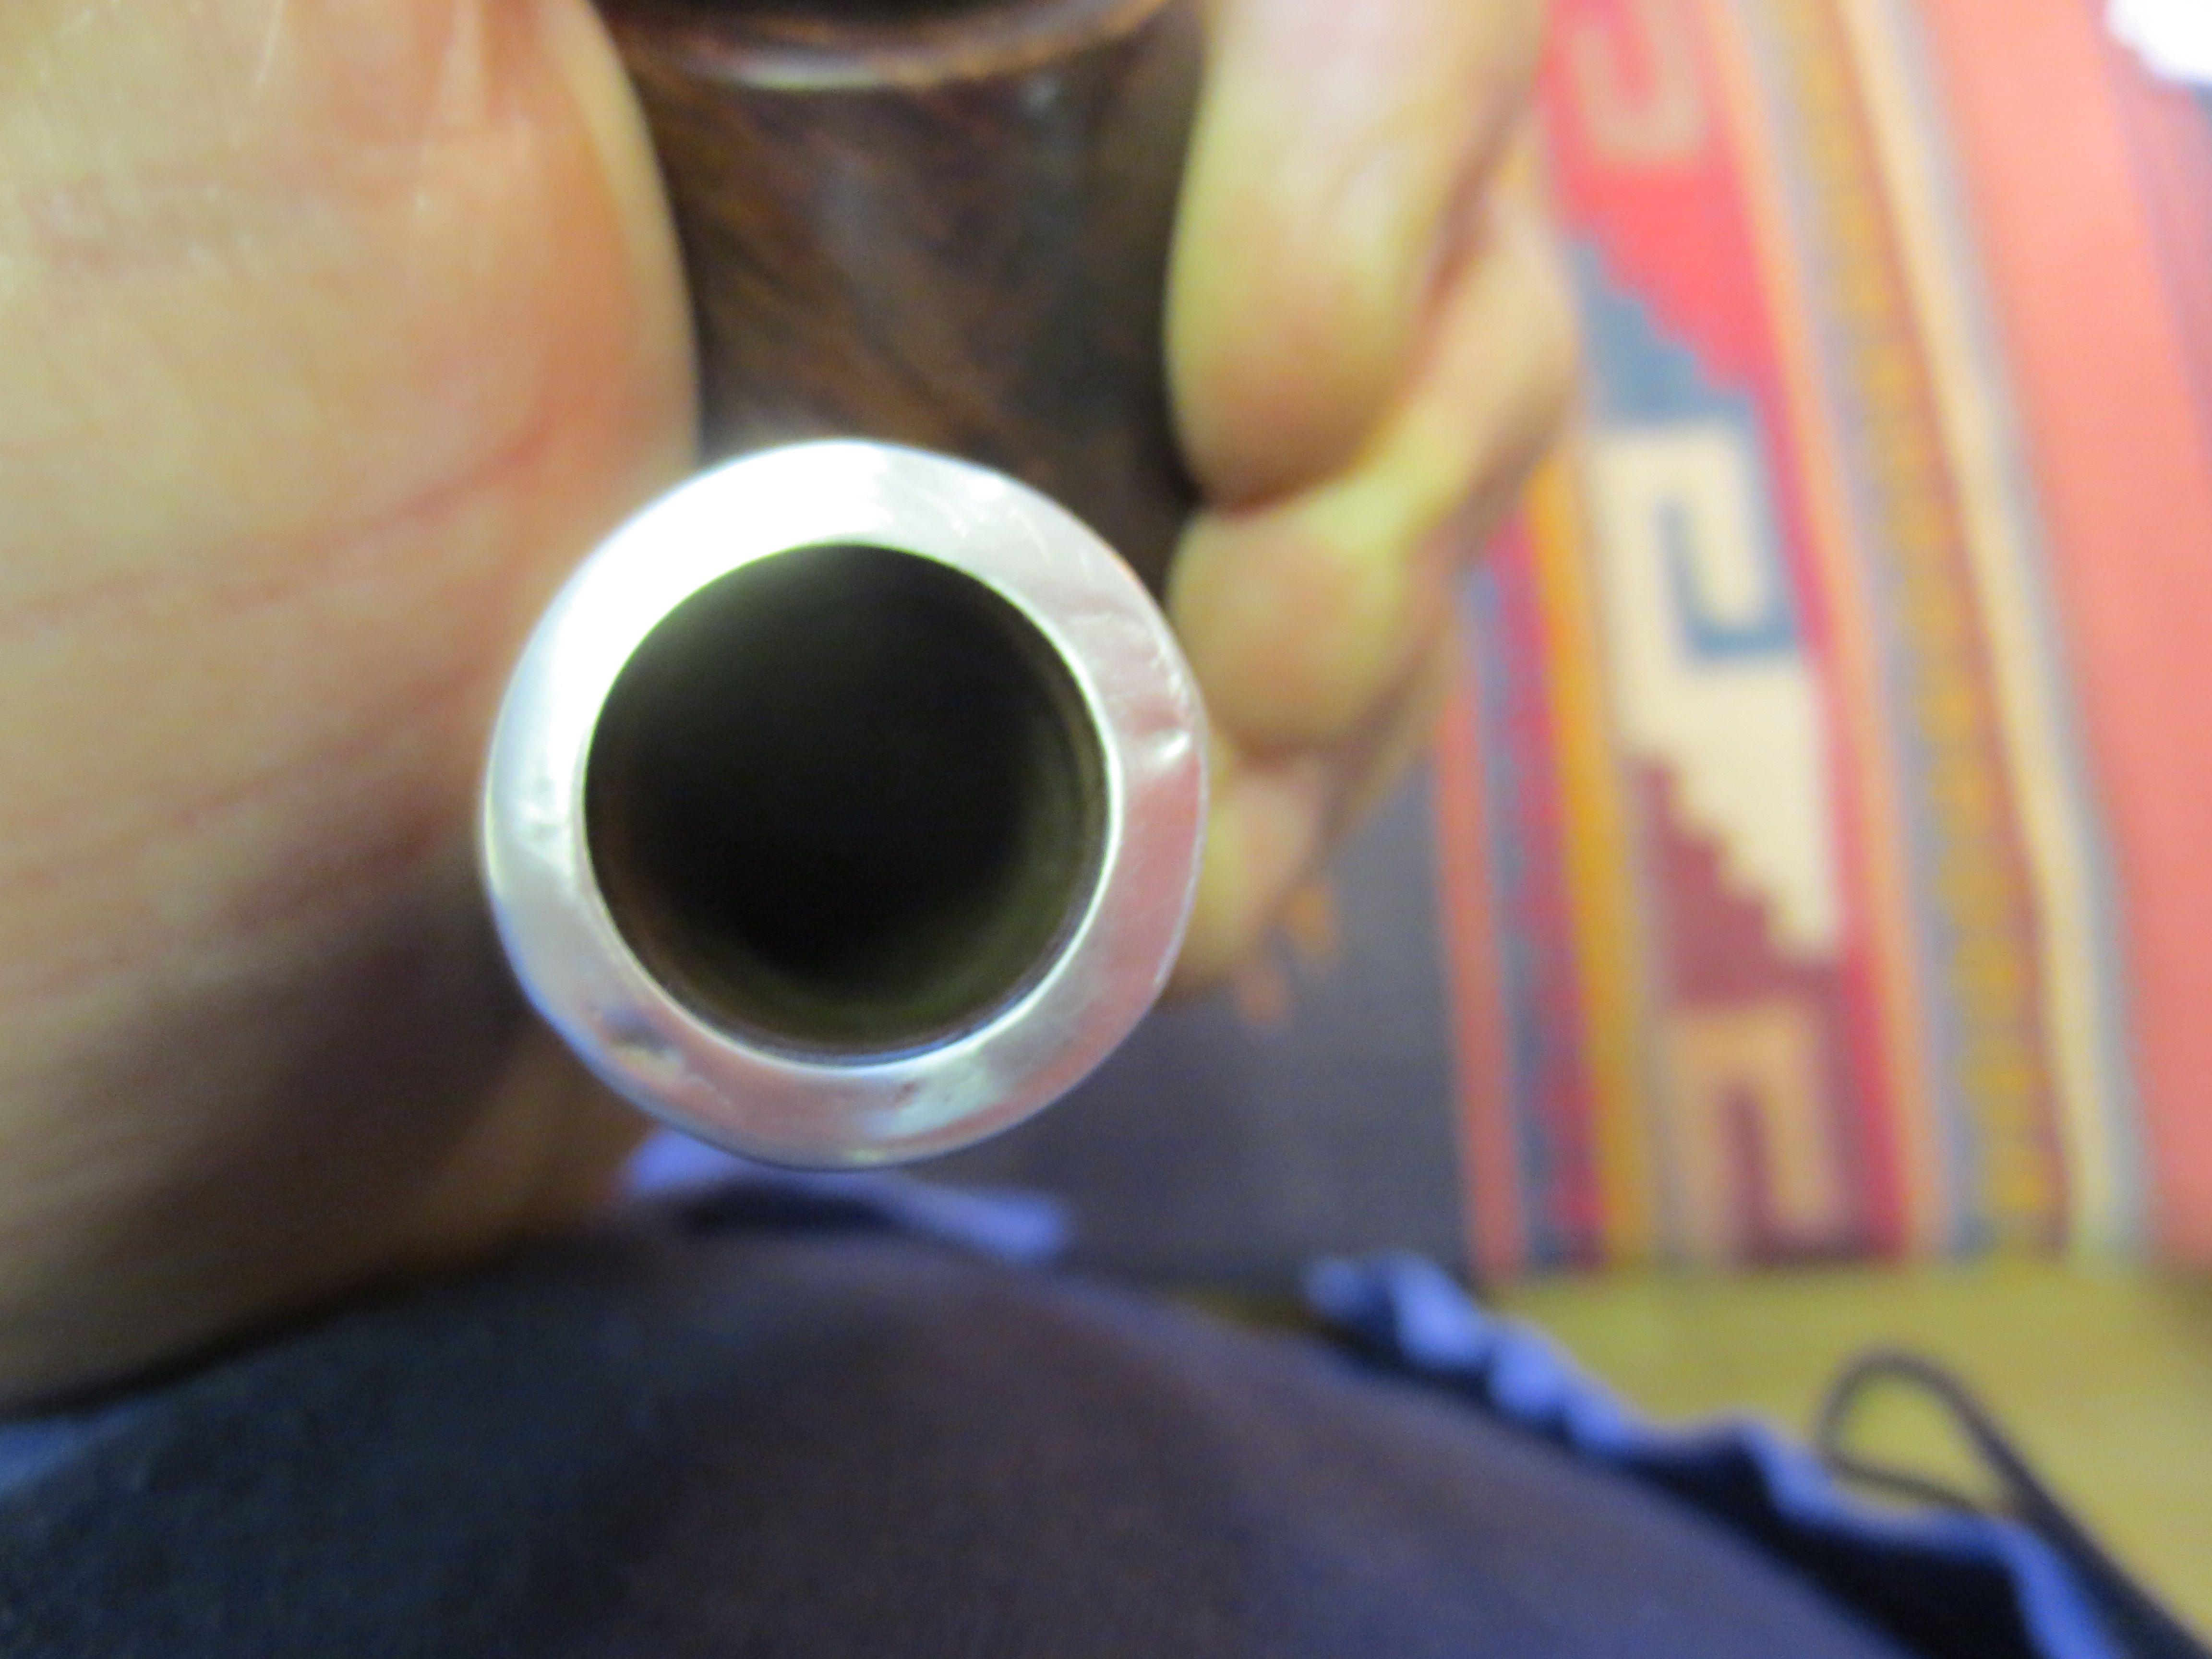
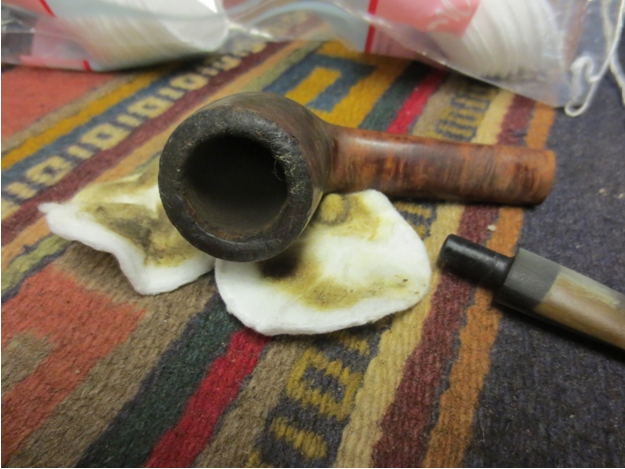
 I cleaned up the sides of the bowl interior with a PipNet reamer and used a dental pick to remove the detritus on the bottom of the bowl.
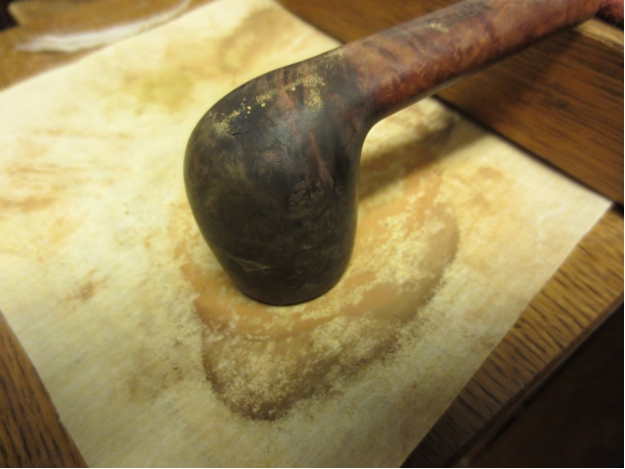
 I scrubbed the exterior of the briar with acetone to remove the grit, grime and grease from the finish. It actually took off the grime and took it down to the nice grain that I had seen peeking through. I think that the briar is oil cured as there is an oily texture to the wood.
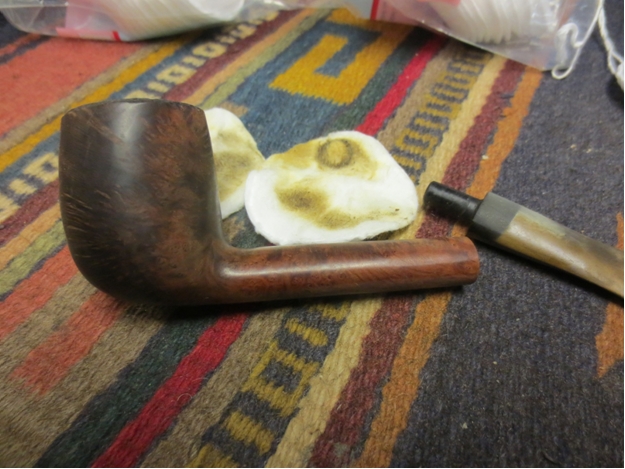
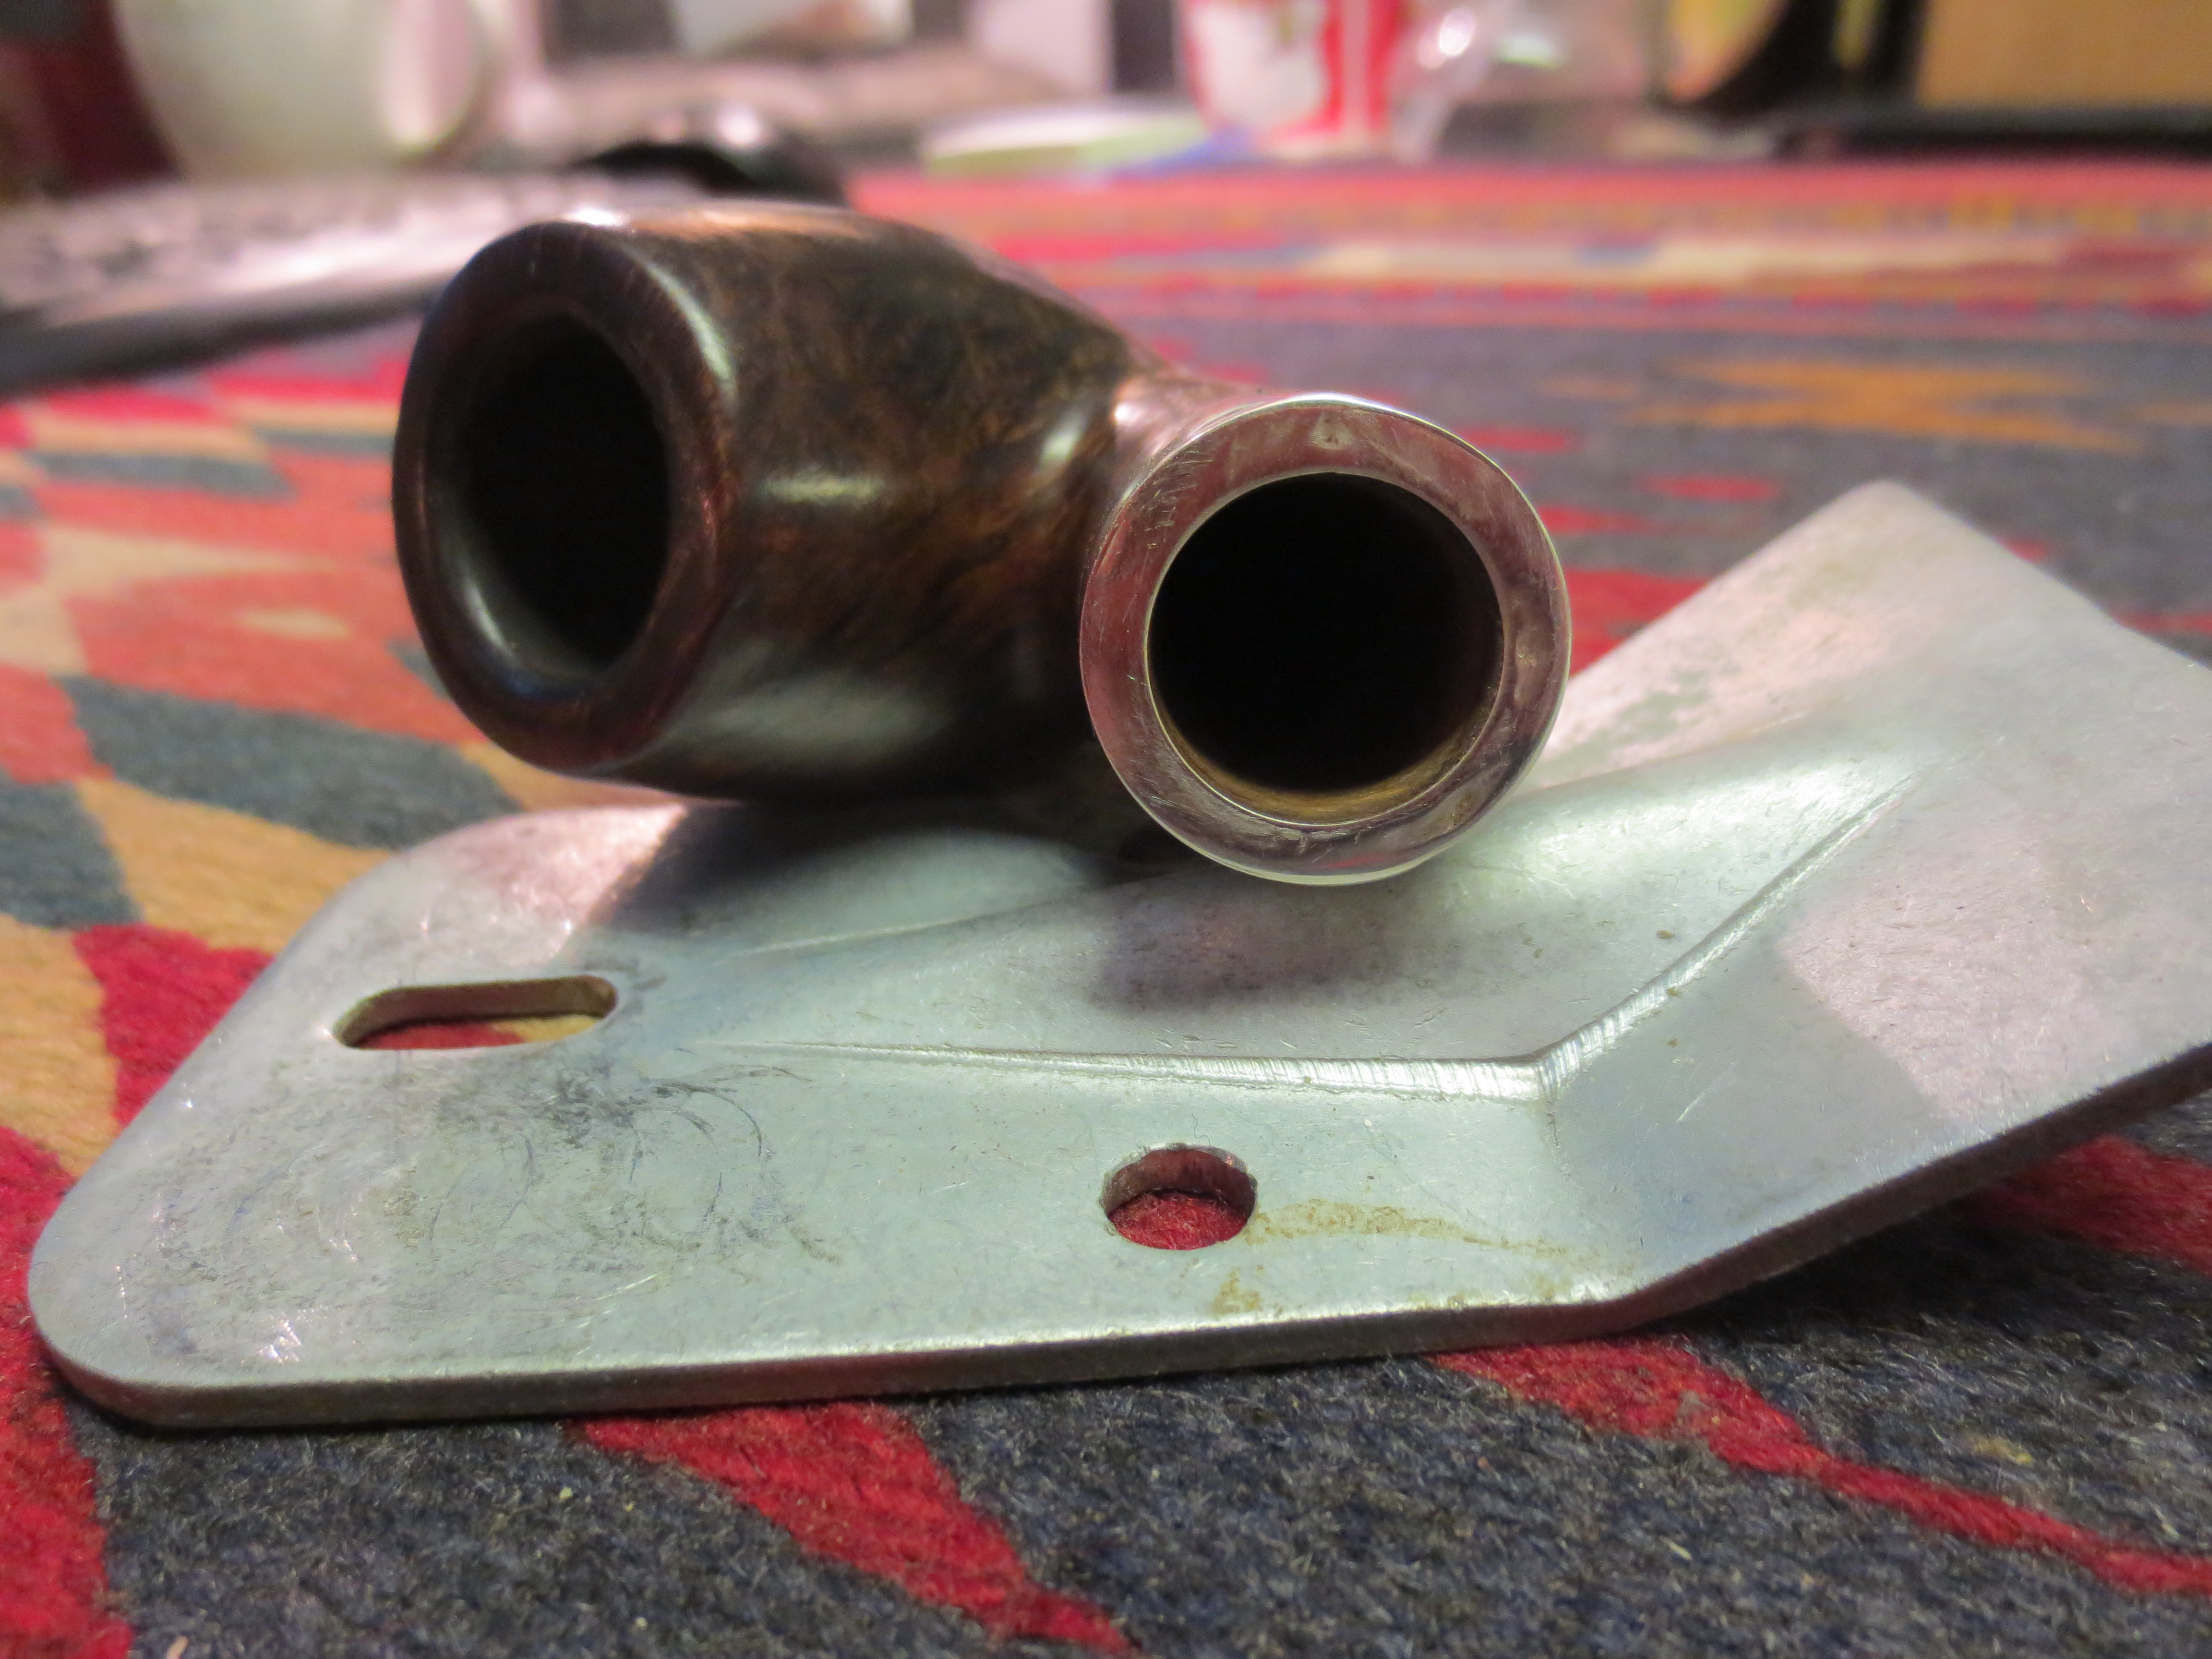
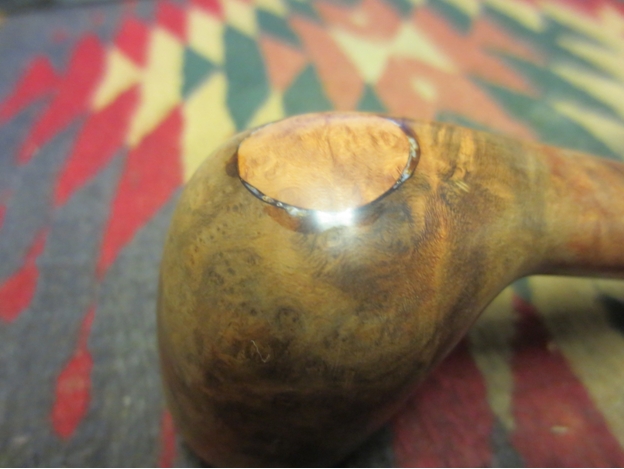
 The top was so beat up that it had to be topped to smooth out the damage and restore the clean edges. I set up a topping board and worked on the top until it was smooth and the outer edges were sharp and well defined.
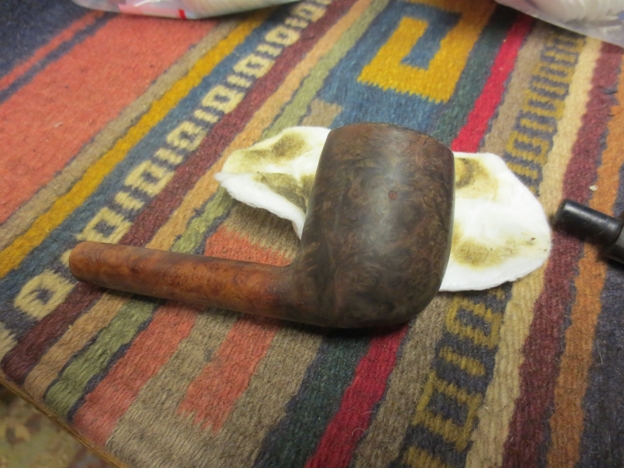
 I sanded the bowl with 220 grit sandpaper and a medium and fine grit sanding sponge to further clean up the finish. There was some darkening on the sides and bottom of the bowl and I wanted to bring it back to the same look as the shank and the rim. The idea was to bring the pipe back to clean and natural finish so that if I stained it the blend and matching would be much easier.
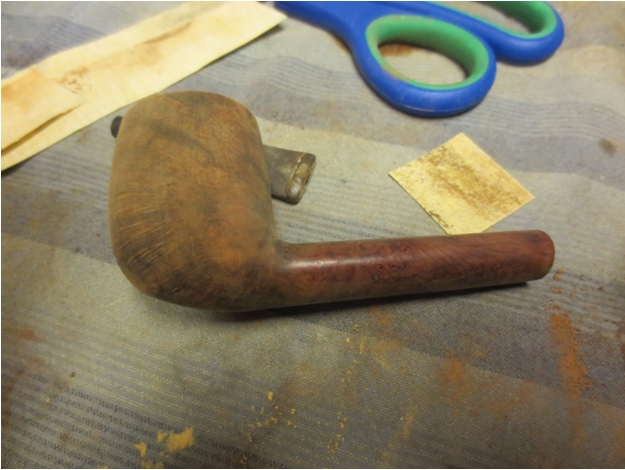
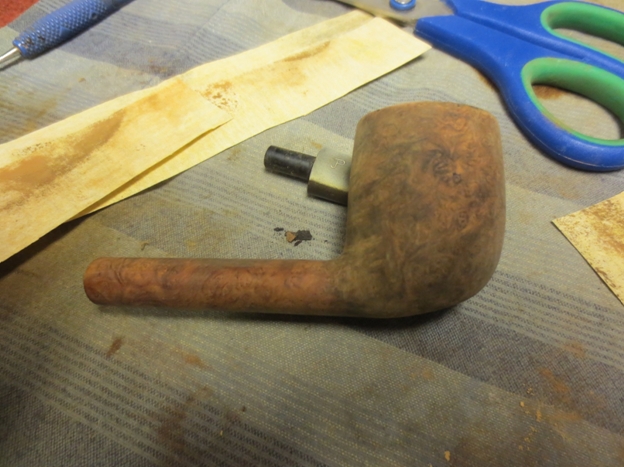
 I decided to soak the bowl in an alcohol bath to remove some of the oils and grease on the surface. While it soaked I worked on the stem.
 I sanded the stem with 220 grit sandpaper to remove the oxidation, calcium buildup and tooth chatter. I carefully sanded around the stamping on the stem to preserve it.
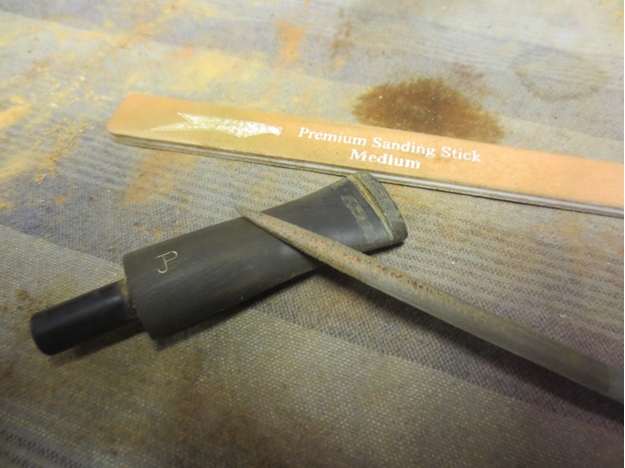
 I used a needle file and a sanding stick to rework the edges of the button and sharpen the crease.
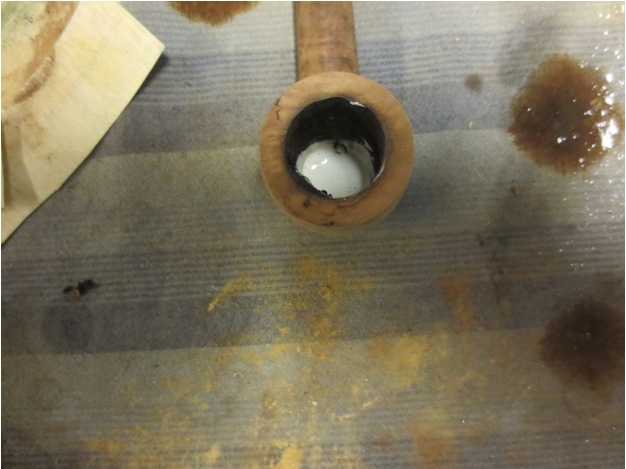
 I took the bowl out of the alcohol bath and dried it off. Once the inside had air dried it was time to raise the bottom of the bowl to the bottom of the entrance of the airway. I mixed a batch of plaster of Paris and packed it in the bottom of the bowl until it was level. Things were looking good at this point. Once it was dried I would give it a coat of pipe mud and it would be good to go.
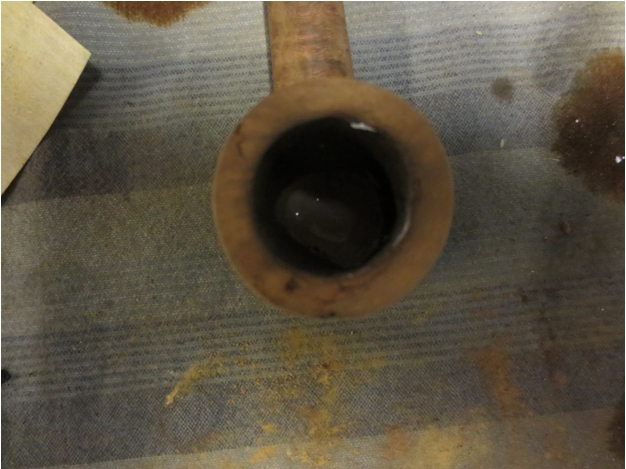
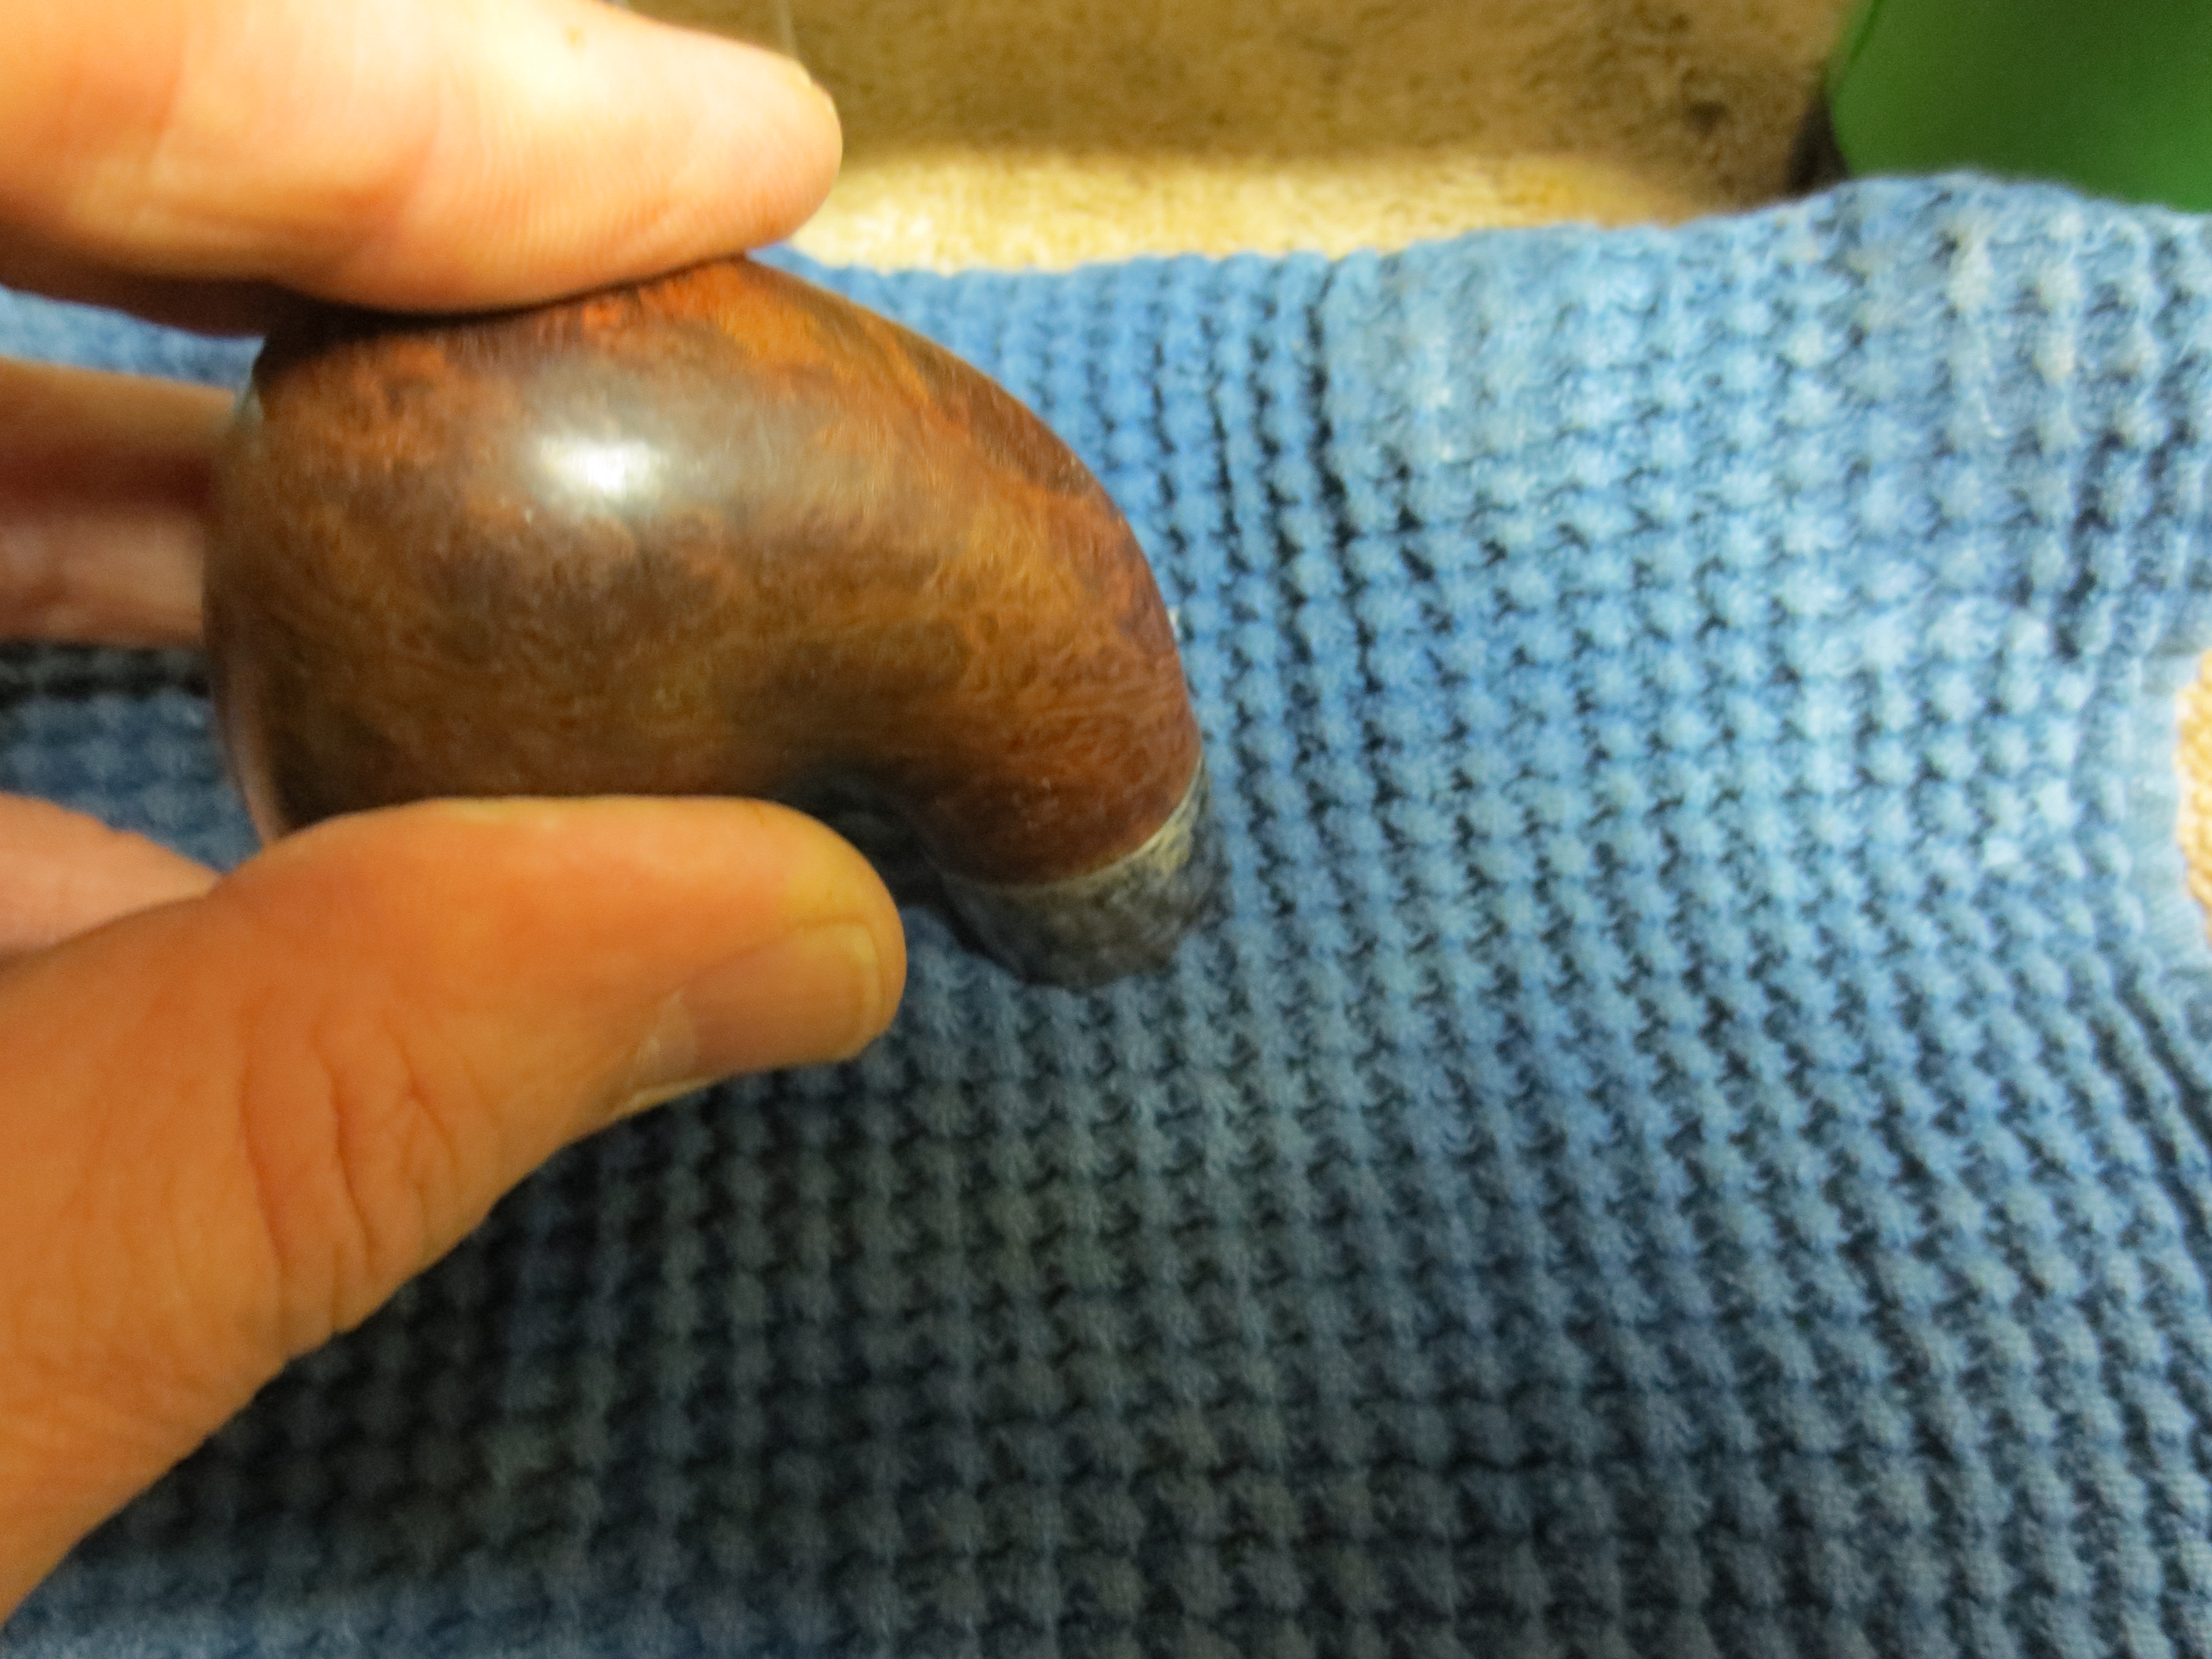
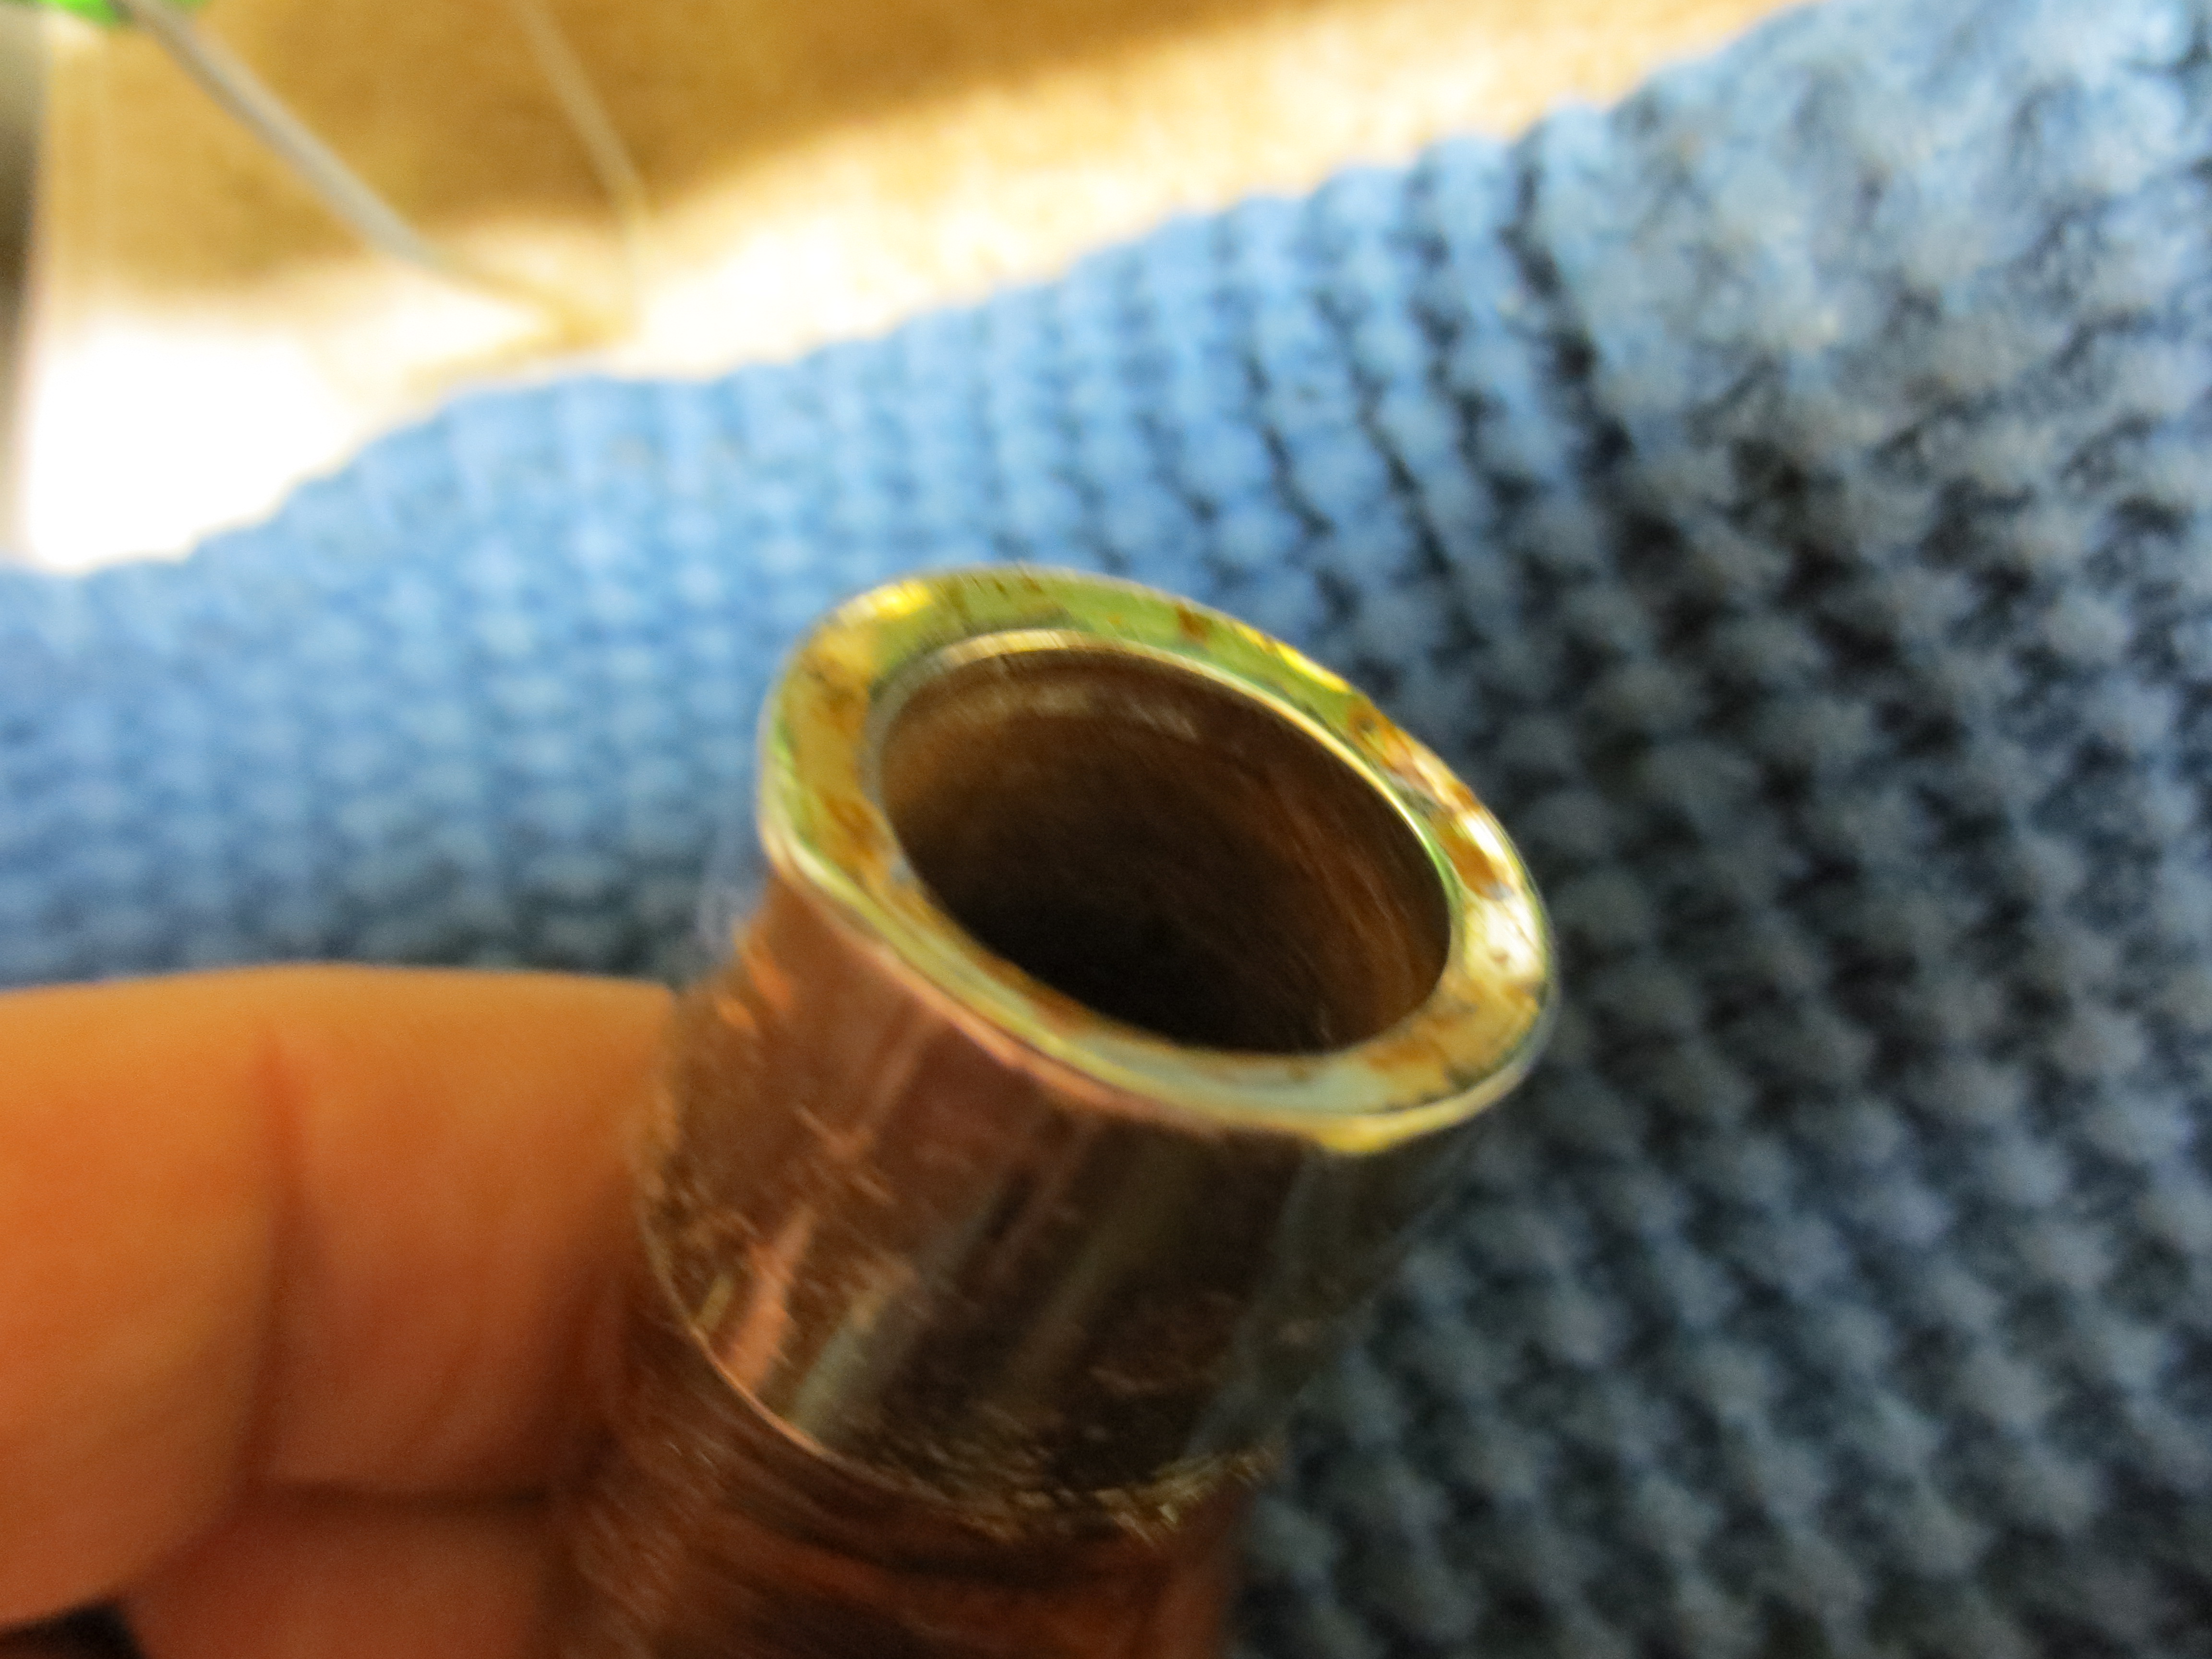
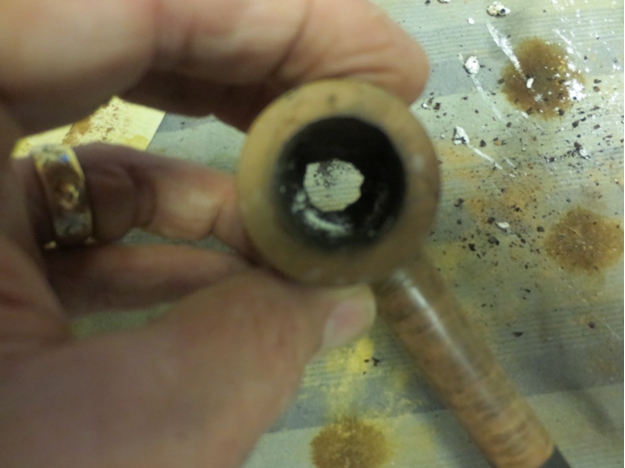
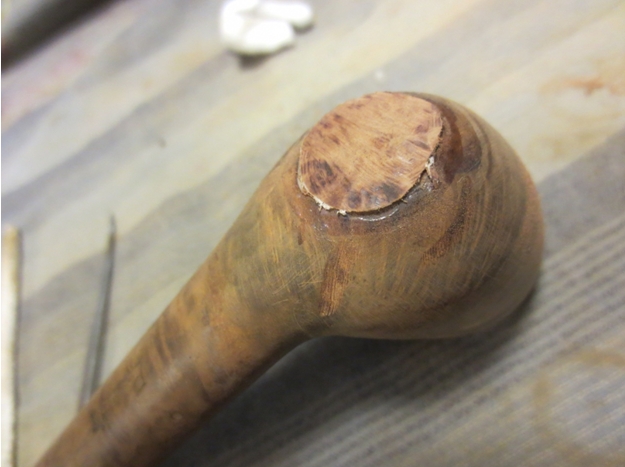
 That was when things began to go south for me! I was sanding the bowl bottom and had found a spot that seem to give as I sanded on it. I had wondered if the bowl bottom was too thin from the over reaming but had not seen the soft area of the briar. I used a dental pick to exam the spot and with very little effort the end of the pick went right through the bowl bottom! BURNOUT. I poked around some more and found that there were several very soft spots. This was not what I wanted to find on what I thought would be a very easy clean up!! YIKES.
 With very little effort the entire area that was darkened broke away. I used a drill to clean up the ragged edges and make the hole round. I used a Dremel with a sanding drum to even out the edges and used it on the inside of the bowl to bring it back into round on the side where there had previously been a slope from a bad over reaming job.
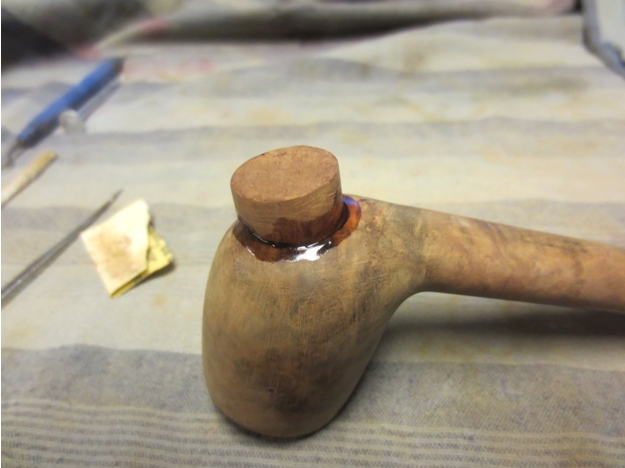
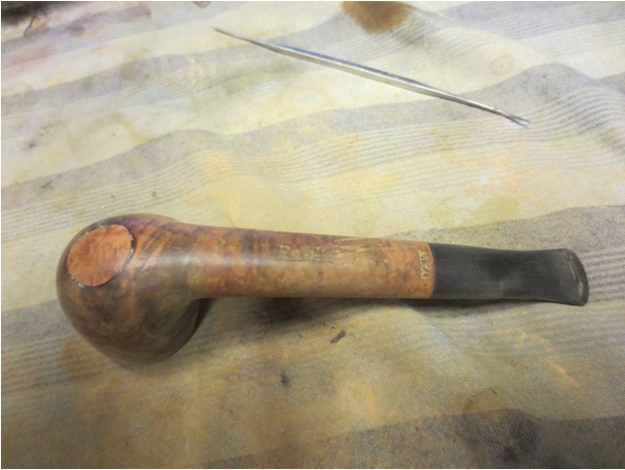
 I had a round piece of briar left over from a plug I had cut for another burnout I had repaired. I smoothed out the bottom of the plug and fit it into the hole in the bowl. Once the fit was good and snug I glued it in place with wood glue then a top coat of super glue.
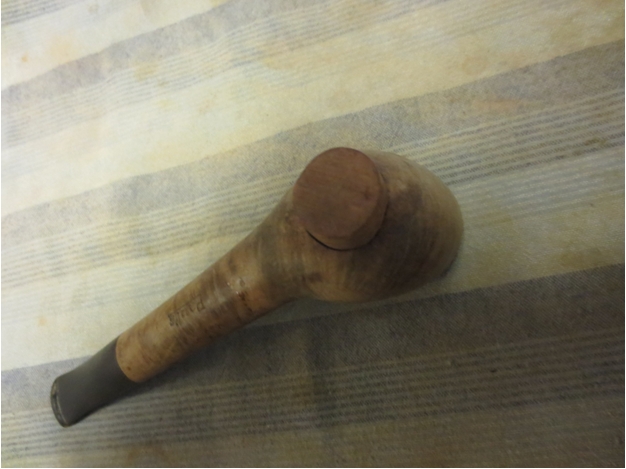


 While the glue was hardening I used the Dremel and sanding drum to take off the excess briar from the plug.
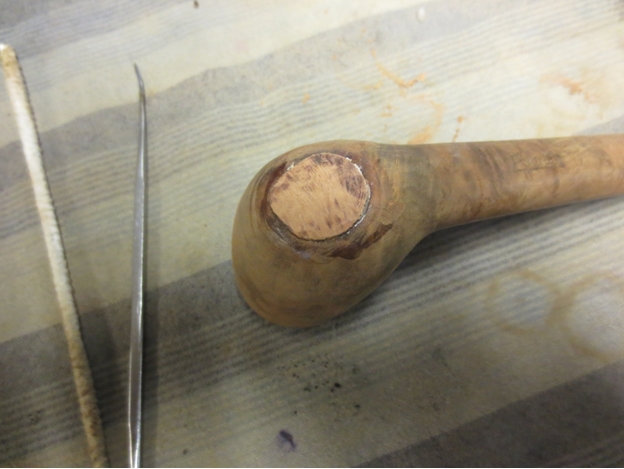
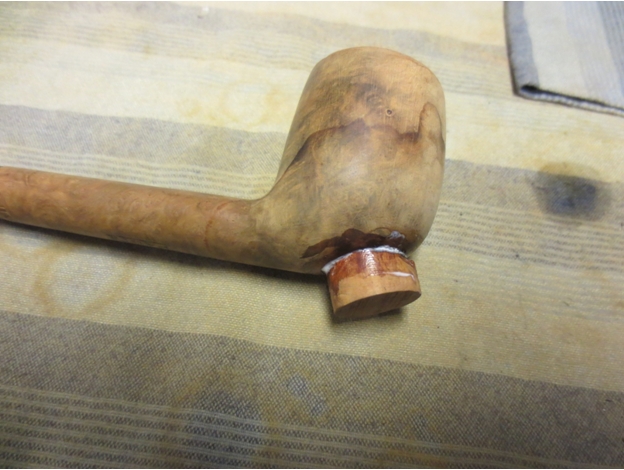
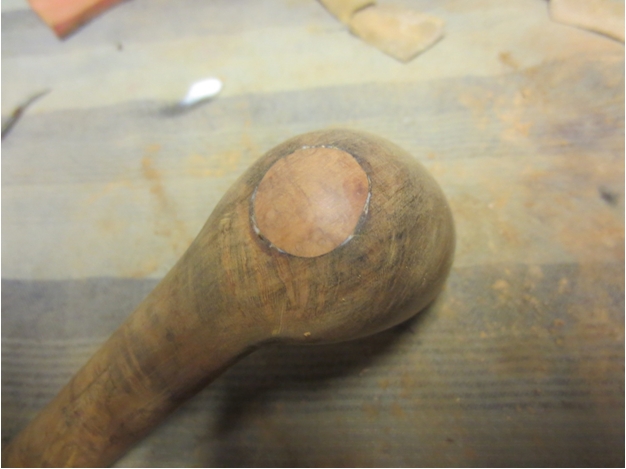
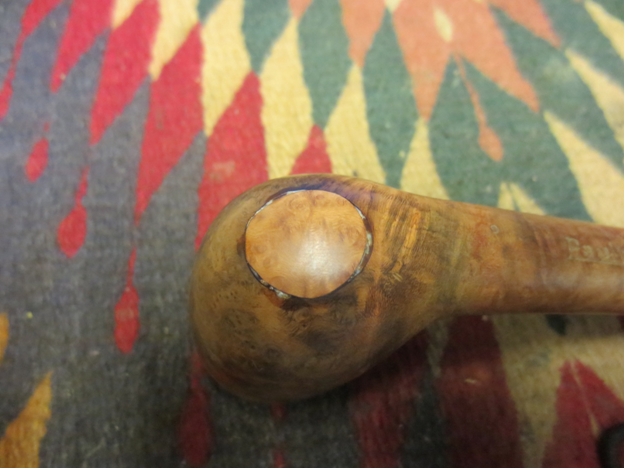
 I sanded the plug with 220 grit sandpaper to shape it to the curves of the heel of the pipe. The spots that appear as gaps around the plug are where the glue has already dried hard. These will disappear as the glue cures and hardens.
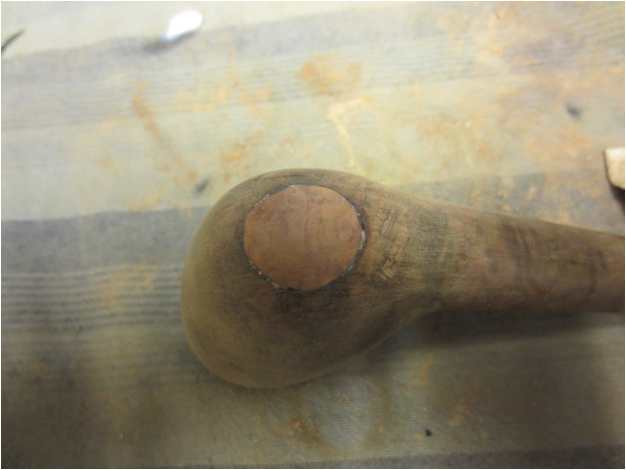
 I sanded the entire pipe with a medium and fine grit sanding sponge and then wet sanded with 1500-2400 grit micromesh sanding pads to remove the scratches from the finish and blend in the patch with the surface of the briar.
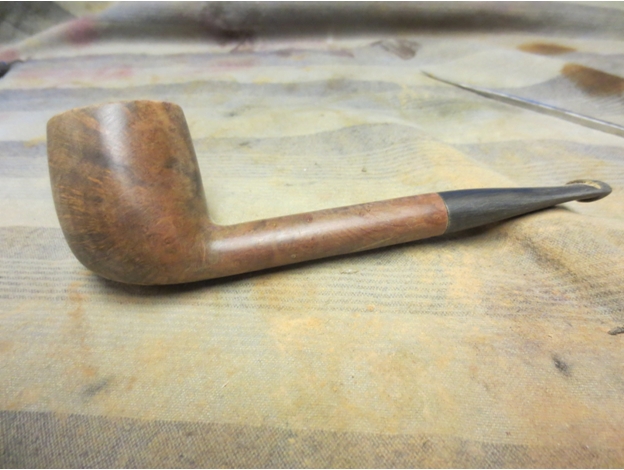
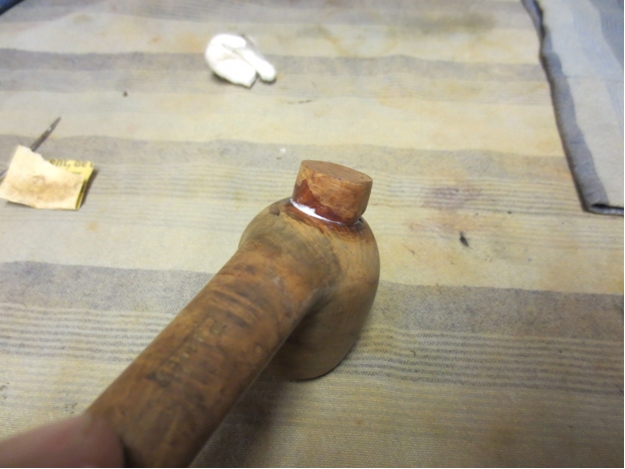
 I left the pipe overnight to give the glue time to cure. In the morning I sanded the bottom area of the bowl to smooth it out as the areas around the patches had swollen above the patch when they dried.
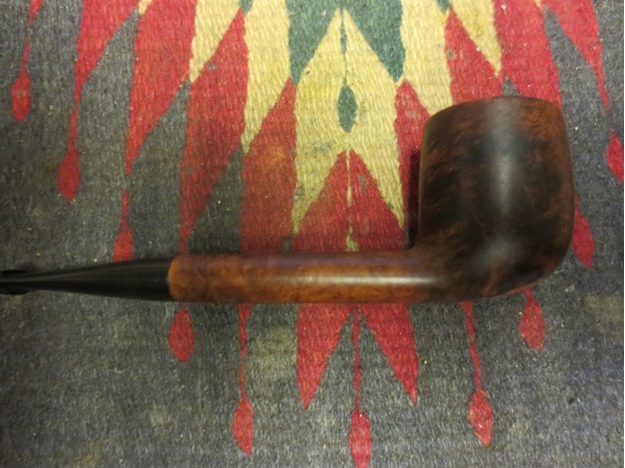
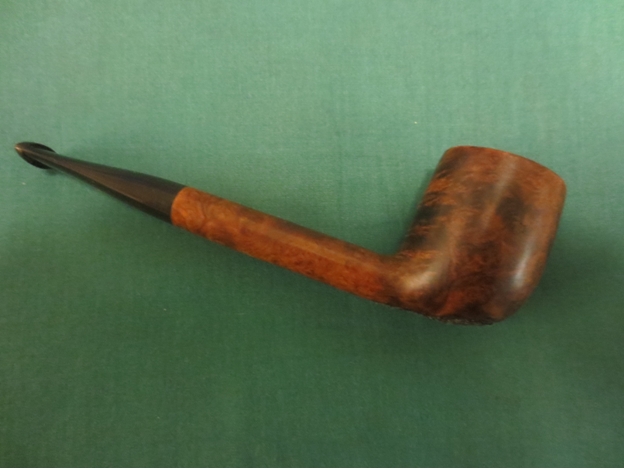
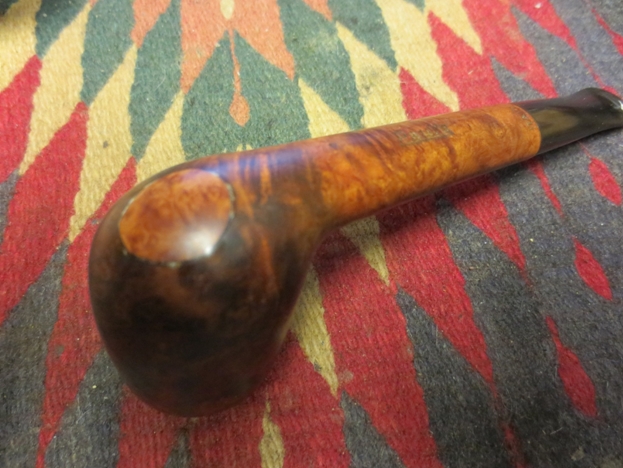 Since the briar had been oil cured I decided to rub it down lightly with some olive oil and let it soak in. The next four photos show the pipe after the light rub down with oil.
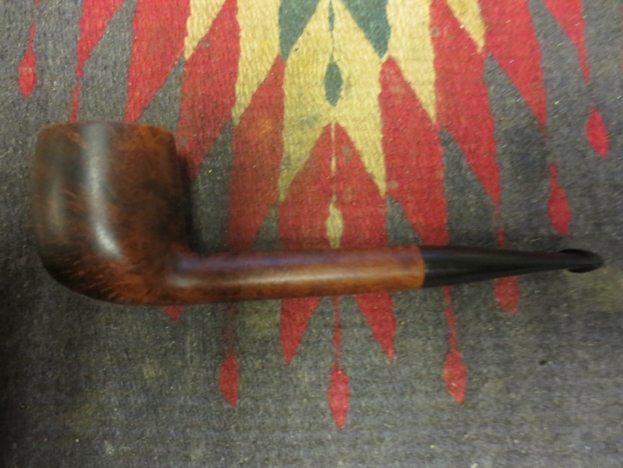
 I spent a bit of time thinking about the next steps in the process. I had a decision to make – whether to leave the plug smooth and just stain the pipe and keep it glaringly present or to rusticate the bottom of the bowl and blend the plug into the rustication pattern. I decided to rusticate it. I took out the rusticator that Chris made for me and drew a boundary line around the area on the bottom of the bowl that I wanted to rusticate.
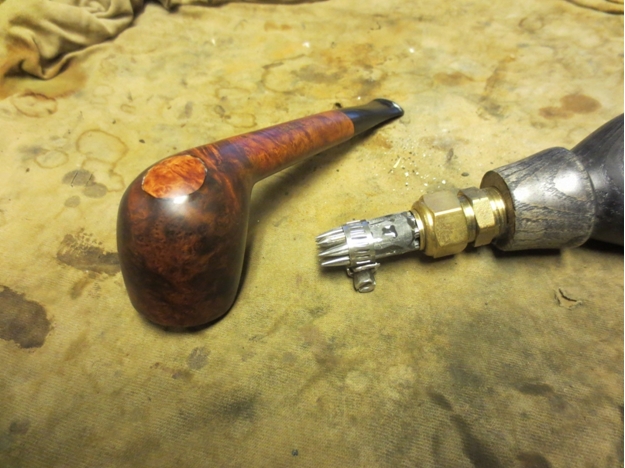
 I pressed the rusticator into the briar and twisted it until the surface was roughened I used a brass bristle wire brush to knock off the loose briar and smooth things out. I buffed the rustication with White Diamond to smooth the high points.
 I stained the rusticated area with a black aniline stain and flamed it to set the stain. I sanded the lines around the rustication and the peaks on the rustication as well to get the look I wanted for this piece.
 When I came home from work this evening I decided to extend the rustication back along the shank. I used the rusticator to work the briar and then stained the entire rustication with a black aniline stain.
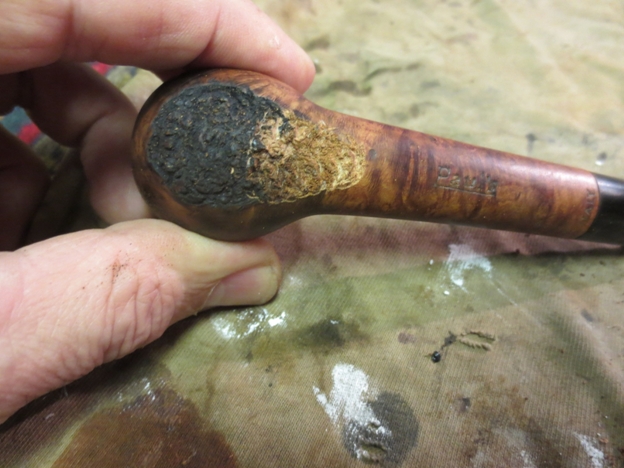
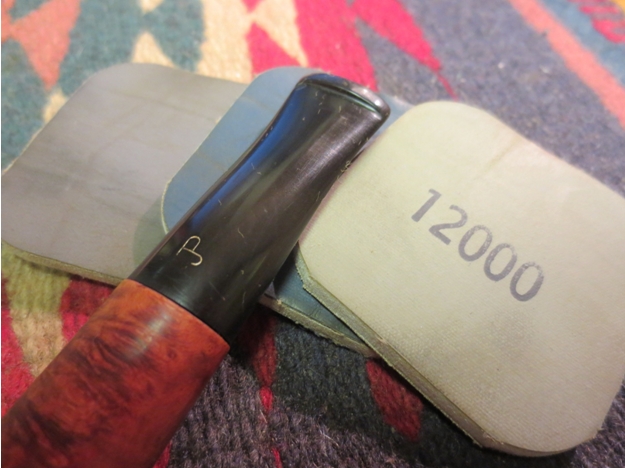
 I sanded the stem with my usual array of micromesh sanding pads to bring out the shine. I wet sanded with 1500-2400 grit pads and dry sanded with 3200-12,000 grit pads. I rubbed the stem down with Obsidian Oil between each set of three pads.
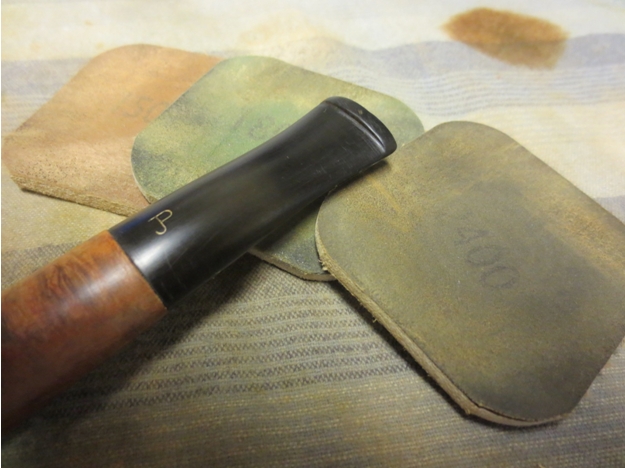

 I mixed a batch of Plaster of Paris to rebuild the bottom of the bowl and raise the part that was untouched by the plug to the same height as the plug and to the bottom of the entrance of the airway from the bowl. I inserted a pipe cleaner in the airway and put the mix into the bowl. I tamped in the plaster mix with a pipe nail and the cuticle tool. It dried to touch fairly quickly and I wiped down the walls of the bowl with a cotton swab and water. I smoothed out the bottom of the bowl the same way. Once the plaster has cured I will give the bottom of the bowl and walls a thin coat of pipe mud to preserve and protect the new plug and the freshly shaped briar on the walls of the pipe.
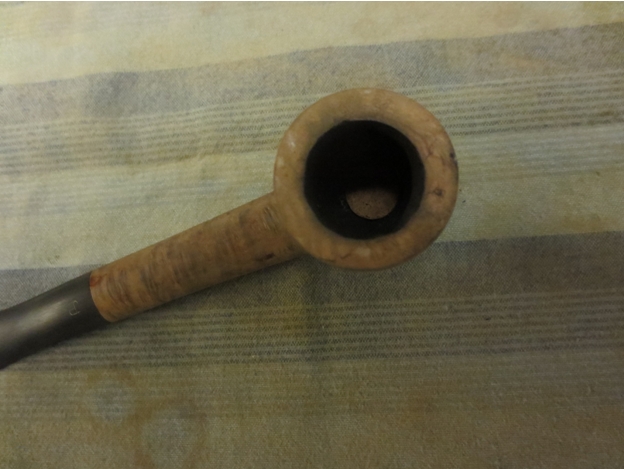
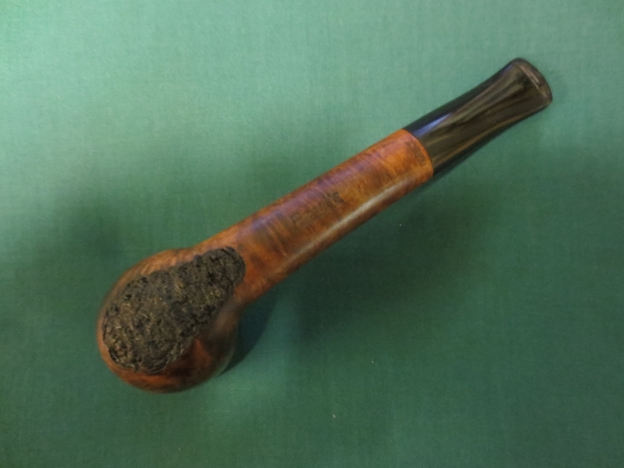
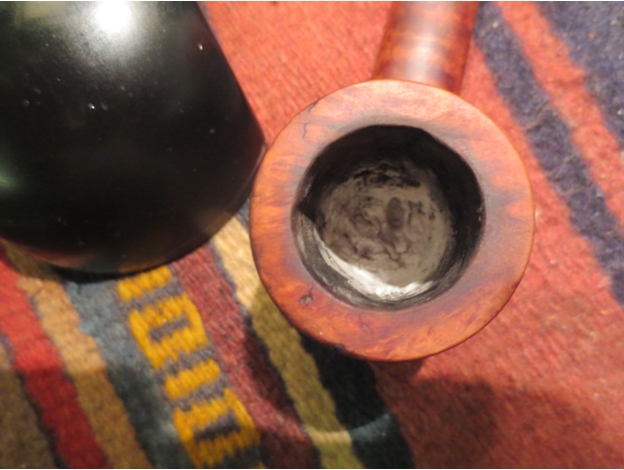 I buffed the bowl and stem with White Diamond and then gave it multiple coats of carnauba wax. I buffed it with a soft flannel buff to raise a shine. The finished pipe is shown in the photos below. The soft colour of the oil cured briar and the light coat of olive oil bring out the grain. The contrast of the rustication on the bottom of the bowl and the black stain on that gives the bowl a fresh look. One of the side benefits of the added rustication is that the bowl is now a sitter whereas before the rounded bottom of the shank made that impossible. The pipe needs to cure for a few days and then I will give it an inaugural smoke.
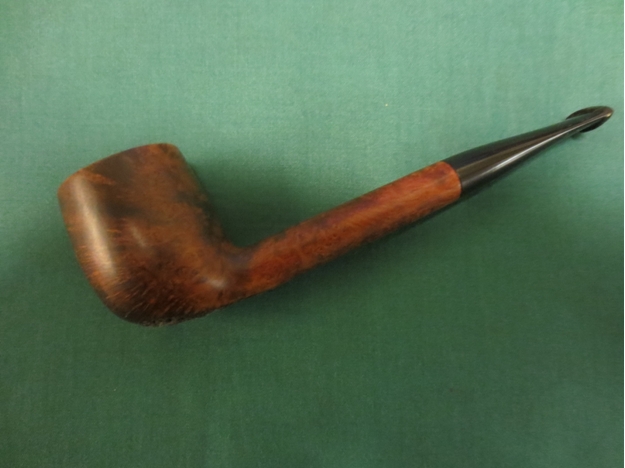

 .
.