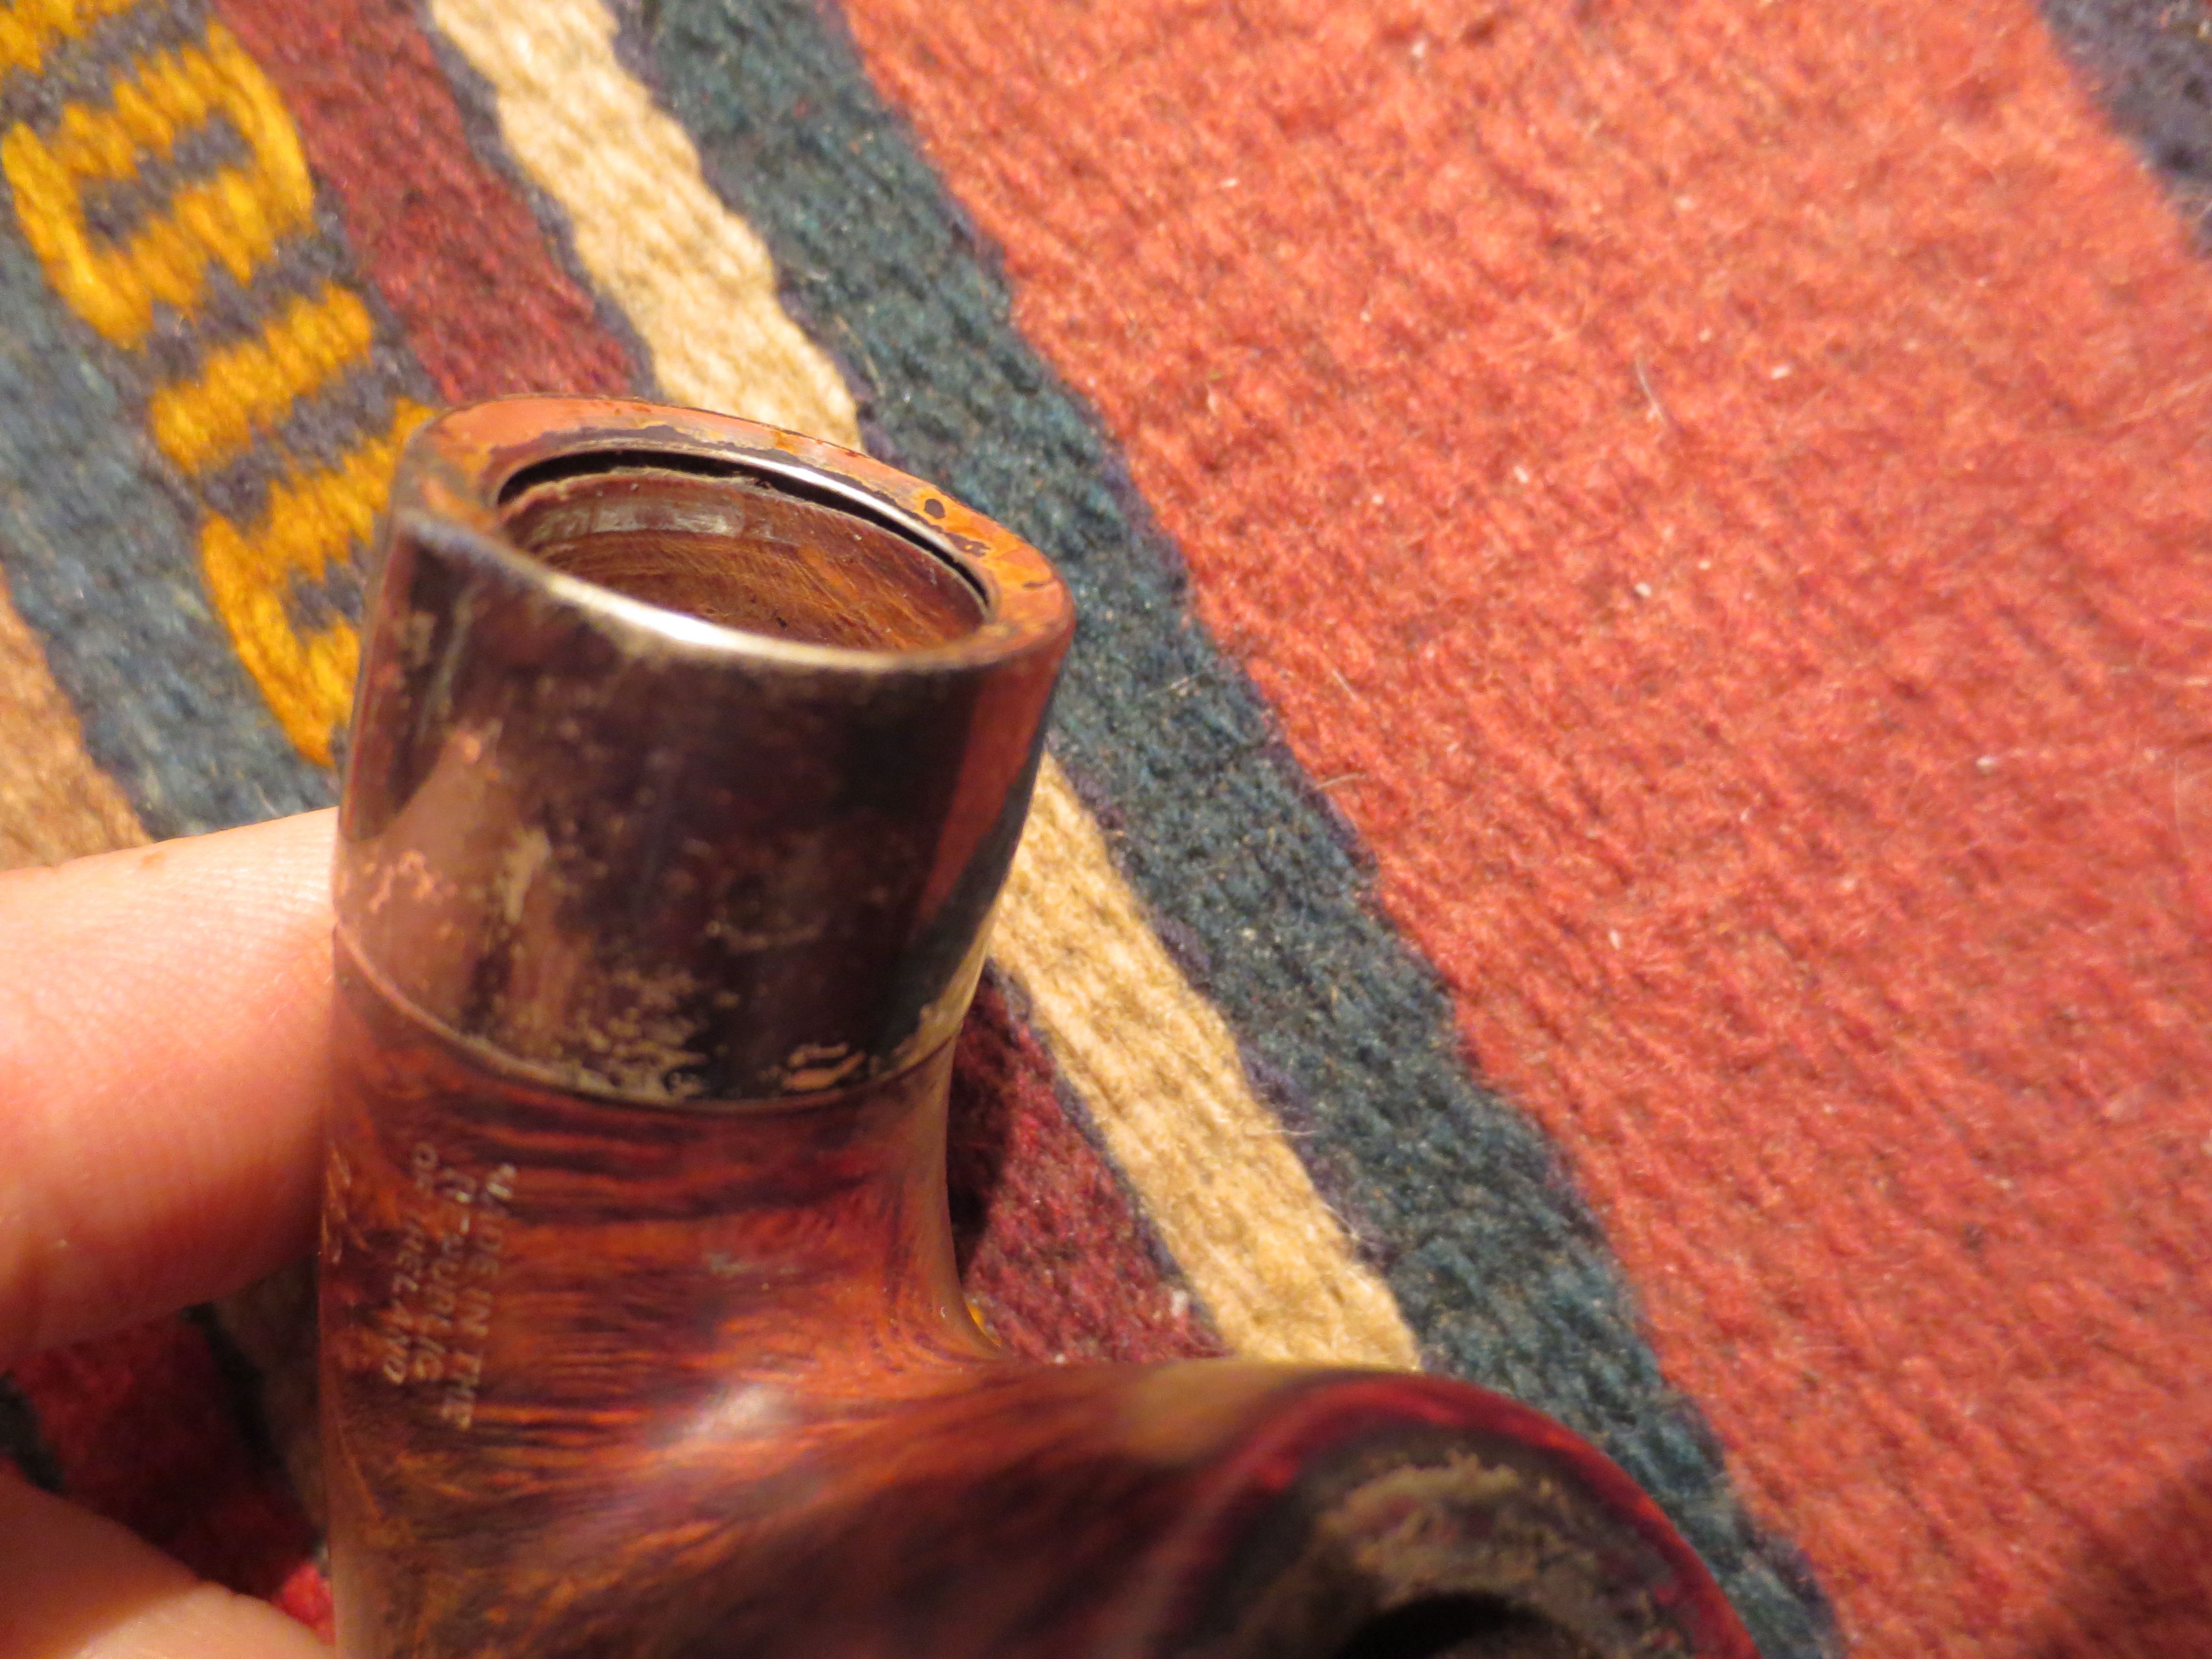
I received this older Peterson Deluxe 11S to refurbish for a project that I am involved in and in the process of going over the pipe noting the things that needed to be repaired. I got to the shank end and noted the 1/8 inch gap between the chamfered edge of the band and the end of the shank (Photo 1). From the marks on the shank it was obvious that the band had been removed and glued with the gap. It then had been chamfered inward toward the shank to give it a dish effect and allowing the stem on the Deluxe to sit closer to the shank. It was not too badly done though it obviously had been modified and there were some dents in the surface of the edge.
I decided to return it to its original position on the shank. I cleaned off the band with silver cleaner and cleaned out the shank (Photo 2). I wanted the surface to be smooth so that when I heated it I could press it into place on the shank. To return it to that place would be a two-step process, if I was to do it without damaging the surface of the band. The first step in the repair was to bring the band back to a position where the gap was gone. The second step would be to press down on the chamfered edge and flatten it into place.

Photo 2 Side view of the chamfered top of the band
I heated the band with my heat gun to warm the glue and also the band (Photos 3 – 4). The heat would loosen the glue and allow me to adjust the band on the shank so that the stamping was in place and I could easily press it into place. For this first stage in the process I was only interested in getting the gap between the band and the top of the shank closed (Photos 5 – 6).

Photo 3 Heating the band
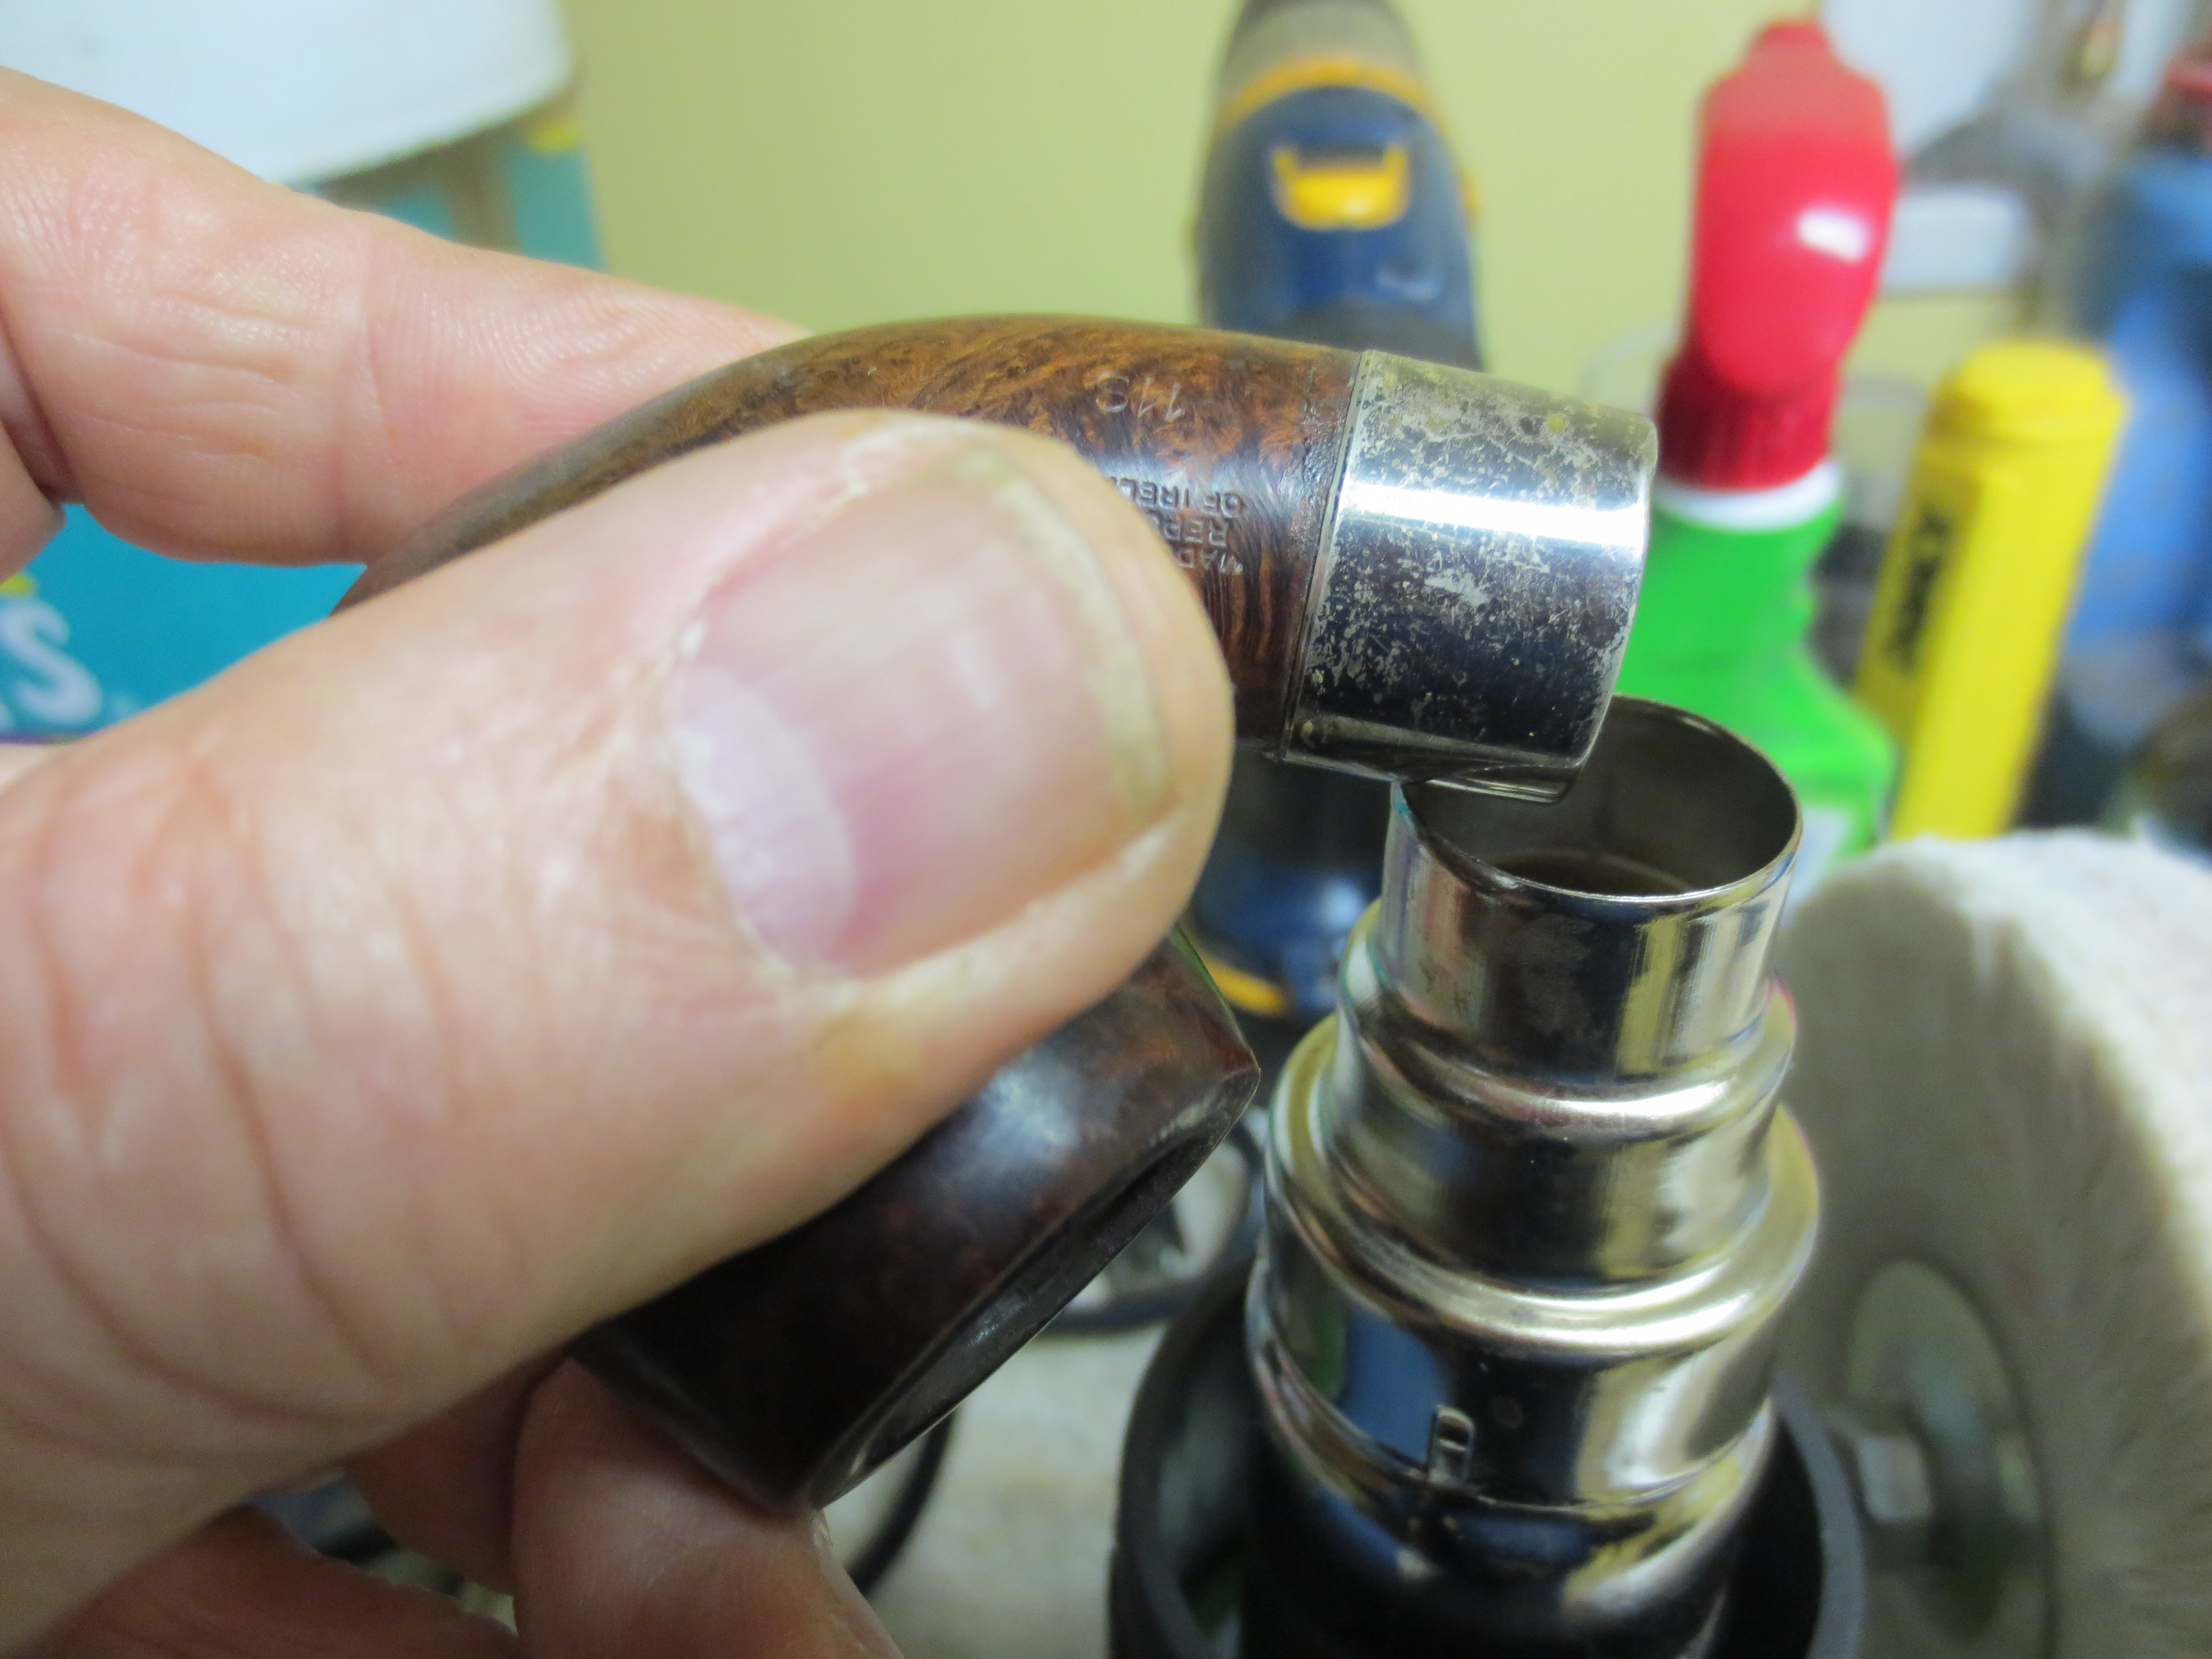
Photo 4 Heating the band
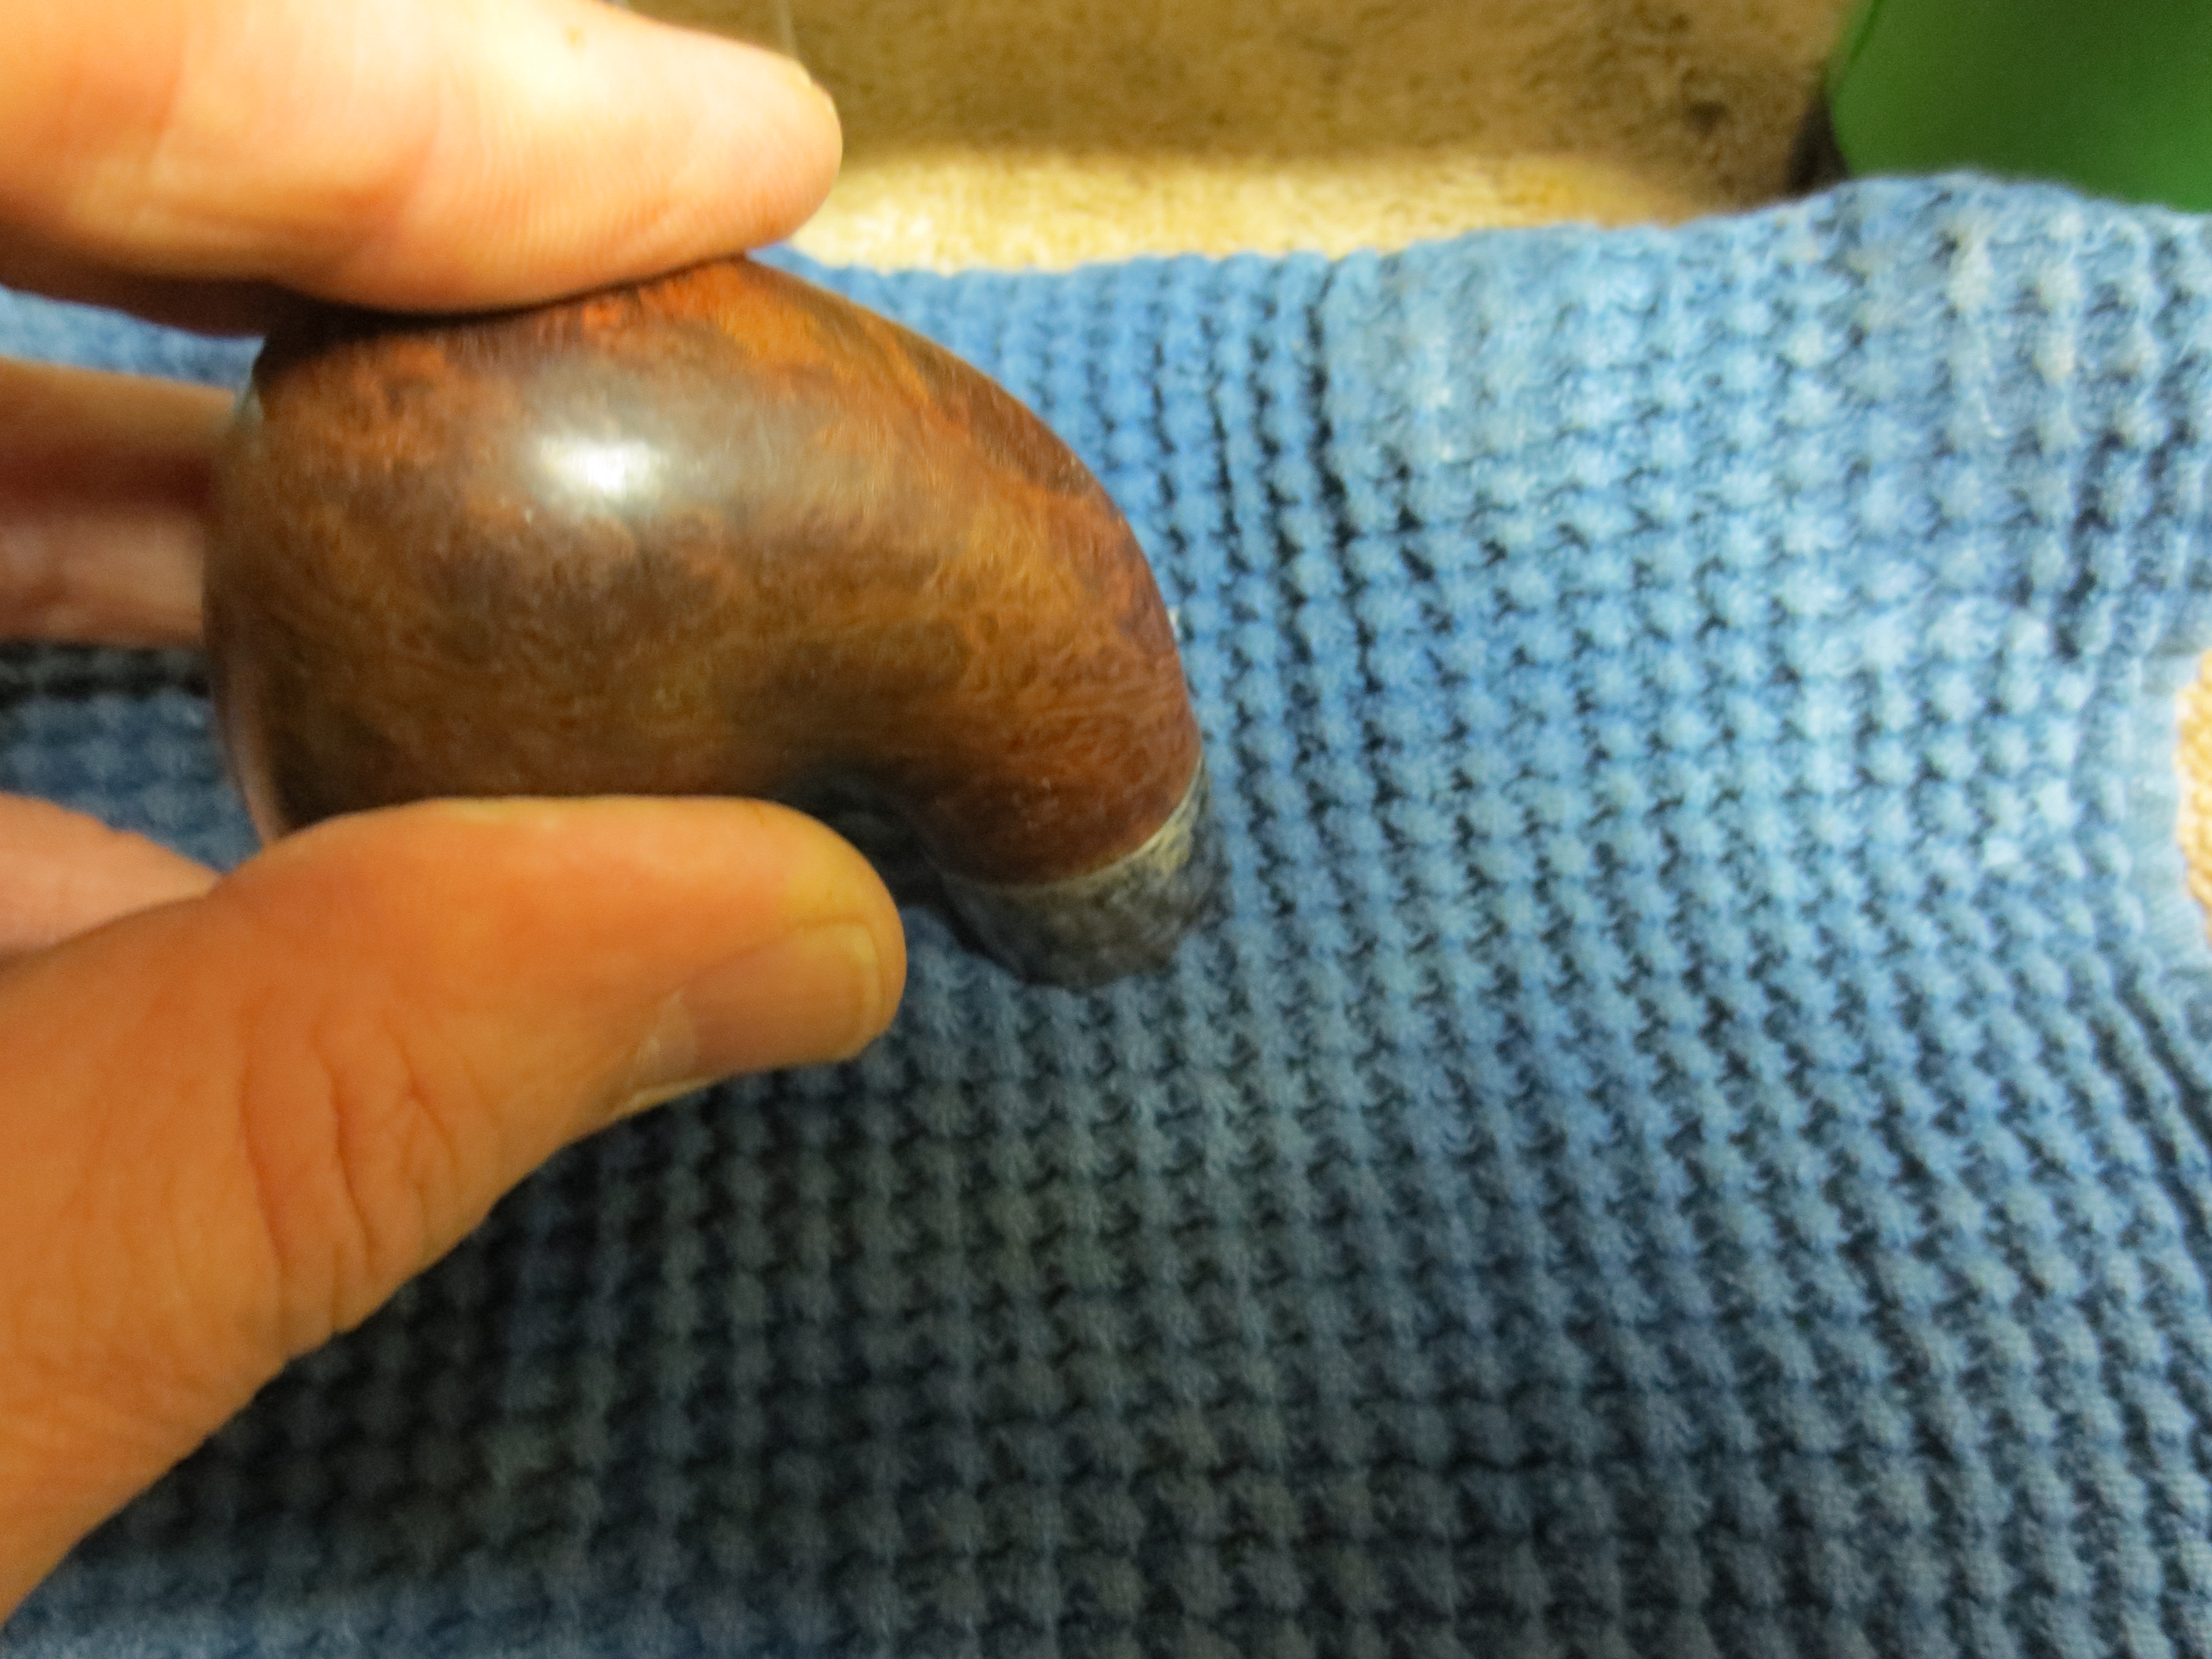
Photo 5 Pressing the band into place
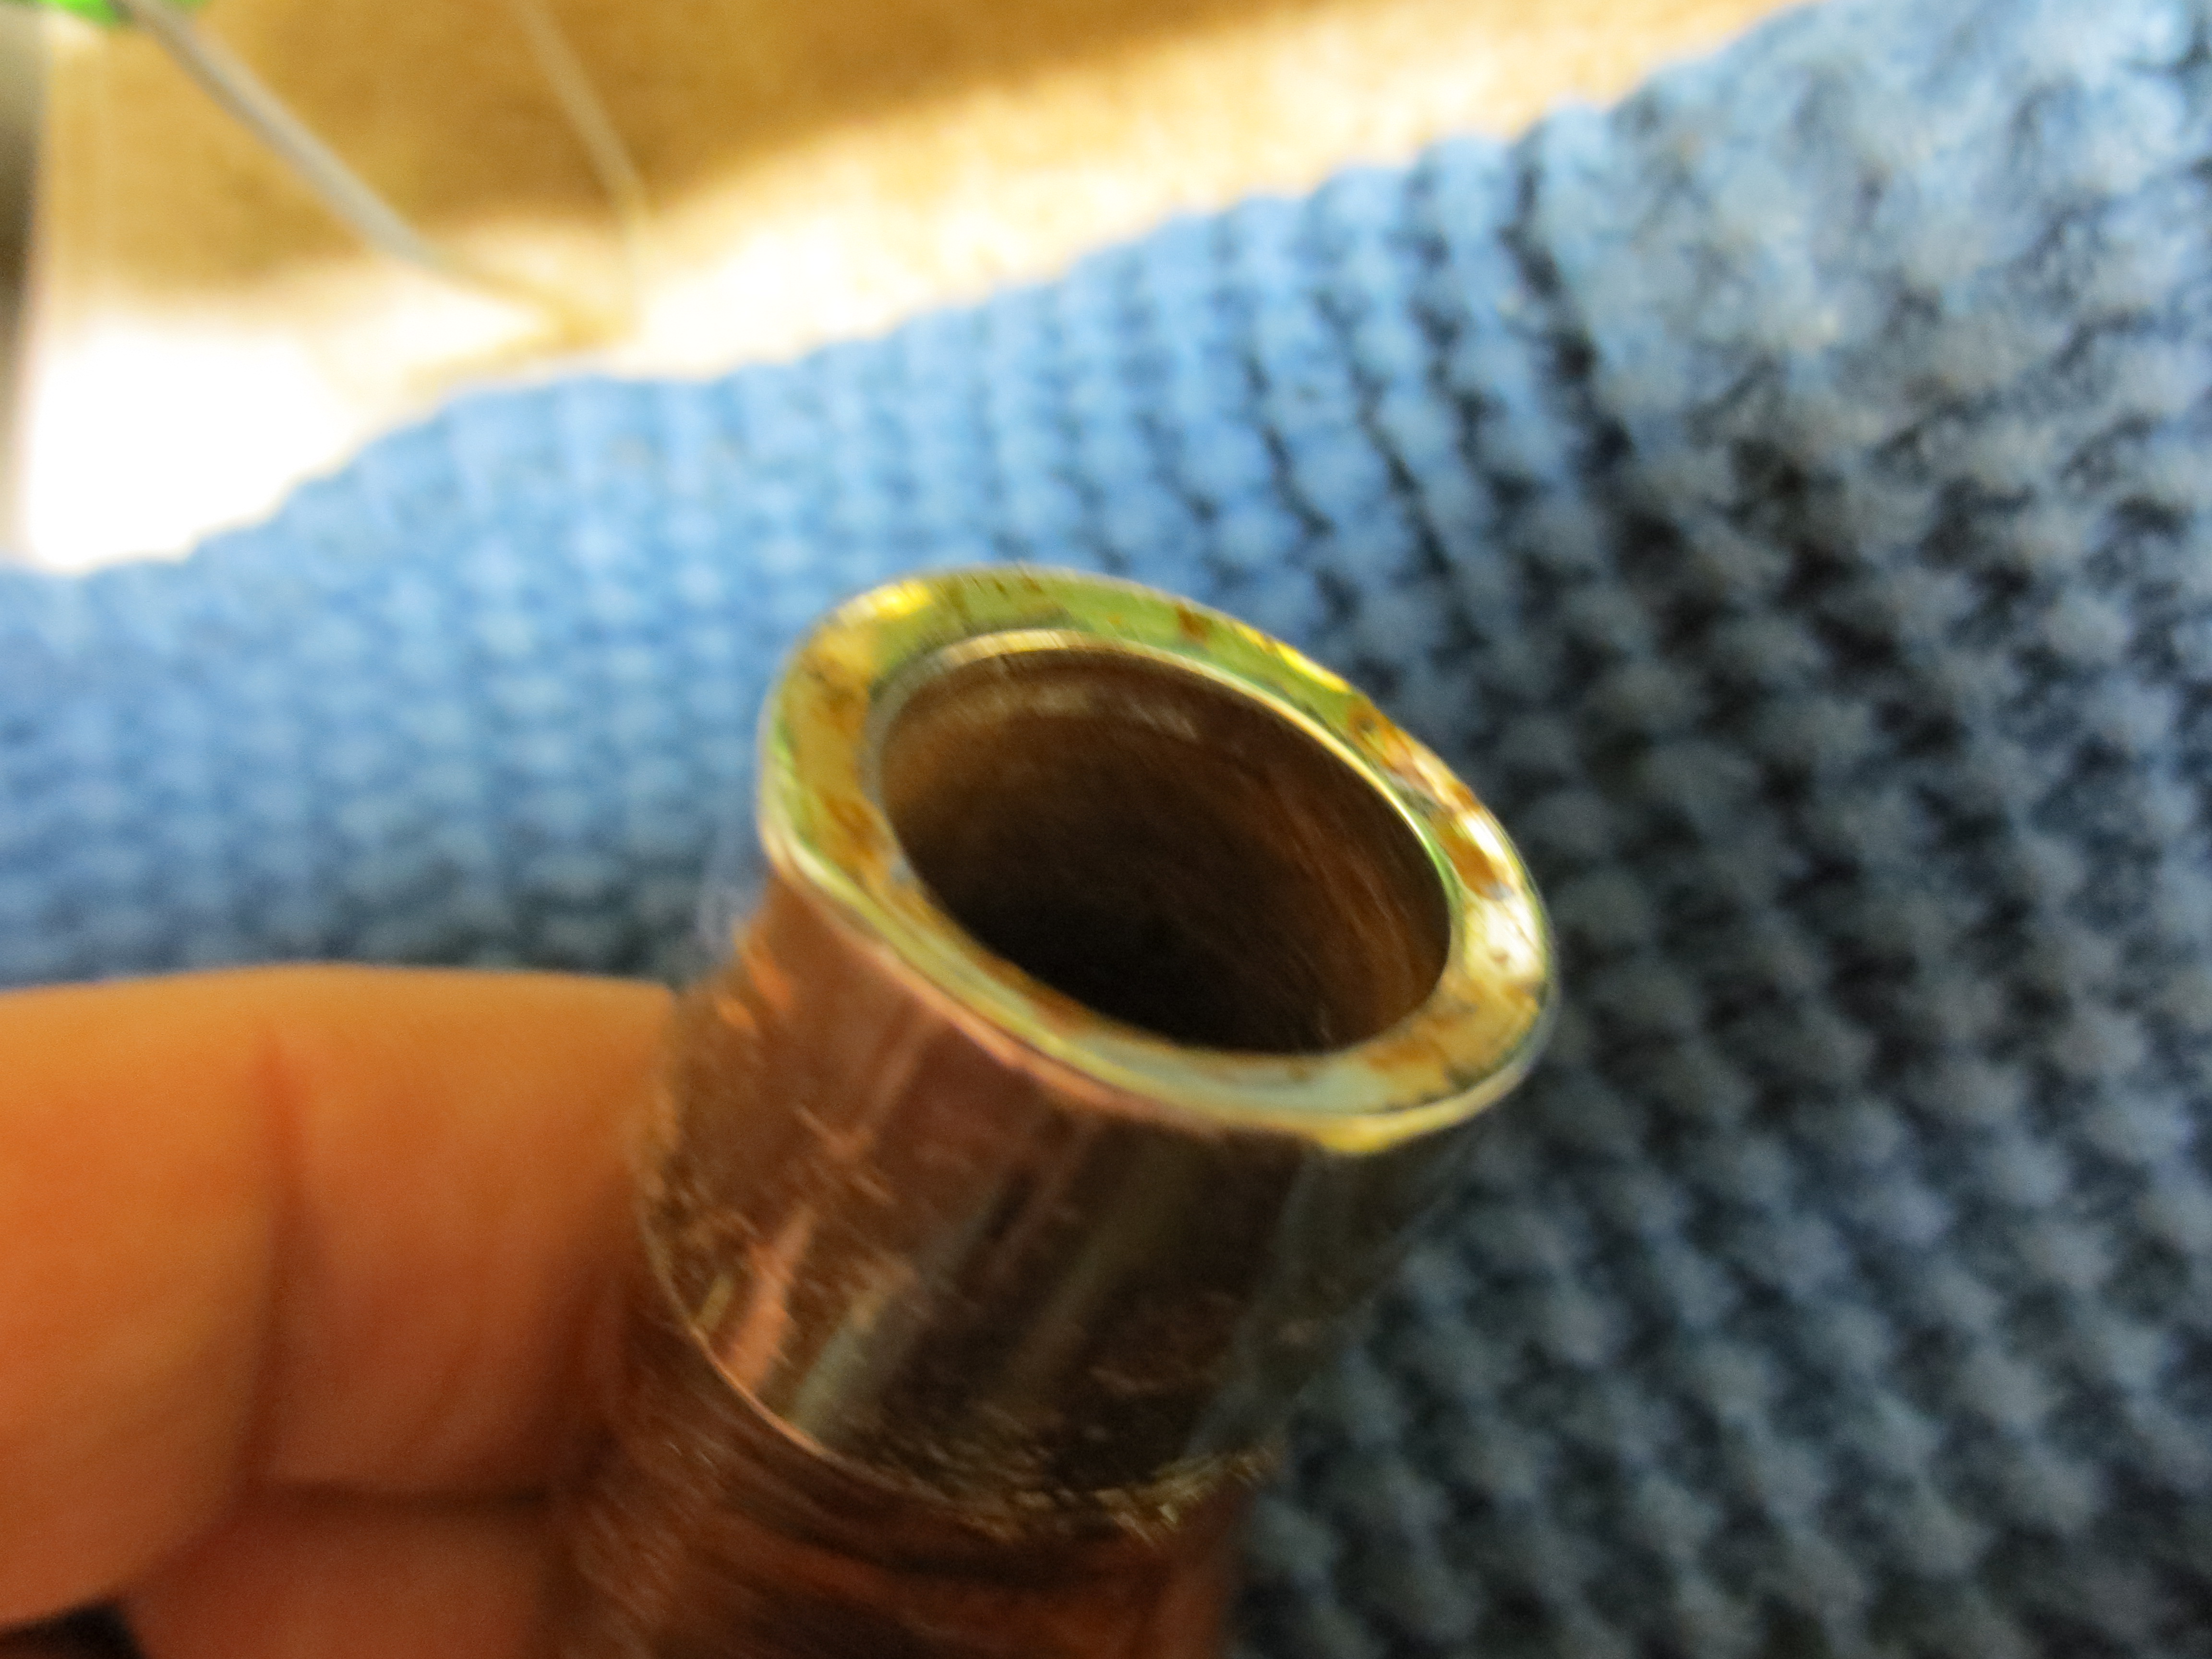
Photo 6 Closer view of the chamferred band pressed into the shank
To flatten the chamfered surface of the band would take a slightly different approach. I reheated the end of the shank band with my heat gun. I used the lower heat setting as I was holding the bowl with the shank down over the heat and did not want to get burned. I heated it for as long as I could hold it in place and then took it to the work table. Once there I pressed it down onto a metal plate that I use for pressure fitting bands on shanks. I repeated this process until I had pressed the band flat and removed the chamfering (Photos 7 – 8).
After it was pressed flat I used the micromesh sanding pads from 1500-12,000 grit to repolish the silver end cap. I pressed it downward into the pad and twisted it and also ran it across the pad to remove the scratches from the metal plate. With that finished the end is flush against the shank and there are just three small dents that I was unable to remove. The band is in place as it was when it left Peterson’s Factory (Photo 9).

Photo 7 Heating the band to flatten the chamferring

Photo 8 Pressing the face of the band onto a flat metal plate
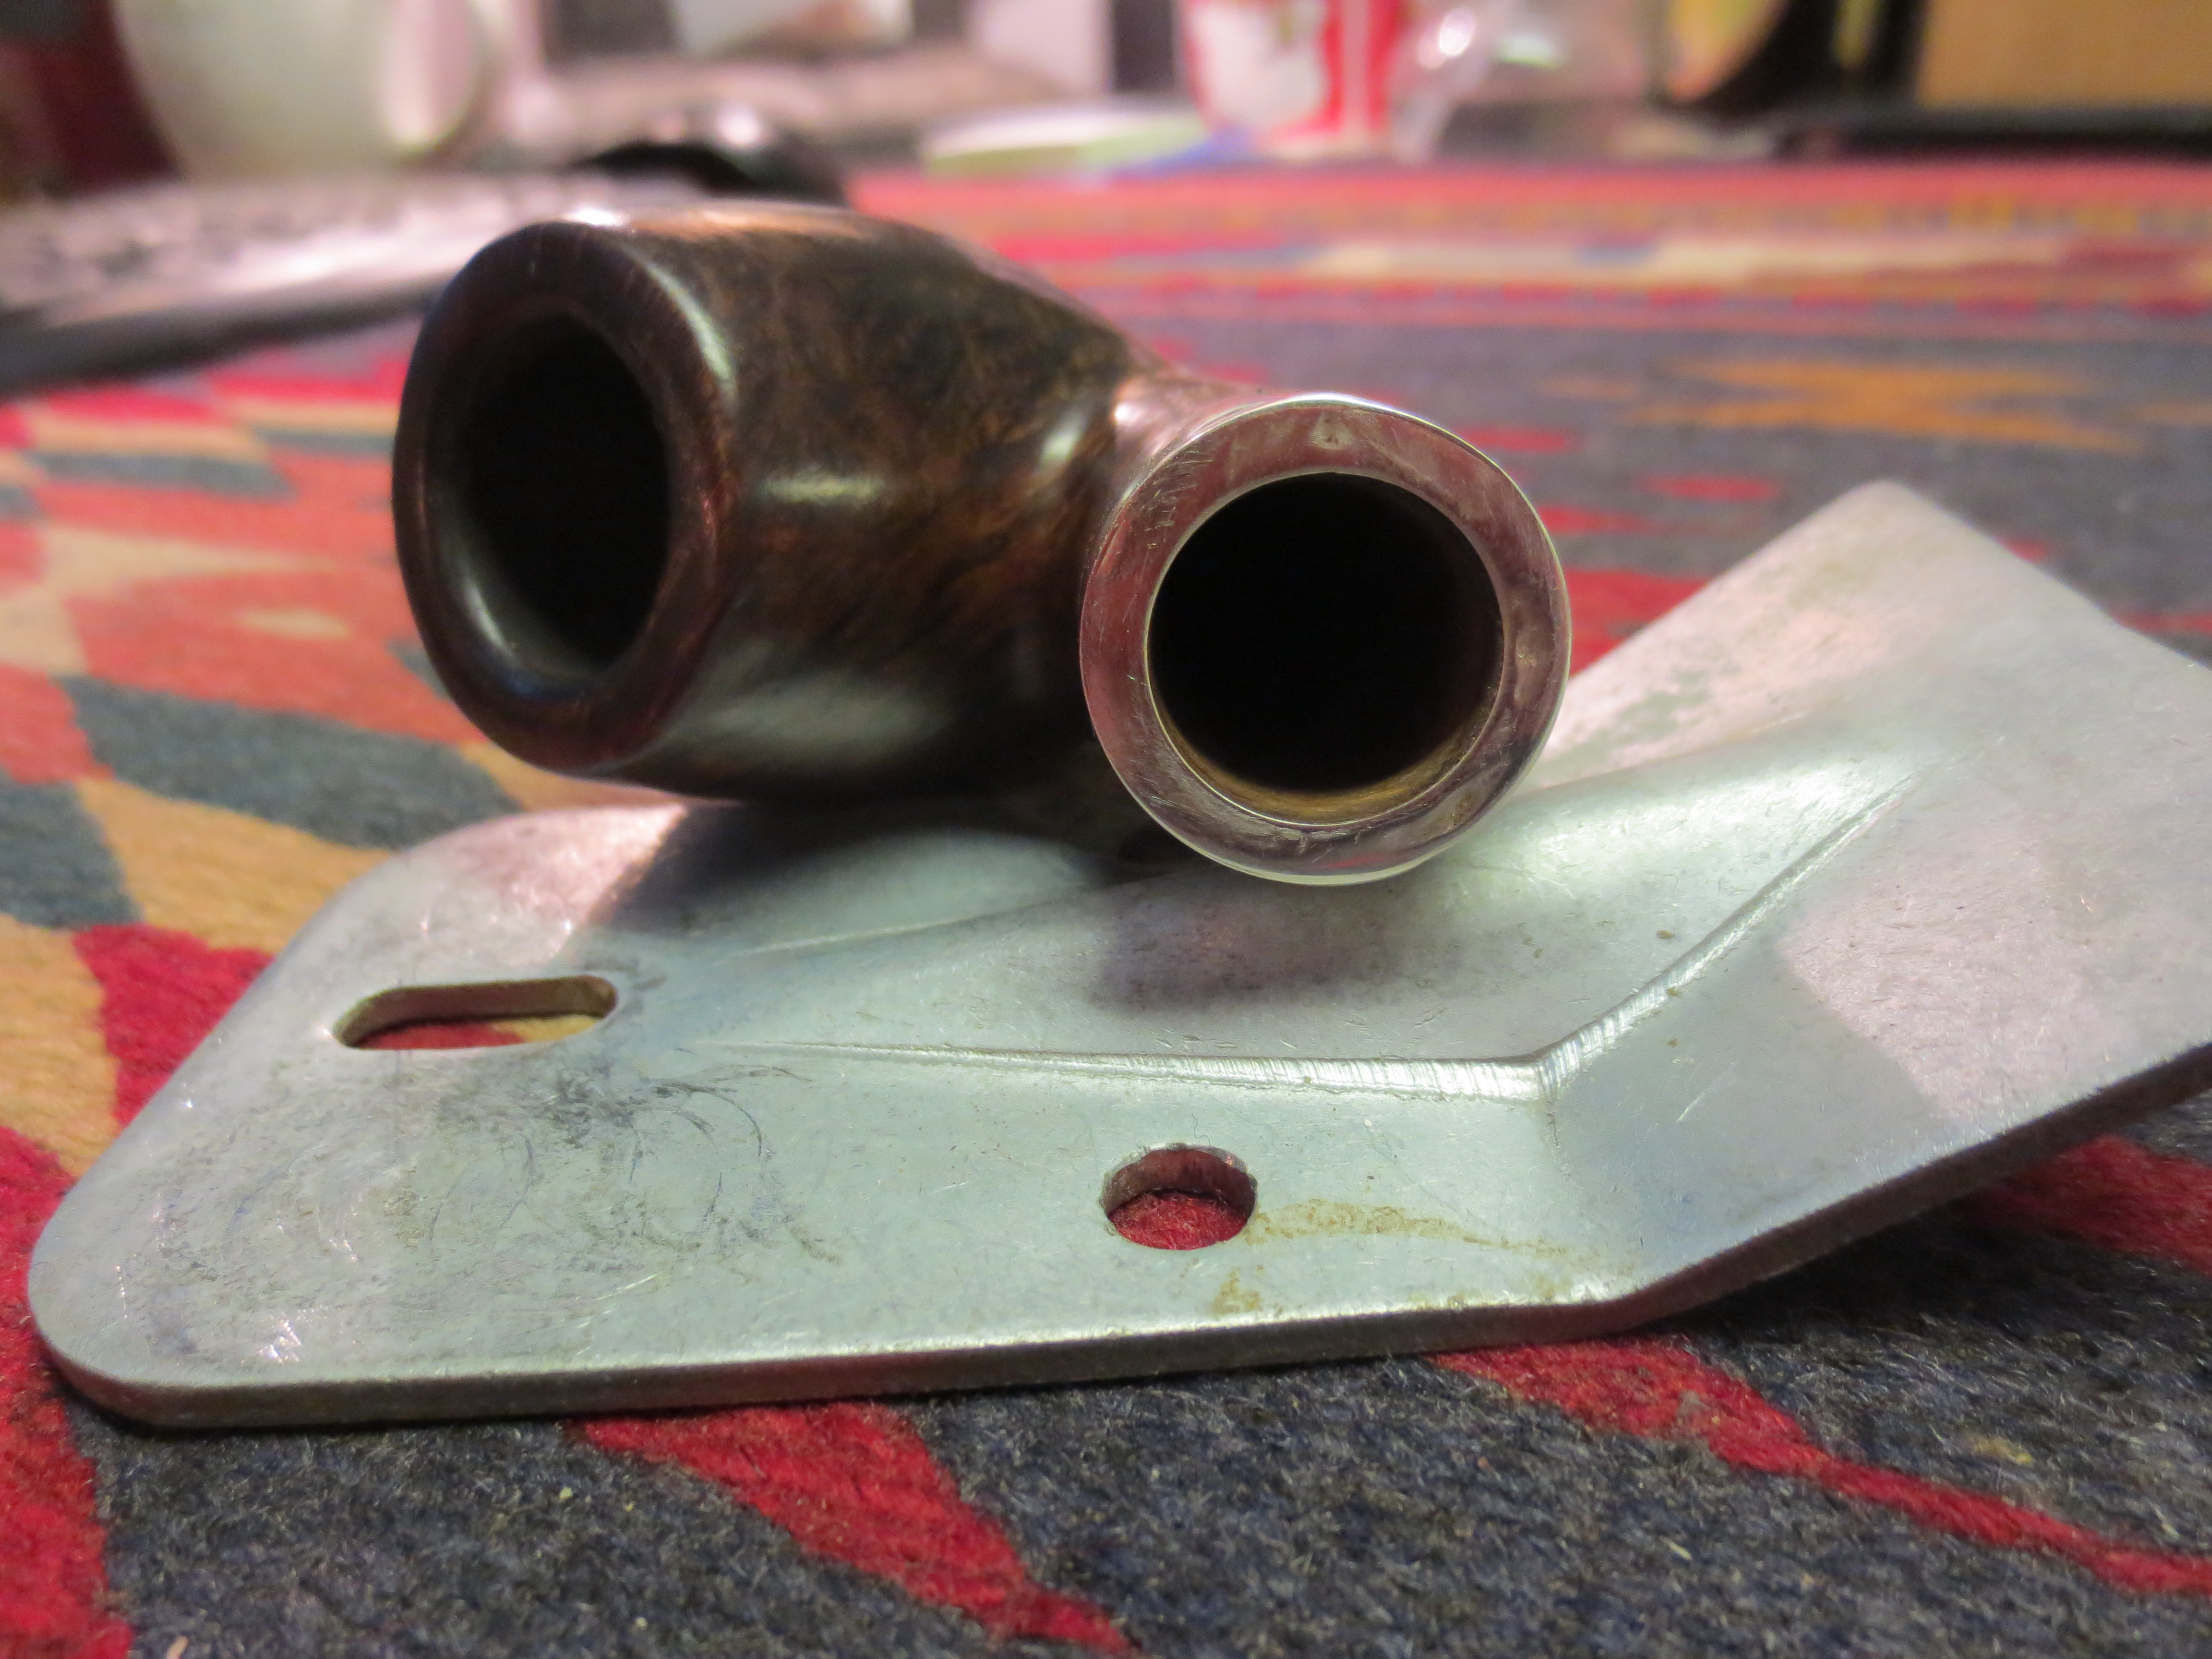
Photo 9 The face of the band after flattening
To finish the band after sanding it, I wiped the entire band down with a jeweler’s cloth and polished it until it shined like new (Photos 10 – 12). The band was back in its correct place and ready for the stem once it was repaired.

Photo 10 Sanding the flattened surface with micromesh sanding pads
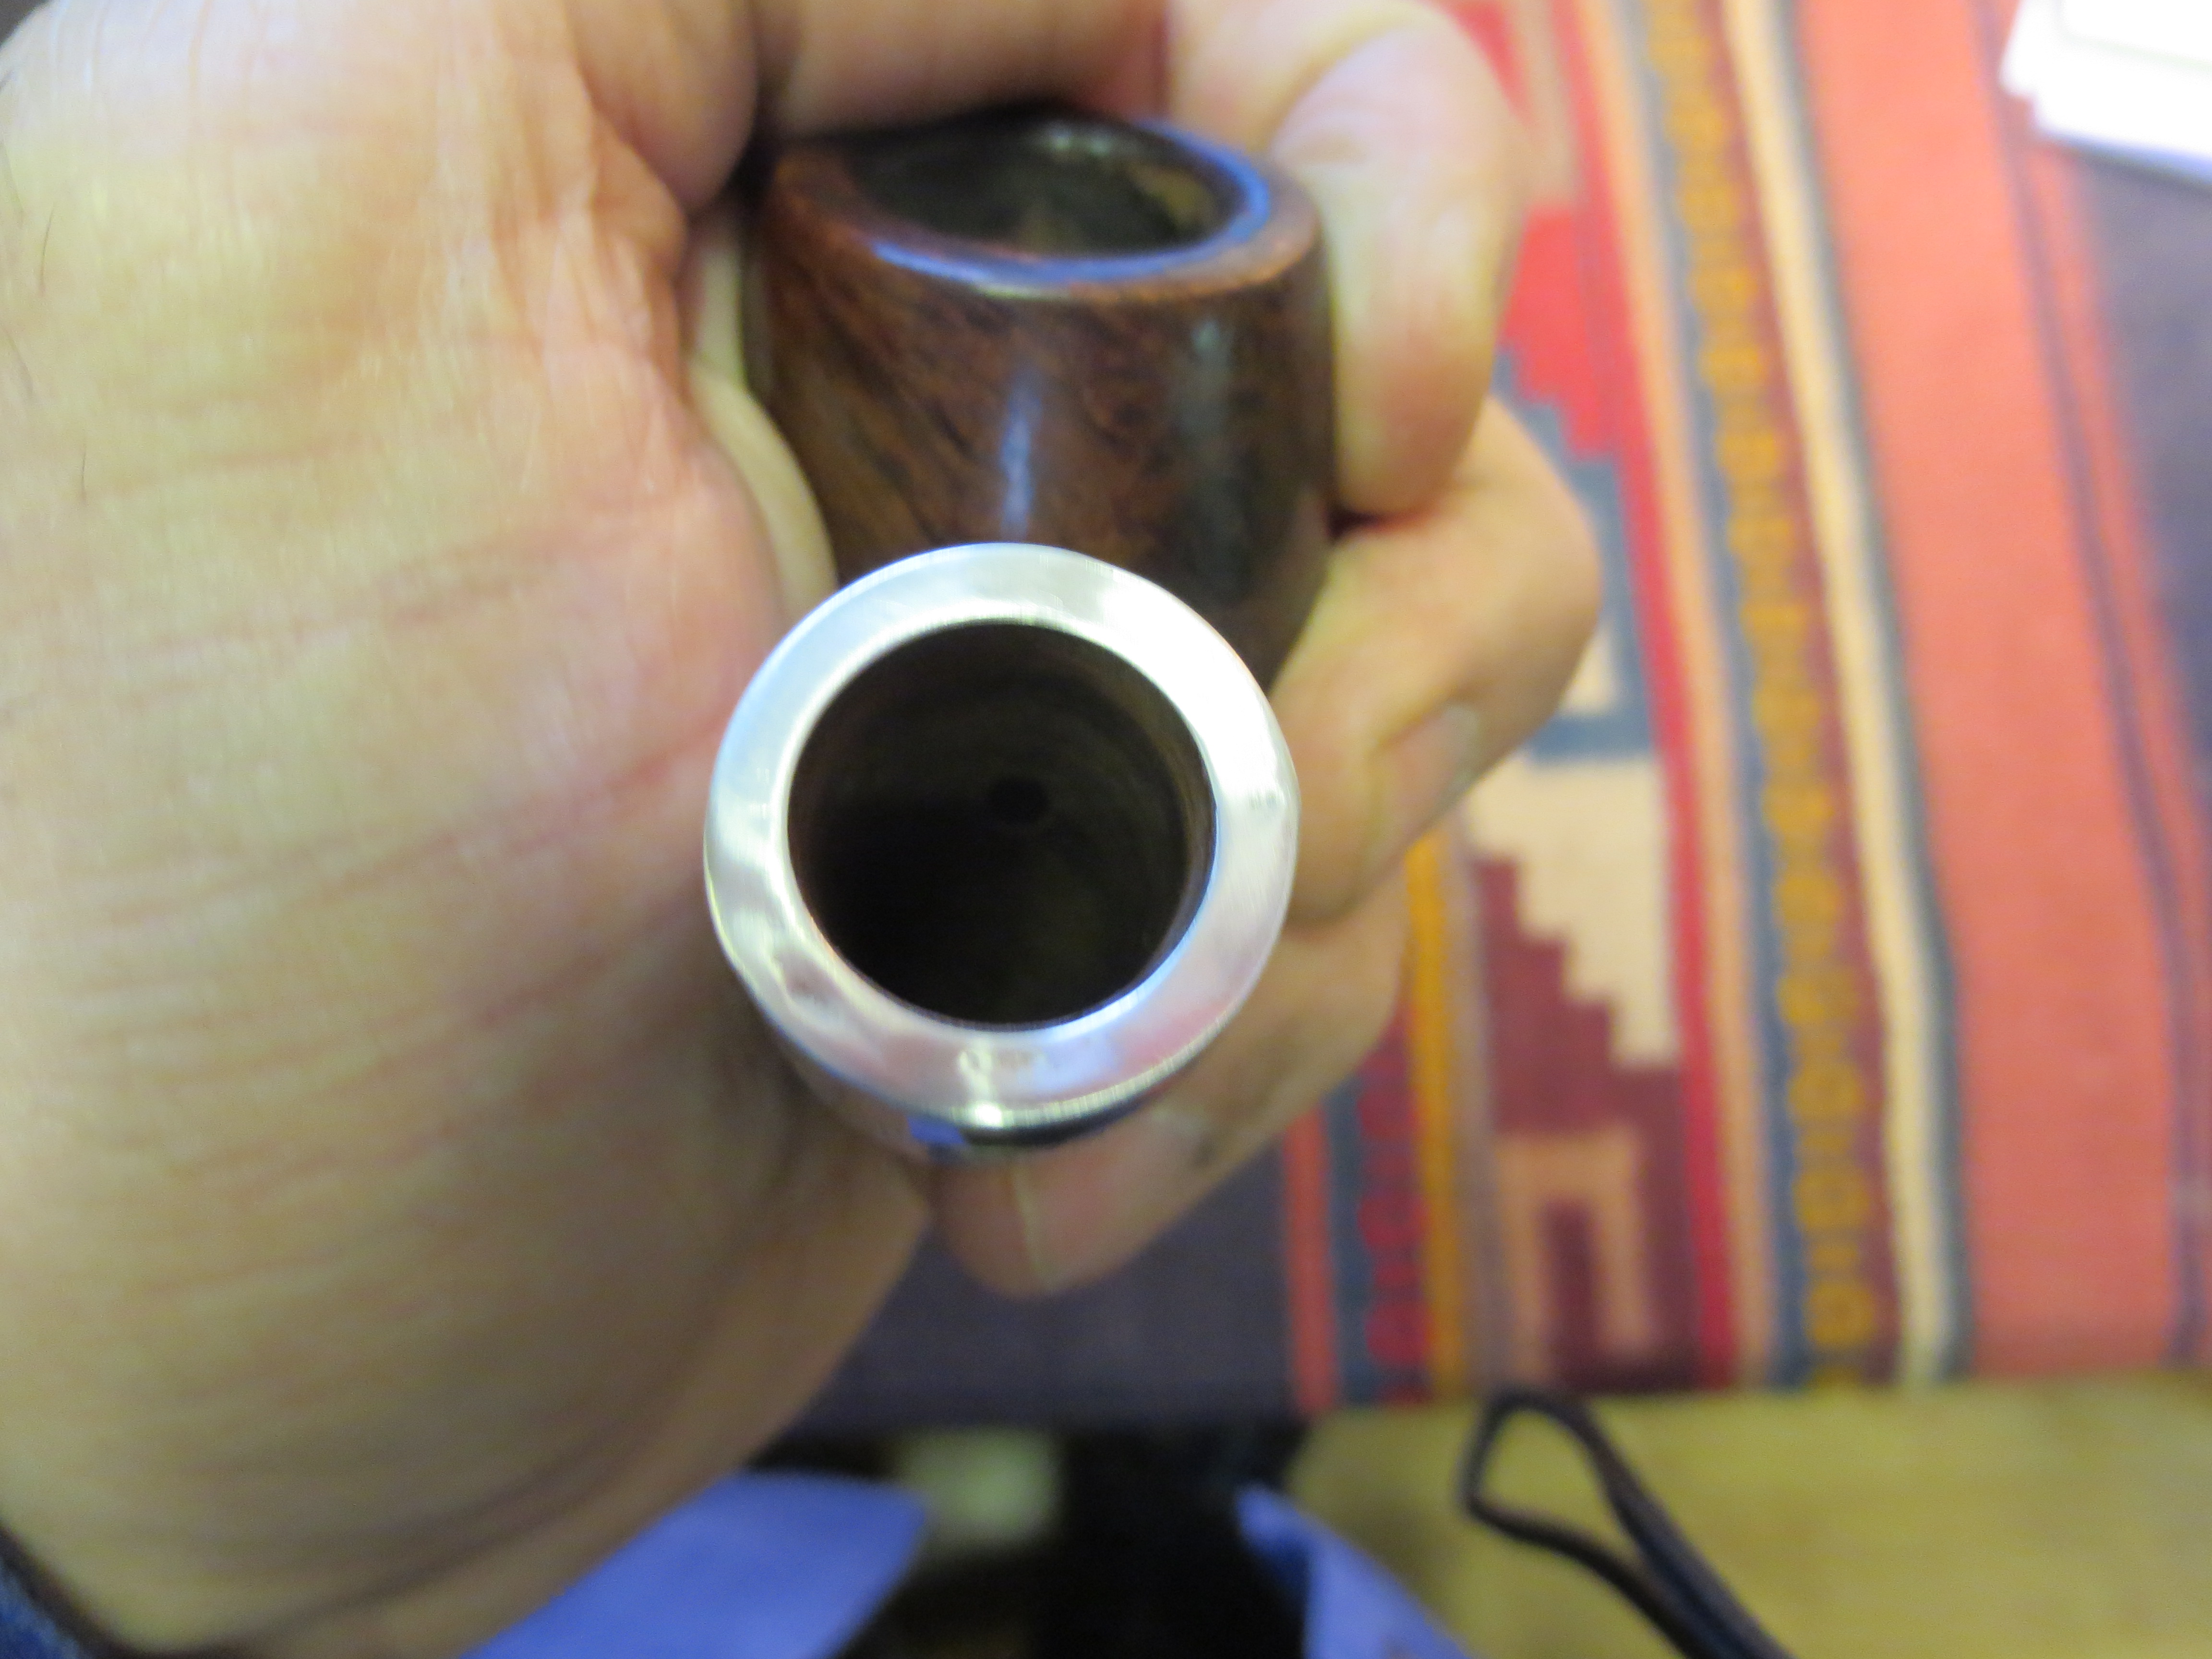
Photo 11 After sanding
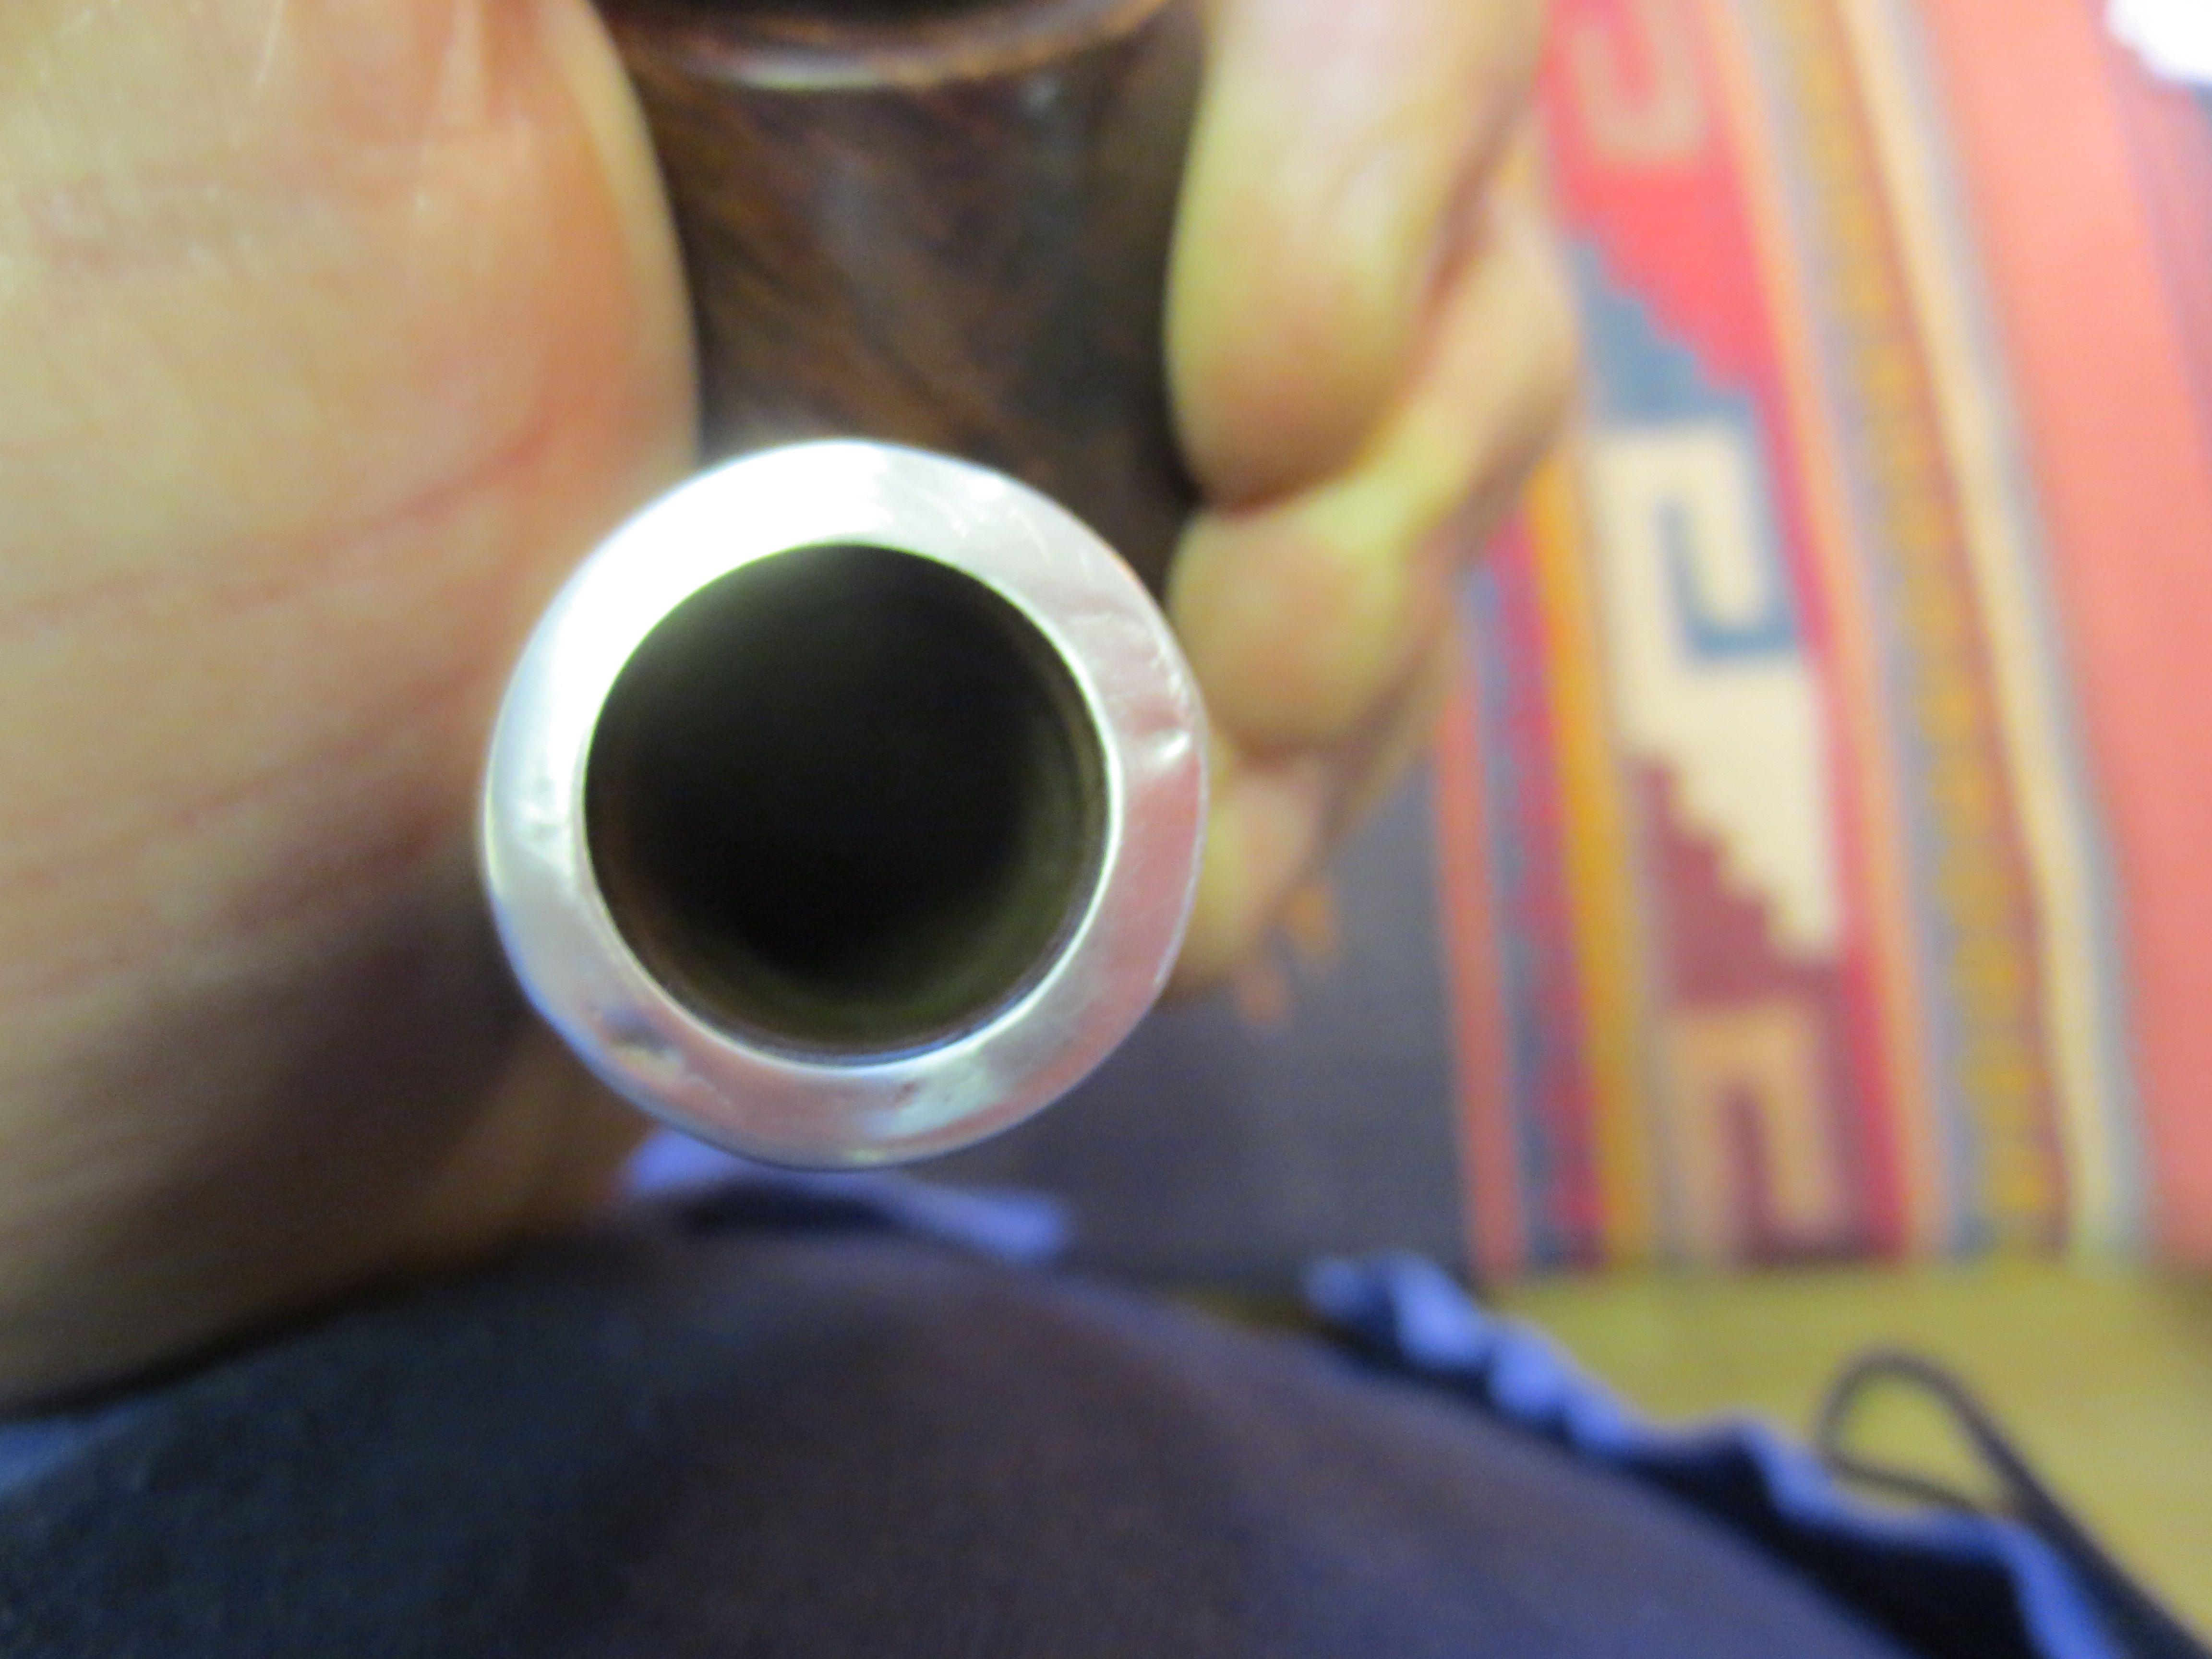
Photo 12 After polishing
