Blog by Steve Laug
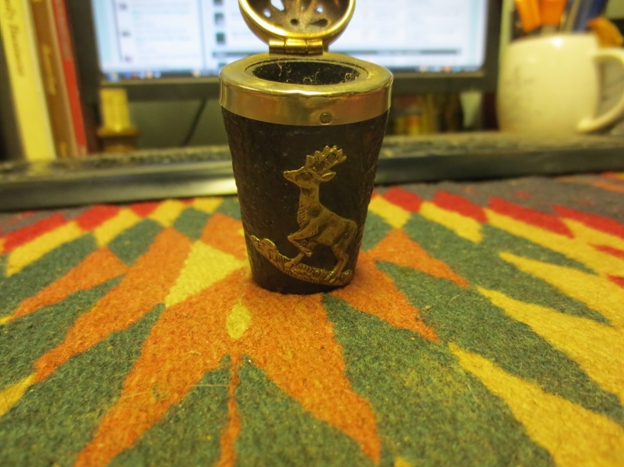
We picked up the next pipe from a fellow in Los Angeles, California, USA. This BBK pipe is a lot like a pipe I have worked on before called a Ropp La Montagnarde Deposee Reporter (https://rebornpipes.com/2016/08/08/a-ropp-la-montagnarde-deposee-298-horn-cherrywood-briar/). The bowl is an interesting piece of briar with a mix of grain around the bowl and shank. The end of the briar shank has a brass shank cap/ferrule that is dented and dirty. The shank extension is cherry wood and is pressure fit into the mortise with a cherry wood tenon. The top of the cherry wood extension has another brass ring on the end of the extension and a threaded cherry wood tenon that the stem screws onto. The stem is horn and is rough condition. There is a large area on the left side of the stem and half of the underside that has been decimated by worms. The top side has a lot of chewing damage. The pipe is stamped on the left side with the words Marte–Rosa (it is hard to read as there is a flaw through the first word). Underneath that is an oval with the letter B.B.K. stamped in it. On the right side of the shank it is stamped Racine de Bruyere at an angle. The pipe is a real mess. There is a thick cake in the bowl and a thick overflow of lava on the rim top. The inner edge of the rim appears to have some damage but we won’t know for sure until it is cleaned. Jeff took photos of the pipe at this point to capture the condition of the briar and parts. 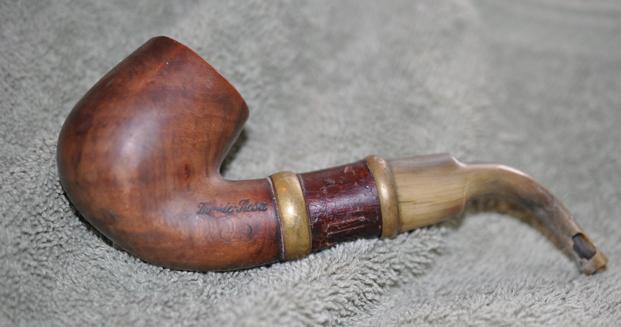
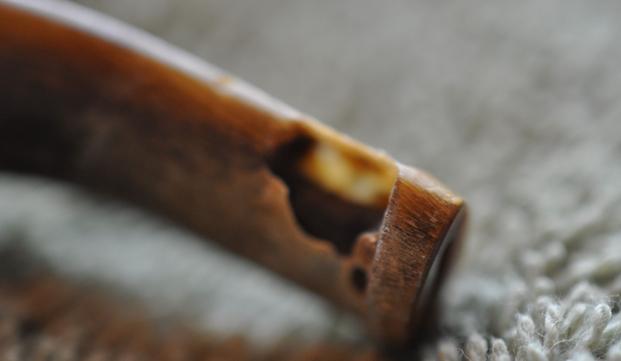
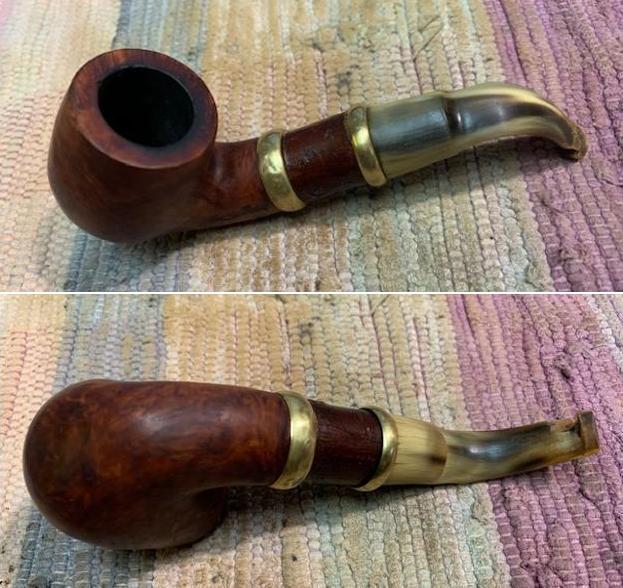
 Jeff took photos of the bowl, rim top to show the thickness of the cake in the bowl and the lava on the rim top. This pipe was obviously a great smoking pipe and a favourite. I am hoping that the thick lava coat protected things underneath it from damage to the edges and top. Cleaning it would make that clear! The cherry wood insert was damaged as well with scratches in the bark. He took photos of the top and underside of the stem showing the damage and worm holes in the horn stem material on the left side of the button. The horn stem was a mess.
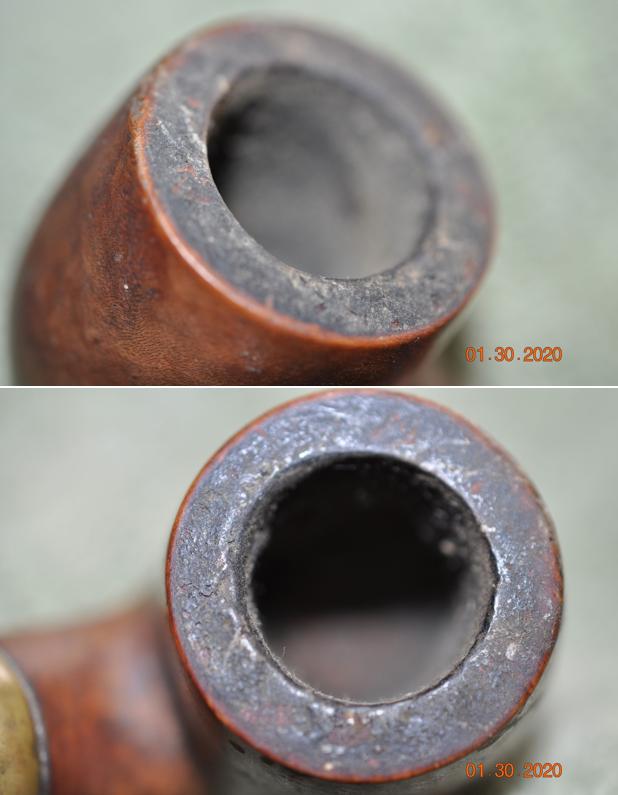

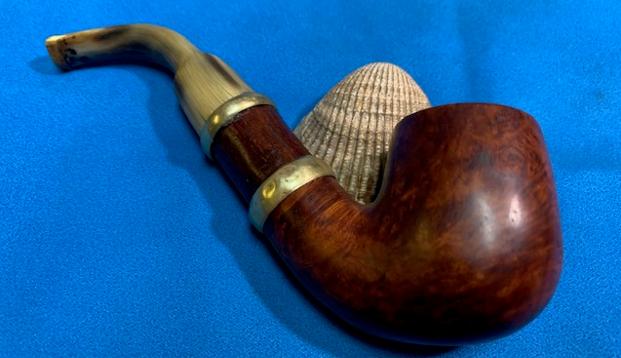
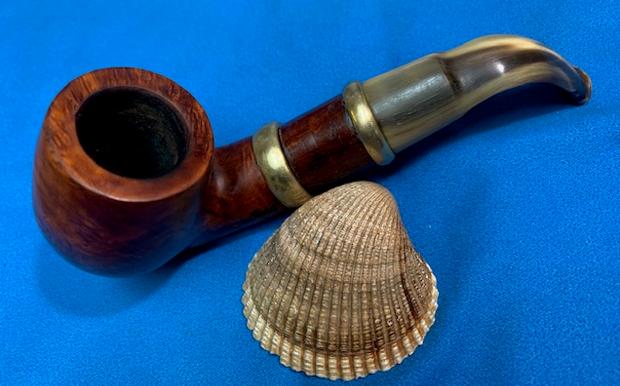
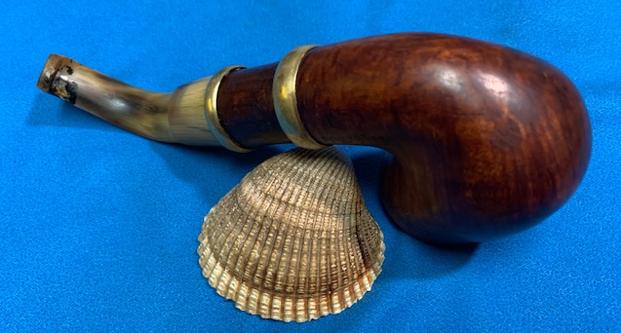
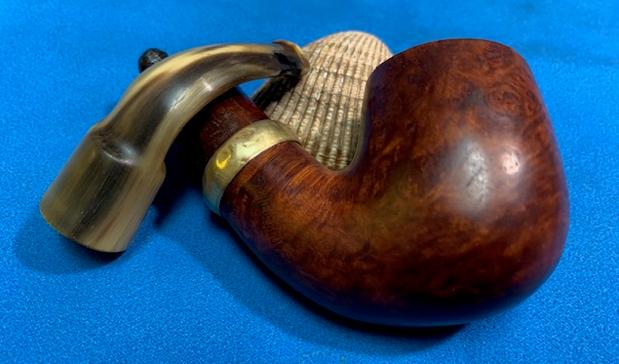
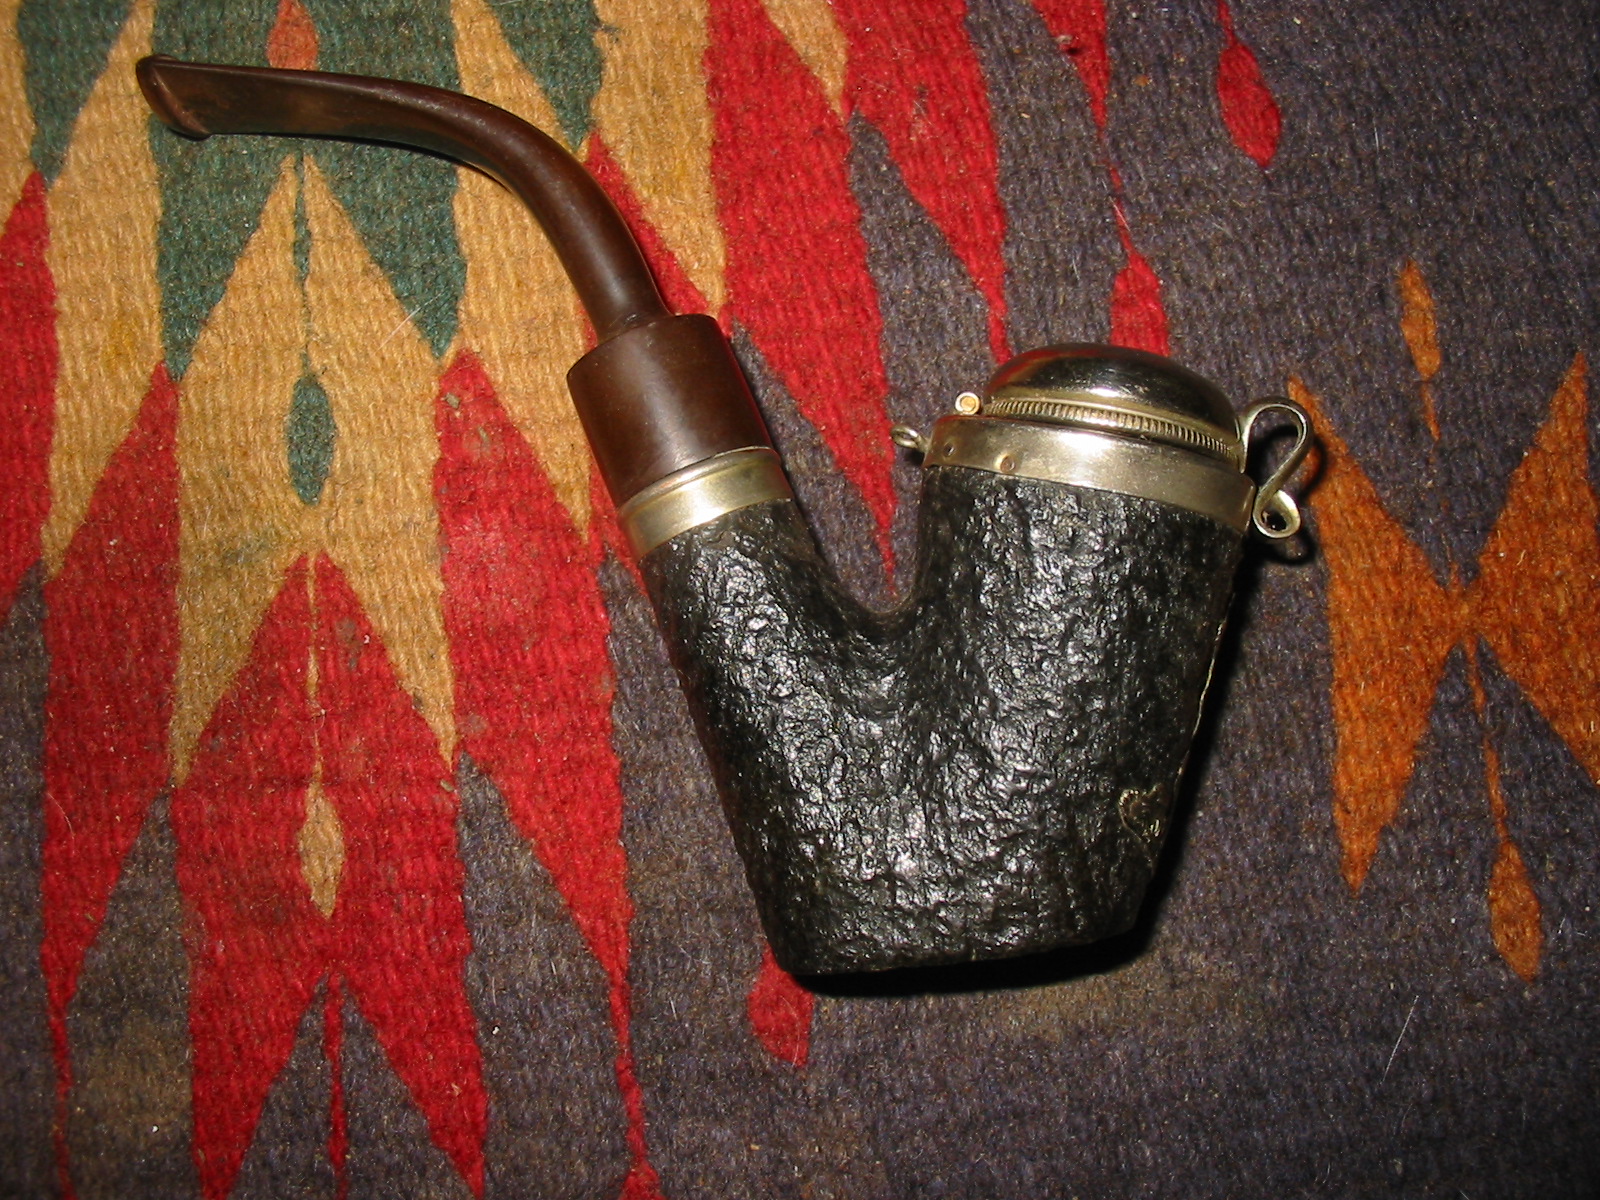
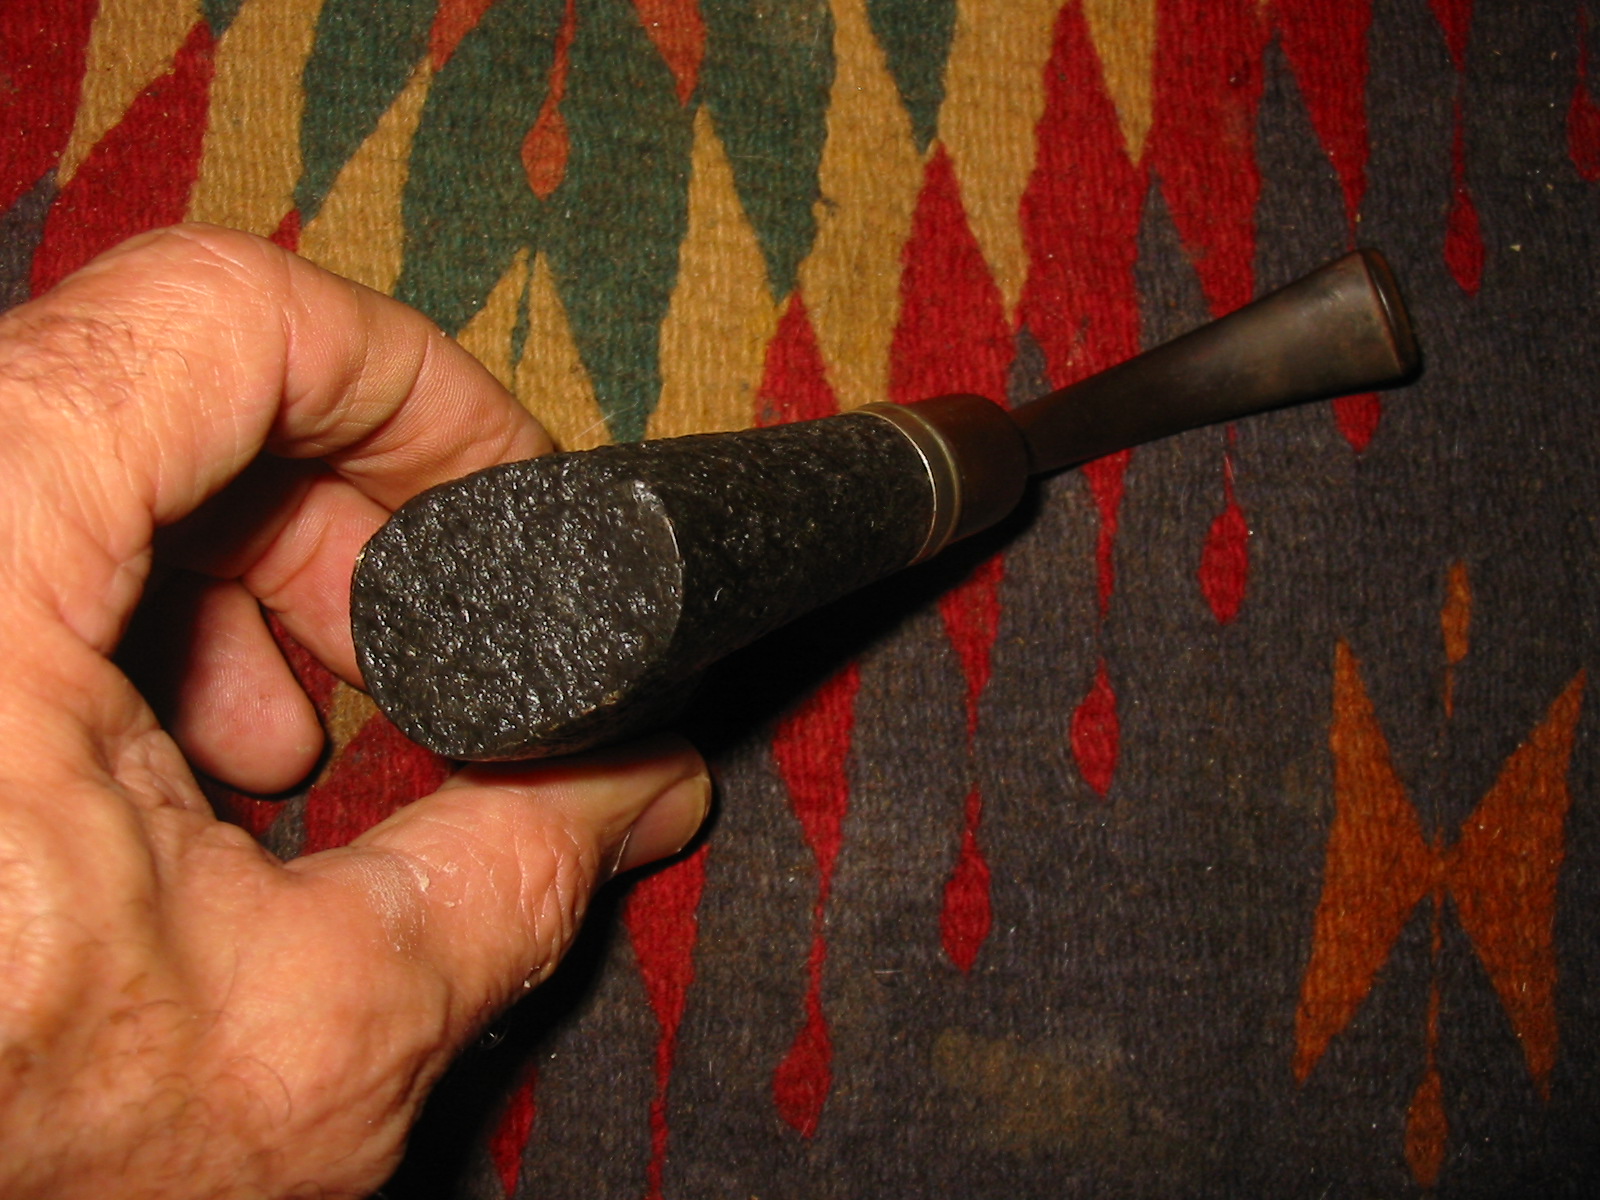
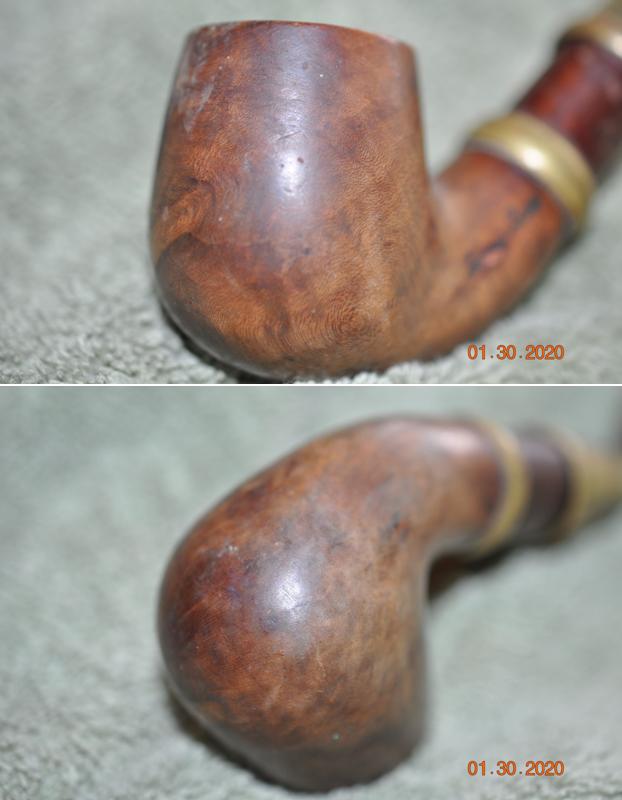
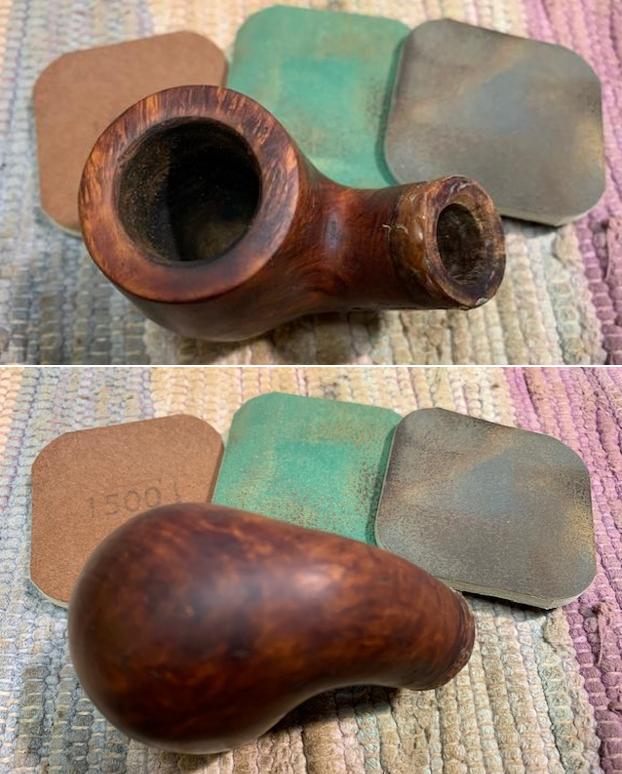
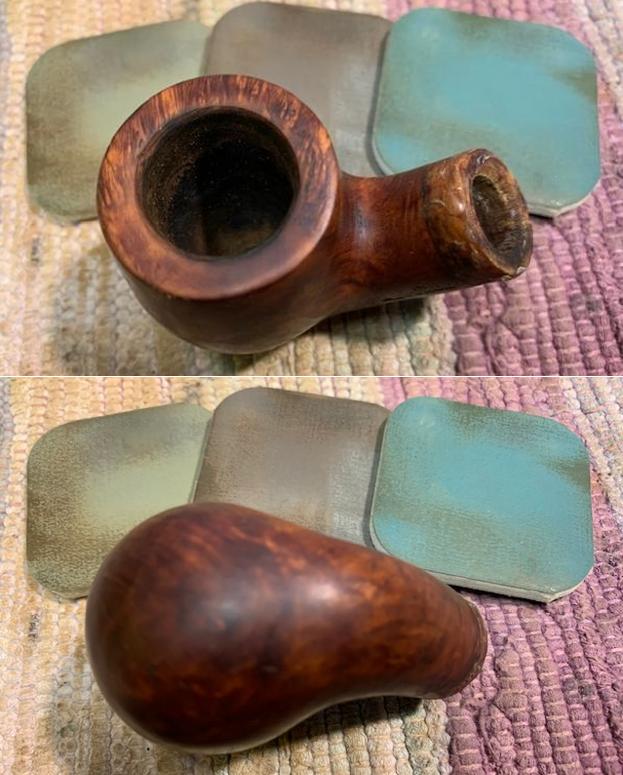
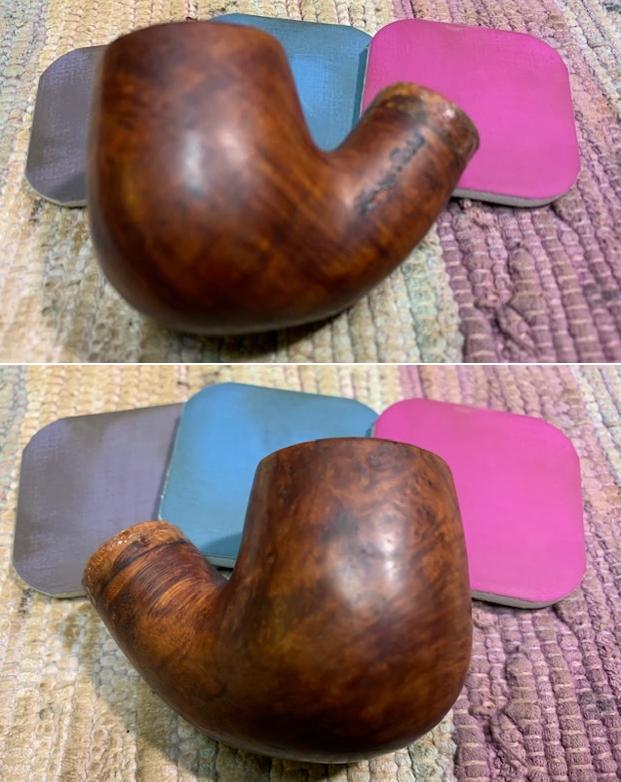
 Jeff took photos of the sides and heel of the bowl to show the condition of the briar. You can see the beautiful shape and the grain on the bowl even through the dirt and debris of many years. The brass bands on the shank end and the cherry extension end. At this point in the process it certainly looks its age.
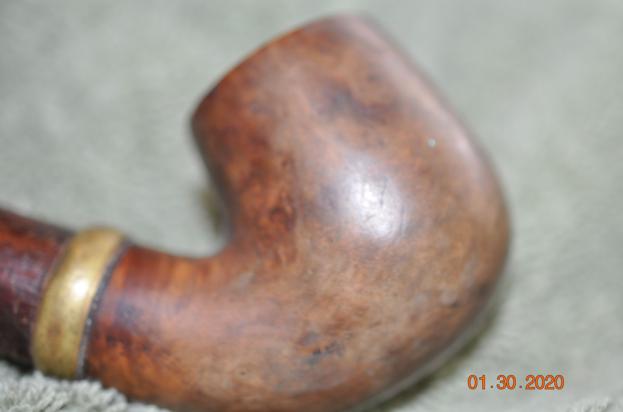
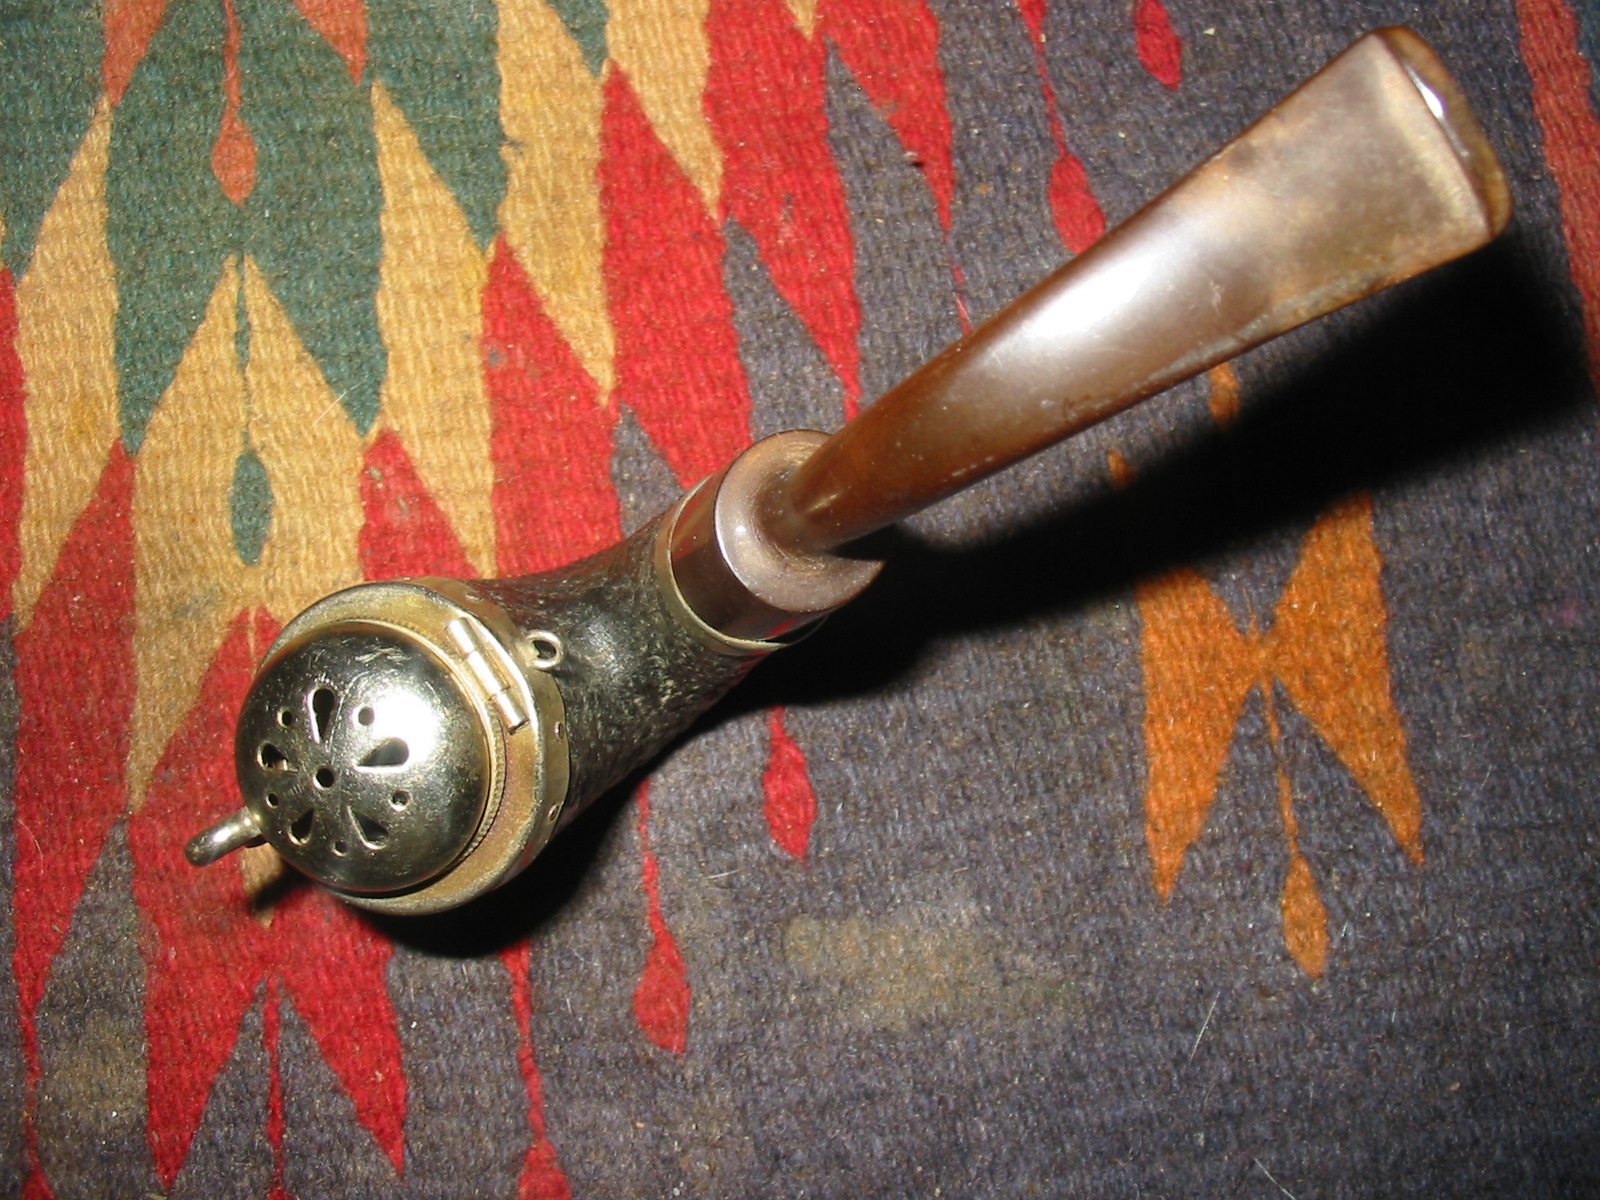
 Jeff took photos of the bands and the damaged cherry wood extension. It is a bark covered piece of cherry. The end that fits in the shank of the briar is made of cherry just like the extension. The tenon end that the stem fits on is threaded to receive the threaded stem.
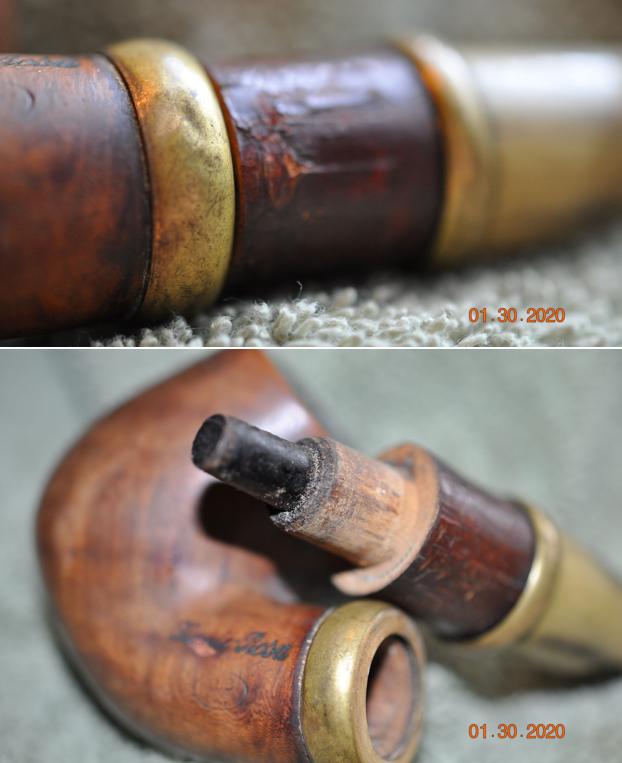

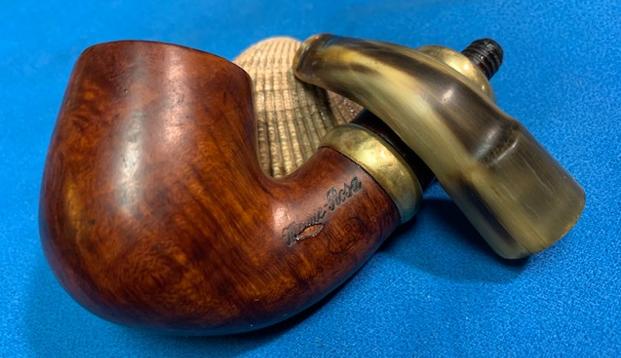
 The stamping on the left side of the shank read Marte-Rosa and underneath that it is stamped with an oval with the letters B.B. [over] K. On the right side it was stamped The stamping is hard to read on the left side as it has a fill in the middle of the brand name and is faint underneath. The right side is stamped Racine de Bruyere diagonally on the shank which translates as Root Briar or Briar Root.
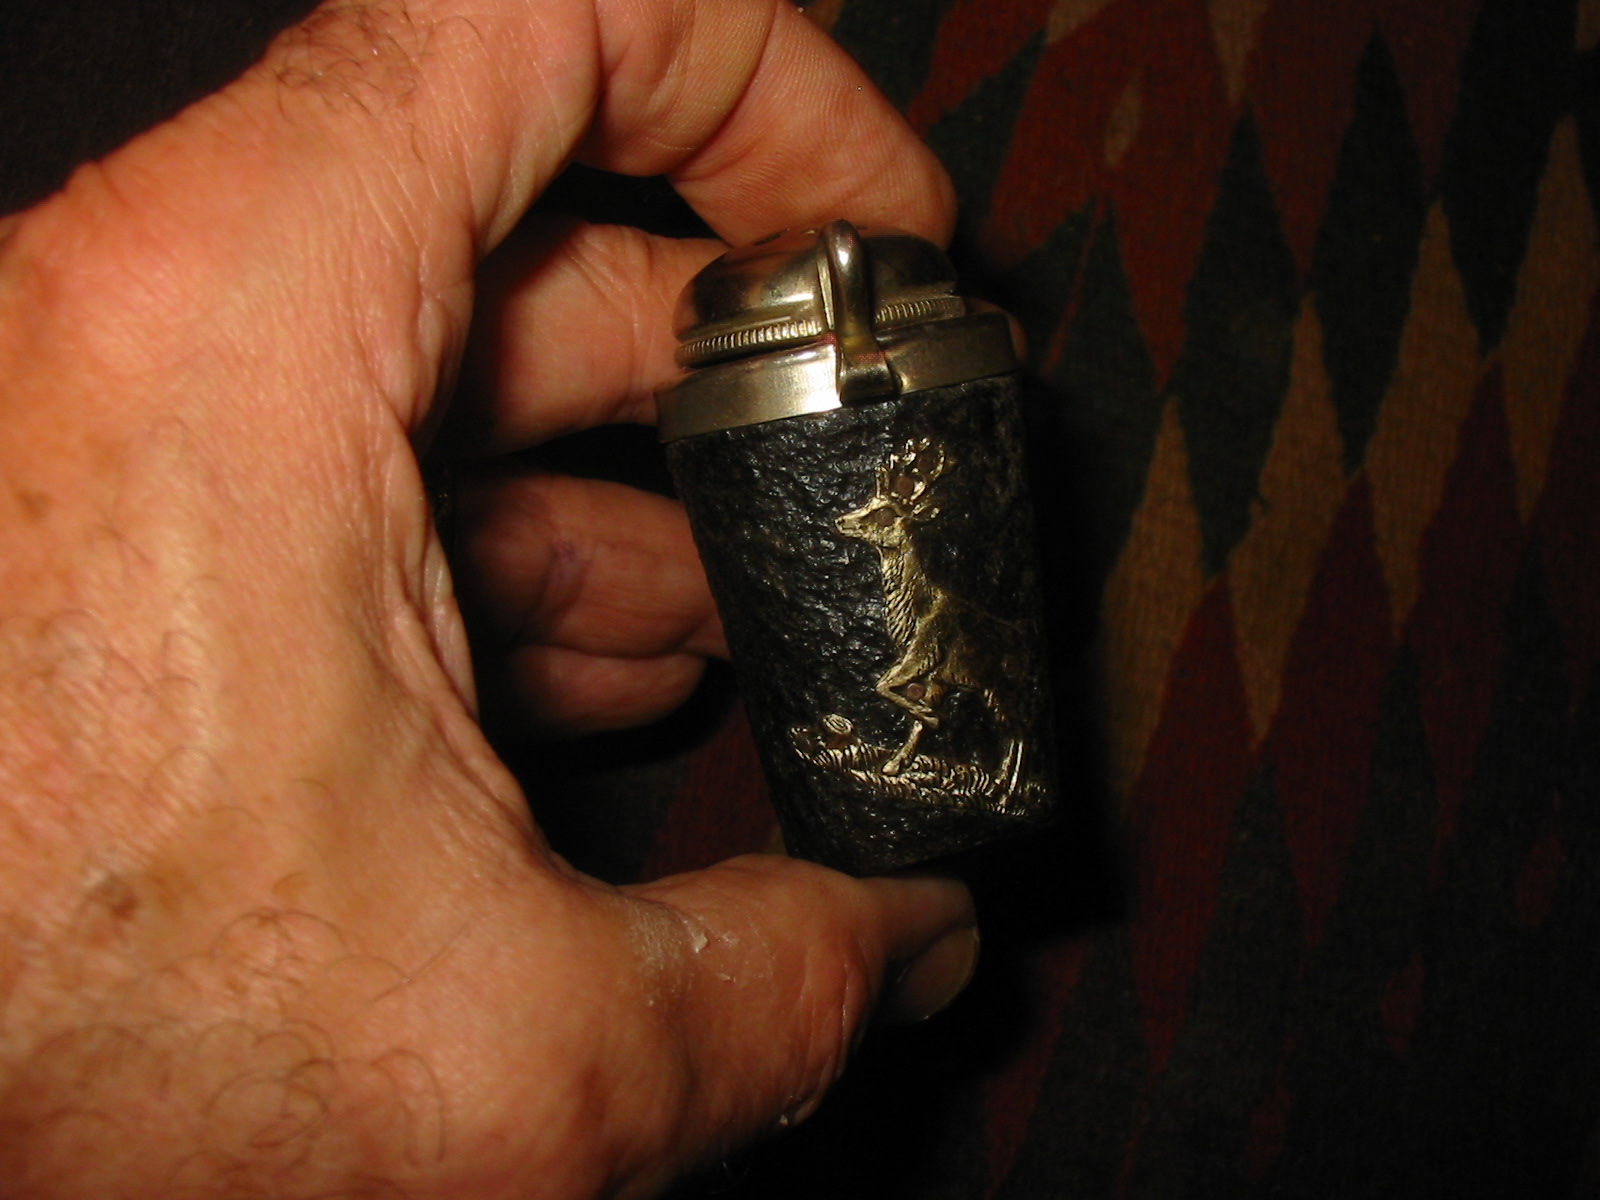
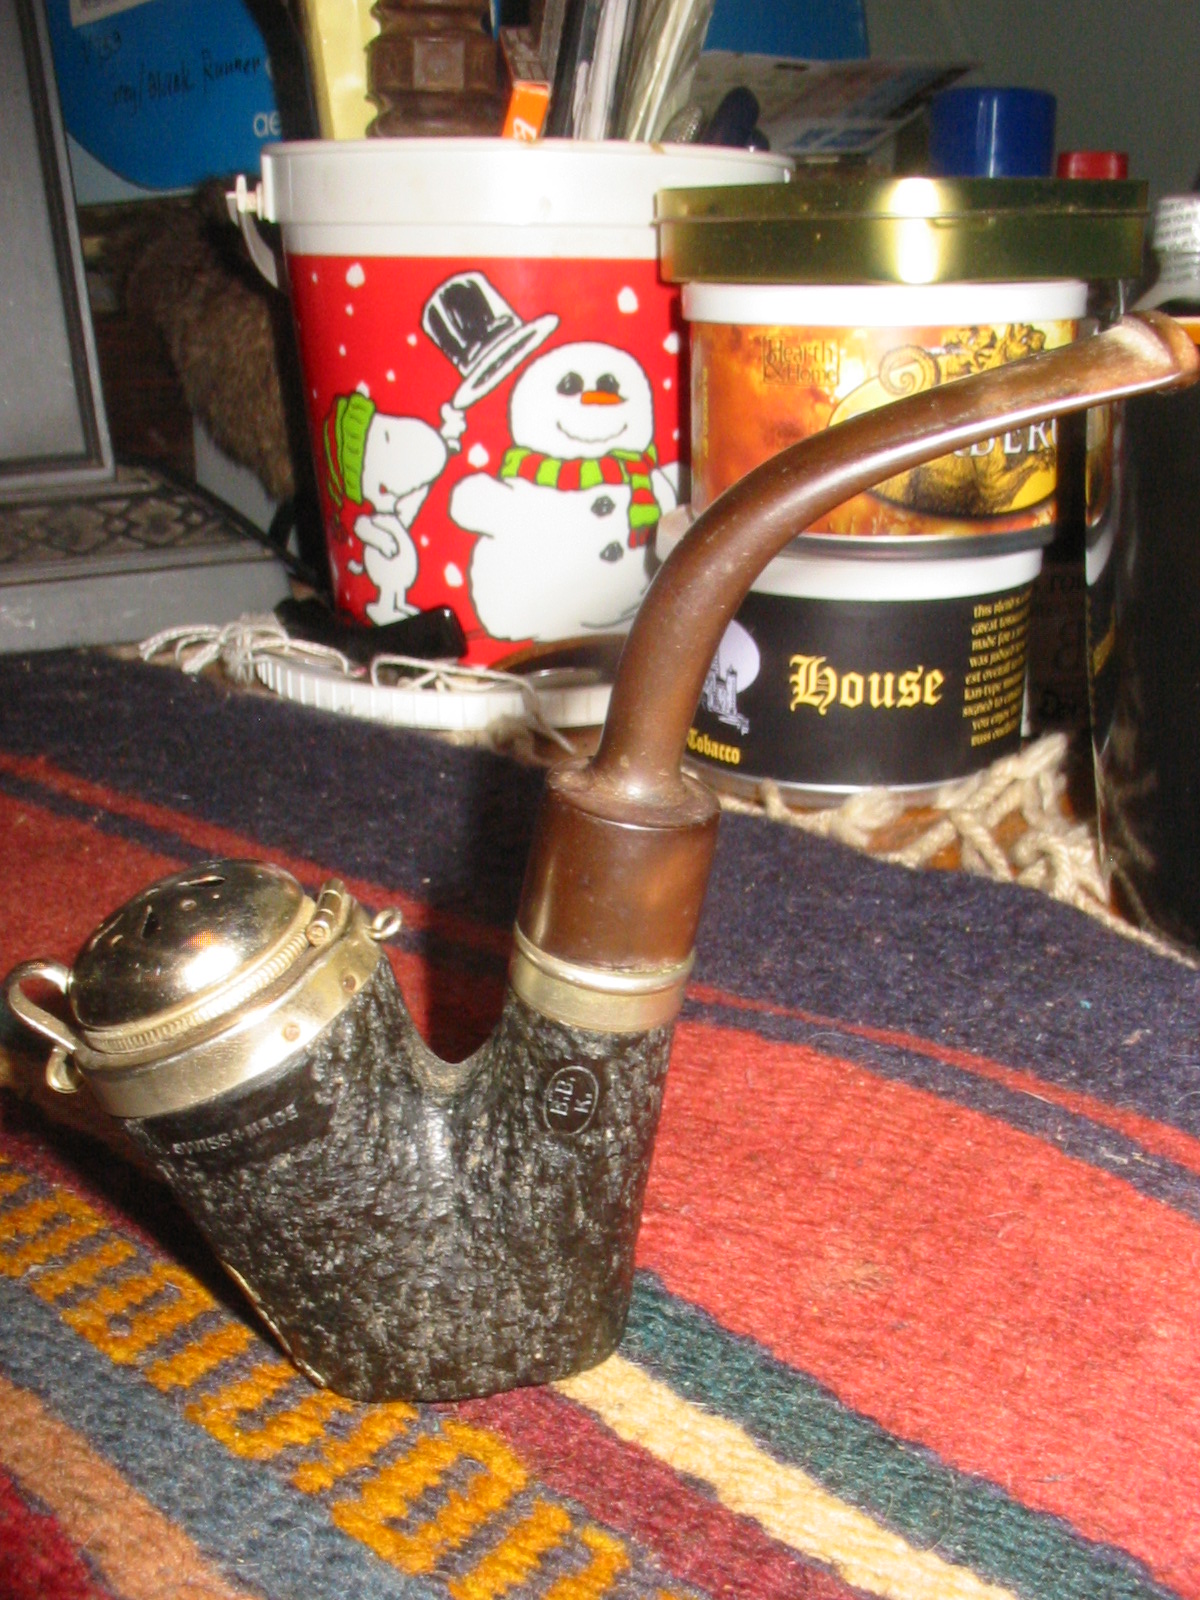
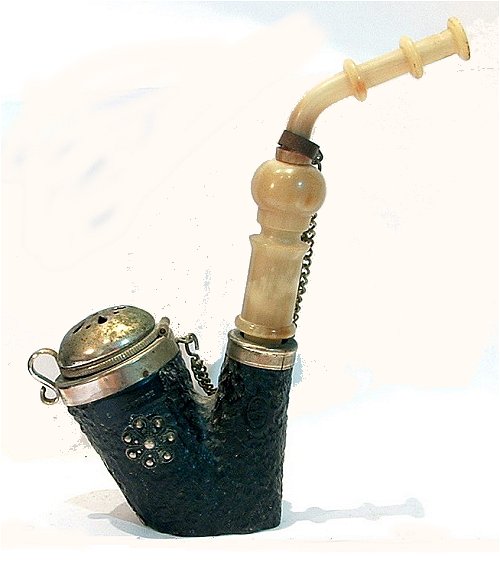
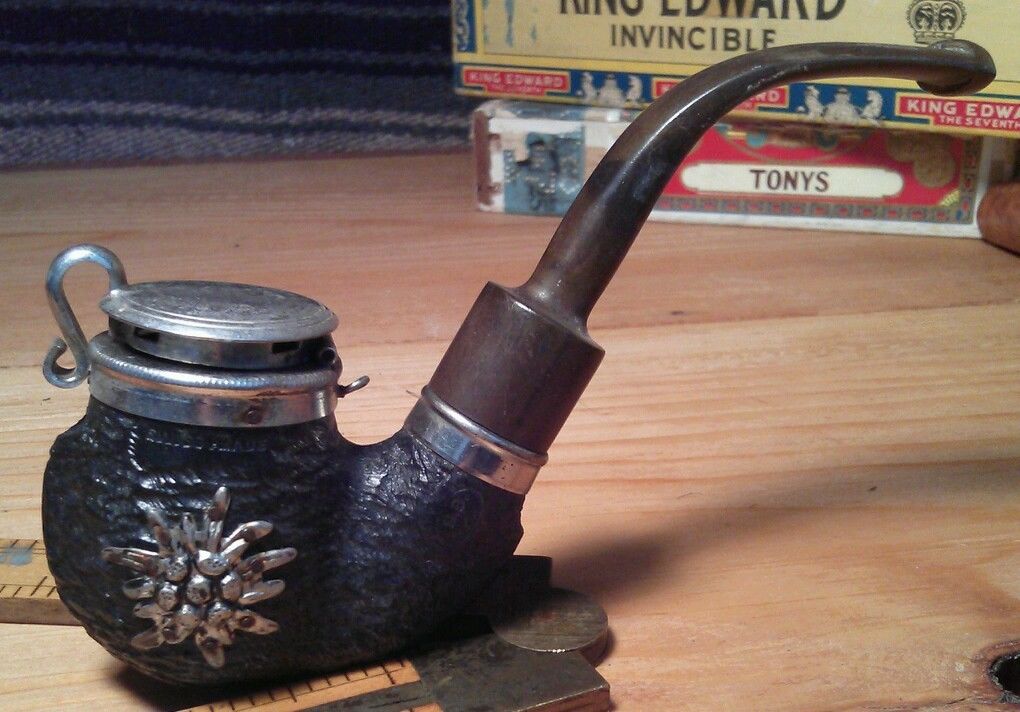
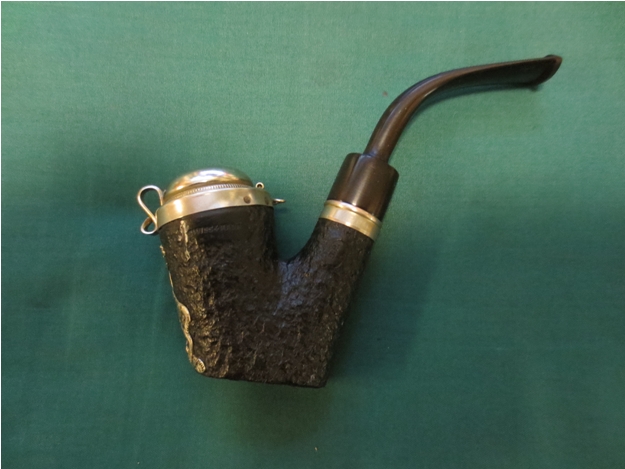
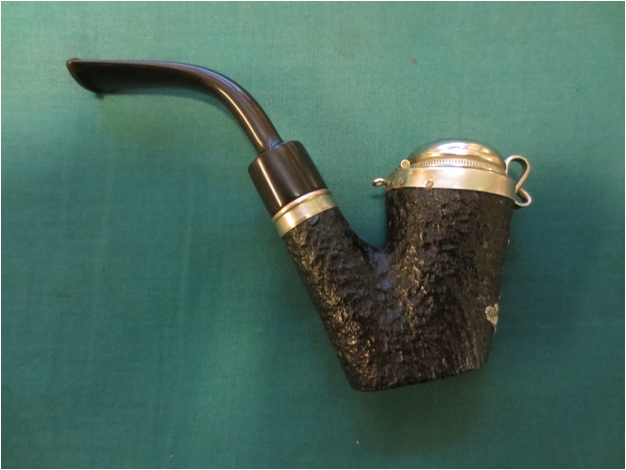
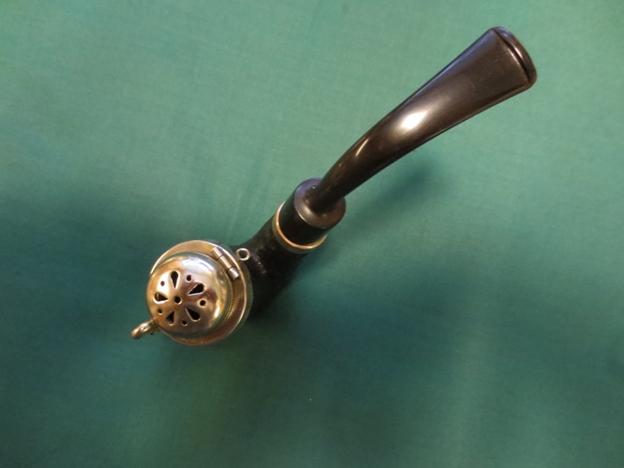
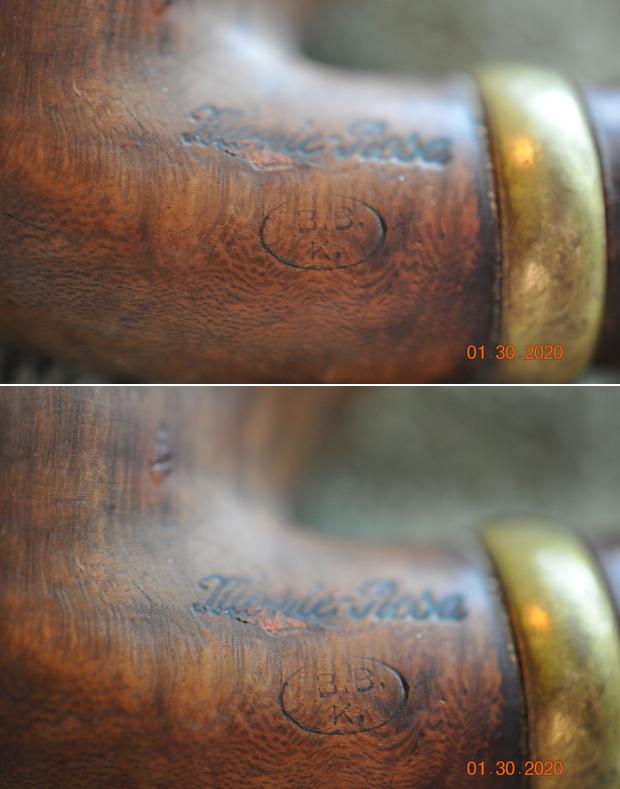 Through the years I have cleaned up several BBK pipes. One of them was a reporter/hunter pipe like this one (https://rebornpipes.com/2016/08/26/an-old-timer-horn-stem-cherrywood-shank-and-briar-bowl-bbk-bosshardt-luzern/). It had a windcap that is a difference from the current pipe I am working on. I quote from that blog below:
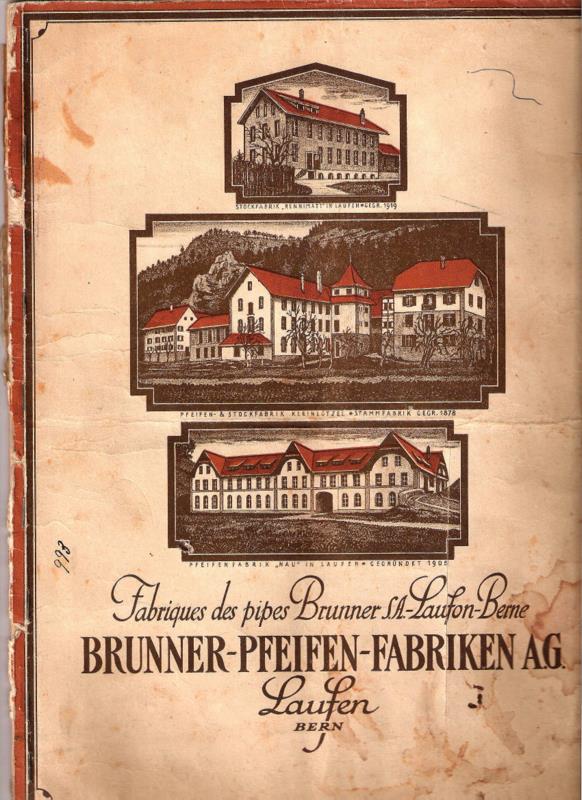
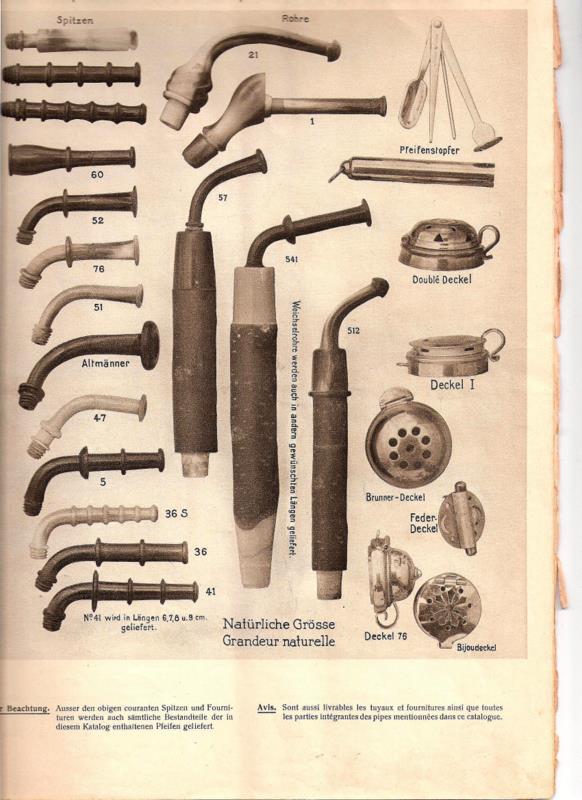
When I worked on the BBK Hunter I researched the brand. The BBK was a Swiss made brand as the shanks of all the pipes I had cleaned up and restored were stamped that way. Pipedia was my primary reference in that blog. Here is the link: http://pipedia.org/index.php?title=Bru-Bu. I have included the material from the previous blog below.
“Josef Brunner, oldest son of the farmer Konstantin Brunner from the hamlet Nieder-Huggerwald, belonging to the community of Kleinlützel (Canton Solothurn), was sent in 1871 to a pipe turner in Winkel/Alsace for his apprenticeship. As was usual at that time, Brunner wandered as a journeyman after ending the apprenticeship. Eventually, he went to Saint-Claude, France which was then the world’s stronghold of briar pipe manufacturing. There, Brunner was able to increase and deepen his knowledge in the field of industrial pipe making. When he returned home in 1878, he installed a small turner’s workshop in the house of his father. With the energetic support of his two younger brothers, he began to produce tobacco pipes of his own calculation, taking them to the markets in the surrounding area. In 1893, Bernhard Brunner’s wife inherited the mill in Kleinlützel. At this point, the pipe fabrication was transferred to an annex belonging to the mill. Now it was possible to drive the machines by water power – an important relief to the workers and a considerable innovation compared to the previous pedal-driven system.”
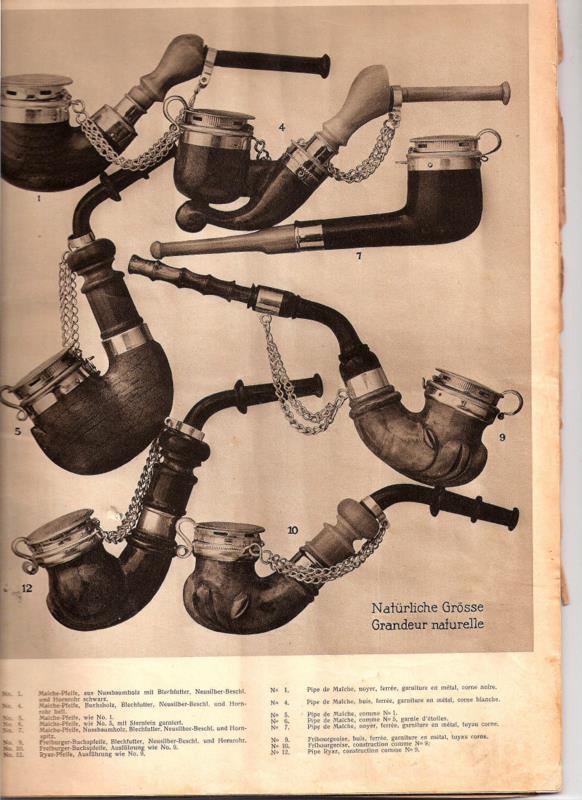
“The business developed so well after the turn of the century even when a lack of workers in Kleinlützel occurred. The problem was solved by founding a subsidiary company in the small nearby town Laufen an der Birs in the Canton of Bern. This plant didn’t exist too long. The disastrous economic crisis in the 1920’s and early 1930’s forced the Brunner family to restrict the fabrication of pipes dramatically. In addition the big French pipe factories in Saint-Claude – although suffering from the same circumstances – flooded the Swiss market with pipes at prices that couldn’t be matched by Swiss producers. By 1931 approximately 150 of 180 Brunner employees had been sacked – the rest remained in Kleinlützel, where the cheap electric energy ensured a meager survival.”
“In 1932, Mr. Buhofer joined the Brunner family. The company was named Brunner-Buhofer-Kompagnie, and, shortly thereafter, Bru-Bu. Buhofer had made his fortune in the United States but, homesick, returned to Switzerland to search for a new challenge. Bru-Bu’s fabrication program was expanded with many handcrafted wooden art articles: carved family coats of arms, bread plates, fruit scarves, and – more and more – souvenir articles for the expanding Swiss tourism industry. Pipes remained in the program continuously, but the offerings changed from traditional Swiss pipes to the more standard European shaped pipes. Bru Bu is widely known as BBK.”
The last paragraph of the Pipedia article linked BBK pipes to Former Nielsen. I have two of Former’s pipes so this stood out to me. “At some point in the late 1970’s, Bru-Bu went out of business. Some of the Brunners, as far as known, continued as timber traders. But in 1986 new life filled the old Bru-Bu pipe workshop, when Dr. Horst Wiethüchter and “Former” Nielsen started to produce the high-grade Bentley pipes there.”
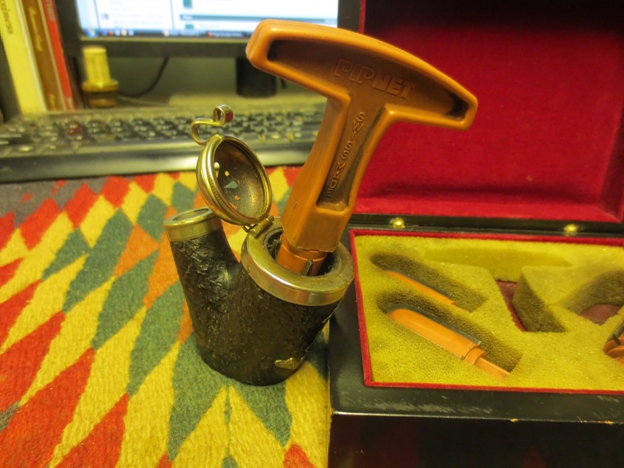
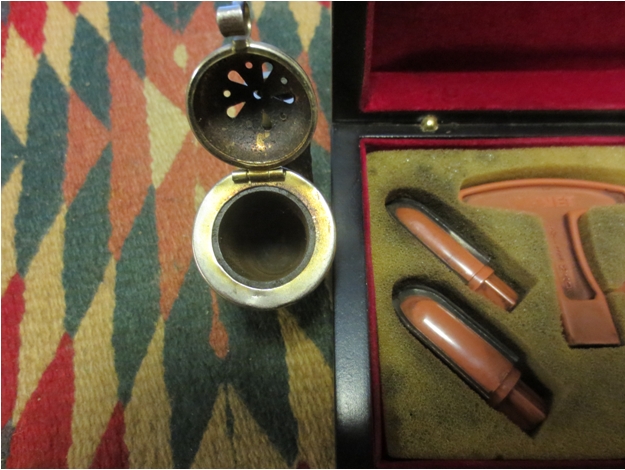
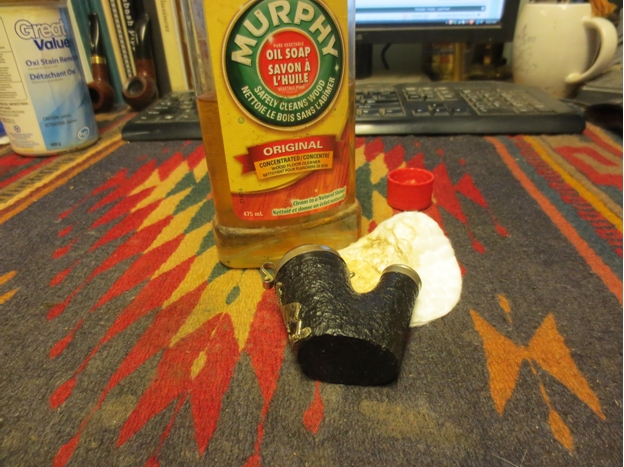
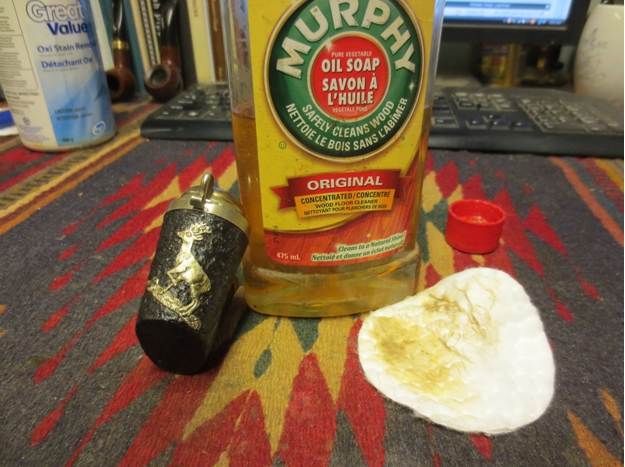
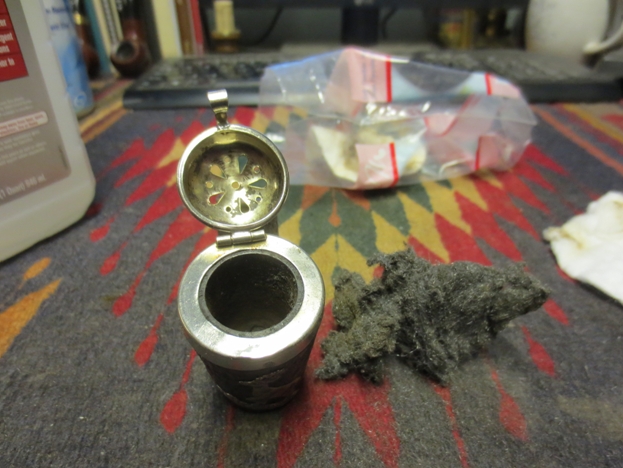
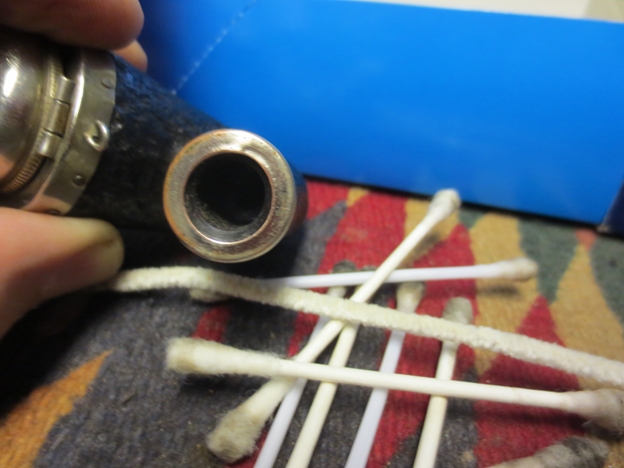
Jeff cleaned up the pipe and reamed the bowl with a Pipnet Pipe Reamer and cleaned up the bowl with a Savinelli Fitsall Pipe Knife. He cleaned out the shank and the airways in the stem, shank extension and the mortise with alcohol, pipe cleaners and cotton swabs. He scrubbed the briar with Murphy’s Oil Soap and a tooth brush to remove the grime and the build up on the rim top. He carefully scrubbed the cherry wood the same way. He cleaned out the airway in the stem with pipe cleaners and alcohol to remove the grime and tars. The horn stem was clean but had on the topside and had a huge worm hole on the left side and left underside of the stem. The brass bands on the shank and the cherry wood were dented and worn but still looked very good. The glue that held them in place on the shank and cherry had given way and they were loose. I took some photos of the pipe when it arrived in Vancouver to show its condition after Jeff had cleaned it. 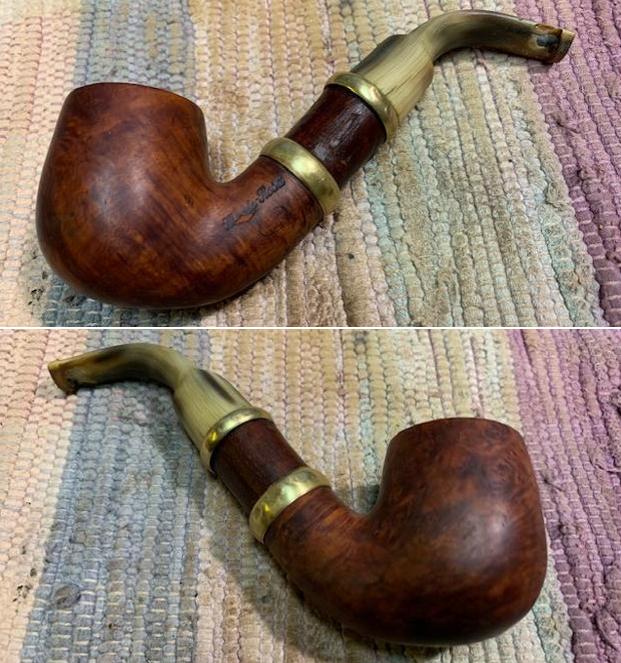
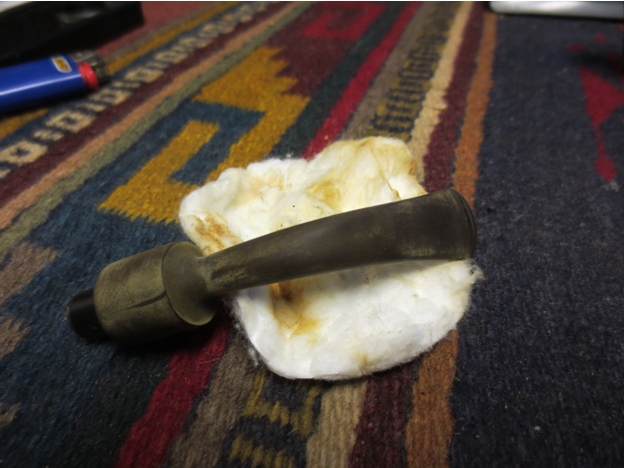
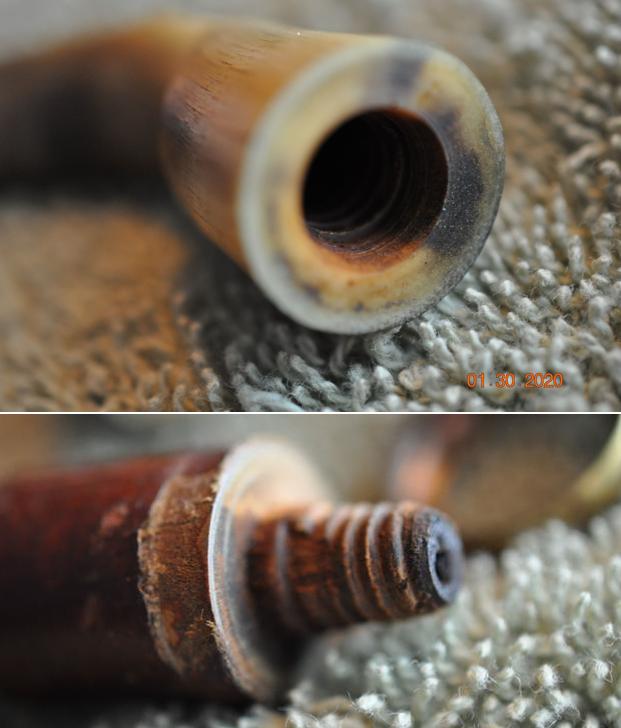
 I took a close up photo of the rim top to show the condition of the rim top. It had a few nicks in it and the inner edge of the rim had damage and darkening. I took photos of the stem to show the damage to surface on both sides.
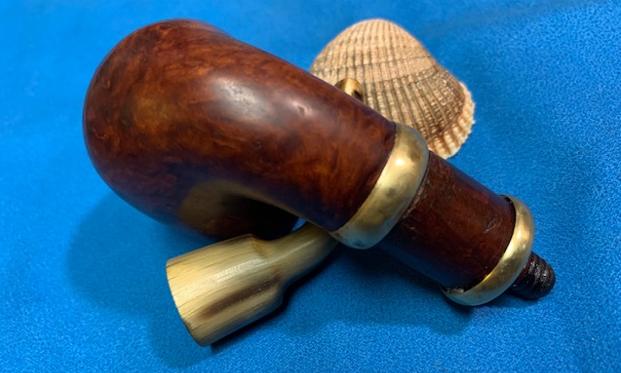
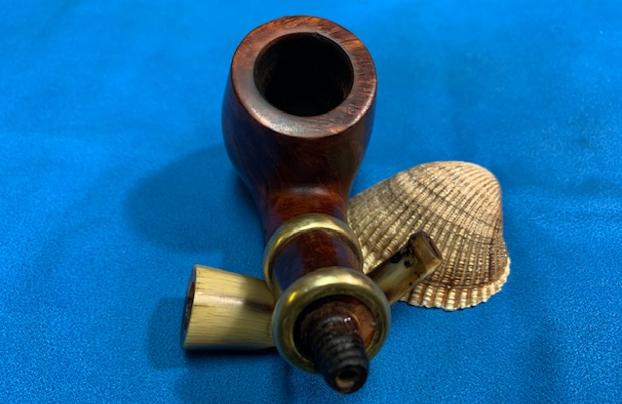
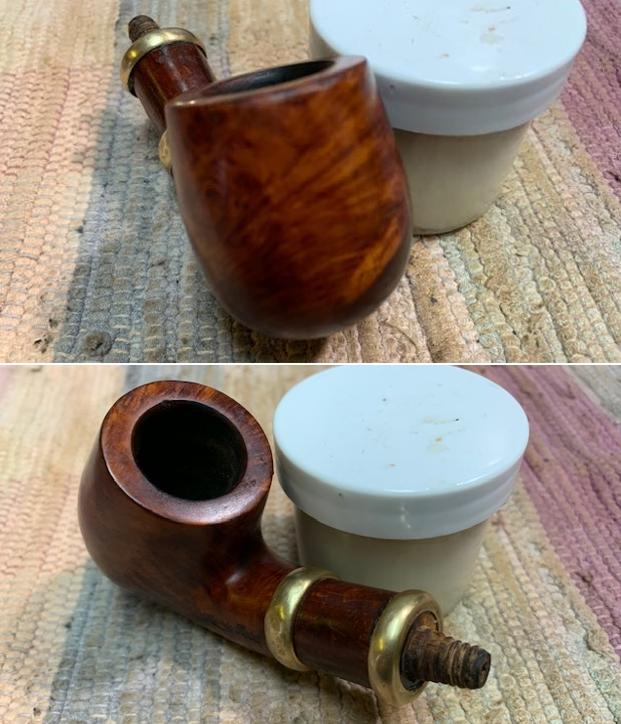
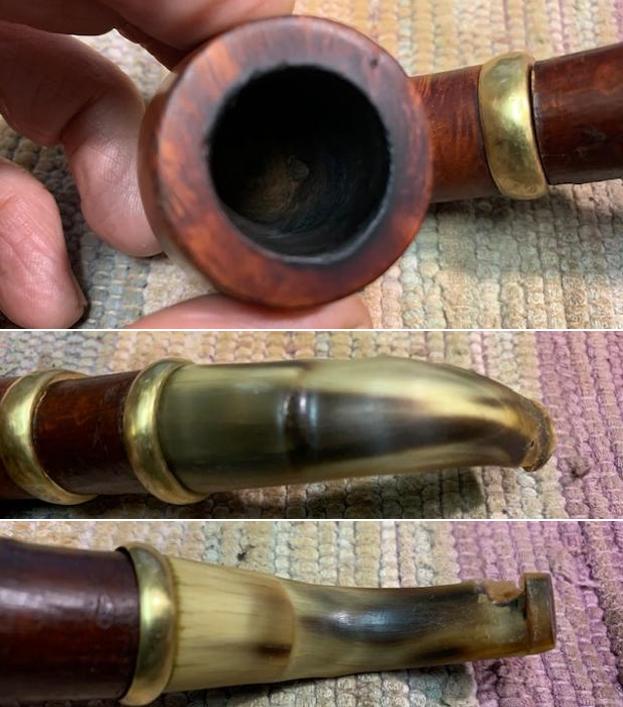 I took the pipe apart to show the various components of the pipe. The cherry wood extension in the centre of the photo has a tapered end that fits into the shank and a threaded end that the stem screws onto. The cherry extension has some damage on the sides. There is also a fill that is shrunken on the left side of the shank and in the middle of the stamping.
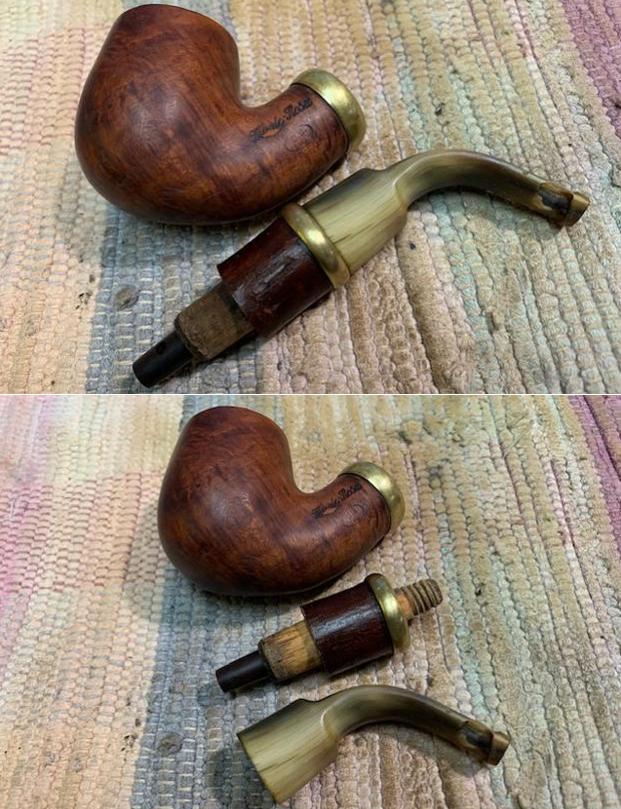
 I took photos of the stamping on both sides of the shank. You can see it is readable but damaged.
 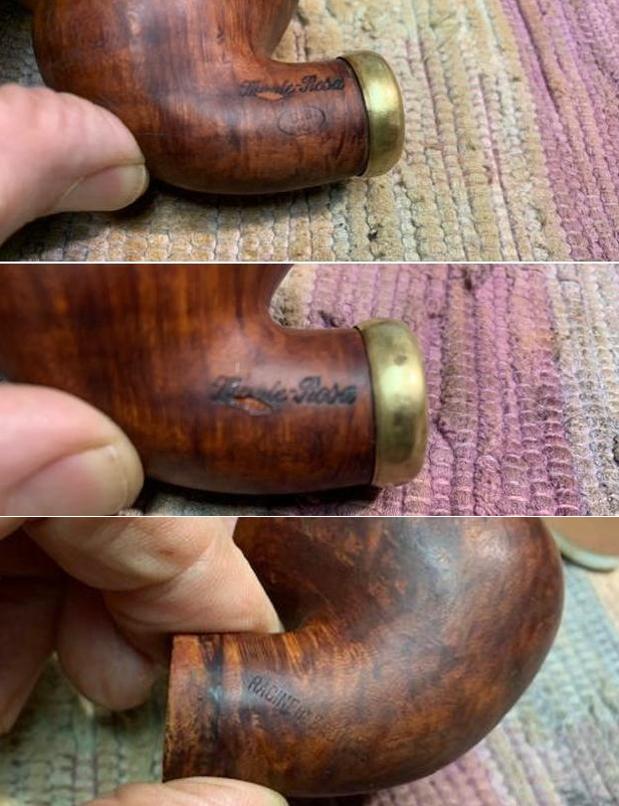 I cleaned up the inner edge of the rim with a folded piece of 220 grit sandpaper. I brought the bowl back to round. I did not take a photo of the rim top but it is visible in the polishing photos that follow.
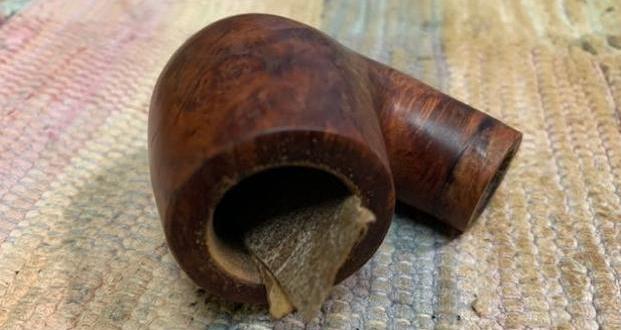 I glued the band on the shank but the glue did not hold so I removed it. I polished the briar with micromesh sanding pads – dry sanding it with 1500-12000 grit pads and wiping it down after each pad to remove the dust.

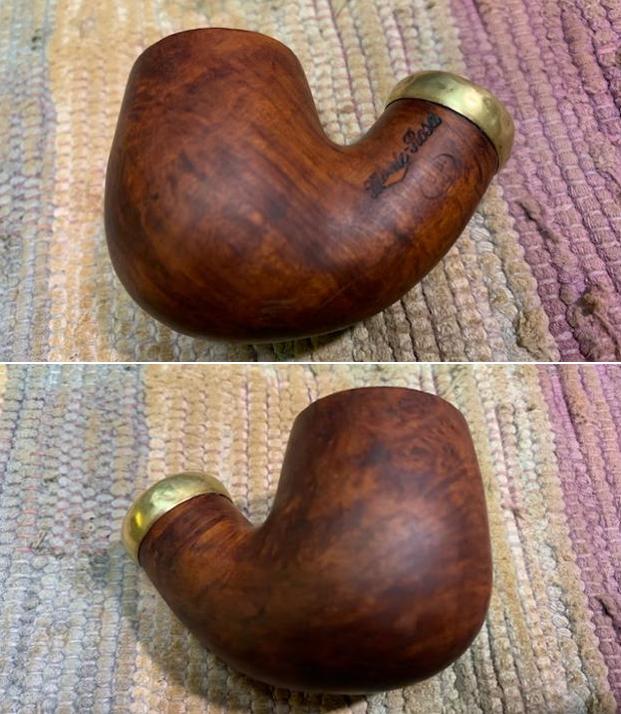
 I spread white all-purpose glue on the shank end and pressed the band on the shank. This time I used more than the first time and set it aside to cure. Once it cured I took photos of the pipe with the band on the shank.
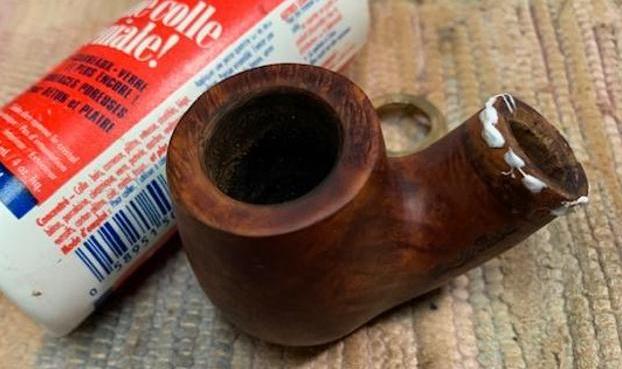
 I set the bowl aside and turned my attention to the cherry wood shank extension. I filled in the splits in the bark with clear CA glue. Once the repairs had cured I sanded them smooth with 1500-2400 grit micromesh sanding pads.
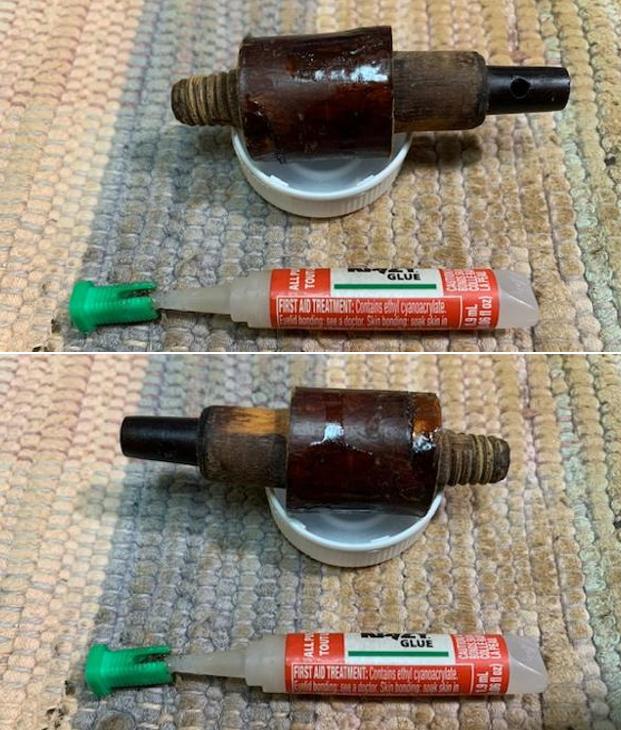 I used a dental spatula to spread the white all-purpose glue on the end of the extension and pressed the brass band onto the extension. I set it aside to allow the glue to cure. I took a photo of the band on the shank end and on the cherry wood shank extension. The bands look very good.
 I rubbed the cherry wood down with some Before & After Restoration Balm to protect, clean and enliven the wood. It worked very well. I let it sit for 15 minutes and buffed it off with a soft cloth.
  I greased the end of the wooden tenon on the cherry wood shank extension with Vaseline. It made the fit in the shank smooth and snug.
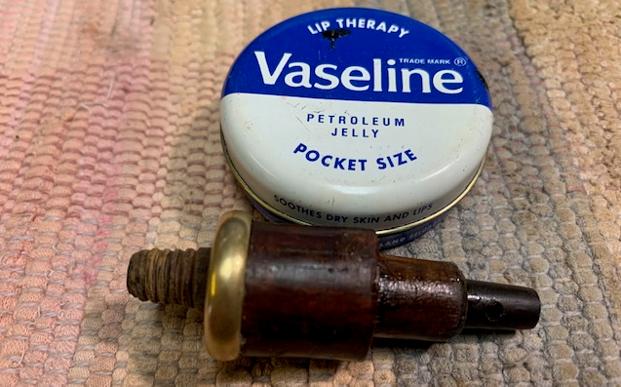 I put the extension back in the shank and rubbed the bowl down with some Before & After Restoration Balm to protect, clean and enliven the wood. I worked it into the surface of the briar with my fingertips. I set the bowl aside and let it sit for 15 minutes. After it had been sitting I buffed it off with a soft cloth.
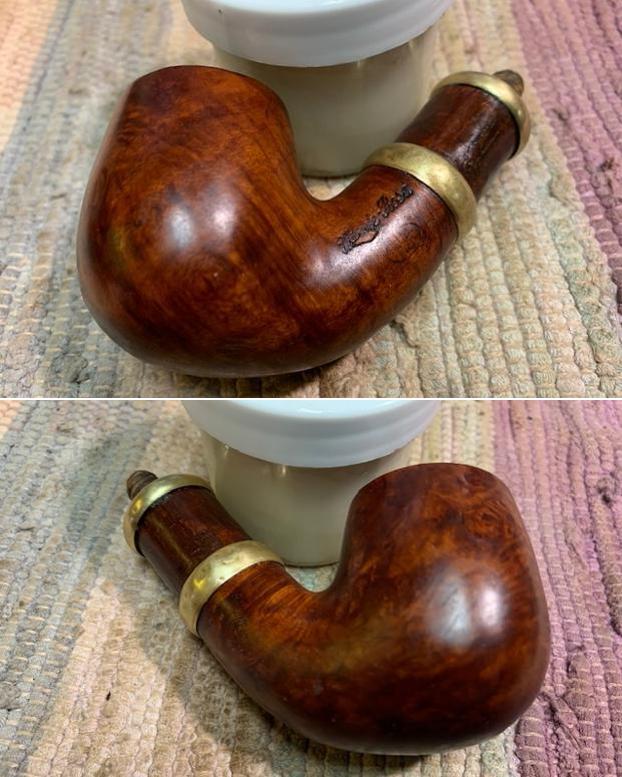
 I set the bowl and shank extension aside and turned my attention to the stem. I greased a pipe cleaner with Vaseline and inserted it in the shank. I wanted to protect the airway when I filled in the damaged area with super glue.
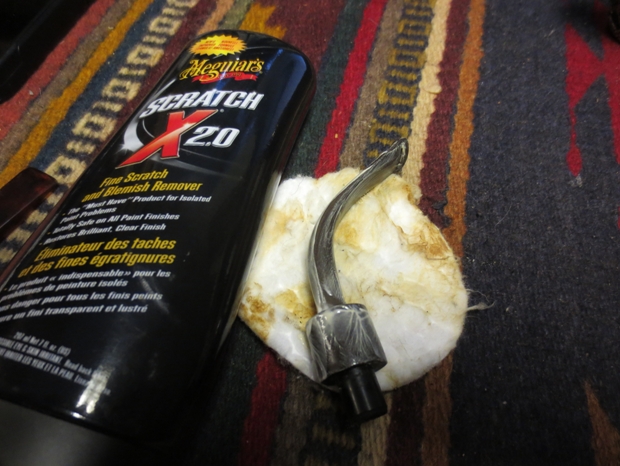
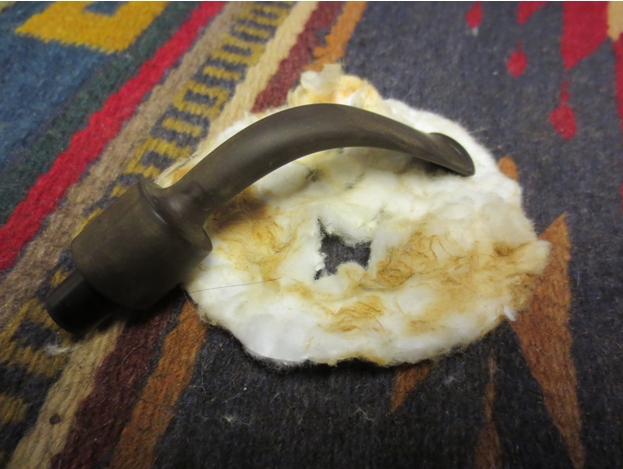
 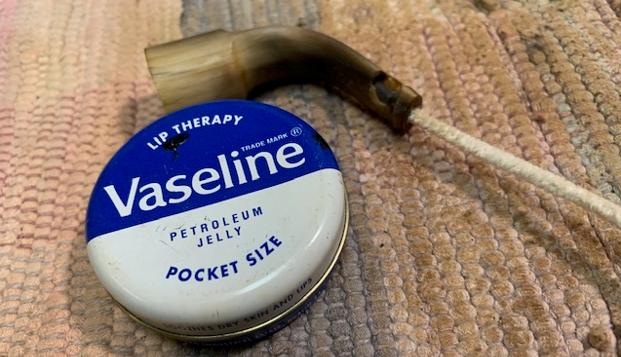 I filled in the worm damage with clear super glue. I layered it in with several fills. While it was curing I read Dal Stanton’s blog on mixing in a sprinkling of charcoal powder with the glue to help blend the repair into the horn. I mixed some in and layered more and more glue on top of it. The black of the charcoal did not really blend in well. It migrated together and left a black spot on the top of the stem and a black ring on the underside. In the past I did not use the charcoal and certainly will not do so again. I sprayed the repairs with accelerator to speed the hardening process of the repair.
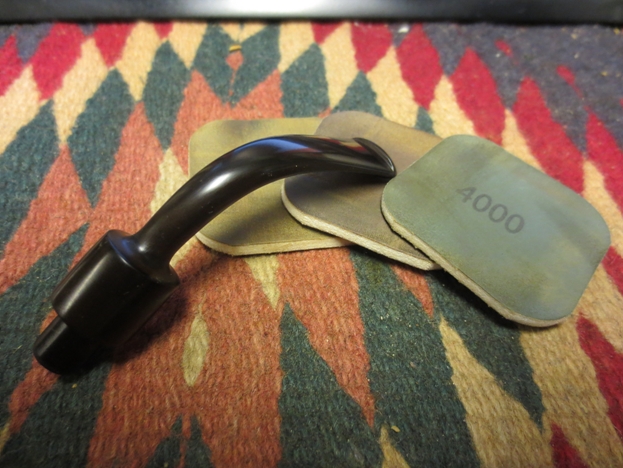
 I used a pair of files to flatten out the repairs and to reshape the button on both sides of the stem. Once I had reshaped the button I sanded the stem surface with 220 grit sandpaper and started polishing the stem with 400 grit wet dry sandpaper.
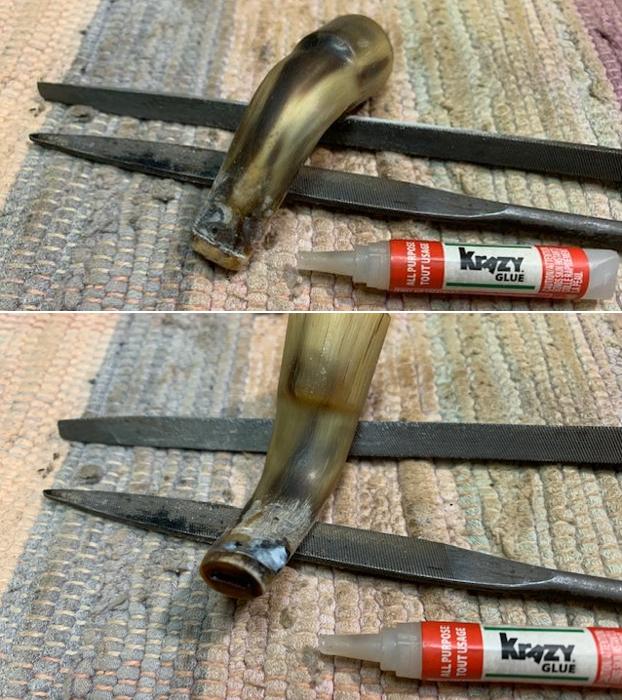
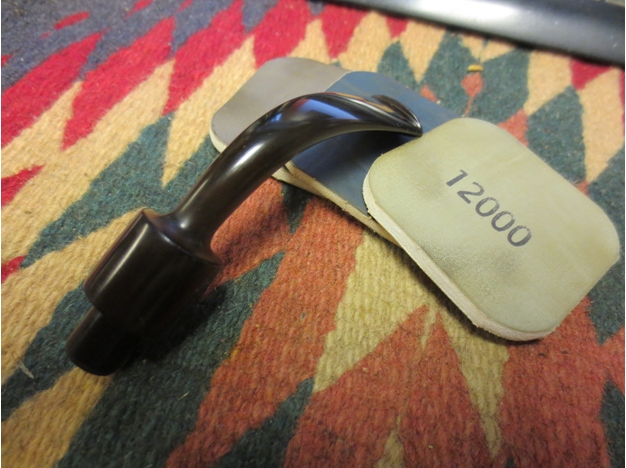
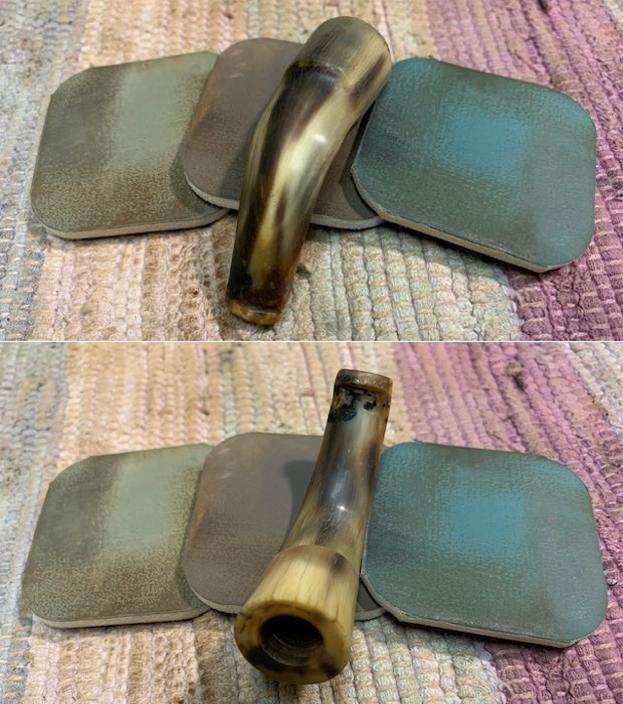
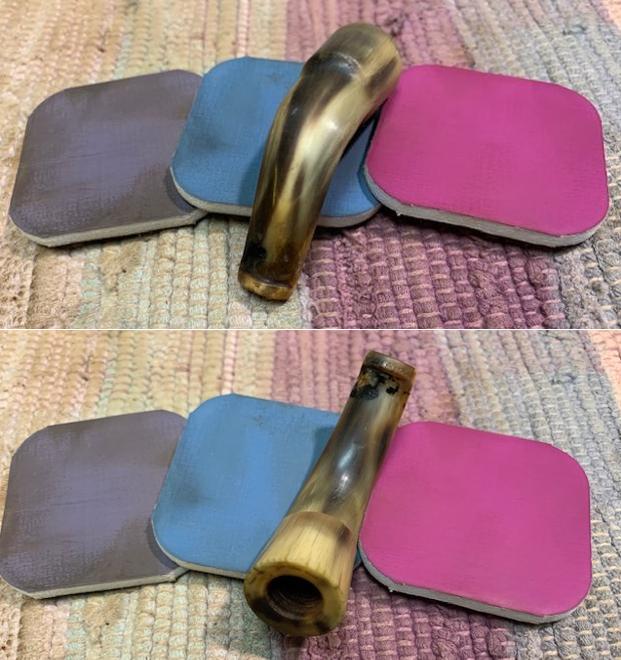
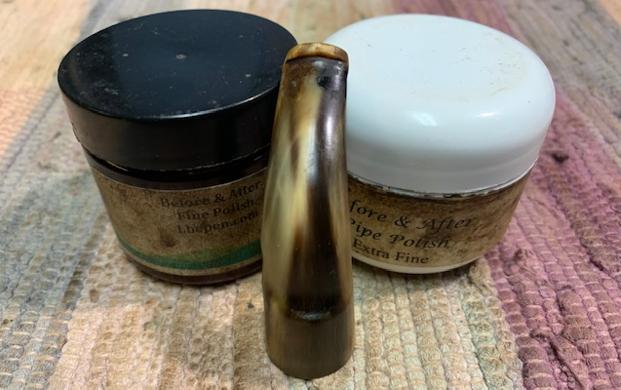
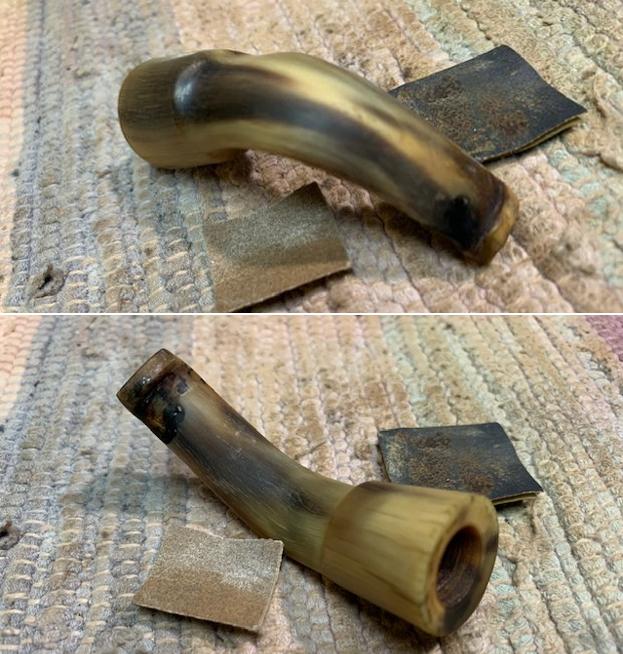 I polished the horn stem with micromesh sanding pads – wet sanding with 1500-12000 grit pads. I rubbed the stem down with Obsidian Oil between each set of three pads. I polished it with Before & After Polish – both Fine and Extra Fine. I gave it a final rubdown with Obsidian Oil to protect it.
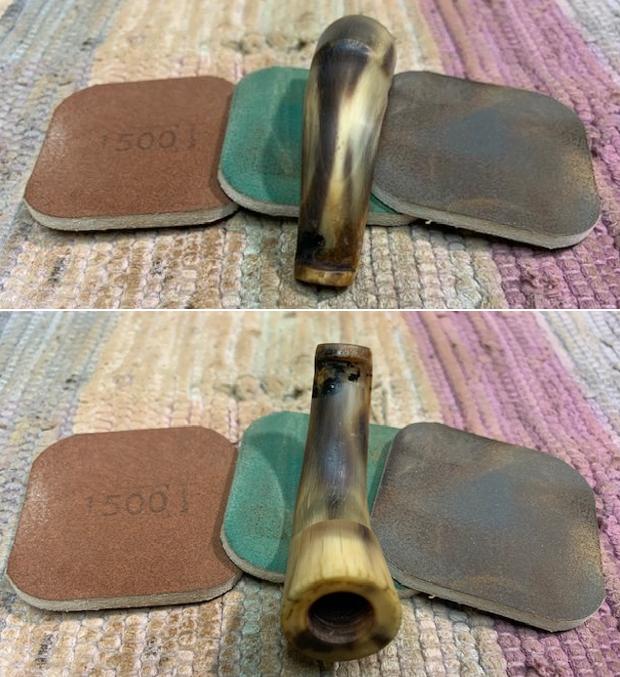
 I gave the threads on the shank end tenon a coat of Vaseline to make it easier to turn the threaded stem onto the end of the shank.
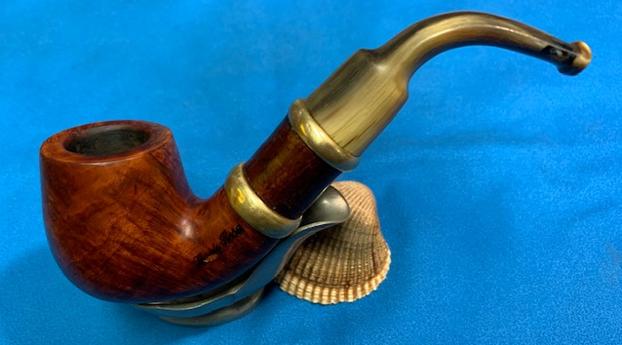
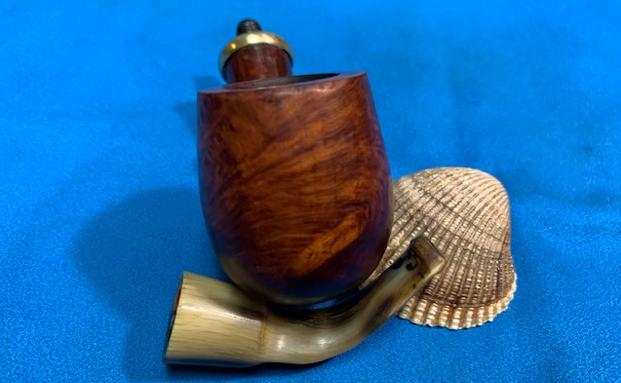
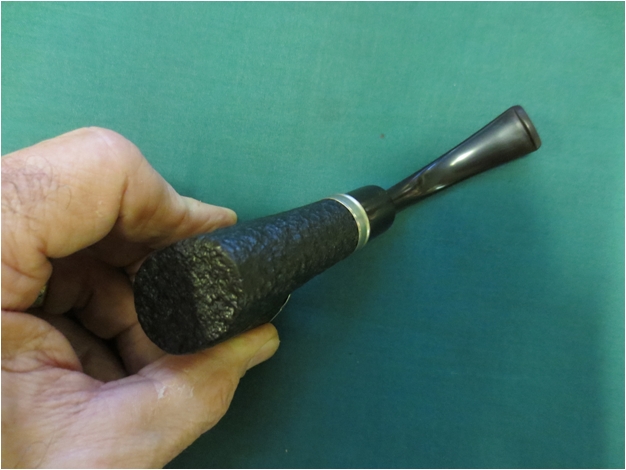
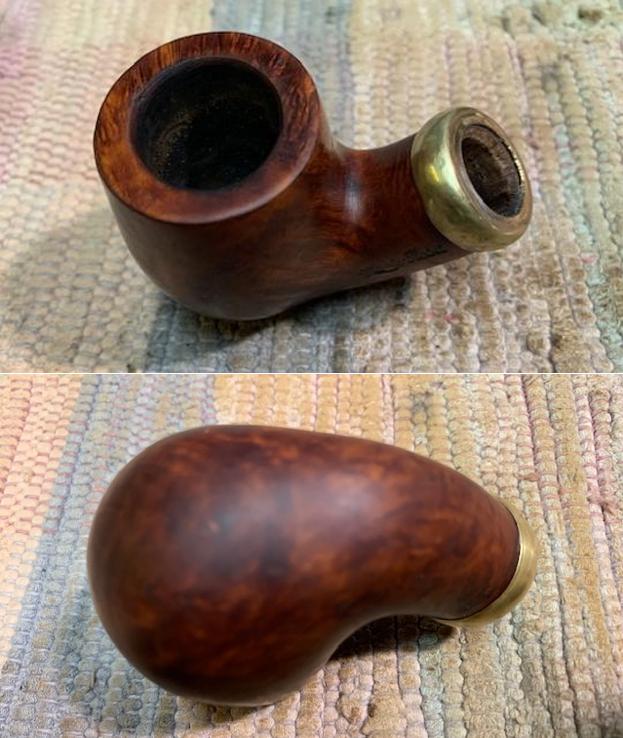
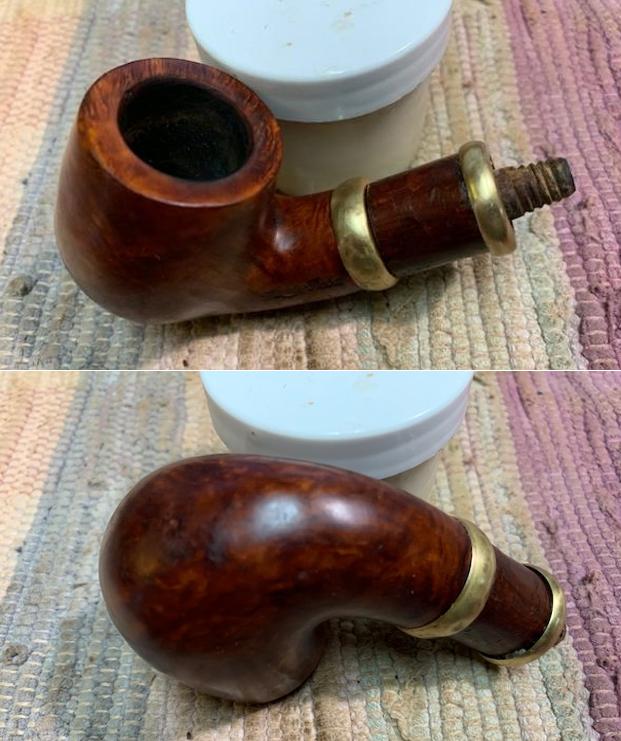
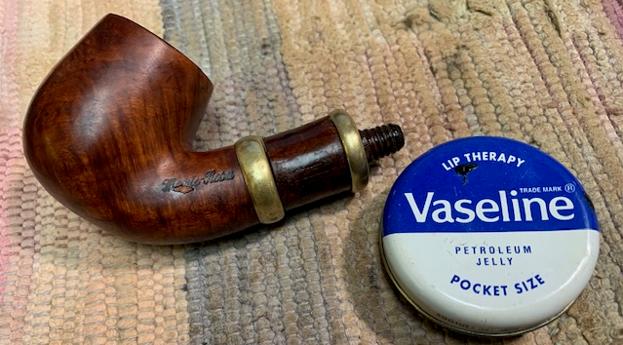 With everything finished I put the BBK Marte–Rosa Racine de Bruyere Reporter Pipe back together and buffed it by hand with a microfibre cloth and polished the metal with a jeweler’s cloth. The finished pipe is shown in the photos below. I love the way the grain just pops on this old pipe. The cherry wood shank extension adds not only length but also a touch of rustic to the pipe, though this particular piece of cherry wood has bark that is quite smooth. The dark striations of the horn stem also go well with the wood. The brass bands at the stem and the shank give this old timer a real look of class. The finished pipe is shown in the photos that follow. The repair to the button while not invisible is smooth and solid and should last a long time. It is a beautiful pipe to my eyes. The dimensions are Length: 5 ½ inches, Height: 2 inches, Outside diameter of the bowl: 1 ¼ inches, Chamber diameter: 7/8 of an inch. The weight of the pipe is 70grams/2.47oz. I will be putting it on the rebornpipes store shortly. If you are interested in adding it to your collection let me know. Thanks for walking through the restoration with me as I worked over this pipe. Thanks to each of you who are reading this blog.