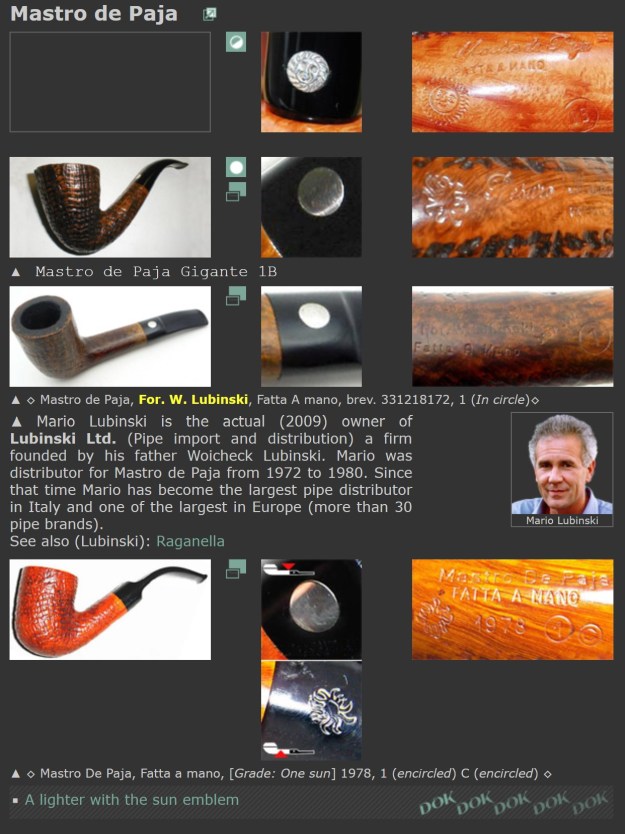
Blog by Steve Laug
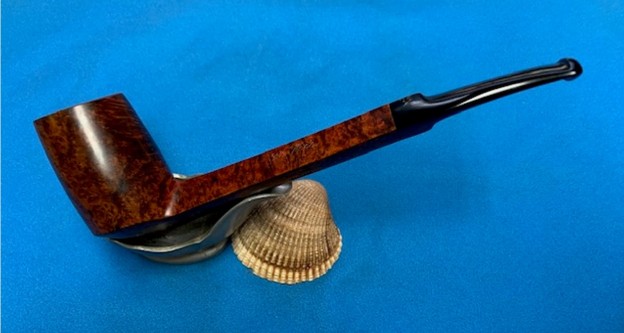
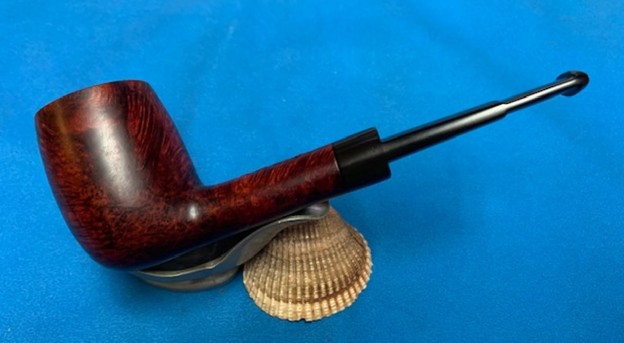
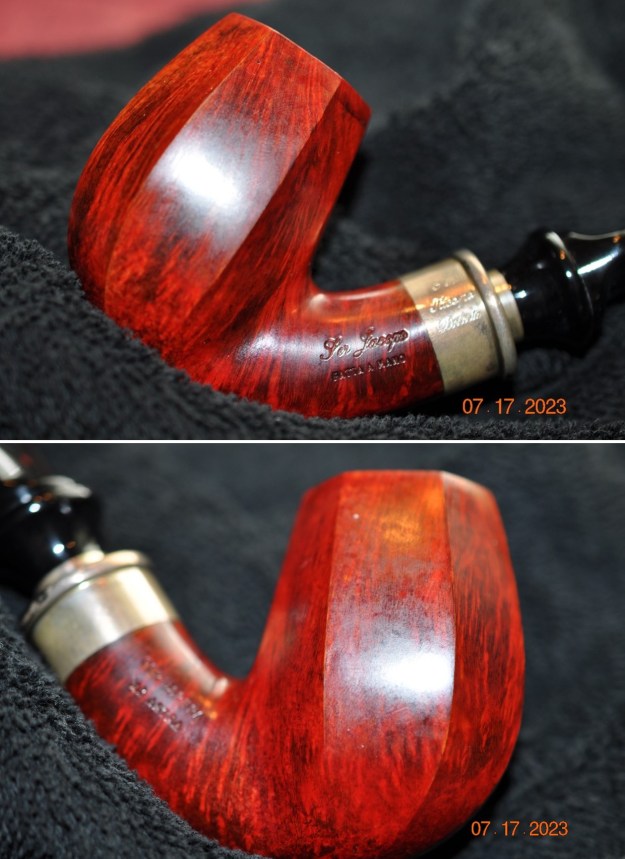
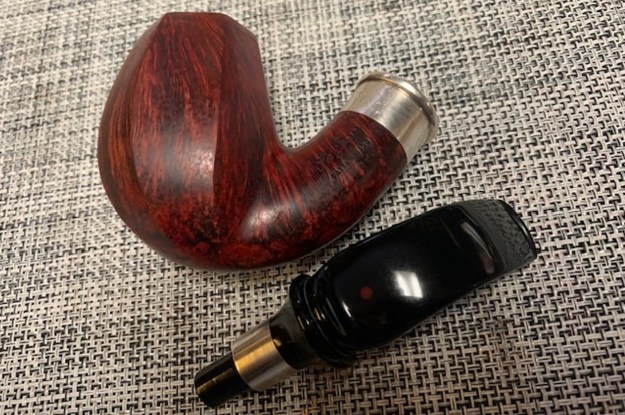
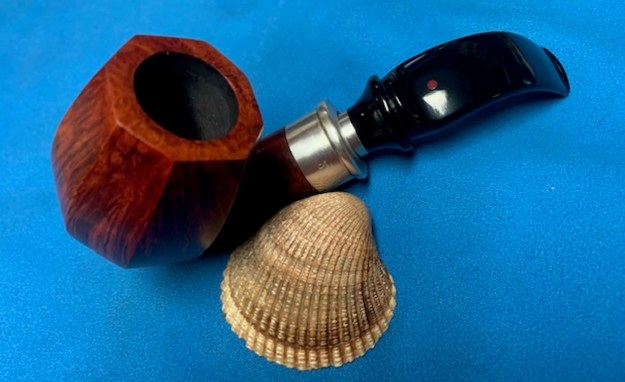
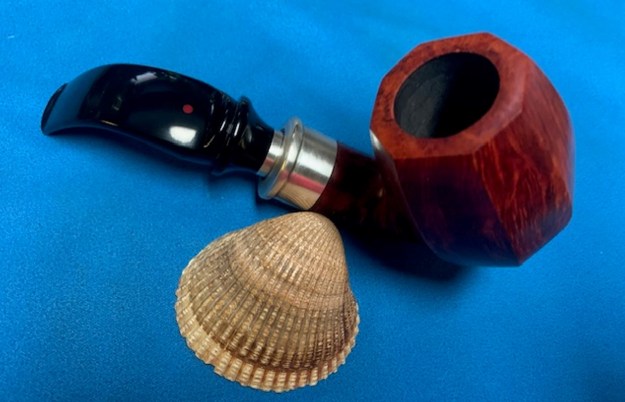
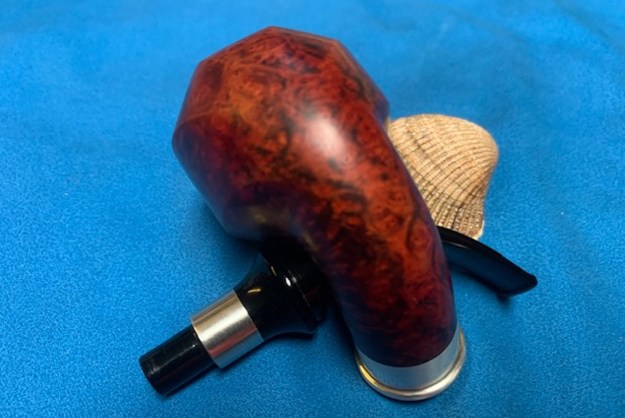
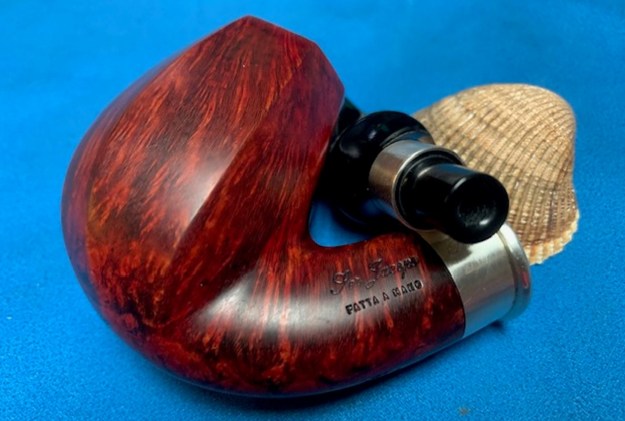
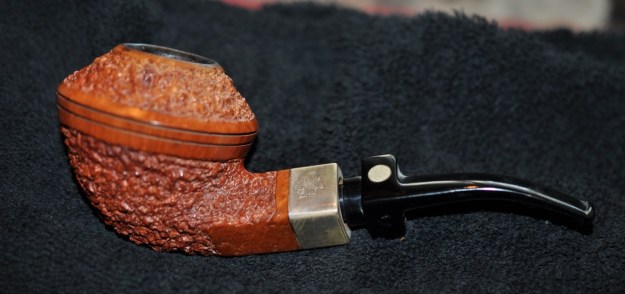
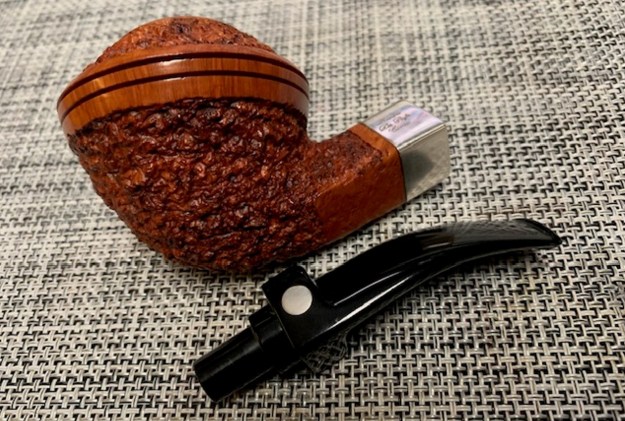
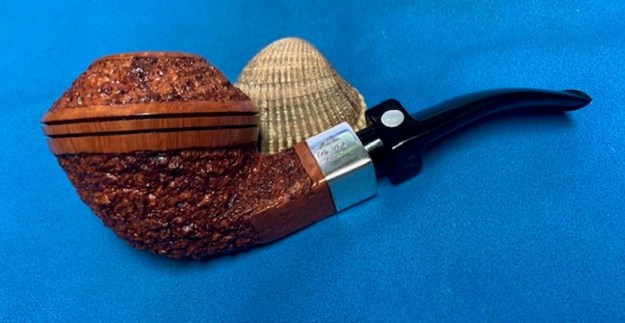
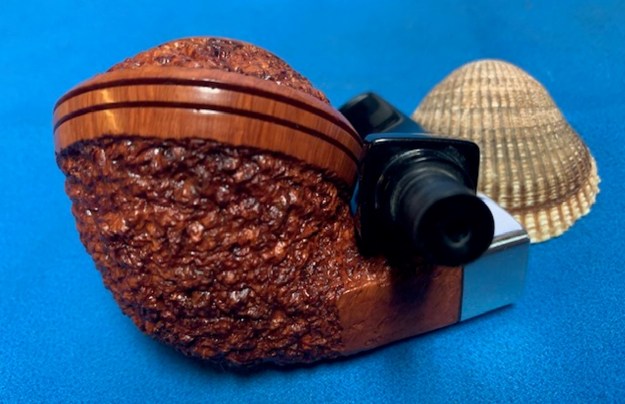
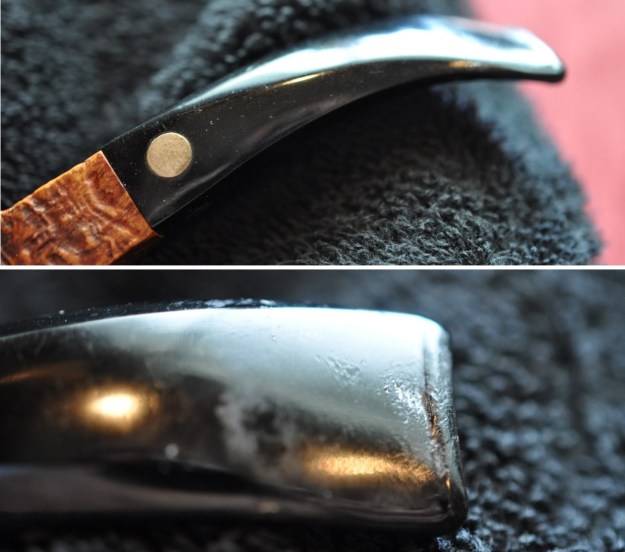
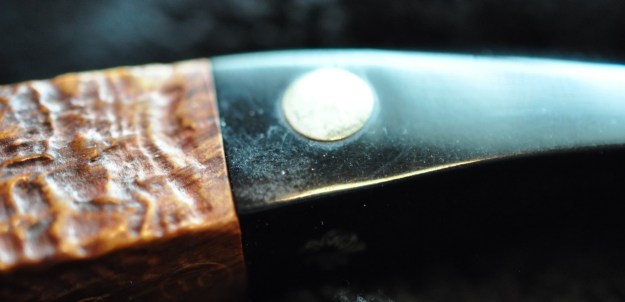
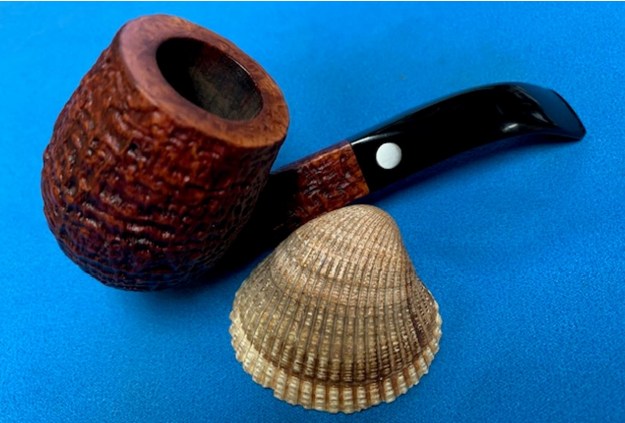
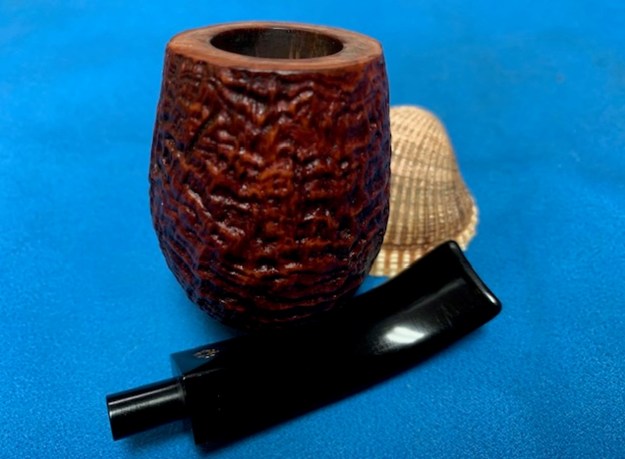
The next pipe on the table is another that came to me for restoration from a friend in the US. He sent three pipes for me to restore for him. I finished the restoration of the first of these – a 1913 GBD 347 Straight Apple (https://rebornpipes.com/2023/09/23/breathing-life-into-a-1913-mrco-gbd-london-england-347-apple/). I am turning to the second one he sent, a beautiful Ben Wade Connoisseurs Collection First Edition Long Diamond Shank Brandy with a saddle stem. That leaves the final one that I need to work on an interesting Ivarsson 389 Product Apple. All the pipes are gorgeous examples of pipe craft and all were incredibly dirty and showed various issues with their finishes. The stamping on the pipe was as follows. On the top left side of the long diamond shank it read Ben Wade in script [over] Connoisseur Collection [over] First Edition. On the left underside it is stamped Hand Made [over] In [over] Denmark. On the right side it was stamped Reg. No. 80343. My guess is that this is a Ben Wade made by Preben Holm during the time Dunhill had him making Freehands for them. The pipe was in dirty condition. The finish on the bowl and shank were worn and dirty with grime and darkening ground into the surface all around the bowl and shank. The cake in the bowl was very thick – so much so that I could not put my little finger into the bowl. The lave flowed over the rim top and inner and outer edges of the bowl. It seemed to be in fair condition under the lava but cleaning would tell the story. The vulcanite diamond saddle stem had a crown logo on the top of the diamond. The stem was dirty and had file marks/sanding marks and tooth marks and chatter on both sides ahead of the button. I took photos of the pipe before I started my clean up work on it to give a clear picture of the condition of the pipe before I started my work.
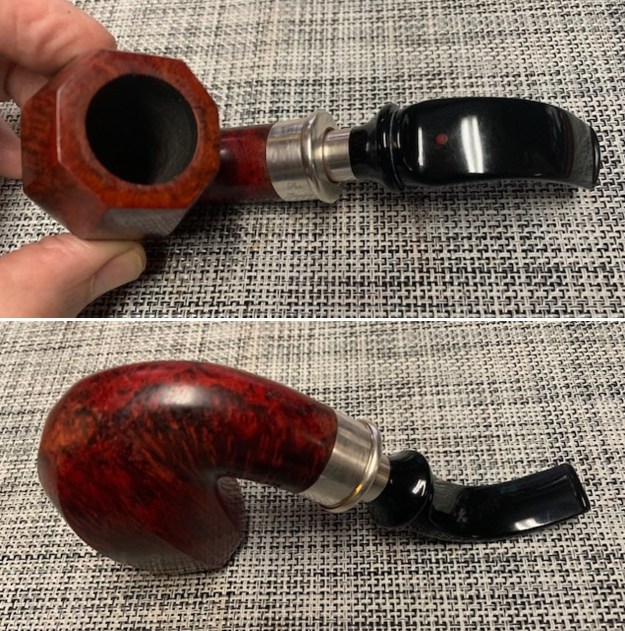
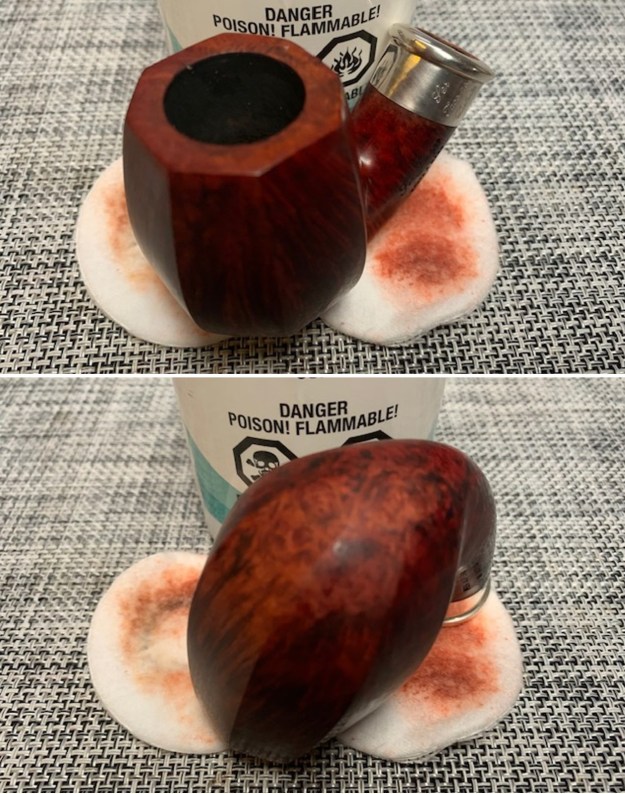
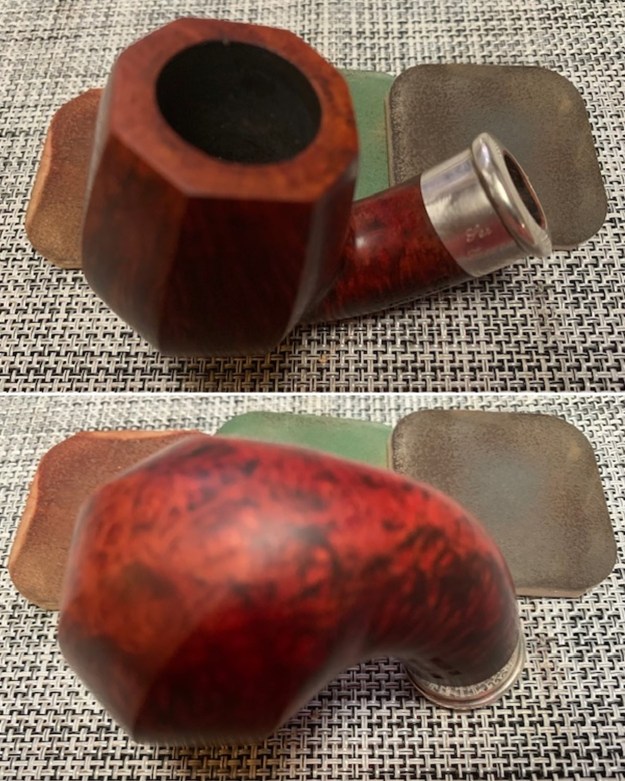
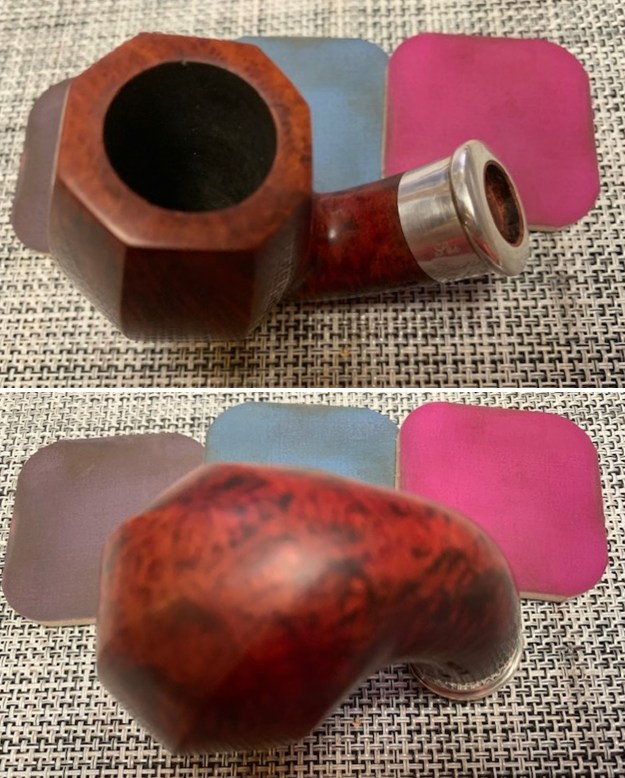
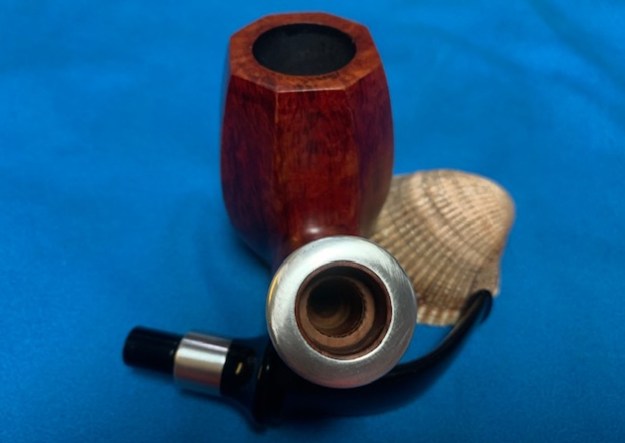
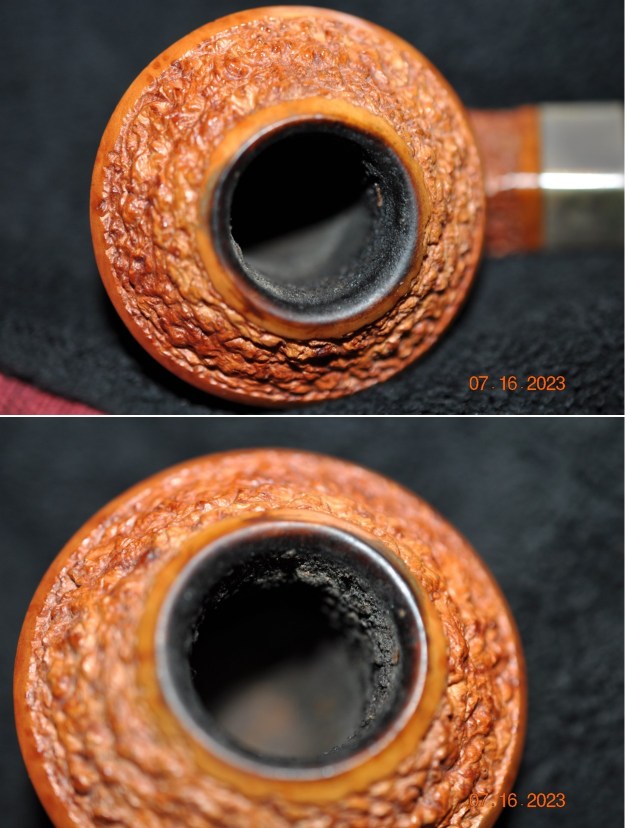
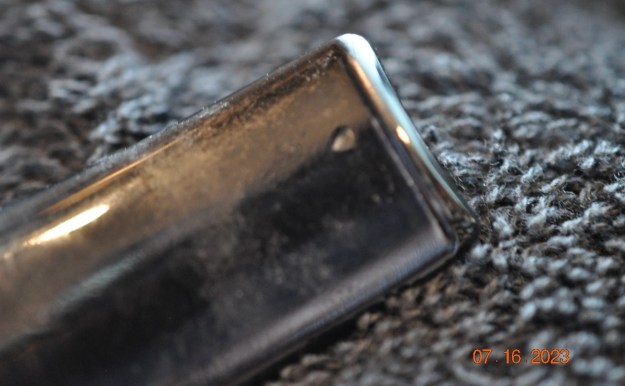
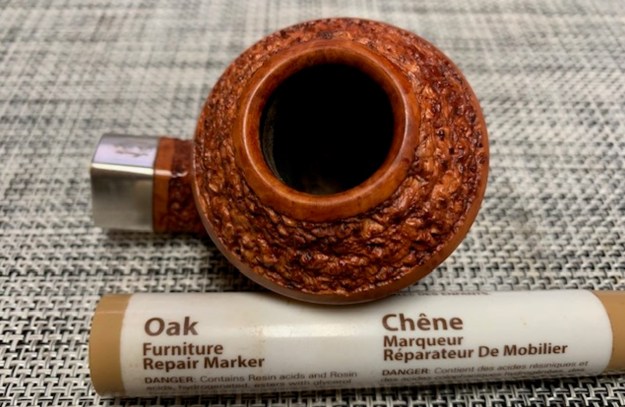
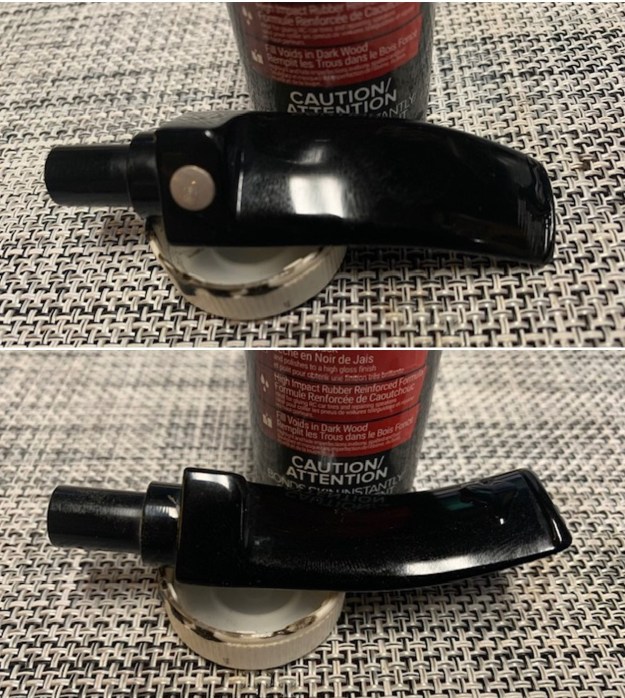
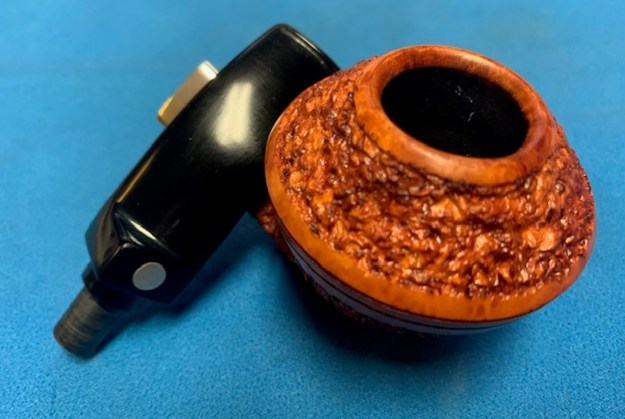
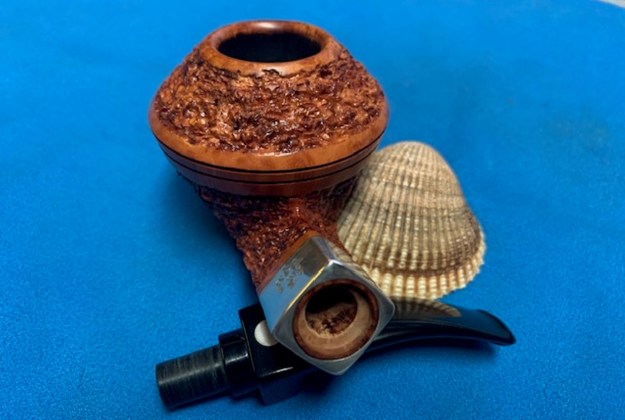
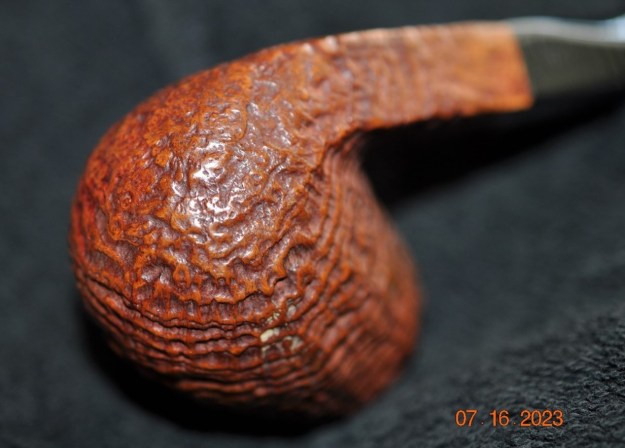
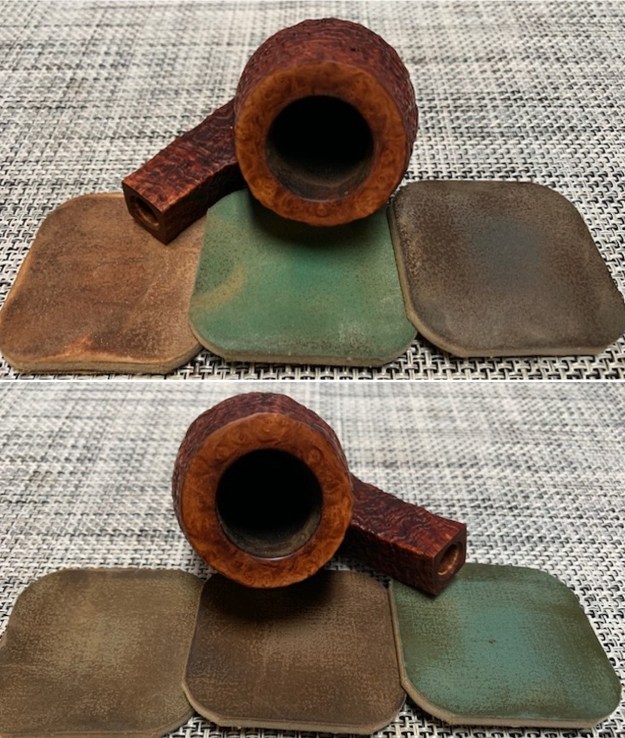
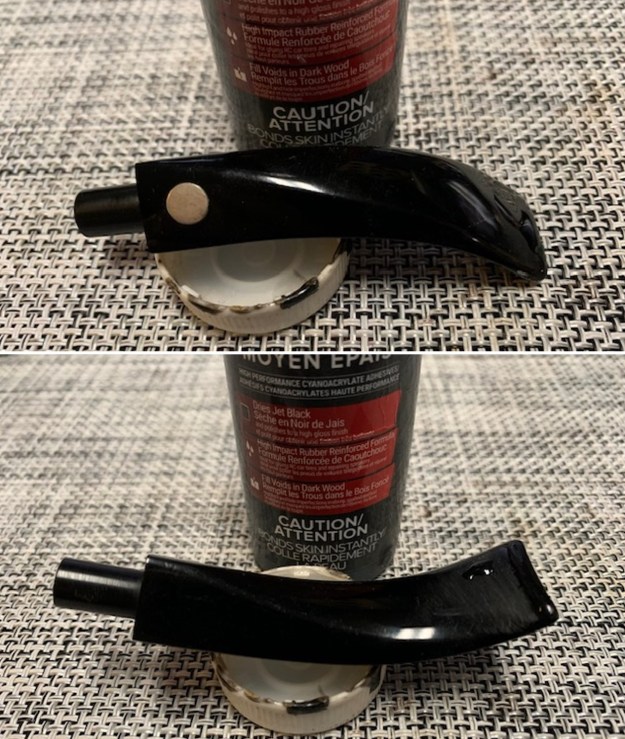
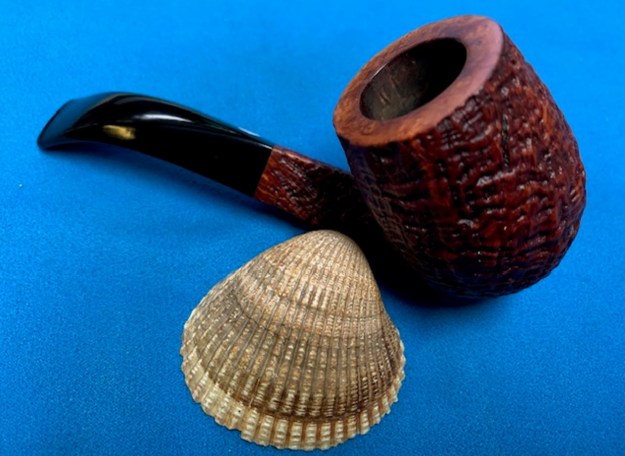
 I took a photo of the bowl and the rim top. The bowl had a very thick cake on the walls and bottom. I was not able to even put my little finger in the bowl. The rim top and the inner edge of the bowl showed some nicks and a thick lava overflow. There also seemed to be some burn marks on the inner edge. It was hard to know for sure what was underneath but I would be there would be some darkening. The vulcanite stem shows some deep tooth marks and chatter on both sides ahead of the button as mentioned above. There were also some file or coarse sandpaper marks. It had promise but it was dirty!
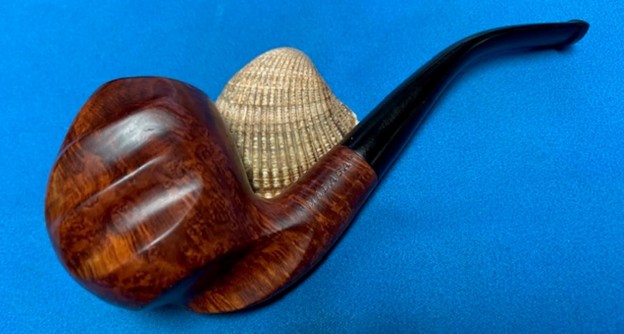
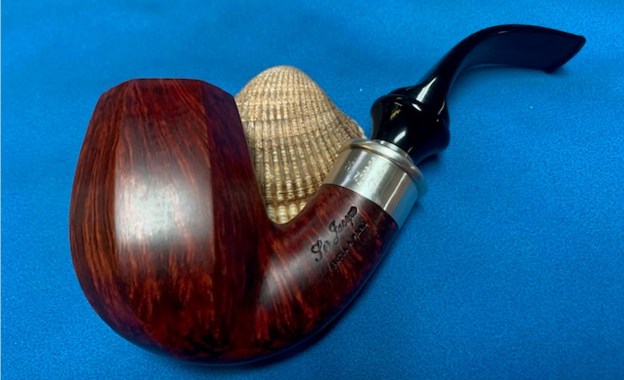
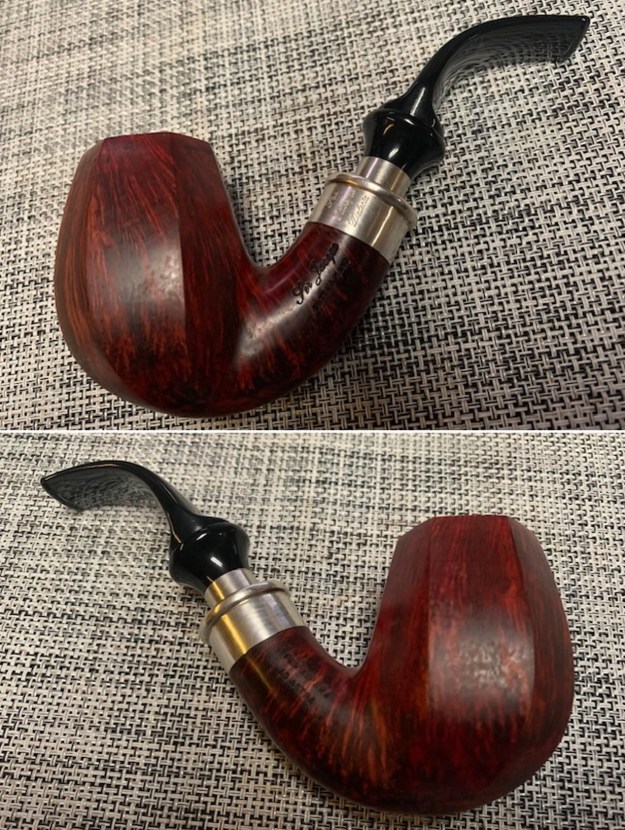
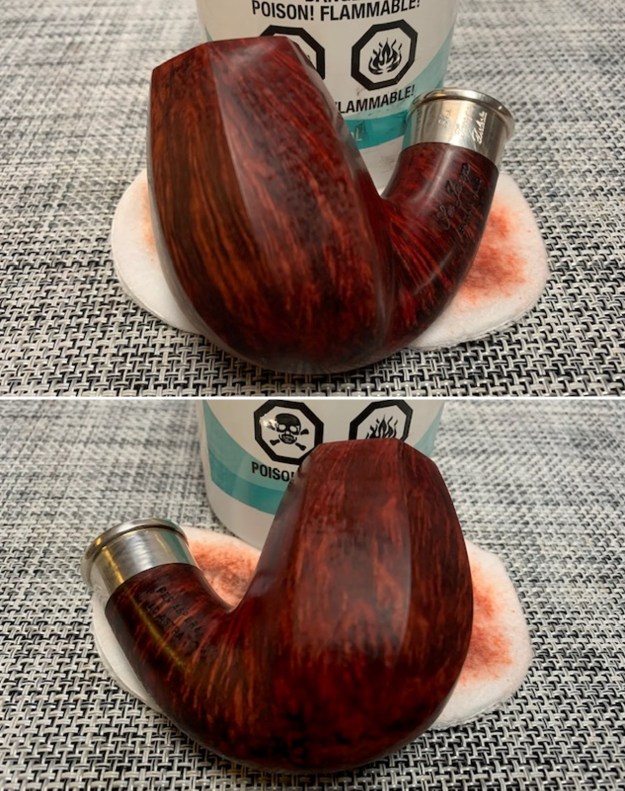
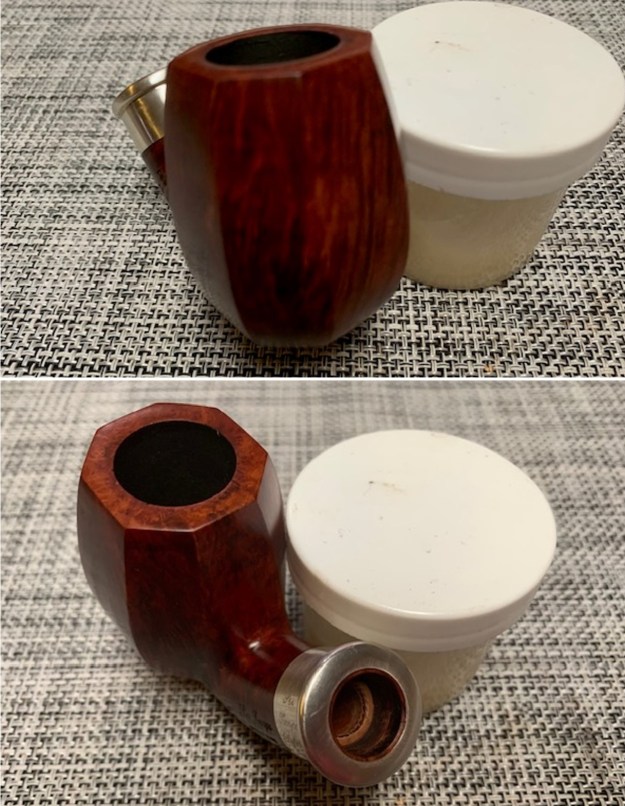
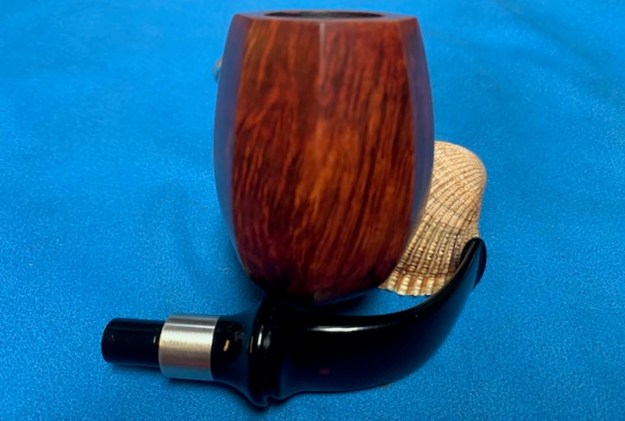
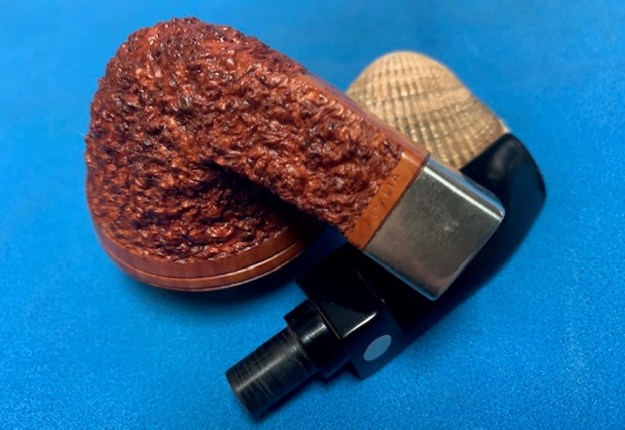
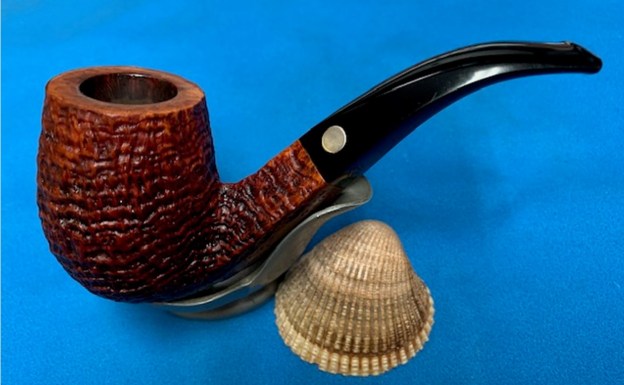
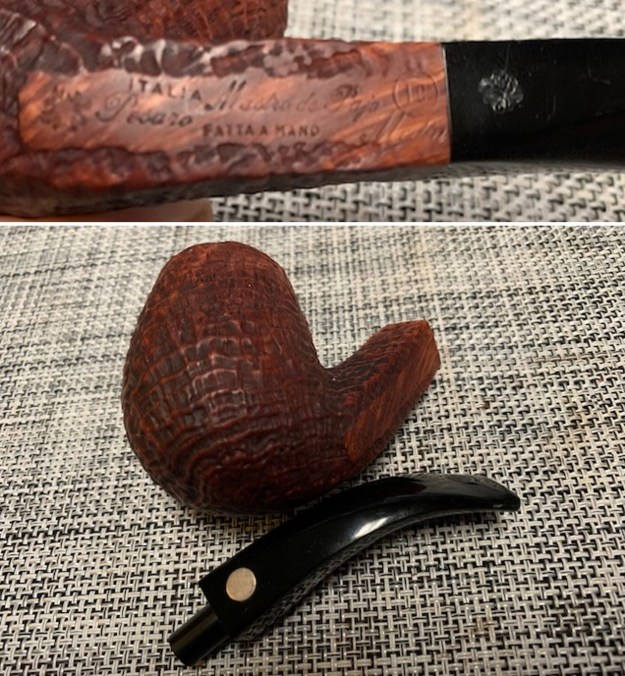
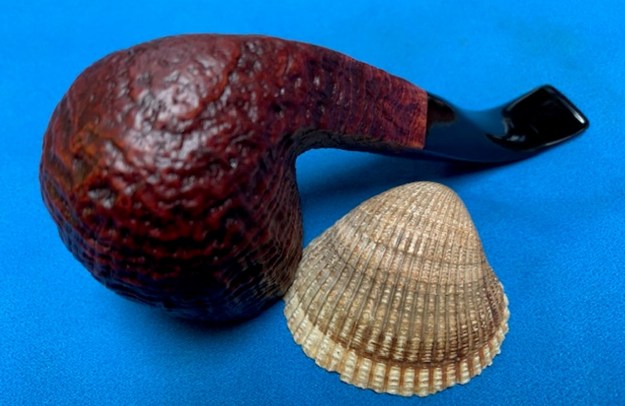
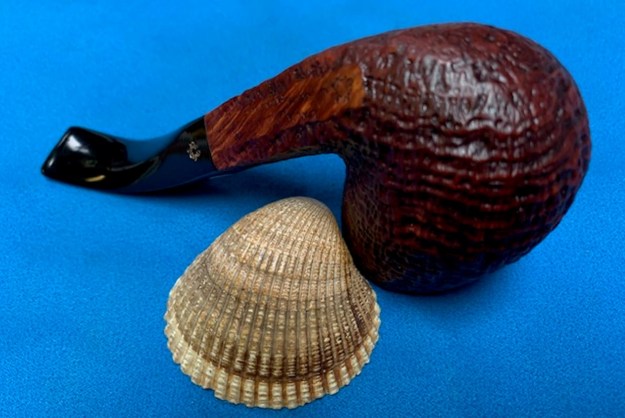
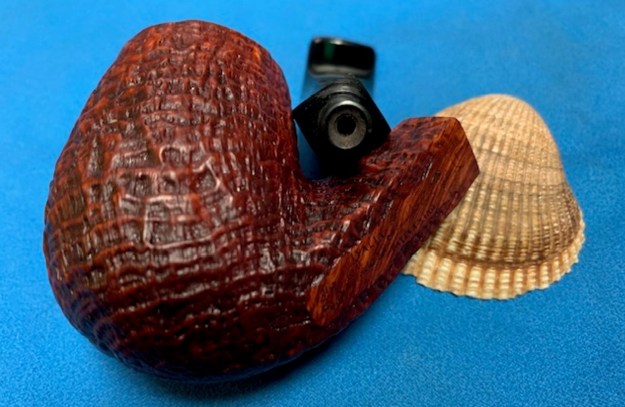
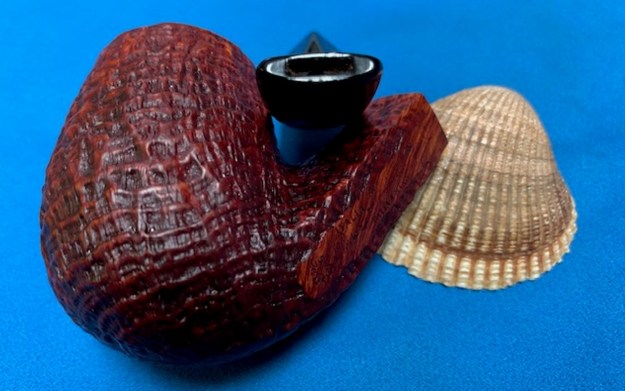
 I took photos of the shank sides to try to capture the stamping on the briar. I took photos of the stamping on the right top side, underside and right top side of the diamond shank. It was clear and readable. I removed the stem from the shank and took a photo to get a sense of the length of the shank and overall look of the pipe. It is a beauty!
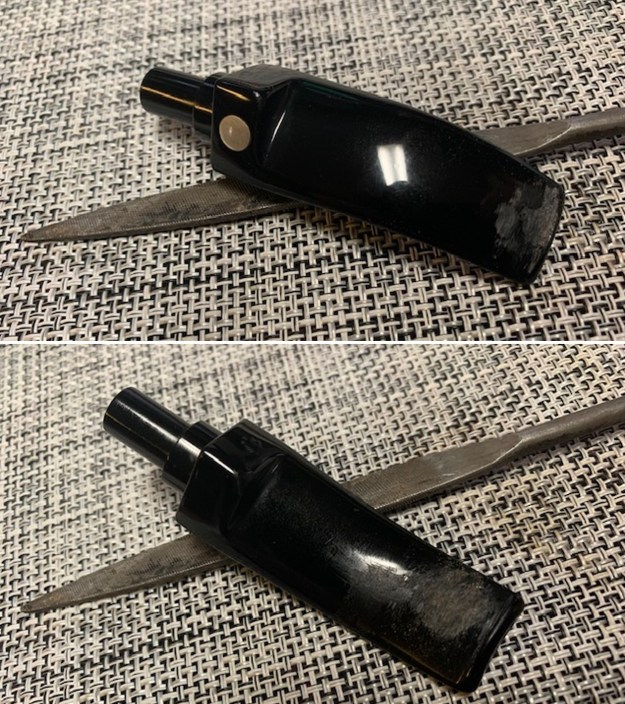
 I did a Google search on the Ben Wade Connoisseur Collection [over] First Edition and found two listings on Worthpoint (an auction site). The first included the pipe, the hand made case and the certificate of authenticity (https://www.worthpoint.com/worthopedia/ben-wade-pipe-preben-holm-connoisseur-521474453).
 Make sure to read the certificate as it clearly states that Preben Holm made the pipe under the auspices of Ben Wade. The First Edition was limited to 504 pipes. Theoretically a second edition etc. would follow. We know that Holm died in 1989 so it appears that there was only one edition of the pipe. That makes this a rather unique and very collectible piece.
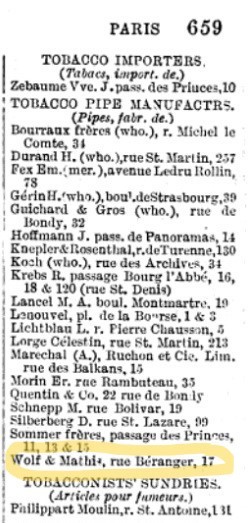
I copied the advertisement on Worthpoint in full and included it below. The description of the pipe is quite amazing as is details on the shape, size, finish etc. I quote:
You are bidding on a special BEN WADE, ” CONNOISSEUR COLLECTION ” first limited edition series that was hand crafted by legendary pipemaker PREBEN HOM, in Denmark, in 1980. This pipe shows a darker reddish stain that nicely accentuates the well-defined birdseye and cross grain that cover the entire bowl and shank. Top of bowl is very clean and in excellent condition (please see pictures). The shank itself and the mouthpiece show a distinct diamond shape. Unique, ” Canted Danish Billiard ” shaped bowl with a 1/4 bent, diamond shaped shank. Part of a ” LIMITED EDITION ” series called ” Connoisseur Collection ” of distinctively shaped and numbered pipes. This is number 388 of a first series of only 504. There has never been a second edition of Ben Wade pipes. This is roughly the size (and capacity) of a Dunhill ODA sized pipe. Lovely grain textures, unique shape, great condition and overall quality artisanship! A very lovely piece and a very original play on an old classic! This pipe has been formerly lightly smoked and is in very good condition. A pipe cleaner passed through with ease. This pipe comes in its original presentation box, and with the original certificate. The pipe was cleaned, polished and taken care of by one of the oldest pipemakers in Montreal, now celebrating 107 years of pipe making (est. 1907)! Markings: The mouthpiece is the original (acrylic), shows the original Ben Wade “crown” and is in excellent condition (no marks …). Ben Wade CONNOISSEUR COLLECTION FIRST EDITION HAND MADE INDENMARK REG NO. 8021 ……(21st PIPE OF THE FIRST EDITION, 1980). Dimensions: Overall height of pipe: 2″ Length: 6 3/4″ Inner Diam. = 7/8″ Outer Diam. (top of bowl) = 1 3/8″ If there are any questions about this item or any other items presently available, please feel free to ask.
The second listing on Worthpoint (https://www.worthpoint.com/worthopedia/ben-wade-connoisseur-collection-first-486770771) was a second pipe with the same stamping other than the Reg. No. I have copied it below for the further information. In this article it says that Holm died in 1975 but he died in 1989. The other error it seems to my research that Ben Wade made the pipe in honour of Preben Holm. However, it seems that pipes were actually made or designed by Holm himself. I quote:
Bari Preben Holm died 1975 this pipe was made in his Ben Wade (Dunhill) era Wade Connoisseur Collection First Edition Reg.No.80353 Hand Made in Denmark that’s it!! This pipe is amazing good old times this pipe was made for collectors and lovers for a very good Danish pipe by Ben Wade to honour Preben Holm Hand Made unique birdseye smoked made without any number- means this pipe is unique. This pipe shows a smooth finish-no scratches no tooth marks very good condition for the age!!! Nearly 45years old!!High: 4,5 cm = 1,77 inch length: 17 cm = 6,68 inch smoked pipe comes cleaned with 96% alk x-mas is coming shipping with tracking number and insurance Austria : 6 €eu : 14€ = 18 $us and worldwide : 19 € = 25$i am a private seller: no returns no exchanges. Given those facts I can be certain that the pipe was made by Preben Holm in Denmark prior to his death in 1989. From the information above using the Reg. No. 80343 stamp we are given a method of dating the pipe. The pipe is thus the 34th pipe of the first edition made in 1980. It is a limited collector series of pipes that combines a touch of freehand with a classic Danish Canadian. It was a way in which Dunhill could carve a niche for themselves in the burgeoning freehand market in the US. Now it was tie to work on the pipe.
I started my work on the pipe by reaming the bowl with a PipNet pipe reamer to remove the thick cake on the walls so I could see what they looked like. Strangely, I touched the cake with the tip of the cutting head and the cake crumbled out onto the paper. It was very soft and crumbly and I have never had an entire cake come out of the bowl with the first touch of the reamer. I used a KleenReem pipe reamer to clean up the bottom of the bowl and remove remnants of cake there. I followed that with a Savinelli Fitsall Pipe Knife to scrape off the bits of remaining cake on the bowl walls. I followed that by sanding the walls of the bowl until they were smooth with 220 grit sandpaper wrapped around a piece of dowel. The bowl walls showed no checking or cracking which is remarkable. 

 I took a photo of the mountain of carbon that came out of the bowl with the reaming.
 I cleaned out the airway and mortise in the shank and the airway in the stem. I used 99% isopropyl alcohol, pipe cleaners and cotton swabs to remove the tars and oils. It was extremely dirty and once cleaned smelled and looked better.
 I decided to deal with the damage and darkening to the rim top and inner edge of the bowl next. I used a folded piece of 220 grit sandpaper to smooth out the nicks and damage on the edge. Once finished it looked much better. I cleaned up the damage to the rim top and thick lava coat with a piece of 220 grit sandpaper and a topping board. I lightly topped the bowl to remove the damage. I did not remove much briar at all, actually I removed the thick lava coat and smooth out the nicks and marks. That was my goal and I think it worked well. I touched up the stain on the rim top with a Walnut stain pen. It would even out as I polished and buffed it.
 I worked on the finish around the rim top and bowl with micromesh sanding pads – 1500-12000 grit sanding pads to dry sand the briar. I wiped it down after each sanding pad with a damp cloth after each sanding pads.


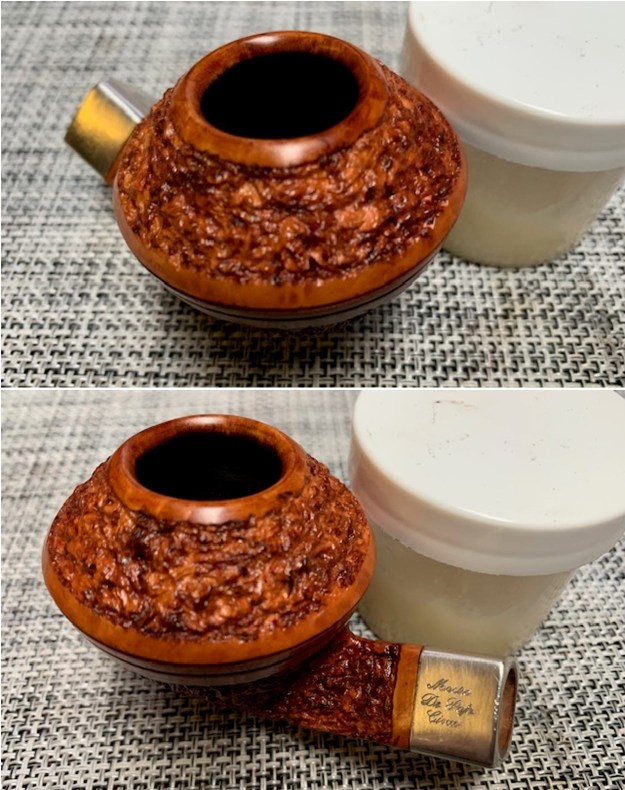
 I rubbed the bowl and shank down with Before & After Restoration Balm. I worked it into the surface of the bowl sides and shank with my fingertips and a horsehair shoe brush. The product works to clean, enliven and protect the briar. I let the balm sit for ten minutes and then buffed with a cotton cloth to raise the shine.

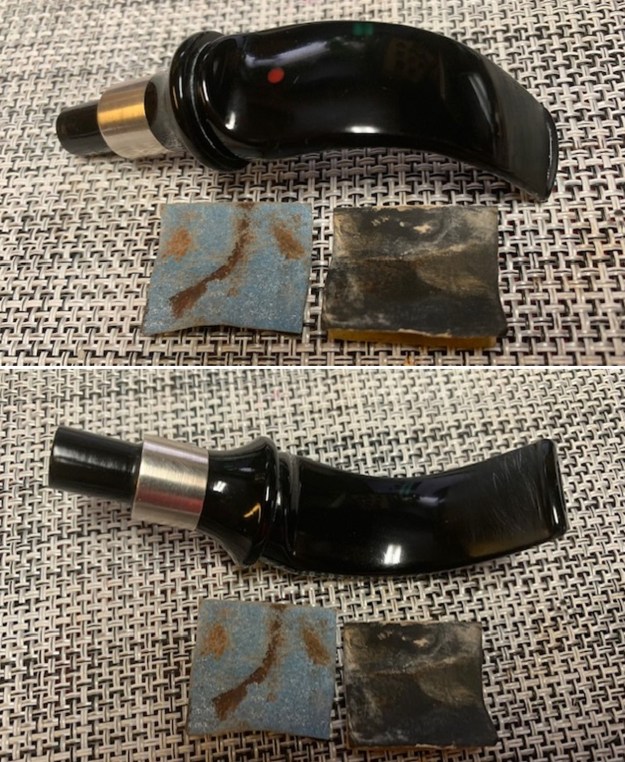
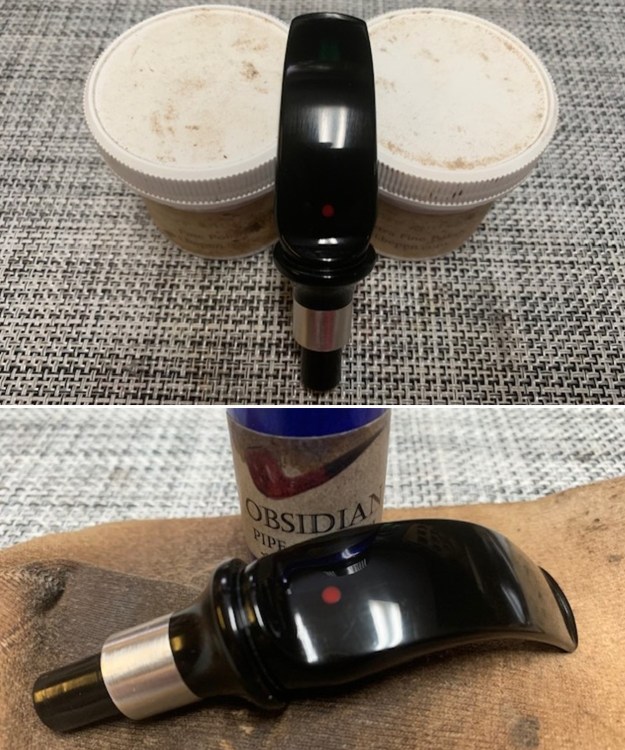
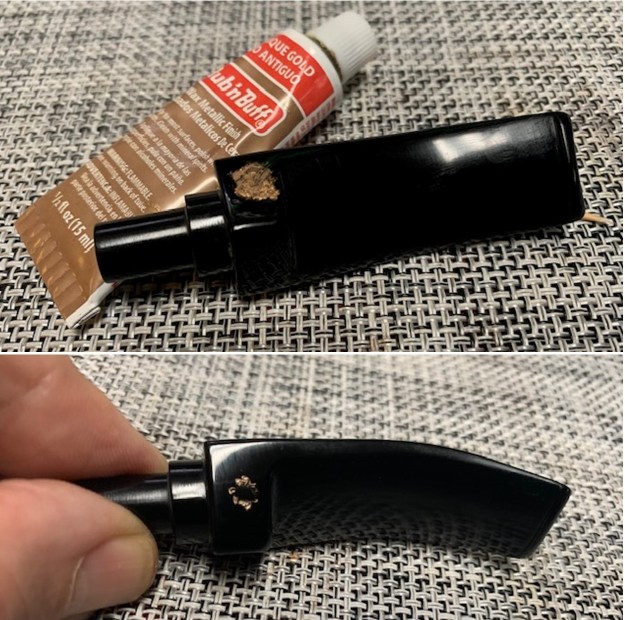
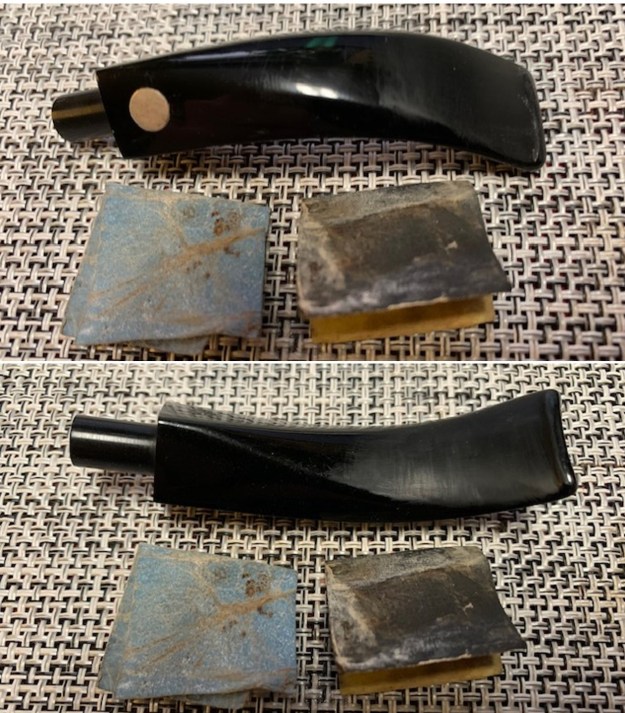
 I set the bowl aside and turned my attention to the stem. I painted the stem surface with the flame of a Bic lighter to lift the tooth marks. I was able to lift them quite a bit. I repaired what remained with some light spots of CA. I would have left them but the marks were large and needed to be addressed. I sanded out the repairs and blended them into the surface with 220 grit sandpaper. I stared polishing the stem with 600 grit wet dry sandpaper.
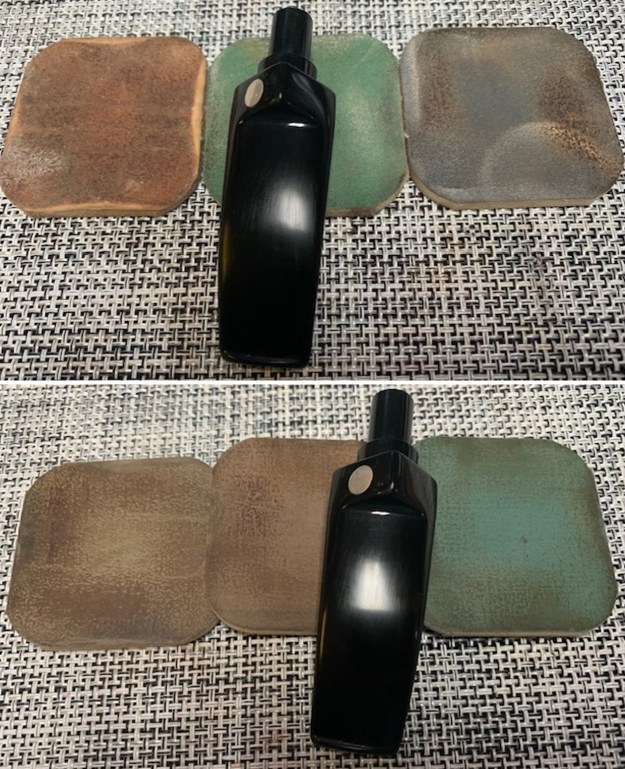
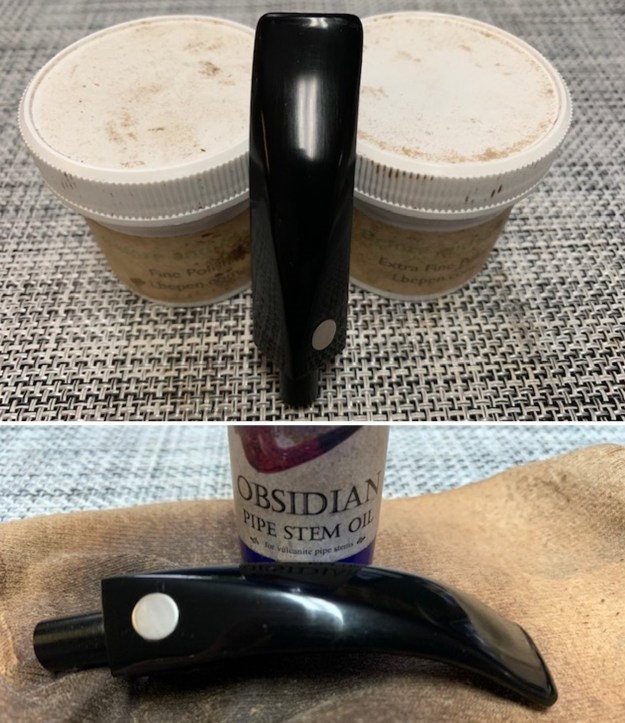
 I polished the stem surface with micromesh sanding pads – 1500-12000 grit pads. I wiped it down Obsidian Oil on a cotton cloth.
 I finished my polishing with Before & After Pipe Stem Polish – both Fine and Extra-Fine polishes. I wiped it down with a final coat of Obsidian Oil and set aside.
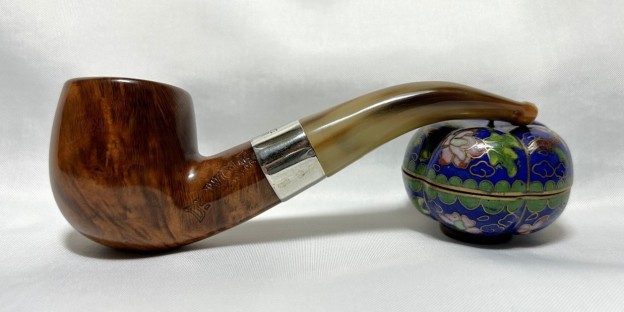
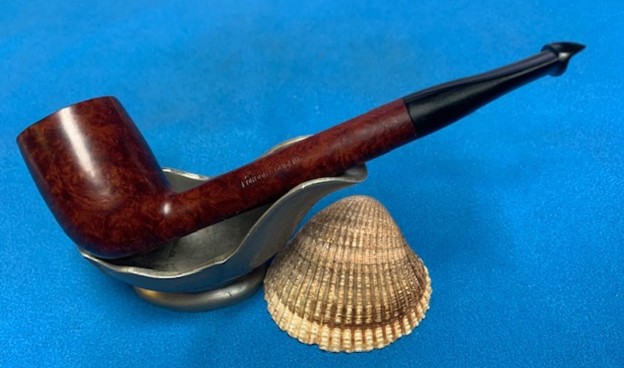
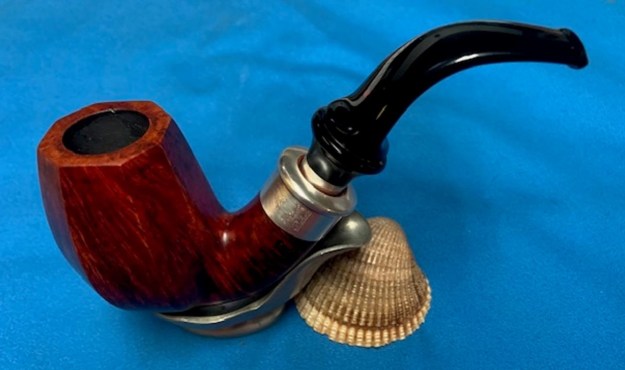
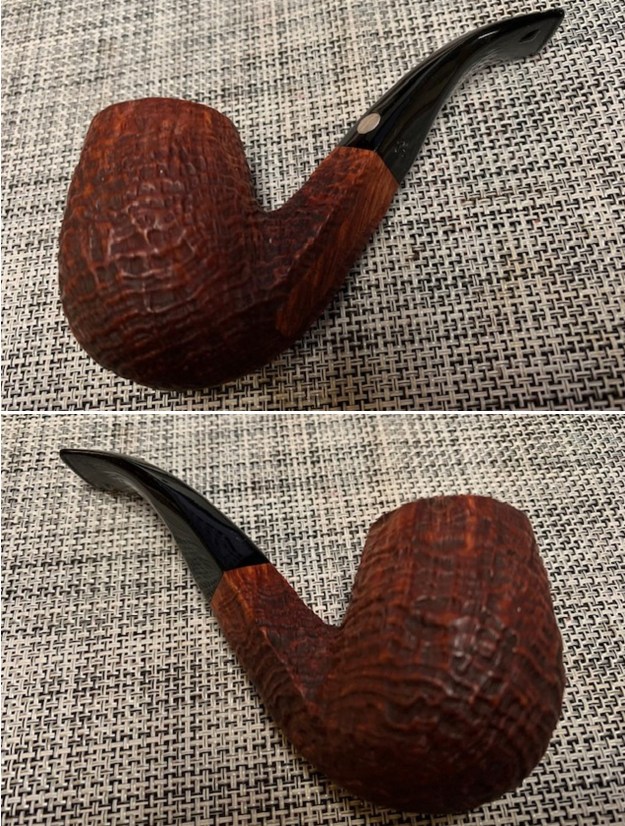
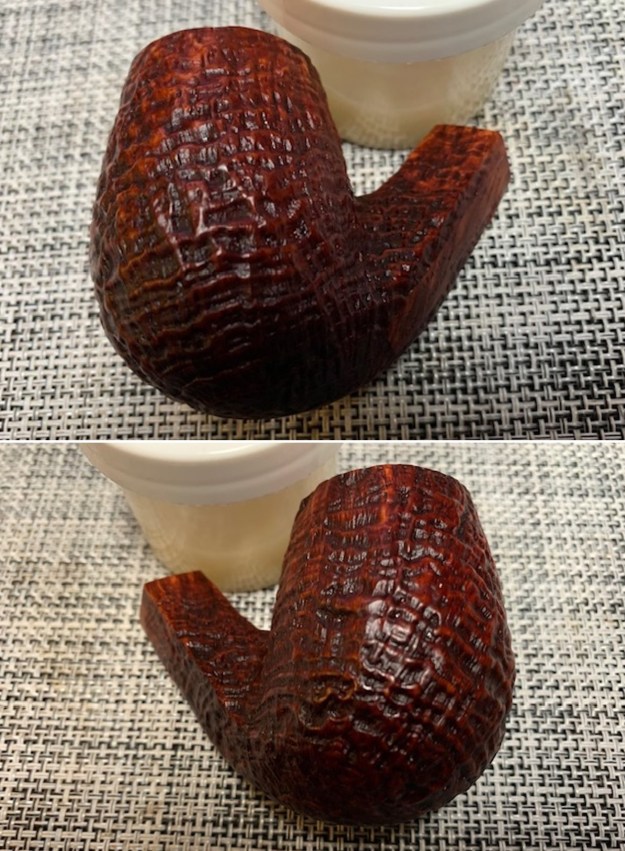
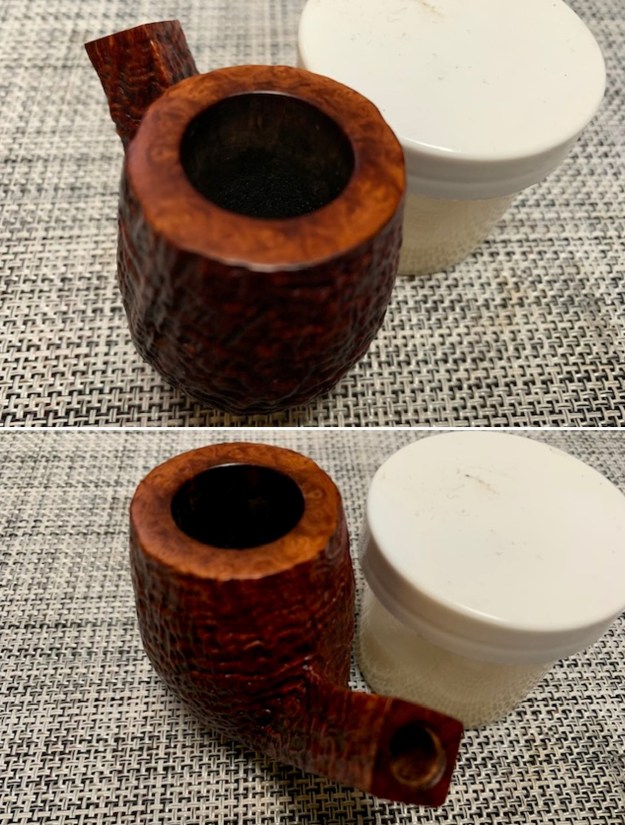
  I am excited to finish the restoration of this 1980s Preben Holm carved Era Ben Wade Connoisseur Collection First Edition Danish Canadian. I put the pipe back together and buffed it with Blue Diamond on the buffing wheel. I gave the bowl and the stem multiple coats of carnauba wax. I hand buffed the pipe with a clean buffing pad to raise the shine. It is fun to see what the polished bowl looks like with beautiful mixed grain all around it. I love the look of the polished grain on the pipe with the polished black vulcanite stem. This smooth Ben Wade Connoisseur Collection Canadian is great looking and the pipe feels great in my hand. It is quite light for its size and well balanced. Have a look at it with the photos below. The dimensions are Length: 7 inches, Height: 2 ¼ inches, Outside diameter of the bowl: 1 ¼ inch, Chamber diameter: 7/8 of an inch. The weight of the pipe is 46 grams/1.62 ounces. It turned out to be a beautiful pipe. I will be sending it back to the pipeman who sent it to me once I finish the final remaining pipe. Thanks for reading this blog and my reflections on the pipe while I worked on it.
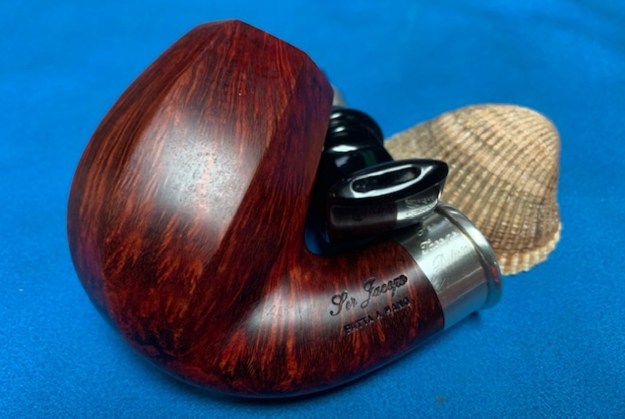
As always, I encourage your questions and comments as you read the blog. Thanks to each of you who are reading this blog. Remember we are not pipe owners; we are pipe men and women who hold our pipes in trust until they pass on into the trust of those who follow us.


