Blog by Kenneth Lieblich
A fine gentleman from out east contacted me asking for this pipe to be restored. Naturally, I obliged and managed a relatively quick job on it. This is just a quick-and-dirty report because it was really more of a cleaning job than a repair job – and I missed out on a few photos.
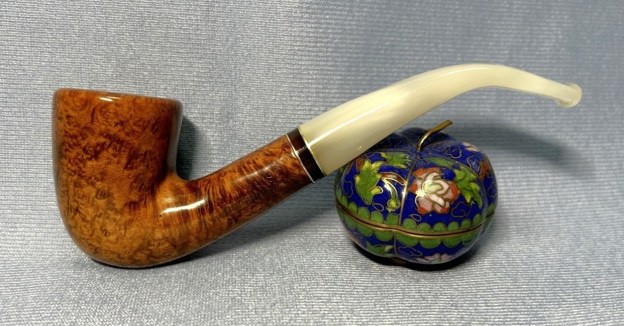
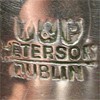
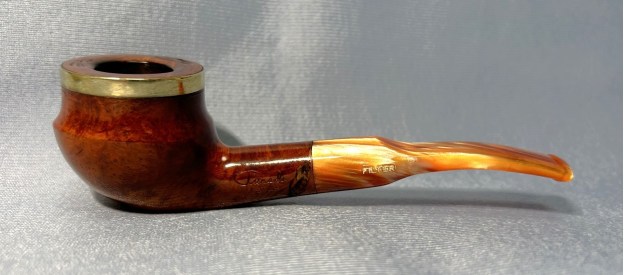
 This pipe is a Paradis Star 72 Freehand Pot. The markings on the pipe are as follows: the left side of the shank read Paradis [over] Star; on the right side of the shank read the number 72 – the shape number; and on the left side of the stem was the word Filter. This pipe did indeed have a 6 mm filter and so that makes sense.
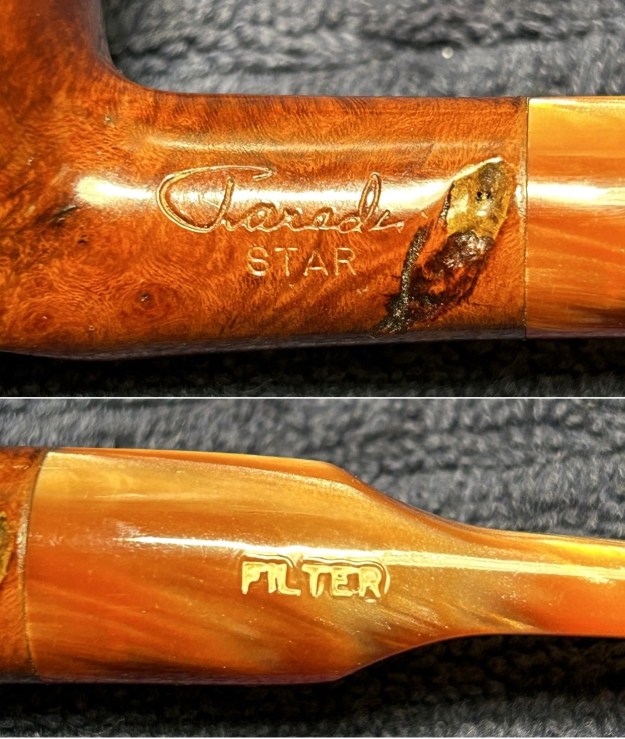
 I knew Paradis Pipes to be a Canadian pipe company, based in Montréal, but I went over to Pipedia and Pipephil to seek out more information. Here’s some of what I found (after correcting the many spelling errors):
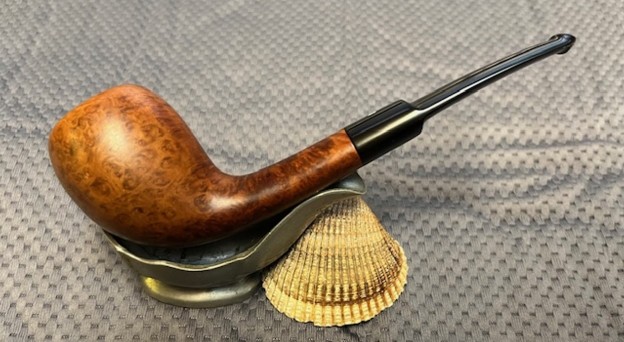
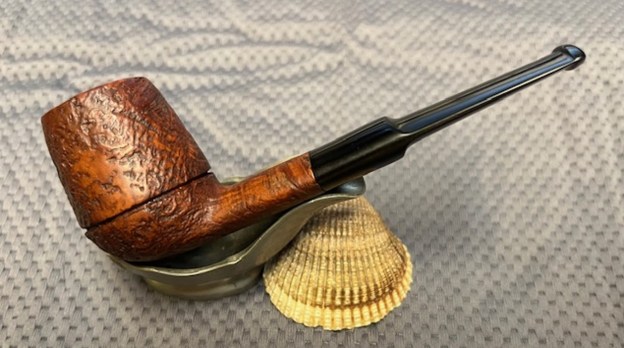
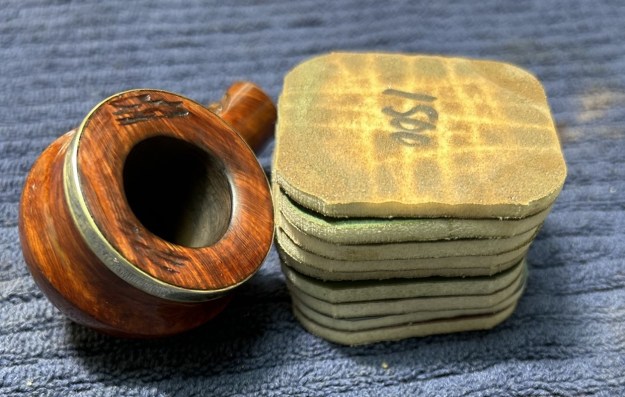
Paradis Pipes is the Canadian brand of the brothers Gilles and Fernand Paradis. In 1922 the Paradis family moved to the USA, when Lucien Paradis (1906-1979) was 16 years old. It was at this age that he started as an apprentice at his uncle’s pipe factory: Joseph B. Desjardins, maker of (JD) pipes, in Fall River, MA. Joseph Desjardins was issued two patents during this period, one for a new machine for making pipe stems and another for a new design of pipe reamer. The company employed 60 workers at one stage. In 1930, due to the Great Depressions, Lucien lost his job and returned to Quebec to work in the agricultural machine industry. In his spare time, be made pipes, selling them door to door. Three years later the rest of the family joined him, and Lucien founded a pipe factory with two of his brothers. The company eventually employed 18 workers and in the 1960s produced over 50,000 pipes a year, under brads like JBL, Dr. Thomas, Fernand Gignac, S.C. Pipes, New London Golfer, and Jo Thomassin. Paradis was founded in 1978, at the Salon of Quebec Artisans, and is available in tobacconists all over the country today. The brand produces 8,000 pipes a year (400 “handmade”), with Greek briar. The pipe was in decent condition. It had been well-smoked, and the bowl and shank were fairly dirty. The bowl had some cake on the inside and a bit of lava on the rim. But there was clearly some burning there too. The brass ring around the bowl was in good condition, just a bit scratched up. Meanwhile, the stem was relatively dirty. It was made of acrylic, so no oxidation to speak of, but there were what I would describe as “typical” tooth scratches on the bit. Fortunately, no dents – but someone did leave a heavily used filter behind. Delicious.

 The stem was first on my list. I wiped the outside down with Murphy’s Oil Soap on some cotton pads. I cleaned out the insides with lemon-infused isopropyl alcohol and some pipe cleaners and cotton swabs.
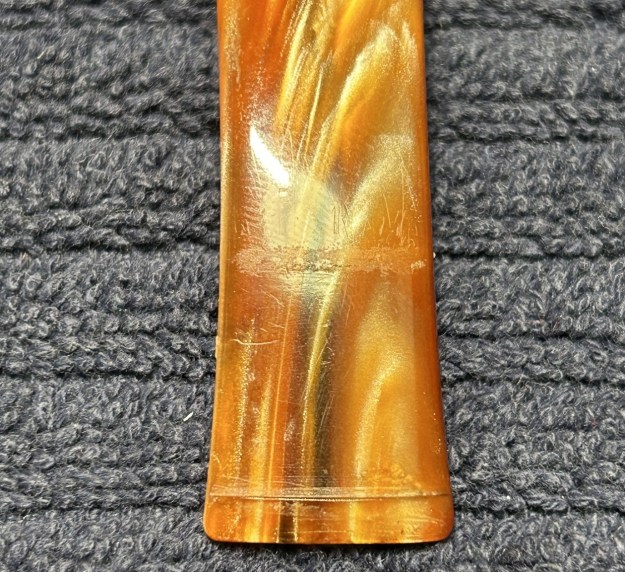
 I then used all nine Micromesh pads (1,500 through 12,000 grit) to make the swirling colours of the stem’s acrylic shine again. I also used Obsidian Pipe Stem Oil in between each pad scrubbing (from 3,600 onward).
Now for the stummel. I reamed out the bowl to remove the built-up cake and followed that with 220-grit sandpaper taped to a dowel to eliminate as much as I could. I took the chamber down to bare briar, as I wanted to ensure there were no hidden flaws in the wall. Fortunately, there were none.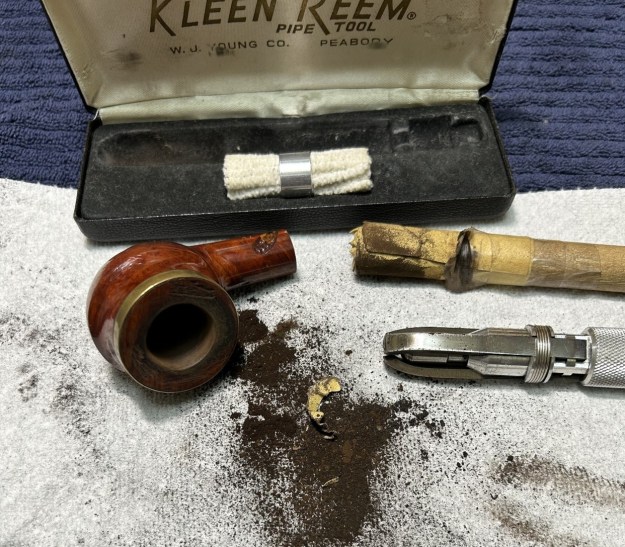 I then proceeded to clean out the insides of the shank with Q-tips, pipe cleaners, and lemon-infused isopropyl alcohol. There was quite a bit of filth inside this stummel and it took a fair amount of cotton to get it clean. I used cotton rounds and some Murphy’s Oil Soap to wipe the outside of the stummel. I also used my toothbrush on the rim to see if I could lift some the burn marks there. Only so much was cleaned up. I followed that up by cleaning the insides of the stummel with some Castile soap and tube brushes.

 Next, I decided to de-ghost the pipe in order to remove any lingering smells of the past. I thrust cotton balls into the bowl and the shank and saturated them with 99% isopropyl alcohol. I let the stummel sit overnight. This caused any remaining oils, tars and smells to leach out into the cotton. The bowl was nice and clean after this.
 In order to safely remove the damage on the rim, I used a piece of 220-grit sandpaper wrapped round a wooden sphere. This effectively removed the damage, without altering the look of the pipe. This worked very well and I was pleased with the results. I tidied up some of the lost colour with one of my furniture pens. Then I sanded the rim down with all nine Micromesh pads (1,500 through 12,000 grit). I also made sure to use the Micromesh pads on the brass ring, in order to remove some scratches and bring back its shine.
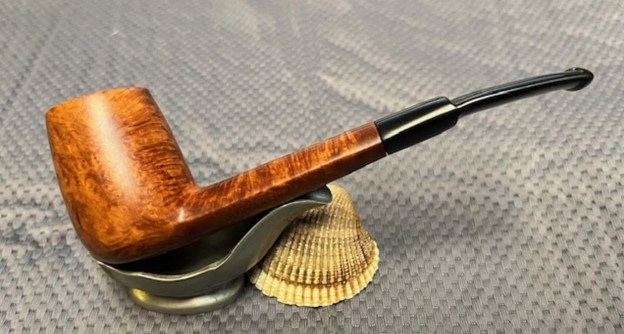
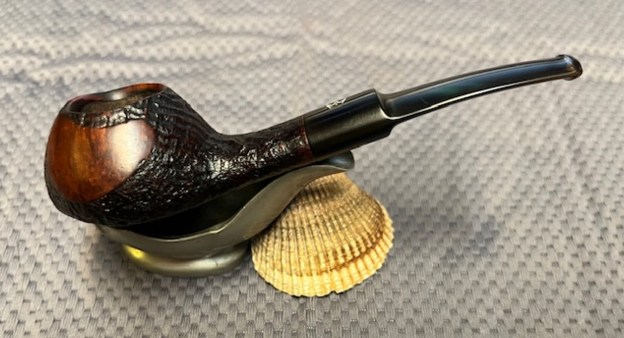
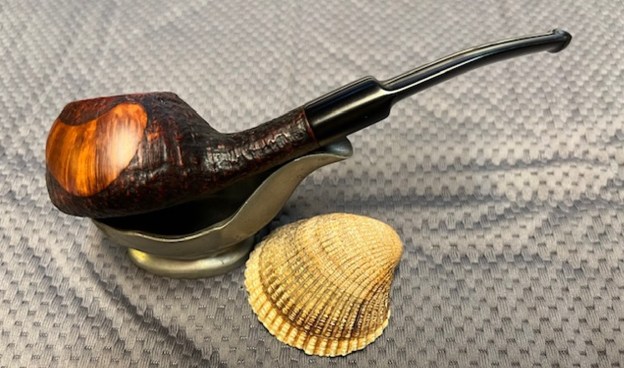
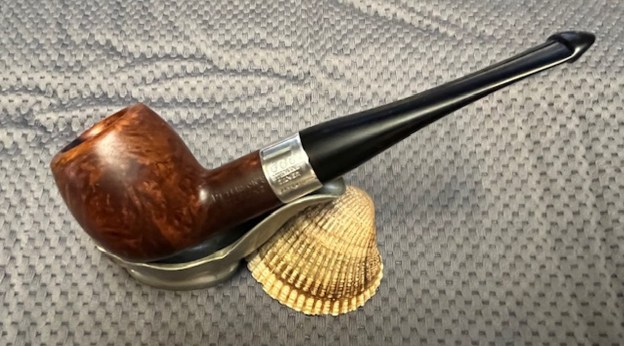
 Finally, I applied some Before & After Restoration Balm and buffed it with a microfiber cloth. I then took the pipe to my bench polisher and buffed it with White Diamond and a few coats of carnauba wax. Wow – the pipe looks much improved.
 This unusual Paradis Star 72 Freehand Pot will suit the buyer very well and I’m sure that he will enjoy smoking it for many years to come. I hope you enjoyed reading the story of this pipe as much I as I did restoring it. If you are interested in more of my work, please follow me here on Steve’s website or email me directly at kenneth@knightsofthepipe.com. Thank you very much for reading and, as always, I welcome and encourage your comments.