By Steve Laug
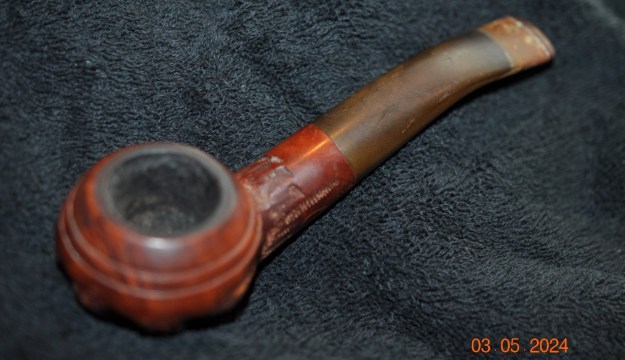
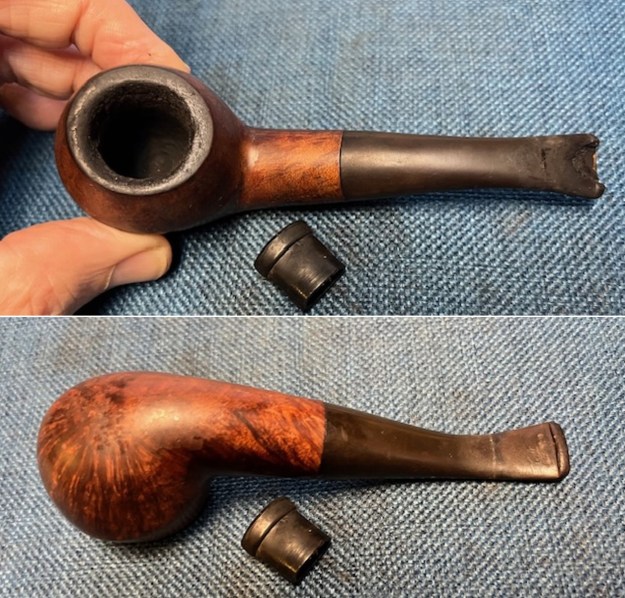
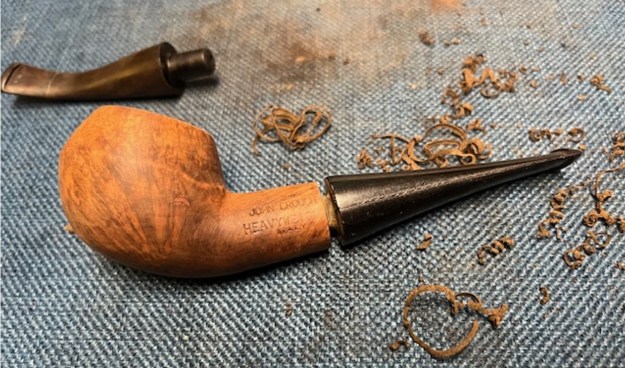
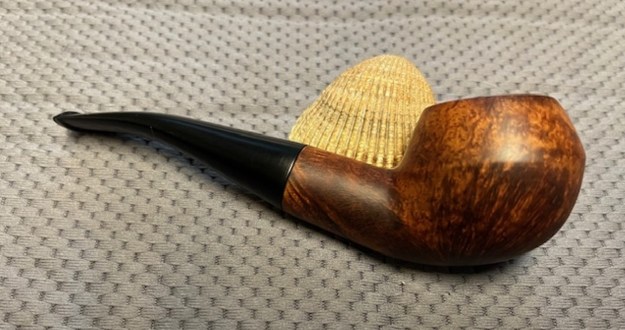
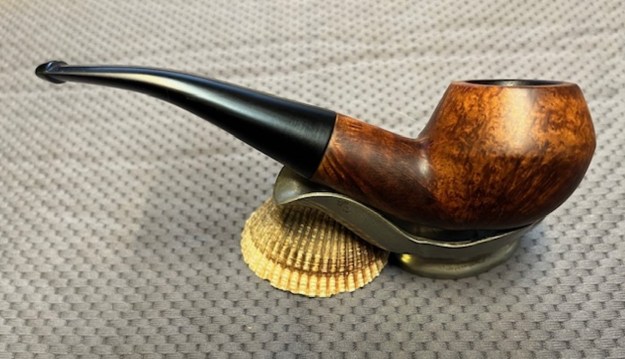
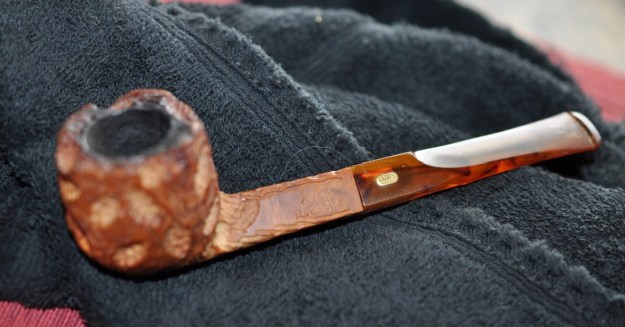
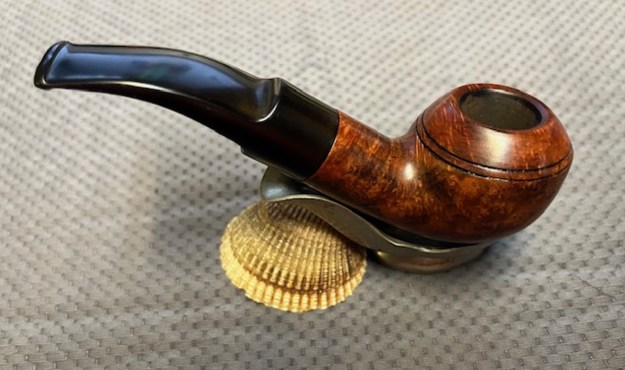
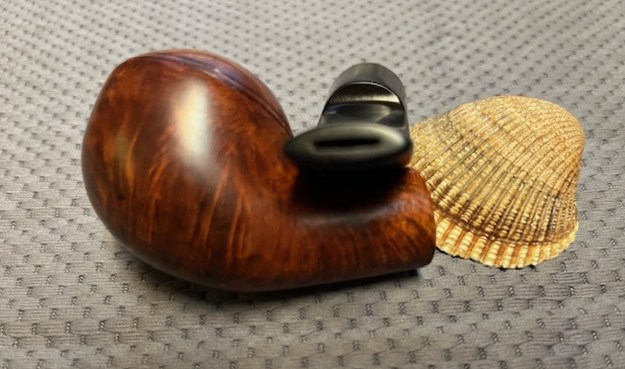
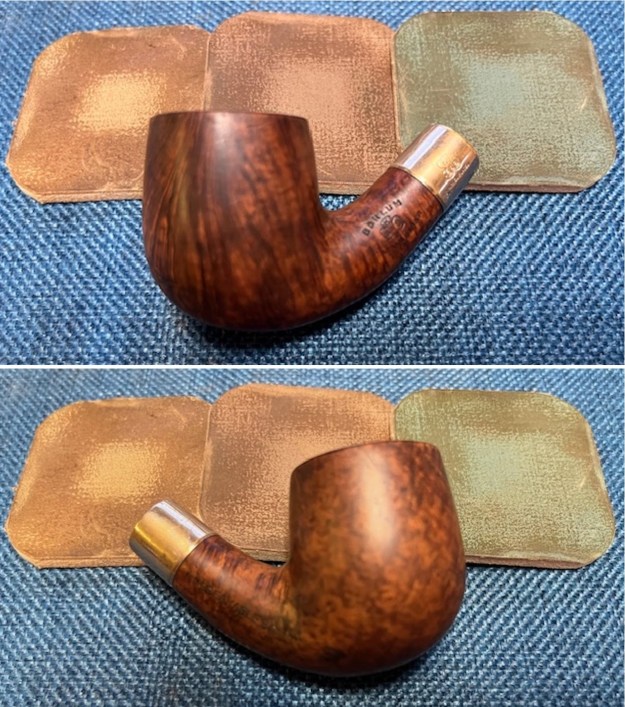
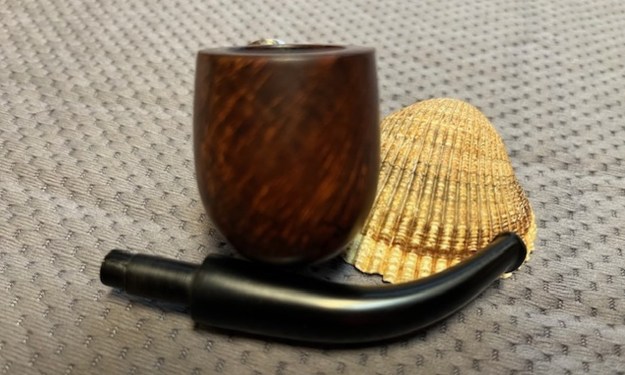
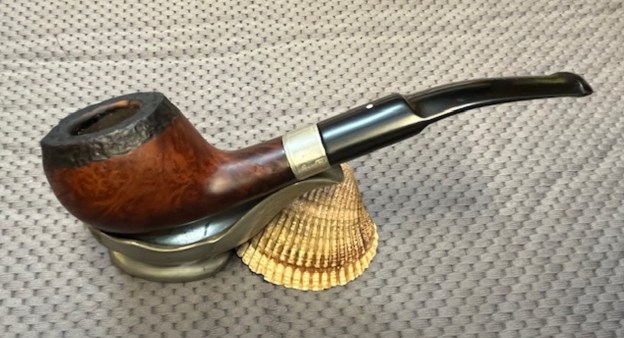
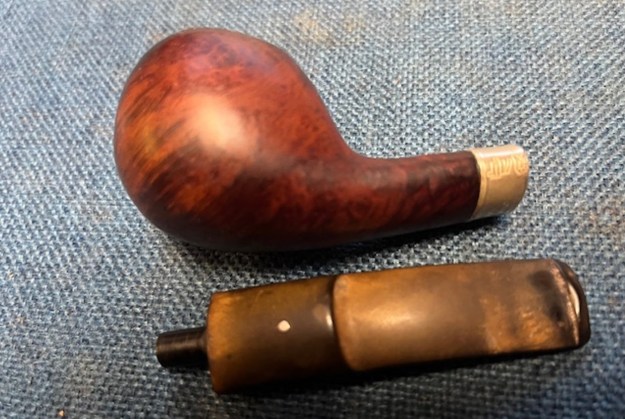
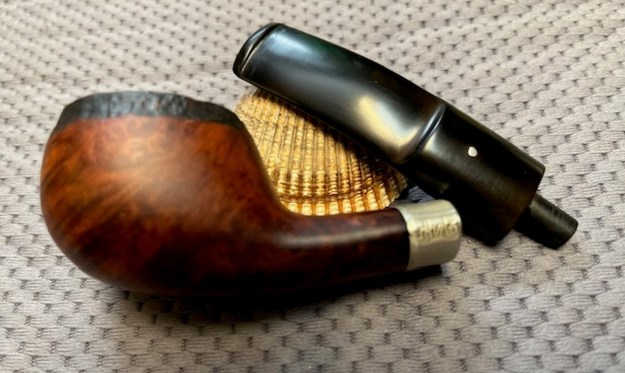
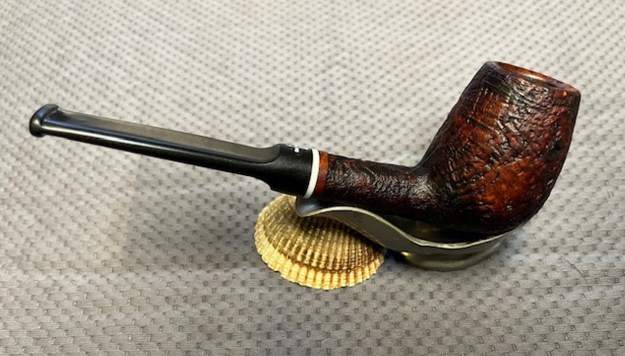
The next pipe on the table was one we purchased on 01/22/24 off eBay from a seller in Jordan, Minnesota, USA. It is large billiard that is stamped L.J. PERRETTI on the left side of the shank. On the right side it is stamped ALGERIAN BRIAR. The stamping is clear and readable. The grain is quite nice and there are no fills in the briar that are visible. It was a dirty pipe – the finish was darkened and grit and oils were ground into the outside of the bowl. The rim top had a serious cake of lava on it, heavier on the back side. There was some damage on the outer edge of the bowl at the back where it had been knocked about. The bowl had a moderate cake, heavier toward the bottom of the bowl. The stem was oxidized there were tooth marks and chatter on both sides ahead of the button. There were no marks or logo stamps on the stem. From my own work on Peretti pipes in the past I knew that this one a shop pipe from the Boston store. I did not know however when it was made or who made it. It is a well-proportioned tall billiard. It has a lot of promise. Jeff took photos of the pipe before his clean up.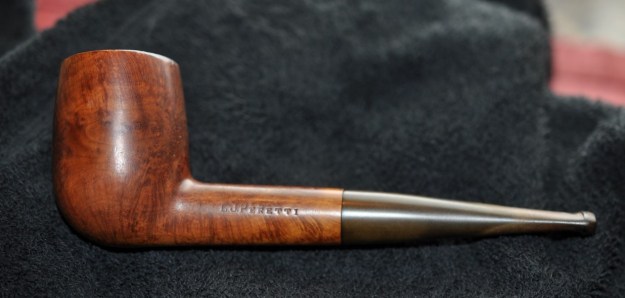
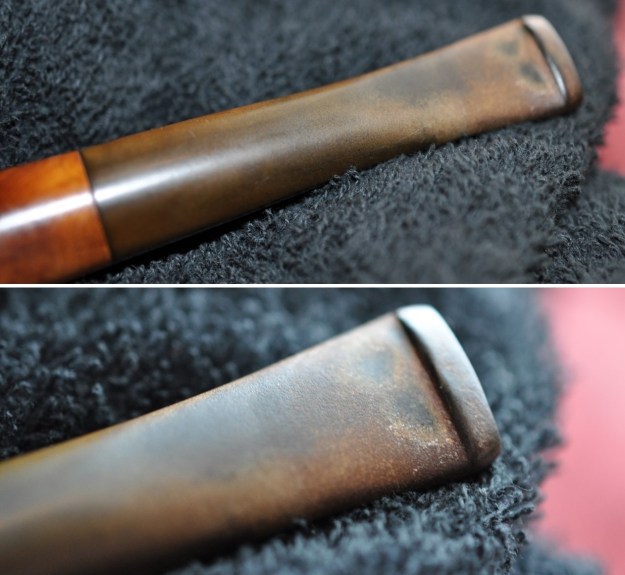
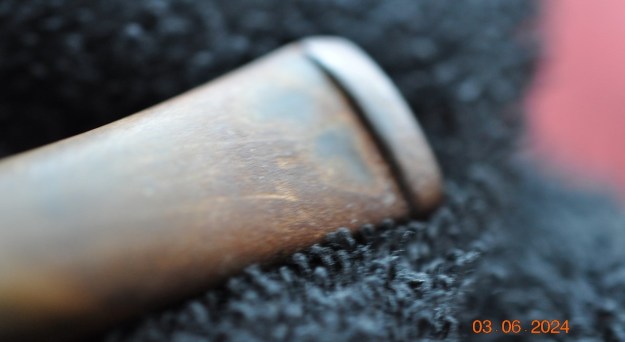
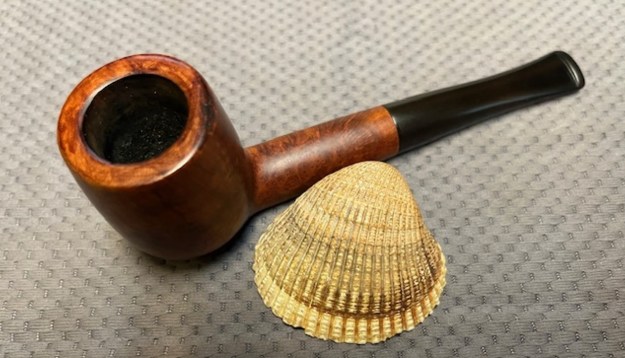
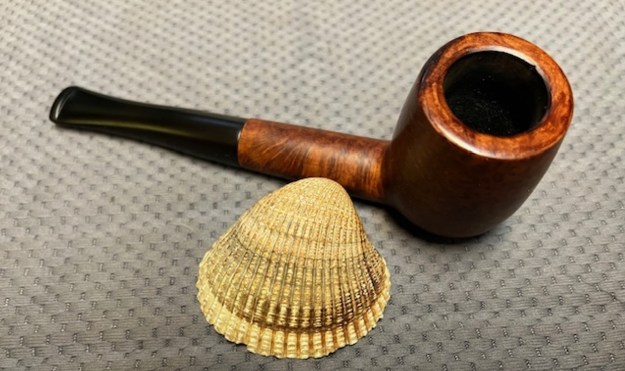
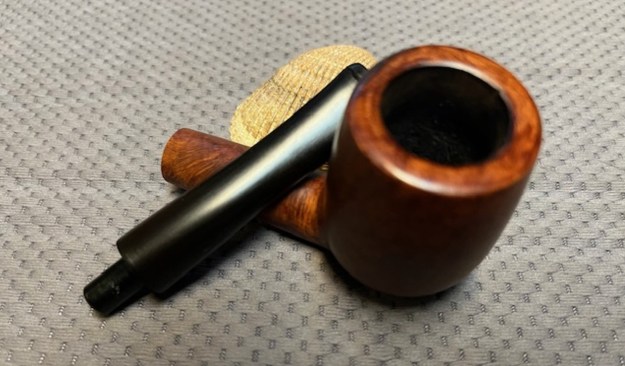
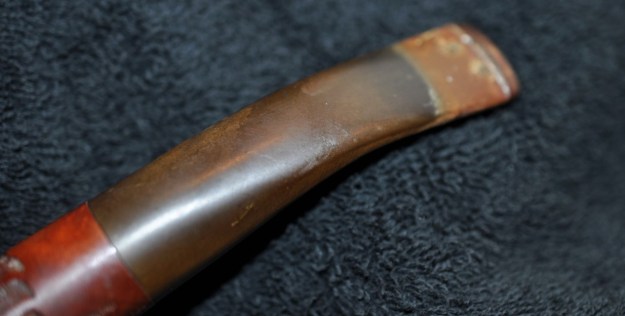
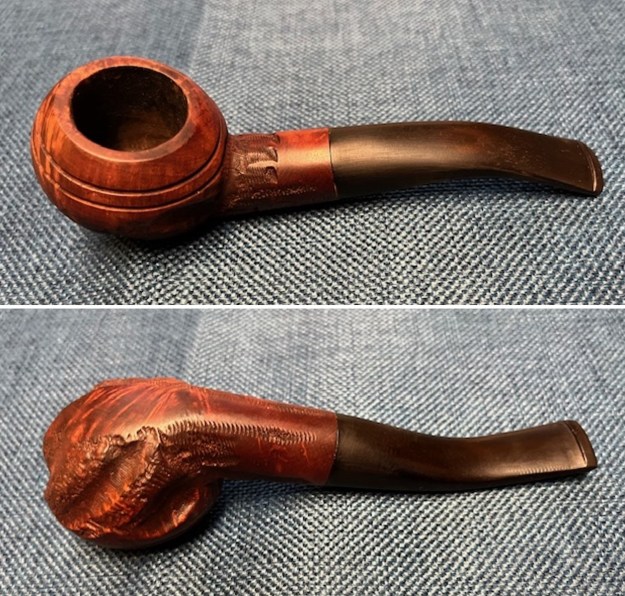
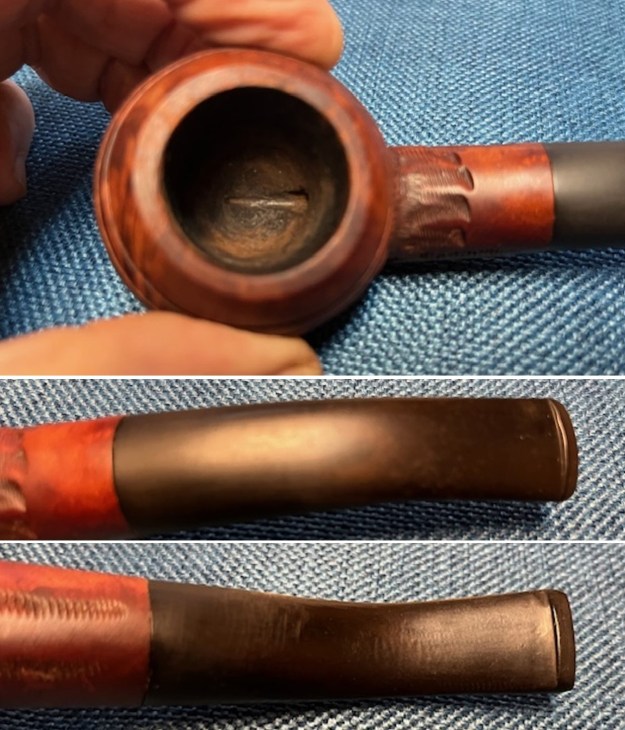
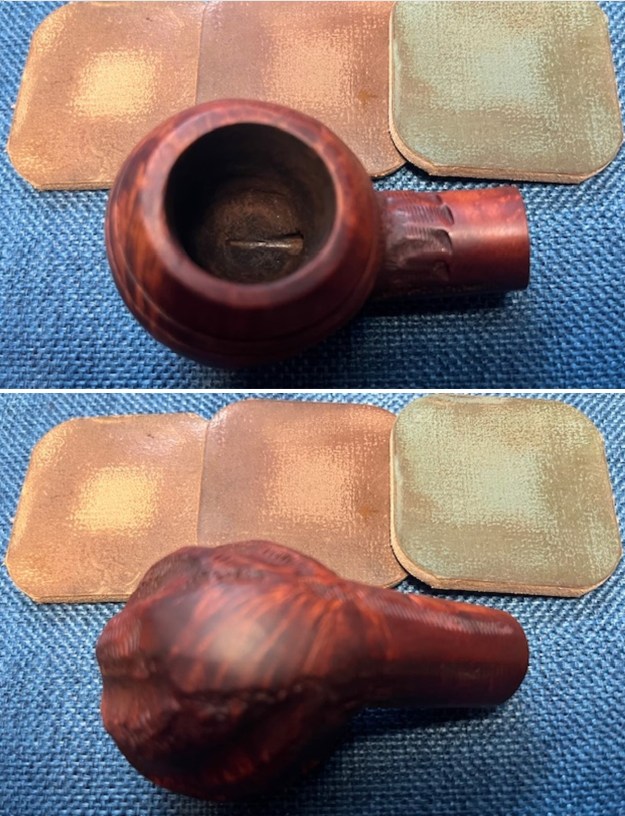
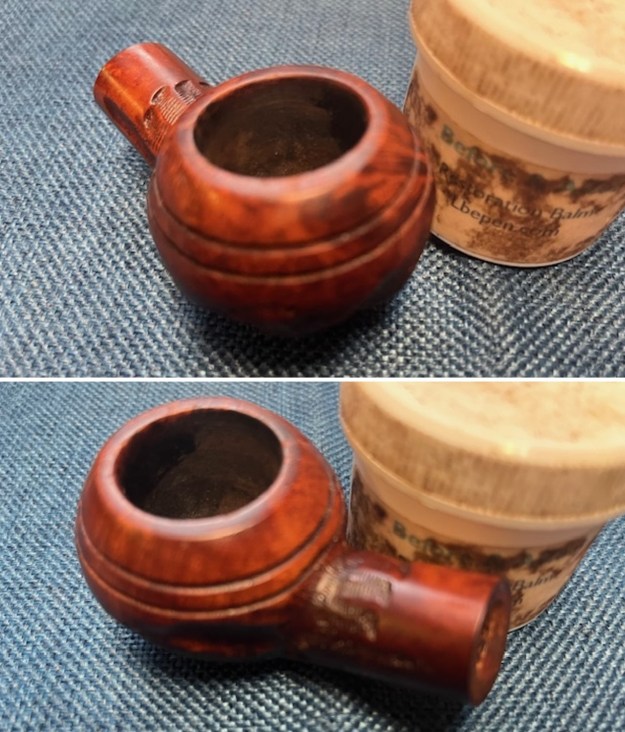
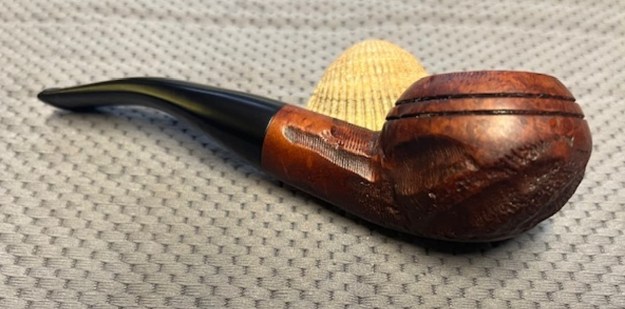
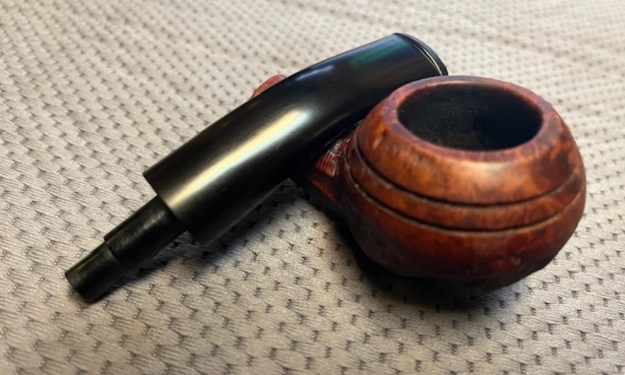
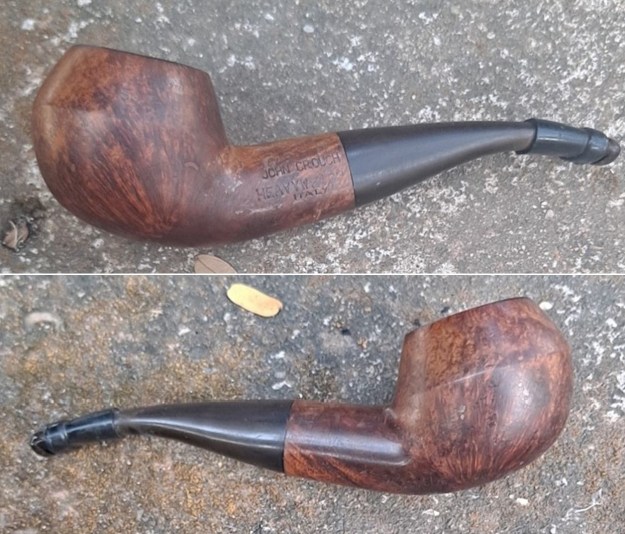
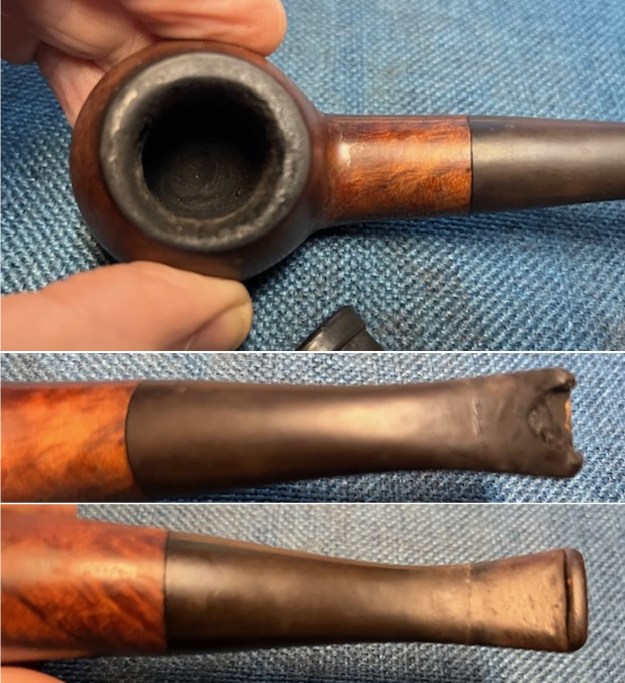
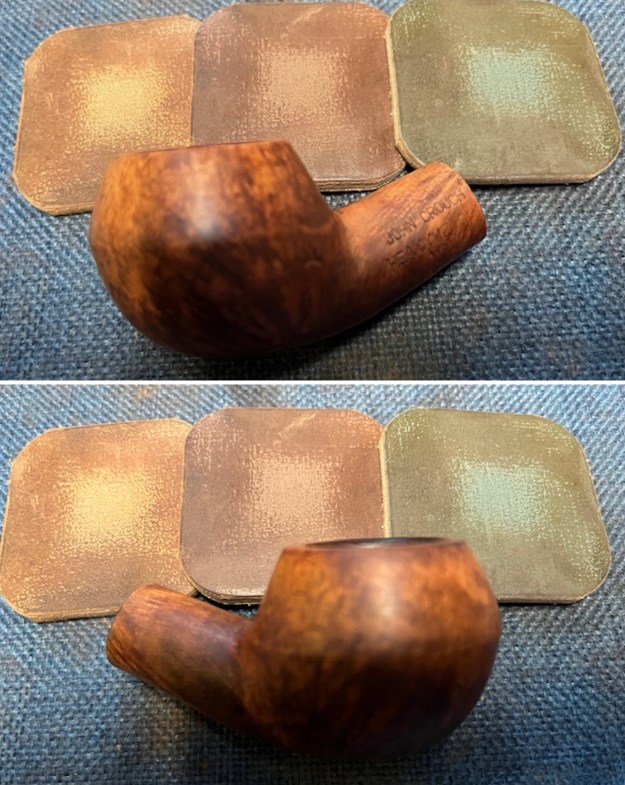
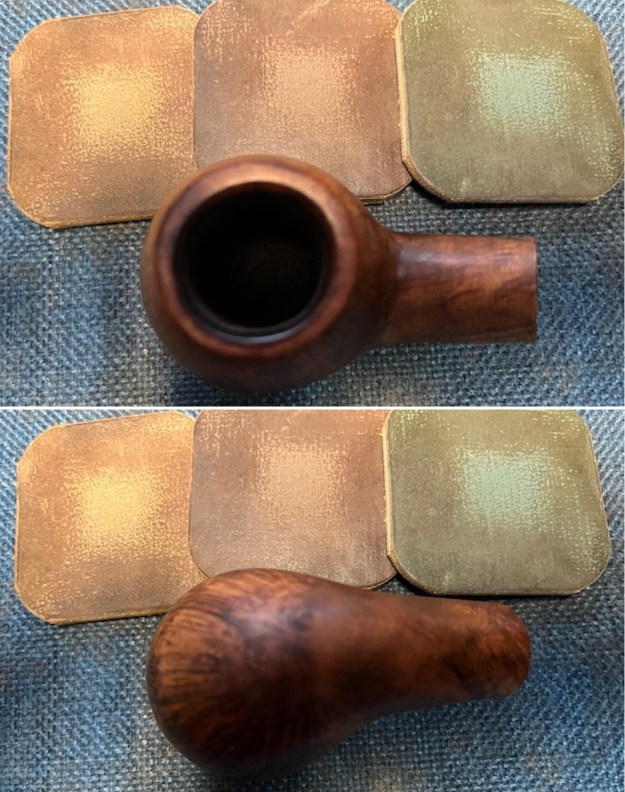
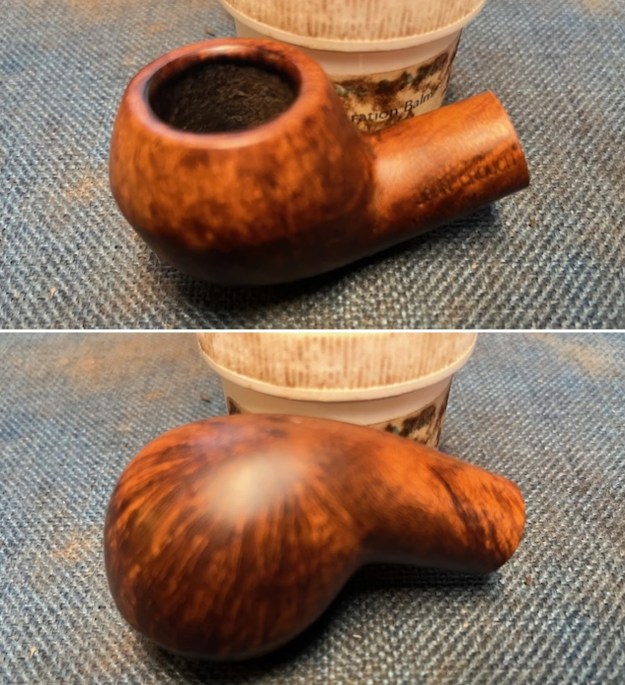
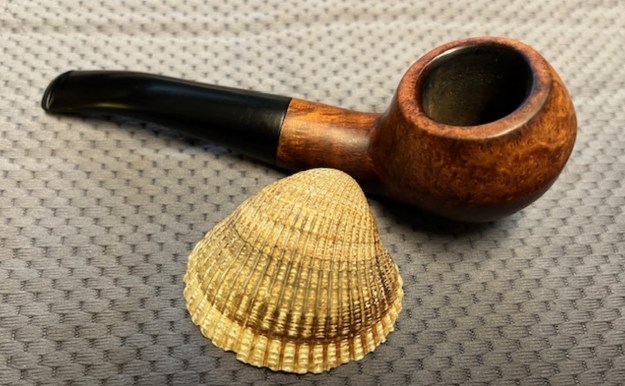
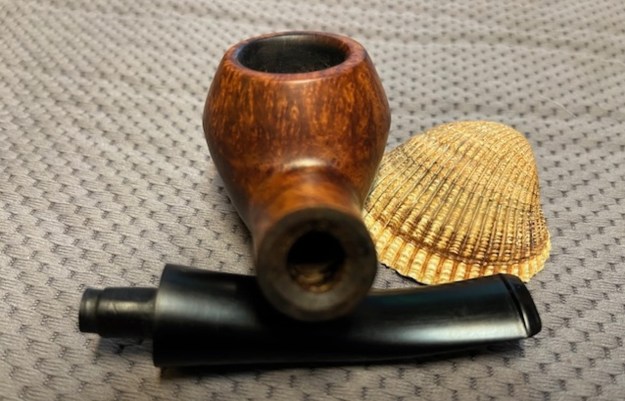
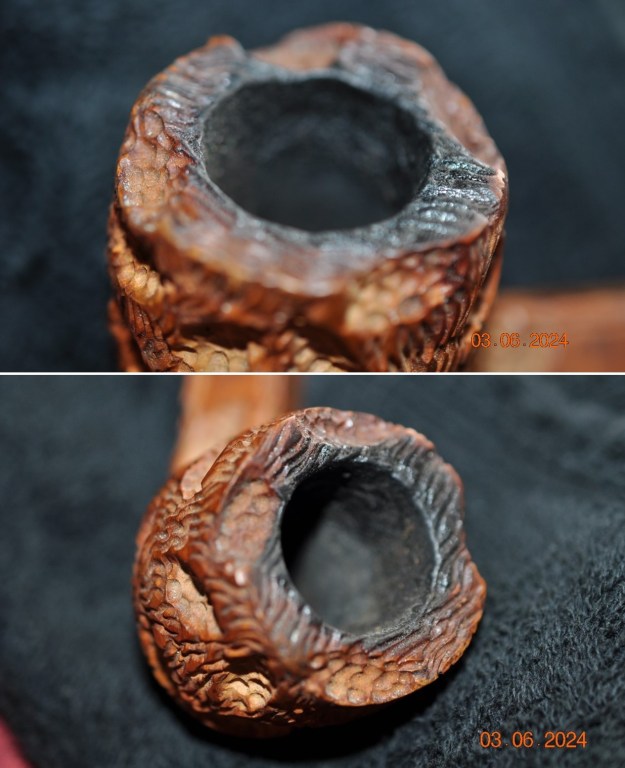
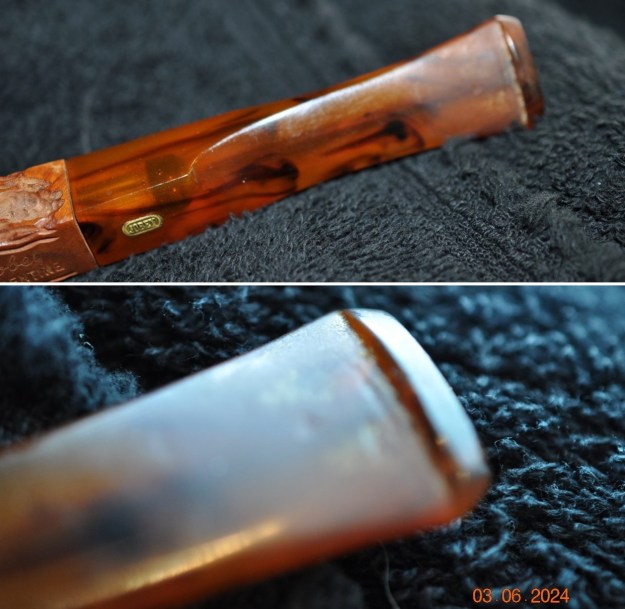
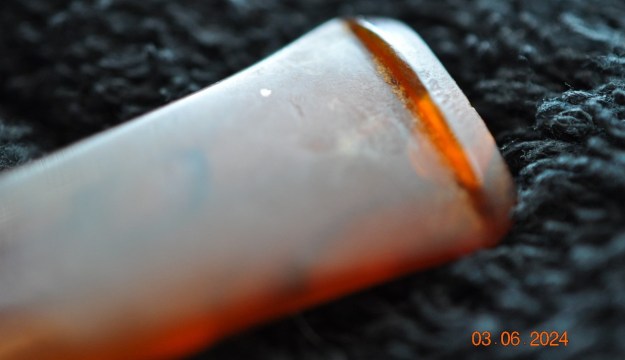
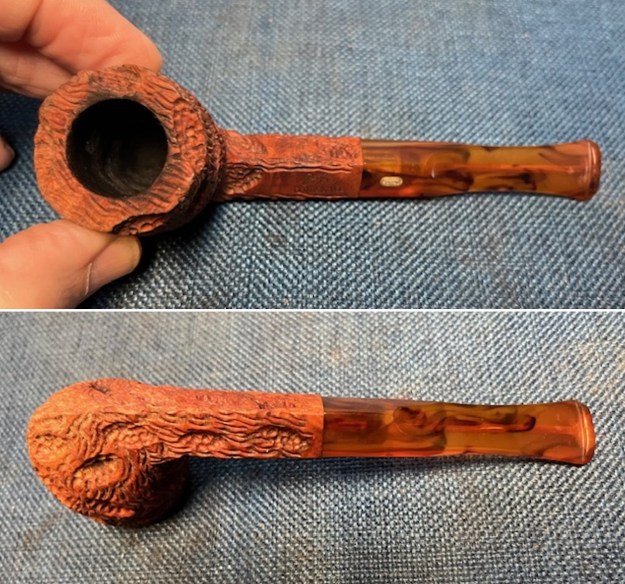
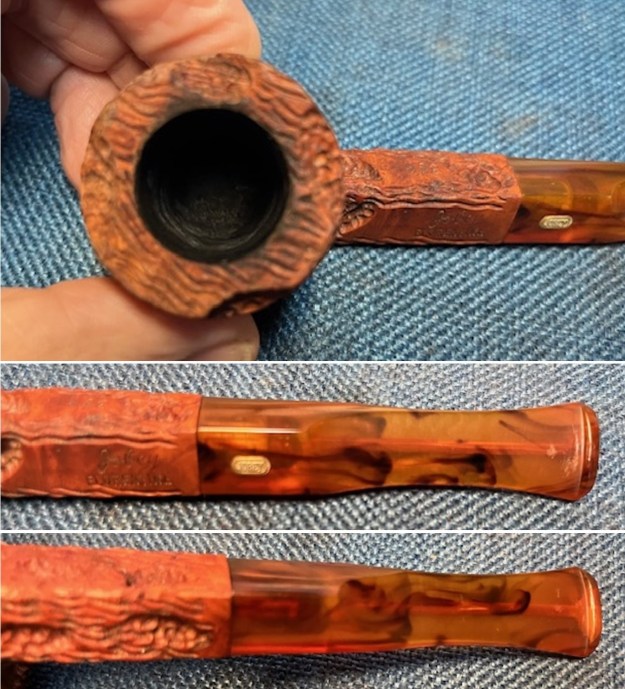
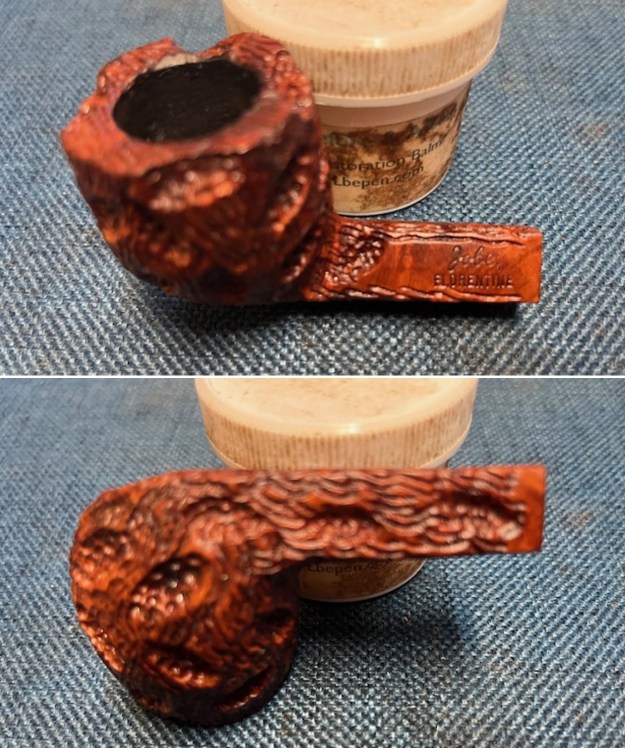
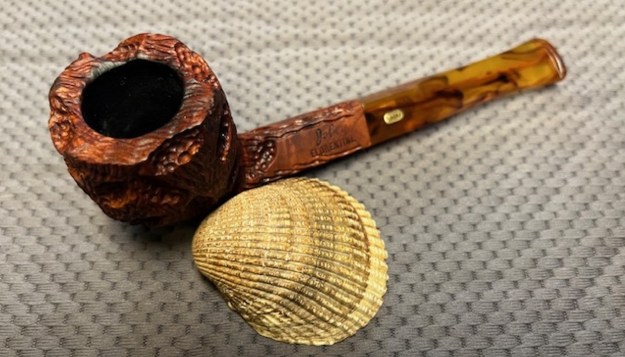
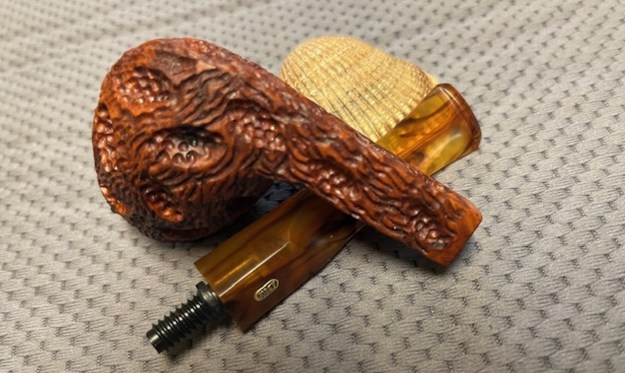
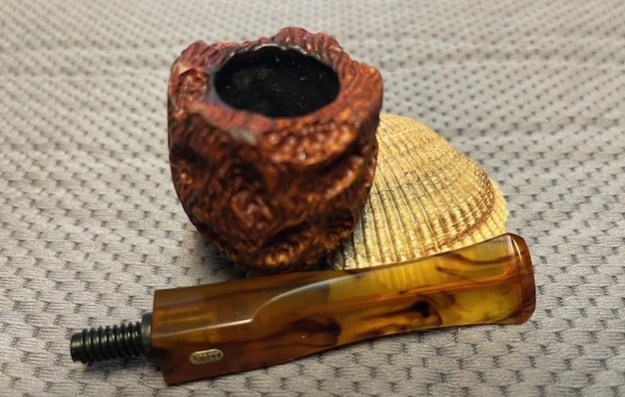
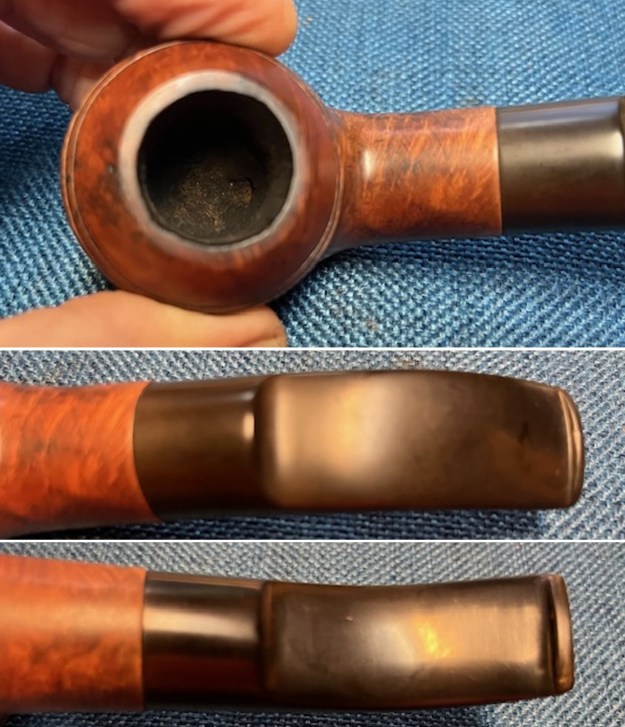
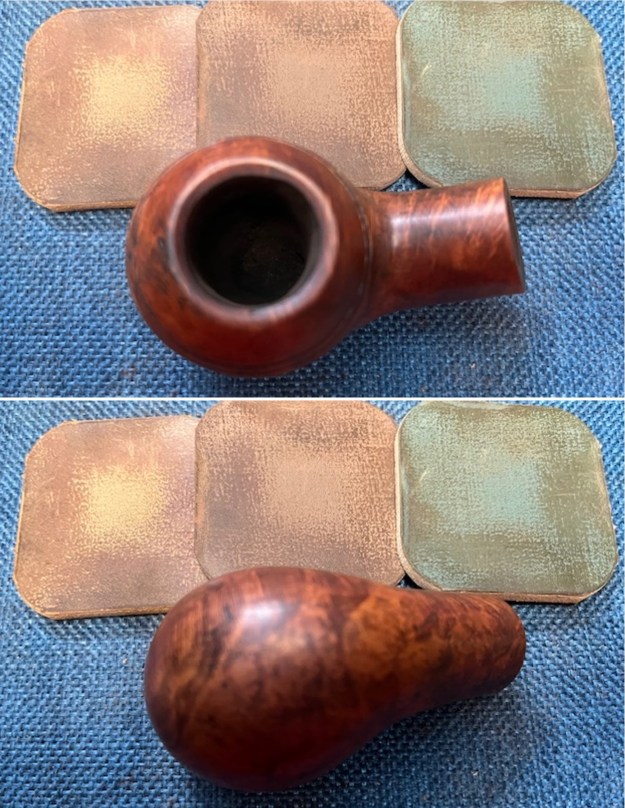
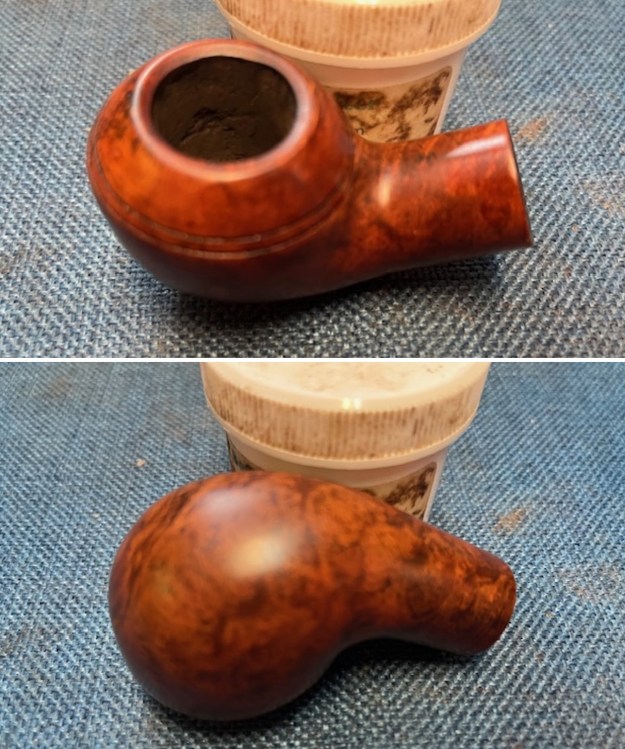
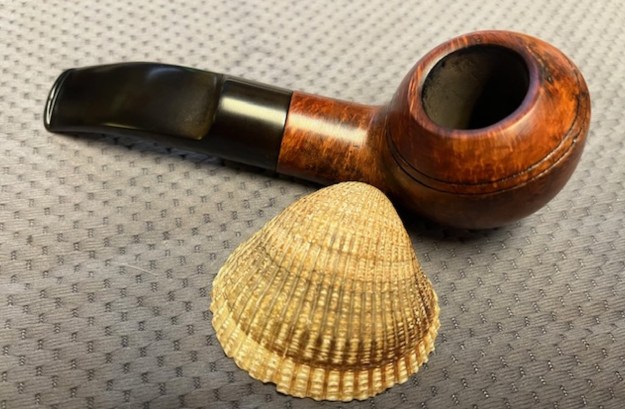
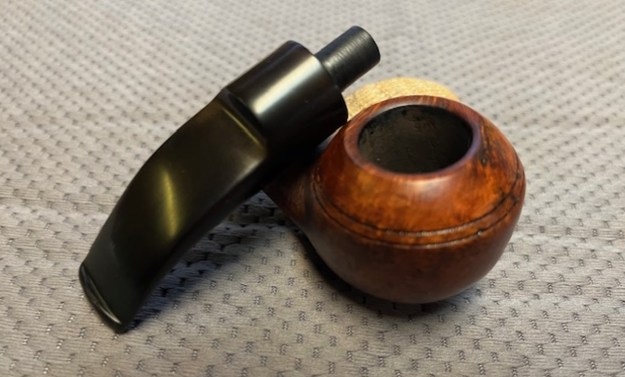
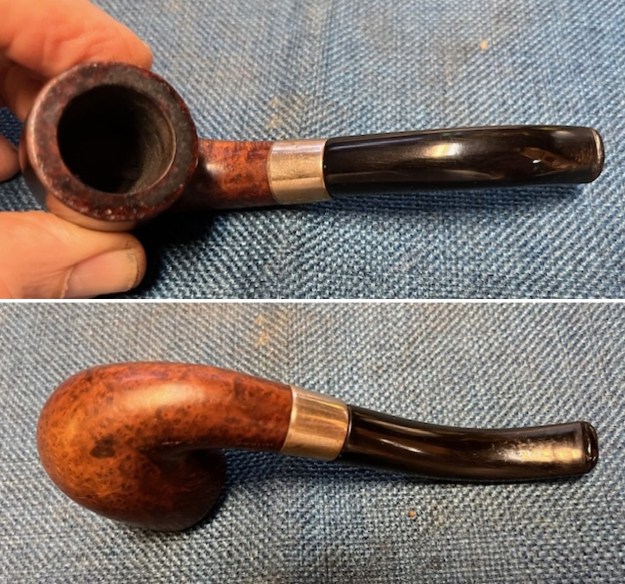
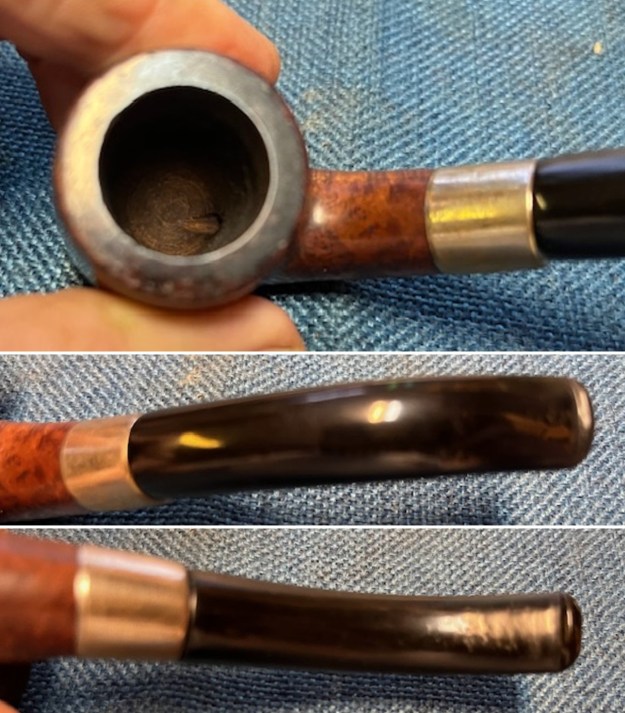
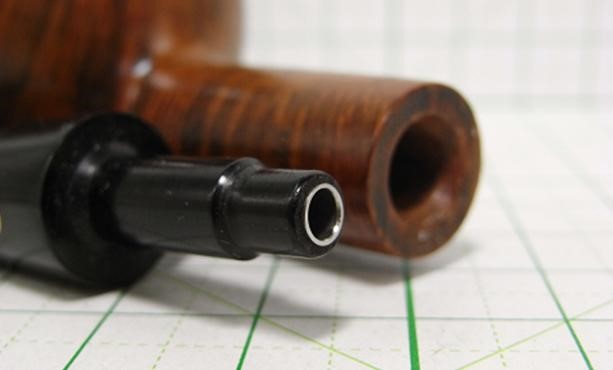
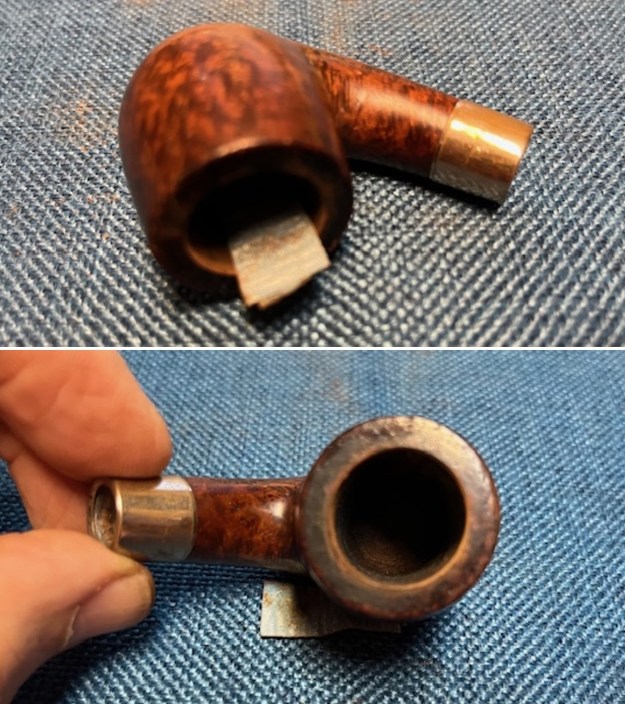
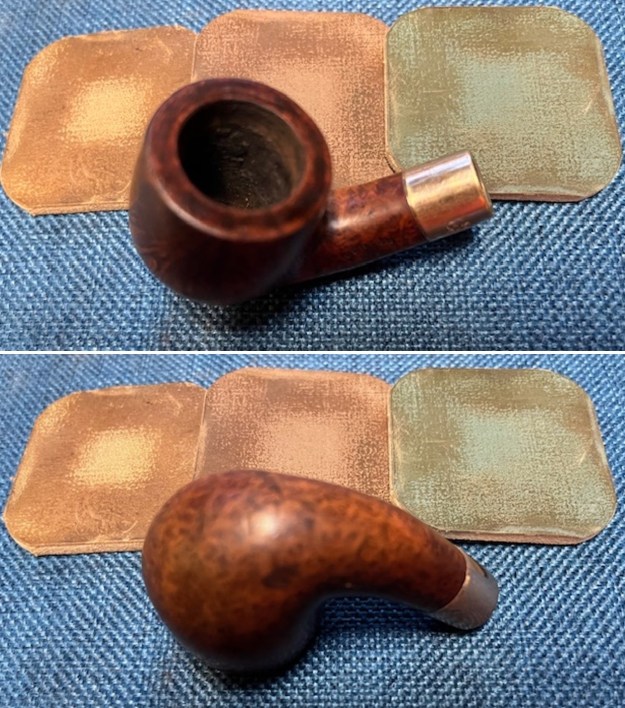
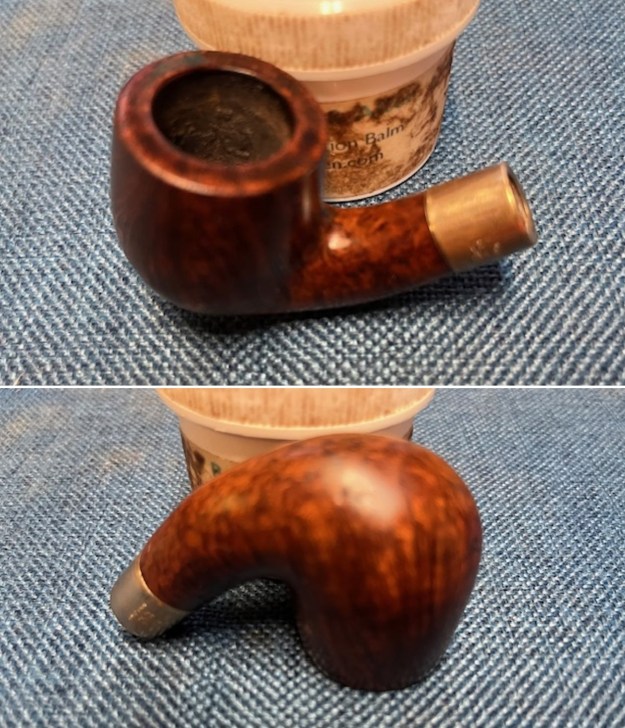
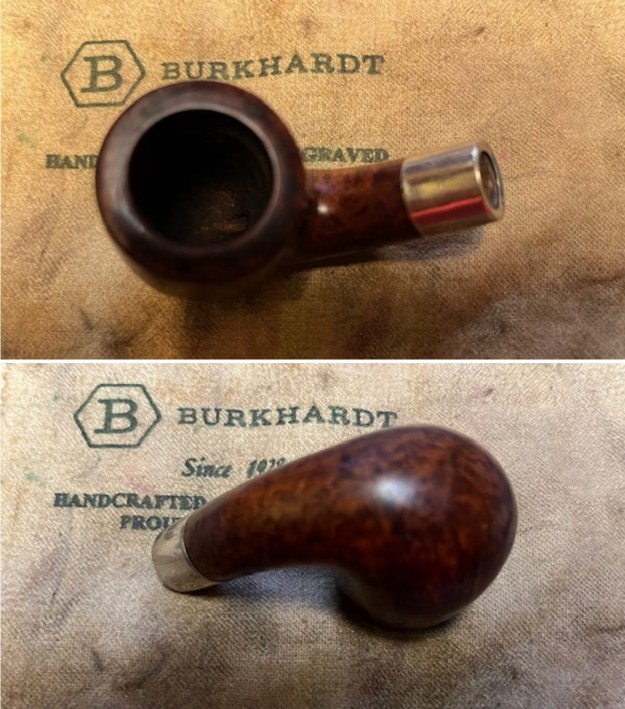
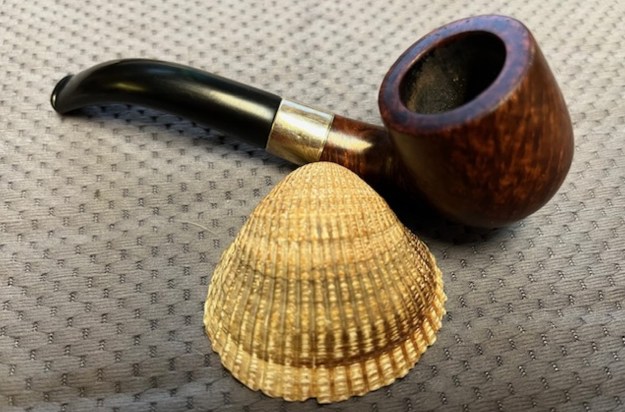
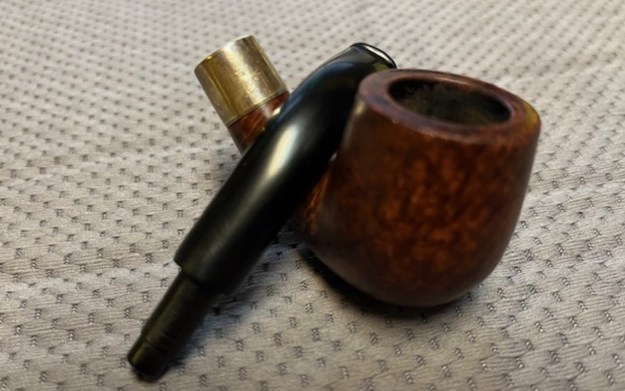
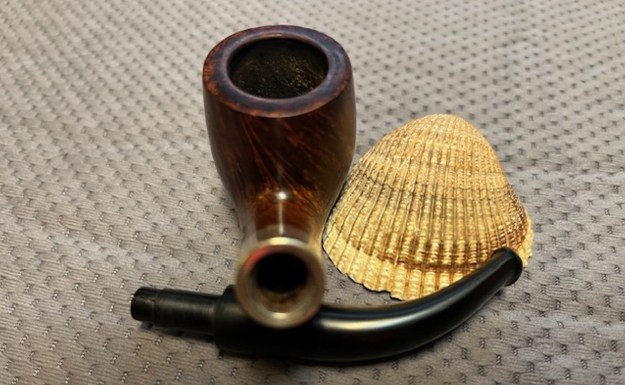
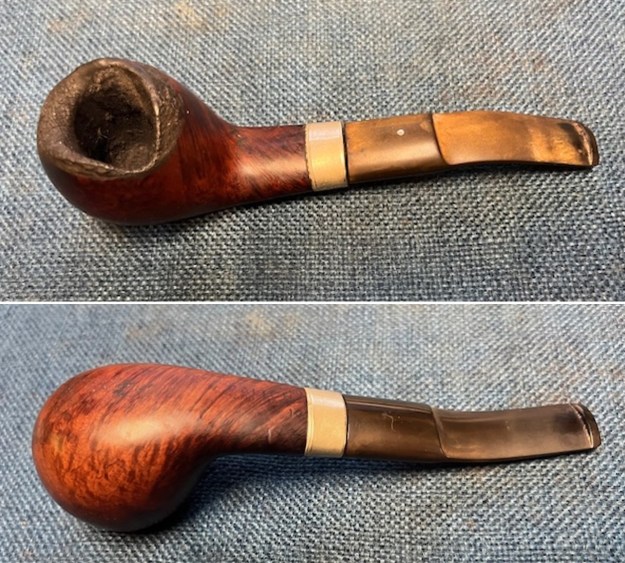
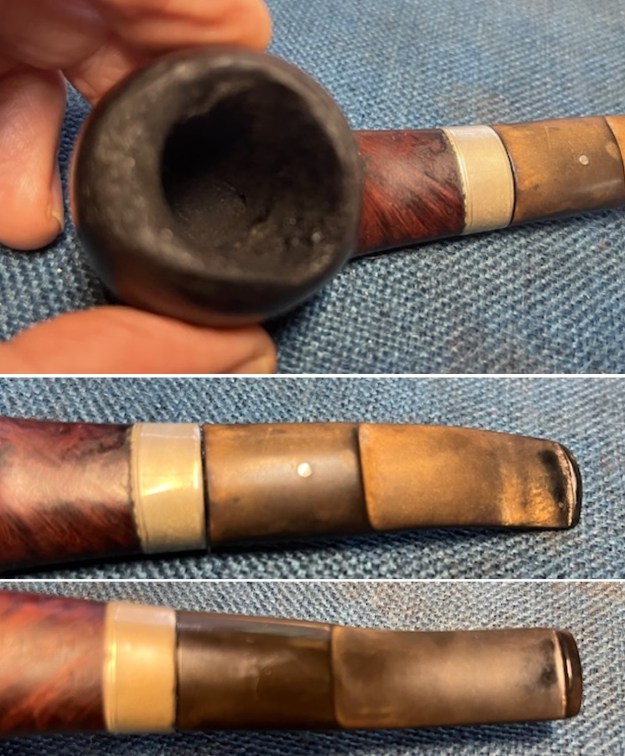
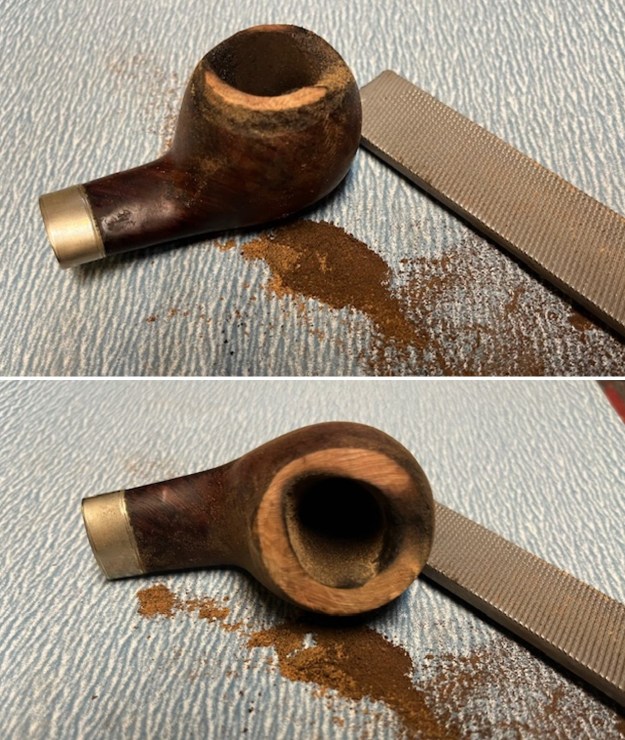
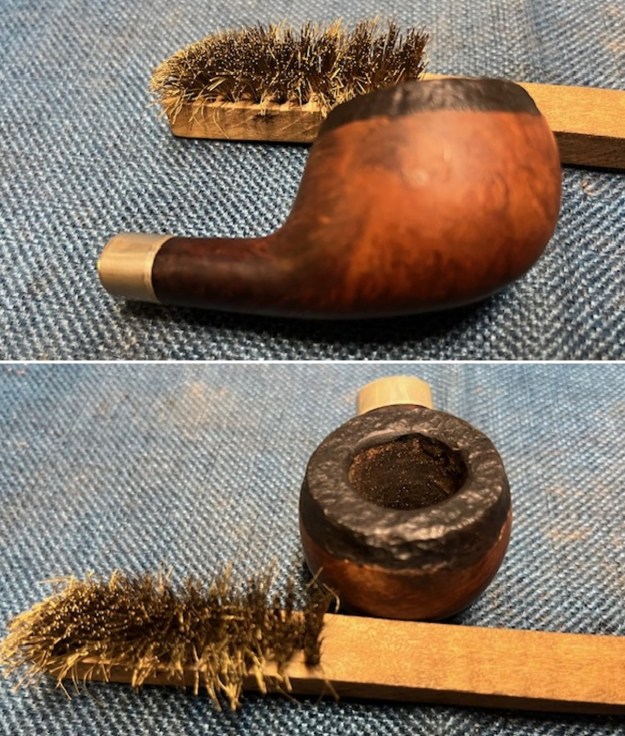
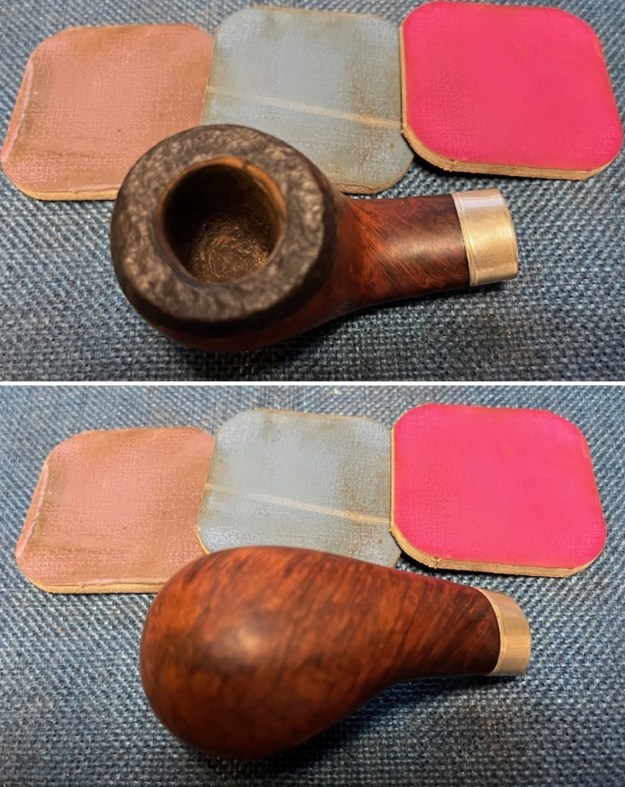
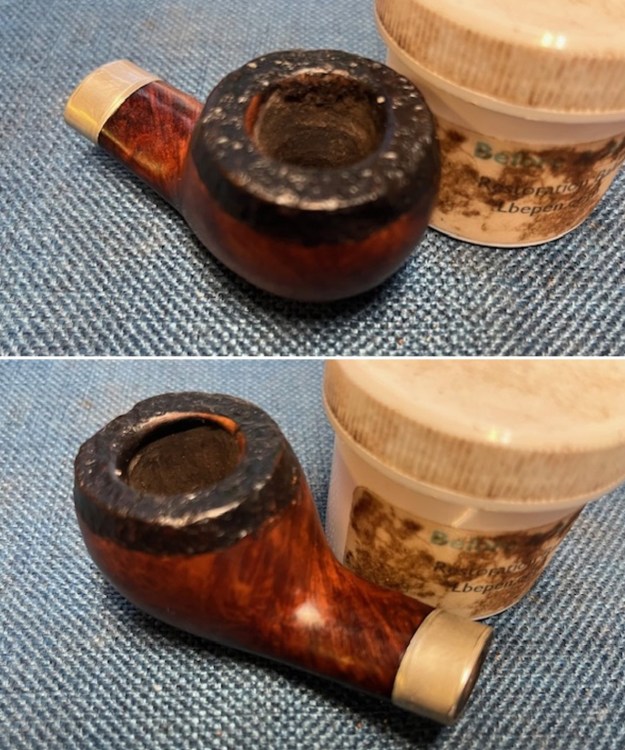
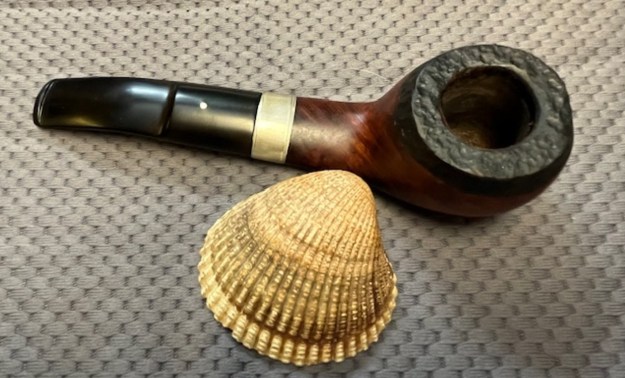
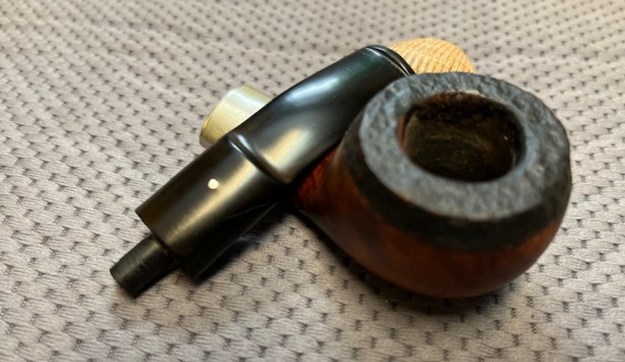
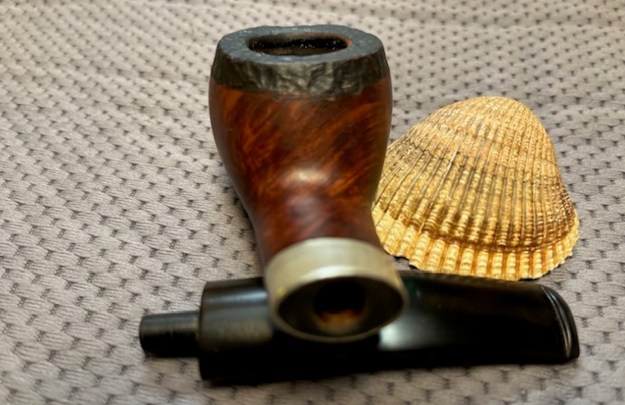
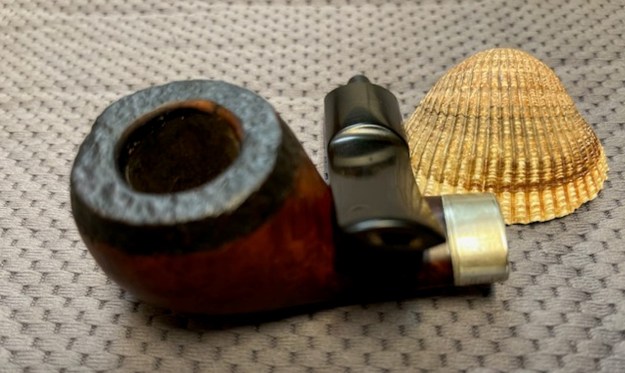
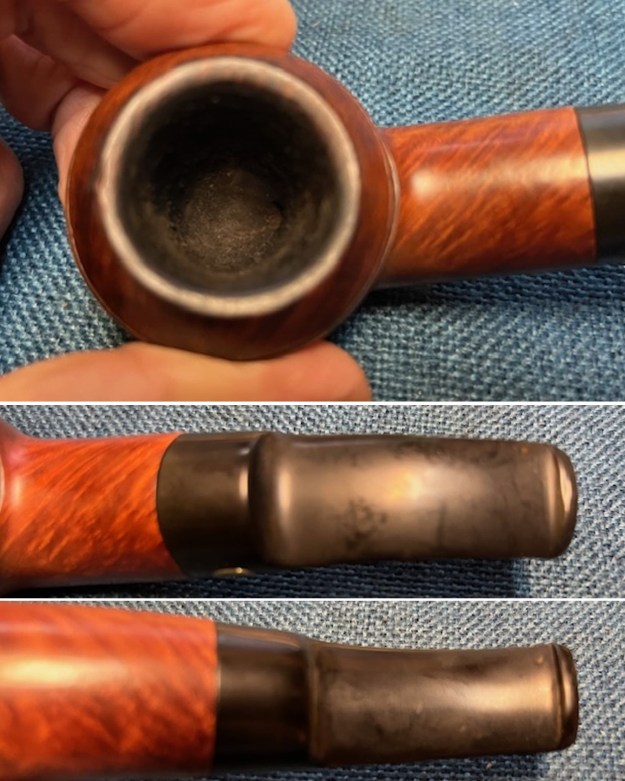
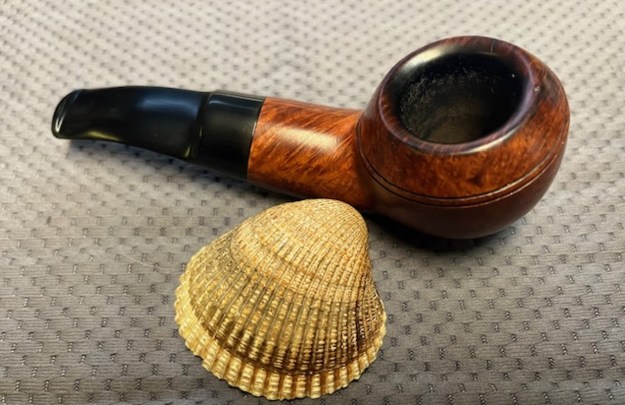
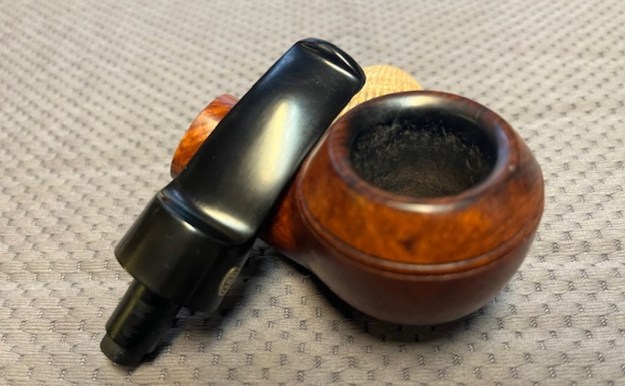
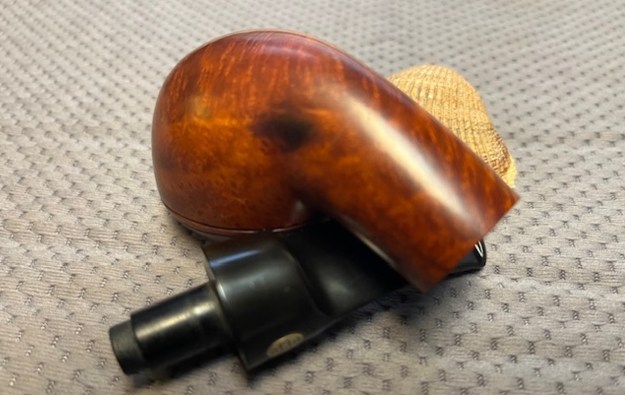
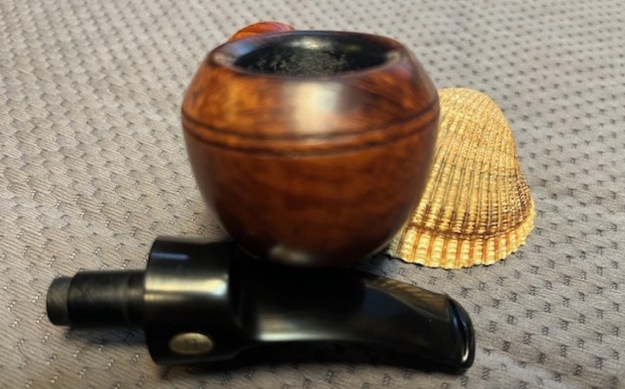
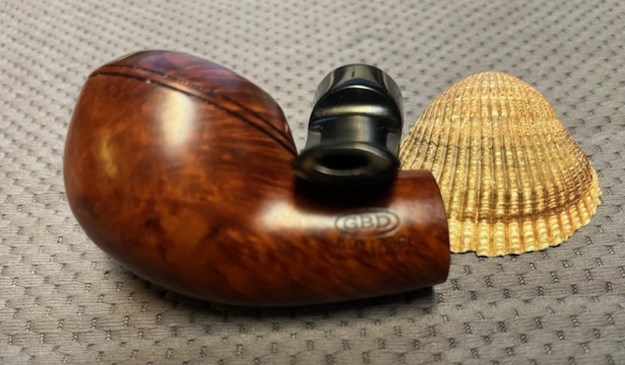
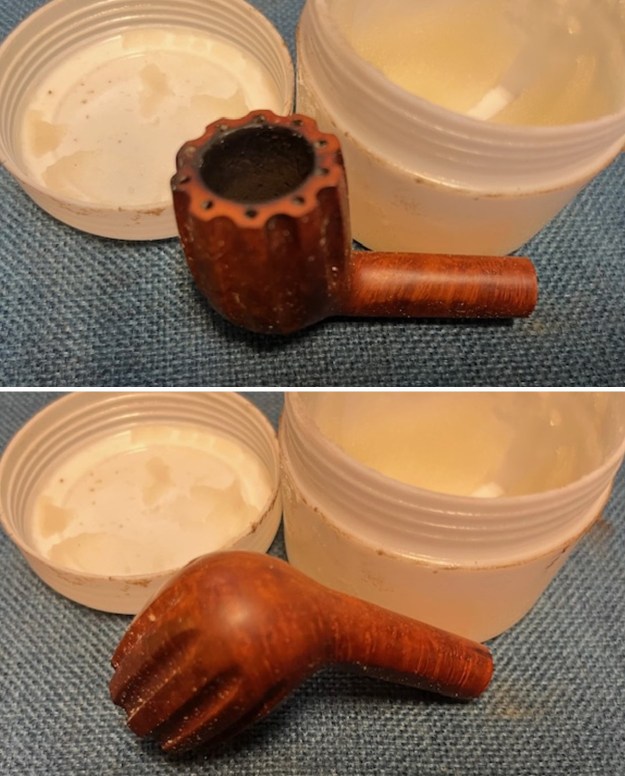
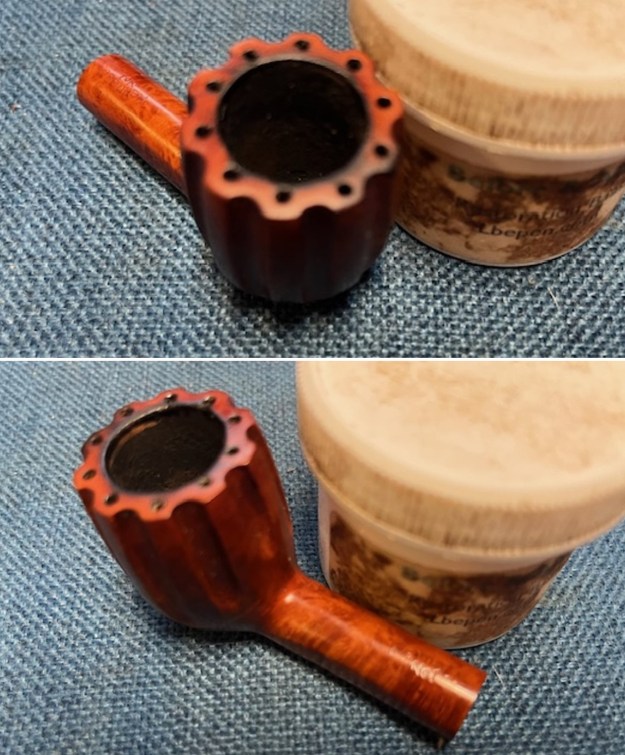
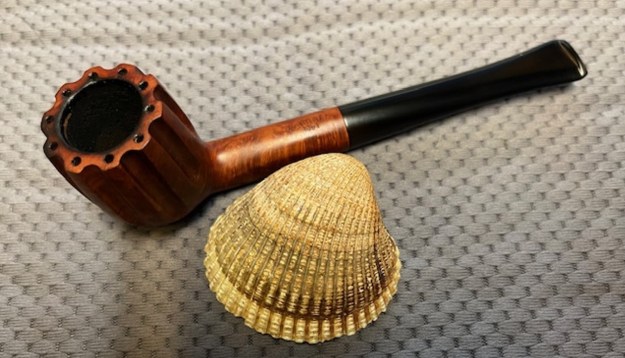
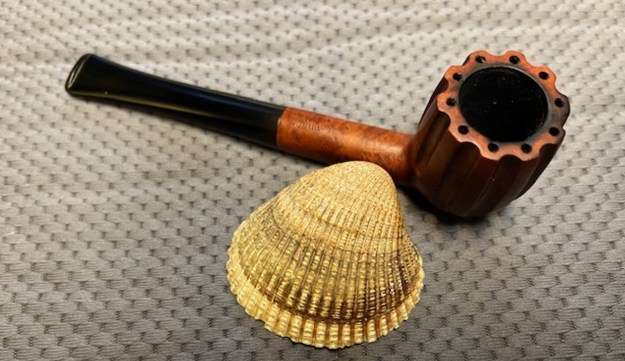
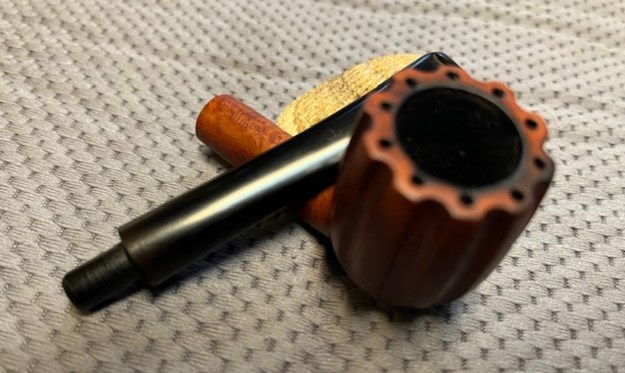
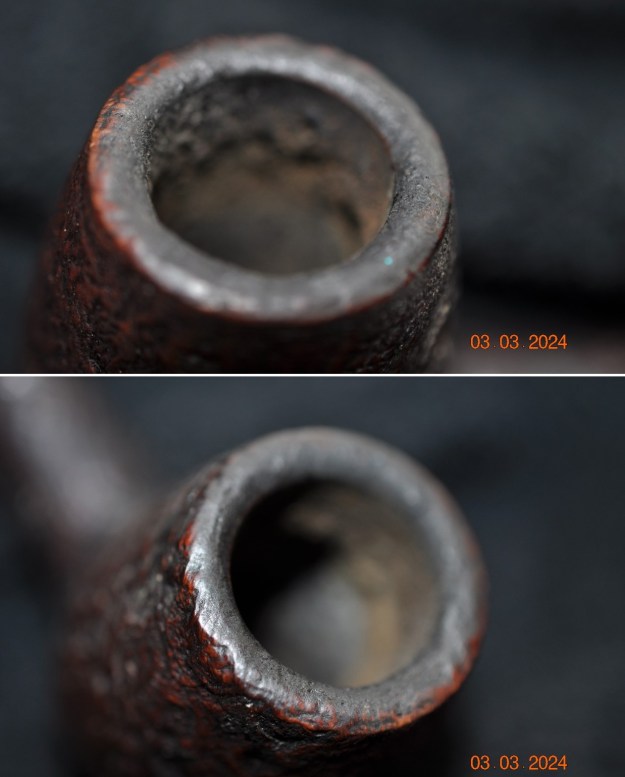
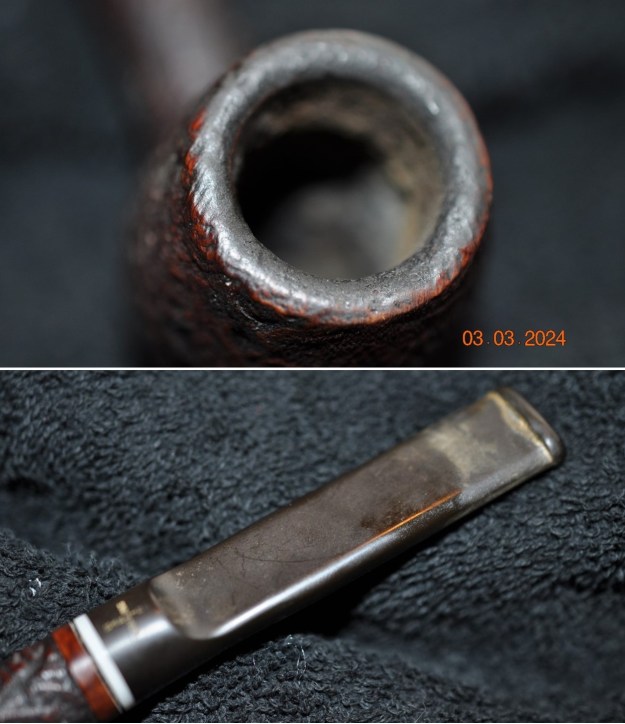
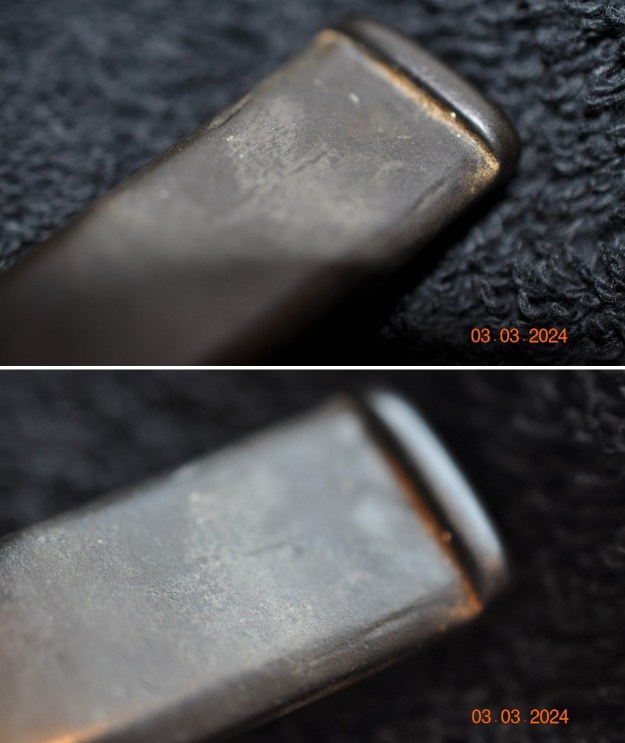
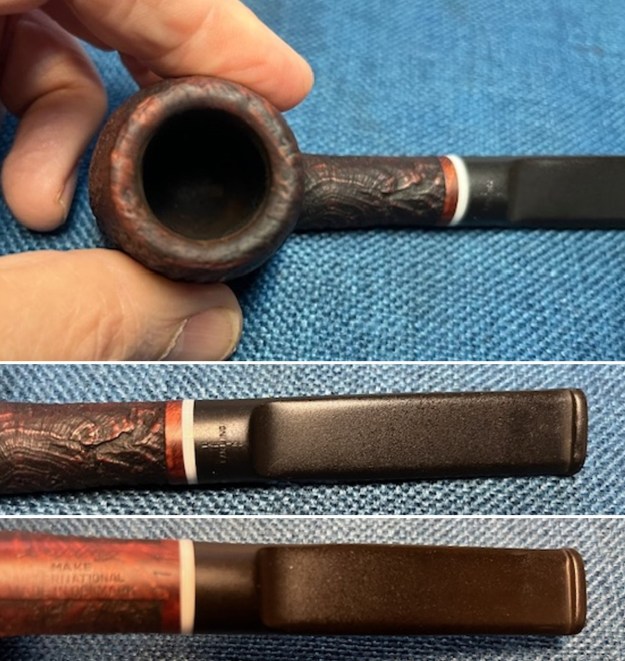
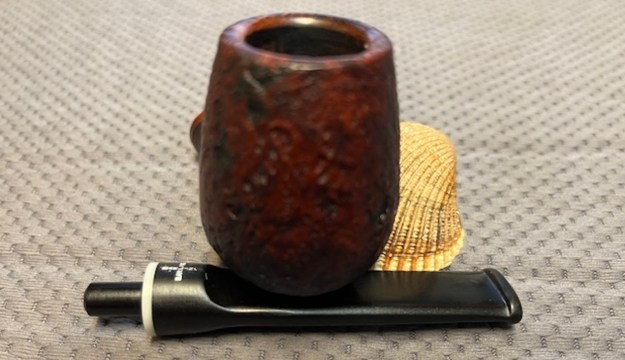
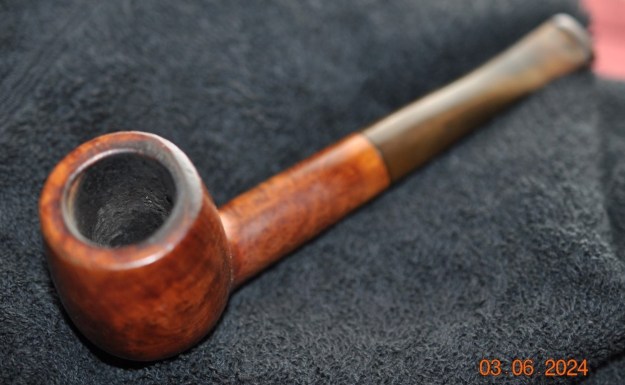 Jeff took closeup photos of the bowl and rim top to clearly show the condition of both. The condition matches what I described above. He also took photos of the stem to show the oxidation and tooth marks and chatter on both sides ahead of the button.
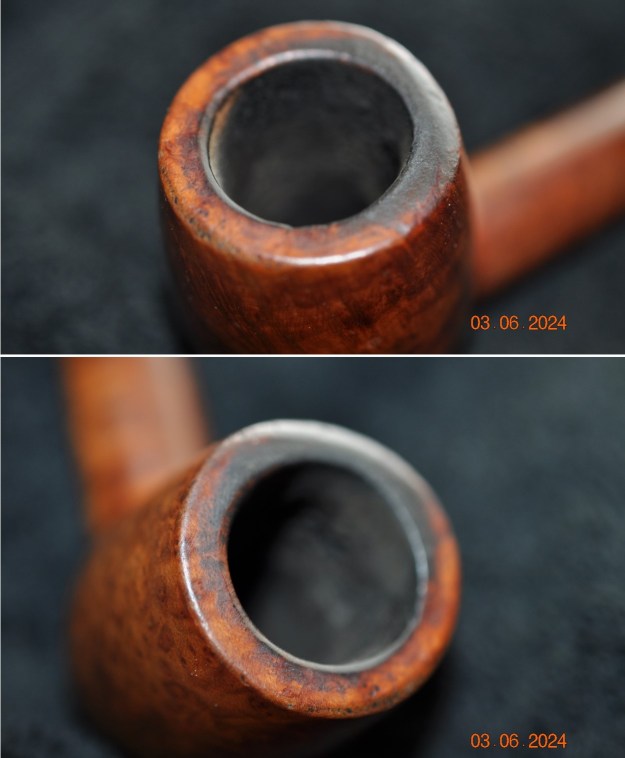
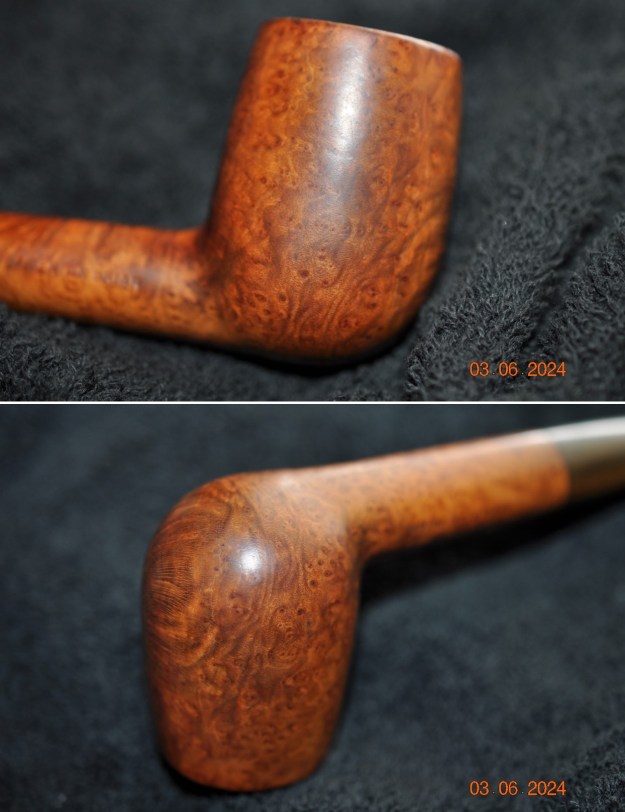
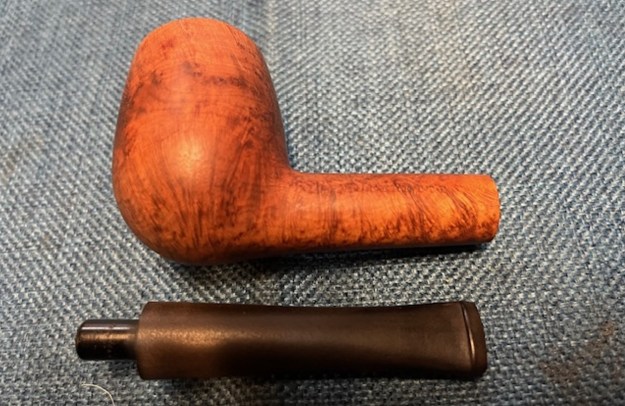
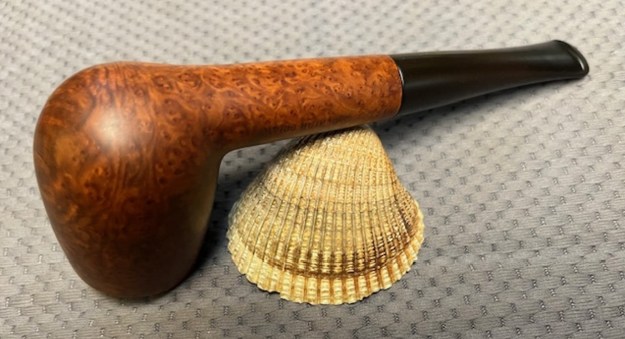
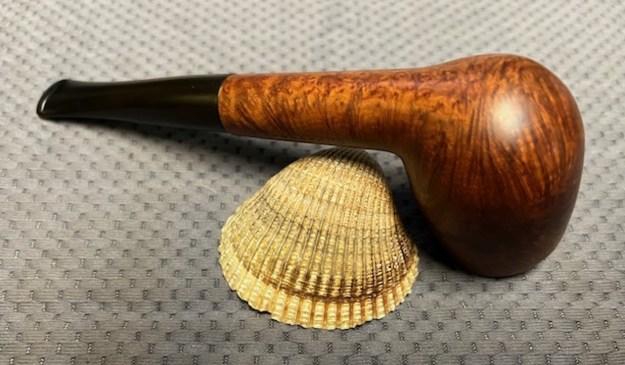
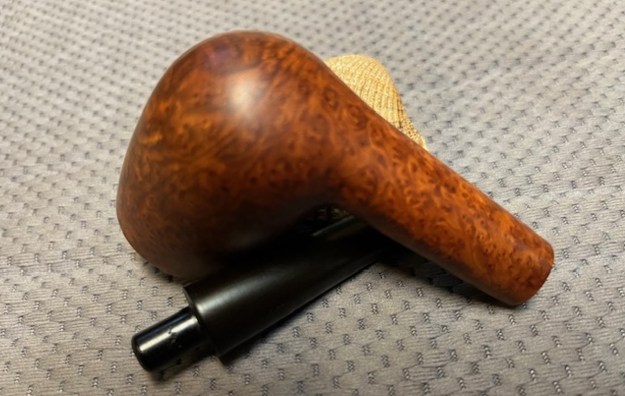
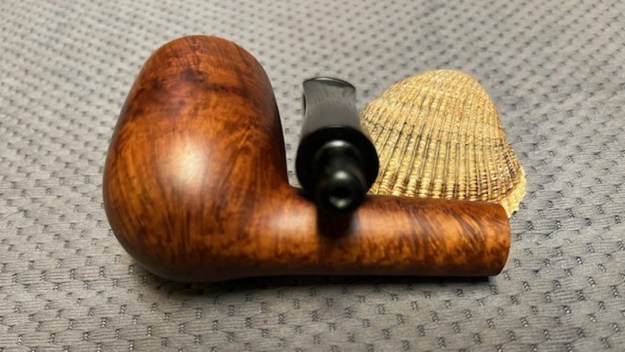
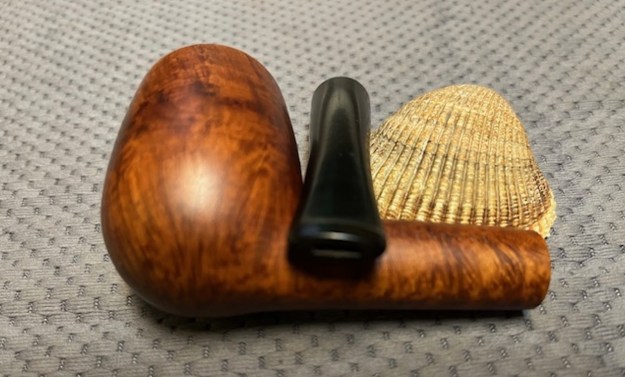
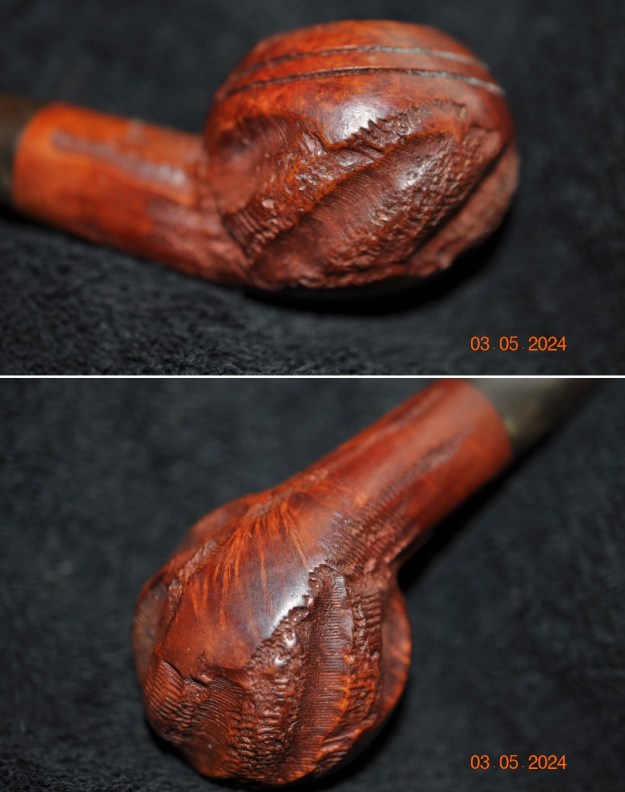
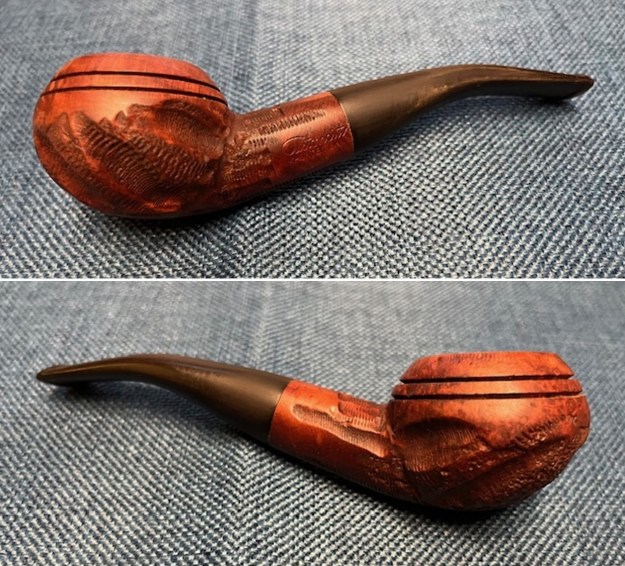
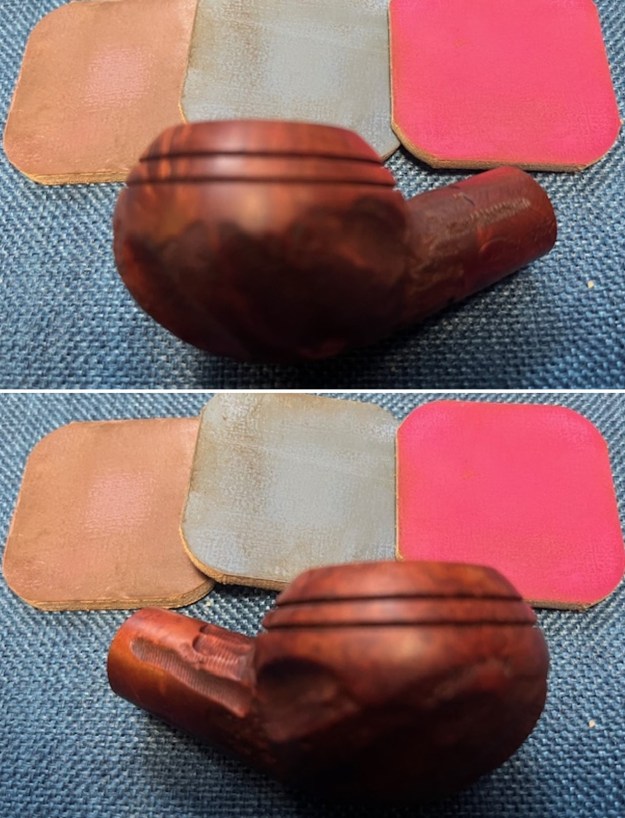
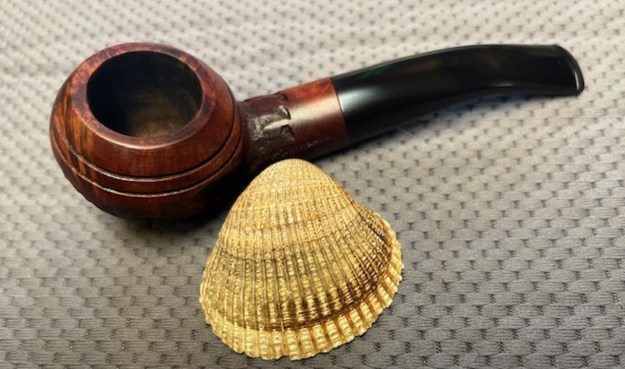
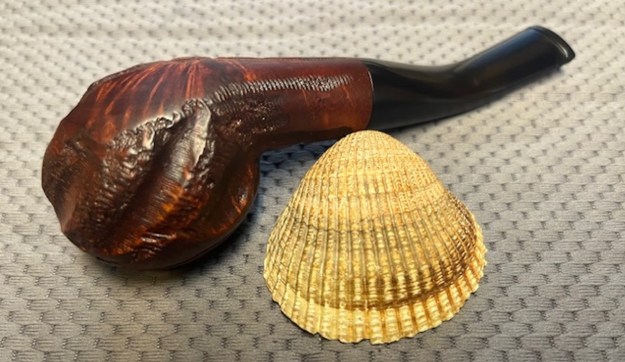
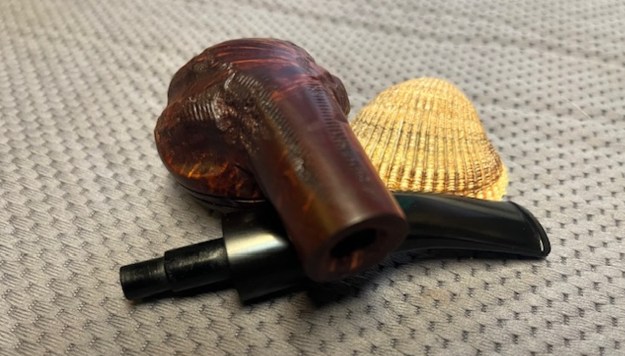
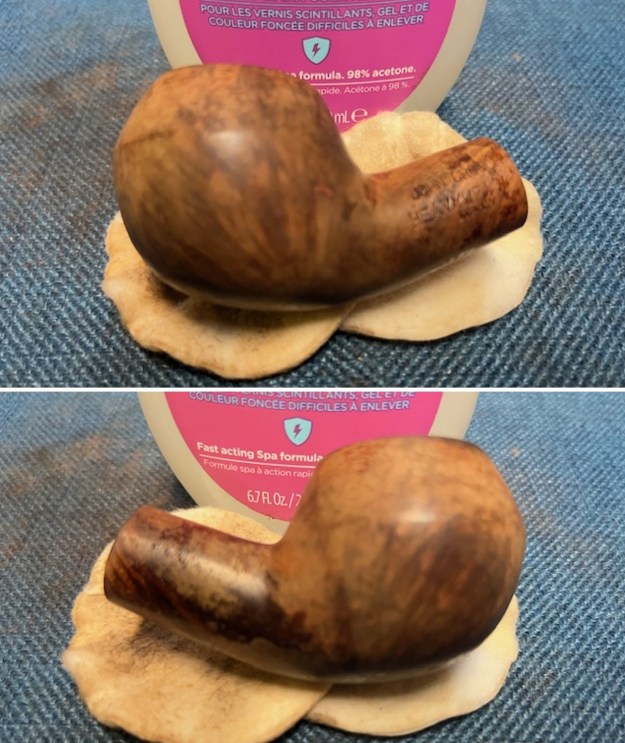
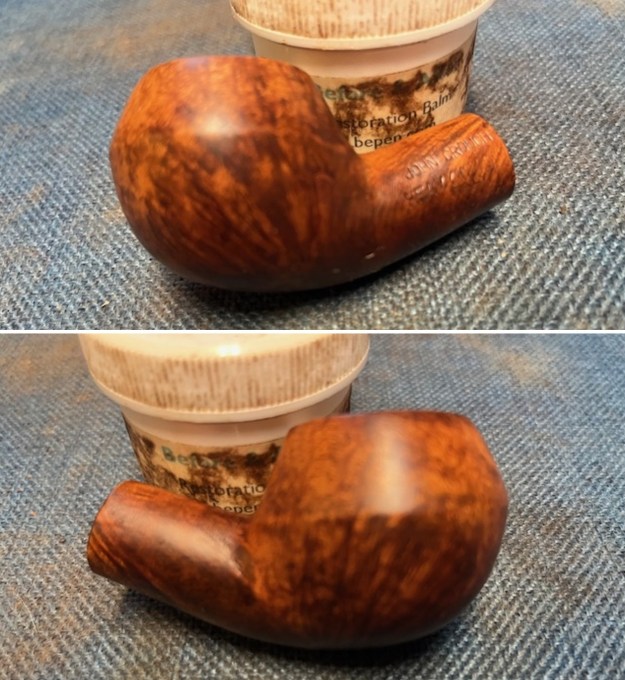
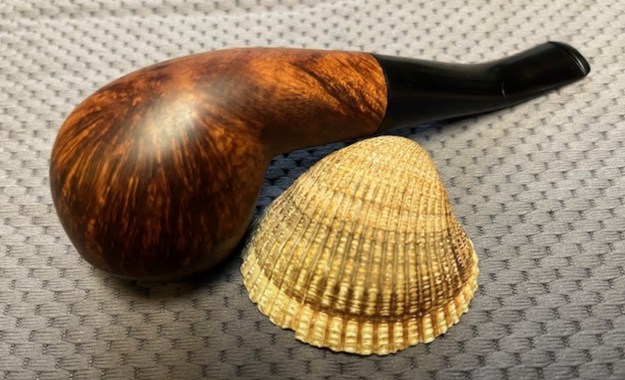
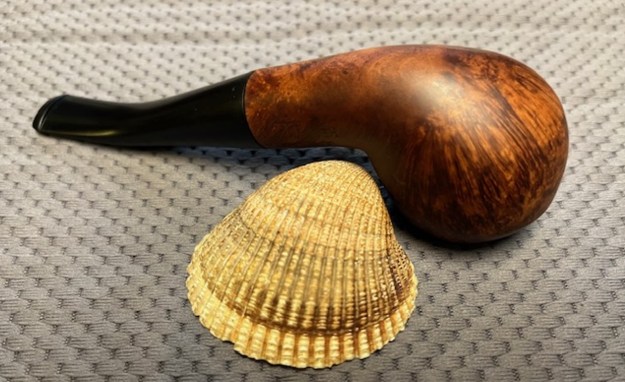
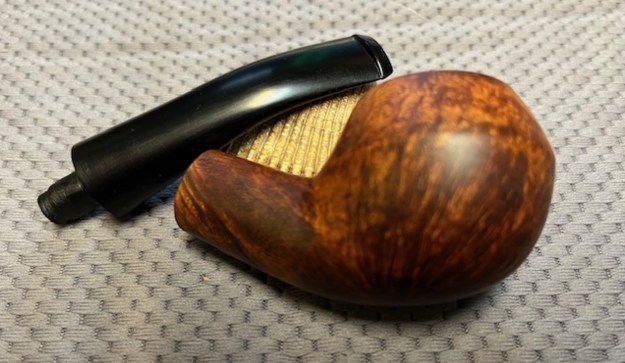
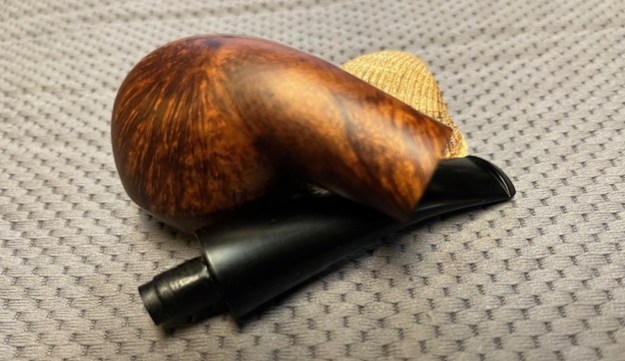
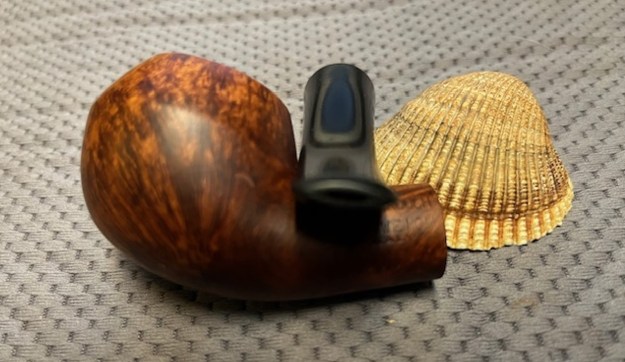
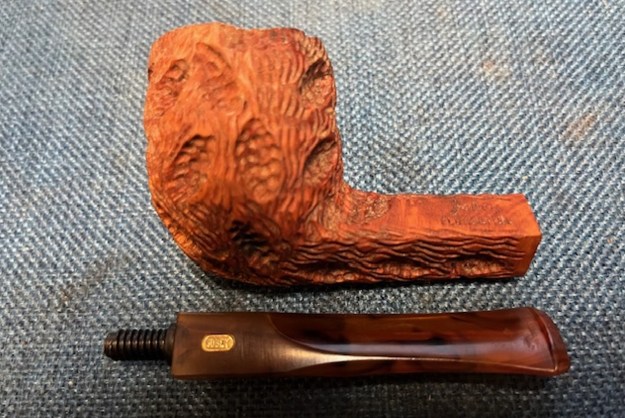
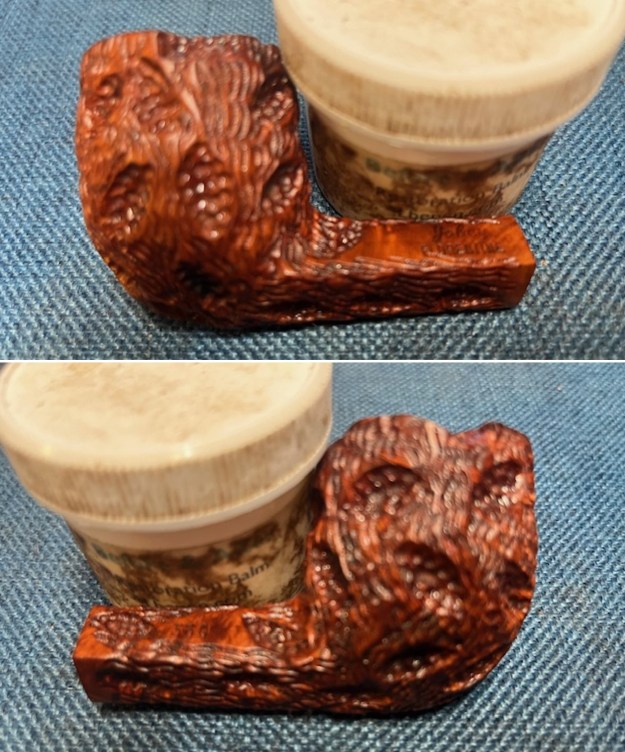
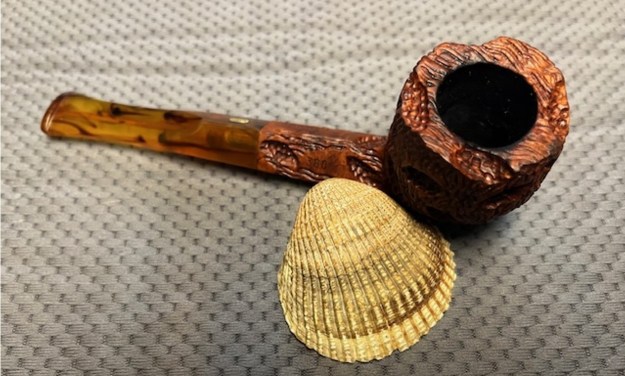
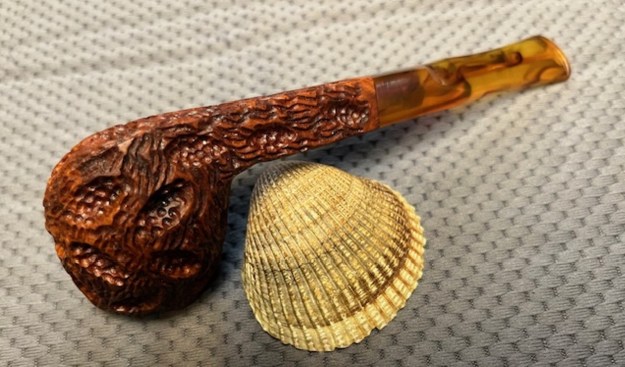
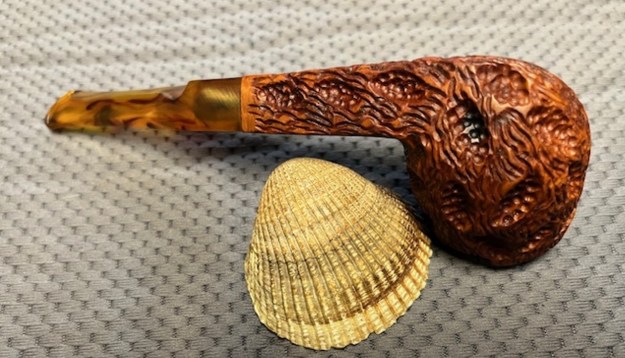
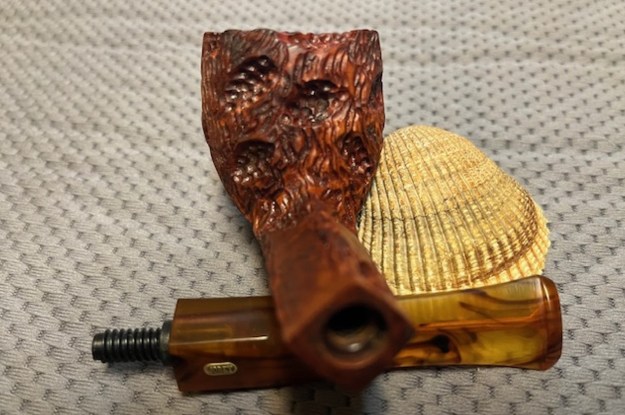
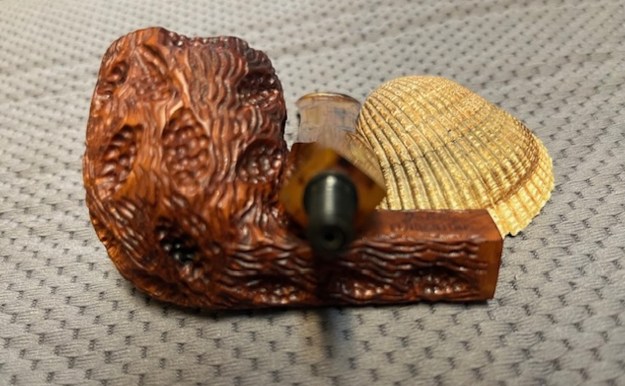
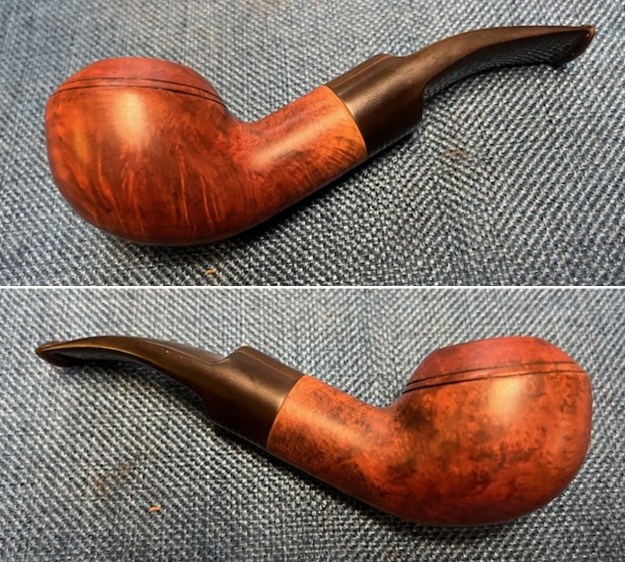
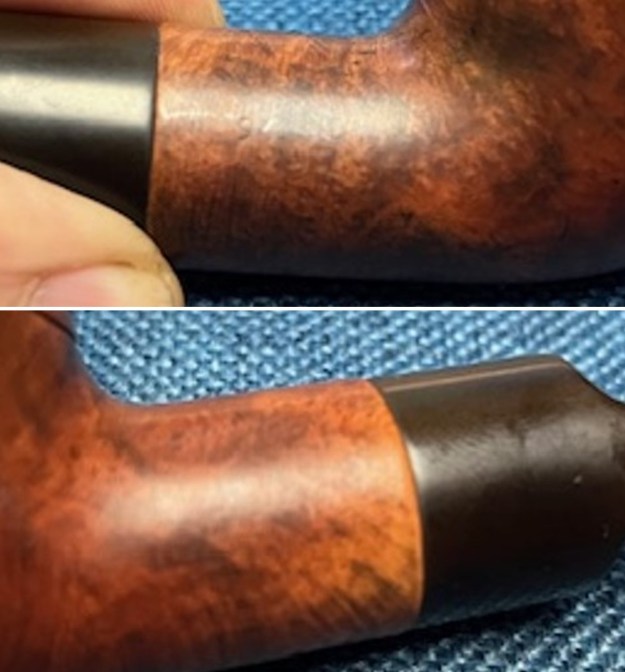
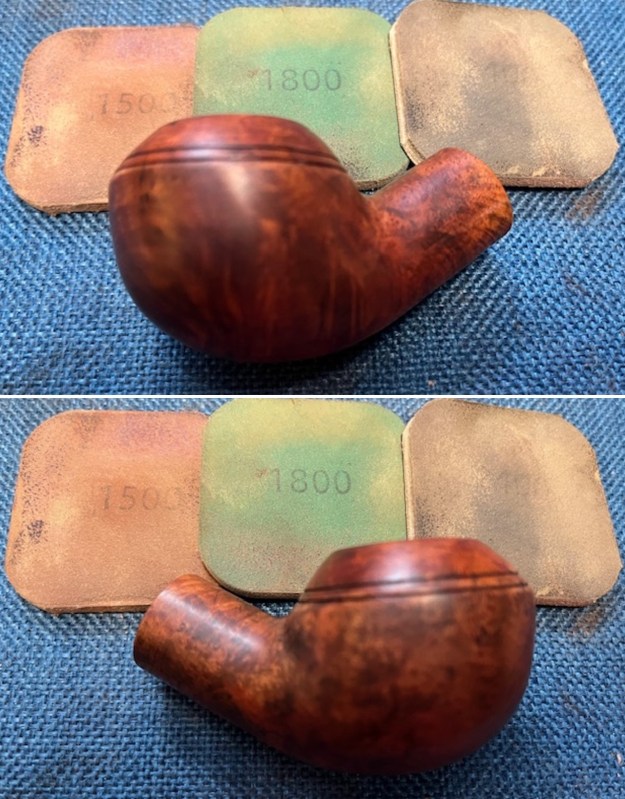
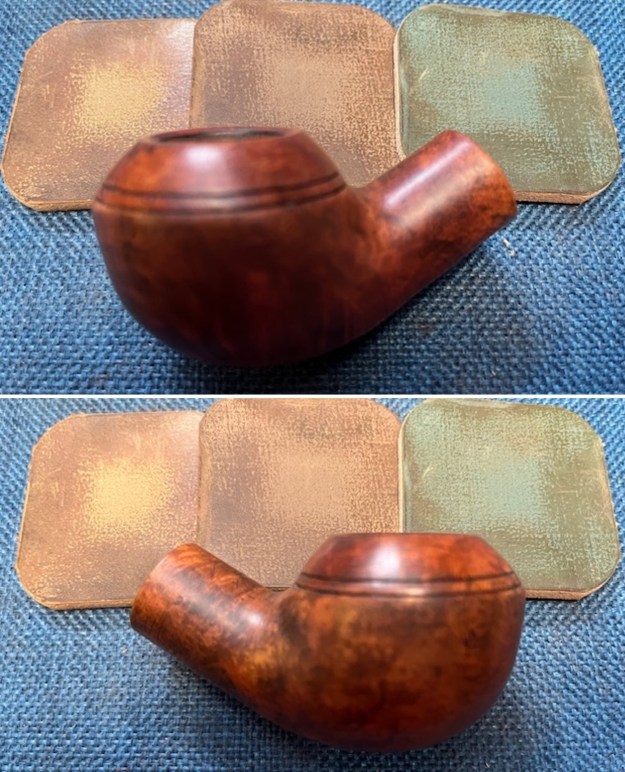
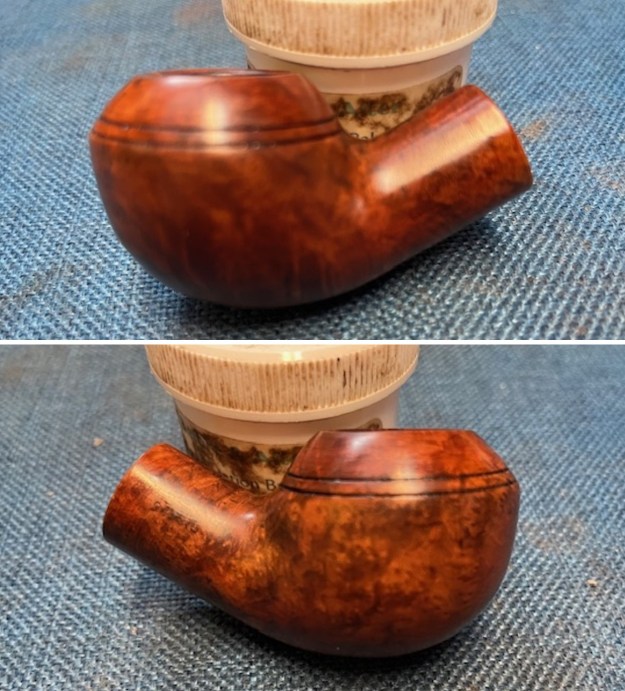
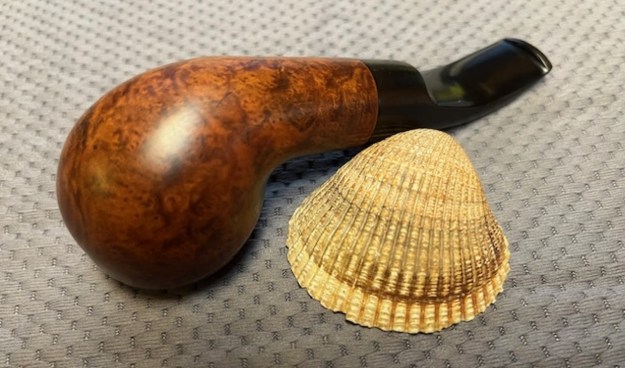
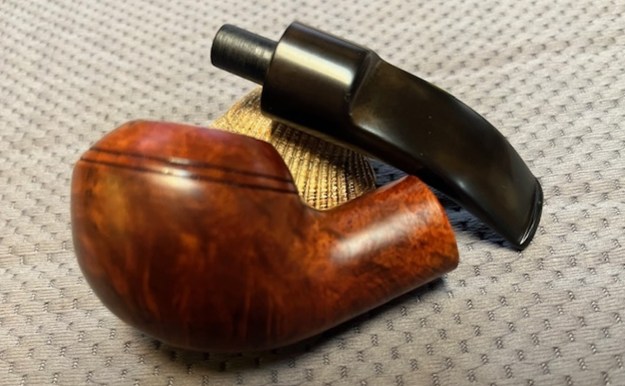
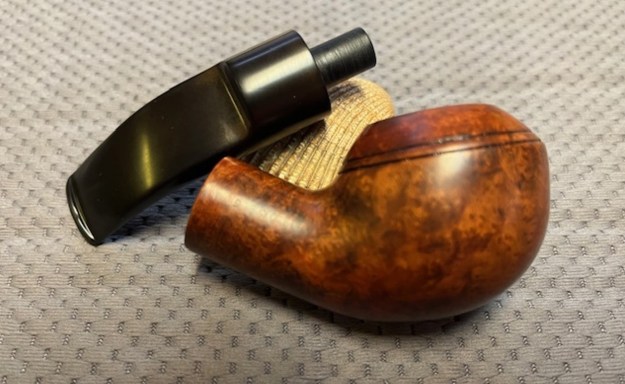
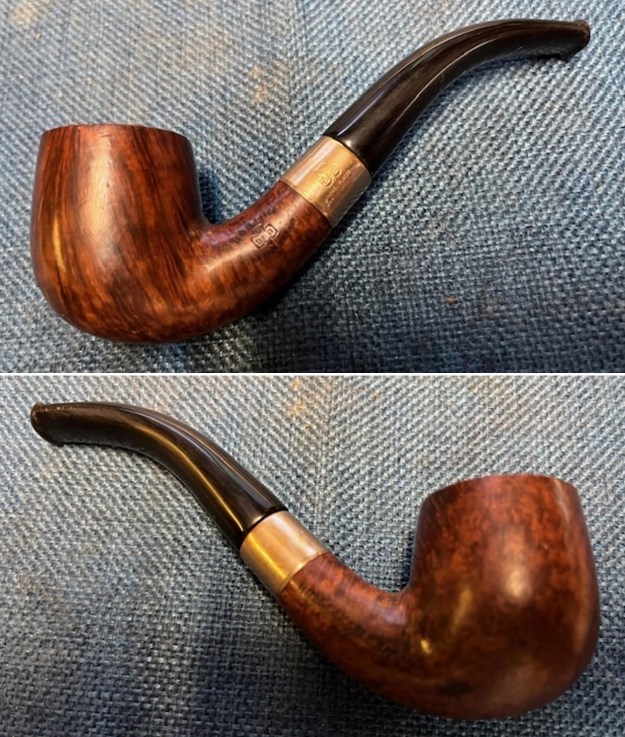
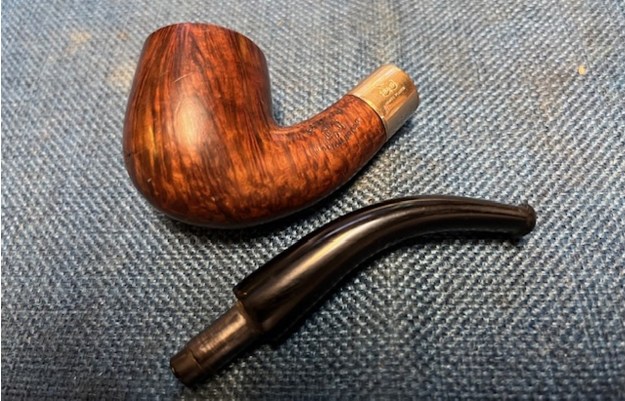
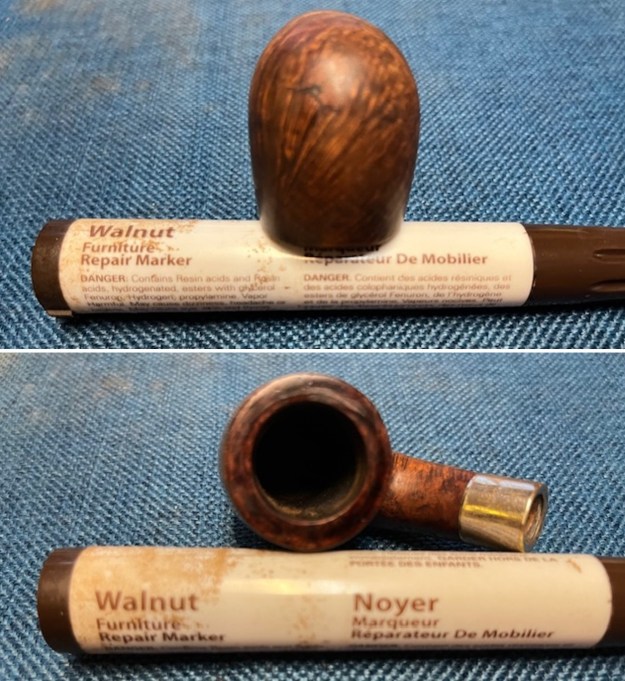
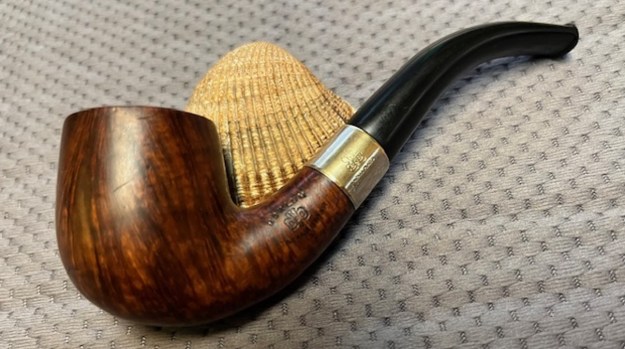
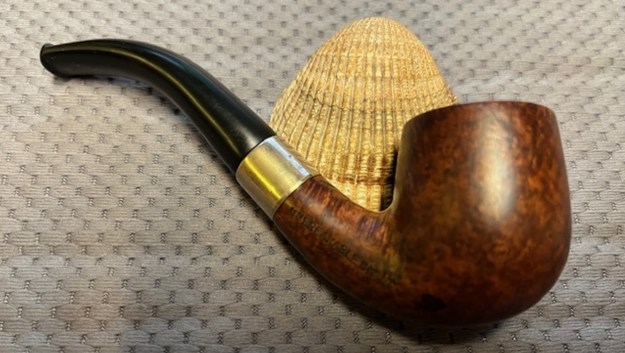
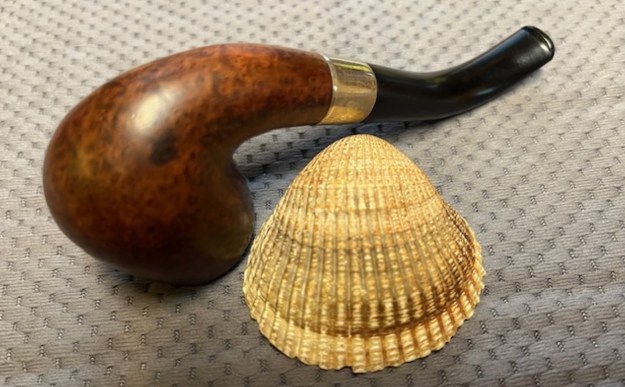
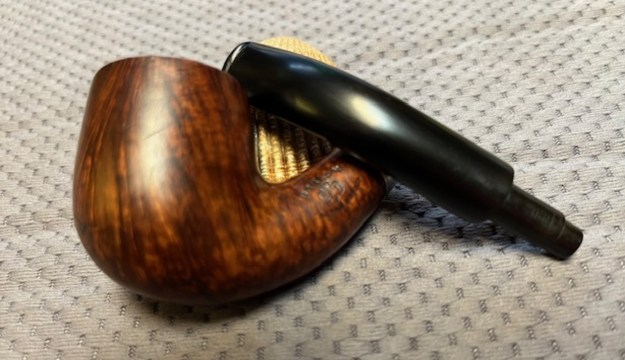
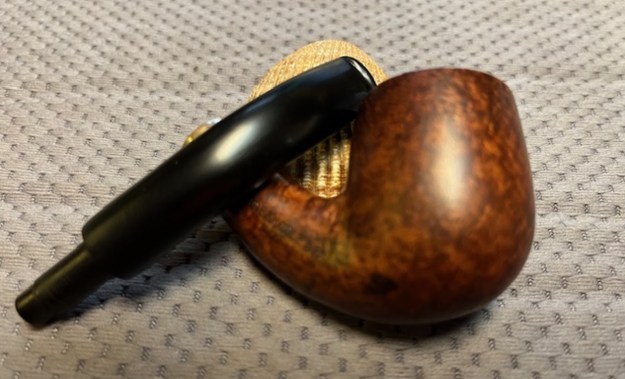
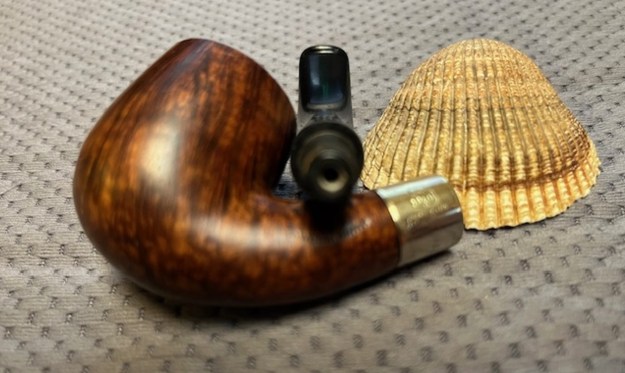
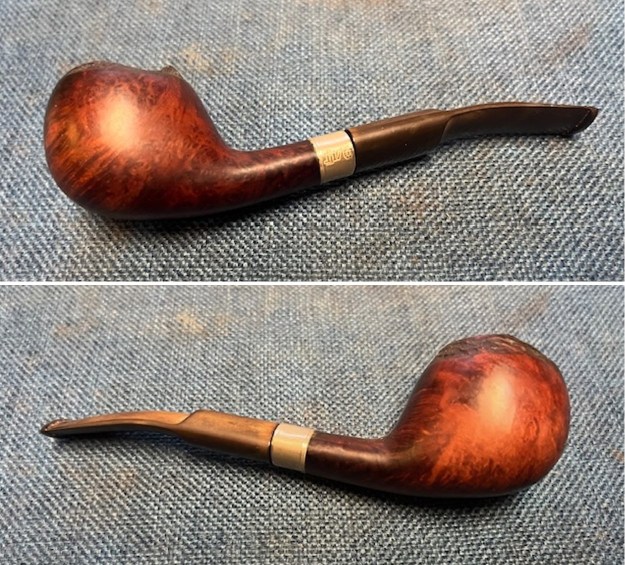
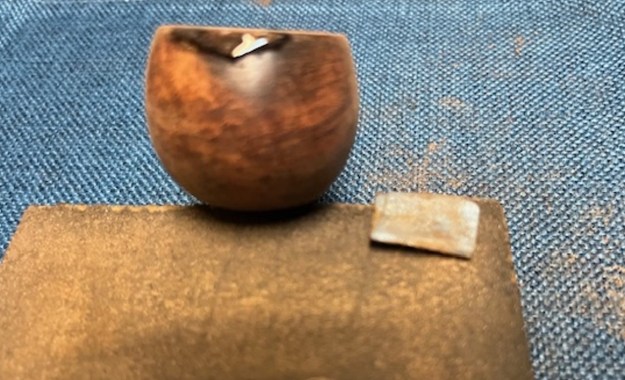
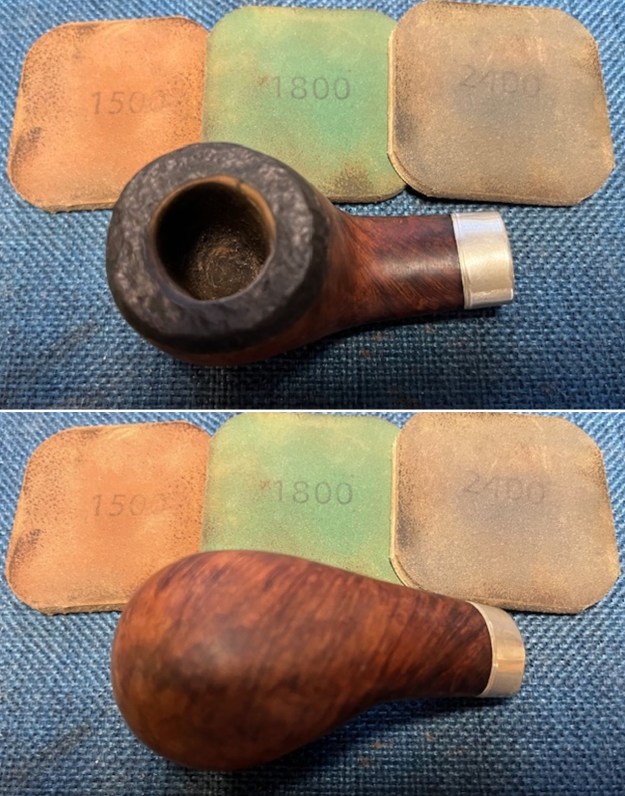
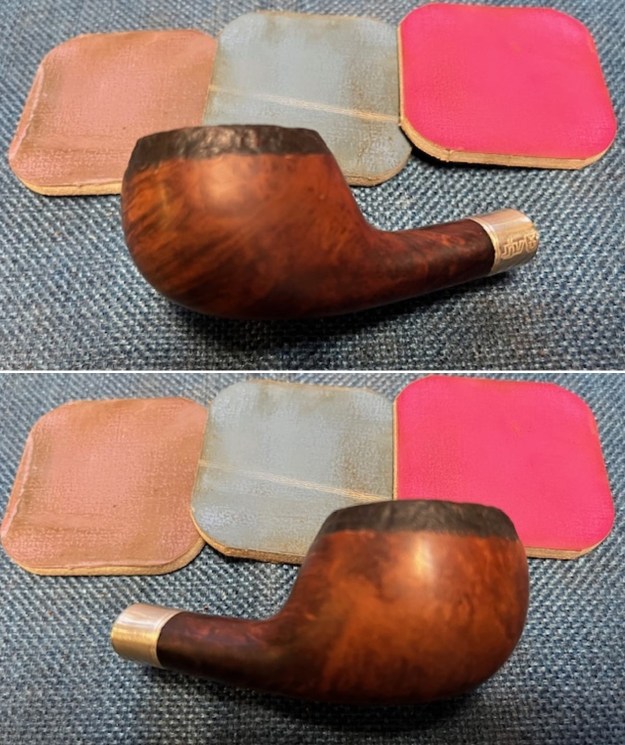
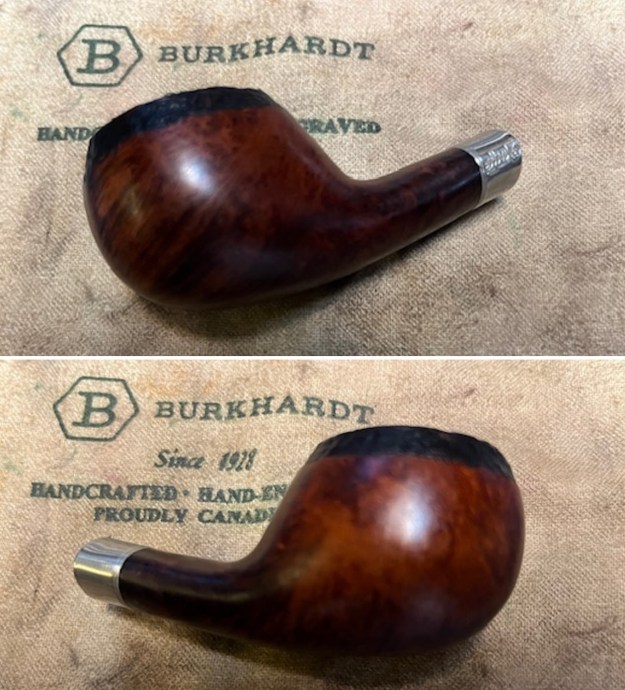
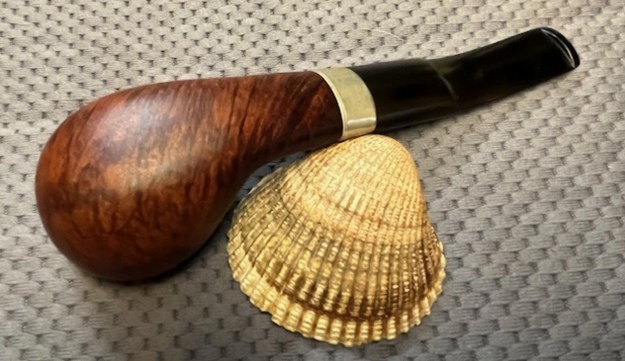
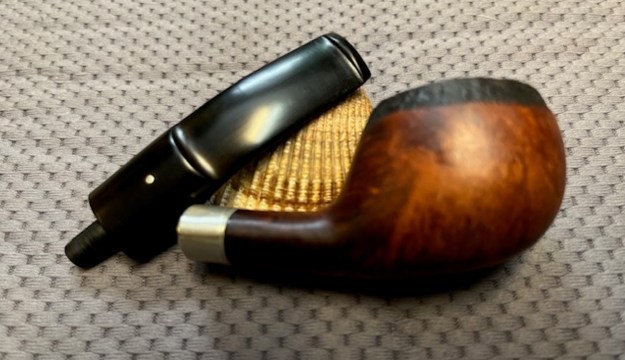
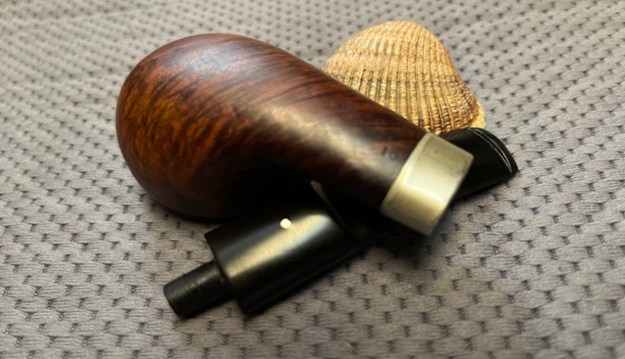
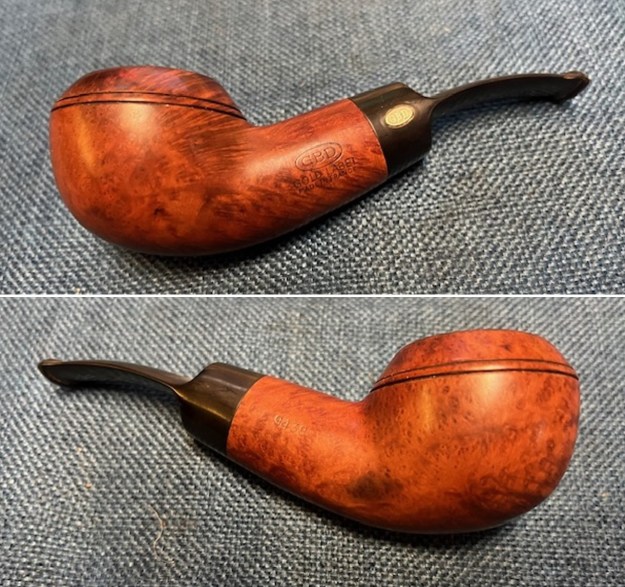
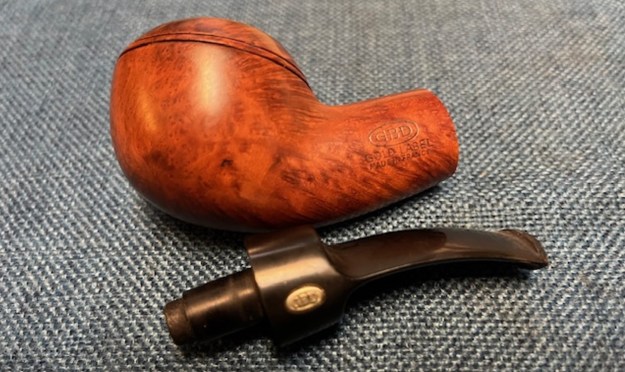
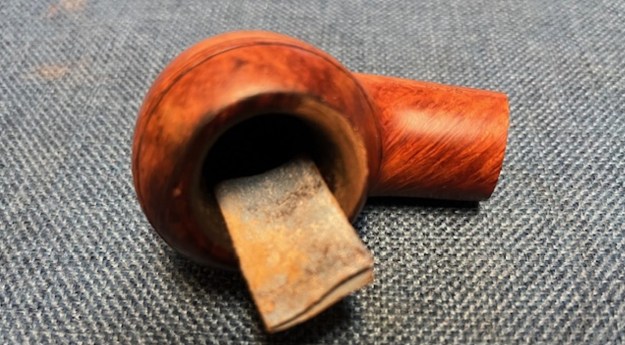
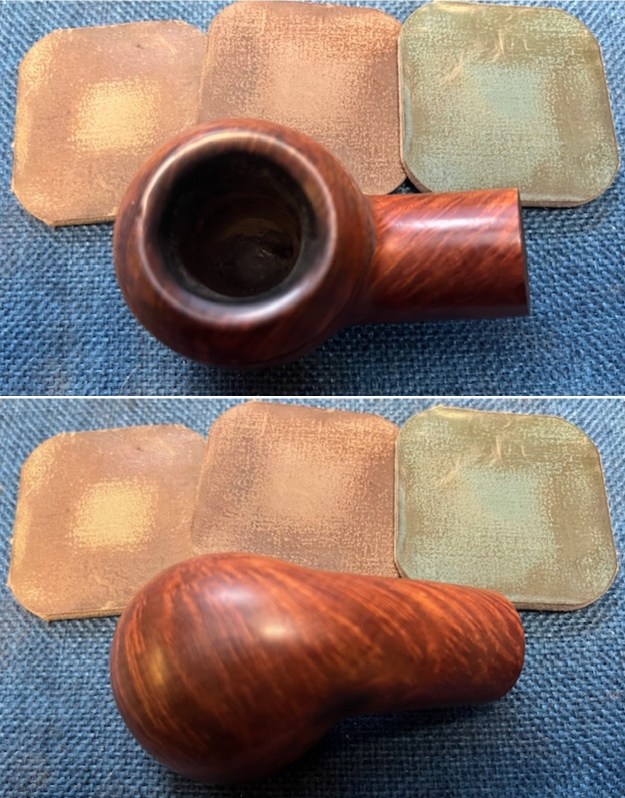
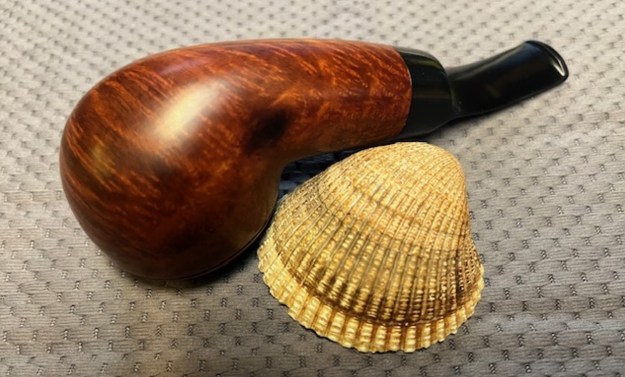
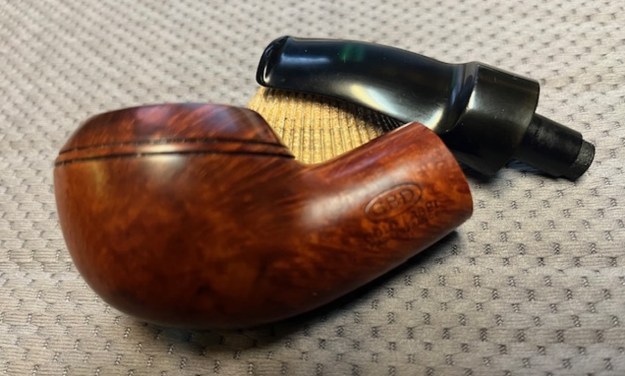
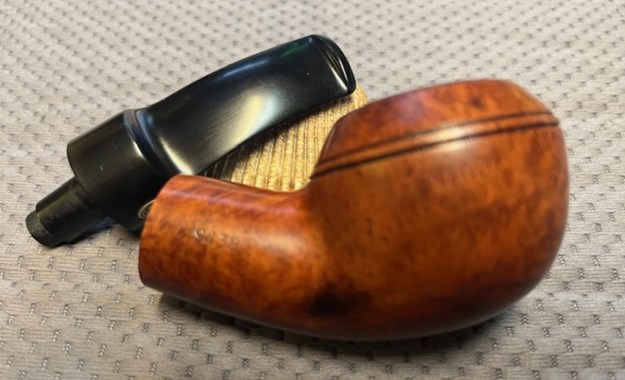
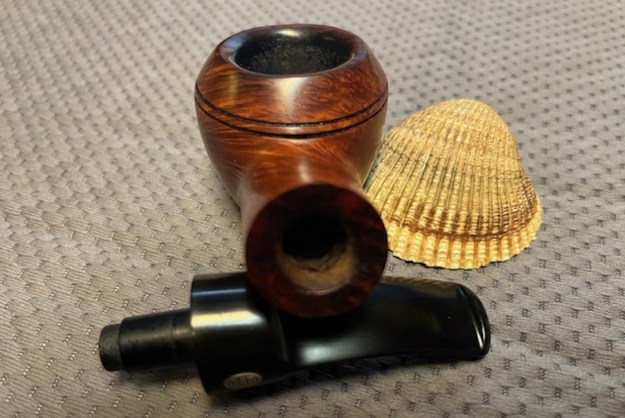
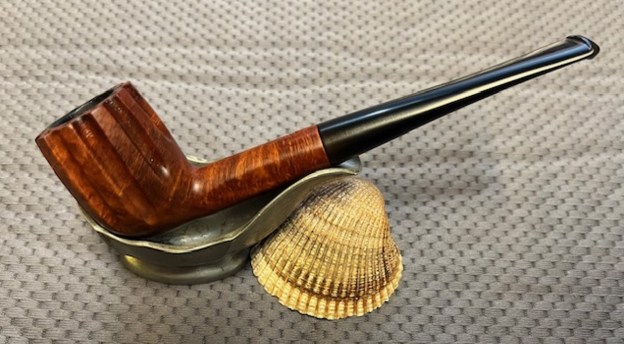
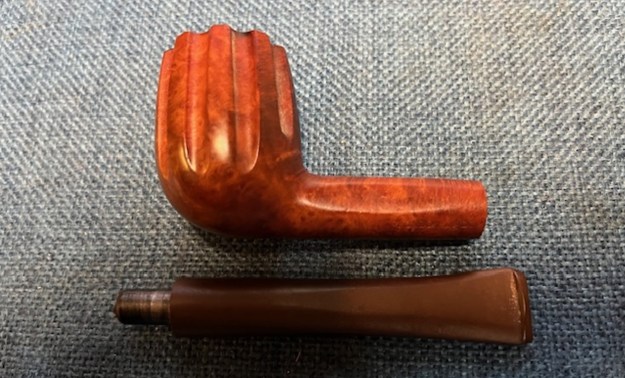
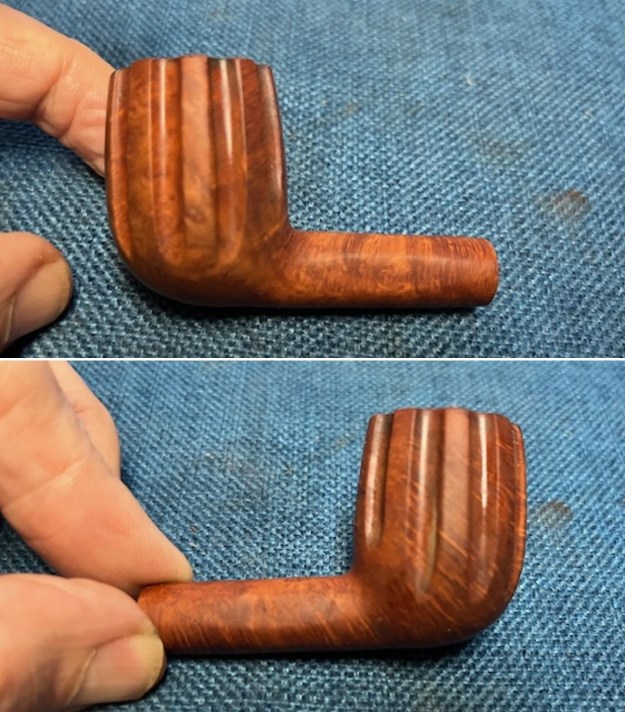
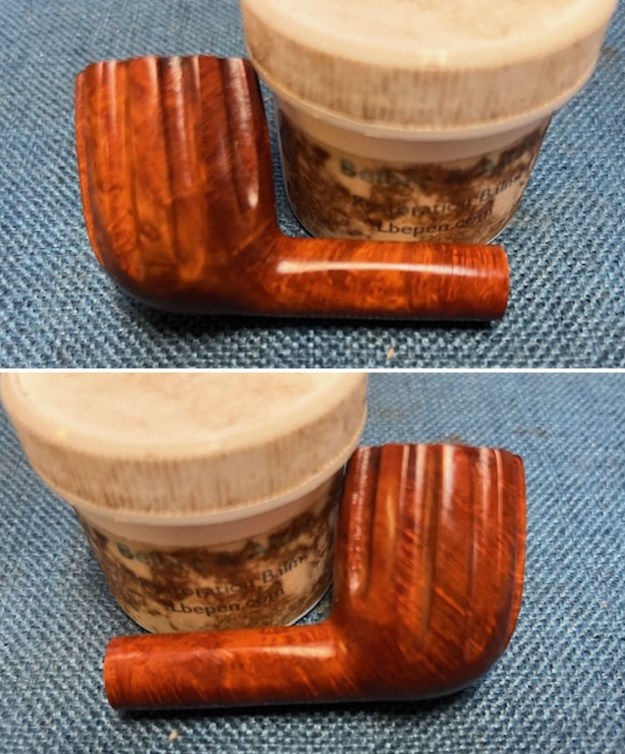
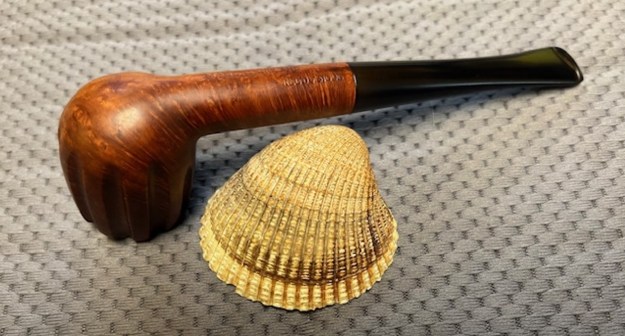
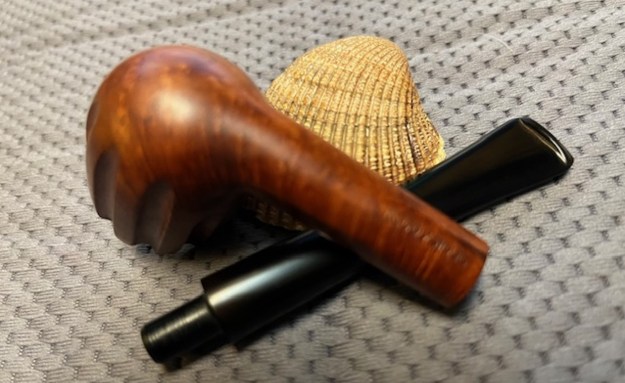
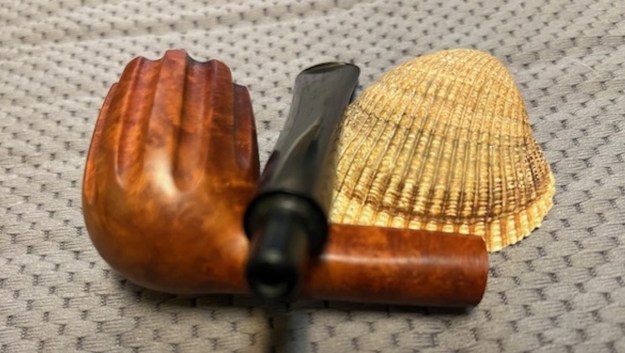
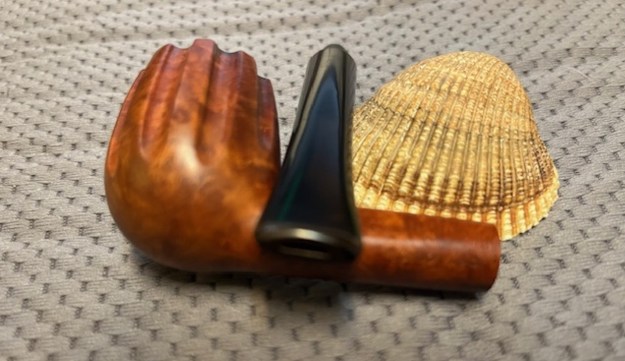
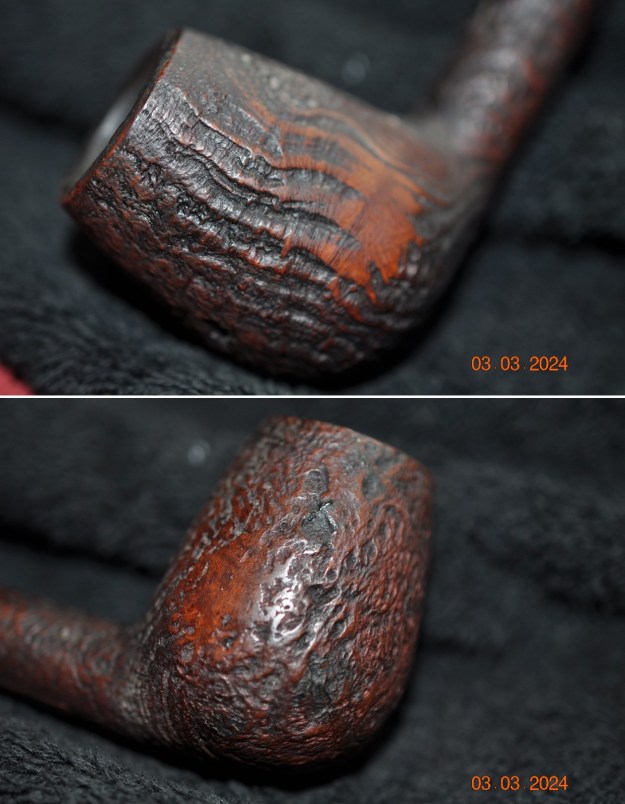
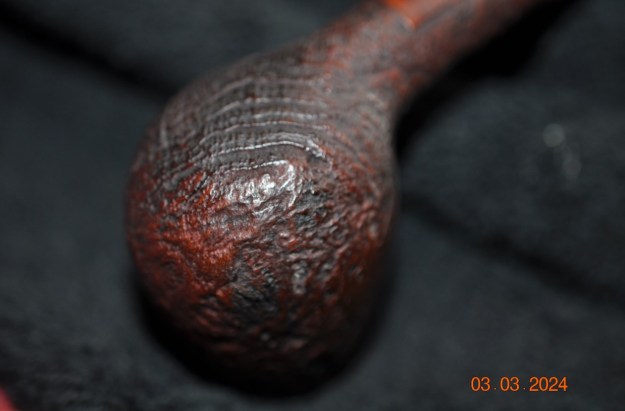
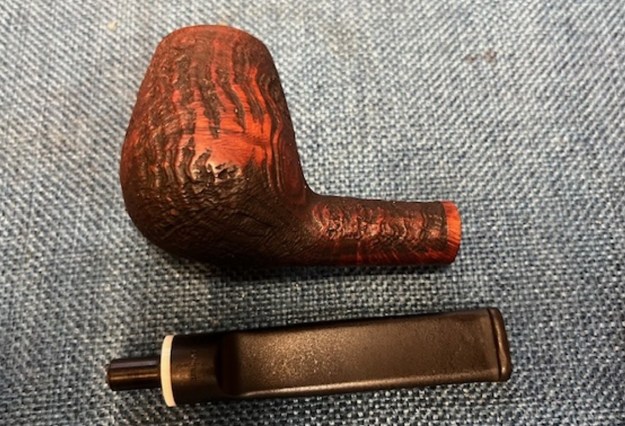
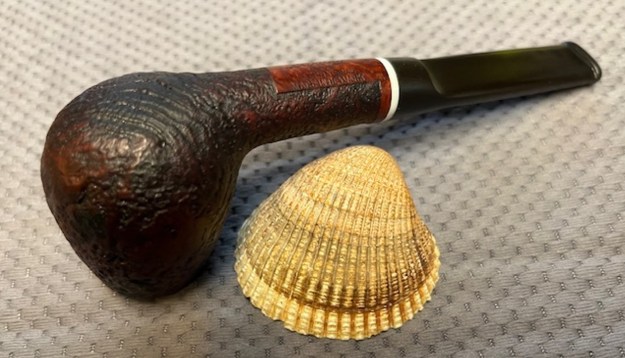
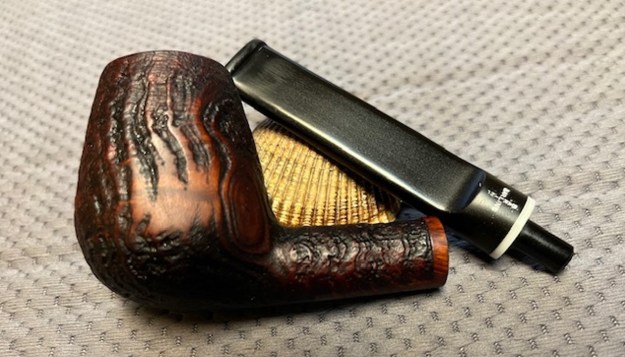
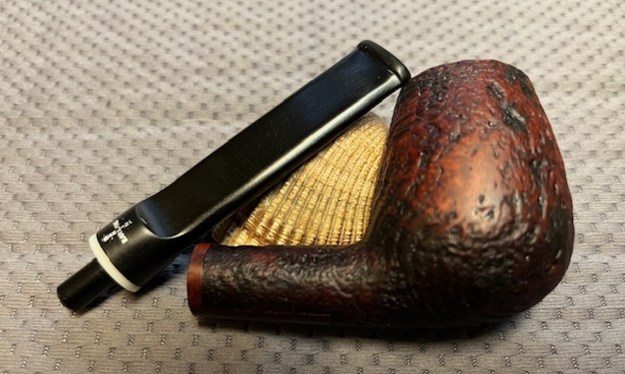
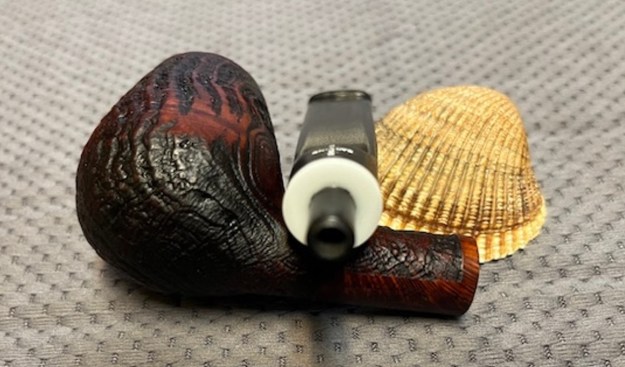
 Jeff took photos of the sides and heel of the bowl to give a picture of what the briar looked like. The grain around the bowl and shank is quite beautiful under the grime.
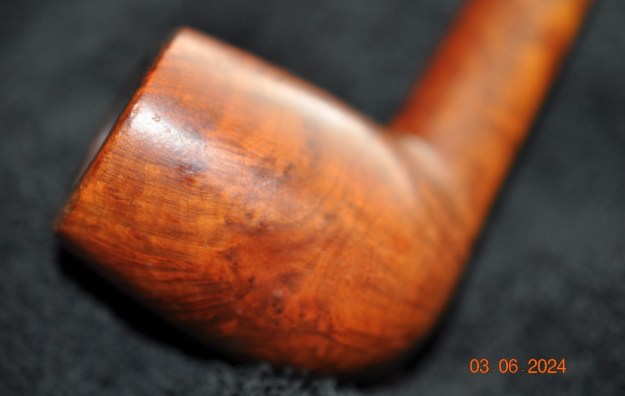
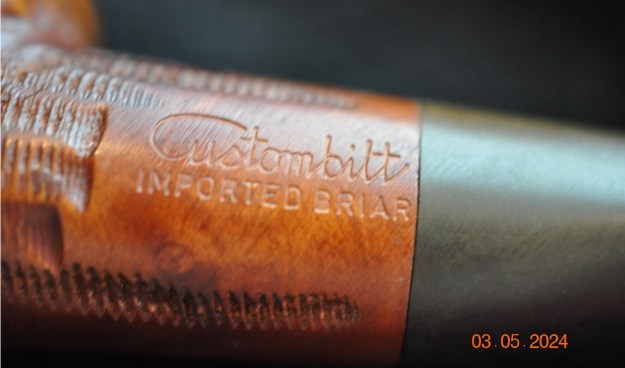
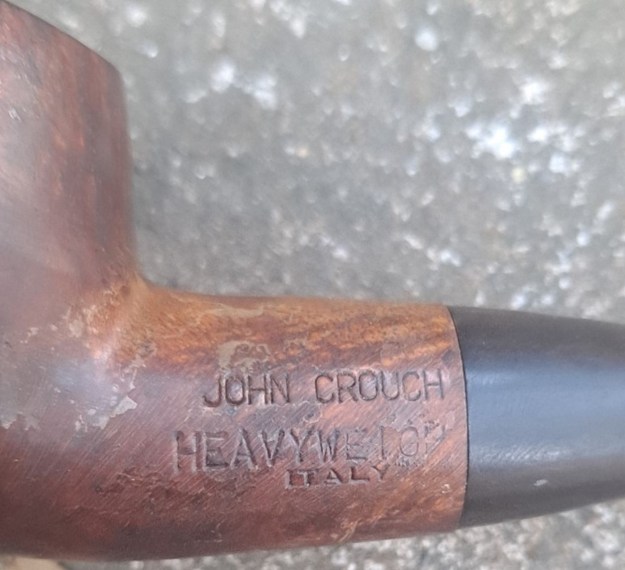
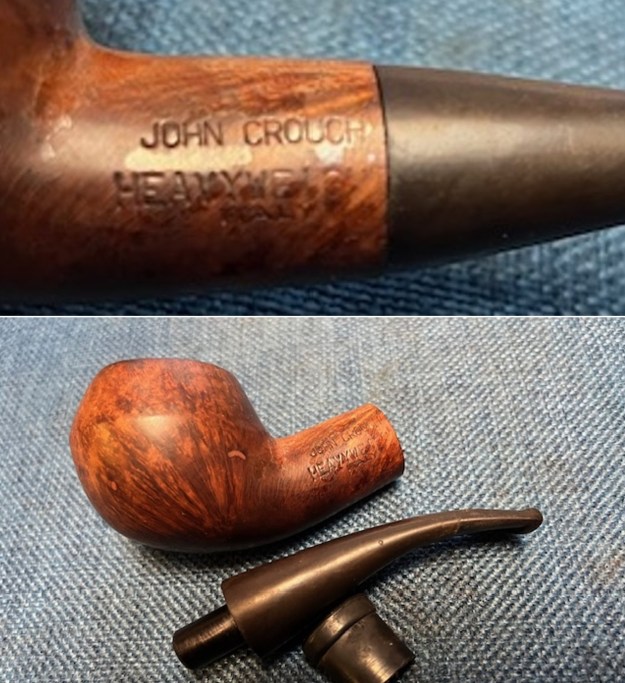
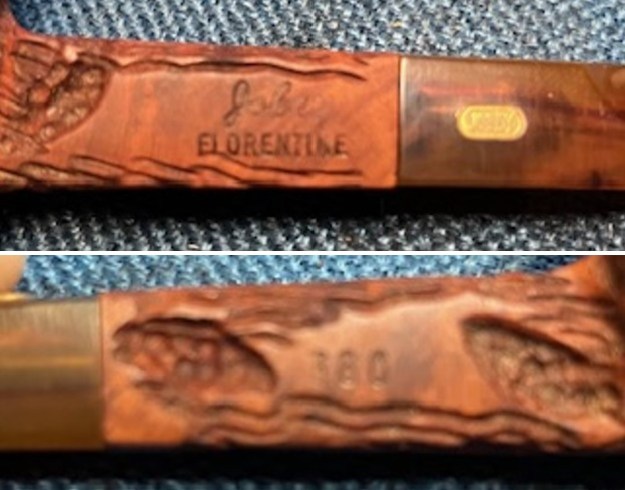
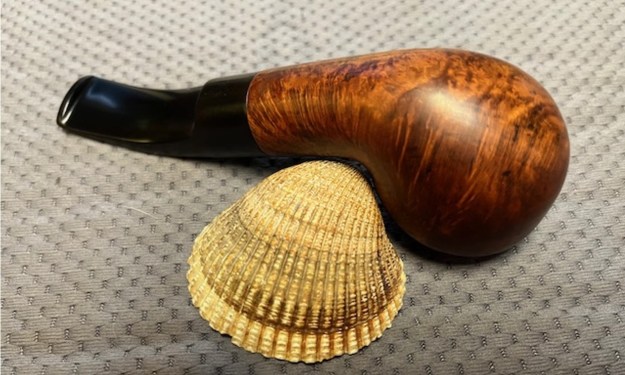
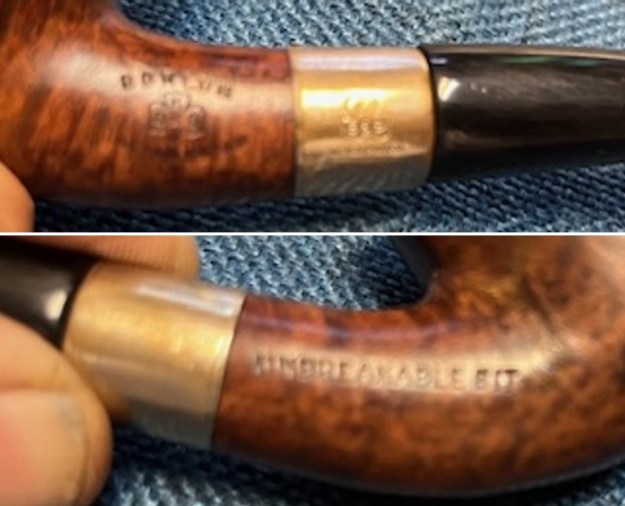
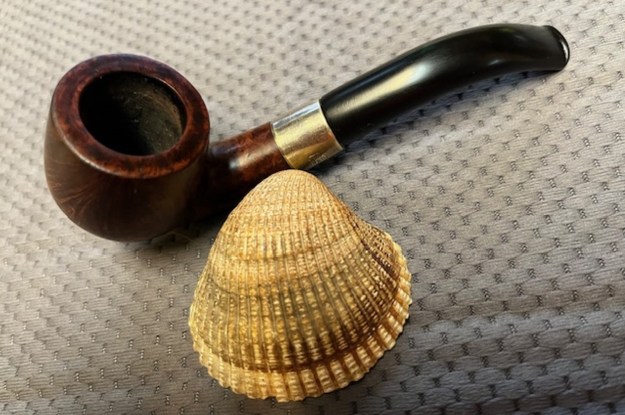
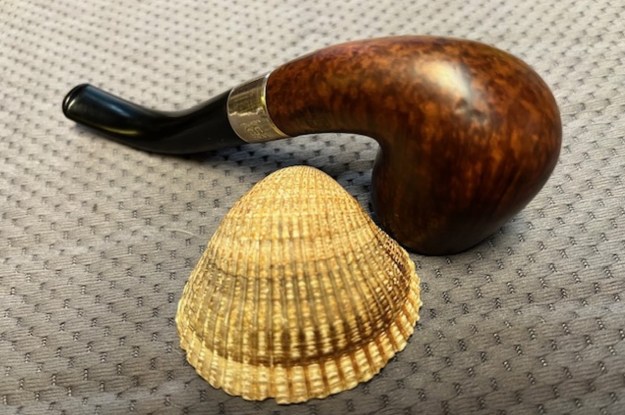
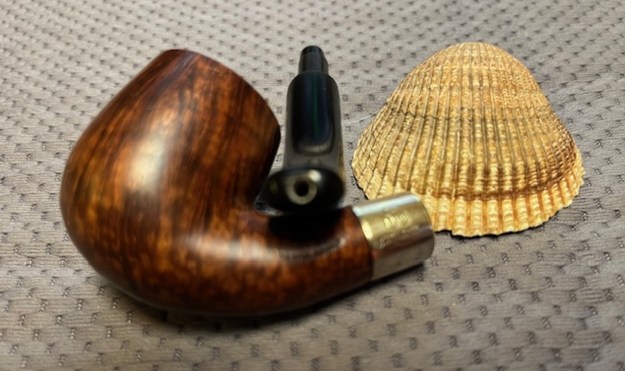
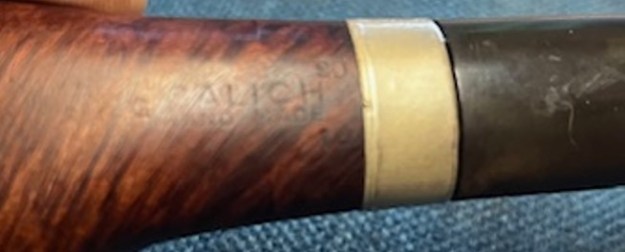
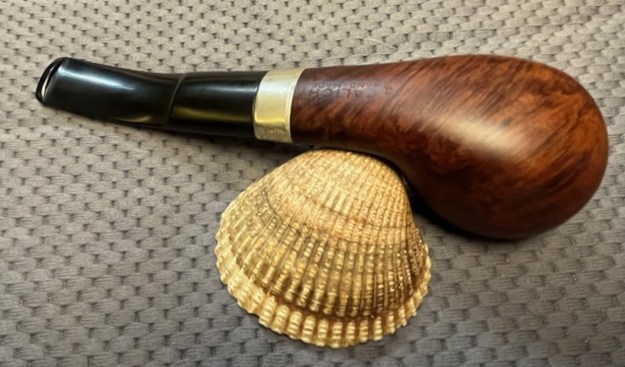
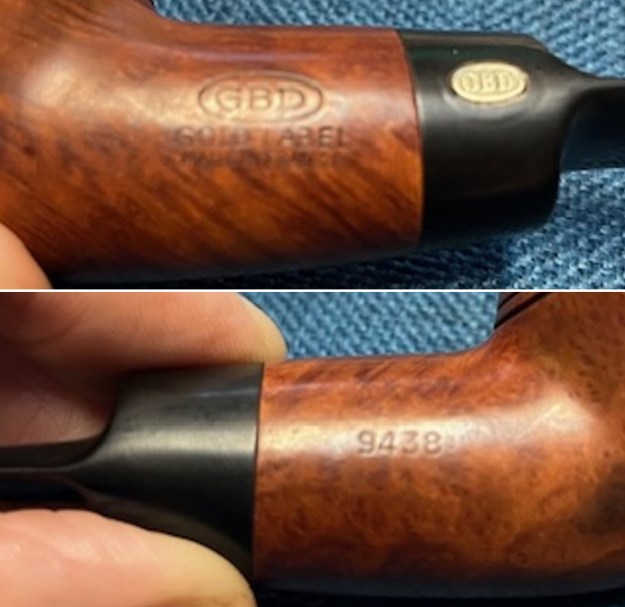
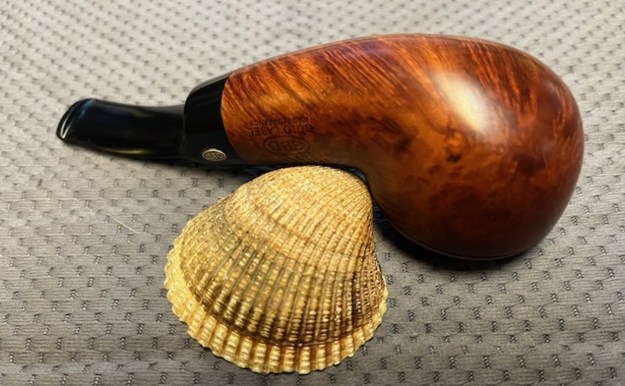
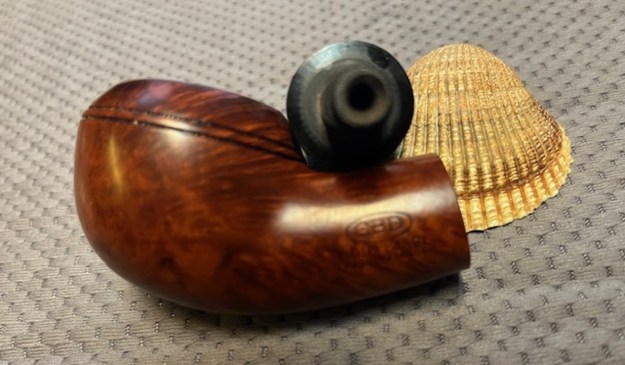
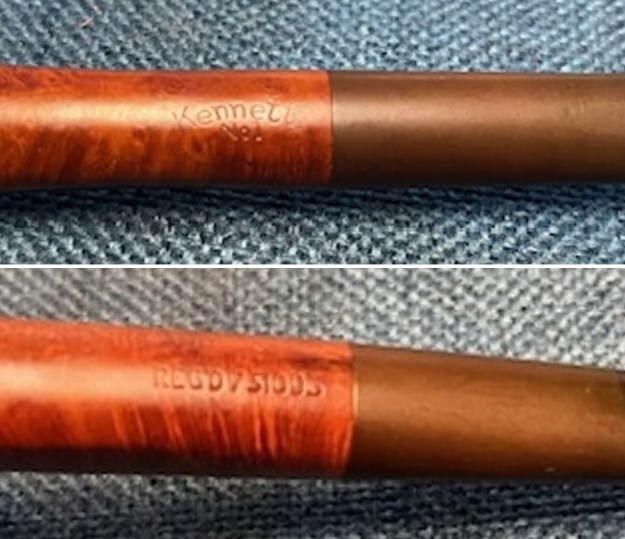
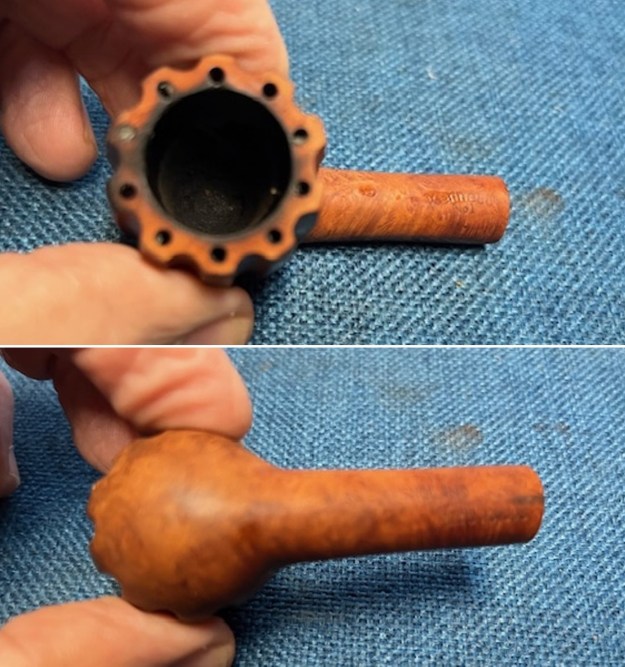
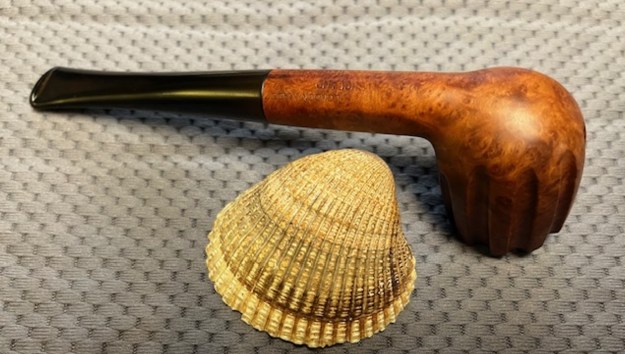
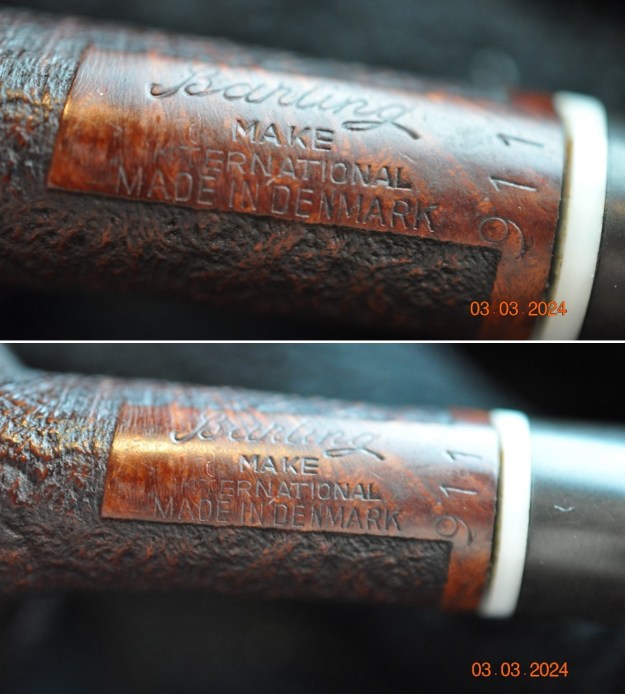
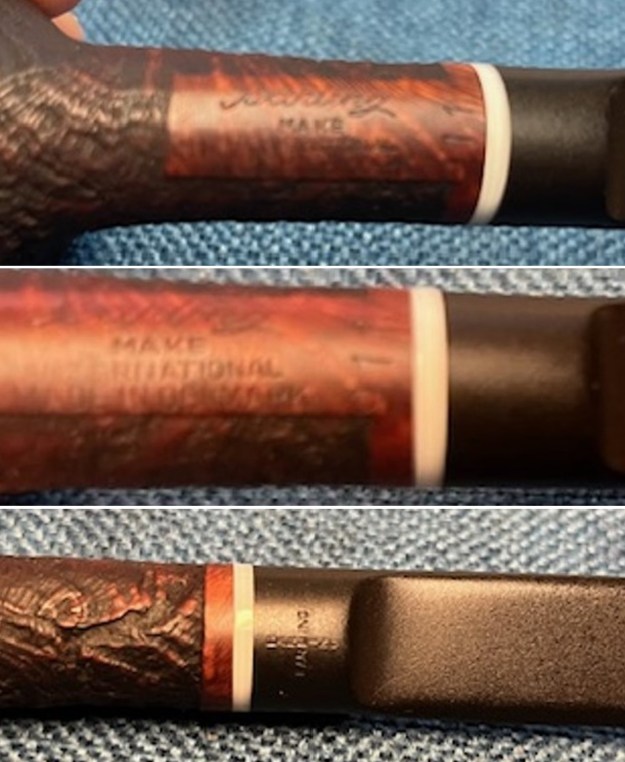
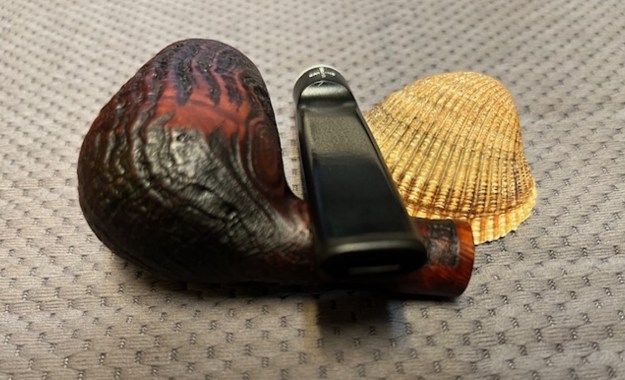
 The stamping on the sides of the shank is clear and readable and read as noted above. My guess is that it is probably American Made as there is no other stamping on the shank.
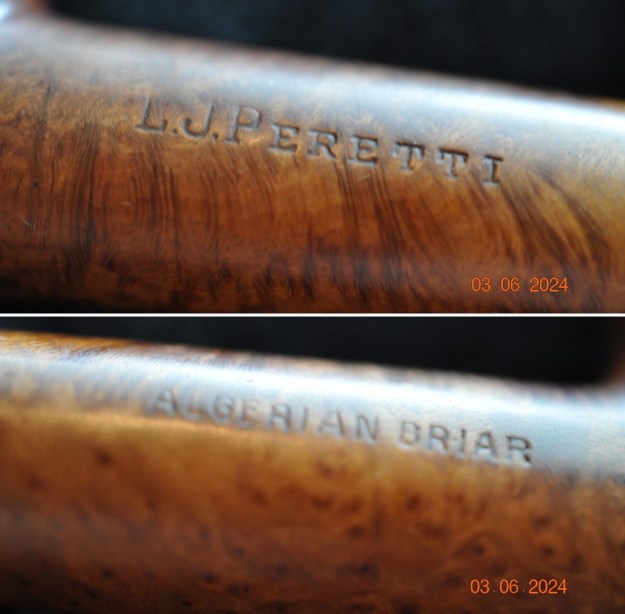 I remembered that Dal Stanton had worked on several L.J. Peretti pipes over the years. In a blog written in 2017 wrote a great introduction to the L.J. Peretto brand (https://rebornpipes.com/2017/01/28/a-christmas-gift-in-need-of-a-stem-splice-l-j-peretti-squared-shank-billiard/). I am including portions of his write up below.
“When I began my research on L J Peretti, I was surprised to discover that it is not an Italian pipe as one might expect with such a name! In fact, I discovered the genesis of a significant story of Americana pipe history with the establishment of the L. J. Peretti Company of Boston in 1870 (Pipedia citing: Pipes, Artisans and Trademarks, by José Manuel Lopes), the second oldest tobacco shop in the US, second only to Iwan Ries & Co. of Chicago established in 1857 (See: Link).””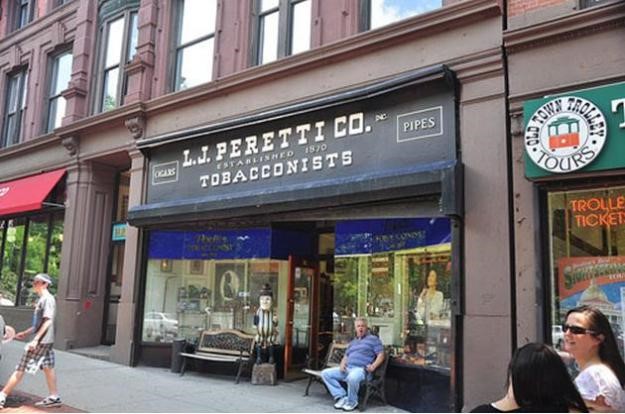 Going directly to L J Peretti’s website, now president, Stephen L. Willett provides this historical summary of this Boston icon (Link: http://www.ljperetti.com):
In 1870, Libero Joseph Peretti arrived in Boston from Lugano, Switzerland. Filled with an entrepreneurial spirit and a love for fine tobacco, L.J. established the “Peretti Cuban Cigar Co.” in Boston’s historic North End. In the first two decades of business, the company provided a number of contributions to the tobacco industry and began to blend “house cigars”.
1892 marks the establishment of the Peretti Cigar Factory in Park Square, Boston. For over forty years, the company employed fifty rollers who produced some of the finest cigars in New England. Not only did Peretti’s manufacture blended cigars, but they also created Clear Havana Vitolas such as the legendary La Mirendella.
L.J.’s son, Joseph, aka “The Major”, followed his father into the family business. His primary love was pipes and pipe tobacco. Among his notable accomplishments was the creation of the first “English” blend, called British, in the United States; as well as securing the exclusive import rights to Peterson pipes and Sullivan & Powell tobaccos.
After World War II the third generation Peretti’s, Robert, entered the firm. The original store had moved from the North End to the centre of Boston on Massachusetts Avenue and there were additional stores throughout the financial district of Boston. Robert became a tobacco legend in United States and throughout the world. Most of the more than eighty house blends of pipe tobacco were created by Robert Peretti. His reputation as a blender led politicians, actors, celebrities and gentlemen of all callings to seek his tobacco advice.”
Dal’s article continues with a lot more information from various sources and is worth the time to read and enjoy.
For me I turned to Pipedia (https://pipedia.org/wiki/Perettito), one of my usual sites, to see what was there. I quote:
Peretti is the brand of Robert A. Peretti, then owner of the L.J. Peretti Co., a tobacconist founded in Boston by his grandfather, L. Joseph Peretti in 1870. The first pipes made there date from the 1920s, and Robert began producing them in 1938.
The customers of this well known tobacco and pipe shop included the former British prime minister, Ramsey MacDonald, and also Bing Crosby, Basil Rathbone, Edward G. Robinson, and Walter Matthau.
L.J. Peretti Co. Established 1870…
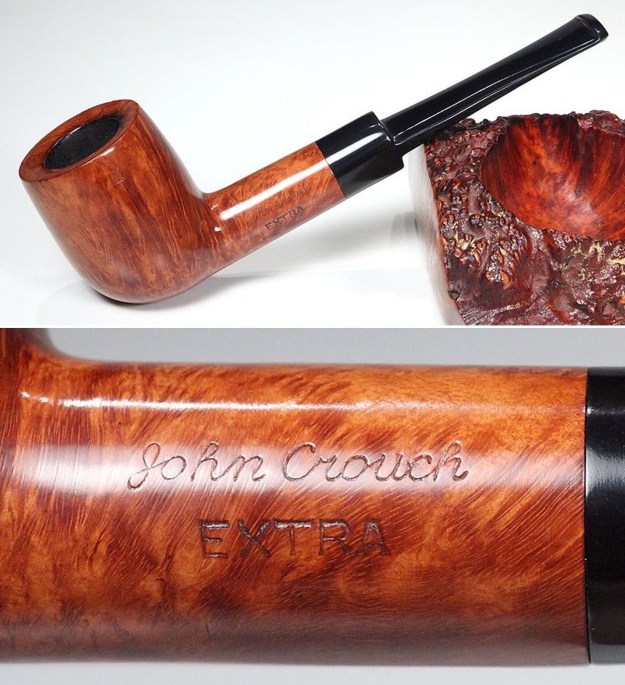
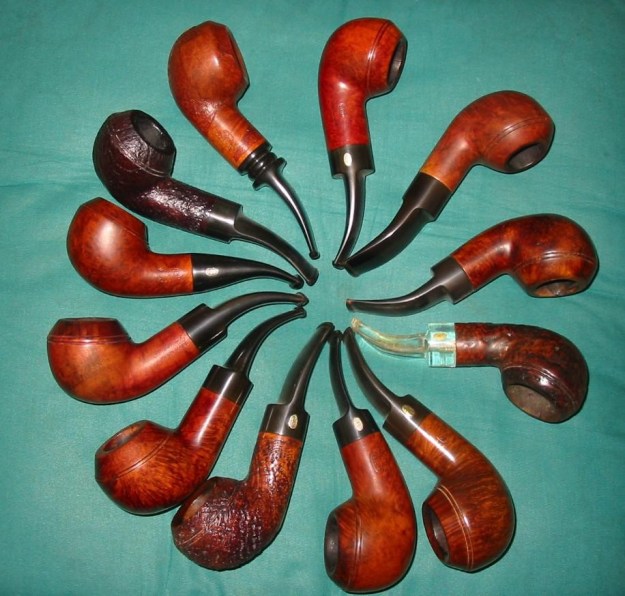
Our own line of pipes are famous the world over for their outstanding value. The photos here represent a small sampling of our immense selection of shapes, sizes, and finishes.
Pick a price range, a shape, and a finish. We’ll pick you out a pipe that will be sure to satisfy for years to come.
The majority of our smooth pipes are natural or unfinished and will darken over time bringing out their beautiful grain naturally.
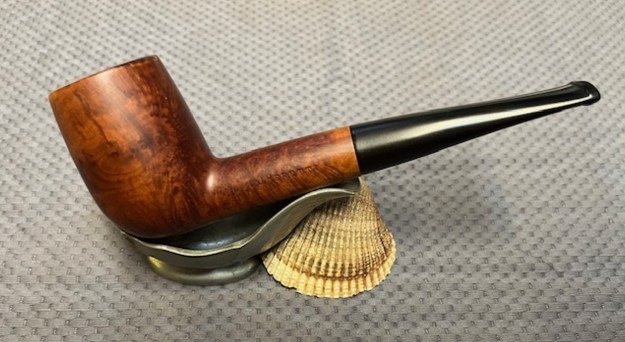
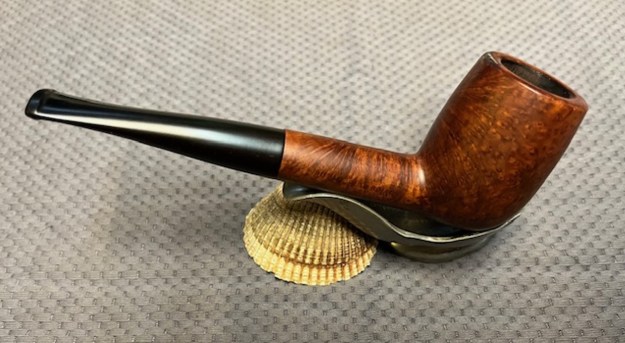
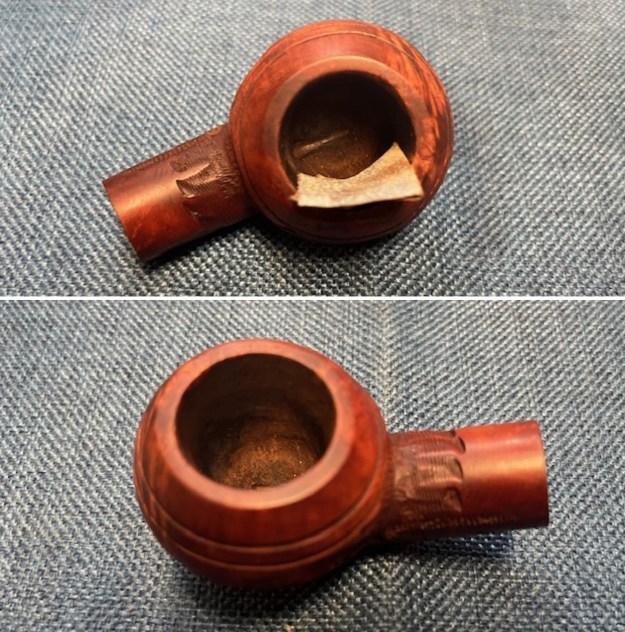
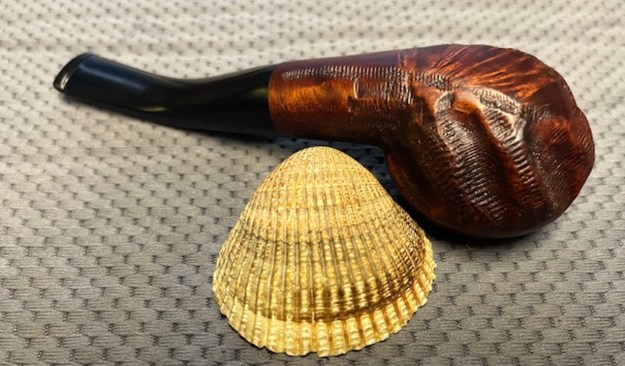
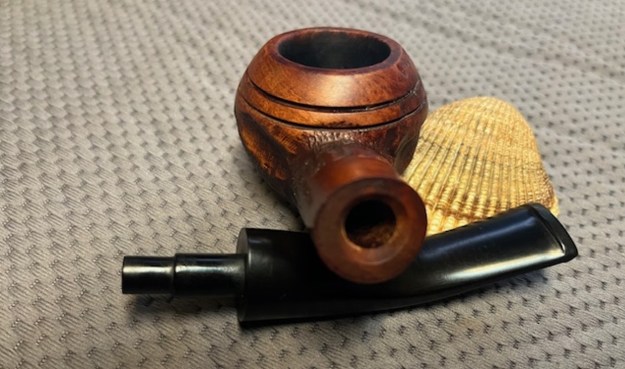
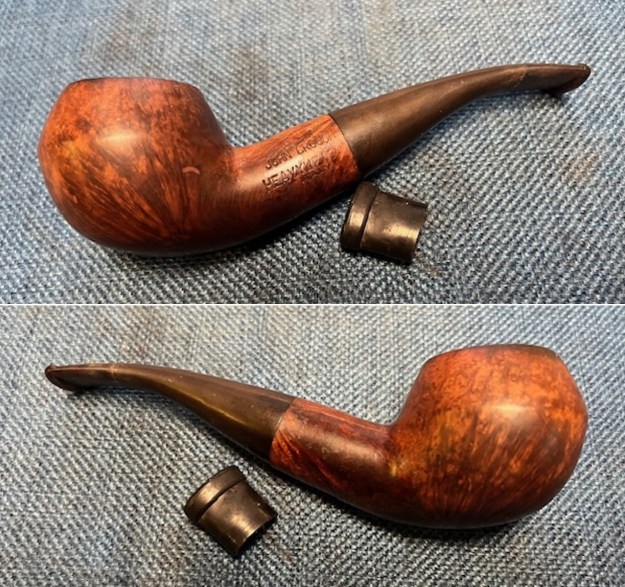
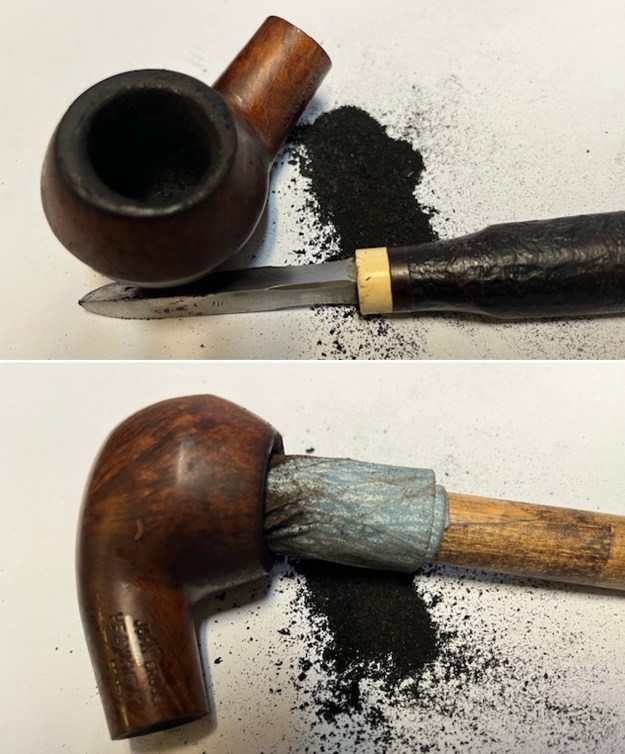
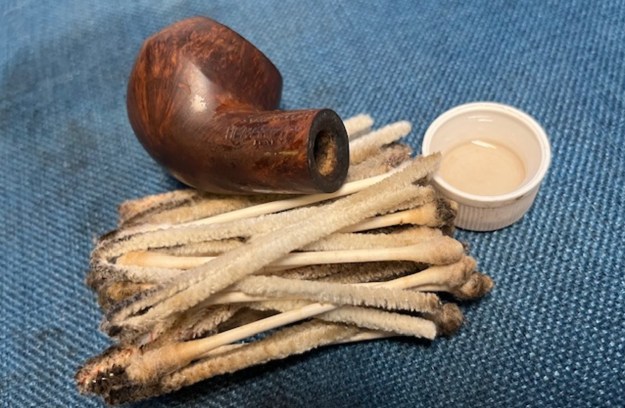
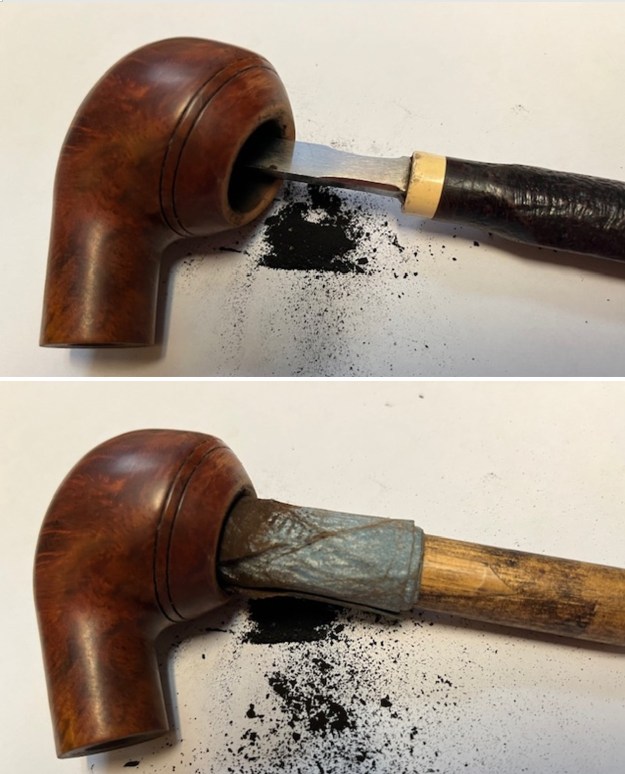
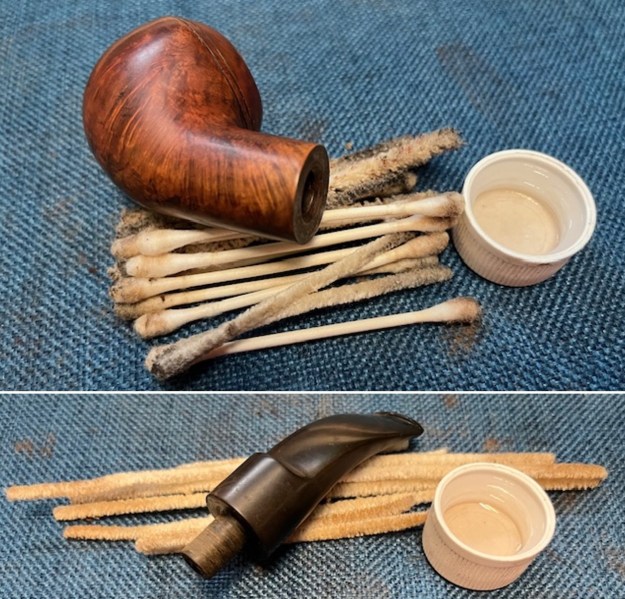
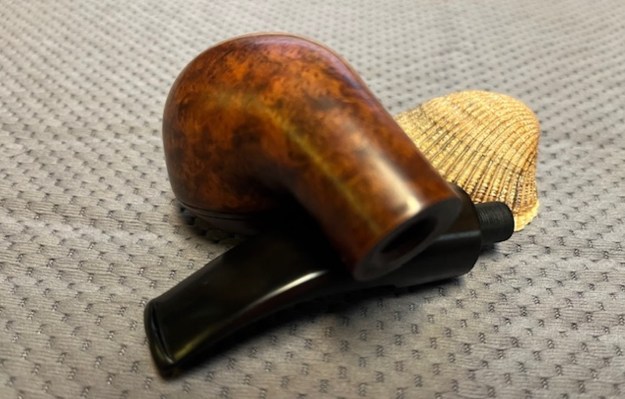
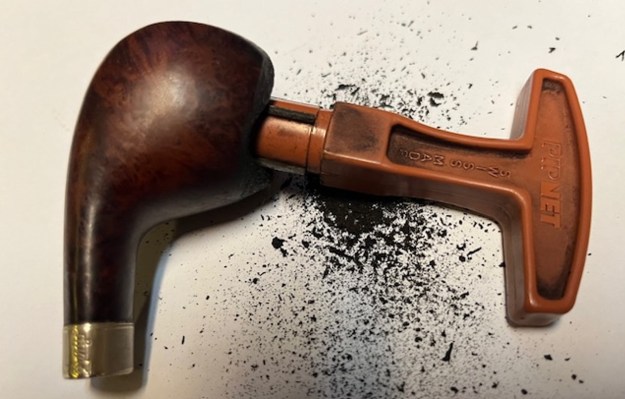
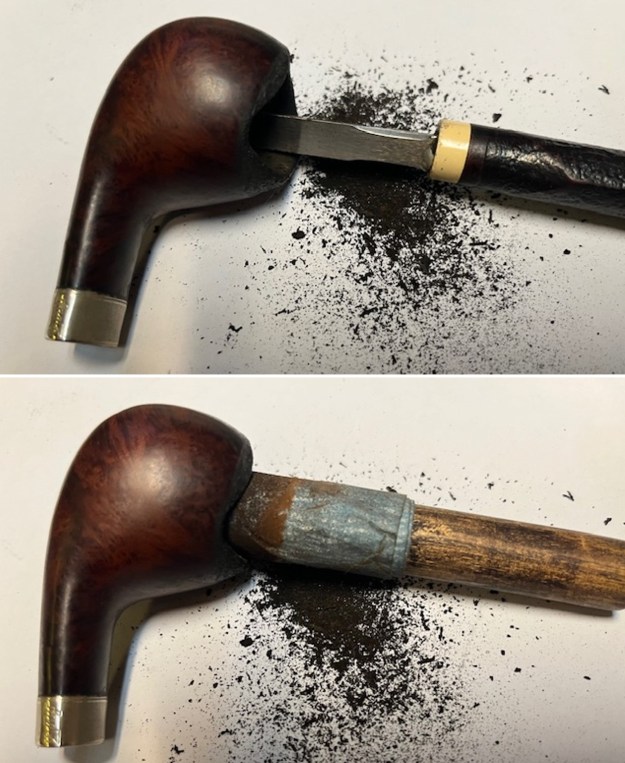
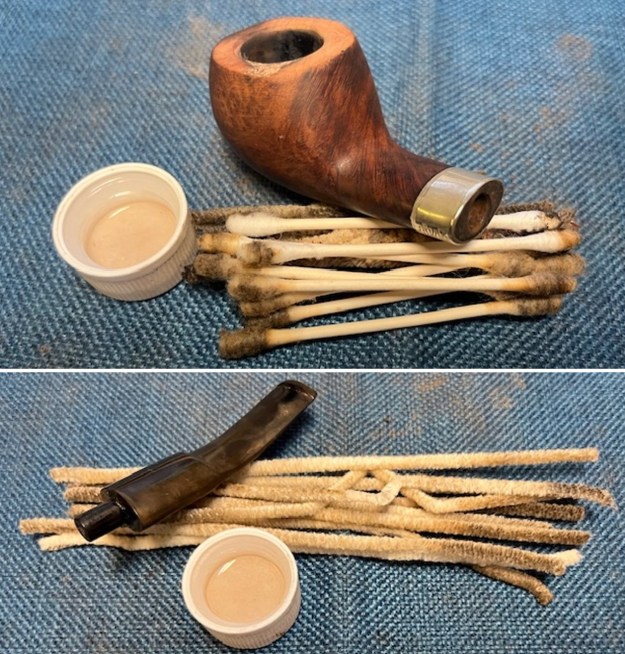
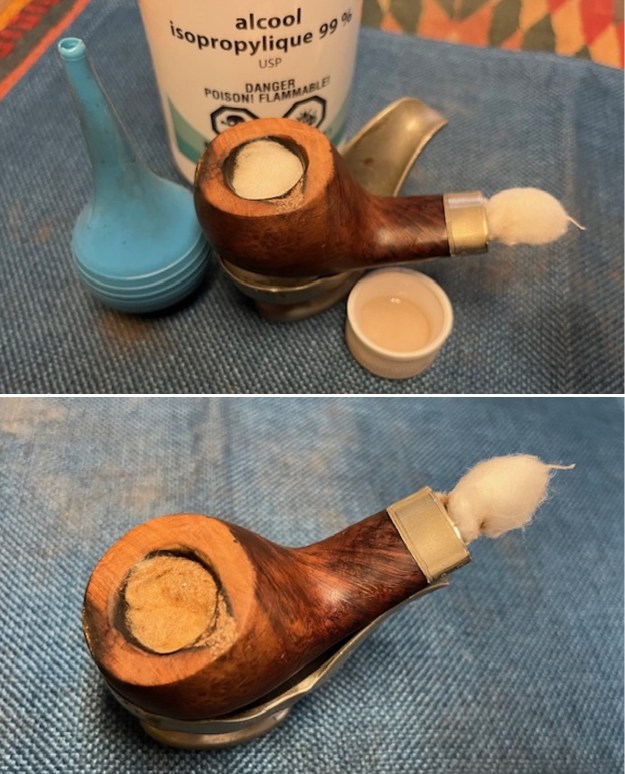
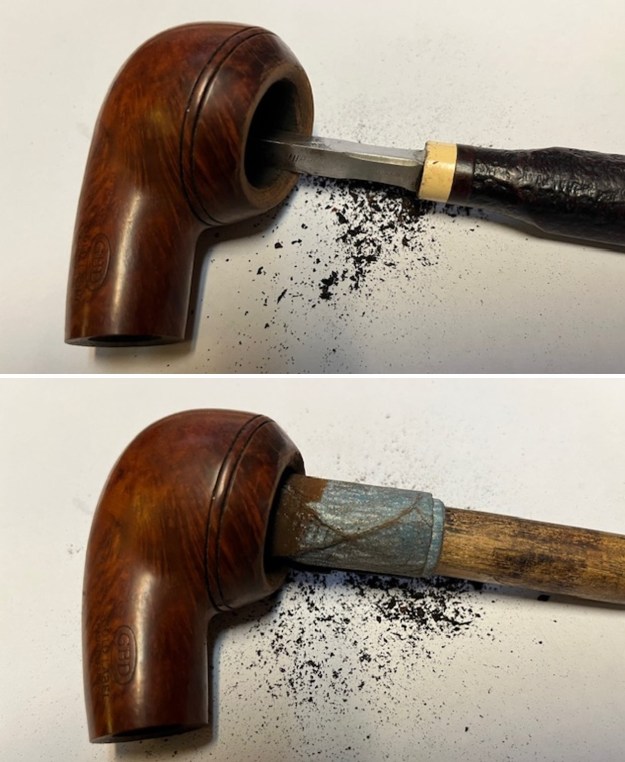
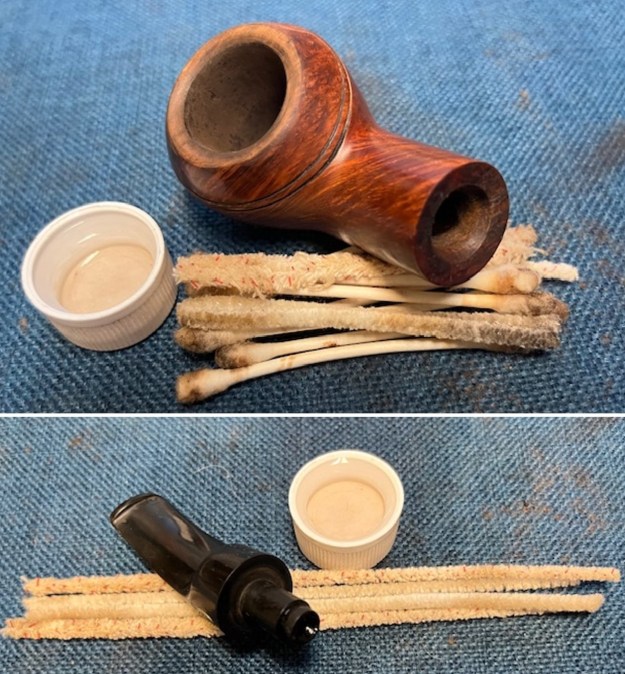
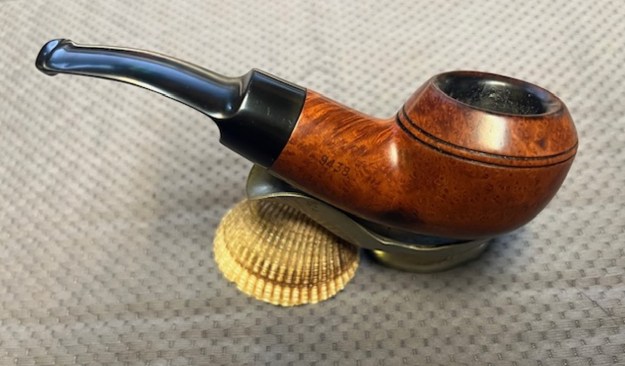
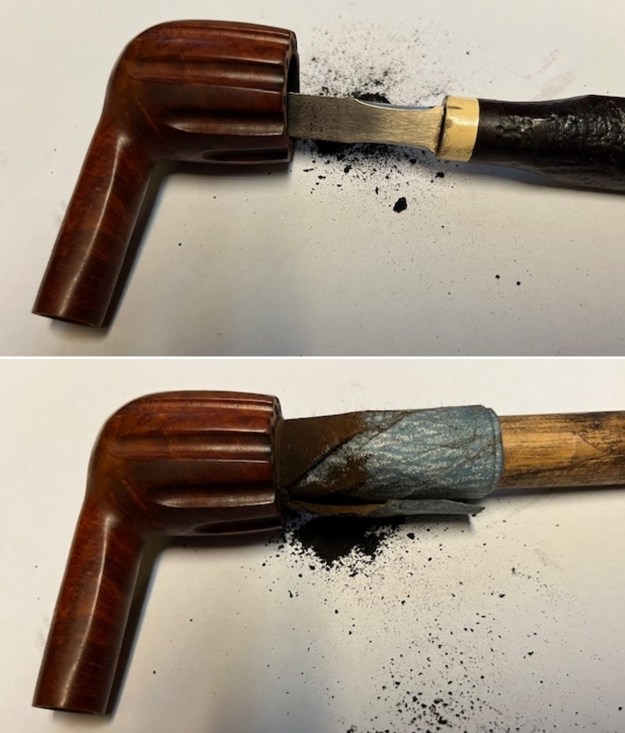
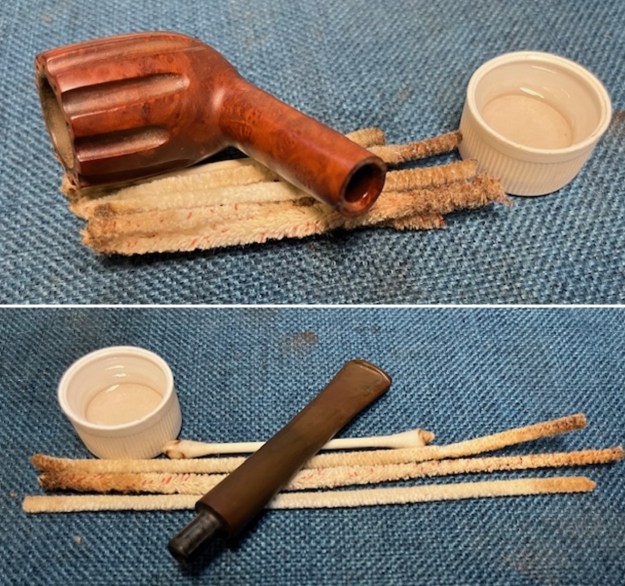
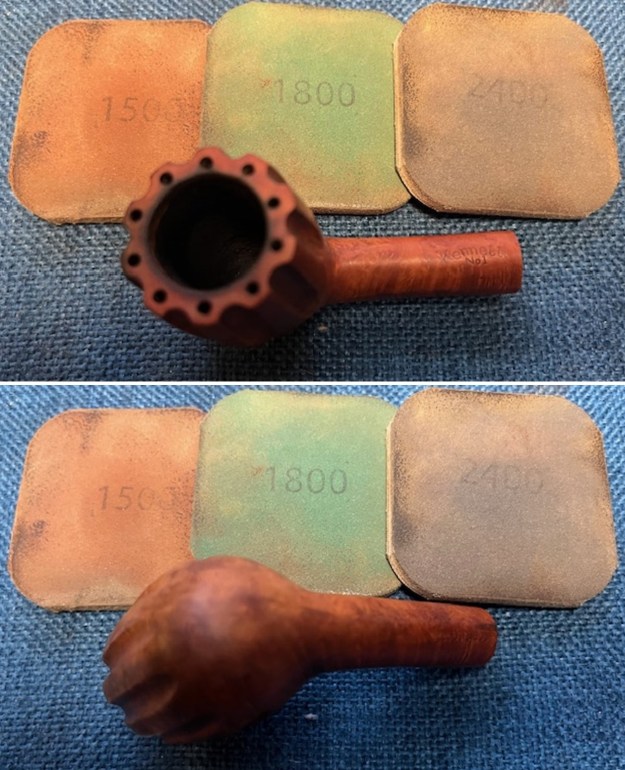
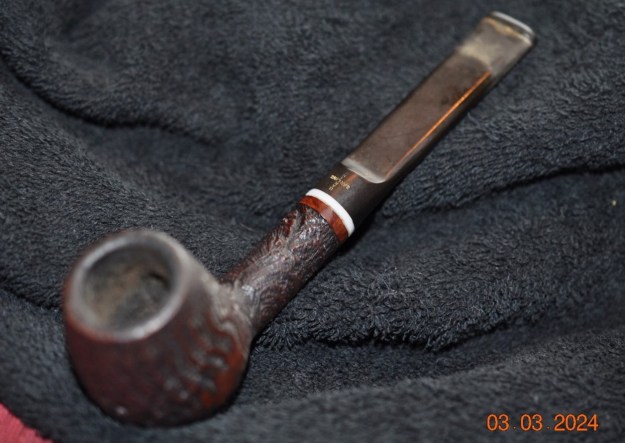
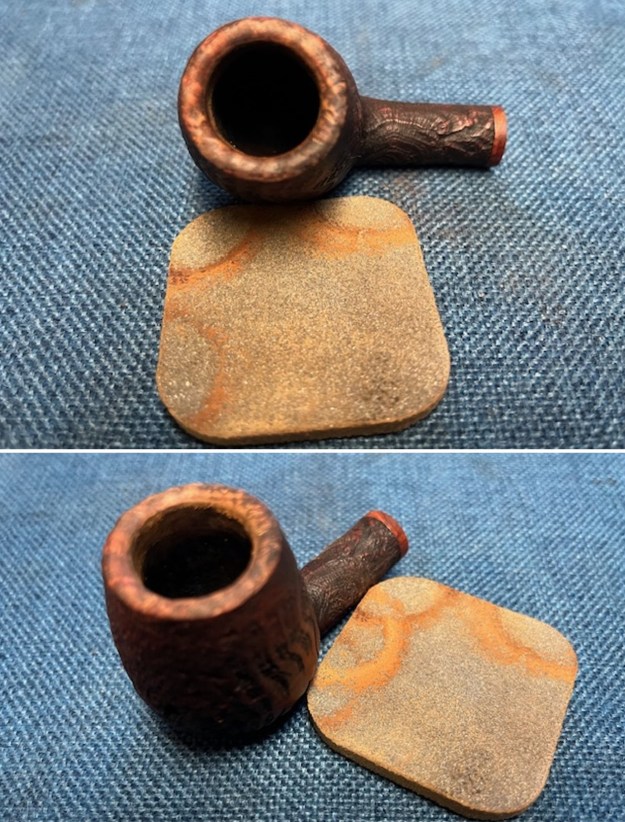
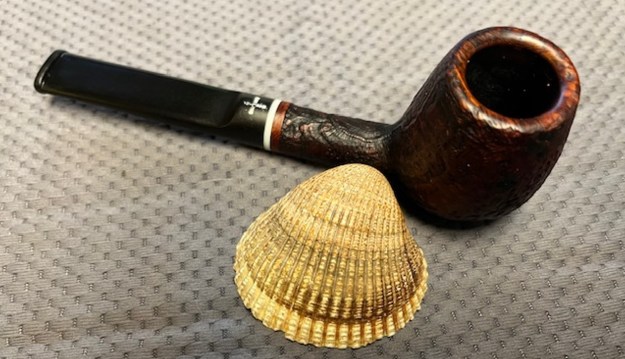
Armed with that information I turned to work on the pipe itself. Jeff had cleaned up the pipe with his usual thoroughness. He reamed the pipe with a PipNet pipe reamer and removed the rest of it with a Savinelli Fitsall Pipe Knife. He scrubbed the bowl with undiluted Murphy’s Oil Soap with a tooth brush. He rinsed it under running warm water to remove the soap and grime. He cleaned out the inside of the shank and the airway in the stem with alcohol, cotton swabs and pipe cleaners and shank brushes. He soaked the stem in Briarville’s Pipe Stem Deoxidizer and rinsed it off with warm water. I took photos of the pipe before I started my part of the restoration work.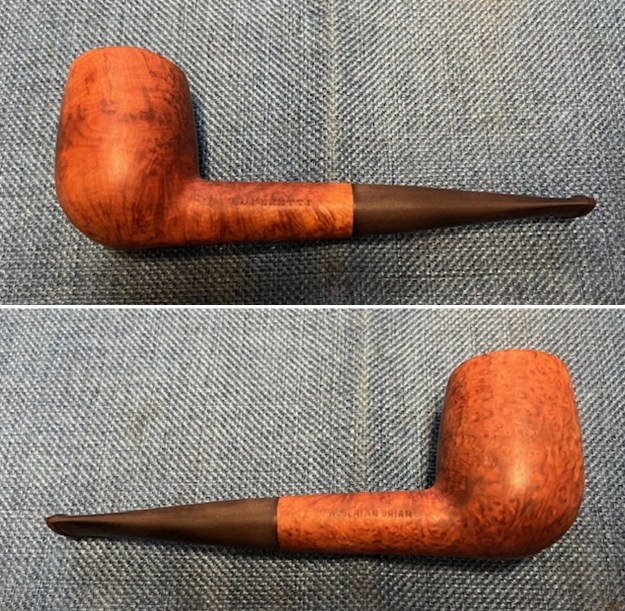
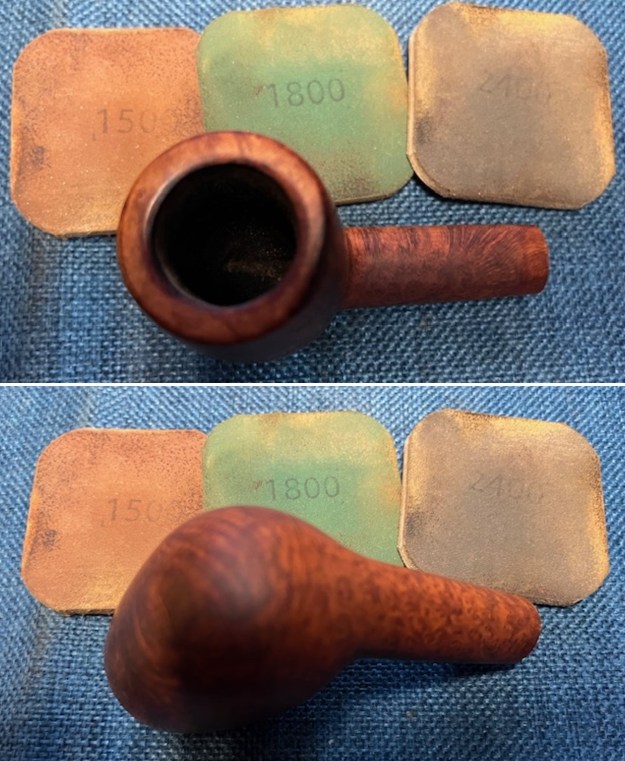
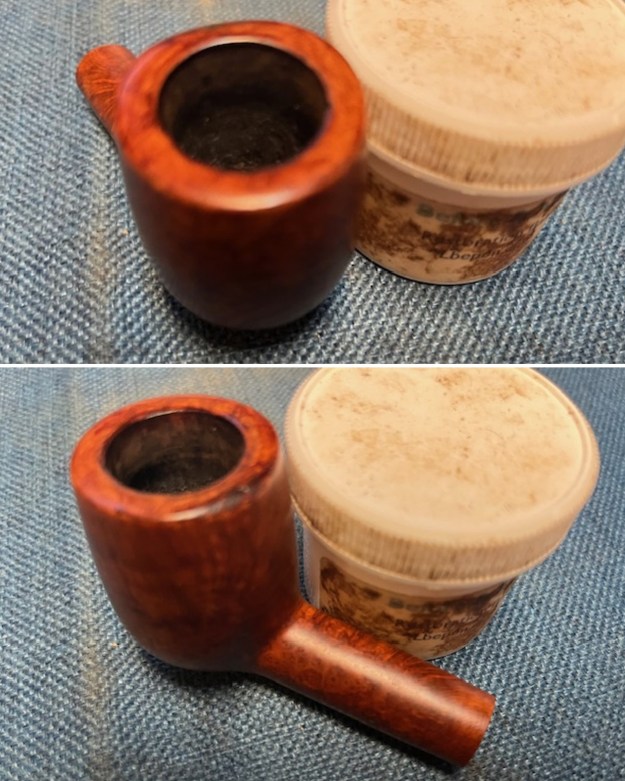
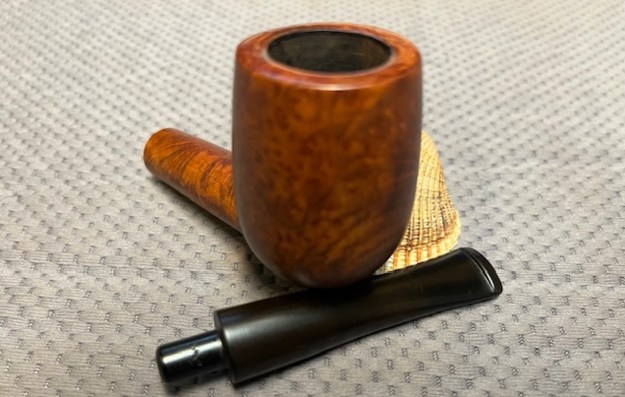
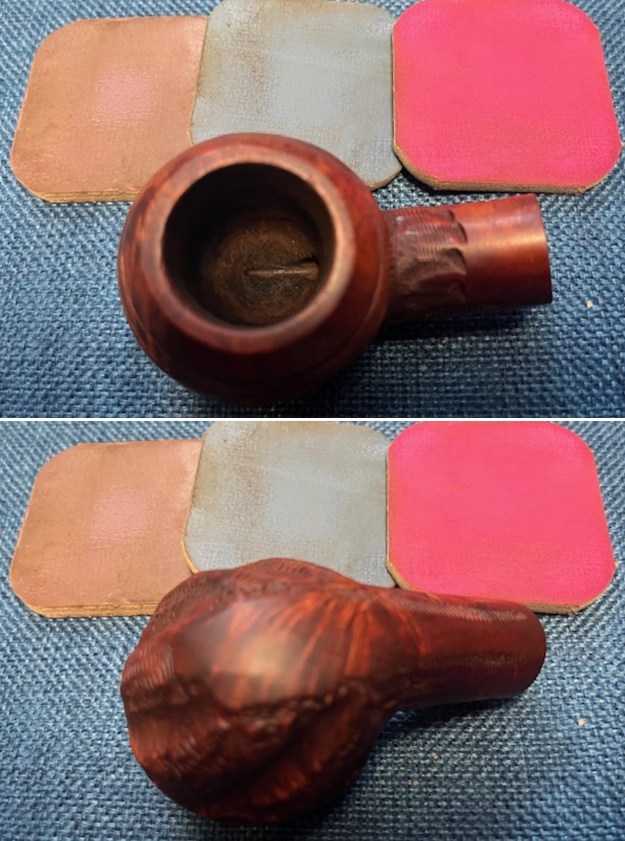
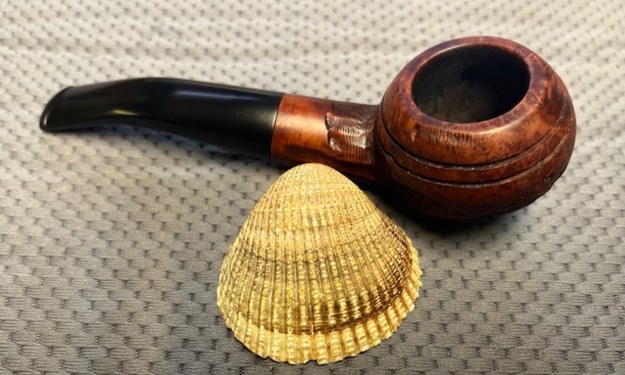
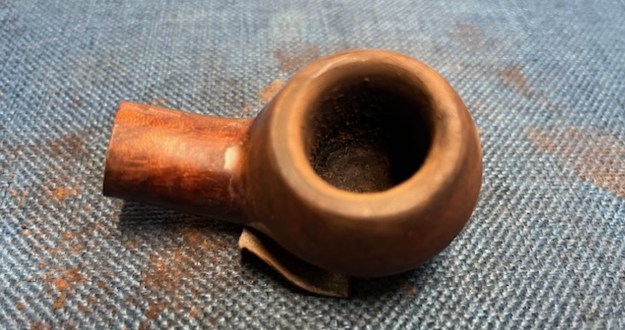
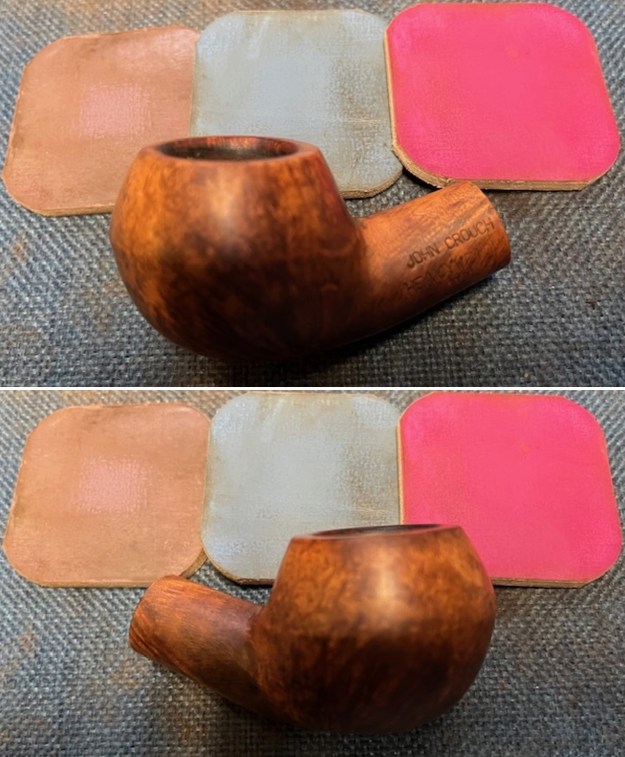
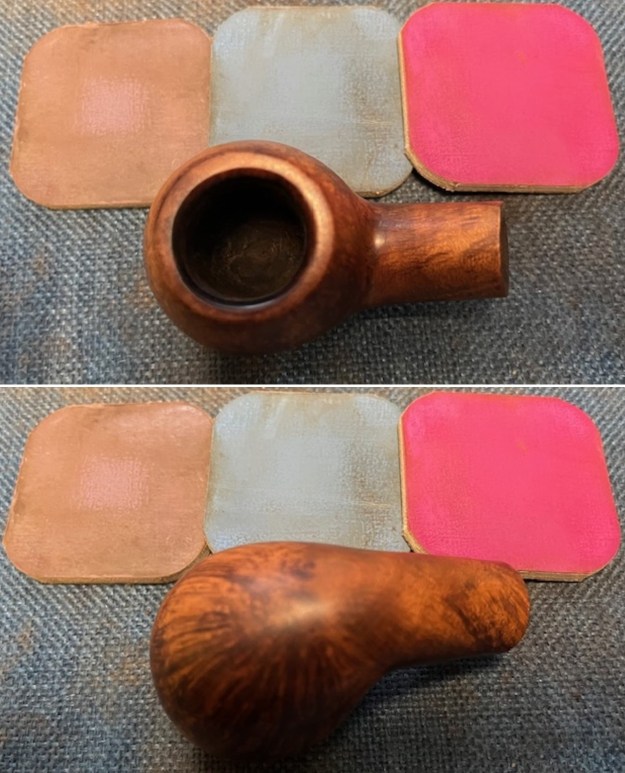
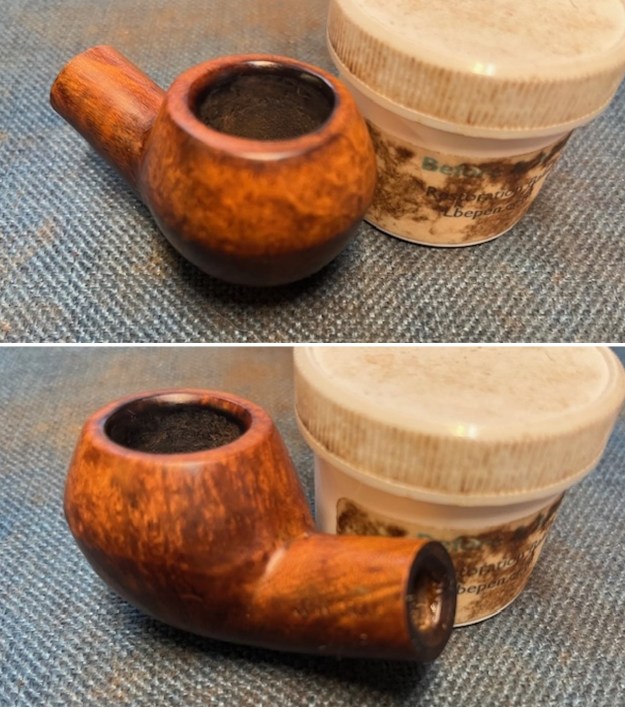
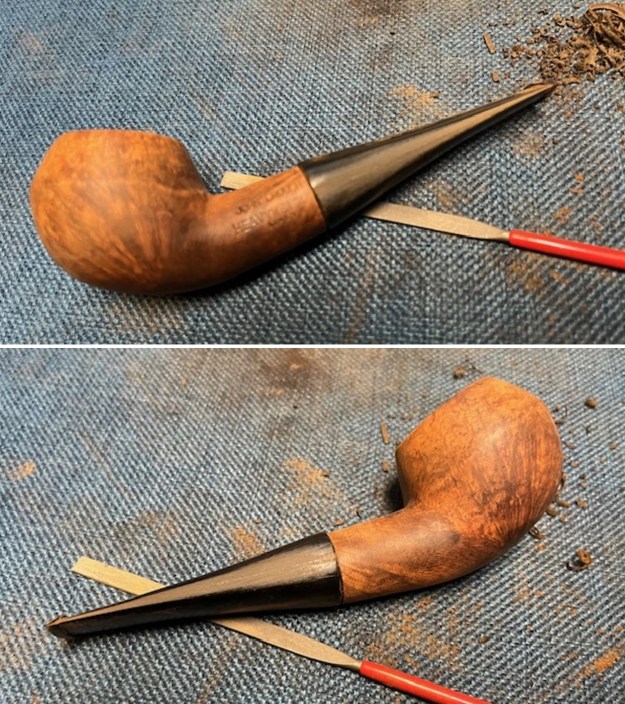
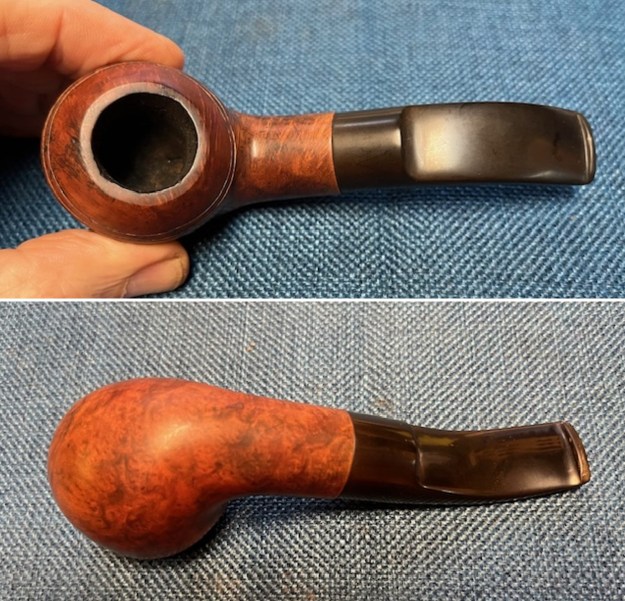
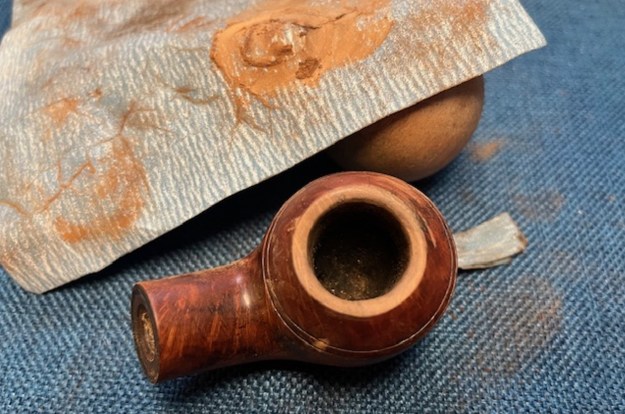
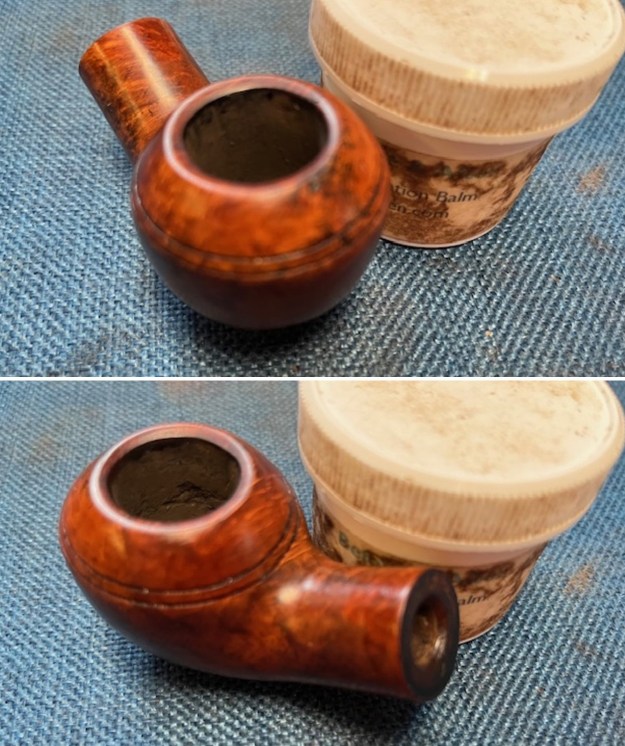
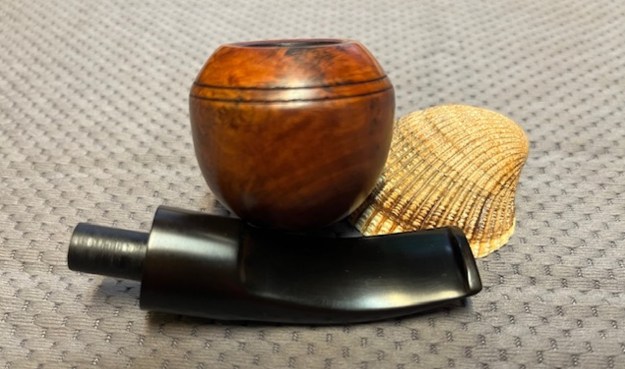
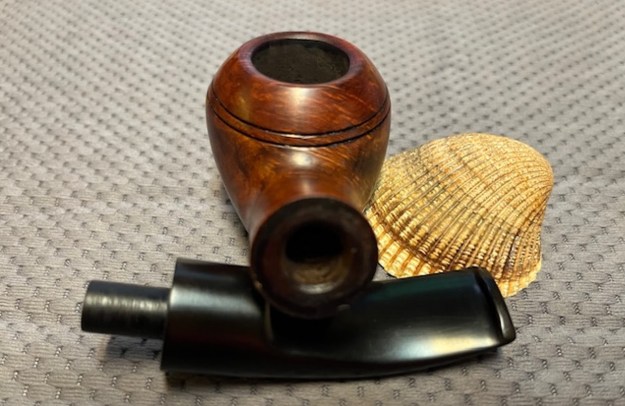
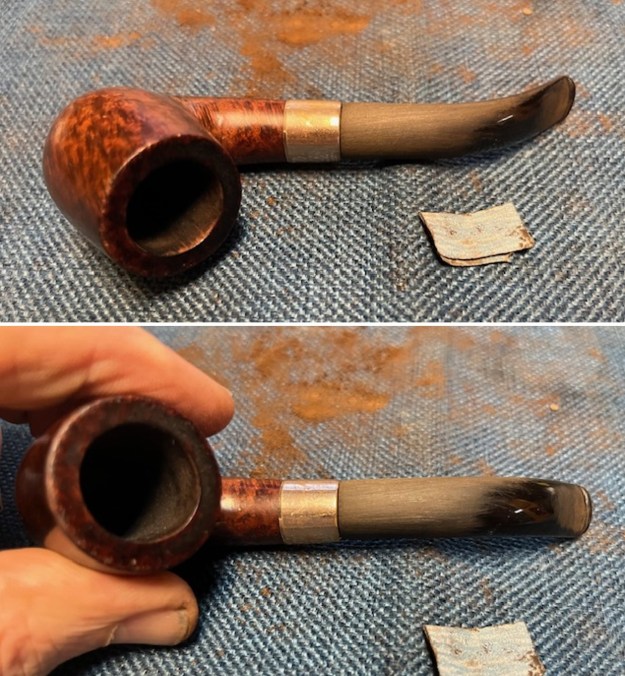
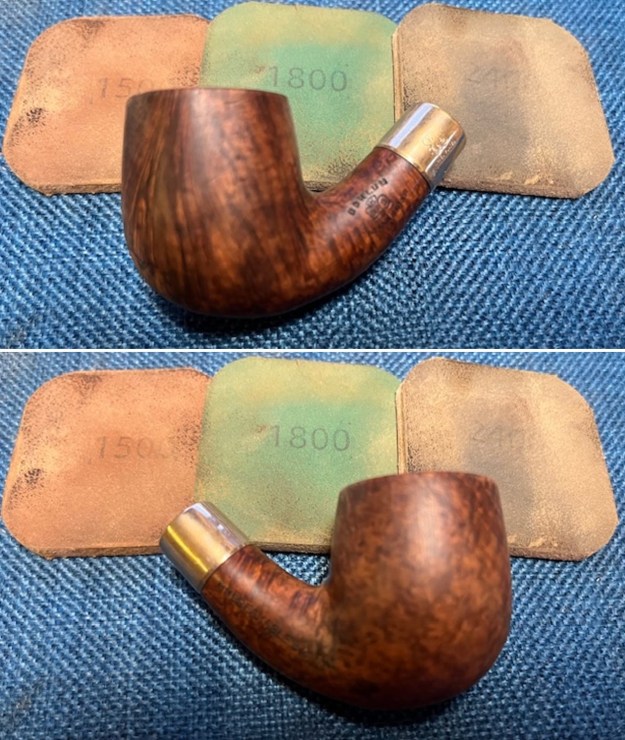
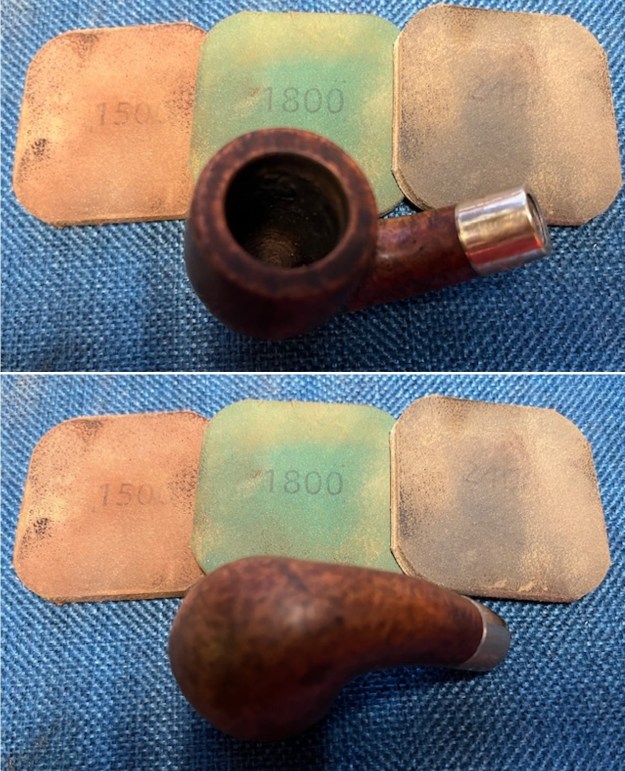
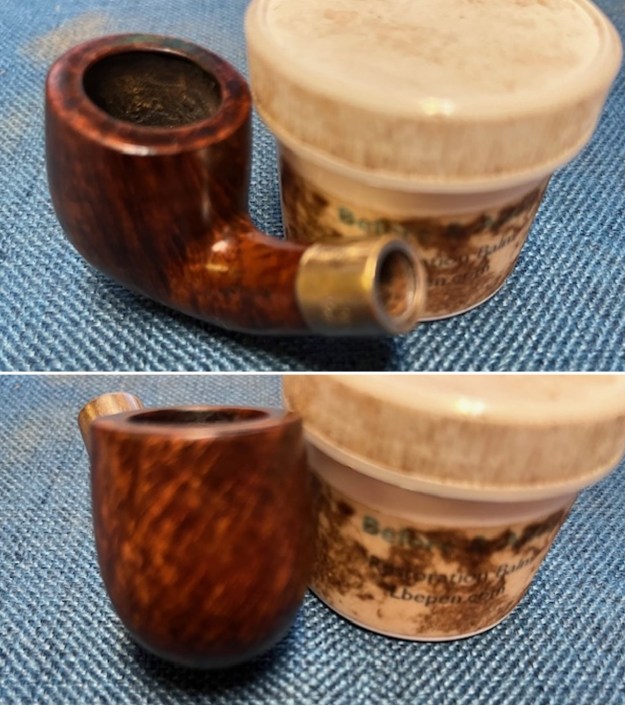
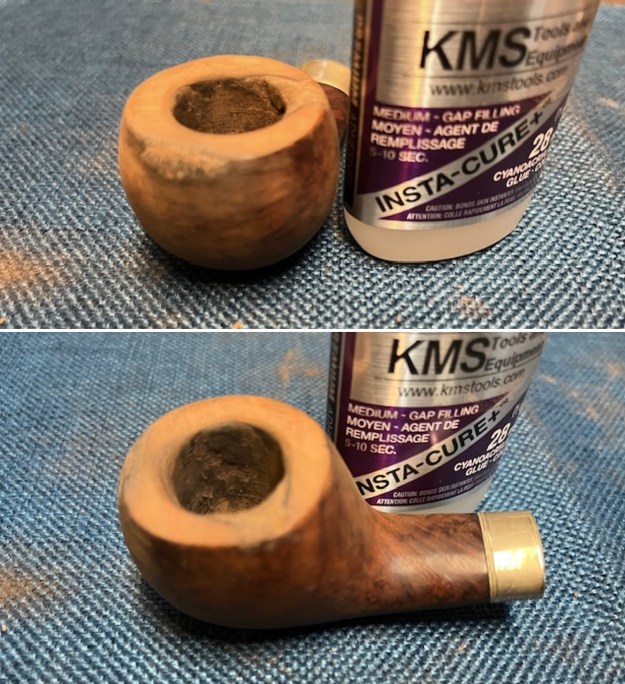
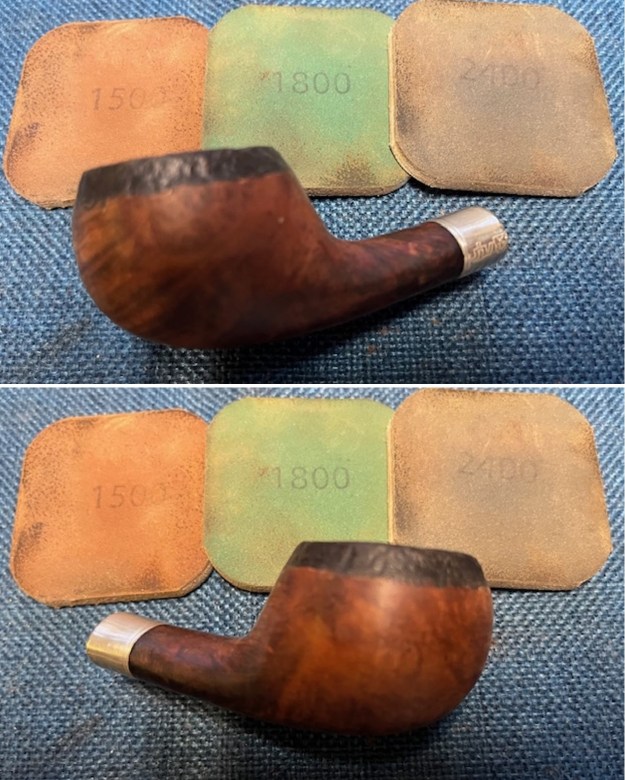
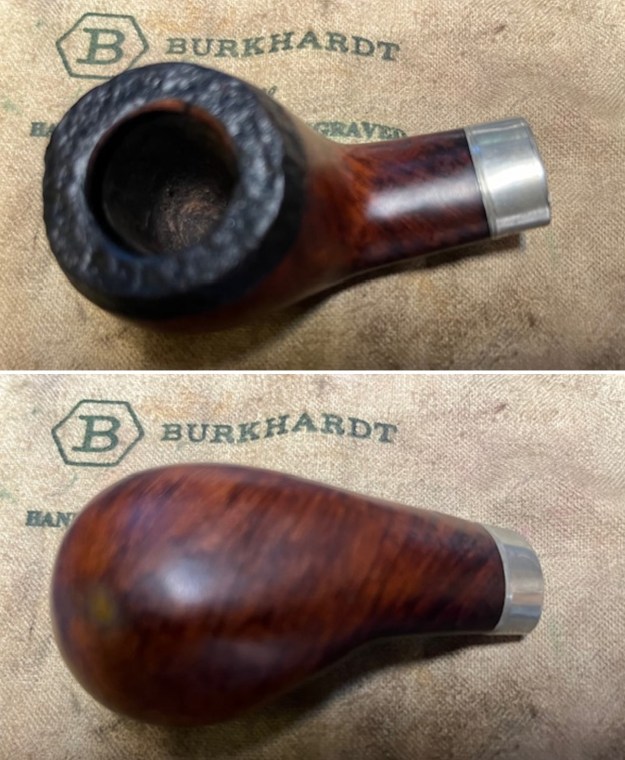
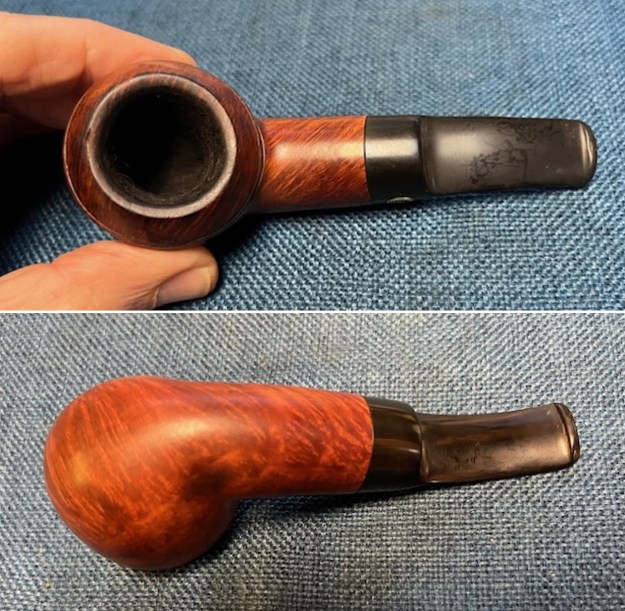
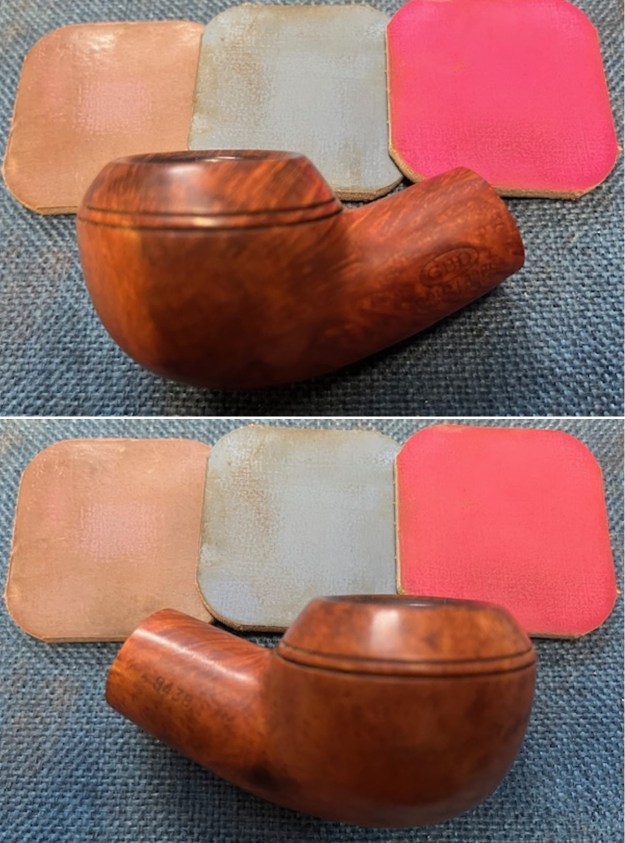
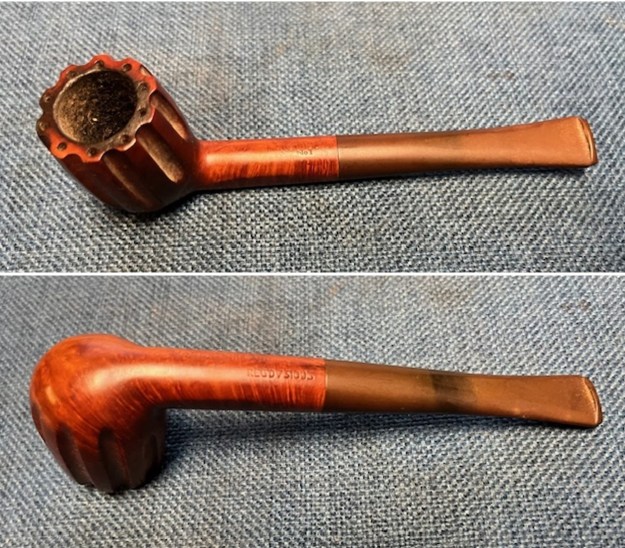
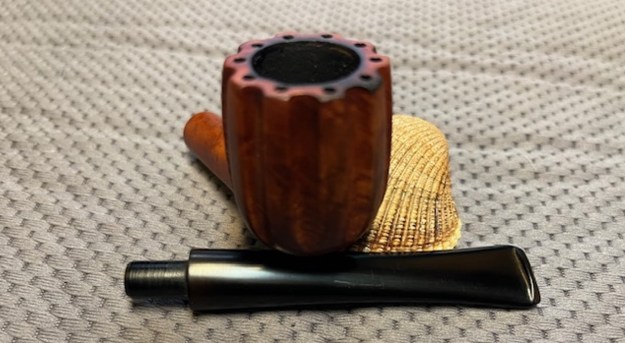
 The rim top cleaned up really well. The rim top and inner edge of the bowl look good. There was some darkening on the inner edge and light damage on the edges. The outer edge has some damage on the backside of the bowl. It looked like it had been knocked repeatedly against a hard surface. There was also some darkening on the back of the rim top. The stem surface looked much better though there were remnants of oxidation near the shank end. Overall it looked very good with a few small tooth marks and chatter on both sides near the button.
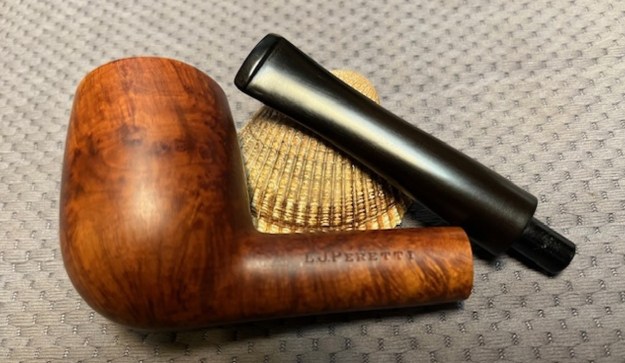
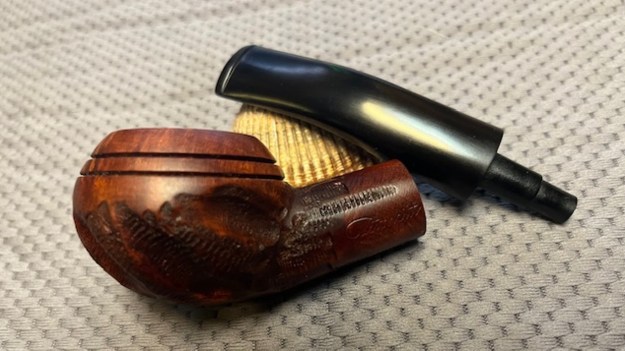
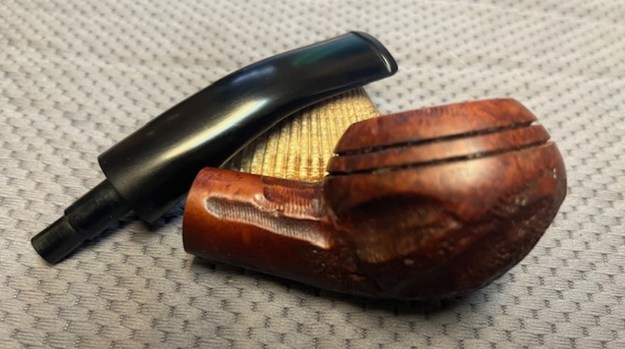
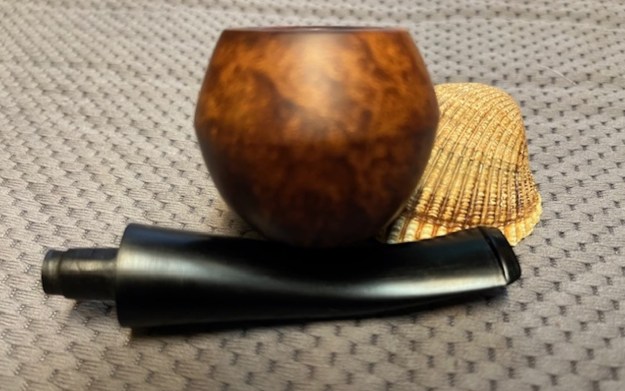
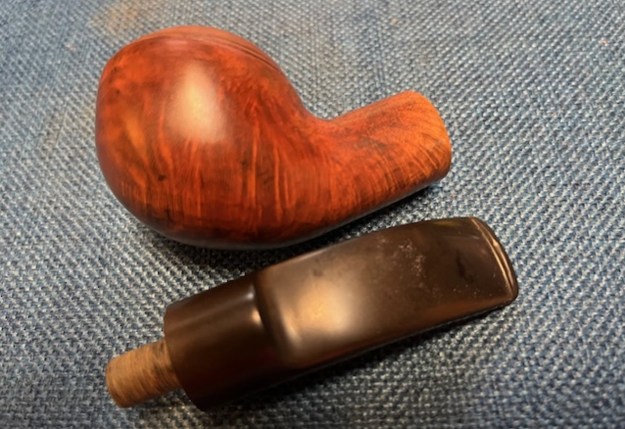
 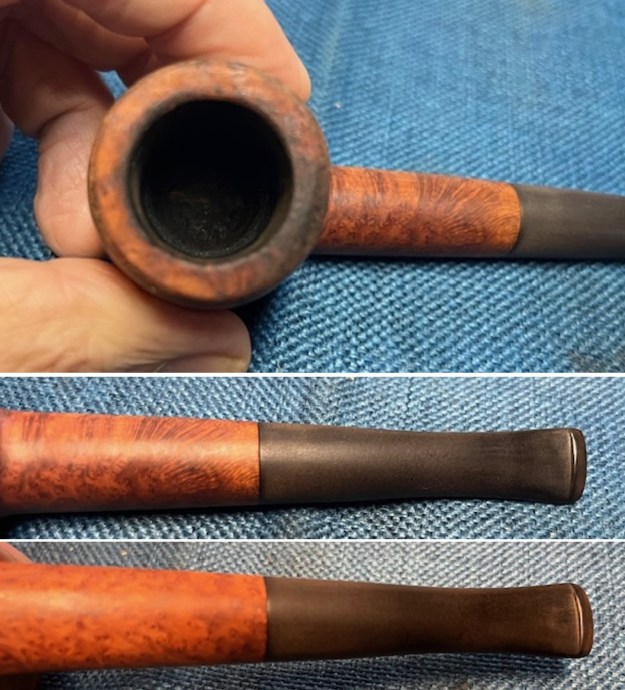 The stamping on shank sides is clear and readable. It is stamped as noted above. I removed the stem and took a photo of the pipe to give a sense of the whole.
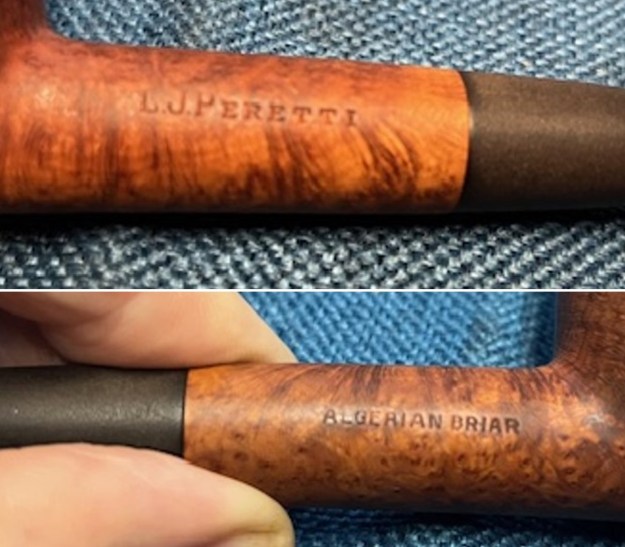
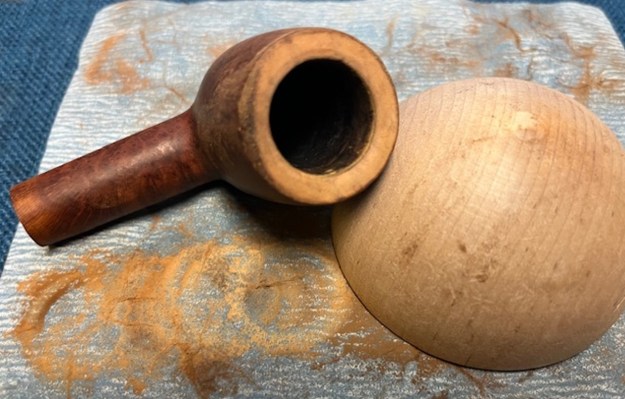
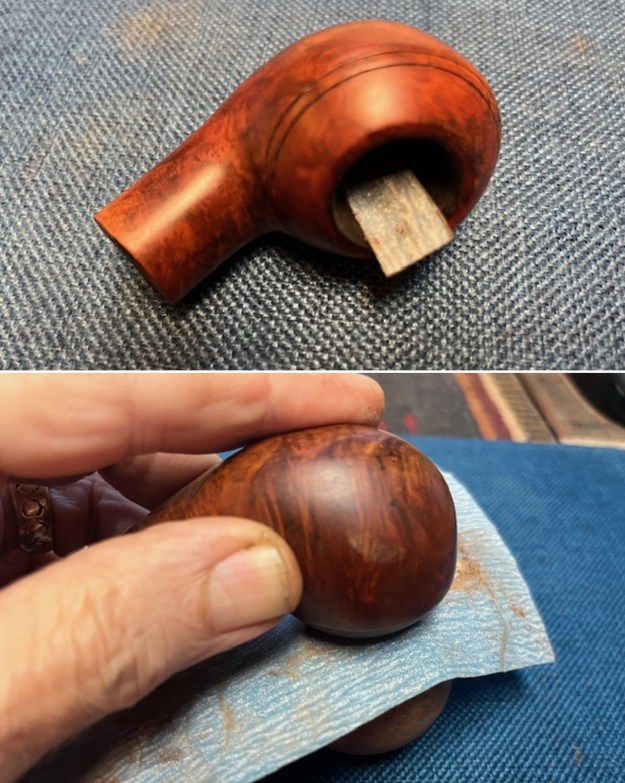
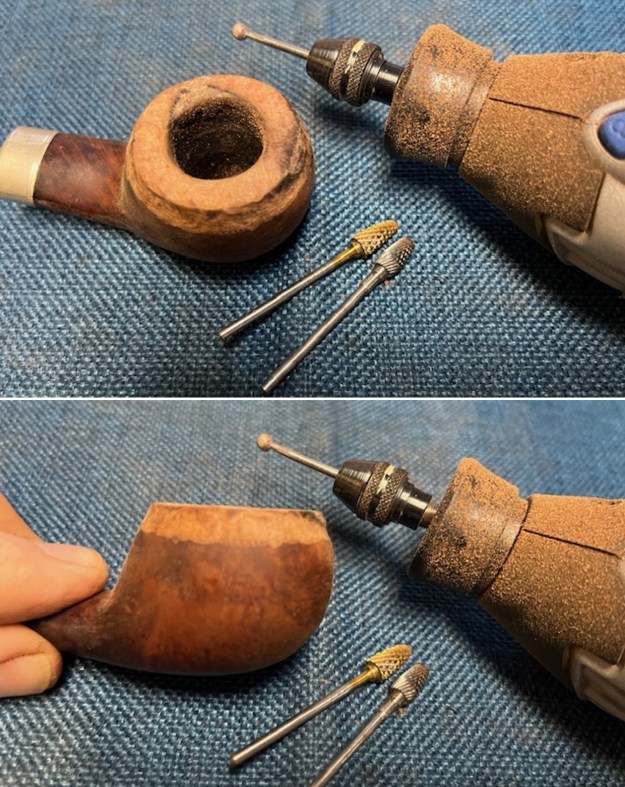
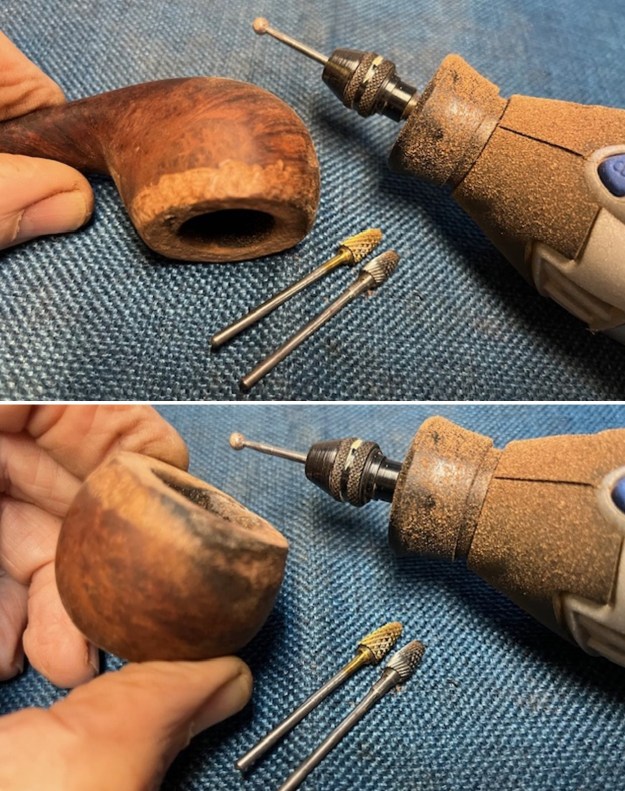
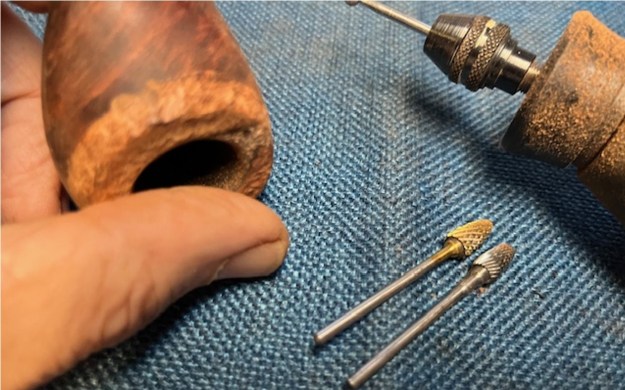
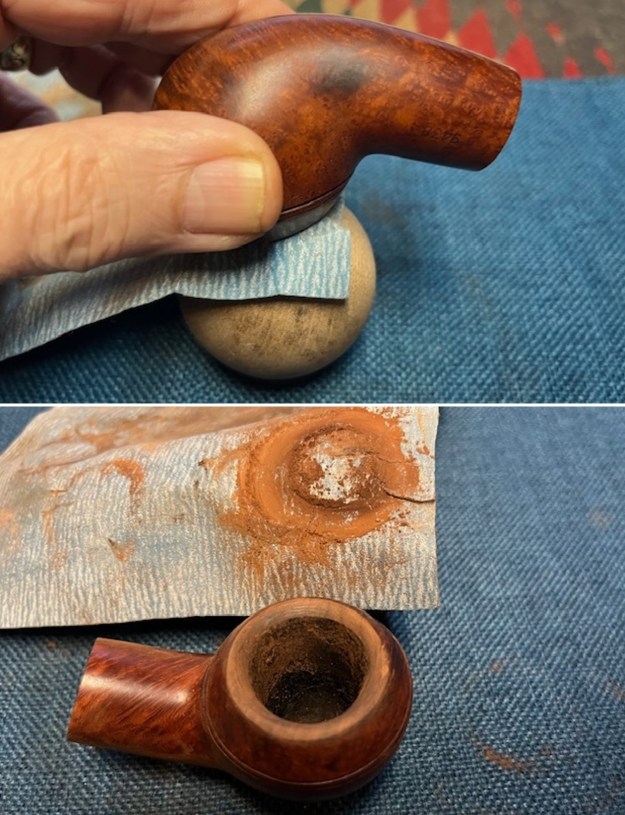
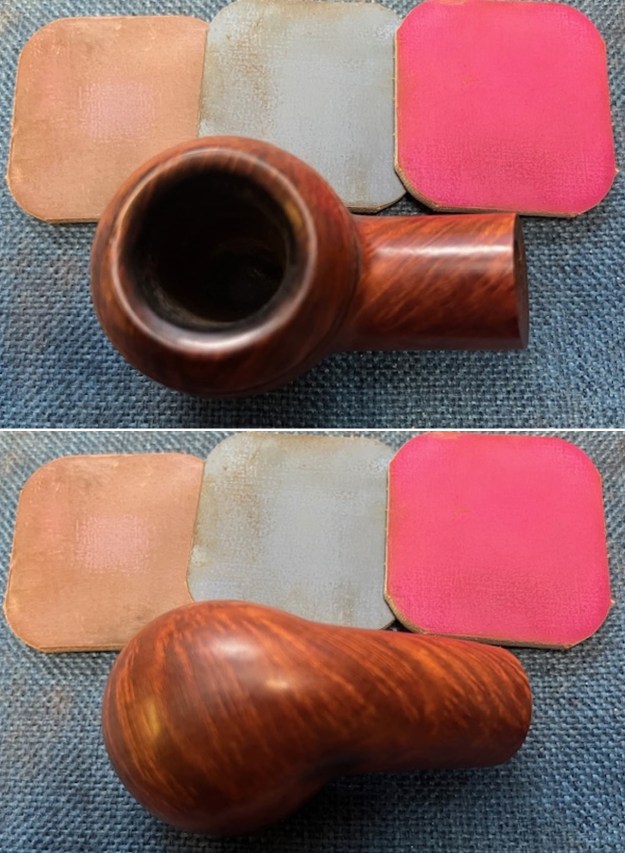
 I cleaned up the inner edge of the bowl with a folded piece of 220 grit sandpaper to smooth out the damage. I then used a piece of 220 grit sandpaper and a wooden ½ sphere to give the inner edge of the bowl a light bevel and to clean up the darkening around the top and outer edge. I decided to leave the bowl outer edge in the same condition it came. I lightly smoothed out the damage on the back outer edge without changing the profile of the bowl. Once finished it looks much better even with the damage and the darkening on the edge.
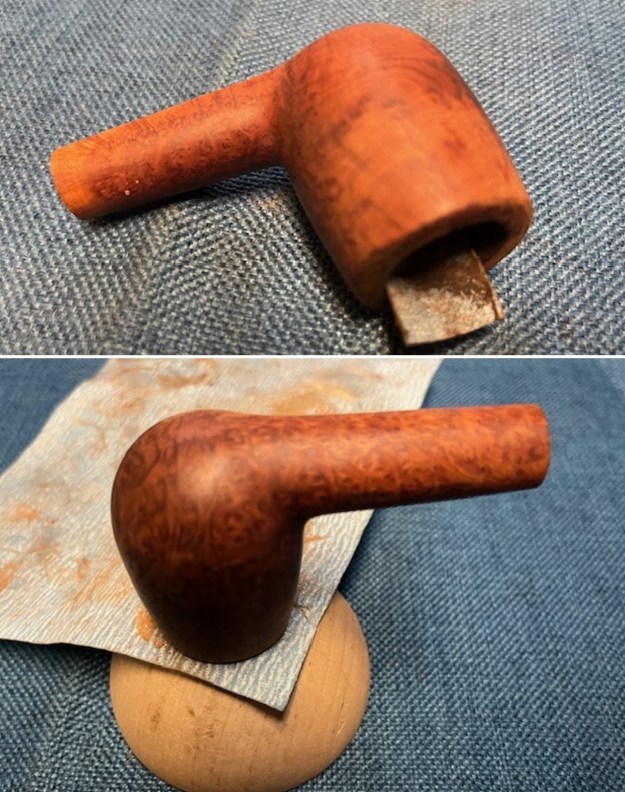
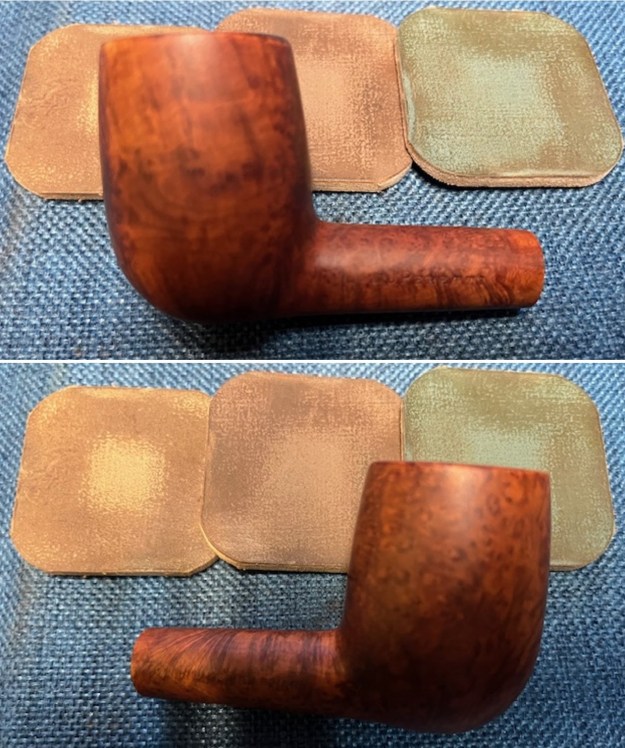
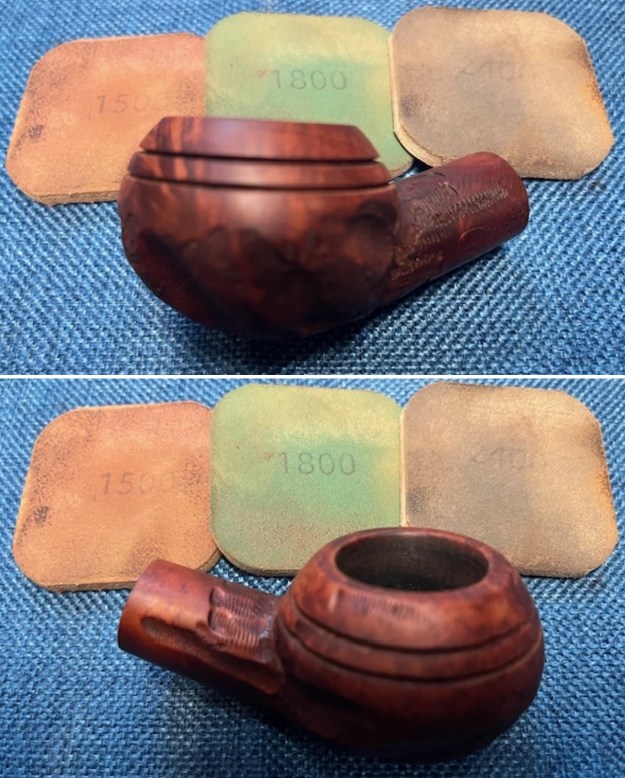
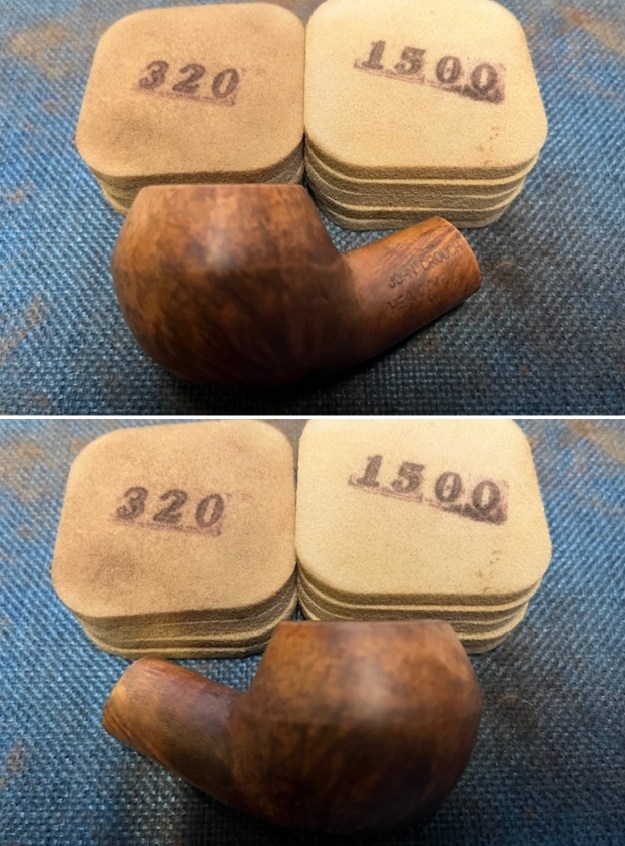
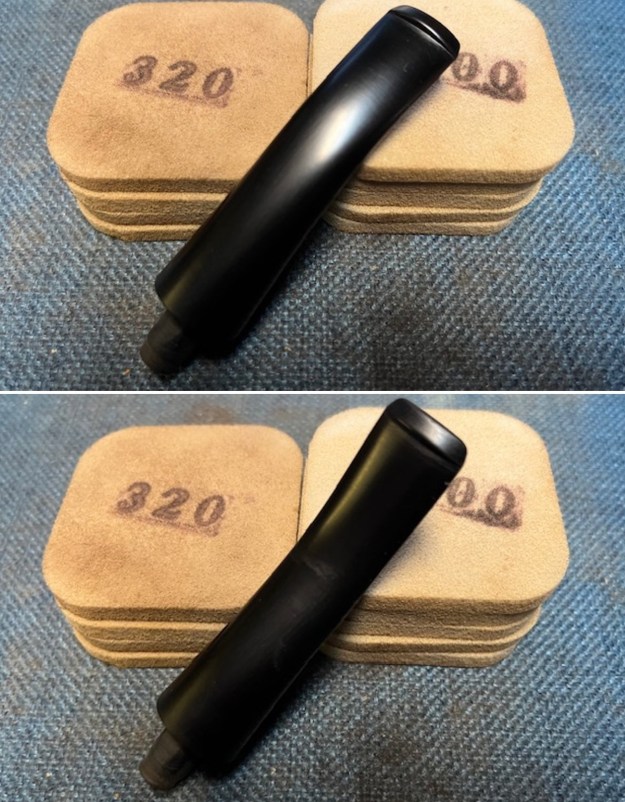
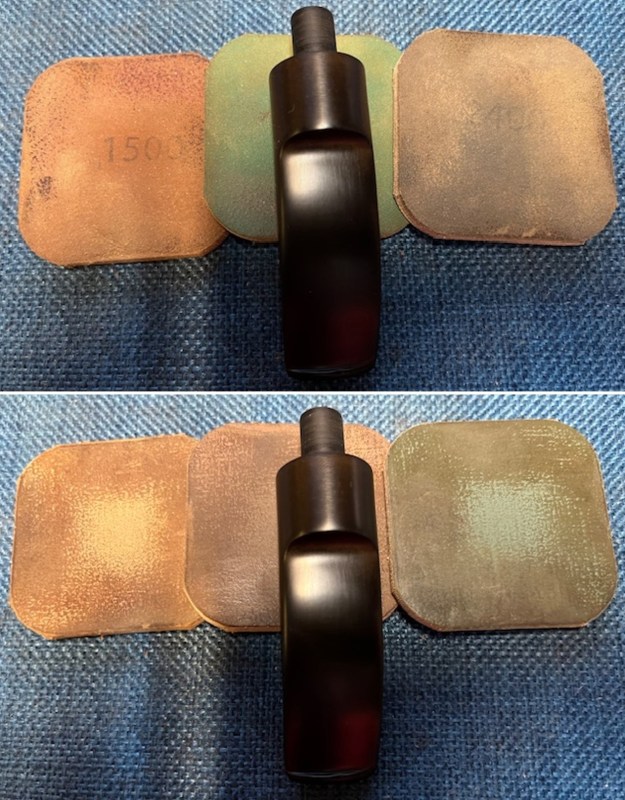
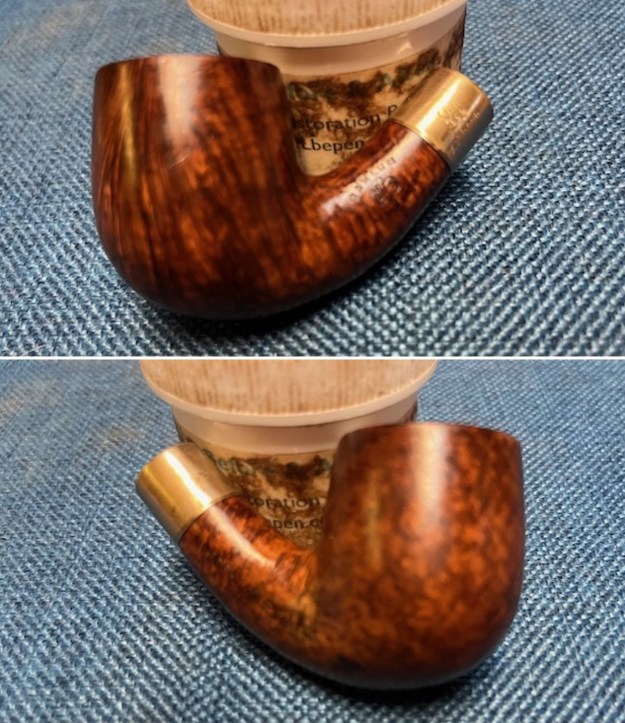
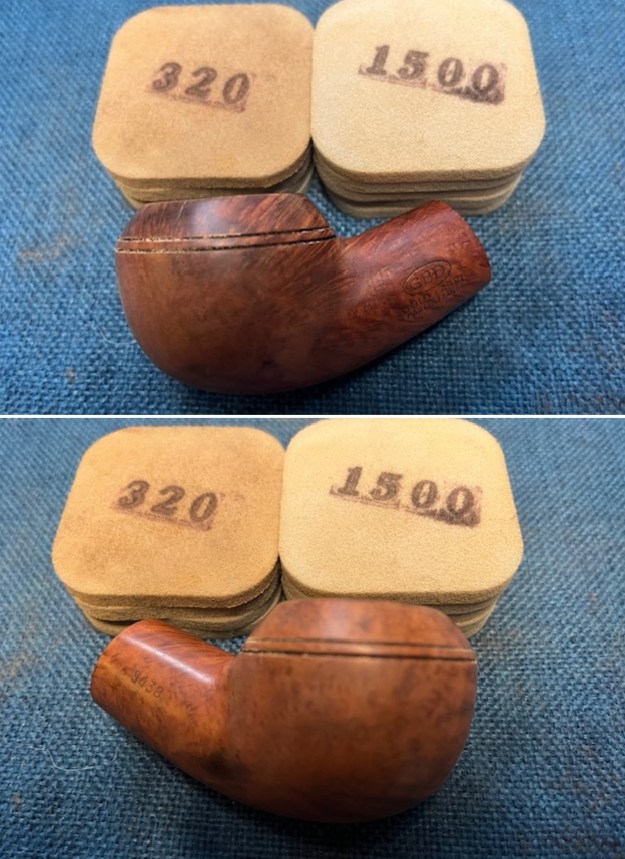
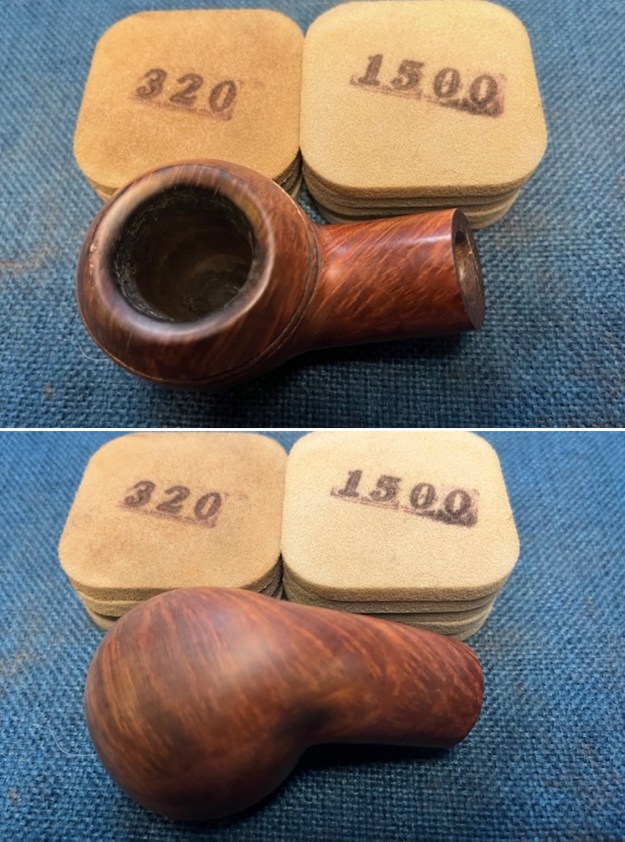
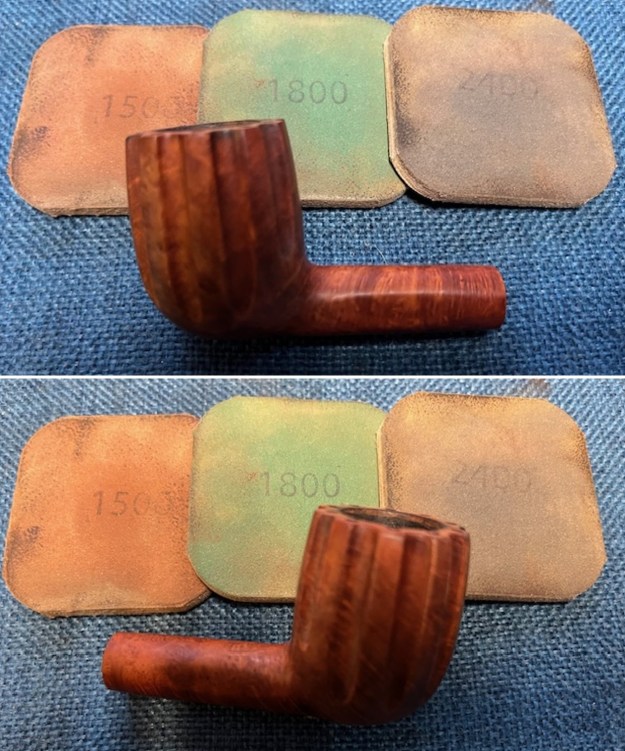
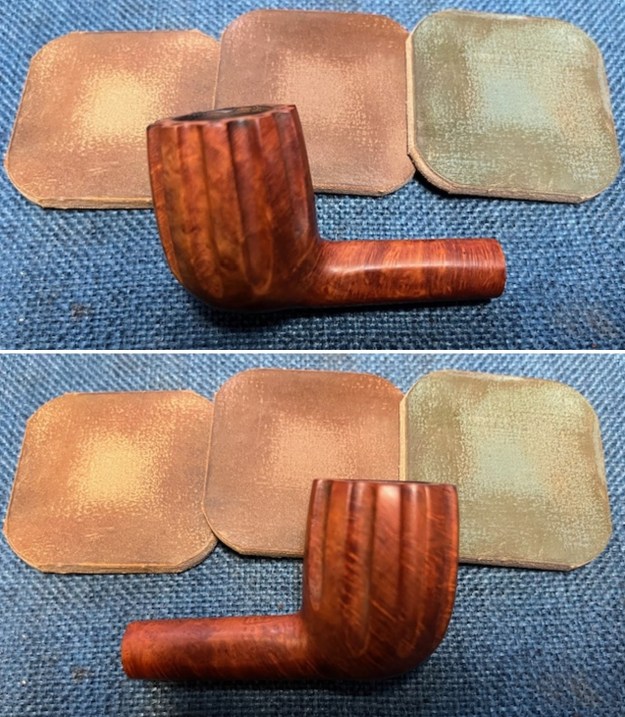
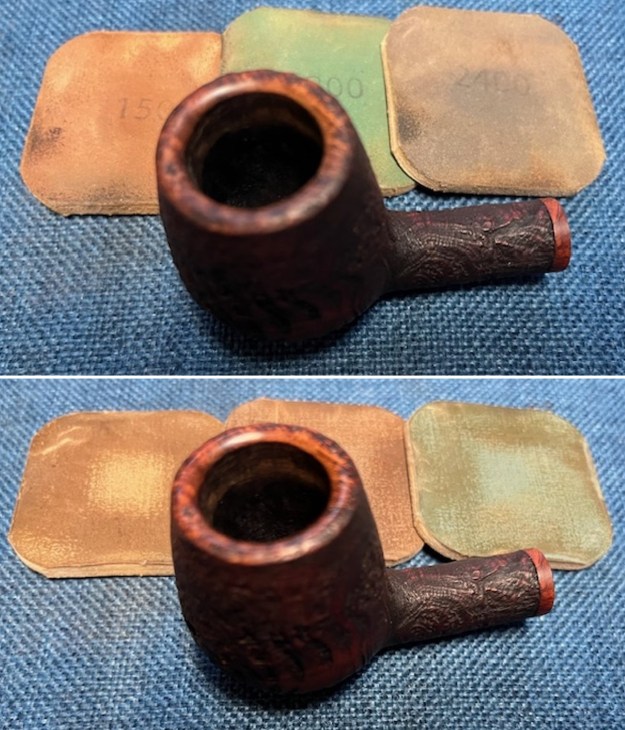
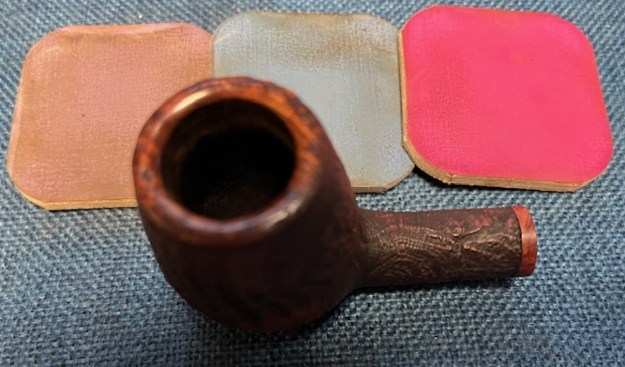
 I sanded the rim top and the bowl and shank with 320-3500 grit sanding pads to blend in the sanding I had done on the top with sides and shank. Each pad gave it more of a shine. I wiped it down after each sanding pad with a damp cloth to remove the sanding dust and debris.
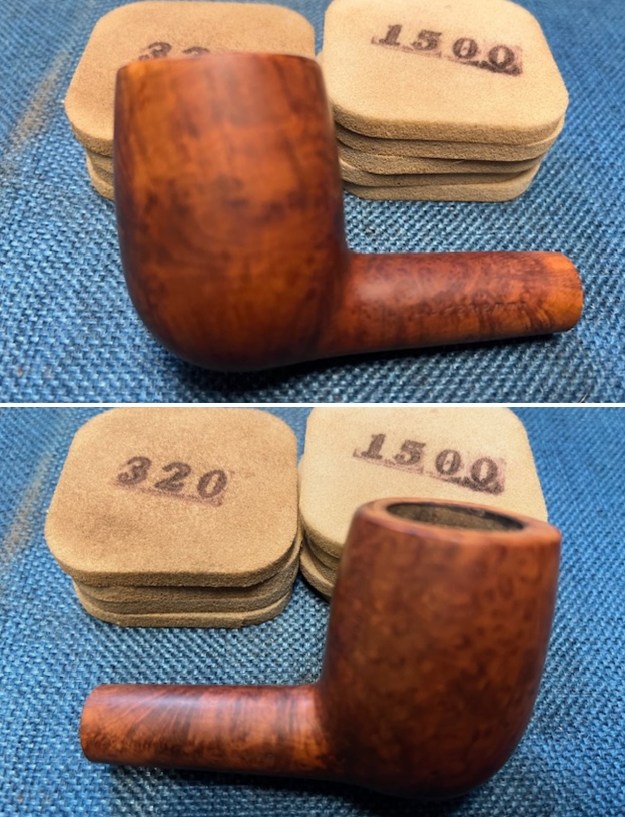
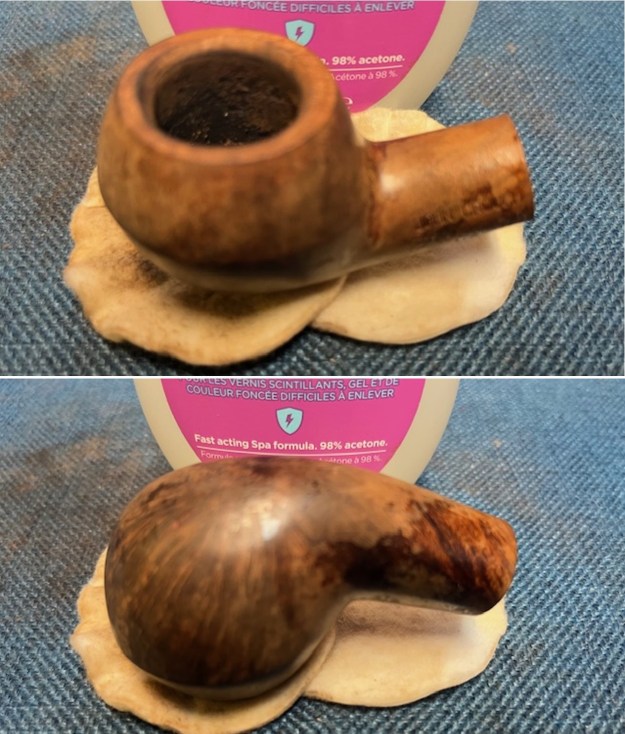
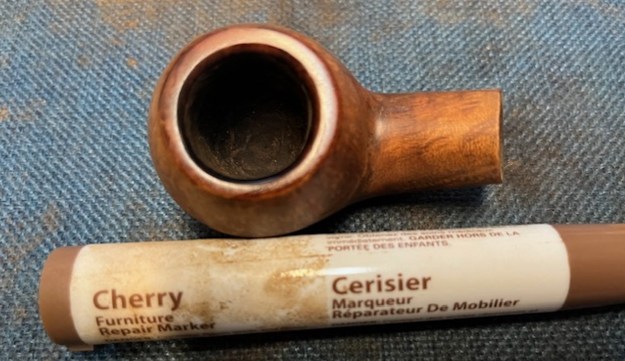
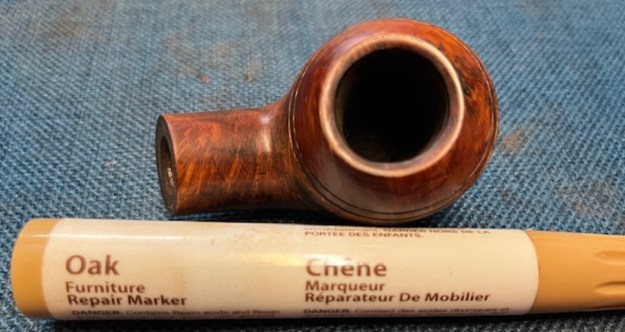
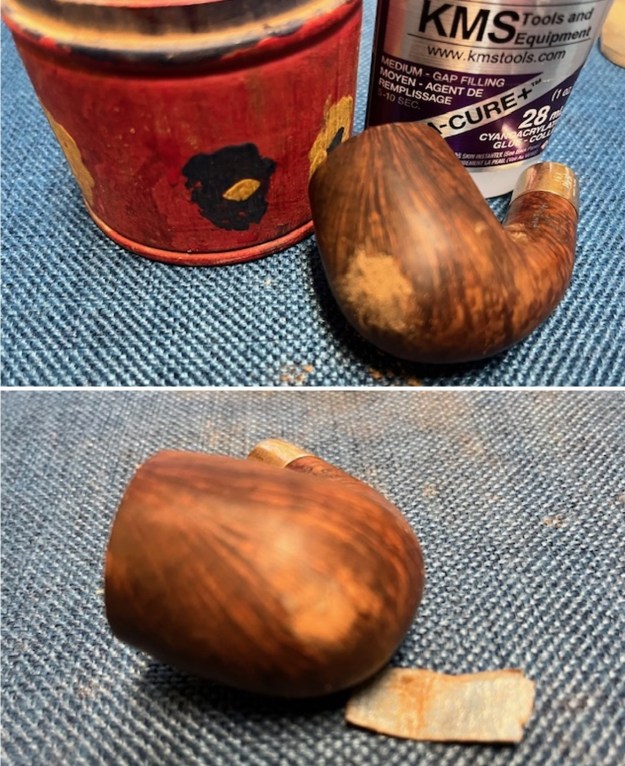
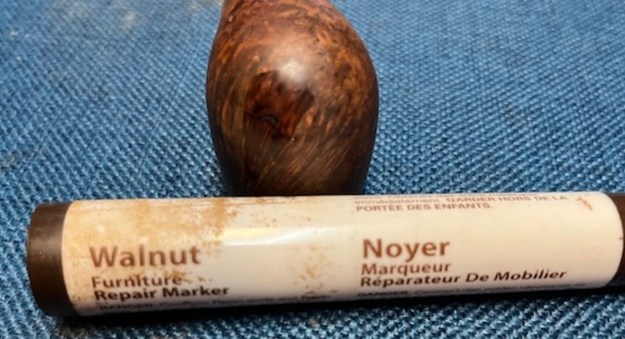
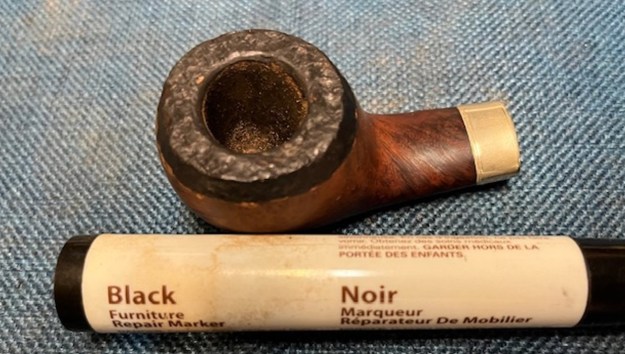
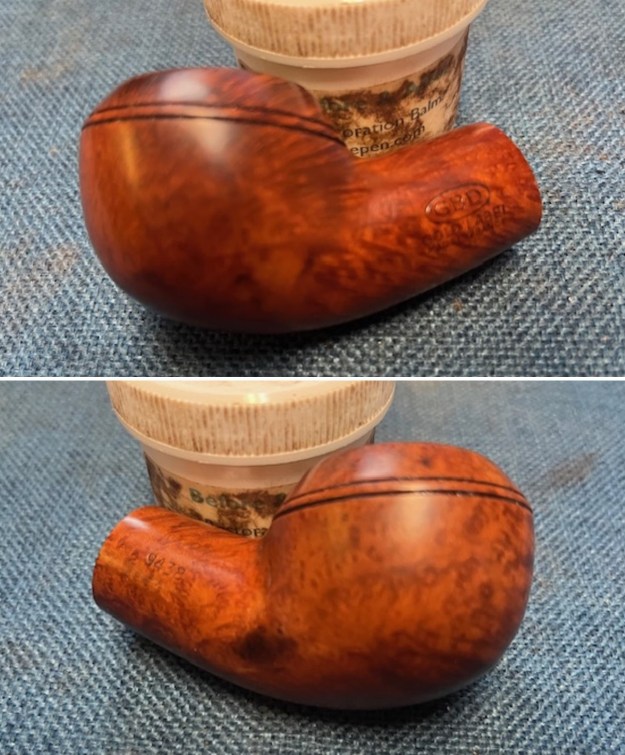
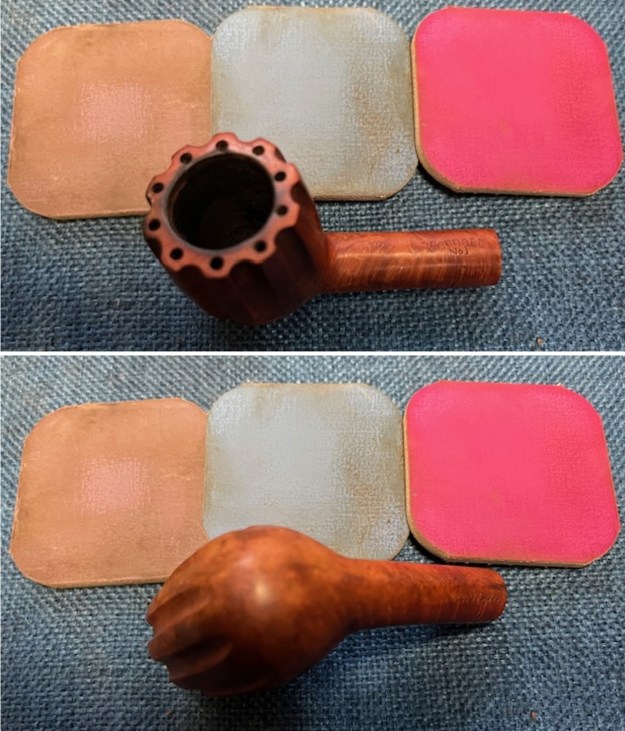
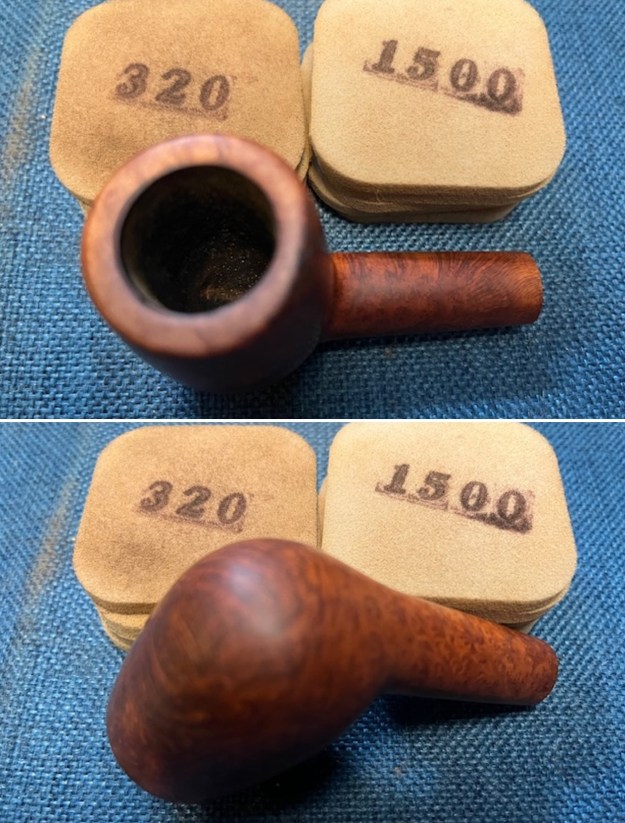 I stained the rim top and lightened area on the shank end with a Cherry stain pen. It matched well. You can still see the damaged area on the back outer edge of the bowl. It looks black.
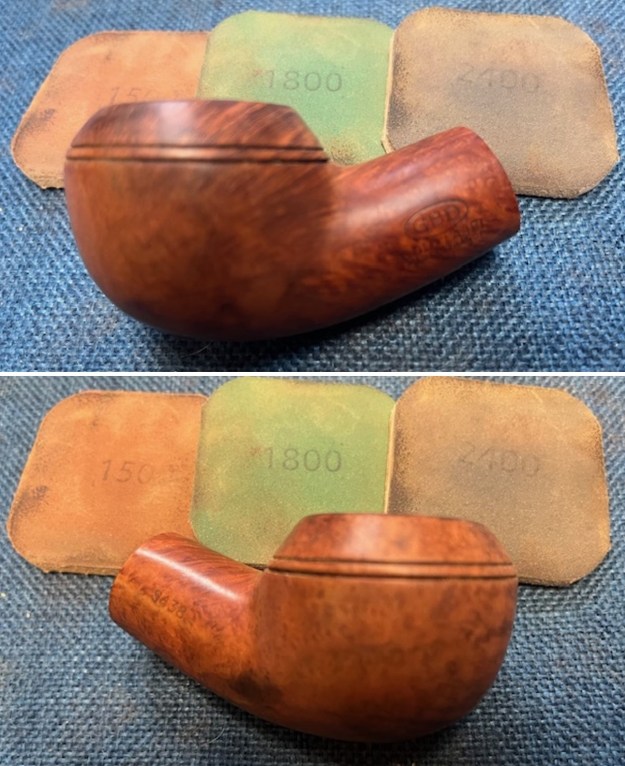
 I polished the briar with micromesh sanding pads – dry sanding with 1500-12000 grit sanding pads. I wiped the bowl down with a damp cloth after each pad. By the end of the process it looked quite good.
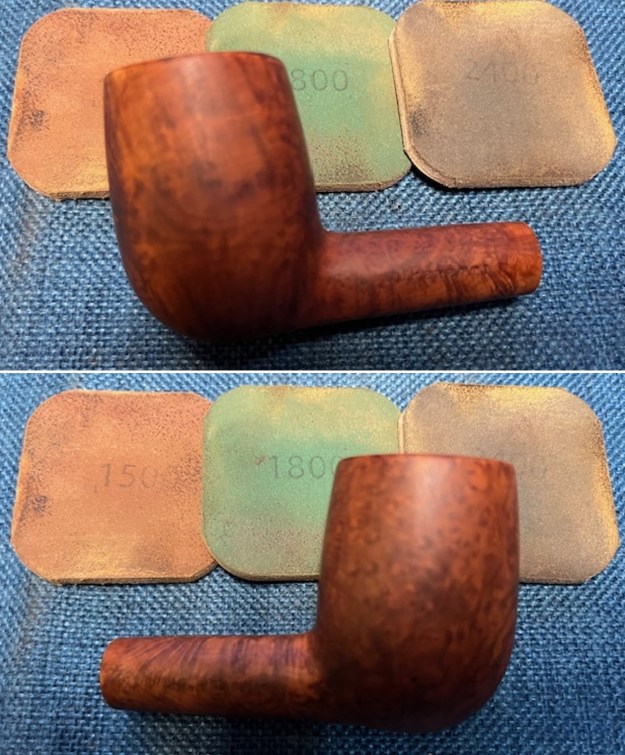


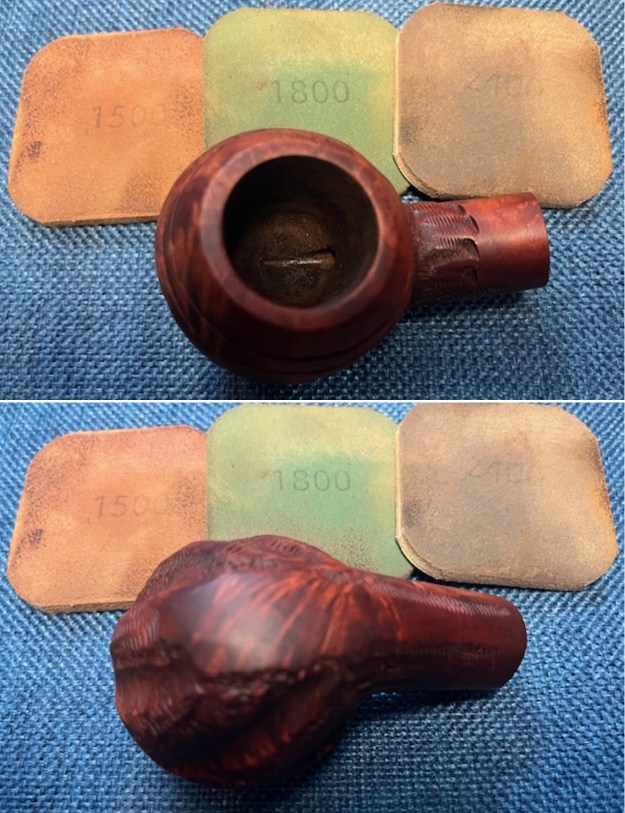
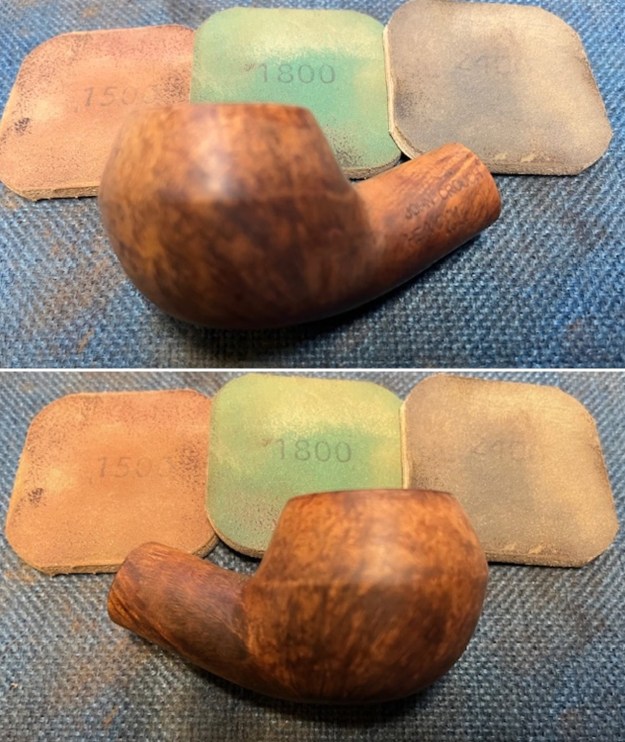
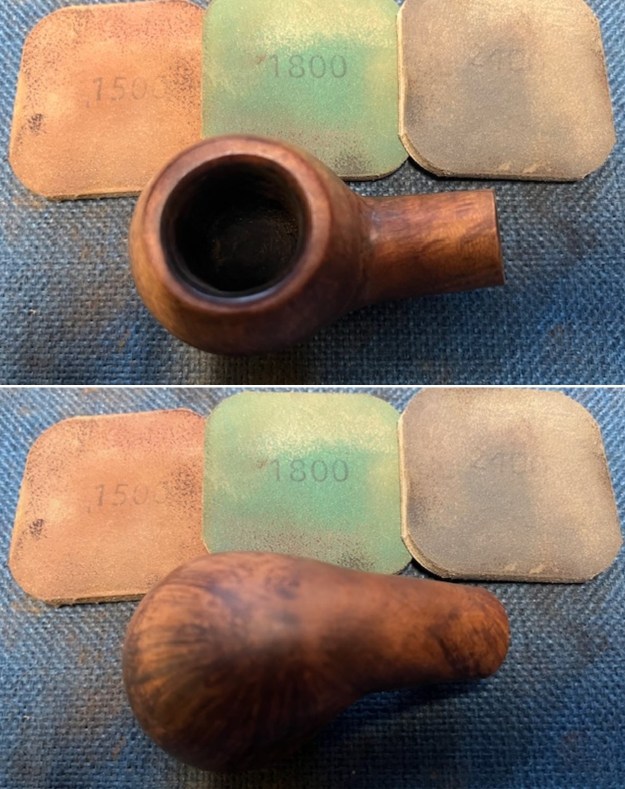
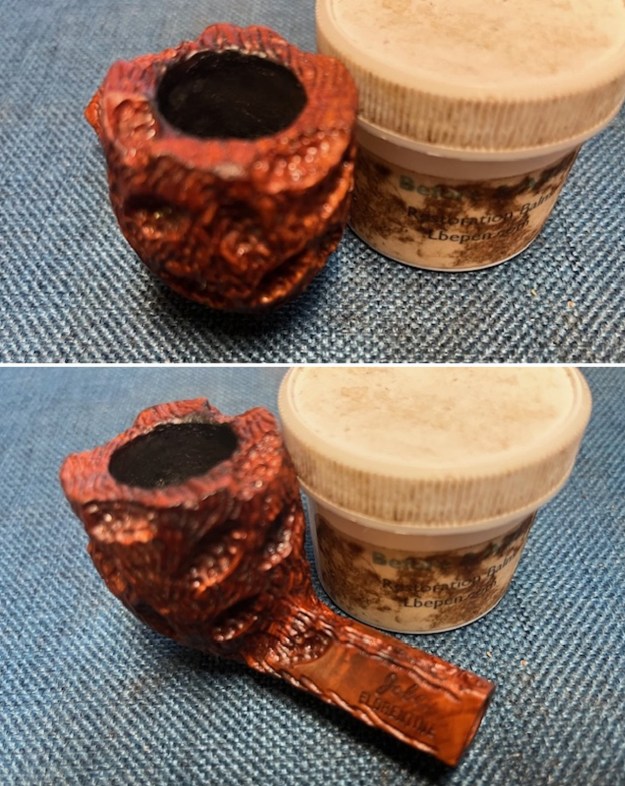
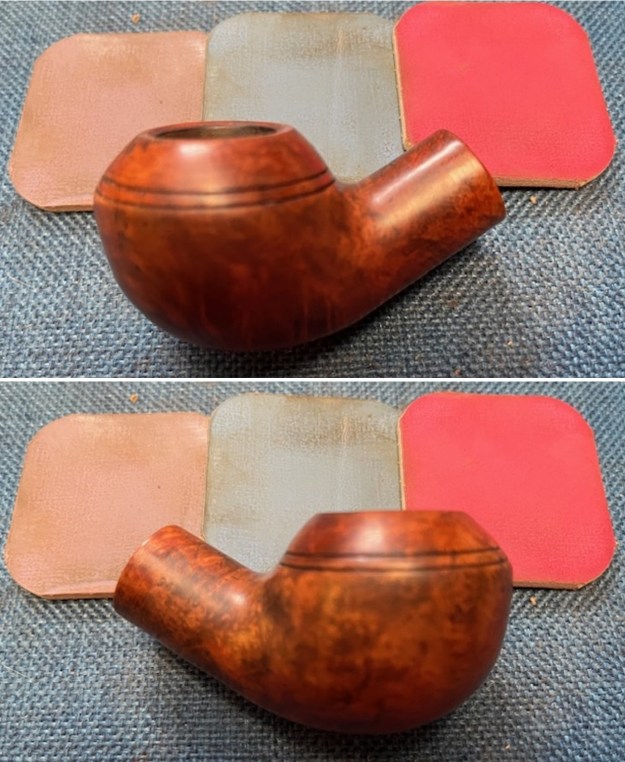
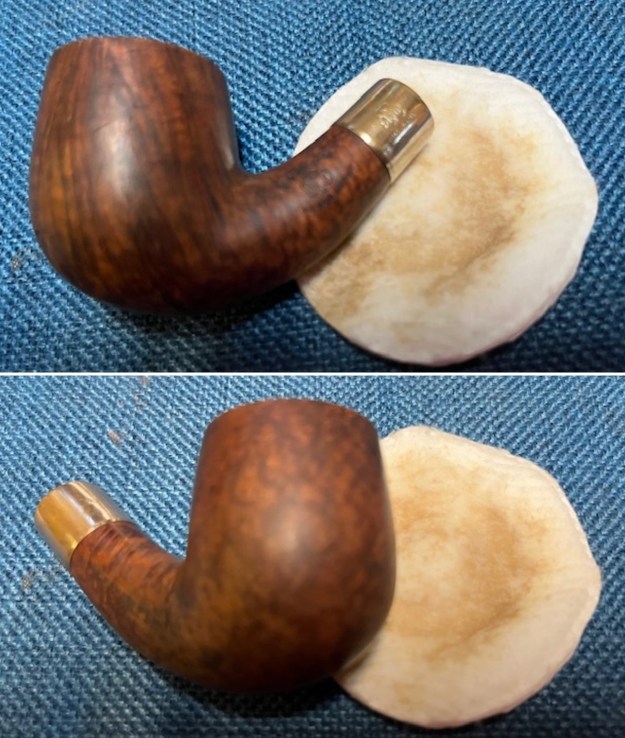
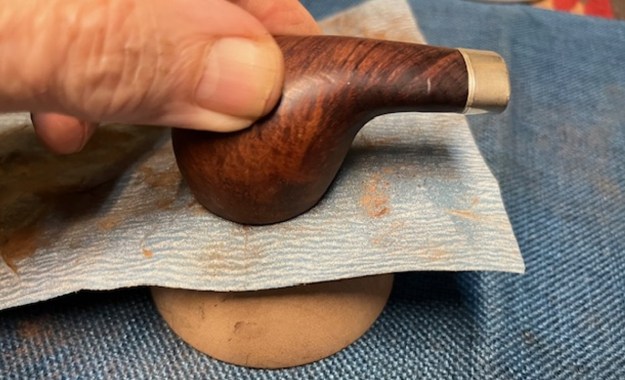
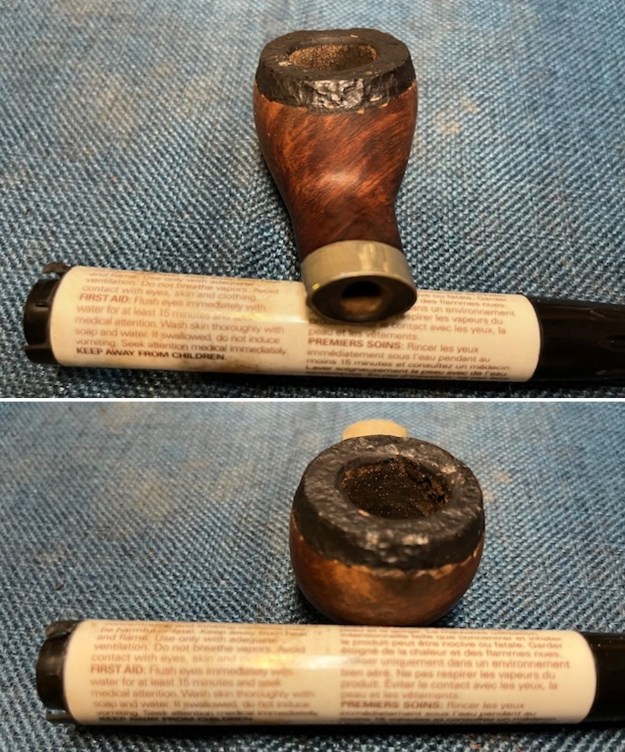
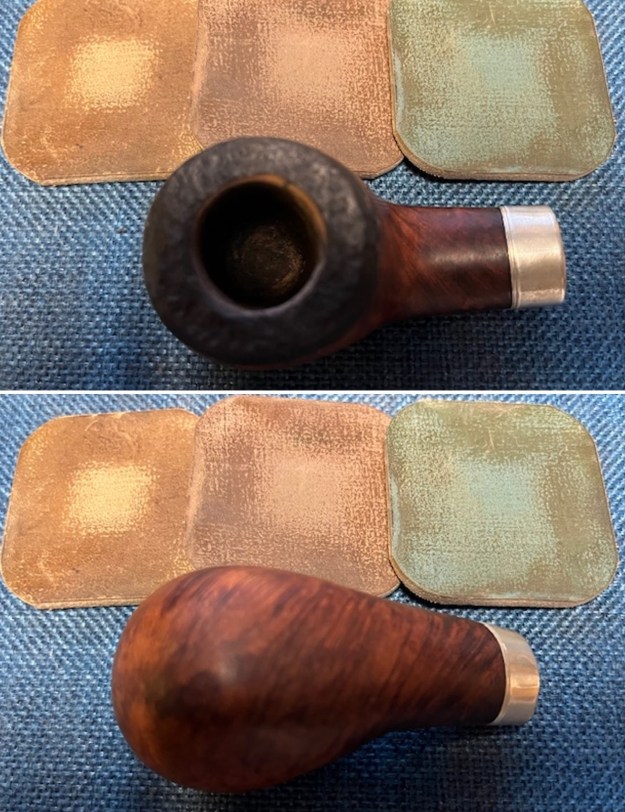
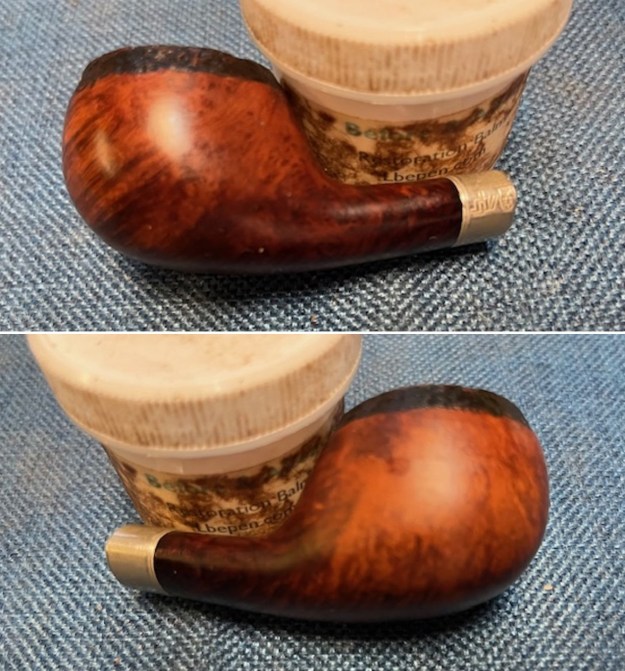
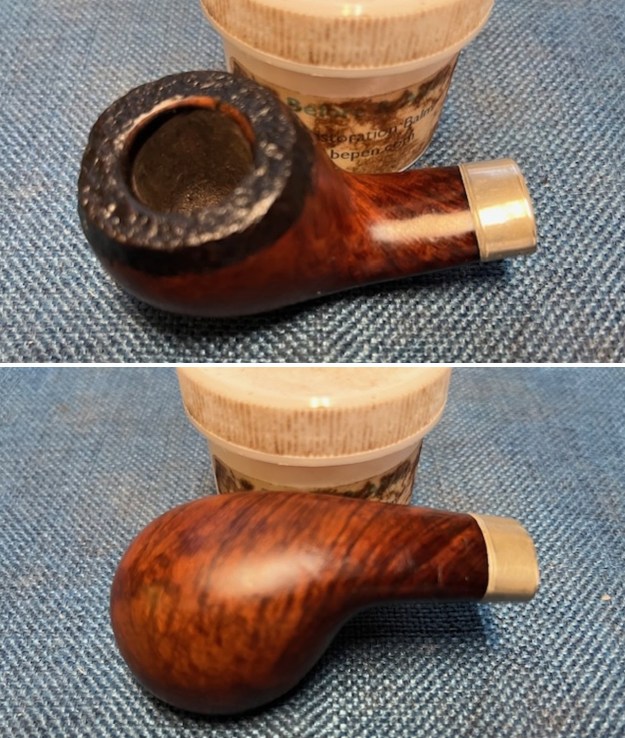
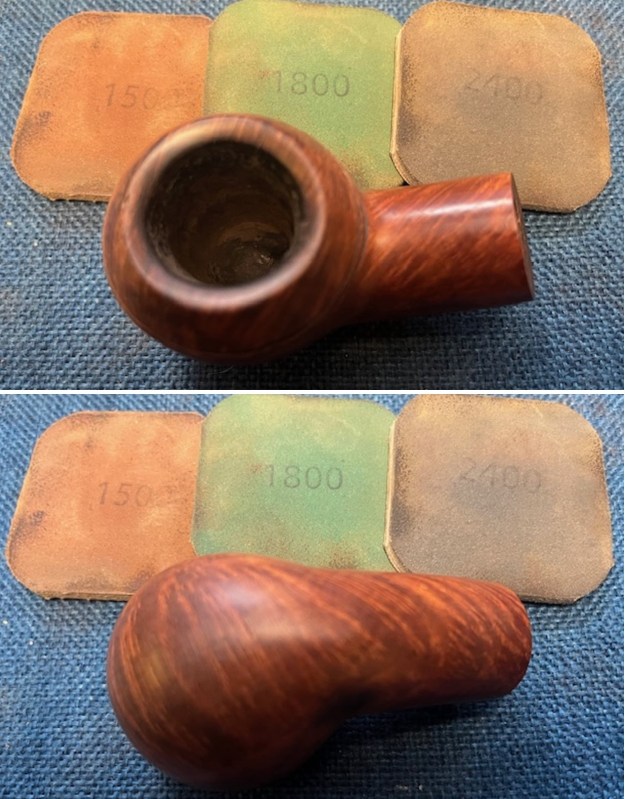
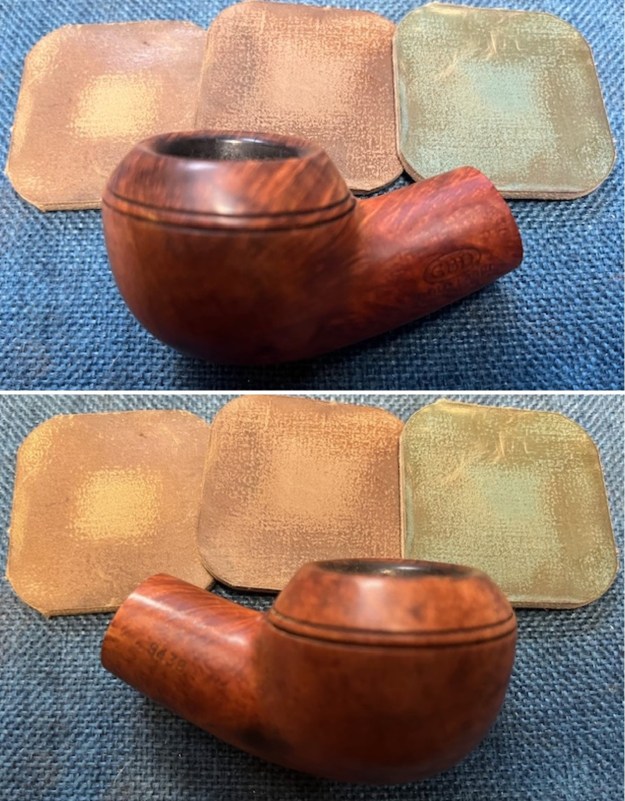
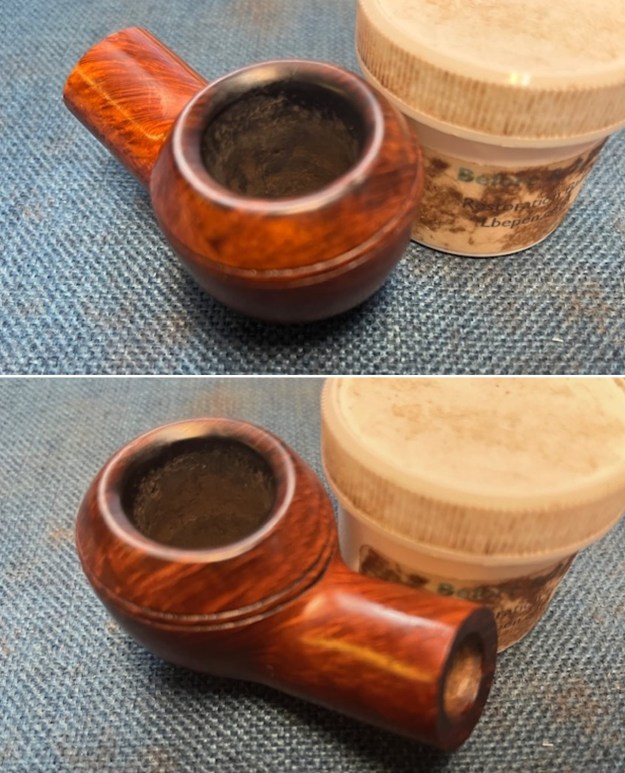
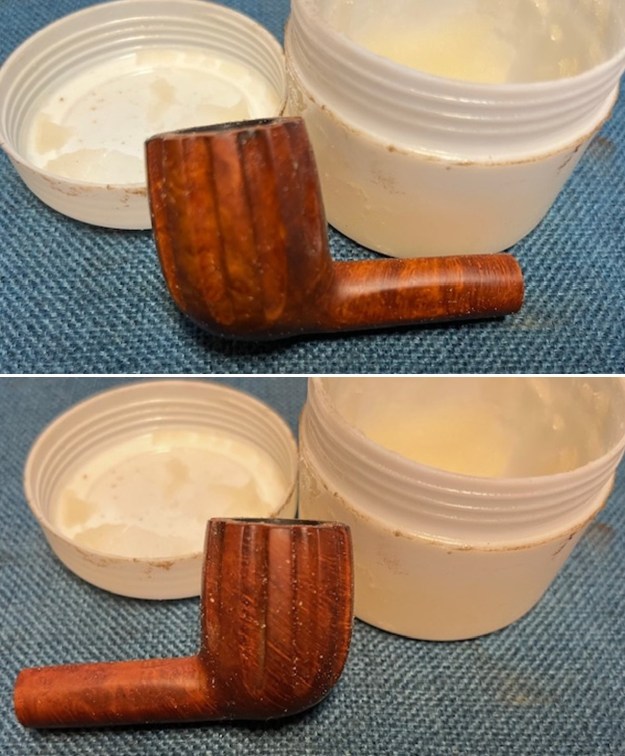
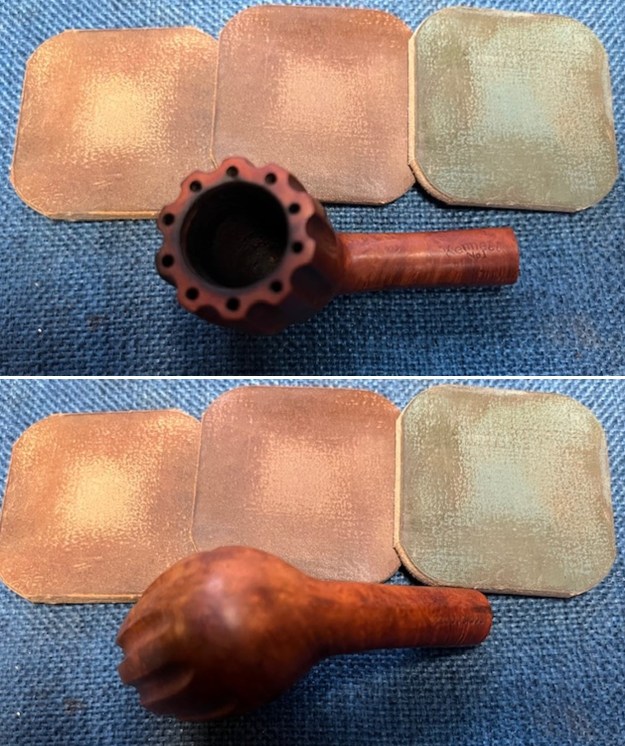
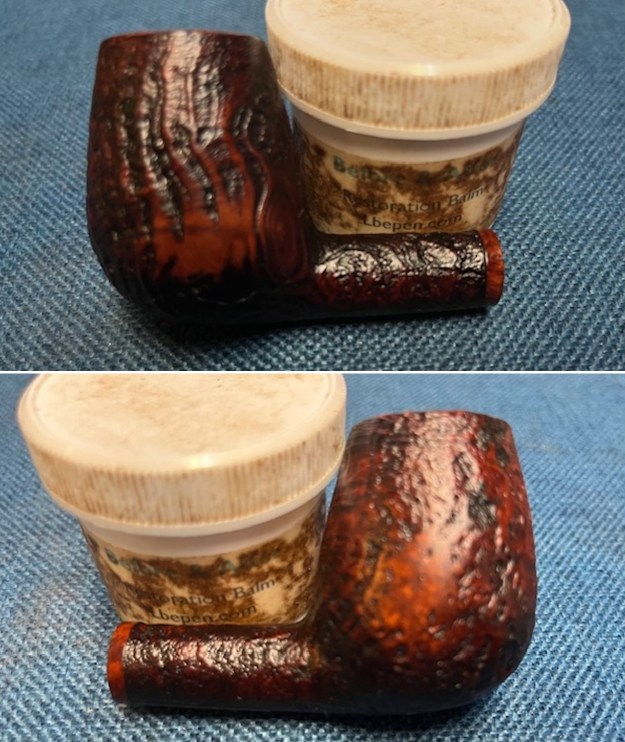
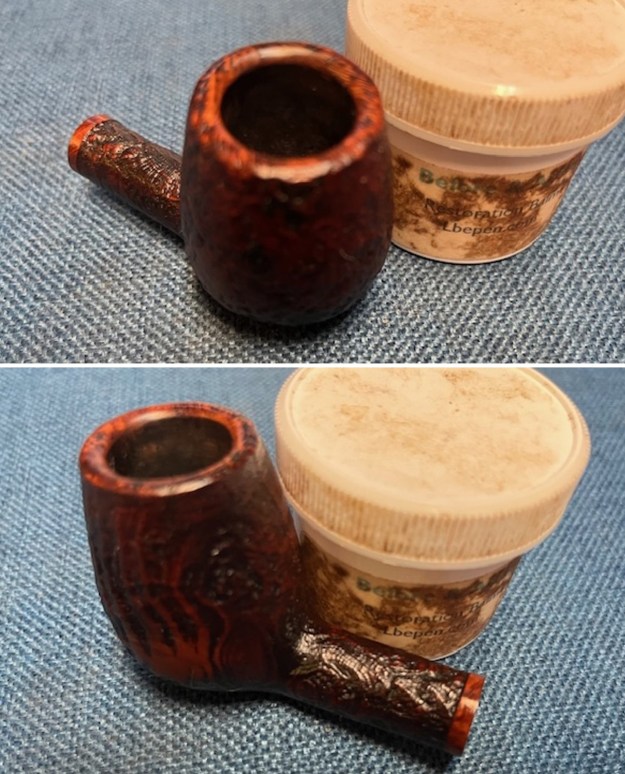
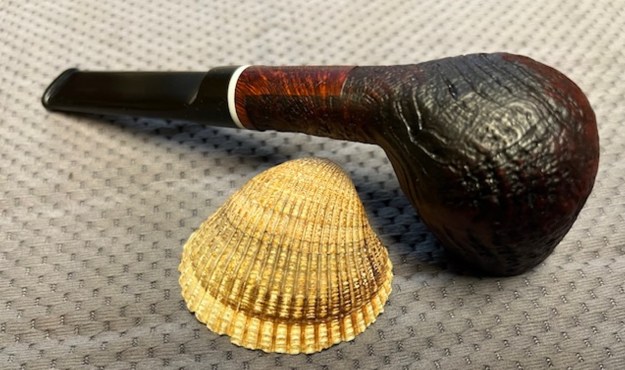
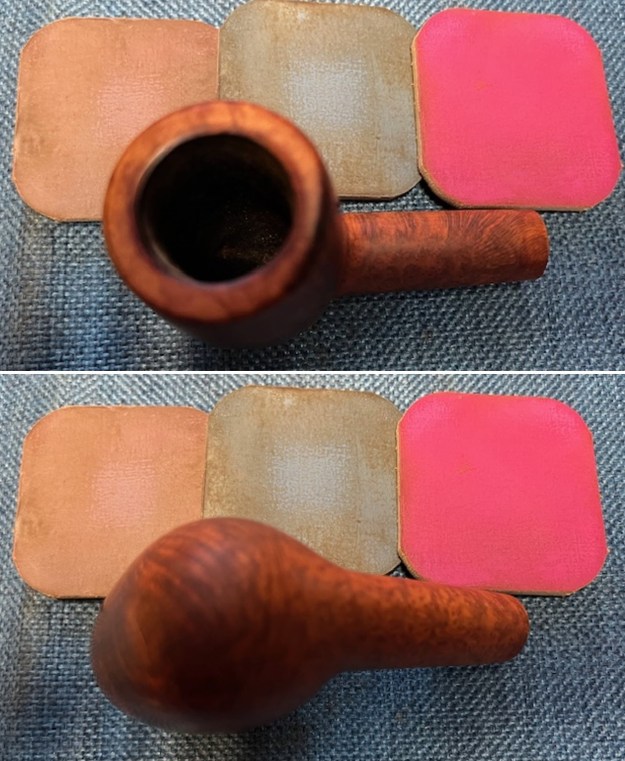 I rubbed the bowl and shank down with Before & After Restoration Balm. I worked it into the surface of the bowl sides and shank with my fingertips. It works to clean, enliven and protect the briar. I let the balm sit for 15 minutes and buffed with a cotton cloth to raise the shine. The grain came alive.
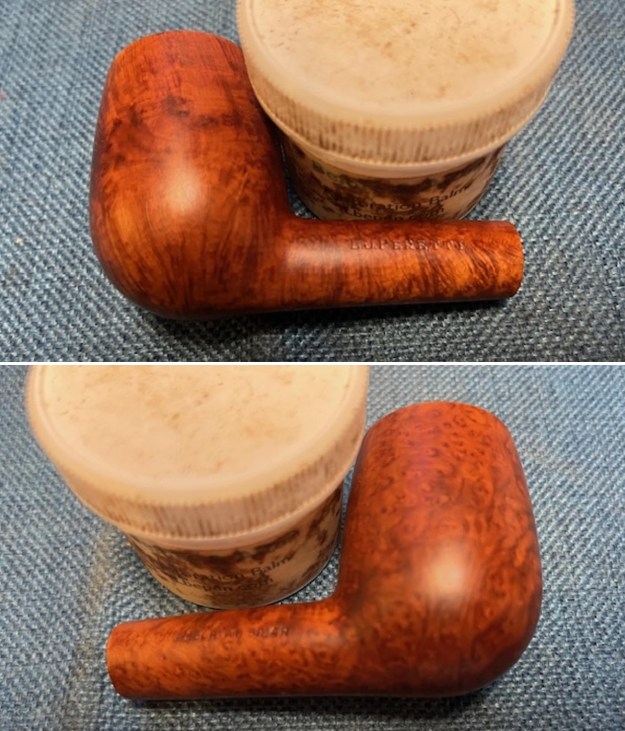

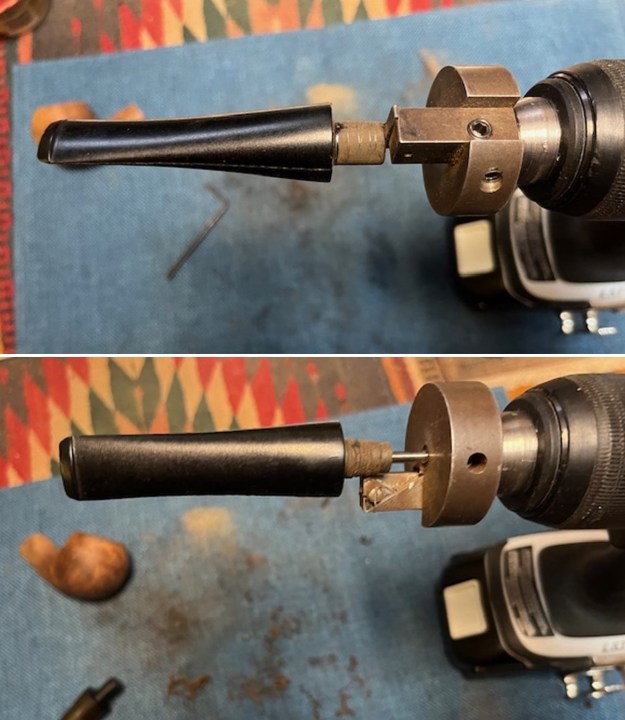
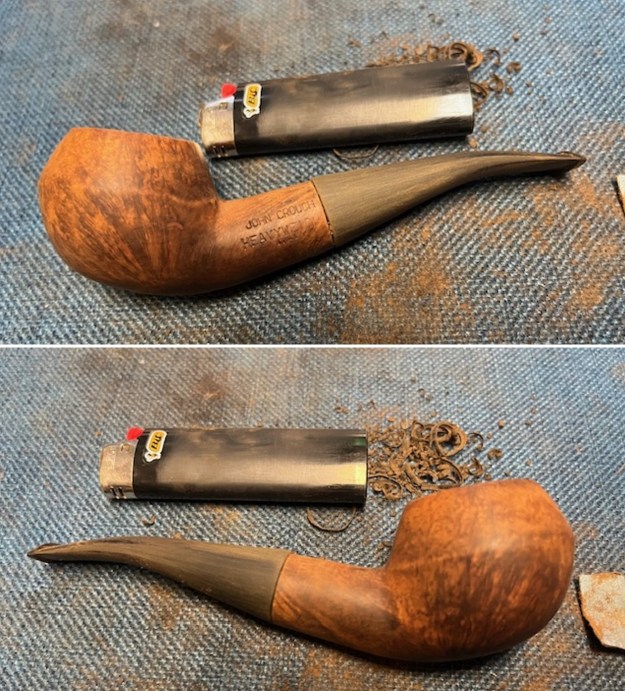
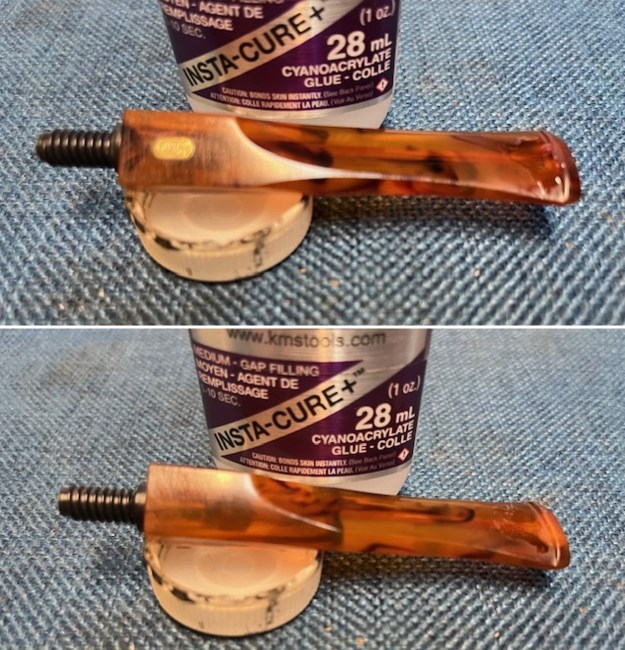
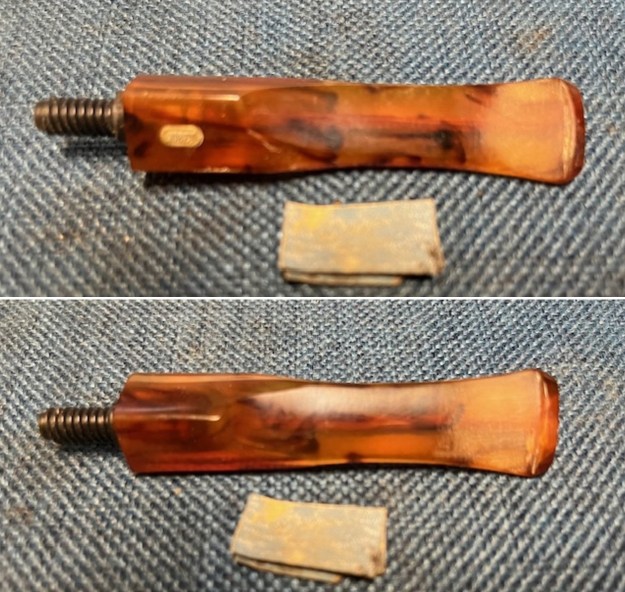
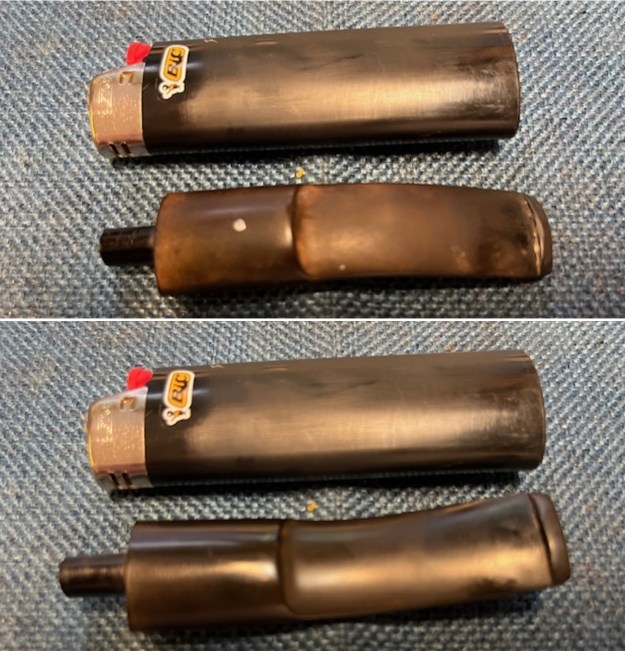
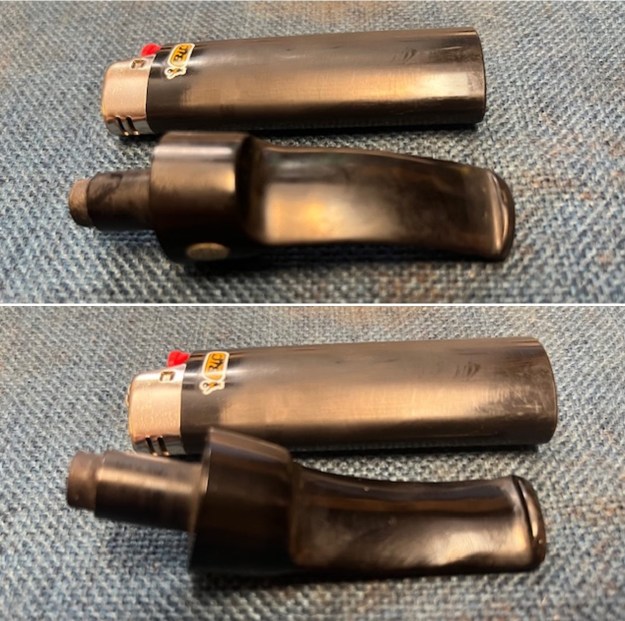
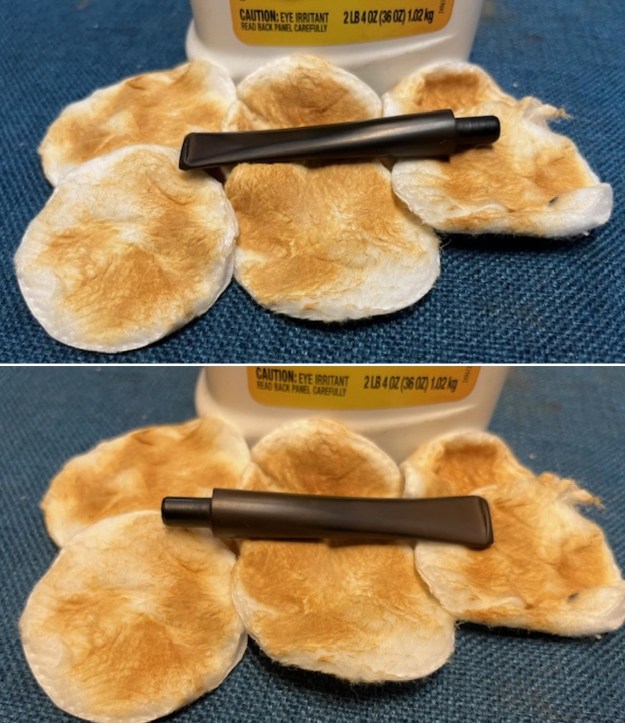
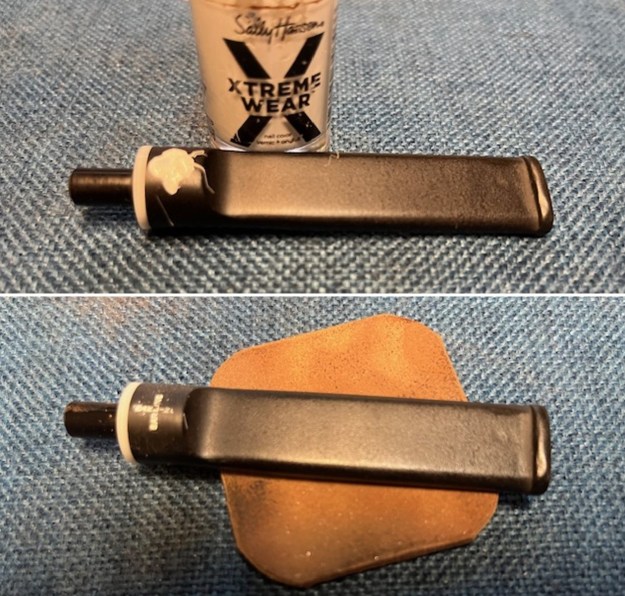
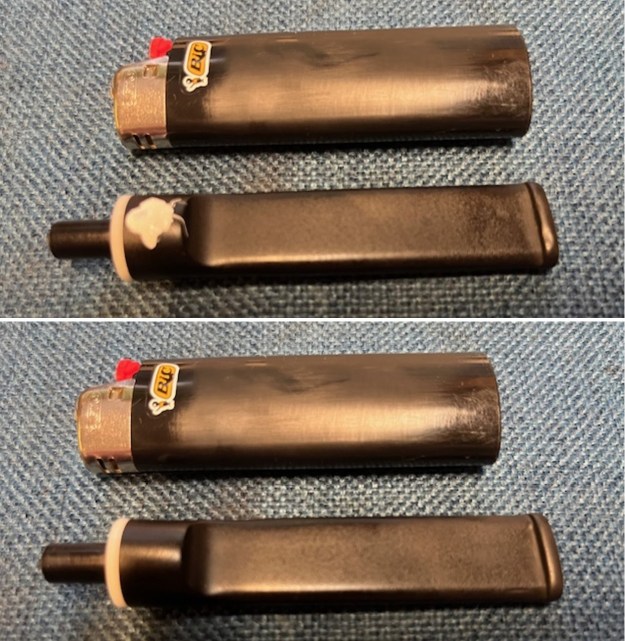
 I set the bowl aside and turned my attention to the stem. I “painted” the stem surface with the flame of a Bic lighter. I was able to lift the tooth marks on both sides with the flame. It worked well enough that I sanded out the remaining marks with 220 grit sandpaper and it was smooth.
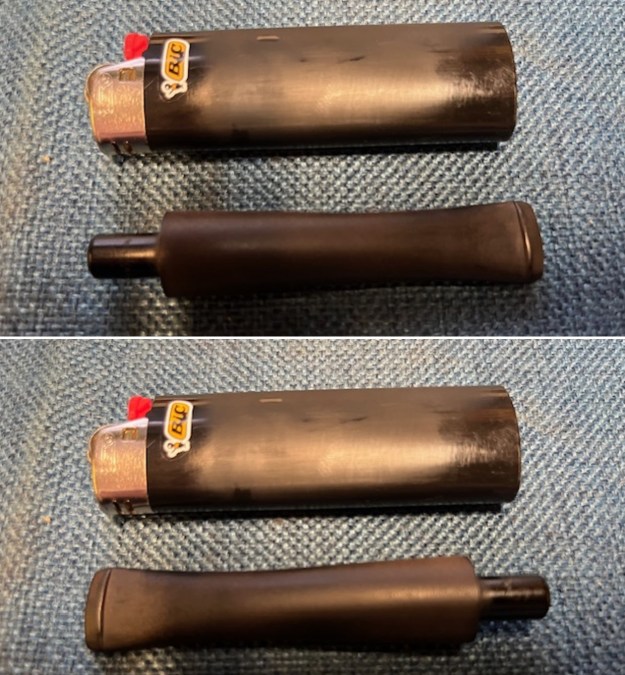
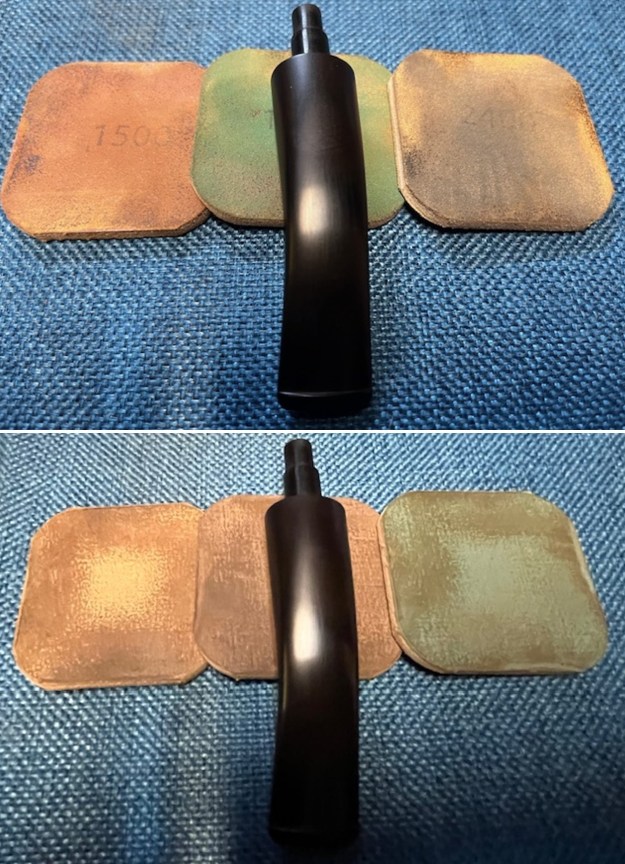
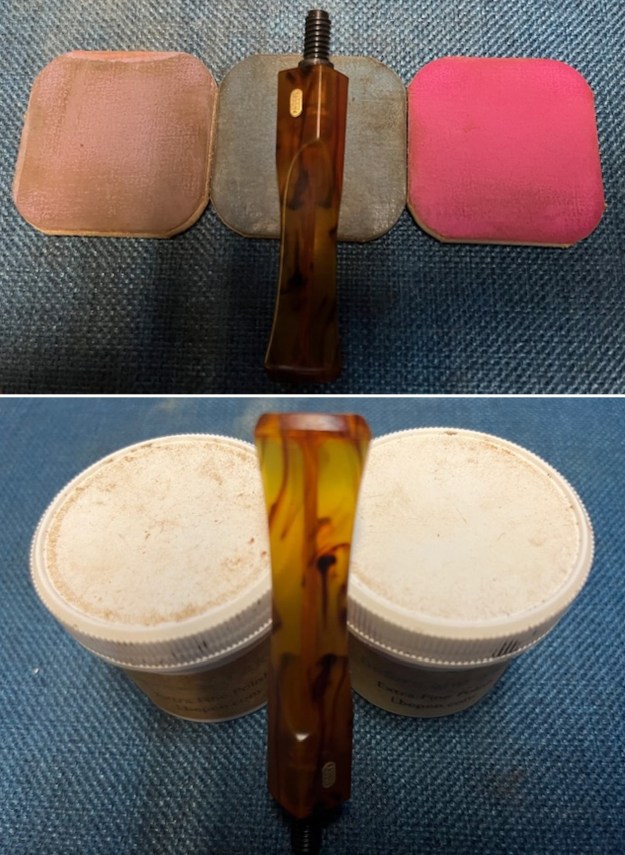
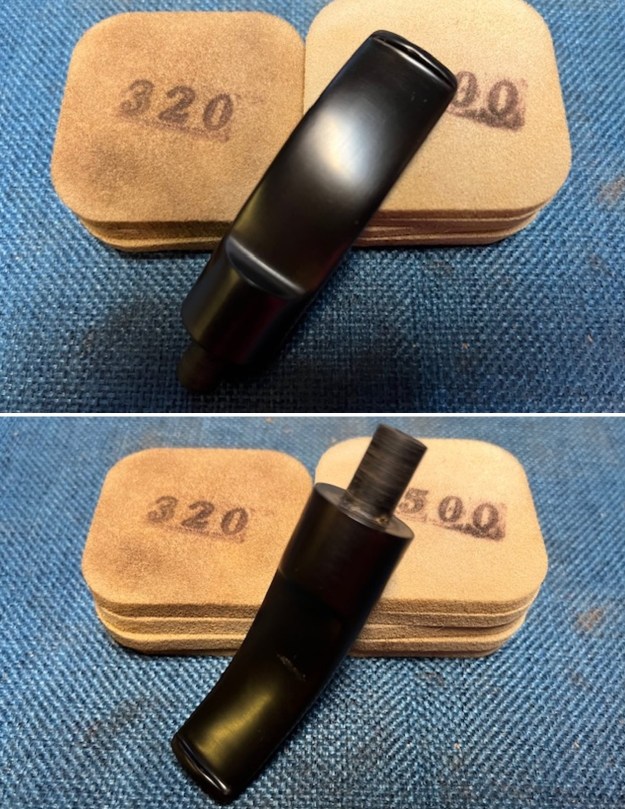
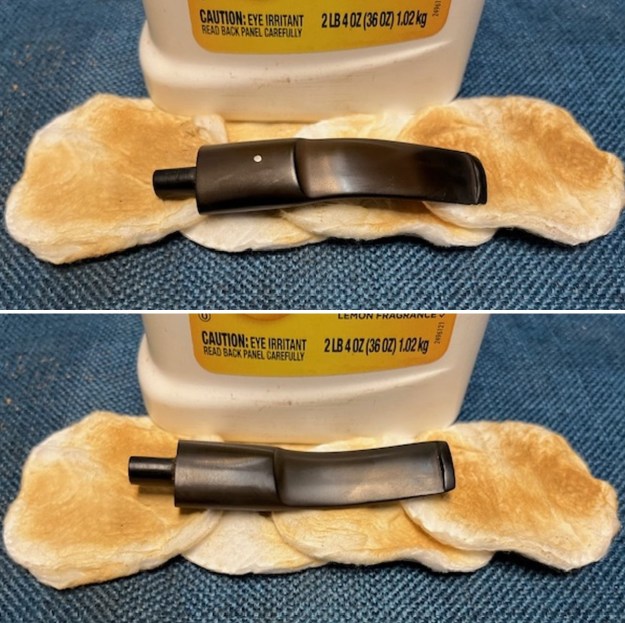
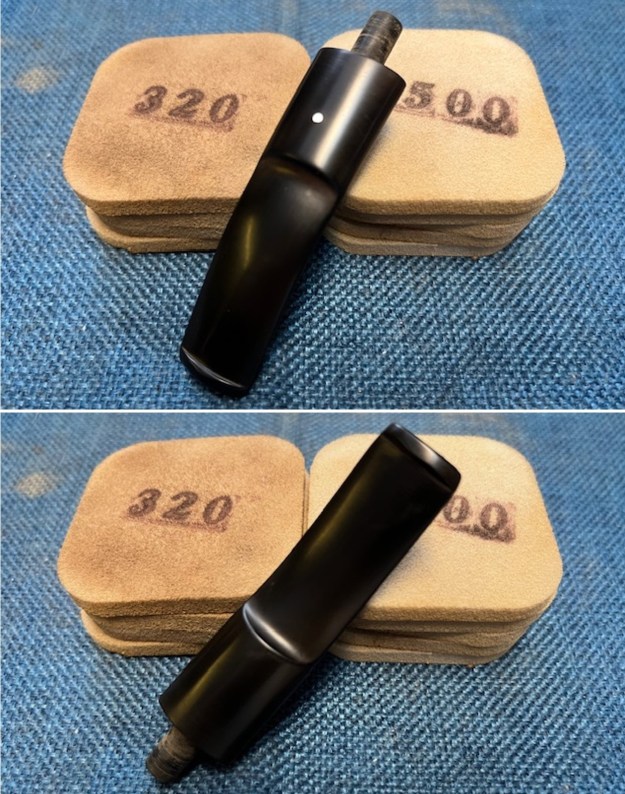
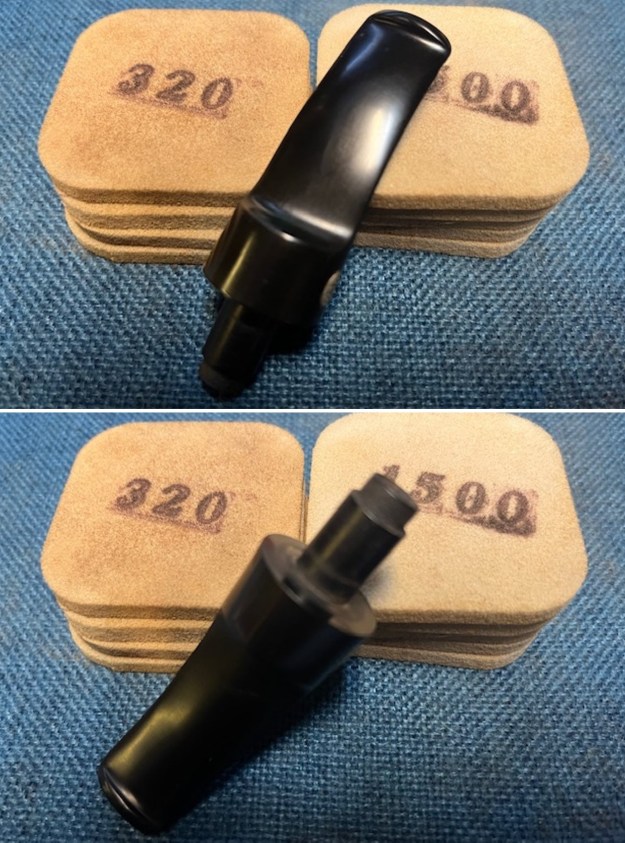
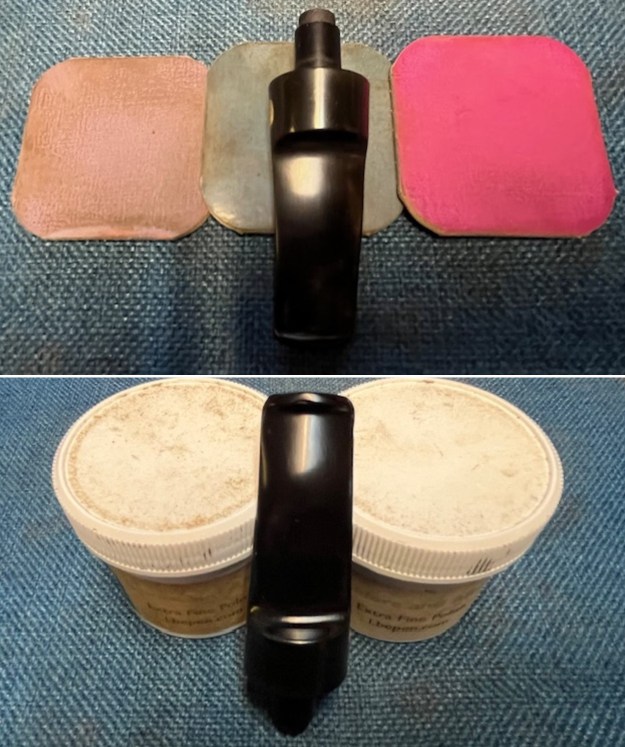
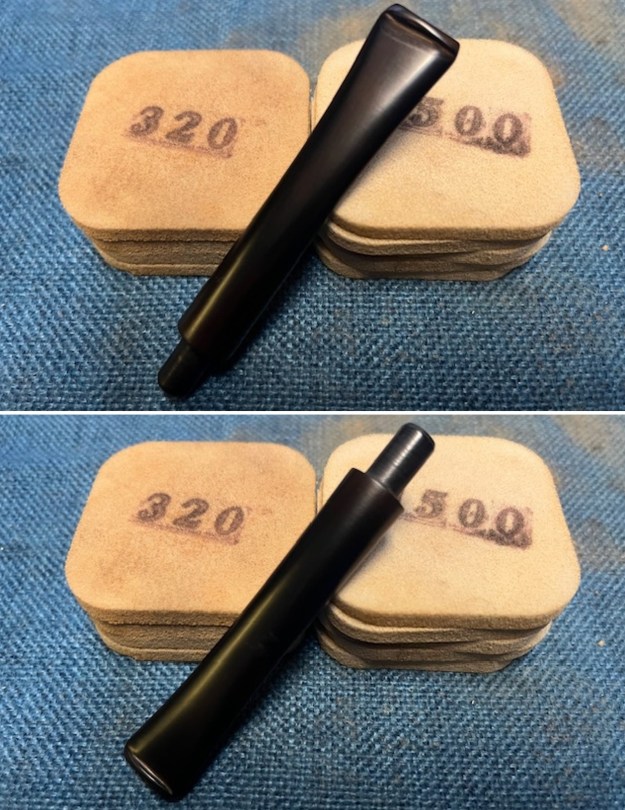
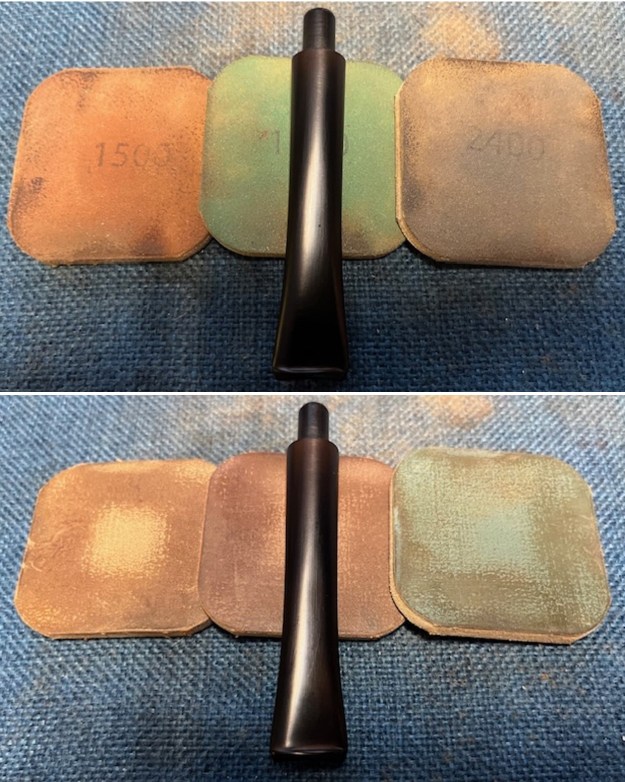
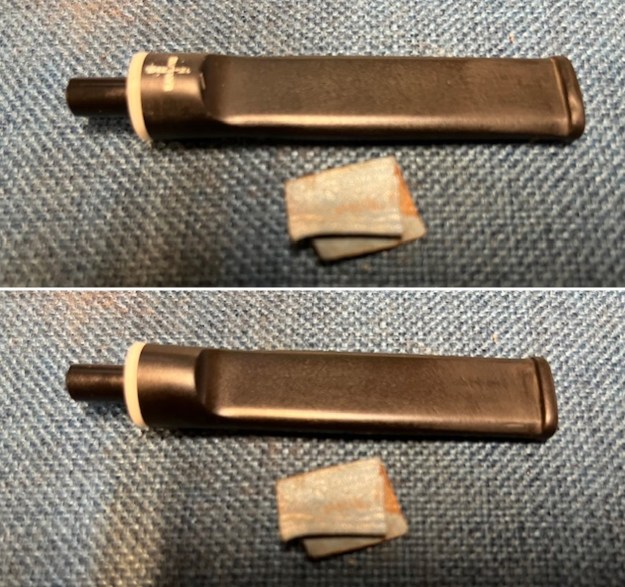
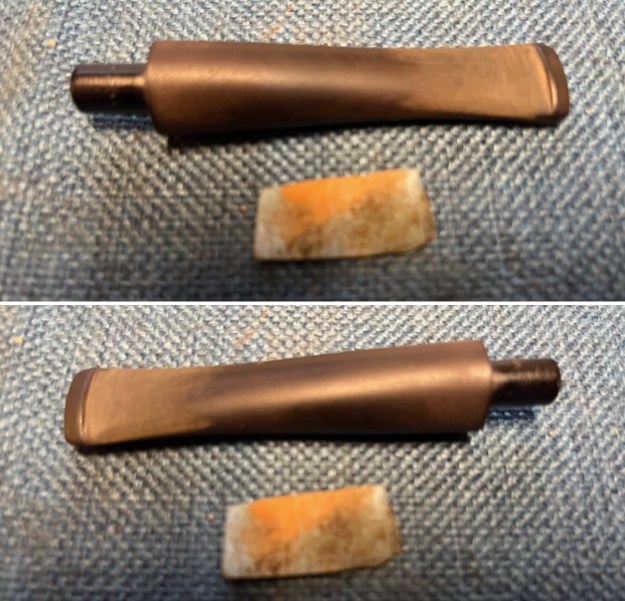 I polished the stem with 320-3500 grit sanding pads. I wiped the stem down after each sanding pad with an Obsidian Oil impregnated cloth. It removes the dust and also gives the sanding pads some bite. By the final pad it was looking quite good.
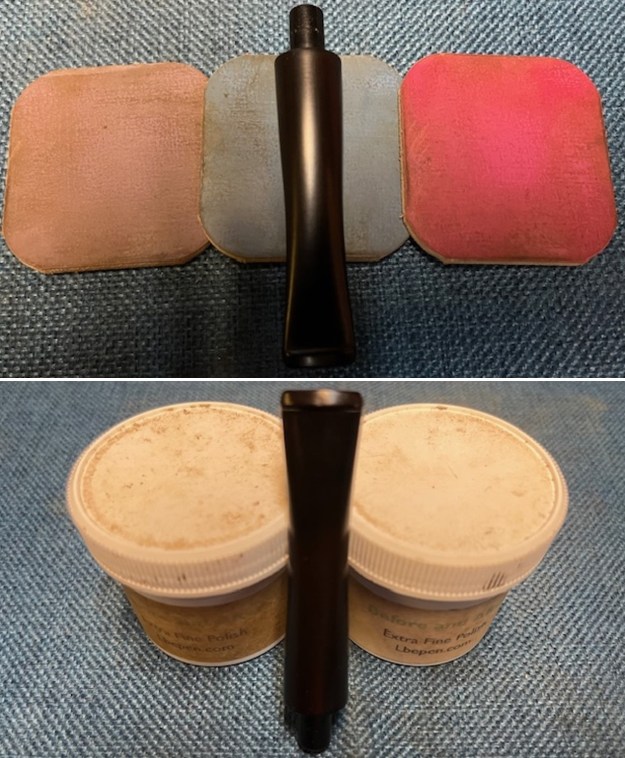
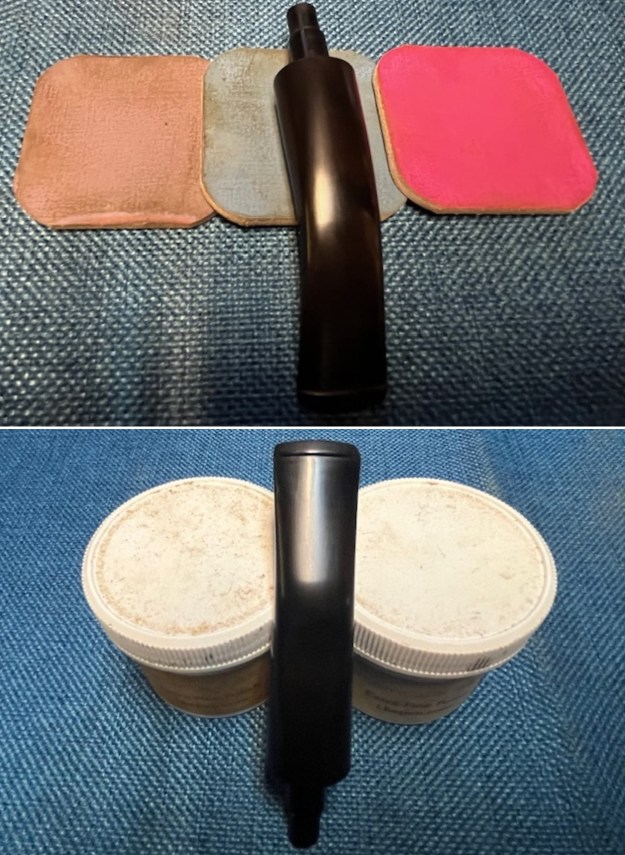
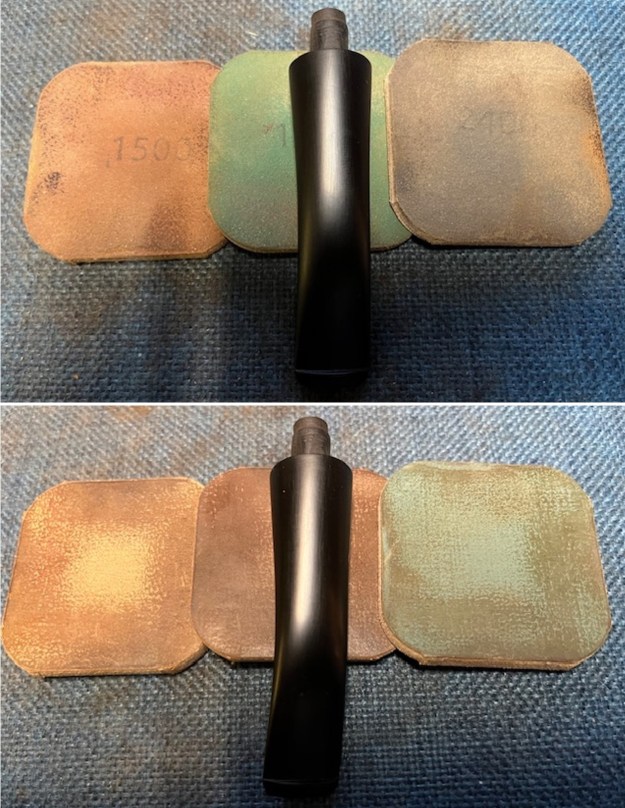
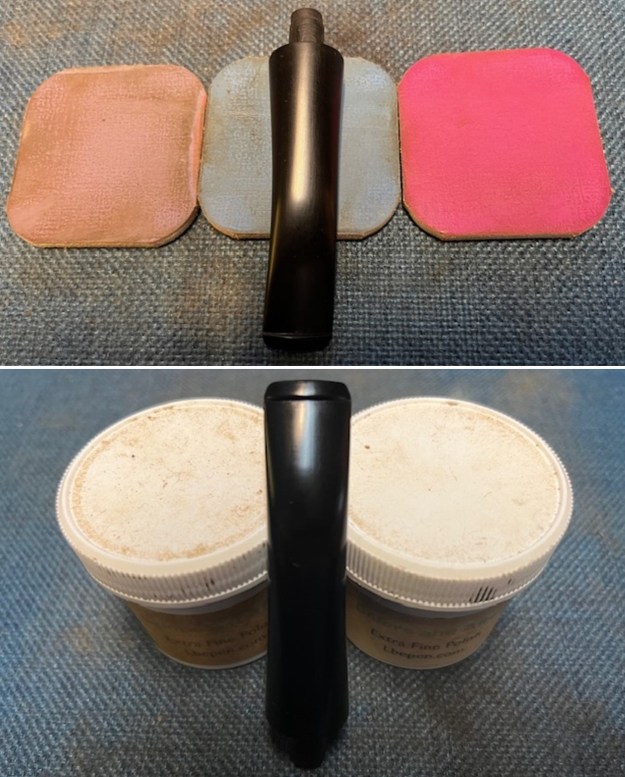
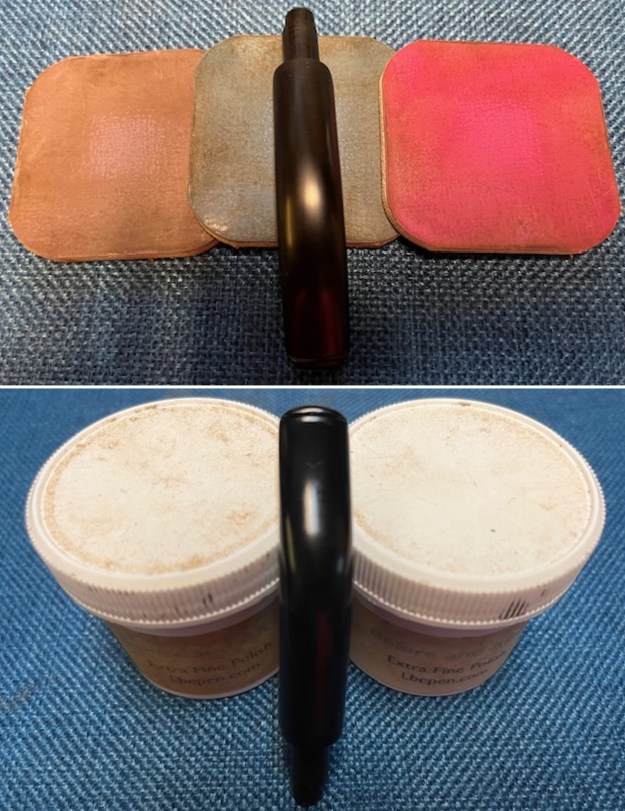
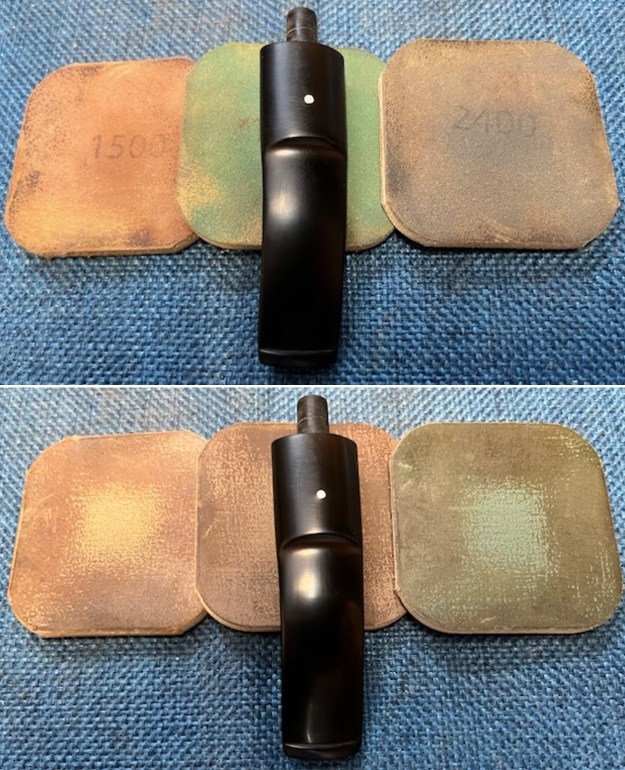
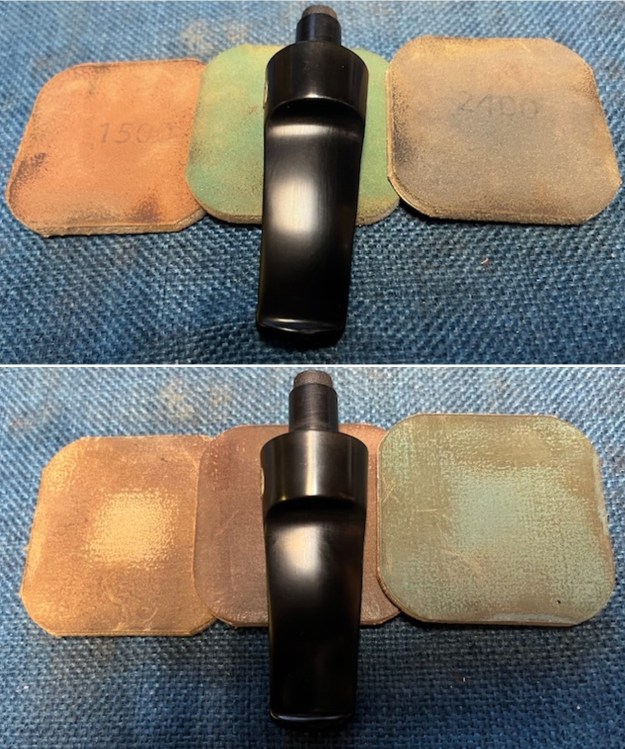
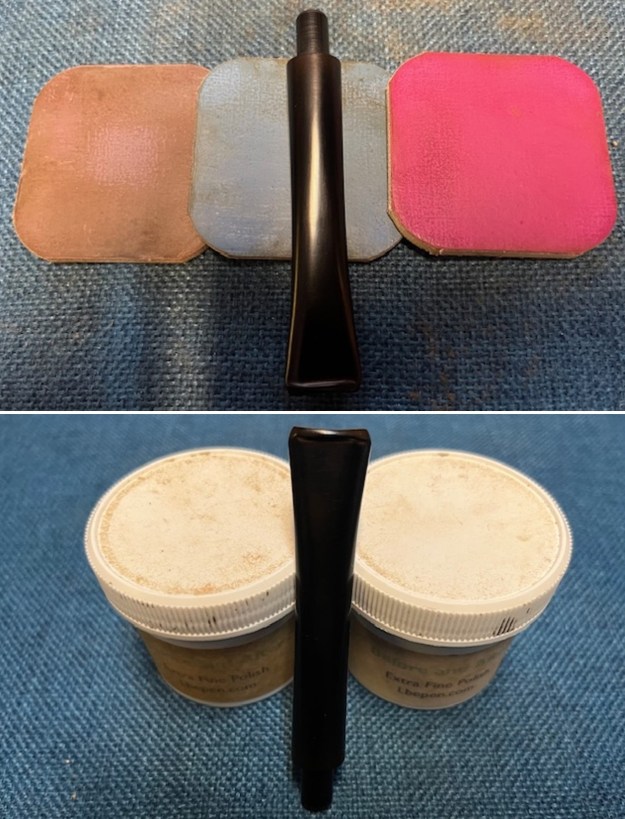
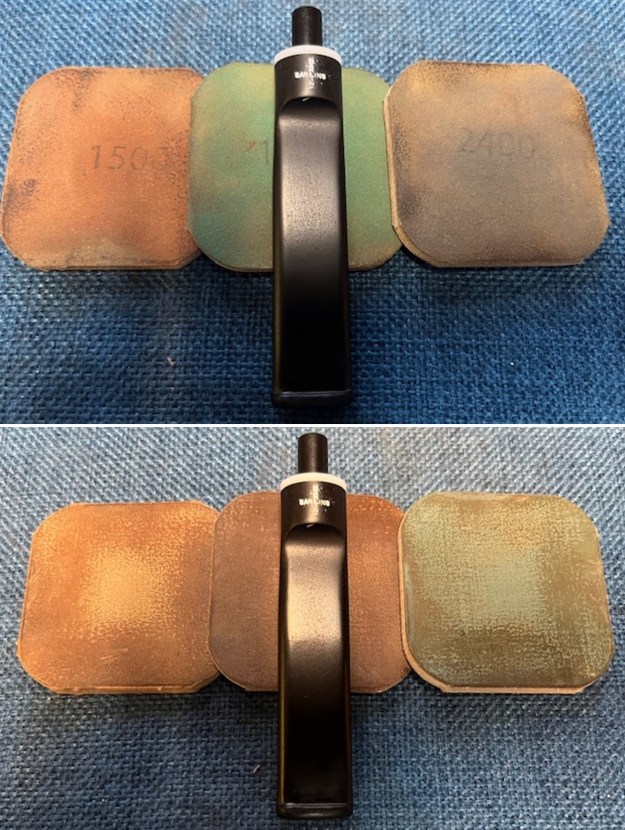
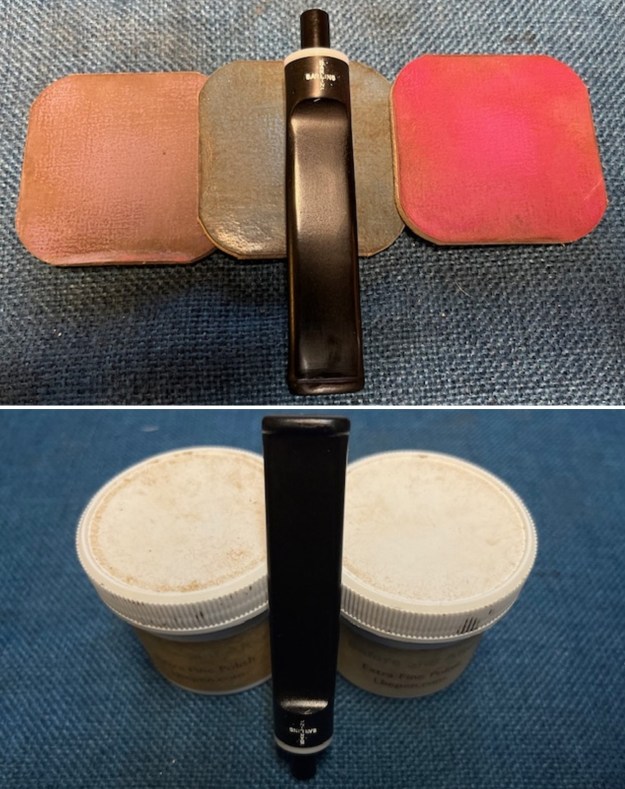
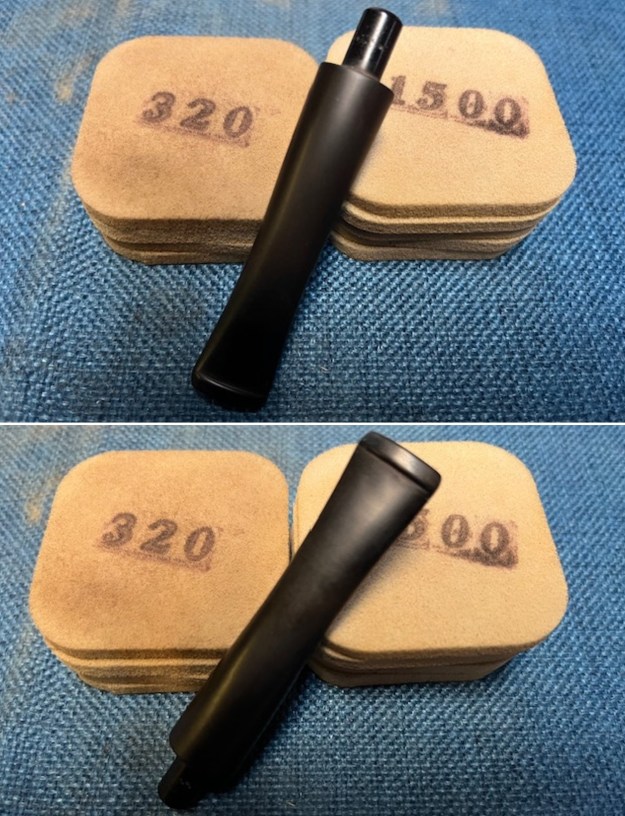 I polished the vulcanite stem with micromesh sanding pads – 1500-12000 grit pads. I wiped it down with Obsidian Oil after each sanding pad. I used Before & After Pipe Polish – both Fine and Extra Fine to further polish the stem. I rubbed it down with a final coat of Obsidian Oil and let it dry.
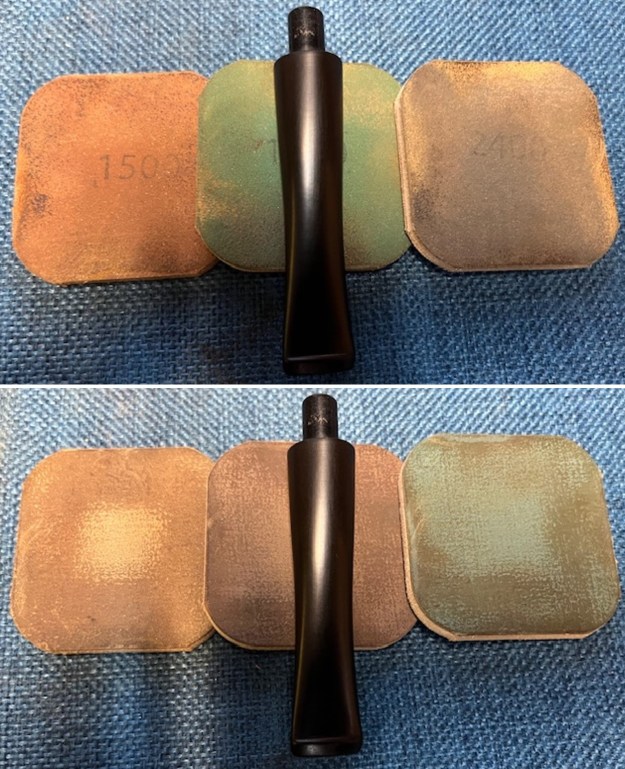
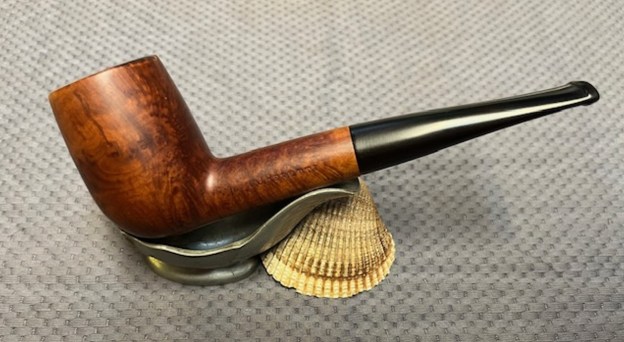
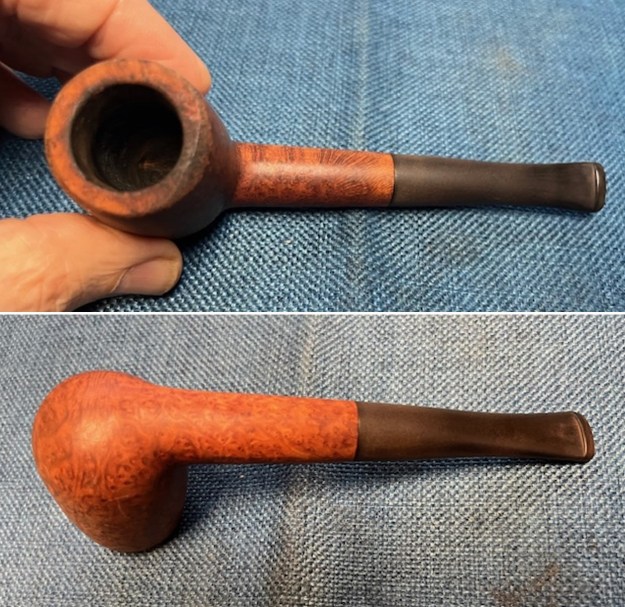
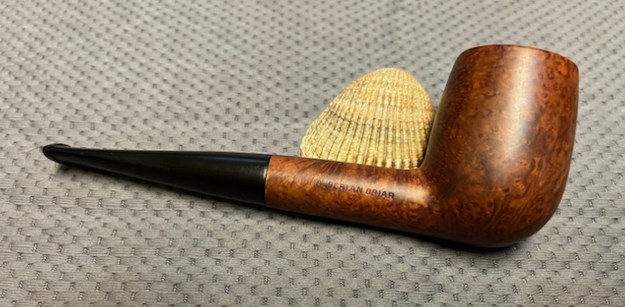
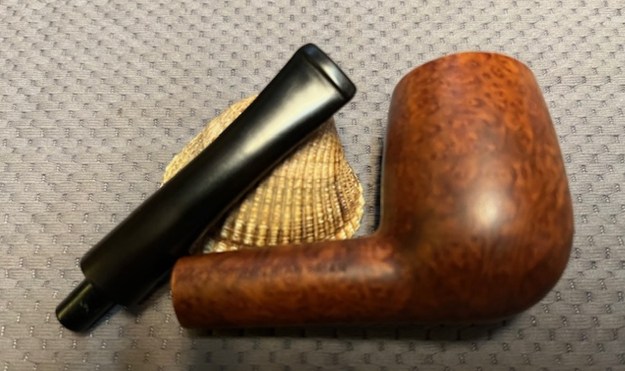
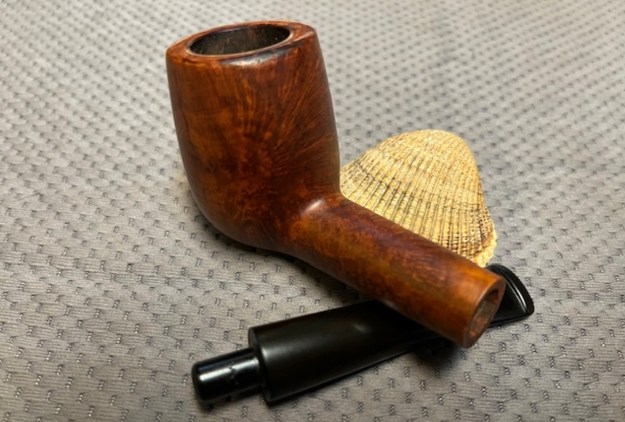
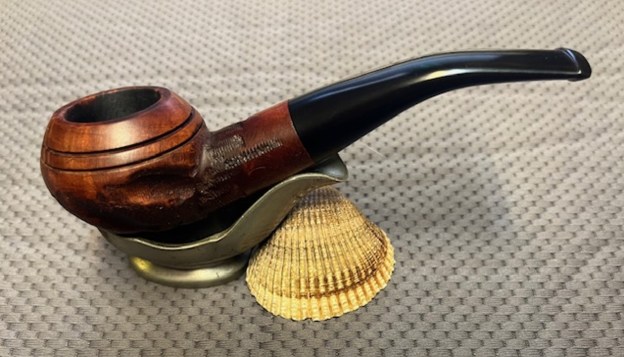
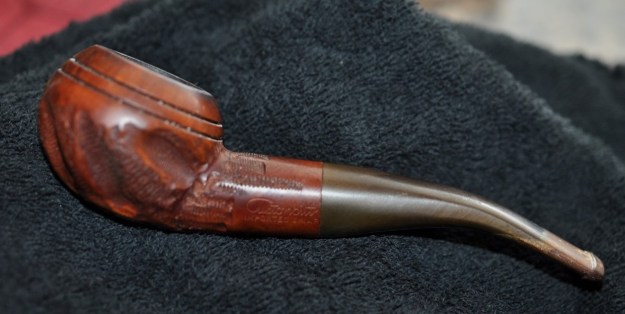
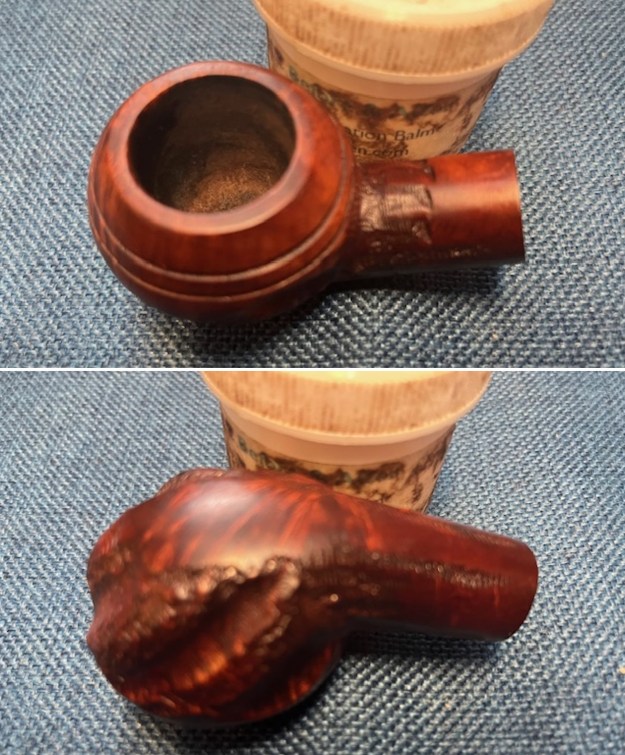
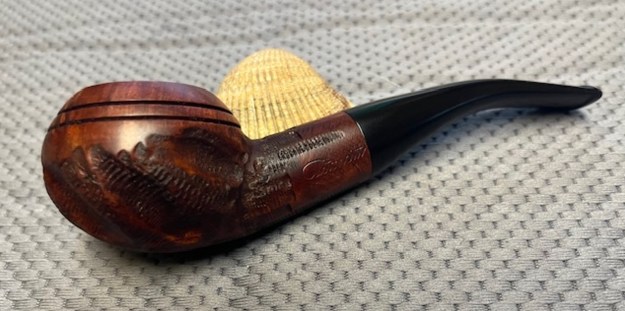
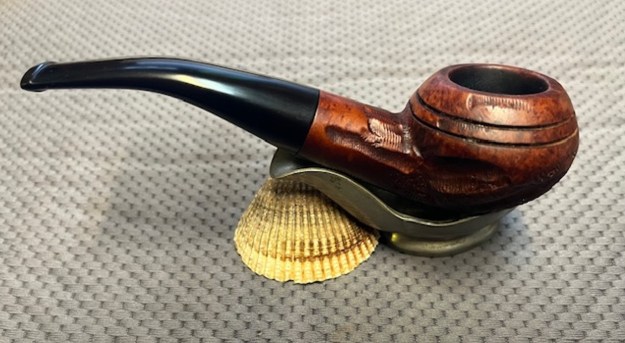
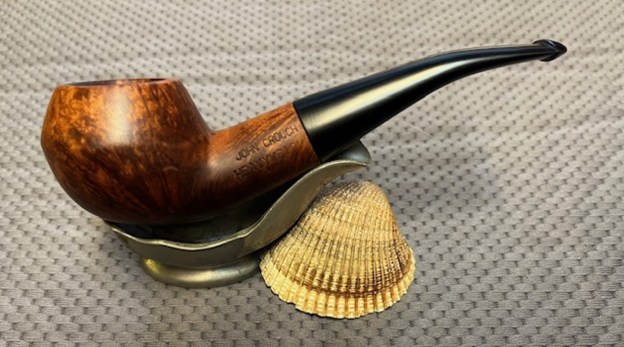
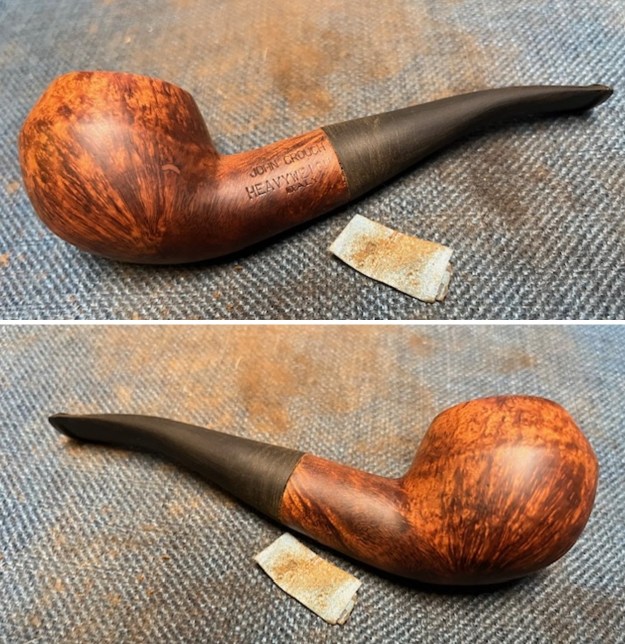
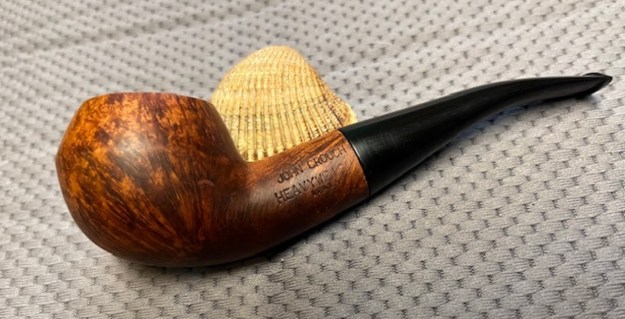
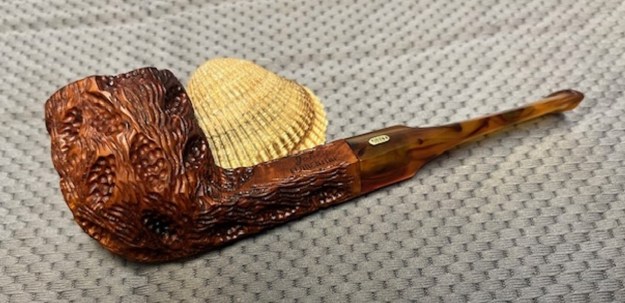
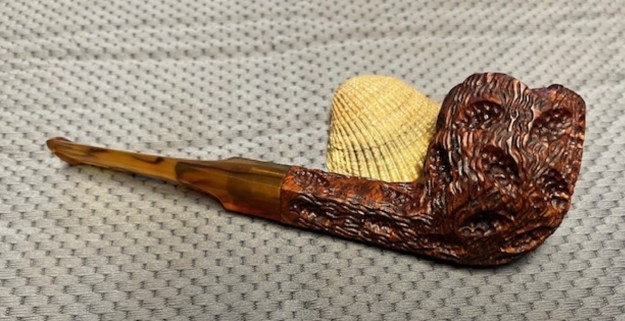
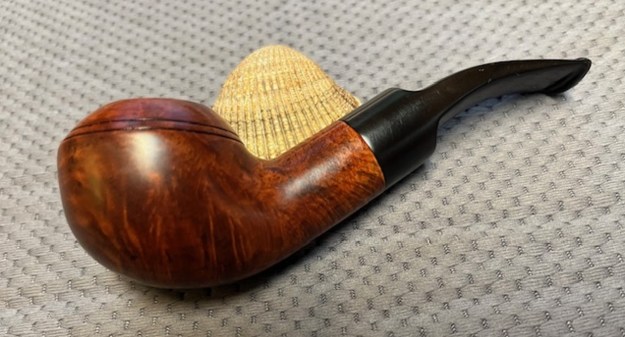
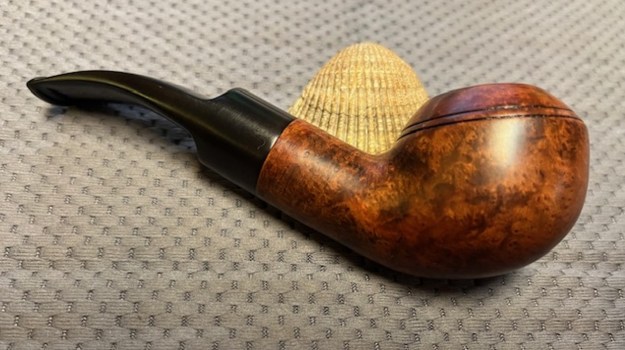
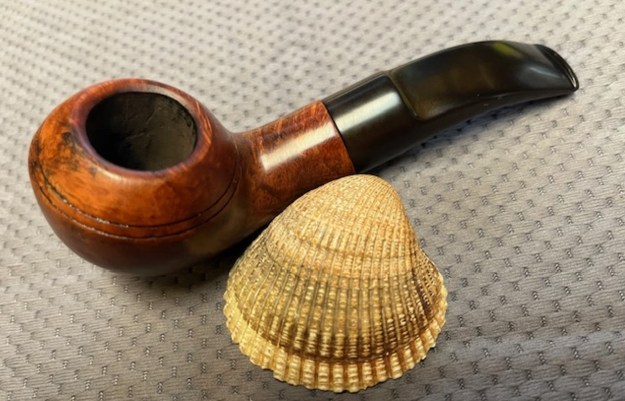
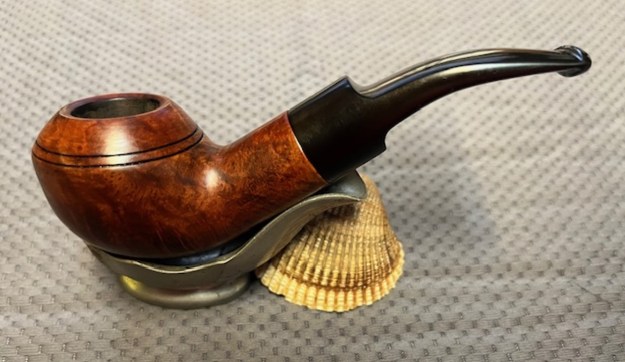
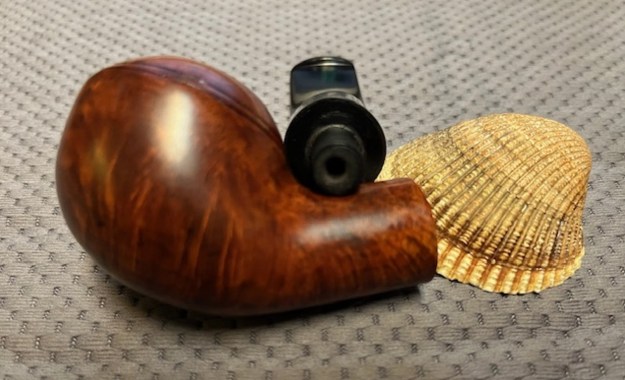
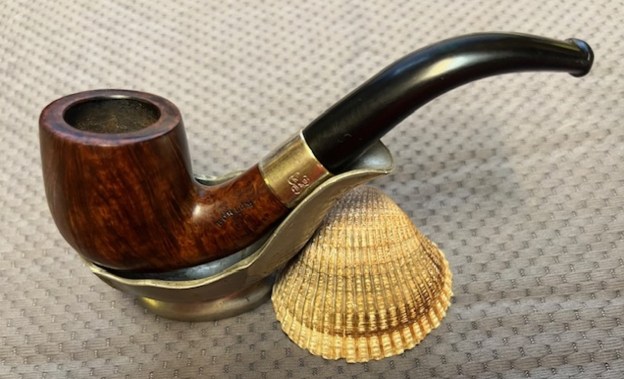
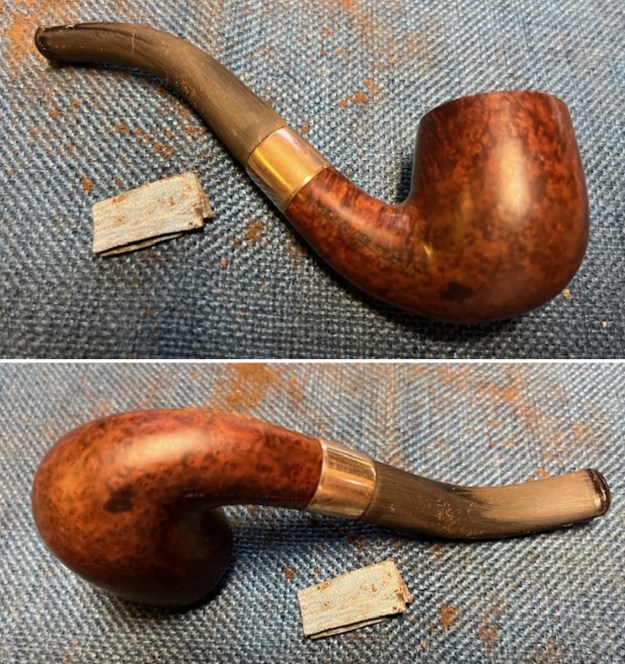
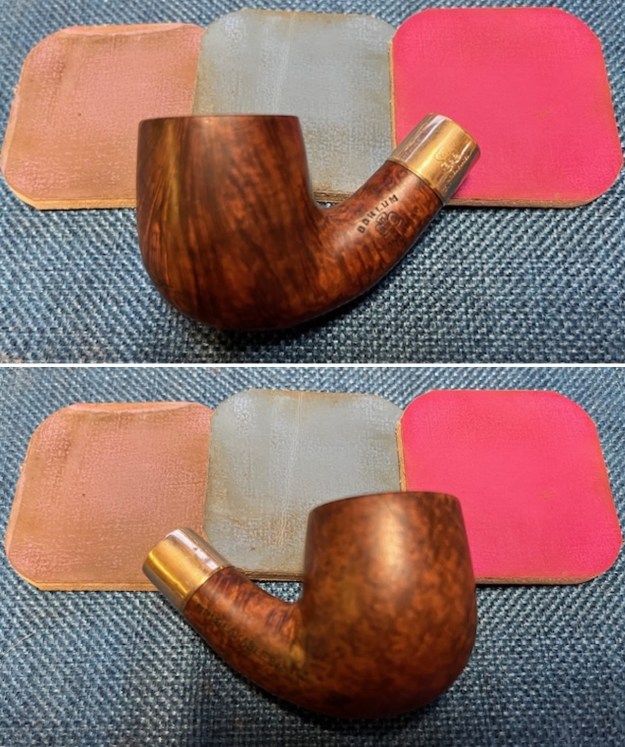
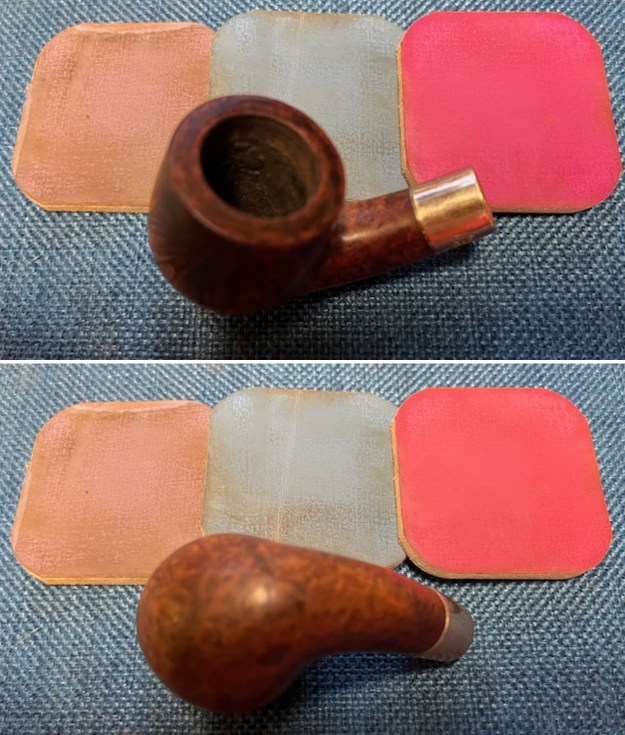
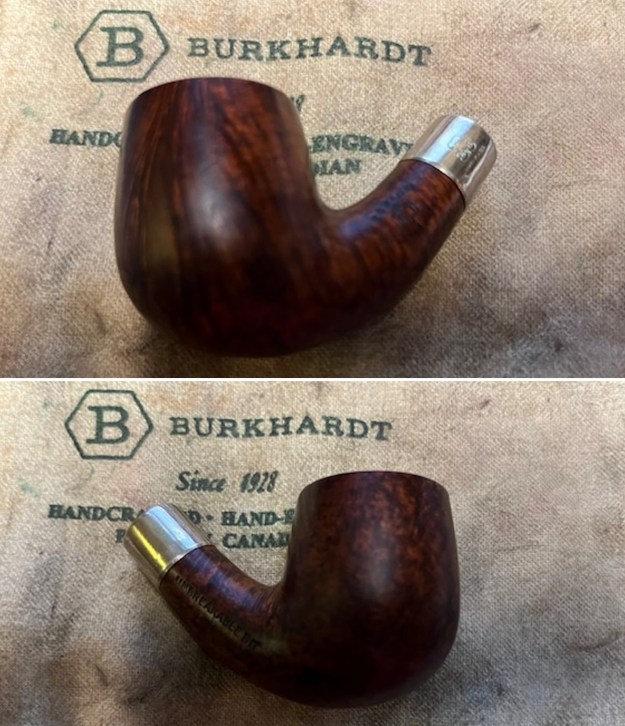
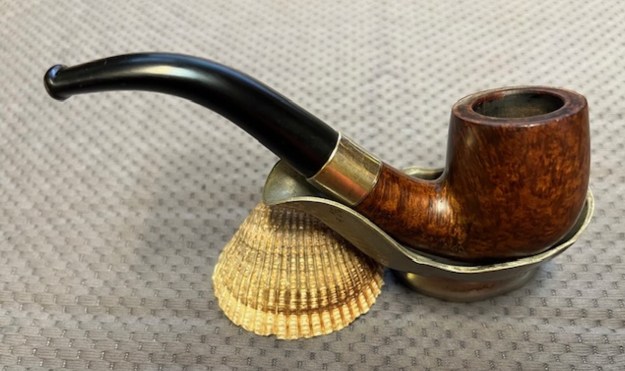
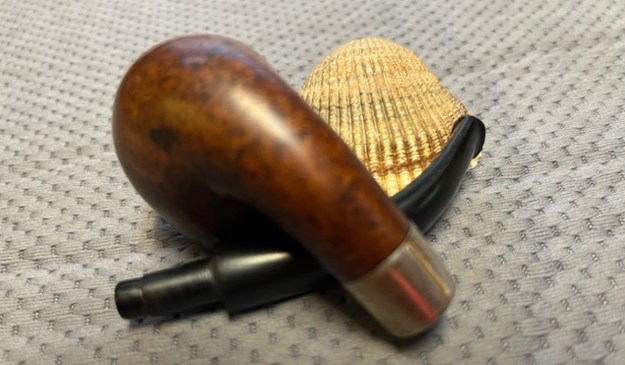
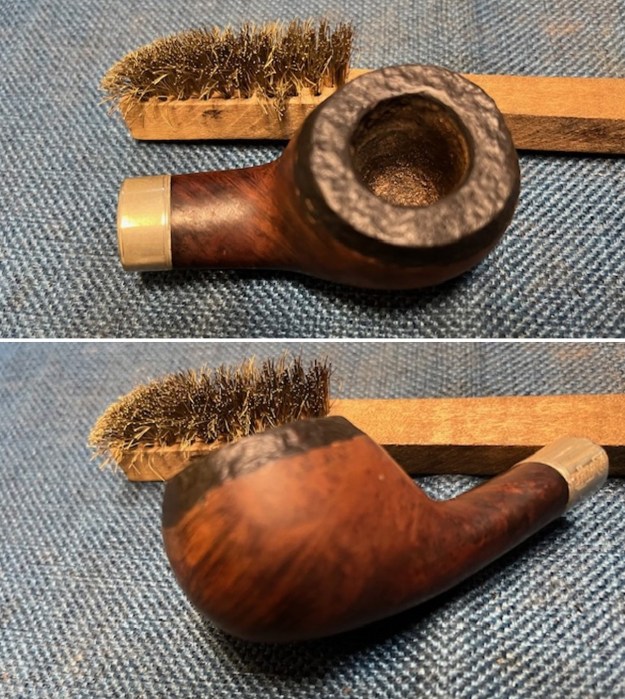
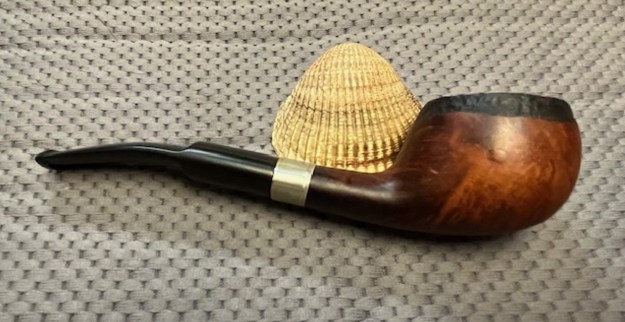
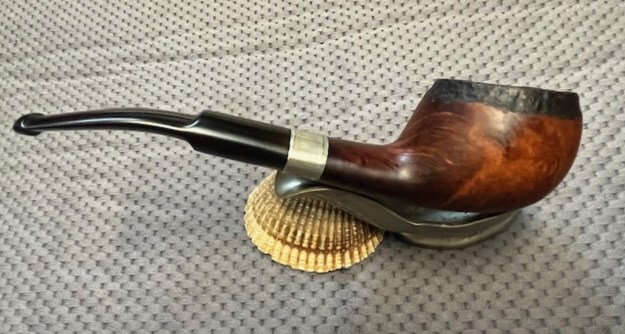
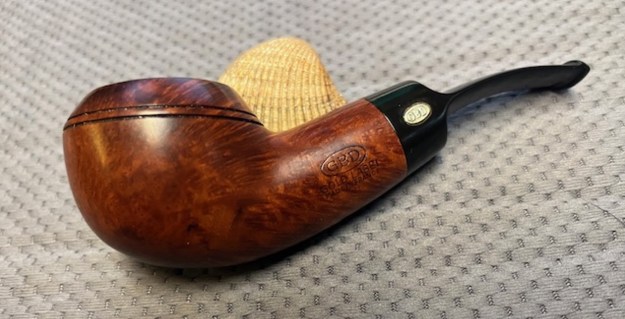
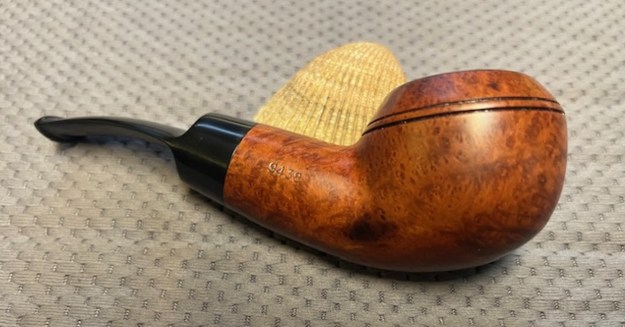
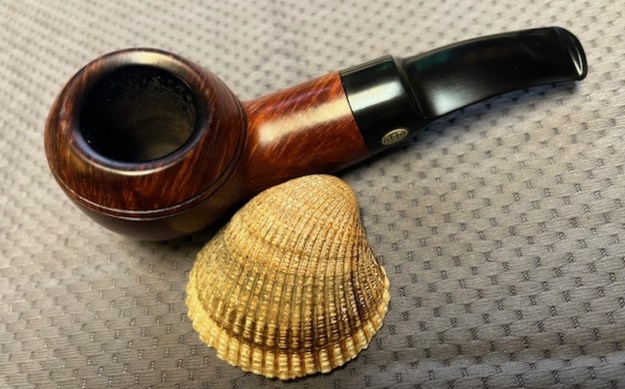
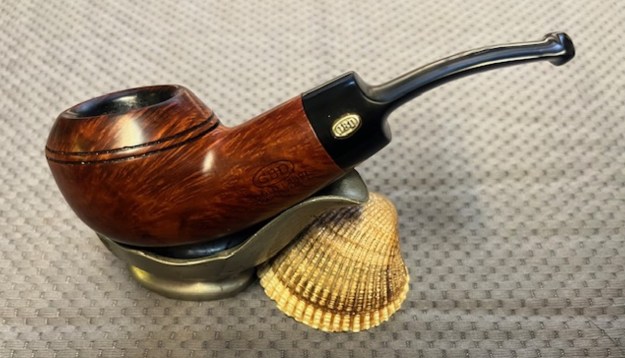
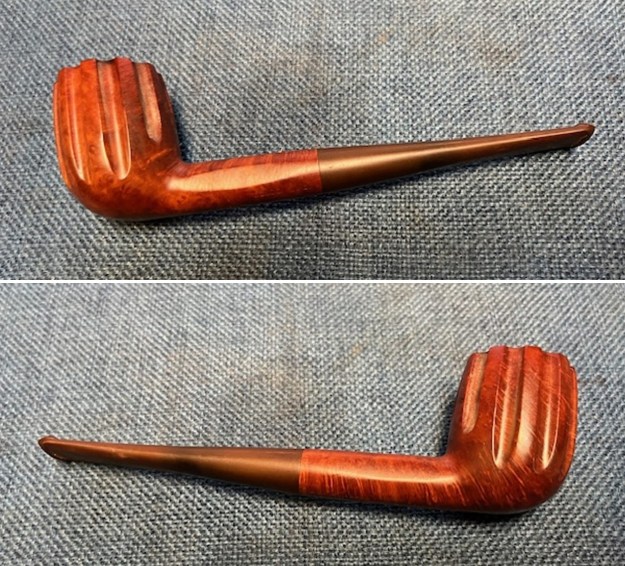
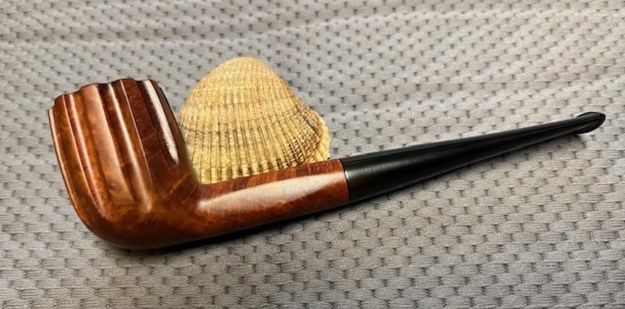
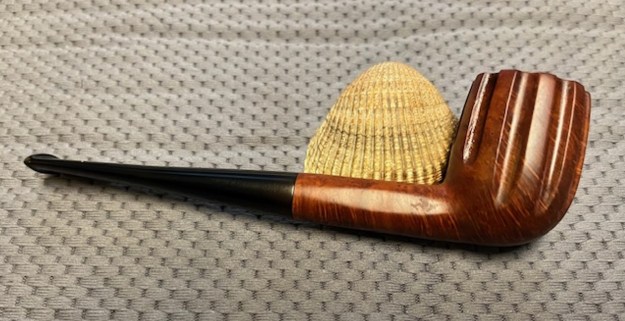
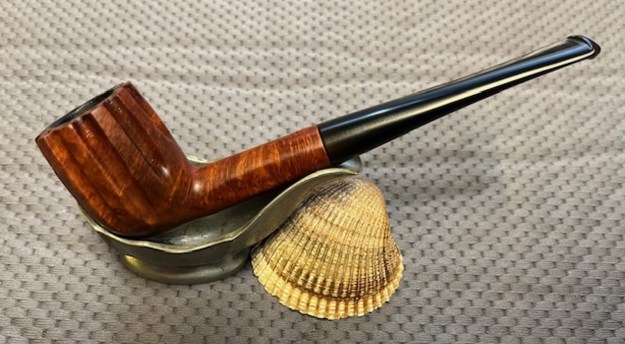
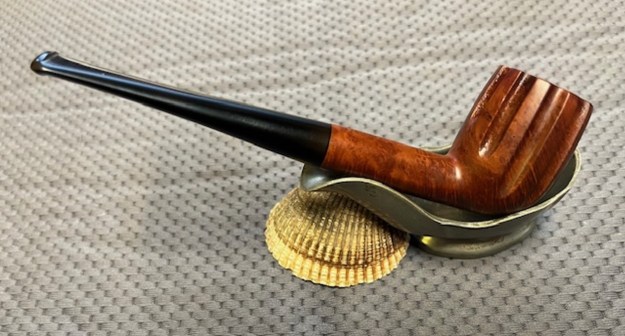
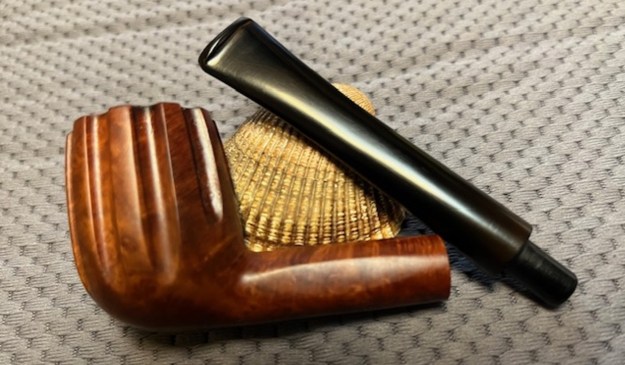
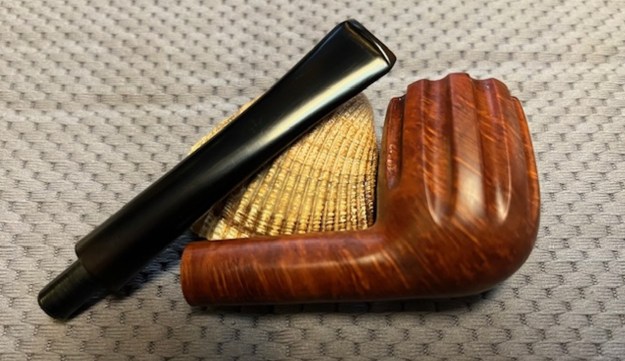
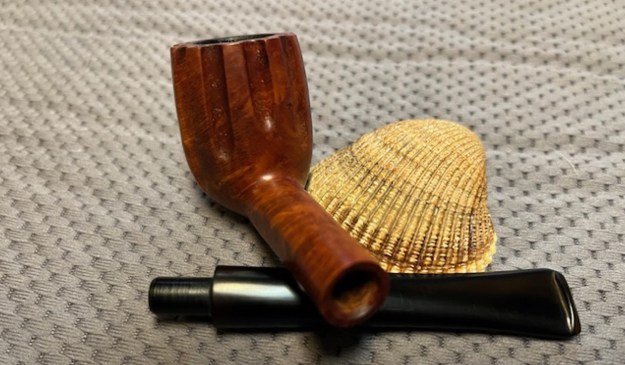
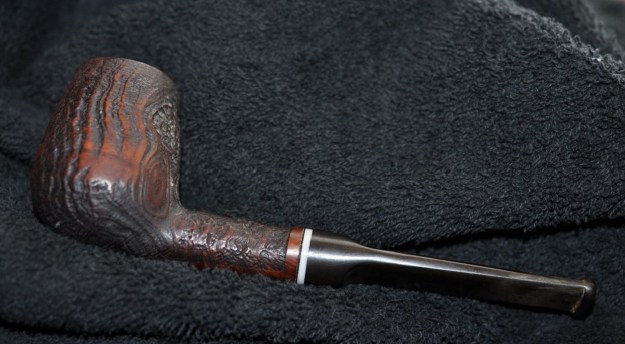
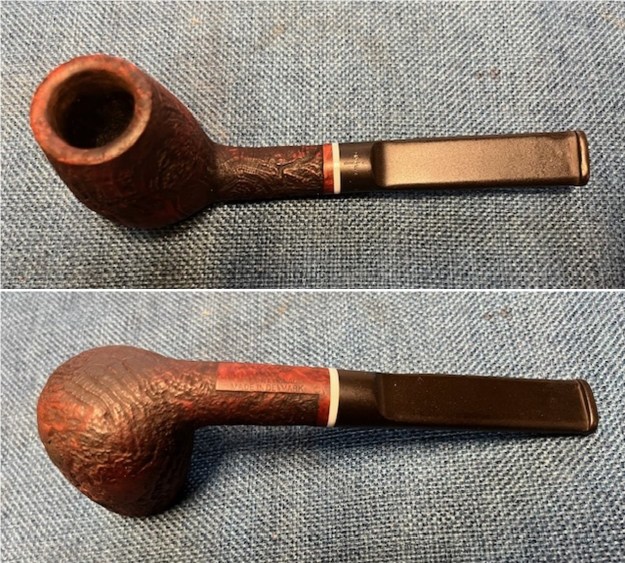
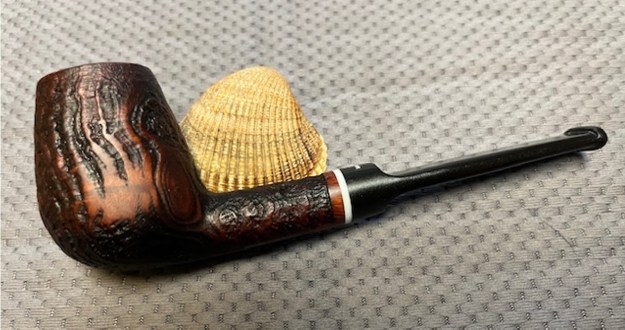
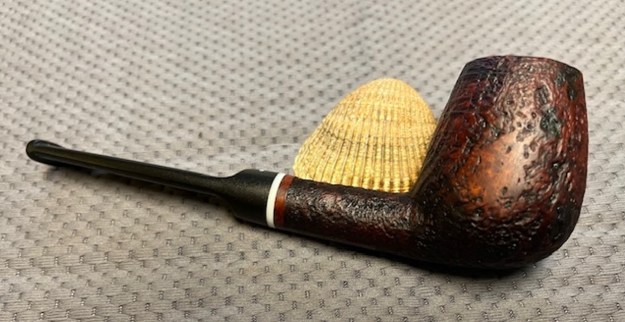
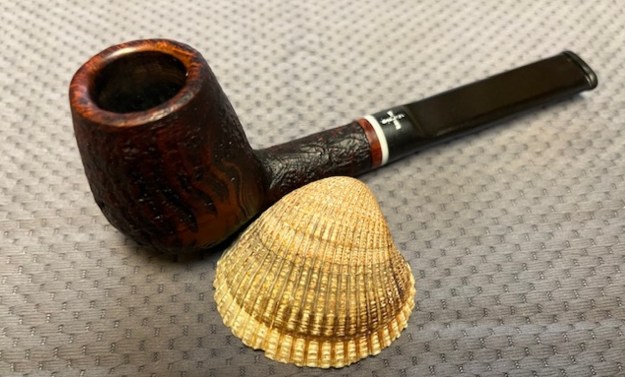
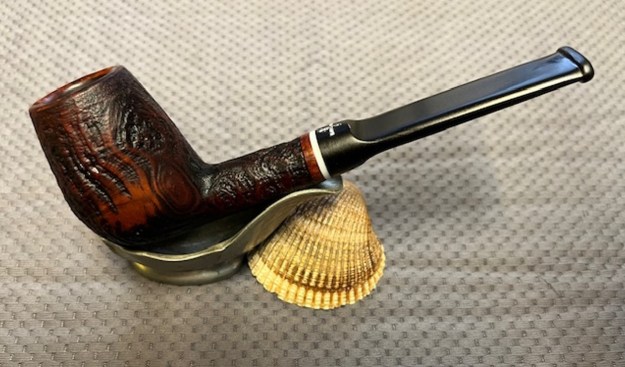
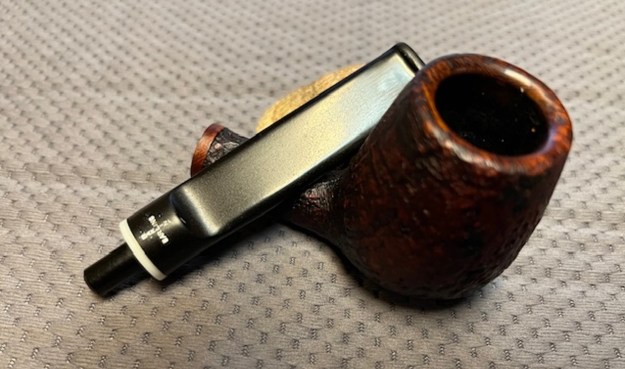
 This LJ Peretti Algerian Briar Billiard is a great looking pipe now that it has been restored. The beautiful grain around the bowl is quite stunning and works well with both the shape and the polished vulcanite taper stem. The damage I left on the back outer edge of the rim top is part the pipe’s story and remains to show its travels. I put the stem back on the bowl and carefully buffed the pipe with Blue Diamond on the buffing wheel using a light touch on the briar. I gave the bowl and the stem multiple coats of carnauba wax on the wheel and followed by buffing the pipe with a clean buffing pad. I hand buffed the pipe with a microfiber cloth to deepen the shine. The finished LJ Peretti Billiard fits nicely in the hand and feels great. Give the finished pipe a look in the photos below. The dimensions of the pipe are Length: 5 ¾ inches, Height: 2 inches, Outside diameter of the bowl: 1 ¼ inches, Chamber diameter: ¾ of an inch. The weight of the pipe is 50 grams/1.80 ounces. I will be putting it on the rebornpipes store in the American Pipemakers Section shortly. If you are interested in adding this pipe to your collection send me a message or an email. Thanks for reading this blog and my reflections on the pipe while I worked on it. I appreciate your support and time!
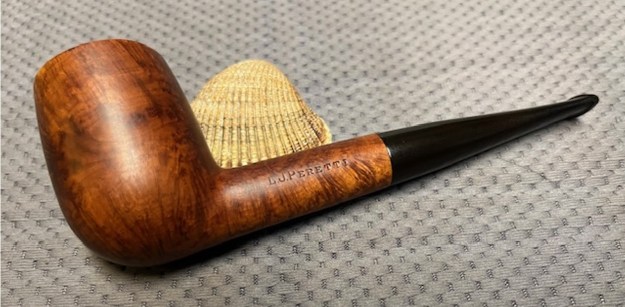


