By Steve Laug
When Jeff and I were contacted about an estate in Santa Cruz, California, USA for sale I was excited to see what was in the lot. There were several with no other stamping on the shank than JHW. I have to say that I have seen very few JHW pipes and my heart skipped a beat when I saw not just one but 7 pipes with that stamping. All were Freehands and all were very unique – maybe even odd you might say! We purchased the estate on 05/28/2024. 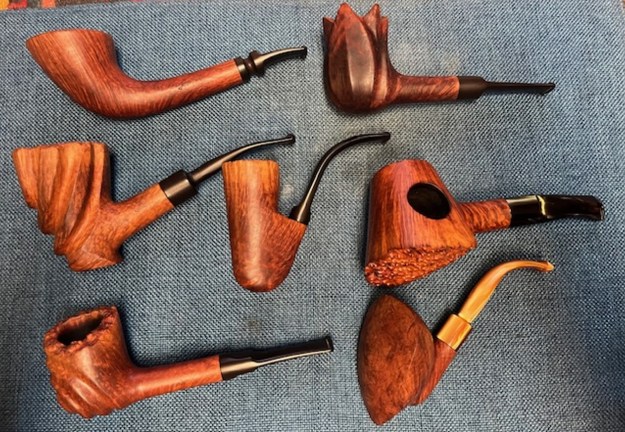 I am working on the fifth of the pipes. Now you might ask who is JHW? Why so excited about three initials? Well I have to tell you right up front that JHW is Jack H. Weinberger. Who is that? That does not help either? Jack H. Weinberger was a pipe maker in West Caldwell, New Jersey. Still not helping? He hired young lads from the local high school to help him out as he carved 10-12 hours a day. Two of these are none other than Curt Rollar and Mark Tinsky went on to become the American Pipe Company. There was a long list of pipe carving luminaries who came through Jack’s shop and JHW pipes but these two you probably have heard of. So JHW or Jack H. Weinberger was an important part of the American Pipemaking scene and gave many carvers a start and they have continued to this day. Now maybe you understand my excitement – being able to work on a few of Jack’s pipes and bring them back to their former glory.
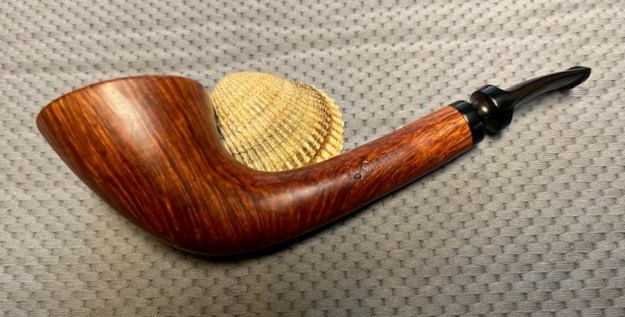
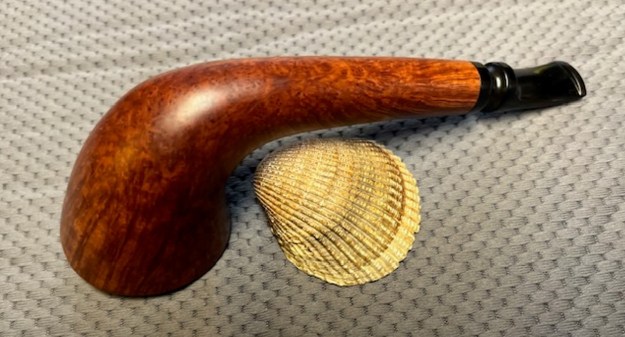
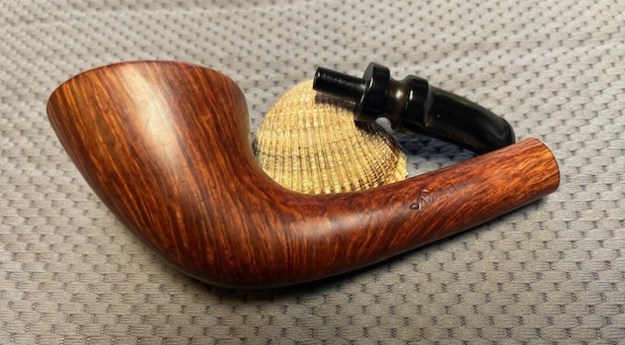
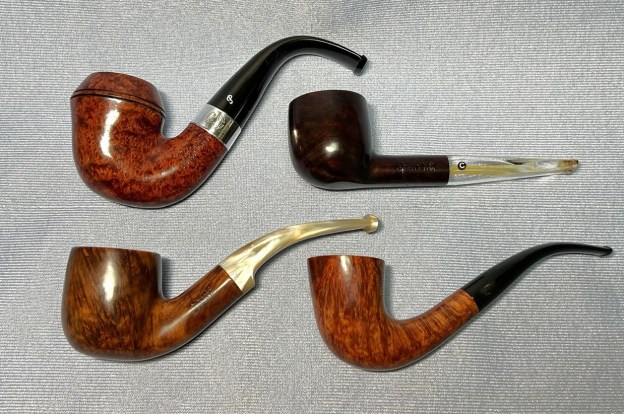
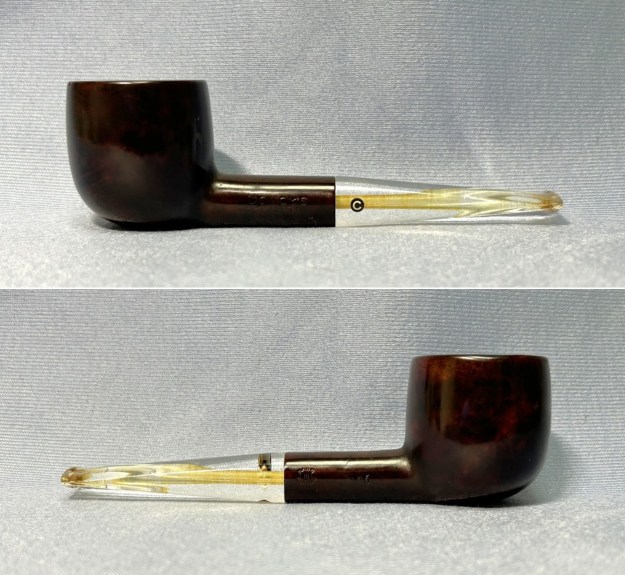
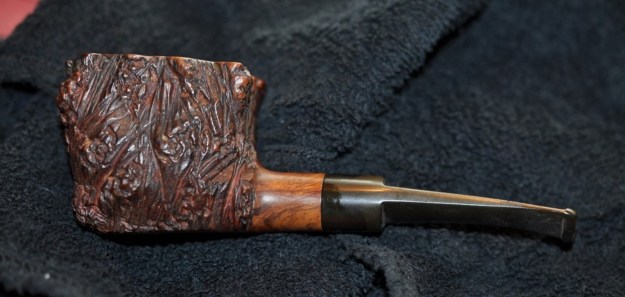
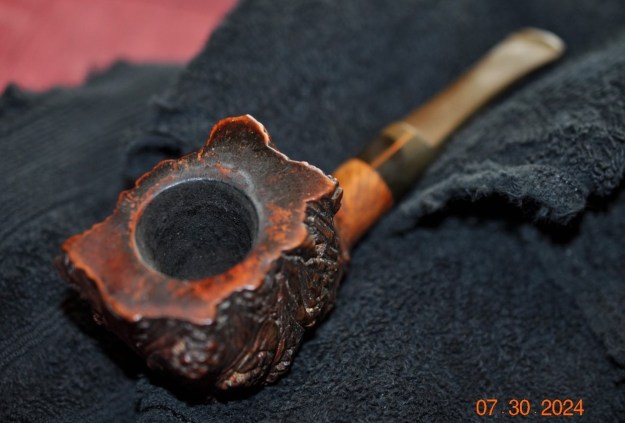
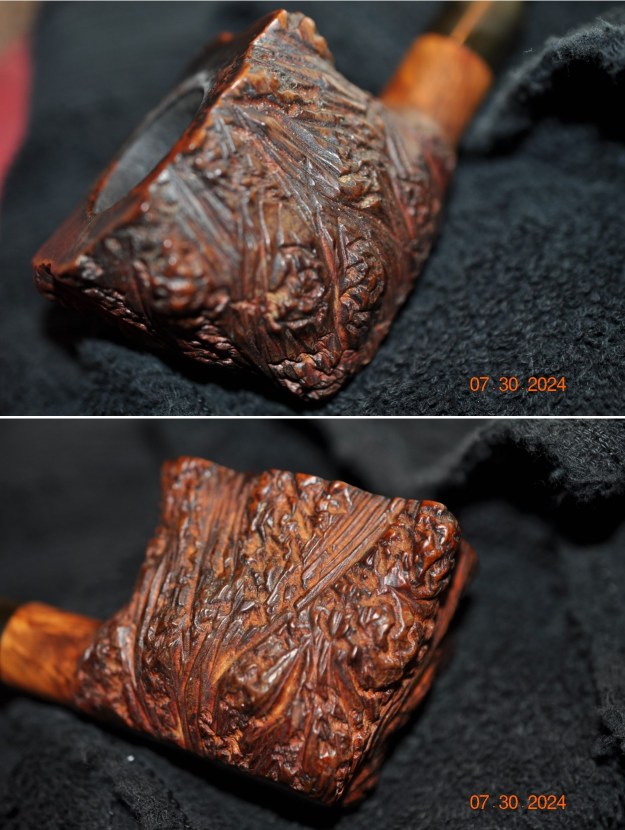
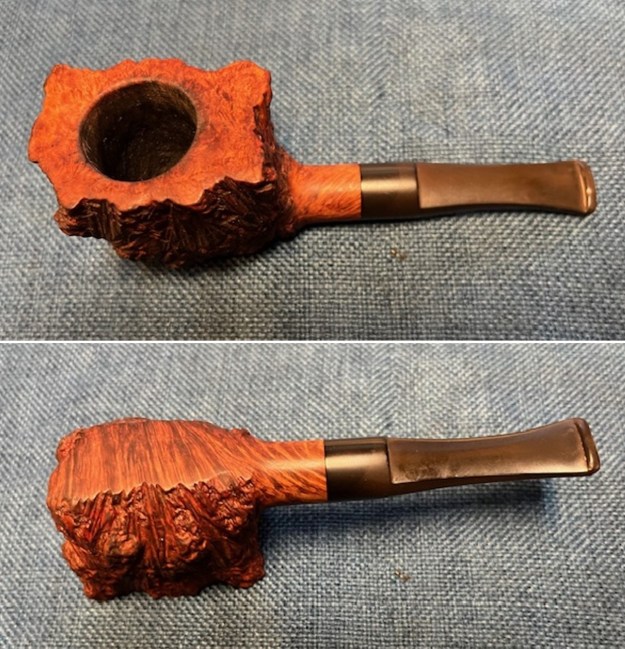
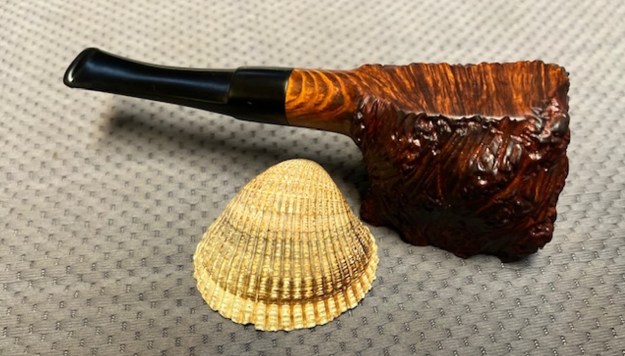
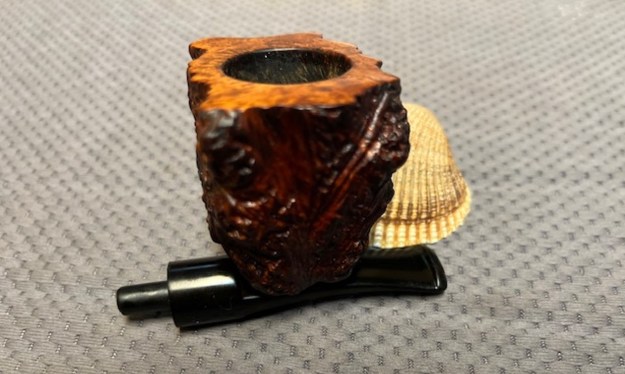
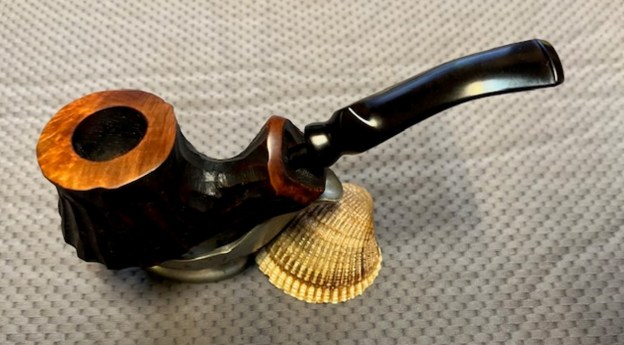
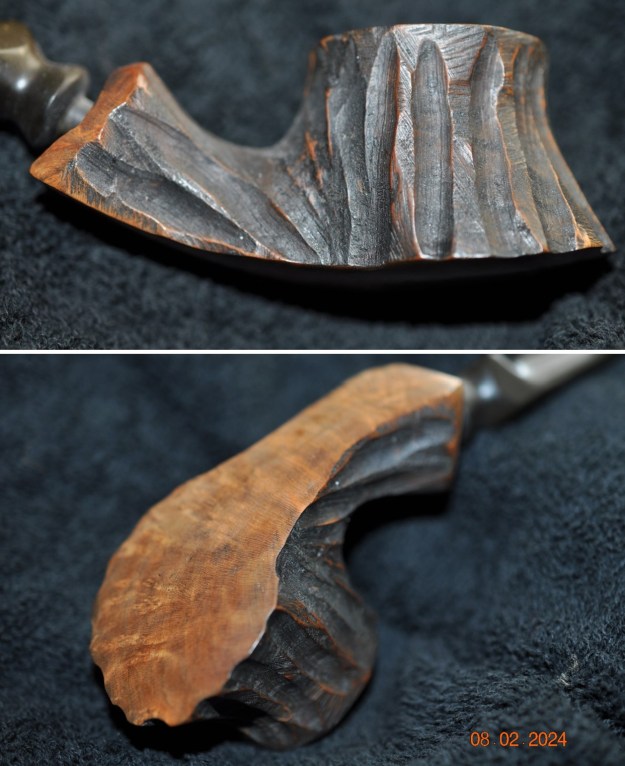
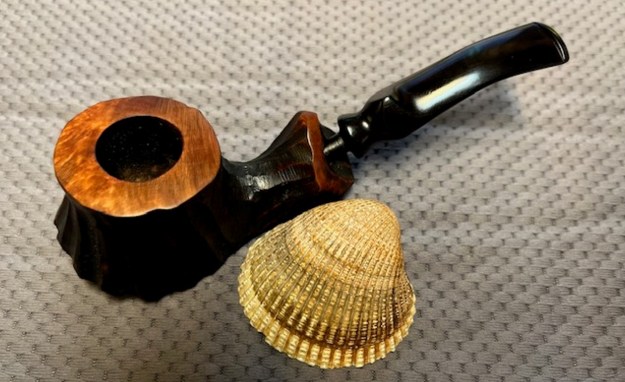
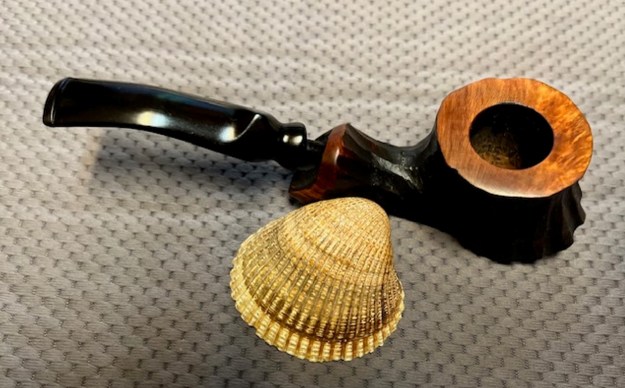
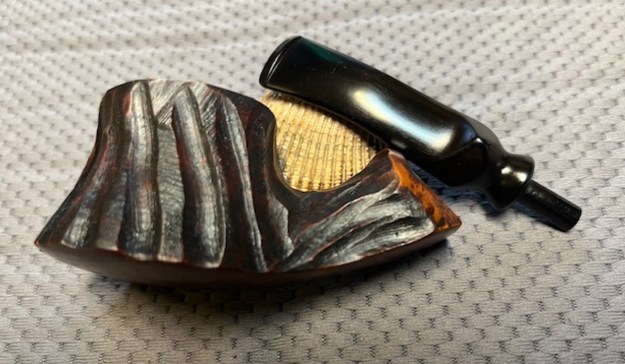
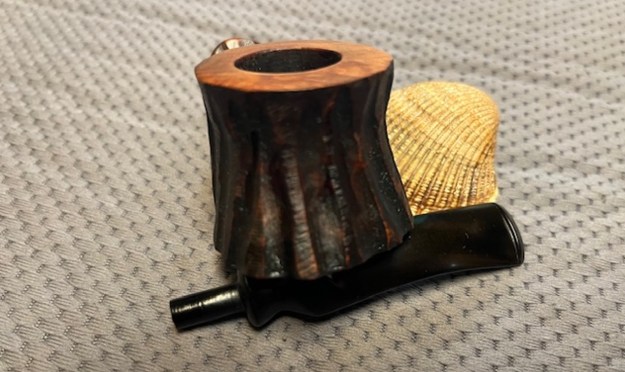
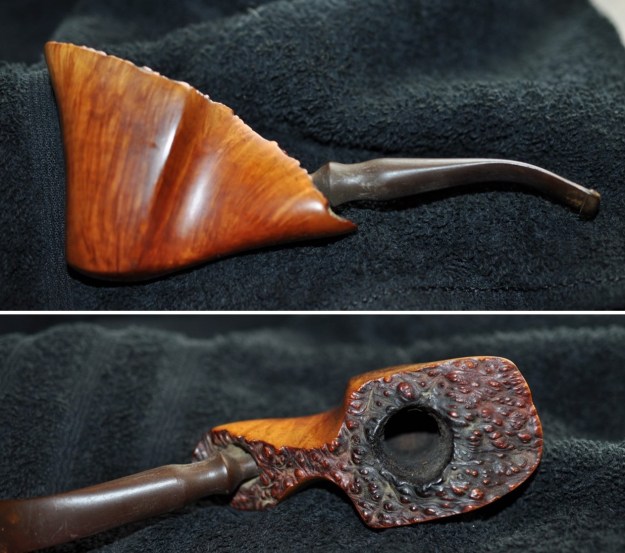
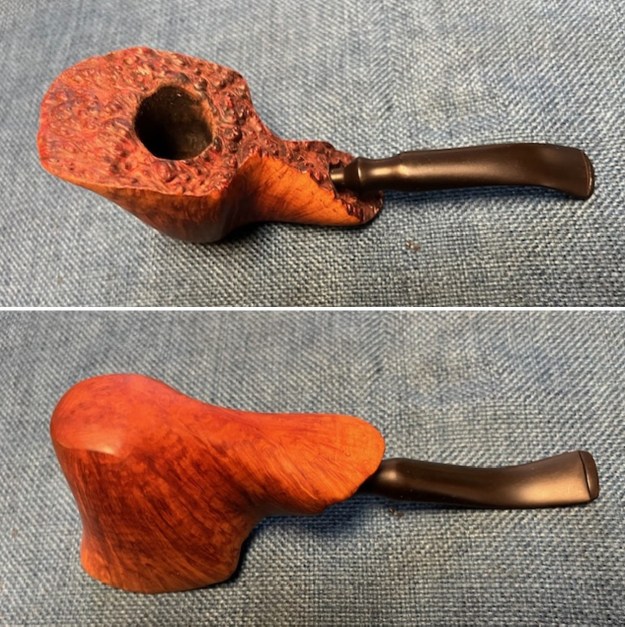
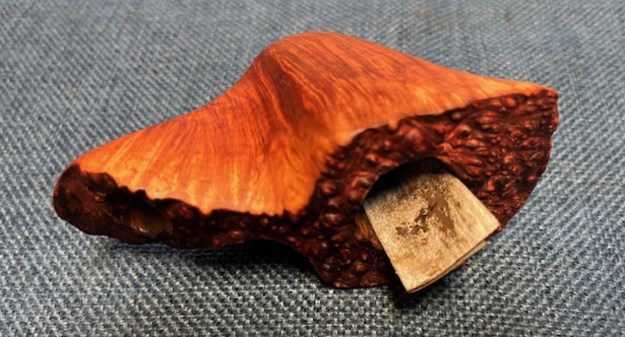
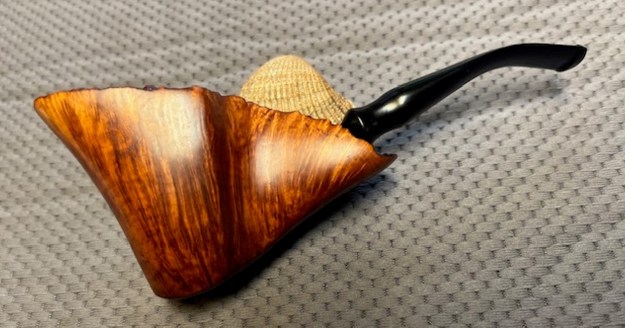
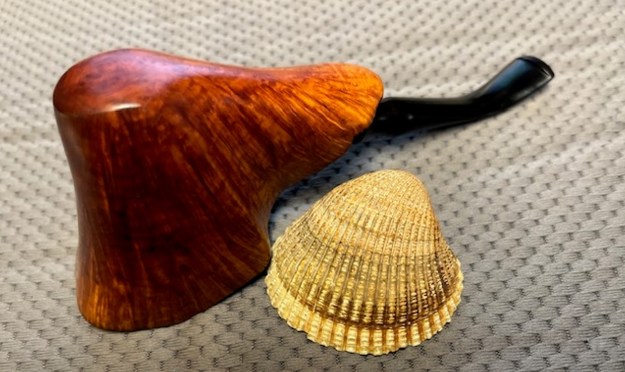
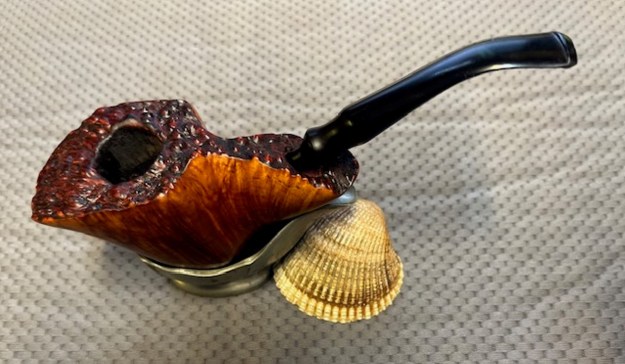
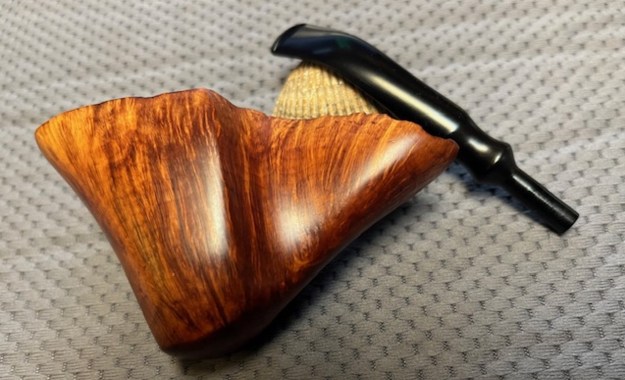
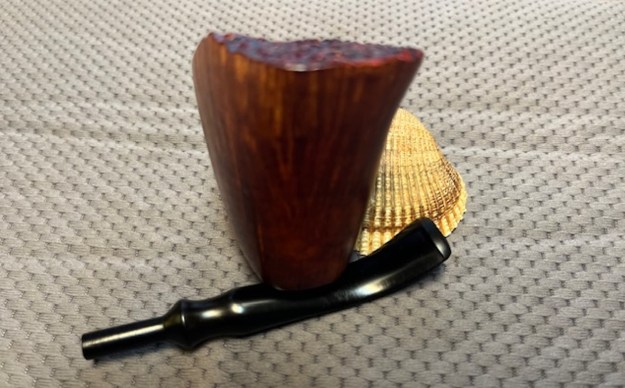
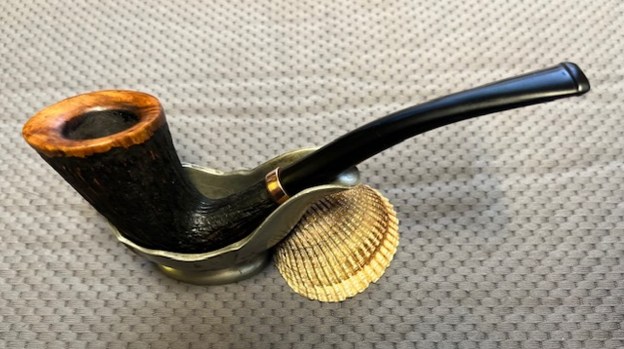
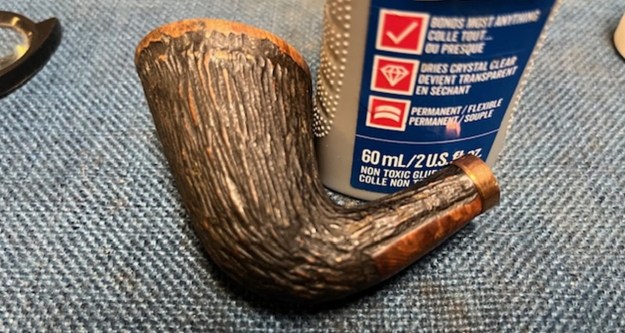
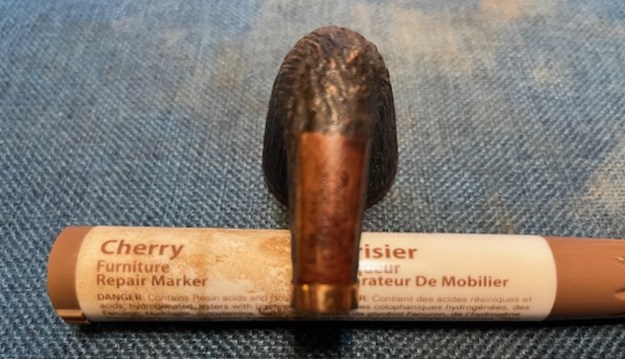
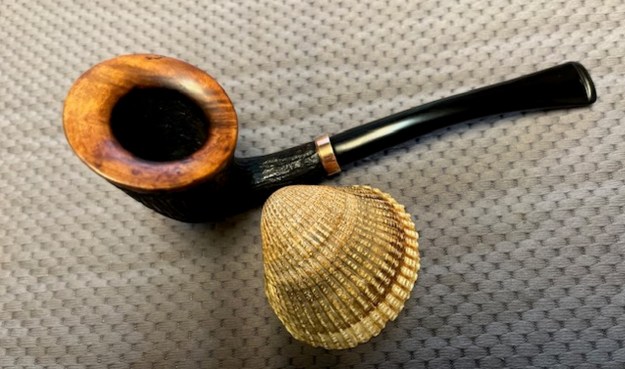
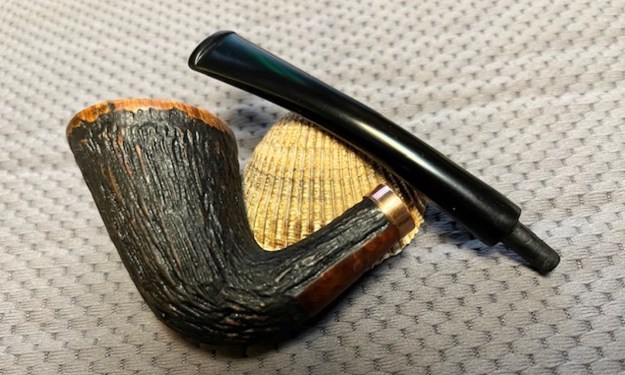
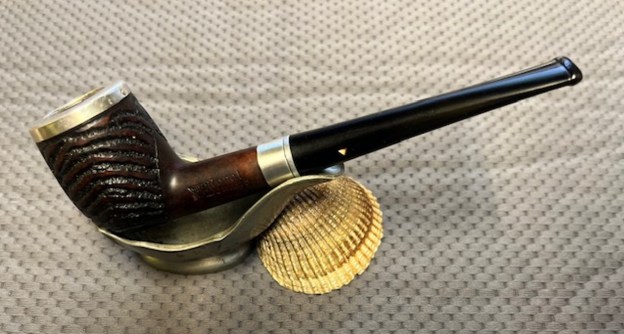
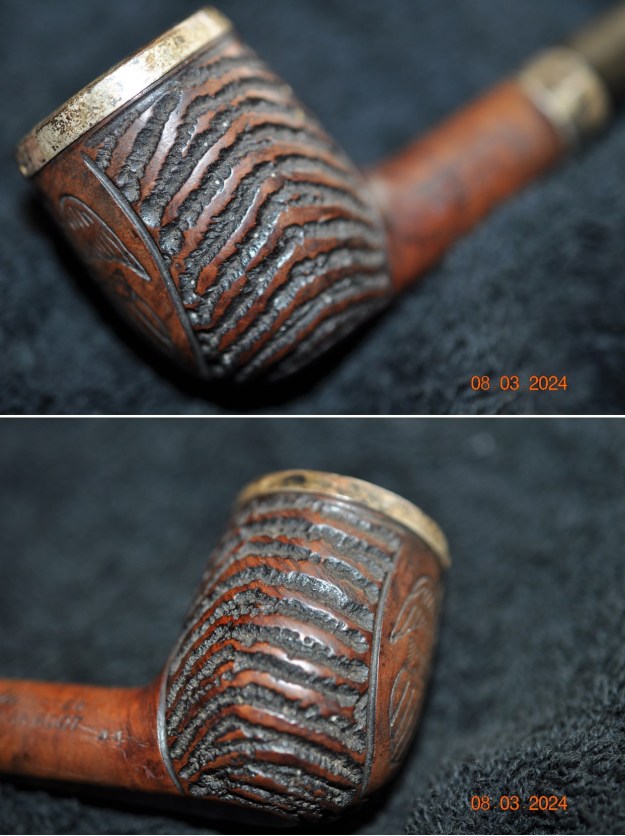
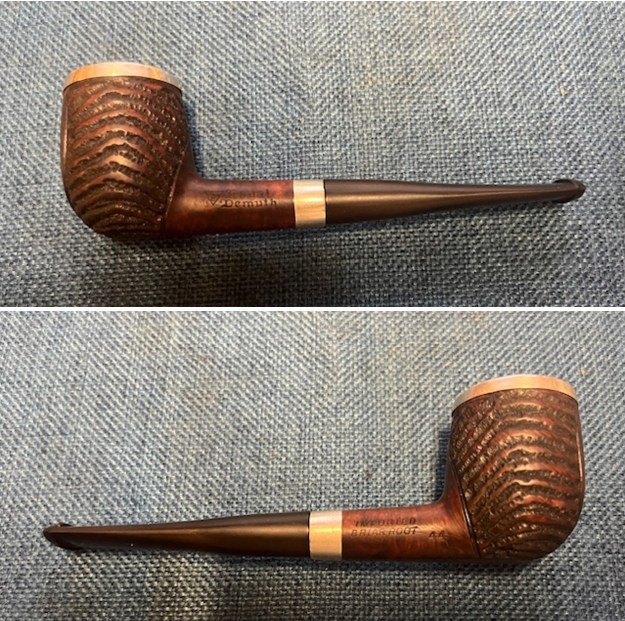
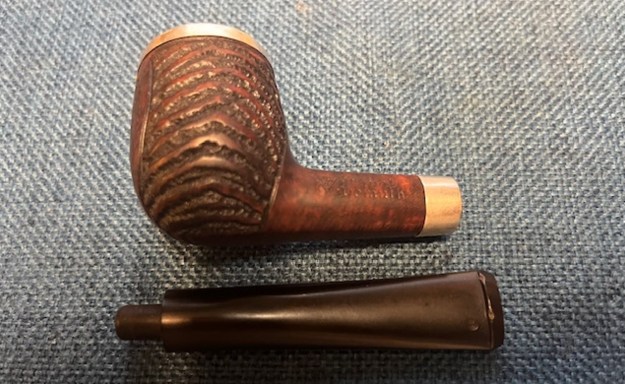
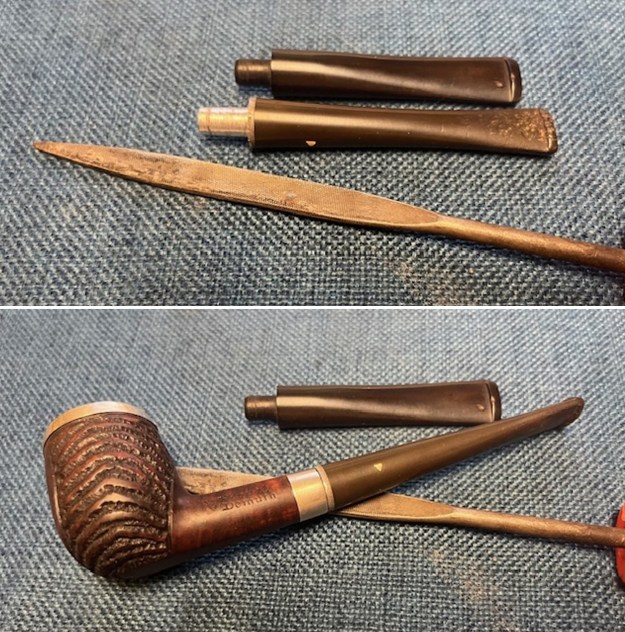
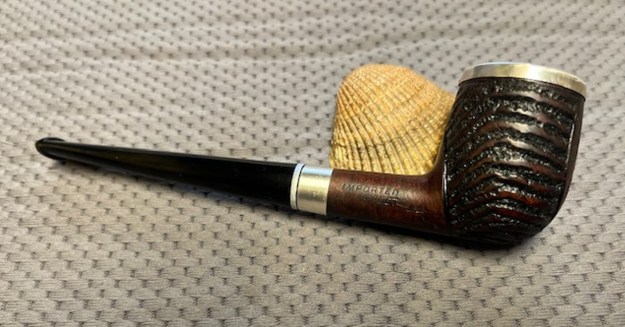
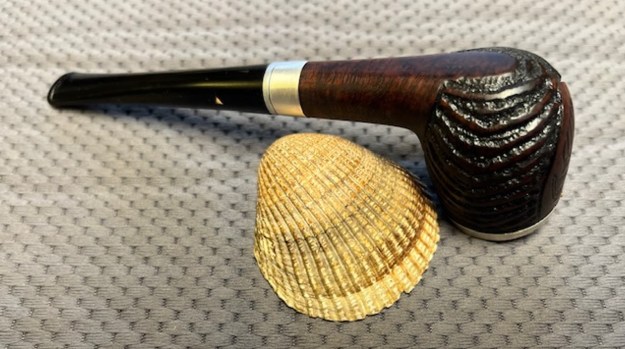
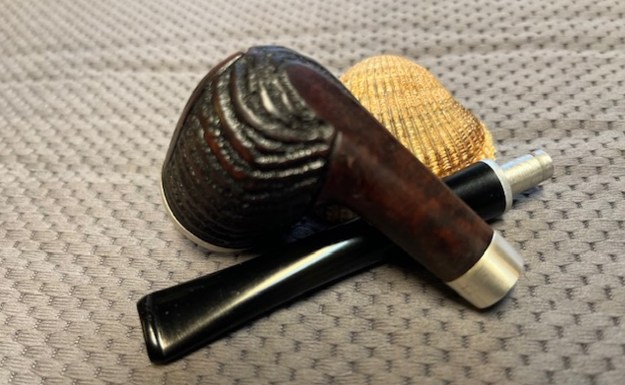
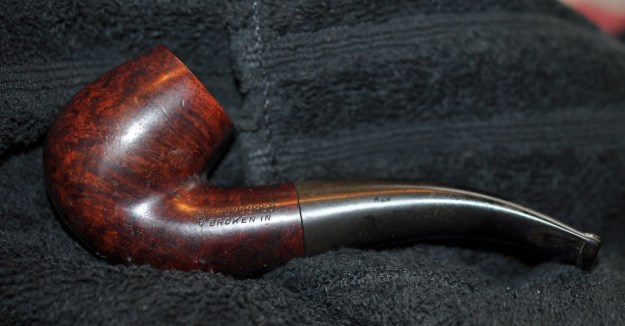
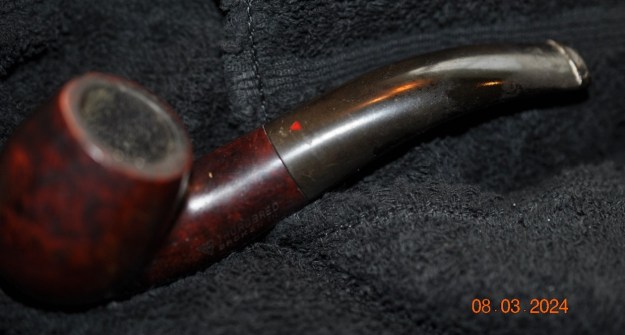
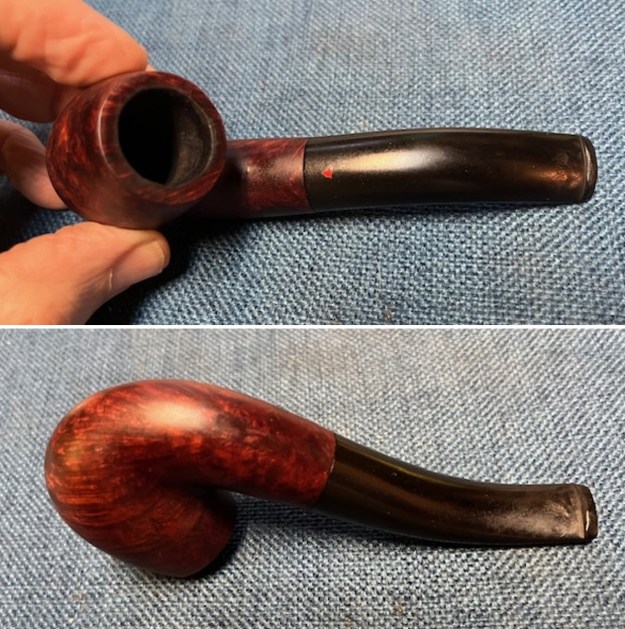
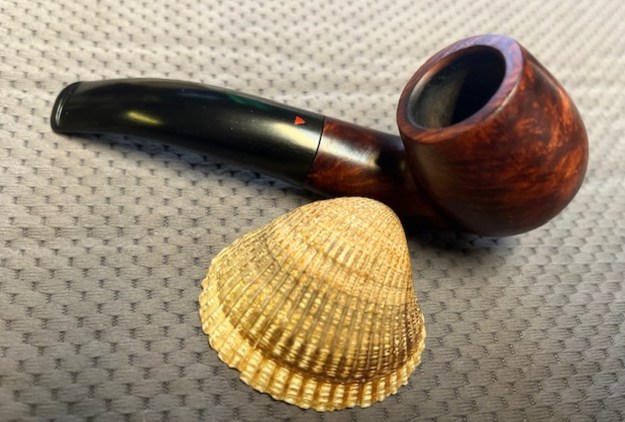
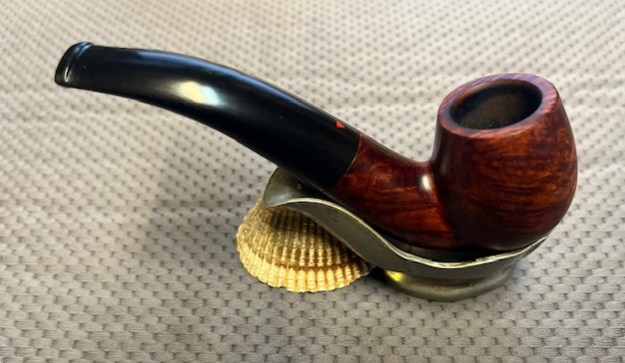
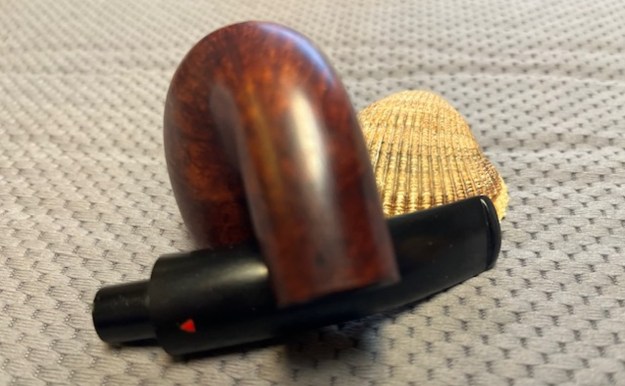
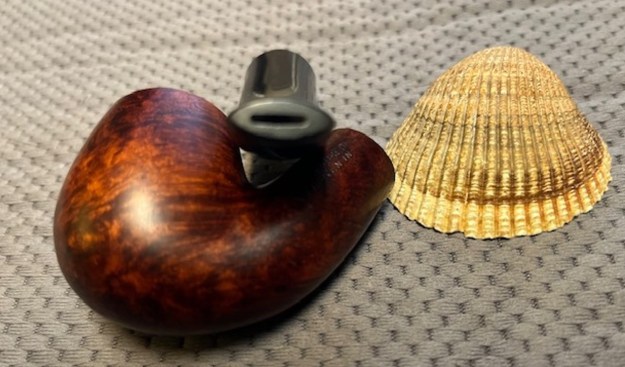
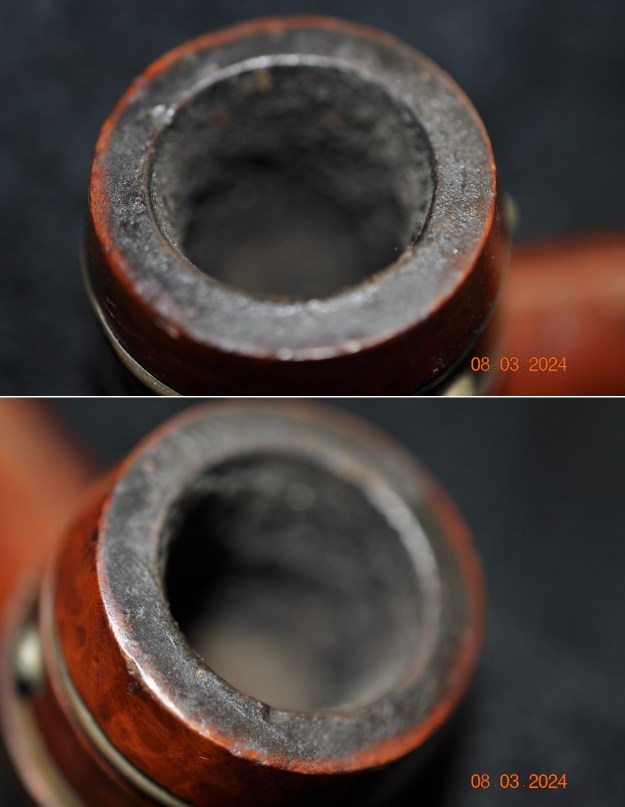
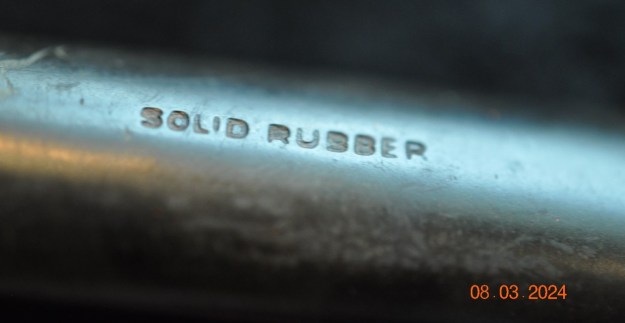
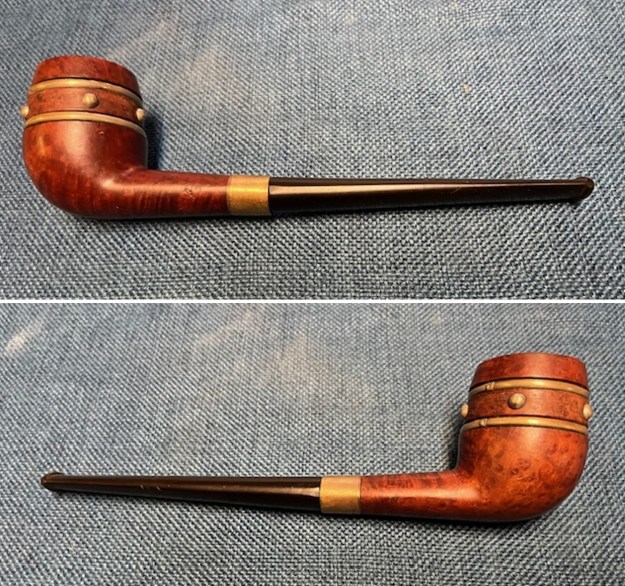
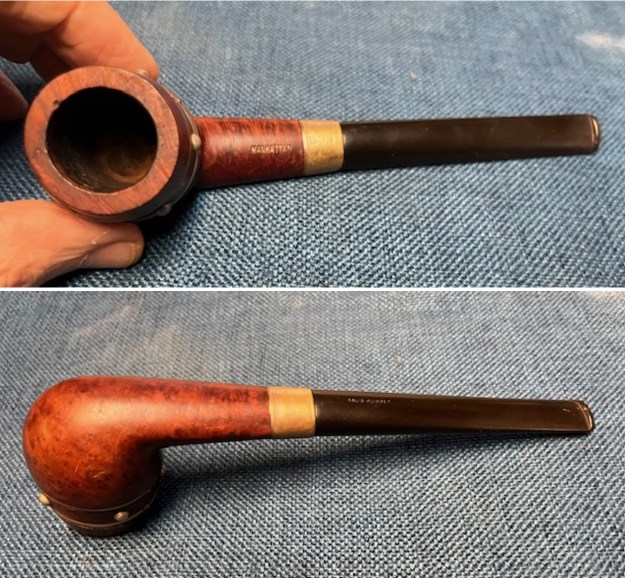
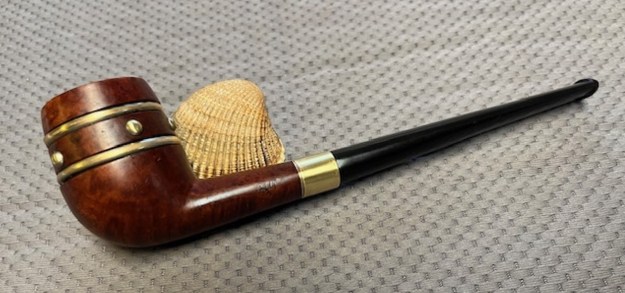
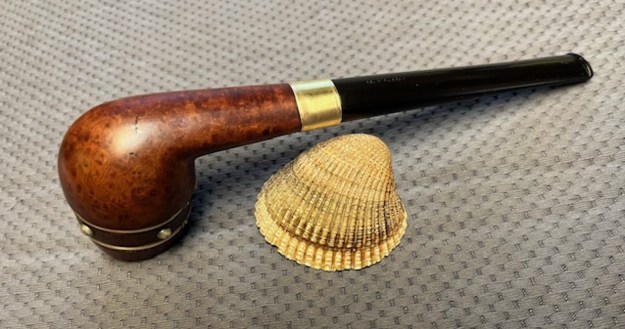
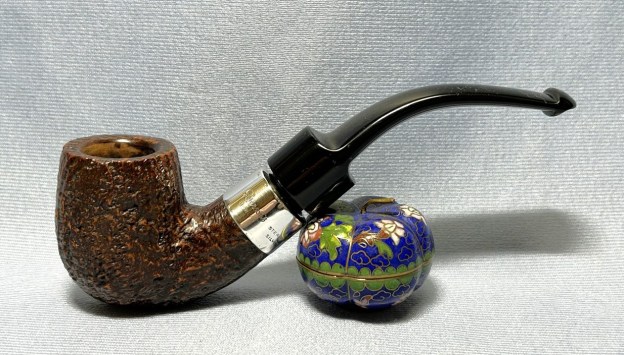
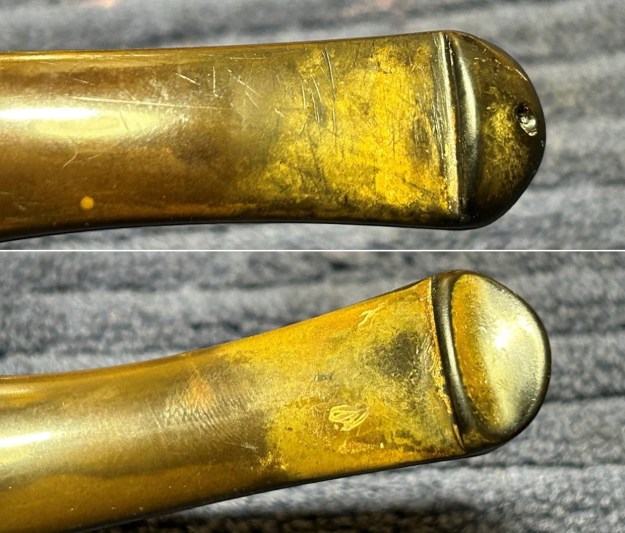
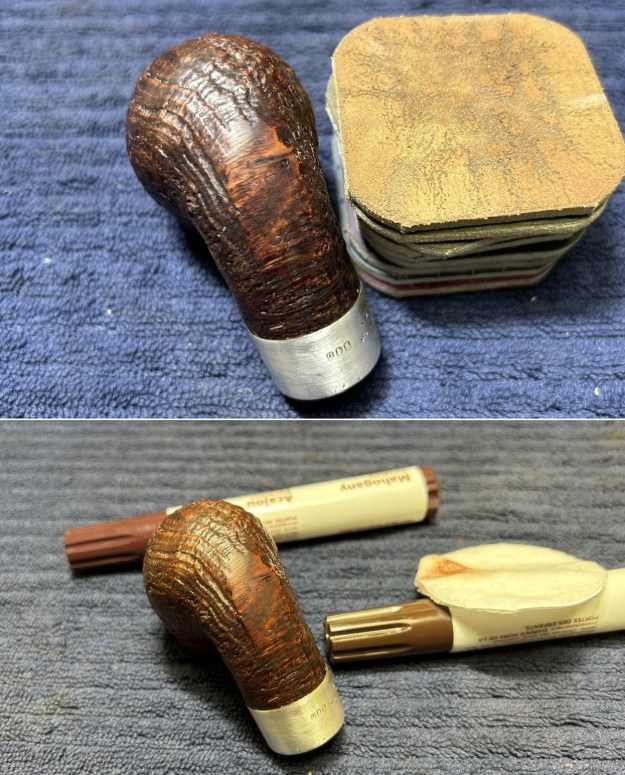
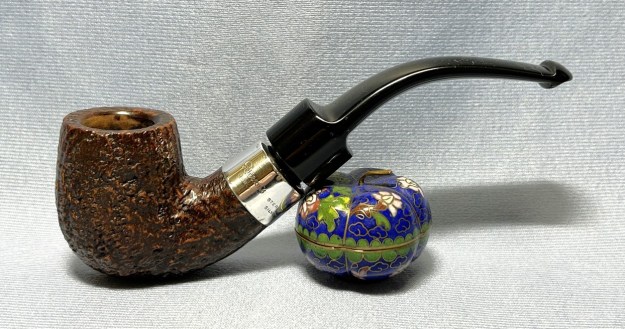
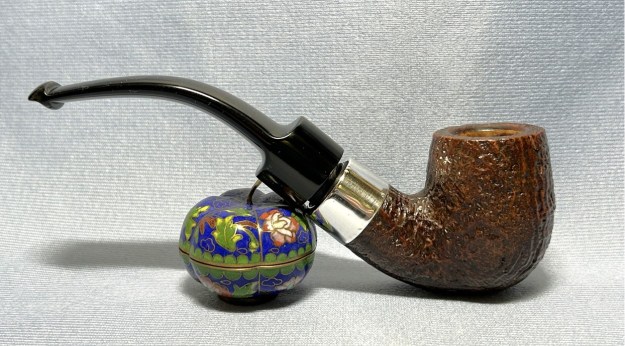
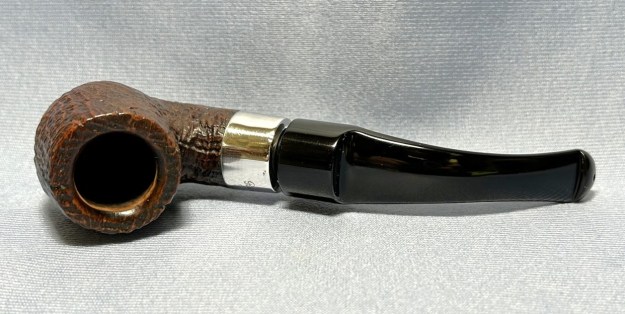
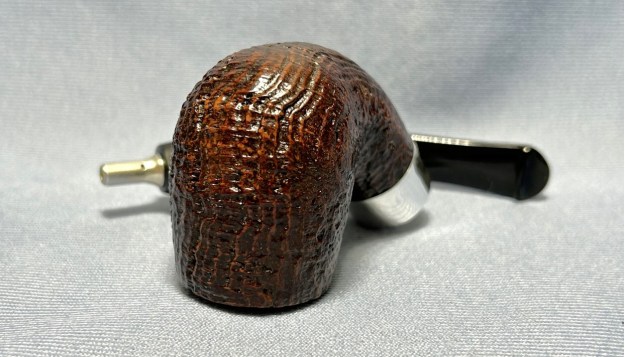
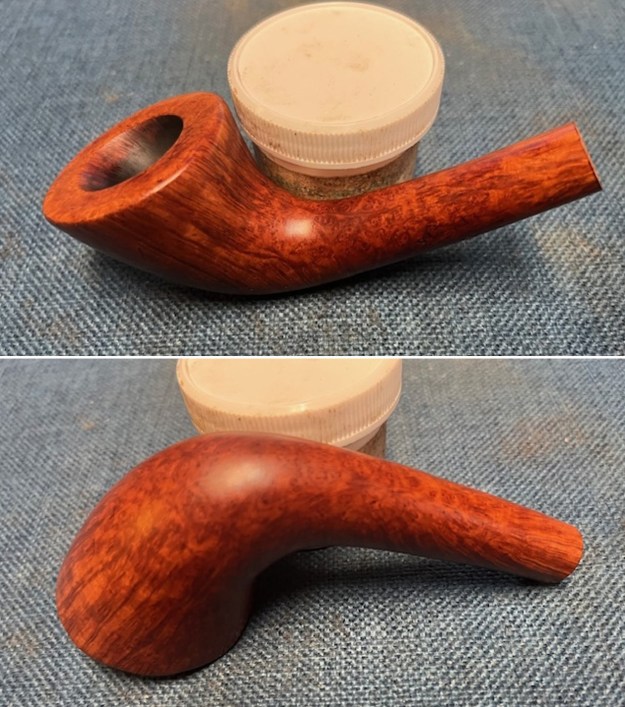
This pipe I chose to work on was another unusual one. It is a great piece of briar with a mix of grain all the way around the bowl and shank culminating in a tight pattern on the face of the shield shaped of the bowl. It is a beautiful piece of briar! But Jack chose to use this block very differently than most would have used a plateau block. He made a long shank Horn style pipe. The bowl is his take on Horn with a long Canadian/Liverpool shape. The front, back and sides of the bowl have some nice straight grain. The top and underside have some birdseye. Very unusual but something just calls out to you. When the pipe came to us it was dirty with grime ground into the finish. There was a thick cake in the bowl and lava on the rim top and inner edge. There appeared to be some darkening around the inner edge of the rim and on the top itself. It was dirty but that did not hide the beauty of the briar. The stem is a fancy saddle made out of vulcanite. There was light chatter on both sides just ahead of the button. Jeff took photos of the pipe as a whole before he started his cleanup work. I include them below.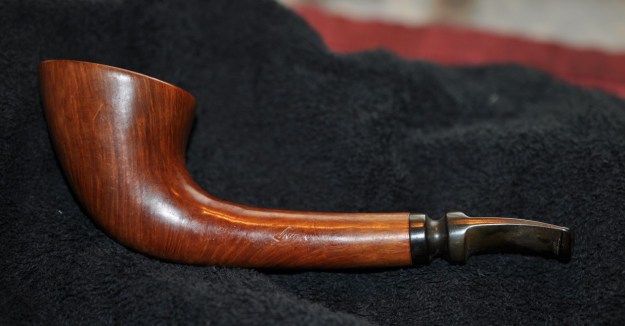
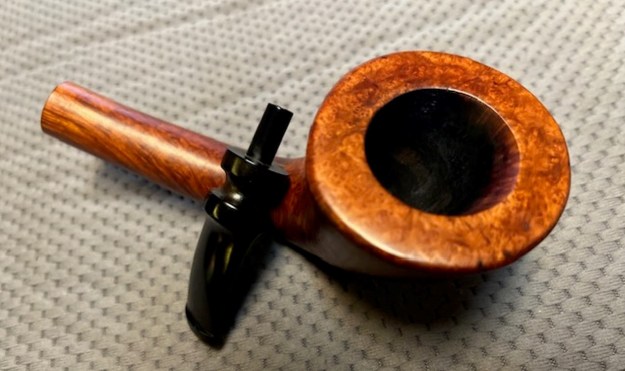
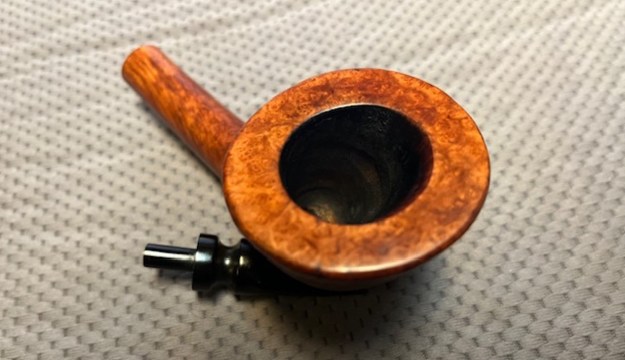
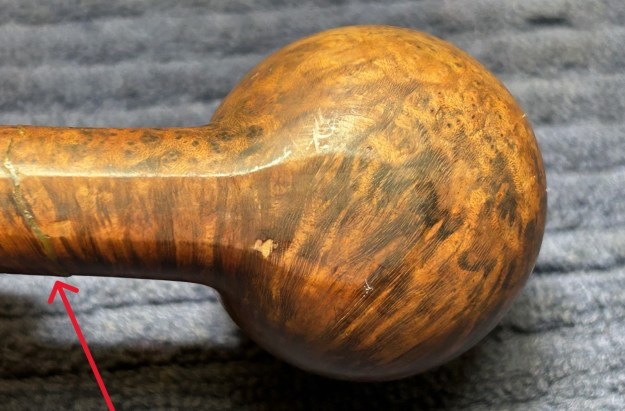
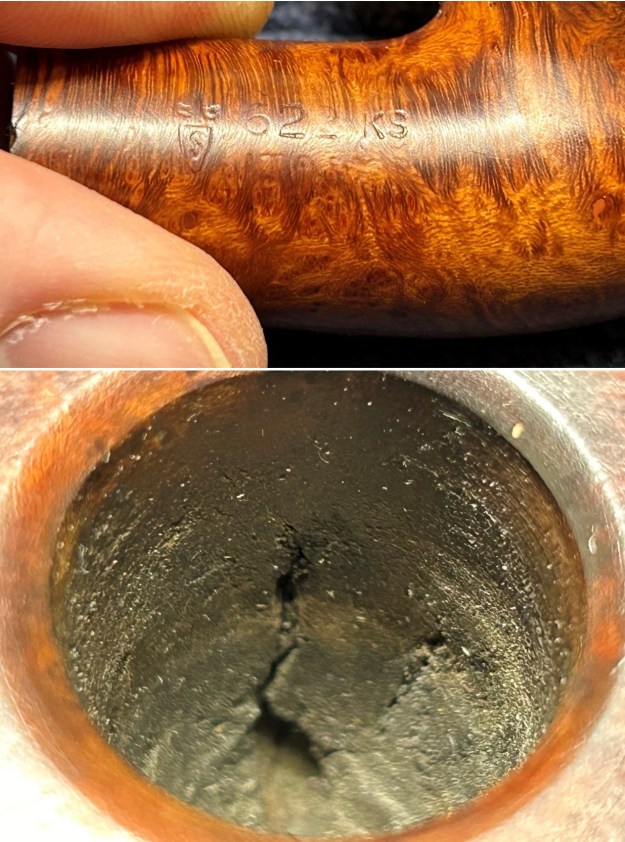
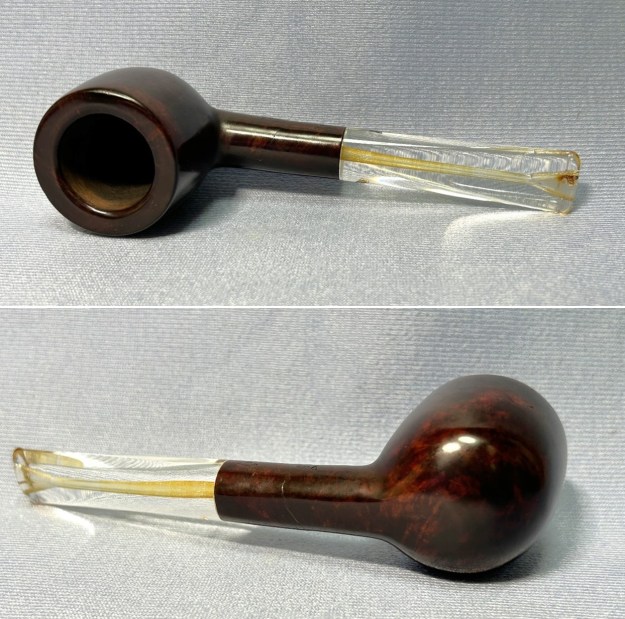
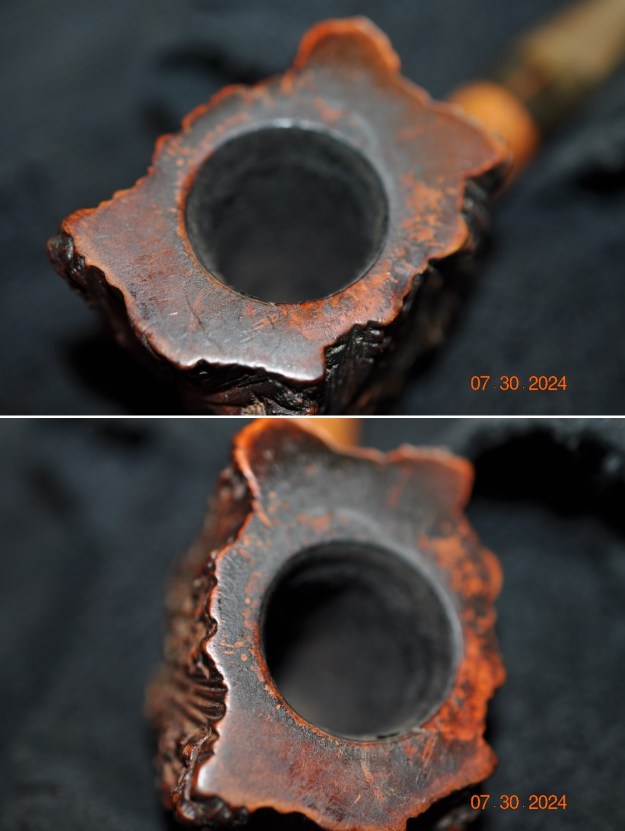
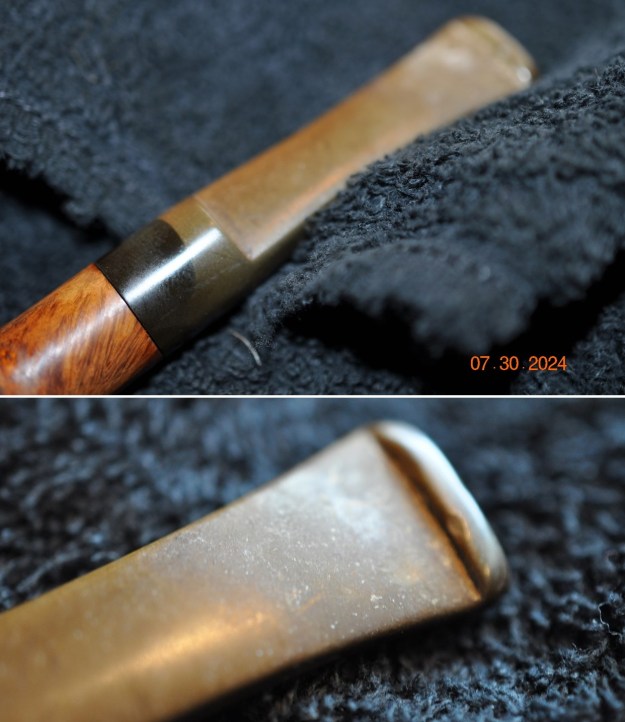
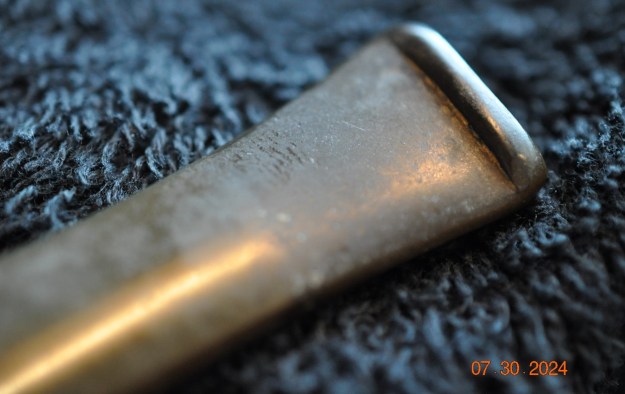
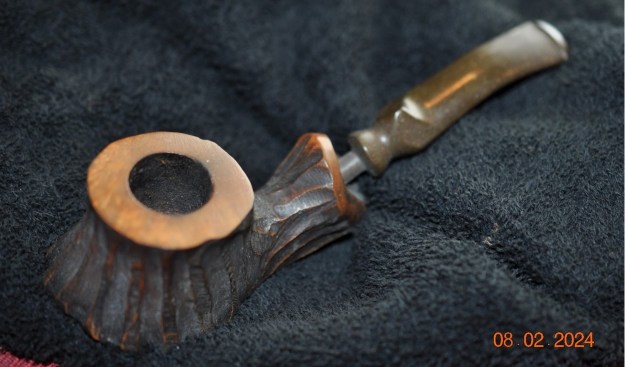
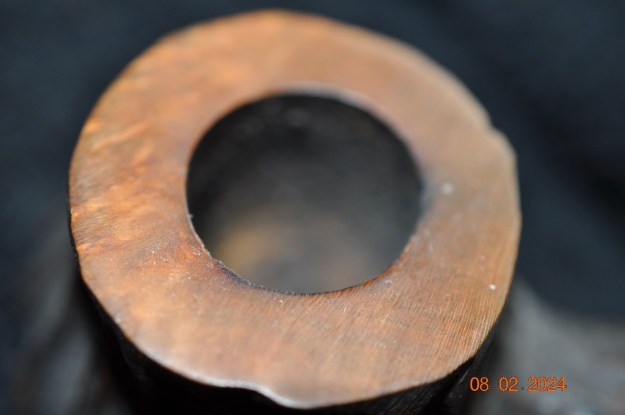
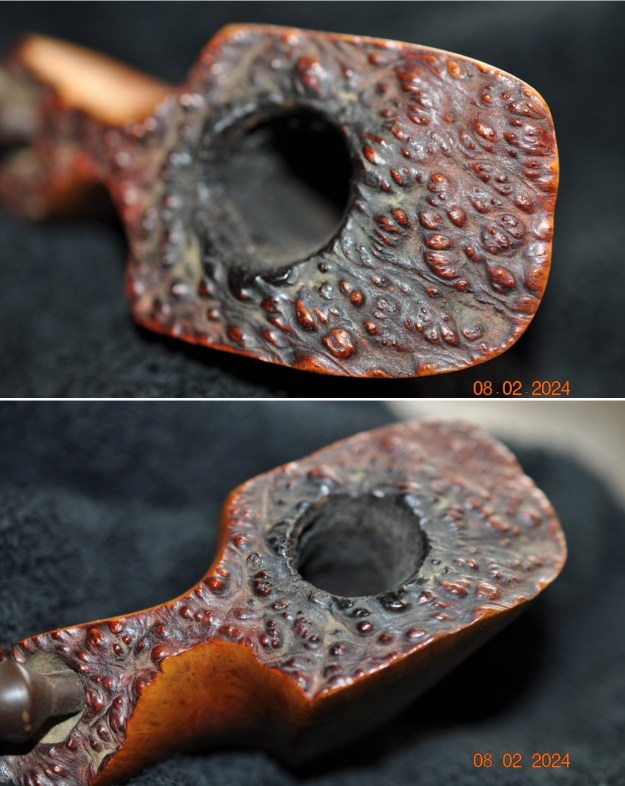
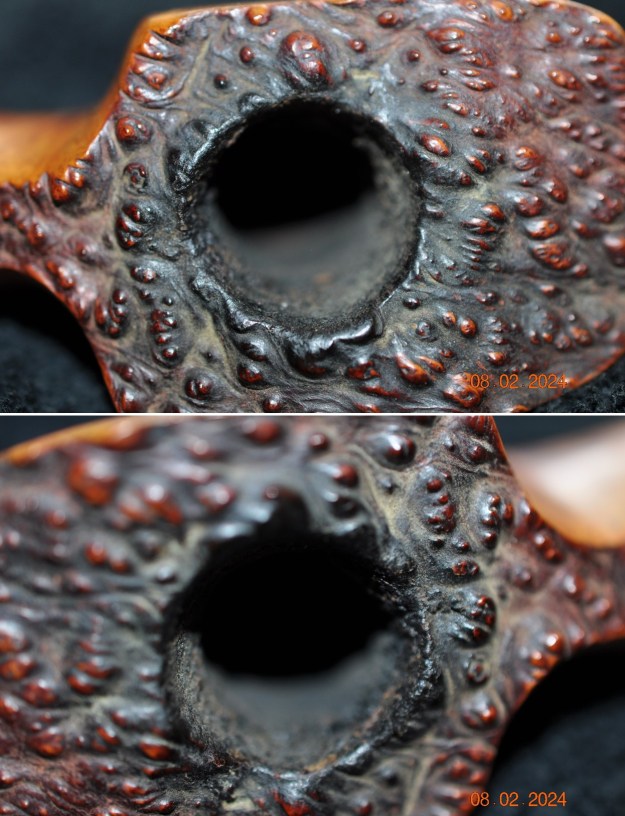
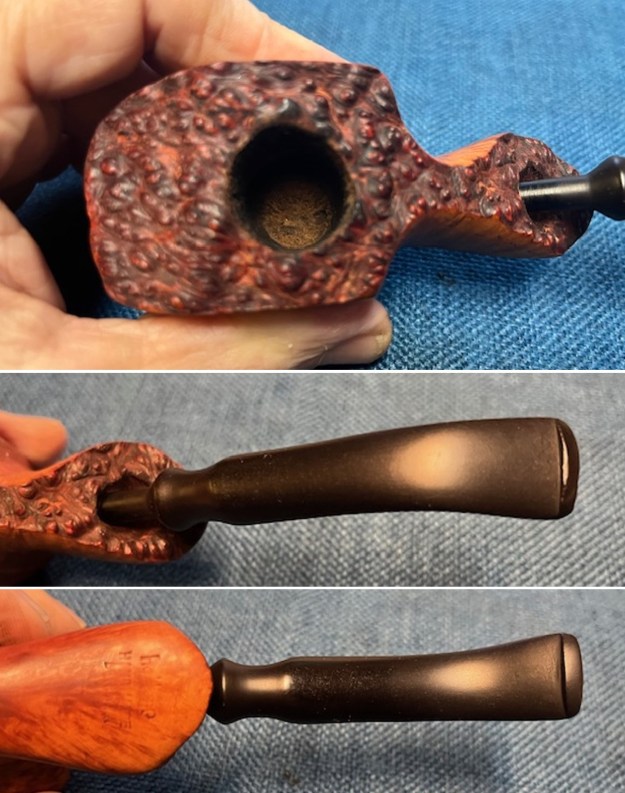
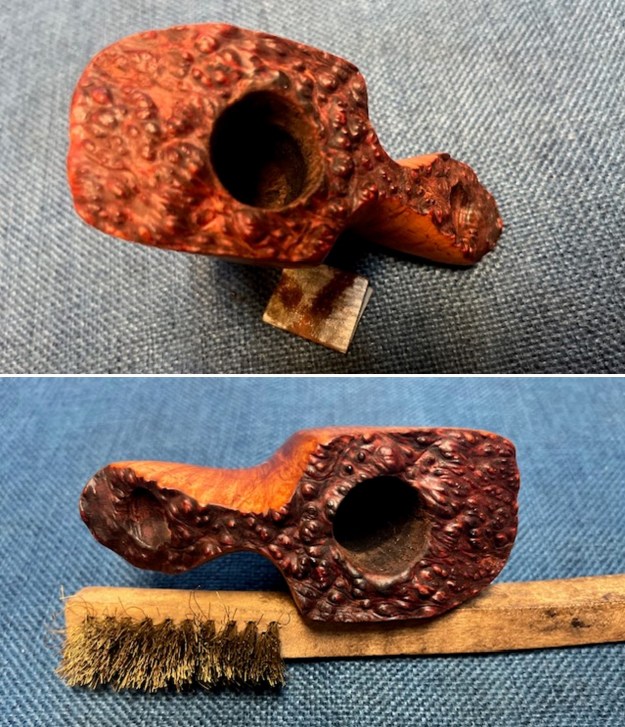
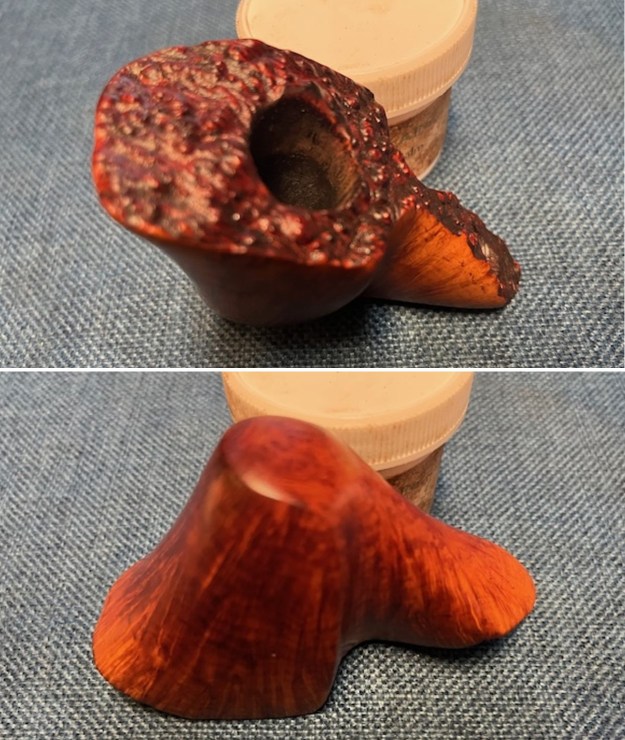
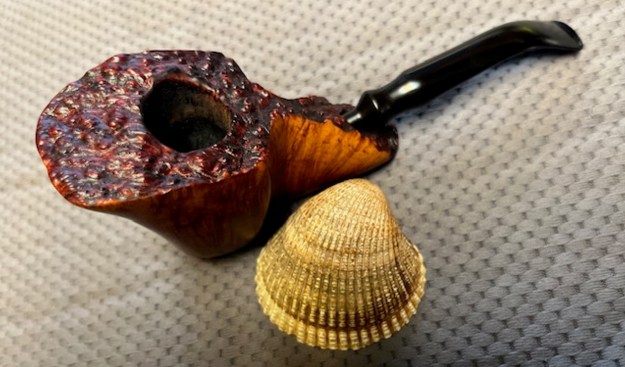
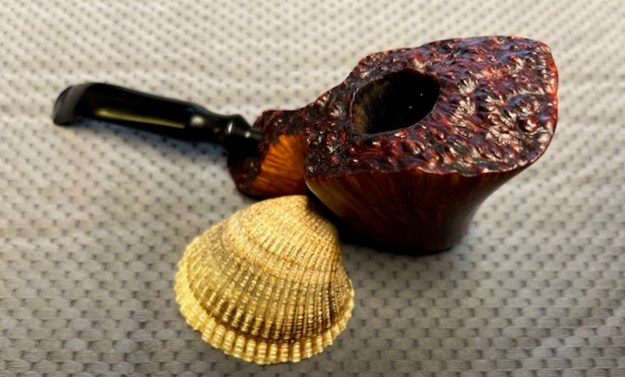
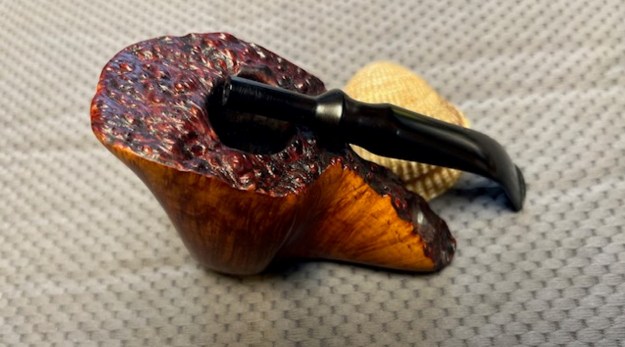
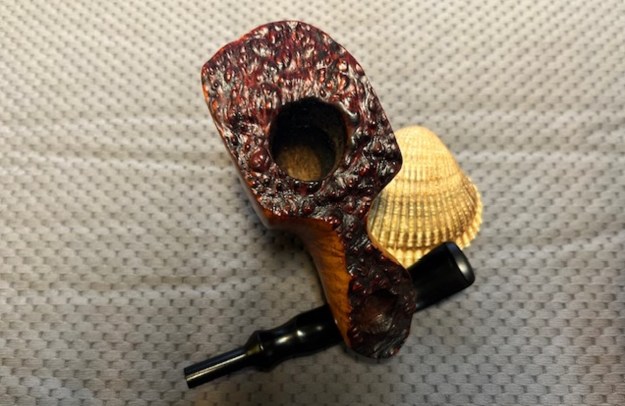
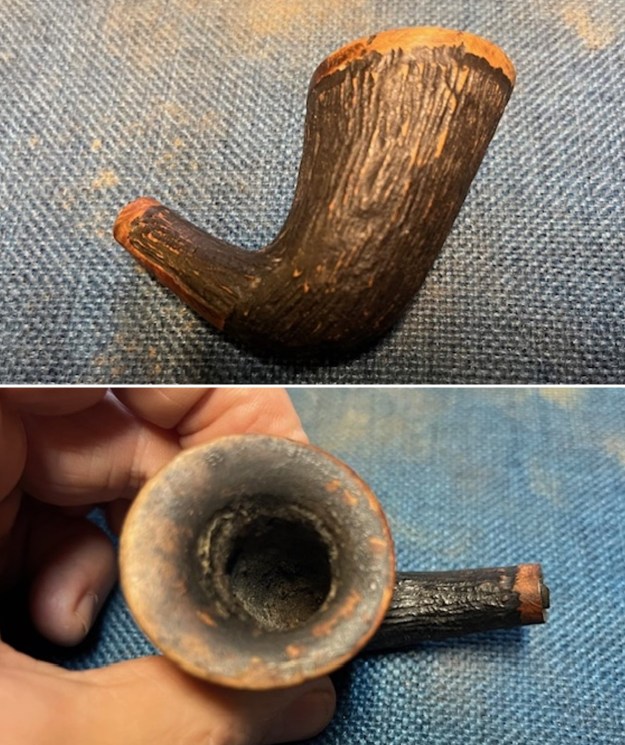
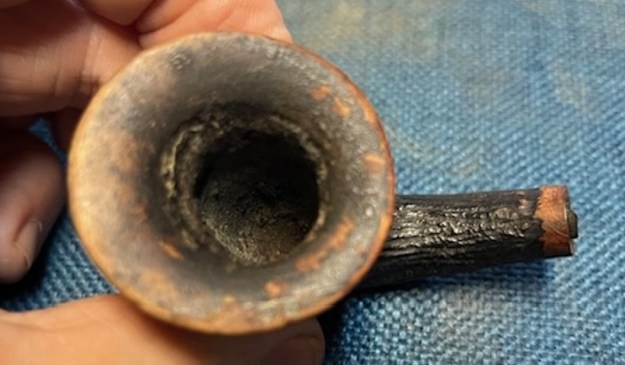
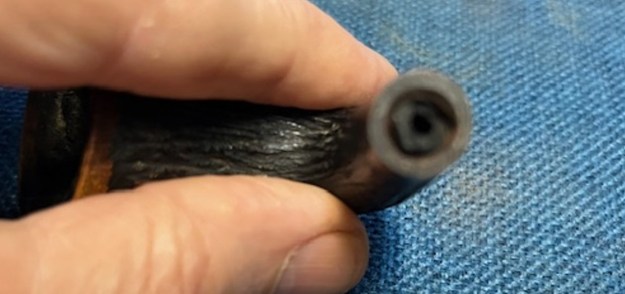
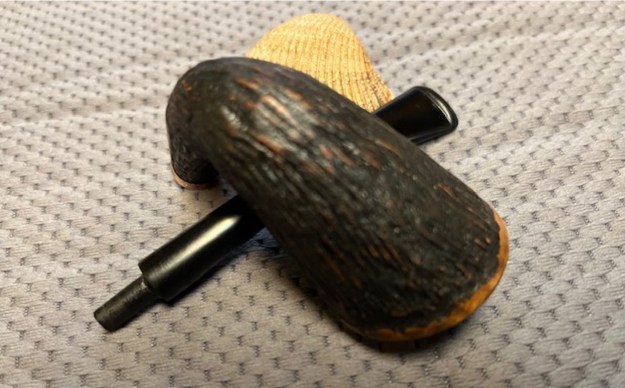
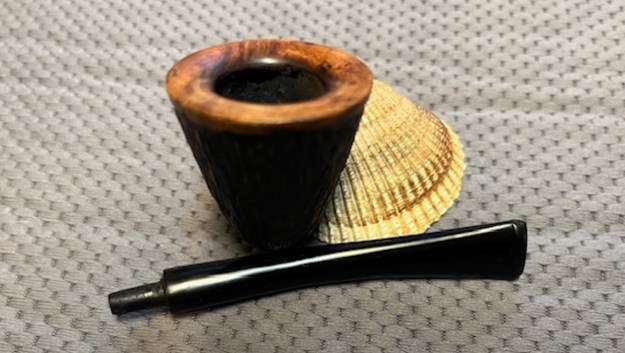
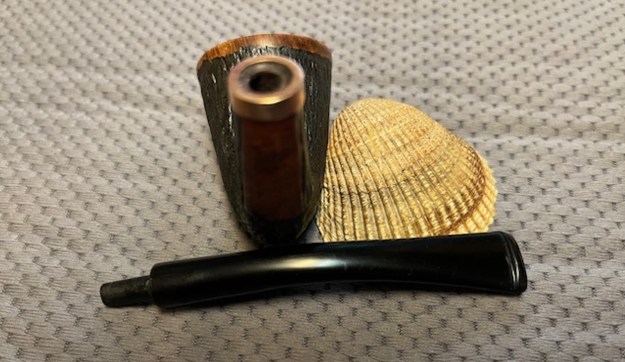
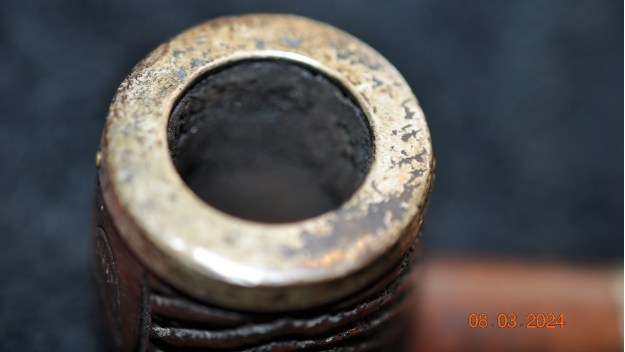
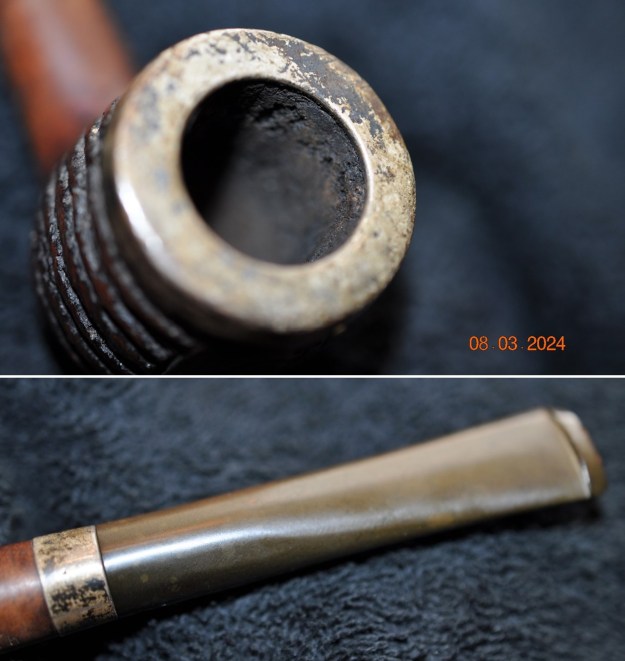
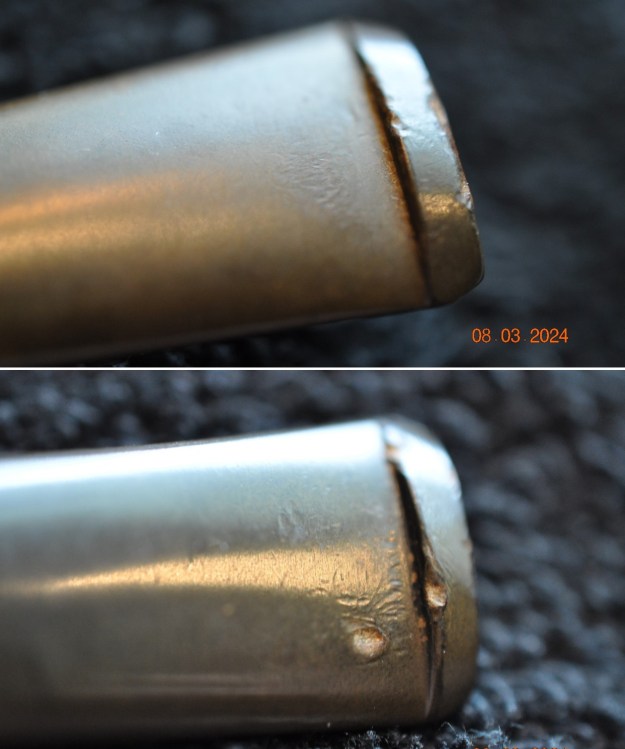
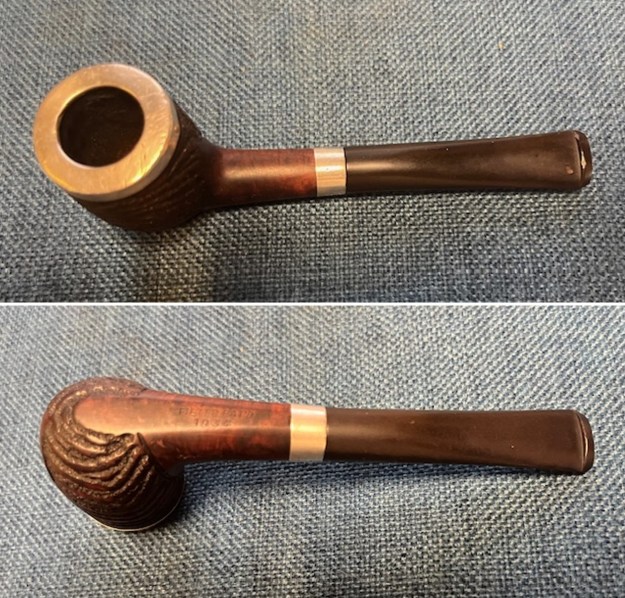
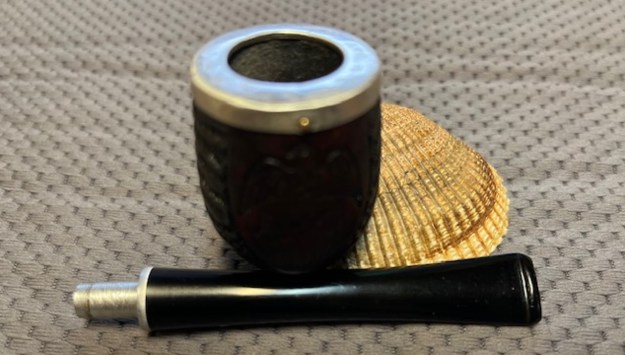
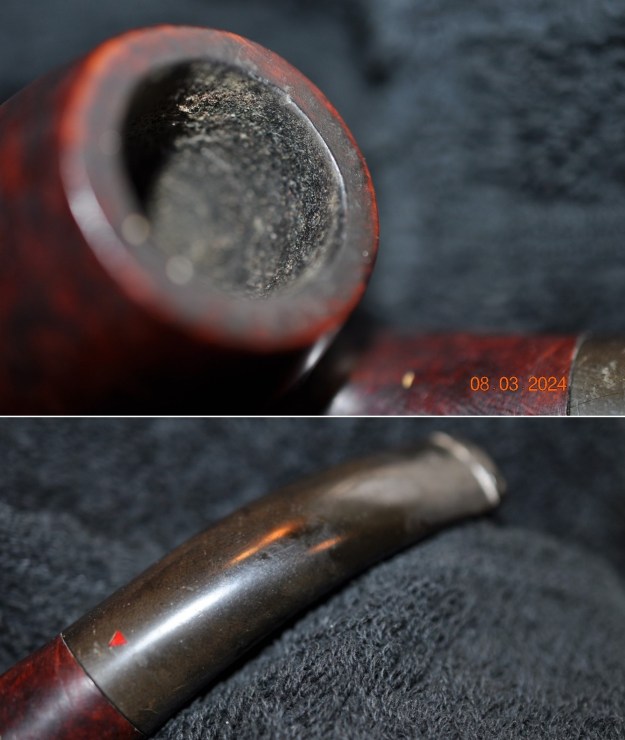
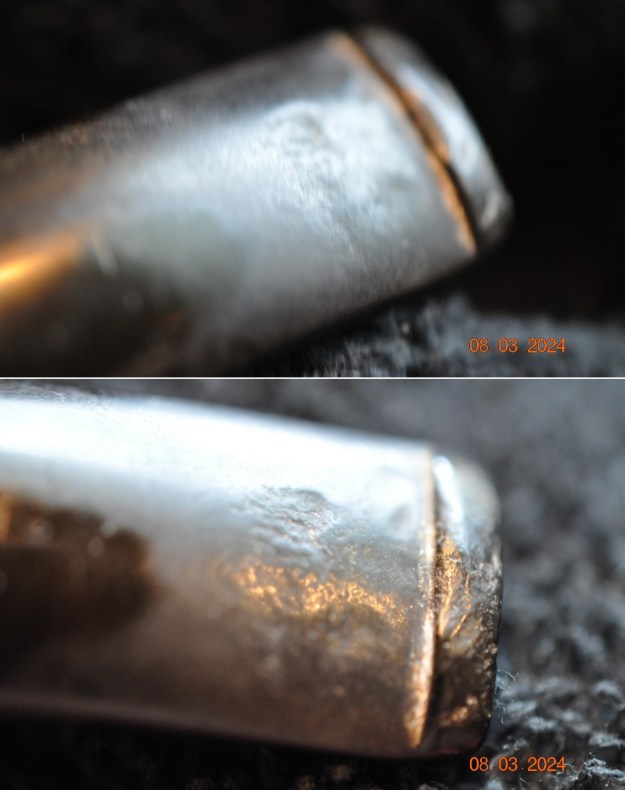
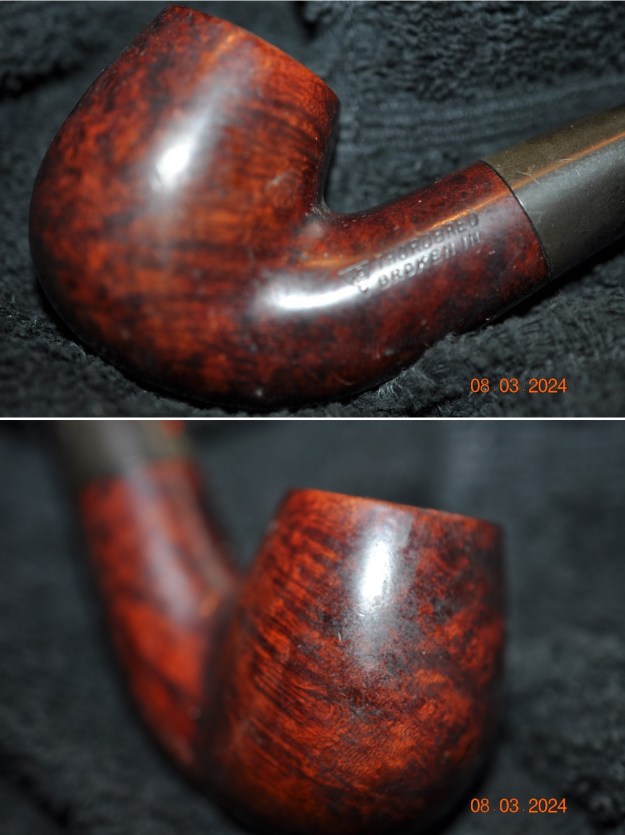
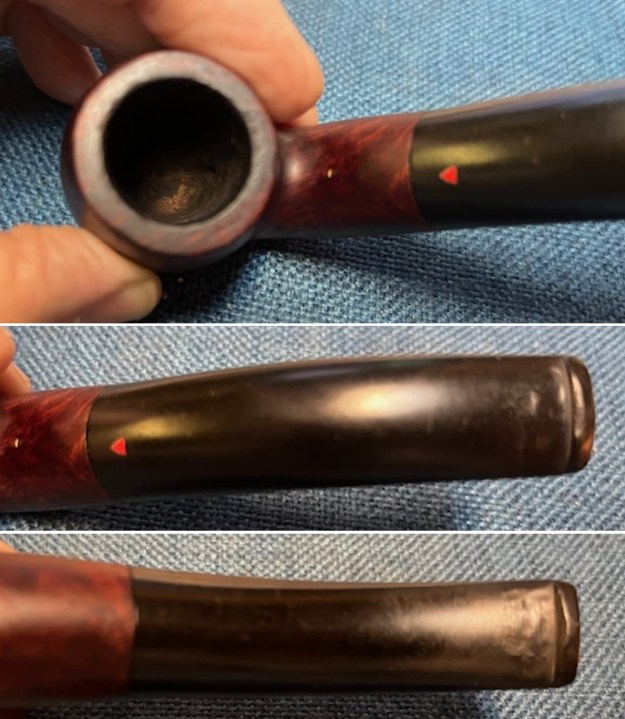
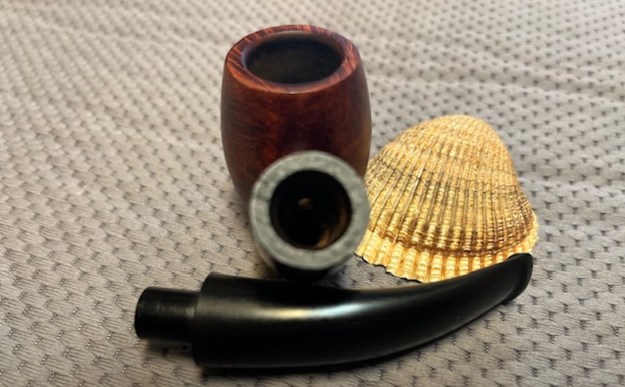
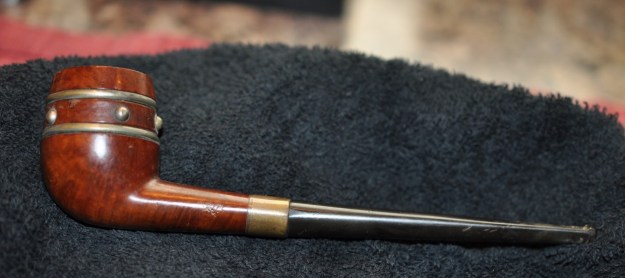
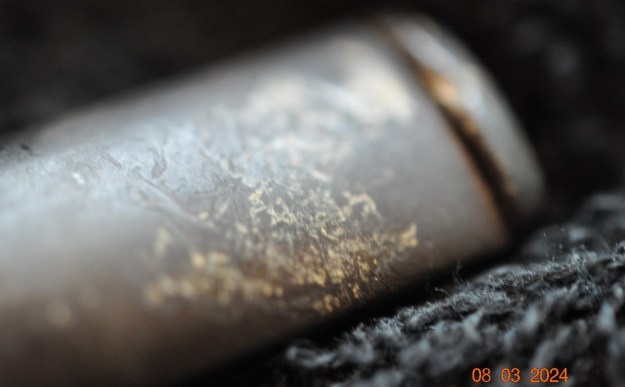
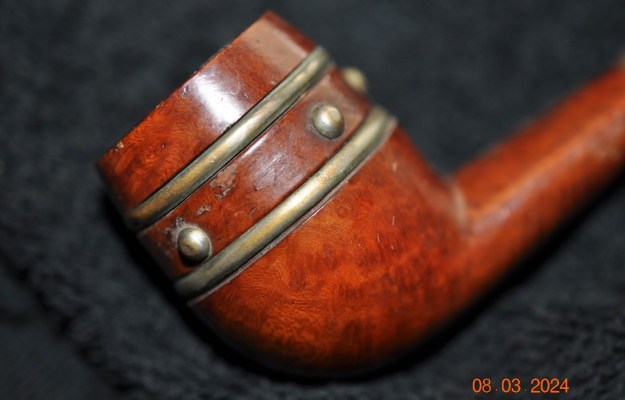
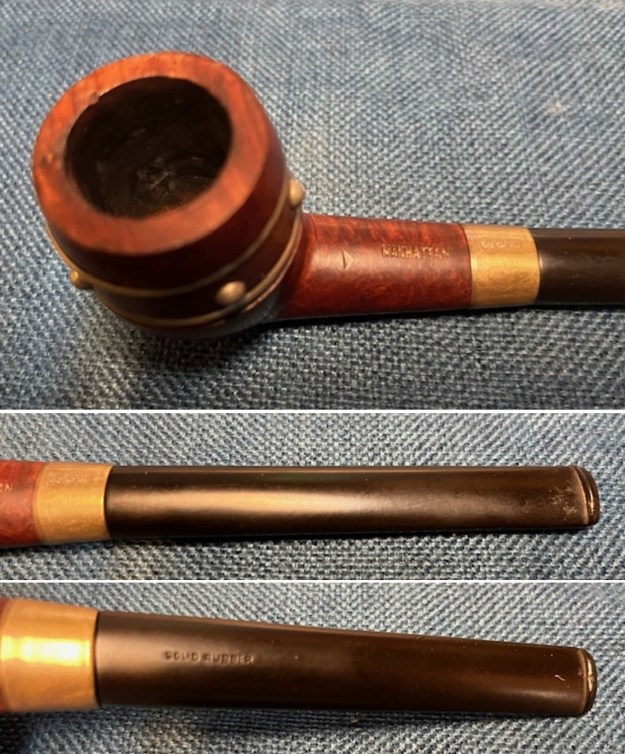
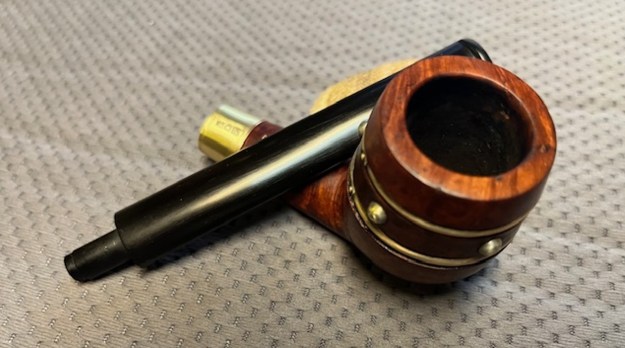
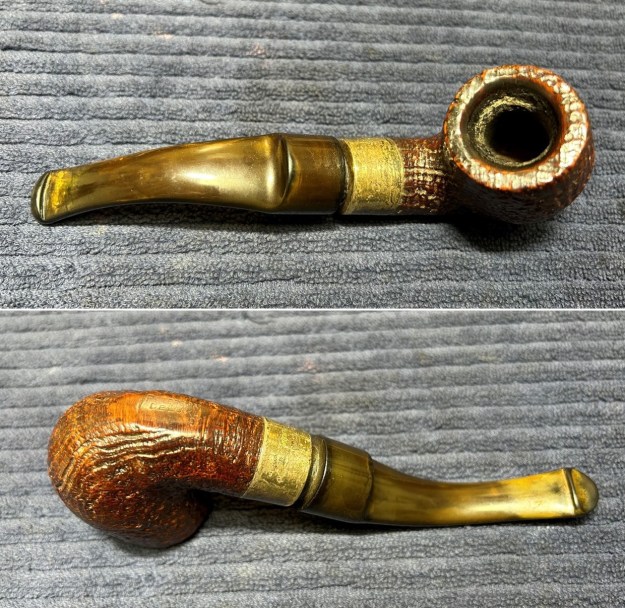
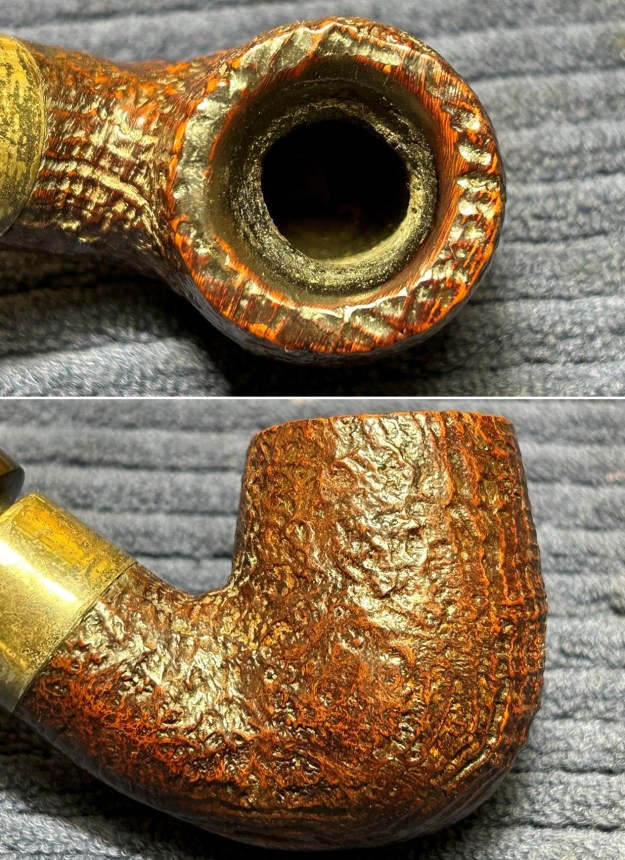
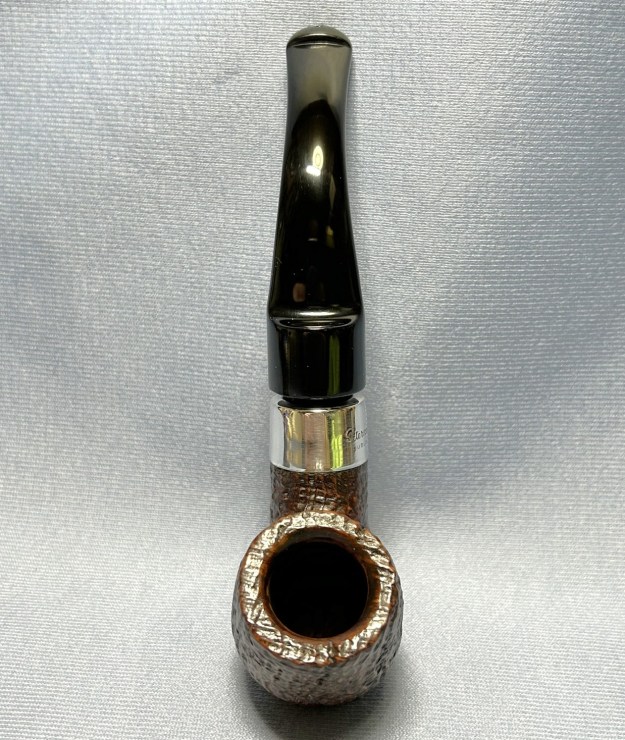
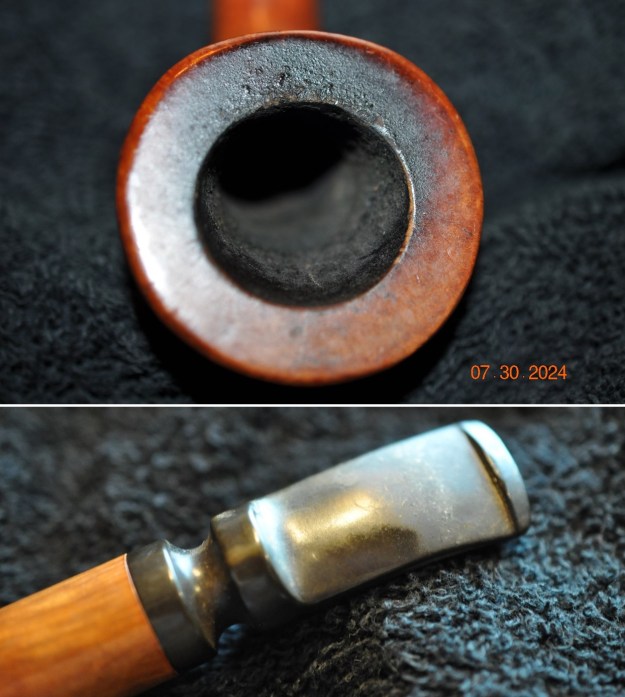
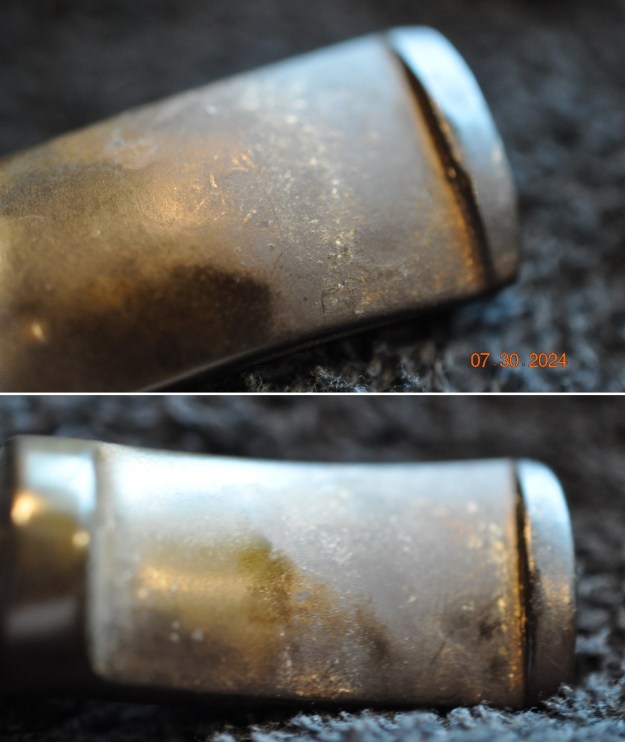
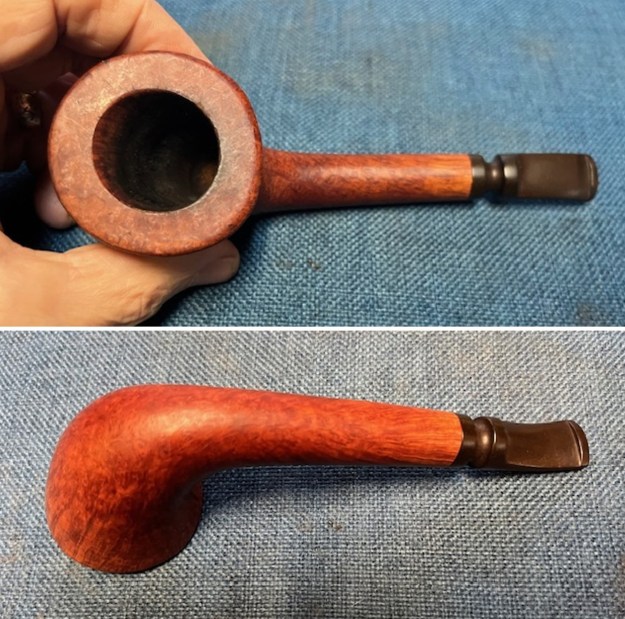
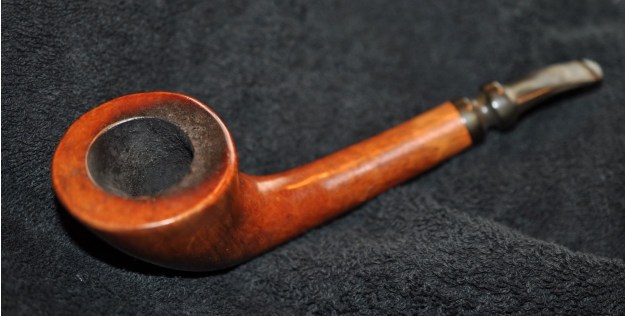 Jeff took some close up shots of the rim top to show the bowl and cake. You can see the lava on the rim top and the inner edge. The stem photos also show the condition it was in when we received it. Lots of promise with the pipe but some work too!
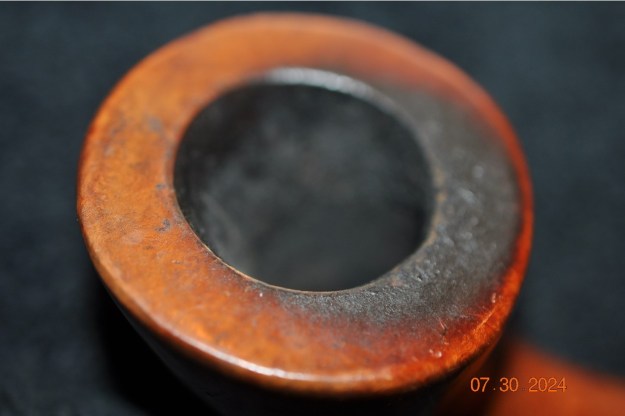
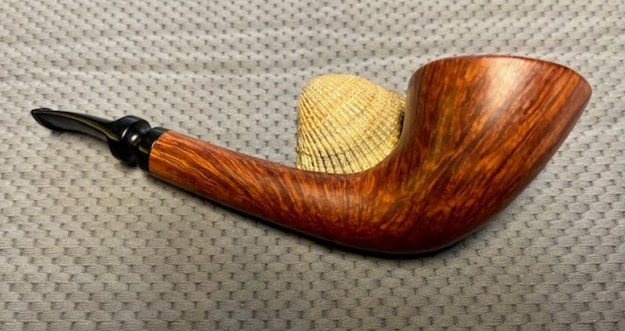
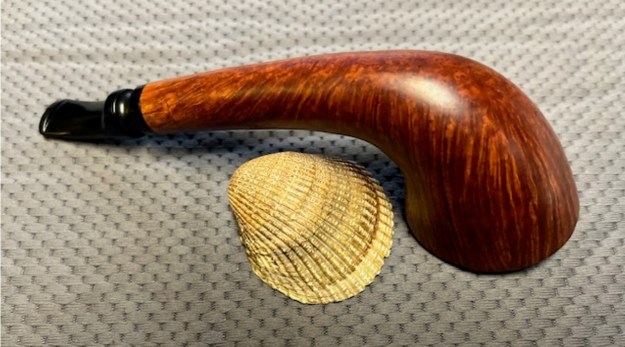
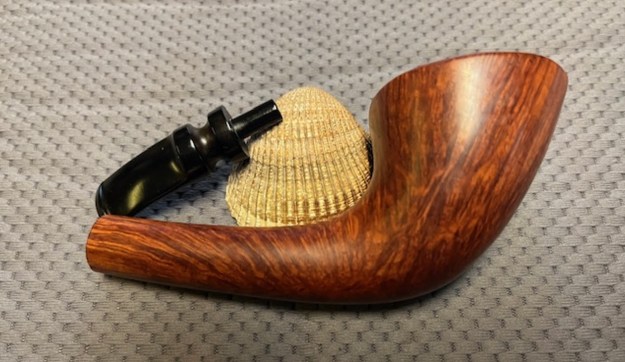
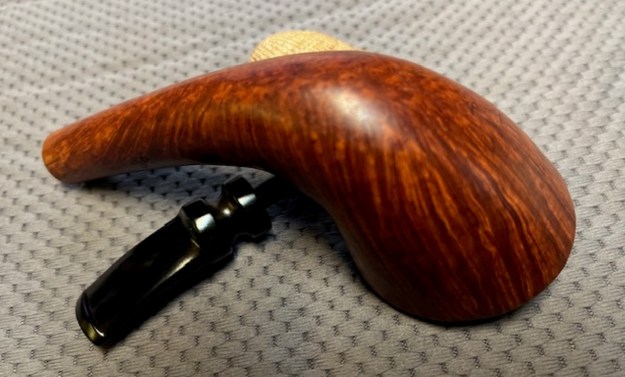
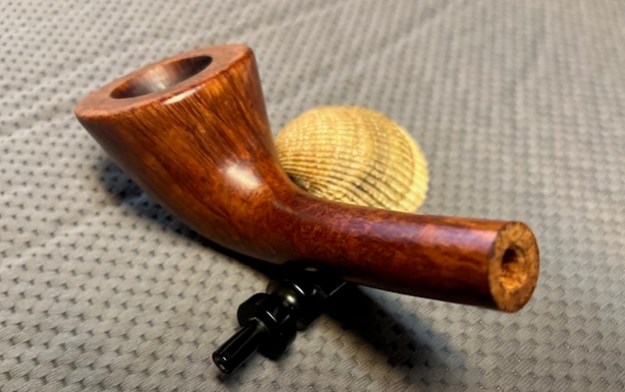
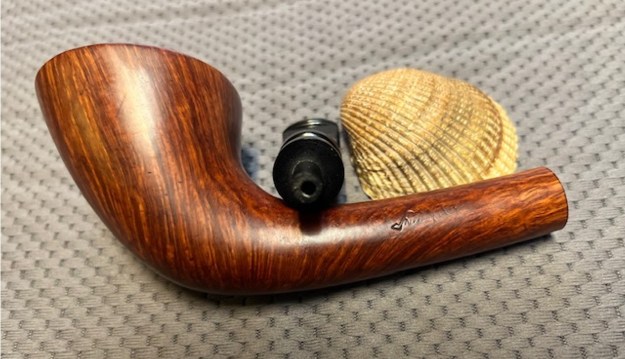
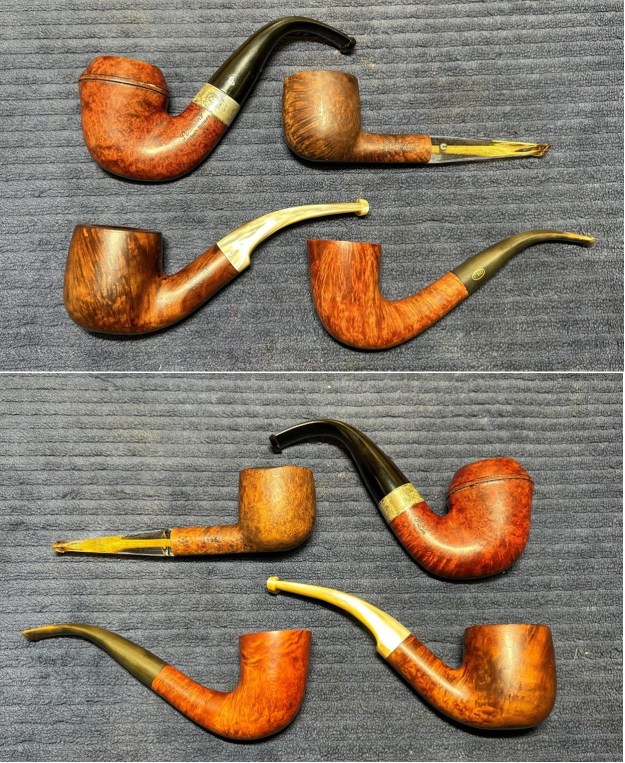
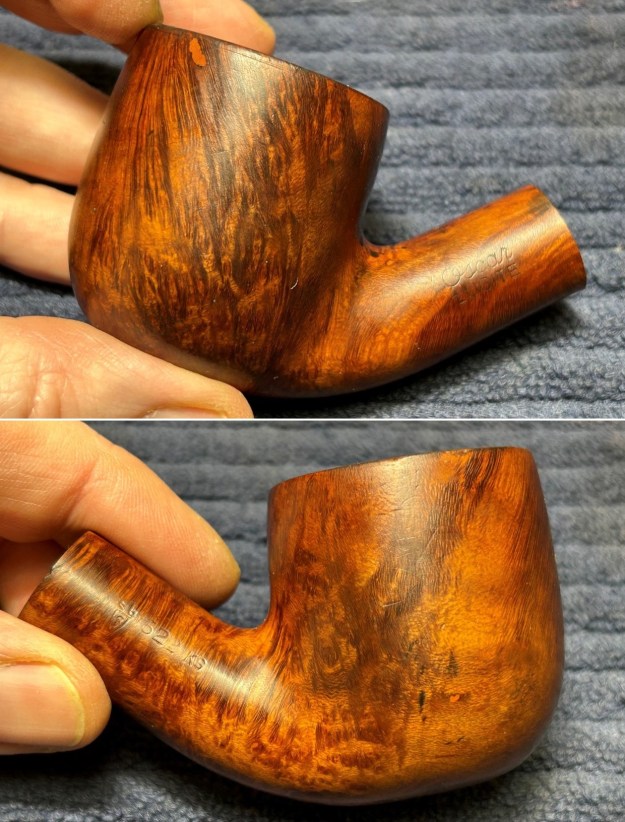
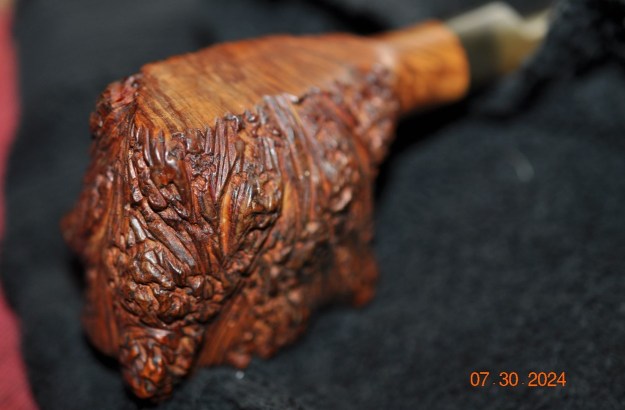
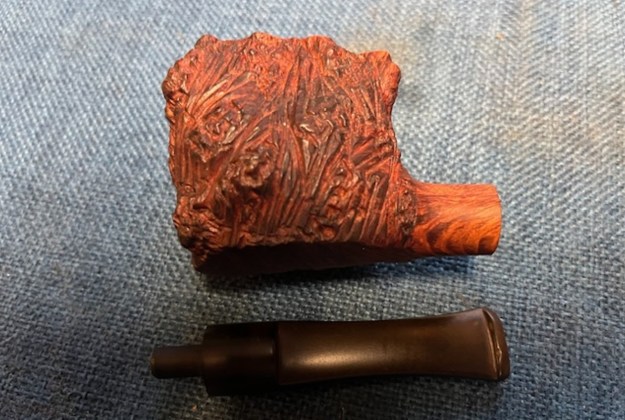
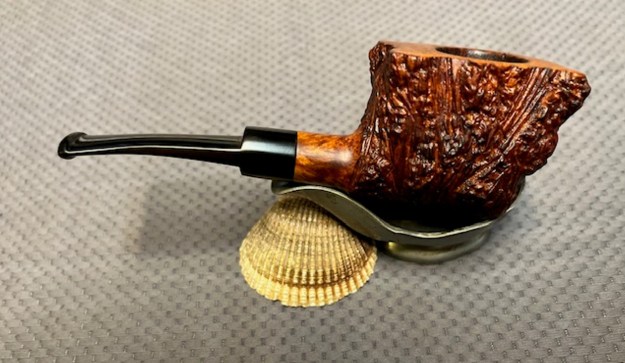
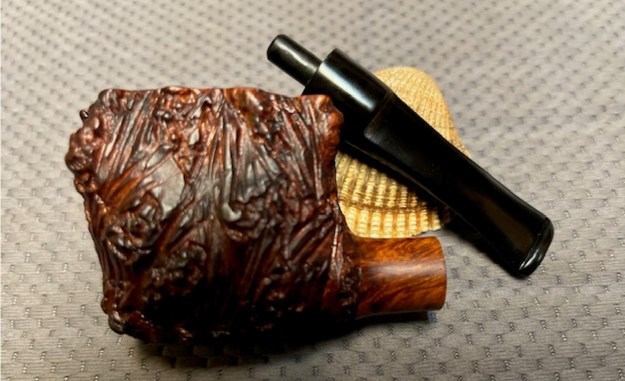
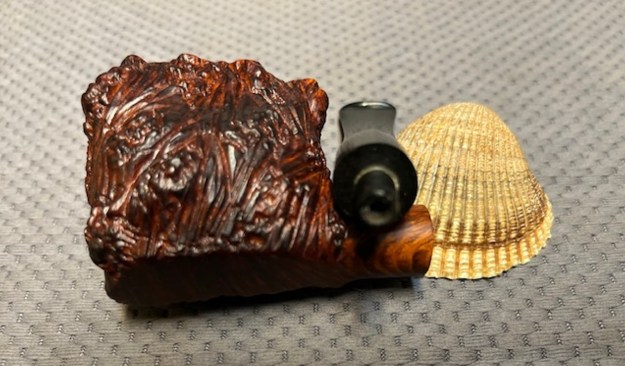
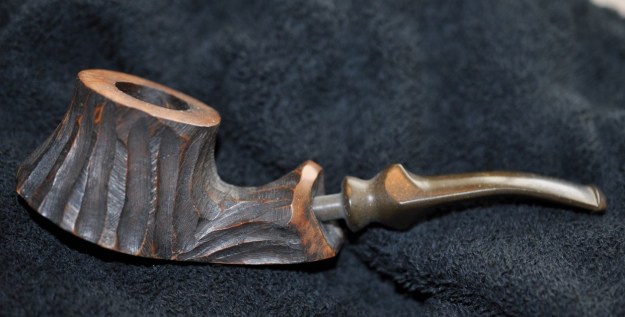
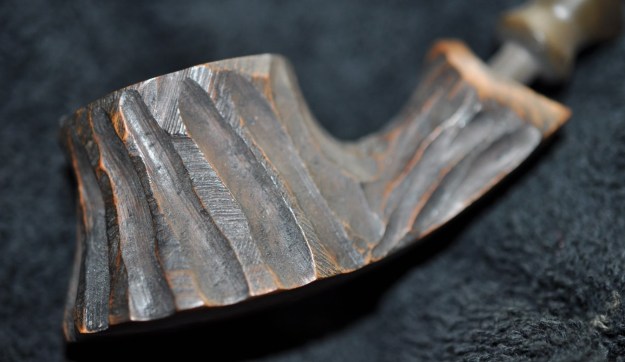
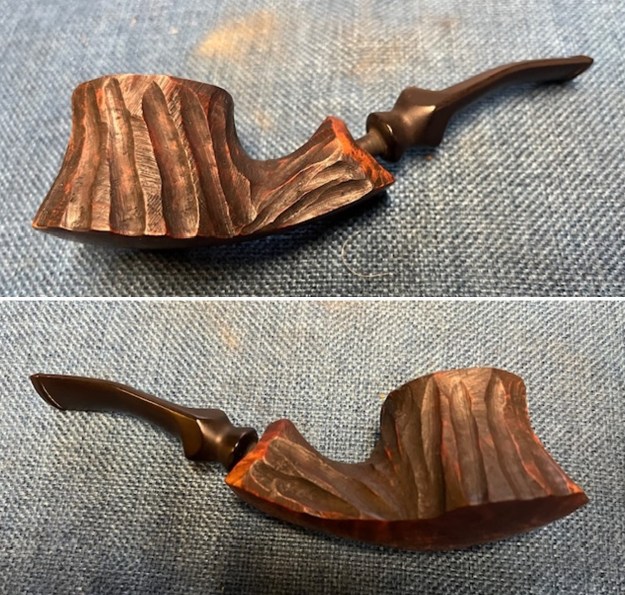
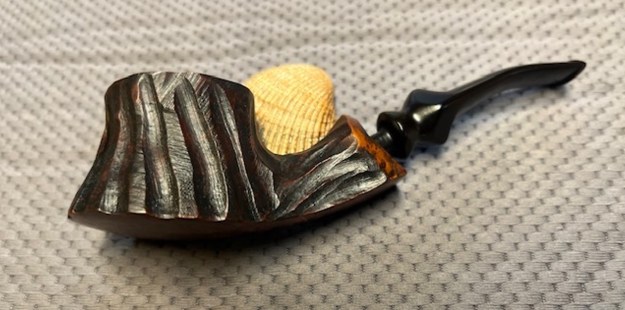
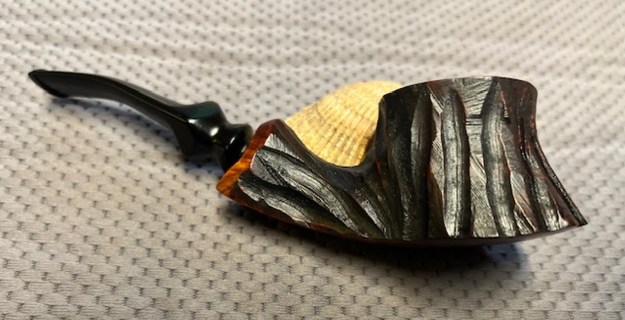
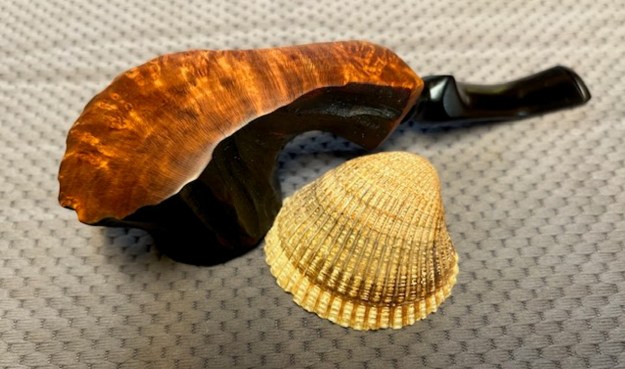
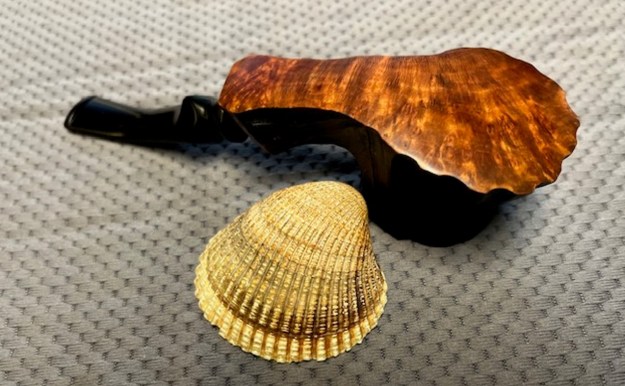
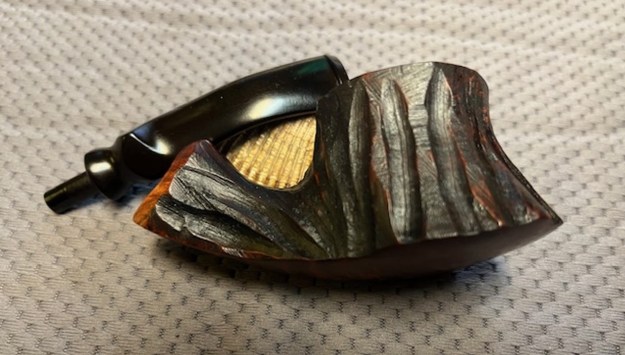
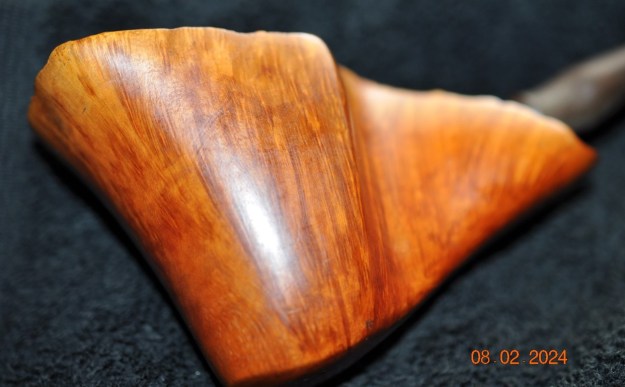
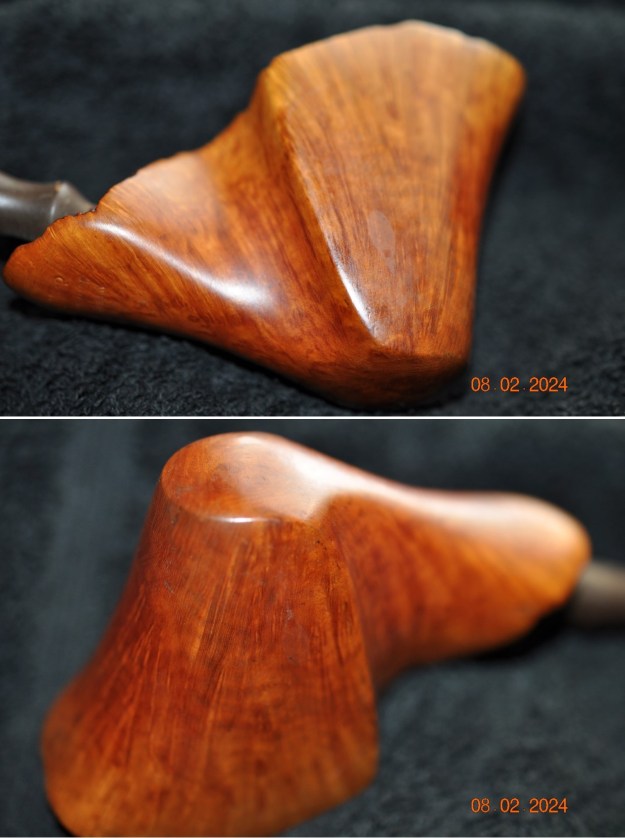
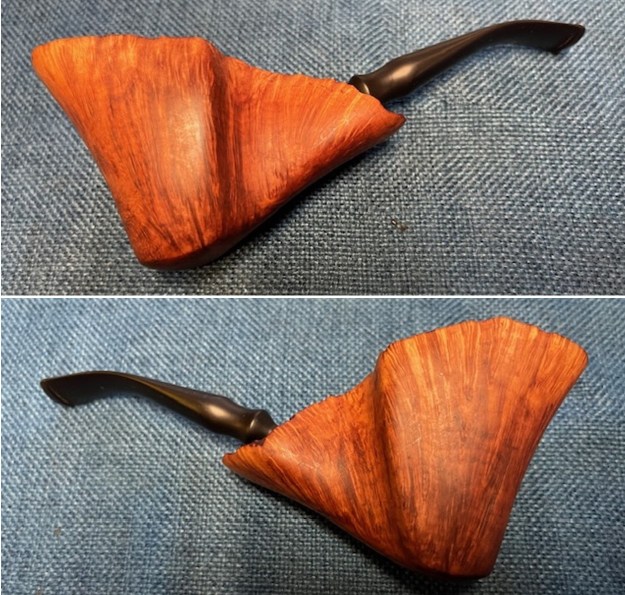
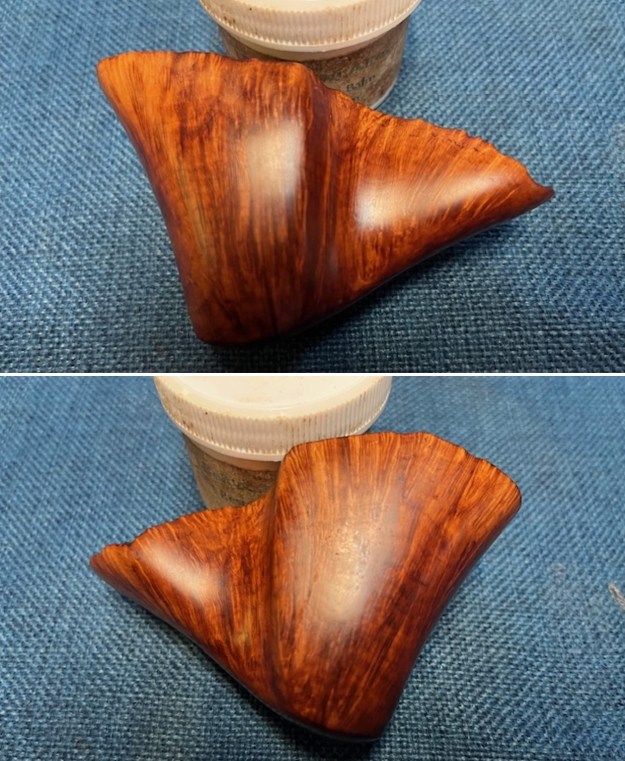
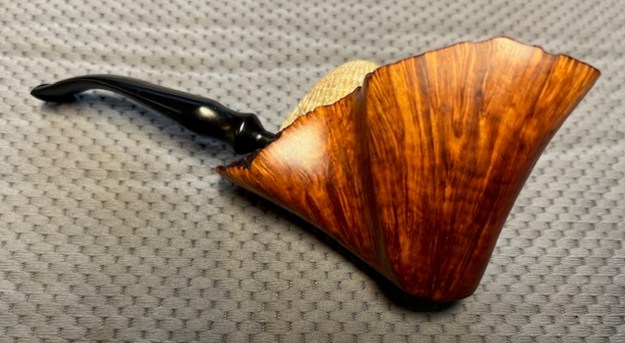
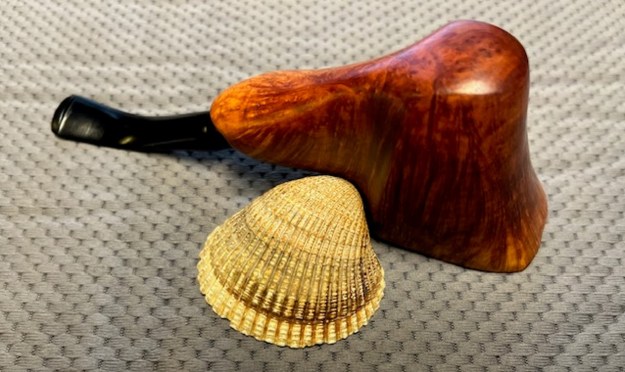
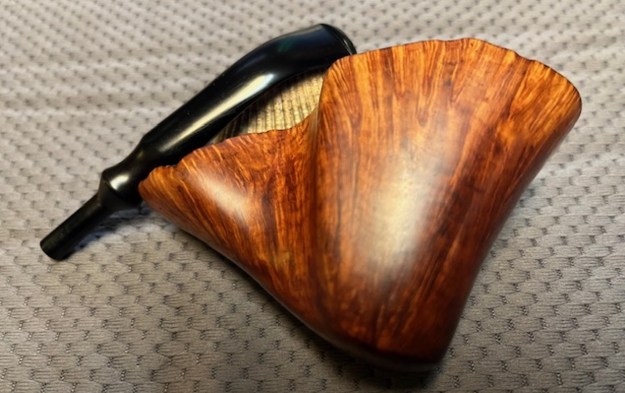
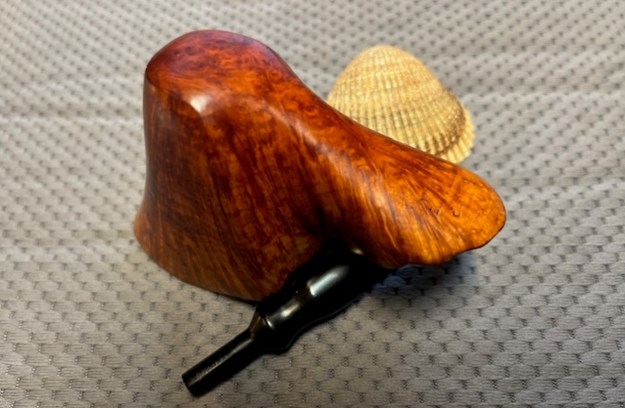
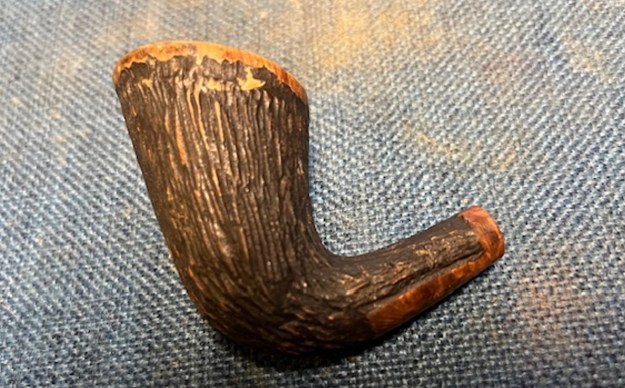
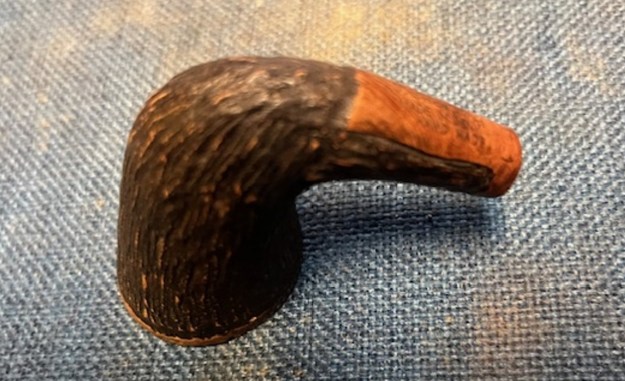
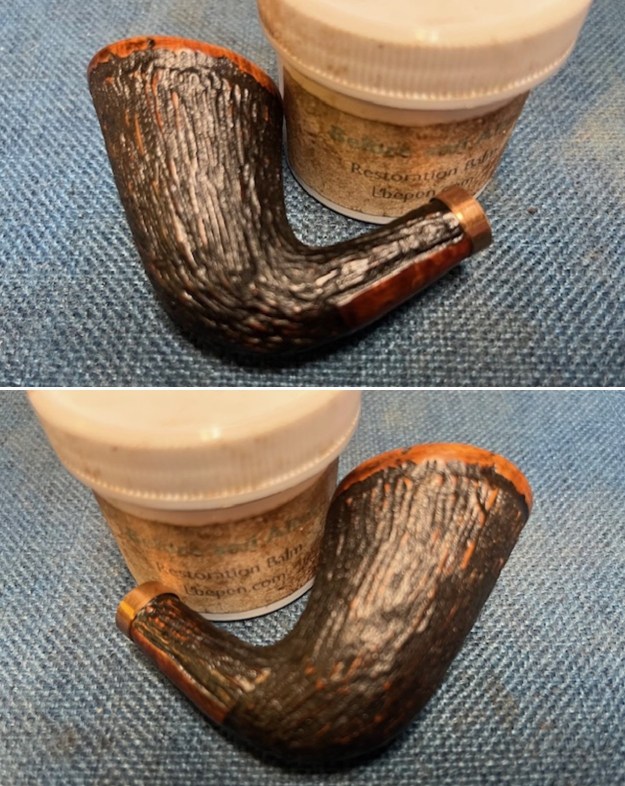
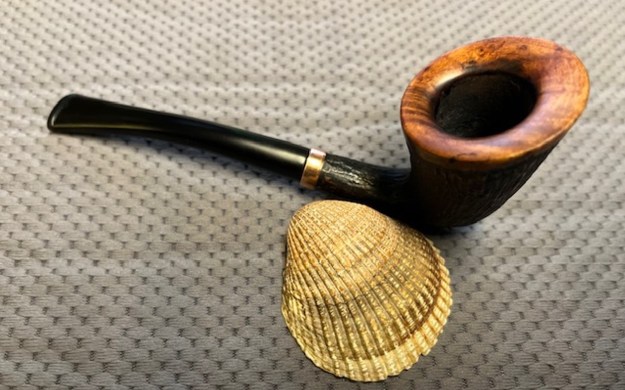
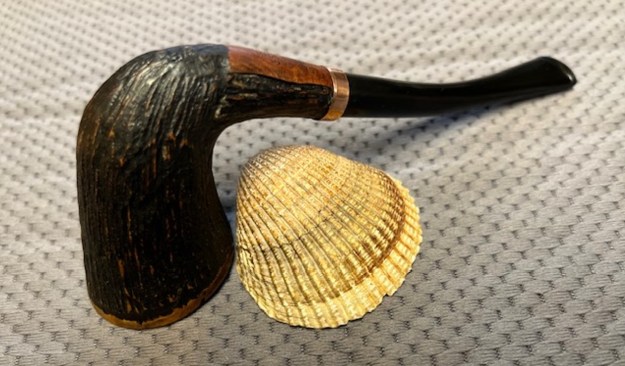
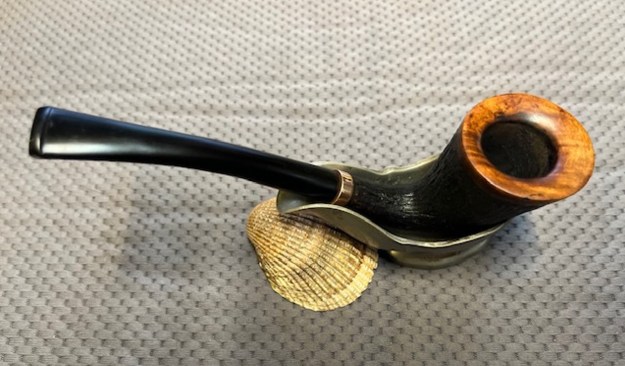
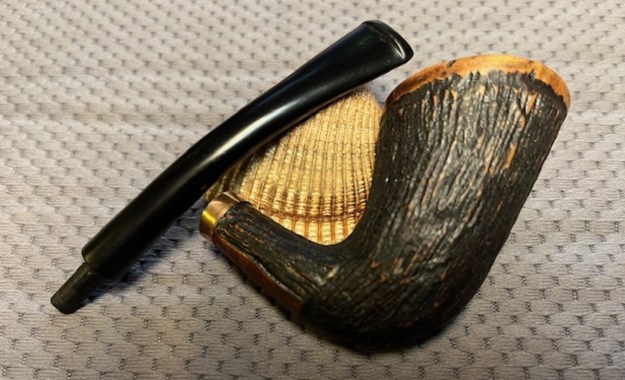
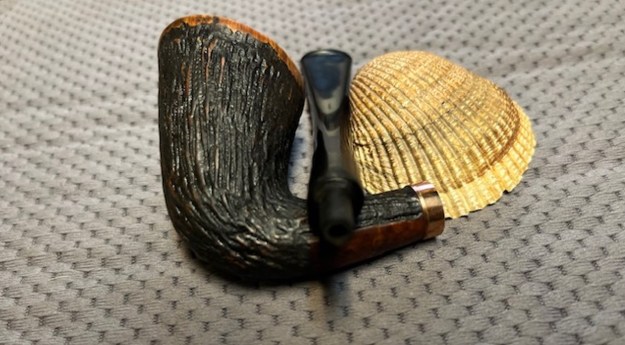
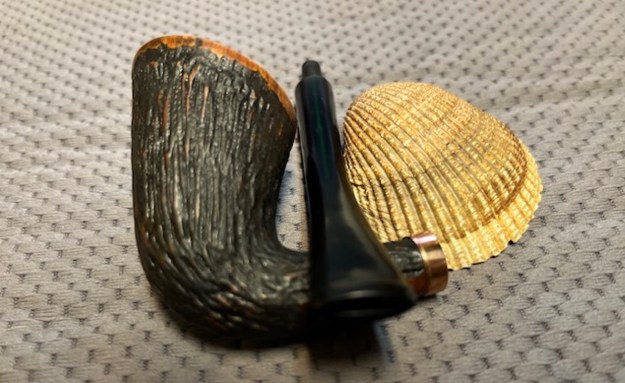
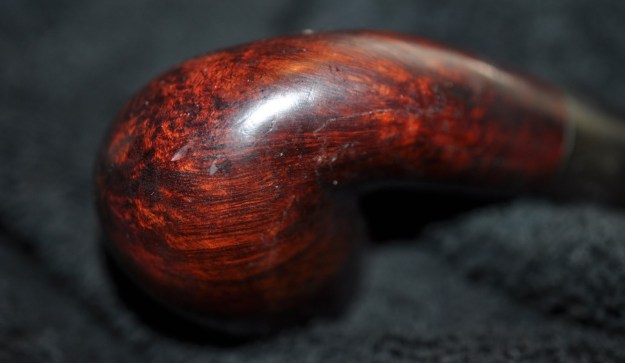
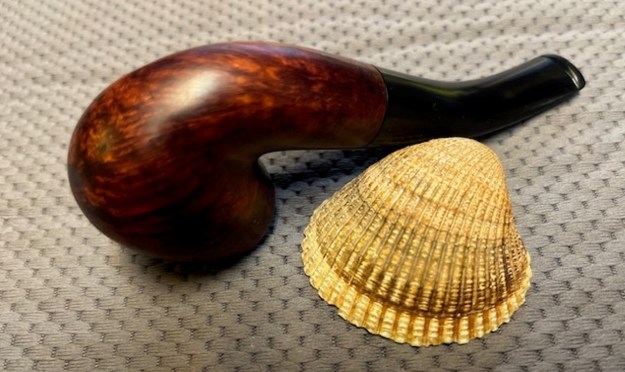
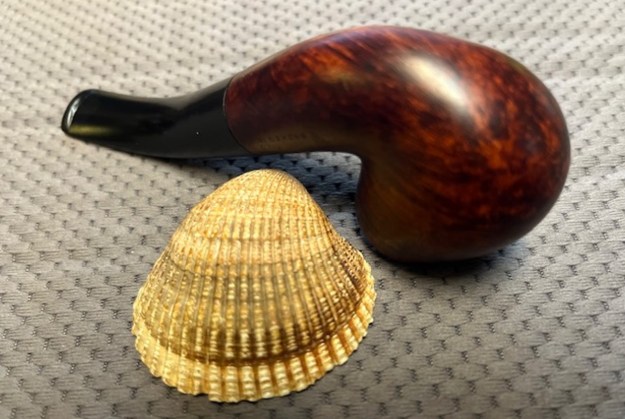
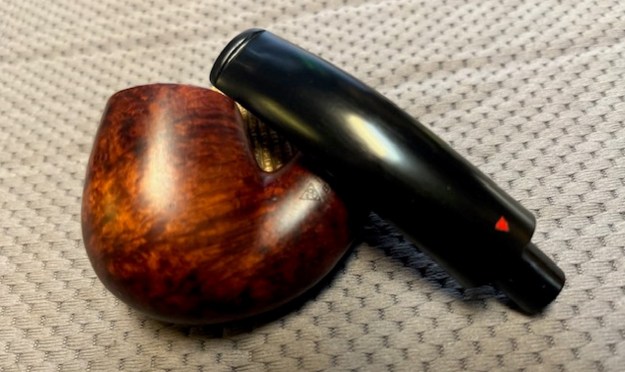
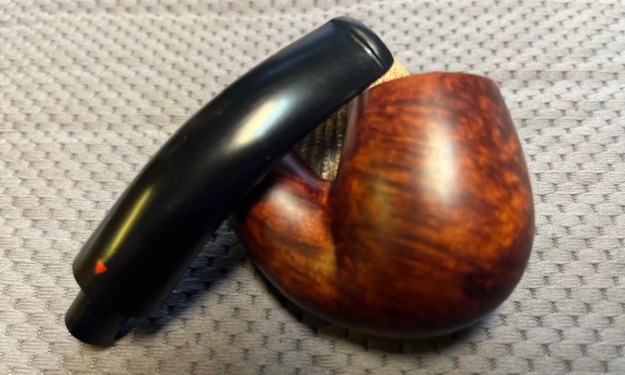
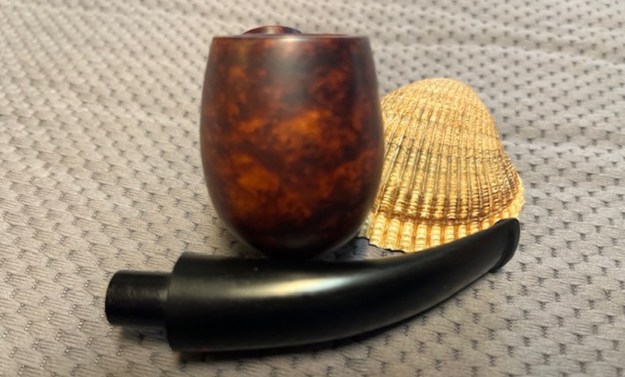
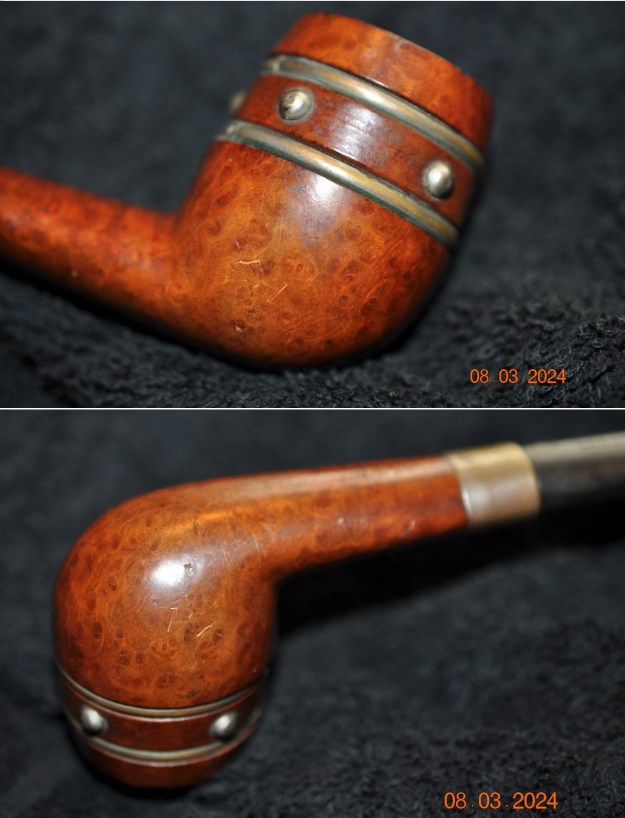
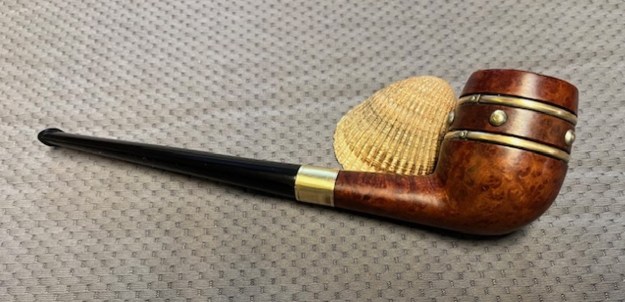
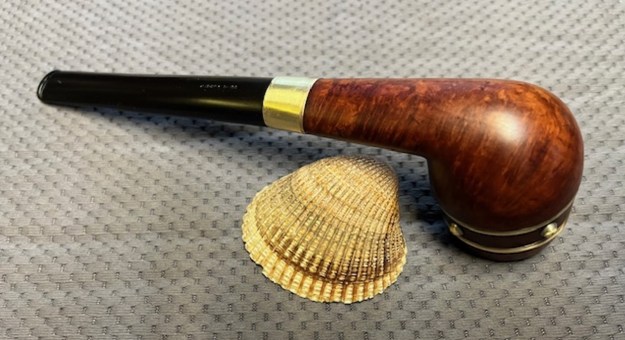
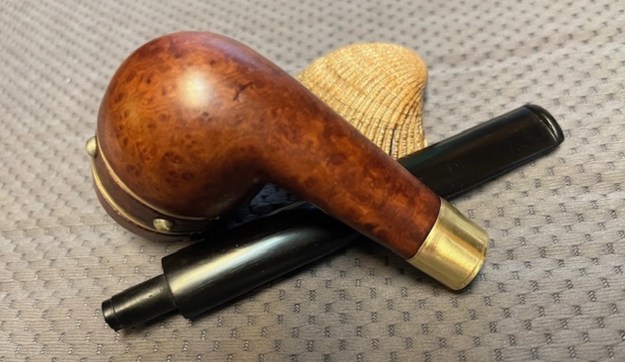
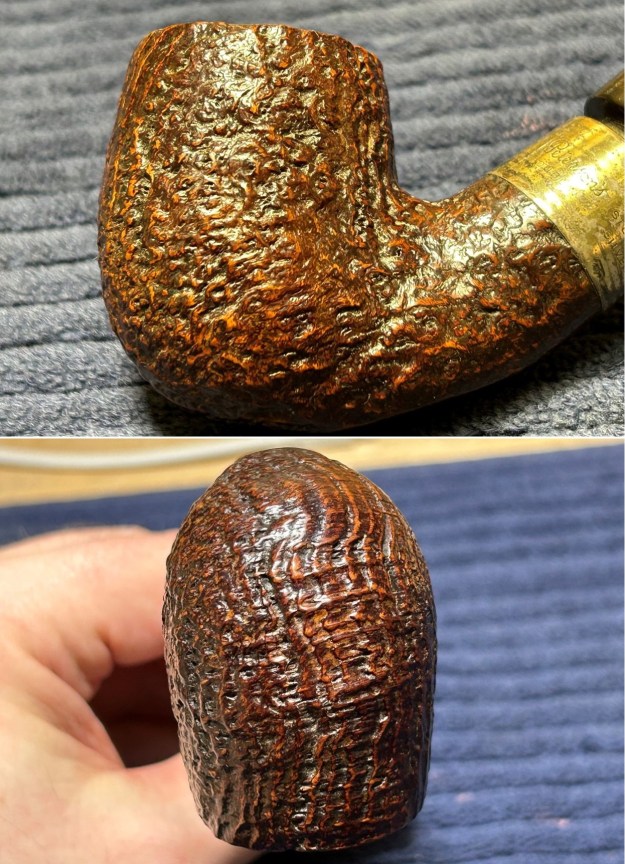
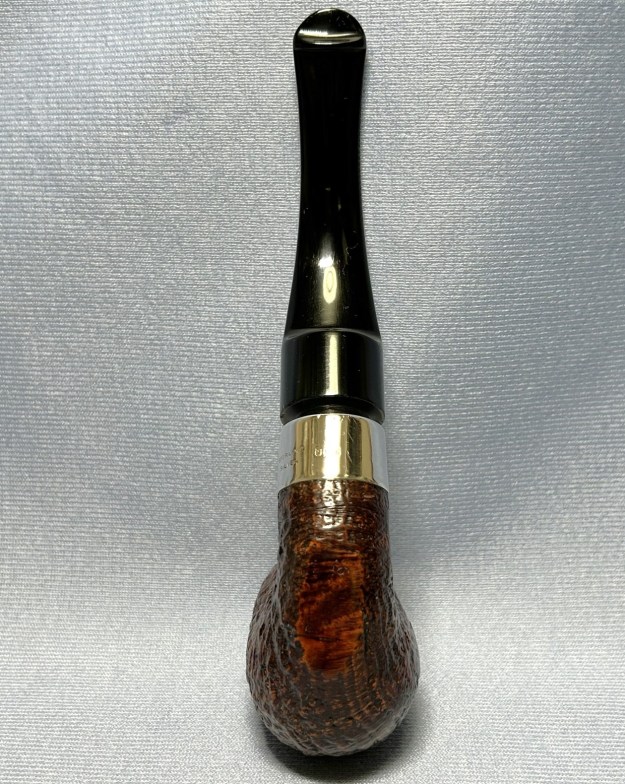
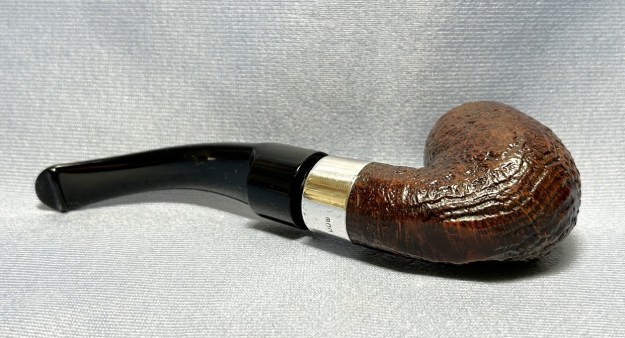
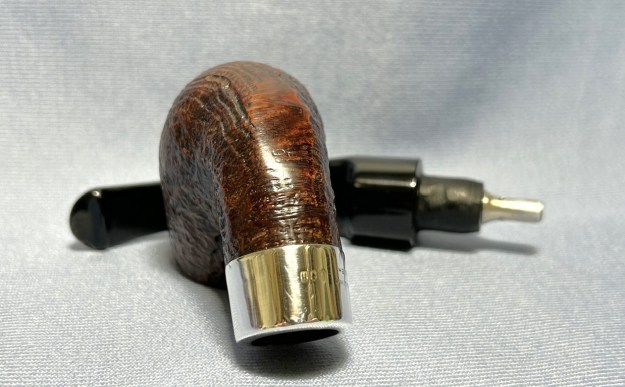
 Jeff took some photos of the sides – top, bottom, left and right to give a sense of the lay of the pipe on the block of briar. It is certainly unusual and unique.
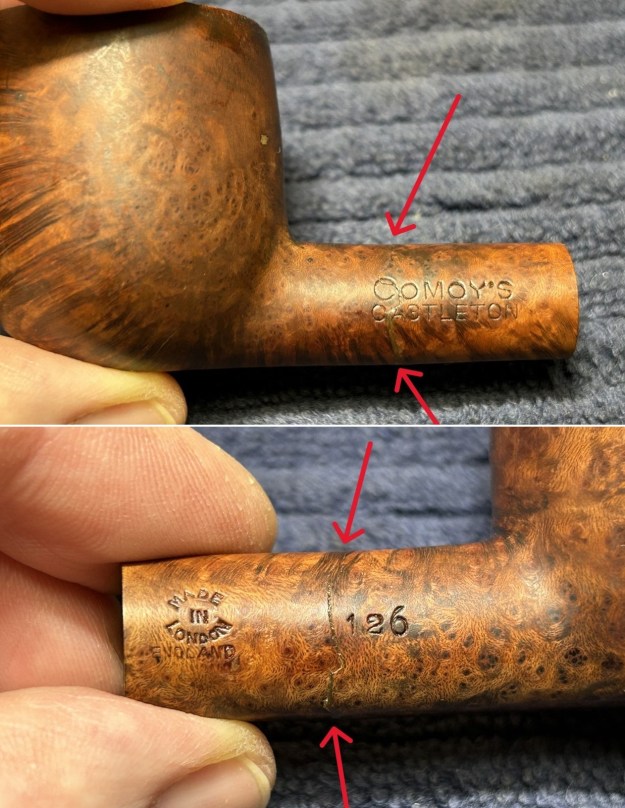
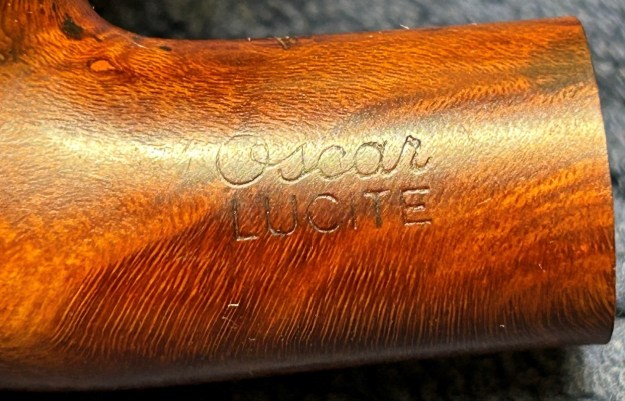
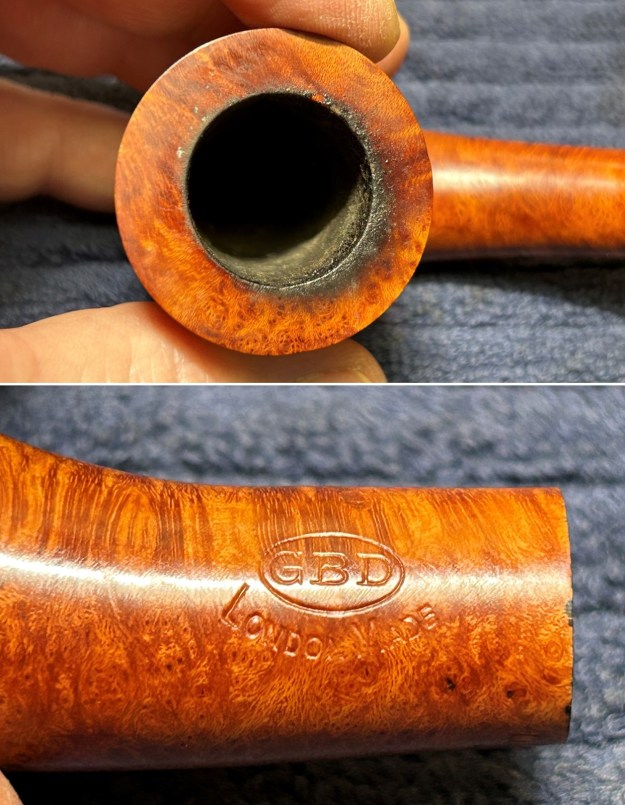
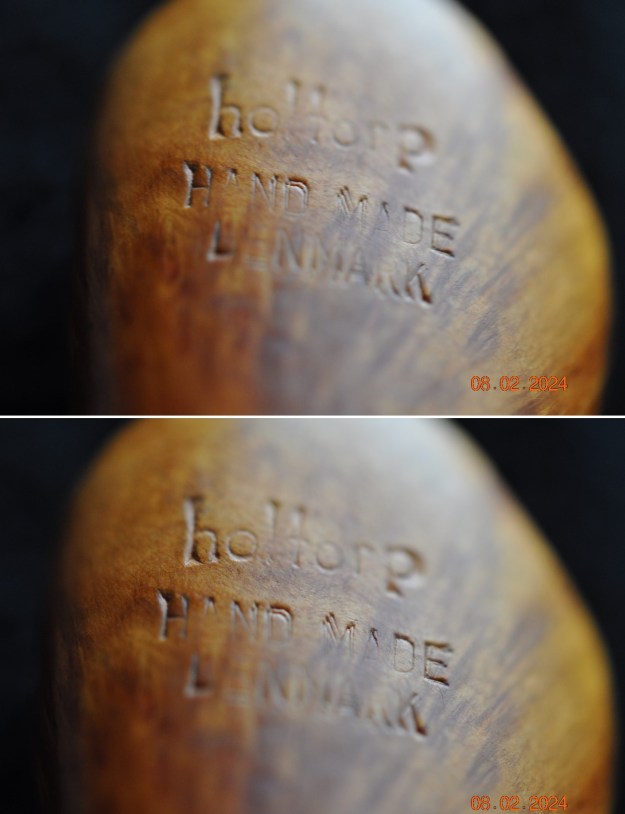
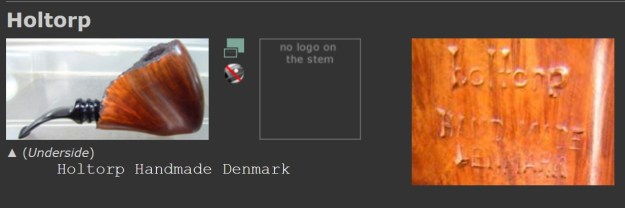
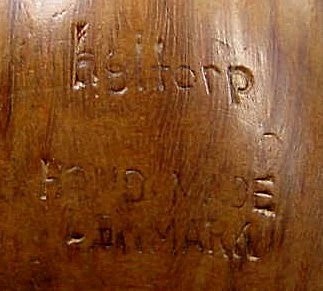
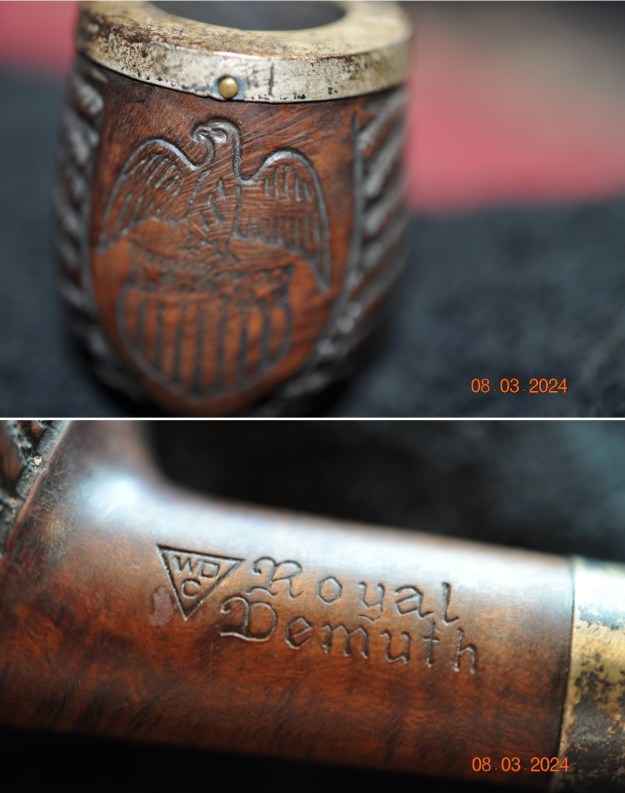
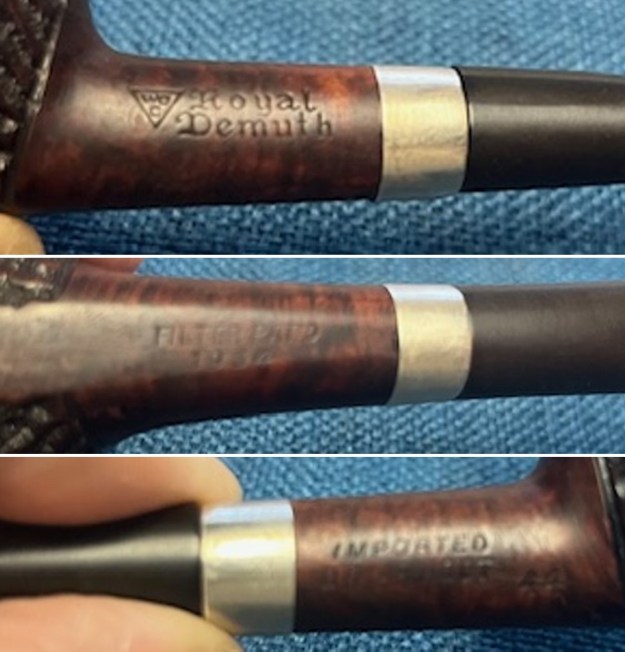
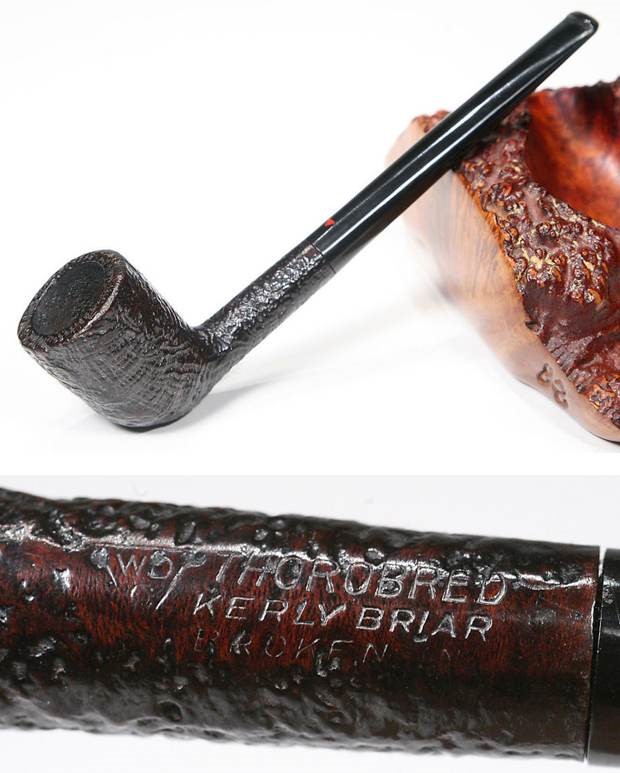
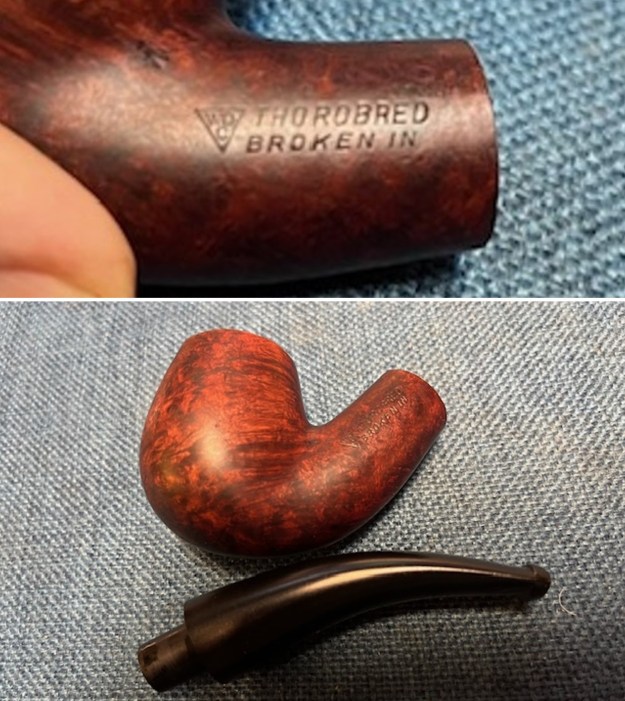
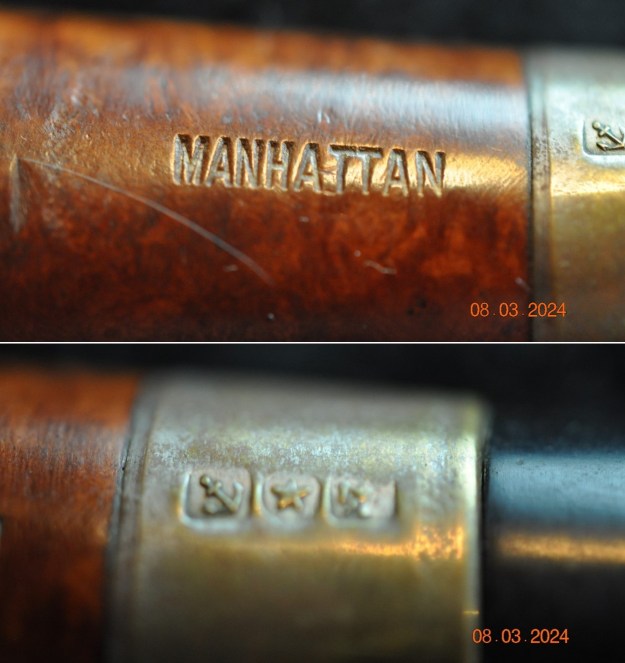
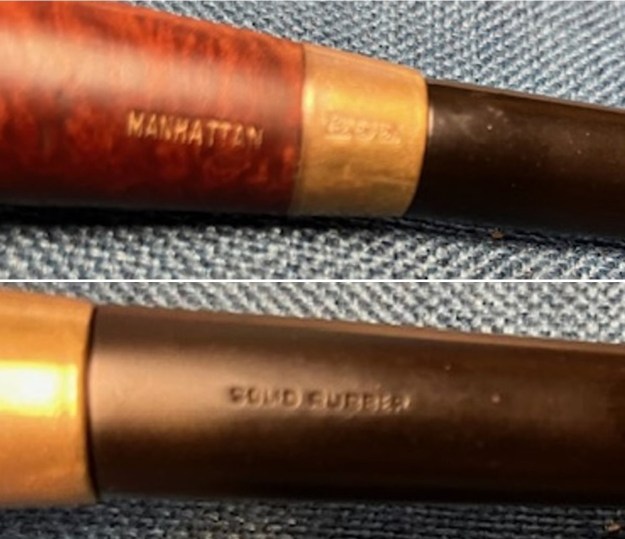
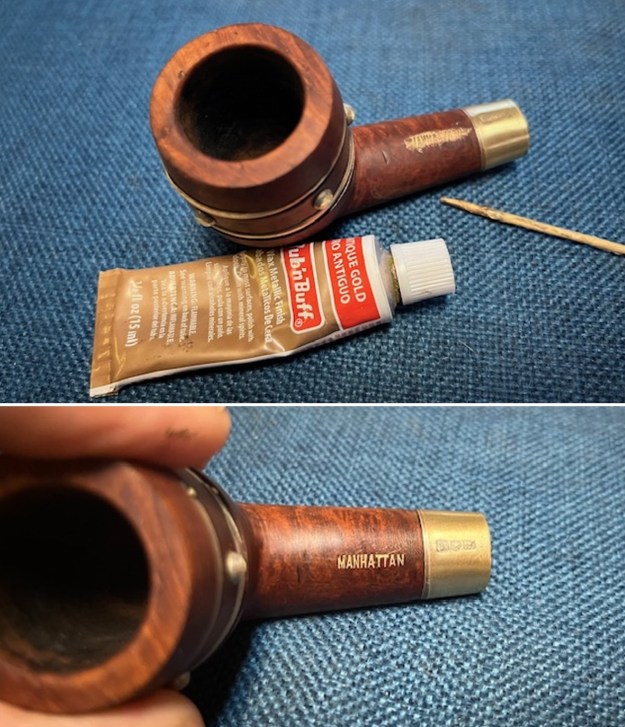
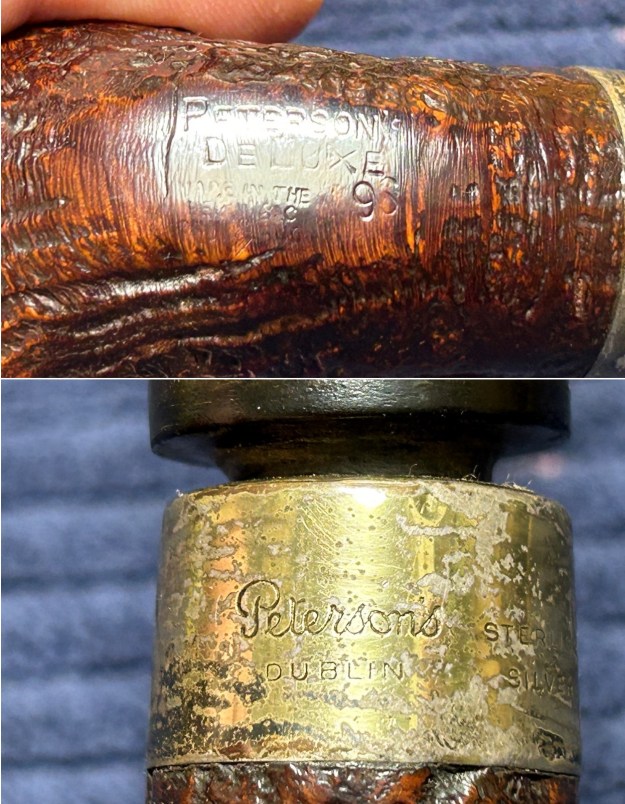
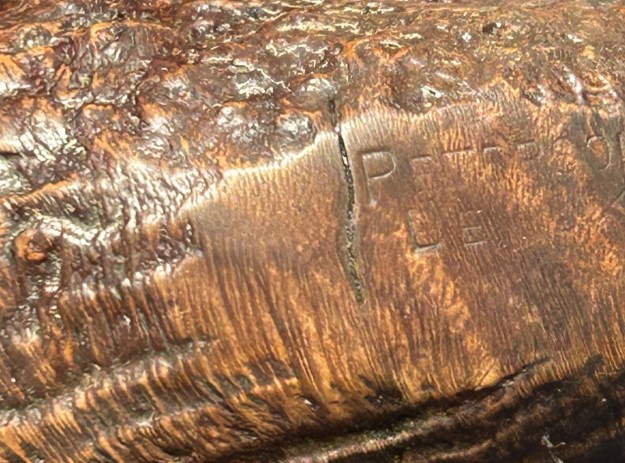
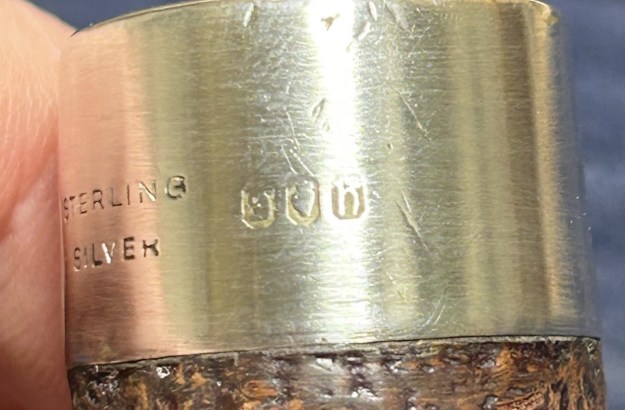
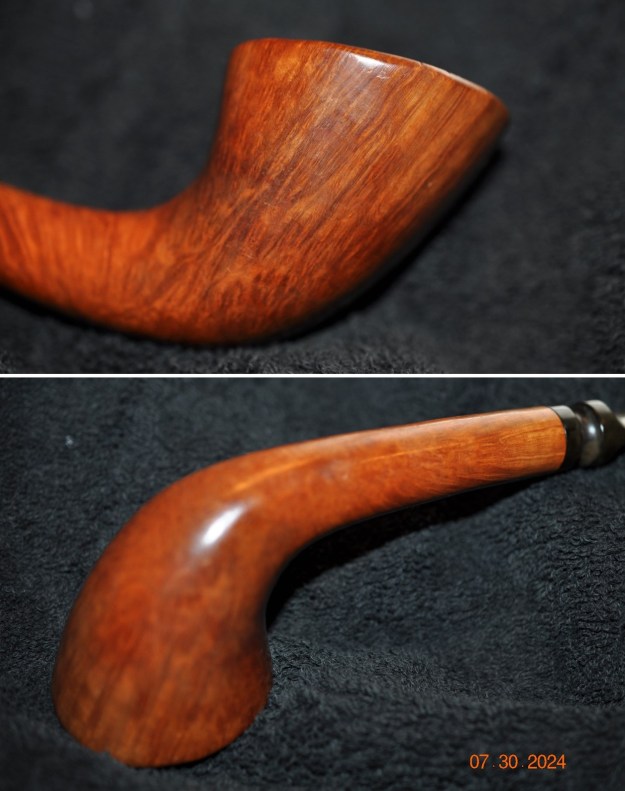 Here are some photos of the stamping on the underside of the shank. The J is a stylized pipe followed by uppercase HW.
 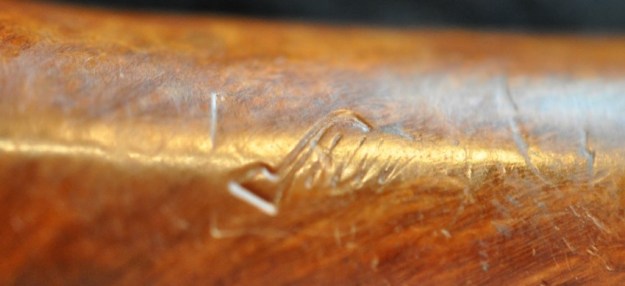 Take some time to read the great writeup on Pipedia and JHW pipes and influence they had on the American pipe making scene. It is a well written and enjoyable read. Here is the link: (https://pipedia.org/wiki/JHW_Pipes).
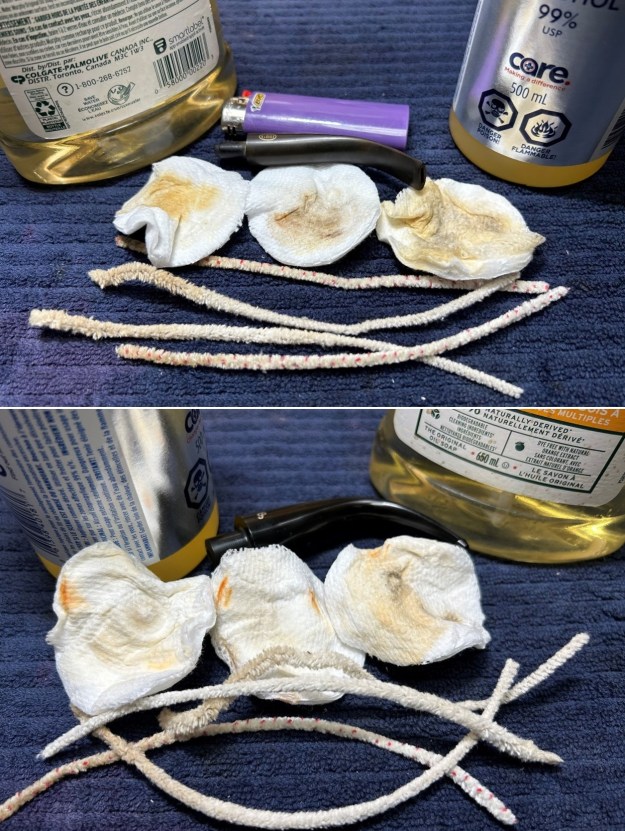
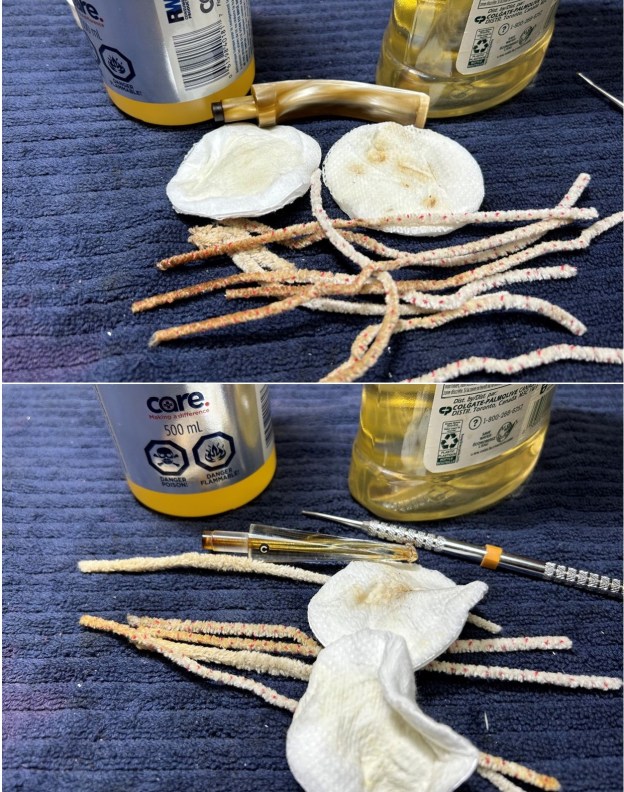
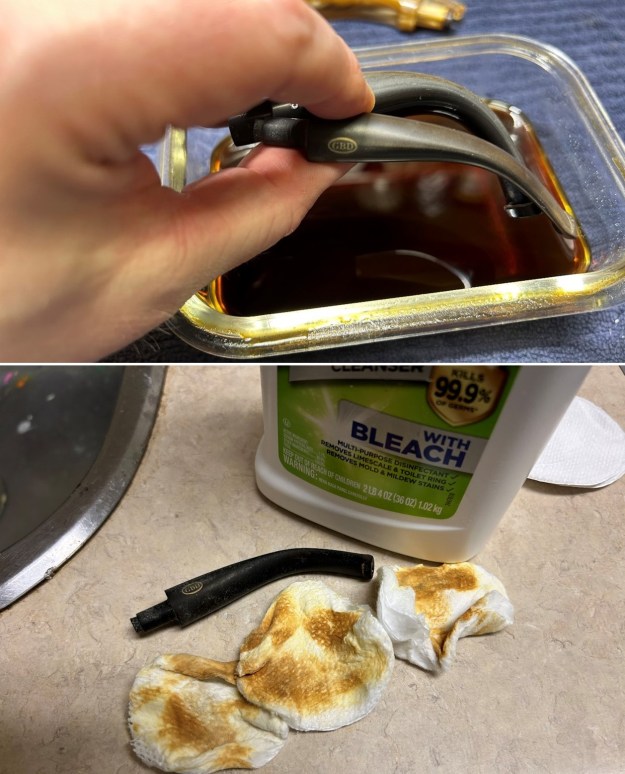
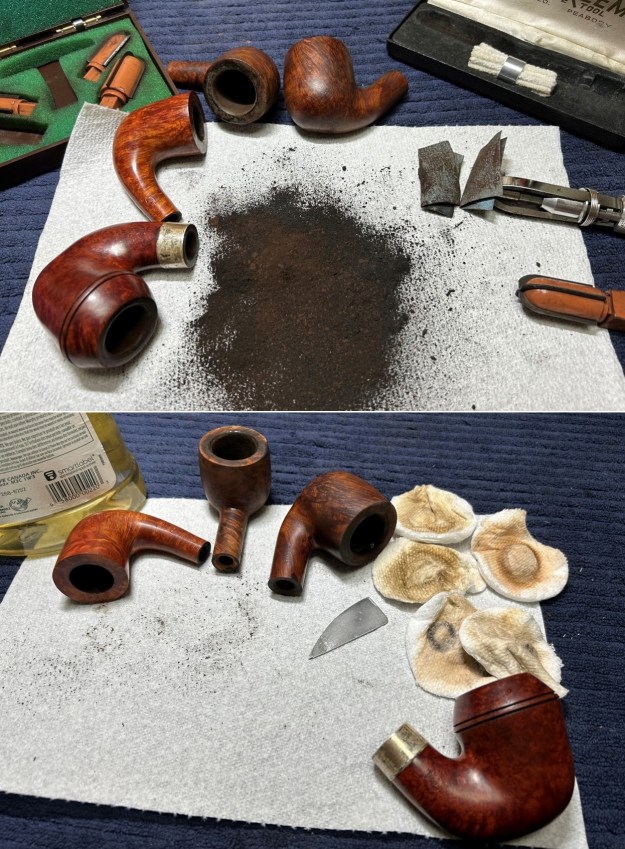
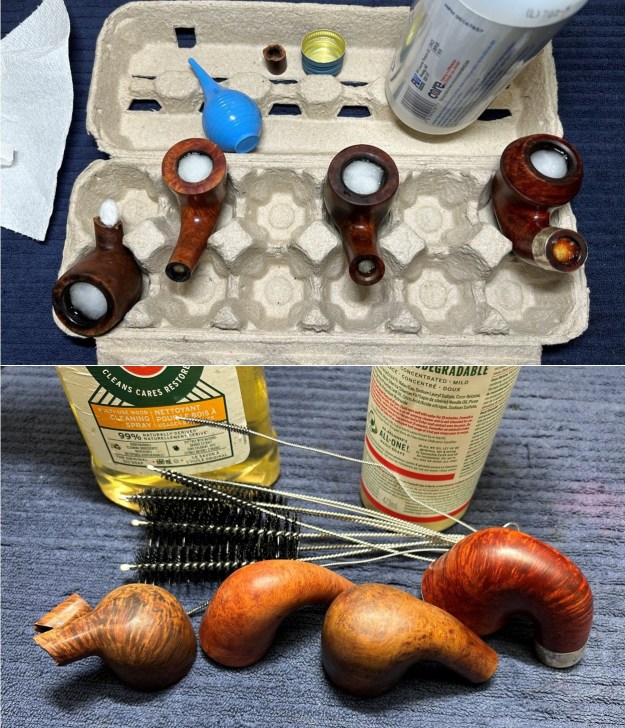
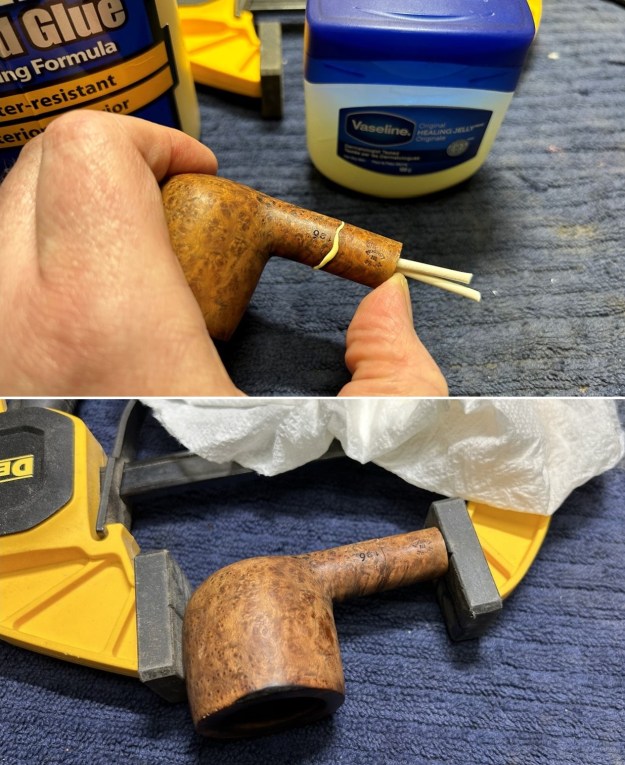
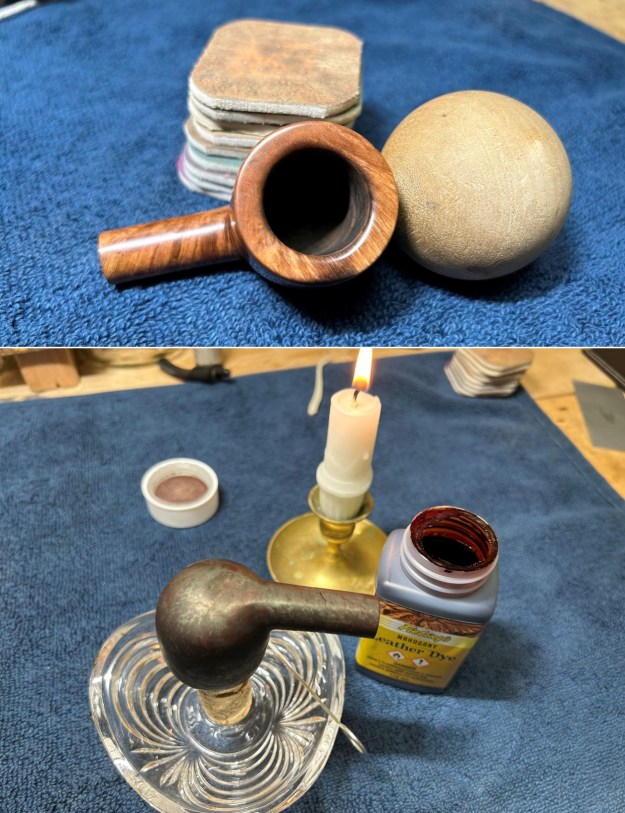
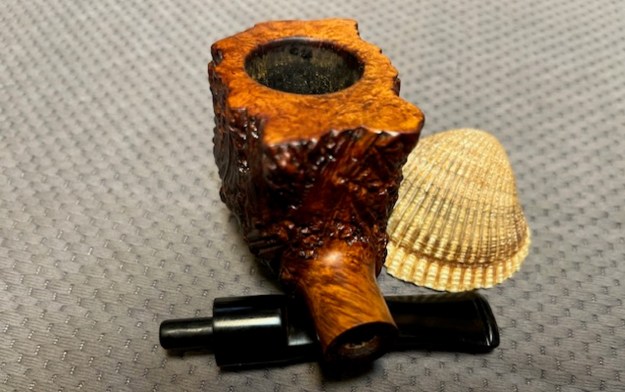
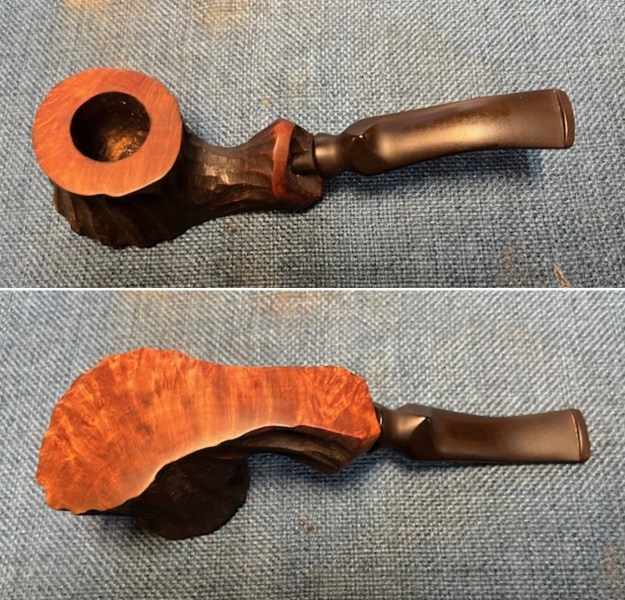
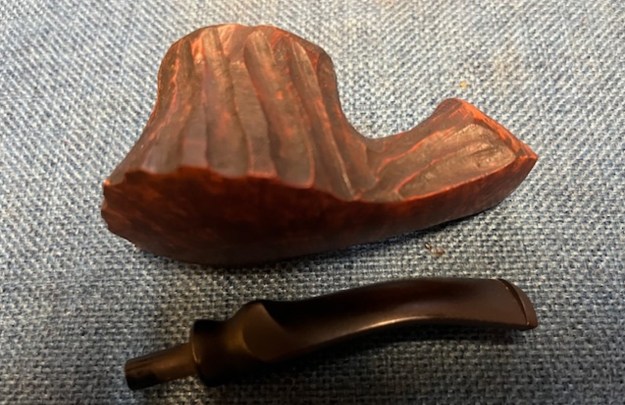
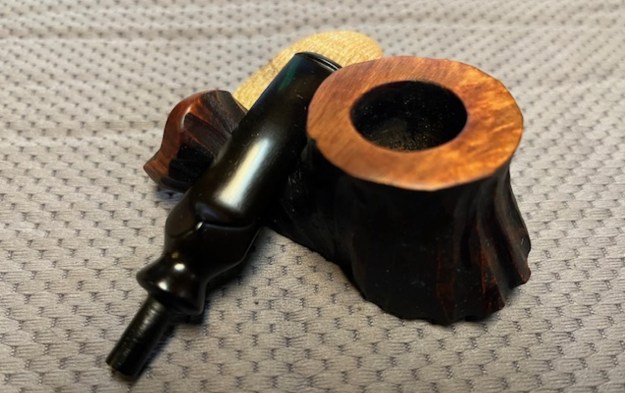
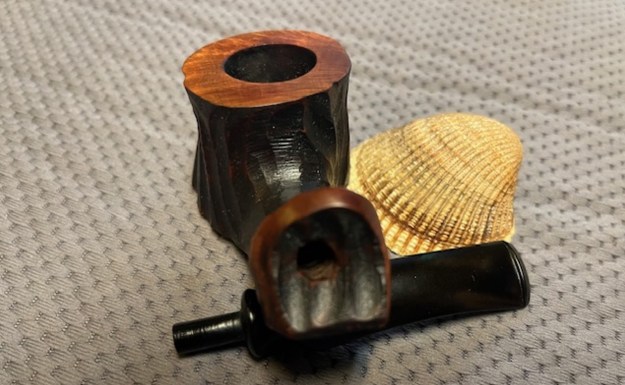
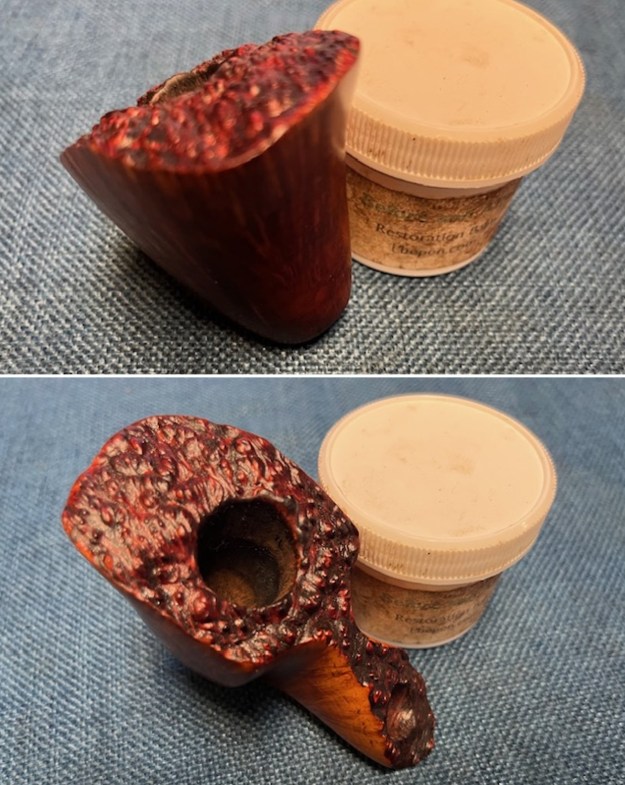
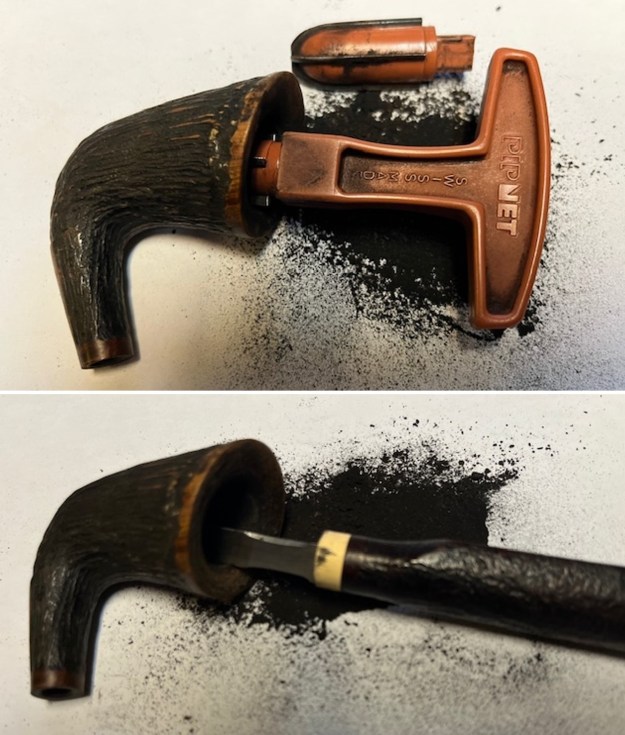
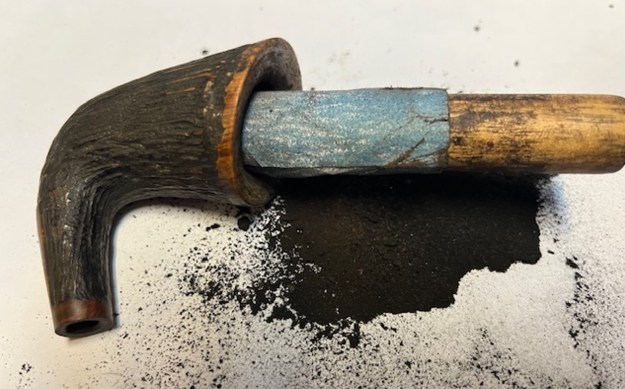
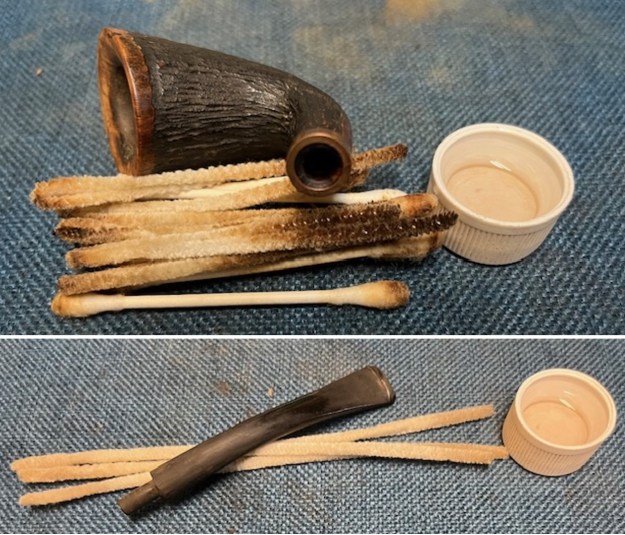
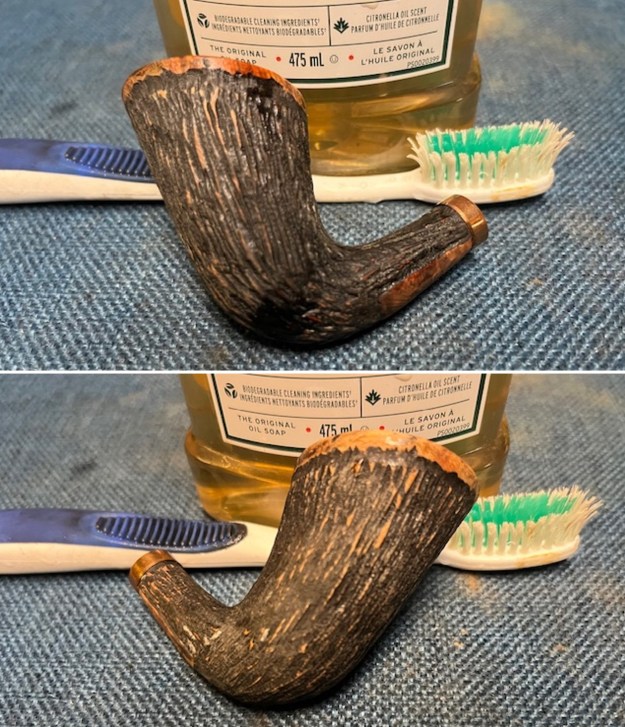
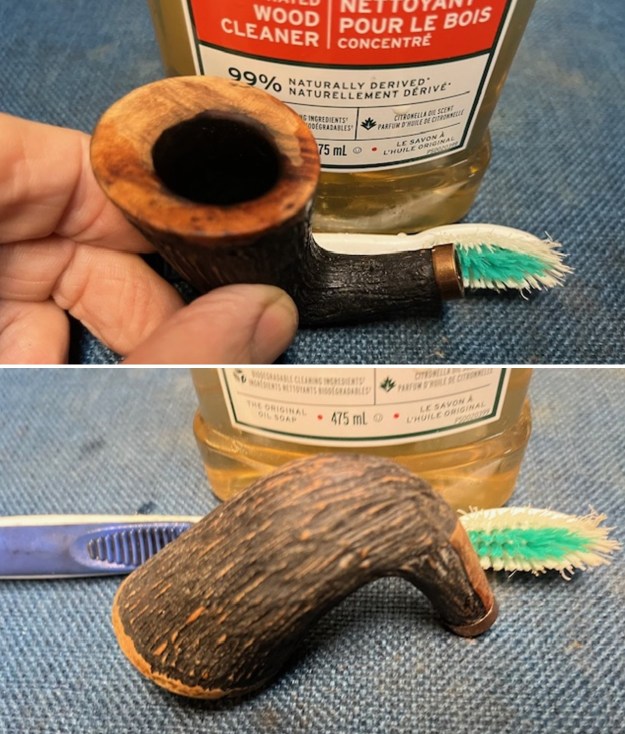
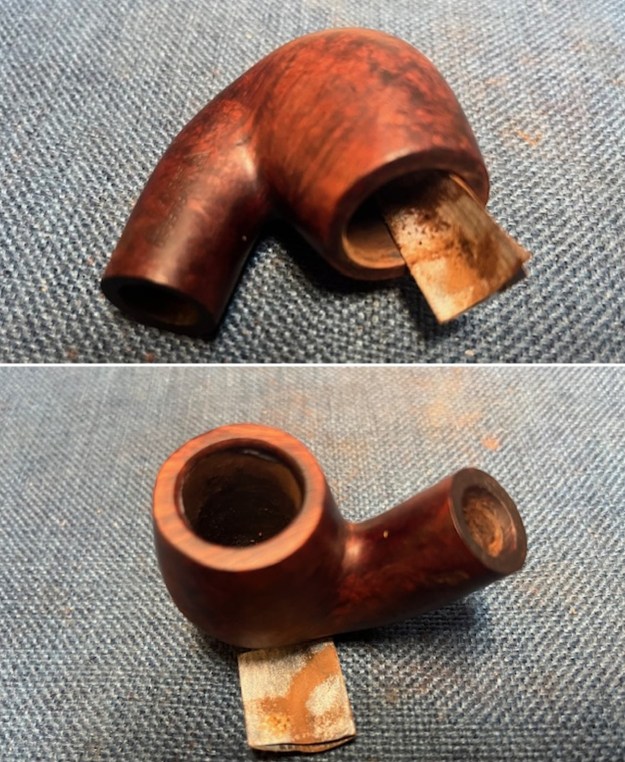
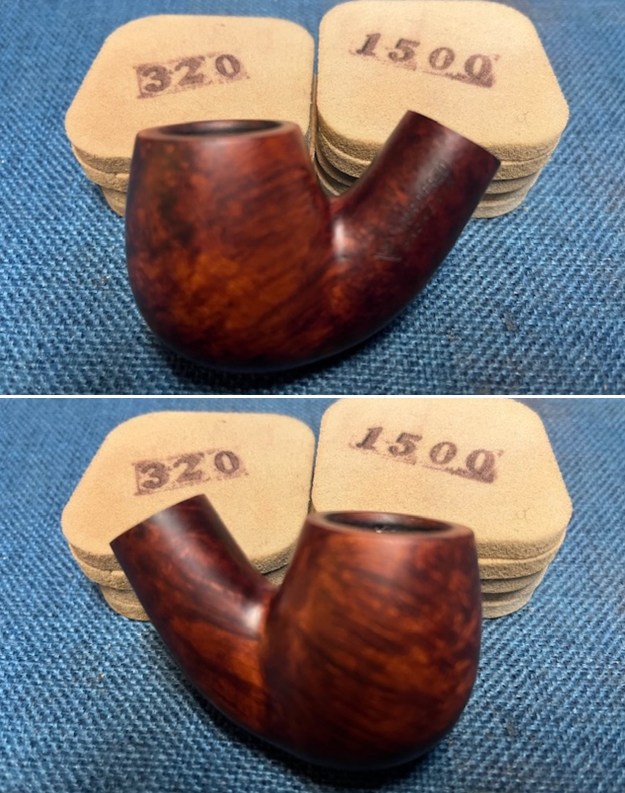
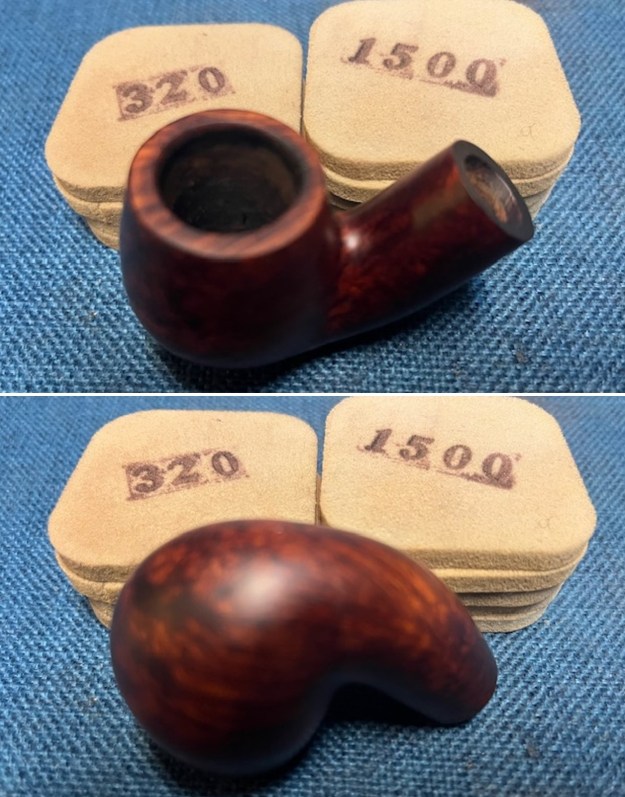
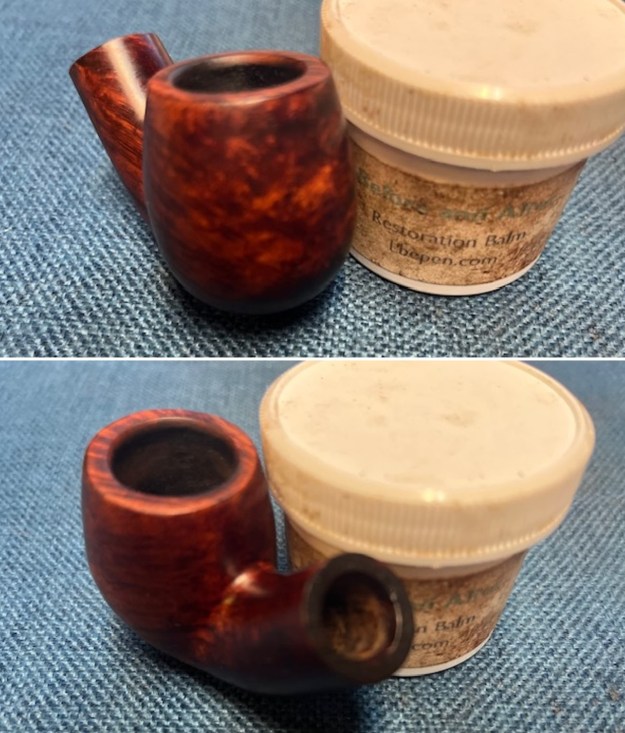
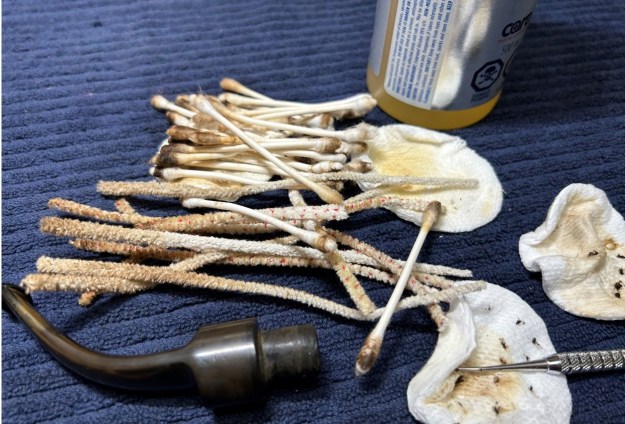
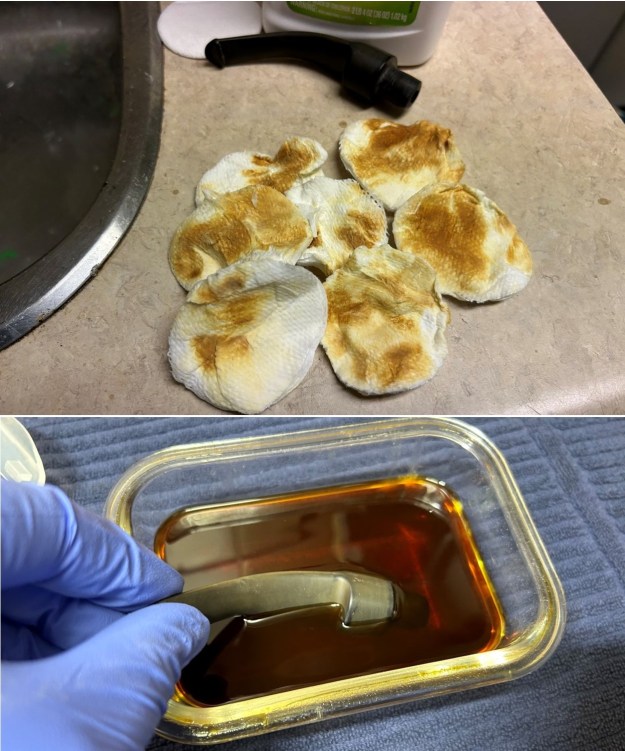
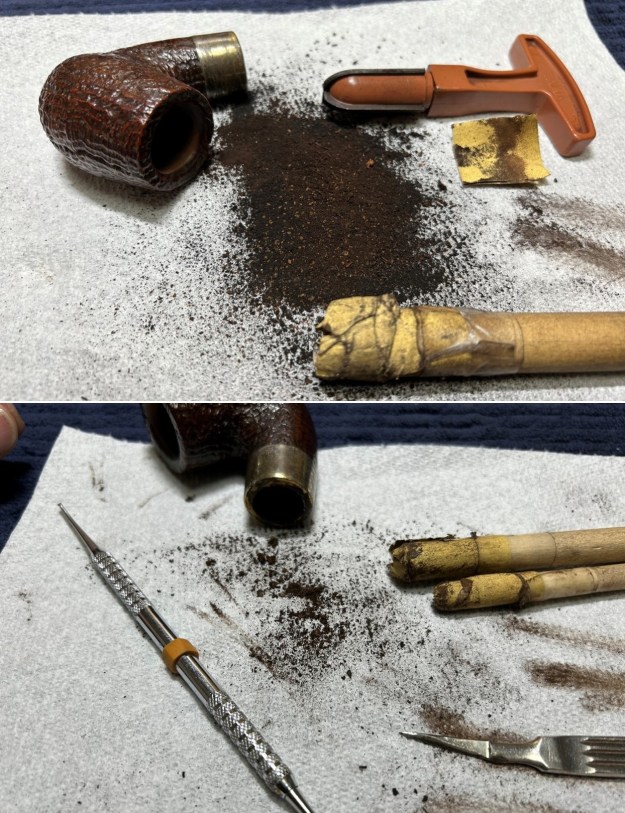
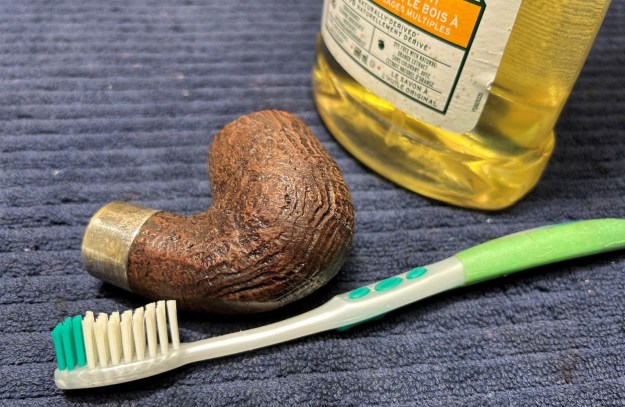
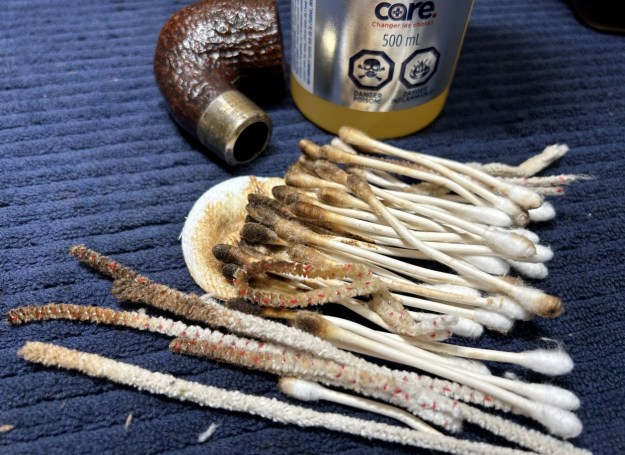
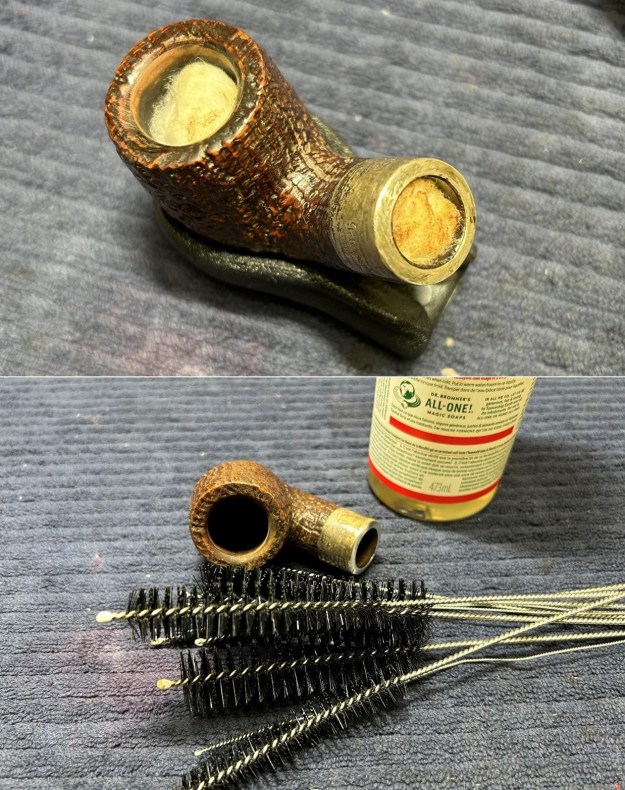
Armed with that information I turned to work on the pipe itself. Jeff had cleaned up the pipe with his usual thoroughness. He reamed the pipe with a PipNet pipe reamer and removed the rest of it with a Savinelli Fitsall Pipe Knife. He scrubbed the bowl with undiluted Murphy’s Oil Soap with a tooth brush. He rinsed it under running warm water to remove the soap and grime. He cleaned out the inside of the shank and the airway in the stem with alcohol, cotton swabs and pipe cleaners and shank brushes. He soaked the stem in Briarville’s Pipe Stem Deoxidizer and rinsed it off with warm water. I took photos of the pipe before I started my part of the restoration work. 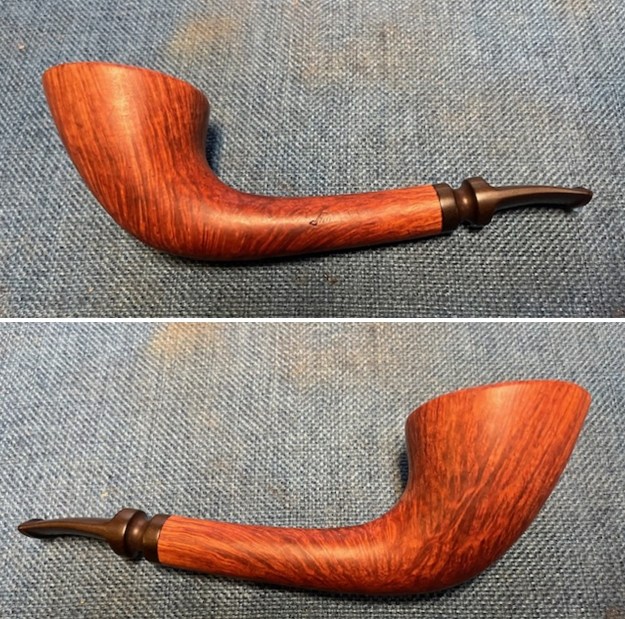
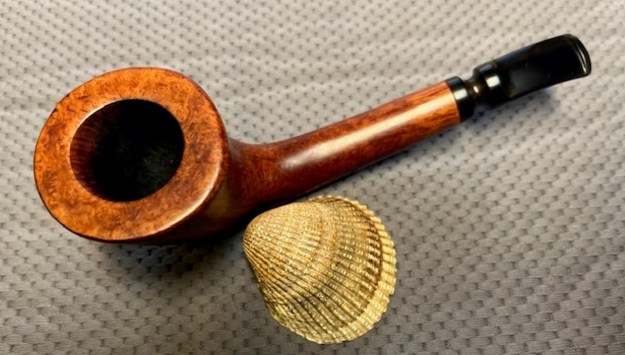
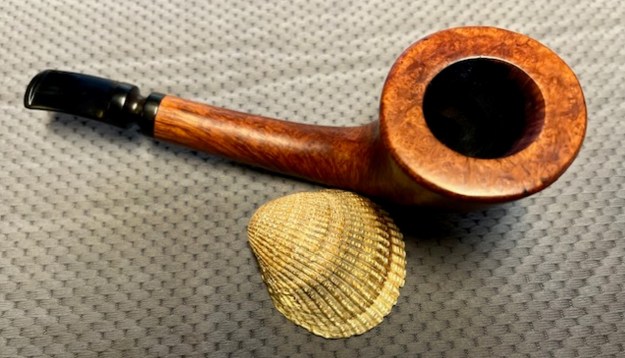
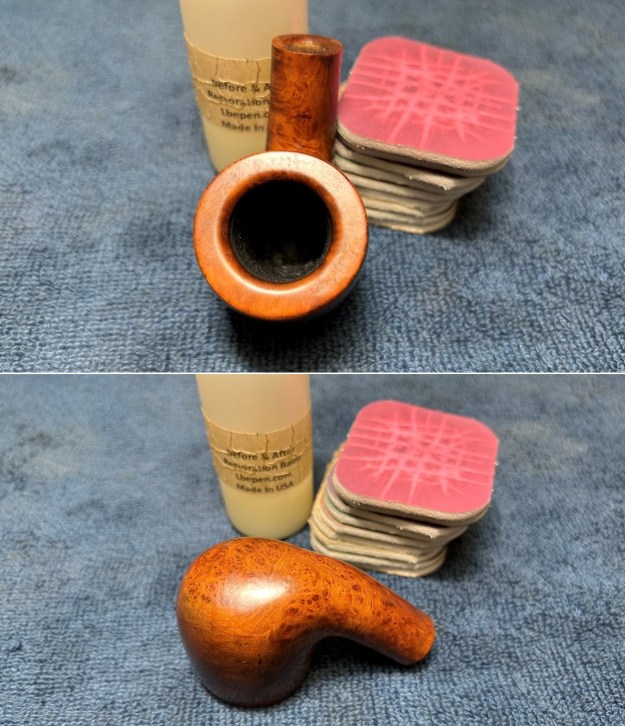
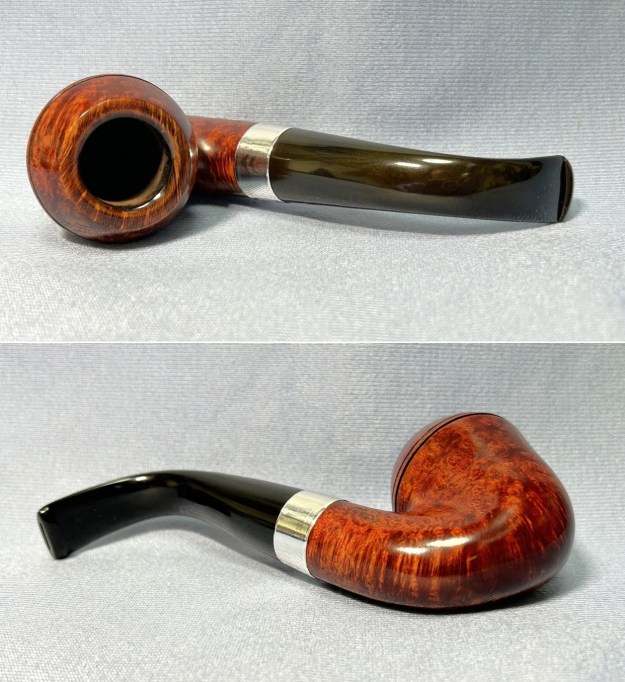
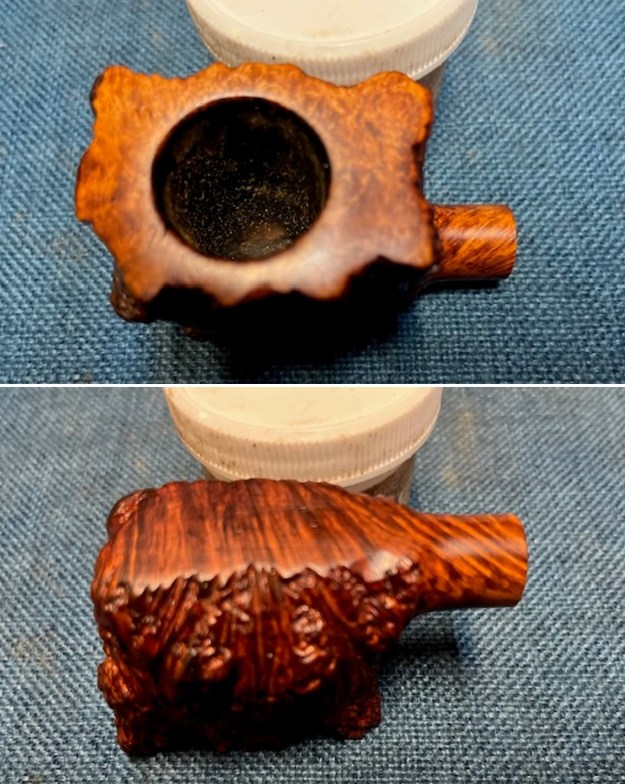
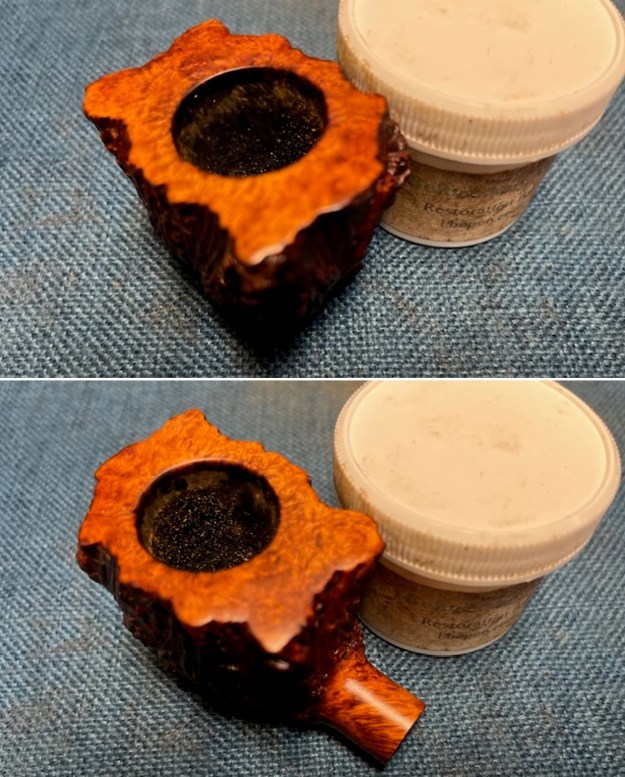
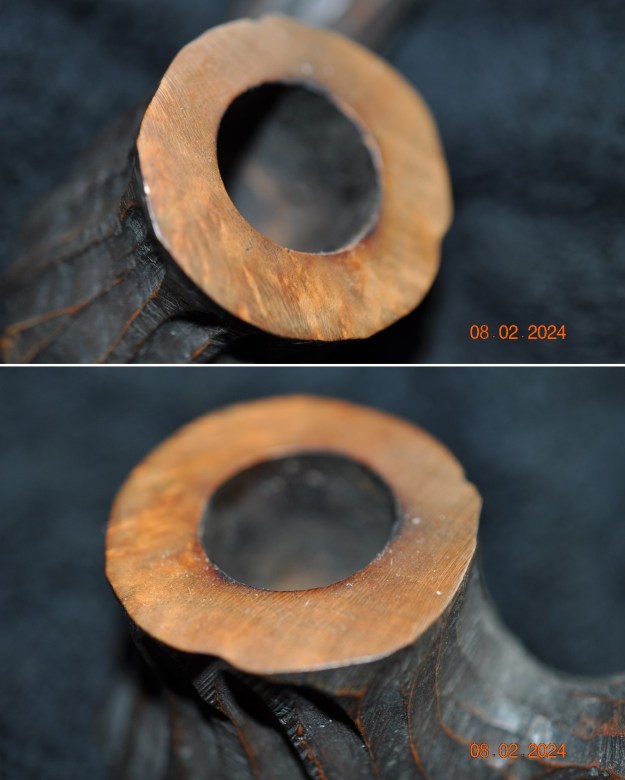
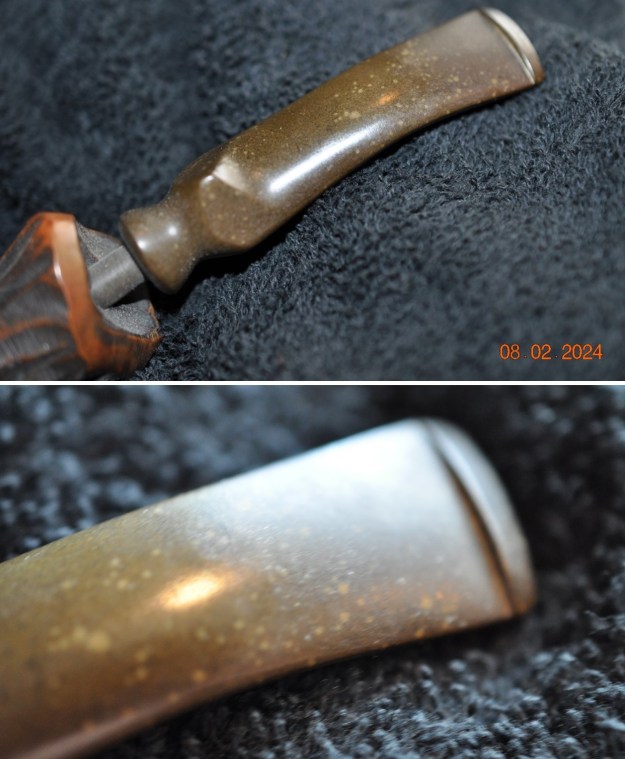
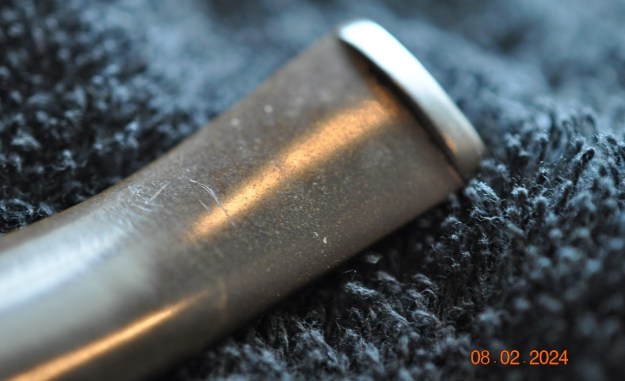
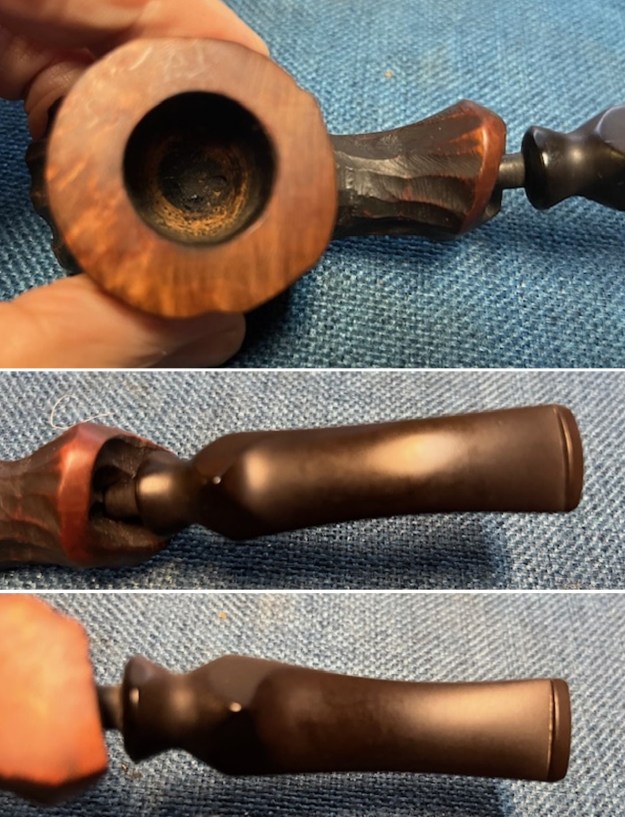
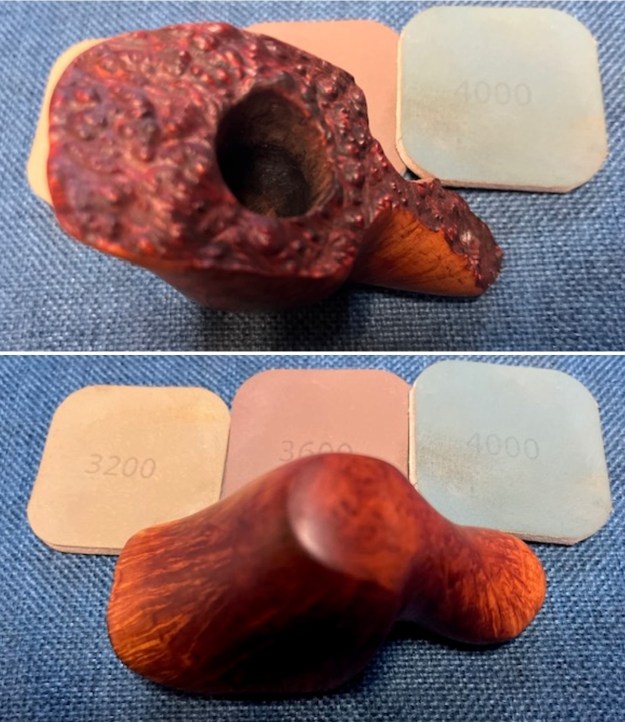
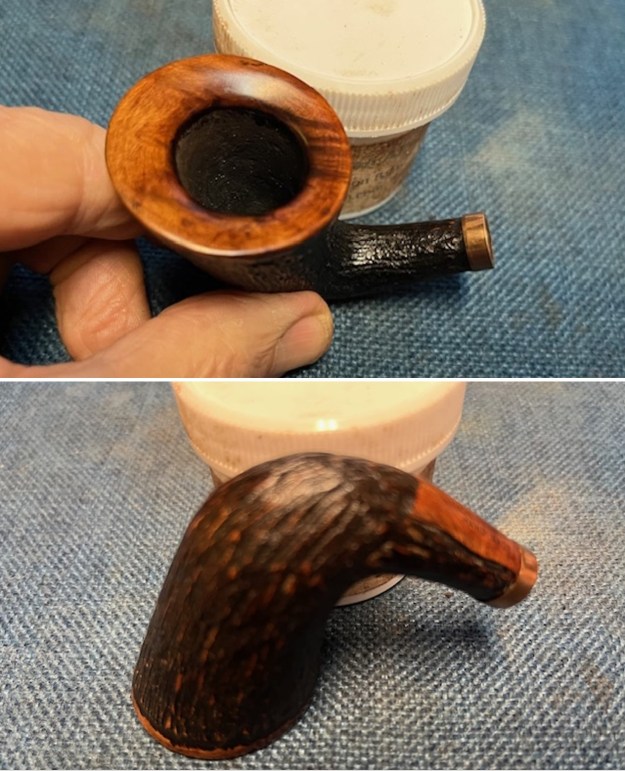
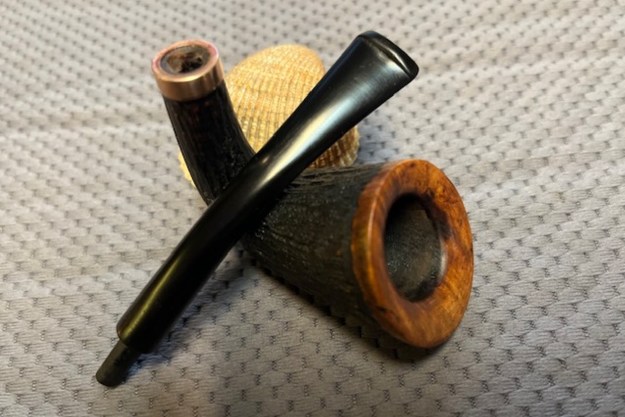
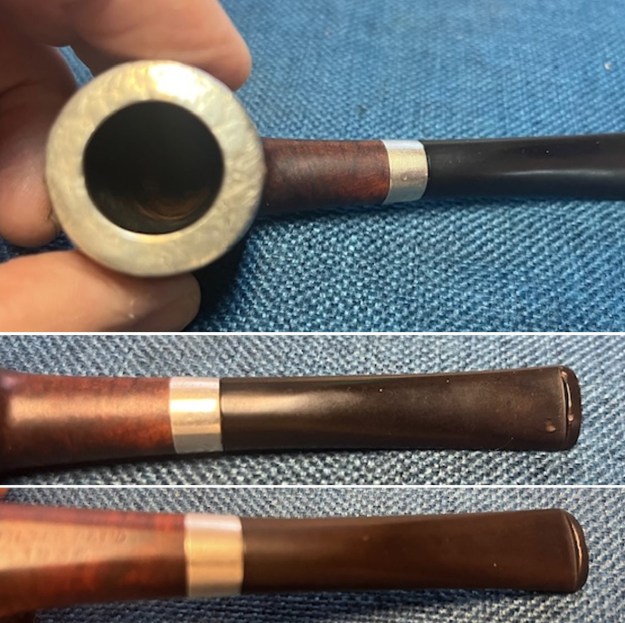
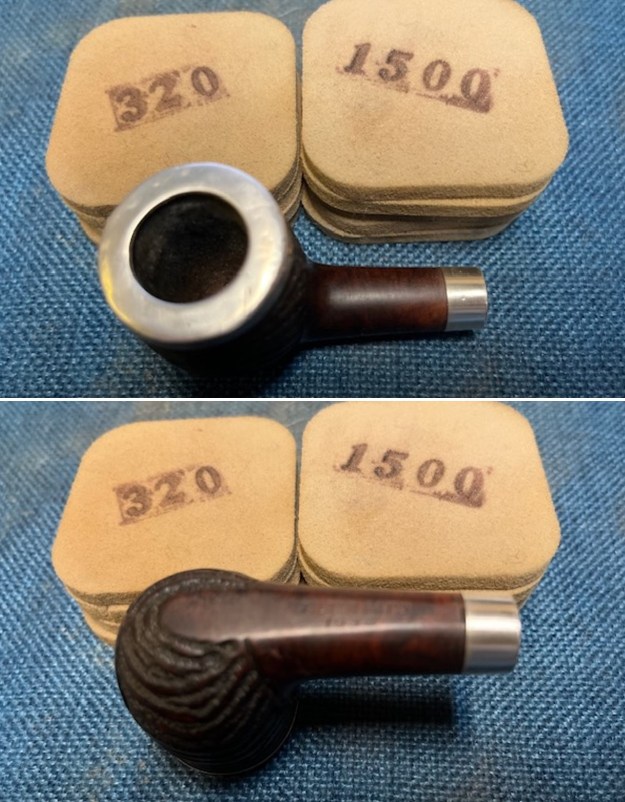
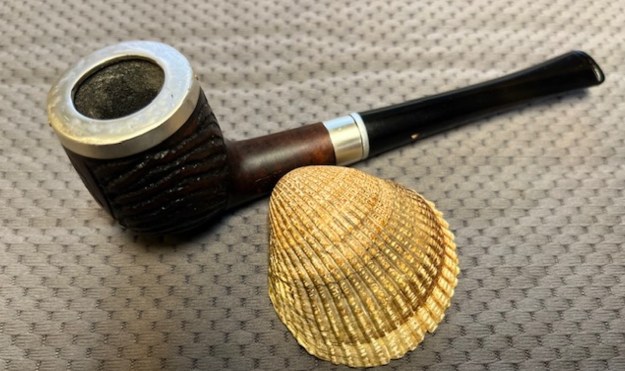
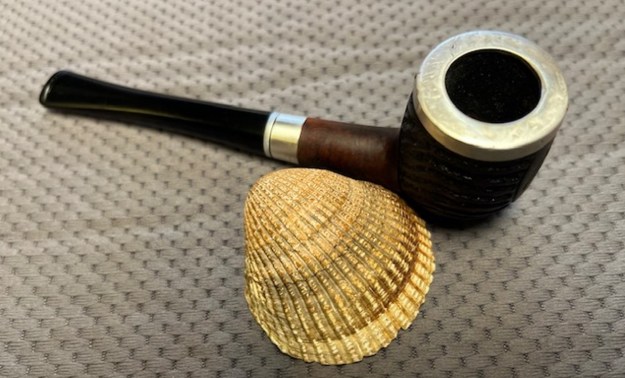
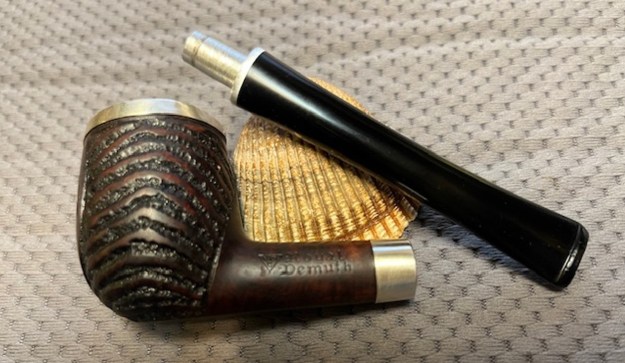
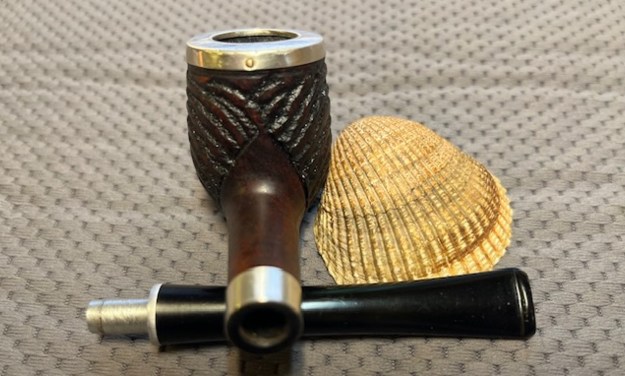
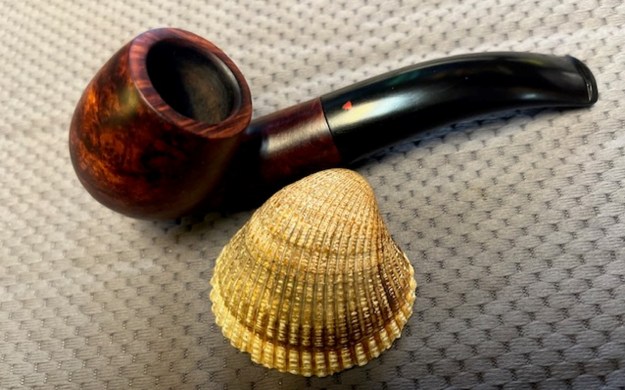
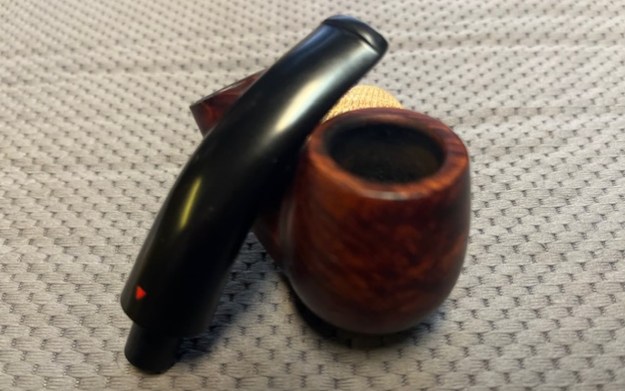
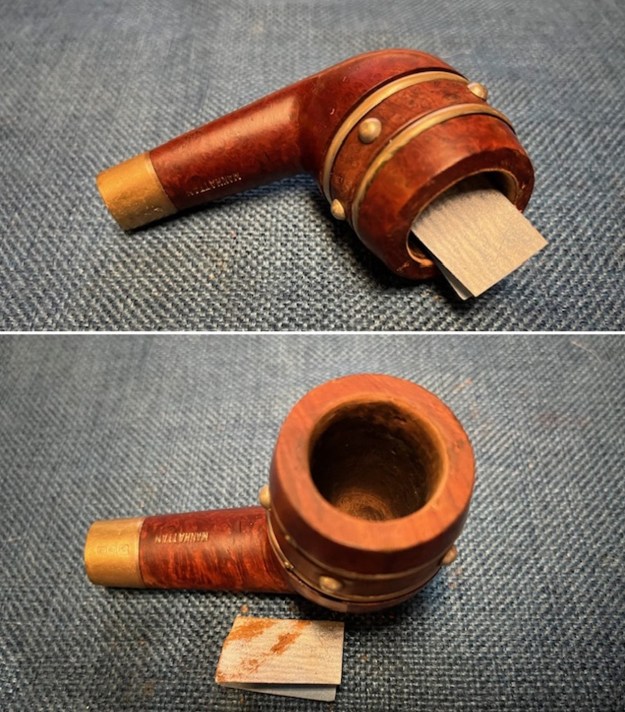
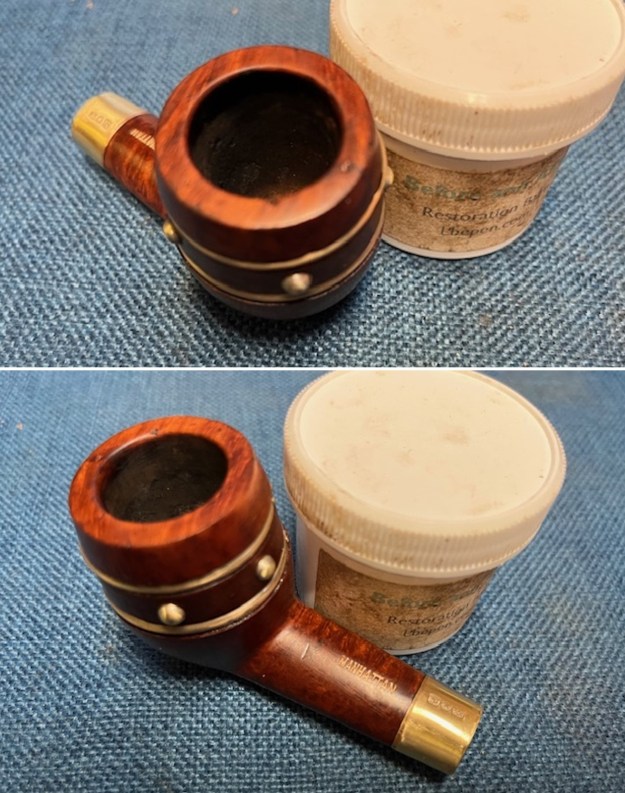
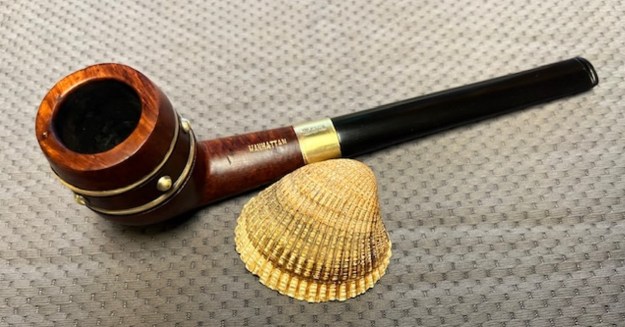
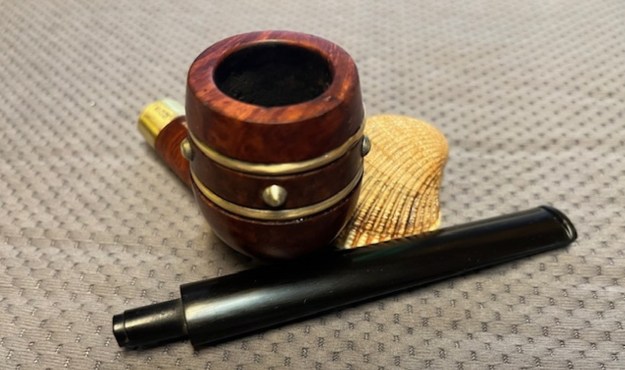
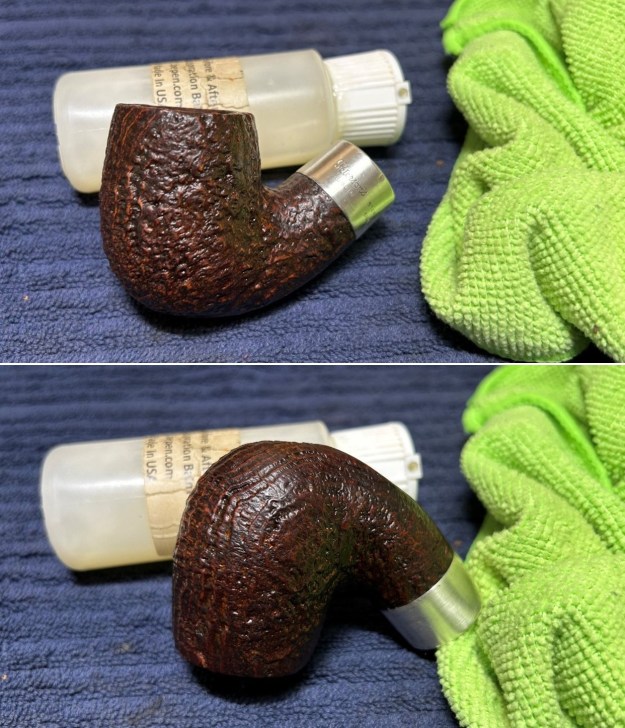
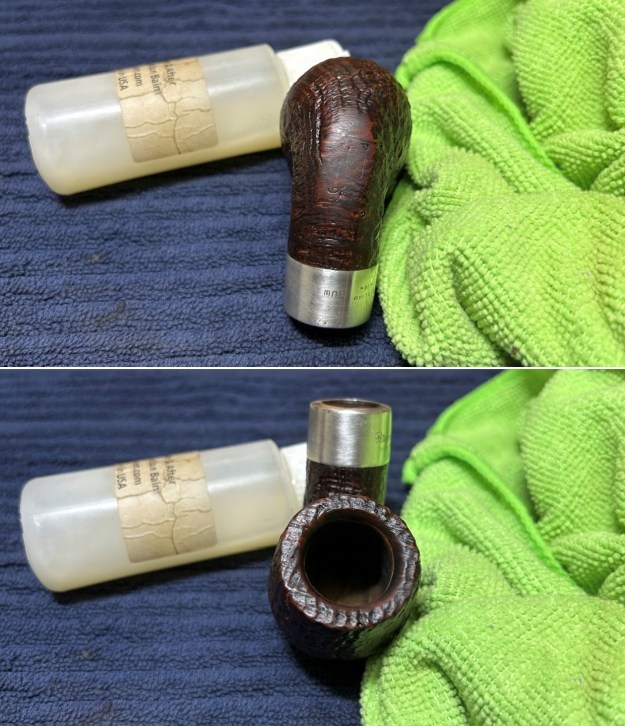
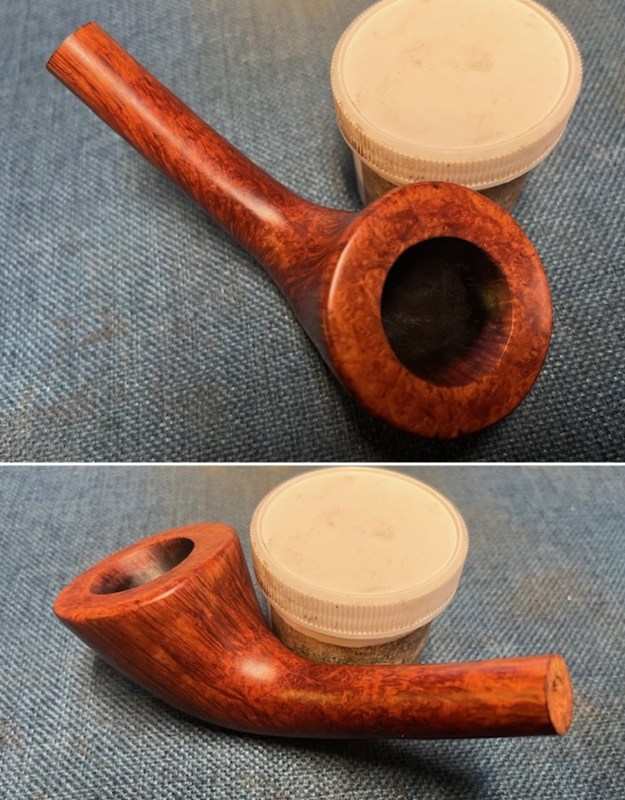
 The rim top cleaned up really well. The rim top and inner edge of the bowl look good. There is some darkening on the inner edge toward the back of the bowl. The bowl itself was very clean and the pipe smelled fresh. The stem surface had light tooth chatter on both sides near the button.
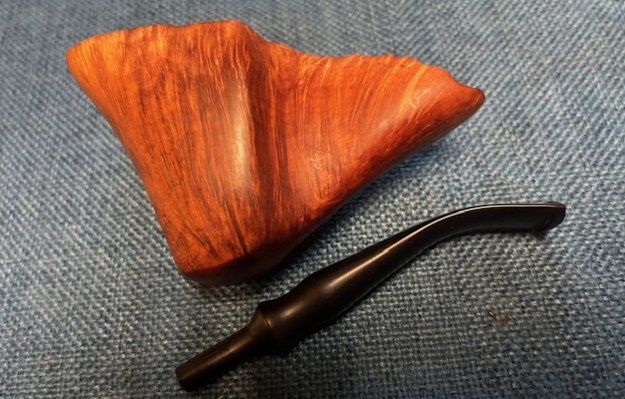
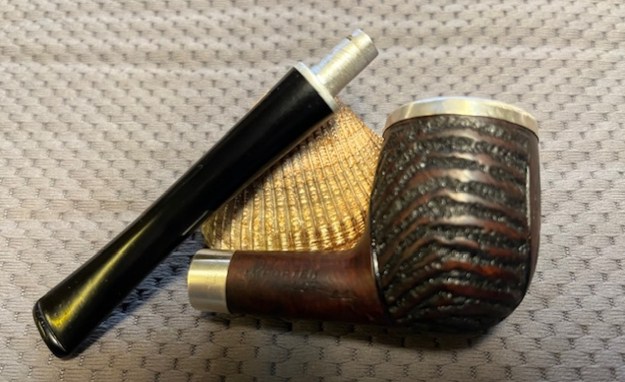
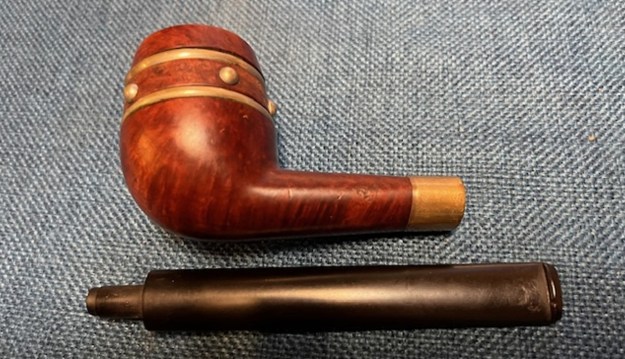
 The stamping on the left side of the shank is clear and readable. It is stamped as noted above. I removed the stem and took a photo of the pipe to give a sense of the whole.
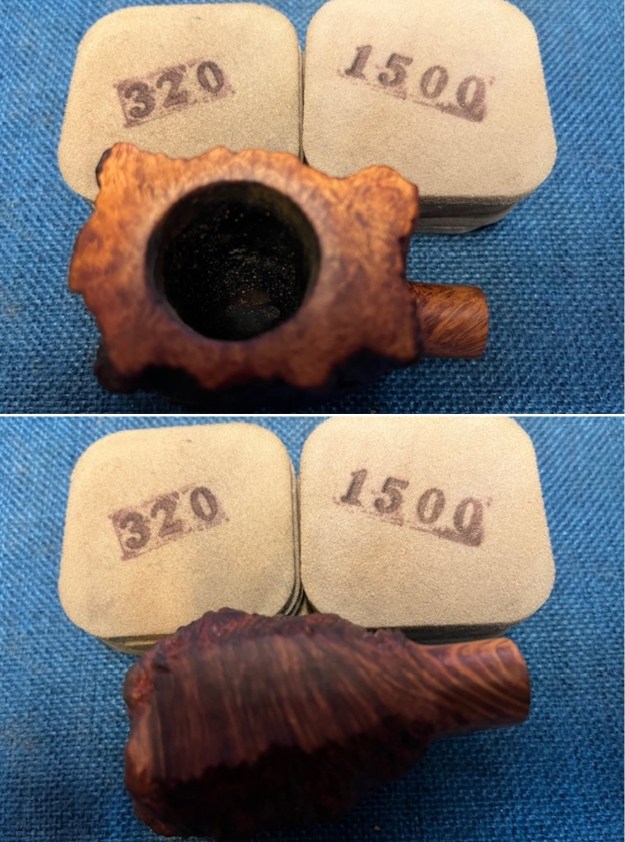
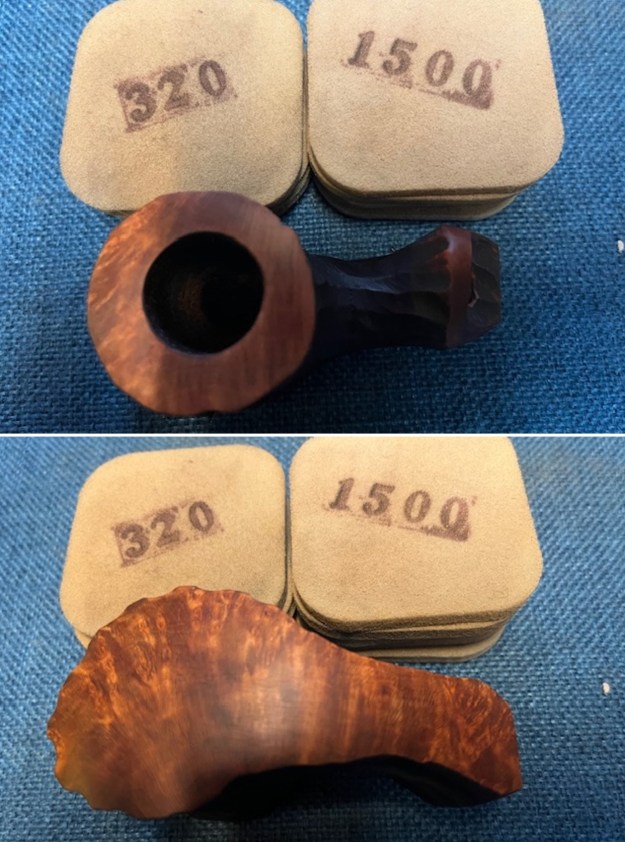
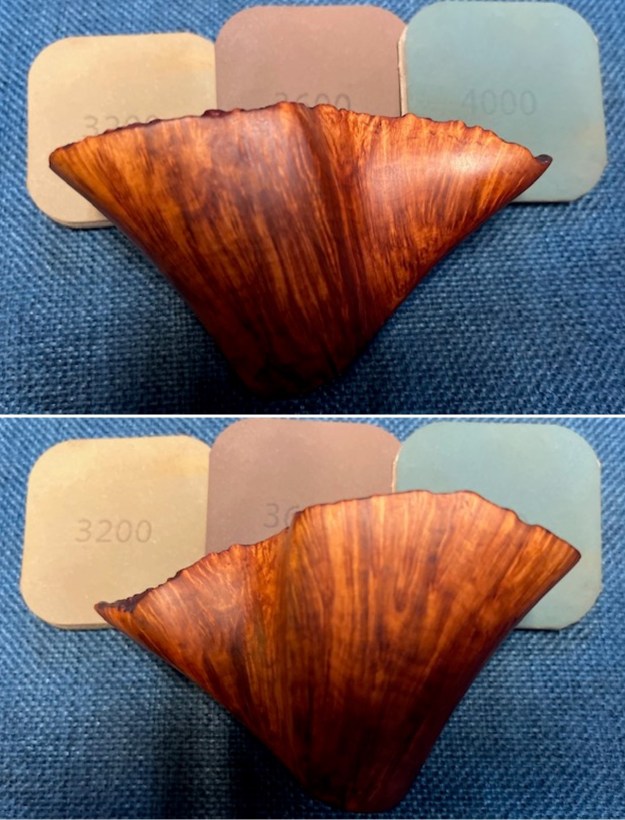
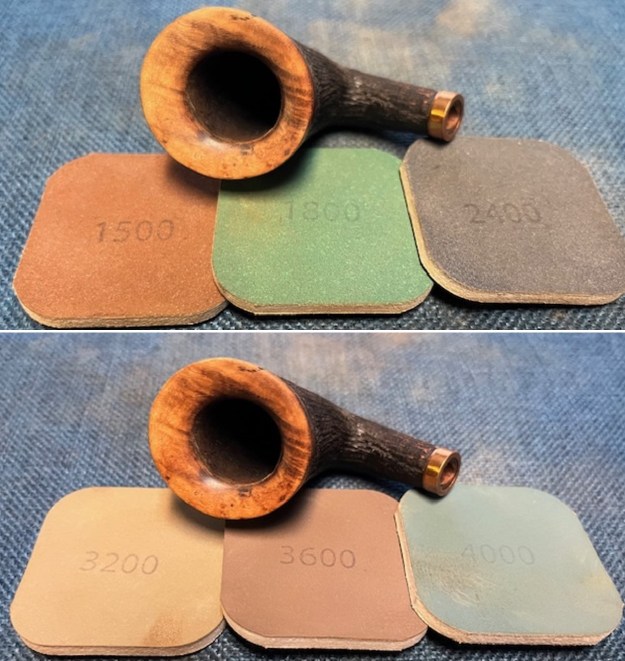
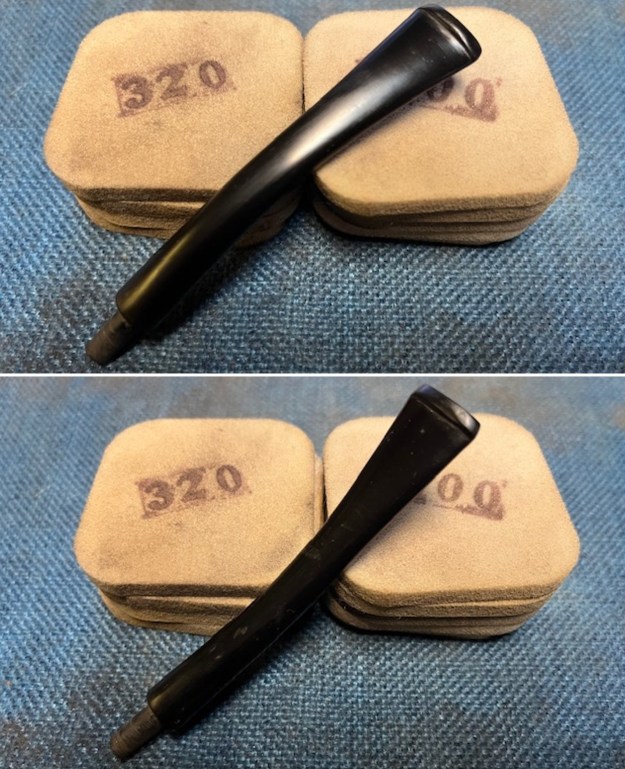
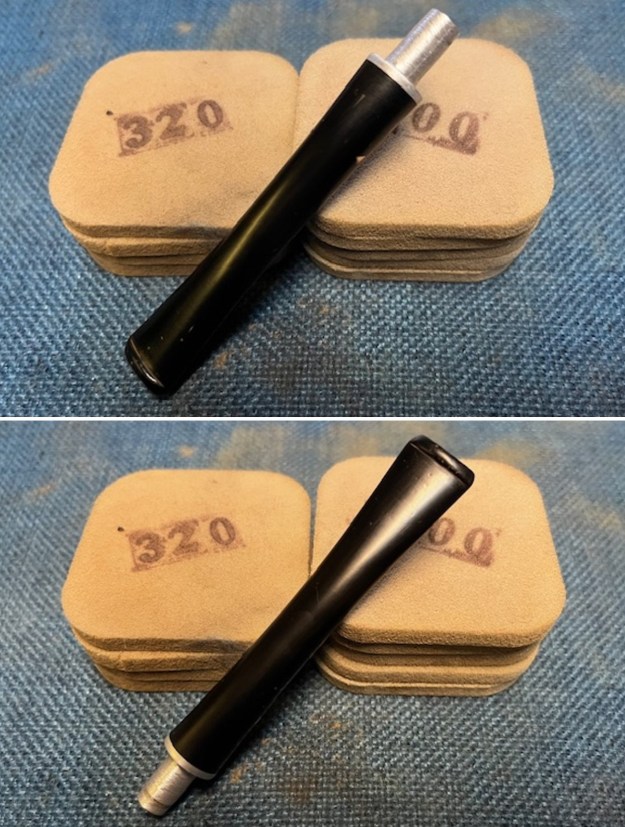
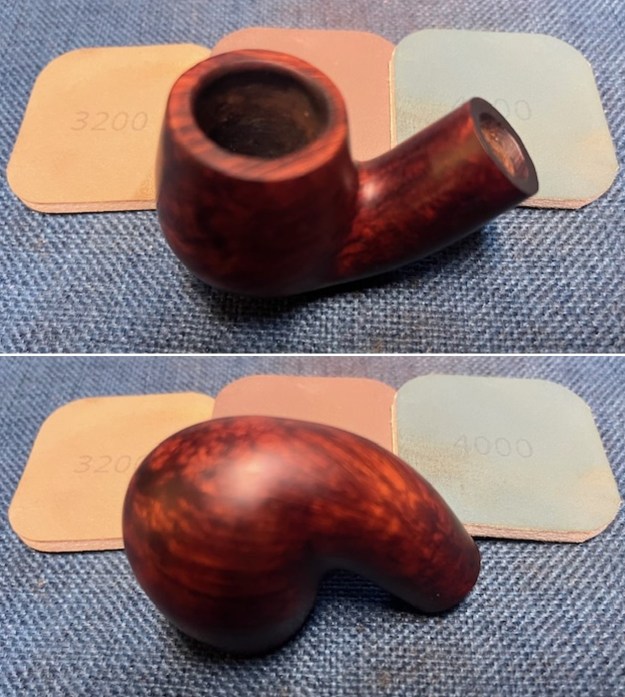
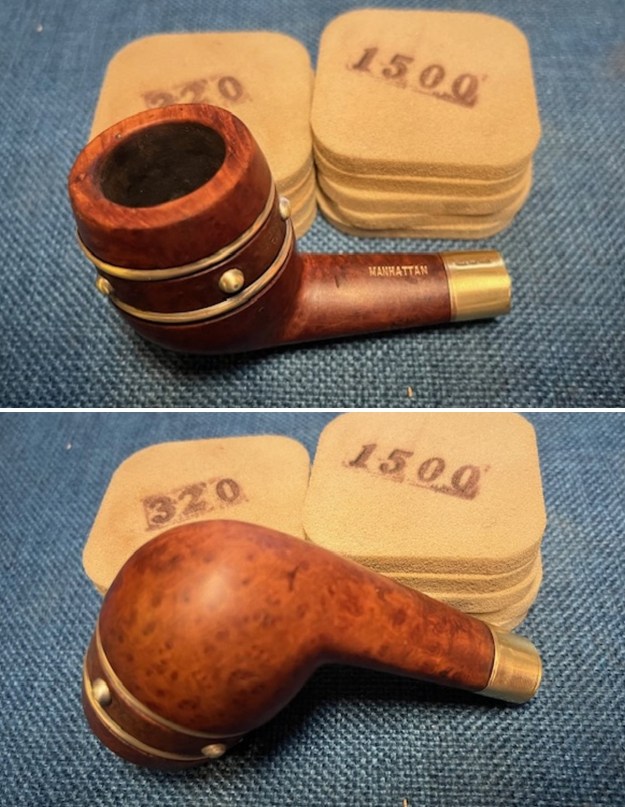
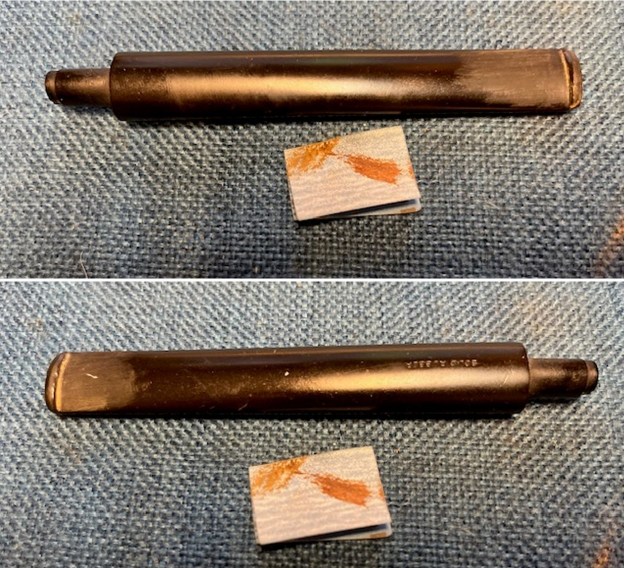
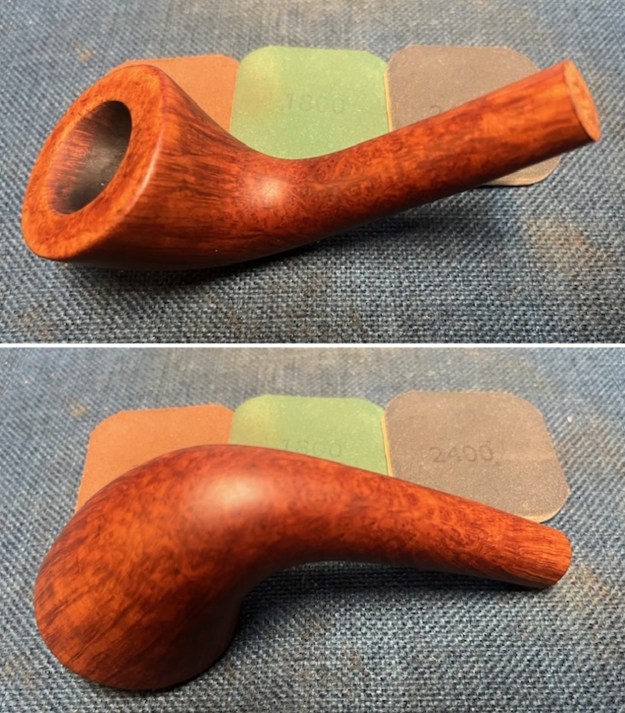
 I started my work on the pipe by working over the rim top and briar with 320-3500 grit sanding pads. There were a lot of scratches in the briar on the sides but nothing to deep so this process would take care of the issues.
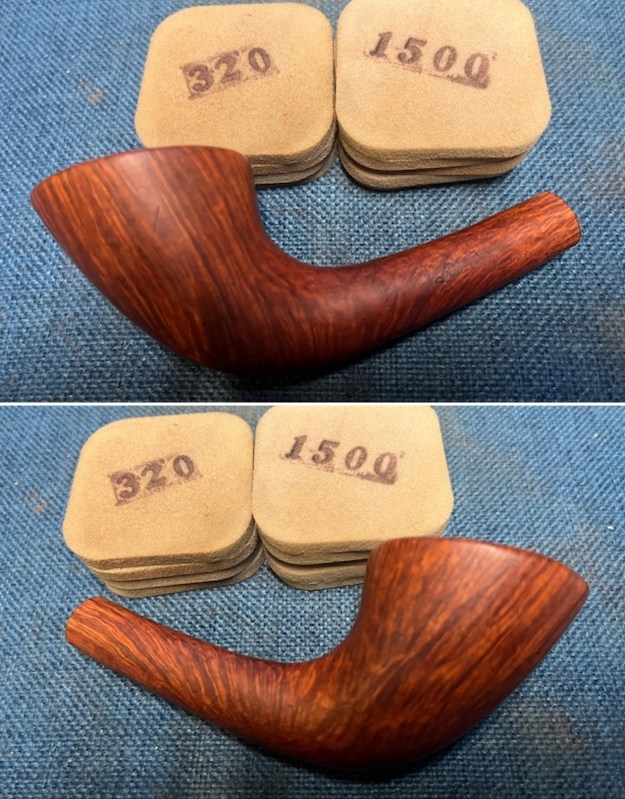
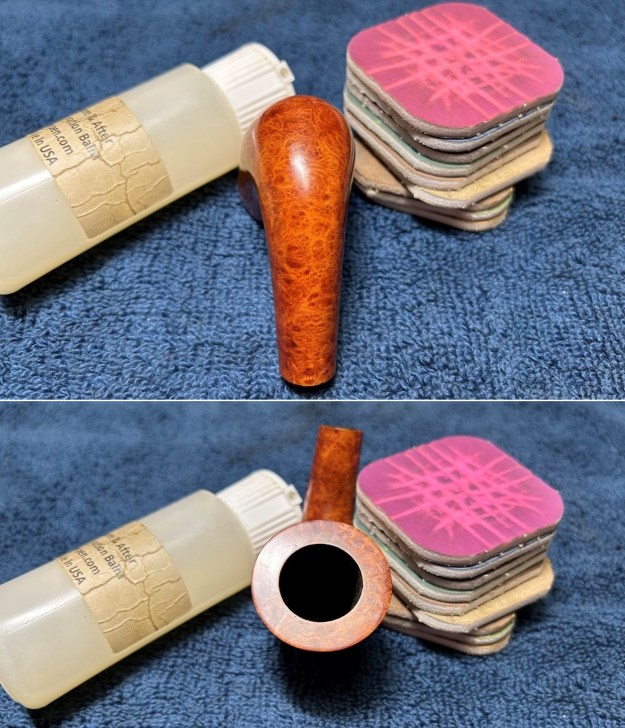
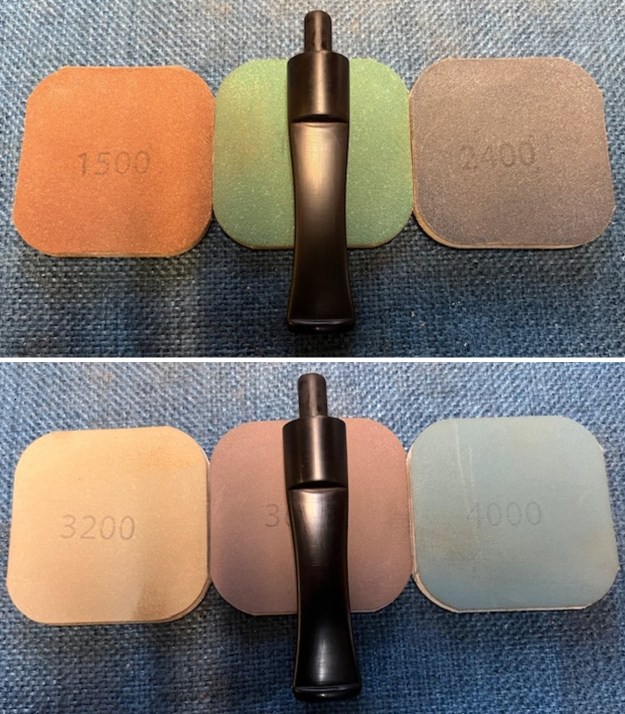
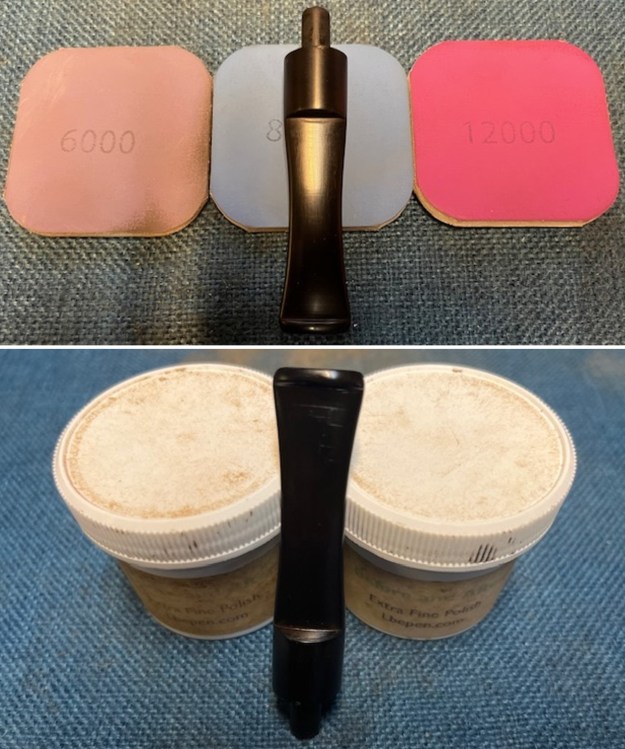
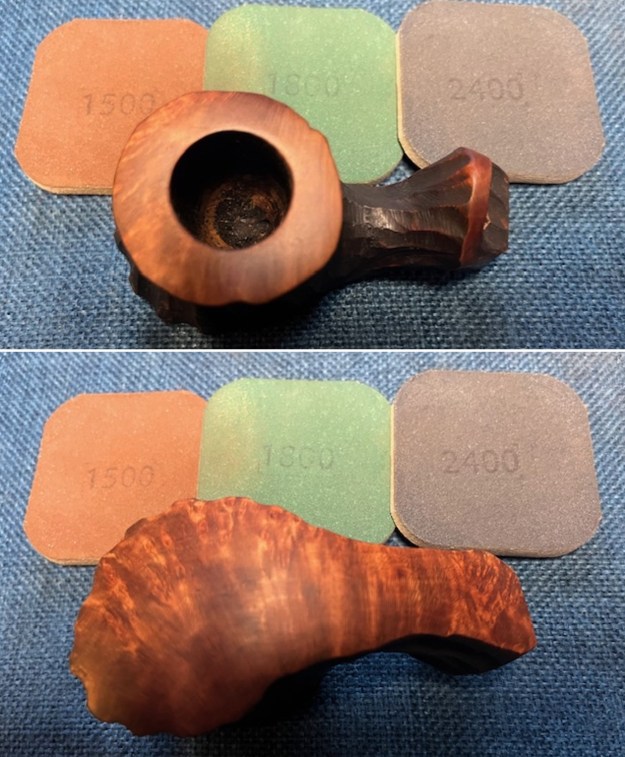
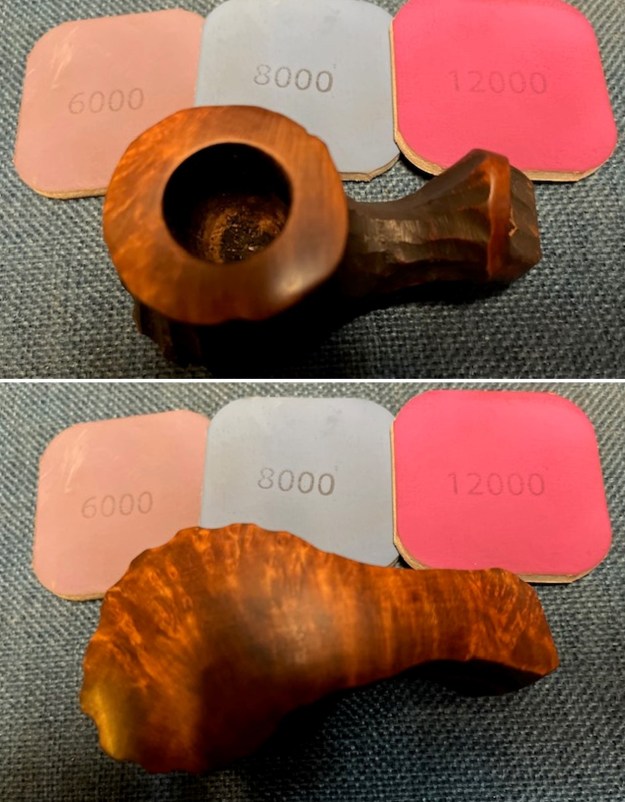
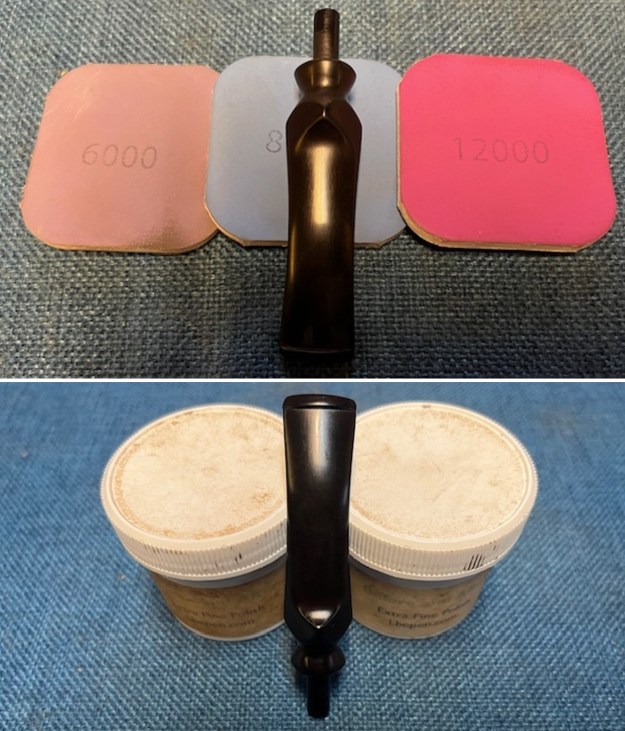
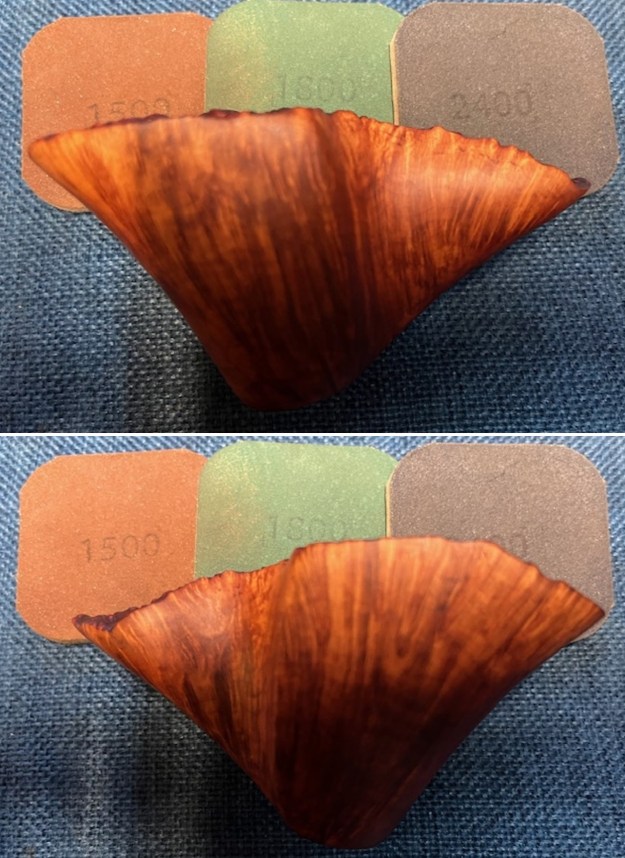
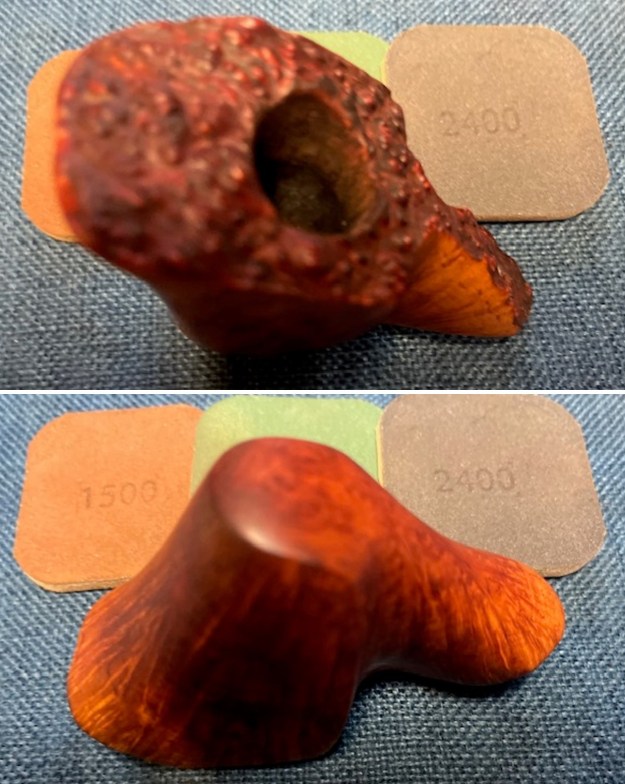
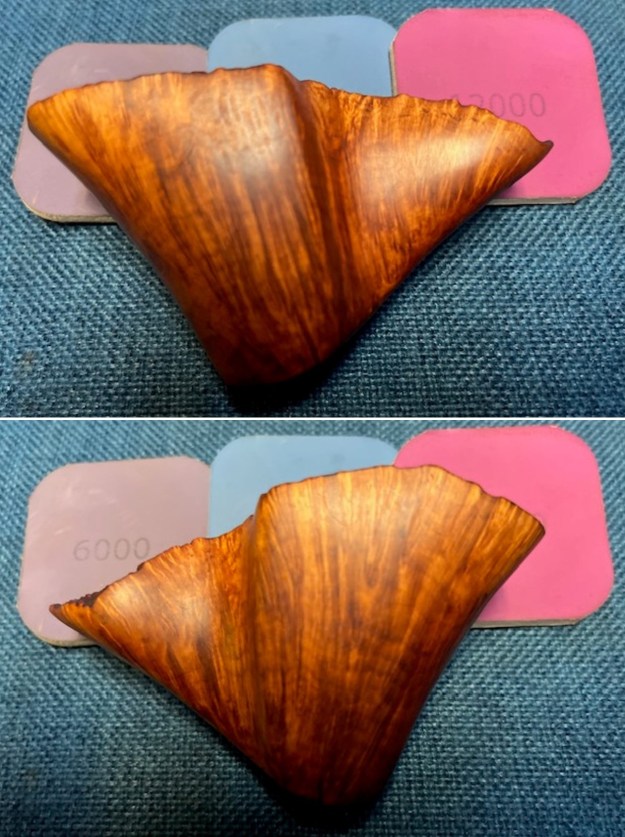
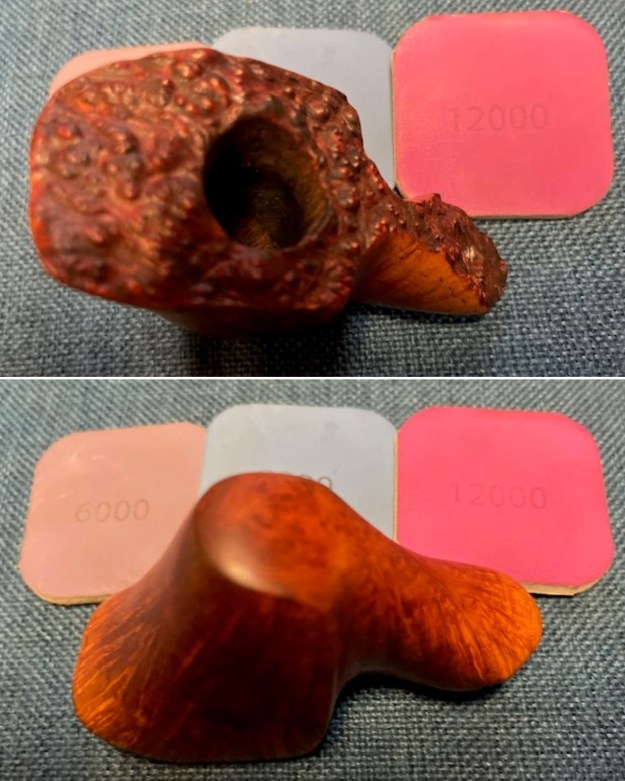
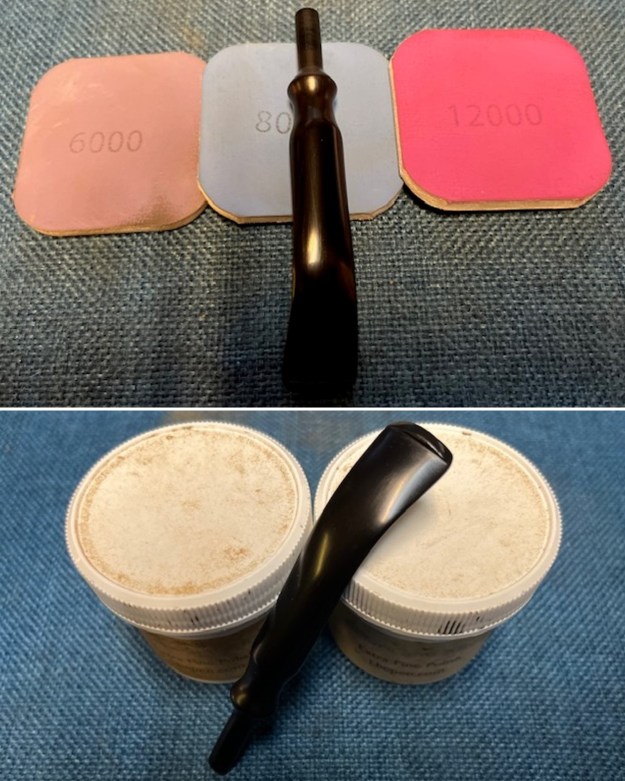
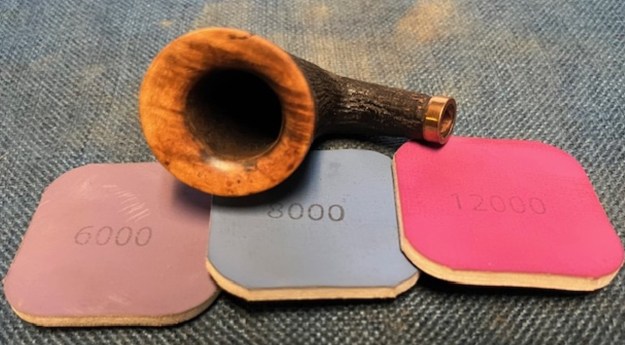
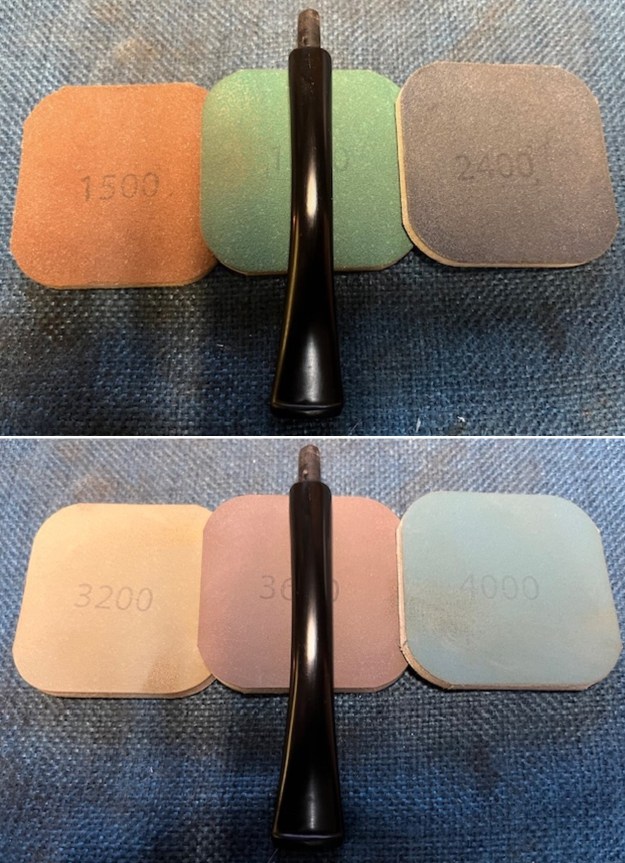
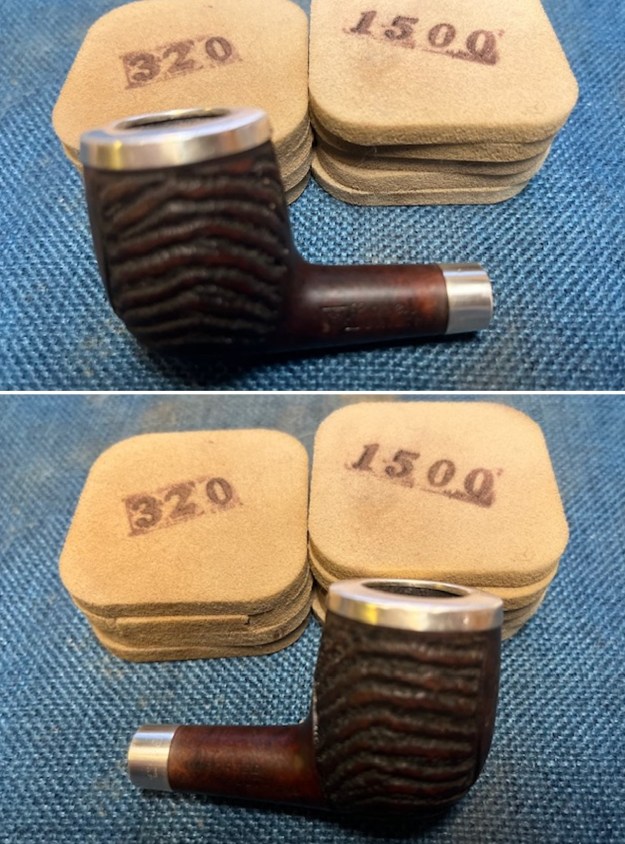
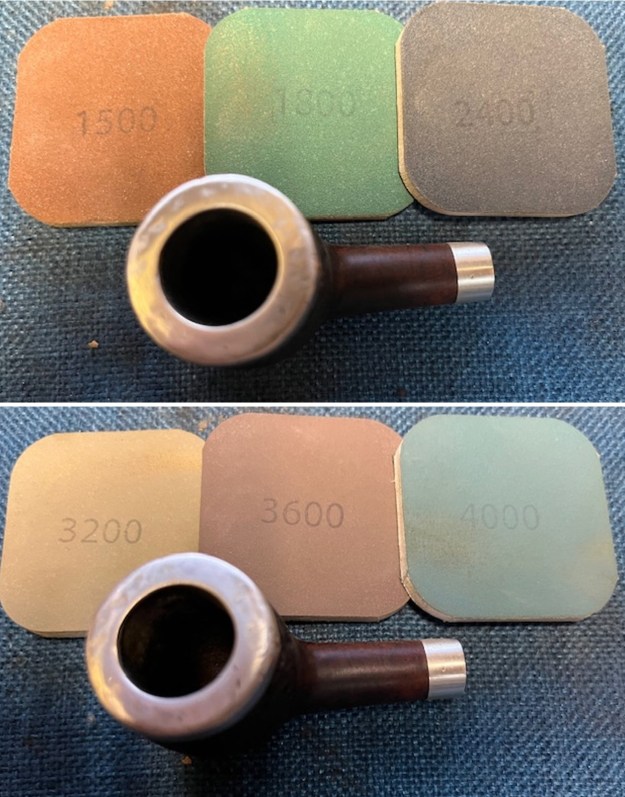
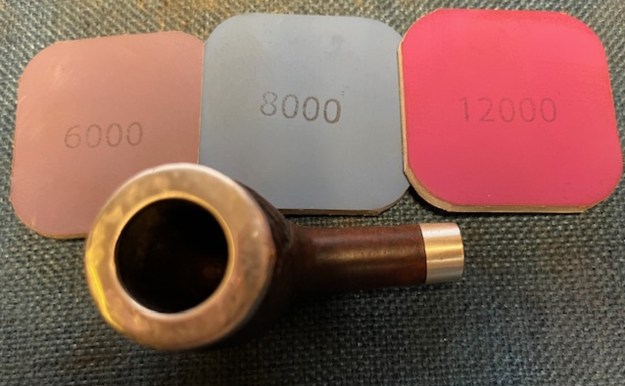
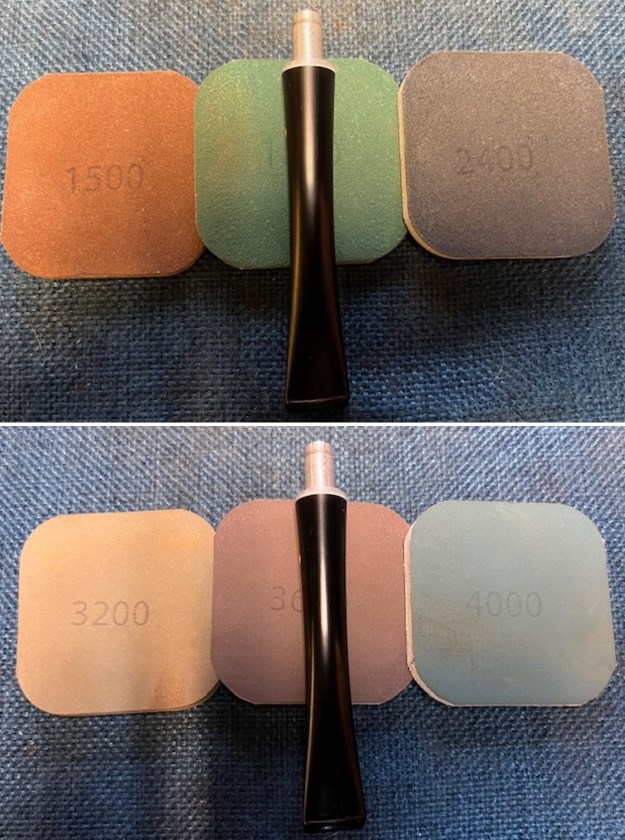
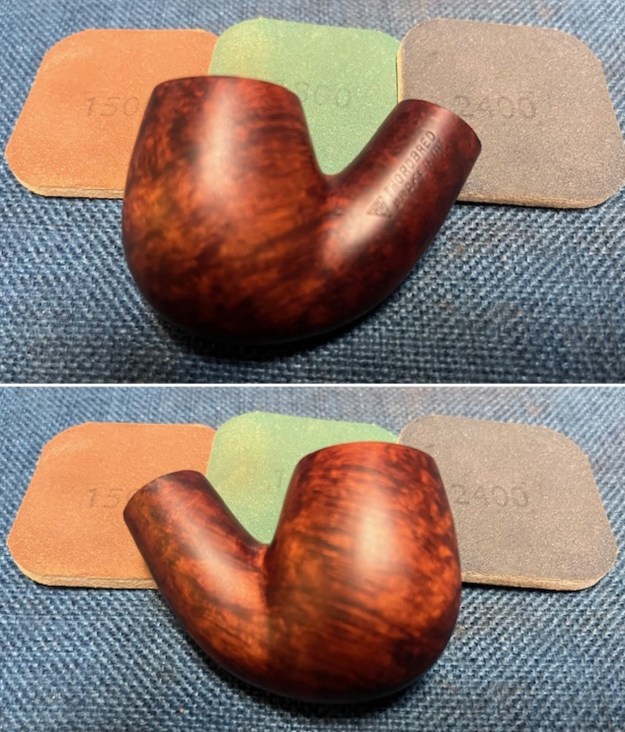
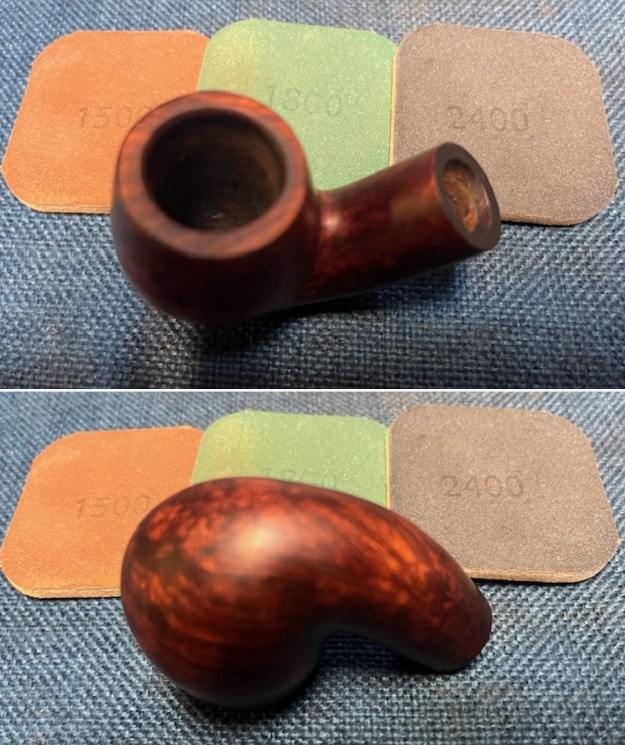
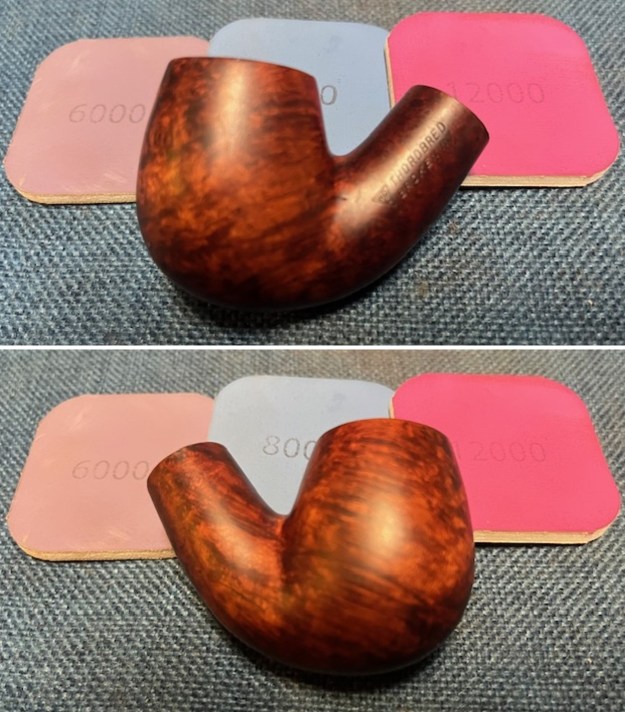
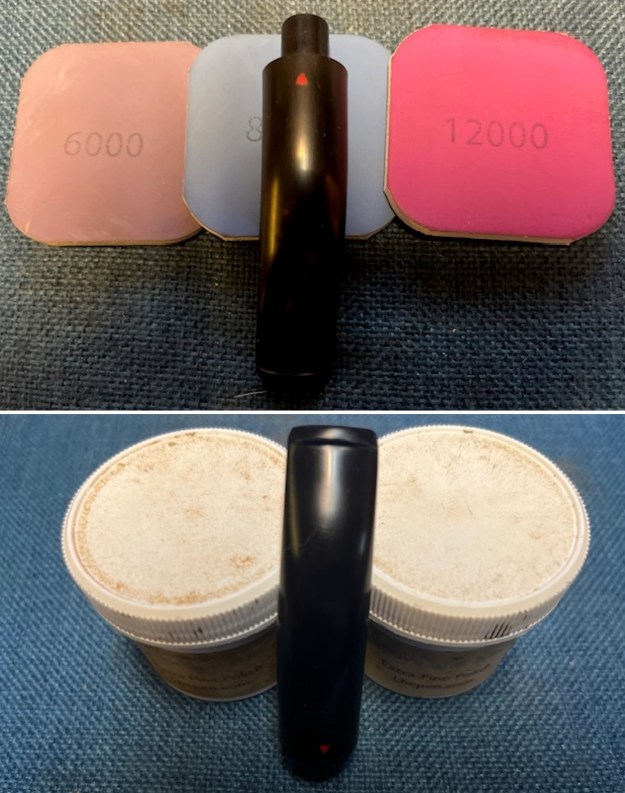
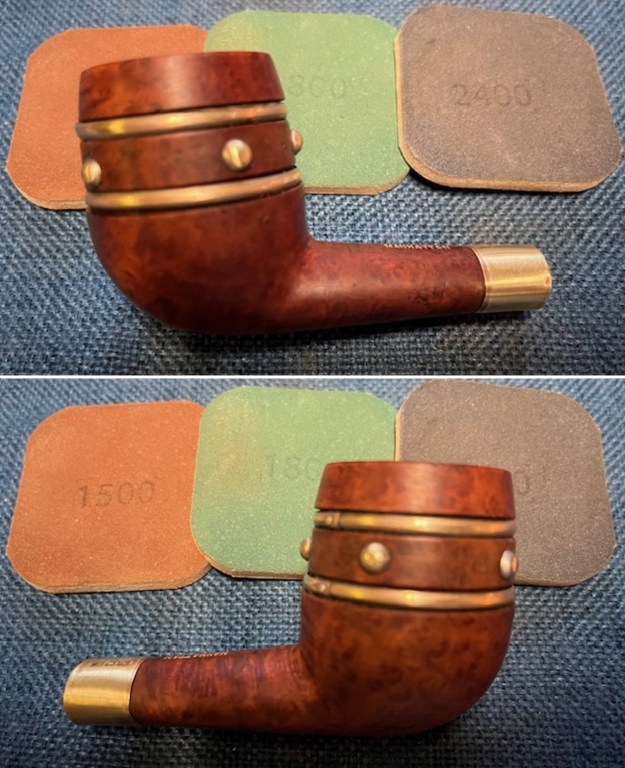
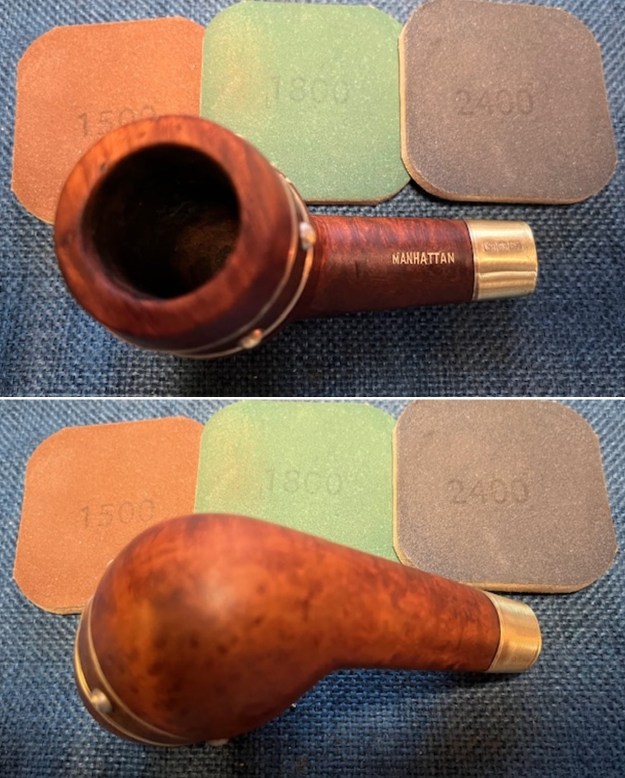
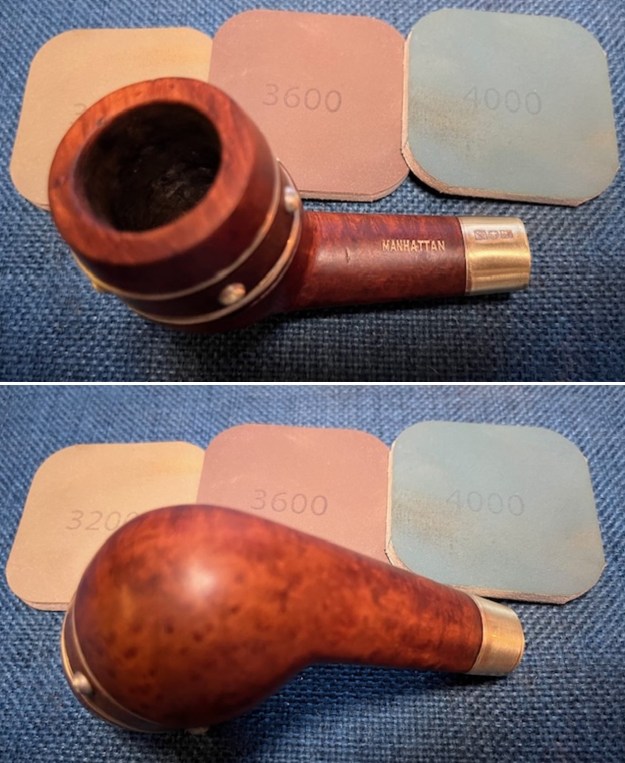
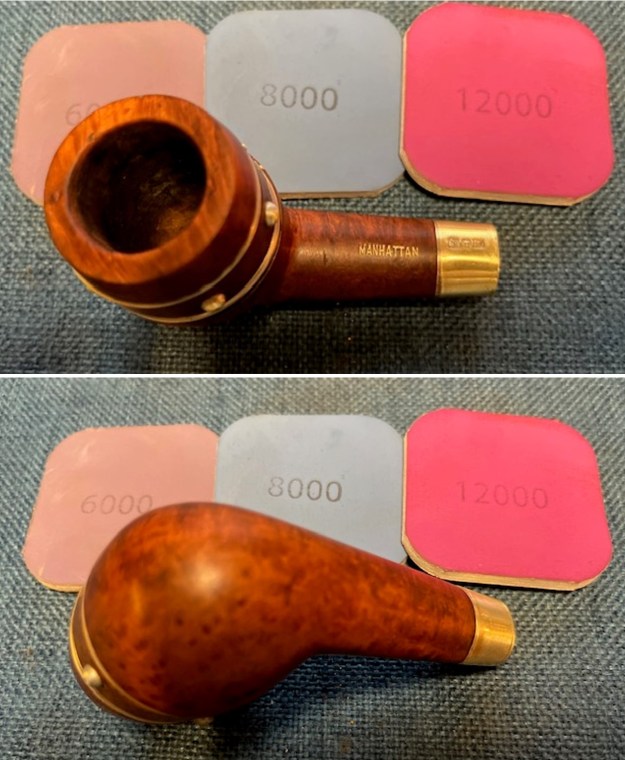
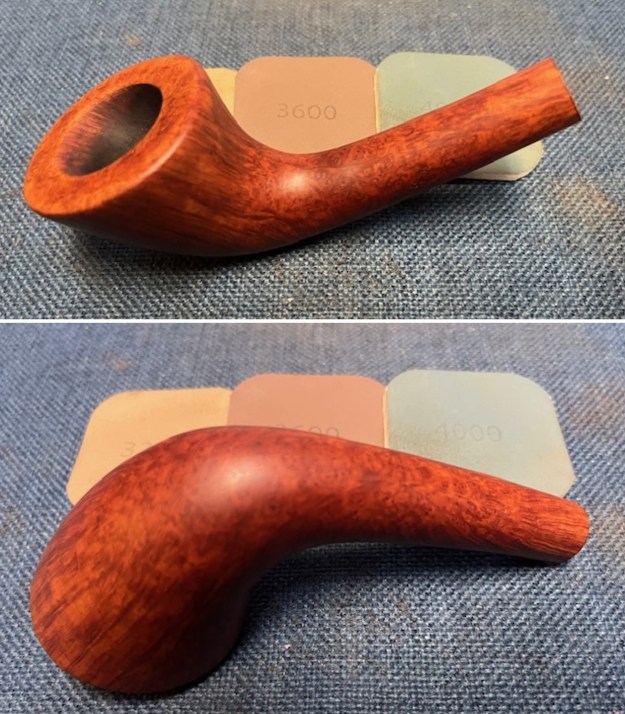
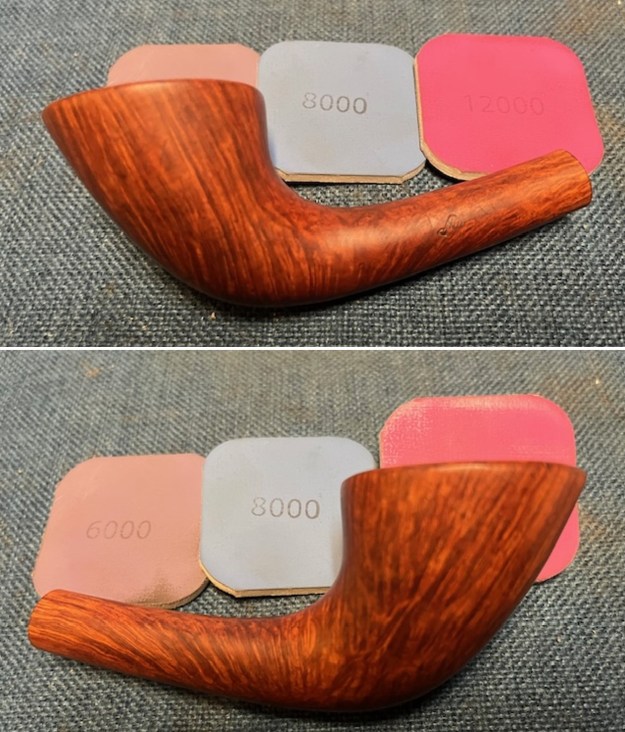
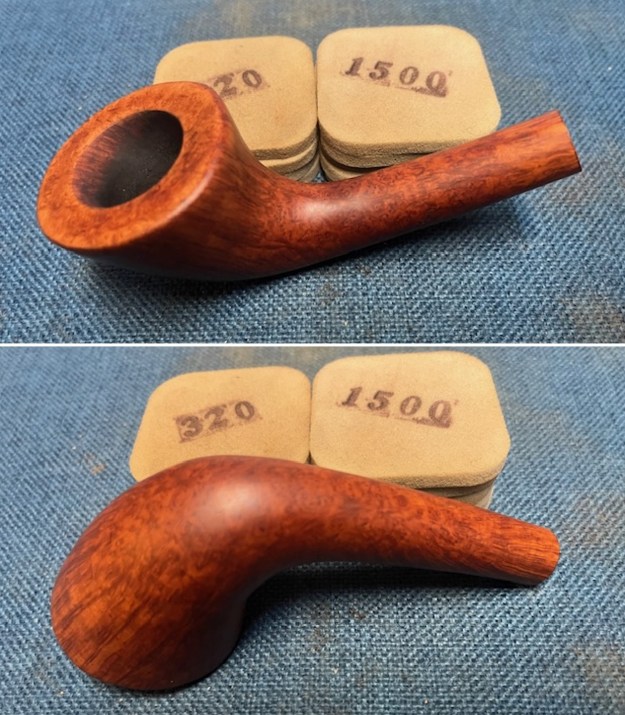 I polished the briar with micromesh sanding pads – dry sanding with 1500-12000 grit sanding pads. I wiped the bowl down with a damp cloth after each pad. I take photos of the three groups of pads for my own viewing primarily as I am looking for progress in polishing. Once again, by the end of the process it looked quite good.
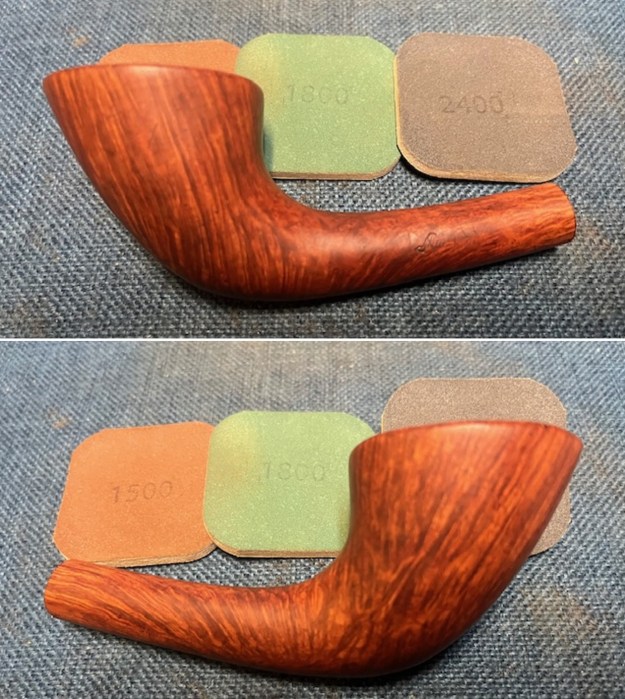

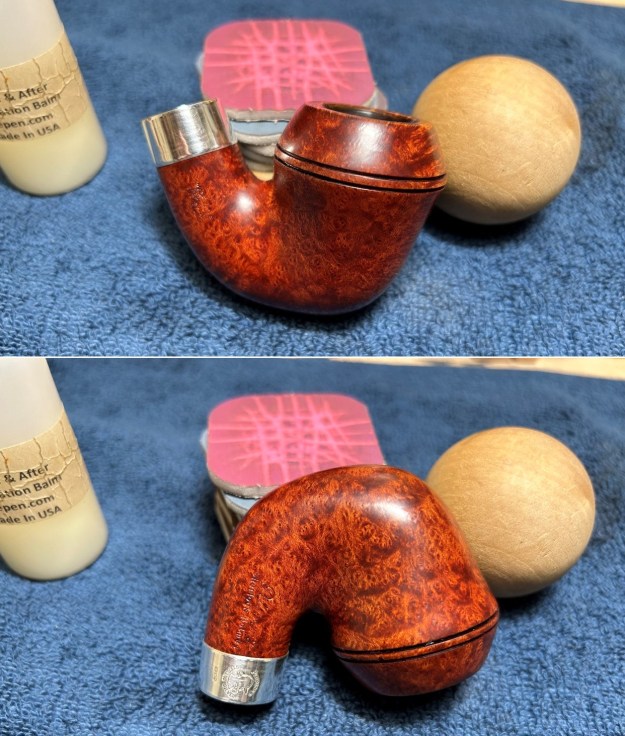
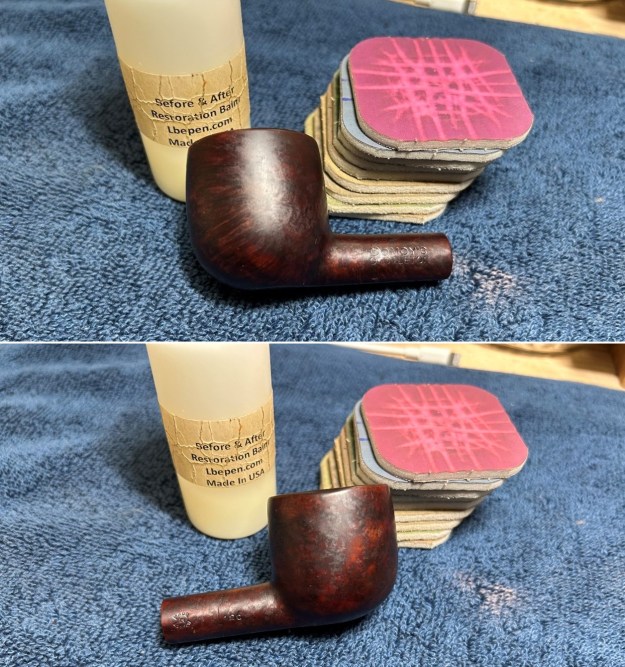
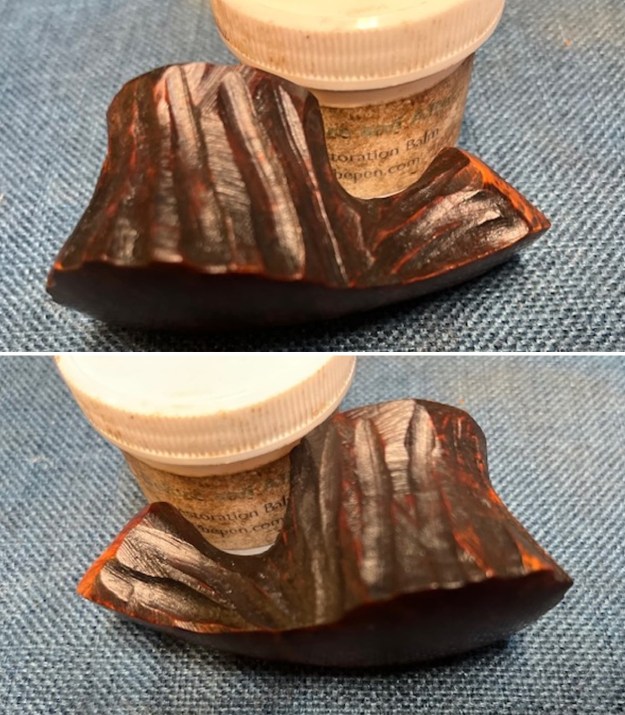
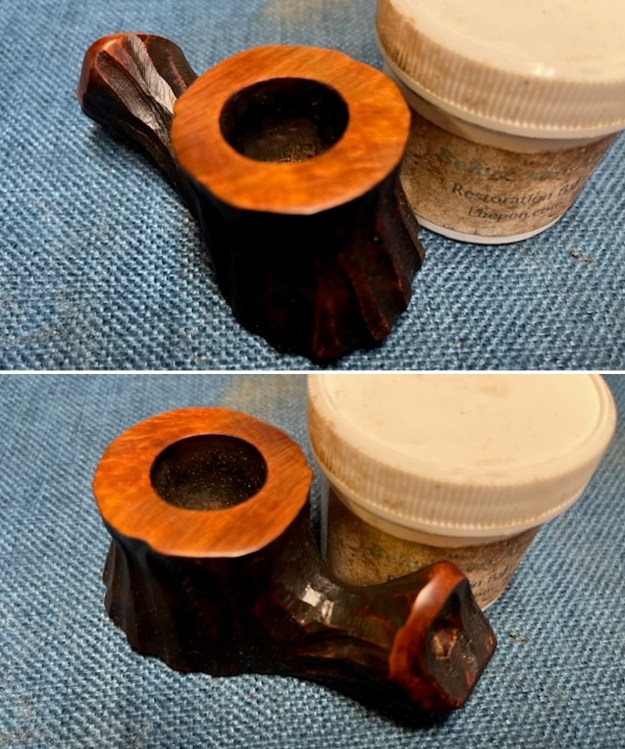
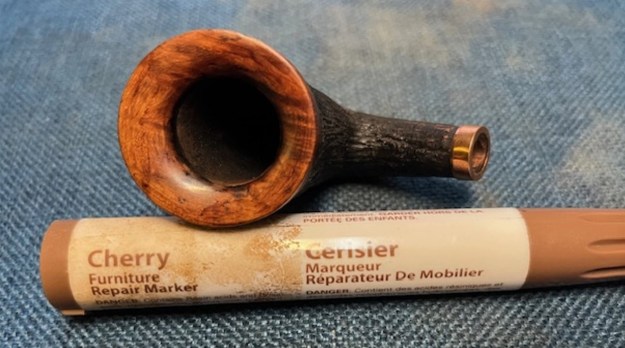
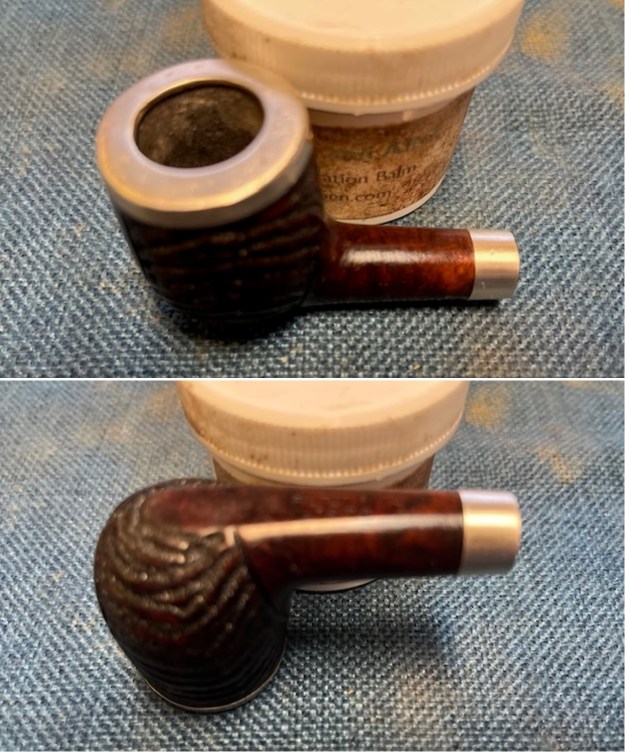
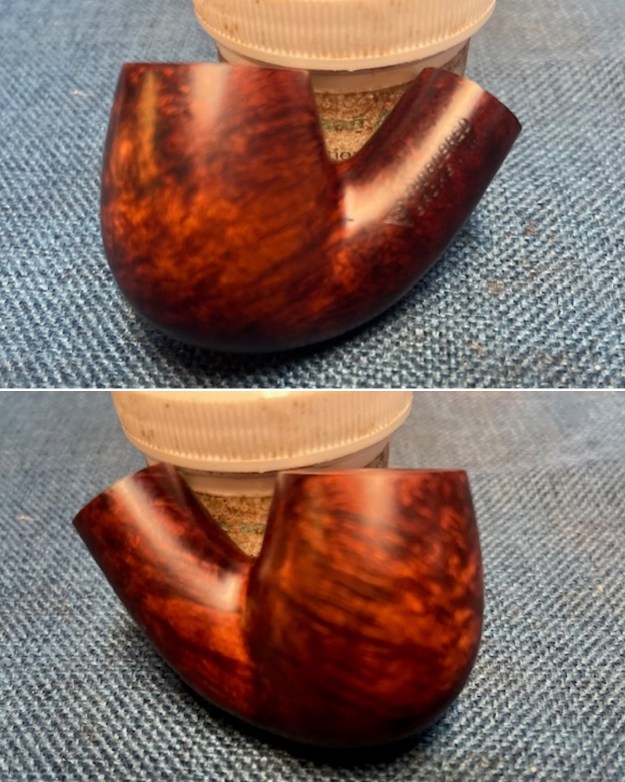
 I rubbed the bowl and shank down with Before & After Restoration Balm. I worked it into the surface of the bowl sides and shank with my fingertips. It works to clean, enliven and protect the briar. I let the balm sit for 15 minutes and buffed with a cotton cloth to raise the shine. The grain came alive.
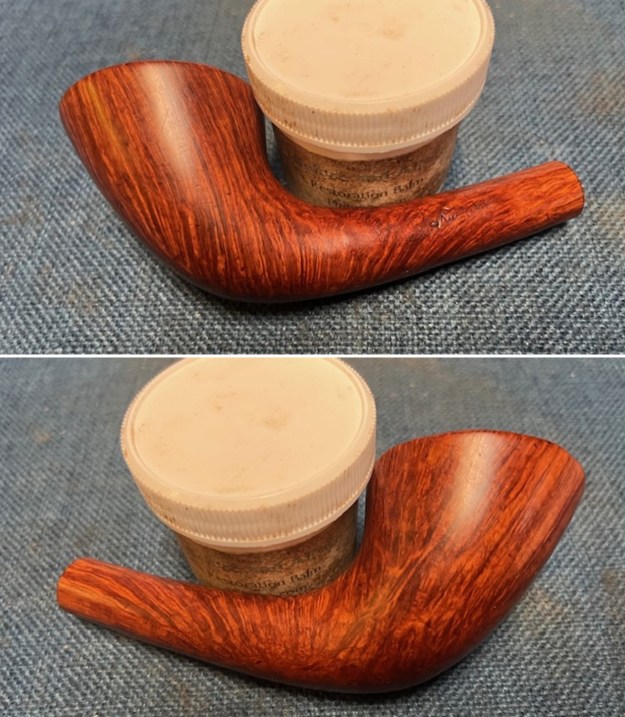
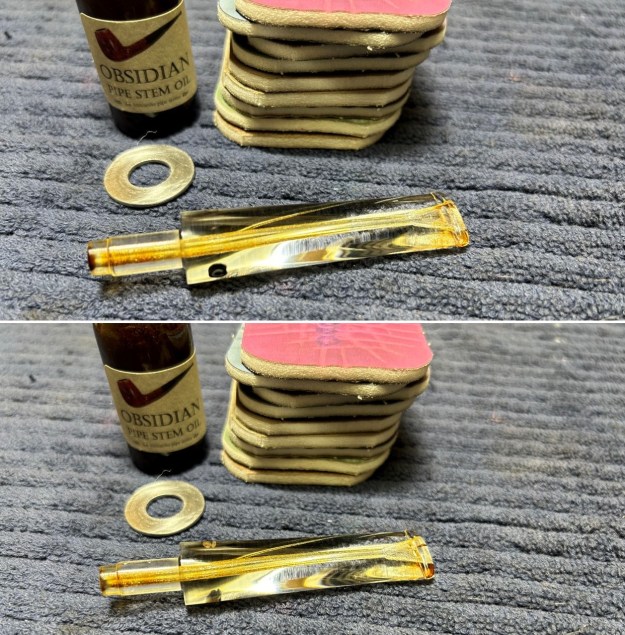
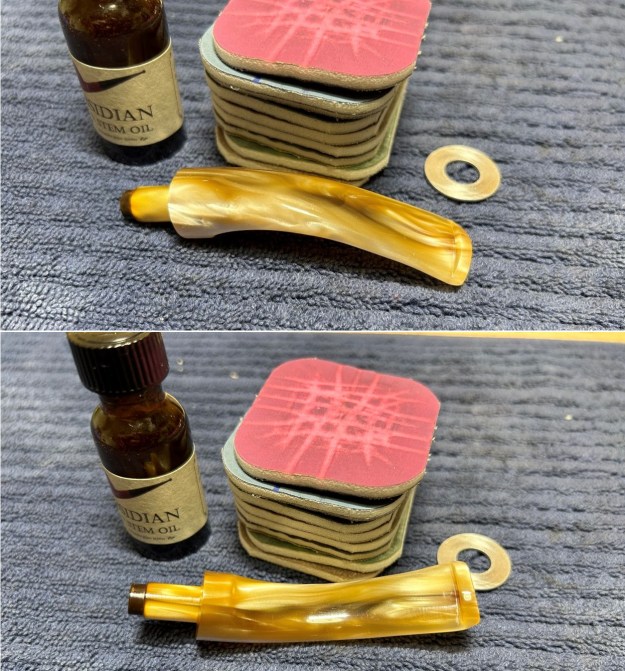
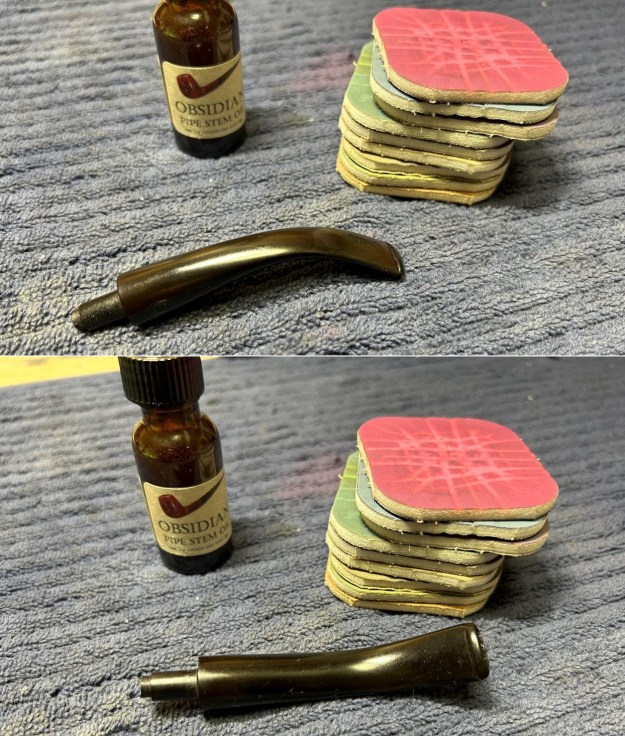
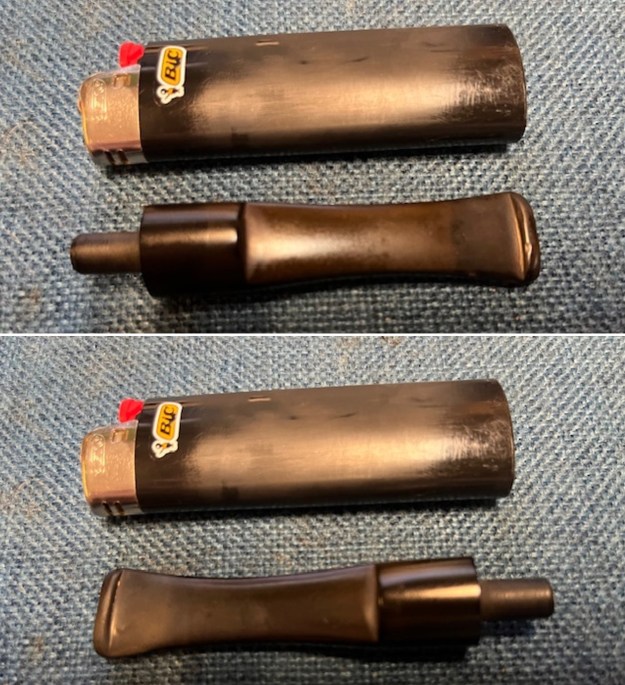
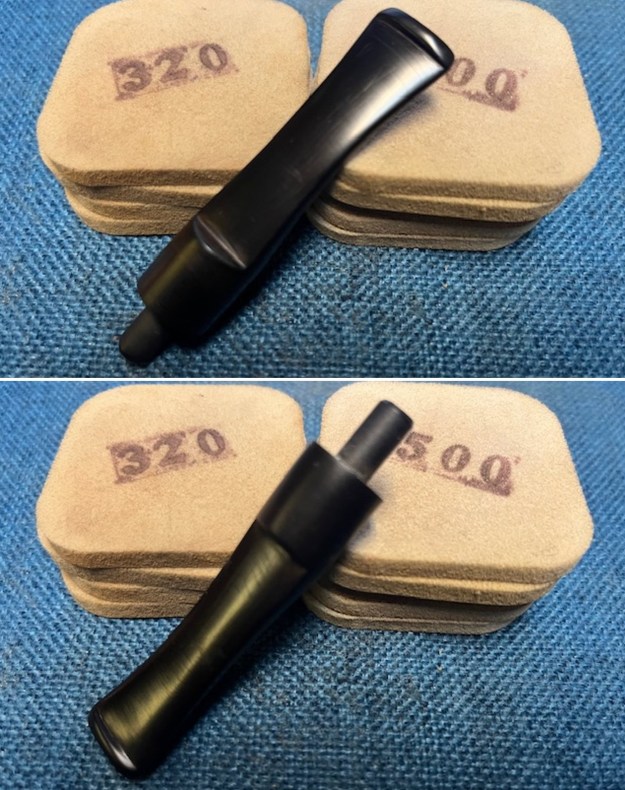
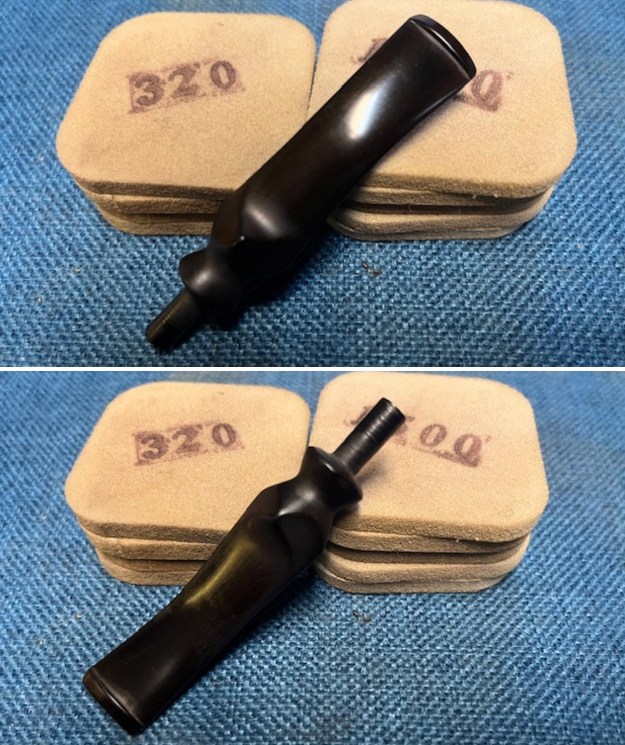
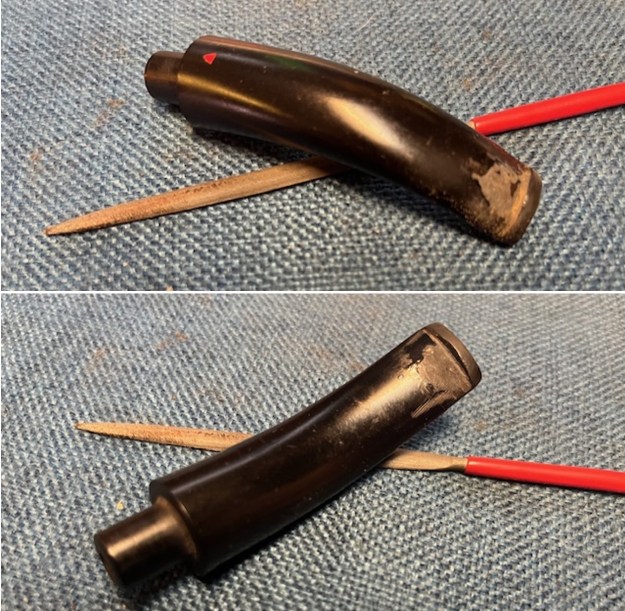
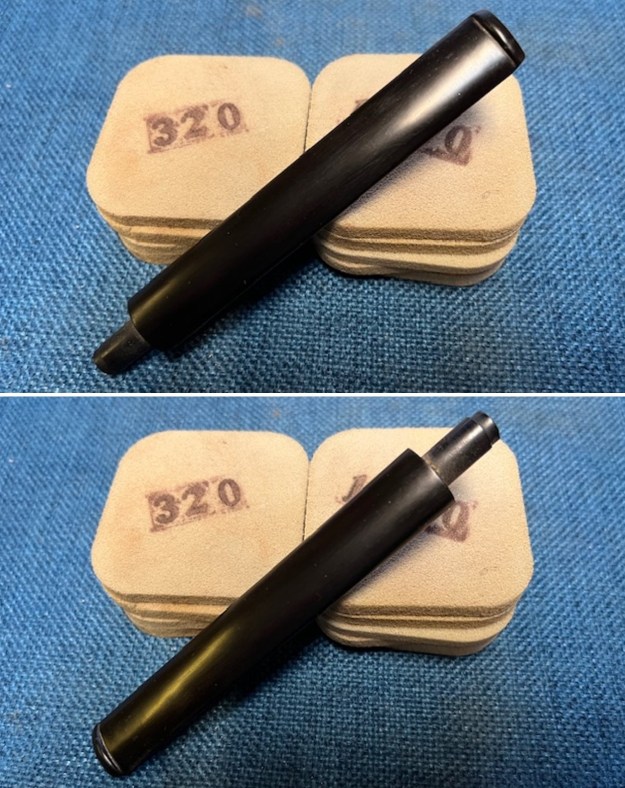
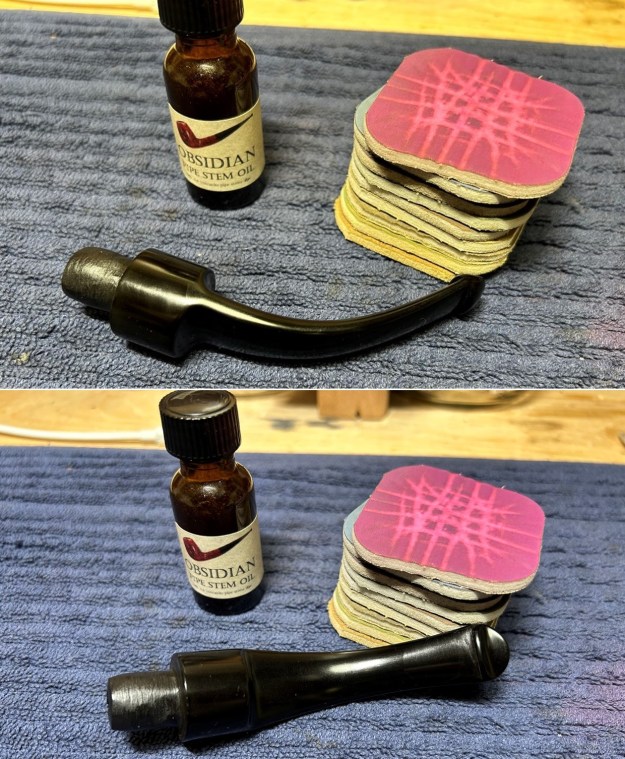
 I set the bowl aside and turned my attention to the stem. The tooth chatter and marks were on the surface so I sanded the stem with 320-3500 grit sanding pads. I wiped the stem down after each pad with an Obsidian Oil soaked cloth. The process helped remove the lingering oxidation.
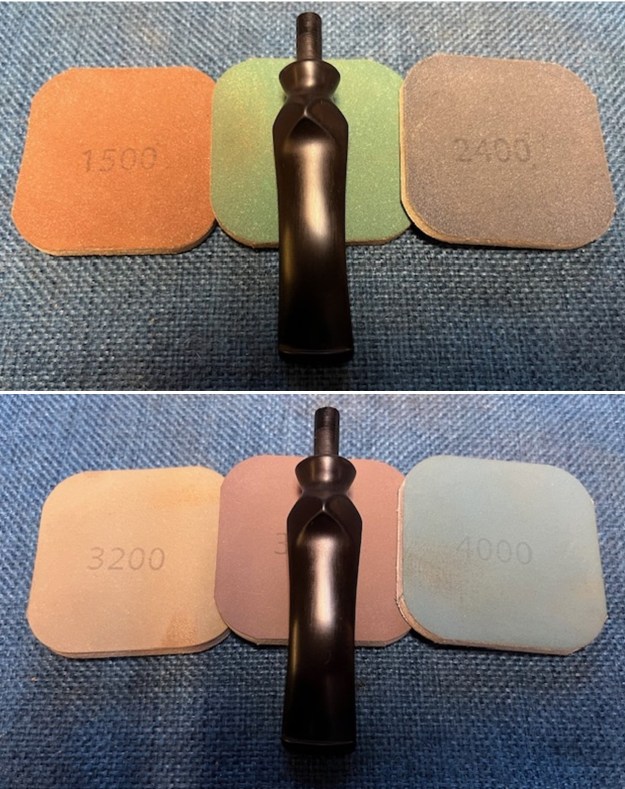
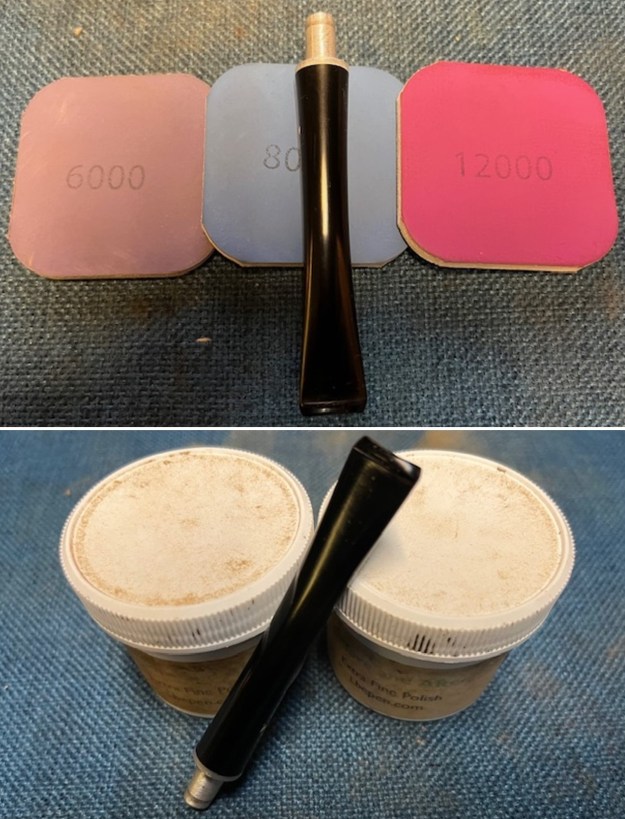
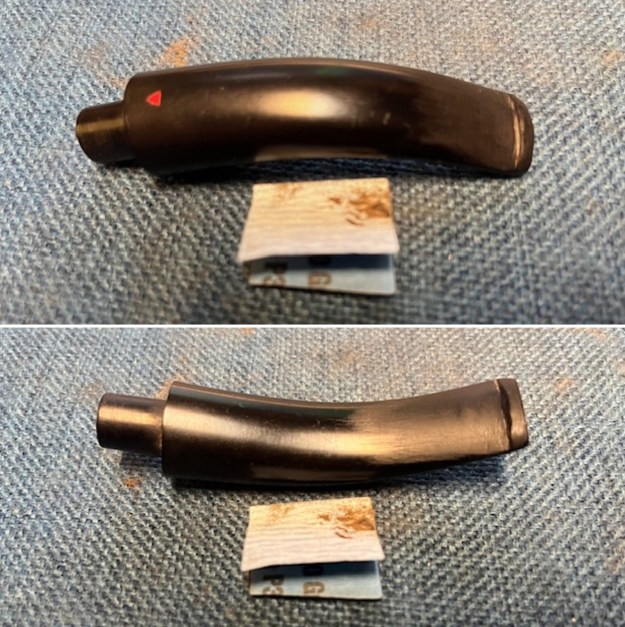
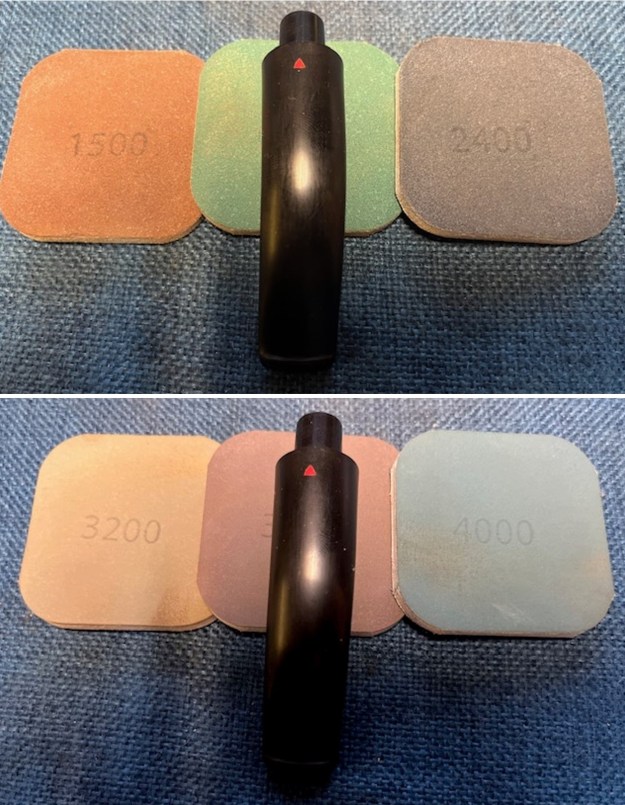
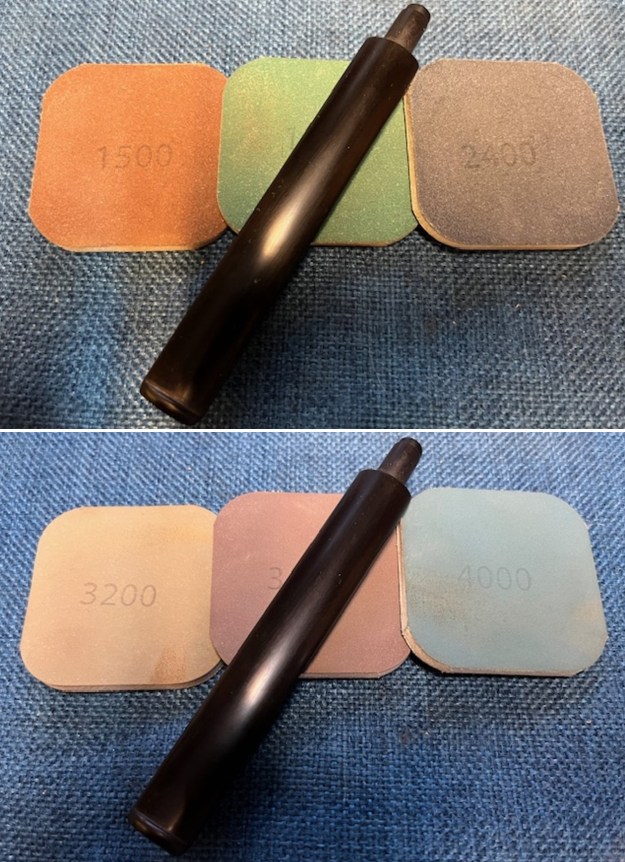
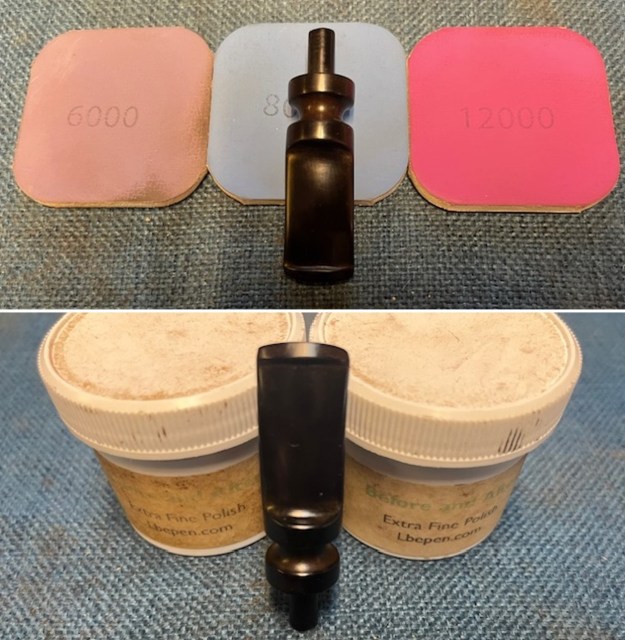
 I polished the stem with micromesh sanding pads – 1500-12000 grit pads to remove them. I wiped the stem down with Obsidian Oil after each sanding pad. I used Before & After Pipe Polish – both Fine and Extra Fine to further polish the stem. I rubbed it down with a final coat of Obsidian Oil and let it dry.
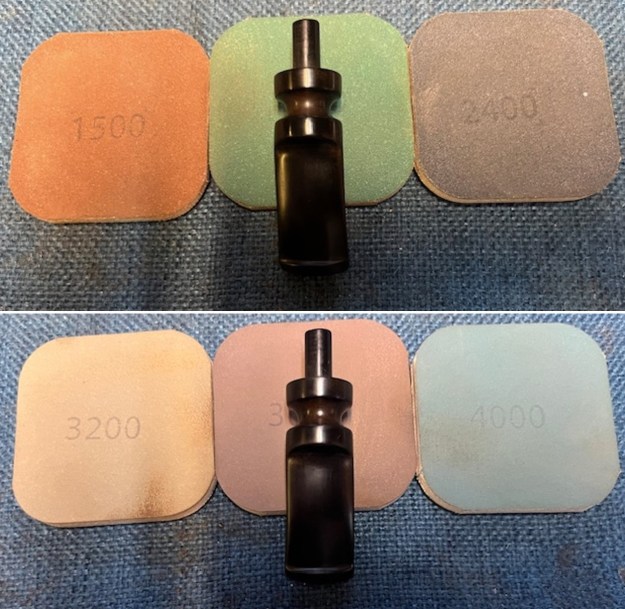
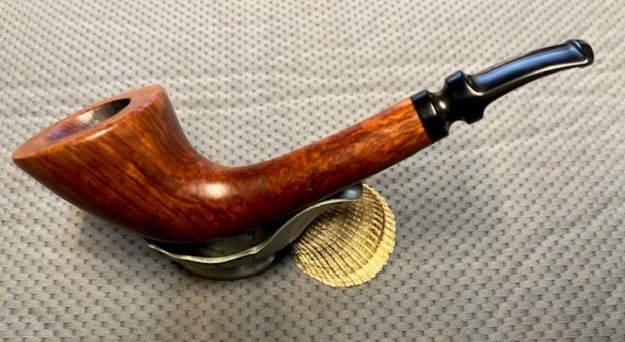
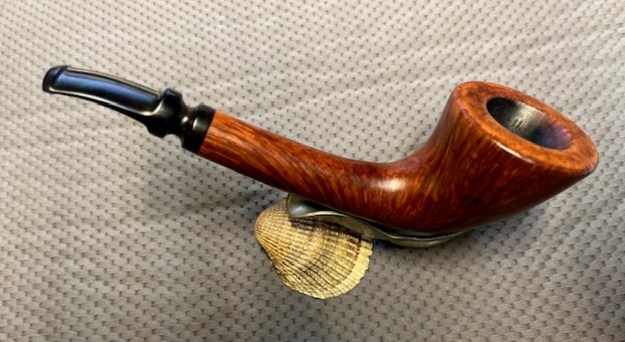
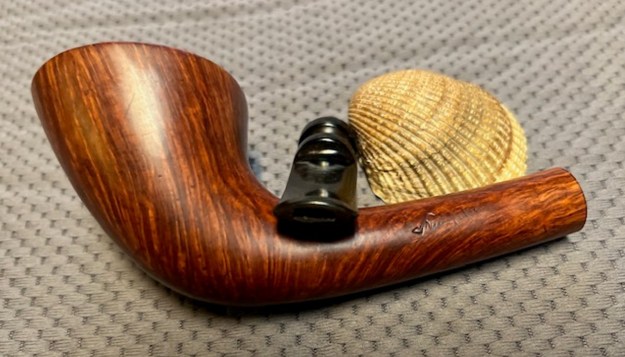
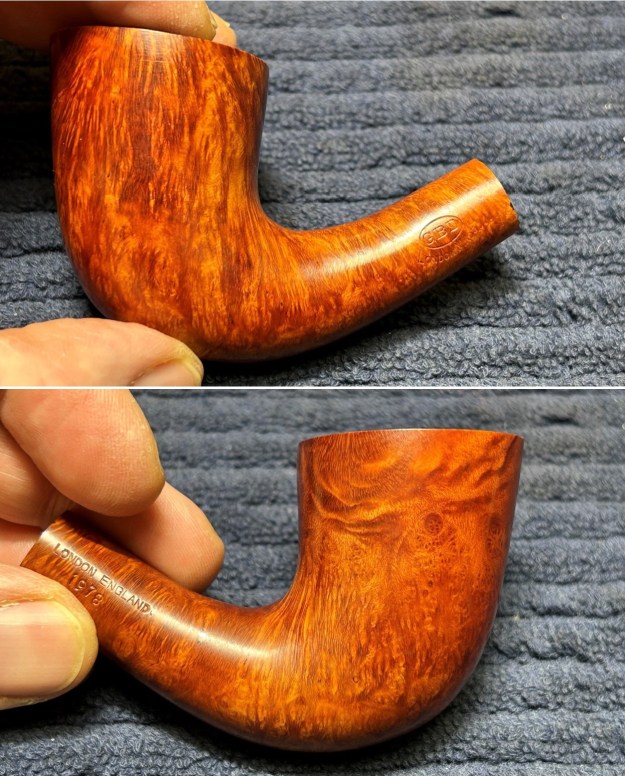
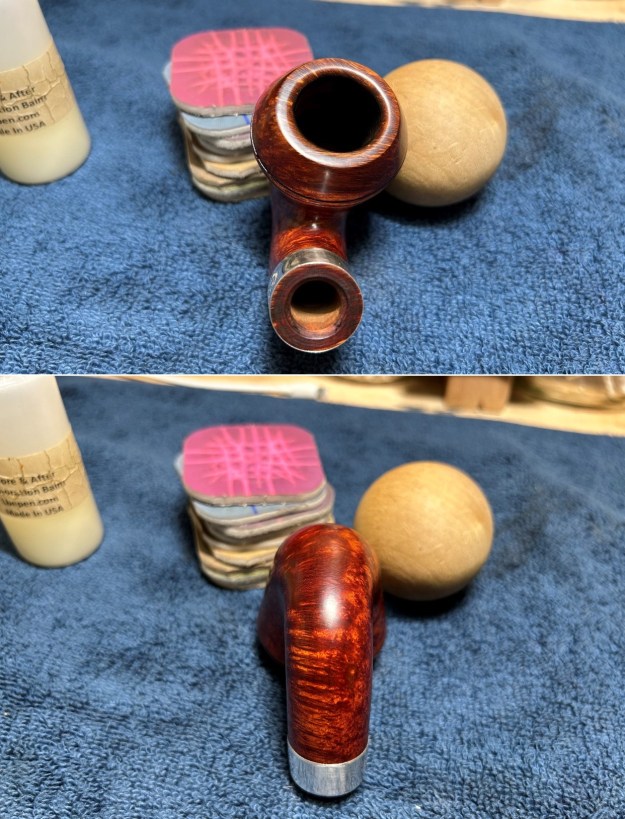
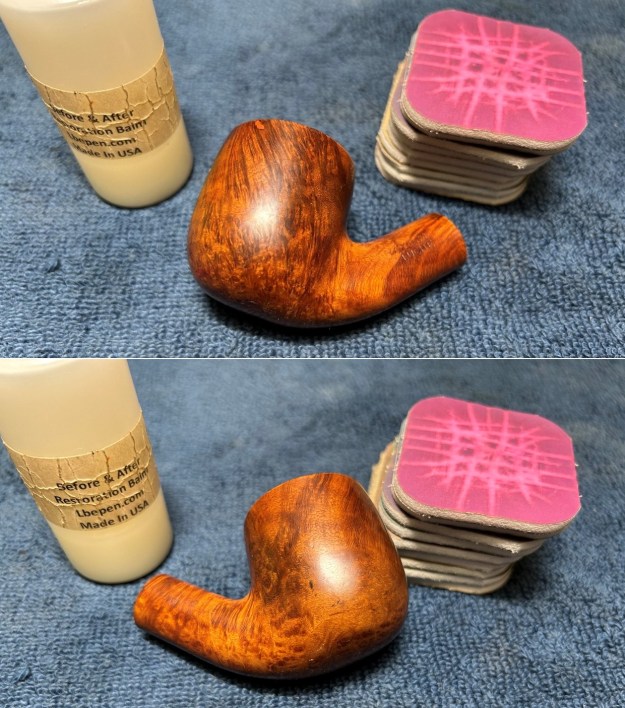
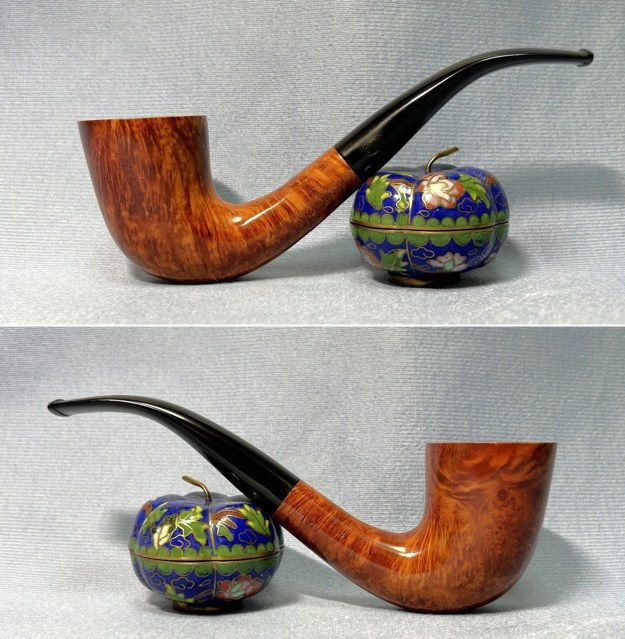
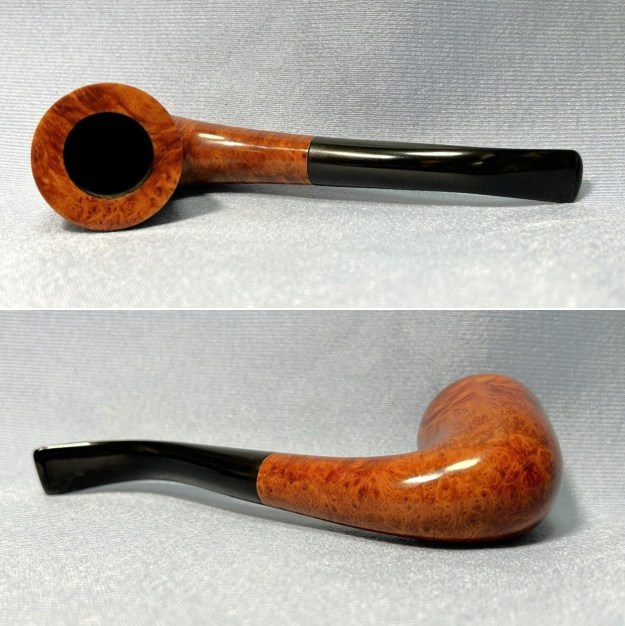
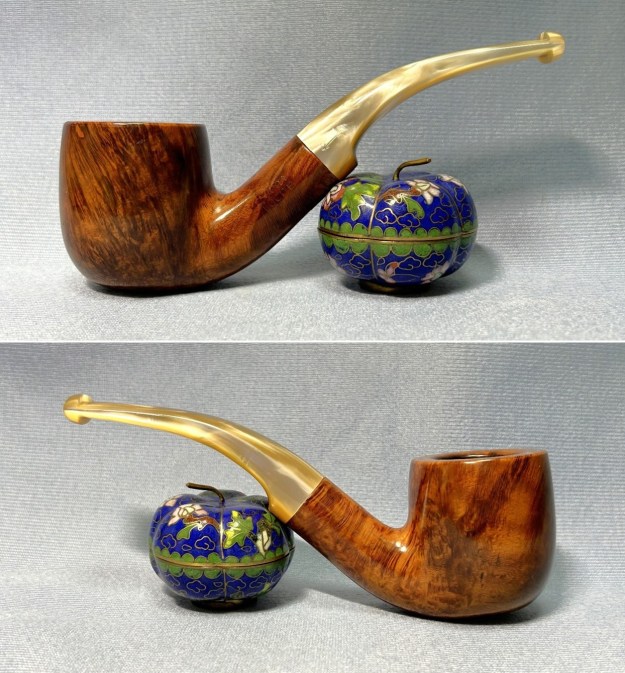
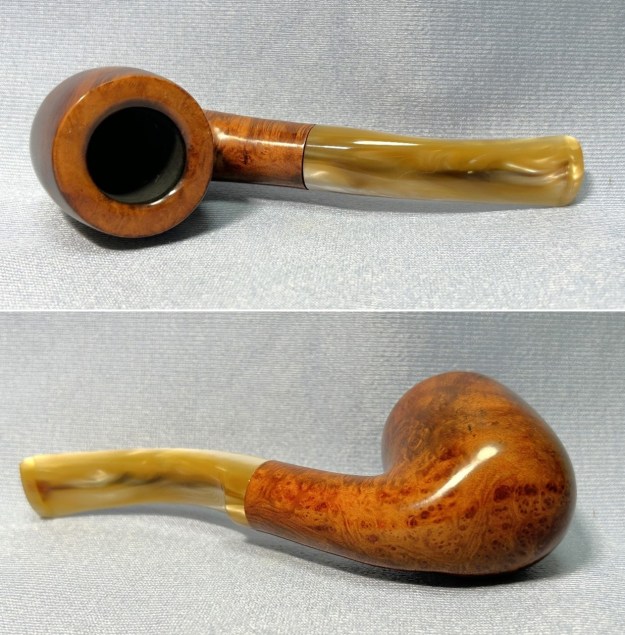
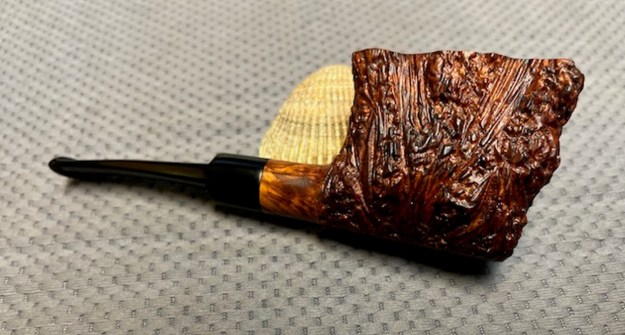
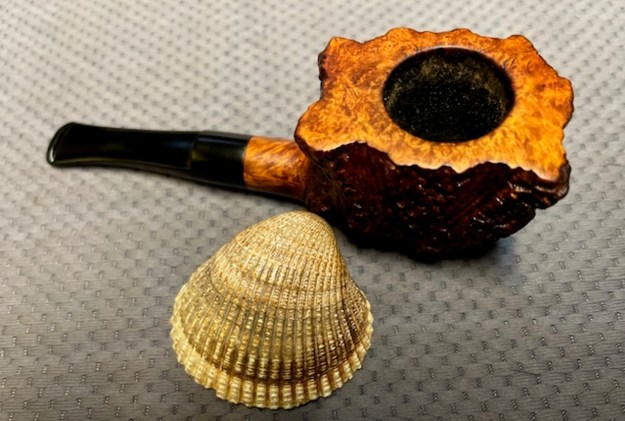
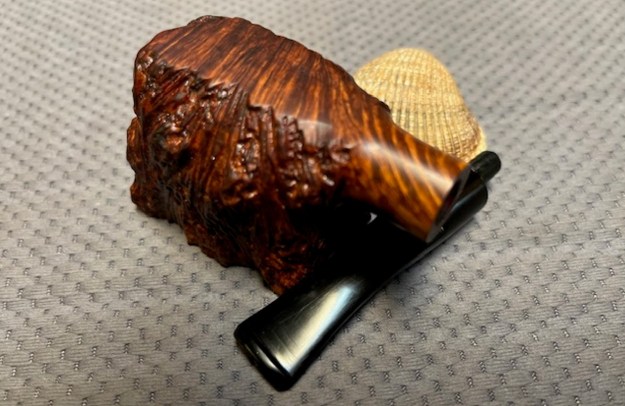
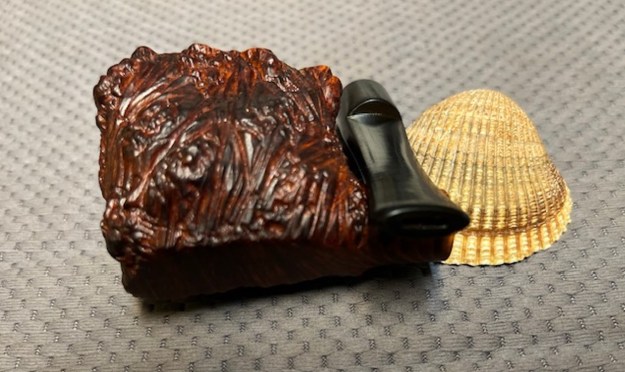
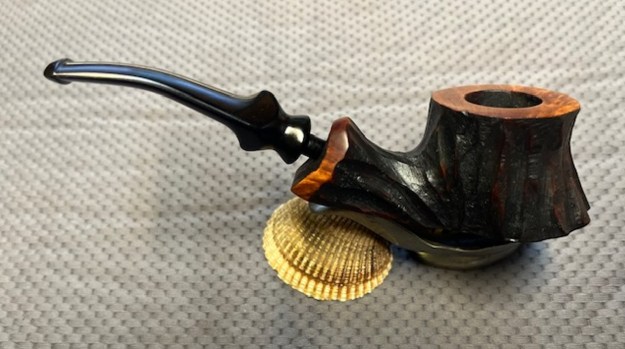
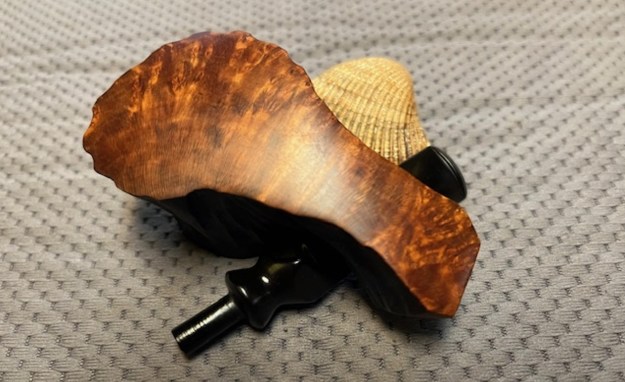
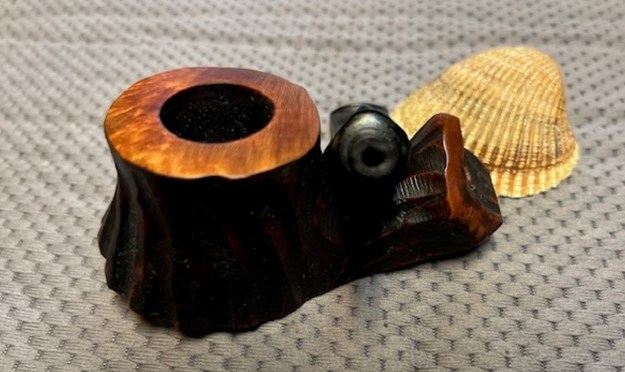
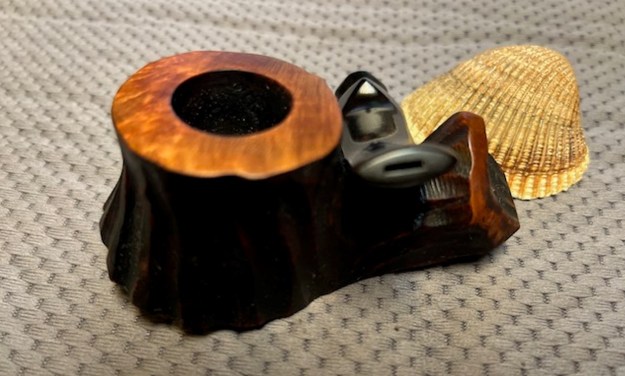
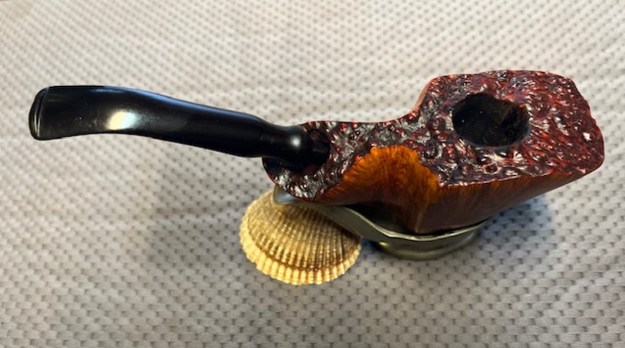
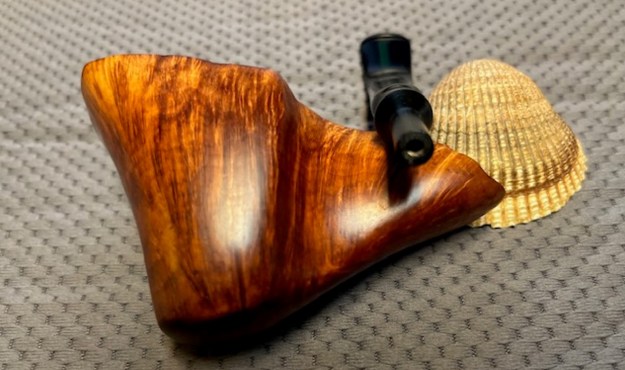
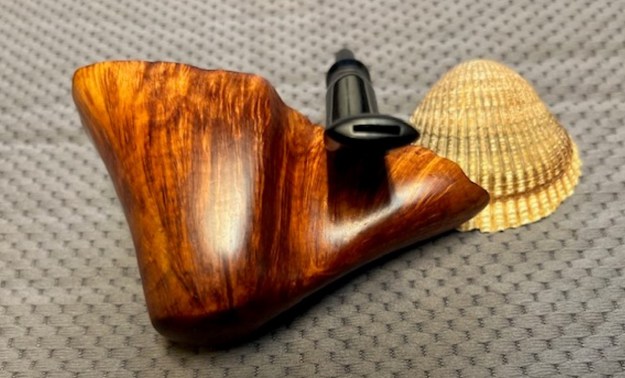
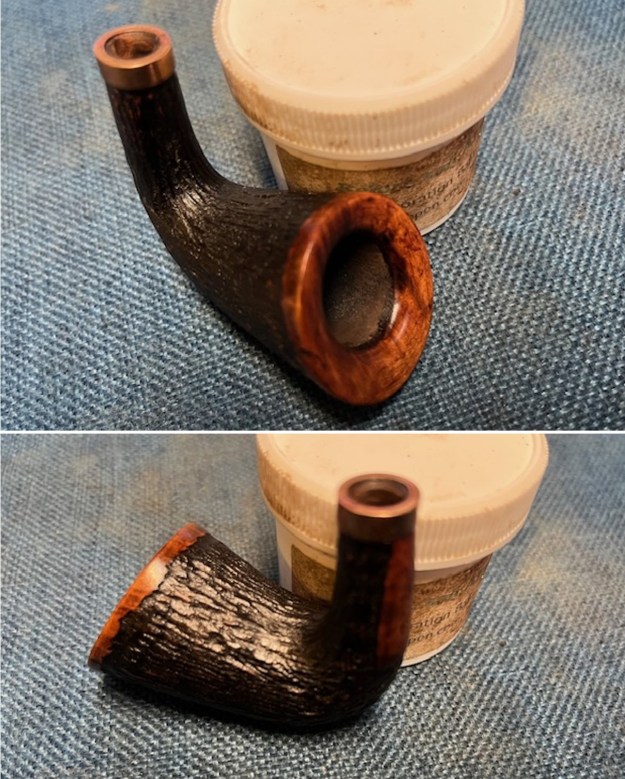
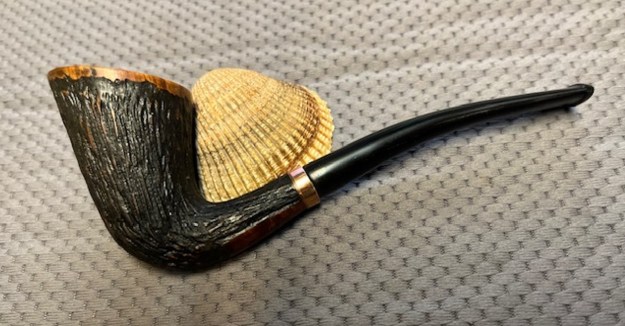
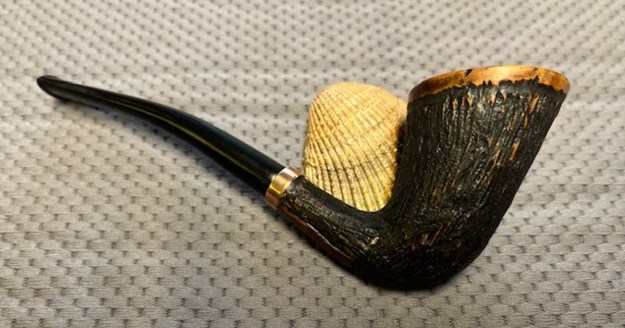
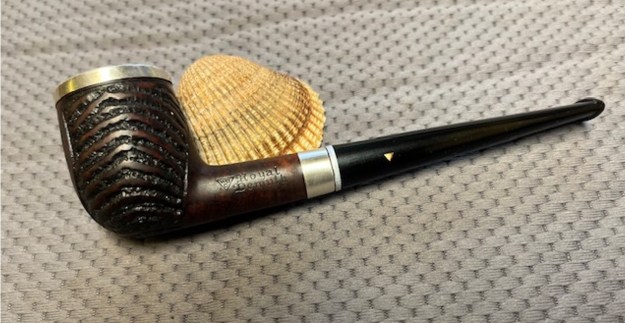
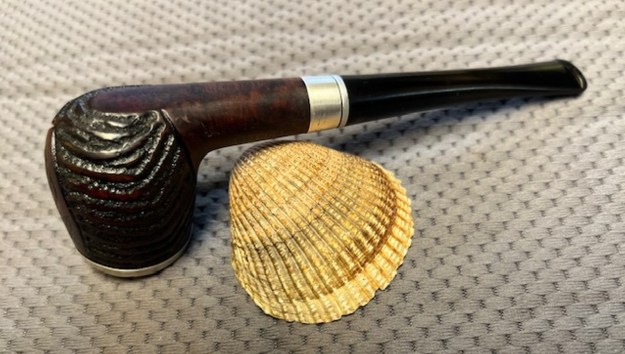
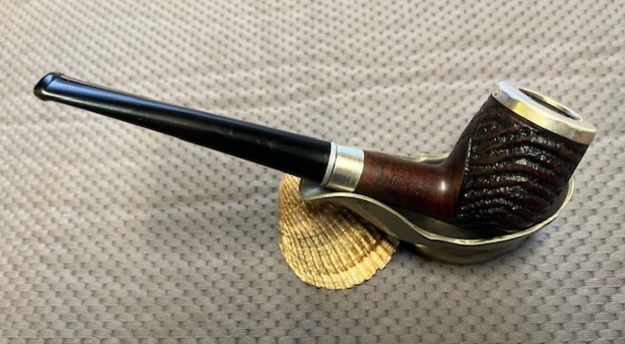
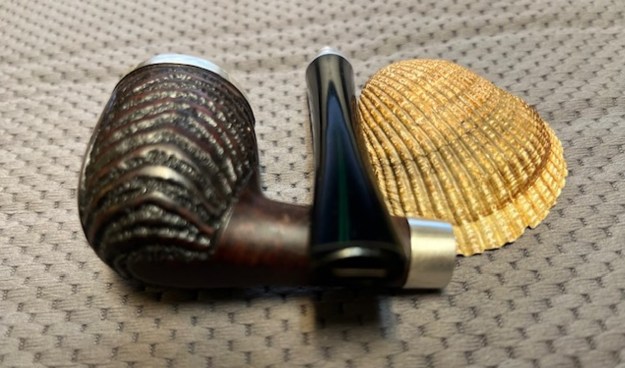
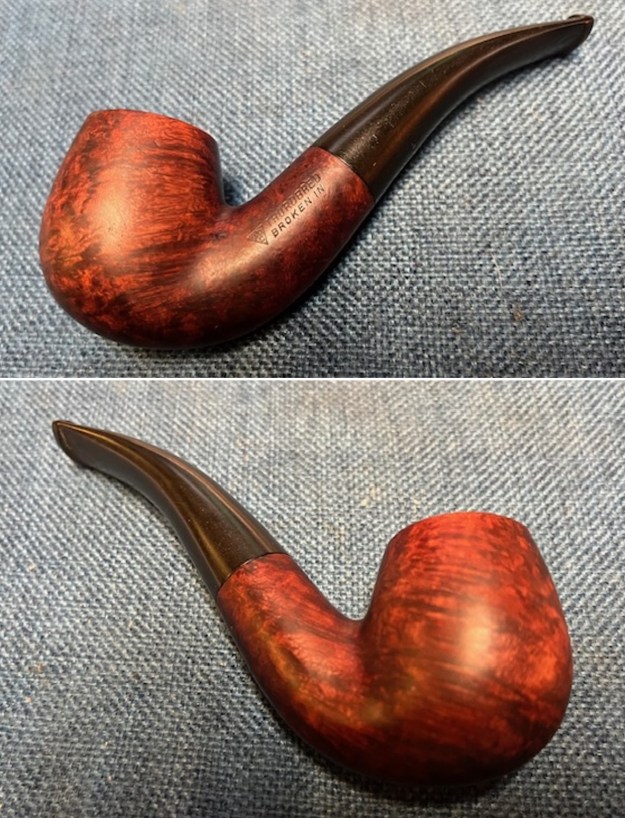
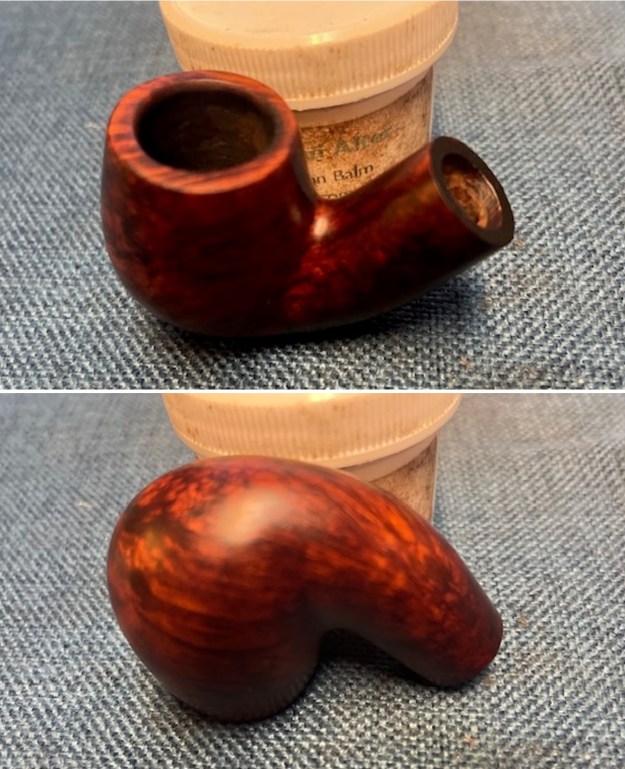
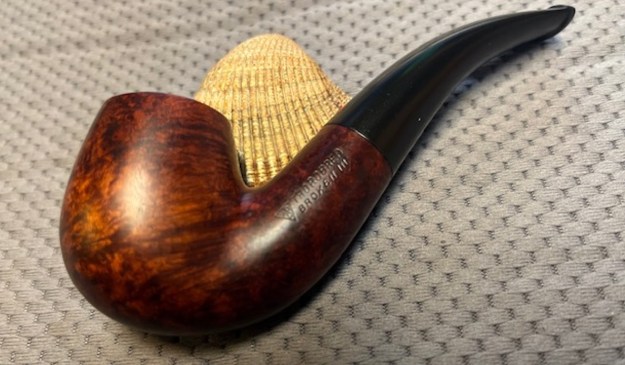
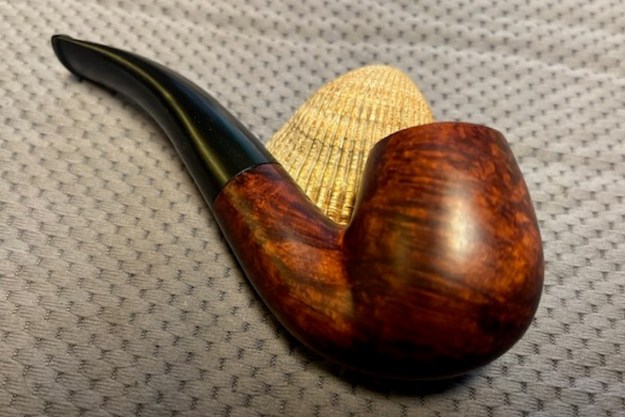
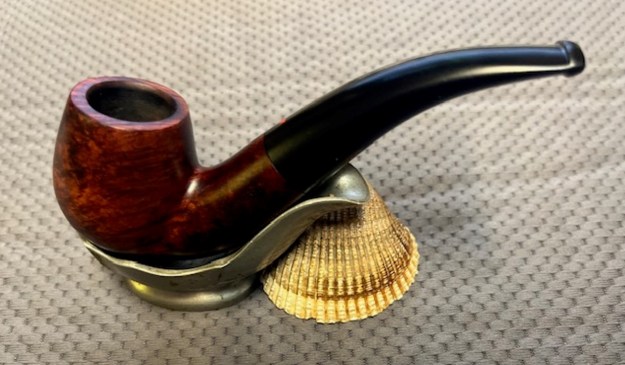
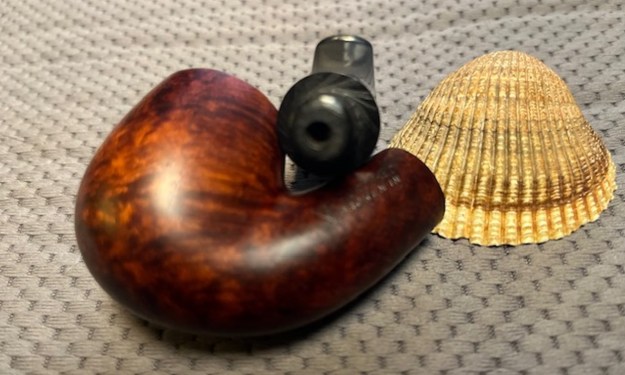
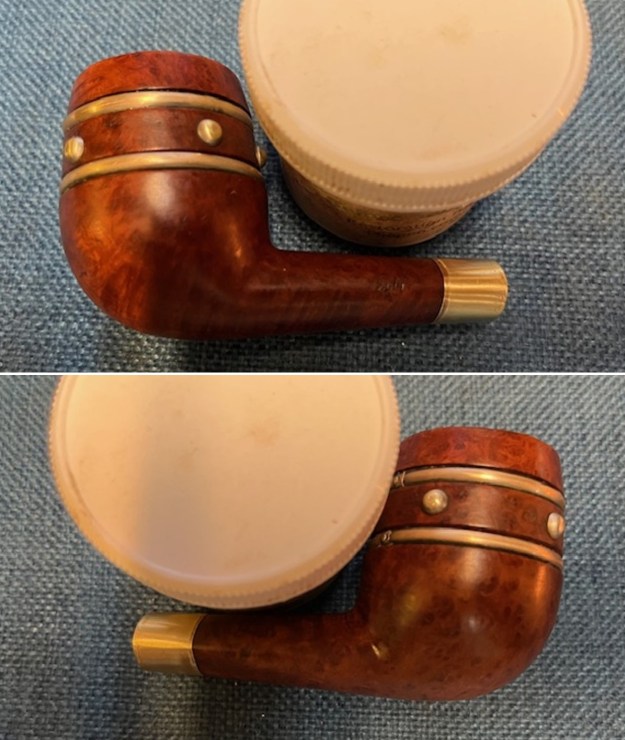
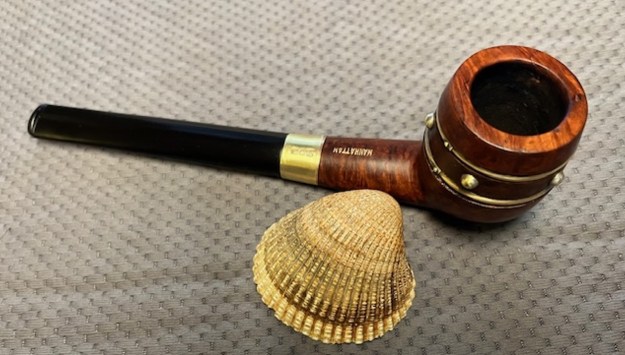
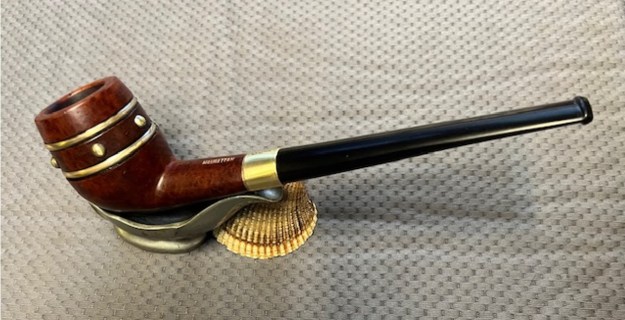
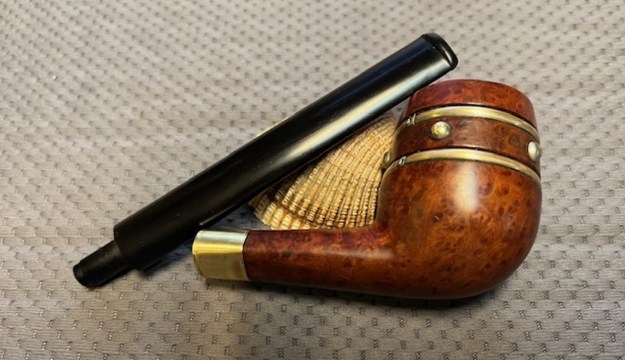
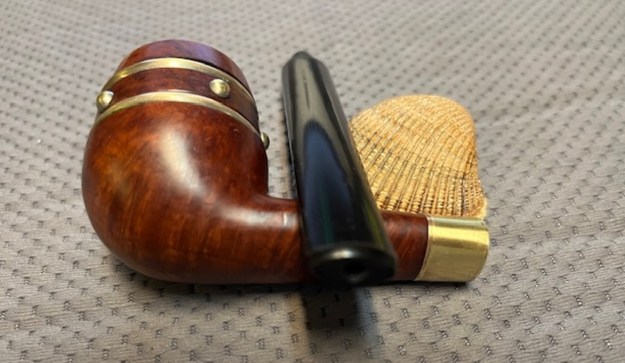
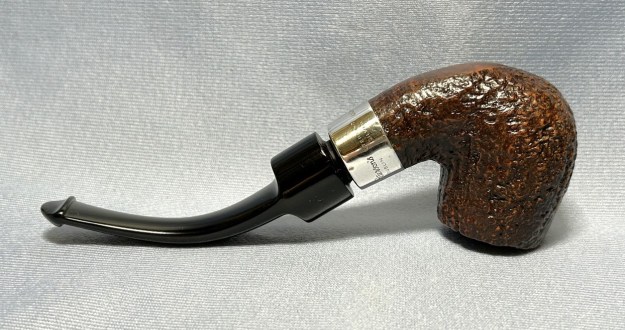
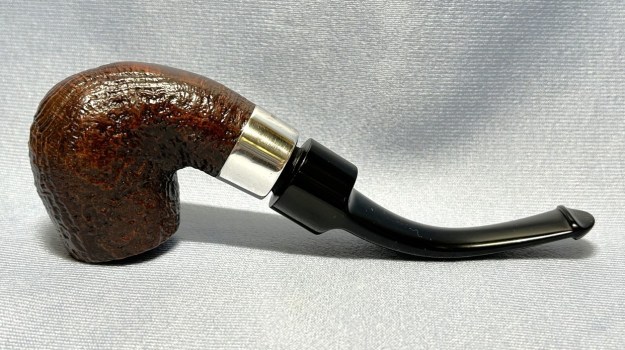
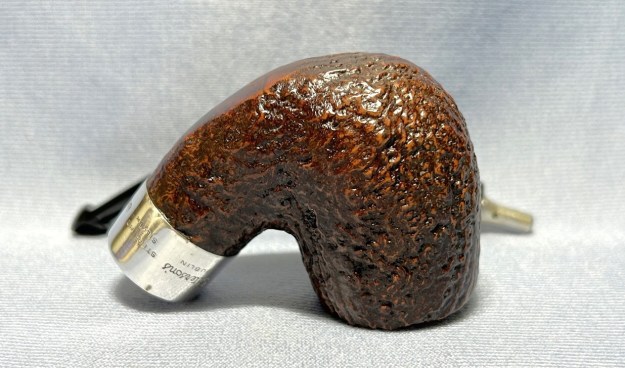
 This Jack H. Weinberger (JHW) Long Shank Horn with a vulcanite saddle stem is a great looking pipe with some beautiful grain around the front and sides of the bowl. The grain around the bowl is quite stunning and works well with both the shape and the polished vulcanite saddle stem. I put the stem back on the bowl and carefully buffed the pipe with Blue Diamond on the buffing wheel using a light touch on the briar. I gave the bowl and the stem multiple coats of carnauba wax on the wheel and followed by buffing the pipe with a clean buffing pad. I hand buffed the pipe with a microfiber cloth to deepen the shine. The finished Jack H. Weinberger (JHW) Long Shank Horn fits nicely in the hand and feels great. Give the finished pipe a look in the photos below. The dimensions of the pipe are Length: 6 ½ inches, Height: 2 inches, Outside diameter of the bowl: 2 inches, Chamber diameter: 1 inch. The weight of the pipe is 1.94 ounces/54 grams. I will be putting it on the rebornpipes store in the American Pipemakers Section shortly. If you are interested in adding this pipe to your collection send me a message or an email. Thanks for reading this blog and my reflections on the pipe while I worked on it. I appreciate your support and time!