Blog by Steve Laug
It you have not read the previous blogs I have posted on this brand give them a read to get some background on the pipes in this lot. If you have not been hit with a box I am sure you have a hard time understanding how overwhelming it feels to look at the 200+ pipes that need to be restored. It is mind boggling for sure – but there is only one way to move ahead – 1 pipe at a time. I could not do it without Jeff’s help doing the clean up on the lot. If I had to do it all by myself it would be more than I handle moving through this many pipes. From his cleaned pipes I get to choose what I want to work on. Doing the work this way we have already cleaned about 70 pipes and I have restored around 38 of them. We are getting there slowly but surely.
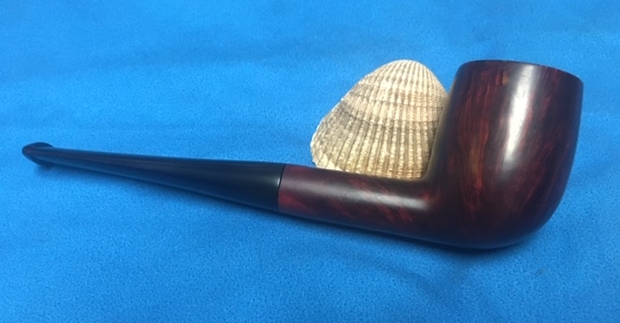
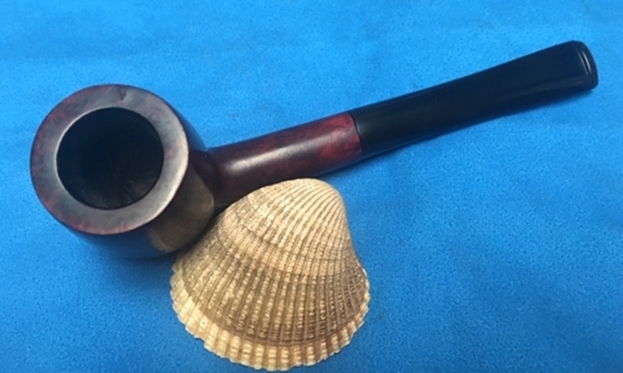
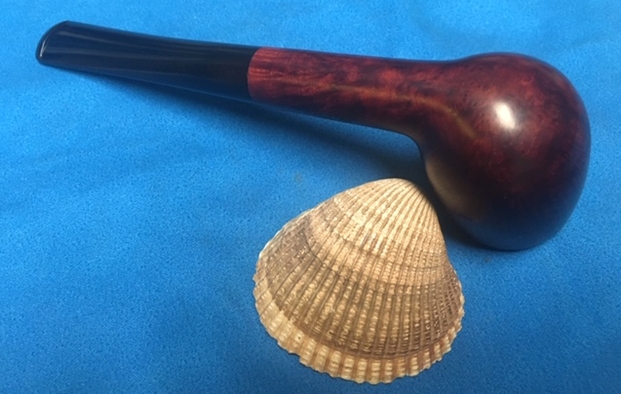
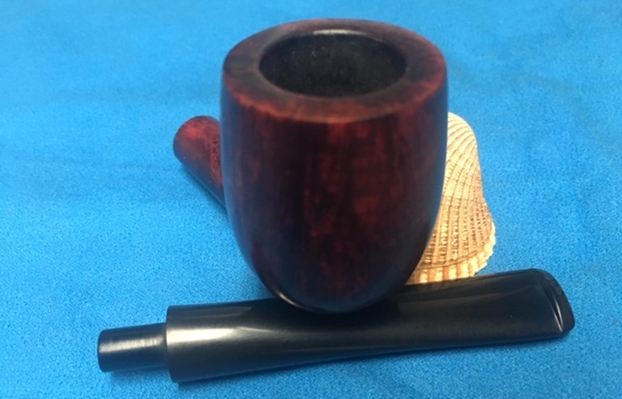
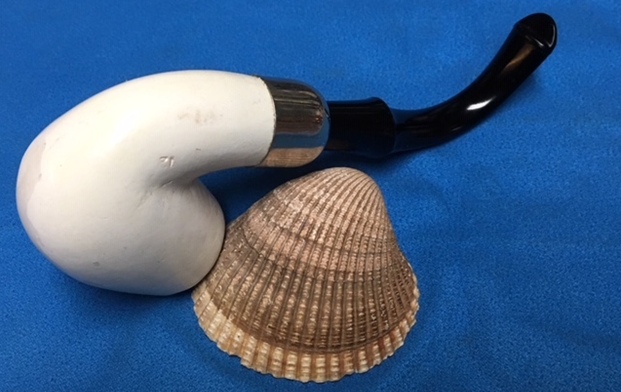
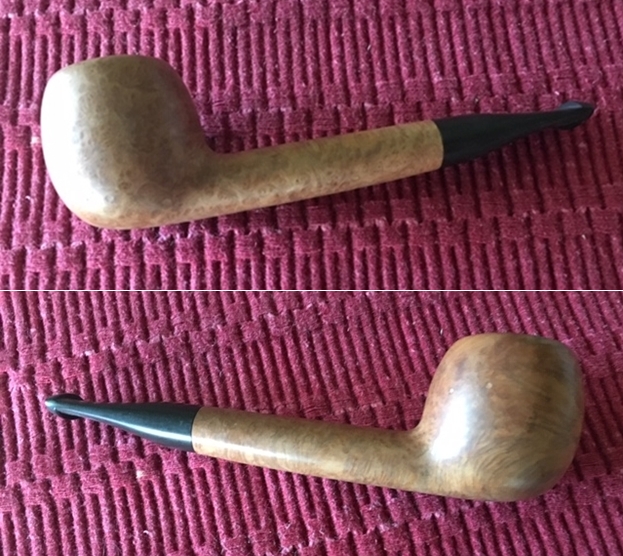
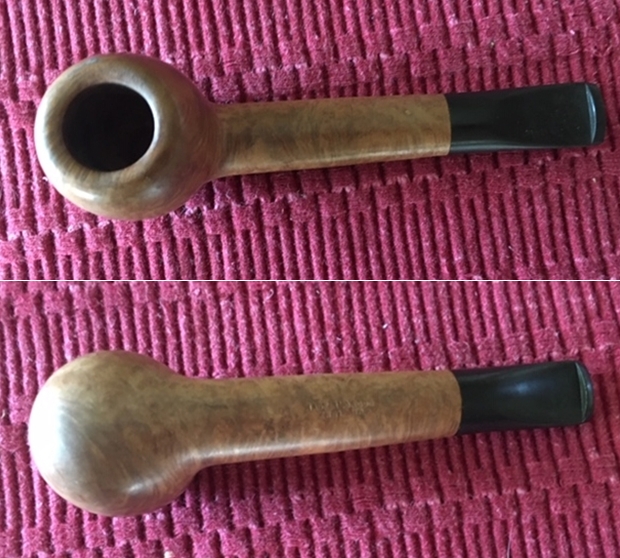
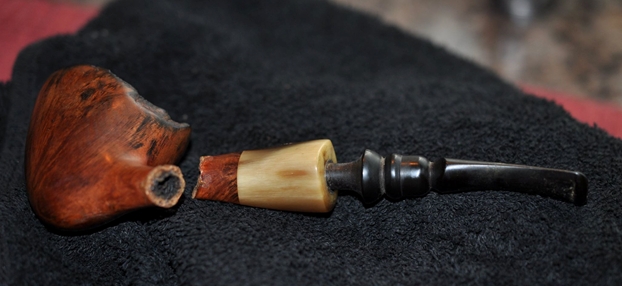
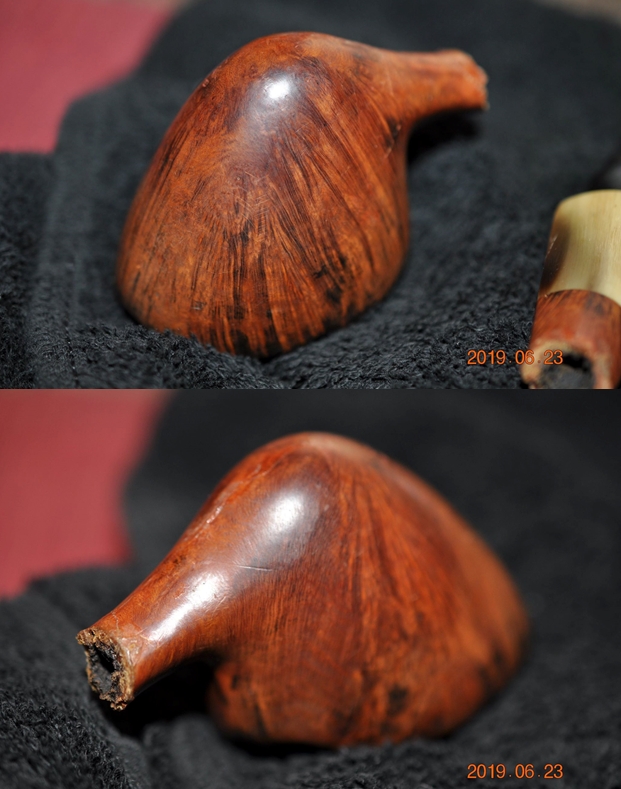
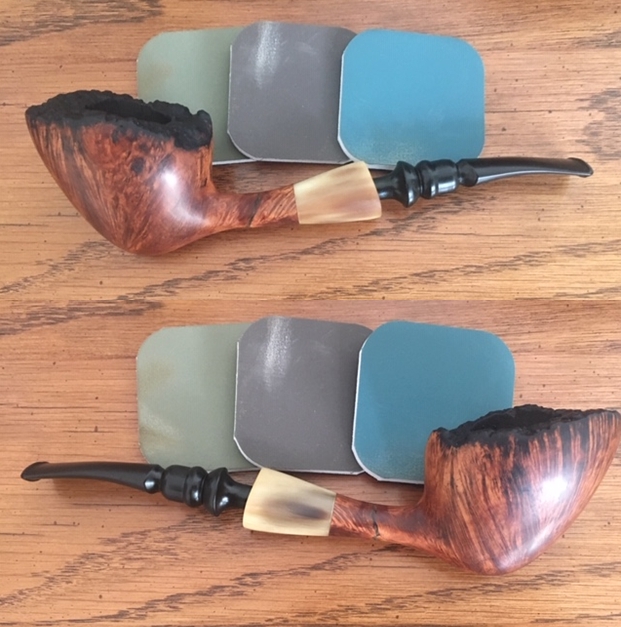
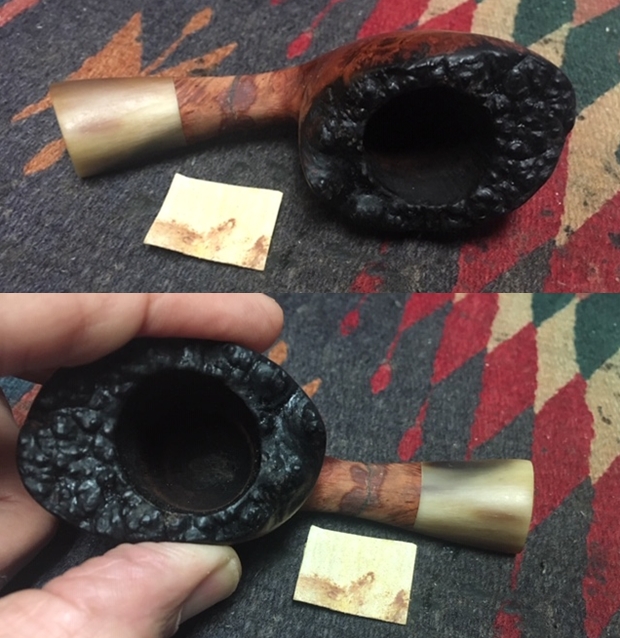
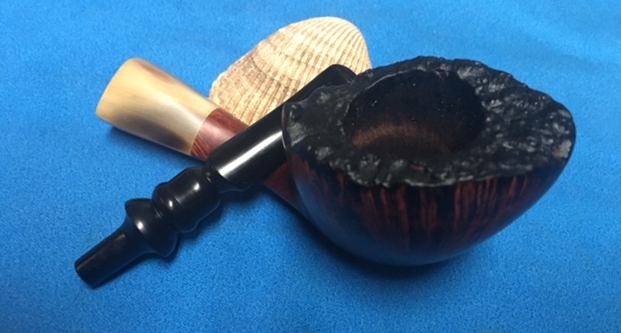
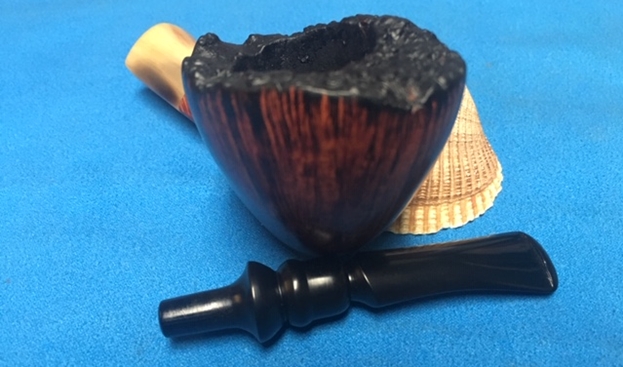
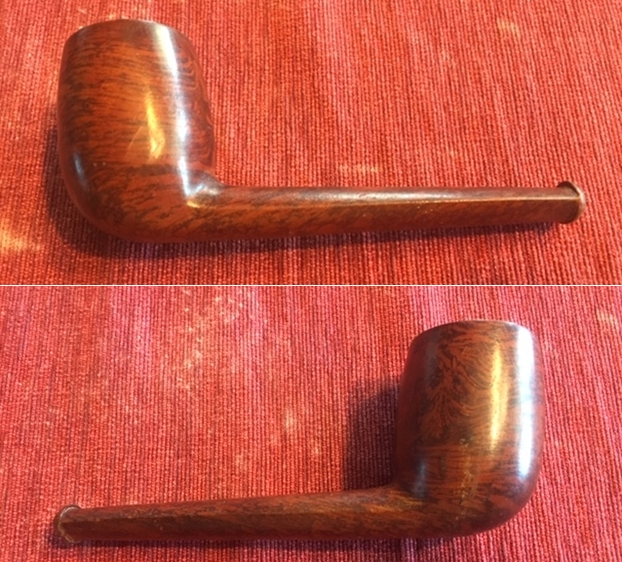
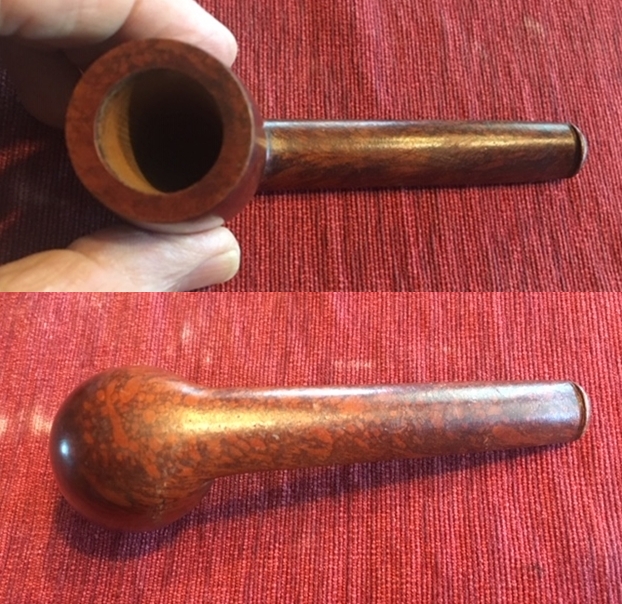
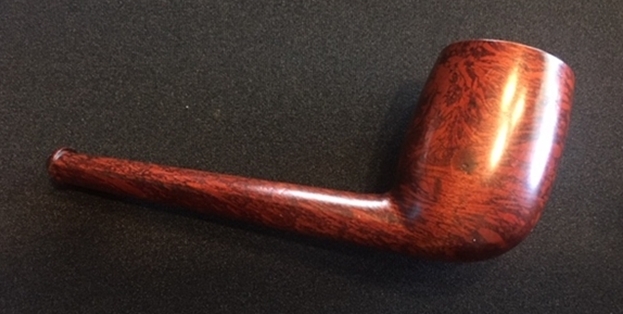
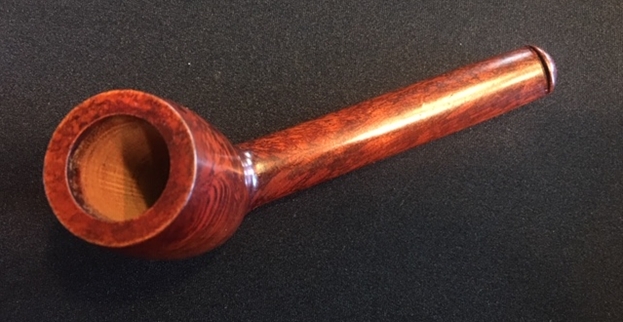
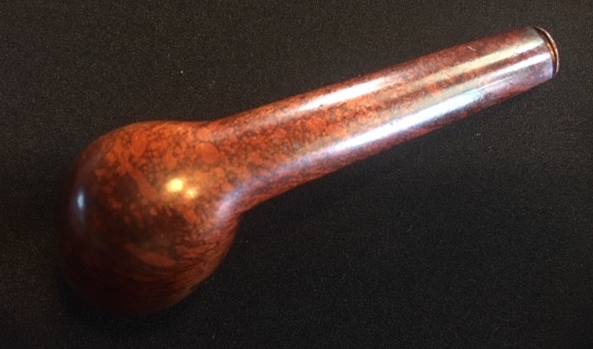
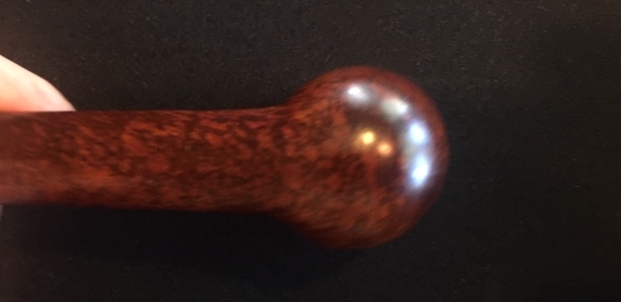
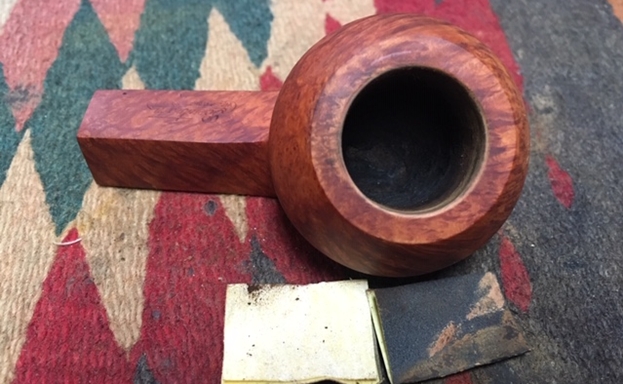
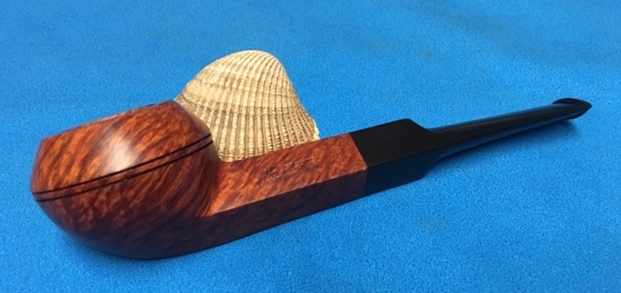
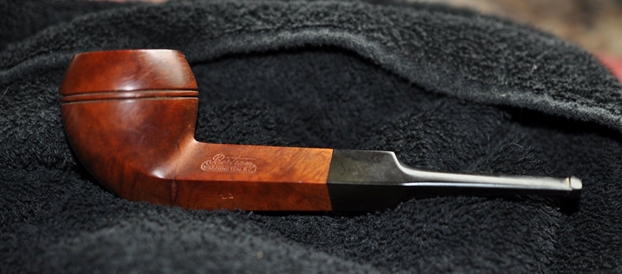
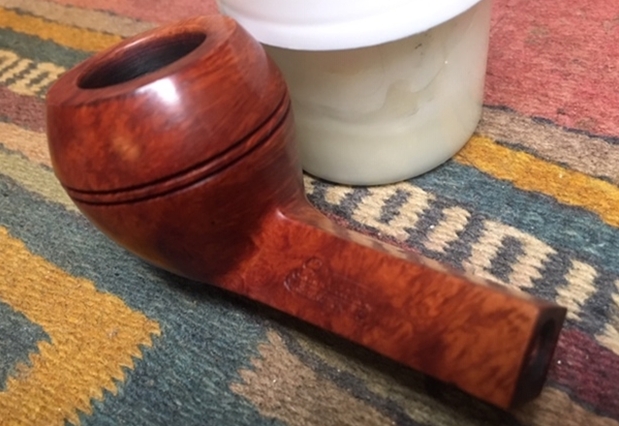
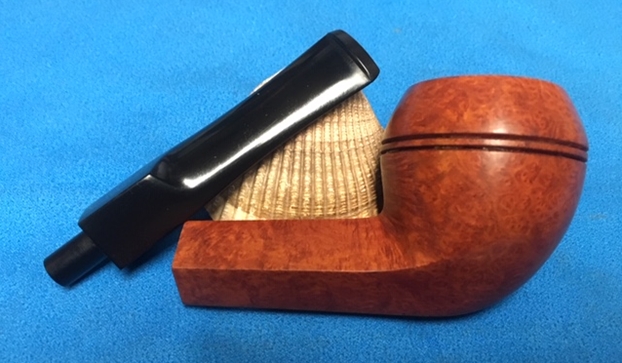
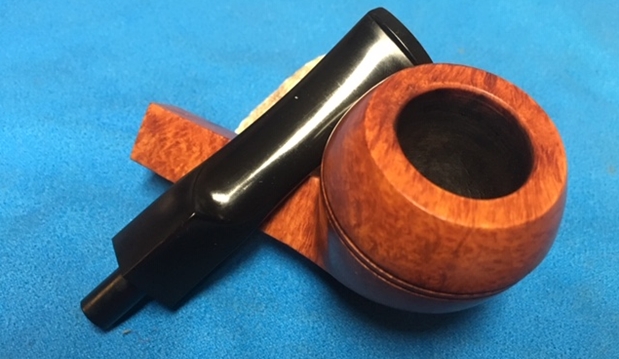
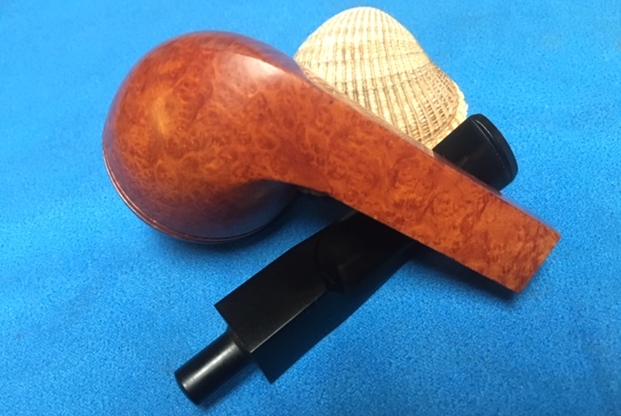
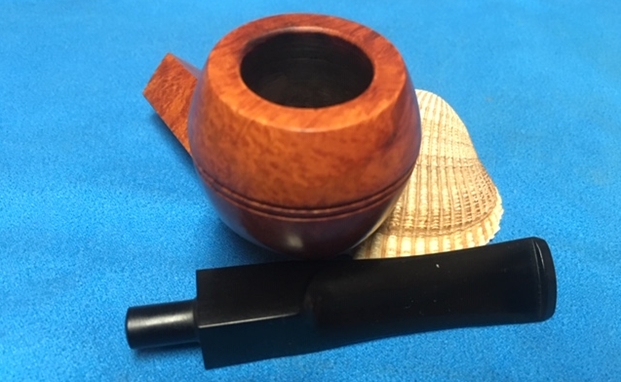
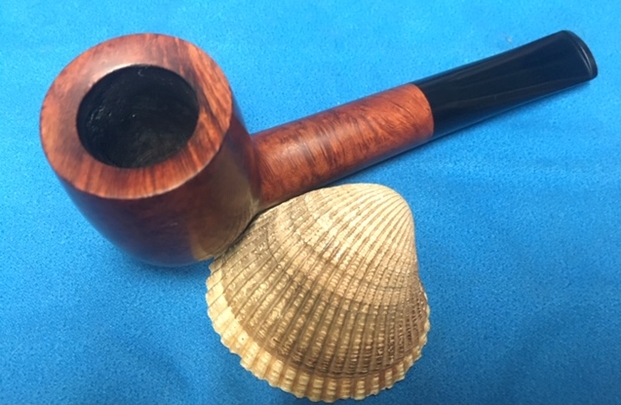
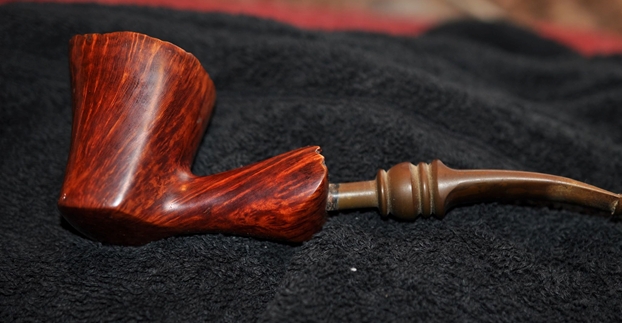
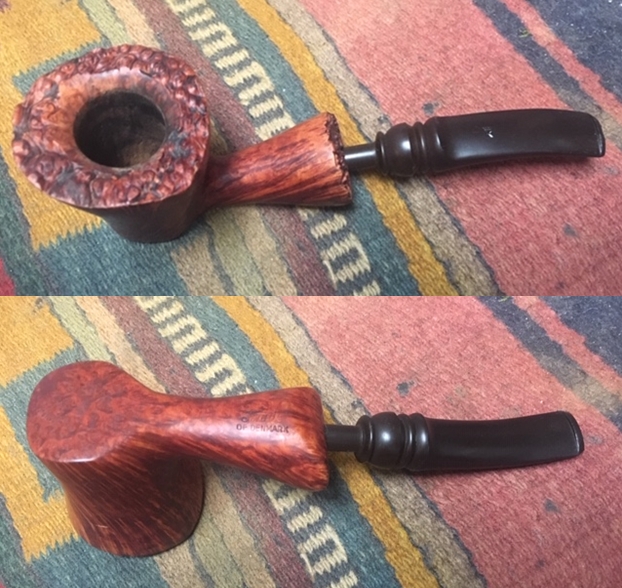
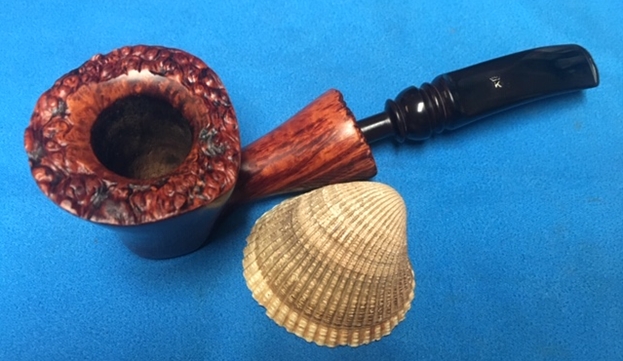
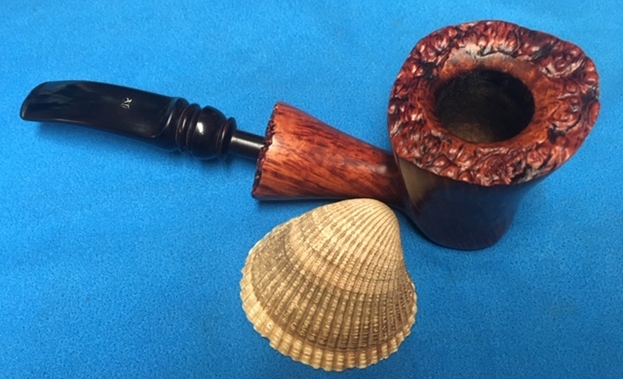
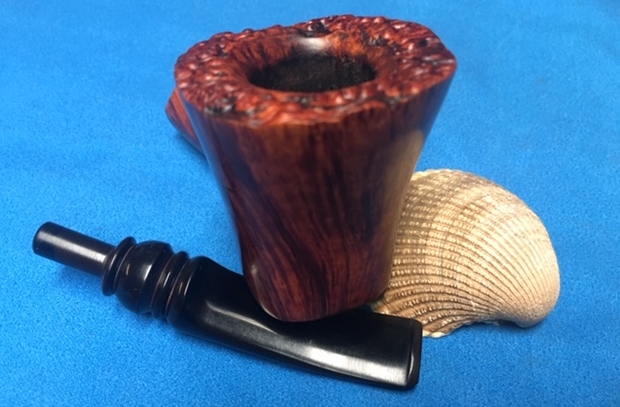
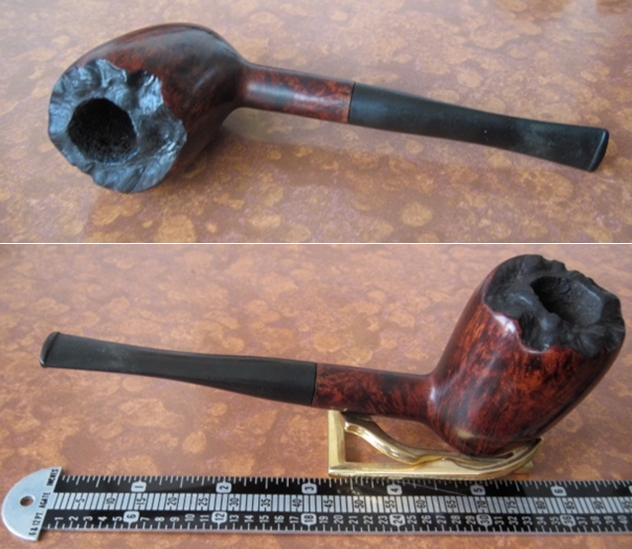
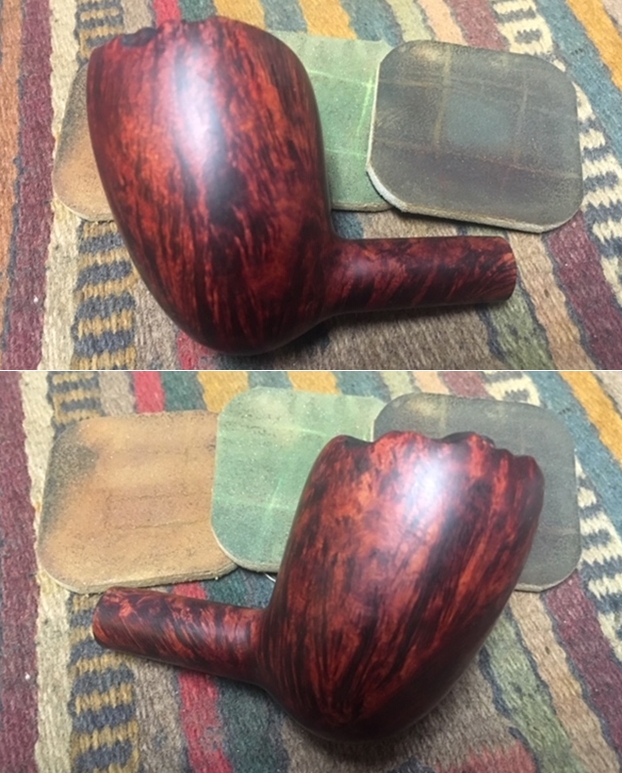
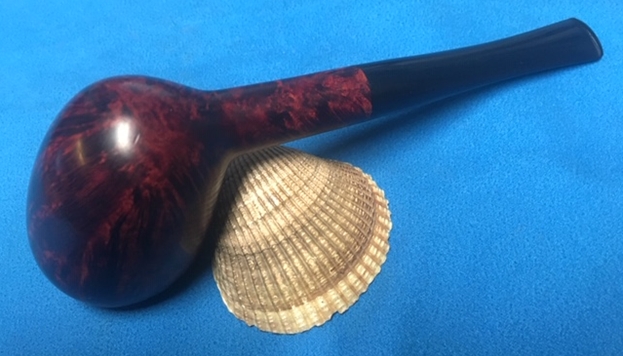
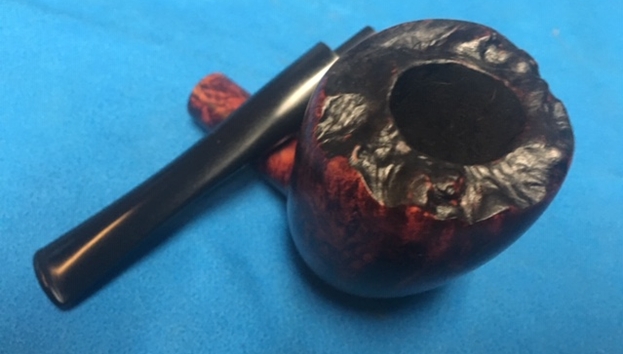
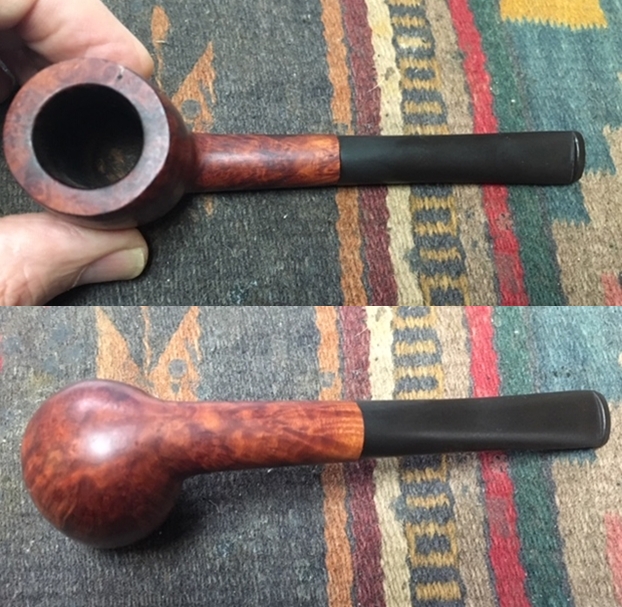
This time I chose a darker coloured Bertram Billiard to work on. It has some amazing grain with a few visible fills on the sides of the bowl. There is no grade number stamped on the pipe but judging from the other ones I have worked on I would say it is probably a grade 30 pipe. The briar has a mix of grains – straight, flame and birdseye. The exterior of the bowl looked really good. There were some fills around the bowl, on both sides and the rim top. The bowl had cake in the chamber and the rim top had some darkening and lava overflow. It was hard to know what the inner edge of the bowl edge of the bowl looked like until the cake and lava were gone. The stem had some oxidation and tooth marks and chatter near the button on both sides. Jeff took some photos of the pipe before he began his cleanup work on it.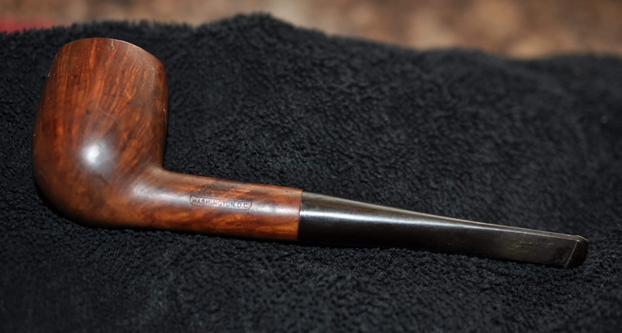
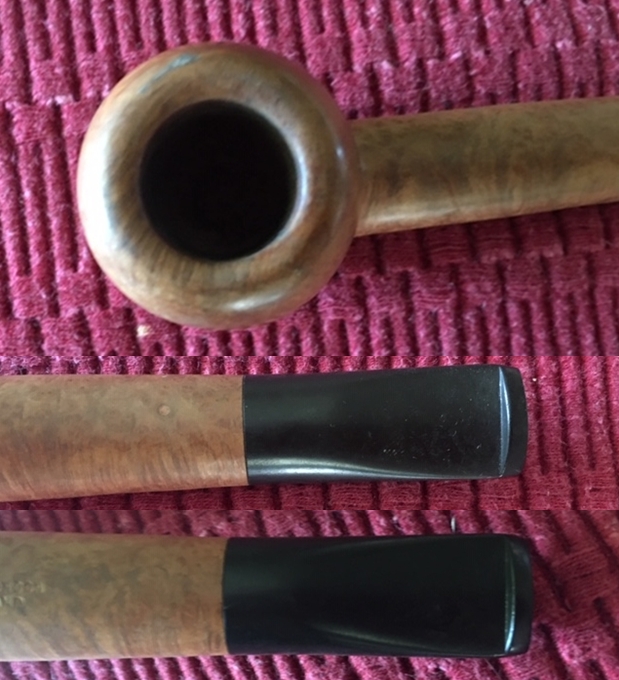
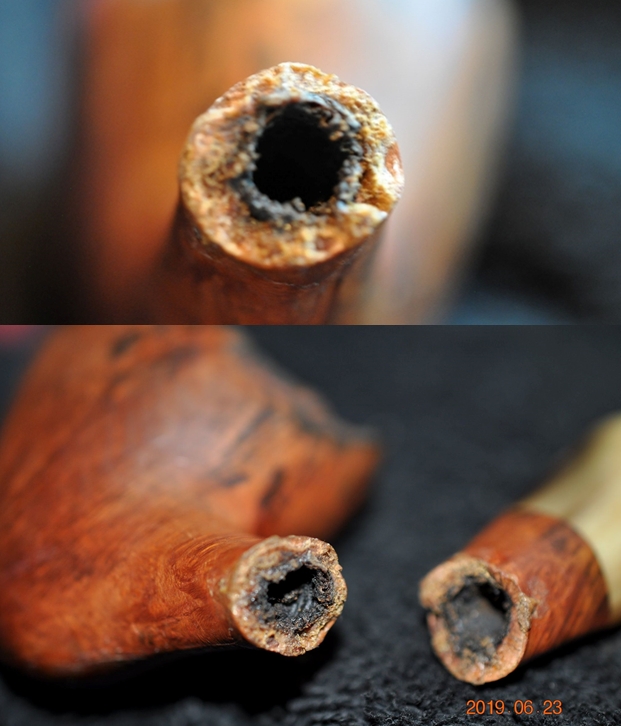
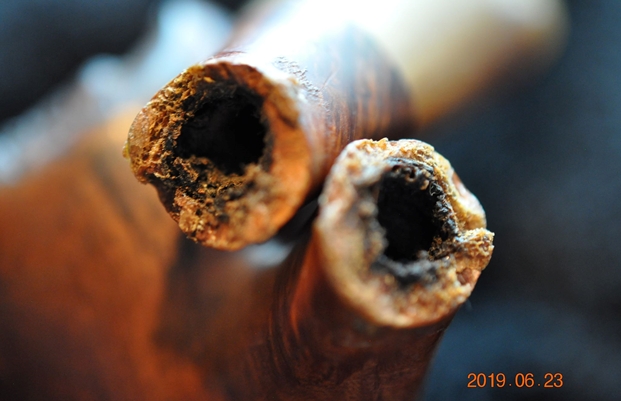
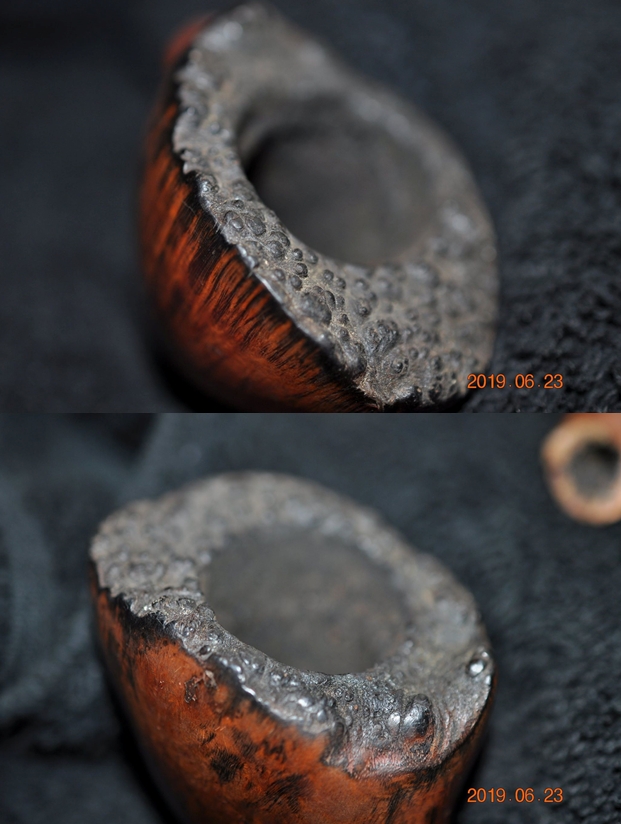
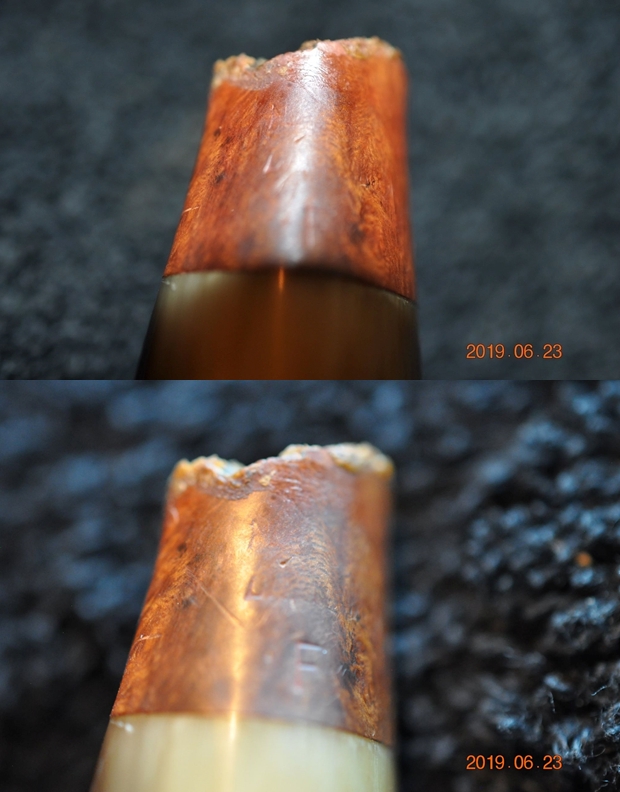
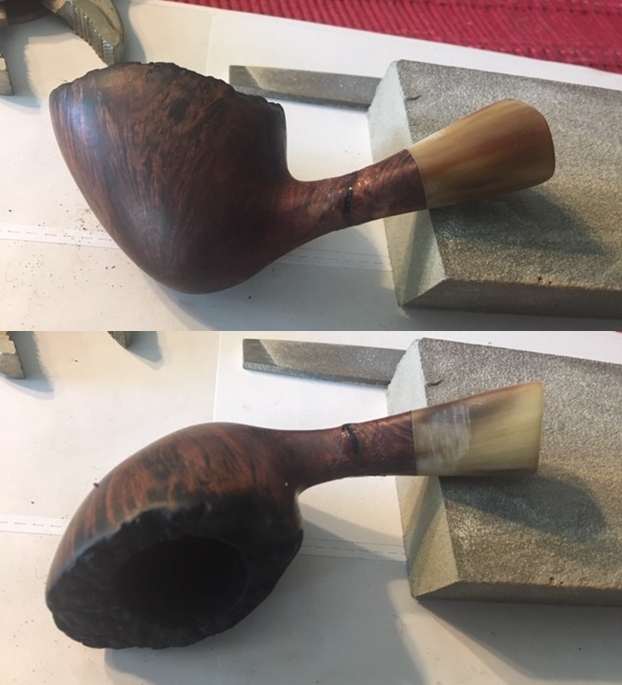
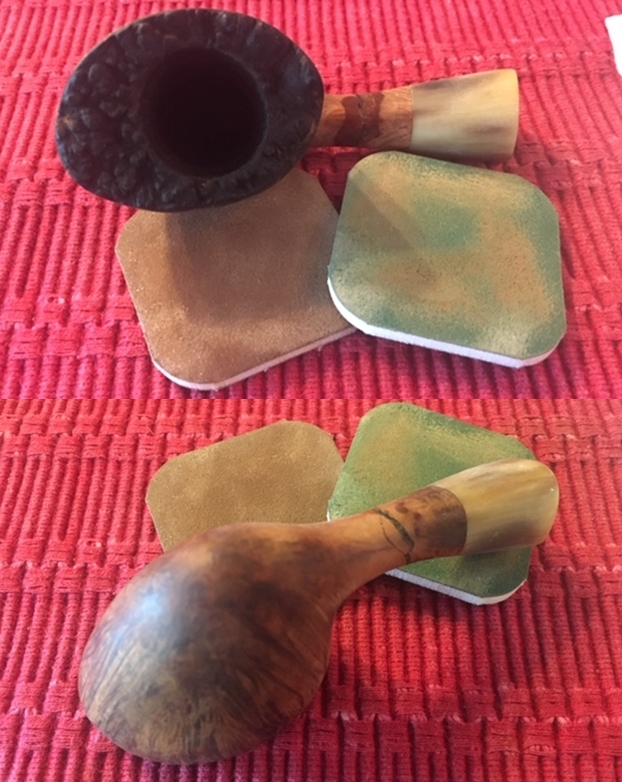
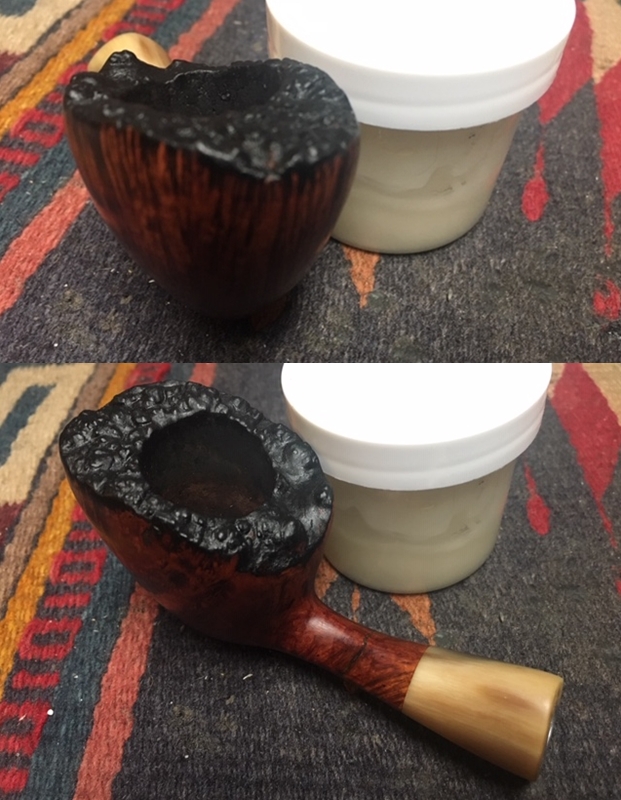
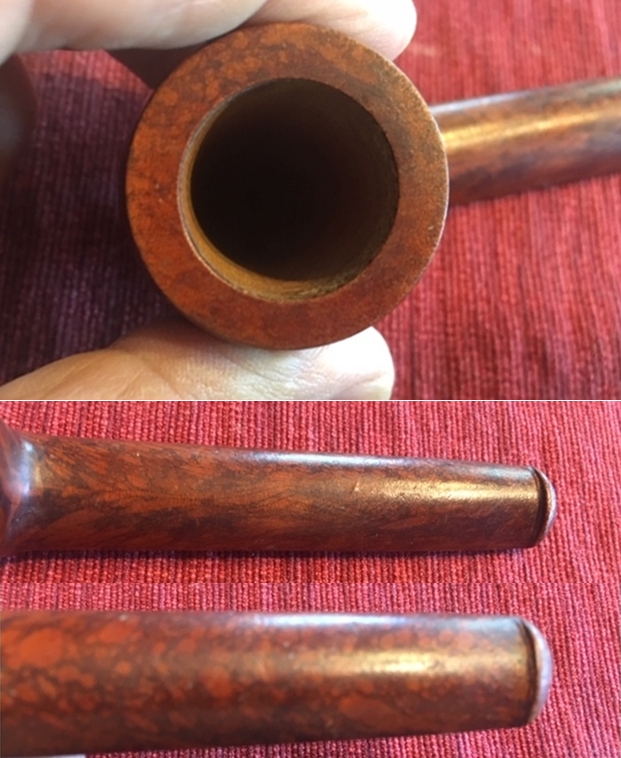
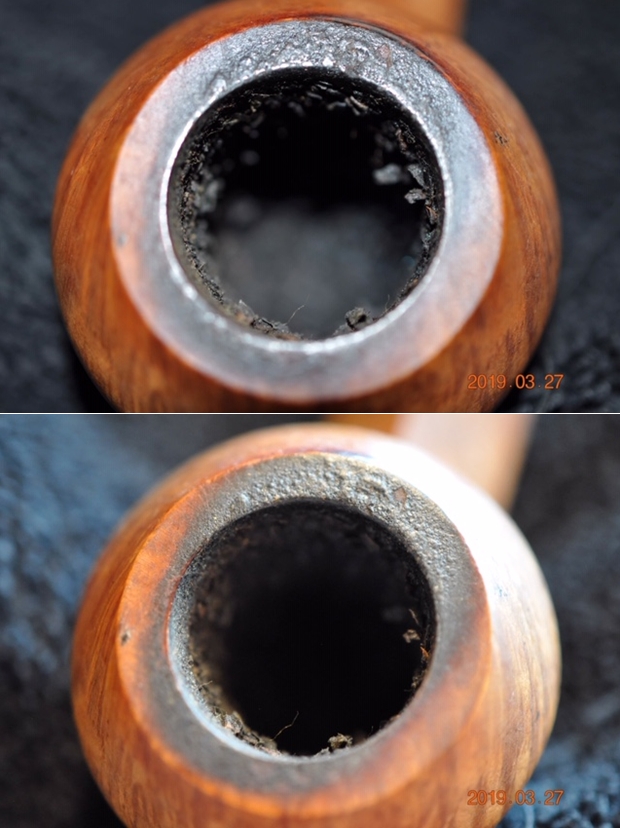
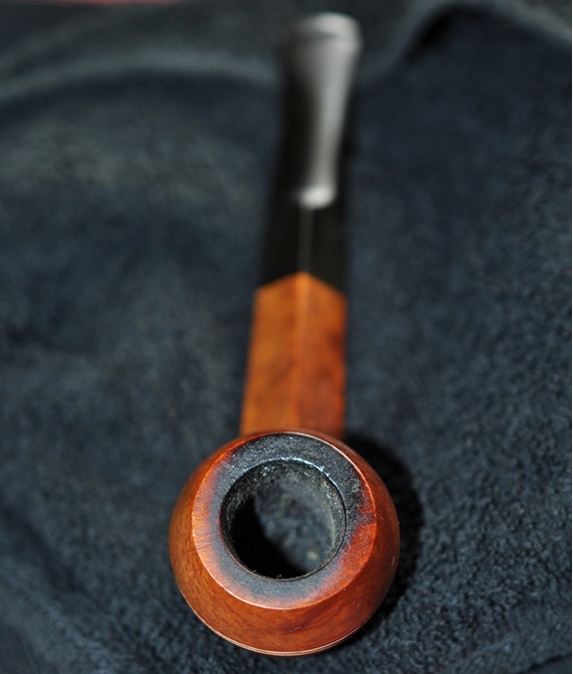
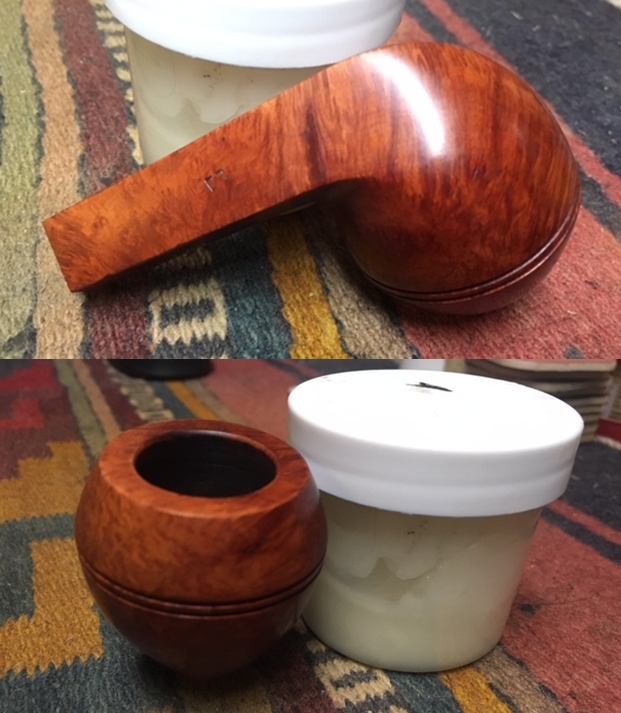
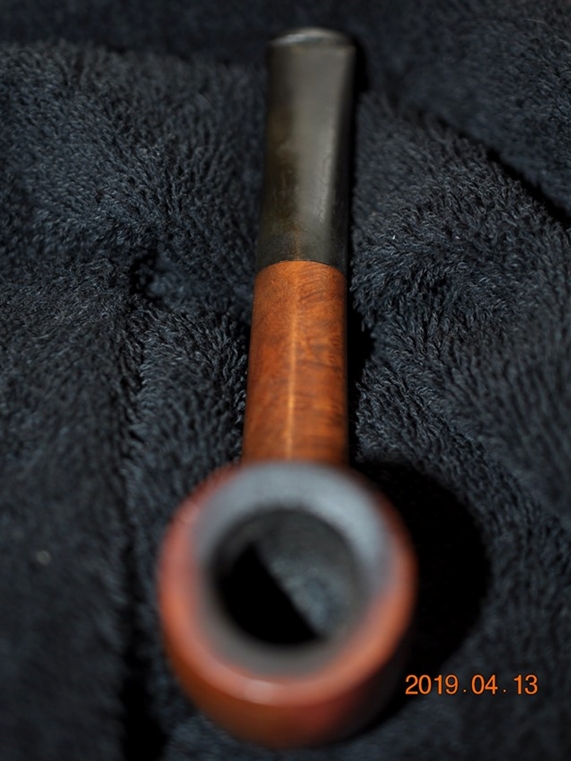
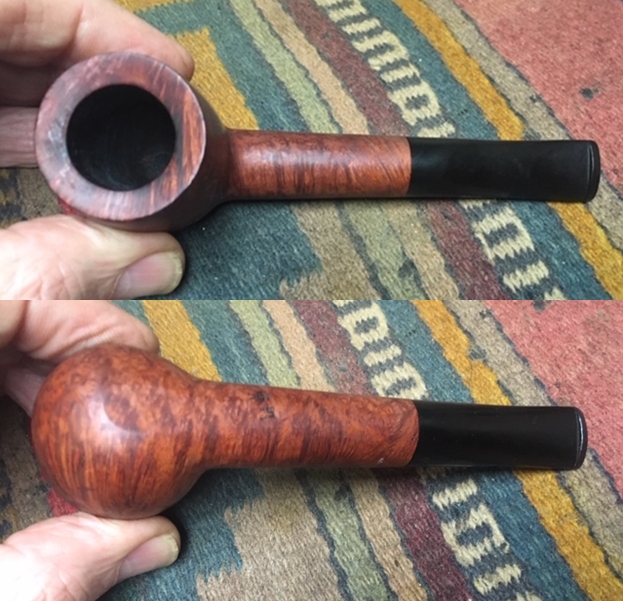
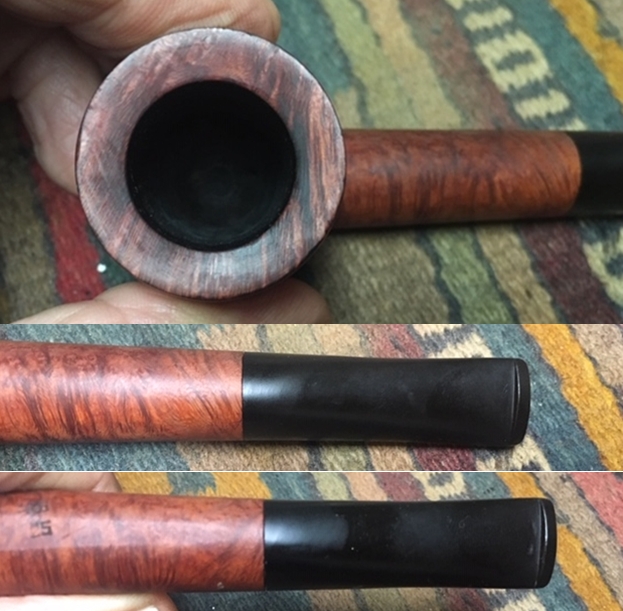
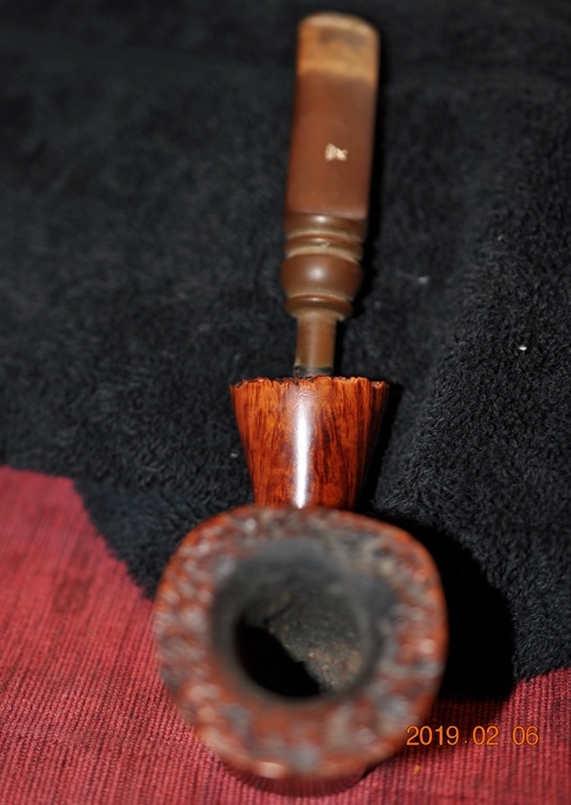
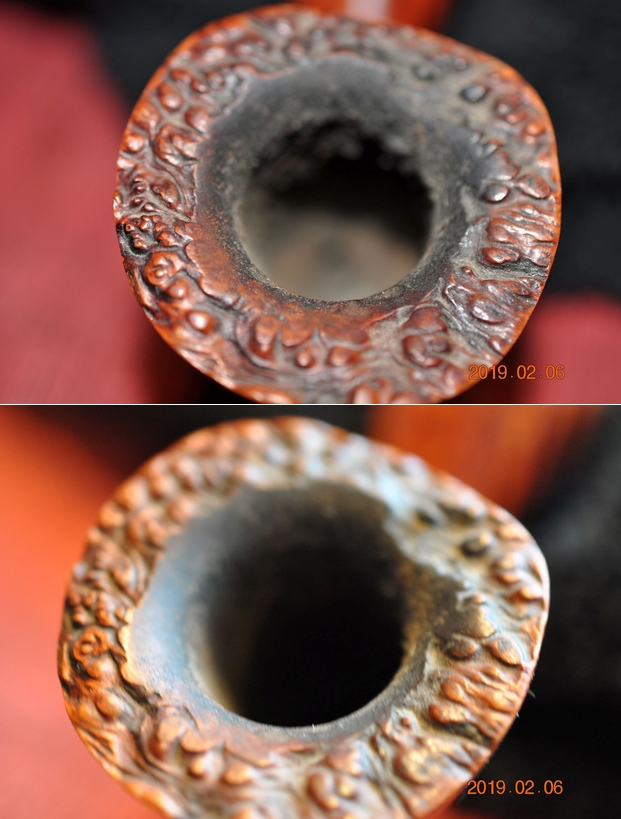
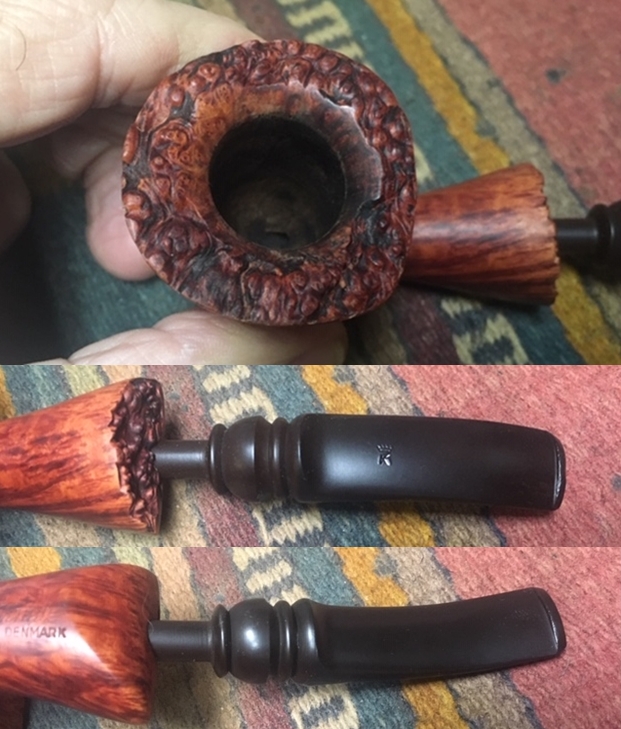
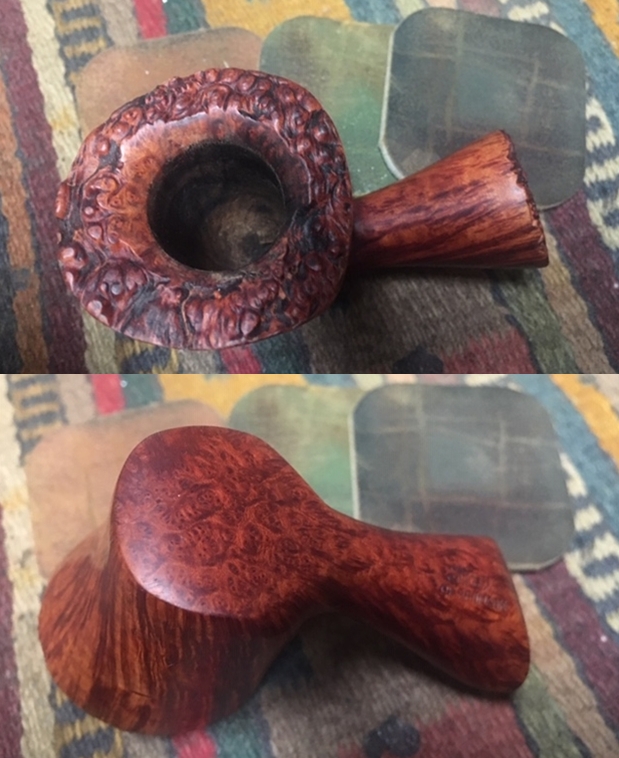
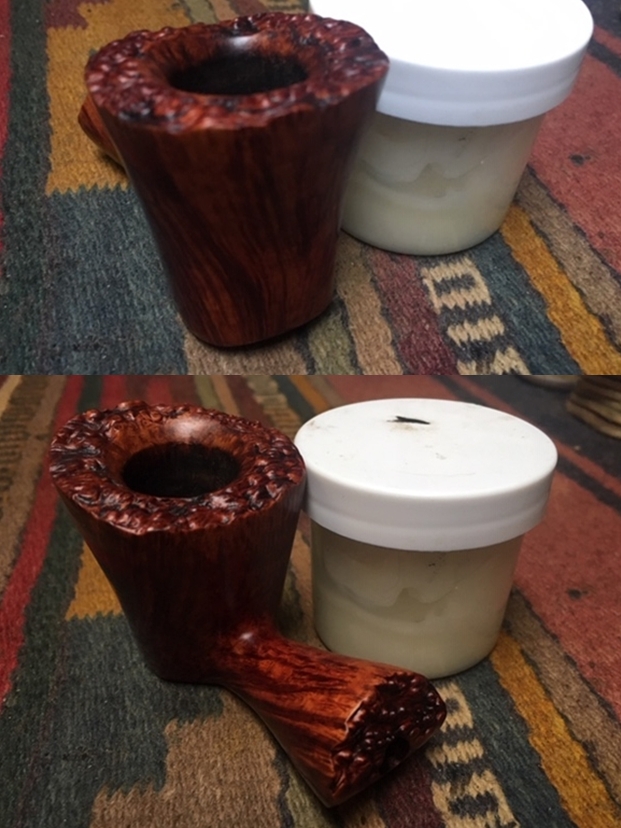
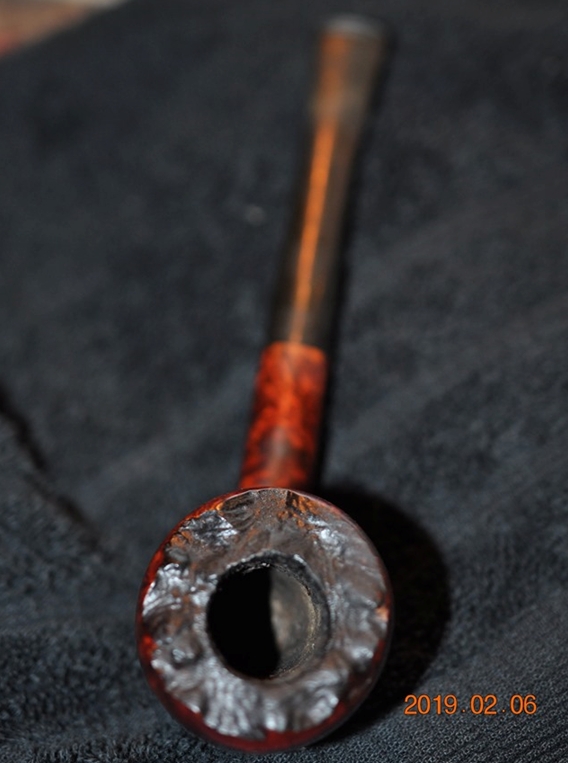
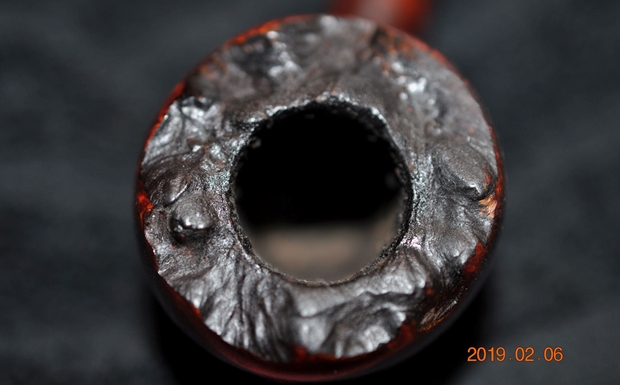
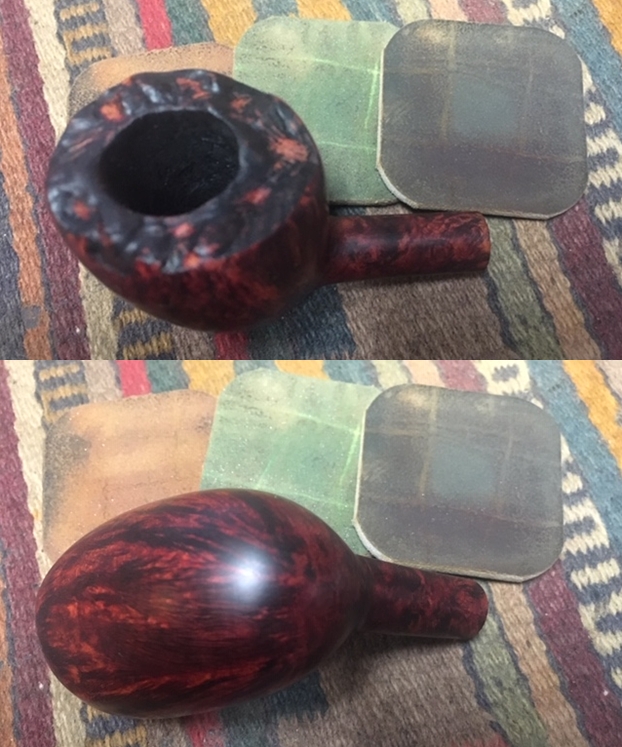
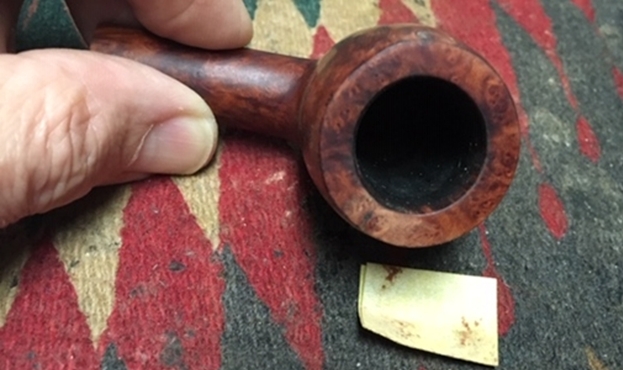
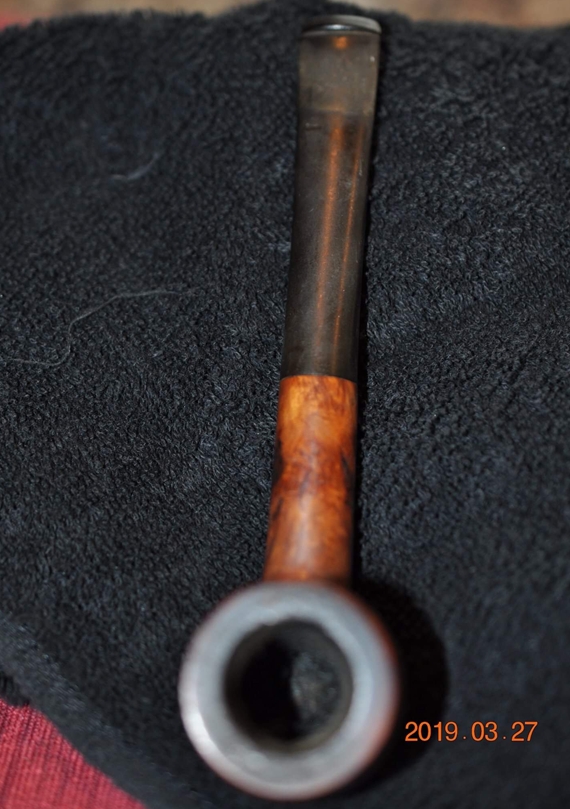 Jeff took close-up photos of the bowl and rim to capture the condition of the pipe when it arrived. The rim top had a thick coat of lava and the bowl had a thick cake. You can see from the photos why it was hard to tell the condition of the inner edge of the rim.
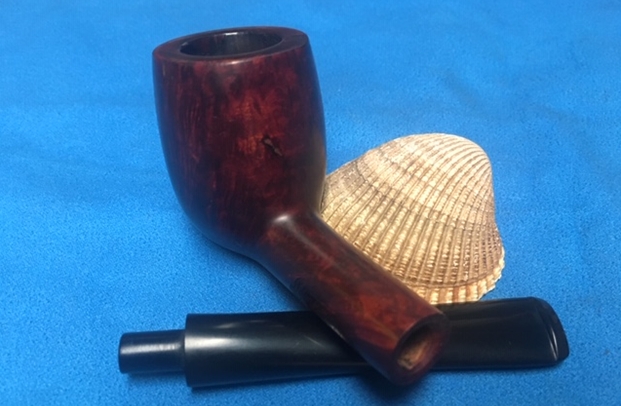
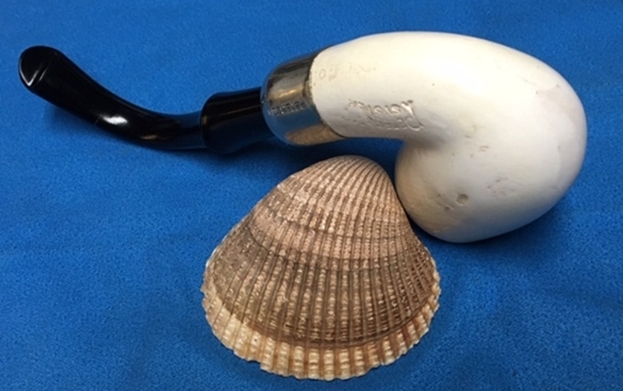
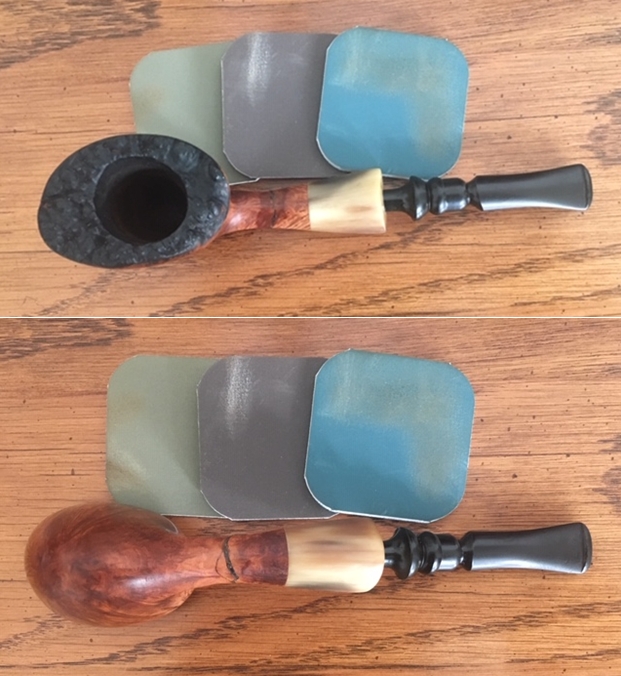
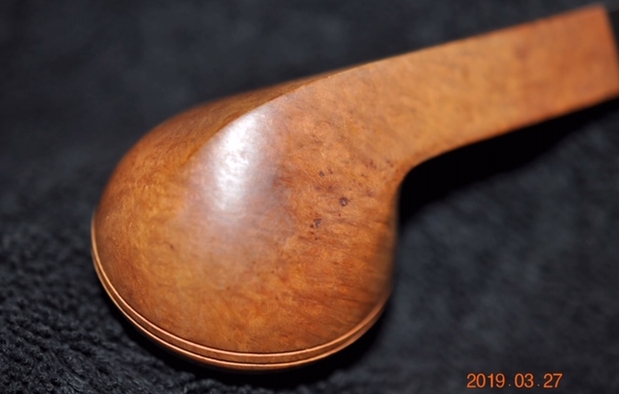
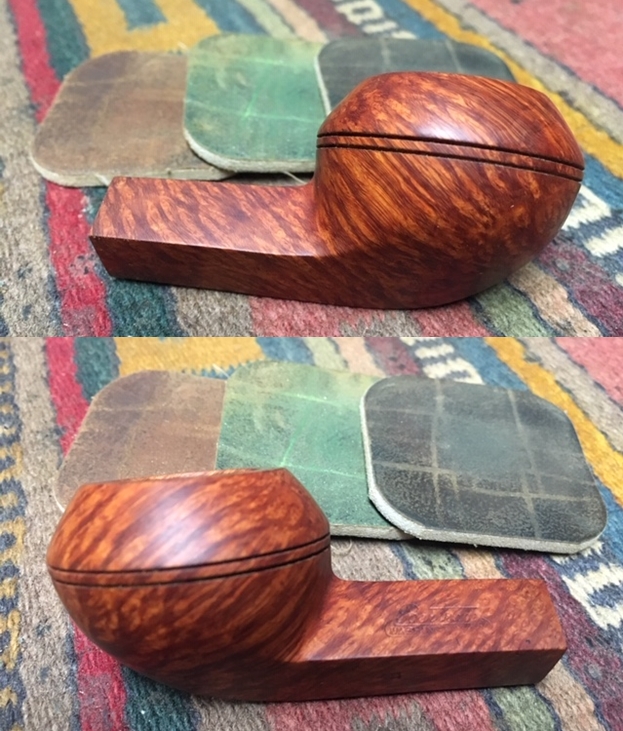
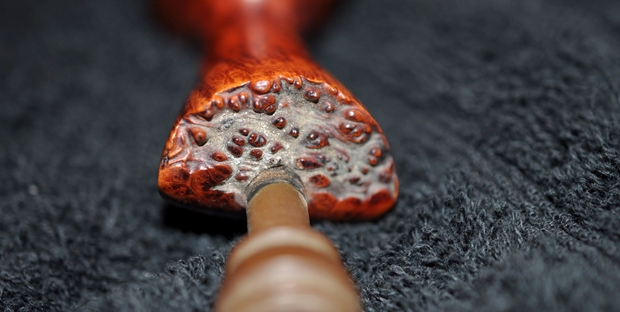
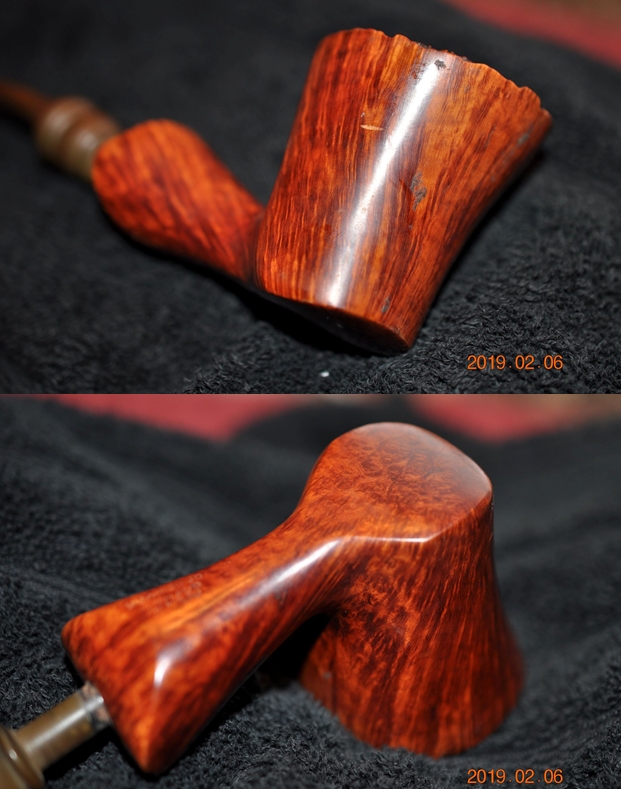
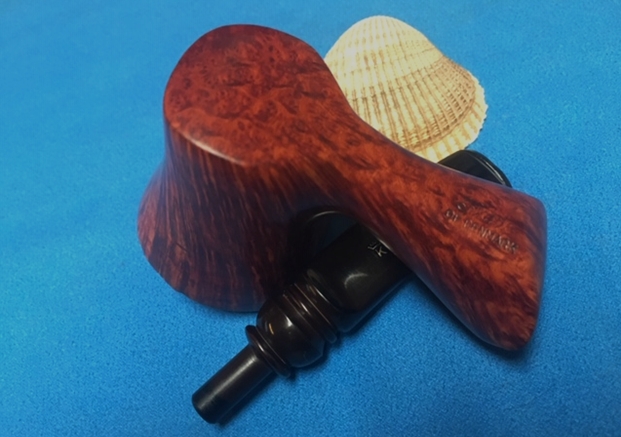
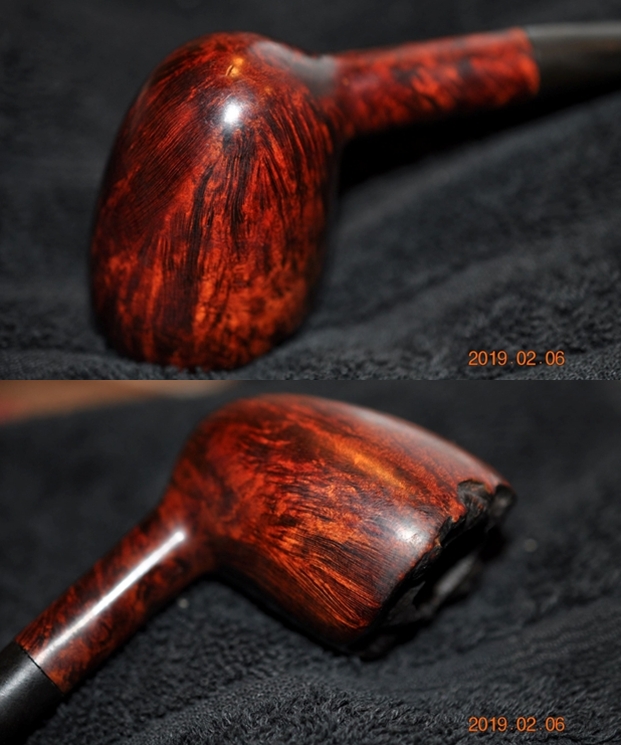
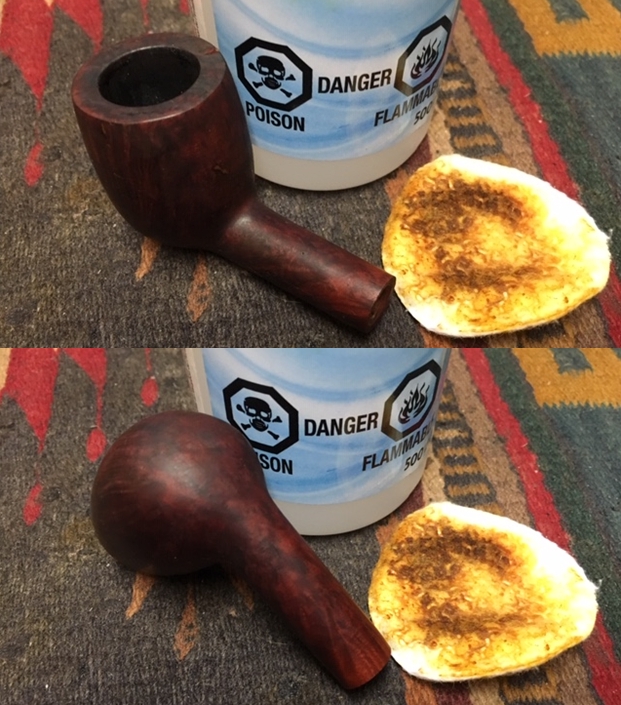
 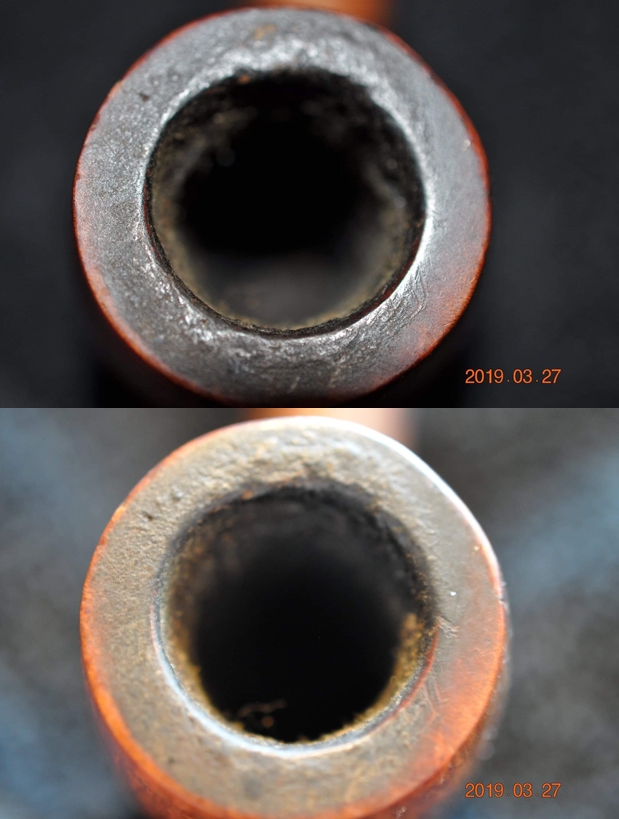 The pictures of the bowl sides and the heel give a clear picture of the grain around the heel and the sides of the bowl. Other than the obvious fills the bowl looks very good. I am looking forward to seeing what is under all of the grime. The fills are visible in the photos below.
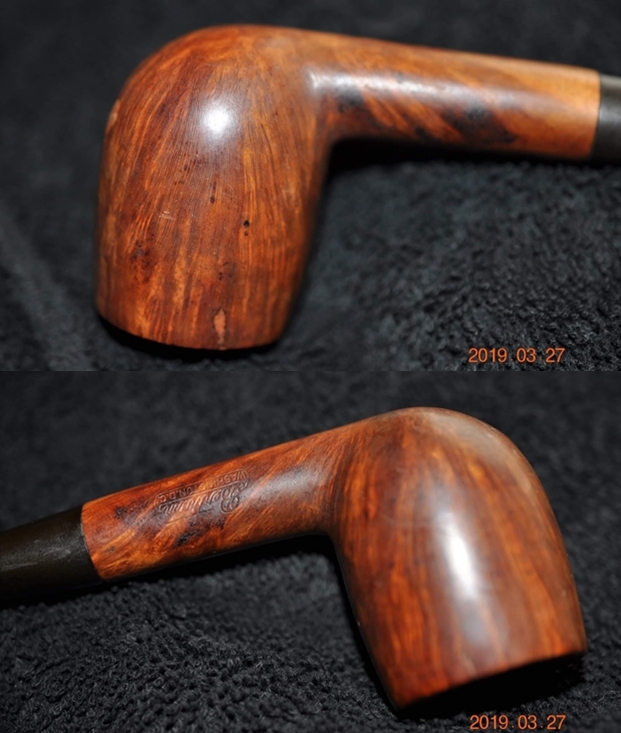
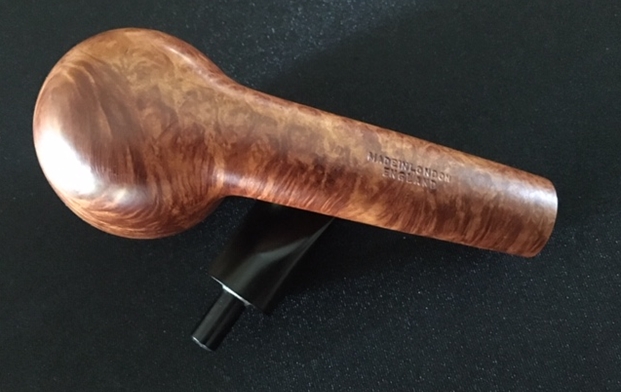
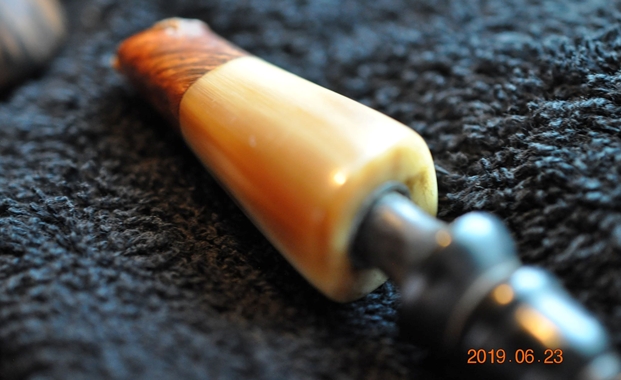
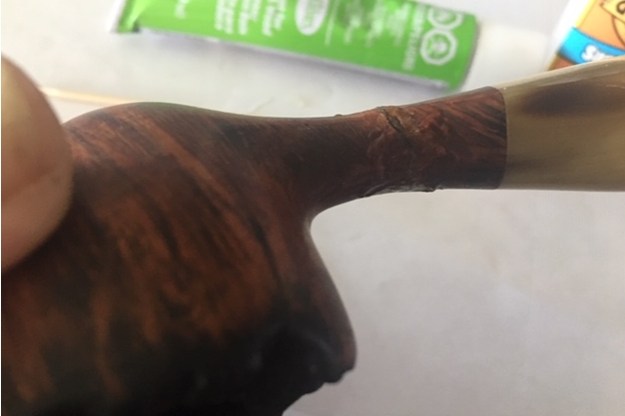
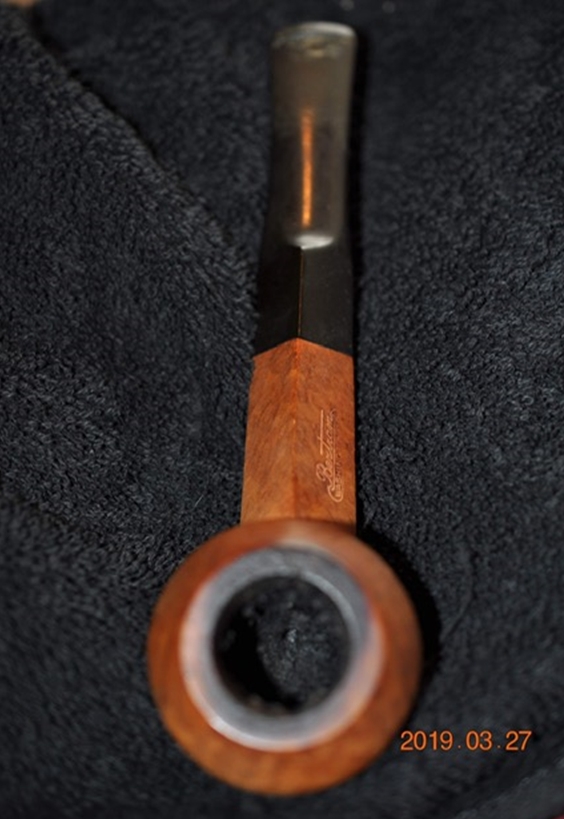
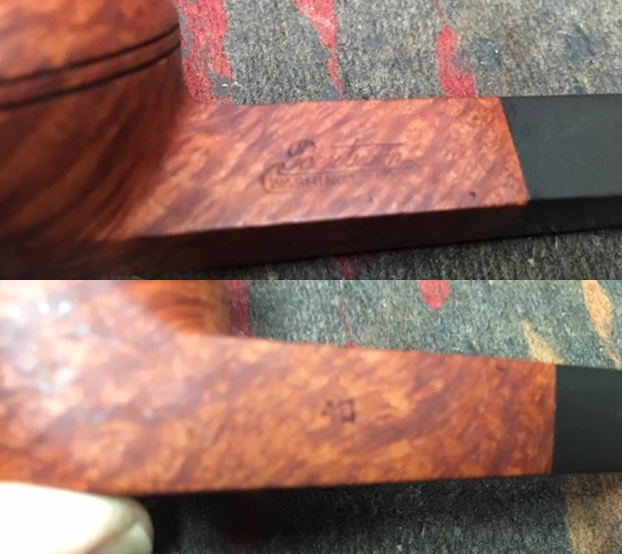
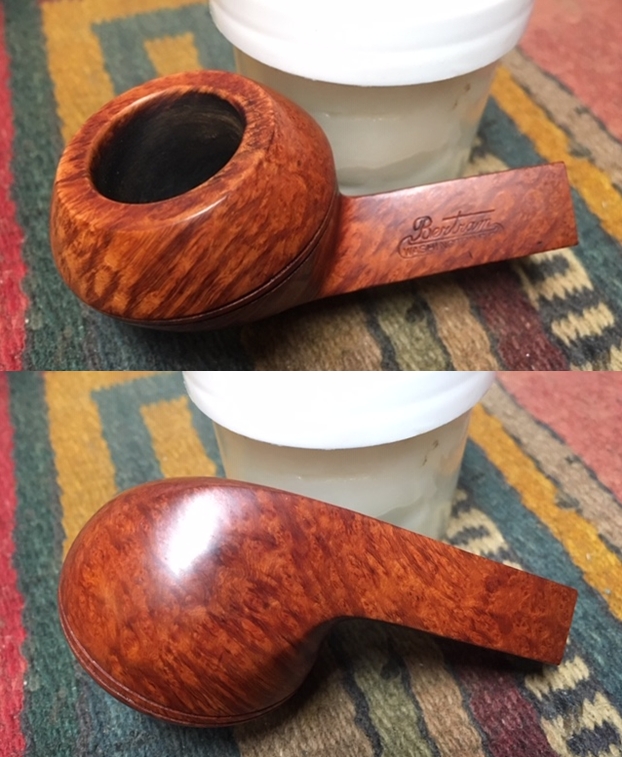
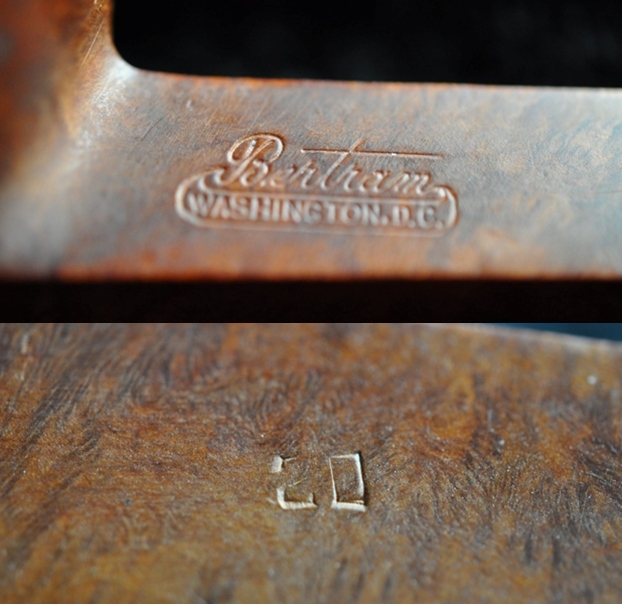
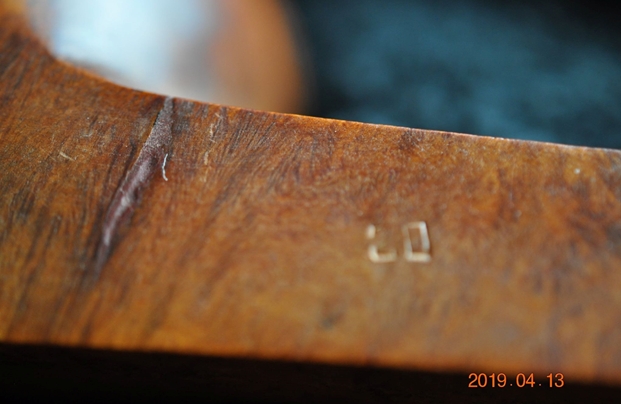
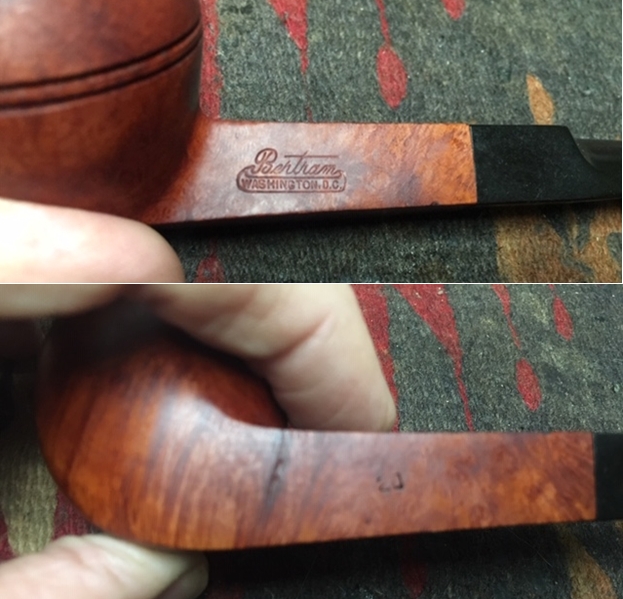
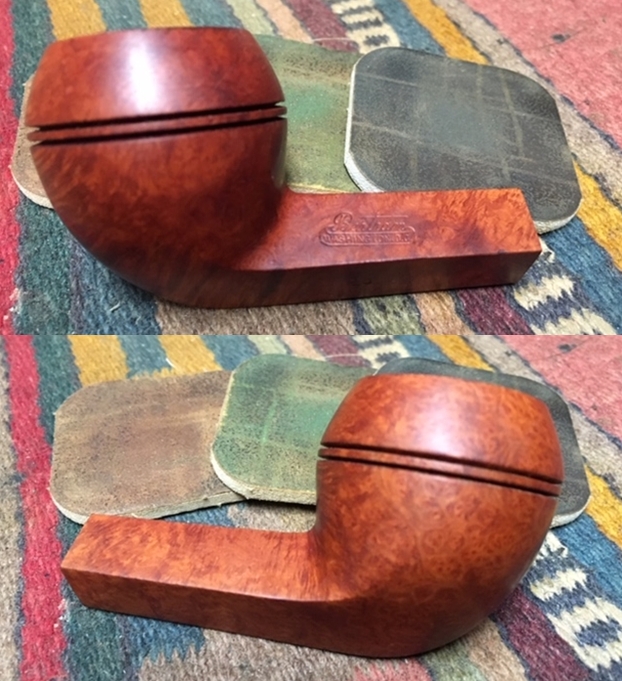
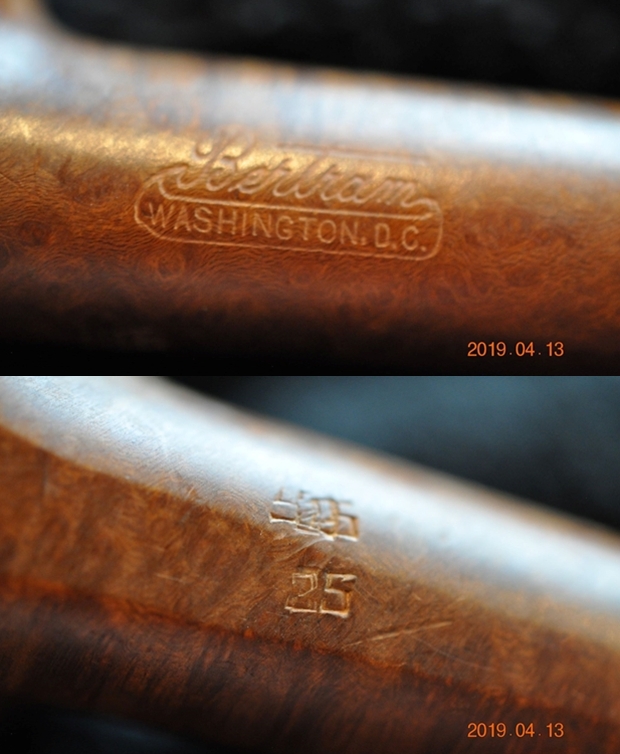
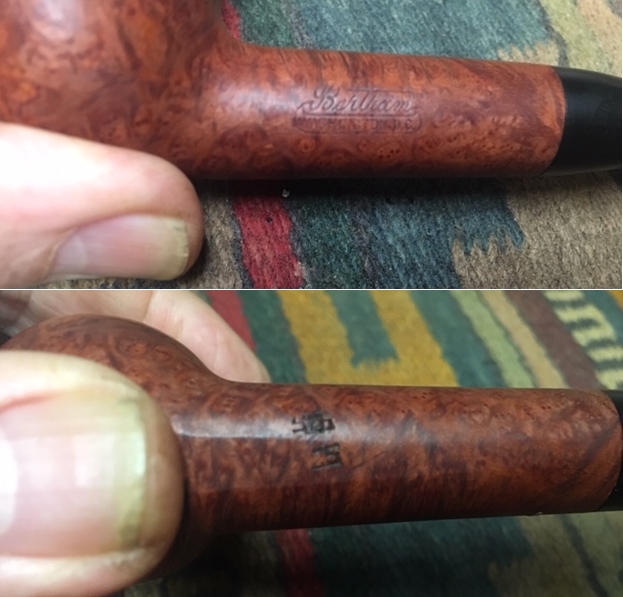
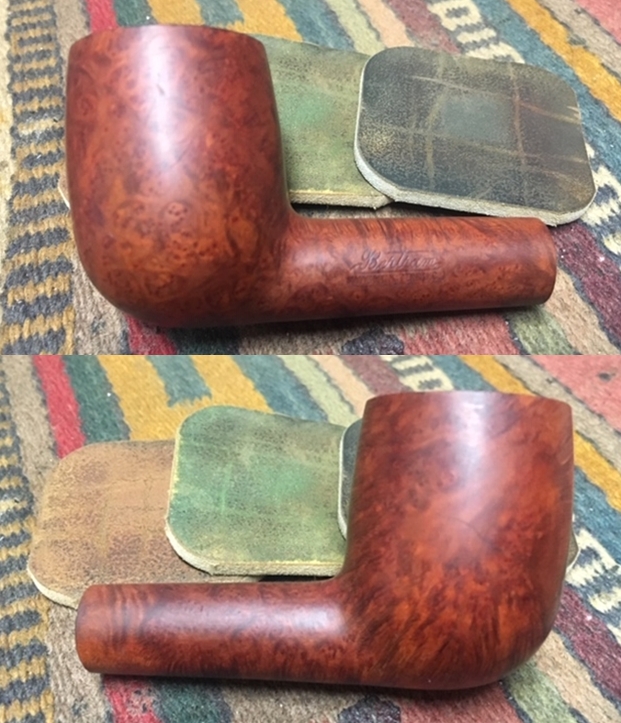
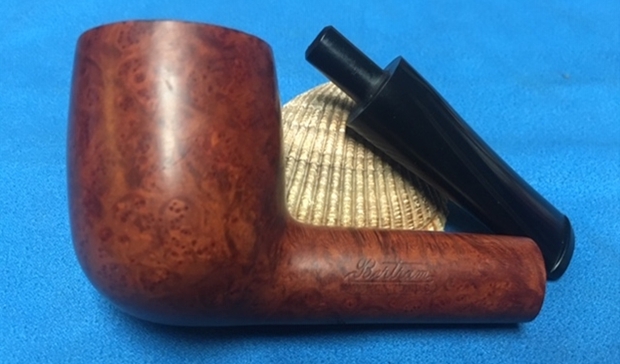
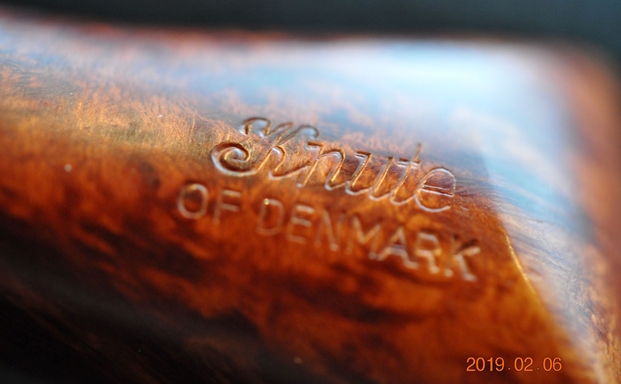
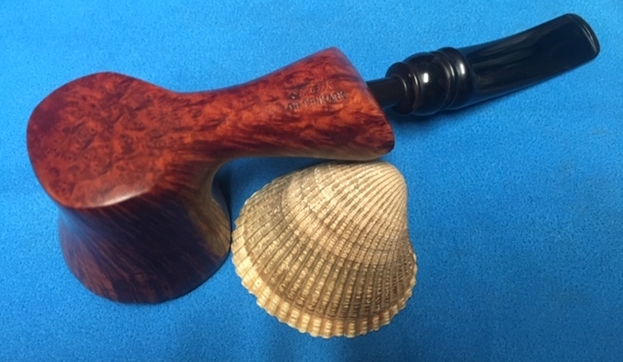
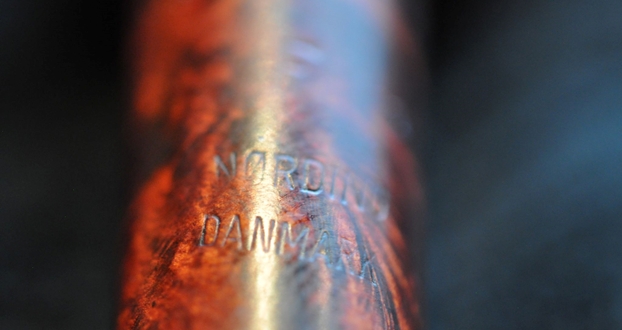
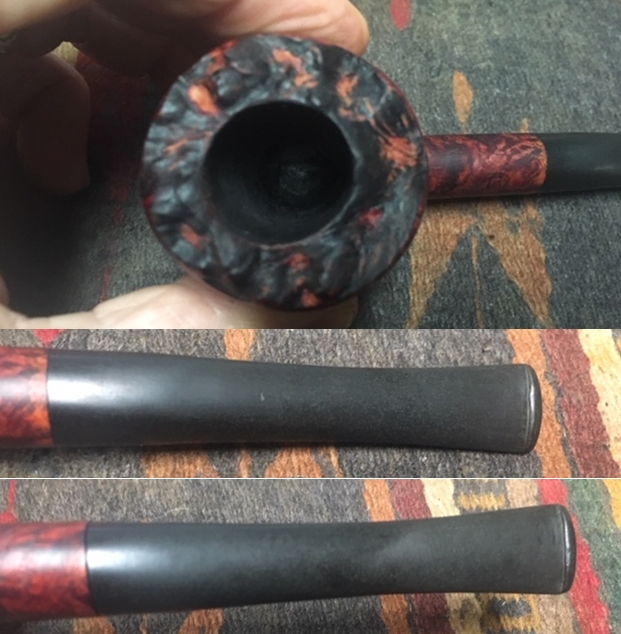
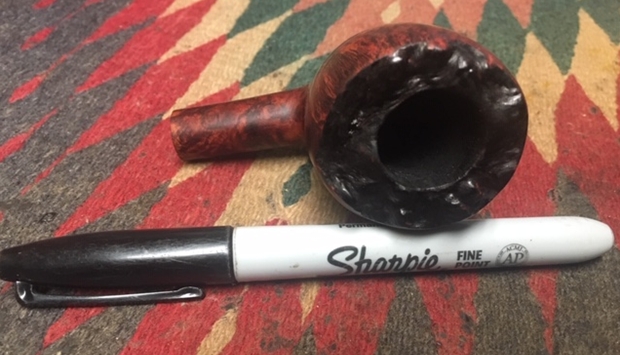
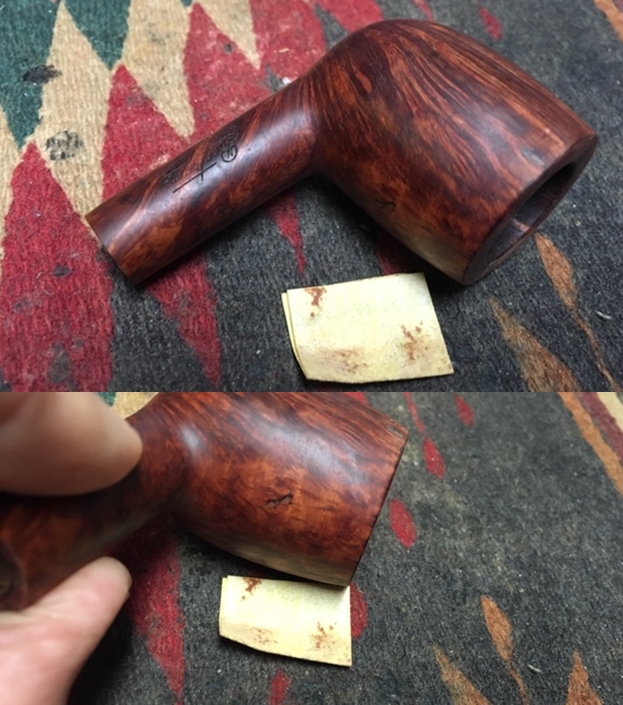
 The next photo captures the stamping on the left side of the shank. You can see the Bertram Washington, D.C. stamp clearly readable.
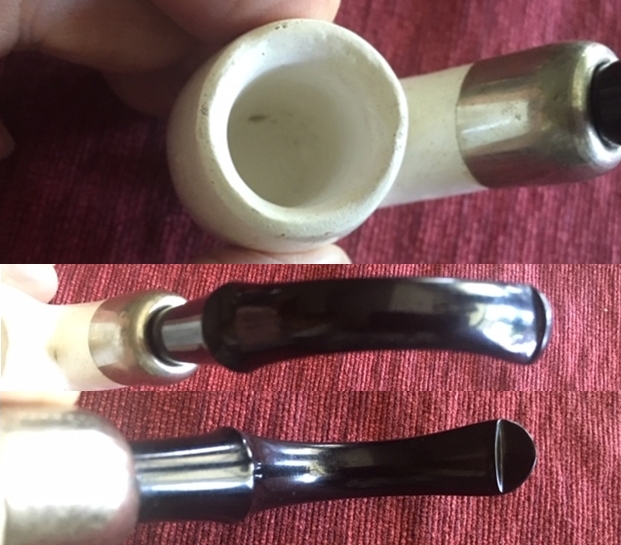
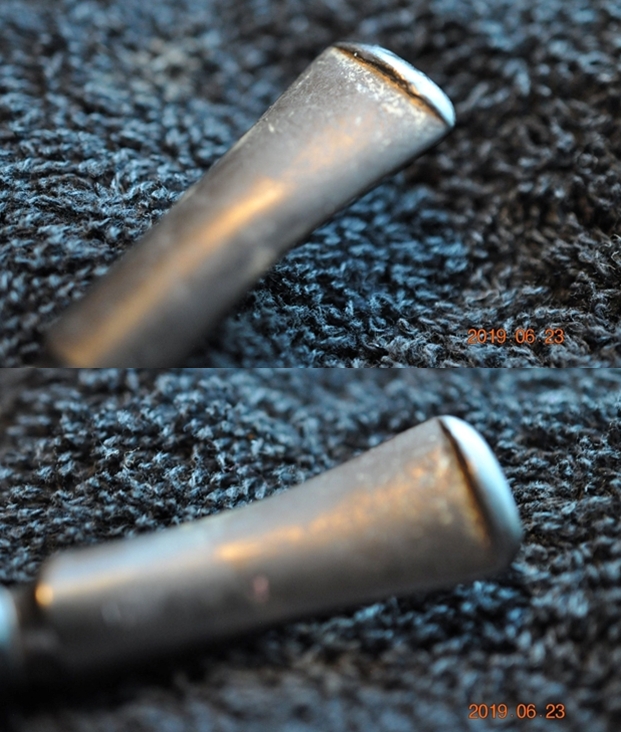
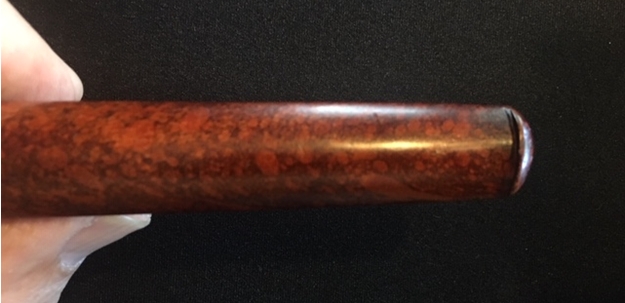
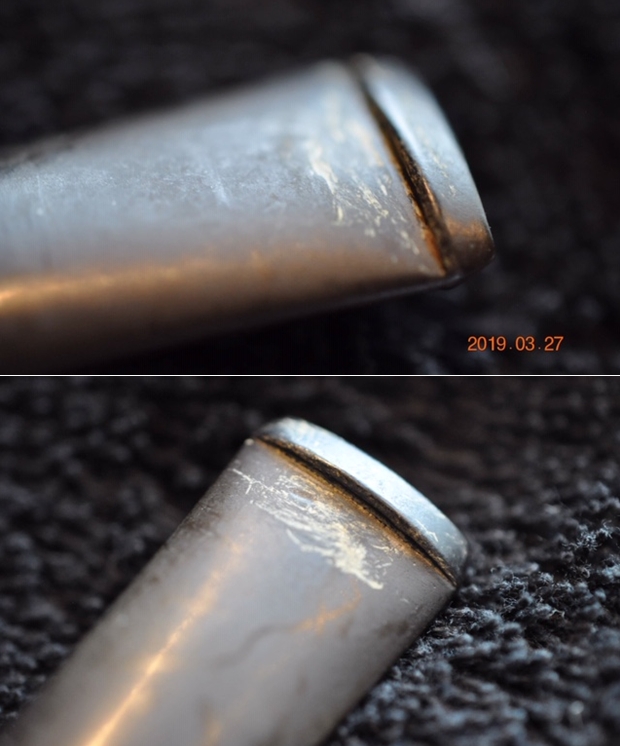
 The next two photos show the stem surface. They show the calcification, oxidation and the chatter on both sides near the button. There are tooth marks on the stem near the button. There is some wear on the button edge.
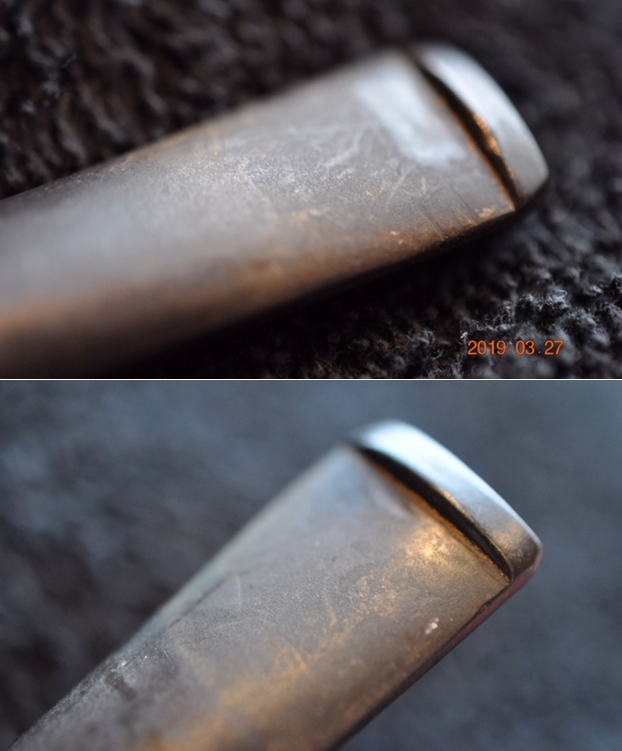 With each of the blogs that I have written on the Bertrams that I have worked on I have included the following information. If you have read it in past blogs, you can skip over it. If you have not, I have included the link to Bertram history and information. I would recommend that if you don’t know much about them take some time to read the background. I include a link to the write up on Pipedia (http://pipedia.org/wiki/Bertram). Bertram pipes were based out of Washington DC. They were popular among famous politicians and celebrities of the time. They made many products for them from FDR’s cigarette holders to Joseph Stalin’s favorite pipe. They were considered some of the best America had to offer till they finally closed their doors in the 70s. Bertram graded their pipes by 10s and sometimes with a 5 added (15, 25, 55 etc.), the higher the grade the better. Above 60s are uncommon and 80-90s are quite rare. I have worked on one 120 Grade billiard. I have several blogs that I have written on rebornpipes that give some history and background to Bertram pipes. (https://rebornpipes.com/2015/06/16/an-easy-restoration-of-a-bertram-grade-60-217-poker/).
I have included the following link to give a bit of historical information on the pipe company. It is a well written article that gives a glimpse of the heart of the company. http://www.streetsofwashington.com/2012/01/bertrams-pipe-shop-on-14th-street.html#
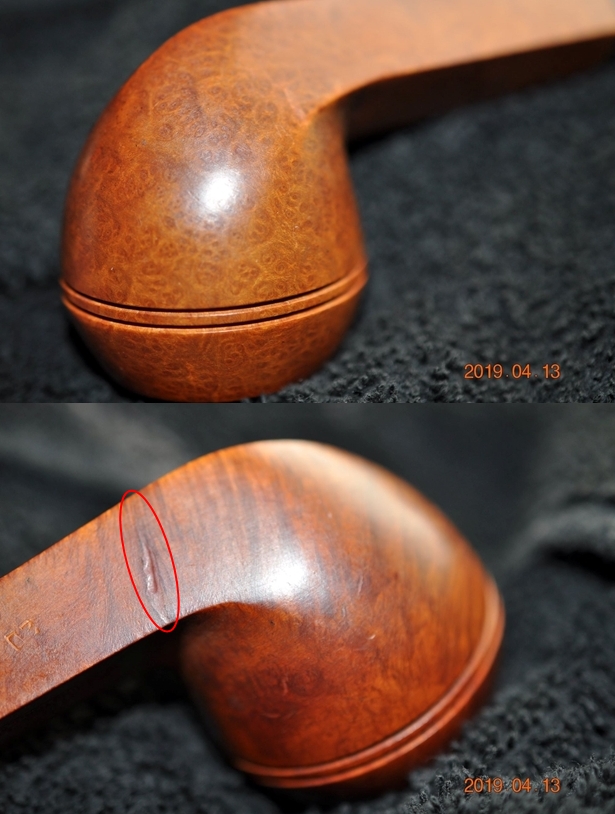
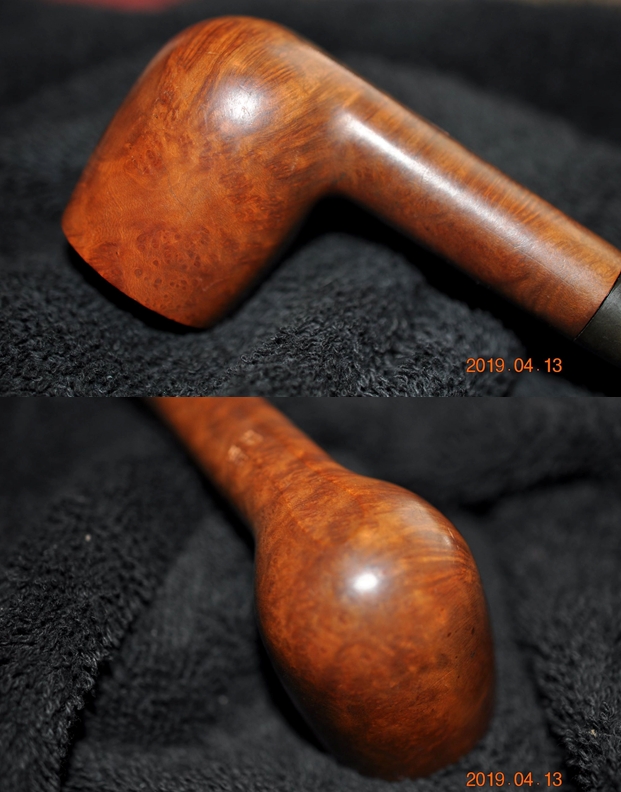
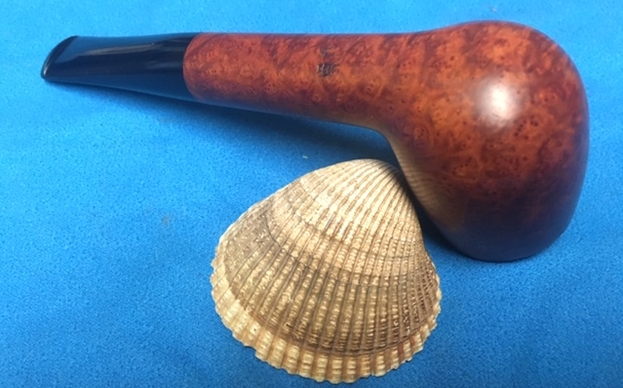
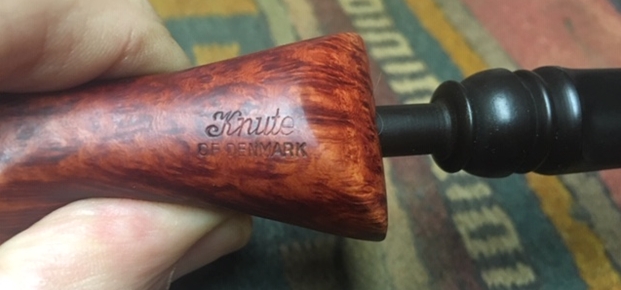
From this information I learned that all of these Bertrams were made before the closure of the shop in the 1970s. This Bertram Billiard with stunning grain – only marred by the fills around the bowl sides.This pipe has no Grade stamp on it which I am sure takes into account the fills.
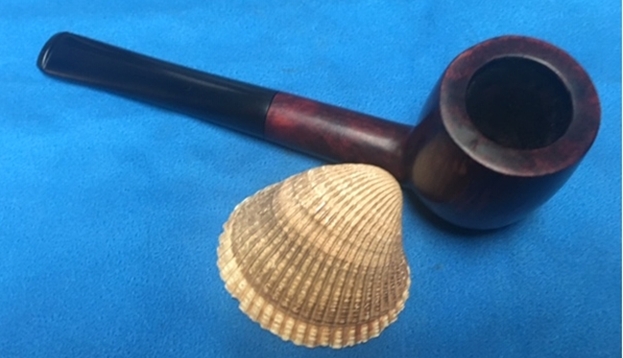
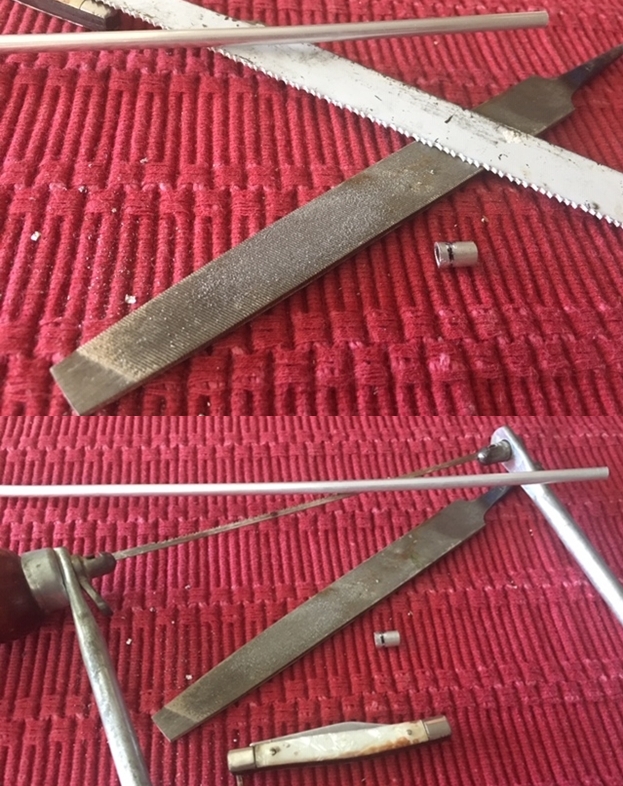
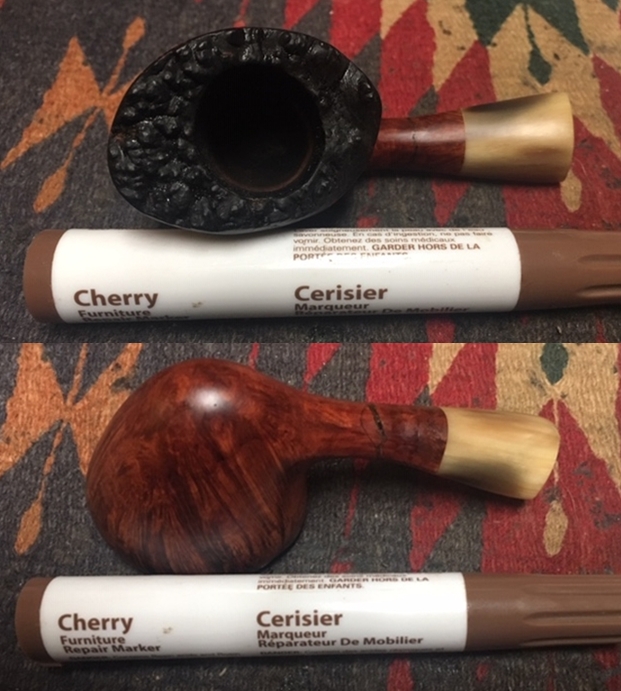
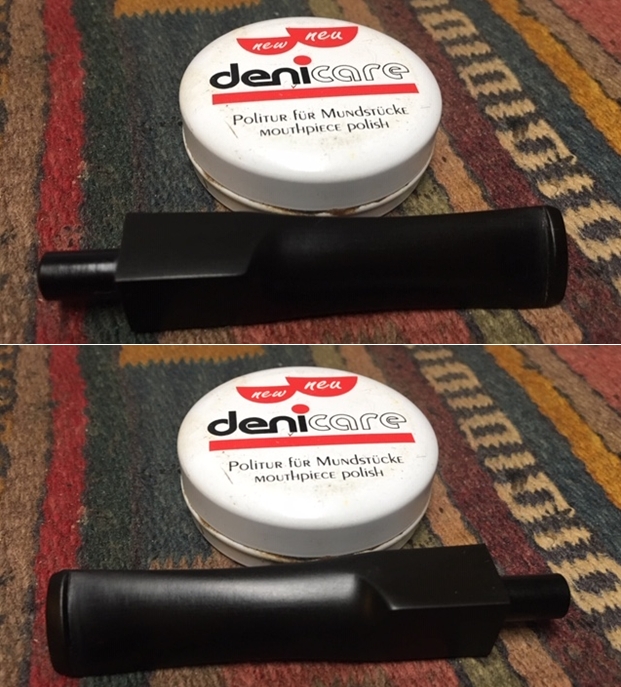
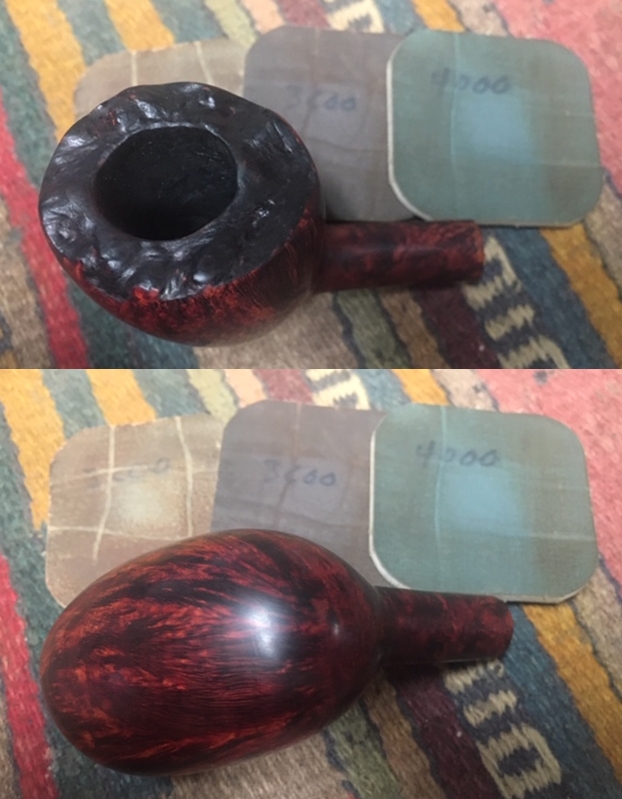
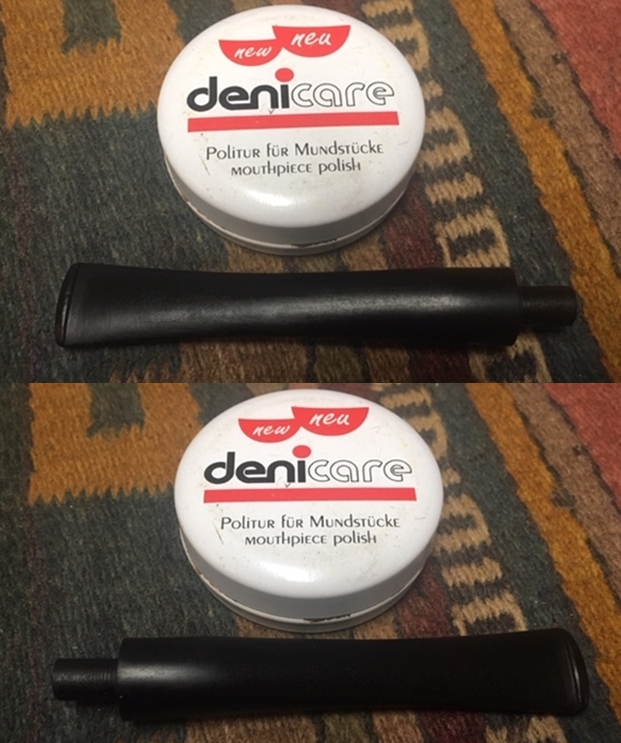
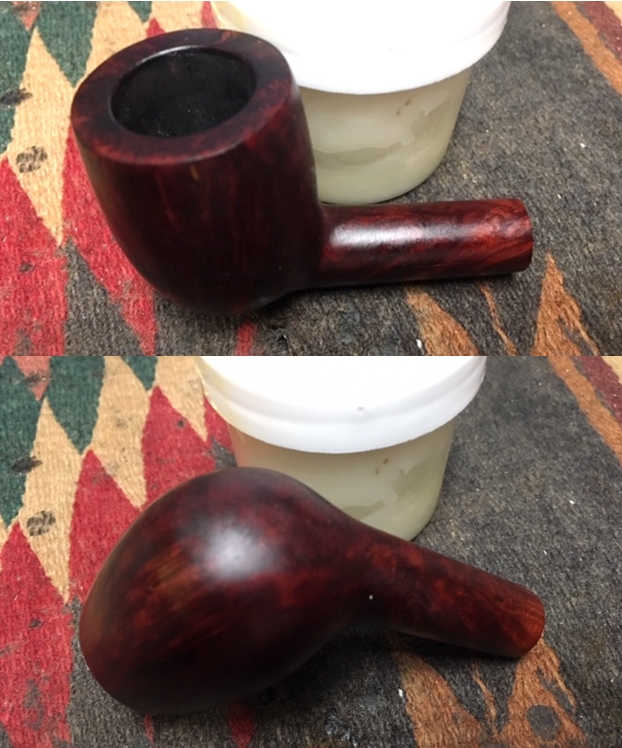
Jeff is methodical in his cleaning regimen and rarely varies the process. He reamed the bowl with a PipNet pipe reamer and followed up with a Savinelli Fitsall pipe knife to remove the cake. He scrubbed out the mortise and the airway in the shank and the stem with alcohol, cotton swabs and pipe cleaners. He scrubbed the exterior of the bowl, rim, shank and stem with a tooth brush and Murphy’s Oil Soap to remove the oils and tars on the rim and the grime on the finish of the bowl. He rinsed it under running water. He dried it off with a soft cloth. He was able to remove lava build up on the rim top and you could see the great condition of the rim top and edges of the bowl. He soaked the stem in Before & After Deoxidizer to remove the oxidation. I took photos of the pipe before I started my work on it.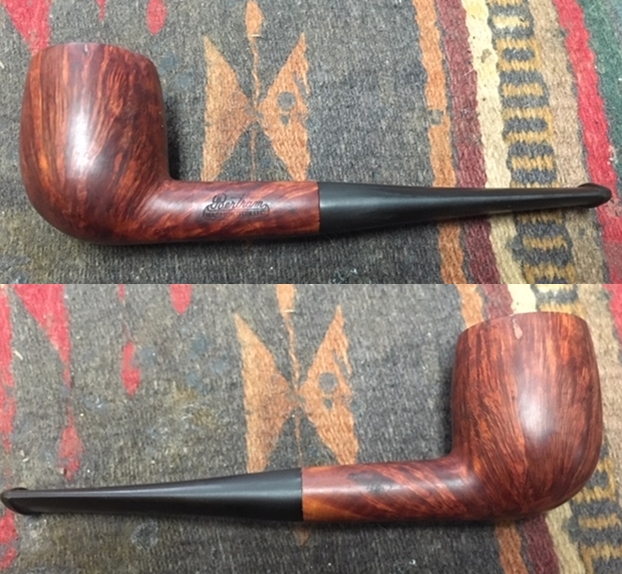
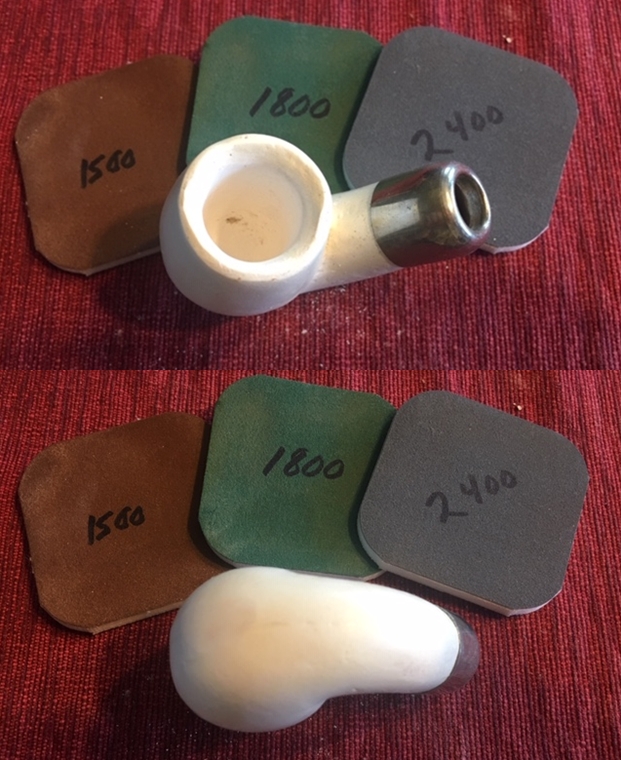
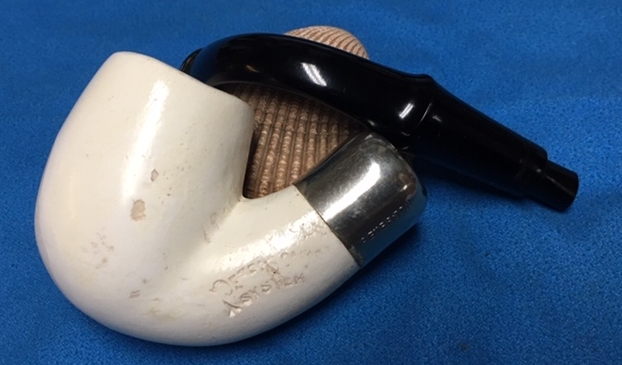
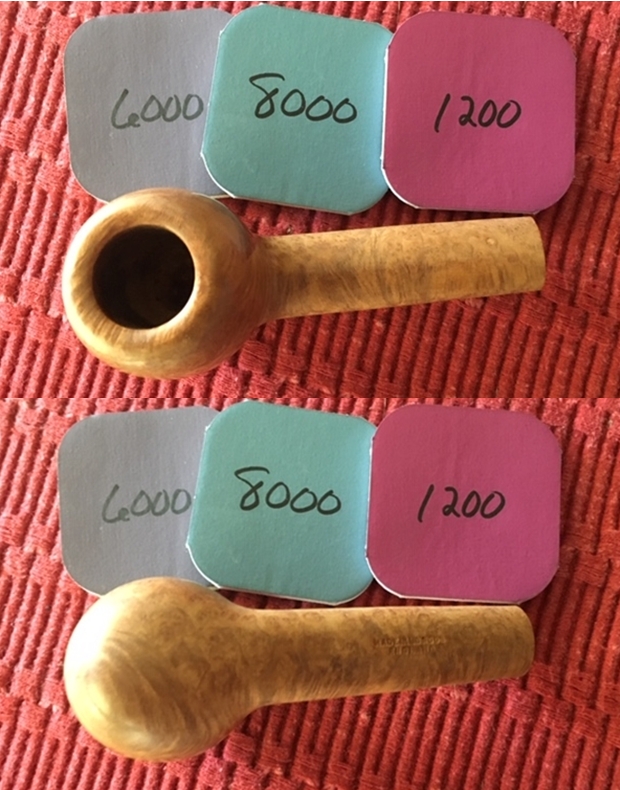
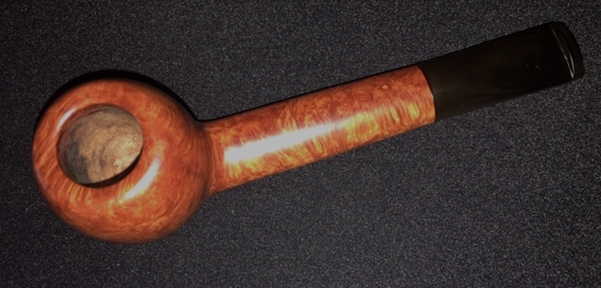
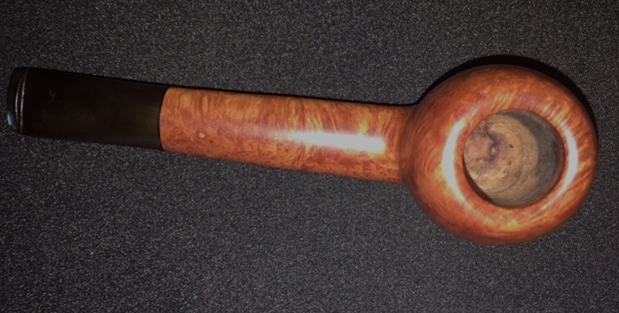
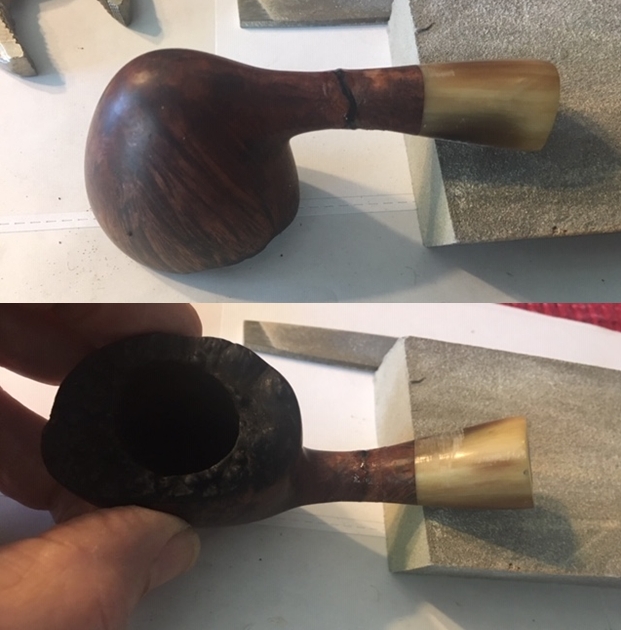
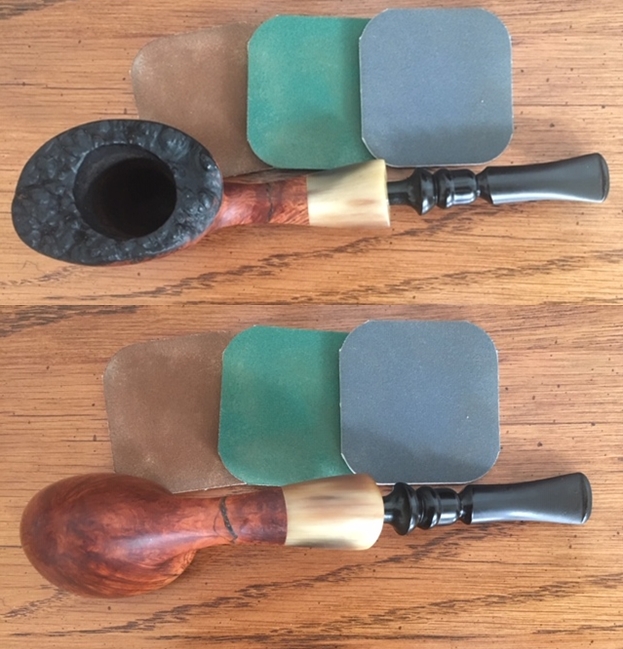
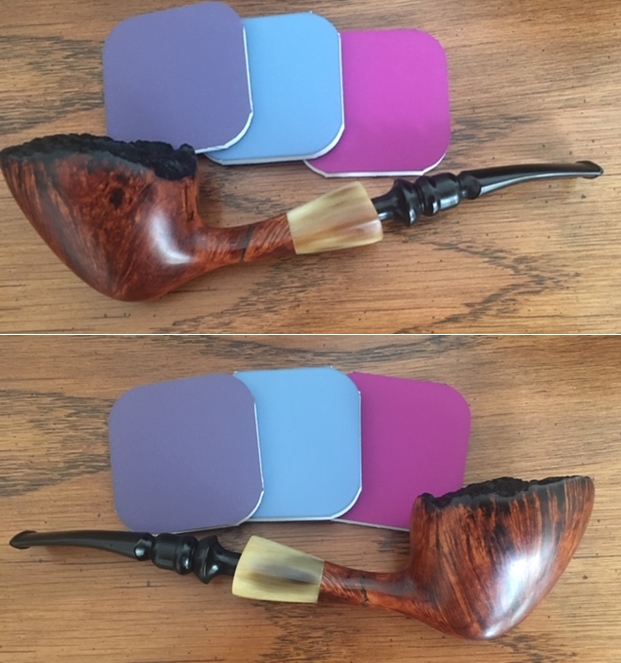
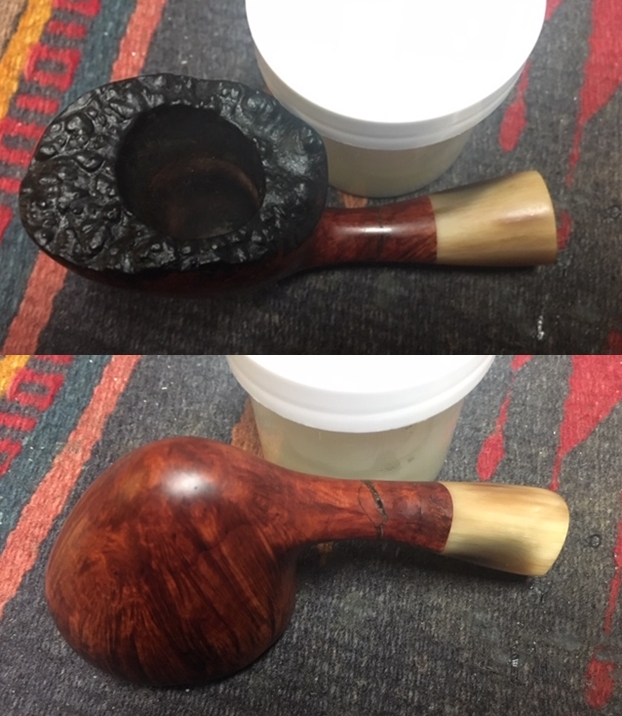
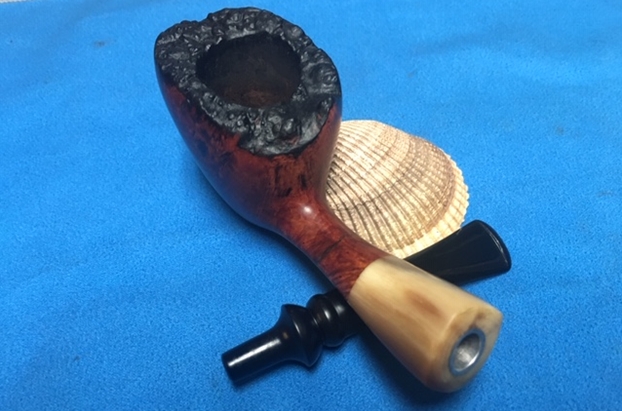
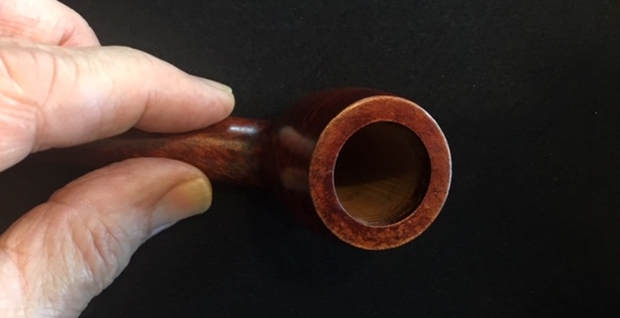
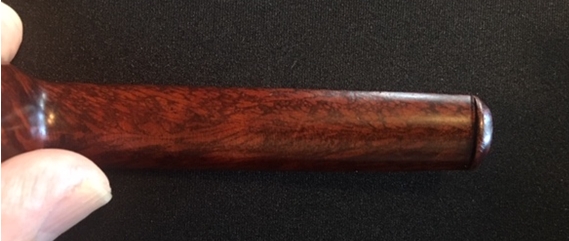
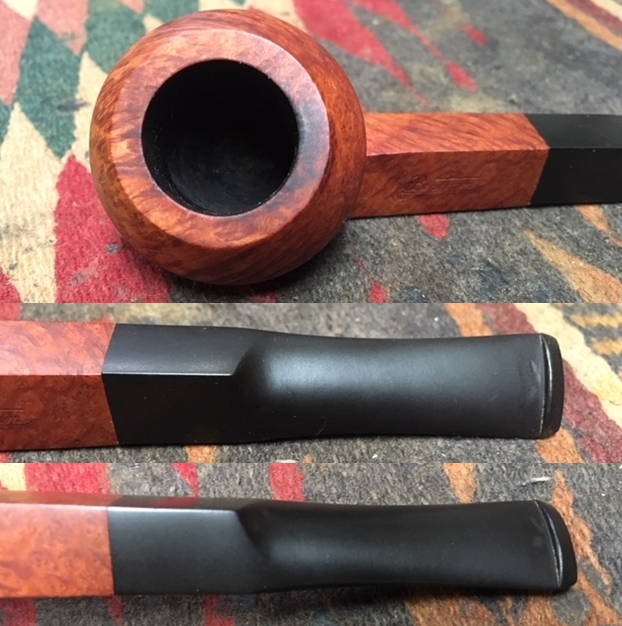
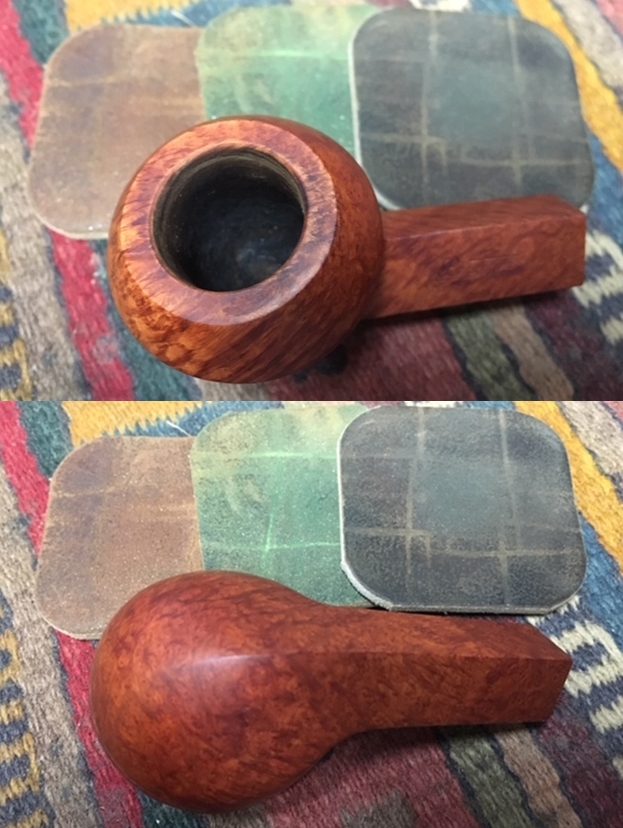
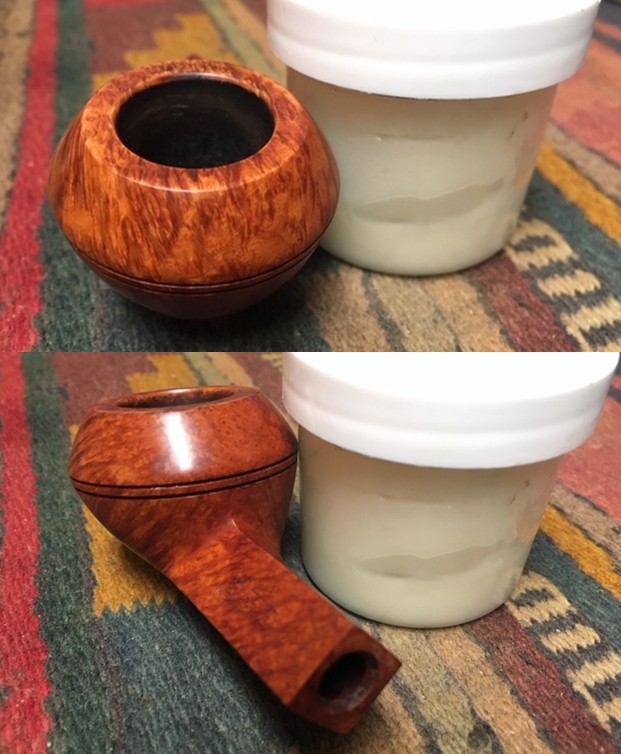
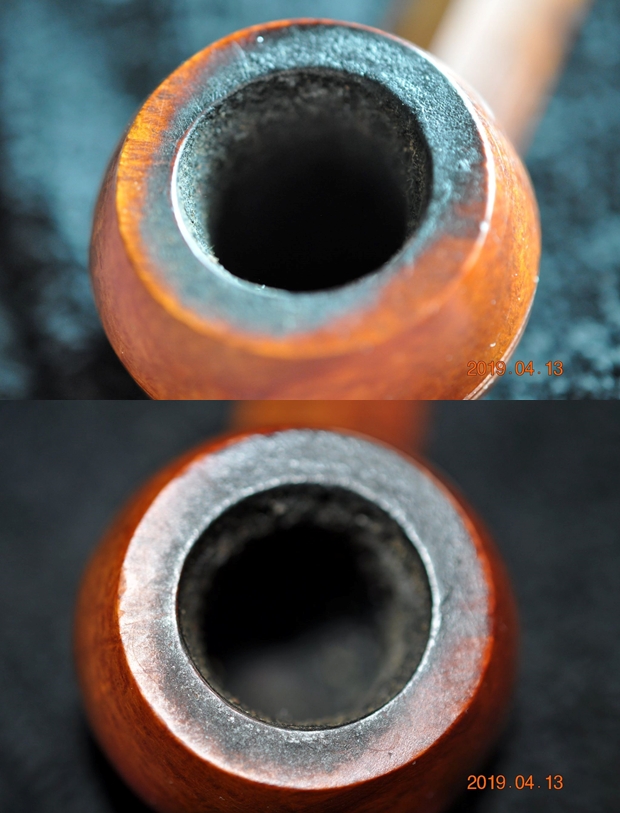
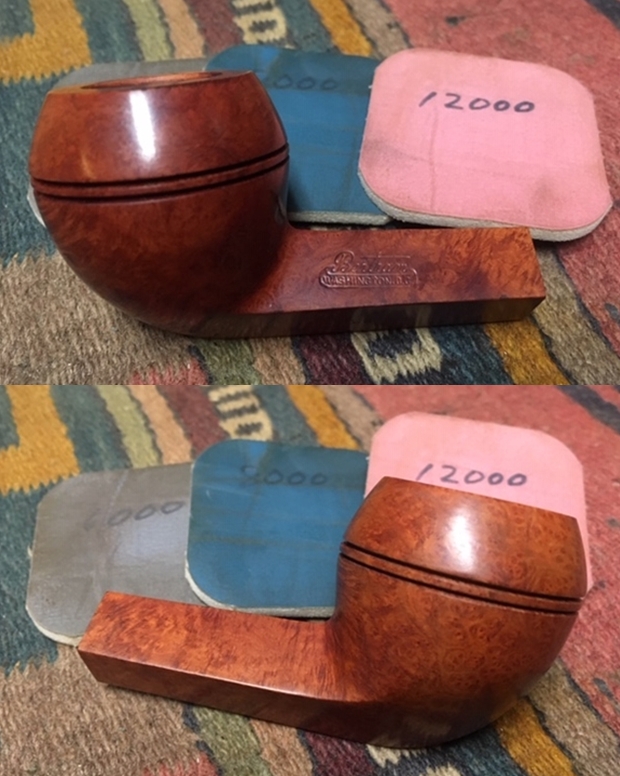
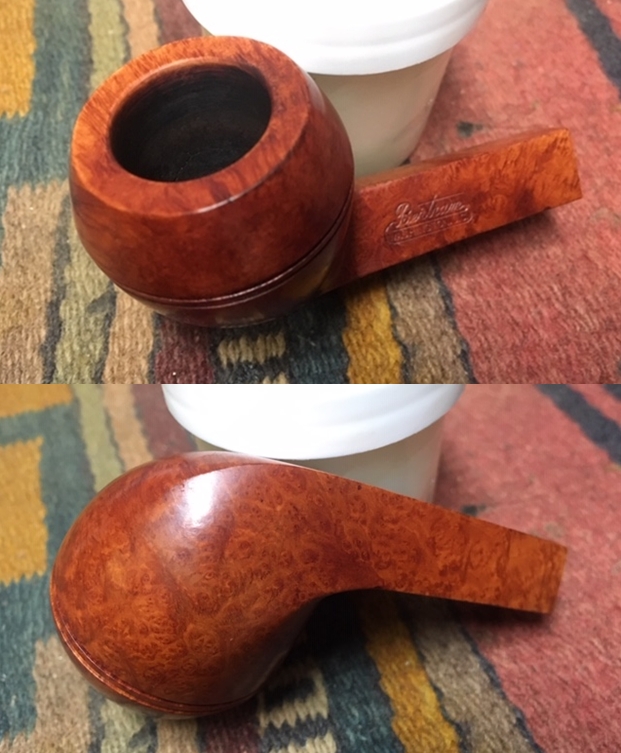
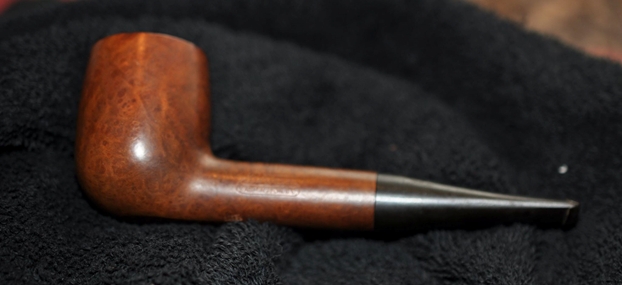
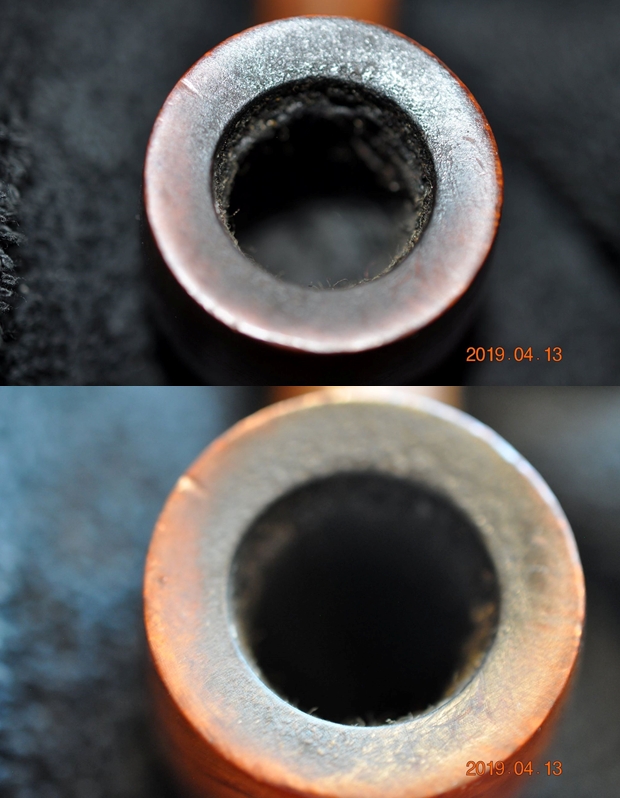
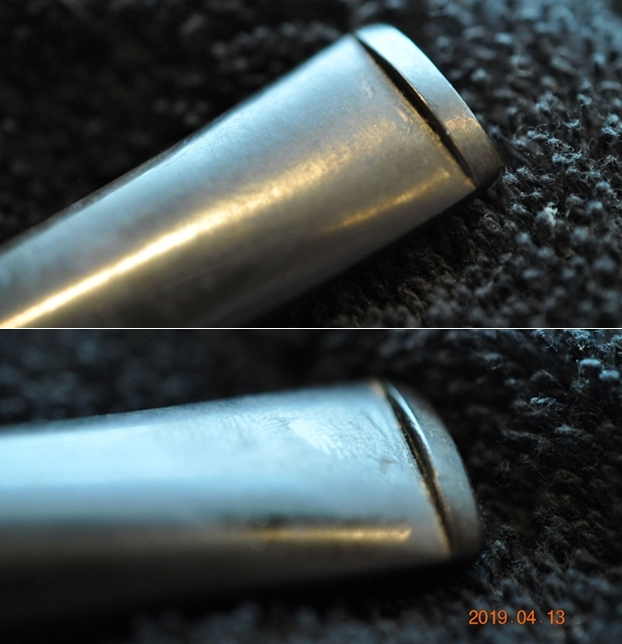
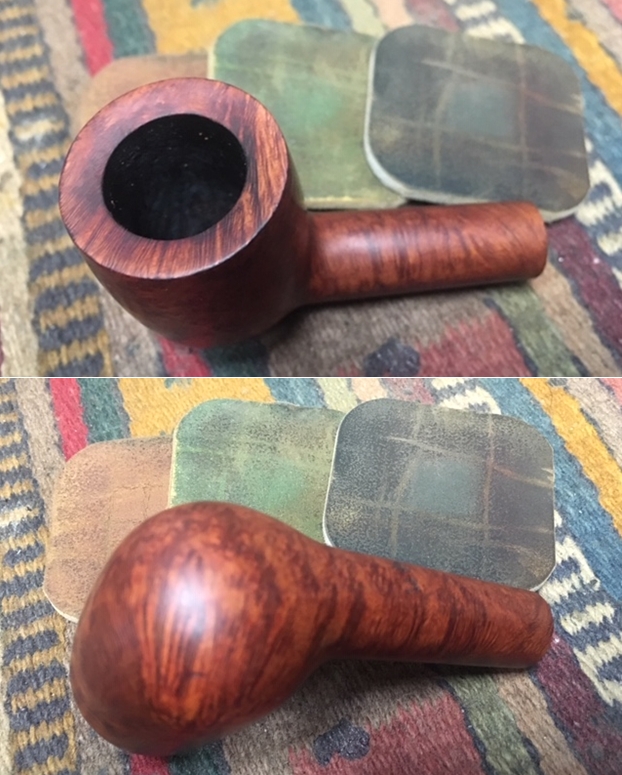
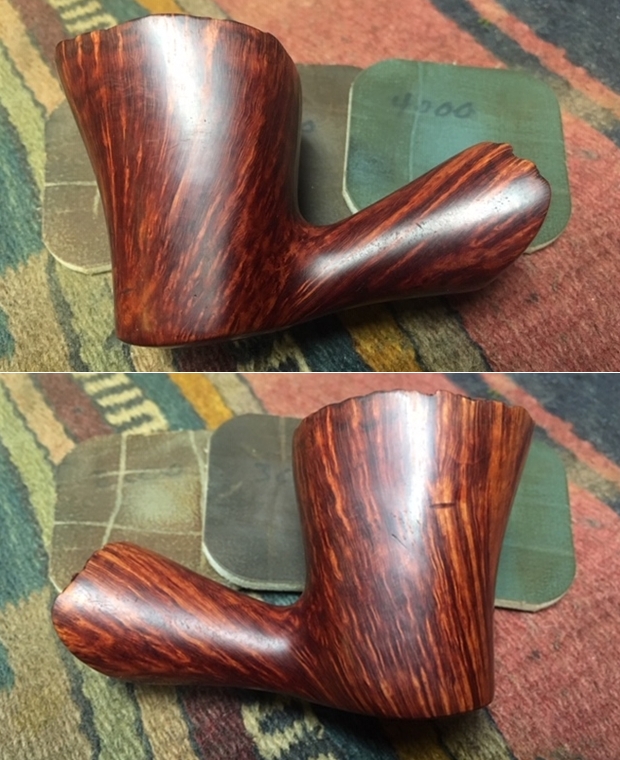
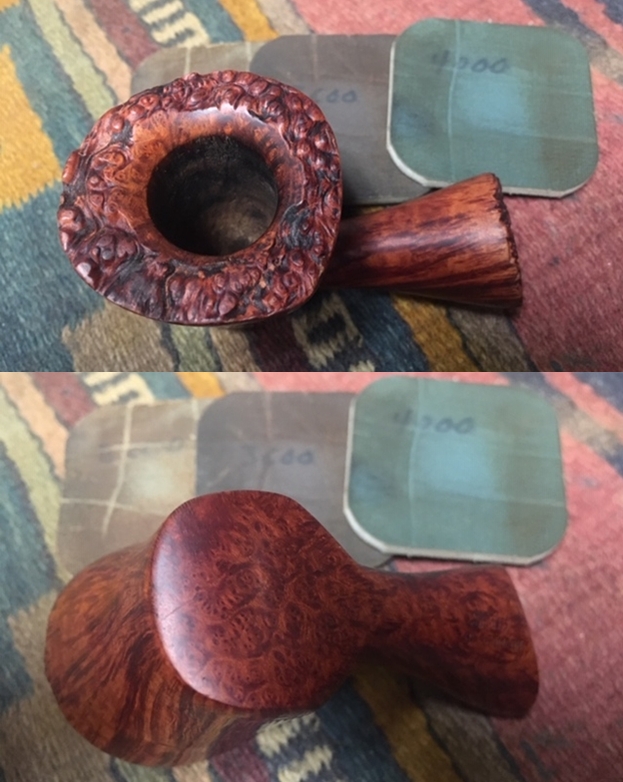
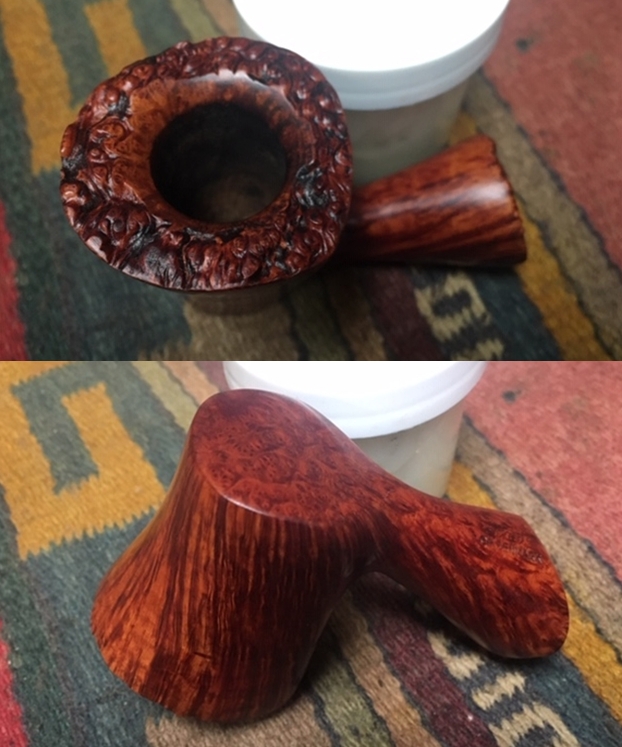
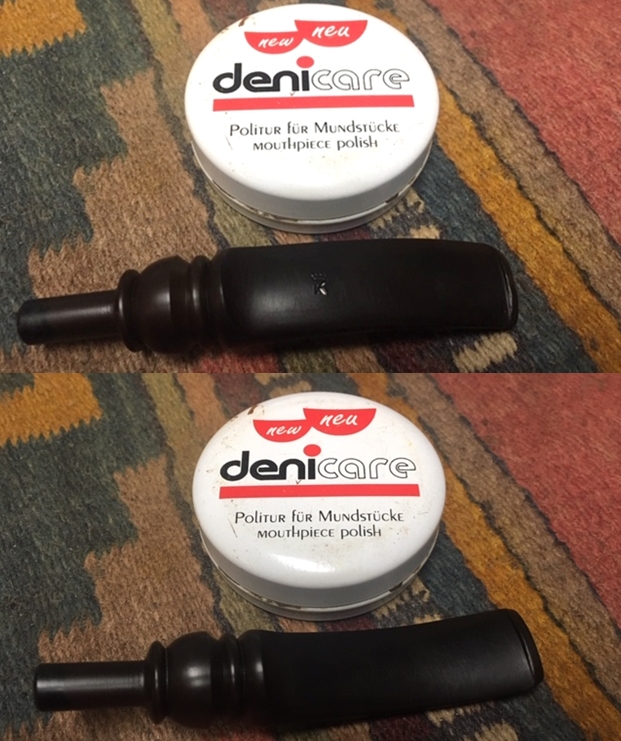
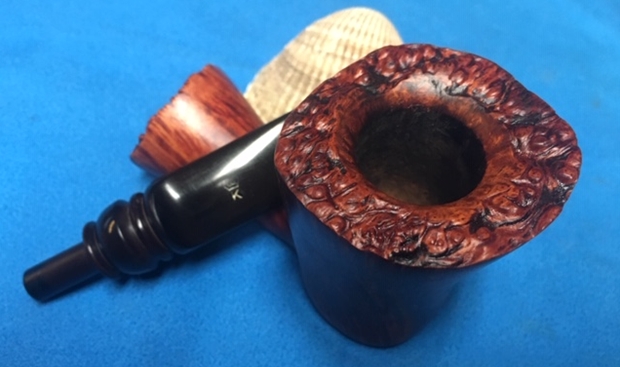
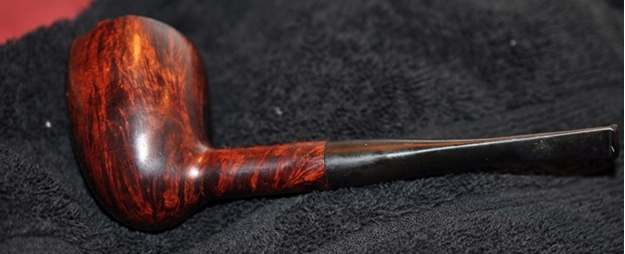
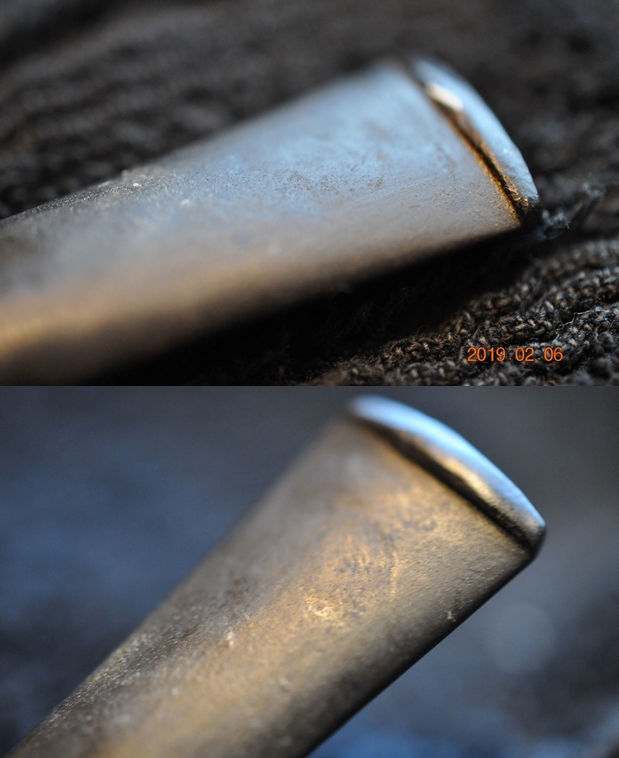
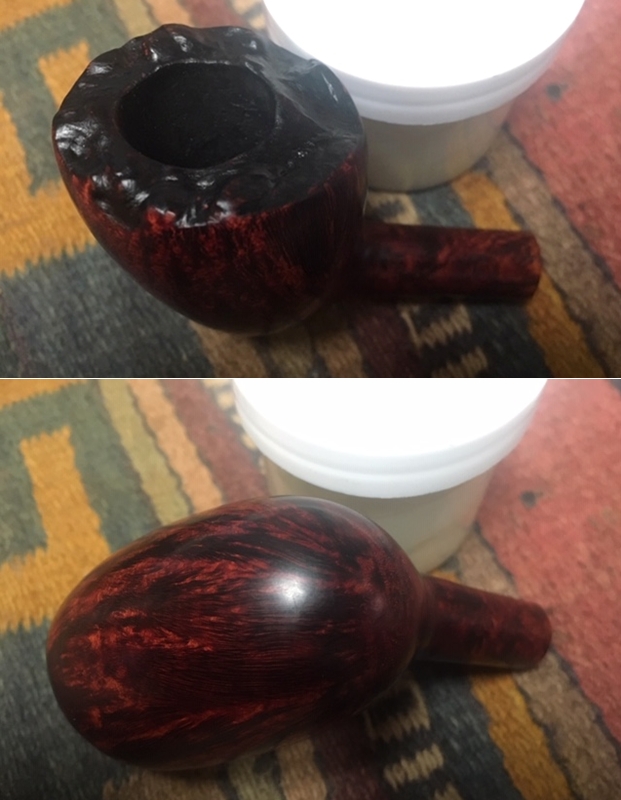
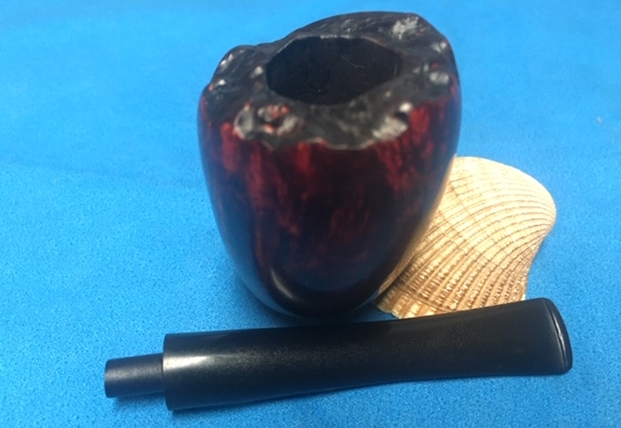
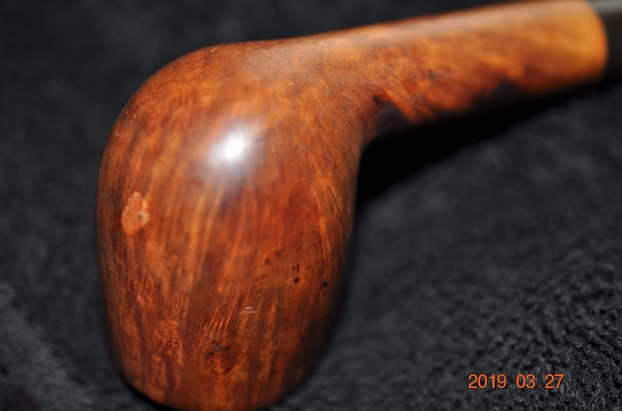
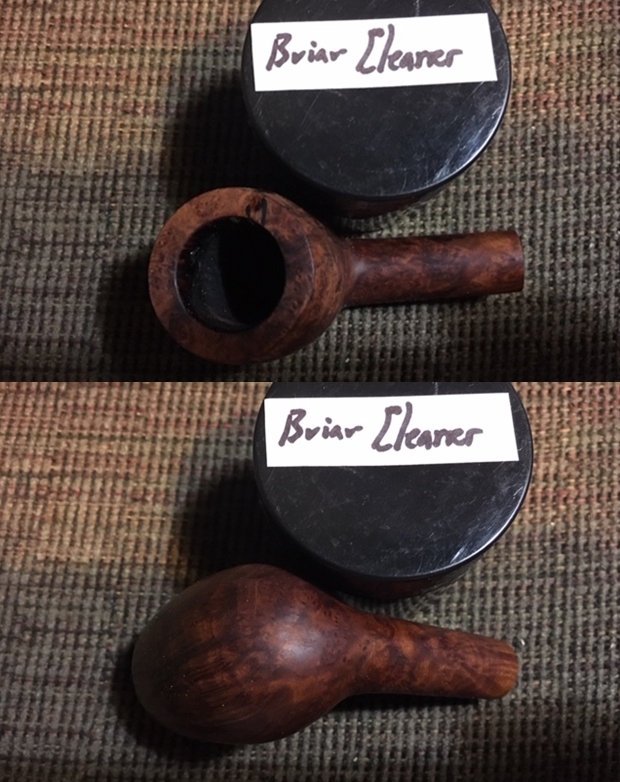
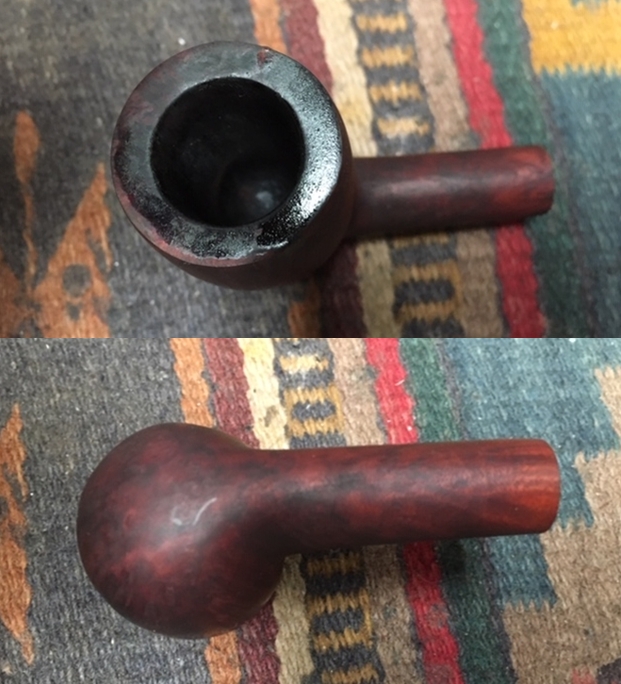
 I took a close up photo of the rim top to show the condition of the bowl and rim after Jeff had cleaned up the grime and lava. Without the lava the inward bevel on the rim looked very good with slight darkening at the rear. The inner edge was in great condition. The stem photos show that the light oxidation is gone. The stem is in excellent condition with some light tooth marks and chatter on both sides near the button.
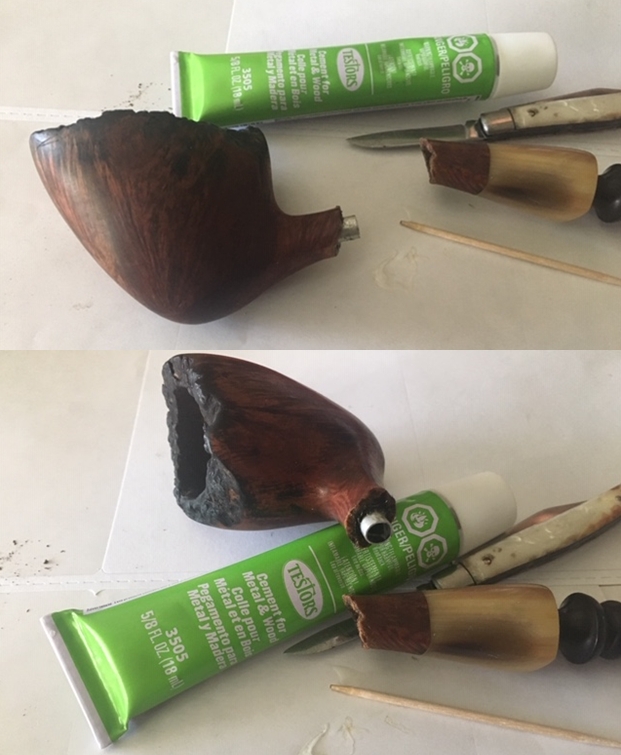
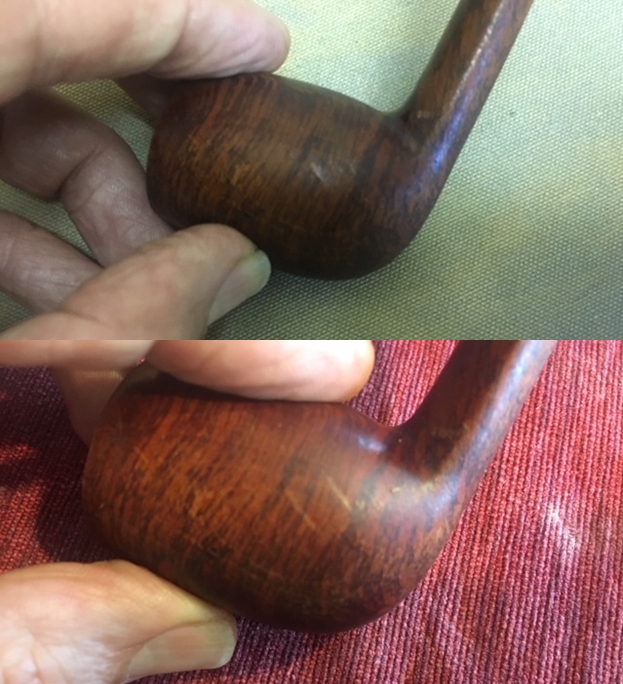
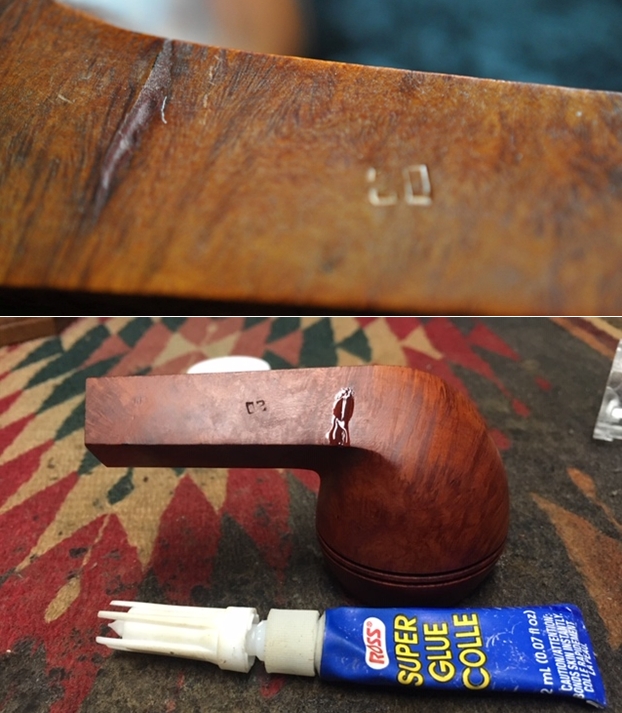
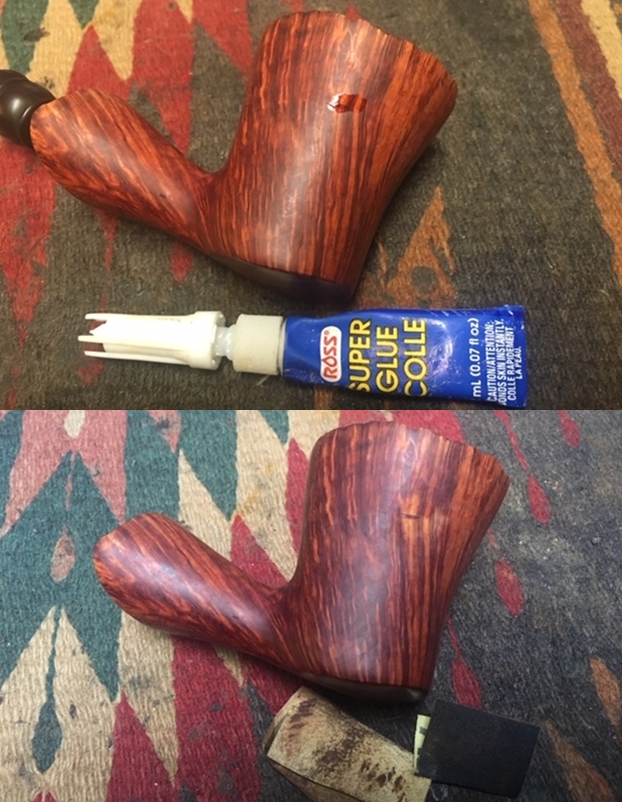
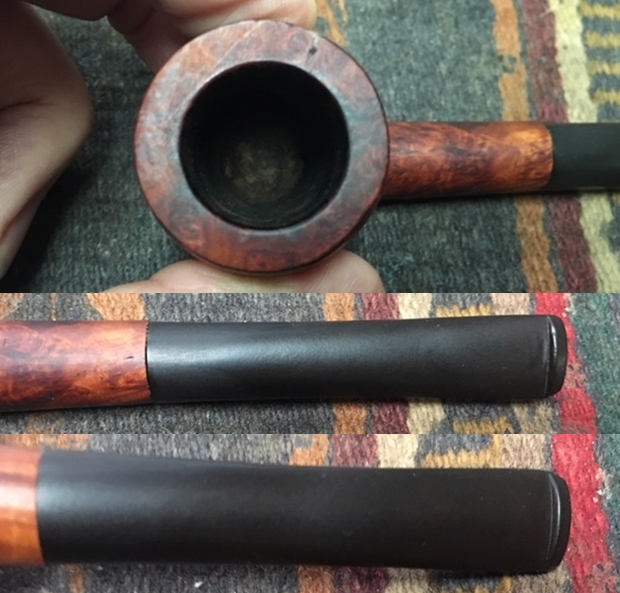 I decided to work on the repairs to the fills on the sides and heel of the bowl. I filled them in with clear super glue to smooth out the roughness.
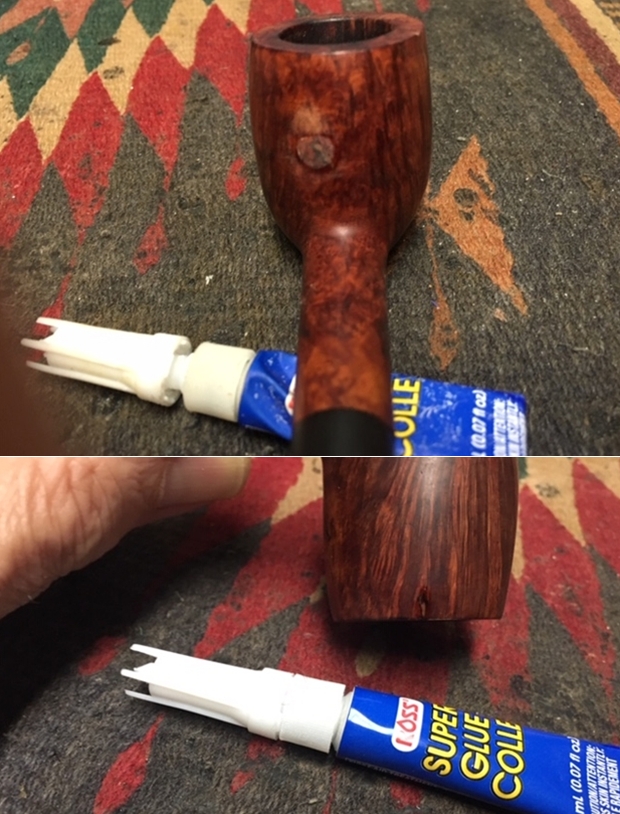
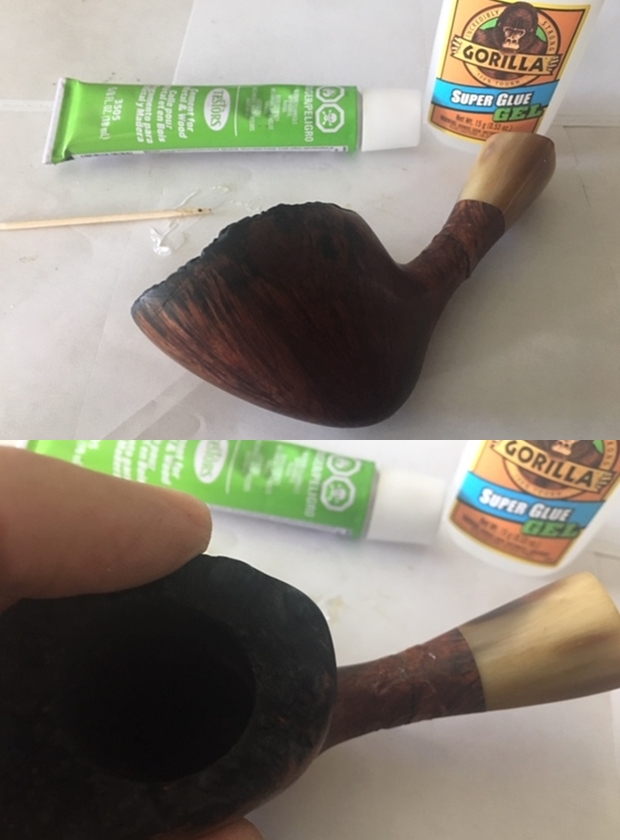
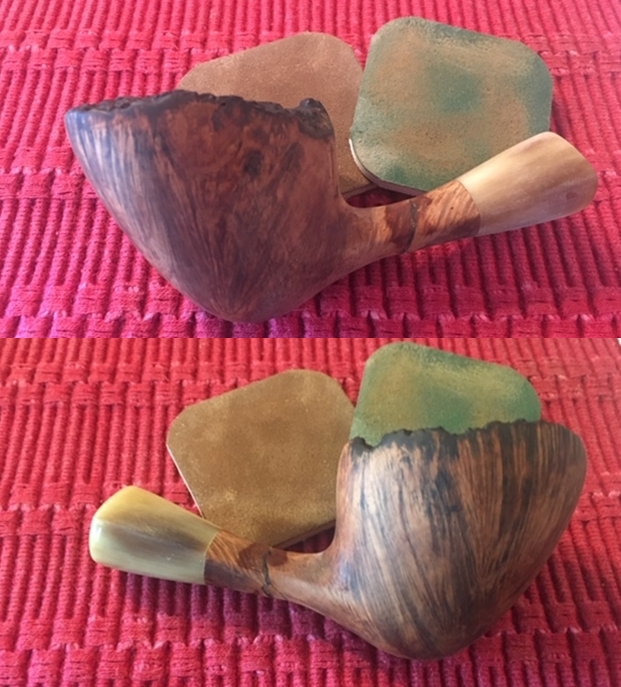
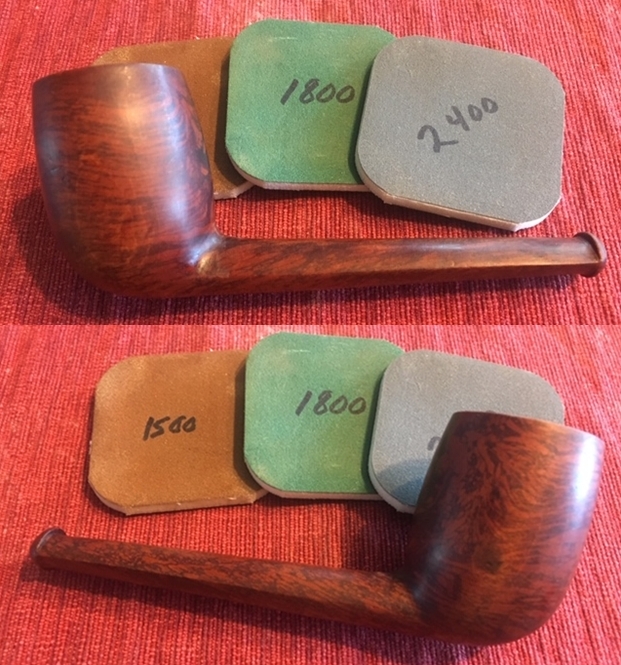
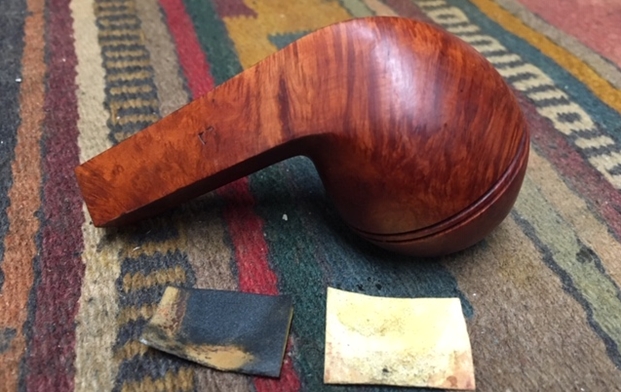
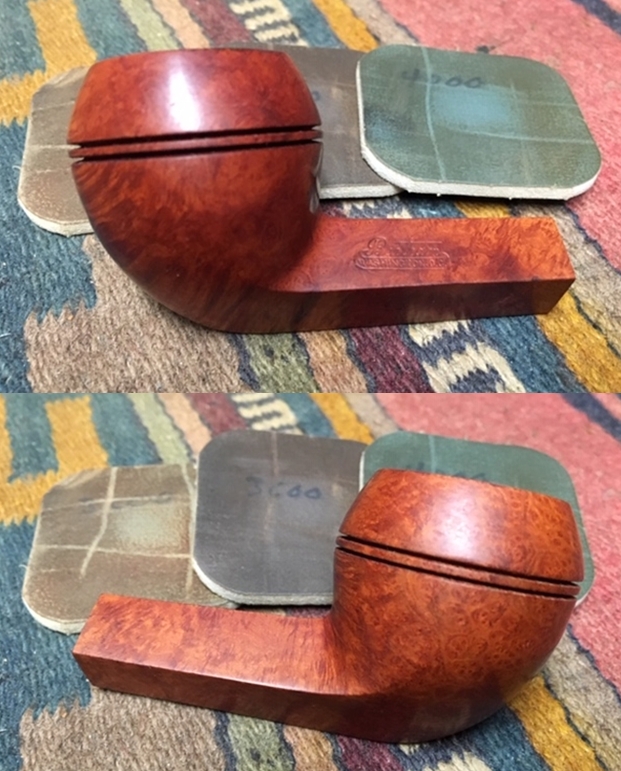
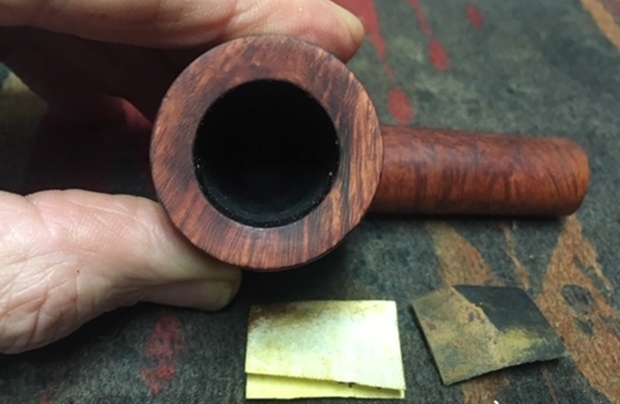
 Once the repairs had cured I sanded them smooth with 220 grit sandpaper and with 400 grit wet dry sandpaper. It is fascinating to see that the fills follow the pattern of the grain perfectly and once sanded they blended in better with the grain around the bowl.
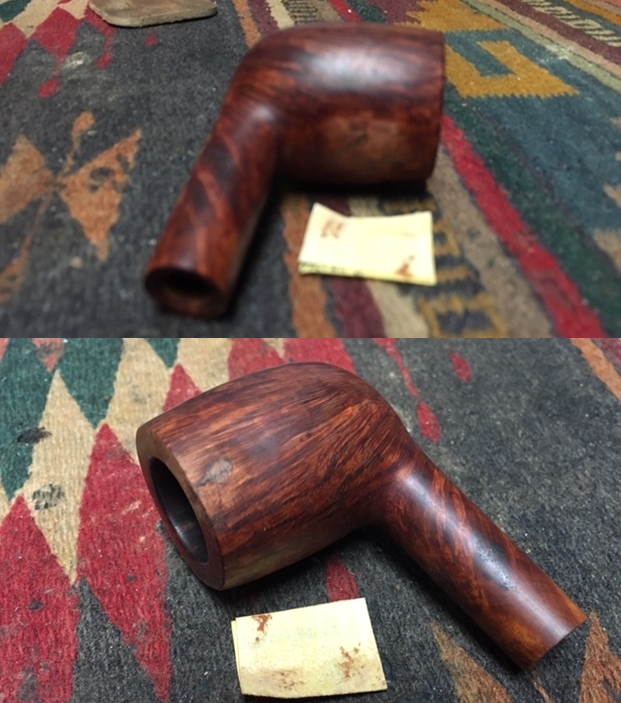
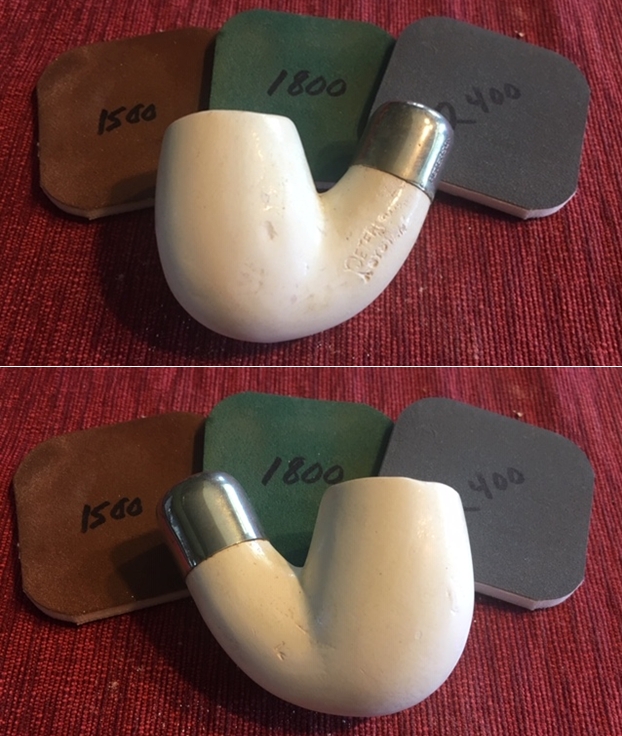
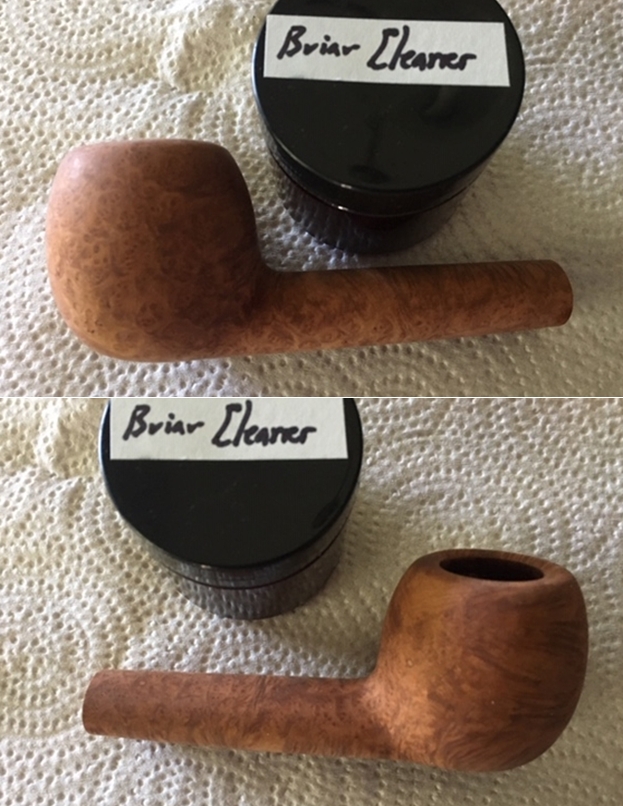
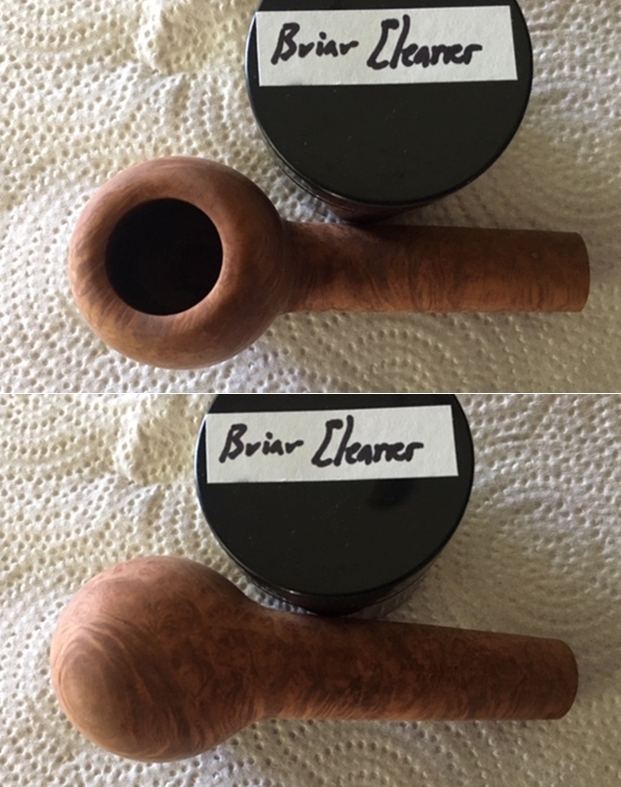
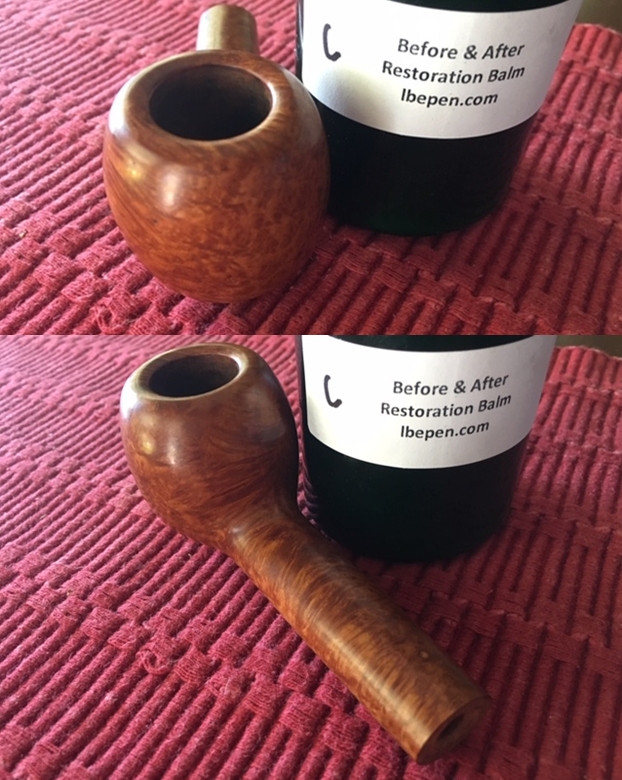
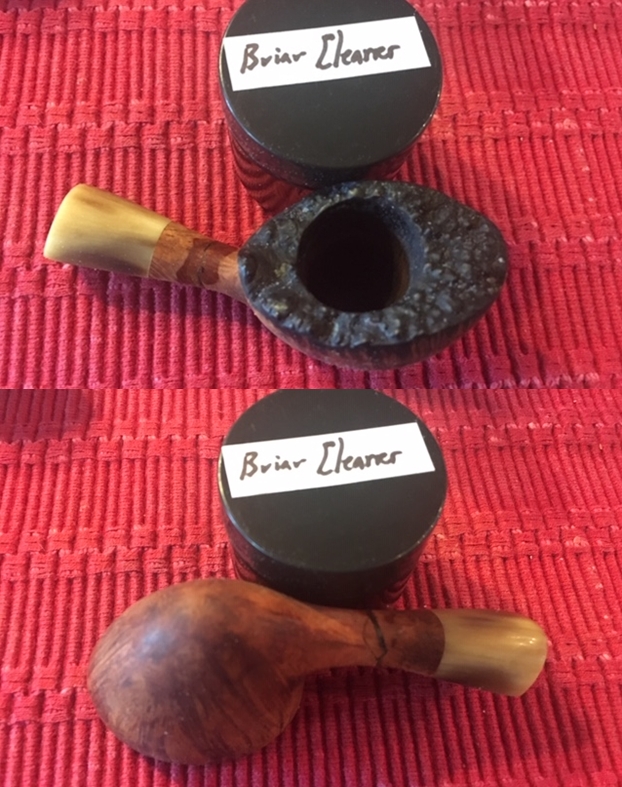
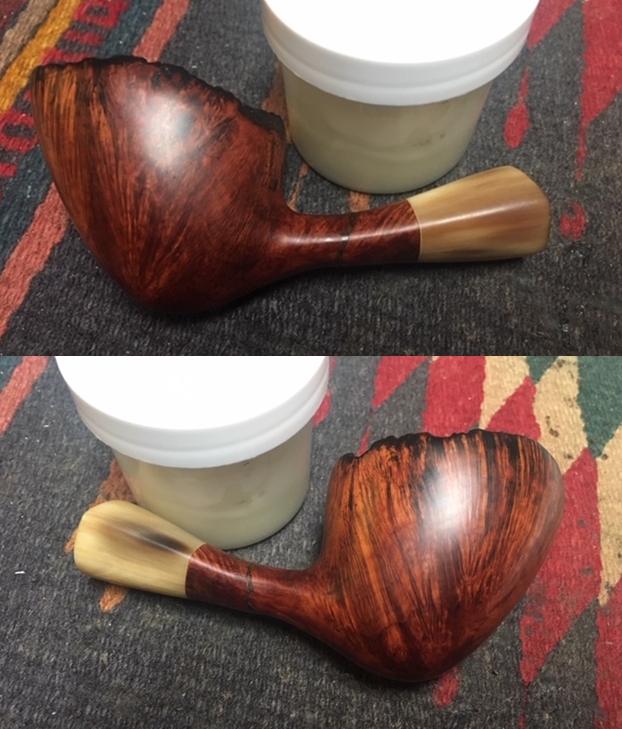
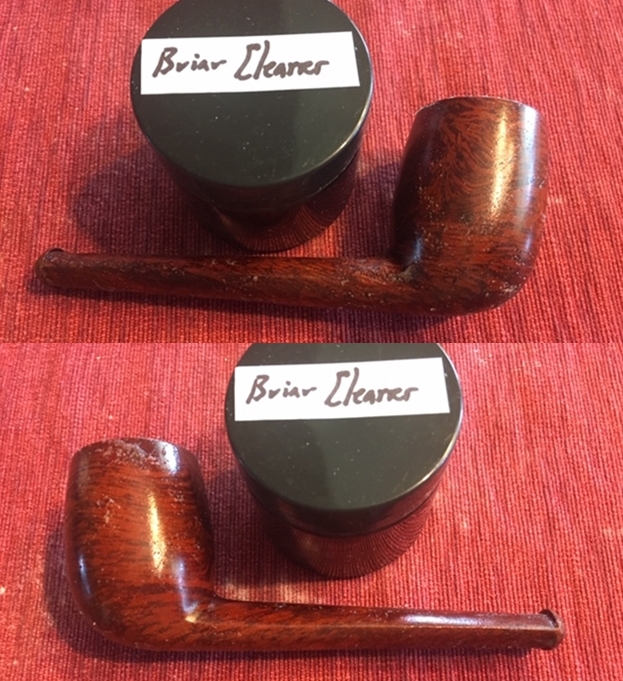
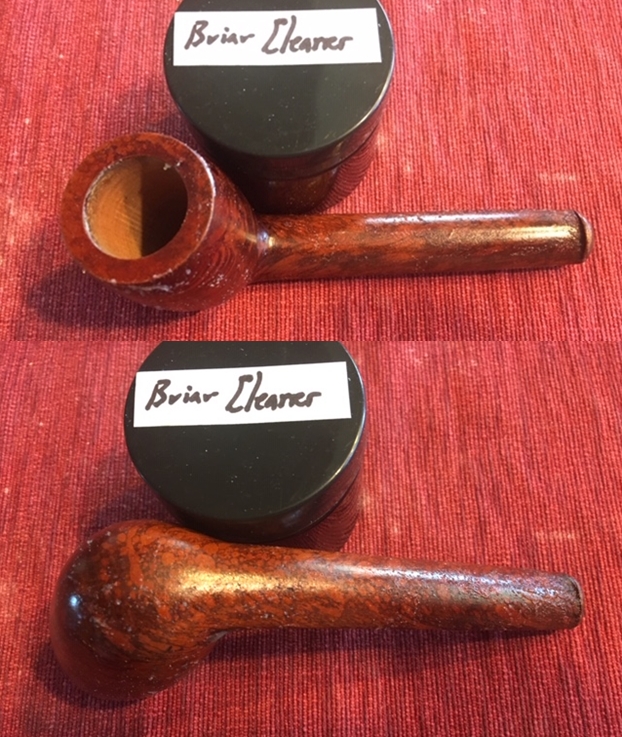
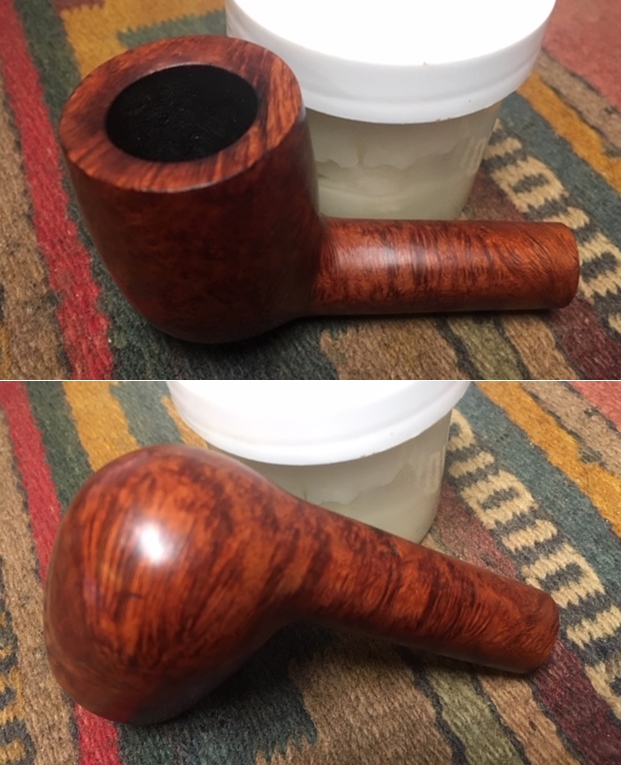
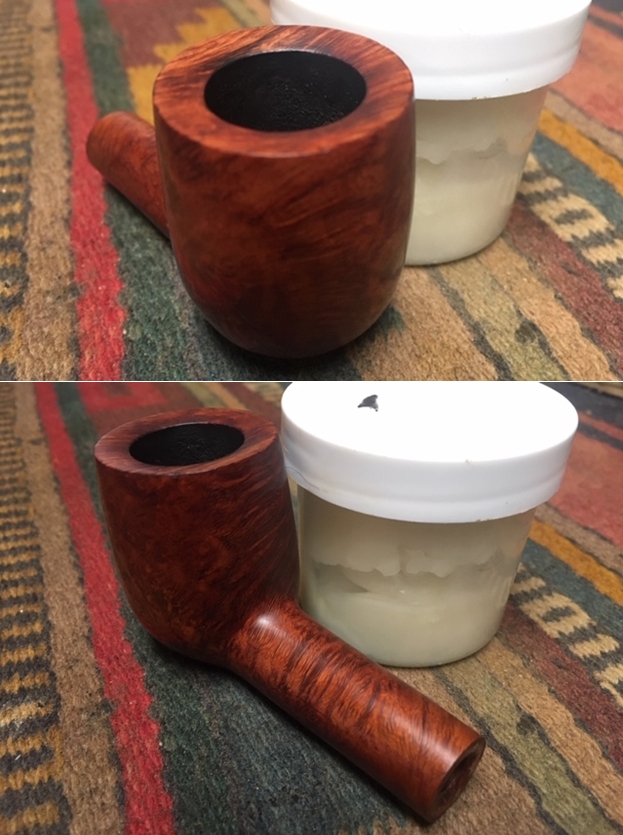
 I am still in the process of experimenting with some of Mark Hoover’s new products – this one a Briar Cleaner. I worked it into the surface of the briar to clean out the dirt and grit in the grain. I wiped it down with a clean paper towel to remove the cleaner.
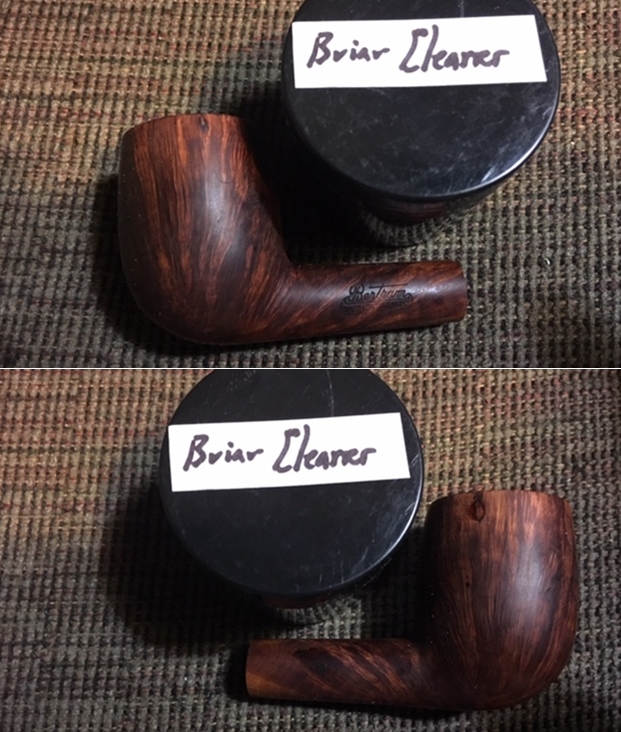
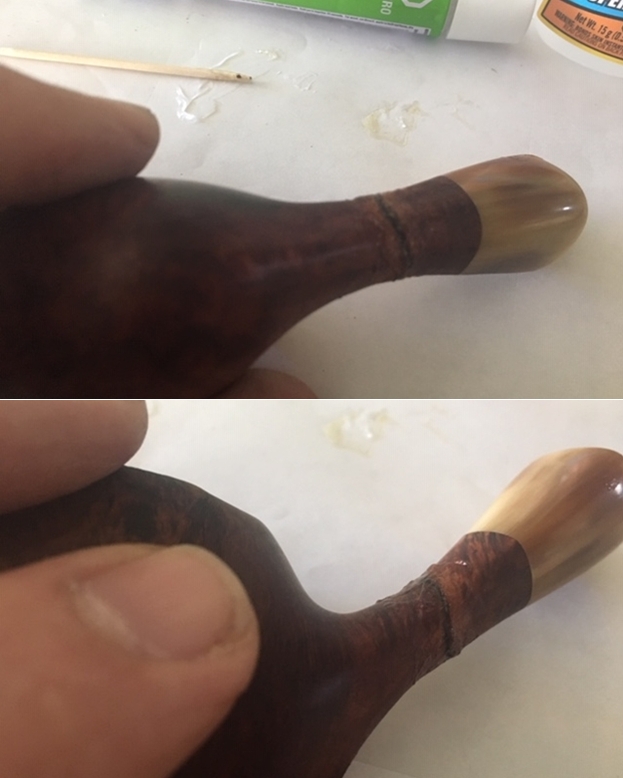
 I heated the briar and stained it with a tan Fiebings stain. I lit the stain with a lighter to set it in the briar. I repeated the process until the colour was what I wanted. My aim was to blend the fills into the bowl better than they did previously.
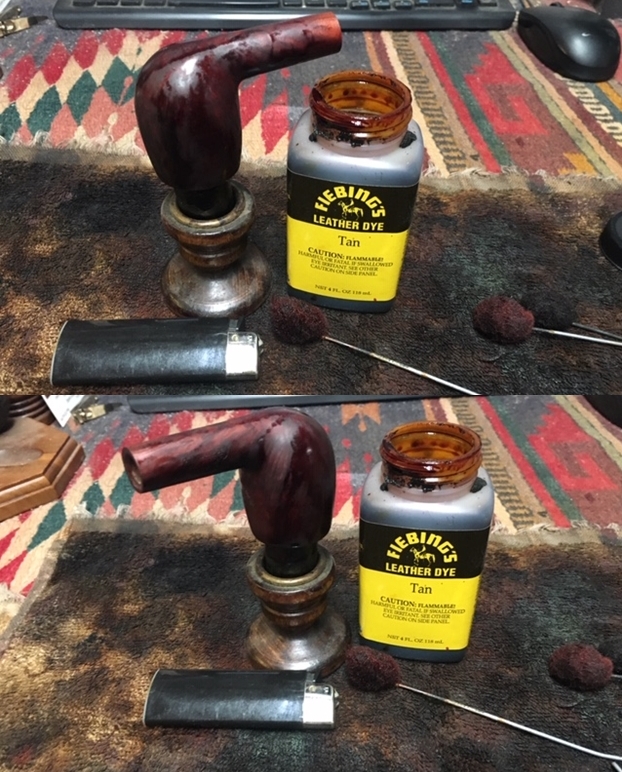
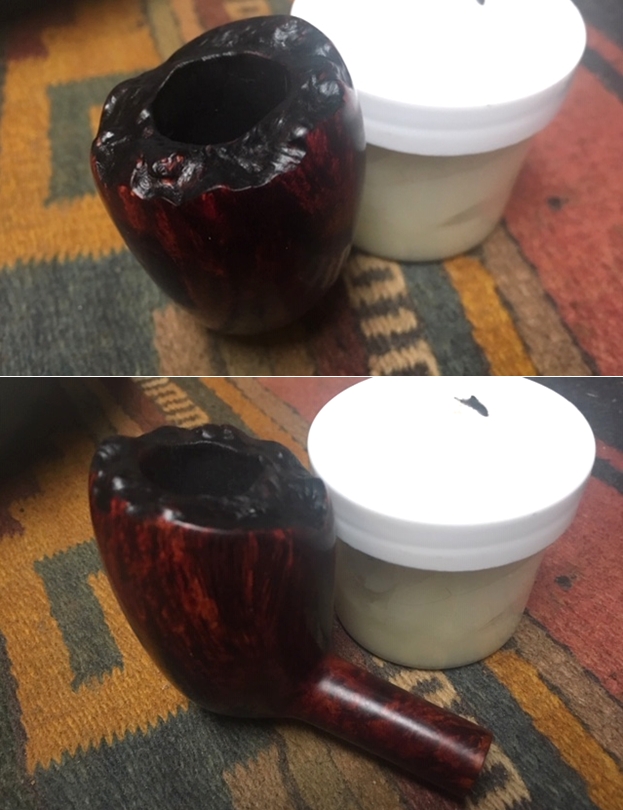
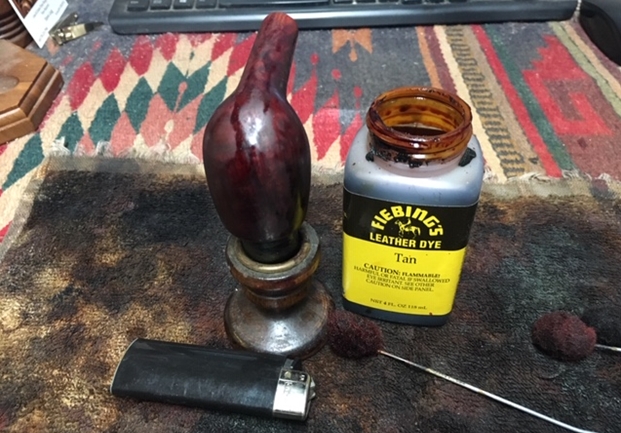 I set the bowl aside overnight to let the stain coat cure. In the morning I took photos of the bowl before I did further work on it.
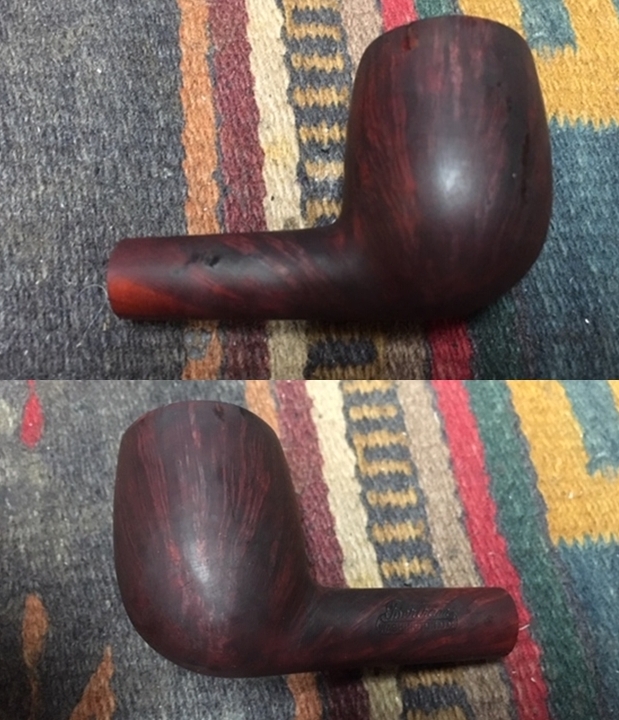
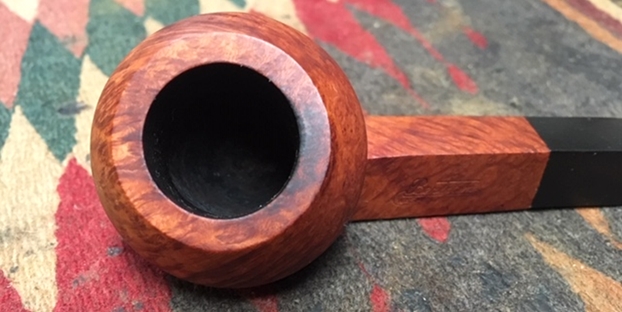
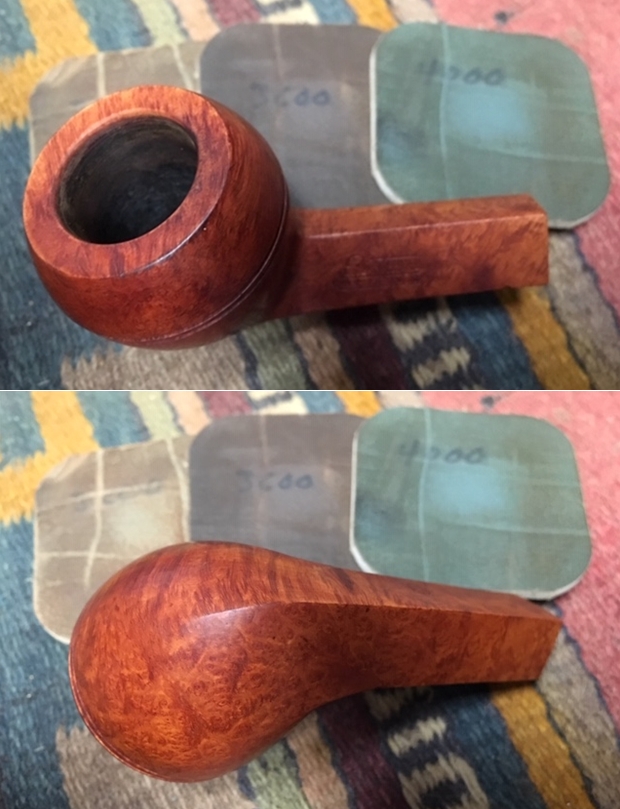
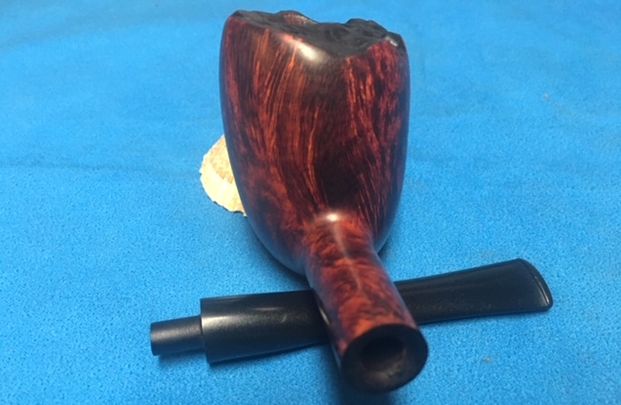
 I wiped the newly stained bowl with alcohol on a cotton pad to make it more transparent. The photos show the bowl at this point in the process.
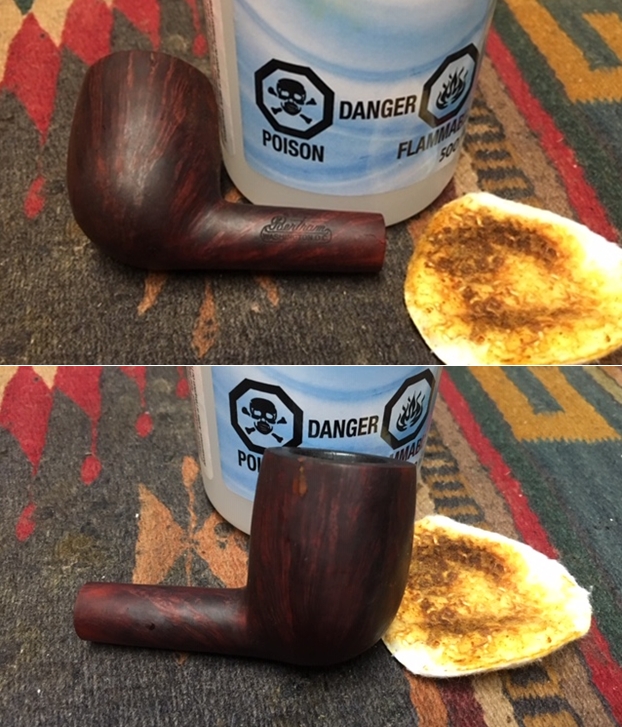
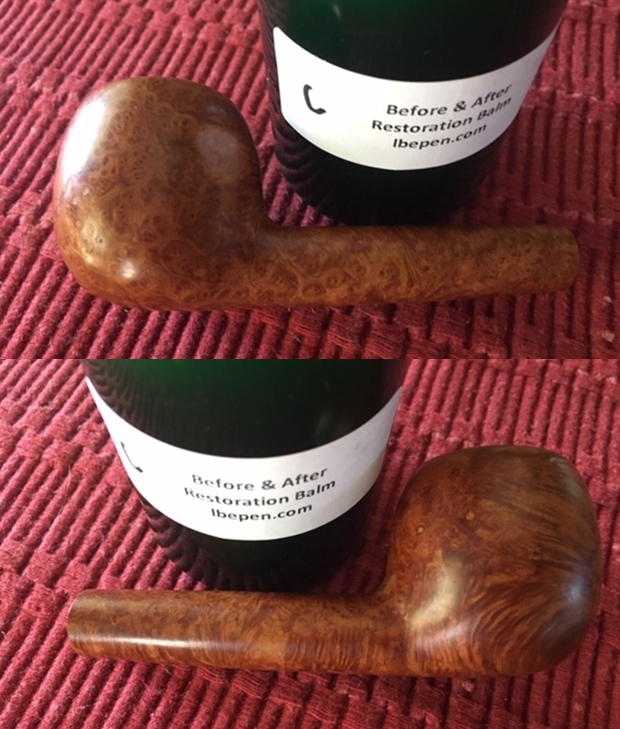
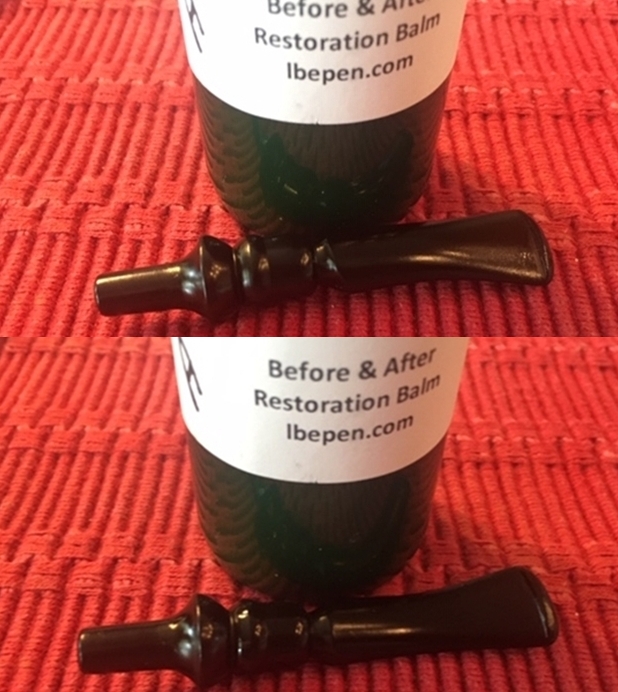
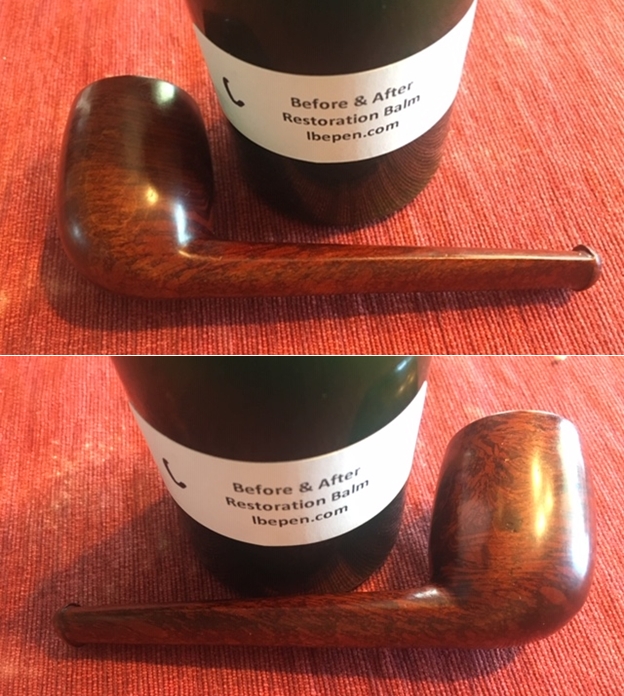
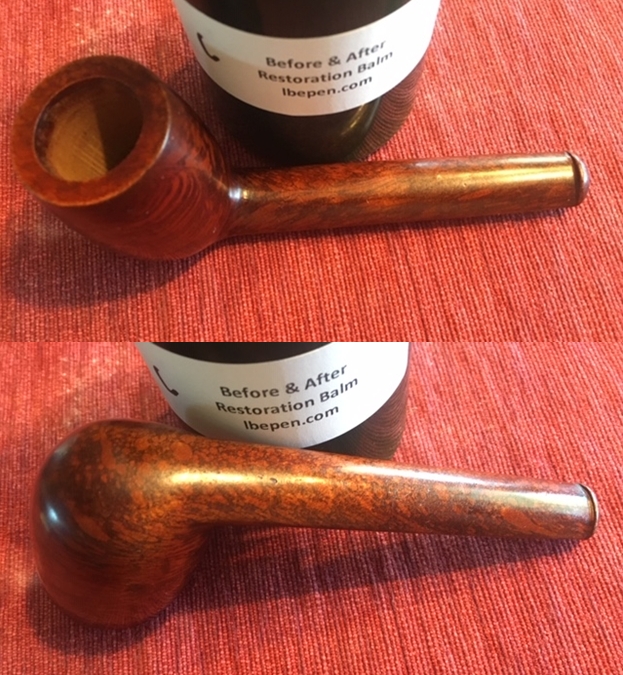
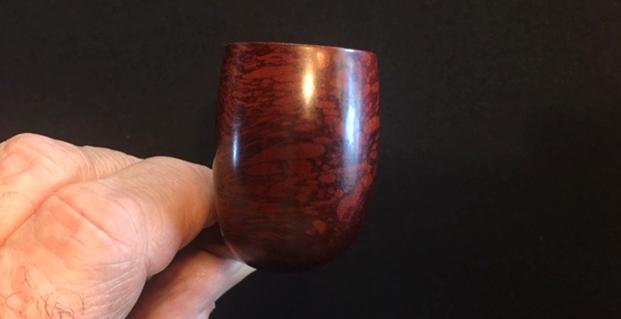
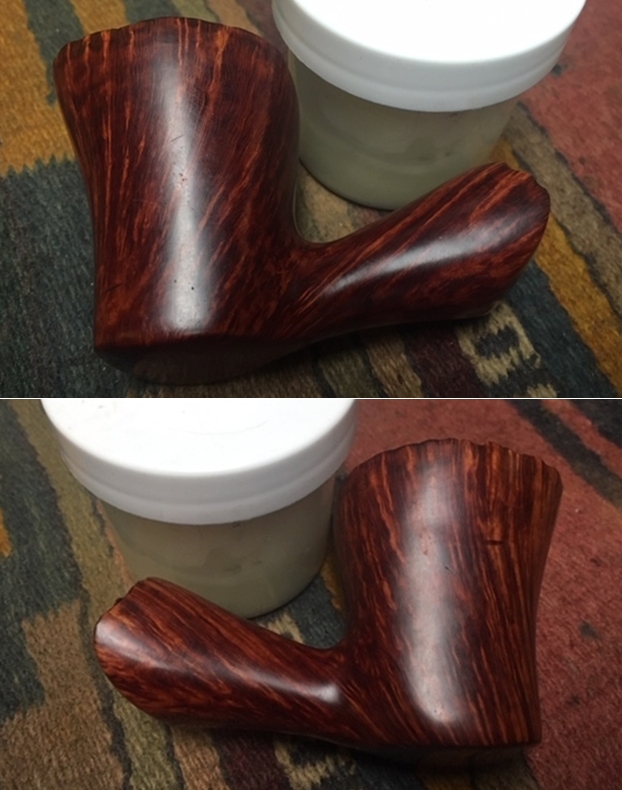
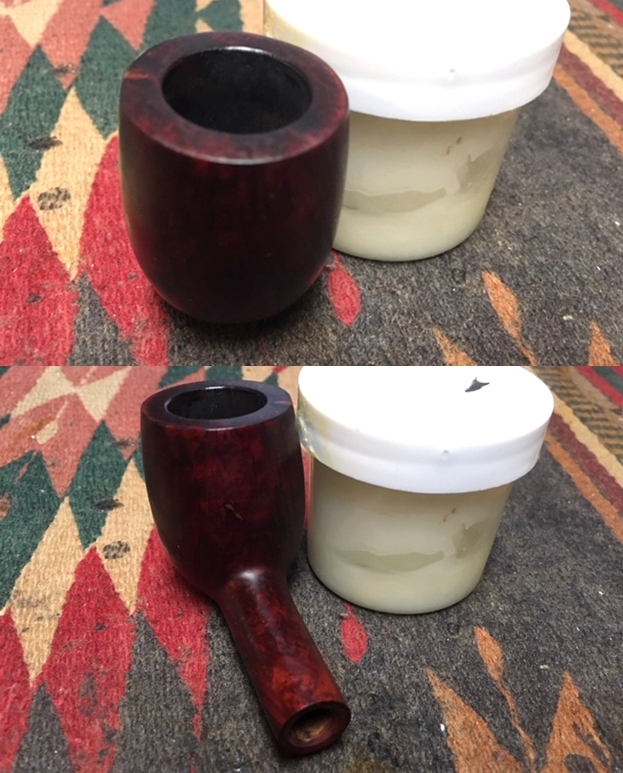
 I worked some Before & After Restoration Balm into the finish of the briar with my fingertips to clean, enliven and protect it. I let the balm sit for a little while and then buffed with a cotton cloth to raise the shine. The Restoration Balm really makes the grain stands out beautifully. If you have not tried some why not give it a try.
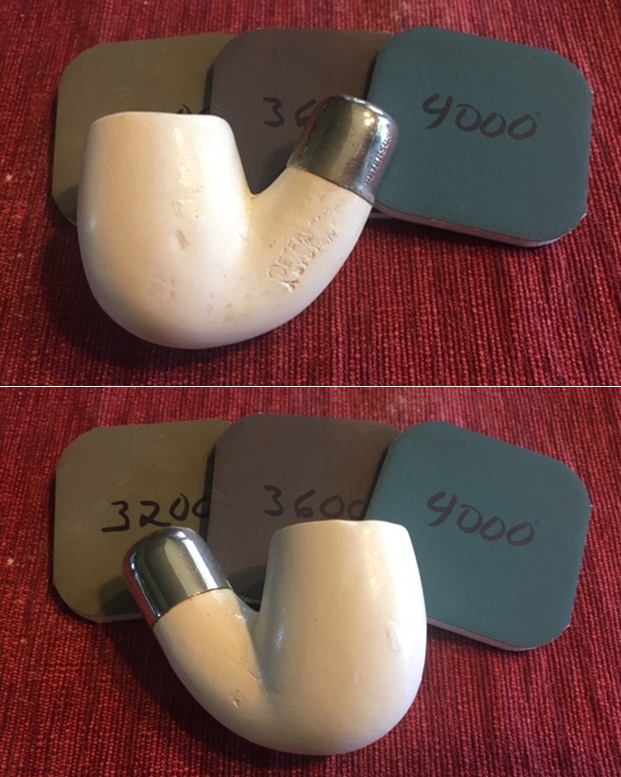
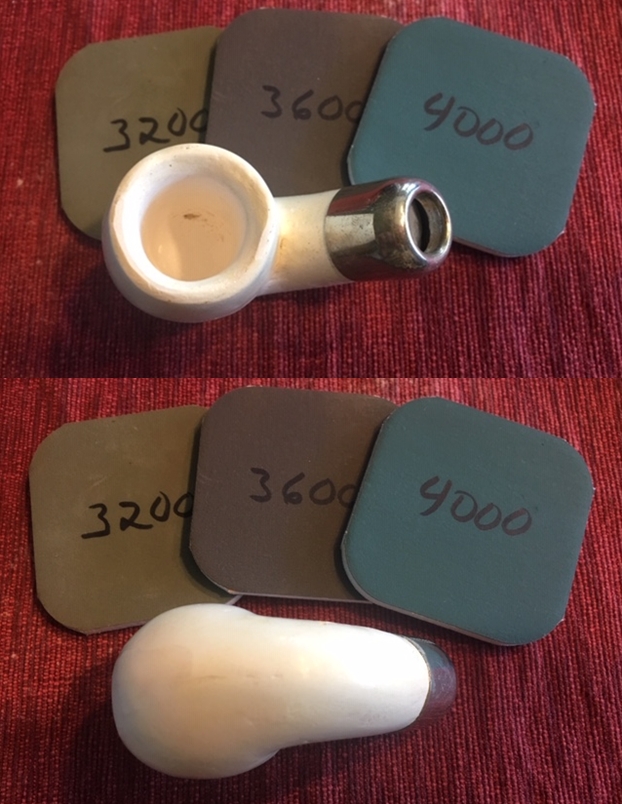
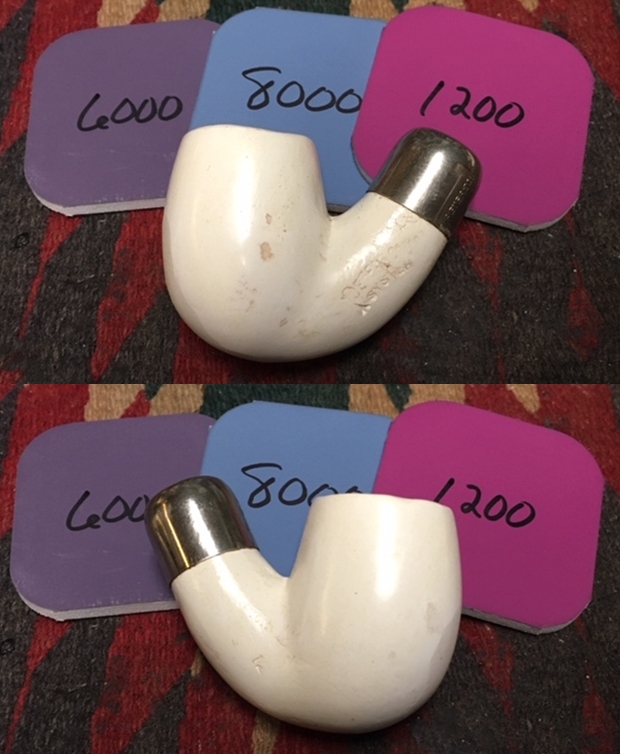
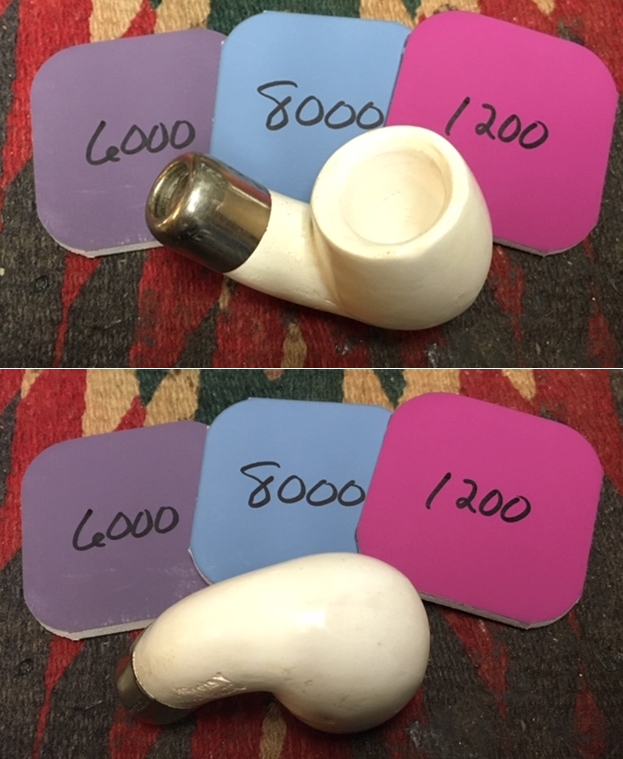
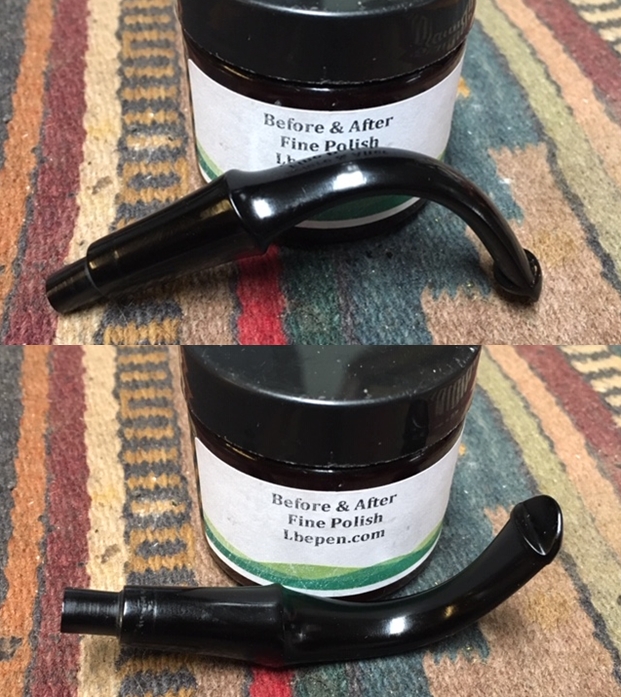
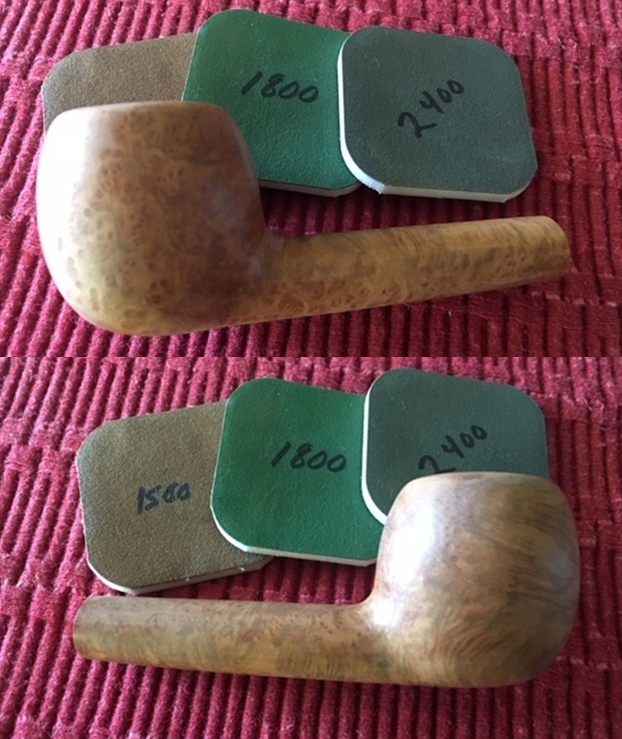
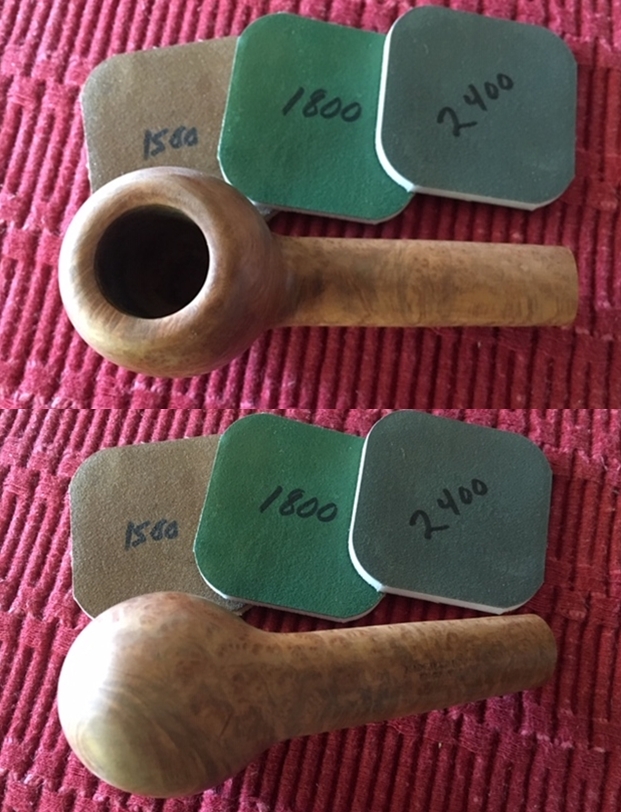
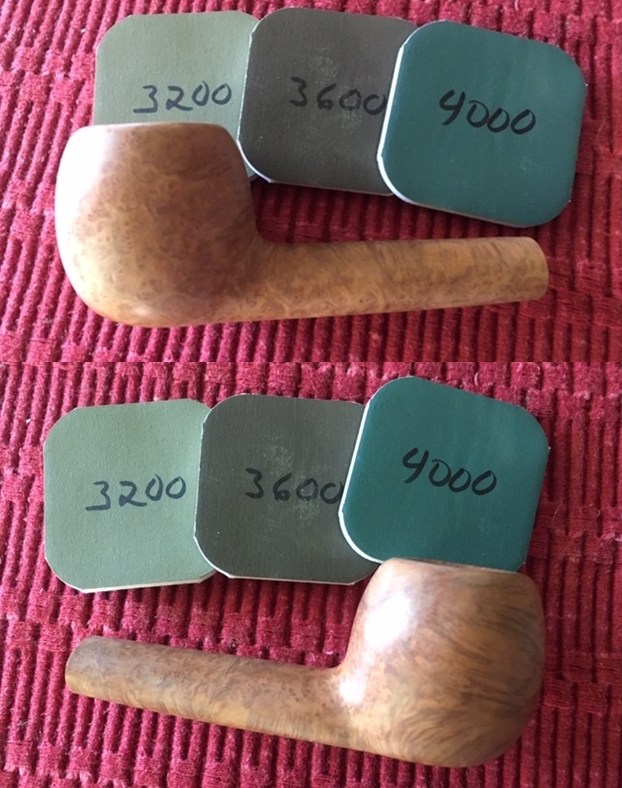
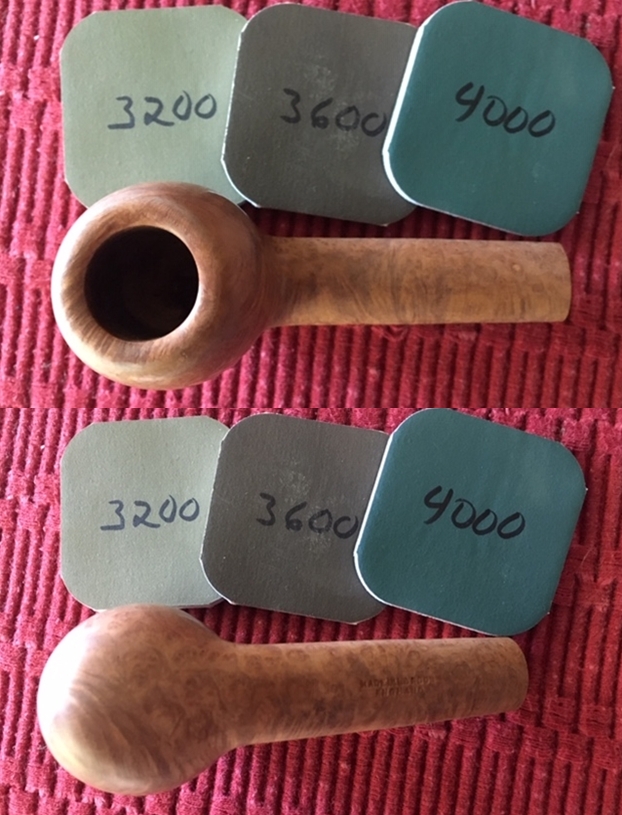
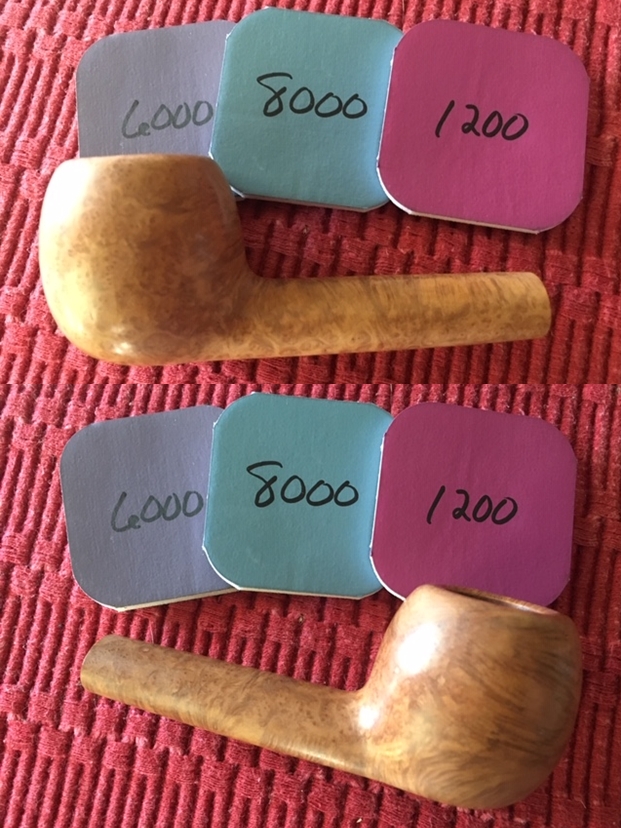
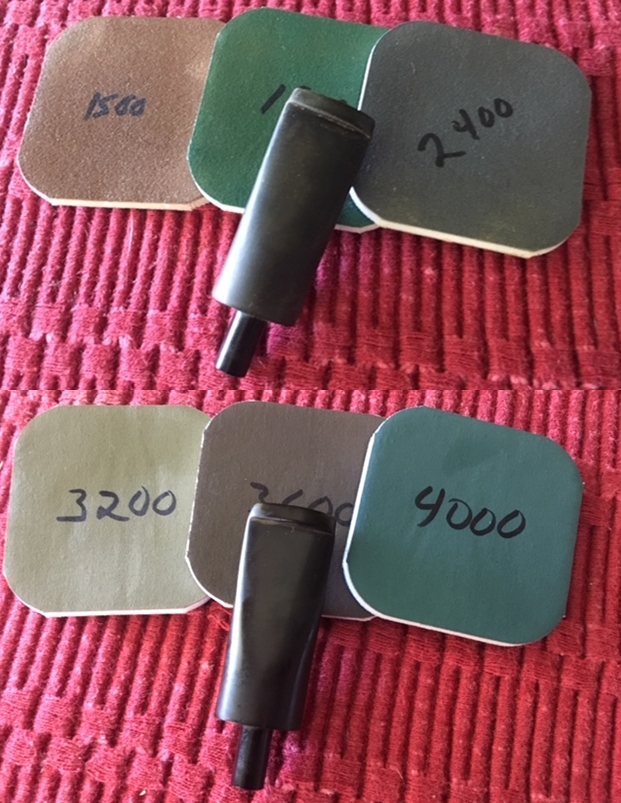
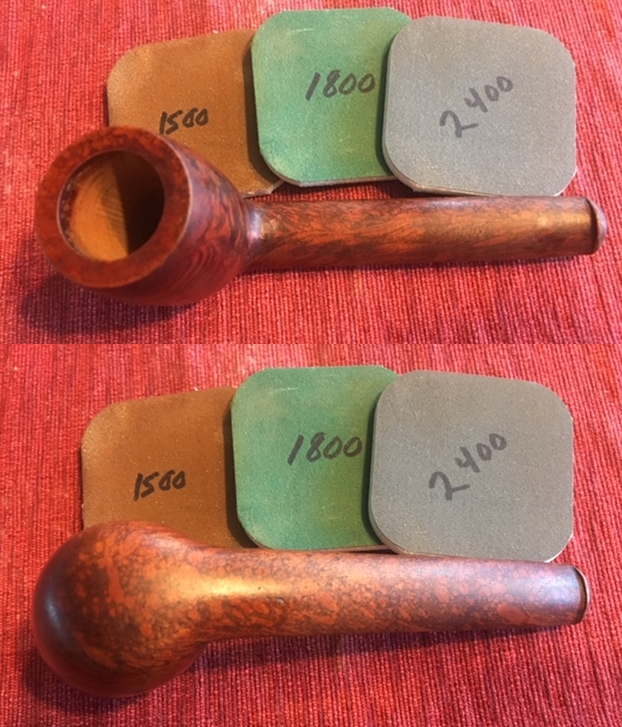
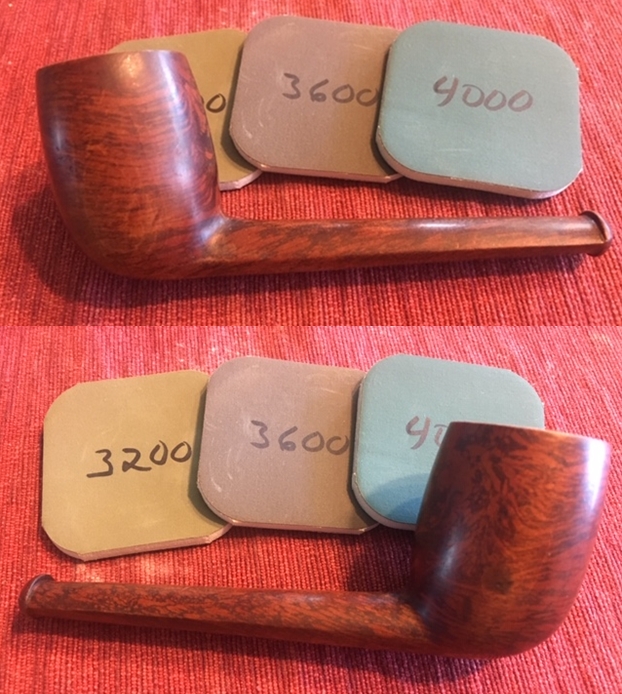
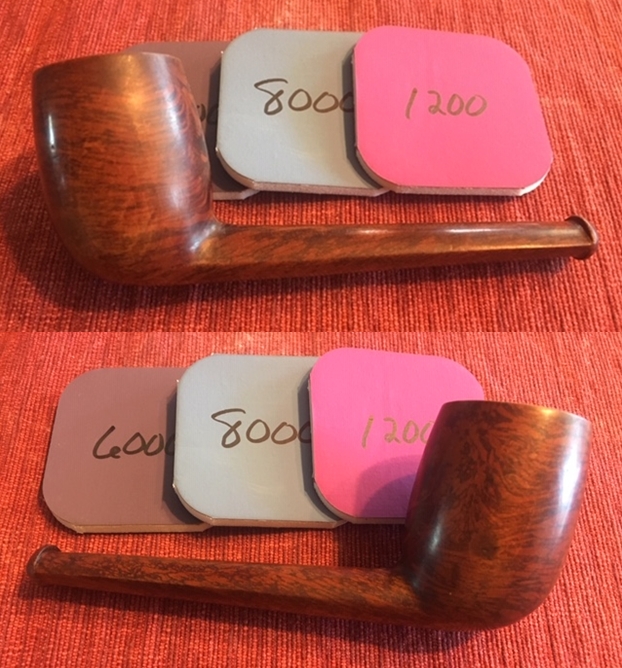
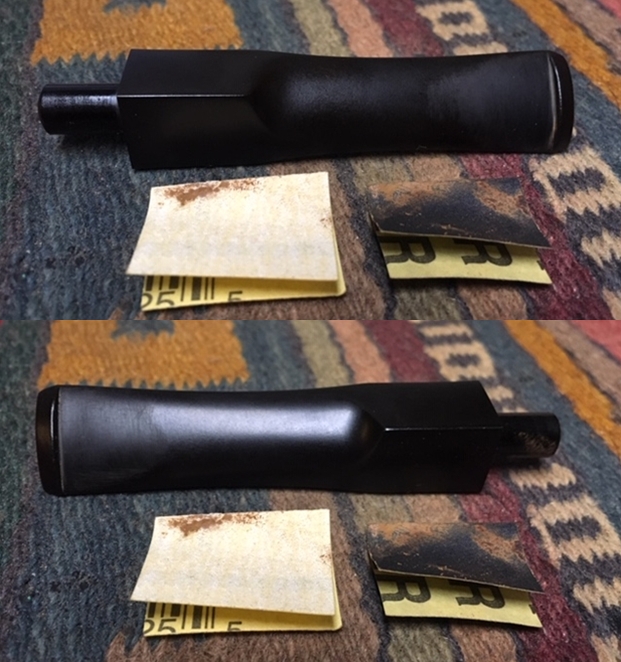
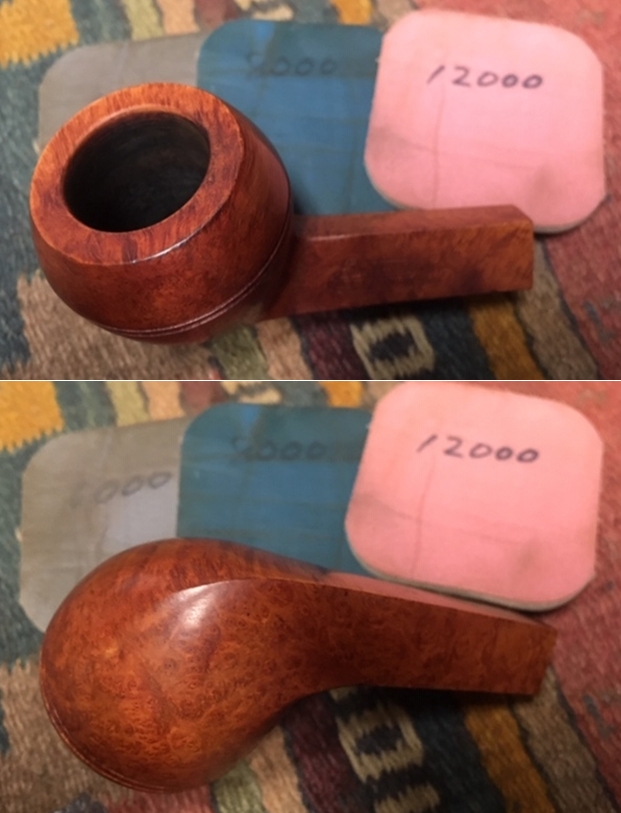
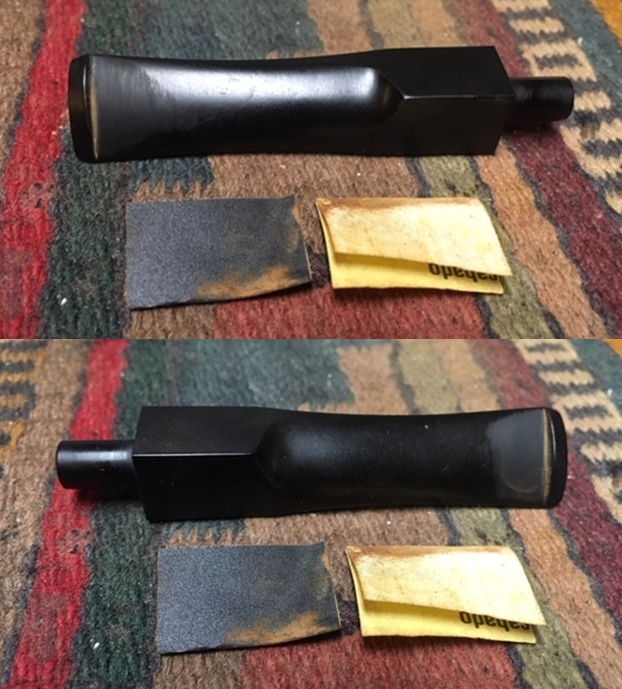
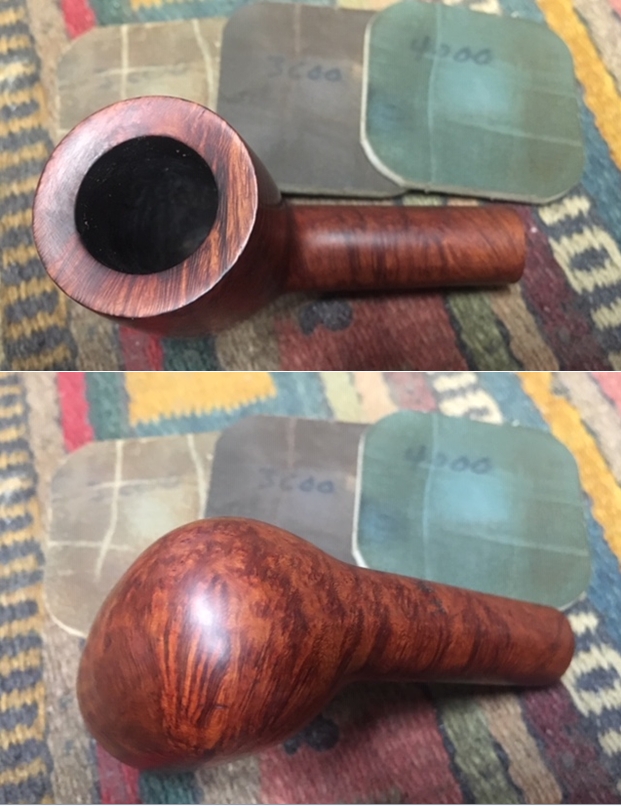
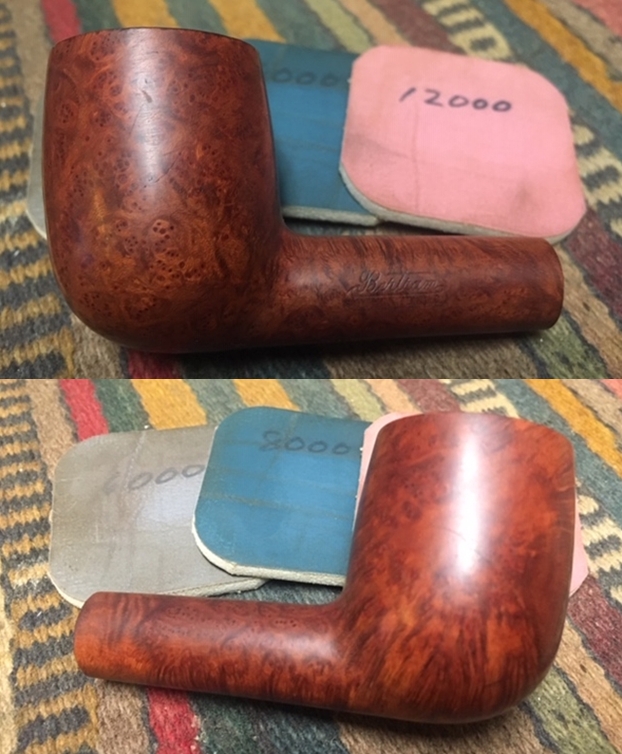
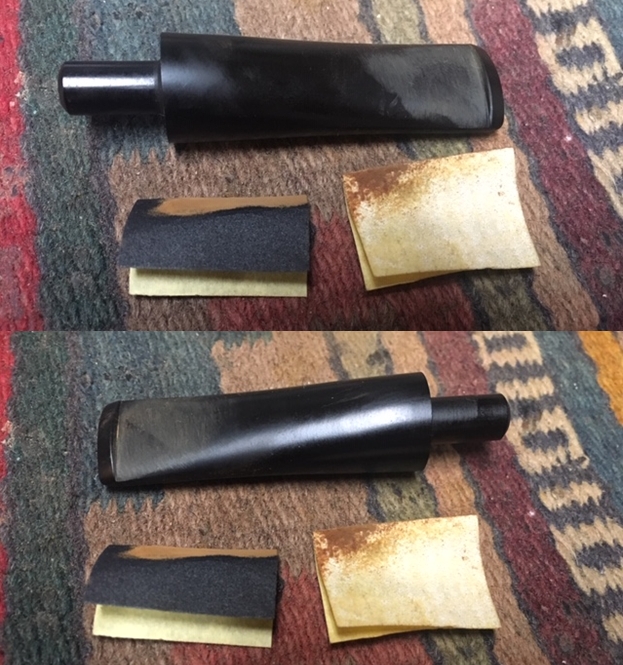
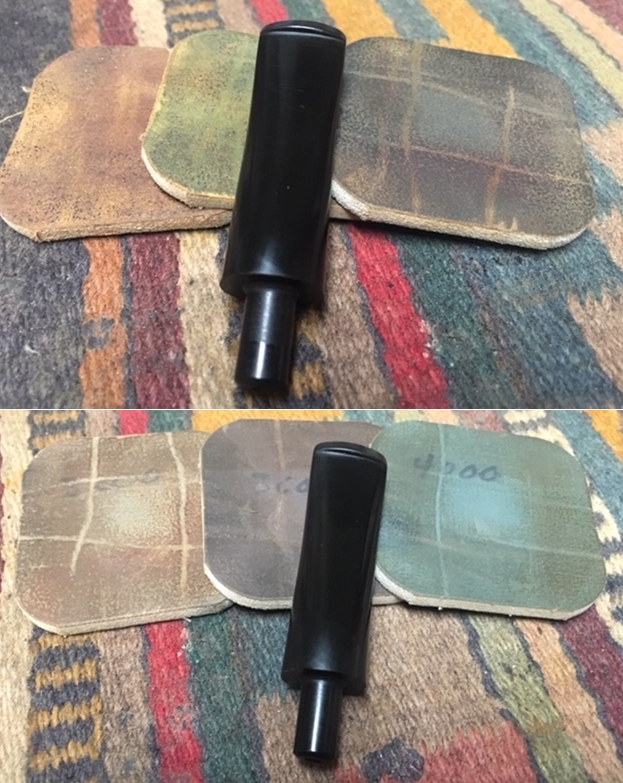
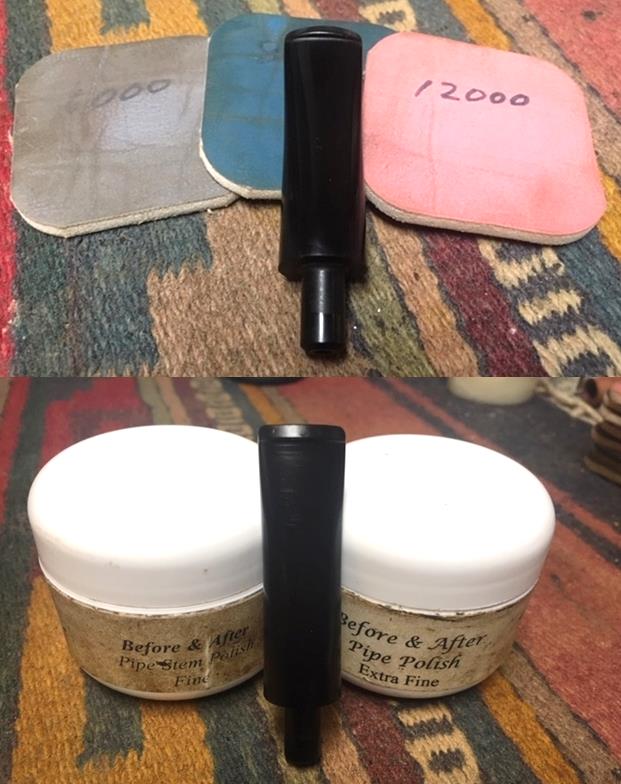
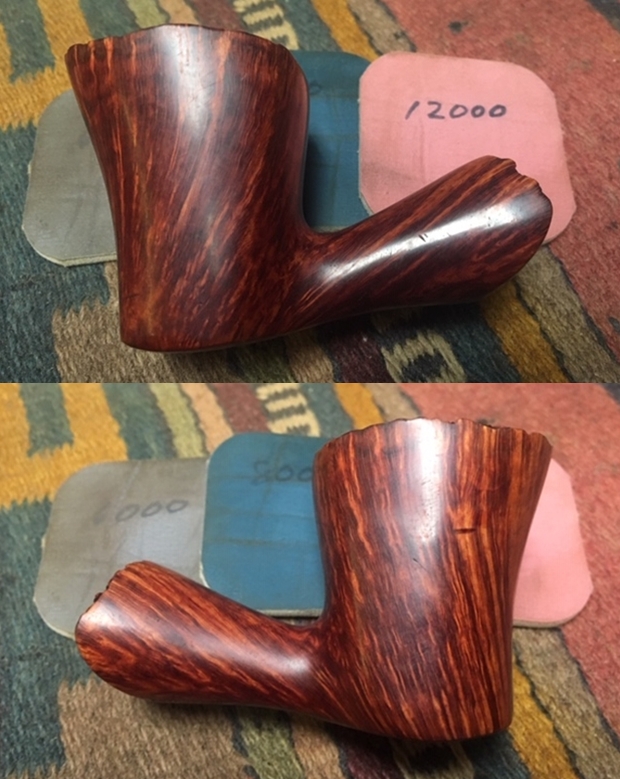
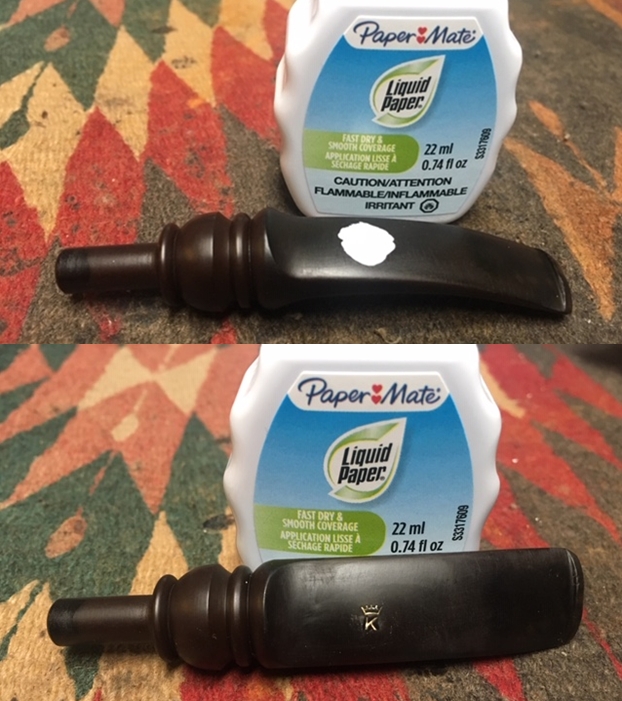
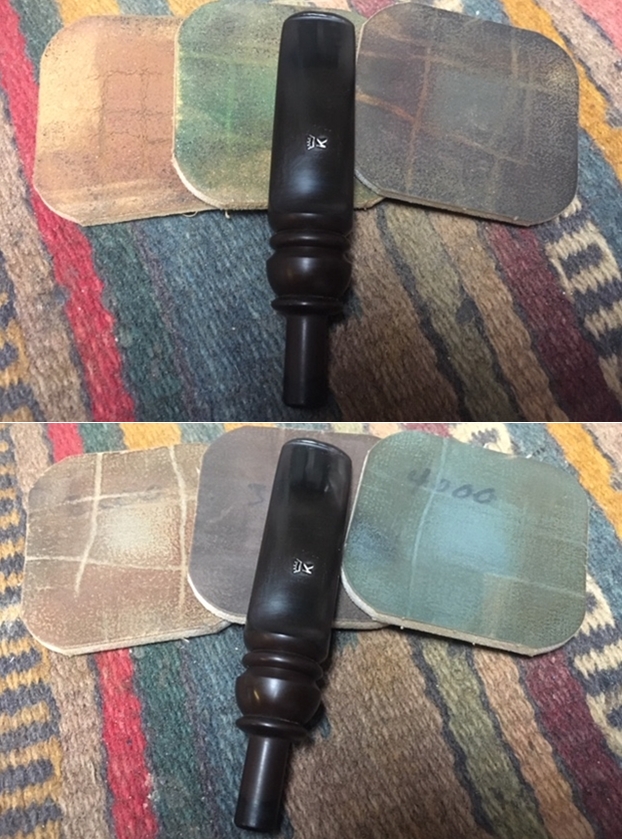
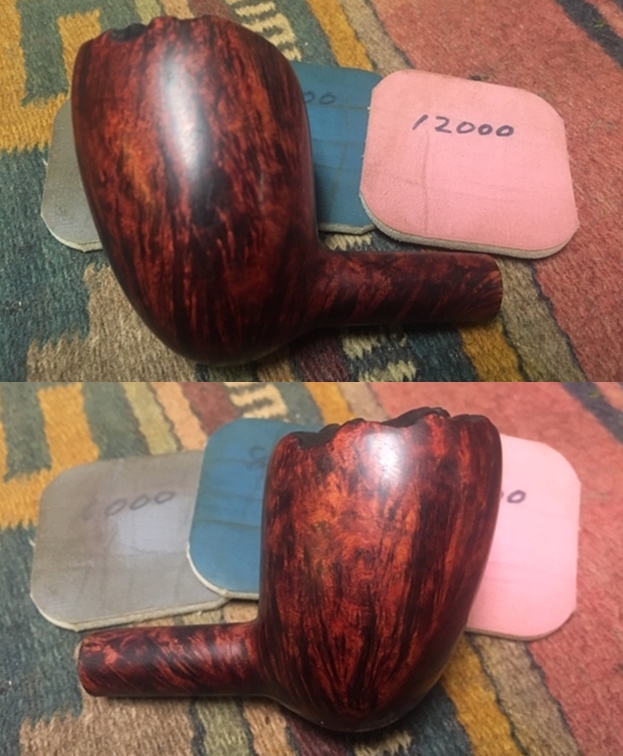
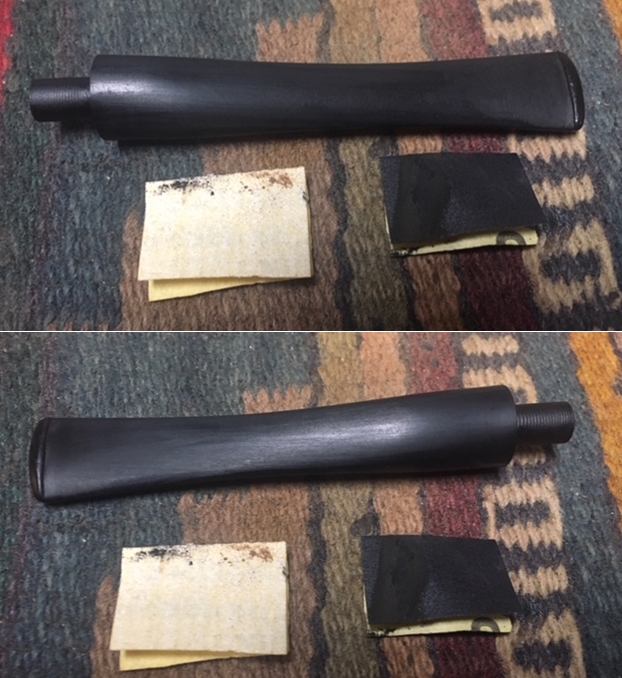
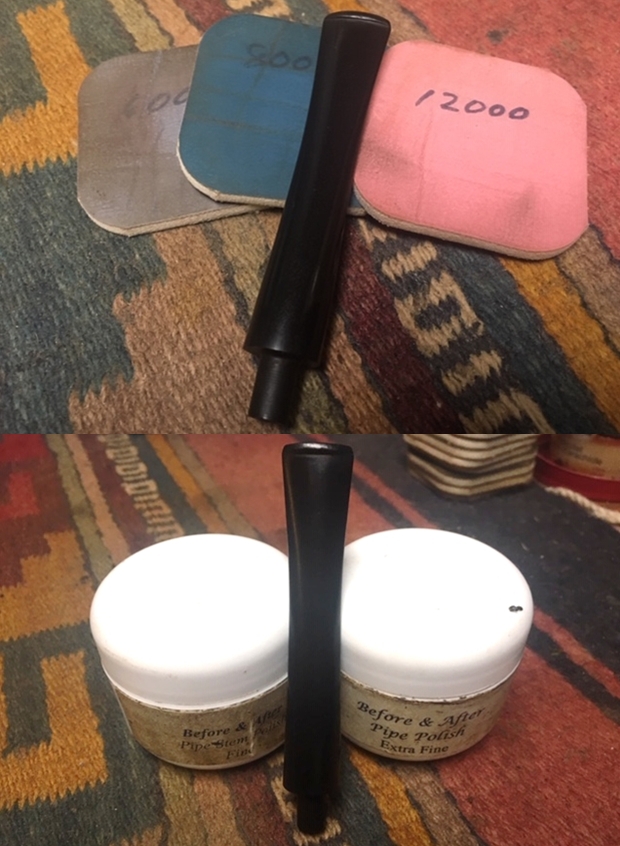
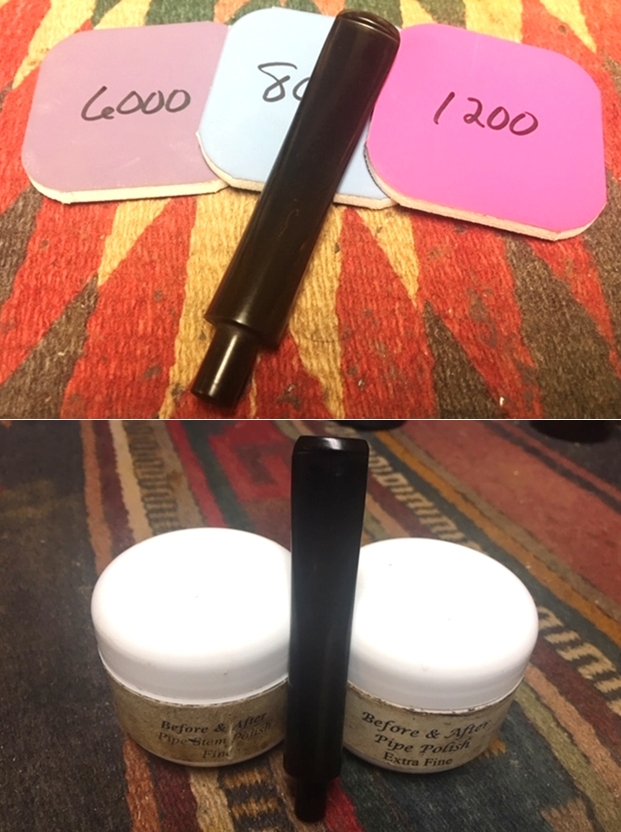
 I set the bowl aside and turned my attention to the stem. I sanded out the small tooth marks and chatter next to the button on both sides of the stem with a folded piece of 220 grit sandpaper. I wiped it down with some Obsidian Oil and set it aside to dry.
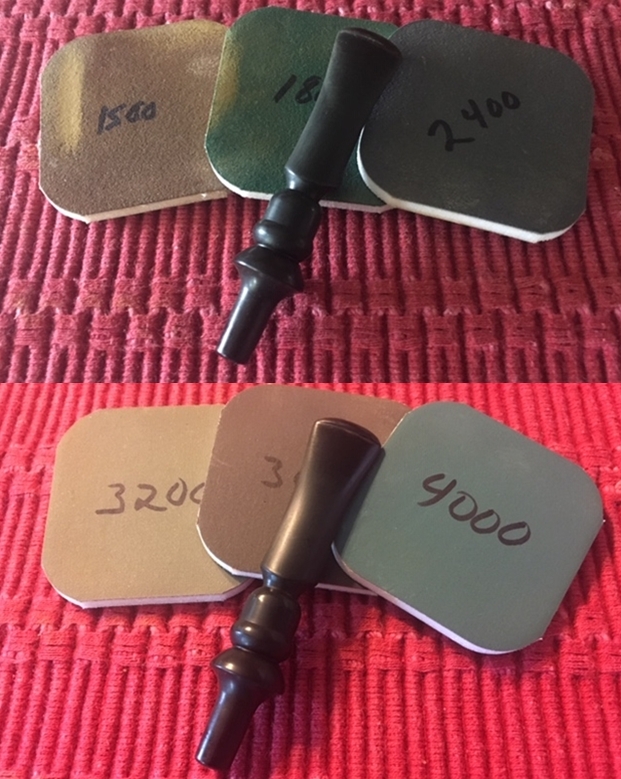
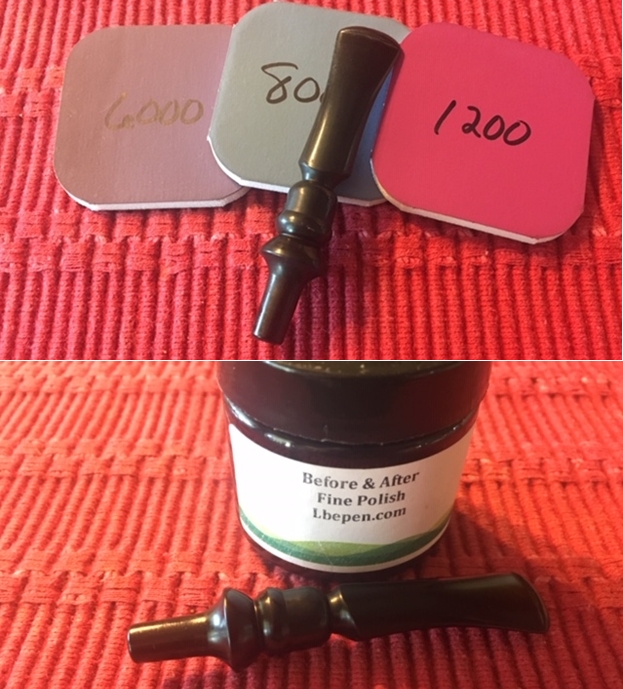
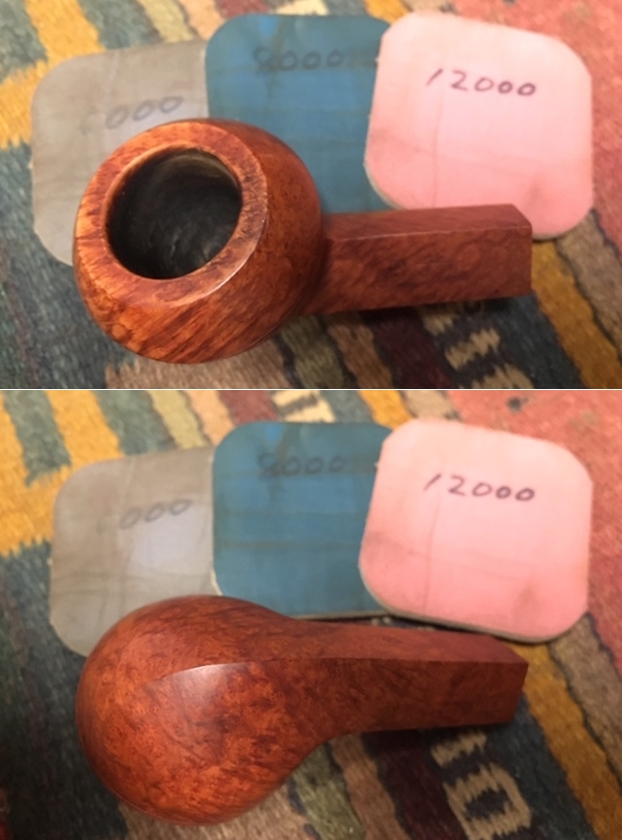
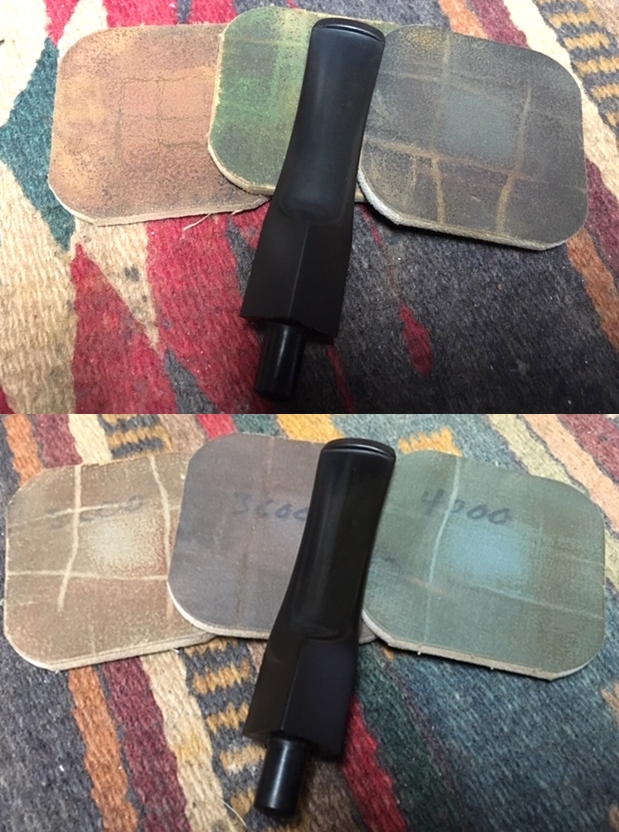
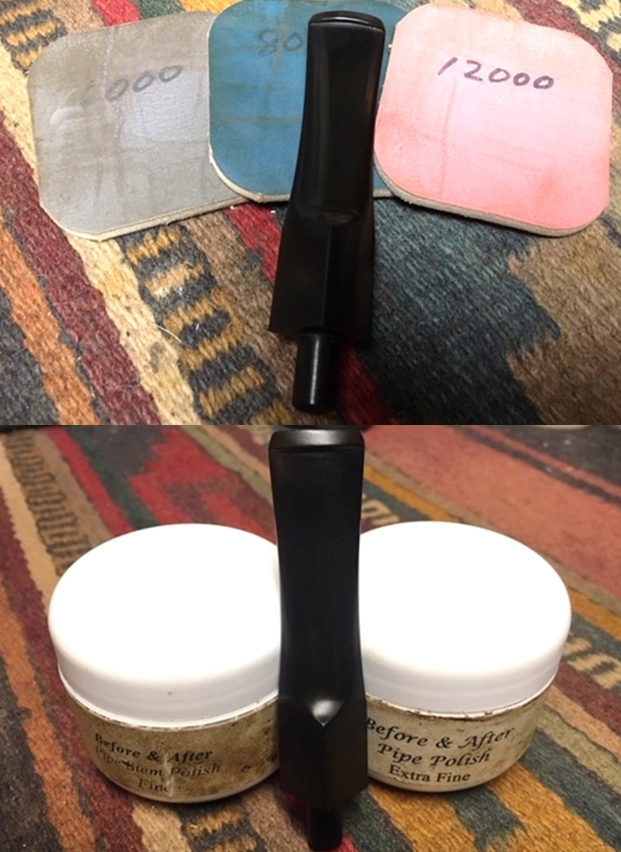
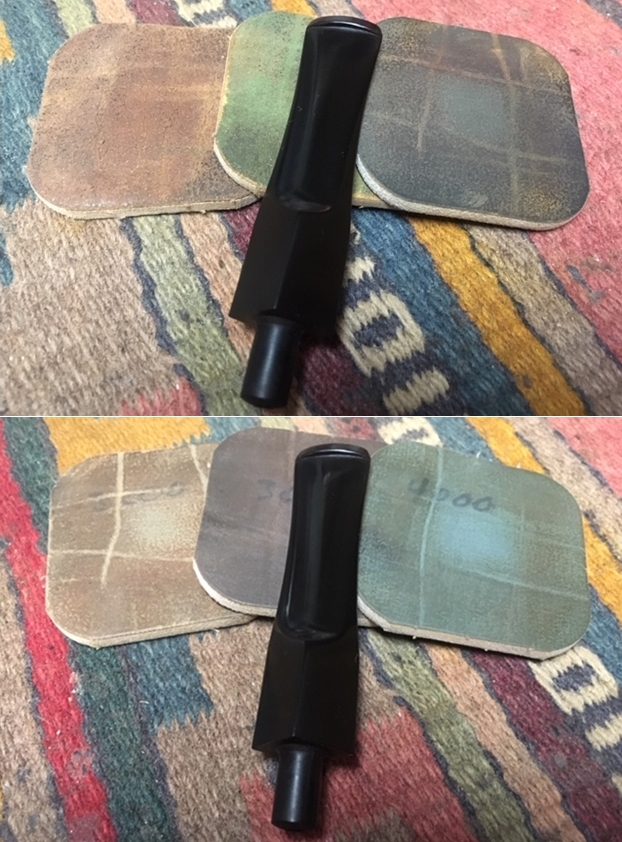
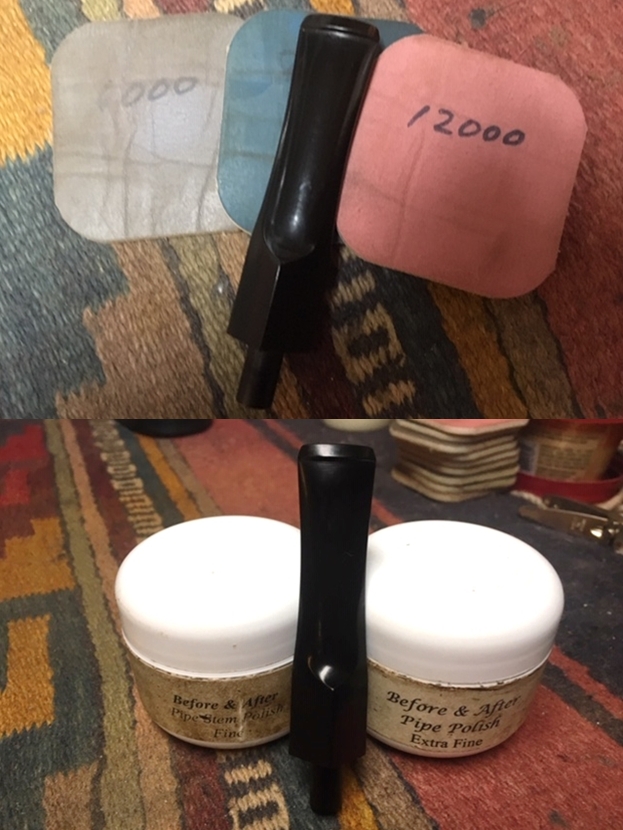
 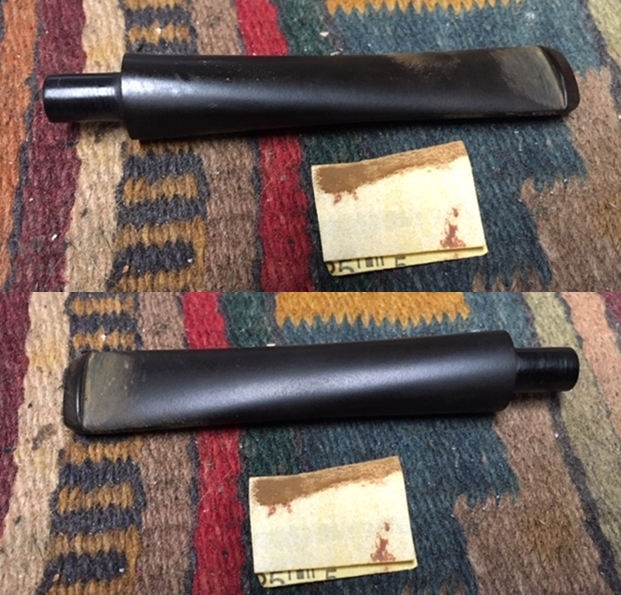 I polished out the sanding scratches with micromesh sanding pads – wetsanding it with 1500-12000 grit pads. I wiped the stem down with Obsidian Oil after each pad. I polished it with Before & After Pipe Polish – both Fine and Extra Fine and gave it a final coat and set it aside to dry. I gave it one more coat of Obsidian Oil and let it dry.
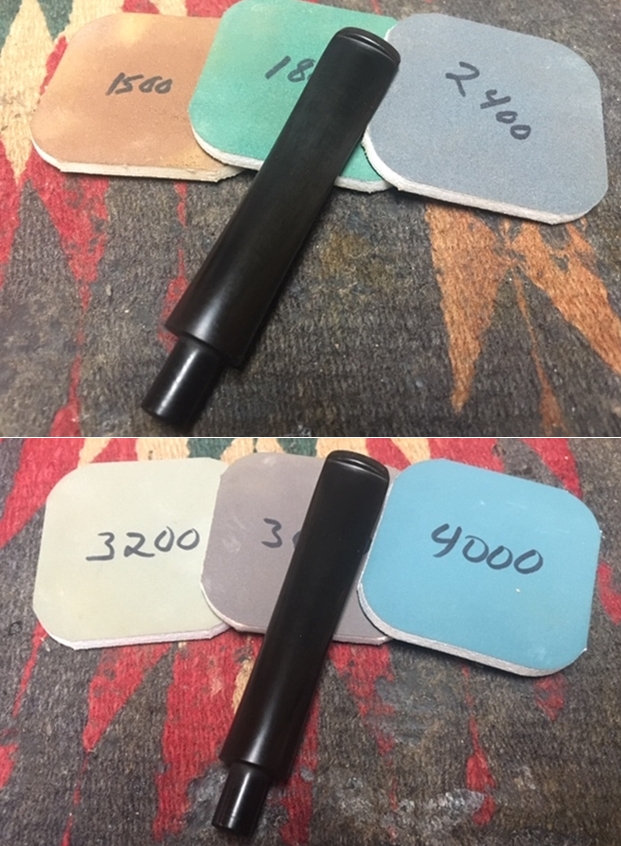
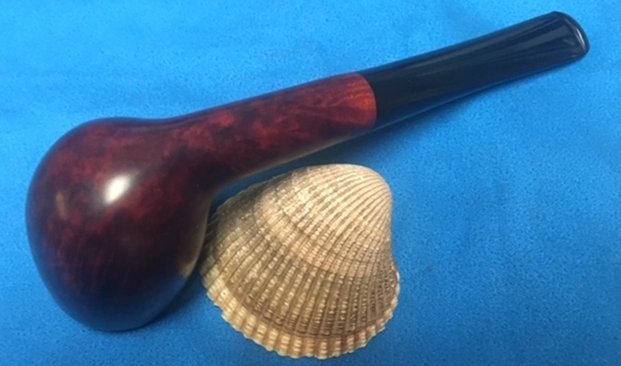
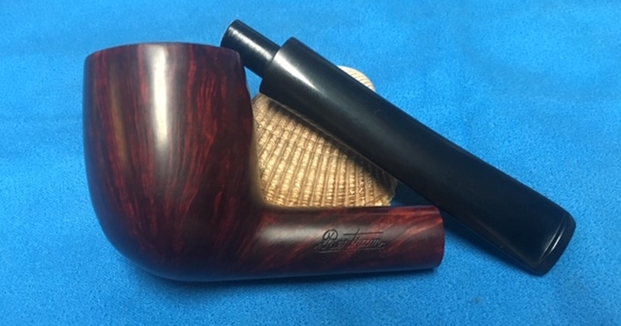
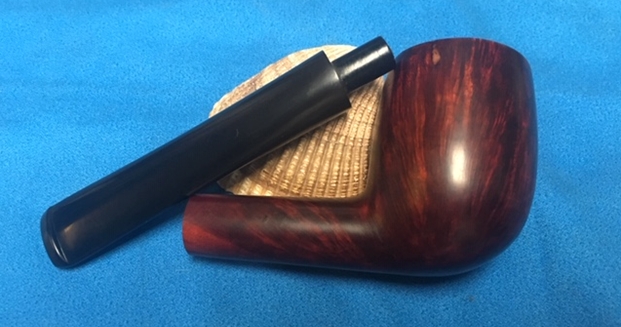
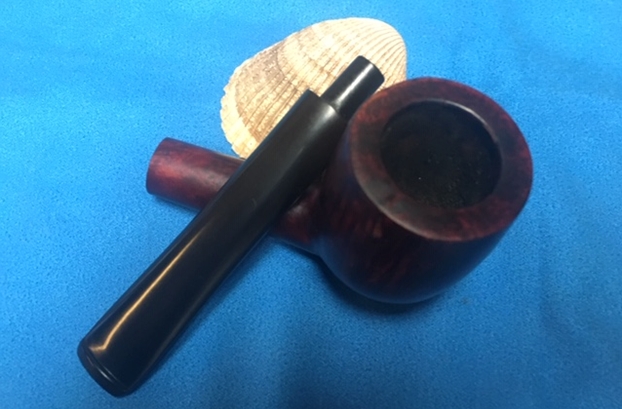
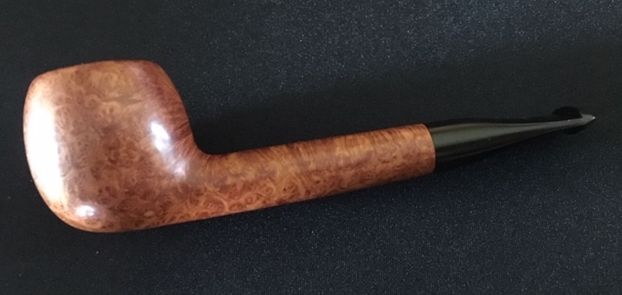
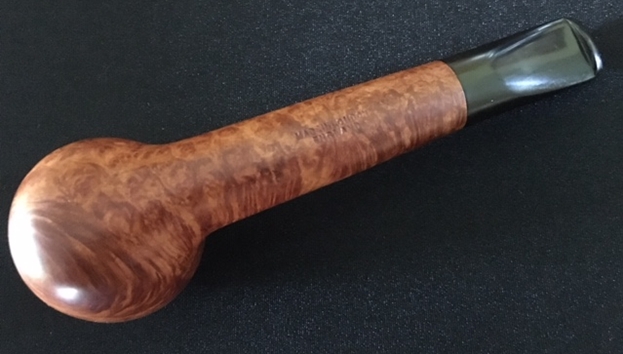
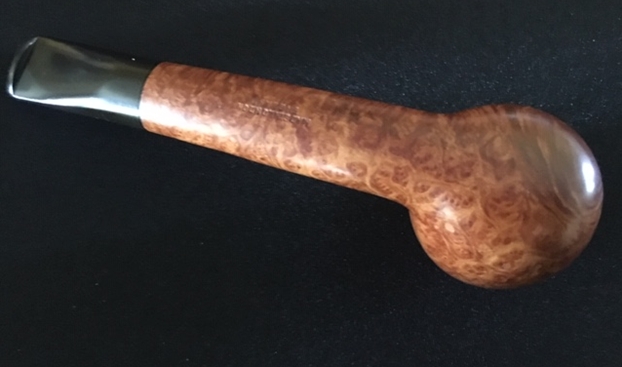
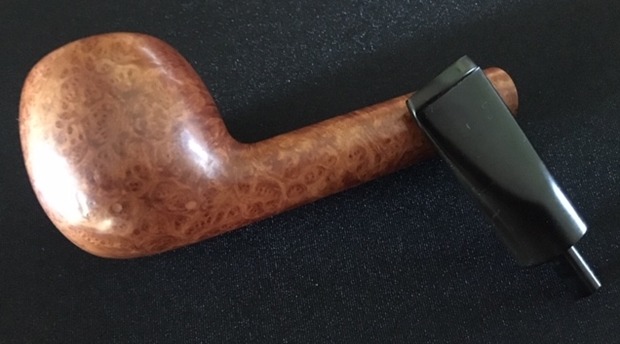
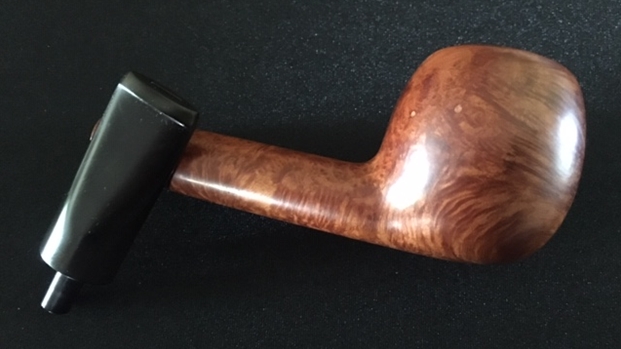
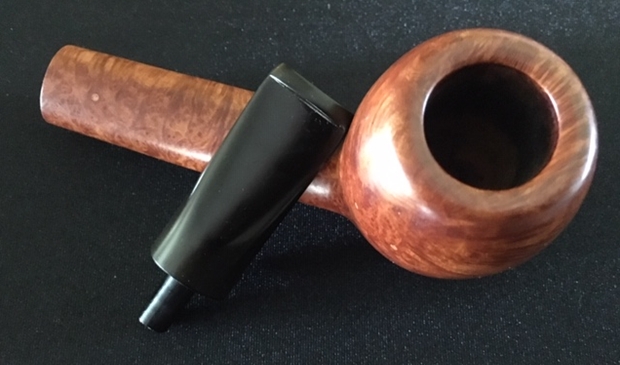
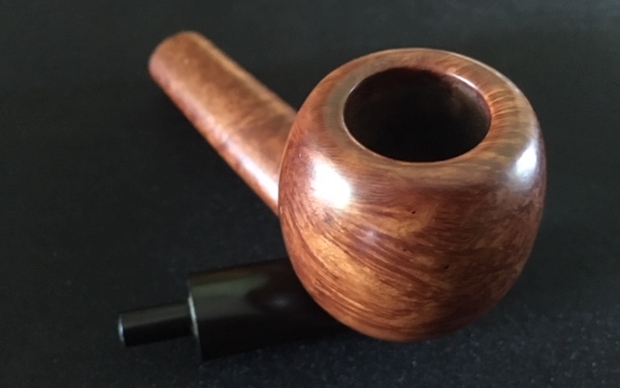
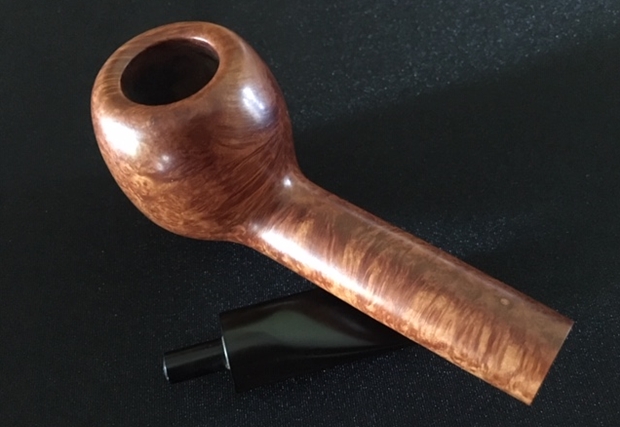
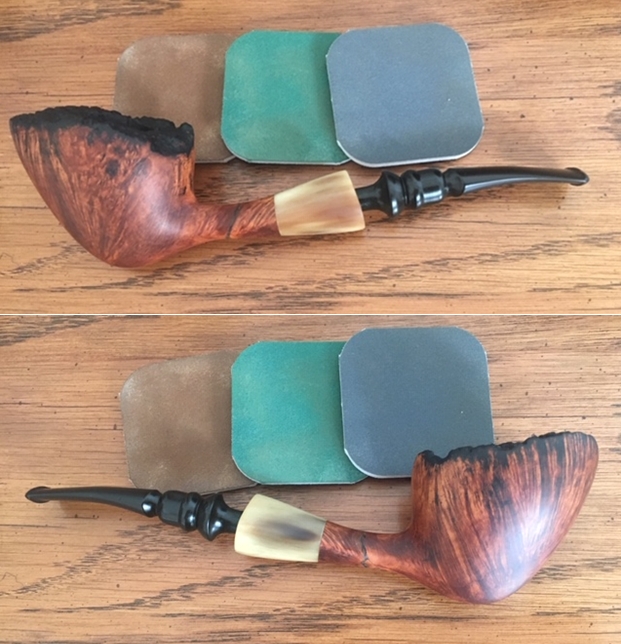
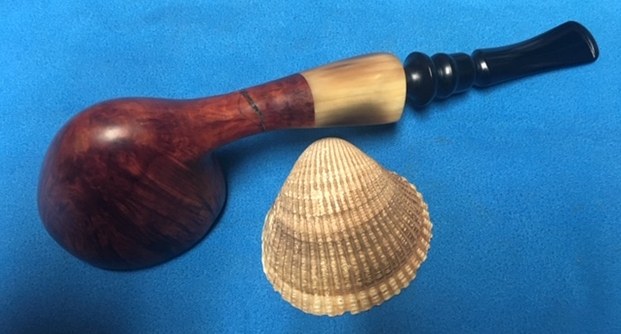
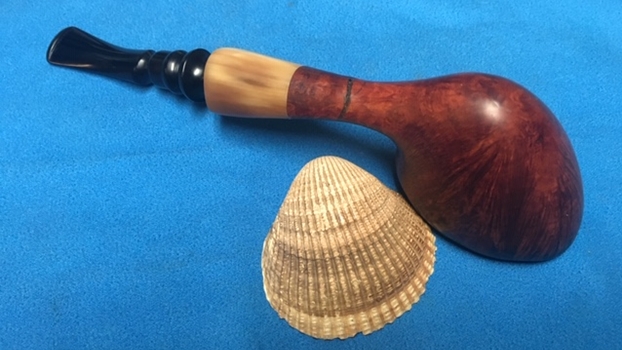
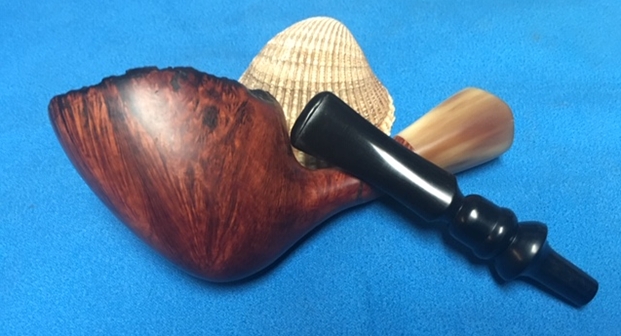
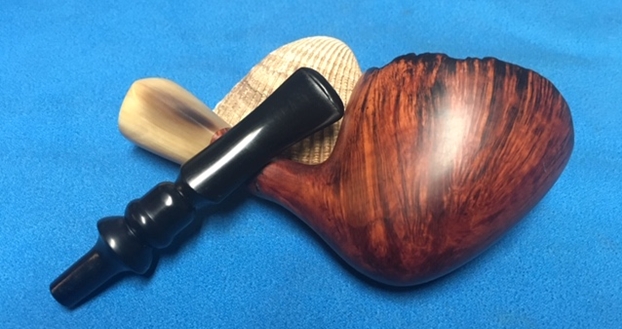
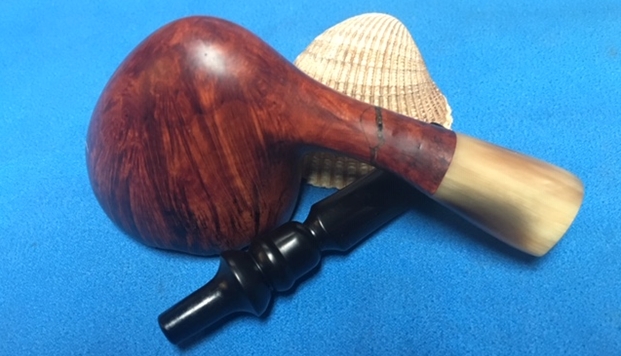
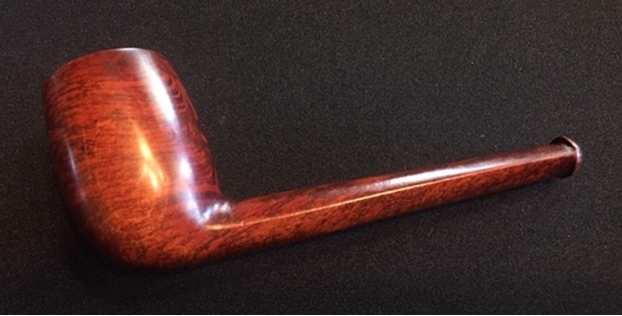
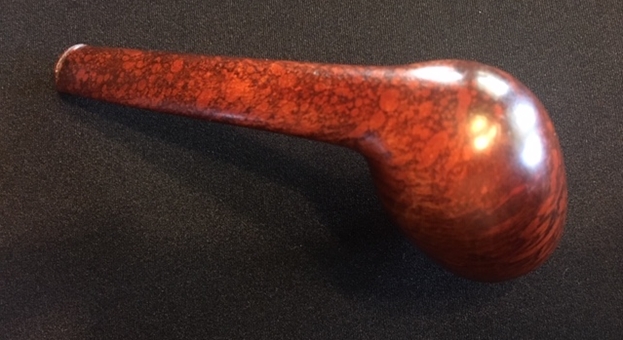
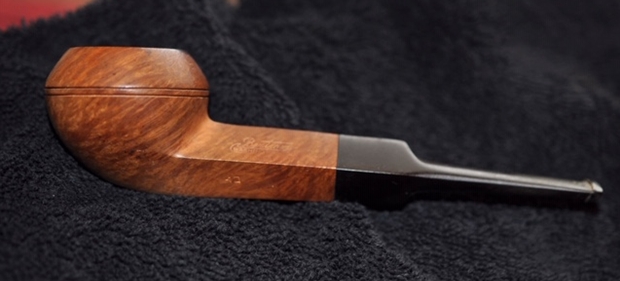
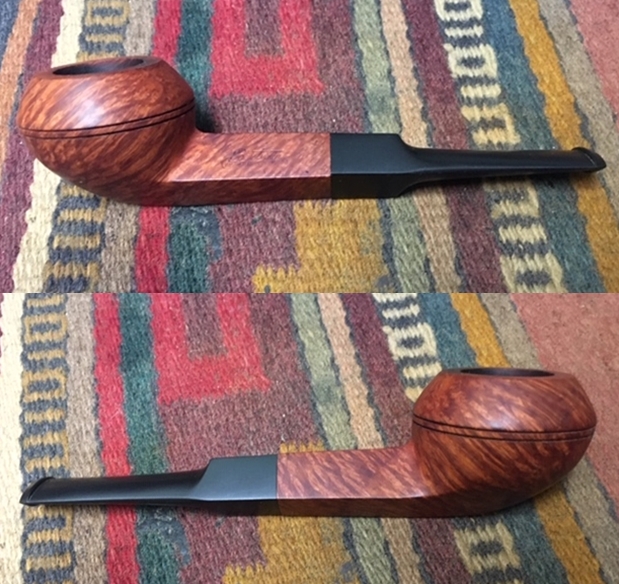
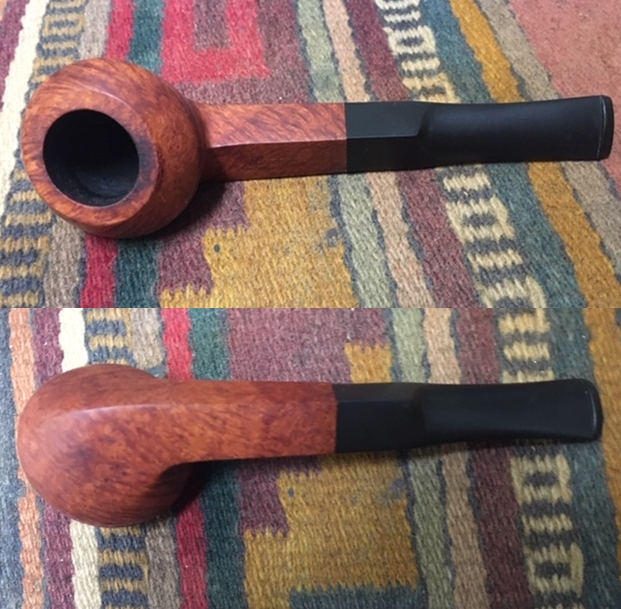
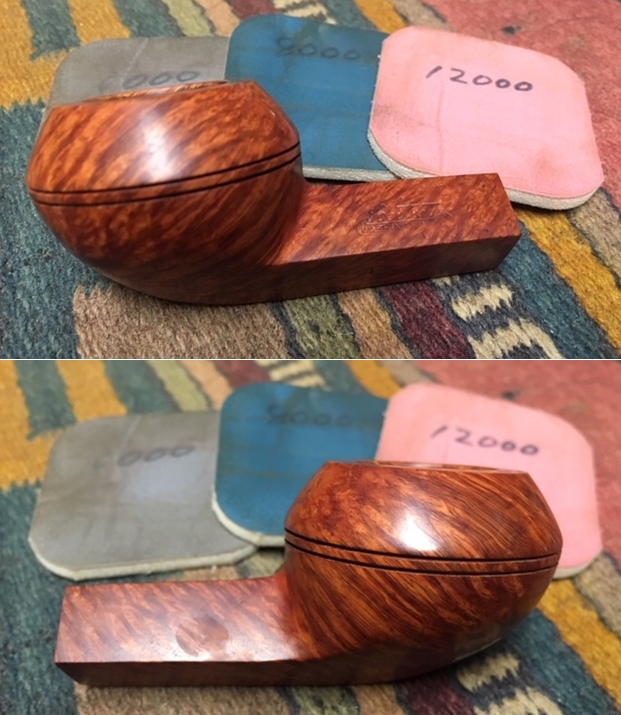
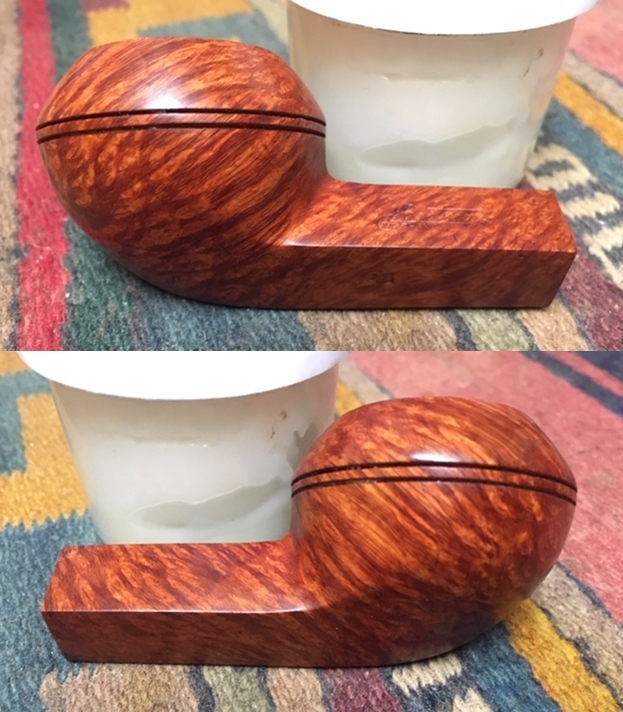
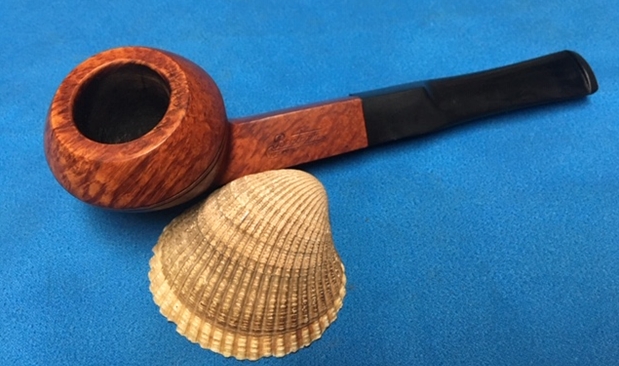
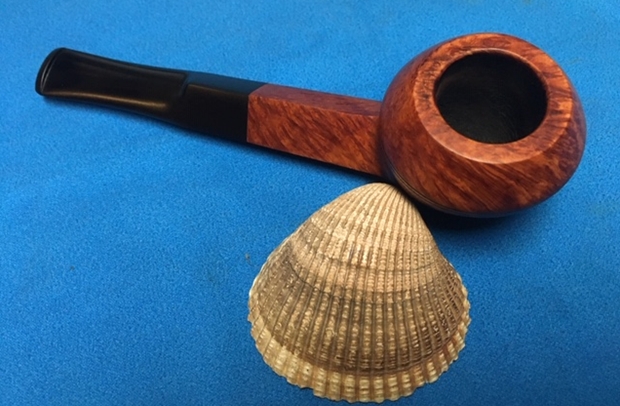
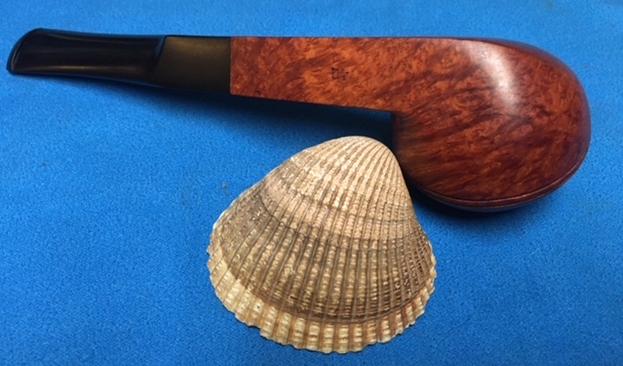
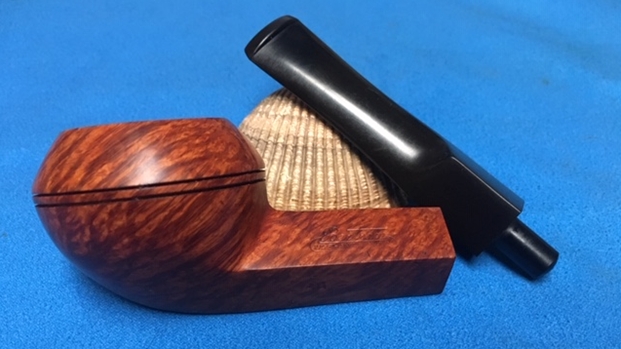
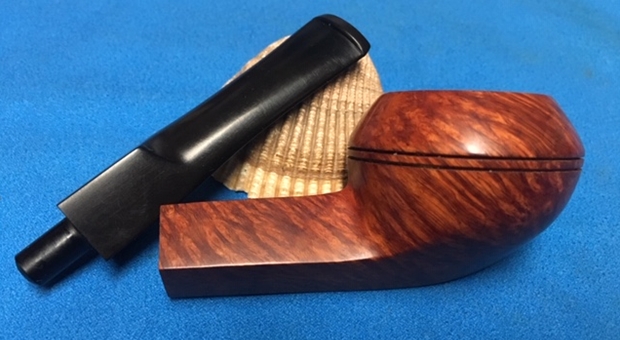
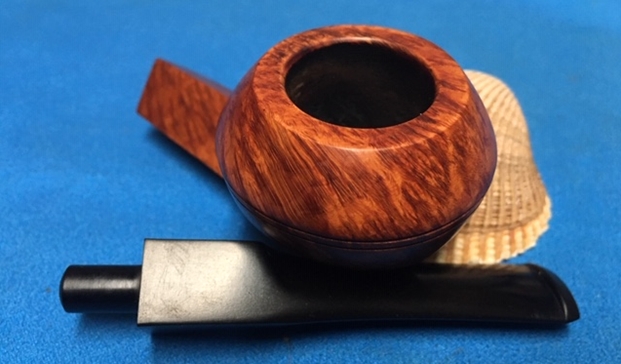
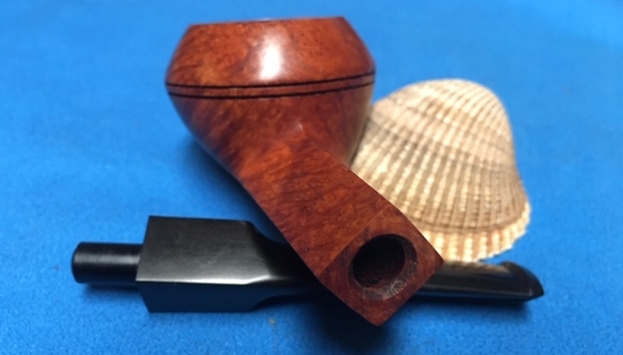
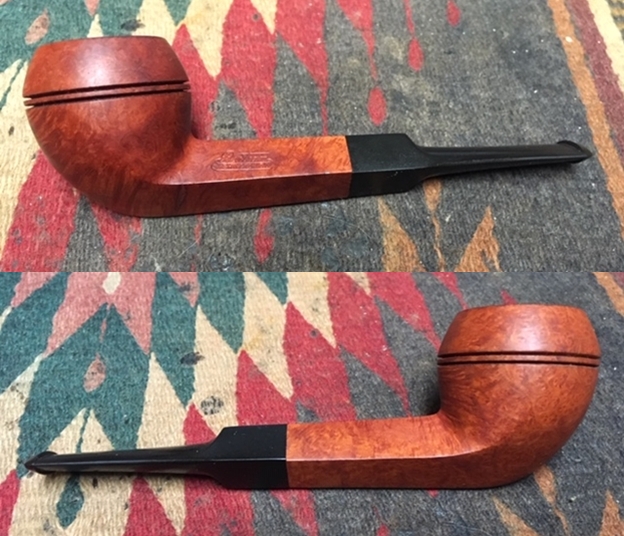
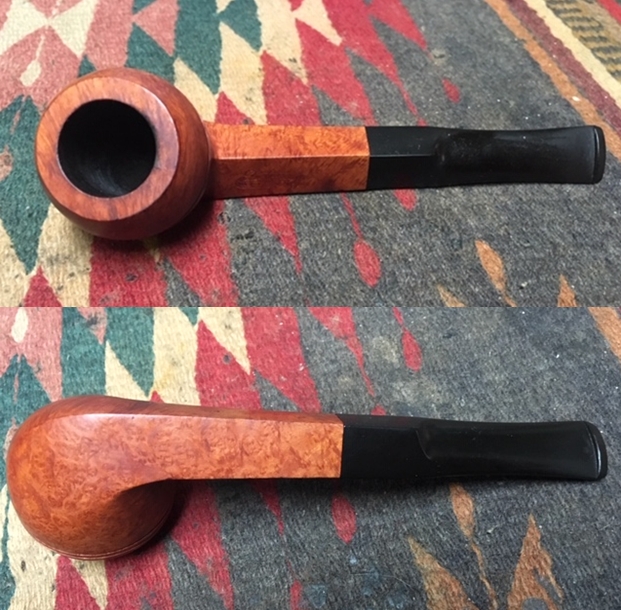
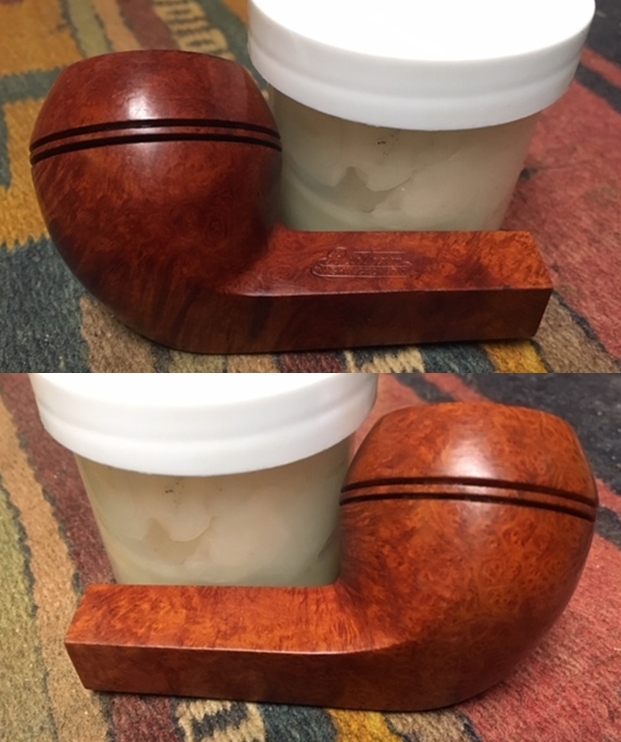
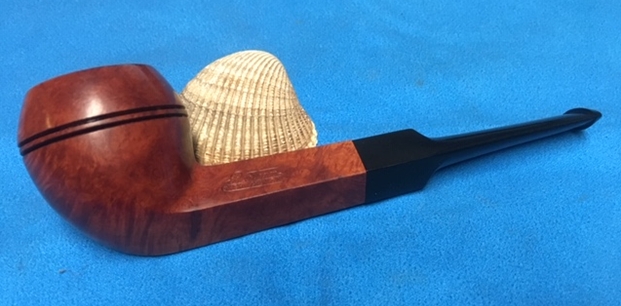
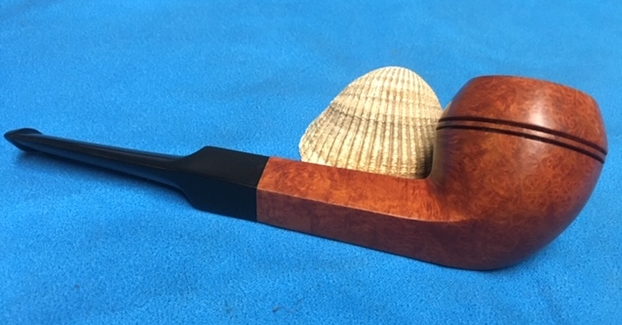
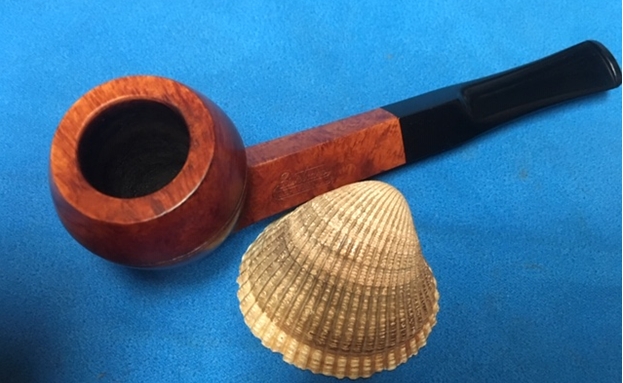
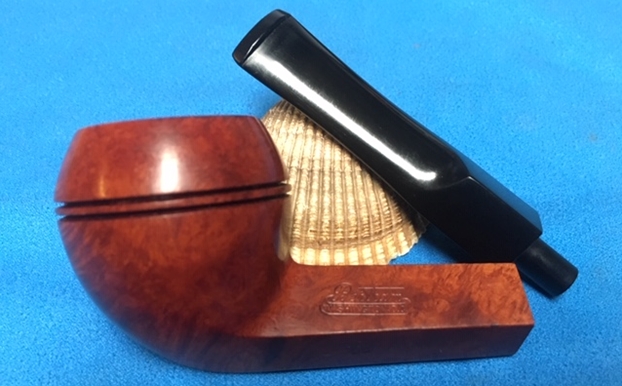
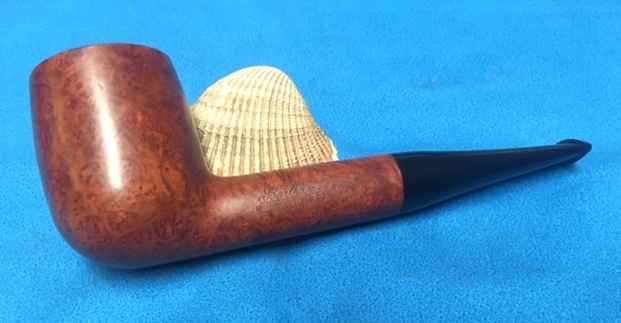
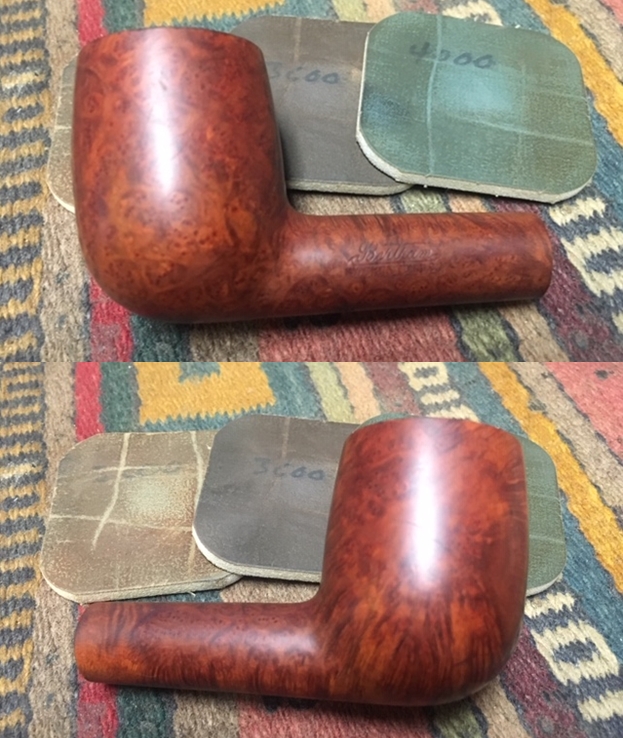
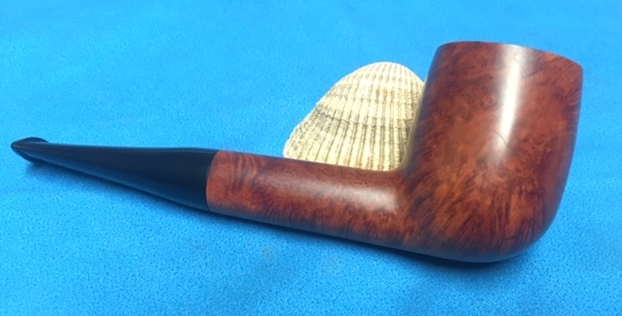
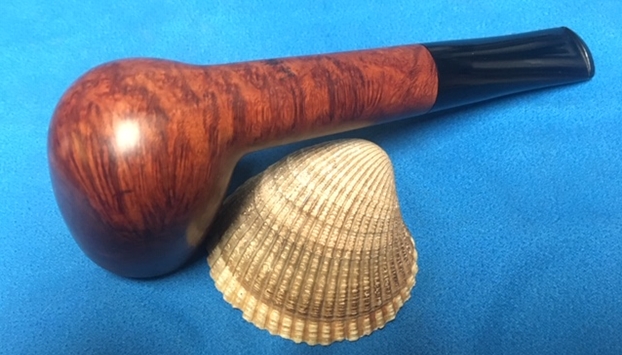
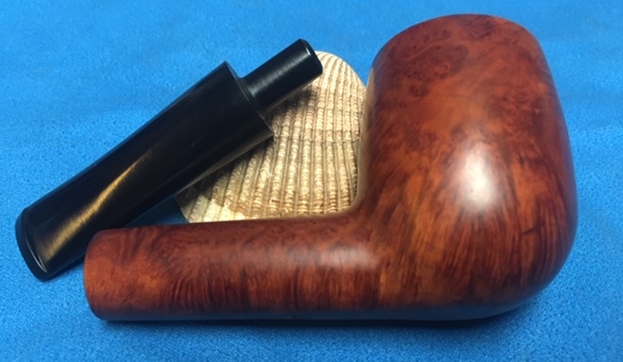
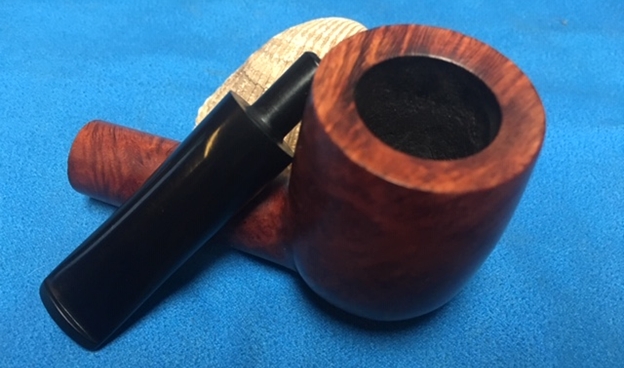
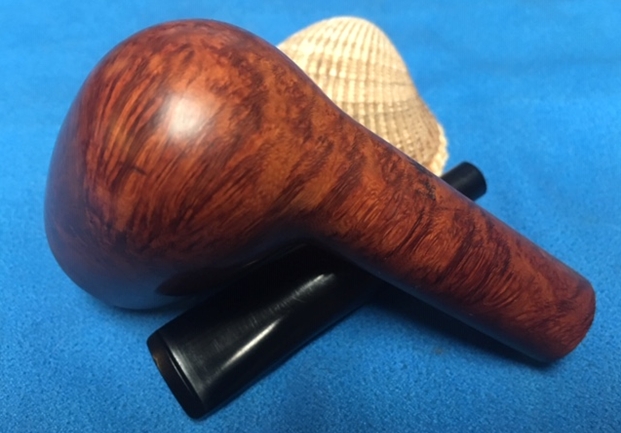
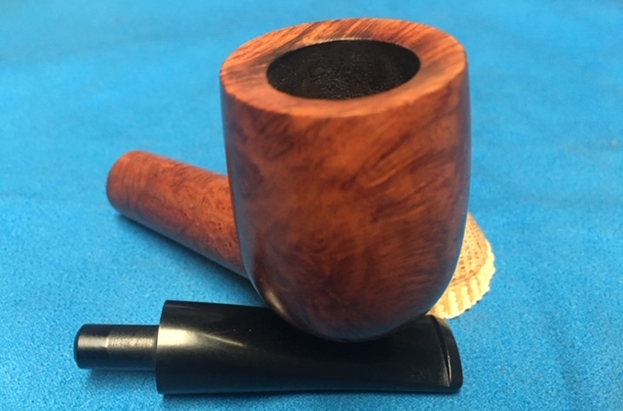
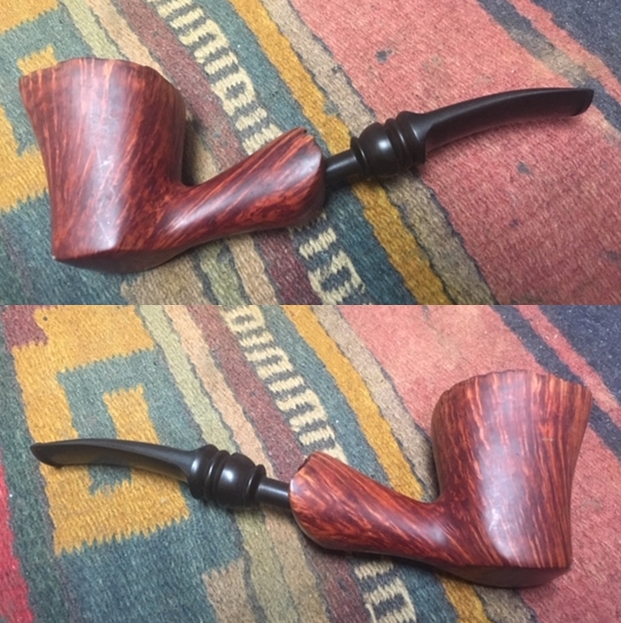
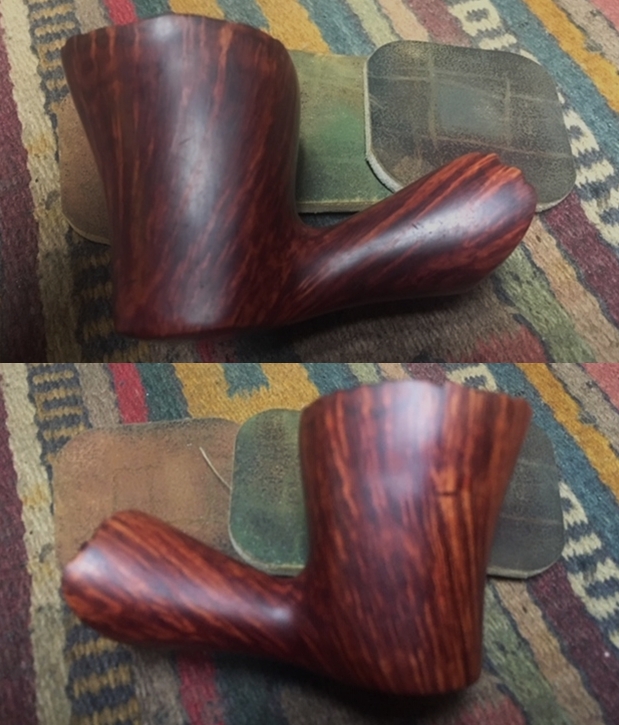
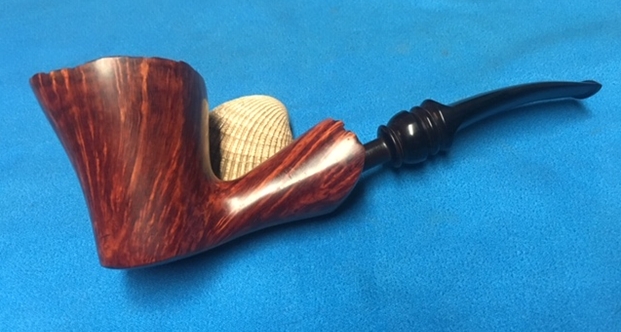
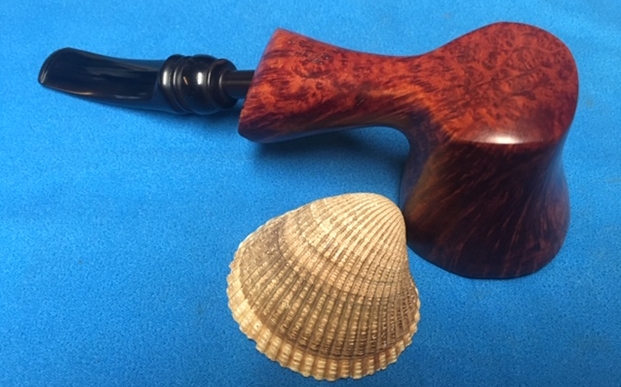
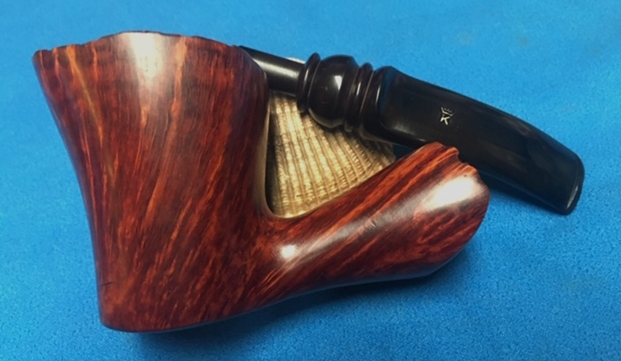
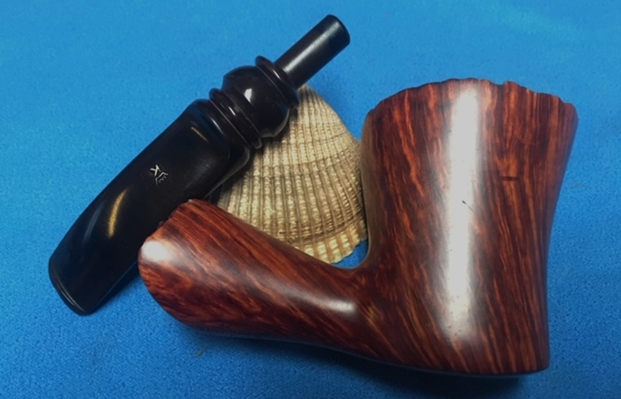
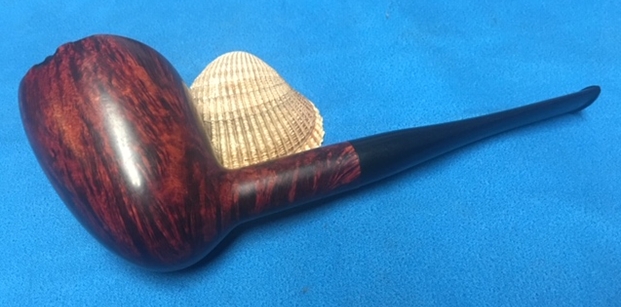
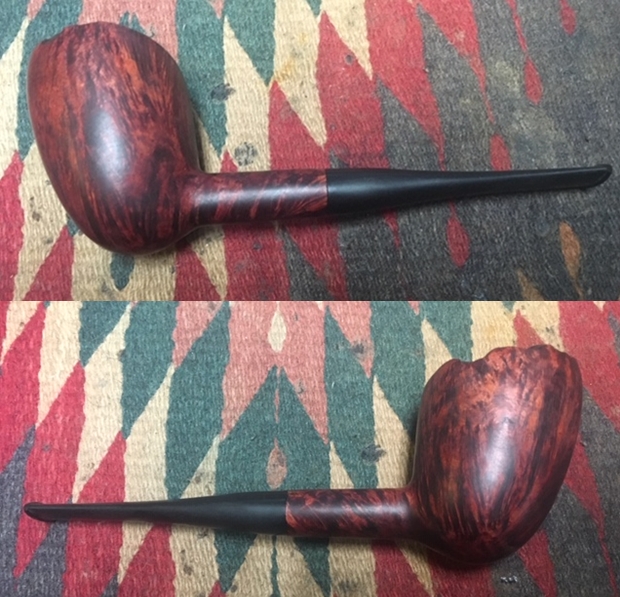
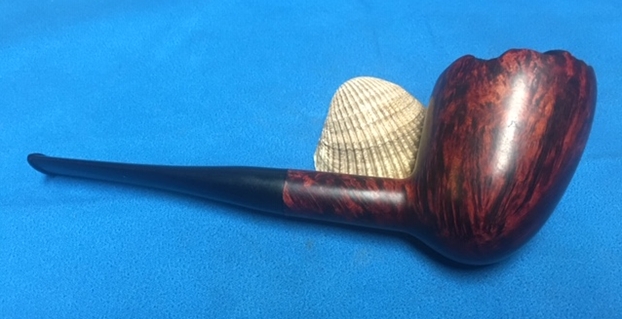
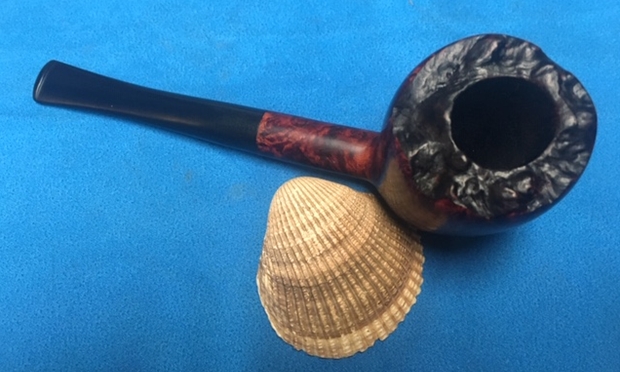
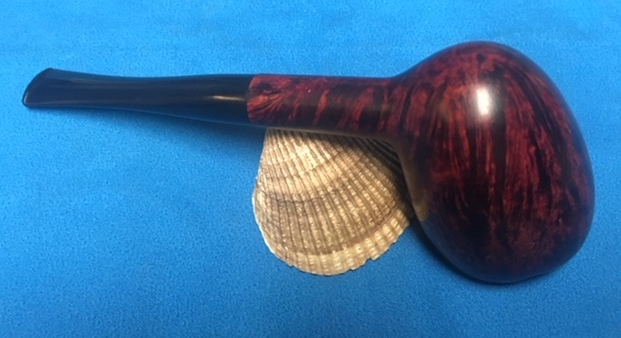
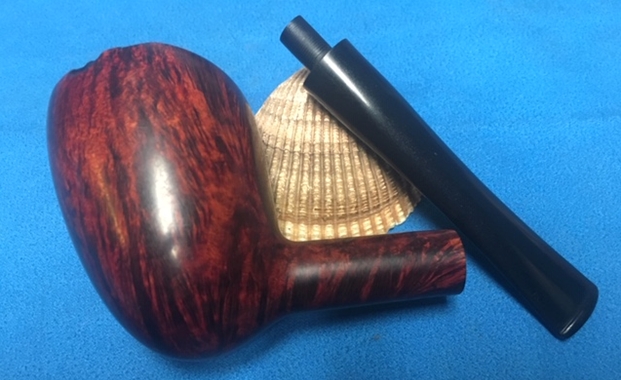
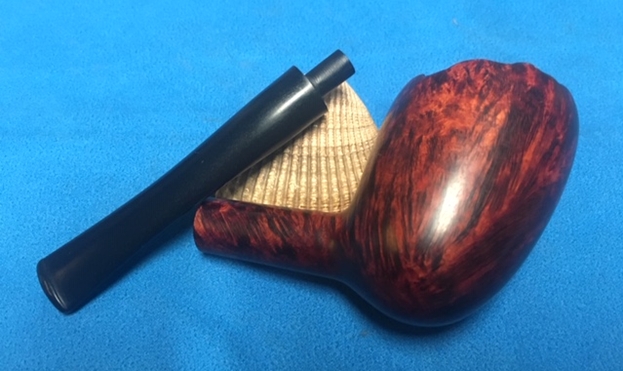
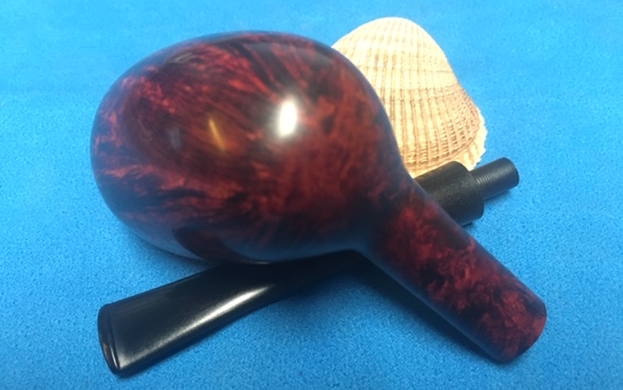
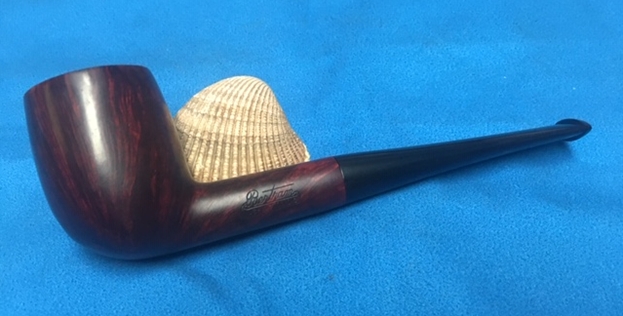
 Jeff and I are gradually working through this 200+ lot dealing with each of the challenges they present one at a time. This one is another Bertram’s take on a classic Billiard shape. I put the stem and bowl back together and buffed the pipe with Blue Diamond on the buffing wheel. I polished the briar and the minute scratches still in the vulcanite of the stem until there was a rich shine. For a non-graded Bertram this pipe is quite stunning. The finish really has some interesting grain on a proportionally well carved pipe. Once I buffed the pipe the briar came alive and the mixture of grain popped with polishing. The black vulcanite stem had a rich glow. The finished pipe is well shaped Billiard. This Bertram feels great in the hand sits right in the mouth. Have a look at the finished pipe in the photos below. The dimensions are Length: 6 inches, Height: 2 inches, Outside diameter of the bowl: 1 1/4 inches, Chamber diameter: 3/4 of an inch. Maybe this shape speaks to you and you want to add it to your collection. If you are interested let me know as I will be adding it to the store soon. Thanks for walking through the restoration with me as it was a pleasure to work on.