Blog by Steve Laug
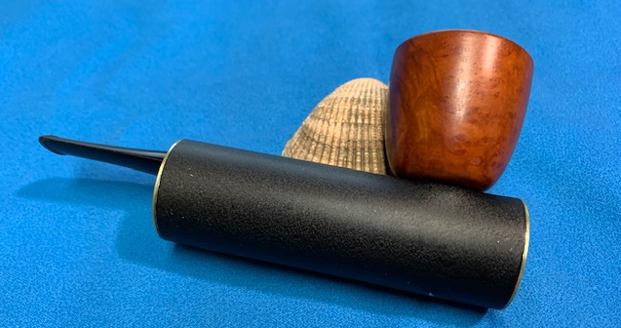
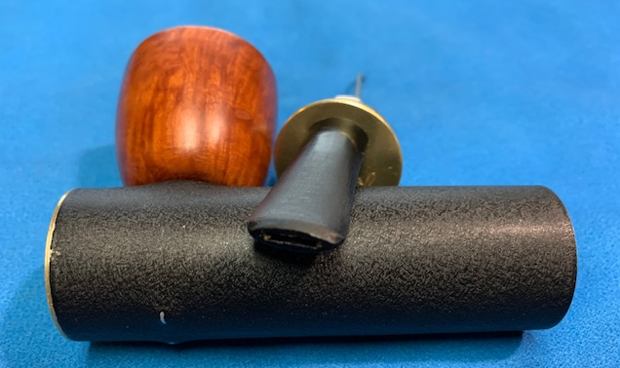
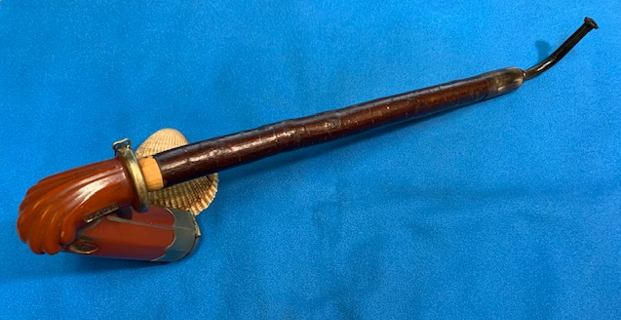
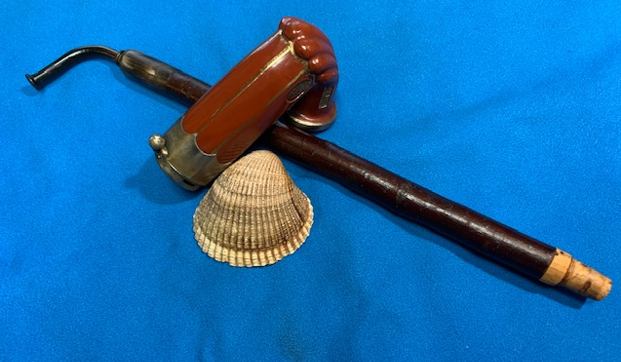
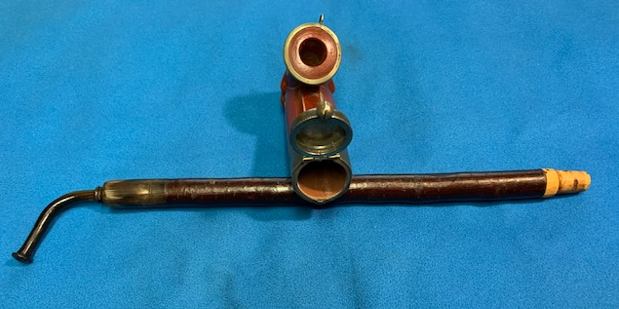
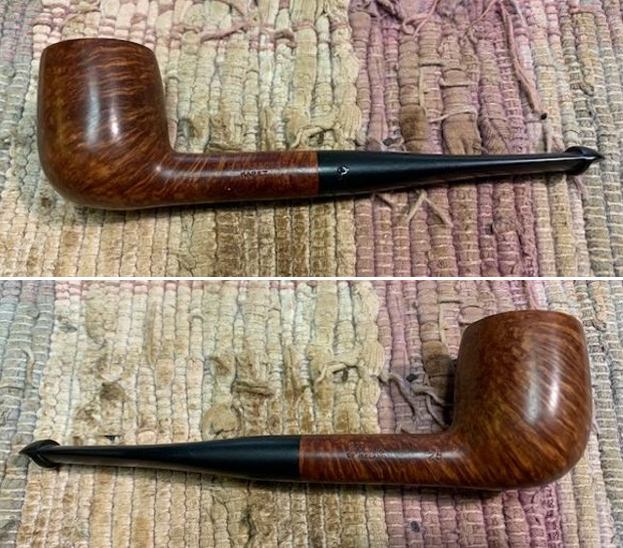
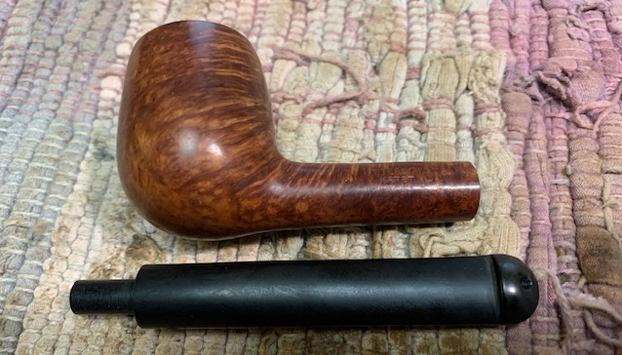
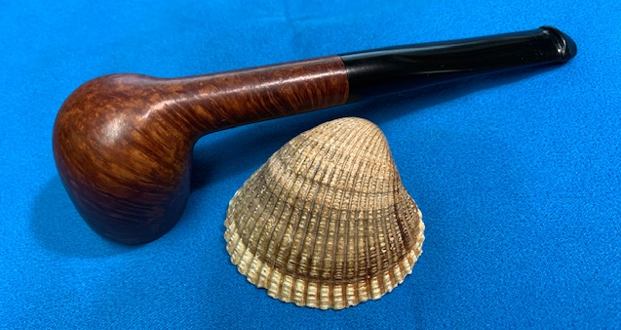
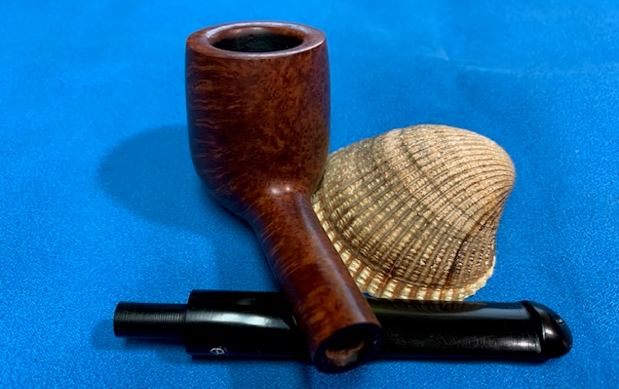
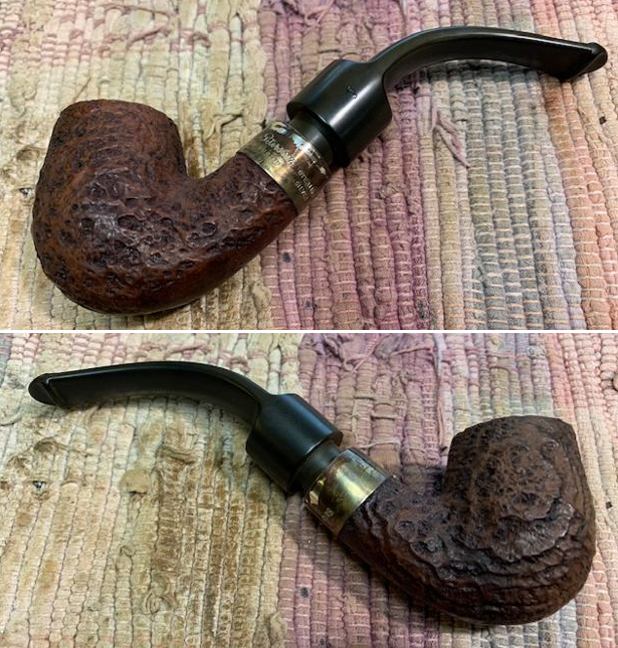
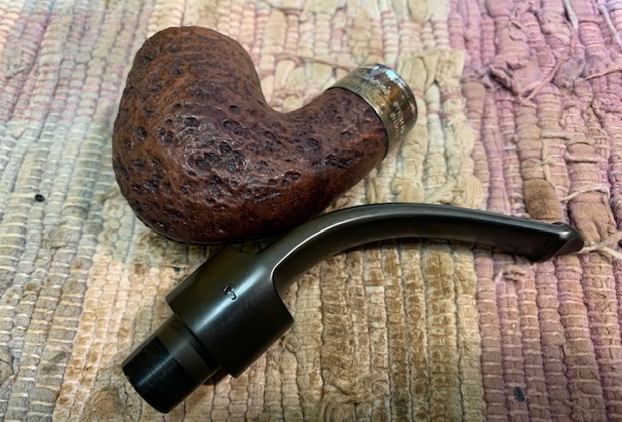
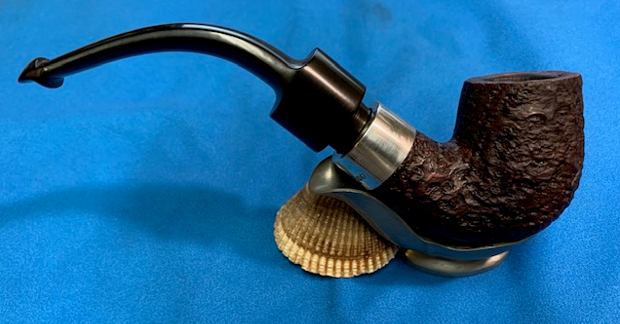
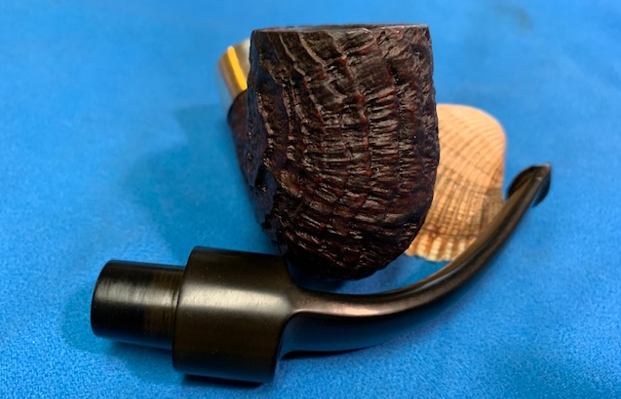
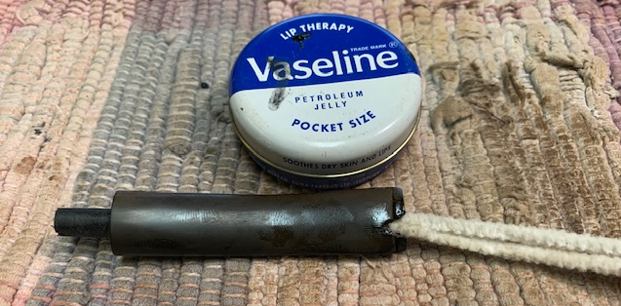
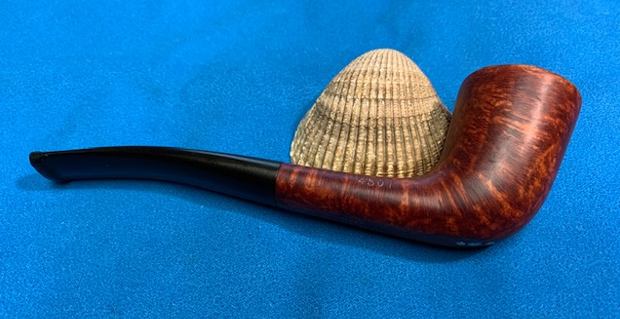
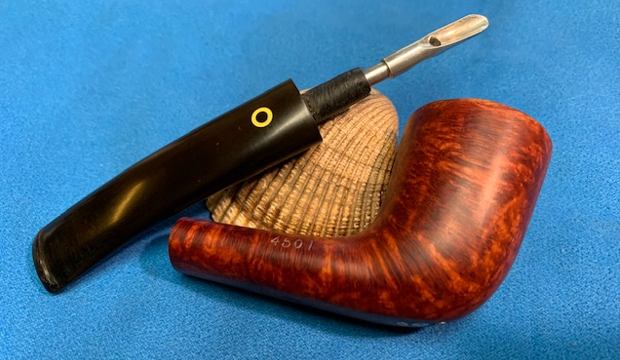
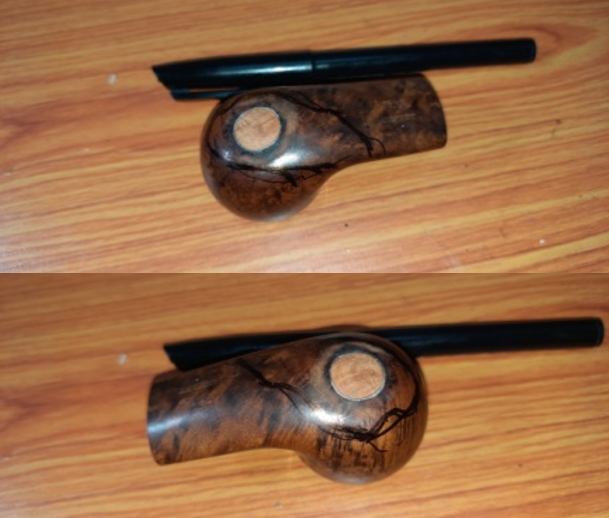
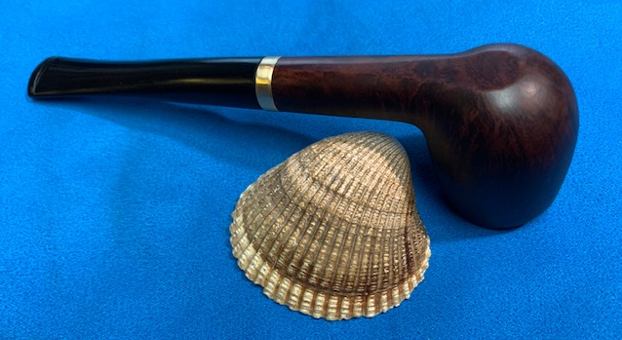
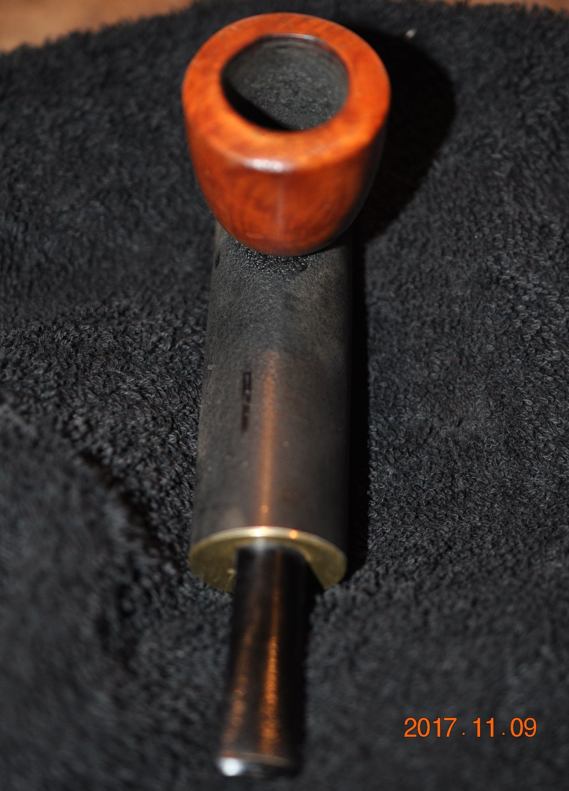
This particular style of system pipe always reminds me of the tadpoles we used to catch when I was younger. We would get a jarful and watch them become frogs. The pipe has that same look to me. Or you might compare it to an inflated puffer fish. Either way it is an odd pipe and yet there is something strangely beautiful about it. We purchased this smooth bowled one from an antique mall on 10/28/17 in Bozeman, Montana, USA. I have worked on one other of these Brial pipes and have found them hilariously interesting. The base tube that receives the stem is made to be stuffed with wads of toilet paper or tissue to filter out the moisture in the smoke. The one I had before still had that in it. Fortunately, this did not as it is quite smelly and messy. This one had a fairly thick cake in the bowl and some dings in the rim top and light lava on the inner edge of the bowl. The briar bowl was dirty with ground in oils and the tubular shank was dusty and dirty as well. The brass coloured ends of the tube were also lightly scratched and dirty. The tube has two small bumps on the bottom that act as feet making the pipe a sitter. The stem had tooth chatter and marks on both sides. I think the stem is a plastic product rather than vulcanite. It is quite different feeling and the marks in it are much like what I have seen on Medico pipe stems. The brass end plate on the stem end of the tube read Brial [over] Pats Pend. When removed there was a nickel nut on the inside holding the stem in place and a wire to wrap the tissue paper filter around. Jeff took these photos before he started his clean up of the pipe.
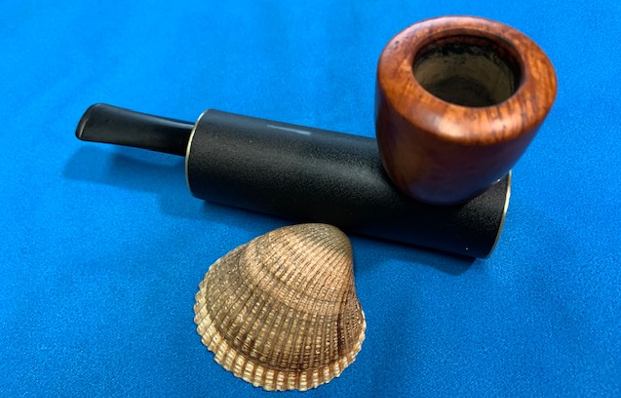
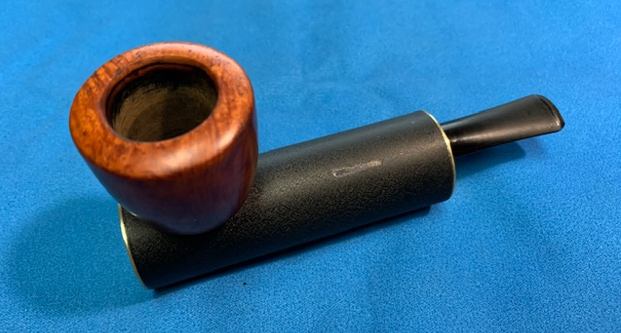
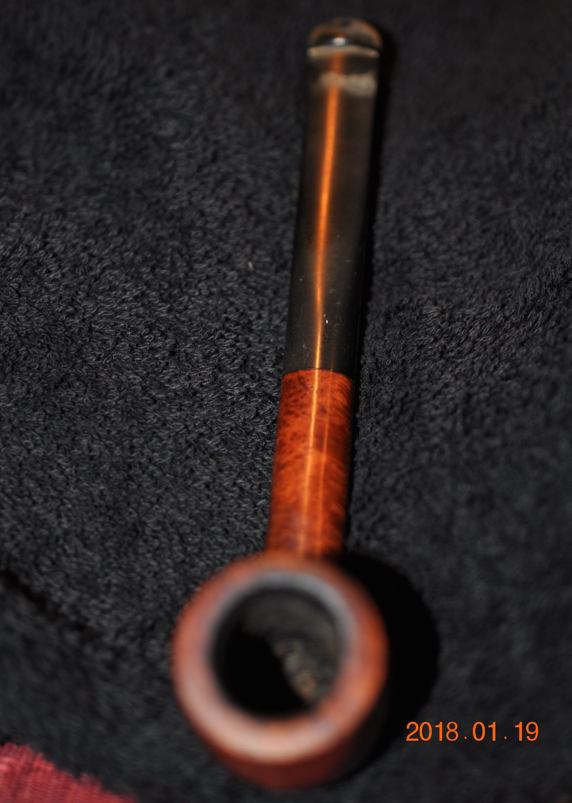
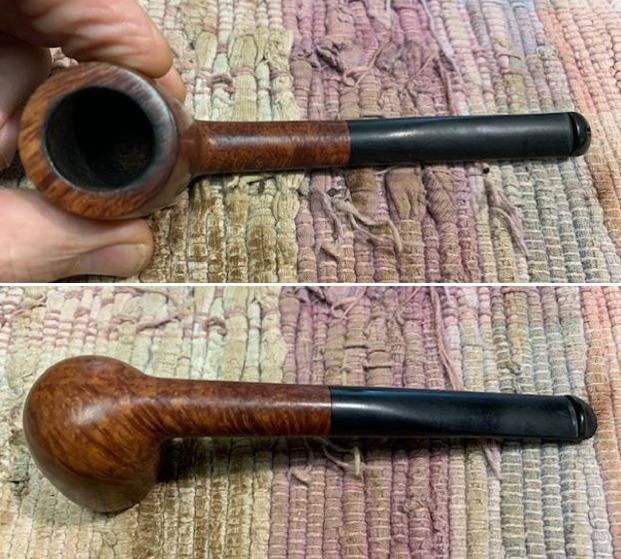
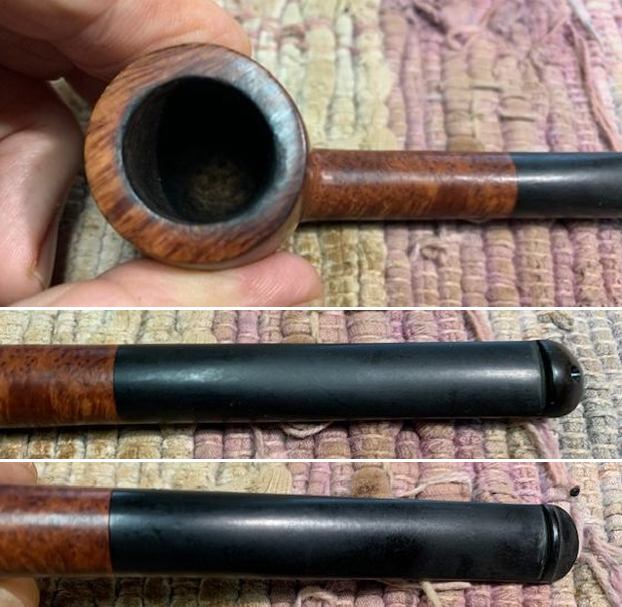
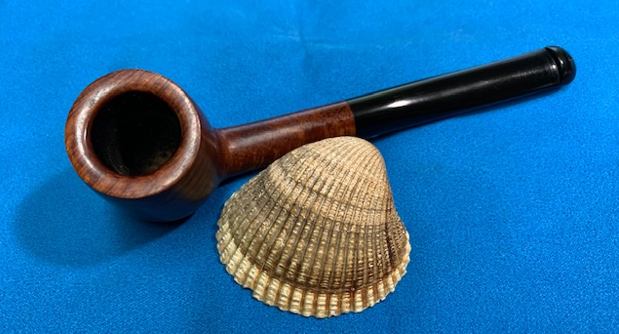
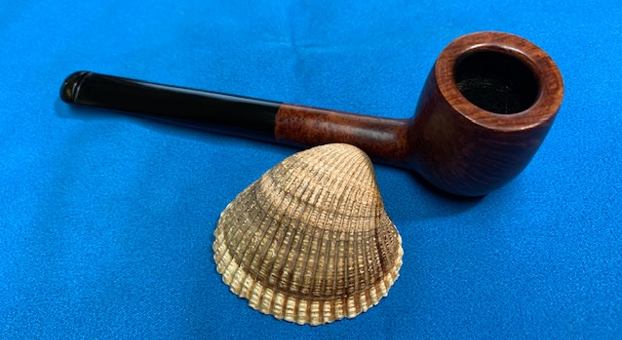
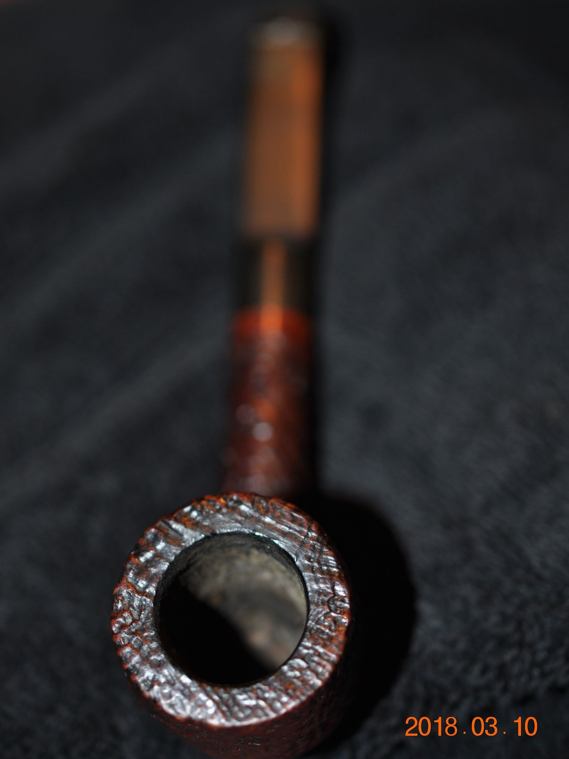
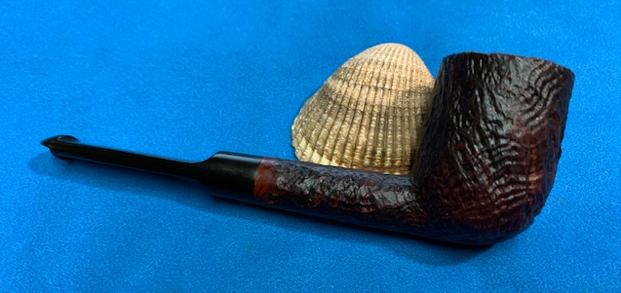
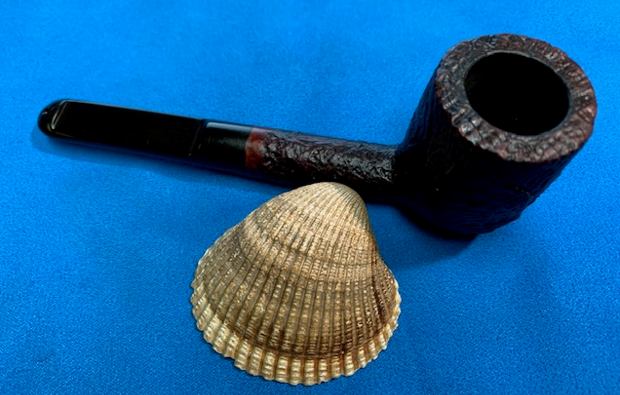
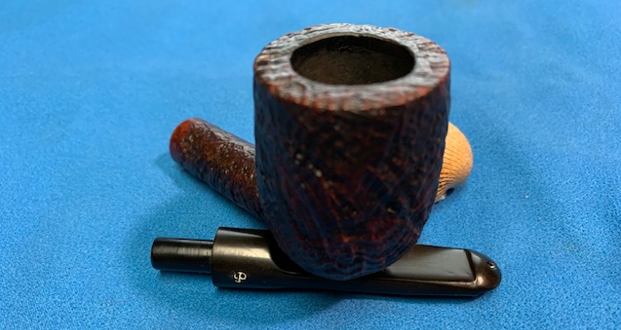
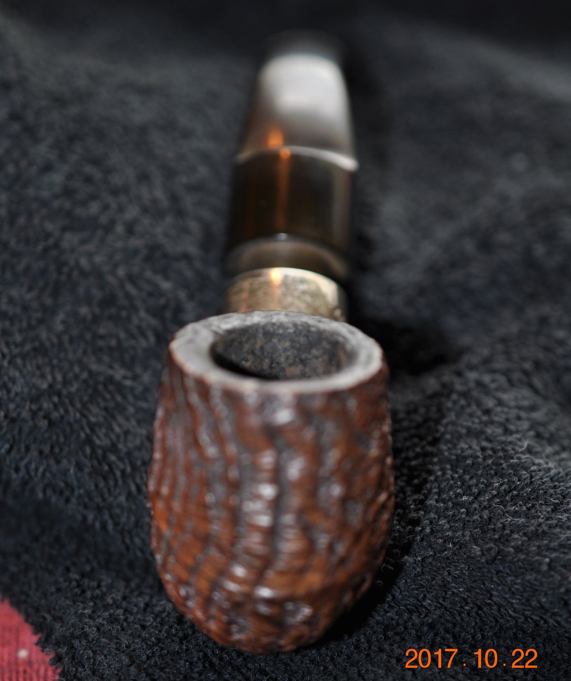
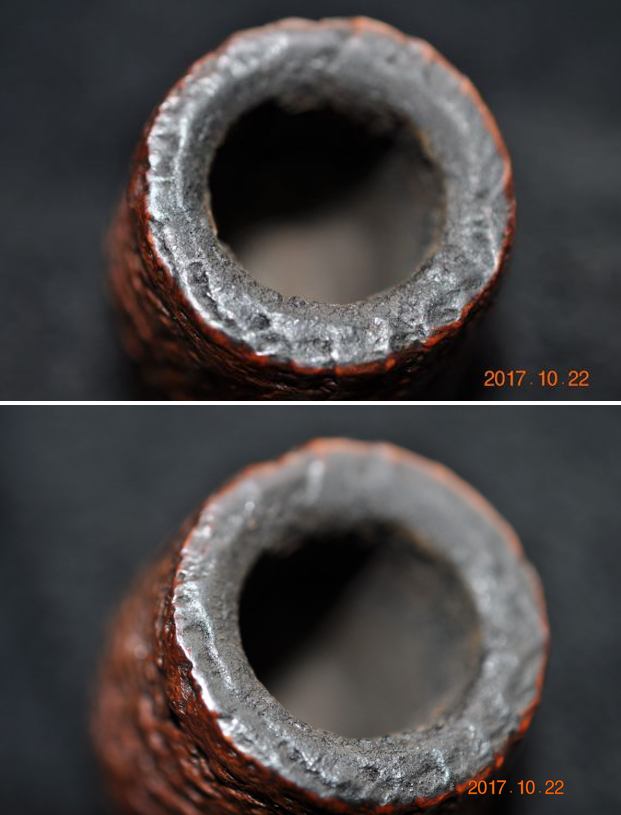
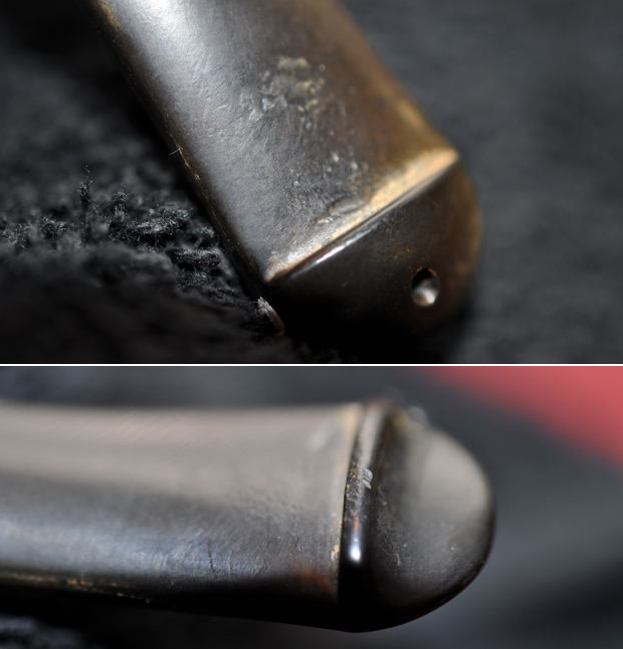
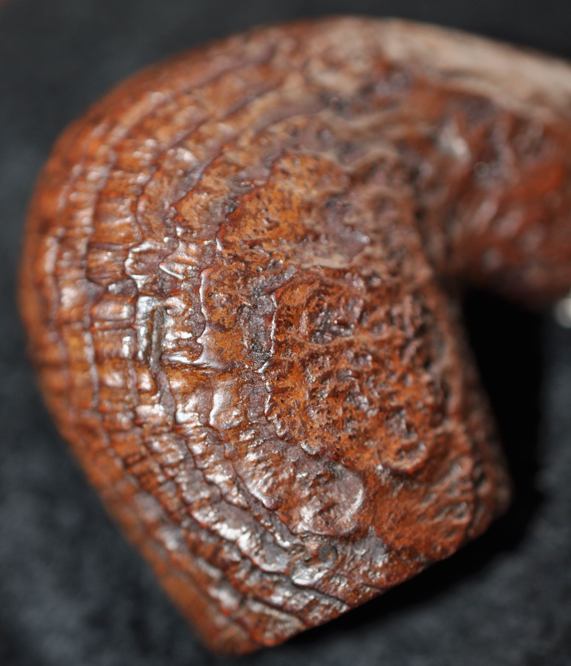
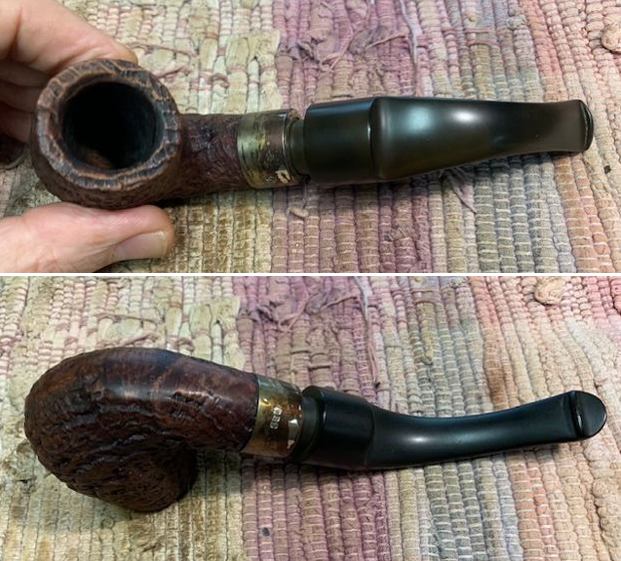
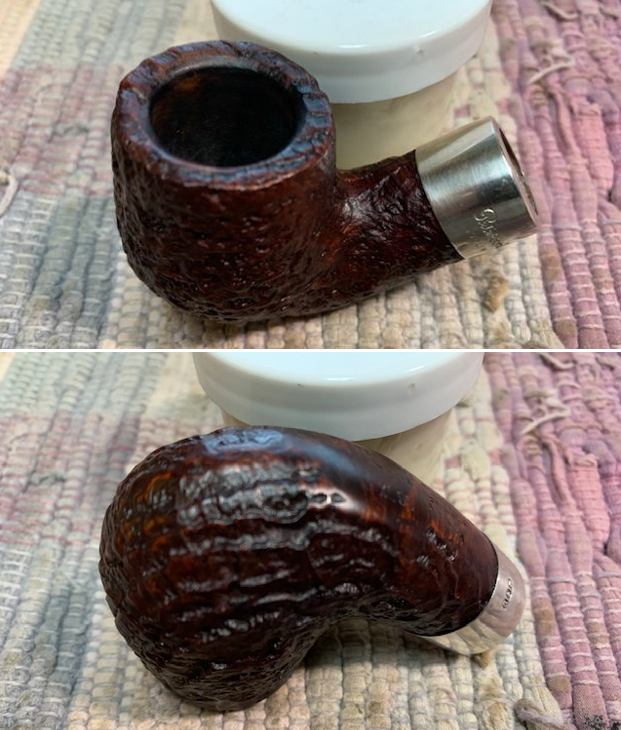
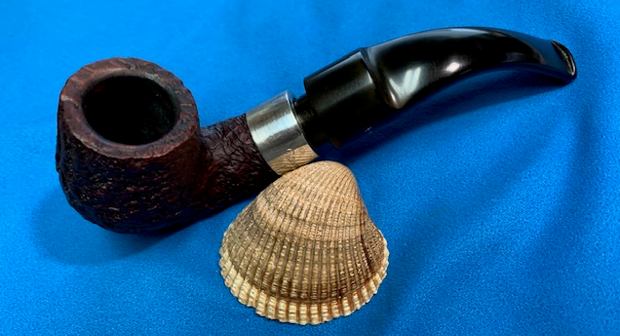
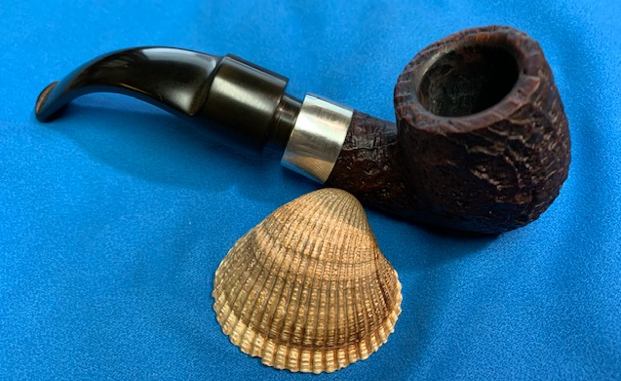
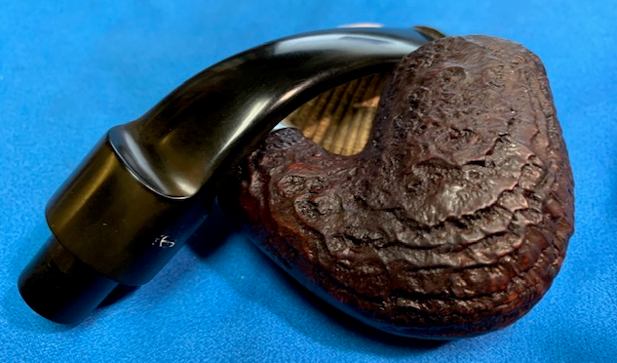
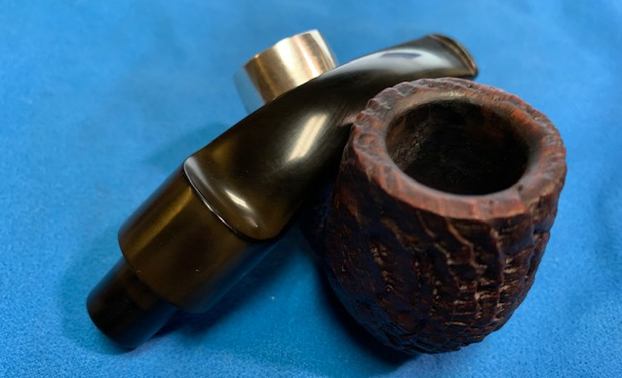
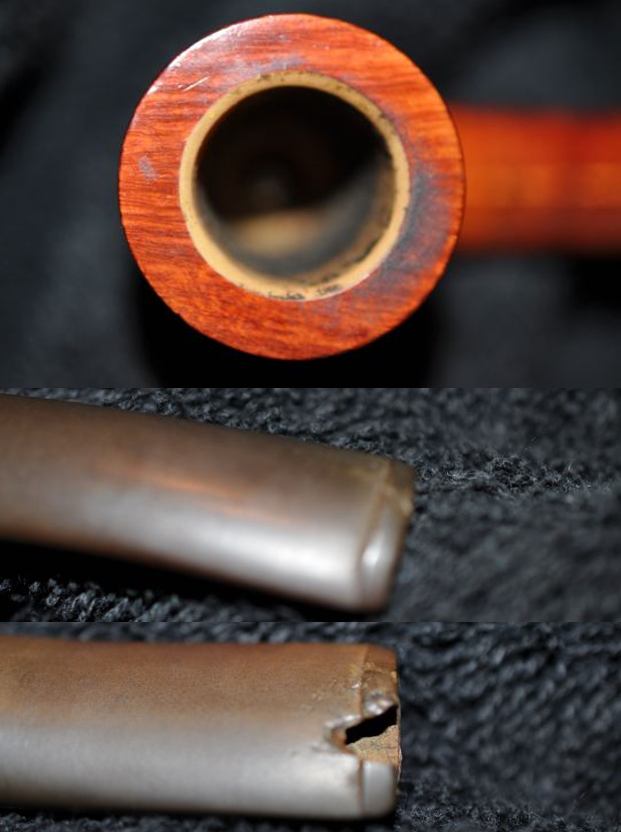
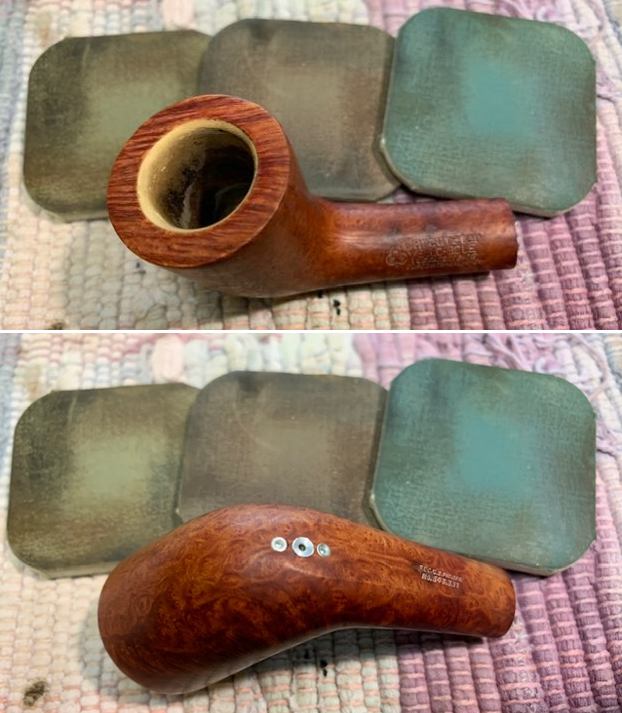
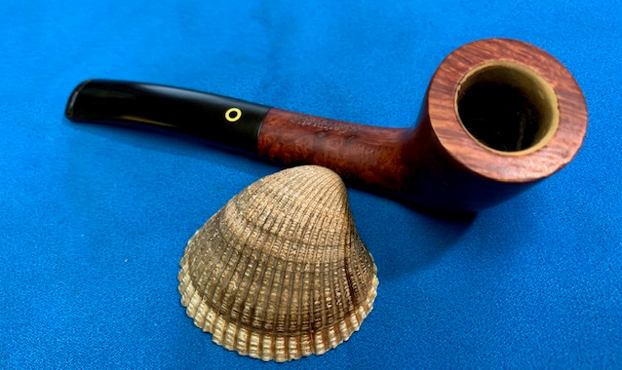
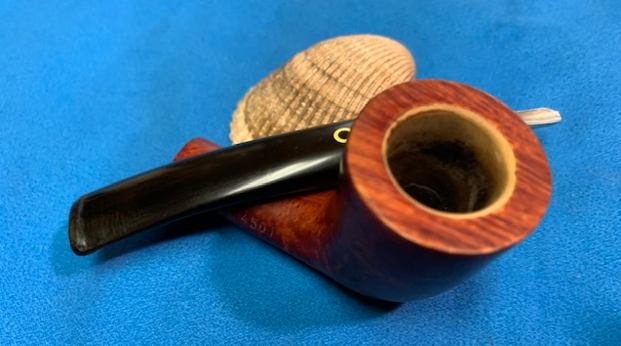
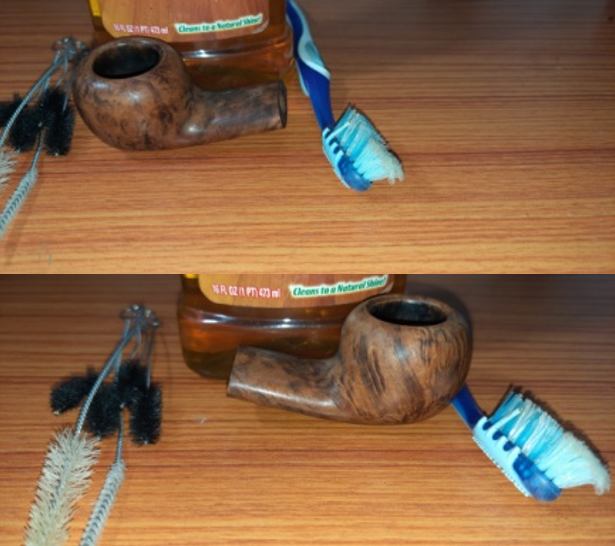
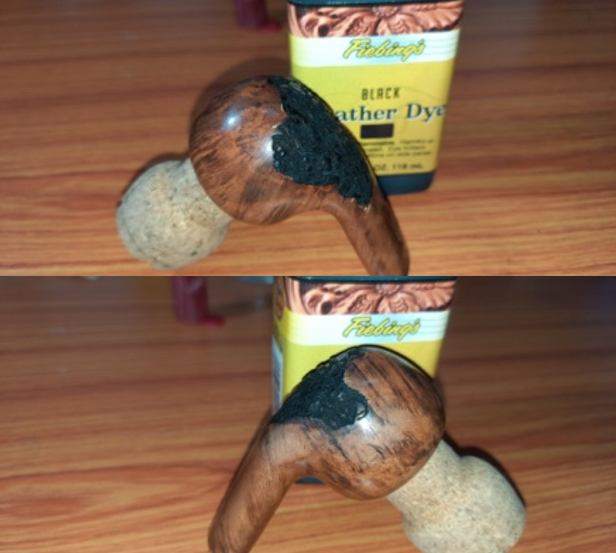
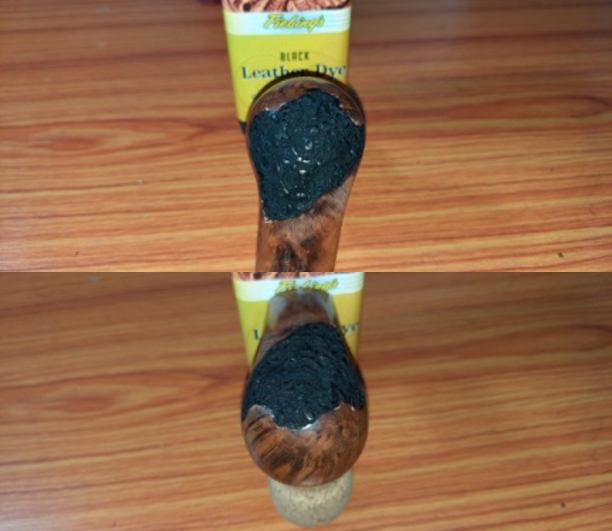
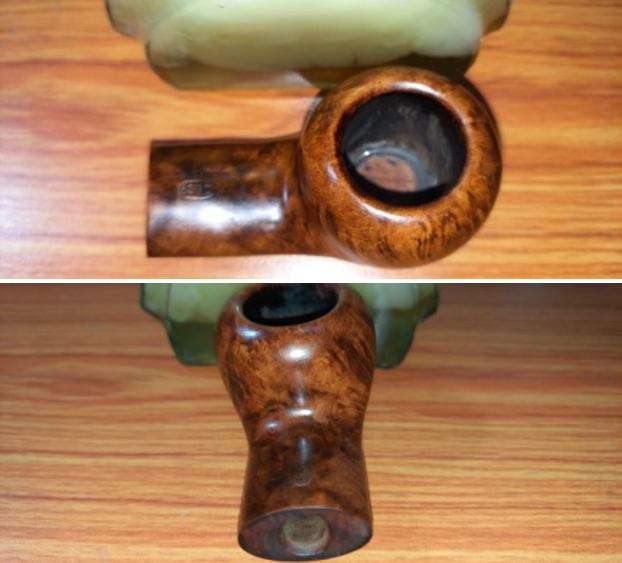
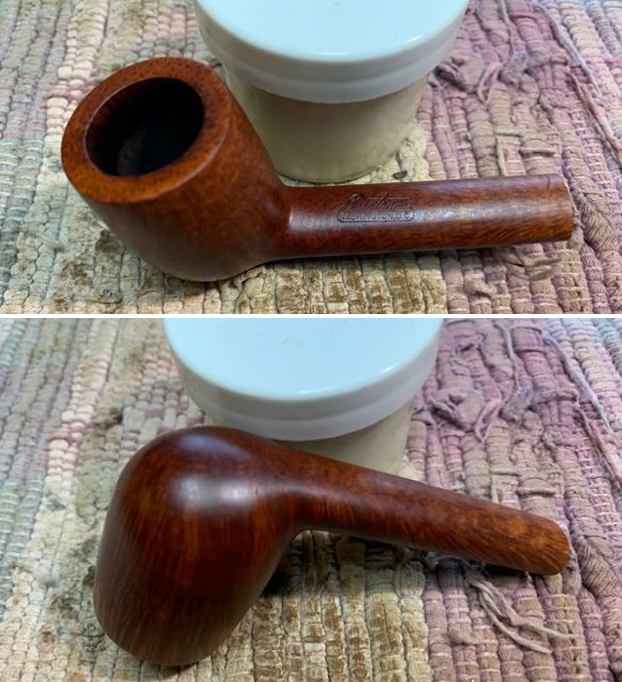
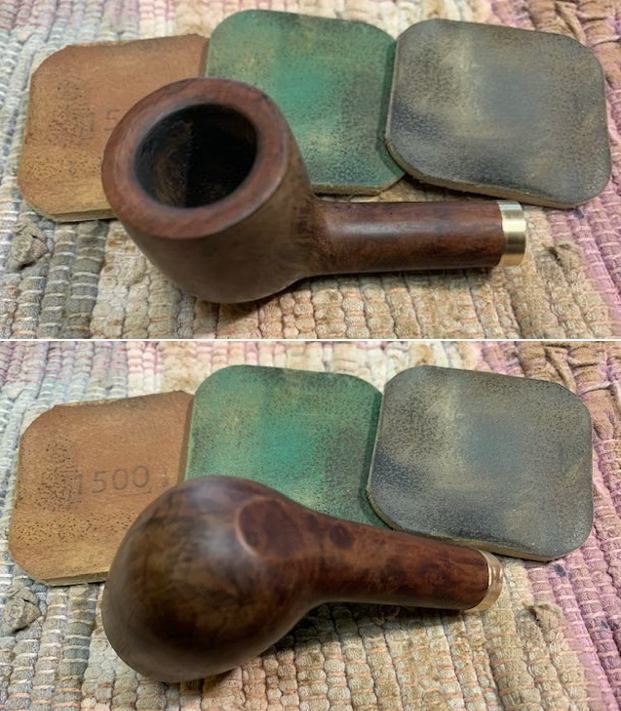
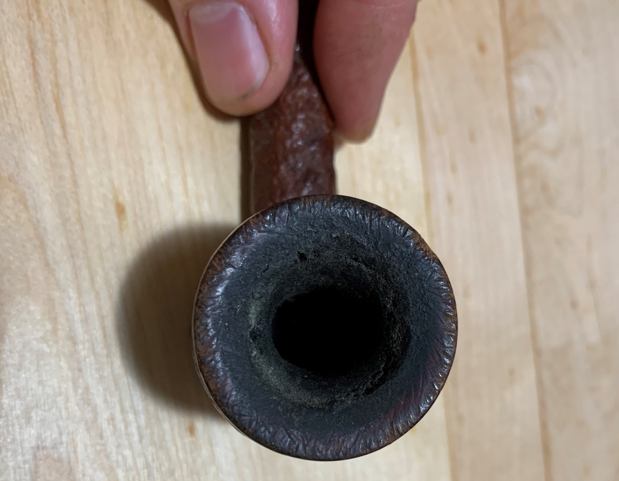
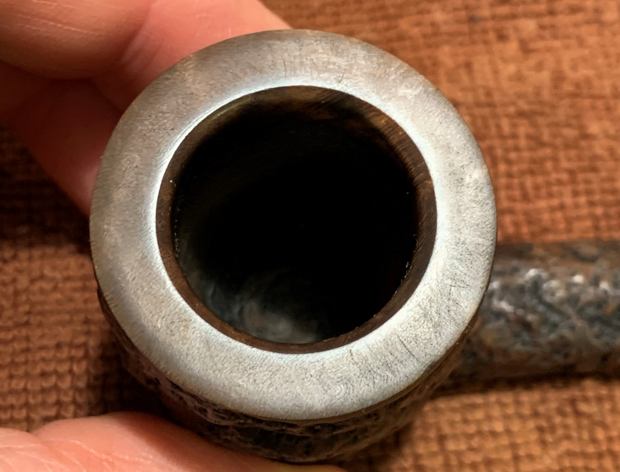
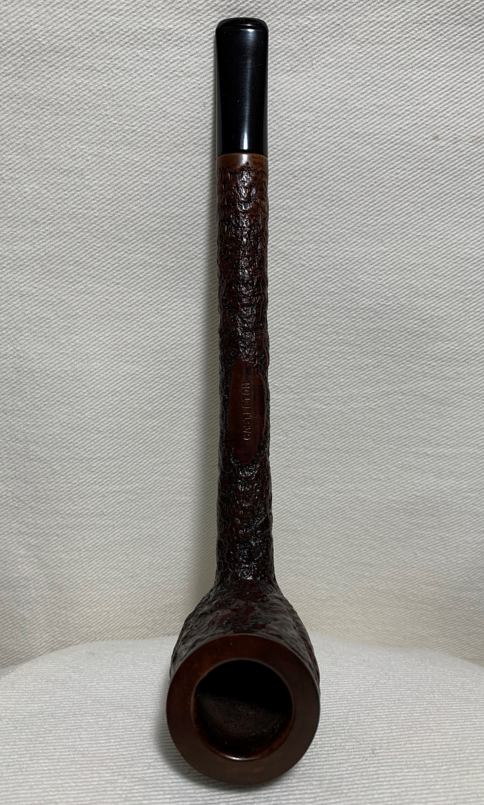
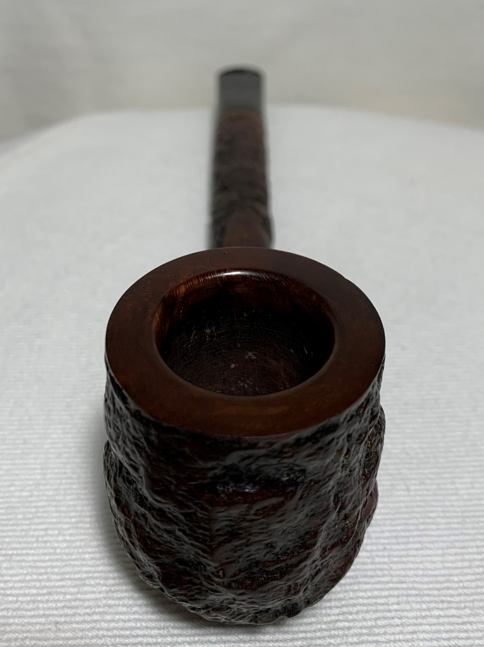
 Jeff took some photos of the rim and bowl to give a sense of the cake and lava situation. You can also see the nicks and scratches in the briar. It is still a nice looking piece of briar. The stem is also shown. You can see the tooth marks and chatter on the surface. Even the marks look different than the ones that are in vulcanite or acrylic.
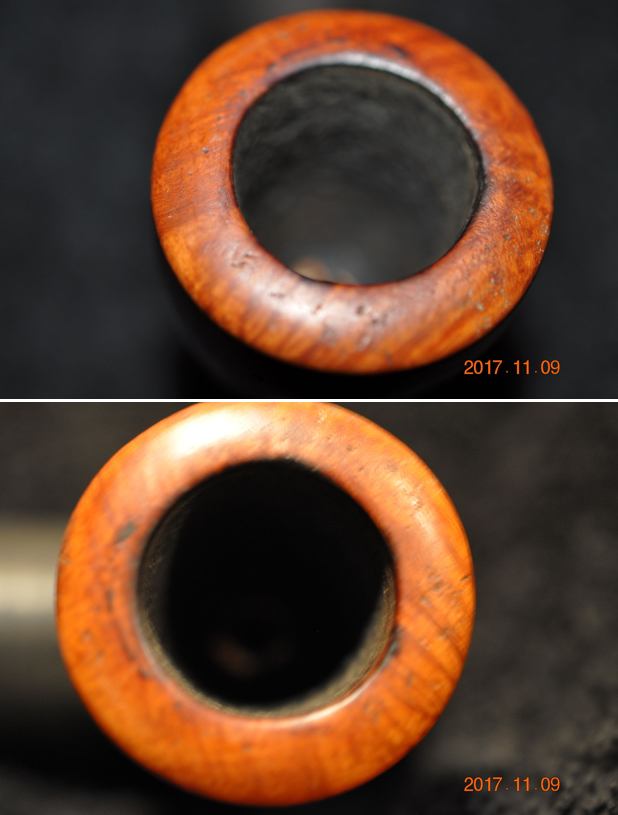
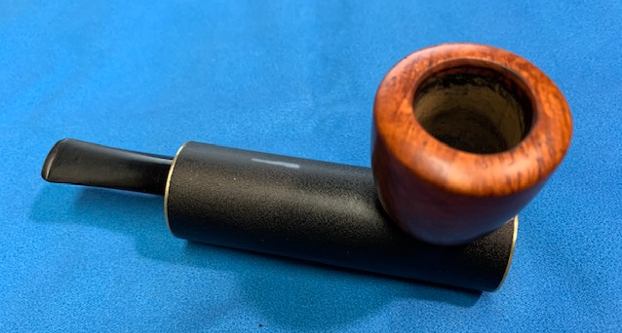
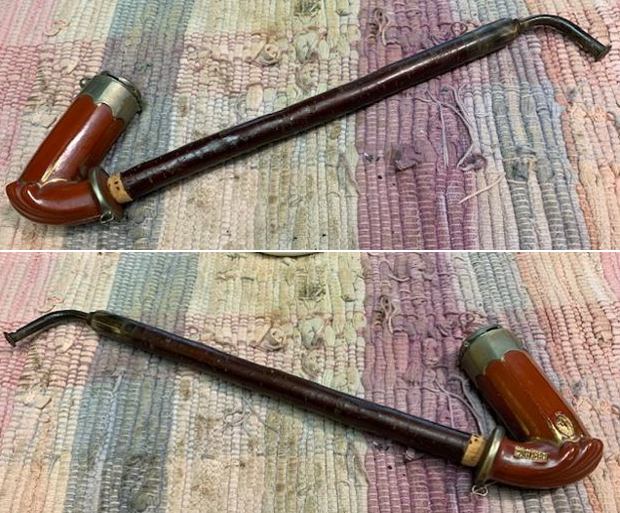
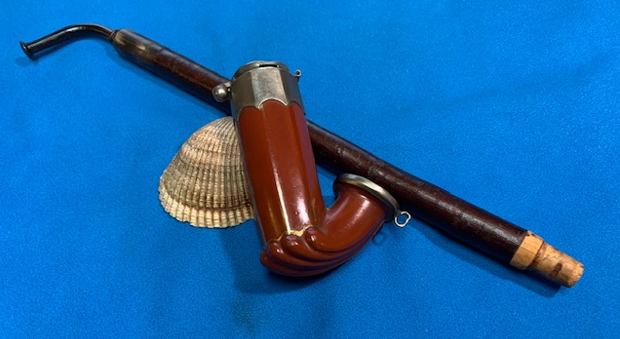
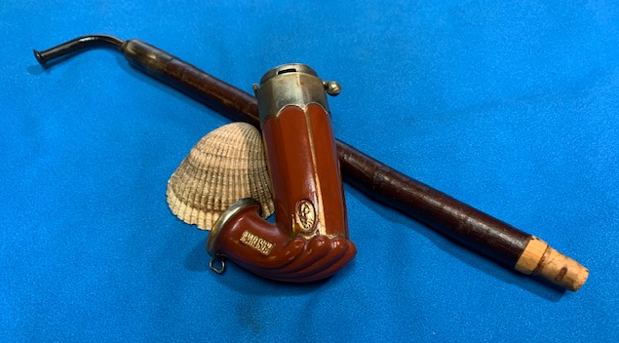
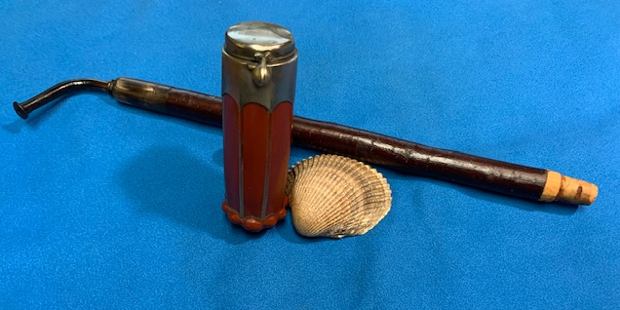
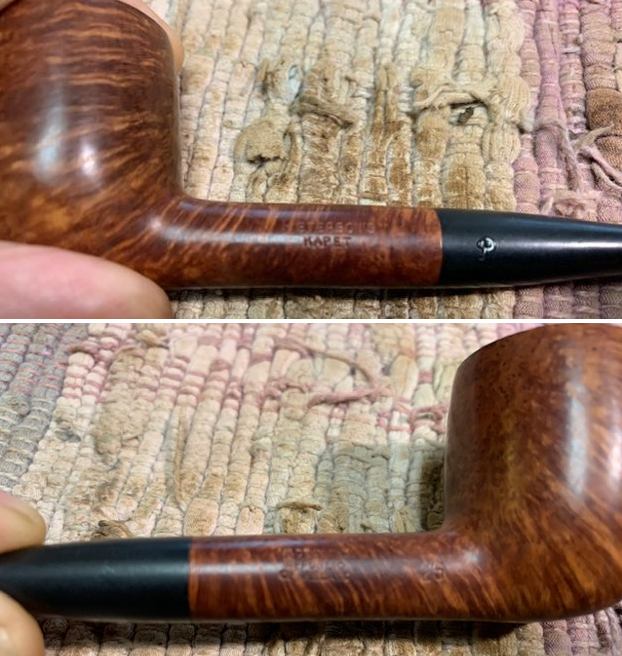
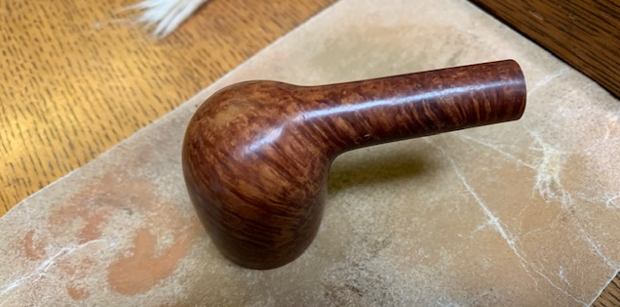
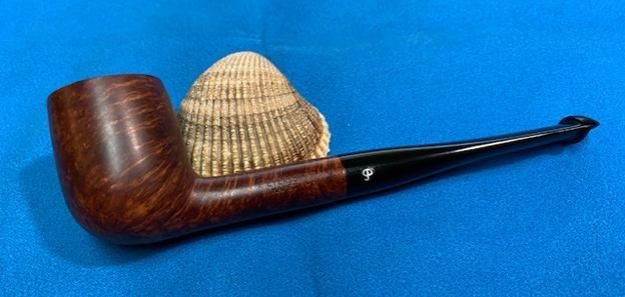
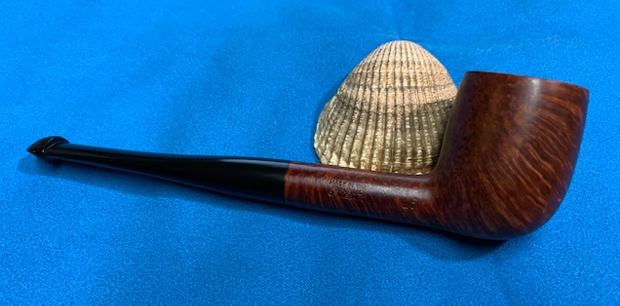
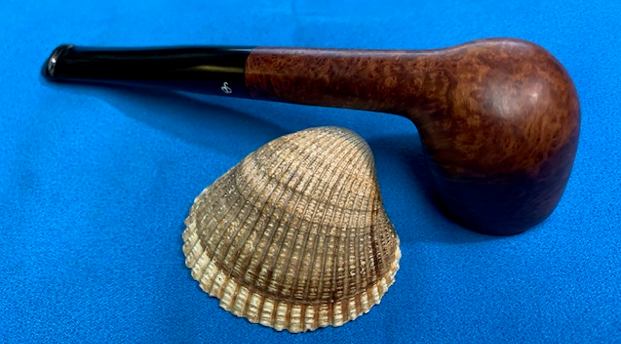
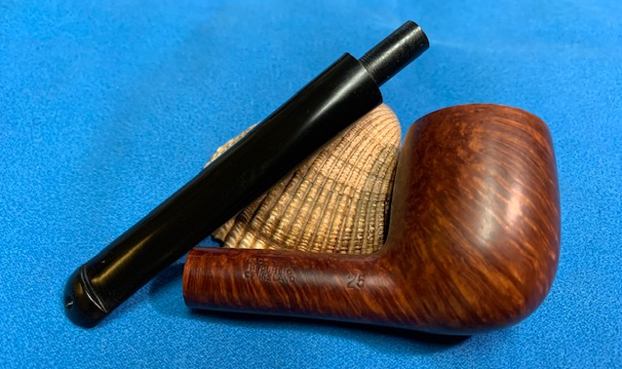
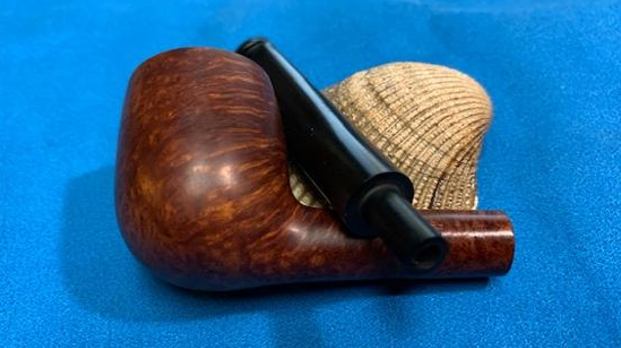
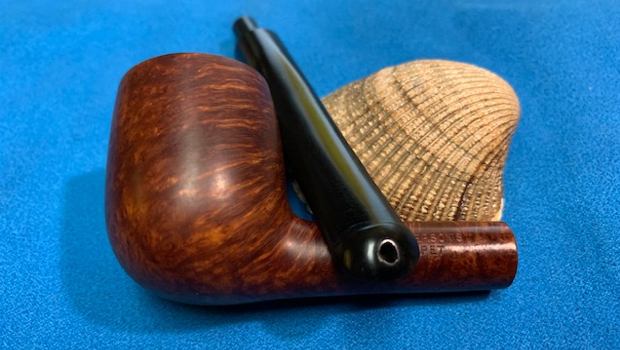
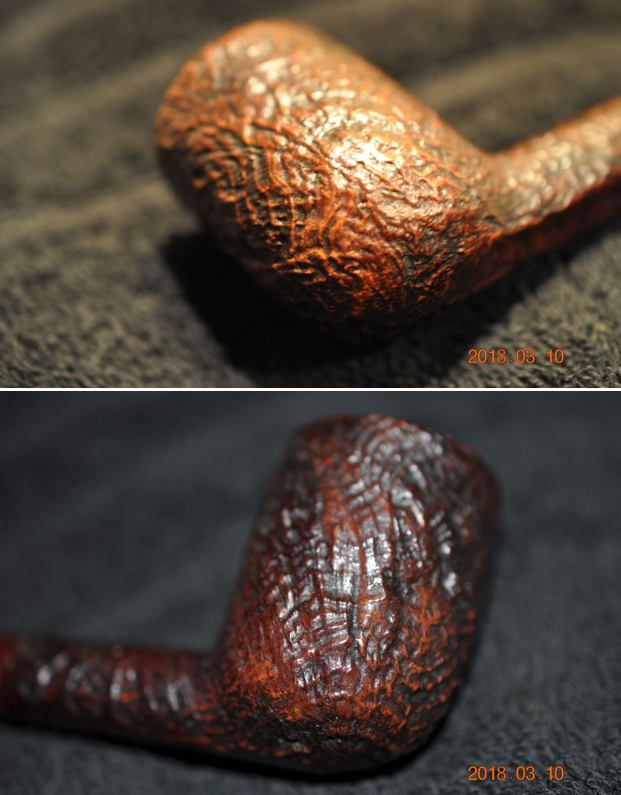
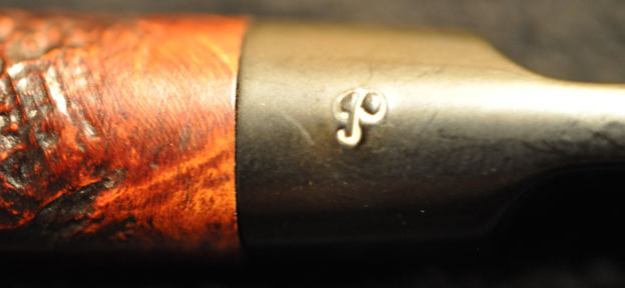
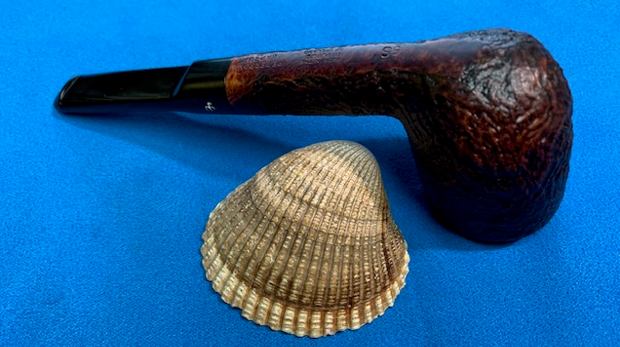
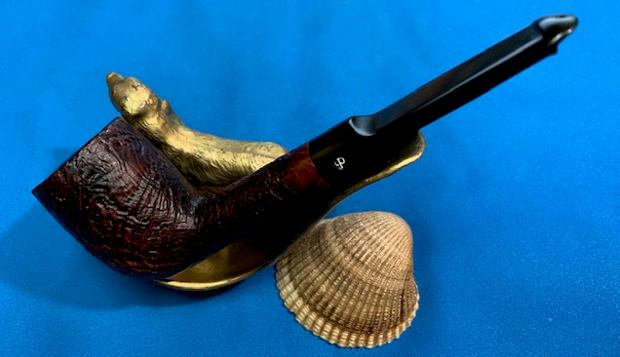
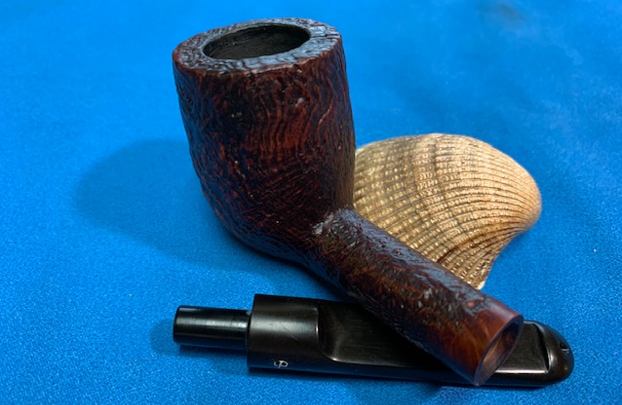
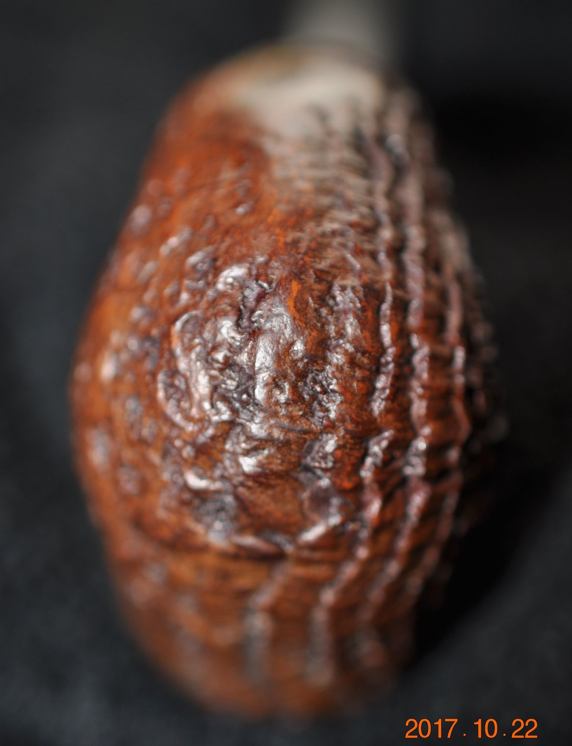
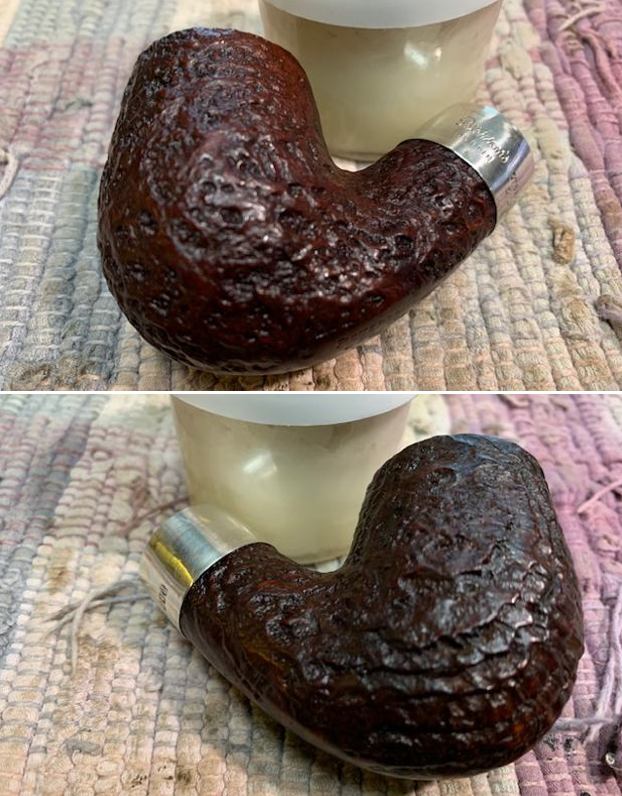
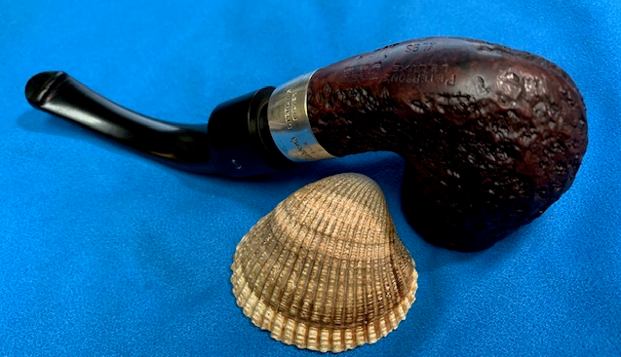
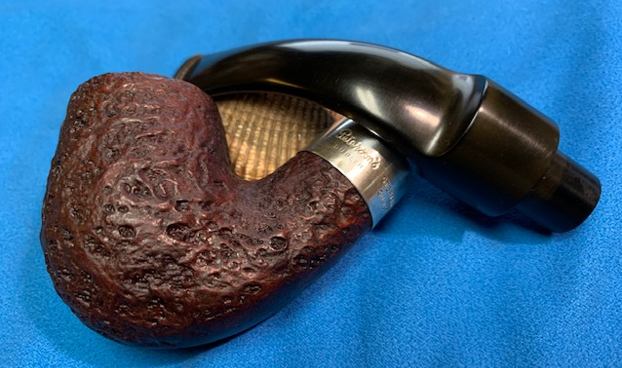
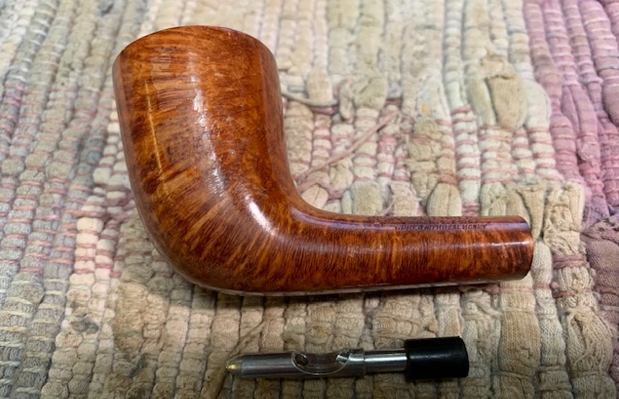
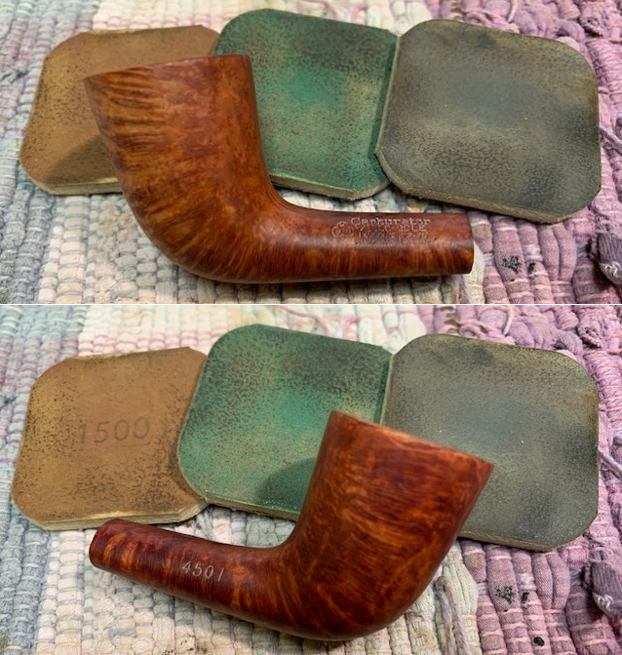
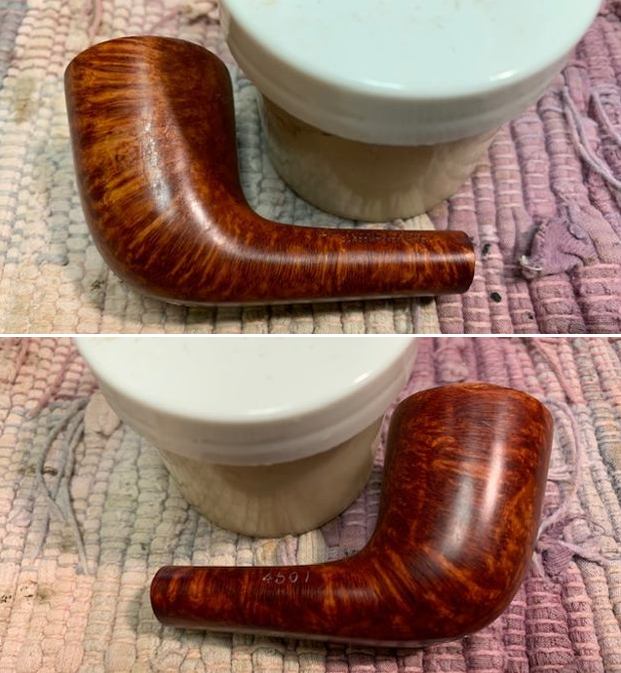
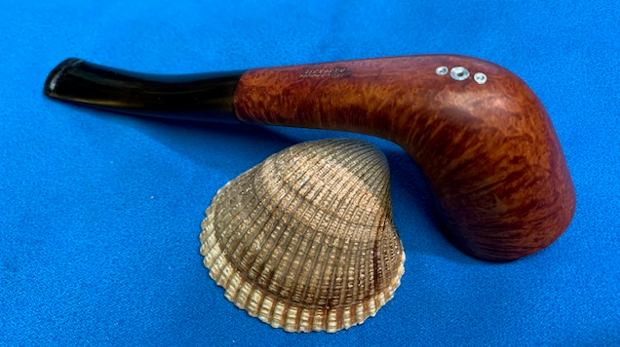
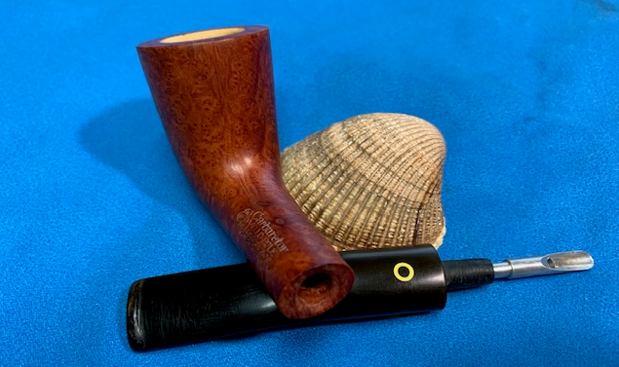
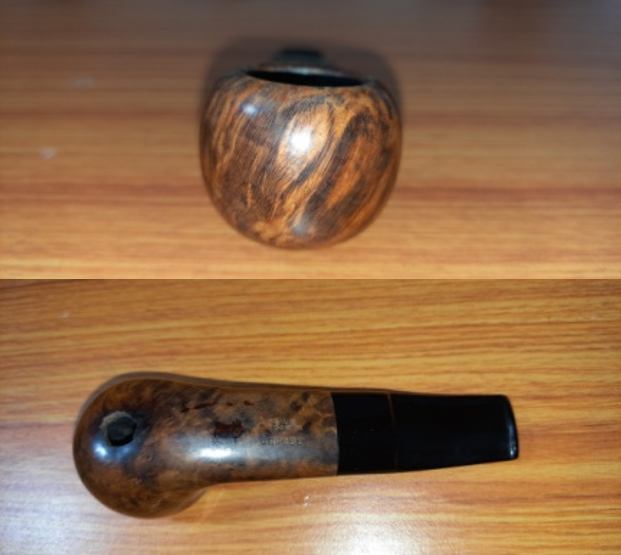
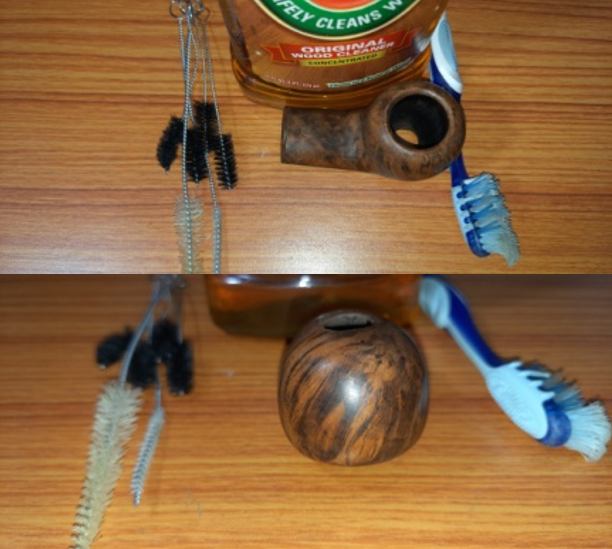
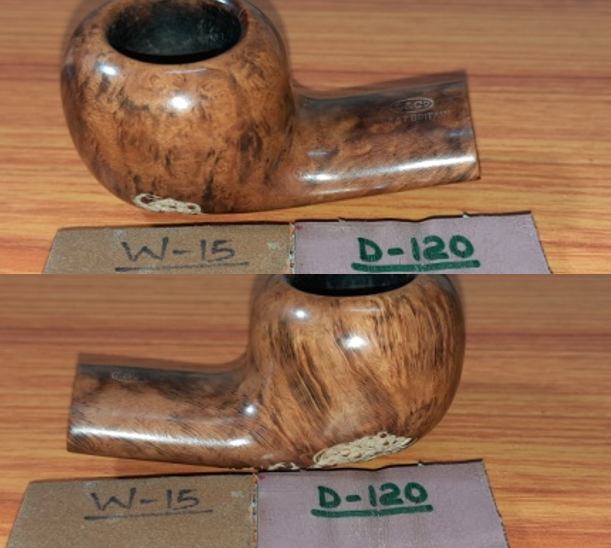
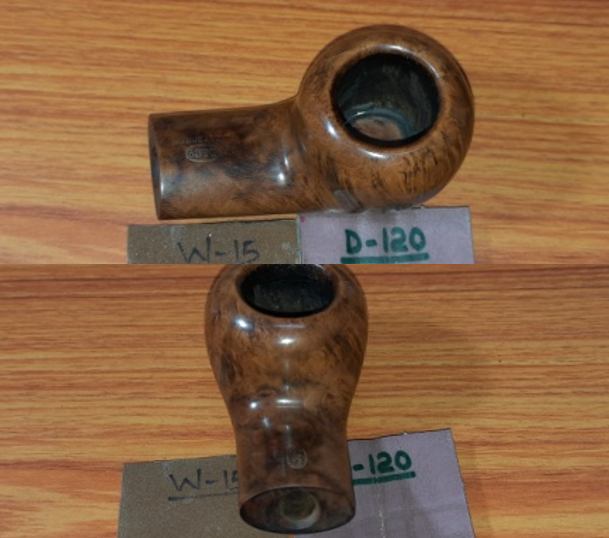
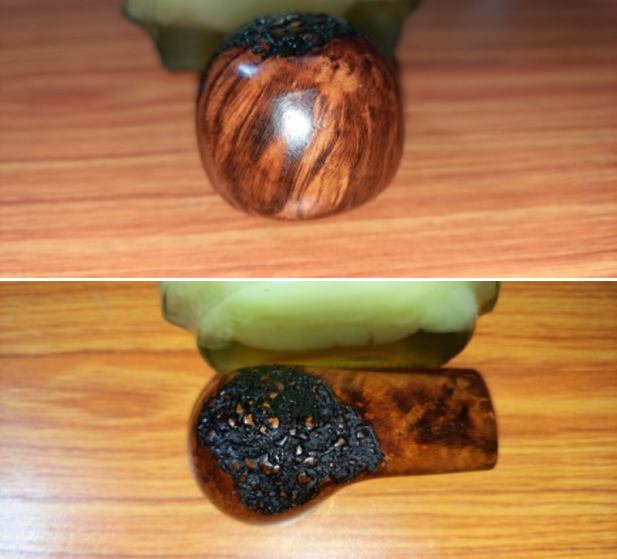
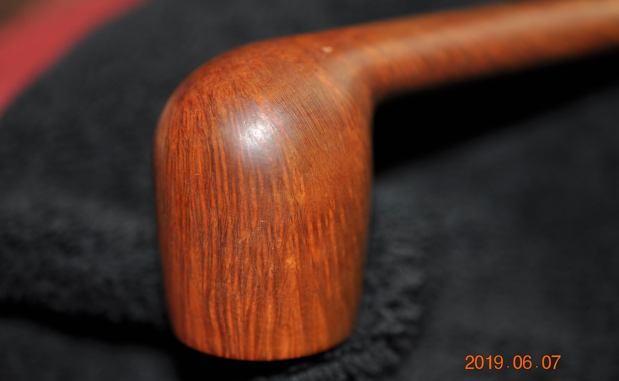
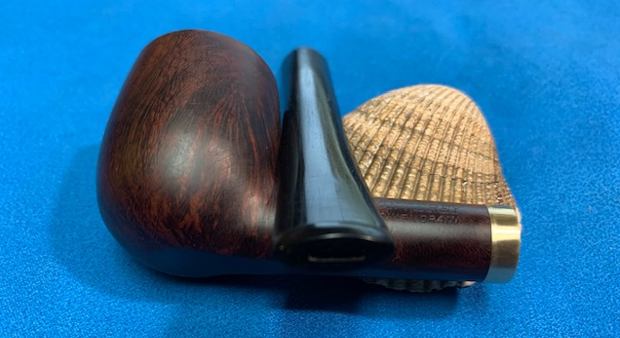
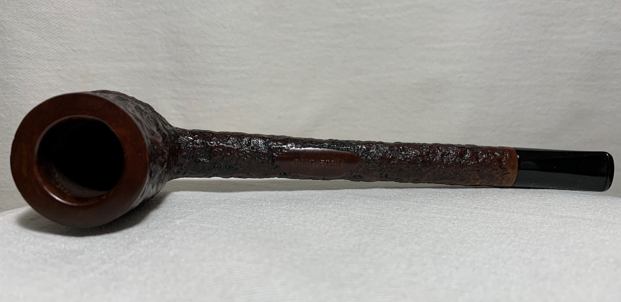
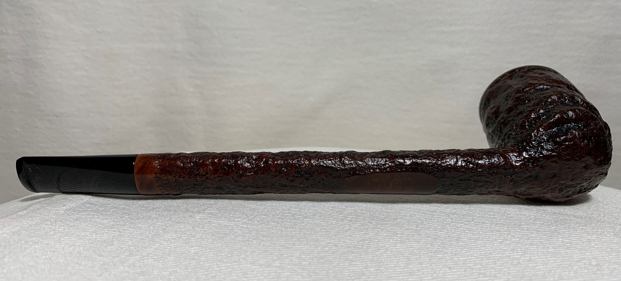
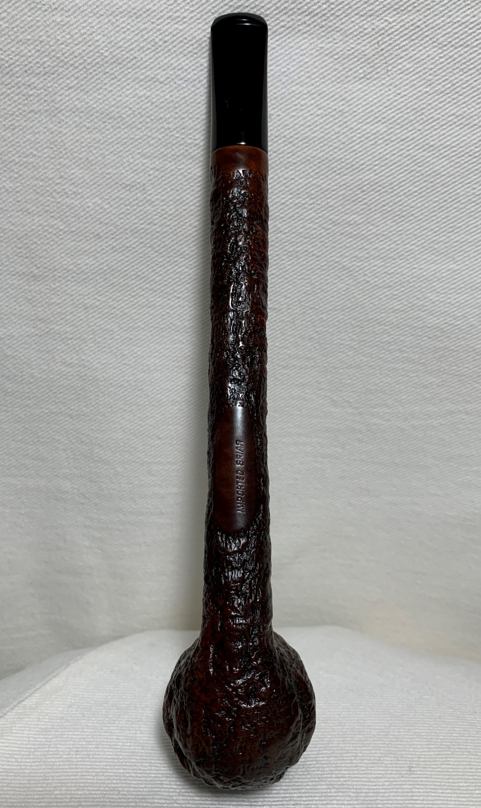
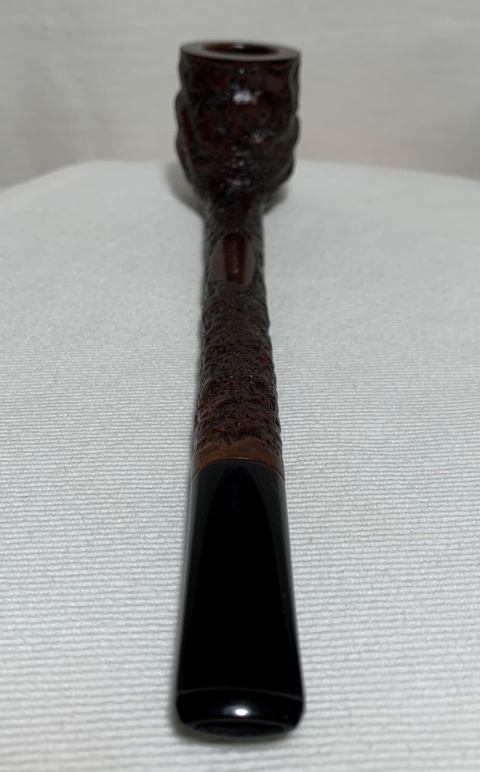
 Jeff took a photo of the side of the bowl to give a glimpse of the grain on the briar. It is quite nice. He also captured the etching on the brass stem end of the tube. It reads as noted above.
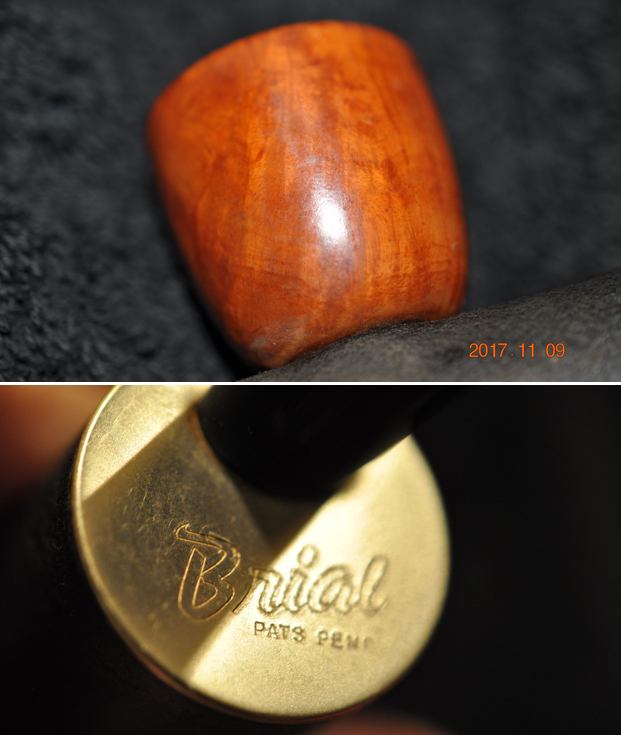 I mentioned above about the earlier Brial pipe that I had worked on. I turned to that blog now and reread the information that I had gathered on the brand. Here is the link to the blog if you would like to have a look at it (https://rebornpipes.com/2017/07/17/a-messy-cleanup-on-a-brial-system-pipe/). I quote the section from the blog on the brand itself. It is quite interesting.
I remember when I first started looking at getting a Brial pipe I Googled and found a write up on the brand on the Smoking Metal Website. It was that brief description, the photos and printed advertisement that hooked me and set me on the hunt to acquire one of them. I have included that write up for you. If you wish to read it on the website here is the link – http://www.smokingmetal.co.uk/pipe.php?page=70.
The BRIAL pipe is basically an alloy cylinder to which the briar bowl is screwed through the base of the bowl. The front end is permanently sealed with an alloy endpiece. The cylinder is filled with a tissue to act as an absorption media. This can be tamped in or extracted by means of the probe attached to the mouthpiece plate.
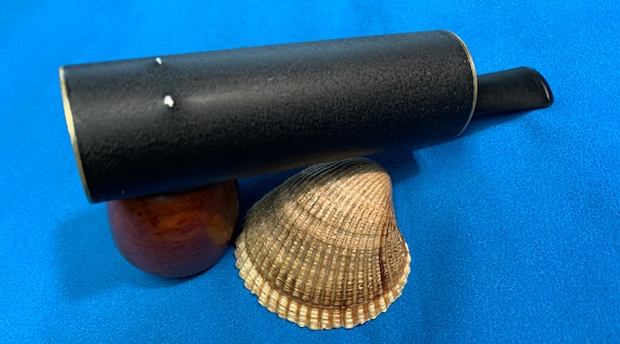
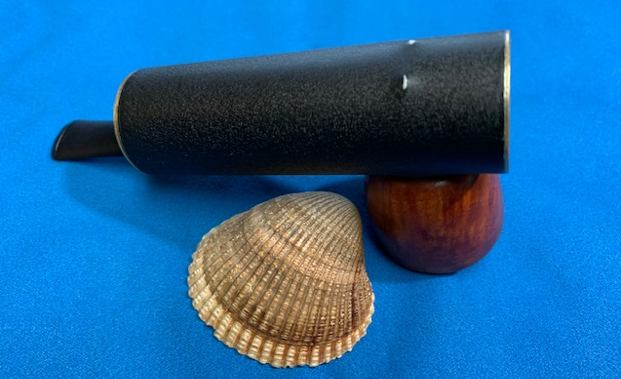
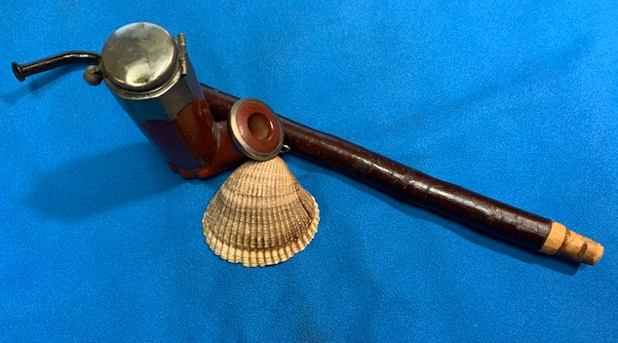
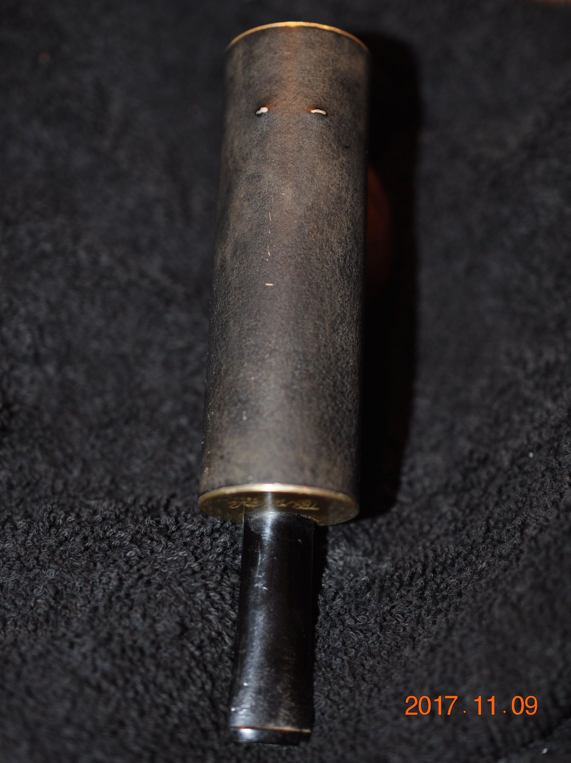
To enable the pipe to stay upright on a table, two dimples have been made in the underside of the cylinder to act as ‘feet’ as shown in my photos.
Brials were available in natural aluminium, brass anodized finish or black… The pipe was patented and manufactured by Salimar Oden in Jefferson Historic District, Muskegon, Michigan. It is believed he continued to market them until his move to Florida in 2000.
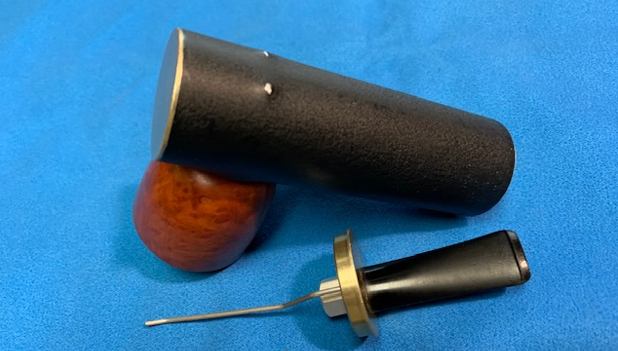
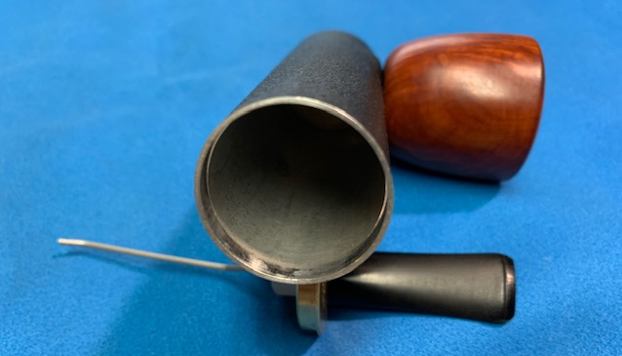
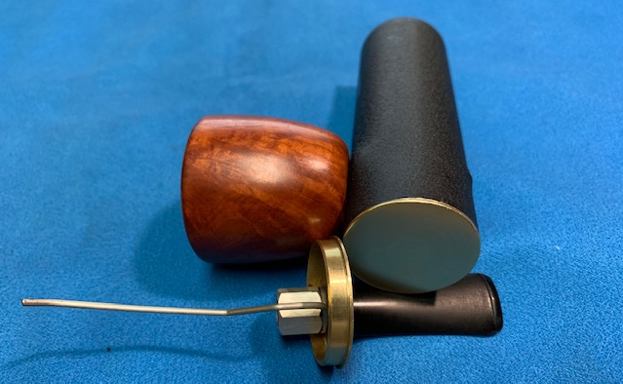
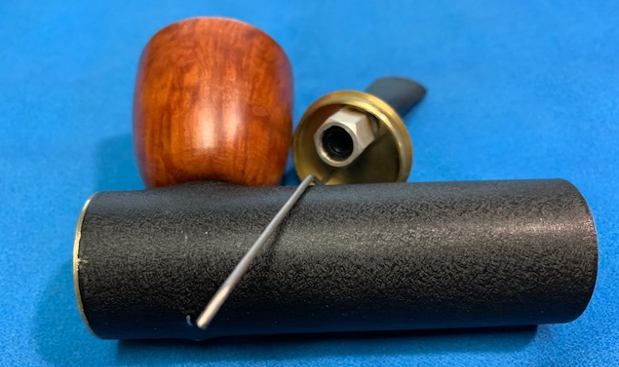
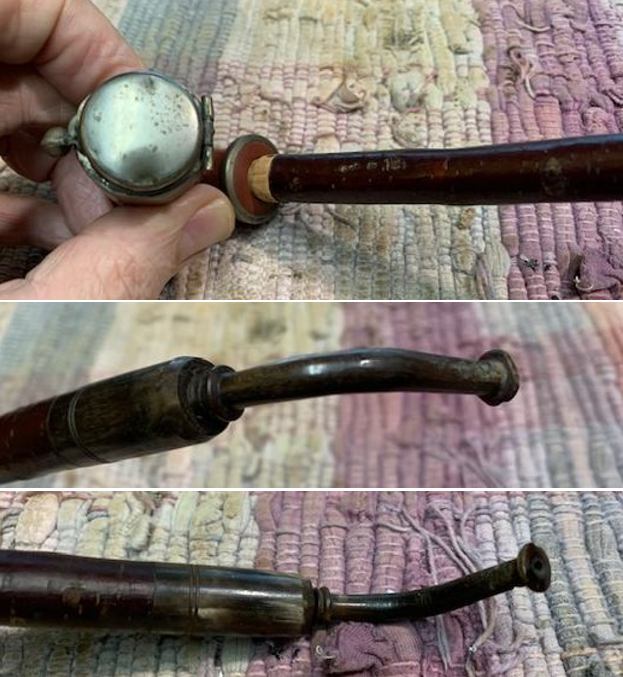
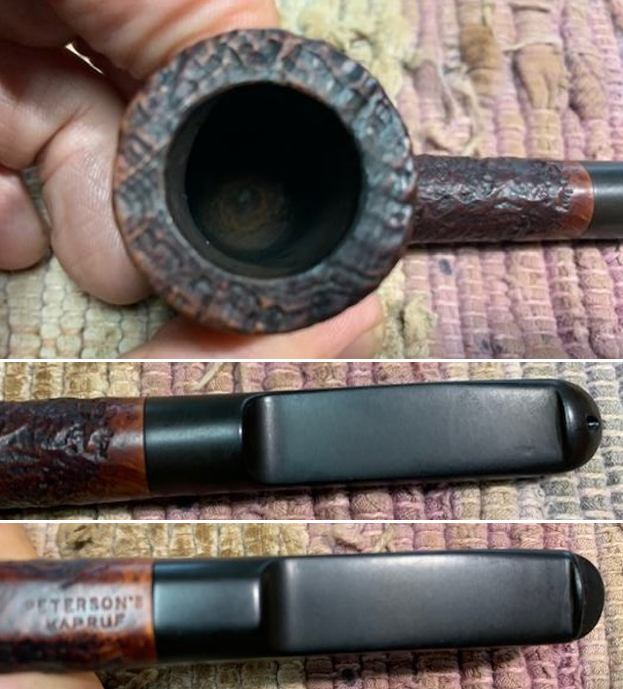
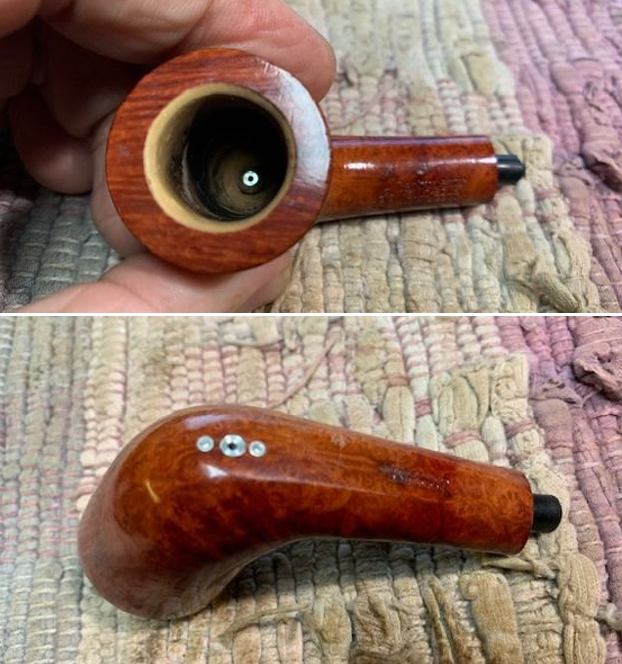
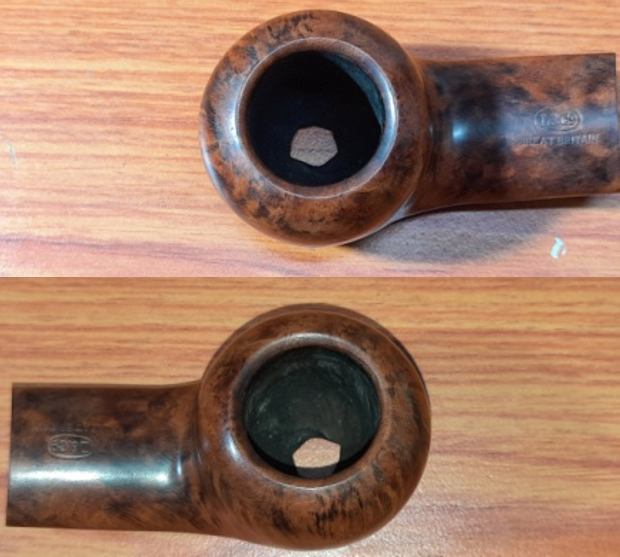
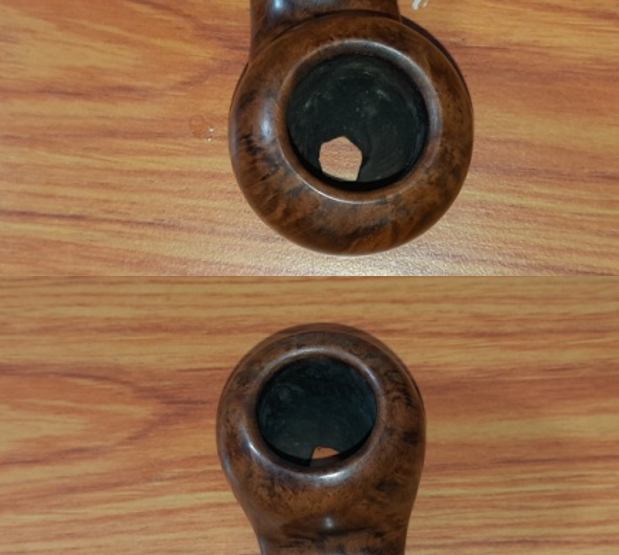
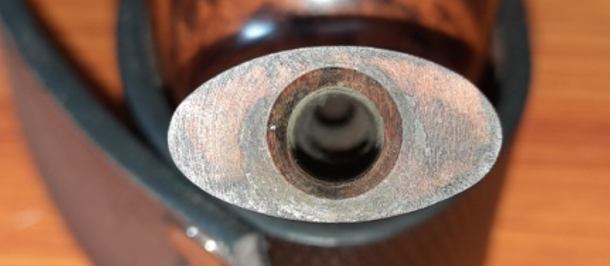
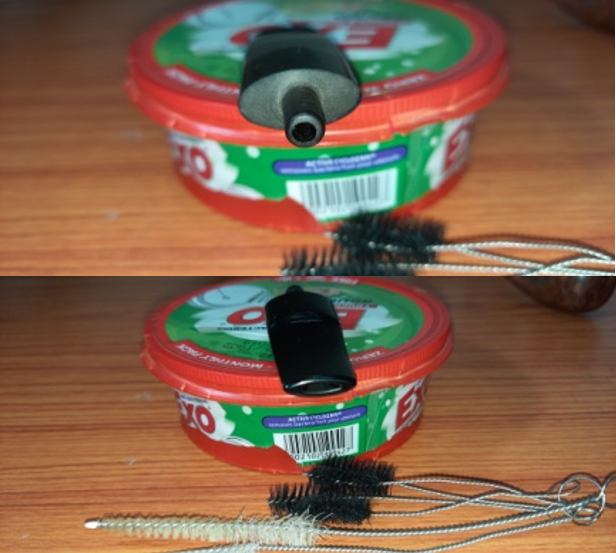
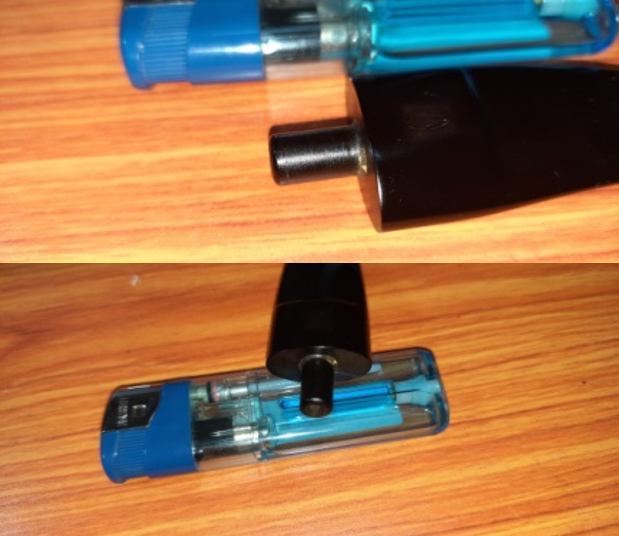
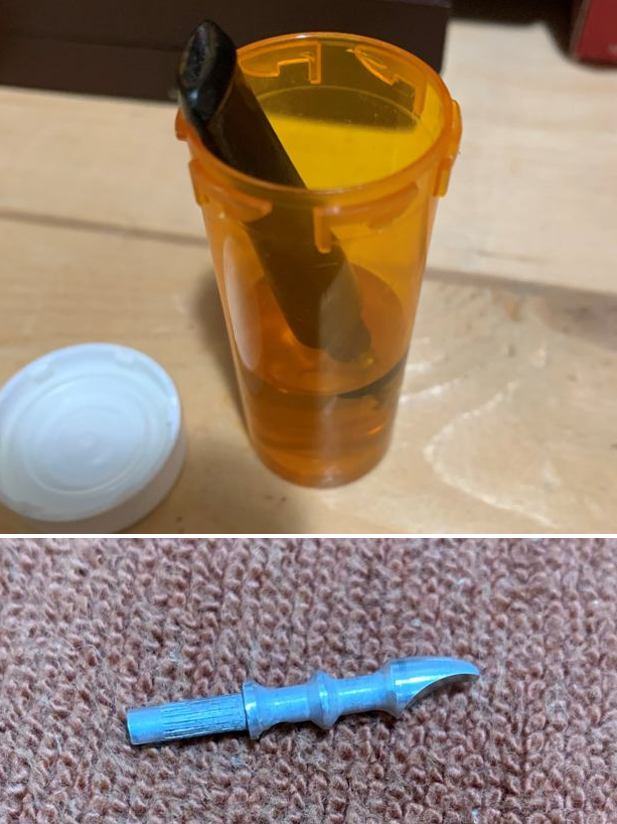
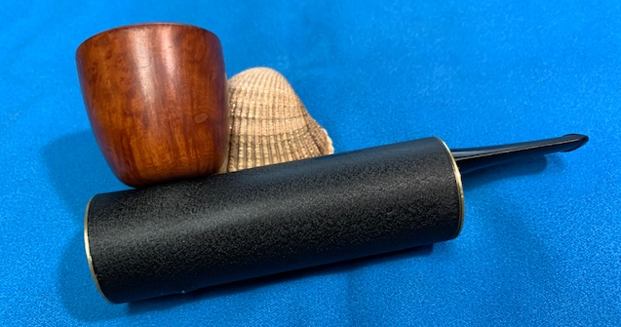
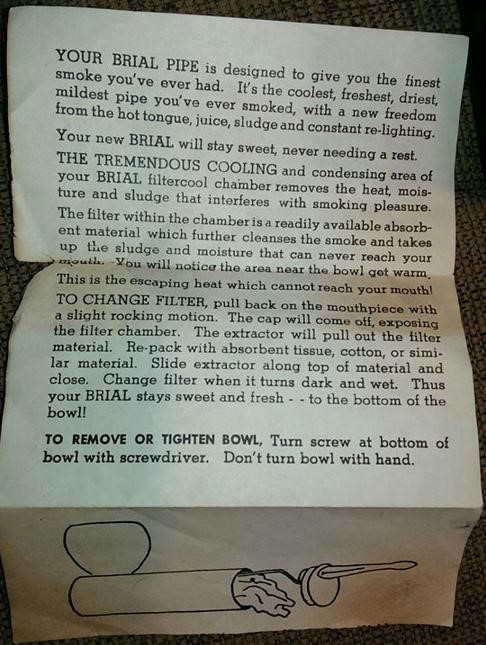
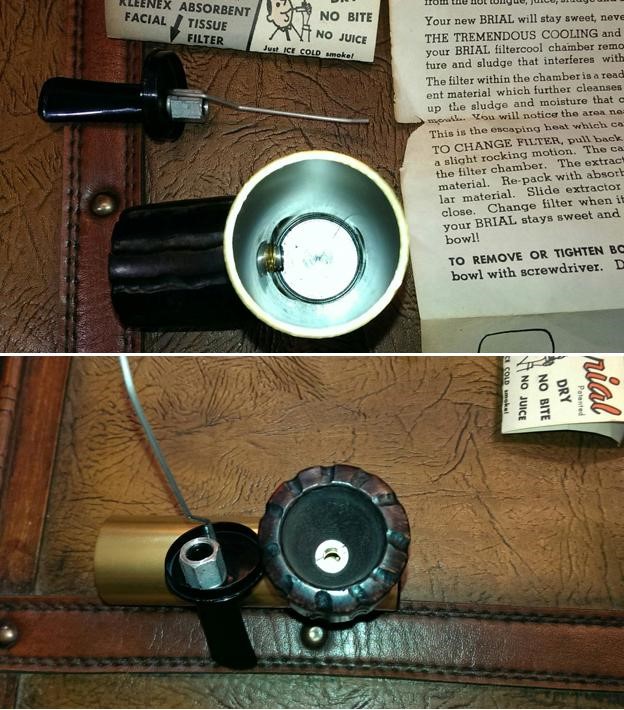
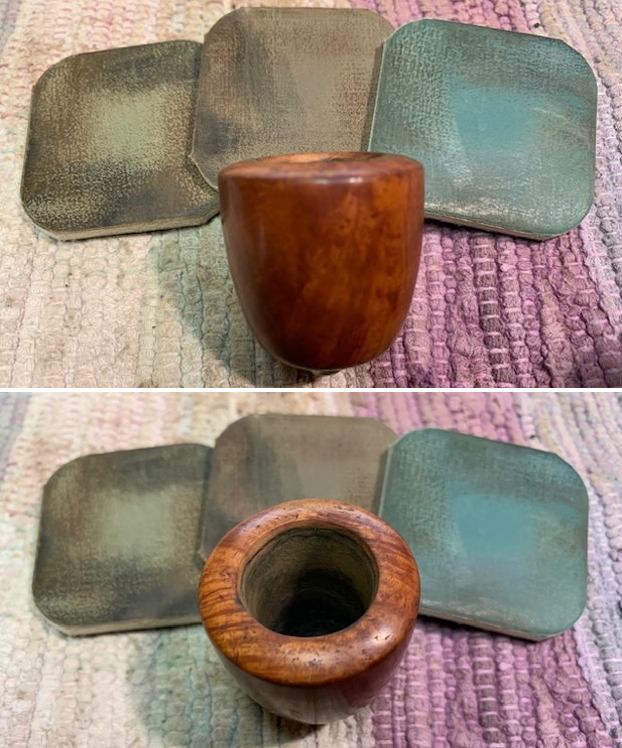
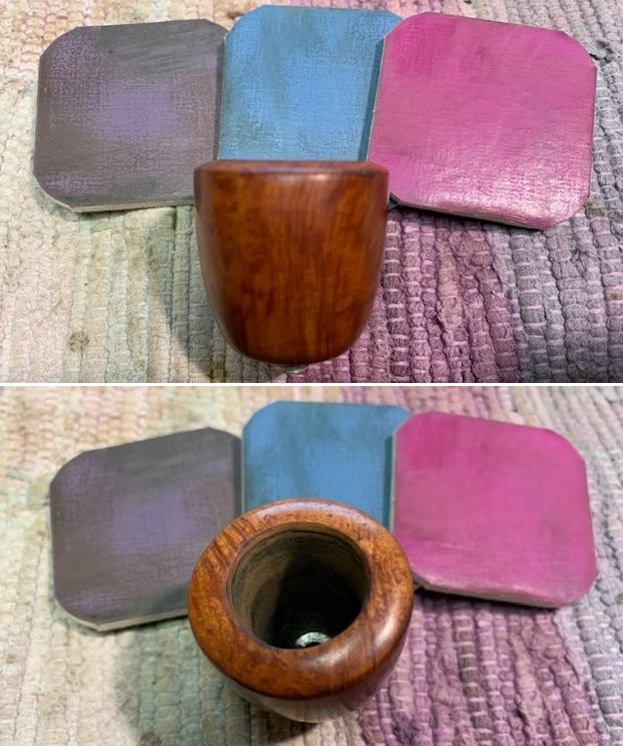
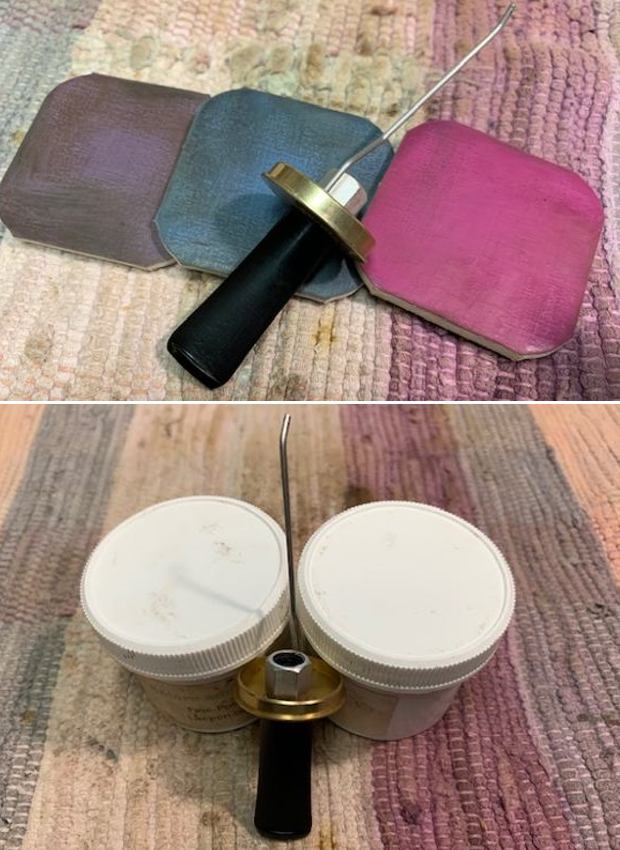
Smoking Metal also had a copy of this advertisement sheet on their site. Personally, I love the wording and descriptions on these older advertising flyers. The way they speak of the pipes and what they deliver always gives me cause to laugh. This one is no exception. I include it below. Make sure to give it a read.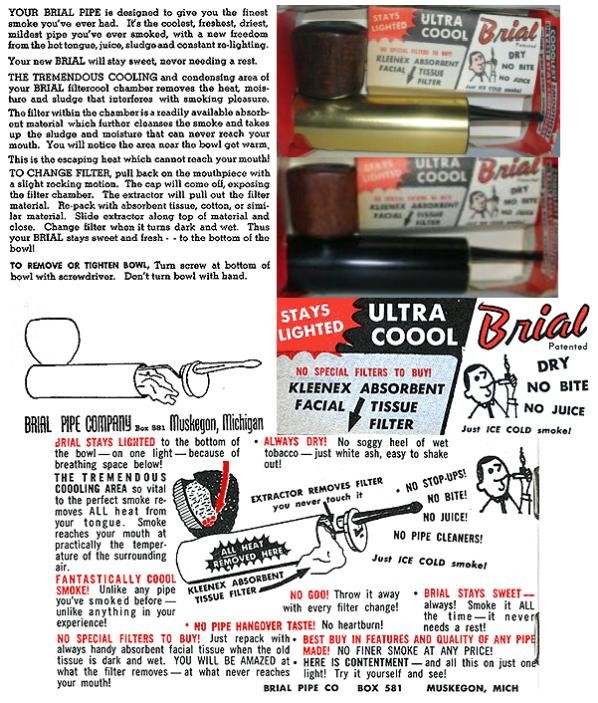 I posted a note on the Facebook Metal Pipe Smokers Group asking about information on the pipe and potential patent information. One of the members, Cody Easom posted some pictures of a new old stock, unsmoked Brial with the various inserts that came with the pipe. The first photo shows the new pipe with the box and the insert. The second photo shows the insert itself. The third and fourth photos show the inside of the new pipe. Now, the goal is in front of me – to get the old pipe on my table to look like this one.
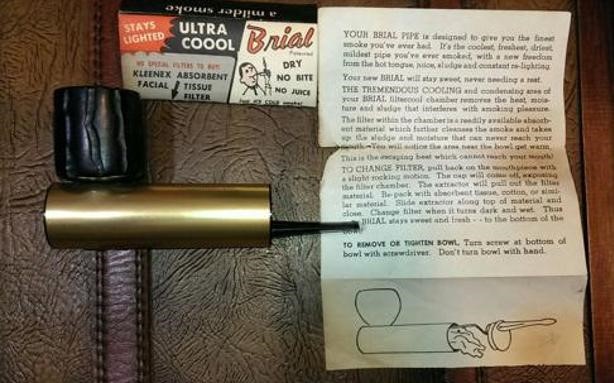
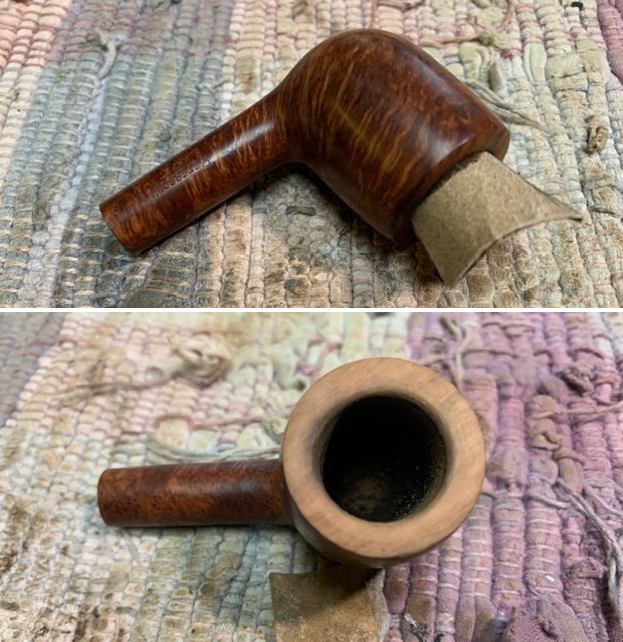
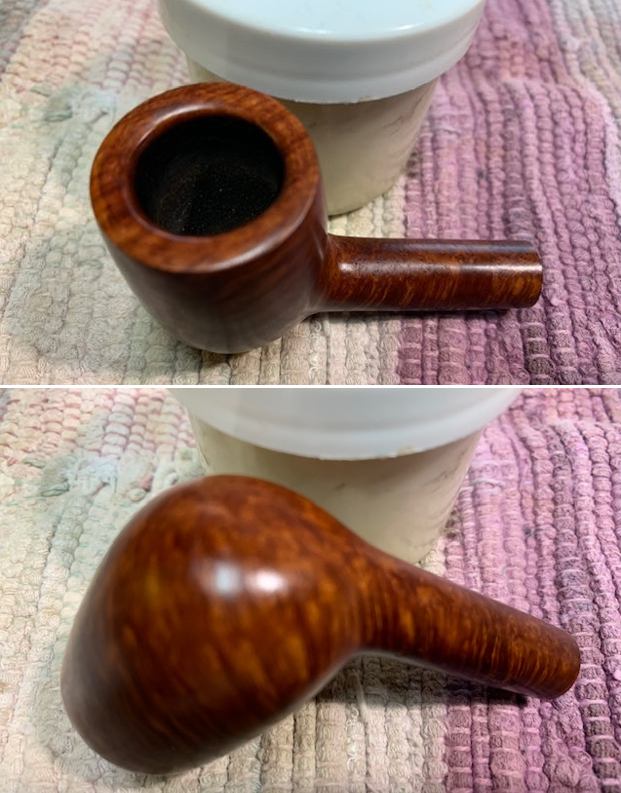
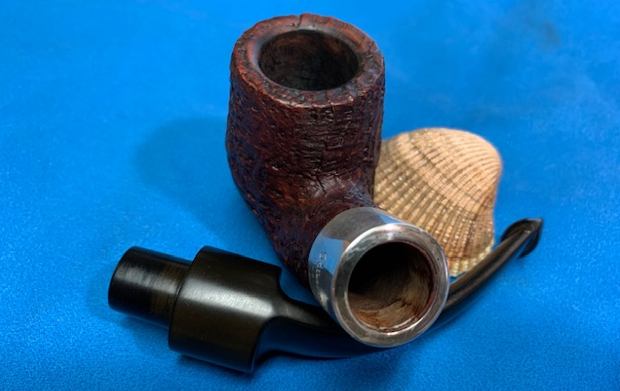
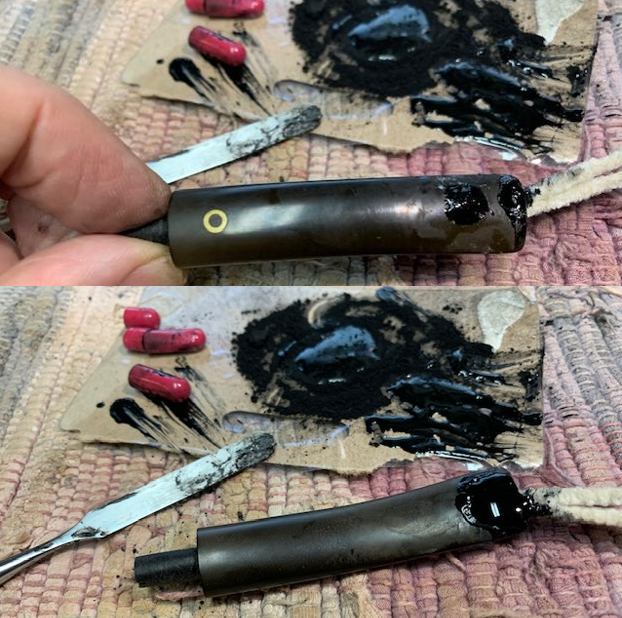
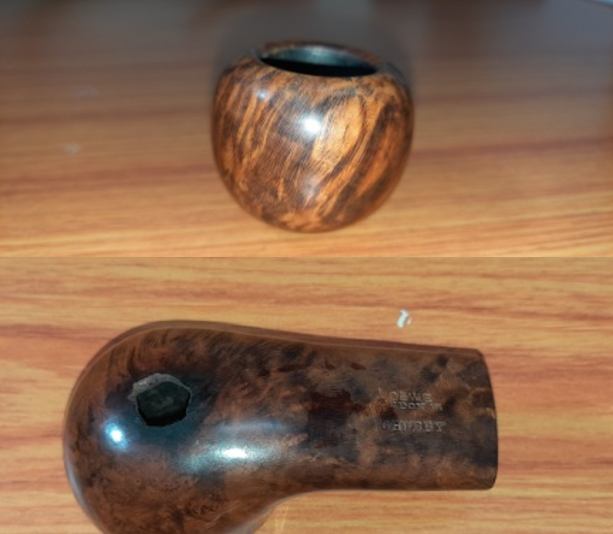
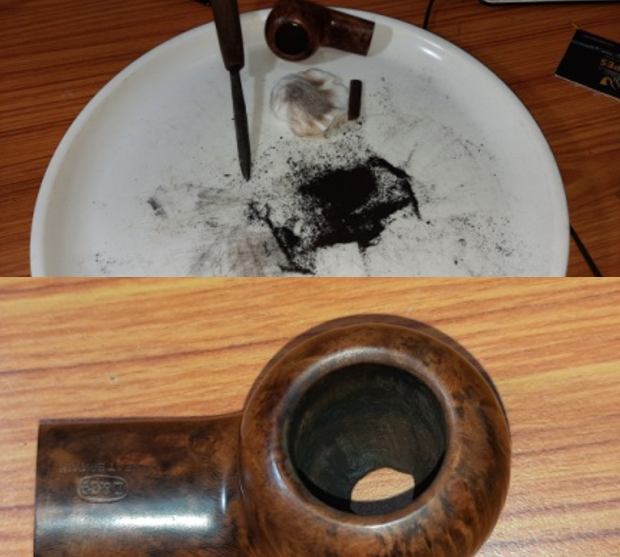
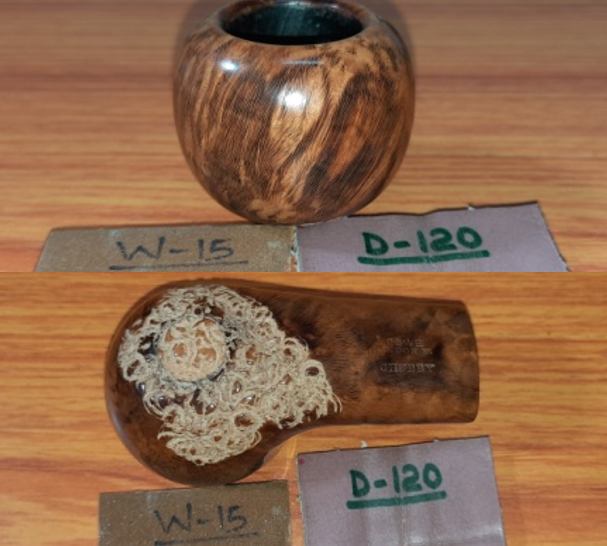
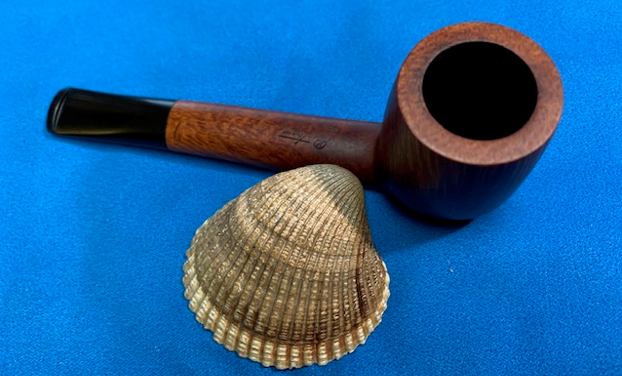
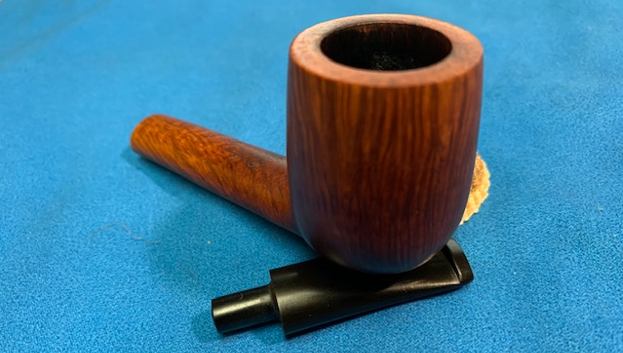
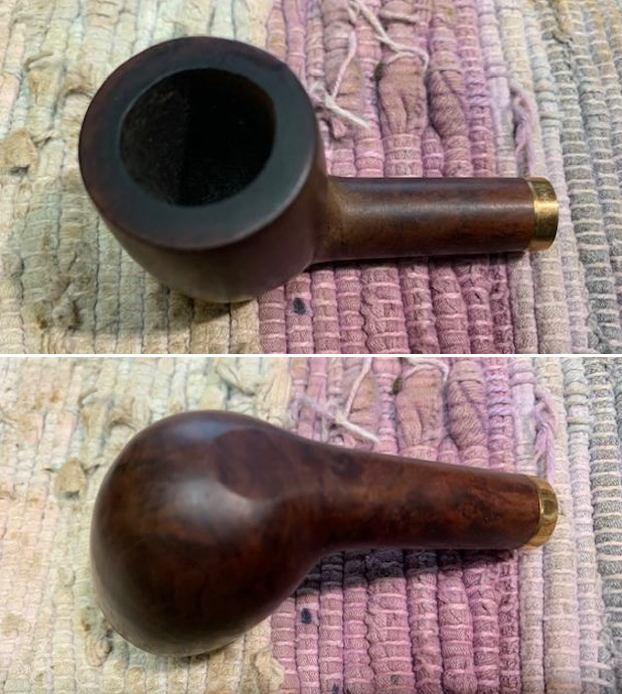
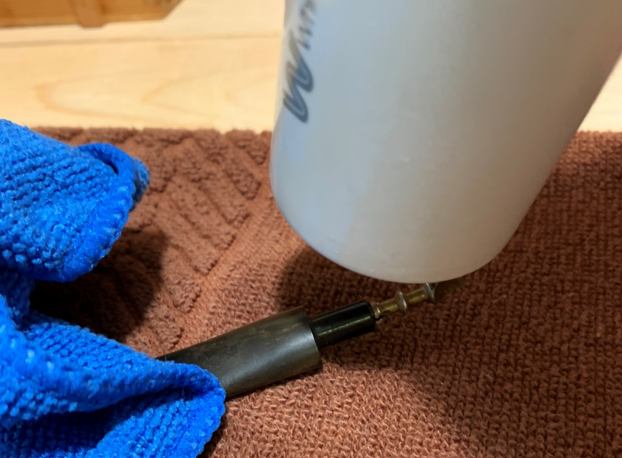
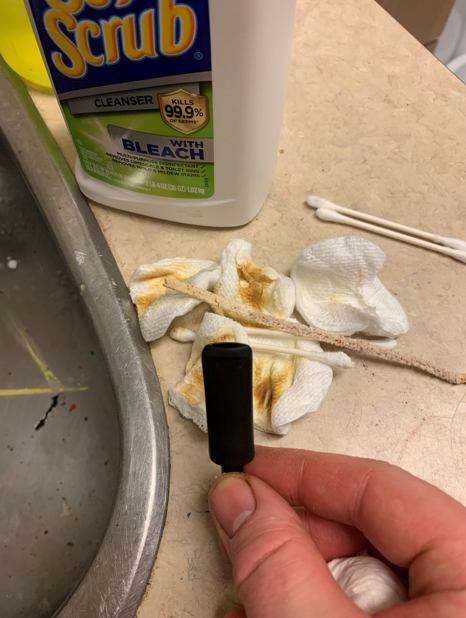
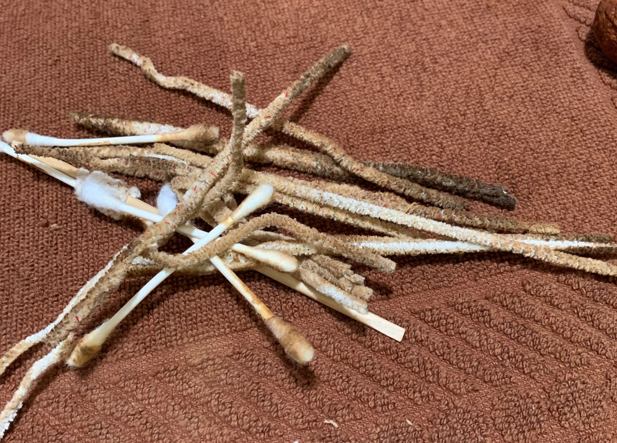
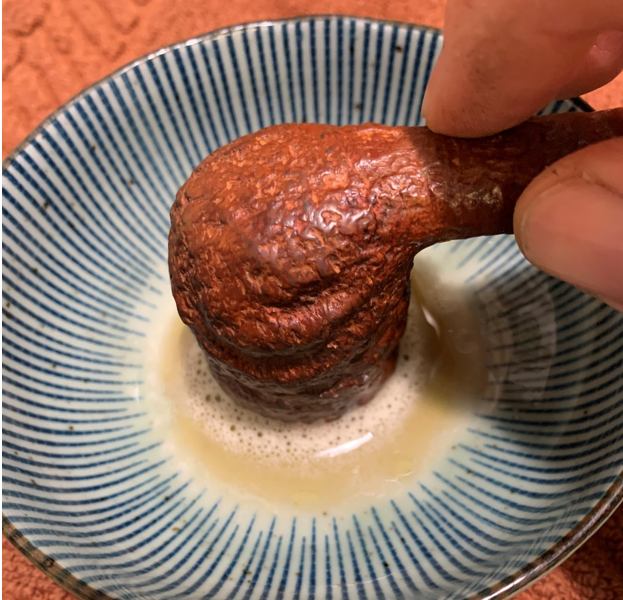
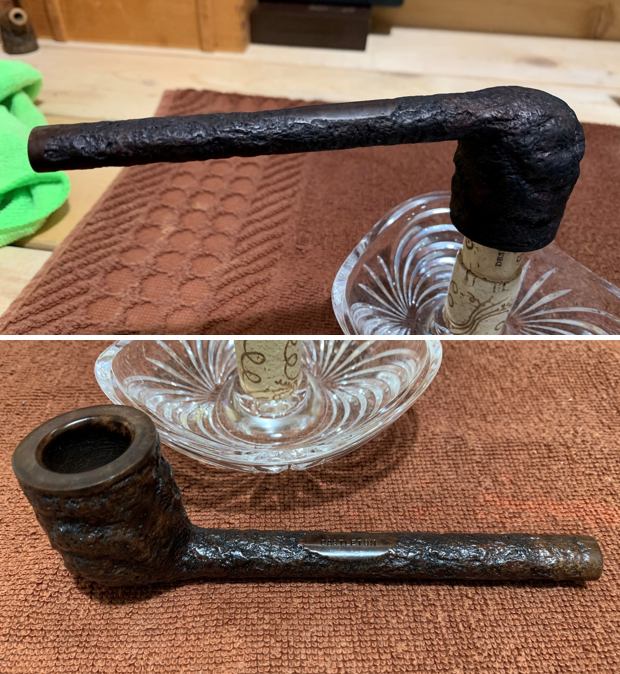
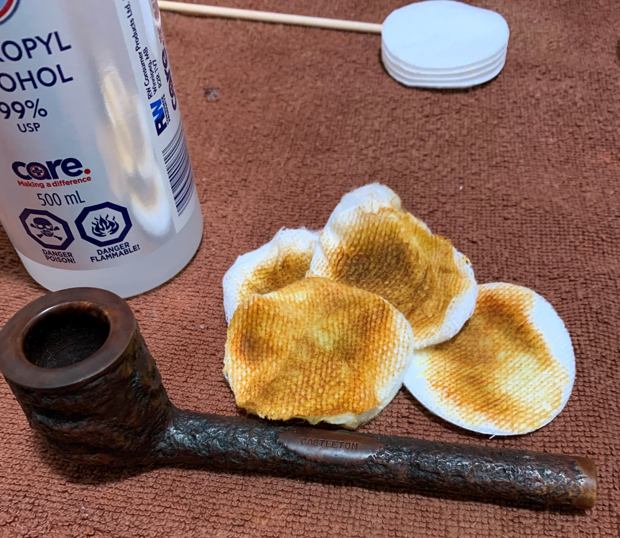
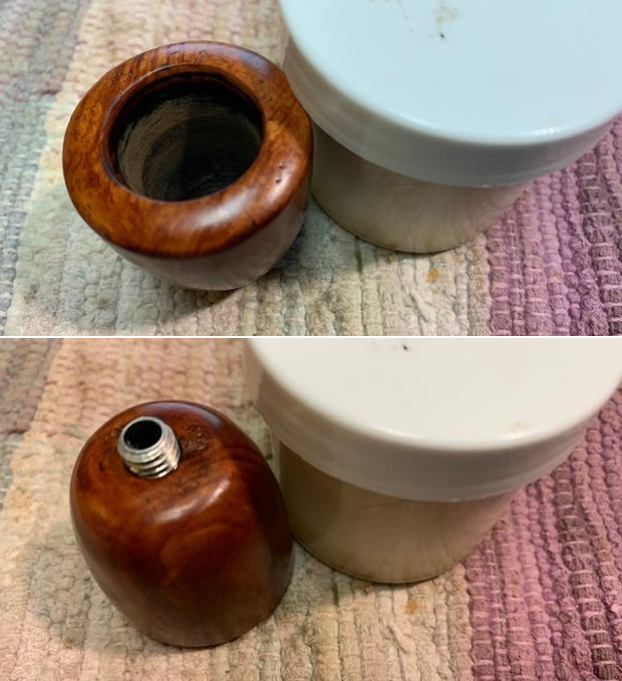
 My brother did an amazing job cleaning out the inside of the pipe. He reamed the bowl with a PipNet reamer and took the cake back to bare briar. He cleaned out the inside of the tube/cooling chamber and the airway in the screw in the bottom of the bowl and the stem with pipe cleaners, cotton swabs and alcohol. He scoured out the inside of the chamber with steel wool, cotton swabs and alcohol until the inside shone. He scrubbed the stem with Soft Scrub and soaked it in Before & After Deoxidizer. He rinsed it with warm water to remove the excess Deoxidizer. When I finally brought it to my work table I took photos of the pipe. The black matter chamber is very nice with a few small nicks on the sides. The briar bowl is very nice.
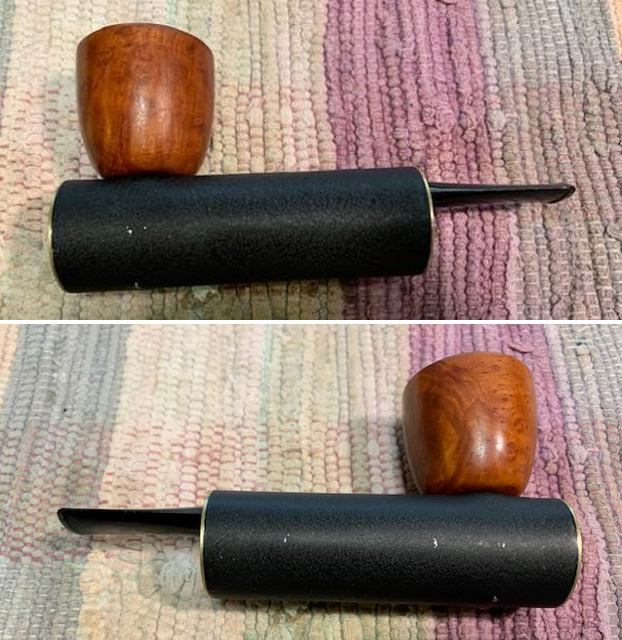
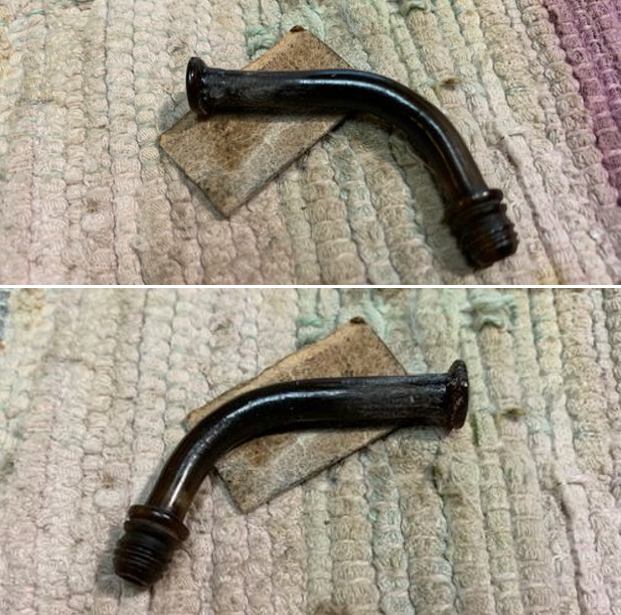
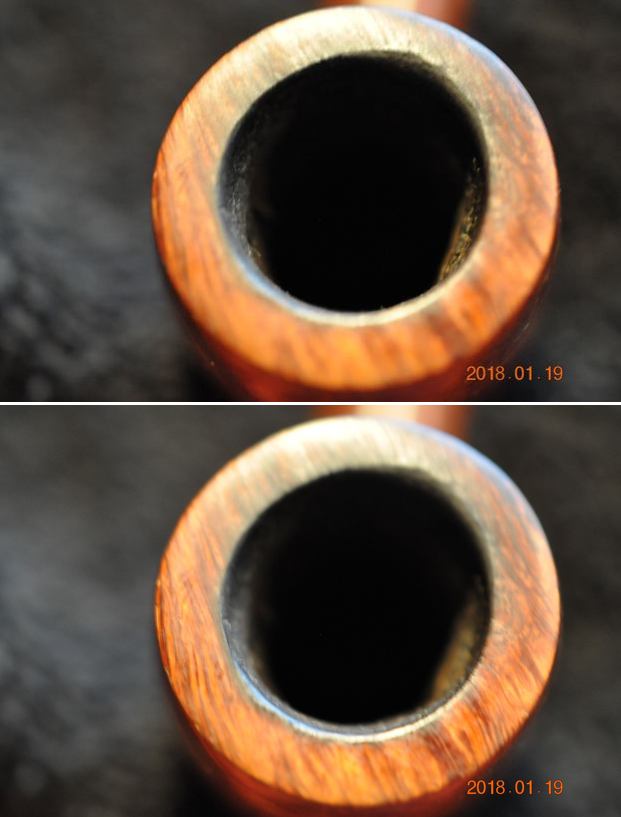
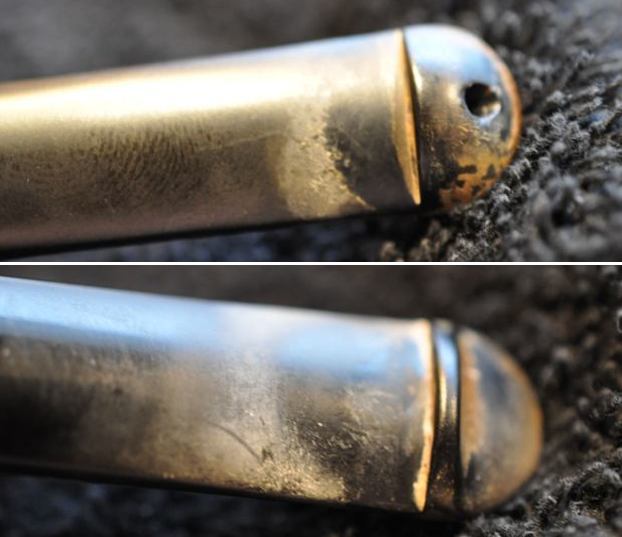
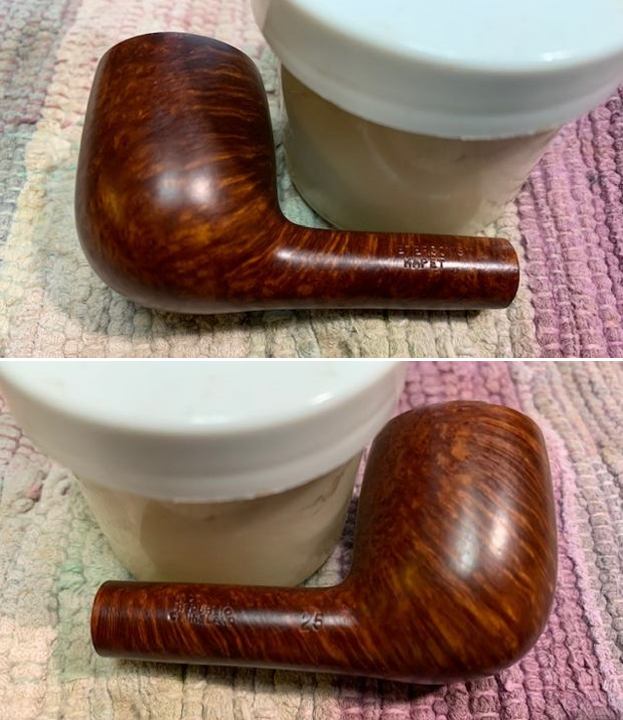
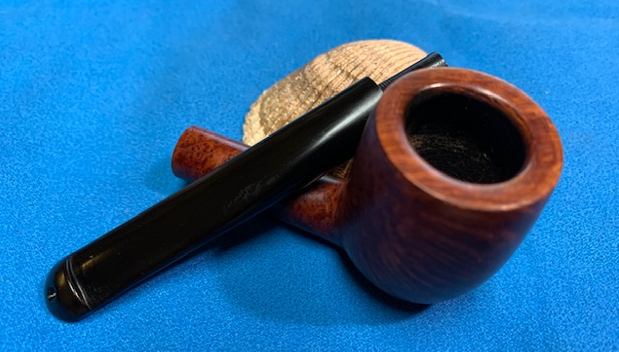
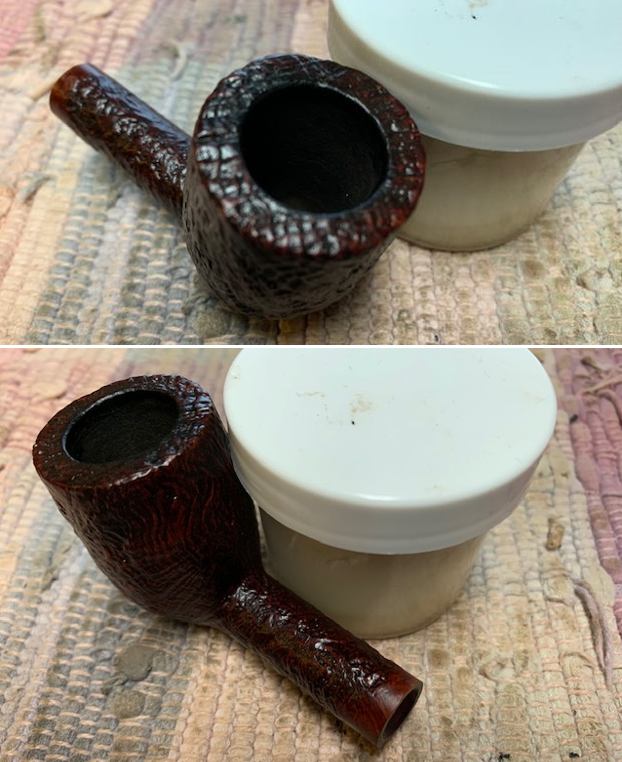
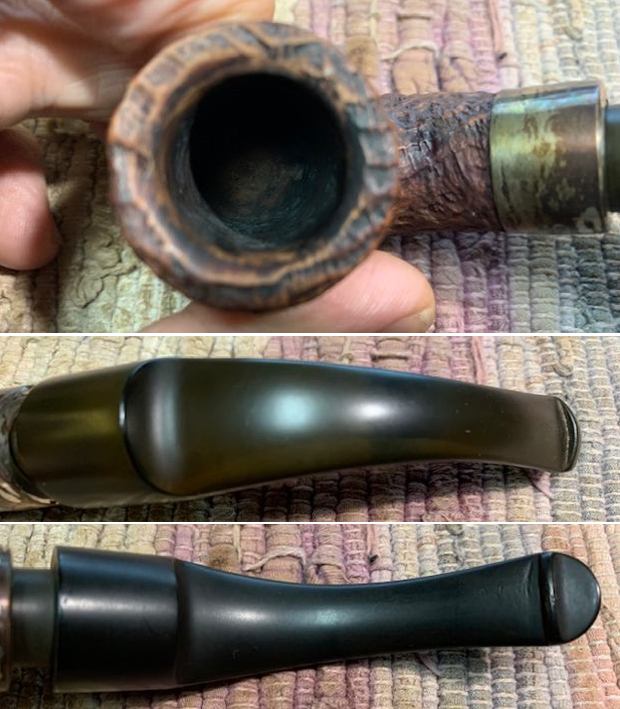
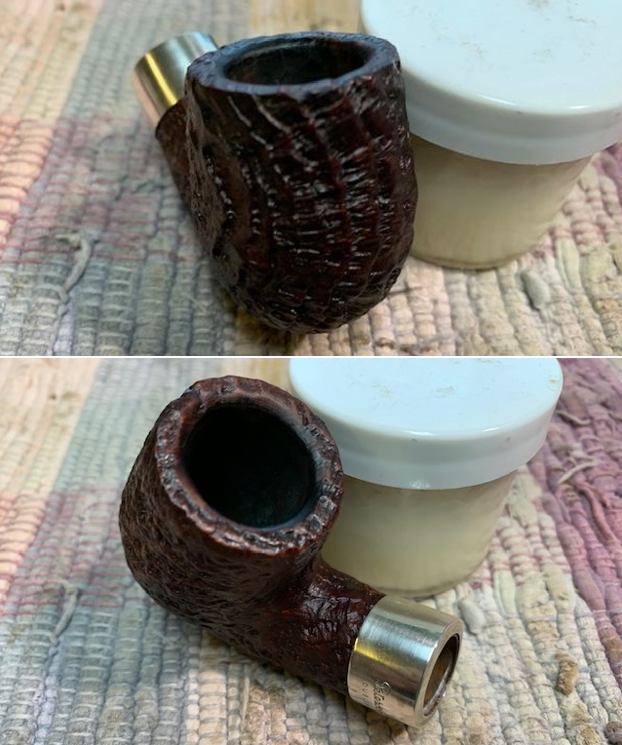
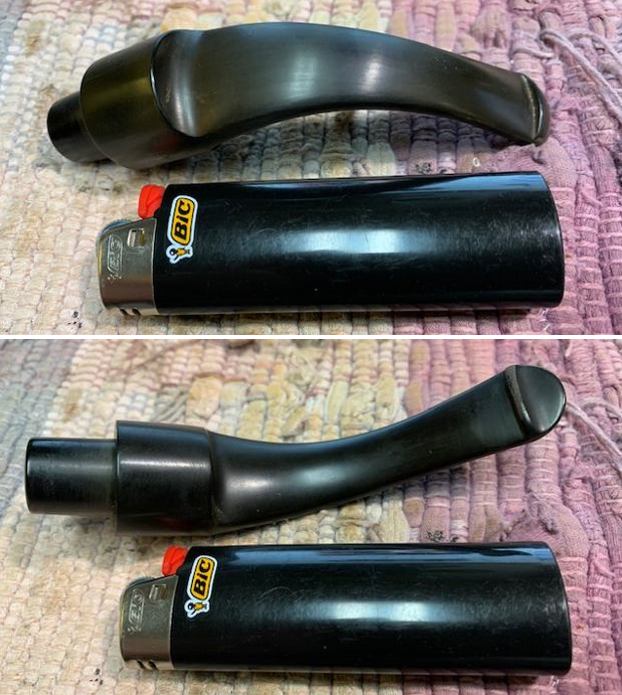
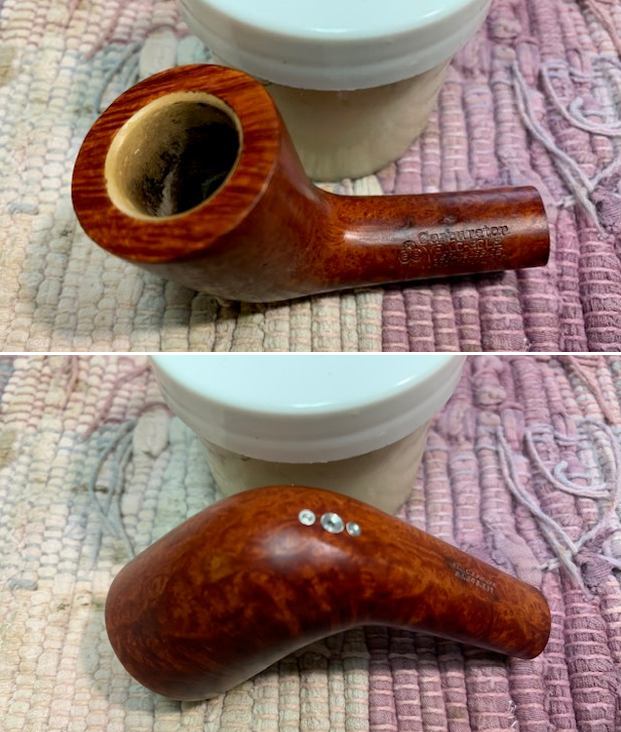
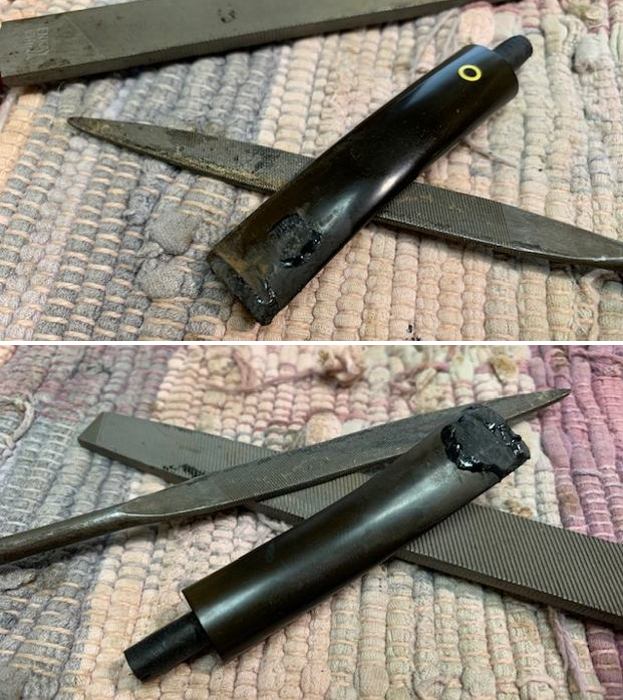
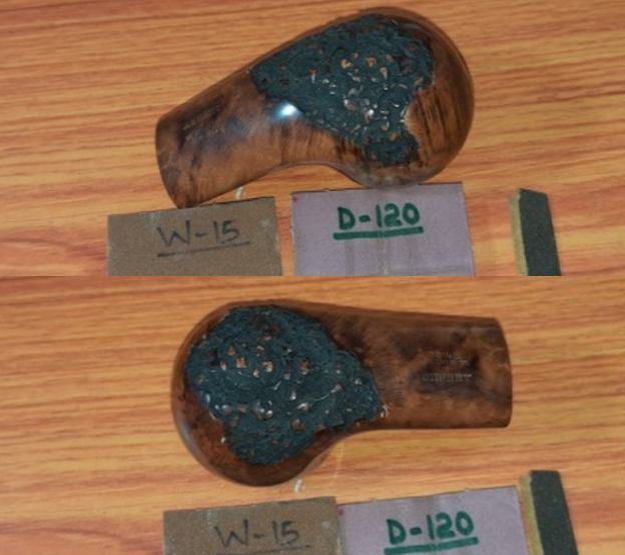
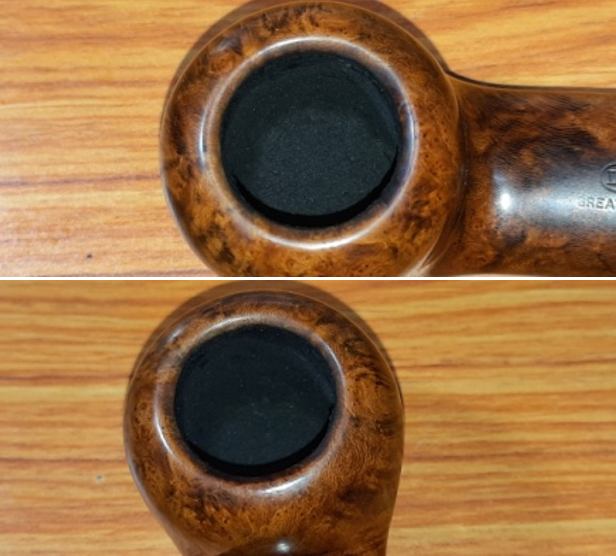
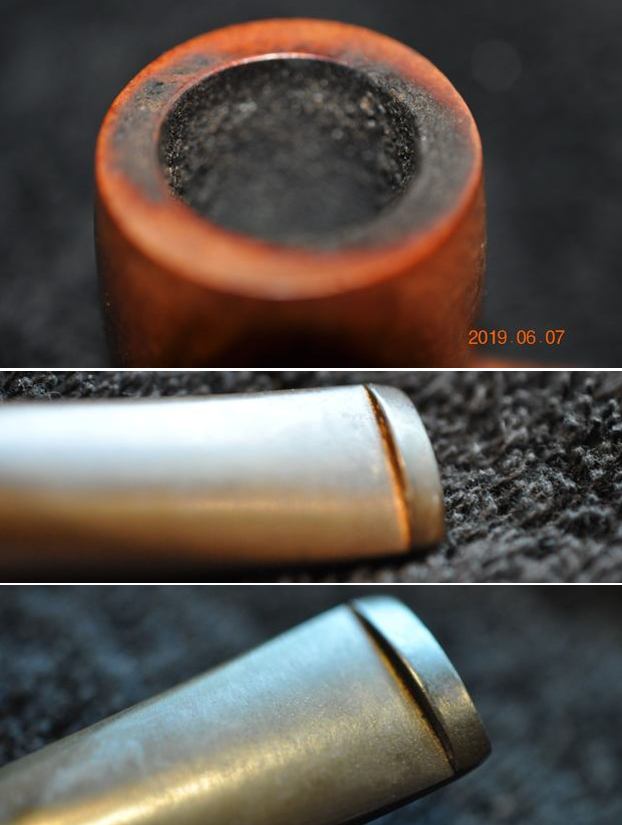
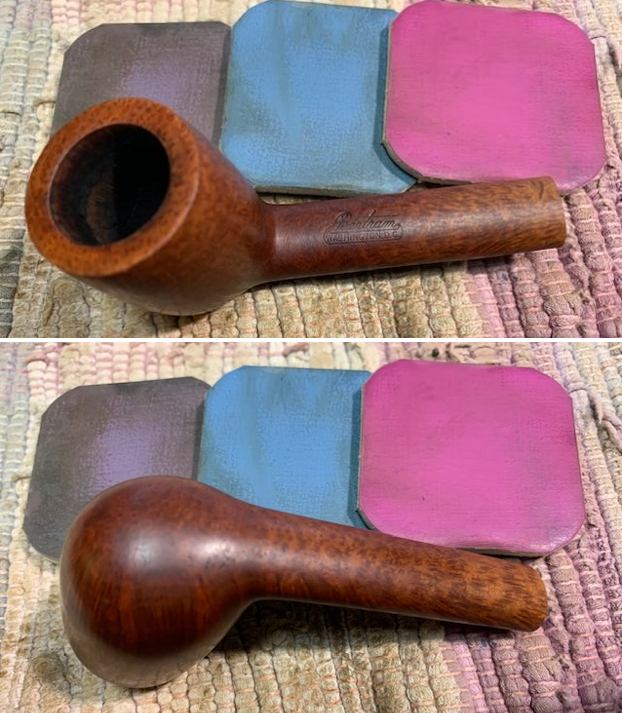
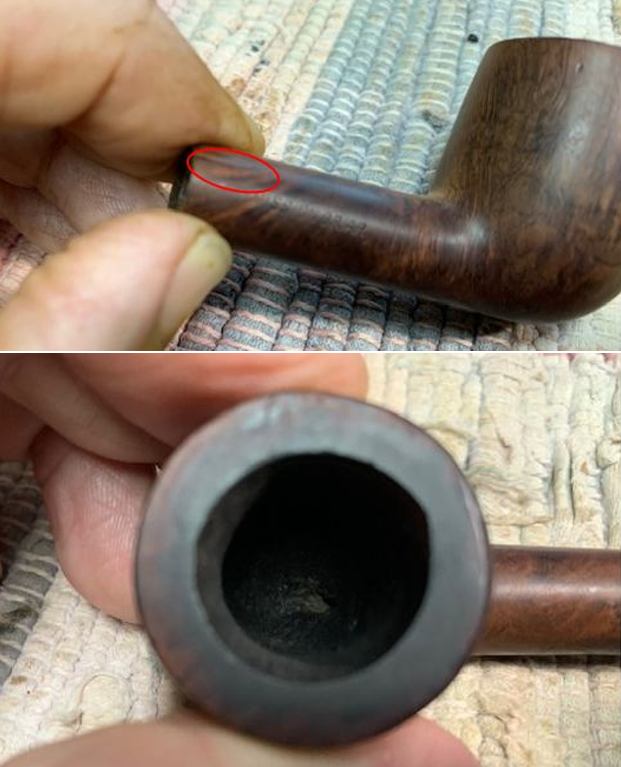
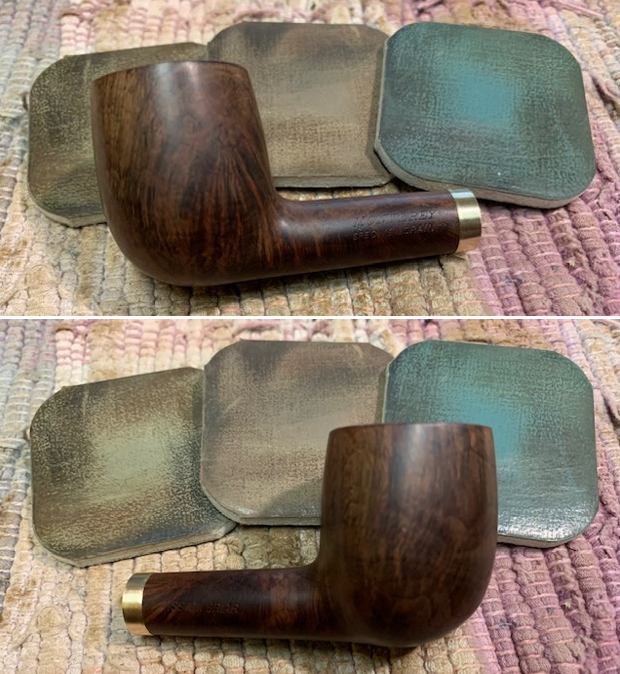
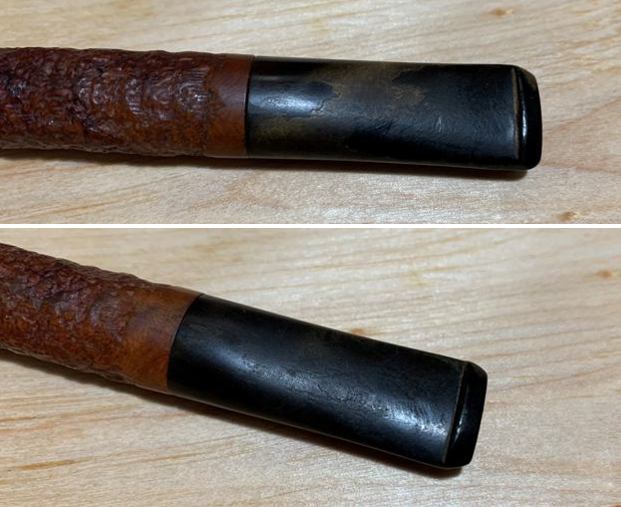
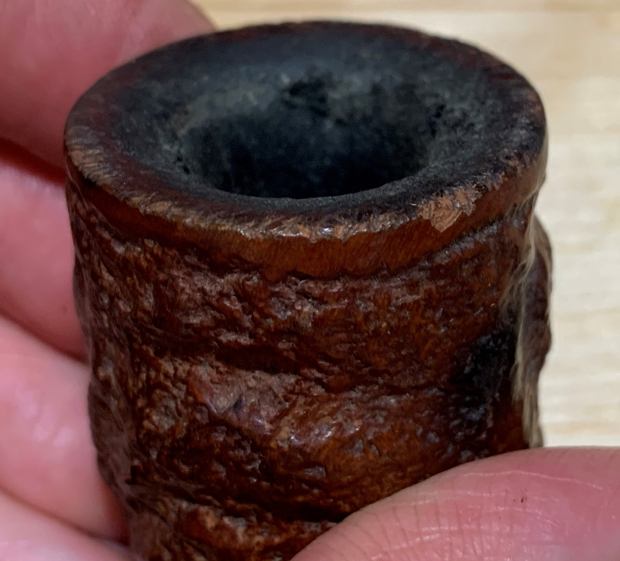
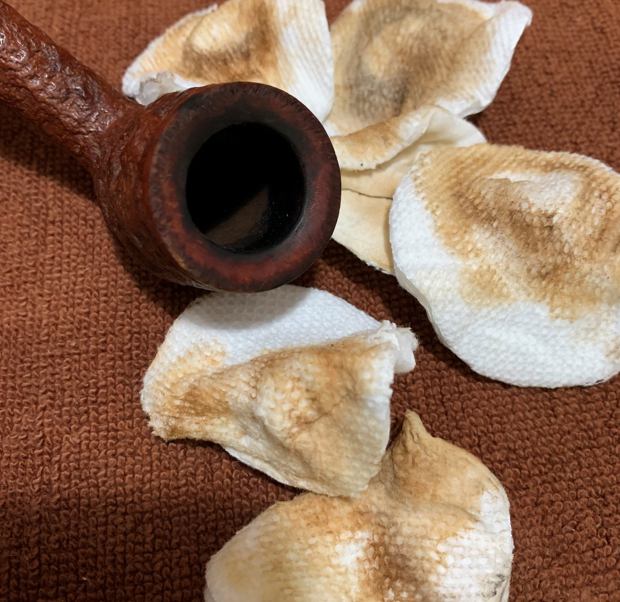
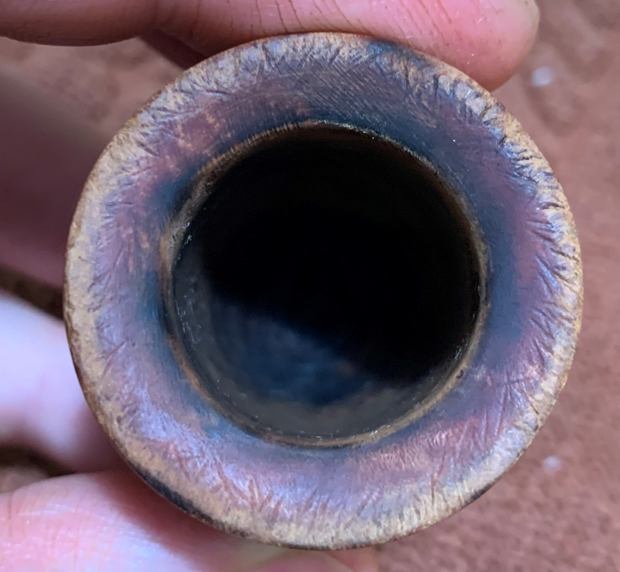
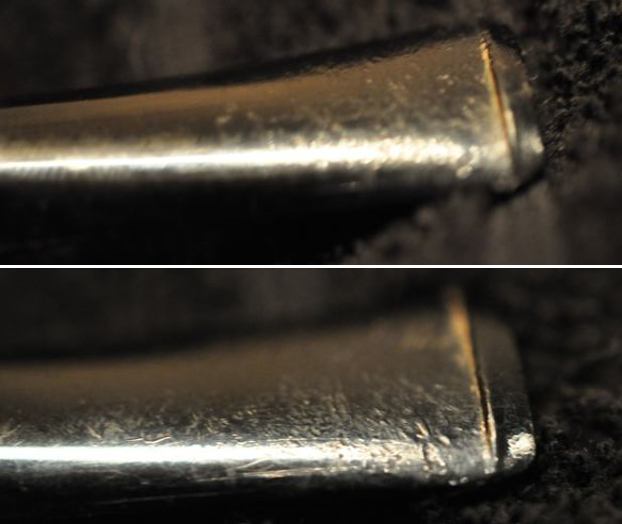
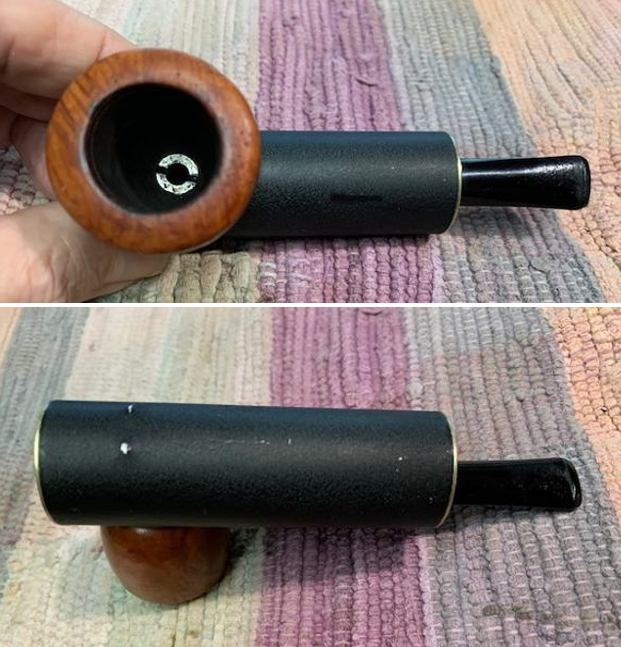 I took some close up photos of the bowl, rim and stem surfaces to show how well it had cleaned up and what would need to be addressed. The bowl looked very good. There was some darkening around the inner edge of the bowl and some burn damage on the back side. The stem had a lot of tooth marks and chatter on both sides and looks very different from its vulcanite counterparts with tooth chatter.
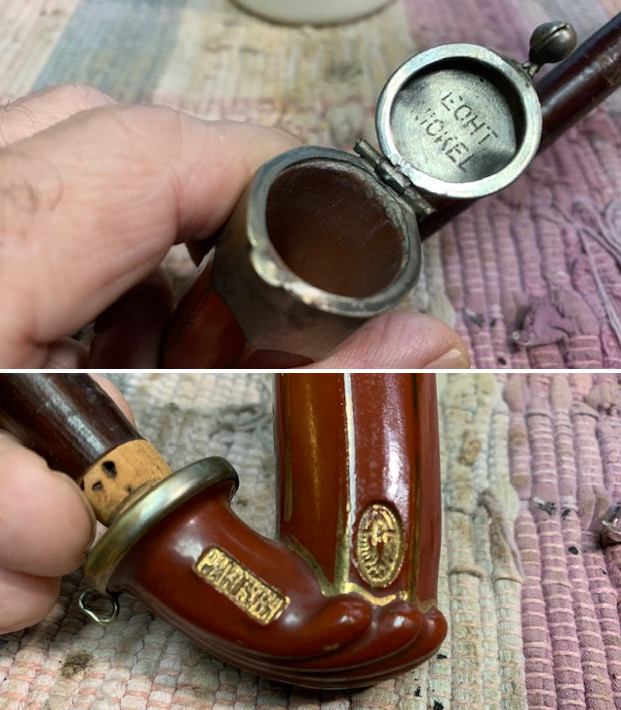
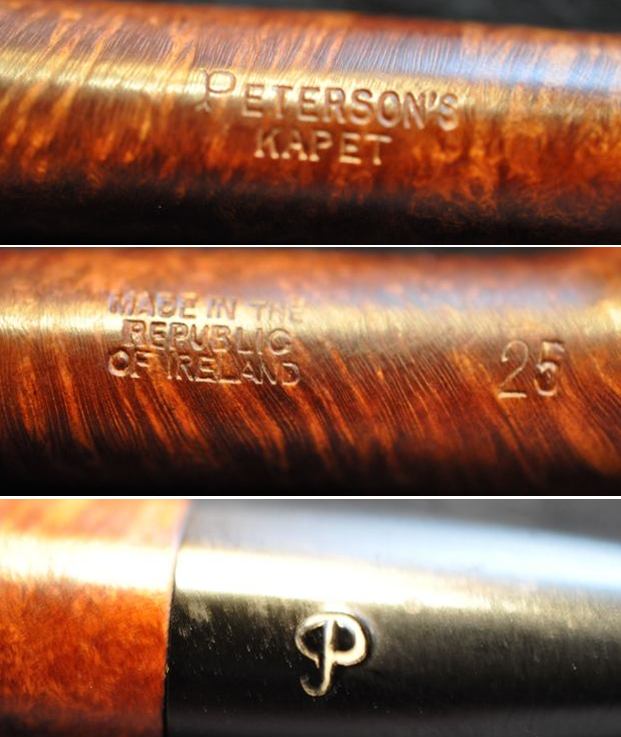
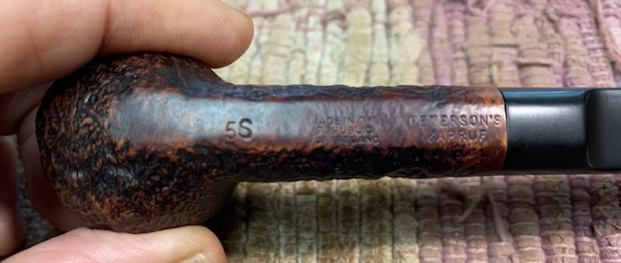
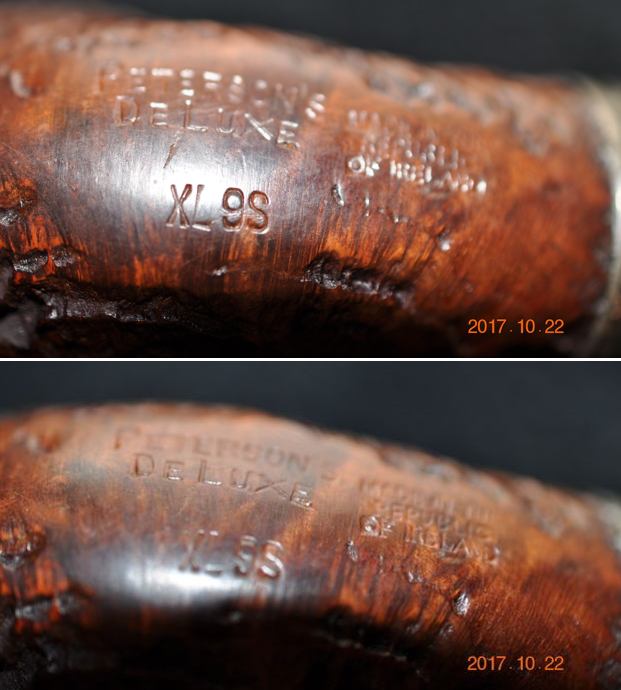
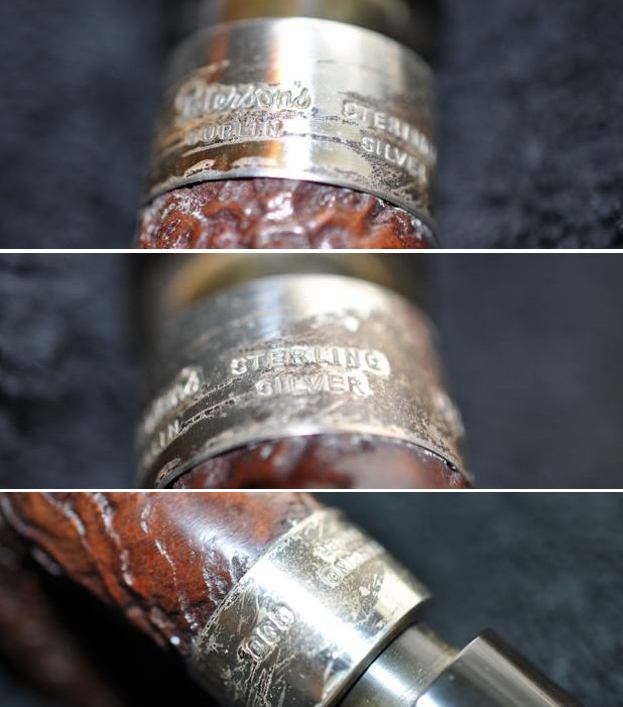
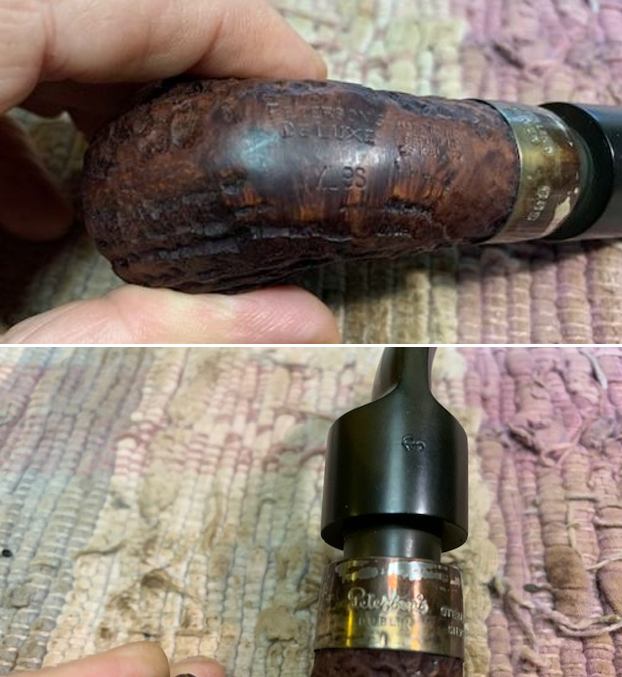
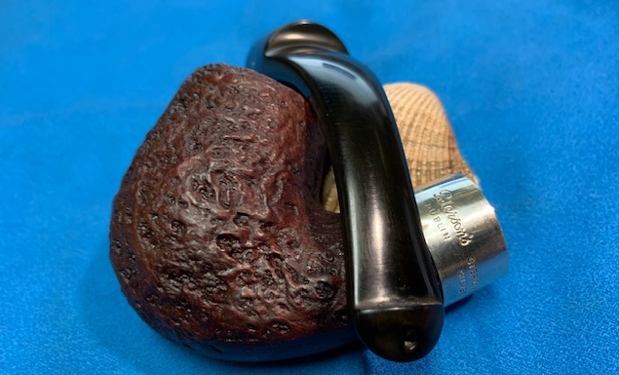
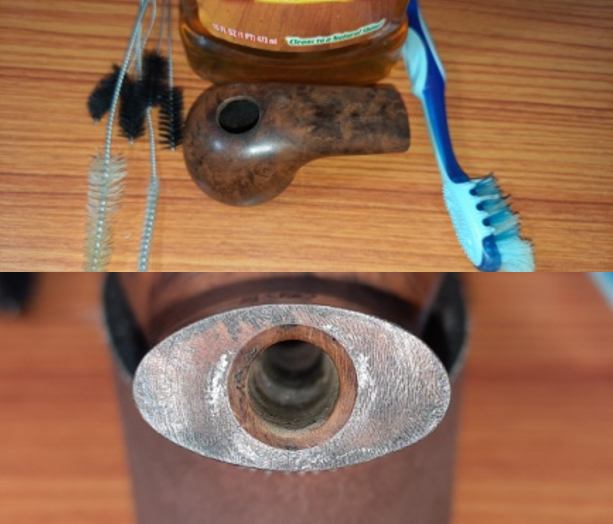
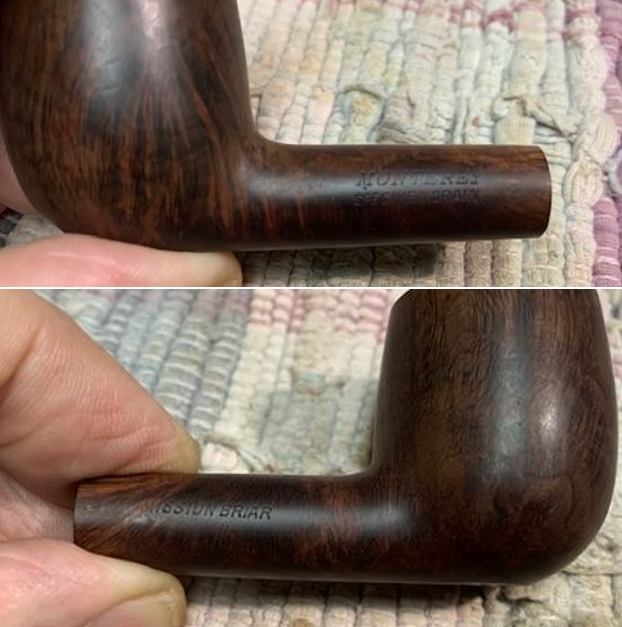
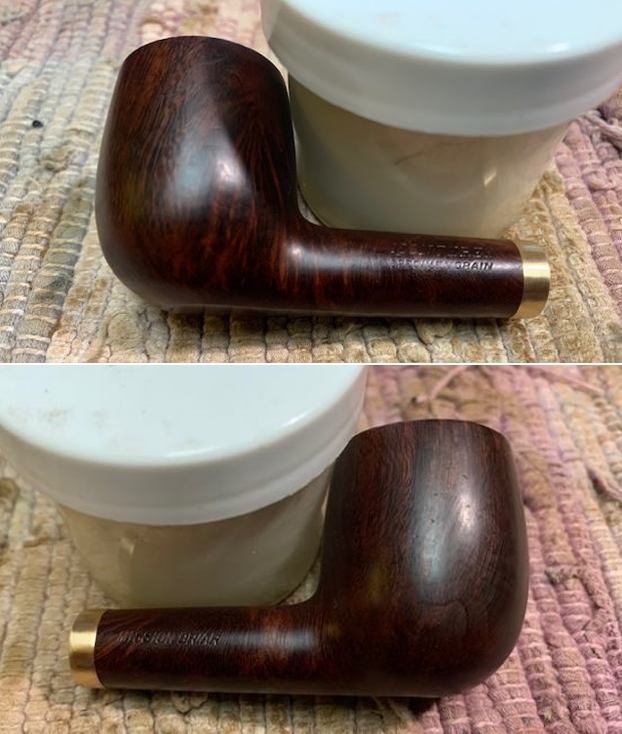
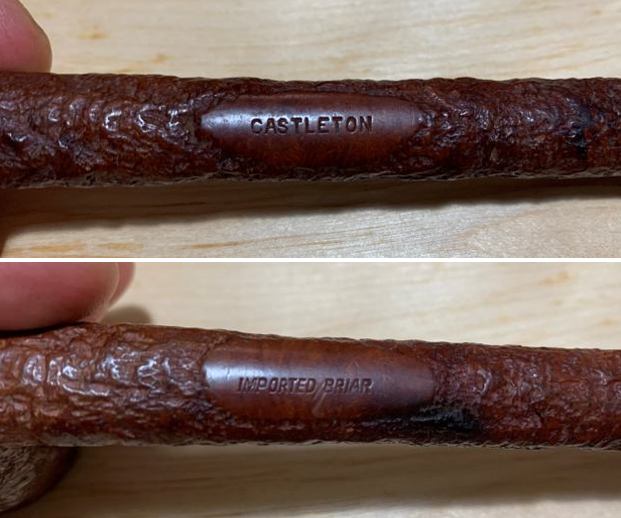
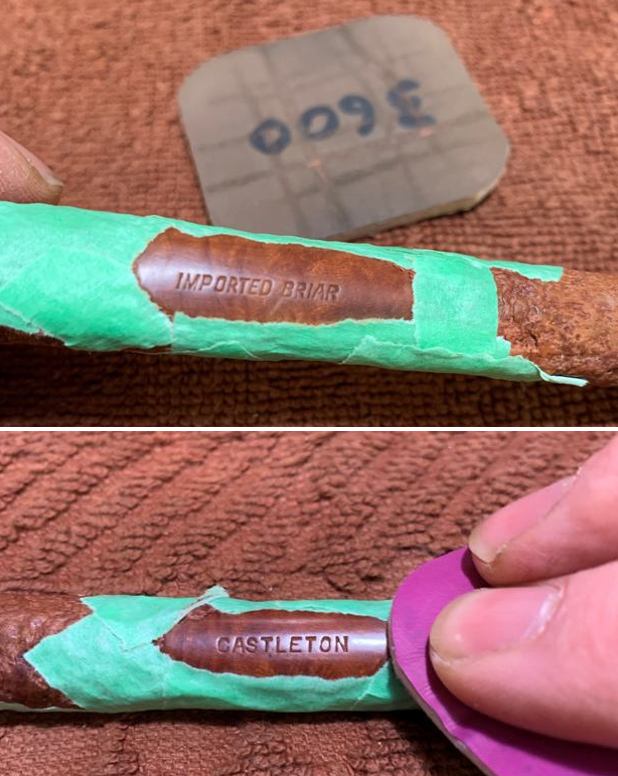
 I took a photo of the stamping on the brass end of the barrel. It is clear and readable as noted above. The brass is in great condition.
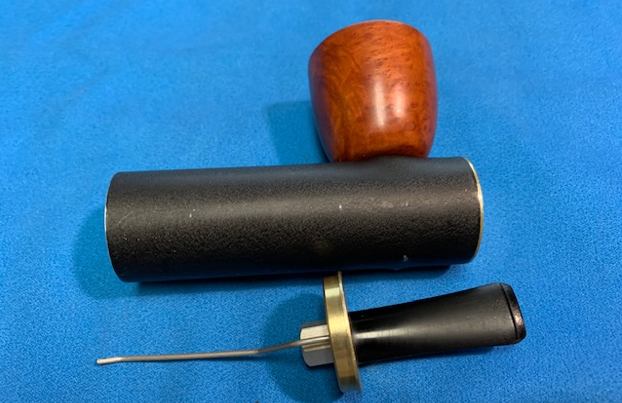
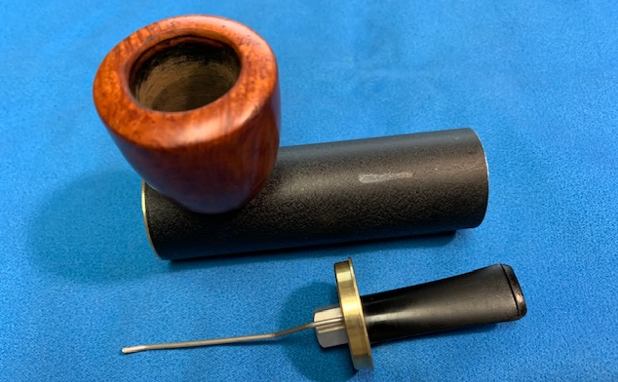
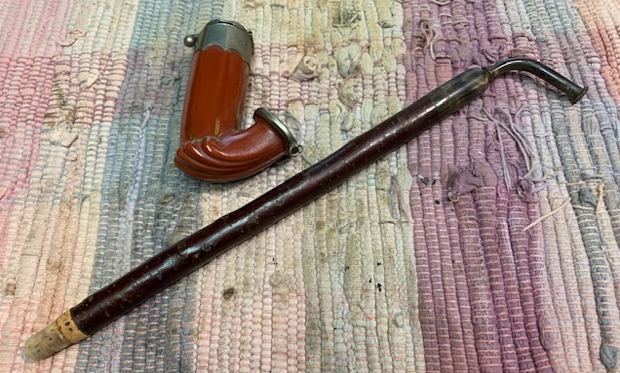
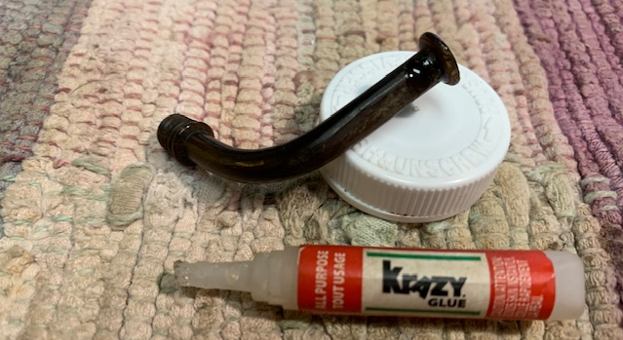
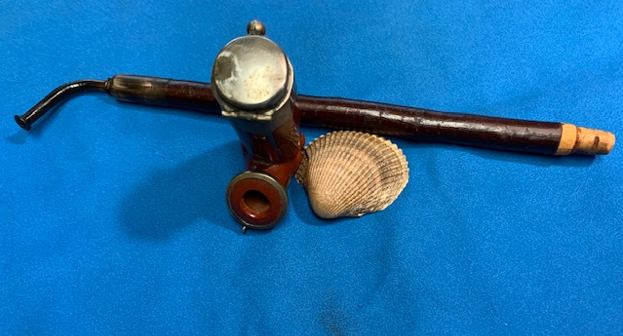
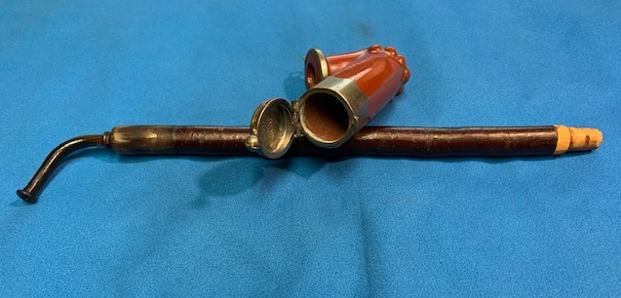
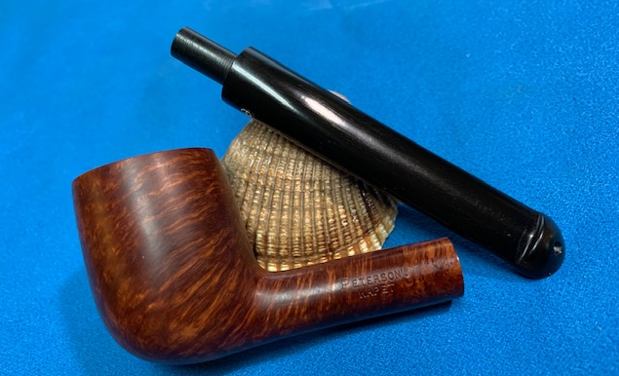
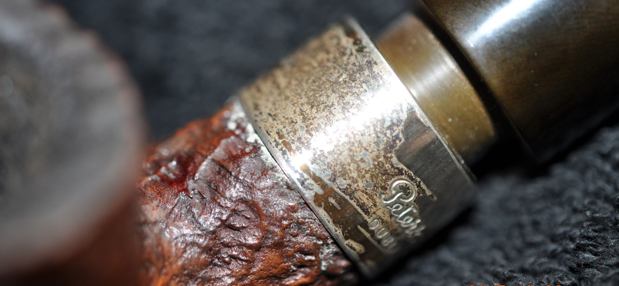
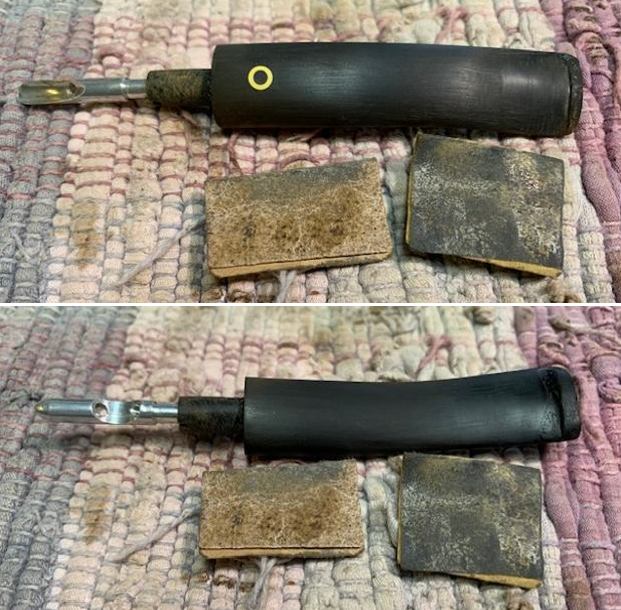
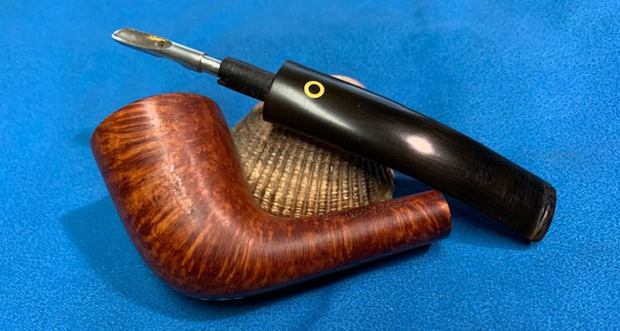
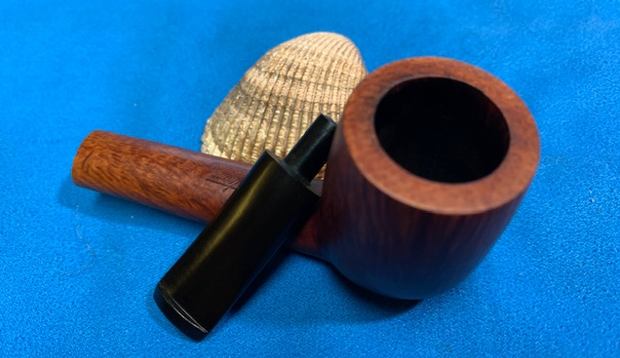
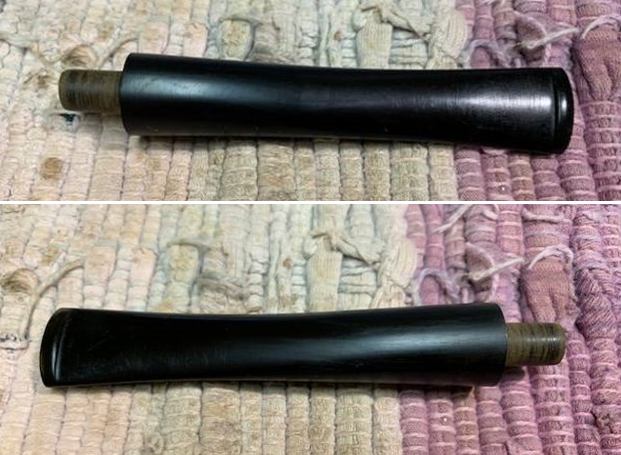
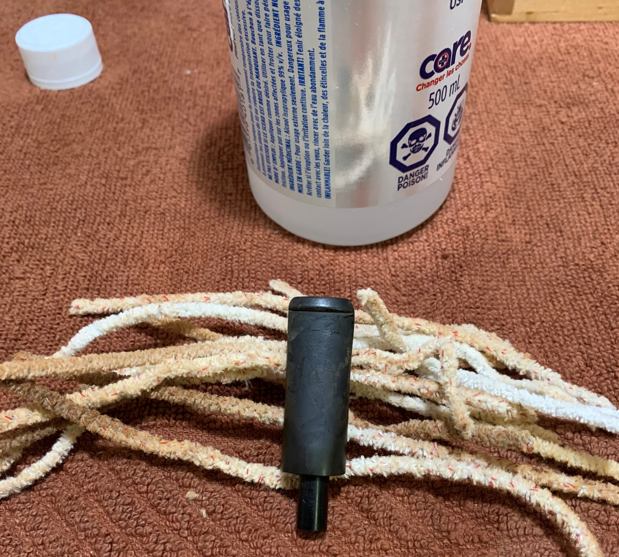
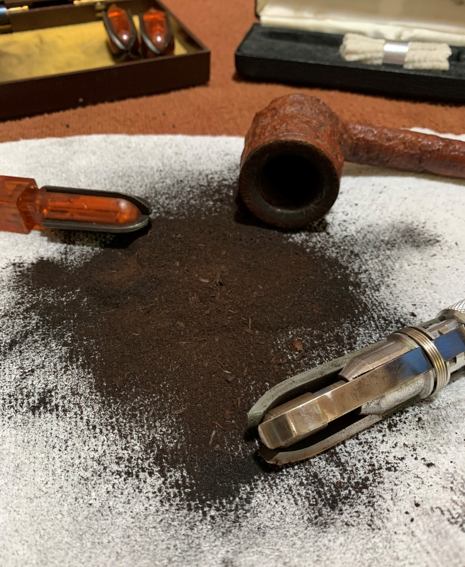
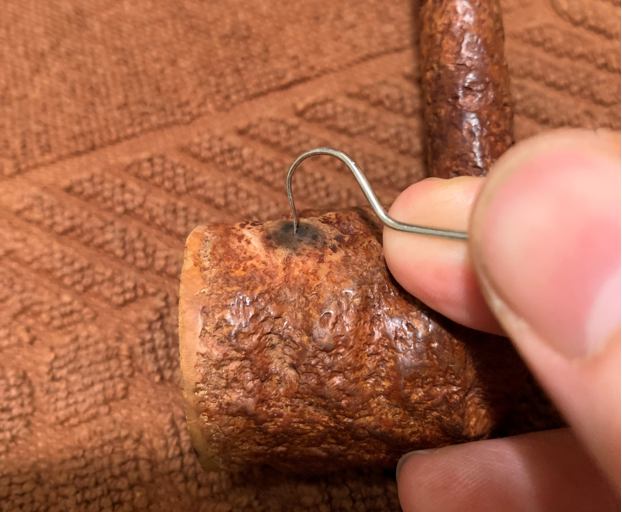
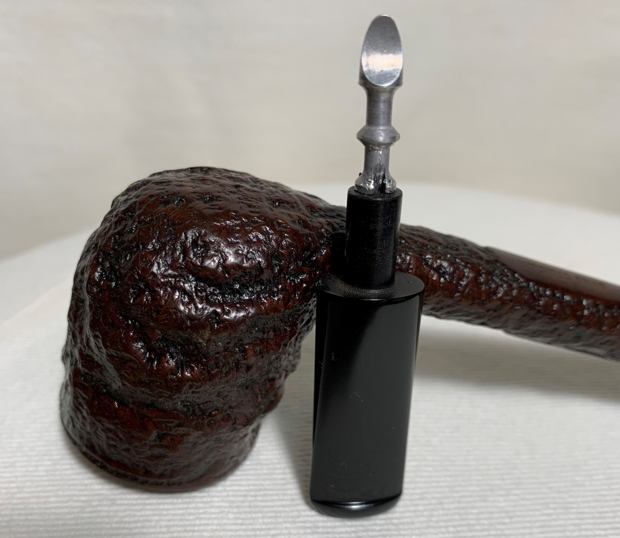
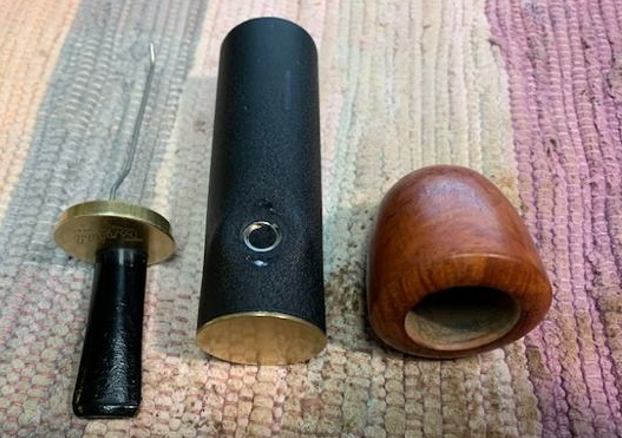
  I took the pipe apart and took photos of the parts. The first one shows the stem removed from the shank and the wire that holds the tissue filter paper. The others show all the parts.

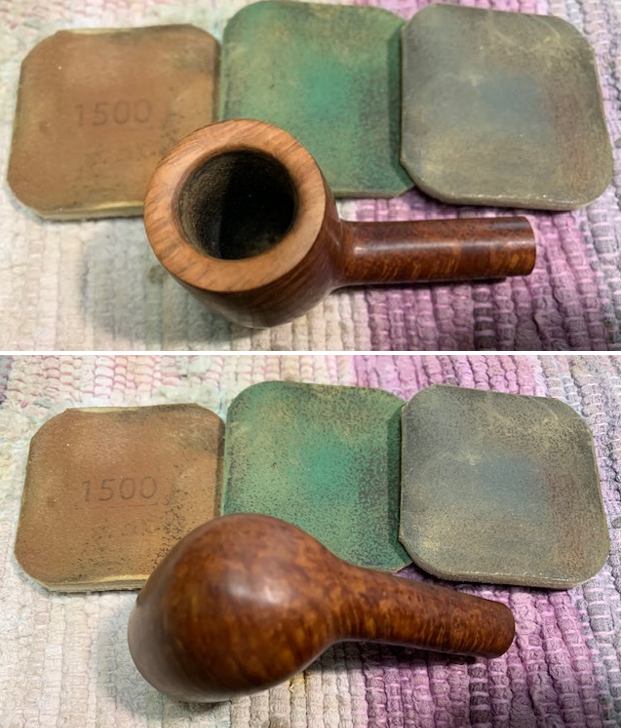
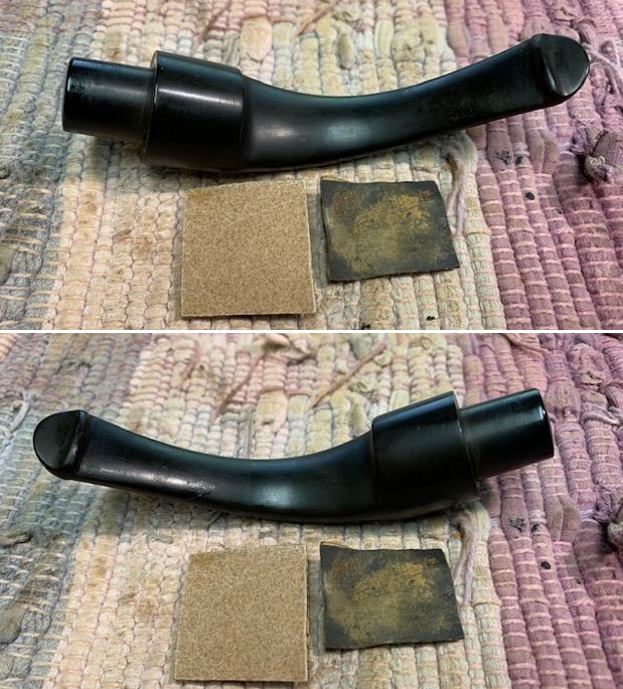
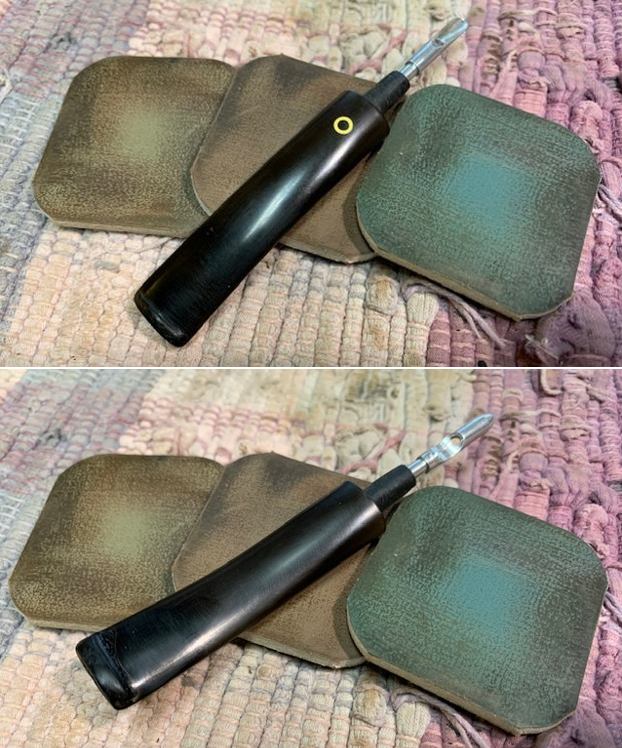
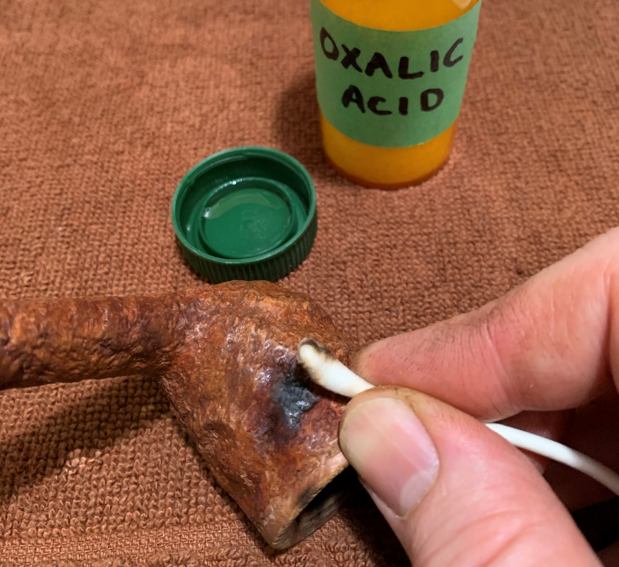
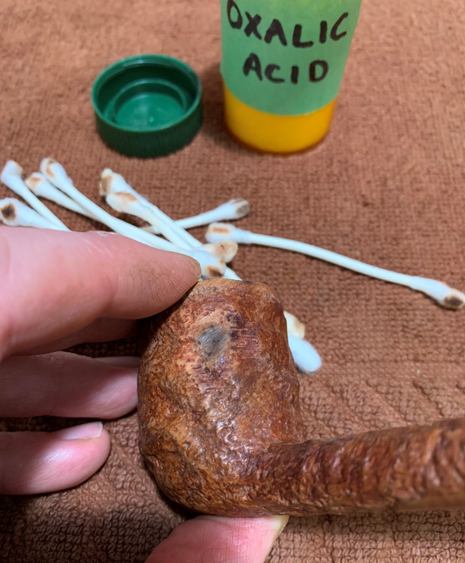
 I started my work on the pipe by addressing the darkening and burn damage on the inner edge of the rim. I used a folded piece of 220 grit sandpaper to smooth it out and give it a light bevel. I decided to polish out the nicks and scratches with the micromesh sanding pads and to leave behind what remained as a part of this pipe’s journey.
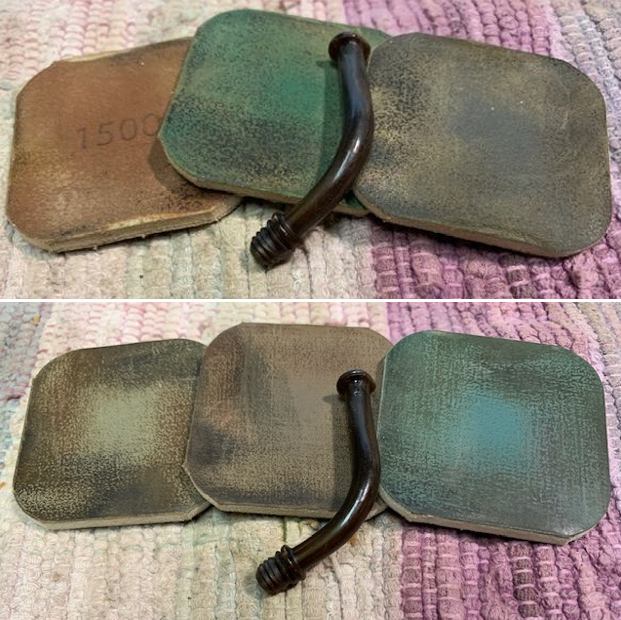
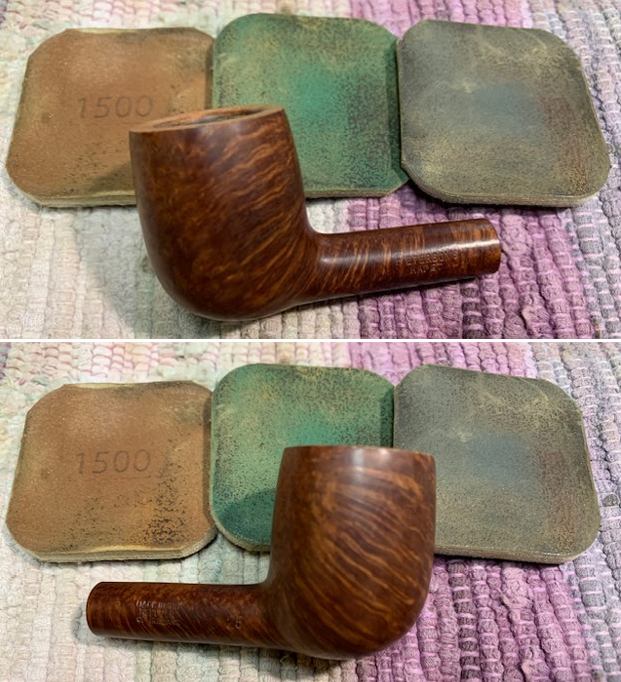
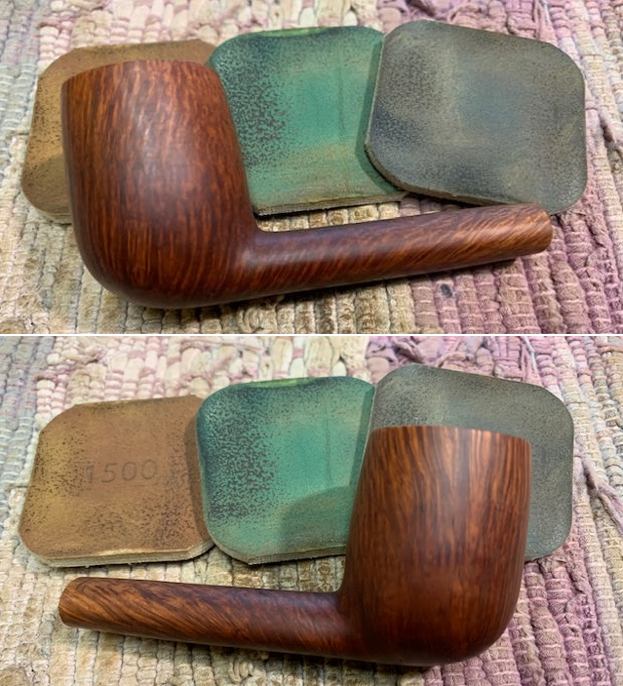
 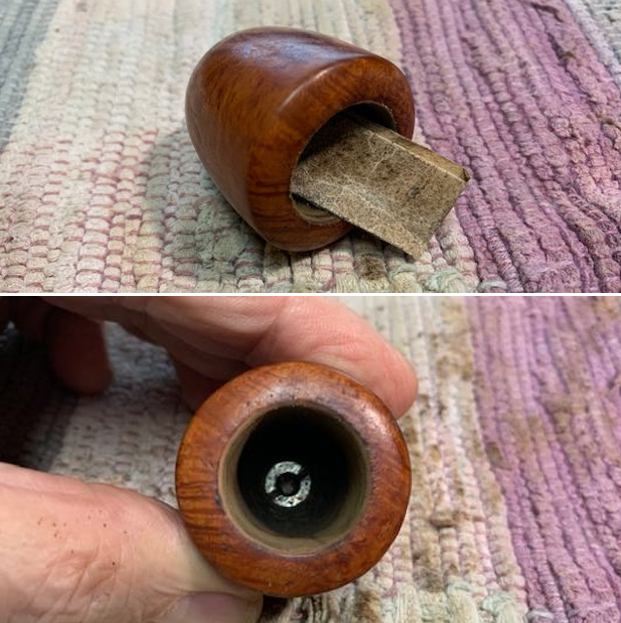 I polished the briar bowl with micromesh sanding pads – dry sanding with 1500-12000 grit pads. I wiped the bowl down after each pad with a damp cloth. The bowl and rim began to take on a rich shine by the end of the cycle.
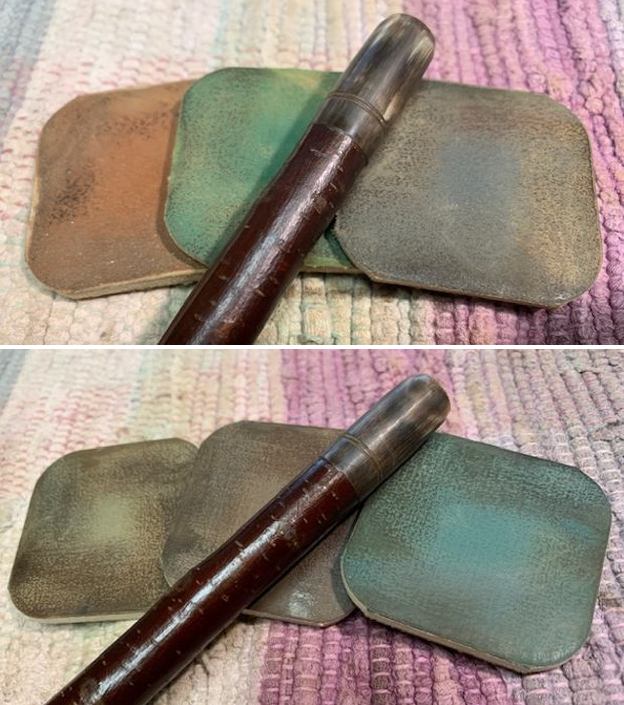
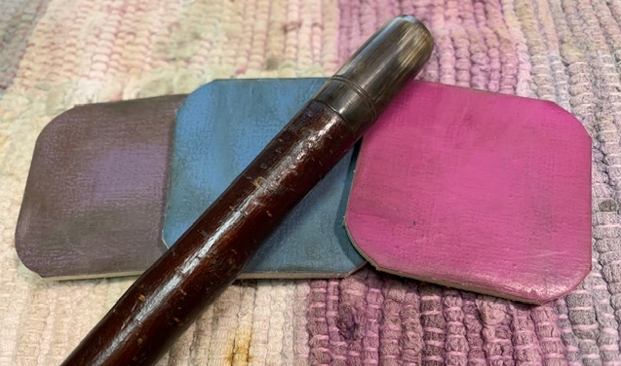
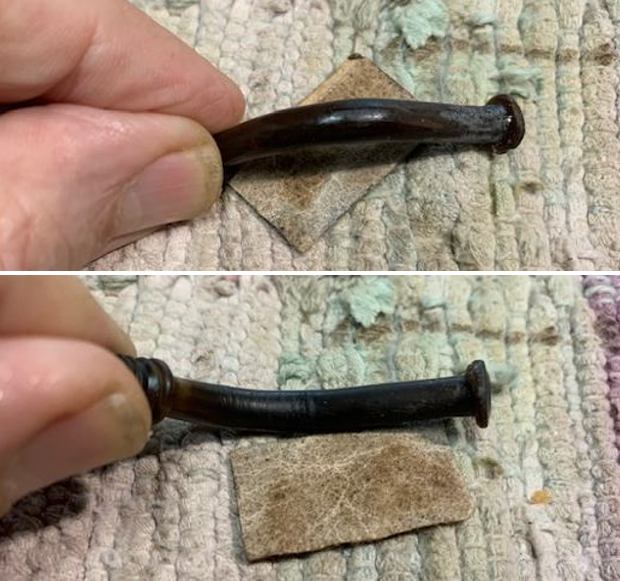
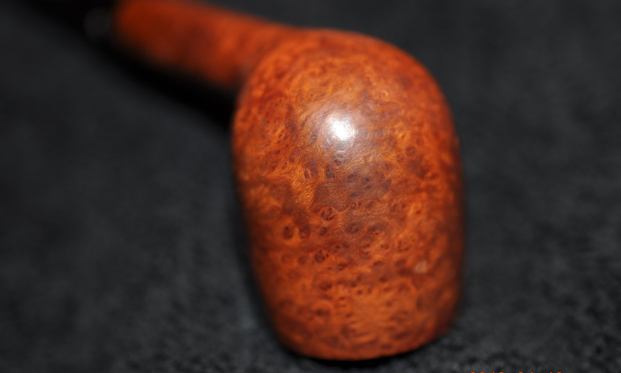
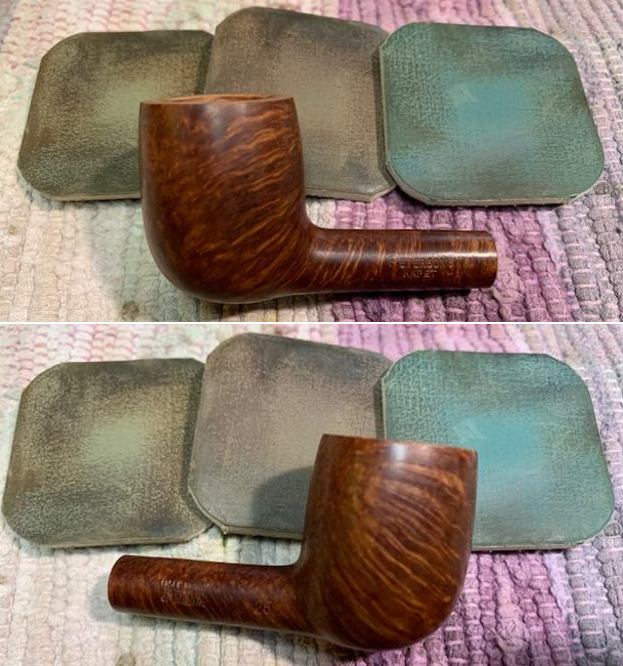
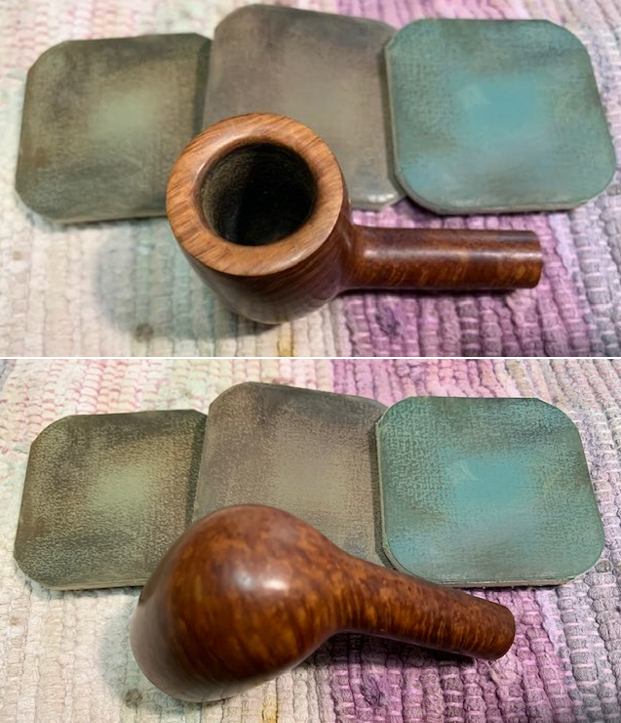
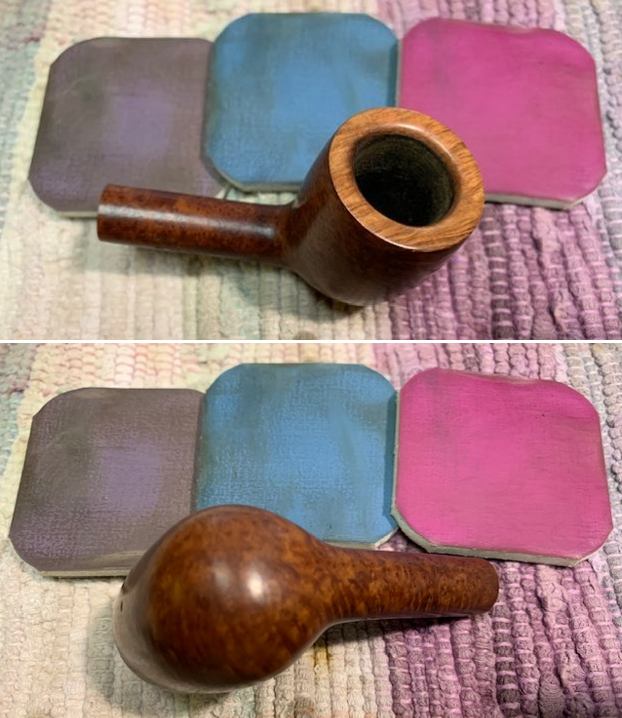
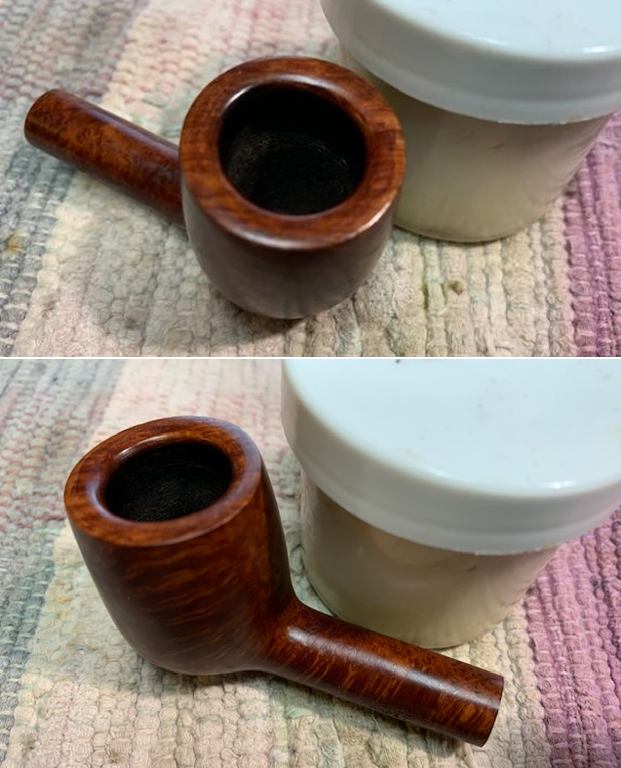
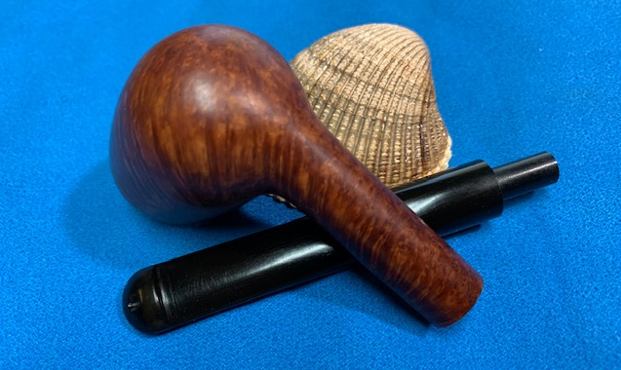
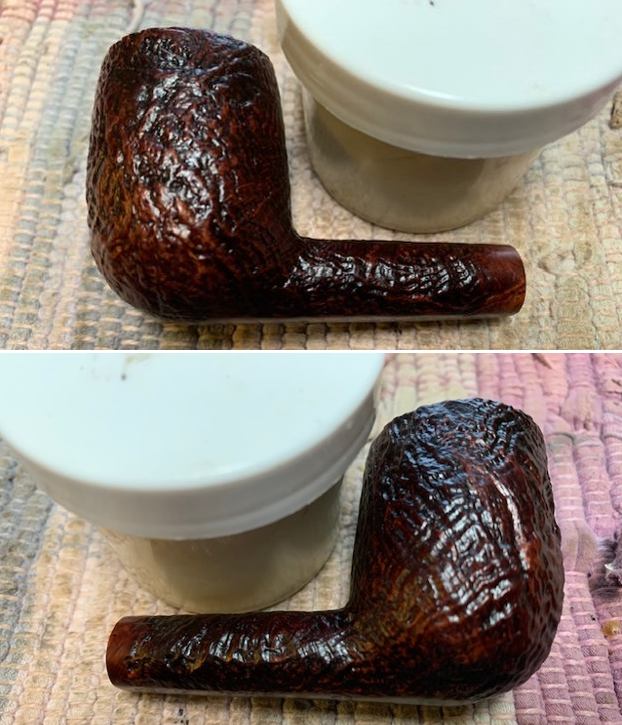
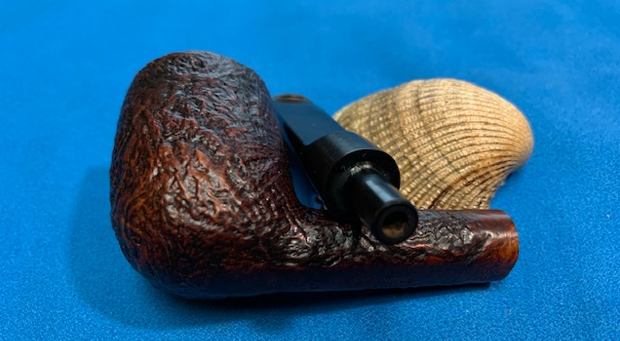
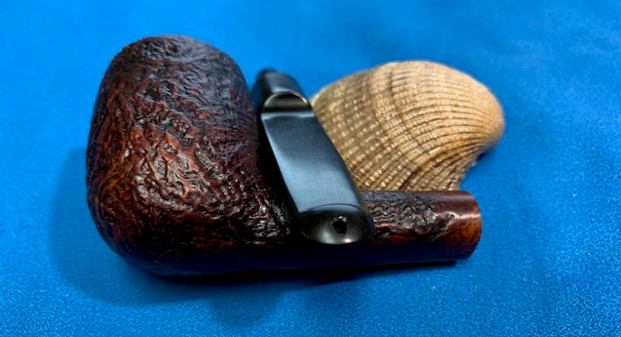
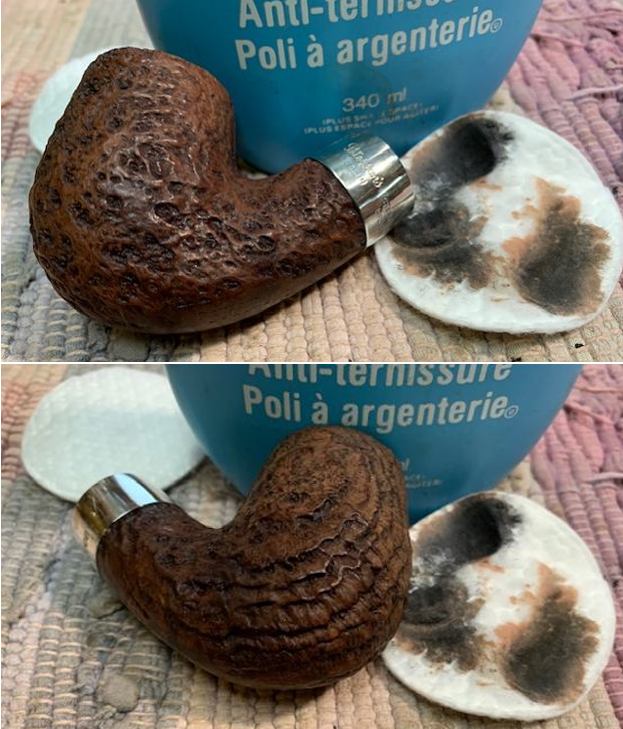
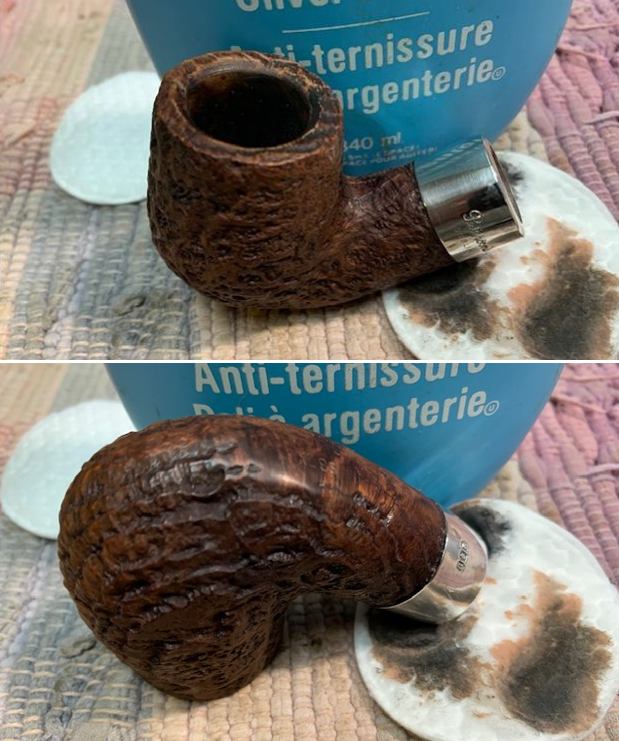
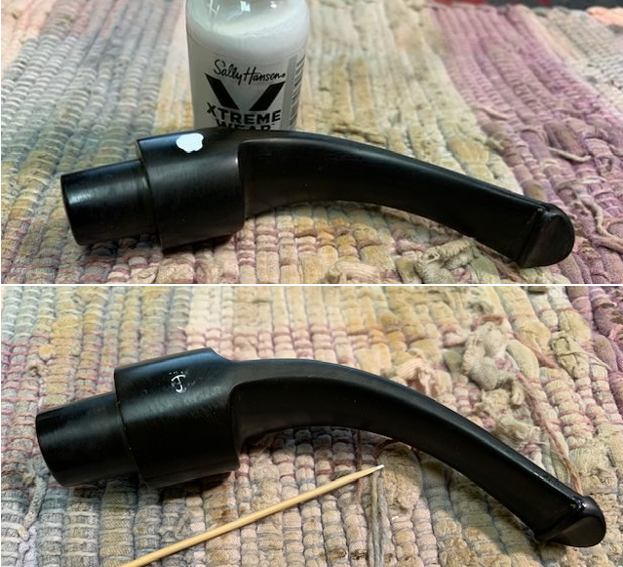
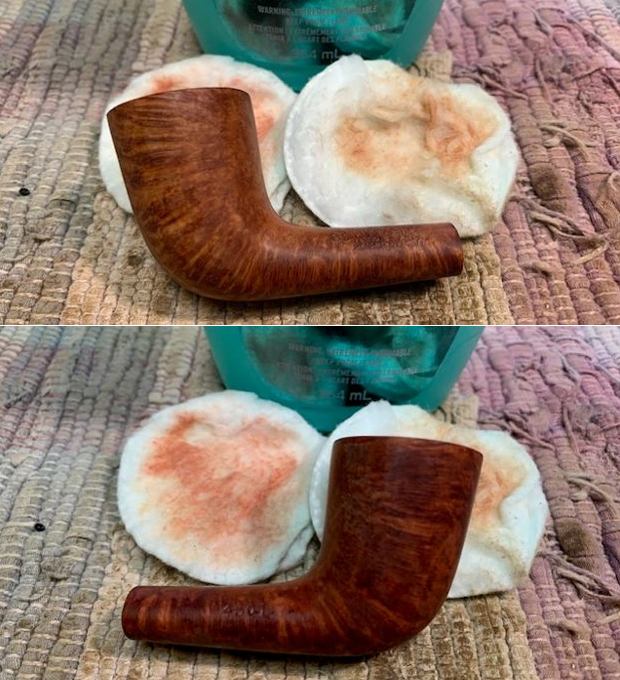
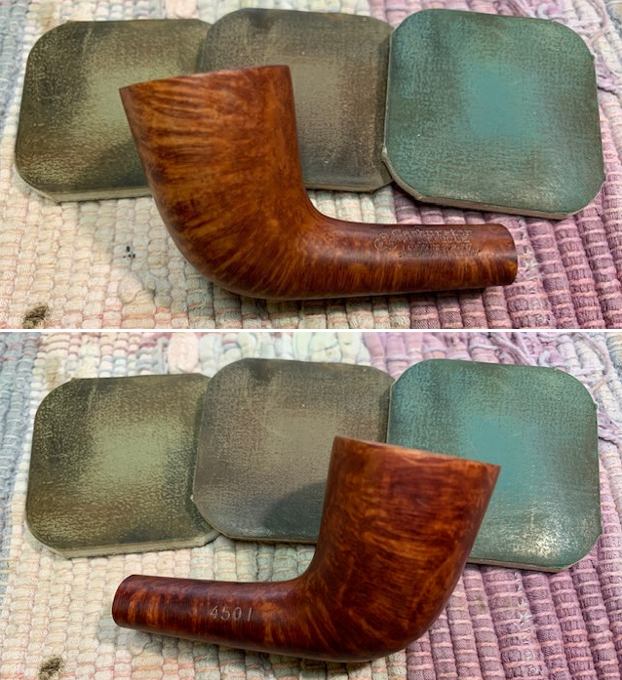
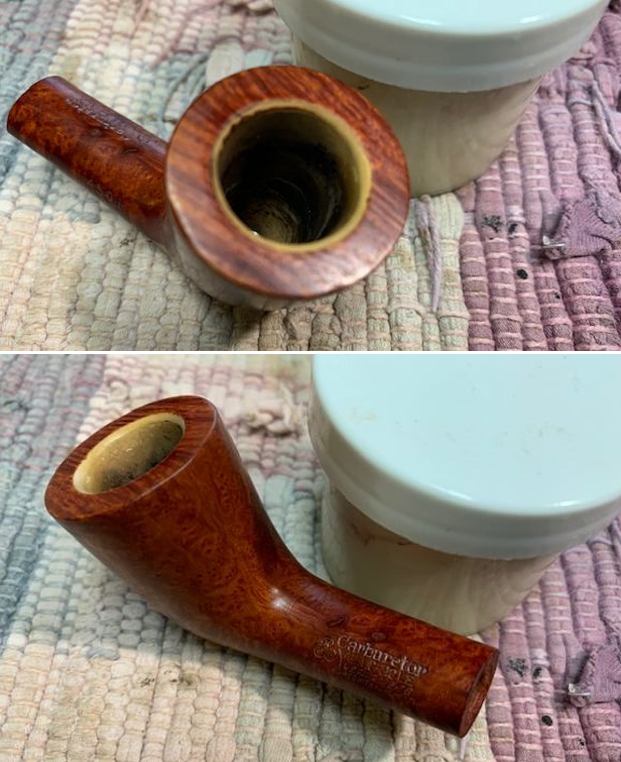
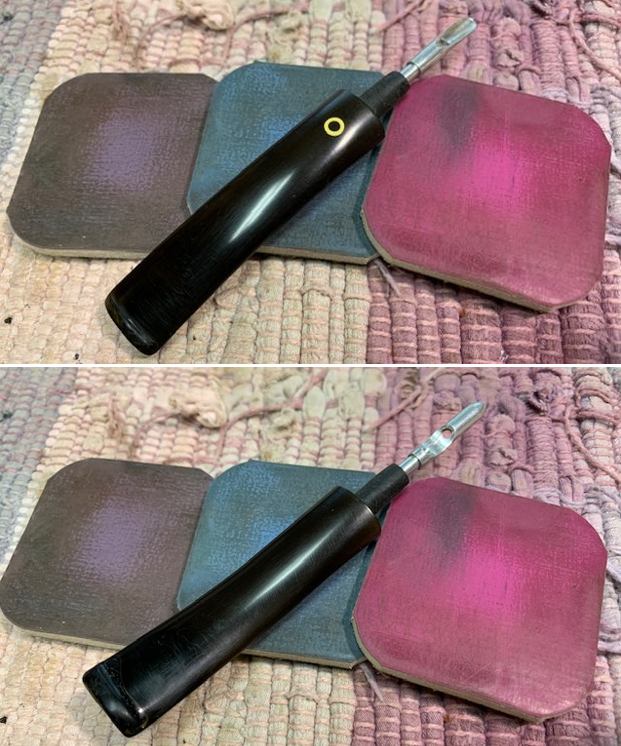
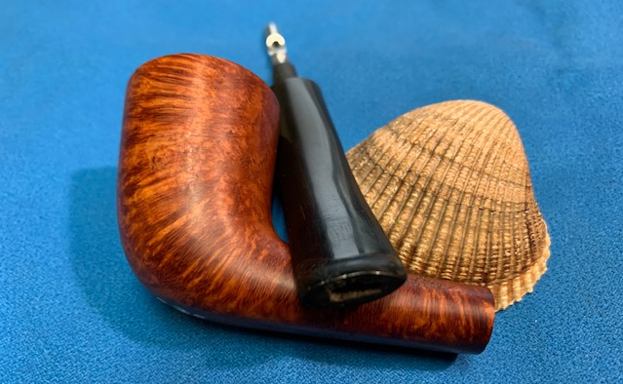
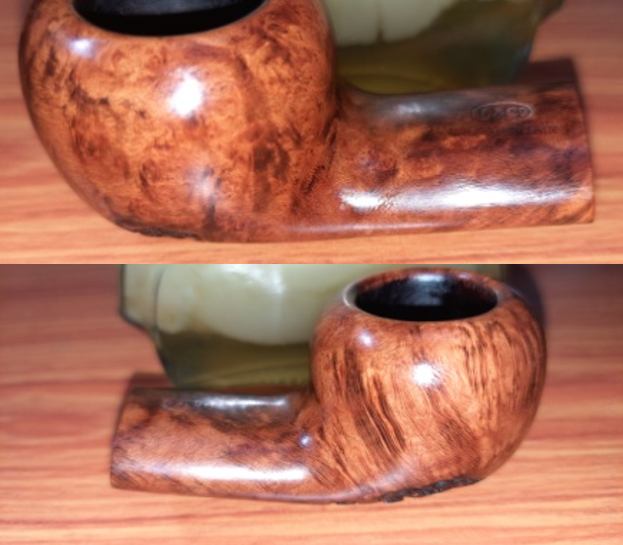
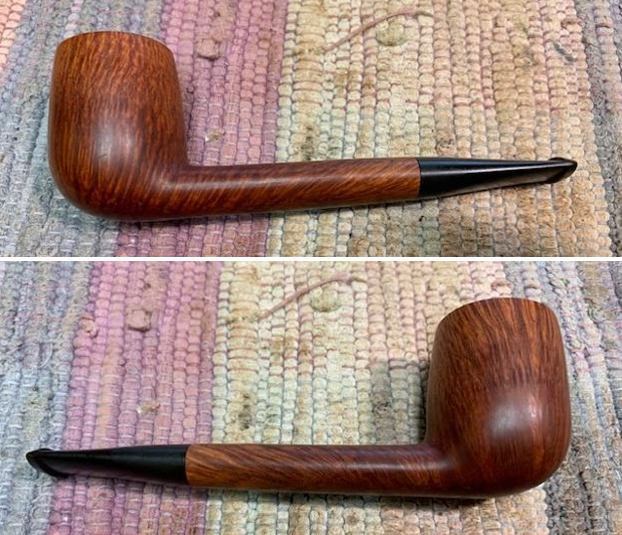
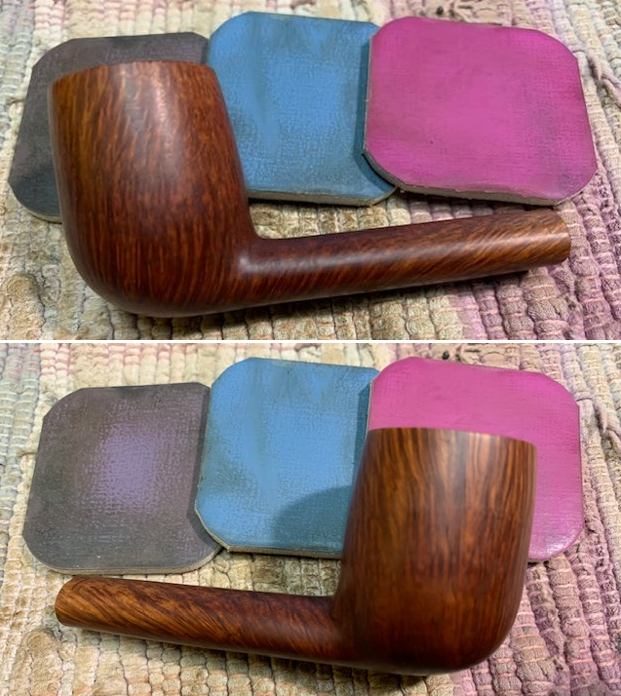
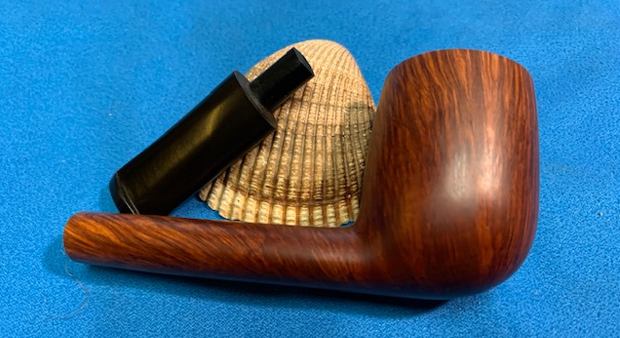
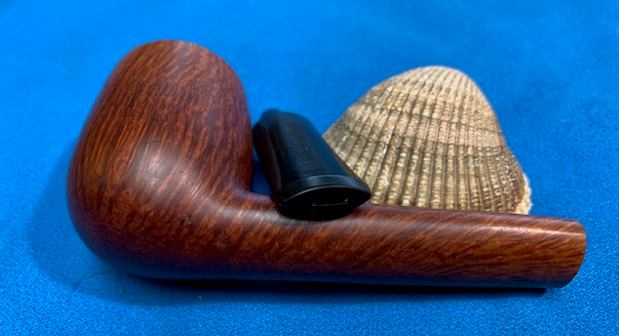
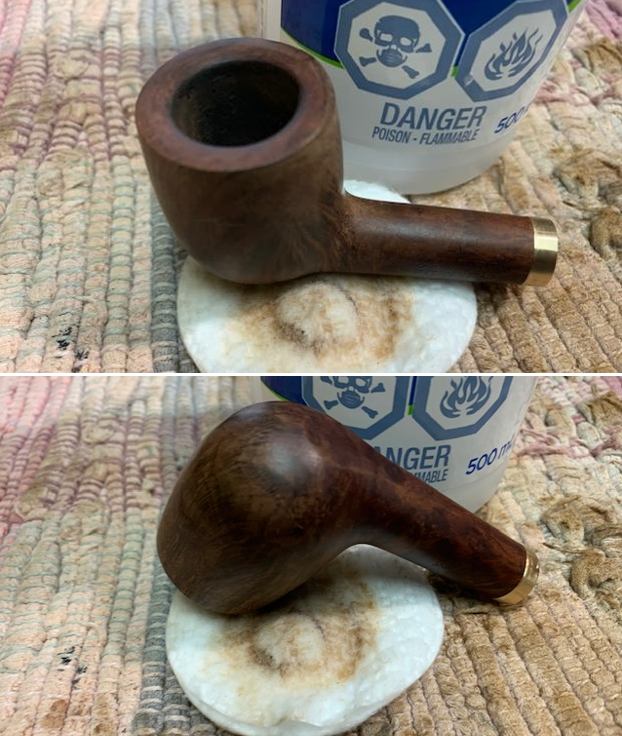
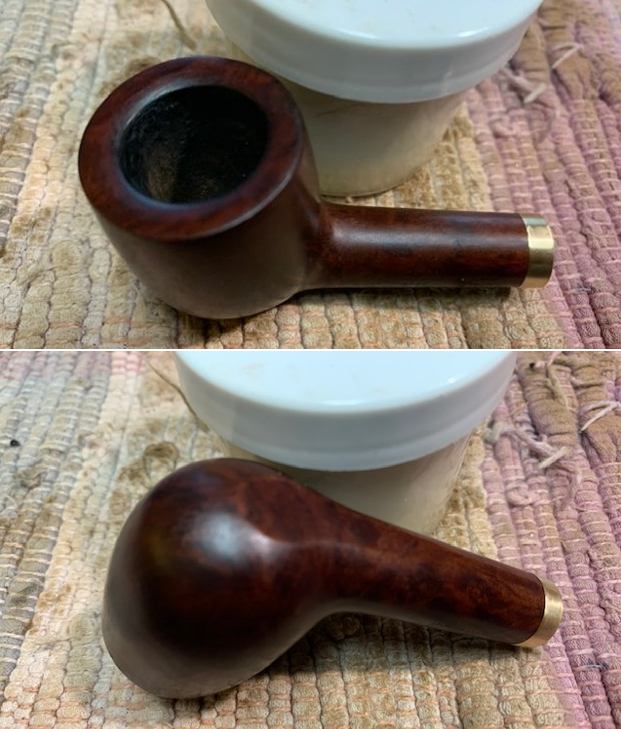
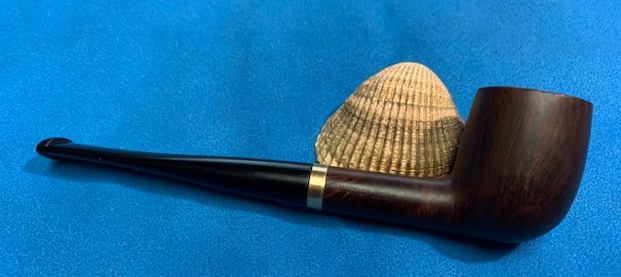
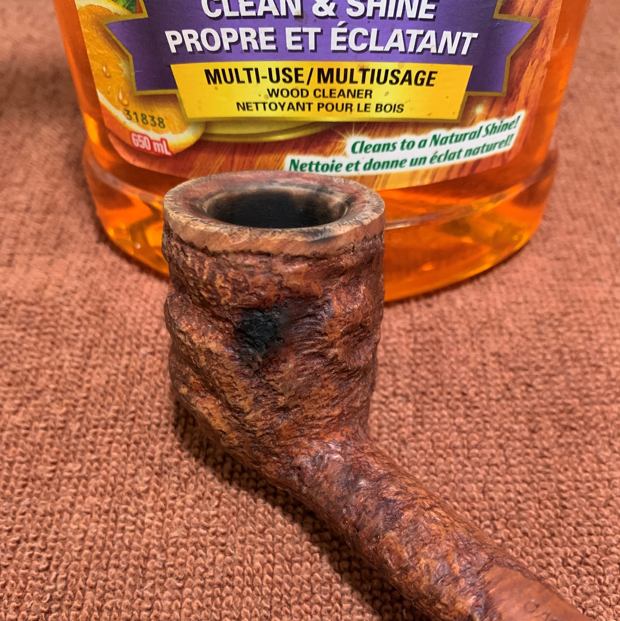
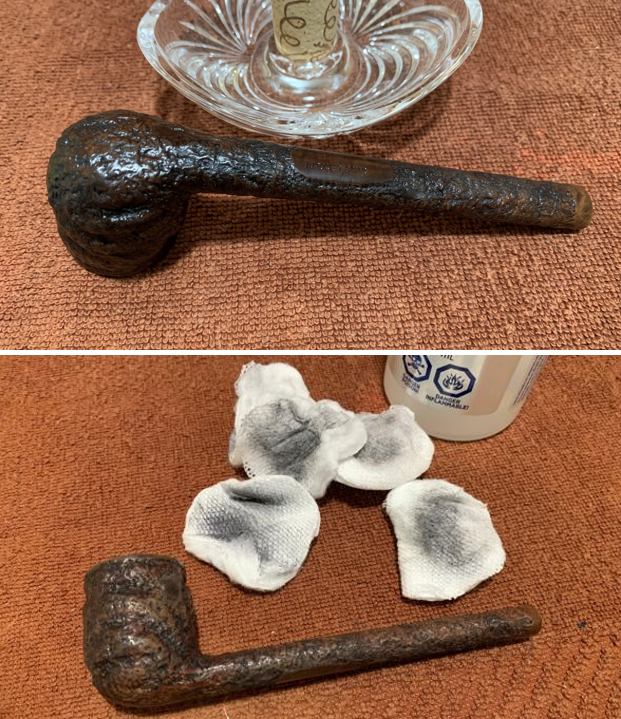
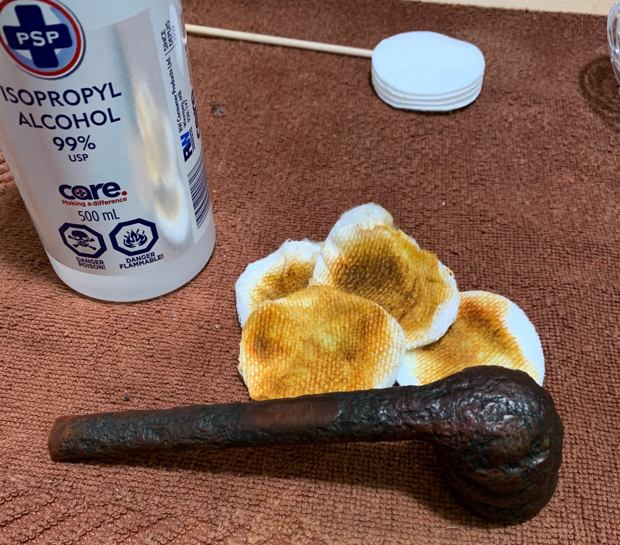
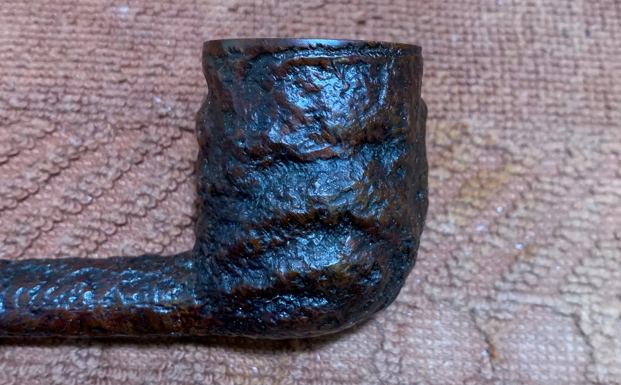
 I worked some Before & After Restoration Balm into the surface of the briar with my fingertips to clean, enliven and protect the briar. I let the balm sit for 15 minutes and then buffed with a cotton cloth to raise the shine. The photos show the bowl at this point in the restoration process.
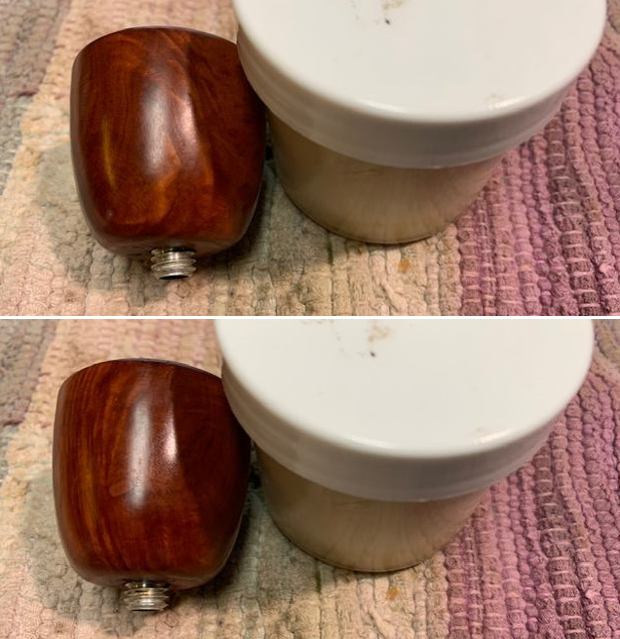
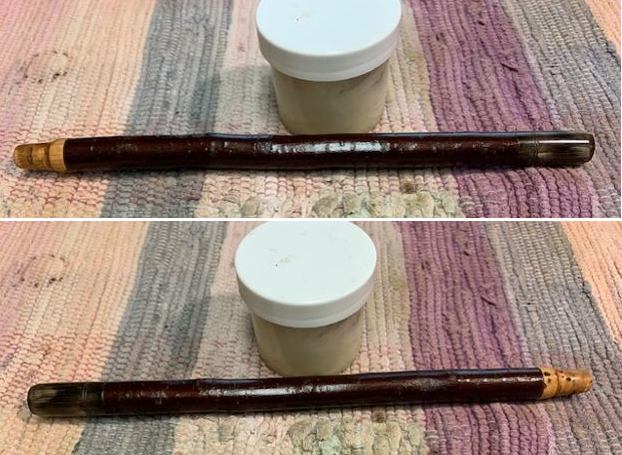
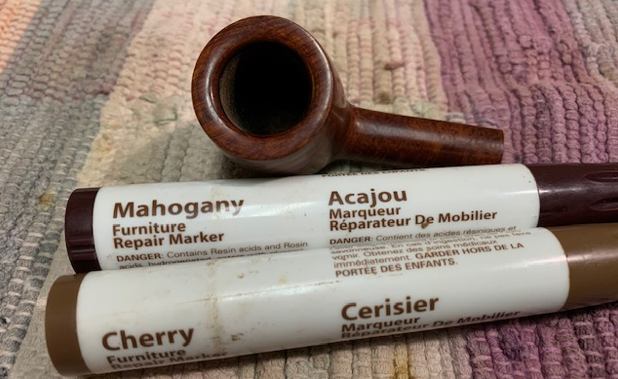
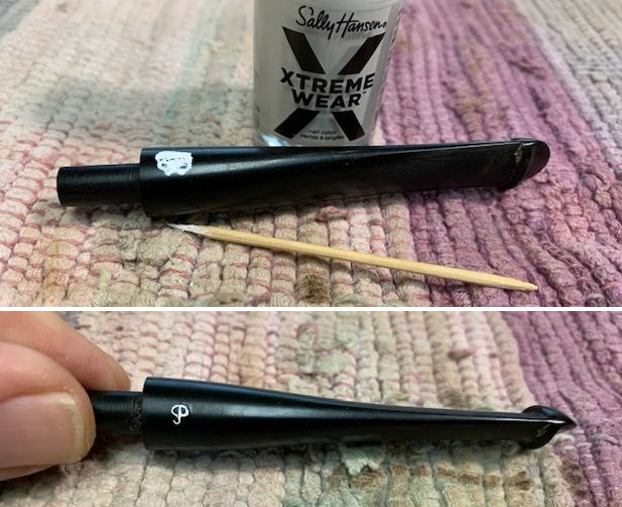
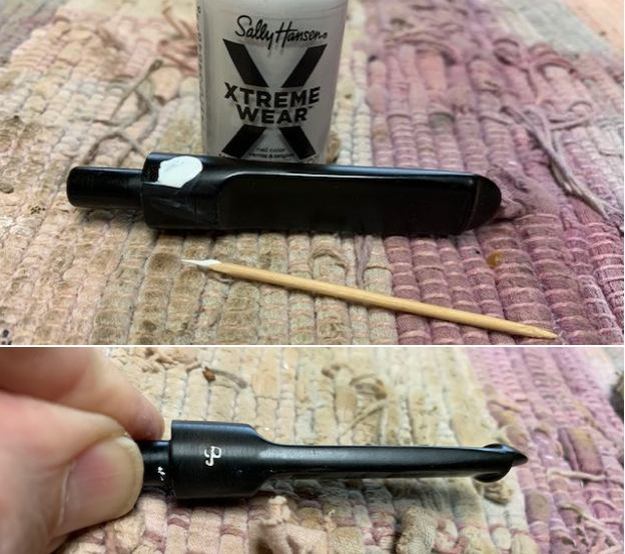
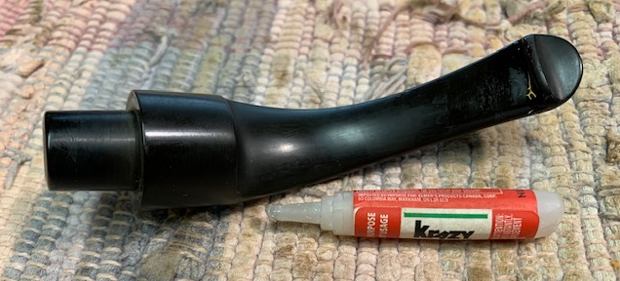
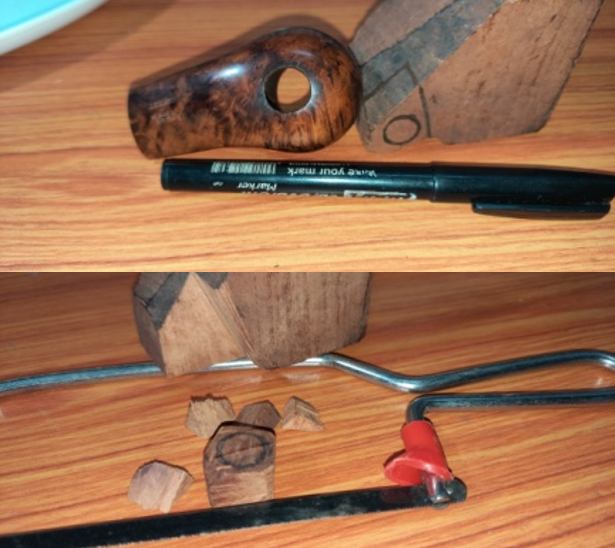
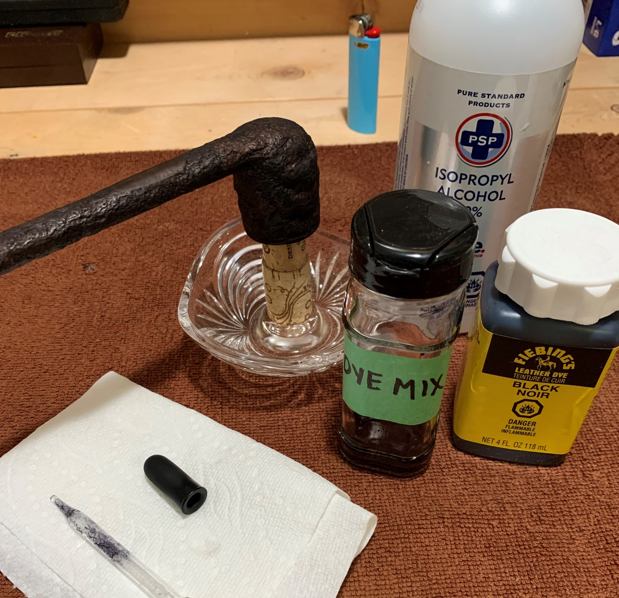
 I touched up the nicks in the matte black finish of the sides of the barrel with a black Sharpie pen. It worked surprisingly well.
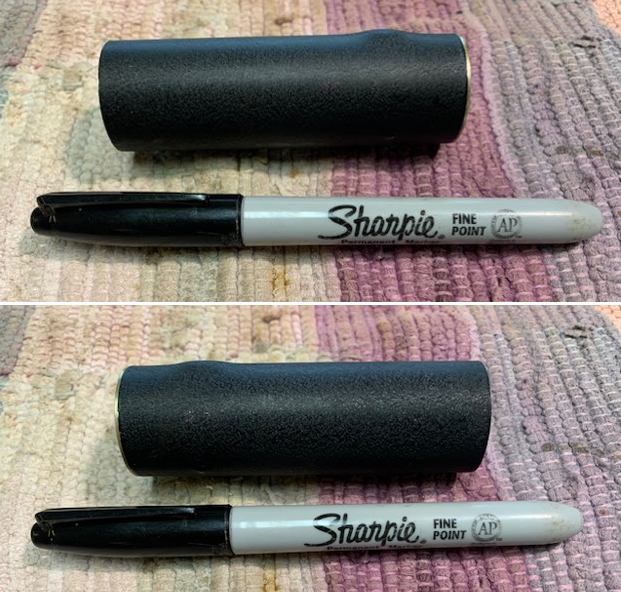 I rubbed the finish down with some Before & After Restoration Balm. I worked it into the finish and let it sit for 10 minutes then buffed it off with a soft cloth. It looked really good.
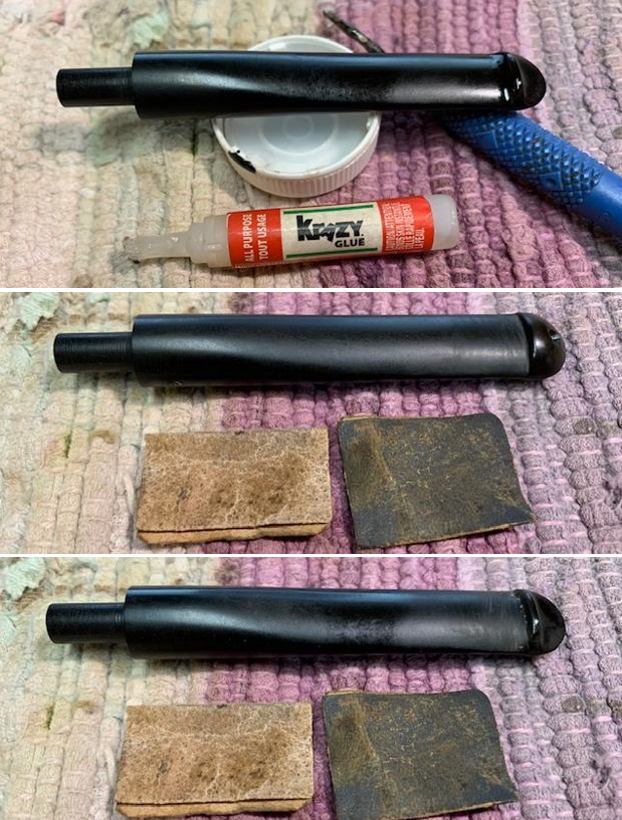
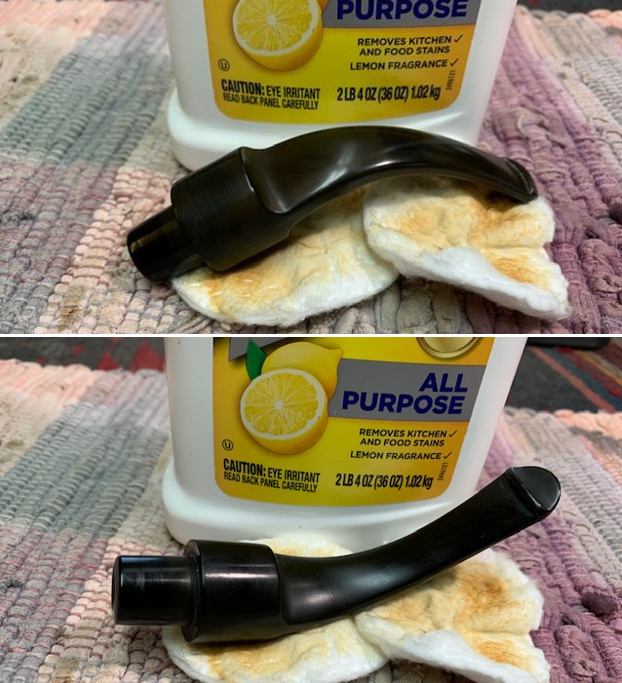
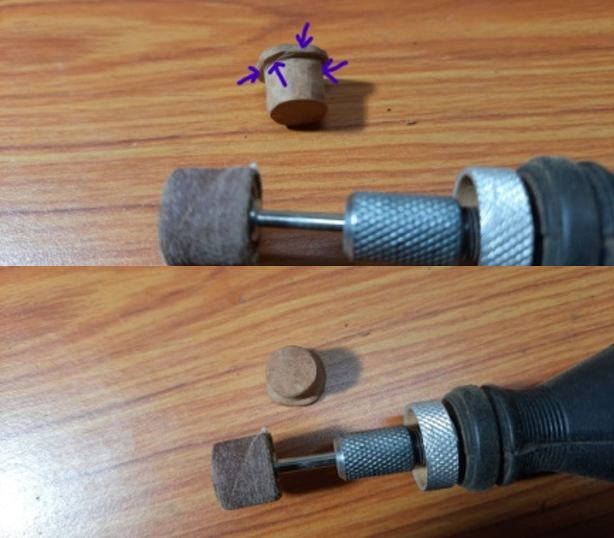
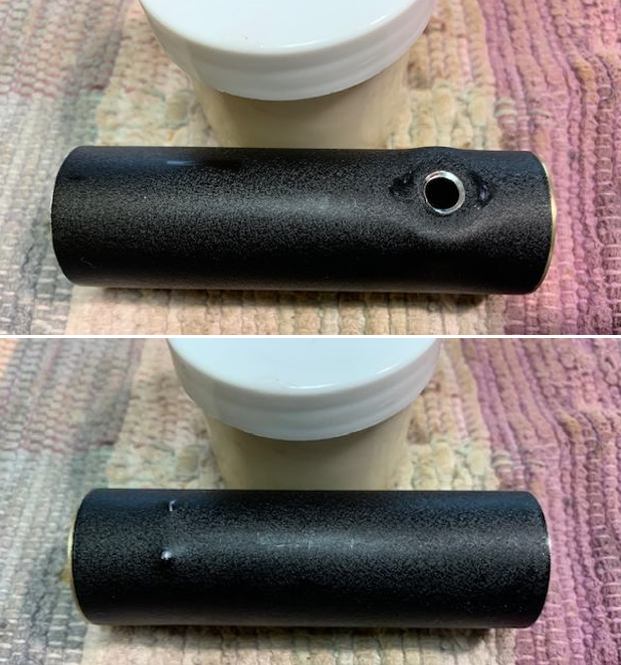 With that finished I turned my attention to the plastic/nylon/strange material stem! I sanded out the tooth chatter with 220 grit sandpaper and started the polishing with 400 grit wet dry sandpaper. I spent more time than usual with the wet dry sandpaper as the stem material was very porous looking and I wanted to smooth it out.
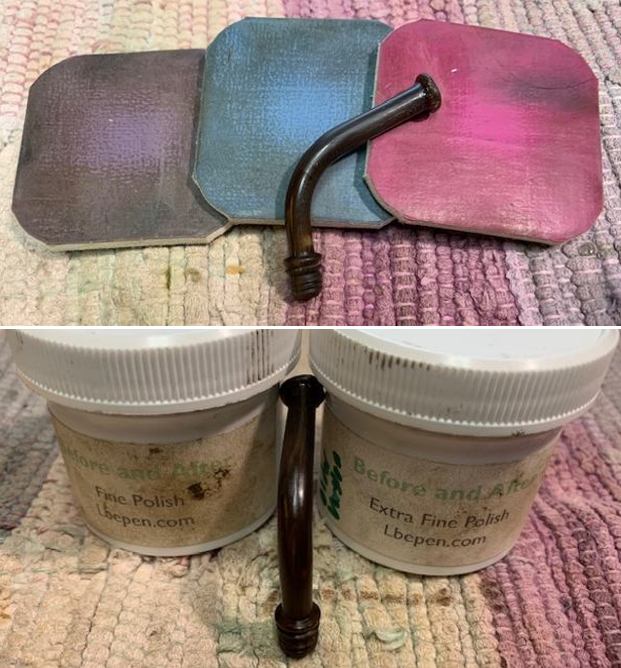
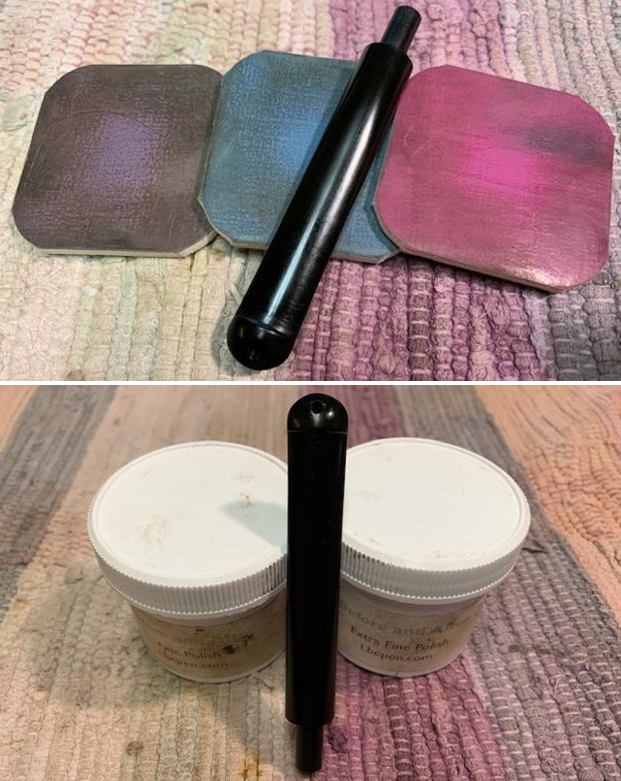
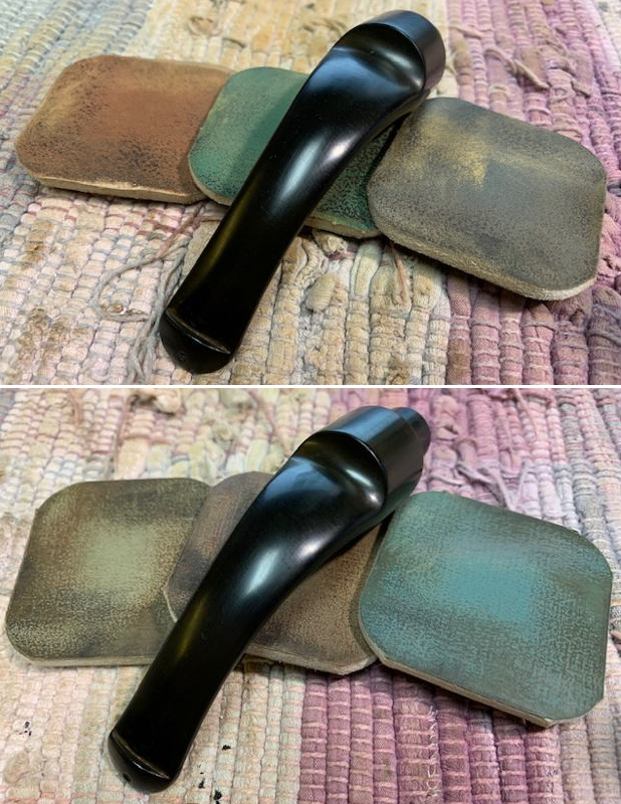
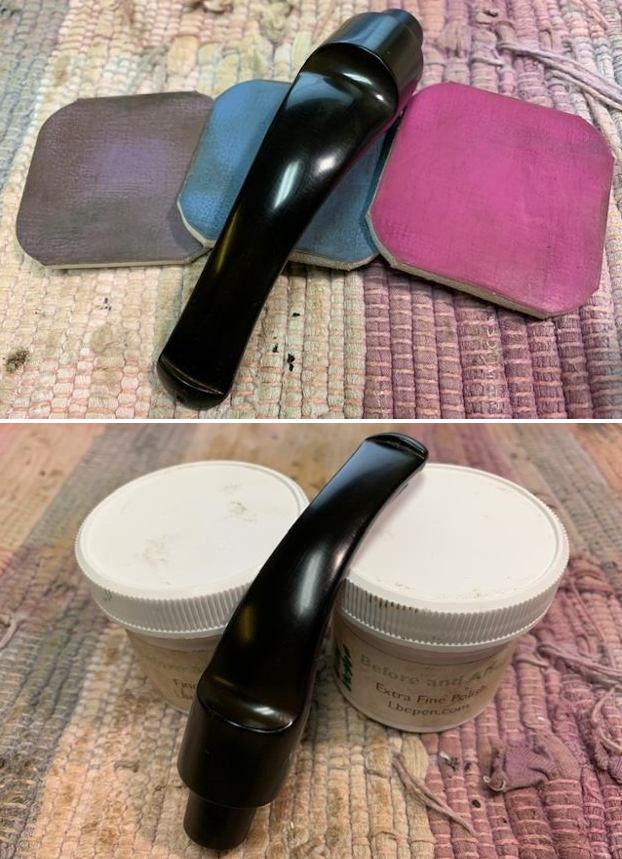
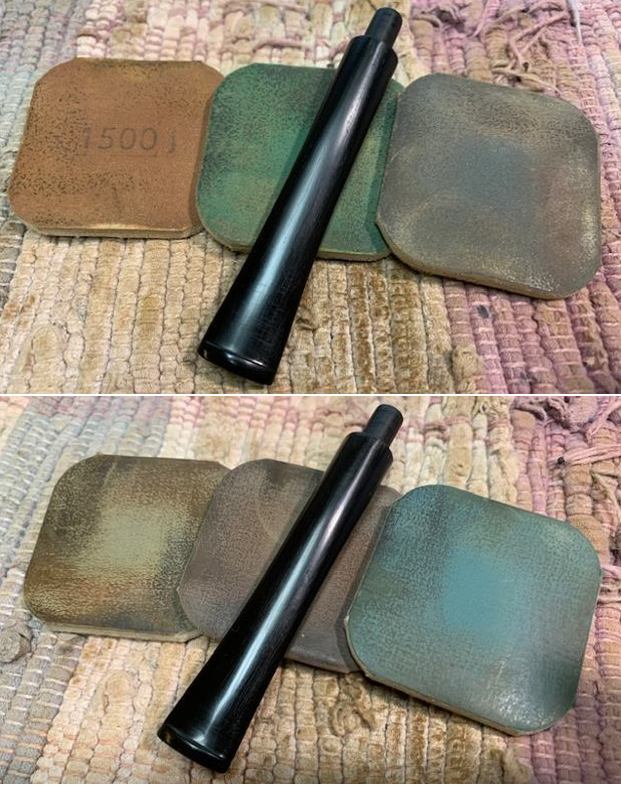
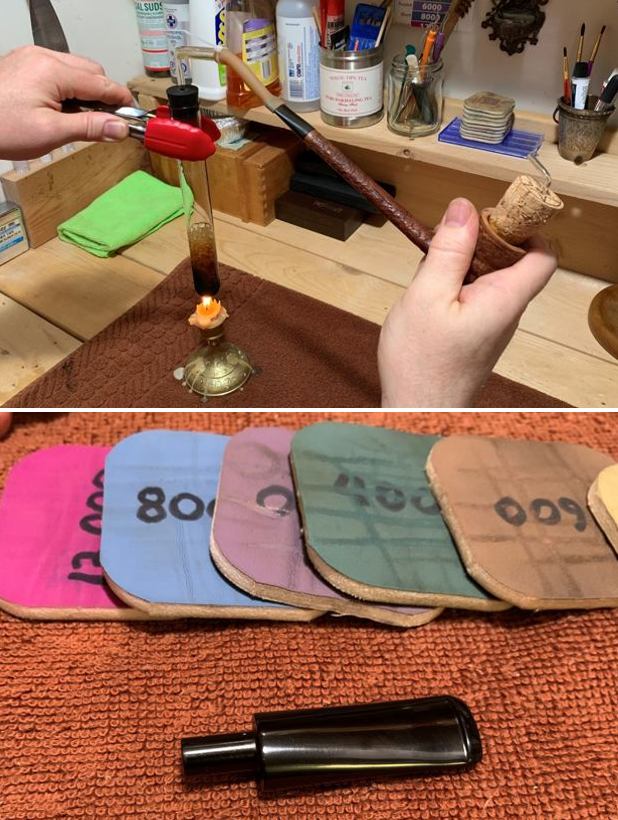
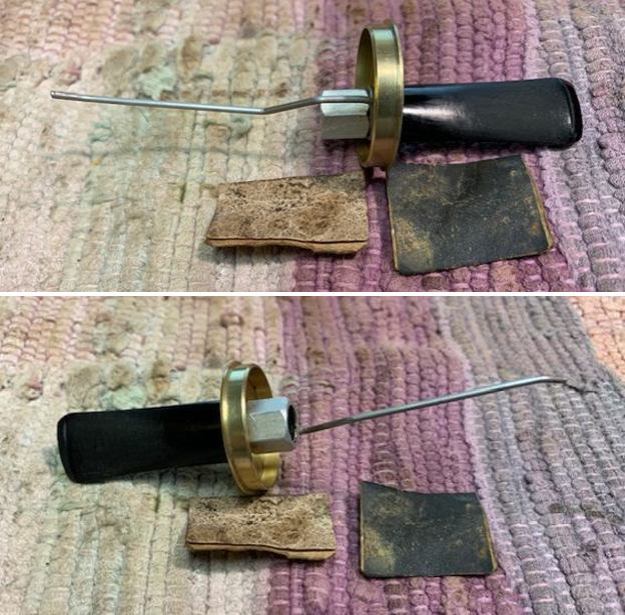 I polished the stem with micromesh sanding pads – wet sanding with 1500-12000 grit sanding pads. I wiped it down after each sanding pad with Obsidian Oil. I polished it with Before & After Pipe Stem Polish – both Fine and Extra Fine.
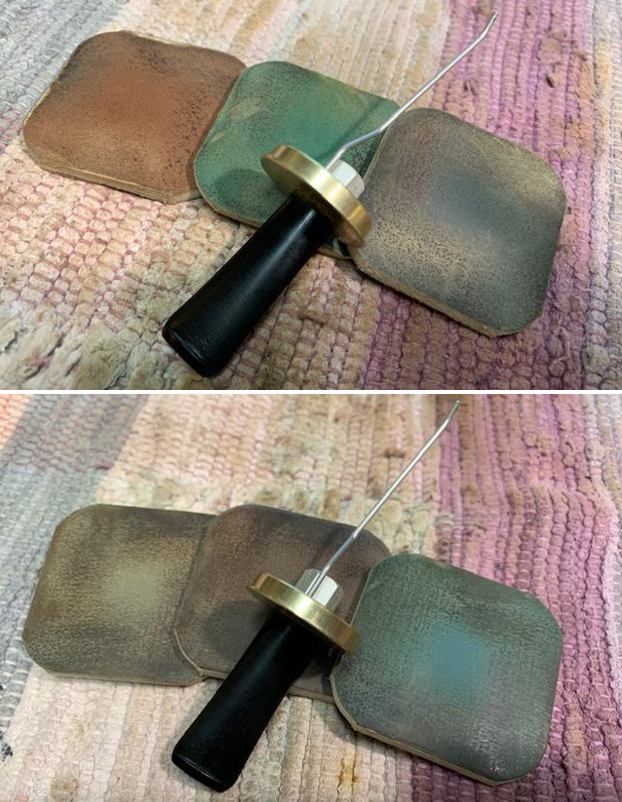
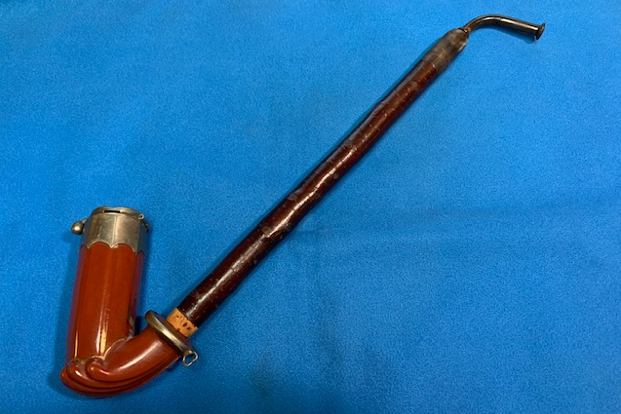
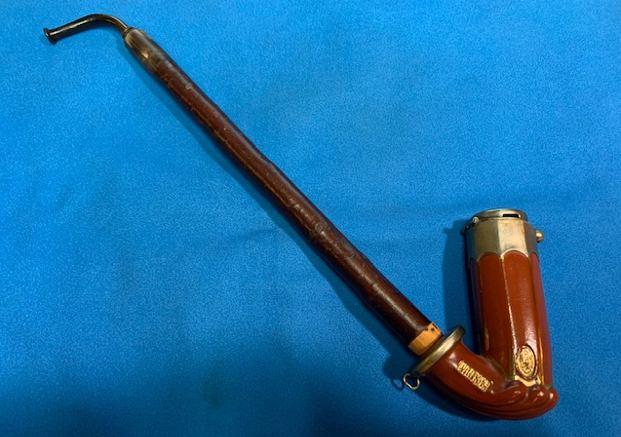
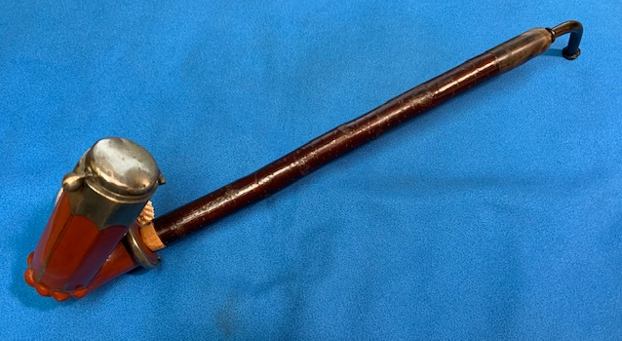
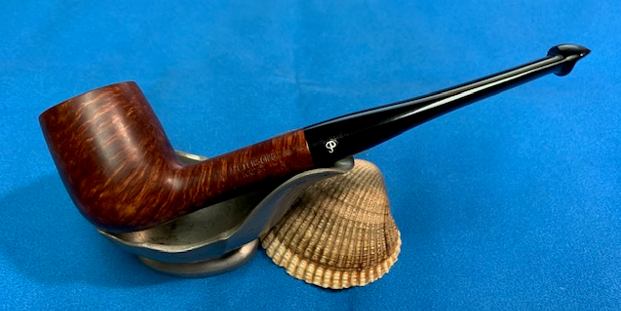
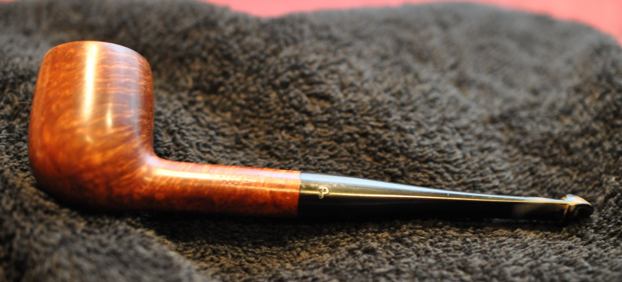
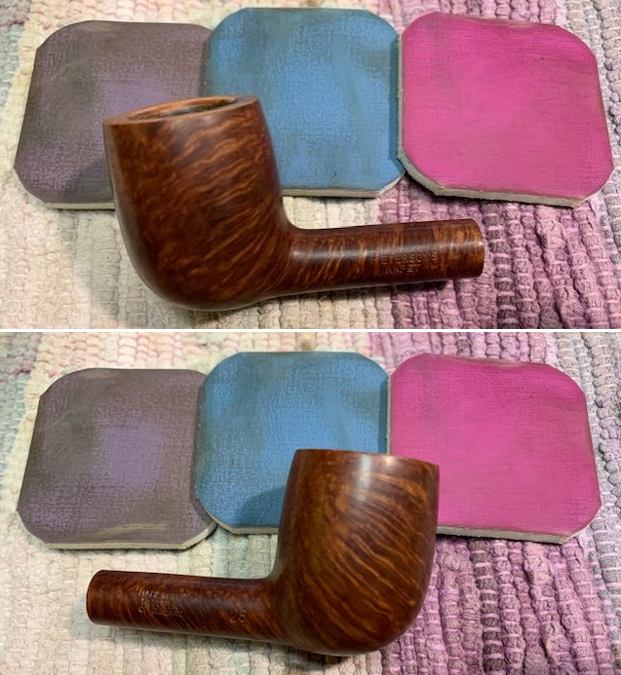
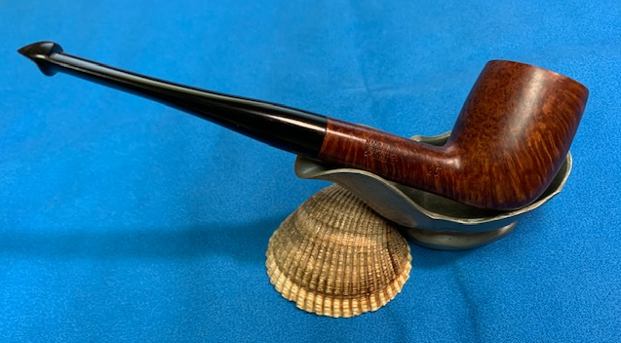
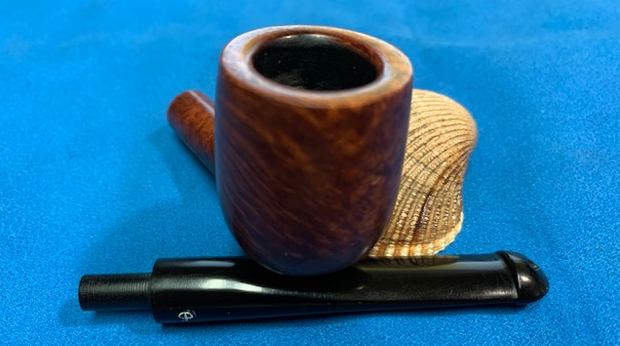
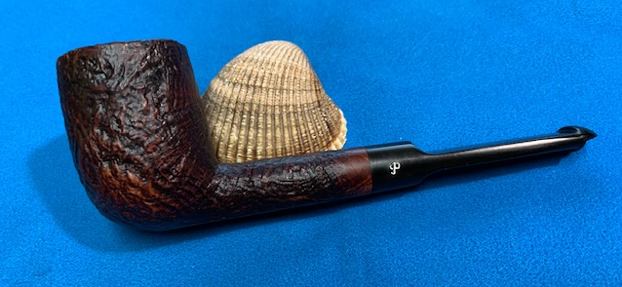
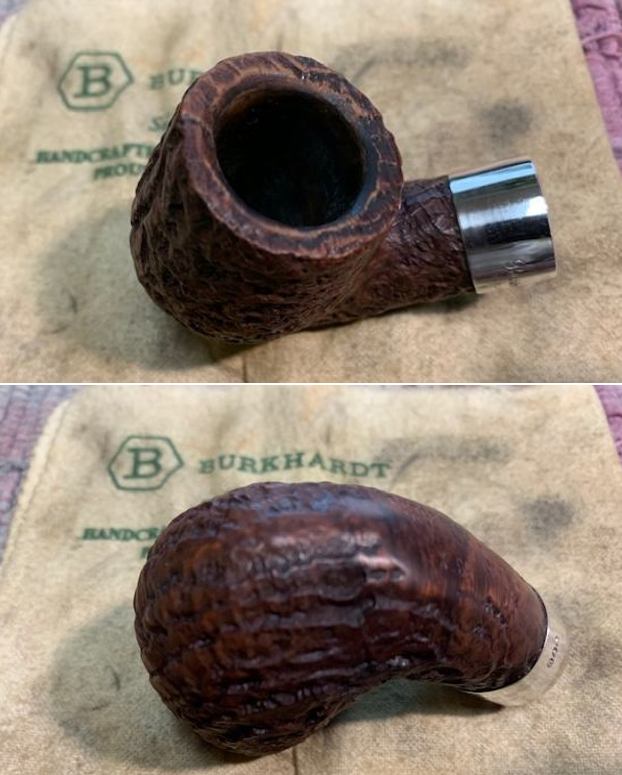
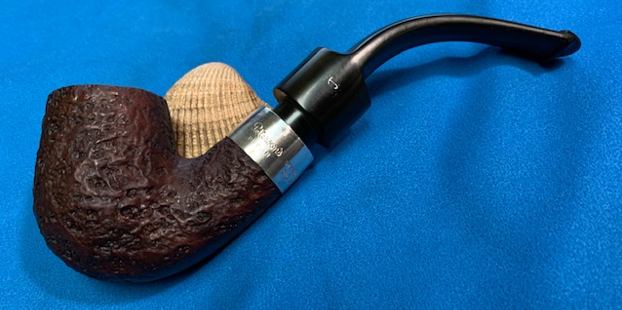
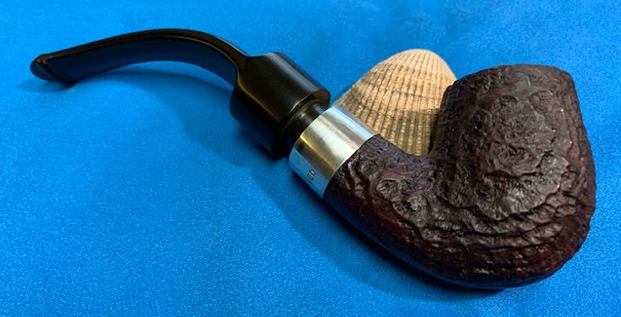
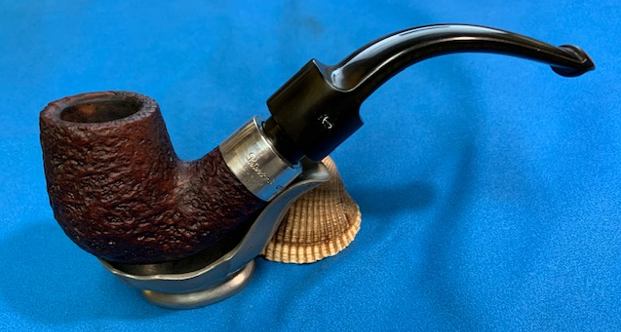
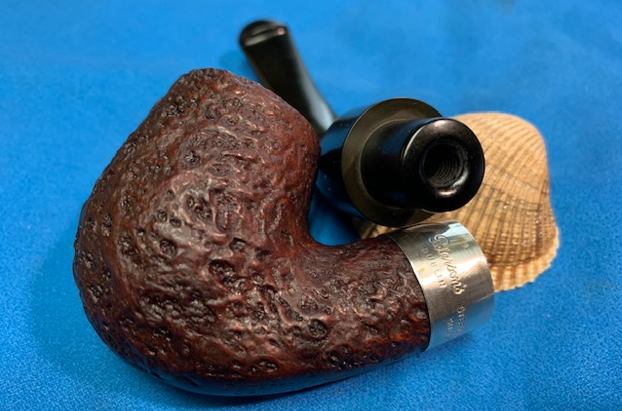
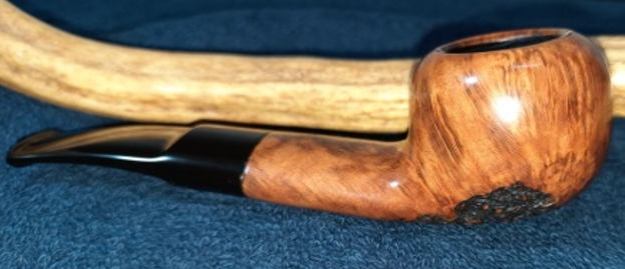
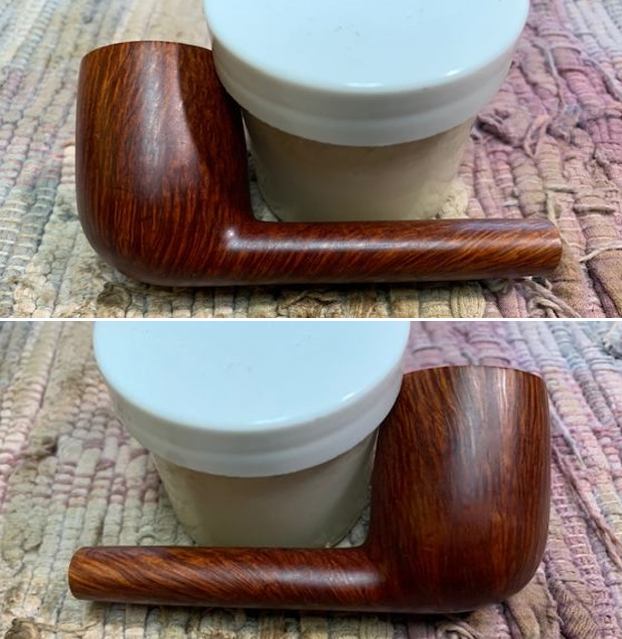
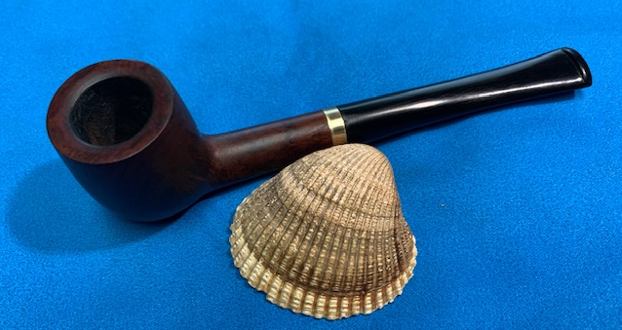
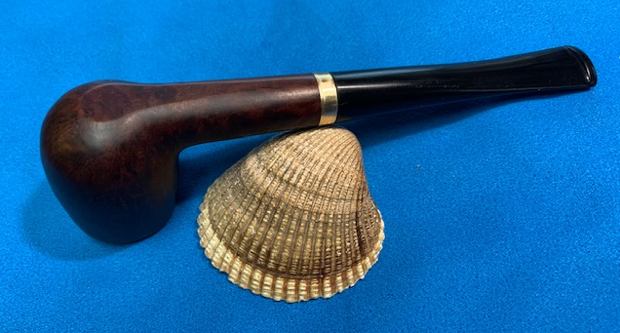
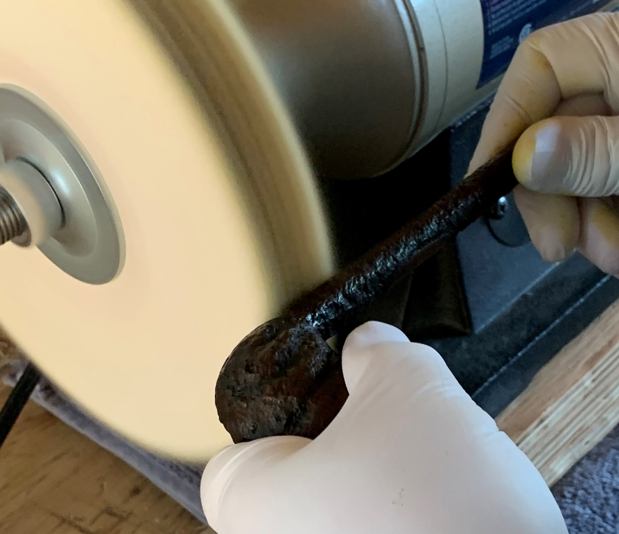
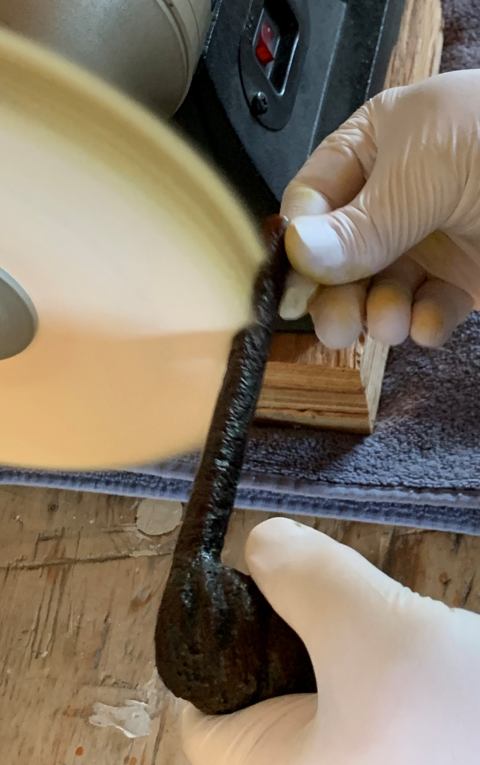
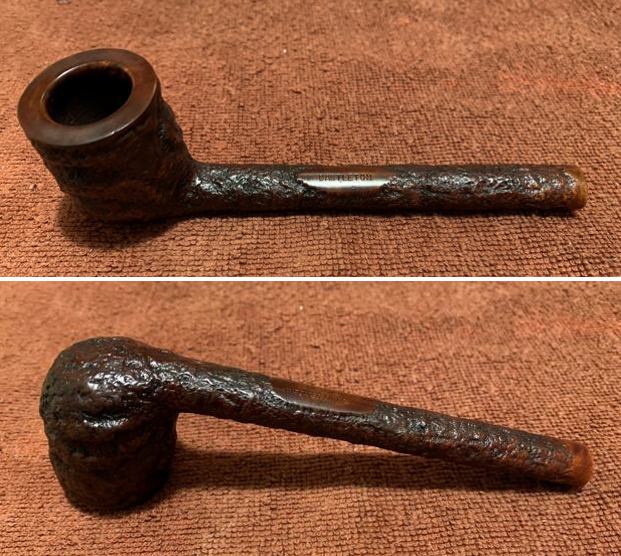
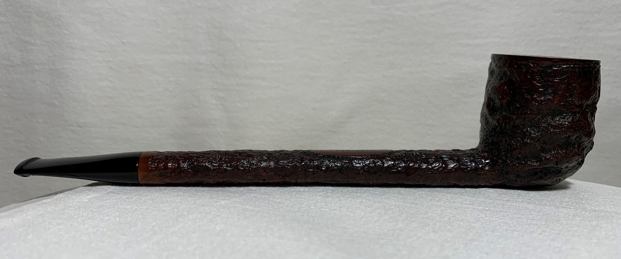
 This is one that I am excited to finish the restoration on. Metal pipes can be a bear and painted ones even more so. But, this Brial Pat Pend System Pipe was actually an exception. I put the pipe back together and gently buffed it with Blue Diamond on the buffing wheel. I gave the bowl and stem multiple coats of carnauba wax. I hand buffed the pipe with a clean buffing pad to raise the shine and hand buffed it with a microfibre cloth to deepen the shine. It is fun to see what the polished bowl looks like with the polished matte black shank tube and the black stem. This is truly beautiful in a very odd way. It actually feels great in my hand. It is light and well balanced. Have a look at it with the photos below. The dimensions are Length: 5 inches, Height: 2 ½ inches, Outside diameter of the bowl: 1 ½ inches, Chamber diameter: 7/8 of an inch. The weight of the pipe is 50 grams/1.76 oz. It is an interesting pipe and one that will be added to the American Pipe Makers section of the rebornpipes store soon. If you are interested in adding it to your collection let me know. Thanks for walking through the restoration with me as I worked over this pipe. Thanks to each of you who are reading this blog.