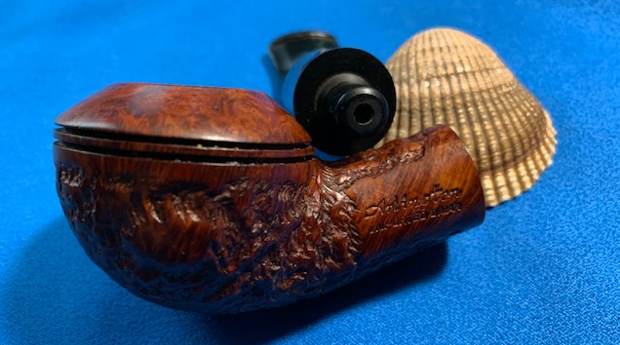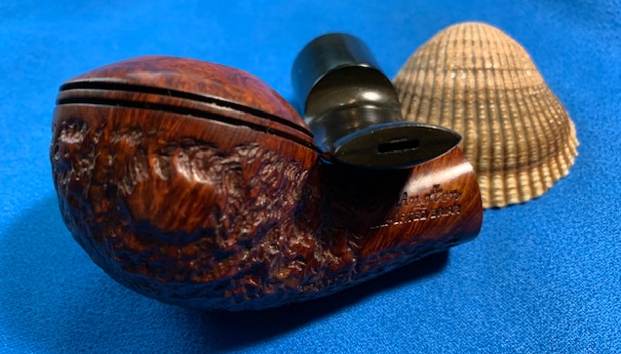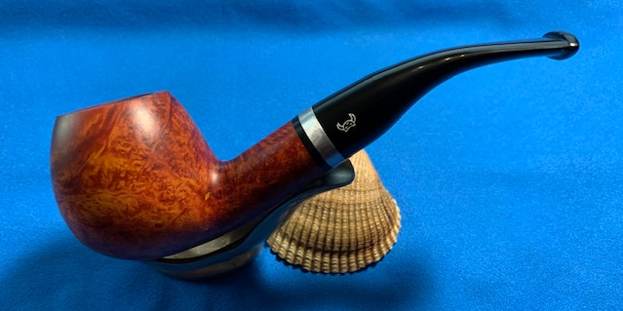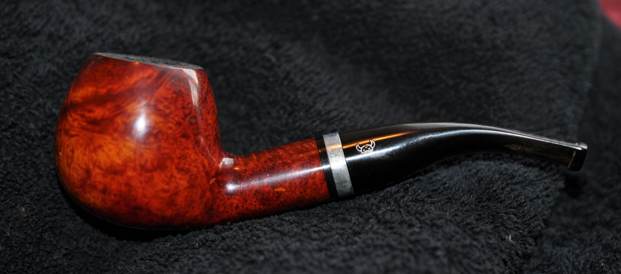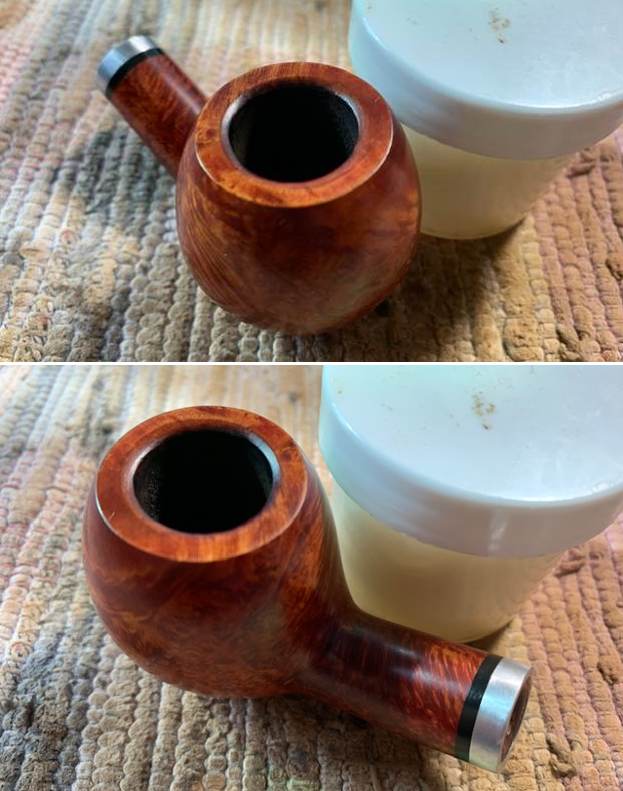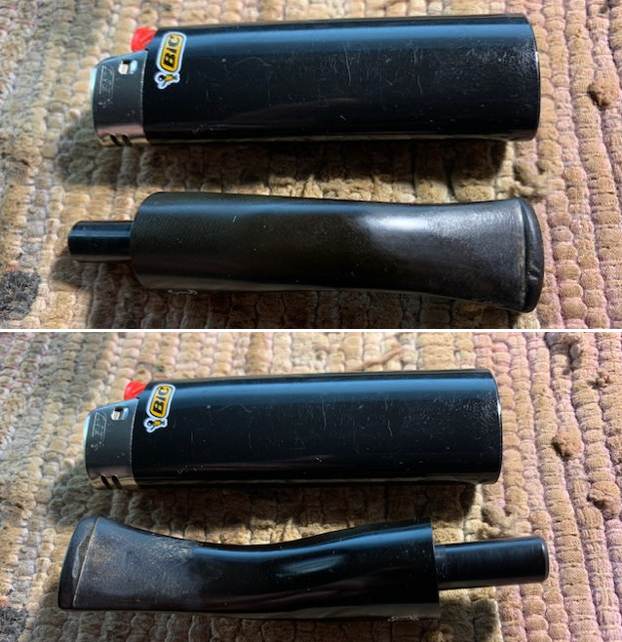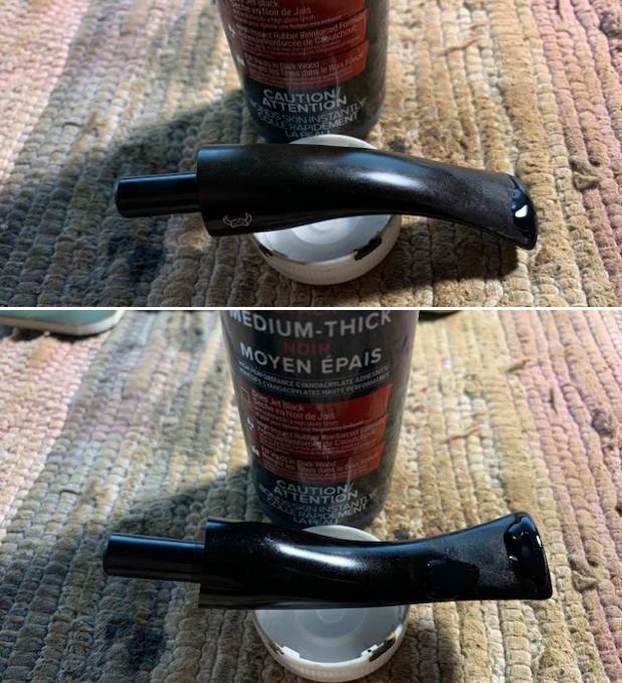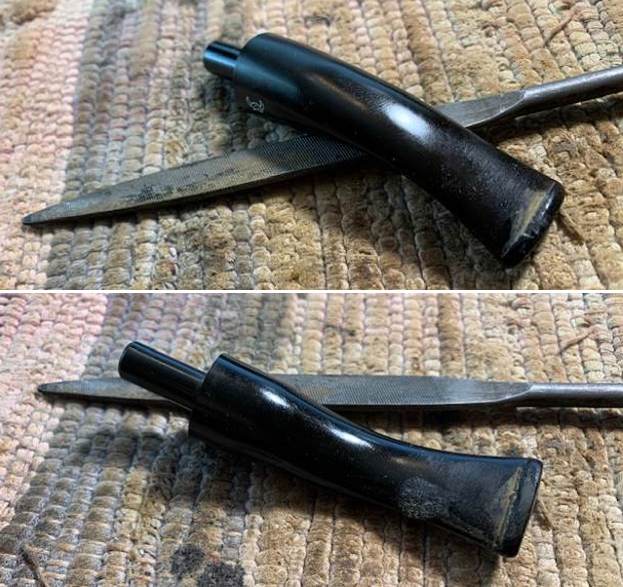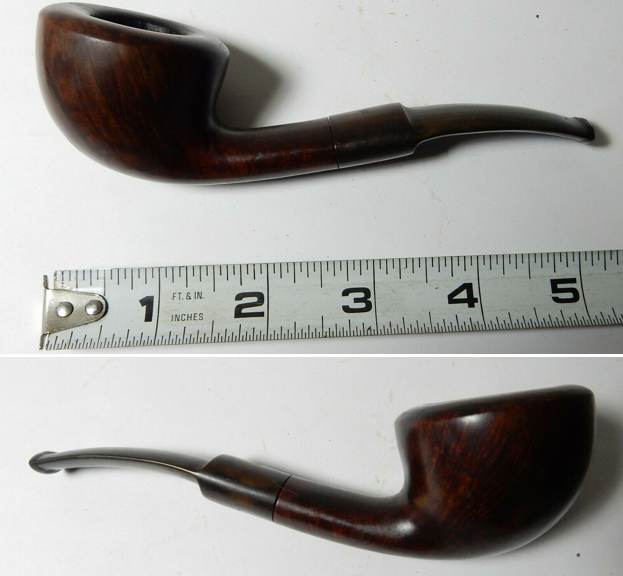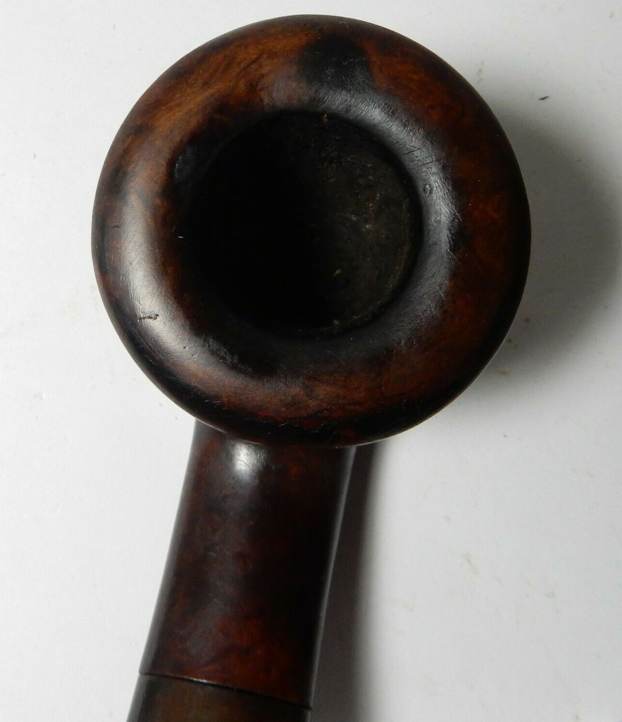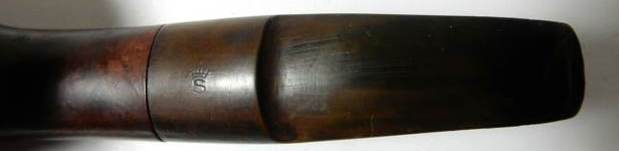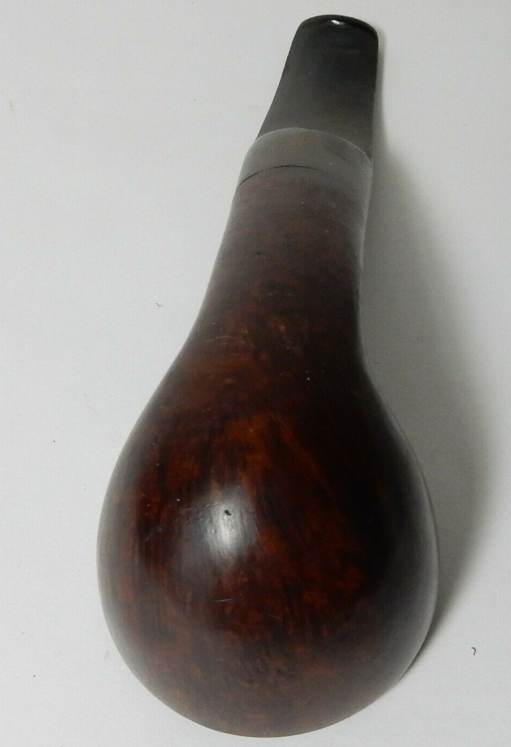
Tag Archives: bite marks

New Life for a Nicely Grained Imperial White Flame Giant Oom Paul


Blog by Steve Laug

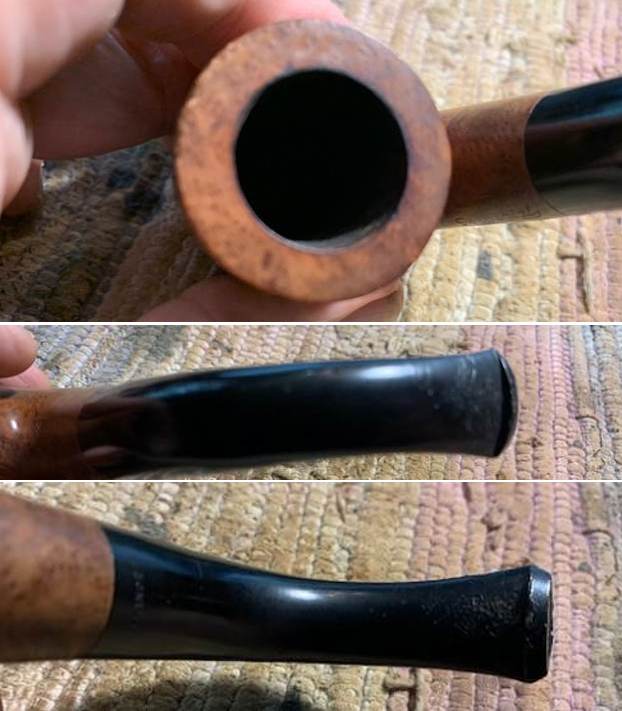
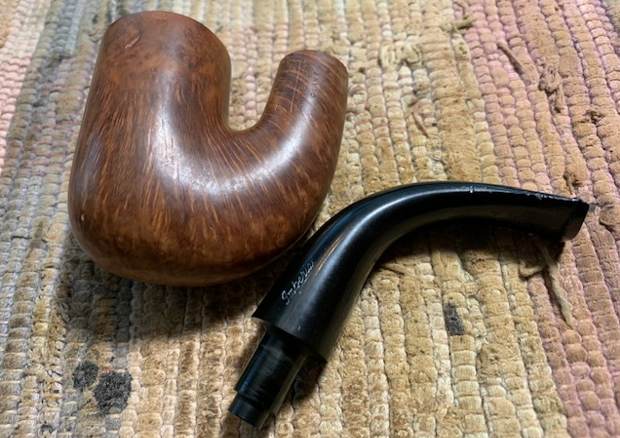
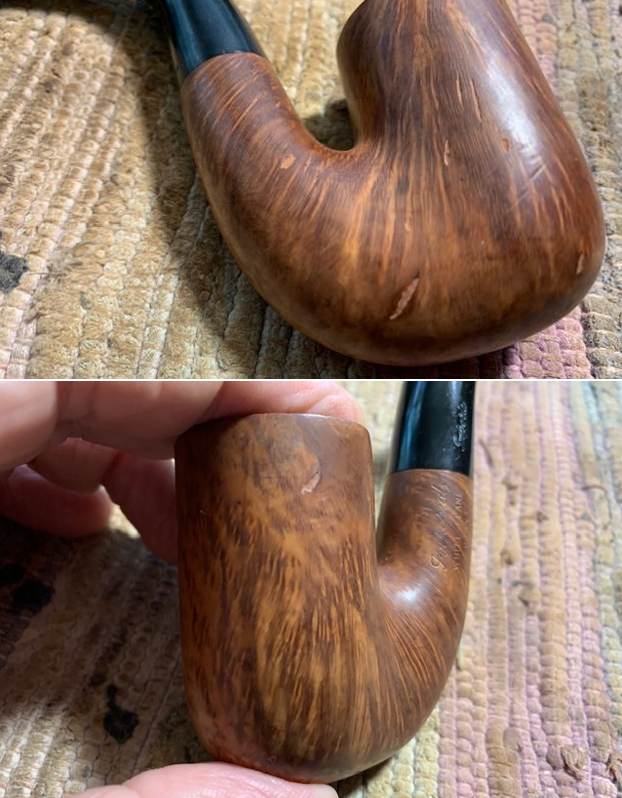
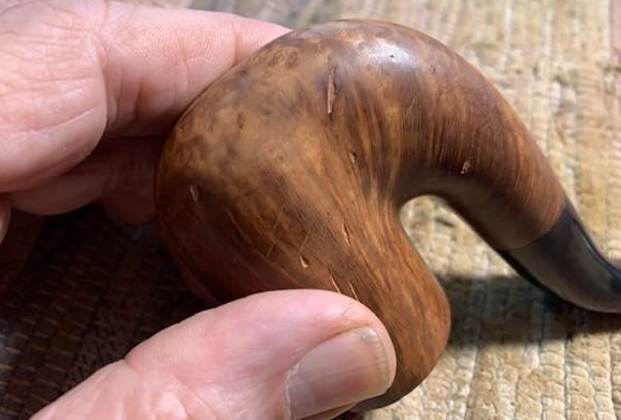
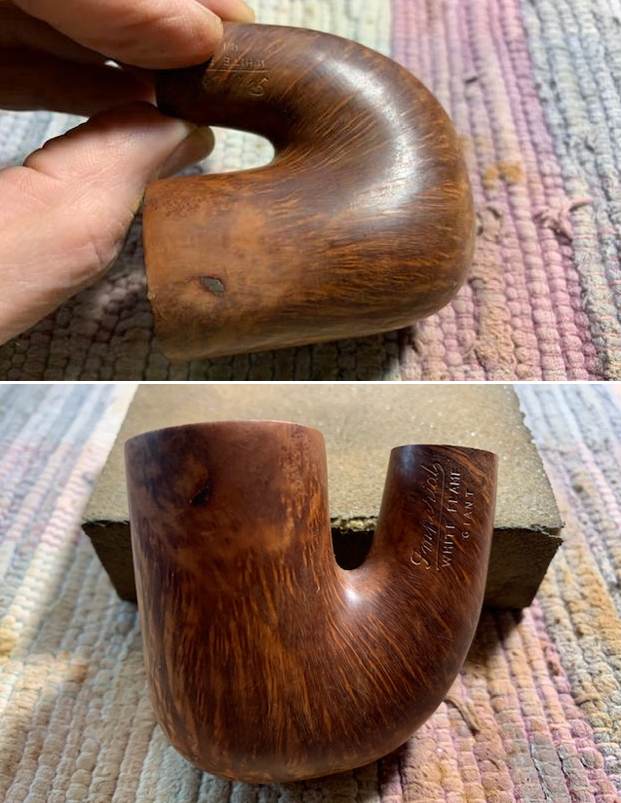
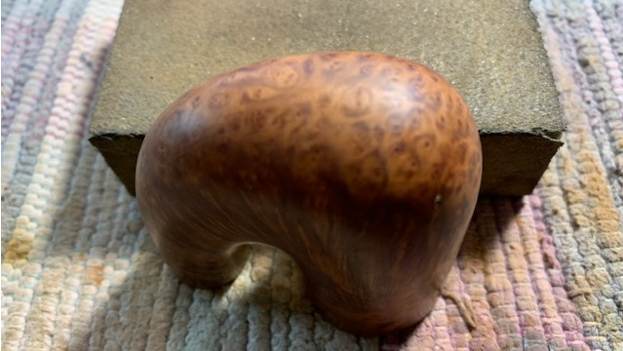
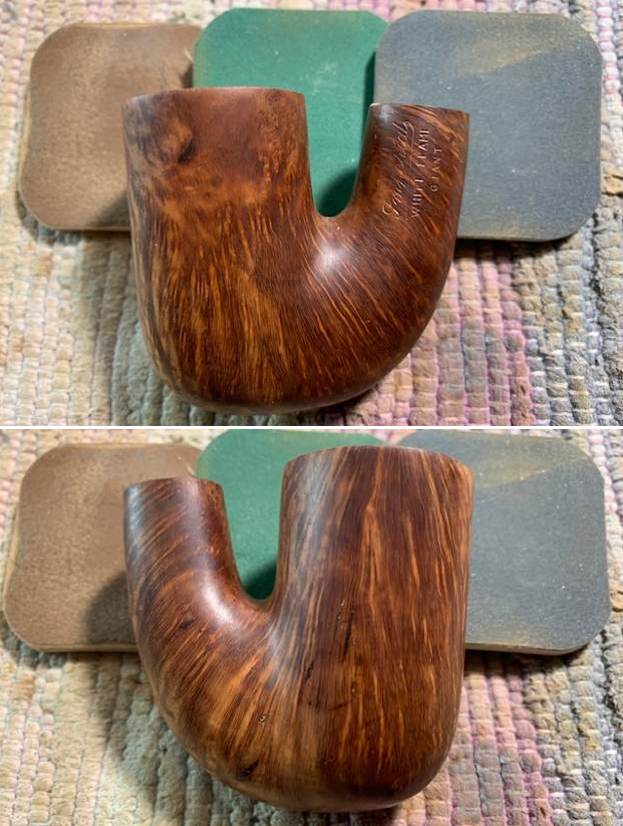
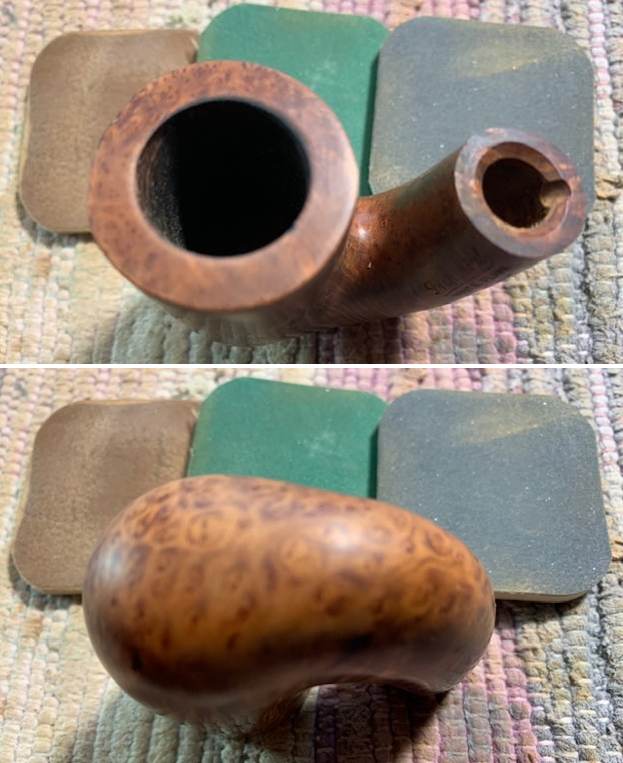
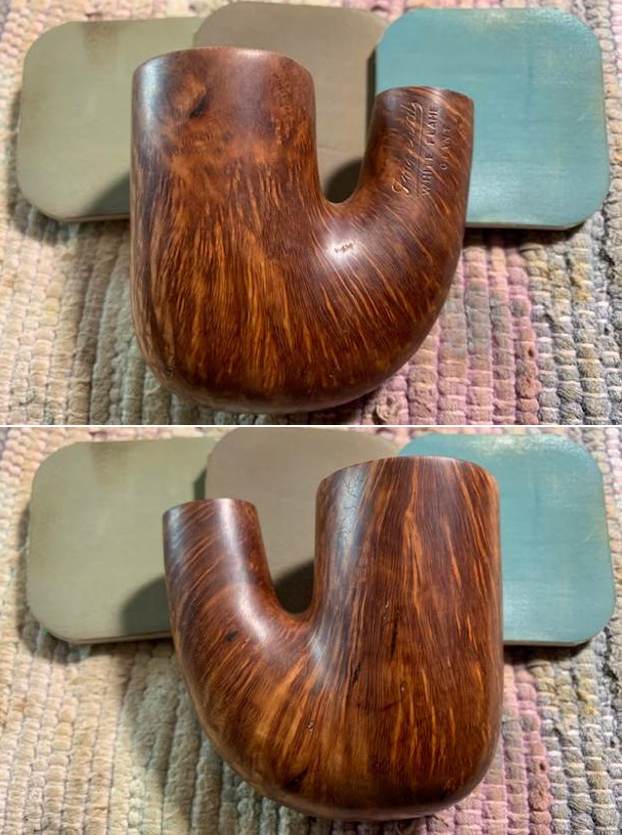
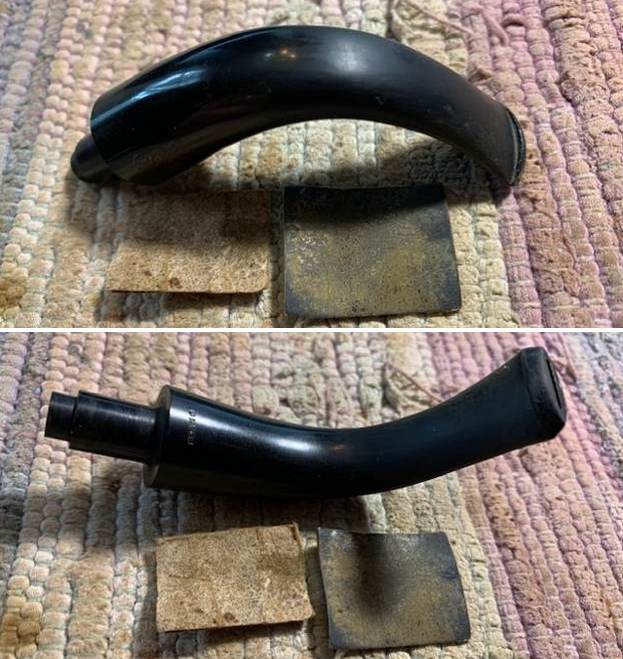
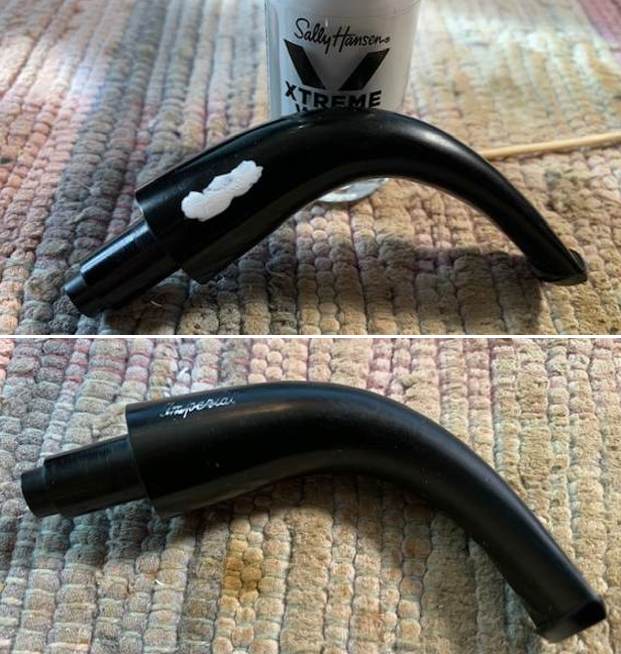
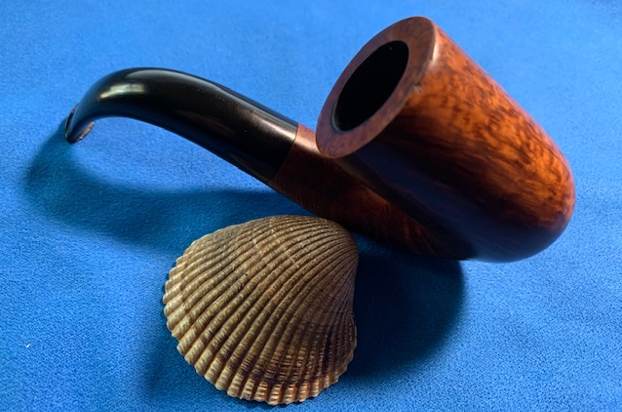
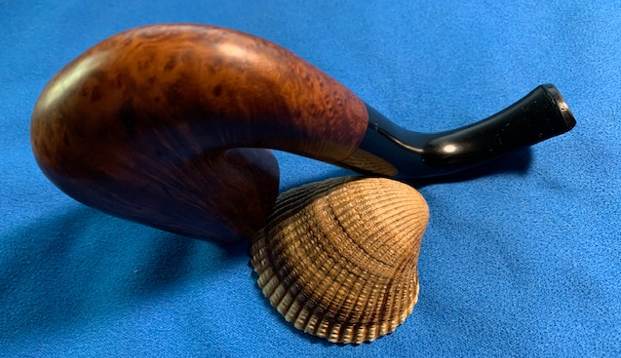
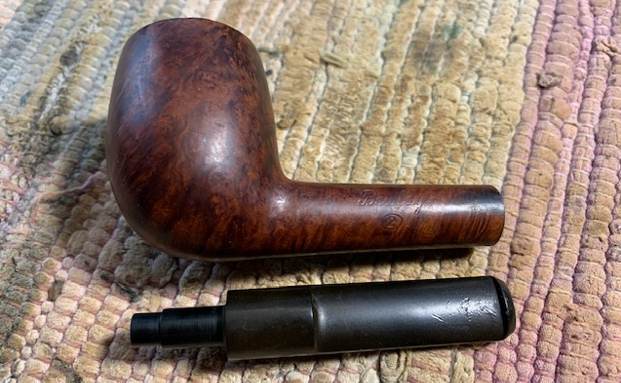
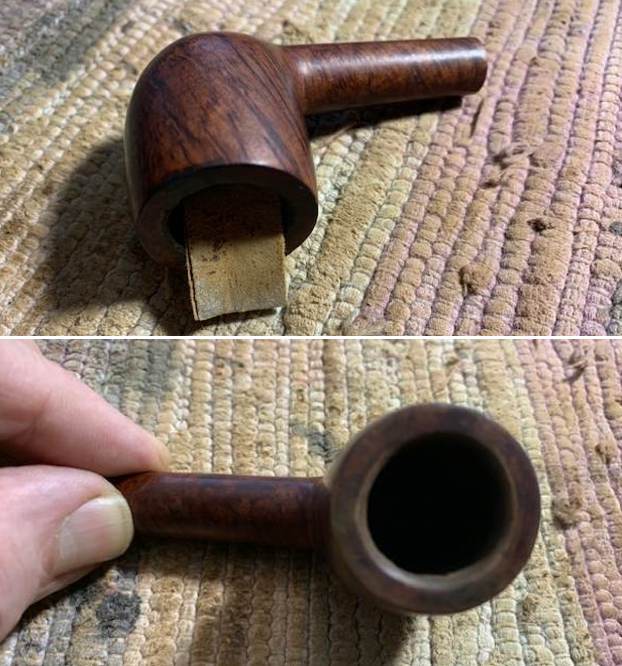
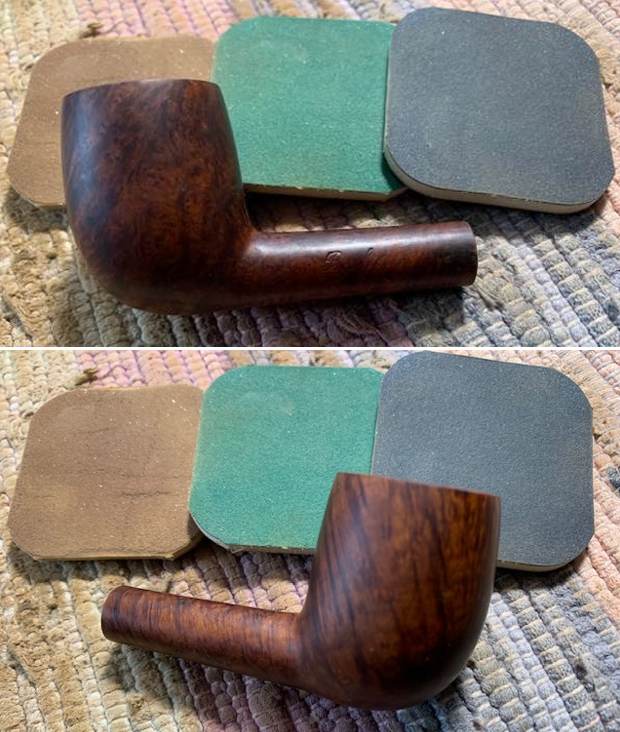
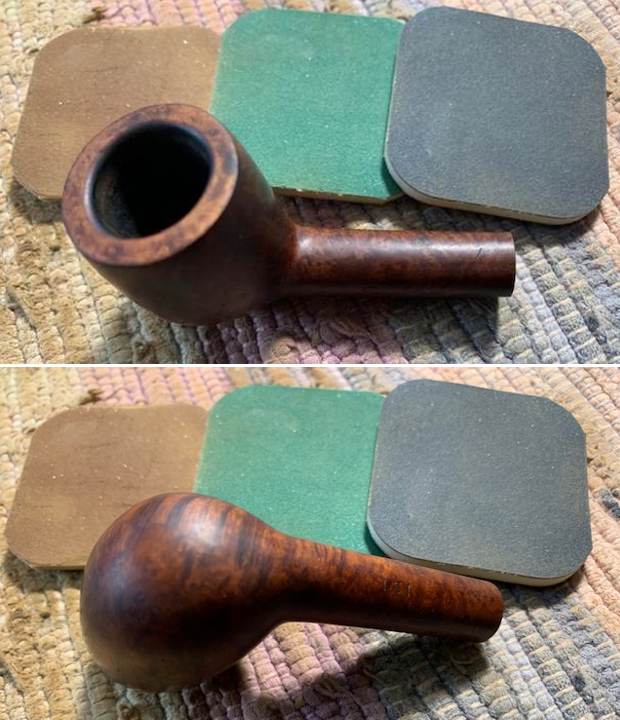
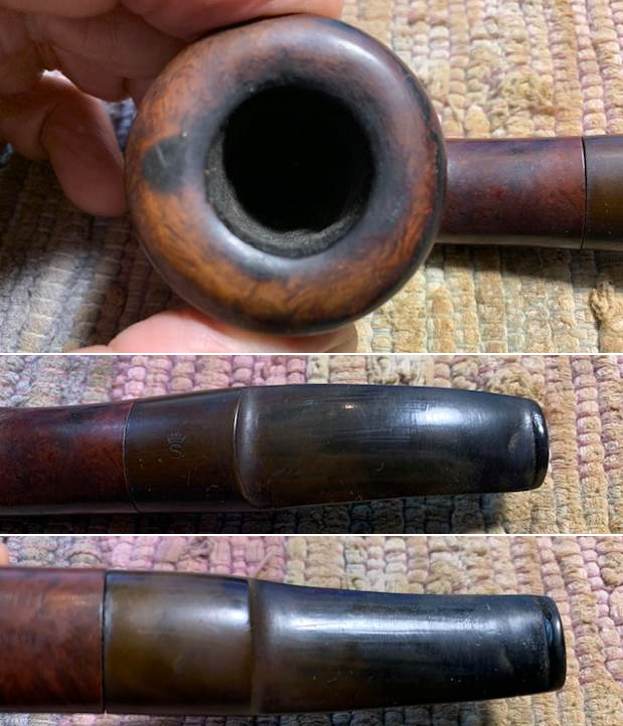
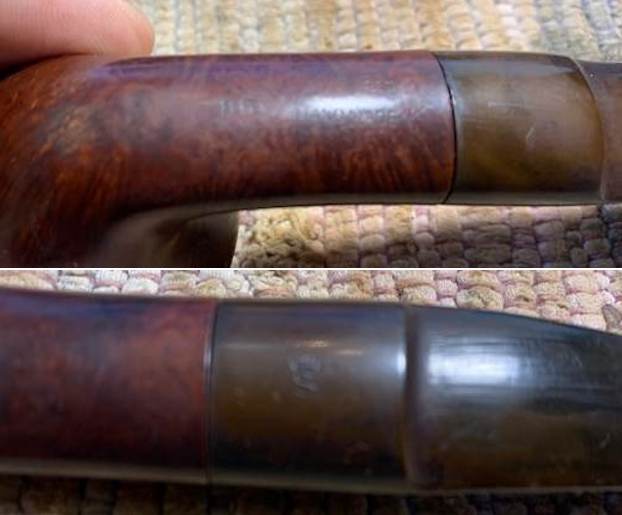
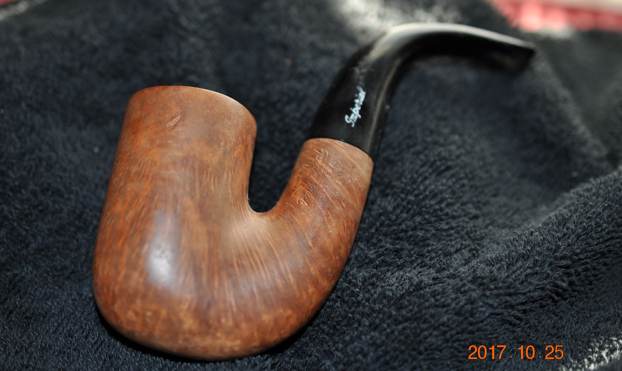
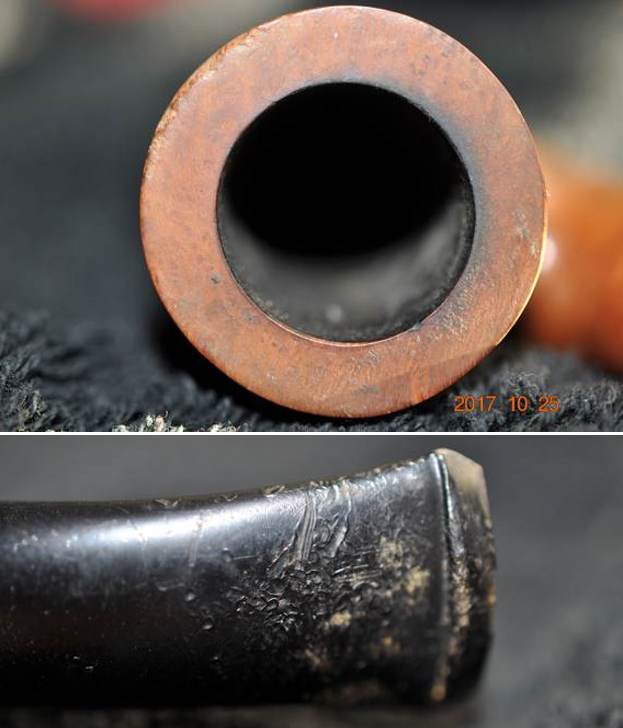
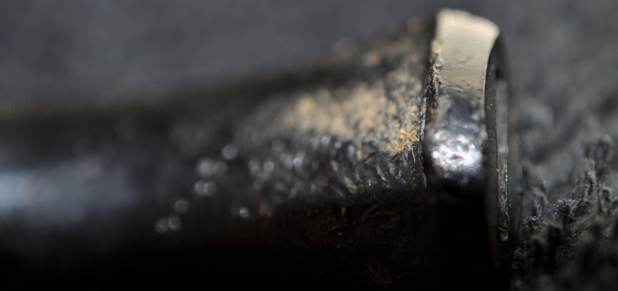
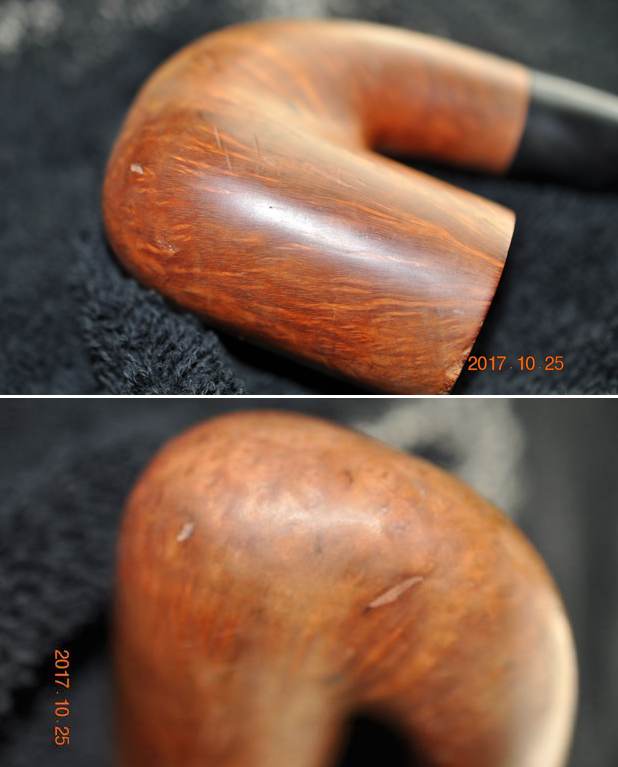
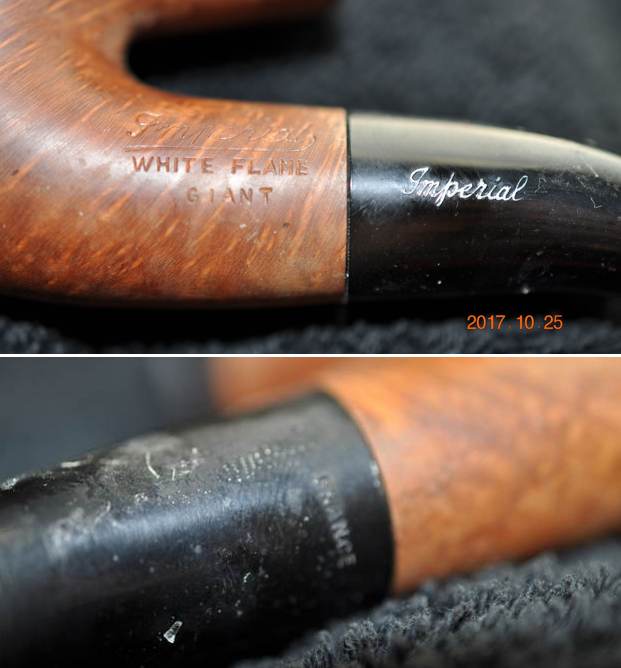
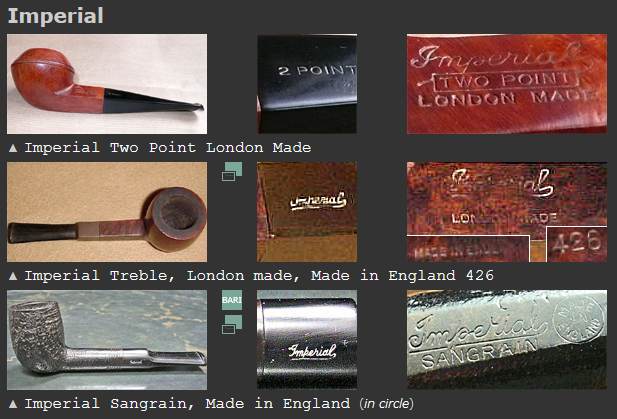
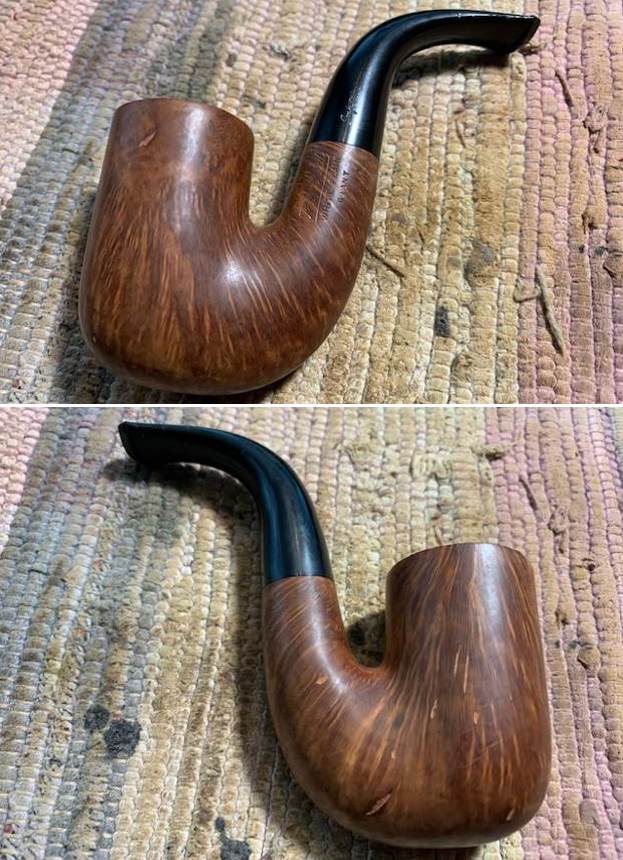
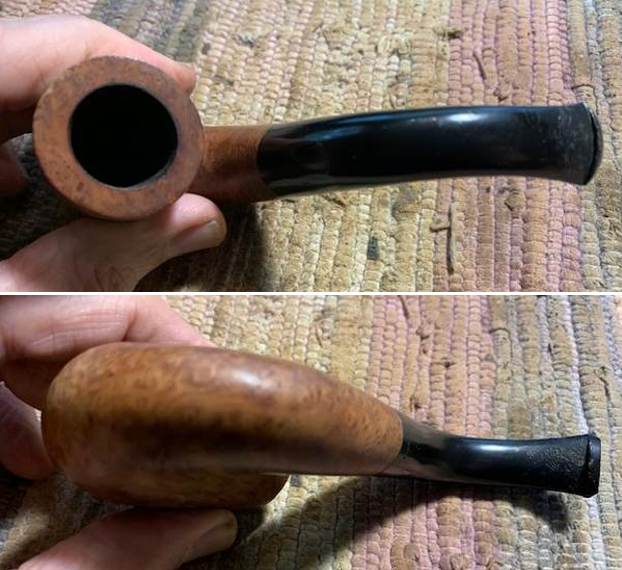
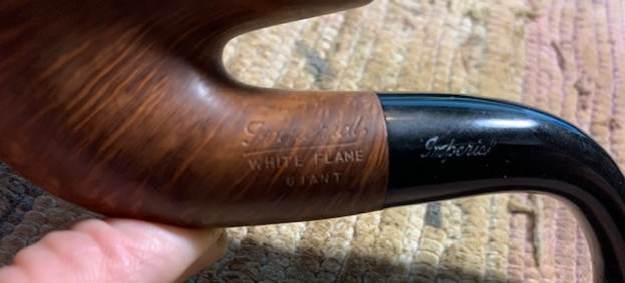
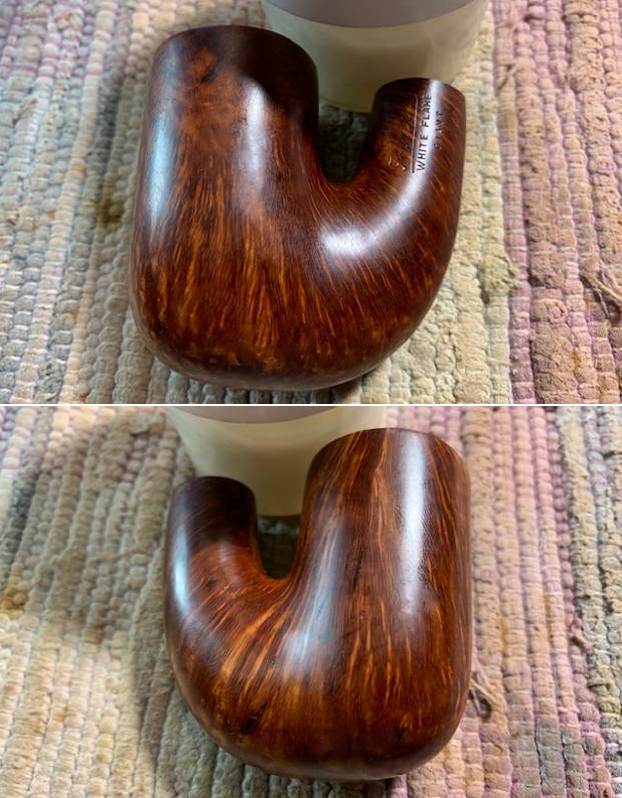
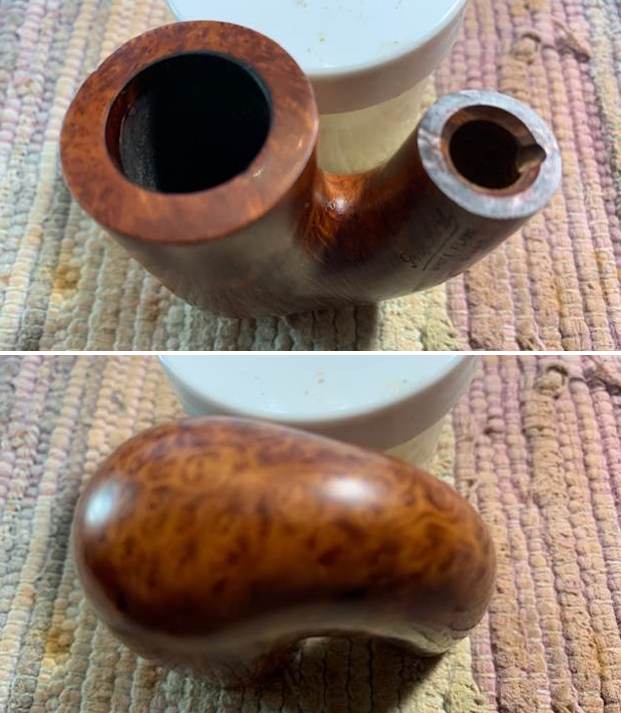
The next pipe on the work table is another pipe that has been here for almost 5 years. Sad that there are some that have sat this long or longer before I got to them. But on the other hand I get to look through my boxes and pick out what turns my crank at the moment. This one was a nice looking Oom Paul with nice grain patterns. We picked it up back in May, 2017 on EBay  from Lewisburg, Ohio, USA. It is stamped on the left side of the shank and reads Imperial in script [over] White Flame [over] Giant. On the stem it is also stamped Imperial on the left side and on the underside it is stamped FRANCE. It looks like an older pipe by the shape of the stem and button and the hard rubber stem itself. The smooth finish had some very nice grain but there were also a lot of fills some on the left near the top but more particularly on the right side of the bowl and shank. They were narrow and small so they were not too annoying. The pipe was dirty but is quite nice natural tones of the briar and the black hard rubber taper stem. The bowl was moderately caked with a lava overflow on the rim top, heavier toward the back. The inner edge looked quite good. The stem is lightly oxidized and had some tooth chatter and tooth marks on the top and underside ahead of the button. The pipe showed a lot of promise but it was a mess. Jeff took pictures of the pipe before he did his clean up work.He took photos of the rim top and bowl as well as the stem surfaces to show the condition of the well smoked pipe. You can see the cake in the bowl and the lava on the inner edge and rim top. There is also some roughening on the front outer edge. The stem was oxidized, calcified and had heavy tooth chatter and marks on both sides ahead of the button. Jeff took some photos of the heel of the bowl and the side to give a sense of the grain and the location of the fills around this pipe.He captured the stamping on the left side of the shank and stem. It is readable as noted above.I turned to Pipephil to get a quick overview of the background information on the Imperial brand (http://pipephil.eu/logos/en/logo-i.html). There was no background information on the site this time but the photos below are helpful in terms of the stamping on the shank and the stem.I turned to Pipedia for more information (https://pipedia.org/wiki/Imperial_Tobacco_Co.). I quote the article below.
From Pipes, Artisans and Trademarks, by Jose Manuel Lopés’

The Imperial Tobacco Co. (Imperial Tobacco Ltd.) was founded in 1901 through the merger of several British tobacco companies. In 1902 it went into partnership with the American Tobacco Company to found the British American Tobacco Company.

See also: Civic. Brands involved: Comoy’s, Bewlay, Nording, Ogden’s, Salmon & Gluckstein, and Steel’s

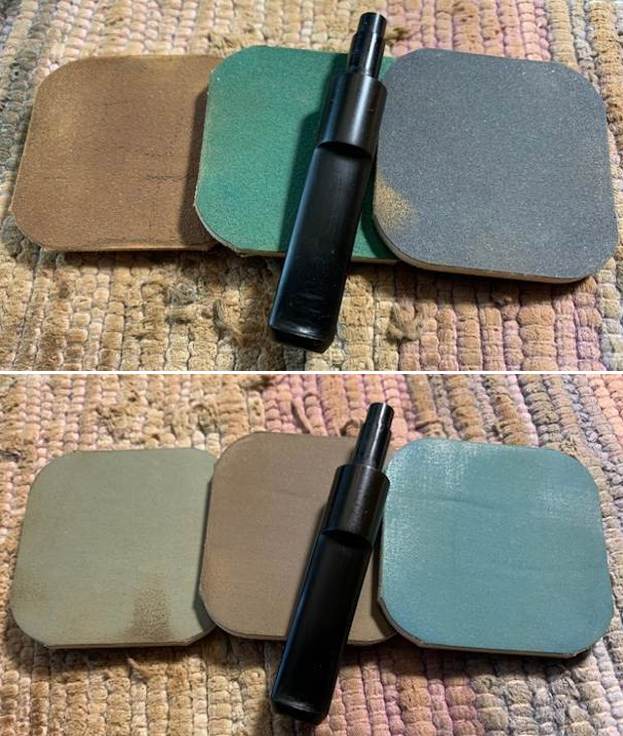
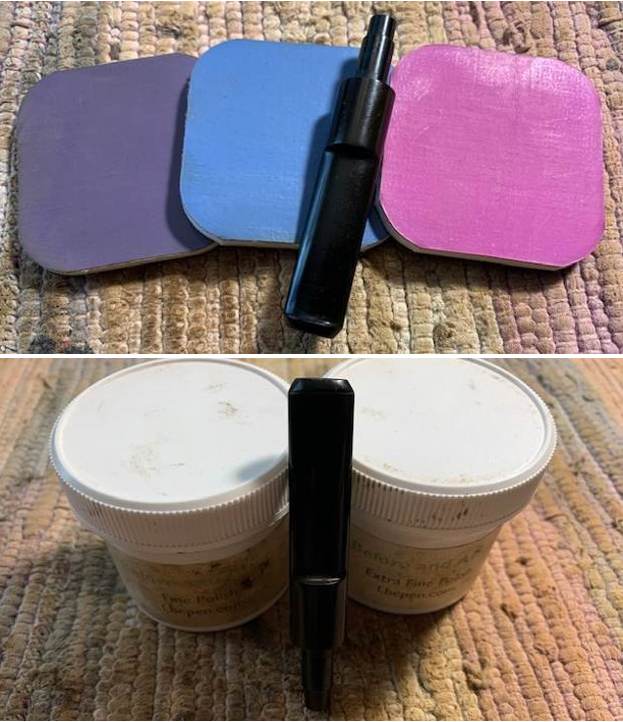
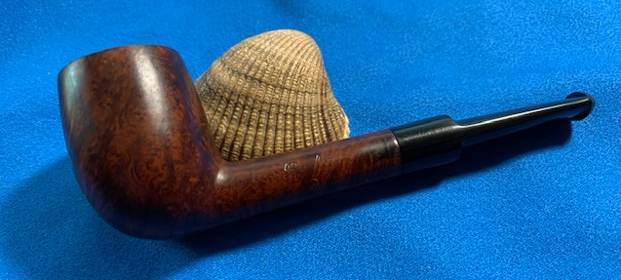
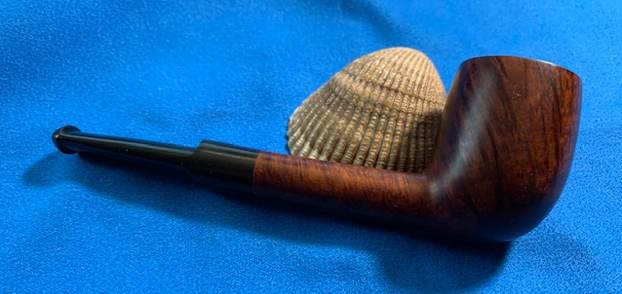
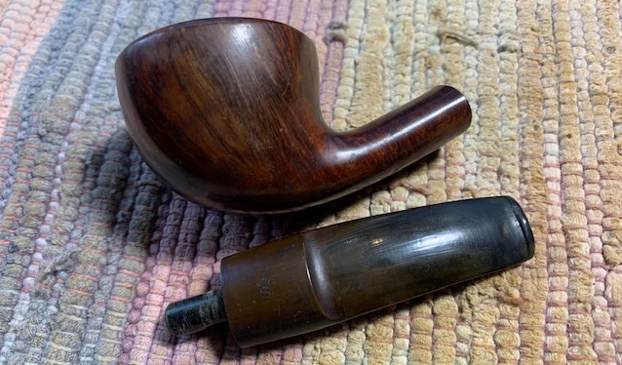
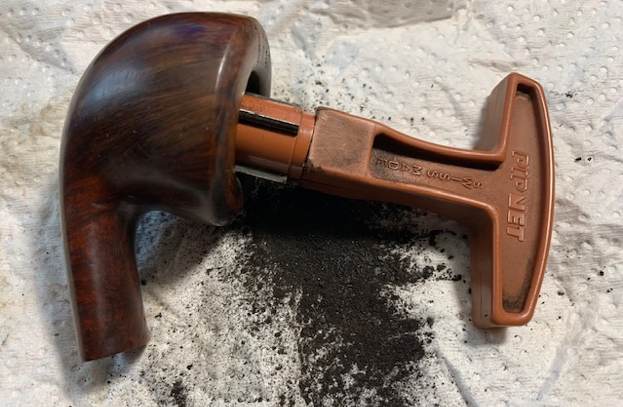
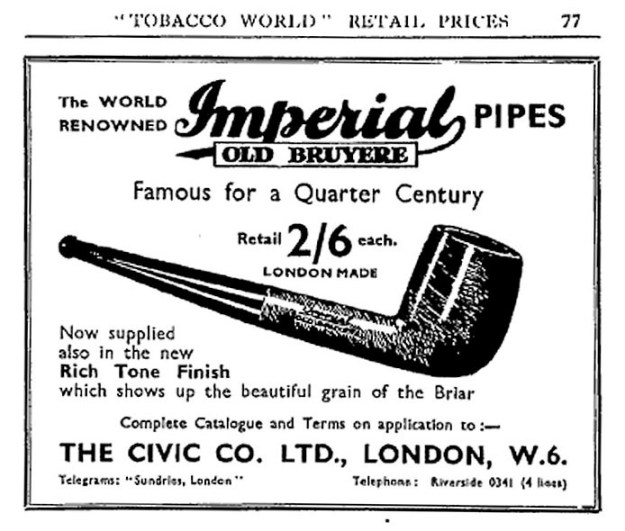
There was a great older advertizement on the link as well that highlighted the age of the brand. I have included that below.Now it was time to look at it up close and personal. Jeff had done an amazing job in removing all of the cake and the lava on the rim top. He had reamed the bowl with a PipNet Pipe Reamer and cleaned up the remnants with a Savinelli Fitsall Pipe Knife. He took the cake back to bare briar so we could check the walls for damage. He scrubbed the exterior of the bowl with Murphy’s Oil Soap and a tooth brush to remove the grime on the bowl and rim and was able to remove the lava and dirt. He cleaned out the interior of the bowl and shank with pipe cleaners, cotton swabs and alcohol until they came out clean. He cleaned the stem with Soft Scrub to remove the grime on the exterior. He cleaned out the airway with alcohol, cotton swabs and pipe cleaners. I took some photos of the pipe before I started my work on it today. I took a close up photo of the cleaned up rim top. The rim top and the inner edge look good. The damage on the outer edge of the bowl shows up on the front of the bowl. The bowl is clean and the walls are undamaged. The stem looks good with lots of tooth chatter and marks along the top and underside ahead of the button. The stem is hard rubber which makes the work more difficult on the tooth marks.I took a photo of the stamping on the shank side. It is clear and readable as noted above.I took the stem off the pipe and took a photo. The Oom Paul is an attractive looking pipe with nice lines. The taper stem shows damage on the sides of the stem.I took photos of the fills on the sides of the bowl. You can see from the photos that they are predominantly on the rights side of the bowl but there are some on the heel of the bowl and on the front and right side as well. I decided to start my work on the pipe by addressing all of the loose and damaged fills around the bowl and heel. I filled in the hole with some clear super glue and pressed some briar dust onto the glue repair. I repeated the process until the fills were solid. This took some time as there were many to work on as I turned the bowl. I went over the bowl a second time and topped up the fills with clear super glue as necessary. I sanded the repaired areas with a folded piece of 220 grit sandpaper to smooth them out and make them flush with the bowl surface. I then sanded the entire pipe with a medium and a fine grit sanding sponge to further smooth them out and blend them into the briar. It was beginning to look quite good. I polished the smooth rim top and areas on the bowl and shank with micromesh sanding pads – dry sanding with 1500-12000 grit pads. After each pad I wiped the bowl down with a damp cloth to remove the sanding debris. It really took on a shine and the fills were less noticeable by the last three sanding pads. I rubbed the bowl down with Before & After Restoration Balm. I worked it into the surface of the briar with my fingertips where it works to clean, restore and preserve the briar. I let it do its magic for 15 minutes then buffed it off with a cotton cloth. The pipe looks incredibly good at this point in the process. I set aside the bowl and turned my attention to the stem. I wiped down the stem with some alcohol to remove the dust from the pits and tooth marks. I filled them in with black super glue and set it aside to cure.Once the repairs cured I smoothed them out with a small file. I flattened them against the surface of the hard rubber. I sanded the repairs and the tooth chatter with 220 grit sandpaper and started polishing it with 400 grit wet dry sandpaper. Each step took it closer to the finished look. I touched up the stamping on the left side of the stem with white acrylic fingernail polish and worked it into the stamp with a tooth pick. Once the acrylic had cured I scraped off the excess acrylic with the tooth pick.I continued to polish the stem with micromesh sanding pads – wet sanding with 1500-12000 grit sanding pads. I wiped it down after each sanding pad with Obsidian Oil. I polished it further with Before & After Stem Polish – both Fine and Extra Fine. I gave it a final coat of Obsidian Oil and set it aside to cure. I am excited to finish this Imperial White Flame Giant Oom Paul. I put the pipe back together and buffed it with Blue Diamond on the buffing wheel. I gave the bowl and the stem multiple coats of carnauba wax. I buffed the pipe with a clean buffing pad to raise the shine and then by hand with a microfibre cloth to deepen it. It is fun to see what the polished bowl looks like with beautiful straight grain all around it. The polished grain on the pipe looks great with the black hard rubber stem. This Imperial Oom Paul is great looking and the pipe feels great in my hand. It is light and well balanced. Have a look at it with the photos below. The dimensions are Length: 4 ½ inches, Height: 2 ¼ inches, Outside diameter of the bowl: 1 ¼ inches, Chamber diameter: ¾ of an inch. The weight of the pipe is 65 grams/2.29 ounces. It turned out to be a beautiful pipe. I will soon be putting it on the rebornpipes store in the British Pipemakers Section. If you are interested in adding it to your collection let me know. Remember we are the next in a long line of pipe men and women who will carry on the trust of our pipes until we pass them on to the next trustee. Thanks for your time reading this blog.
New Life for a Chunky Arlington Imported Briar Bent Rhodesian


Blog by Steve Laug

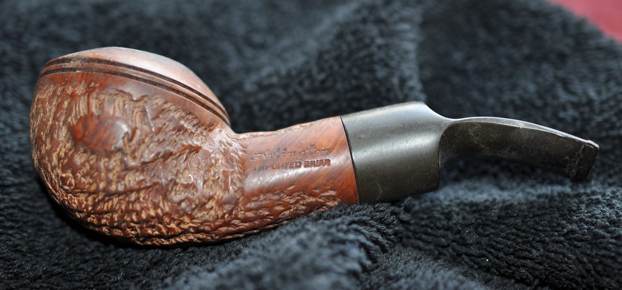
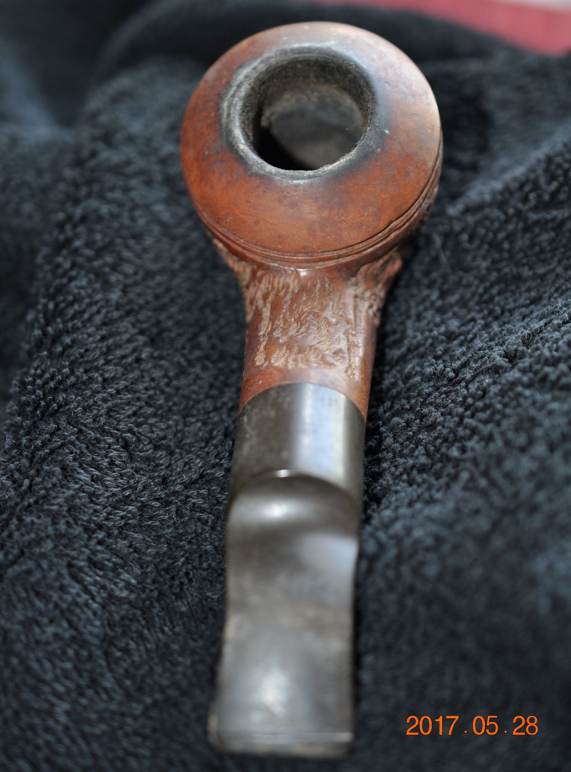
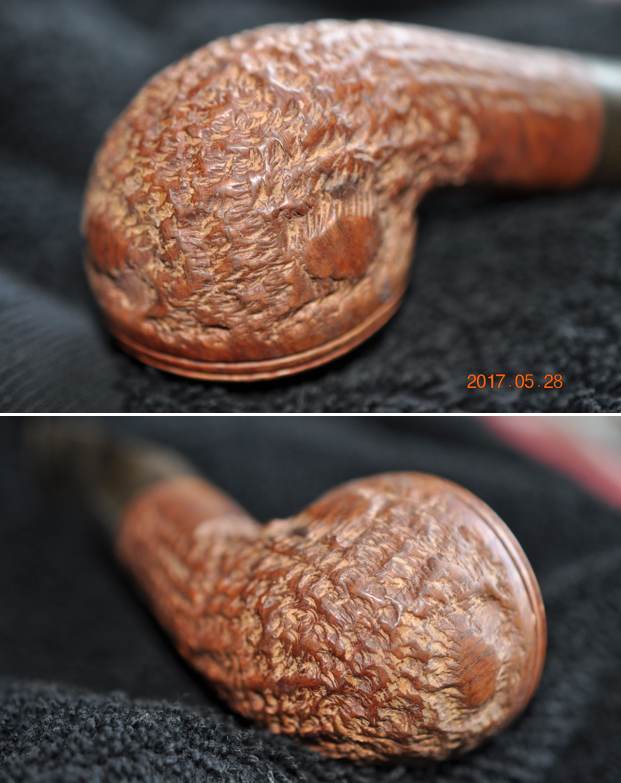
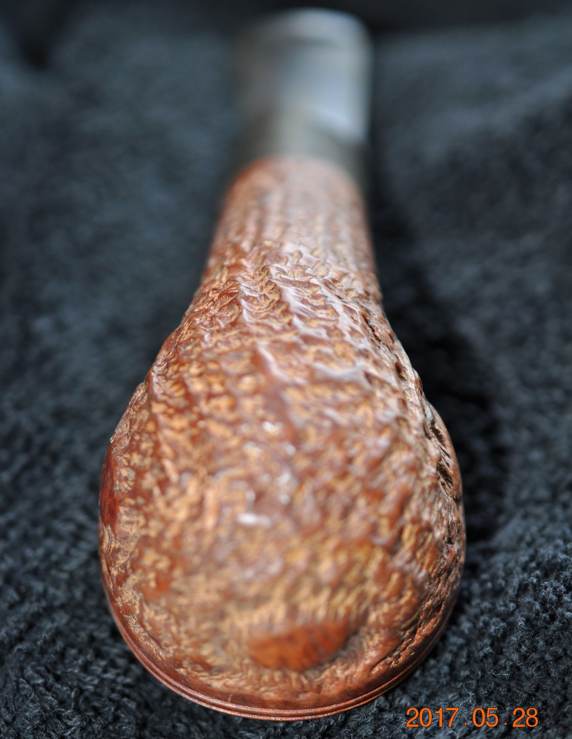
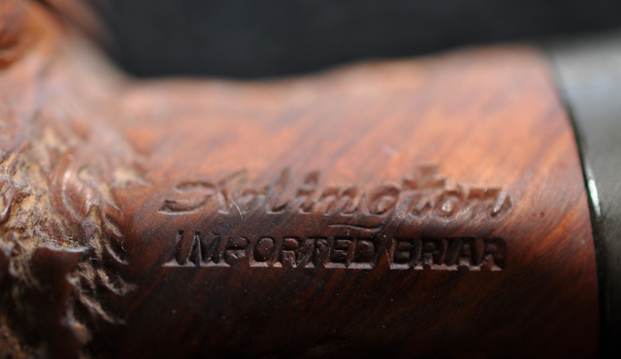
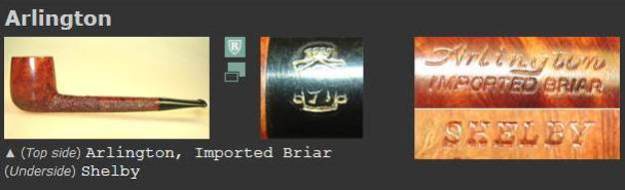
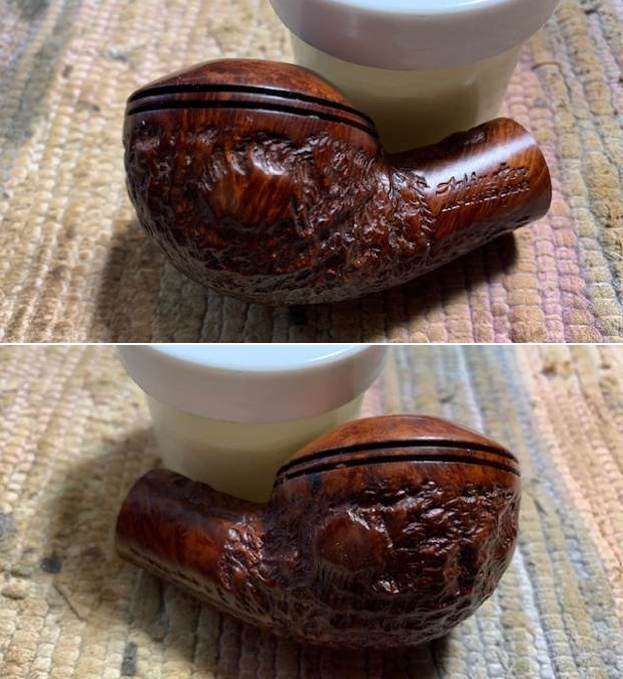
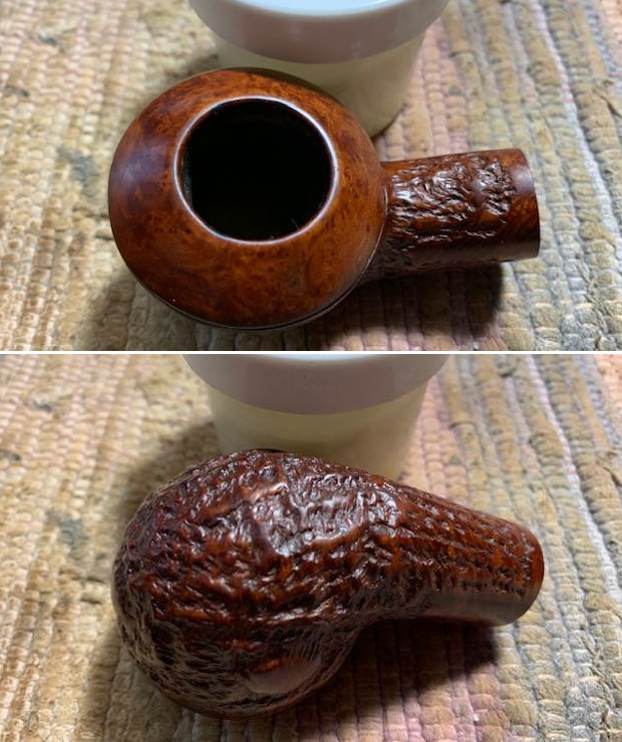
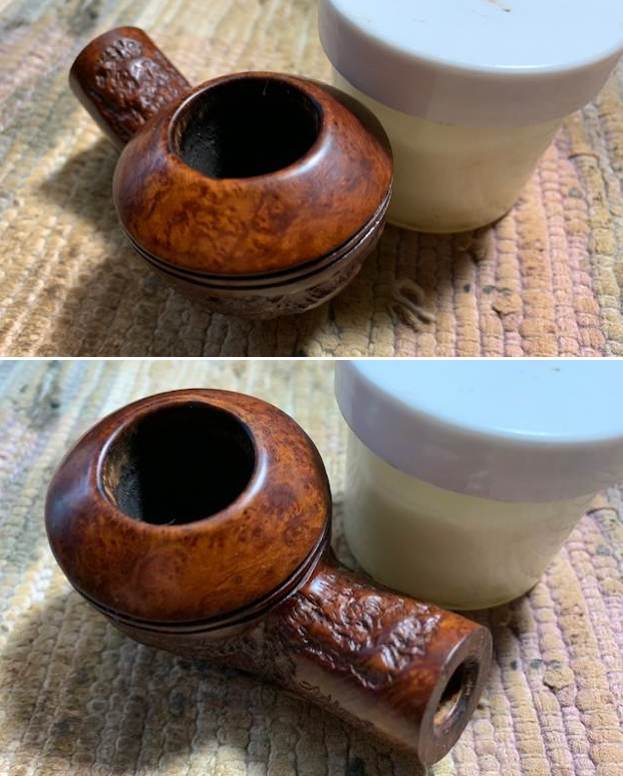
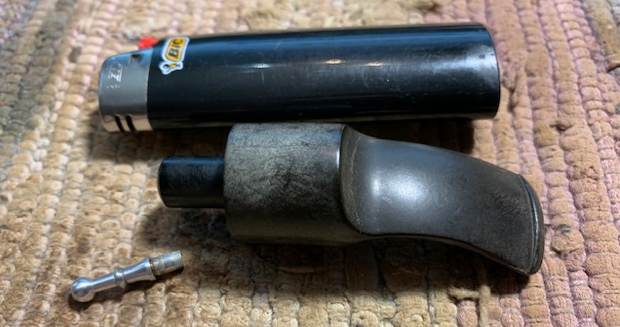
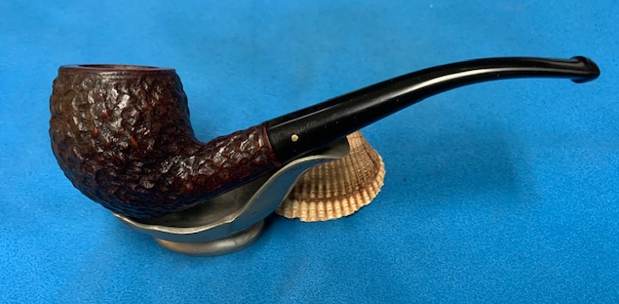
The next pipe on the work table is another pipe that has been here for over 5 years. Sad that there are some that have sat this long or longer before I got to them. But on the other hand I get to look through my boxes and pick out what turns my crank at the moment. This one was a nice looking bent Rhodesian with interesting rustication patterns. We picked it up back in May, 2017 off EBay from a seller in Lewisburg, Ohio, USA. It is stamped on the left side of the shank and reads Arlington in script [over] Imported Briar. The rustication is rugged but has a smooth spot on each side of the bowl, a panel on the front and each side of the shank and a smooth band around the shank end. It is dirty but is quite nice with the reds and browns of the briar and the black vulcanite stem. The pipe was another one that had obviously been someone’s favourite and must have been a grand smoker. The finish is very dirty with dust in the rustication. The bowl is heavily caked with a thick lava overflow on the rim top. The inner edge was also thickly caked with lava. The stem is lightly oxidized, calcified and had some tooth chatter on the top and underside ahead of the button. The pipe showed a lot of promise but it was a mess. Jeff took pictures of the pipe before he did his clean up work. He took photos of the rim top and bowl as well as the stem surfaces to show the condition of the well smoked pipe. You can see the thick cake in the bowl and the heavy lava on the inner edge and rim top. The stem was oxidized, calcified and had tooth chatter on both sides ahead of the button. He removed the stem from the shank and revealed a very tarry and dirty stinger apparatus that in the tenon.Jeff took some photos of the heel of the bowl and the side to give a sense of the rustication style around this pipe. He captured the stamping on the underside of the shank. It is readable as noted above. I turned to Pipephil to get a quick overview of the background information on the Arlington brand (http://pipephil.eu/logos/en/logo-a7.html). The side bar stated that it was a brand of the Arlington Briar Pipe Corp. I have included a screen capture of the pertinent information below.I turned to Pipedia for more information (https://pipedia.org/wiki/Arlington). I quote the article below.

Arlington Briar Pipes Corporation was founded in 1919 in Brooklyn, New York, and produced the Arlington, Briarlee, Firethorn, Kimberly, Krona and Olde London brands among dozens of others, primarily acting as a subcontractor making pipes to be sold under other brand names. Among others, in the 1950’s, Arlington turned pipes for the famed Wilke Pipe Shop in New York City. The corporation was dissolved by the State of New York as inactive on December 6, 1978. Arlington Briar Pipe Corporation, located at 200 Kosciusko Street, Brooklyn, New York, registered only a single brand trademark, the Arlington brand, the trademark for which was applied for on November 13, 1962 and granted on February 25, 1964. Jack Kaye, of Arlington Briar, was also granted a patent for a combined mirror and stand in 1967.

According to José Manuel Lopes, “North American brand that belonged to Arlington Briar Pipes Corp., Brooklyn, New York, founded in 1919. In the 1940s, Ludwig Rosenberger gave the company new life, and it continued until the 70s. His son, Mel Rosenberger, has recently launched the DiMonte brand. Jack Uhle was also linked to Arlington.” Arlington, as far as known, mainly operated as a sub-contractor for other brands. The Jobey pipes are said to be made by Arlington at an unknown point of time. Arlington’s own pipes are seldom seen.

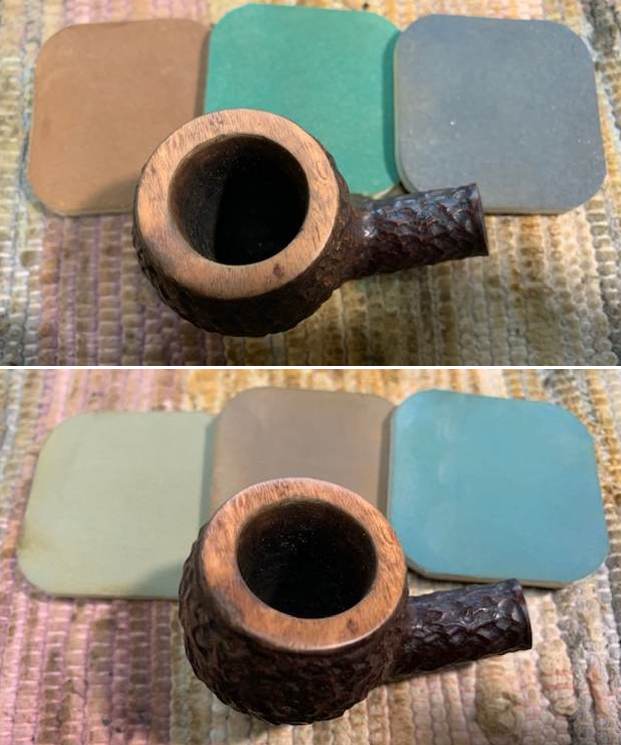
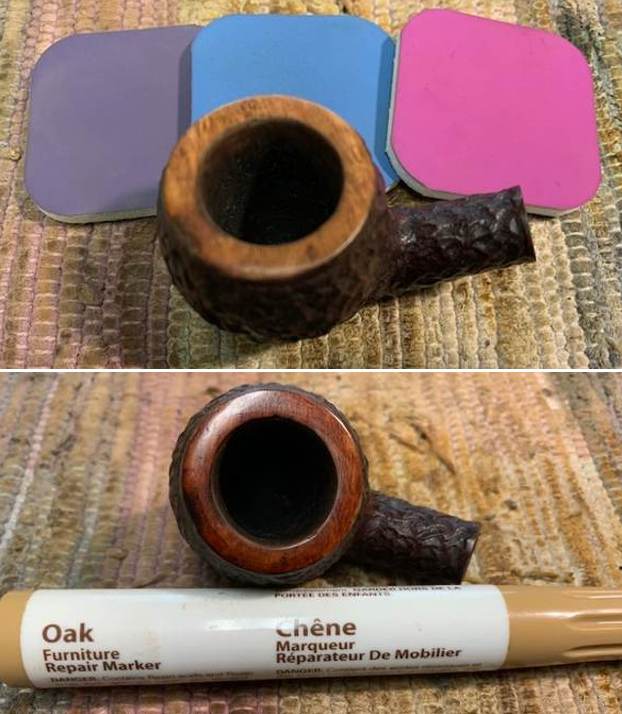
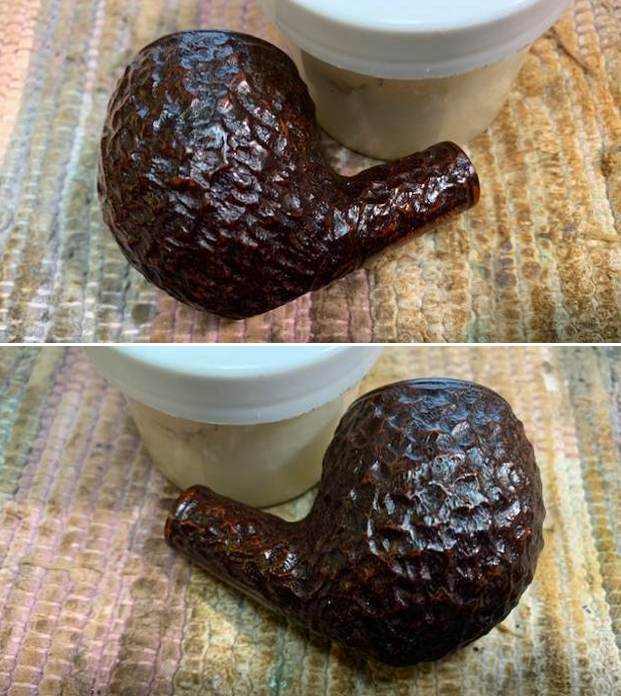
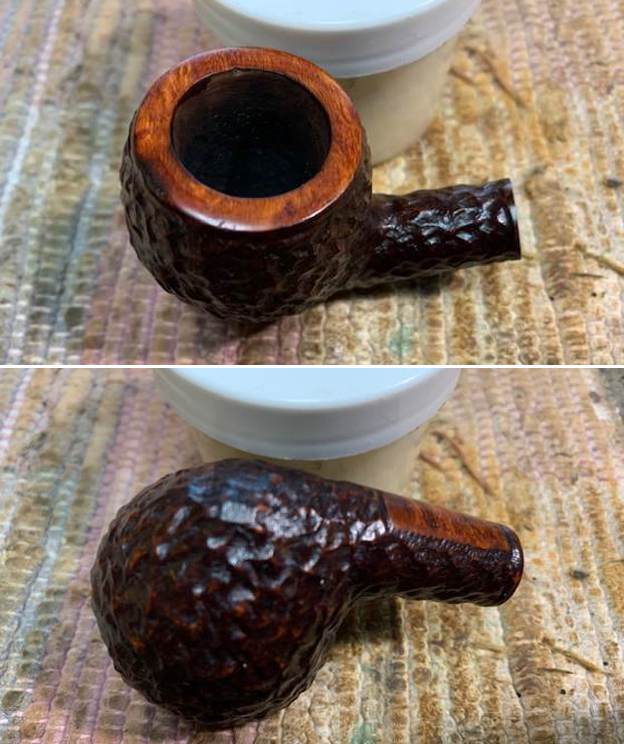
The article also included the following photo from an RTDA catalog. It is a great addition to the information above.Now it was time to look at it up close and personal. Jeff had done an amazing job in removing all of the cake and the lava on the rim top. He had reamed the bowl with a PipNet Pipe Reamer and cleaned up the remnants with a Savinelli Fitsall Pipe Knife. He took the cake back to bare briar so we could check the walls for damage. He scrubbed the exterior of the bowl with Murphy’s Oil Soap and a tooth brush to remove the grime on the bowl and rim and was able to remove the lava and dirt. He cleaned out the interior of the bowl and shank with pipe cleaners, cotton swabs and alcohol until they came out clean. He cleaned the stem with Soft Scrub to remove the grime on the exterior. He cleaned out the airway with alcohol, cotton swabs and pipe cleaners. I took some photos of the pipe before I started my work on it today. I took a close up photo of the cleaned up rim top. The rim top and the inner edge look good. The bowl is clean and the walls are undamaged. The stem looks good with light tooth chatter along the top and underside ahead of the button.I took a photo of the stamping on the shank side. It is clear and readable as noted above.I took the stem off the pipe and took a photo. The Rhodesian is a chunky looking pipe with nice lines.I started my work on the pipe with a simple first step. I touched up the stain on the inner edge of the rim with an Oak Stain pen. It matched well and would work very well once I polished the rest of the rim top. I chose to do this at this stage as the polishing would served to blend it in and make it unnoticeable.I polished the smooth rim top and areas on the bowl and shank with micromesh sanding pads – dry sanding with 1500-12000 grit pads. After each pad I wiped the bowl down with a damp cloth to remove the sanding debris. It really took on a shine by the last three sanding pads. I rubbed the bowl down with Before & After Restoration Balm. I worked it into the surface of the briar with my fingertips where it works to clean, restore and preserve the briar. I let it do its magic for 15 minutes then buffed it off with a cotton cloth. The pipe looks incredibly good at this point in the process. I set aside the bowl and turned my attention to the stem. I heated the tenon with the flame of a lighter and was able to pull it out quite easily. I double checked the cleaning on it now that it was out of the tenon and found that it was very clean.I scrubbed the surface of the stem with Soft Scrub cleanser to remove the oxidation on the surface. Once I was finished it looked significantly better.I sanded the tooth chatter and remnants of oxidation on both sides with 220 grit sandpaper and started the polishing with 400 grit wet dry sandpaper. Each step took it closer to the finished look.I continued to polish the stem with micromesh sanding pads – wet sanding with 1500-12000 grit sanding pads. I wiped it down after each sanding pad with Obsidian Oil. I polished it further with Before & After Stem Polish – both Fine and Extra Fine. I gave it a final coat of Obsidian Oil and set it aside to cure. I am excited to finish this Arlington Imported Briar Rhodesian. I put the pipe back together and buffed it with Blue Diamond on the buffing wheel. I gave the bowl multiple coats of Conservator’s Wax and the stem multiple coats of carnauba wax. I buffed the pipe with a clean buffing pad to raise the shine and then by hand with a microfibre cloth to deepen it. It is fun to see what the polished bowl looks like with beautiful grain on the smooth portions and the rustication depths all around it. The polished grain on the pipe looks great with the black vulcanite stem. This Arlington Rhodesian is great looking and the pipe feels great in my hand. It is light and well balanced. Have a look at it with the photos below. The dimensions are Length: 5 inches, Height: 1 ½ inches, Outside diameter of the bowl: 1 ¾ inches, Chamber diameter: 7/8 of an inch. The weight of the pipe is 54 grams/1.90 ounces. It turned out to be a beautiful pipe. I will soon be putting it on the rebornpipes store in the American Pipemakers Section. If you are interested in adding it to your collection let me know. Remember we are the next in a long line of pipe men and women who will carry on the trust of our pipes until we pass them on to the next trustee. Thanks for your time reading this blog.
New Life for a Viking Classic Danish Handmade Apple


Blog by Steve Laug

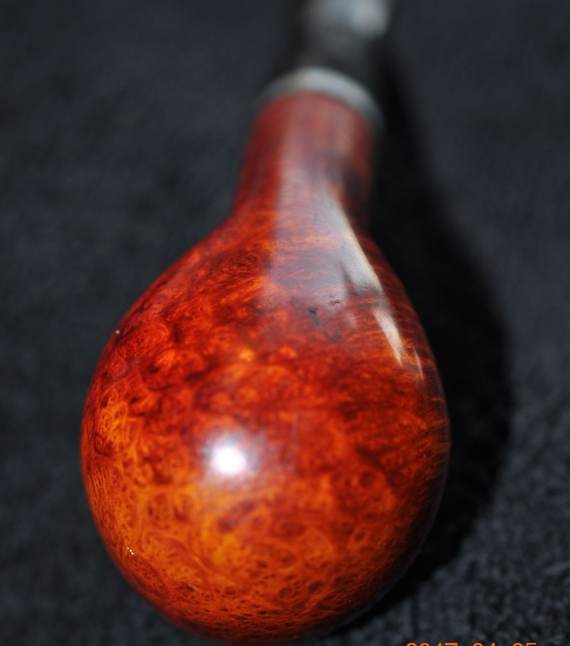
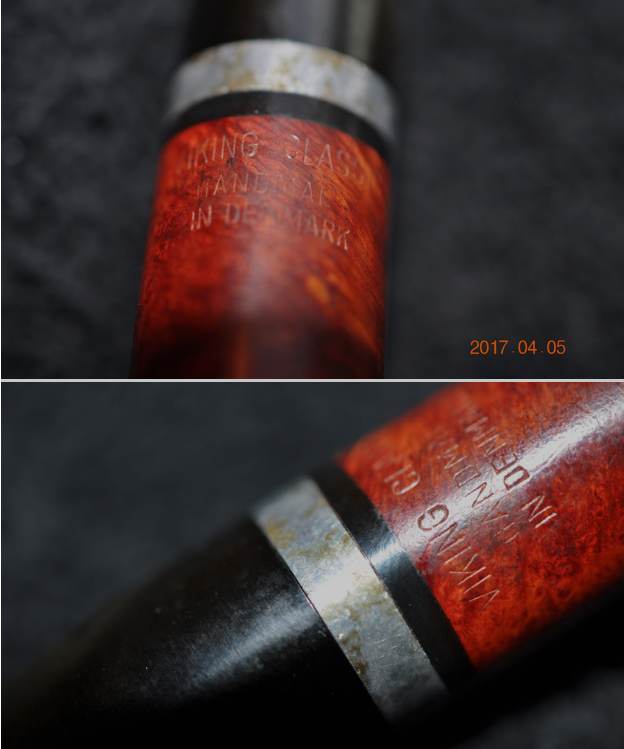
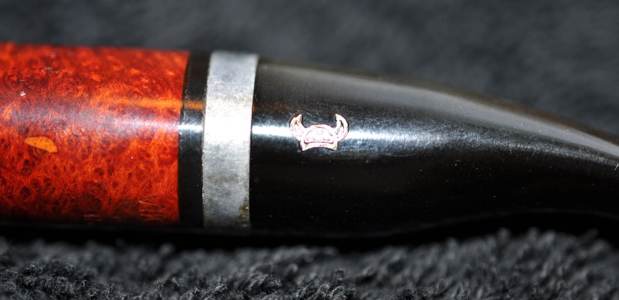
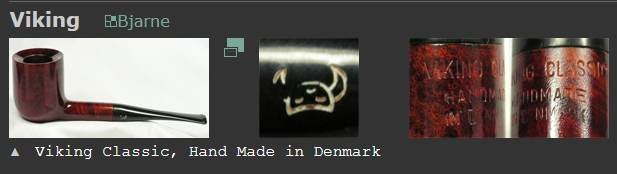
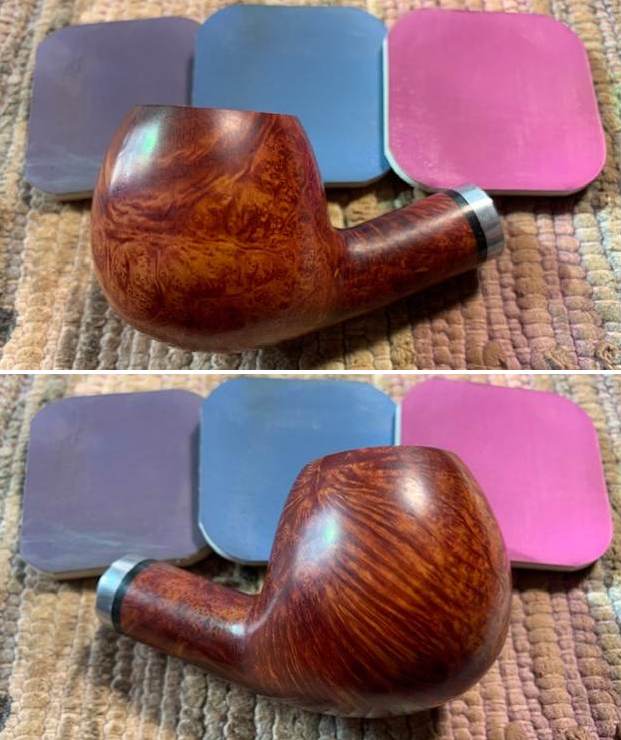
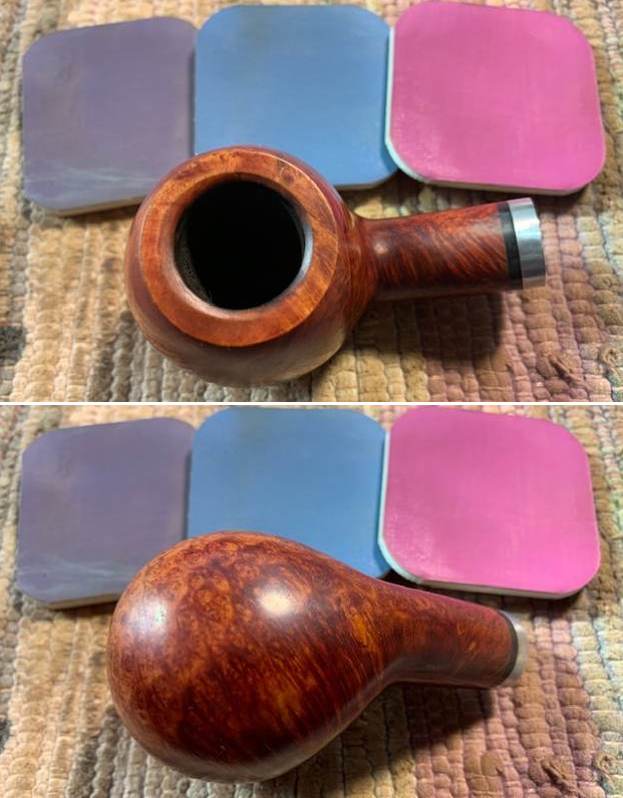
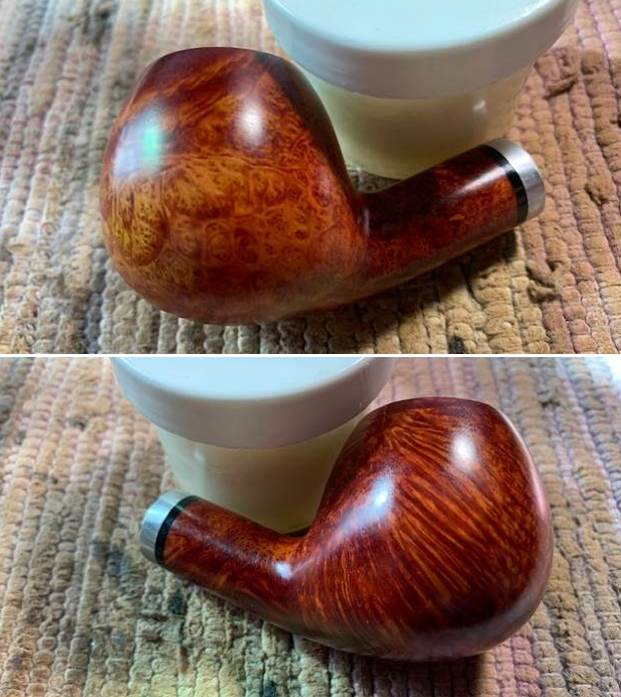
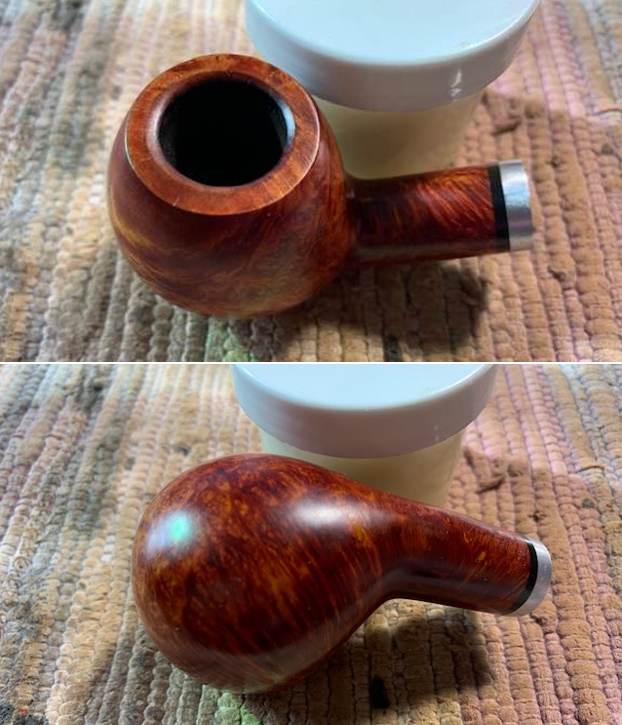
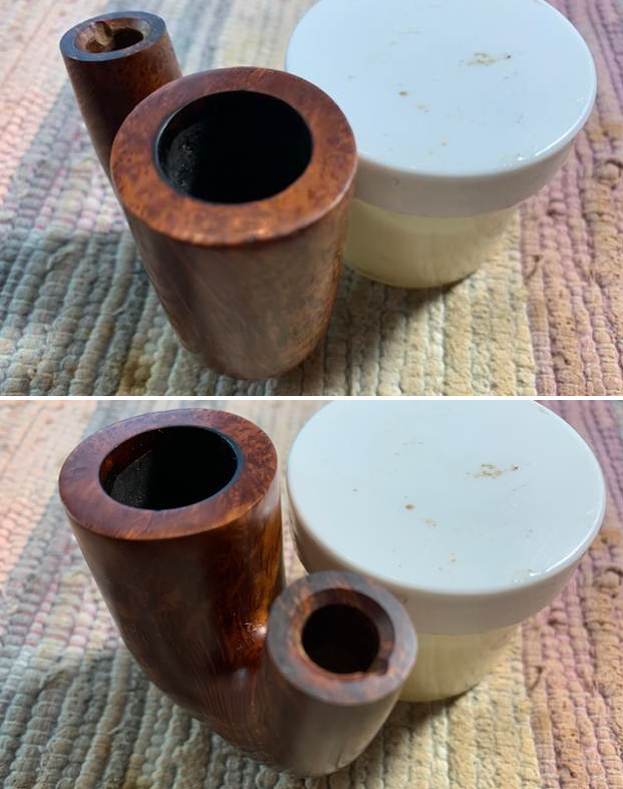
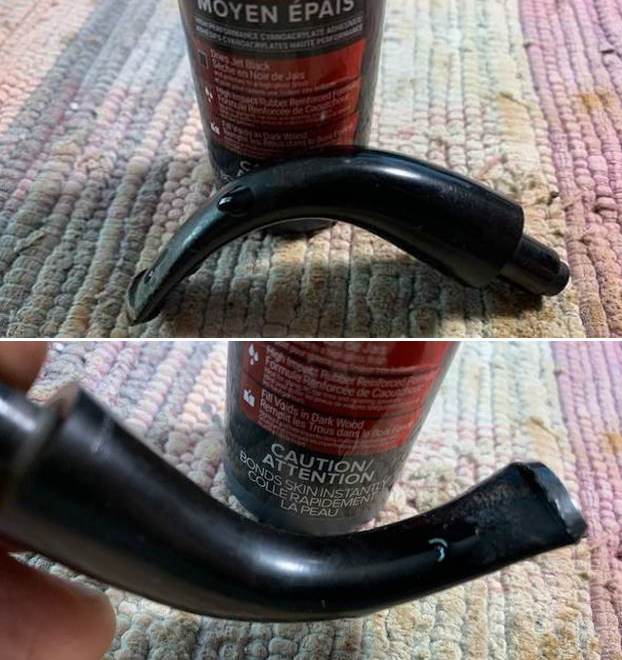
The next pipe on the work table is another pipe that has been here for over 5 years. Sad that there are some that have sat this long or longer before I got to them. But on the other hand I get to look through my boxes and pick out what turns my crank at the moment. This one was a nice looking bent apple with interesting mixed grain. We picked it up back in March, 2017 off EBay from a seller in Saylorsville, Pennsylvania, USA. It is stamped on the underside of the shank and reads Viking Classic [over] Handmade [over] In Denmark. The shank extension/shank band is a combination of polished aluminum on top of a black acrylic. It is quite nice with the reds and browns of the briar and the black vulcanite stem. The poor pipe was another one that had obviously been someone’s favourite and must have been a grand smoker. The finish appears to have some nice mixed  grain around the bowl and shank that even stands out with the grime on the finish. The bowl is heavily caked with a thick lava overflow on the rim top. The inner edge was also thickly caked with lava. The stem is quite oxidized, calcified and had a lot of tooth chatter on the top and underside and on the button itself. The pipe showed a lot of promise but it was a mess. Jeff took pictures of the pipe before he did his clean up work. He took photos of the rim top and bowl as well as the stem surfaces to show the condition of the well smoked pipe. You can see the thick cake in the bowl and the heavy lava on the beveled inner edge and flat rim top. The stem was oxidized, calcified and had tooth chatter on both sides ahead of the button as well as tooth marks on the surface of the button itself.Jeff took some photos of the heel of the bowl and the side to give a sense of the beauty of the grain around this pipe. He captured the stamping on the underside of the shank. It is readable as noted above. He also took a photo of the stamped Viking helmet on the left side of the taper stem. There are also some fills around the bowl and shank. Most of them are blended in very well. I turned to Pipephil to get a quick overview of the background information on the Viking brand (http://pipephil.eu/logos/en/logo-v2.html). I had vague memories of the pipe being connected to Bjarne but was not certain. I have included a screen capture of the pertinent information below.I turned then to the information on Pipephil for Bjarne pipes (http://pipephil.eu/logos/en/logo-b5.html#bjarne). The link gave information that stated the brand was a Bjarne second. I quote from that link below.

Bjarne Nielsen (1941 – † 2008) distributed his own “Bjarne” brand and pipes carved by Danish Pipemakers (Mogens Johansen, Tonni Nielsen or Ph. Vigen).

High grade pipes were stamped “Bjarne Nielsen” without any logo on the mouthpiece and graded A, B, C and D.

Bjarne second brand: Viking

Now it was time to look at it up close and personal. Jeff had done an amazing job in removing all of the cake and the lava on the rim top. He had reamed the bowl with a PipNet Pipe Reamer and cleaned up the remnants with a Savinelli Fitsall Pipe Knife. He took the cake back to bare briar so we could check the walls for damage. He scrubbed the exterior of the bowl with Murphy’s Oil Soap and a tooth brush to remove the grime on the bowl and rim and was able to remove the lava and dirt. The inner edge of the bowl had a lot of damage and there were some damage on the rim top. He cleaned out the interior of the bowl and shank with pipe cleaners, cotton swabs and alcohol until they came out clean. He cleaned the stem with Soft Scrub to remove the grime on the exterior then soaked it in Before & After Pipe Stem Deoxidizer. He cleaned out the airway with alcohol, cotton swabs and pipe cleaners. I took some photos of the pipe before I started my work on it today.    I took a close up photo of the cleaned up rim top. The rim top and the beveled inner edge look very good. The bowl is clean and the walls are undamaged. The stem looks good with tooth marks and chatter along the top and underside ahead of the button.I took the stem off the pipe and took a photo. The Apple is a nicely designed pipe with nice lines.I polished the briar with micromesh sanding pads – dry sanding with 1500-12000 grit pads. I worked over the inner and outer edge of the rim as well. After each pad I wiped the bowl down with a damp cloth to remove the sanding debris. It really took on a shine by the last three sanding pads. I rubbed the bowl down with Before & After Restoration Balm. I worked it into the surface of the briar with my fingertips where it works to clean, restore and preserve the briar. I let it do its magic for 15 minutes then buffed it off with a cotton cloth. The pipe looks incredibly good at this point in the process. I set aside the bowl and turned my attention to the stem. I “painted” the surface of the stem with the flame of a Bic lighter to raise the tooth marks. I was able to raise many of them. Those that remained I filled in with black super glue and set it aside to cure. Once the repair had cured I used a small file to reshape the button and flatten out the button. It would take more work with the sandpaper to fully reshape it. I shaped it further with 220 grit sandpaper and started the polishing with 400 grit wet dry sandpaper. It was beginning to take shape. I continued to polish the stem with micromesh sanding pads – wet sanding with 1500-12000 grit sanding pads. I wiped it down after each sanding pad with Obsidian Oil. I polished it further with Before & After Stem Polish – both Fine and Extra Fine. I gave it a final coat of Obsidian Oil and set it aside to cure. I am excited to finish this Viking Classic Handmade Danish Apple. I put the pipe back together and buffed it with Blue Diamond on the buffing wheel. I gave the bowl and the stem multiple coats of carnauba wax. I hand buffed the pipe with a clean buffing pad to raise the shine. It is fun to see what the polished bowl looks like with beautiful straight grain all around it and the birdseye on the rim top. The polished grain on the pipe looks great with the black vulcanite stem. This smooth Viking Classic Apple is great looking and the pipe feels great in my hand. It is light and well balanced. Have a look at it with the photos below. The dimensions are Length: 5 ½ inches, Height: 1 ¾ inches, Outside diameter of the bowl: 1 ¼ inches, Chamber diameter: ¾ of an inch. The weight of the pipe is 55 grams/1.94 ounces. It turned out to be a beautiful pipe. I will soon be putting it on the rebornpipes store in the Danish Pipemakers section. If you are interested in adding it to your collection let me know. Remember we are the next in a long line of pipe men and women who will carry on the trust of our pipes until we pass them on to the next trustee. Thanks for your time reading this blog.
New Life for a Hard Smoked Older Bewlay 2 Lovat 191


Blog by Steve Laug

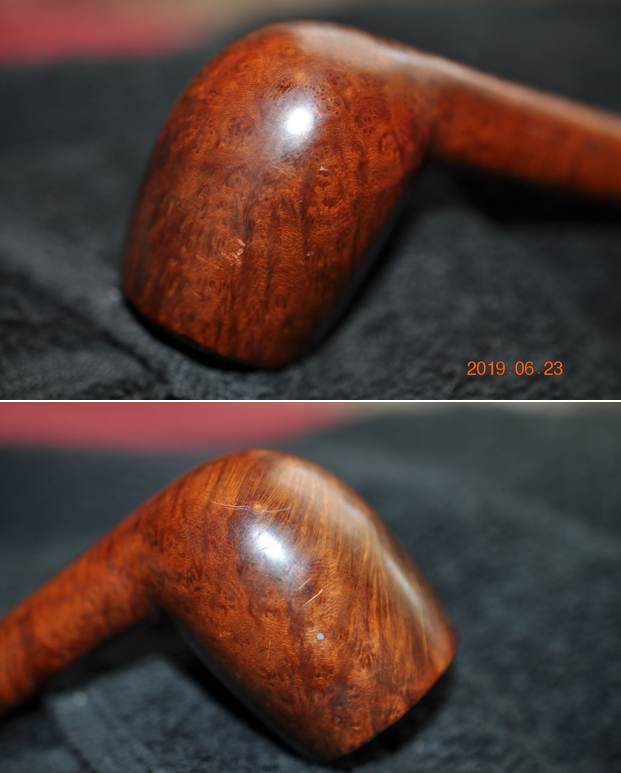
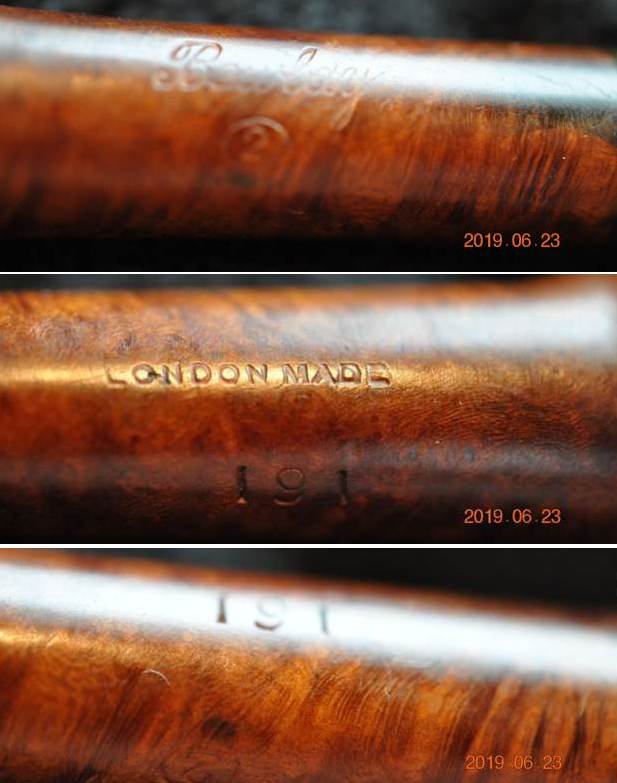
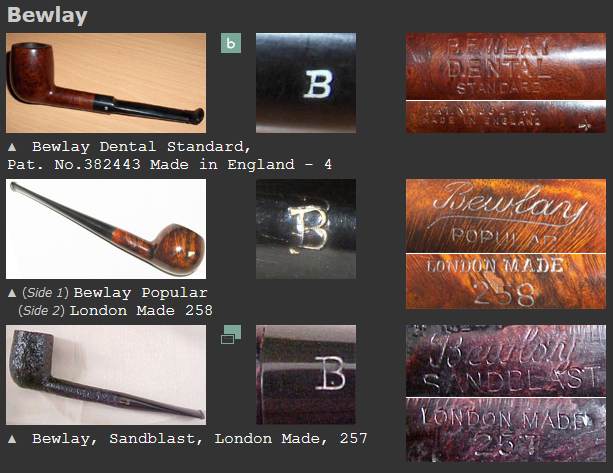
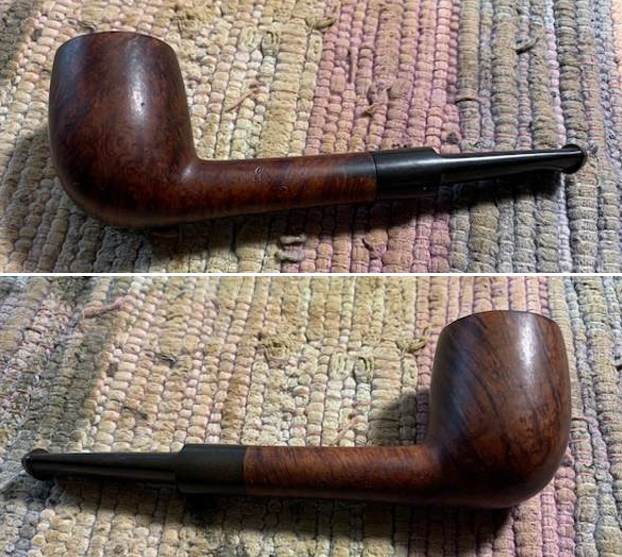
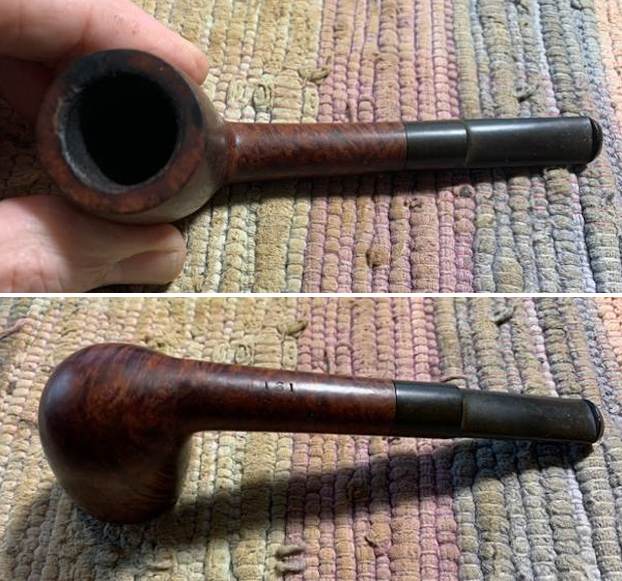
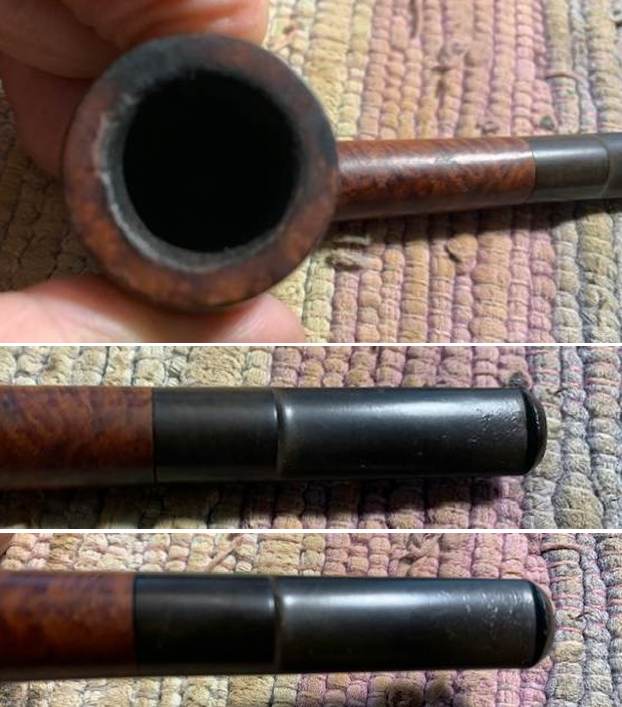
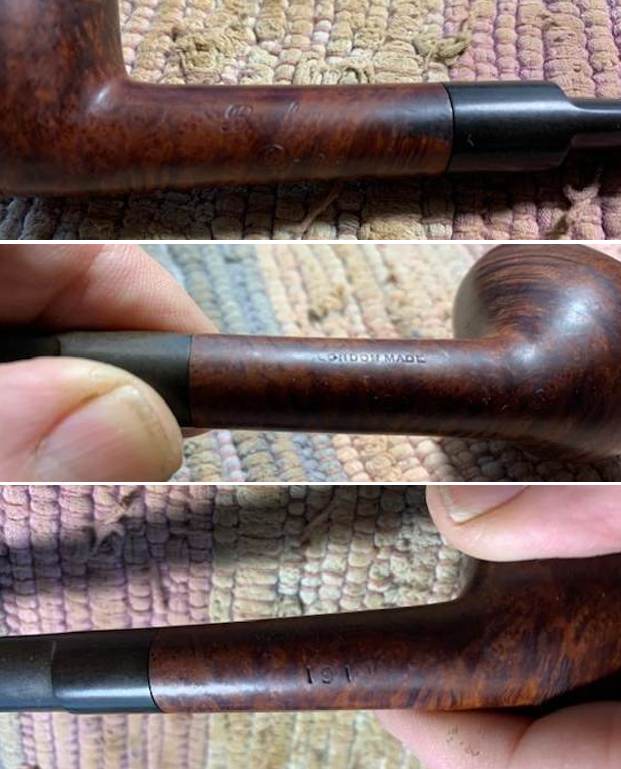
The next pipe on the work table has been here for over 3 years. Sad that there are some that have sat this long or longer before I got to them. But on the other hand I get to look through my boxes and pick out what turns my crank at the moment. This one was an interestingly grained older style small Lovat. We picked it up back in April, 2019 from a seller in Great Britain. It is stamped on the left side of the shank and reads Bewlay in script [over] 2 in a circle. On the right side it was stamped London Made and lower on the shank it read 191 which is the shape number. The poor pipe was another one that had obviously been someone’s favourite and must have been a grand smoker. The finish appears to have some nice mixed  grain around the bowl and shank that even stands out with the grime on the finish. The bowl is heavily caked with a thick lava overflow on the rim top. The inner edge showed damage and was rough looking under the lava. The stem is quite oxidized and had a lot of tooth chatter on the top and underside near the button. The pipe showed a lot of promise but it was a mess. Jeff took pictures of the pipe before he did his clean up work. He took photos of the rim top and bowl as well as the stem surfaces to show the condition of the well smoked pipe. You can see the thick cake in the bowl and the heavy lava on the inner edge and rim. The damage on the inner edge is also visible on the front and right side of the bowl. The stem was oxidized and had tooth chatter on both sides ahead of the button. Jeff took some photos o f the heel of the bowl and the side to give a sense of the beauty of the grain around this pipe.He captured the stamping on the sides of the shank. It is faint in spots but is readable as noted above. I have worked quite a few Bewlay pipes over the years but wanted a reminder of the background of the brand. I turned first to Pipephil’s site (http://pipephil.eu/logos/en/logo-b4.html). I got a quick summary there. I have included a screen capture below and the information that was in the sidebar below that. Brand distributed by Bewlay & Co (chain of pipe stores) until the 50s, taken over by Imperial Tobacco & Co.

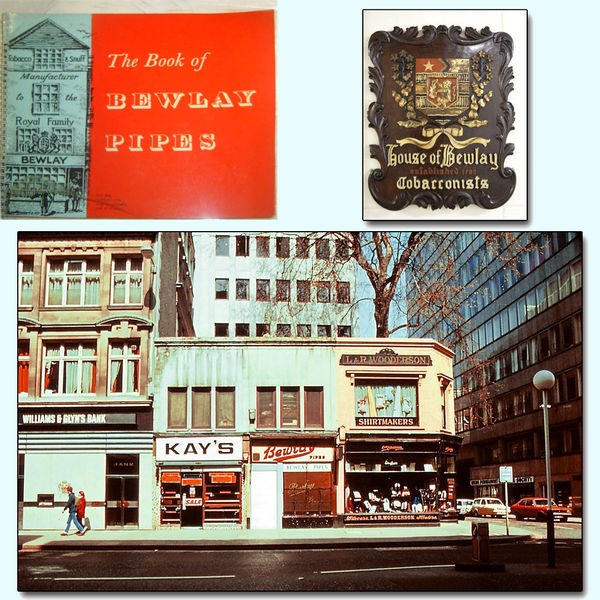
I turned to Pipedia next and include a screen shot of a photo there and a short history of the brand and who made pipes for them (https://pipedia.org/wiki/Bewlay). The English brand of Bewlay & Co. Ltd. (formerly Salmon & Gluckstein Ltd.), was in business from the early 20th century until the 1950s. The brand ended up being sold and taken over by Imperial Tobacco Co.. The shop chain closed in the 1980s but there seems to be one shop still in business on Carr Lane in the city of Hull.

Bewlay pipes were made by prestigious firms. Notably Barling, Charatan, Loewe & Co., Sasieni, Huybrecht, and Orlik. So understandably, the English considered a Bewlay pipe a quality pipe.

The information highlighted in red above is very interesting. Key English pipe making firms made pipes for Bewlay. I did a bit of searching for the shape number 191 under those company’s but did not find anything conclusive.

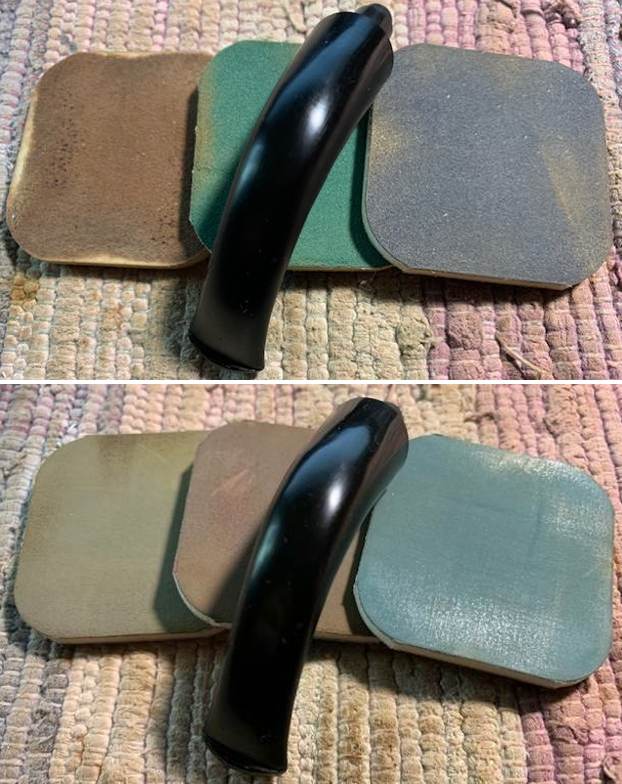
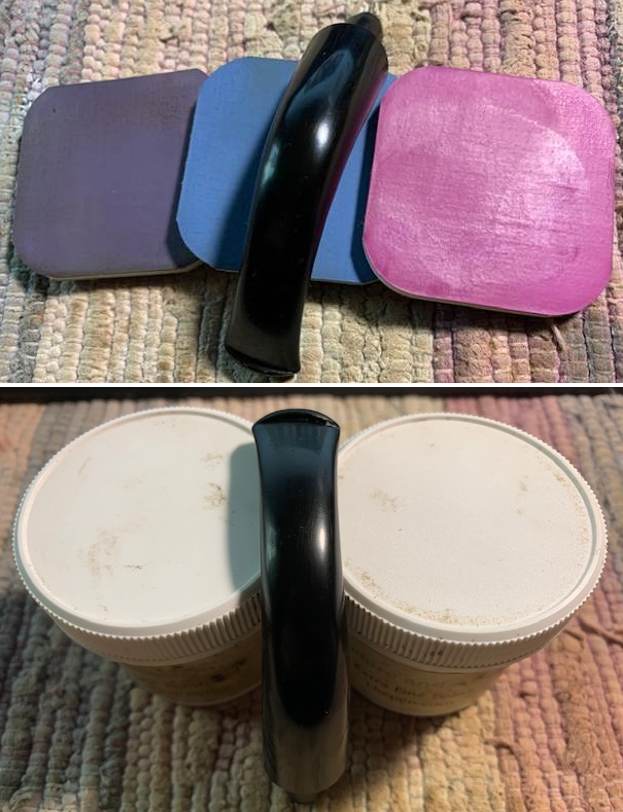
Now it was time to look at it up close and personal. Jeff had done an amazing job in removing all of the cake and the lava on the rim top. He had reamed the bowl with a PipNet Pipe Reamer and cleaned up the remnants with a Savinelli Fitsall Pipe Knife. He took the cake back to bare briar so we could check the walls for damage. He scrubbed the exterior of the bowl with Murphy’s Oil Soap and a tooth brush to remove the grime on the bowl and rim and was able to remove the lava and dirt. The inner edge of the bowl had a lot of damage and there were some damage on the rim top. He cleaned out the interior of the bowl and shank with pipe cleaners, cotton swabs and alcohol until they came out clean. He cleaned the stem with Soft Scrub to remove the grime on the exterior then soaked it in Before & After Pipe Stem Deoxidizer. He cleaned out the airway with alcohol, cotton swabs and pipe cleaners. I took some photos of the pipe before I started my work on it today.    I took a close up photo of the cleaned up rim top. The rim top shows damage along the top and the inner edge. It looks and feels really rough and there is significant darkening on both. The bowl is clean and the walls are undamaged. The stem looks good with very light oxidation and tooth chatter along the top and underside ahead of the button.I took photos of the stamping on the sides of the shank. You can see the shank stamp is faint in spots but still is very readable. I took the stem off the pipe and took a photo. The Lovat is a nicely designed pipe with nice lines.I decided to start my work on this pipe by addressing the damage to the rim top and inner edge of the bowl. I used a folded piece of 220 grit sandpaper to smooth the rim top and remove the darkening in and damage. I gave the inner edge of the rim a slight bevel to take care of the chopped and hacked look of that edge. Once I was finished I liked the way it looked.I polished the briar with micromesh sanding pads – dry sanding with 1500-12000 grit pads. I worked over the inner and outer edge of the rim as well. After each pad I wiped the bowl down with a damp cloth to remove the sanding debris. It really took on a shine by the last three sanding pads. I rubbed the bowl down with Before & After Restoration Balm. I worked it into the surface of the briar with my fingertips where it works to clean, restore and preserve the briar. I let it do its magic for 15 minutes then buffed it off with a cotton cloth. The pipe looks incredibly good at this point in the process. I set the bowl aside and turned my attention to the stem. I sanded out the tooth chatter on both sides with 220 grit sandpaper and started polishing the stem with 400 grit wet dry sandpaper. It is starting to look very good.I continued to polish the stem with micromesh sanding pads – wet sanding with 1500-12000 grit sanding pads. I wiped it down after each sanding pad with Obsidian Oil. I polished it further with Before & After Stem Polish – both Fine and Extra Fine. I gave it a final coat of Obsidian Oil and set it aside to cure. I am excited to finish this Petite Bewlay 2 Lovat shape 191. Who made this pipe for Bewlay? My guess, and it is just that, is that the pipe was made by Loewe & Co. Whoever made it the pipe is a beauty. I put the pipe back together and buffed it with Blue Diamond on the buffing wheel. I gave the bowl and the stem multiple coats of carnauba wax. I hand buffed the pipe with a clean buffing pad to raise the shine. It is fun to see what the polished bowl looks like with beautiful straight grain all around it and the birdseye on the rim top. The polished grain on the pipe looks great with the black vulcanite stem. This smooth Bewlay 2 Lovat is great looking and the pipe feels great in my hand. It is light and well balanced. Have a look at it with the photos below. The dimensions are Length: 5 inches, Height: 1 ½ inches, Outside diameter of the bowl: 1 inch, Chamber diameter: ¾ of an inch. The weight of the pipe is 29 grams/1.02 ounces. It turned out to be a beautiful pipe. I will soon be putting it on the rebornpipes store in the British Pipemakers section. If you are interested in adding it to your collection let me know. Remember we are the next in a long line of pipe men and women who will carry on the trust of our pipes until we pass them on to the next trustee. Thanks for your time reading this blog.
New Life for a Beautifully Grained WDC Seville Bullmoose


Blog by Steve Laug

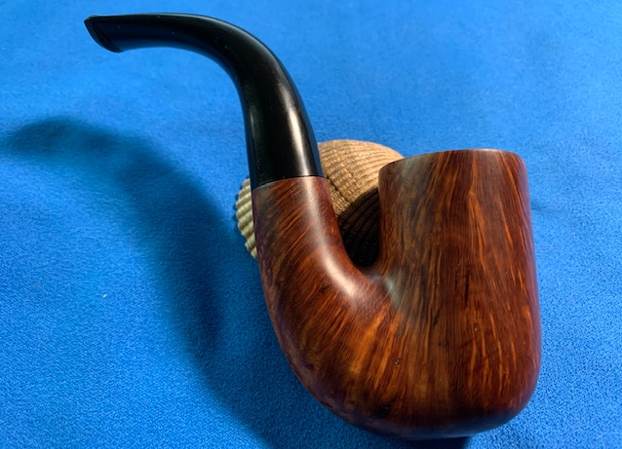
The next pipe on the work table has been here for over five years. Sad that there are some that have sat this long or longer before I got to them. But on the other hand I get to look through my boxes and pick out what turns my crank at the moment. This one was well grained Bullmoose – or Pot with a prominent chin jutting out the front. We picked it up back in October, 2017 from a seller on EBay from Stroudsburg, Pennsylvania, USA. It is stamped on the left side of the shank and reads WDC in a triangle followed by Seville [over] Genuine Briar. There was no shape number on the shank on either side. The poor pipe was another one that had obviously been someone’s favourite and must have been a grand smoker. The finish appears to have some nice straight grain around the bowl and shank that even stands out with the grime on the finish. The bowl is heavily caked with a thick lava overflow on the rim top – heavier on the back side. The stem is quite oxidized and had deep tooth marks on the top and underside near the button. The pipe showed a lot of promise but it was a mess. Jeff took pictures of the pipe before he did his clean up work. He took photos of the rim top and bowl as well as the stem surfaces to show the condition of the well smoked pipe. You can see the thick cake in the bowl and the heavy lava on the inner edge and rim – particularly at the back of the bowl. The stem was oxidized and had tooth marks and chatter on both sides ahead of the button.Jeff took several pictures of the stinger apparatus in the tenon. It was heavily coated with tars and was stuck in the tenon.Jeff took some photos o f the heel of the bowl and the side to give a sense of the beauty of the grain around this pipe. He captured the stamping on the left side of the shank. It is faint in spots but is readable as noted above. There was originally a WDC triangle on the left side of the thick taper stem. Most of it was worn away and I don’t think it will survive the clean up.I turned to Pipedia for a quick review of the WDC Brand and was not disappointed in what I found (https://pipedia.org/wiki/William_Demuth_Company). I quote a pertinent part of the article below. There was no mention of the Seville line.

In 1897 Ferdinand Feuerbach joined the Demuth company and by 1903 had become the production manager. Feuerbach is credited with developing Demuth’s popular Royal Demuth and Hesson Guard Milano pipelines. He left in 1919, when Sam Frank Sr. needed an experienced pipe man to run his pipe factory, located at 168 Southern Blvd., in the Bronx. Feuerbach and Frank had been close friends since Frank started his own business in 1900 and was closely associated with the sales staff of WDC, selling their line of pipes.

In early 1937, the City of New York notified S.M. Frank & Co. of their intent to take by eminent domain, part of the land on which the companies pipe factory was located. This was being done to widen two of the adjacent streets. As a result of this, Frank entered into negotiations to purchase the Wm. Demuth Co.’s pipe factory in the Richmond Hill section of Queens. It was agreed upon that Demuth would become a subsidiary of S.M. Frank and all pipe production of the two companies would be moved to DeMuth factory. New Corporate offices were located at 133 Fifth Avenue, NYC.

Demuth pipes continued to be made at the Richmond Hill plant till December 31. 1972. Then the Wm. Demuth Company met its official end as a subsidiary company by liquidation. Demuth’s mainstay pipe, the Wellington continued to be offered in the S.M. Frank catalog until 1976. In the mid-80’s, the Wellington even made a brief return as a direct to the consumer offer.

Now it was time to look at it up close and personal. Jeff had done an amazing job in removing all of the cake and the lava on the rim top. He had reamed the bowl with a PipNet Pipe Reamer and cleaned up the remnants with a Savinelli Fitsall Pipe Knife. He took the cake back to bare briar so we could check the walls for damage. He scrubbed the exterior of the bowl with Murphy’s Oil Soap and a tooth brush to remove the grime on the bowl and rim and was able to remove the lava and dirt. The varnish coat was peeling around the top half of the bowl. He cleaned out the interior of the bowl and shank with pipe cleaners, cotton swabs and alcohol until they came out clean. He cleaned the stem with Soft Scrub to remove the grime on the exterior. The pipe was cleaned before we started using Before & After Stem Deoxidizer so it was very oxidized. He cleaned out the airway with alcohol, cotton swabs and pipe cleaners. I took some photos of the pipe before I started my work on it today. I took a close up photo of the cleaned up rim top. The rim top is smooth and looks quite good. There are some damage spots along the outer edge of the rim as well as toward the back of the inner edge. The bowl is spotless. The stem is more heavily oxidized than when we started. That may be from sitting here for five plus years. Anyway it is what it is and you can see the tooth marks on both sides ahead of the button.I took a photo of the stamping on the side of the shank and the stem. You can see the shank stamp is readable. The stem stamp is all gone other than one thin line at the top of the original triangle logo.I took the stem off the pipe and took a photo. You can see that the stinger is still in place and Jeff was able to clean the externals. It was still stuck and knew I had to remove it to thoroughly clean out the shank.I decided to start my work on the pipe by removing the remainder of the peeling varnish coat. I sanded it with a medium grit sanding sponge and wiped it down with acetone on a paper towel. I repeated the process until I was free of the obnoxious peeling varnish coat. I polished the briar with micromesh sanding pads – dry sanding with 1500-12000 grit pads. I worked over the inner and outer edge of the rim as well. After each pad I wiped the bowl down with a damp cloth to remove the sanding debris. It really took on a shine by the last three sanding pads. I rubbed the bowl down with Before & After Restoration Balm. I worked it into the surface of the briar with my fingertips where it works to clean, restore and preserve the briar. I let it do its magic for 15 minutes then buffed it off with a cotton cloth. The pipe looks incredibly good at this point in the process. I set the bowl aside and turned my attention to the stem. I heated the stinger with my lighter and was able to remove the stinger. It was badly oxidized and damaged so I will be throwing it away. I scrubbed the oxidation with Soft Scrub All Purpose Cleanser. I was able to remove most of the remaining oxidation. It is finally starting to look better. I can now see the tooth marks and chatter clearly. I cleaned out the inside of the stem with alcohol, cotton swabs and pipe cleaners. I was not surprised to see how dirty the stem was behind the stinger. It really inhibited the cleaning of the pipe. But it is clean now!I “painted” the newly cleaned surface of the stem with the flame of a Bic lighter to lift the tooth marks on both sides. I was able to lift them totally on the one side and significantly on the other. I filled in what remained with black superglue. Once the repair cured I flattened the repair with a small file to start the process of smoothing it out and blending it into the surrounding vulcanite. I sanded the file marks and repairs with 220 grit sandpaper and started polishing the stem with 400 grit wet dry sandpaper. It is starting to look very good.I continued to polish the stem with micromesh sanding pads – wet sanding with 1500-12000 grit sanding pads. I wiped it down after each sanding pad with Obsidian Oil. I polished it further with Before & After Stem Polish – both Fine and Extra Fine. I gave it a final coat of Obsidian Oil and set it aside to cure. I am excited to finish this Large bowled, beautifully grained WDC Seville Bullmoose. I put the pipe back together and buffed it with Blue Diamond on the buffing wheel. I gave the bowl and the stem multiple coats of carnauba wax. I hand buffed the pipe with a clean buffing pad to raise the shine. It is fun to see what the polished bowl looks like with beautiful straight grain all around it and the birdseye on the rim top. The polished grain on the pipe looks great with the black vulcanite stem. This smooth WDC Seville Bullmoose is great looking and the pipe feels great in my hand. It is light and well balanced. Have a look at it with the photos below. The dimensions are Length: 6 inches, Height: 1 ½ inches, Outside diameter of the bowl: 2 inches, Chamber diameter: ¾ of an inch. The weight of the pipe is 81 grams/2.86 ounces. It turned out to be a beautiful pipe. I will soon be putting it on the rebornpipes store in the American Pipemakers Section. If you are interested in adding it to your collection let me know. Remember we are the next in a long line of pipe men and women who will carry on the trust of our pipes until we pass them on to the next trustee. Thanks for your time reading this blog.
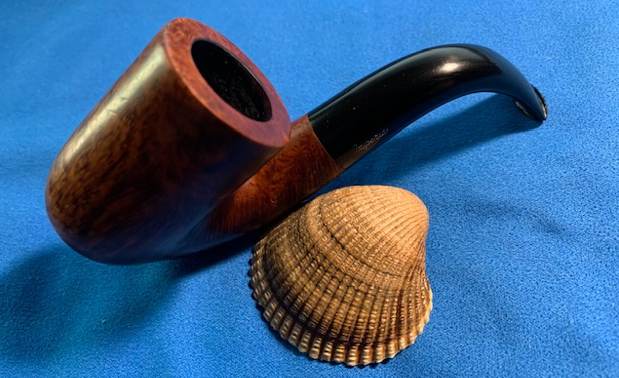
New Life for a Hard Ridden Sasieni 4 Dot Ruff Root Dark 8 Bent Apple


Blog by Steve Laug

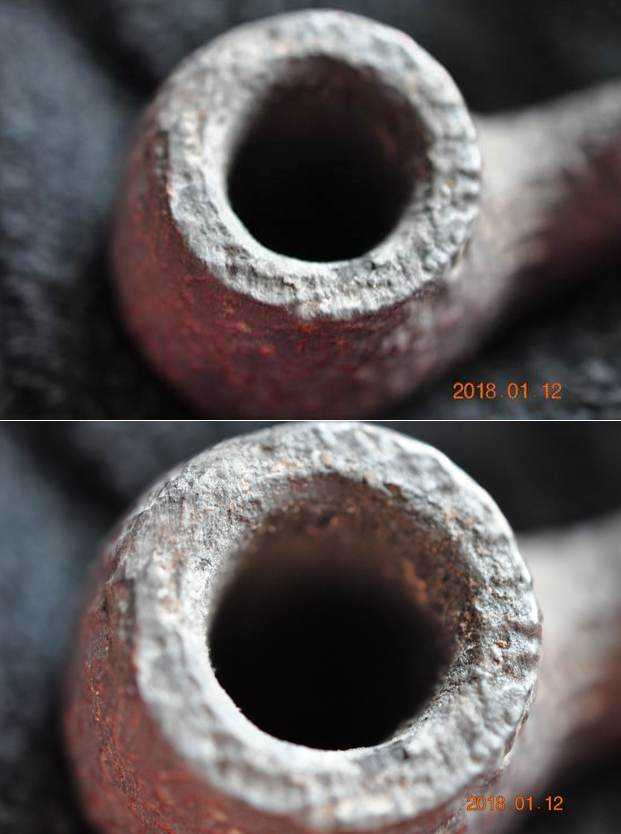
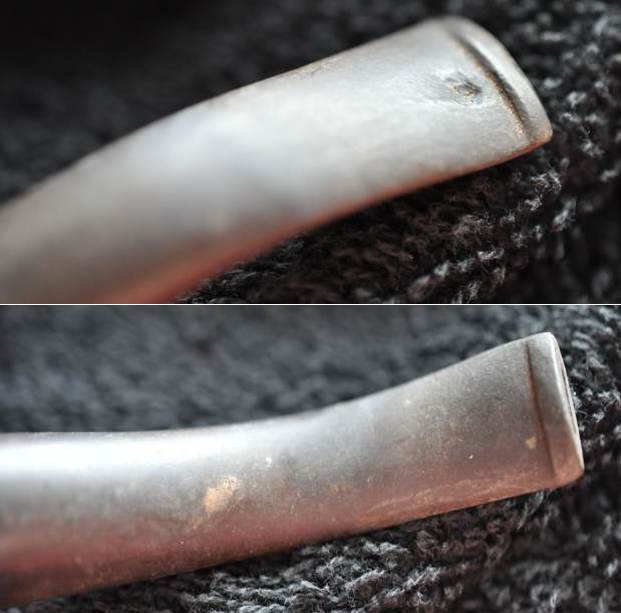
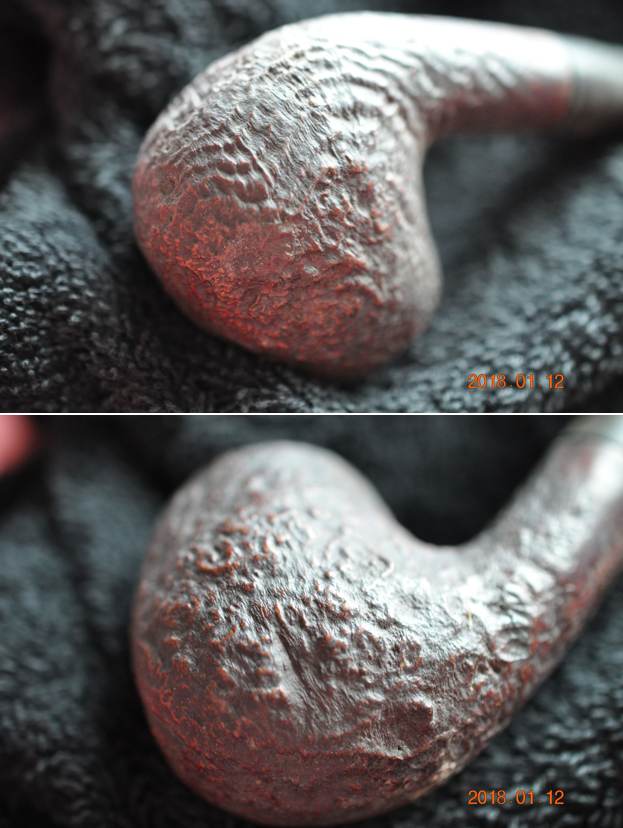
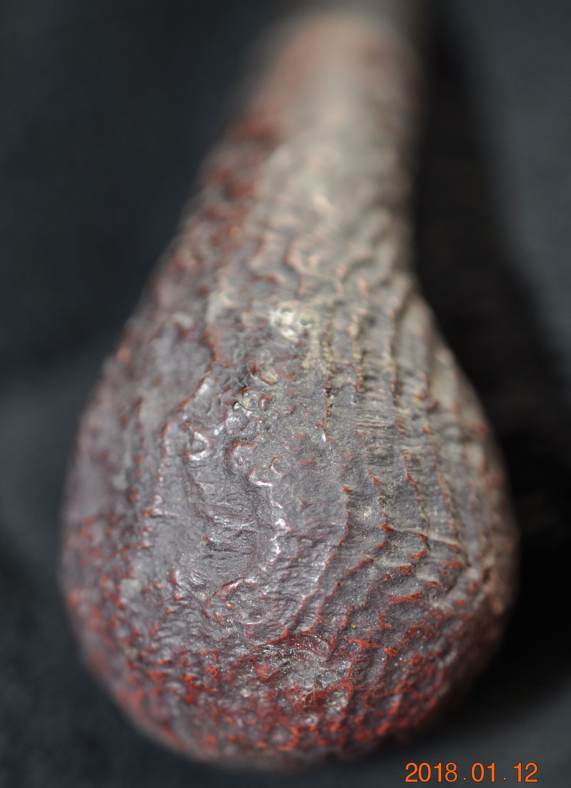
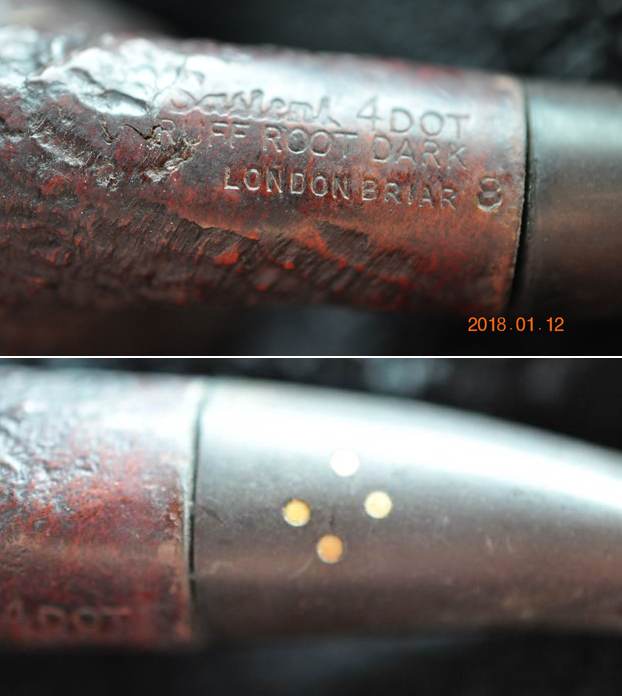
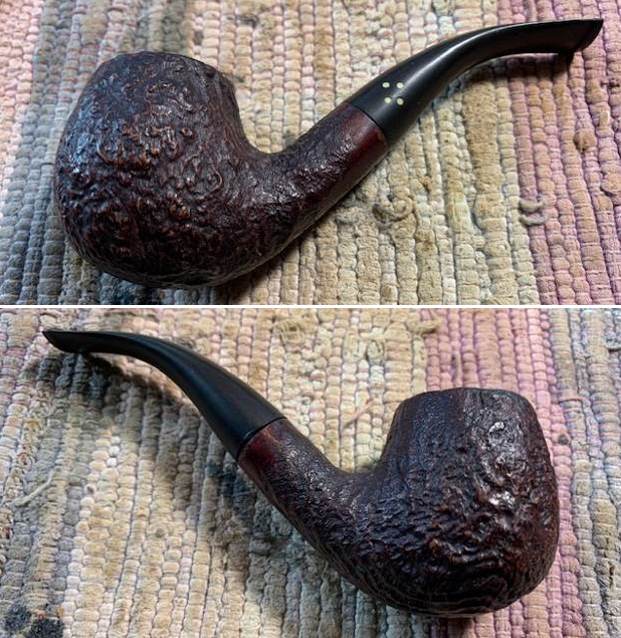
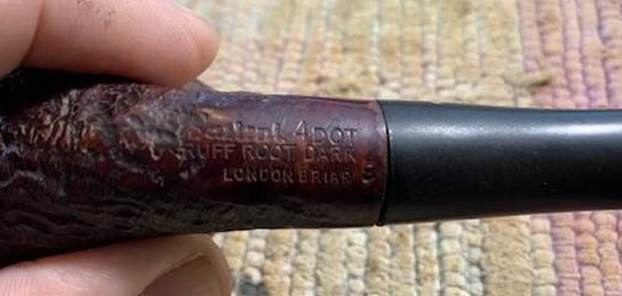
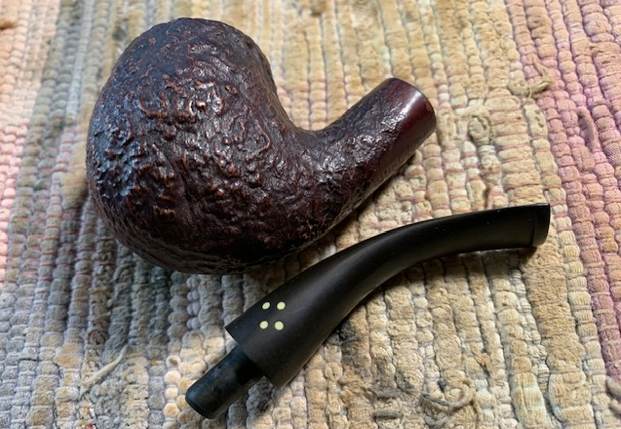
The next pipe on the work table has been here for over four years. Sad that there are some that have sat this long or longer before I got to them. But on the other hand I get to look through my boxes and pick out what turns my crank at the moment. This one was a nice sandblast bent apple. We picked it up back in January of 2018 from a seller on EBay from Los Fresnos, Texas, USA. It is stamped on the underside of the shank and reads Sasieni 4 Dot [over] Ruff Root Dark [over] London Briar followed by the number 8 which appears to be the shape number. The poor pipe had obviously been someone’s favourite and must have been a grand smoker. The finish appears to be light brown but the grime and debris in the sandblast lend to that thought. The bowl is heavily caked with a thick lava overflow on the rim top filling in the sandblast. The stem fits with a gap showing that the shank is also heavily tarred. The stem has some oxidation and deep tooth marks on the top and underside near the button. It really was a mess and a stinky one at that! Jeff took pictures of the pipe before he did his clean up work. He took photos of the bowl and rim top to give an idea of the thickness of the cake and the lava on the top. It was quite thick and hard. He took photos of the stem surface to show the oxidation and the tooth marks on them. There was a deep tooth mark on the top of the stem near the button. He took photos of the sandblasted grain around the bowl sides and heel of the bowl. It is a very nice looking blast. Jeff captured the stamping and the placement of the four dots on the stem side. The stamping is clear and readable. You can also see several issues with the pipe in these photos. First, to the left of the stamping (next to Ruff) there is a flaw in the briar. It looks like a crack but it follows the grain of the blast. Second, the fit of the stem to the shank is off which says to me that the tenon is crooked not allowing a fit to the shank end.I remembered that I had worked on a Sasieni Ruff Root Dark in the past – a Canadian if my memory served me right. I did a quick search on rebornpipes and found the Canadian I was remembering and the blog I had written (https://rebornpipes.com/2020/04/19/an-easy-restoration-of-a-sasieni-4-dot-ruff-root-dark-13-canadian/). I had done some research on the stamping and brand for that blog and I am including it below.

When the pipe arrived I turned to Pipephil (http://www.pipephil.eu/logos/en/logo-sasieni.html) to see if he included not only information on this Sasieni 4 Dot Ruff Root Dark Canadian. Sure enough there was some quick information that identified the time frame of this pipe. He dates it as a Post Transition piece 1986-today. The Ruff Root name is what they call a sandblasted finish. He points out that the 4 Dot has replaced the Four Dot from 1986.I turned to Pipedia for more information on 4 Dot line of Sasieni pipes and any information that was added there (https://pipedia.org/wiki/Sasieni). I quote a pertinent paragraph:

The nomenclature changed again in 1986, with the sale of the company to the Post-Transition firm. The three line nomenclature was changed to two lines, with the first reading “Sasieni 4 Dot” and the second identifying the finish, e.g. Natural, Walnut, or Ruff Root. Note how 4 Dot is spelled, using an Arabic numeral 4, as opposed to spelling out the word “four”. This is the easiest way to spot a Post-Transition Sasieni, as the new company has used both script and block lettering to spell the word “Sasieni” on the shank

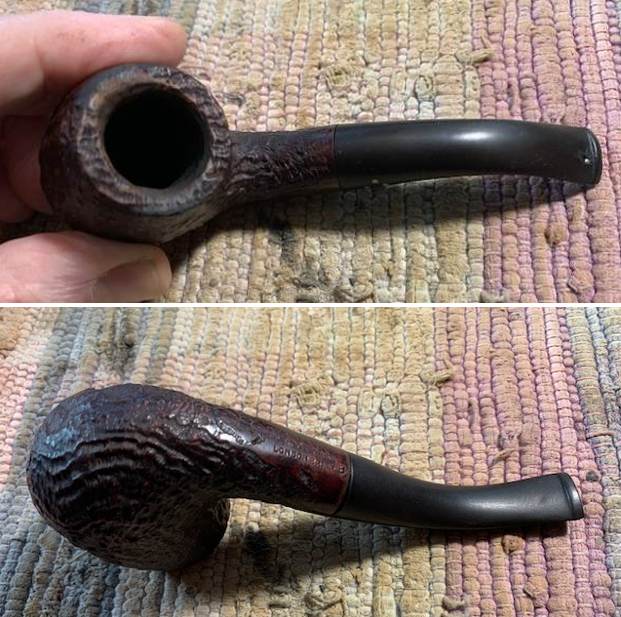
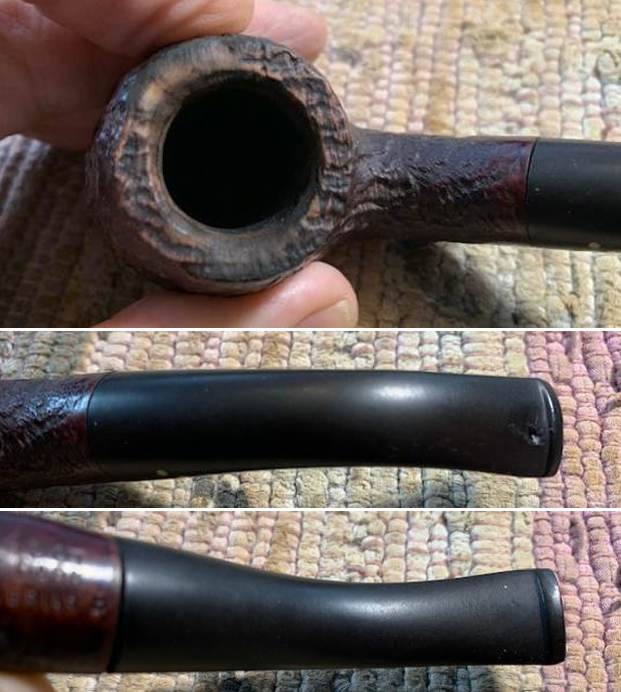
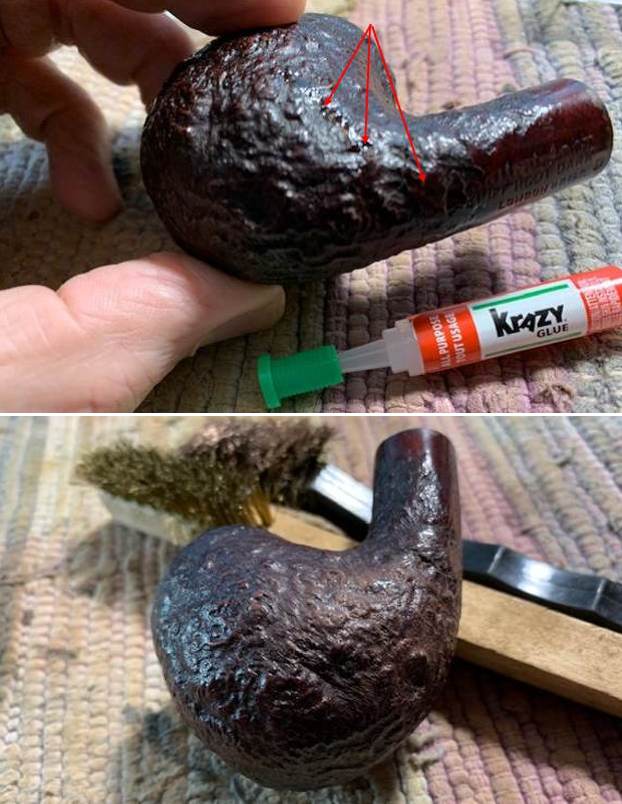
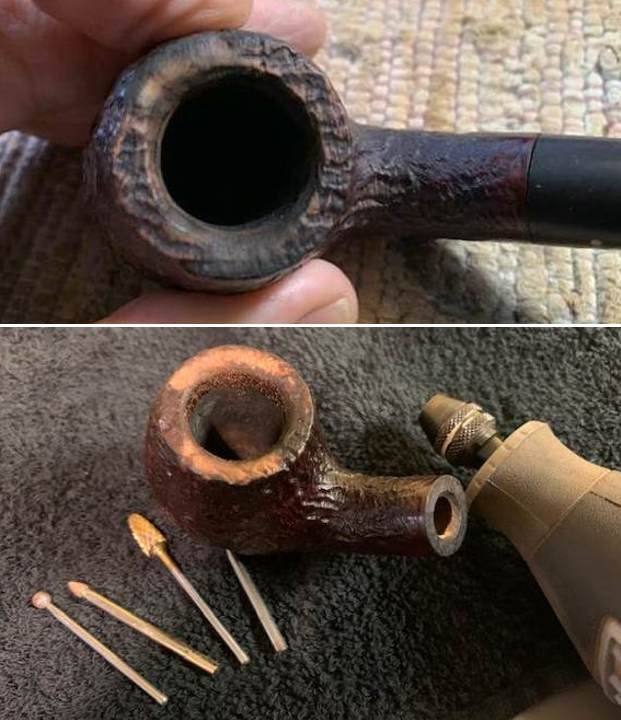
So I knew that I was dealing with a Post Transition 4 Dot Sasieni that was made after 1986. Now it was time to look at it up close and personal. Jeff had done an amazing job in removing all of the cake and the lava on the rim top. He had reamed the bowl with a PipNet Pipe Reamer and cleaned up the remnants with a Savinelli Fitsall Pipe Knife. He took the cake back to bare briar so we could check the walls for damage. He scrubbed the exterior of the bowl with Murphy’s Oil Soap and a tooth brush to remove the grime on the bowl and rim and was able to remove the lava and dirt. He cleaned out the interior of the bowl and shank with pipe cleaners, cotton swabs and alcohol until they came out clean. He cleaned the stem with Soft Scrub to remove the grime on the exterior. He soaked it in Before & After Pipe Stem Deoxidizer and rinsed it with warm water. He cleaned out the airway with alcohol, cotton swabs and pipe cleaners. I took some photos of the pipe before I started my work on it today. I took a close up photo of the cleaned up rim top. You can see the smoothing out of the top on the right front and the left rear of the bowl. The rest of the rim top has some great sandblast. The inner edge has a slight bevel that should clean up well. The stain is faded on the top. The bowl is spotless. The stem is clean and you can see the tooth marks on both sides ahead of the button. After Jeff had cleaned it the stem fit more snug against the shank end.I took a photo of the stamping on the underside of the shank. It is clear and readable as noted above.I removed the stem from the shank and took a photo to give a sense of the part of this pipe. I think it is going to be a beauty.I put on a magnifying headlamp and traced the flaw in the briar from the edge of the Ruff stamp on the underside of the shank. I filled it in with a thin line of clear CA glue. It was more of a cosmetic fix than a concern about a crack. Once it cured I used several brass bristle brushes I have to blend in the repair to the rest of the sandblast finish.With that cosmetic fix done I decided to address the smooth portions of the rim top. The first photo shows what I am referring to. I have used a series of burrs on my Dremel in the past to rusticate the smooth portions of the damaged top and match the sandblast pattern as much as possible. I have found that it works very well. Once I finished I used a brass bristle brush to knock off the debris and some of the roughness. I stained it with a Walnut stain pen to match the rest of the bowl colour. What do you think? Did it work?I rubbed the bowl down with Before & After Restoration Balm. I worked it into the surface of the briar with my finger tips and a horsehair shoe brush. The product works to clean, restore and preserve the briar. I let it do its magic for 15 minutes then buffed it off with a cotton cloth. The pipe looks incredibly good at this point in the process. With that finished I set the bowl aside and turned to work on the stem. I “painted” the surface of the stem with the flame of a Bic lighter to lift the tooth marks on both sides. I was able to lift them significantly but deep marks still remained on each side. I filled those in with black CA glue and set the stem aside to cure. Once the repair cured I flattened the repair with a small file to start the process of smoothing it out and blending it into the surrounding vulcanite. I sanded the file marks and repairs with 220 grit sandpaper and started polishing the stem with 400 grit wet dry sandpaper. It is starting to look very good. I continued to polish the stem with micromesh sanding pads – wet sanding with 1500-12000 grit sanding pads. I wiped it down after each sanding pad with Obsidian Oil. I polished it with Before & After Pipe Stem Polish – both Fine and Extra Fine. I gave it a final coat of Obsidian Oil and set it aside to cure. This Sasieni Ruff Root Dark 8 Bent Apple is a beauty. I put the pipe back together and lightly buffed it with Blue Diamond on the buffing wheel. I gave the bowl multiple coats of Conservator’s Wax and the stem multiple coats of carnauba wax. I hand buffed the pipe with a clean buffing pad to raise the shine. It is fun to see what the polished bowl looks like with beautiful mixed grain all around it. The polished dark Walnut coloured sandblast has depth and lends to a variation in colour as the bowl is turned. It looks great with the black vulcanite stem. This smooth Sasieni Ruff Root Dark Bent Apple is great looking and the pipe feels great in my hand. It is light and well balanced. Have a look at it with the photos below. The dimensions are Length: 5 inches, Height: 1 ¾ inches, Outside diameter of the bowl: 1 ¼ inches, Chamber diameter: ¾ of an inch. The weight of the pipe is 46 grams/1.59 ounces. It turned out to be a beautiful pipe. I will be putting this pipe on the rebornpipes store in the British Pipe Makers Section. Let me know if you are interested in adding it to your rack and carrying on the trust of this well traveled pipe. Thanks for your time reading this blog and as Paresh says each time – Stay Safe.  

New Life for a Vintage Stanwell 86 Regd. No. 969-48 Handmade in Denmark Freehand


Blog by Steve Laug

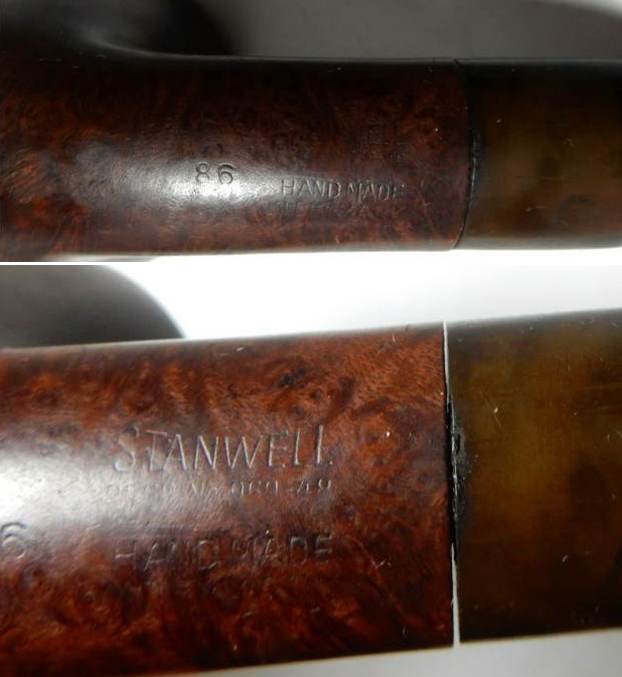
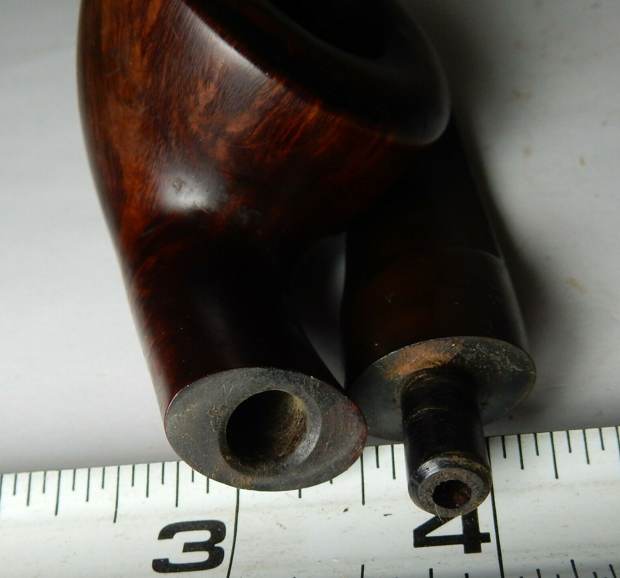
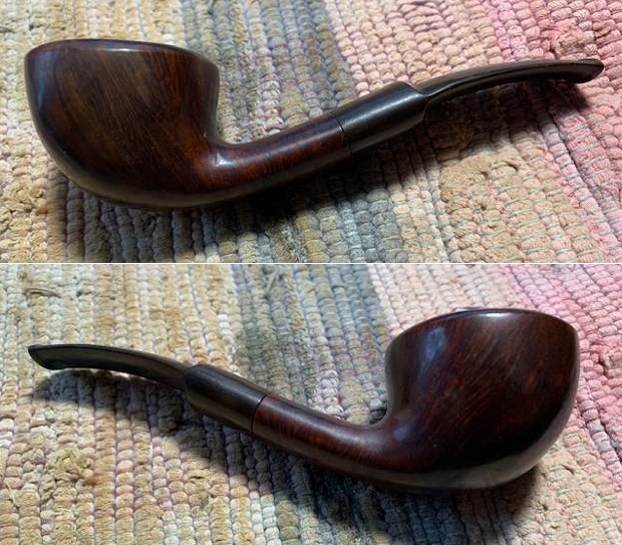
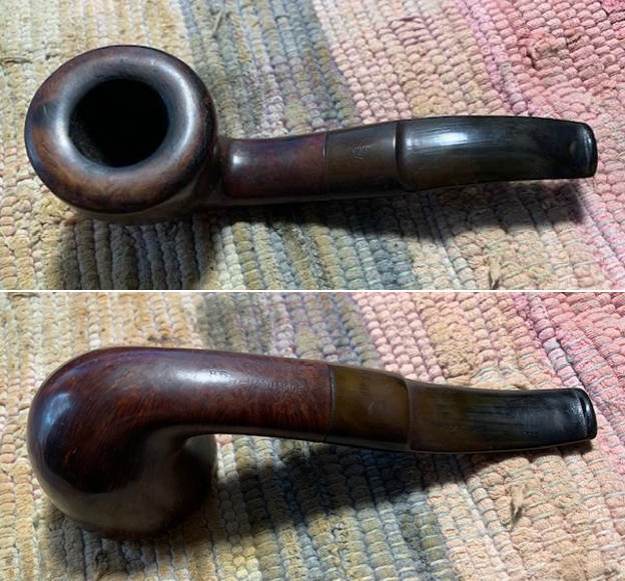
I have sold a few pipes to a fellow in Israel over the past year and he is great to work with. He has great taste in pipes and the ones he has purchased from me have been beautiful. Not long ago I received and email from him about a pipe he was interested in purchasing EBay. He sent me the link and wanted my opinion on it. I believed that it was a design by Sixten Ivarsson made for Stanwell and one that I really like the flowing shape and broad bowl. I remembered that with the Reg. No. it was made between the late 1960s and early 1970s so it was a bit of an old one. The pipe appeared to be in decent condition. Not too many days after that he wrote me to say he had won it and wondered if he could have it shipped to me rather than to him in Israel. We chatted back and forth about it via email and the decision was made and the pipe was on its way to me. Here are the pictures that the seller included with the advertising.  The seller took a large photo of the rim top to show the condition. Though it is dark you can see the cake in the bowl and the burn damage to the inner edge and the top front of the bowl. I am hoping I can reduce that mark some but time will tell. He also included a photo of the top of the stem showing the oxidation and the tooth marks on that side of the stem. The photo of the underside of the bowl and shank is dark but you can seek the grain peeking through the grime on the finish. I think that it will have some nice grain once I clean it up.He also took photos of the stamping on the underside of the shank. It was faint but readable with a light. It read as noted above.He took the stem off the shank and took a picture of the mortise and the tenon to show the condition of those parts of the pipe. It was dirty but it looked solid.The pipe arrived this week and sadly I had forgotten that it was on its way from the seller. When I opened the box I remembered it. I examined it carefully to assess both the condition of the pipe and what I needed to do with it. There was a moderate cake in the bowl with lava on the rim top and what looked like a burn mark on the top front of the bowl. There was darkening around both the inner and the outer edges of the bowl. The pipe was stamped on the underside of the shank and read Stanwell [over] Regd. No. 969-48 [over] Handmade [over] in Denmark. To the left of the stamp it bore the shape number stamp – 86. The finish was dirty and dark so it was hard to see too well but you could see some interesting grain underneath. The stem had the Crown S stamp on the top of the saddle and was fade. The vulcanite was oxidized and there were tooth marks and chatter on the top and underside. It was going to take some work to clean up but I thought it would work out fairly well. My only concern was the burn mark on the front top of the rim. Even with that though it would look pretty amazing. I took some photos of the pipe before I started my work on it. I have included them below. I took a photo of the bowl and rim top to show the thickness of the cake in the bowl and the damage to the top and edges of the bowl. You can see the darkening on the inner and outer edge of the rim – how much is lava and how much is burn damage remains to be seen. You can also see the burn mark on the top of the bowl at the front. It does not appear to have charred the surface as it is hard. I took photos of the stem surface to show the oxidation and tooth marks and chatter on both sides ahead of the button. There are also scratches on the surface running from the tenon end to the button on both sides. The Crown S stamp on the top of the stem is visible but all the colour is gone.I took a photo of the stamping on the shank underside. It is faint but readable. I also took a photo of the Crown S on the top of the saddle stem.I removed the stem from the shank and took a photo of the pipe parts. It is really going to be quite a stunning piece.I reamed the bowl with a PipNet pipe reamer and took the cake back to bare walls. I cleaned up the reaming with a Savinelli Fitsall Pipe Knife. I sanded the bowl walls with 220 grit sandpaper wrapped around a piece of dowel. I examined the walls with a lens and they were solid and undamaged. I cleaned out the airway in the shank and the stem as well as the mortise with isopropyl alcohol, cotton swabs and pipe cleaners. It was quite dirty and now smells much better.I scrubbed the exterior of the bowl with Murphy’s Oil Soap and a tooth brush to remove the grime from the finish of the bowl and rim top. I rinsed off the bowl with warm water and then dried the bowl with a cotton cloth. The grain that came to the surface once it was clean is quite stunning. I worked over the darkening and burn damage on the inside edge of the bowl and the rim top with a folded piece of 220 grit sandpaper. It began to look a lot better.I mixed up a batch of oxalic acid and warm water and used it to scrub off the rim darkening and the burn mark on the top. I dried it off with a paper towel. The burn on the edges of the rim were much better and the burn mark on the front top was definitely lighter.I sanded the rim top with a folded piece of 220 grit sandpaper and then sanded it with a medium and a fine grit sanding block. The grain on the rim top began to stand out. The rim edges look much better and the burn mark is much reduced.I polished the briar with micromesh sanding pads – dry sanding with 1500-12000 grit pads. After each pad I wiped the bowl down with a damp cloth to remove the sanding debris. It really took on a shine by the last three sanding pads. I stained the polished rim top with an Oak stain pen. It matched the colour around the rest of the bowl and hid the burn mark a bit. Though it is still visible it is nowhere near as big as it was when I started.I rubbed the bowl down with Before & After Restoration Balm. I worked it into the surface of the briar where it works to clean, restore and preserve the briar. I let it do its magic for 15 minutes then buffed it off with a cotton cloth. The pipe looks incredibly good at this point in the process. With that the bowl had come a long way from when I started working on it. I set it aside and turned my attention to the stem. I put the stem for an overnight soak in Briarville’s Pipe Stem Deoxidizer. In the morning I removed it from the bath and rubbed it down with a coarse paper towel to remove the oxidation that was on the surface. I cleaned out the airway in the stem with alcohol and pipe cleaners.I “painted” the surface of the stem with the flame of a Bic lighter to lift the tooth marks on both sides. I was able to lift them significantly but one remained on each side that would need to be filled with superglue.I scrubbed the remnants of oxidation with Soft Scrub All Purpose Cleanser. I removed a lot more of the remaining oxidation. It is finally starting to look better.I filled in the remaining tooth marks on both sides of the stem with black super glue. I set it aside to cure. Once the repair cured I flattened the repair with a small file to start the process of smoothing it out and blending it into the surrounding vulcanite. I sanded the file marks and repairs with 220 grit sandpaper and started polishing the stem with 400 grit wet dry sandpaper. It is starting to look very good.I continued to polish the stem with micromesh sanding pads – wet sanding with 1500-12000 grit sanding pads. I wiped it down after each sanding pad with Obsidian Oil. The light oxidation that remained on the top of the saddle portion of the stem was hard to deal with due to the stamping on the top. I cleaned it as much as possible and repaired the white colour of the Crown S logo with White Acrylic fingernail polish. I applied it and when it hardened I scraped off the excess with my fingernail. Once finished I continued to polish the stem with the last three micromesh sanding pads. I polished it with Before & After Pipe Stem Polish – both Fine and Extra Fine and wiped it down with Obsidian Oil one more time. I am excited to finish this Ivarrson Designed Stanwell 86 Freehand. I put the pipe back together and buffed it with Blue Diamond on the buffing wheel. I gave the bowl and the stem multiple coats of carnauba wax. I hand buffed the pipe with a clean buffing pad to raise the shine. It is fun to see what the polished bowl looks like with beautiful mixed grain all around it. The polished grain on the pipe looks great with the black vulcanite stem. This smooth Classic Ivarrson Designed Stanwell 86 is great looking and the pipe feels great in my hand. It is light and well balanced. Have a look at it with the photos below. The dimensions are Length: 5 ¼ inches, Height: 1 ½ inches, Outside diameter of the bowl: 1 ¾ inches, Chamber diameter: ¾ of an inch. The weight of the pipe is 42 grams/1.48 ounces. It turned out to be a beautiful pipe. I will be packing it up and sending it to my friend in Israel. I think he will enjoy this beauty once it is in his hands. Thanks for your time reading this blog and as Paresh says each time – Stay Safe.

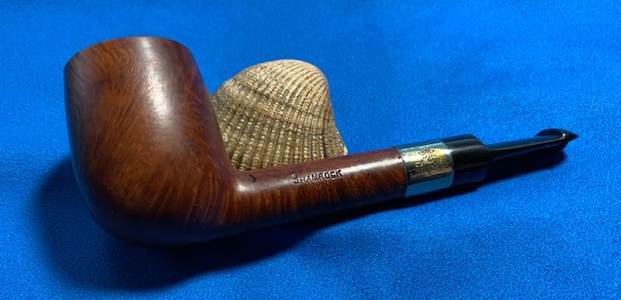
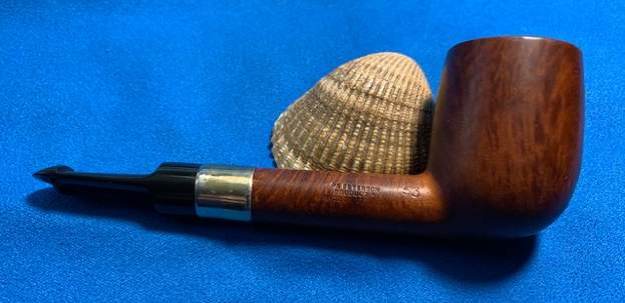
Restoring a “Peterson’s Product” – a Made in Ireland  Shamrock 53 Lovat


Blog by Steve Laug

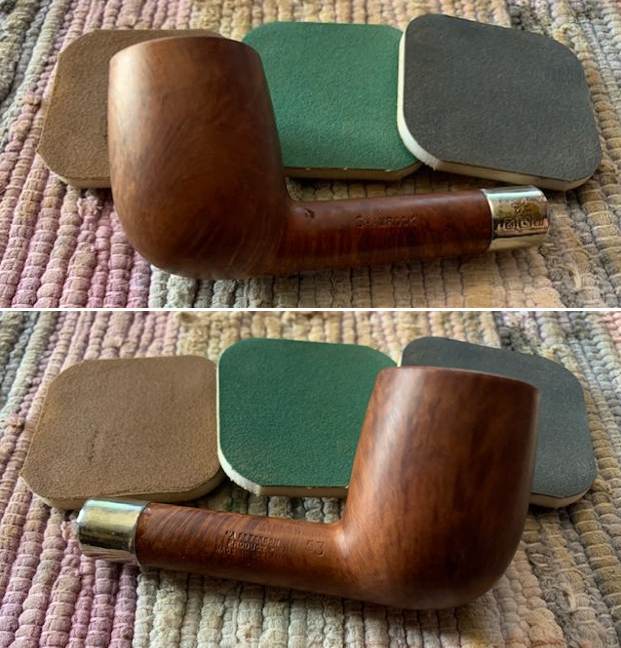
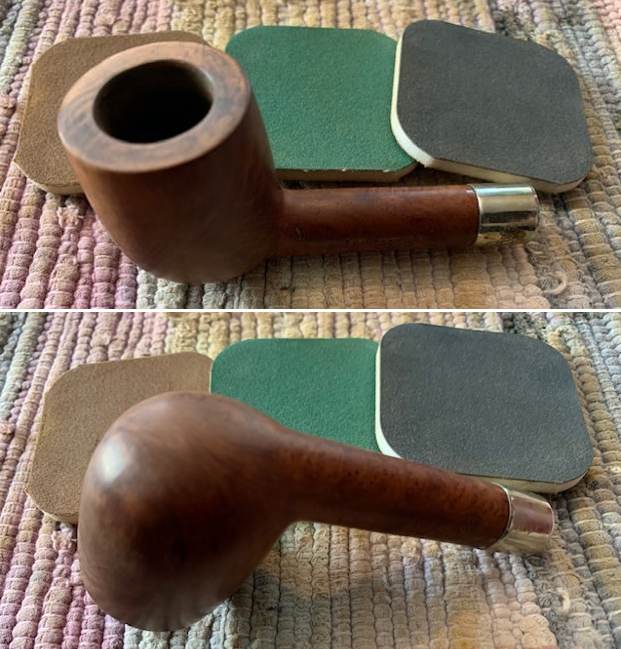
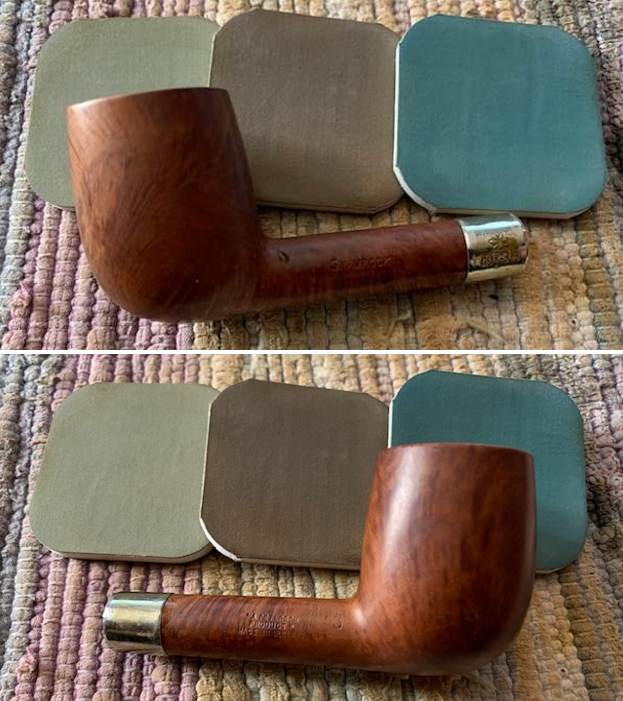
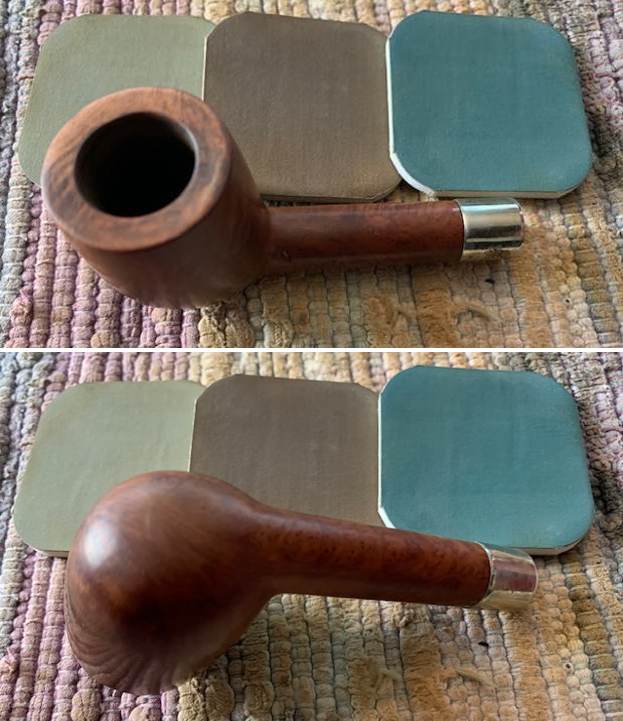
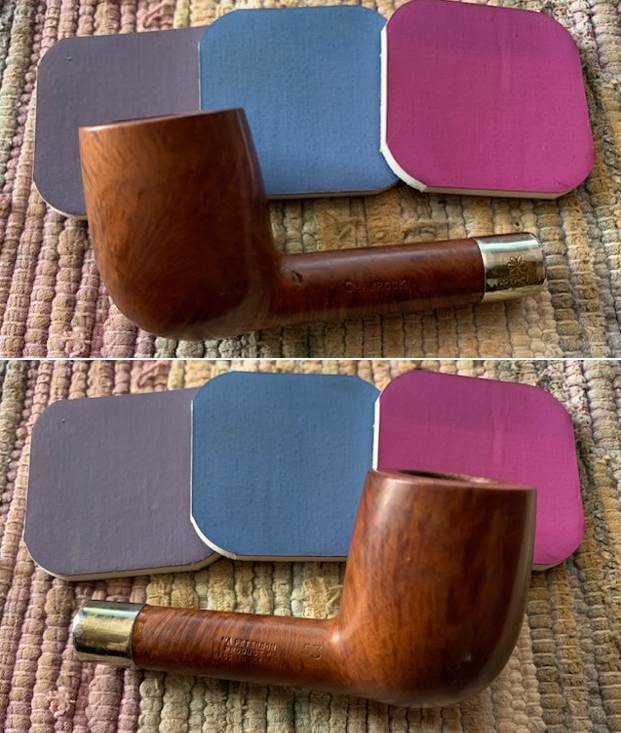
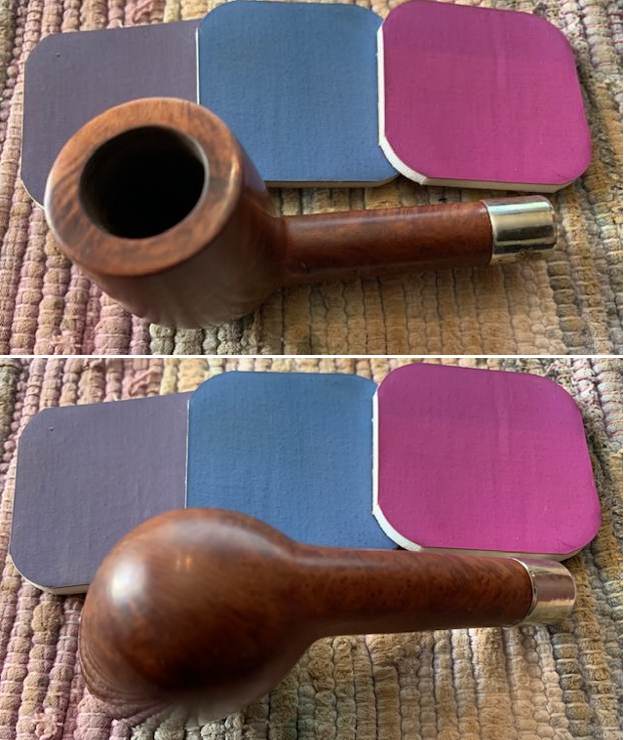
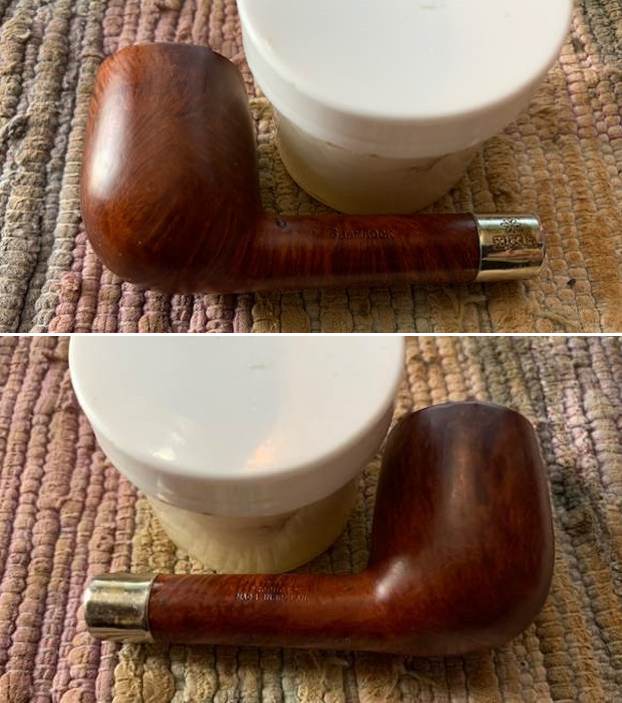
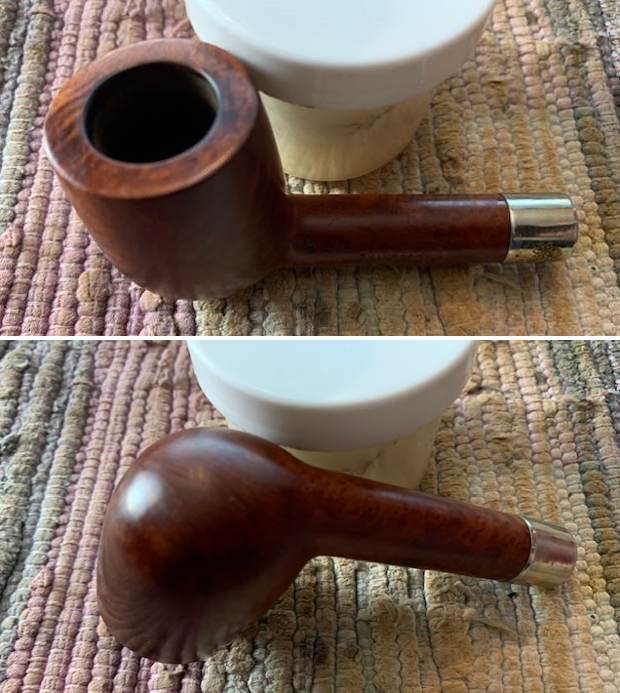
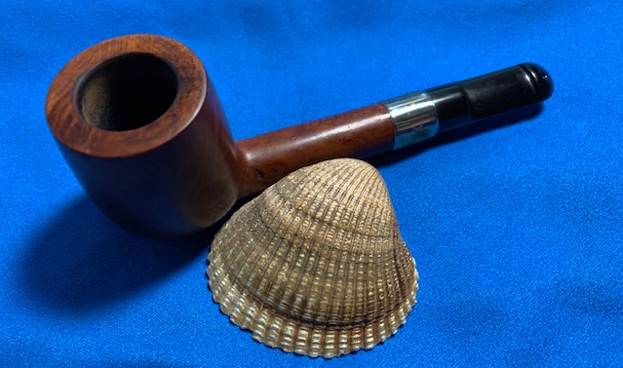
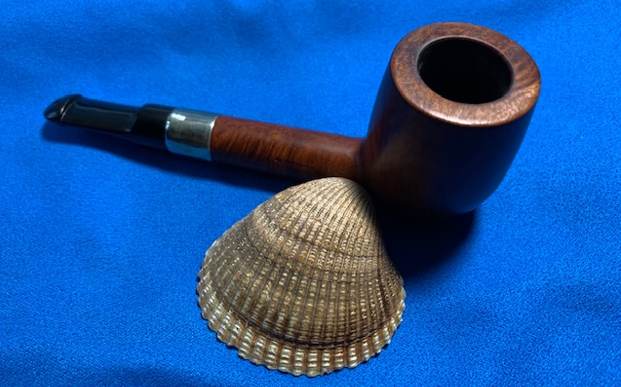
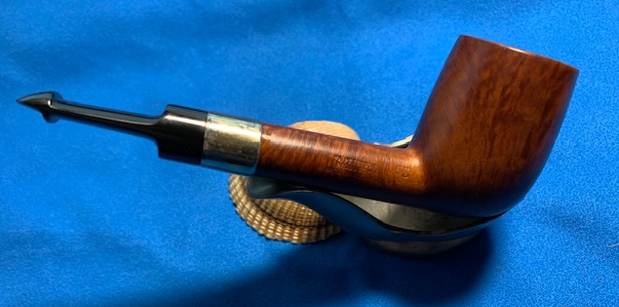
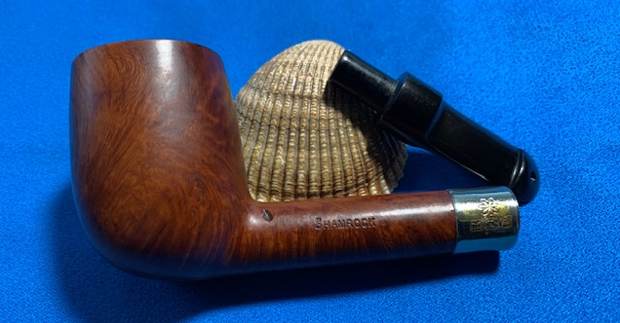
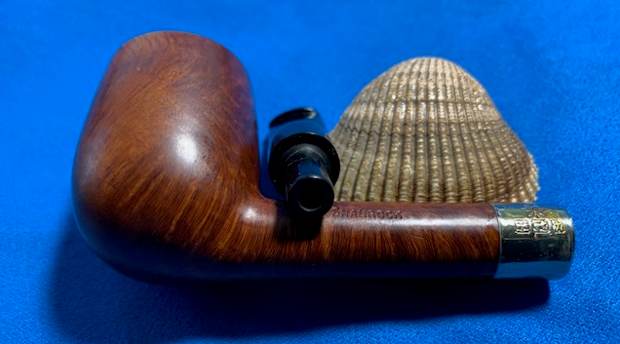
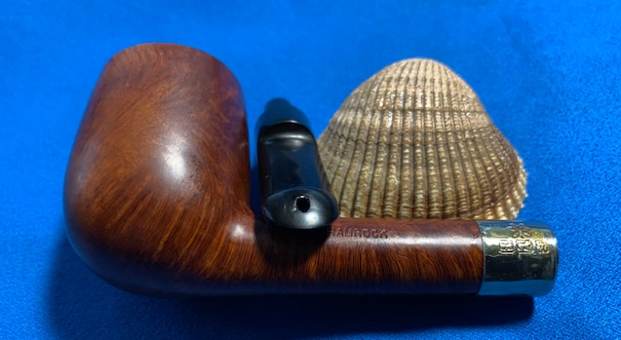
With the flood in our office/basement/workshop we moved my pipe work upstairs with my day job work to occupy the dining room table. I went through the boxes of pipes I have to work on sorting things to work on from those I will likely put in grab bags and came across this nice looking Lovat with a shiny band and a P-lip style saddle stem. It turns out that it is stamped on the left side of the shank and read SHAMROCK. It was also stamped on the right side and reads “A PETERSON’S [over] PRODUCT” over MADE IN IRELAND (3 lines) with the shape number 53 next to the bowl. The silver coloured (nickel I think) band was stamped with a Shamrock[over] three symbols in cartouches – a shamrock, a crouching lion and a standing figure. The band had rotated so these were on the underside of the shank rather than on the left. The vulcanite stem lightly oxidized and had some light tooth marks and chatter on both sides ahead of the button. The bowl had been reamed and cleaned as obviously Jeff had done his magic on it before I got it. He had scrubbed the exterior with Murphy’s Oil Soap and a tooth brush. He had rinsed it with warm water. He cleaned out the inside of the shank and stem with alcohol, cotton swabs and pipe cleaners. He scrubbed the exterior of the stem with Soft Scrub and left the stem looking quite good. I took photos of the pipe before I started my work on it. I took photos of the rim top and the bowl to show the condition. The rim top was smooth and clean. There was some burn damage on the inner edge of the rim at the back of the bowl. I also took photos of both sides of the stem to show the light oxidation and tooth chatter. Over all the pipe was in good condition. I took photos of the sides of the shank to show the stamping. The stamping is readable in the photos below and is as noted above.I took the stem off the pipe and took a photo of the parts to give a sense of proportion.I am including the link to the Pipedia’s article on Peterson pipes. It is a great read in terms of the history of the brand (https://pipedia.org/wiki/Peterson).

I turned to “The Peterson Pipe” by Mark Irwin and Gary Malmberg to get some background on the Peterson’s Shamrock Pipe. On page 312 it had the following information.

Shamrock (c1941-2009) Originally stamped SHAMROCK with no brand name, an inexpensive line first described in George Yale (New York) mail order booklet in 1941, imported by Rogers Import. The line was actively promoted beginning in ’45, aggressively promoted in US by Rogers from early ‘50s when they registered the Shamrock logo with US Patent Office, claiming propriety since ’38. Over the years offered with P-lip or fishtail mouthpiece, with or without nickel band, with or without shamrock logo on the band, with or without S stamped in white or later in gold on mouthpiece. Appearing in 2008 as unstained smooth and rustic, fishtail mouthpiece with gold impressed P on the stem. COMS of MADE IN over IRELAND (C1945-1965), MADE IN IRELAND forming a circle (c1945-1965), “A PETERSON’S PRODUCT” over MADE IN IRELAND (c1945-1965), MADE IN THE over REPUBLIC over OF IRELAND9c1948-1998). Model is always difficult or impossible to date.

Judging from the description above, the pipe I am working on is stamped with the stamp noted in red above. It reads “A Peterson’s Product” over Made in Ireland which narrows the date to between approximately 1945-1965. It is just stamped SHAMROCK with no brand name and no stem.

I decided to start my work on the pipe by loosening and adjusting the fit on the shank. It had twisted to the underside of the shank and it needed to be turned a quarter turn so that the stamping aligned with the stamping on the left side of the shank. I heated some water in the microwave until it was boiling, removed the stem and stood the shank end in the water until the glue softened. I turned the band and aligned it with the left side of the shank. I set it aside and let the glue set.

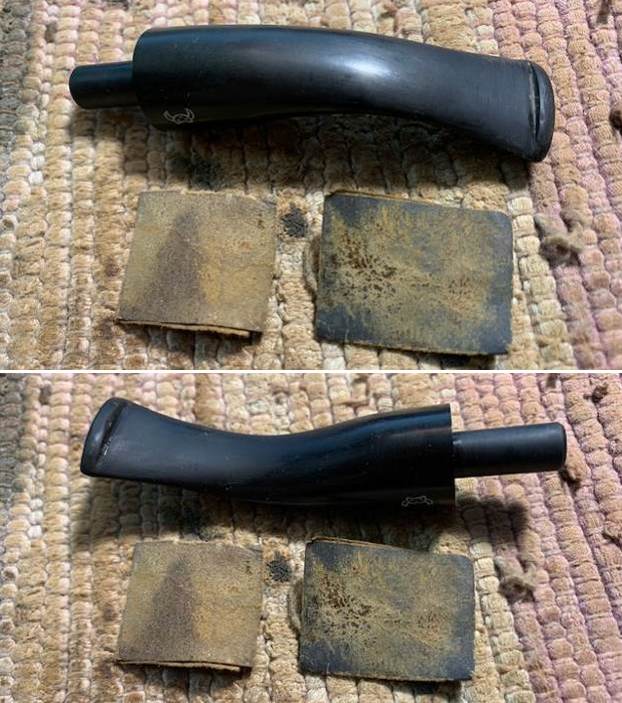
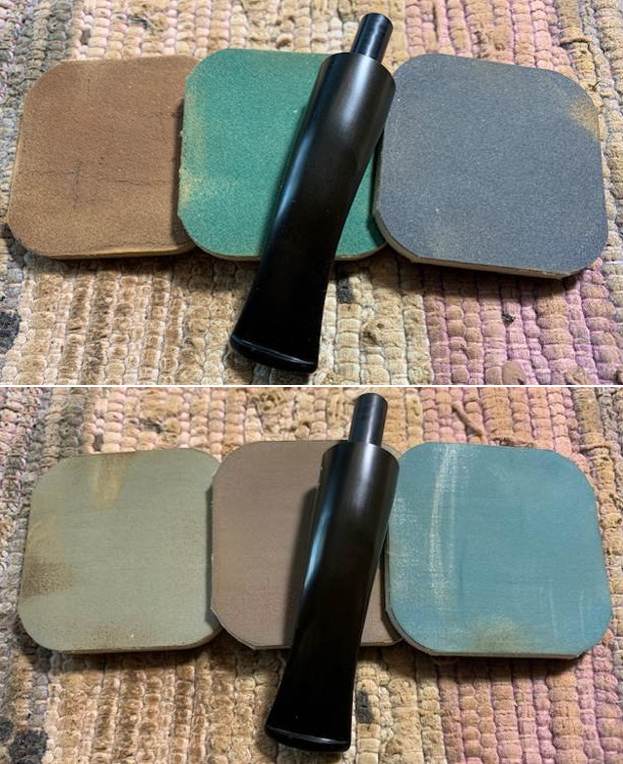
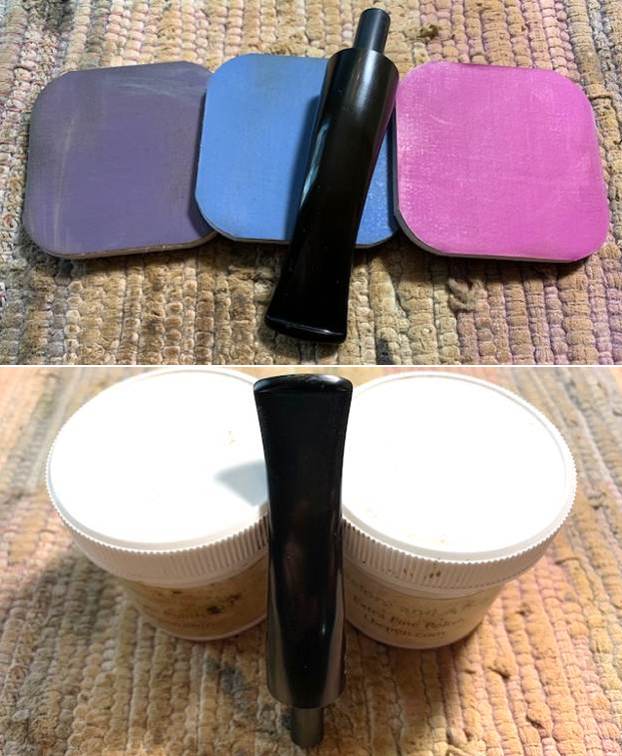
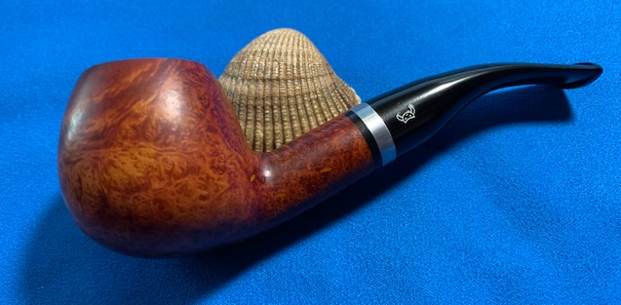
I then turned to address the darkening and damage on the inner edge of the rim. I used a folded piece of 220 grit sandpaper to smooth out and clean up the edge. It looked much better! I decided to leave the sandpits on the bowl side and filling them seemed unnecessary to me. I polished the briar with micromesh sanding pads – dry sanding with 1500-12000 grit sanding pads. I wiped the bowl down with a damp cloth after each sanding pad.  (Note the sandpit on the left side of the shank near the bowl.)  I worked some Before & After Restoration Balm into the surface of the briar with my fingertips to clean, enliven and protect the briar. I let the balm sit for 15 minutes and then buffed with a cotton cloth to raise the shine. The photos show the bowl at this point in the restoration process. I sanded the diameter of the stem at the shank end with 220 grit sandpaper to take down the left side so that it matched the side of the band on the shank. I worked it over until the flow between the nickel band and the stem was smooth. I started the polishing with 400 grit wet dry sandpaper.  I set the bowl aside and polished the stem with micromesh sanding pads – wet sanding with 1500-12000 grit sanding pads. I wiped it down after each sanding pad with Obsidian Oil. I polished it with Before & After Pipe Stem Polish – both Fine and Extra Fine.     I am excited to finish this Nickel Banded OlderPeterson’s Product” Shamrock 53 Lovat. I put the pipe back together and buffed it with Blue Diamond on the buffing wheel. I gave the bowl and the stem multiple coats of carnauba wax. I hand buffed the pipe with a clean buffing pad to raise the shine. It is fun to see what the polished bowl looks like with beautiful mixed grain all around it. The polished nickel band is losing some of the plating but it still looks great with the black vulcanite stem. This smooth Classic Shamrock 53 Lovat is great looking and the pipe feels great in my hand. It is light and well balanced. Have a look at it with the photos below. The dimensions are Length: 5 inches, Height: 1 ¾ inches, Outside diameter of the bowl: 1 ¼ inches, Chamber diameter: ¾ of an inch. The weight of the pipe is 37 grams/1.16 oz. It turned out to be a beautiful pipe. I will be putting on the rebornpipes store in the Irish Pipe Makers Section. Thanks for your time and as Paresh says each time – Stay Safe.

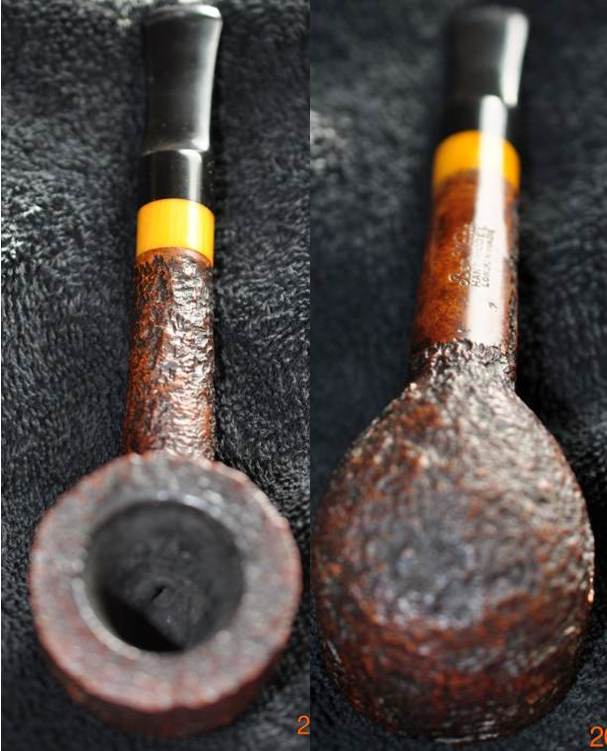
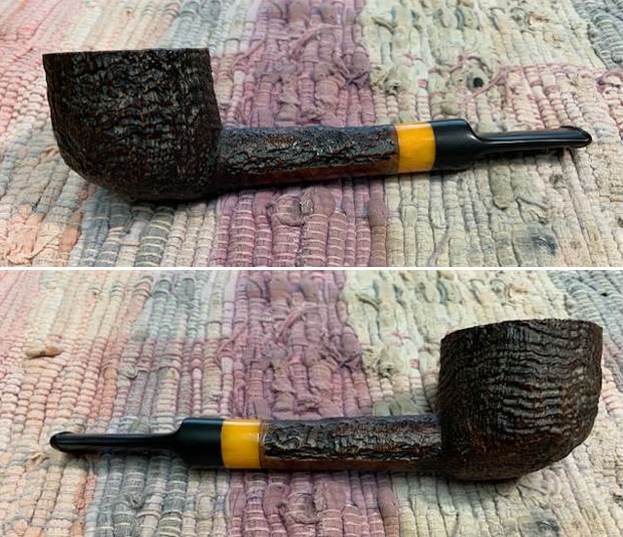
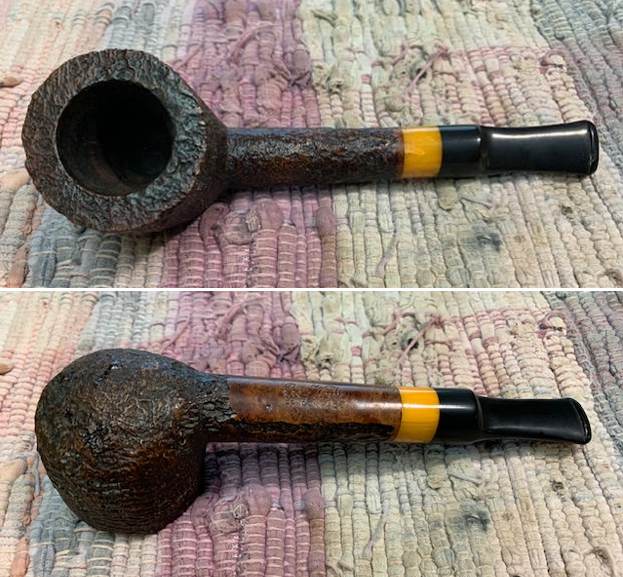
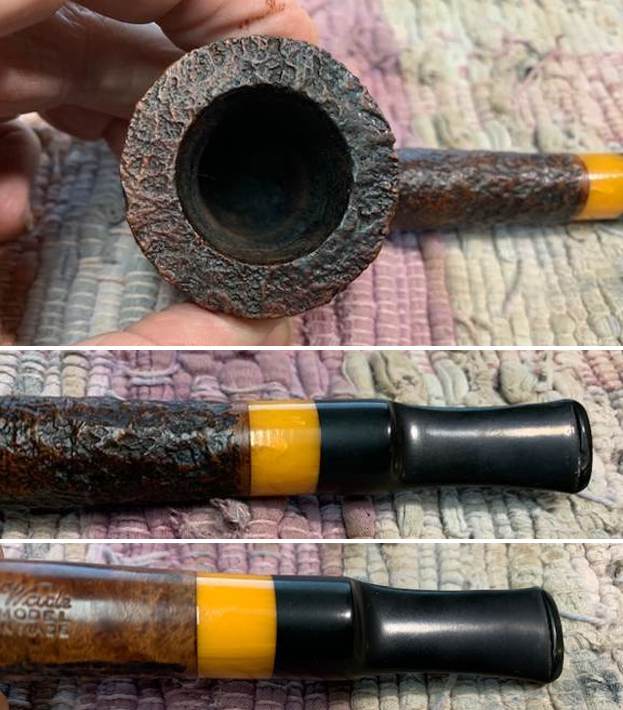
Restoring a Ben Wade Hand Model London Made Large Pot


Blog by Steve Laug

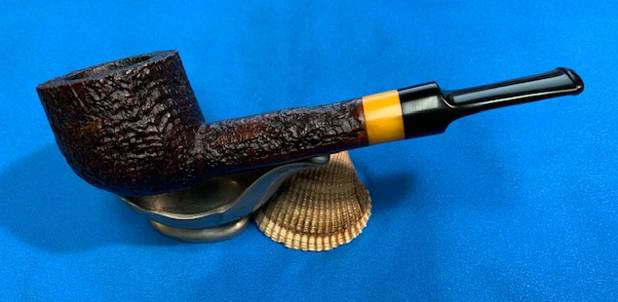
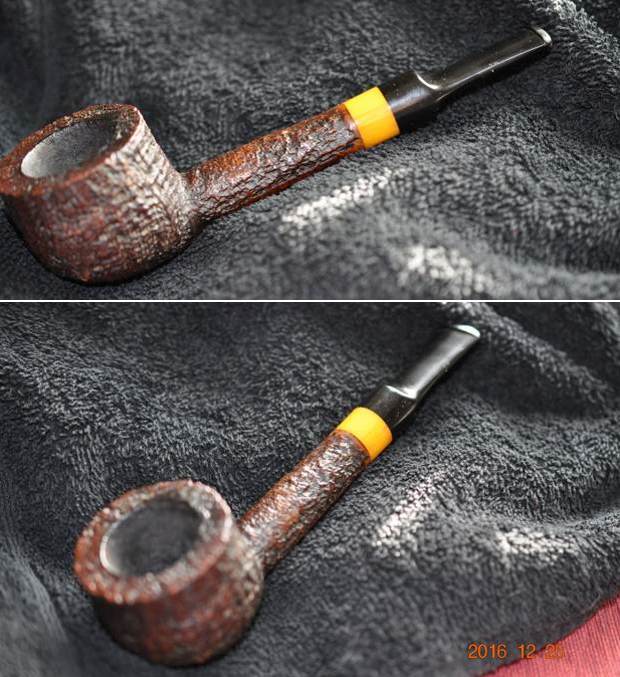
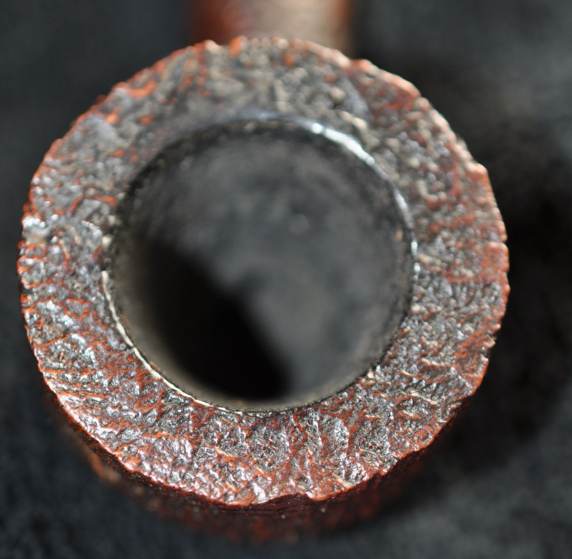
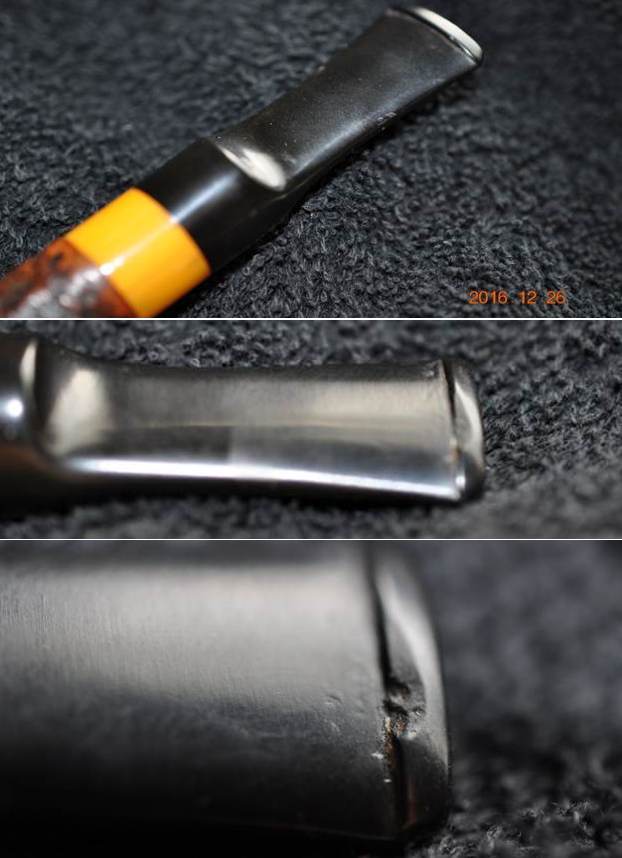
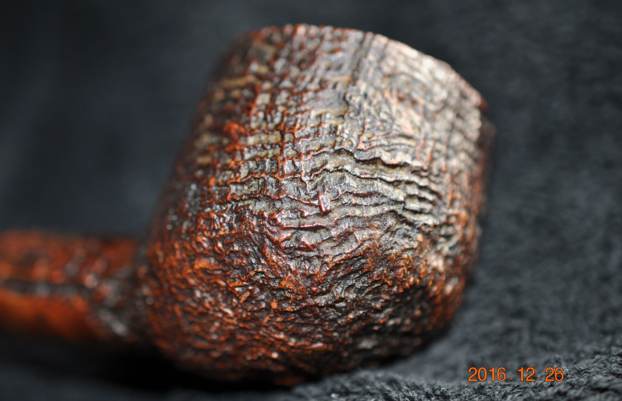
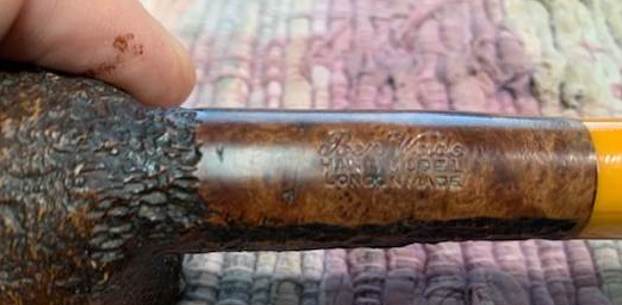
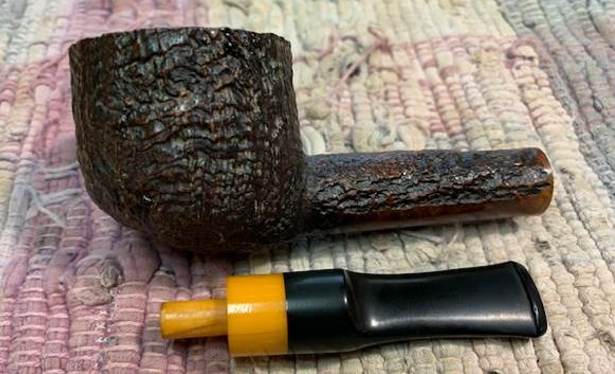
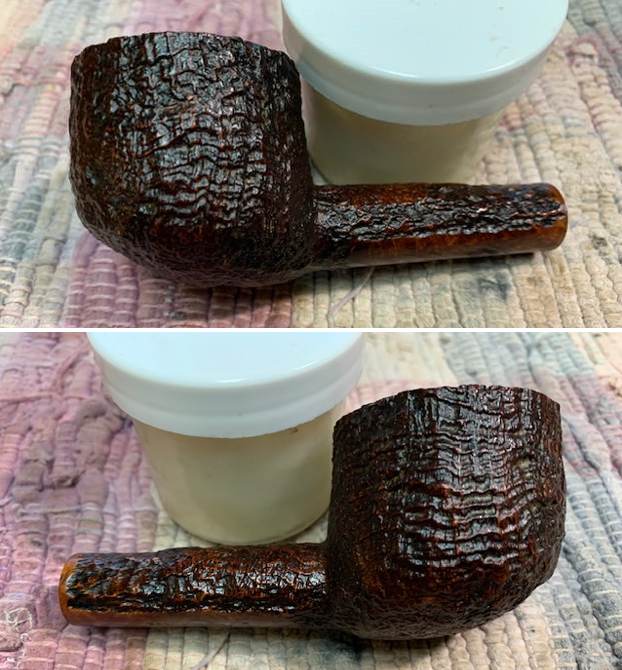
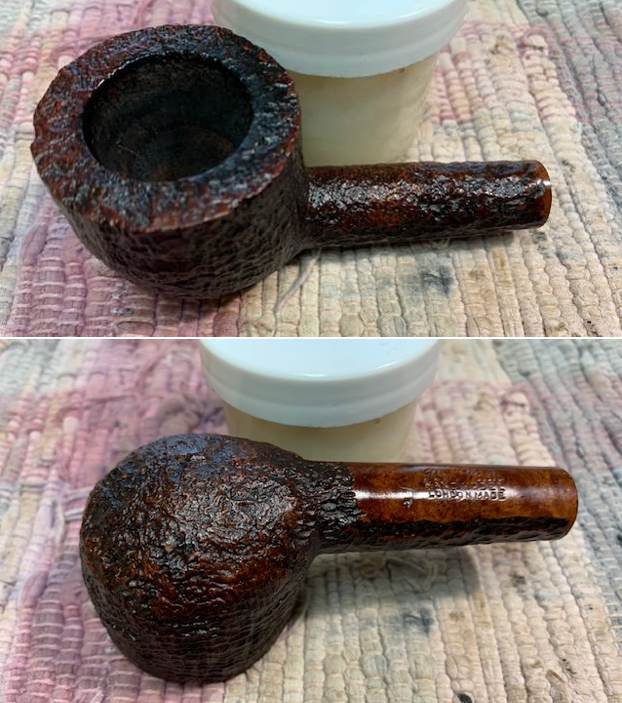
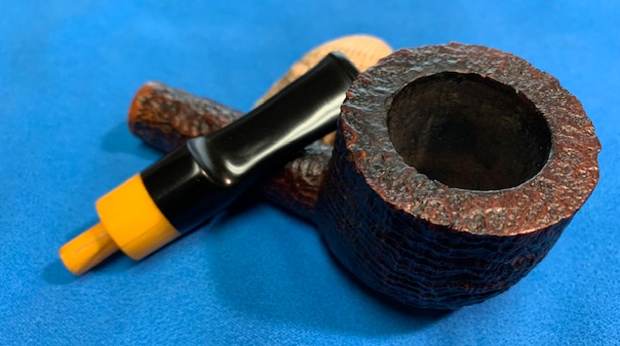
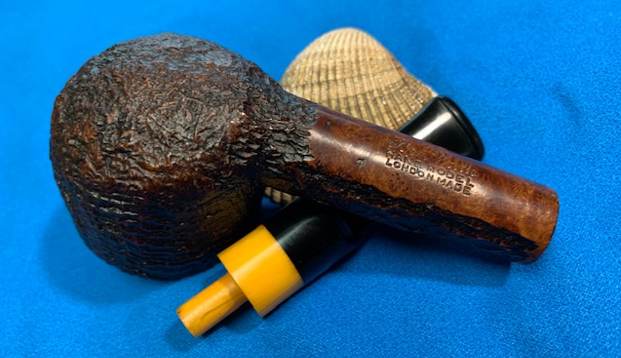
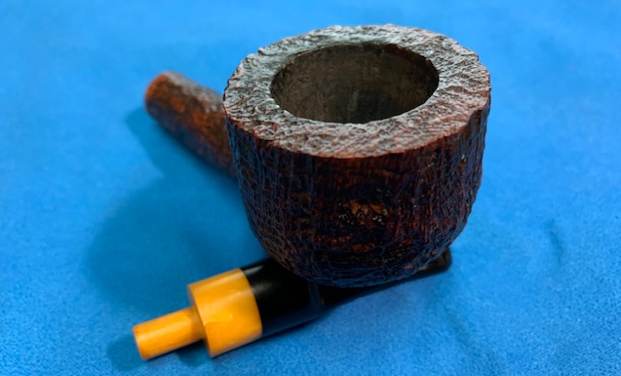
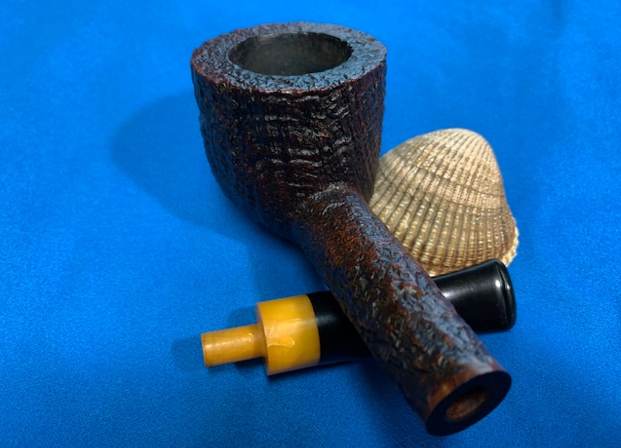
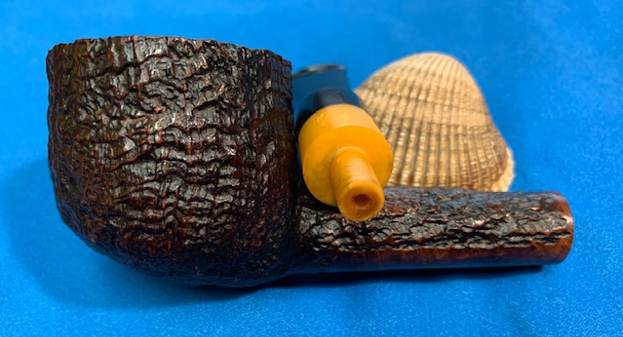
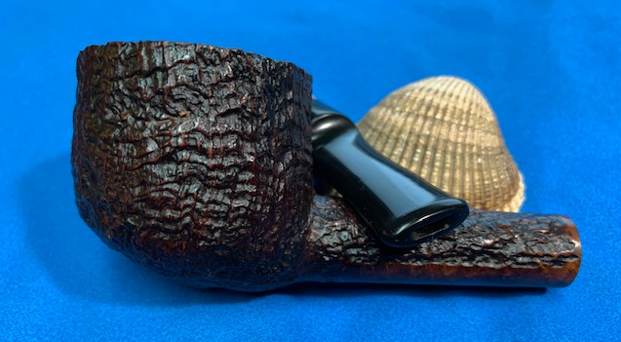
After a long week of dealing with insurance issues on flood damage to my basement office and now waiting for a plumber to come and give his report on Monday I decided it was time to take a break and just work on a pipe that interested me. I chose a unique looking pipe that we picked up off EBay back in December of 2016 from a seller in Marlboro, New Jersey, USA. It is a long shank Pot with a craggy and deep sandblast and an unusual shape to the bottom of the bowl. The yellow spacer on the pipe is a part of the stem. The pipe is stamped on the underside and reads Ben Wade in script [over] Hand Model [over] London Made. There are no shape numbers on the pipe. I have worked on quite a few English made Ben Wade pipes but never one that was stamped like this. It would be interesting to learn more about it. The pipe was dirty with a moderate cake in the bowl and some lava overflow in the sandblast on the rim. The edges of the bowl were in good condition. The saddle stem  (vulcanite with a yellow acrylic spacer attached) was shiny but had tooth damage to the button on the underside. Jeff took photos of the pipe before he started his clean up. He took photos of the bowl, rim top and stem to show the condition of the pipe. The bowl is moderately caked and you can see the lava in the sandblast of the rim top toward the back of the bowl. The stem looks good other than the tooth mark on the underside of the button. Jeff took photos of the bowl and sides to give a sense of the sandblast and the depth of that finish. It is really a beautifully blasted pipe and well executed. You can also see the slight slope to the bottom of the bowl on the front. He took a photo of the stamping on the underside of the shank which was clear and readable as noted above. It is the source of the mystery for me – what and when was the Hand Model made.Now it was time to try and figure out the stamping on this pipe. I remembered chatting with Dal Stanton, the Pipe Steward about a pipe he was working on that had this stamping. At least I thought I had. I knew it was a while ago so I did a quick search on the blog for Ben Wade Hand Model London Made pipes and found what I was looking for. Here is the link to the blog Dal wrote and his research on it (https://rebornpipes.com/2019/02/13/rejuvenating-a-ben-wade-hand-model-london-made-billiard/). I am quoting extensively from what he wrote as there is no need to go back through the same sources he did.

I’ve discovered through the reading I’ve done about the name ‘Ben Wade’ that it has an up and down history. The Pipedia article is helpful in simplifying the history in four helpful ‘eras’ which I’ve summarized from the Pipedia:

The Family era (1860 to 1962) – the heydays of the English name when the pipes were stamped Made in Leeds, England.

Charatan / Lane second (1962 to 1988) – When Herman G. Lane purchased the name, the transition from a higher quality pipe during the long Family Era transitioned exclusively to the fabrication of machine-made pipes. Lane moved the production from the Leeds factory (closed in 1965) to Charatan’s Prescott Street factory. Ben Wade became essentially lower quality series pipes produced in standard shapes. The pipes during this period were stamped, “Made in London, England” or dropping the “London” and stamped with “England” alone. After Lane died, in 1978 his heirs sold the Charatan and Ben Wade names to Dunhill, which left the production of Charatan/Ben wade at the Prescott Street factor. In 1988 production came to an end for Ben Wade when the Charatan’s Prescott Street factory closed.

Ben Wade turns Danish (1971-1989) – During this era Preben Holm, from Denmark, was in financial difficulties and Herman Lane and he went into partnership producing the Handmade and fancy pipes. These pipes were marked “Ben Wade Made in Denmark”. These pipes gained great popularity, especially as the were marketed in the US. After Lane’s death, Preben Holm, not the businessman, was in financial difficulties and reduced his workforce and production, but at his death in 1989, production of the Danish Preben Holm pipes came to an end.

Resurrection – (1998 to present) – Duncan Briars bought the Ben Wade name from Dunhill in 1998 and production of Ben Wade pipes restarted at the Walthamstow plant, sharing the same space where Dunhill pipes are produced and reportedly benefiting from the same quality of production. During this present era, the stamping on the pipes is: “Ben Wade, Made in London, England”

The reason I went through this summary of Ben Wade’s morphing history is because in nothing I’ve read about Ben Wade (and I’m sure there’s more out there), I found no reference to a Ben Wade Hand Model with the COM, London Made. The stamping on the pipe before me is ‘Ben Wade’ [over] HAND MODEL [over] LONDON MADE. The saddle stem has the Ben Wade stamped on the upper side of the stem saddle. My first glance at the blasted finish made me wonder whether this Ben Wade came out during the ‘mystery’ Resurrection period in the Pipedia article. Here is the full text that made me wonder:

As said before Preben Holm’s death marked the third end of Ben Wade and for long years there were no Ben Wade pipes in the shops anymore. But then, all of a sudden they were back in the USA some years ago! Who made these pipes? A concrete manufacturer was not known at first.

The rumors spreading were considerable. Especially because these Ben Wades – originally all blasted and in deep black color – featured so perfect straight and / or ring-grain that they were almost suspicious in view of the prices. The supposition that “Mother Nature” had been given a leg up by means of rustication combined with subsequent blasting was evident as different sources confirmed.

Dal also posted the following with some anecdotal information that linked the pipe he was working to Charatan. I quote:

I sent out pictures of some pictures and the nomenclature to various pipe Facebook groups and the responses I did get, though they were anecdotal, pointed to an earlier period. Paul, from Pipe Smoker of America FB Group, said that he believed it was a Pre-78 and made in Charatan factory. He also said that these were some of his best smokers are London BWs. It sounds good to me!

Following Dal’s lead I posted pictures of the stamping and the pipe on Facebook groups I am part of and hope to learn some more. Tom Myron, a good friend replied on the Gentlemen’s Pipe Smoking Society and wrote as follows:

Yeah, Steve, that’s absolutely a Charatan shape in their ‘After Hours’ style – 60s / 70s.

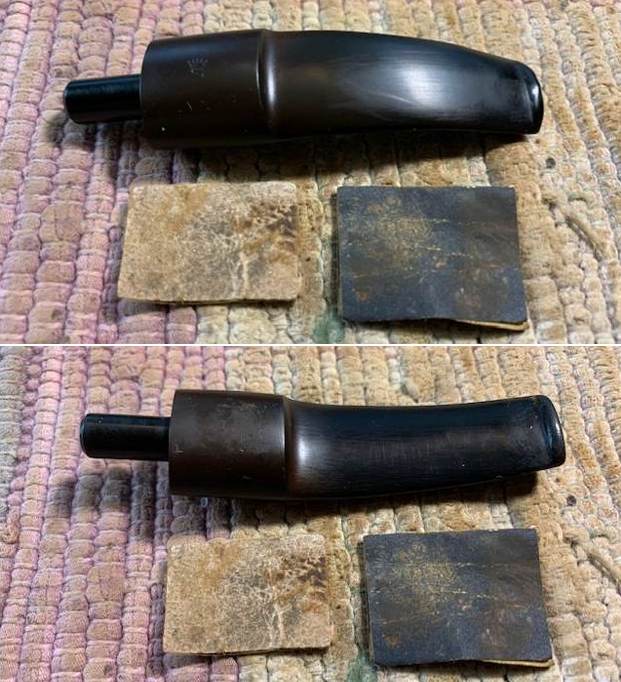
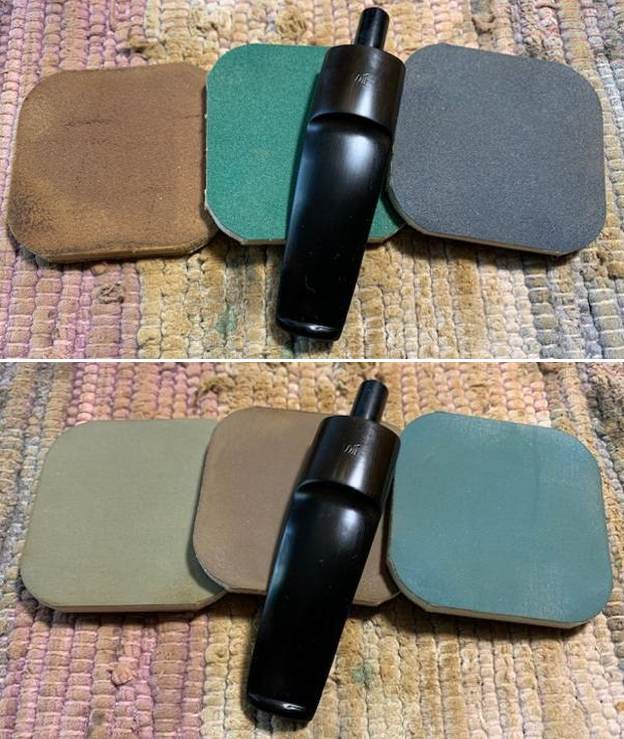
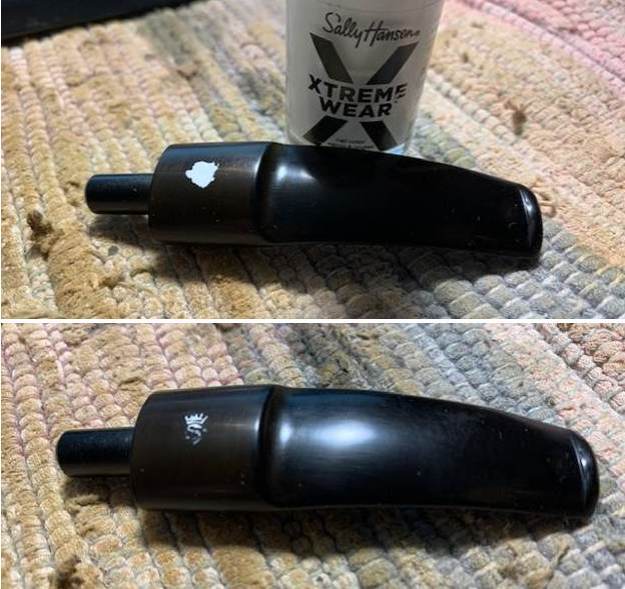
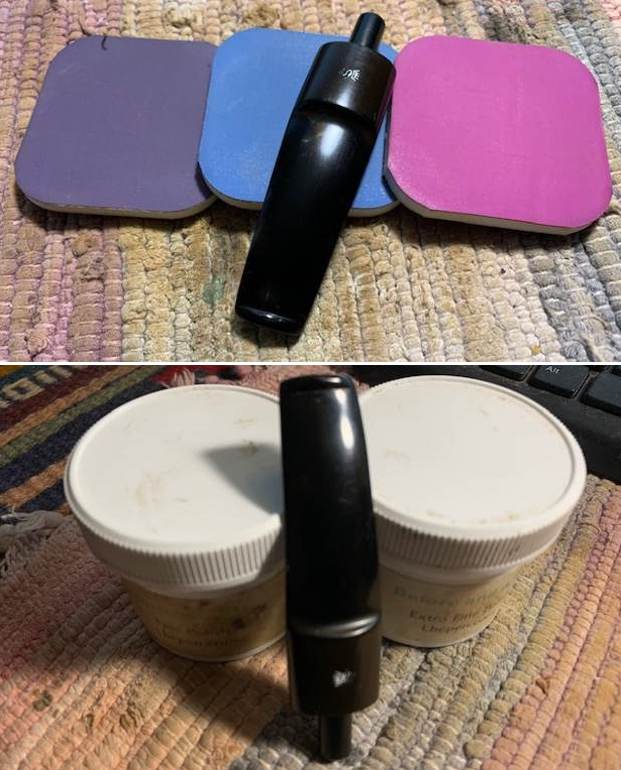
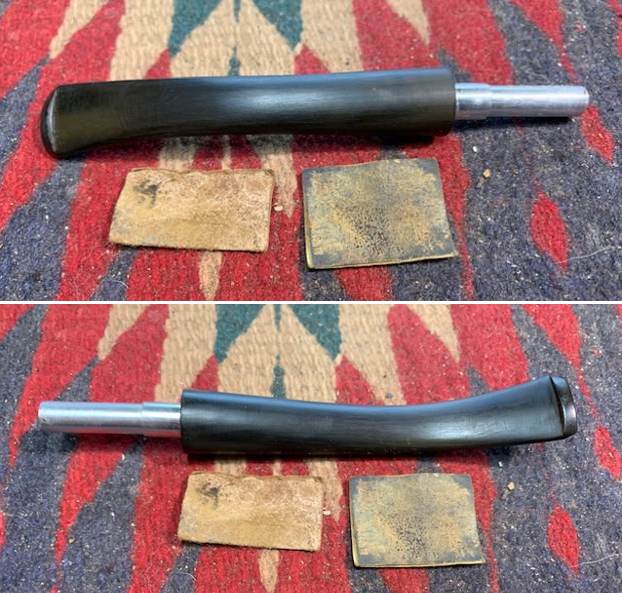
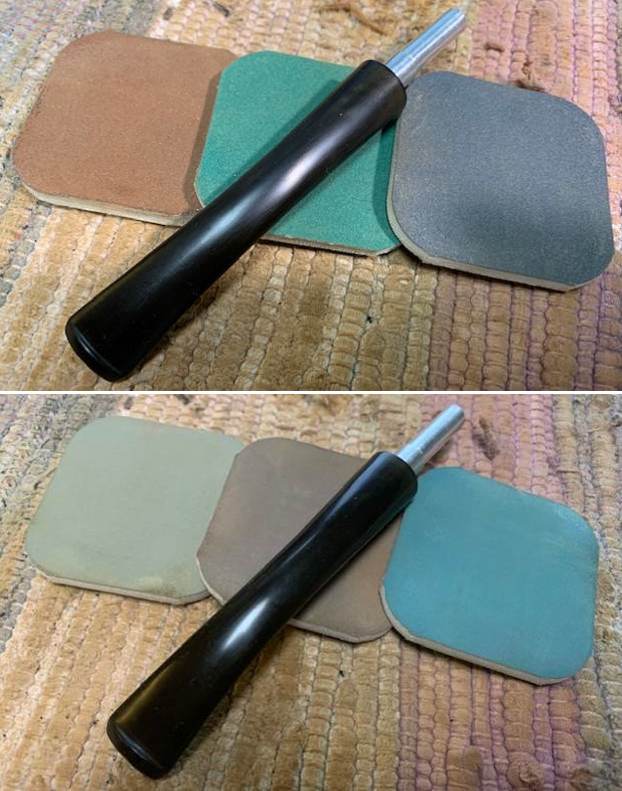
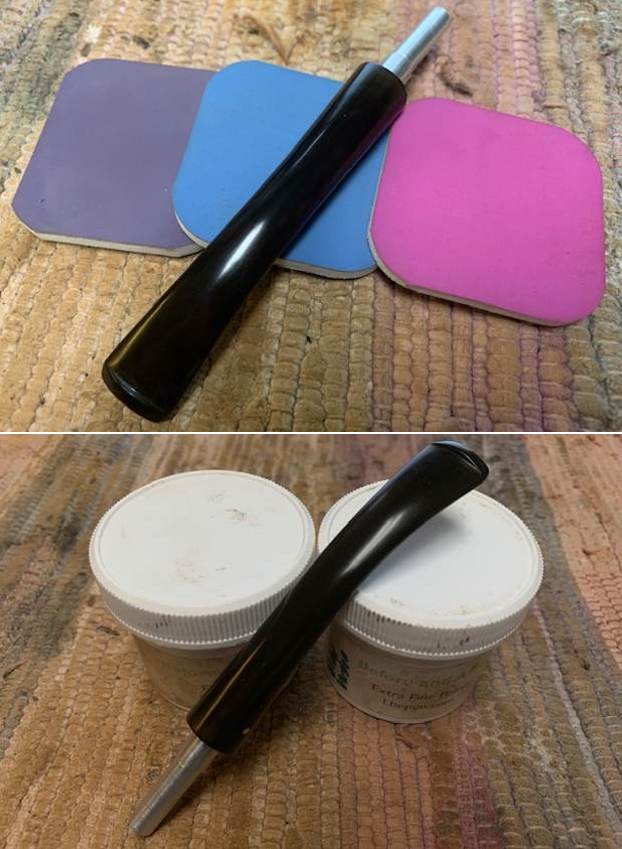
Jeff had done a great clean up of the pipe. He had reamed it with a PipNet reamer and took the cake back to bare briar. He cleaned up the remnants with a Savinelli Fitsall Pipe Knife. He scrubbed internals of the shank and stem with alcohol, cotton swabs and pipe cleaners. He cleaned the exterior of the pipe with undiluted Murphy’s Oil Soap and a tooth brush to remove the grime and the lava on the rim top. He scrubbed the stem with Soft Scrub to remove the debris that had accumulated on it. The pipe looked clean and ready for the next step in the process. Here are some photos of it when I finally got around to working on it 5 years later. Look at the craggy sandblast on this pipe! Wow. I took some close up photos of the bowl, rim top and the stem surface. It looked amazingly good. The damage on the underside of the stem button is not as bad as I expected.I took a photo of the stamping on the underside of the shank. It is clear and readable as noted above.I removed the stem from the shank to show the spacer and tenon on the pipe as it is quite unique. I also wanted to get a clear picture of the components of the pipe. It is a beauty.The pipe bowl was in such great condition that I did not need to do a lot of work on it. I rubbed the bowl down with some Before & After Restoration Balm. I worked it into the briar with my fingertips and a horse hair shoe brush. The product works to clean, renew and protect briar. I let it do its work for 15 minutes then buffed it off with a soft cloth. The pipe is really quite a beauty. The depth of the blast is quite stunning. I set the bowl aside and turned my attention to the stem. I built up the tooth mark in the button surface with Medium Thick Black Super Glue. I sprayed it with a shot of accelerator to harden the surface and set the stem aside to cure overnight. In the morning I reshaped the button edge and surface with a small file.I sanded and reshaped the repaired area on the underside of the stem and the tooth chatter on the top side with 220 grit sandpaper. I started polishing it with 400 grit wet dry sandpaper.I polished the stem on both sides using micromesh sanding pads. I dry sanded the stem with the 1500-12000 grit pads, then wiped it down with a cloth impregnated with Obsidian Oil. I finished polishing it with Before & After stem polish – both Fine and Extra Fine. I gave it a final coat of Obsidian Oil and set it aside to dry. This is another pipe I am excited to finish. It is a Ben Wade Hand Model London Made Long Pot. I put the pipe back together and buffed it lightly with Blue Diamond on the buffing wheel. I gave the bowl multiple coats of Conservator’s Wax and the stem multiple coats of carnauba wax. I buffed the pipe with a clean buffing pad to raise the shine and hand buffed it with microfiber cloth to deepen the shine. It is fun to see what the polished bowl looks like with the polished stem with the golden acrylic spacer. It really was a beautiful pipe. The sandblasted grain shining through the rich browns/black stain on this Ben Wade Hand Model is nice looking and the pipe feels great in my hand. It is light and well balanced. Have a look at it with the photos below. The dimensions are Length: 6 ½ inches, Height: 1 ¾ inches, Outside diameter of the bowl: 1 ¾ inches, Chamber diameter: 1 of an inch. The weight of the pipe is 2.08 ounces/59 grams. It is a beautiful pipe and one that will be on the rebornpipes store in the British Pipe Makers Section soon. If you are interested in adding it to your collection let me know. Thanks for walking through the cleanup with me as I worked over this pipe. Thanks to each of you who are reading this blog. Remember we are not pipe owners; we are pipemen and women who hold our pipes in trust until they pass on into the trust of those who follow us.
Restoring a Brigham Made in Canada (1Dot) 189 Bent Acorn


Blog by Steve Laug

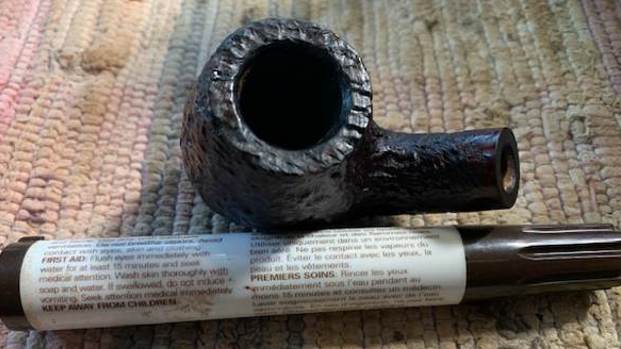
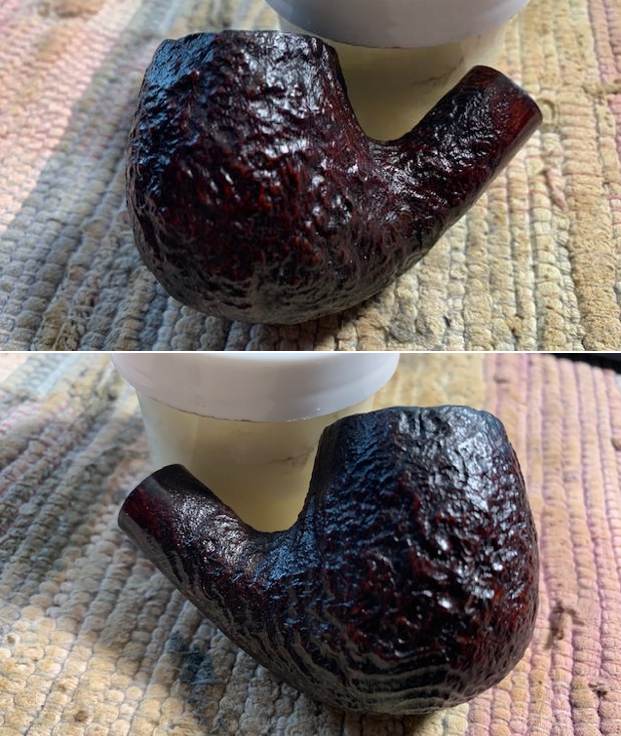
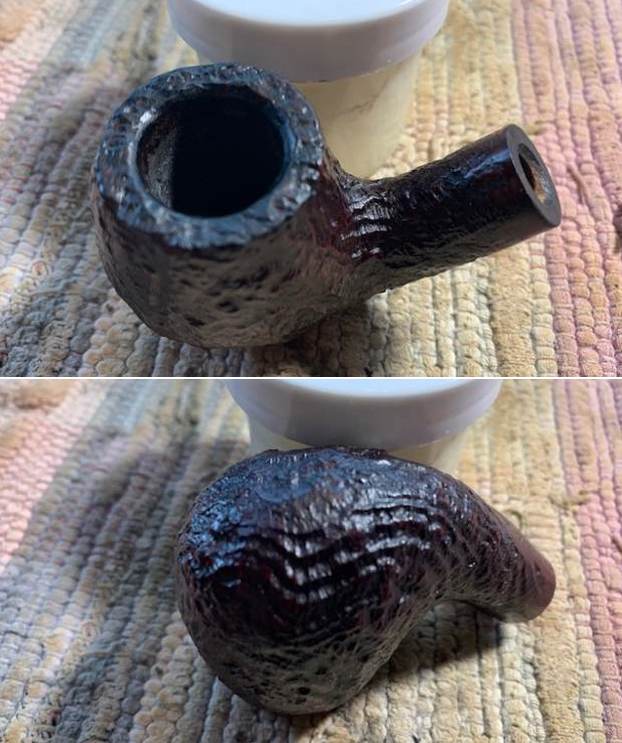
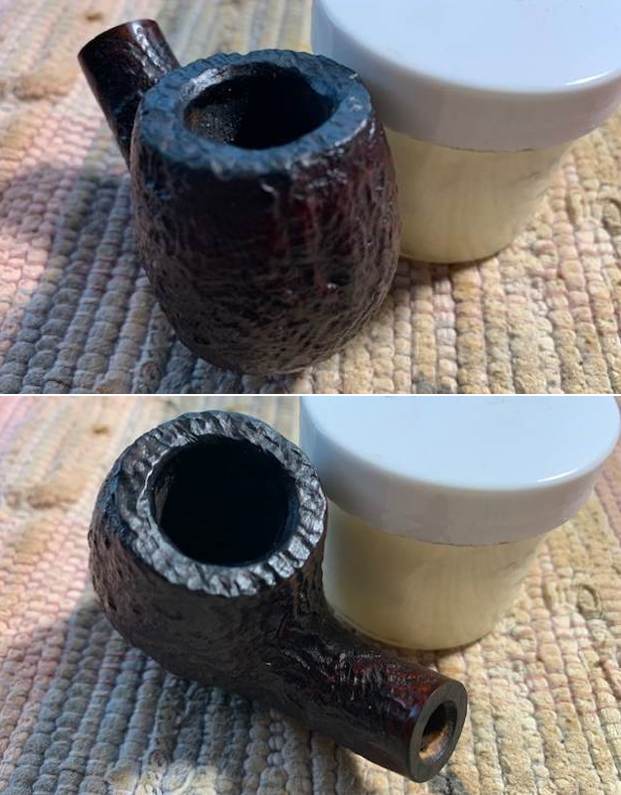
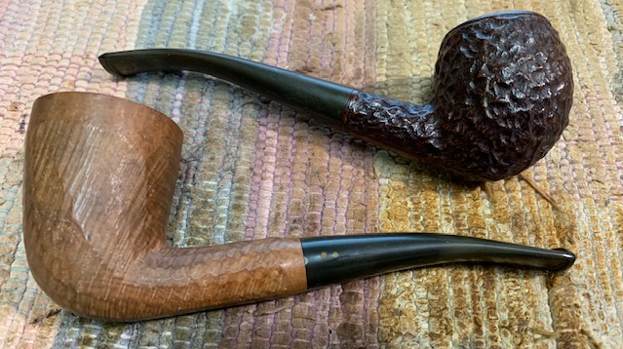
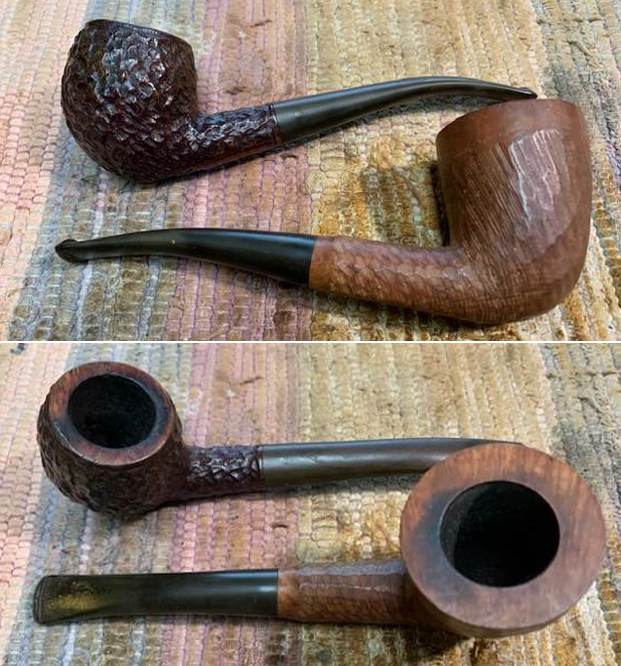
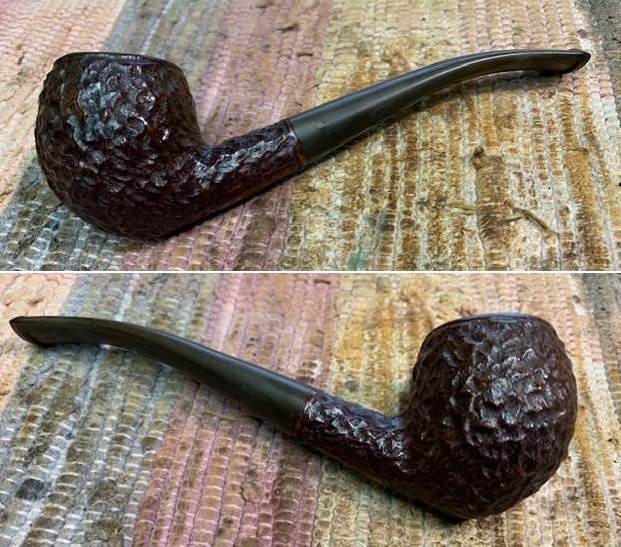
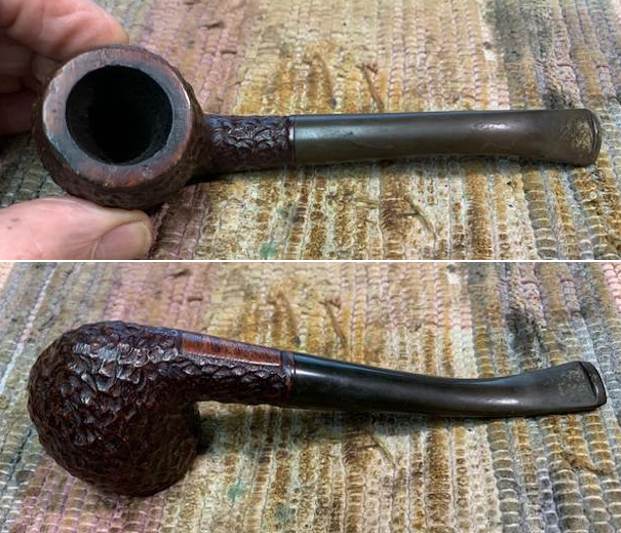
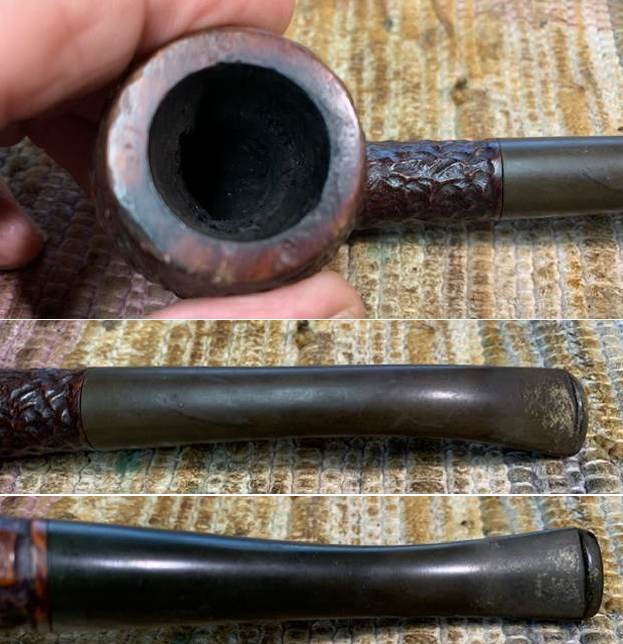
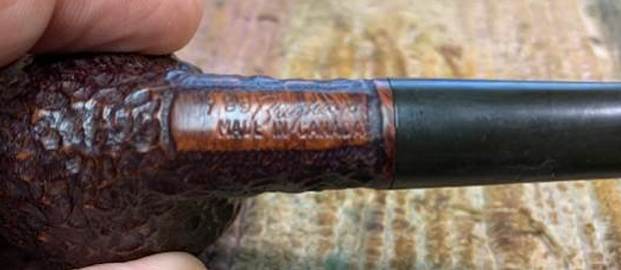
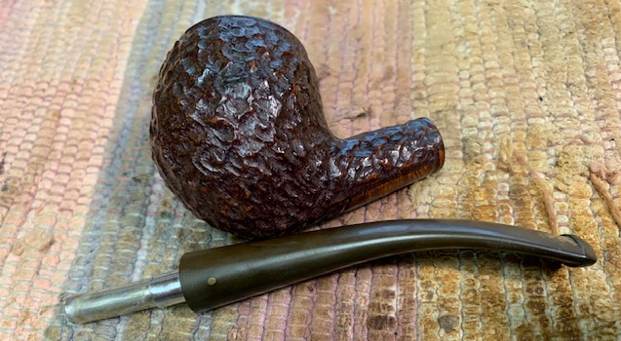
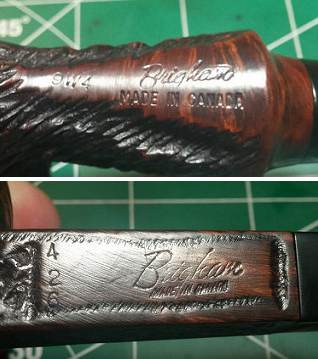
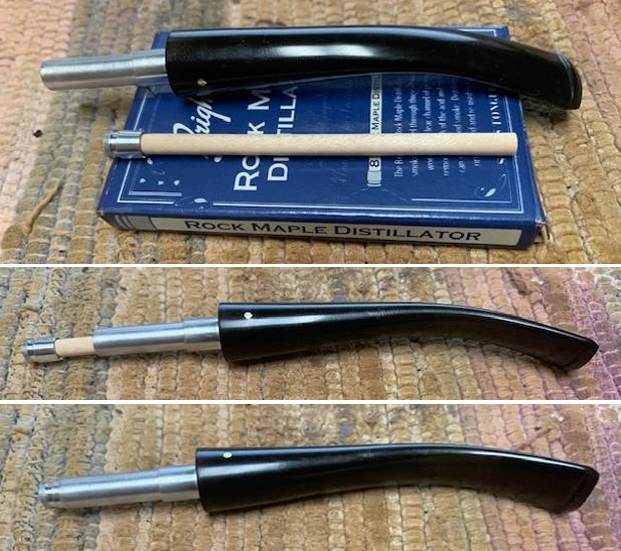
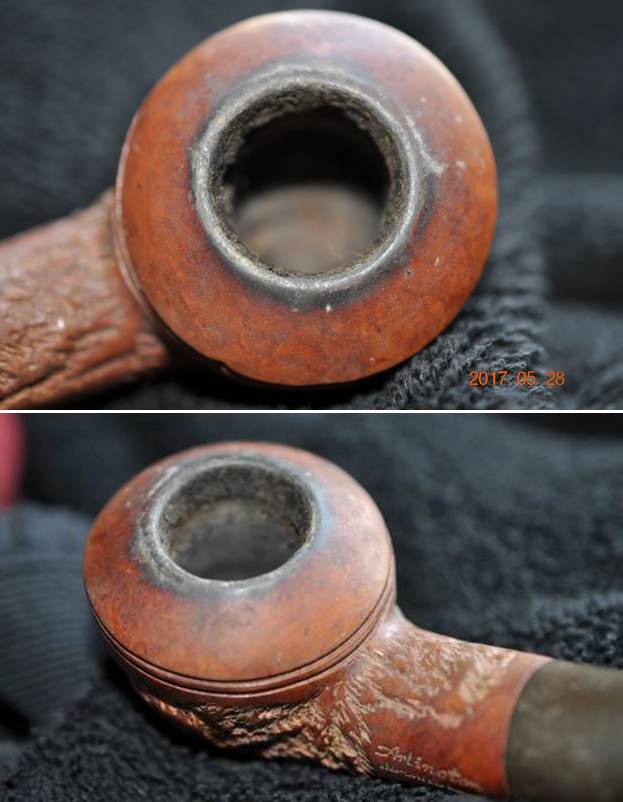
Not too long ago my wife and I had dinner with some good friends here in Vancouver – first time since COVID-19 so it was good to see them. At the beginning of the meal he handed me a box that he said was for me. In it were some pipes that he was giving to me and a bunch of cigars. The pipes included two Brigham rusticated pipes that I have included photos of below. The two pipes in the photo were clean but well smoked. The bowls had light cake and some lava and darkening on the rim top. The stems were lightly oxidized and had tooth chatter on both sides ahead of the button. I decided I would work on them next. I finished the Sportsman Dublin first and now turned my attention to the second pipe. It is a classic Brigham Shape I call an acorn. It is well carved with a rusticated finish and a smooth rim top. It is stamped on the underside and reads 189 followed by Brigham [over] Made in Canada. There was one dot on the stem side and tooth chatter and oxidation. It was going to be a beauty once cleaned up. I took photos of the pipe when it brought it to the desk top. There was a moderate cake in the bowl in the bowl with lava overflowing into the rim top. There were some dark spots on the top of the rim on the front and the back sides. There was also some damage on the inner edge of the rim that would need to be dealt with. The shank and airways were dirty with tars and oil. The finish was dirty and would need scrubbing. I was hoping to bring it back to the natural finish. There was no Hard Rock Maple filter in the tenon and the pipe smelled of stale tobacco. The stem was lightly oxidized and there was some light tooth chatter to the top or underside of the stem. The button had no damage. Overall the pipe looked good even though it was a dirty one. I took photos of the rim top and the bowl to show the condition. The rim top was smooth with some nicks and dents in the surface. It also had some darkening around the top and damage to the inner edges. I also took photos of both sides of the stem to show the tooth marks and chatter. Over all the pipe was in okay condition.I took a photo of the stamping on the underside of the shank. It is clear and t it reads as noted above.I took a photo of the pipe with the stem removed to give an overall picture of the pipe. It really is quite beautiful.For historical background for those unfamiliar with the brand I am including the information from Pipedia on Brigham pipes. It is a great read in terms of the history and background on the pipes (https://pipedia.org/wiki/Brigham_Pipes). Charles Lemon (Dadspipes) is currently working on a book on the history of the brand. Until that is complete this article is a good summary. I have included it below.

Roy Brigham, after serving an apprenticeship under an Austrian pipesmith, started his own pipe repair shop in Toronto, in 1906. By 1918 the business had grown to include five other craftsmen and had developed a reputation across Canada for the high quality of workmanship. After repairing many different brands of pipes over the years, Roy noted certain recurring complaints by pipe smokers, the most common referred to as “tongue bite”. Tongue bite is a burning sensation on the smoker’s tongue, previously thought to be due to the heat of the smoke (i.e. a “hot smoking pipe”).

He soon began manufacturing his own pipes, which were lightweight, yet featured a more rugged construction, strengthening the weak points observed in other pipes. The problem of tongue bite intrigued him, and he decided to make overcoming it a future goal.

About 1938, Roy’s son Herb joined him to assist in the business. The business barely survived the great depression because pipes were considered to be a luxury, not a necessity, and selling pipes was difficult indeed. In approximately 1937 [1], after some experimentation, Roy and Herb discovered that tongue bite was in fact a form of mild chemical burn to the tongue, caused by tars and acids in the smoke. They found that by filtering the smoke, it was possible to retain the flavour of the tobacco and yet remove these impurities and thereby stop the tongue bite.

Just as Thomas Edison had searched far and wide for the perfect material from which to make the first electric light bulb filaments, Roy & Herb began experimenting with many materials, both common and exotic, in the quest for the perfect pipe filter. Results varied wildly. Most of the materials didn’t work at all and some actually imparted their own flavour into the smoke. They eventually found just two materials that were satisfactory in pipes: bamboo and rock maple. As bamboo was obviously not as readily available, rock maple then became the logical choice.

They were able to manufacture a replaceable hollow wooden tube made from rock maple dowelling, which when inserted into a specially made pipe, caused absolutely no restriction to the draw of the pipe, yet extracted many of the impurities which had caused tongue bite. The result was indeed a truly better smoking pipe…

Interestingly the pipe I have in hand is a 1 Dot grade but very well done. It is stamped with the shape number 189 followed by Brigham [over] Made in Canada.

Charles Lemon has also written a great article on the stampings and marking on the Brigham pipes that fit into a time line that he has drafted. It is well worth a read and is fascinating. (https://pipedia.org/wiki/Brigham_Pipes_%E2%80%93_A_Closer_Look_at_Dots,_Dates_and_Markings). I quote from the pertinent section on the time frame for this pipe.

Around the late 1960s or early 1970s, at the beginning of what I’ve called the Canadian Era (roughly 1970 – 1980), the stampings changed again as Brigham moved to modernize its logo. Pipes are stamped with the 3-digit shape number and “Brigham” over “Made in Canada”. Note these two variants of this stamping.

This solidly places the pipe I am working on in the period of Brigham production that Charles calls the Canadian Era (1969/70-1980). It is a great looking pipe with the classic rusticated style of finish.

The Original Brigham Dot System 1938 – 1980

Brigham pipes are renown in the pipe world for their famous “Brigham Dots”, a system of brass pins inset in the stem to denote the grade of each pipe. The original 8-grade pinning system, used for 42 years between 1938 and 1978 (spanning the Patent, Post-Patent and Canadian Eras) looked like this:I knew that I was dealing with a pipe made between 1969-1980 from Canadian Era. It sports 1 dot making it Brigham Standard pipe. There is a 189 shape number on the pipe. Now to do a bit of spiffing with the pipe itself.

I reamed the pipe with a PipNet pipe reamer to remove the light cake from the bowl walls. It was uneven and needed to be removed so I took it back to bare briar. I cleaned up the reaming with a Savinelli Fitsall Pipe Knife and then sanded the bowl with a dowel wrapped with 220 grit sandpaper to smooth out the walls. I worked on the damage to the rim top and the inner edge of the rim with 220 grit sandpaper. It looked much better.I scrubbed the exterior of the pipe with a tooth brush with undiluted Murphy’s Oil Soap. I scrubbed it to remove the build up on the rim top. I rinsed it with warm water and dried it off with a soft cloth. I cleaned out the internals with alcohol, cotton swabs and pipe cleaners to remove the debris and the oils from the shank and tenon as well as the airway into the stem and bowl.I polished the darkening on the rim top with micromesh sanding pads – dry sanding with 1500-12000 grit pads to remove as much of the darkening as I could. Once it was complete I stained the rim top with an Oak stain pen to match the smooth portions of the finish on the shank end and underside. I rubbed the bowl down with some Before & After Restoration Balm. I worked it into the briar with my fingertips and a horse hair shoe brush. The product works to clean, renew and protect briar. I let it do its work for 15 minutes then buffed it off with a soft cloth. The pipe is really quite a beauty. I set the bowl aside and turned my attention to the stem. I scrubbed it with Soft Scrub All Purpose cleaner to remove the oxidation as much as possible. It needed to be clean before I could address the tooth marks.Once it was clean I “painted” the tooth marks and chatter with the flame of a lighter. I was able to raise all of the damage on the underside of the stem and the majority on the topside. I lightly sanded the topside with 220 grit sandpaper to prepare for the repair. I filled in the tooth marks that remained with black superglue and set the stem aside to cure. Once it cured I flattened out the repaired area with a small file to start the process of blending it into the surrounding briar. I sanded the surface with 220 grit sandpaper to remove the remaining oxidation and also finish blending in the repair. I started polishing it with 400 grit wet dry sandpaper. It is beginning to look quite good. I polished the surface of the stem on both sides using micromesh sanding pads. I dry sanded the stem with the 1500-12000 grit pads, then wiped it down with a cloth impregnated with Obsidian Oil. I finished polishing it with Before & After stem polish – both Fine and Extra Fine. I gave it a final coat of Obsidian Oil and set it aside to dry. I fit the clean and polished stem with the Brigham Rock Maple Distillator and took photos to show what it looked like. This is in essence a hollow Maple wood tube that serves to filter out the moisture and deliver a clean and flavourful smoke. I am excited to finish this 1969-1980 Brigham Made in Canada Acorn 189 – 1 Dot from the Canadian Era. I put the pipe back together and buffed it with Blue Diamond on the buffing wheel. I gave the bowl multiple coats of Conservator’s Wax and the stem multiple coats of carnauba wax. I buffed the pipe with a clean buffing pad to raise the shine and hand buffed it with microfiber cloth to deepen the shine. It is fun to see what the polished bowl looks like with the rusticated finish. Added to that the polished black vulcanite stem with the shining brass pins was beautiful. This mixed grain on the rusticated Brigham Standard 1 Dot 189 Acorn is nice looking and the pipe feels great in my hand. It is light and well balanced. Have a look at it with the photos below. The dimensions are Length: 6 inches, Height: 1 ¾ inches, Outside diameter of the bowl: 1 ¼ inches, Chamber diameter: ¾ of an inch. The weight of the pipe is 1.45 ounces/41 grams. It is a beautiful pipe and one that will be on the rebornpipes store in the Canadian Pipe Makers Section soon. If you are interested in adding it to your collection let me know. Thanks for walking through the cleanup with me as I worked over this pipe. Thanks to each of you who are reading this blog. Remember we are not pipe owners; we are pipemen and women who hold our pipes in trust until they pass on into the trust of those who follow us.