
by Steve Laug
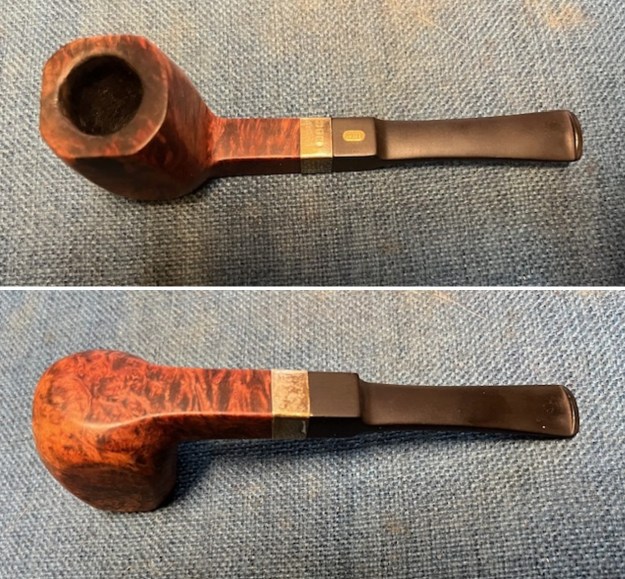
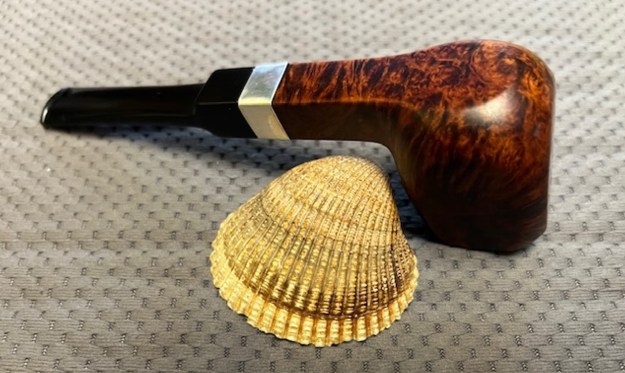
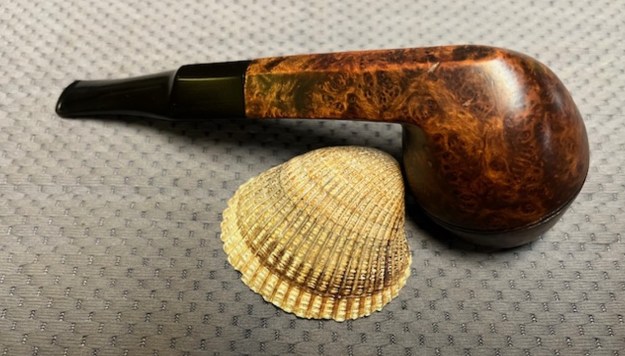
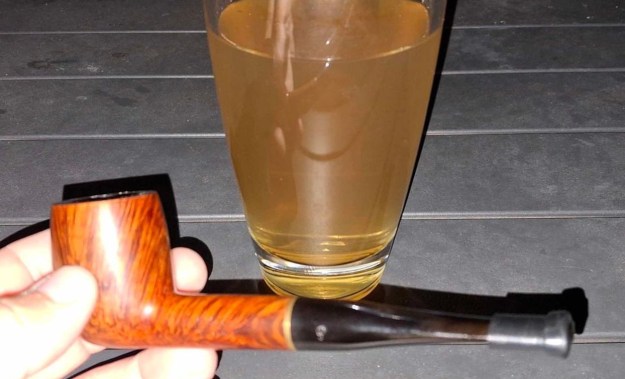
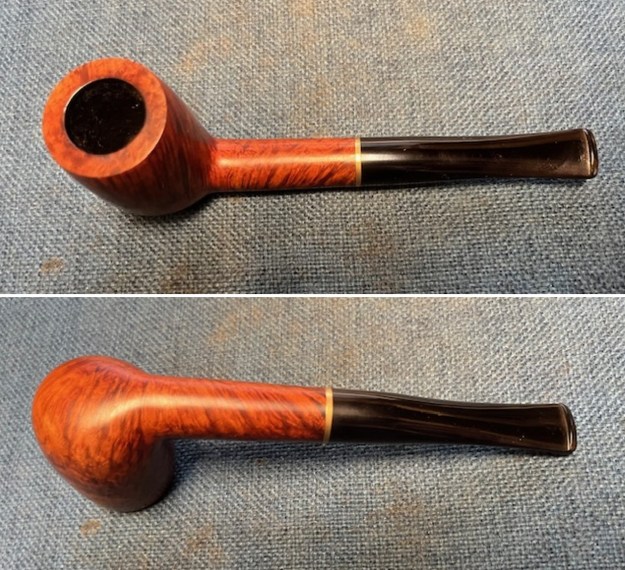
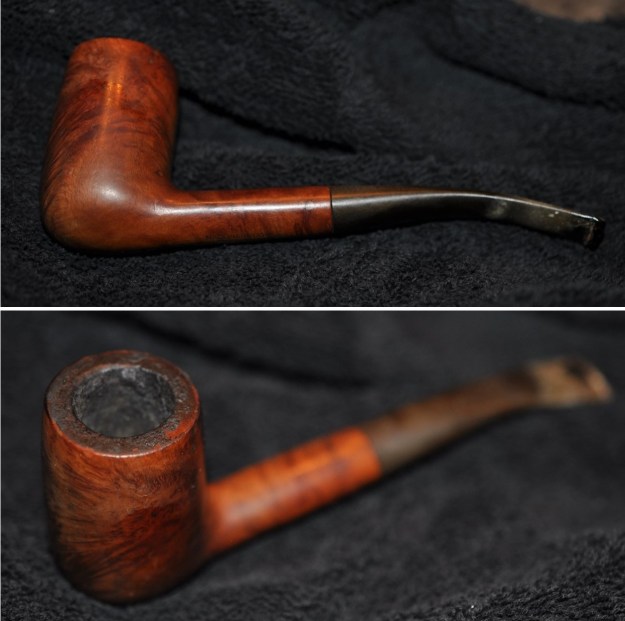
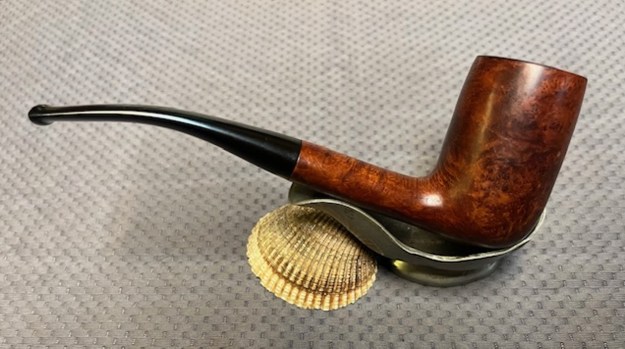
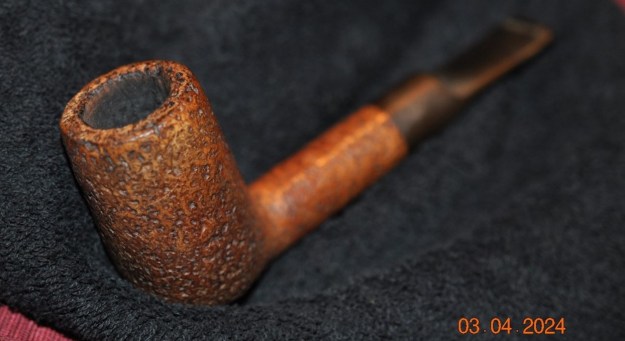
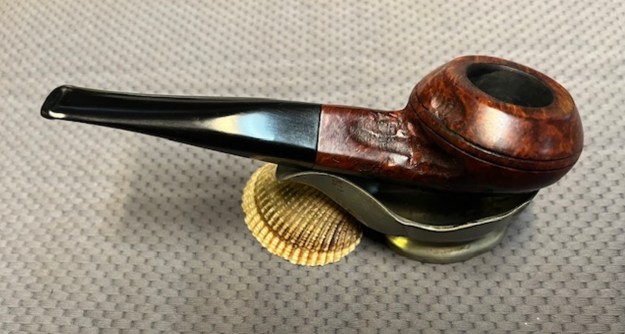
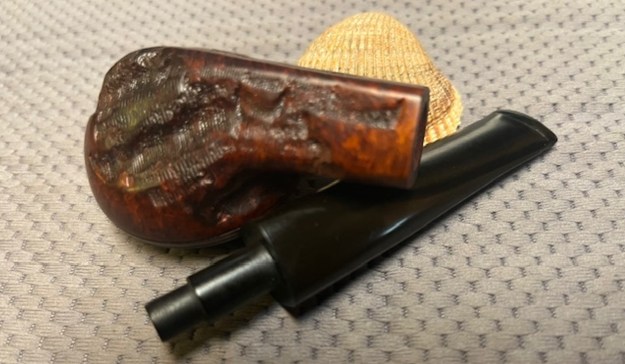
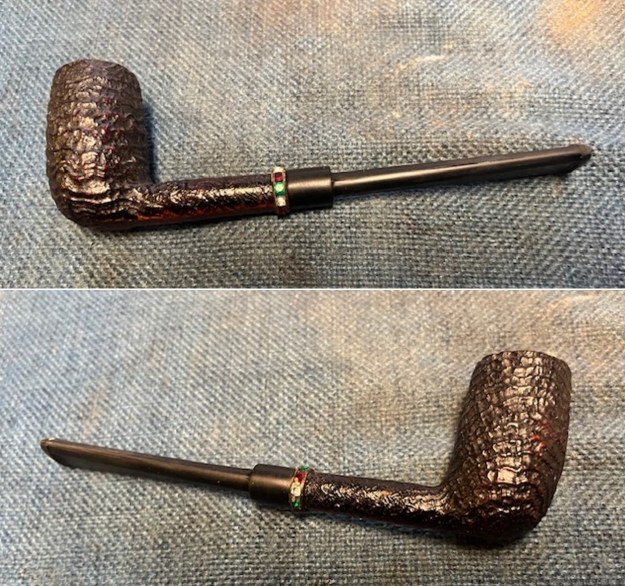
I picked some older pipes to work on next. The next of these is a Jobey Panel Billiard. We purchased this one on 01/22/2024 from an online seller in Jordan, Minnesota, USA. This square shank Panel Bent Billiard is stamped on the left side of the shank and reads Jobey in script [over] Sterling and on the right side it is stamped Imported Briar [over} the shape number 460. The Sterling Silver Band is also stamped and reads STERLING with three hallmarks – an anchor (Birmingham, England) a letter T (date) and a rampant lion (signifying the .925 Sterling quality). The pipe was well used. The finish was dirty with dust and debris ground into the finish. There were some dark marks on the sides of the bowl that looked to be on the surface. The bowl had a thick cake in it and some lava on the rim top and the inner edge. There was some roughening to the inner edge and darkening on the top of the bowl. The Sterling Silver band was oxidized. The vulcanite stem was oxidized, calcified and had some tooth marks on the surface ahead of the button. Jeff took photos of the pipe before he started his cleanup work.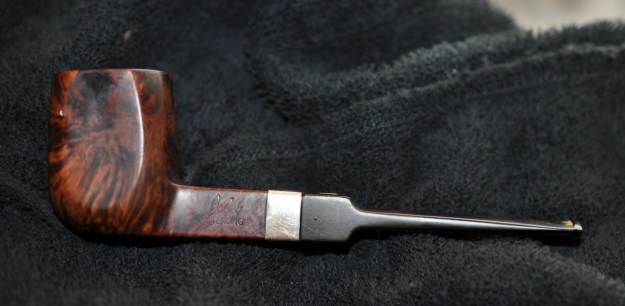
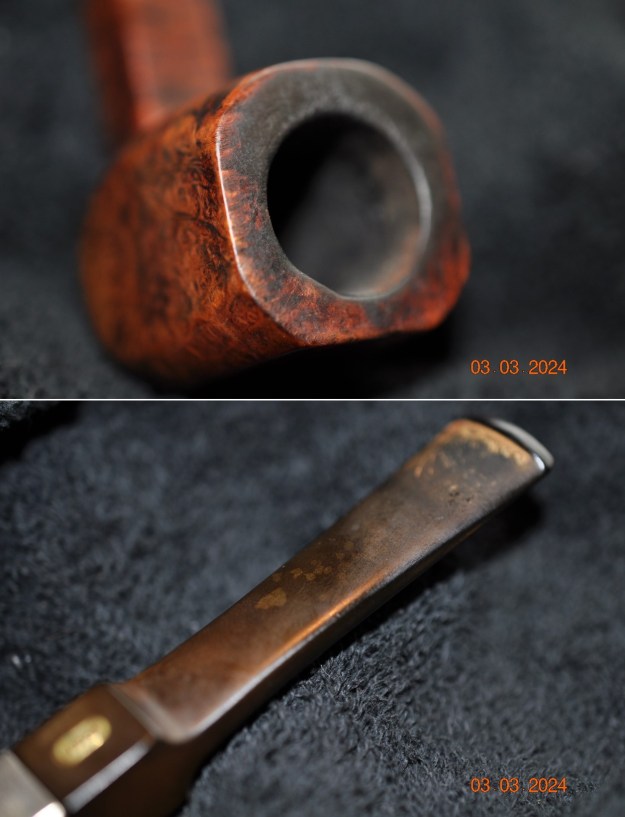
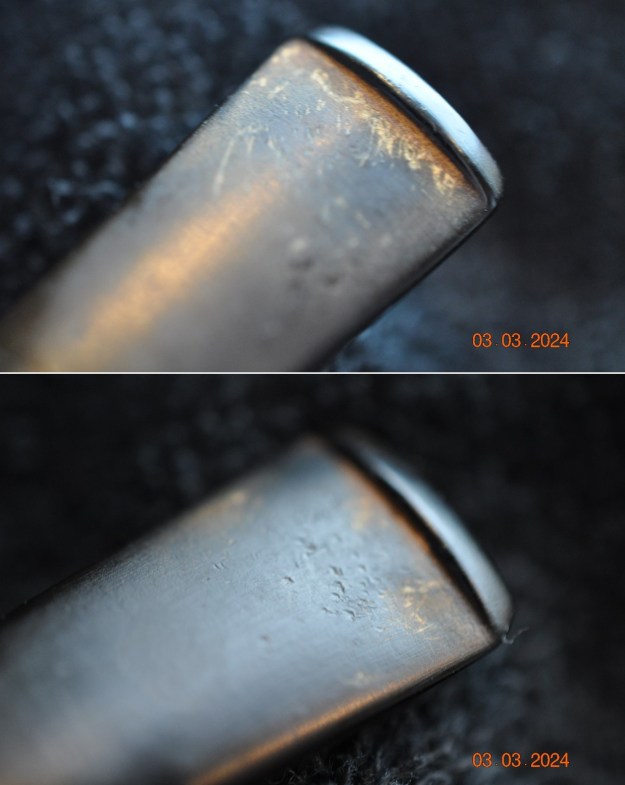
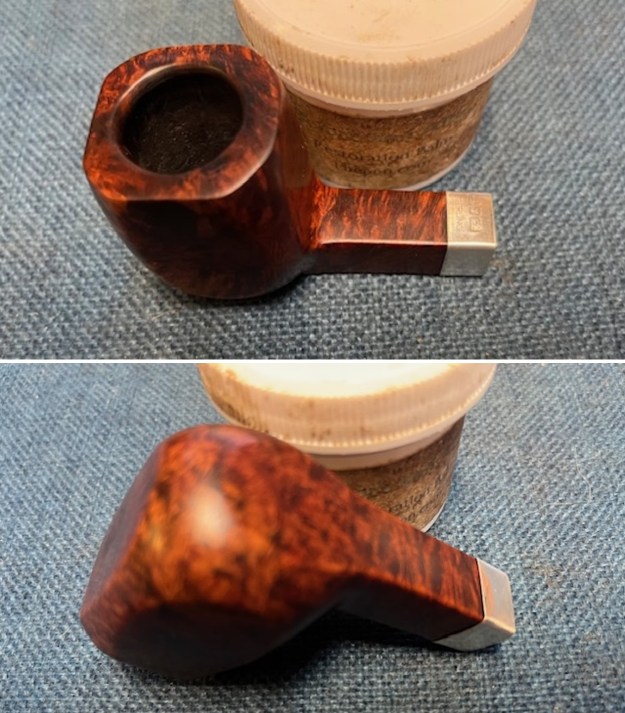
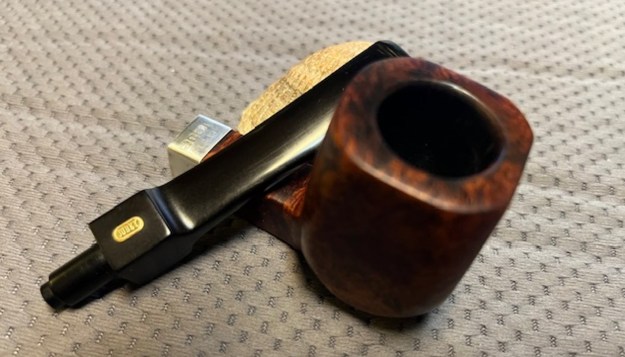
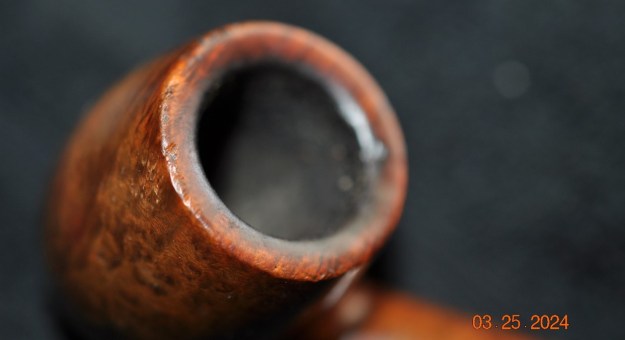
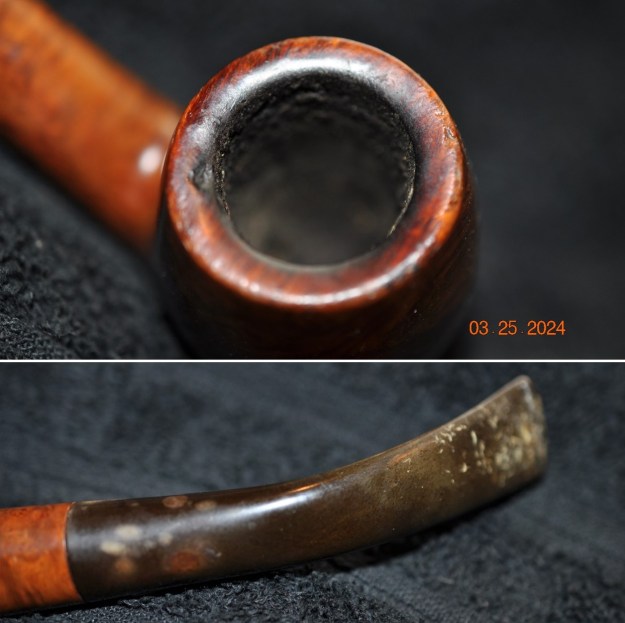
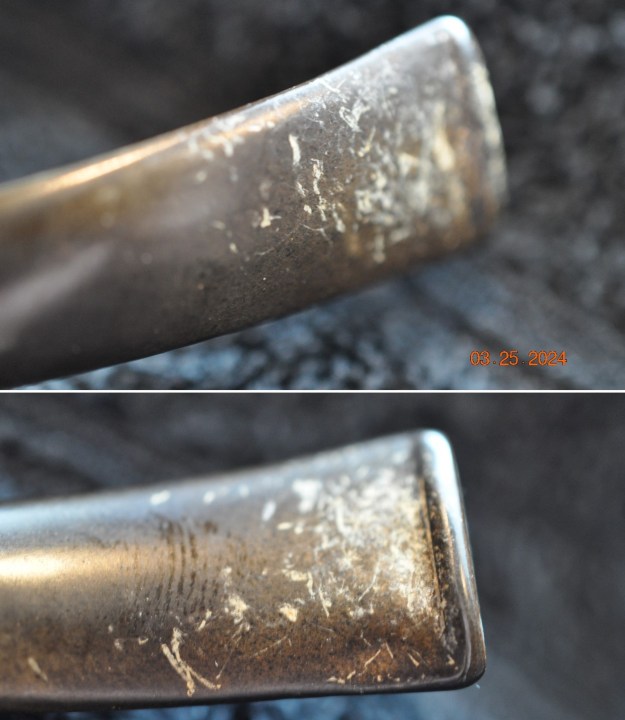
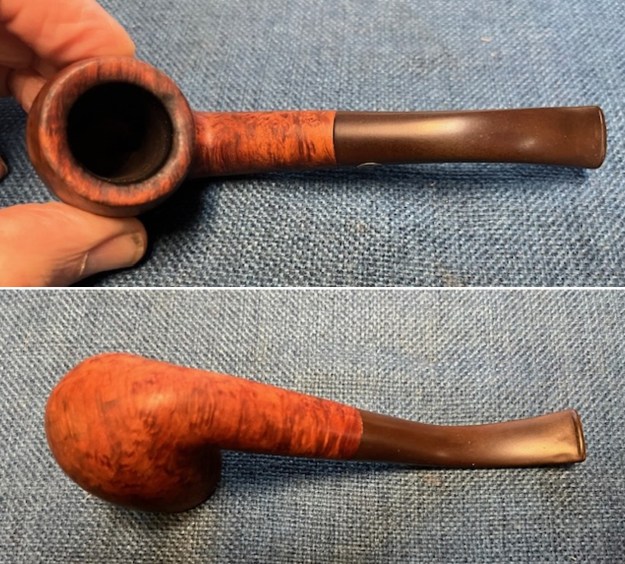
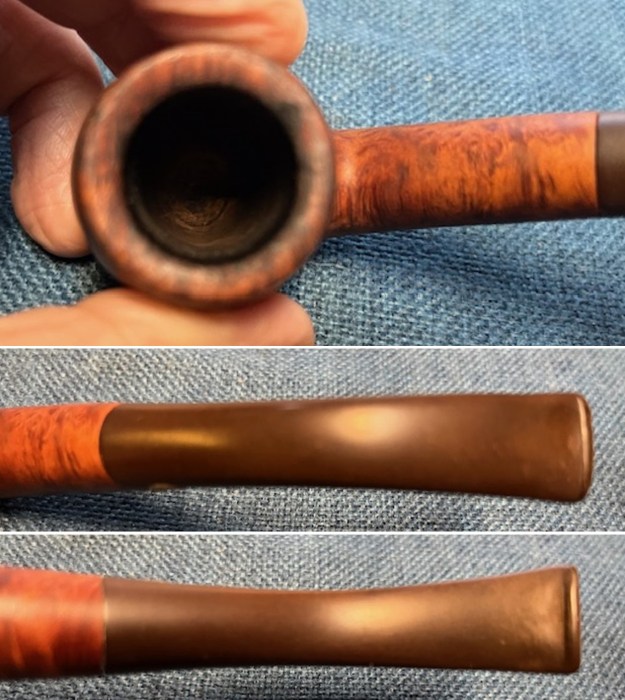
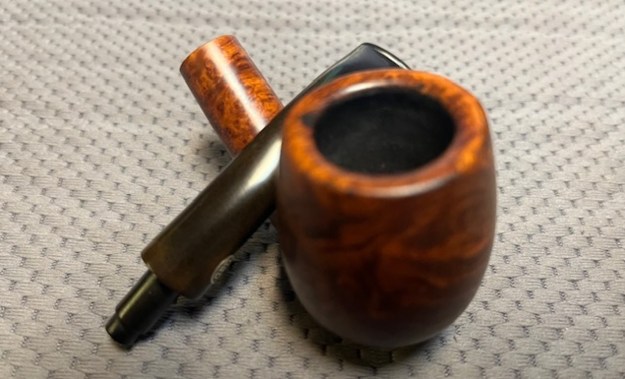
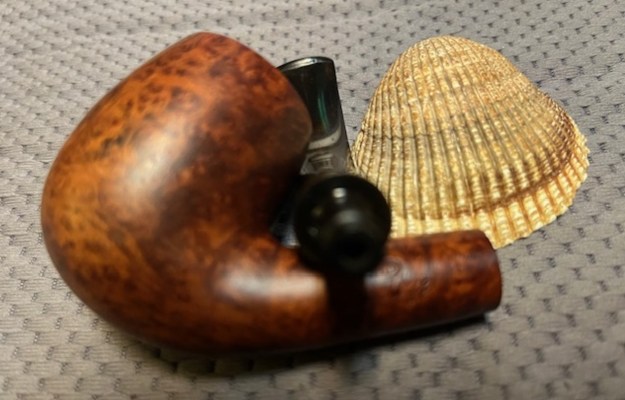
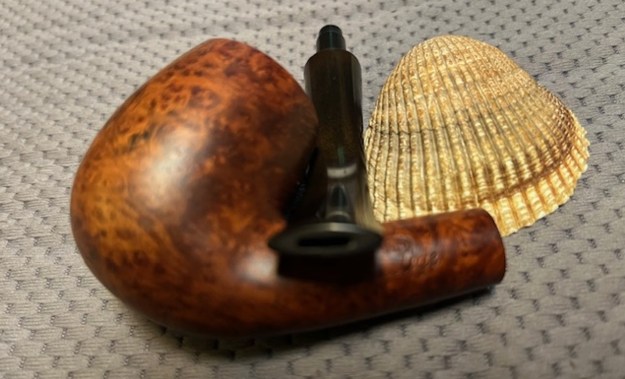
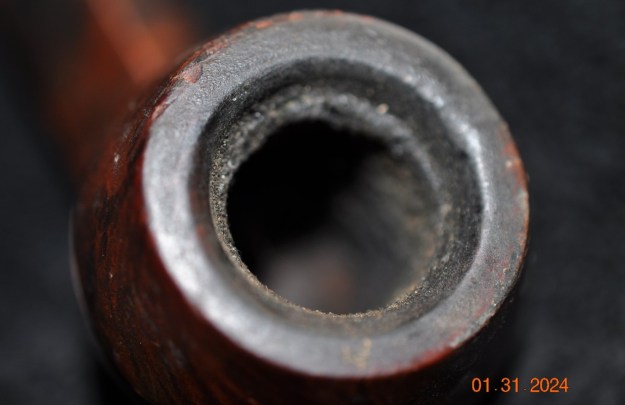
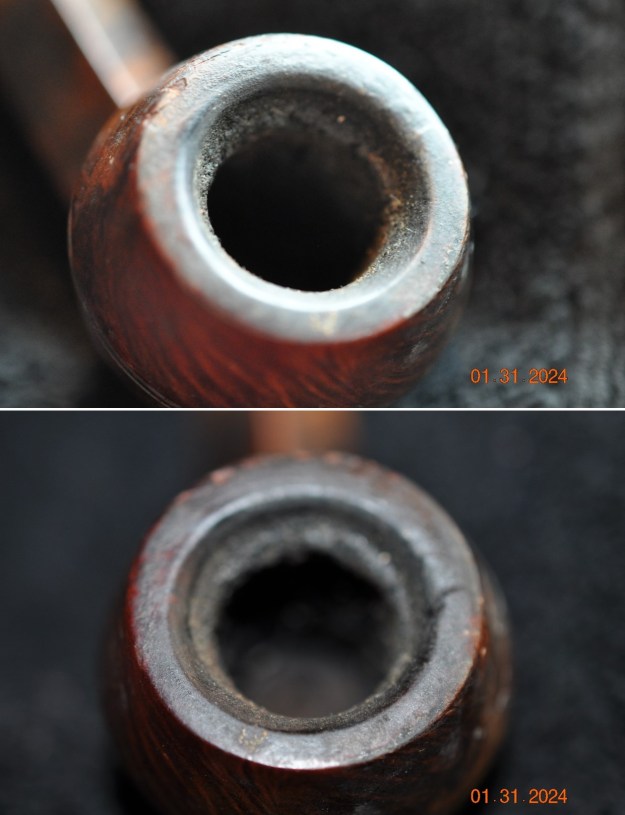
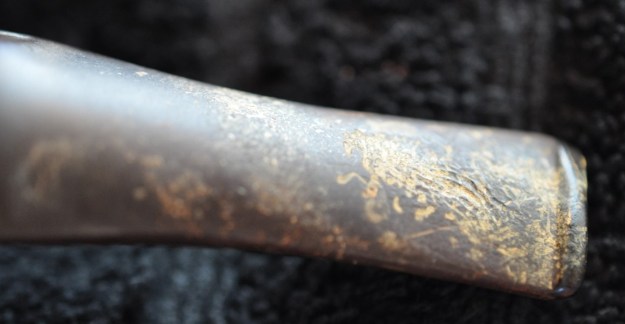
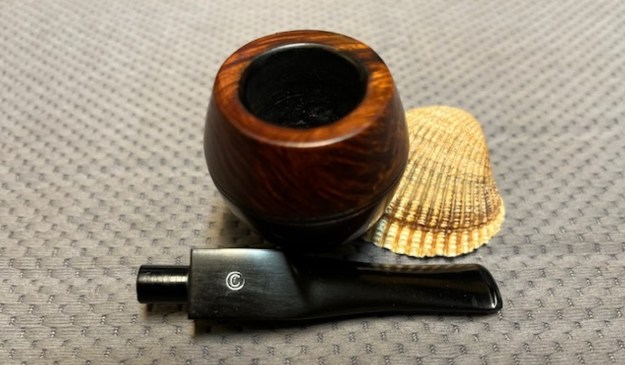
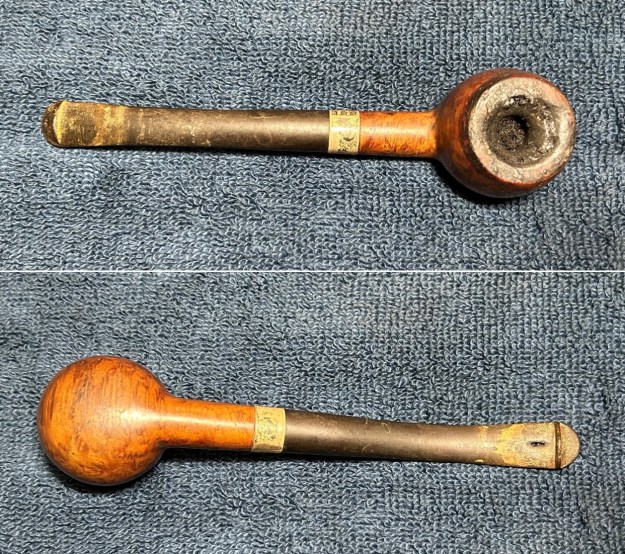
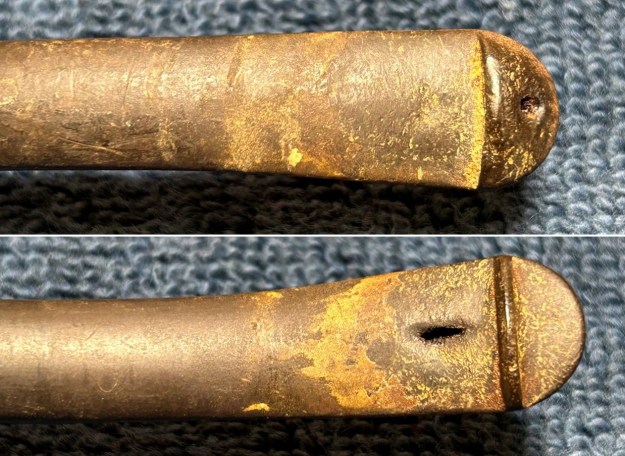
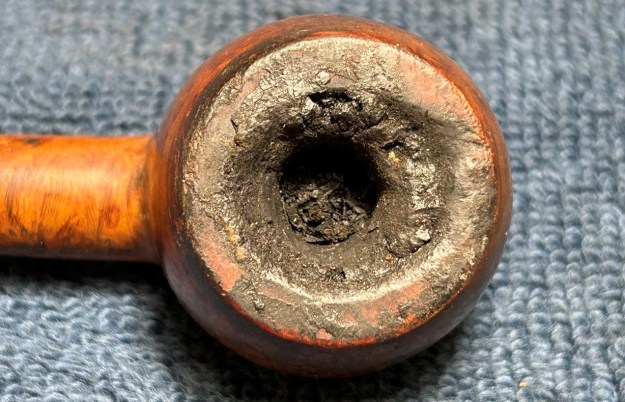
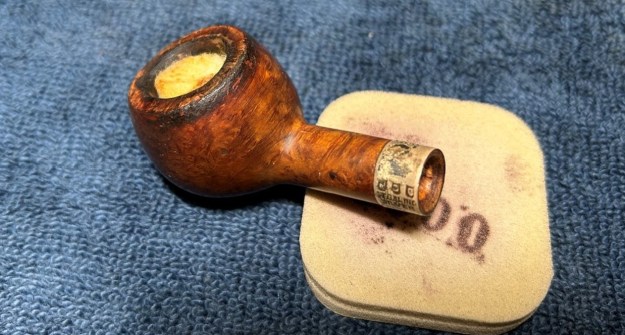
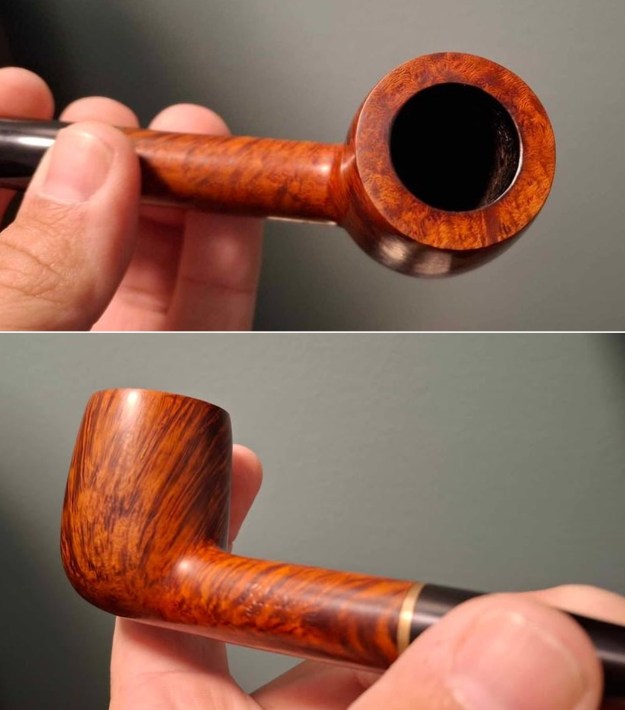
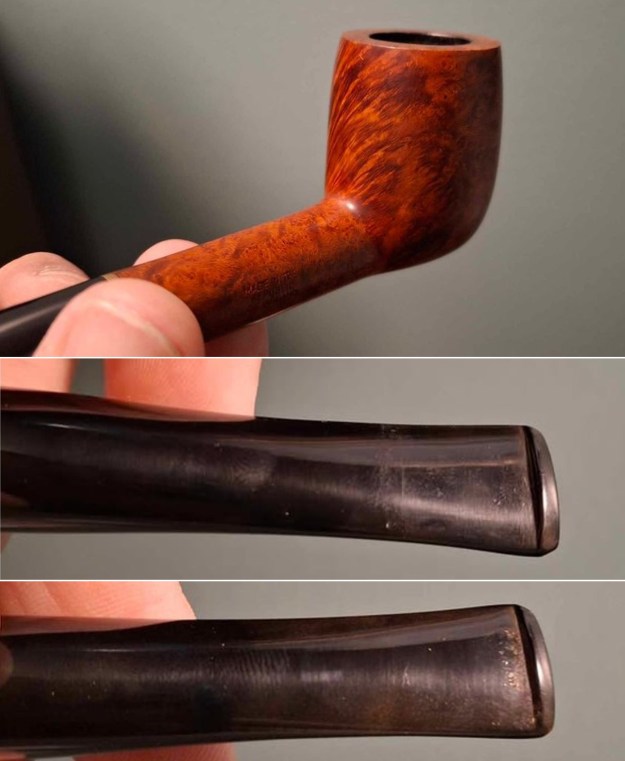
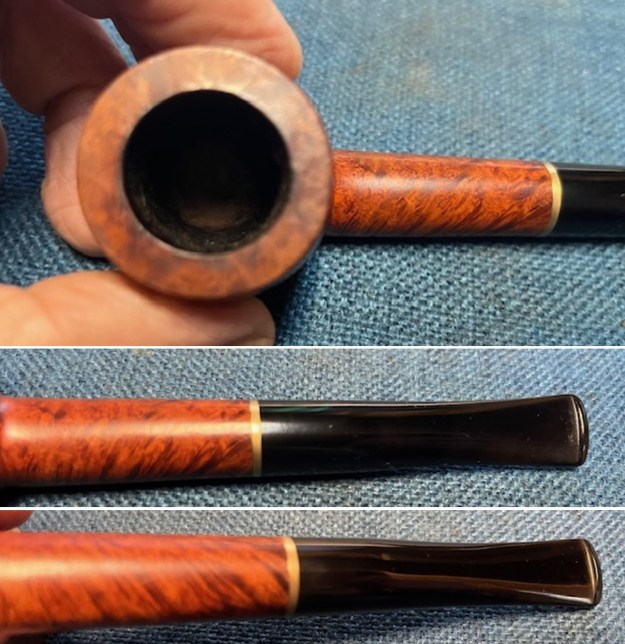
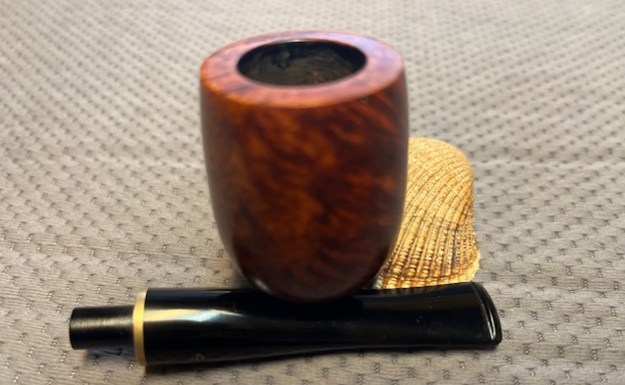
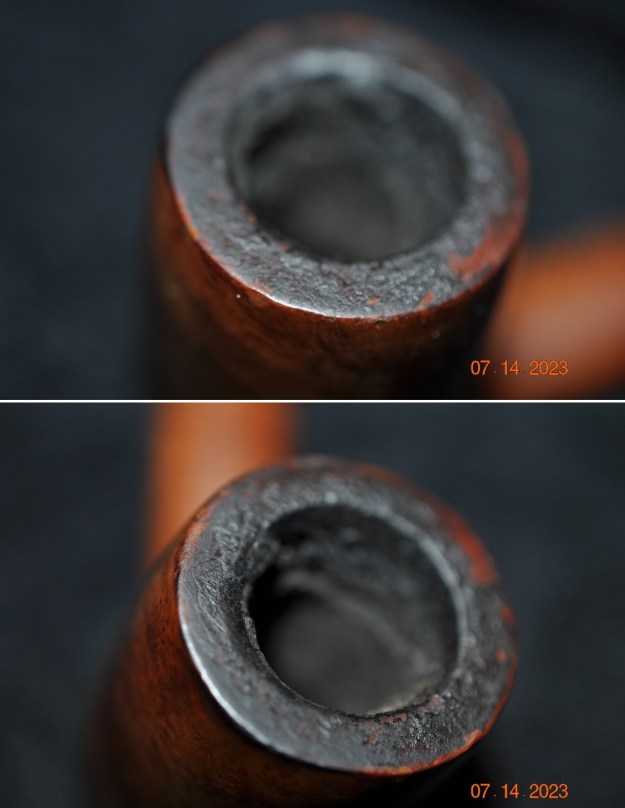
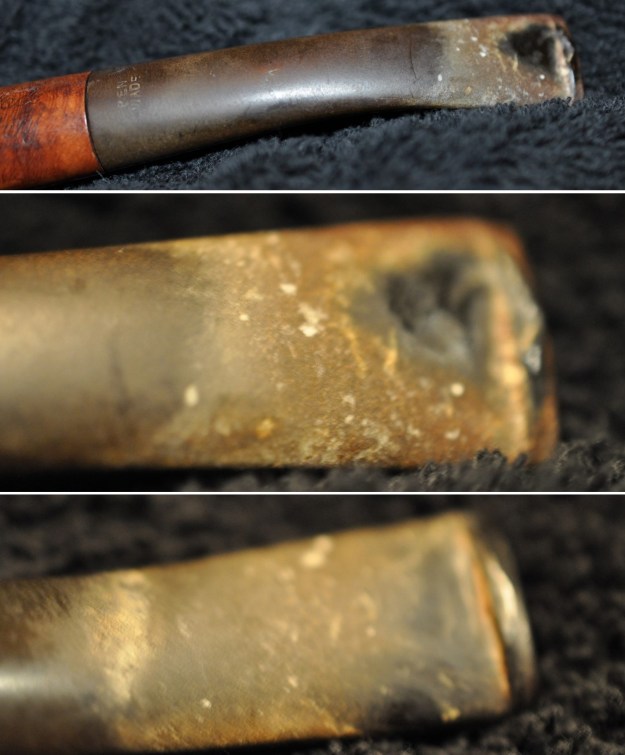
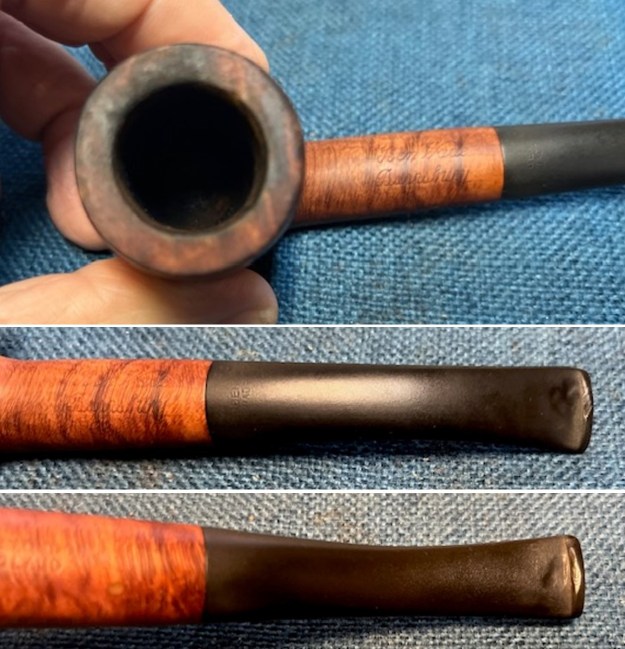
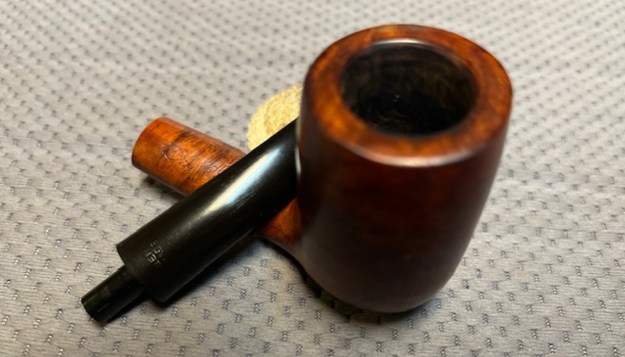
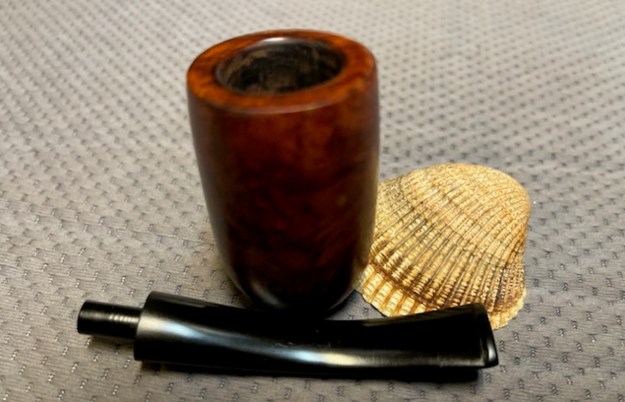
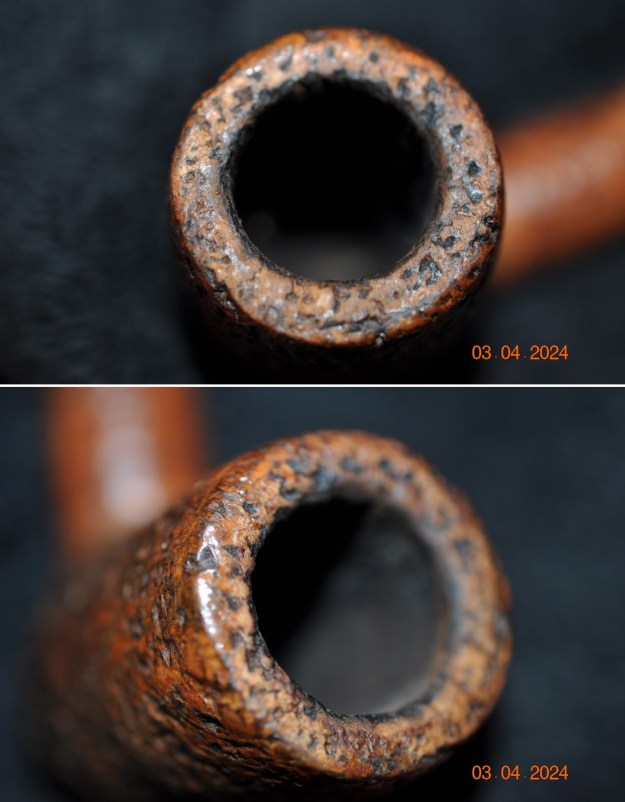
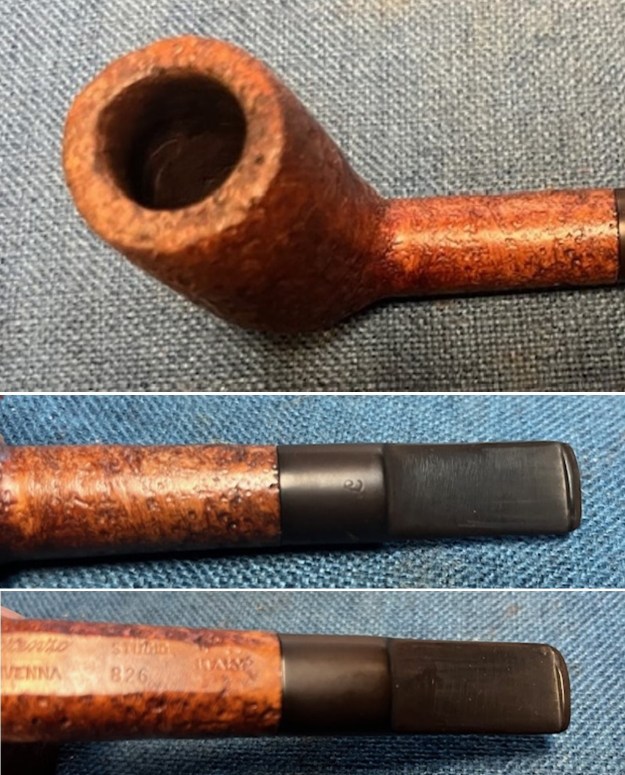
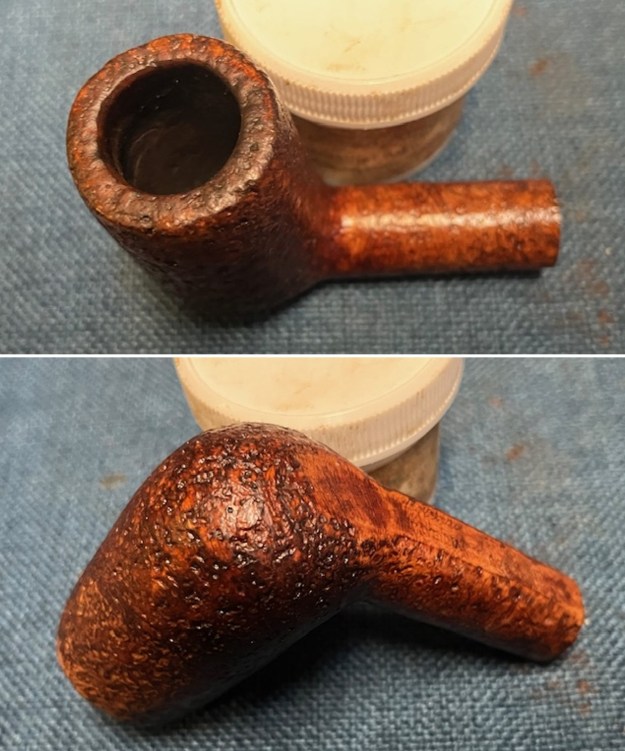
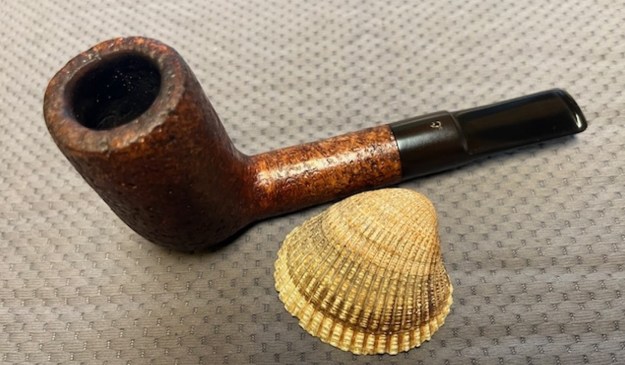
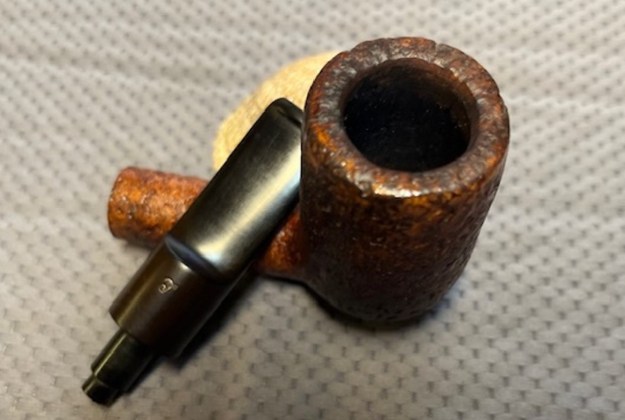
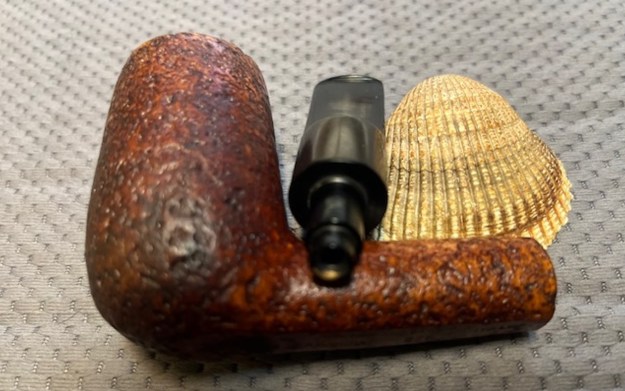
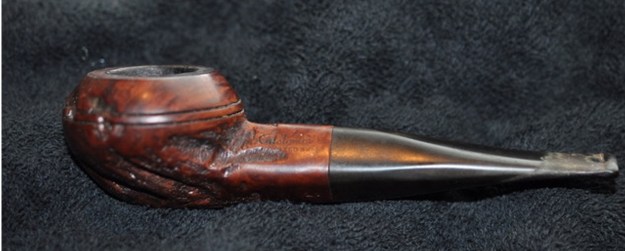
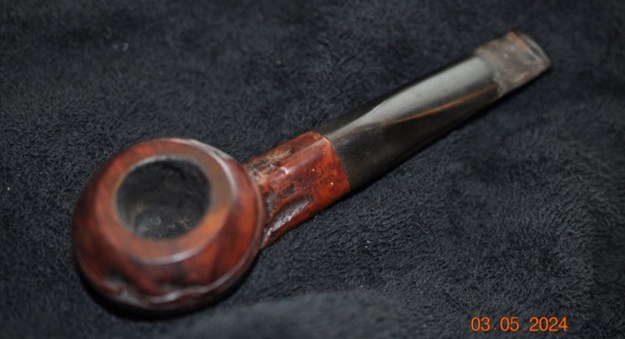
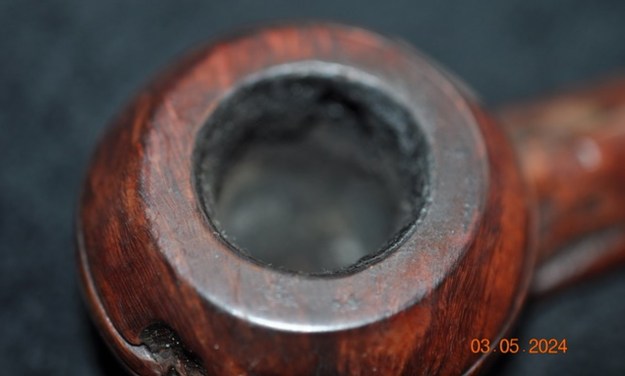
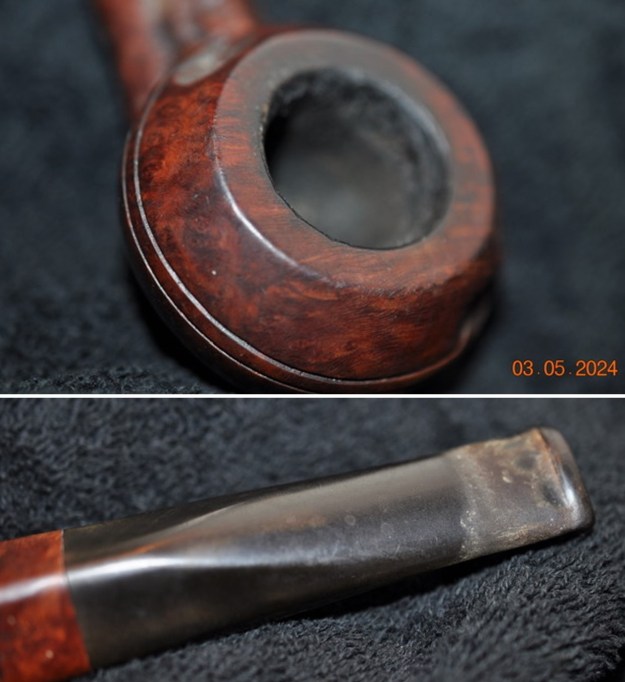
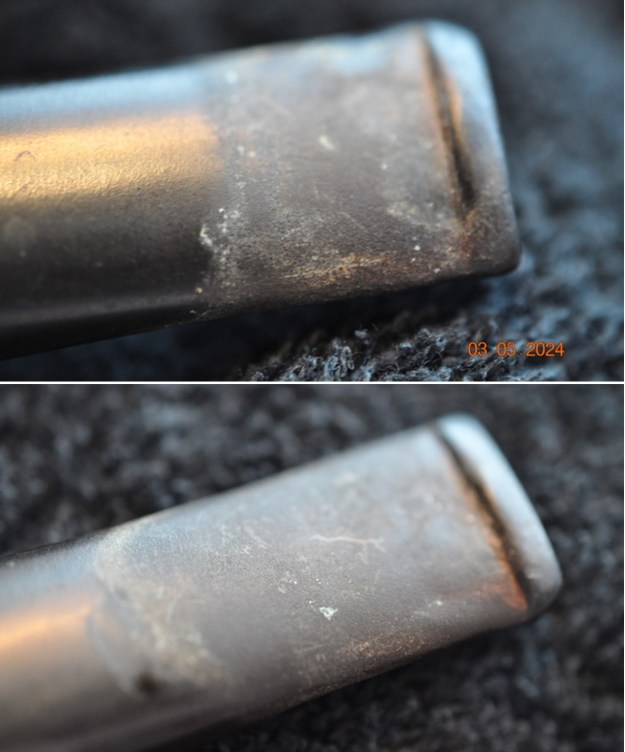
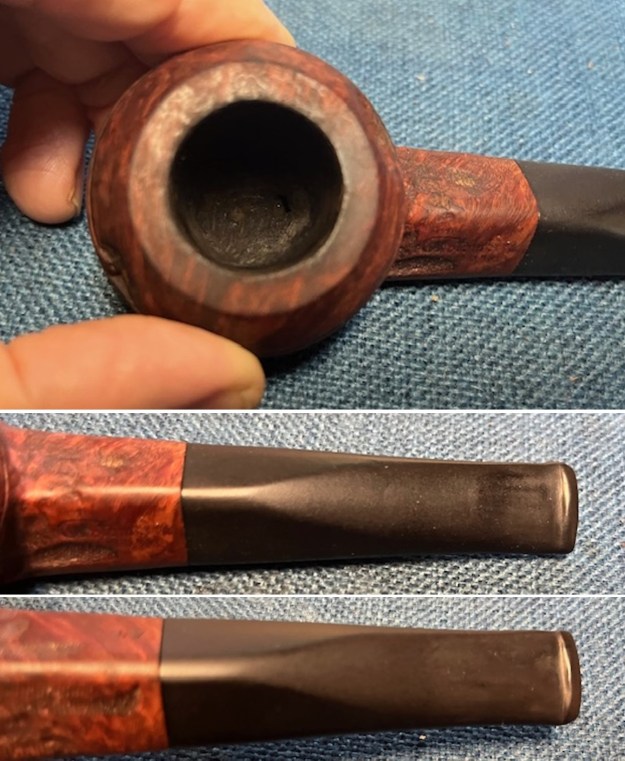
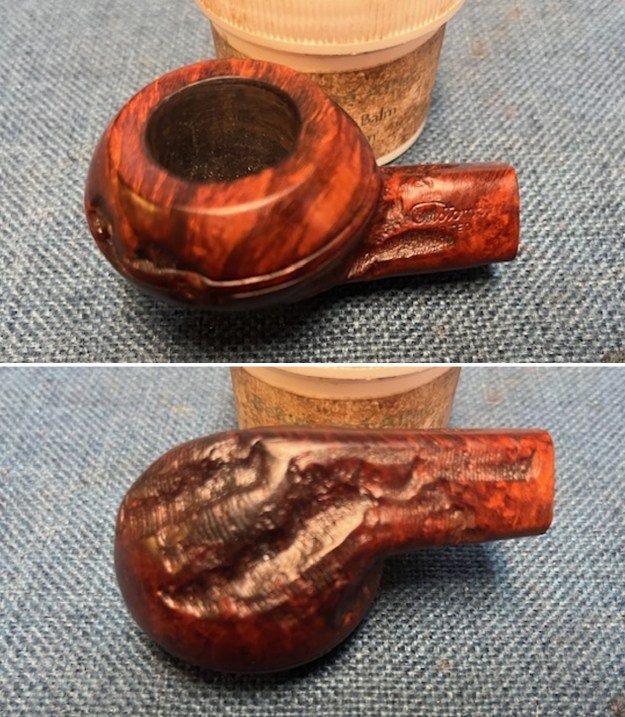
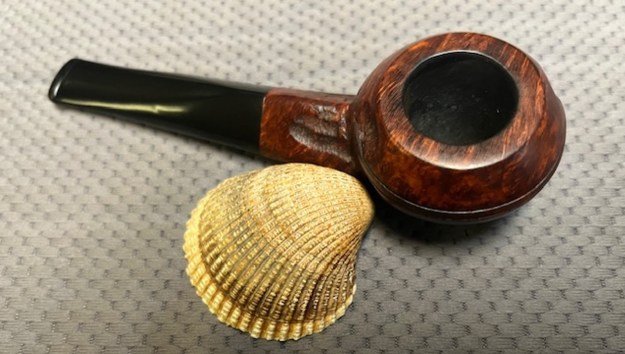
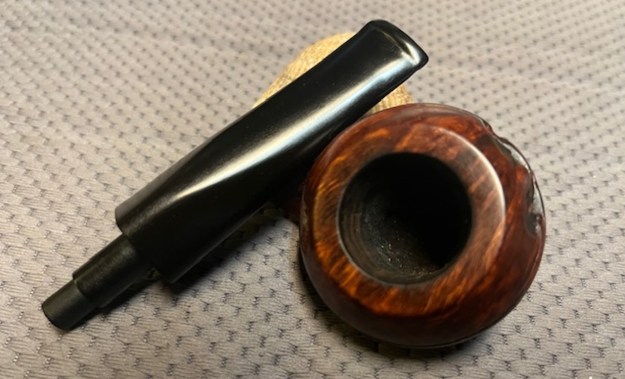
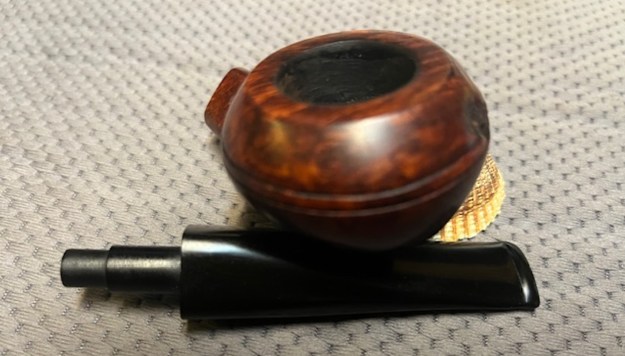
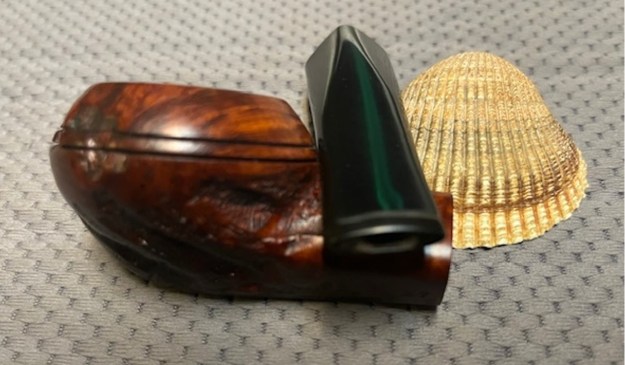
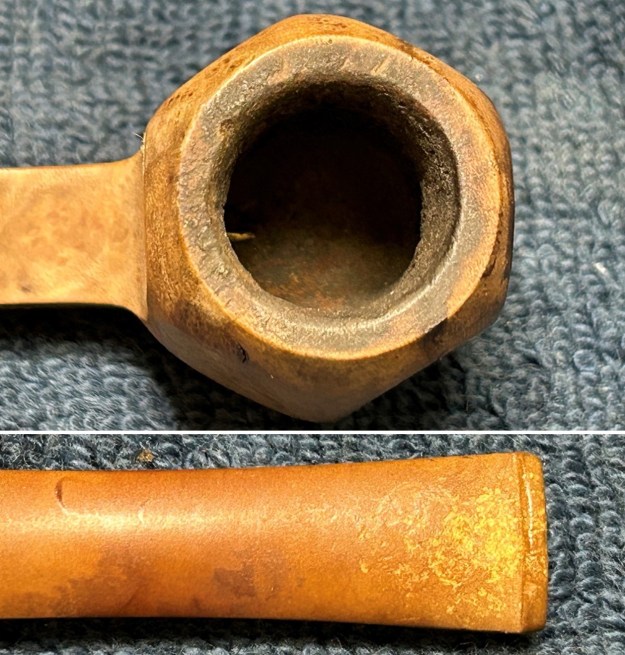
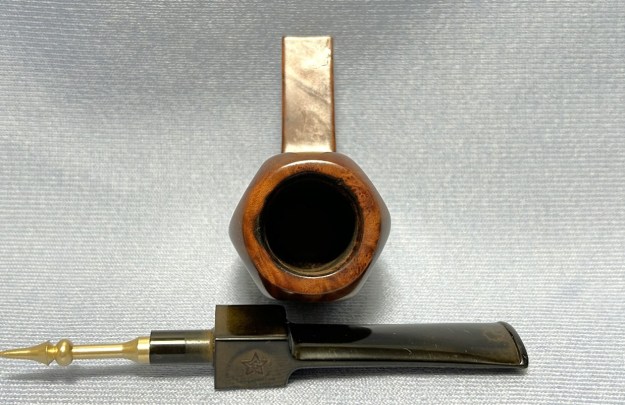
 He took some closer photos of the rim top and bowl to show the condition. You can see the thick cake in the bowl and the lava on the rim top and inner edge. It is hard to know for certain but it looks like there is some roughening and damage to the right side of the inner edge. He also took photos of the stem to show its condition. You can see the oxidation, calcification and tooth marks and chatter on the stem at the button.
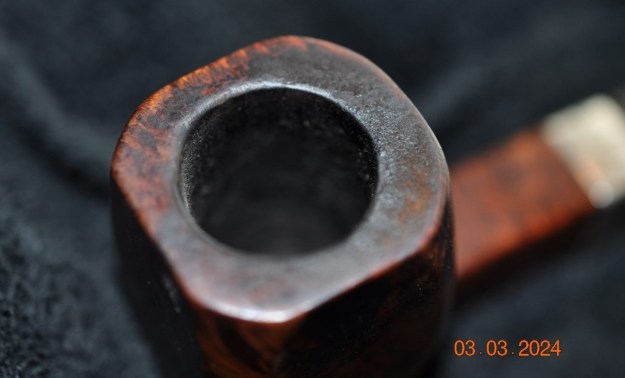
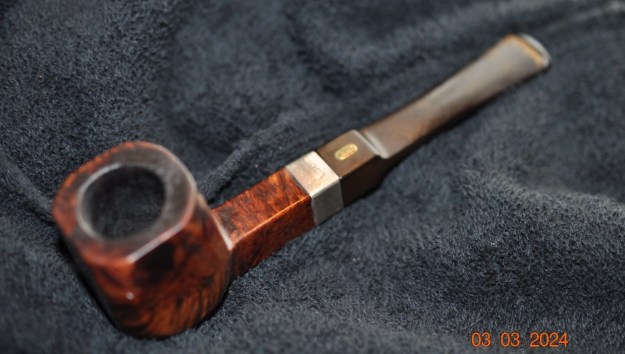
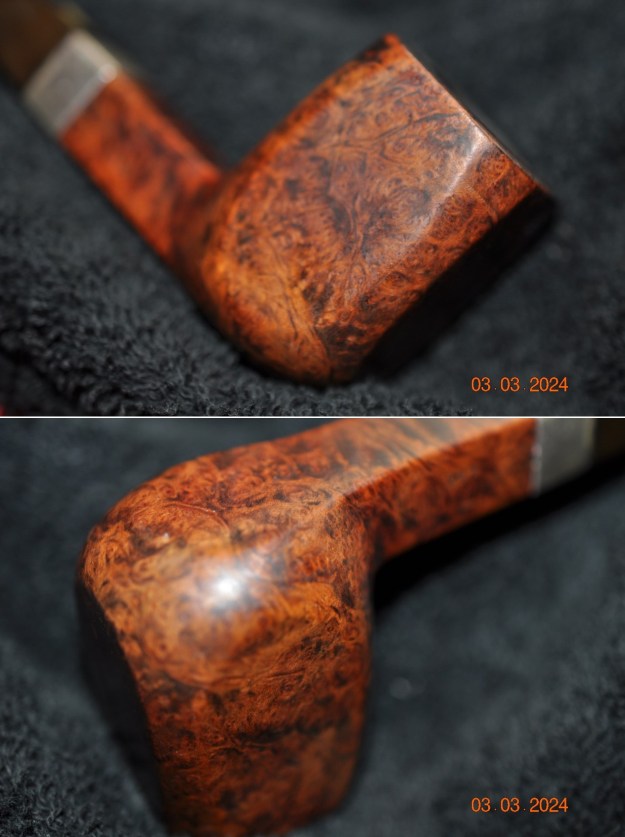
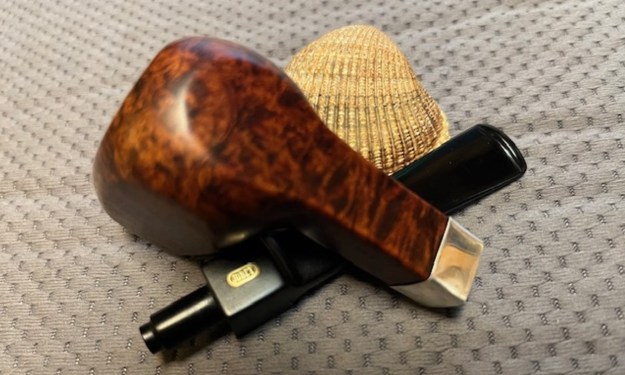
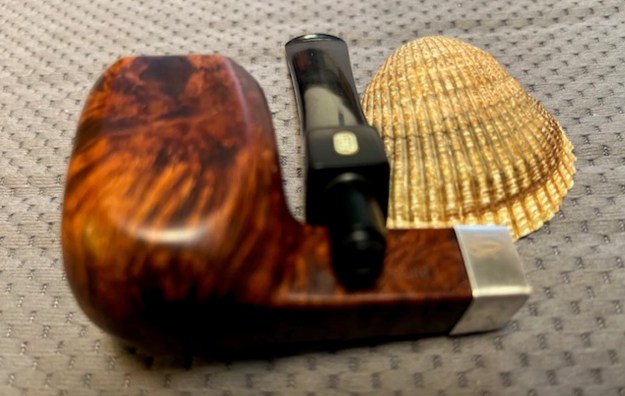
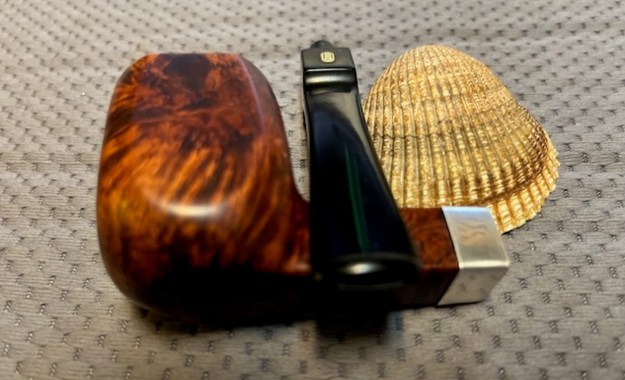
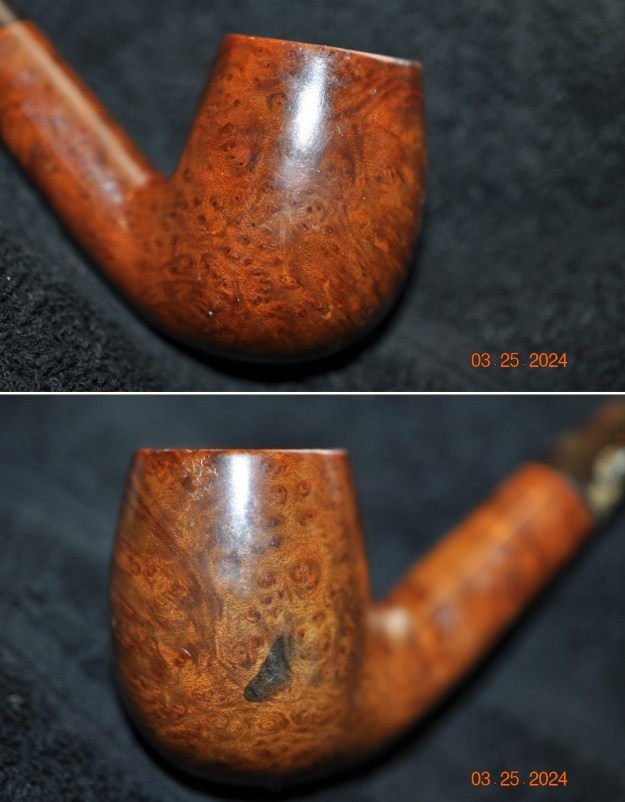
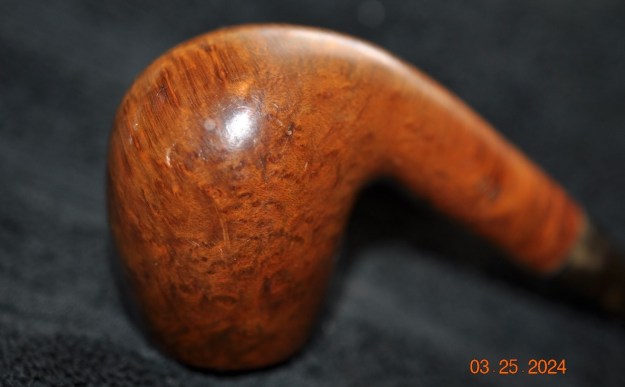
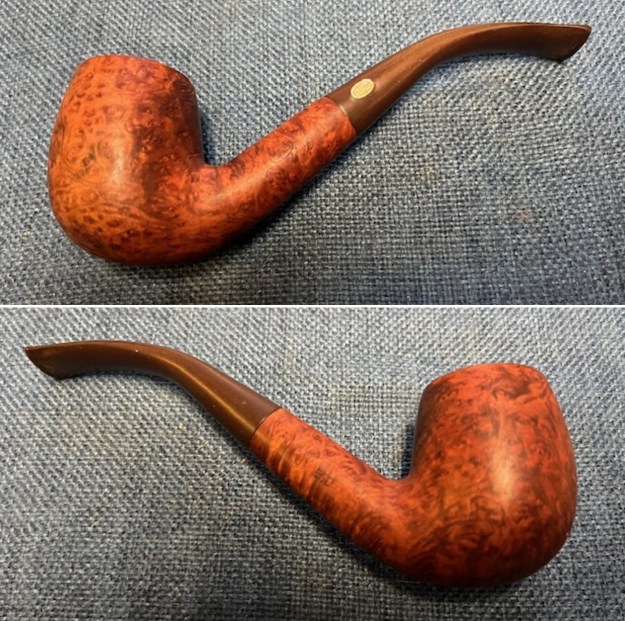
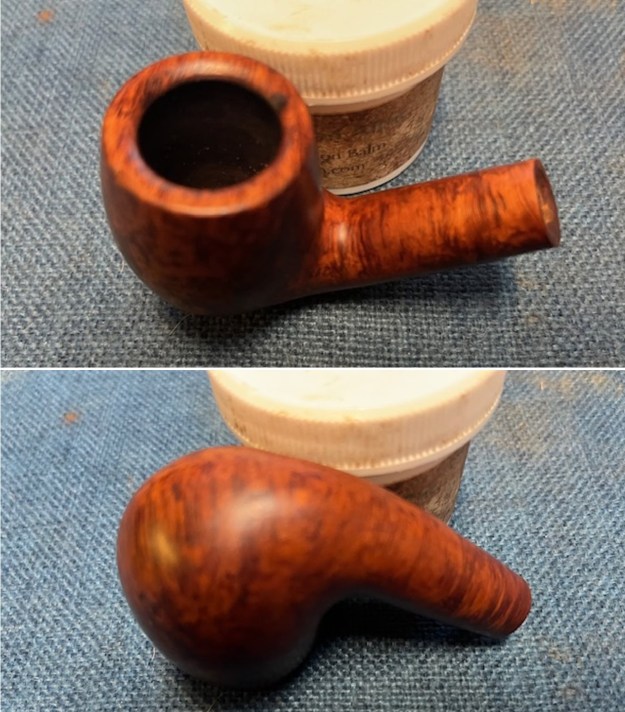
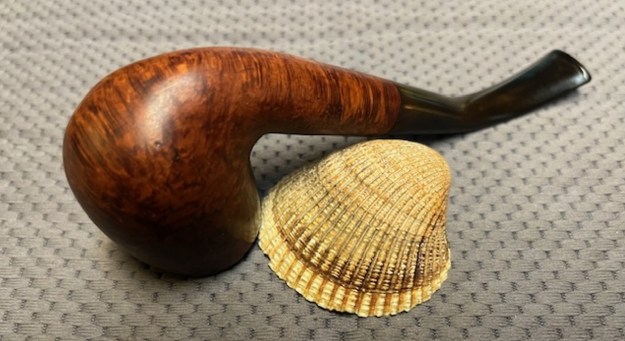
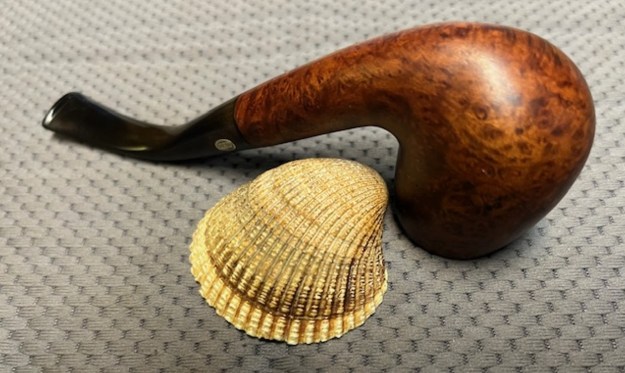
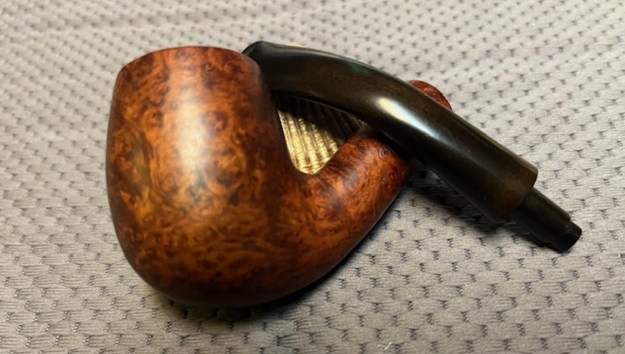
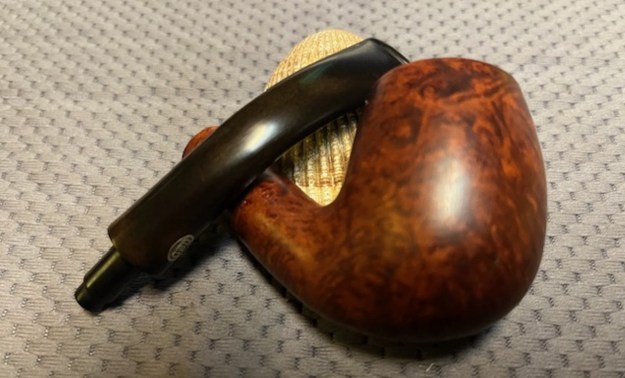
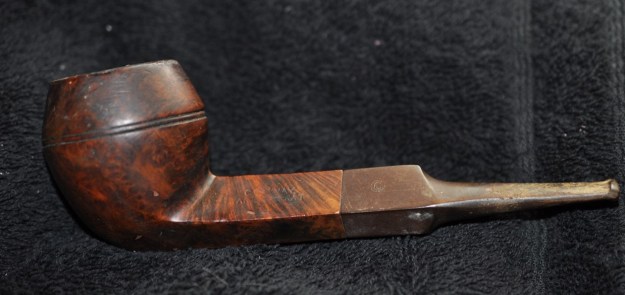
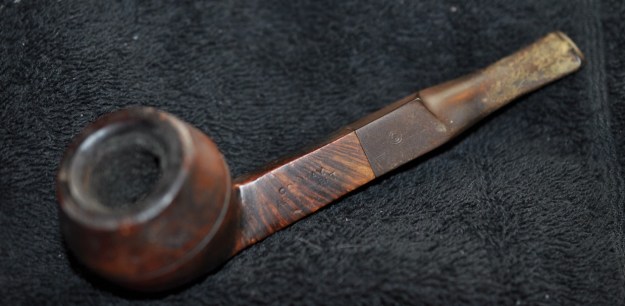
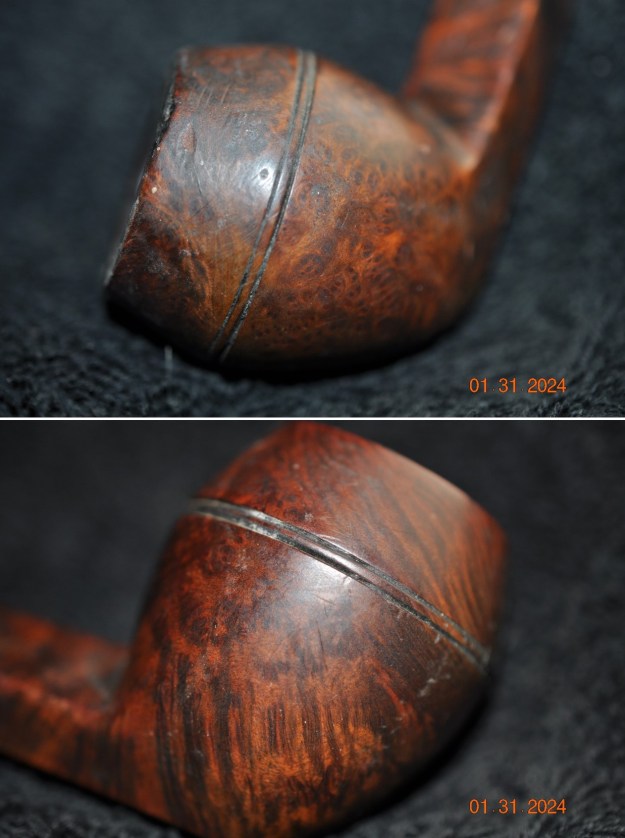
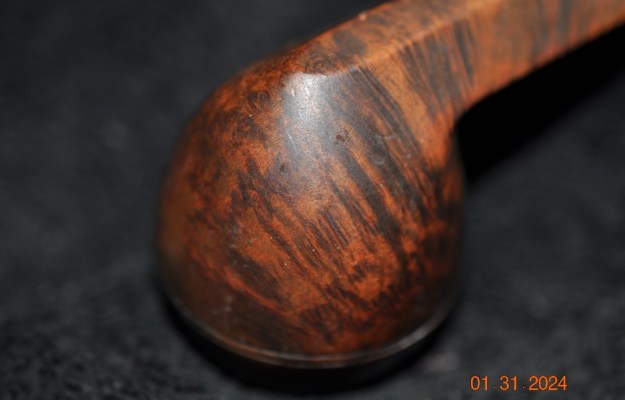
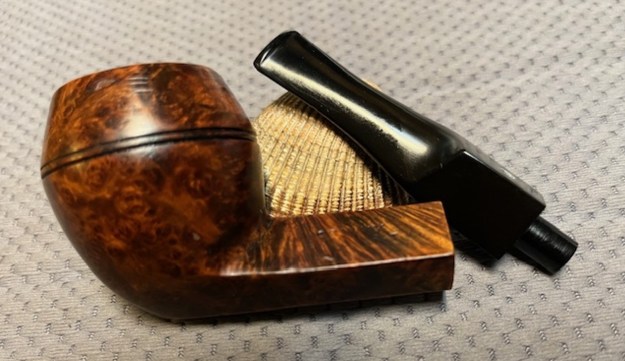
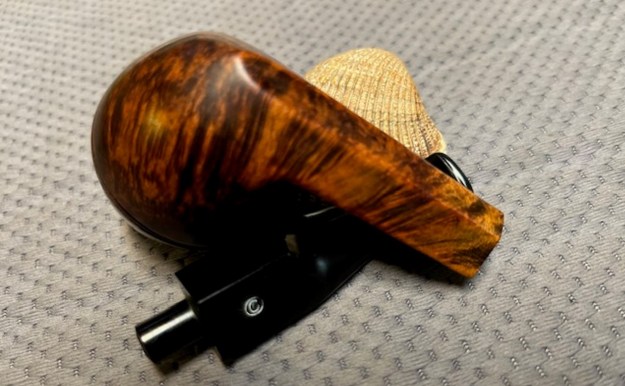
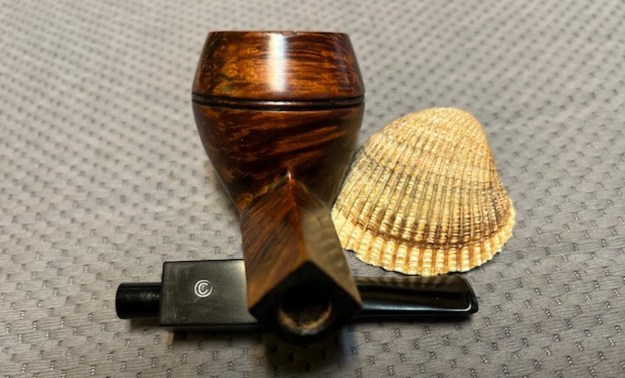
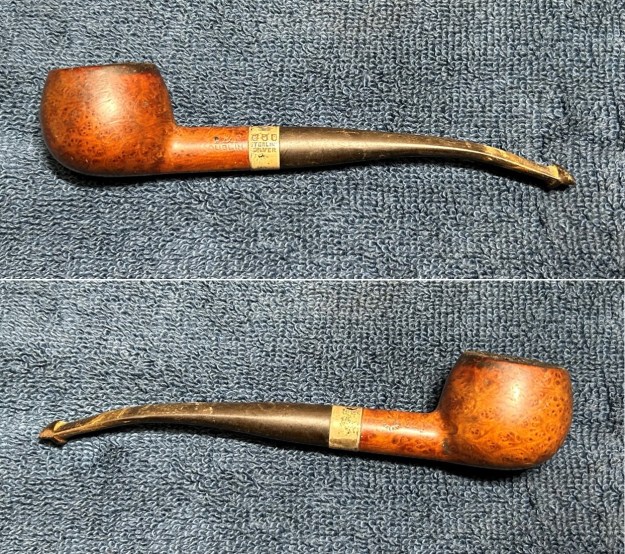
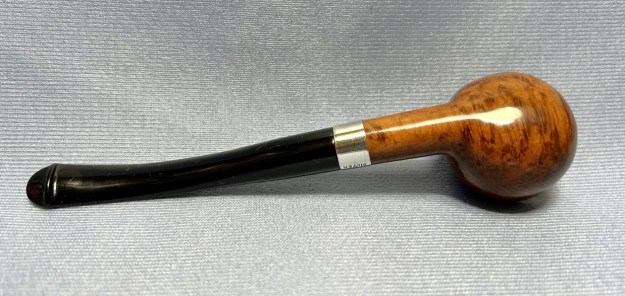
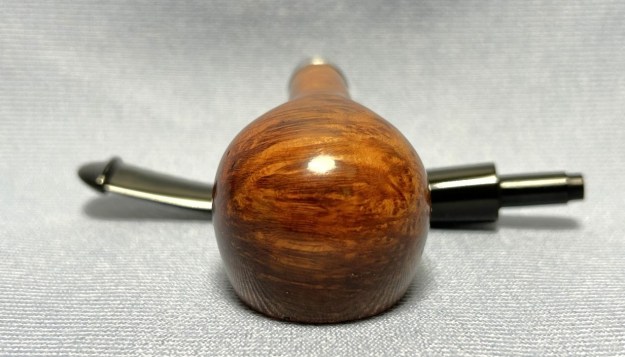
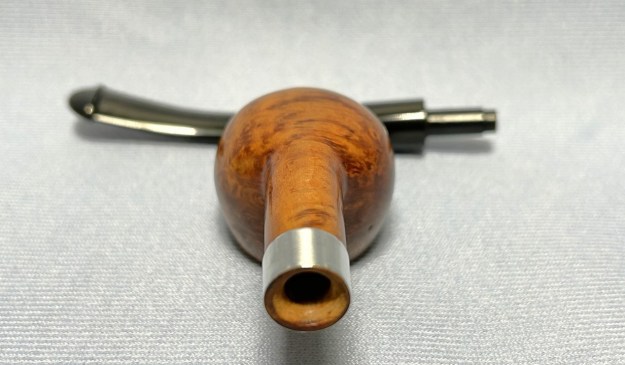
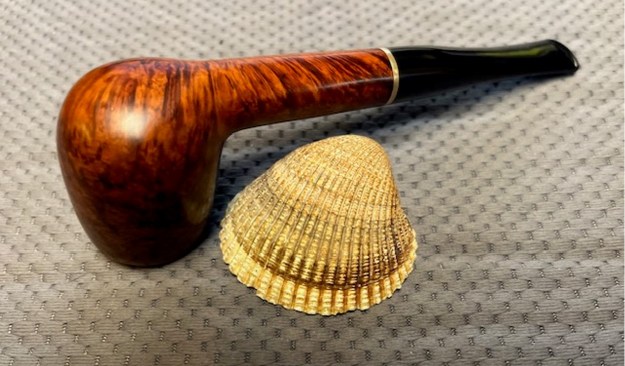
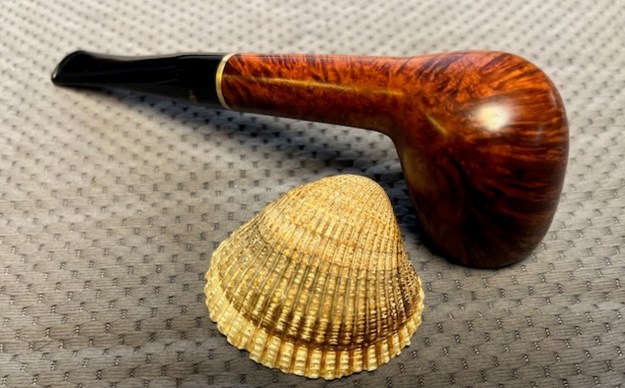
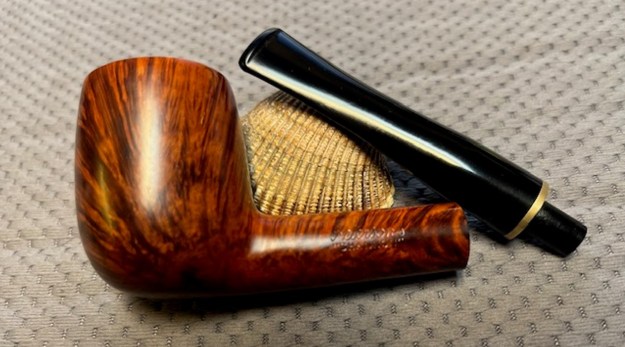
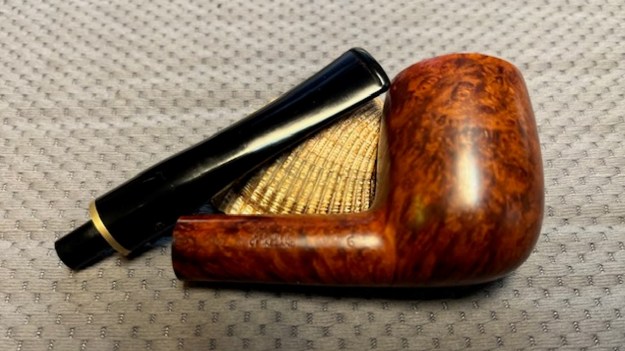
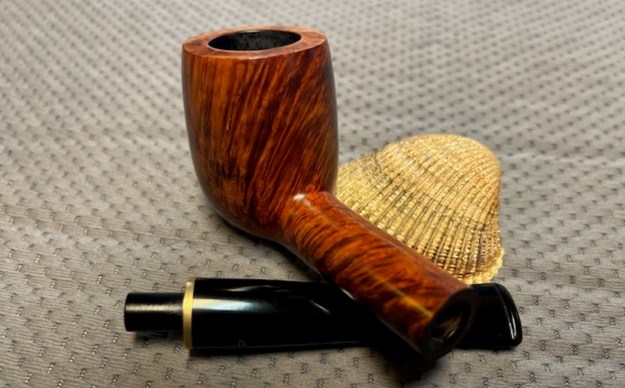
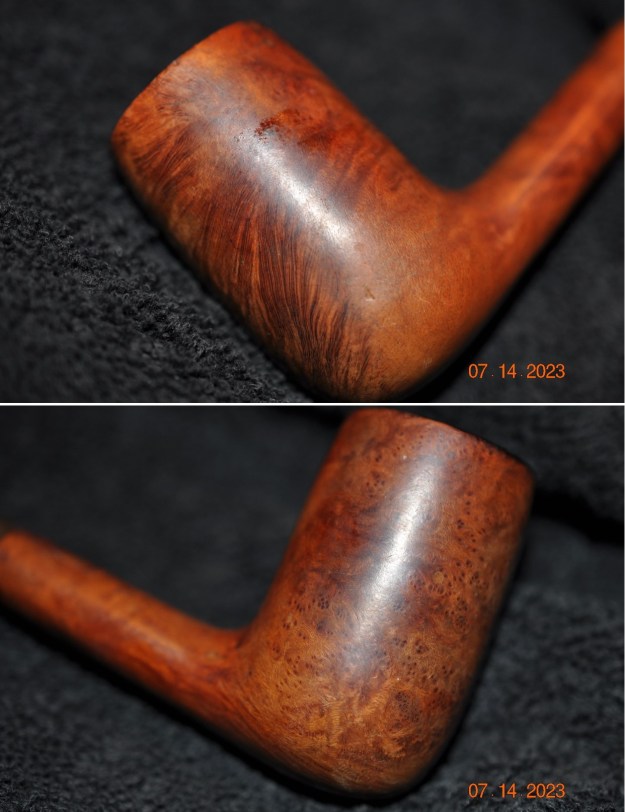
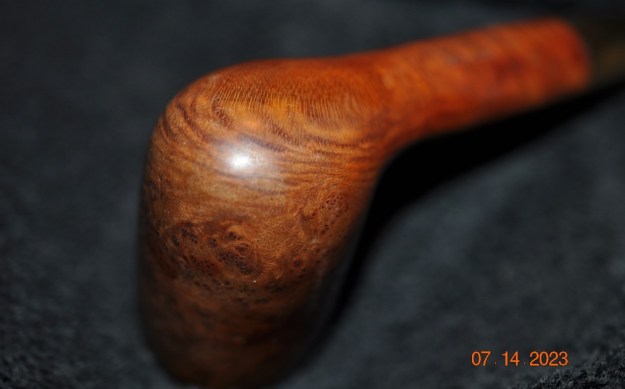
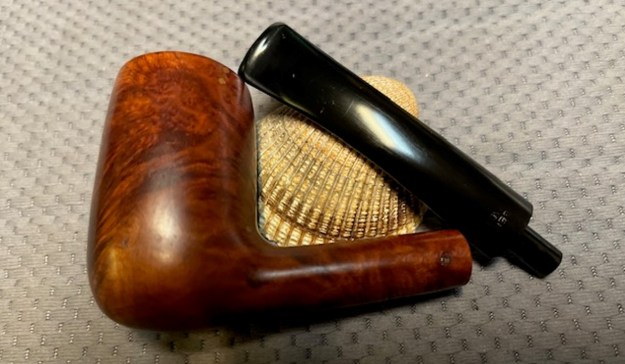
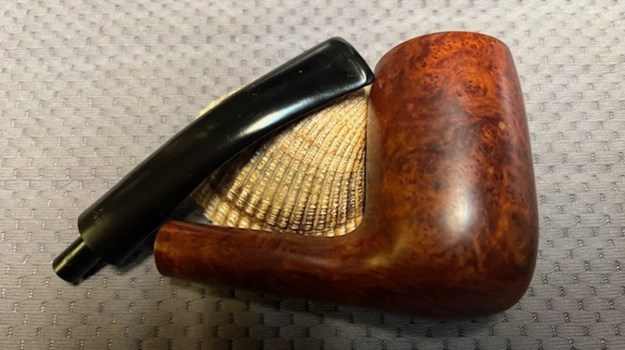
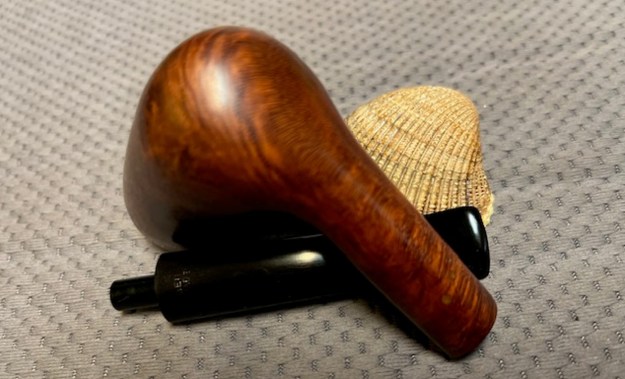
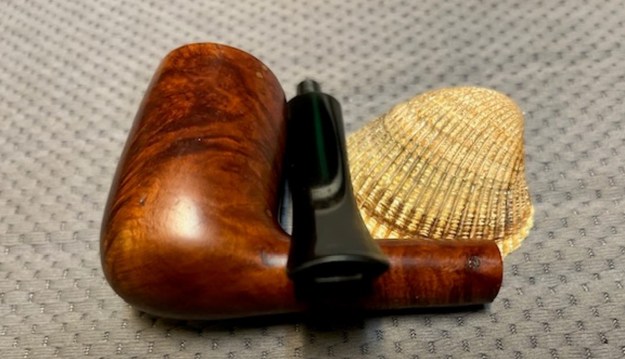
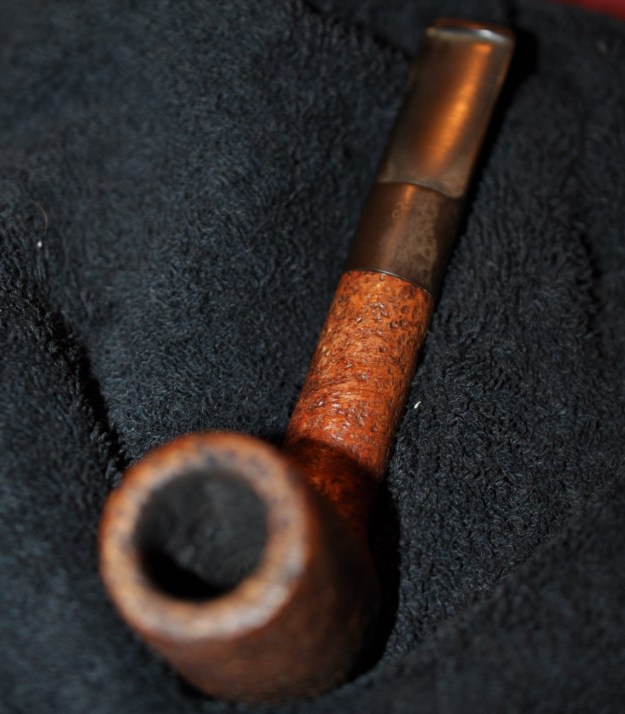
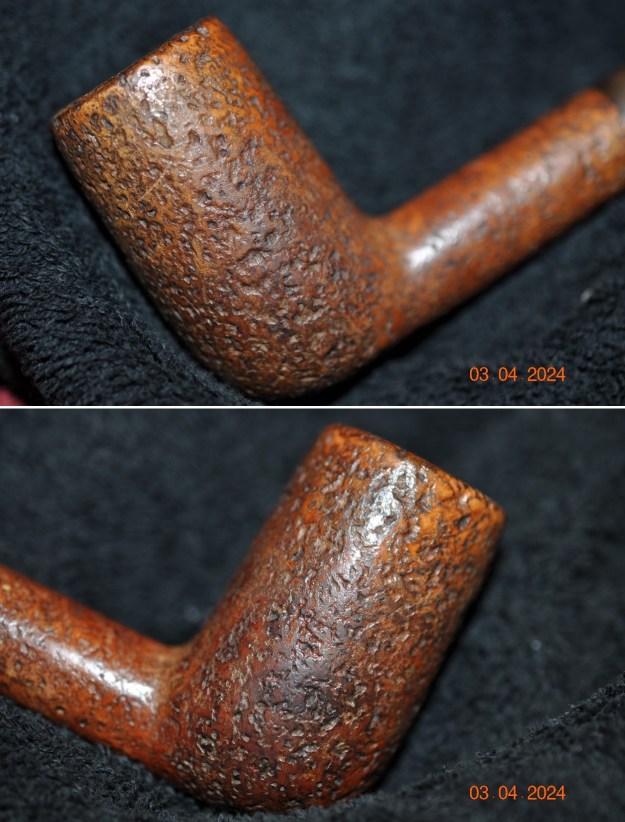
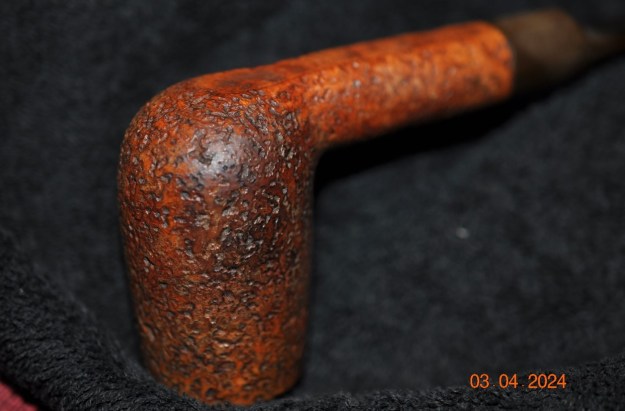
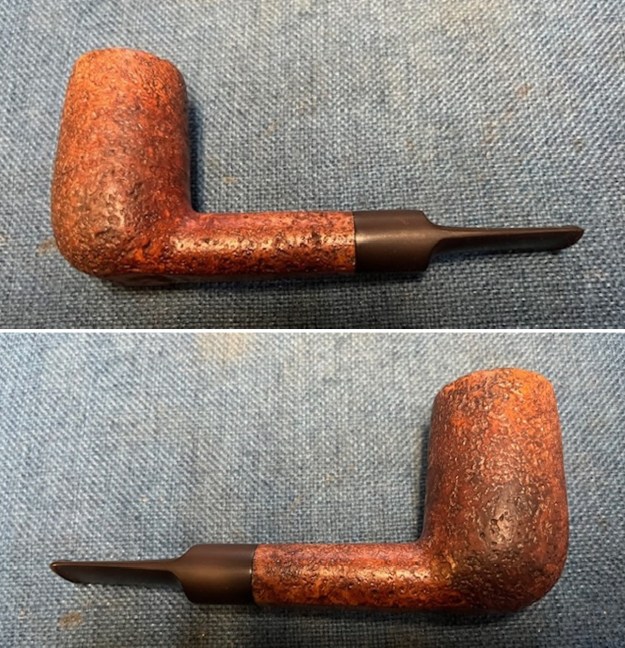
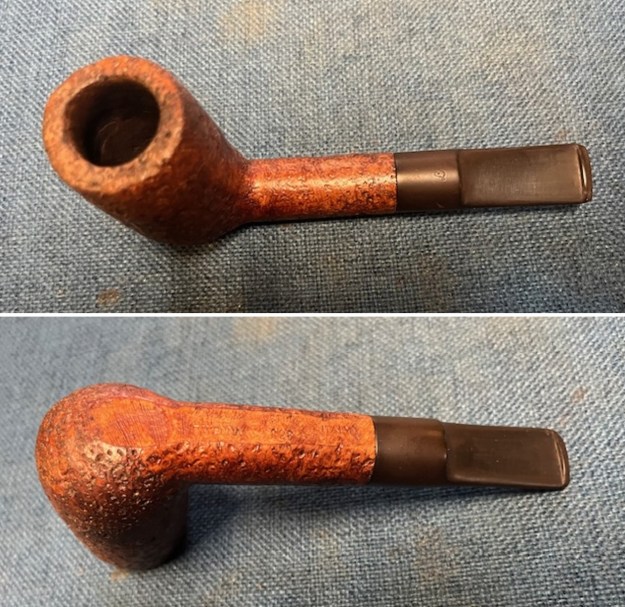
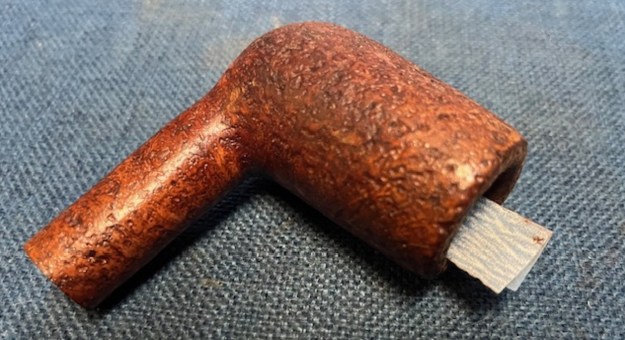
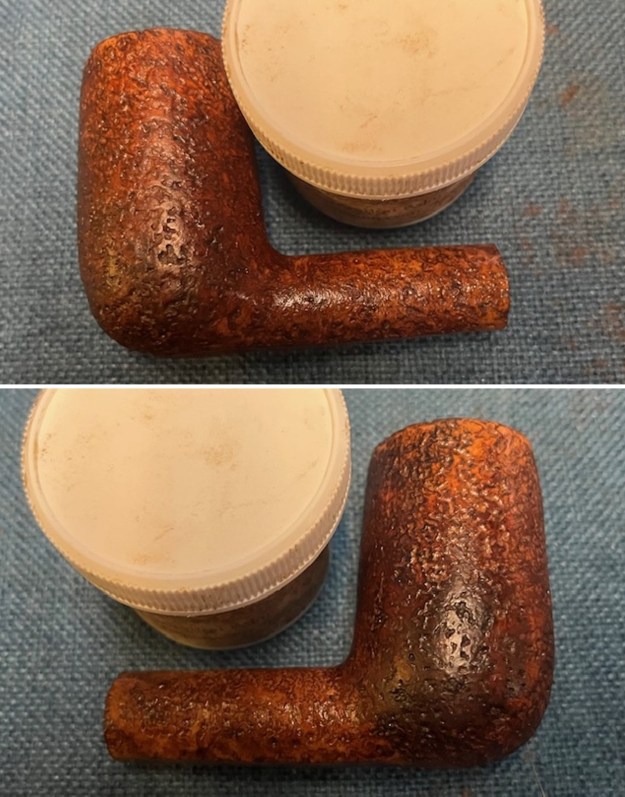
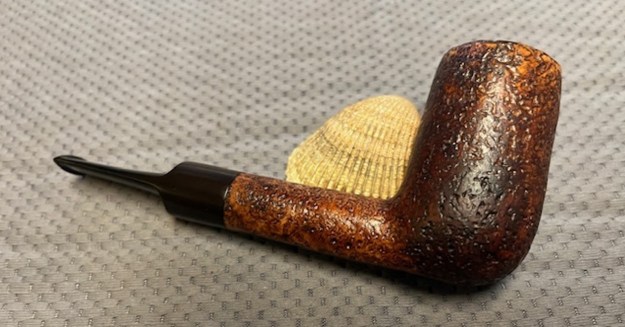
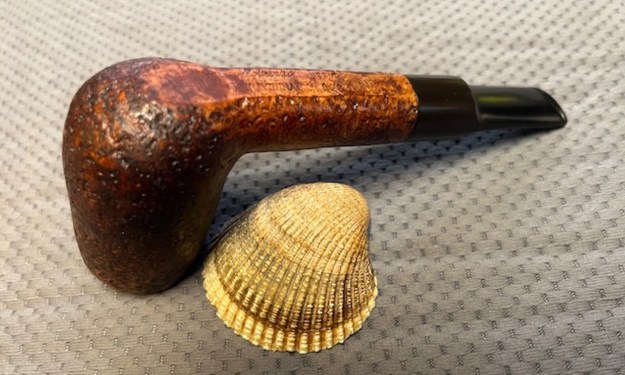
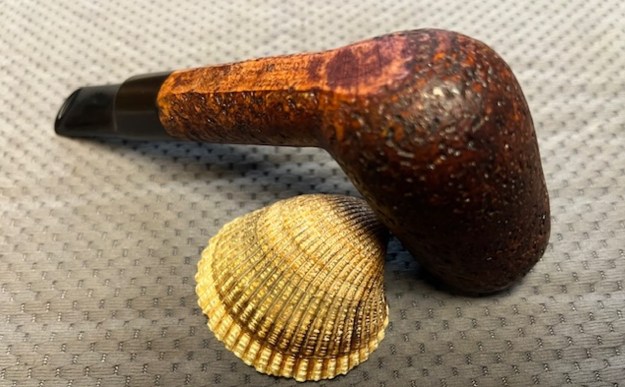
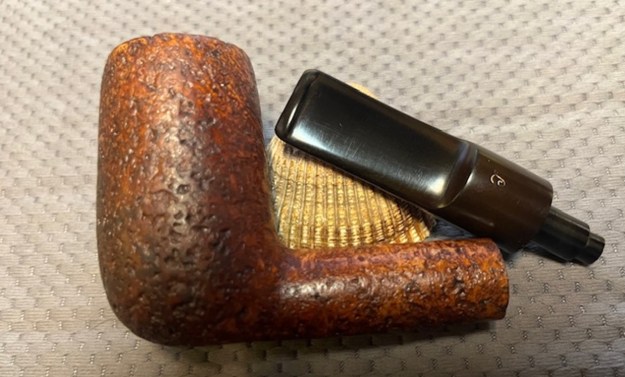
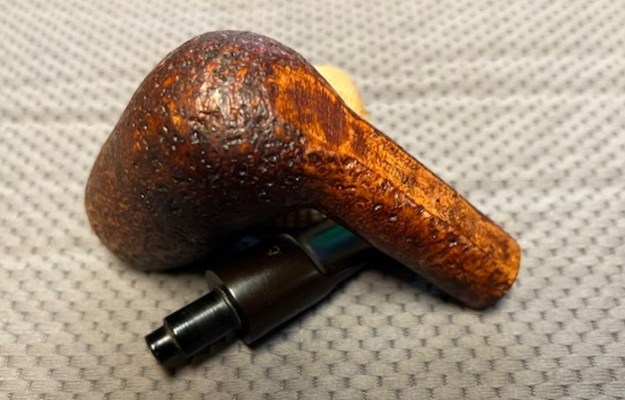
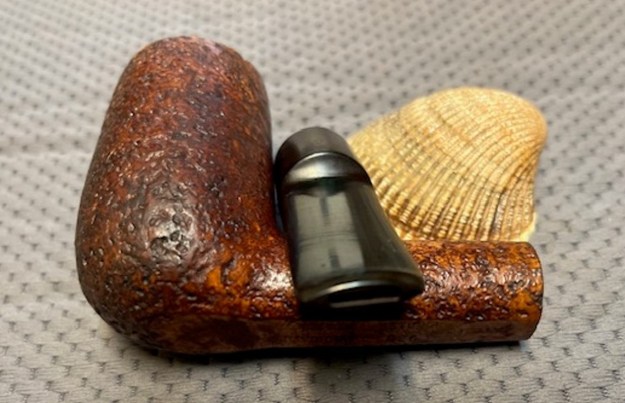
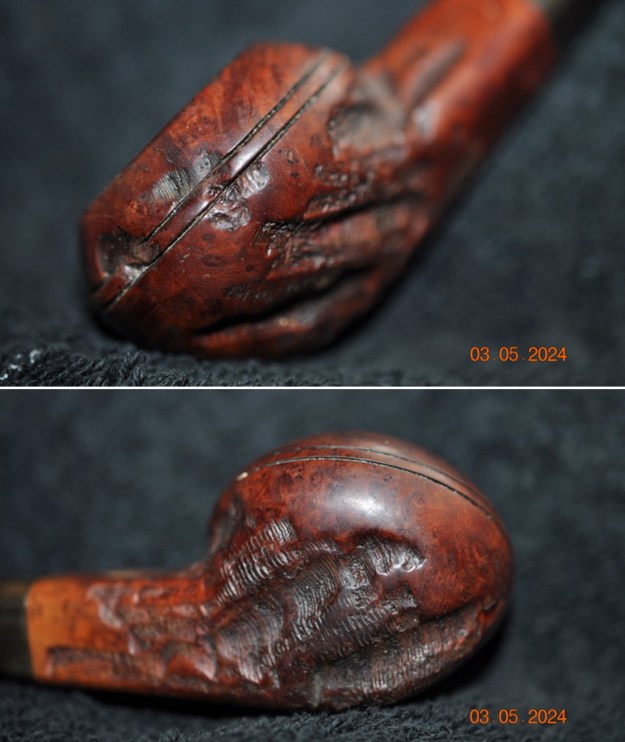
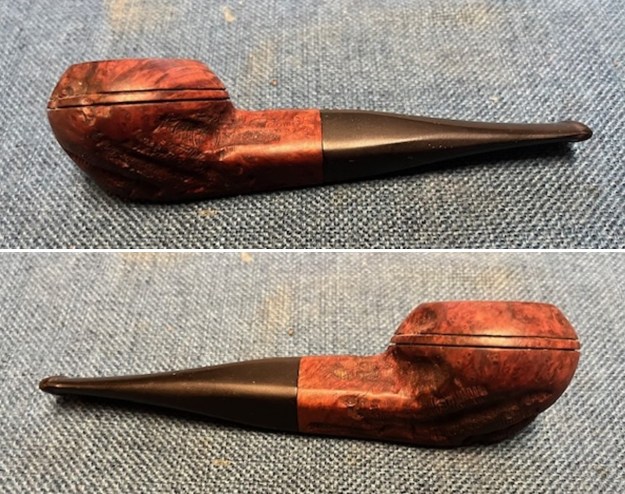
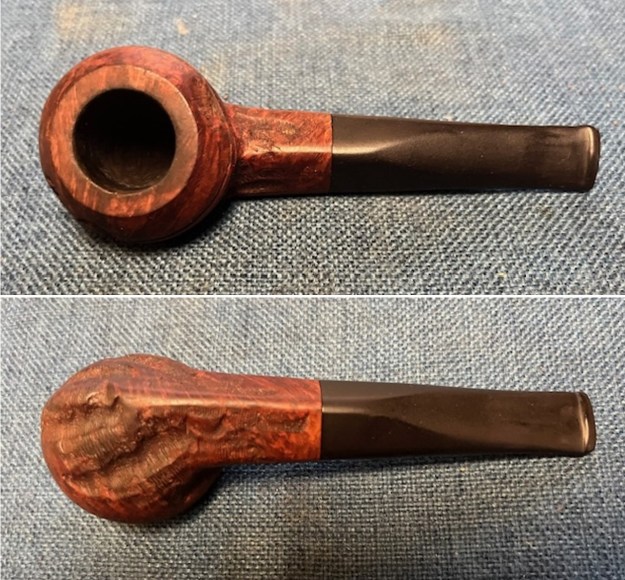
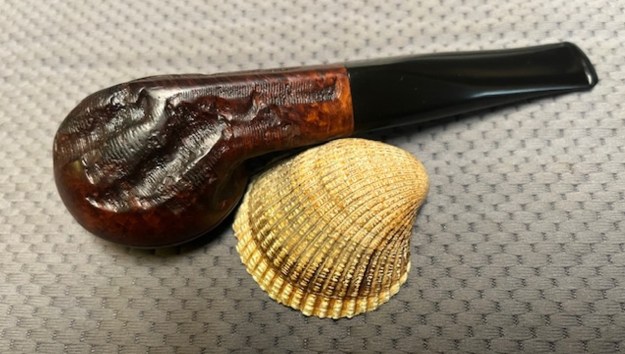
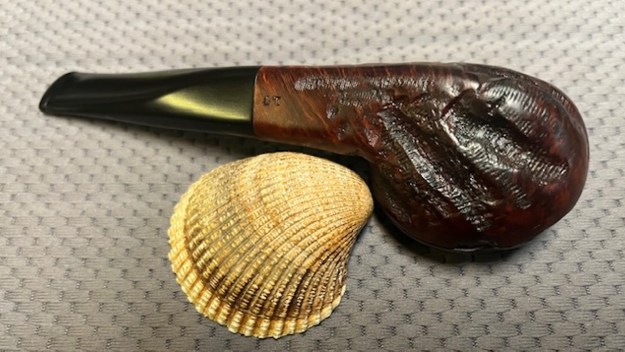
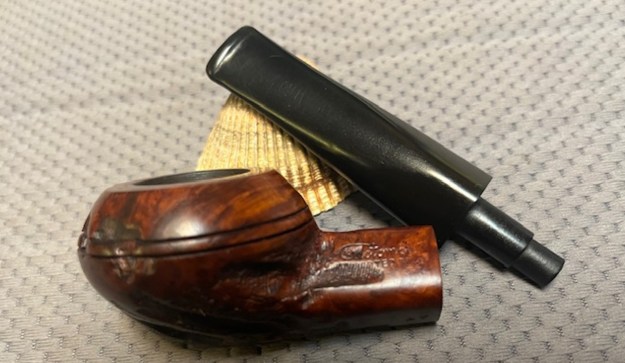
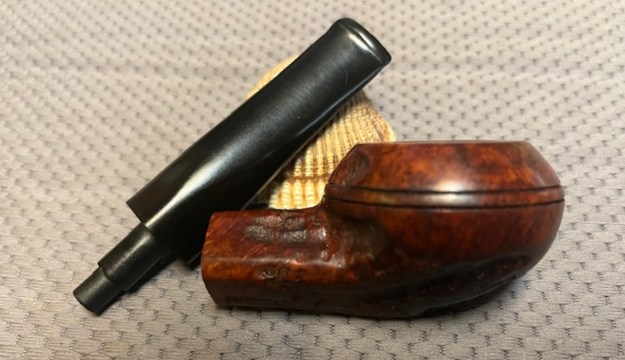
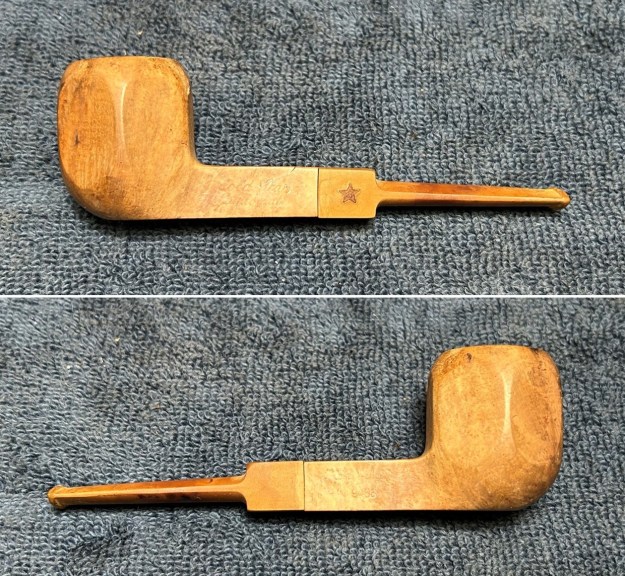
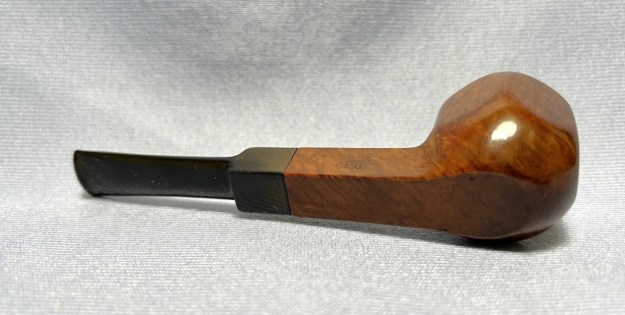
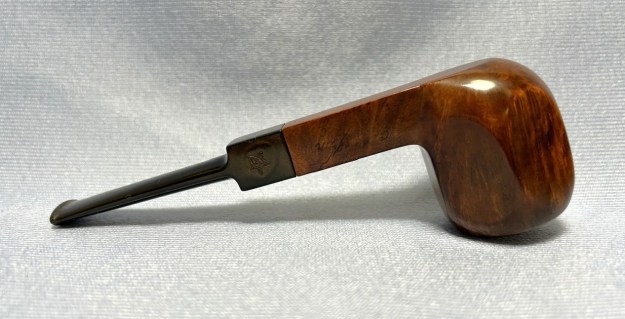
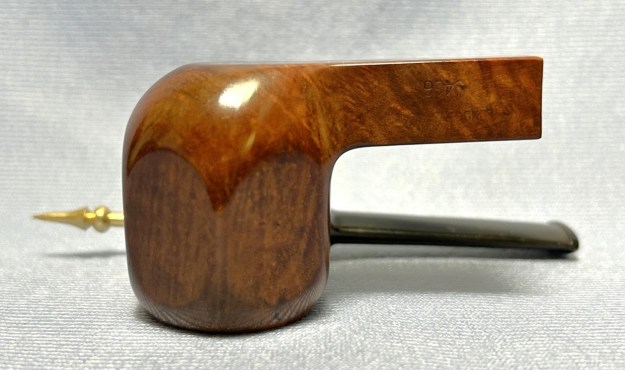
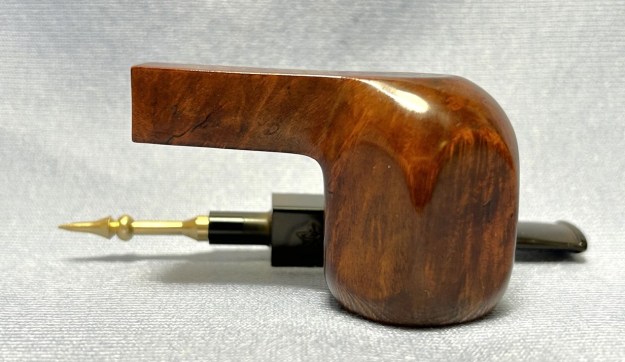
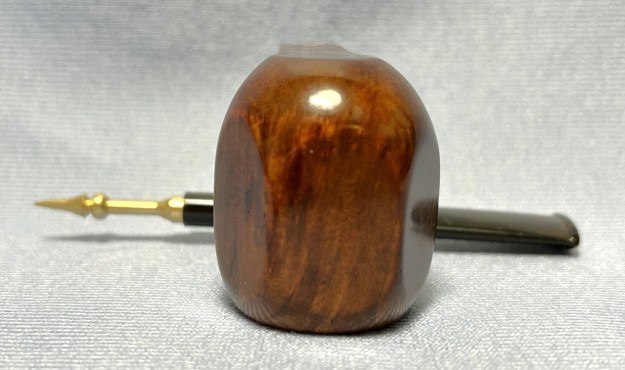
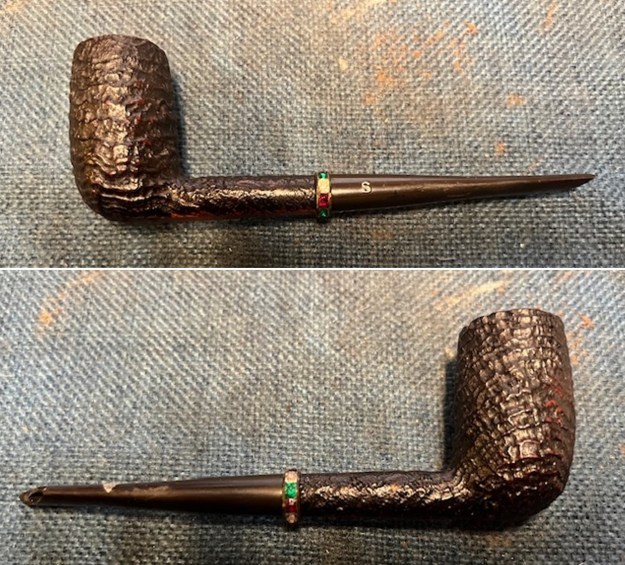
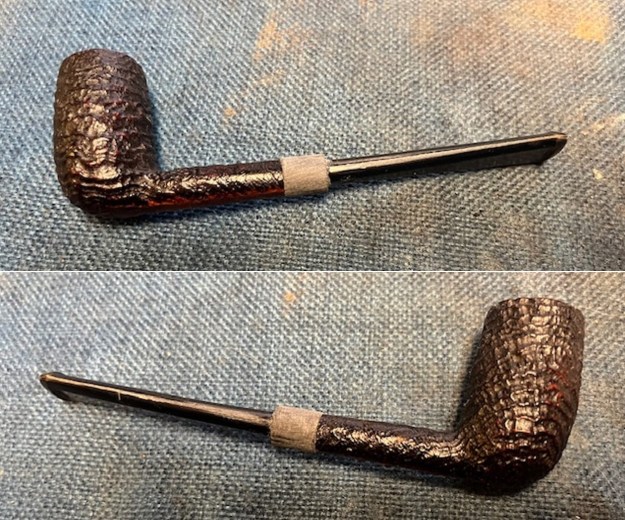
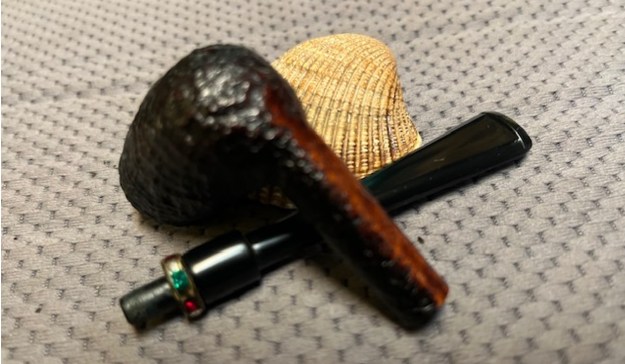
 Jeff took some photos of the sides and heel of the bowl to show the smooth finish and the grain around the bowl and shank.
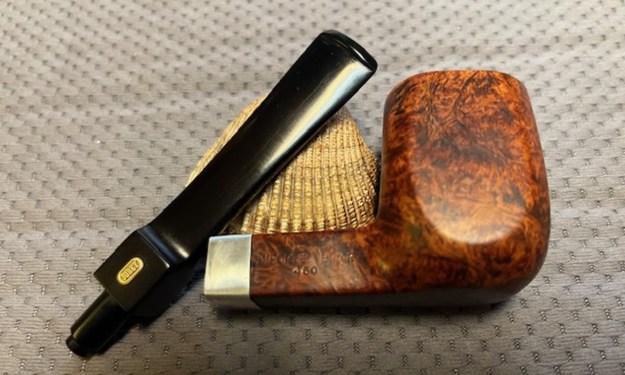
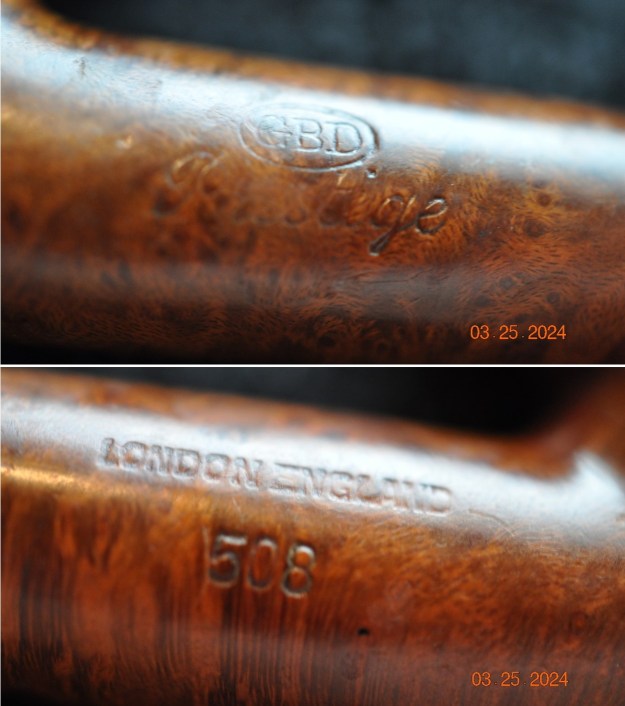
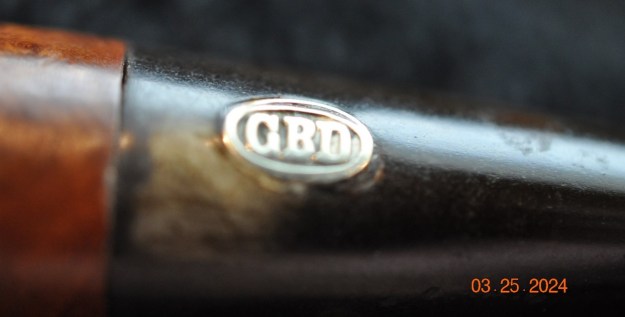
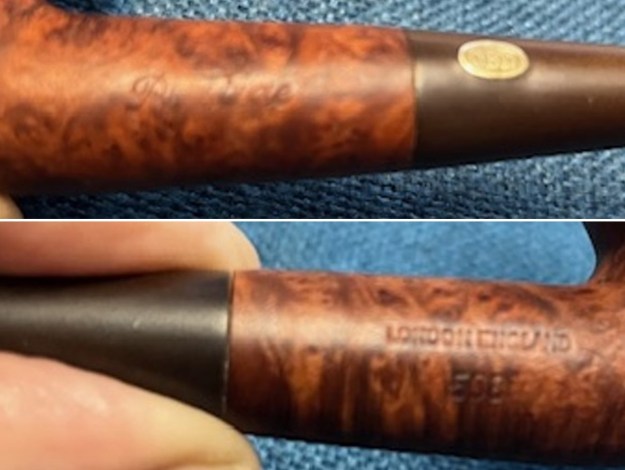
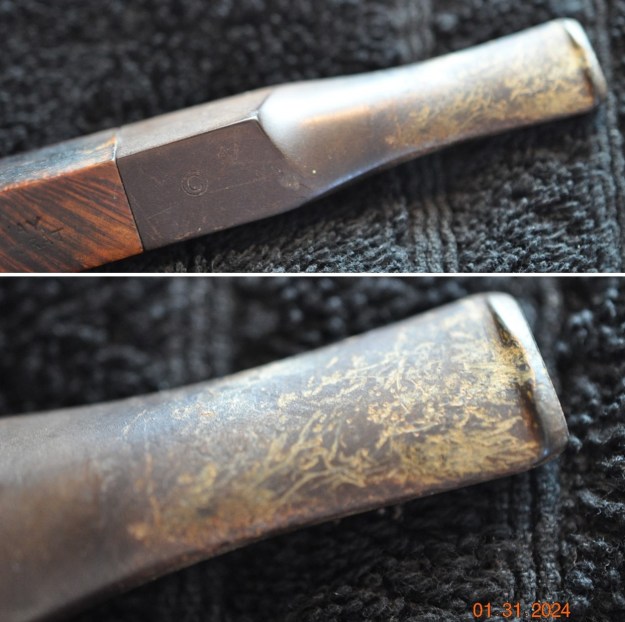
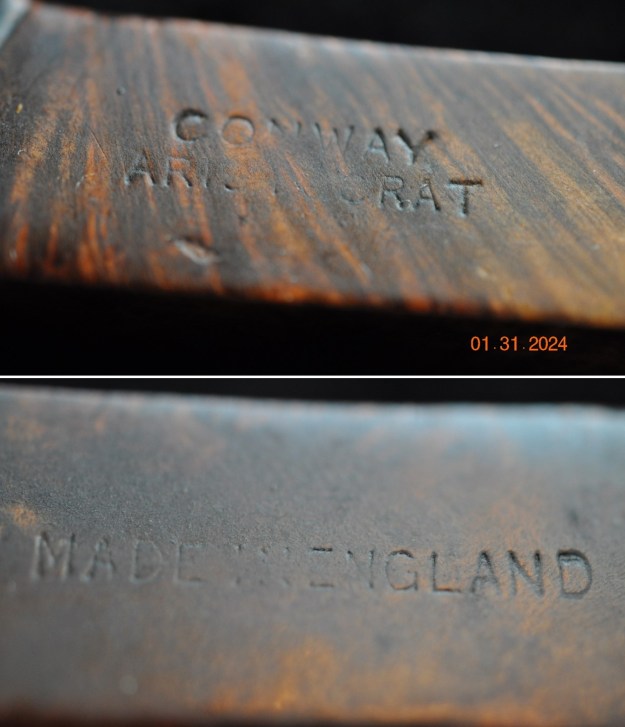
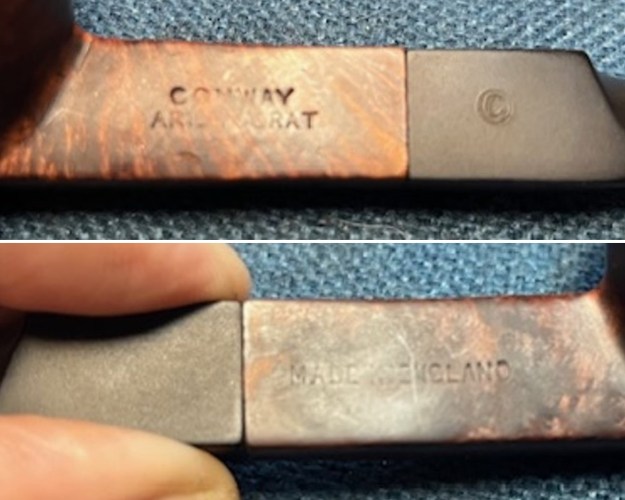
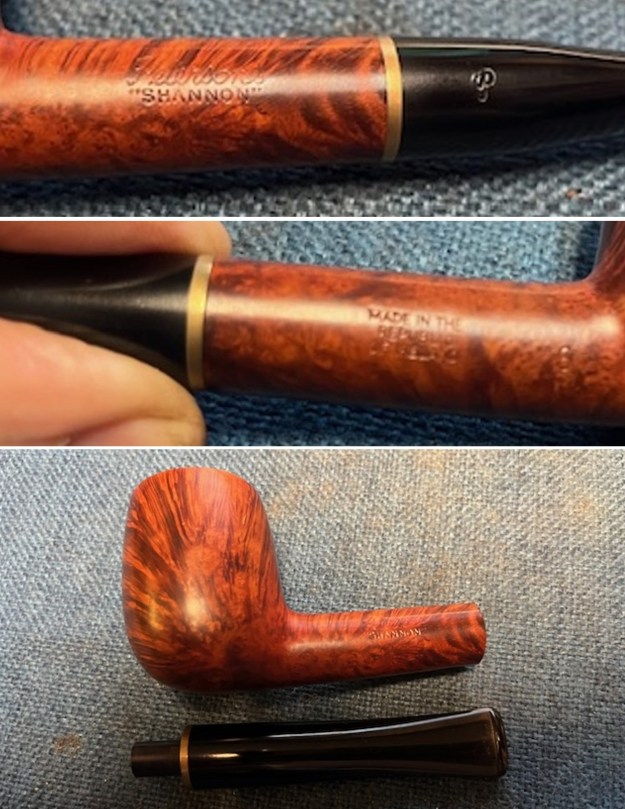
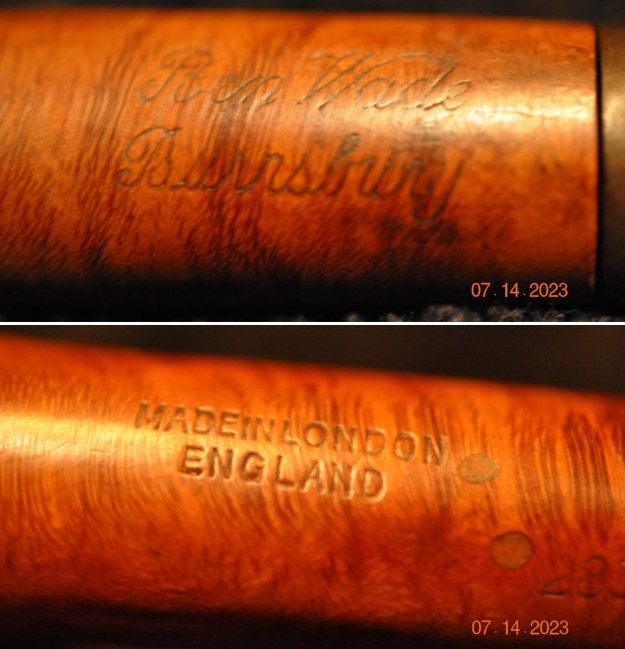
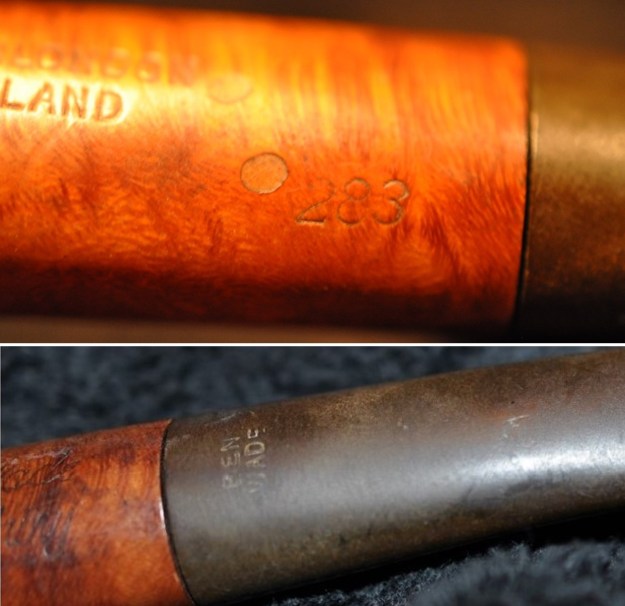
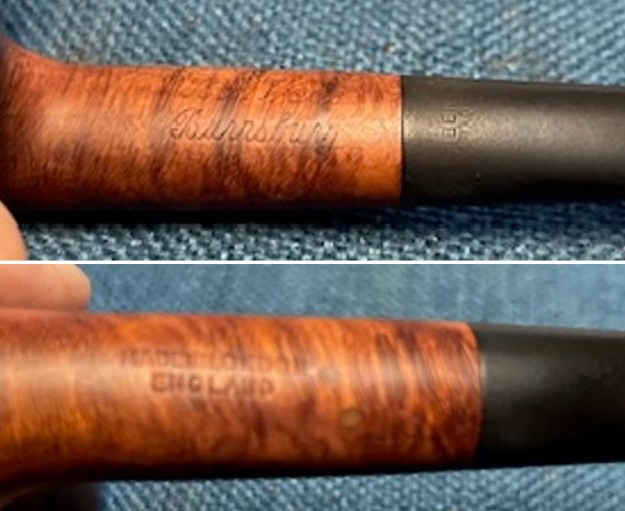
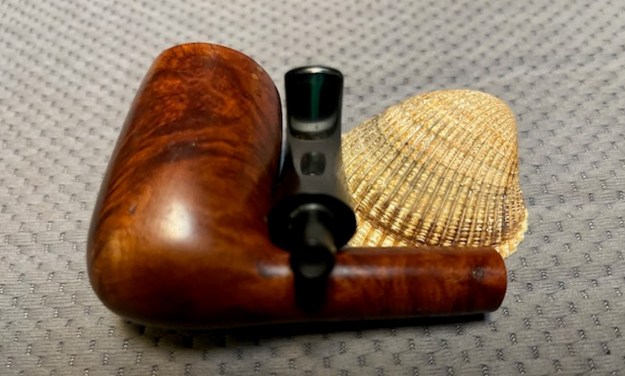
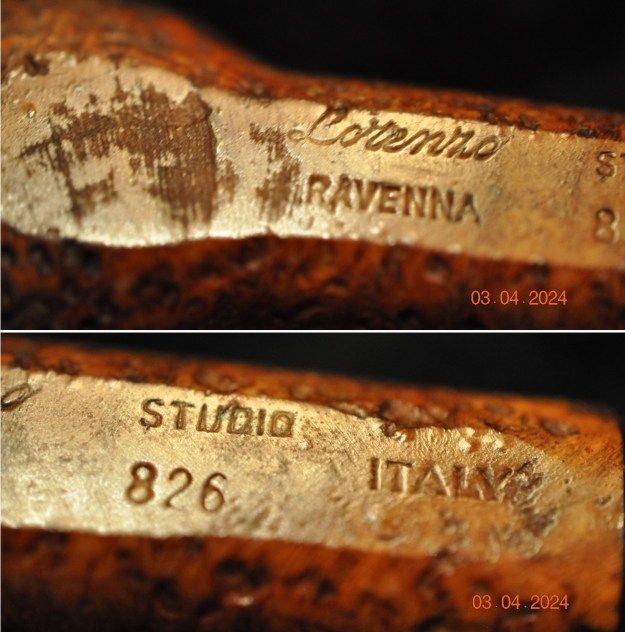
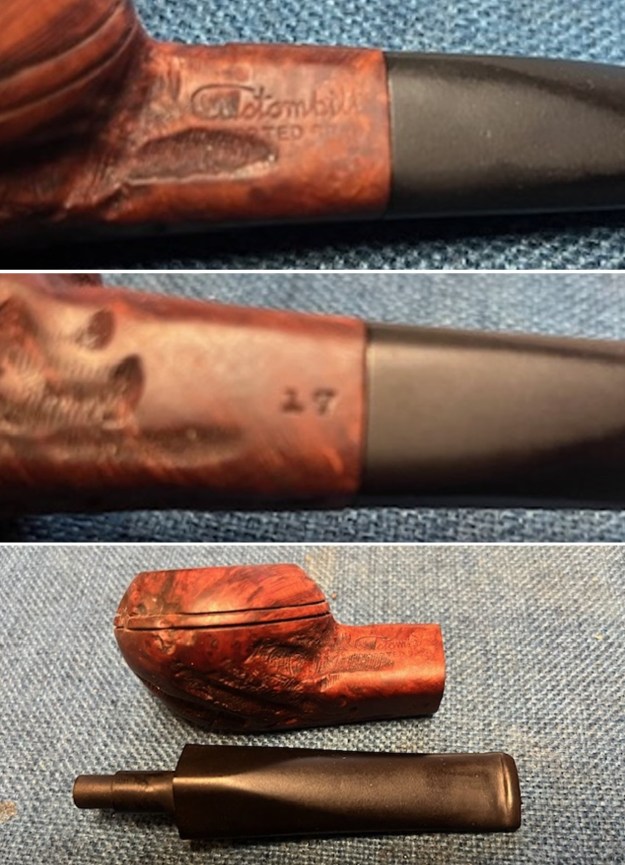
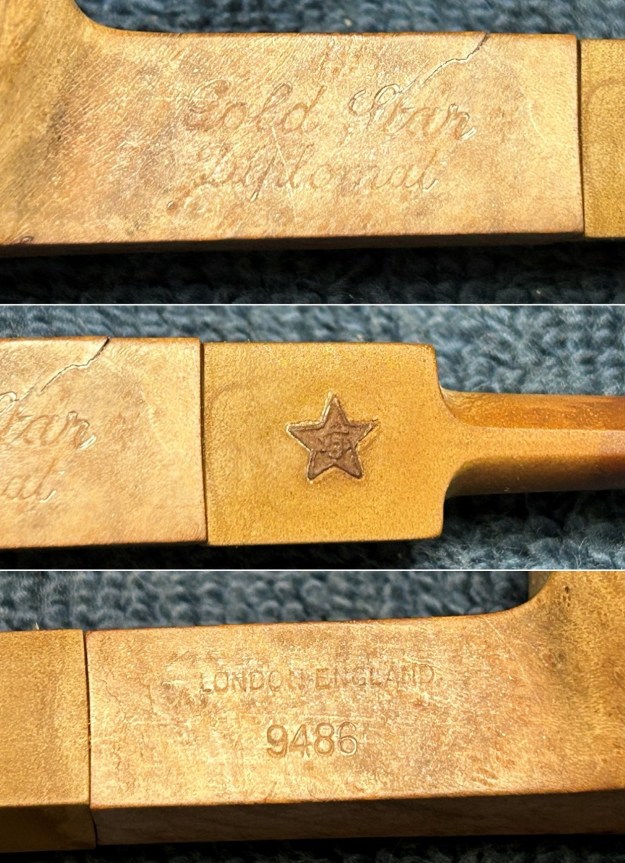
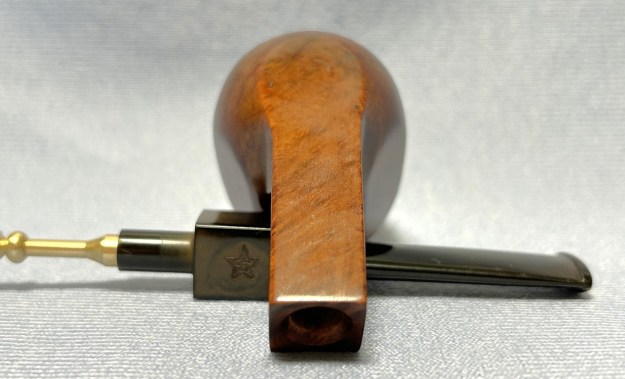
 He captured the stamping on the left and right sides of the shank. It is clear and faint in spots and reads a noted above. The brass inset Jobey oval logo on the top side of the saddle stem is clear and undamaged. On the right side of the stem it appears to be stamped English Para.
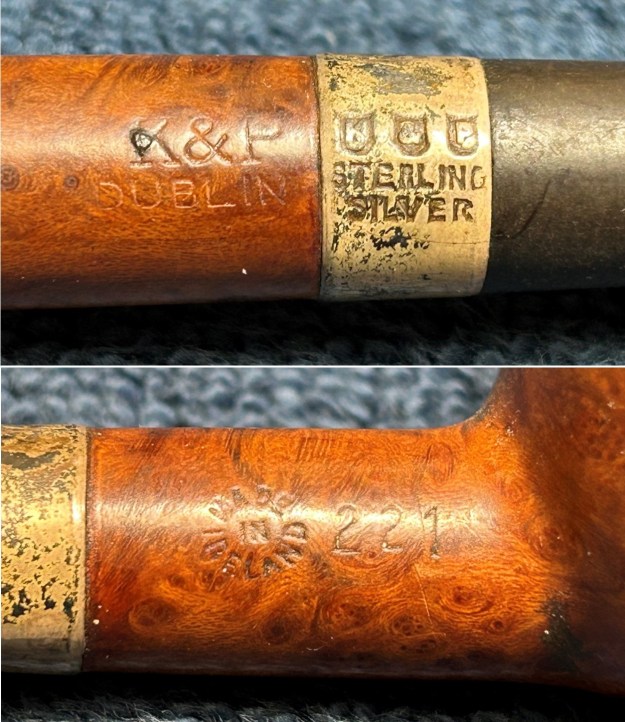
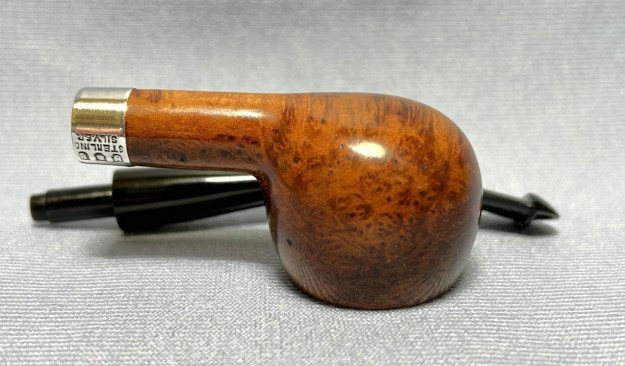
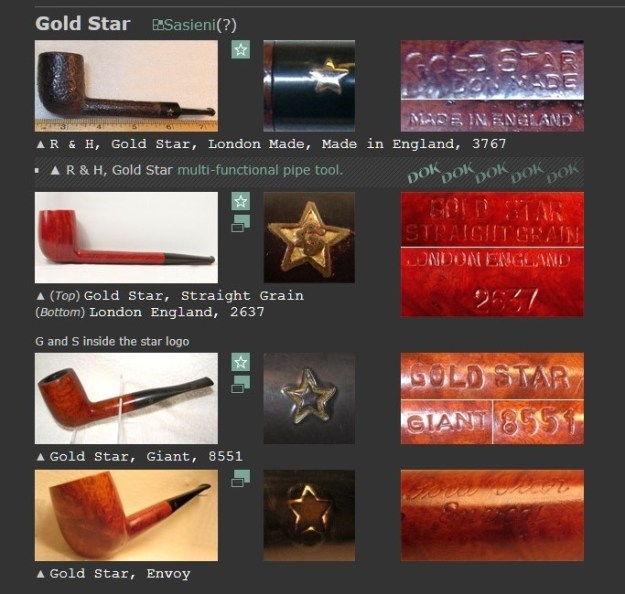
 He took a photo of the stamping on the sterling silver band. As noted above it is stamped and reads STERLING with three hallmarks – an anchor (Birmingham, England) a letter T (date) and a rampant lion (signifying the .925 Sterling quality). The anchor is easily identifiable as the assay mark and giving the location of the silver maker. In this case the location signifies Birmingham, England. The rampant lion at the end of the three hallmarks is knows the indicator of the quality of the silver. In this case it is .925 which is the normal amount for Sterling Silver. That leaves us with the T hallmark in the centre of the threesome.
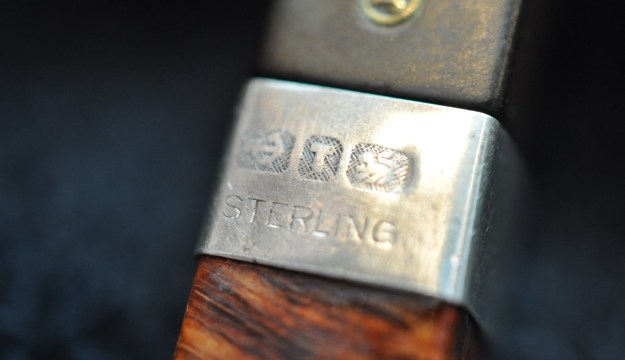 To figure out the date of the stamp I turned to several silver Hallmarks lists for Birmingham. I have included the link below to the chart that I regularly use to help identify the date on pipes with this(https://www.silvermakersmarks.co.uk/Dates/Birmingham/Date%20Letters%20T.html). The helpful thing about this chart is that it is organized by letter and you can click on a letter and get all of the hallmarks with that letter – in this case T. This where it gets a bit tricky to me. If you look at the hallmark in the photo above the “T” stamp clean and straight with no tail on the base or the cross bar of the “T”. It is similar to a non-italic T in 1968. None of the other ones (1943 or 1993) with the capital T work so that is the mystery to me. So the date is not clearly identifiable from the charts.
 I reread several of the blogs I have written on the brand in the past restorations of Jobey pipes and decided to include the material on the brand before I write about the cleanup of the pipe. I wanted to spell out the link from the hallmarks above to British made Jobeys. Here is the link to the blog (https://rebornpipes.com/2020/04/03/restoring-jennifers-dads-jobey-asti-245-pot/). I quote:
I turned to Pipephil’s site for a quick review of the brand (http://www.pipephil.eu/logos/en/logo-j3.html). I quote a section of the post on the Jobey brand: These pipes are made in St Claude (France) by Butz-Choquin (Berrod-Regad group) since 1987. Before this date some were manufactured in England and Denmark (Jobey Dansk).
I turned then to Pipedia to gather further information regarding the brand and quote the first part of the article (https://pipedia.org/wiki/Jobey).
English – American – Danish – French… Sadly, solid information about Jobey is scant…
Probably established in England around 1920(?) the brand hiked into the USA later. In the course of time owner, distributor and manufacturer changed repeatedly. As far as is known the following companies have been involved with the brand:
George Yale Pipes & Tobacco, New York (1942), Norwalk Pipe Co., New York (1949), Arlington Briar Pipes Corp., Brooklyn (when?), Hollco International, New York (1969), Weber Pipe Co., Jersey City, NJ (1970’s), The Tinder Box, (1970’s – 80’s).
Throughout decades Jobey pipes were mainly sold in the USA, Canada and England but remained almost unknown in continental Europe. The bulk of Jobeys was predominantly made according to classical patterns and mainly in the lower to middle price range. The predominant judgment of the pipe smokers reads: “A well-made pipe for the price.” So, there is hardly anything very special or exciting about Jobey pipes although a flyer from ca. 1970 assures: “The briar root Jobey insists upon for its peer of pipes is left untouched to grow, harden and sweeten for 100 years. […] Jobey uses only the heart of this century old briar and only one out of 500 bowls turned measures up to the rigid Jobey specifications.” 99.80% of cull… that makes the layman marveling!
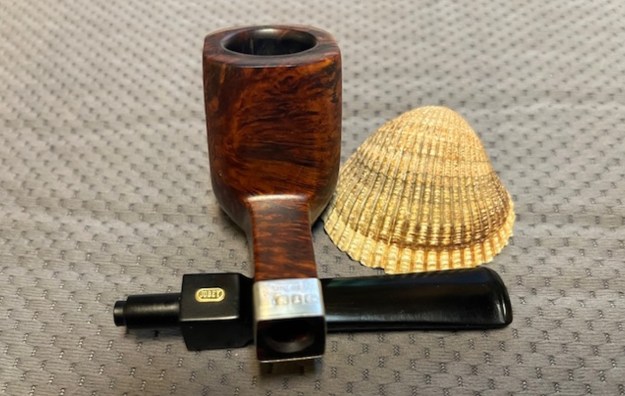
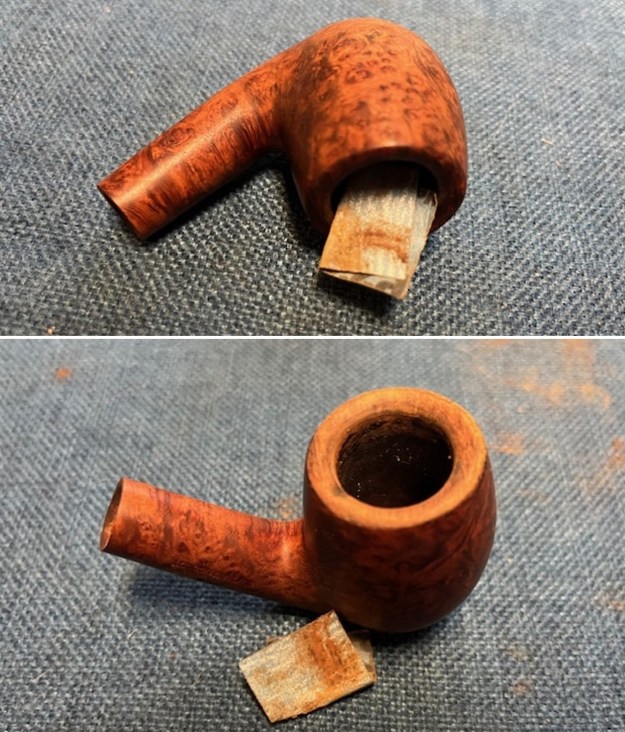
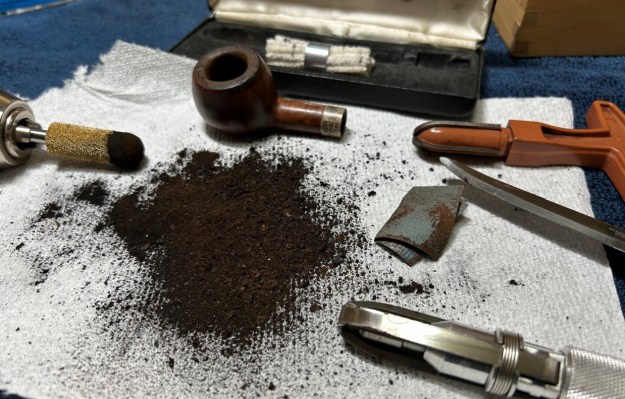
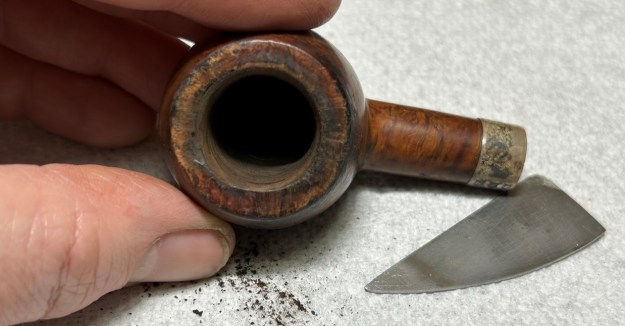
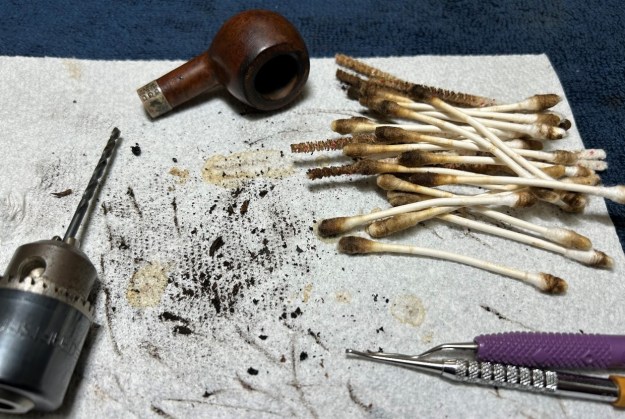
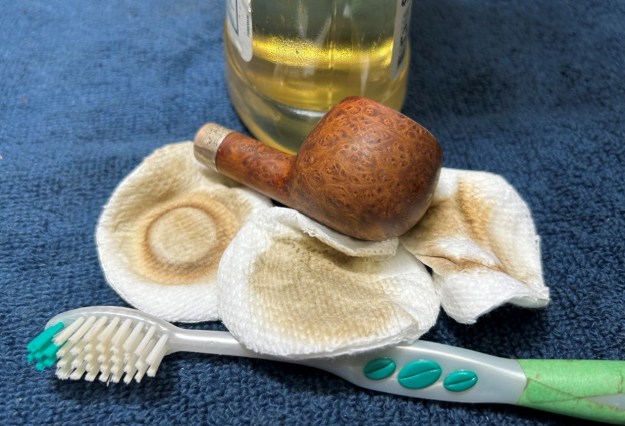
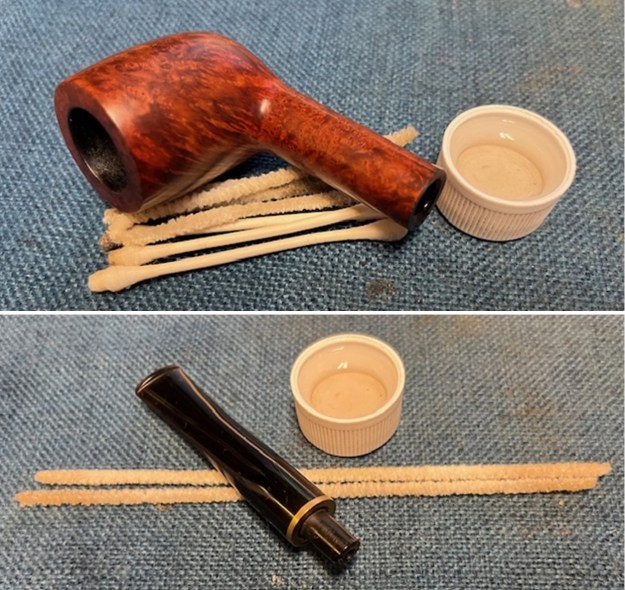
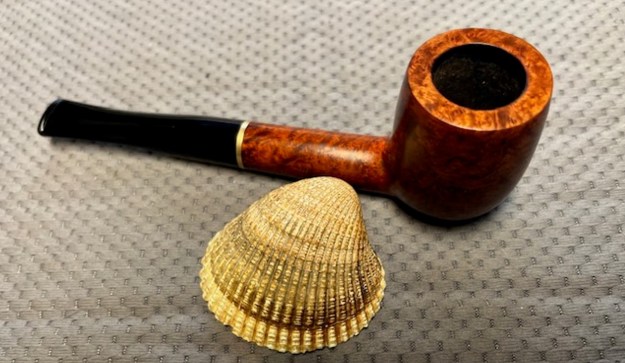
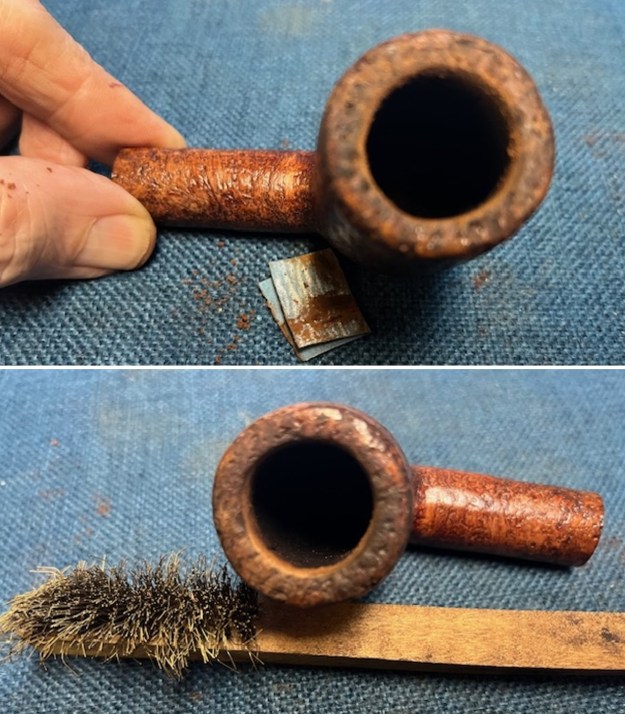
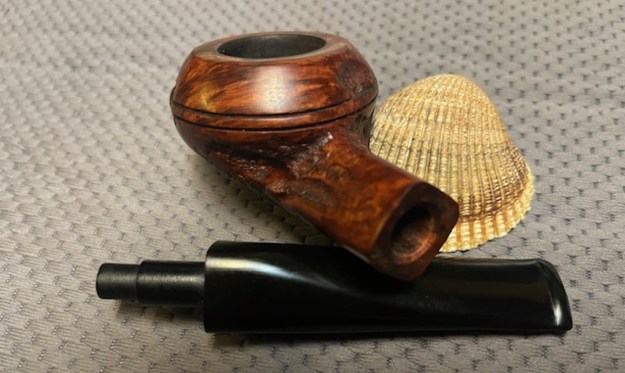
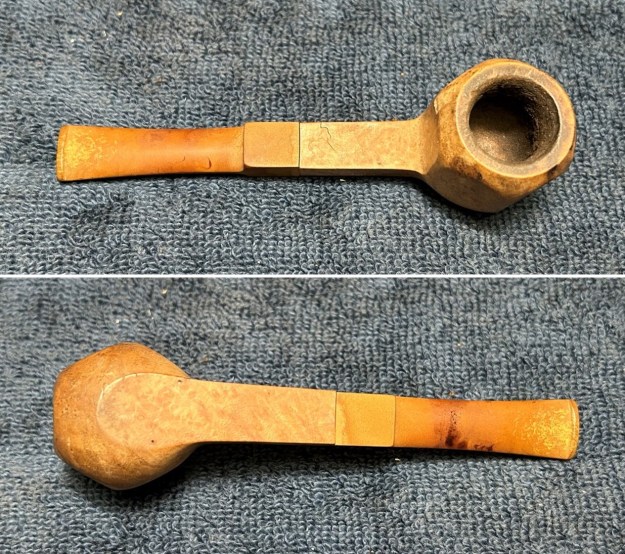
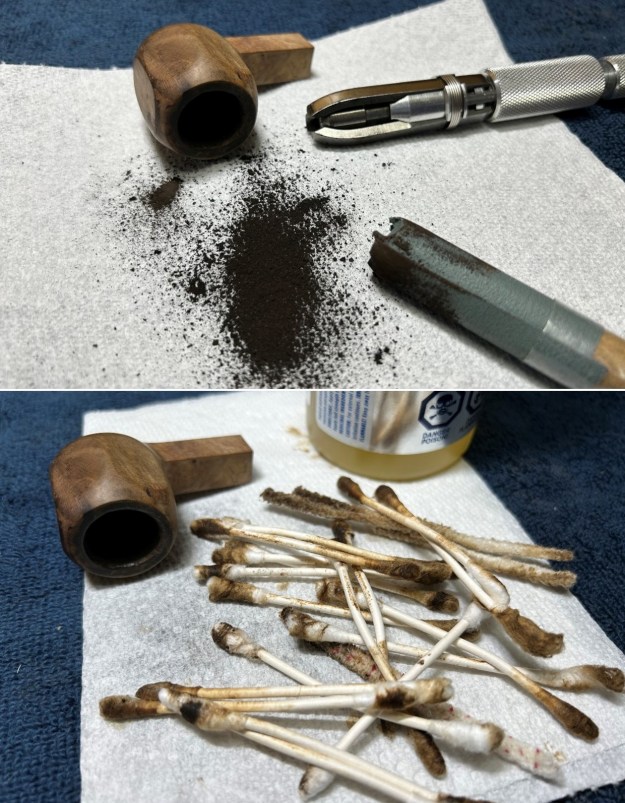
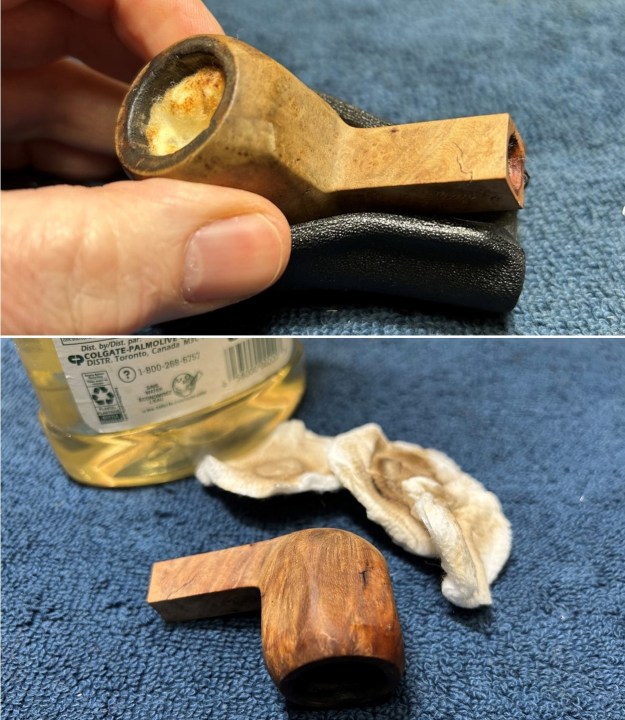
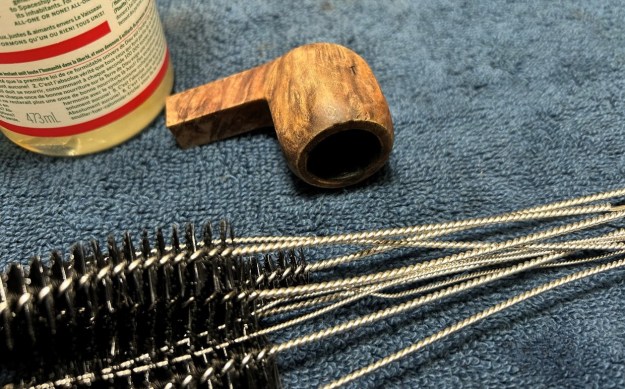
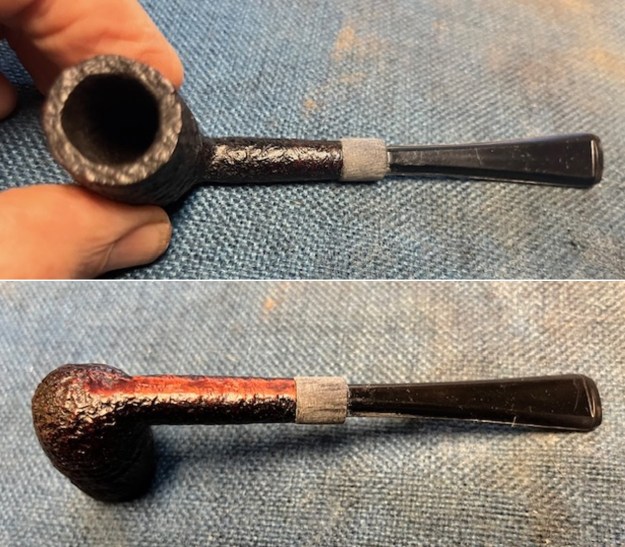
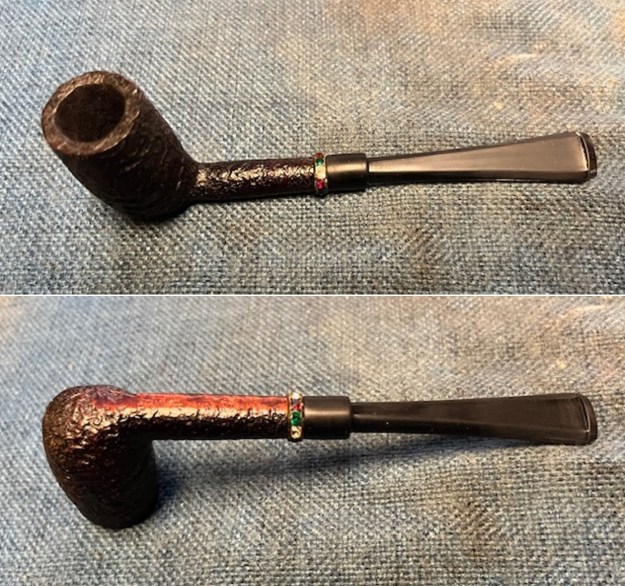
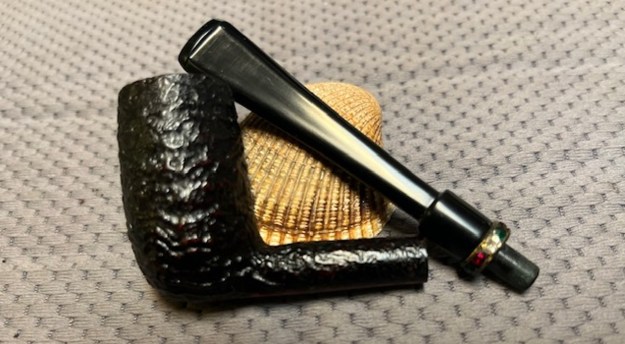
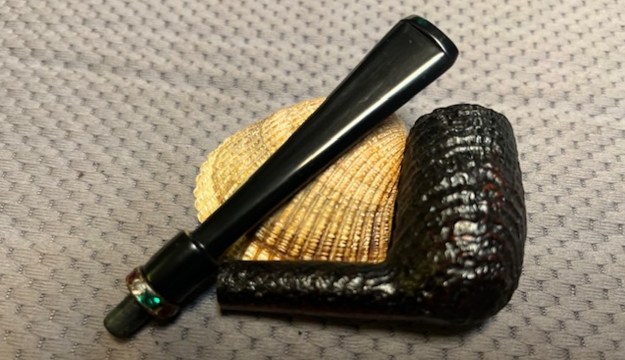
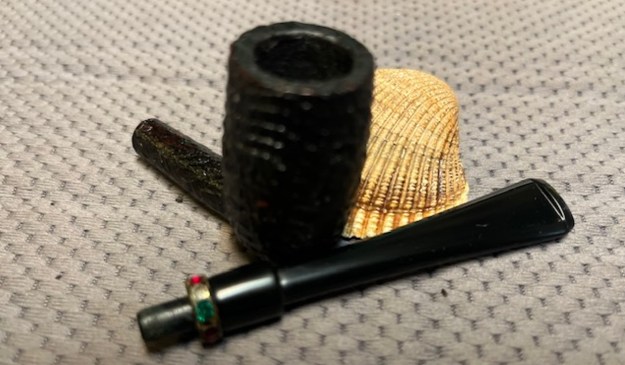
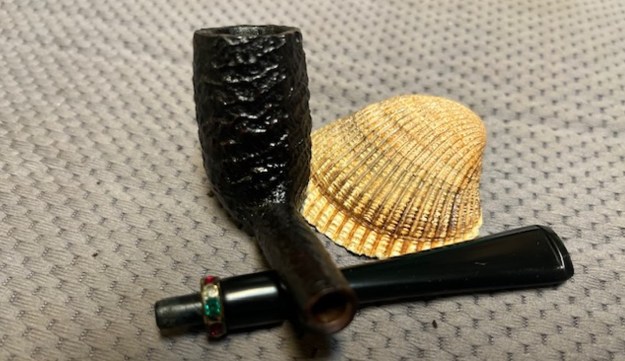
Now to work on the pipe itself. Jeff had cleaned up the pipe and it looked very good. He reamed the pipe with a PipNet pipe reamer and removed the rest of it with a Savinelli Fitsall Pipe Knife. He scrubbed the bowl with undiluted Murphy’s Oil Soap with a tooth brush. He rinsed it under running warm water to remove the soap and grime. He cleaned out the inside of the shank and the airway in the stem with alcohol, cotton swabs, shank brushes and pipe cleaners. He soaked the stem in Briarville’s Stem Deoxidizer and rinsed it off with warm water. It removes the oxidation, grime on the stem. I took photos of the pipe before I started my part of the restoration work.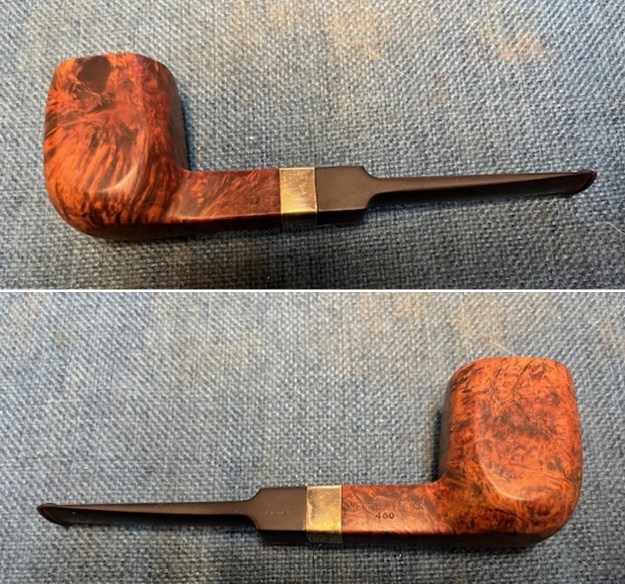
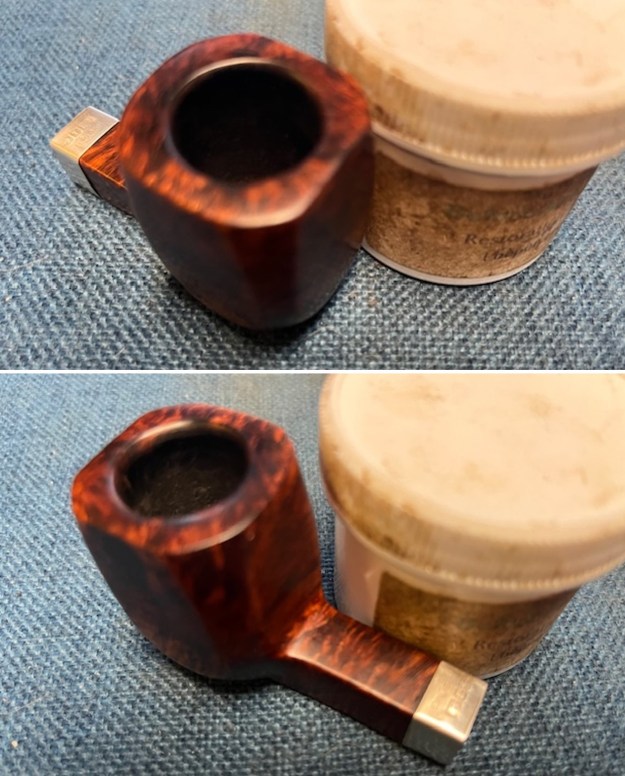
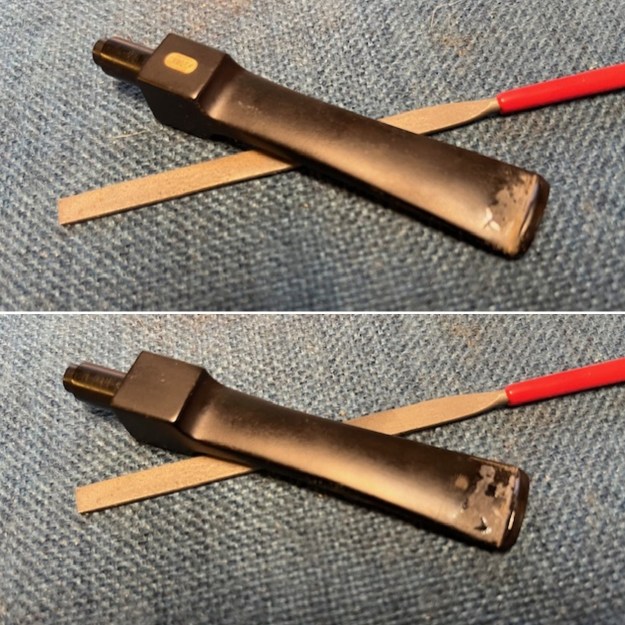
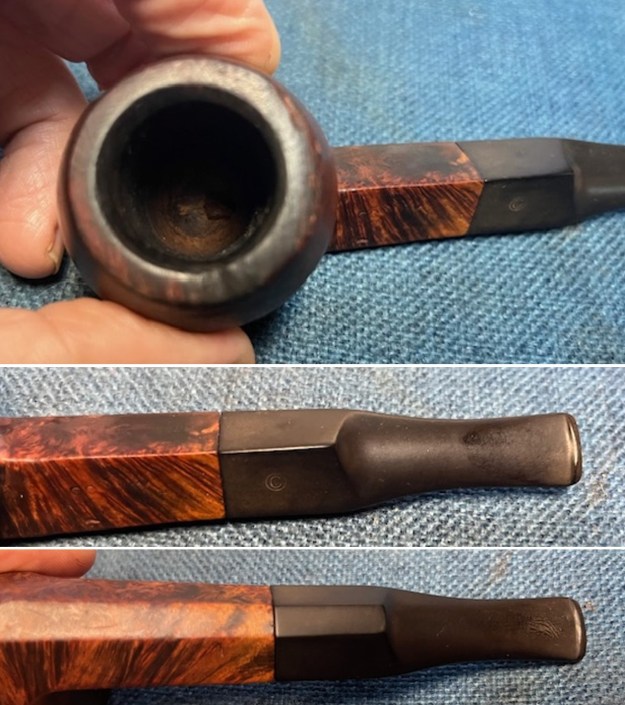
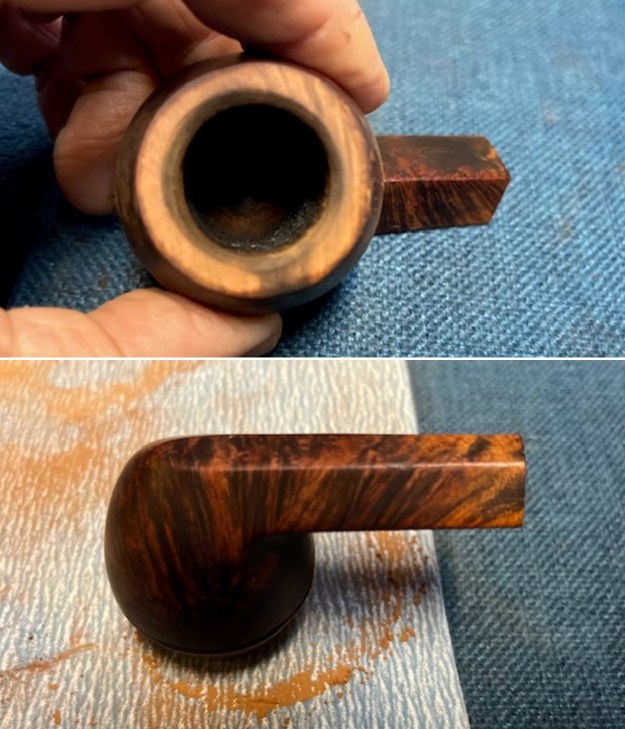
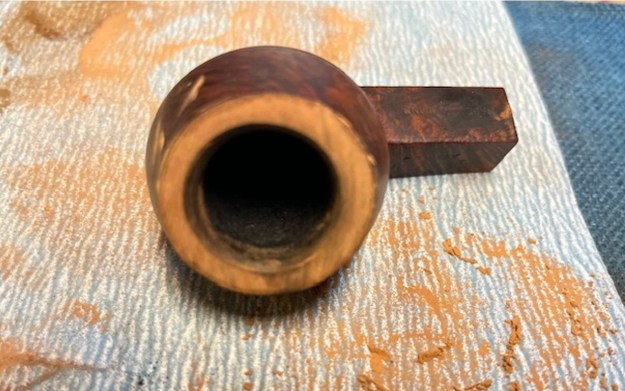
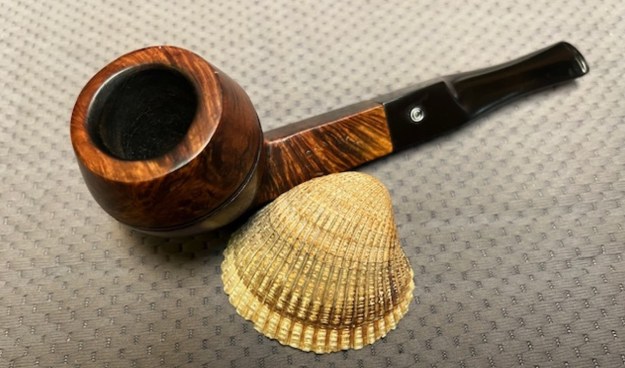
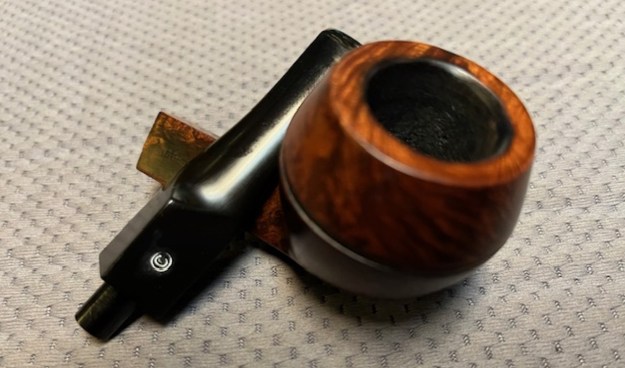
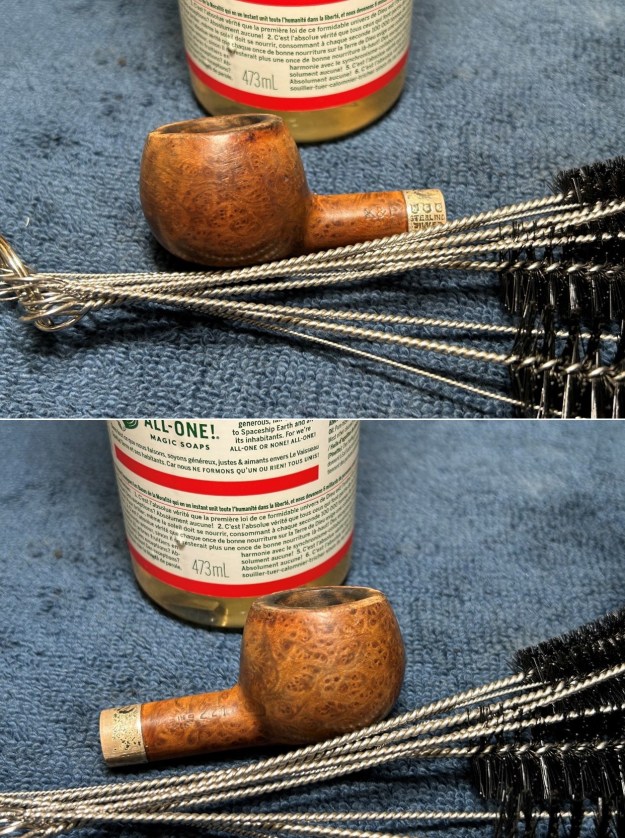
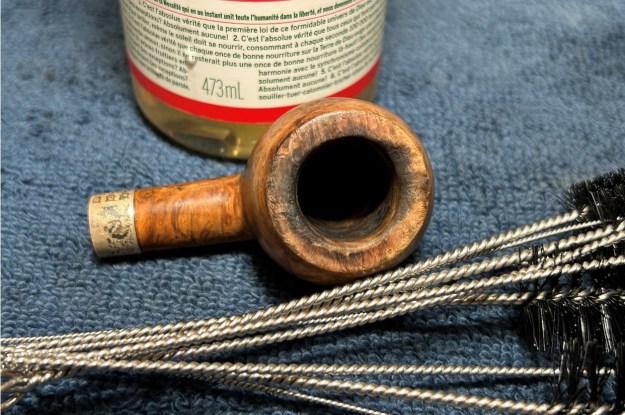
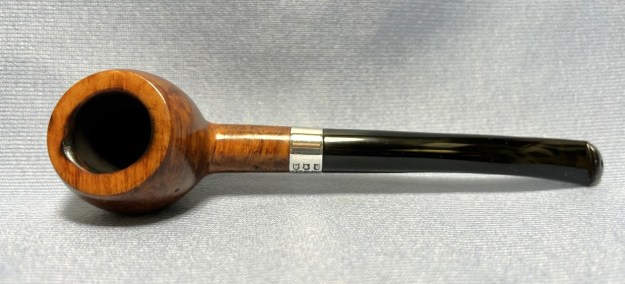
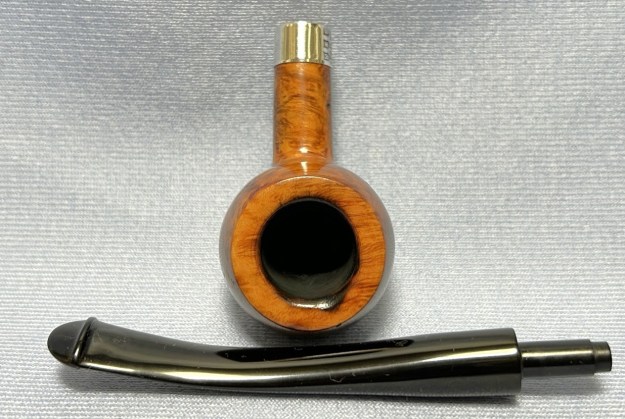
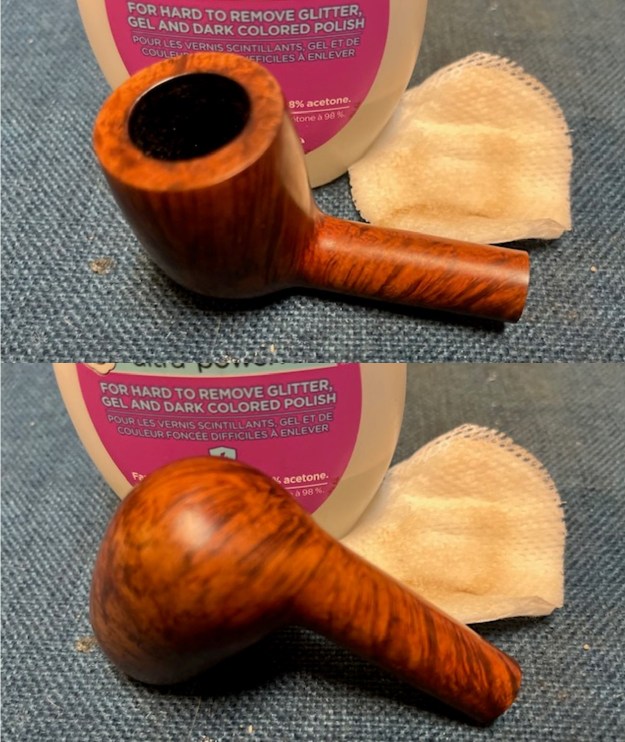
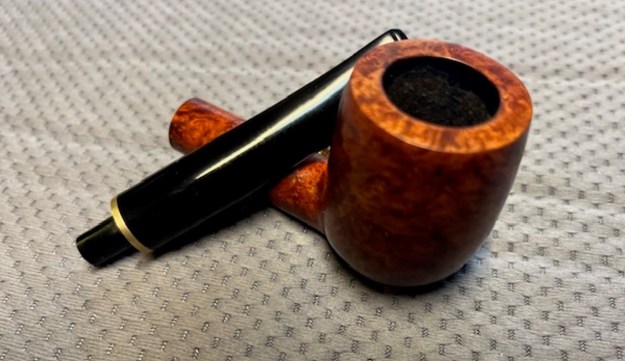
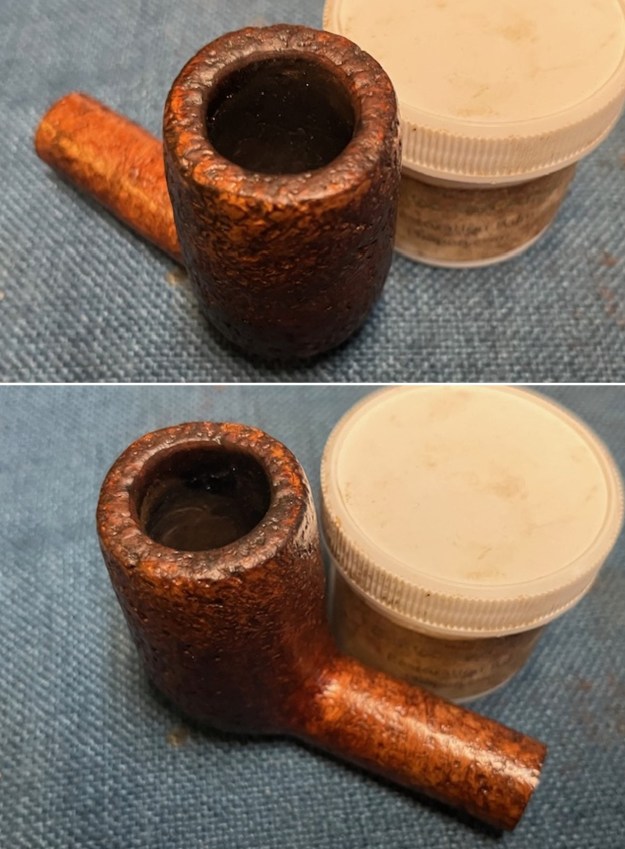
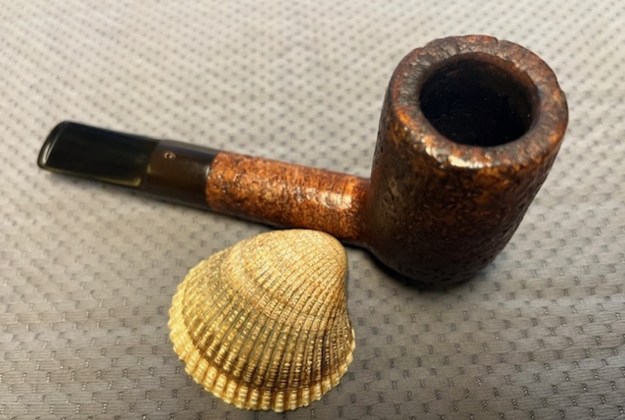
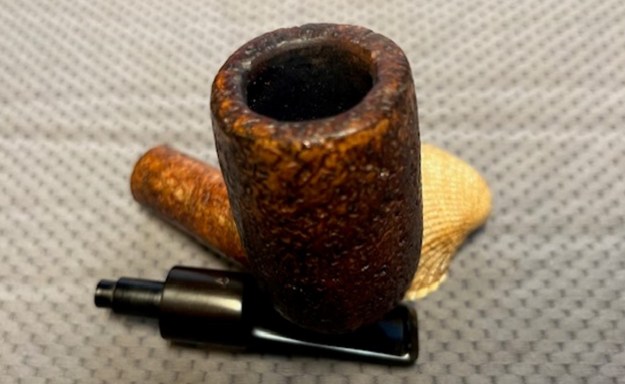
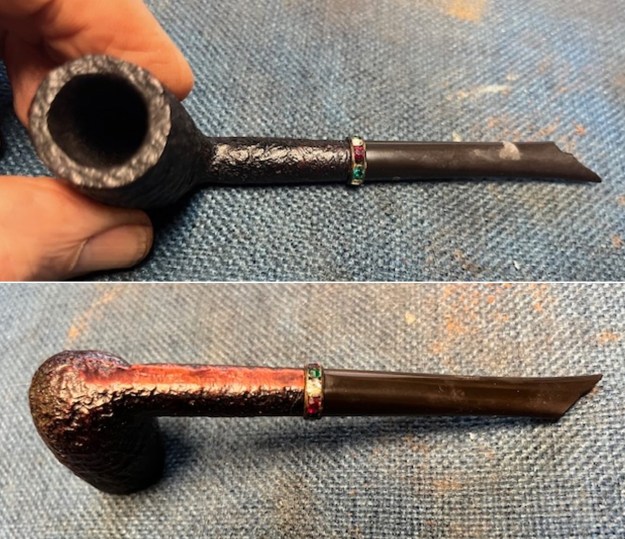
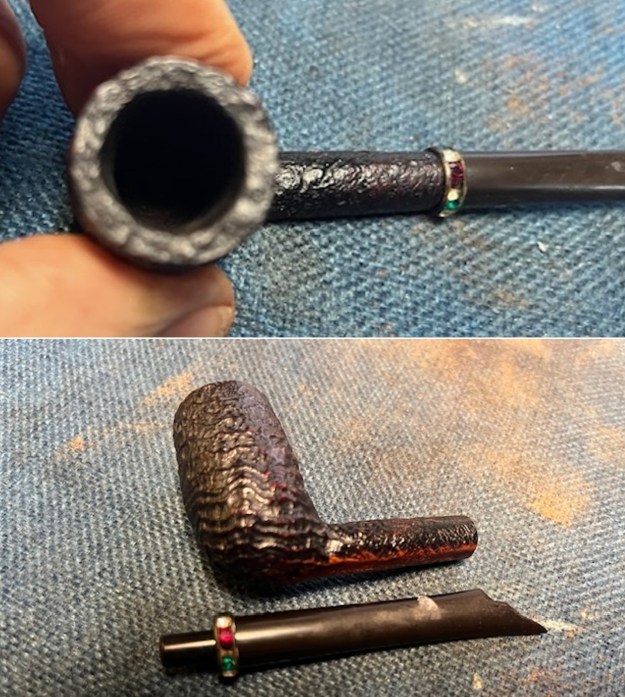
 The rim top and outer edge of the bowl look good. The inner edge and spots on the top have some darkening and light damage. The stem surface was still lightly oxidized and there were tooth marks and chatter on both sides near the button.
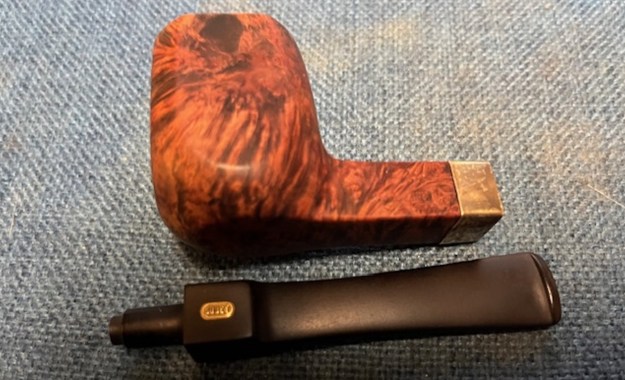
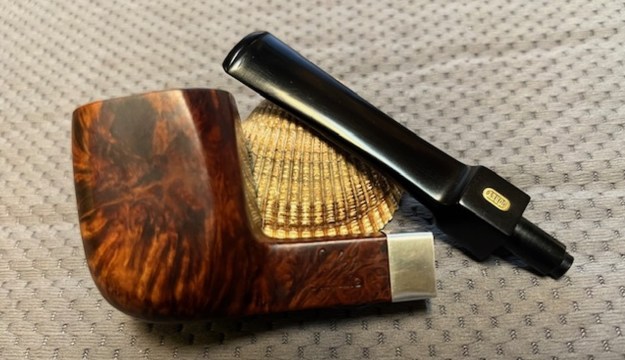
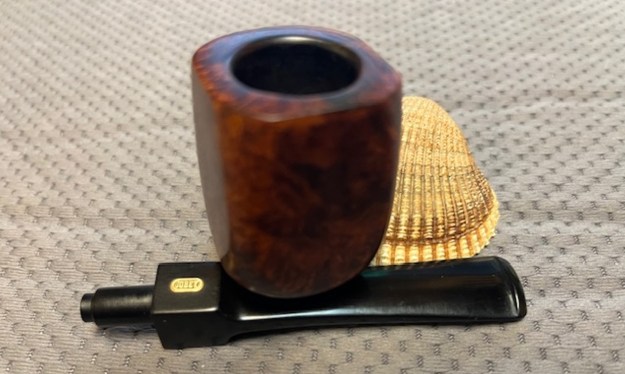
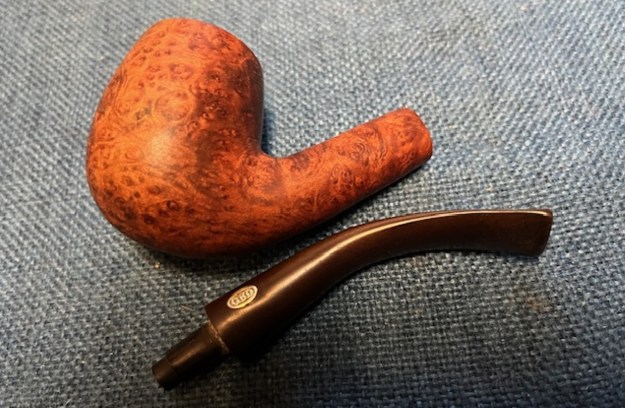
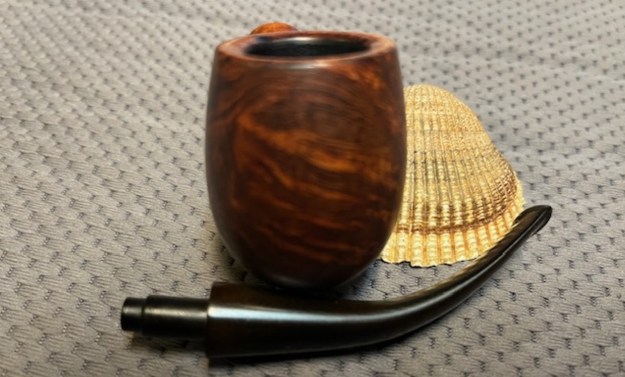
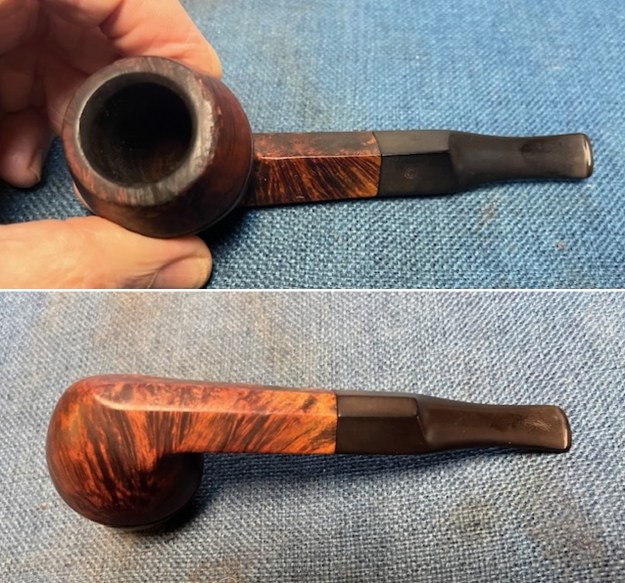
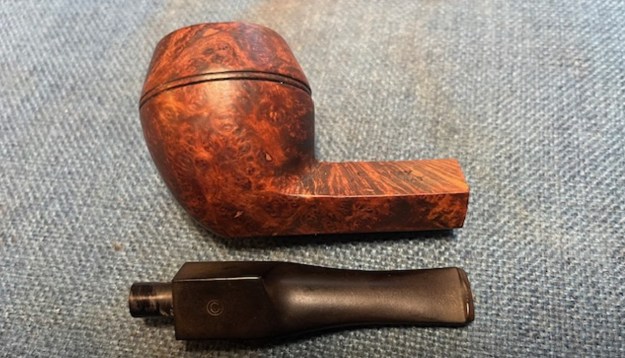
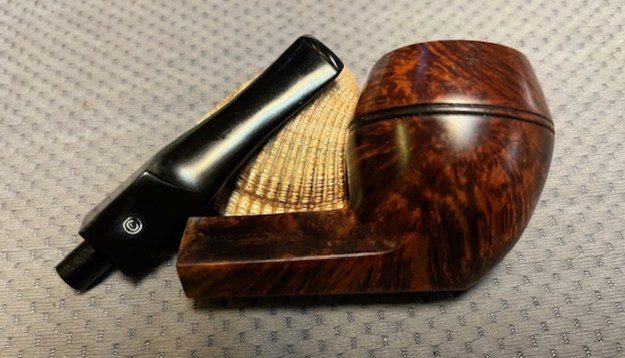
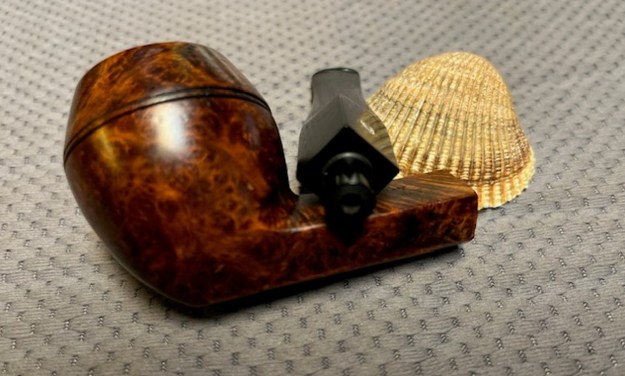
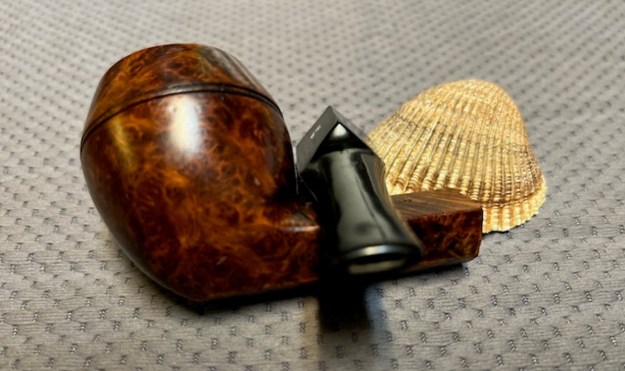
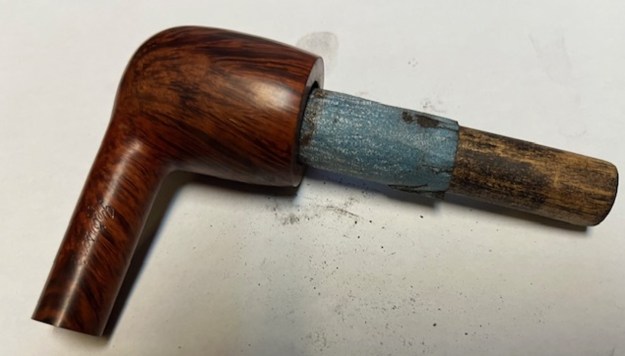
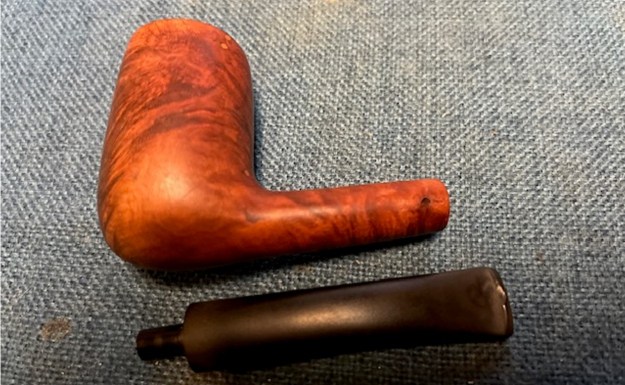
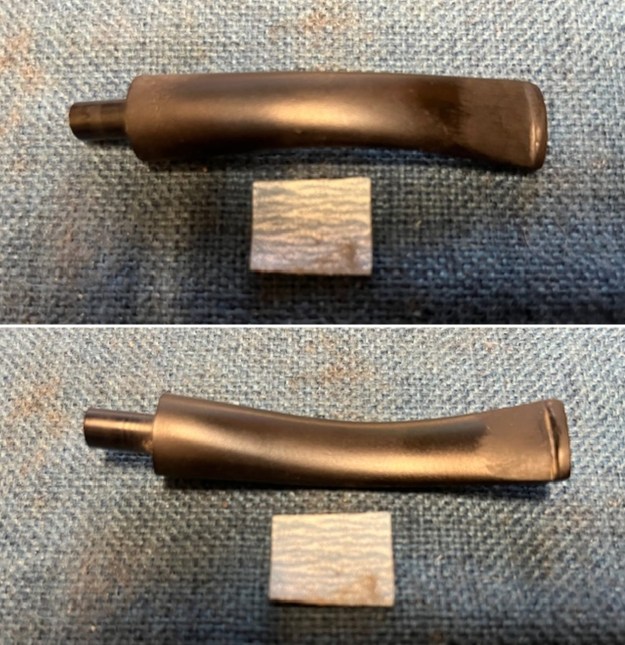
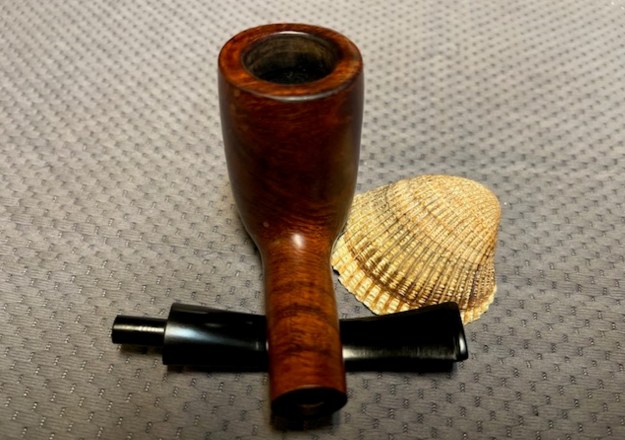
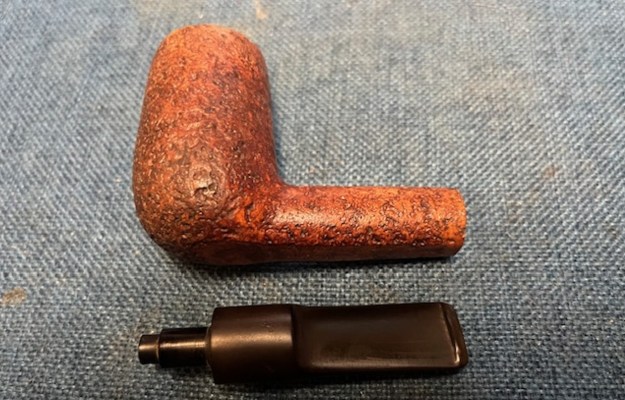
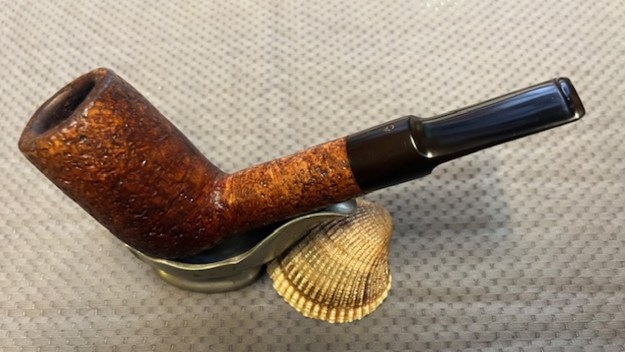
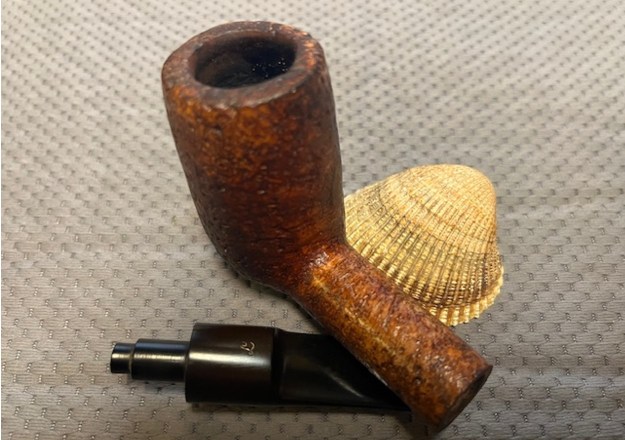
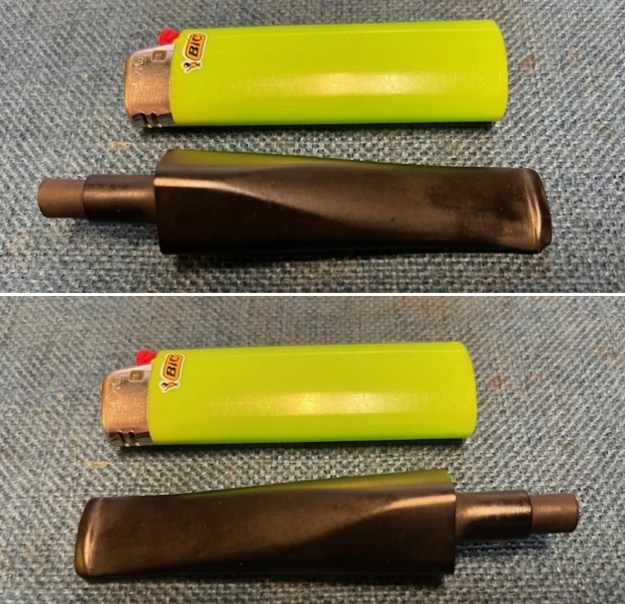
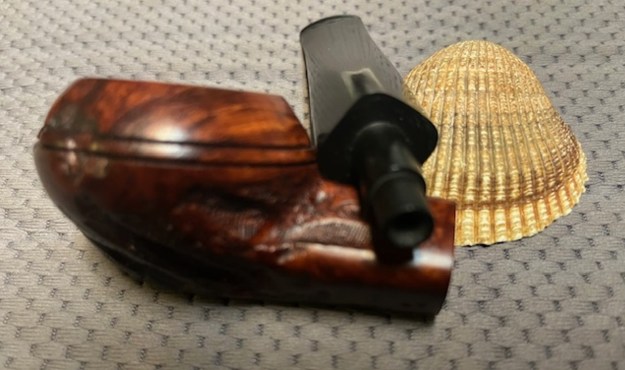
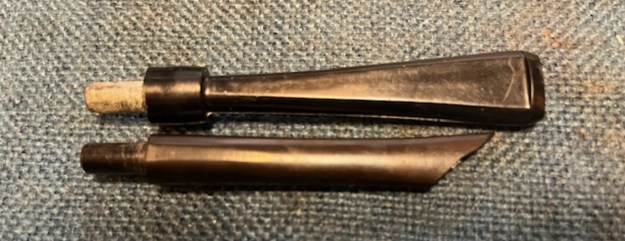
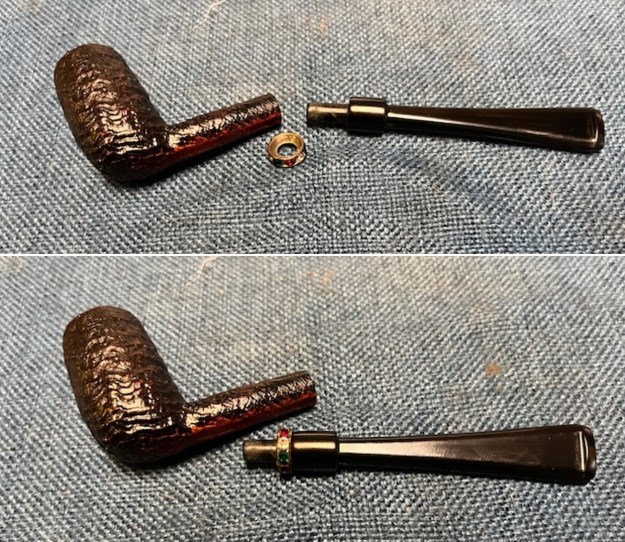
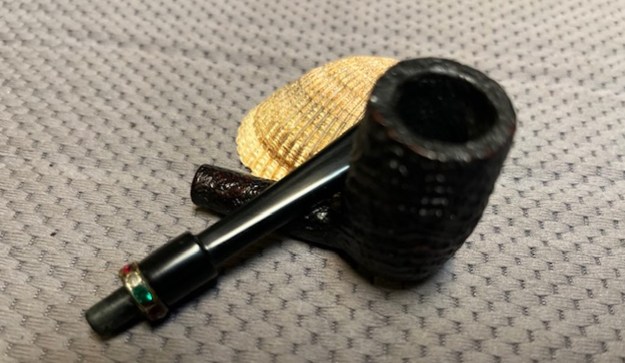
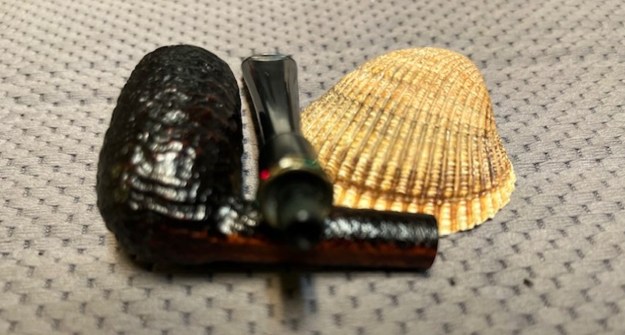
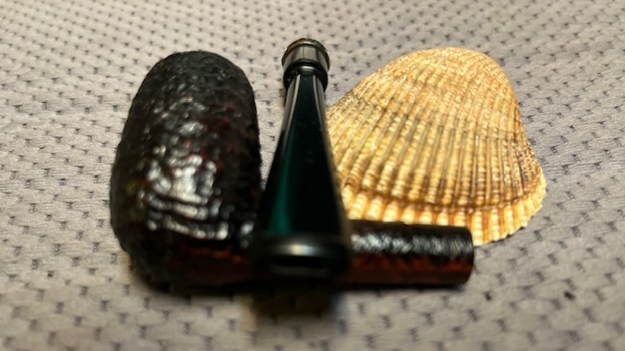
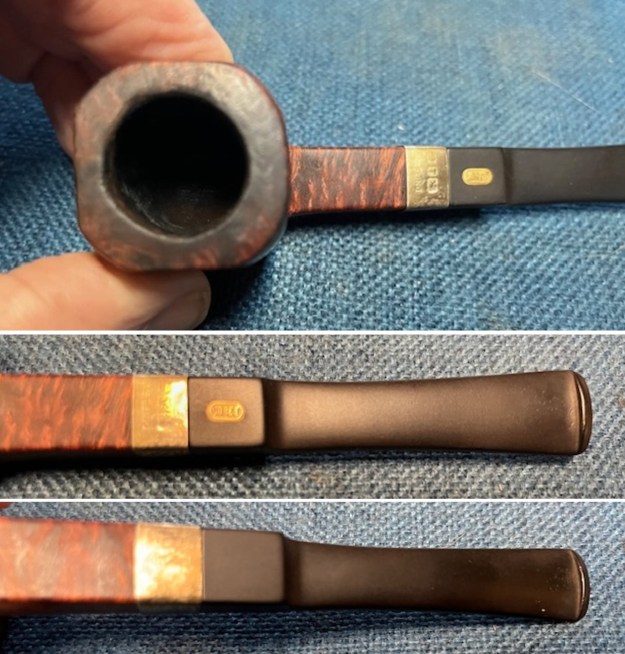 The stamping on sides of the shank is faint in spots but readable. It is stamped as noted above. The stamping on the stem side is pretty clear and reads English Para. I removed the stem and took a photo of the pipe to give a sense of the whole. The panel saddle stem is nice and the photo shows the step down tenon.
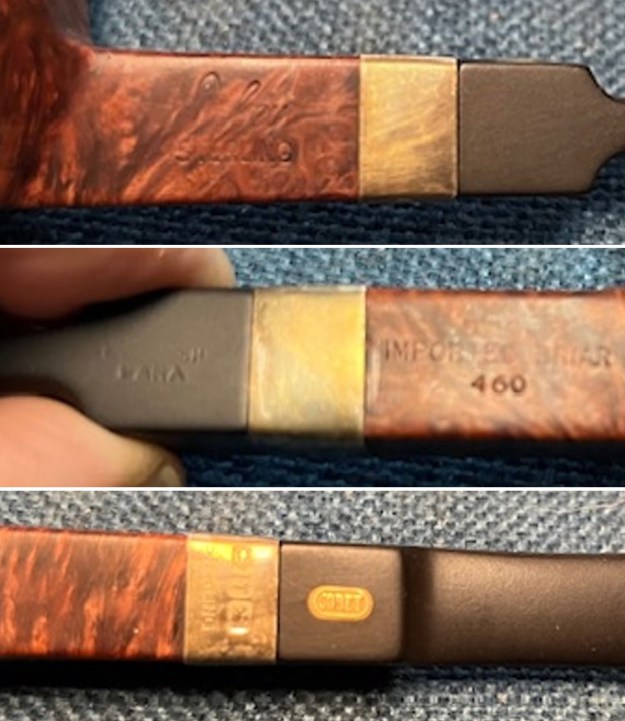
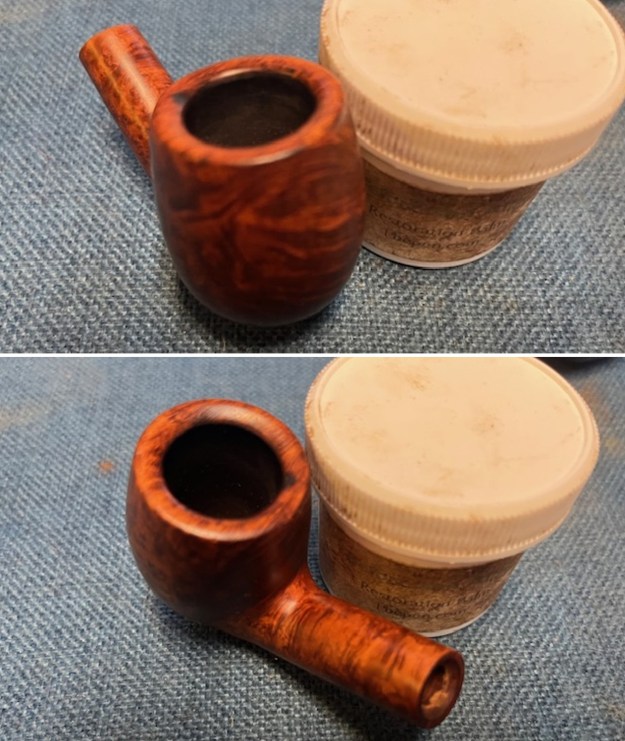
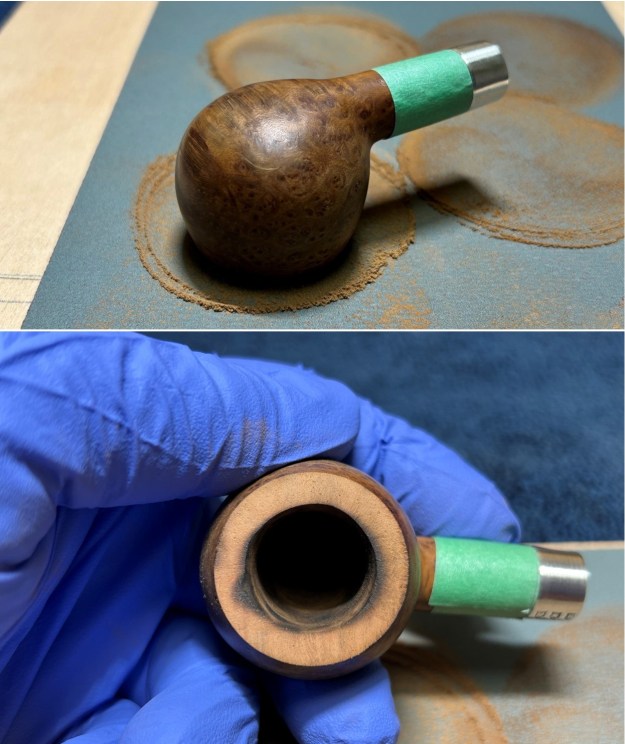
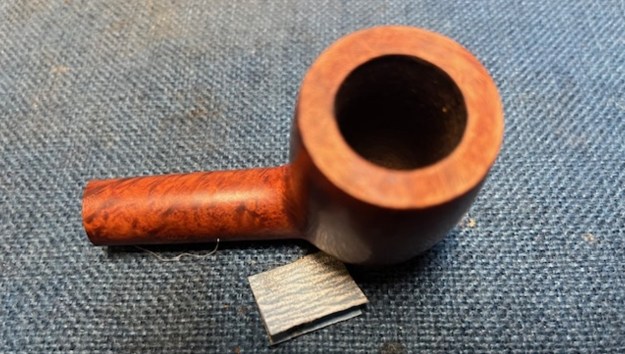
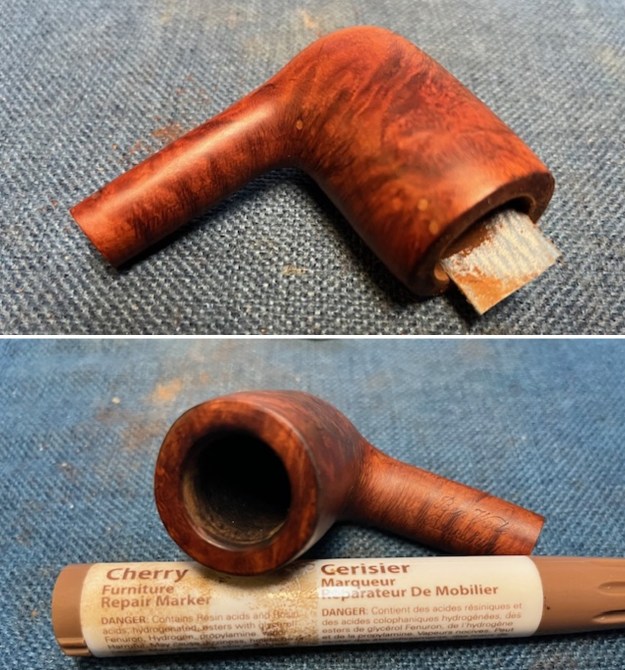
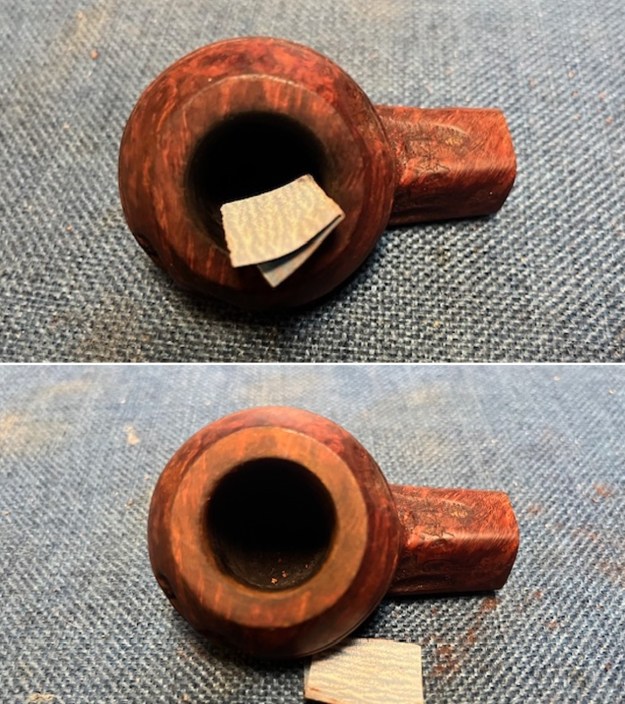
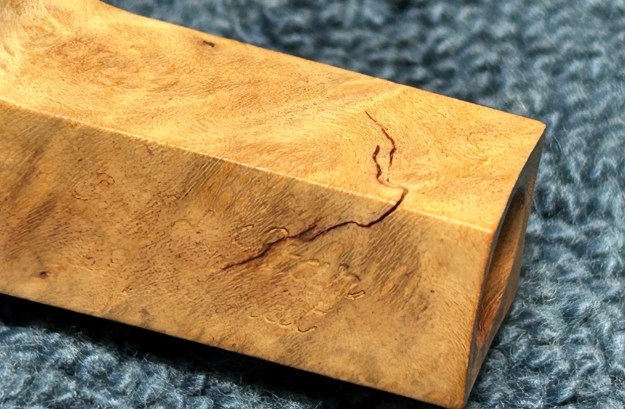
 I cleaned up the top and the inner edge of the bowl with a folded piece of 220 grit sandpaper to smooth out the damage to the edge and the darkening on the rim top.
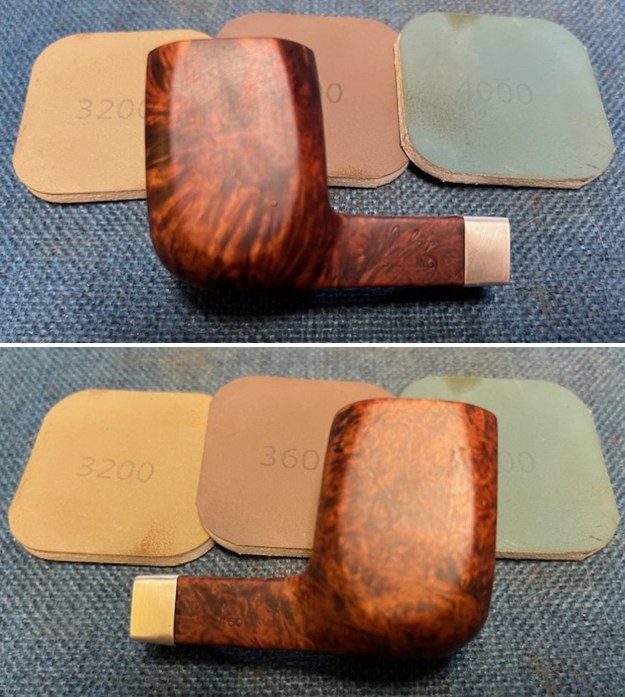
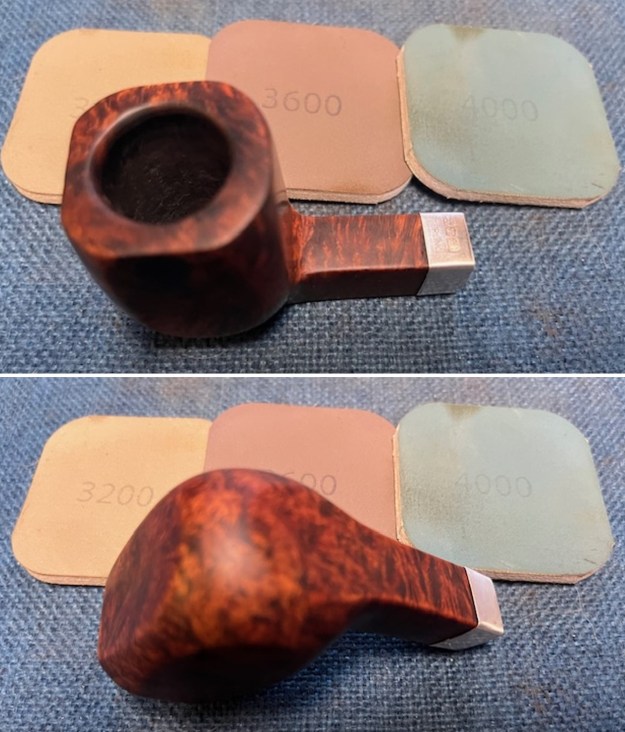
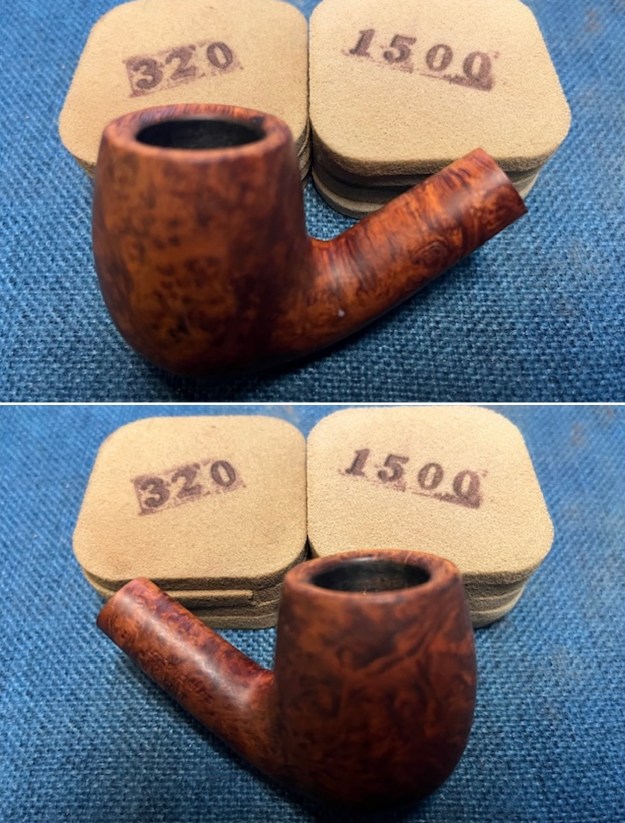
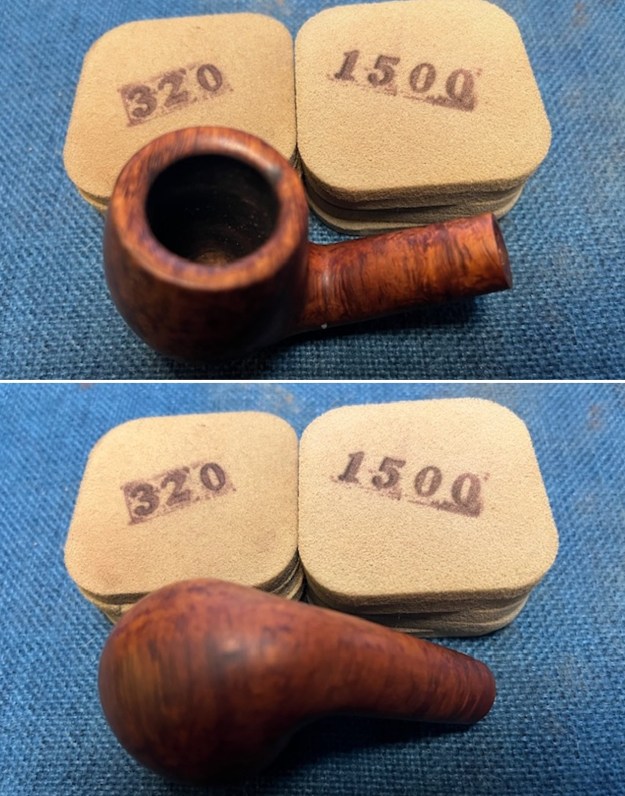
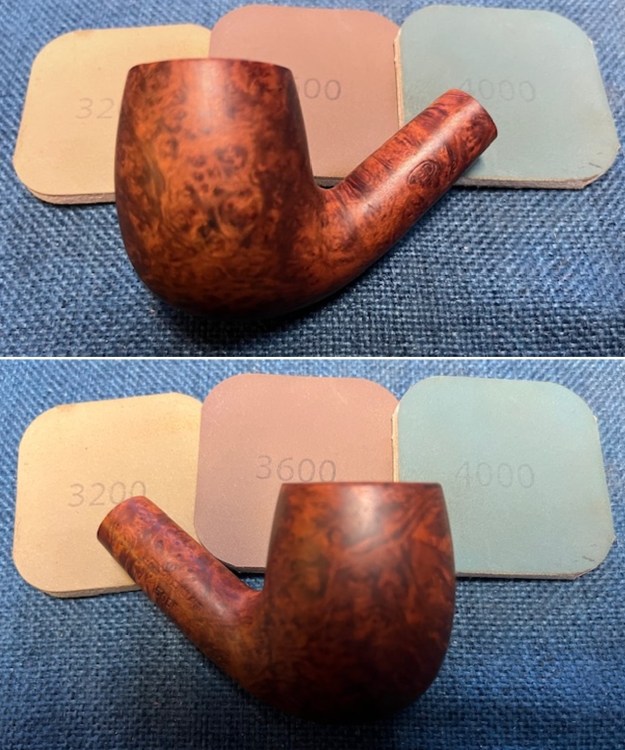
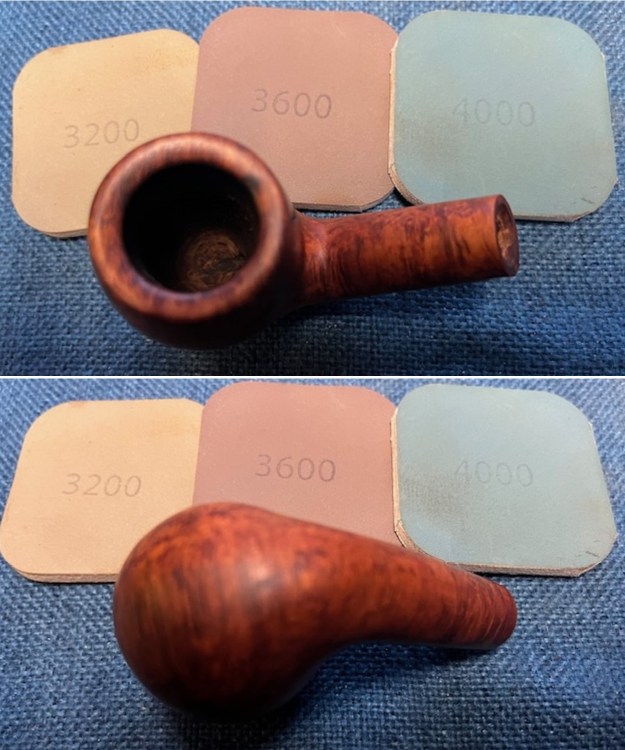
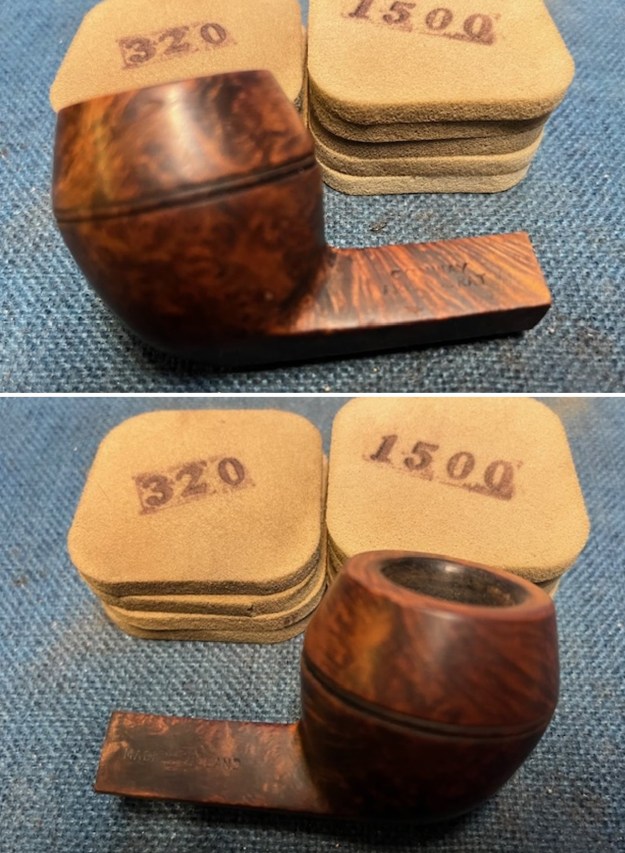
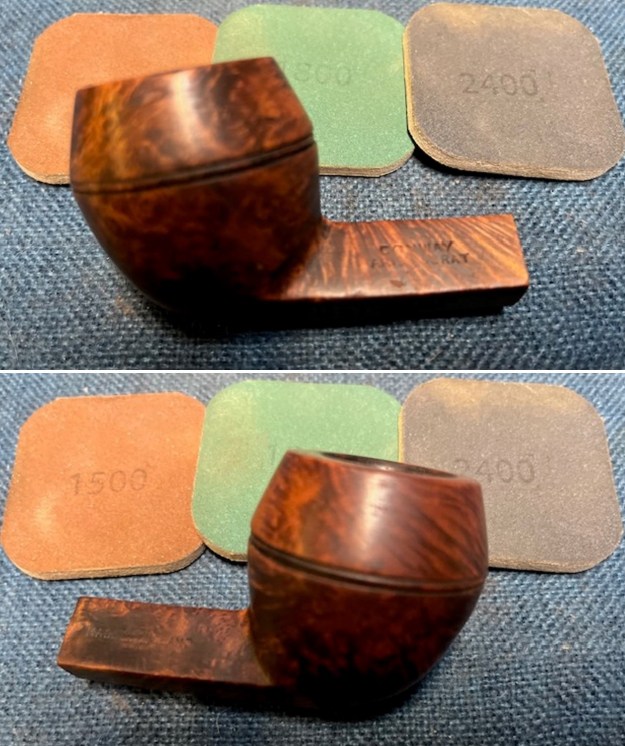
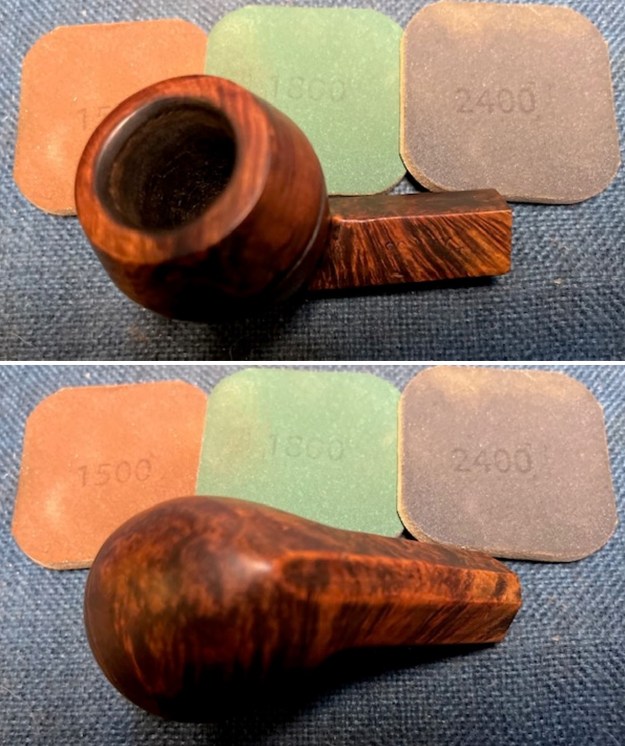
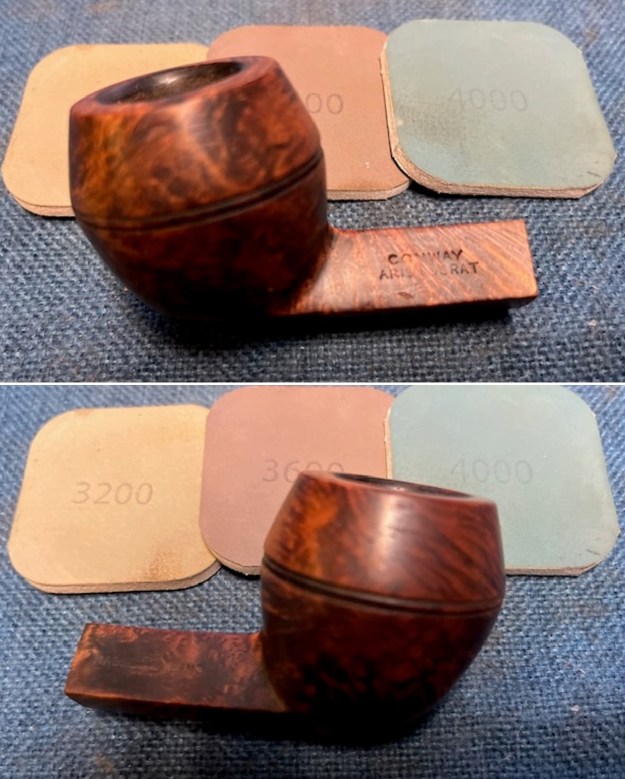
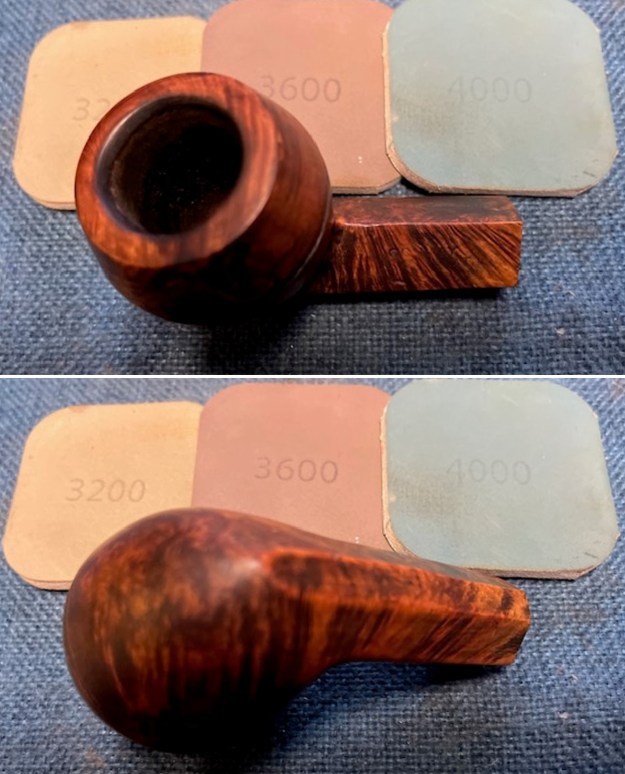
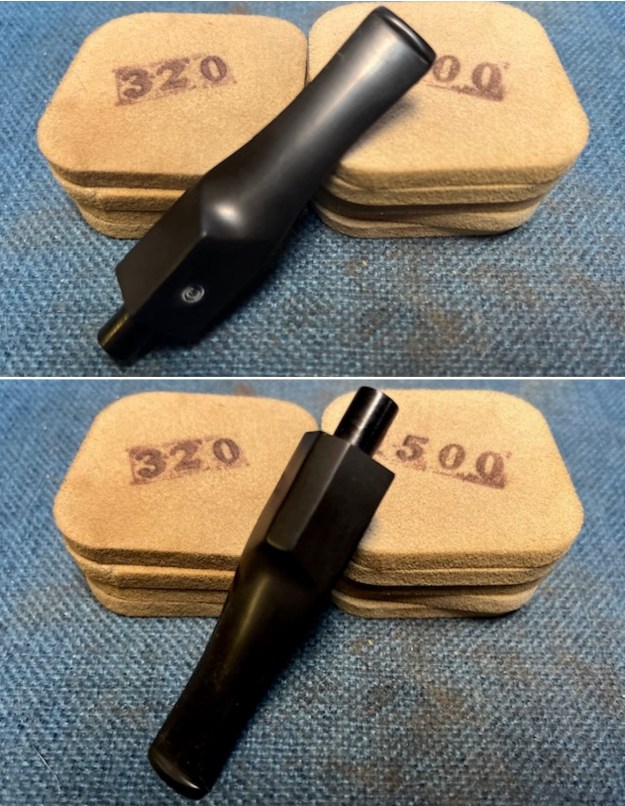
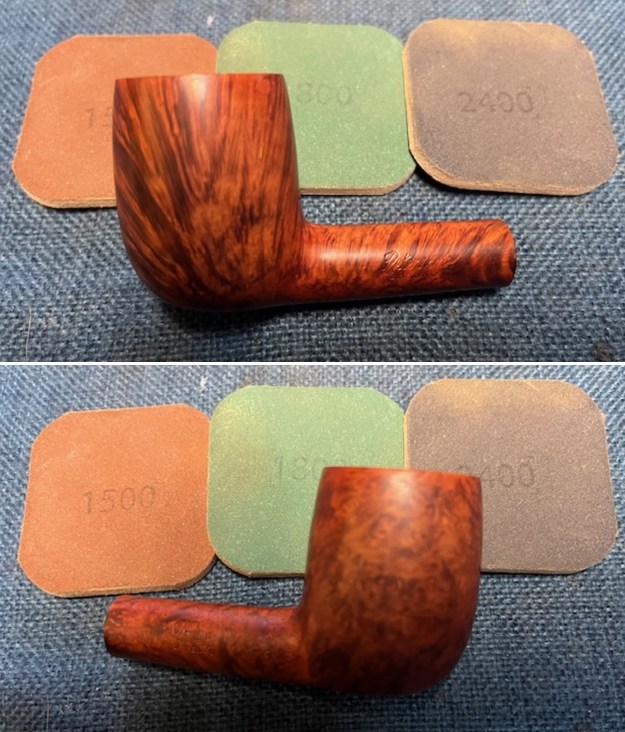
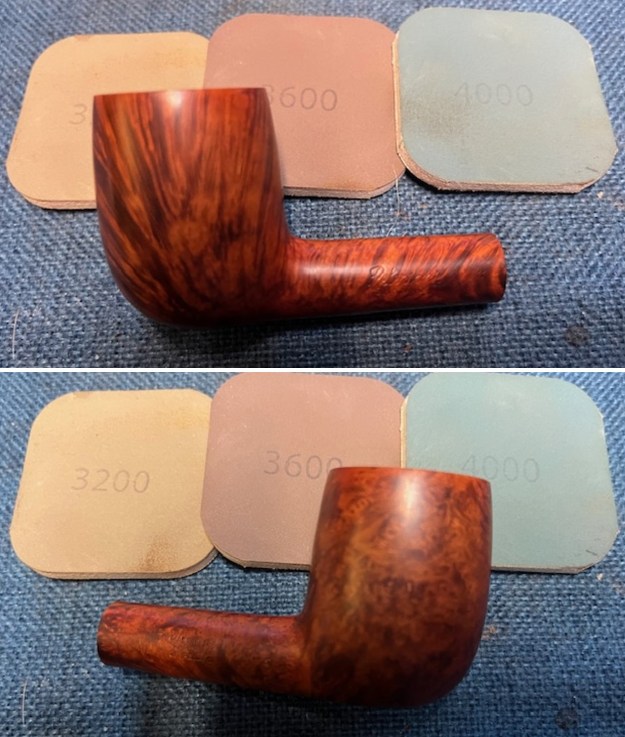
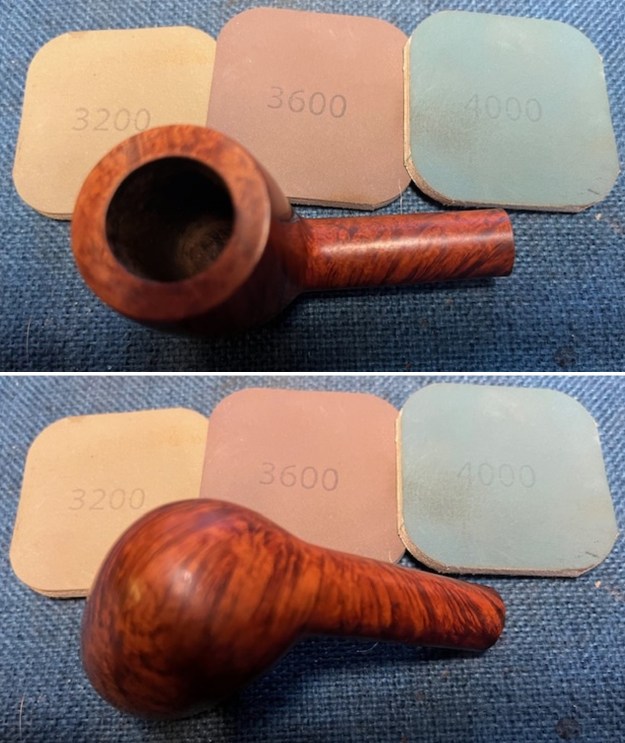
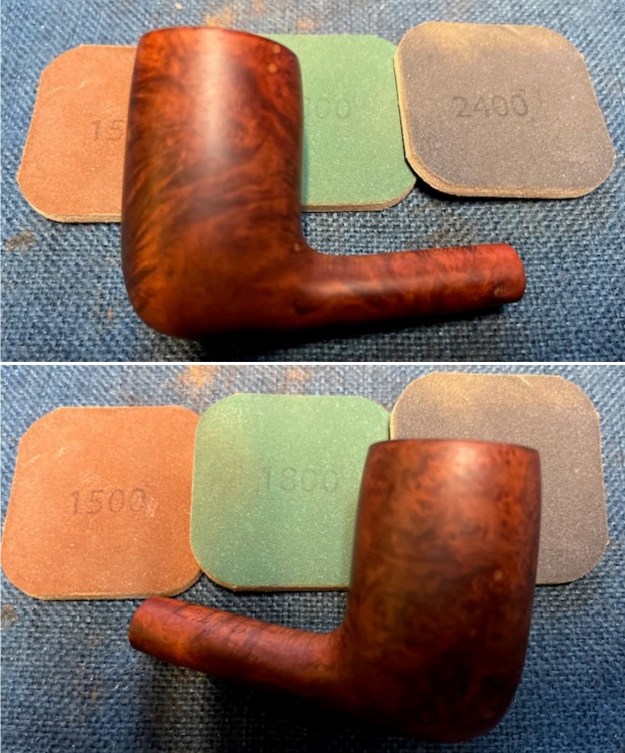
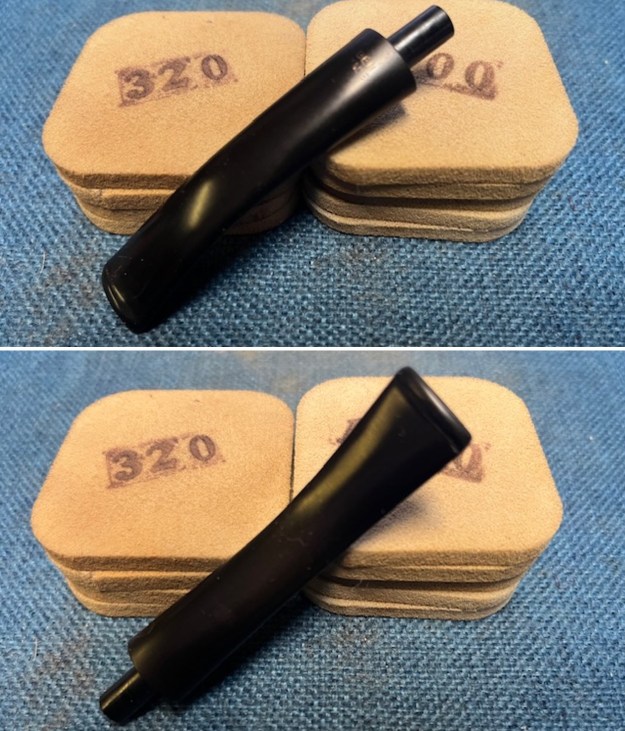
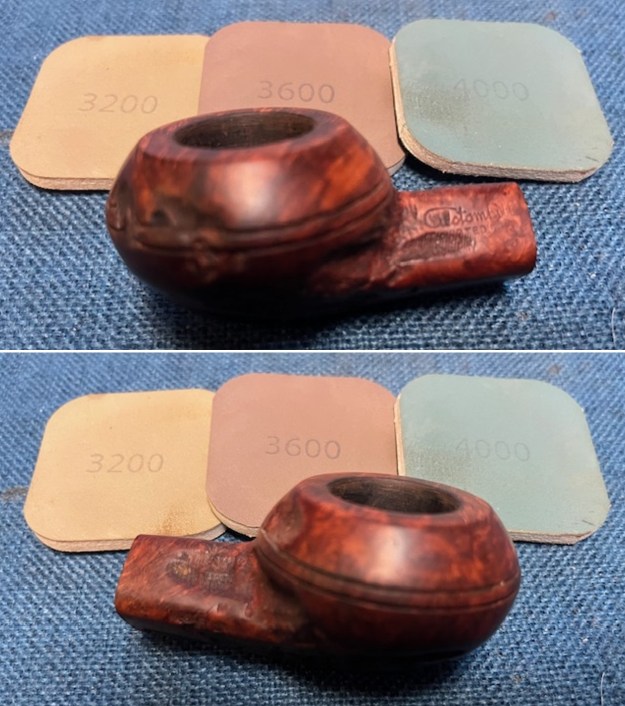
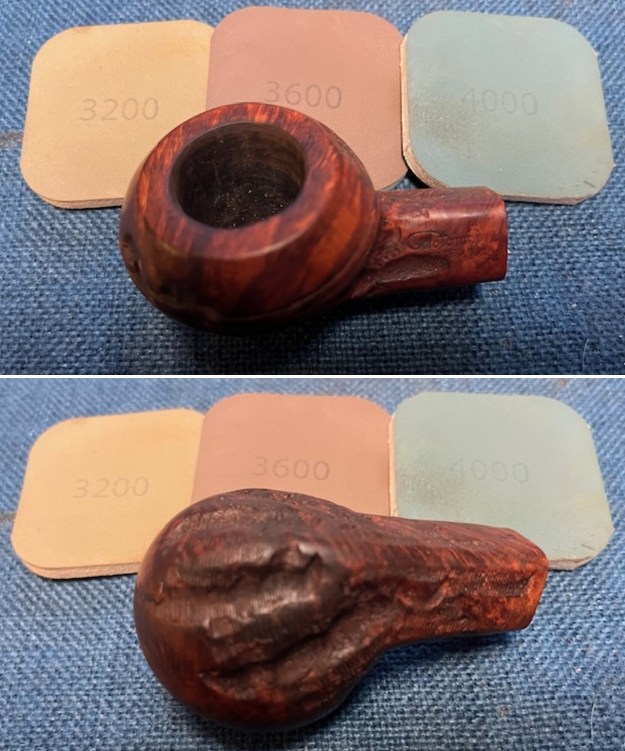
 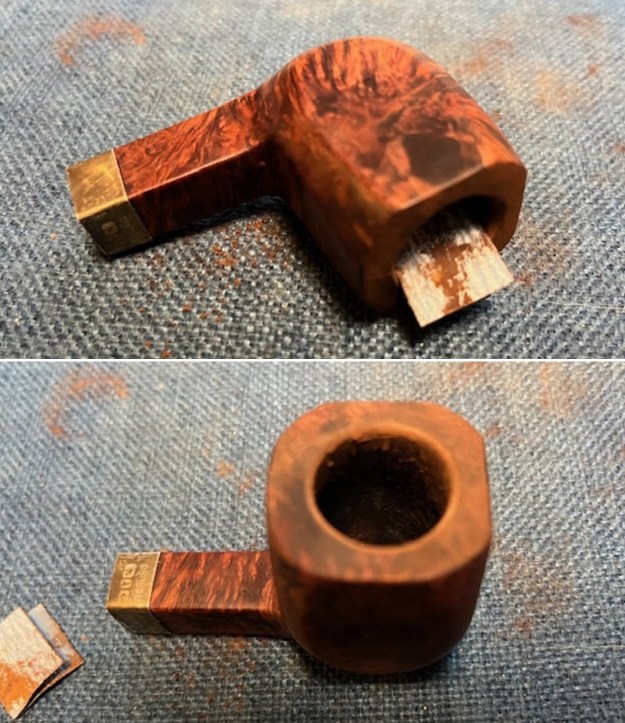 I sanded the bowl with 320-3500 grit sanding pads to smooth out the nicks and marks in the briar around the sides of the bowl. I wiped it down with a damp cloth after each sanding pad. It was looking pretty good once I finished.
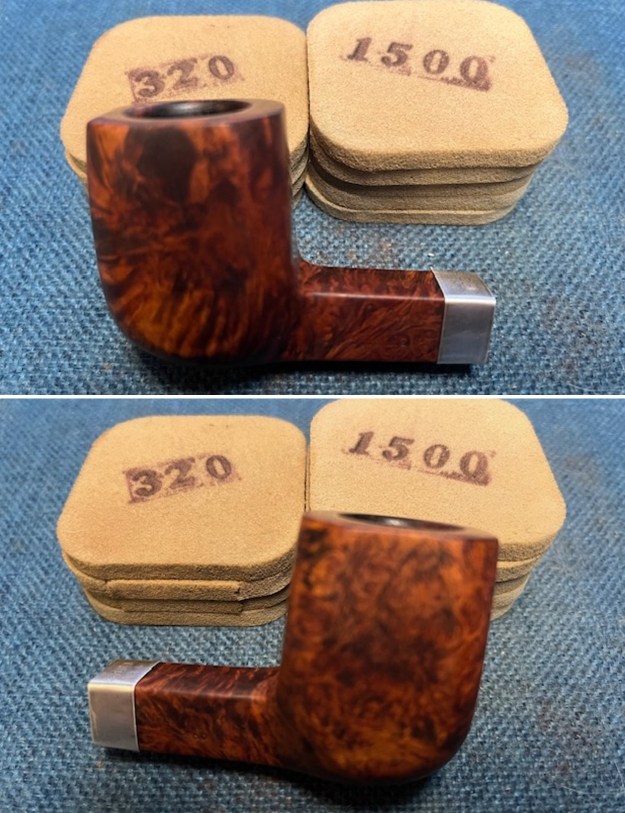
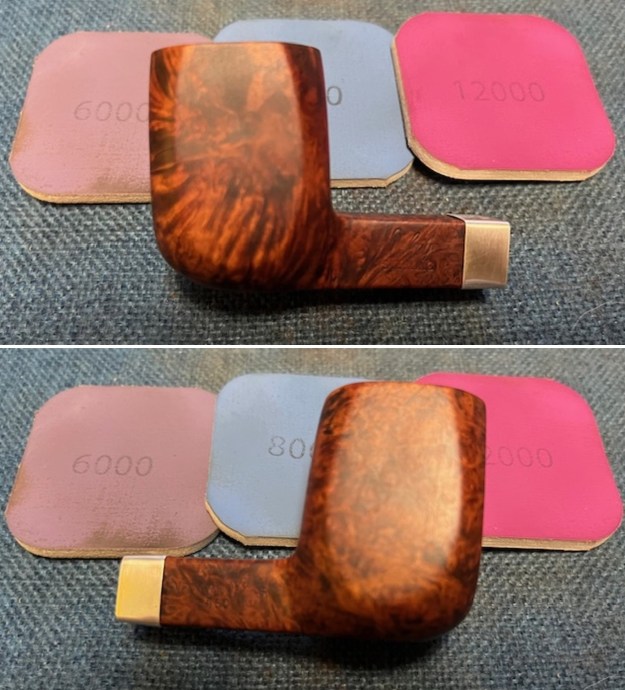
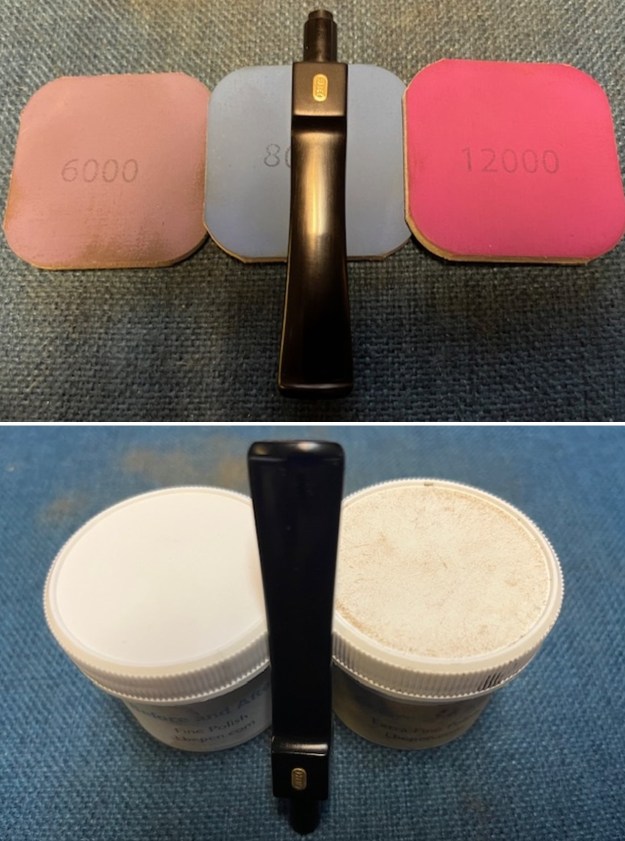
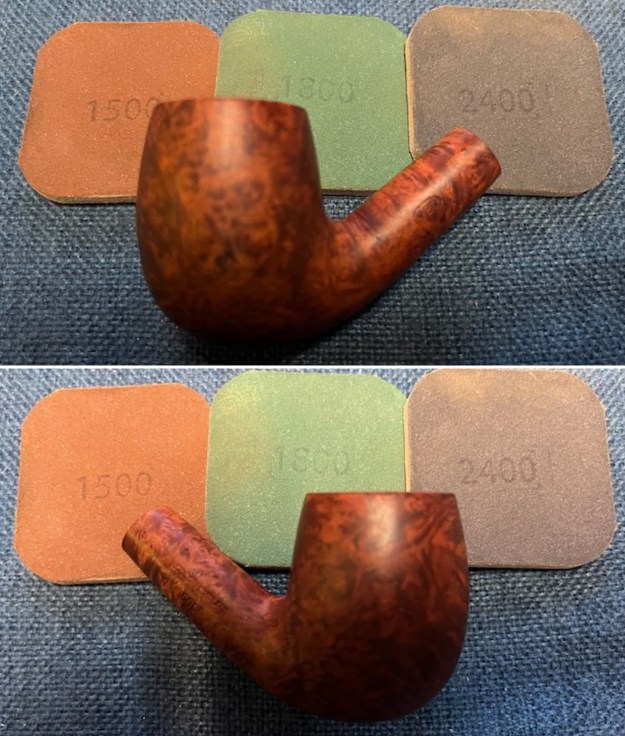
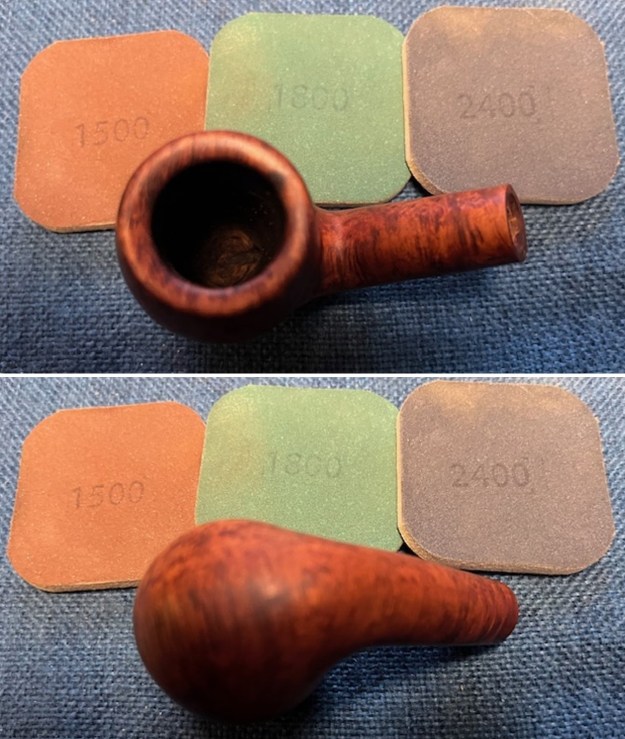
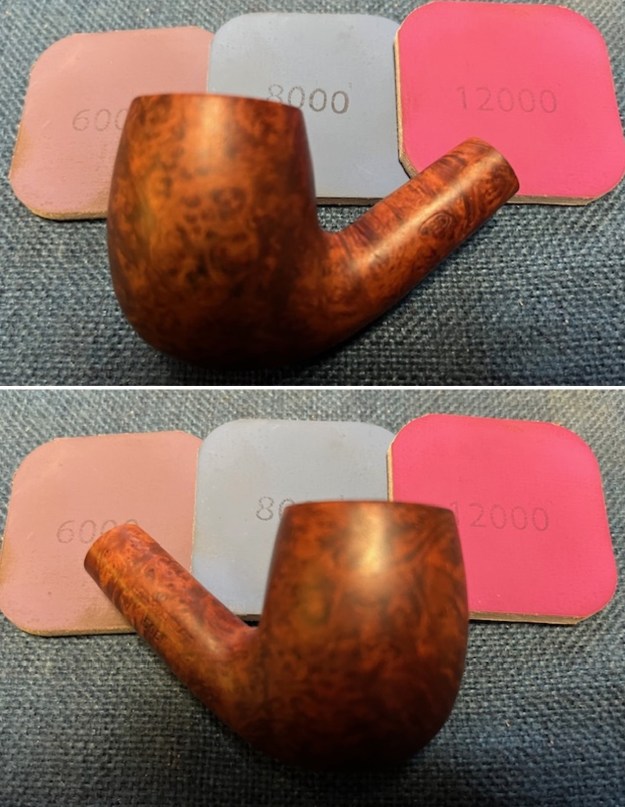
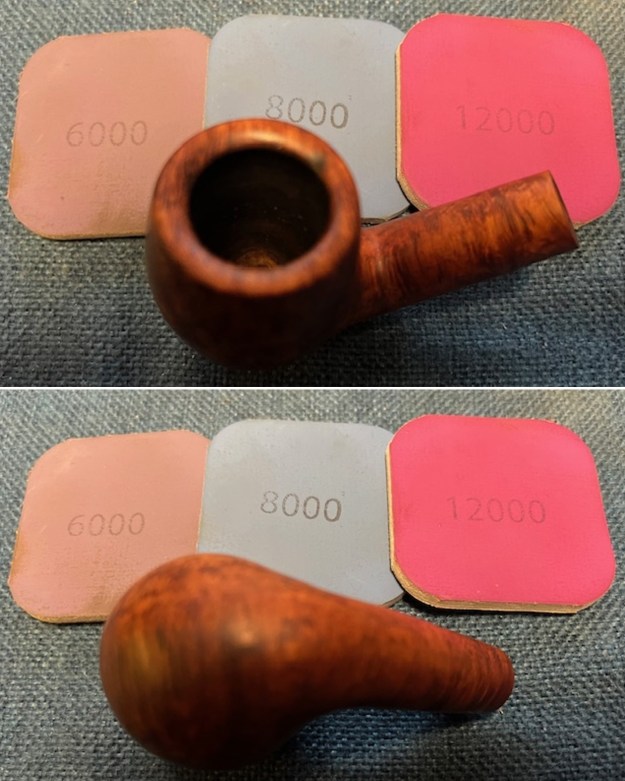
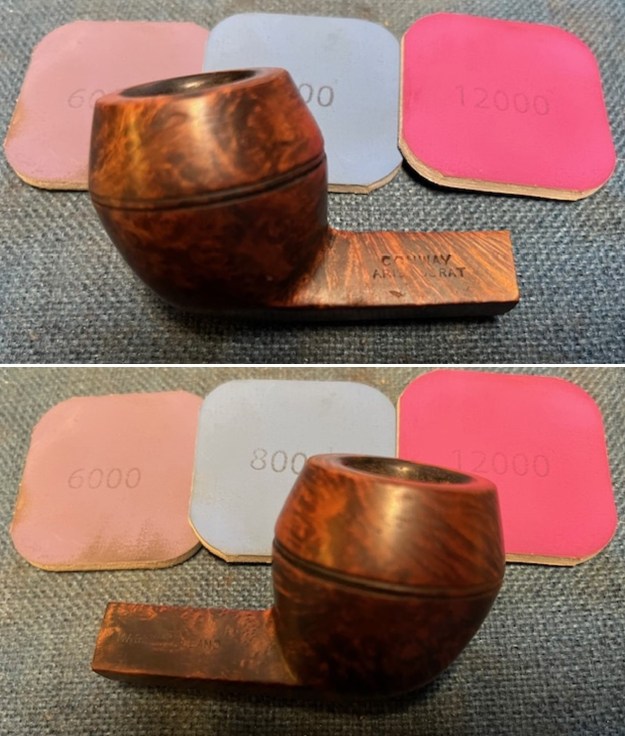
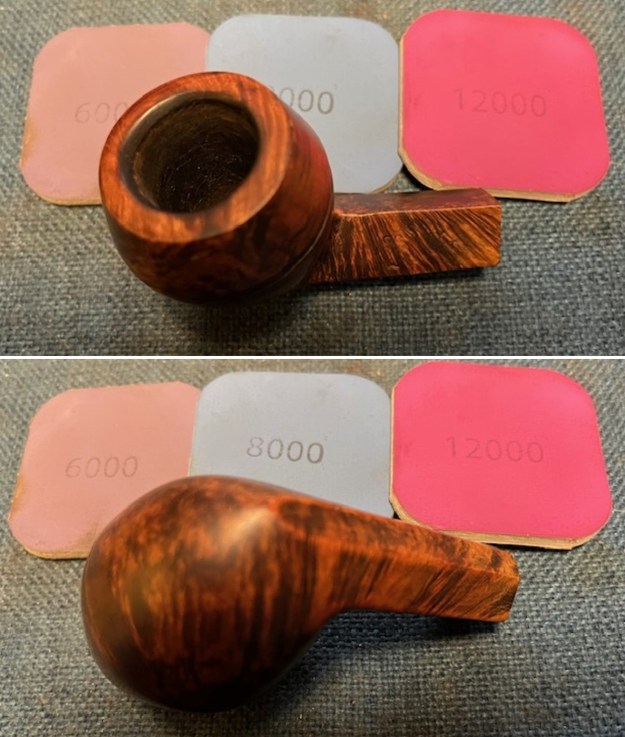
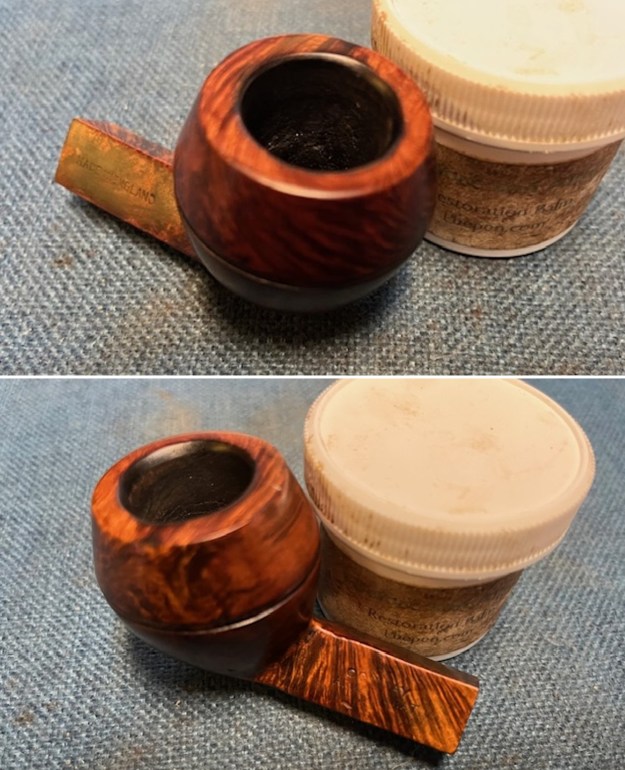
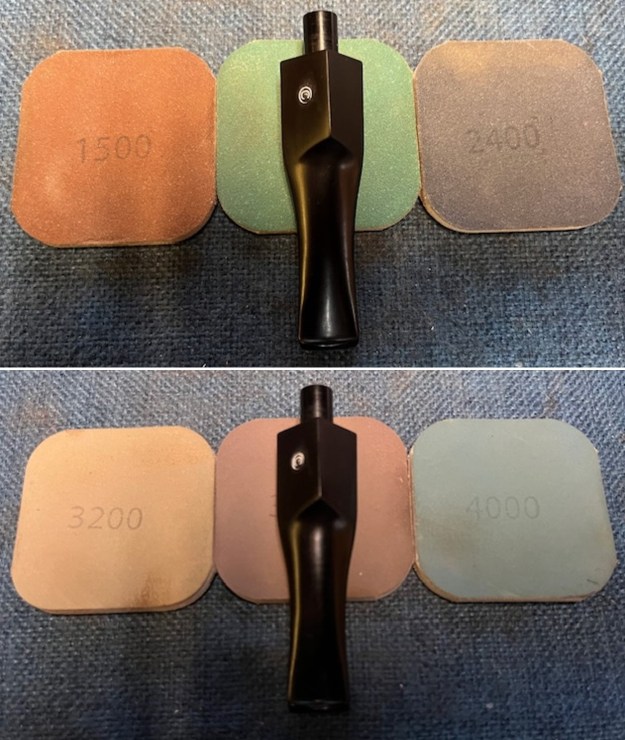
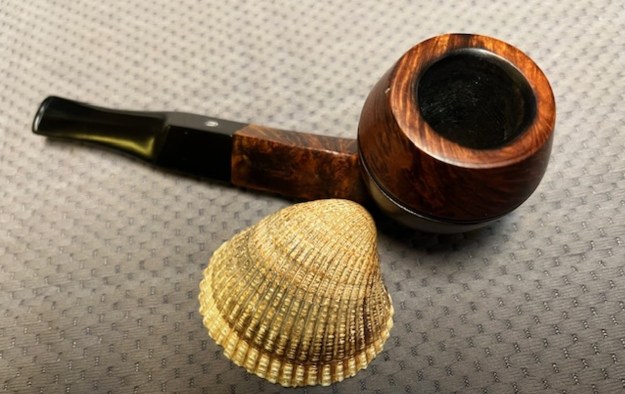
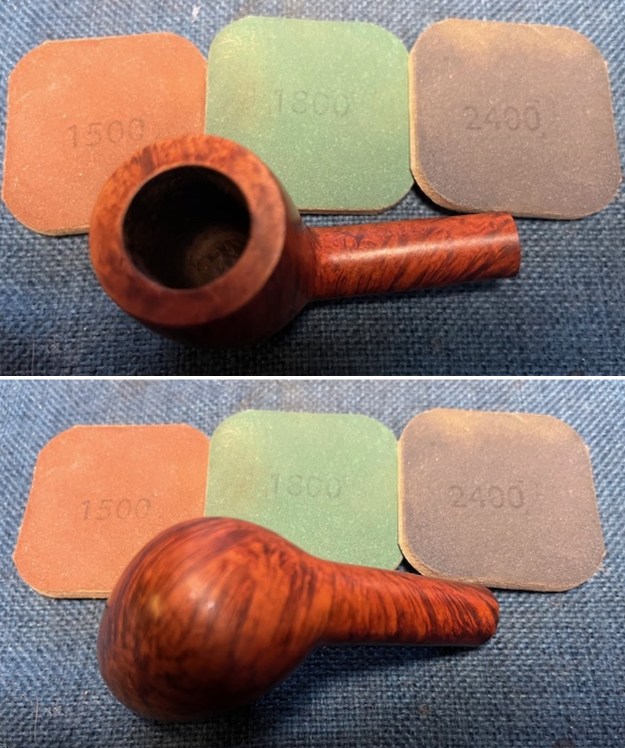
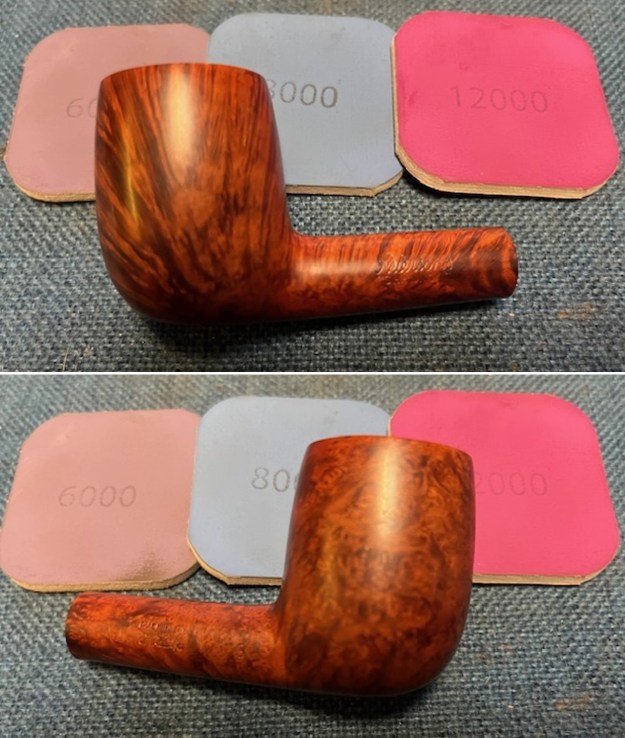
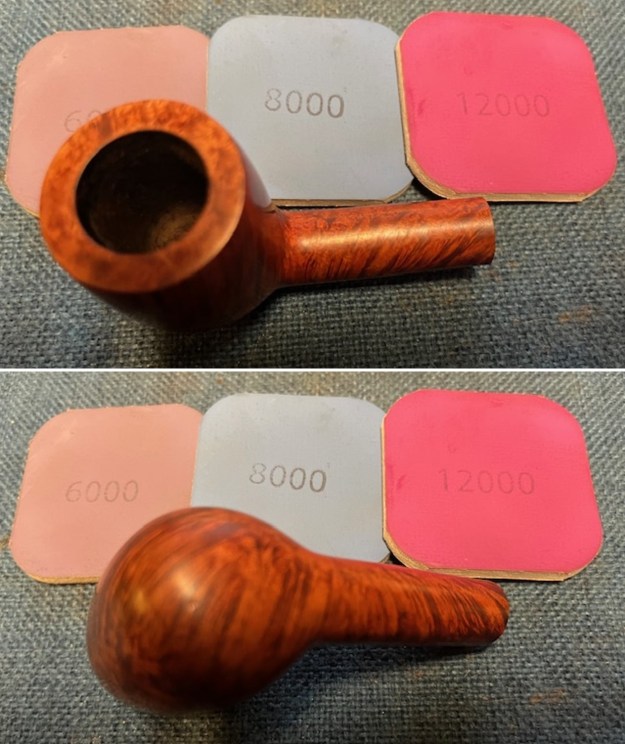
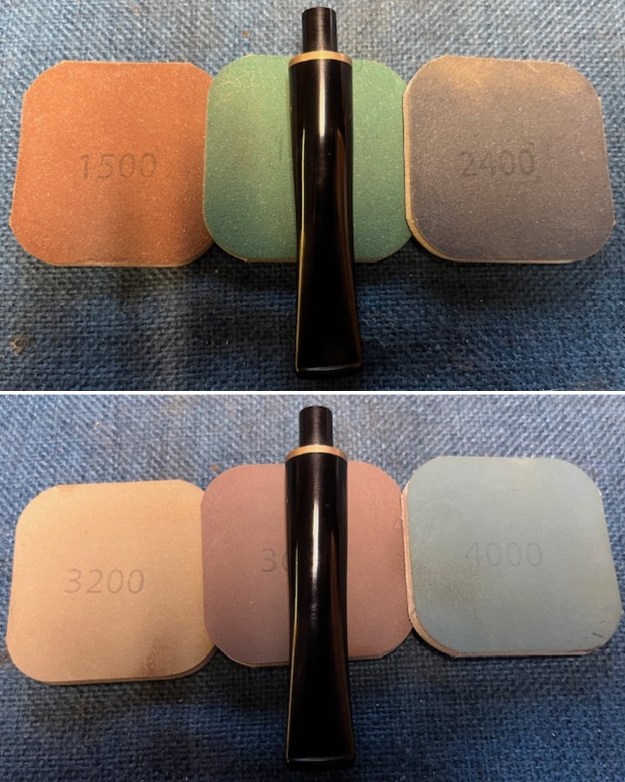
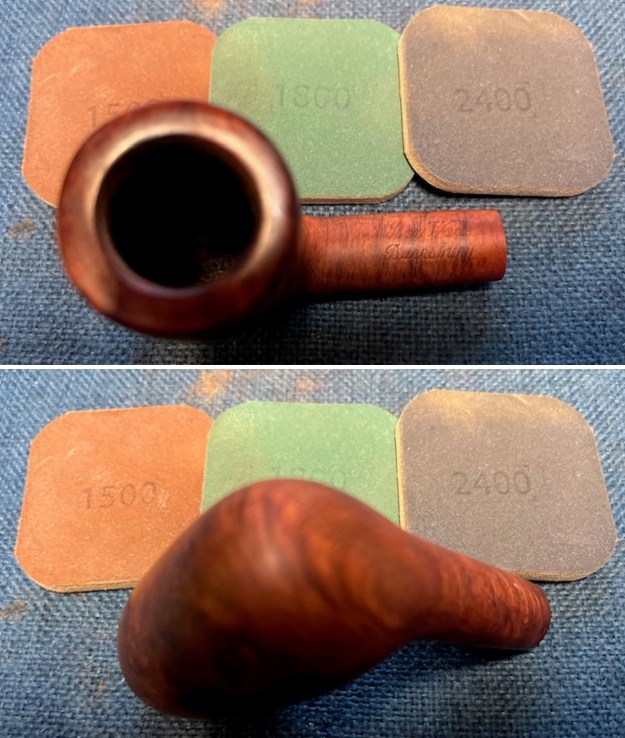
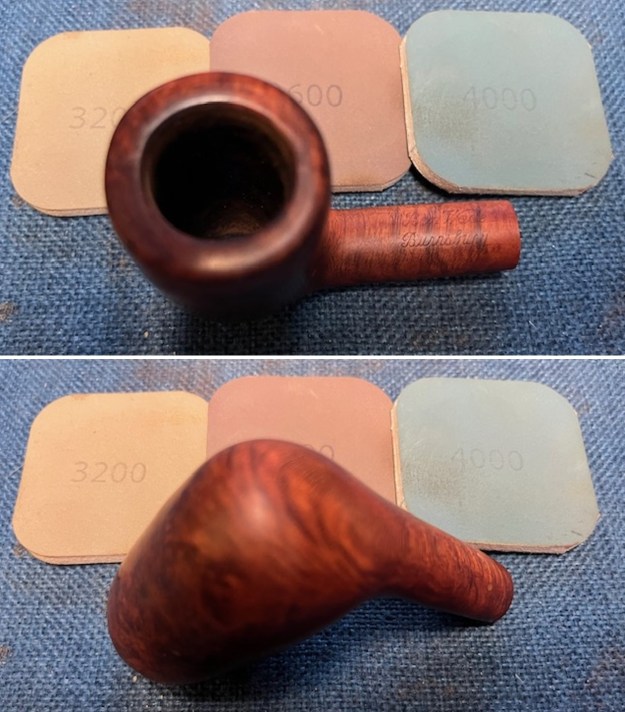
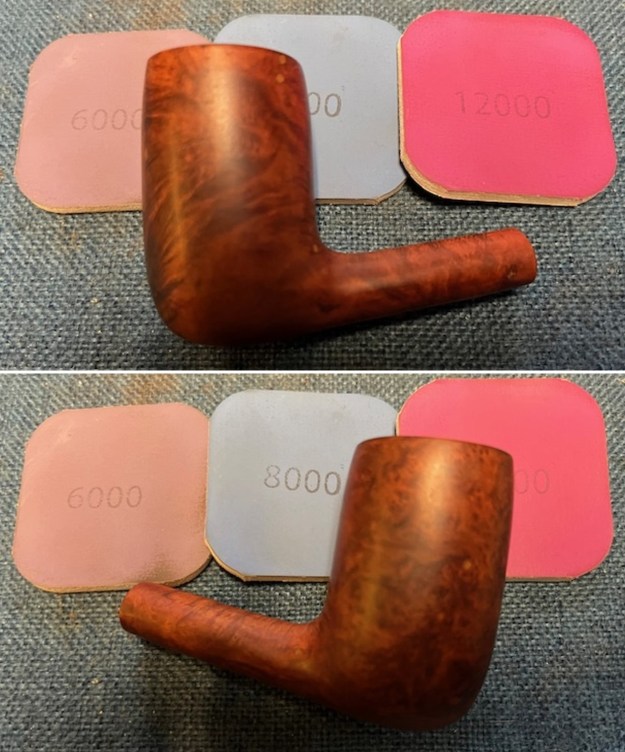
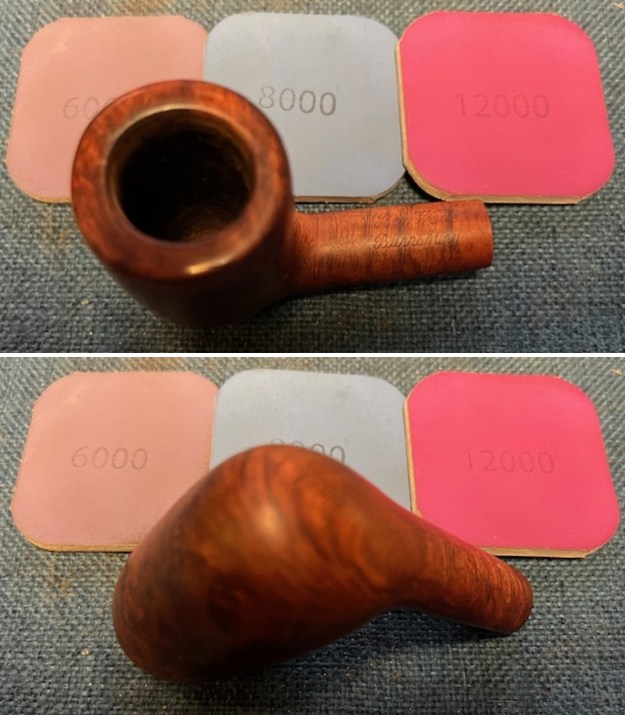
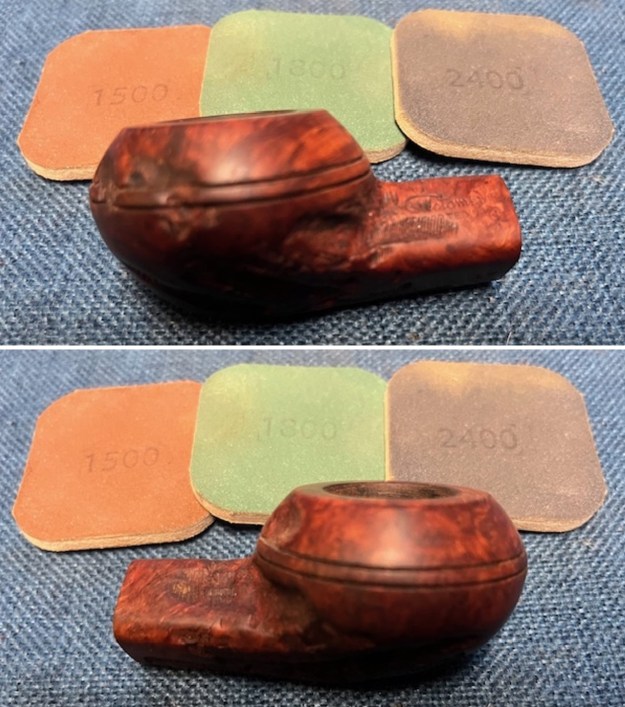
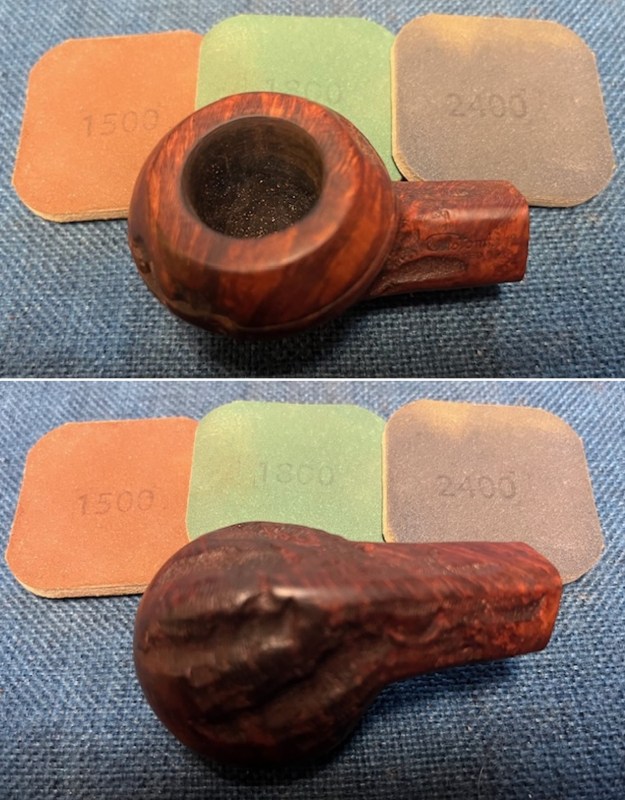
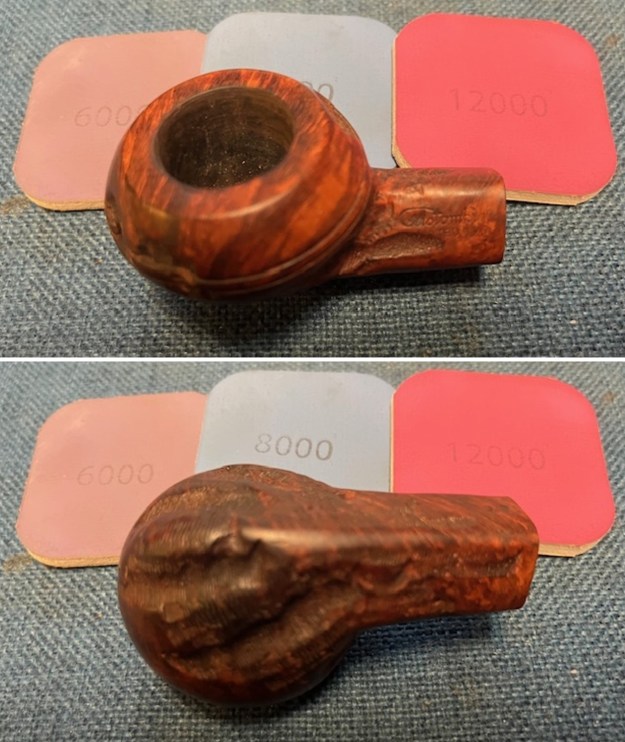
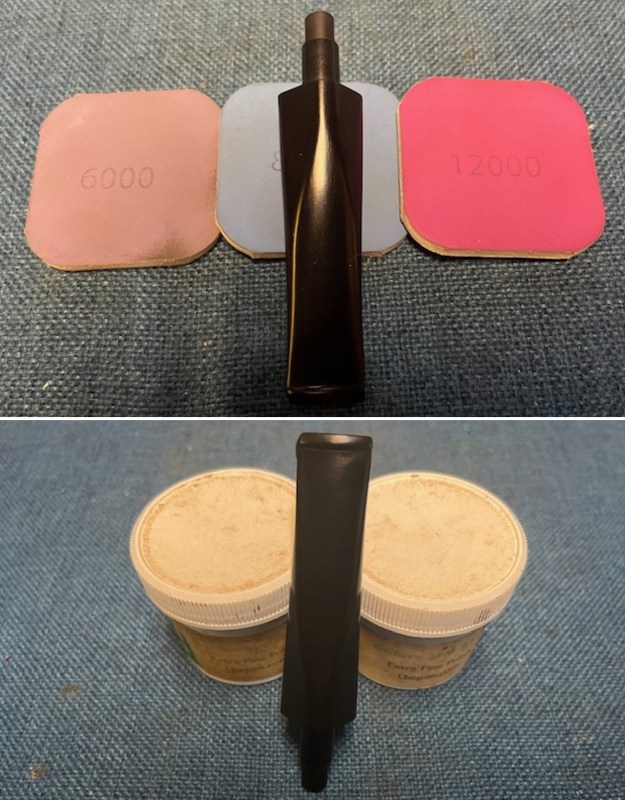
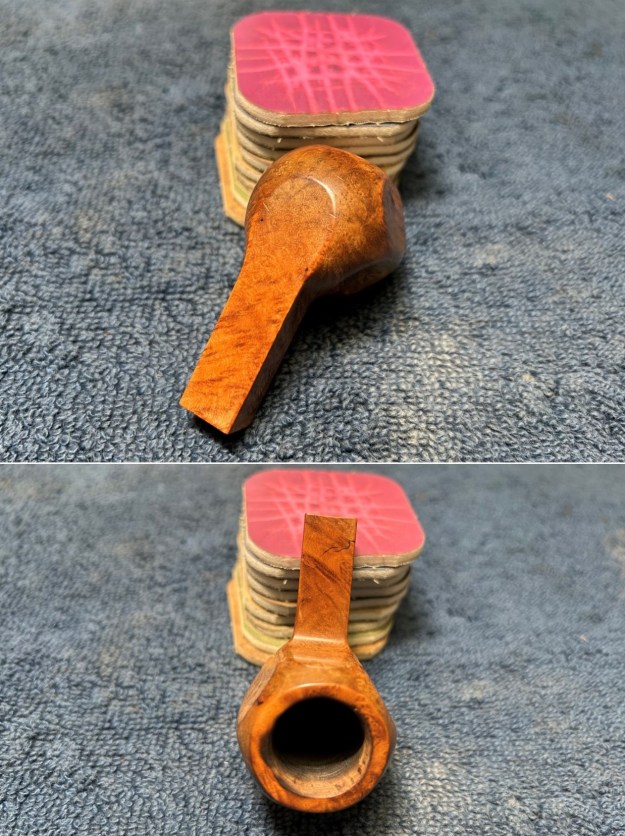
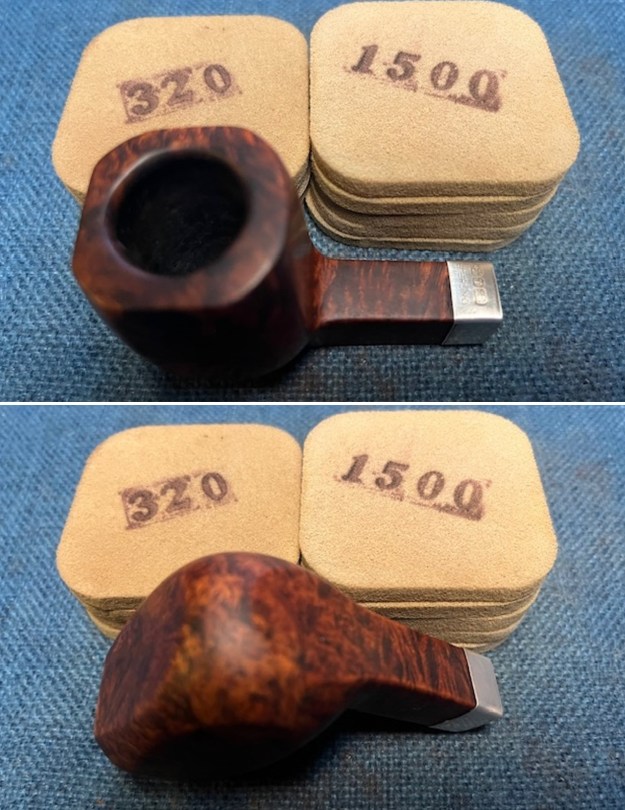 I polished the bowl and the rim top with micromesh sanding pads. I dry sanded it with 1500-12000 grit pads and wiped the bowl down with a damp cloth to remove the sanding dust. By the final pad it was starting to real take on a great shine.
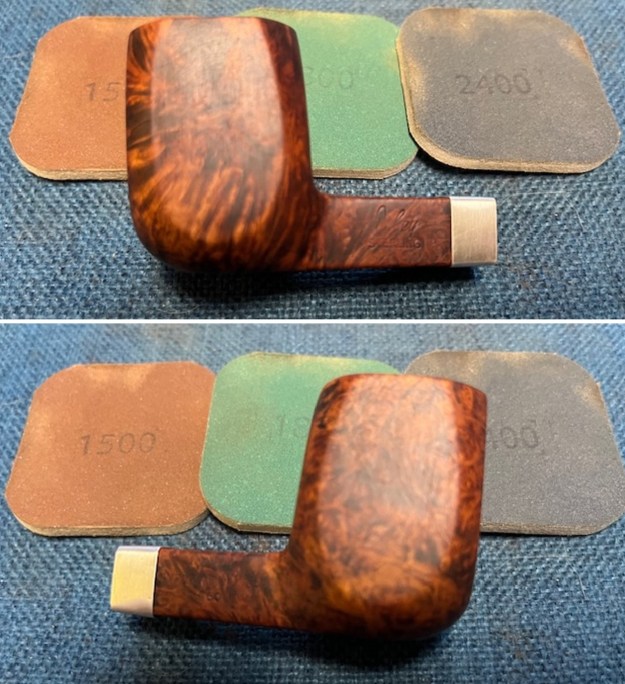

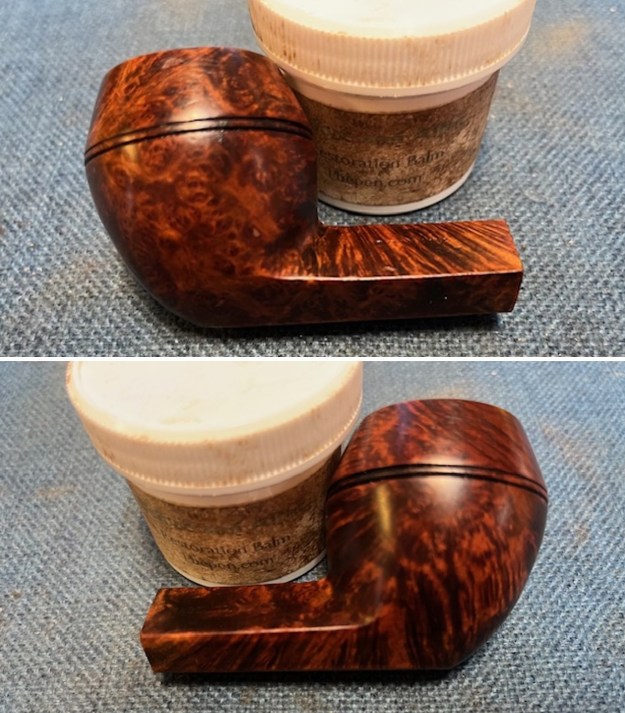
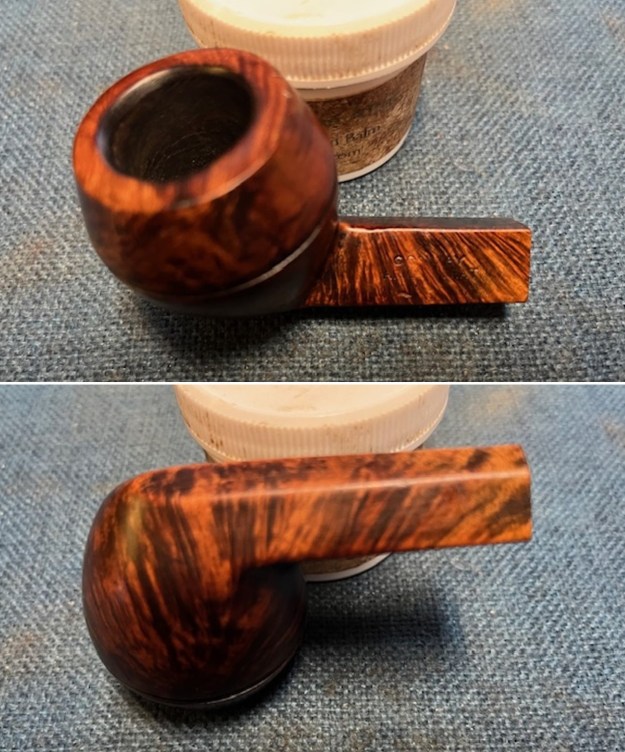
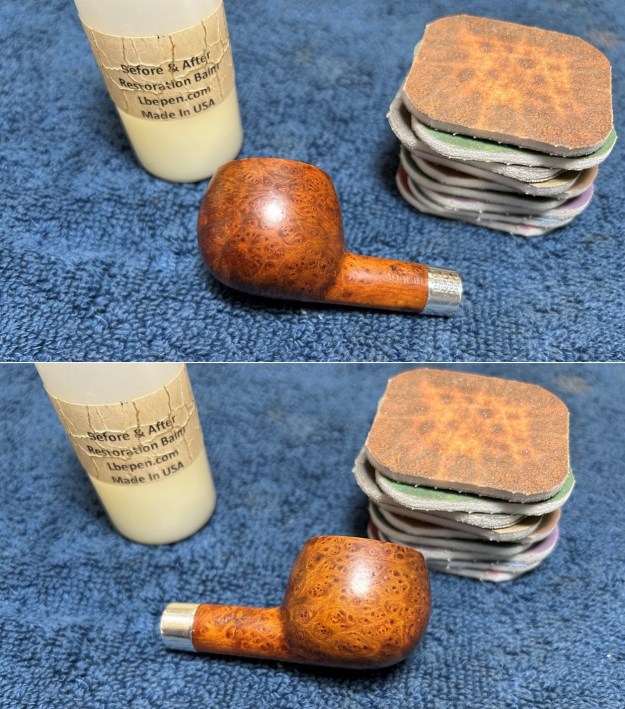
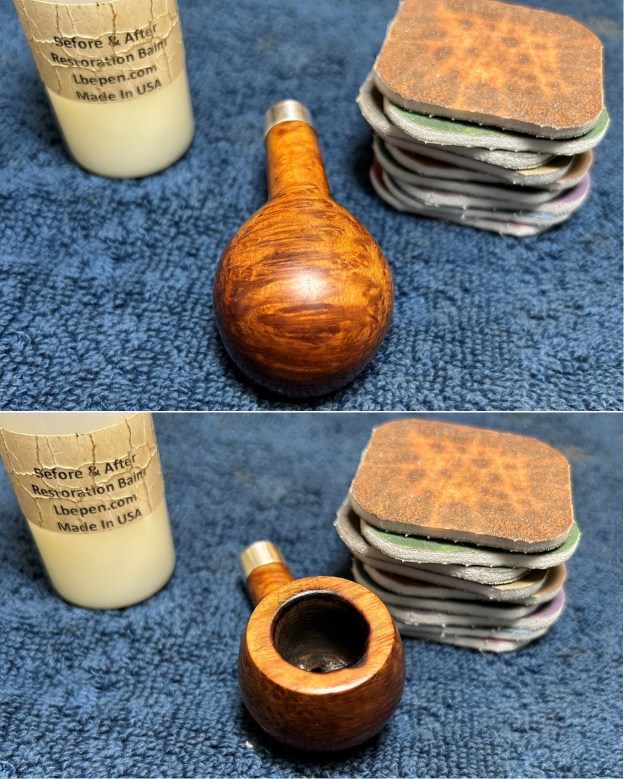
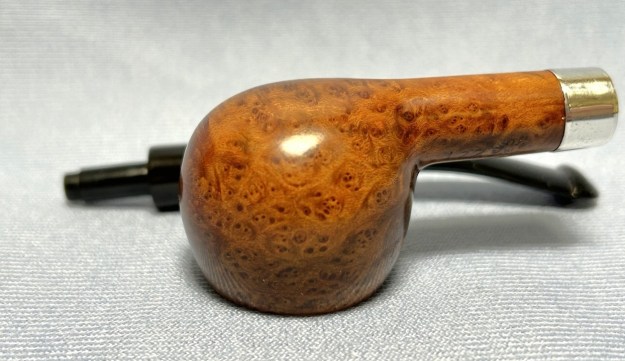
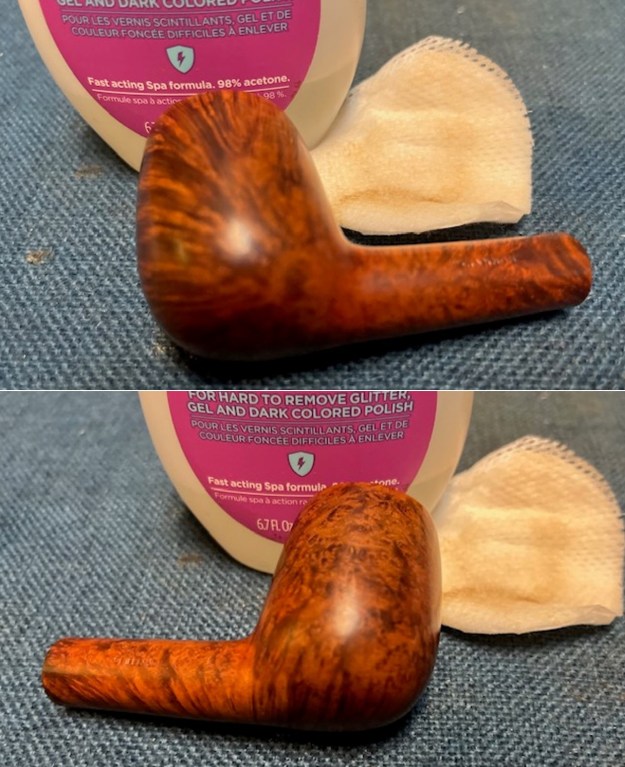
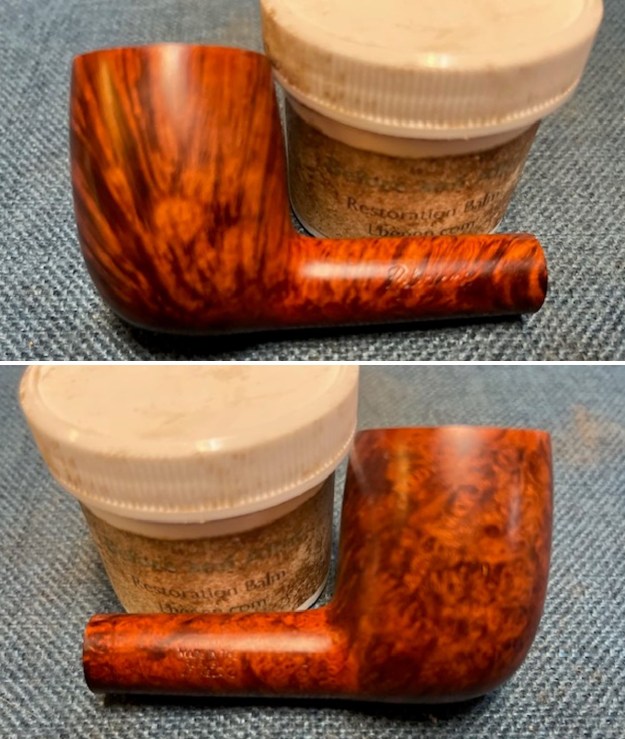
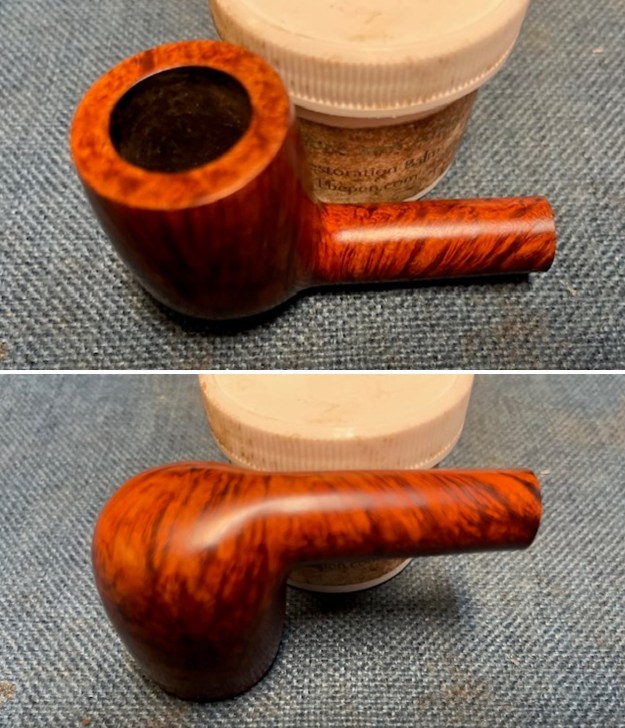
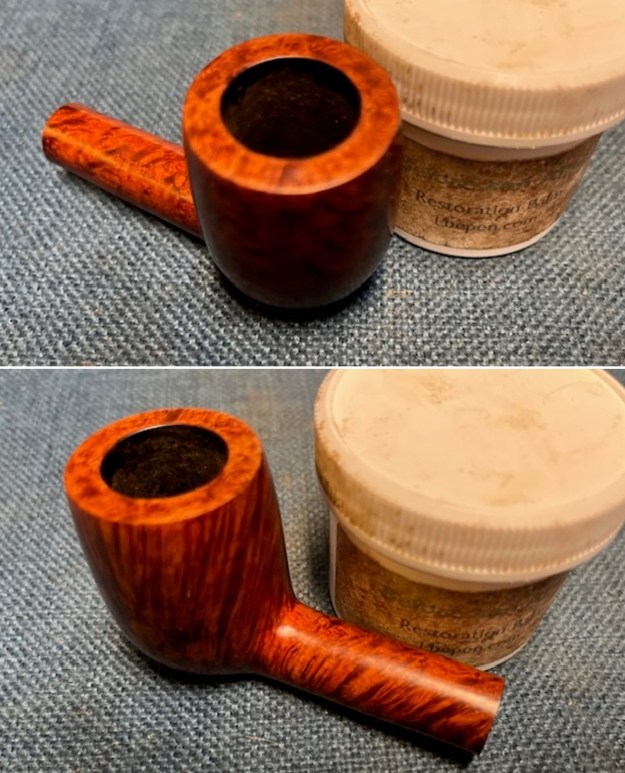
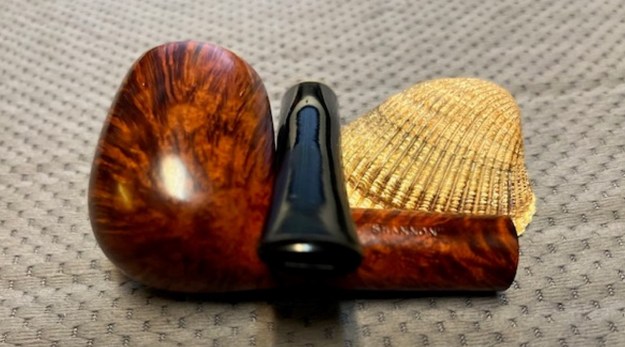
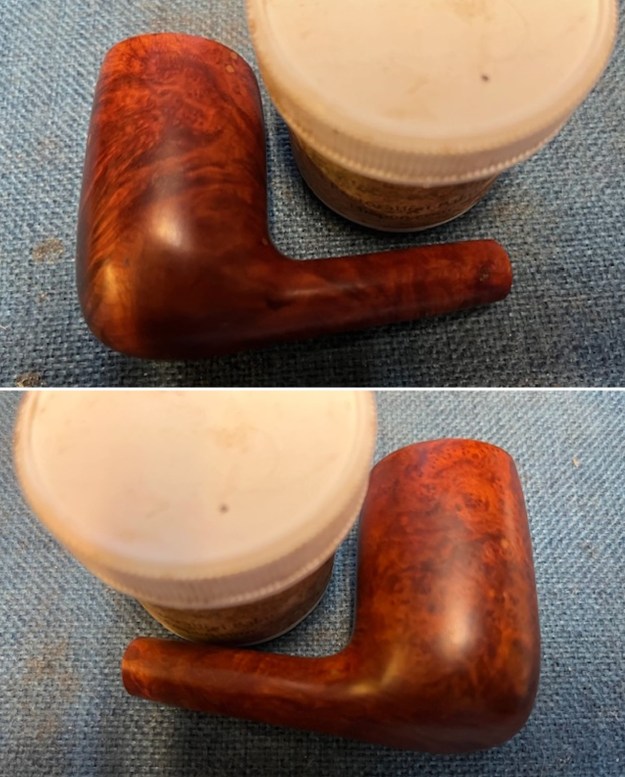
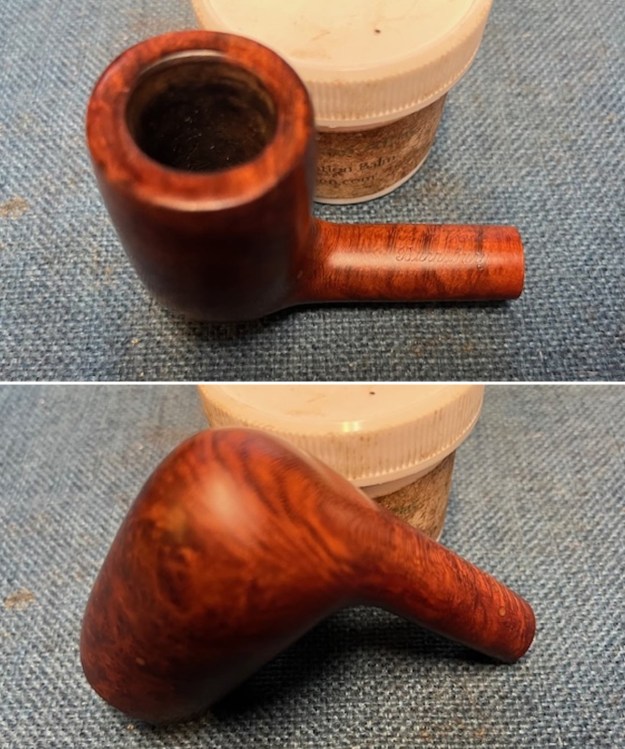
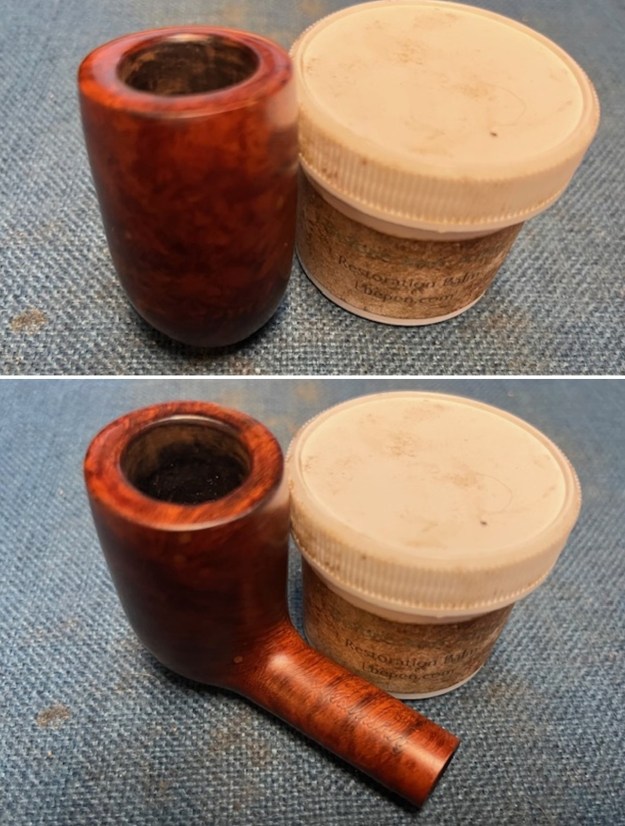
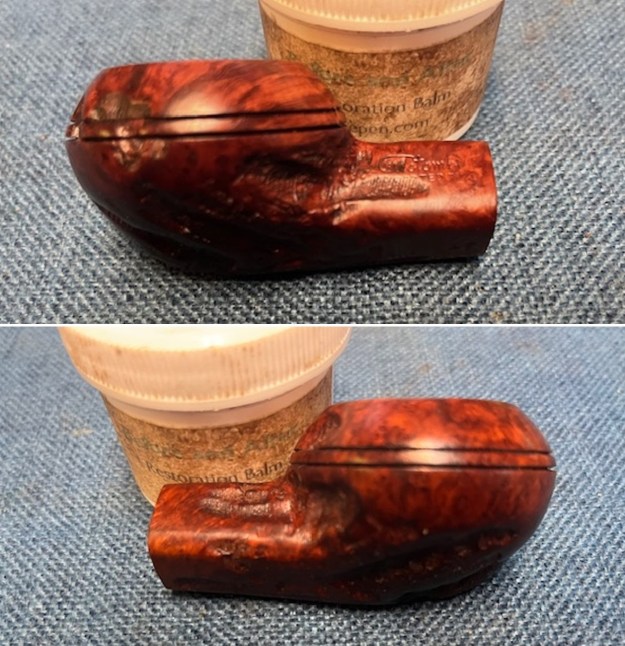
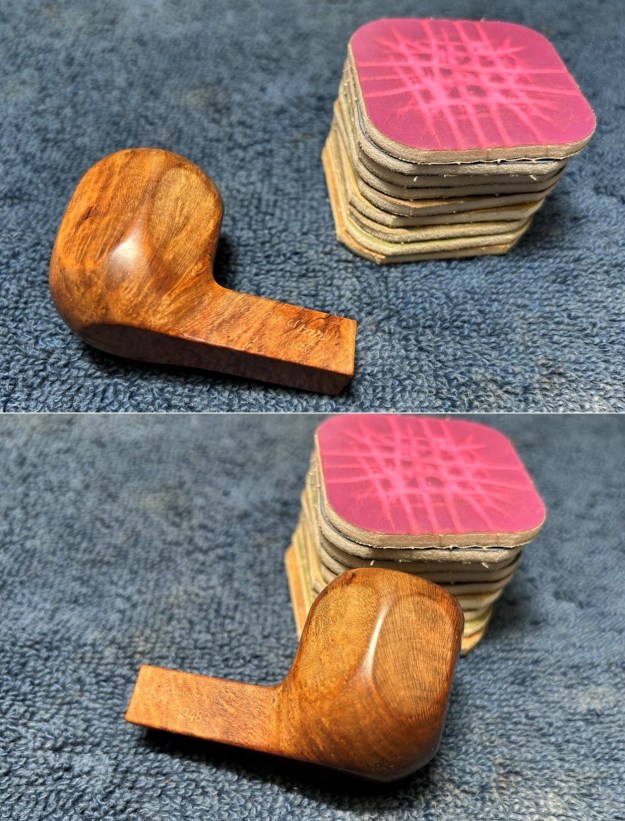
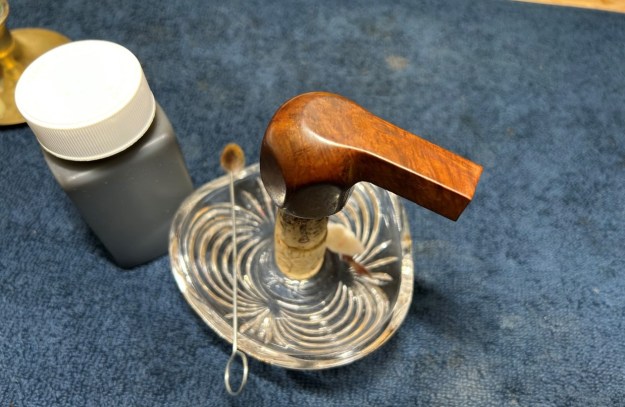
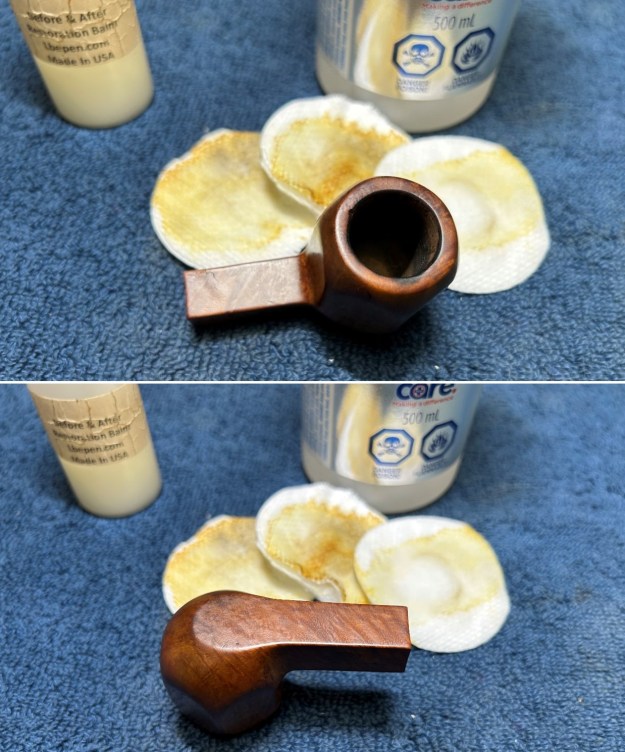
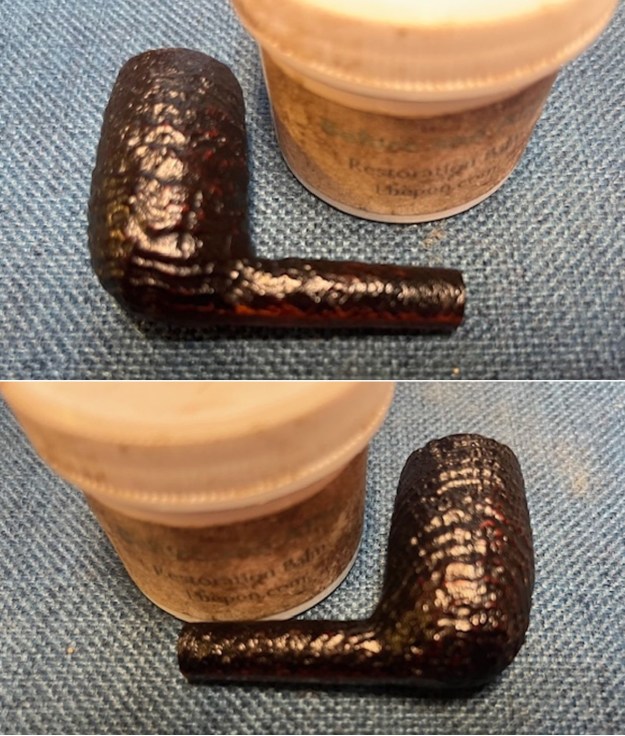
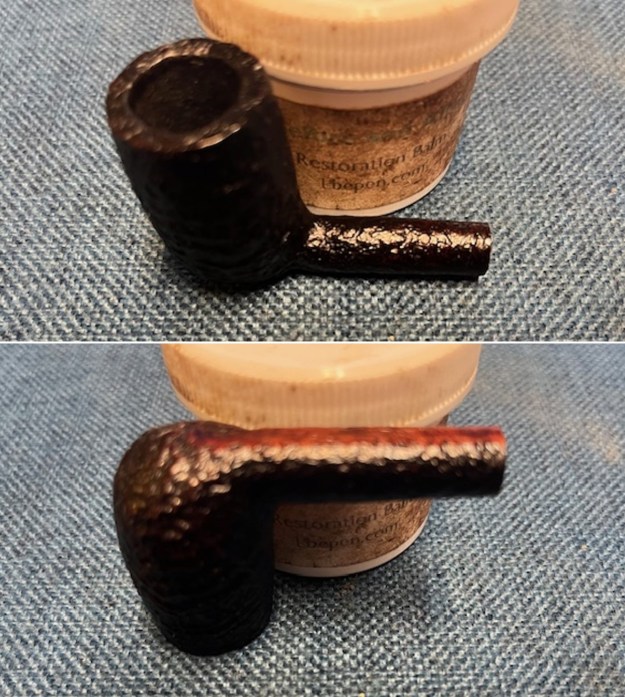
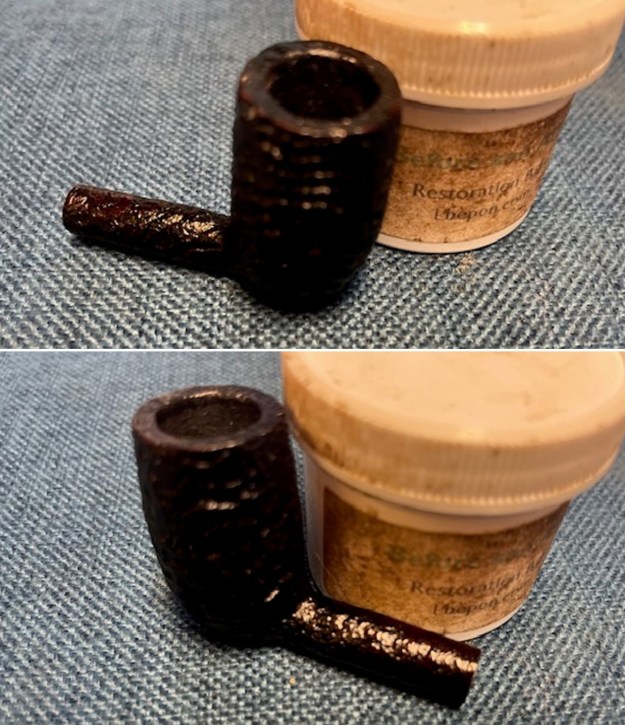
 I rubbed the bowl and shank down with Before & After Restoration Balm. I worked it into the surface of the bowl sides and shank with my fingertips. It works to clean, enliven and protect the briar. I let the balm sit for 15 minutes and buffed with a cotton cloth to raise the shine. The grain came alive.
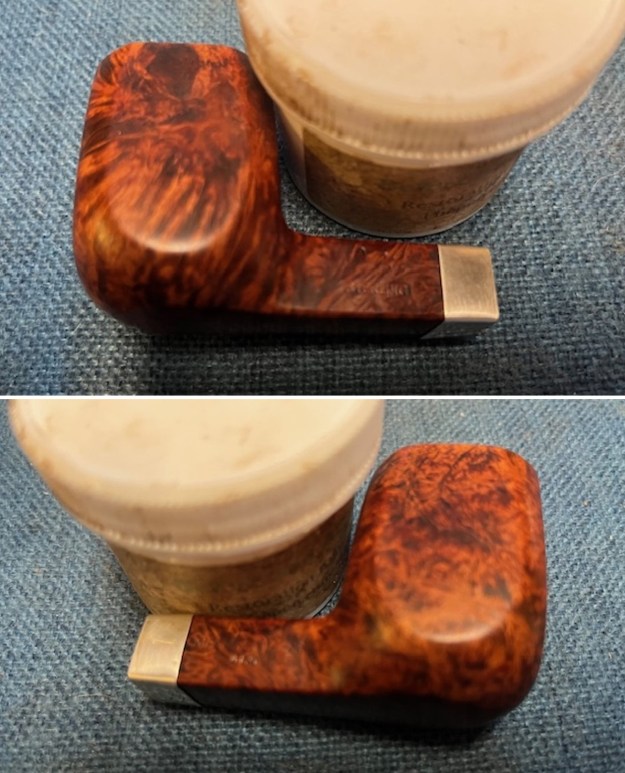
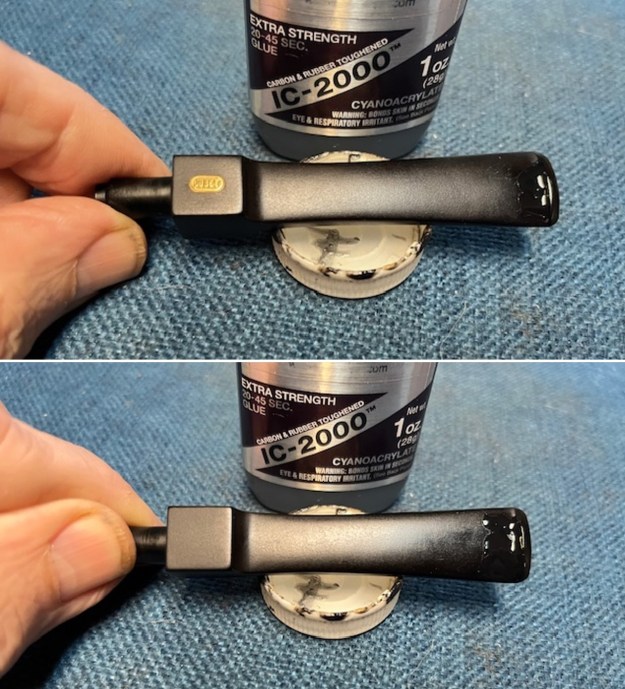
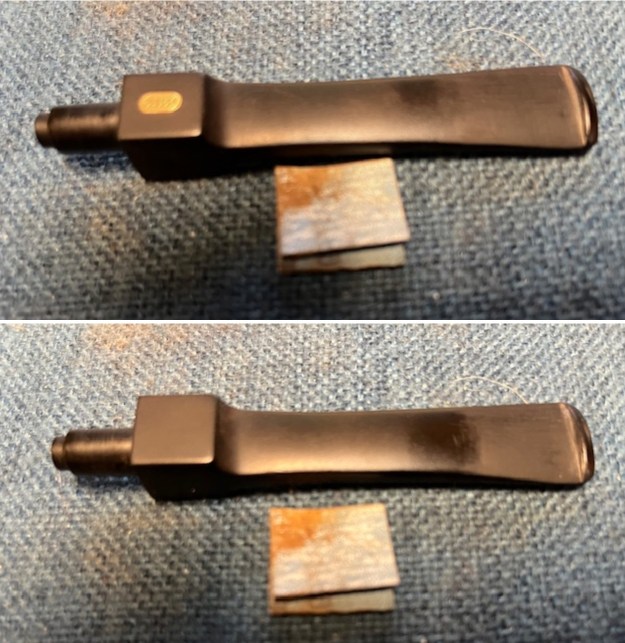
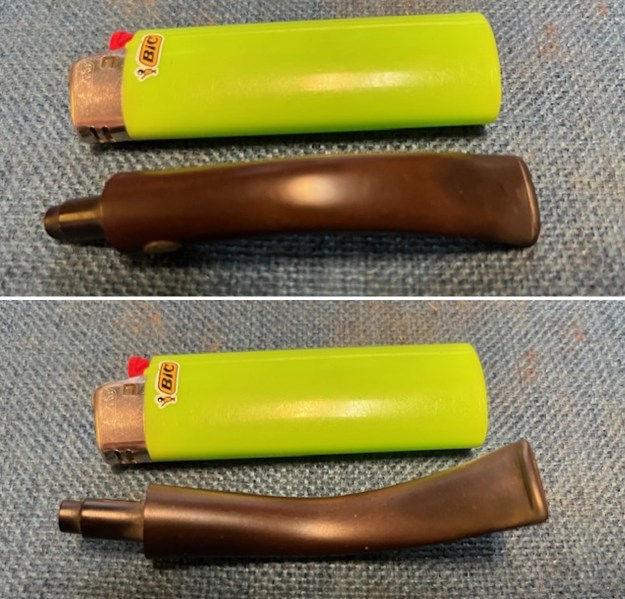
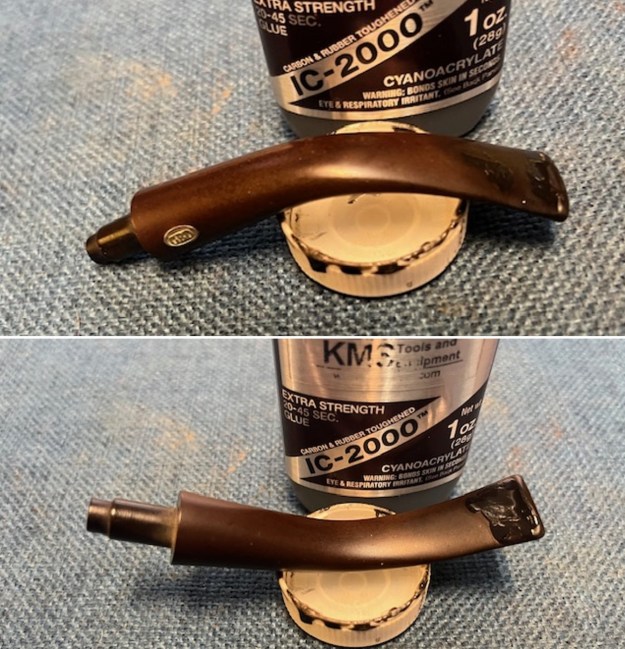
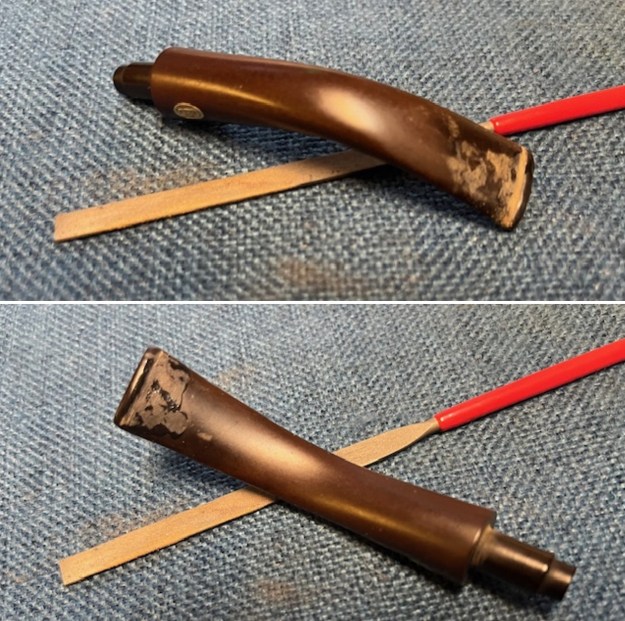
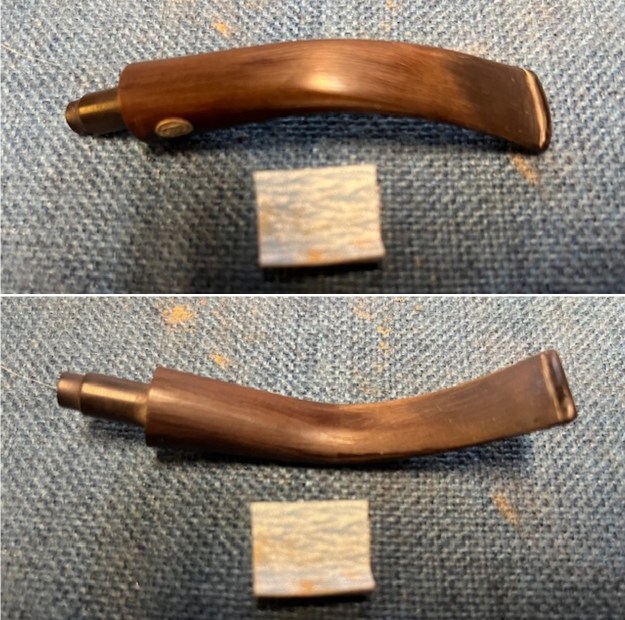
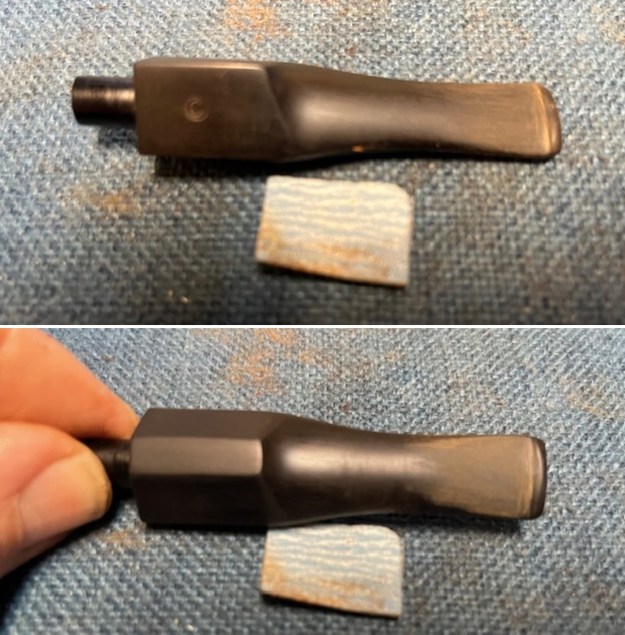
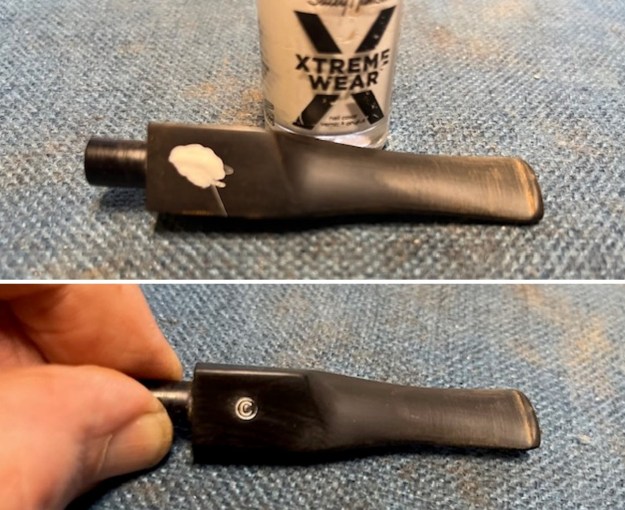
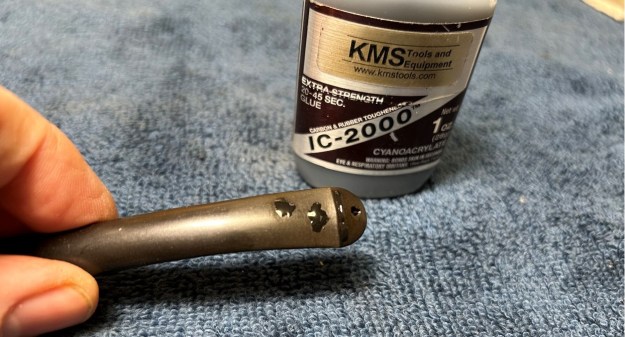
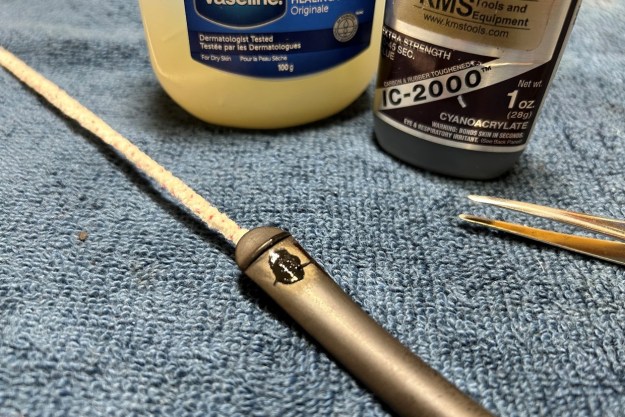
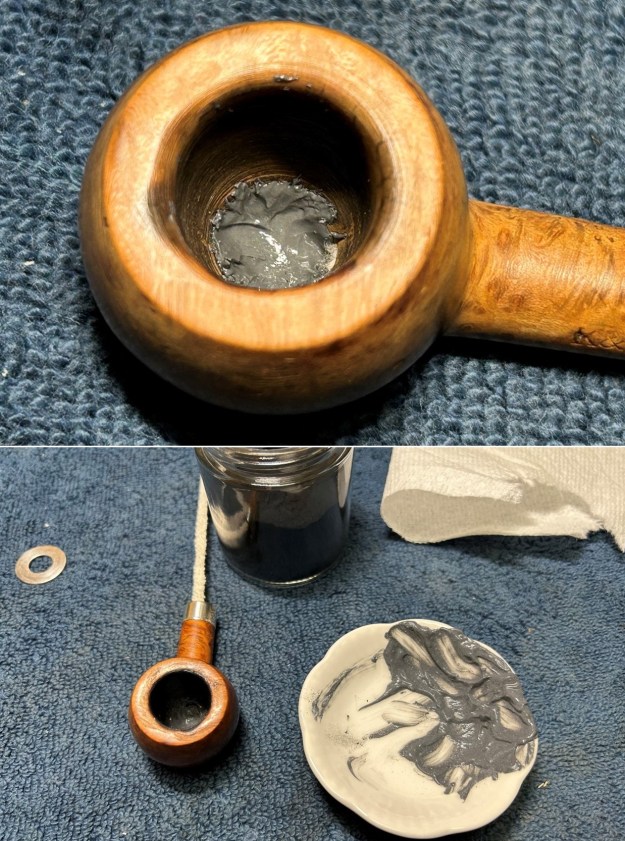
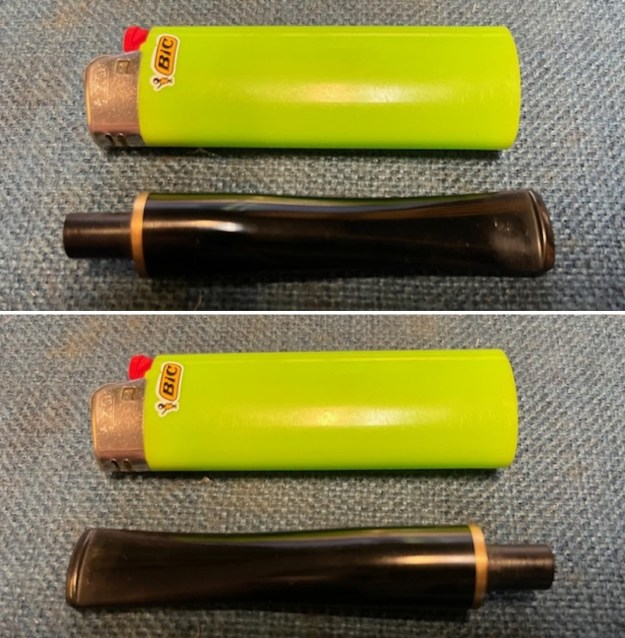
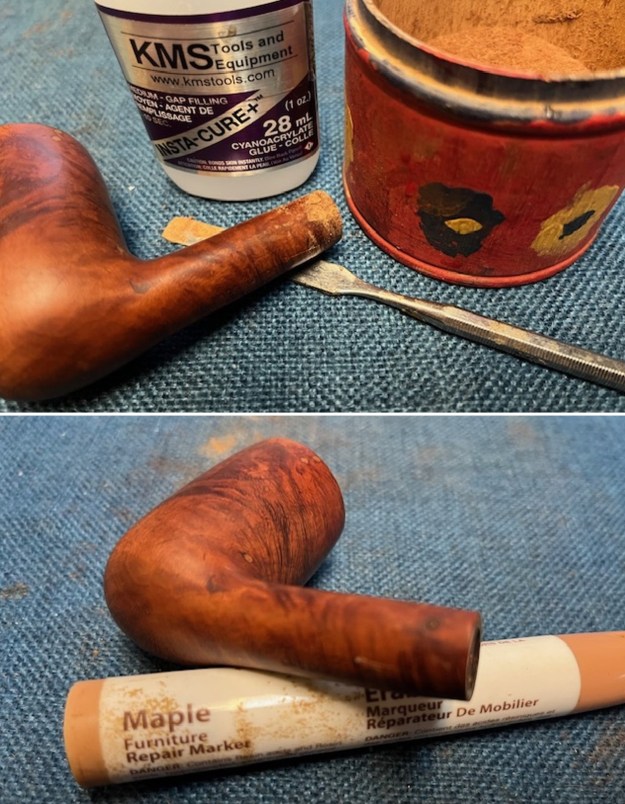
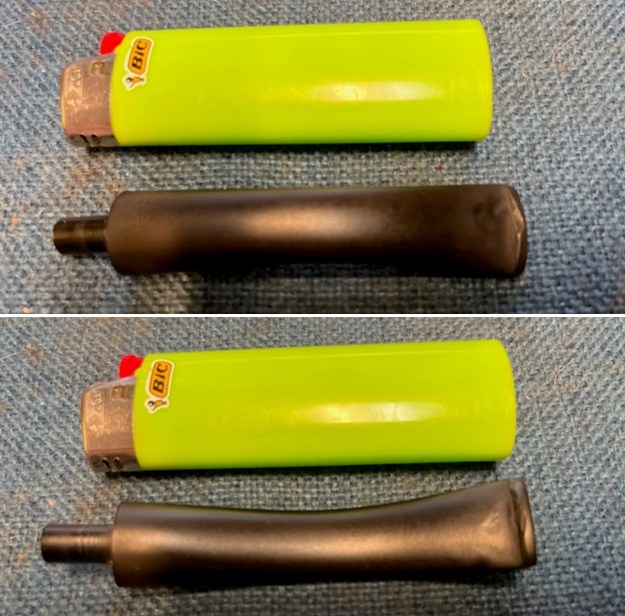
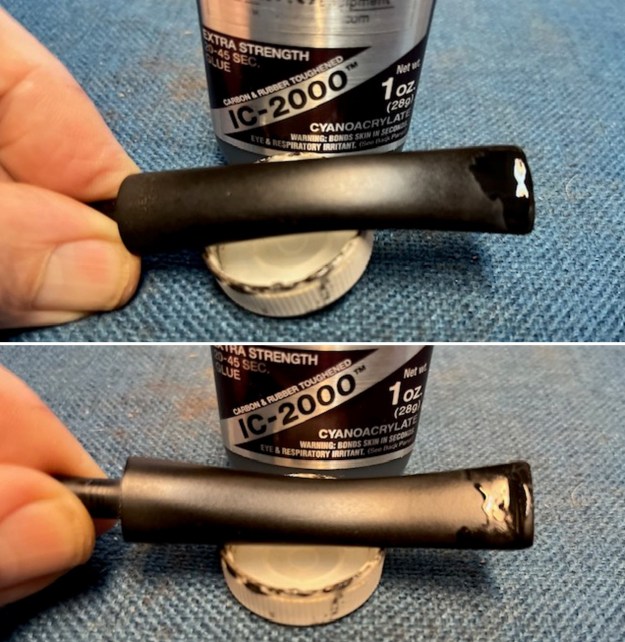
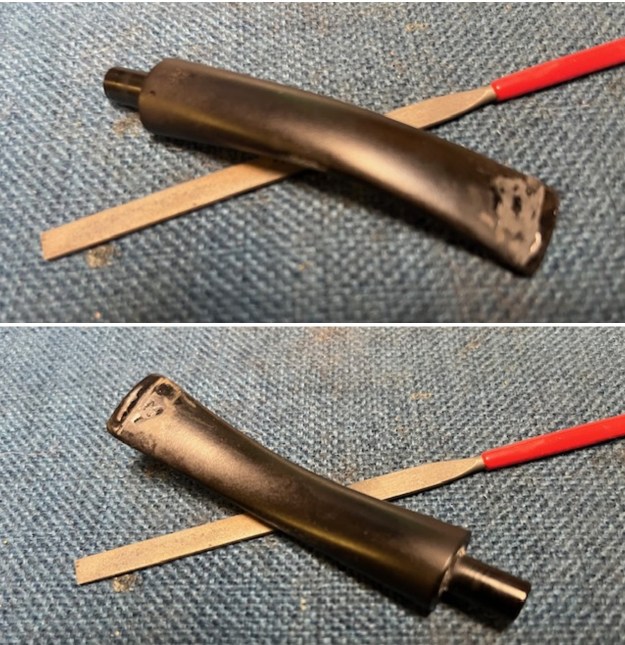
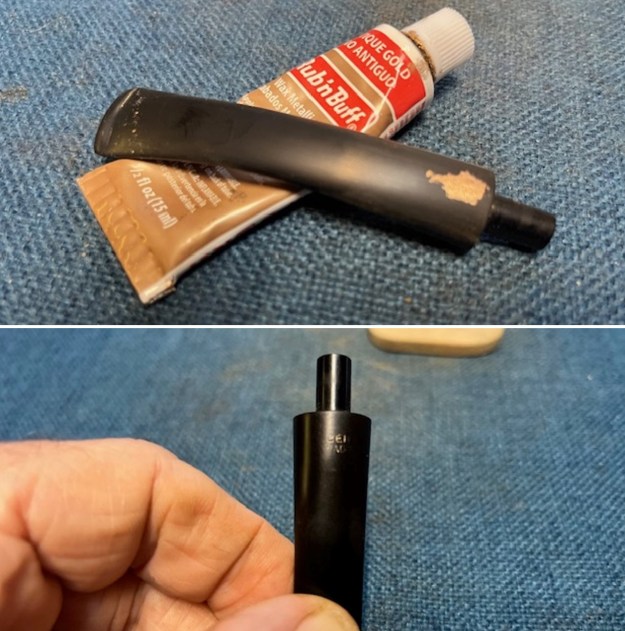
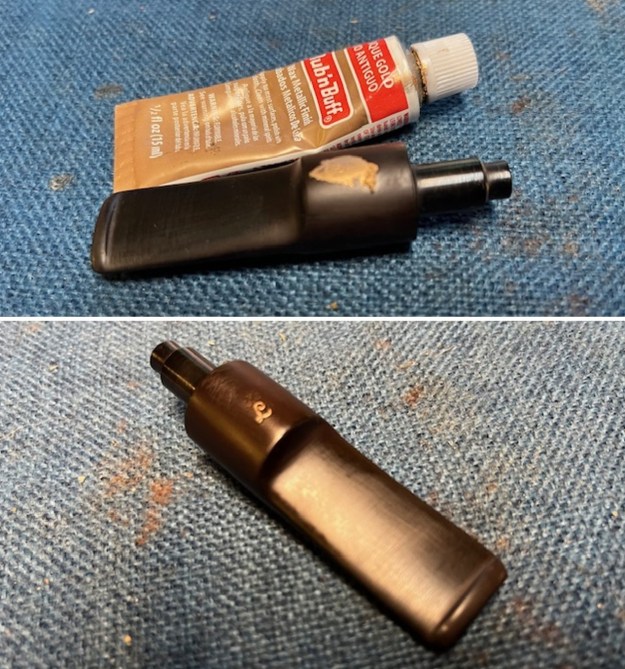
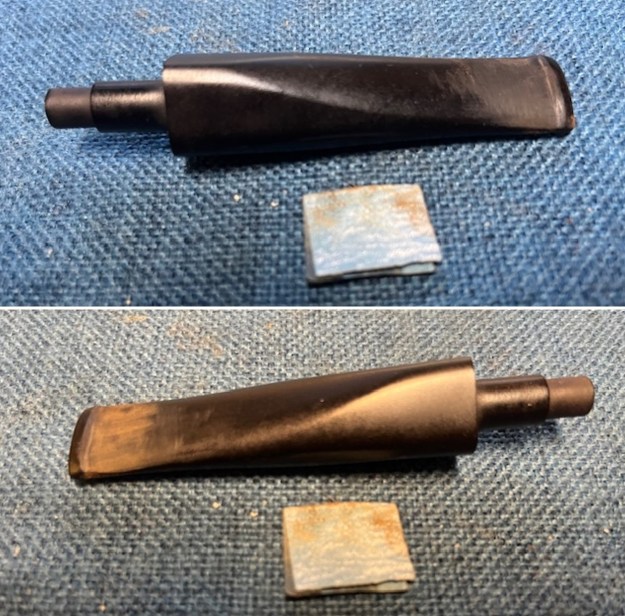
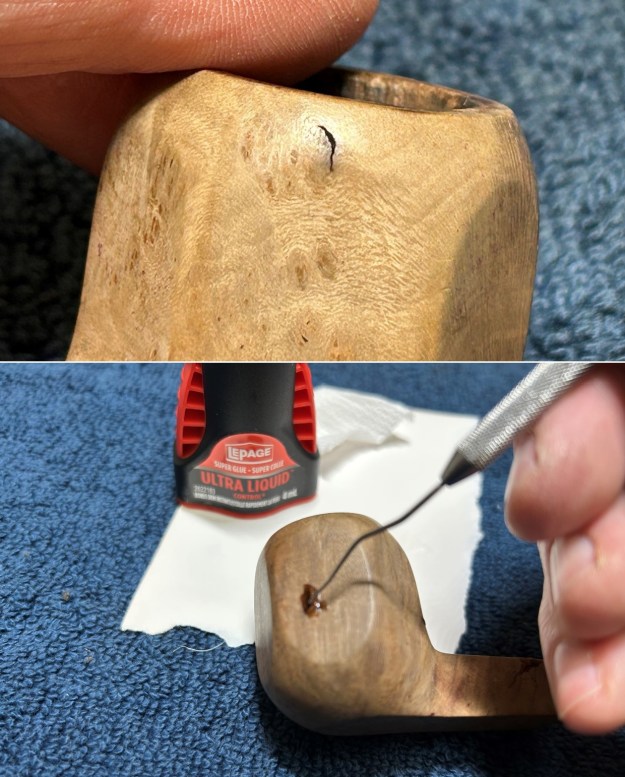
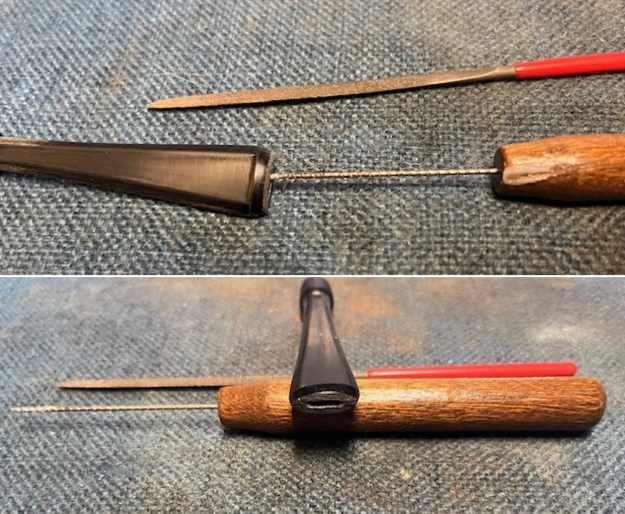
 I set the bowl aside and turned my attention to the stem. I set the bowl aside and turned my attention to the stem. I “painted” the tooth marks with the flame of a lighter to lift them. The heat did a great job lifting most of them. The marks and chatter that remained I filled in with black CA glue strengthened with carbon and rubber. Once cured I flattened them and redefined the button edge with a file and blended them into the surface by sanding with 220 grit sandpaper.
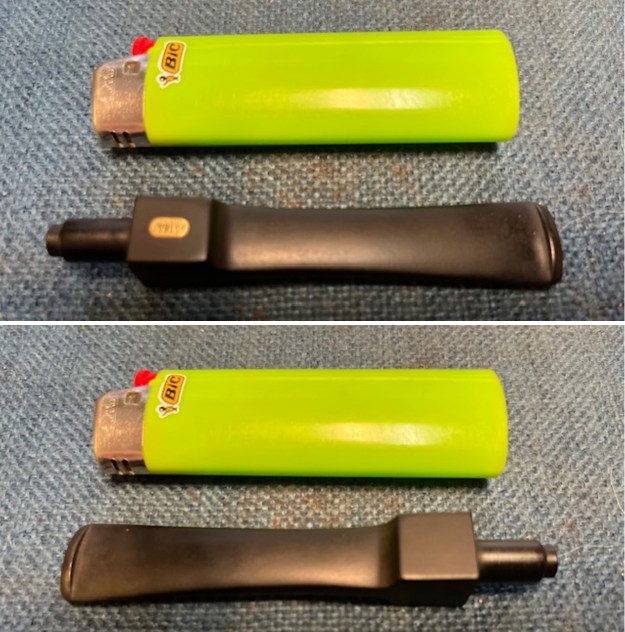
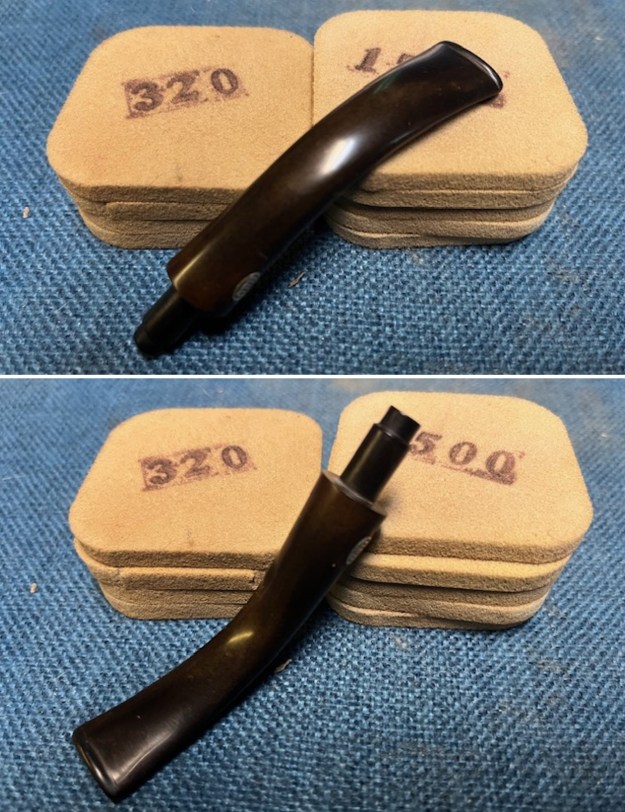
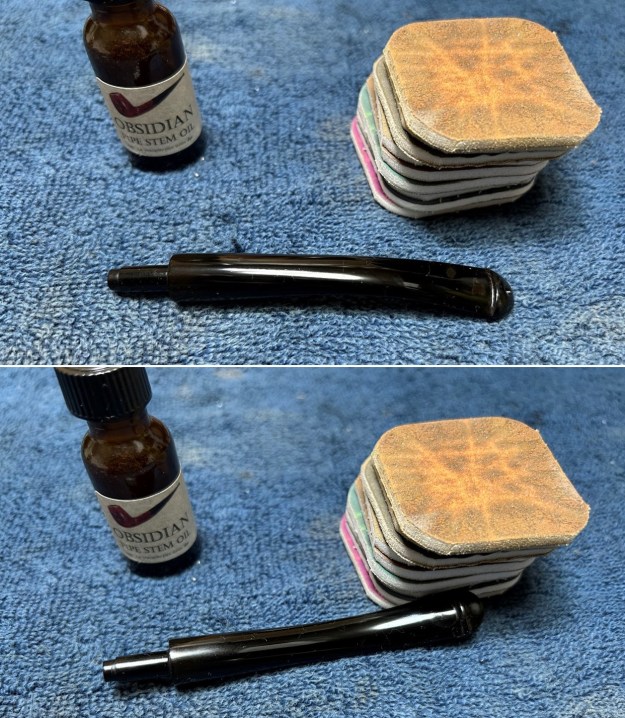
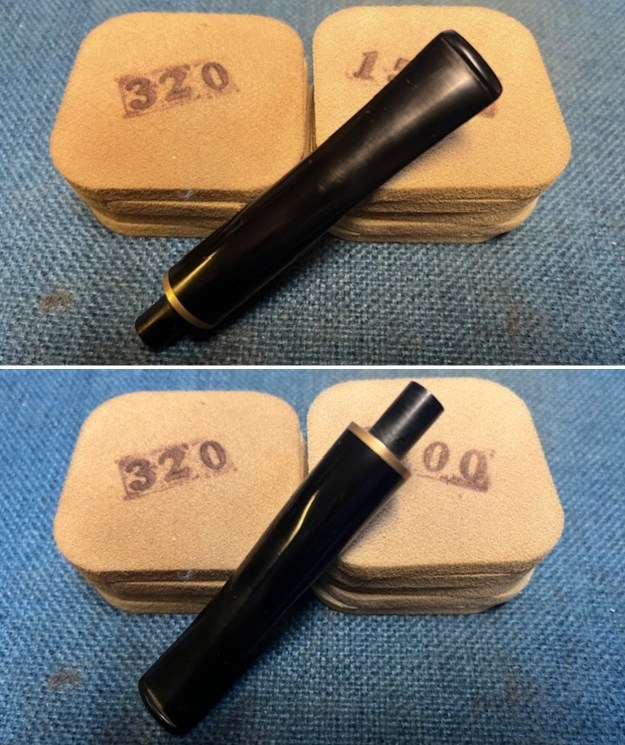
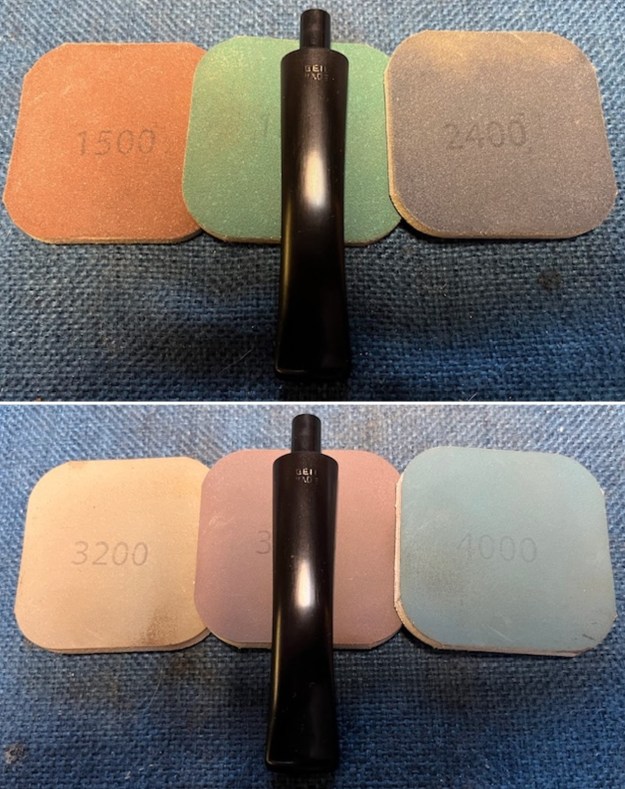
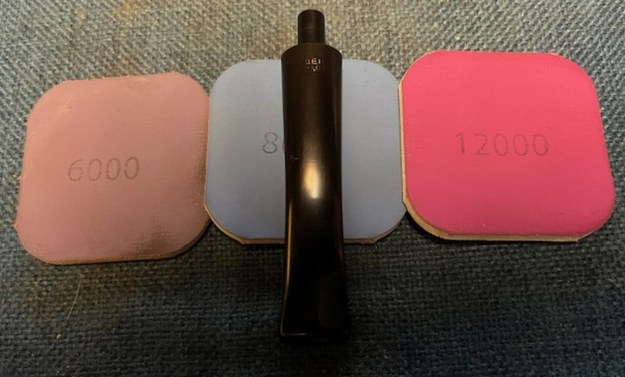
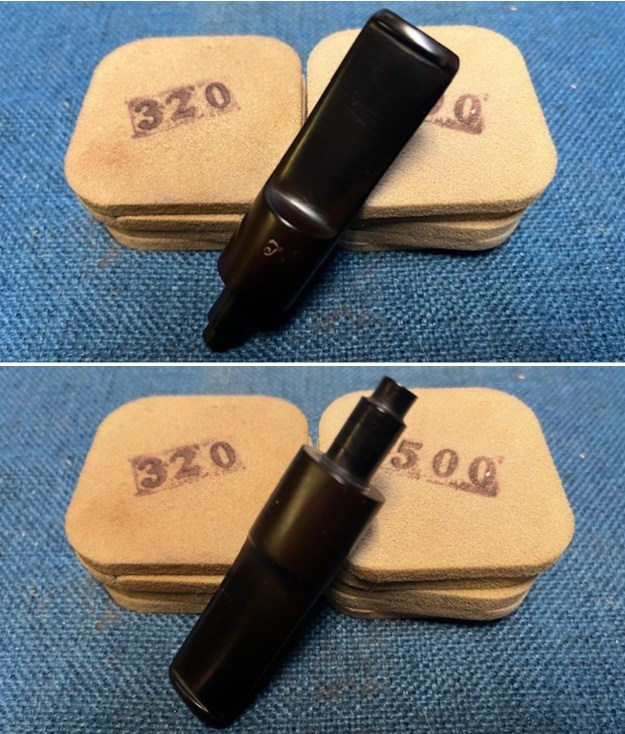
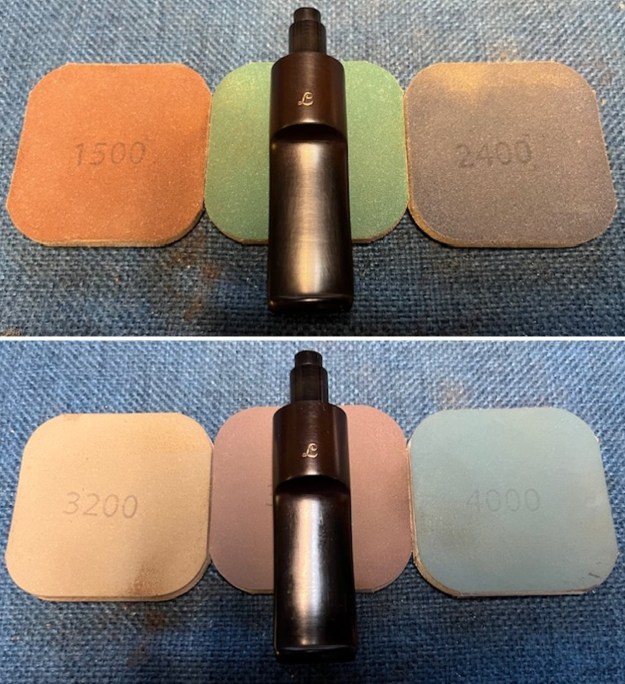
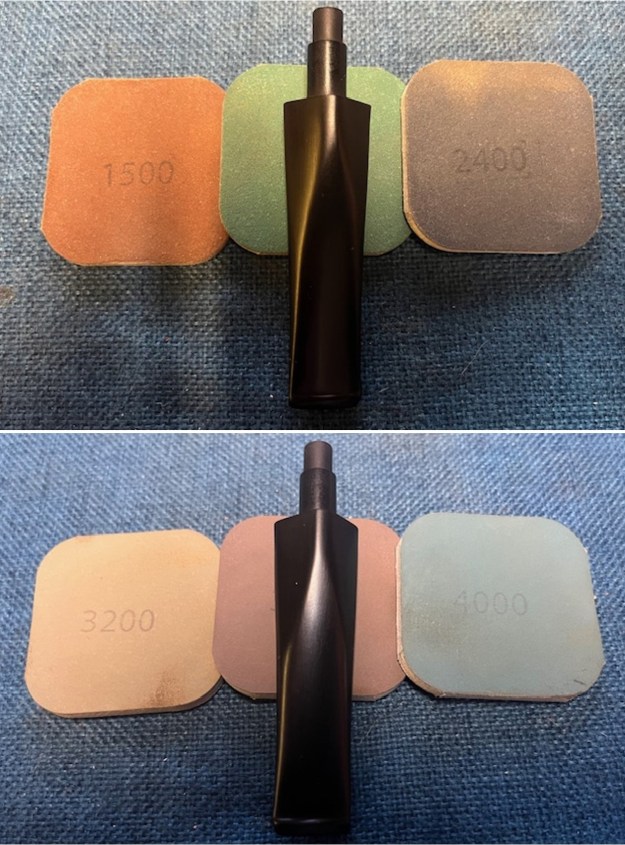
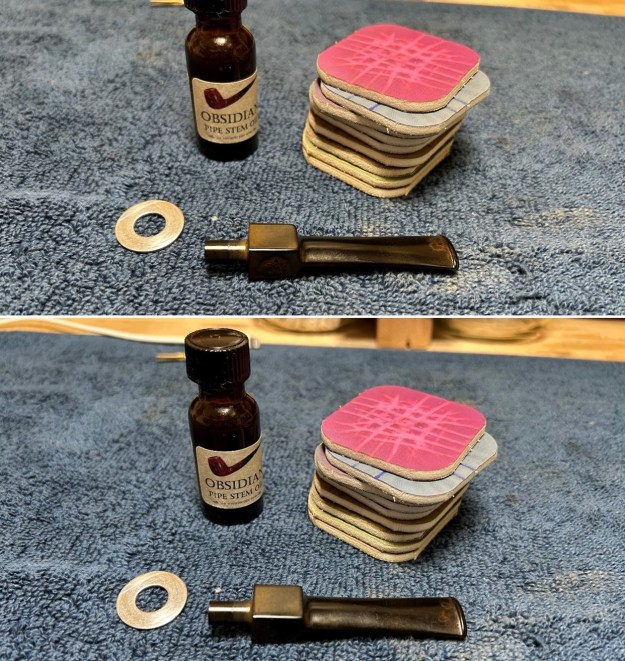
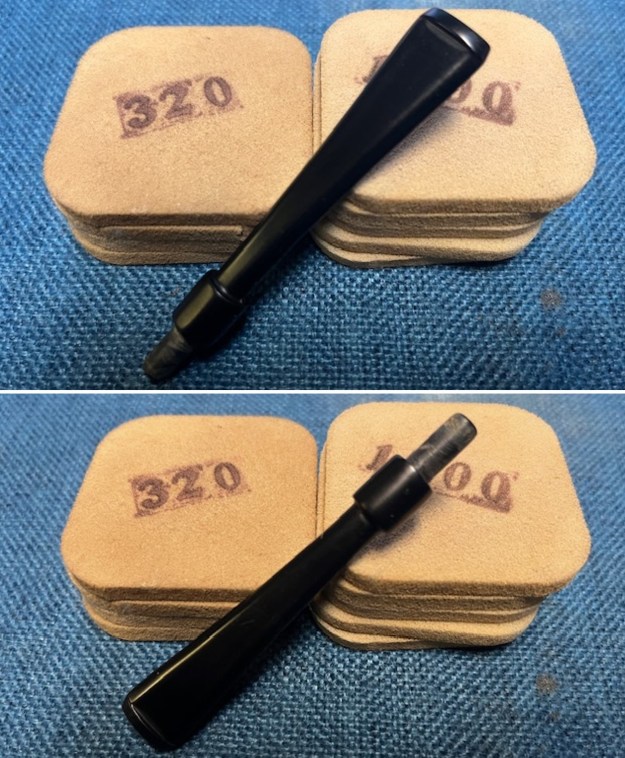
 I polished the sanding and scratch marks and smoothed the stem with 320-3500 grit sanding pads. I wiped the stem down after each sanding pad with an Obsidian Oil impregnated cloth. It removes the dust and also gives the sanding pads some bite. By the final pad it was looking quite good.
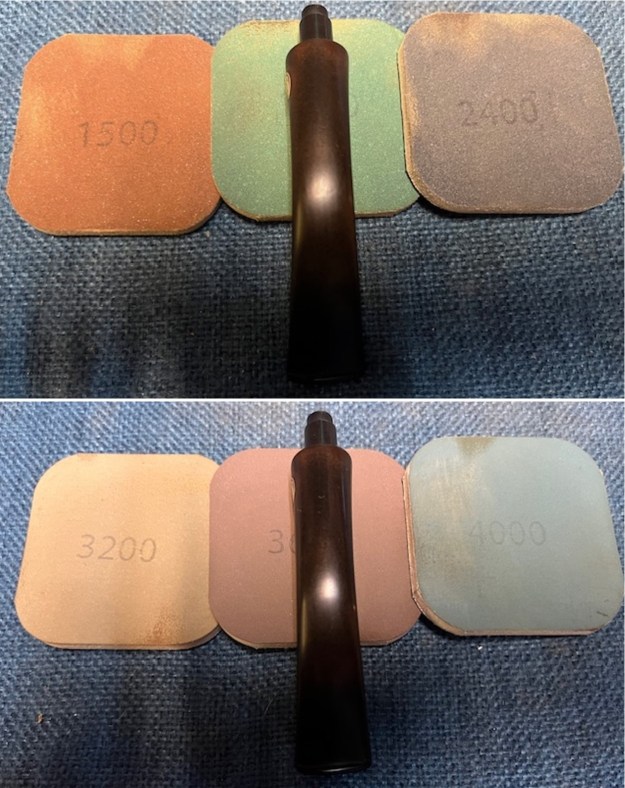
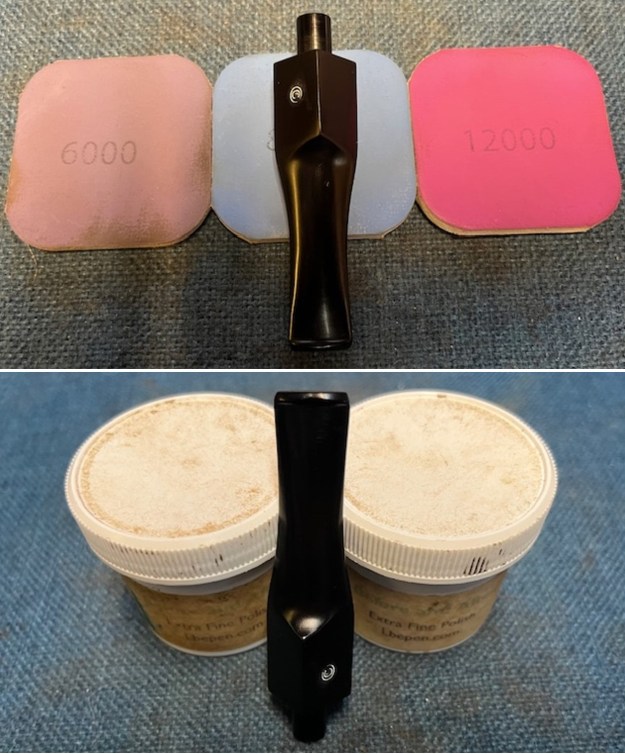
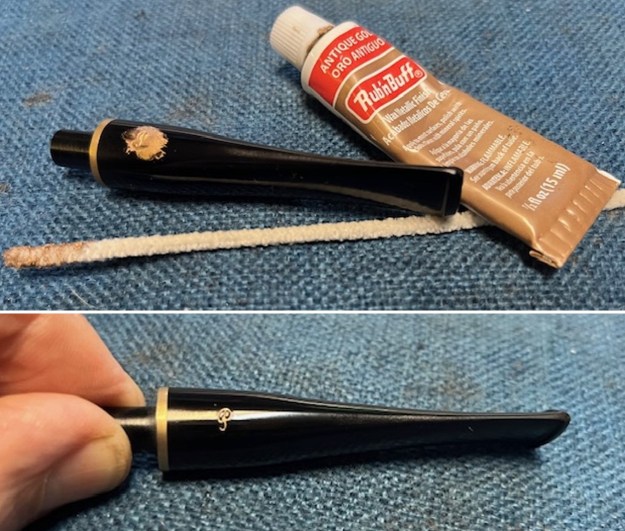
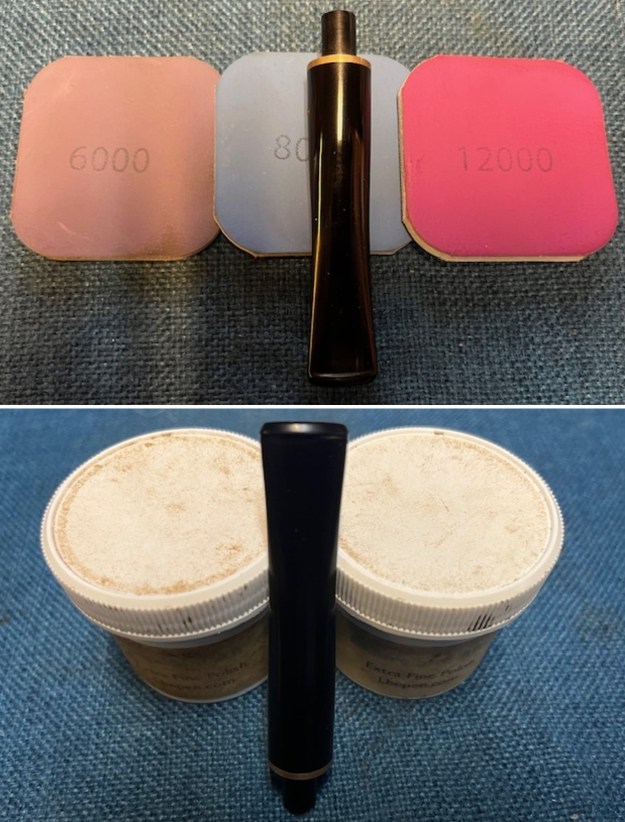
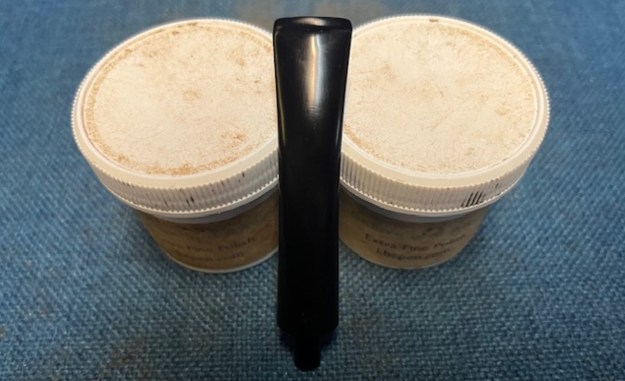
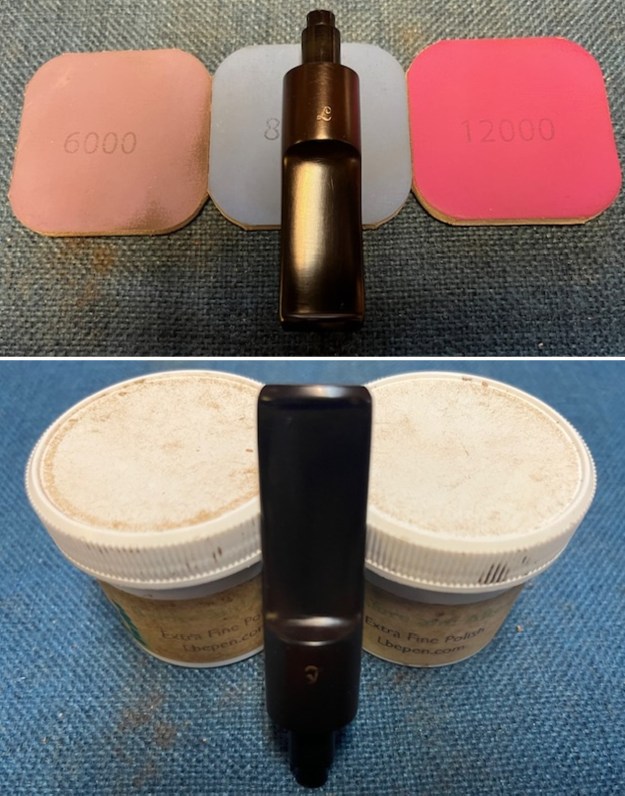
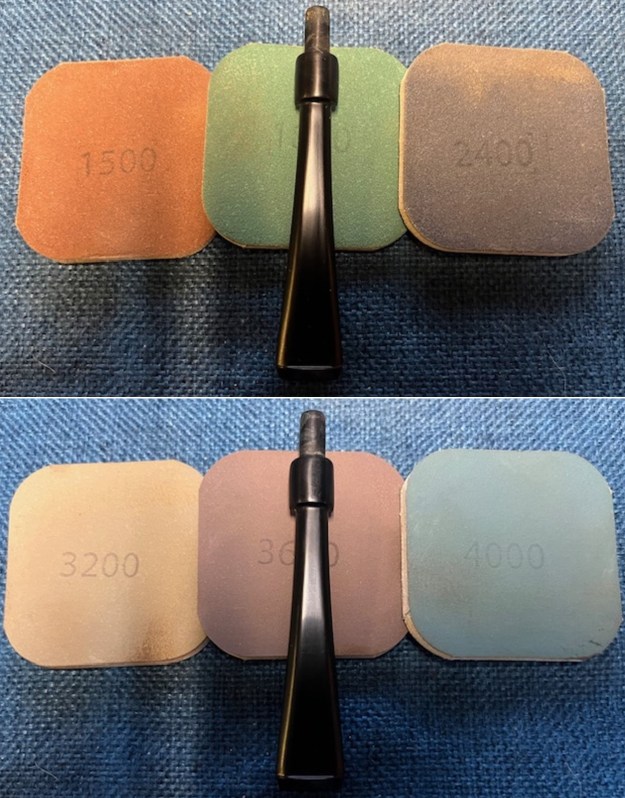
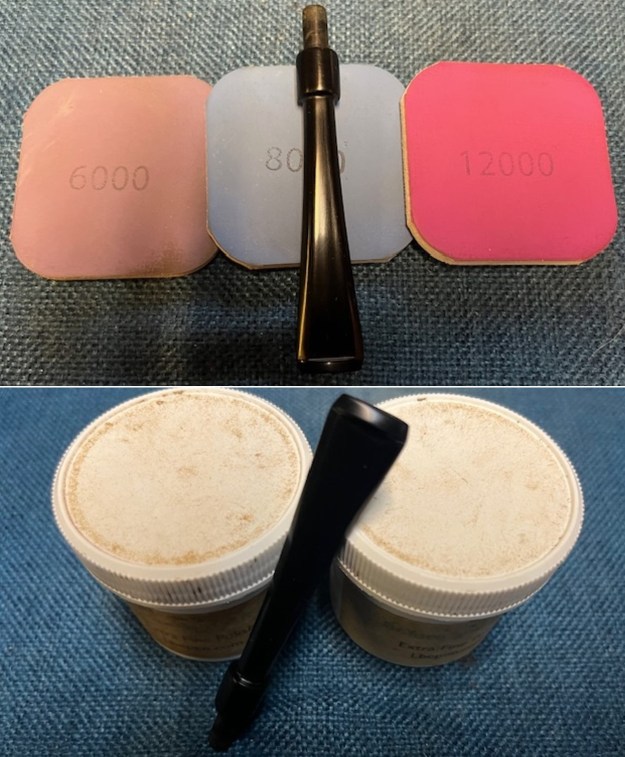
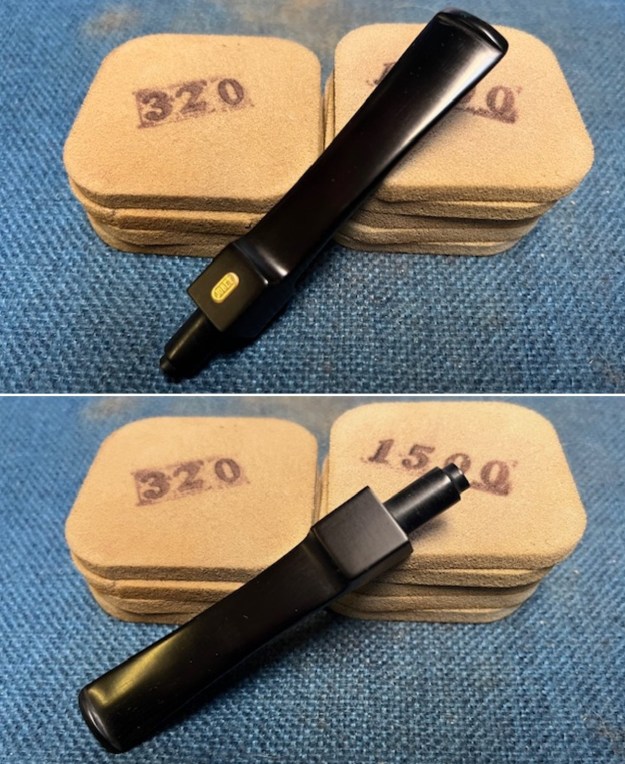 I polished the vulcanite stem with micromesh sanding pads – 1500-12000 grit pads. I wiped it down with Obsidian Oil after each sanding pad. I used Before & After Pipe Polish – both Fine and Extra Fine to further polish the stem. I rubbed it down with a final coat of Obsidian Oil and let it dry.
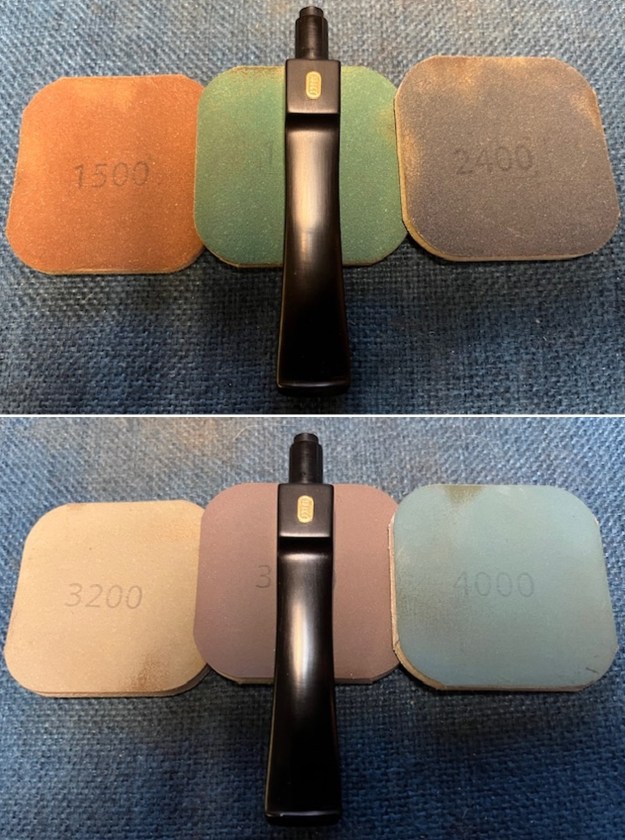
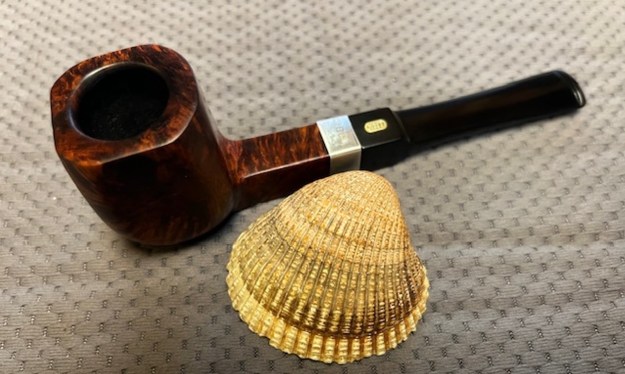
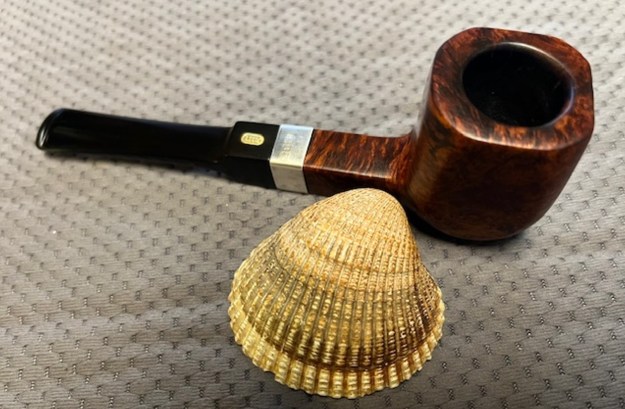
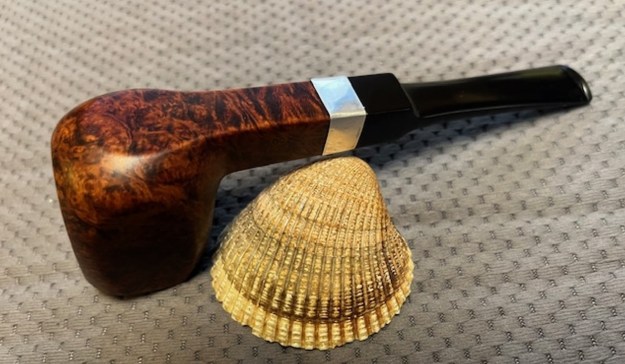
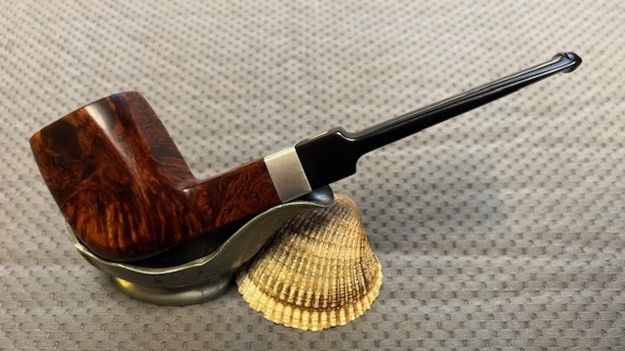
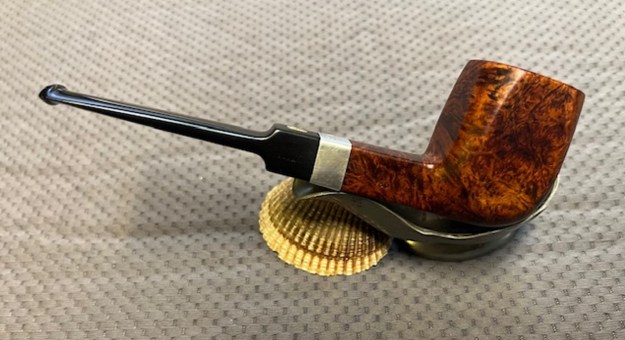
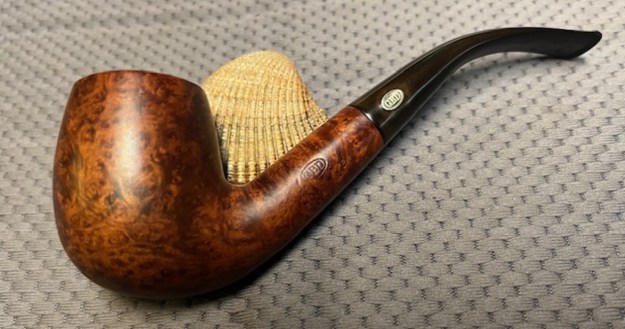
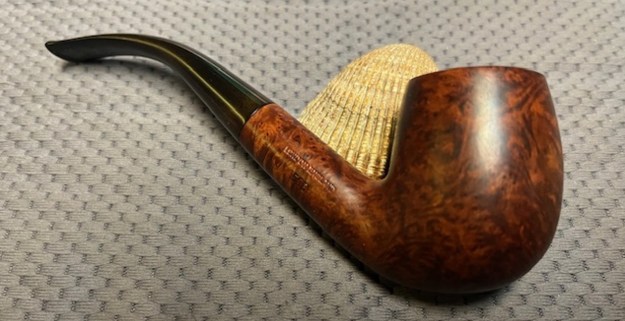
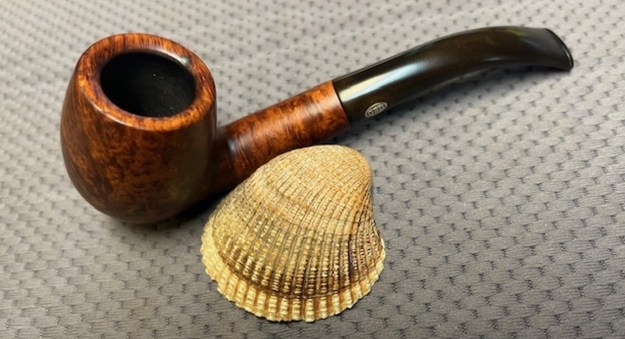
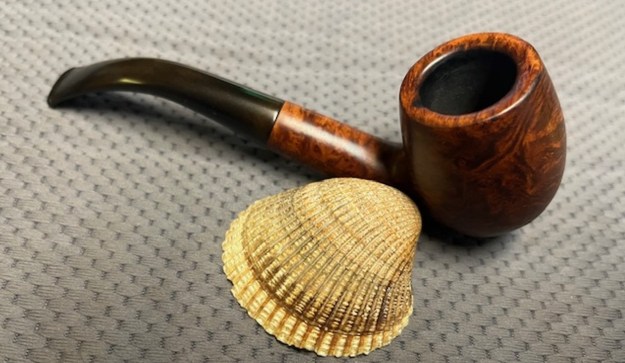
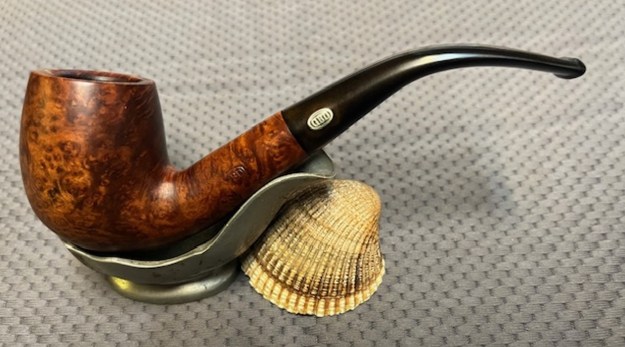
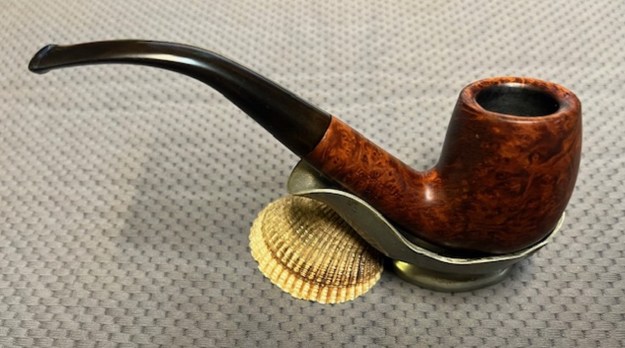
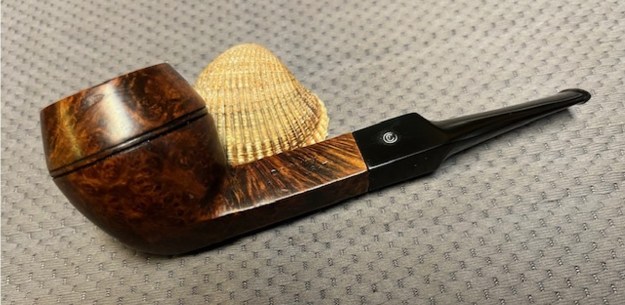
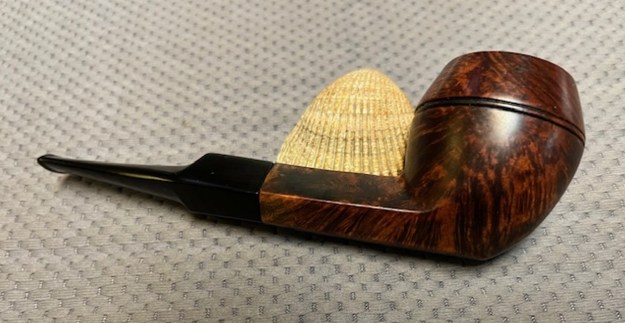
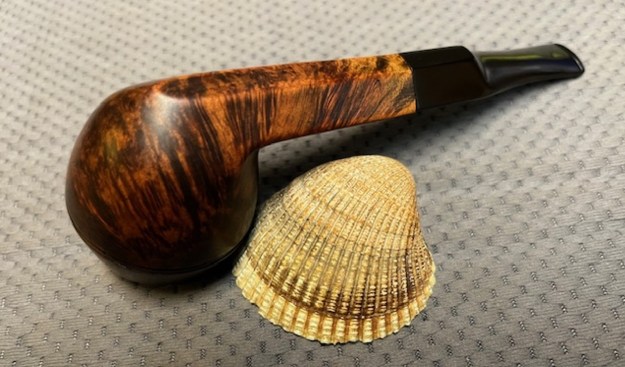
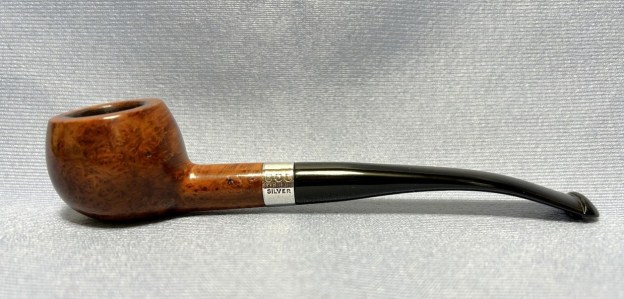
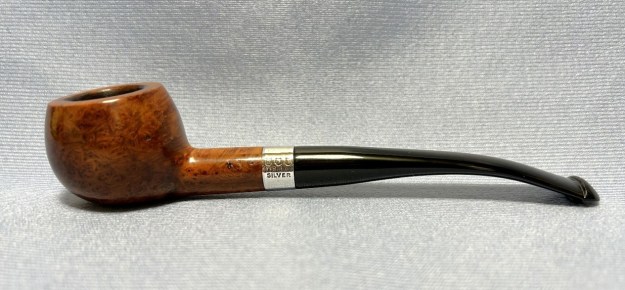
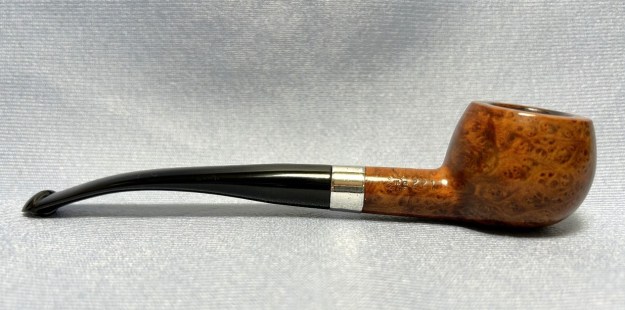
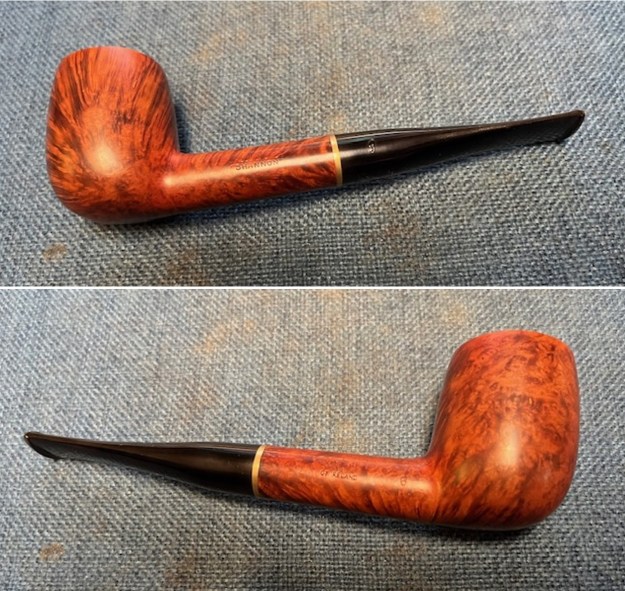
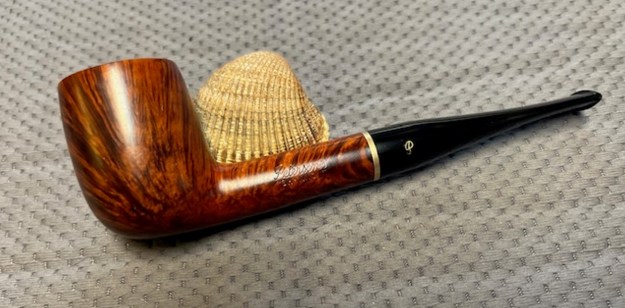
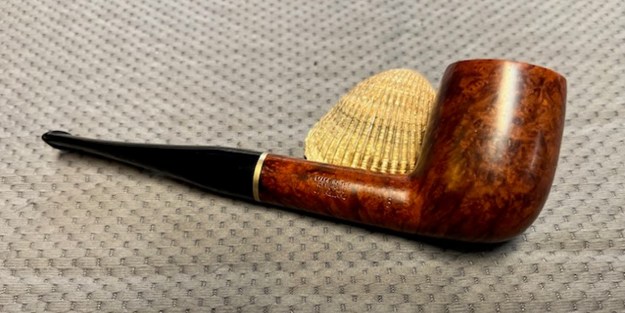
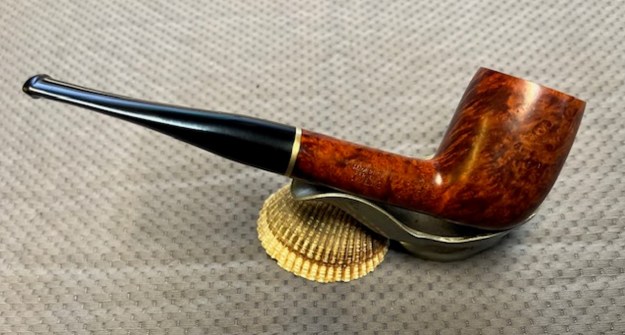
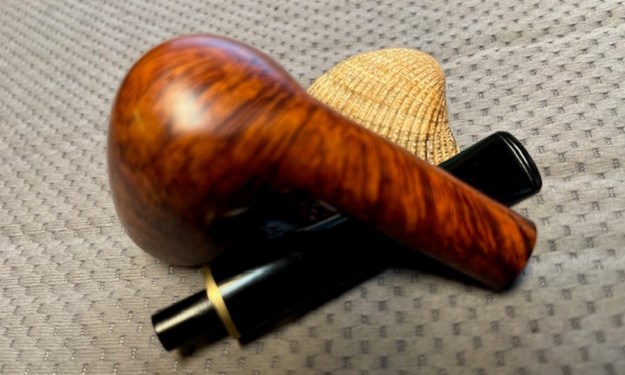
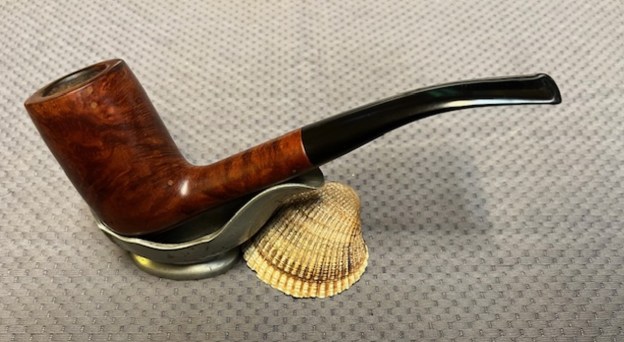
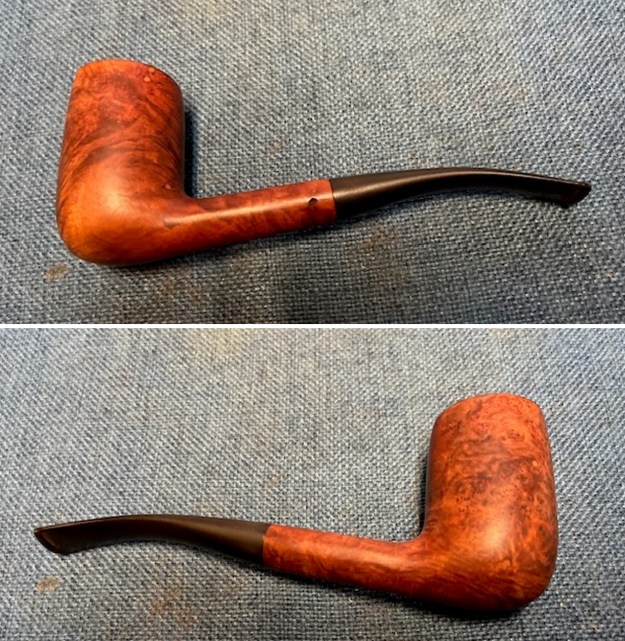
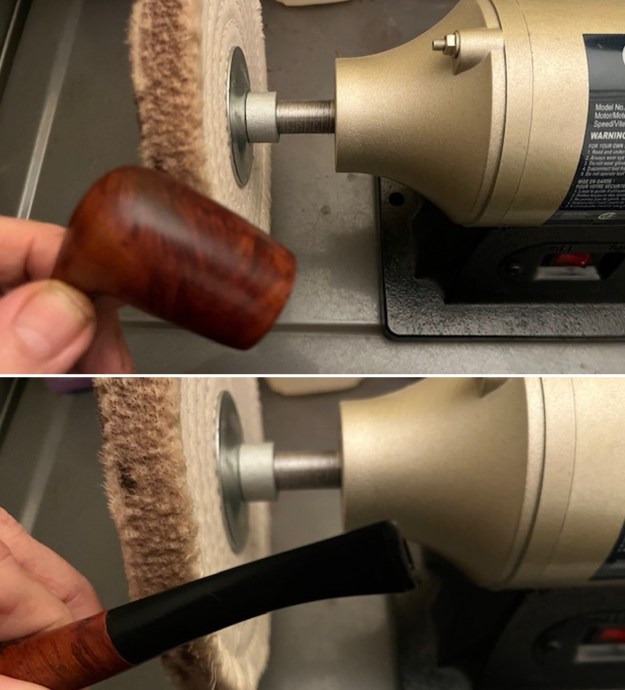
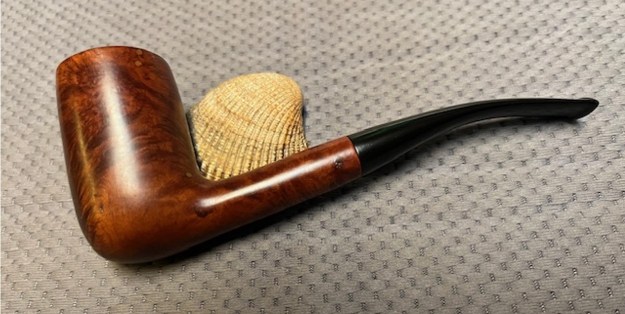
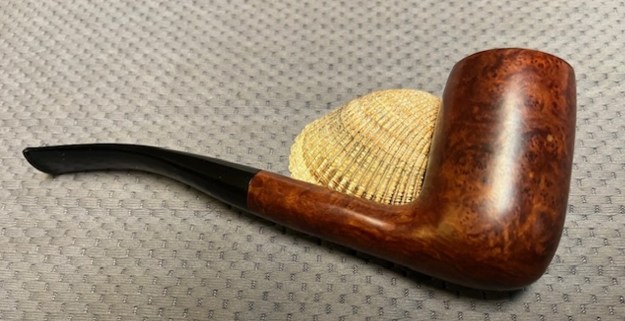
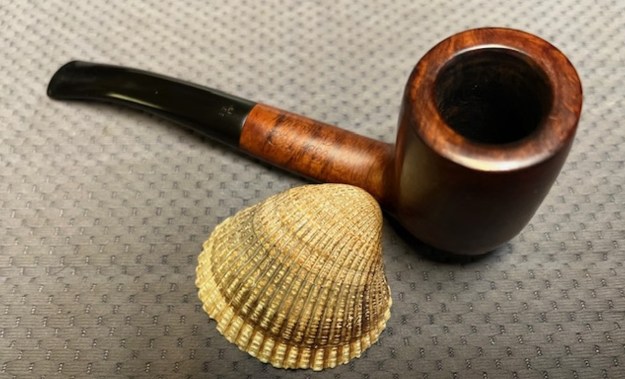
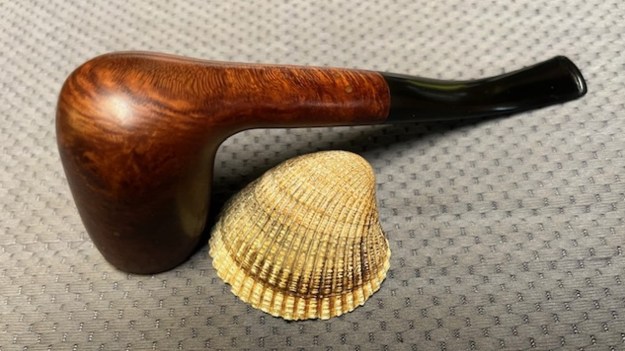
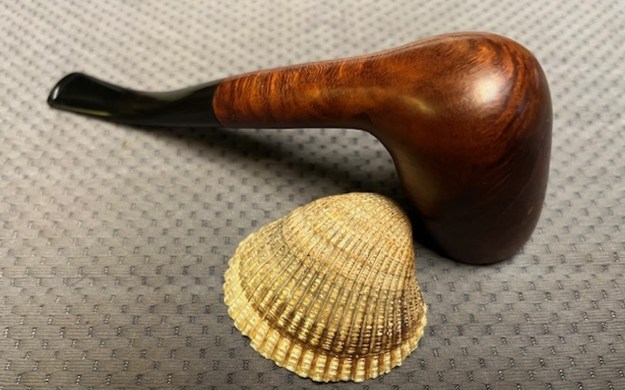
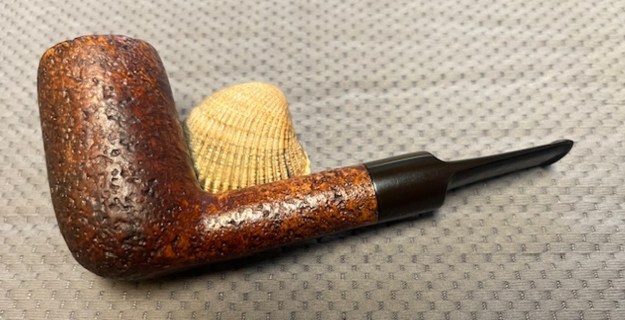
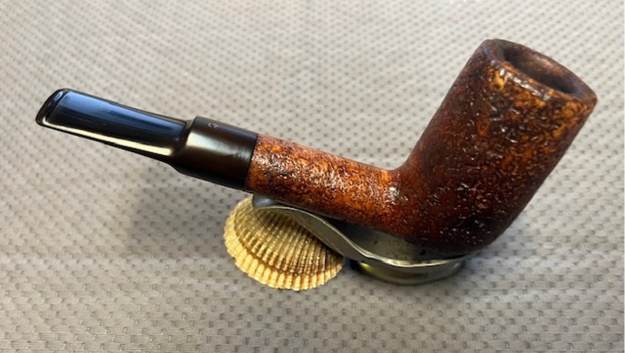
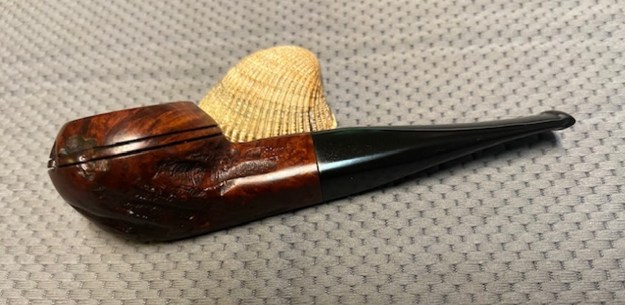
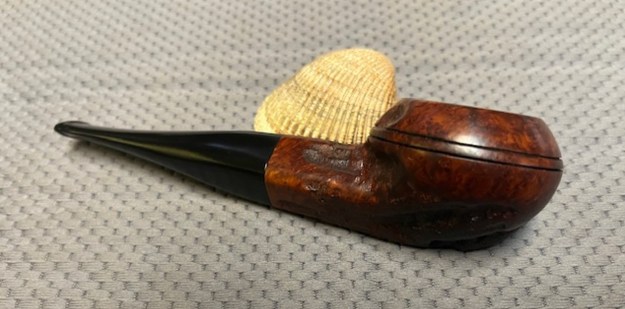
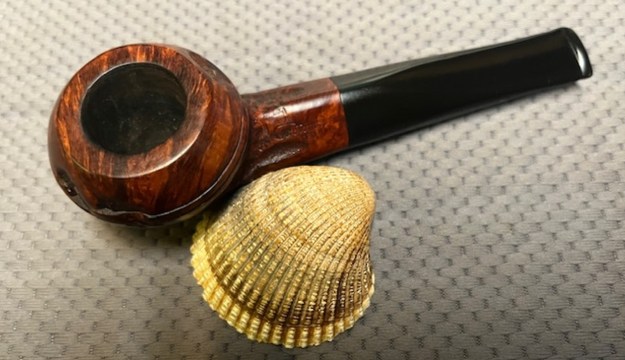
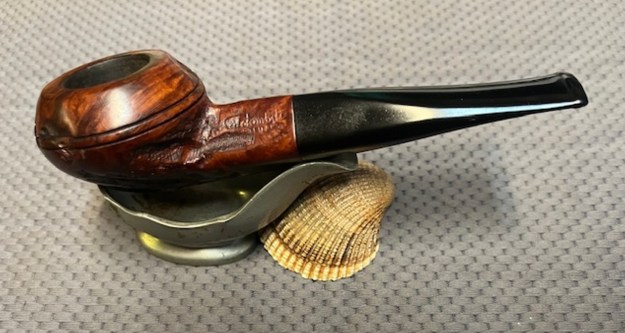
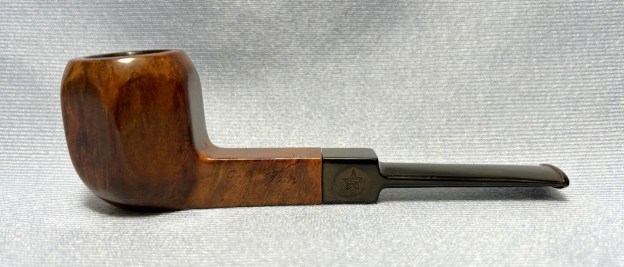
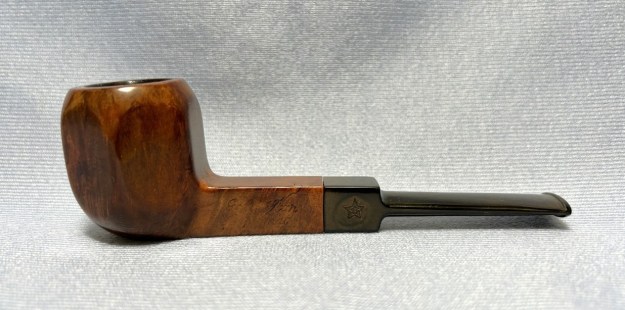
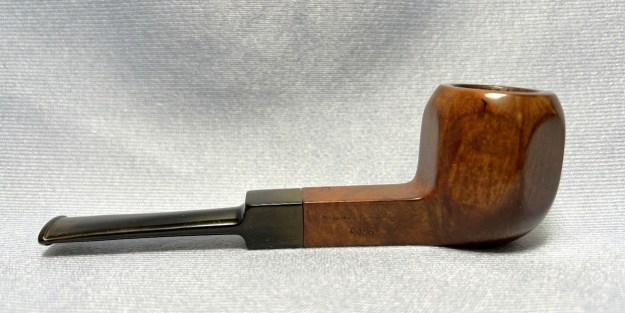
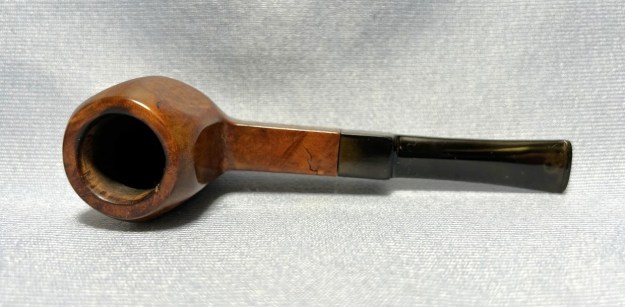
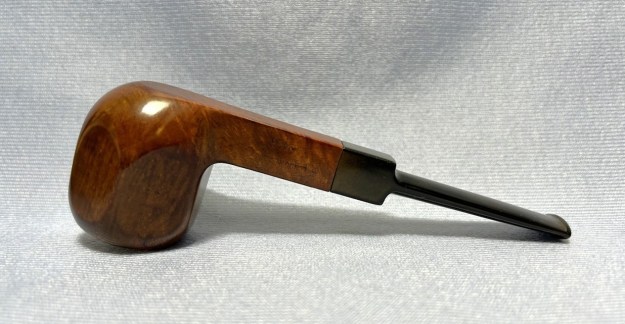
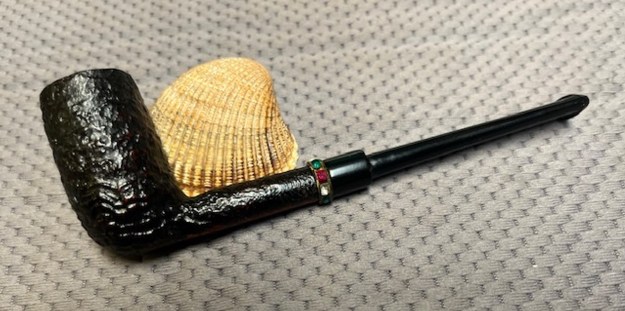
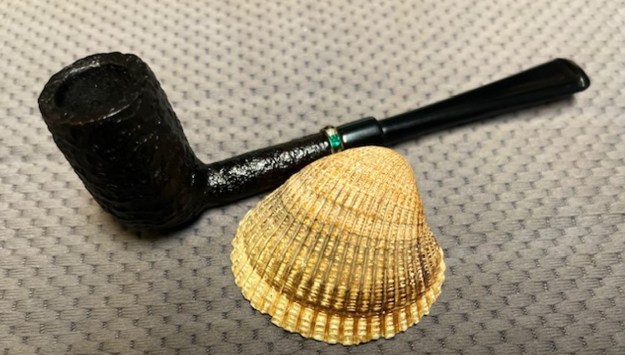
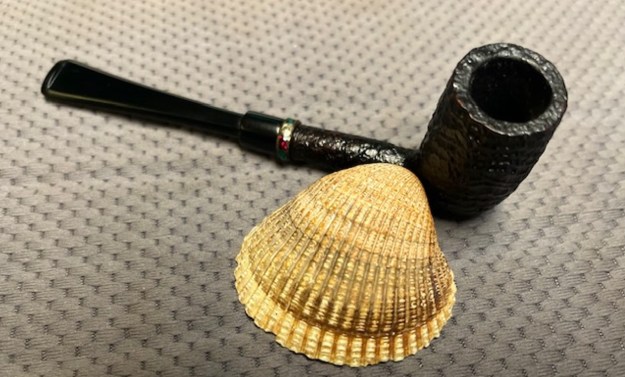
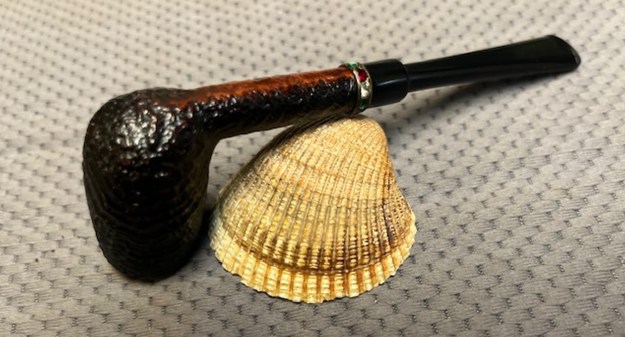
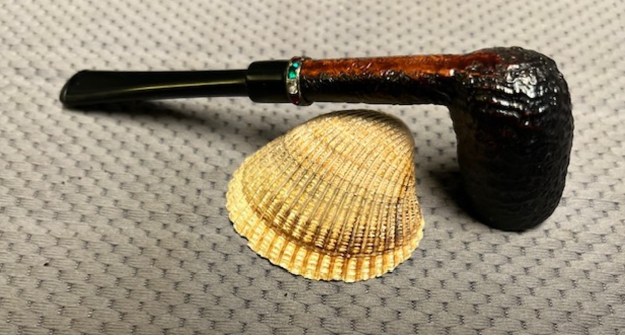
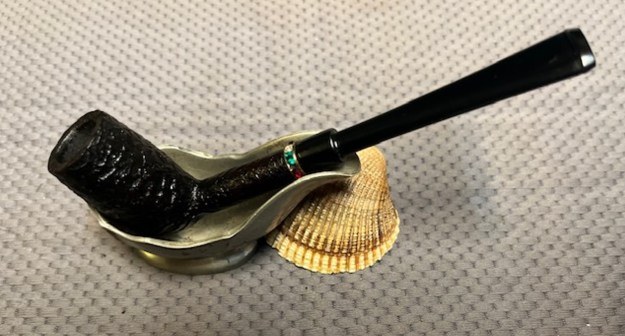
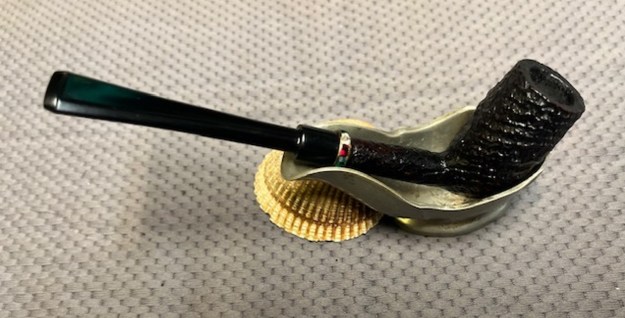
 This English Made Jobey Sterling 460 Panel Billiard is a real beauty. I buffed the bowl and the vulcanite saddle stem with Blue Diamond on the wheel and was amazed at how the grain popped and the stem began to shine. I gave the bowl and stem multiple coats of carnauba wax and buffed them with a clean buffing pad. I finished by hand buffing the pipe with a microfibre cloth. The finished pipe is shown in the photos below. I think you will agree that it is a great example of a Jobey Sterling. The grain and the stem work really well together. The finished Jobey Sterling 460 Panel Billiard fits nicely in the hand and feels great. Give the finished pipe a look in the photos below. The dimensions of the pipe are Length: 5 ½ inches, Height: 1 ¾ inches, Outside diameter of the bowl: 1 ¼ inches, Chamber diameter: ¾ of an inch. The weight of the pipe is 38 grams/1.34 ounces. I will be putting it on the rebornpipes store in the British Pipemakers Section shortly. If you are interested in adding this pipe to your collection send me a message or an email. Thanks for reading this blog and my reflections on the pipe while I worked on it. I appreciate your support and time!


