Tag Archives: bite marks

Dr Grabow Restoration and Stem Repair


Blog by Greg Wolford

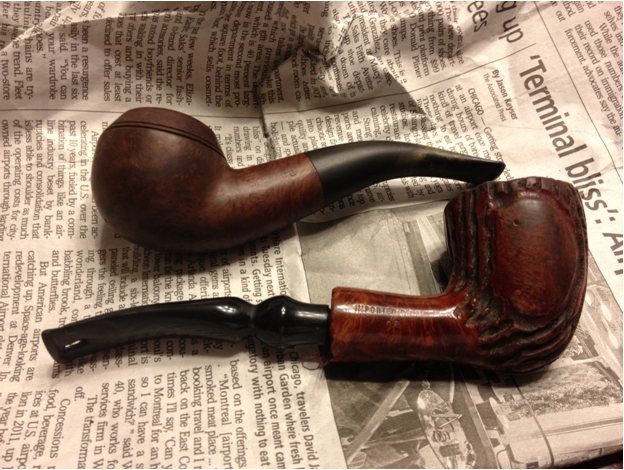
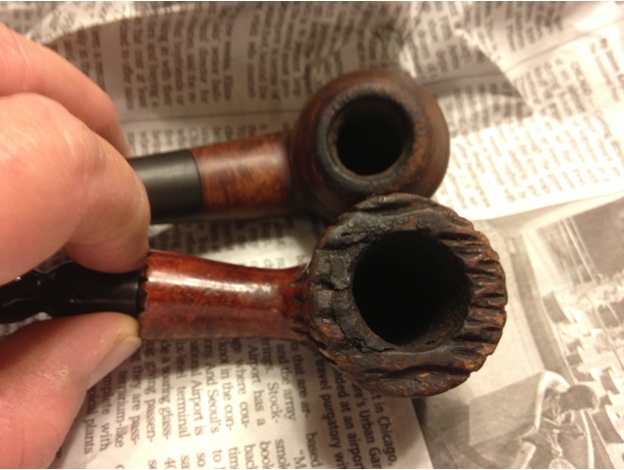
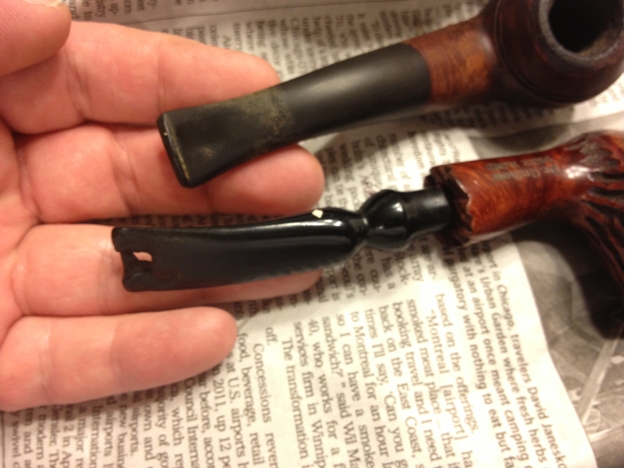
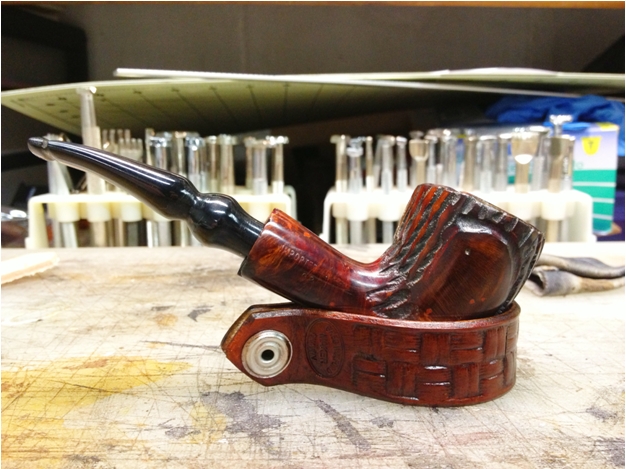
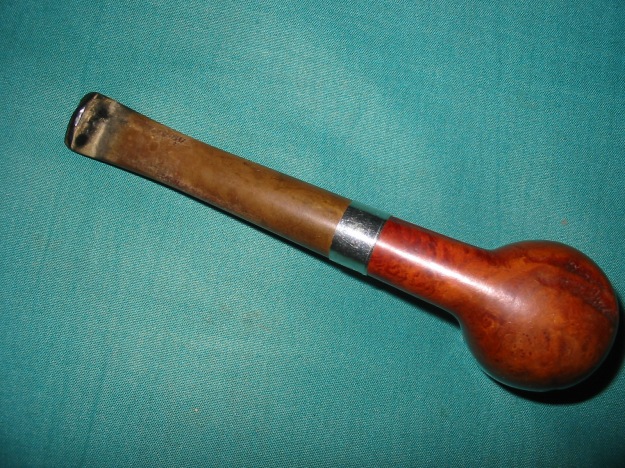
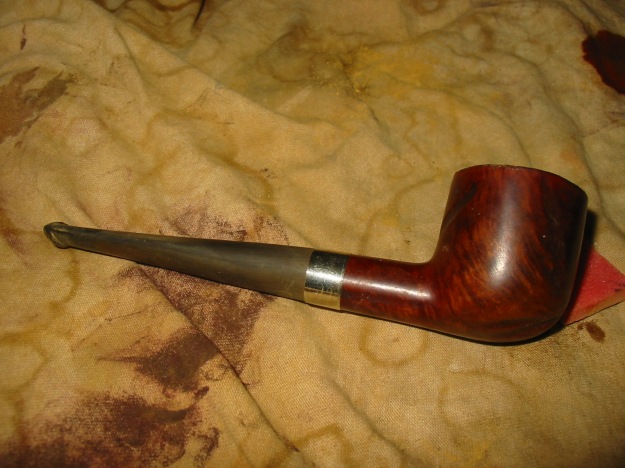
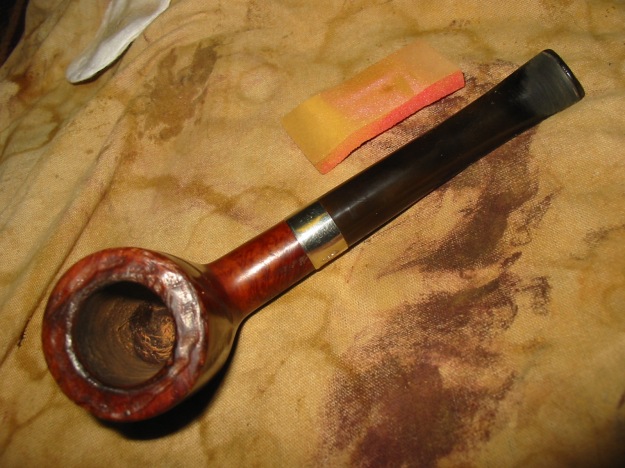
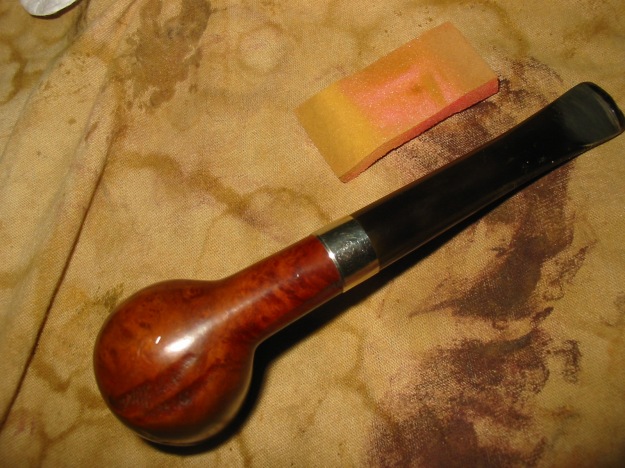
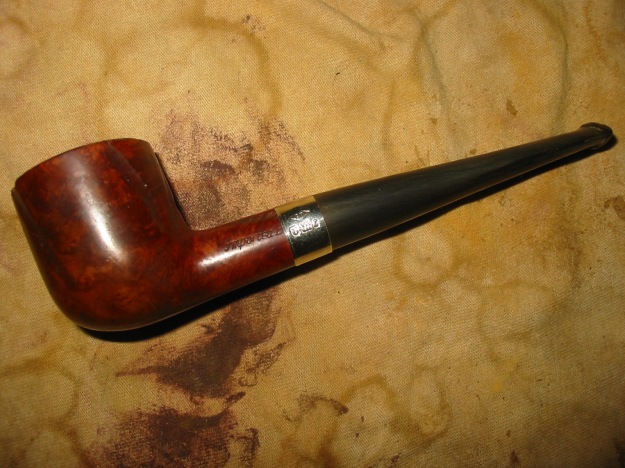
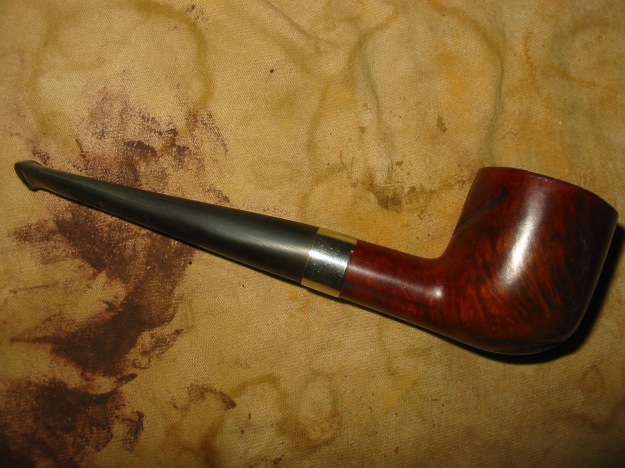
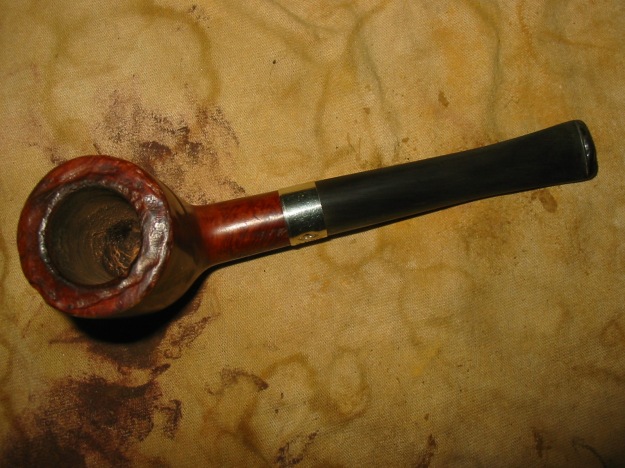
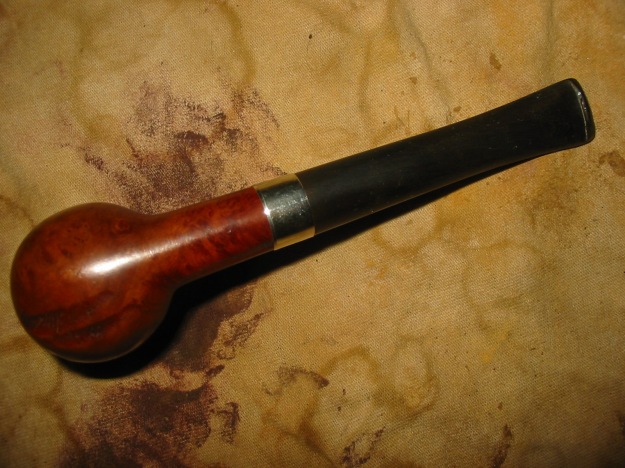
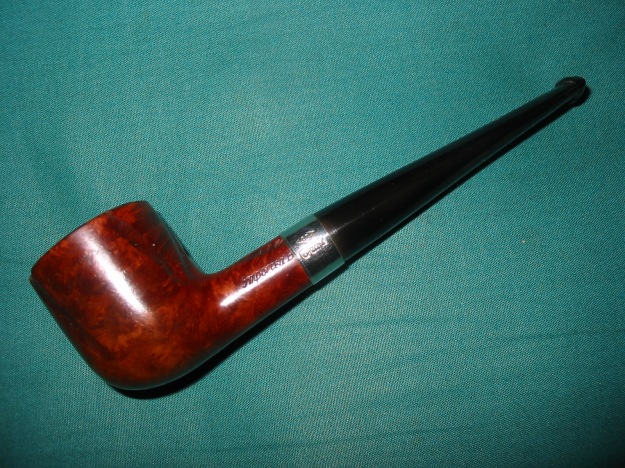
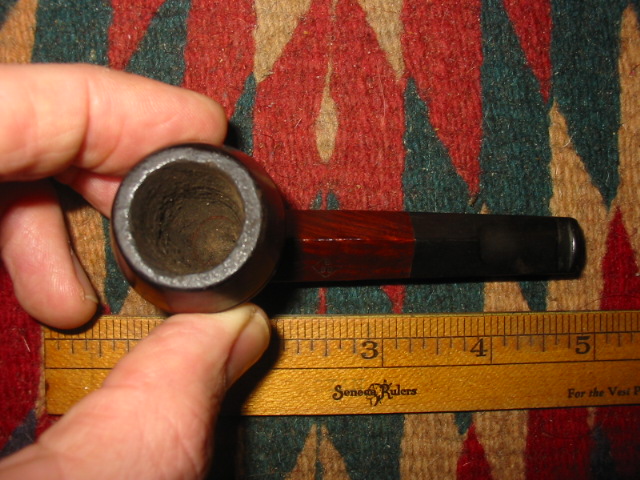
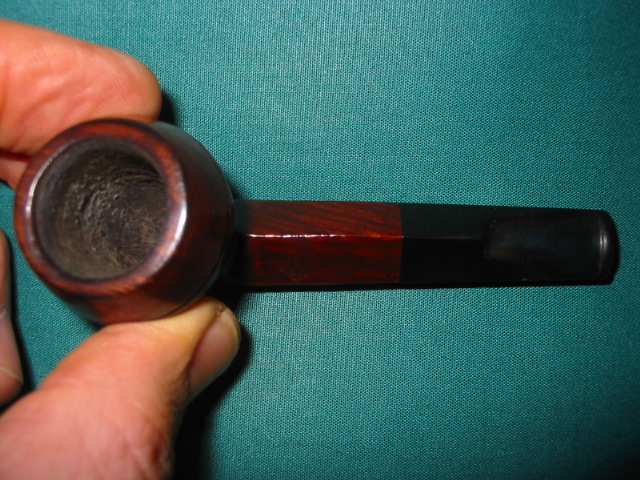
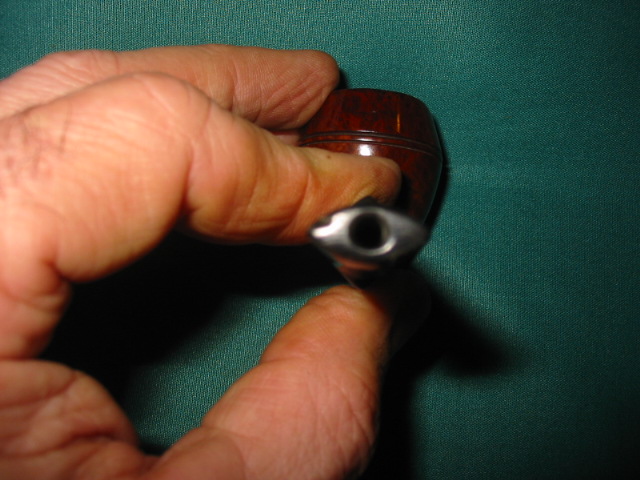
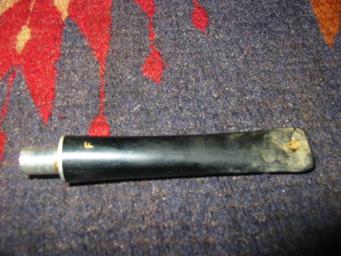
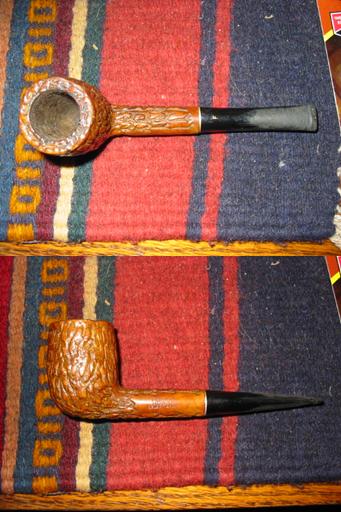
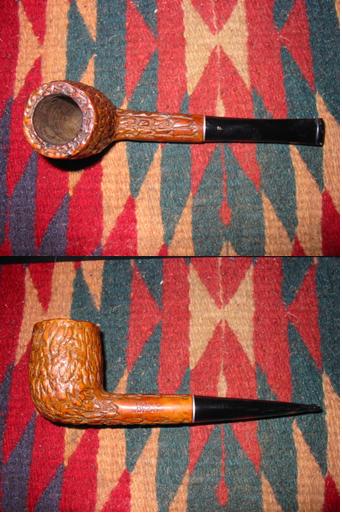
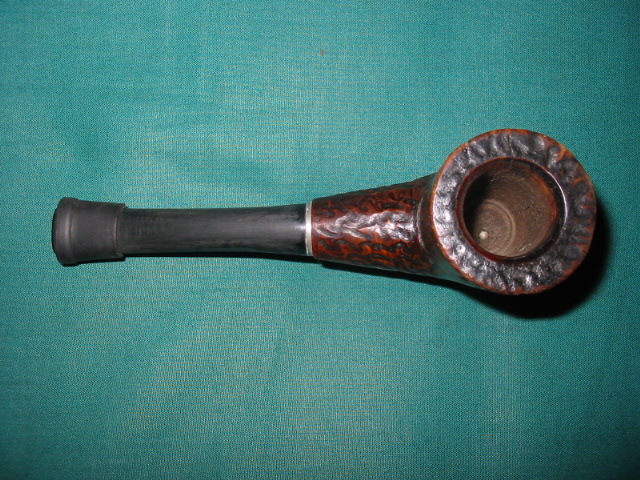
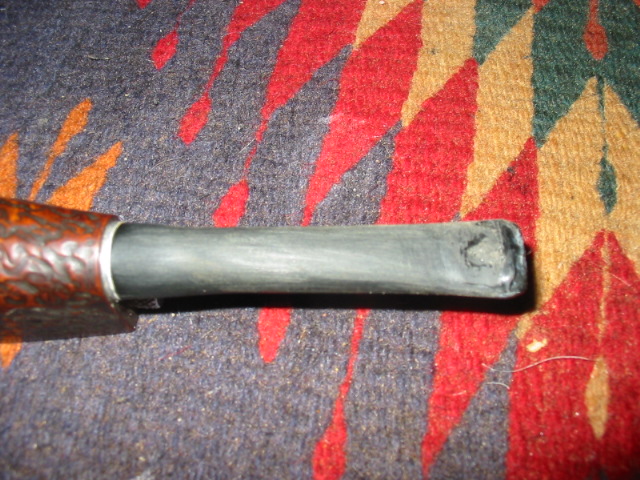
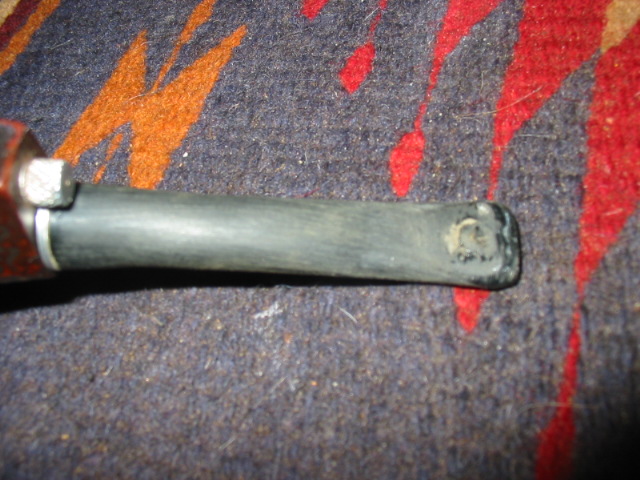
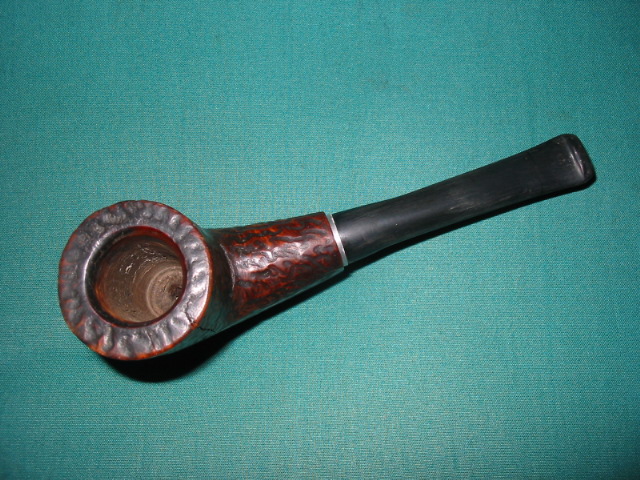
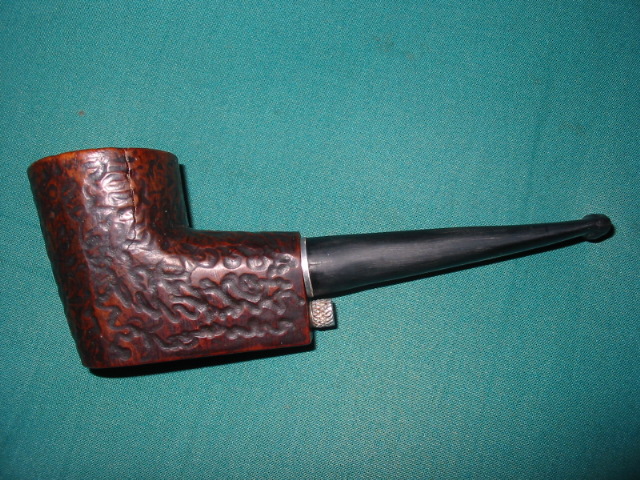
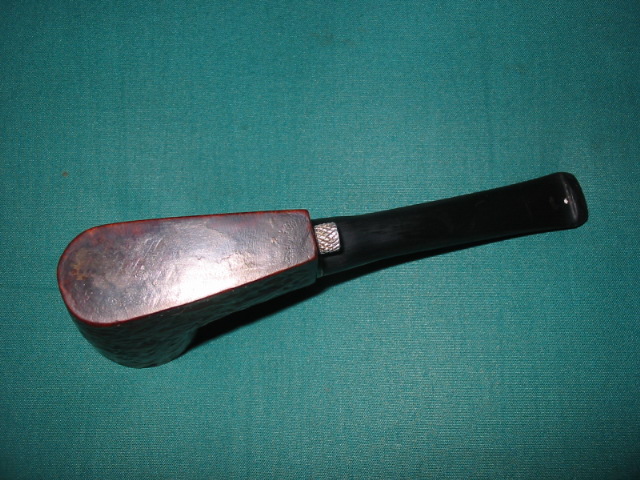
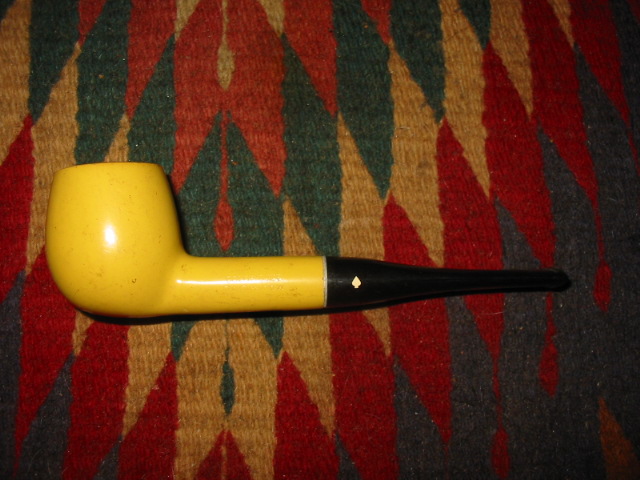
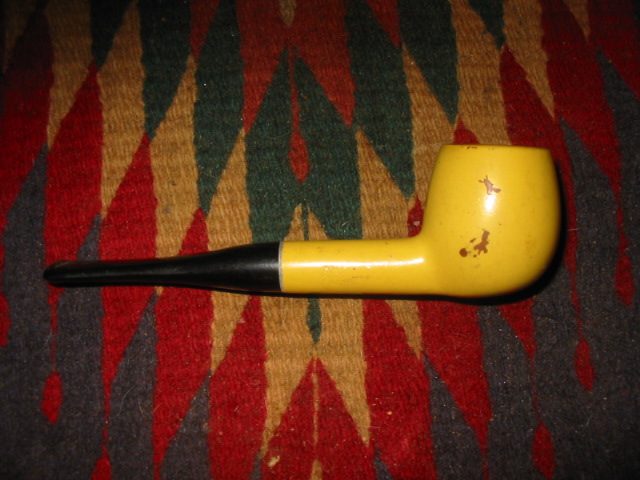
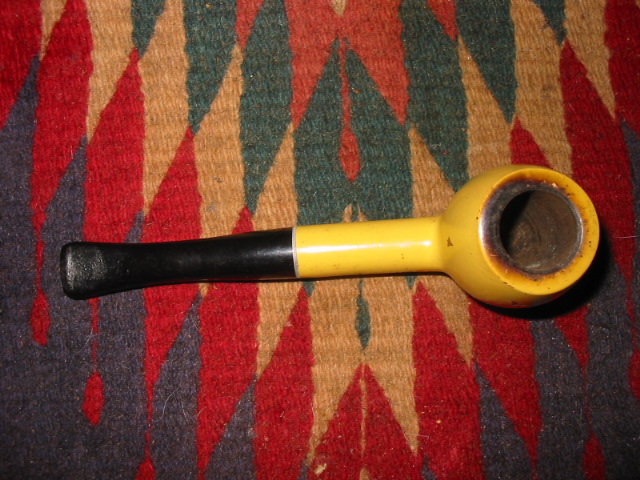
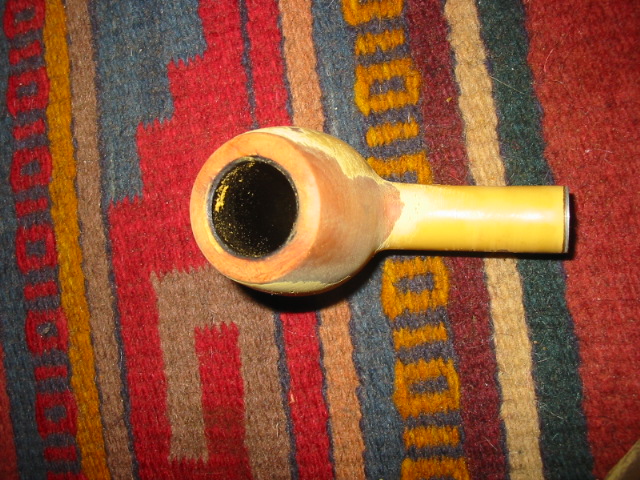
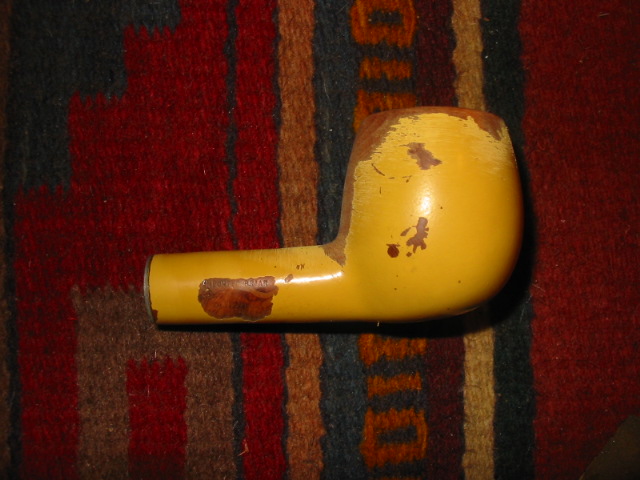
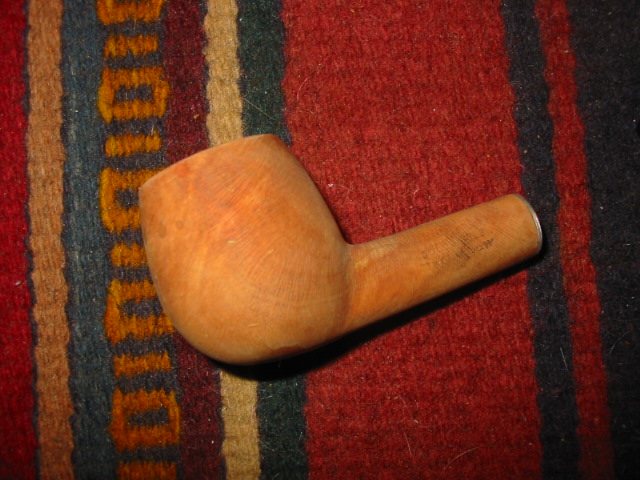
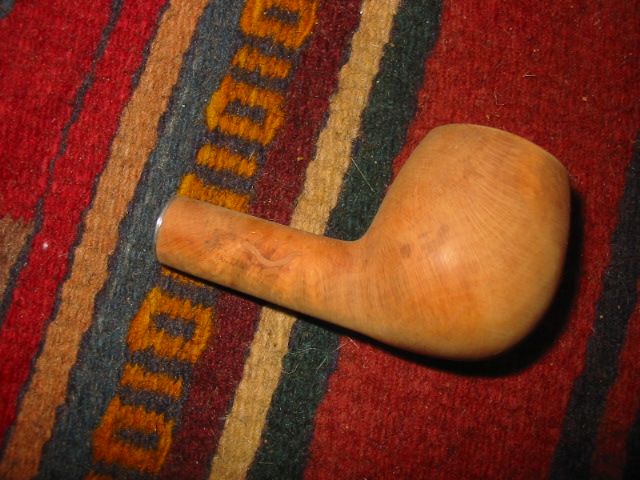
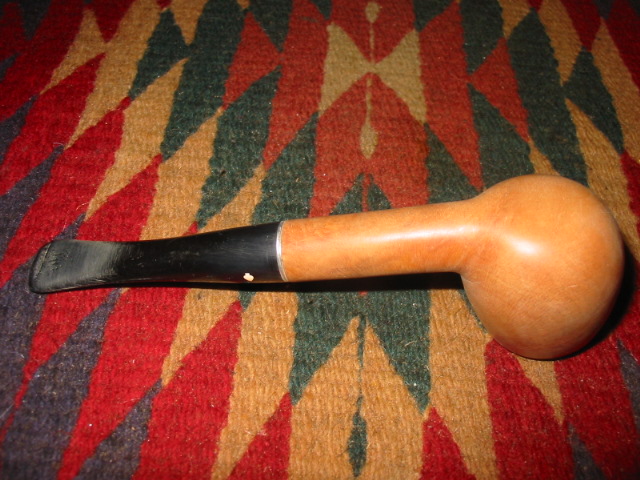
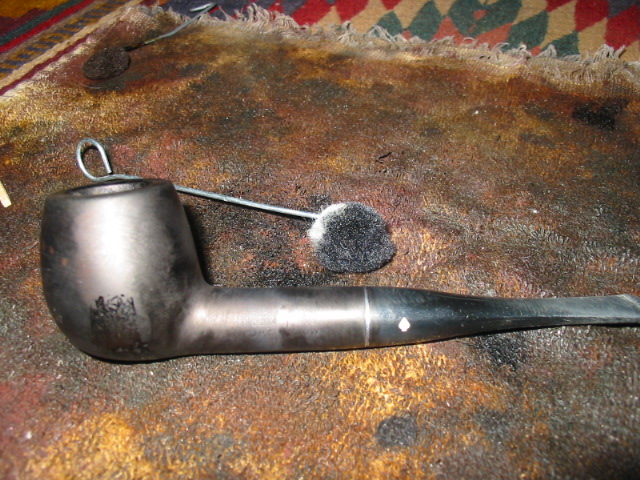
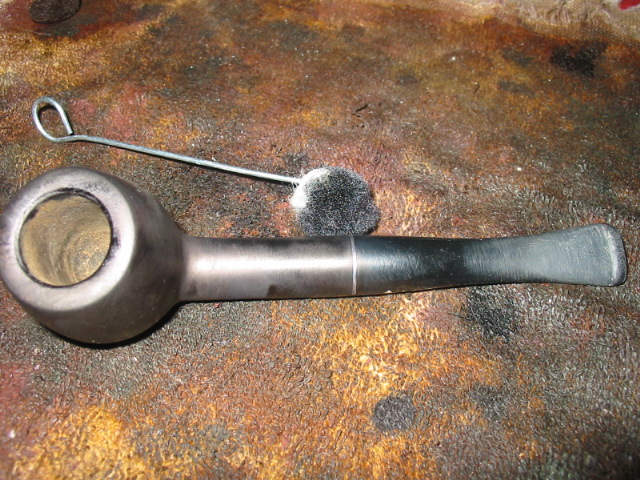
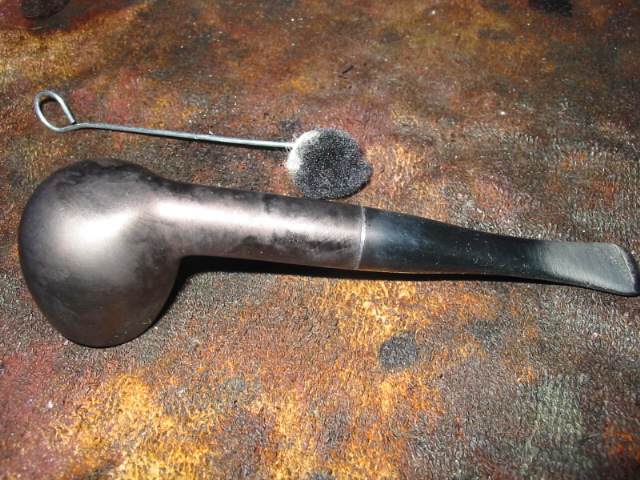
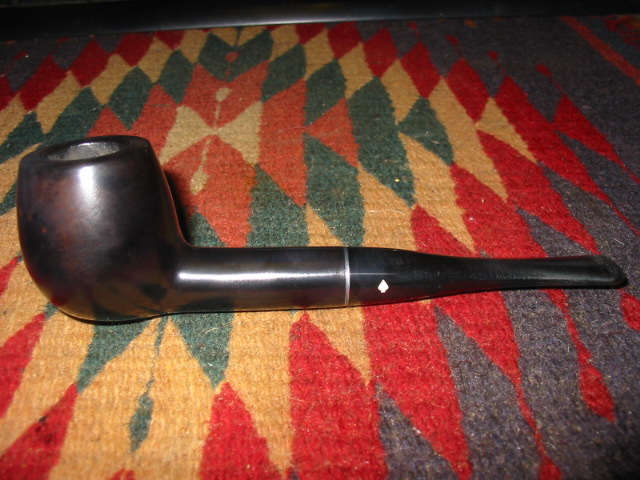
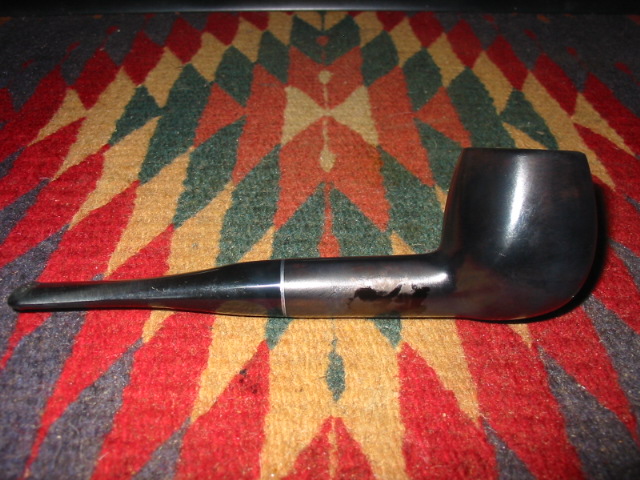
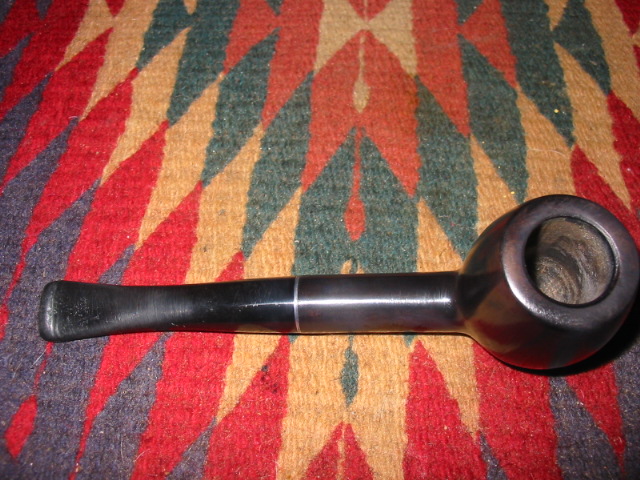
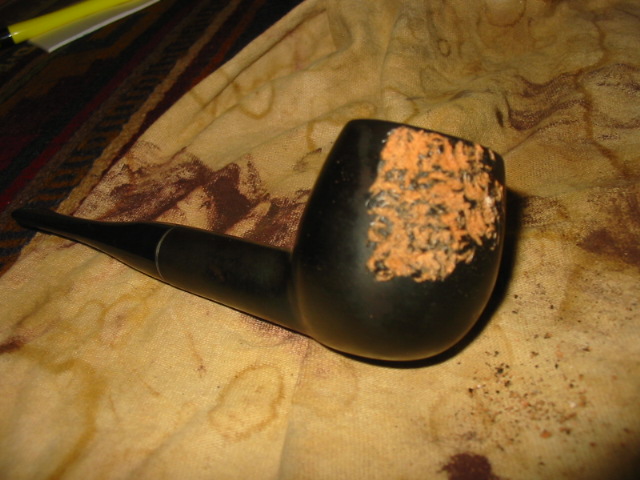
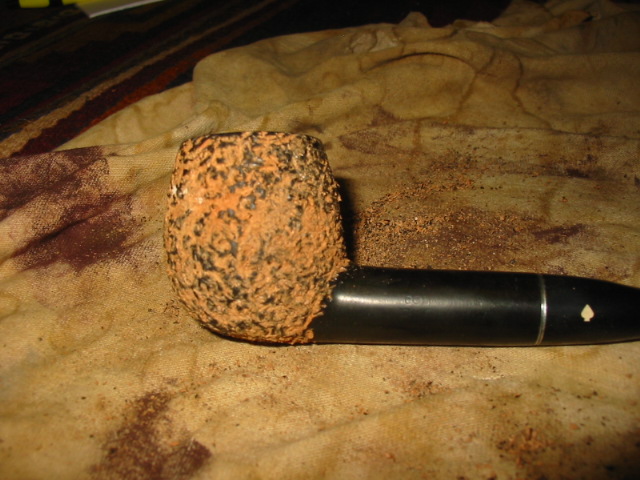
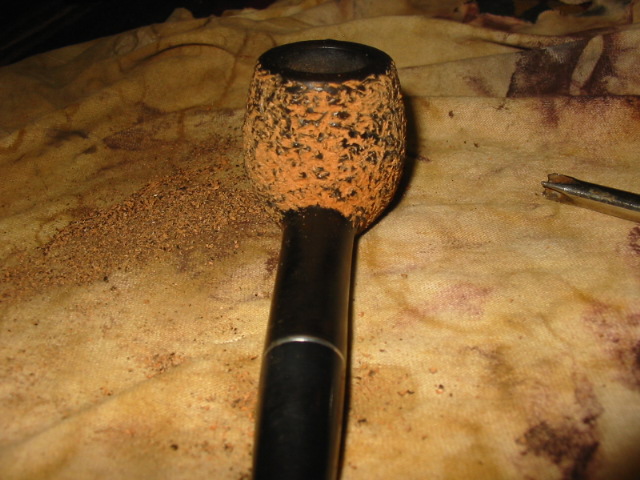
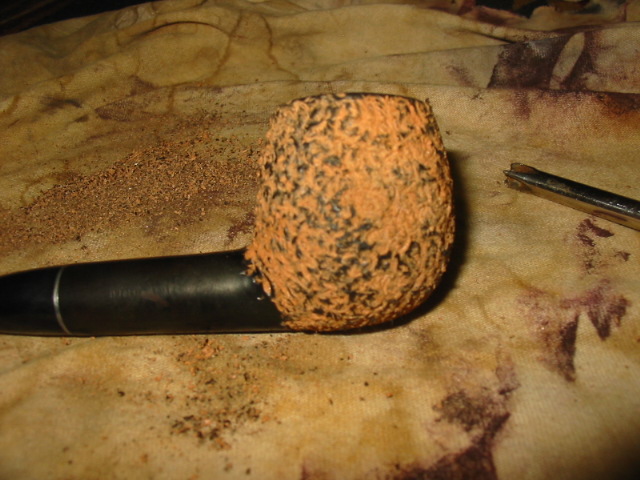
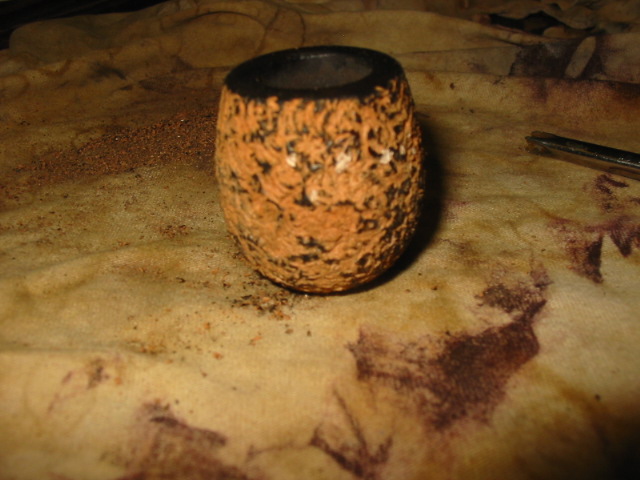
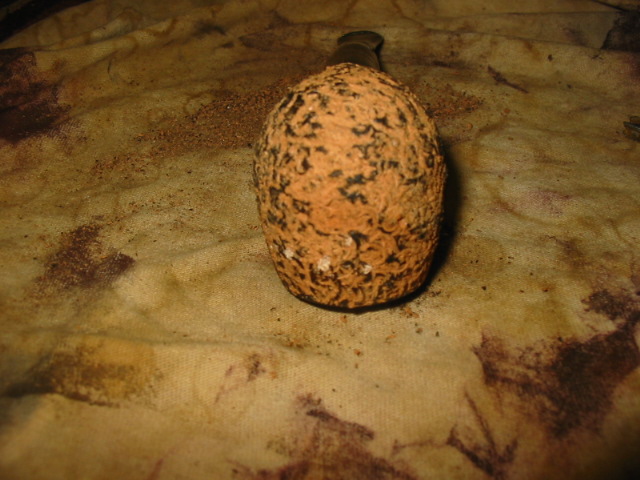
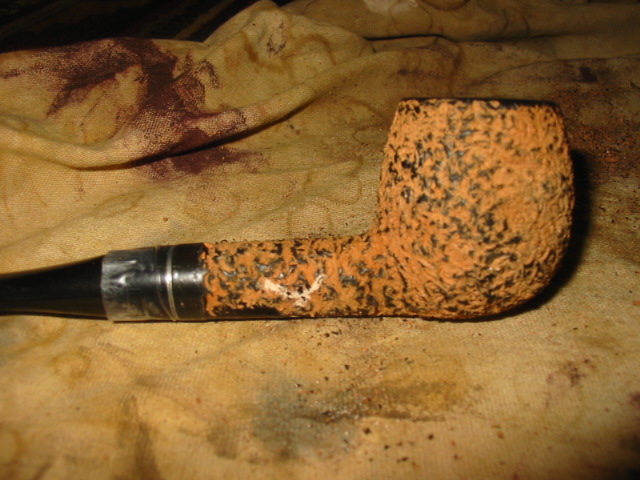
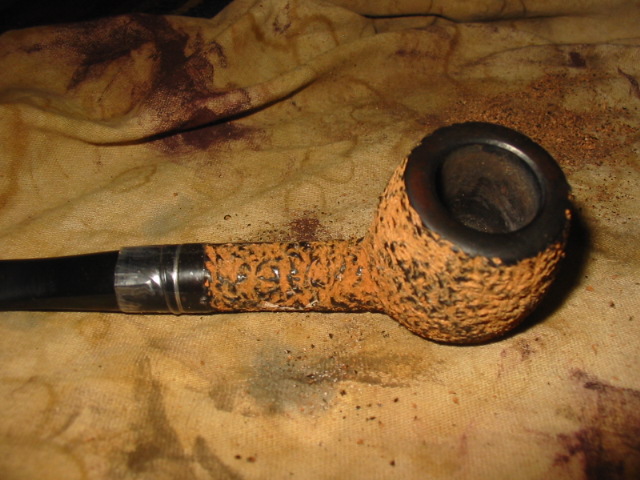
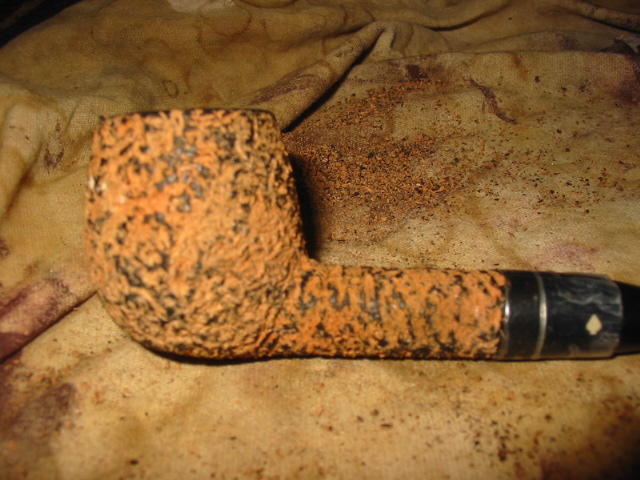
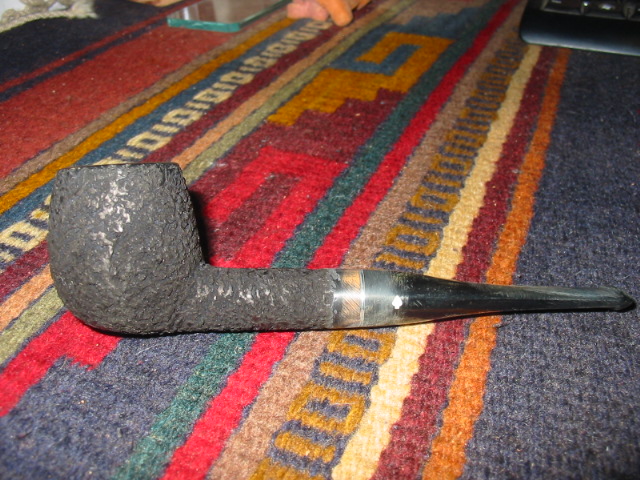
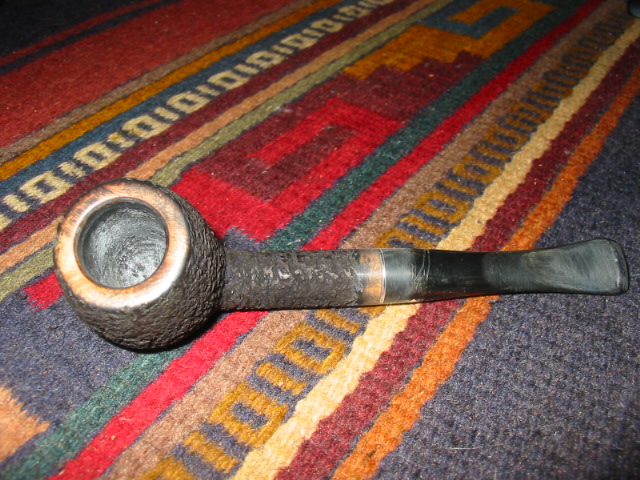
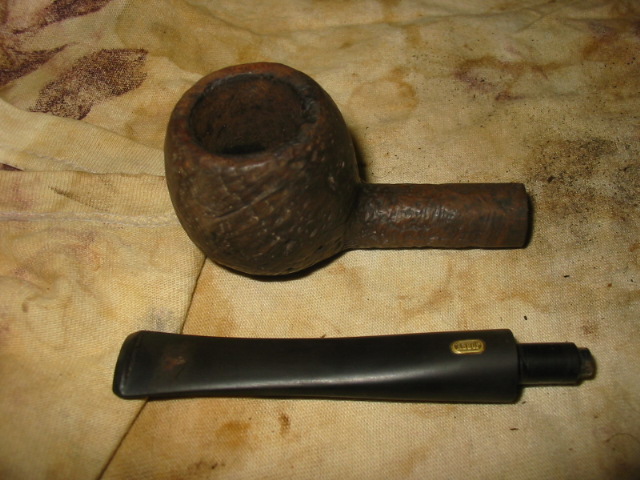
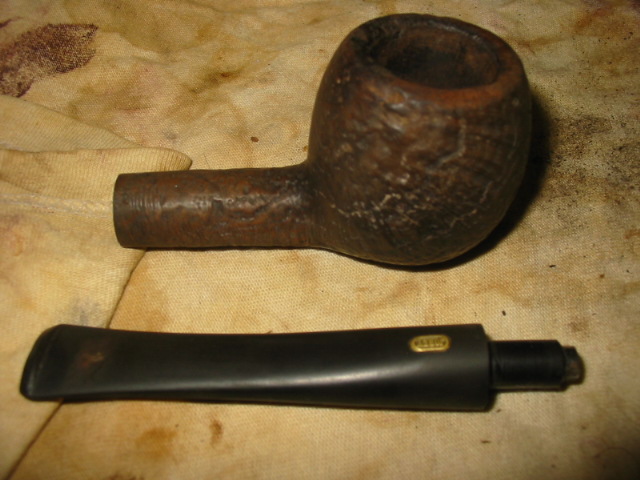
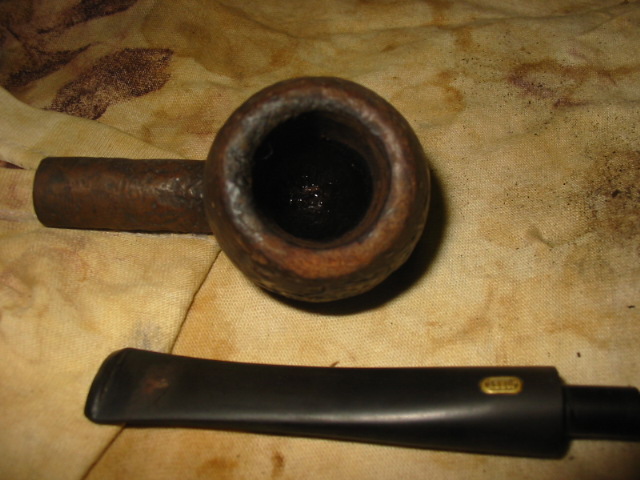
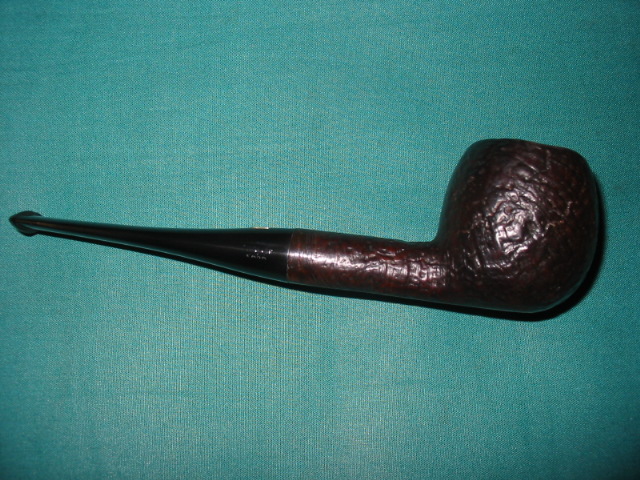
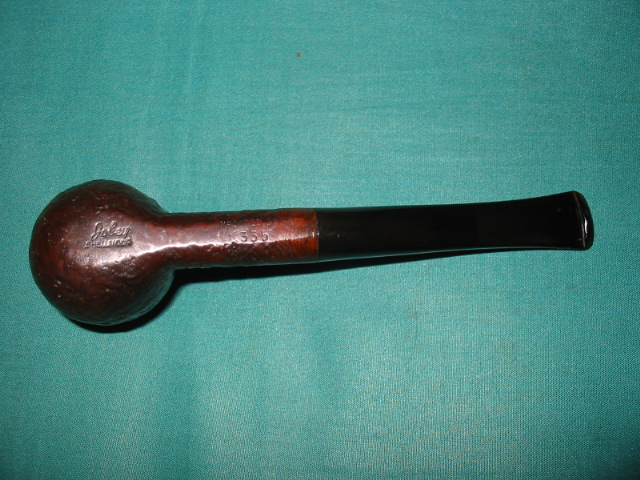
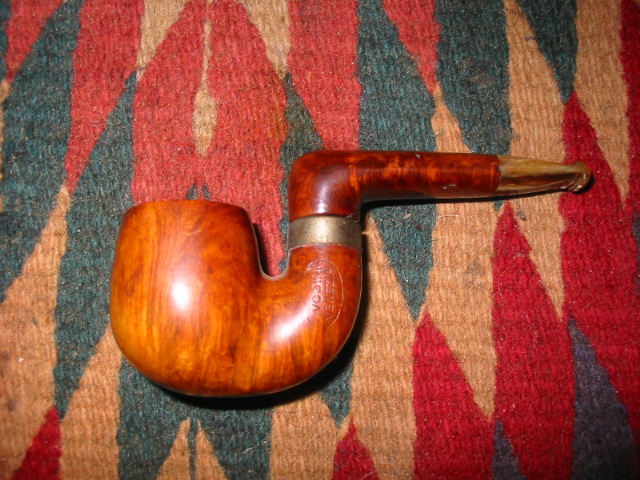
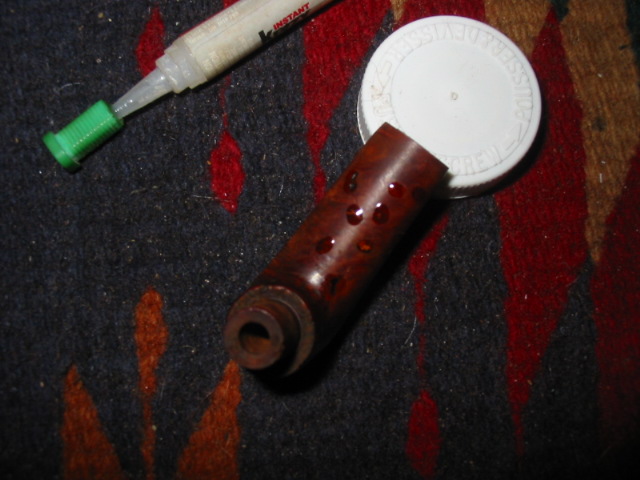
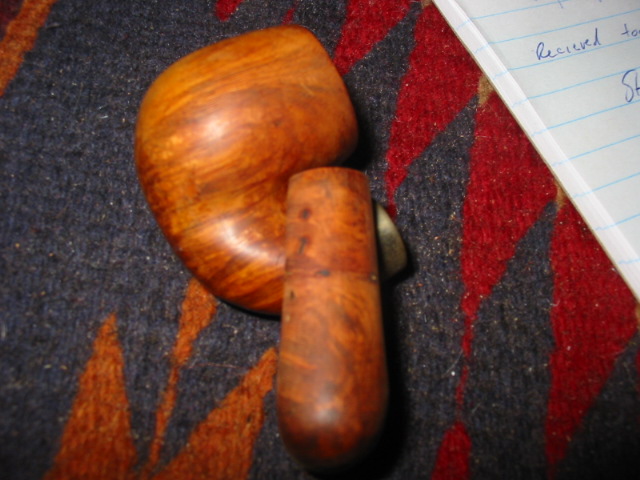
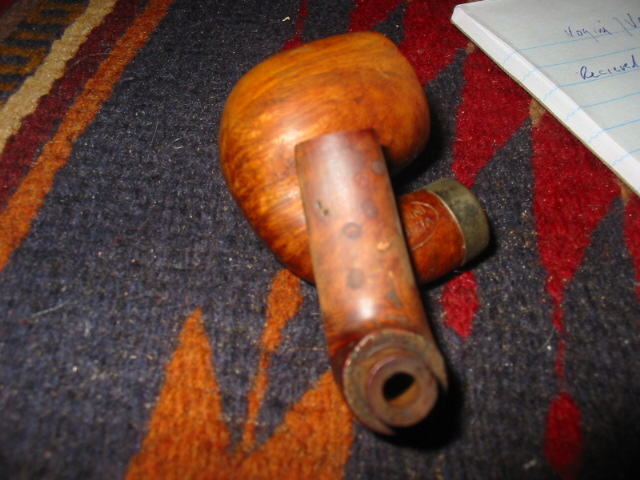
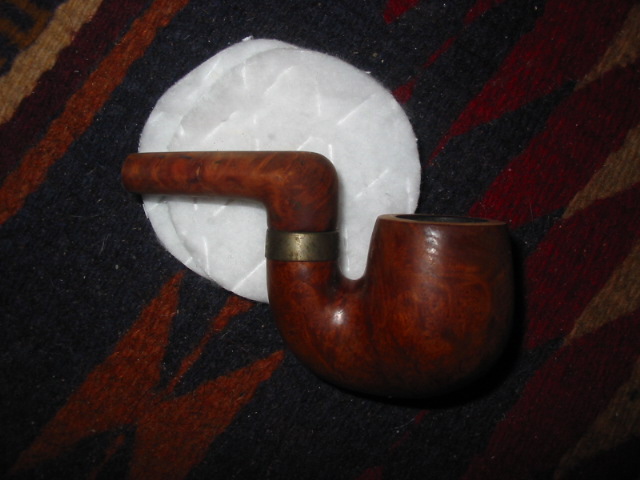
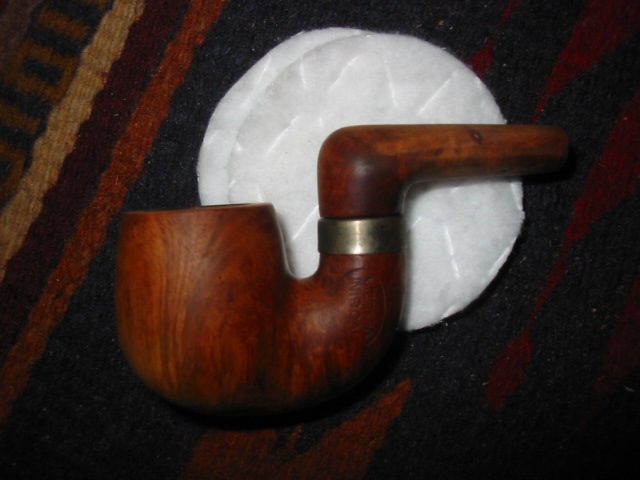
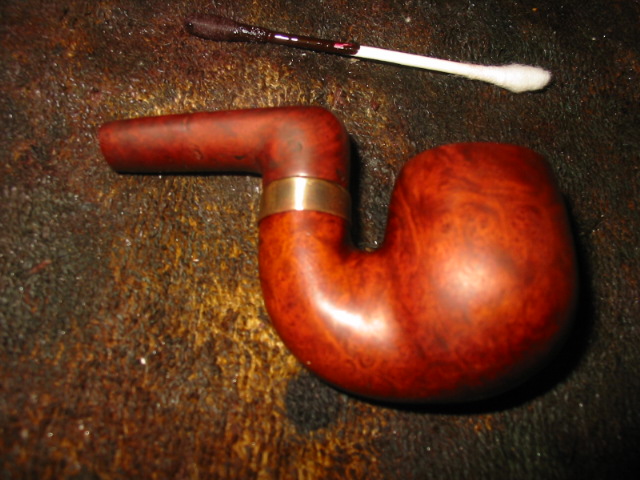
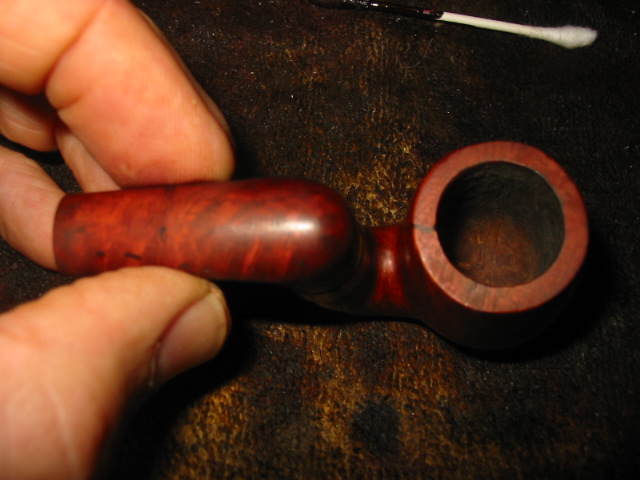
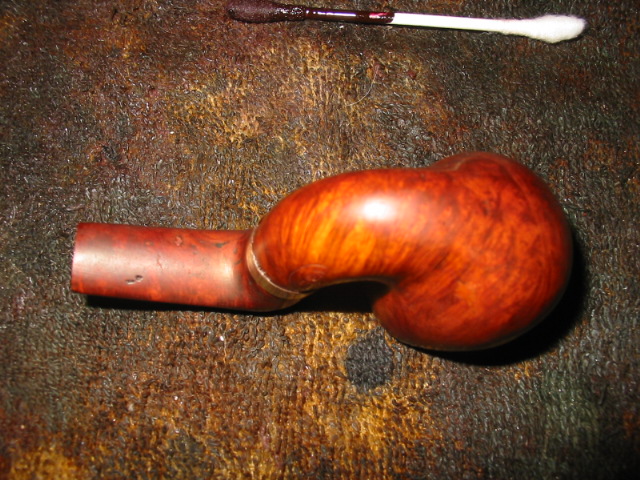
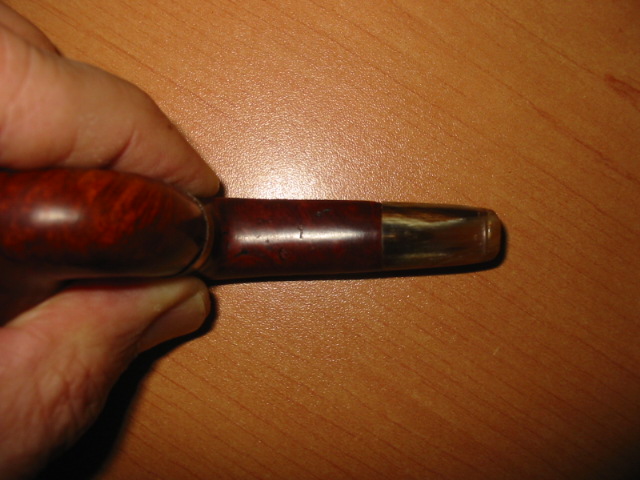
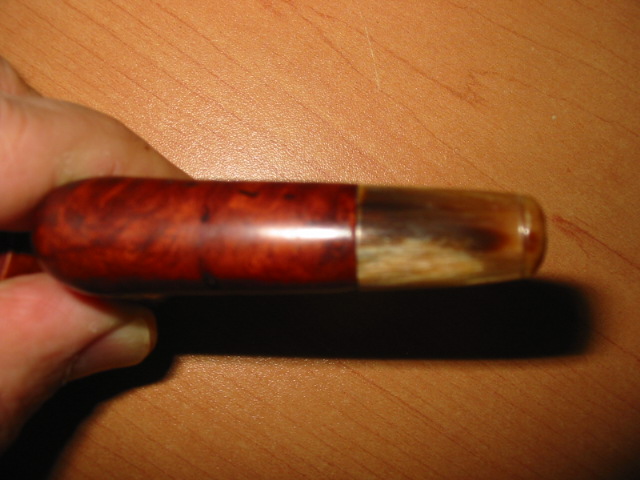
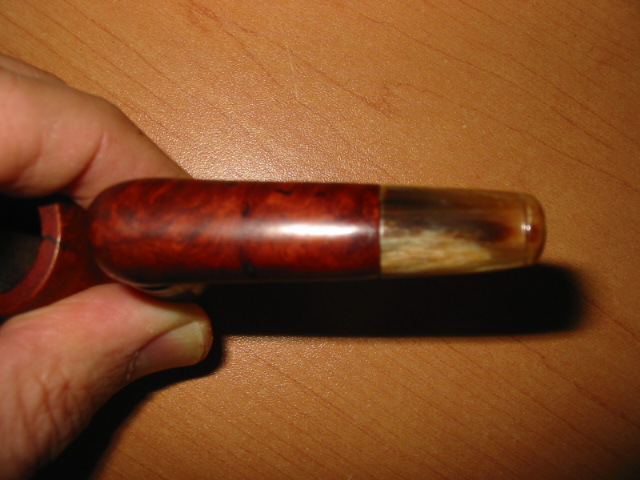
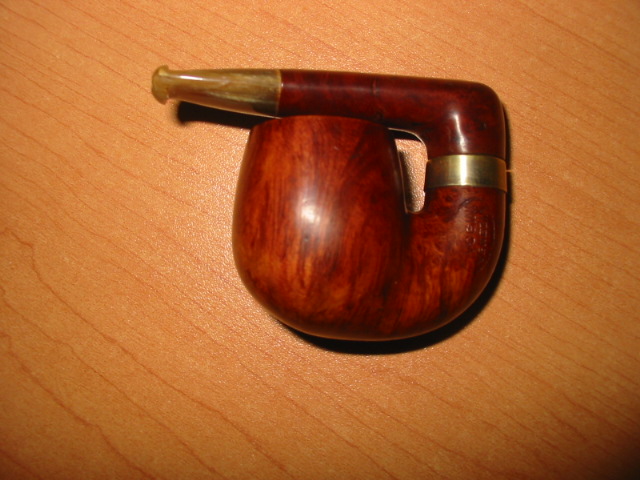
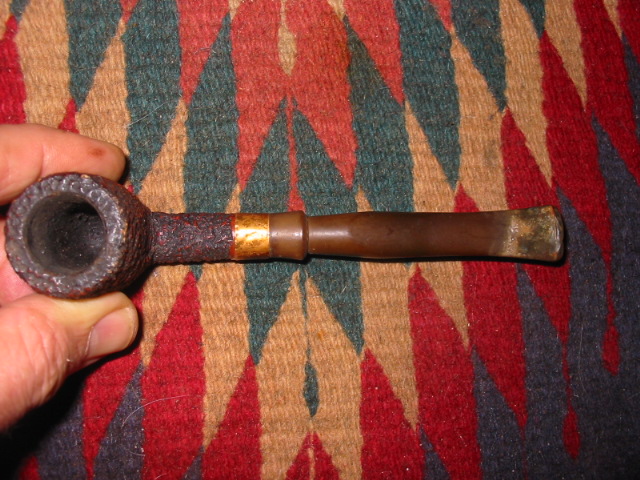
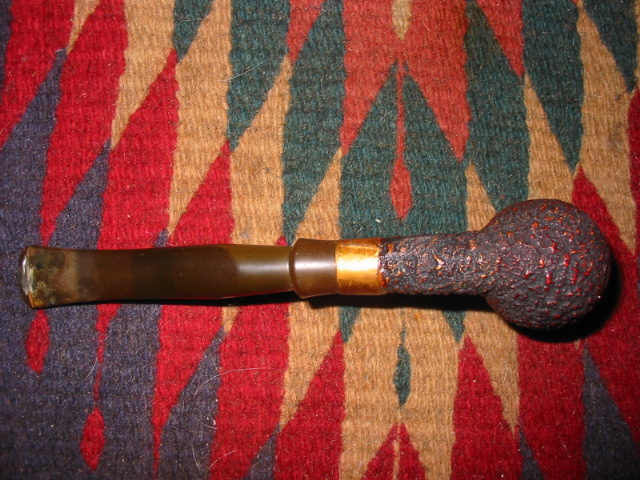
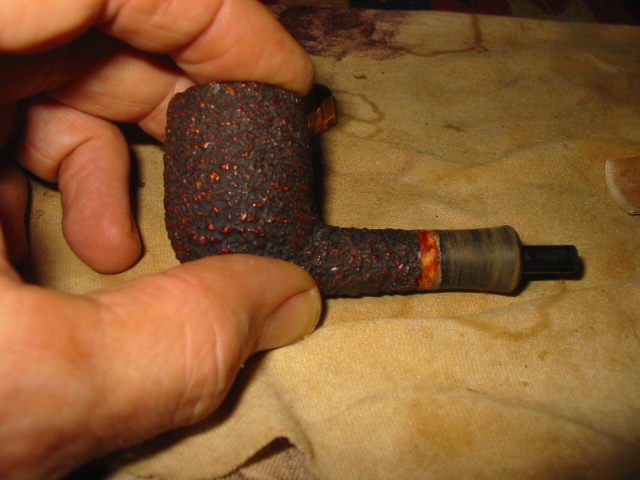
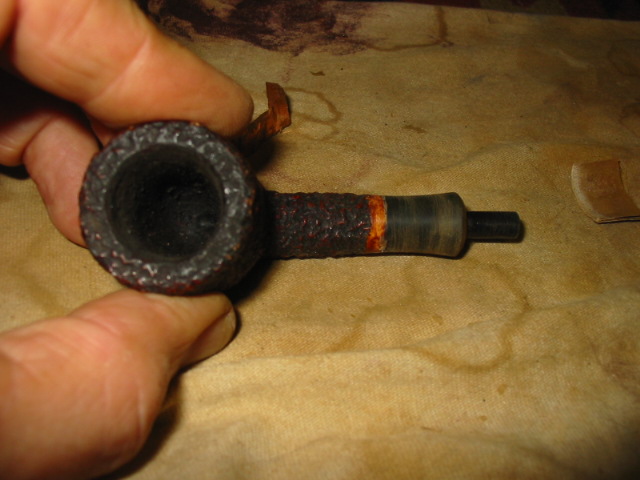
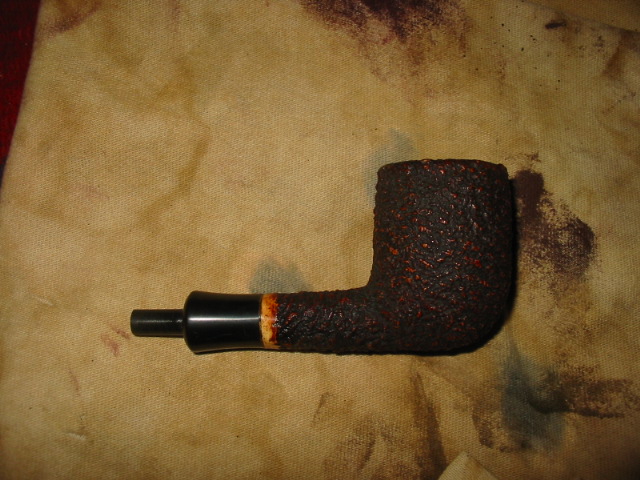
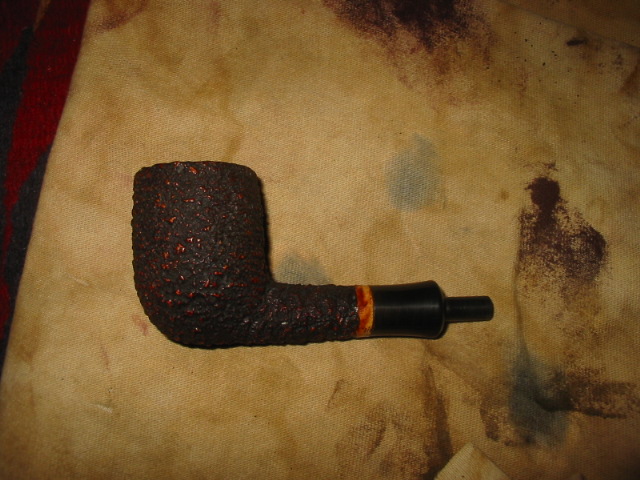
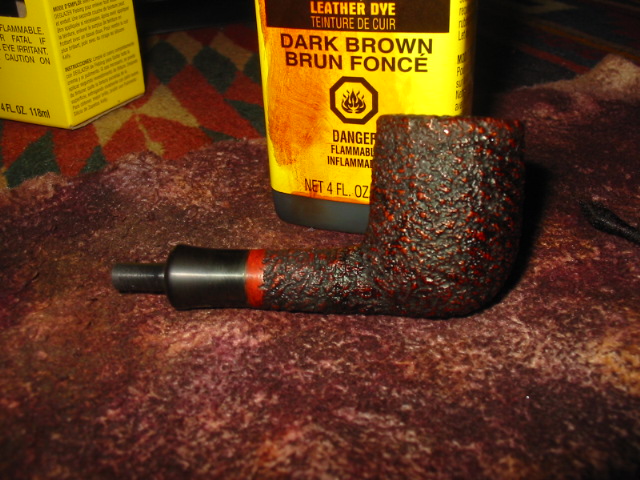
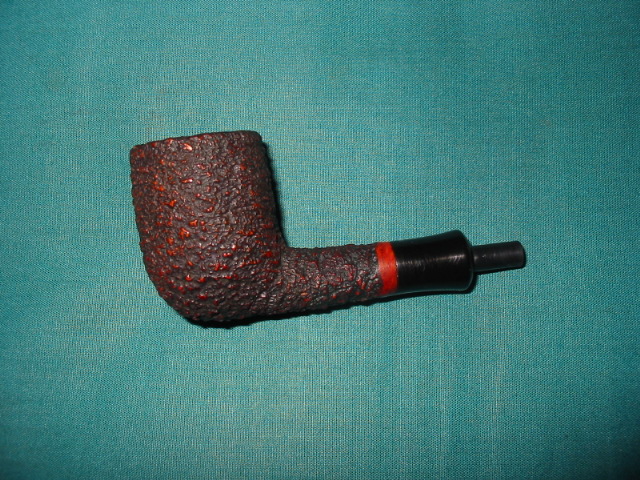
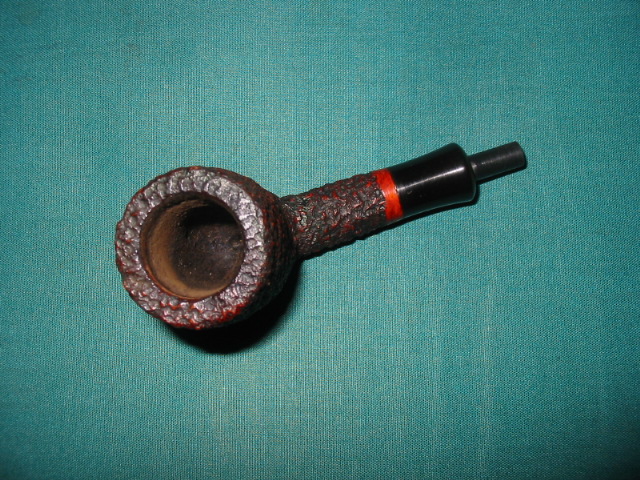
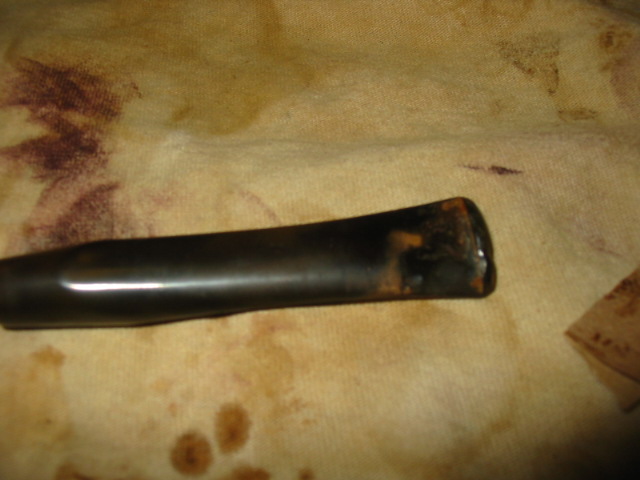
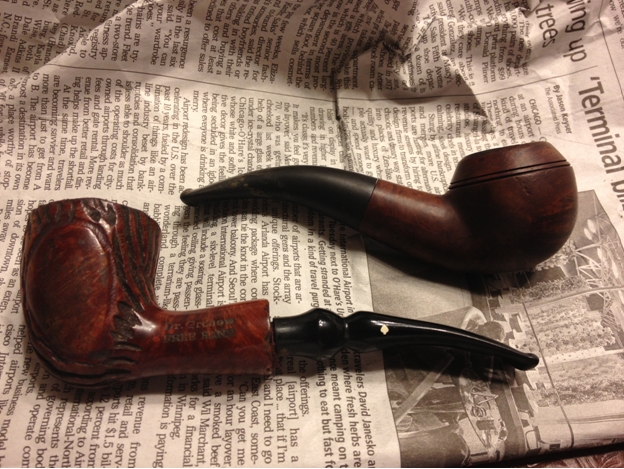
I picked up this Dr Grabow Freehand at an antique mall about a month ago when I got the Wally Frank that is visible in the photos, too. It was scratched to heck on all the smooth briar and the stem was chewed completely through. But I went ahead and bought it for three reasons:

– I’ve  never had a freehand
– I have been wanting to restore a stem with a hole or, in this case, a lot of damage
– I got a pretty decent price
So, I picked it up.Greg1
Greg2

Greg3

Greg4

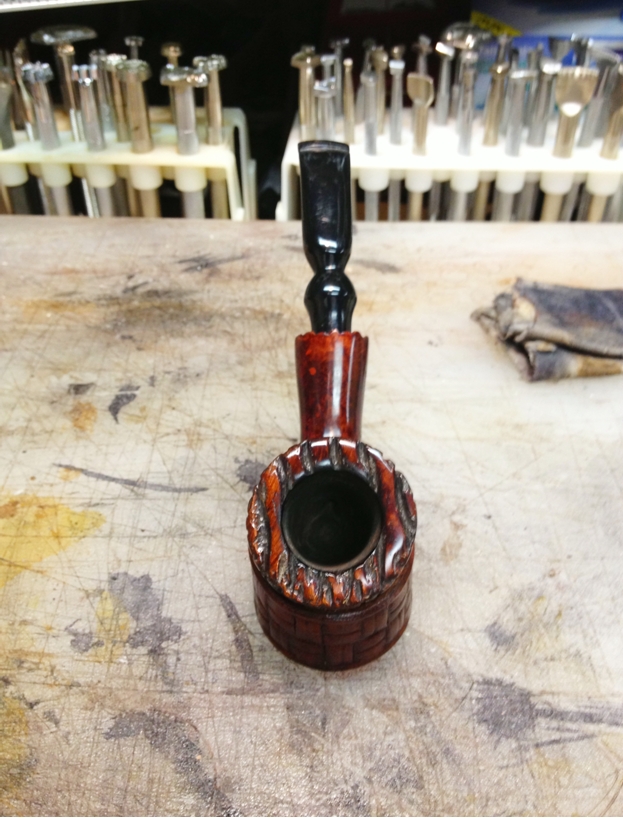
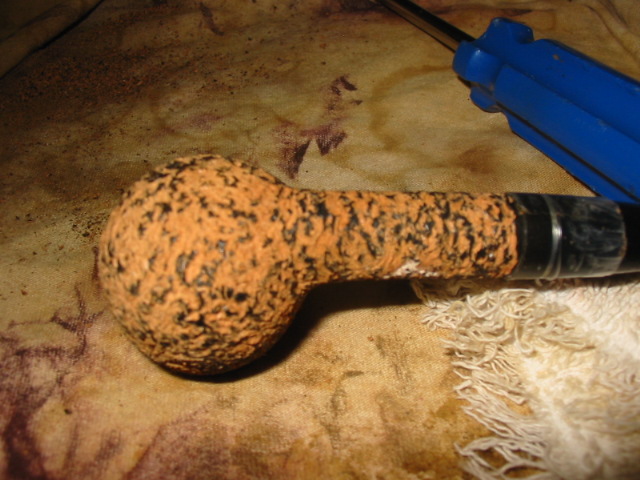
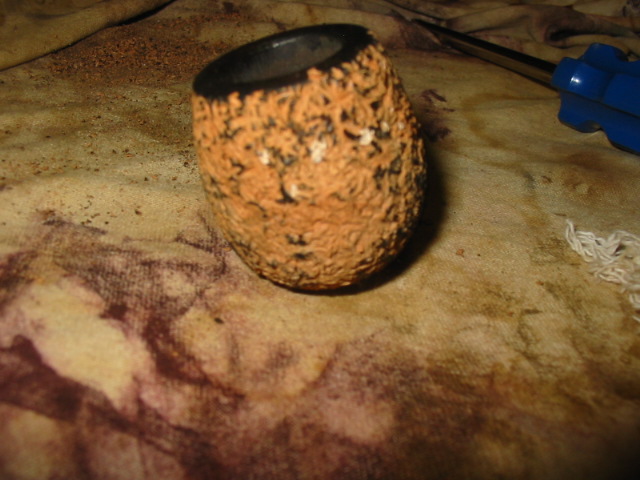
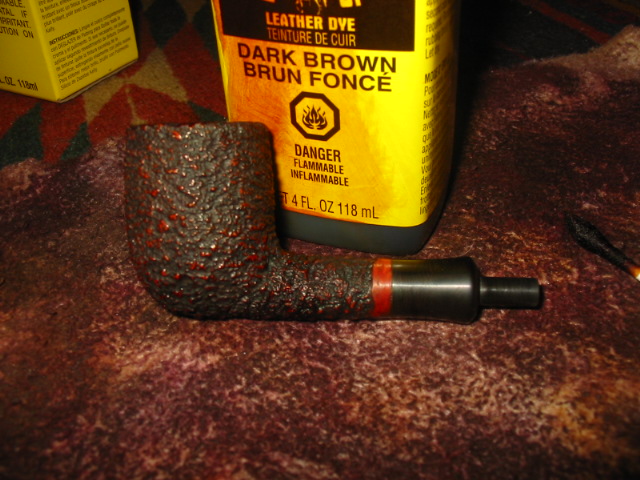
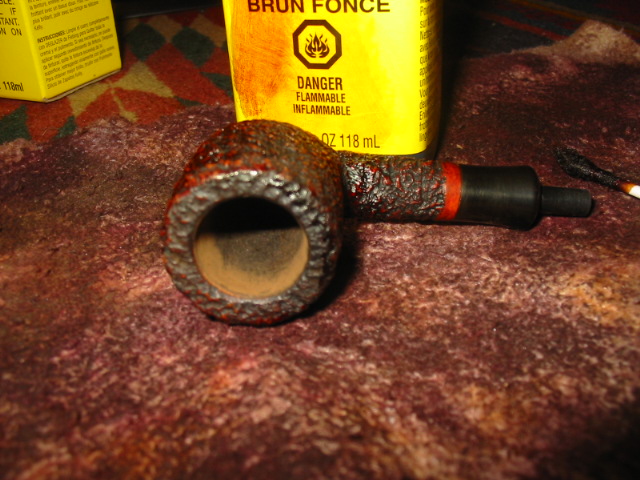
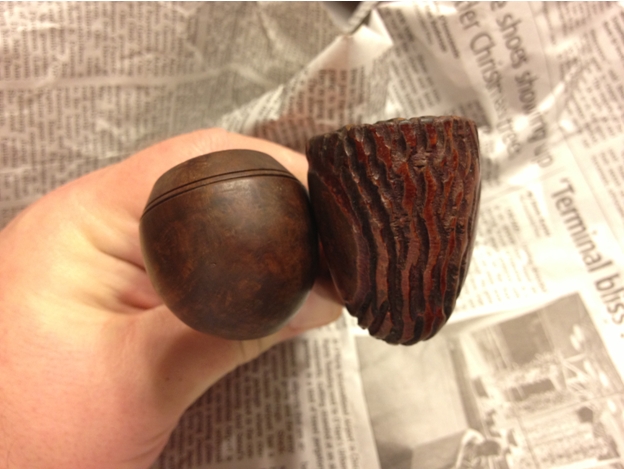
Greg5 I decided to deal with the bowl first, by stripping it with acetone and soaking it overnight in an alcohol bath; I also put the stem in a OxiClean soak at this time.  After removing the bowl from the alcohol bath I then used a brass bristle brush to get all the tar and gunk out of the rusticated top grooves. Then I sanded it to remove all the scratches from the smooth briar and take the old stain off the high points using 400 grit wet/dry sandpaper.Then I used some water based black leather dye on it, getting into the recesses well and wiping of the smooth portions as I went; I wanted to keep that darker contrast in the grooves. After I had it covered to my liking I dried it with the heat gun. Next I went back to 400 grit to take down the high points and smooth areas to remove the small amount of black color from the water based dye. When that looked good to my eye I polished it with 600 grit, wiped it down with 91% isopropyl alcohol on a cotton pad to remove any left over dust and dirt.  I heated it with the heat gun again to make sure the briar was good and dry. When it was nice and warm I applied Fiebing’s dark brown spirit-based leather dye, diluted 2:1 with 91% alcohol and flamed it in; I did this twice. The color was a bit too dark now so I wiped the pipe down, taking care to not soak my cotton pad too heavily or get into the recesses too much, with alcohol until it looked right to me. I then set it aside.Greg6
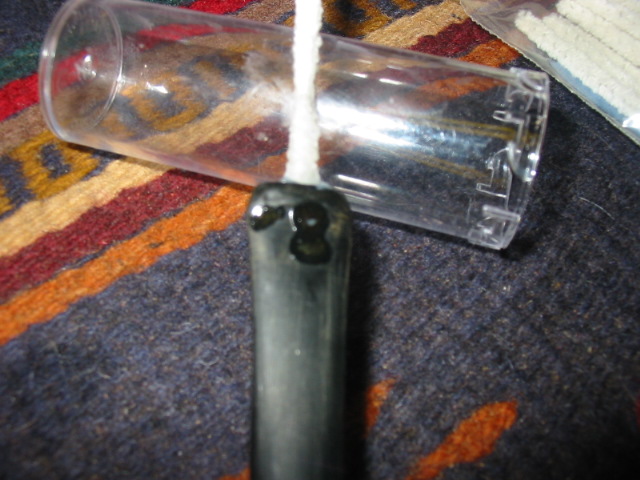
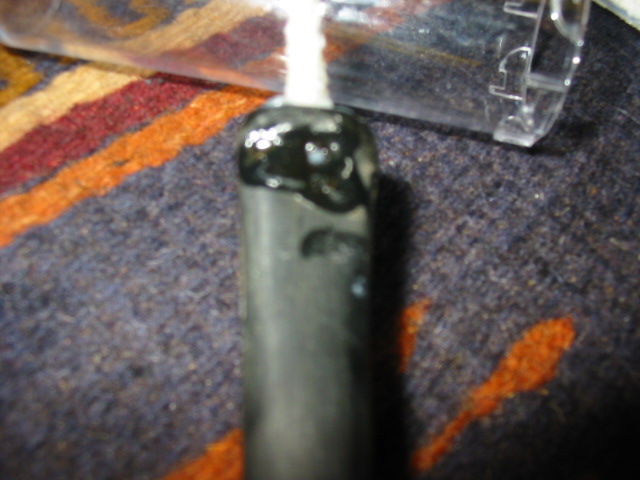
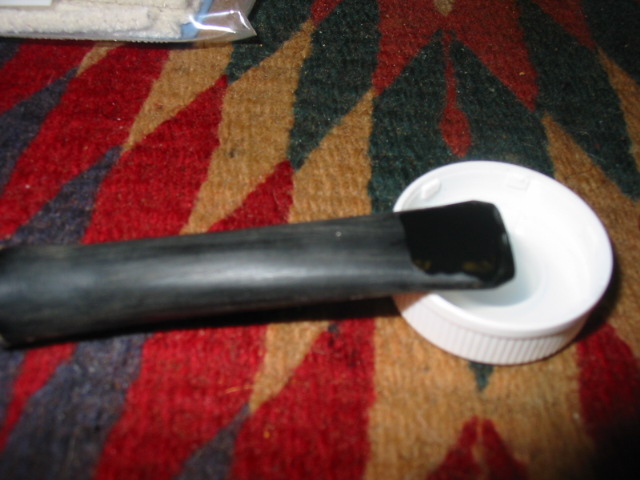
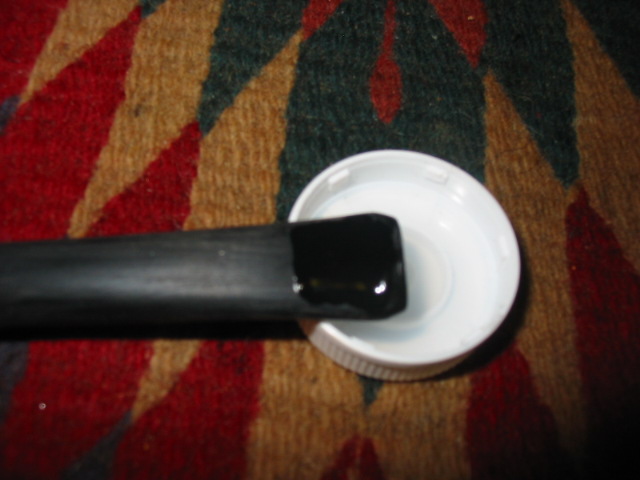
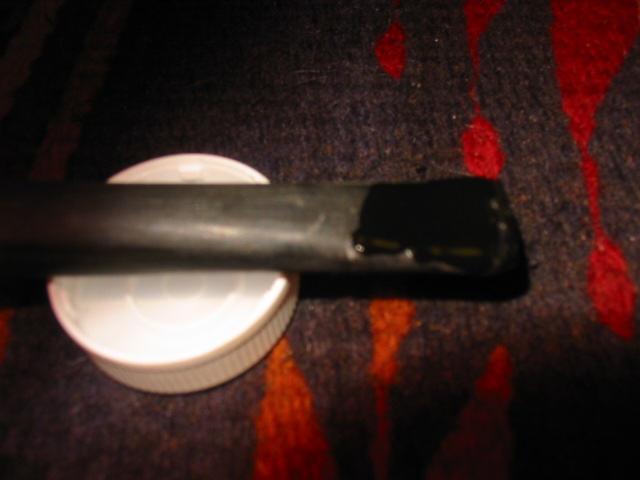
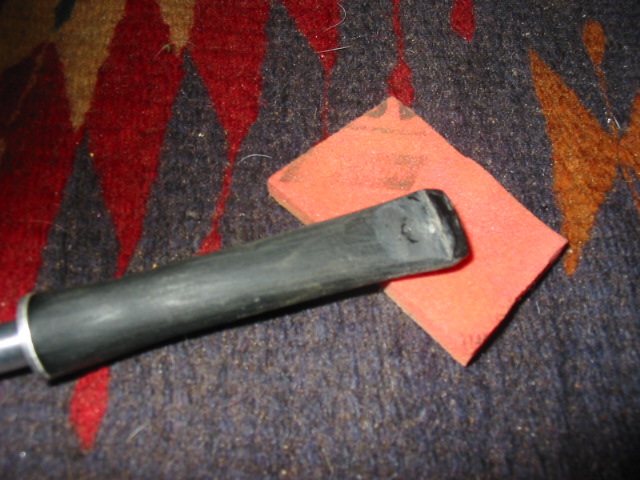
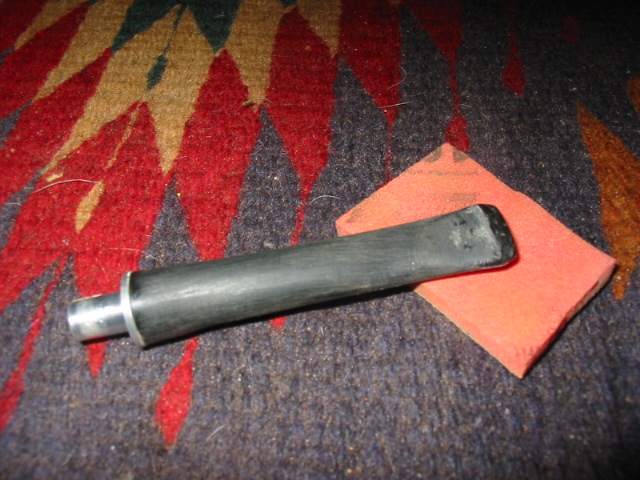
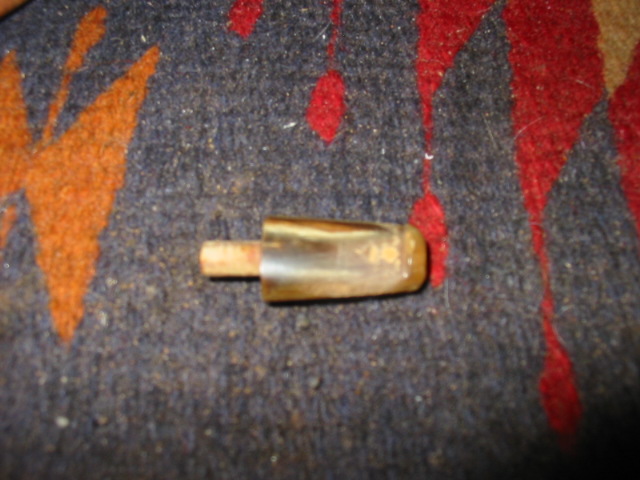
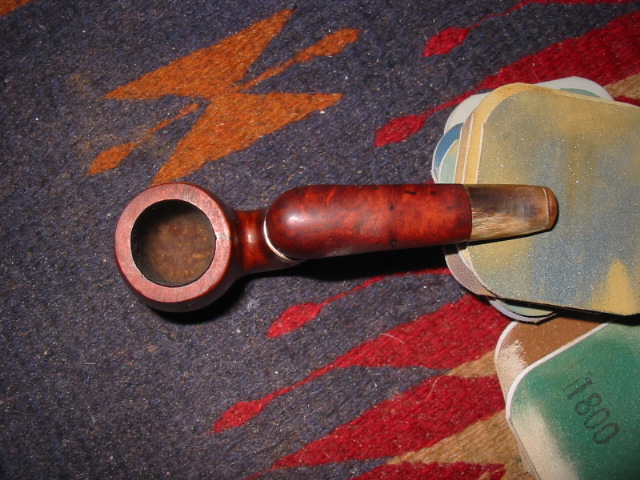
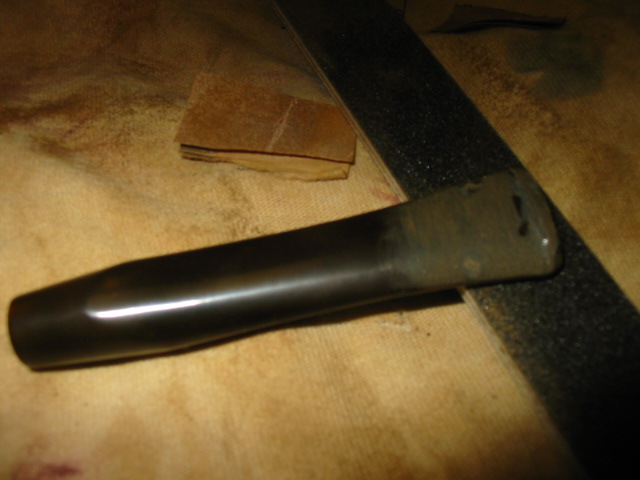
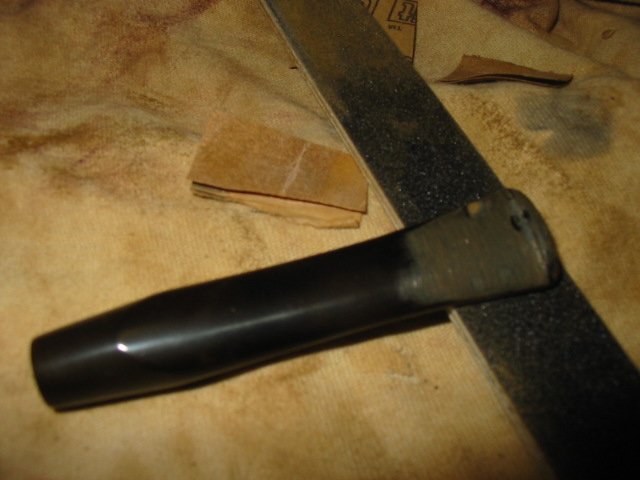
Greg7 When I soaked the bowl in the alcohol bath I also left the stem in a OxiClean soak overnight. I had removed and washed it well before starting on the bowl so it was ready now to work on.Greg8 I decided to shorten and reshape the stem instead of replacing it or trying to fix the gaping holes. I used a coping saw to cut off the end, saving as much of the stem as I could. The bottom hole had also cracked so it required removing quite a lot of the stem to get most of the crack out. The next step was to grease a pipe cleaner with petroleum jelly and insert it into the stem. I then dripped some Super Glue into the crack and let it set up while I worked on something else.

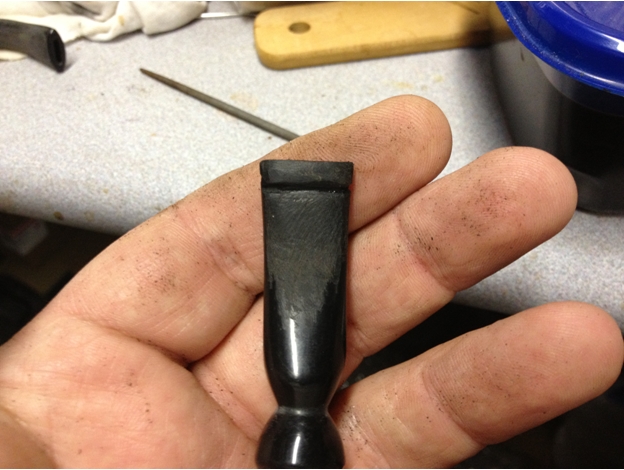
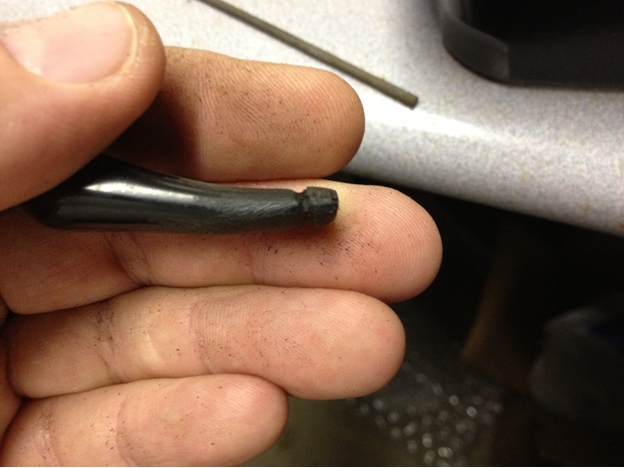
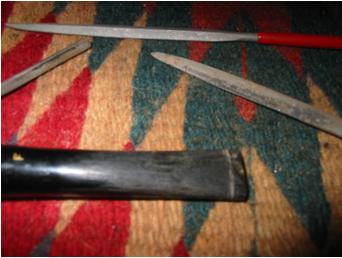
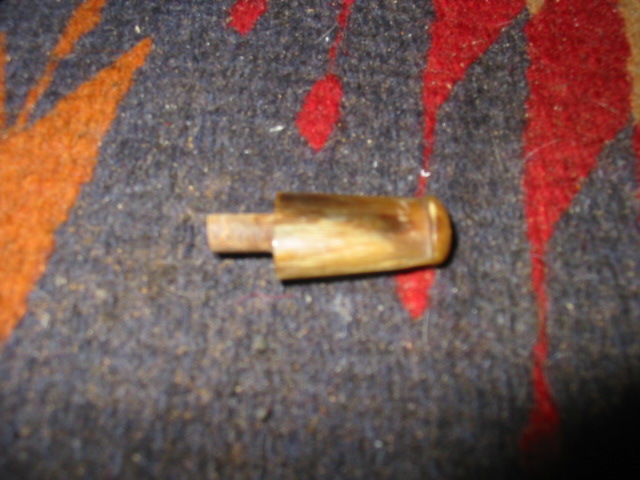
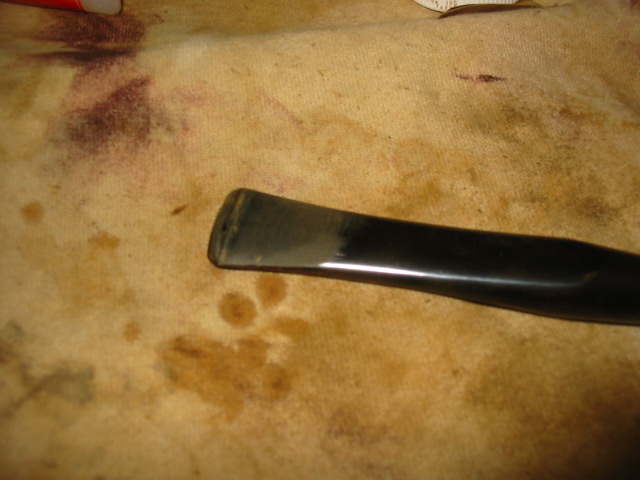
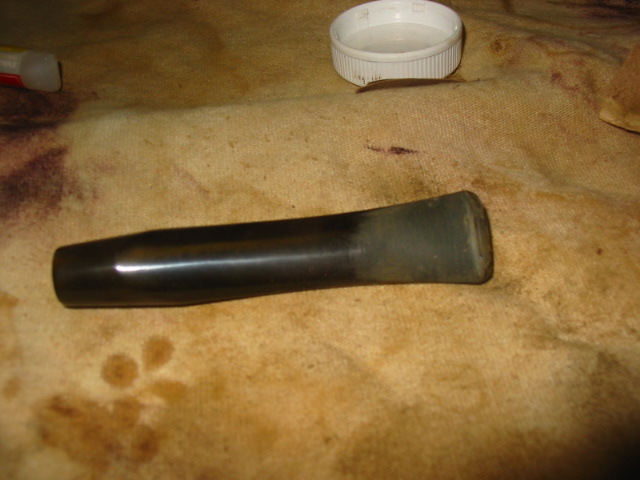
When I came back to it, the glue was hardened and I was ready to move on to the next step: making a new button. I began this process by scoring a line along the top and bottom of the stem where I wanted the button with a cutoff wheel on my Dremel. After I had the new button laid out, I then started to shape it with various needle files. I began shaping from the button back, forming it into shape with the rest of the stem. This took considerable time to get it even and “natural” looking. When I was satisfied I then began to shape the end of the button.Greg9

Greg10 I shaped the bit with needle files, too, again using several to get the shape right. The first step for this was getting the angle to look right on the top; this didn’t take as long as I expected. I then began to form the bottom of the bit, trying to match the shape of the top as close as I could; this took more time and effort than I’d expected.

Making a new drought hole was something new to me. And was not without its challenges either. I used my needle files, again, to start shaping the new hole, making it a bit taller as well as wider than the hole that was left in the cut off stem. I took the extra time to fan the drought hole, too, partly because I wanted to and partly to see if I could do it. This ended up being some of the most time-consuming and tedious work of the entire project: I needed to make sure I didn’t go too thin in any direction but I wanted the hole to really funnel out well. I am pleased with the results and the way it smokes and would say it was worth the extra time and effort to accomplish it.Greg11
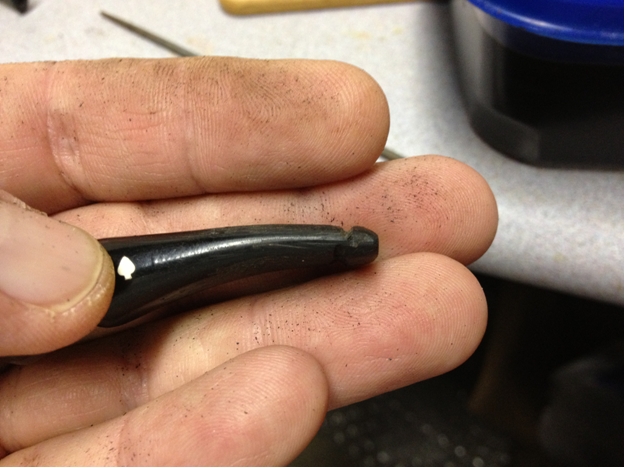
Greg12 After all the shaping I wiped the stem well with alcohol to clean it off for a test fit – to my mouth. The test failed; the bit was too long and too steep. So back to the files I went. I filed, tested, filed, tested a few times until it felt comfortable in my mouth and looked good to me. Now time to get it shiny again.

I began with a fine/medium grit sanding sponge. It worked very well to get in and around the bit to smooth it a bit more and to take out the file marks. I then began wet sanding with grits 220/320/400. At this point I applied some Novus 2 plastic polish. The Novus line come in three grades: 3 – the most course, 2 – the second, and 1 – the final polish. I began using this product on my motorcycle windshield a few years ago and loved it. I have numbers 1 & 2 but have yet to try 3.

After using the Novus, I began with the micro mesh, wet sanding with grits 1500/1800/2400/3200/4000 (I’m not looking at the numbers but I believe that was the correct grit numbers. I applied the Novus 2 again and then polished with micro mesh 6000/8000/12000. Now it was off to the buffer with pipe and stem.

I buffed the pipe several times around with Tripoli to get the color just where I liked it. I then moved onto the white diamond for both the pipe and stem. I took a little extra time on the stem to make sure I fine tuned the button a little more, testing it every so often. After buffing the pipe and stem with white diamond I changed to a metal buffing wheel with blue rouge to polish the metal tenon on the stem; I hate a nicely polished stem that hasn’t has the metal (if there is any) not polished, too.Greg13
Greg14

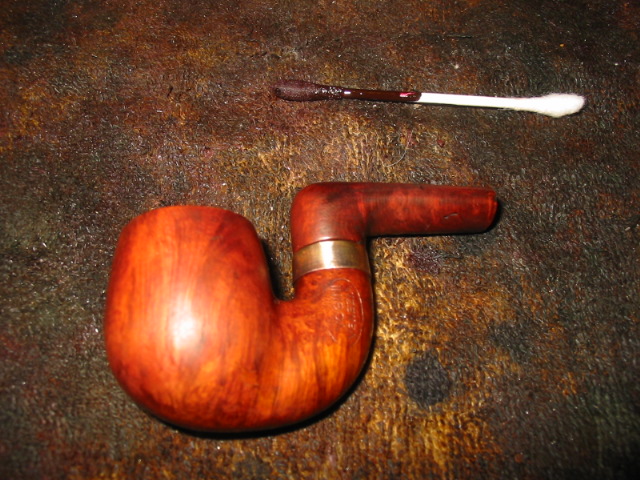
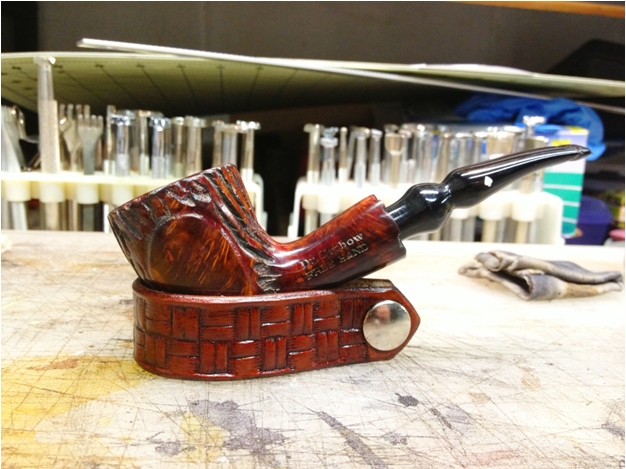
Greg15 Several coats of carnauba wax was then applied to both pipe and stem. I did the final buffing with my “mushroom” on my cordless drill. I like the control I have with it and also the fact it’ll reach almost anyplace with little effort. The final touch was to polish the rustication with a soft toothbrush to make sure I didn’t have any wax residue left.Greg16 There were, and still are, some fills in the pipe but I wasn’t particularly concerned with them. Several are on the shank and it would have been “dicey” to try to fix them without ruining the nomenclature. There was one fill on the side that fell out, presumably from the softening of the putty in the alcohol bath. I missed that one until after I had already started smoking it.  If I’d seen it earlier in the process I would have fixed that one but now it’s there for the duration.Greg17 (I couldn’t get a good focused shot of the finished button.)

Restemming a Custombilt Look Alike


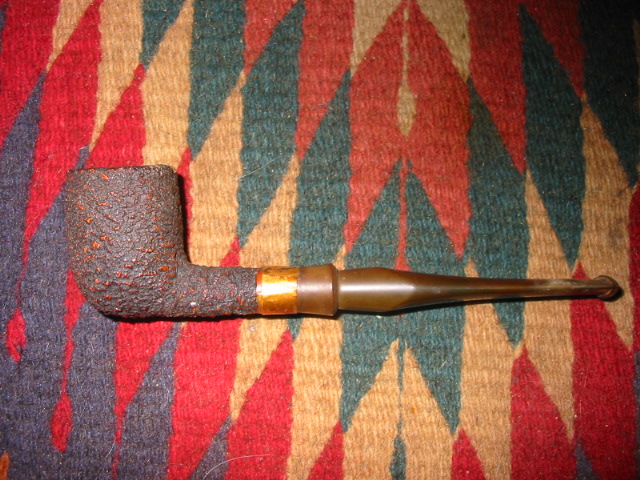
This morning I decided to restem an old Custombilt look alike pot that I had in my box of pipes for repair. I am getting down to only twenty or so pipes left so it is the pipes I have left until the end. Some of these I left because they had no charm to me and others because I just was not ready to work on them. This old no name pot was one of the ones that held no charm for me. The rim was pretty covered with grit and grime. The finish was not in too bad a shape. There was a small crack in the shank which would need to be banded and then the matter of matching a stem to the pipe hung in the air. This morning I went through my can of pipe stems and found an old cast off taper stem that was the right diameter to match the shank. The tenon would need to be sanded to fit the mortise. I set it aside and reamed the pipe and cleaned the shank before fitting the stem. I opened the crack in the shank a bit with some pressure from a dental pick and dripped some super glue into the crack and held it tight until it set. I then heated a nickel band and pressure fit it to the shank. I sanded the tenon by hand with 240 grit sandpaper until the fit was snug.

IMG_9311 IMG_9312 IMG_9313IMG_9314

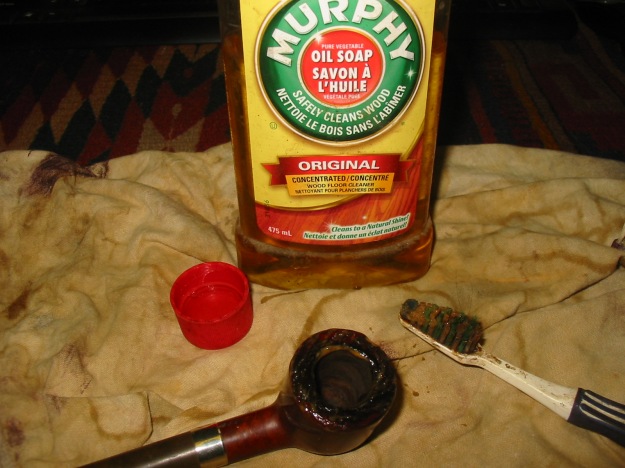
Once the stem was a good snug fit I went to work on the bowl. I cleaned the bowl with Murphy’s Oil Soap and a soft bristle tooth brush. I wanted to remove as much of the grim from the rim as possible and clean up the rustication on the rim surface without damaging the finish. I repeated the process by applying the soap, scrubbing and wiping it off with a cloth.

IMG_9315

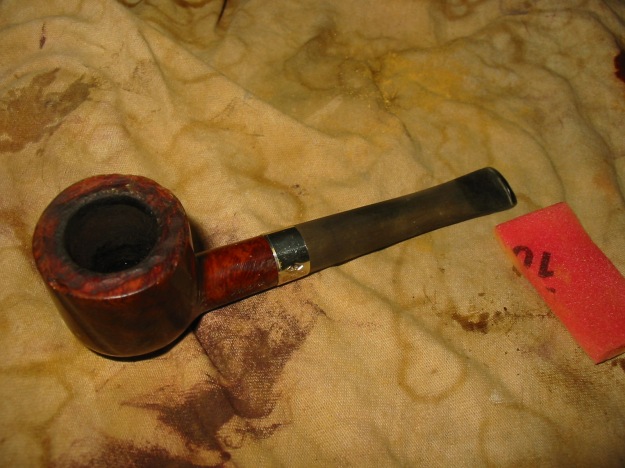
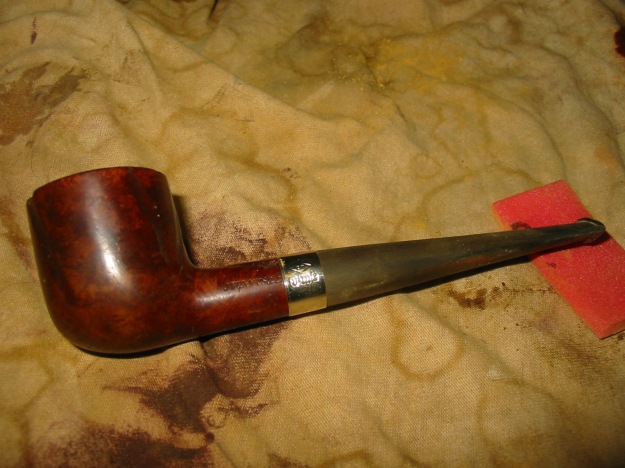
When the rim was clean I wiped down the outside of the bowl with the Oil soap as well and removed the grime that remained on the surface. I then wiped the entire bowl down with some acetone on a cotton pad to even out the stain colouring. Once it was dry I took the pipe to the buffer and buffed the pipe and stem with Tripoli and White Diamond.

IMG_9316IMG_9317 IMG_9318

I sanded the stem with a sponge backed medium grit sandpaper. I find that this allows me to get into the crevices on the button and to follow the shape and taper of the stem well. At this point the two photos below show the stem after the buffing and sanding. I spent a bit of time working on some tooth marks along the edge of the button on both the top and the bottom of the stem. You can see the work that has been done near the button in the photos below.

IMG_9319 IMG_9320

I worked on the stem with the micromesh sanding pads using the 1500, 1800 and the 2400 grit with water to sand out the scratches and the remaining oxidation. At the conclusion of this process the stem was a nice matte black and the oxidation was basically history as can be seen in the photos below.

IMG_9321 IMG_9322 IMG_9323 IMG_9324

At this point in my stem rejuvenating process I rub the stem down with Maguiar’s Scratch X 2.0 a fine scratch and blemish remover intended for cleaning and polishing plastic headlight lenses. I rub it on by hand and then scrub it off with a cotton pad until the stem is clean. When I finish with the polish I move on to the next grits of micromesh 3200-12,000 grit and sand until the finish is a polished black with a depth to it. I dry sand with these grits of micromesh. Between the 4000 and 6000 grit pads I took it to the buffer and gave it a buff with White Diamond. I found that the oxidation at the shank end of the stem was still present after the buffing and would require some more work with the earlier grits of micromesh. I buffed that end with some Tripoli and then decided to try the Bic Lighter method to address the remaining oxidation. Once that was finished I sanded the stem with the higher grits of micromesh 4000-12,000 and then coated the stem with Obsidian Oil. I buffed the stem with White Diamond and then reinserted it in the pipe and gave the entire pipe a final buffing with multiple coats of carnauba wax. Here is the finished pipe.

IMG_9325 IMG_9326 IMG_9327 IMG_9328

New Life for a BBB Short Dog


I picked up this little BBB Bulldog on EBay and knew it would take some work. In the photo below you can see the cut in the stem – a groove or channel that served as a dental grip for the pipe. It is just in front of the button. There was some minor oxidation on the stem as well. The button had an orific opening (round hole in the button) rather than a slot. The rim and sides of the bowl were dirty and there was some darkening around the edges. The bowl was caked with a thick cake that would need to be reamed. The photo below is the one that was on EBay.
BBB1

When the pipe arrived it was smaller than I had imagined. No problem there as I like these pocket sized pipes. The stamping on the shank only had the BBB logo in the diamond. No name or other identifying marks were on either side of the shank. The stem did not have the BBB stamp or roundel. The finish was not too bad. The majority of work would need to be done on the rim and the top edges of the bulldog bowl. The stem was going to take some work to get rid of the trough that had been cut in it by a previous owner as a kind of dental bit. The bowl was not as caked as it had appeared in the original picture but had been over reamed and was out of round. The walls at the top appeared to be thinner than normal on a pipe of this shape.
bbb2

bbb3

You can see the size of the pipe from the photos above with the ruler. It is four inches long and delicate in the hands. I went to work on the stem first with my needle files and sandpaper to remove the trough on the top of the stem and the underside of the stem. This took some work as it could have radically changed the slope of the stem. I worked to keep the angle looking right from the saddle to the button. It took quite a bit of time to remove the excess vulcanite and reshape the blade of the stem. I sanded the stem smooth and then progressed through the micromesh grits 1500 through 12000. I put it back on the pipe and took it to the buffer and buffed it with White Diamond until it shone. Then I removed the stem and set it aside while I worked on the bowl.

The bowl needed most of the work on the area of the rim and the edges following down the bowl. There was lava and also darkening. I worked on the rim and the darkening with acetone on a soft cloth. It removed the majority of the darkening and grime. I decided to top the bowl minimally to smooth out the surface. I chamferred the inner rim with a folded piece of sandpaper to minimize the chatter from the over reaming. The pipe was given a coat of medium brown aniline stain, flamed and then buffed gently with White Diamond. The entirety was given multiple coats of carnauba wax and buffed with a soft clean flannel buff. The final picture below has a Canadian penny included to give an idea of size. This will be helpful to those who are familiar with US and Canadian money. To others who are not you can refer to the photos above with a ruler. This is a nice little pipe that smokes very well. It also fits nicely into a coat pocket or shirt pocket!
bbb4

bbb5

bbb6

bbb7

Stem Repair Just for the Practice


Blog by Steve Laug

Sometimes I just repair a stem because it is there and I can get the practice working with it. Such was the case with the pipe below. It is a very low end pipe with a nylon stem and a metal tenon that holds a paper filter. The bowl of the pipe was rusticated and definitely not a favourite shape or style of mine. This one would not be a pipe I kept or would be tempted to add to the collection. It was solely a pipe that would provide me an opportunity to work on the tooth dents, the bite through holes on the top and the bottom of the stem near the button as pictured in the two photos below. A decision had to be made whether to fill the hole with super glue or to cut of the bitten through end of the stem and reshape a new button. The dents and holes were very big and the stem was truly a mess.
I used heat from a heat gun and boiling water to raise the tooth dents in the stem and then sanded it to provide a smooth surface in front of the button. I wanted to minimize the amount of the stem that I would have to cut off should I choose that method.
stem1

stem2

I used heat from a heat gun and boiling water to raise the tooth dents in the stem and then sanded it to provide a smooth surface in front of the button. I wanted to minimize the amount of the stem that I would have to cut off should I choose that method.
stem3

stem4

Once I had leveled the stem out, I again studied the bite through areas. It was clear to me that I was going to cut off the stem and reshape the button. I used a Dremel to cut back the button and the damaged area of the stem. The next three photos show the result of the cut back. I did not have to remove nearly as much as I originally thought I would as the heat had raise many of the tooth marks in the stem. I sanded the stem to smooth out the flow and slope of the stem and remove the remaining tooth damage. Even though the photos are a bit out of focus you can see the work that was done on the stems. If I had doubted that the stem was made of nylon it became very clear as I sanded it. The grey hue of the material can be seen in the photos below.
stem5

Once the stem surface was smooth and the remaining dents were minimized it was time to take out the needle files and begin to cut the new button on the stem. I used a square bladed needle file to do the initial cuts in the button. I am always concerned to make a clean straight edge on the button so I find that a square blade with no taper or tip makes that task simple. I then clean it up with a flat bladed file and smooth out the transition between the button and the slope of the stem. The other files in the pictures below are used to shape the button and to define its final form. The three photos below show the files and the progress in cutting the new button. You can also see that the small dents that remained are disappearing in the shaping of the button. Care must be taken not to cut the edge too deeply and recreate the hole in the stem again. In this case I had enough meat on the stem to allow me to cut a well defined button.
stem6
stem7

Once I had the button cut and defined I put the stem on the pipe to continue the process of refining the line of the stem and smoothing out the transition to the button. I wanted to taper the button toward the lip rather than leave it flat so you can see that in the profile picture below. The stem is just about finished by the time these photos were taken and only needed the final sanding to bring the stem to completion.
stem8

The stem was then sanded with 400 and 600 grit wet dry sandpaper to remove the deep scratches and then followed that with micromesh sanding pads from 1500-12000 grit. The finished stem is picture below both in profile and from a top view. The new button is comfortable and the slot is open and passes a pipe cleaner easily.

The pipe provided a great opportunity to work on a stem restoration and the recreation of a button and it has since found a new home in the rack of a happy pipe smoker who needed some pipes for working outside and in the yard. This is a perfect yard pipe and should continue to deliver a great smoke to him as long as he chooses to keep it.
stem9

Refurb on the London Made


I finished up the refurb on a London Made billiard. It is a big pipe 7 1/2 inches long. This one was by far the worst one in the lot of three large pipes that I had in my box to refurbish. The rim was in very rough shape with burn marks on the right hand side and dents and scuffs from banging out the dottle. The bowl was heavily caked and the stem and shank were virtually plugged with tars.

I reamed the bowl and cleaned the shank with pipe cleaners, cotton swabs and a shank brush and isopropyl alcohol. Then I gave the bowl an alcohol bath over night. The next morning I took it out of the bath, dried it off with a soft cloth. Once it was dry I sanded the bowl with micromesh sanding pads (1500-6000 grit) until it was smooth. I wiped it down with a cotton pad and some isopropyl to clean off the sanding dust and any remaining oils from my hands. I restained it with an oxblood aniline stain thinned with isopropyl alcohol.

I went to work on the stem after that. The stem was in bad shape. There was a very deep cut mark on the top of the stem about a 1/4 inch from the button. There was also a bite through hole on the underside of the stem. I cleaned and sanded the stem until it was black once again. I left the area around the button, on top and bottom, a bit rough and then filled the cut on the top with krazy glue. I greased and inserted a pipe cleaner in the slot and then filled the hole with krazy glue. Once the glue was completely dry I sanded the two fills I made with sand paper – 400, 600 grit, and then micromesh sanding pads from 1800-6000 grit. (I have read of concern by different folks on how the super/krazy glue can melt or cause damage on vulcanite. I have now been using this process for several years and never had a problem. I have used it on both vulcanite and Lucite. In the past weeks I have also used it on a nylon stem without any probems.)
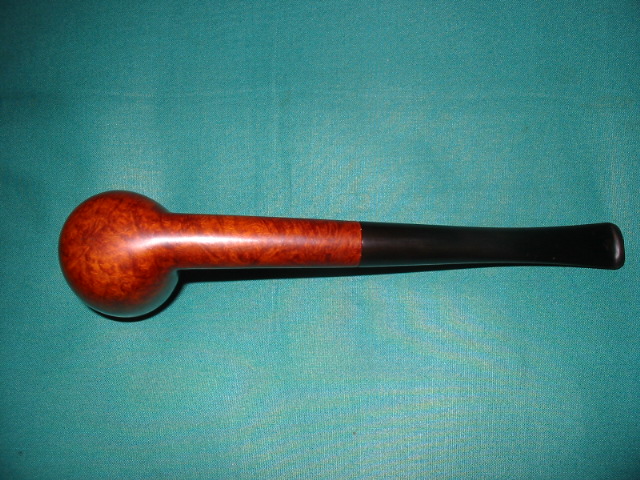
I took the pipe to my buffer and finished the refurbishing with a buff of White Diamond to polish the finish on the bowl and the stem. I gave the entirety several coats of carnauba wax and buffed it with a clean flannel buff to give it a shine.

Here are the pics of the finished pipe (once again I forgot to take pictures of the pipe before I worked on it). Thanks for looking. ImageImageImageImageImage

A Creative Pipe Maker’s Anonymous Attempt at a Cool, Dry Smoke


This is another interesting piece of pipe history. I seem to have trouble passing up odd and creative pipe making attempts. I have no idea who designed or made this one or what the patent information is as there is absolutely no stamping or identification on the pipe itself. I remember seeing one on EBay awhile ago but somehow missed keeping the information. If anyone has any information on it please leave a comment in response to this post.

The pipe itself was in rough shape when I got it. The stem is chewed up badly and I have not taken the time to rework the stem. It is the dreaded nylon stem so it always leaves me cold in wanting to work on it. It is probably the most unforgiving stem material there is in my opinion. You can sand and sand it and it does not seem to change the damage. The heat gun and boiling water do not seem to lift the dents and tooth marks at all. What is there seems to be permanent. The bowl was badly caked – in fact so badly caked that it had a split in the side of the bowl. The finish is strange – best I can say about it almost little worm trails in the briar. The stem was stuck in the shank. I thought at first it was a screw tenon it was so tight. Under the stem was the flat base with what looked like an adjustment screw of some kind. It was also stuck tightly.

I reamed the bowl and found that the draught hole was in the bottom of the bowl – like a calabash. I opened that with a dental pick and cleaned it out. I packed the bowl with cotton bolls and filled it with isopropyl alcohol. I use 99% as it has little water content and seems to work well in drawing out the oils and tars. It took quite a bit of alcohol as it filled the reservoir below the bowl. I put a pipe cleaner in the stem and laid it aside overnight. My hope was that the alcohol would not only draw out the tars and oils but loosen the adjusting screw on the bottom of the shank as well as the stem.

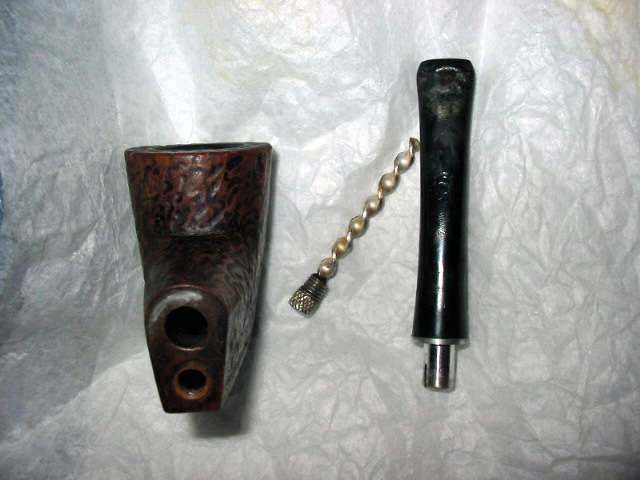
In the morning I removed the cotton bolls. They were almost black with the tars and oils that they drew out. The stem was actually loose – that happens so little that I was surprised when I turned on it and it came out. I was expecting a screw tenon and found that it was not at all. It was an aluminum tenon made to hold a Medico style paper filter. The one in the tenon was almost black with grime and now it was soggy as well. I am still trying to figure out the airflow on this pipe. I also was able to turn the adjusting screw under the stem and it came out as well. I expected that it would adjust the airflow somehow (kind of like a Kirsten). But it was not an adjusting screw at all; instead it was a stinger like apparatus with a long twisted blade on it. Now the airflow was becoming clearer. The smoker pulled the air through the bowl down through the air hole in the bottom of the bowl. Once there it entered the chamber that ran the length of the shank and bowl and contained the twisted stinger. That apparatus would pick up the liquids and oils of the tobacco. The smoke would go up through a hole in the top of the chamber and enter the shank where the paper filter would trap the remaining debris of the smoke (and in my opinion whatever flavour still remained) before delivering it out the slot at the end of the stem.
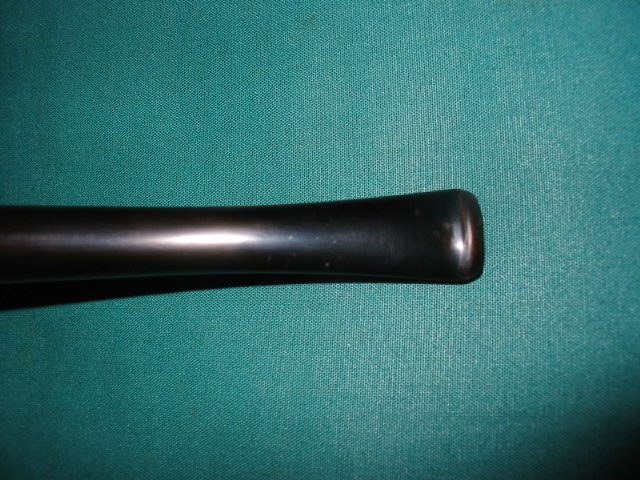
I cleaned out the chamber and the shank by filling them with isopropyl and plugging the holes and shaking the fluid for several minutes. I would unplug and dump the dirty alcohol down the drain. I repeated this until the fluid came out clear. Then I cleaned the chamber and shank with a shank brush and bristle and ordinary pipe cleaners and more isopropyl alcohol until they came out clean and fresh. The stinger soaked in alcohol and I scrubbed it with 0000 steel wool until it shone. The stem needed a lot of cleaning though it was more dirt and grime that came out rather than tars. I was able to polish the tenon inside and out and clean up the stem. The dents and tooth marks I left alone. One day I will have to work them over and see if I can remove them. But not that day!

I scrubbed the outside of the bowl with a bristle tooth brush and Murphy’s Oil Soap to remove all of the grime from the bowl surface. I cleaned out the crack in the bowl with my dental pick. I then wiped it down with acetone and restained it with a medium brown aniline stain, flamed it and then buffed it with Tripoli and White Diamond. Once it was polished and clean I coated it with several coats of carnauba wax and then buffed it with a clean flannel buff.

I finished up the pipe and put it back together. I added a pipe softee bit to cover the bites and dents on the stem and make it more comfortable in the mouth. I packed a bowl of nice Virginia in it to try it out. I decided to leave out the paper filter and just smoke it as it was. It was an interesting and cool smoke though it pretty much removed the flavour of the Virginias that I chose to smoke. This one will sit in the cupboard as a memorabilia item but will not enter the rotation.


Here are the pictures of the process of repair. I patched it with black super glue and built up the angle of the stem to give a clean flow. I filled the dents and bite throughs on both sides of the stem. I sanded and sanded with 240 grit sandpaper and micromesh 1500 through 12,000 grit. Then gave it a coat of Obsidian Oil and finally several coats of wax. The last four photos show the final product.

Dr. Grabow Colour – Damaged and Reborn


Blog by Steve Laug

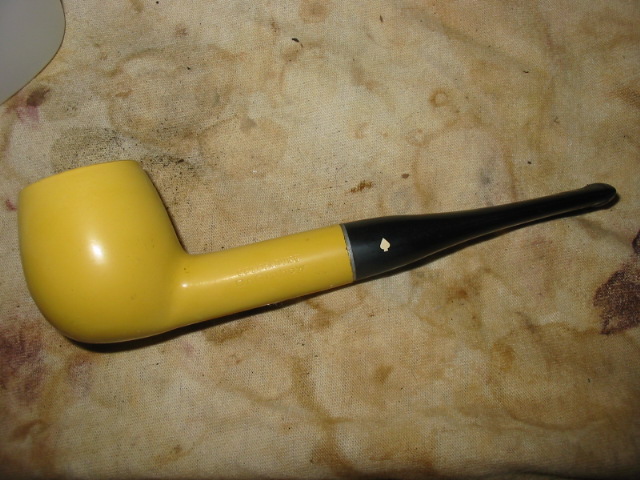
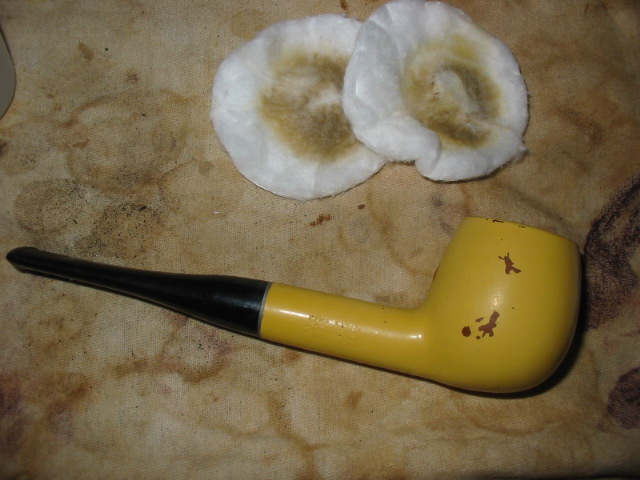
I have had this old Dr. Grabow Coloured pipe for a long time. It had damage to the colour coat and to the rim. I kept putting off doing anything with it as I could see no way of repairing the colour coat. It had the nylon stem as well with the Medico filter system. It was a screw mount tenon. The stem was covered with tooth marks and I just did not want to do anything with it… until yesterday.

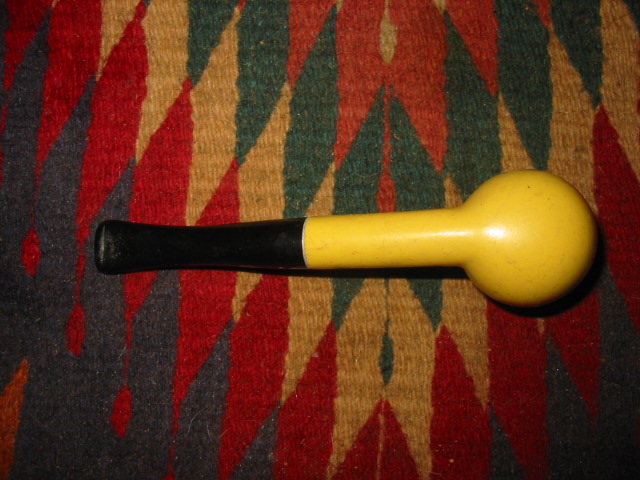
Yesterday morning I took the pipe out of the box of pipes for repair and wiped it down with some acetone to see if I could clean up the bowl. At this point it was my plan to find some of the same coloured paint and respray the paint on the bowl to fix the spots where it was scratched off. I put the pipe bowl in my pocket and took a trip to Walmart to see if I could match the yellow colour of the paint. I went through about 6 or 7 different yellow colours and none matched. I stuck it back in my pocket and headed home. By this point I had decided to strip the bowl back to the wood and see what was under the paint. I had always heard that the bowls used in these pipes were pretty devoid of grain and had many fills so I figured what did I have to lose on stripping the paint.

I dropped the bowl in the alcohol bath for several hours while I was working on other things around the house. My hope was to loosen the paint coat not dissolve it into the water. Isopropyl should not dissolve the paint but it would certainly soften the paint and penetrate under the paint coat through the scratch marks in the surface. After I removed the bowl from the bath I used a sanding pad with medium grit and rubbed it across the painted surface and the paint began to peel back very easily. The next series of three photos show the effect of the paint coming off with a very light sanding.

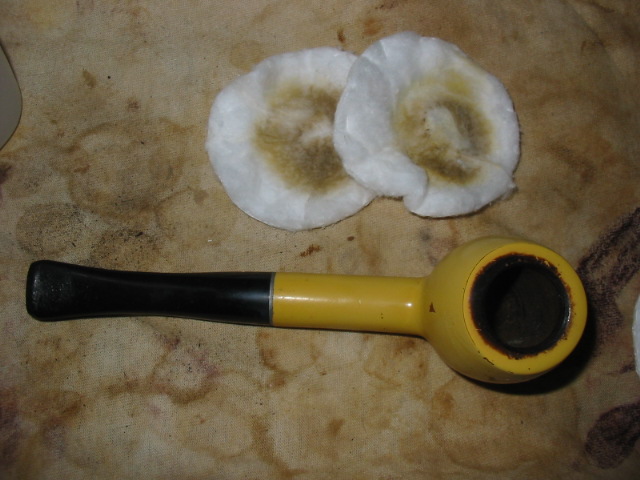
I continued to sand the paint coat until it was gone. The next series of four photos show the bowl after the sanding. The paint coat is gone; all that remains is the light coating of yellow haze that will come off with a quick acetone wash. Once the paint was gone I was left with a pretty bland block of briar. There were fills around the front of the bowl and the sides. The shank, right side had a large fill that extended most of the length of the shank. The rim was in great shape with no dents of burns. The inner bevel on the rim was in great shape. I reamed the bowl to clean up the inside and the softened cake. It came out smooth and fresh. I cleaned the shank to remove and of the remaining tars and oils.

Once I had the internals cleaned up I washed the bowl down with a cotton pad and acetone. This removed the remnants of the yellow paint. It is amazing to me to see the amount of yellow colouration that came off with the acetone. The wood had quite a bit of yellow pigment on the surface of the bowl. I washed it down until the pads remained white. I sanded the tooth chatter and marks on the nylon stem (did I ever tell you how much I hate these nylon stems?? No? Well they are truly a pain). I was able to get the majority of the tooth marks out with emery cloth and then 240 grit sandpaper. I attached the stem to the bowl to have a look at what I had to work with  and where I should go with the finish work.

The fills seemed pretty disguised in the light colour of the briar so I decided to do a bit of an experiment. With a pipe of this calibre what do you have to lose? I stained it with a black aniline stain, flamed it and stained it a second time. My hope was that the fills would be hidden well by the stain coat. At first glance they seemed to remain hidden under the stain. I took the pipe to the buffer once it was dry and buffed the bowl with Tripoli to give it a shine and polish. As I did that the fills really stood out. The matte finish of the black hid them but the shine made them stand out. In the second photo below you can see the round fills on the front of the bowl. The one on the shank also stood out a bit.

The next series of photos show the pipe after a buff with Tripoli and White Diamond. The fills on the front now appeared to be a pinkish/red colour under the black coat. The one on the shank also looked pinkish/red. In the second photo below you can see where I restained the fill area on the shank. It was a large fill shaped almost like a moustache. Once it was dry I buffed it again with a light touch. The fills were just too obvious and ugly in my opinion. I even tried giving the pipe a top coat of dark brown stain to see if that would hide them. It did not. So I set the pipe down and went to supper. While I was eating I thought about the possibility of rusticating the bowl and giving the pipe a whole new look.

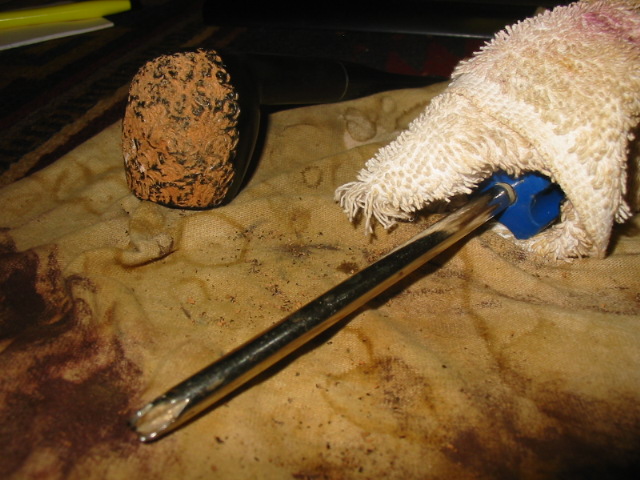
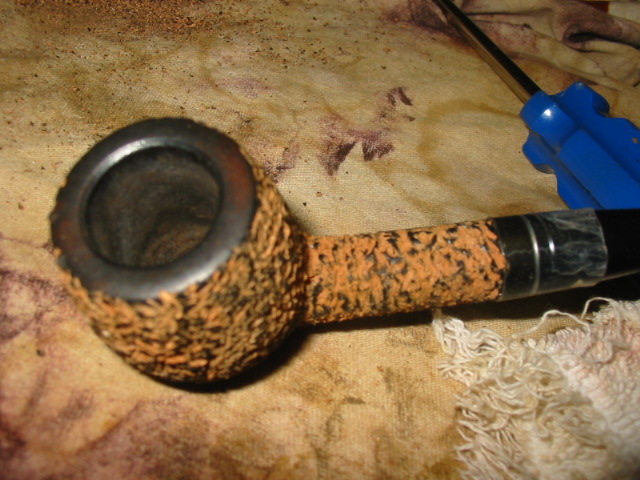
I took out my modified Philips screwdriver that I use for rustication and went to work on it. The screwdriver has the x pattern and a point. I used my Dremel to cut out the point and create four points with the remaining tip. It has a handle which I pad with a thick cotton cloth so that I can push it into the wood and minimize the discomfort on my palm from pressing. 

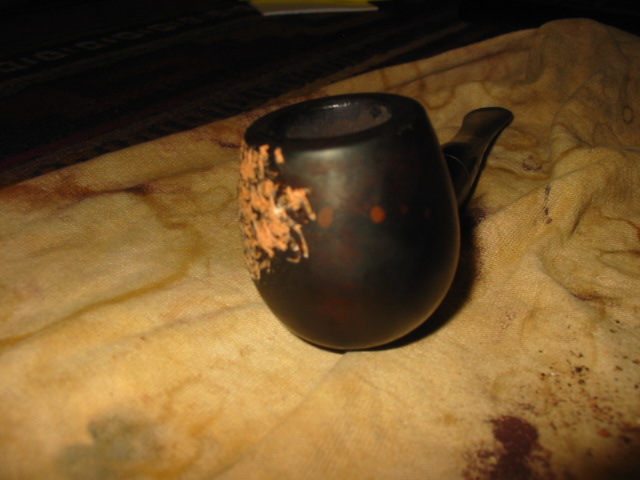
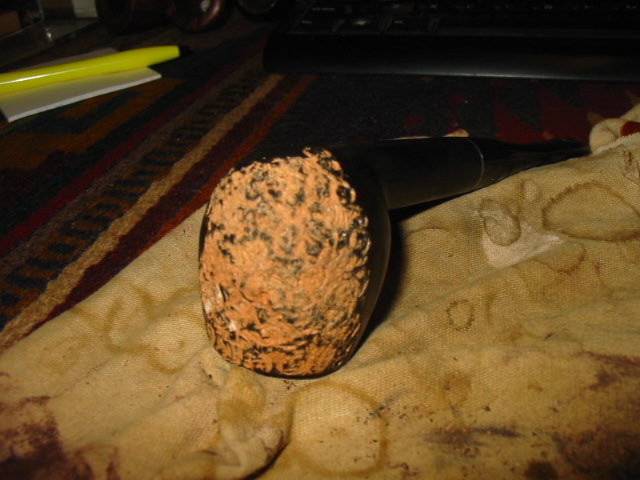
In the picture above you can see the work of rustication. The picture below shows the red coloured fills on the front of the bowl that made the decision to rusticate pretty easy for me.

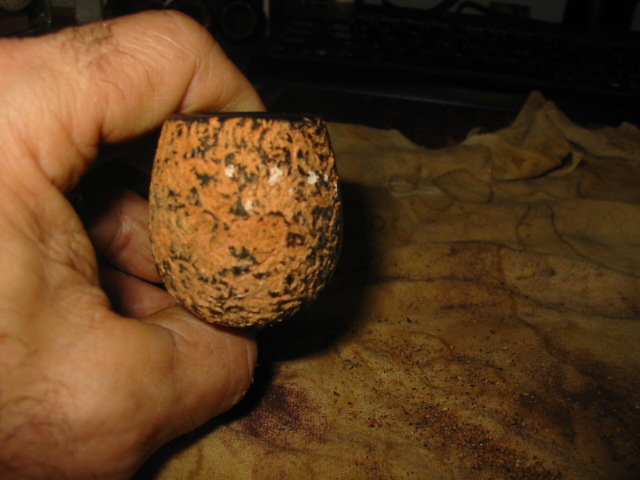
I worked my way around the bowl as is seen in the next series of photos. I worked the front and then the bottom of the bowl and worked my way up each side of the bowl. In this case I decided that I wanted to see what the pipe would look like with a rusticated bowl and a smooth shank so I left the shank untouched with the rustication until I had finished the bowl.

The next three photos show the rusticated bowl and smooth shank look of the pipe. It just did not work for me. I did not like the look. As an aside – one of the great things with the rustication tool I use is the ability to use it in tight spaces and leave the surrounding surface untouched. By the way you will also note the photos that I left the rim smooth as well. 

The next two photos show the putty fills that were used. They seemed to have been white putty that was chalky when I scratched into it during the rustication process. You can see the location and the size of the fills in these photos. I am glad that I decided to rusticate this bowl.

I wrapped the shank and stem junction with a cellophane tape in multiple layers and extended onto the shank a quarter inch. I wanted to make a smooth band that would not be rusticated and match the smooth rim that I was leaving. The tape gave me an edge so that I would feel that as I twisted the tool in rusticating the shank. I also would give an edge to put the teeth of the tool against when I twisted it into the wood of the shank. The next series of photos show the rusticated shank. On the first one you can see the size of the fill on the right side of the shank. It also was the same white putty. As I hit it with the rusticator it left a white chalky residue. You can also see the intent of the band on the shank and the rim of the bowl being left smooth and what that would look like in contrast with the rough finish.

When I had finished the rustication I removed the tape guard and then sanded the band to get it smooth and to bring out the grain with dark undercoat.

Once that was complete I stained the pipe with a black aniline stain. I applied it heavily and then flamed it. The flaming sets the stain deep in the grooves and recesses of the rustication. I gave the rim and the band a coat of black as well. Once it was on I rubbed it off with a soft cloth to get the effect that is visible in the pictures below.

Once the stain was dry I worked on the smooth areas of the bowl – the rim and the band – with micromesh pads from 1500-6000 to polish them and smooth them out. I also worked on the nylon stem. It was a pain. The material scratches no matter what you do to it. And as I learned a long time ago it does not work to buff it as it has a very low melting point. So I sanded it with increasing grits of wet dry sandpaper – 400 to 600 grit and water and then sanded it with wet micromesh pads from 1500-12,000 to remove the scratching. I polished it on the buffer with blue polishing compound and a verrrrry light touch to give it a shine. I had waxed the smooth surfaces and the stem with carnauba and then wiped the pipe down with a cloth impregnated with Briar Wipe. Here is the finished pipe. I think the experiment worked!

Reworked Jobey Shellmoor Apple


This is one I wish that I had remembered to take a picture of before I started working on. But I did not. Sometimes when I am in a hurry I forget to take the photos and this was one of those cases. I was on my way out the door so I took this pipe out of my box of pipes to refurbish, quickly reamed the bowl and threw the stummel in the alcohol bath and the stem in a bath of Oxyclean. You will have to take my word for it – it was a mess. Probably the worst looking mess I had in the box. The bowl was caked with a dark, tarry cake that smelled like roses. The blast was so clogged with grit and grime that you could not feel texture anymore. It was smooth and muddy black looking in colour. The rim was thick with tars and lava build up and the stem was a dark and deep brown from the heavy oxidation. I pretty much figured I would be working on this one for a while to clean it up. After I dropped it in the bath I went off to work and promptly forgot about the pipe altogether. In fact it was two days before I remembered I had left it there.

I went to my work table and took both jars that held the baths. I opened the lid not sure of what I would find when I removed the pipe parts. I took the bowl out first and dried it off with a cotton cloth I have here. Then I took the stem out of the Oxyclean bath. The water had grown cold and dark tea coloured and I wondered what I would find. I dried off the stem with a cotton cloth and put them both on the work table. I was amazed at the work the baths had done to both of them. I reamed the bowl back to bare wood so start over and then wiped the bowl down with acetone on cotton pads. The first four pictures below show the bowl and stem after the bath and the reaming. I then went to work on the inside of the shank and bowl and the inside of the stem. I used both cotton swabs as pictured below and also a series of shank brush, bristle pipe cleaners and regular pipe cleaners all dipped in isopropyl to clean out the shank and stem. I went through quite a pile of both to clean out all the dark tars and oils from inside the shank and stem. The aromatic that had been smoked in this one still survived the two + days in the alcohol and Oxyclean baths and the floral scent remained – not a Lakeland like floral more of a Mixture 79 floral smell. Once the swabs and cleaners were coming out white the smell was gone from the stem and shank.

I scrubbed the exterior of the bowl one last time with a soft bristled brass tire brush to clean out any remaining grit in the sandblast finish. Once it was clean I wiped it down one last time with acetone before I was ready to stain it. I used a dark brown aniline stain to cover the bowl. I flamed it to set the stain and gave it a second coat, flamed it again and then took it to the buffer and buffed it with a Tripoli buff. The stain was still too dark to my liking and also too opaque (though they are dark photos 1-3 below give a pretty accurate picture of the colour of the pipe after staining and buffing). I took it back to my work table and wipe the bowl down with acetone on a cotton pad to lighten the stain. The fourth photo below showing the underside of the bowl gives you an idea of what the stain looked like when I was finished with the wipe down.

I worked on the scratches and tooth marks on the stem with emery cloth (medium grit) first. I worked until they were gone and then used a medium grit sanding pad and a fine grit sanding pad to remove the scratches left behind. I switched to 240 grit sandpaper and took out the rest of the scratches and marks. I buffed the stem with Tripoli and White Diamond and then used micromesh pads on it. I started with the 1500 and 1800 grit sanding pads and then applied a coat of Obsidian Oil. I let it soak in and then rubbed it down with a soft cloth. I then used the rest of my micromesh pads from 2400-12,000 grit to finish sanding the stem. I rubbed in some plastic polish and wiped it off and then buffed the stem with some Blue polishing compound on my buffing wheel. The finished pipe was given multiple coats of Halcyon II wax on the bowl and carnauba on the stem. The colour of the bowl is precisely what I was aiming for and the stem just glows. I am not sure my photos capture the reflective quality of the buff but it is pretty amazing in person.
Chuck’s Gift Pipes Part 1 – a Horn Stemmed Venezia Vogini


Blog by Steve Laug

In celebration of his 1500th post on Smokers Forums, Chuck (Desertpipe) sent me an email regarding some packages that he was going to distribute to three folks on the Forums. Two of them came to the Vancouver area and one went to the East Coast of the US. I refurbished the older Barling that is heading east as a surprise to the new owner. (I posted the refurb on that old pipe on the blog https://rebornpipes.wordpress.com/2012/08/05/new-life-for-an-old-barling/ ) Now the wait for the package to come my way north and into my mail box begins.

Chuck posted on SF that he had mailed out the packages. On 08/23/12 I received this email from him regarding the package coming my way. It seems he has chosen two pipes for me to work on. I look forward to seeing them.

Steve,
Back a decade ago, when I first started getting serious about understanding pipes, I discovered the wonderful world of size. I dawned on me that the size of pipes had radically changed over the course of time, related to the quality, cost and strength of tobacco. I put together quite a collection of pipes from many decades, and also a collection of tobaccos from as many sources and time frames as I could.

The two pipes coming your way are from this collection. The red stemmed pipe will need your magic touch to return to perfect, and I look forward to your take on the restoration. The other is one of my two favorites of this type. It has all the bells and whistles that make one collect very old examples, and I bet it finds a permanent home in your collection.

Enjoy, my Friend,
Chuck

When I received the above email, my curiosity was piqued and I sent him an email asking about the age of the two pipes and this is his response via a reply email.

My best guess…..The red stem is early Redmanol time frame….puts it 1920’s/30’s? 14k gold filled band has no marks to help out.  The horn bit folder (so far beyond cool as to be in a class by itself) is before that, as far as I have been able to trace, turn of the Century or a bit before?

Now I am even more excited to see what the package contains once it arrives. I have a weak spot for older pipes. The tension of the wait increases!

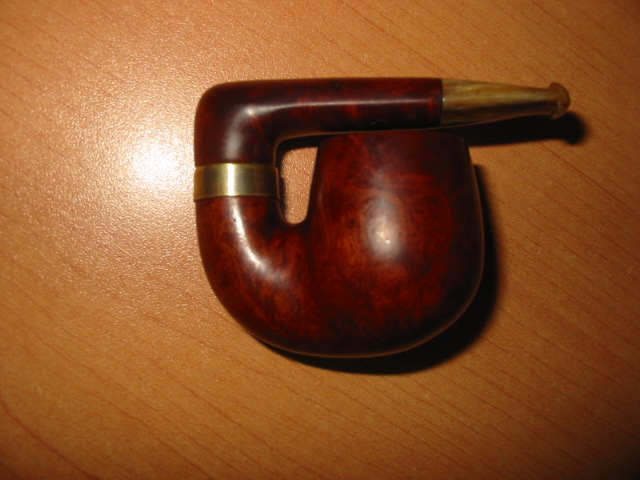
Today, 9/4/2012 Chuck’s gift box arrived. I opened it to find a tin of C&D Opening Night and two nice little old timers. The first is an old WDC bent pot with a Redmanol stem. The other is a folding vest pocket pipe. The shank has a 90 degree bend and the stem is horn. These are going to be great to work on.

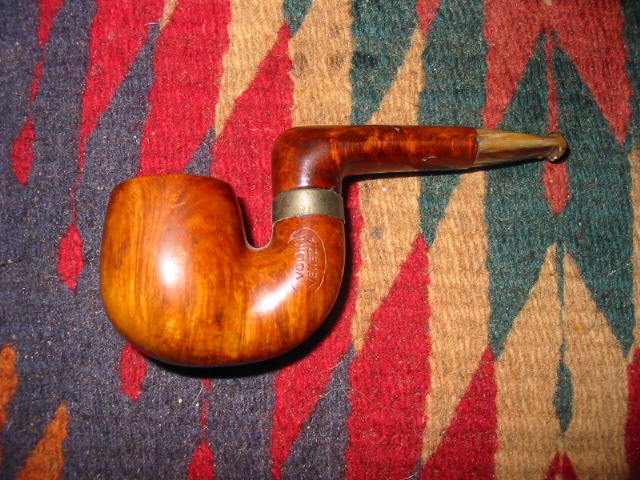
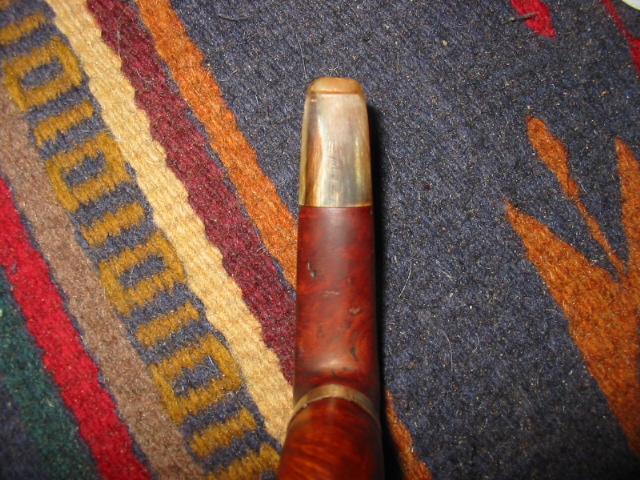
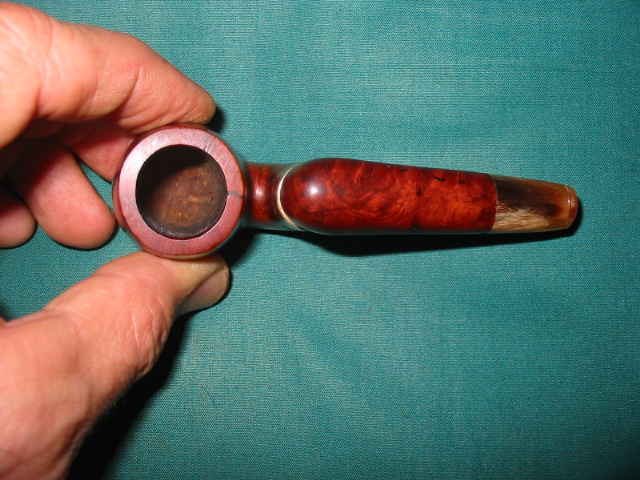
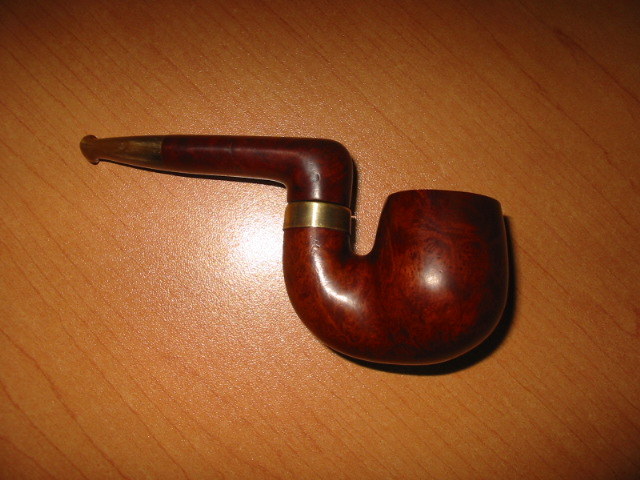
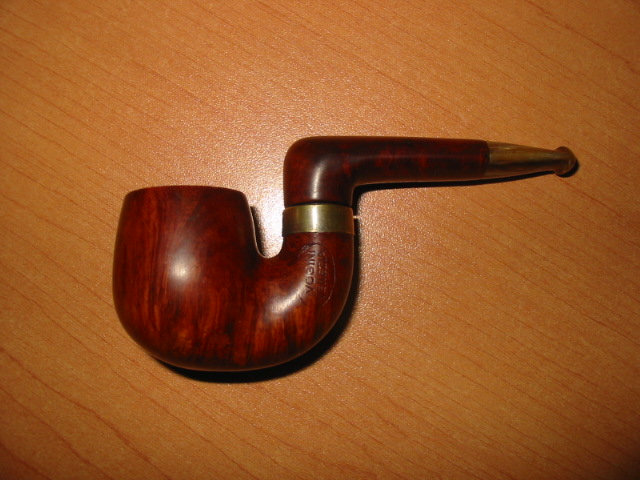
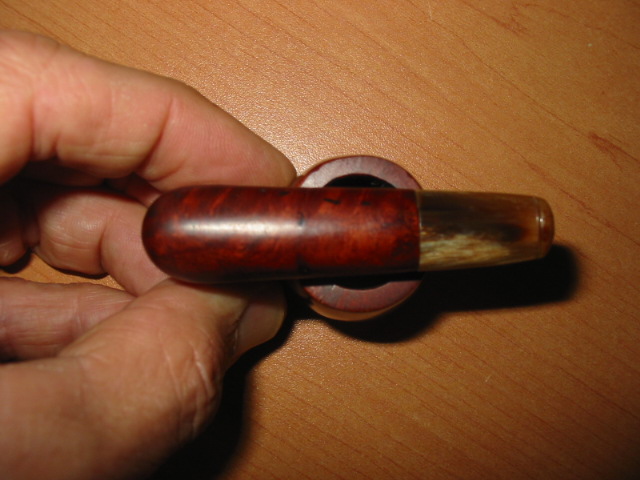
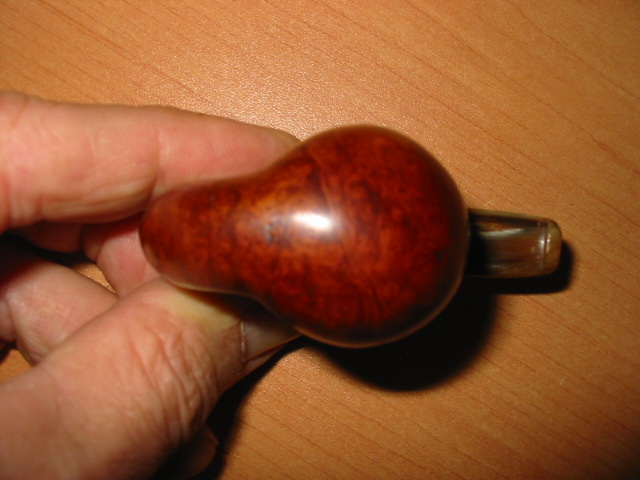
I chose to work on the folding vest pocket pipe first. It is stamped Vogini over Venezia in an oval on the upward bend of the bowl to meet the shank. When it arrived the bowl was clean. There were a few scratches on the rim. There were small dents on the left and right side of the bowl. The band was set crooked with the back side lower than the front making a good seat for the shank impossible. The shank is briar and is a 90 degree bent piece. It is very unusual. There were fills on both the top and the underside of the horizontal part of the shank. The stem is a nice piece of horn that is actually quite tiny. It has tooth chatter on the top and the bottom side of the stem. There are two tooth dents on the underside next to the button. The orifice hole in the button is slightly off centre. This is a great looking old timer that should clean up easily and look amazing!

I have done a bit of research and find that the Venezia brand is definitely Italian and is either a Cavicchi mark or La Rocco but not sure which was an early company. The mark may even go back further into history that I am aware and than Who Made That Pipe reports. If any of you have any ideas on the age and provenance of this pipe let me know by posting a comment. Thank you ahead of time for the information. ImageImageImageImageImageImageImageImageImageImage

On the evening it arrived I removed the band from the shank and glued, pressure fit it and reset it at a proper angle to seat the shank correctly. I used carpenters glue to reglue the band. I pressed it on and held it until it was set. I then wiped the bowl down with a cotton pad and acetone to clean off the grime and the remaining finish. I also wiped down the band to remove the oxidation that was built up on it. ImageImageImage

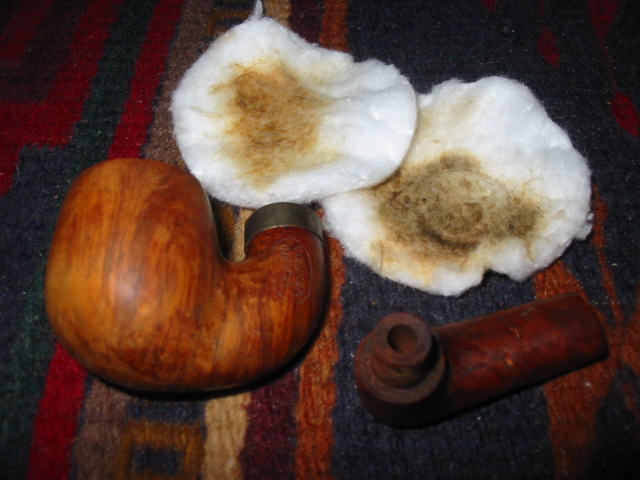
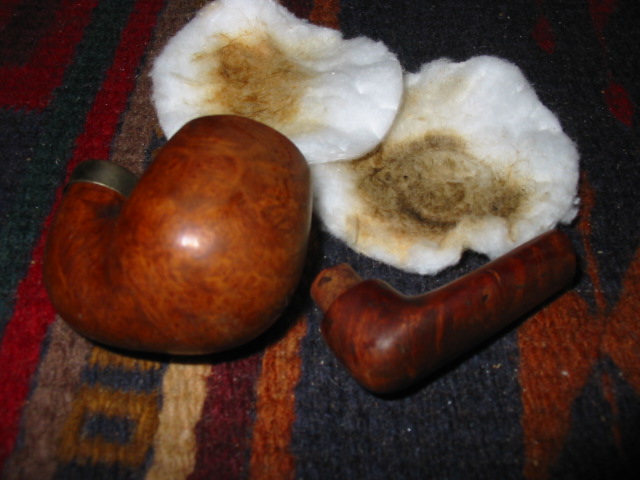
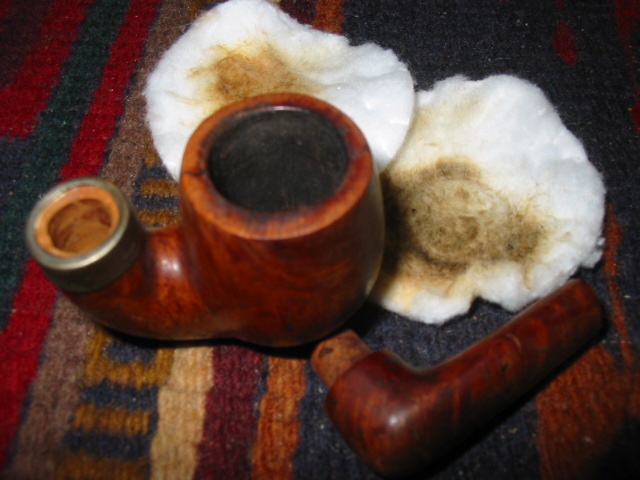
I cleaned off the briar shank and the bowl with some more acetone to remove the finish completely and to clean it so that I could begin to repair the fills in the shank. The first photo below shows the pipe after has been wiped down with acetone completely. I avoid using acetone on horn stems. In pictures 2, 3, and 4 you can clearly see the cotton pads that I use with the acetone to wipe the pipe down. These are circularly pads that I pick up at a local store in the makeup section. They are used to remove makeup but I find them perfect for using with alcohol and acetone wipes. I dampen them with the liquid and then wipe down the surface. The dirty pads in the pictures show the dirt and stain that has been removed from the surface of the pipe. ImageImageImageImage

Once the surface is clean, I picked the pink putty fills from the top and underside of the shank piece. I wanted to refill them with briar dust and super glue (pictures 1 and 2 below show the spots that were filled with the combination). ImageImage

I sanded the filled areas (pictured in the next two photos) until they were smooth dark spots on the surface of the wood using fine and extra fine sanding pads. I continued to sand down the surface of the shank and the bowl until the spots were basically blended into the wood as much as possible. I also sanded the rim and top of the bowl to remove the scratches. The bowl and rim were sanded with micromesh pads 1500-2400 grit. The shank was also sanded with the same grits. Photos 3-4 show that finished look of the spots. Once they were sanded to that point I wiped down the shank piece with a pad and isopropyl alcohol to clean off any remaining dust on the briar. ImageImageImageImage

I set the bowl aside and worked on the stem to remove the tooth chatter and the tooth marks on the underside. Horn is such interesting material to work with. I use a fine grit sanding sponge to remove the chatter and tooth marks. It is flexible so it is easy to conform to the curve of the stem. I also had to use emery cloth (fine grit) to remove the remaining marks left by the tooth dents. ImageImage

I restained the bowl and the shank with an oxblood aniline stain, flamed it and then buffed it with White Diamond to remove opacity of the stain and polish it. I wanted the bowl and stem to match in colour rather than the original look of the darker shank and lighter bowl. I gave the entirety several coats of carnauba wax and a light buff with a flannel pad on the buffer. ImageImageImageImage

From the above pictures you can see the colour of the shank and bowl are pretty close. I needed to do some work on the fit of the shank to the bowl. The briar tenon on that portion of the shank was loose fitting and could easily have fallen out at this point in the cleaning. I used a thin coat of super glue and sanded it down to make it a snug fit. Once the shank had a good flush fit and was snug to the bowl, I sanded it with micromesh pads 8000 and 12,000 grit to give it a shine. I gave it another coat of carnauba wax and set it aside.

ImageImageImage

I gave the tenon on the stem a thin coat of super glue as well and sanded it until the fit was snug. The stem had been loose and easily came out of the shank and would twist from side to side. The superglue made it fit perfectly. I continued to sand the surface of the stem with micromesh pads using the 1500 and 1800 grit pads before buffing it with White diamond. I went on to sand it with the pads from 2400-12,000 grit. Each successive sanding brought more of a shine to the stem. Once it was finished I gave it several coats of carnauba wax and buffed the whole pipe on the buffer to raise the shine. Image

Image

The final pictures were taken this morning (9/5/12) after a quick wipe down with a polishing cloth. The next series of five photos show the pipe with the shank and stem extended and ready to smoke. There are several shots to show the state of the horn stem after the sanding and polish. It has a beautiful natural sheen to it that is amazing and only possible in horn. There is almost a warm glow that seems to come from within the stem. You can see that the super glue patches in the fills and the sandpits are fairly well blended into the shank.  ImageImageImageImageImage

The next series of four photos show the folded pipe ready to be put in the vest pocket and carried with me to the next event where I want to take a small pipe which folds up nicely into a small square and slips into my pocket. The grain on this little pipe is amazing.

I would like to once again thank Chuck for his generous gift of this old timer. I look forward to firing it up and smoking it over the remaining years I am around. I love these unique old timers that add colour and character to my collection. I often wonder what stories they would tell if they could speak. Ah well, I will now add my story to the list of those who have smoked and enjoyed this beauty. ImageImageImageImage

Refurbishing another Mystery Pipe


I picked up this pipe in an EBay lot recently. The other pipes were older Barlings and Bewlays. I know that it belonged to the same gent originally because all the stems have matching tooth marks. This guy must have had jaws of steel. His bite marks showed a repeated pattern of biting down in an identical place on each pipe. The amazing thing on this one is that though the bites were deep they did not break through the surface of the stem.

The first series of pictures below show the pipe as it came to me in the lot. Rim had some tars and cake build up. The bowl was dirty but not caked. The exterior of the pipe was also dirty but not damaged. The mystery to me is the material that this bowl is made of. It is very light weight and a bit odd. There is some resemblance to Laxley meers from the Isle of Mann. They made meers for Peterson, Nording and Barling as well as some under their own brand. I have found that those I have worked on and now own are uniformly heavy and thick bowled. This one is not that way at all. This little guy – and I say little as in 1 1/2 inch tall and a bowl outer diameter of 1 1/8 inches and bore of 3/4 inches – is somehow incredibly light weight. Think in terms of a featherweight briar and you are close. The stem is heavier than the bowl… Those are the things that leave me mystified with this one. I wonder if it is not some sort of resin????

The copper coloured band on the shank is actually copper tape. It was covered with a coating of glue to give it some resilience I would guess. The shank extension is vulcanite as is the stem. The stem is badly bitten but no bite throughs. It will take a bit of work to take care of those and to remove the deep oxidation. The tenon is also a reverse tenon. It extends from the shank like a Carey Magic Inch tenon. The stem slides over the tenon.

ImageImageImageImage

Using my dental pick as a lever I pried away the tape on the shank. I wanted to see what was underneath to know if I was dealing with a separated shank extension or what. As can be seen in the next photo it appears that the tape was merely cosmetic. The shank extension and the joint of the two parts were liberally coated with glue. It appeared to have been wood glue and it was very hard. I was able to peel away bits and pieces of the glue by picking at it with the dental pick and my finger nail. Note also the reverse tenon on the shank that I spoke of above. It is anchored in the shank and is not removable. It seems to be an integral part of the shank extension.Image

The next two photos show the junction of the shank and the shank extension with the glue removed. I used some 180 grit sandpaper to work on it and then finished with 220 and 240 grit to remove the remaining bits. The junction appeared to be sound. There were no cracks and once the glue was removed the connection was tight and smooth.ImageImage

I continued sanding the shank and extension through 400 and 600 grit wet dry sandpaper as well as the usual micromesh pads from 1500-6000 grit. The three photos below show the finished shank. You will note that the band between the bowl and the extension is also sanded clean. The glue was so built up on it that it needed to be sanded to clean away the build up.ImageImageImage

Once the bowl had reached that point I cleaned the rim with a brass tire brush to remove the tars and buildup that was in the rustication on the rim. I wiped it down with a soft alcohol dampened cloth to remove the dust and remnants after brushing. I decided to restain the rim and the band on the shank. While I was at it I also freshened the stain on the bowl. The odd thing to me was that the stain was not absorbed when I put it on the bowl. It literally sat on the surface until it was dry. To get the coverage to do any good at all involved repeated applications of stain to the band and the rim edges. If the pipe had been briar or meer the stain would have quickly absorbed into the heated surface. This is yet another piece of the mystery of this pipe. What is this material that does not accept the stain?ImageImageImage

Once the stain was dry I did not buff the pipe at all with my buffer but wiped it down with a soft cotton cloth and hand buffed it with a soft bristle shoe brush. In the pictures below you can see the finished bowl. The band and the highlights in the bowl are almost a reddish brown. It is an attractive pipe when all is said and done. You can see the inside of the bowl after I sanded it down to clean it. It appears to be a brownish colour and feels like briar to the touch and yet there is something different in the feel of it.ImageImage

From the earlier pictures above you can see the state of the stem with the bite marks on the top and bottom near the button. I used my heat gun to raise them as much as possible before sanding the stem to remove the remaining marks. The first two photos below show the stem after heating and sanding with the 240 grit sand paper. The top photo is the top side of the stem. There were four remaining marks as can be seen – three on the surface of the stem and two along side of the button edge. There was also damage to the button surface that is visible. The second photo shows the bottom side of the stem – it was a bit better after the heating than the top side. It still had two bite marks and the button was dented.ImageImage

I sanded the marks to smooth them out and then cleaned the surface of the stem with an alcohol wipe to remove the dust. The first photo below shows the spots of super glue on the surface filling the dents in the stem surface. I do not use much glue, just a spot. When it hardens it is not easily sanded so the less I use on the surface the better in my opinion. I also did a bit of work rebuilding the button edge and surface with the glue. When I am using the glue I work on one side at a time in order to have the glue set without running and making a mess of things.Image

The next two photos show the repairs to the top (first photo) and the bottom (second photo) of the stem after the initial sanding. I used an emery board that I picked up at a local department store to sand the surface at this point. It is sold in the area where they sell beauty supplies and is used for fingernails. I learned the usefulness of these by “borrowing” one from my daughters and really like the usefulness. Both photos show the patches disappearing into the surface of the stem.ImageImage

The next two photos show the patches on both the top (first photo) and the bottom (second photo) of the stem after sanding with 220 and 240 grit sandpaper. The patches are getting to the point where they are invisible. I continued sanding both sides of the stem until I was ready to work on the sheen and polish.ImageImage

From this point I sanded the stem with 400 and 600 grit wet dry sandpaper until the patches disappeared into the smooth surface of the stem. I then progressed through the usual regimen of micromesh pads from 1500-6000 grit to polish the surface. Several times in the process I took the stem to the buffer to polish it with Tripoli and White Diamond to see where I needed to do more work on the scratches. I resanded the stem until the scratches were gone – each time using the buffer in between to see the progress. Once it was completed I put it on the pipe and used White Diamond to polish the shank and stem. I coated the stem and shank extension with Obsidian Oil and rubbed it in once it had soaked in. I then gave the entirety several coats of carnauba wax. I did not wax the bowl or use the buffer on it as I wanted to maintain the appearance and cragginess of the finish. In the four photos below you can see the finished pipe. The patches are virtually invisible unless you know where to look. The surface is shiny and black. There is still a bit of oxidation that I need to remove on the stem at the shank extension but overall it is like a new pipe.ImageImageImageImage

The mystery remains, what is it made of? Is it meer? Is it clay? Don’t know. I plan on smoking it later today so maybe the way it handles the heat of the burning tobacco may add some information to the mix.