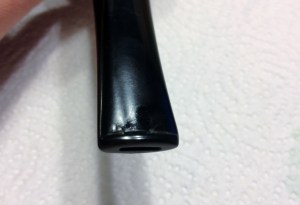
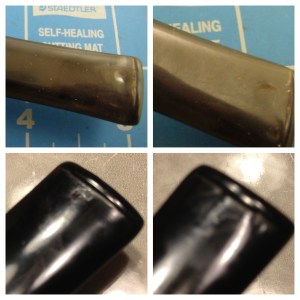
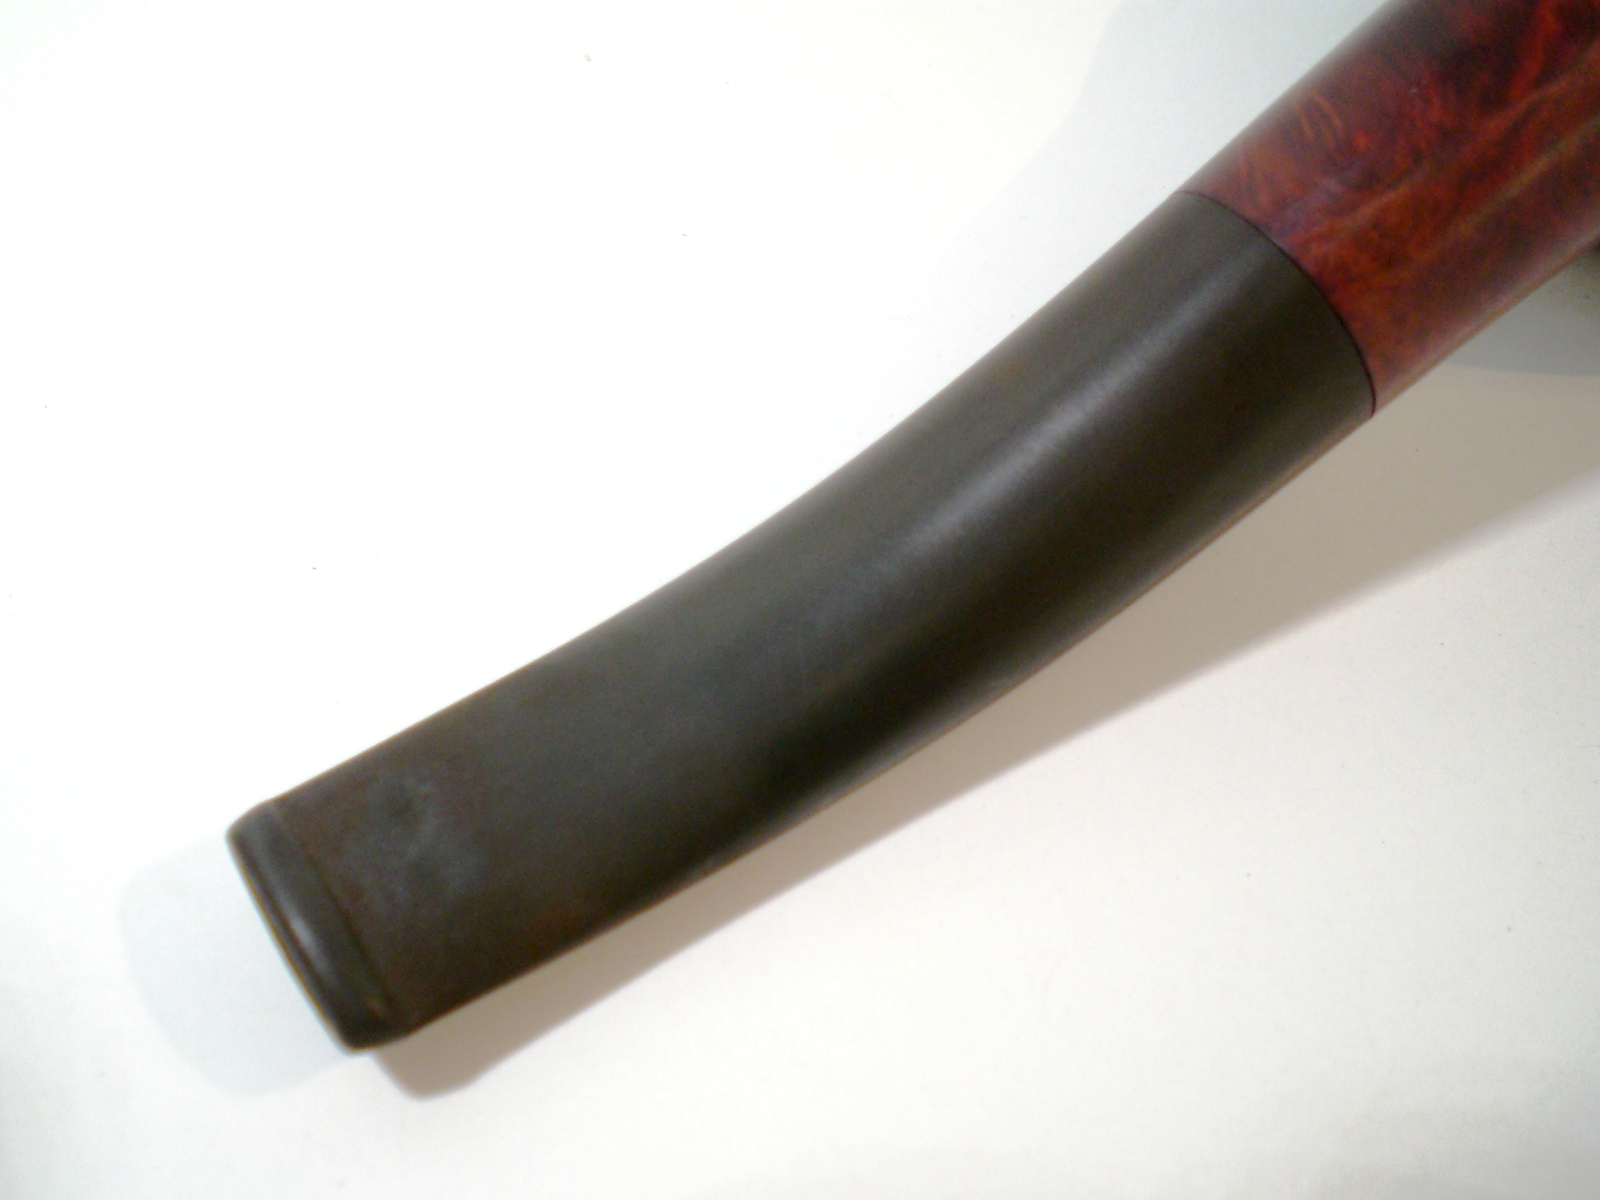
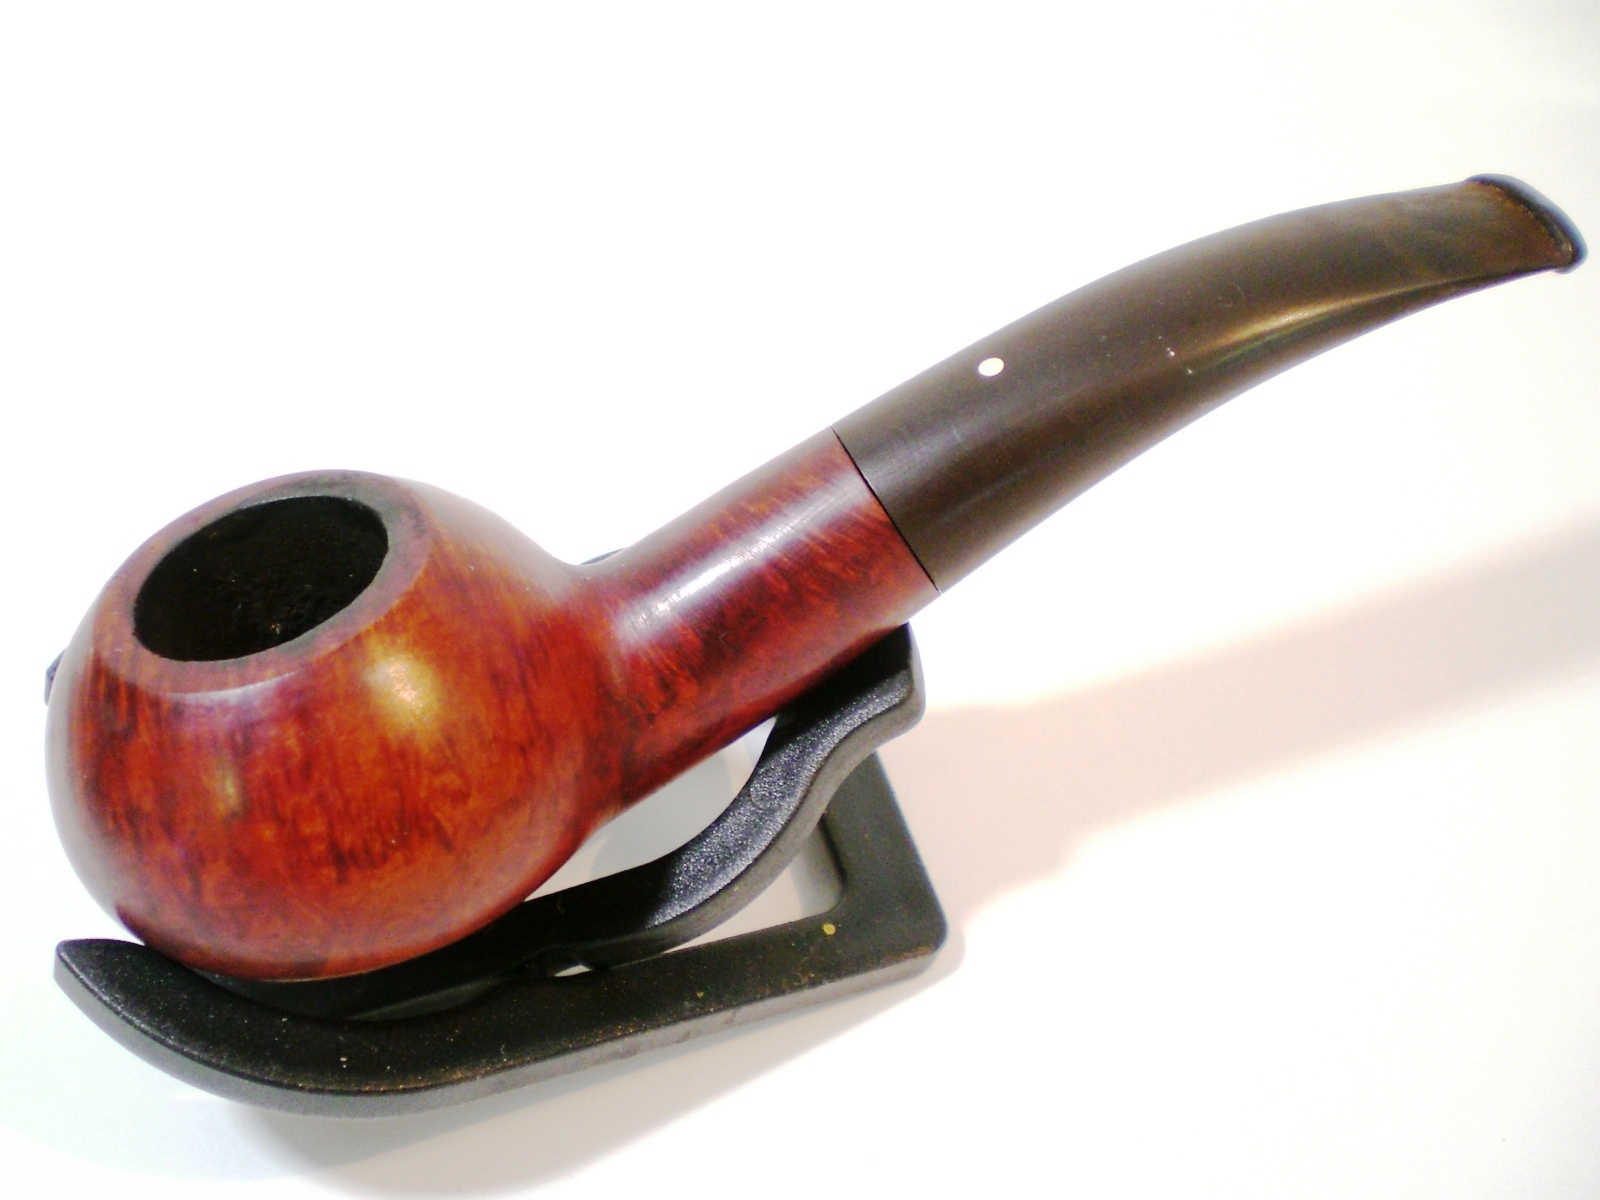
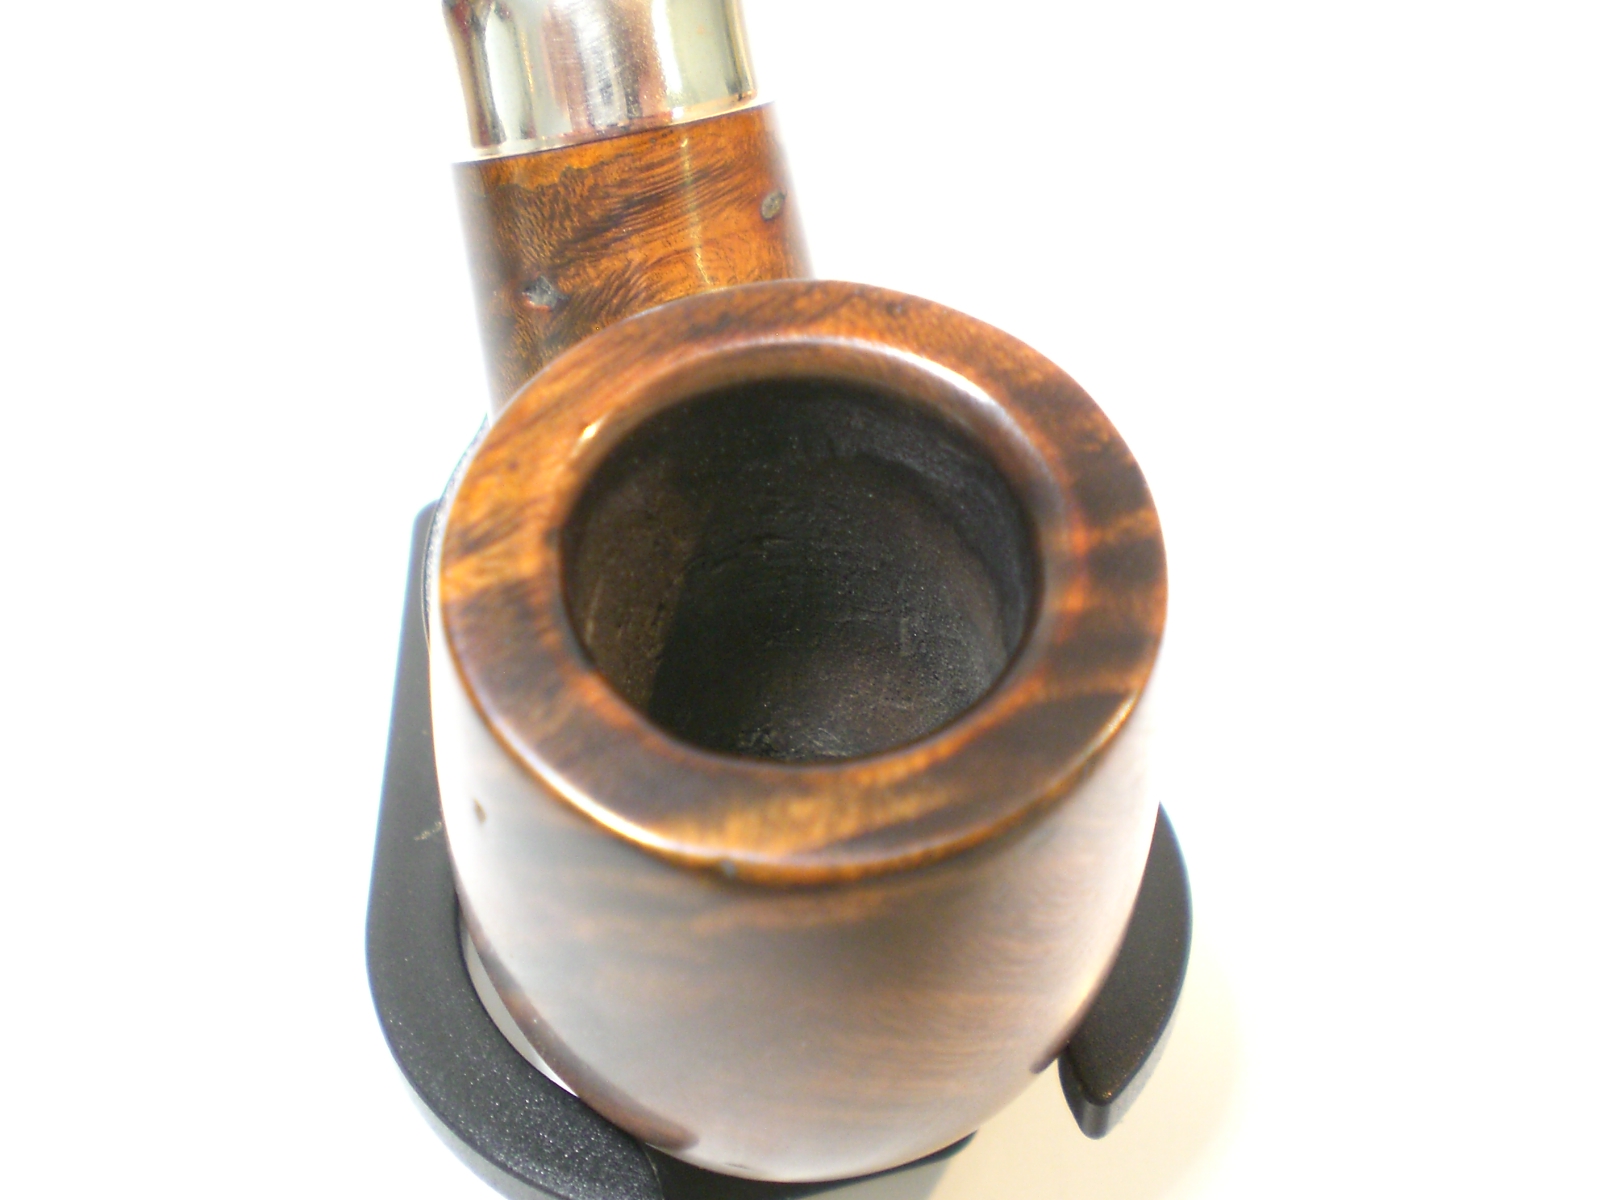
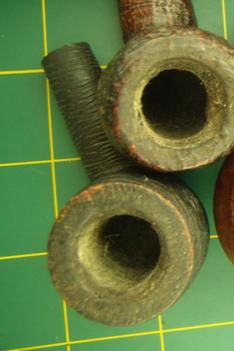
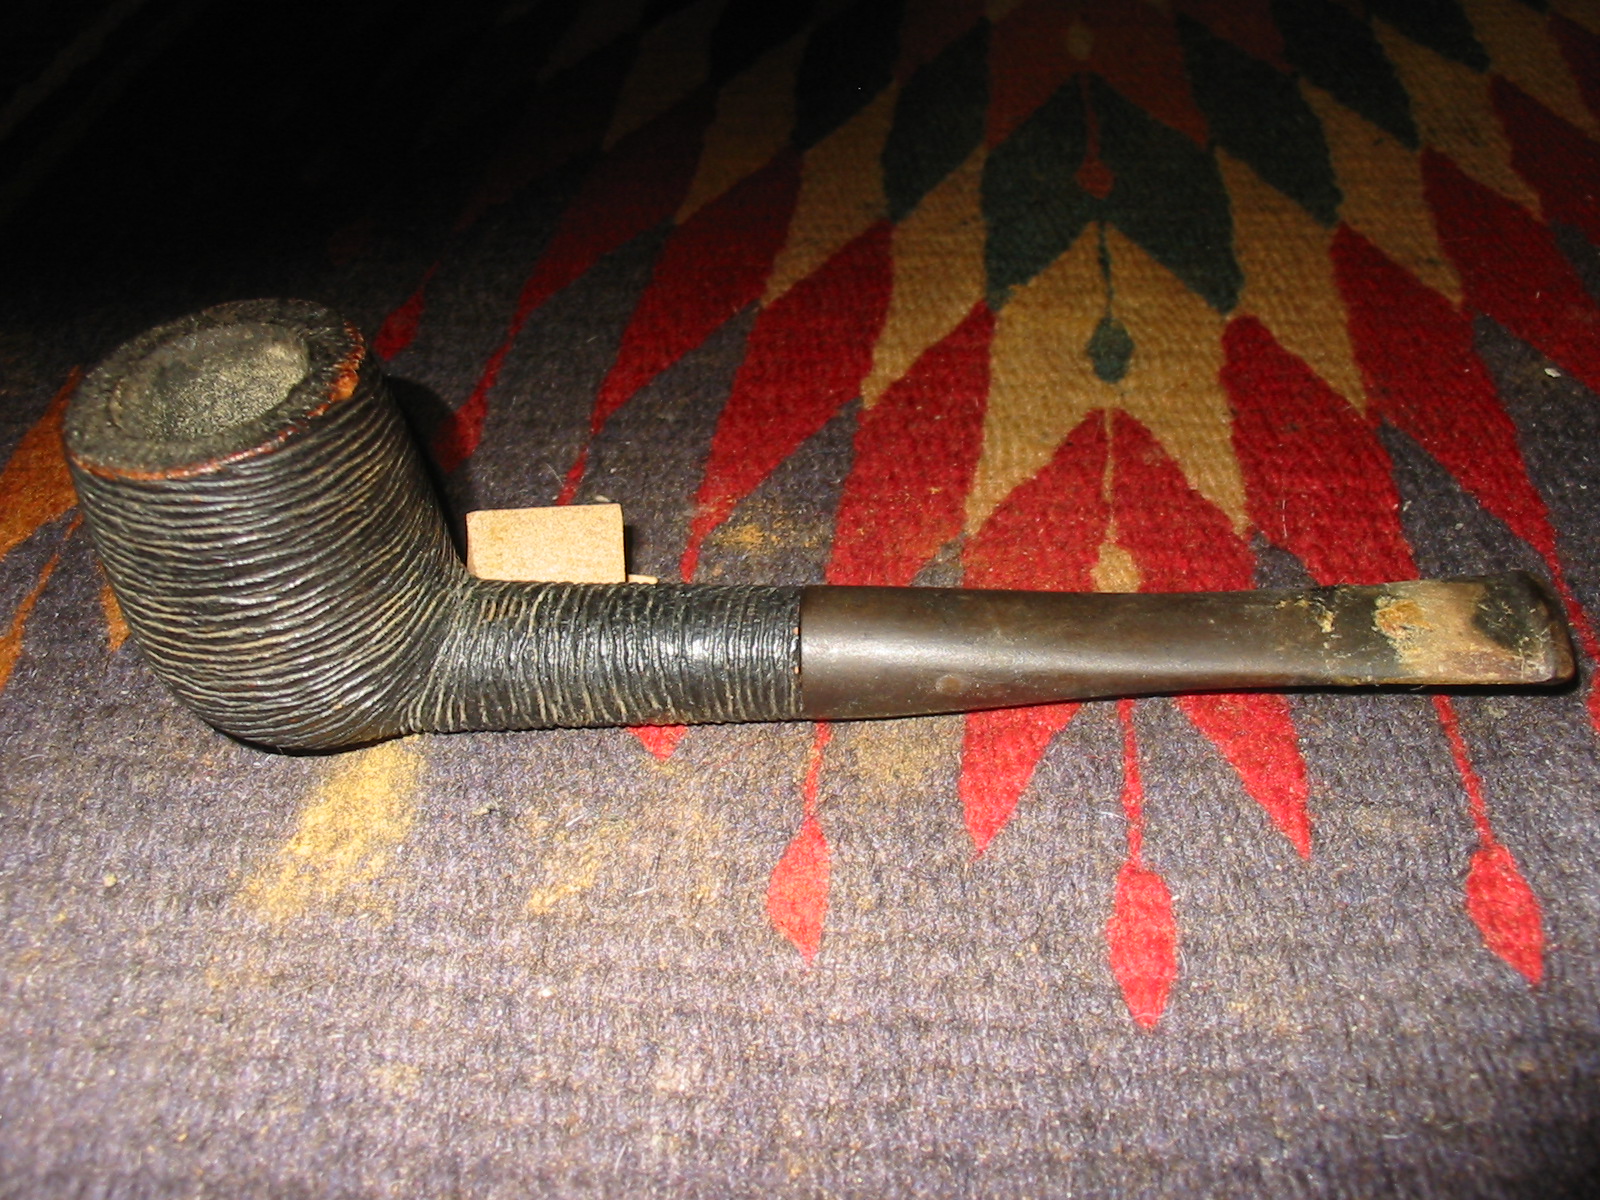
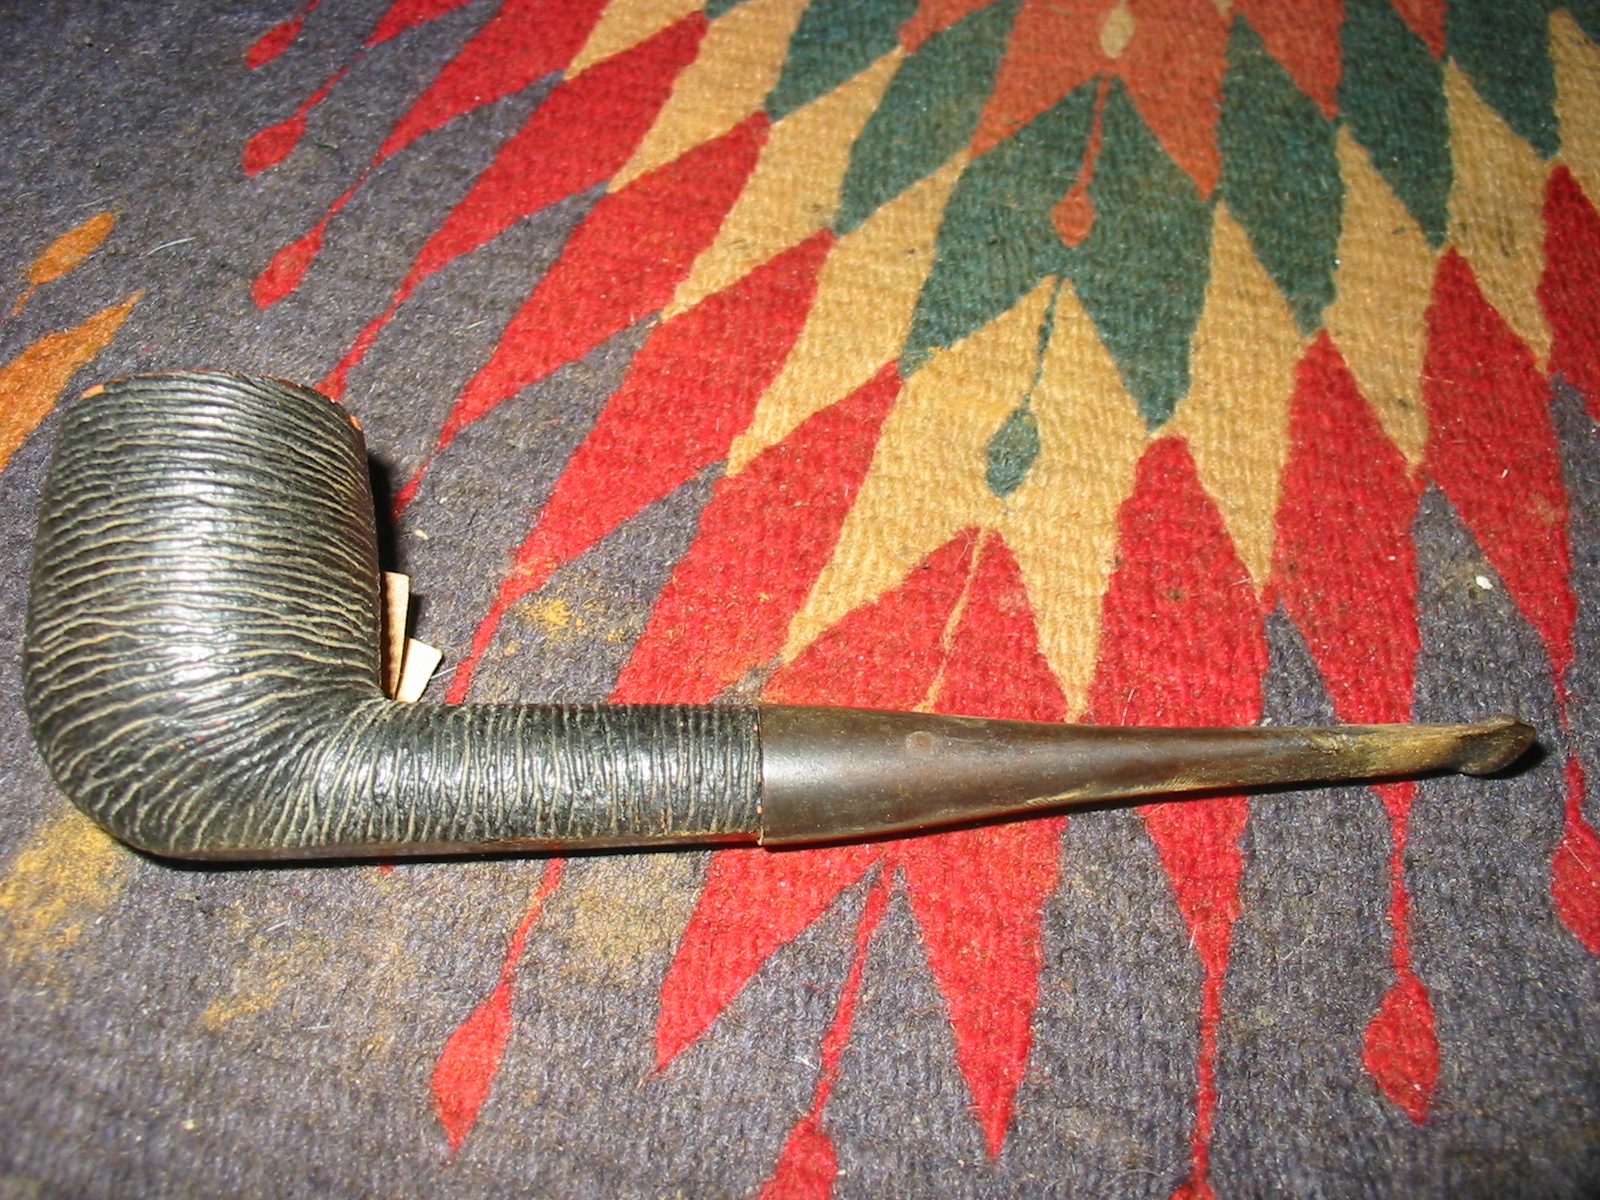
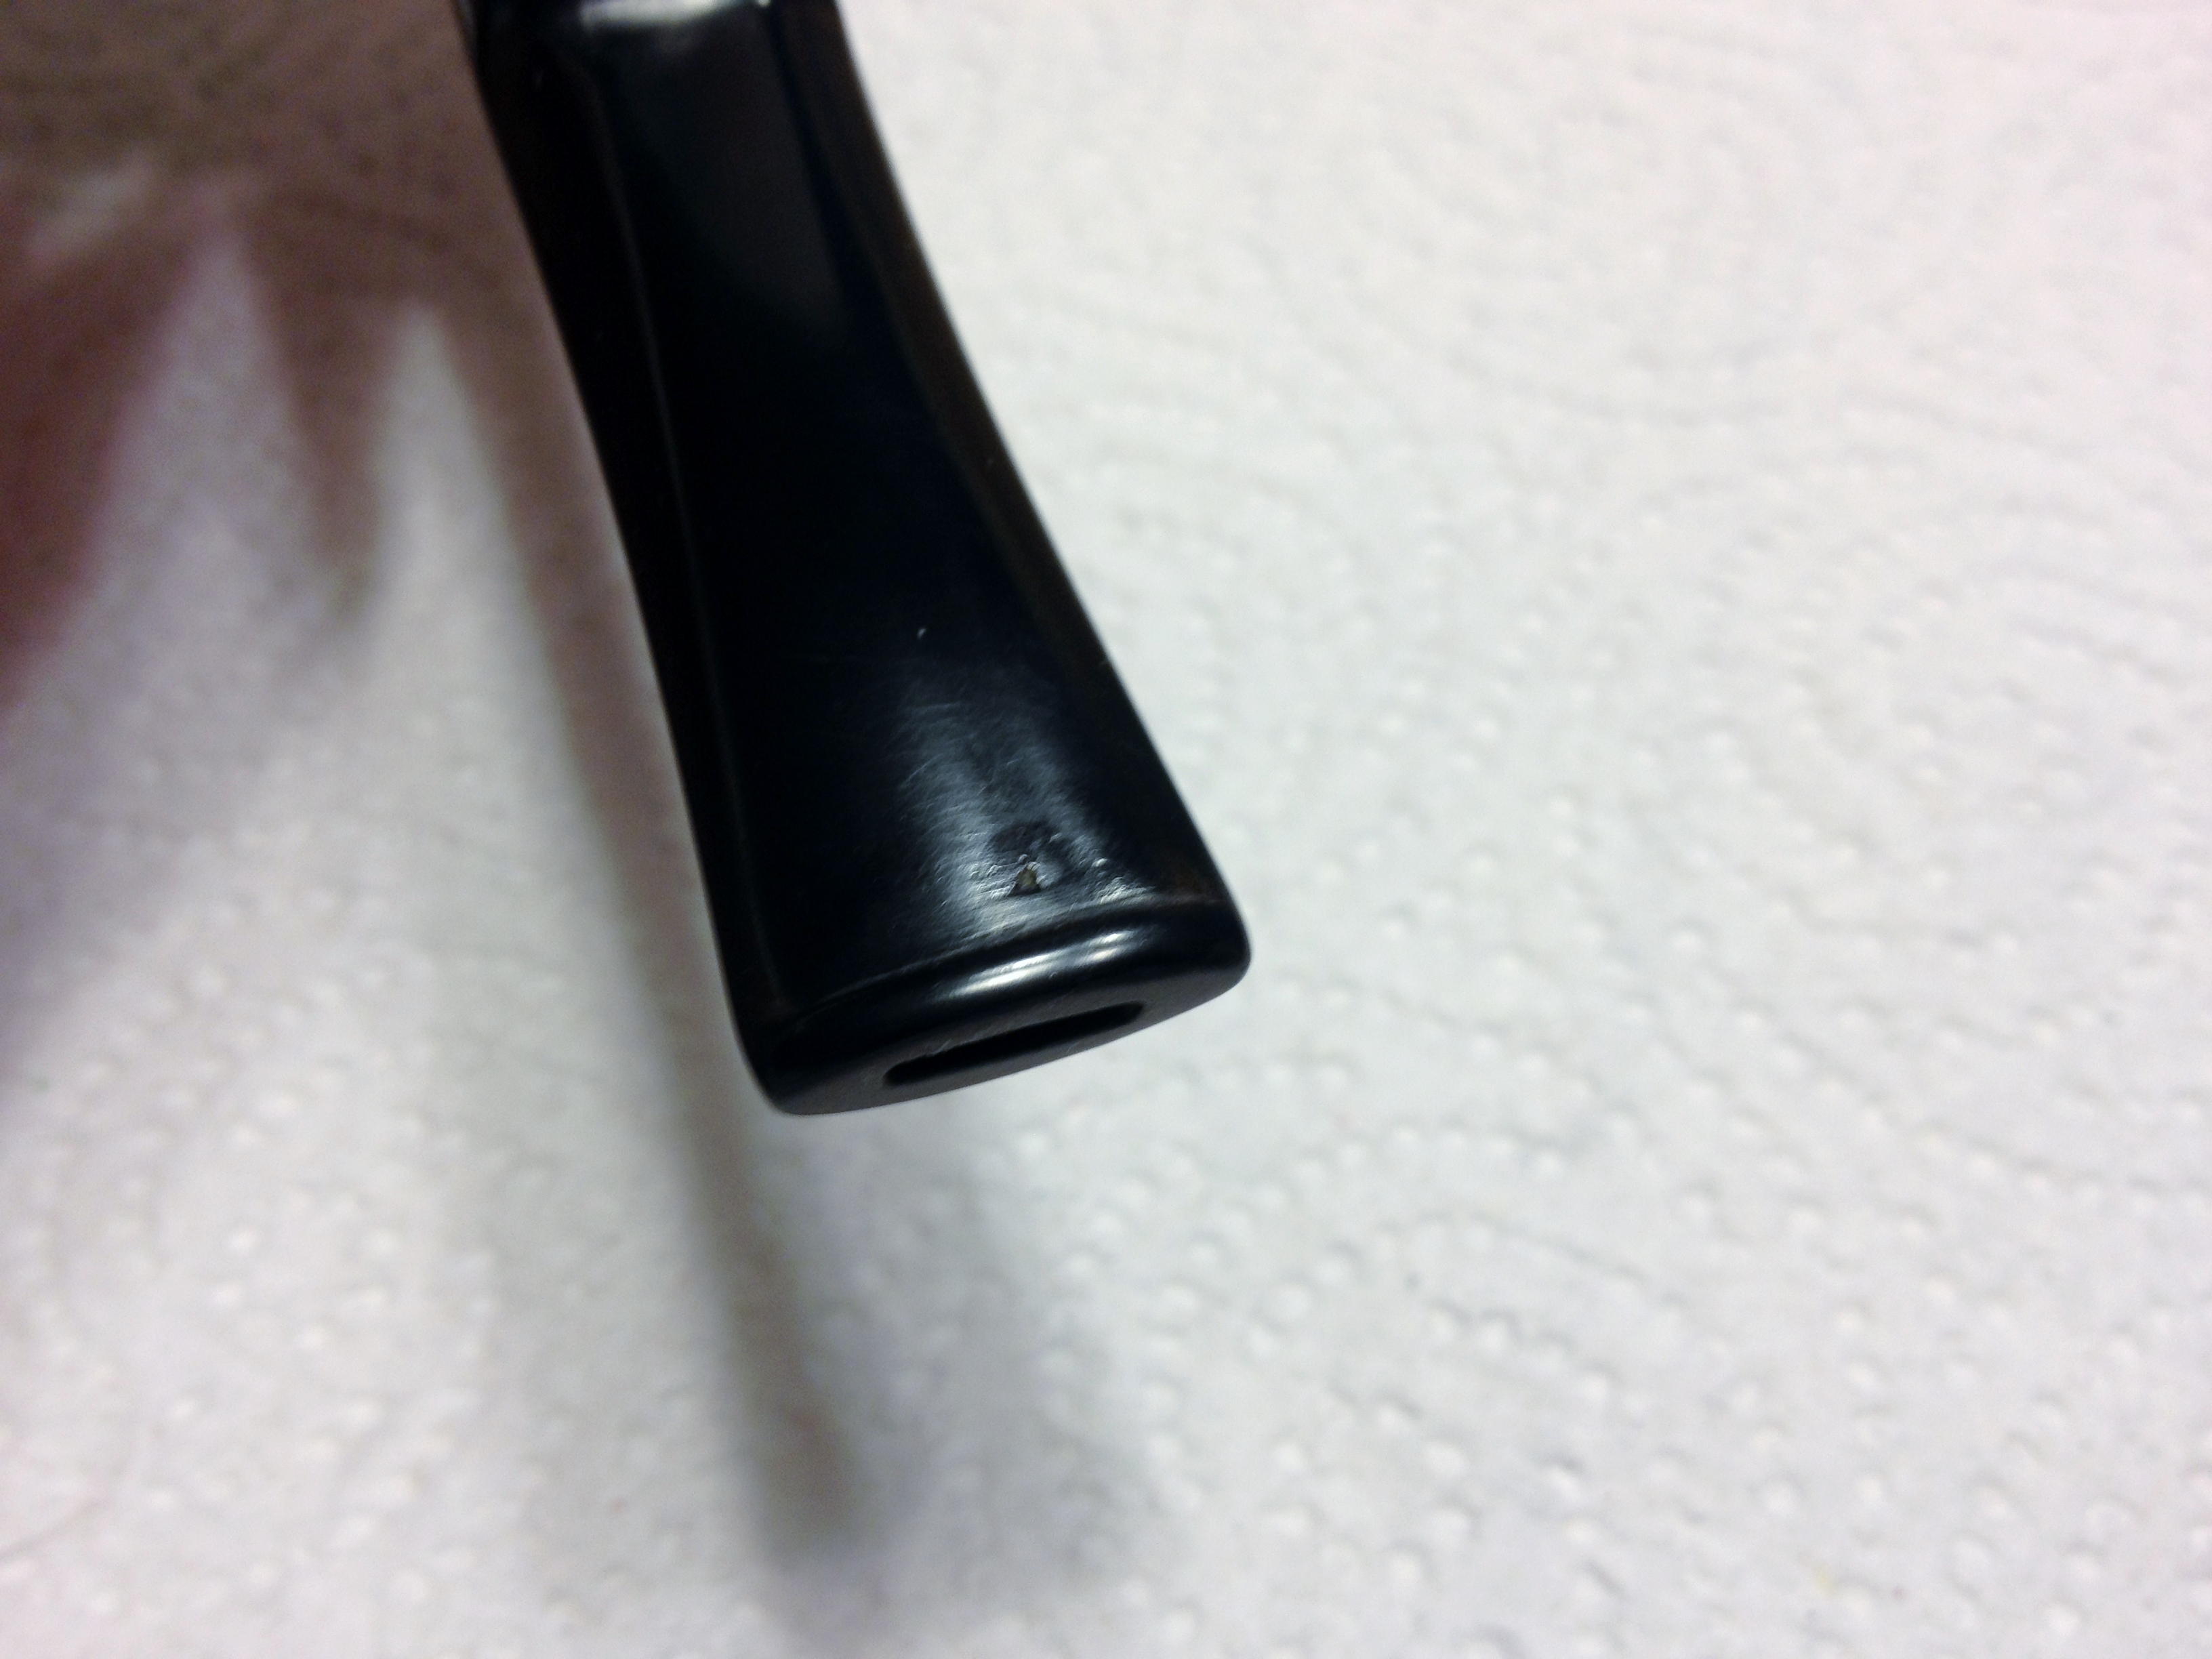
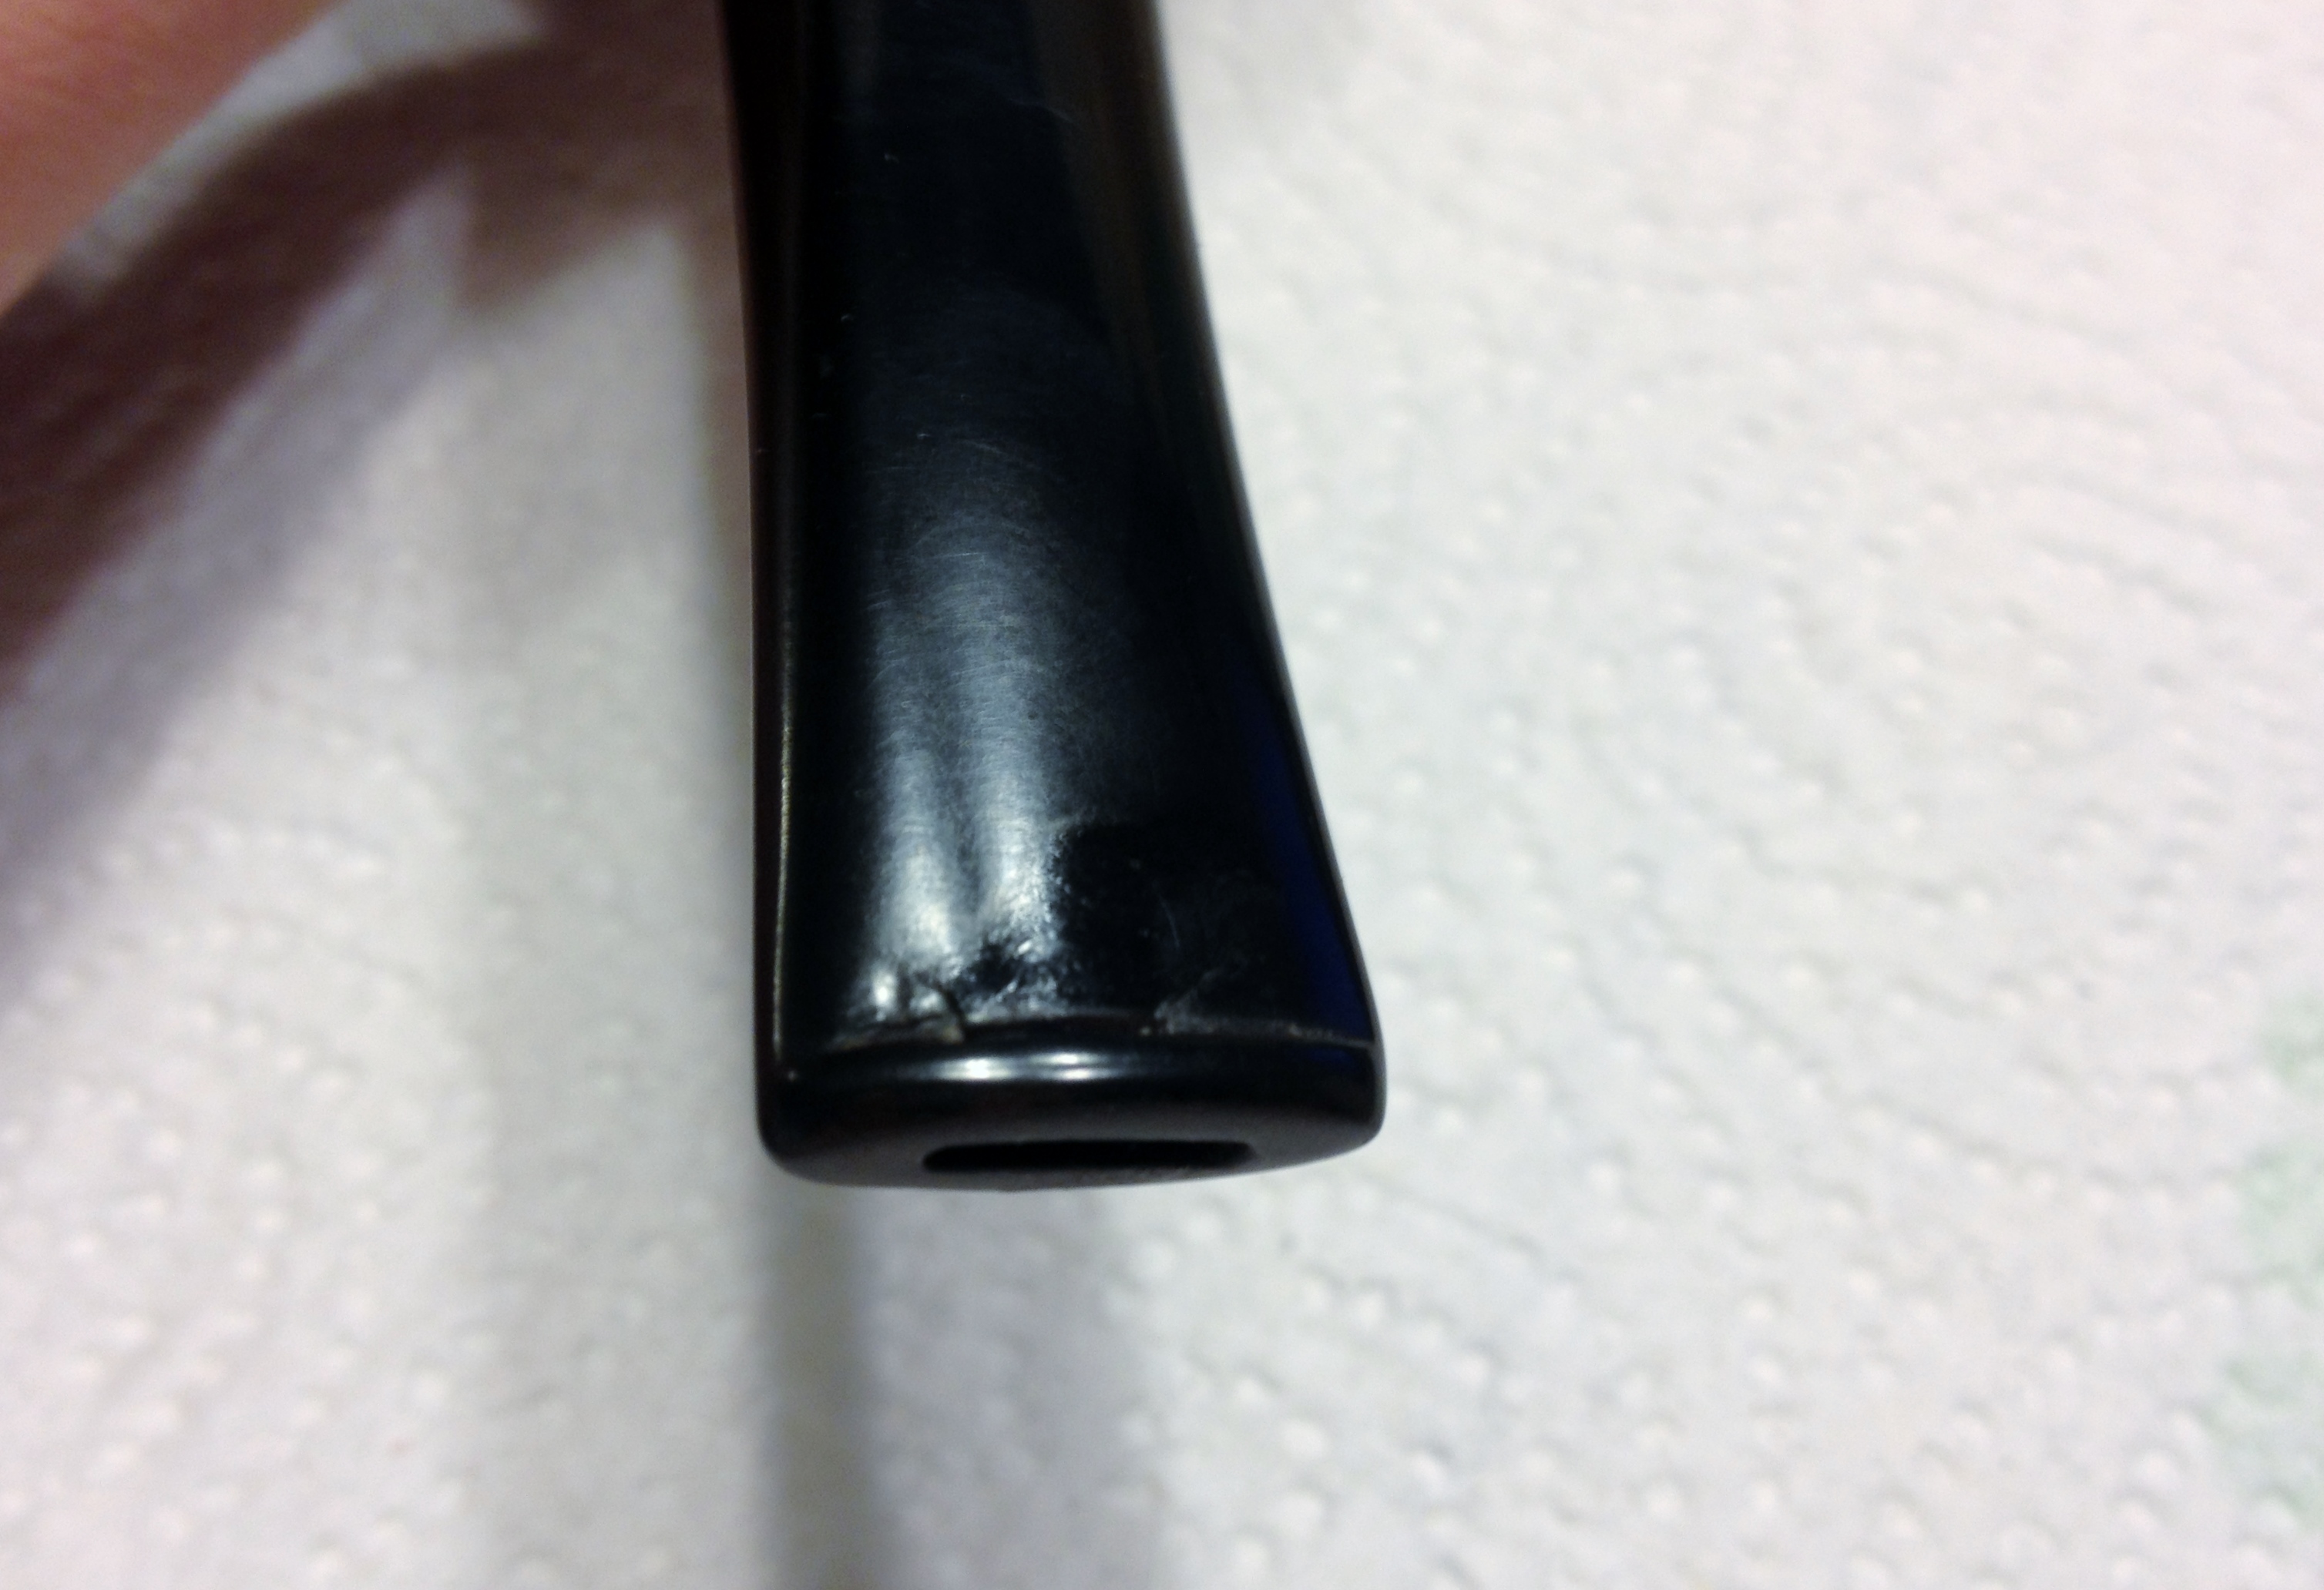
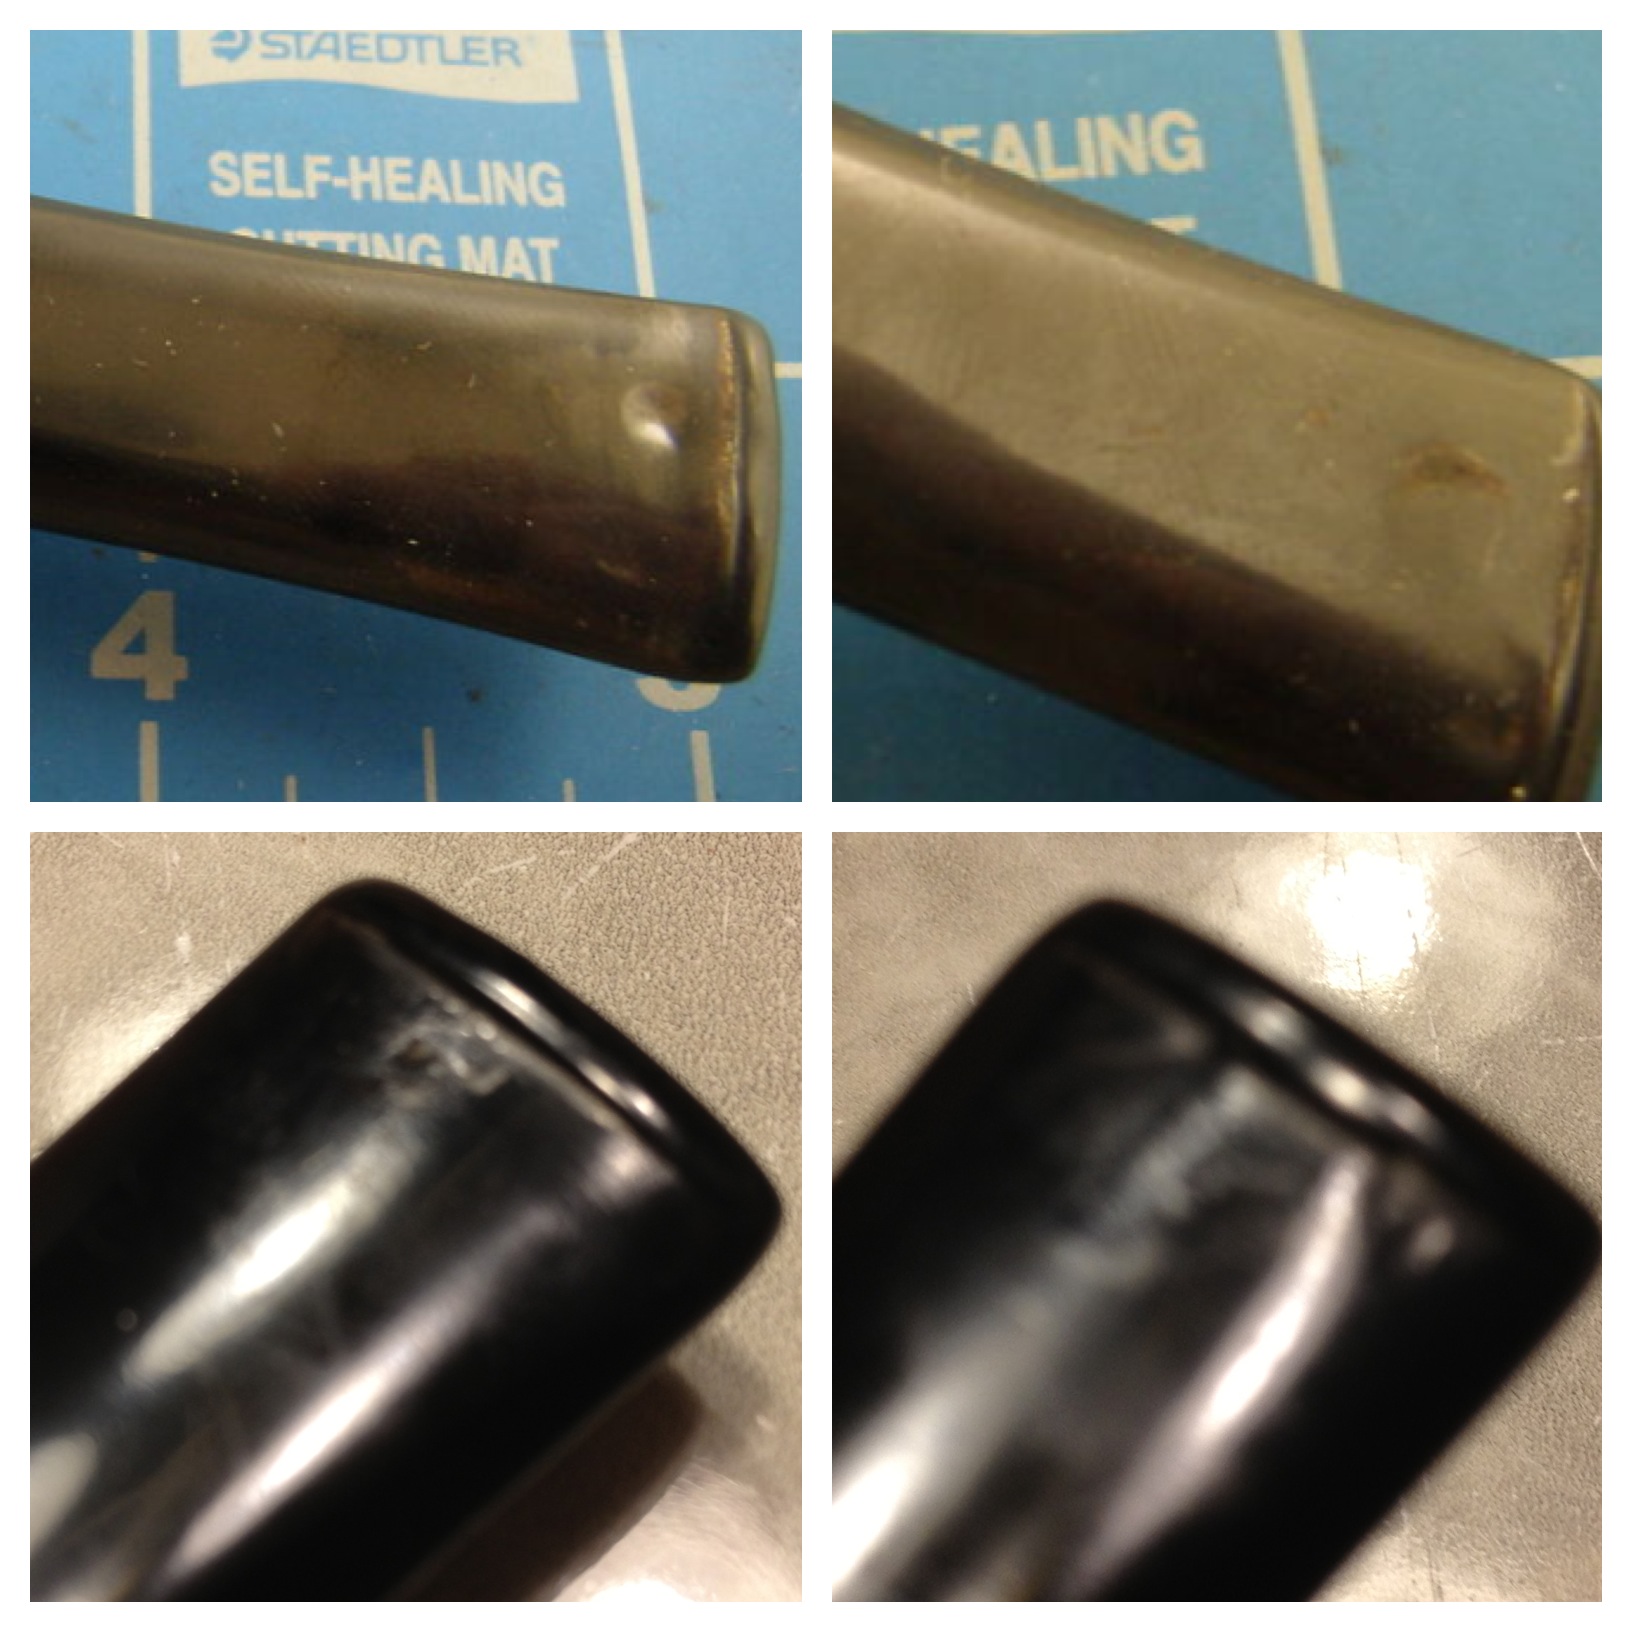
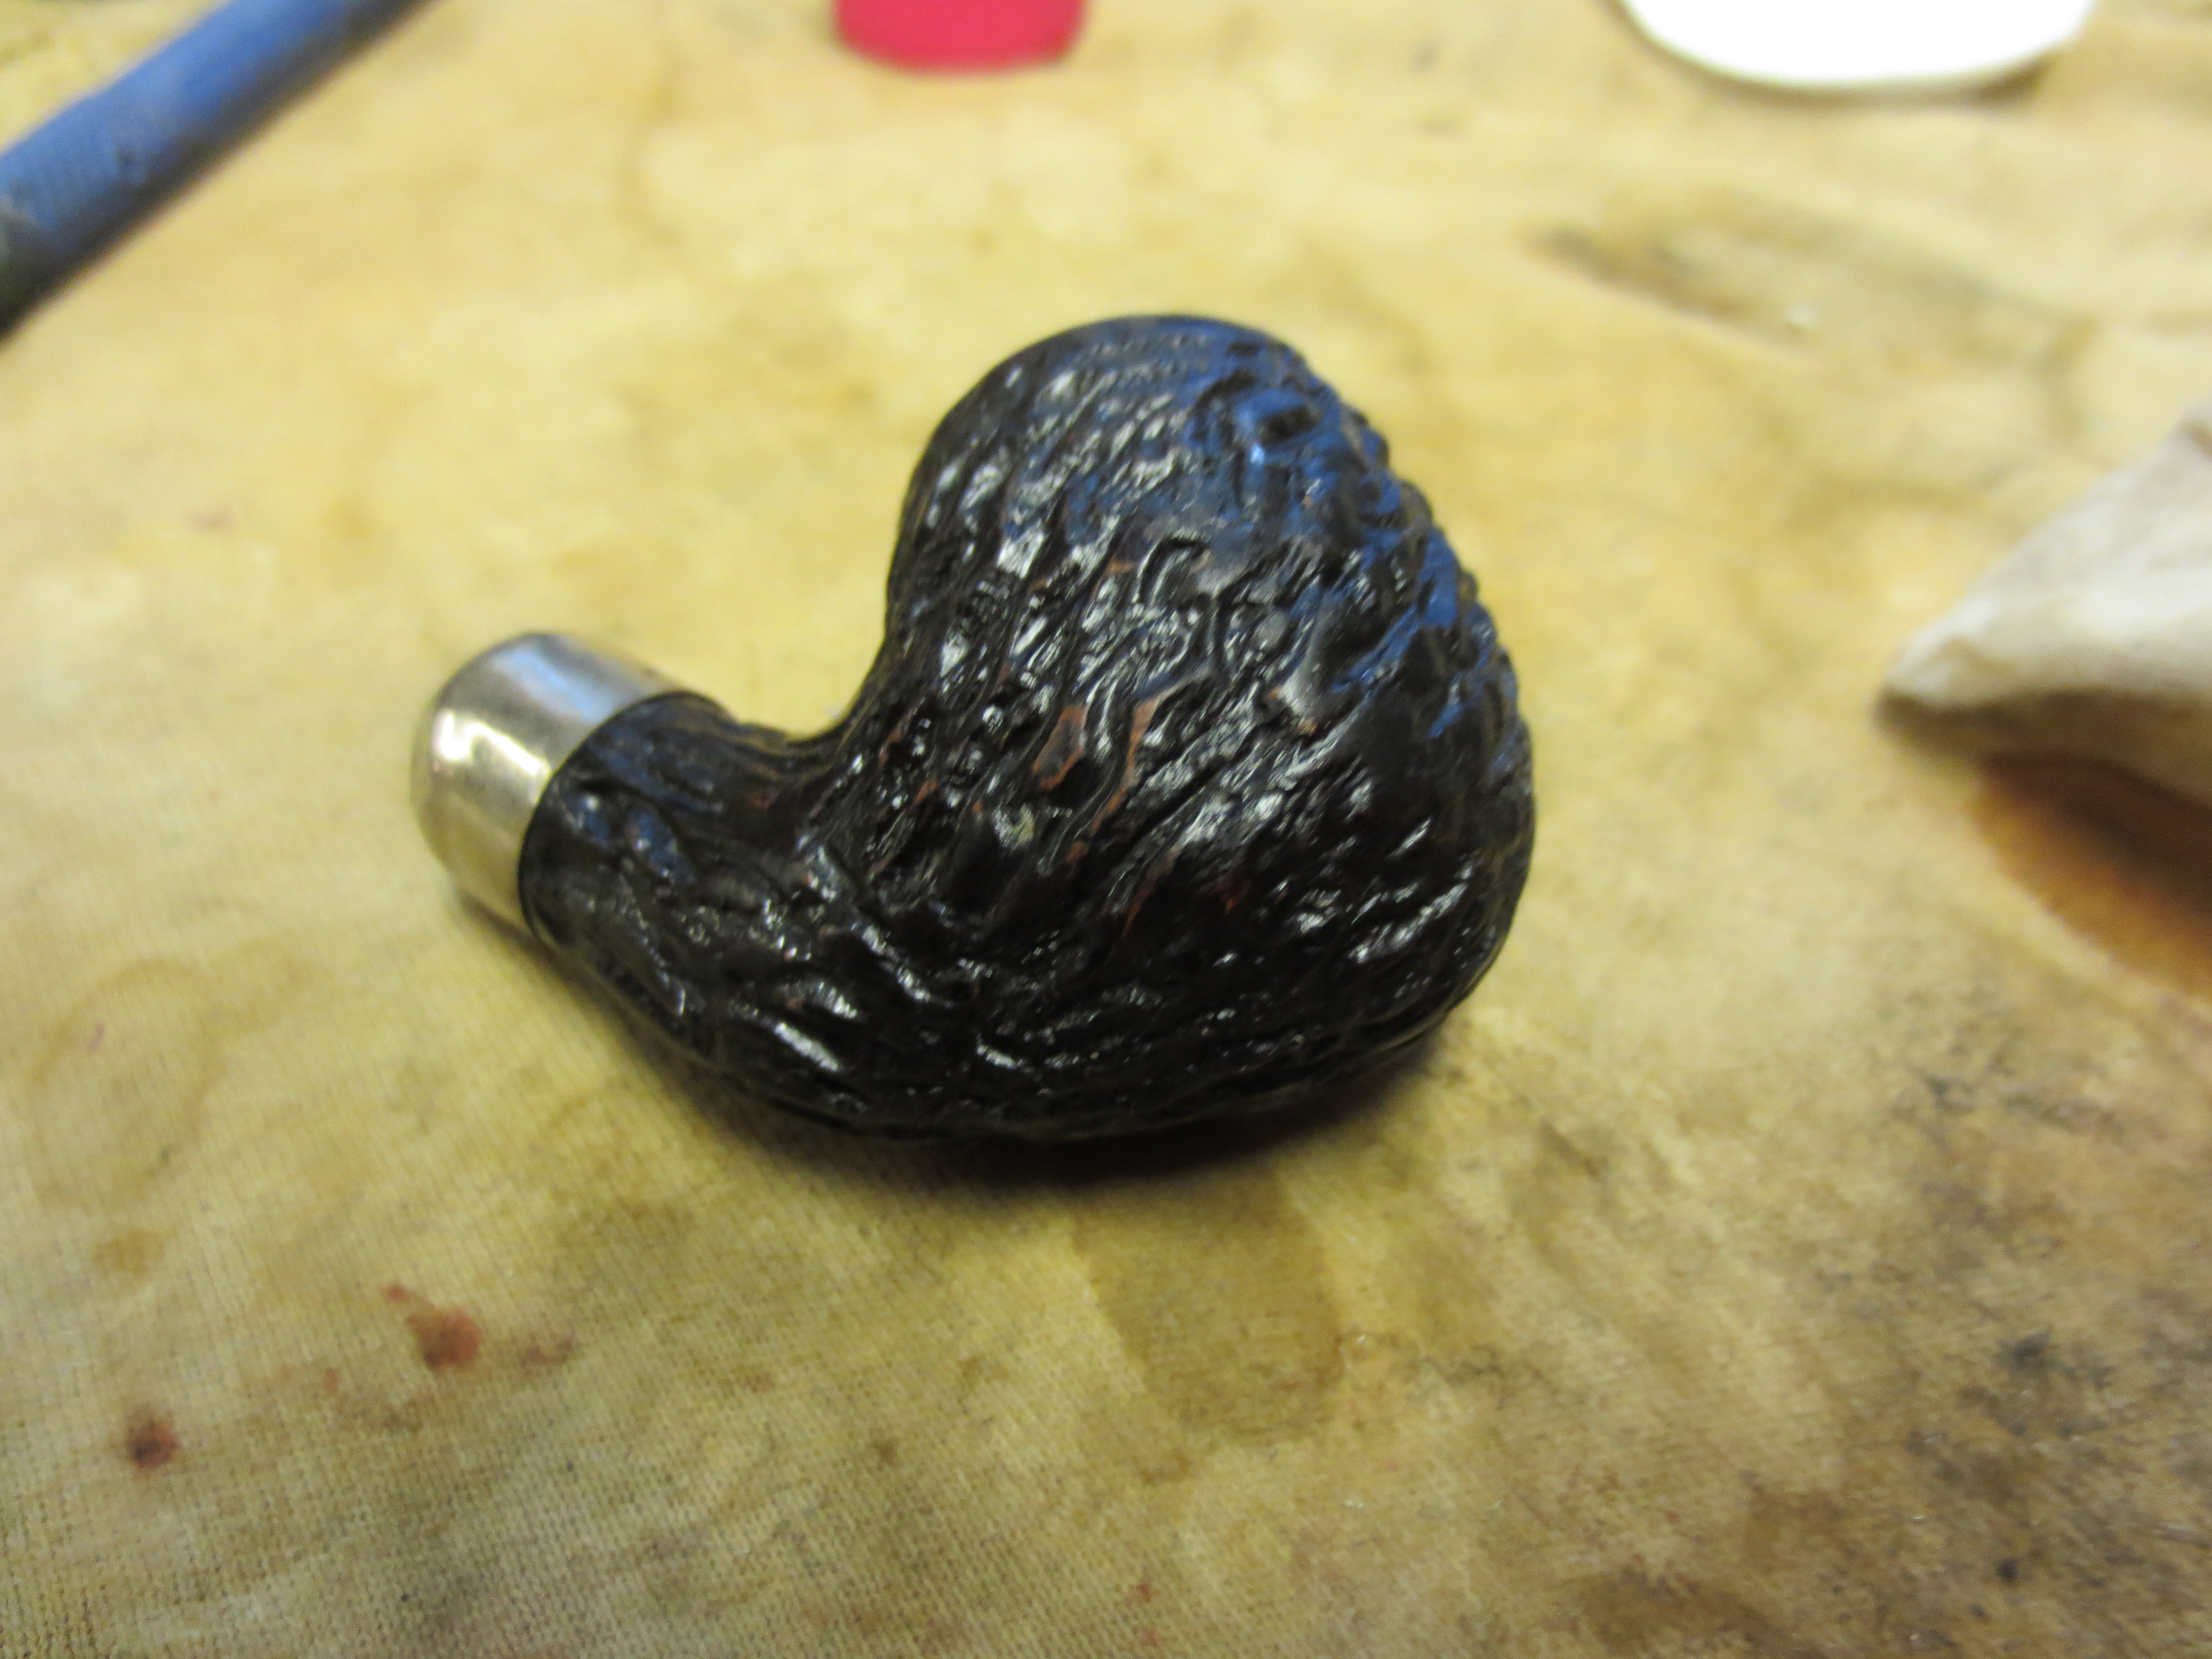
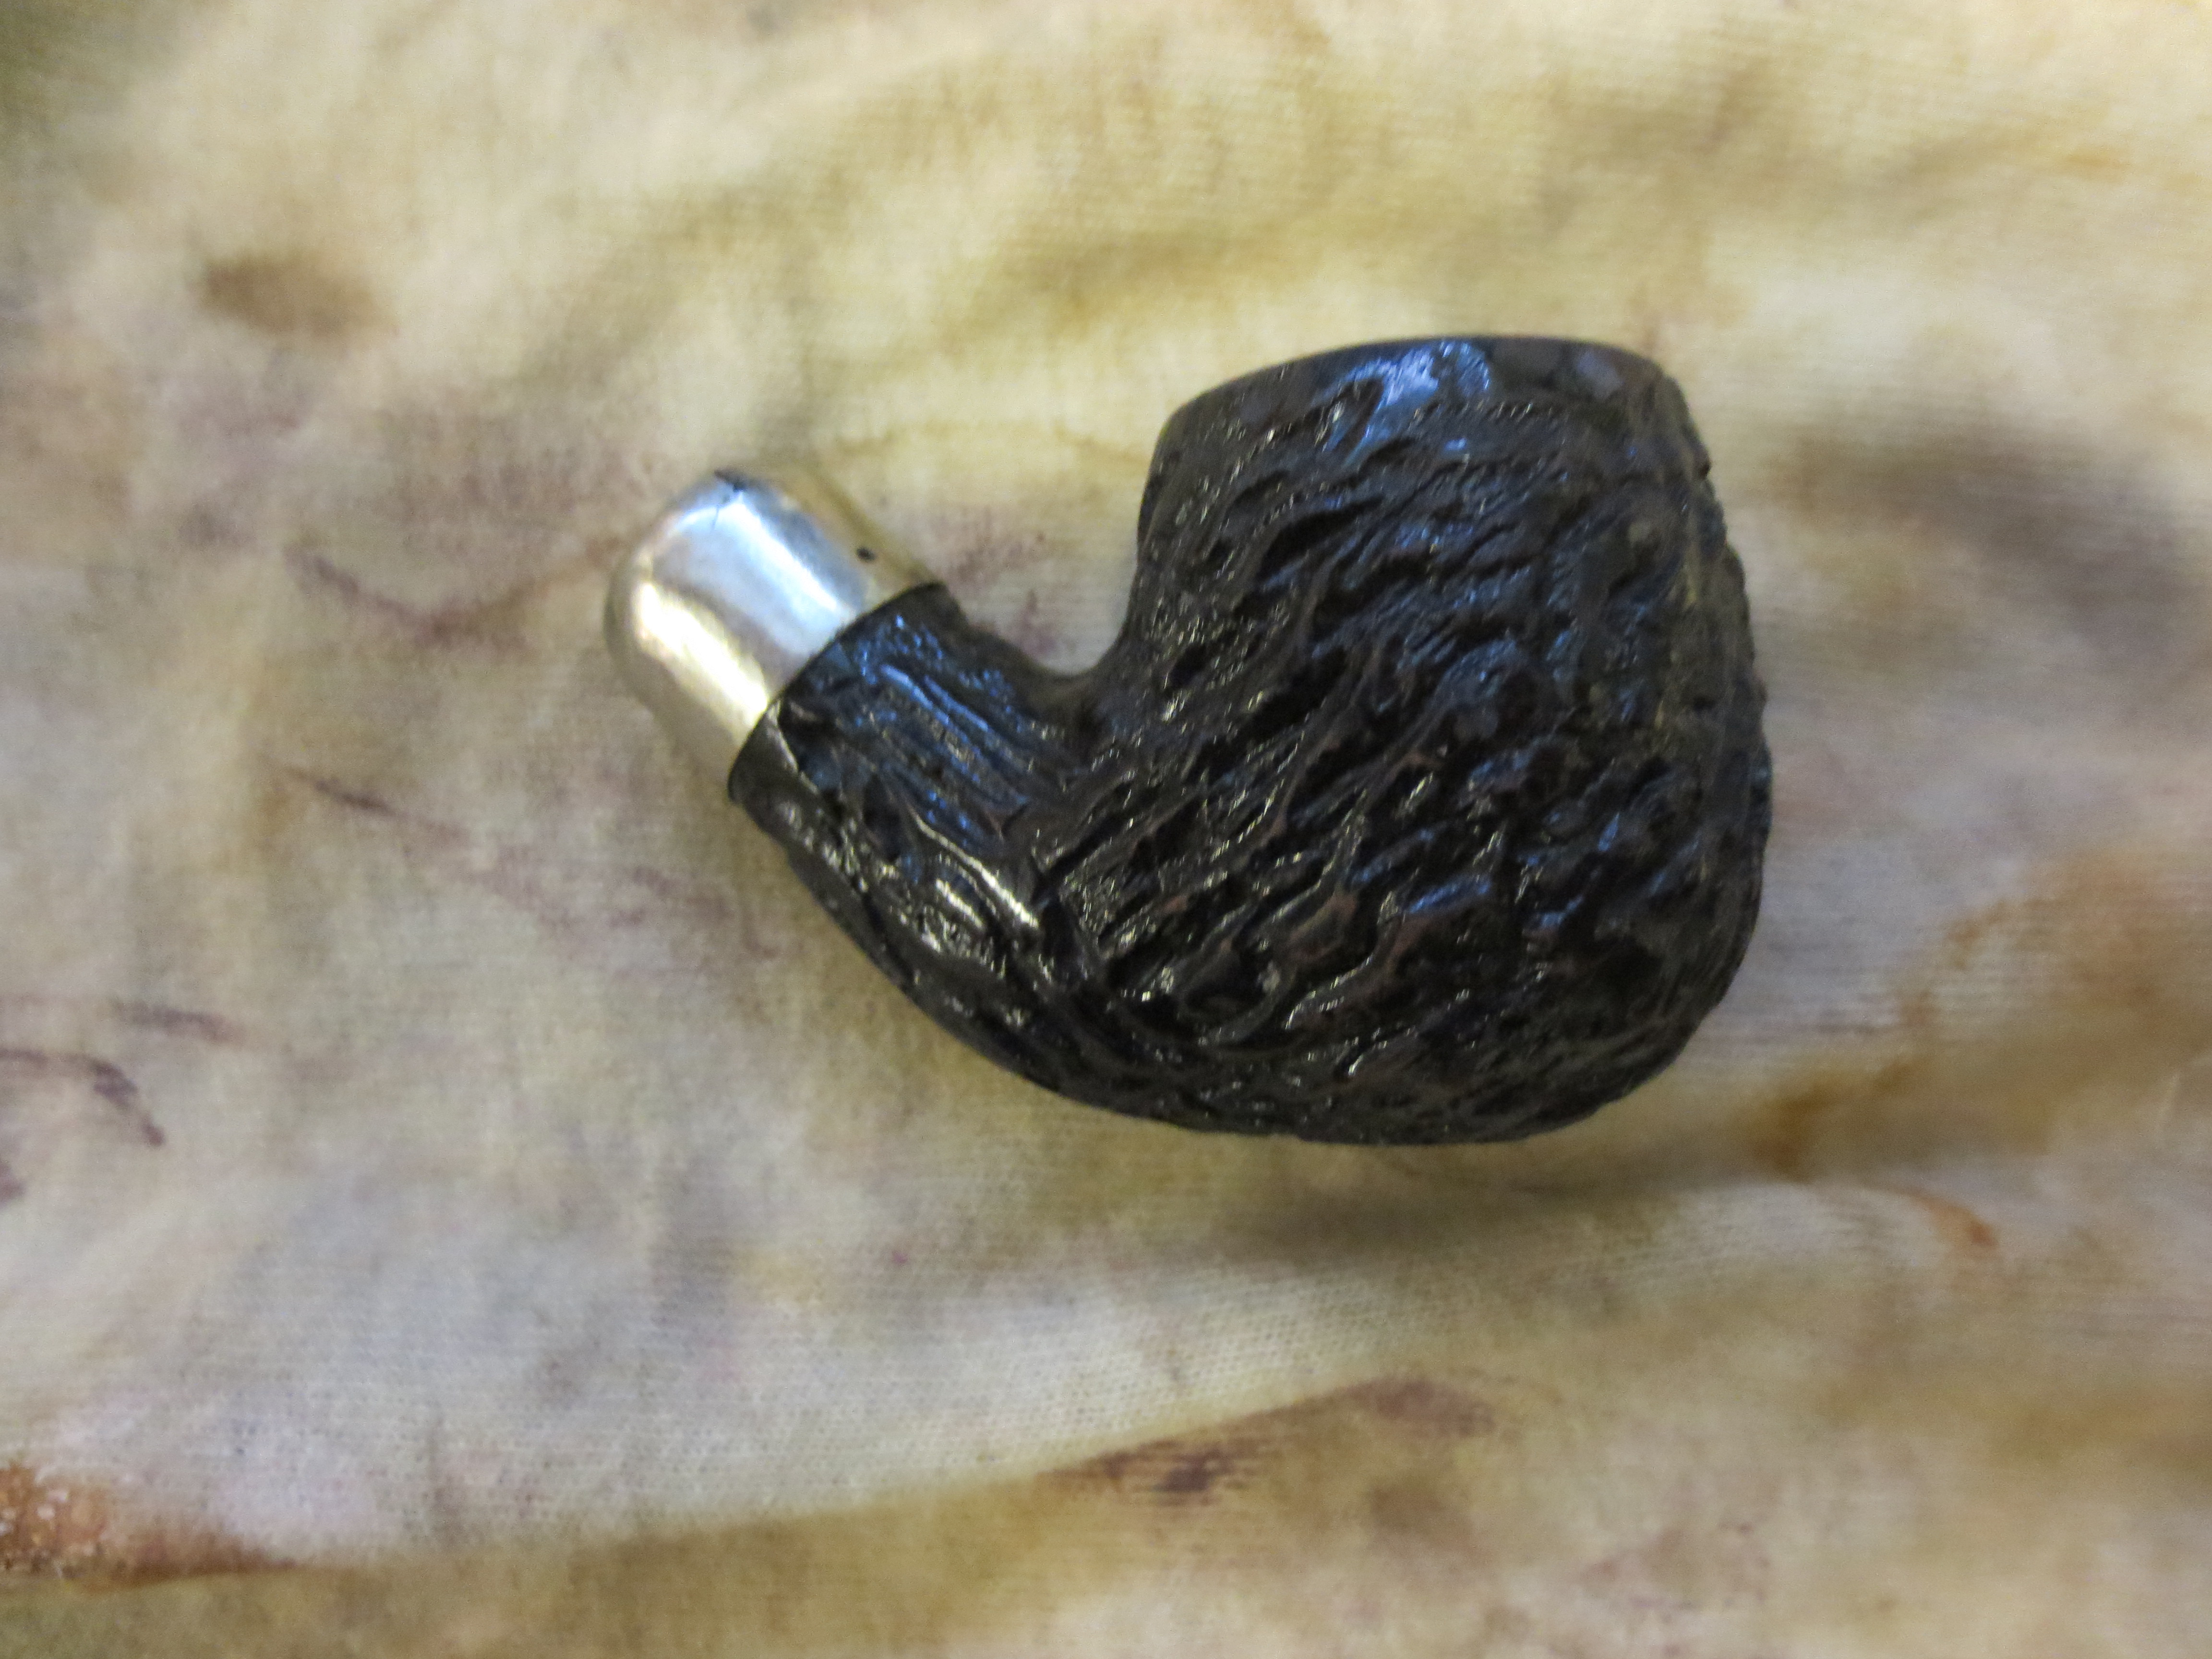
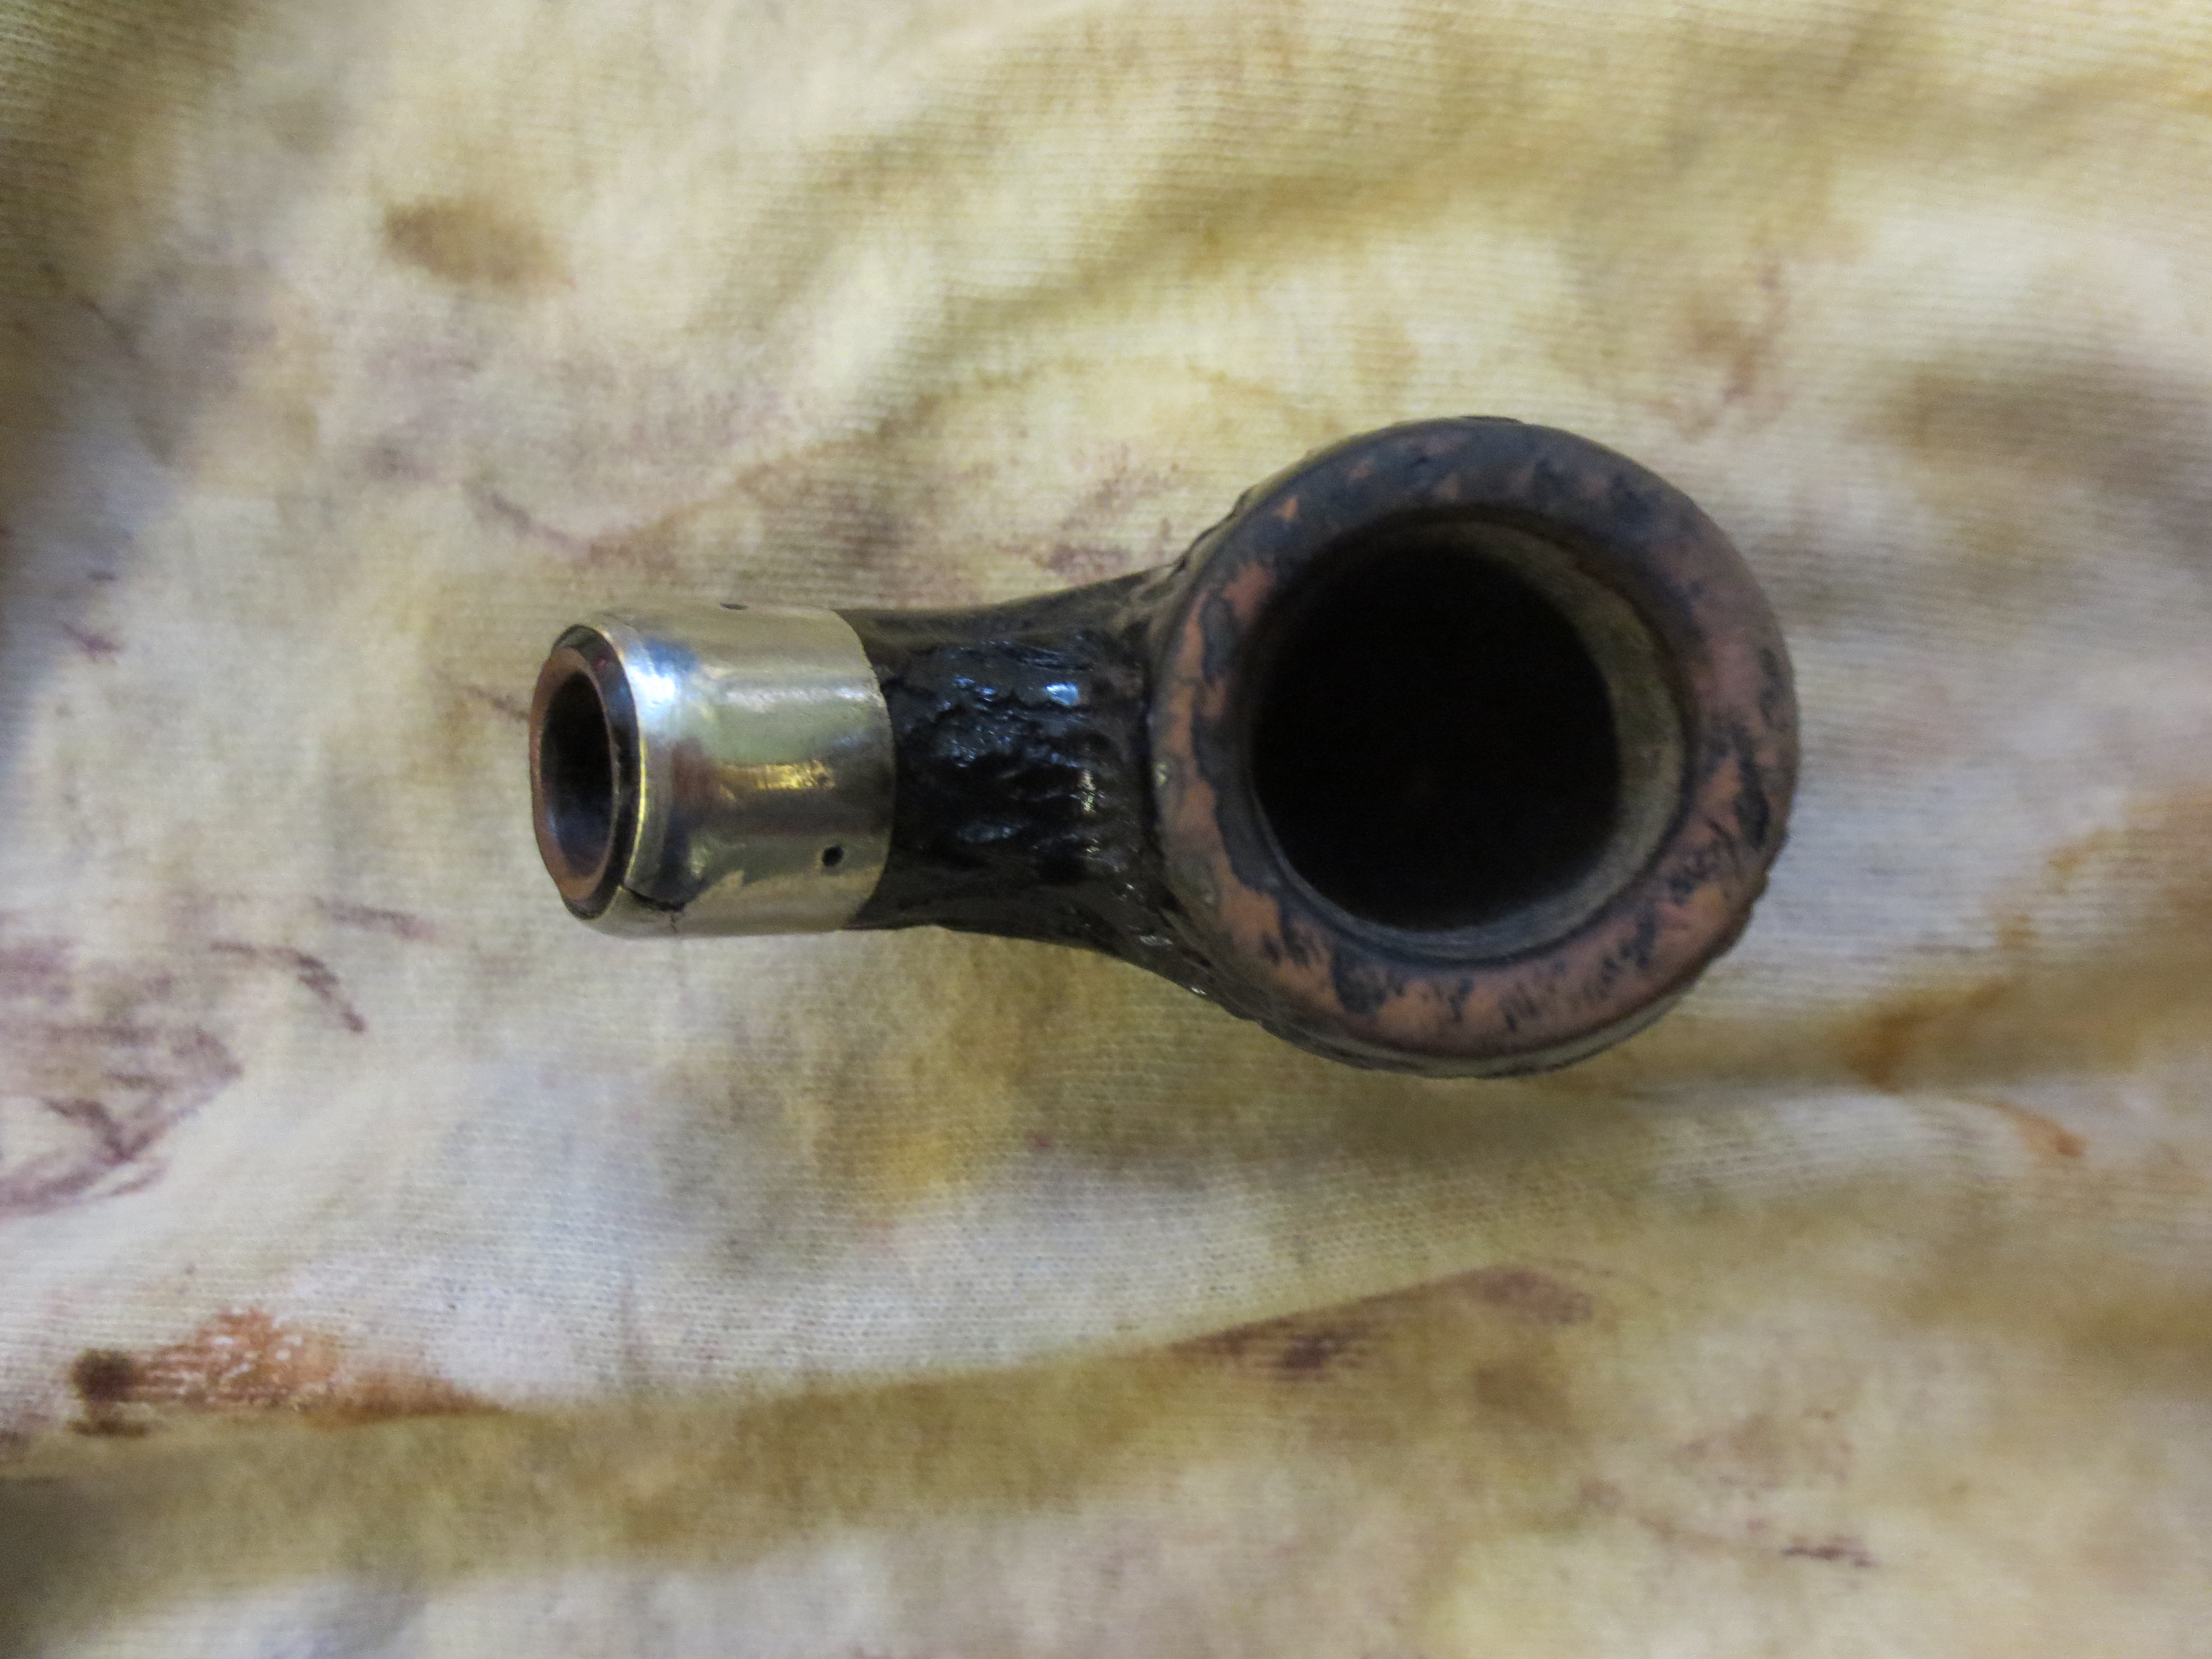
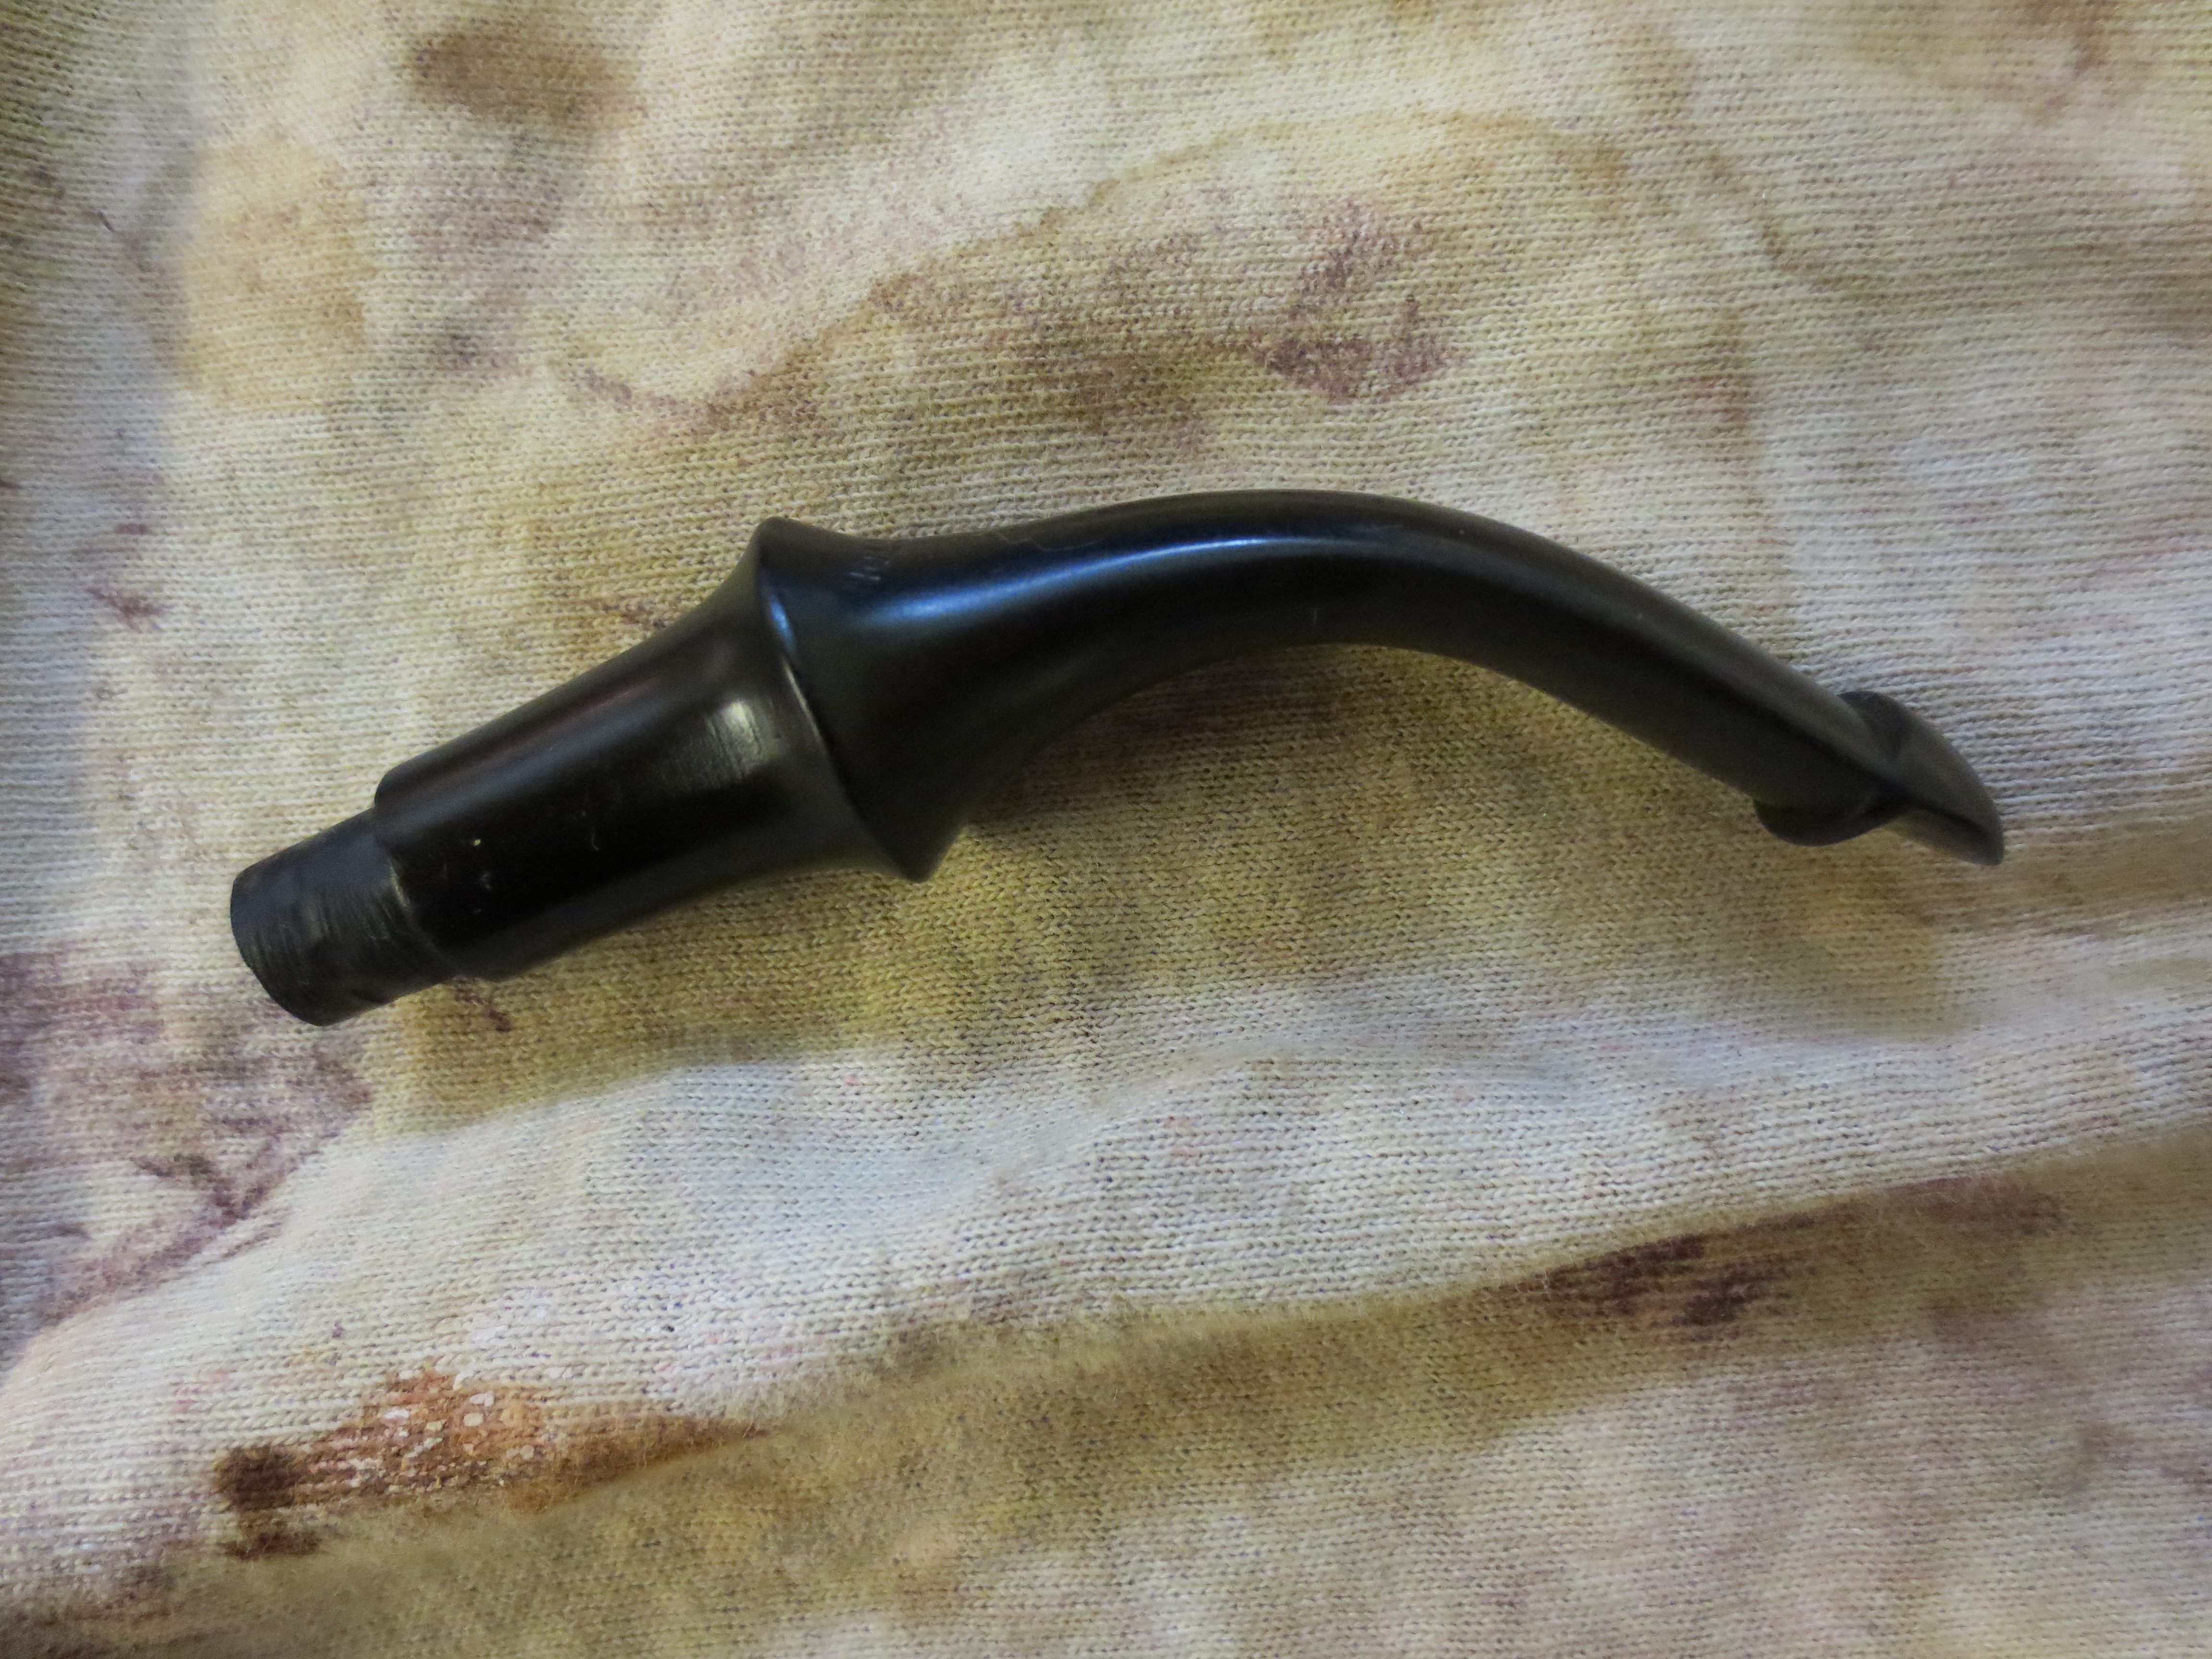
Tag Archives: bite marks

’63 Dunhill 552 Restoration


Blog by Al Jones

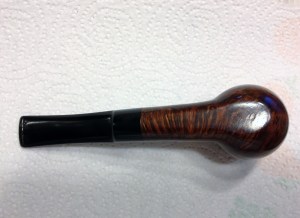
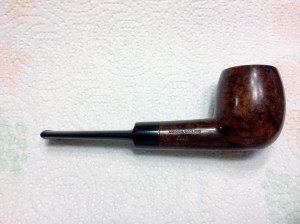
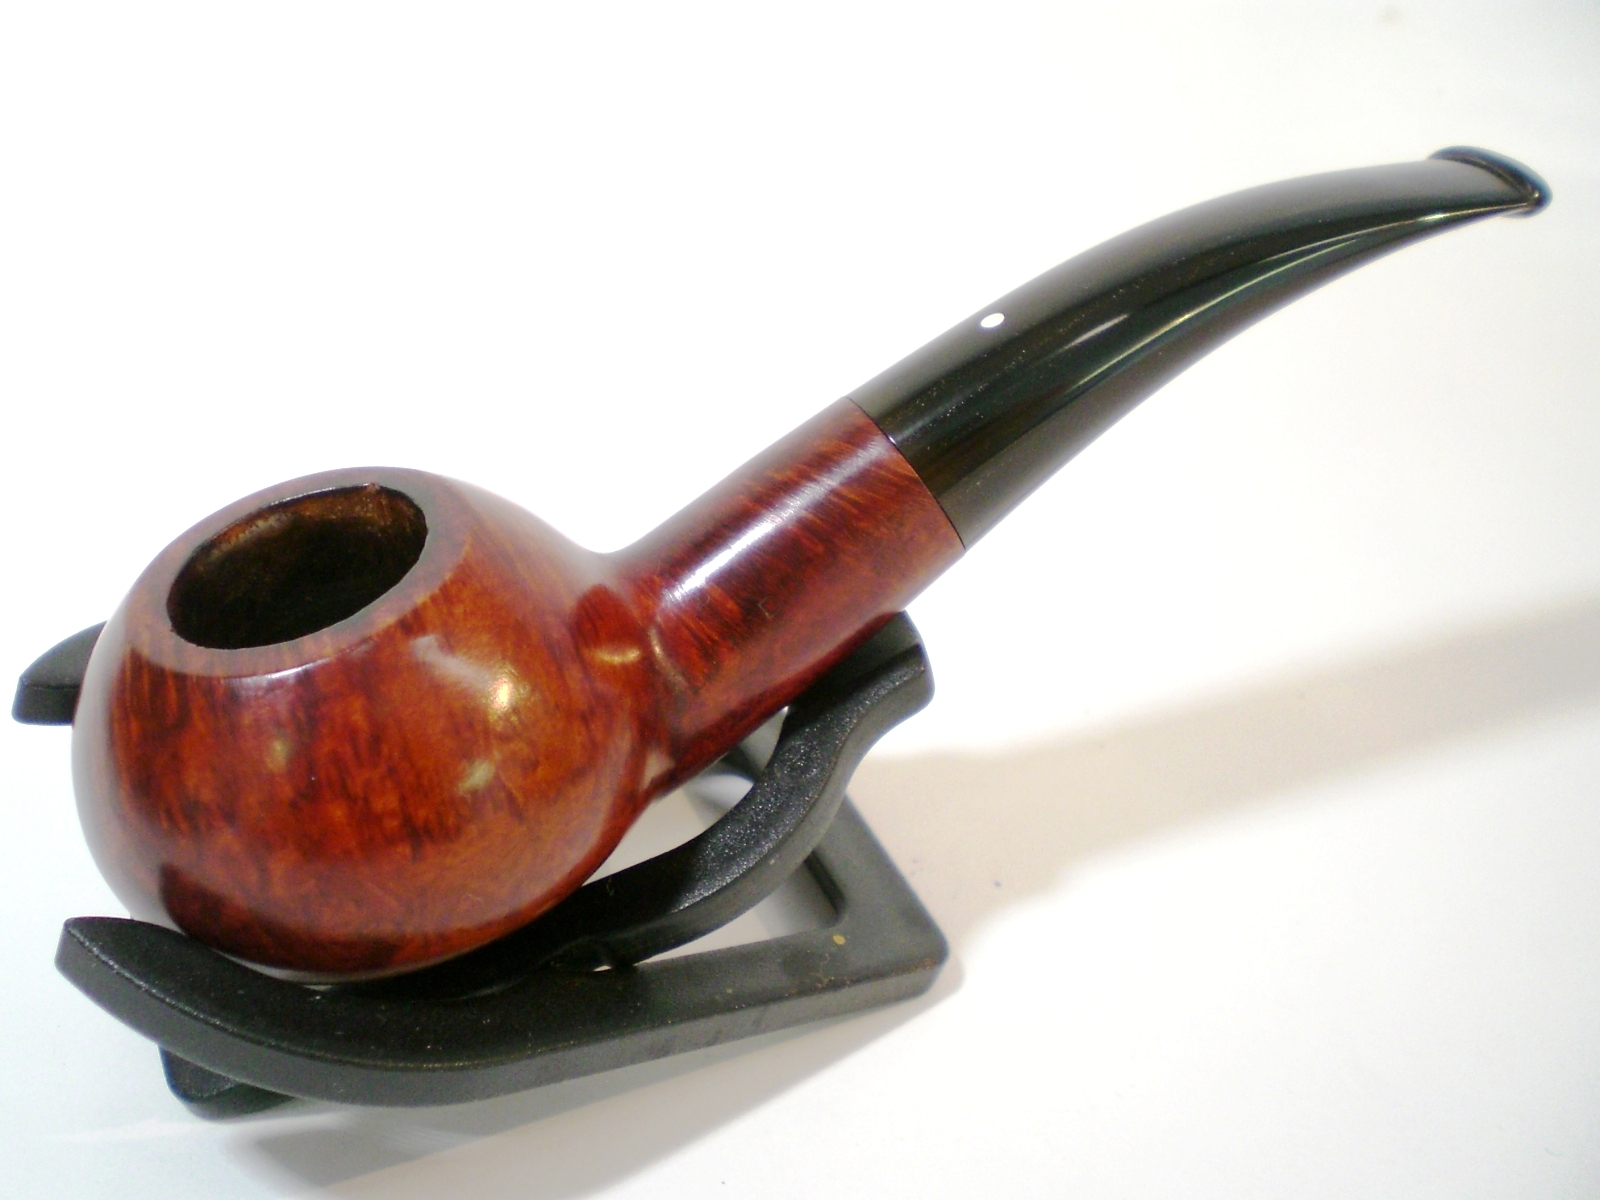
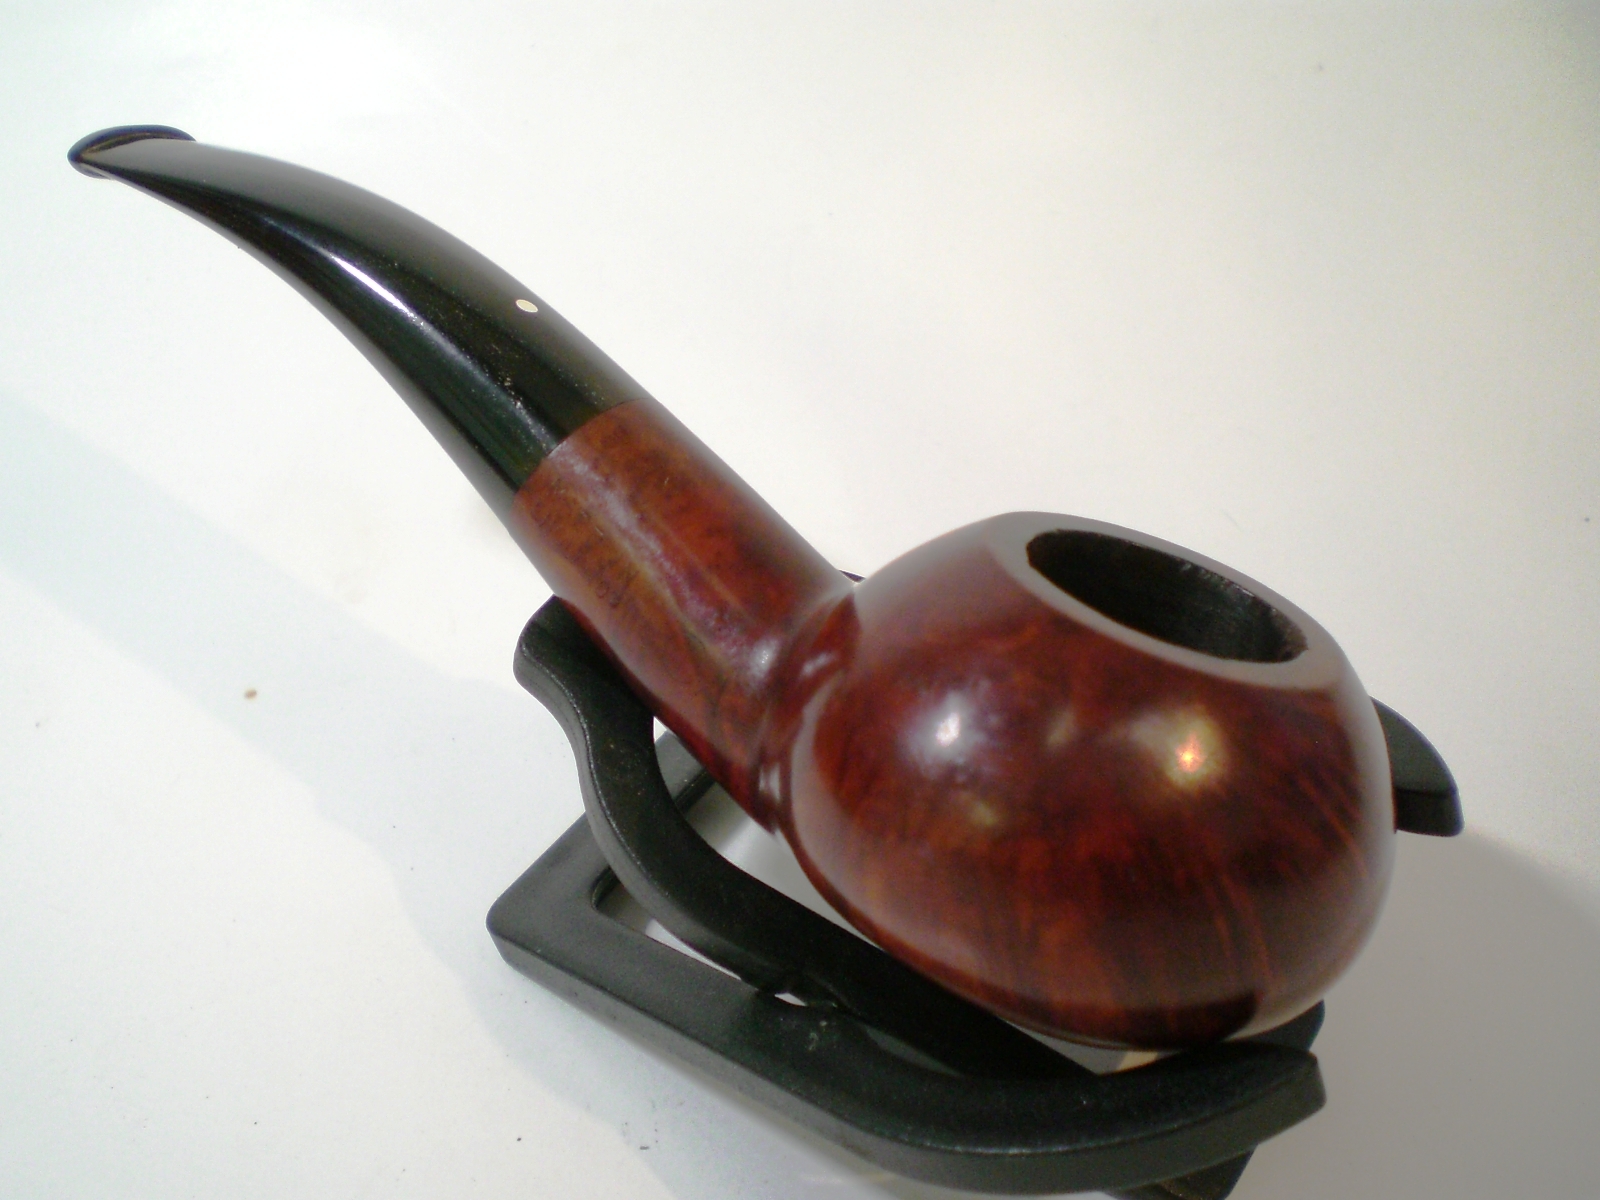
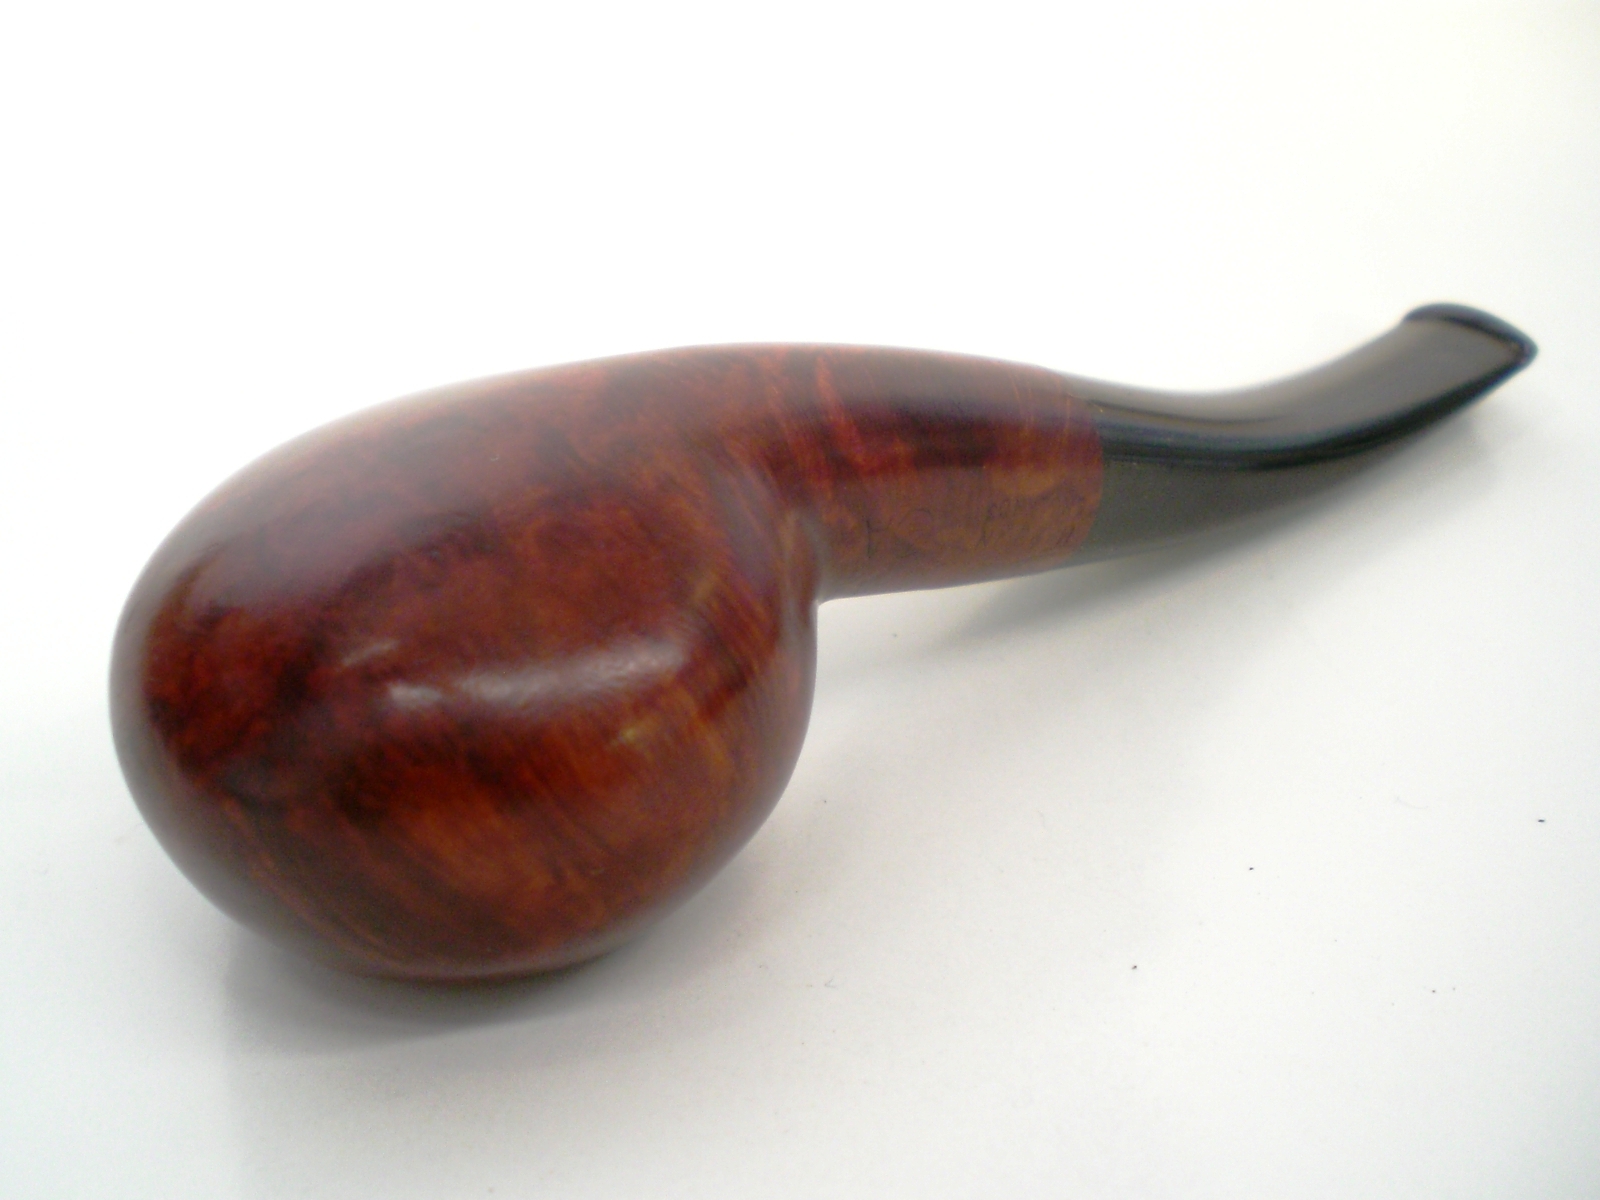
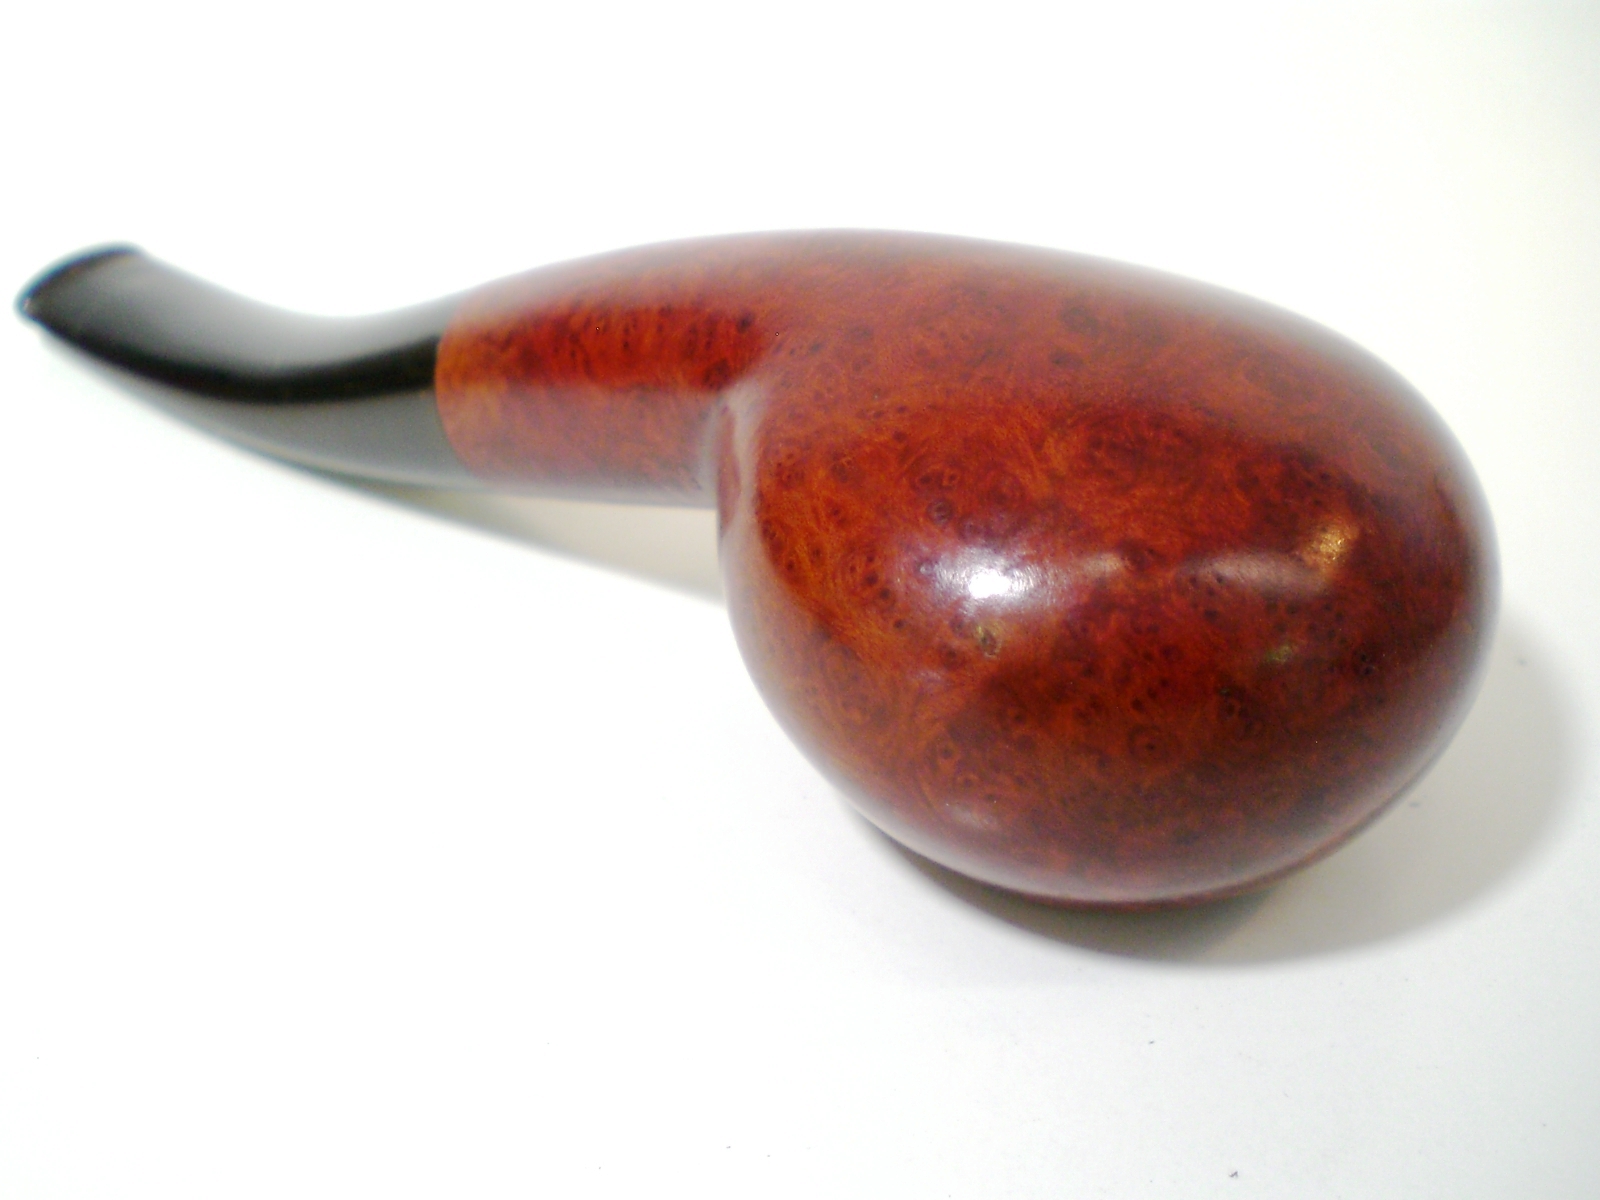
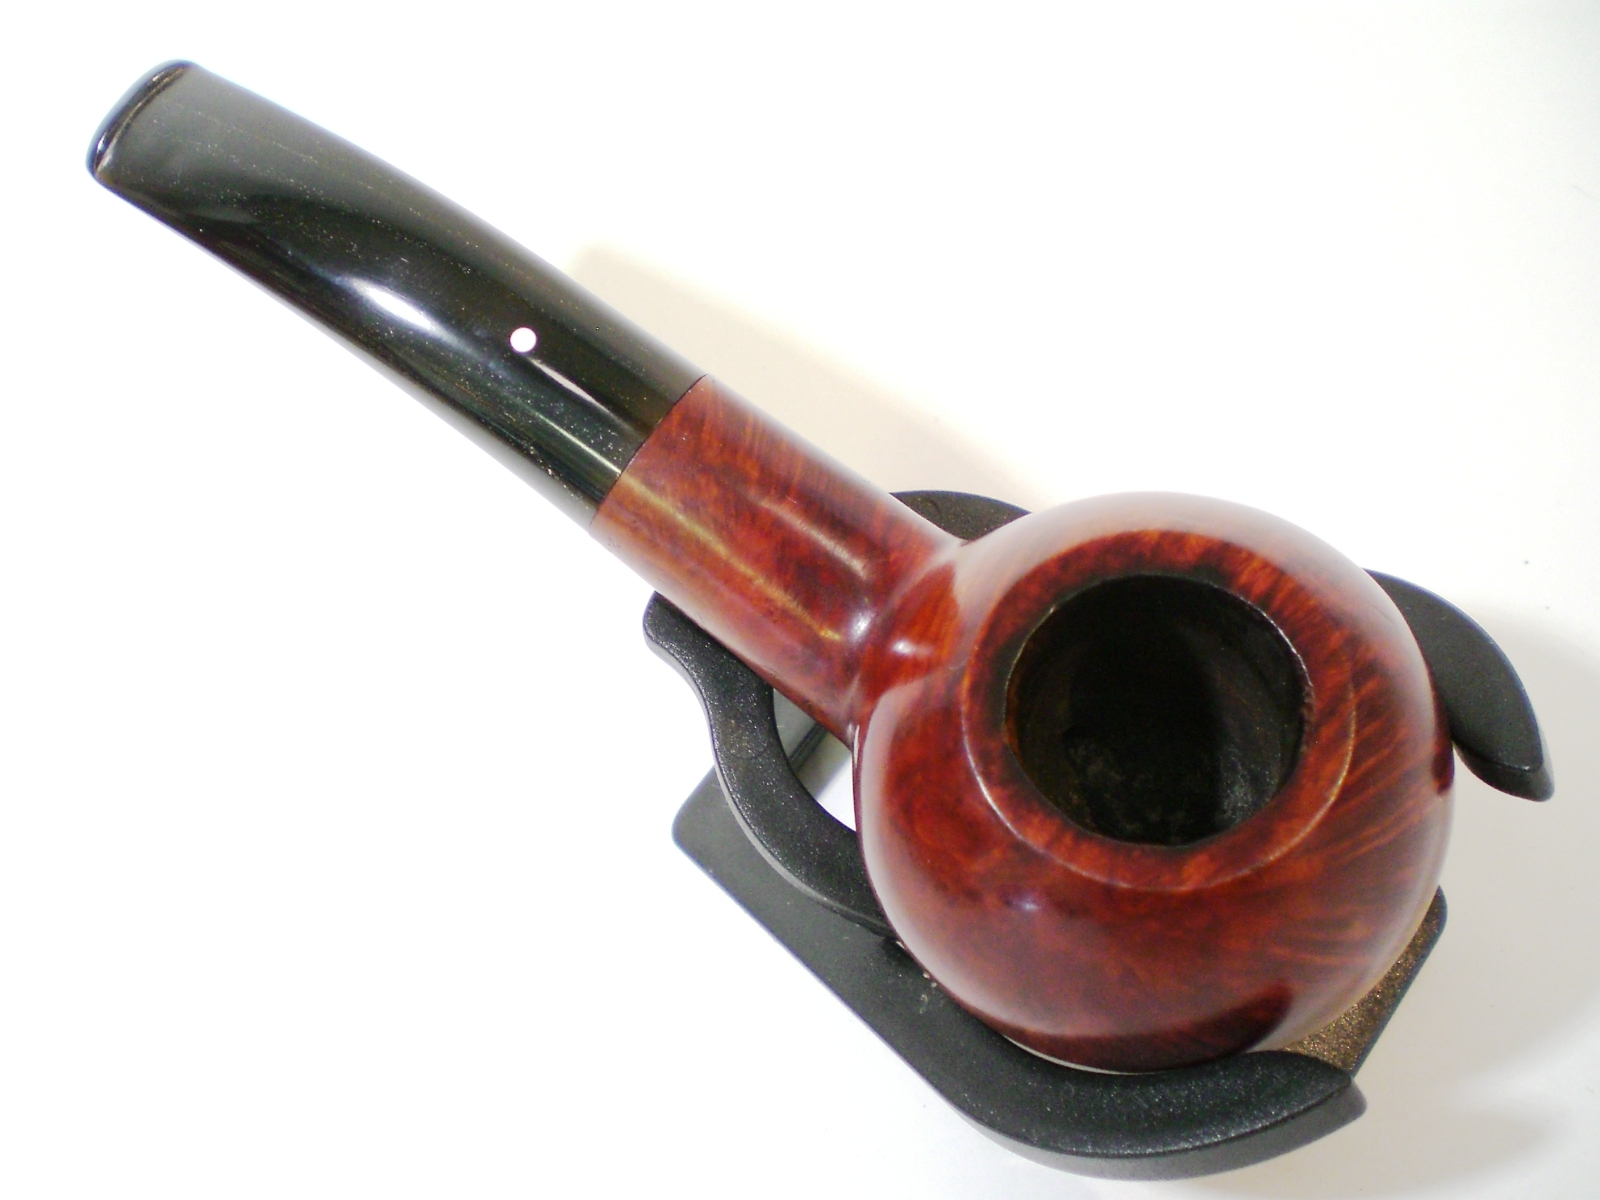
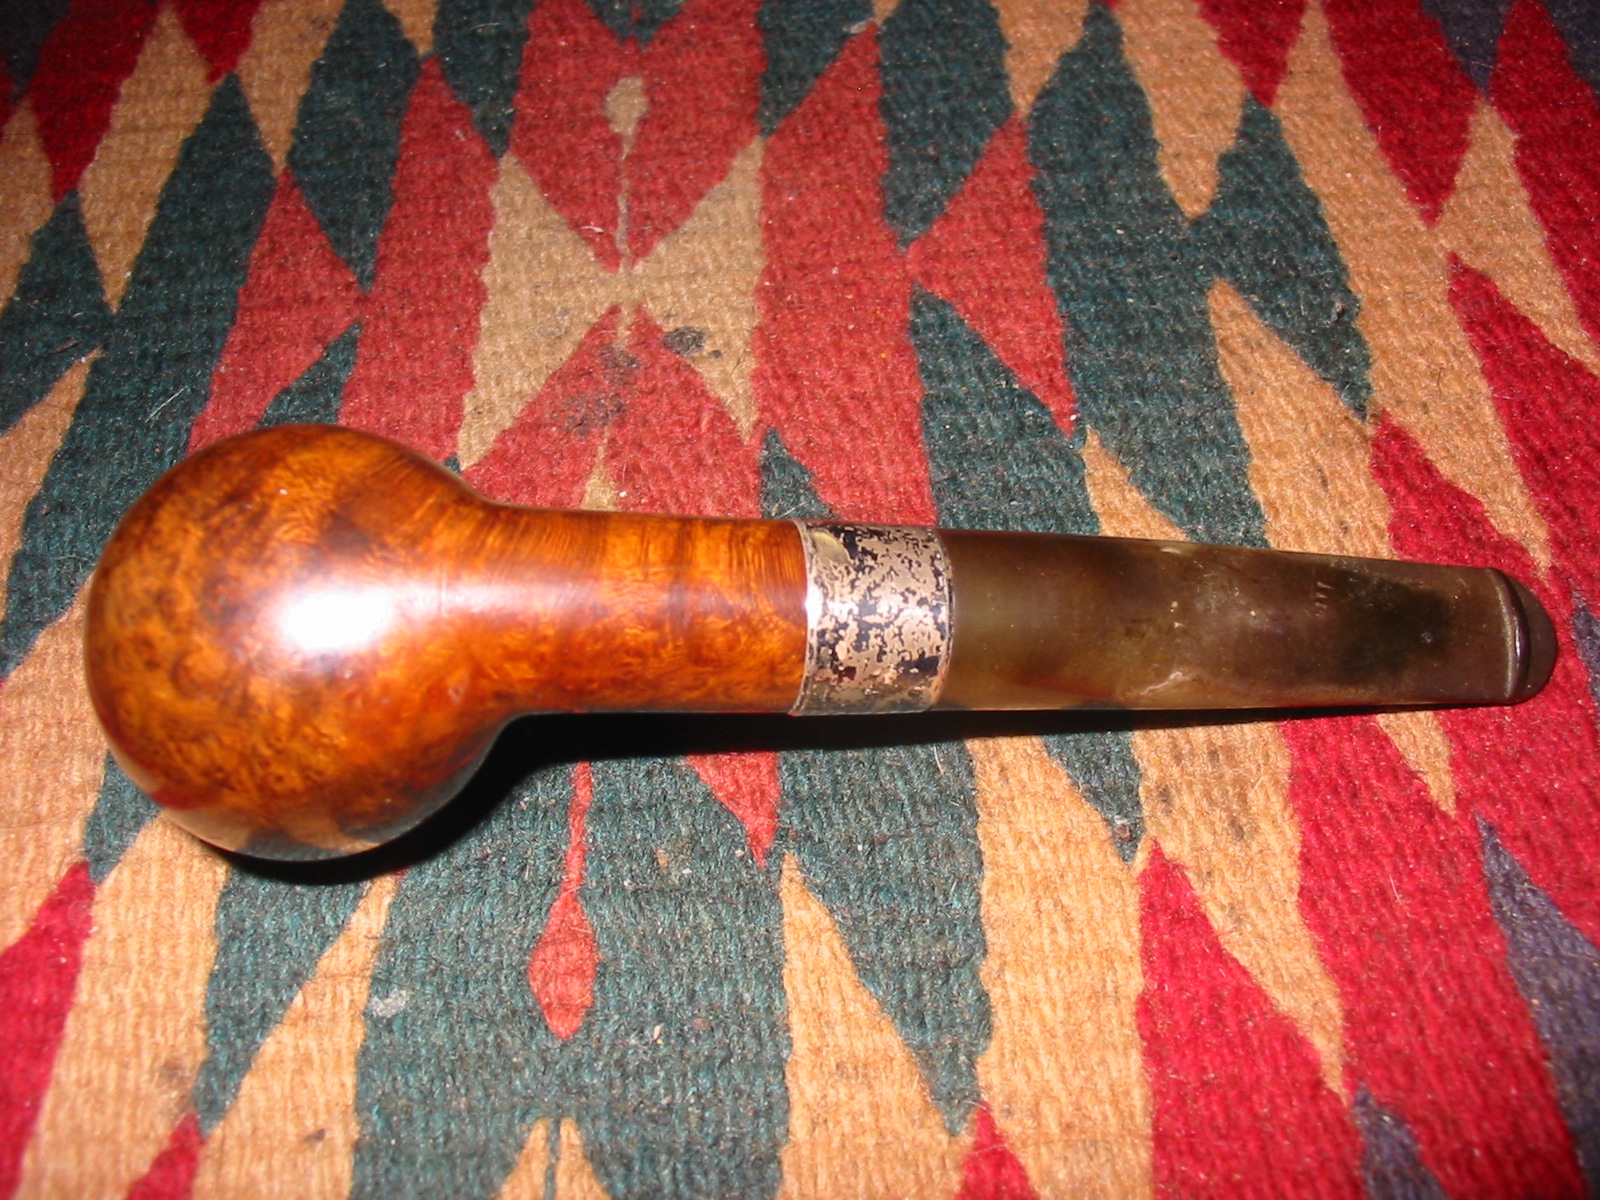
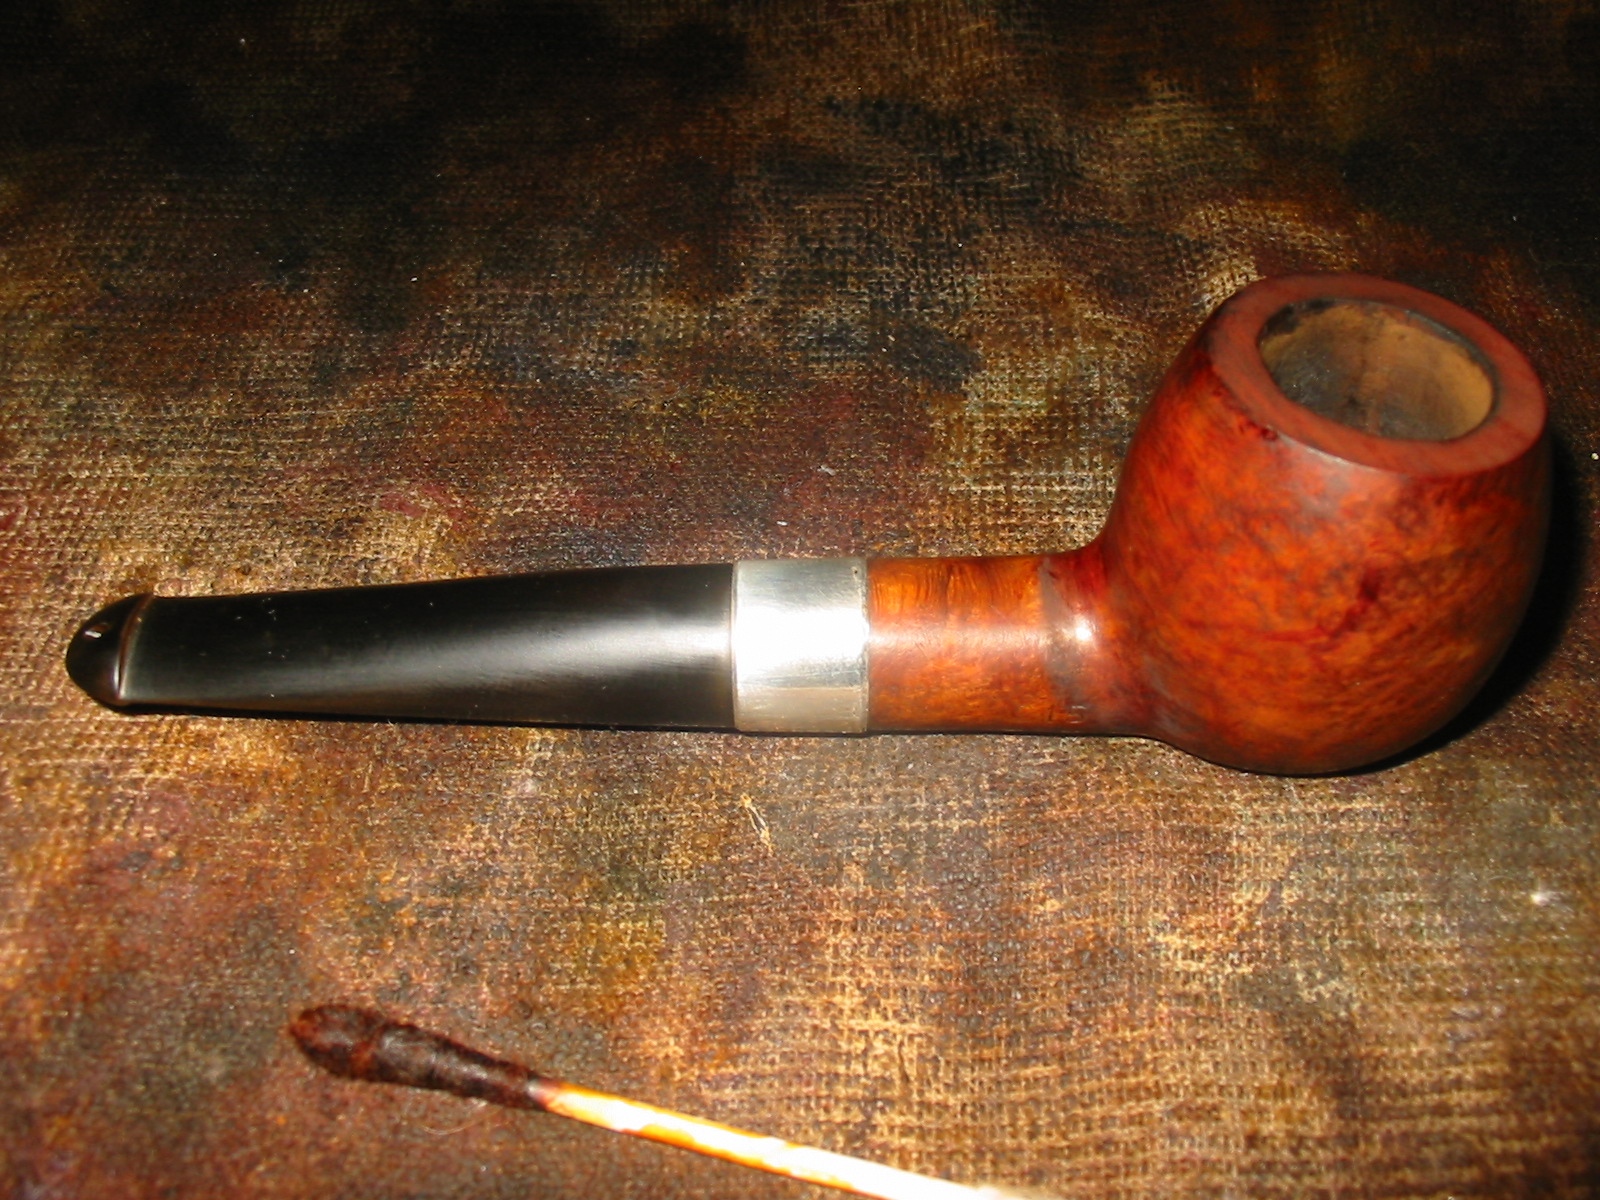
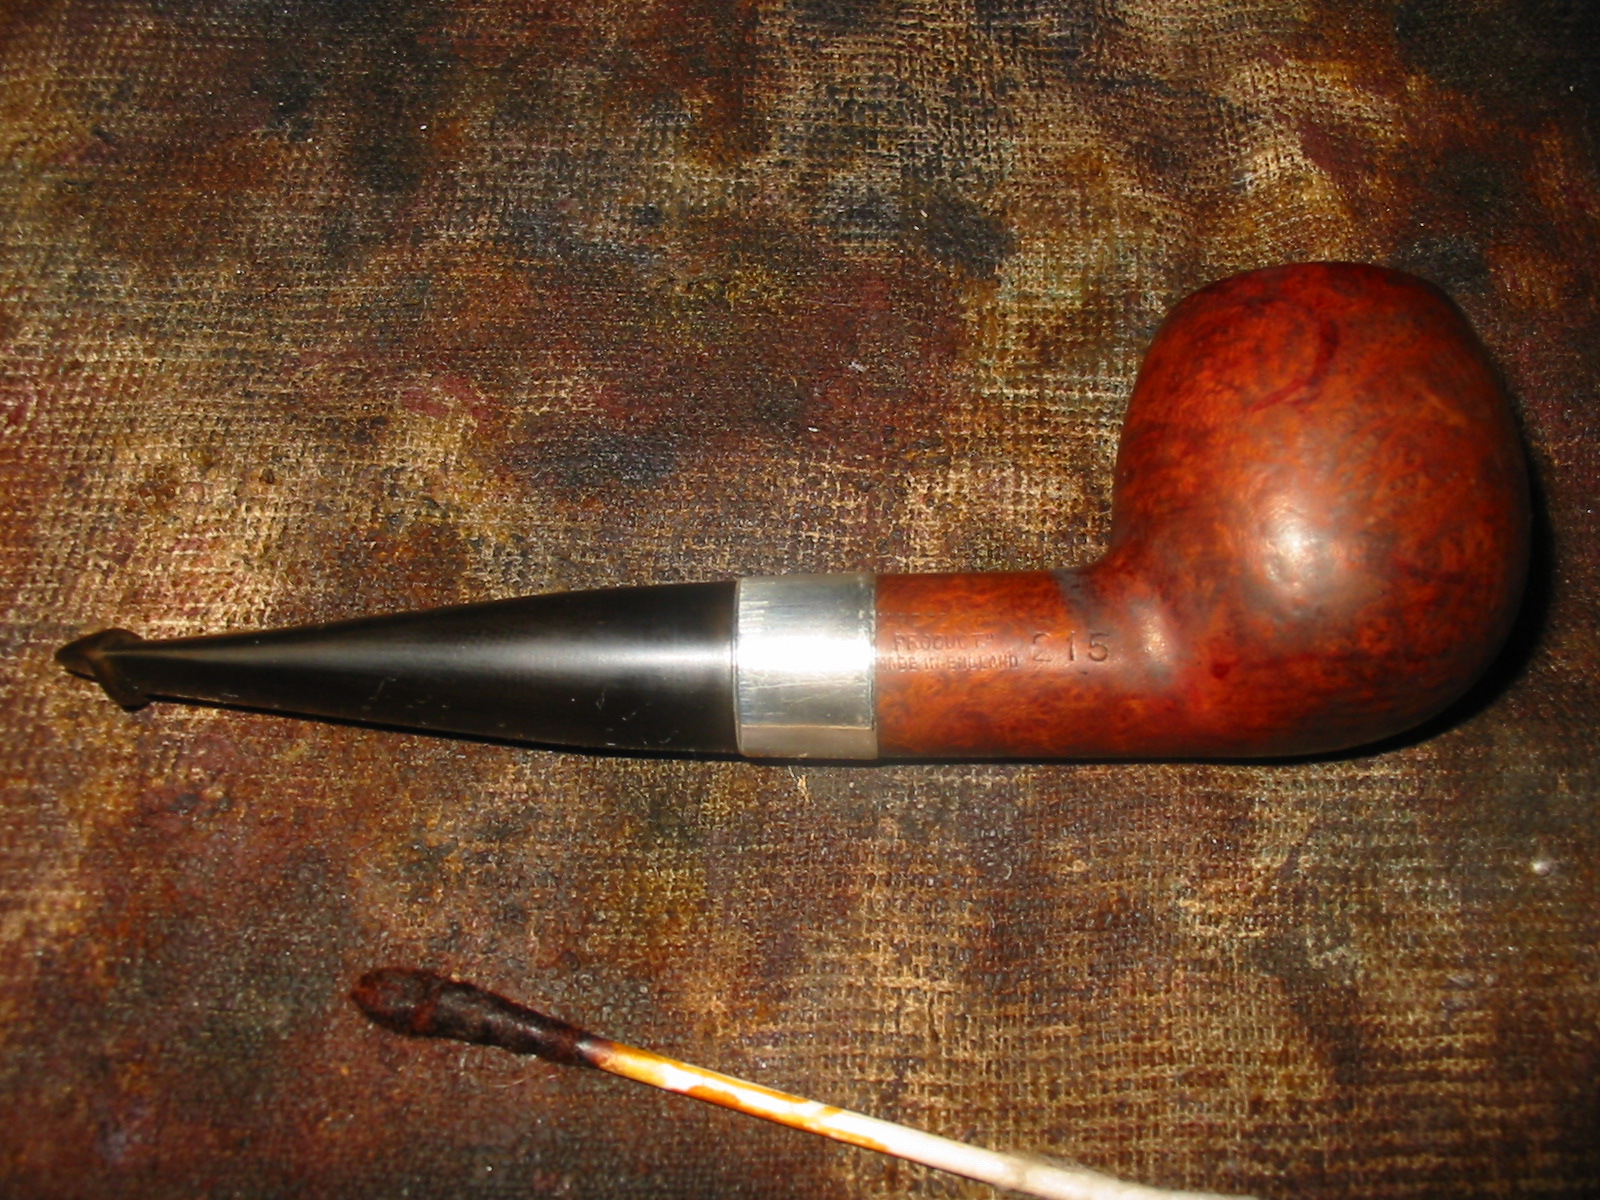
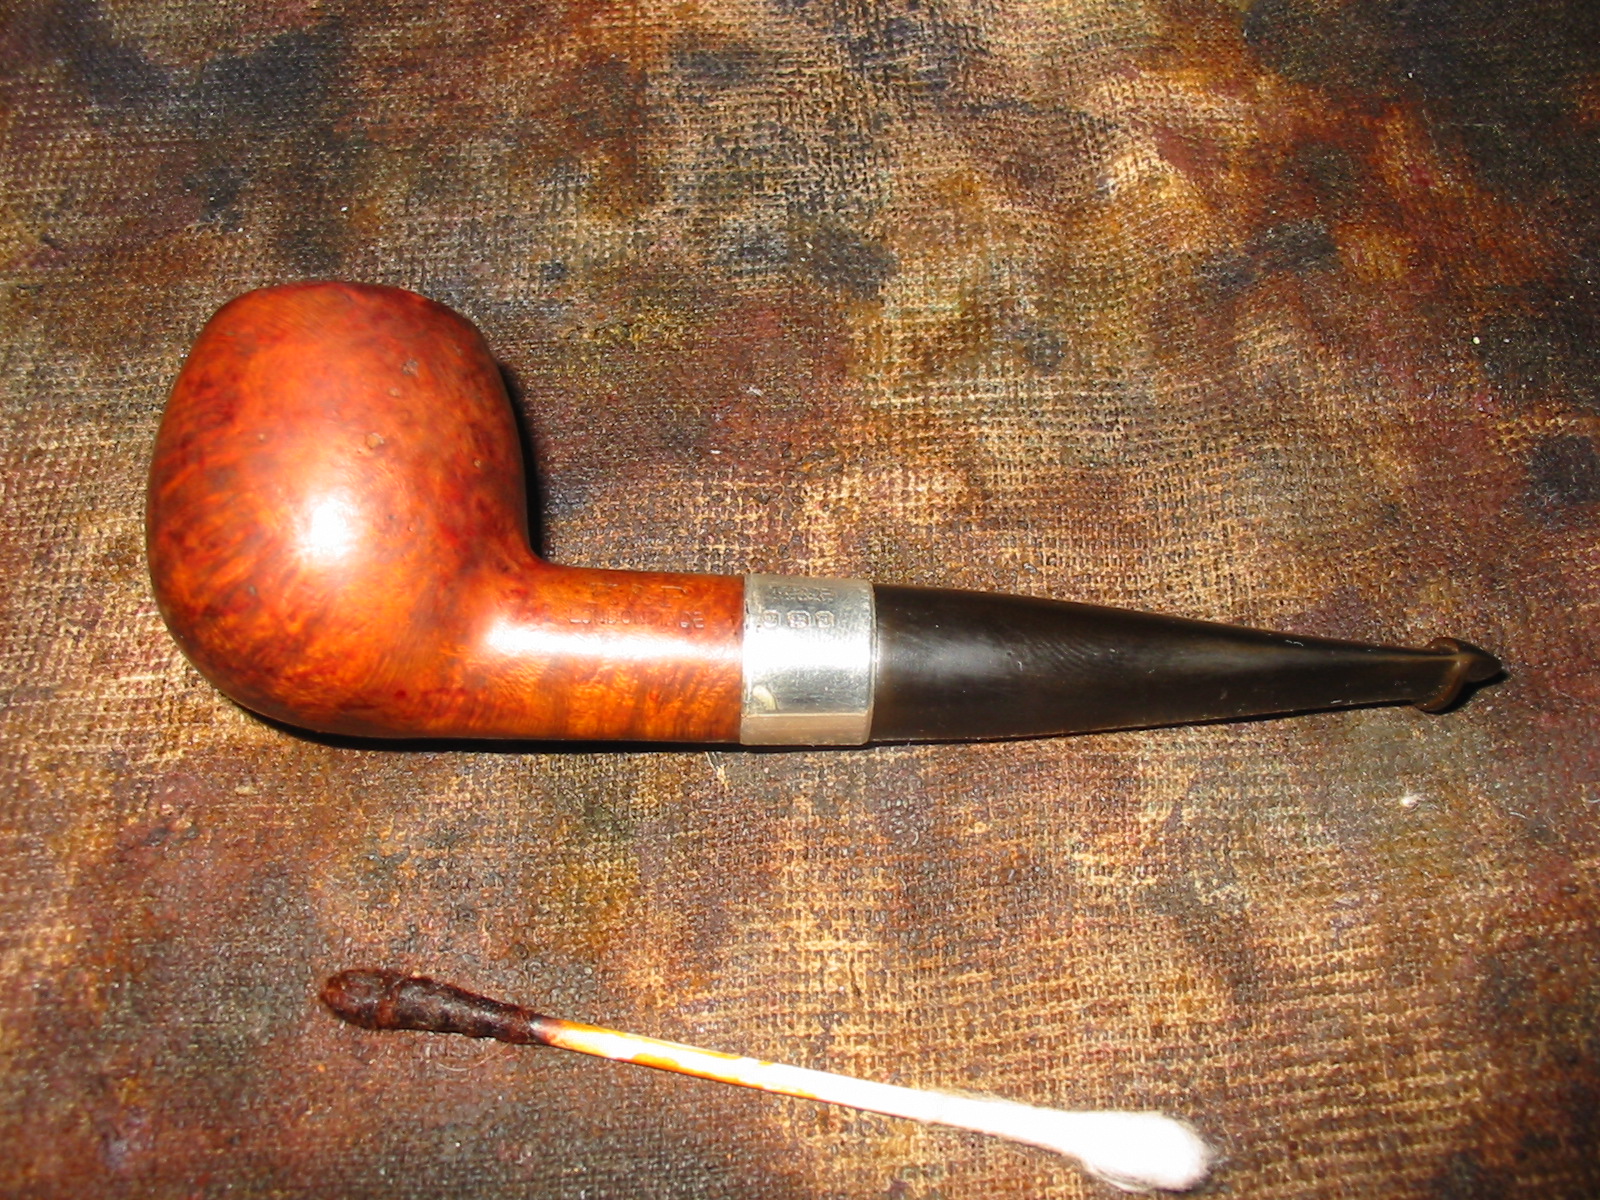
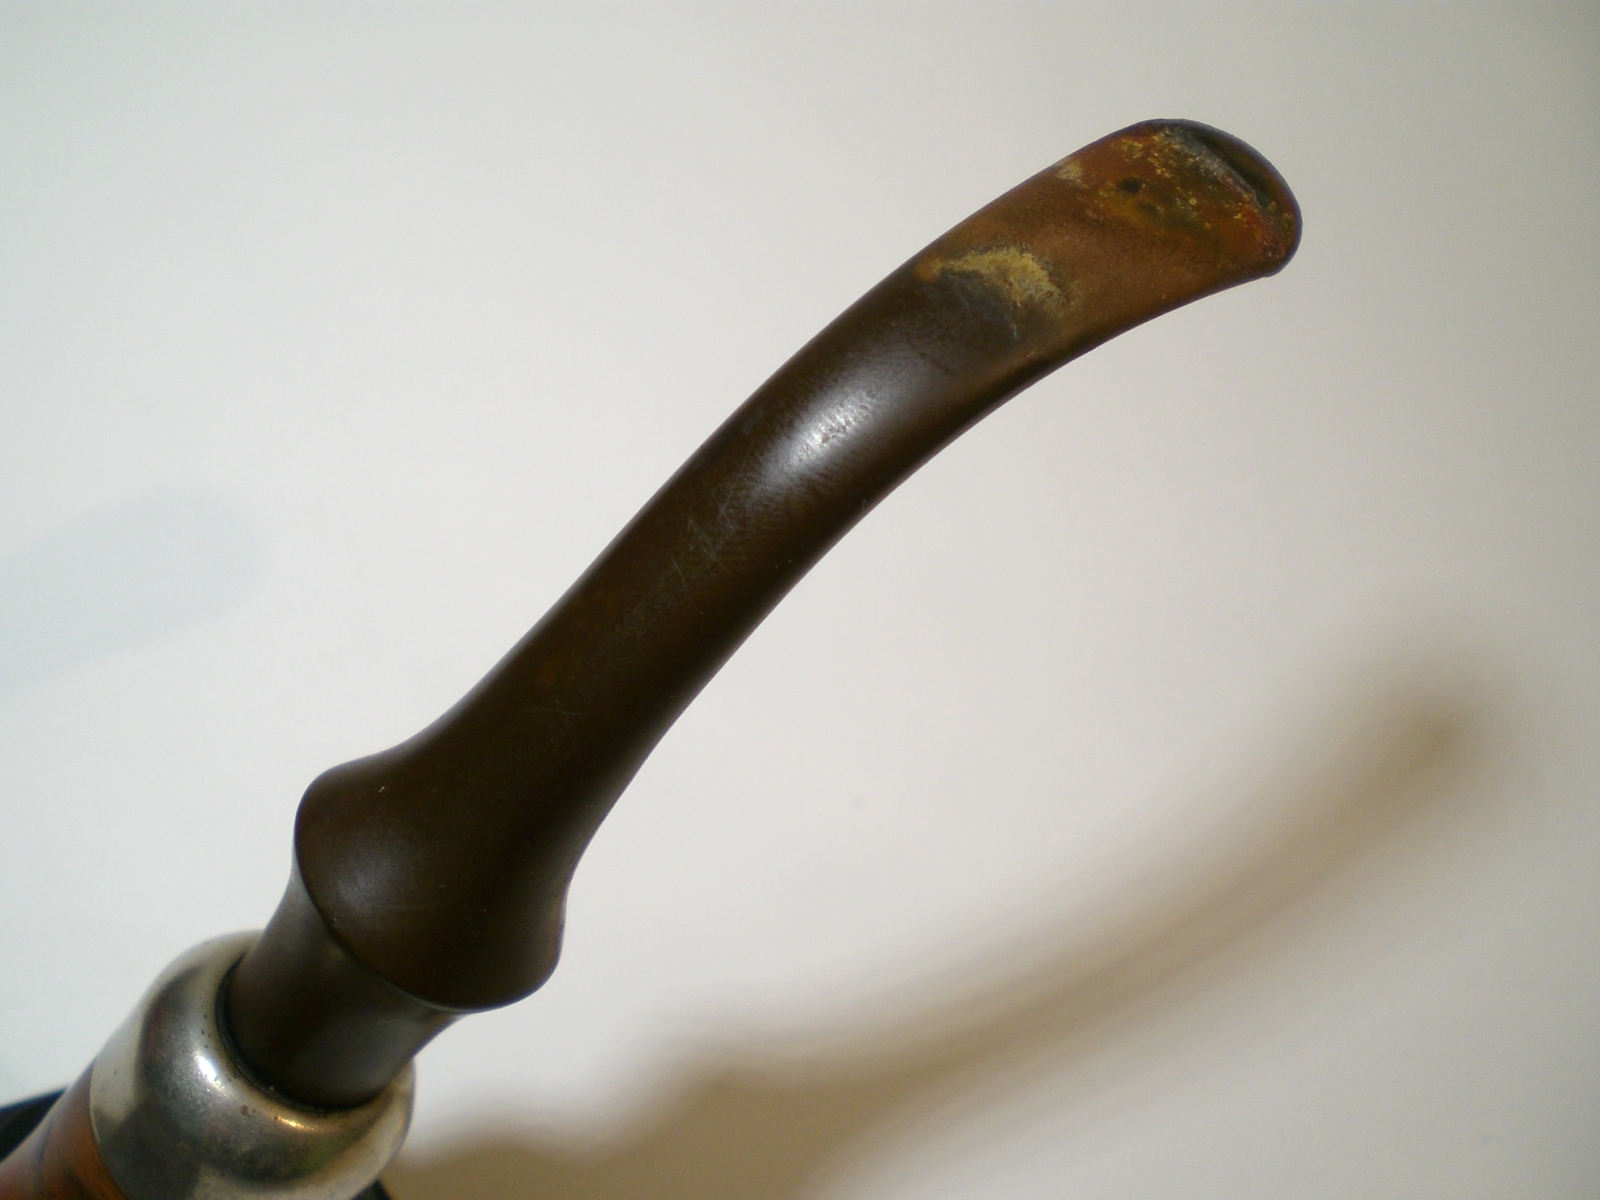
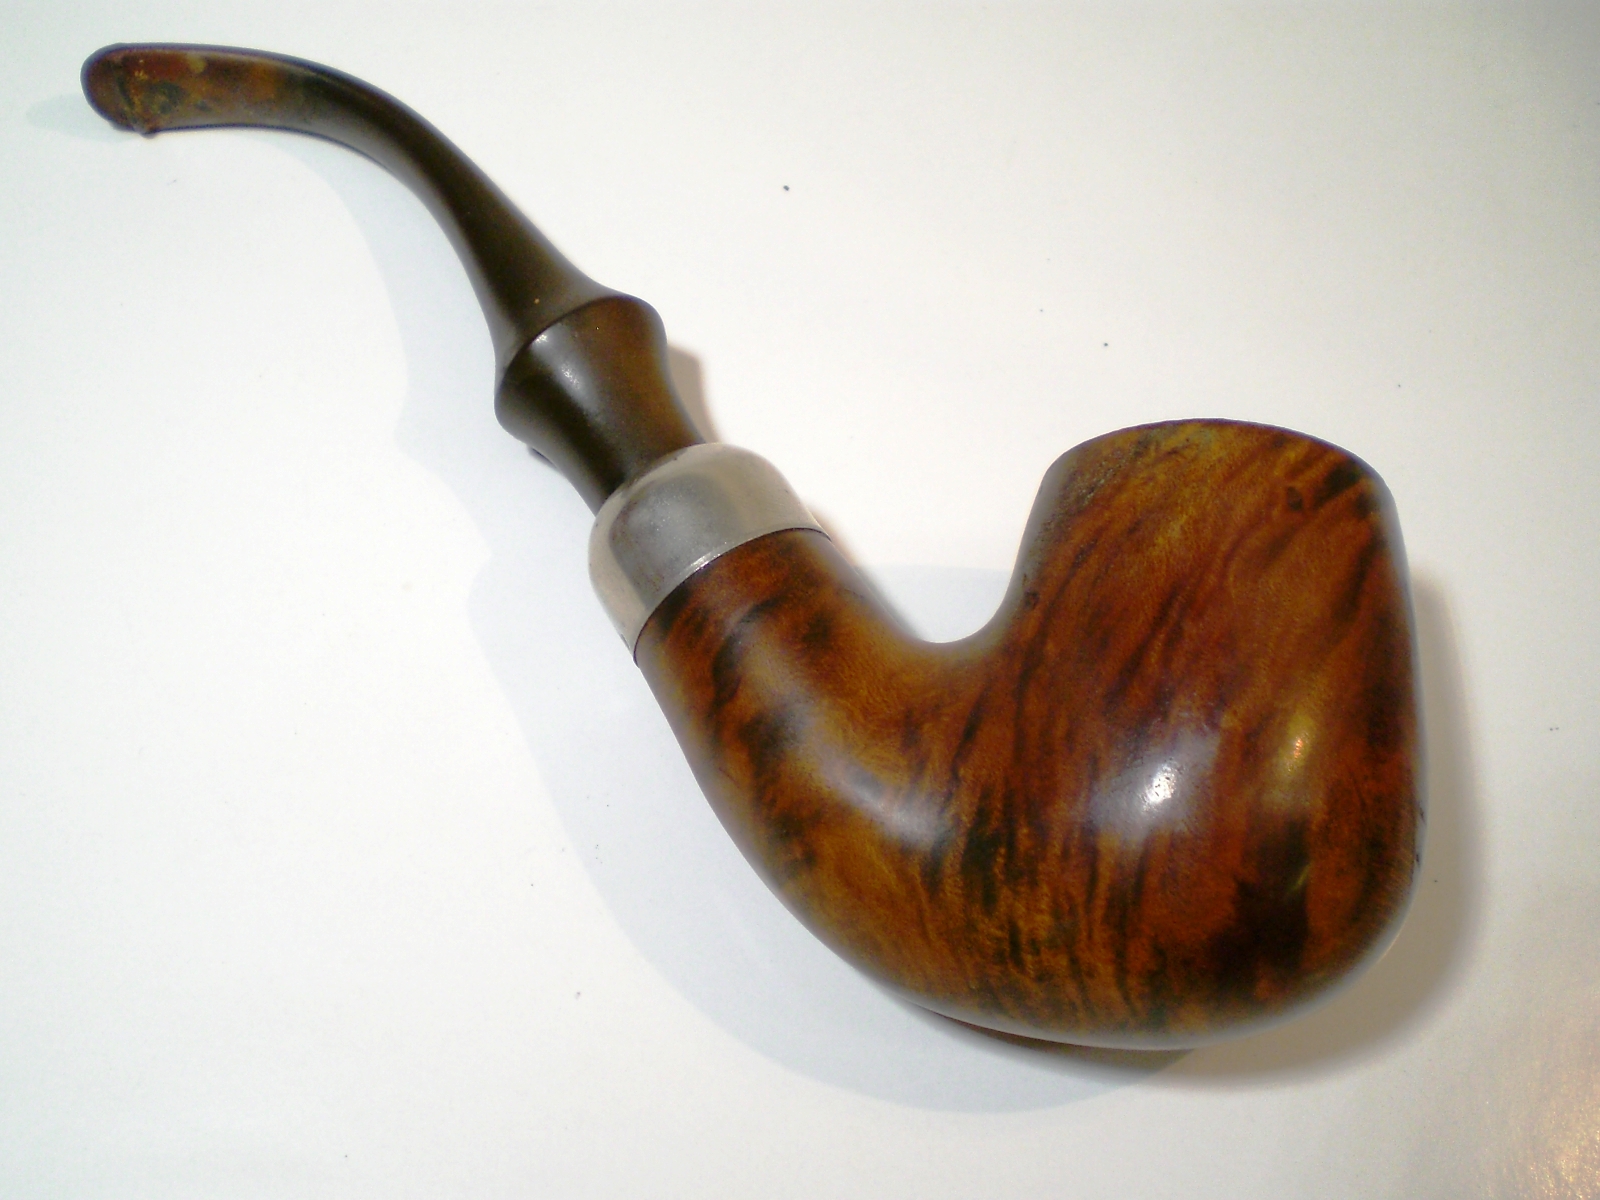
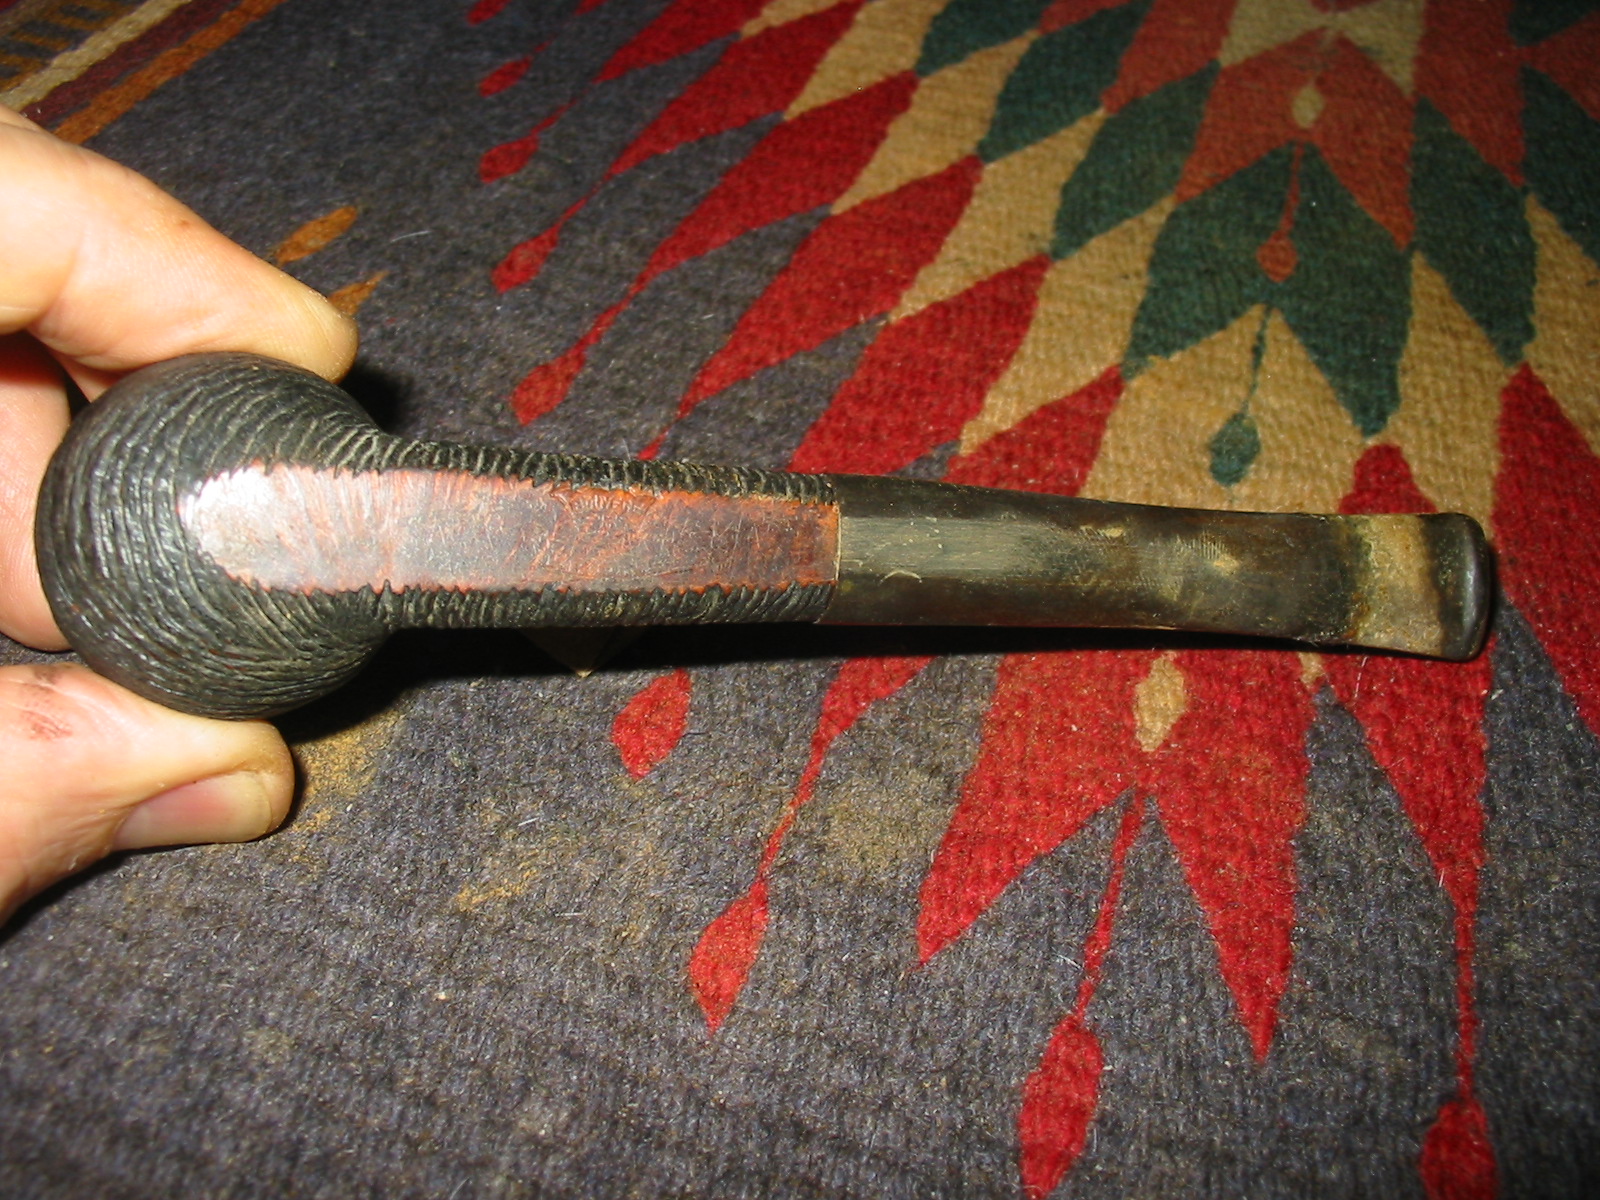
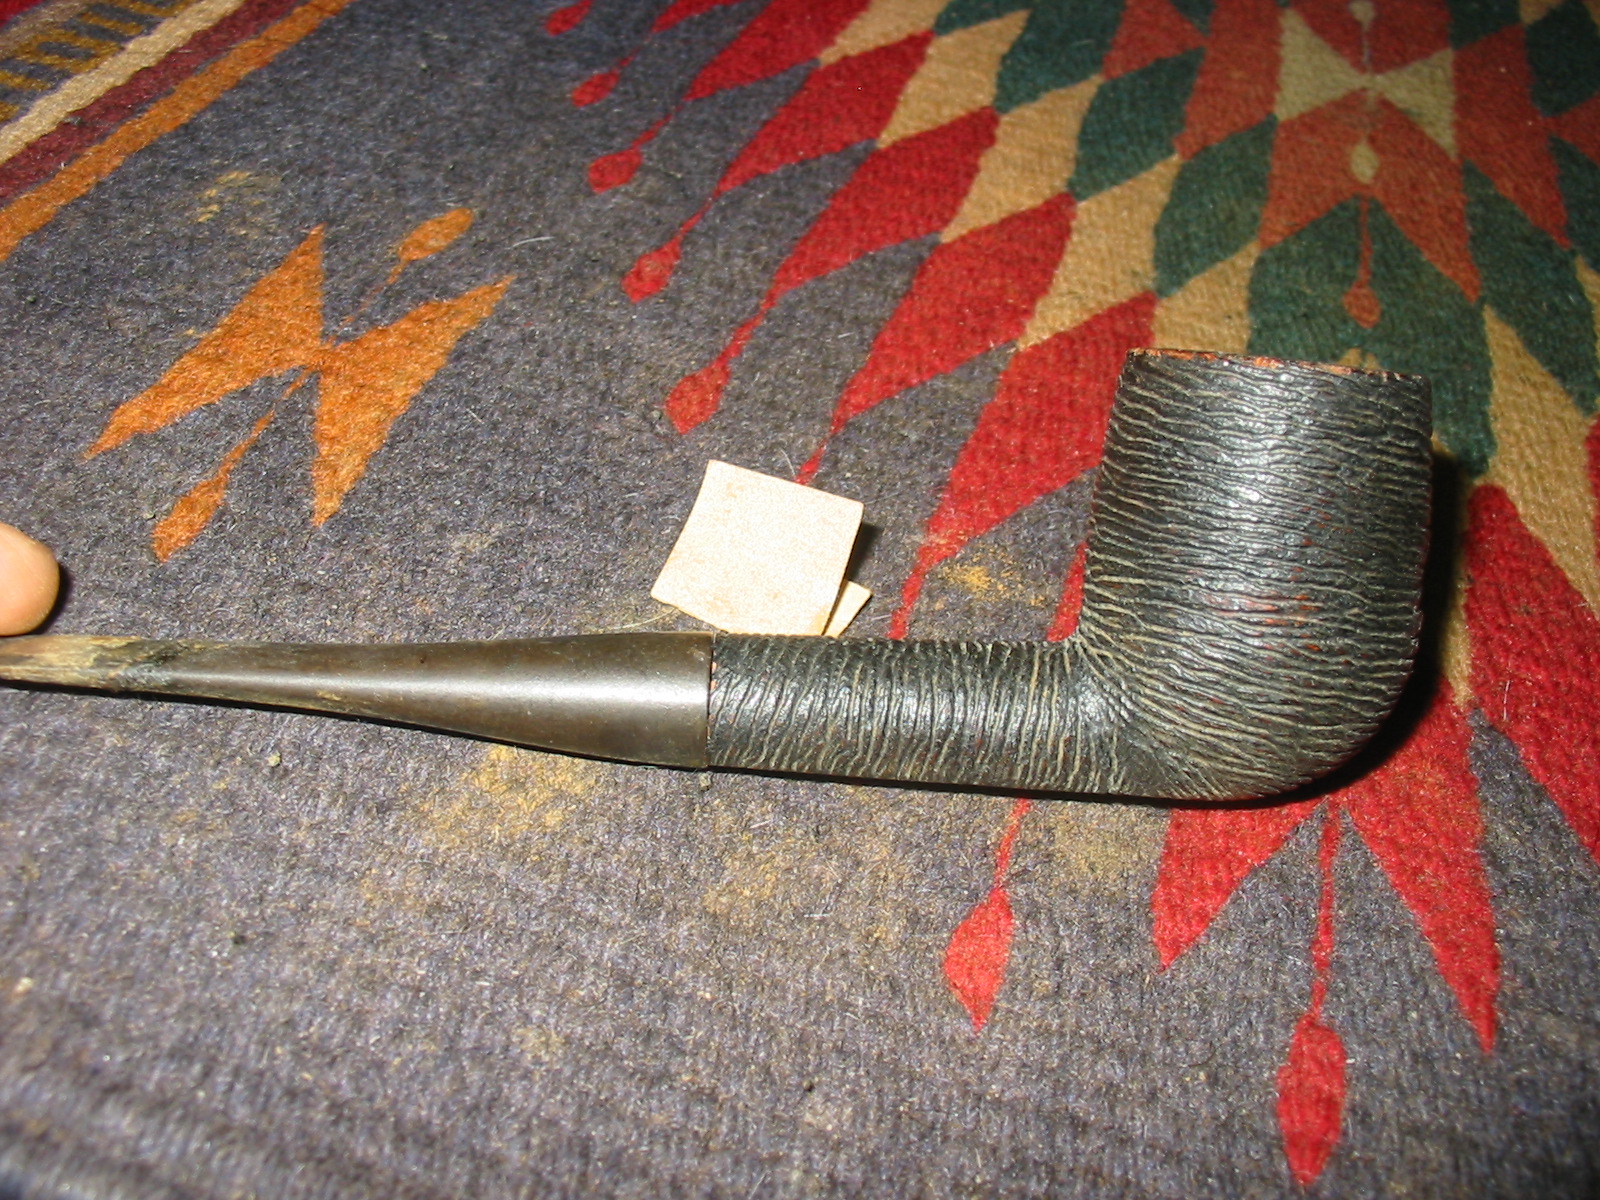
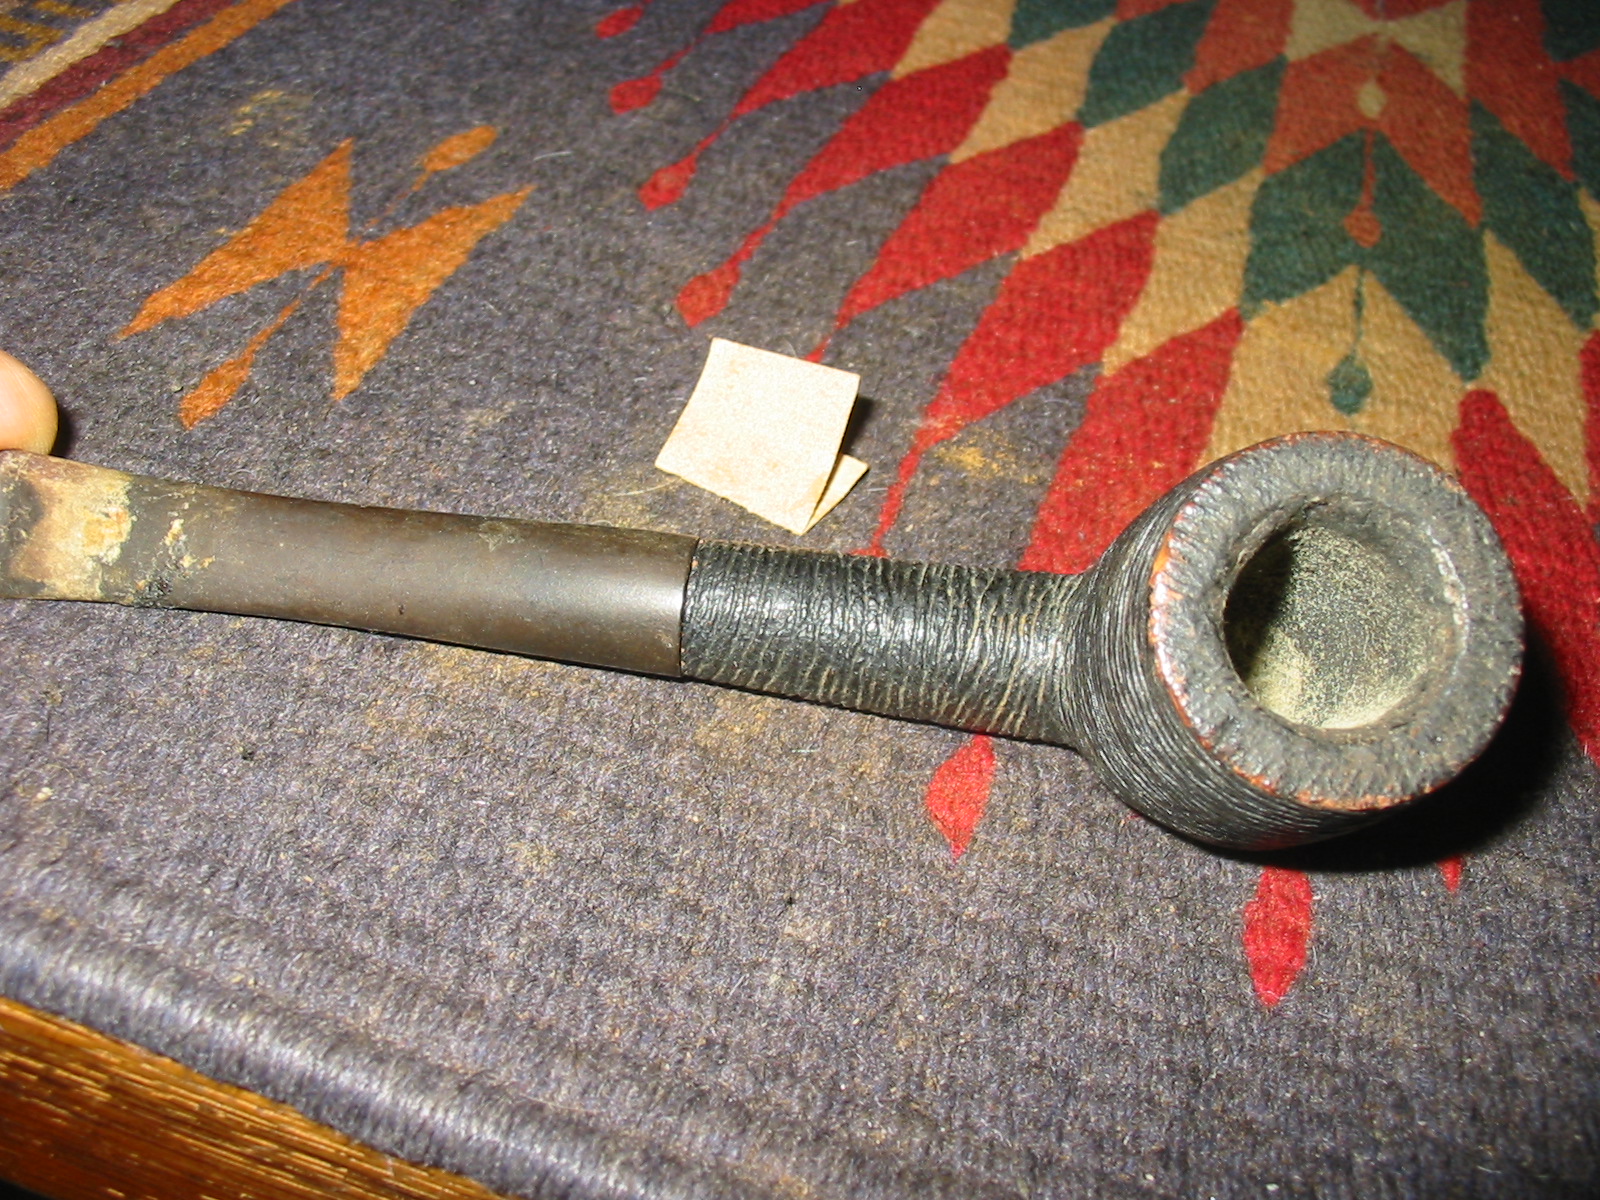
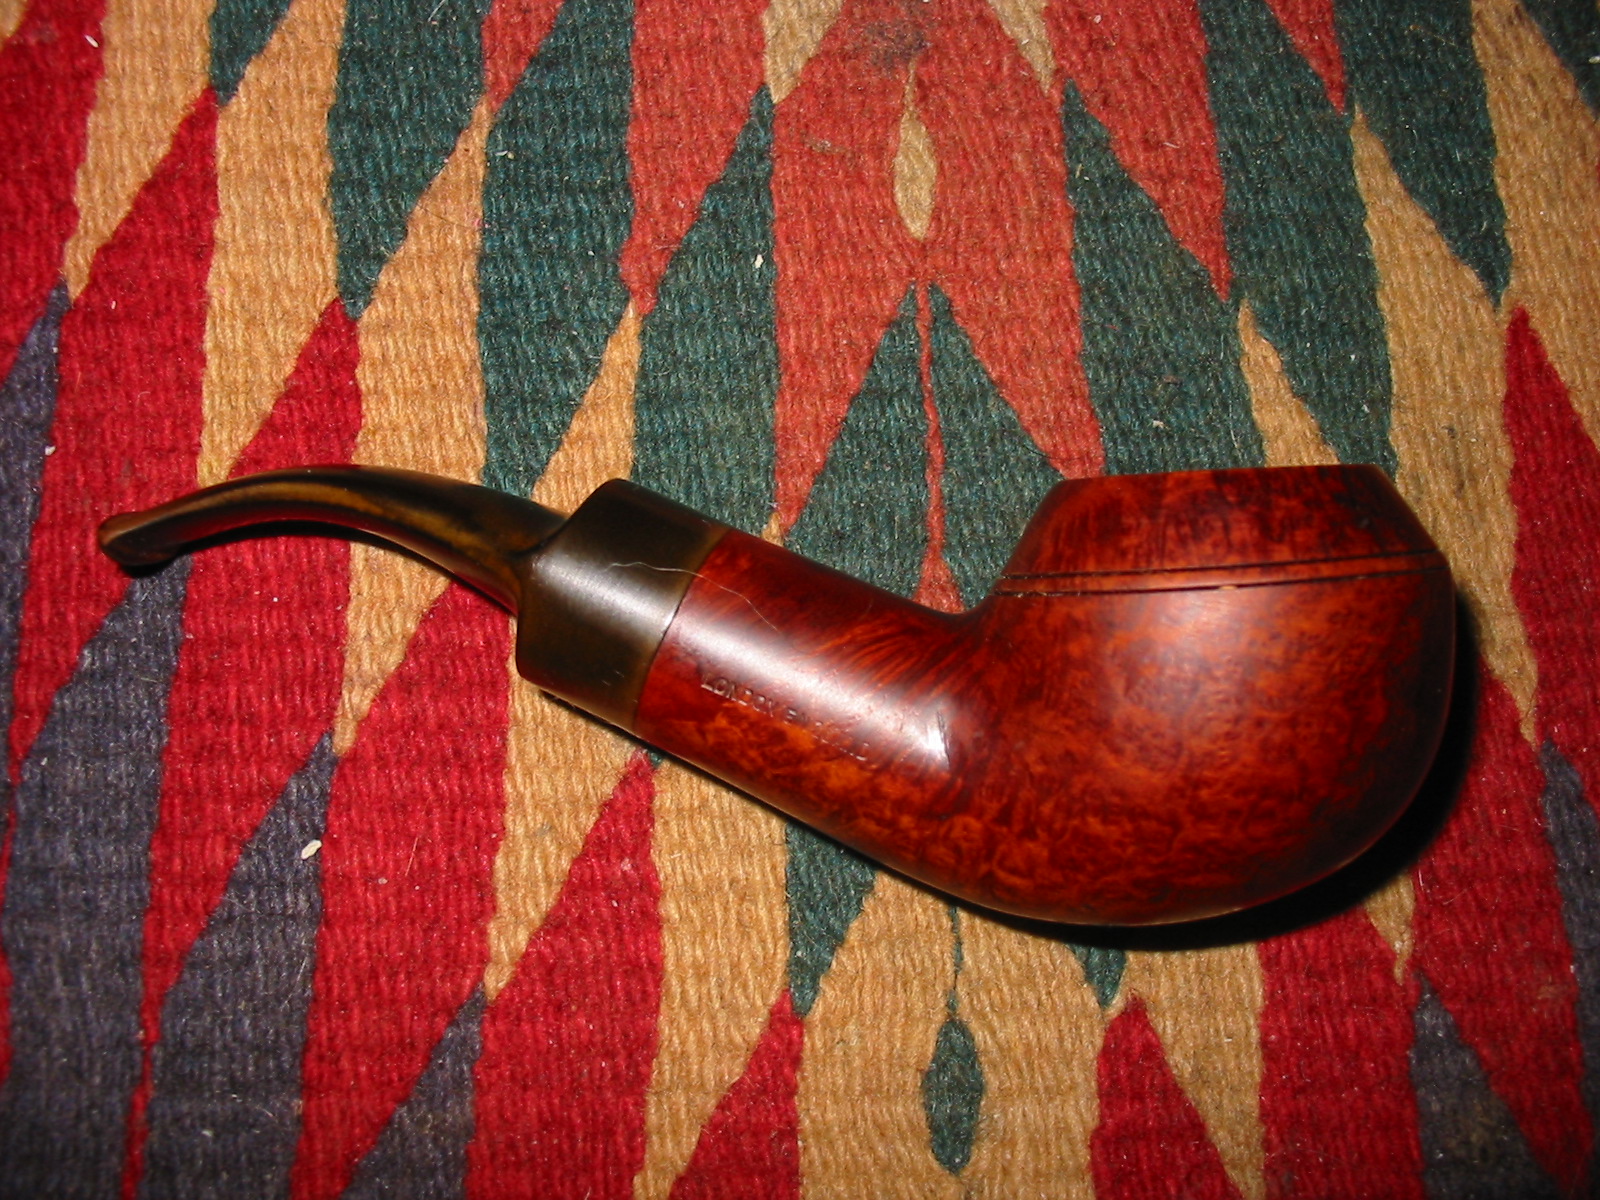
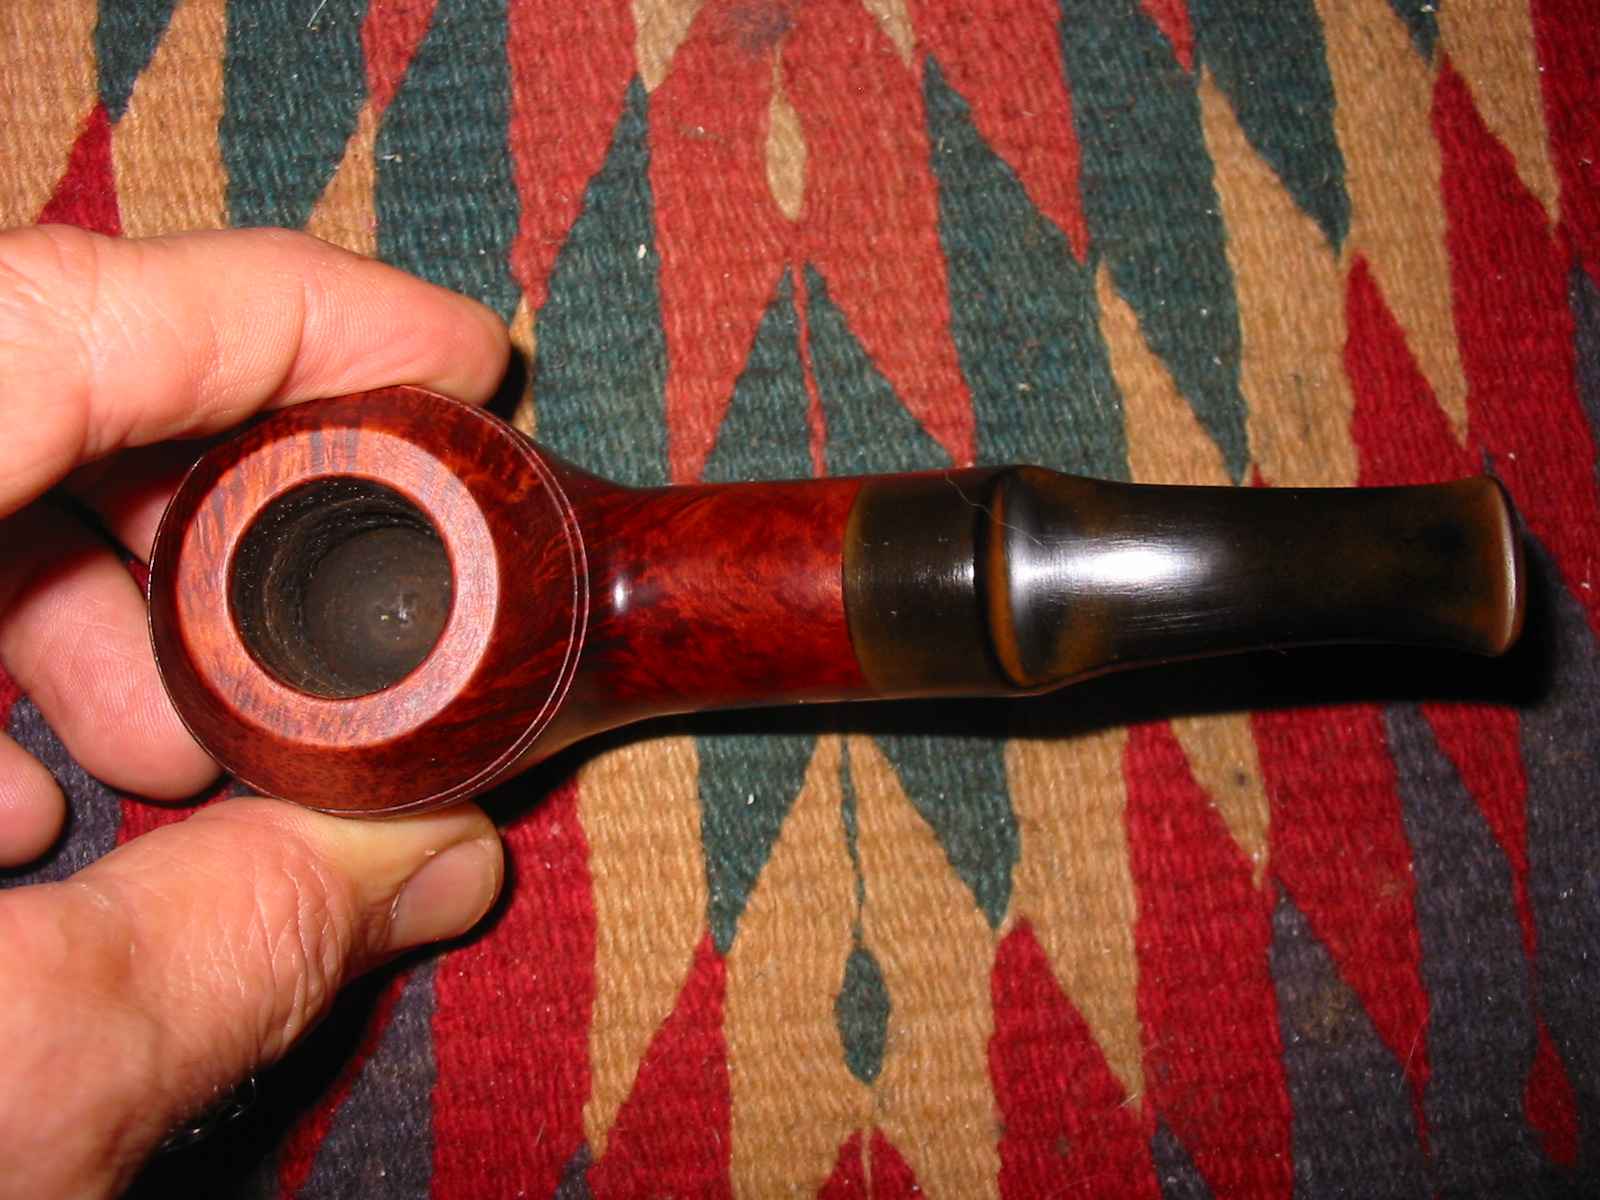
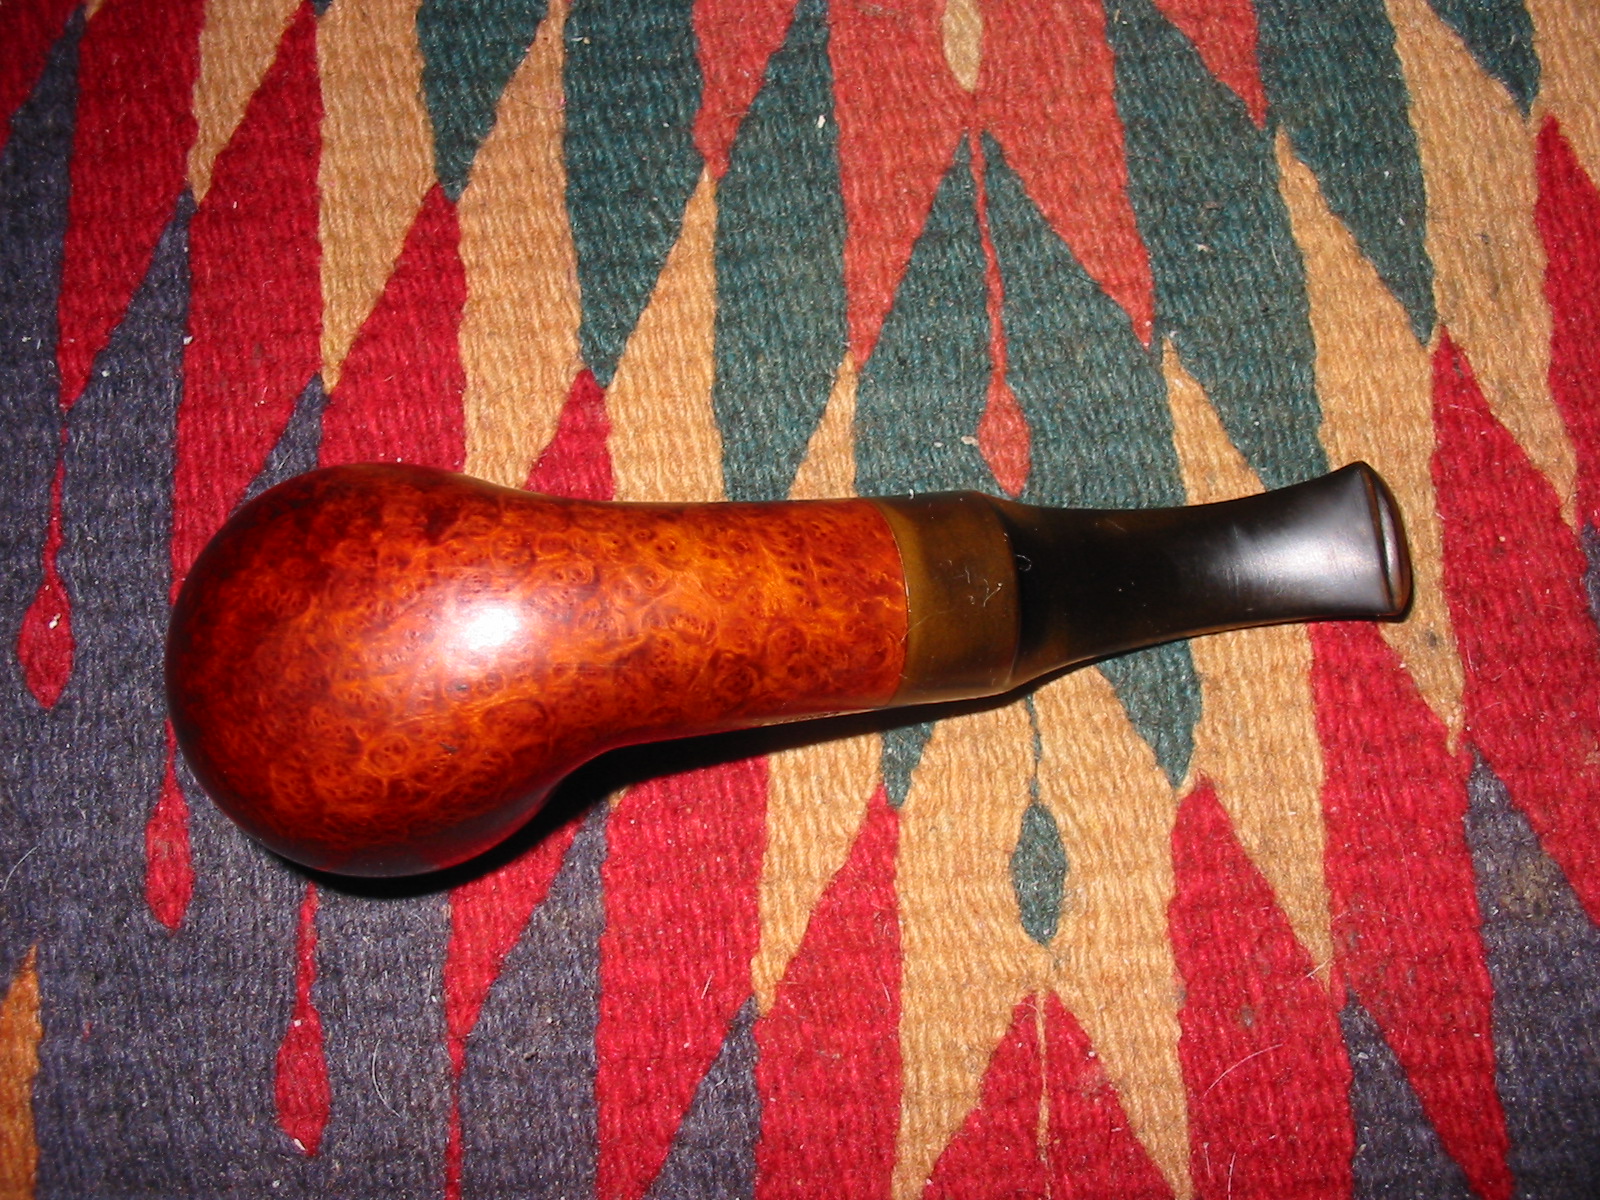
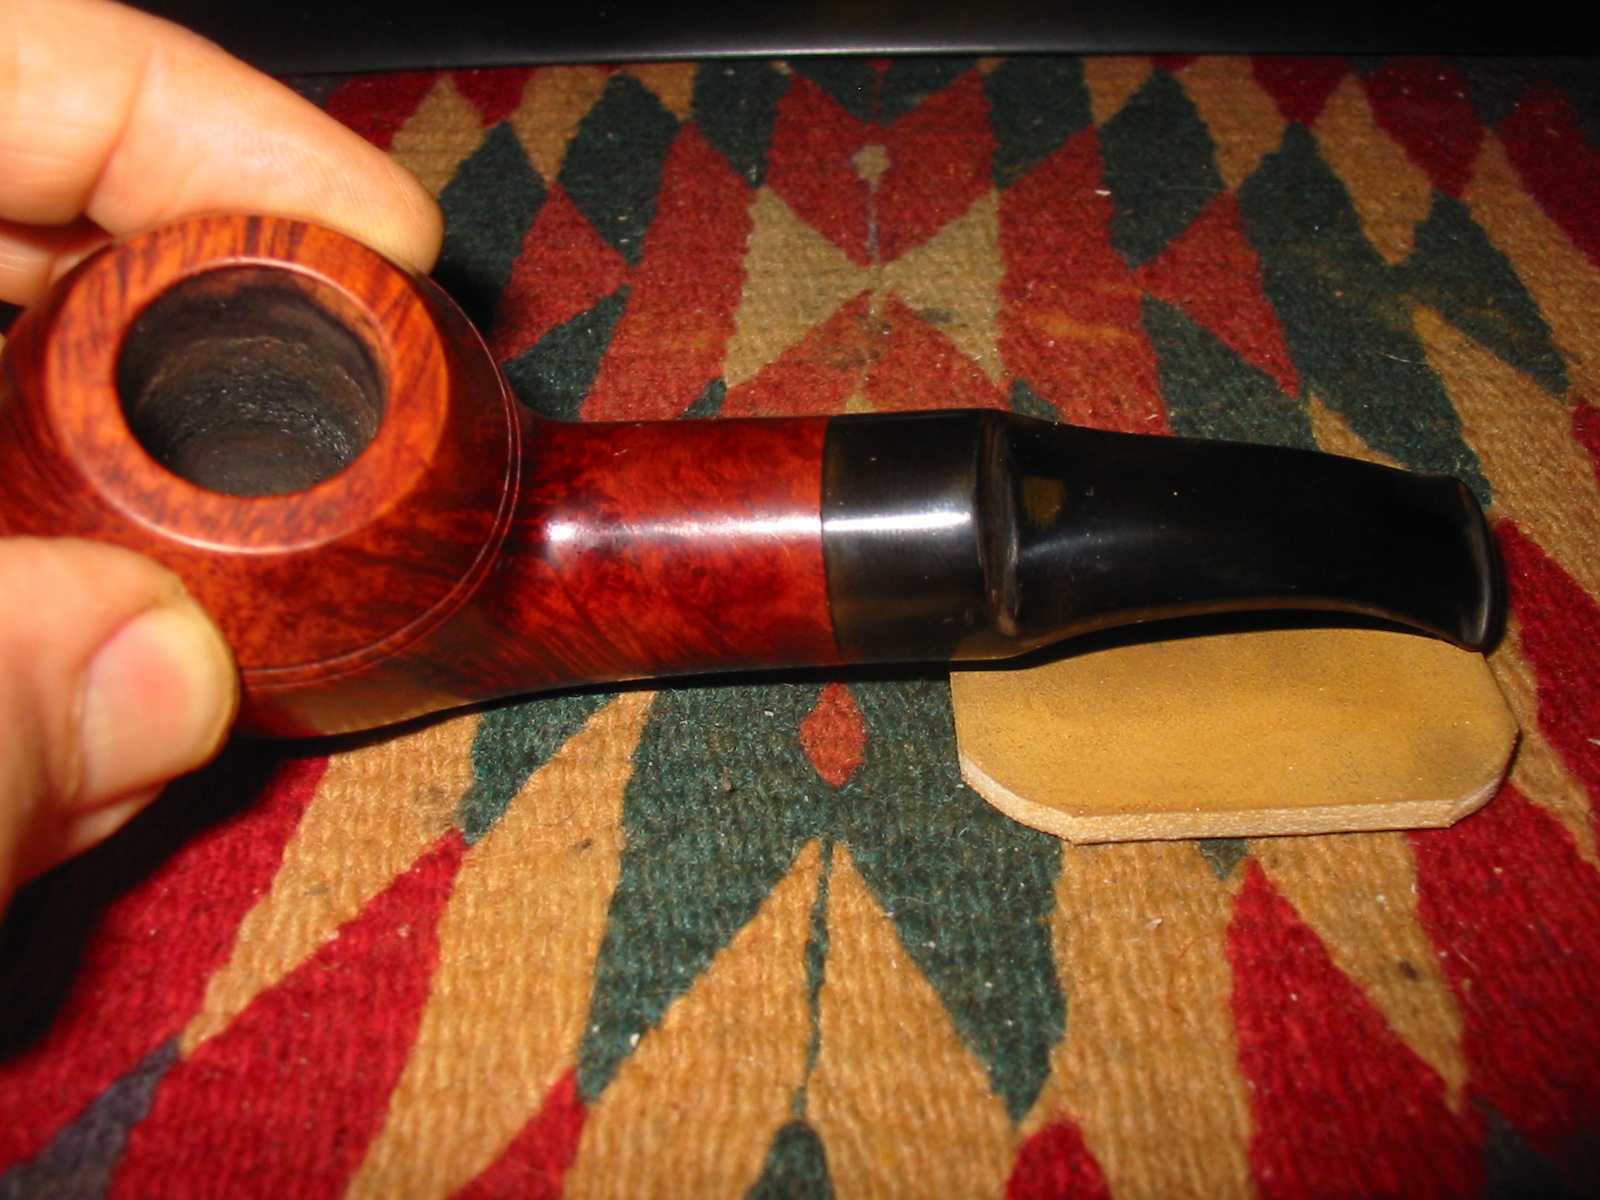
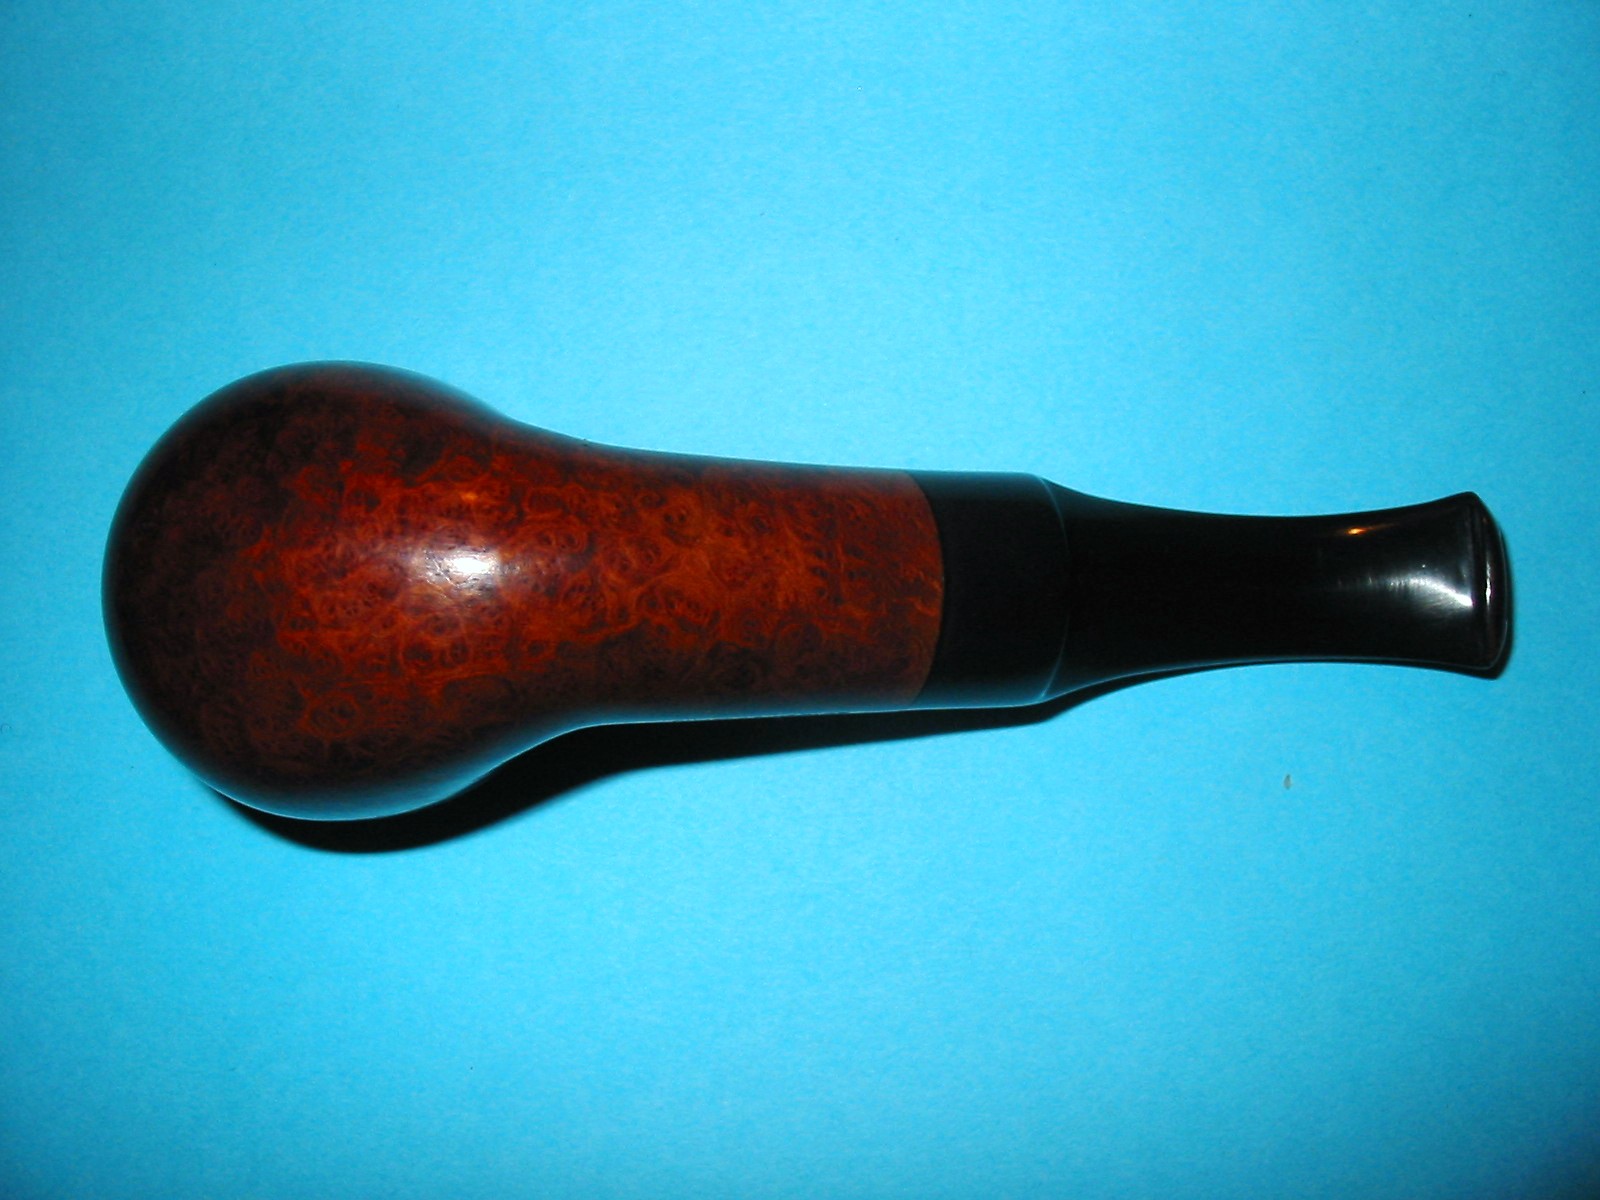
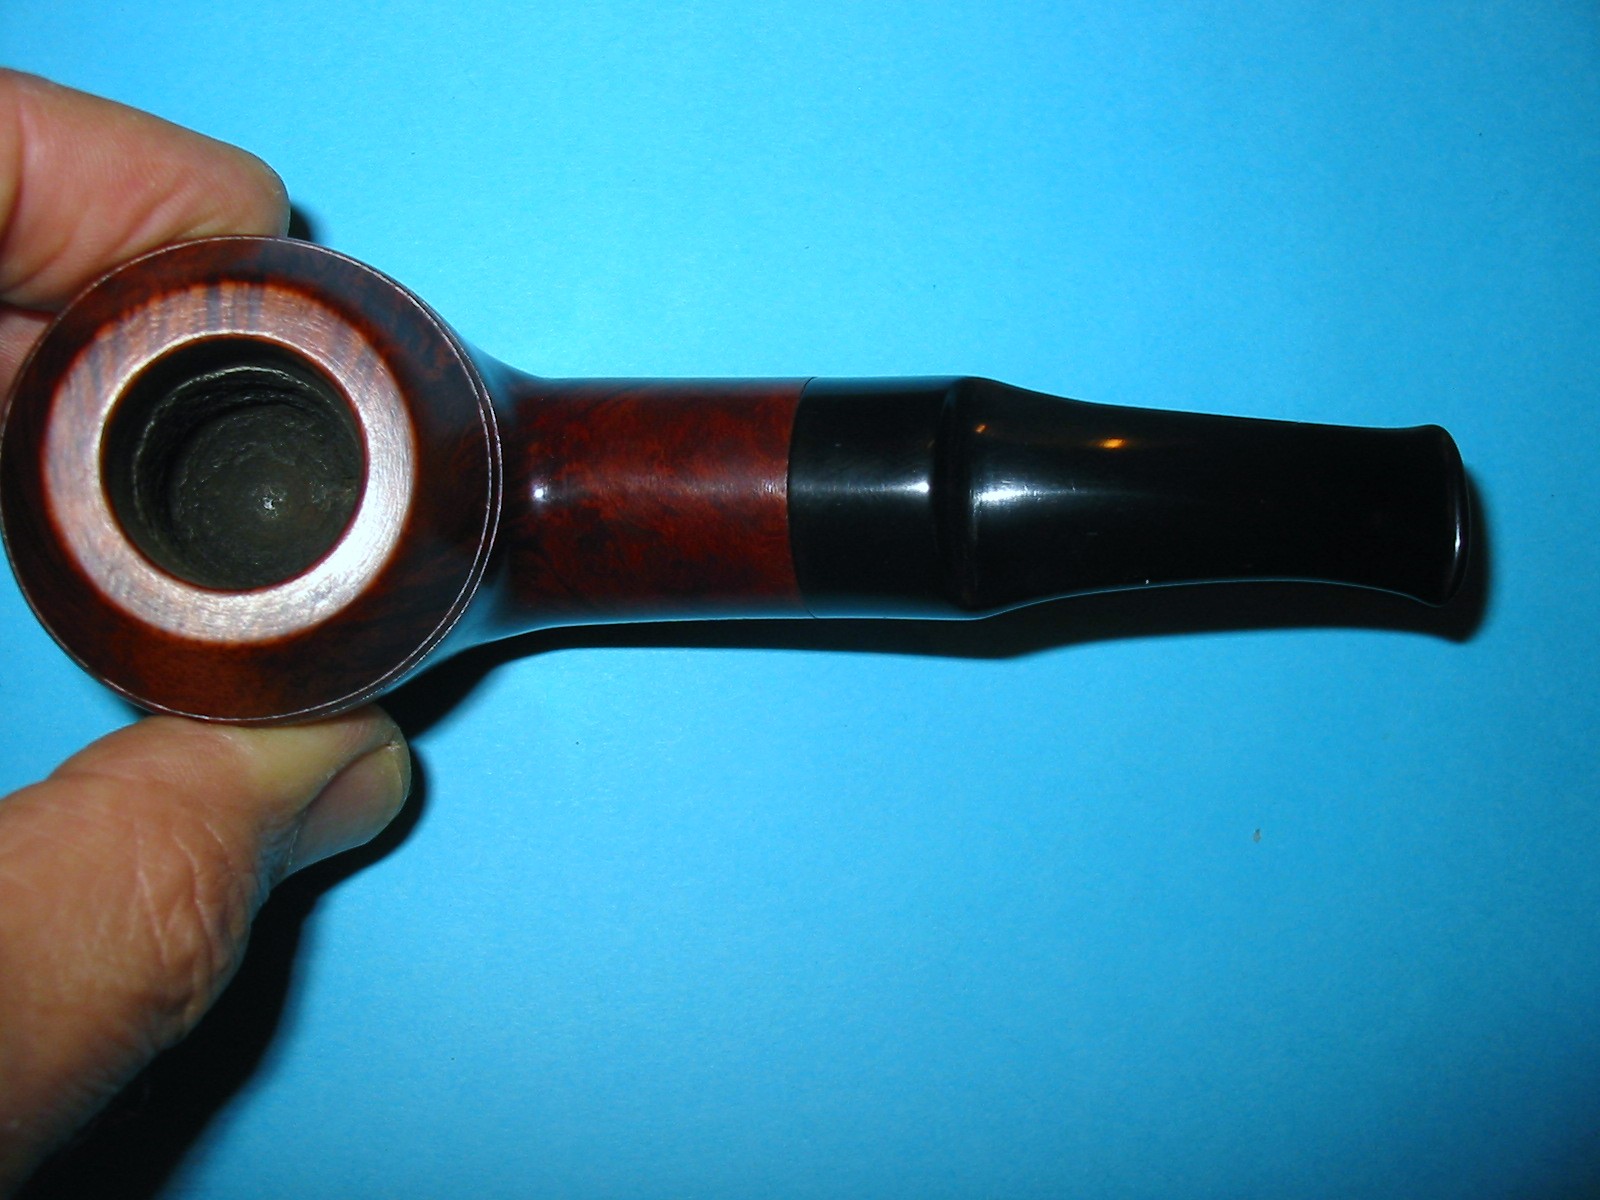
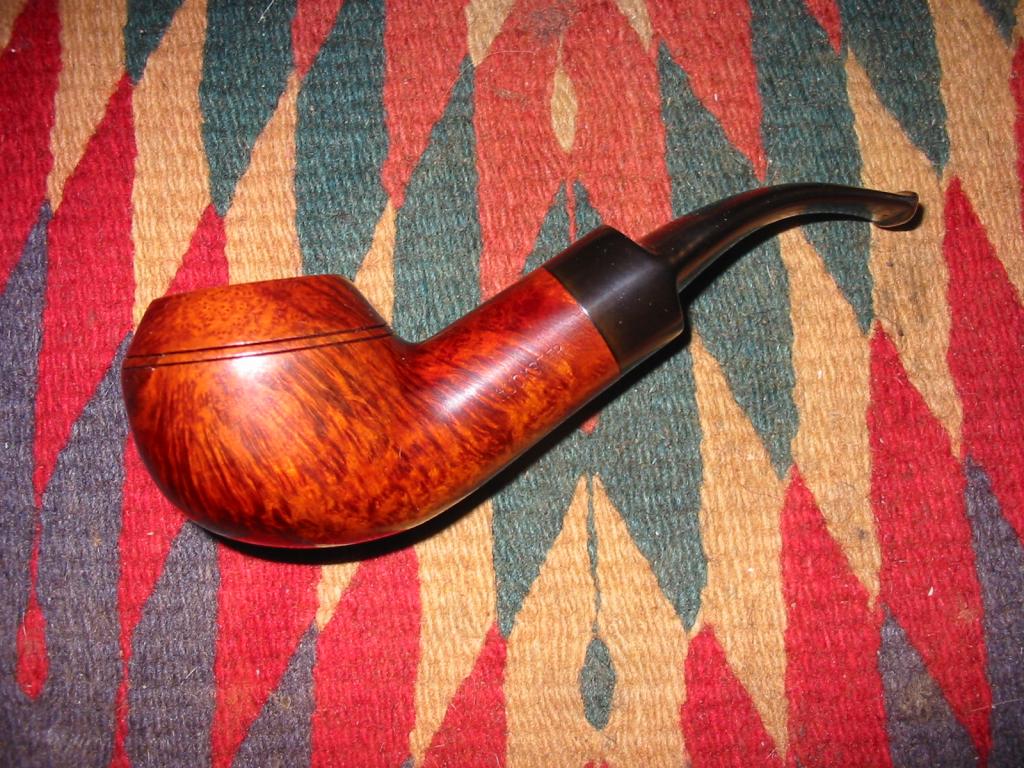
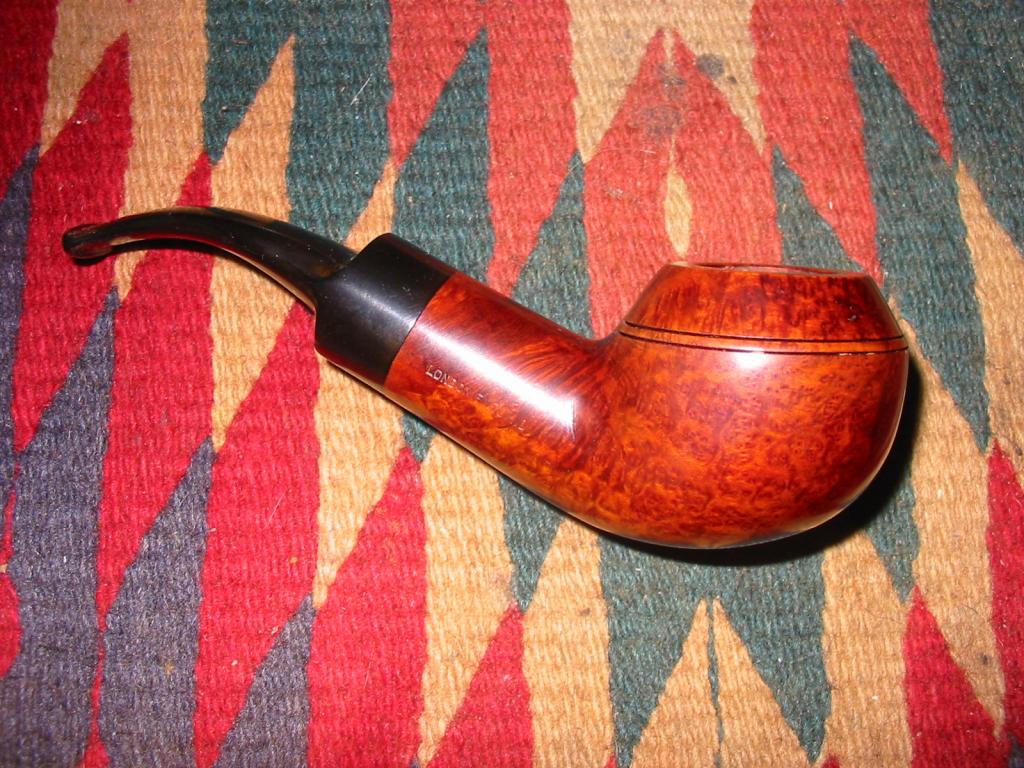
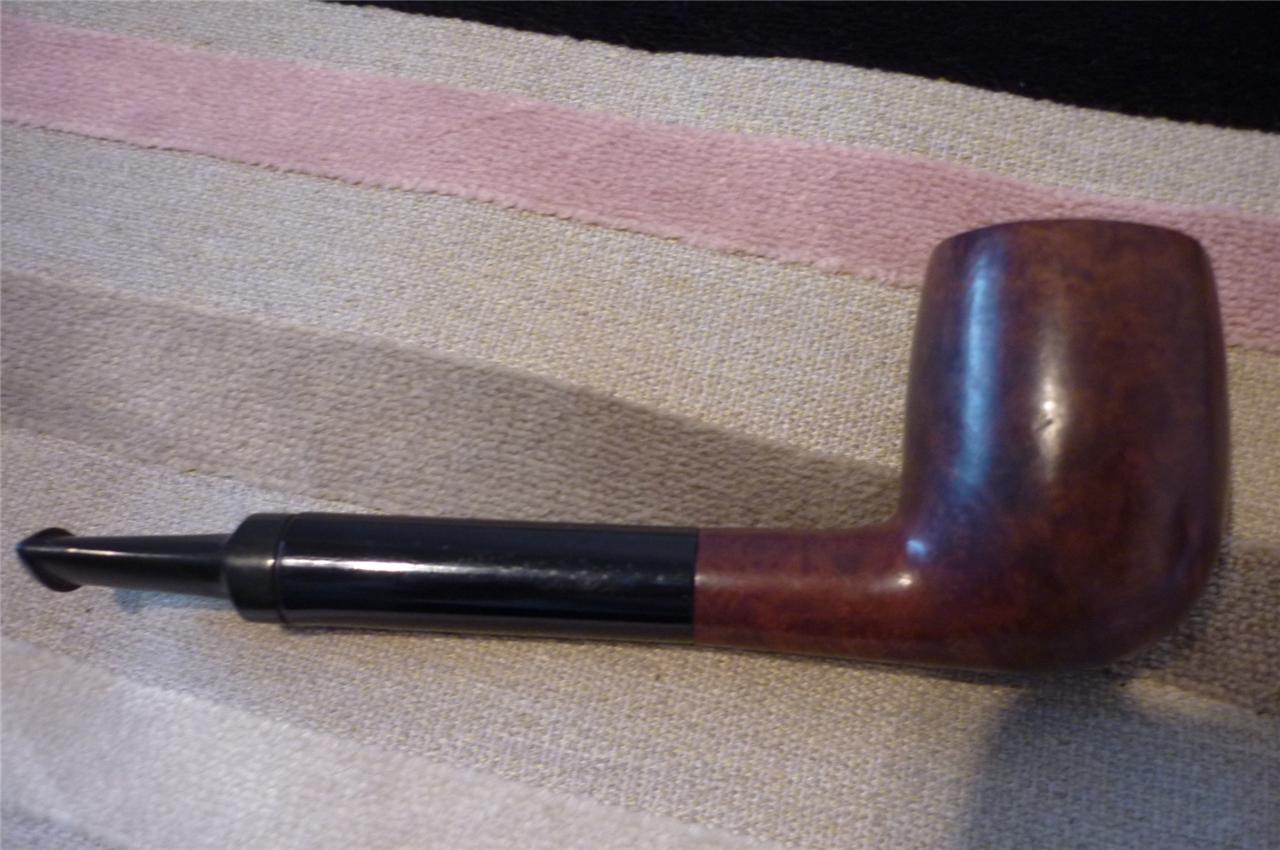
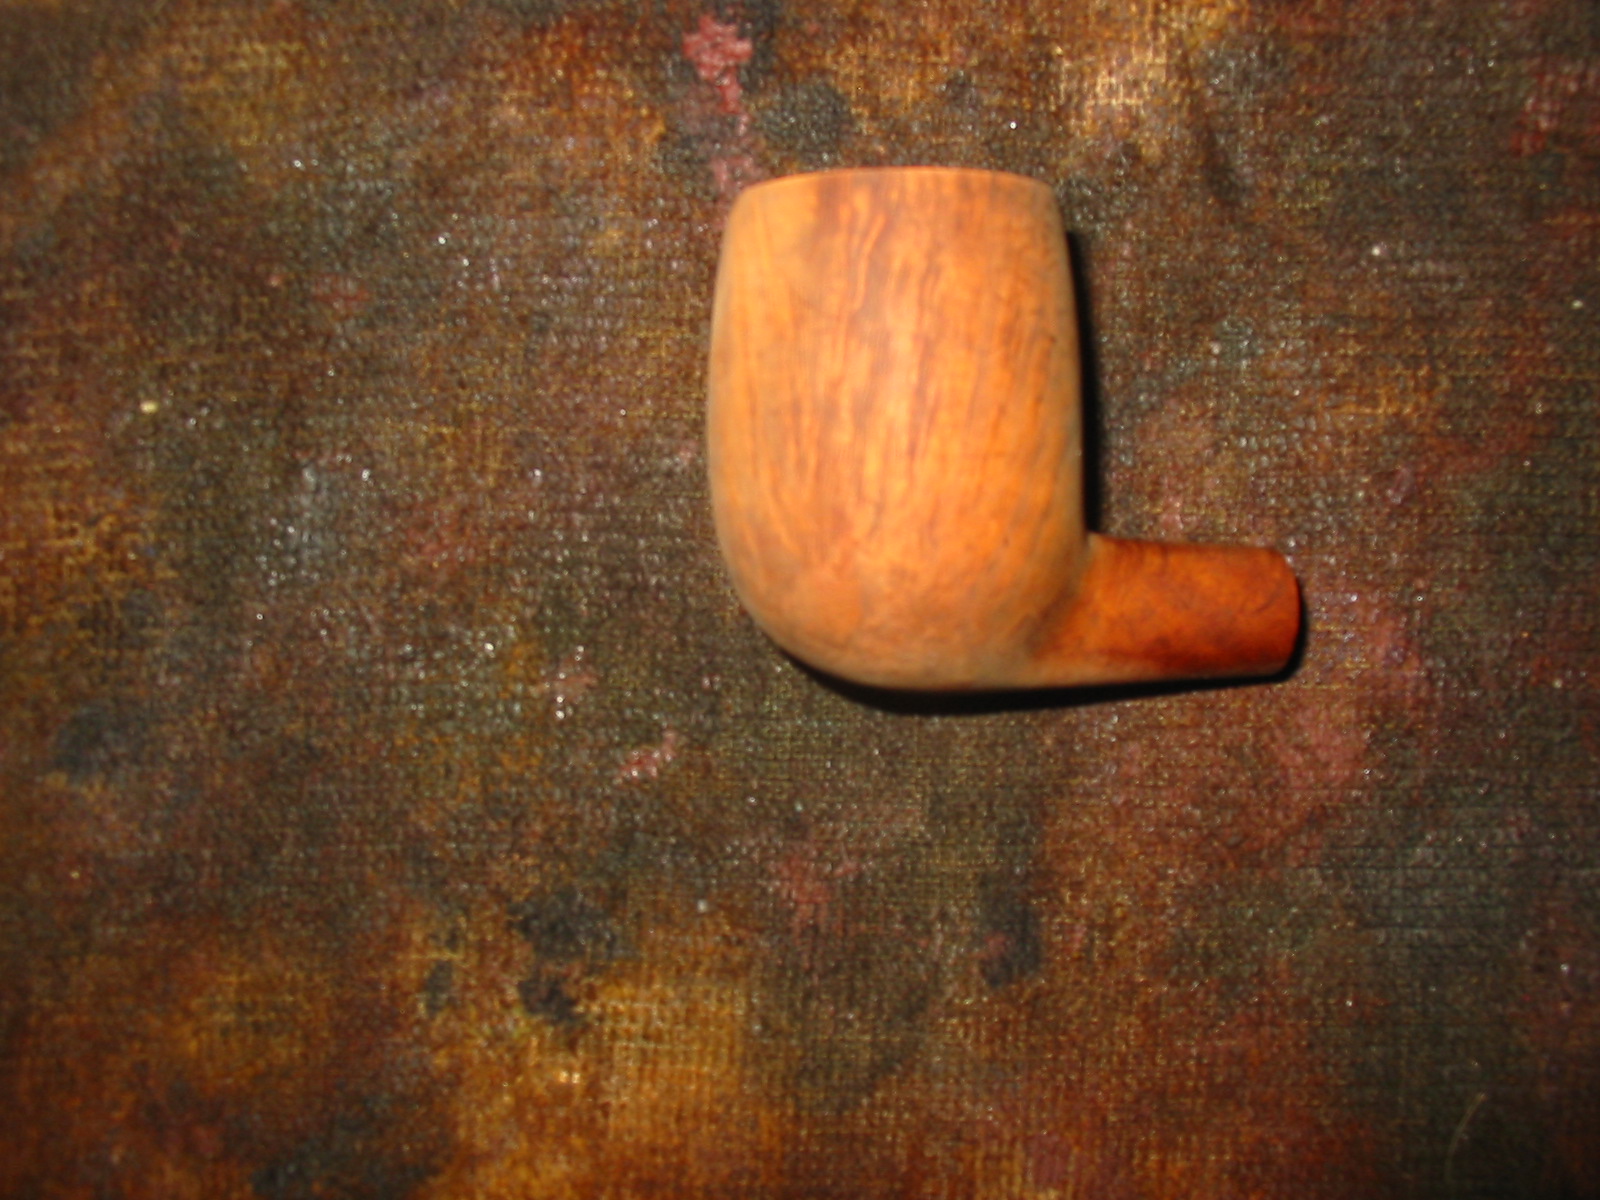
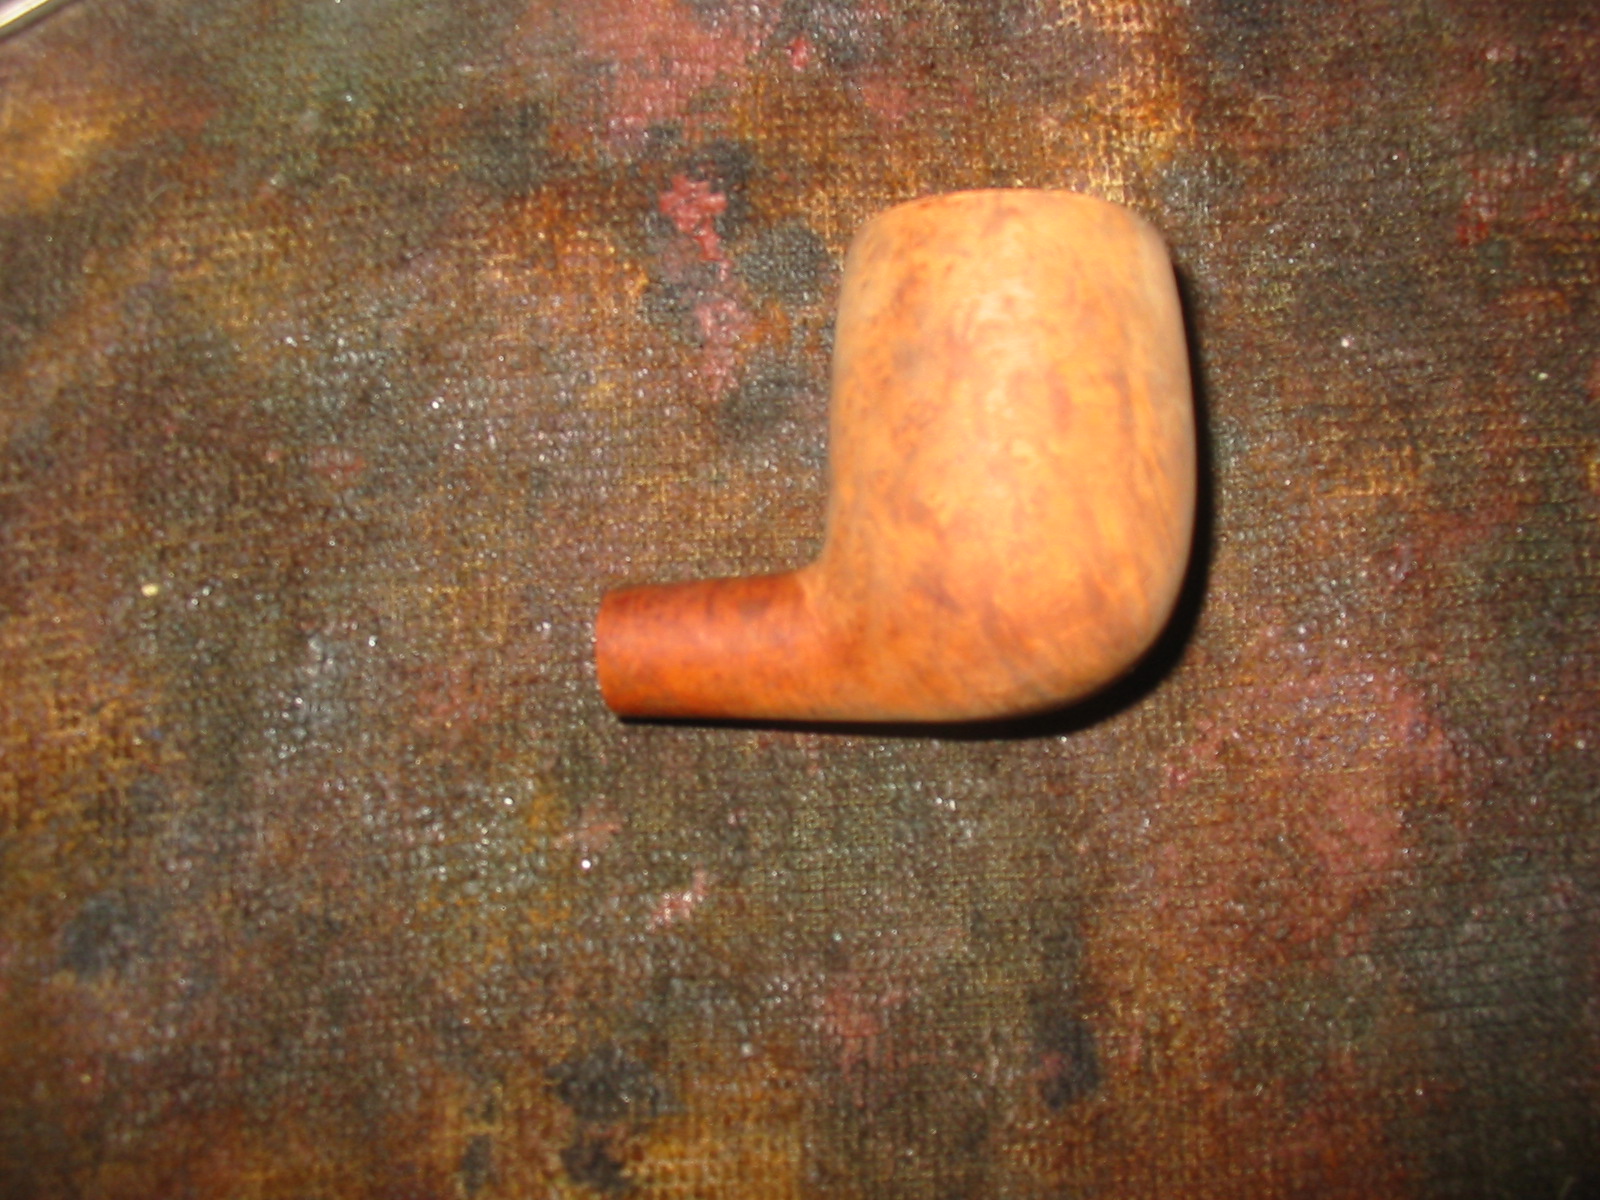
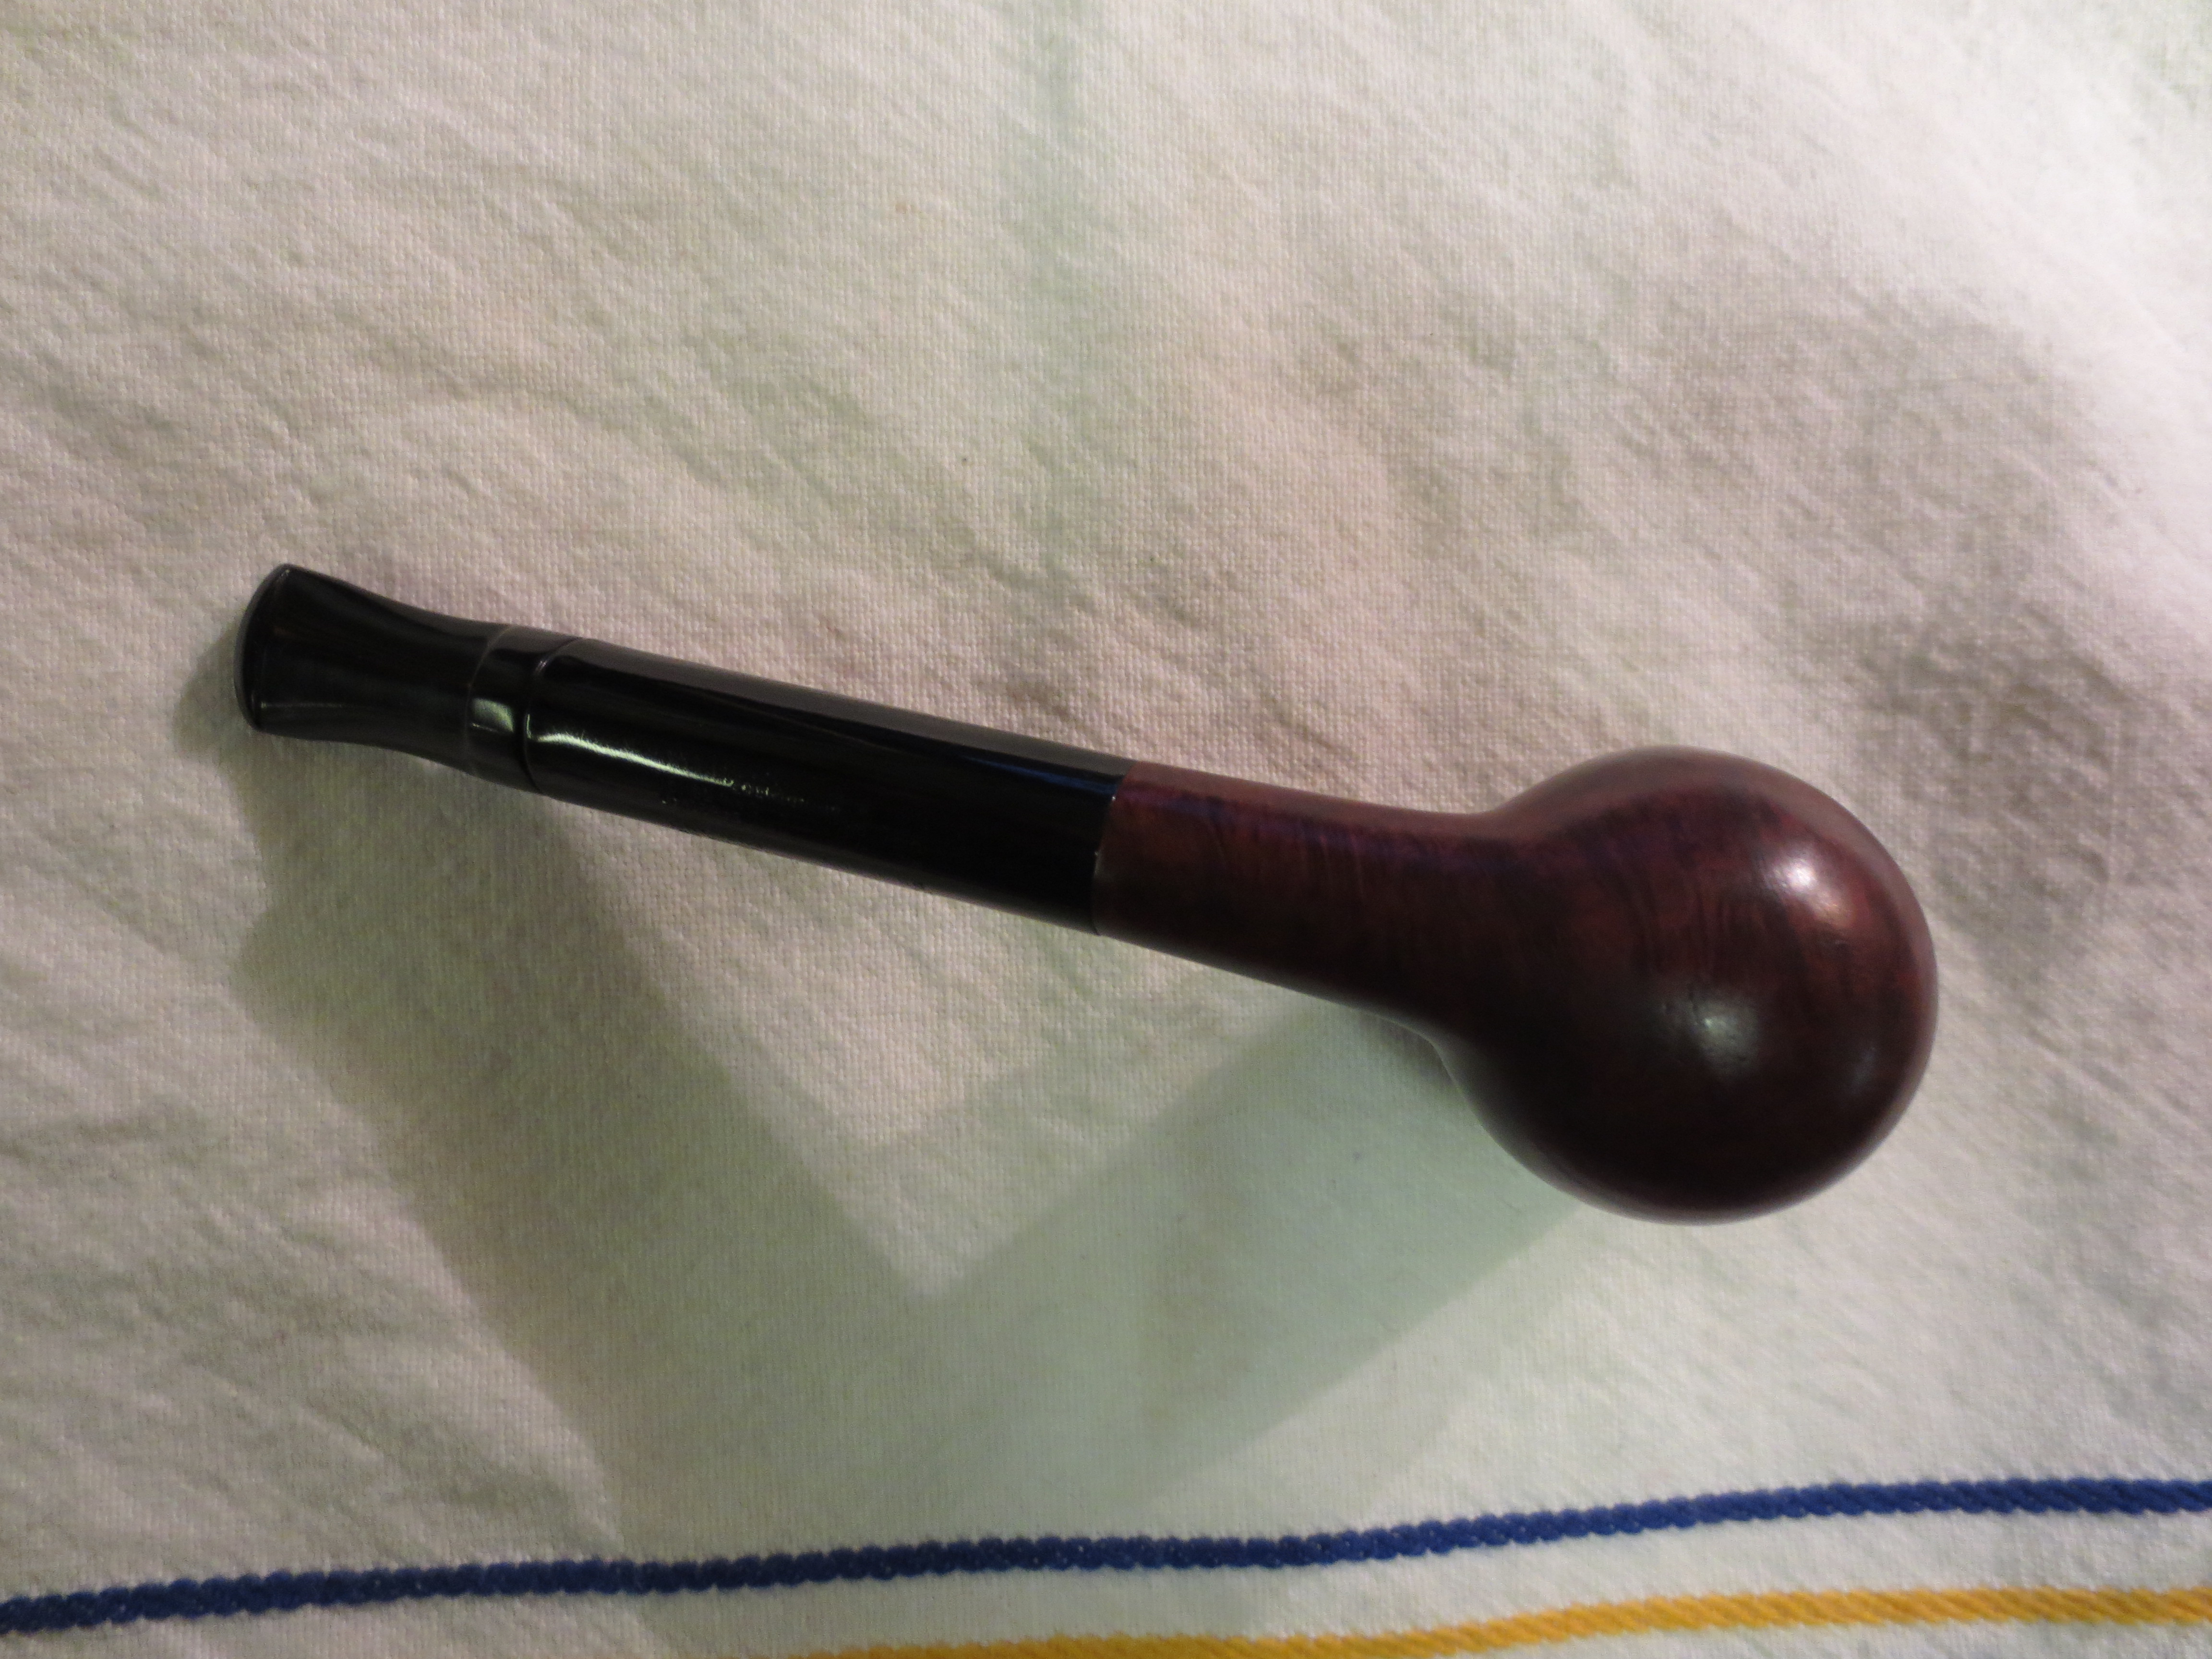
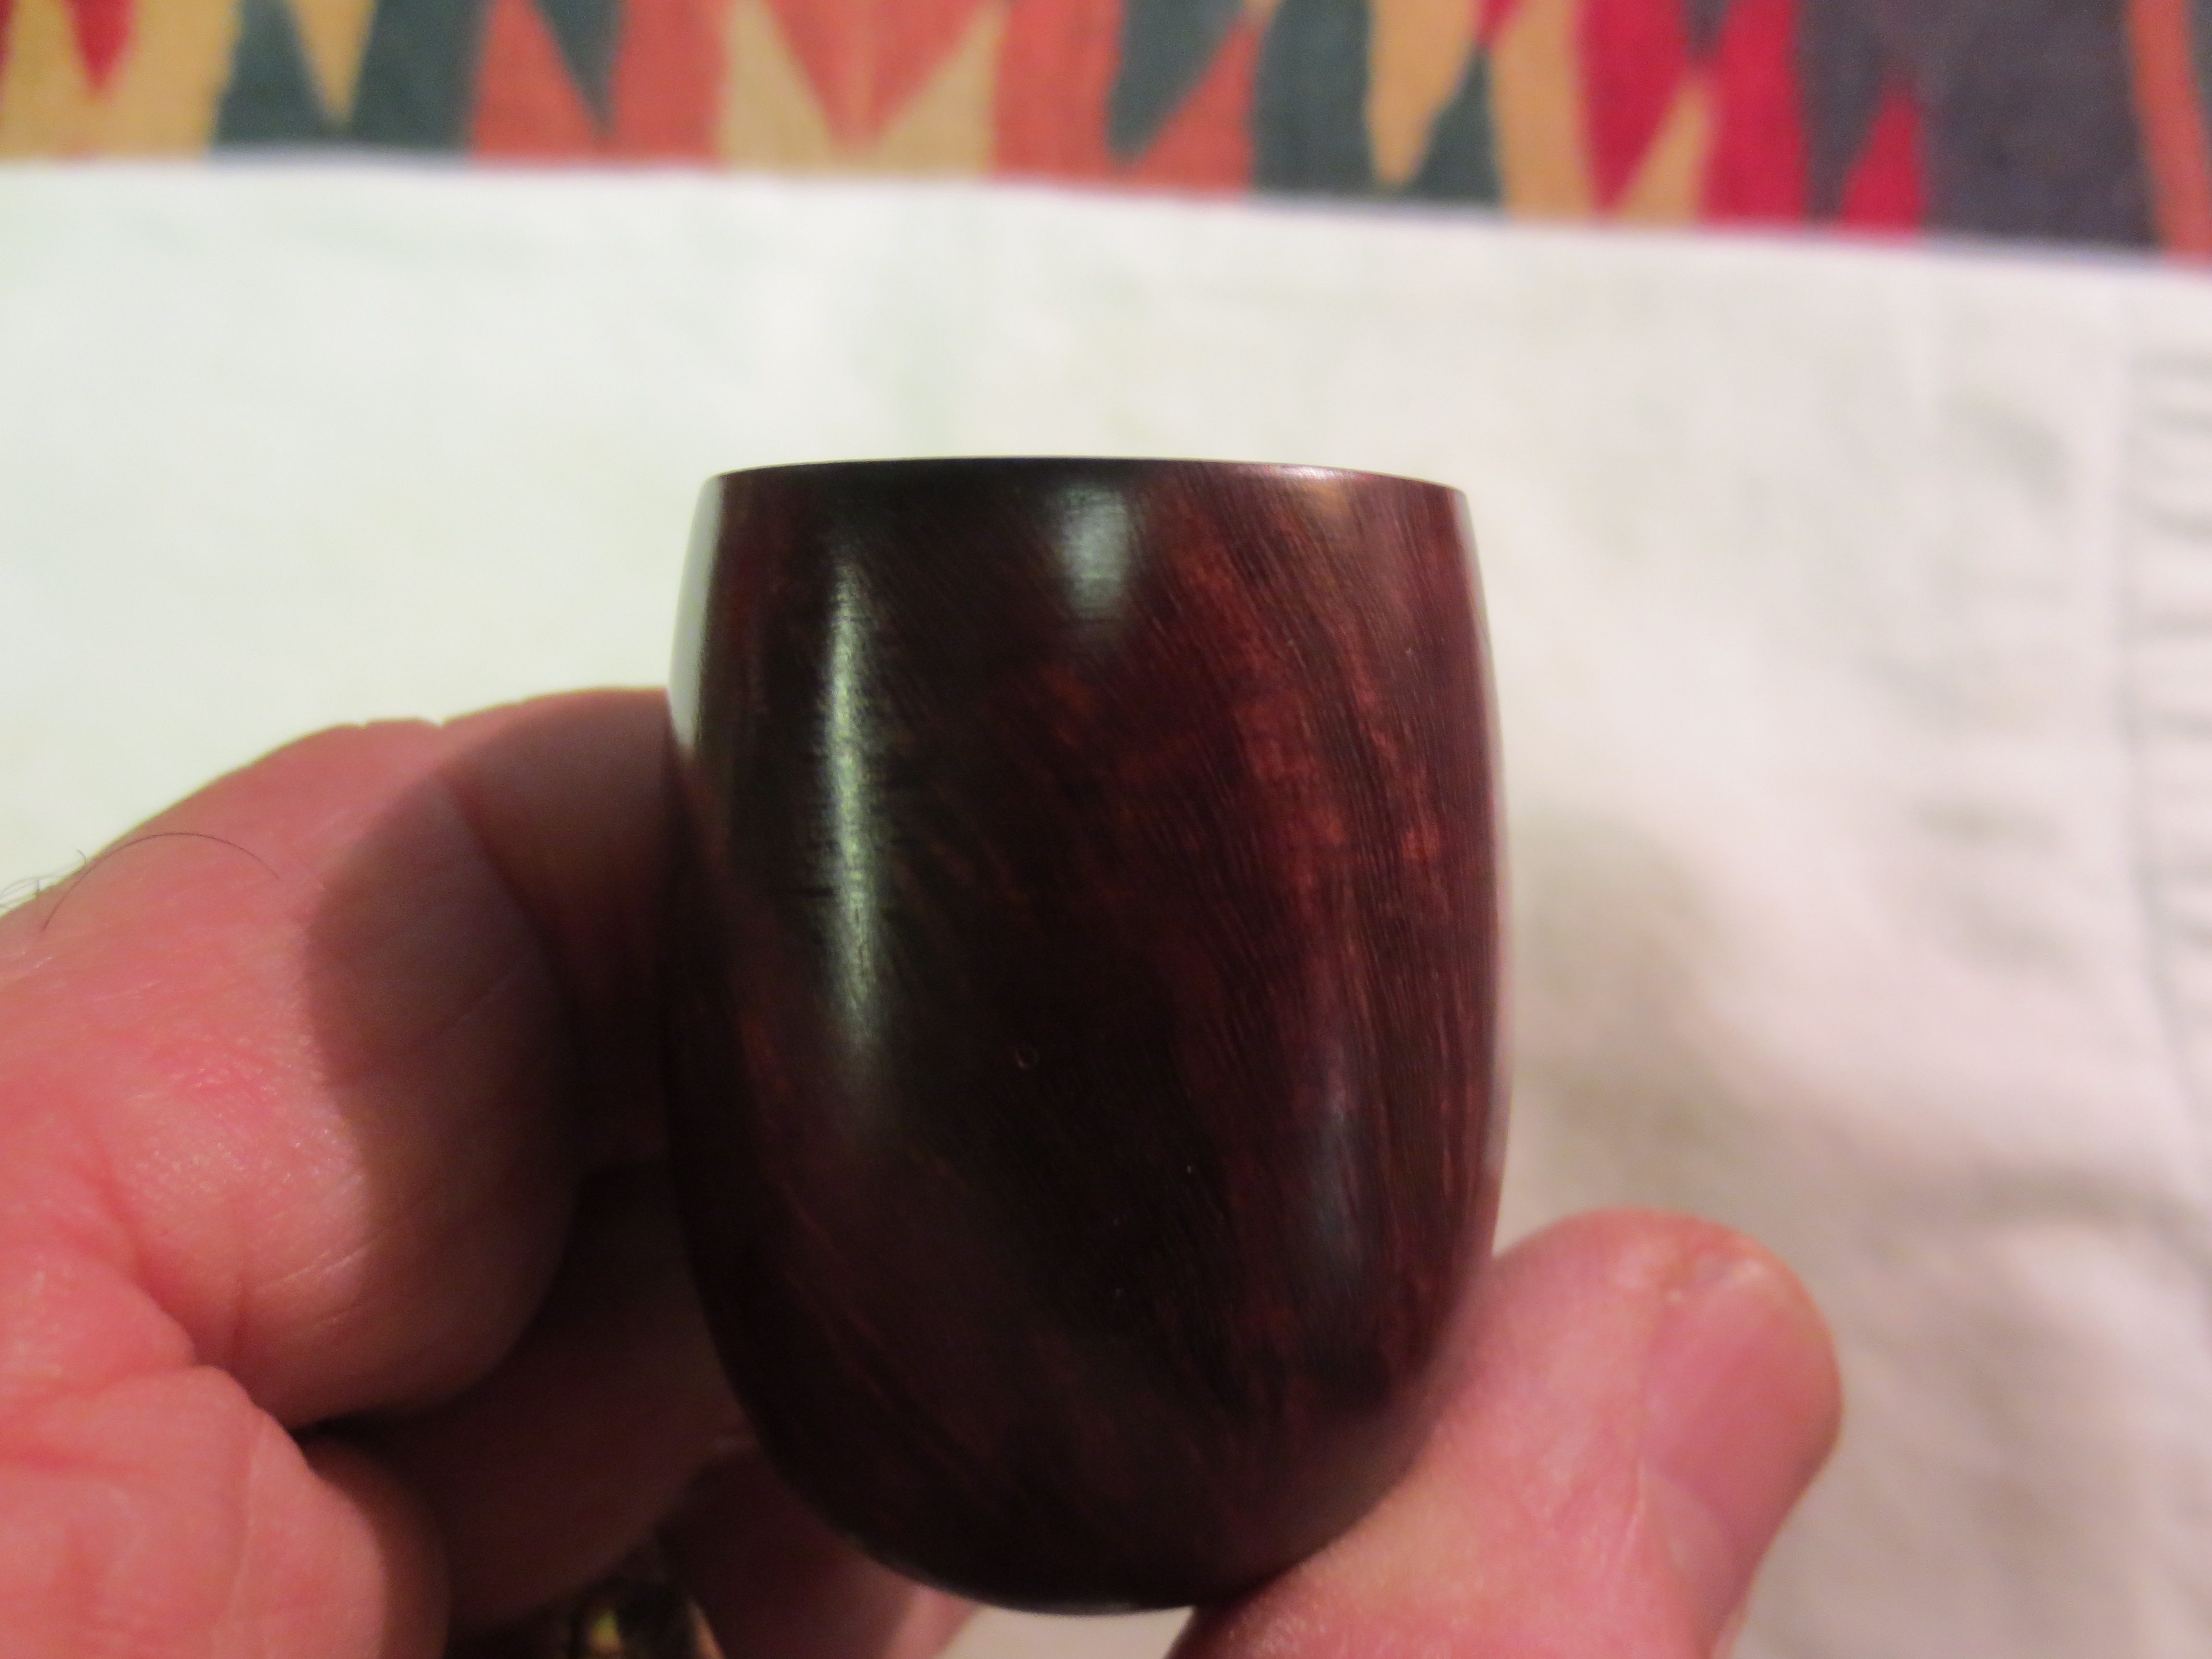
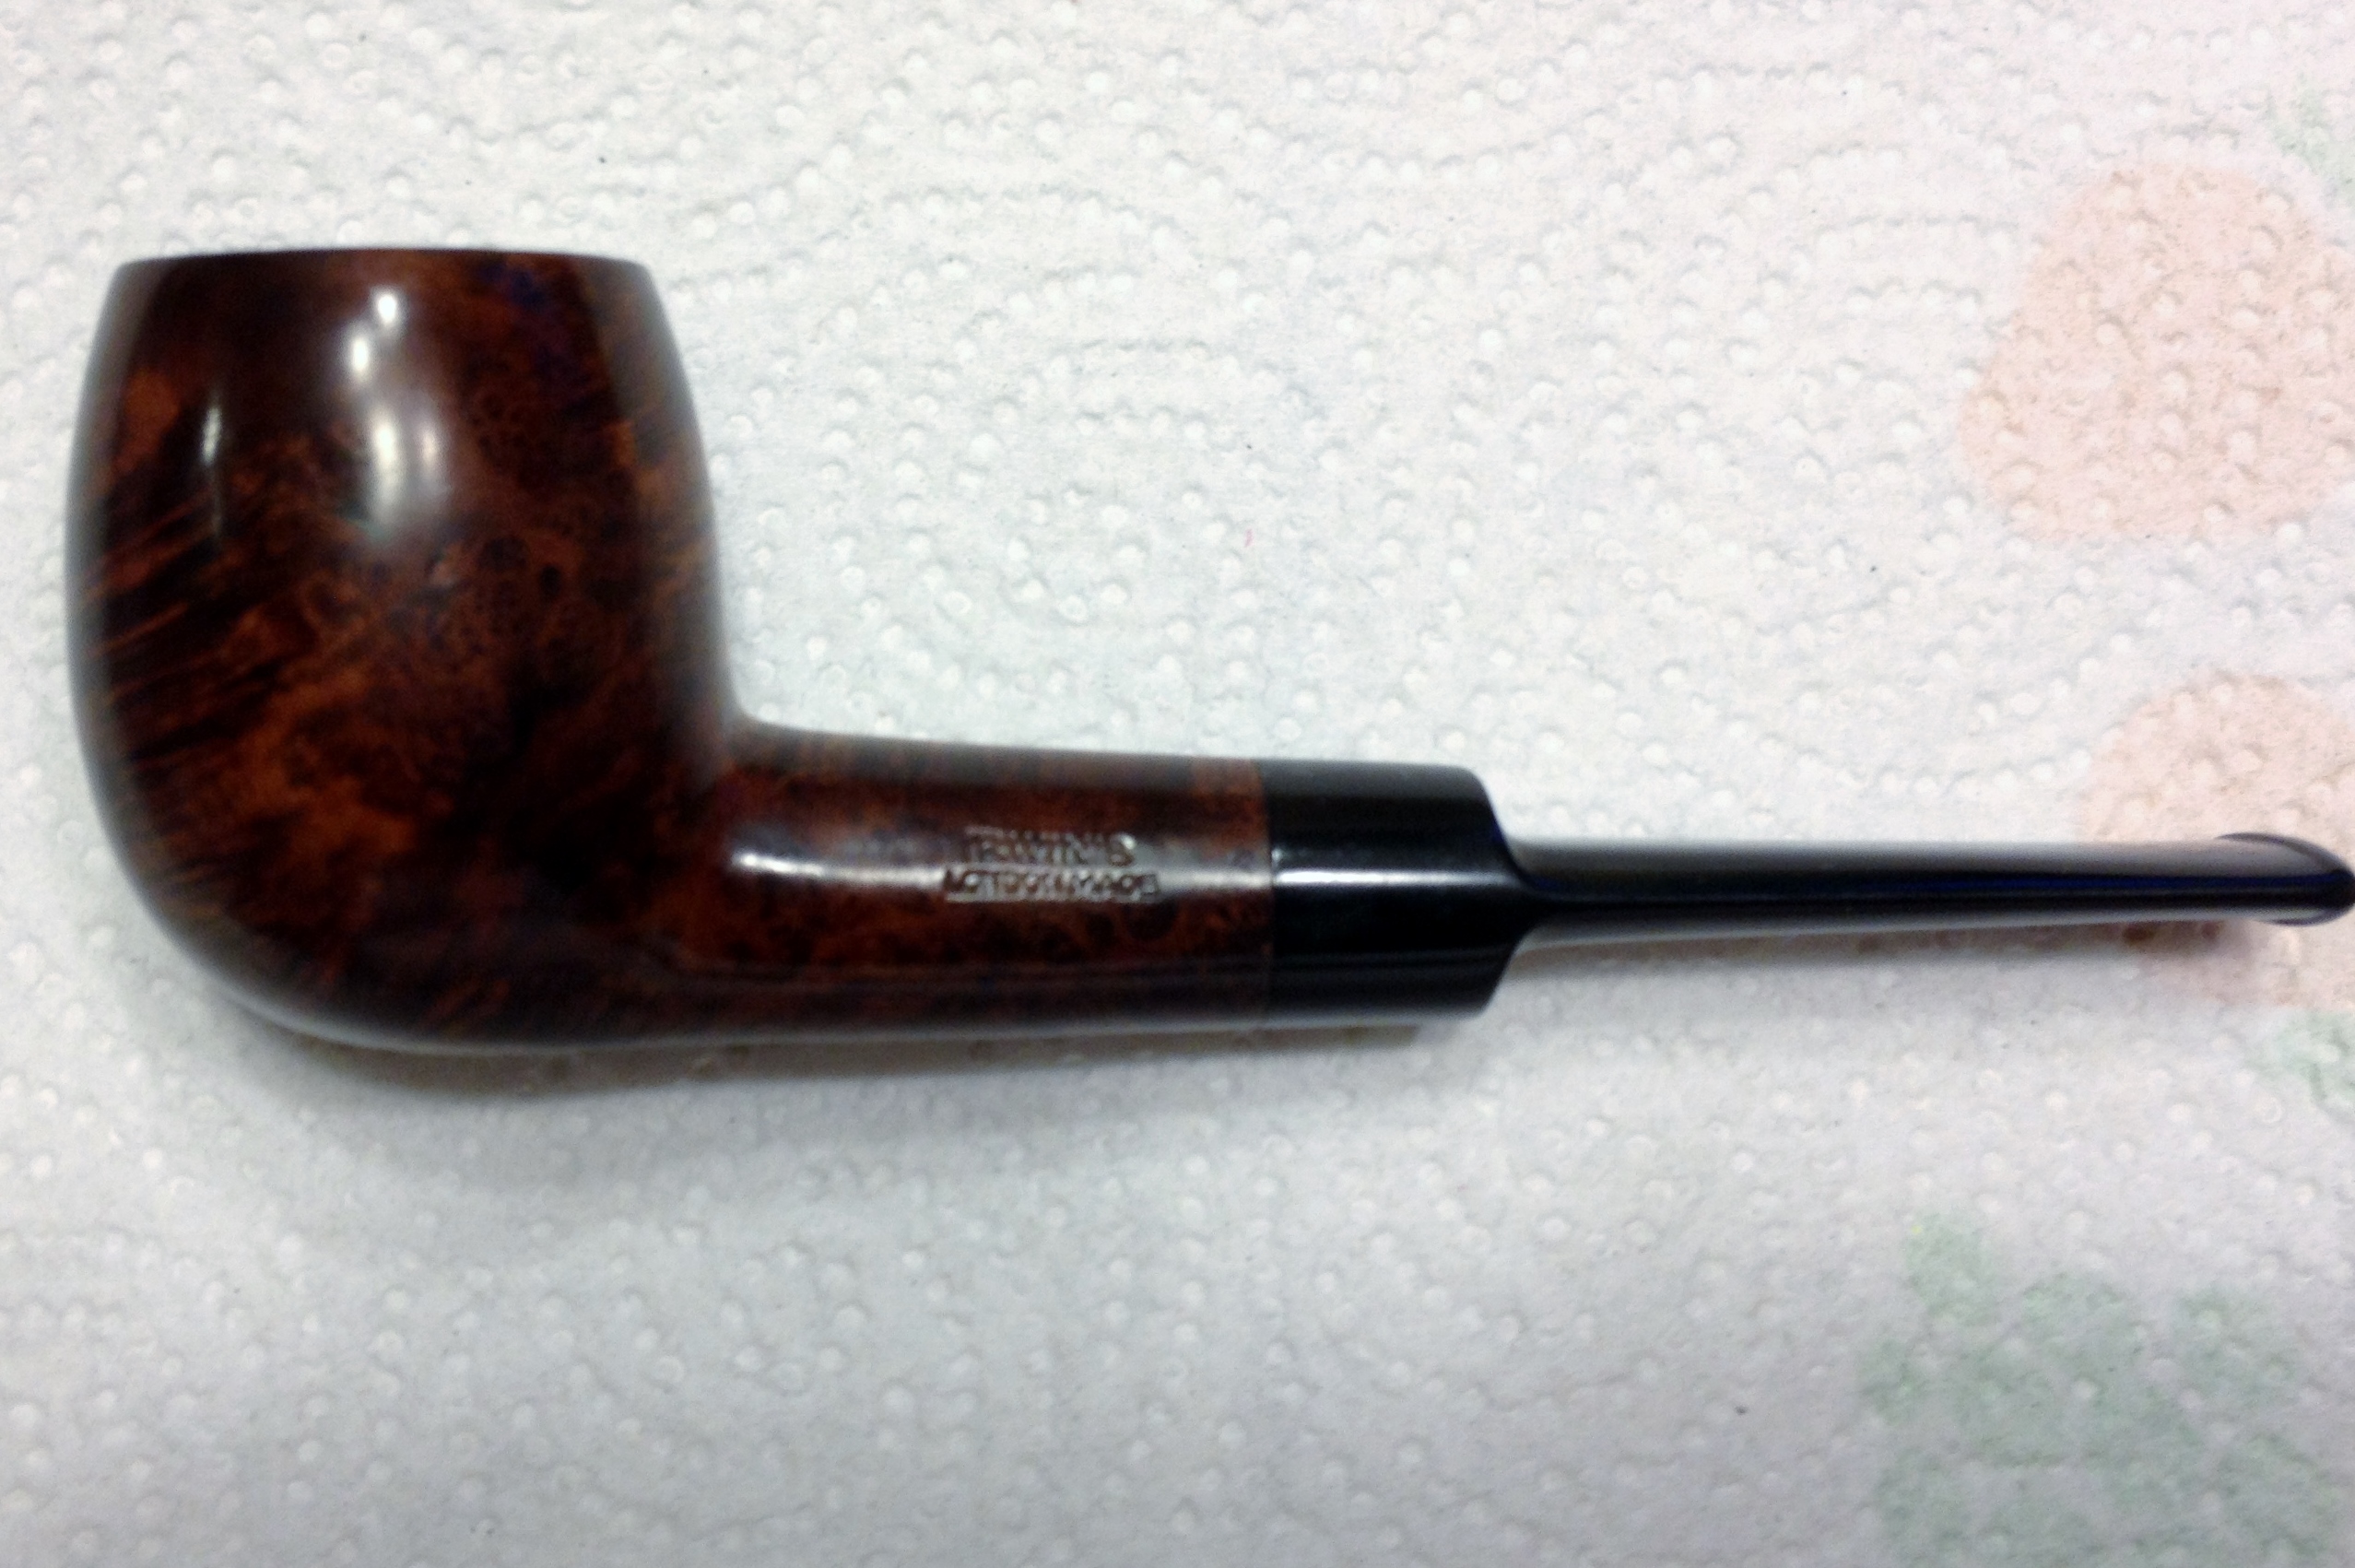
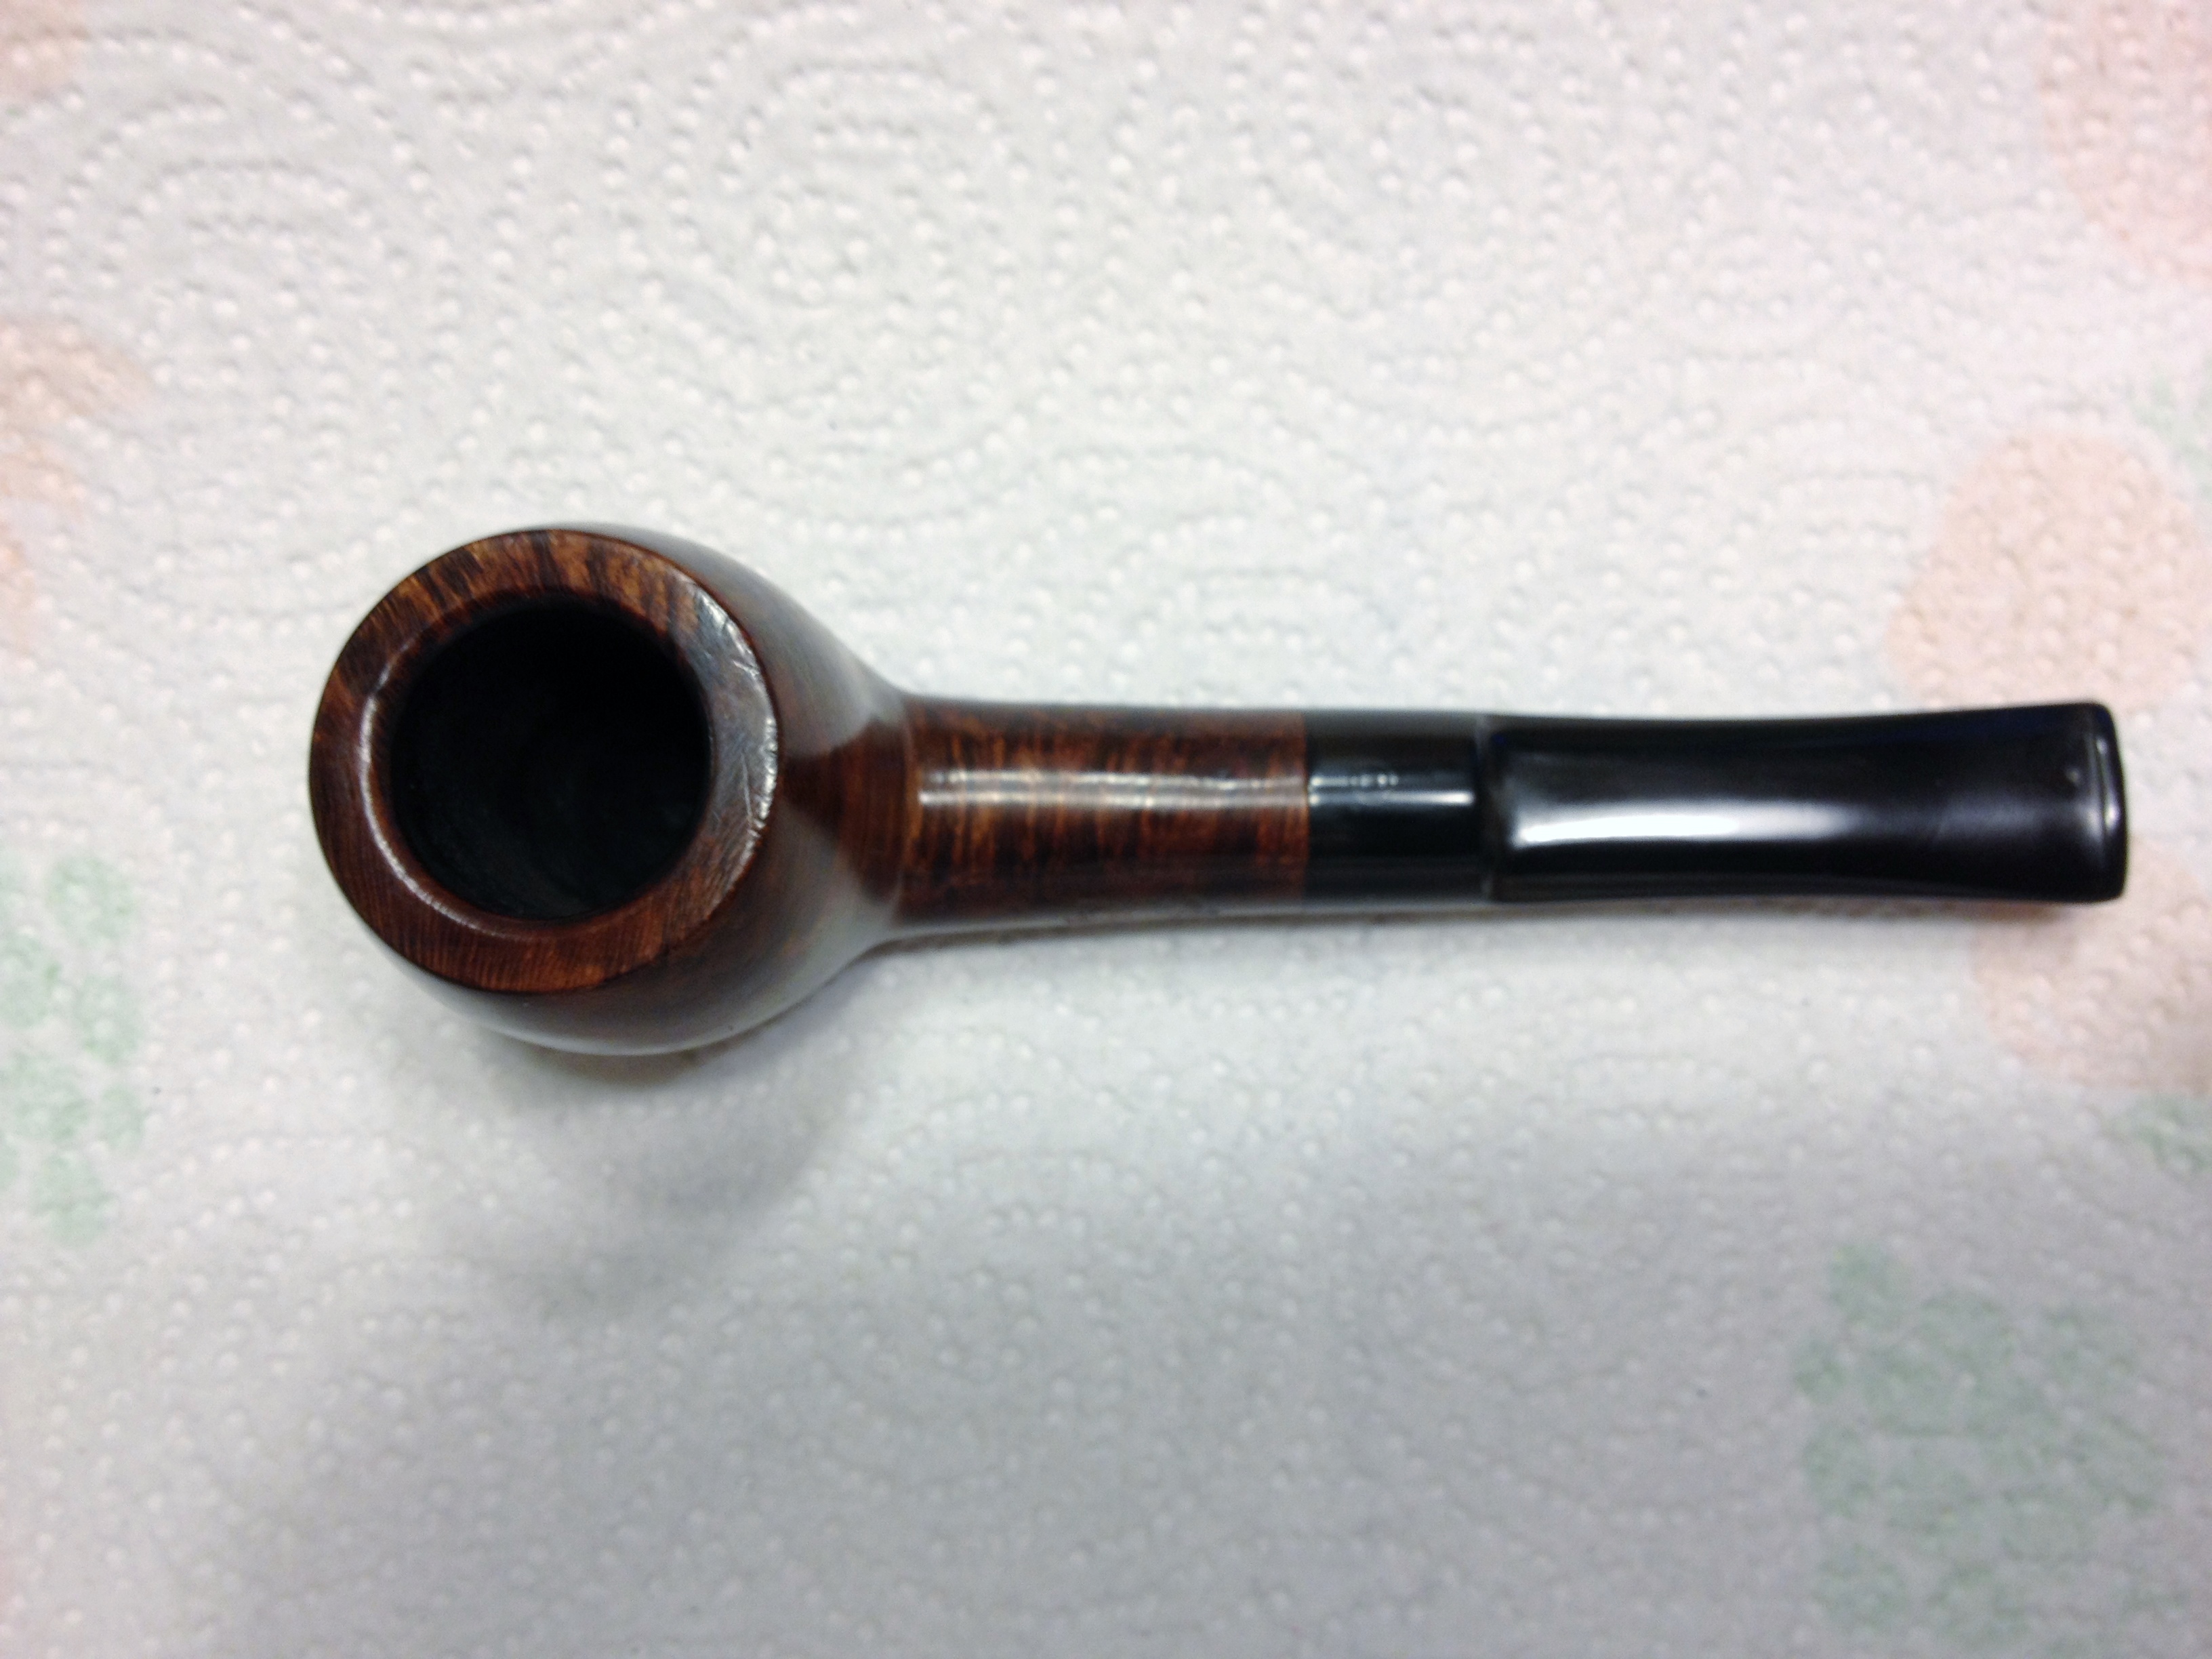
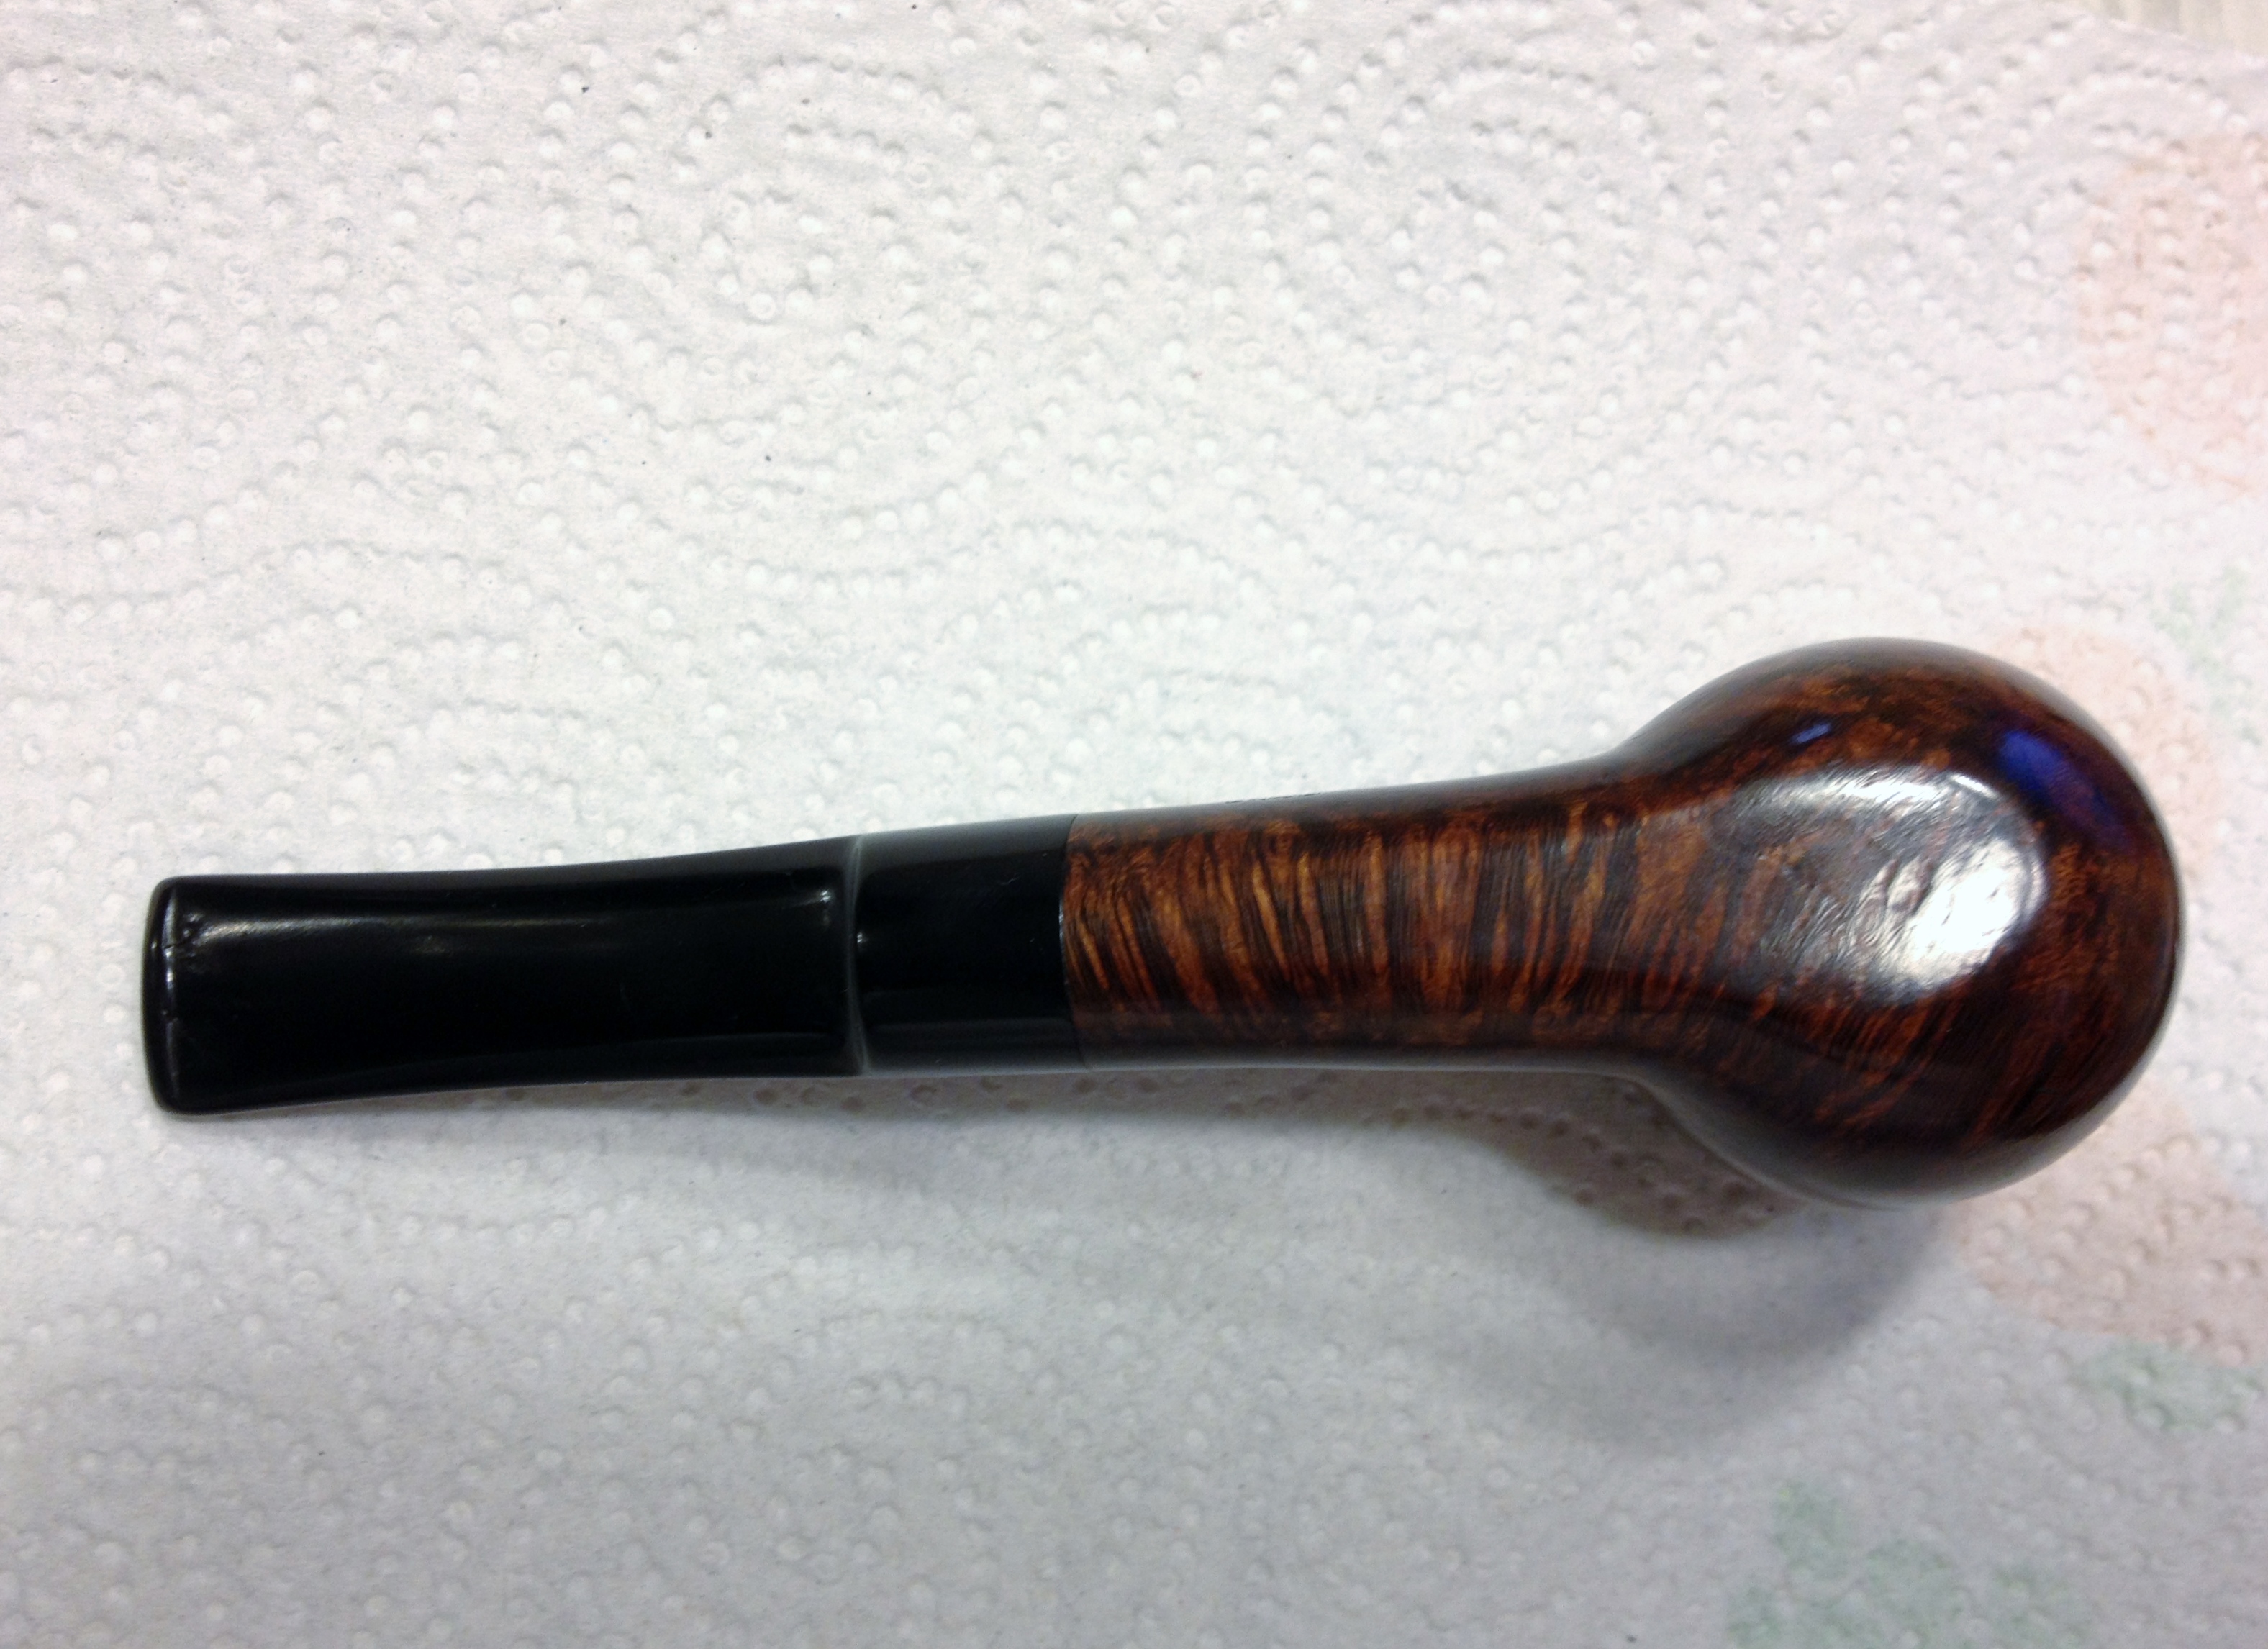
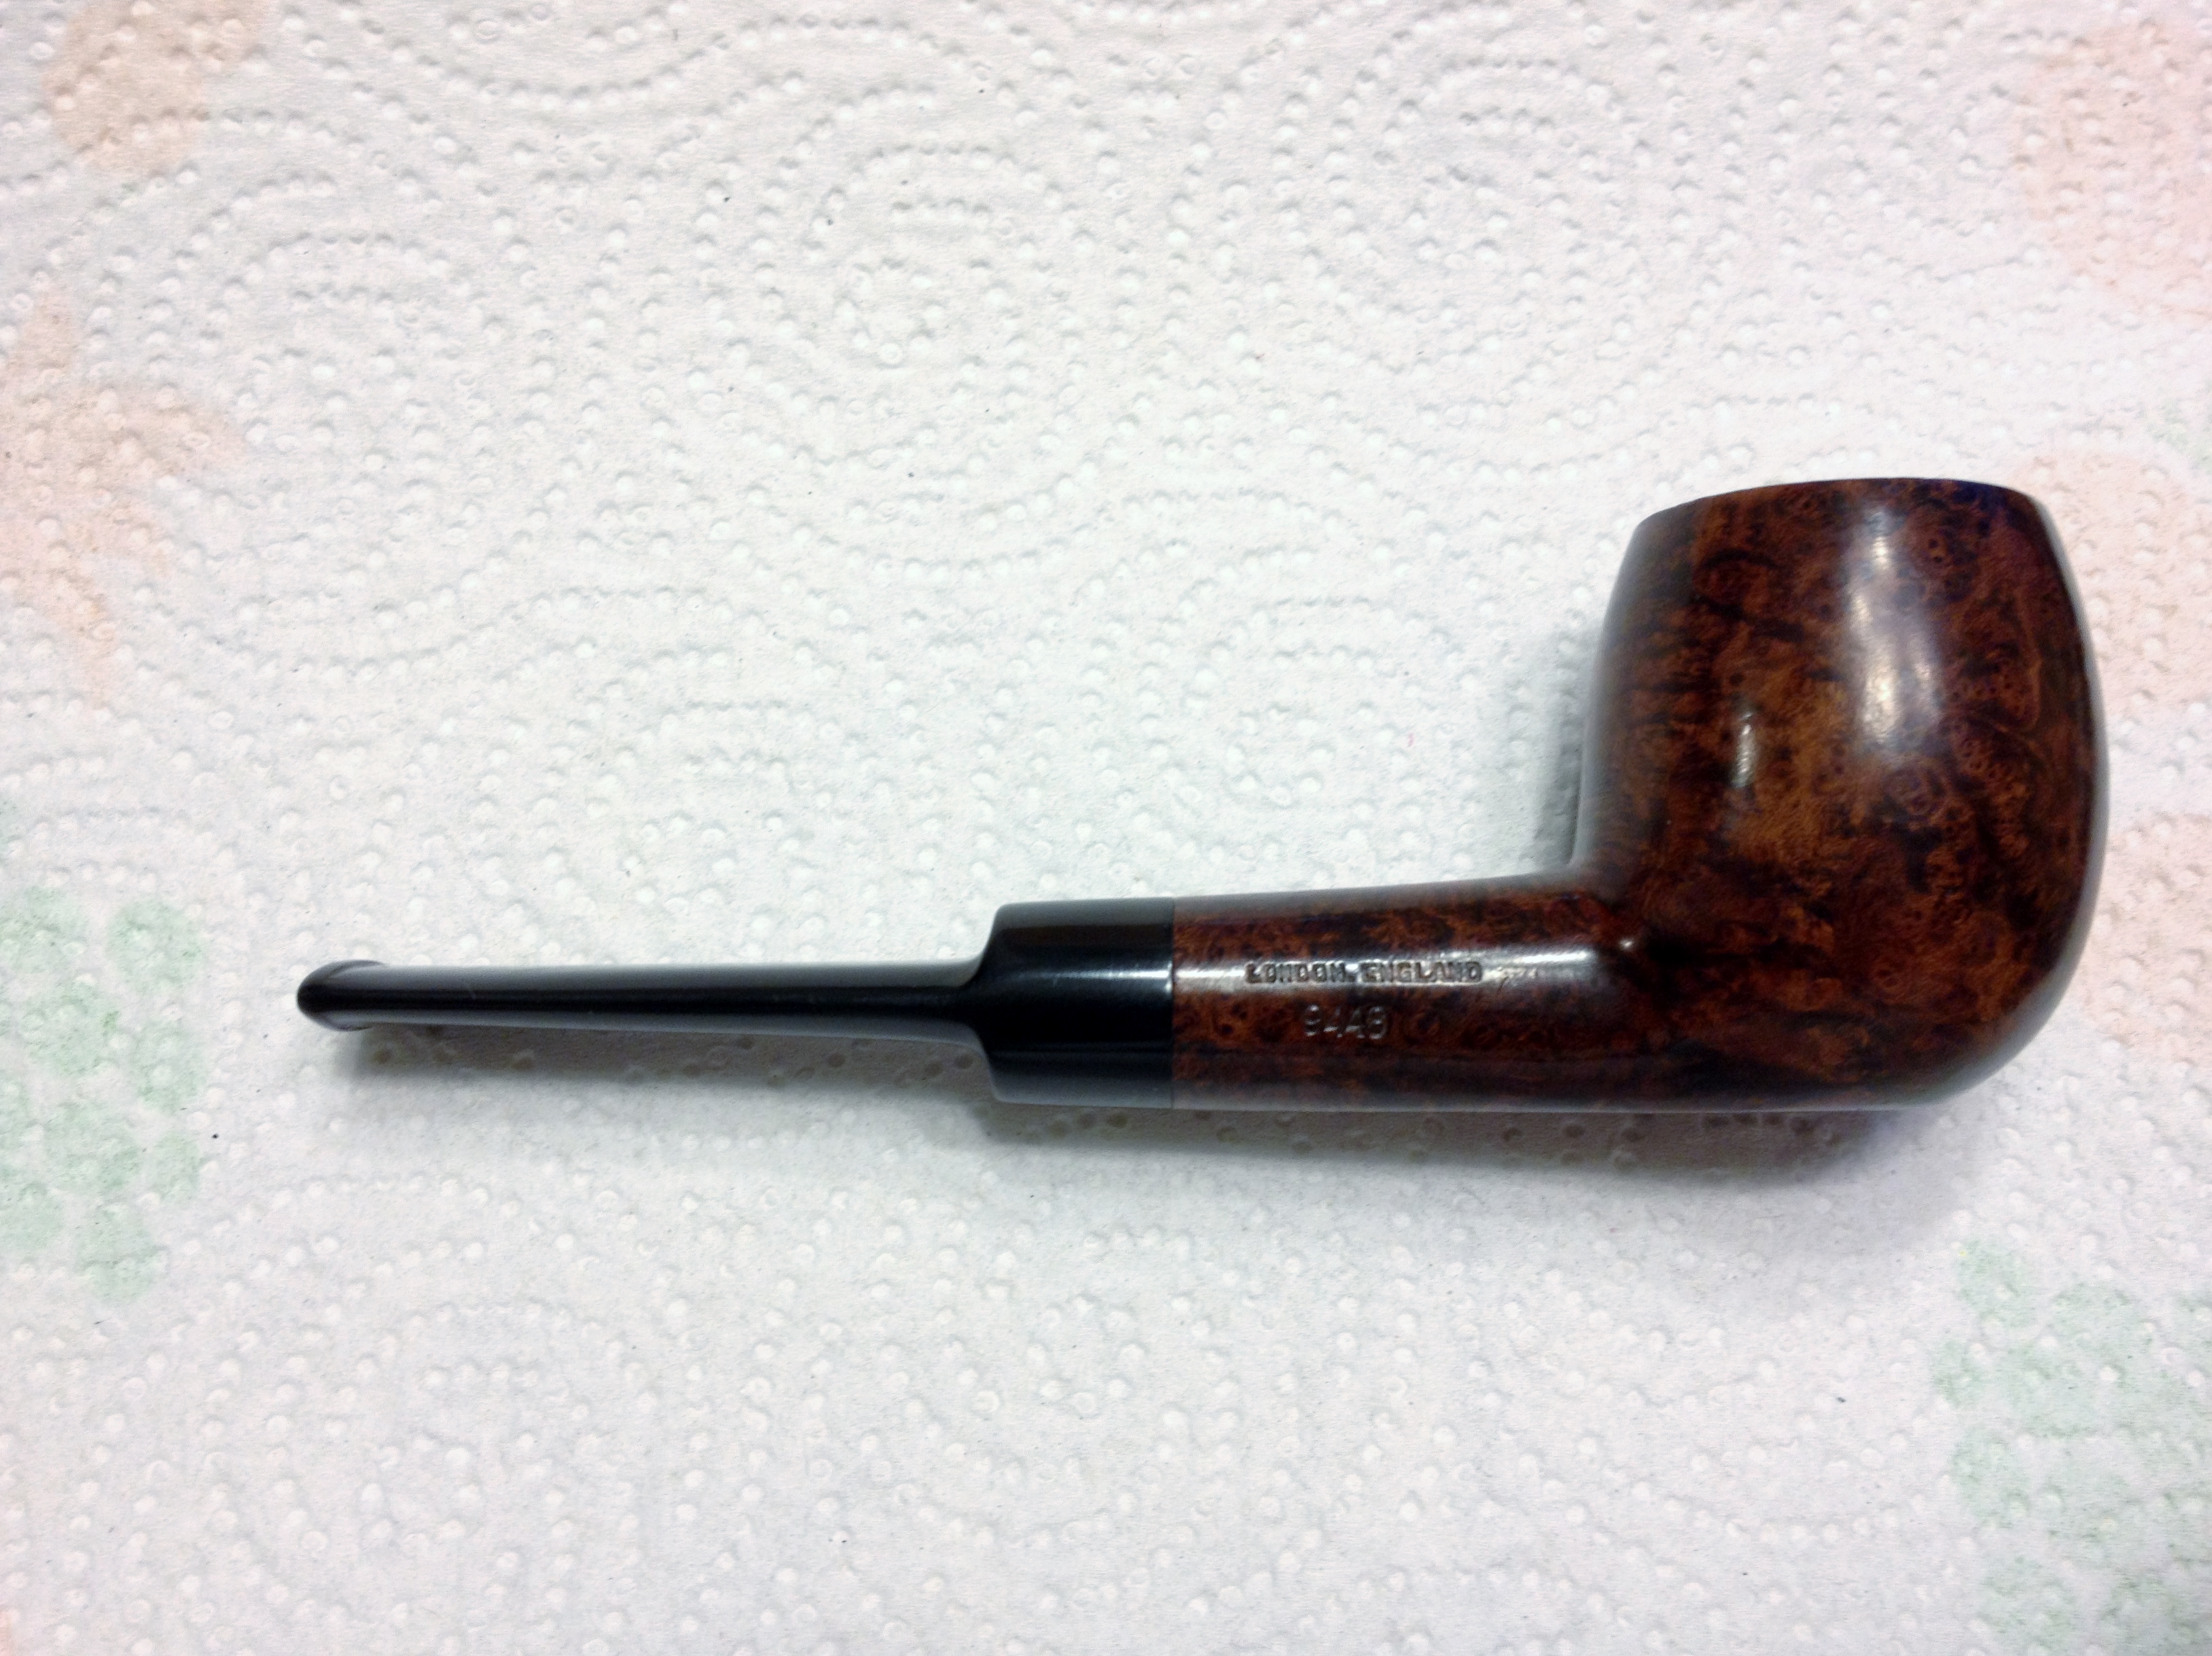
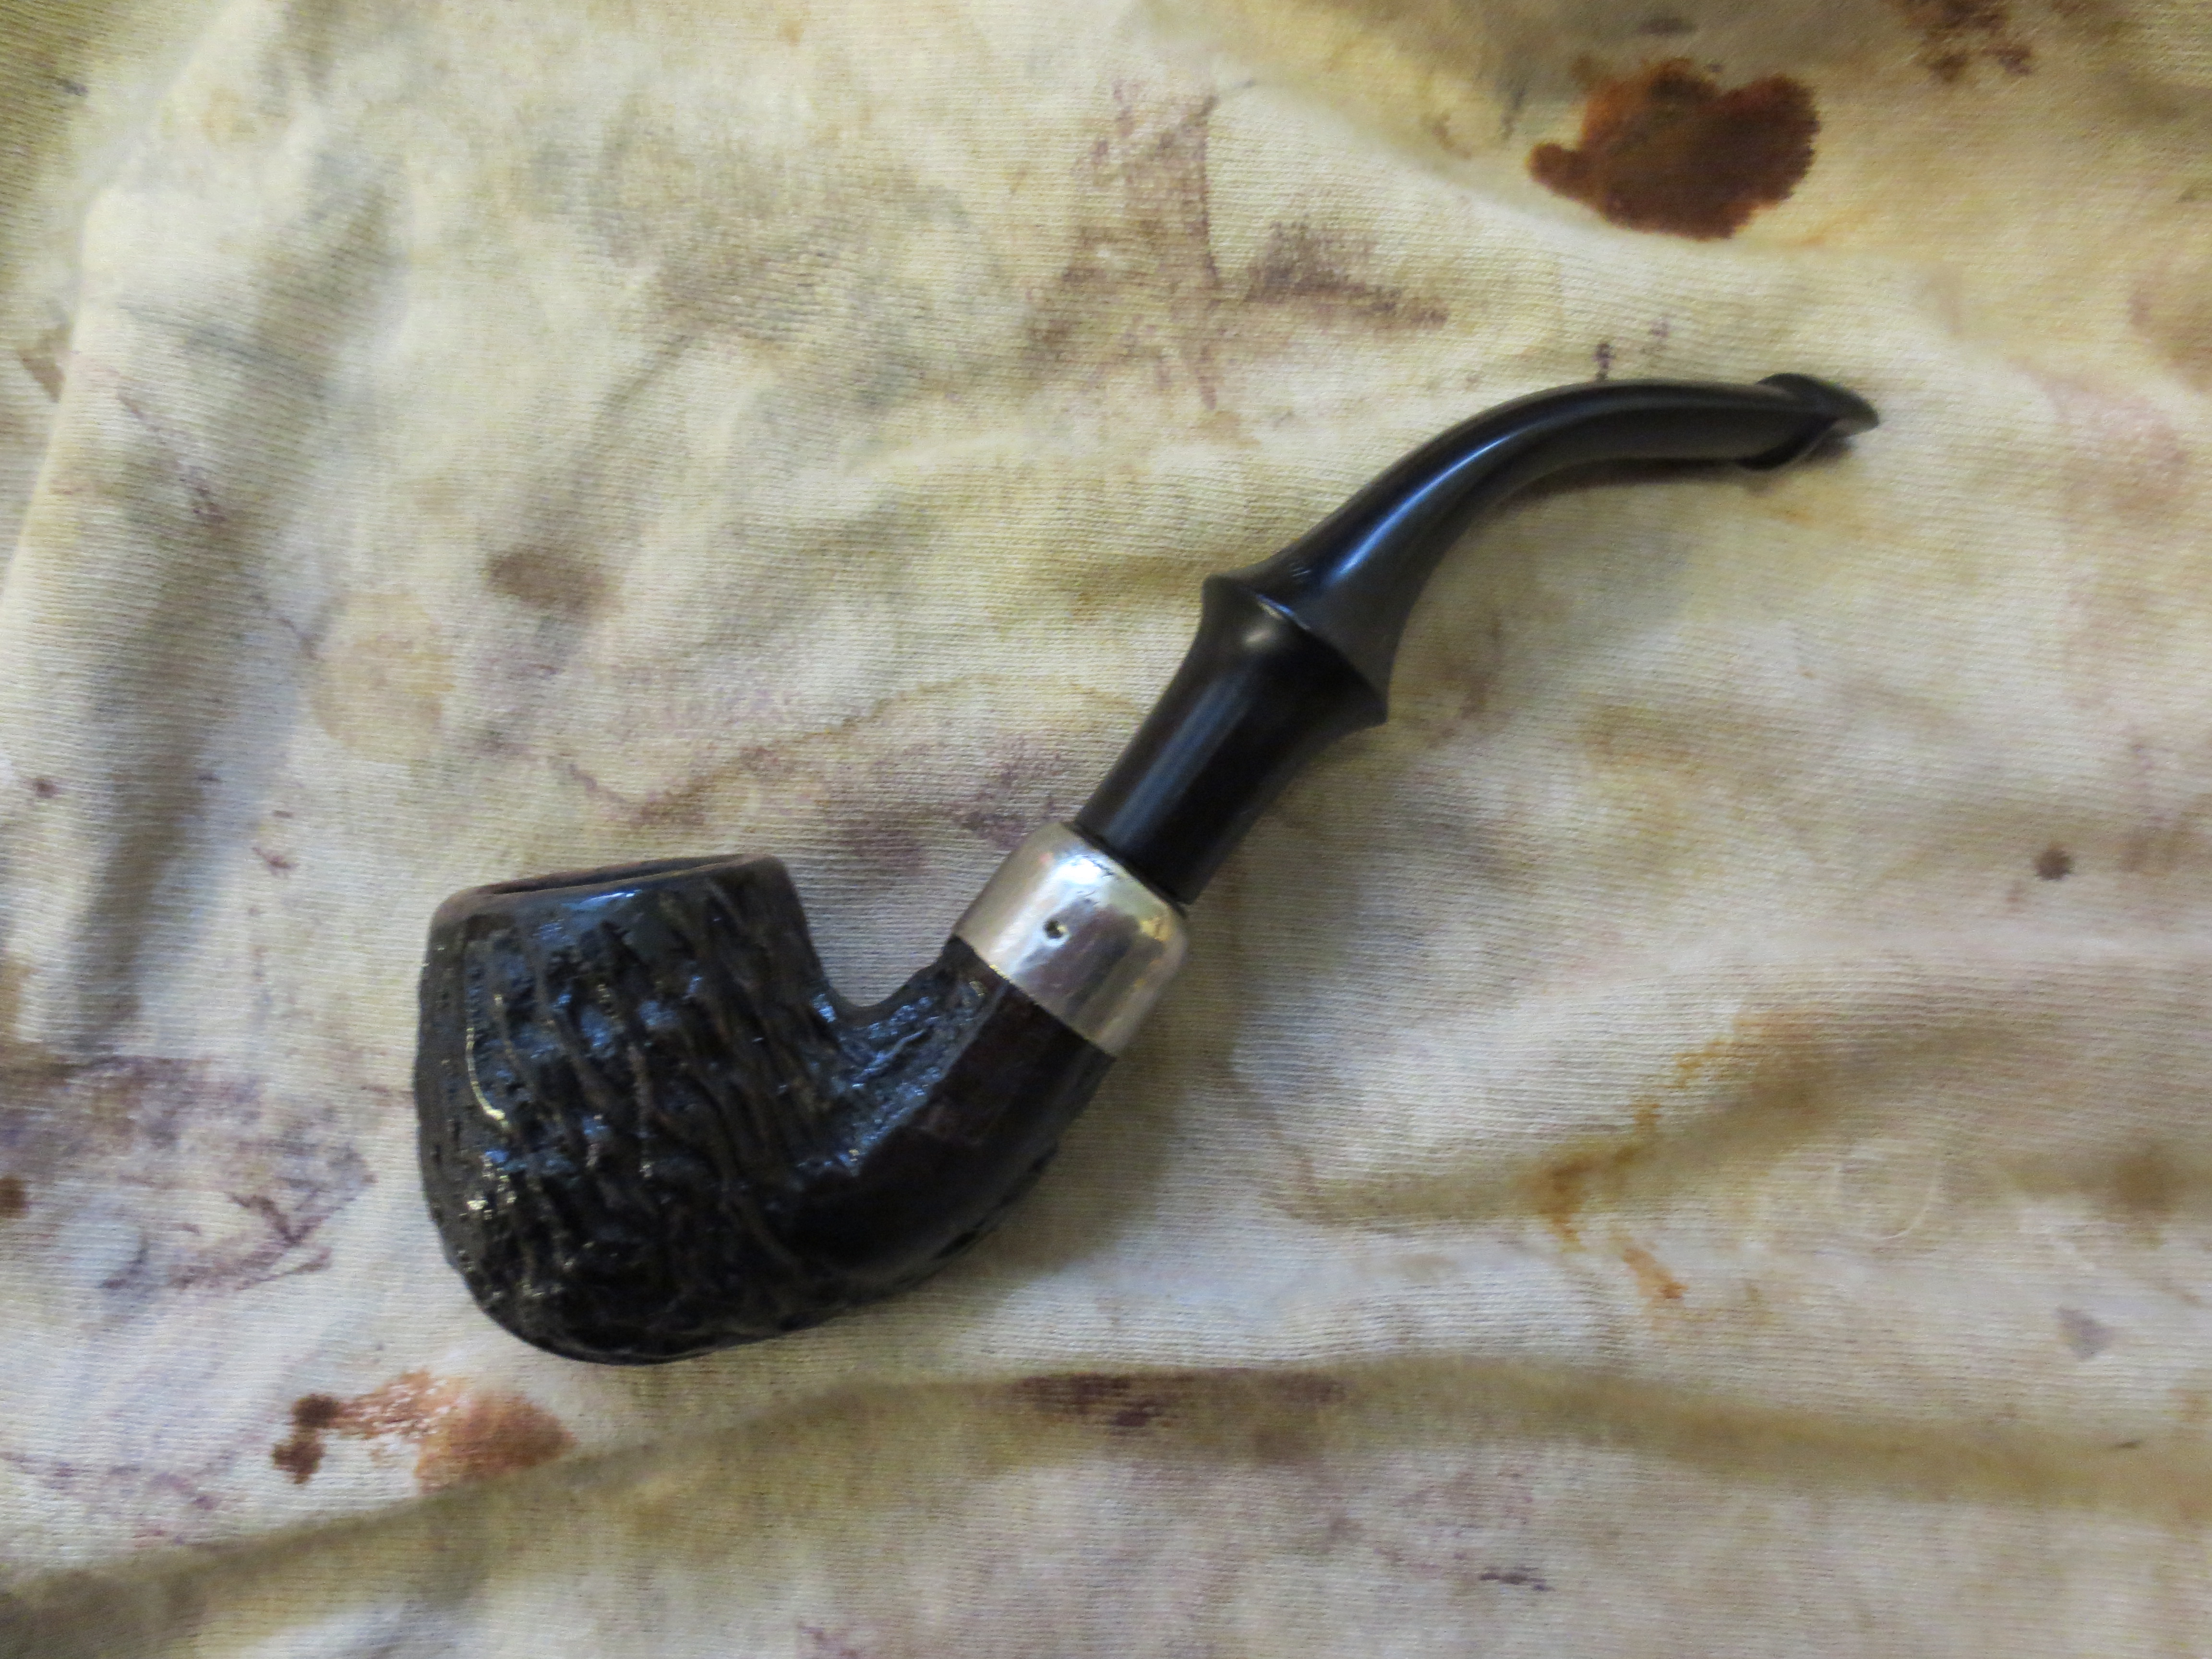
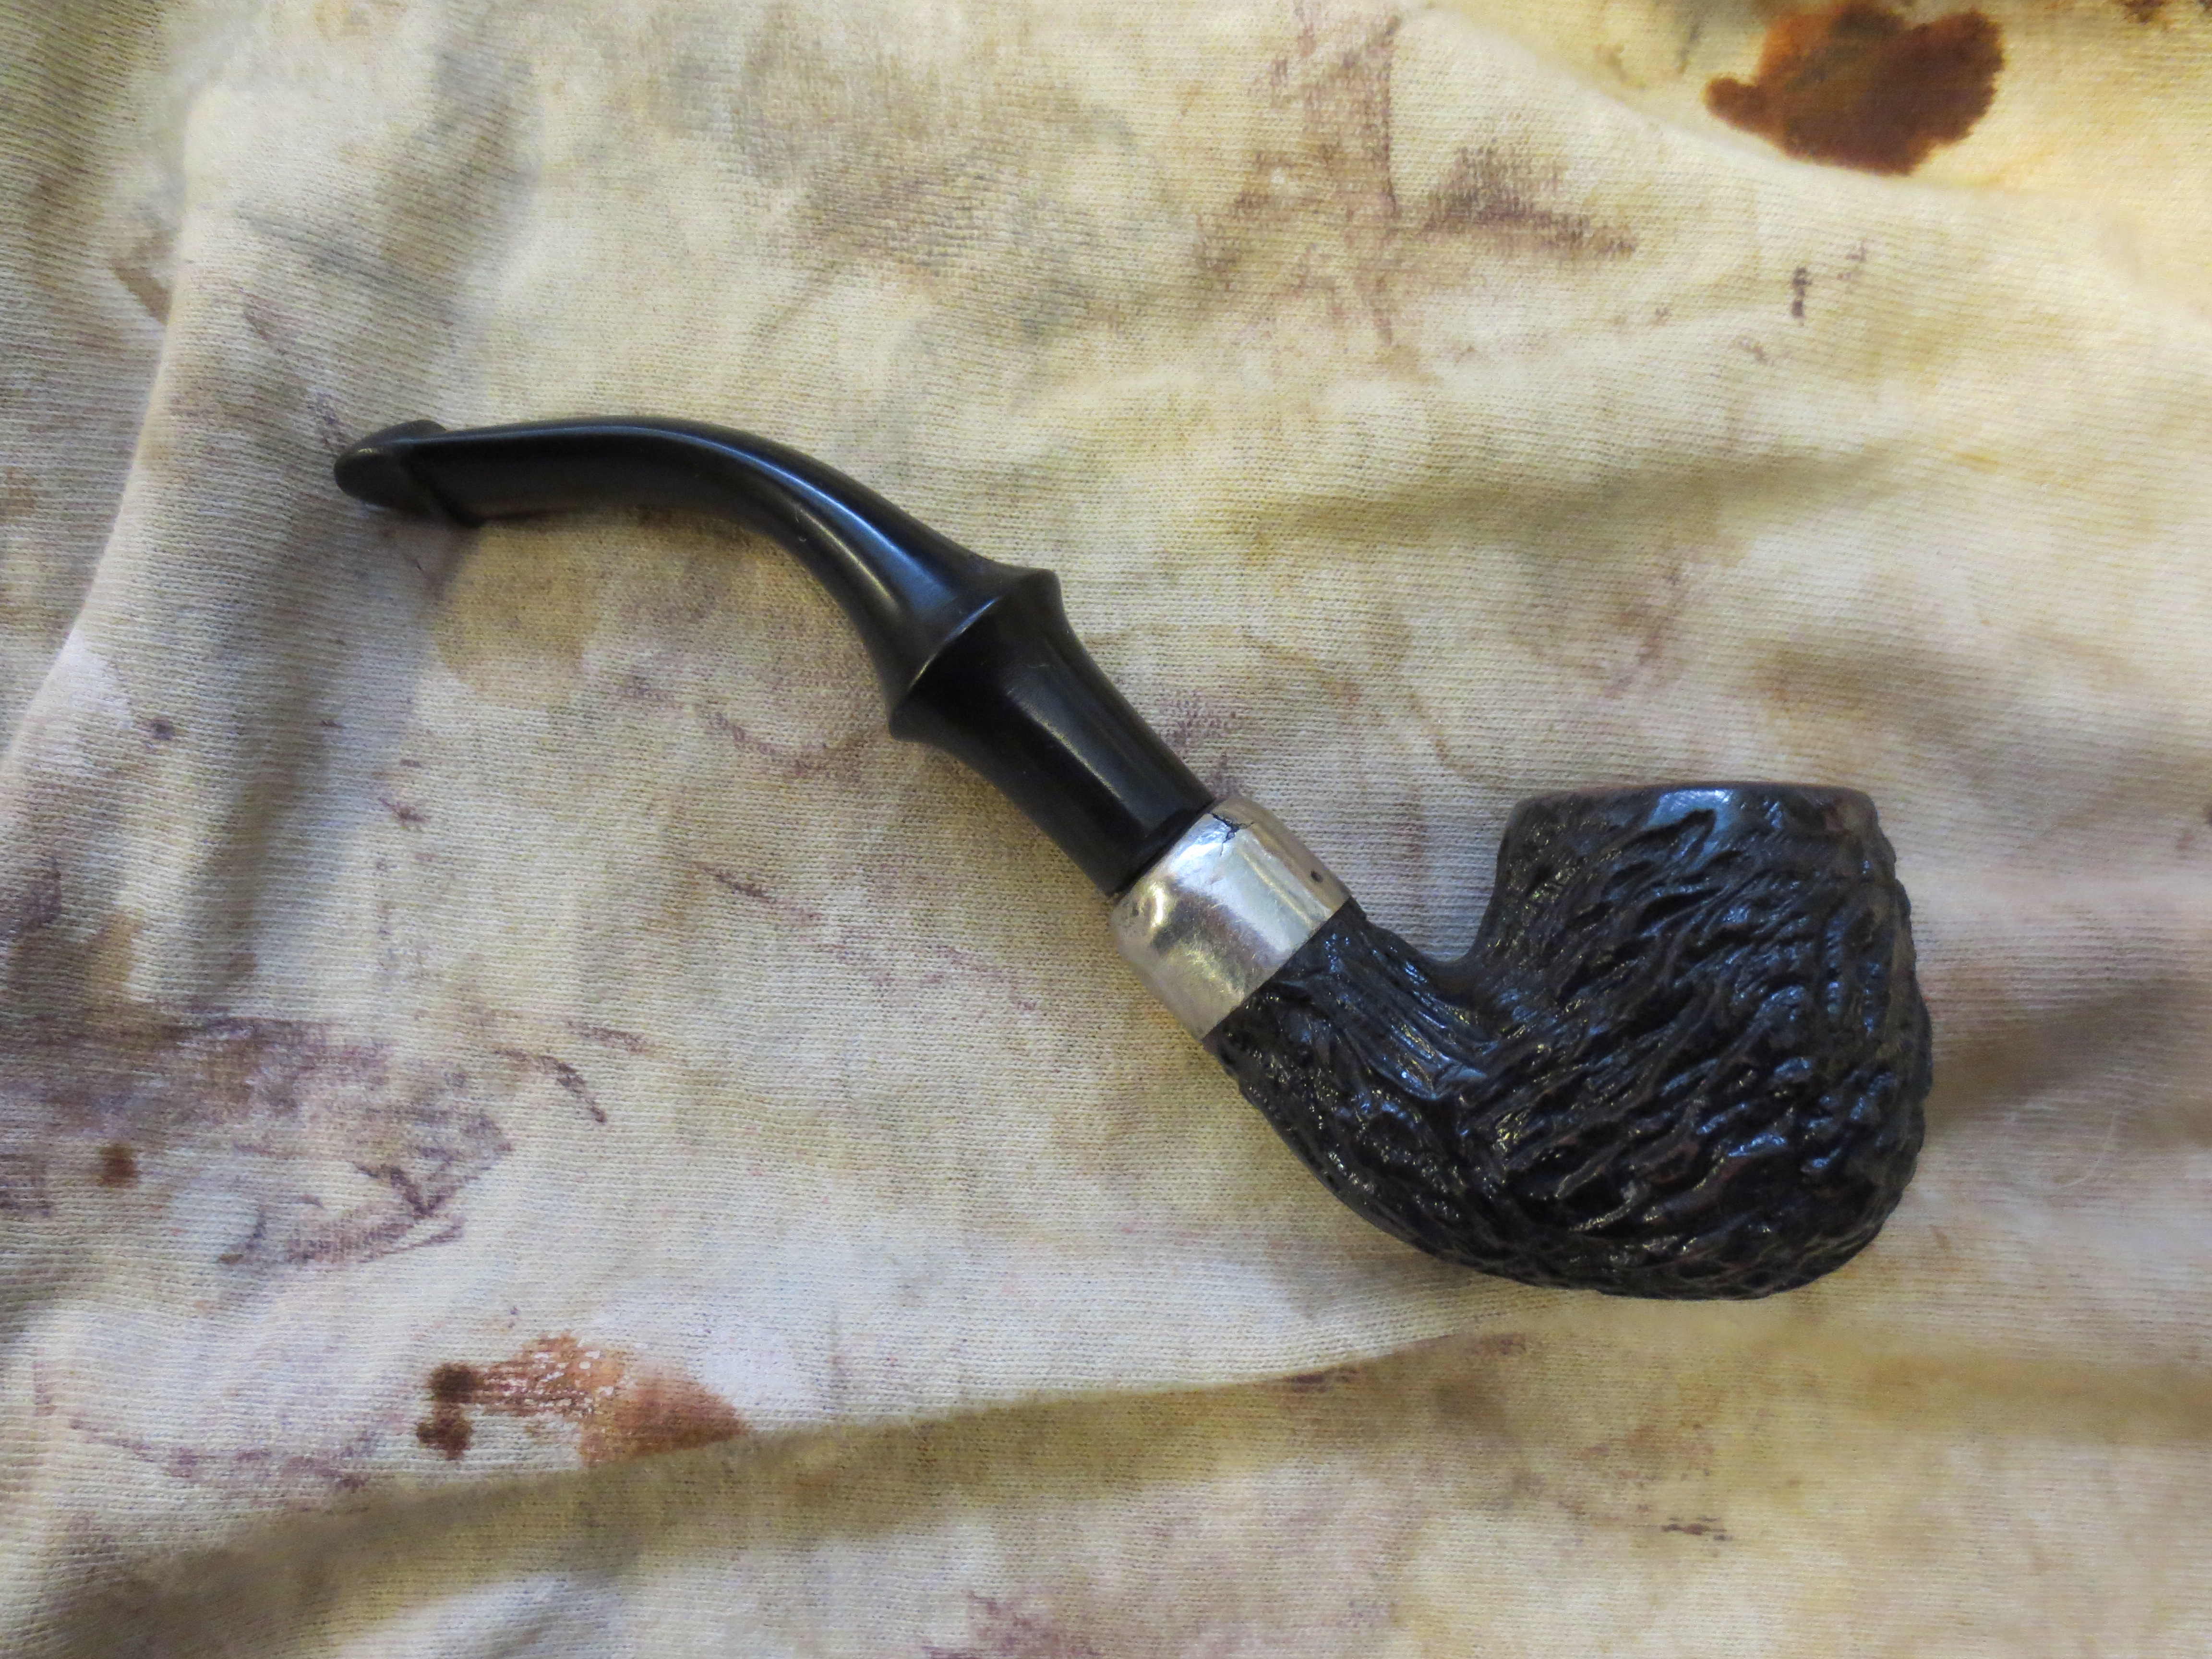
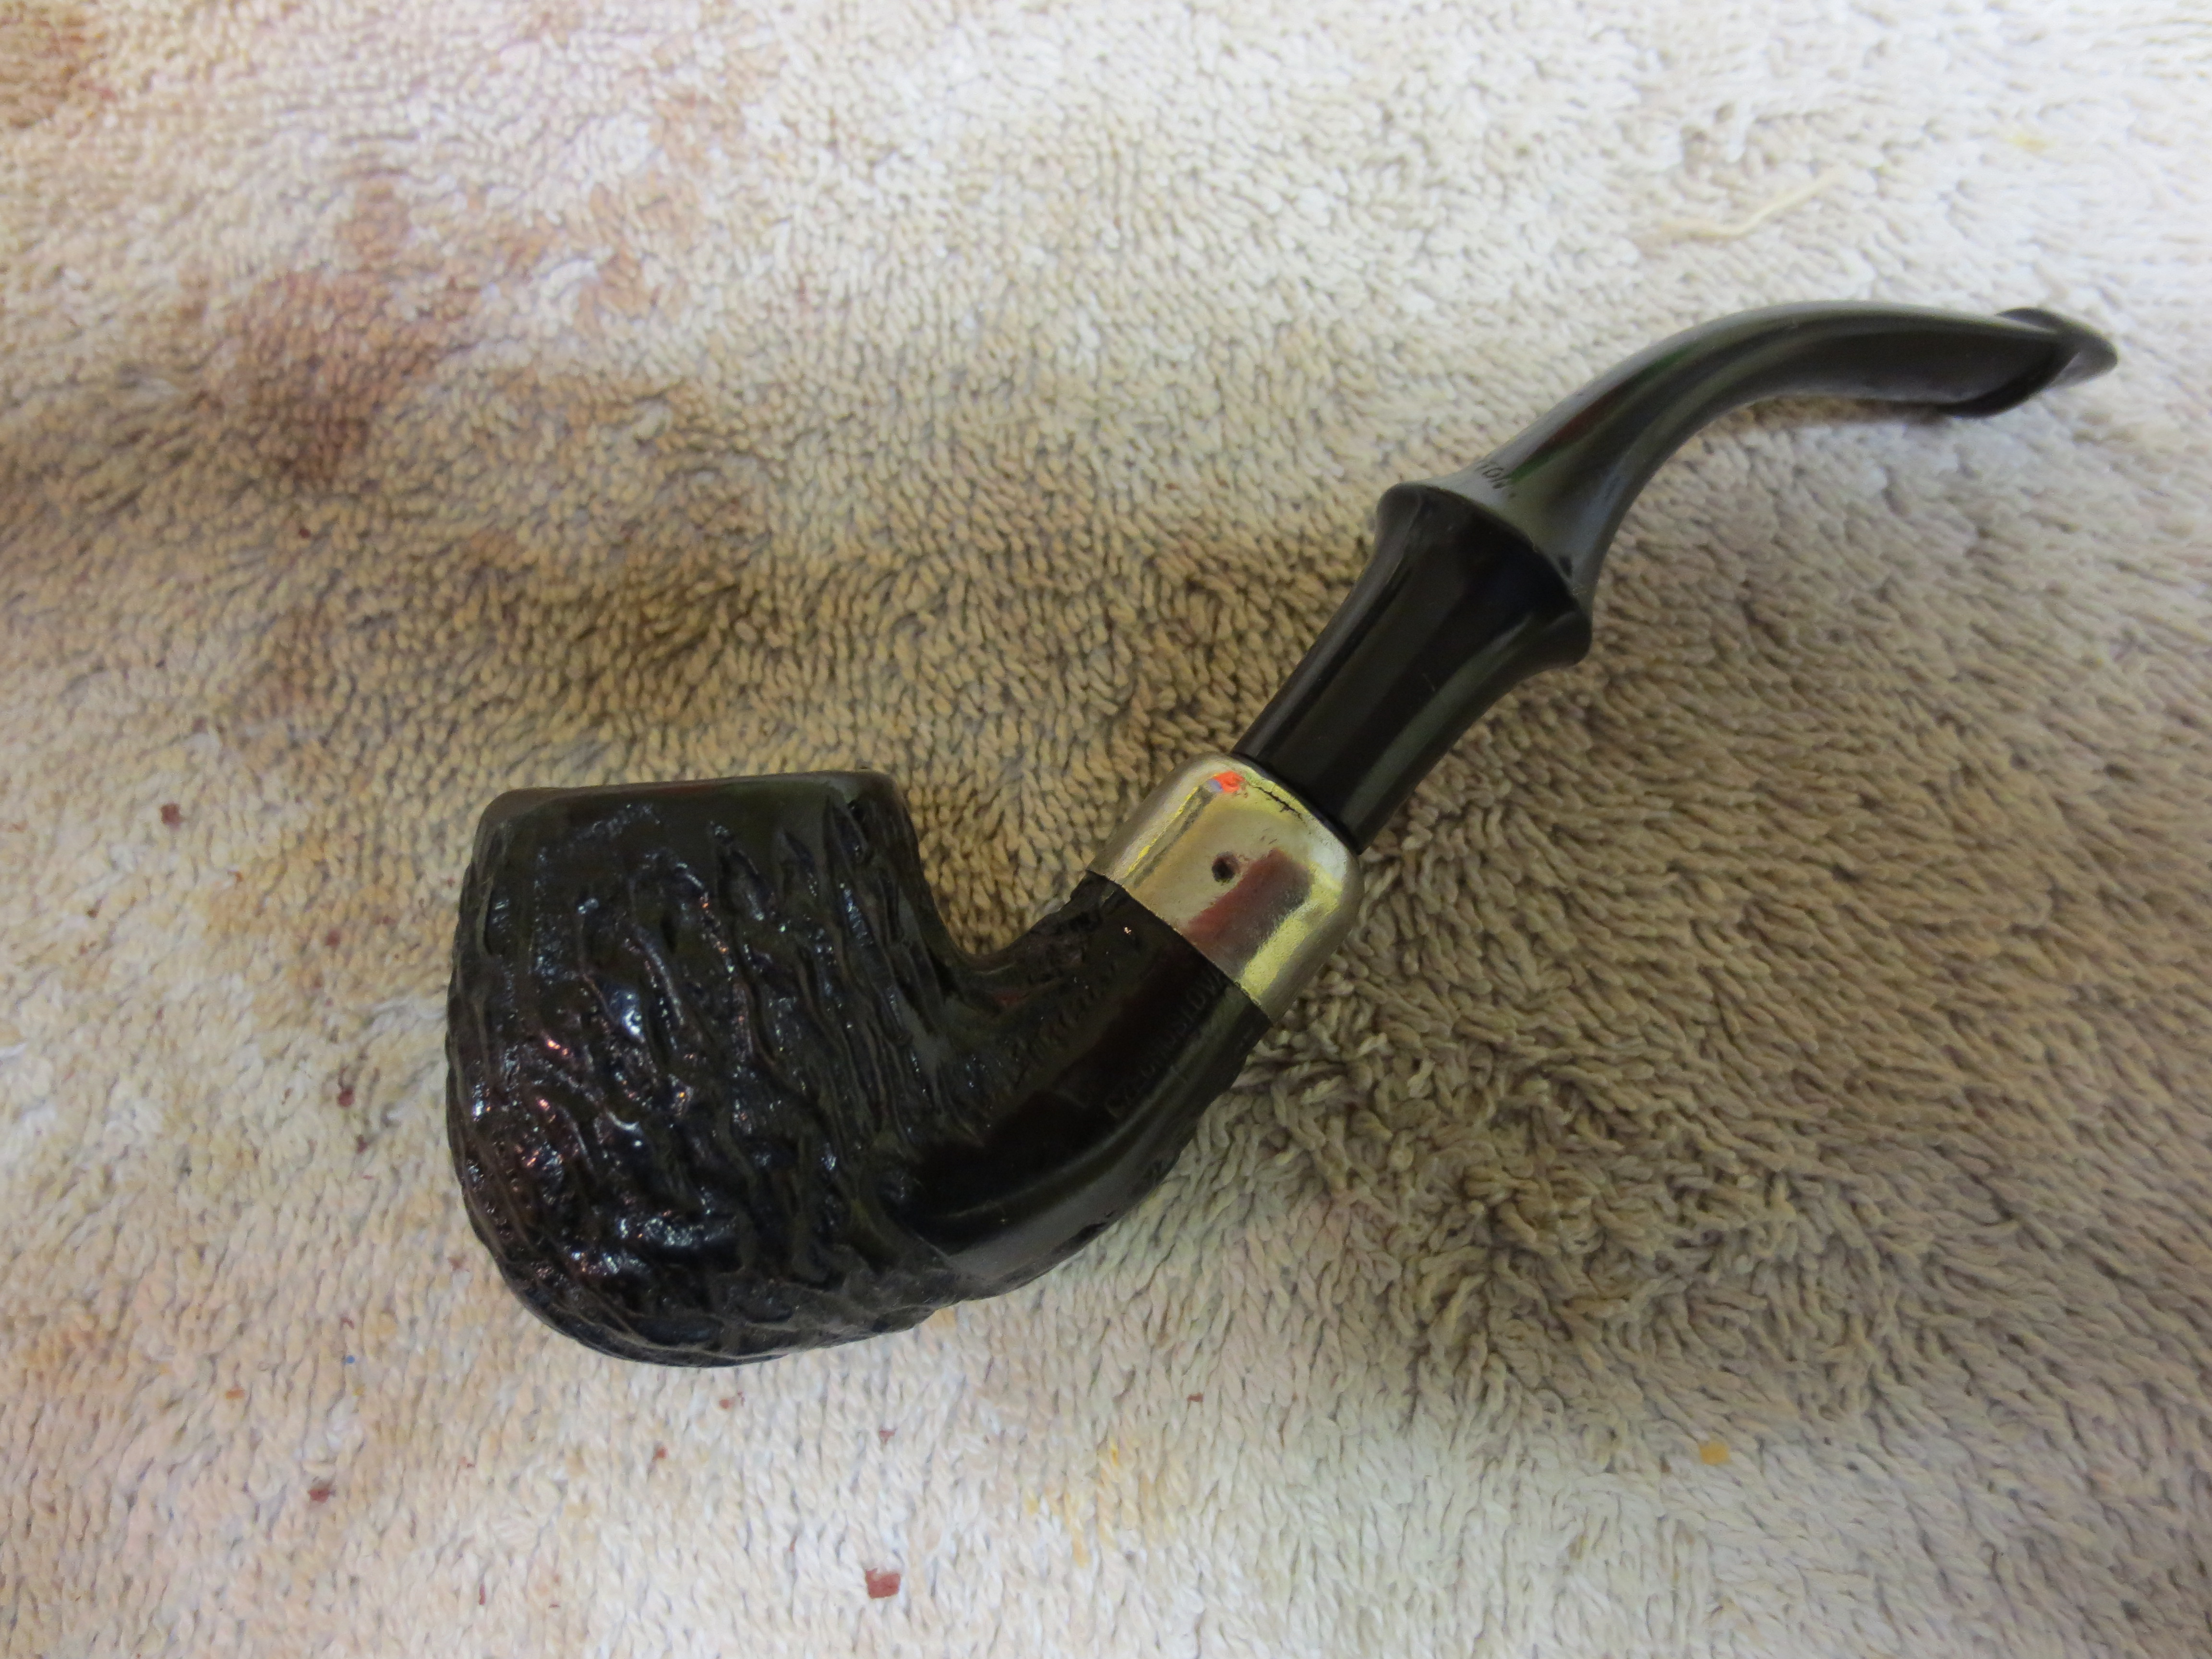
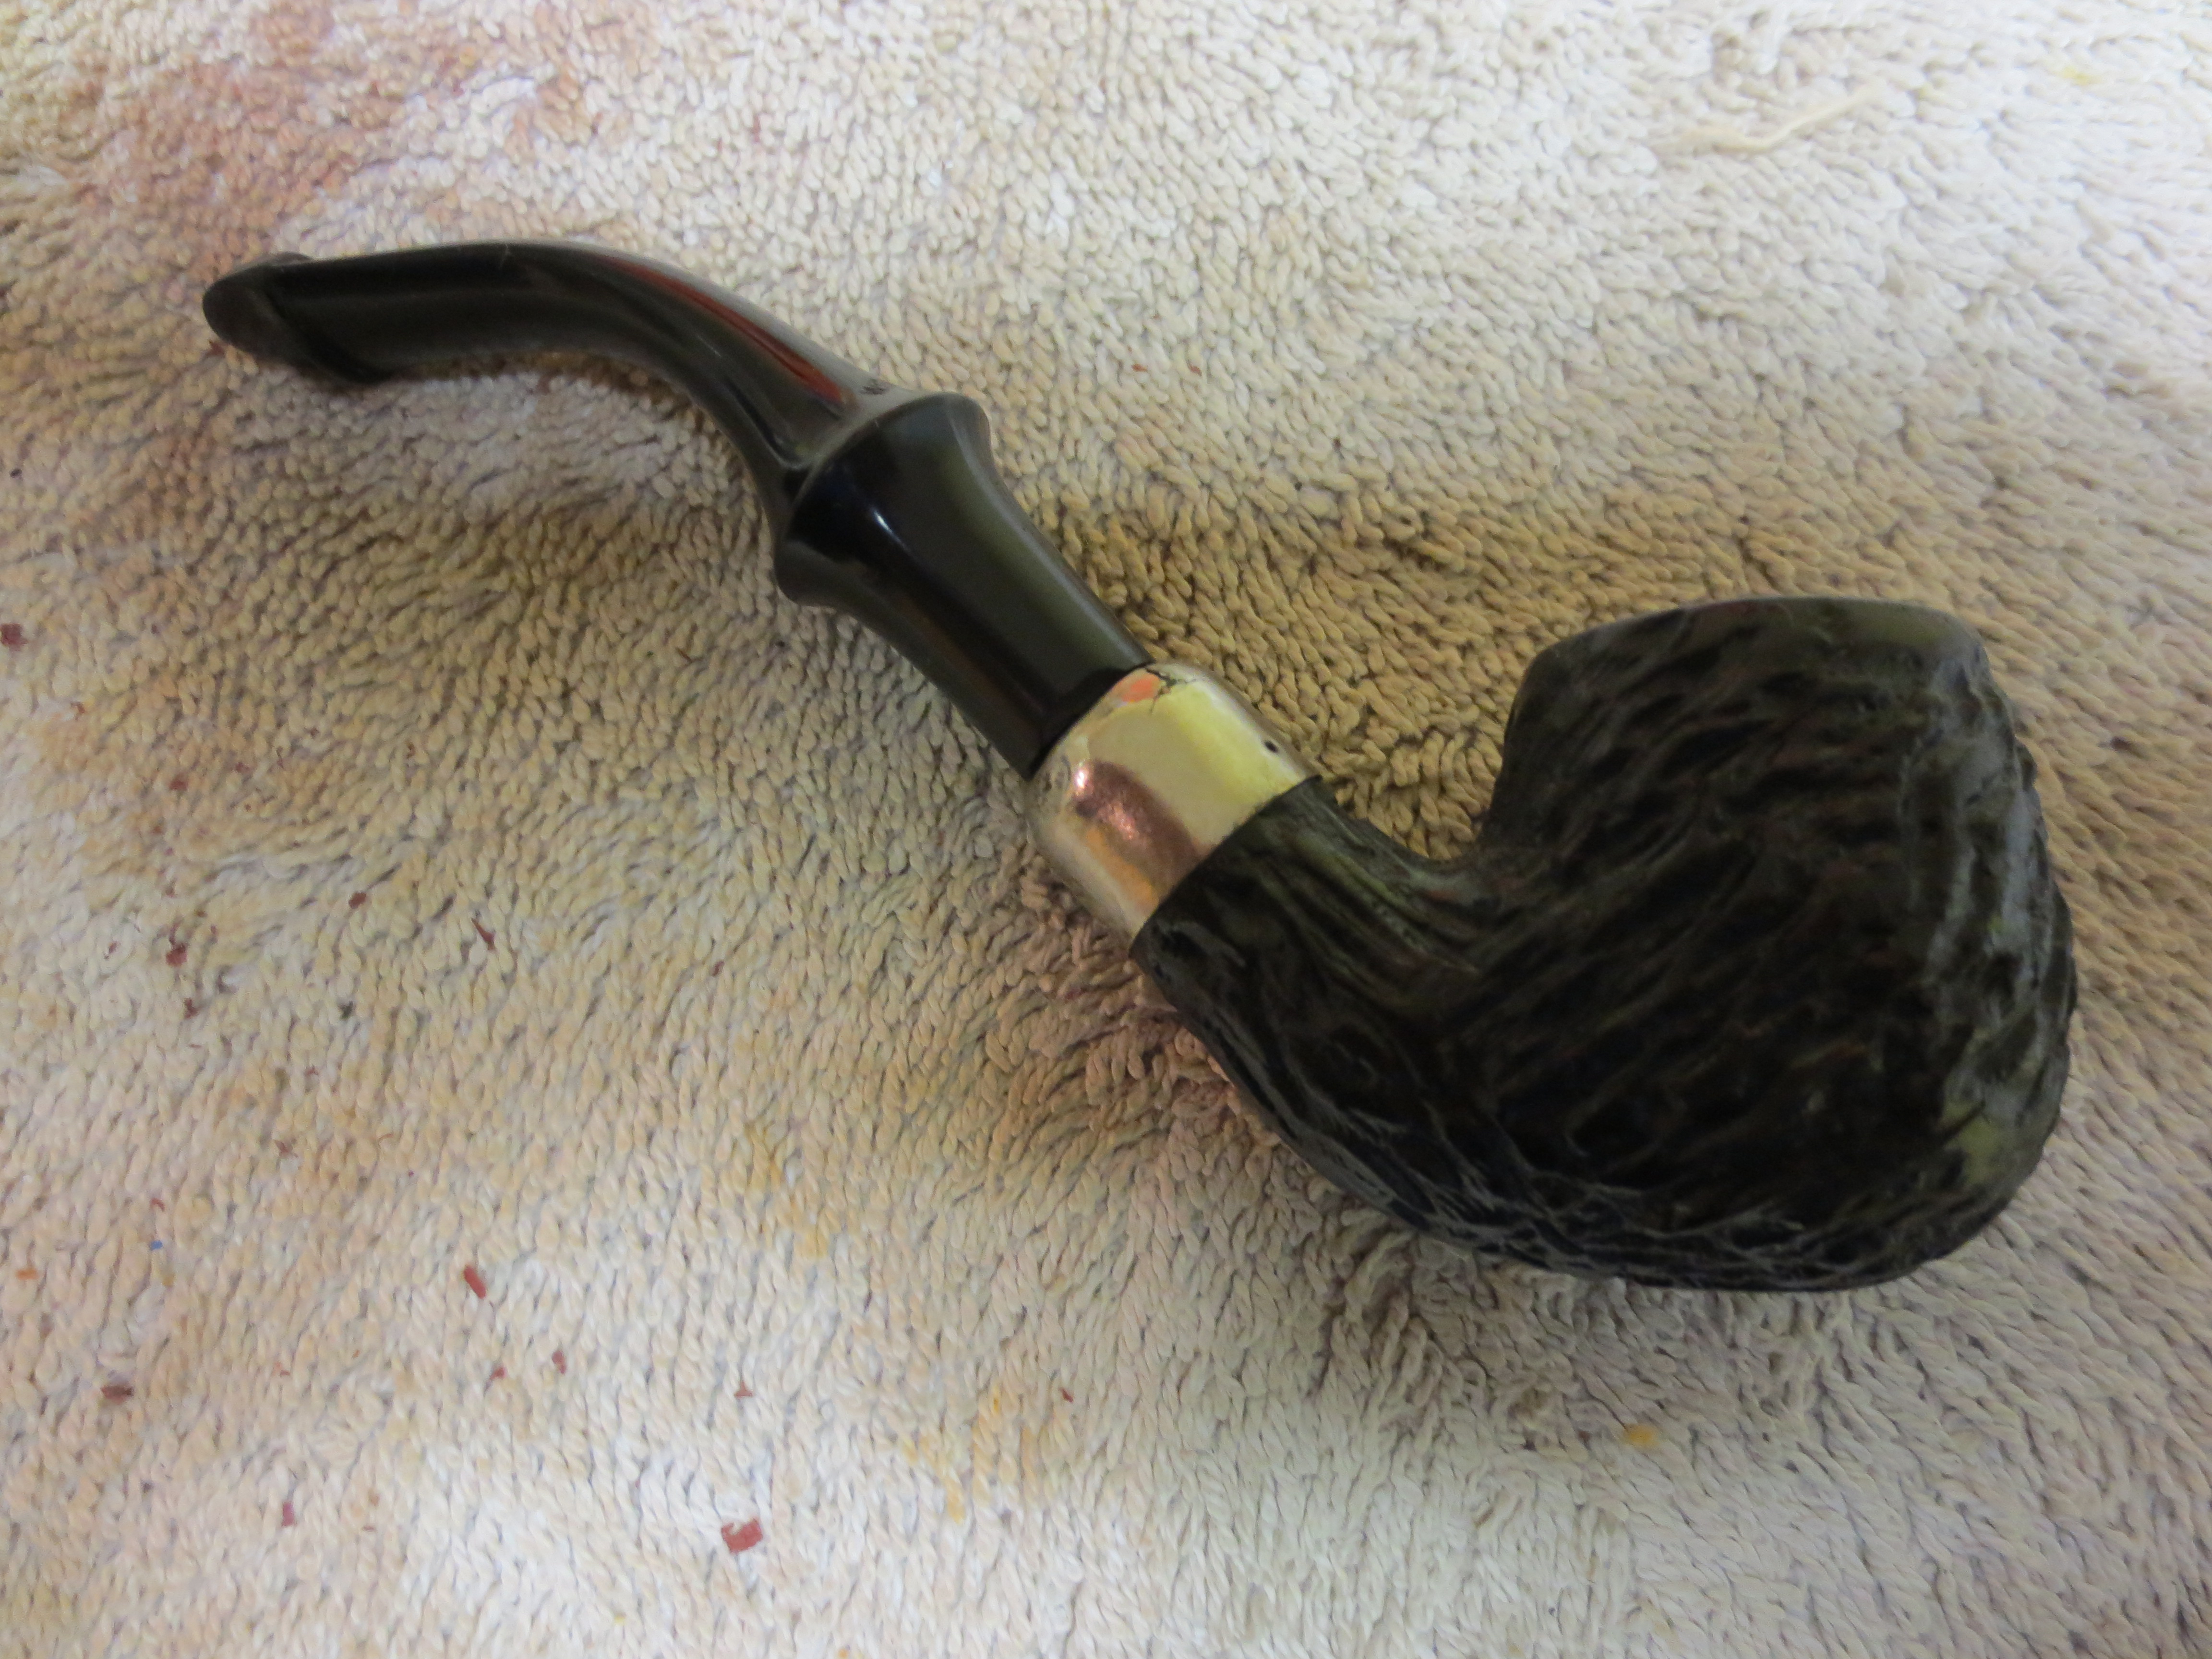
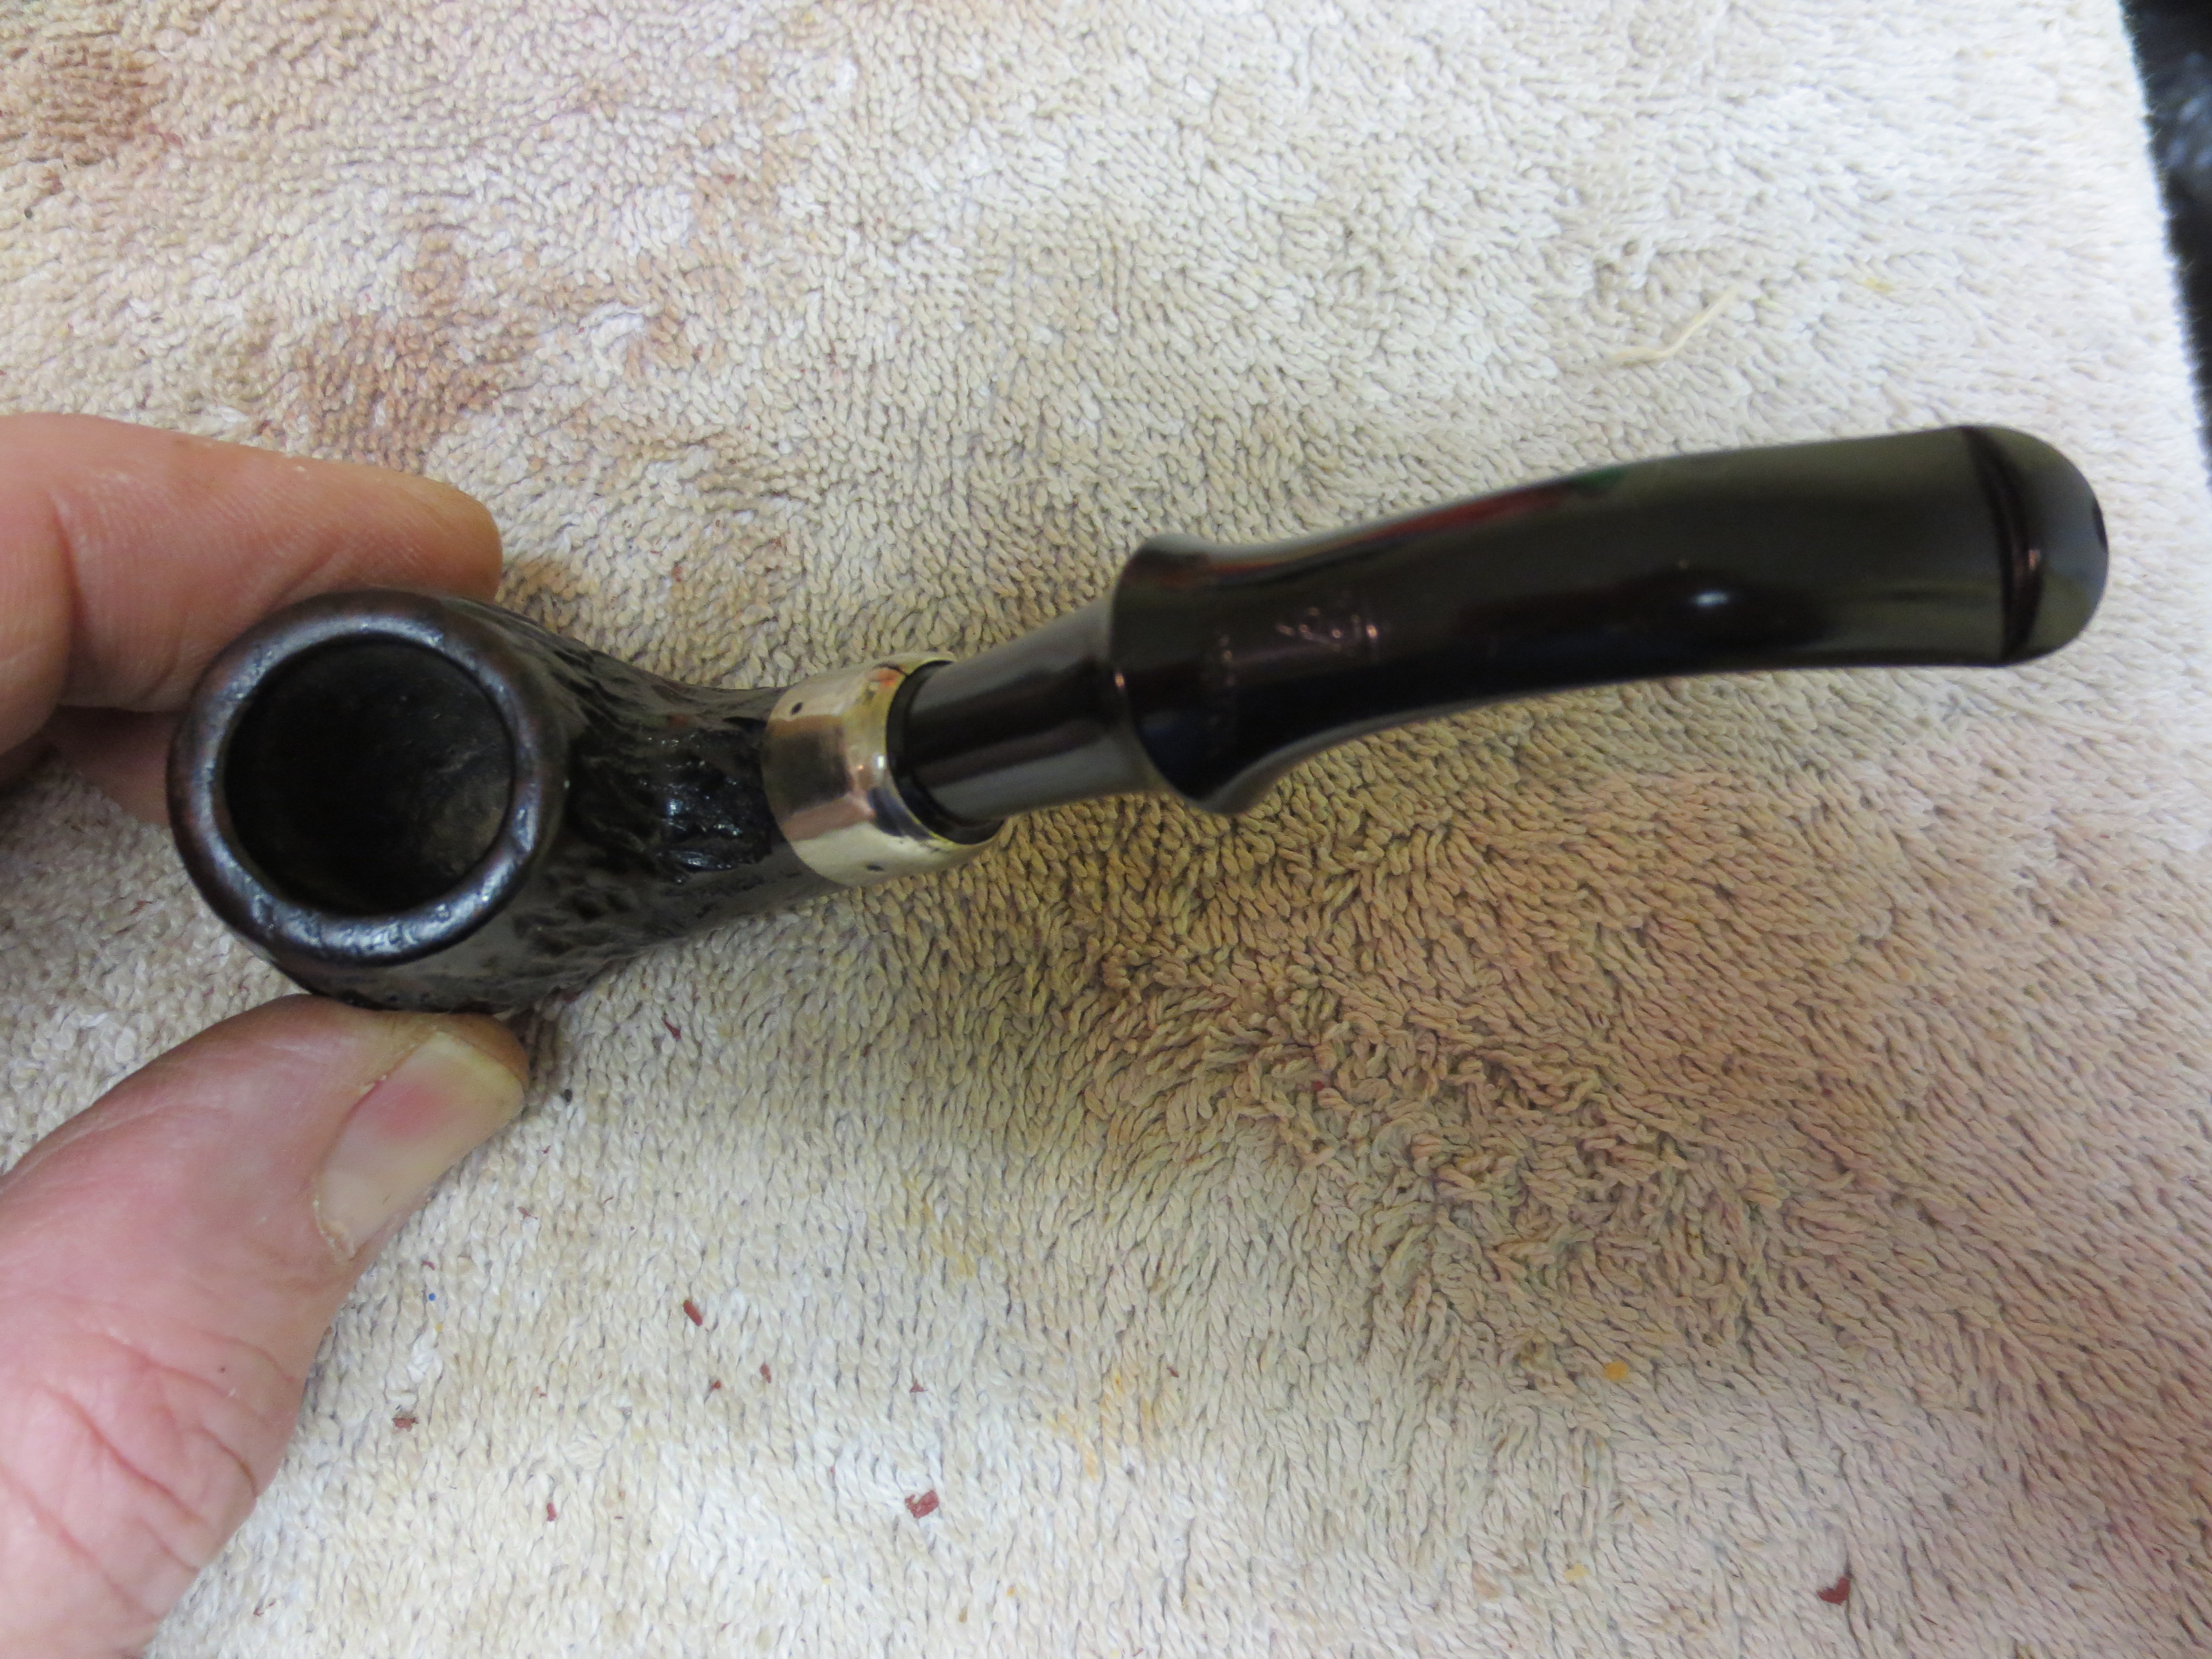
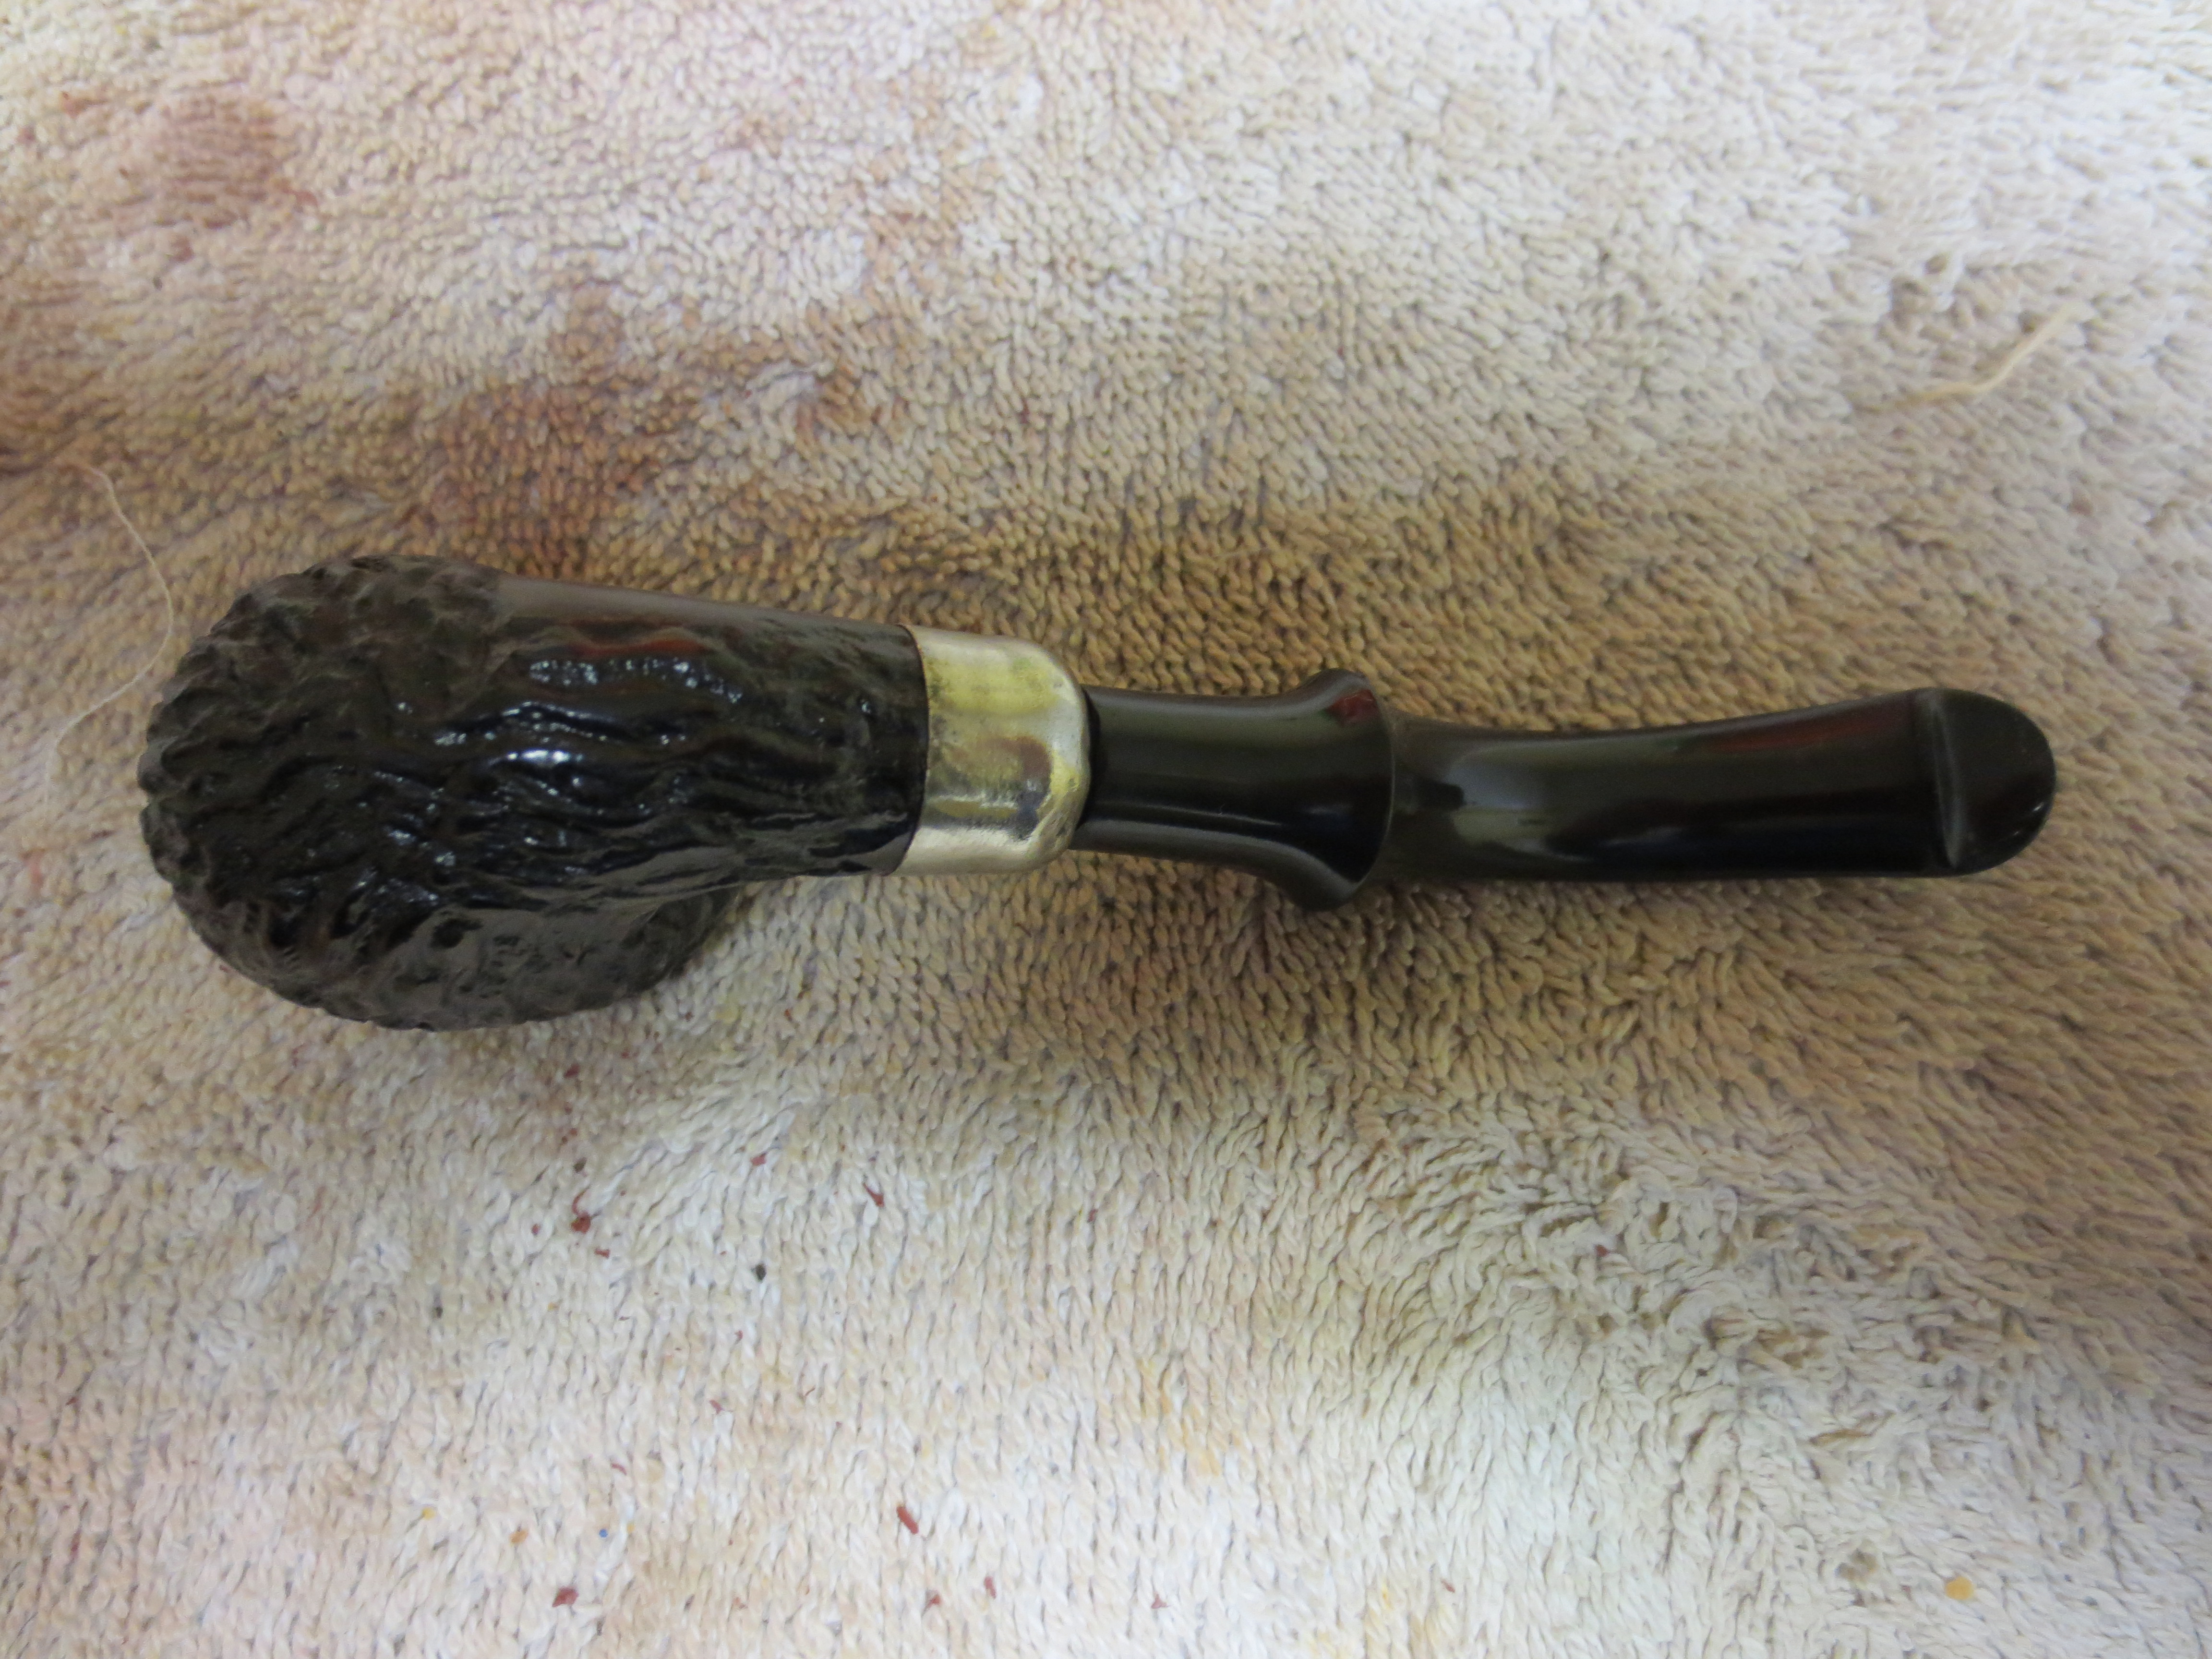
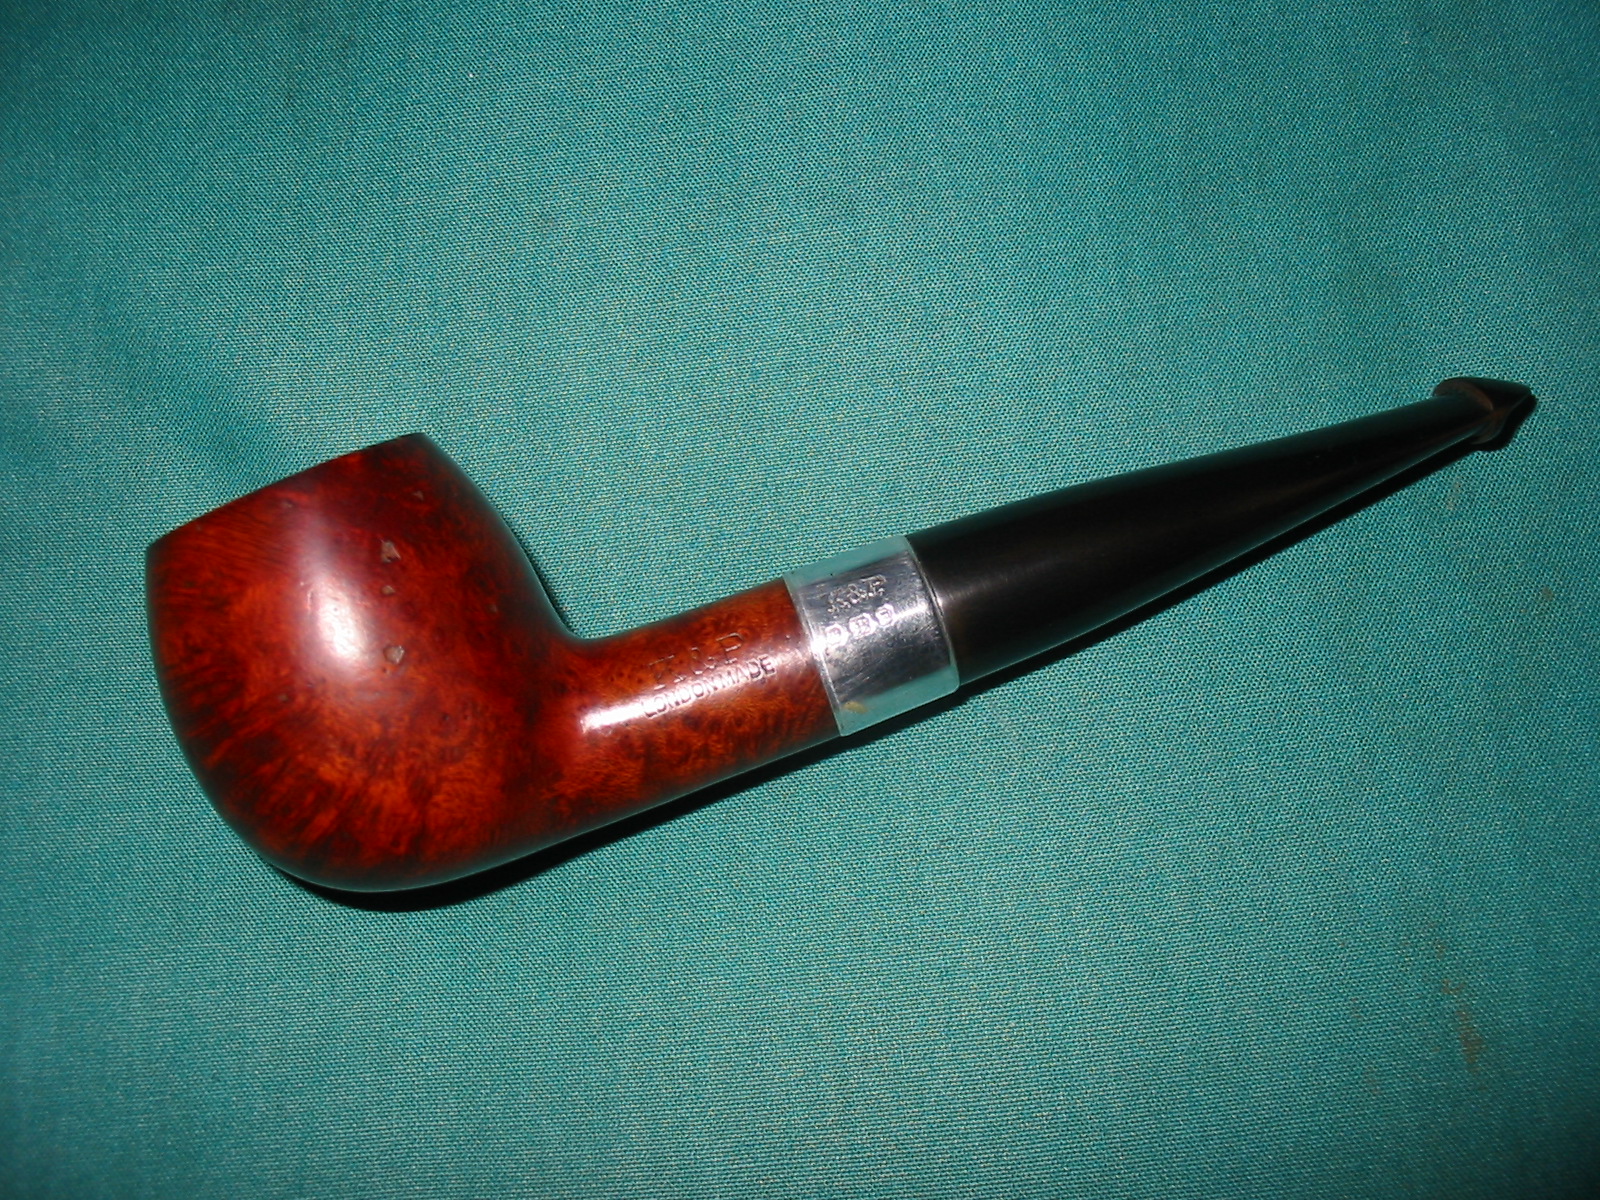
I found this 1963 Dunhill shape 552 on Ebay last week. The auction ended early in the week at an odd time and it went largely unnoticed. It looked to be in pretty decent shape, but with some bite marks on the bottom of the stem. It is a Group 4 pipe in Bruyere finish (A = Bruyere) At first, I thought it was a Rhodesian, then later thought it looked more like a tomato. Neill Archer Roan commented that it had some Diplomat DNA.

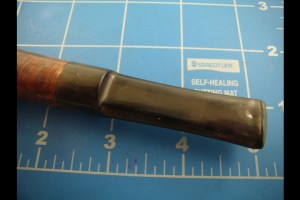
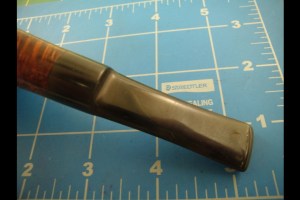
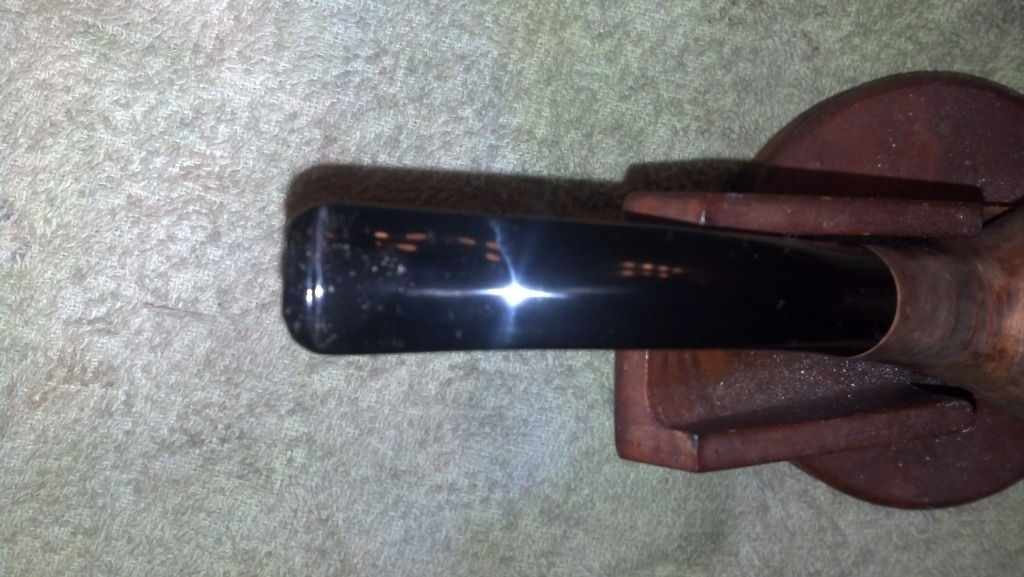
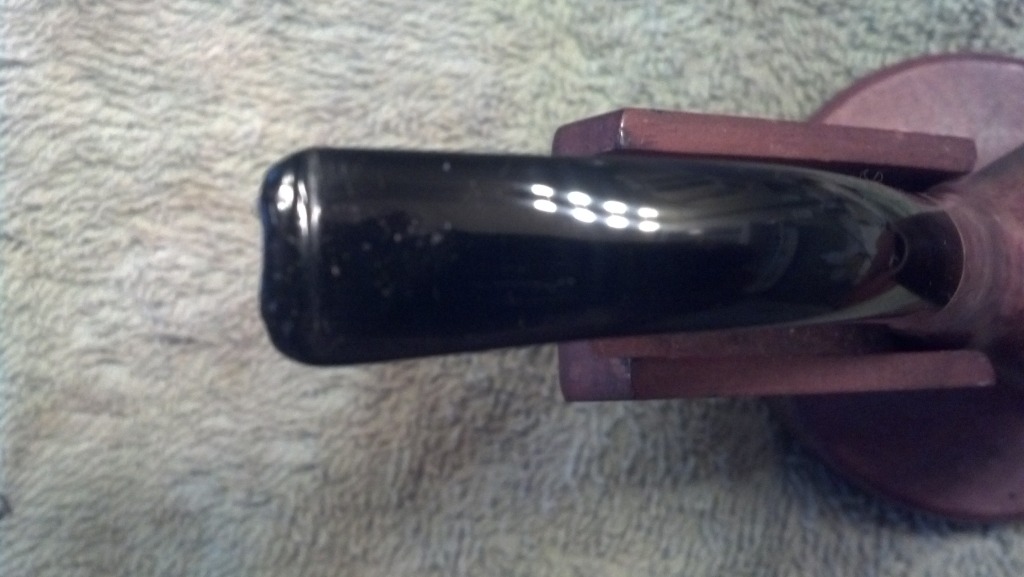
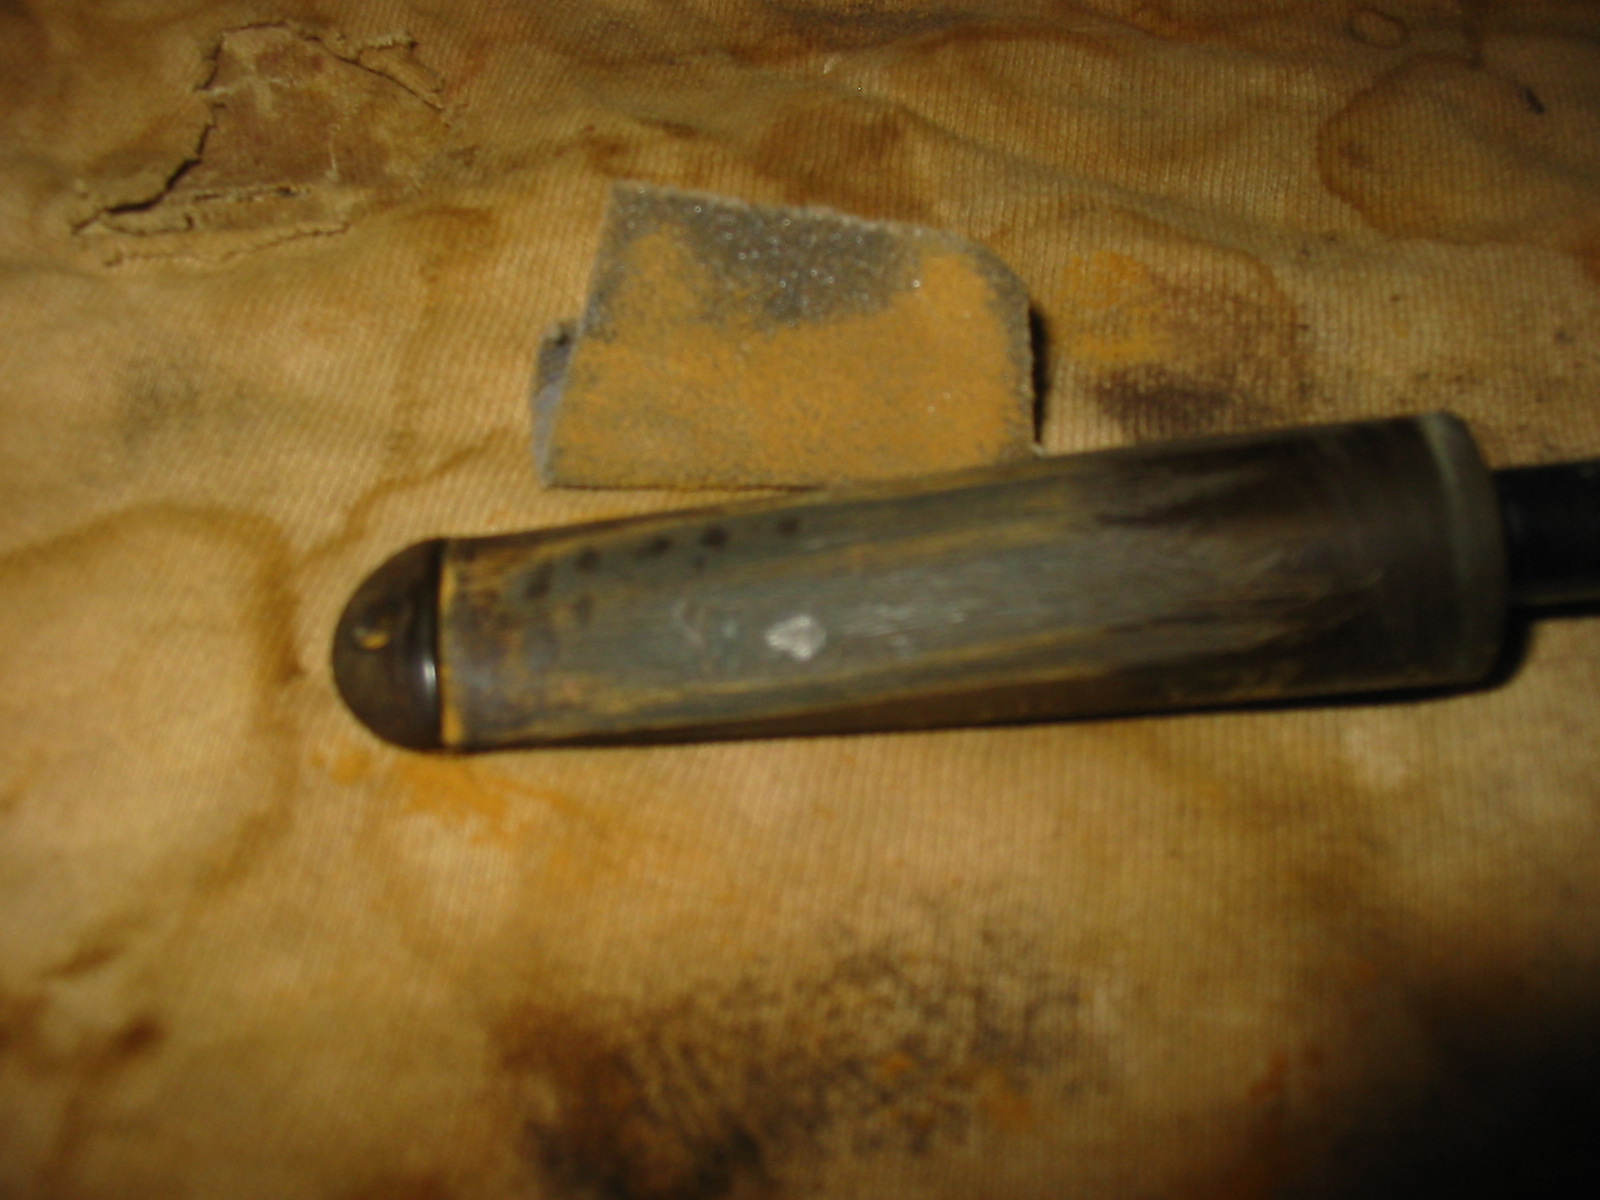
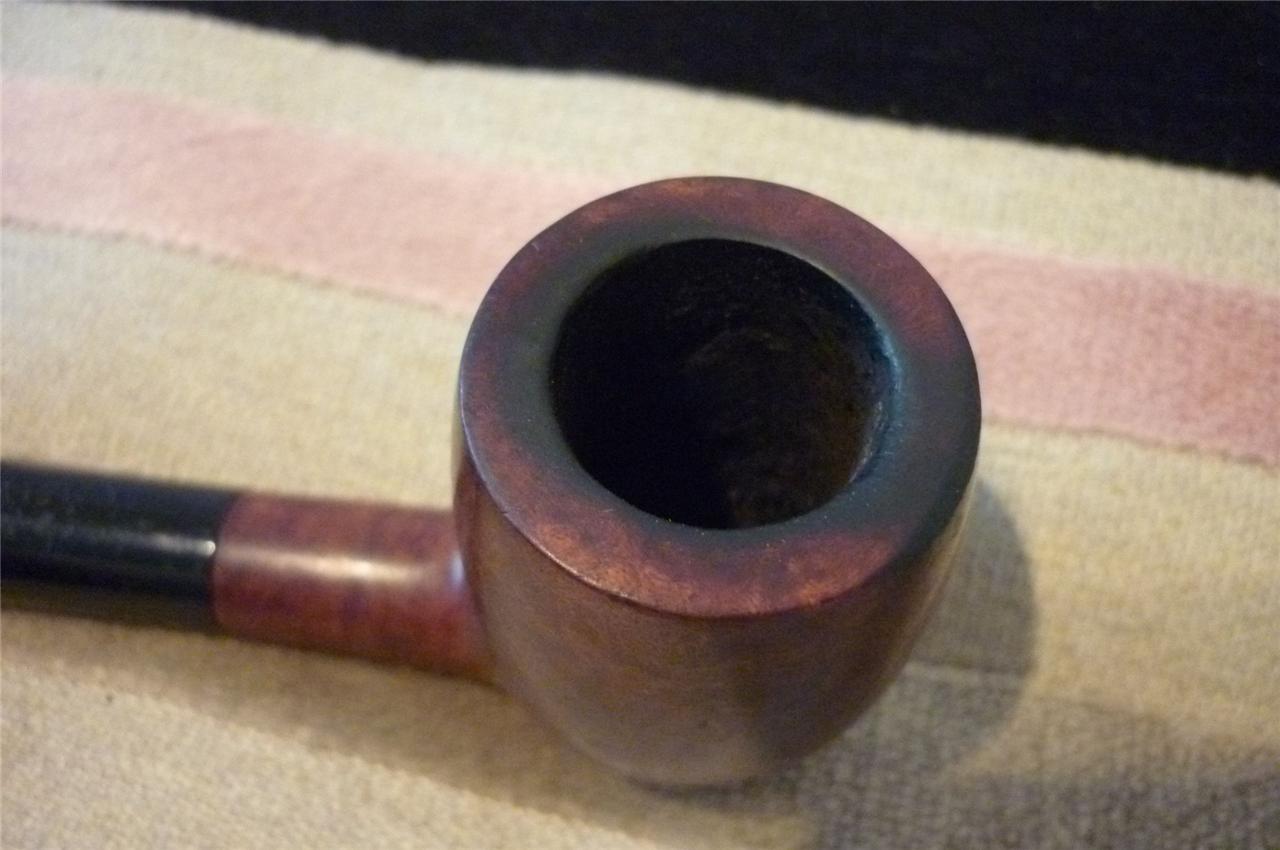
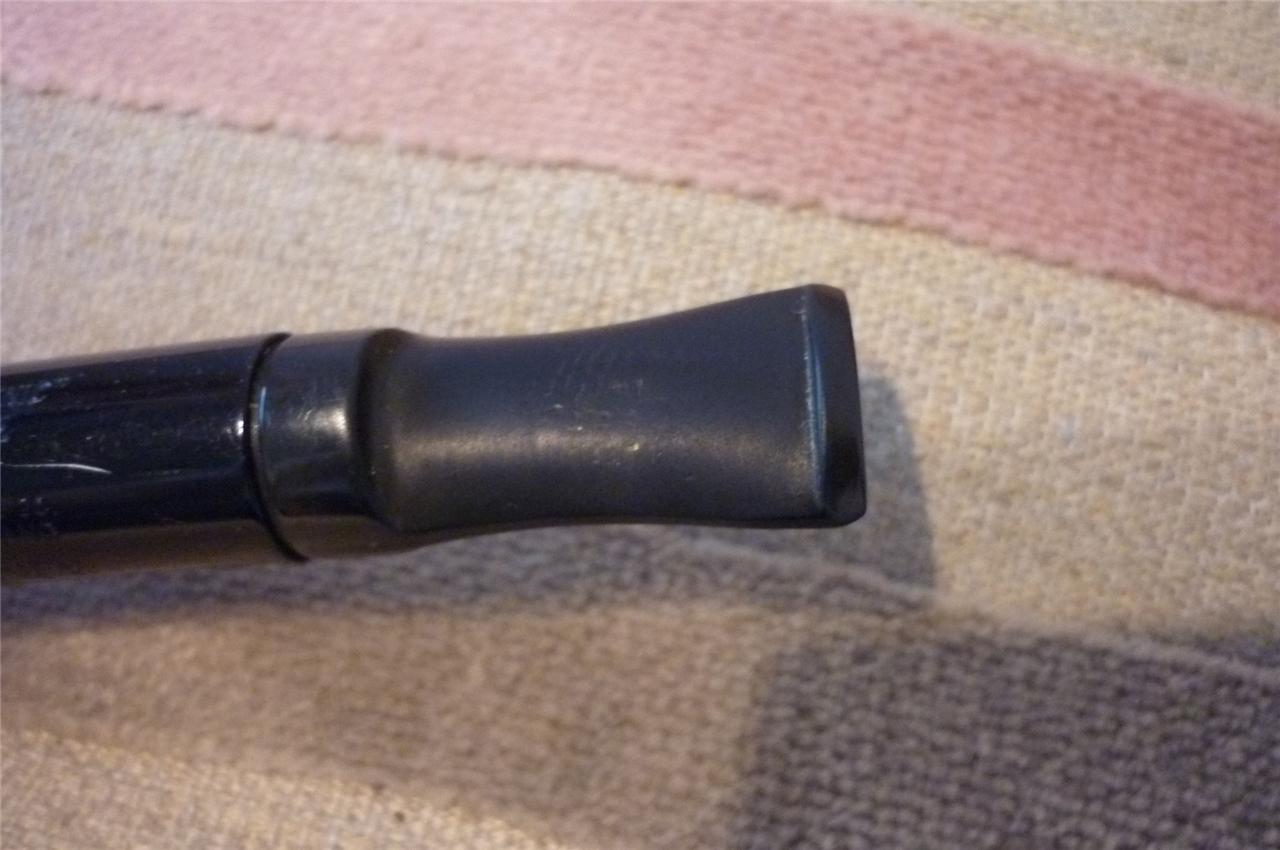
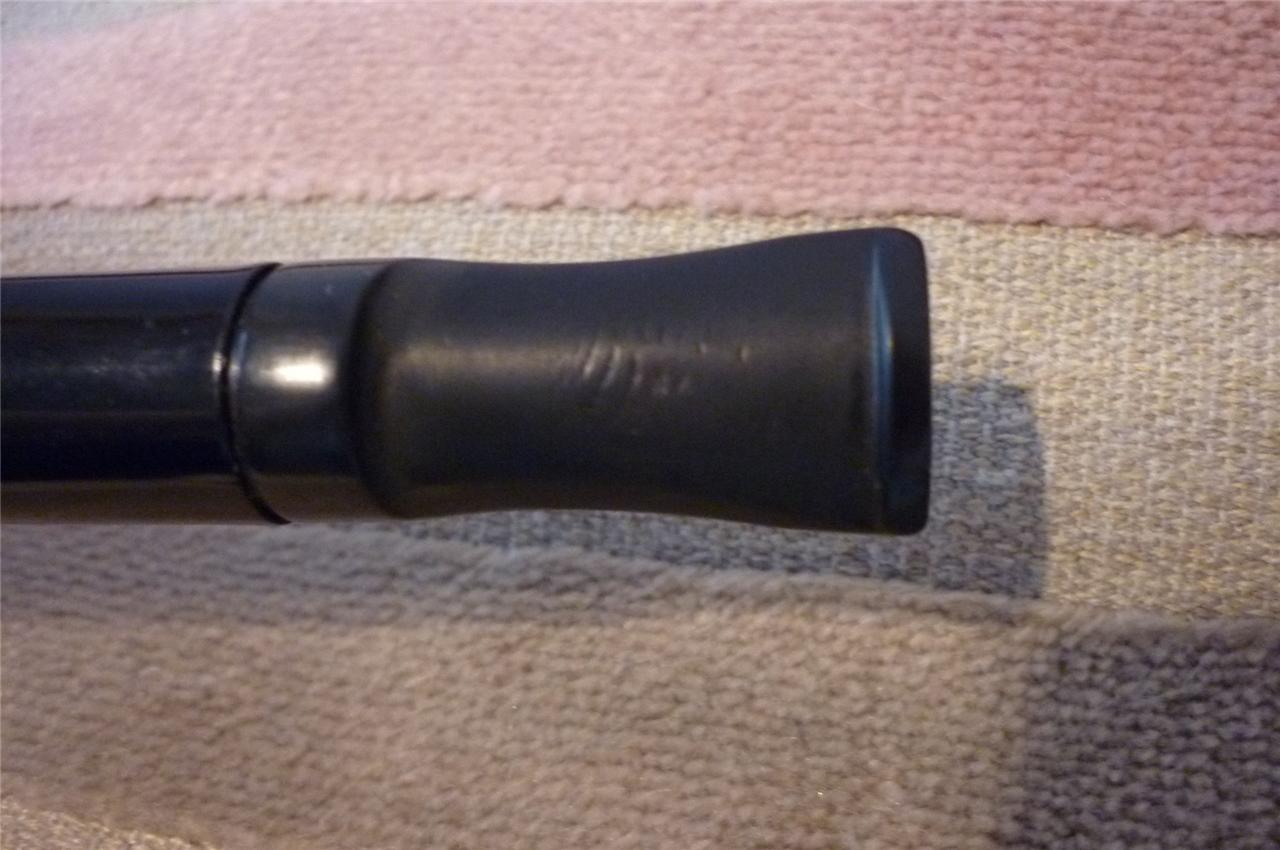
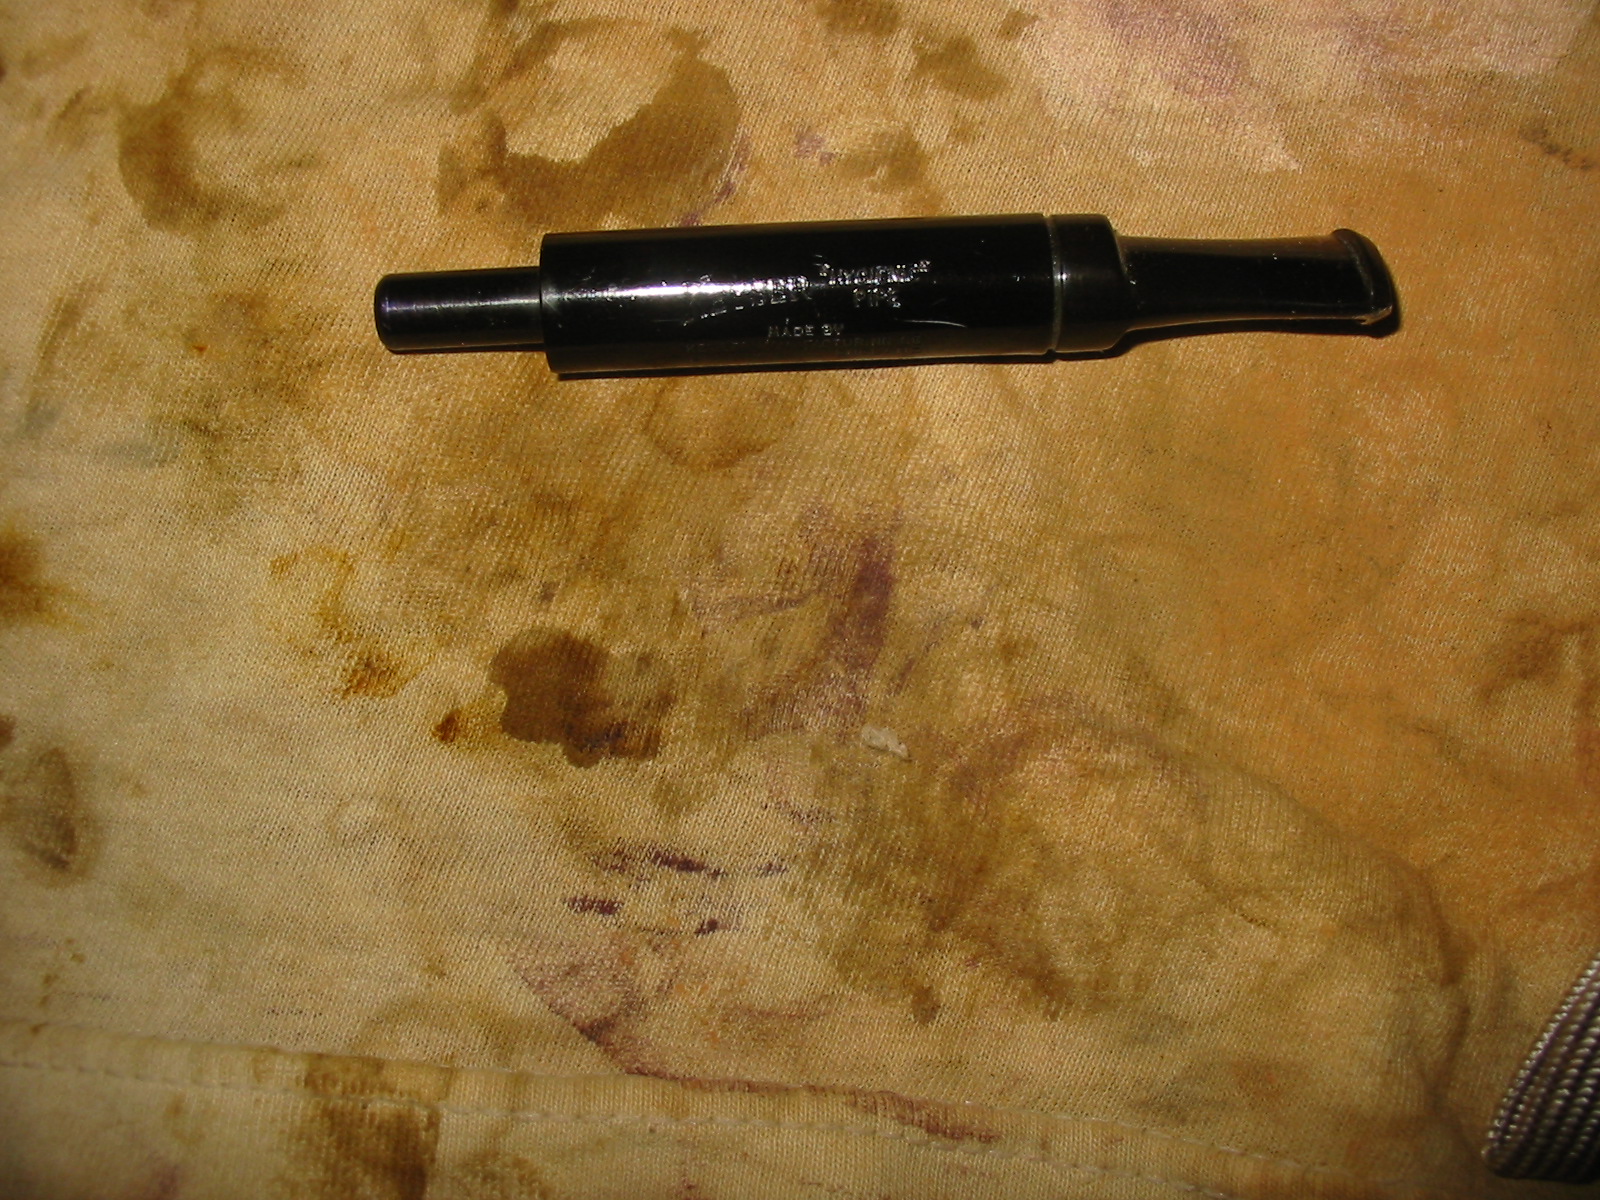
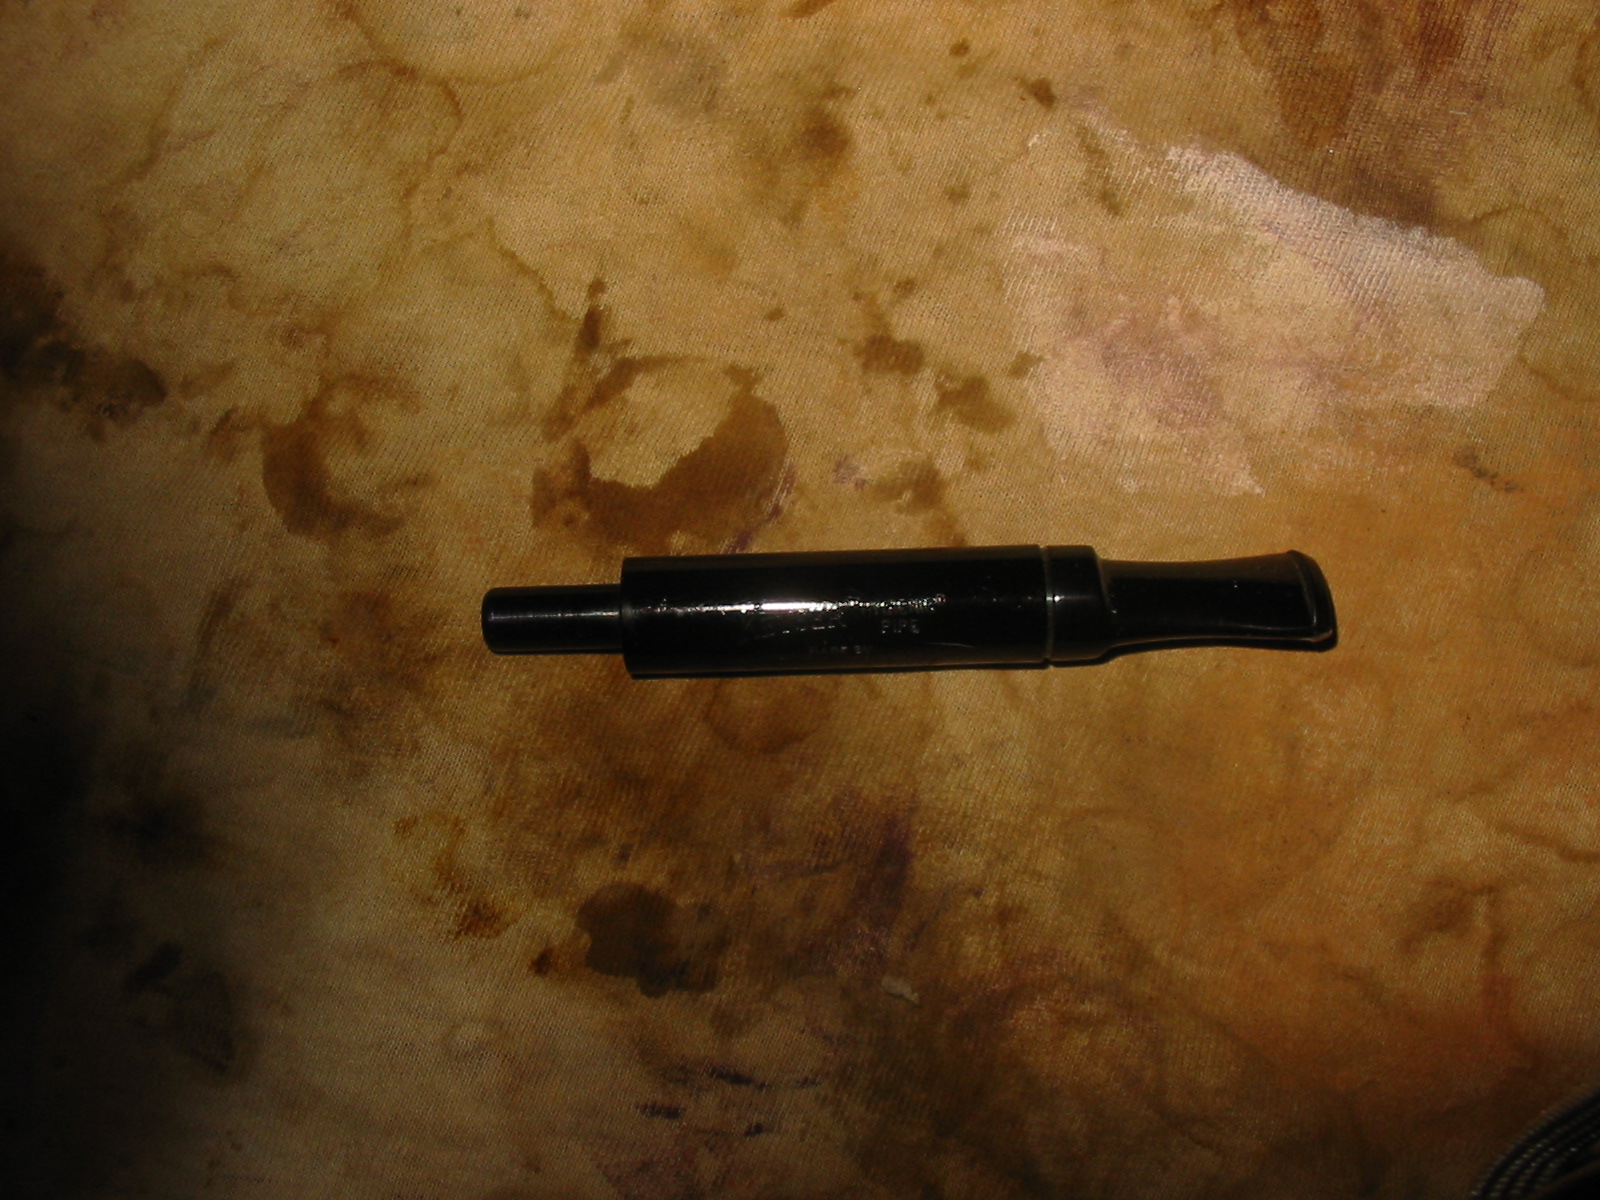
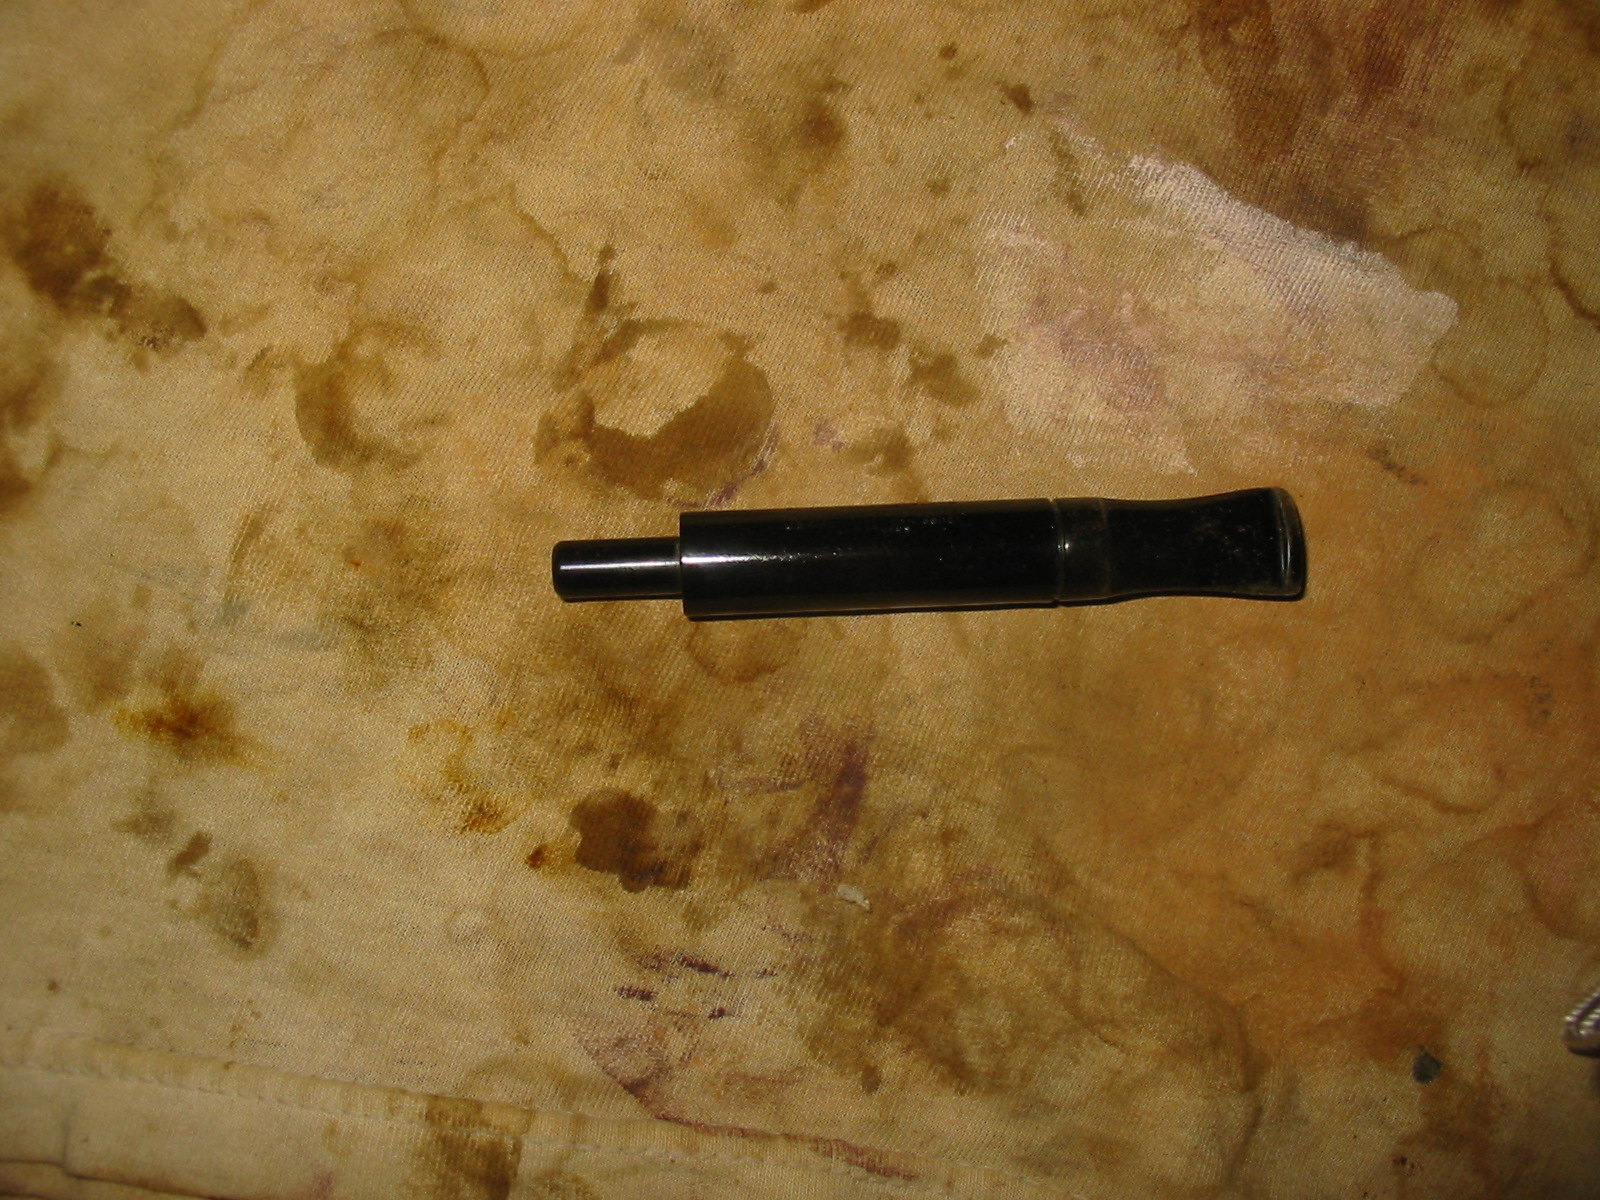
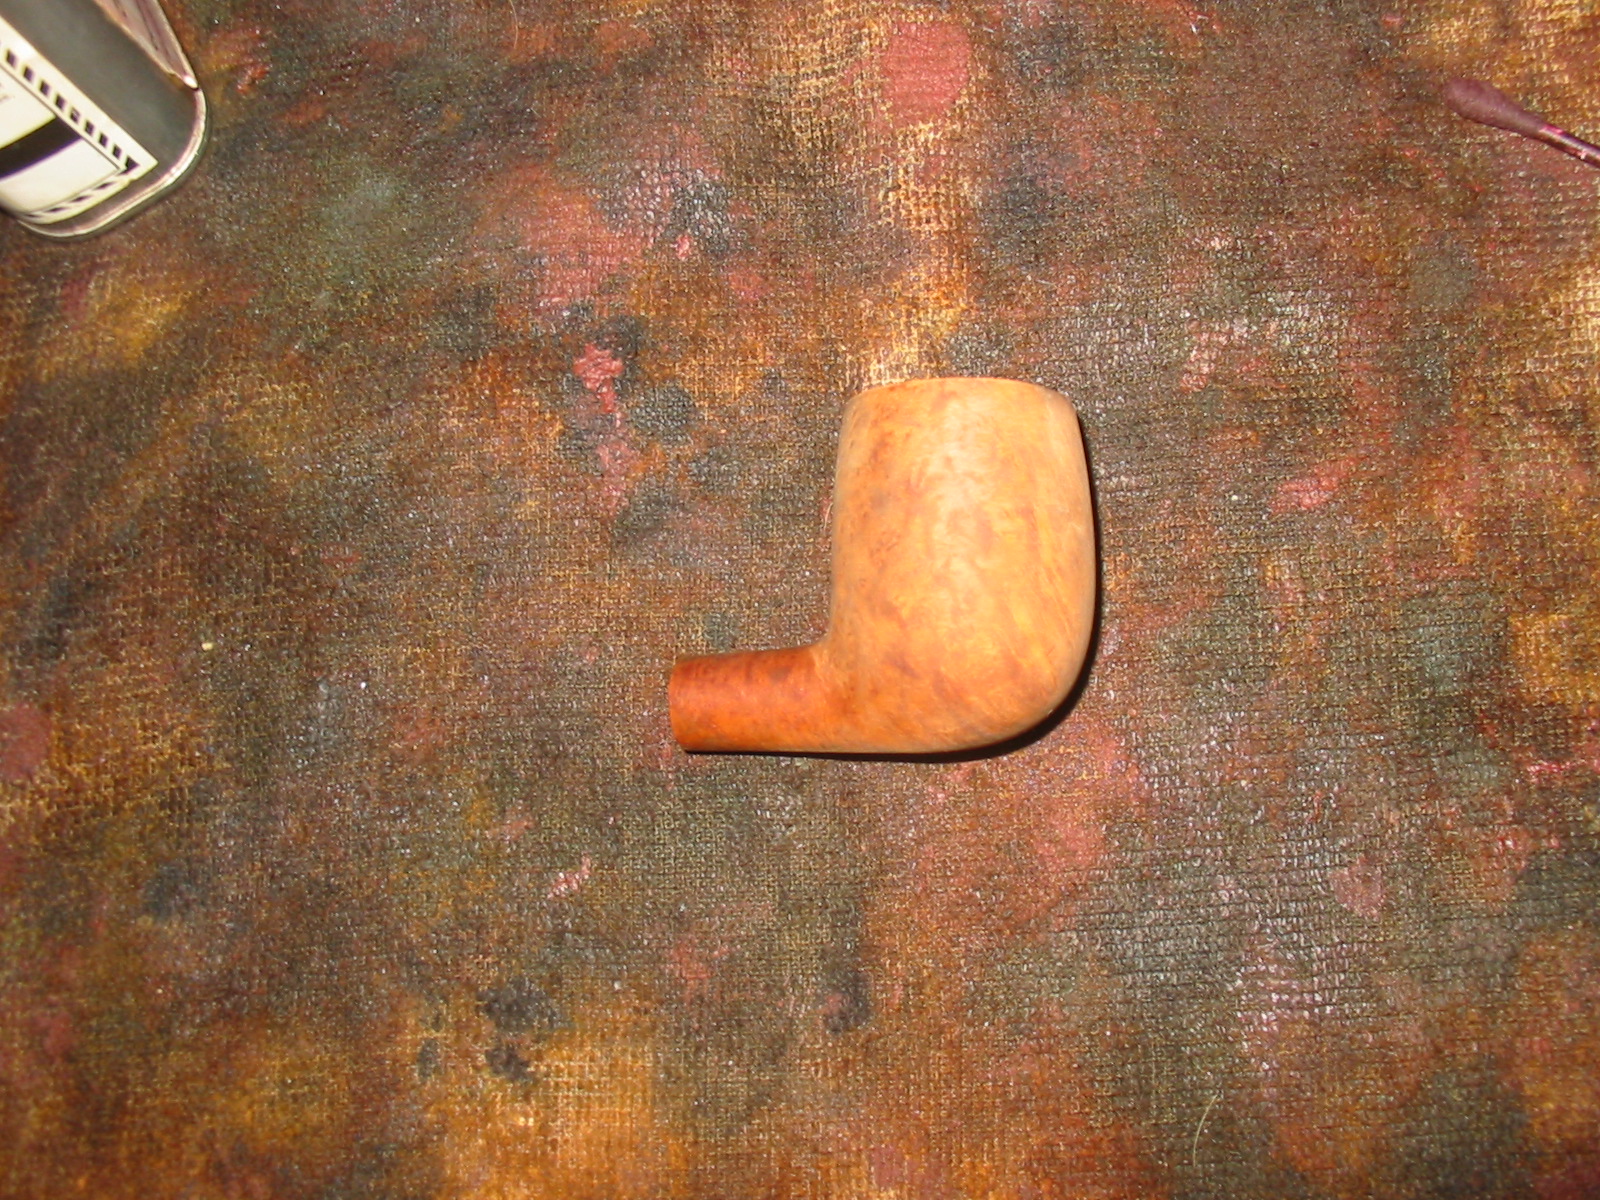
The pipe was delivered today. It was pretty much as pictured, but I also discovered it is a 6 mm filter pipe. The briar was in great shape, with a little tar and rim darkening. There were no dings or bruises to deal with. The stem was also in decent shape and only lightly oxidized. There were a few light teeth marks on both sides of the stem, and all but one lifted out with some heat from a lighter flame.

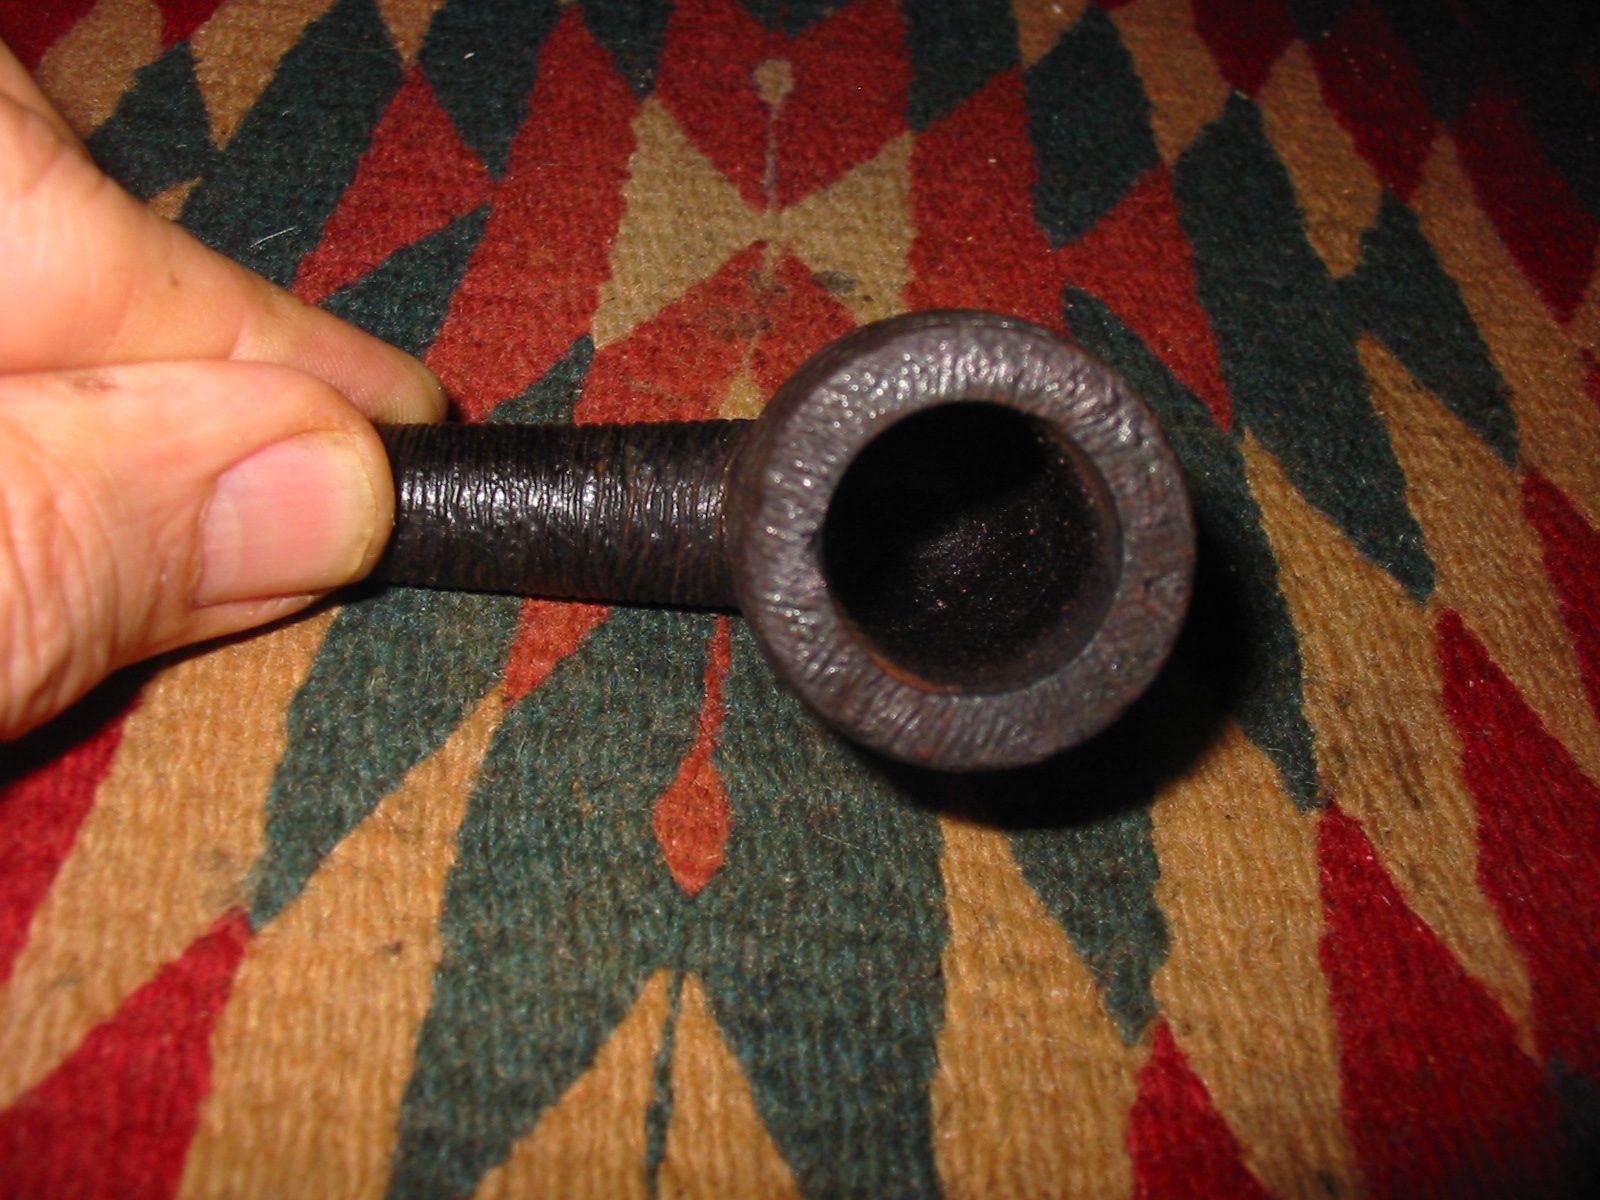
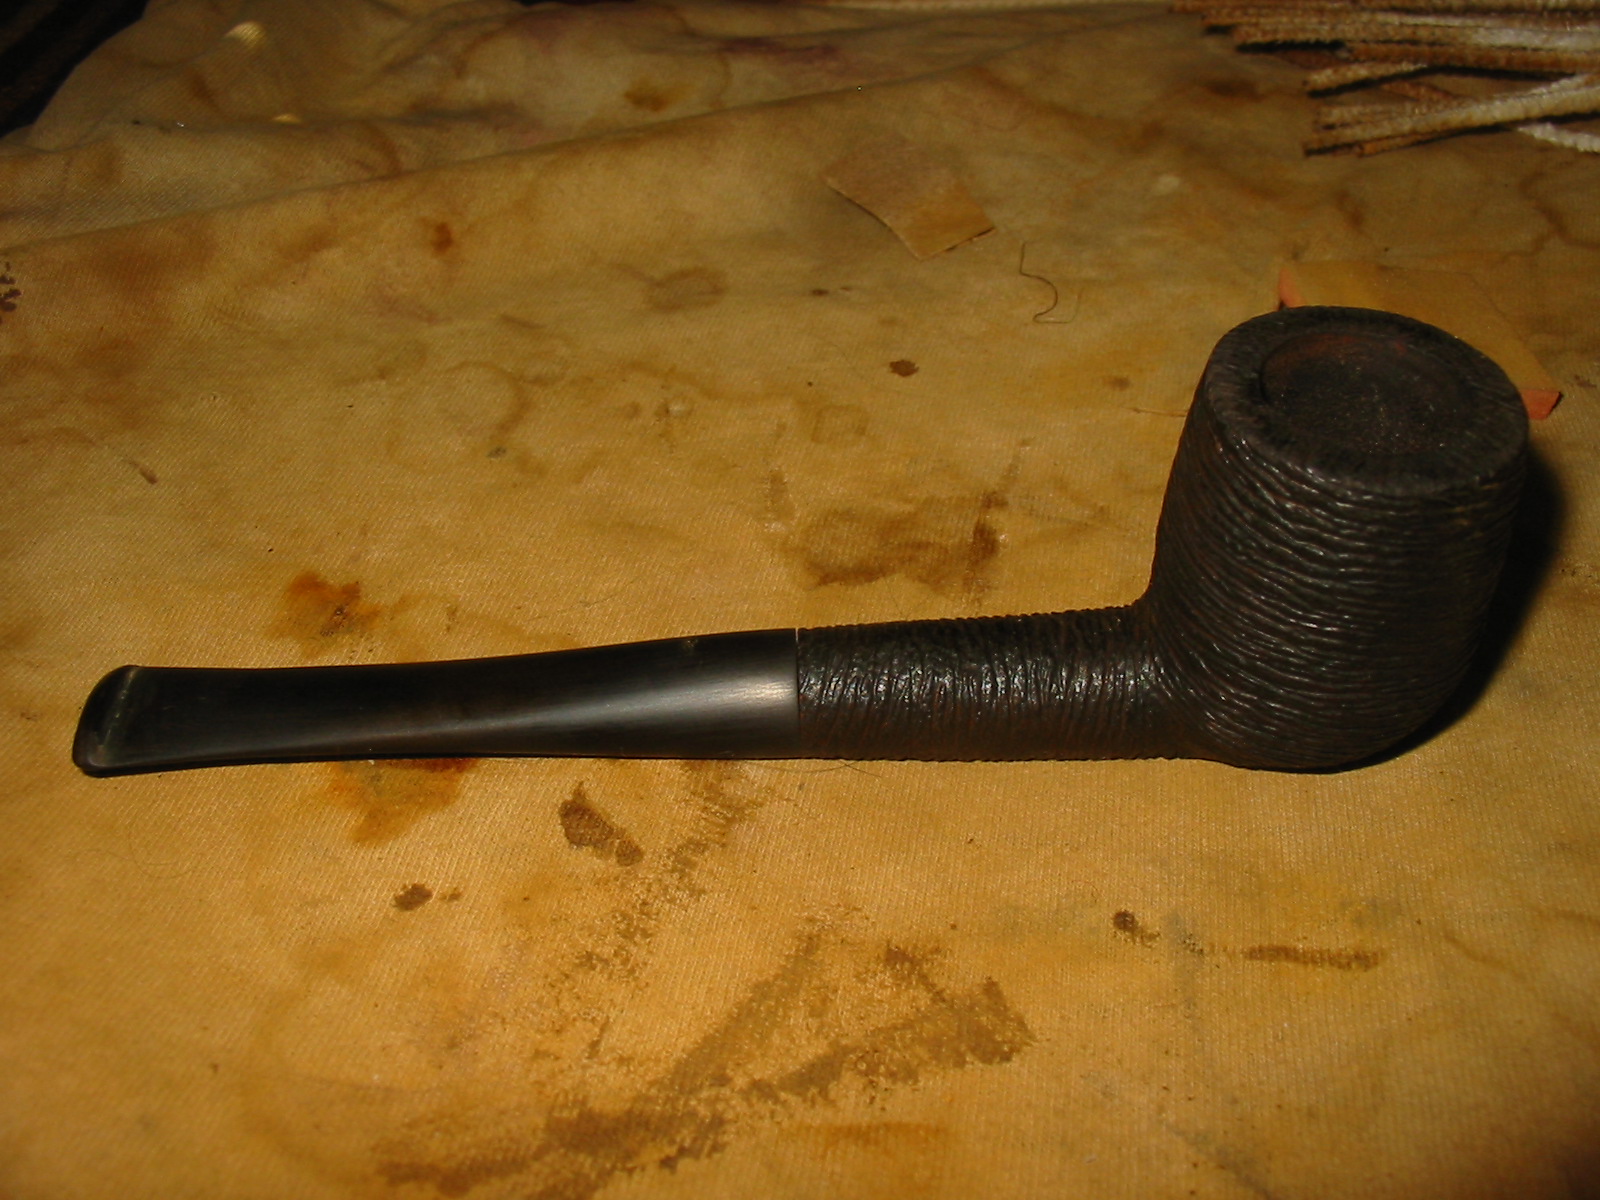
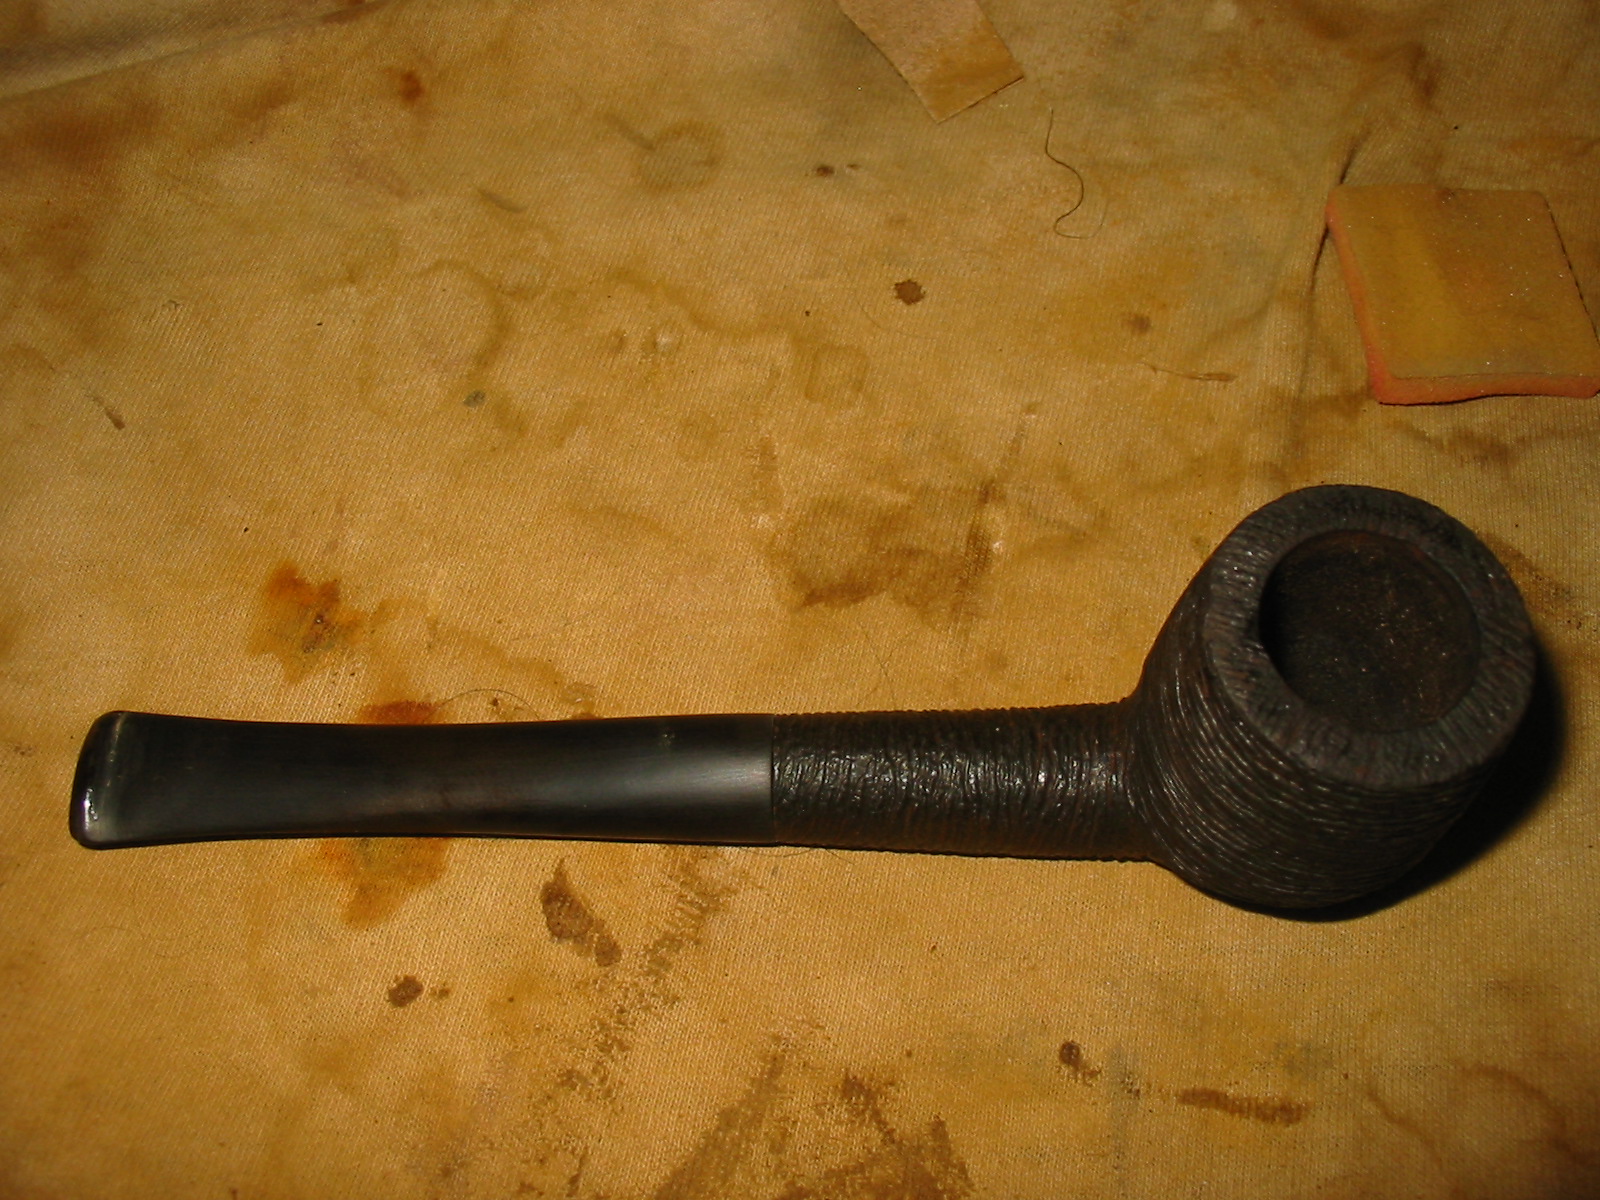
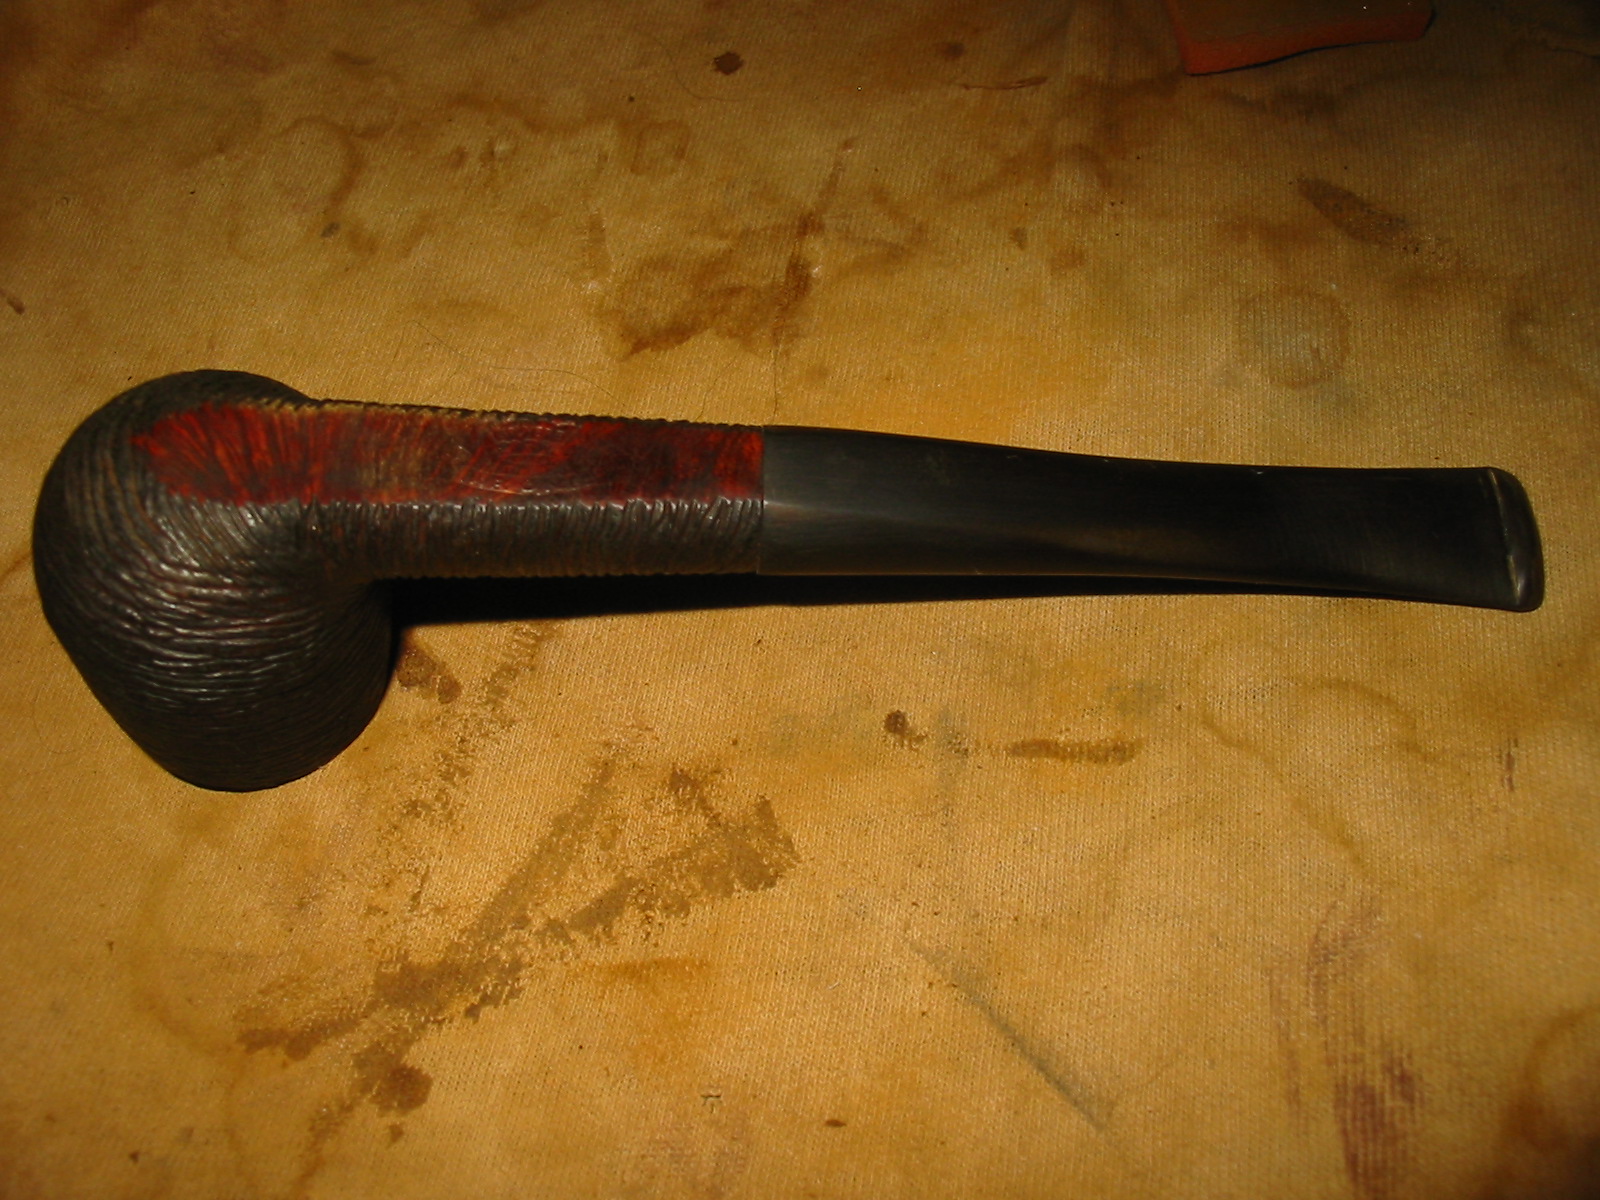
Dunhill_522_Before (1)

Dunhill_522_Before (3)

Dunhill_522_Before

dunhill_rhodesian-5dunhill_rhodesian-4Dunhill_522_Before (2)

The bowl had a fairly thick cake and I reamed it with my Castleford bit set. The bowl was then soaked with Everclear and sea salt.

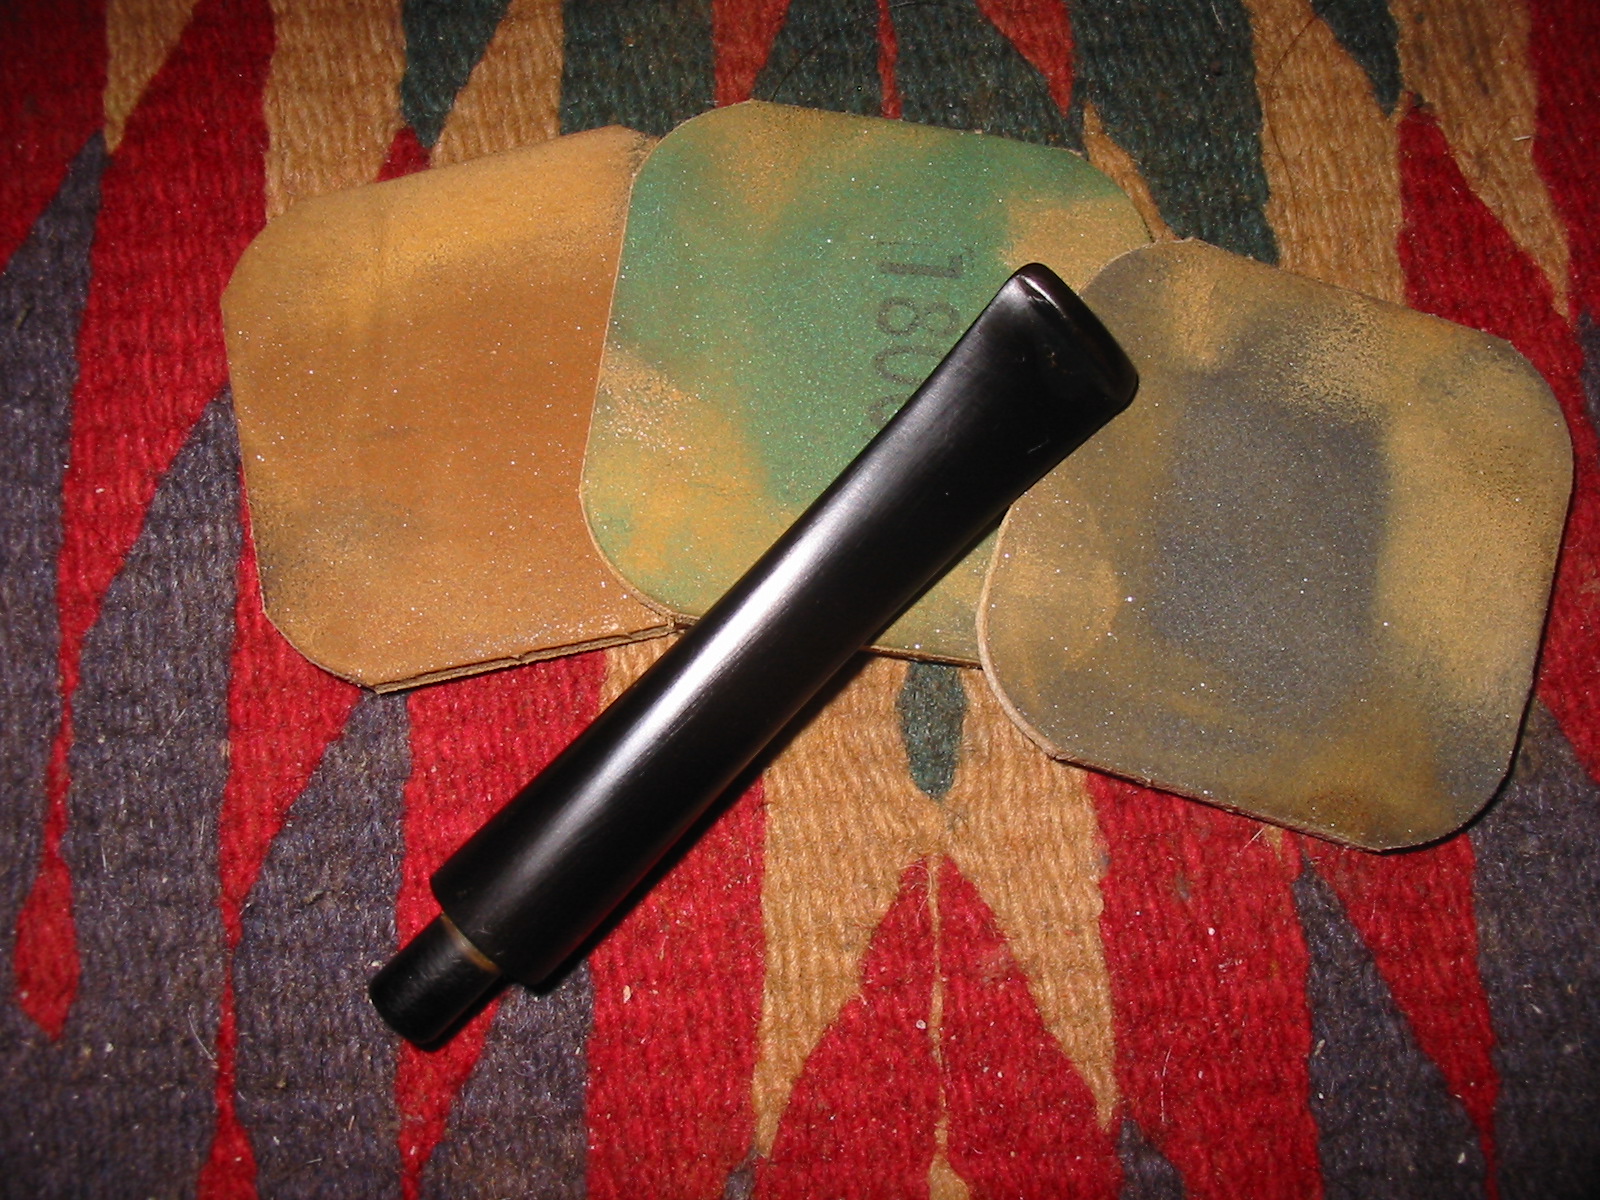
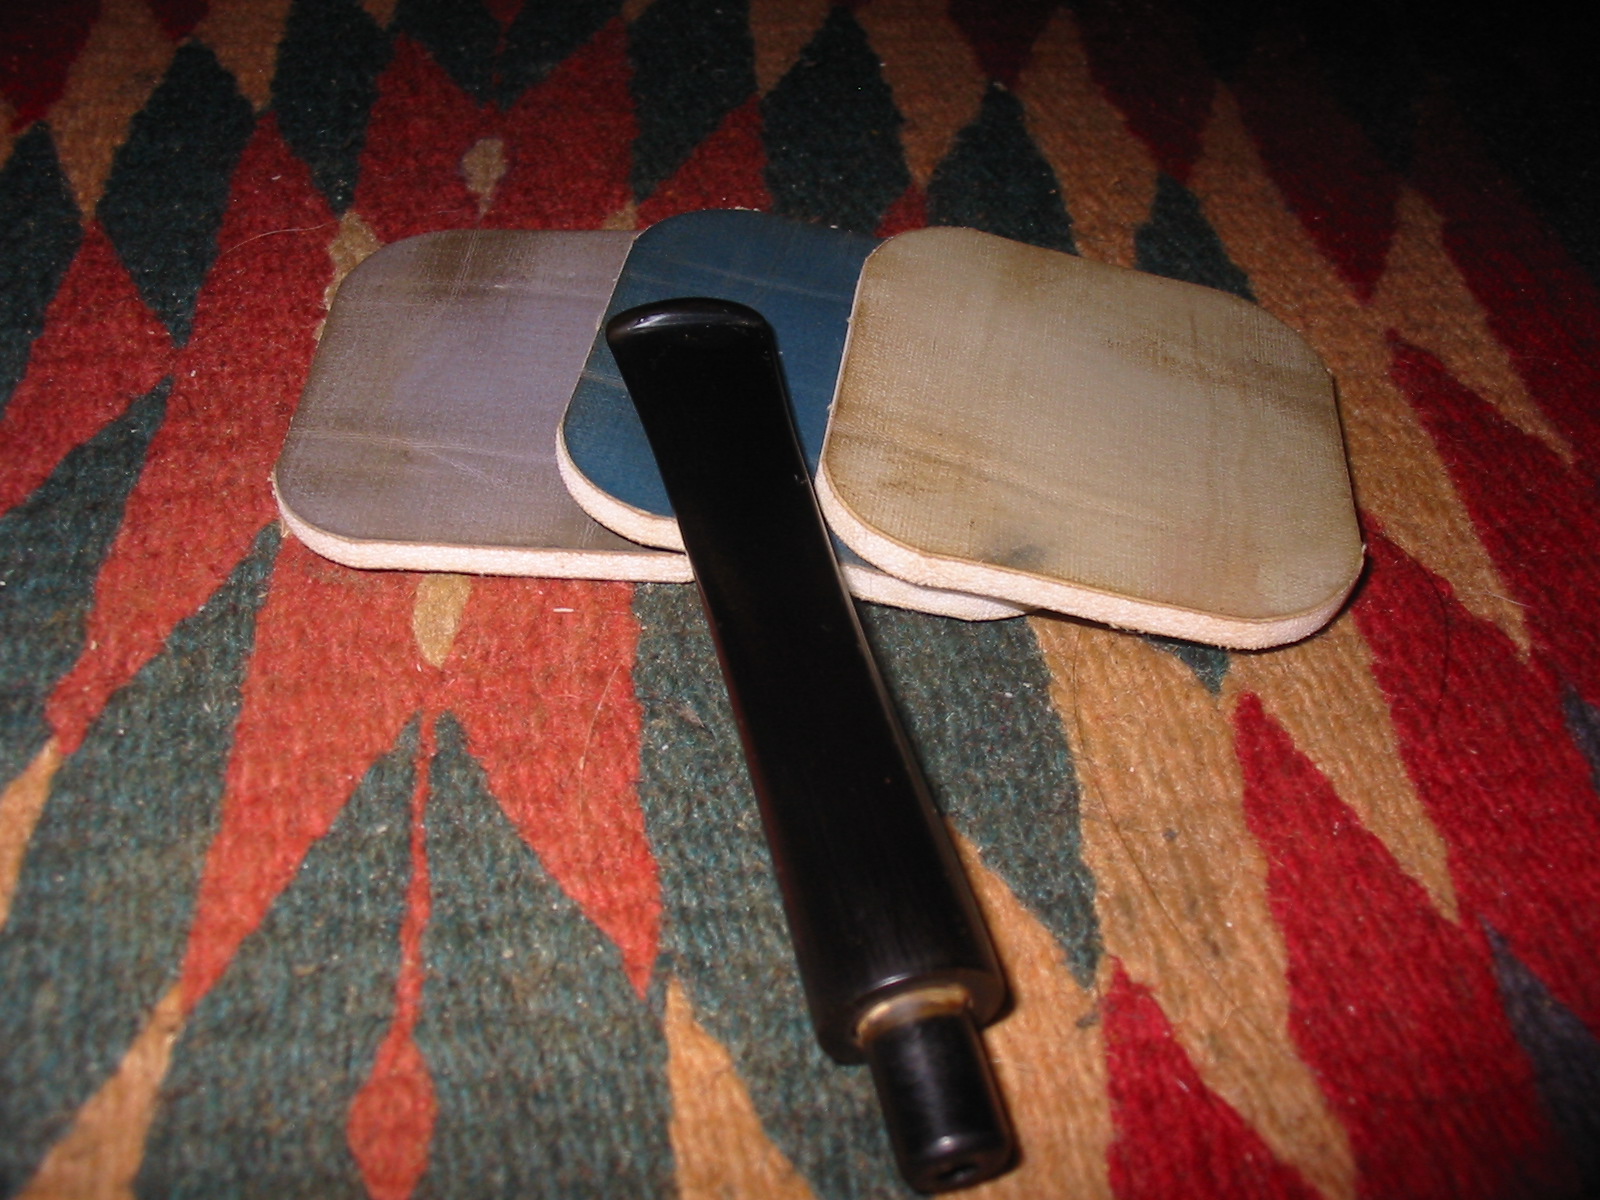
I polished the stem with some 800 grit wet paper, followed by 1500 and 2000 grade. Then I moved to the micromesh, 8000 and 12000 grades were used. I gave the stem a light buff (mounted to the briar) with some White Diamond. I have a bar of jewelers “Red” rouge on order and I’m curious to see how it compares to the White Diamond for finish work. The stem has some odd marks in the vulcanite, almost like an imperfection. I could not remove them by sanding or buffing.

I polished briar lightly with some 8000 grade micromesh, keeping away from the weak nomenclature. I then buffed the bowl, again lightly with White diamond and then several coats of carnuba wax.

After searching online for several days, I couldn’t find out much about this shape. I found only one other shape 552, a shell finish pipe sold at an Ebay auction in 2007. The 552 is also not on any Dunhill shape chart (Loring, etc.). On the SmokersForums.uk in the “Streets of London” social group, one member there, dmcmtk (Dave) said he has a shape 556 from 1963. He had heard Dunhill was experimenting with shape variations at this time and perhaps my 552 was part of that experimentation. I have emails out to several Dunhill collectors, but haven’t yet received a reply. If you know anything about this shape number, please comment.

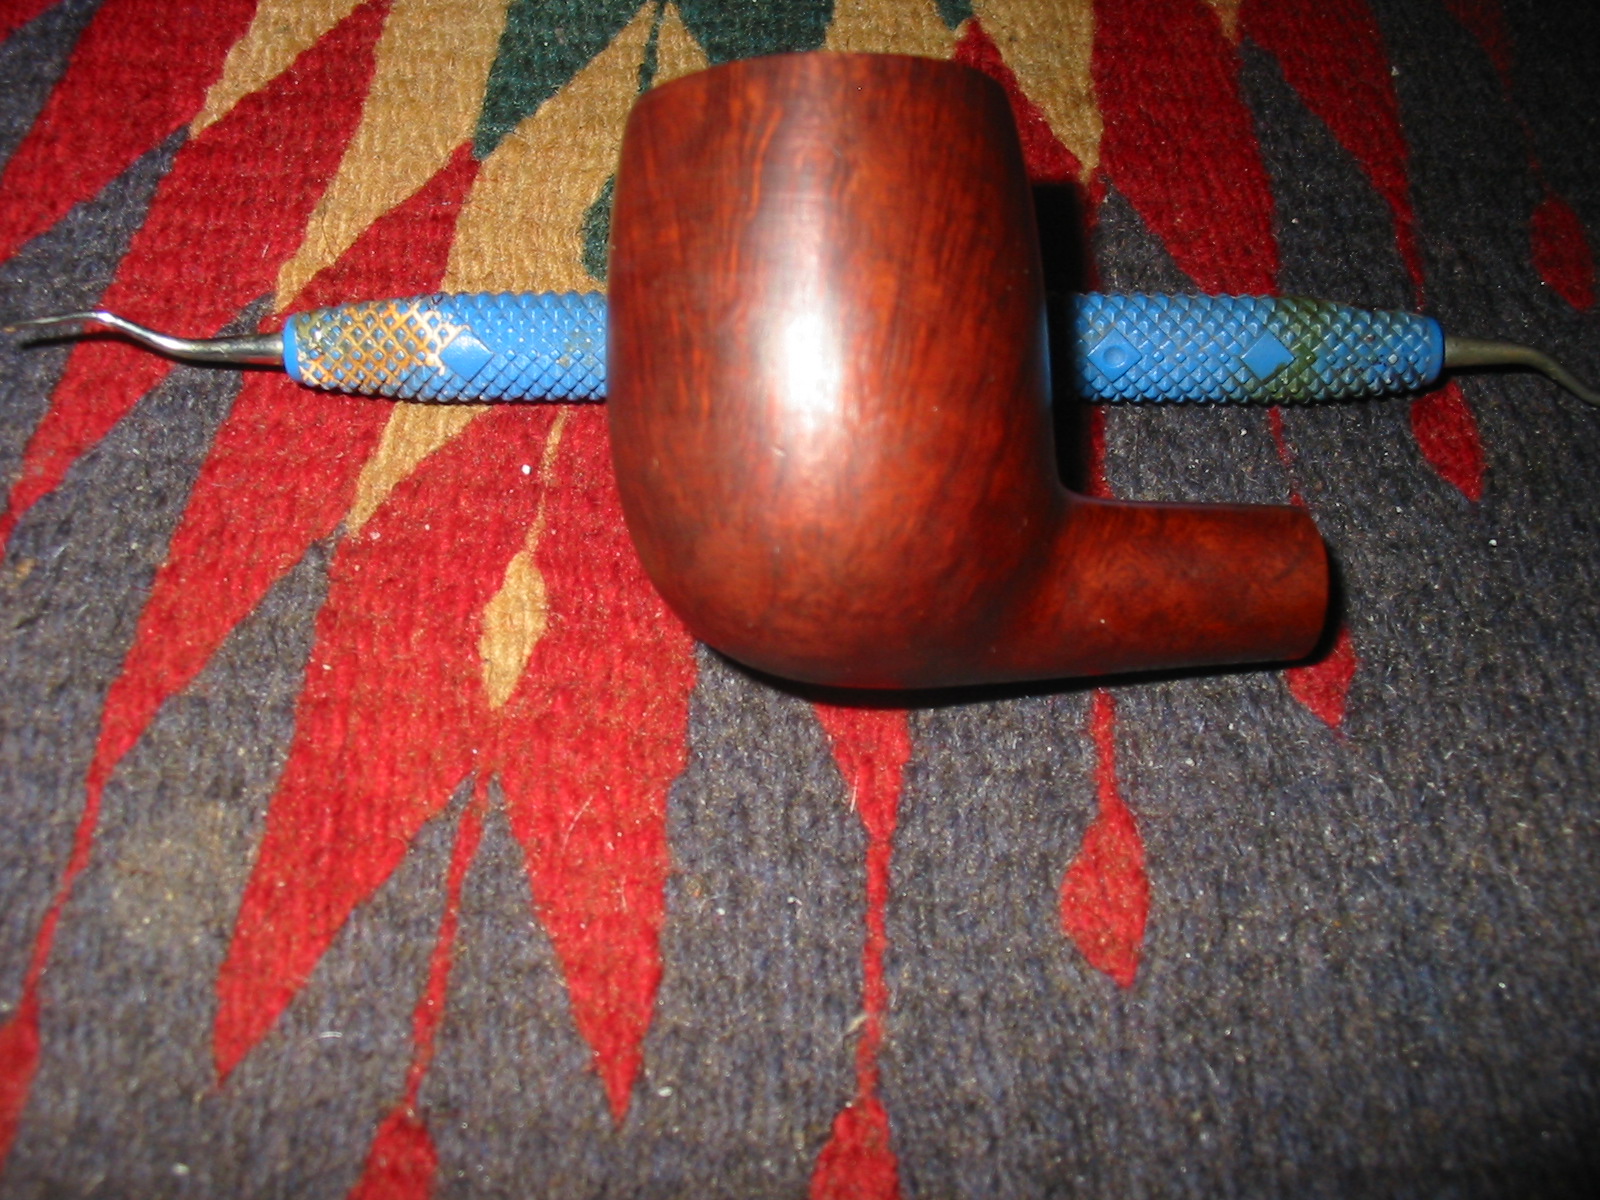
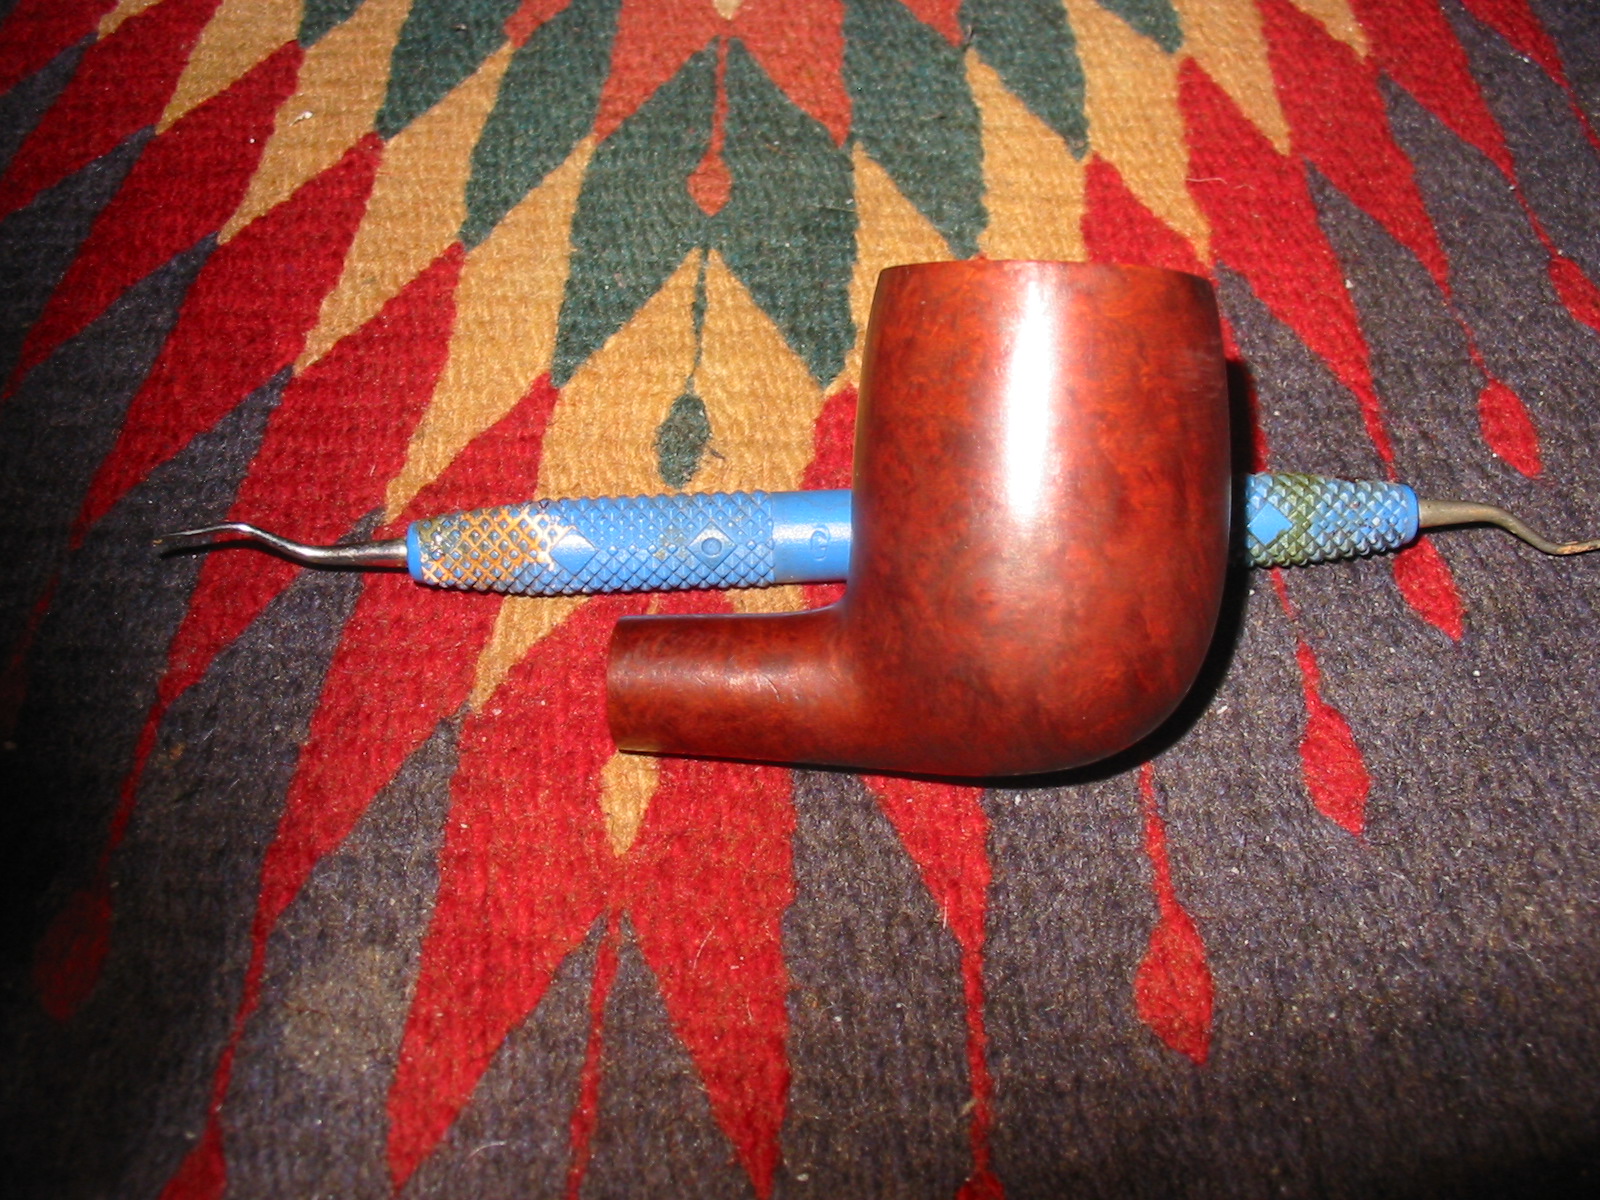
Here’s the finished pipe.

Dunhill_522_Finished_Gallery

Dunhill_522_Finished (3)

Dunhill_522_Finished (4)

Dunhill_522_Finished (5)

Dunhill_522_Finished (1)

Dunhill_522_Finished (2)

Stem Repair Failure – by Mark Domingues


This is an interesting piece that Mark wrote on a stem repair that not even I would have undertaken. To me this stem was a goner. The hole and missing vulcanite would make a patch virtually impossible in my opinion. But my hat’s off to Mark for giving it a go. He writes up the repair and the failure of the repair in a clear and concise way. Thanks Mark for blazing the trail on this and letting know about one that did not work.

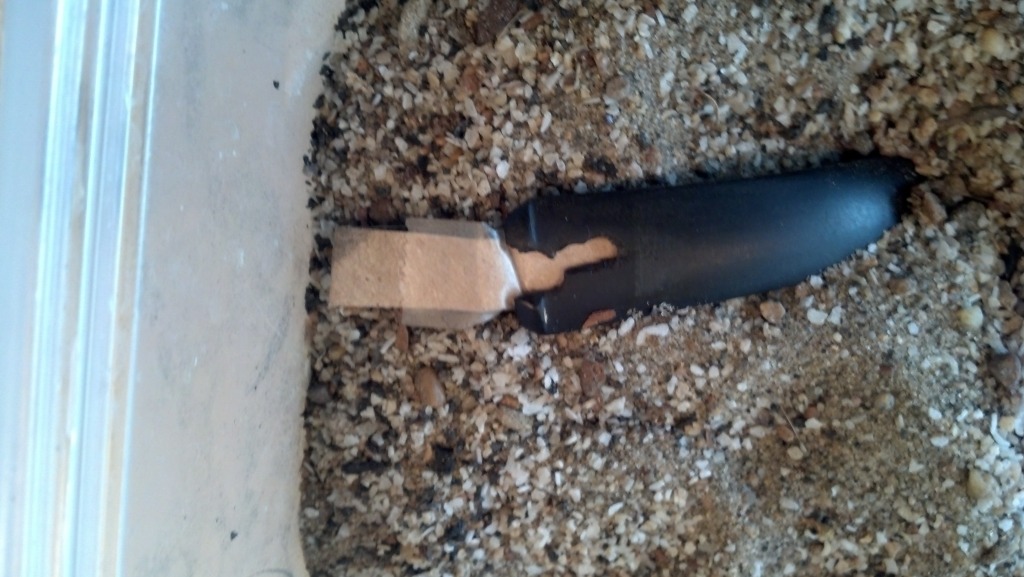
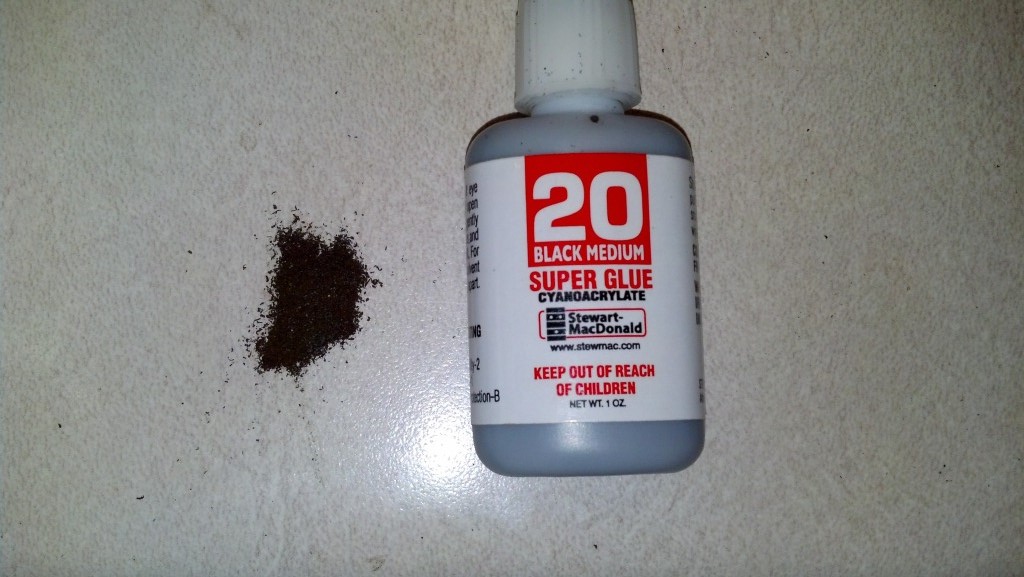
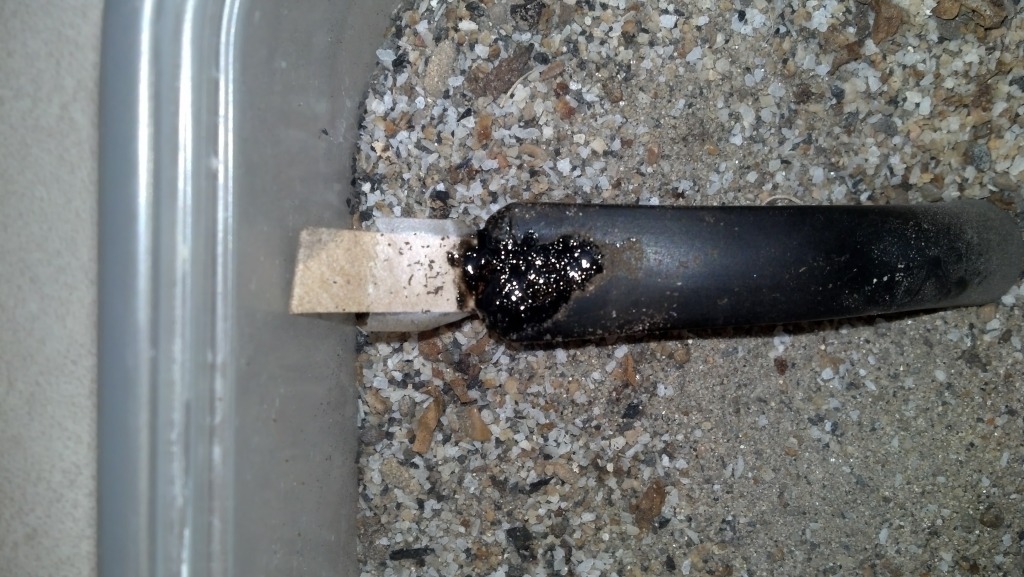
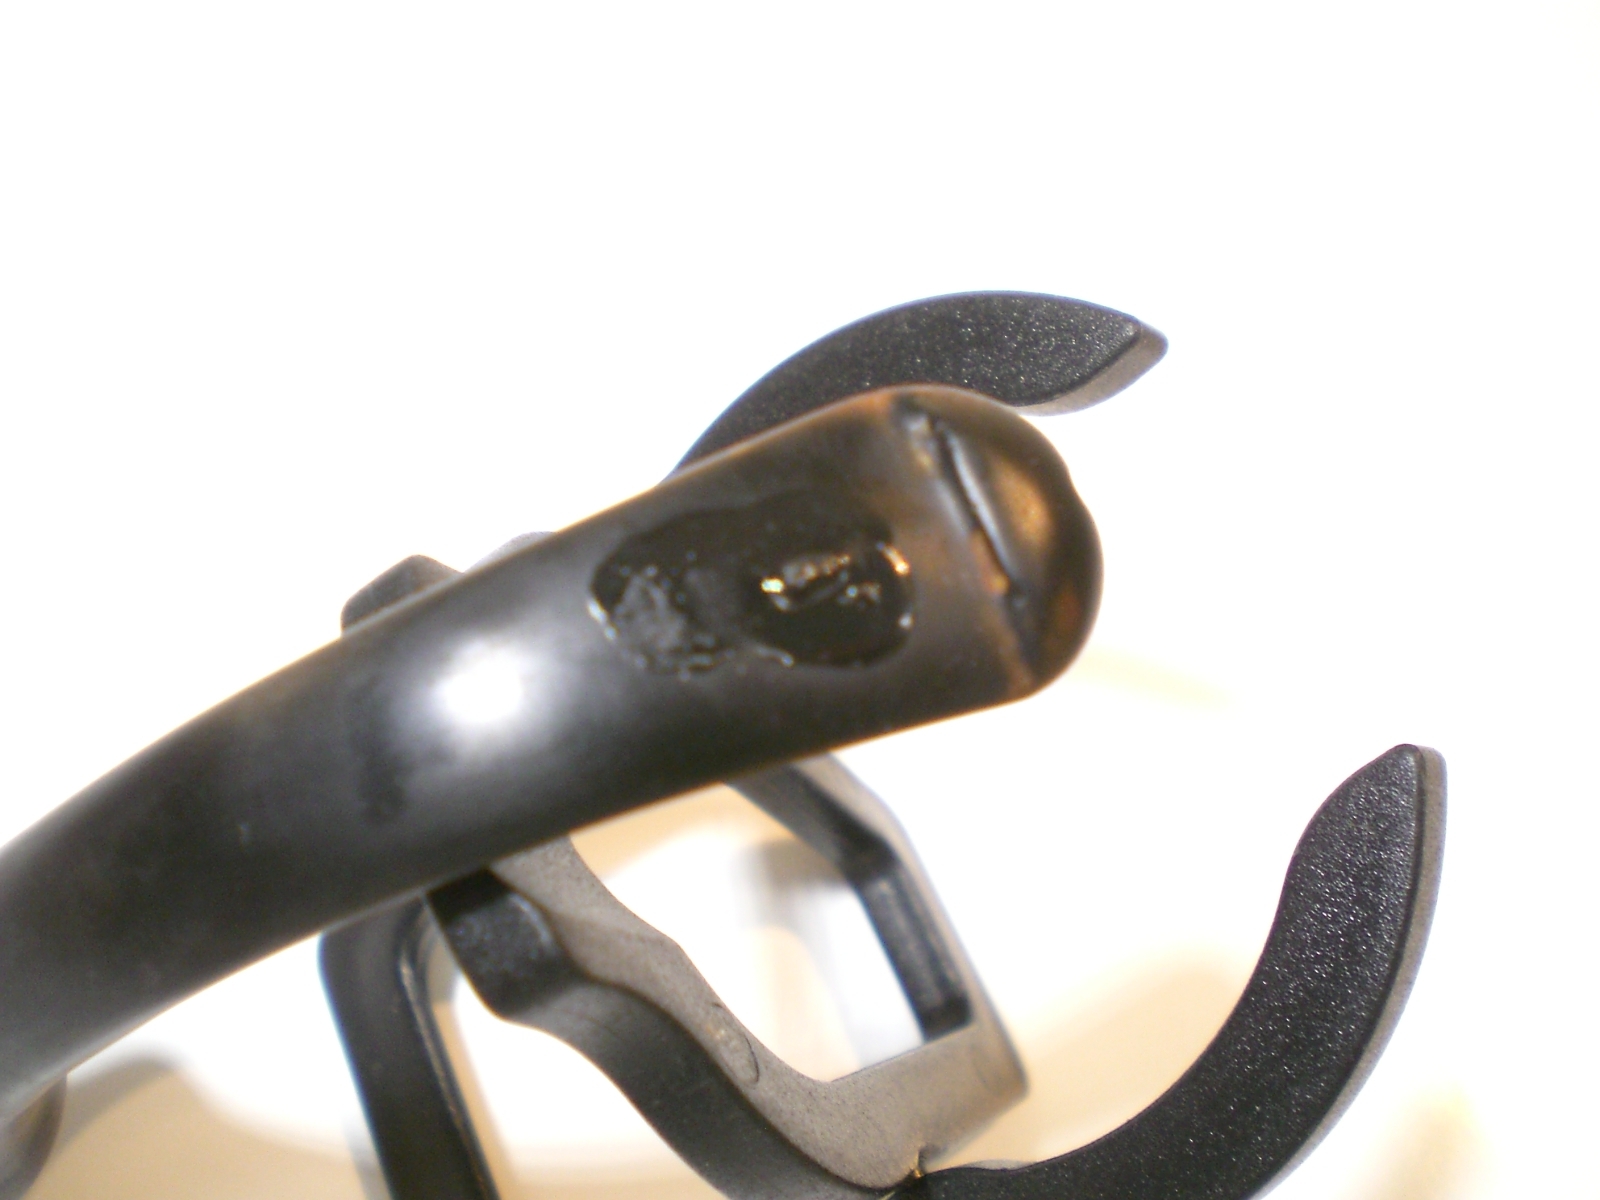
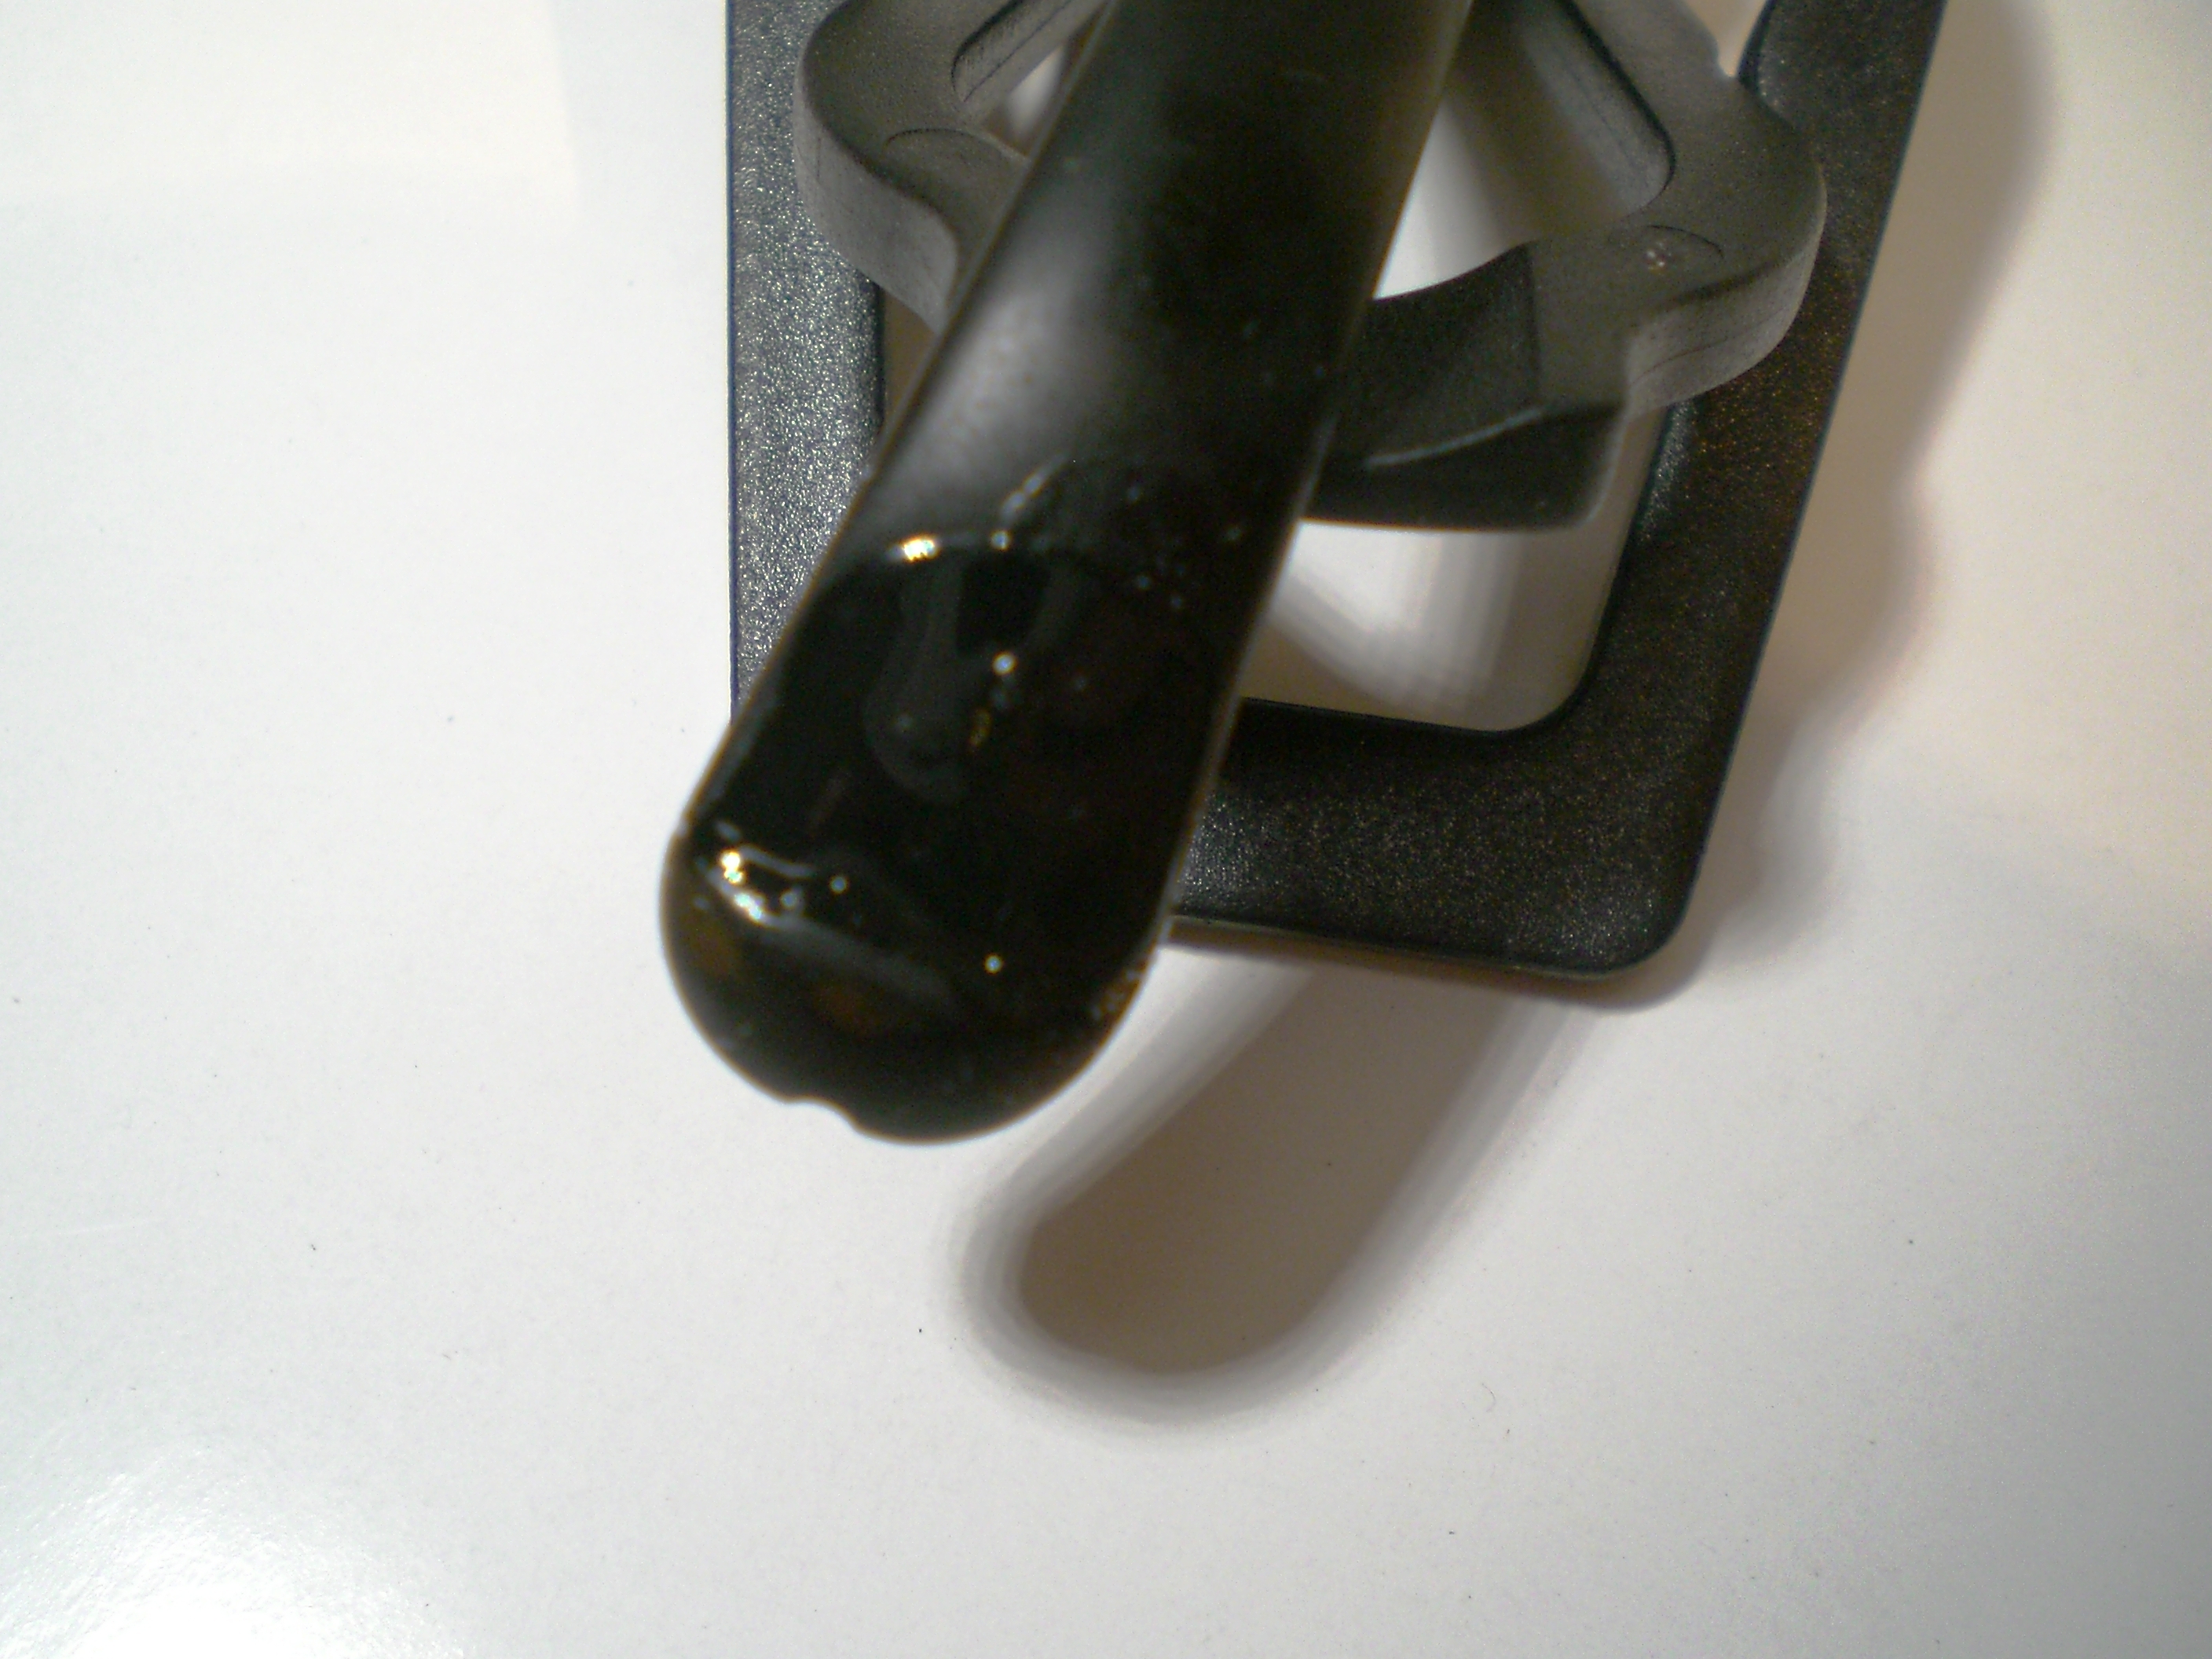
I got a Peterson Shamrock off Ebay with a chunk missing from the stem near the bit. I figured I would try to shape a repair using black super glue and vulcanite dust from an old stem. Instead of using the Oxyclean soak, I “painted” the stem with a bic lighter to remove the oxidation. I put a piece of cardboard wrapped with scotch tape and smeared with Vaseline in the bit end. Then put some glue on the cardboard, sprinkled dust and dripped more glue to make a patch. Since it was a curved stem, I placed it in my bowl of sand I use to do the alcohol and cotton ball treatment. I used to do the alcohol/salt but this is far easier and has the same effectiveness IMHO.

stem1

stem2

stem3

stem4

After drying, I used files and wet/dry paper moving from 320 up to 2000 to get the stem shaped. I used a needle file to reshape the bit, and then took it to my buffer wheels to really shine it. I think it came out great. The camera has some white spots that aren’t on the stem. It looks like a new stem!

stem5

stem6

Well, the repair LOOKED beautiful but didn’t hold!! Running a pipe cleaner through it a week later, it cracked and just crumbled away back to the original picture. I’m wondering about the ratio of glue to vulcanite dust, or like someone said on a pipe forum, the 2 different materials will not hold due to expansion and contraction when heated. Maybe I will try again with more glue, less dust.

K&P London Made Found in a Bargain Shop


Blog by Steve Laug

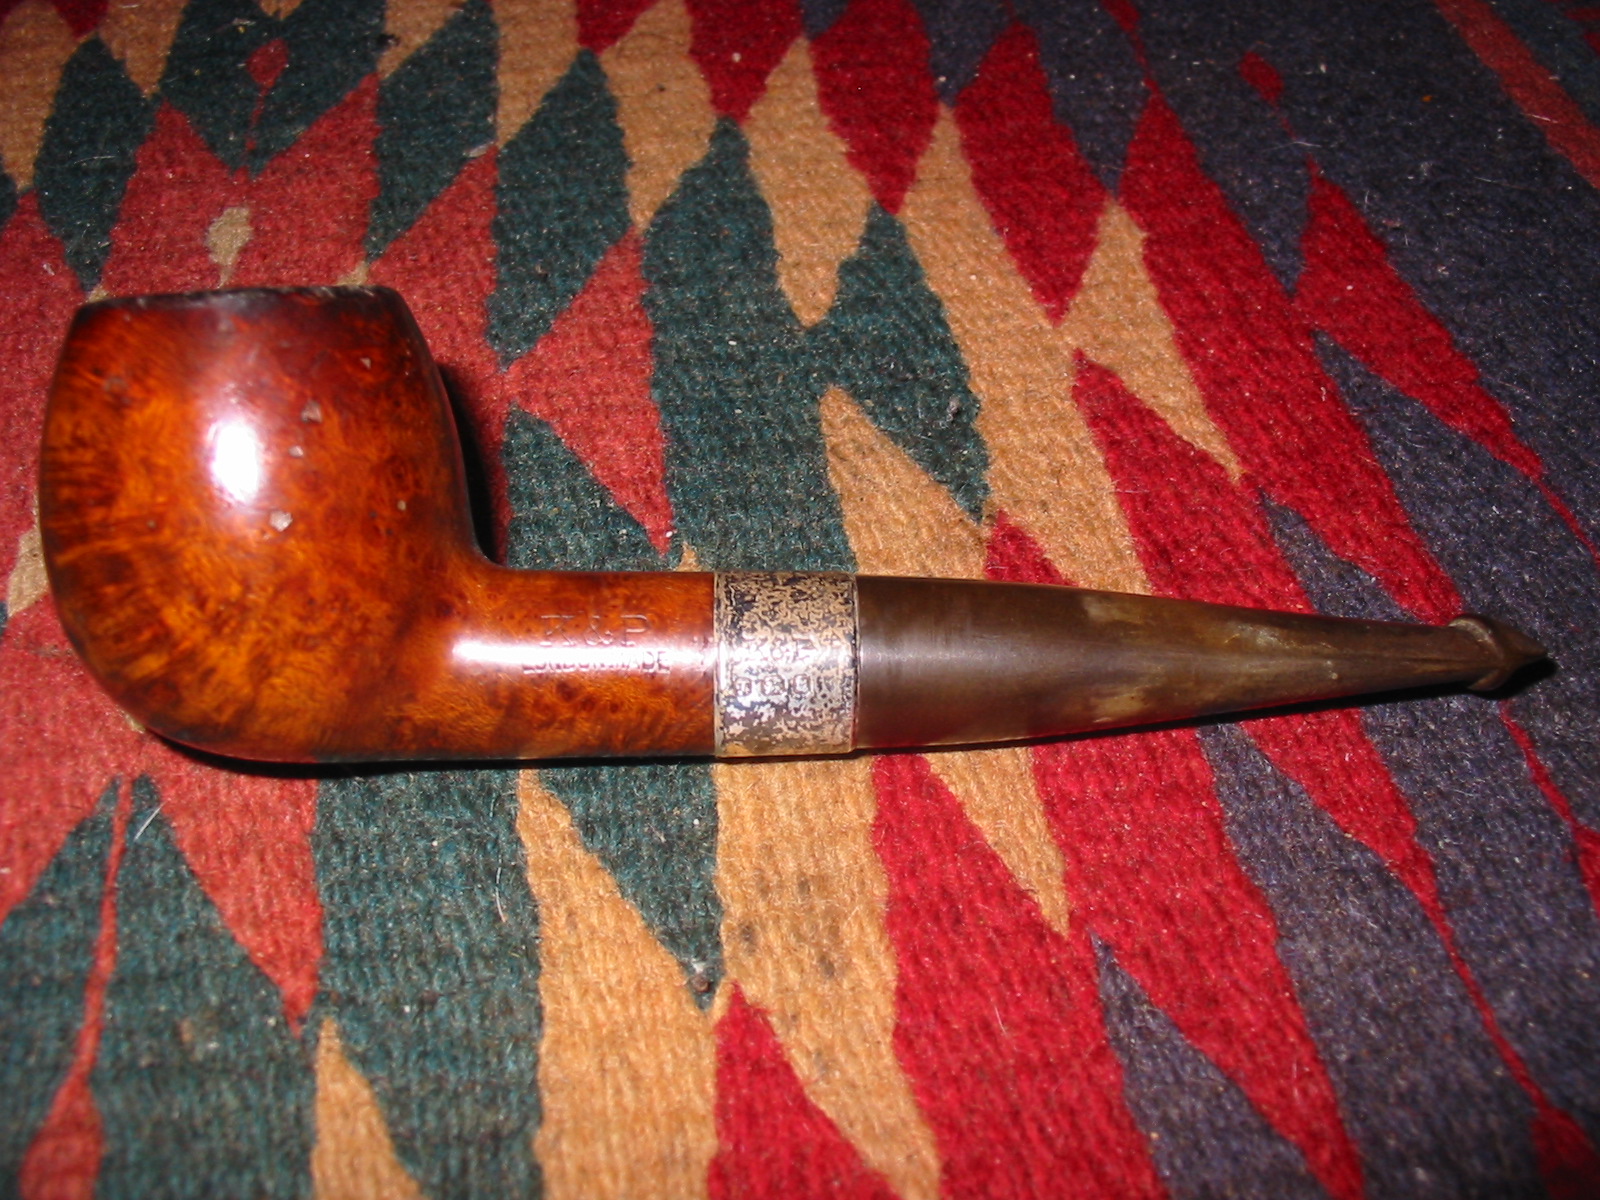
Yesterday afternoon I went with my eldest daughter to Walmart here in Vancouver. Across the street is a bargain shop that sells lot of movie set items and other things that are collectible and antique. I have found quite a few good pipes there over the years. I went to the shop while she was in Walmart and looked over the lot they had this time. There were quite a few pipes in the case and most of them while interesting just did not capture my attention. Then I moved a few of them out of the way and underneath was this little P-lip apple. I could tell it was a Pete and an older one because of the thick shank and stem. I held it up to the light and my guess was confirmed. It was a Peterson. It was marked $28 and I offered $25 for it. They accepted the offer and I paid the bill and put the pipe in my pocket. I picked up my daughter and headed home to check it out.

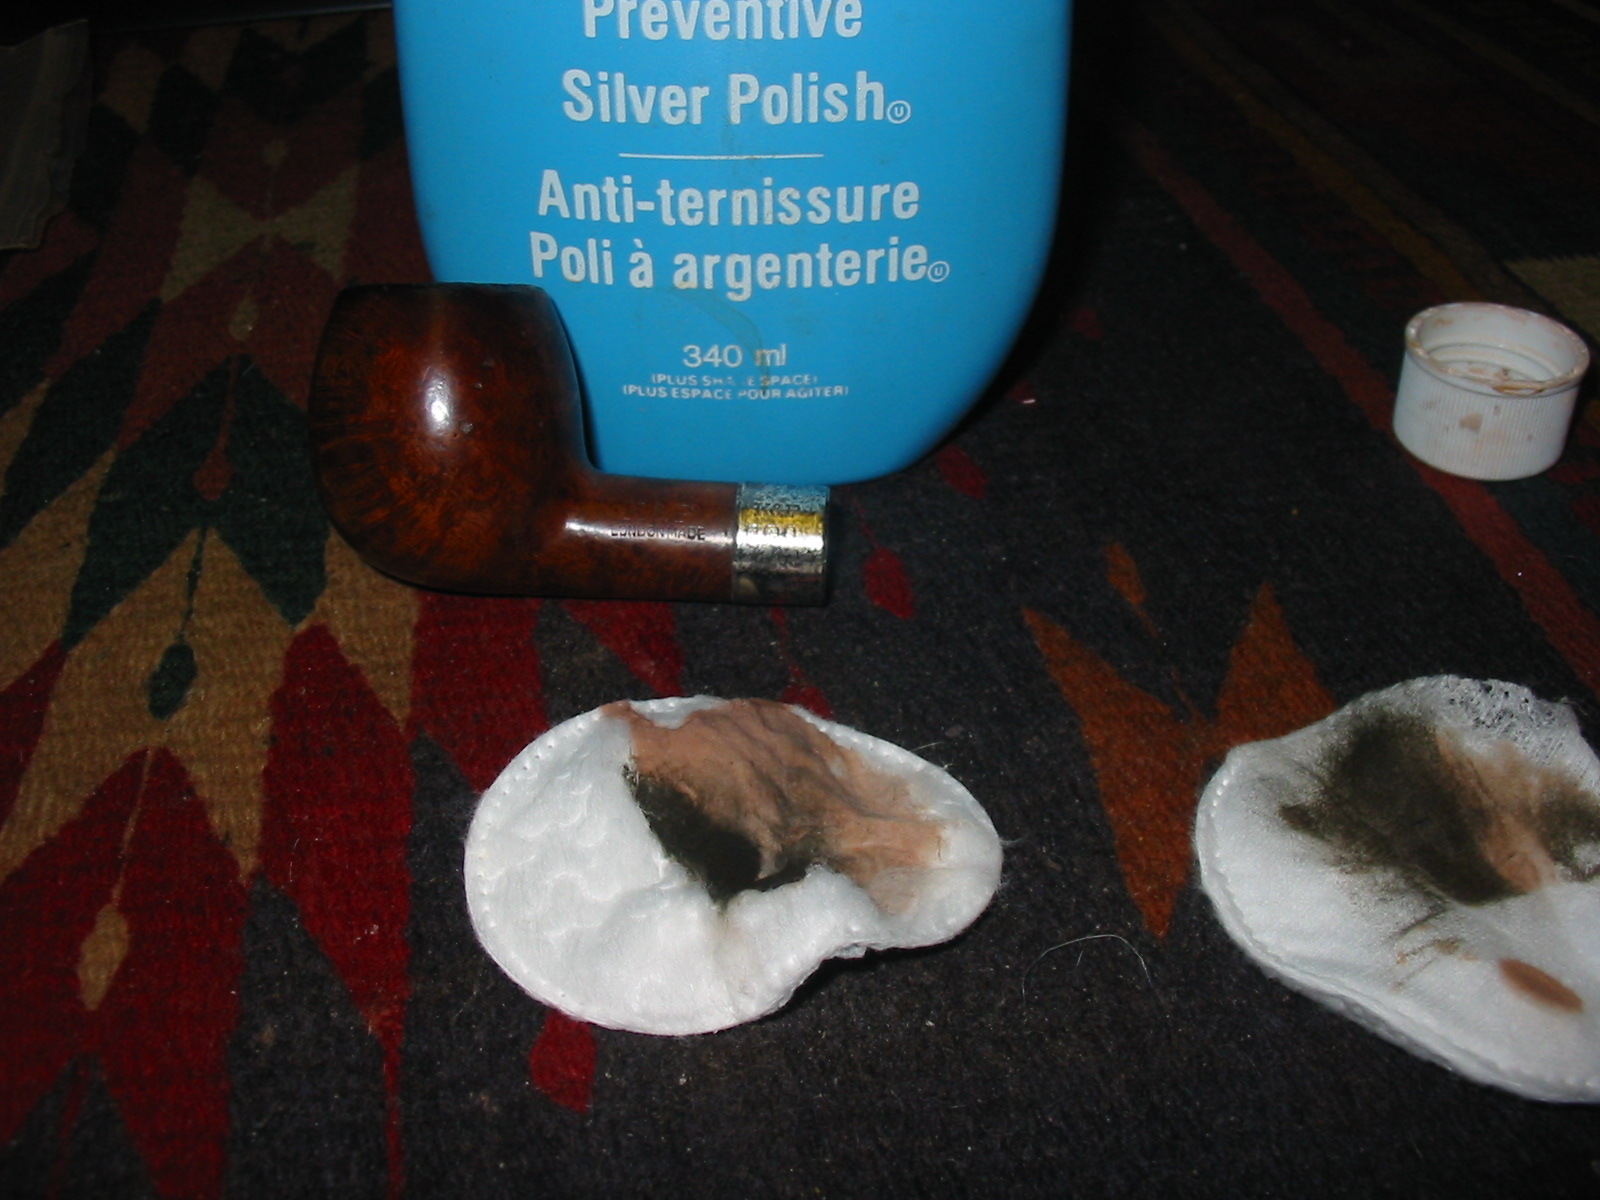
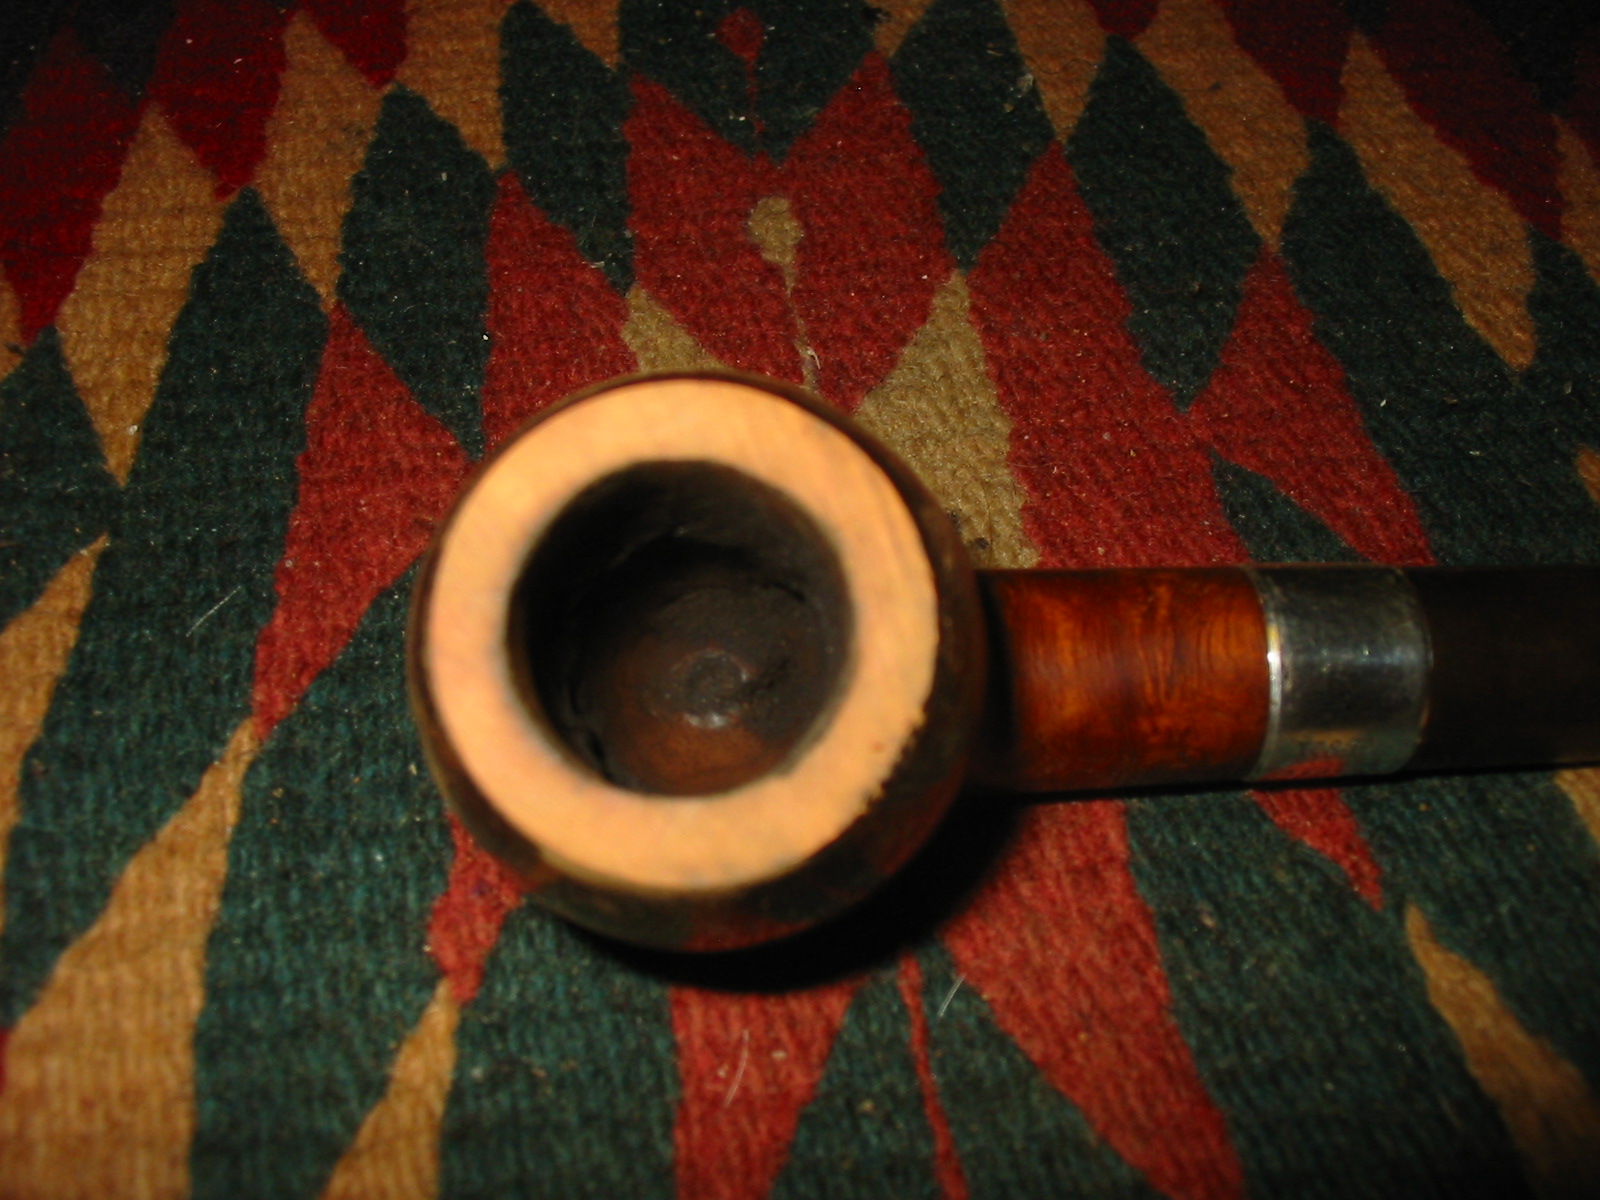
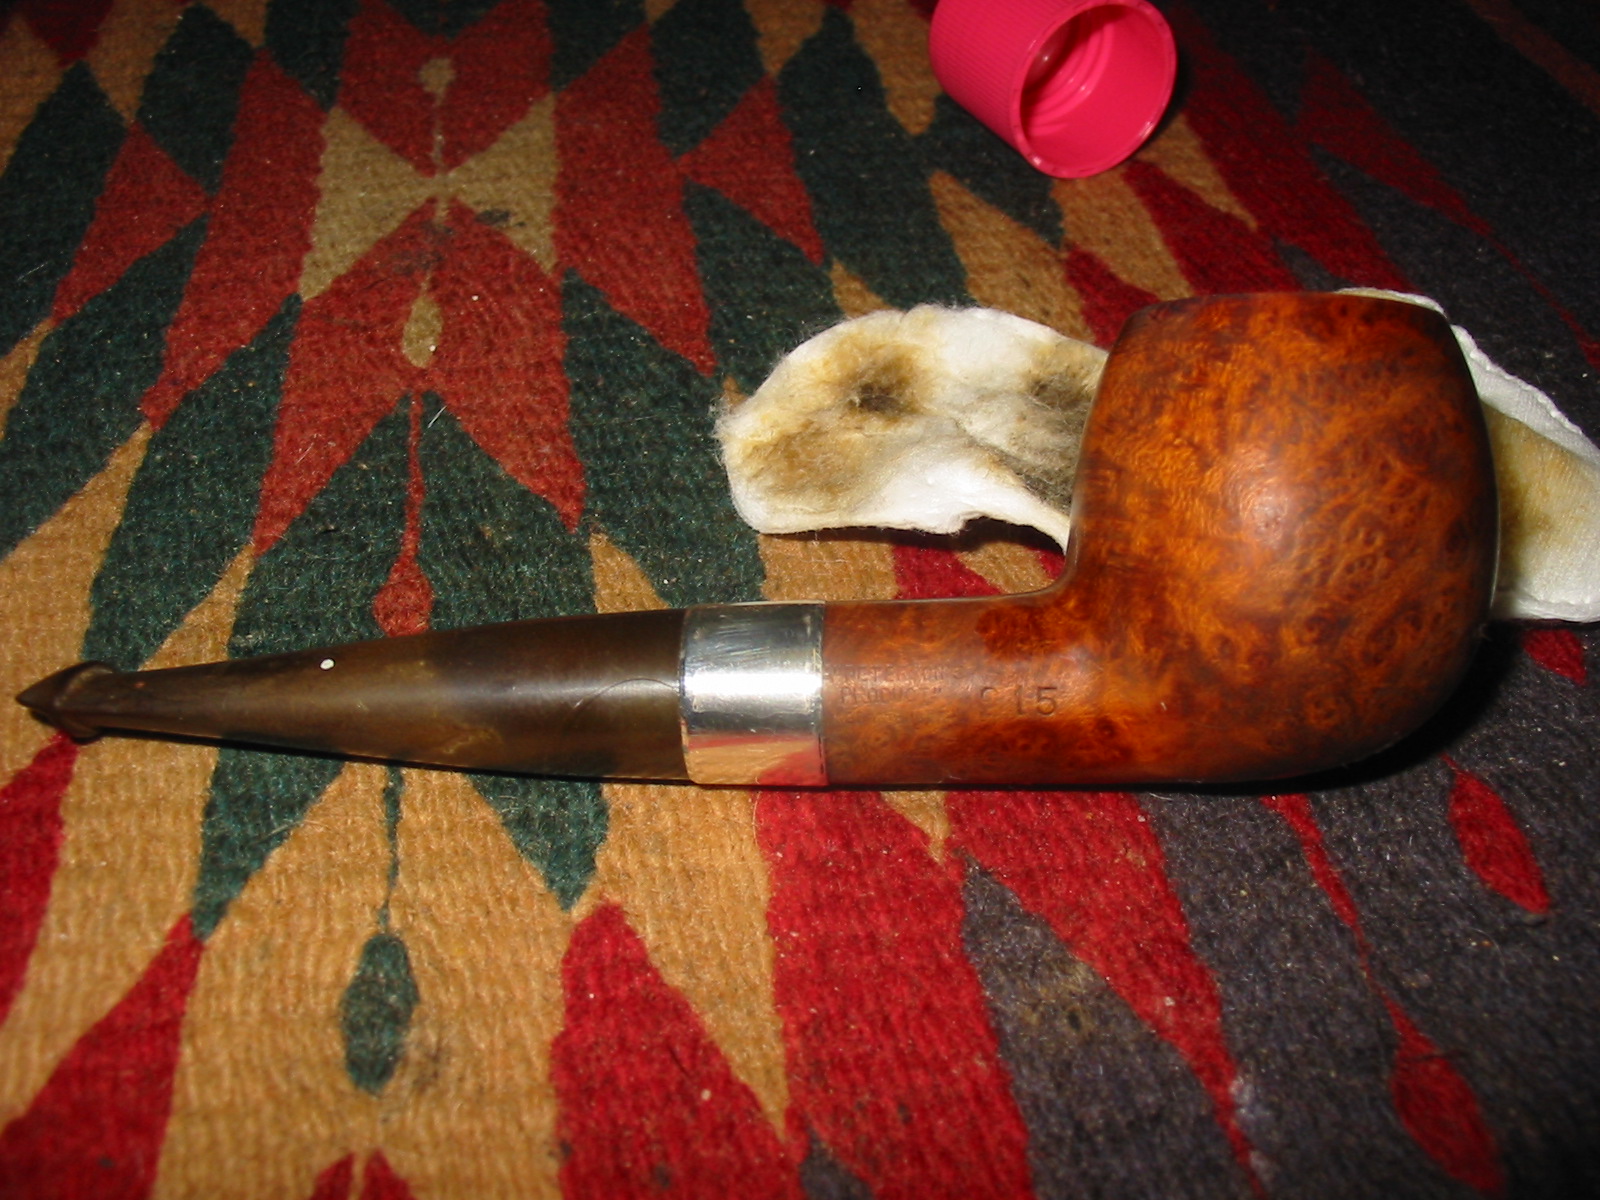
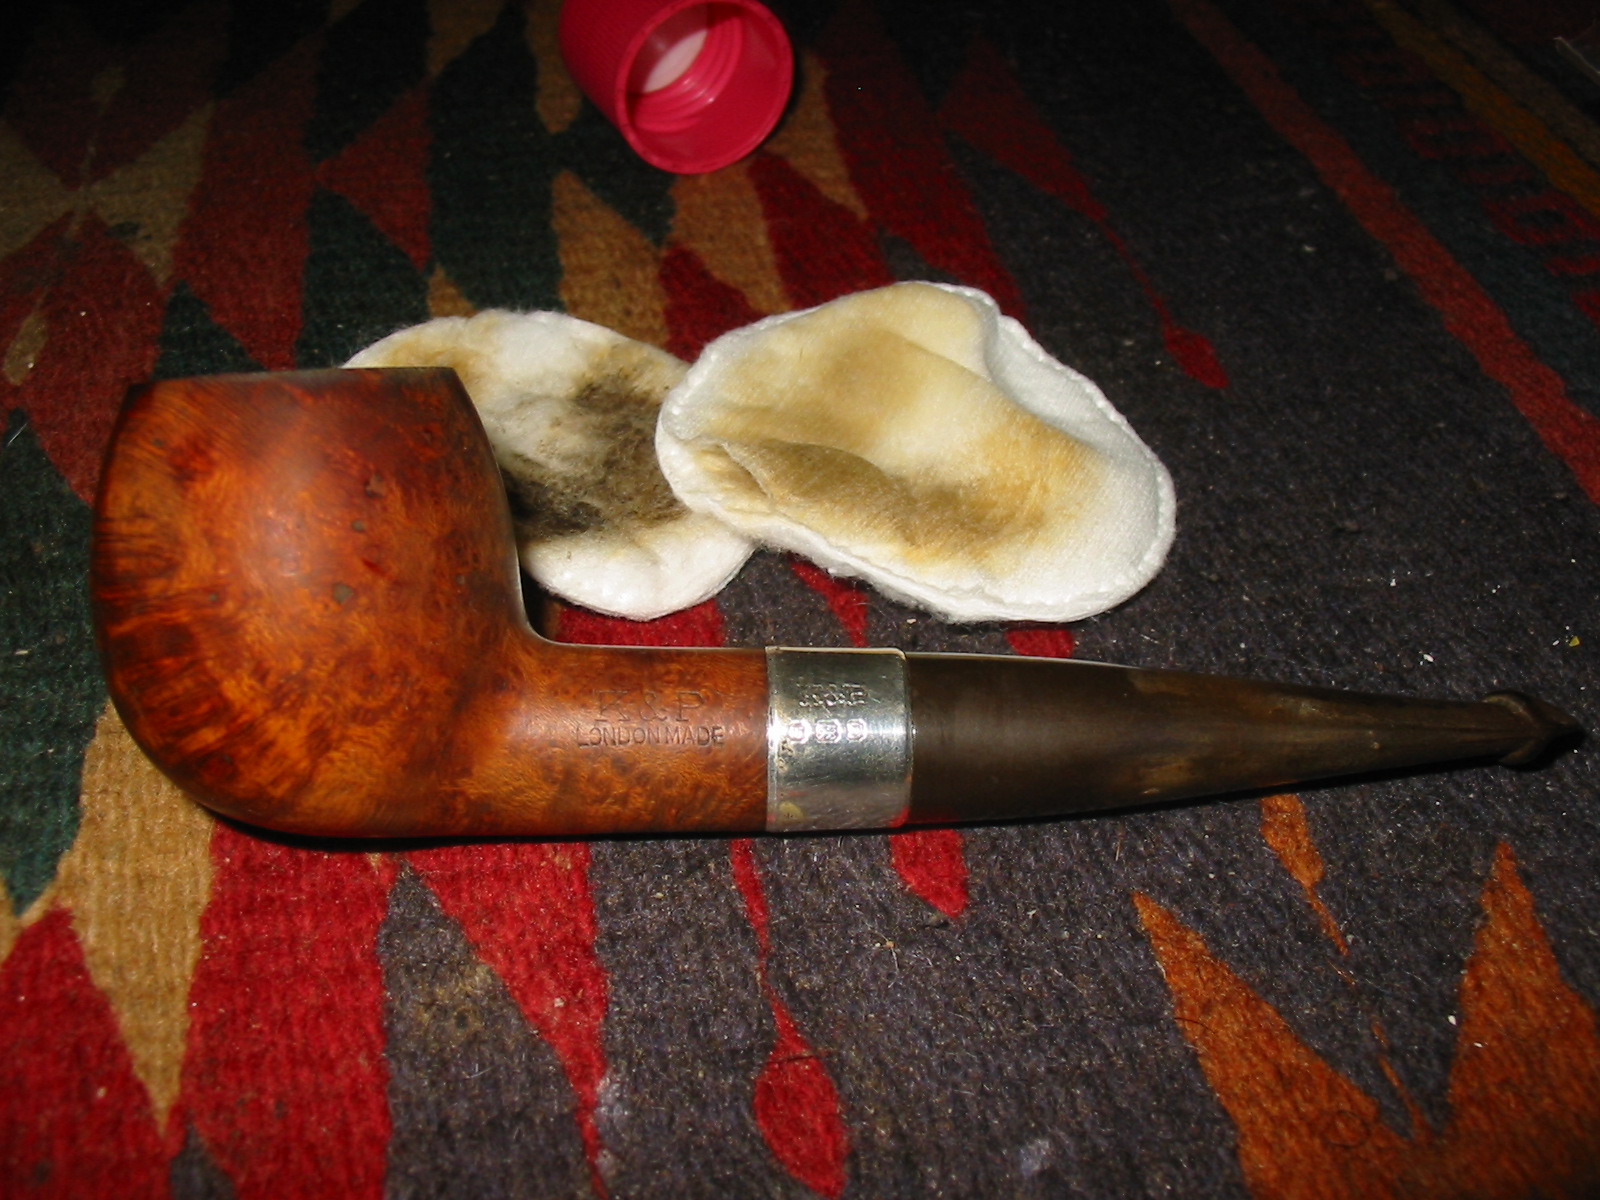
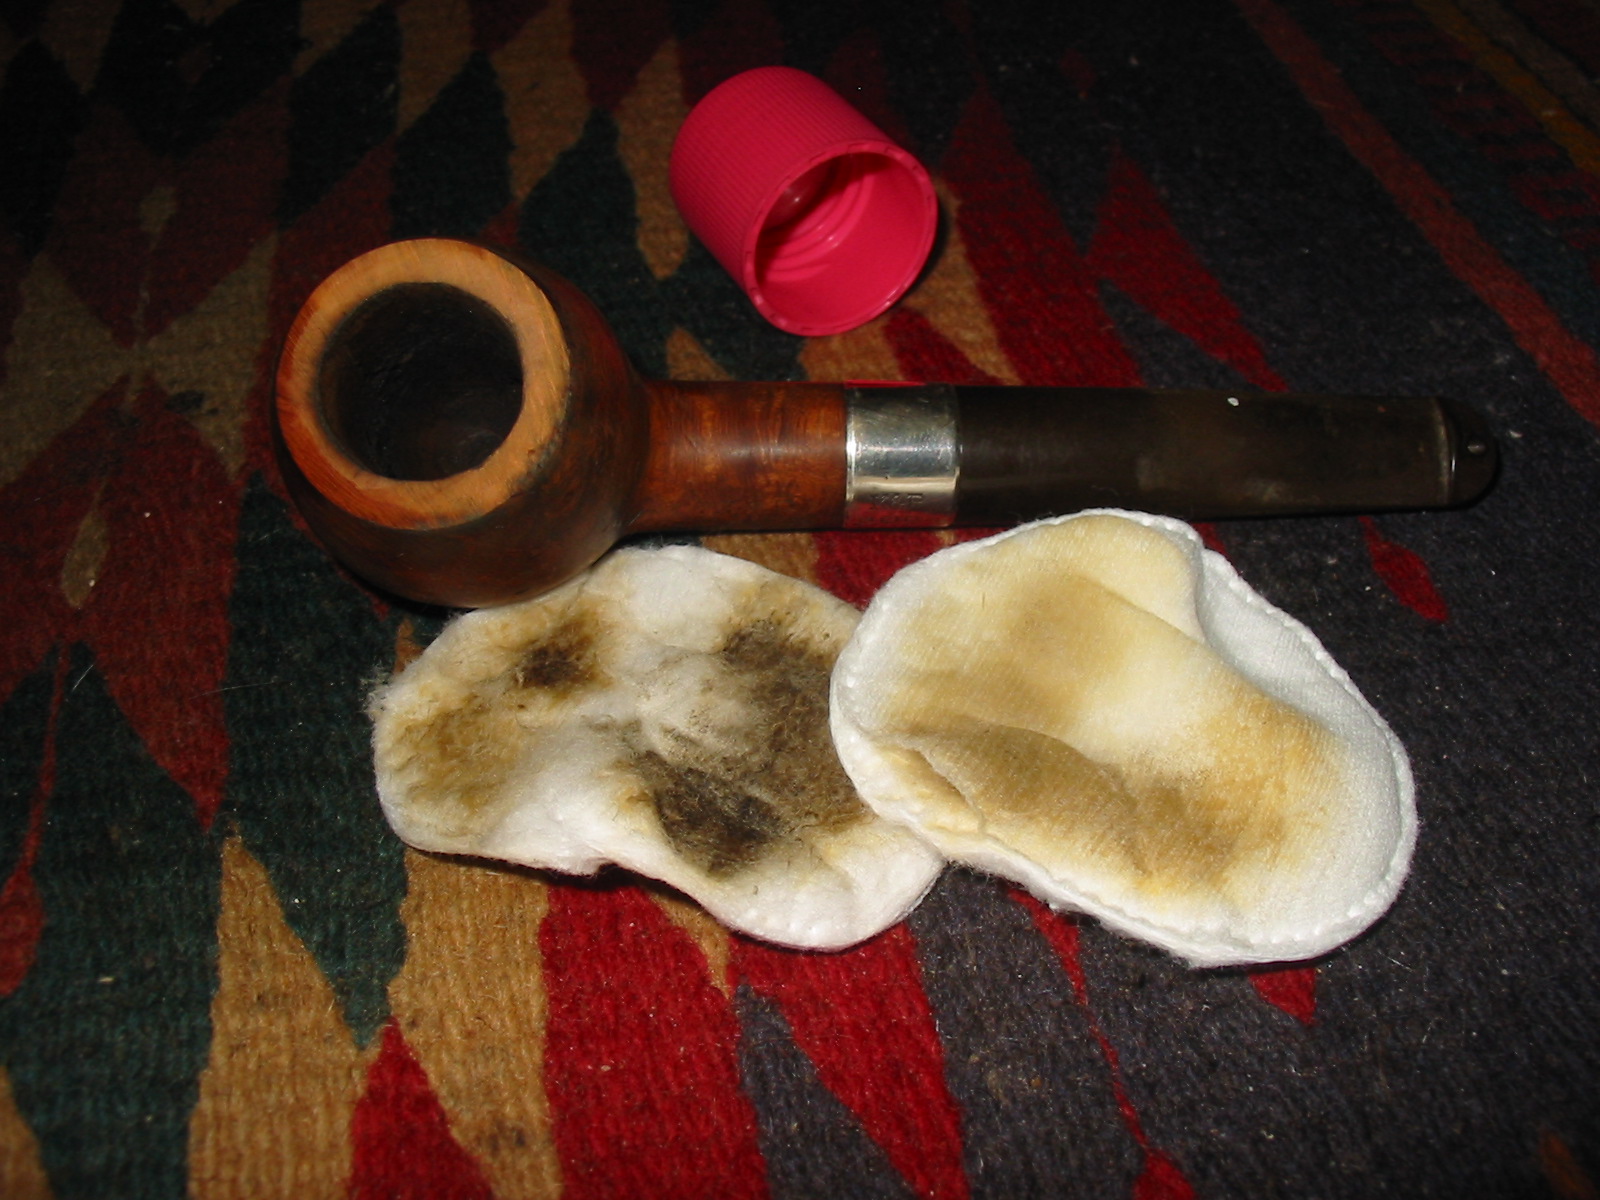
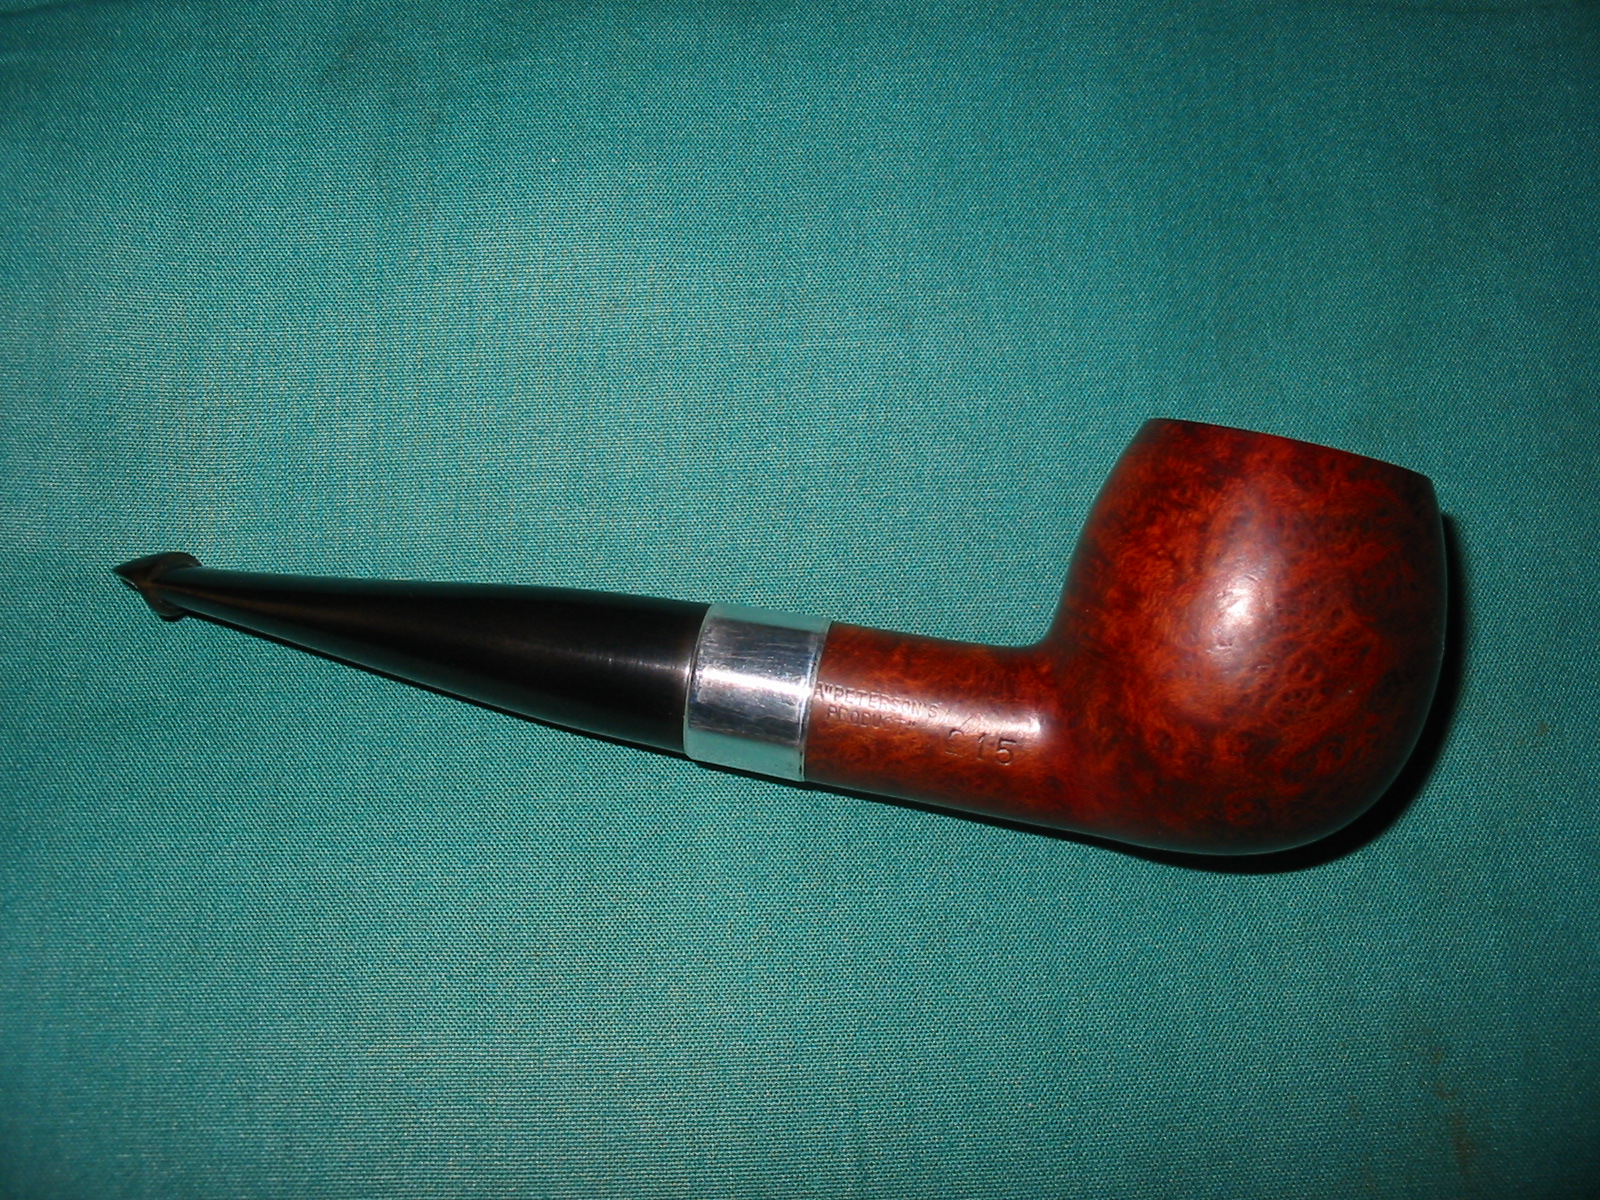
I wiped off the shank with a cotton pad dampened with saliva and found that it was stamped K&P LONDONMADE on the right side of the shank. On the left side it was stamped 215 and A “PETERSON’S PRODUCT” Made In London. So I had found an English made Peterson’s shape 215 pipe. The band was silver and was badly tarnished but I could see from the hallmarks that it was also stamped with English hallmarks. The first was an anchor which told me that the band was made in Birmingham. The second was a reclining lion which is the stamping for Sterling silver. The third mark was hard to see with the grime and tarnish but looked like an animal face in the cartouche. Closer examination would have to wait until I had cleaned up the tarnish.

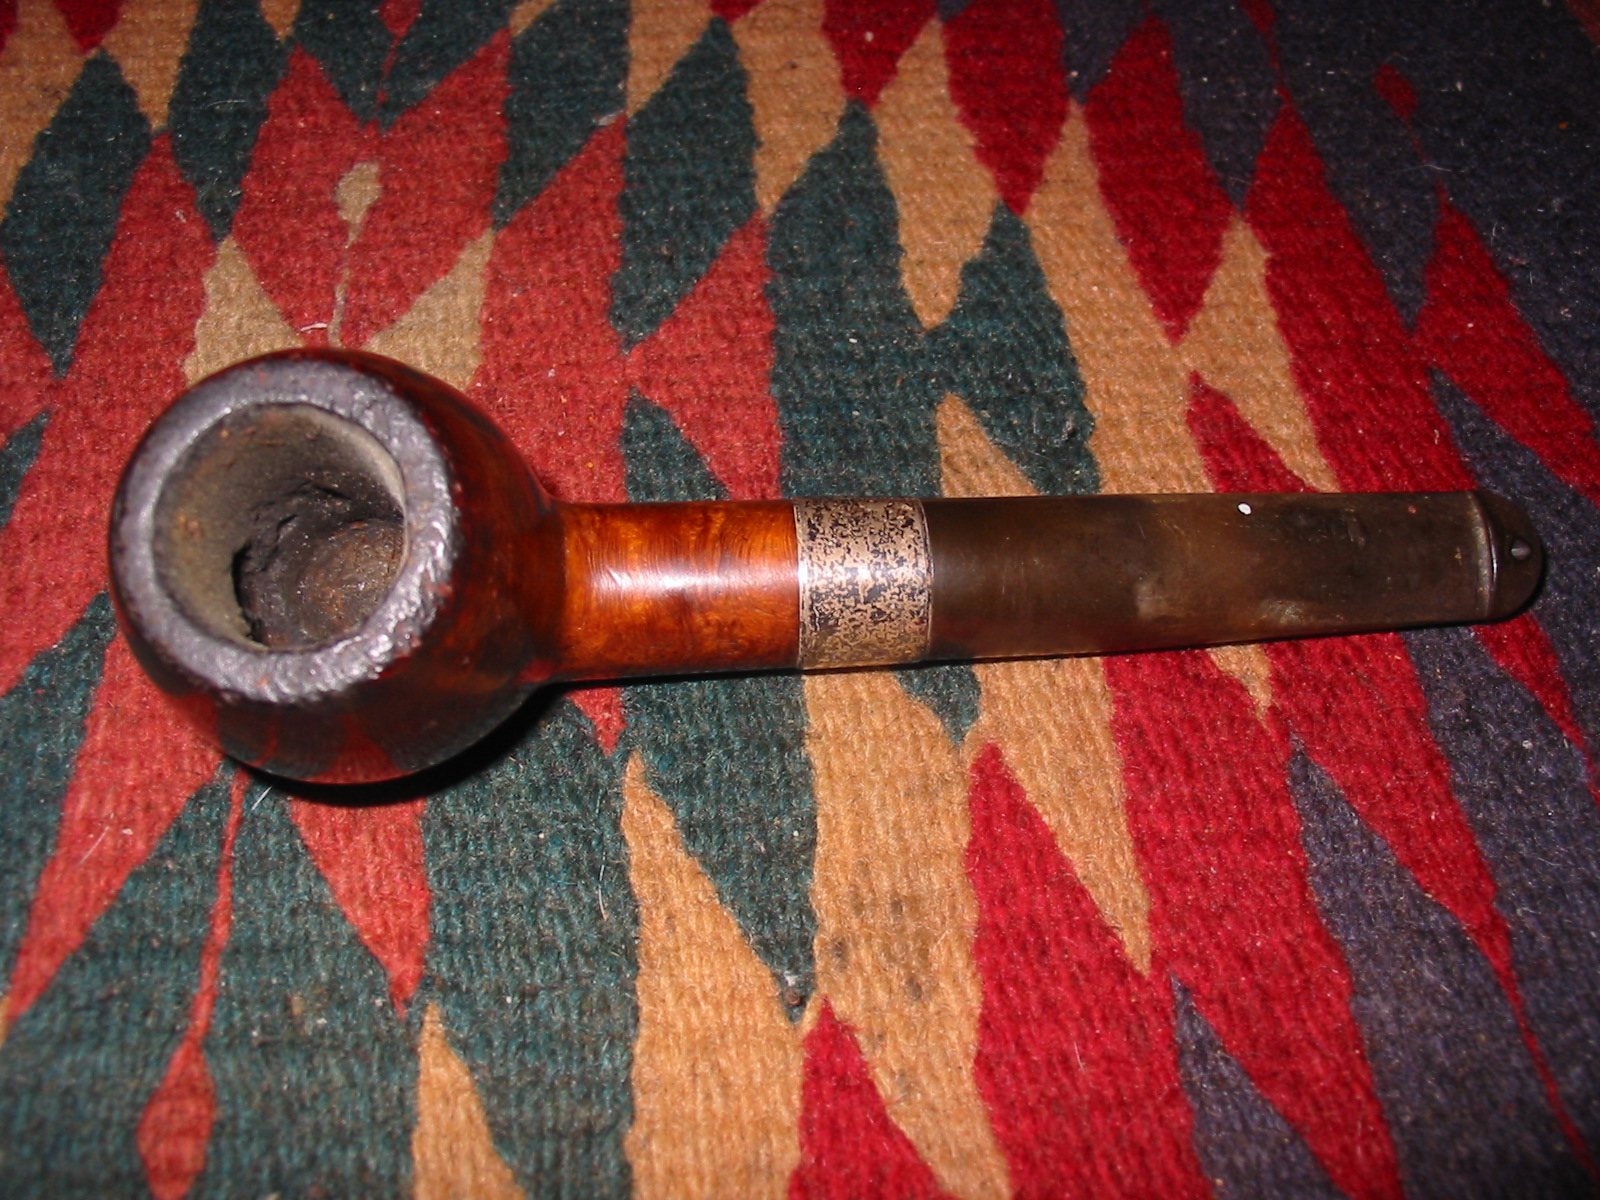
The pipe was in fair shape. The bowl had nicks in the sides in several places as well as a very rough rim. It looked as if it had been hammered about and was damaged. It would require topping to remedy that problem. The bowl had been reamed and was slightly out of round and then smoked again for some time – long enough to build up an uneven cake with most of the cake at the top of the bowl and the bottom of the bowl was bare wood. The silver band was loose and had turned about a quarter turn clockwise. The stem was very tight in the shank – which thankfully had kept the band in place on the pipe. The stem had many bite marks and tooth dents up the shaft from the button for about an inch. It looked as if the individual who had smoked it held it far back in his teeth. Both the underside and topside of the stem were damaged with tooth marks and a series of grooves from a tool. The button itself and the ledge on the underside were in very good shape. The round opening in the button was elongated from years of pipe cleaners.

I was able to carefully remove the stem and the inside of the shank was darkened with tars but not terribly dirty. The end of the tenon is stepped down and the fit in the shank was very snug. After cleaning the stem would fit well. There was no stamping on the oxidized stem and appeared to be no remnant of stamping. The oxidation on the stem was heavy at the shank stem union and also around the button on the top and bottom.

IMG_1664

IMG_1665

IMG_1666

IMG_1667

I wrote about the stamping to Mark Irwin who is my Peterson’s go to contact for information on Peterson pipes. He is a wealth of information that I have been unable to find in other places. He was on the road but sent me the following information. “…The “Peterson Product” indicates the pipe is a lower line. They began using this stamp in the 1930 catalog for their “K” pipes, but if it was this, you should’ve seen a “K” on it. There were several “200” series shapes, but the “215” is not in a catalog I have here. The London factory was much smaller than the Dublin, but I’ll have to ask Gary about the hallmarks, as I’m unfamiliar with the Brit system. Best my guess tonight is that the pipe dates anywhere from 1920-1940. I have photos of a thick-shanked and thick-stemmed straight apple hallmarked Dublin 1920–I can send you a .gif when I get home if this sounds like the pipe. If so, the shape itself goes back to at least that year.”

That was helpful information on the dating of the pipe. I sent Mark the photos last evening and then this morning received this reply concerning the pipe. “… Gorgeous! Yup, it’s the same shape as the photo I have, which means the shape itself goes back to at least 1920.” In the mean time I had cleaned up the band with silver polish and scrubbed it with a soft cotton pad. I reset it with white glue on the shank and examined the hallmarks under a bright light with a jewelers loop. It became clear that the last of the hallmarks was not an animal but rather a letter in the cartouche. It was well worn but from the outlines on the mark it appeared to be the letter “T” which dates the pipe to 1943.

IMG_1669

I reamed the bowl with a PipNet reamer using the smallest cutting head and the next size as well. I removed the cake back to the wood to even out the broken cake. I cleaned out the shank with cotton swabs to remove all the tars and oils in the shank. Once I had cleaned out the shank I also cleaned the stem with pipe cleaners. I used Everclear with cotton swabs on both. When it was finished I put the stem back in the shank and the fit was snug.

IMG_1670

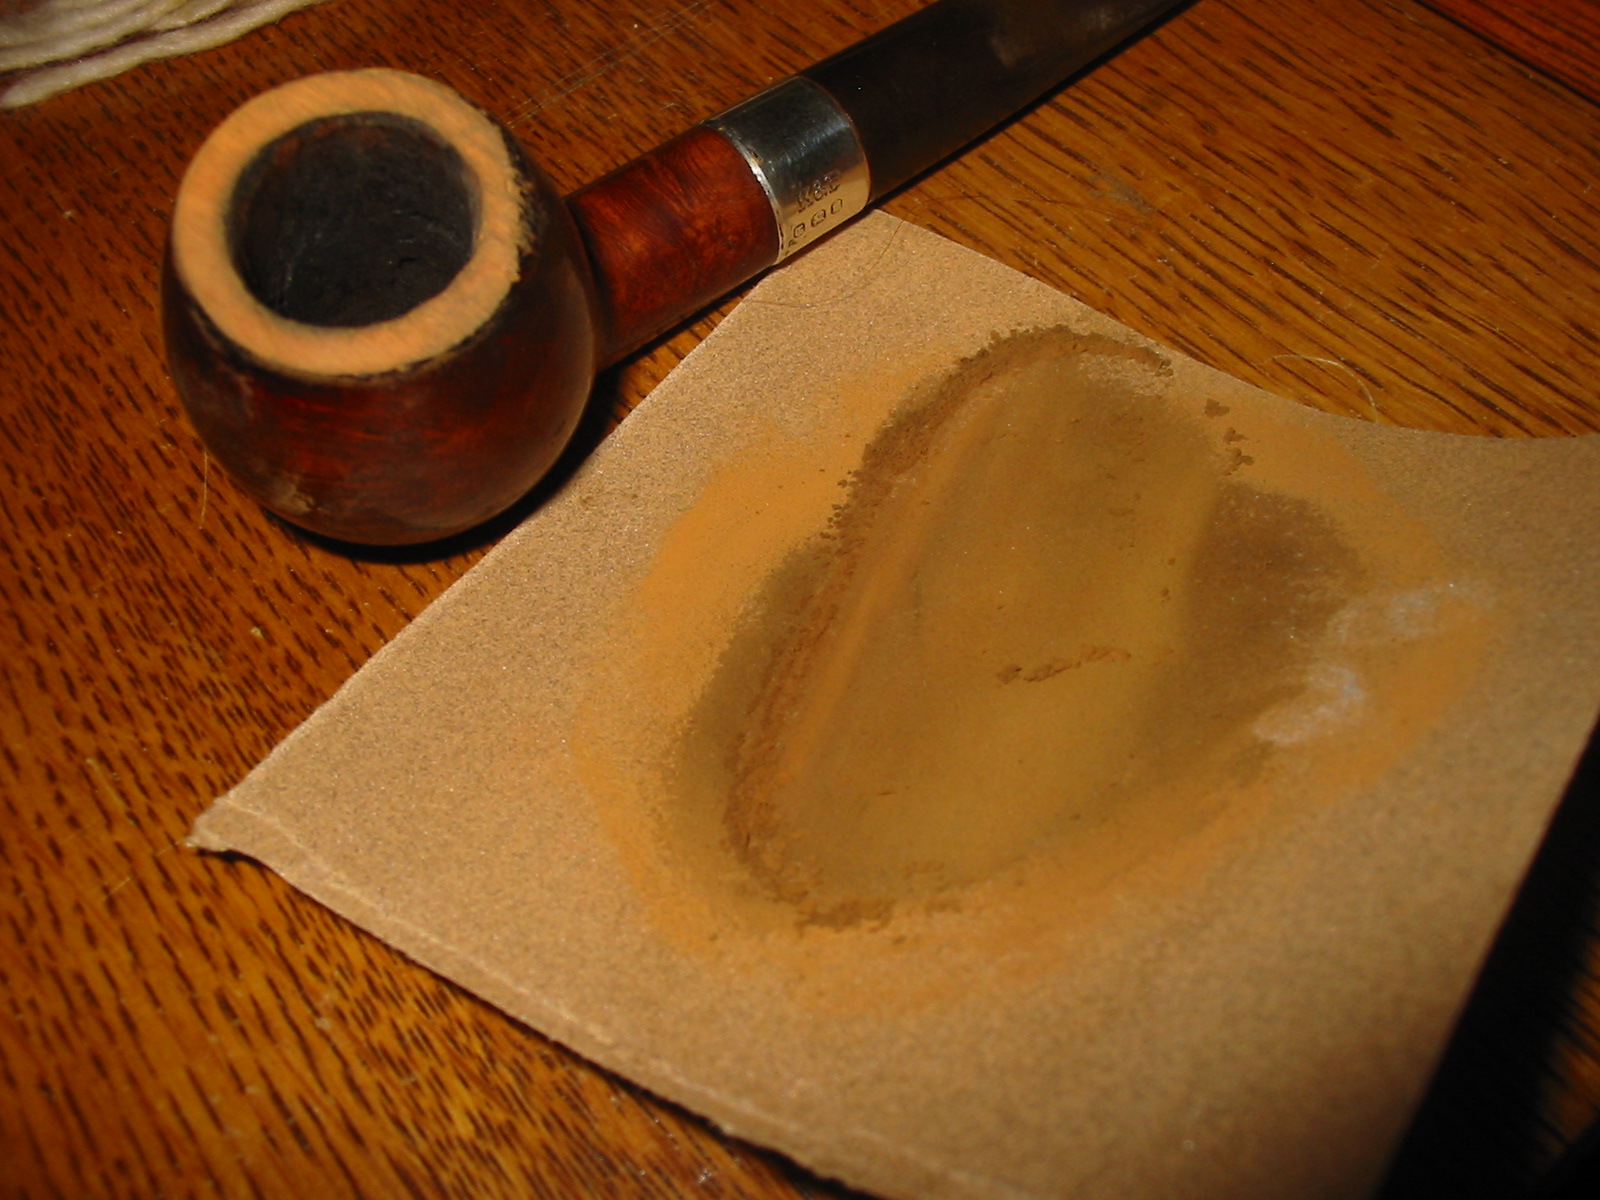
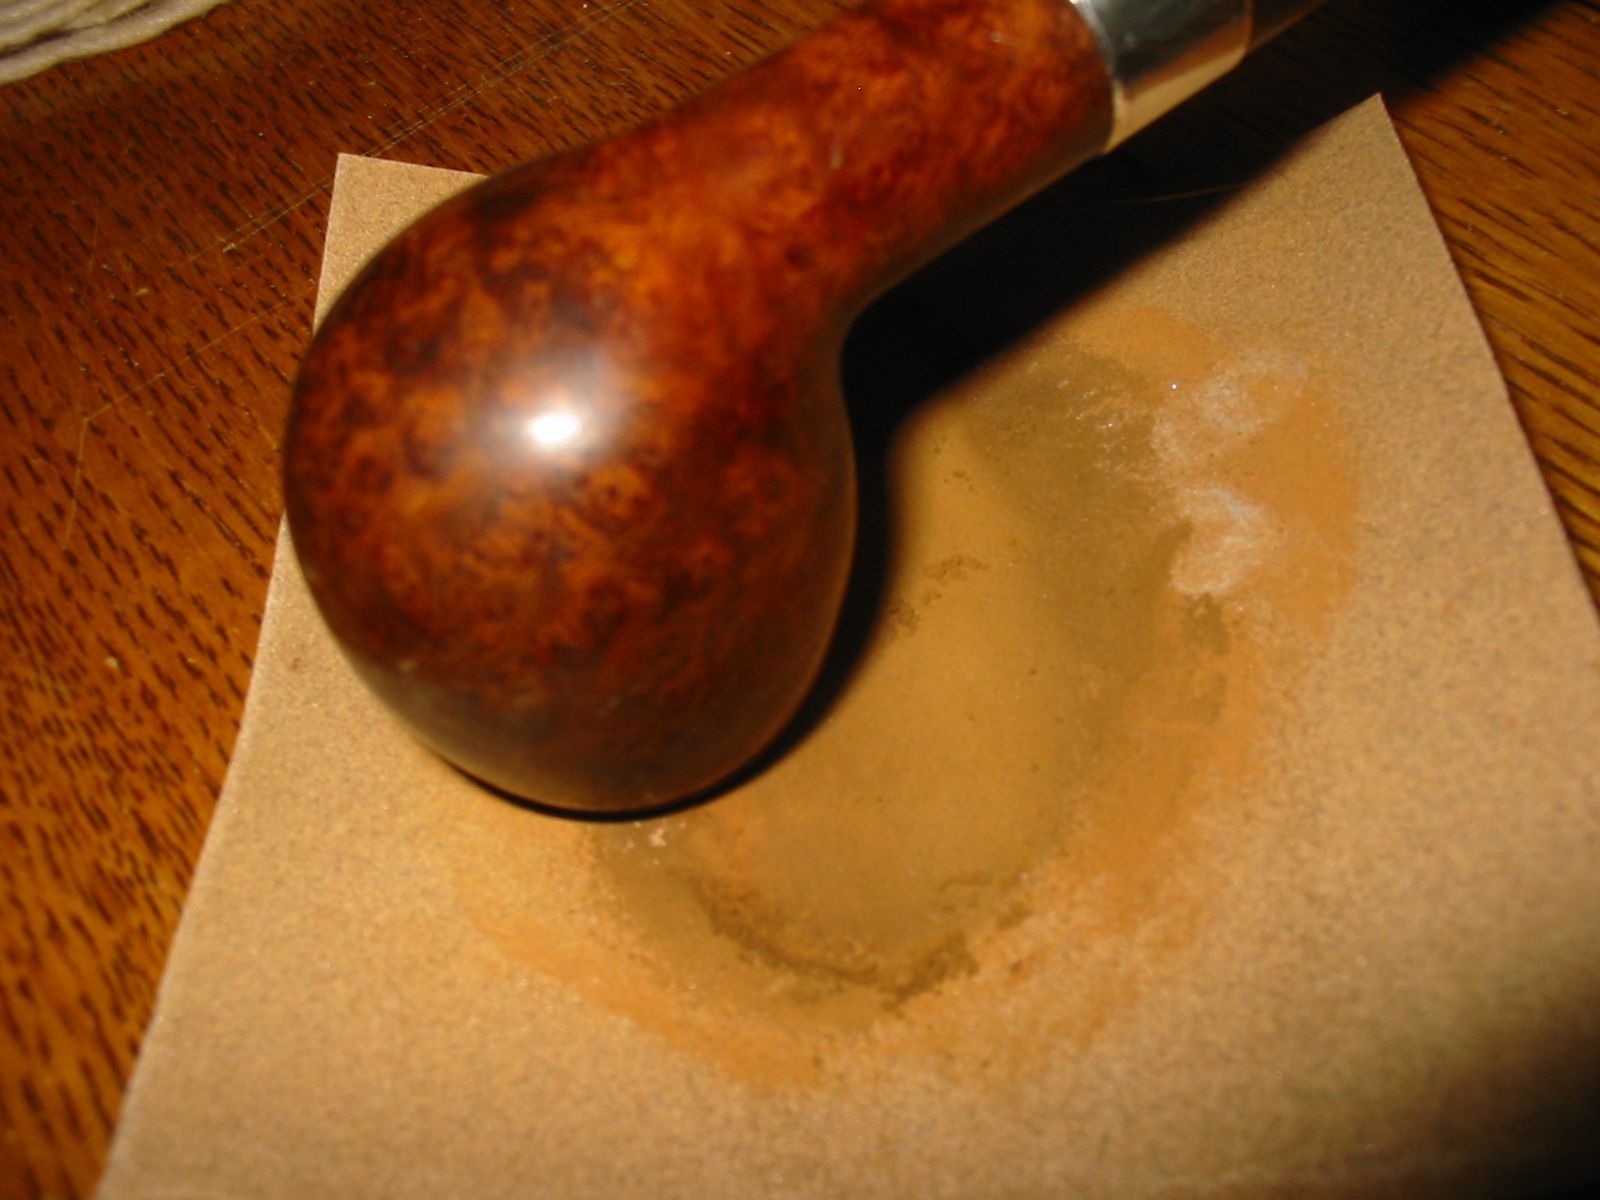
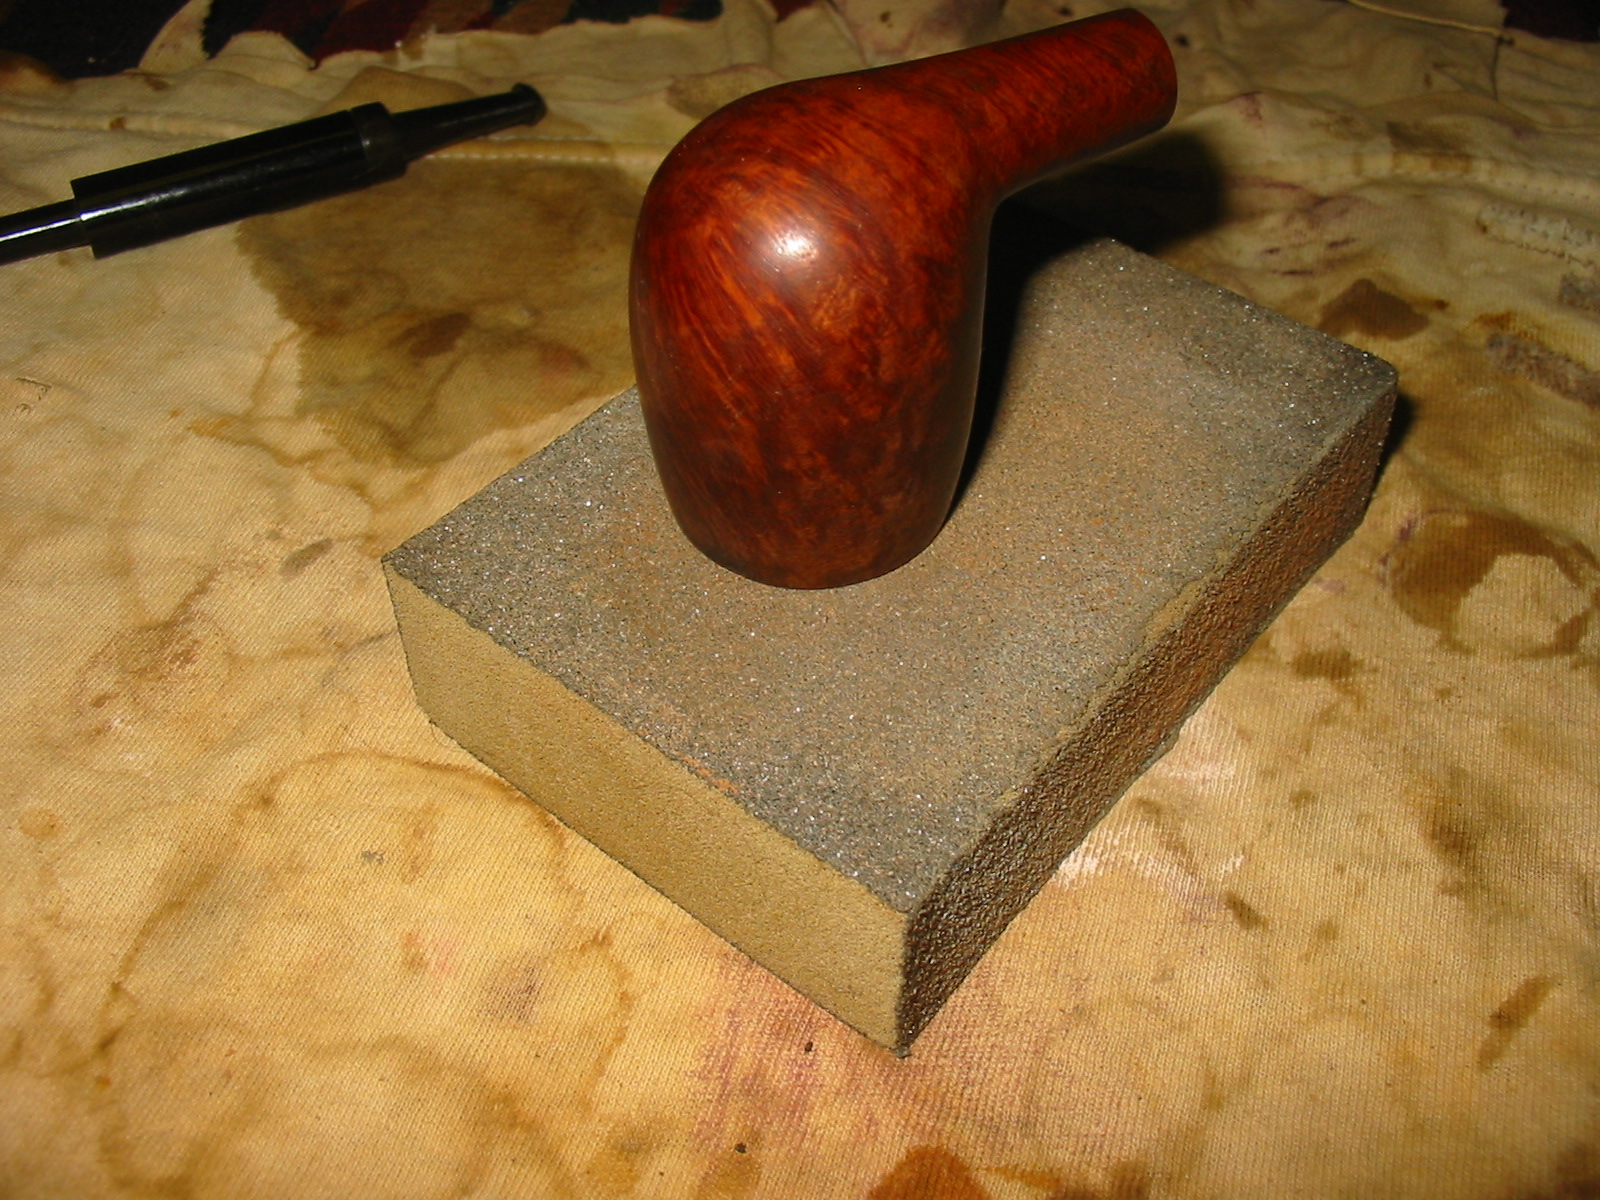
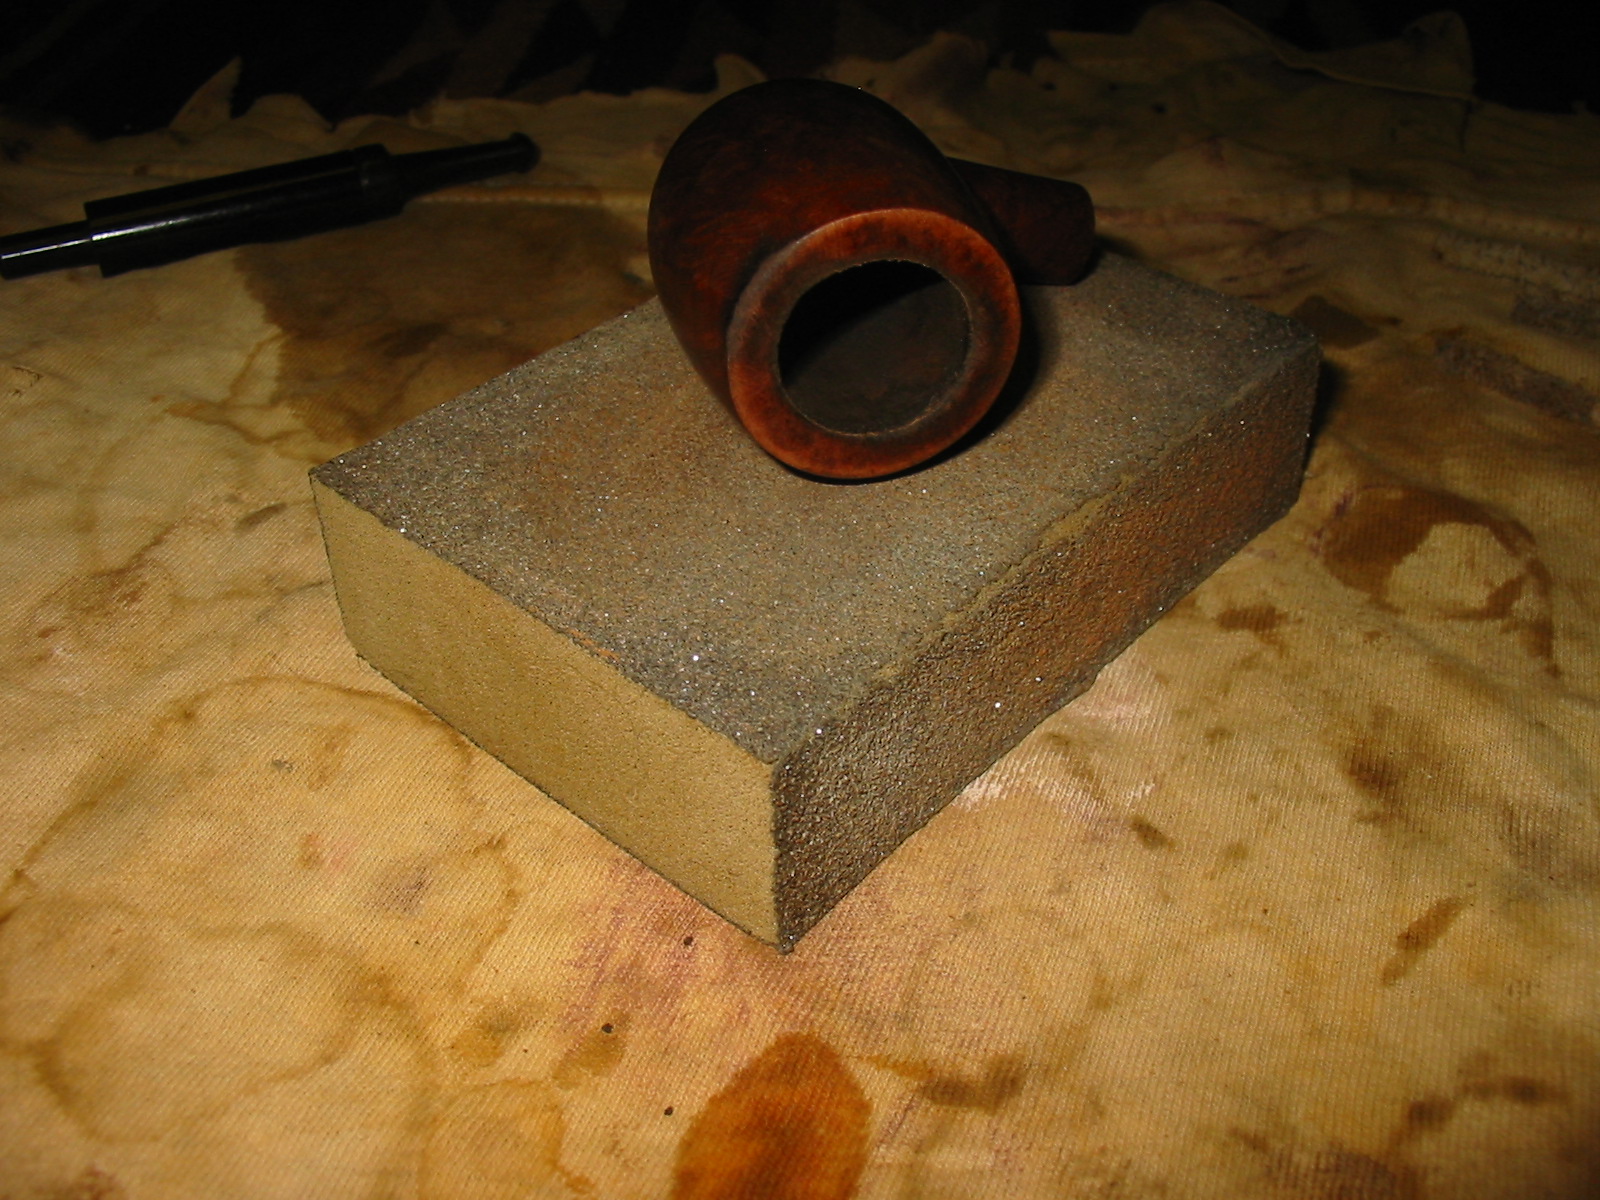
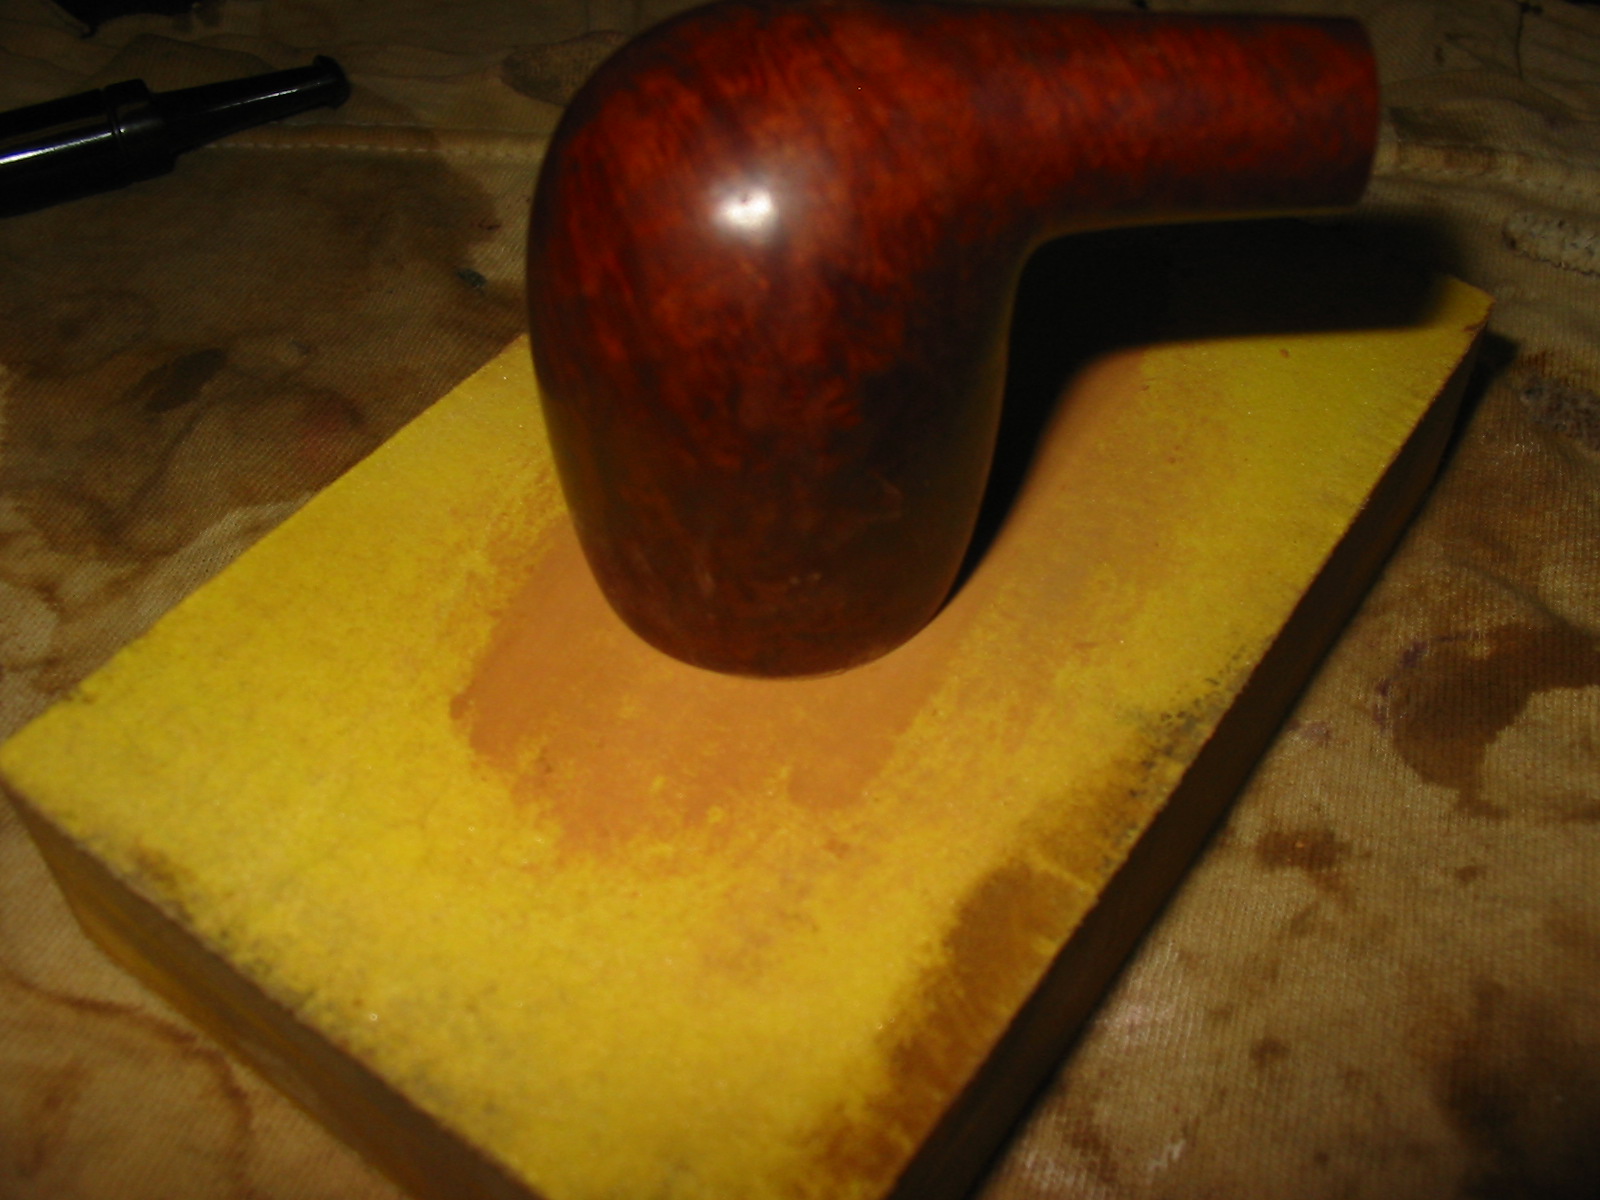
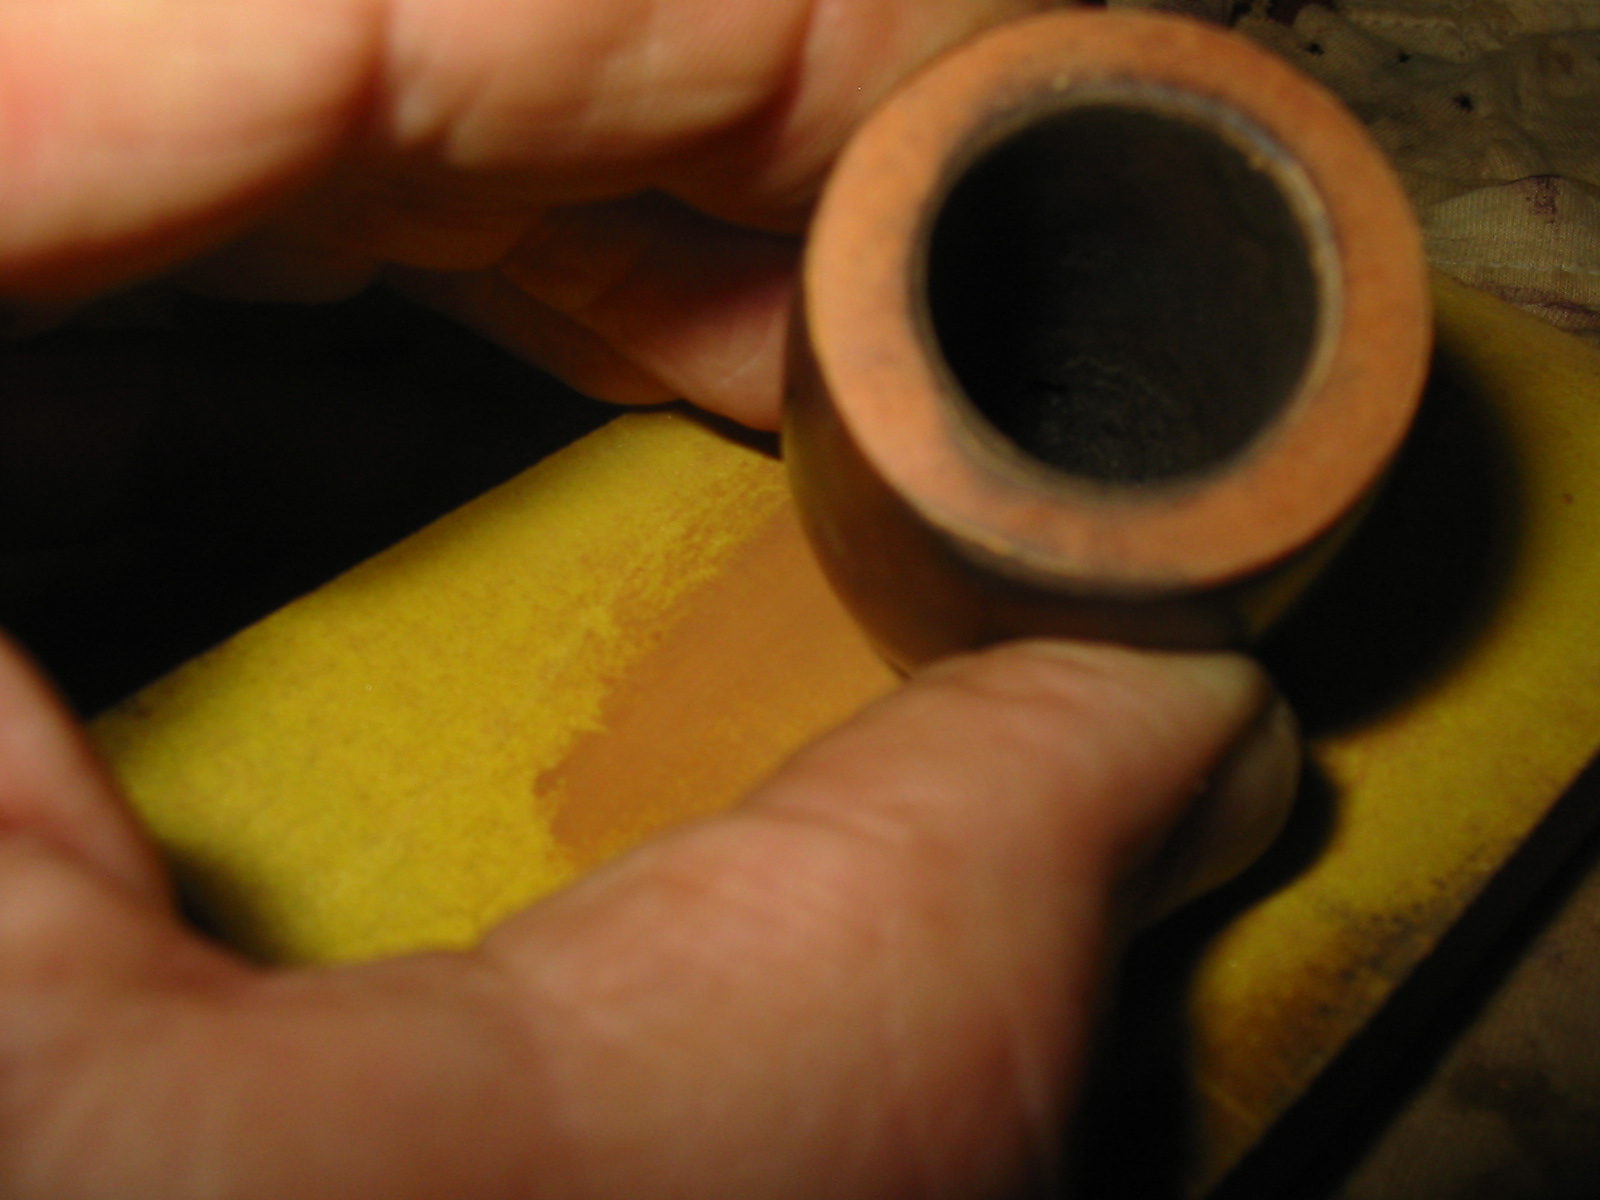
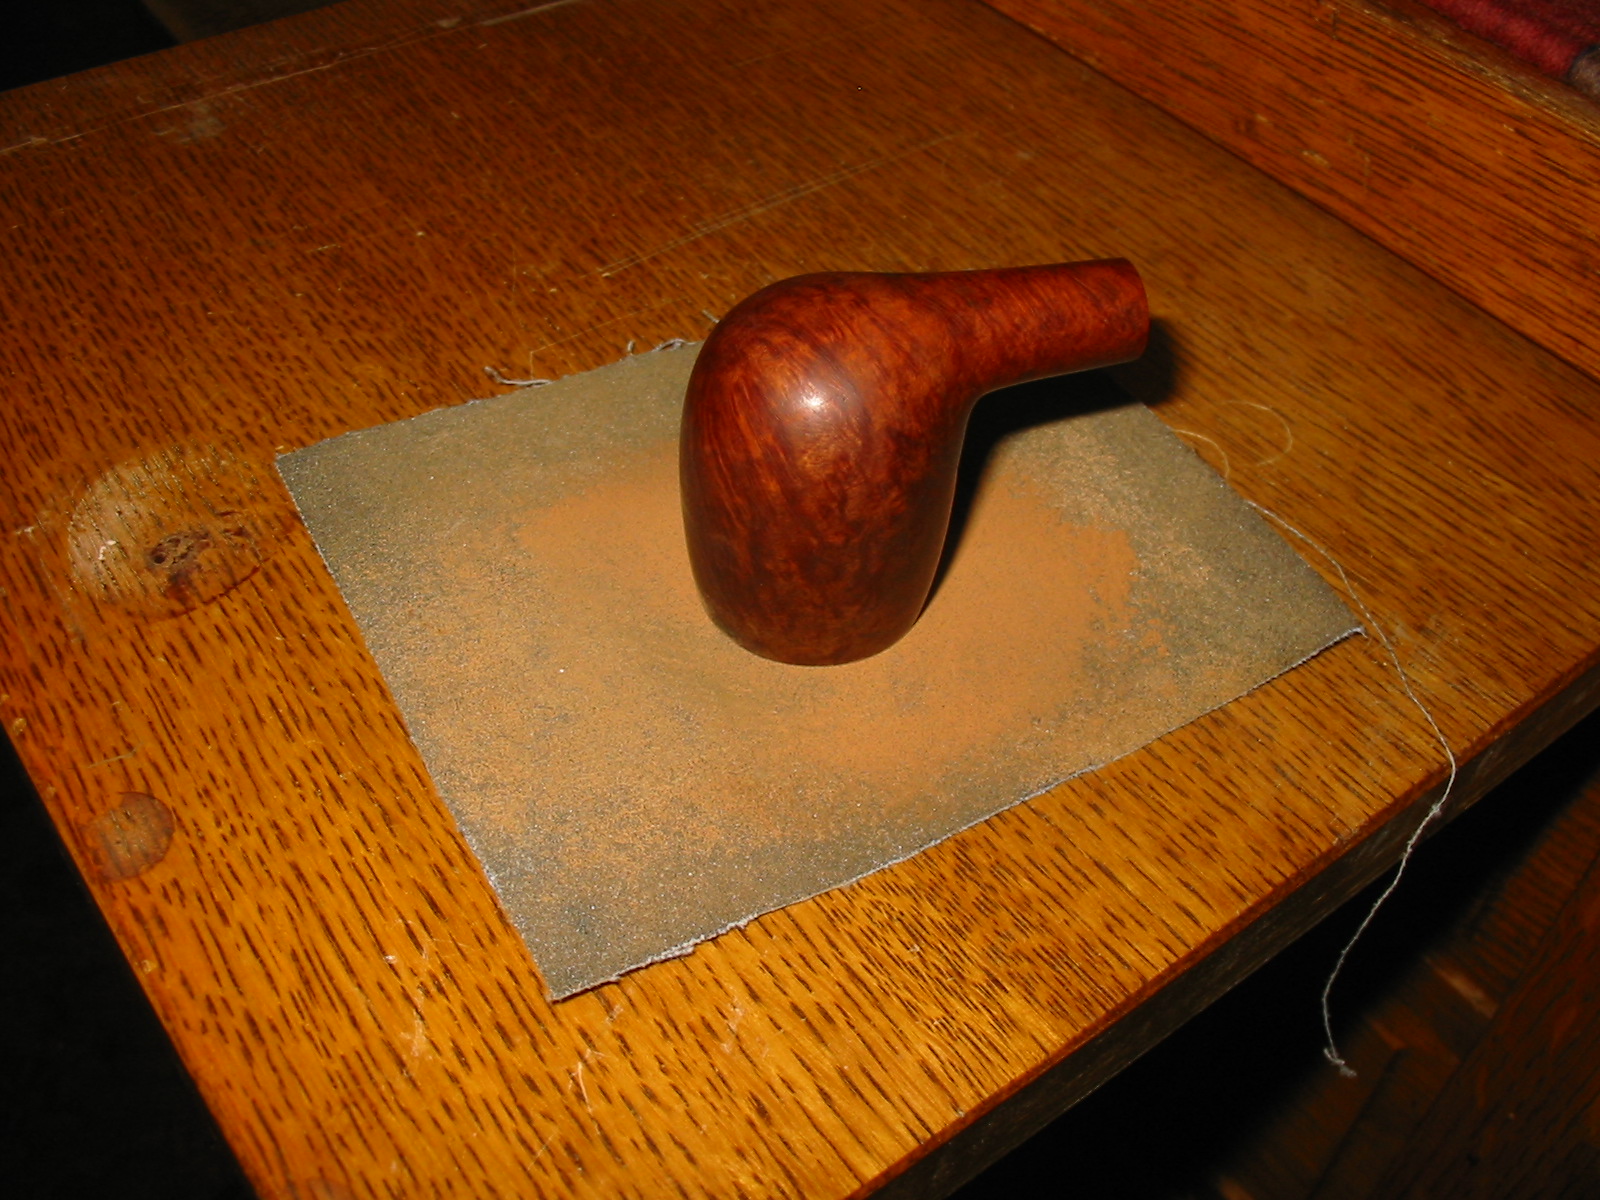
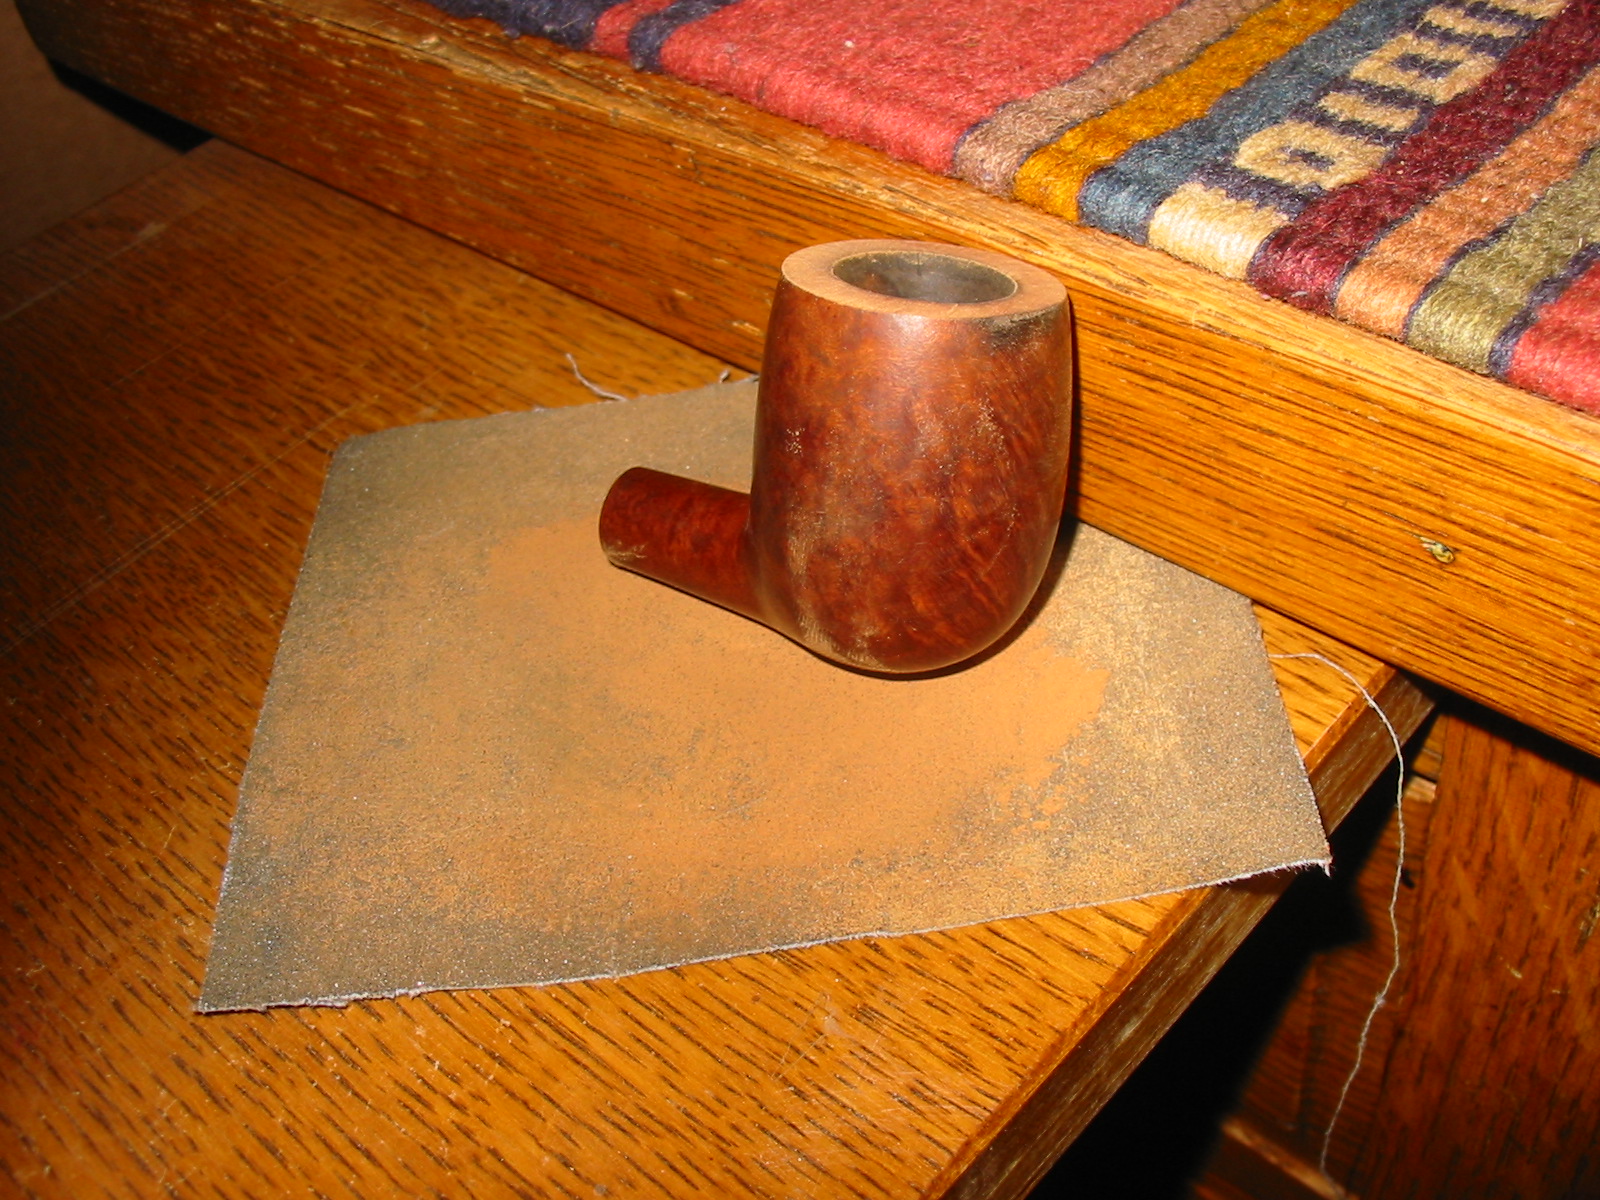
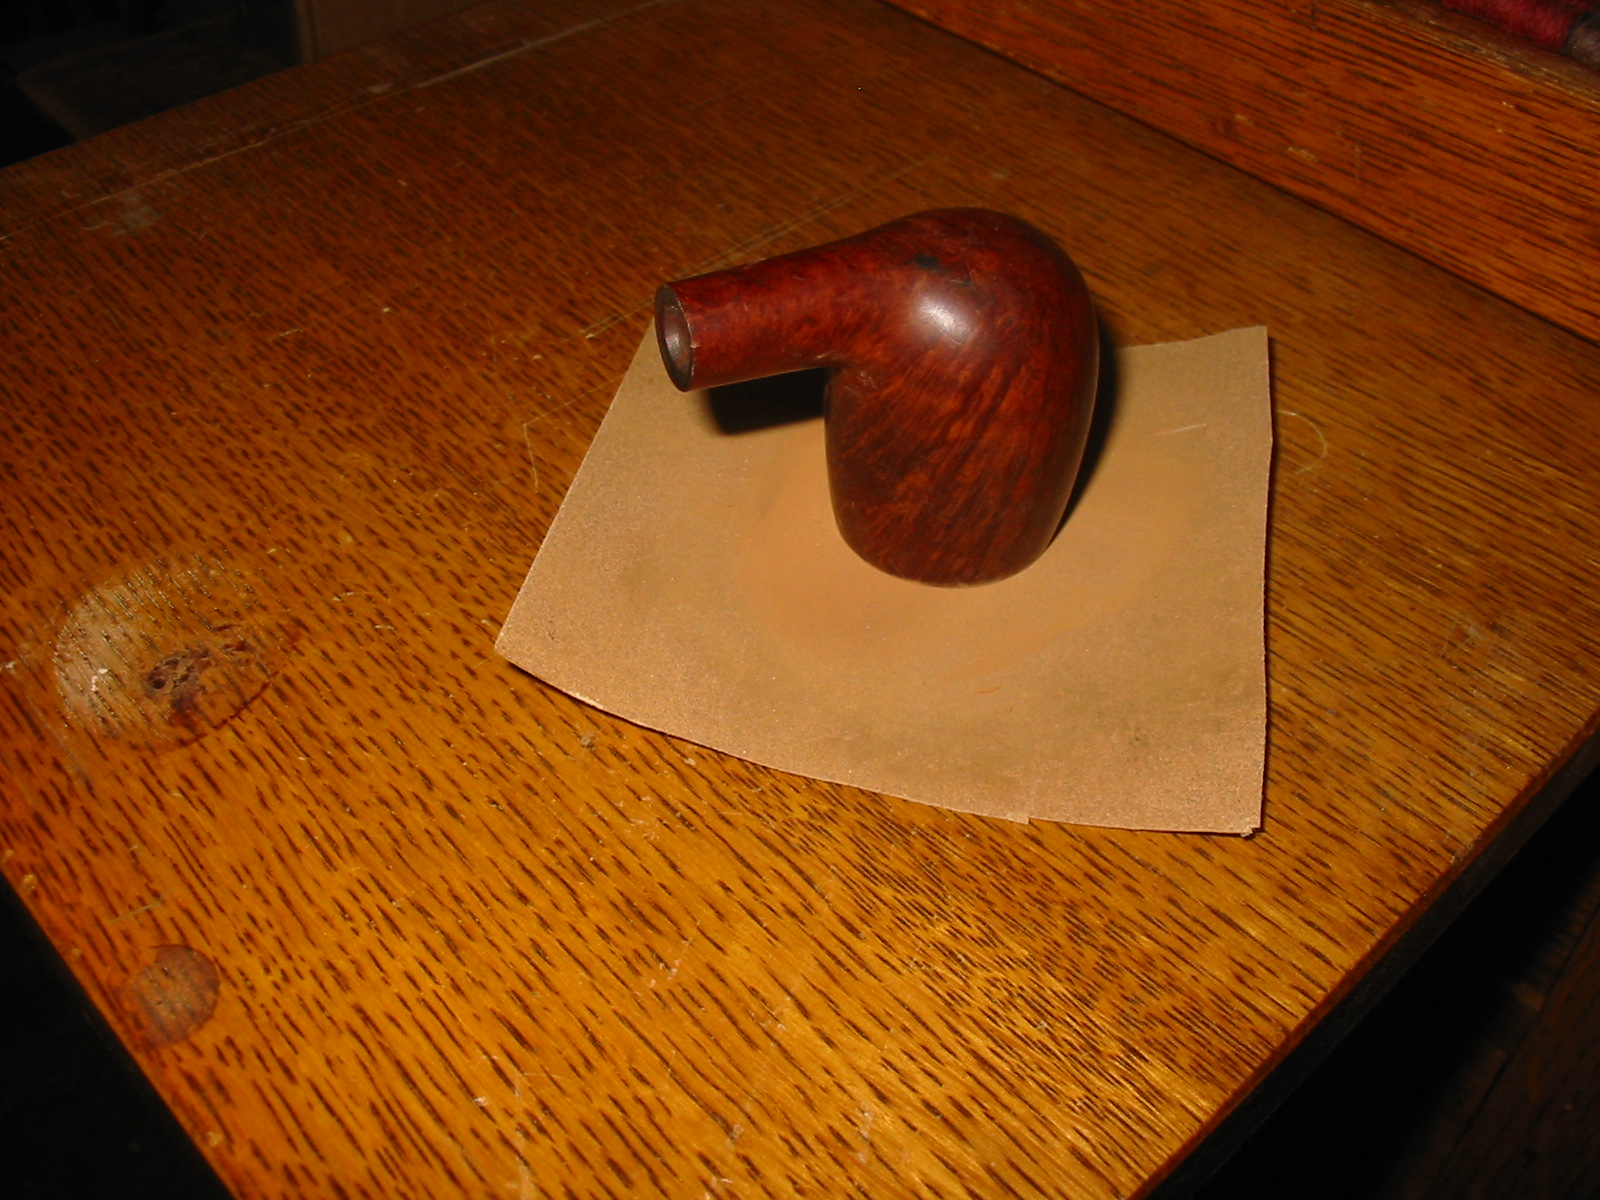
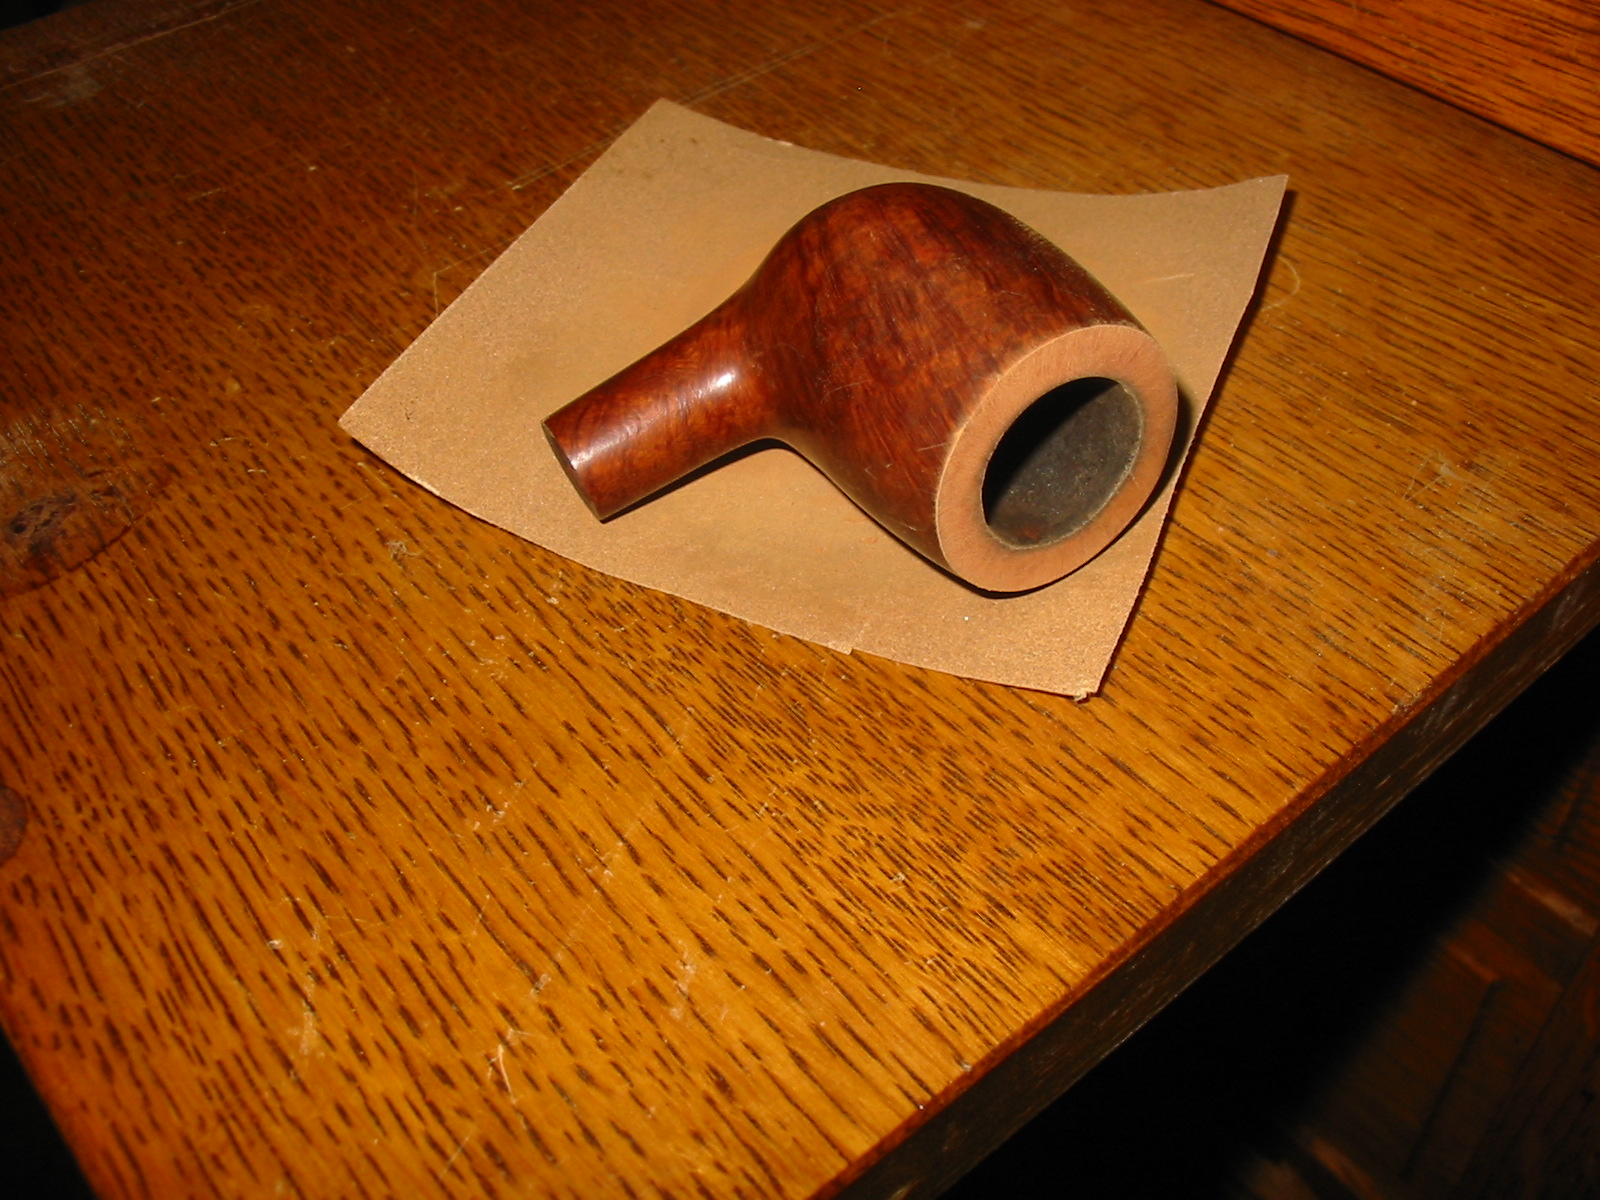
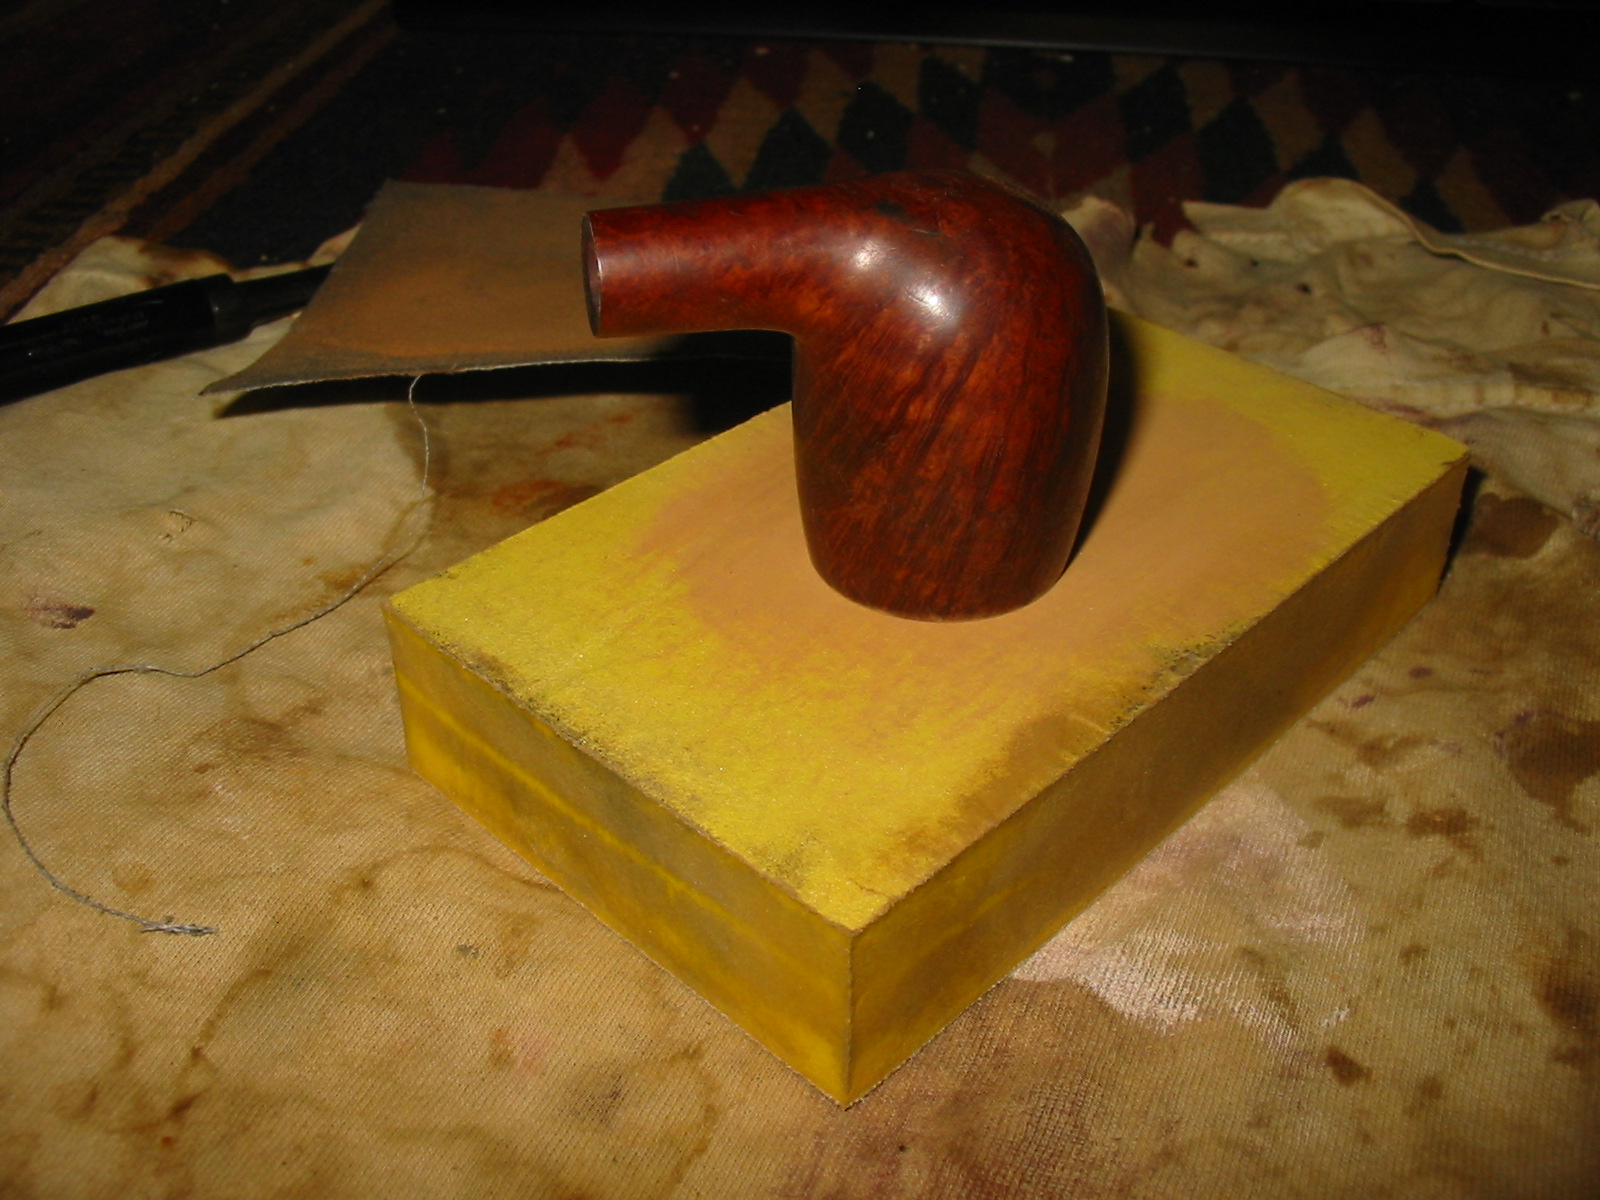
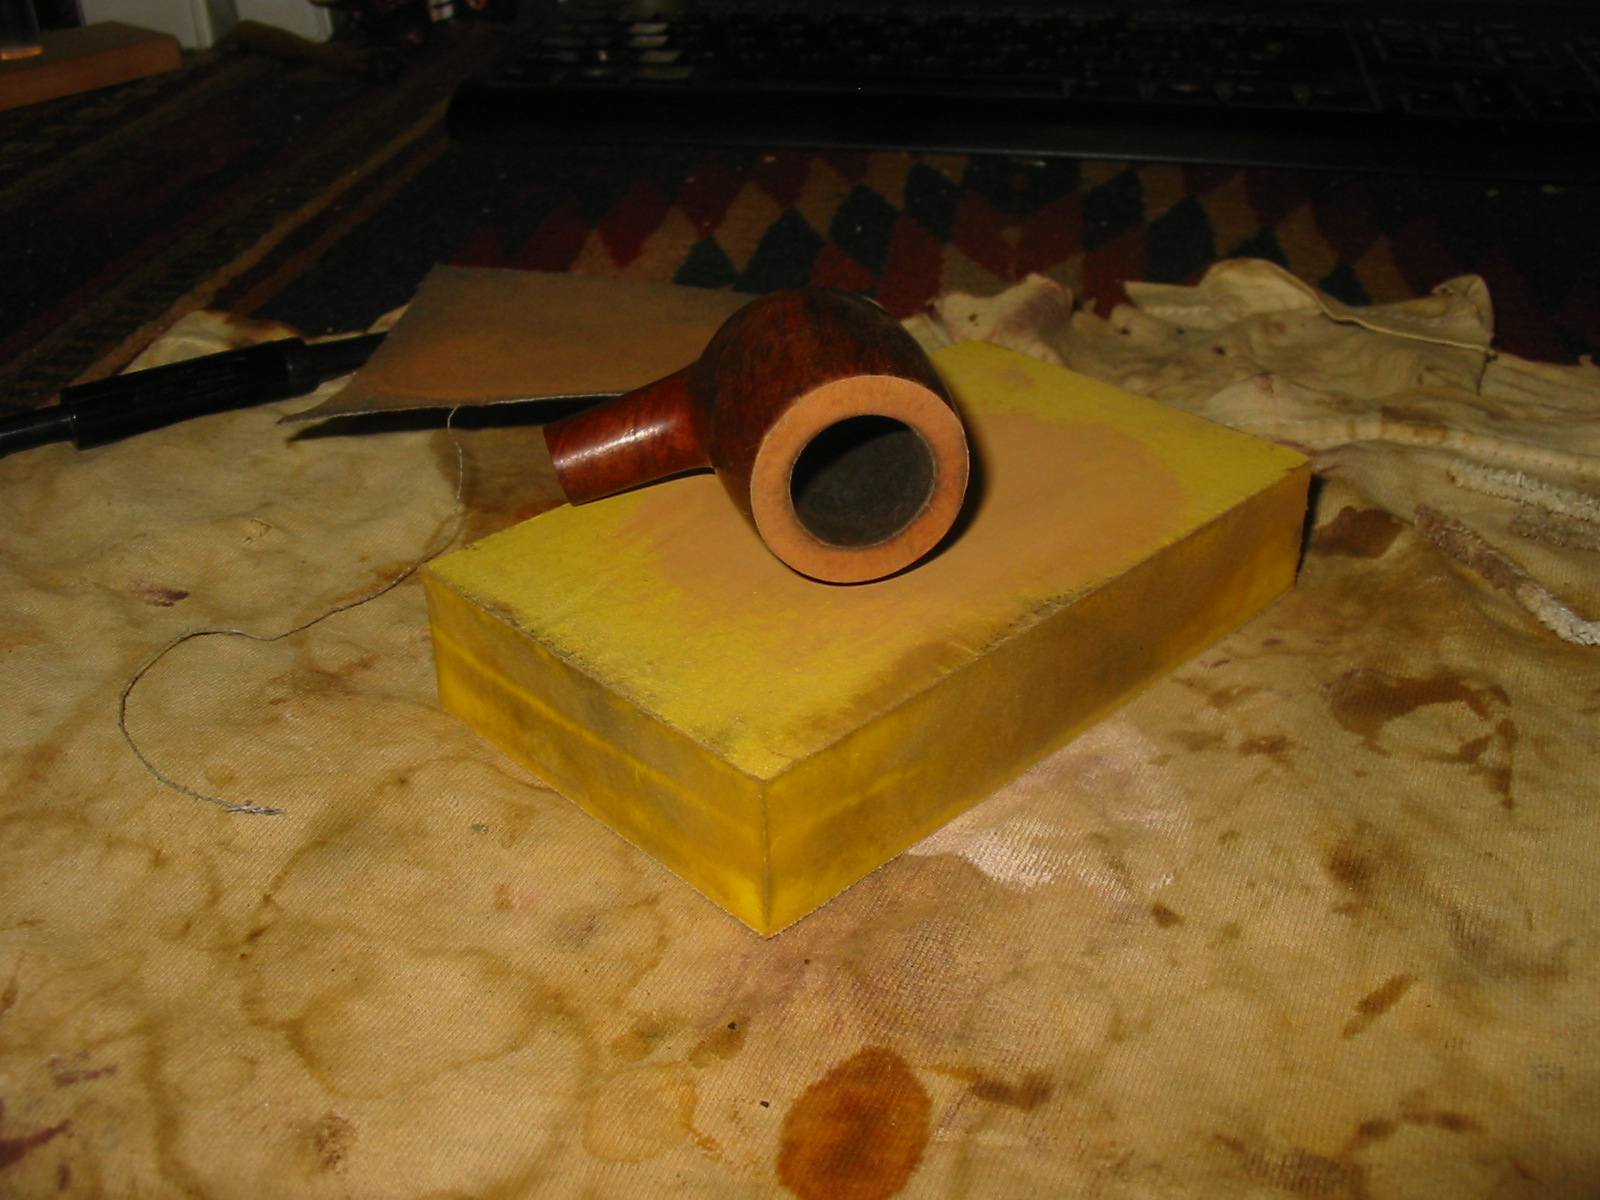
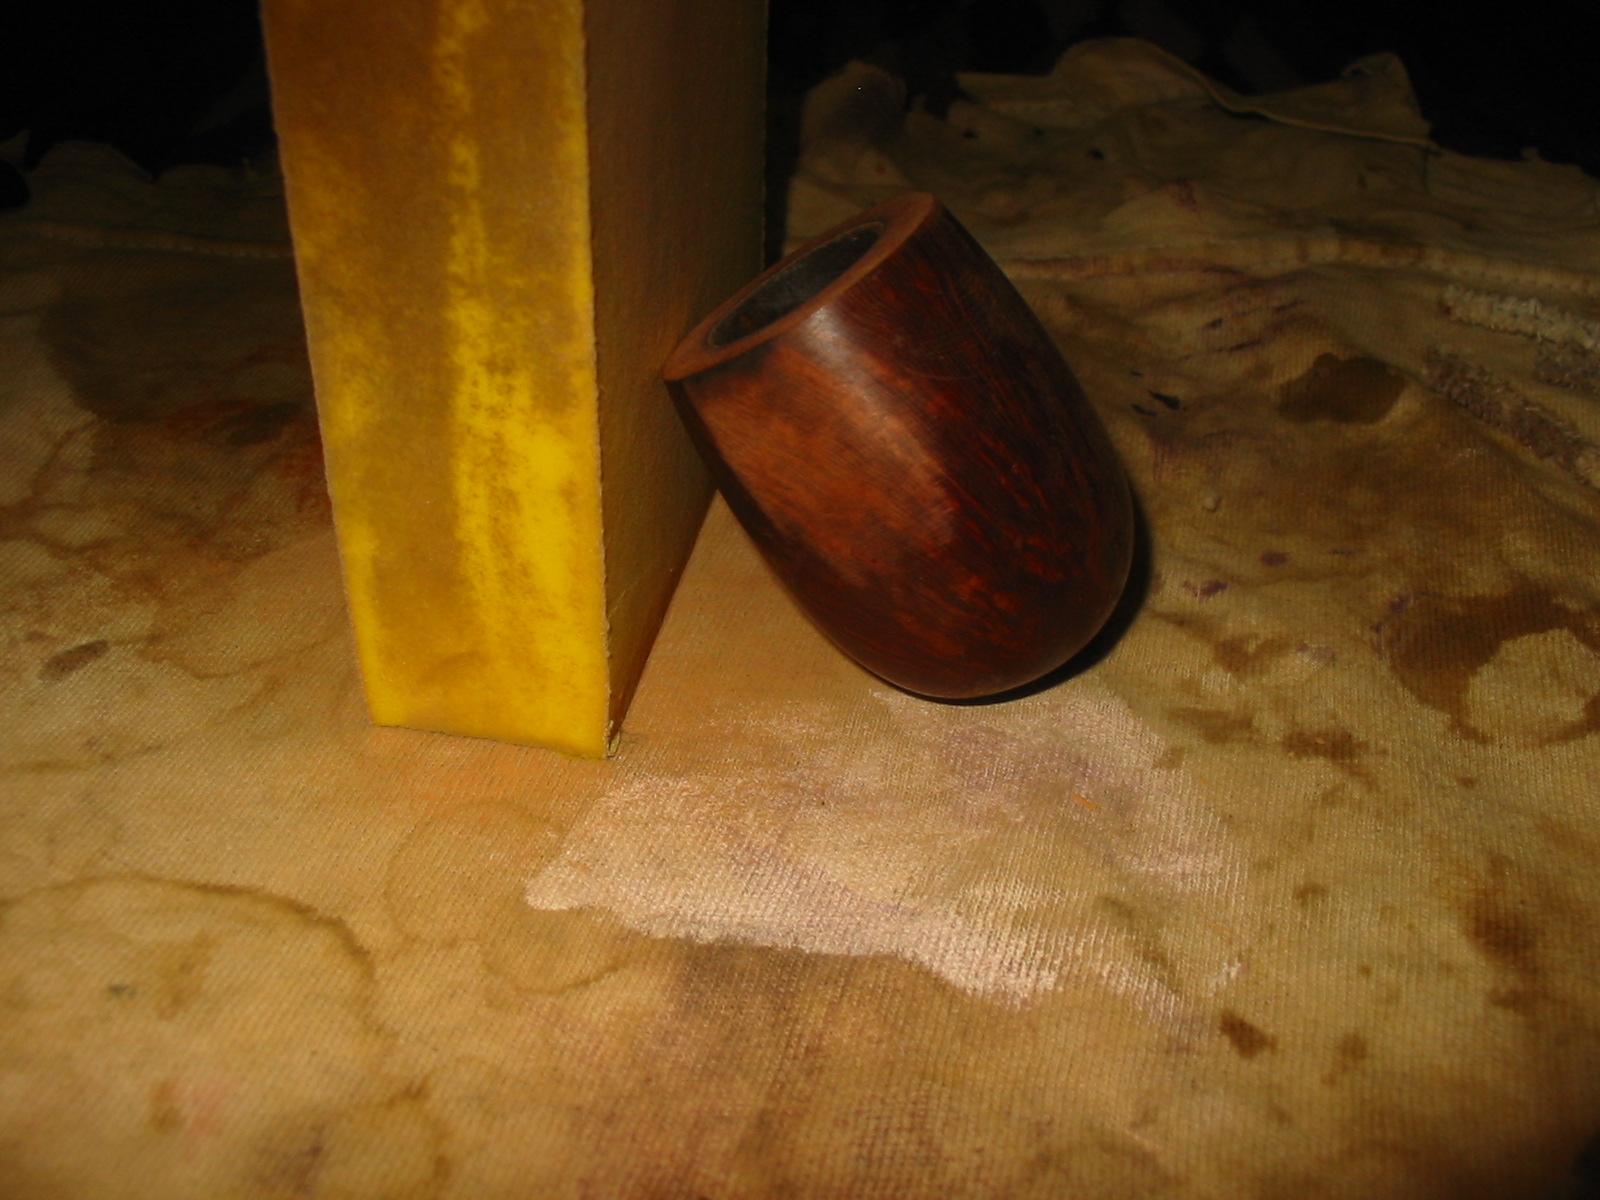
I topped the bowl with my usual method – 220 grit sandpaper on a flat board and turned the bowl clockwise as I pressed the rim into the sandpaper. I sanded the top until the damaged portion of the rim was removed. One side benefit of the process was that it also removed some of the damaged inner rim as well bringing the bowl back into round.

IMG_1671

IMG_1672

IMG_1673

To prepare the bowl for restaining I wiped it down with acetone on a cotton pad. I wanted to remove as much of the finish as possible so that I could more easily blend the new stain on the rim with the stain on the bowl. I have found that if I thin down the original stain on the bowl I can generally make a good match with the rim when I stain the entire pipe. The rim always takes several more coats of stain than the bowl but the match comes out very well. I wanted to end up with a stain colour that matched the original stain colour as much as possible. Between each coat of stain I flamed the stain to set it in the grain of the briar. The stain I used was an aniline stain in a dark brown that I thinned 2:1 with isopropyl alcohol. Once it was dry I hand buffed it with a shoe brush to blend the colours of the stain and give me a clear look at the stain to make sure it was evenly applied.

IMG_1674

IMG_1675

IMG_1676

IMG_1680

IMG_1681

IMG_1682

I set the bowl aside and worked on the stem. I sanded the stem with medium grit emery paper to remove the oxidation and also clean up the vulcanite around the tooth dents. Once clean, I heated the dents by passing the flame of a lighter across the tooth marks. The heat of the flame lifts the dents to the surface. The key is to keep the flame moving quickly and not allow it to sit in one place too long or the stem will burn. The first photo below shows the tooth marks on the top side of the stem. There were matching tooth marks on the underside. The second photo shows the stem after the heating with the flame. I sanded the stem with 220 grit sandpaper and also a fine grit sanding sponge to remove the scratches and remnants of the dents. I filled the two remaining dents with super glue, sanded the glue down to match the surface of the stem and then finished the sanding with micromesh sanding pads from 1500-12,000 grit (Photos 3 – 5).

IMG_1677

IMG_1678

IMG_1679

IMG_1683

IMG_1684

Once the stem was sanded with the 12,000 grit micromesh pad I wiped it down with Obsidian Oil and when dry rubbed it into the stem. I gave the stem several coats of wax and returned it to the bowl. I polished the silver band a final time and also waxed that. I buffed the pipe lightly with White Diamond and gave it multiple coats of carnauba wax and buffed it with a clean flannel buffing pad. The finished pipe is pictured below. It has some beautiful grain on it. There are also some flaws in the briar that I chose to leave as I find they add character to the pipe.

IMG_1685

IMG_1686

IMG_1688

IMG_1689

Father Tom’s Briar – Reborn – by Al Jones


Blog by Al Jones

Followers of this blog are no doubt very familiar with Steve Laug’s wonderful “Father Tom” short stories. For those not familiar with Father Tom, he is fictional well seasoned, pipe smoking minister.

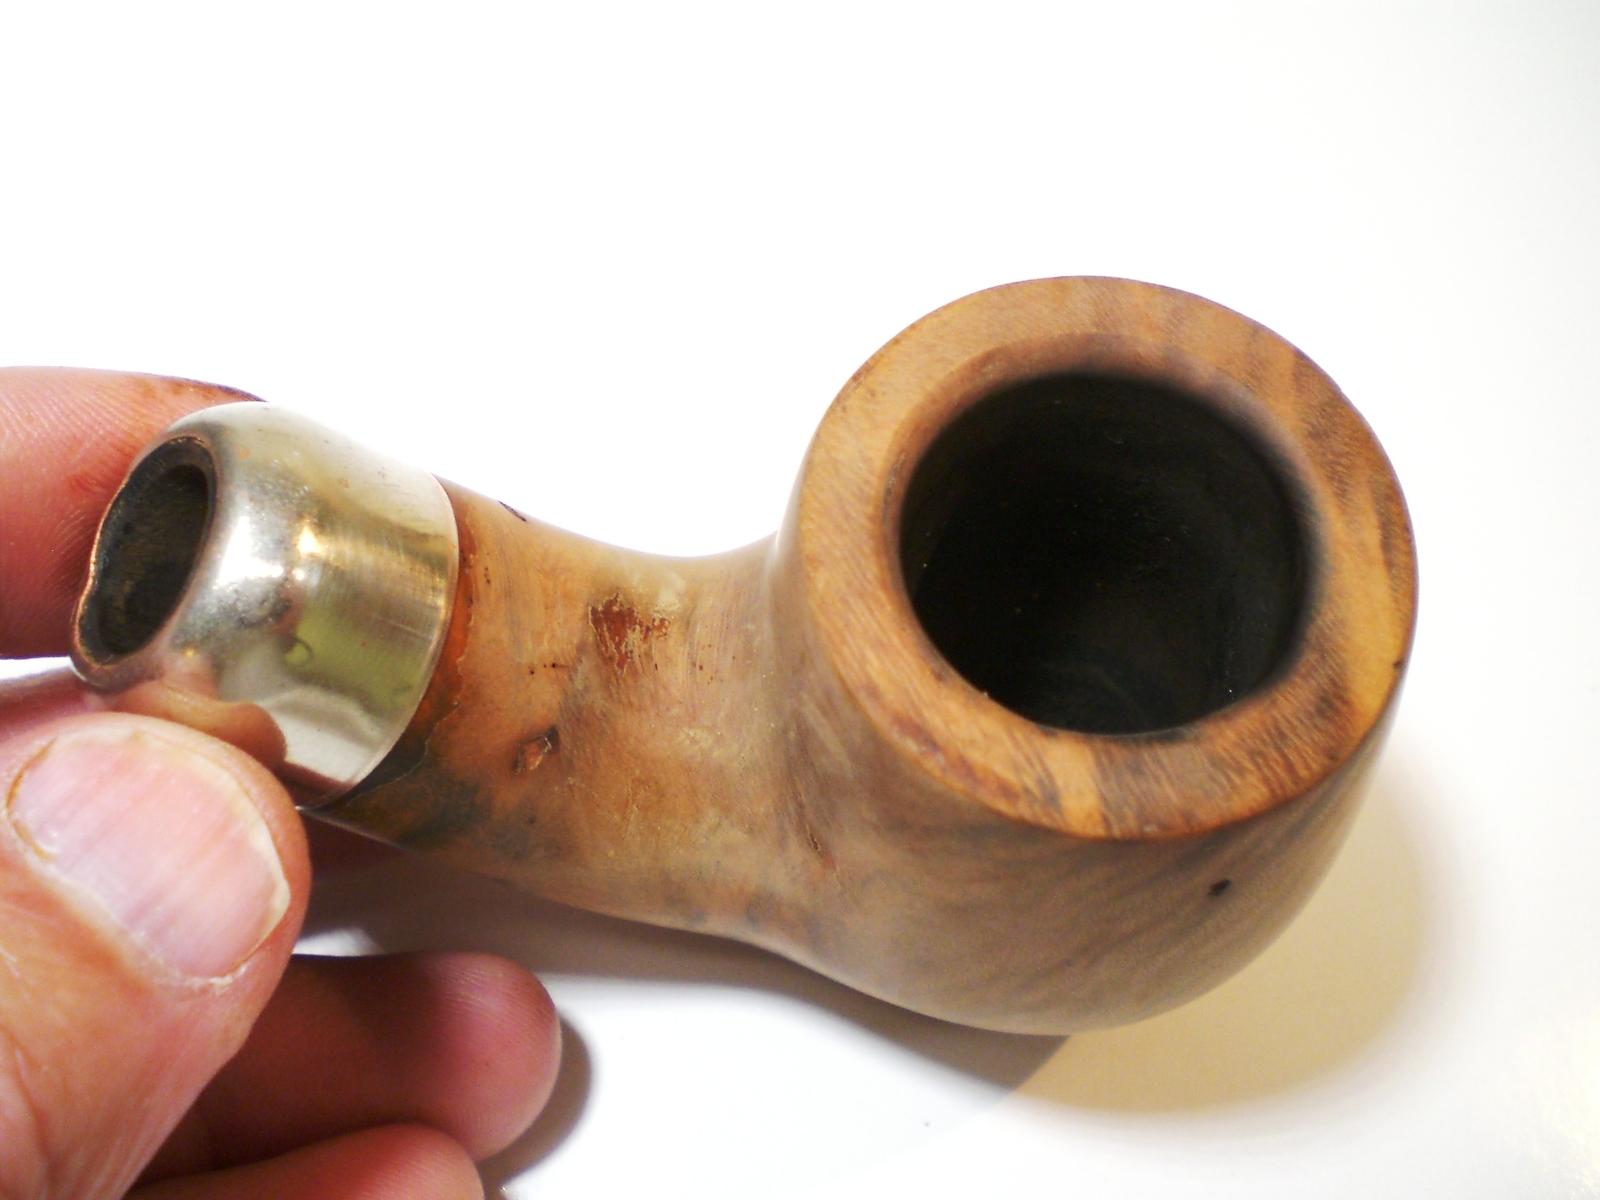
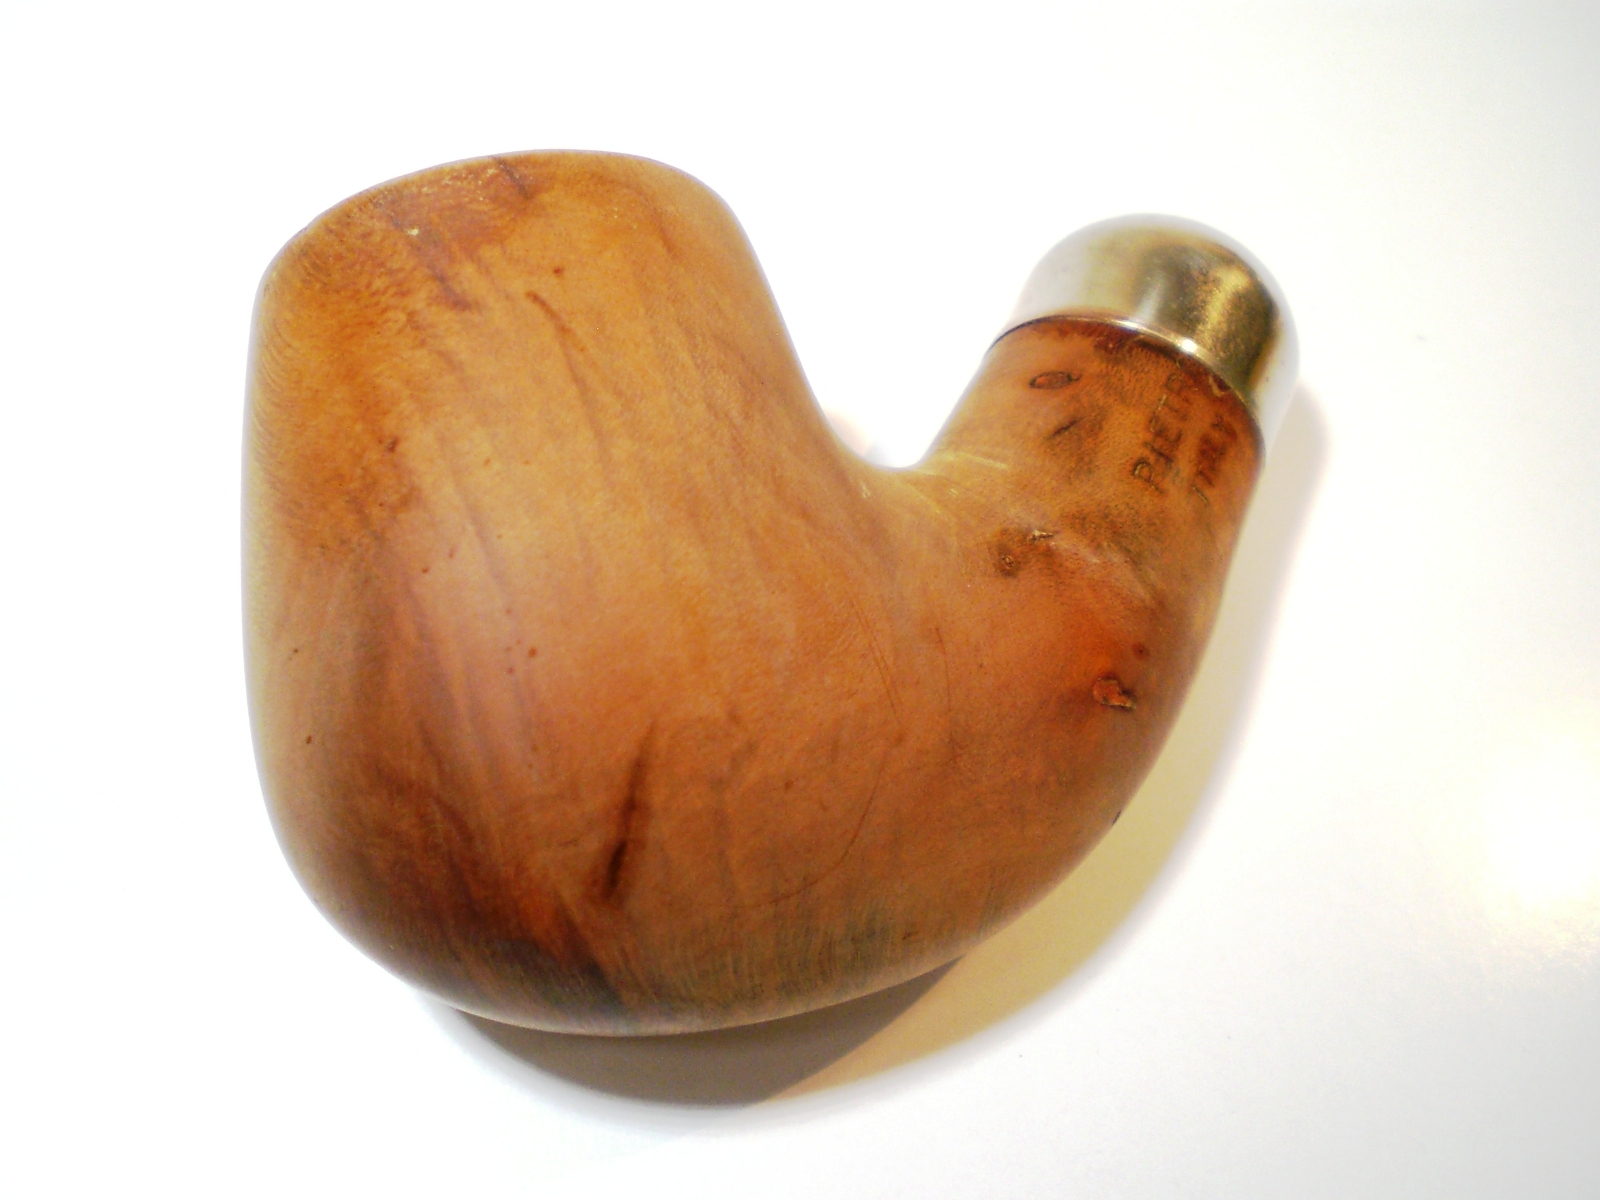
On the “Brothers of Briar” pipe forum and we are fortunate to have a real life “Father Tom” as a member. Father Tom is an Episcopal priest in Northern Indiana. He taught for 32 years before leaving the classroom for full-time parish work. He has been a pipe smoker since college, and most of his college pipes are still in the rotation. The pipe is one he bought in the late 70’s in South Carolina. Tom posted a picture of this pipe earlier this summer on the forum and wondered if the finish could be restored. Tom had recently returned from a church assignment to the Honduras. The pipe was very much well-loved and the varnished finish was worn off in the handling areas. The stem was also heavily oxidized. Tom reported that it smoked Granger quite well. Here is the pipe as it was delivered.

Fr_Tom_Before (3)

Fr_Tom_Before

Fr_Tom_Before (1)

Fr_Tom_Before (2)

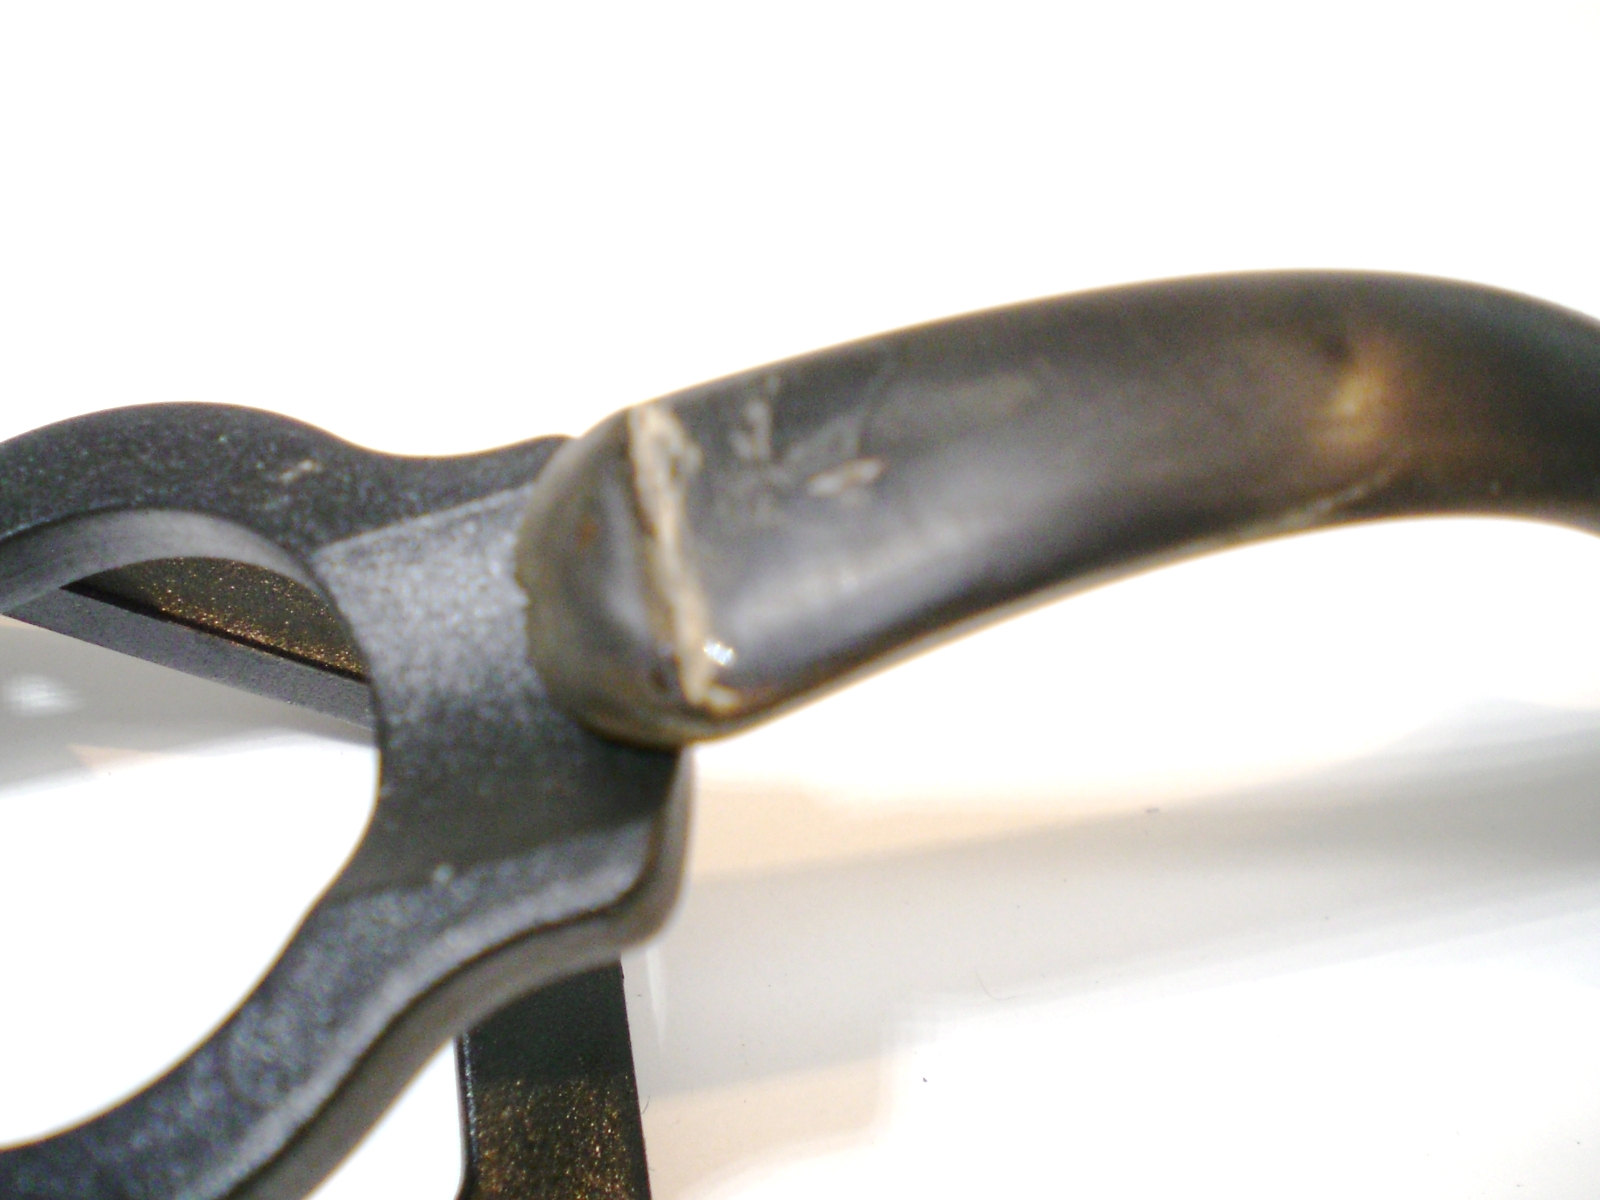
Steve sent me some information on a Wellington brand pipe and this one appears to be a reproduction of that and the Peterson system pipe, including a p-lip military stem. The pipe is stamped “Pietro”. Steve told me that these stems had a reputation of being drilled close to the edge of the stem near the bend. As such, over time, the use of a pipe cleaner wears the stem material thin. Sure enough, after I started to remove the oxidation, there was a small hole and crack on the top of the stem bend. I wasn’t sure the stem could be saved but I thought that perhaps several layers of black superglue blended in would rebuild that area. In total, I applied four light coats of the superglue, raising the surface about 1 mm and covering the hold. The crack still shows thru the material but I think it should hold up to some use. But, I advised Father Tom to be careful clenching that one. At some point a new stem will have to be made for the pipe.

This shows the repair in progress with the black superglue (purchased from Stewart-Mac, a guitar repair supply house).

Fr_Tom_Process_Stem2

Fr_Tom_Stem3

Fr_Tom_Stem4

I finished the stem by removing the heavy oxidation first with 600 grit wet sandpaper, than moving to the 800, 1000, 1500 and 2000 grades. I used 8000 and 12000 grades of micromesh to complete that step. Than, with the stem mounted in the briar, it was buffed with white diamond rouge, than a automotive plastic polish.

I then moved my attention to the briar. I first soaked the briar in an alcohol bath in an attempt to soften the varnished finish. That had some effect, but it was necessary to sand most of the shiny varnish off by hand. I used 600 grit paper and progress up to 1500 grade wet paper. There was one large gash on the bottom of the bowl and one large fill spot, where the putty had fallen out. Not surprisingly, there were other fills on the briar under that finish. I was able to lift out the dent using a heated kitchen knife and steam. I repaired the fill hold with some of the black superglue. Sometimes I think covering the fills looks worse than leaving them and I thought the others lent some character to the pipe that Tom had given the briar (they might have also been handling dings, etc.)

Fr_Tom_Process4

Fr_Tom_Process1

Fr_Tom_Process2

Fr_Tom_Process3

I used a two step process to apply the stain to the briar. First I warmed the bowl with a hair dryer and then brushed on a coat of black stain. I lit the stain with flame to set it into the grain. The black stain was then sanded off with a series of sandpaper, starting again at 800 grit. I then applied a very light, almost neutral brown stain over the black. The bowl was then buffed with white diamond rouge and several coats of carnuba wax. While hand buffing the carnuba wax, I almost had a tragic accident with the pipe – it slipped out of my hands and bounced off my concrete workshop floor. I was horrified but was somewhat relieved to see no visible damage. It was only in the final hand polishing did I notice that the fall had put a dent in the metal cap. Steve shared with me a technique to heat the cap (once removed) and use a wooden dowel shaped into the half-circle to work out dents. Unfortunately, even using heat, I was unable to remove the cap. After discussion with the gracious Father Tom, it was decided to leave well enough alone. I will be picking up a padded piece of carpet to place in front of my work bench.

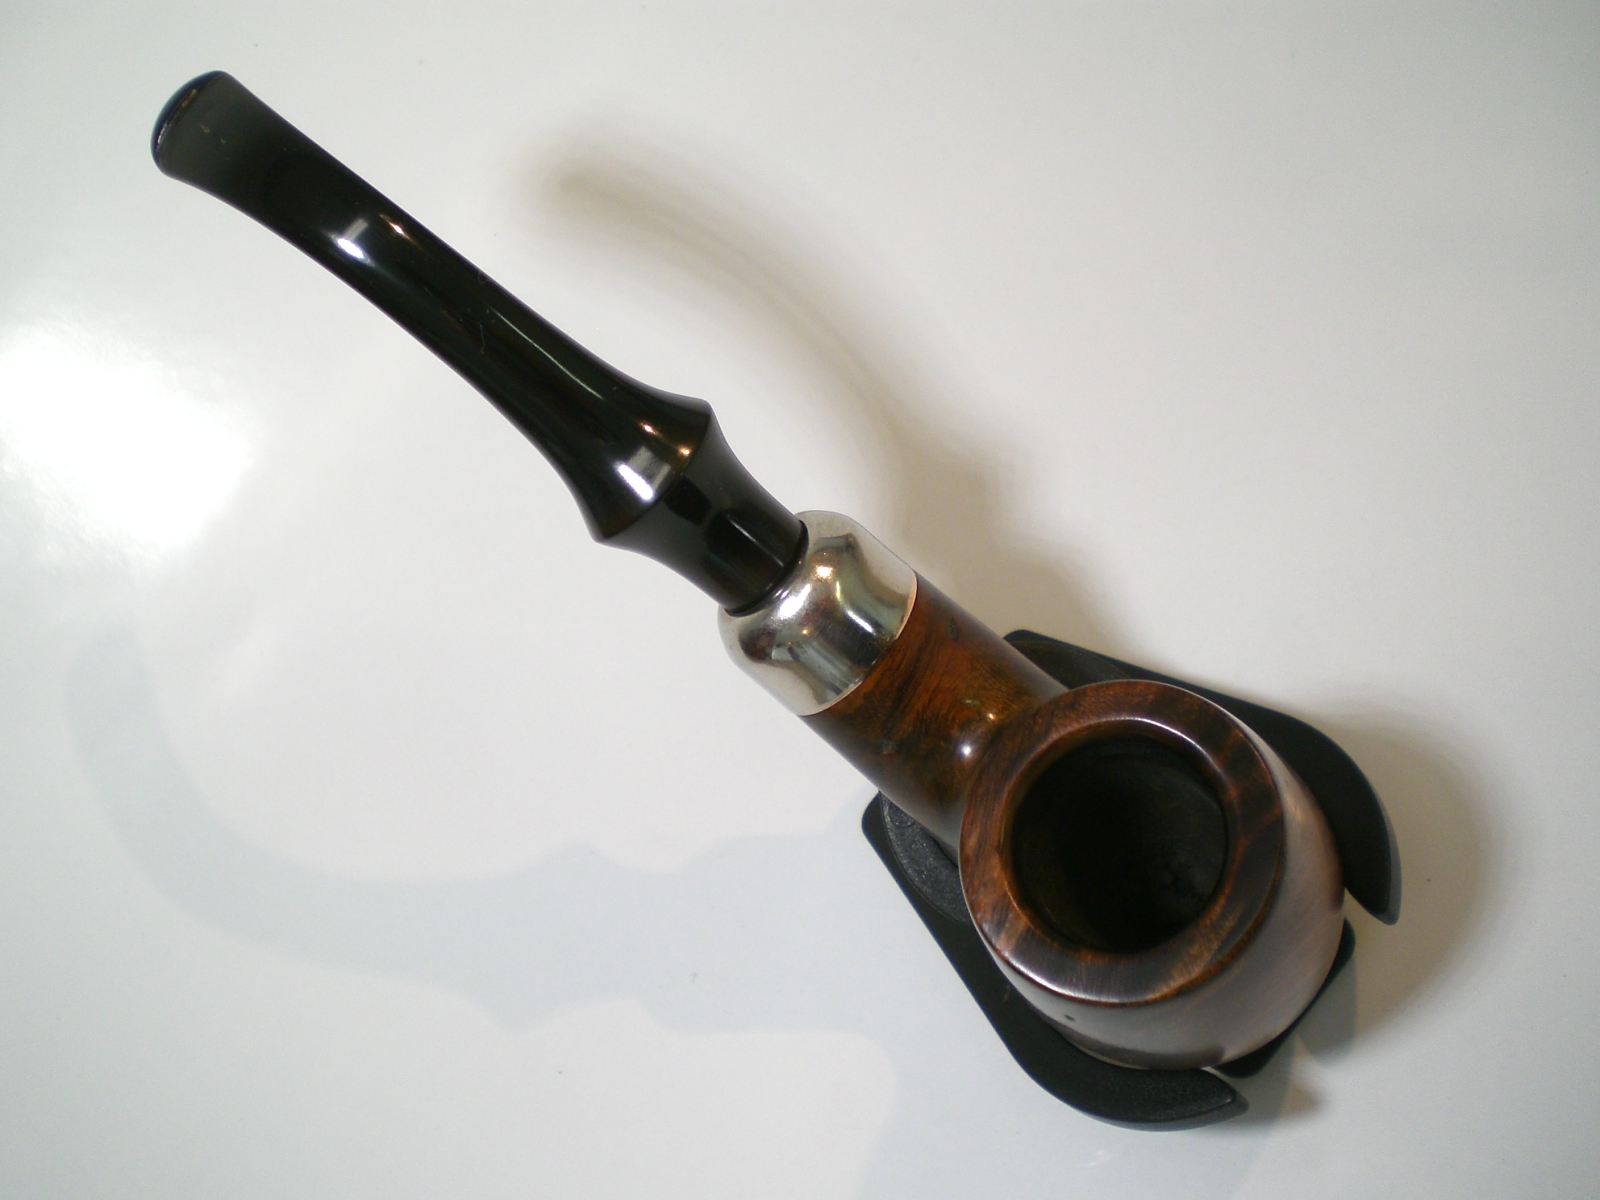
Below is the finished pipe. My grandfather was also a minister, but didn’t smoke a pipe. I would often watch him in his study poring over notes for his next sermon or wrestling with the day-to-day issues that a pastor faces. While working thru this restoration, I could picture Father Tom thoughtfully puffing on pipe as he completed his pastoral duties. I imagine it has been with him thru many weighty challenges faced by a modern minister. I hope this reborn pipe will be with him for many more years and help work thru the challenges of that endeavor.

Fr_Tom_Finished (9)

Fr_Tom_Finished

Fr_Tom_Finished (1)

Fr_Tom_Finished (2)

Fr_Tom_Finished (4)

Fr_Tom_Finished (5)

Fr_Tom_Finished (6)

Fr_Tom_Finished (7)

Fr_Tom_Finished (8)

Restemming a Bruyere Krone Billiard


I am just about finished restemming the lot of pipe bowls I picked up on EBay. This is one of the last two pipes that I have left in the lot below. It is the fourth pipe down in the left column. It has an interesting rustication pattern that reminds of one that is done on Saseini pipes. It is striated around the bowl and then tapers up from the bottom to a striated pattern around the shank. It has a flat bottom on the shank that is smooth and stamped Bruyere in a crown with a large R in the centre of the band on the crown. Underneath the crown is an unfurled banner that is stamped K R O N E. I have no idea of who the maker is or when and where it was made. The stamping is faint so I may be missing a few letters but I think this is an accurate rendering of what is stamped. The finish was pretty dirty with grime in the grooves on the bowl and shank. The rim was caked with a tarry buildup and the grooving on the rim was not visible. There were also place on the finish where the stain was missing and the briar underneath exposed. The inside of the bowl had dust and cob webs and a pretty large cake buildup that would need to be removed. The bowl came without a stem and fitting one would take flattening of the stem on the underside to match the shank.

bowls1

sas

I went through my box of estate stems and found one that was a good fit to the shank. Once the cleanup of the stem was done and a flattening of the underside of the stem the pipe would look like it came with that stem. The stem had a calcified buildup around the button and some tooth marks as well. The oxidation was not too bad but was present.

IMG_1492

IMG_1493

IMG_1494

IMG_1495

IMG_1496

The clean angles of the button against the stem were gone so I recut them with needle files to clean up the edge. I reamed the bowl back to bare briar with a PipNet reamer starting with the smallest cutting head and progressing to the one that was the diameter of the bowl without the cake. Once it was cleaned out I scrubbed down the bowl with Murphy’s Oil Soap and a soft bristle tooth brush to remove the grime. I scrubbed the buildup on the rim with a soft bristle brass tire brush to remove the tars. Once I had scrubbed it I rinsed it with warm water to remove the soap and dried it off with a cotton towel. I wiped down the bowl with acetone on a cotton pad and prepared it to be stained. After heating it with a heat gun I stained it with a dark brown aniline stain. I used a permanent black marker to touch up the raw briar areas where it was scratched or damaged. I reapplied the stain and flamed it. The newly stained pipe is shown in photos 2 and 3 below.

IMG_1497

IMG_1498

IMG_1499

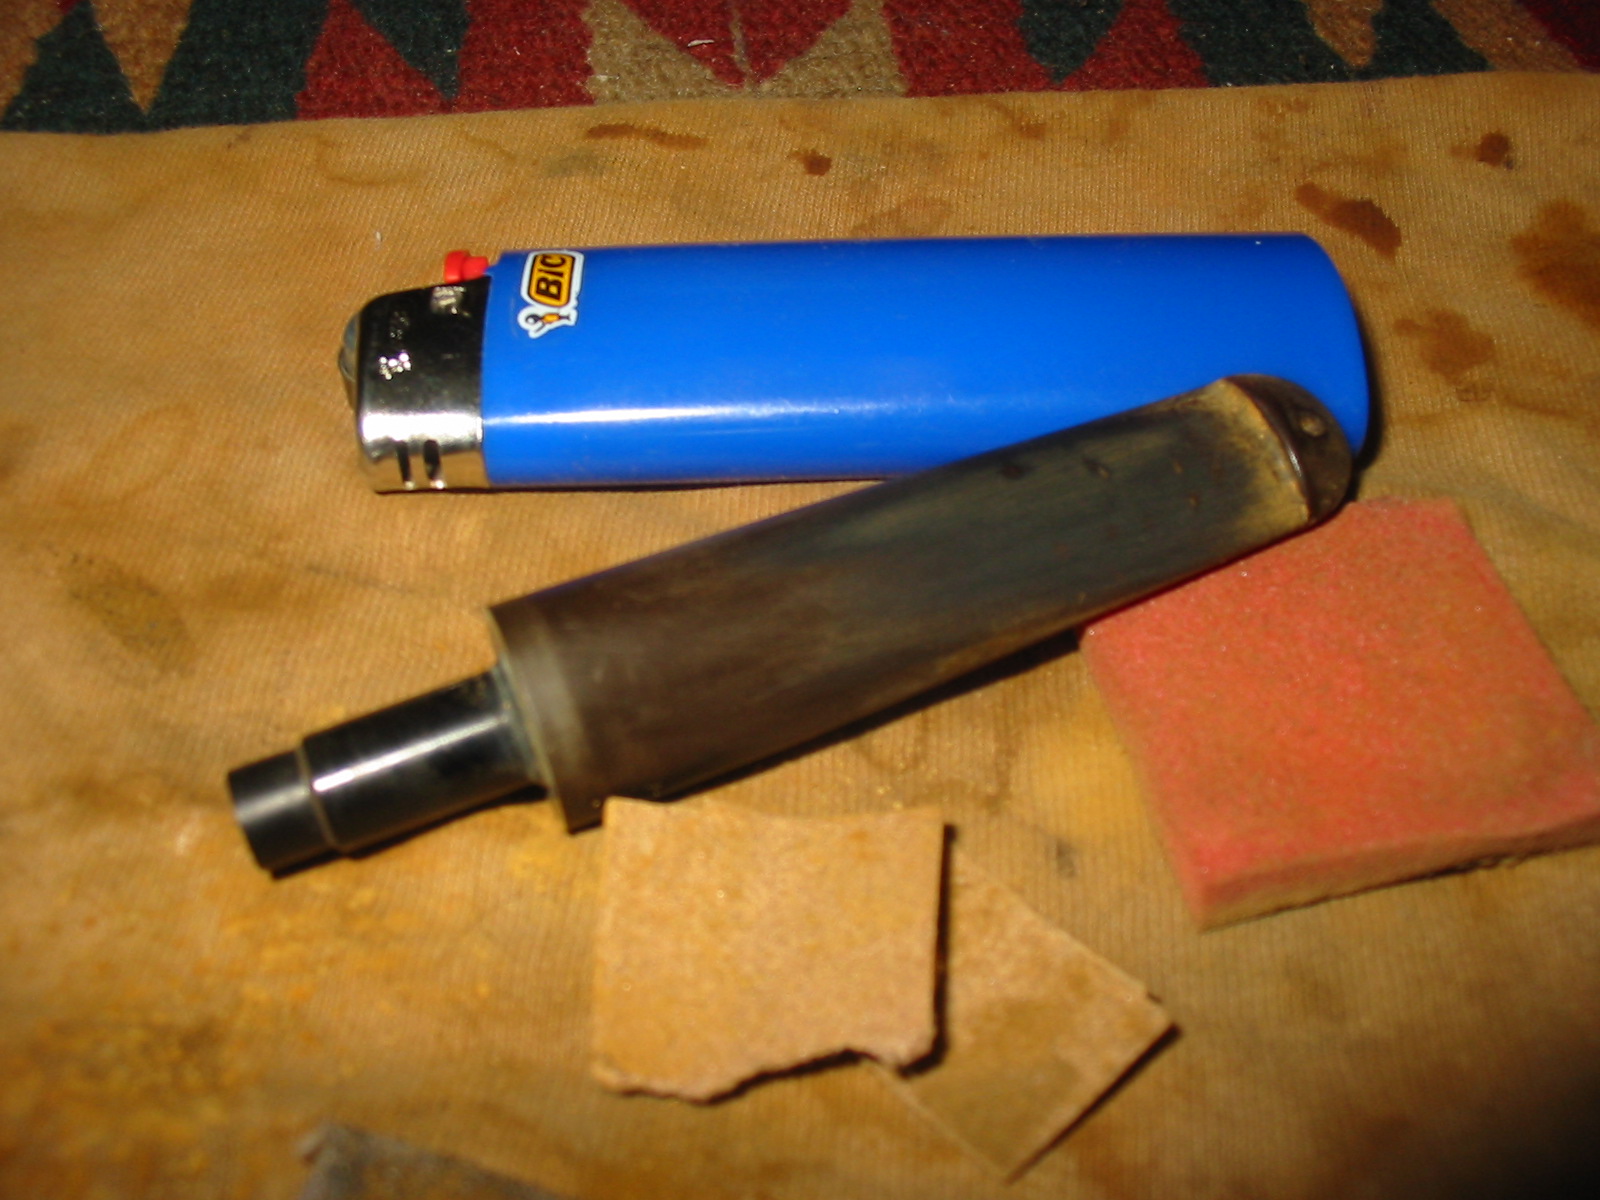
I sanded the stem with medium grit emery paper to remove the calcification around the button and also heated the tooth marks with a Bic lighter to lift them as much as possible. I “painted” the surface of the stem with the flame to burn off the sulfur of the oxidation that I had loosened by sanding. I repaired the tooth marks on both sides of the stem with black superglue and set it aside to dry overnight.

IMG_1500

The next morning I cleaned out the bowl and shank with pipe cleaners, cotton swabs and Everclear. I sanded the stem and the superglue patch with 220 grit sandpaper and then with a medium grit sanding sponge to clean up the scratches in the finish. I put it back on the bowl to get an idea of the overall look of the pipe and see if the diameters of the stem fit the shank. I needed to flatten the bottom of the stem some more to match the bottom of the shank and also removed some more of the material on the diameter of both sides to bring it into line with the shank. Once the stem was well fitted I moved on to sanding with micromesh sanding pads from 1500-12,000 grit.

IMG_1501

IMG_1502

IMG_1503

IMG_1504

IMG_1505

IMG_1506

IMG_1507

I buffed the stem with White Diamond and a Blue polish. I gave the bowl a light buff with White Diamond to bring up the shine. I gave the bowl a coat of Halcyon II wax and buffed it by hand with a shoe brush. I gave the stem multiple coats of carnauba and buffed it on the buffer with a clean flannel buff. I think the pipe came out well. Does anyone know anything about the brand?

IMG_1508

IMG_1509

IMG_1510

IMG_1511

Reborn Huckster Pipe – Is It a GBD 9438?


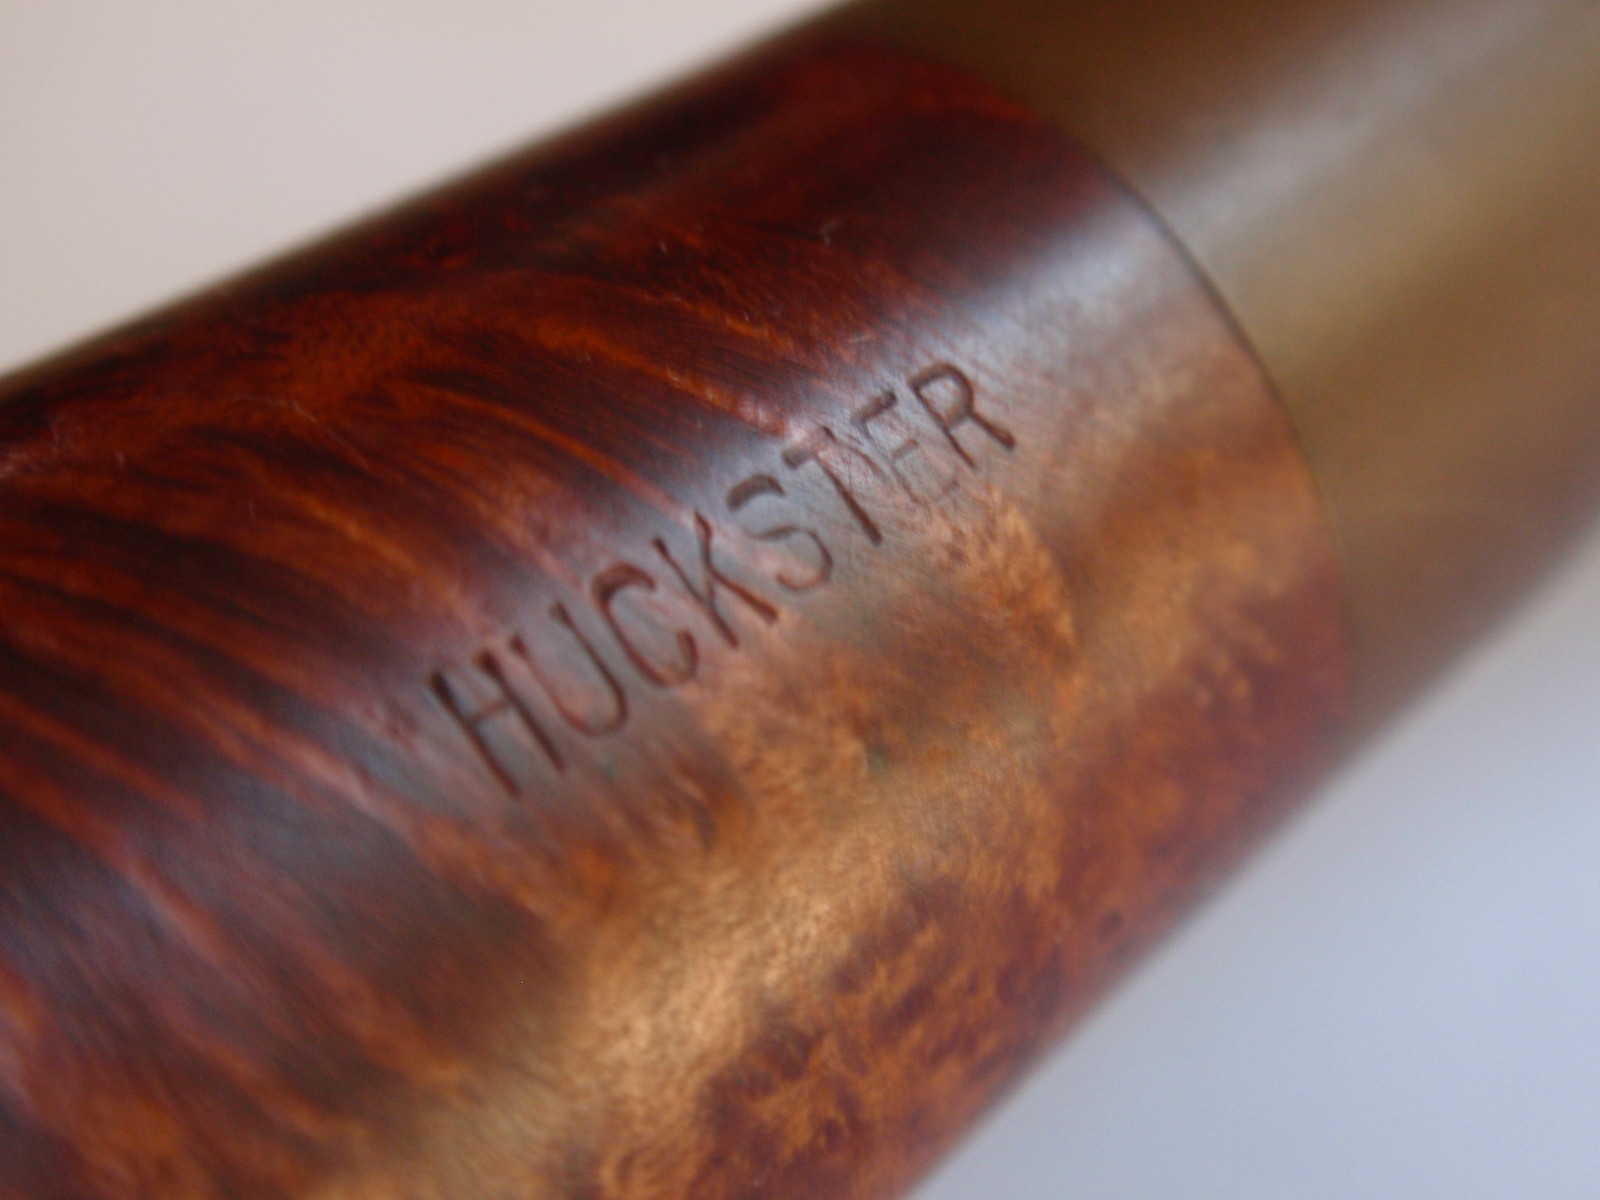
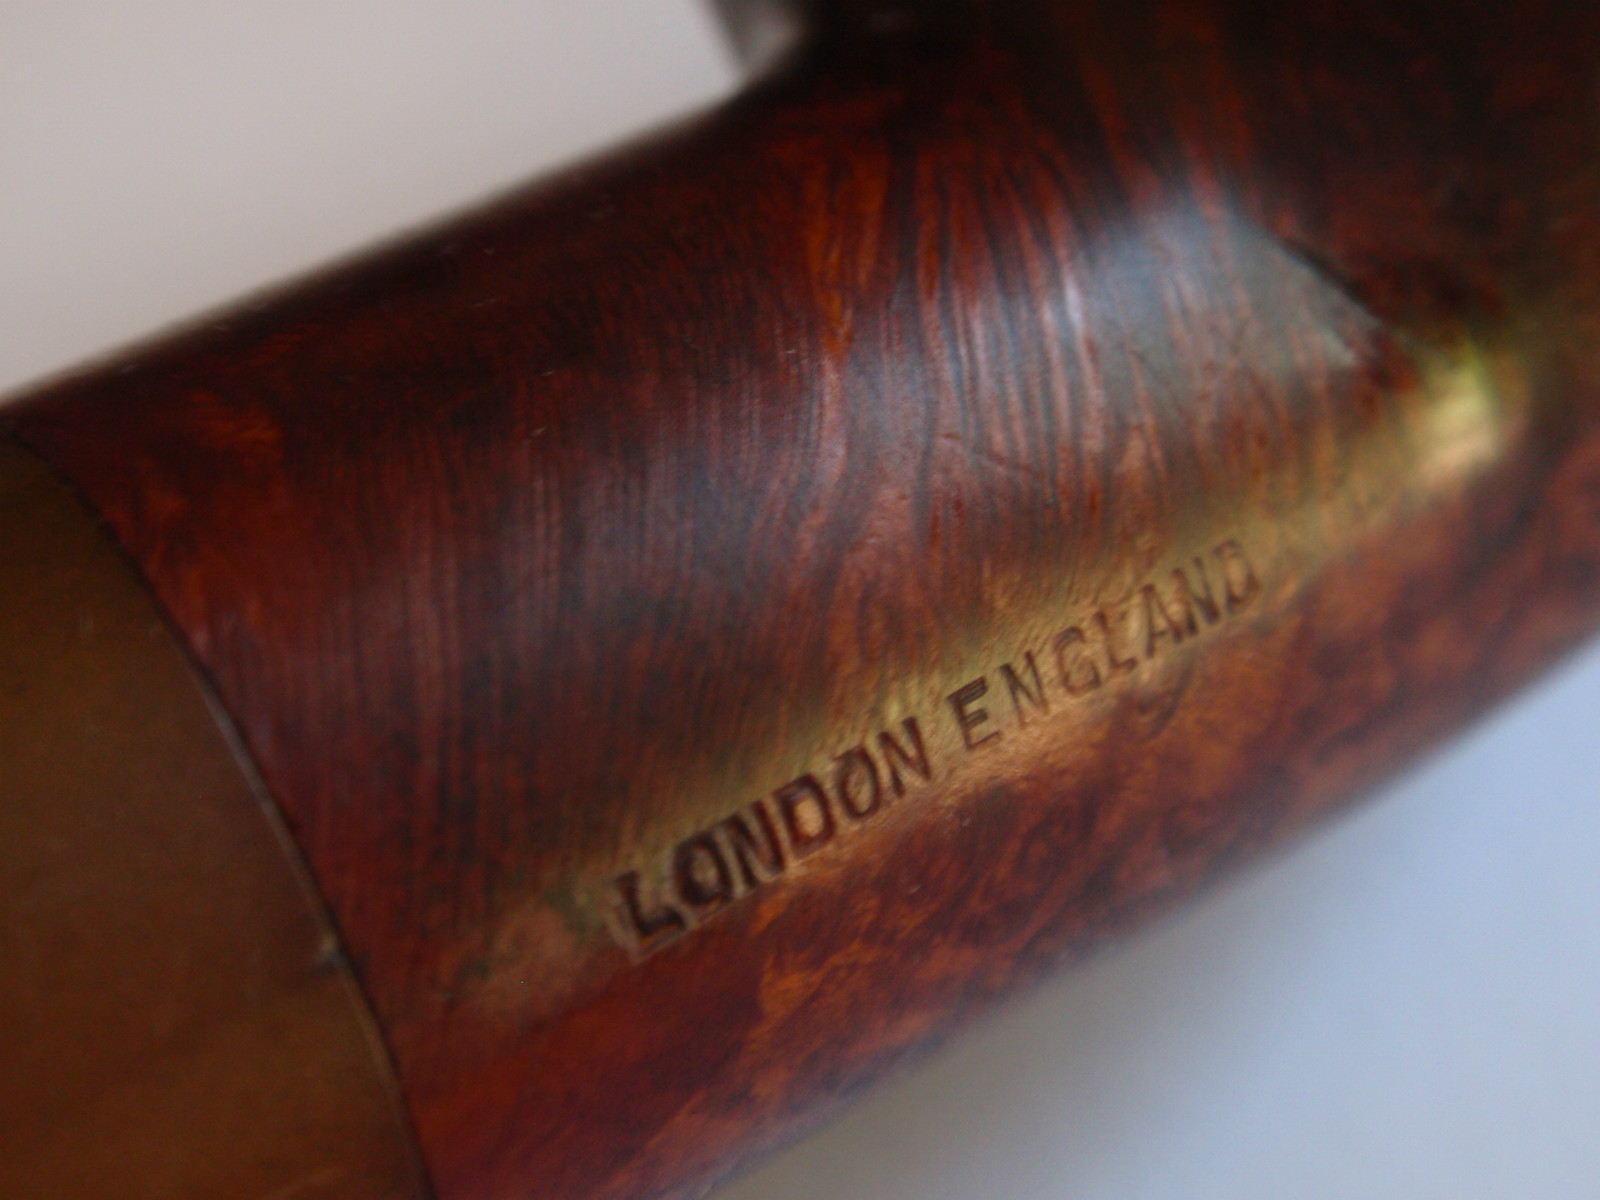
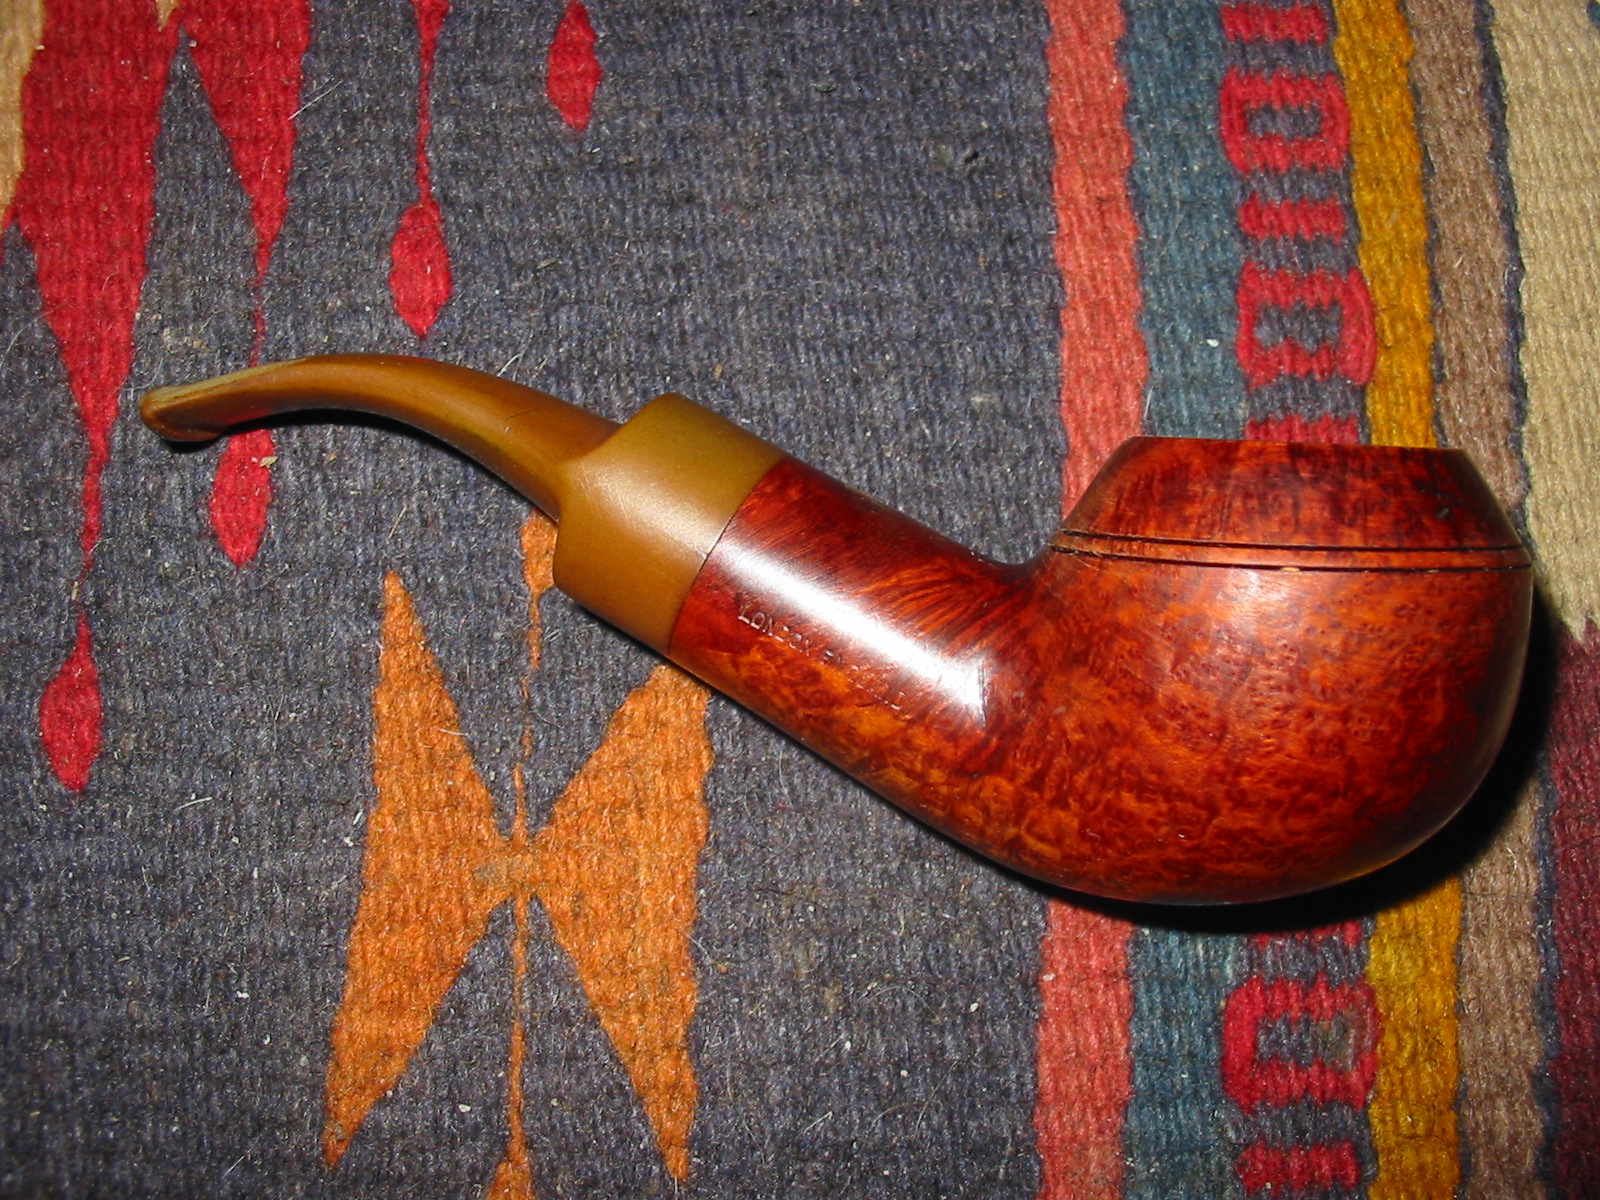
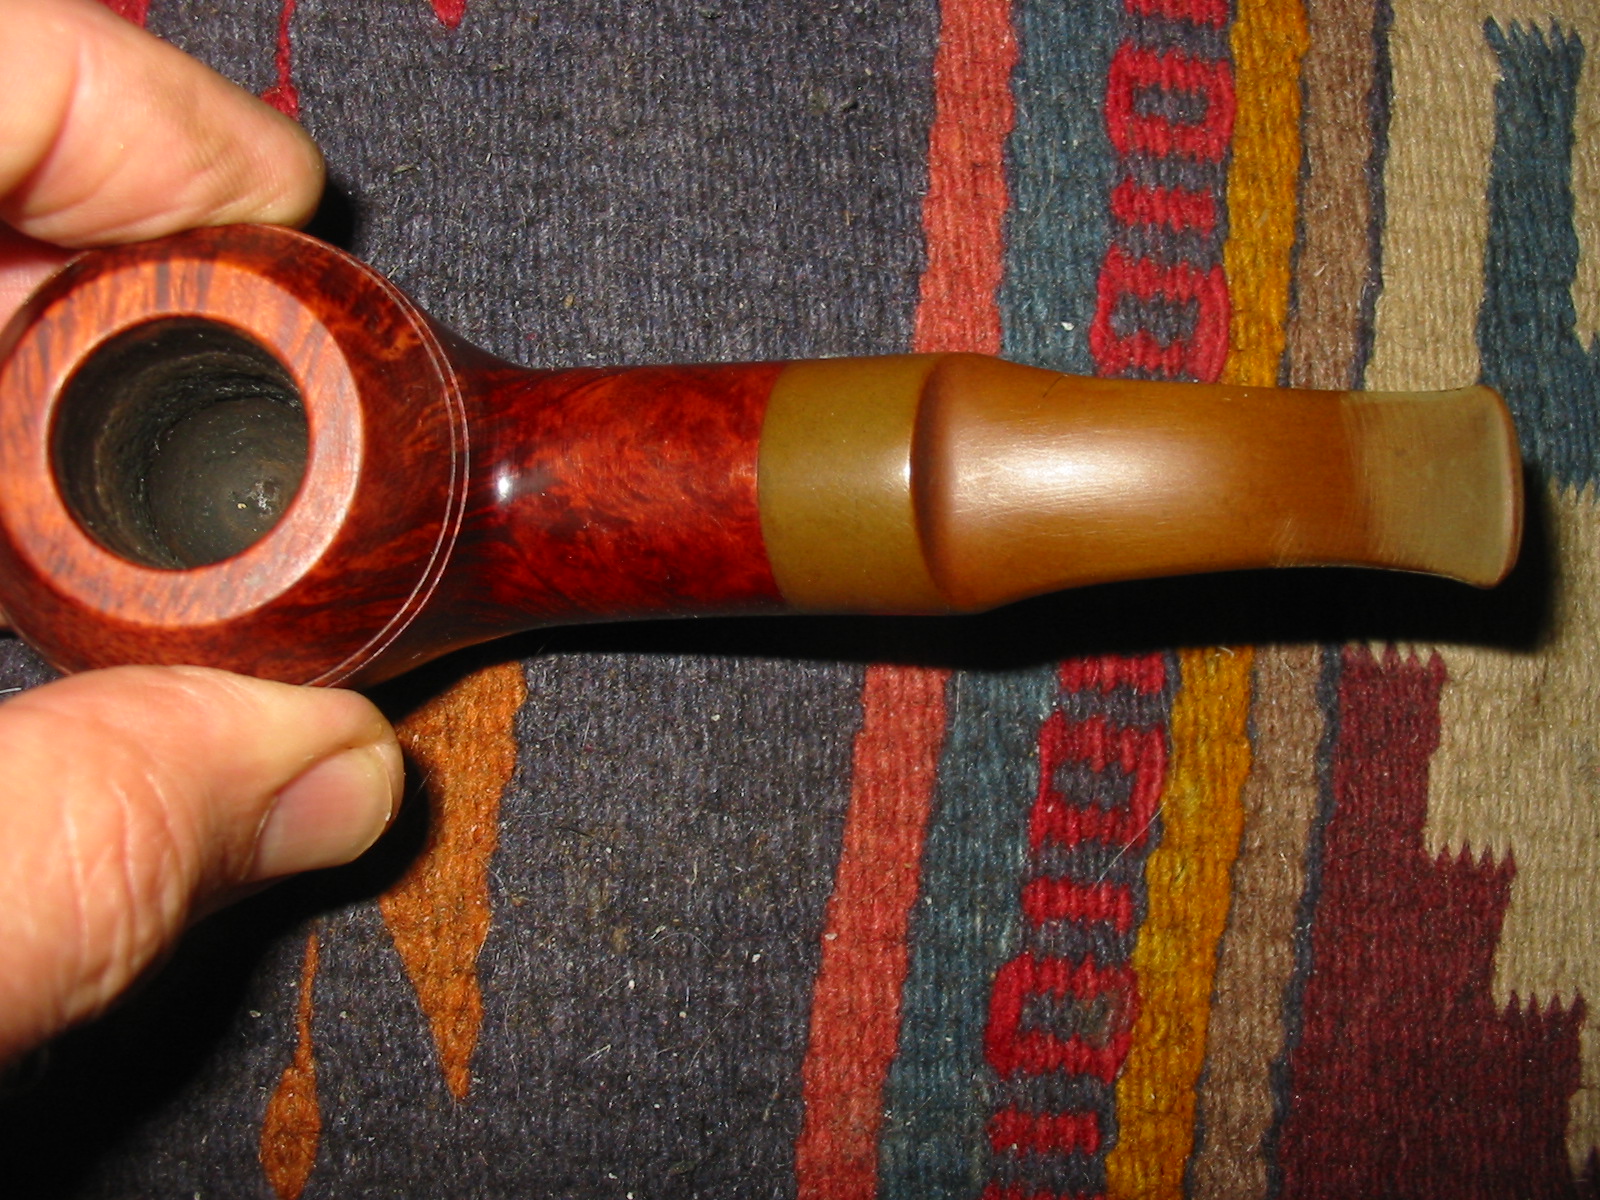
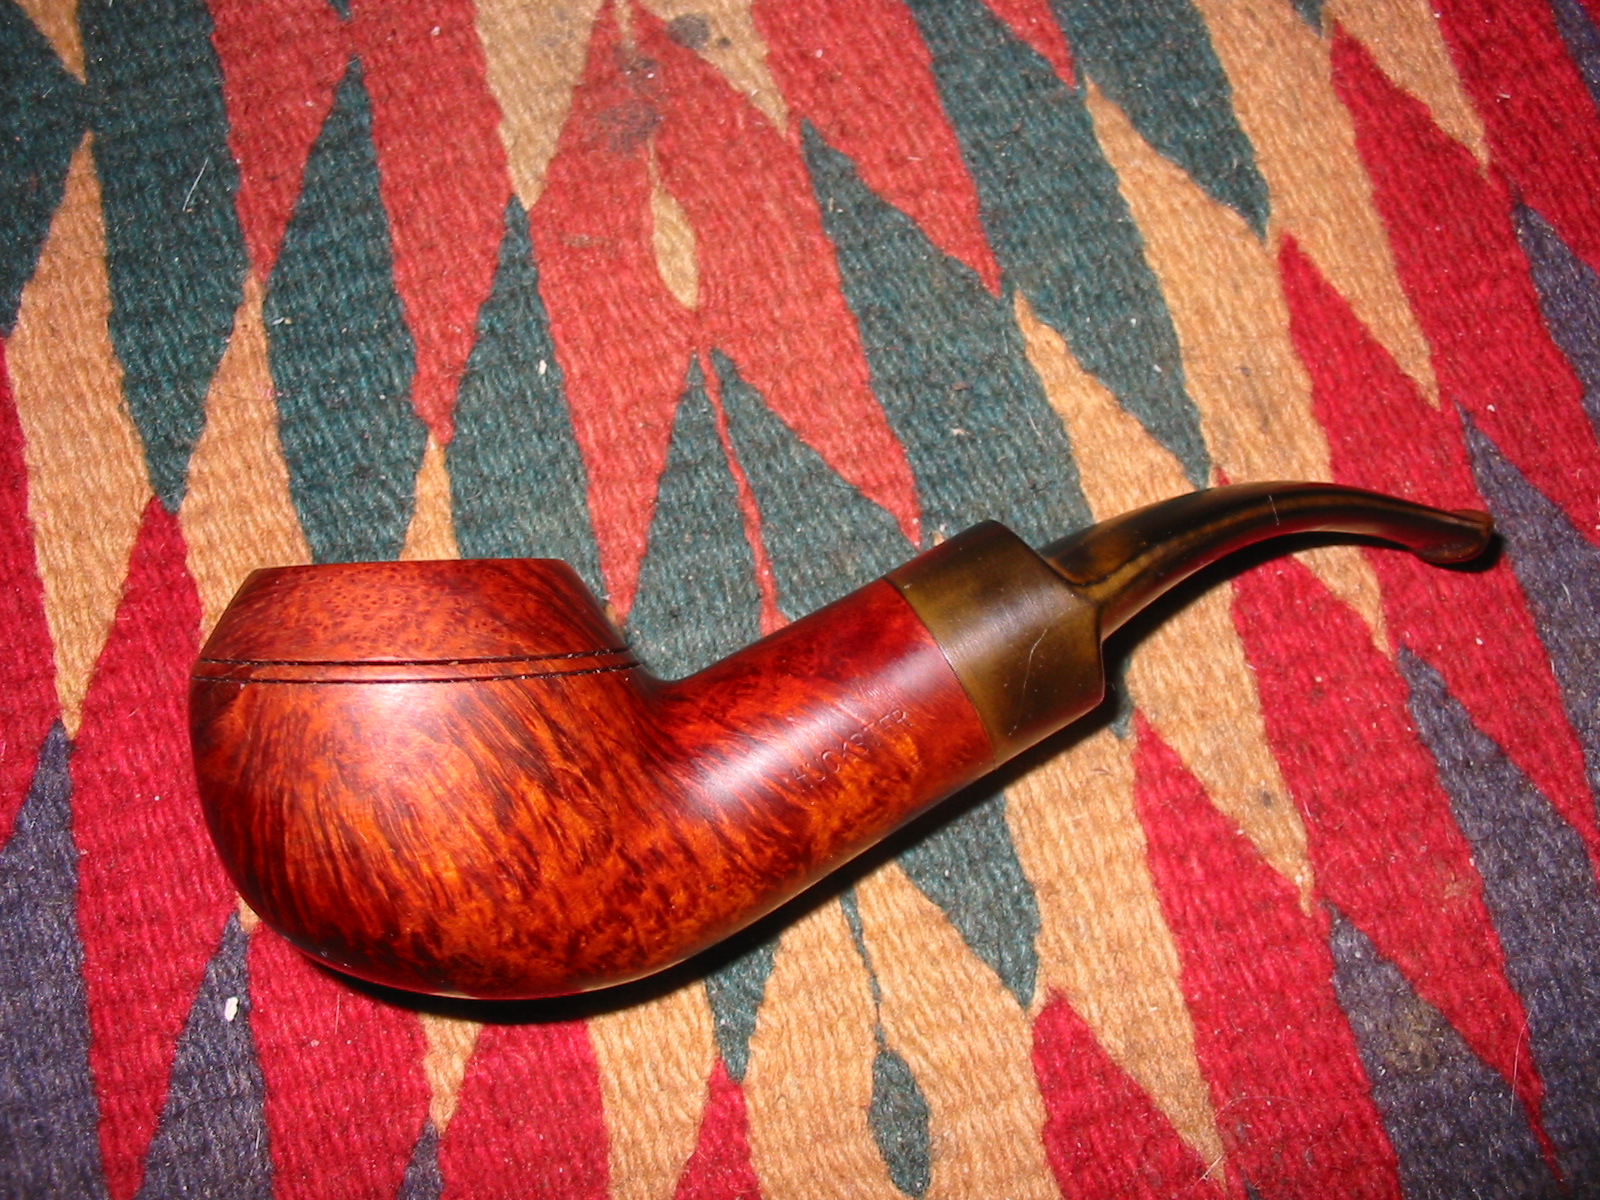
When I hear the word Huckster I think of an aggressive salesperson or a promoter, a snake oil salesman or someone not to be trusted. The definition from the dictionary is one who uses aggressive, showy, and sometimes devious methods to promote or sell a product. The stamping on this pipe is HUCKSTER on the left side of the shank. On the right side of the shank it is stamped LONDON ENGLAND. The pipe is clearly either made by GBD or by someone doing an amazing copy of the GBD 9438 shape. The shape is perfect in comparison with my GBDs of this shape number. I have been researching on the internet to see if I can find out who the pipe was made by/for and develop some background on it but so far I have found nothing.

Hukster5

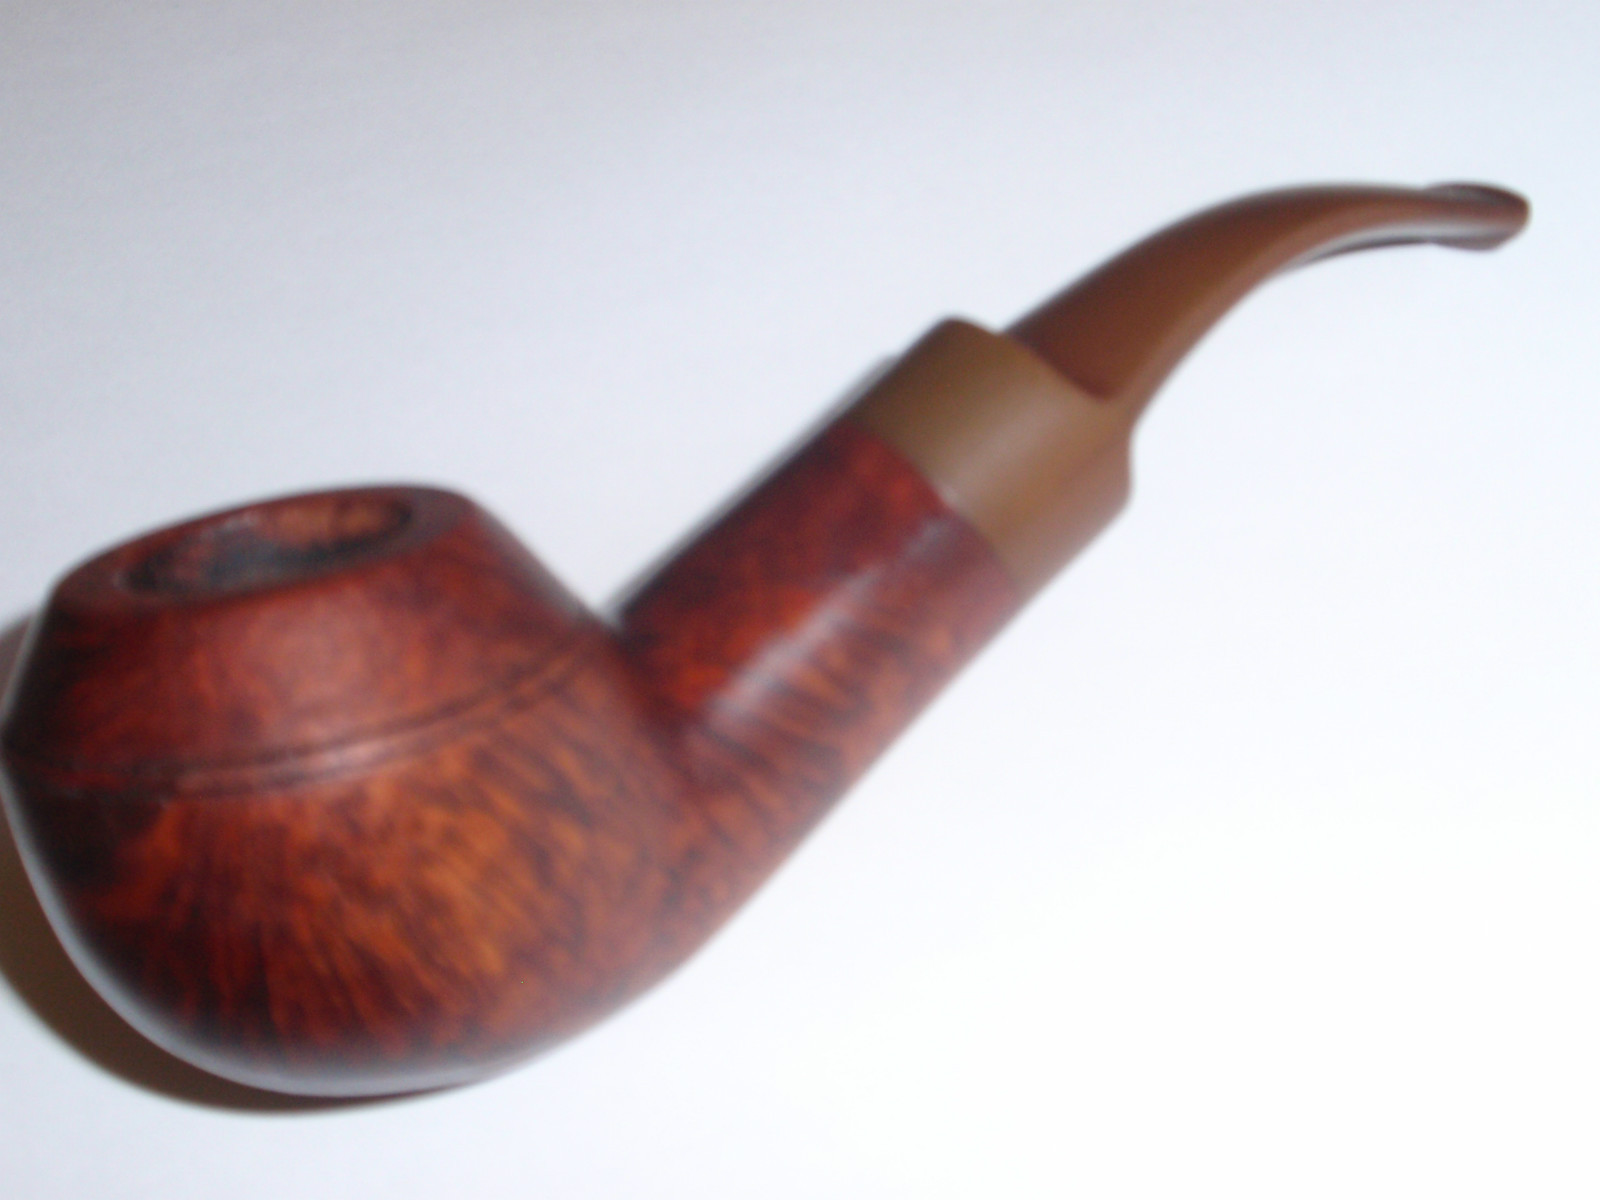
The five pictures below were included in the EBay sale by the seller of the pipe. While they are out of focus they gave me a clear enough picture to place the bid. I was one of a few bidders on this one so I picked it up for a very good price in comparison to that of GBD 9438s. When it arrived I was happy to see that the seller’s photos actually were poor in comparison to the pipe that I held in my hand. The grain is extremely nice – the left side and the bottom of the shank and bowl have some beautiful birdseye grain. The right side has great flame grain. The front of the bowl has a bald spot with a well hidden fill in the grain (In the photos it is just above the lighter spot on the front of the bowl. There were a few dents that would need to be steamed out of the finish but the stain and finish was impeccable. The rim was unblemished with no burn marks. There were a few small sand pits in the bowl above the double rings. The bowl had a slight cake in the bottom half but the shank is clean and spotless with some raw briar that has not been stained with smoking. If it weren’t for the slight cake in the bottom of the bowl it would appear to be unsmoked. The stem was badly oxidized and did have one slight tooth dent on the underside near the button. I think that the seller must have cleaned up the pipe before selling as there were also scratches from sanding on the stem – top and bottom sides.

Hukster1

Hukster3

Hukster4

Hukster6

When it arrived I took the next four photos to show what the pipe looked like before I worked on it. My description above formulated by and large from the photos online was accurate though in fact the pipe was very clean.

IMG_1416

IMG_1417

IMG_1418

IMG_1419

The bowl did not require any work other than a quick cleaning of the shank – more by habit than necessity. The stem on the other hand required a lot of work. I sanded it with a medium grit sanding sponge to break up the oxidation. I also used the flame of a Bic lighter to paint the surface of the stem. The flame from the lighter also raised the slight tooth indent next to the button. This combination of methods removed a large portion of the oxidation as can be seen in the next four photos below.

IMG_1421

IMG_1422

IMG_1423

IMG_1424

I then sanded the stem with micromesh sanding pads. I wet sanded with 1500, 1800 and 2400 grit sanding pads. I wet the pad by dipping it in a bowl of water and then sand the stem with it. Once I had wet sanded with those grits of micromesh I followed by dry sanding with 3200-12,000 grit micromesh pads. The next series of five photos show the progress of the sanding. I took it to the buffer after the wet sanding and buffed it with Tripoli to get an idea of where I stood with the oxidation. I also ran the flame over the hard to get angles on the saddle and against the button to further remove hard to get oxidation.

IMG_1425

IMG_1426

IMG_1430

IMG_1431

IMG_1432

After I was finished sanding with the final grit of micromesh I rubbed the stem down with Obsidian Oil and once it was dry buffed it with White Diamond. I then buffed a final time with a blue plastic polishing bar. I gave the bowl and stem multiple coats of carnauba wax and buffed it with a soft, clean flannel buff to raise the shine on the bowl and stem. The next four photos show the finished pipe.

IMG_1455

IMG_1457

IMG_1458

IMG_1459

Here are a few more shots with a different background
Huckster1

Huckster2

Huckster3

Huckster4

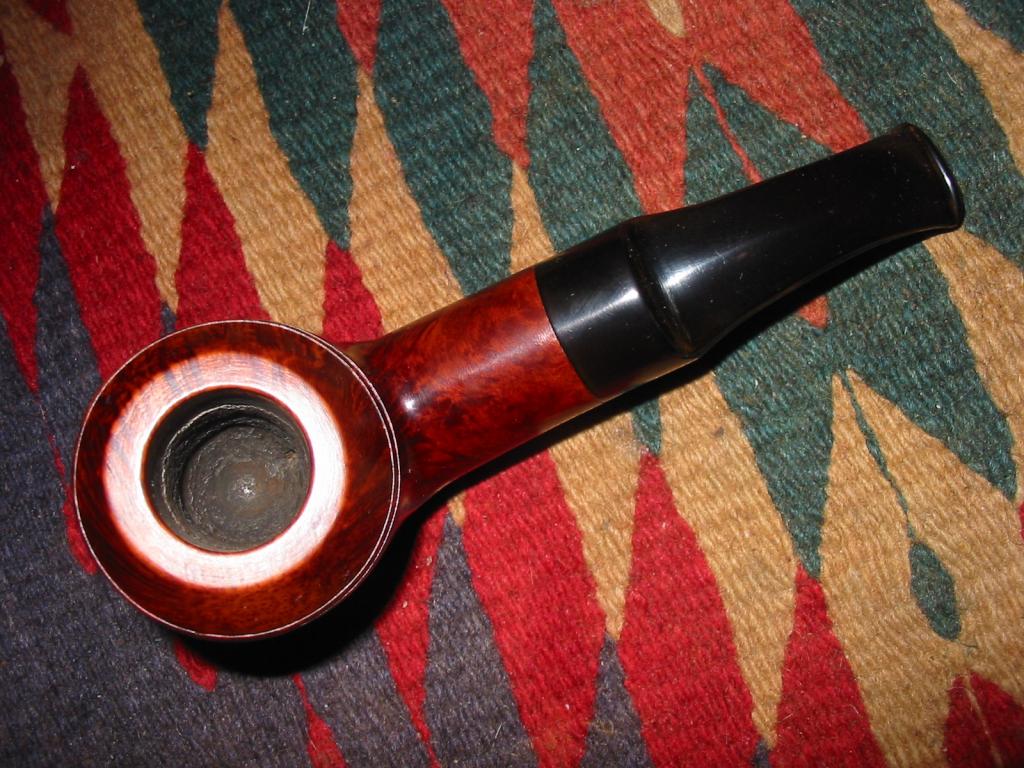
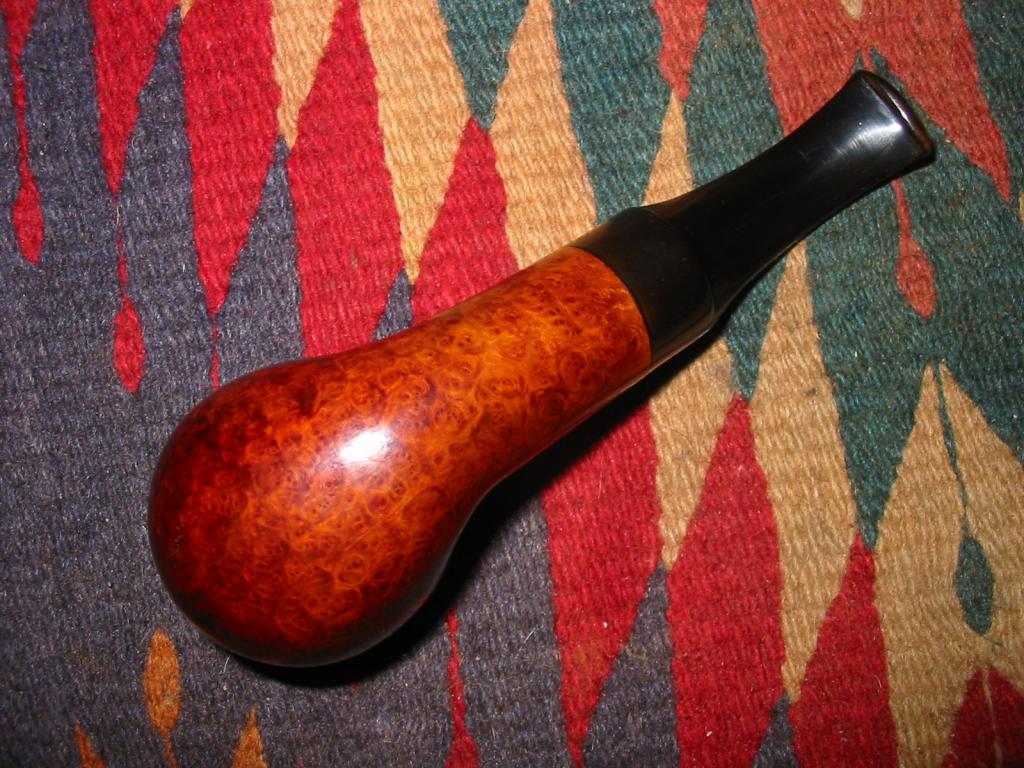
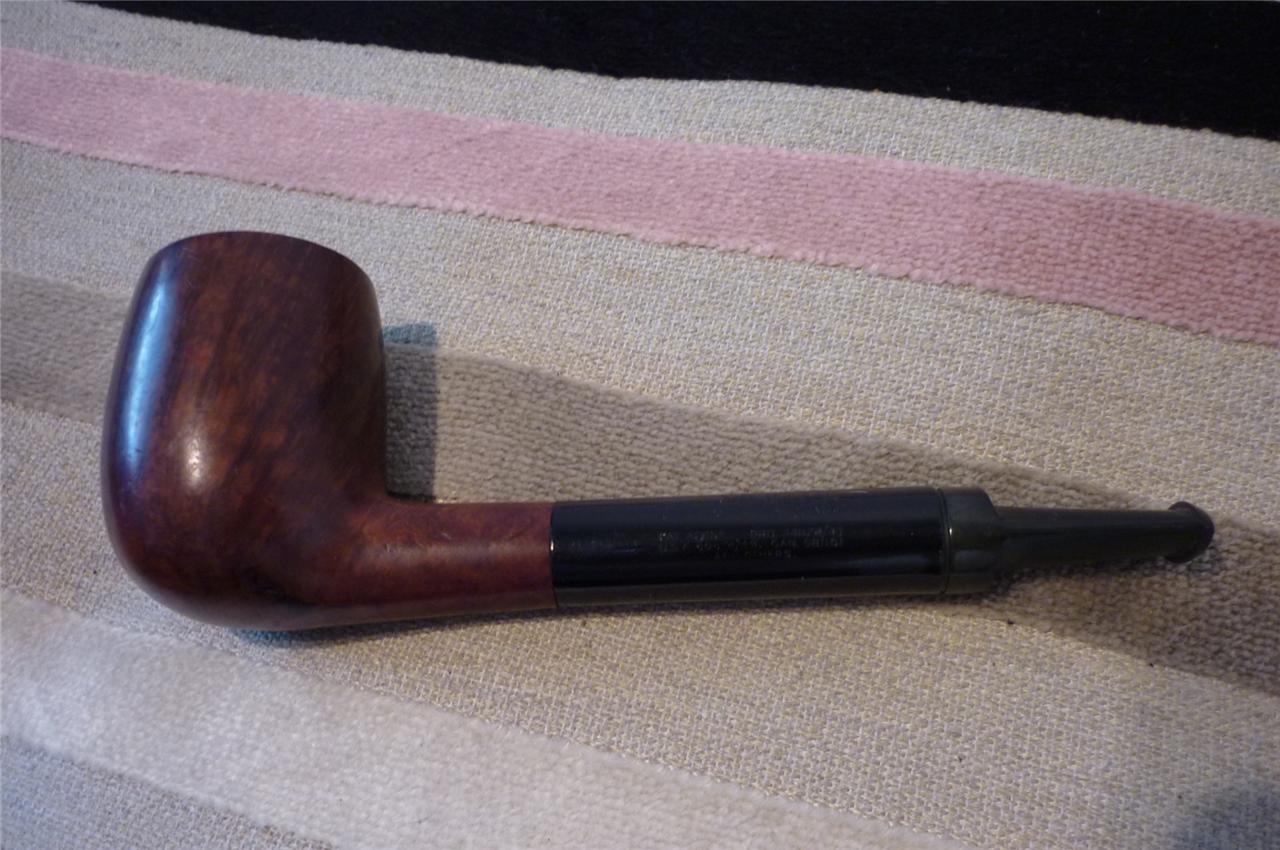
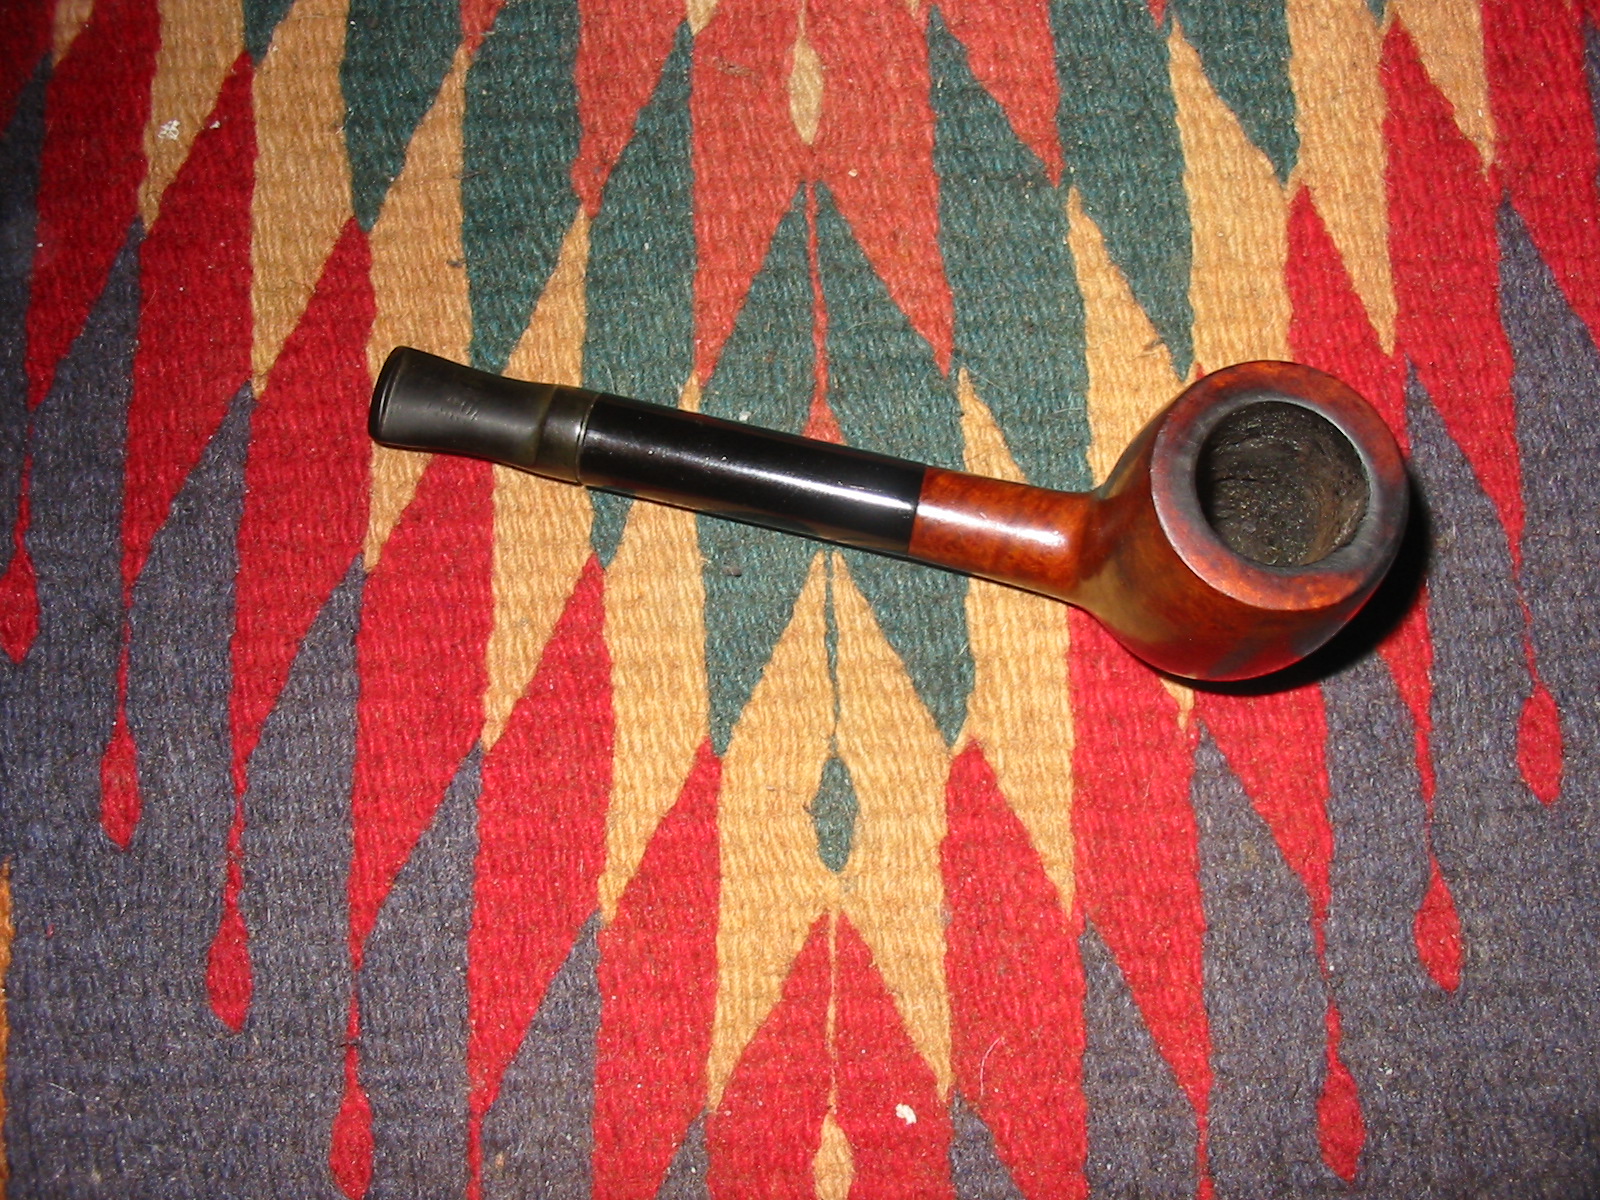
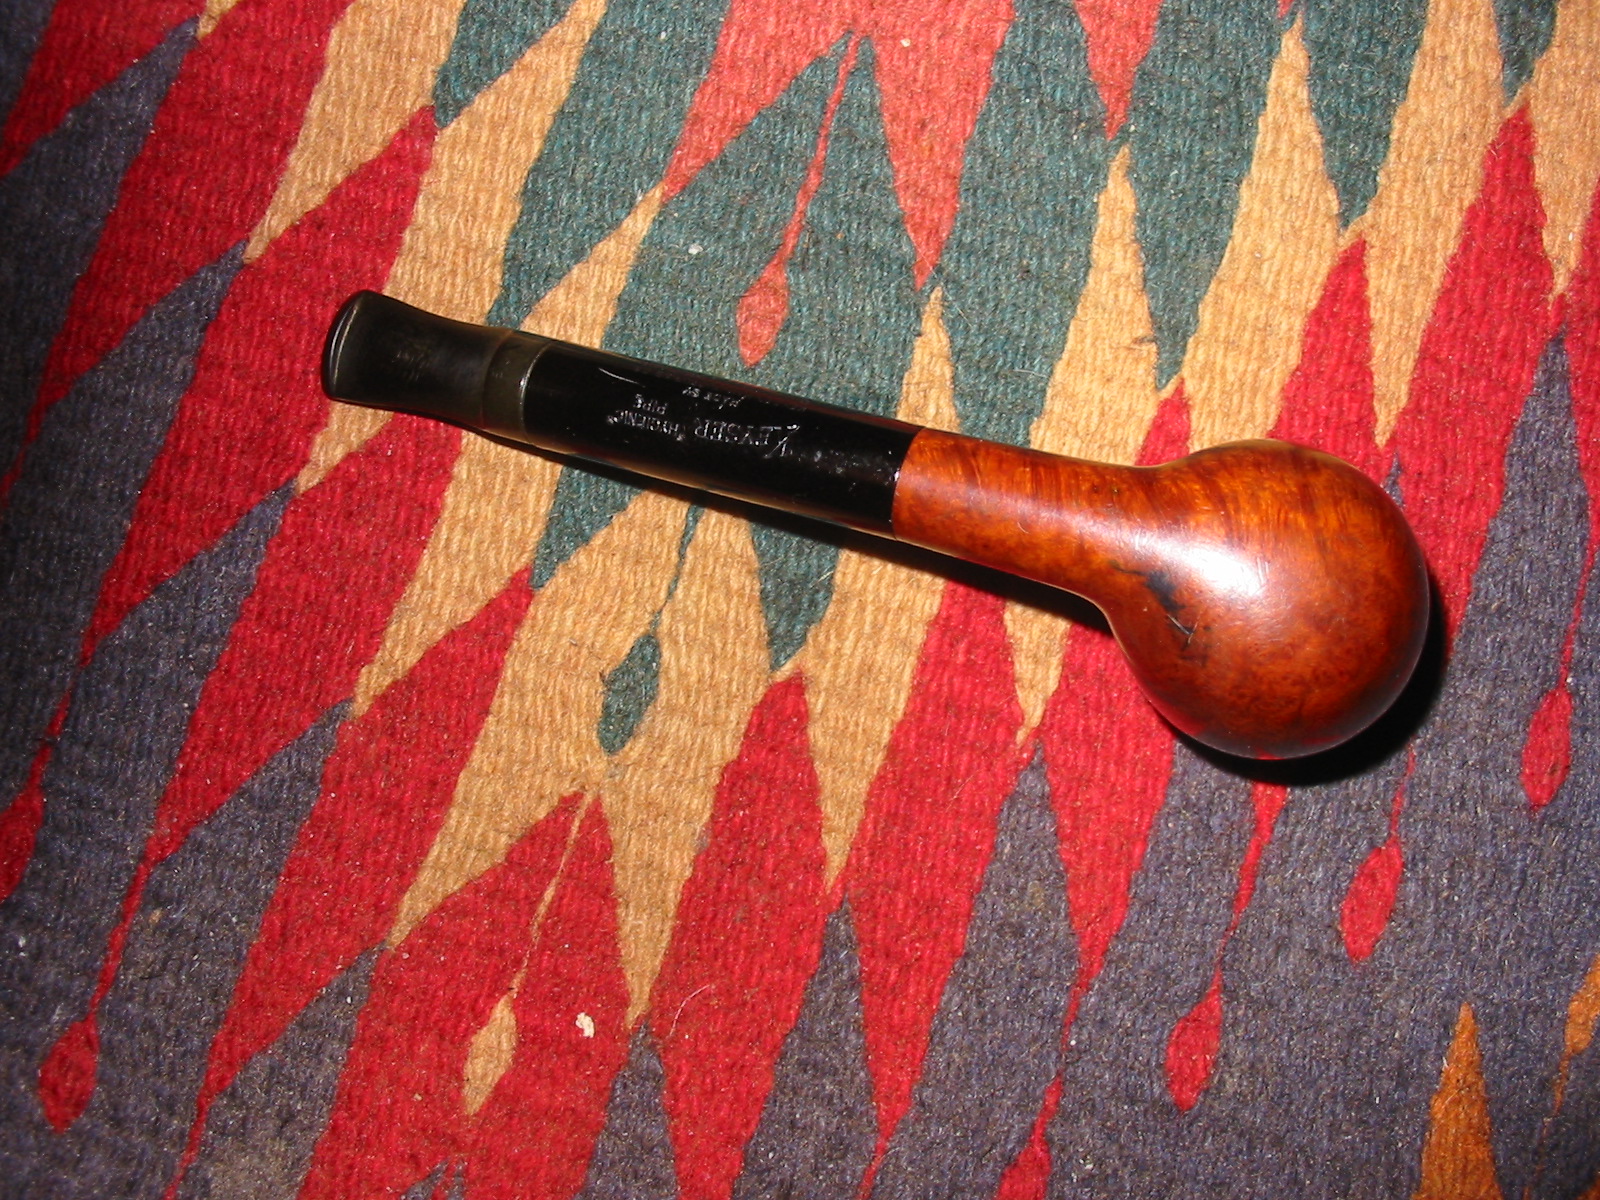
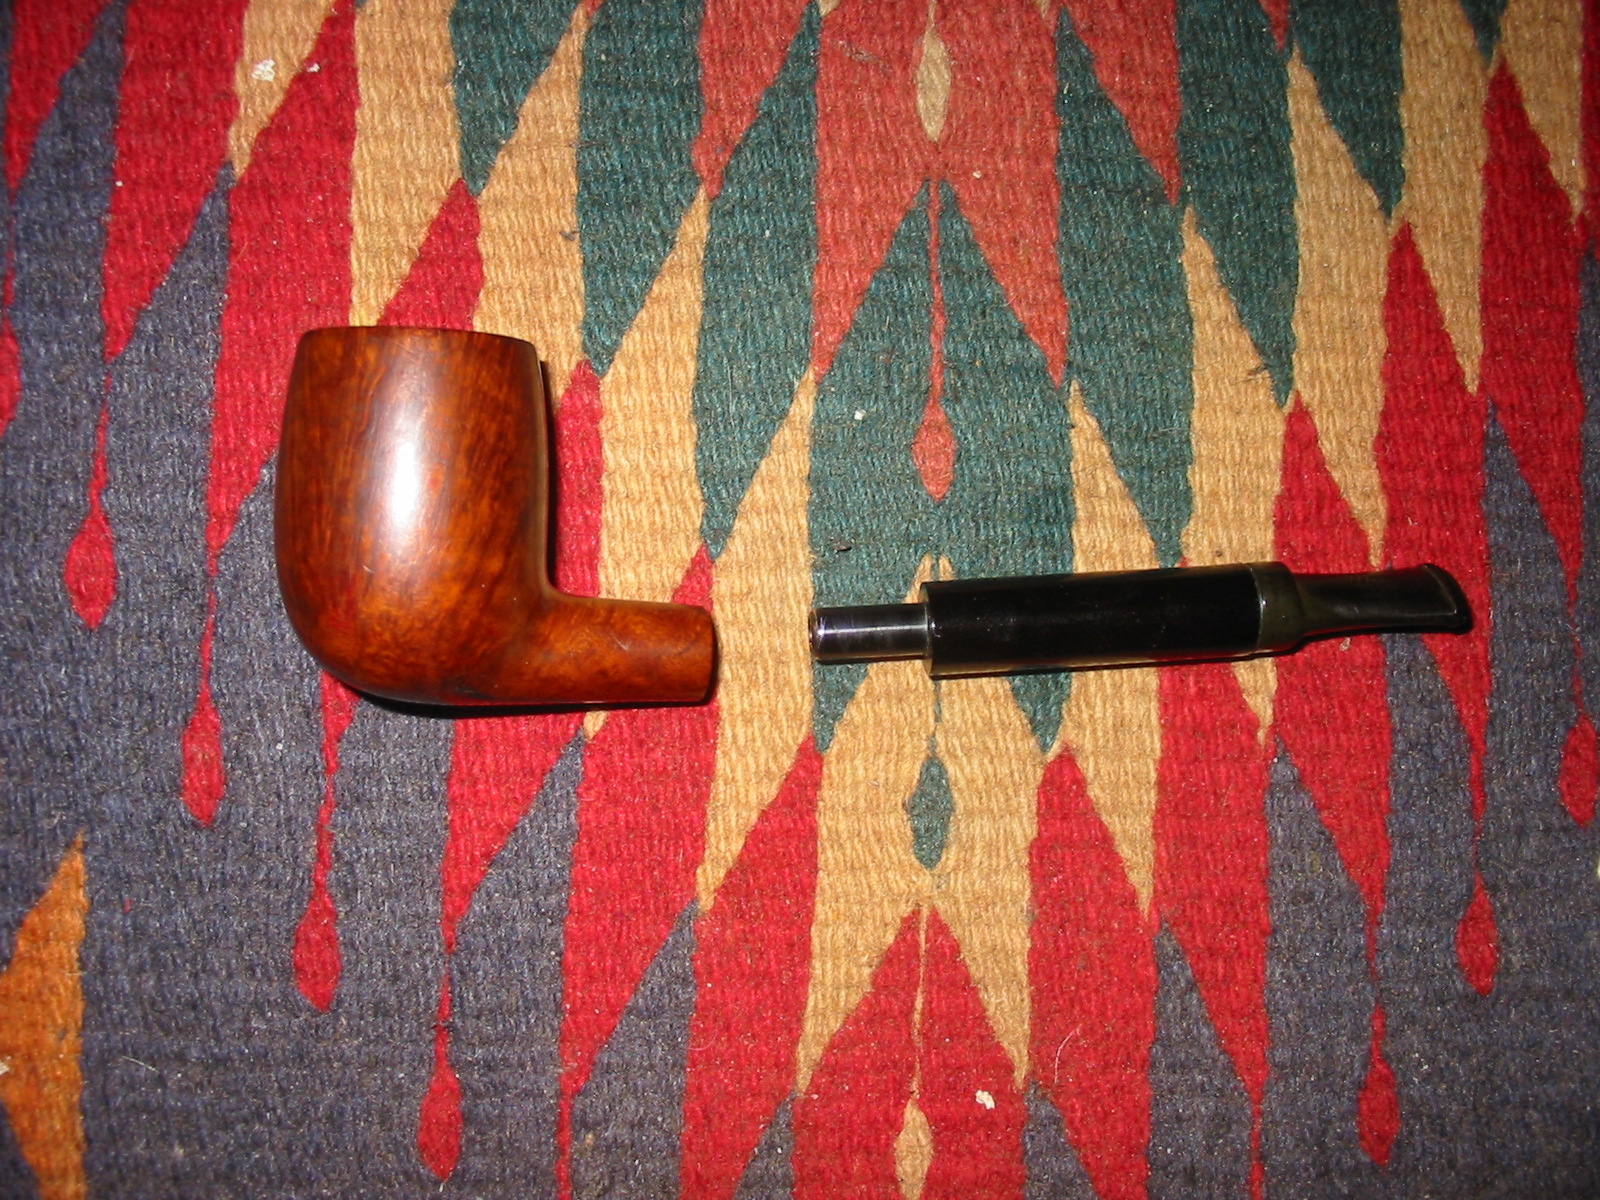
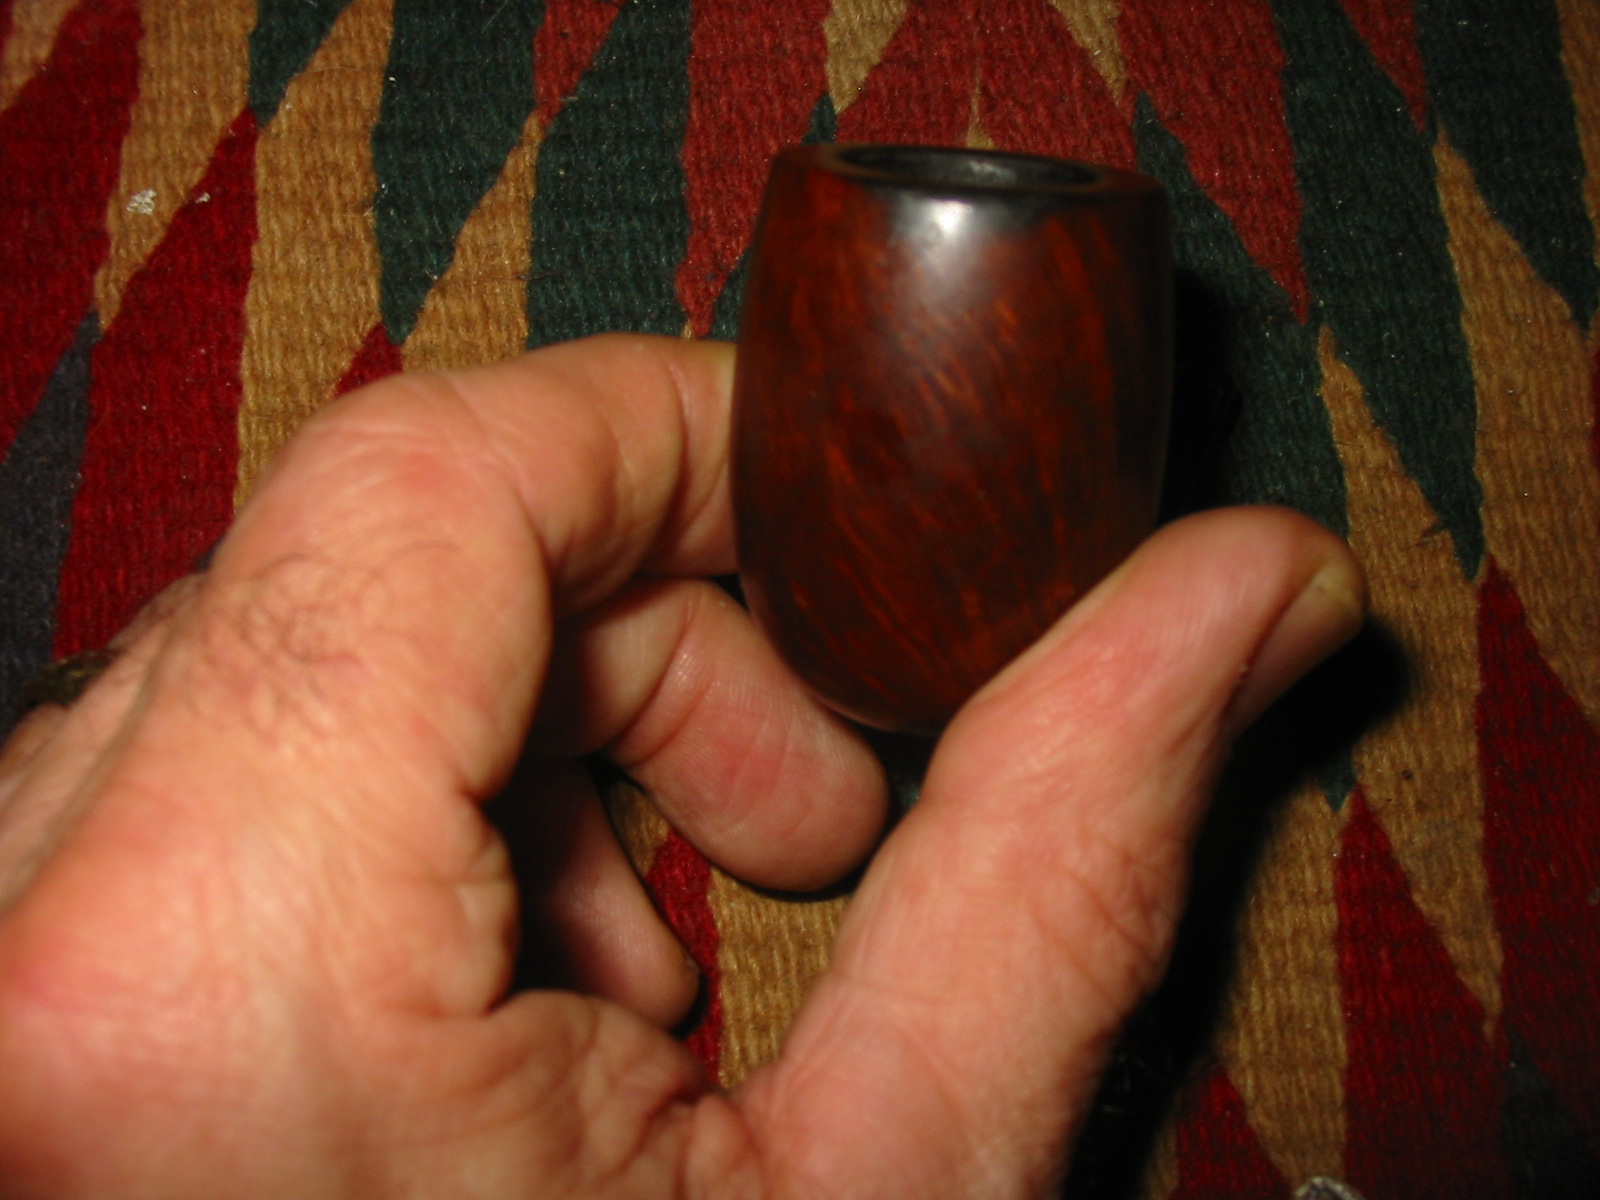
Restoring a Unique Edition of the Keyser Hygienic System Pipe


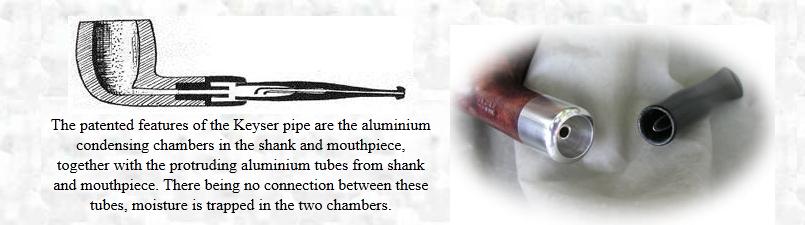
I picked up this Keyser Hygienic on EBay because it caught my eye. I have three other Keyser Hygienic pipes and they are all very similar in terms of the system. They are briar bowls and shanks with an aluminum mortise with a tube in the centre running to the airway in the bowl. This is matched with a military mount stem with a tube with a down turn on it that fits into the airway in the mortise. The swirling smoke rolls around the inside of the mortise where the moisture in the smoke condenses on the sides of the aluminum mortise. The cooled air is drawn into the down turned tube in the stem and it delivers a cool, dry smoke. The system is fairly straightforward and simple. The genius of the design is that any stem fits any pipe of the same size. Replacement stems are easily purchased and all that is necessary is the size of the pipe and the replacement will be a ready fit.
Keyser Pipes
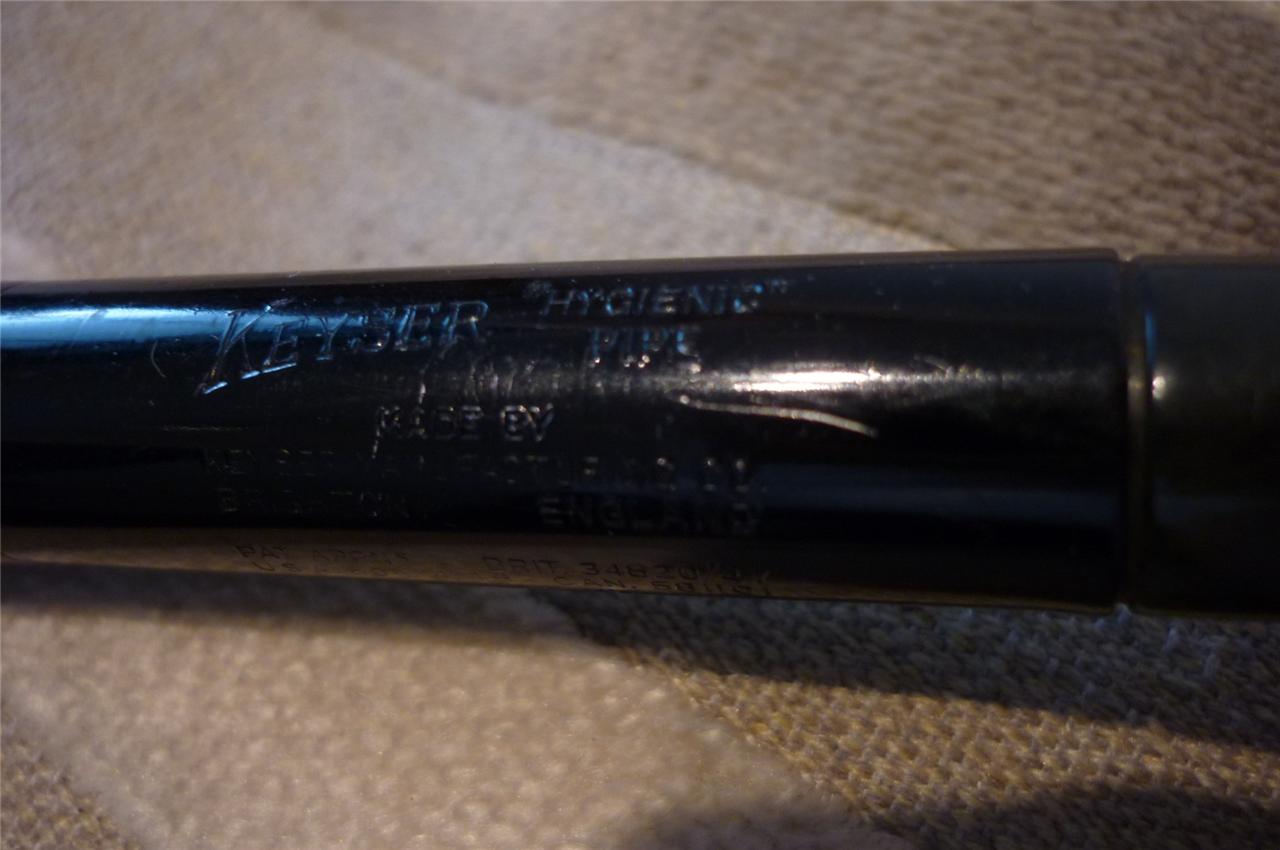
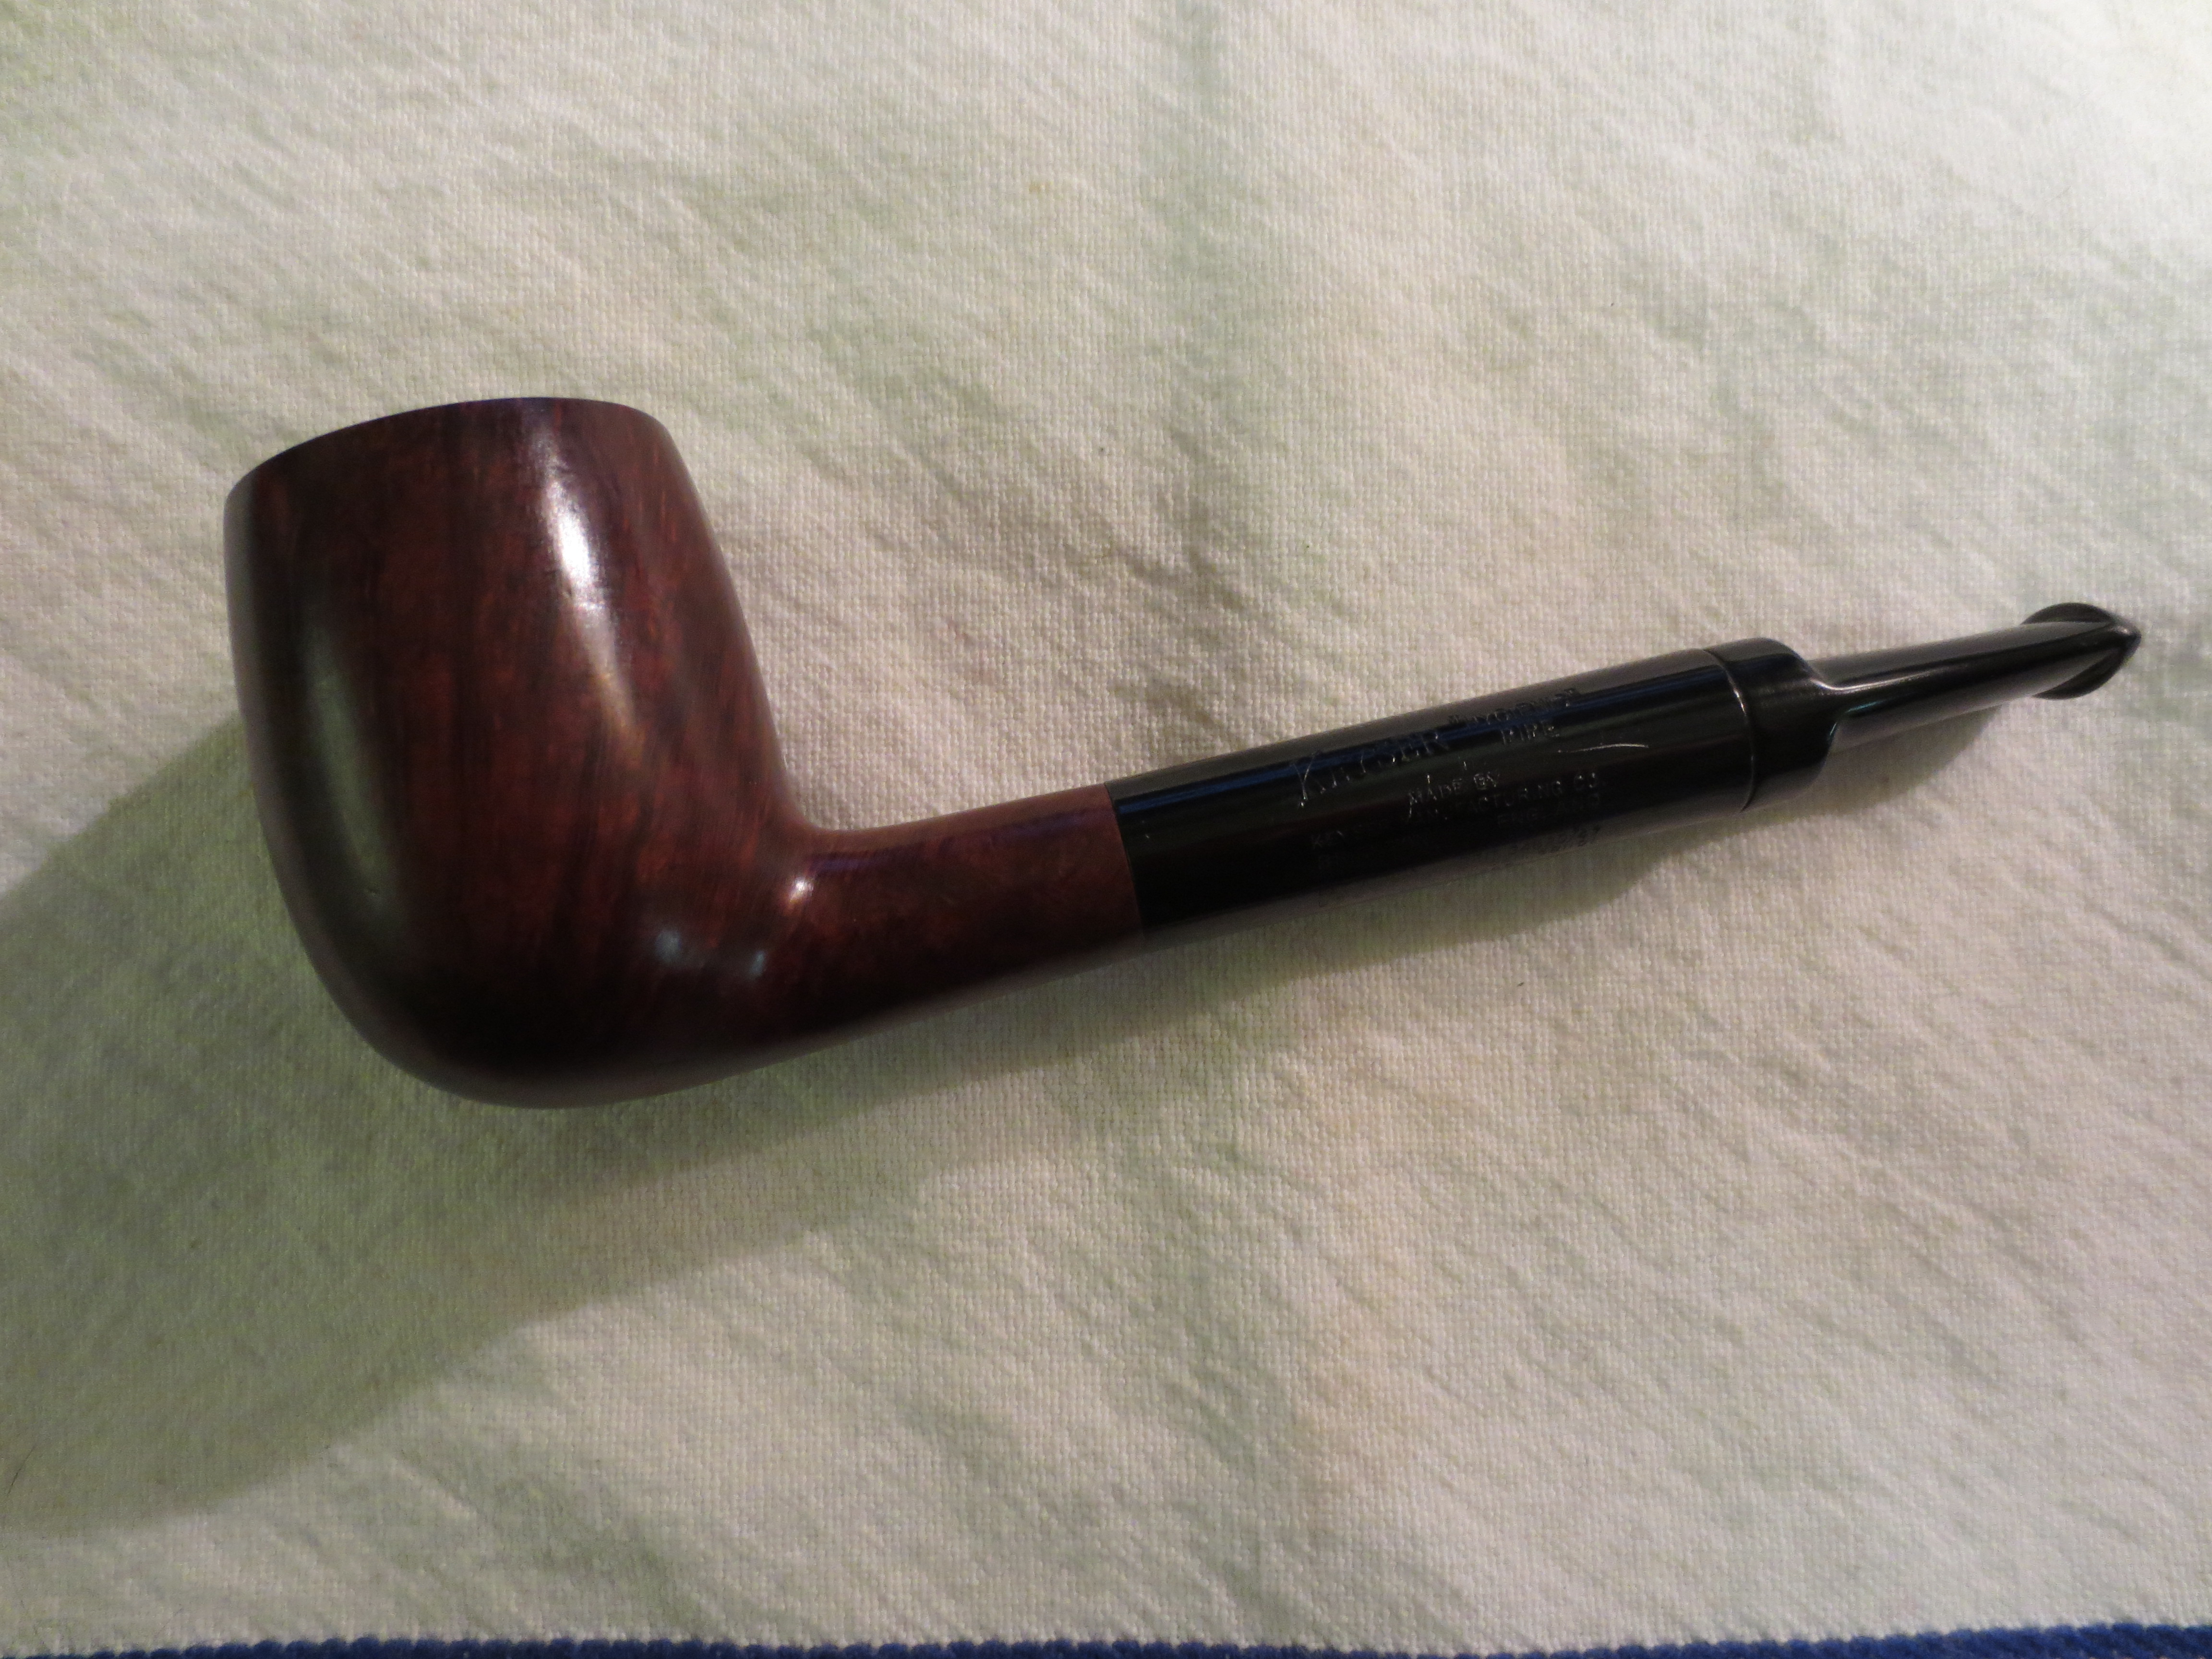
But this new Keyser was unique in all ways. The system design seems like a prototype of the original or maybe a step toward the ones that I have. It is composed of a short shanked briar bowl and a metal tube that has a normal vulcanite tenon. This sits in the shortened shank. Inside the tube is a second tube that extends ¾ of the way up the barrel. The inner tube is the extension of the airway in the tenon. The stem is a short pressure fit stem with a shoulder that allows it to ride on the end of the outer tube. On the end of the stem is a down turned short tube that draws air in to the mouth piece from the condensing chamber of the tube. It is a fascinating design. It is that uniqueness that caught my eye – that and the stamping/engraving on the outer tube which reads as follows:

KEYSER HYGIENIC PIPE
Made By
Keyser Manufacturing Co.
Brighton England
Pat Appns Brit 34B20/47
US 6067474/48
Can 581101

The next series of seven pictures shows the pipe as it appeared in the EBay webpage. The seller did a great job describing the current state of the pipe and the areas of concern. The seller notes some of the scratches on the outer tube and the darkening of the rim. He also noted the tooth chatter and scratch marks on both the top and underside of the stem.
Keyser1

Keyser2

Keyser3

Keyser4

Keyser5

Keyser6

Keyser7
When the pipe arrived I unpacked it and examined it. There were indeed tooth chatter/marks on both the top and bottom of the stem. There was a cigarette burn mark on the bottom of the shank where it meets the bowl. It was not a deep burn and there was no charred wood just a dark mark. The rim itself also had some issues. While the surface was not charred there was a burned area on the front inside of the bowl and on the front outside of the bowl. It looked to be damage from a lighter used in the same place repeatedly over time. The remainder of the finish was in pretty good shape but the entire pipe would need to be stripped in order to address the burn marks on the rim and the side of the shank. The inside of the bowl and shank were very clean. The pipe had not been reamed but there was a light cake that smelled like an aromatic. The barrel was tight on the shank but I carefully was able to remove it. The vulcanite tenon on the end of the barrel was undamaged but the airway was closed in with tars. The way the tenon was attached to the barrel was interesting. The end of the barrel was bonded to a circular plug of vulcanite with the tenon an integral piece of the part. The stem was frozen in the barrel and could not be removed. The button on the stem was unmarked and the tooth marks were actually mid stem on the top and bottom sides. The vulcanite stem was oxidized and would need to be cleaned. The next four photos show the items that I have pointed out in this paragraph.
IMG_0507

IMG_0508

IMG_0509

IMG_0510
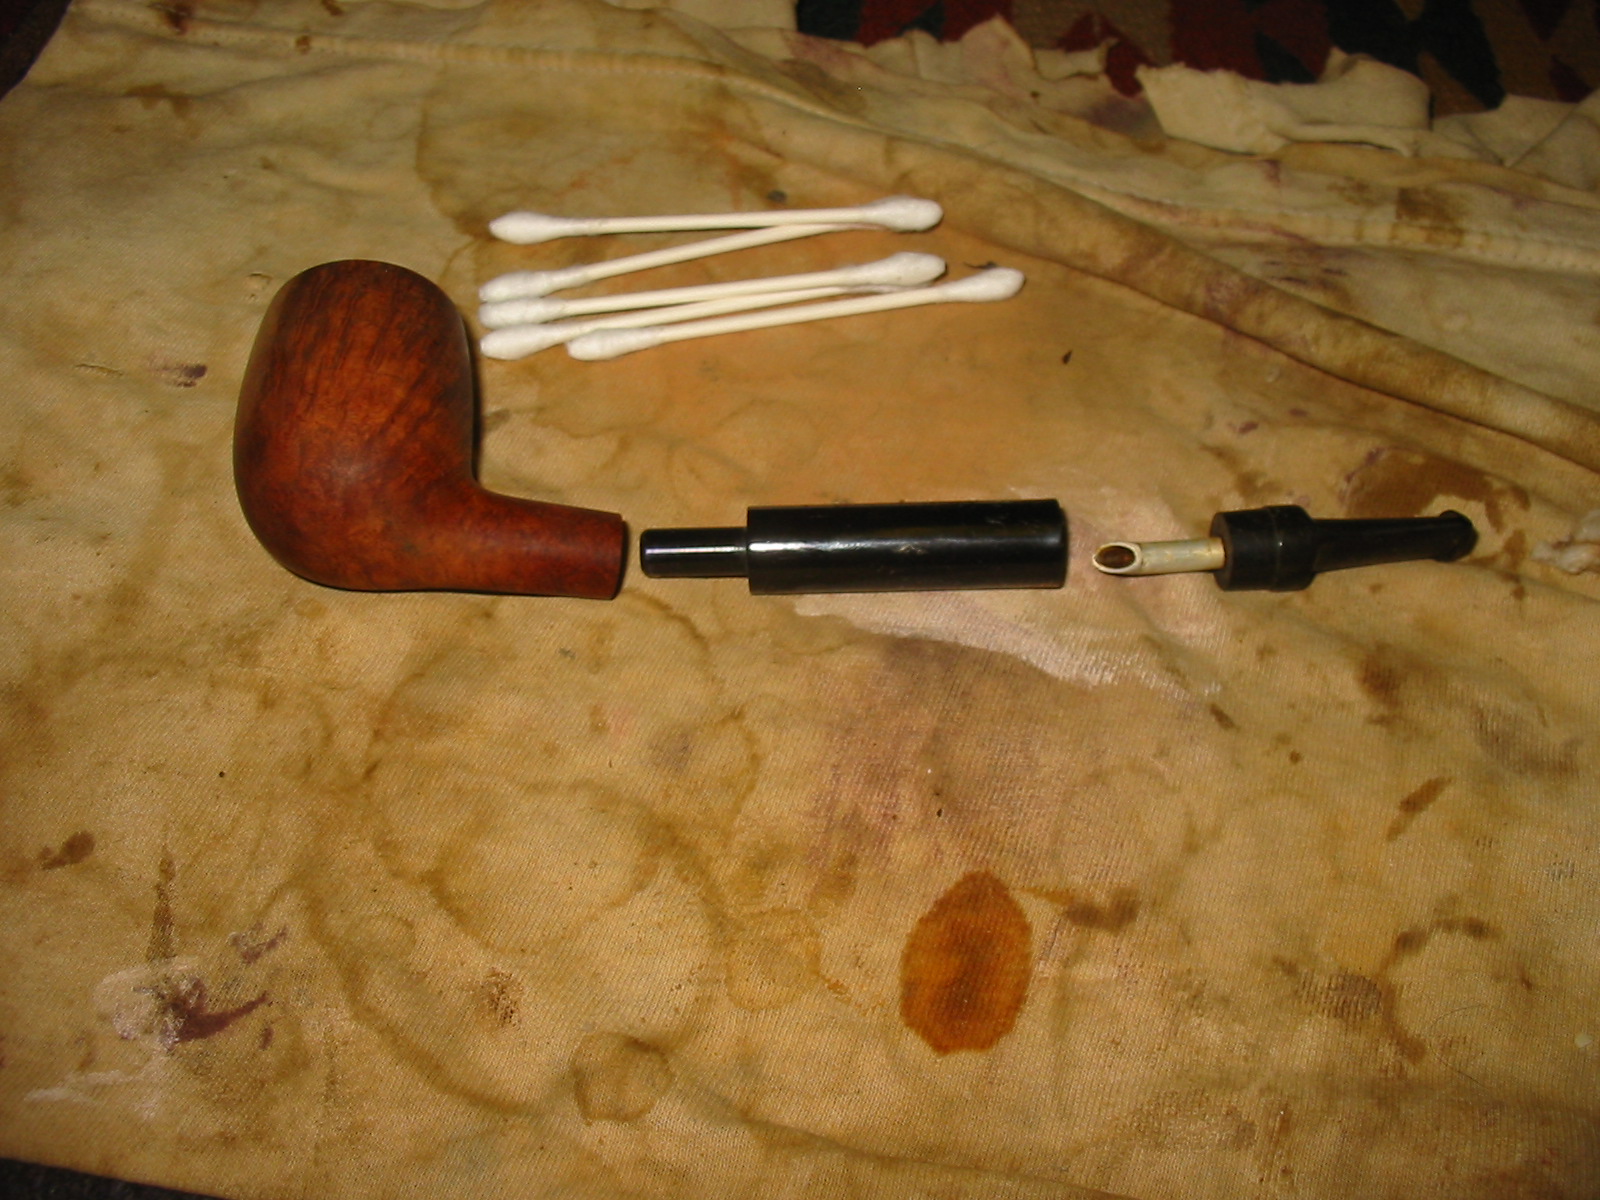
I was able to remove the barrel and tenon from the shank of the pipe by carefully twisting the barrel free of the shank. I always hold tightly to the shank with one hand right next to the shank and then twist with the other hand. I try to maintain equal pressure on all points so that the shank is not strained or cracked in the process. The next photo shows the tenon on the barrel. It is almost the same length as the shank and the airway is lined up very closely to the airway in the bottom of the bowl. I cleaned out the mortise with cotton swabs and Everclear and found that it was quite clean. I also cleaned out the barrel from both ends but was not able to get a pipe cleaner to go all the way through the pipe from button to tenon.
IMG_0511
The next three photos show the front of the bowl and the extent of the burn marks on the front outside of the bowl and the front inside of the rim. These were two areas that would need to be worked over to minimize the burn marks on the finished pipe.
IMG_0512

IMG_0513

IMG_0514
I used my PipNet reamer to ream out the soft aromatic cake in the bowl and then recleaned the shank and the inside of the bowl with pipe cleaners and Everclear to remove the carbon dust that came from the reaming process (Photo 1 below). I wiped down the outside of the bowl and shank with a cotton pad and acetone to remove the finish on the pipe (Photo 2 below).
IMG_0515

IMG_0516
The next series of fourteen photos show the topping of the bowl to remove the burned area on the inside of the rim and the front outside edge. The burn had rounded the outside edge and made it appear out of round when looking at it from the top. I wanted to top the bowl enough to bring the top view back into round, minimize the wood damage in both spots and clean up the sharp edge of the bowl. I used two different sanding sponges – medium grit (black coloured sponge) and a fine grit sponge (yellow coloured sponge) both pictured below to start the process. I went on to use medium grit emery paper on the hard board to further top the bowl and ended with 320 grit sandpaper on the board. I polished the finish of the topped pipe bowl with the fine grit yellow sanding sponge. I also worked on the burned area that extended down the front of the bowl with the two sanding sponges.
IMG_0517

IMG_0518

IMG_0519

IMG_0524

IMG_0525

IMG_0526

IMG_0528

IMG_0529

IMG_0530

IMG_0531

IMG_0532

IMG_0533

IMG_0534

IMG_0535

IMG_0536
While I was working on the bowl I put the barrel and stem unit in the freezer to try to break loose the stuck stem. I have found that the varying contraction time of the metal and vulcanite will often loosen the stem. Once it was in the freezer for 30 minutes I could easily remove the stem and give the inside of the barrel and the stem a thorough cleaning with pipe cleaners and cotton swabs dipped in Everclear. I cleaned them until both came out clear. The next five photos show the broken down stem and the tube on the end of the stem that I was talking about above. There is one photo of the barrel but it is too dark to see the inner tube.
IMG_0537

IMG_0538

IMG_0539

IMG_0542

IMG_0543
Once the stem and barrel was clean it was time to deal with the tooth marks and chatter on the stem itself. I sanded the top and the bottom with 320 grit sandpaper to remove the marks and the chatter. None of them were too deep. They were more of a ripple like effect on the surface of the vulcanite. I sanded them flat to the surface of the stem and then went on to sand the stem with micromesh sanding pads from 1500-12,000 grits. The next four photos show the progress of the shine.
IMG_0544

IMG_0545

IMG_0546

IMG_0547
After shining the stem with the micromesh I took it to the buffer and buffed the stem with White Diamond and then rubbed it down with Obsidian Oil and finished it with a coat of carnauba wax. I put the stem back in the barrel and lined up the stem with the stamping on the side of the barrel. I gave the entire barrel and stem another coat of carnauba wax and hand buffed them. The next three photos show the assembled barrel and stem unit polished and ready to put on the bowl once it was restained and ready.
IMG_0548

IMG_0549

IMG_0550
I sanded and resanded the bowl with fine grit sanding sponges and then sanded it with micromesh sanding pads from 1500-3200 grit. I wiped it down with acetone between sandings and again when I was finished to prepare it for staining. The next three photos show the prepared pipe ready for staining. The burn mark on the bottom of the shank is gone with very little sanding and no change to the shank surface itself. The one on the front of the is minimized and the one on the rim is also virtually gone. The bowl is ready for a new finish coat.
IMG_0551

IMG_0552

IMG_0553
I restained the bowl with an oxblood aniline stain, flamed it and restained and reflamed it. I rubbed it down with a cotton terry cloth to smooth out the stain and then took it to the buffer. I always buff with my thumb in the bowl to ensure that the buffer does not grab the bowl from my hand and launch it against the wall. I rotate it slowly in my hand and with a light touch buff the shank. I am careful not to apply too much pressure and round the shoulders on the shank. I normally do not buff with the stem off the bowl but in this case I did not want to risk buffing off the black paint on the barrel so I chance the buffing on the bowl alone. The next three photos show the buffed bowl before polishing.
IMG_0554

IMG_0555

IMG_0556
I reassembled the pipe and then hand buffed it with multiple coats of carnauba wax and polished it with a shoe brush. The stem and bowl have a great shine and the bowl has some beautiful grain on it. I look forward to smoking this one and comparing it with my other Keyser Hygienic pipes. The final four photos below show the finished pipe. I have yet to do the research on the patent information on the barrel but I am hoping to find out a bit of history on this piece.
IMG_0723

IMG_0724

IMG_0725

IMG_0726
From the photo of the bottom of the bowl and shank above you can see that the burn mark there is eliminated in its entirety. Also in the photo of the rim above and the one of the front of the bowl below you can see that the burn mark is gone and what remains is blended into the stain.
IMG_0728

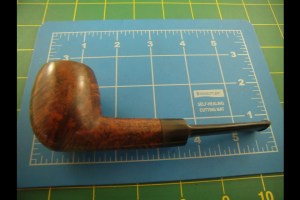
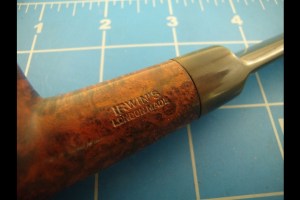
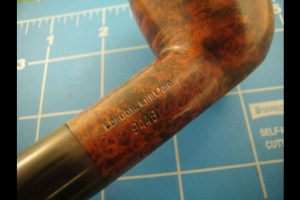
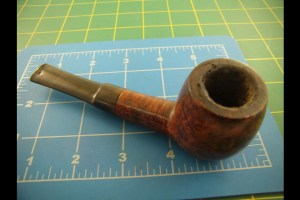
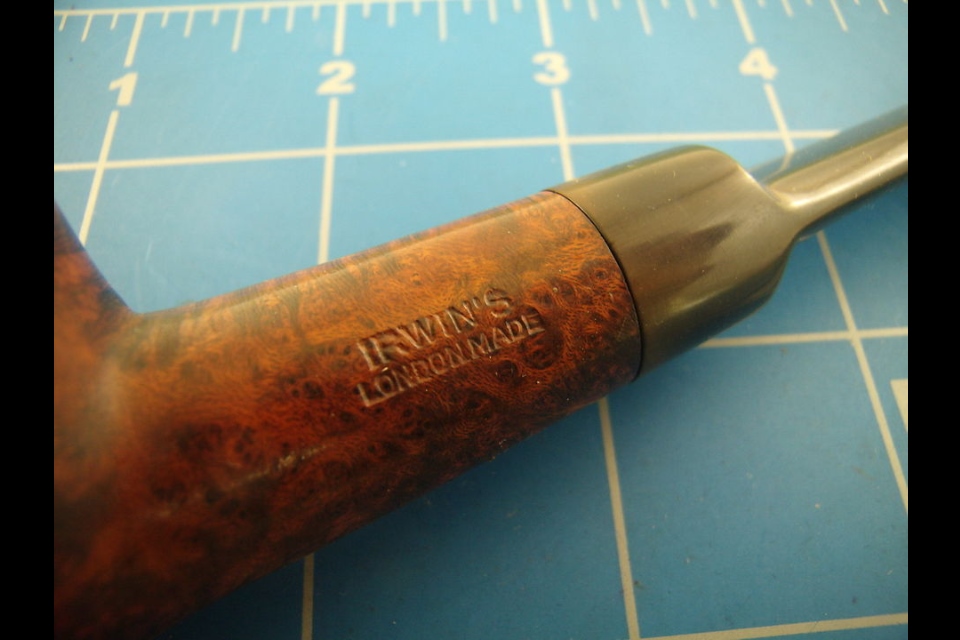
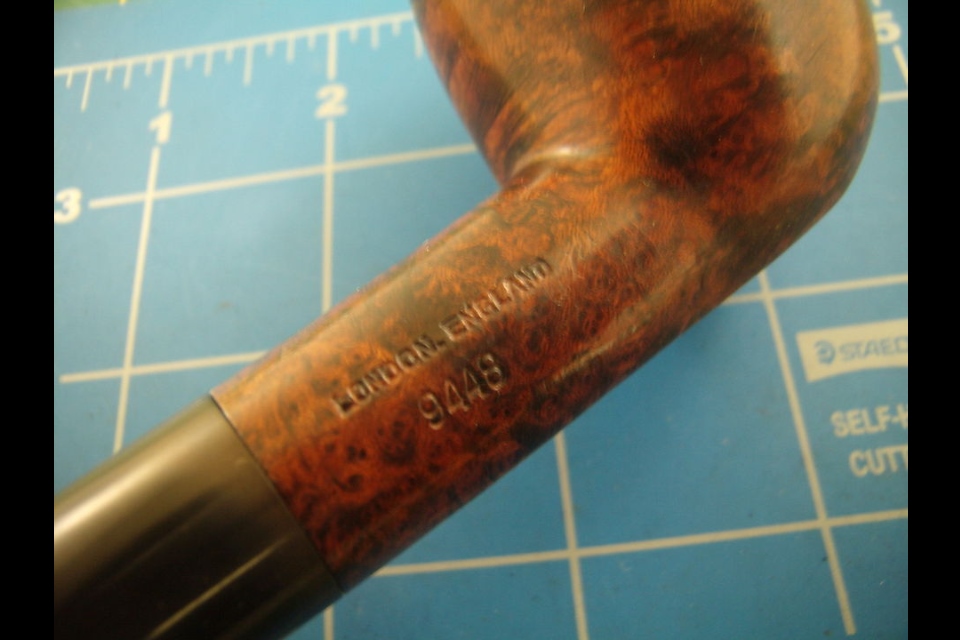
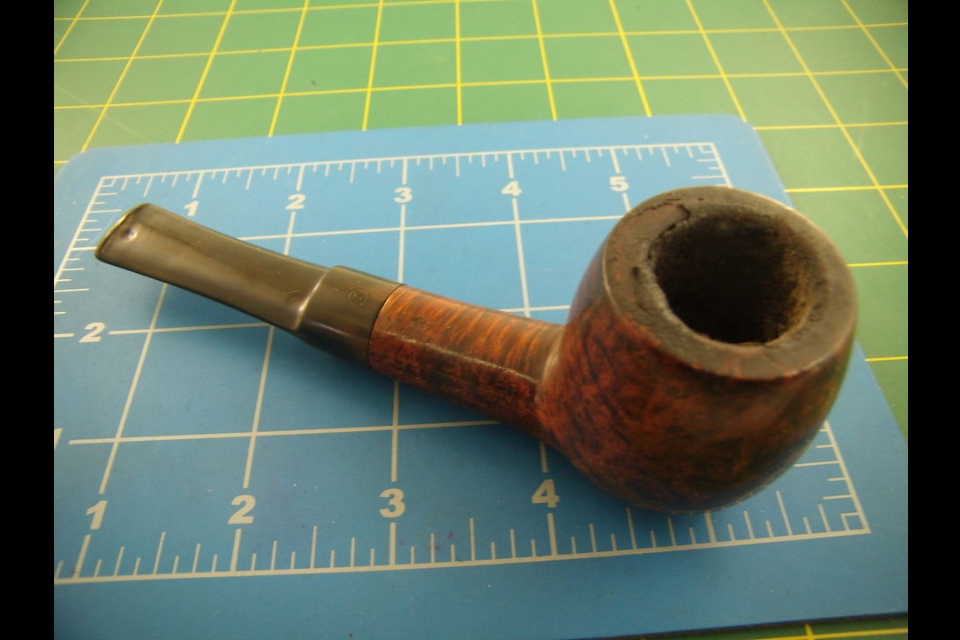
Irwin’s (GBD Second) 9448 Refurbished


Blog by Greg Wolford

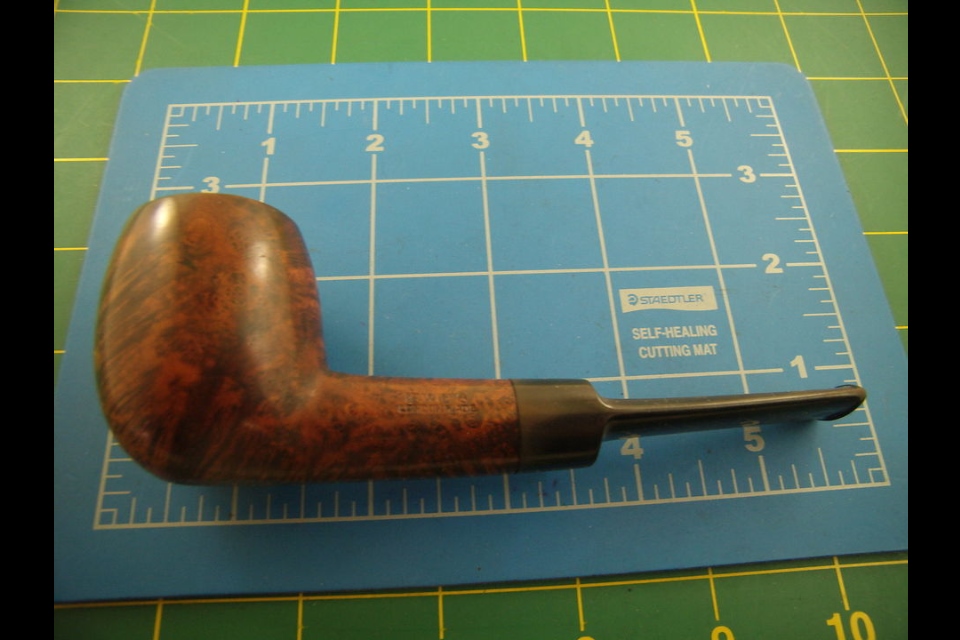
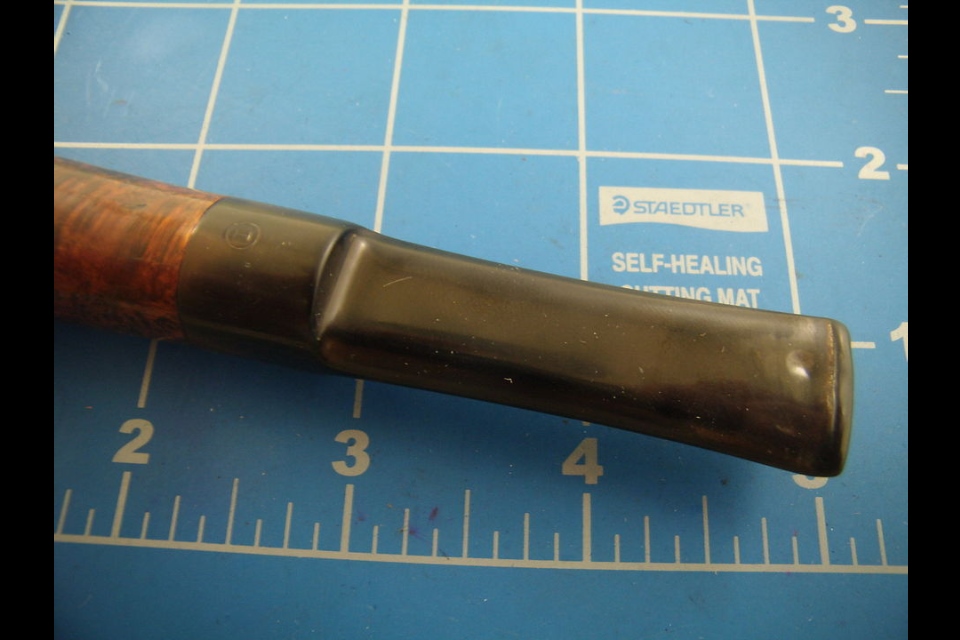
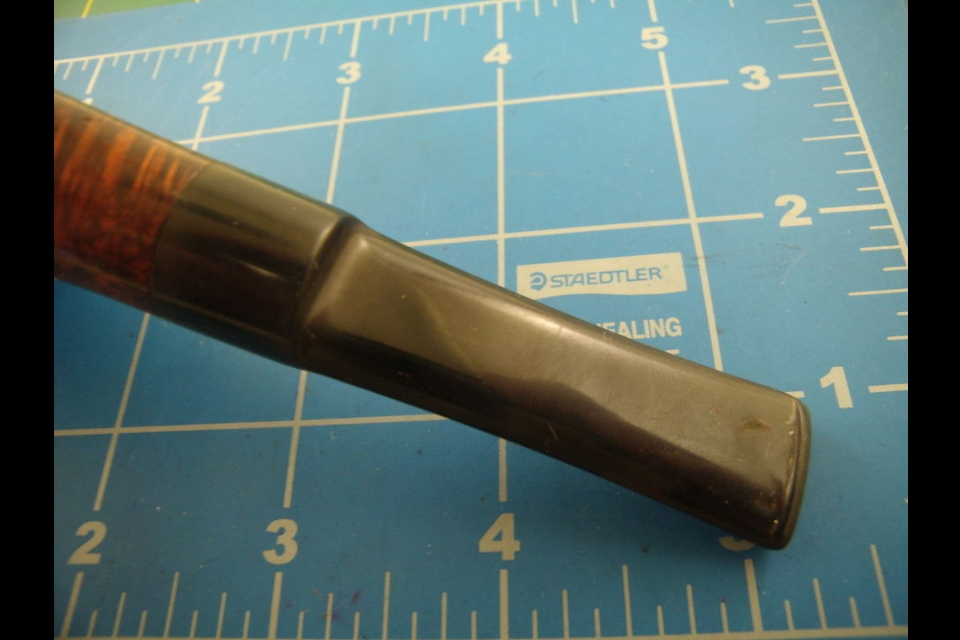
I picked this Irwin’s 9448 up not too long ago expecting it to be an easy clean up, which was partly right and partly wrong, and knowing it was a GBD second it should be a great pipe for the money. From the seller’s photos I figured a little heat to lift the tooth dents, some light sanding and then micro meshing and the stem would be good to go. The stummel I figured would need to be cleaned, soaked in an alcohol bath and retained. Here are the photos from the seller:
Seller's Photo

Seller’s Photo

IMG_5457 (2) IMG_5458 (2) IMG_5459 (2) IMG_5460 (2) IMG_5461 (2) IMG_5462 (2)

I forgot to take my own photos when the pipe arrived and during the process so only the seller’s before and my after photos will be shown. The process went as follows though:

The stummel was in better shape than I anticipated: it was dirty and did have a few dents to raise but was in really good condition overall. The stem was another story: the tooth dents were much deeper than the photos showed or than I had expected. I knew that this stem was going to require filling the dents and thought over a few options, which I have more to say on later here. So, I decided to start with the stummel.

After reaming the bowl and cleaning the shank, I began by wiping the pipe down with acetone on disposable cotton pads, and went through many of them. After get most of the dirt and wax off, I took some cotton swabs dipped in 91% isopropyl alcohol and began to work off the heavy build up on the rim. It was a slow process but as the layers came off I could see the rim was in very nice shape and didn’t need topped. Once all the gunk was off, I took a few more passes over the entire stummel with a couple more cotton pads wet with alcohol to make sure all the finish and dirt was removed. I then turned my attention to the dents: one on the front of the bowl, two on the bottom near where the curve of the bowl met the flat “sitter” area, and a couple on the rim.

I used my heat gun to heat up the end of an old kitchen “butter knife” and a wet scrap rag to produce the steam to raise the dents. All of them came out fairly easily except for one on the “sitter” portion and it took several applications of steam to get it out. But it did finally raise.

At this point I went to the buffer to see what the stummel looked like. I buffed it with some Tripoli and then again my hand with an old t-shirt. I saw then that the pipe had good color under all the dirt, it had just been hidden. And the steam had done its job very nicely, too, giving me a pretty well smoothed out stummel. There was one fill on the left side of the bowl but not a large one and it didn’t really stand out to my eye so I decided to leave it alone. I wiped it down with one more alcohol pad to remove any trace left from the Tripoli and then decided to not sand or re-stain it; the color was really nice and the grain showed in a nice contrast. So I set the stummel aside to work on the stem.

I began by heating the stem, with a pipe cleaner inserted to make holding, moving and not damaging the airway easier. The dents lifted some but, as I expected, were too deep to come anywhere near level. So now it was time to try some patching or filling of the dents.

A while back Al, another contributor here on the blog, had mentioned he had used cigar ash to fill in a few dents but that they were still visible repairs. I have been experimenting with a couple of ideas that so far have not made any great improvements over just using super glue alone. I thought that on this one I would try to make a patch with carbon reamed from the pipe. The carbon is much darker, a real black, than ash so I thought this might make a better repair. I worked in layers, packing in the carbon, applying a drip of super glue, allowing it to dry, sanding it back down with an emery board and repeating; I think I did three rounds on each side of the stem, trying raise the dents slowly and make them stronger in the long run. After the last application on the underside, I began to work with my needle files, then emery boards, 320 grit wet sand and finally onto micro mesh, wet sanding 1500-2400. I then applied the Novus 2 plastic polish, rubbing it on and off with cotton pads. The remaining grits of micro mesh I used dry through 12,000. Finally I used the Novus 2 again, applied the Mother’s Back to Black with my fingers and let it dry before buffing it off with another cotton pad. The final step was to polish it with the Novus 1 plastic polish. Now it was time to reassemble the pipe and take it back to the buffer. At this point I knew the patch wasn’t as good as I’d hoped it would be: it was better, I think, but it was also still noticeable.

I buffed the stummel with Tripoli again before I reassembled the pipe and buffed the entire pipe with white diamond. I then applied several coats of carnauba wax to the pipe and buffed it out with a new soft cloth wheel. This is what the pipe looks like now, cleaned up (except for the fact I smoked it before I took the photos) but without any new staining done to it.
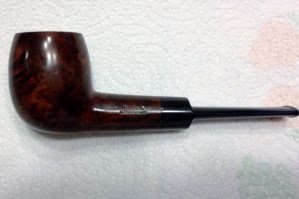
After
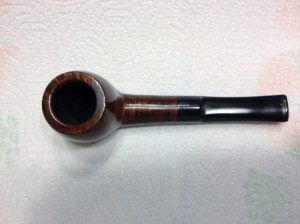
After

IMG_5493 IMG_5492 IMG_5491

The bit area does look a lot better and it is smooth, almost; apparently the layering technique wasn’t my best idea as a small piece of the top patch came off at some point, probably on the buffer. Next time I will not work in layers but more like a briar-dust fill and do it all at once, which be faster, too. I do wish it were less noticeable on the whole,though.
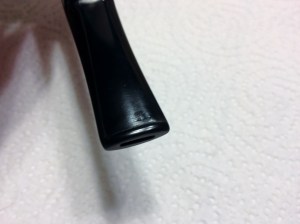
IMG_5494 IMG_5495

Before and After

Before and After

I have a few other ideas about trying to get a less visible patch that I may pursue. However, now that I know I can get black super glue, already made, that may be my future course. But the “can I do it myself ” part of me wants to keep experimenting so we shall see. If any of you readers have any ideas on making these repairs less visible I’d be most appreciative if you would share them in the comments section.

A Little Czech System Pipe Reborn


I had this little Czechoslovakian rusticated bowl in my box. I decided it was the day to work on it so I took it from the box and gave it the once over to see what needed to be done. The finish was a bit spotty, and the shiny varnish on it was peeling so I dropped it in an alcohol bath to try to break down the finish. The next three photos show the bowl after I had taken it out of the bath. While it was still wet I used a wire brush and some Everclear to scrub the surface of the bowl to remove the flaking finish and the varnish coat. I also topped the bowl to remove the damage that had been done to it from tapping it out. The fourth picture below shows the topped bowl

ImageImageImageImage

I went through my can of stems to find one that would fit. I had a nice p-lip style stem stamped WDC Wellington that came from a pipe of similar size and shape. I was able to sand it a little to make a good fit tight fit to the shank. I cleaned up the stem with micromesh sanding pads 1500-12,000 and then gave the stem a polish with Maguiar’s. I sanded it a final time with the 12,000 grit micromesh before wiping it down with Obsidian Oil. The two photos below show the finished stem.

ImageImage

I restained the bowl with dark brown aniline stain, flamed it, restained and flamed it a second time. The restained pipe is shown in the next two photos. Once it was dry I took it to the buffer and buffed the stem and the bowl with White Diamond.

ImageImage


I brought the pipe back to the work table and gave it multiple coats of the Halcyon II wax as I find it does a great job giving rusticated pipes a nice sheen. I also coated the stem with carnauba wax and hand buffed the entire pipe with a shoe shine brush. The hand buffing brought out a nice shine on the pipe.

ImageImageImageImage


Experimenting with Alternative Oxidation Removal Techniques


Blog by Greg Wolford

I’ve recently been involved in a conversation about removing oxidation on stems with steel wool. I have to be honest, at the first mention of steel wool being used on a stem made my jaw drop (literally, almost dropped my pipe). But these guys are long time pipe smokers and restorers so I didn’t just brush off the information.
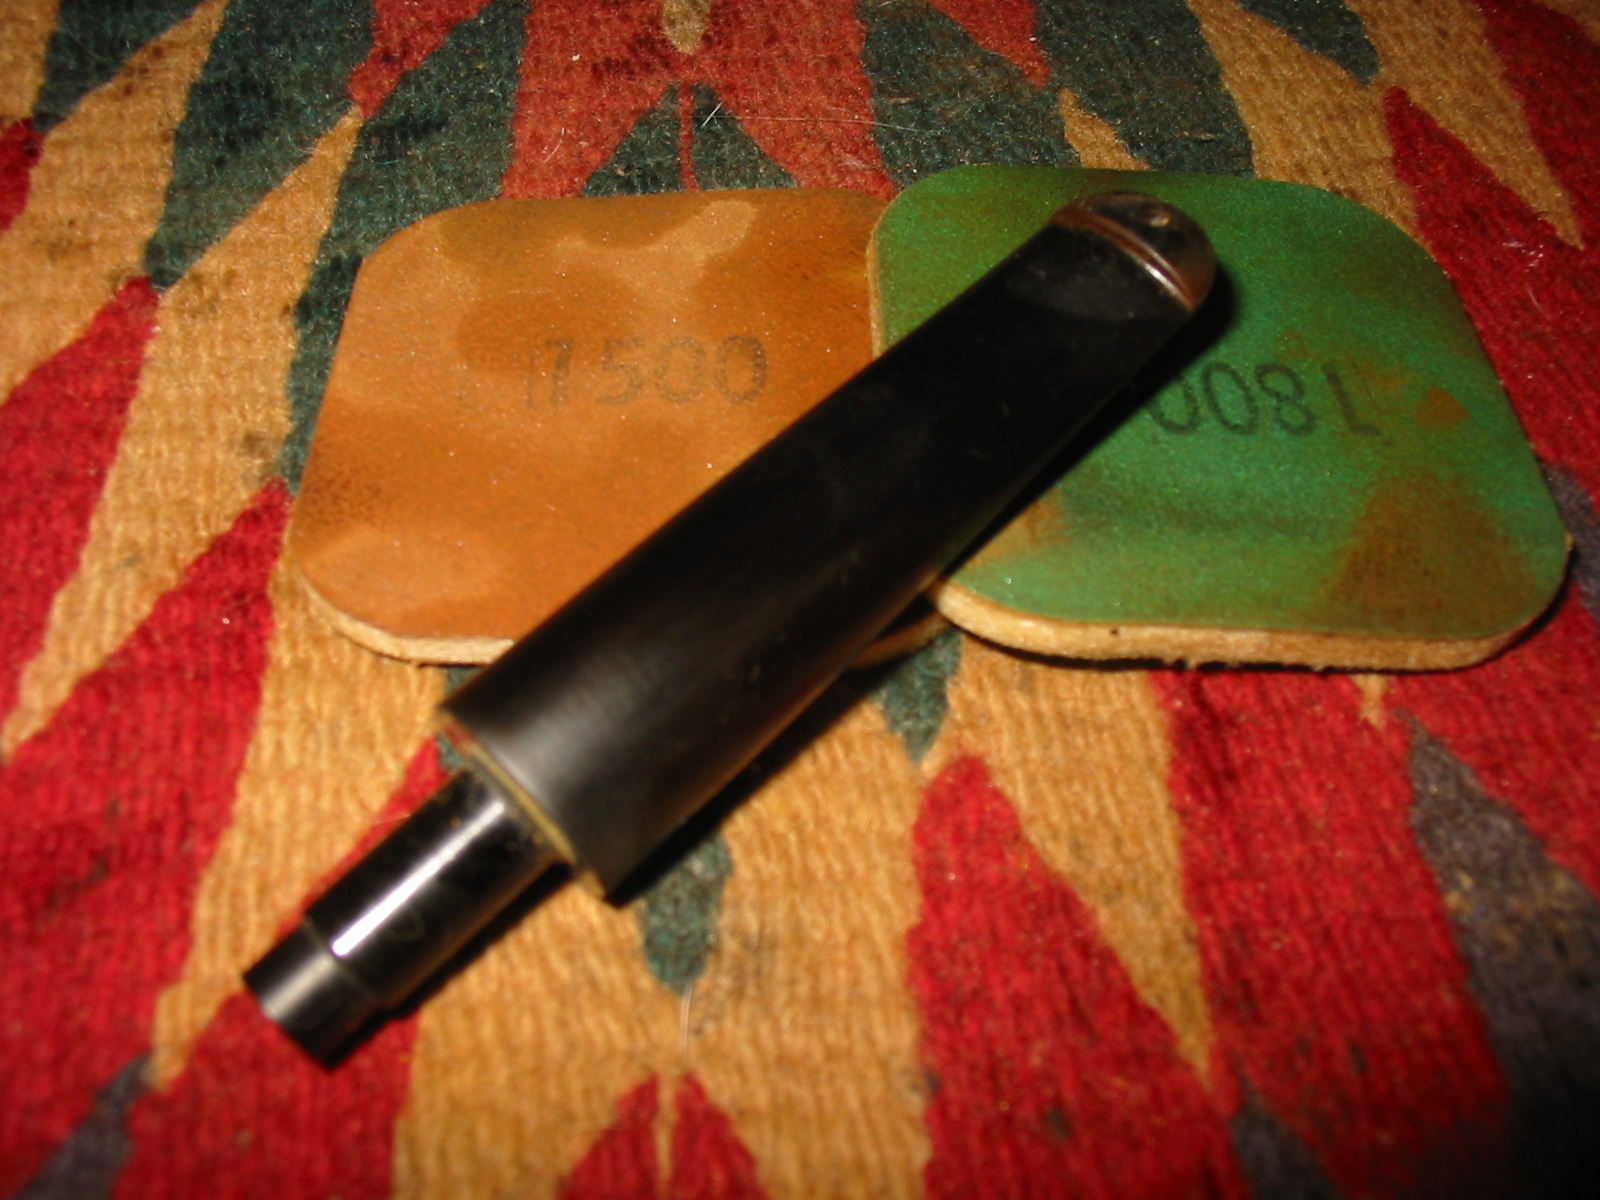
They said that using 0000 steel wool, dampened with water, removes oxidation much more efficiently than miracle erasers, Bar Keepers Friend or any micro mesh/sandpaper treatments. The increased efficiency also reduces the time invested I am told, which makes sense and is appealing.

So I decided to try an experiment on two old stems. These stems weren’t in terrible condition but had some oxidation to them and they were nothing too valuable if I made a real mess of them: they are expendable so they became my test subjects.

20130312-095418.jpg

I soaked them in a room temperature OxiClean bath for about four hours or so; I had to leave the house for a while so I made sure the water wasn’t too warm and left them to soak while I was gone. When I got home I washed them with dish detergent and a scrubby sponge until they no longer felt slick: about 2-3 minutes. They were the. Left to air dry on a drain board overnight.

20130312-095310.jpg

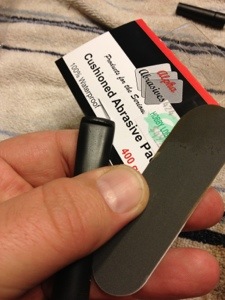
Yesterday morning I went out and bought some supplies: a package of 0000 steel wool and some 400 grit wet/dry sanding sticks; the sticks, or pads, remind me of short wide emery boards.

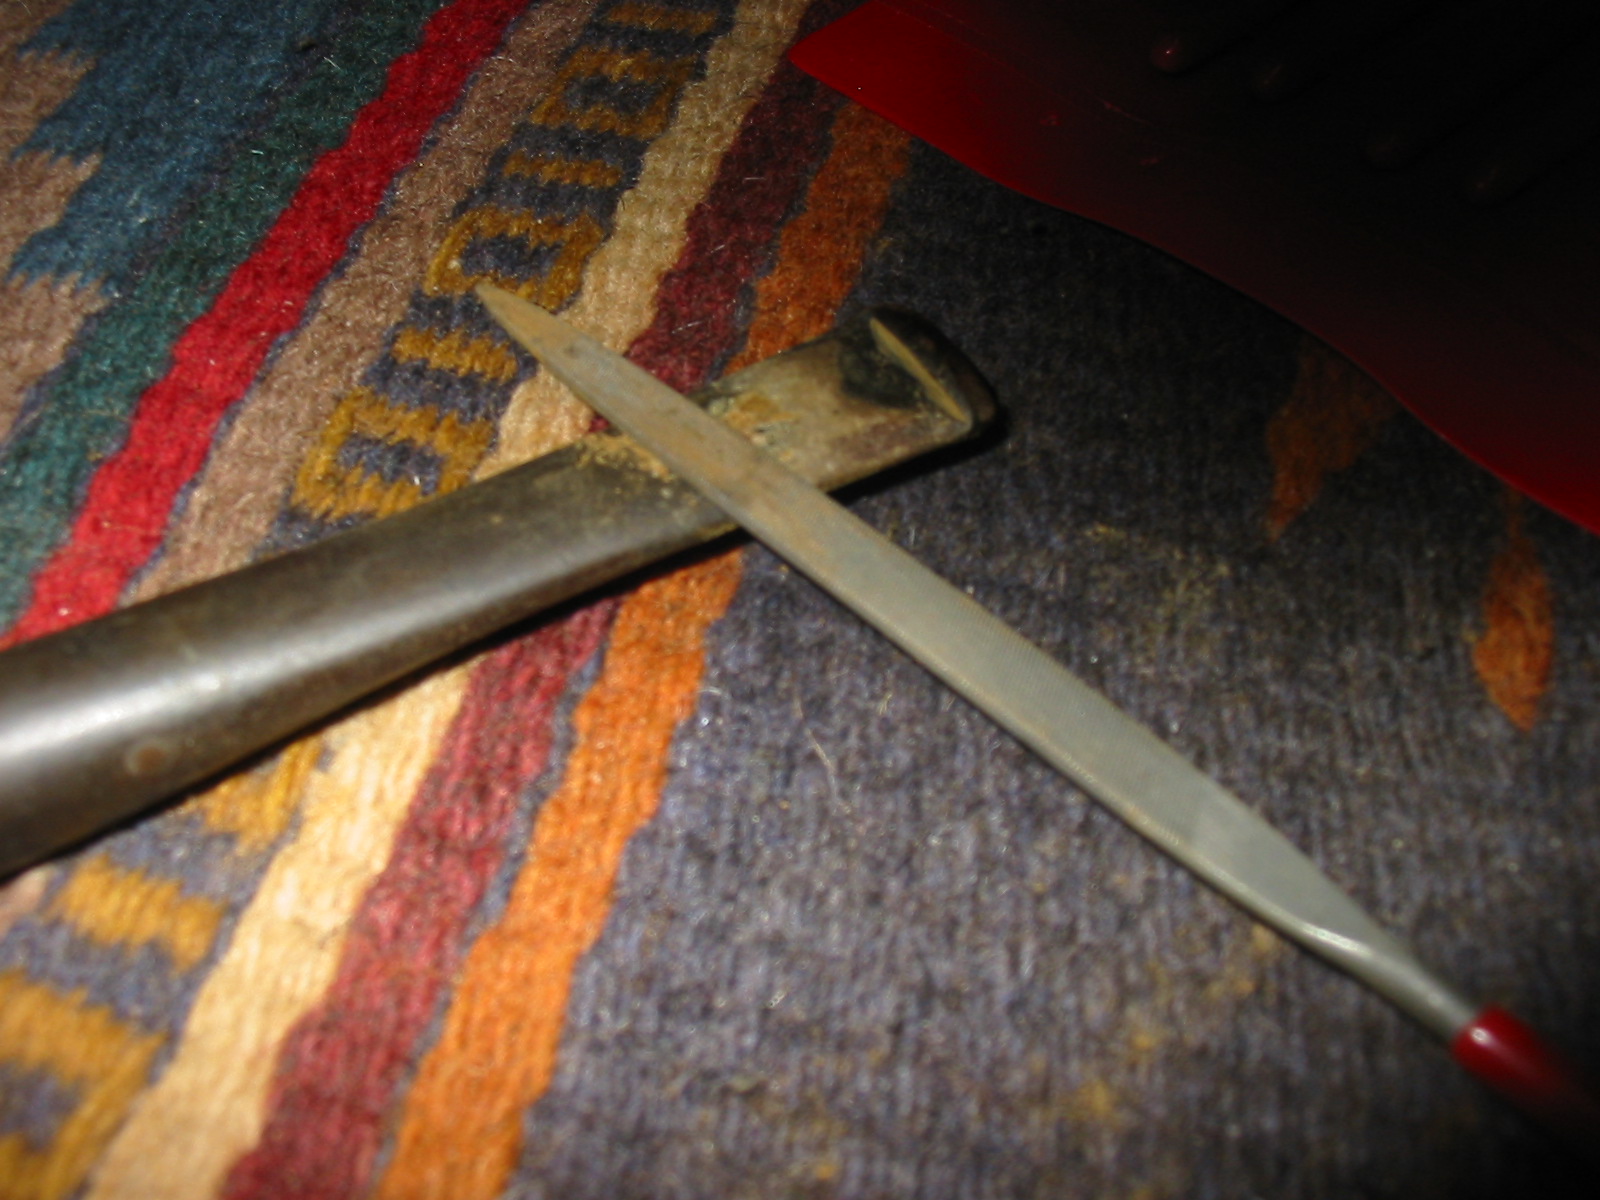
I took a piece of the steel wool and dampened it and began to rub the stems. Every few minutes I would wipe off the stem on an old towel, rinse out the wool, and go back to rubbing. It took very little time to remove the signs of oxidation and the stems were much less matte finished than they usually are after initial sanding. So I turned my attention to the stem with the stinger to work on the chatter.

I used the new 400 grit pads to wet sand on the chatter, going back and forth, wiping and rinsing as I had with the wool. These pads seem like they will be very useful in getting into that hard (for me at least) to get bit area and is why I bought them to begin with. They did, indeed, reach into that area much more easily and they took out the chatter fairly fast. That area was now more matte than the rest of them stem so I went back to the damp steel wool. In a few minutes the shine came back up even across the stem, which actually surprised me.

The whole process, not including the soak and dry time, took less than 15 minutes; I was again impressed.

20130312-095310.jpg

Will steel wool scrubs replace all the sanding and micro mesh polishing? I don’t think so. Will it reduce the amount of time and effort spend making an old stem look new again? I believe it can. I expect to explore with more stems just how effective this process can be and how much sanding and polishing can be avoided using the steel wool. One fellow said he can go straight to the buffer after the wool scrub. On some stems that may be a possibility but I think on most it won’t. Any chatter or deep marks I think are still going to require sanding. And if you have a rough stem after the oxidation is gone I think it’s still going to need sanding, too. But this is a (new to me) technique that I think needs more investigation and experimentation, one that potentially reduce the amount of time and labor spent on many stems, letting is be more productive overall.
20130312-095226.jpg

Stem after using 400 grit pad and 0000 steel wool to remove chatter and bring back up some shine.

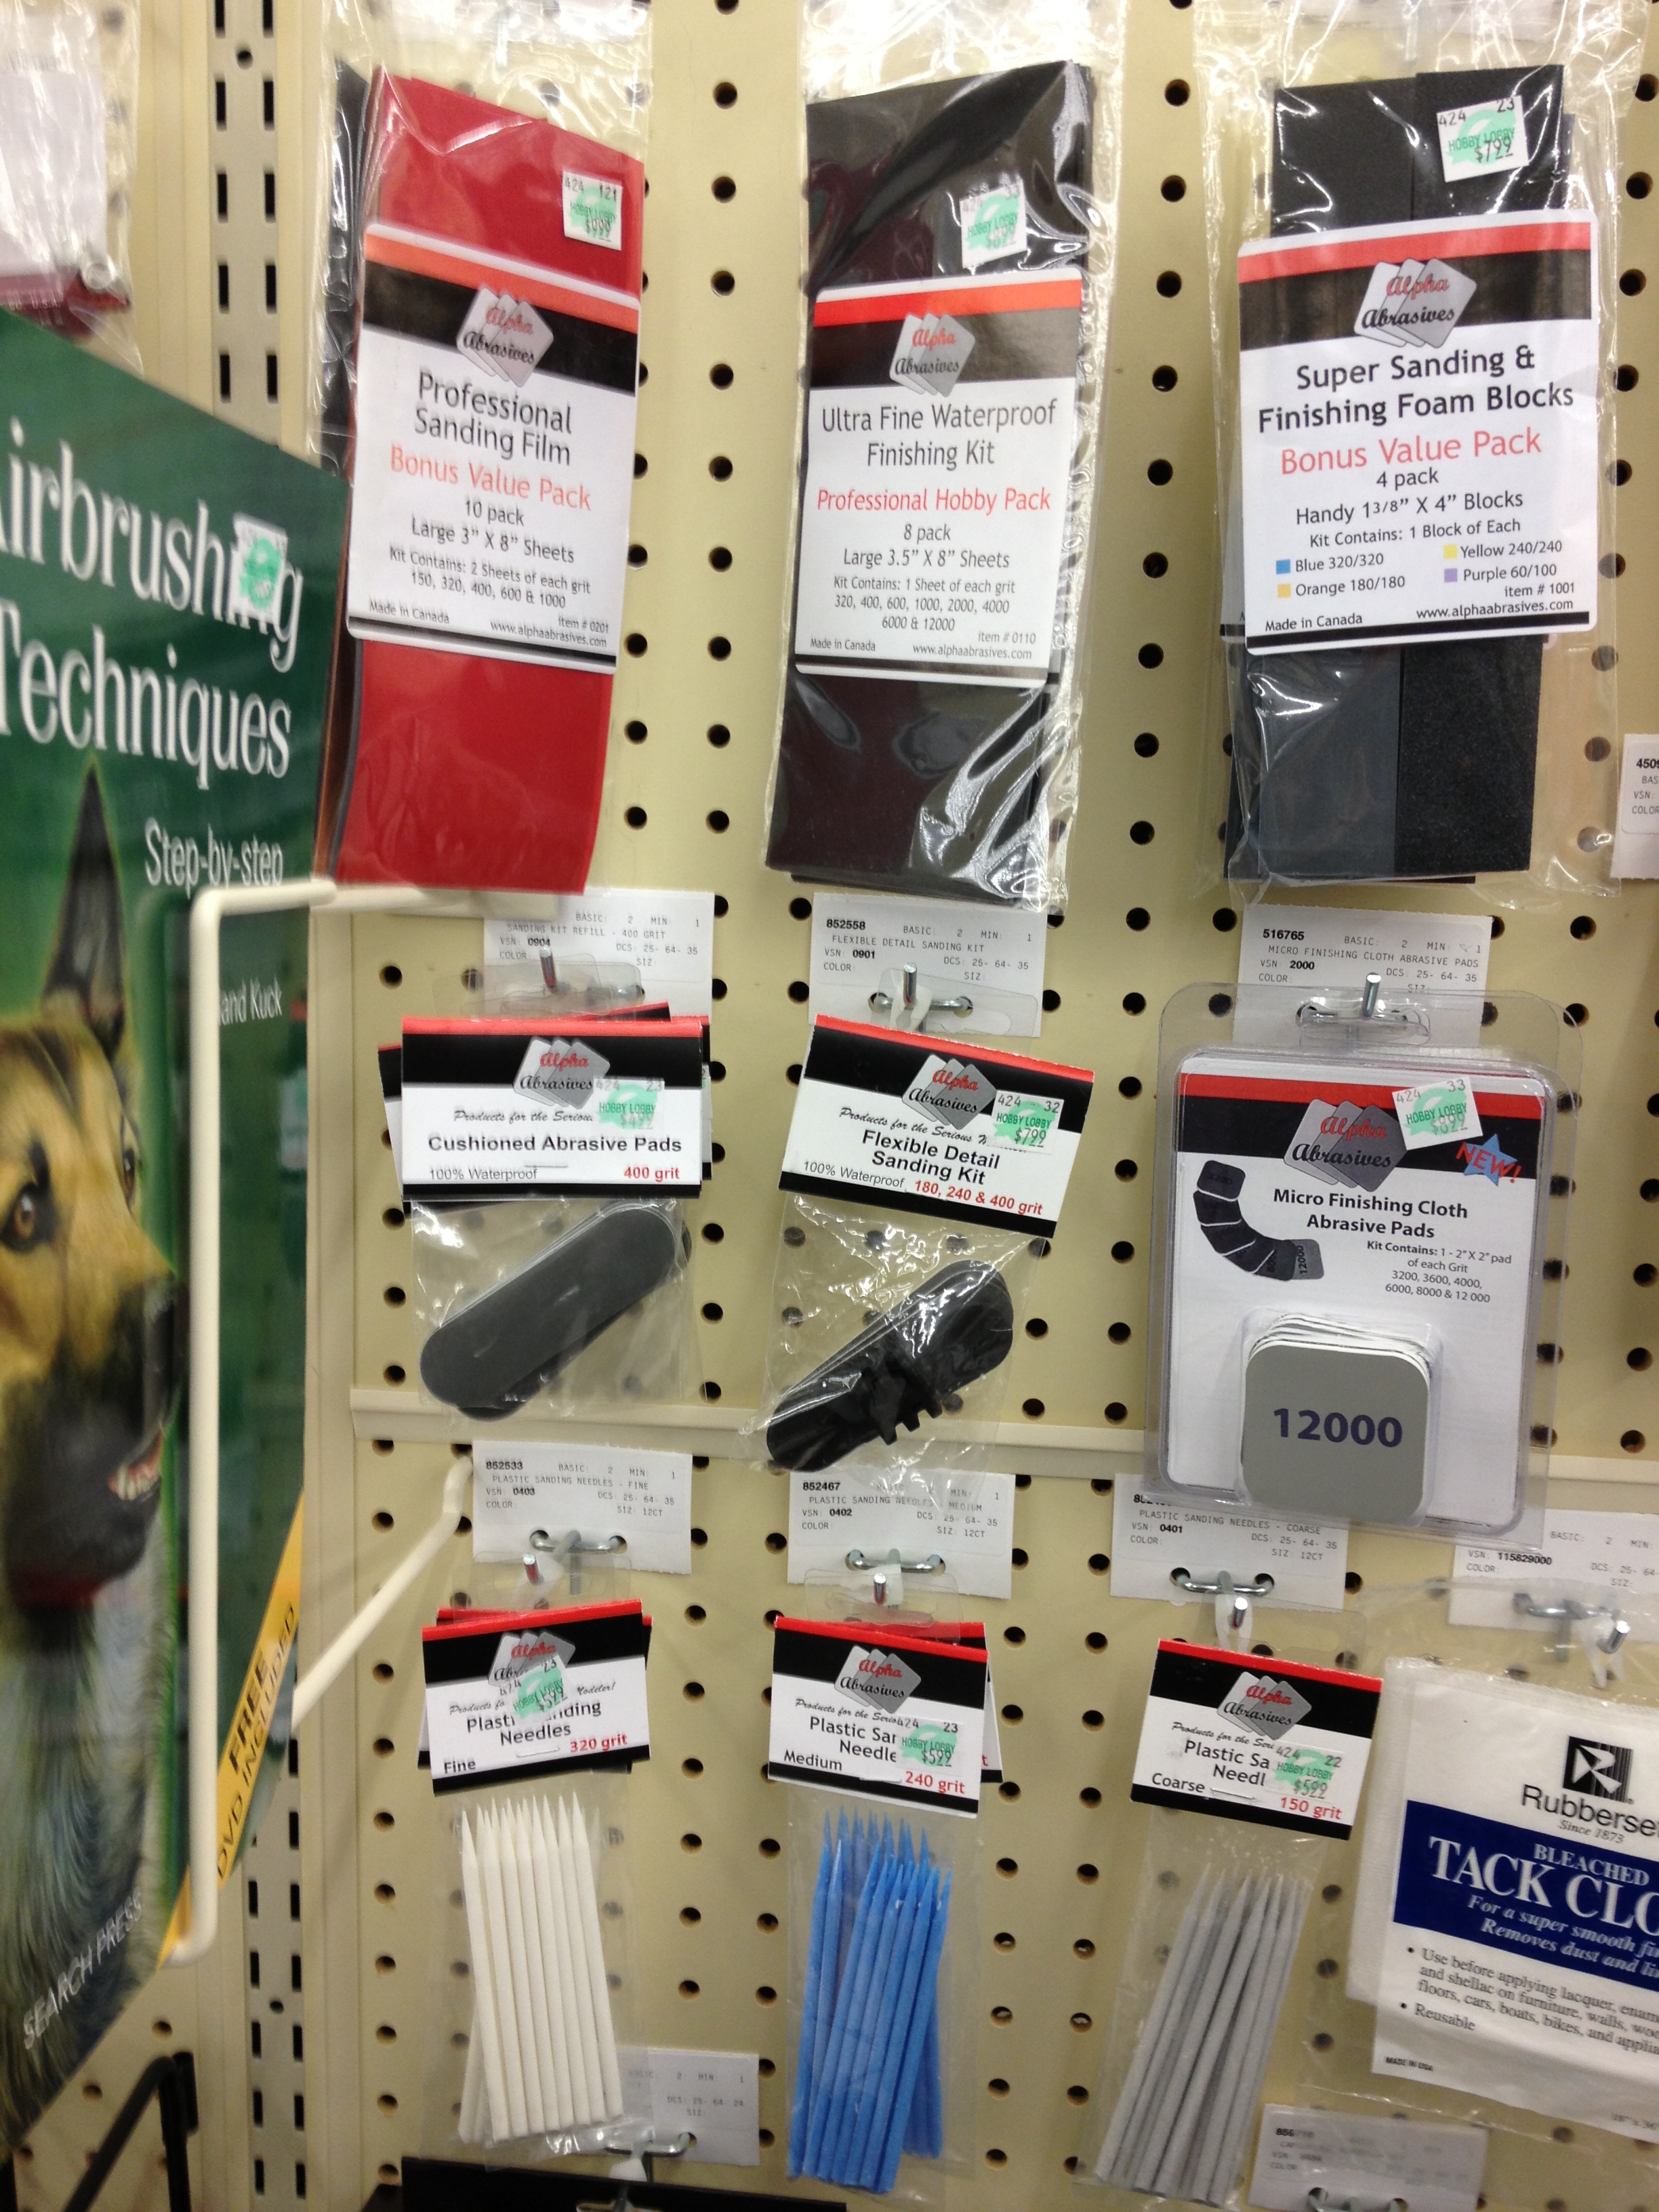
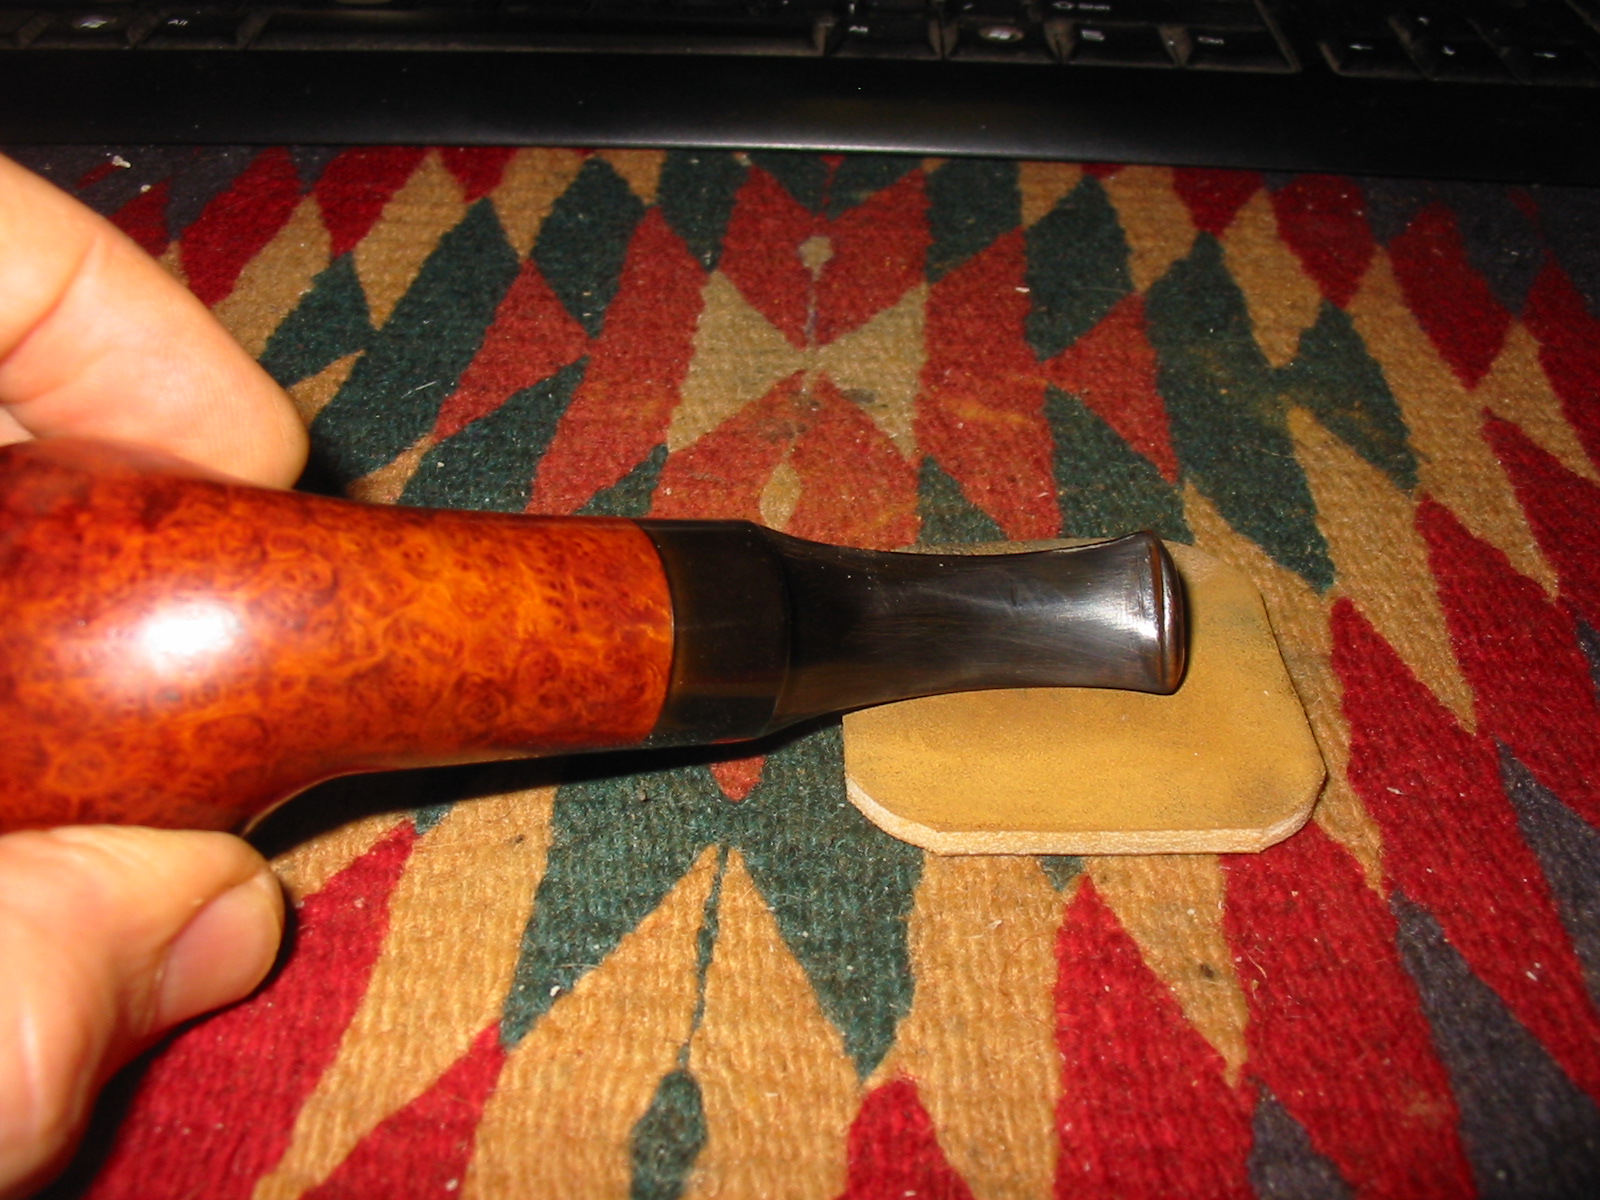
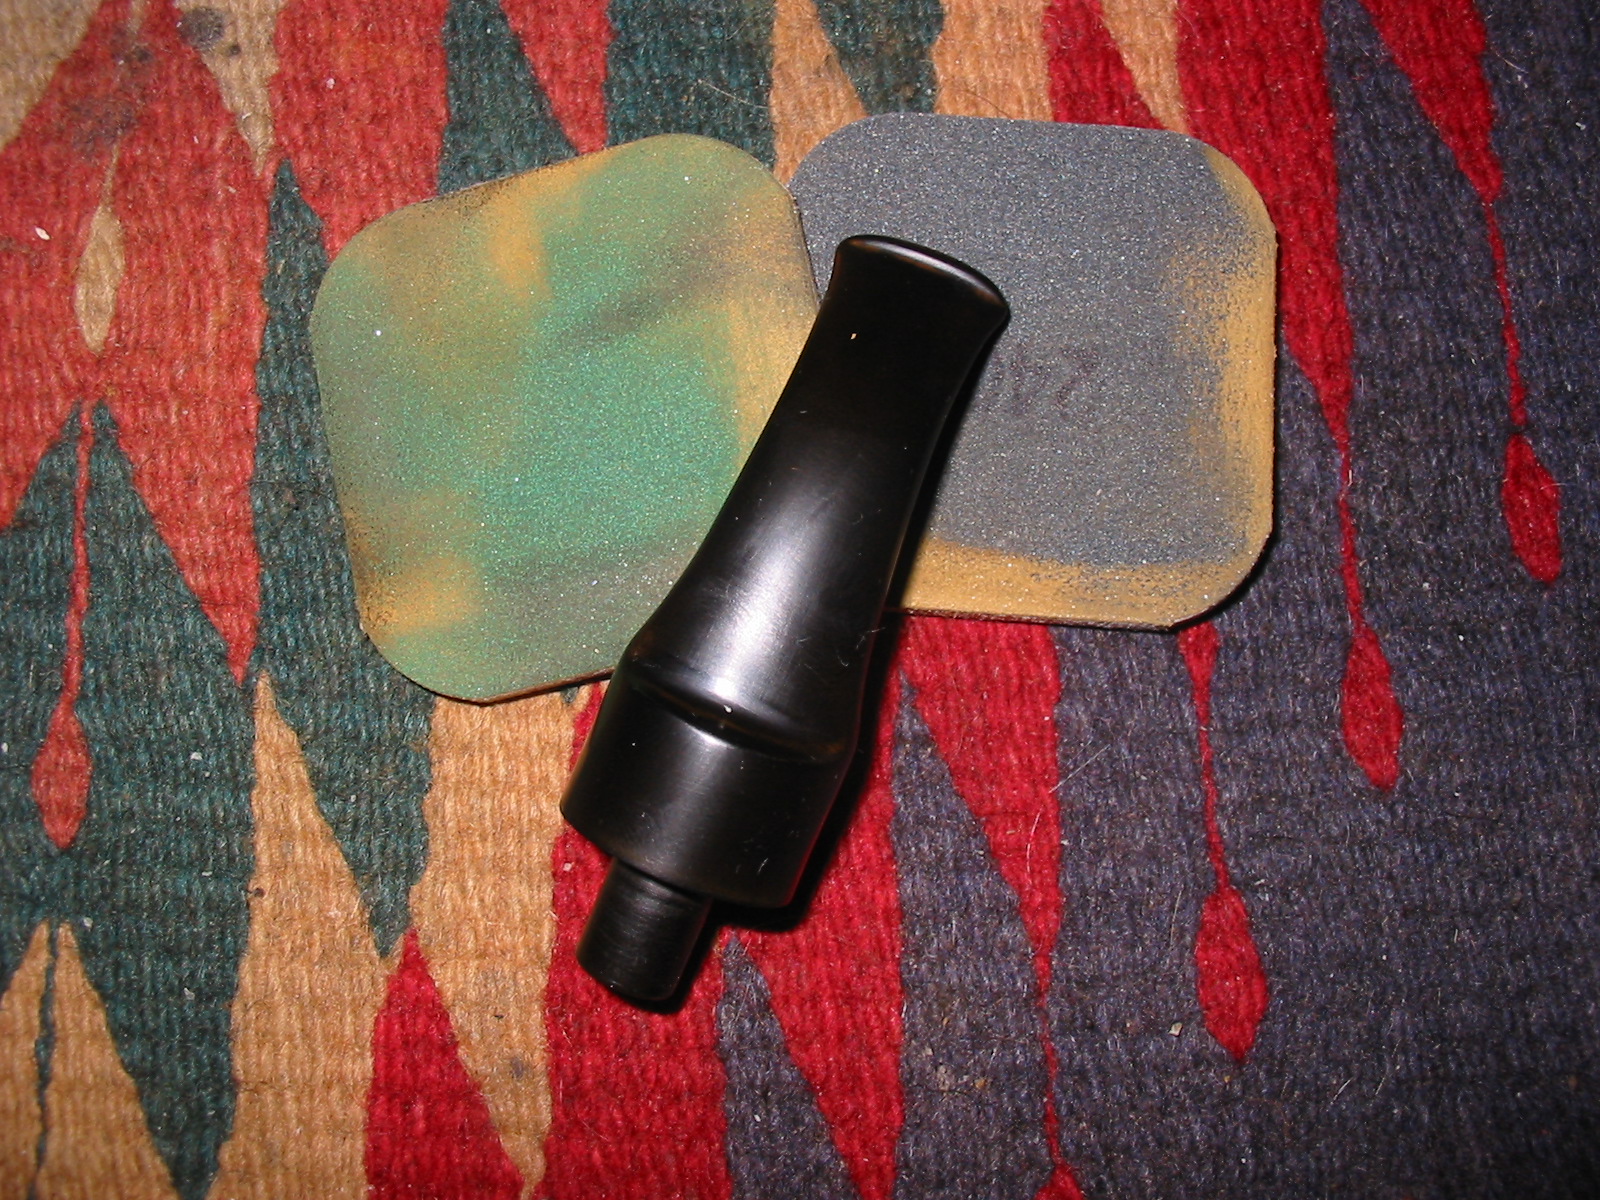
(Photo of the stem at the point I stopped along with the 400 grit pad I used and the packaging it cam in. By the way,  my local Hobby Lobby has begun to carry a rather large line of Micro Mesh and Alpha Abrasives products. The prices are competitive and the selection good so if you have a local Hobby Lobby it would be worth your while to see if they are carrying these items in your area, too.)
New Selection of Micro Abrasives at Hobby Lobby