Blog by Kenneth Lieblich
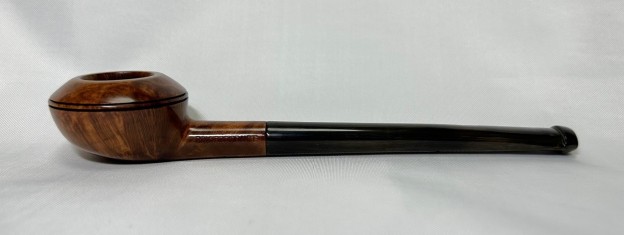
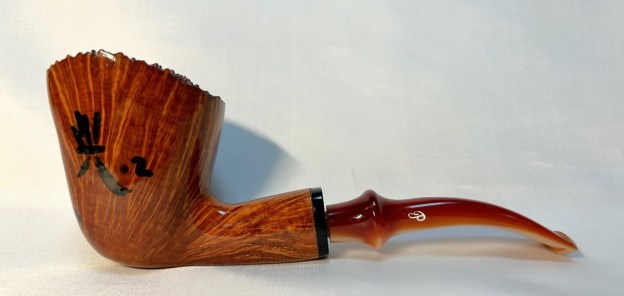
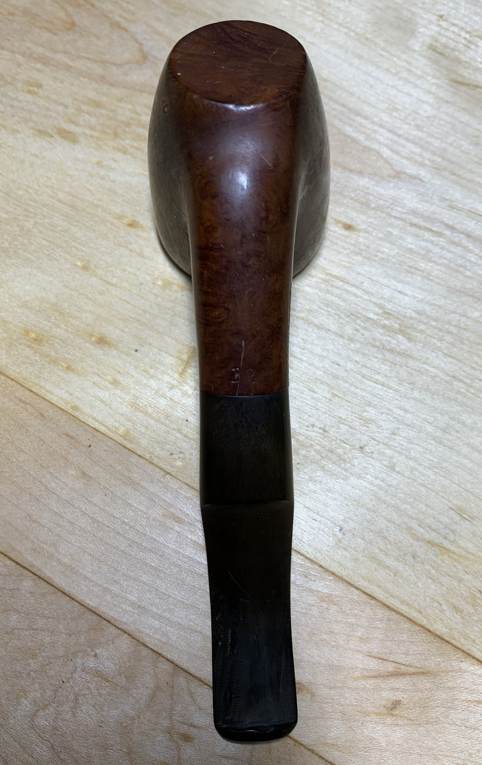
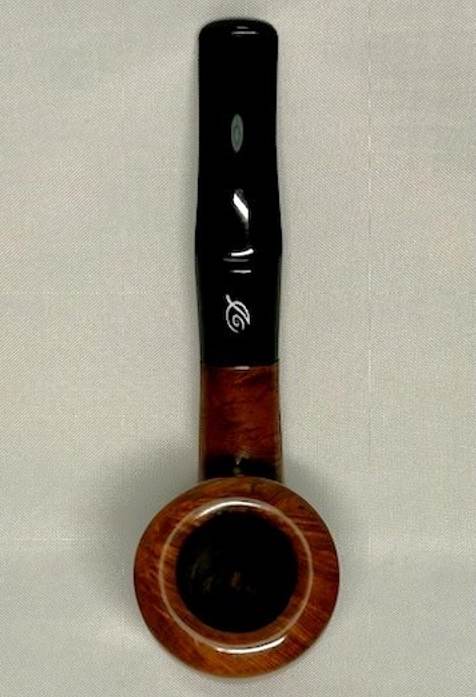
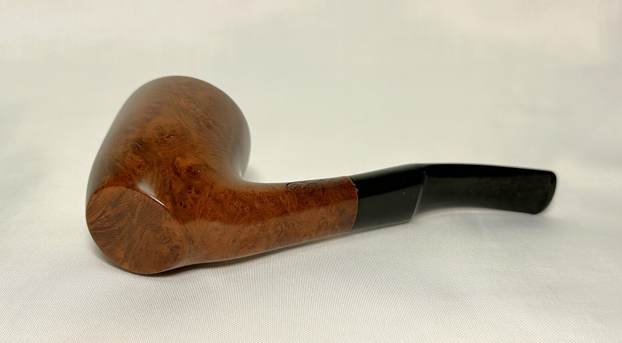
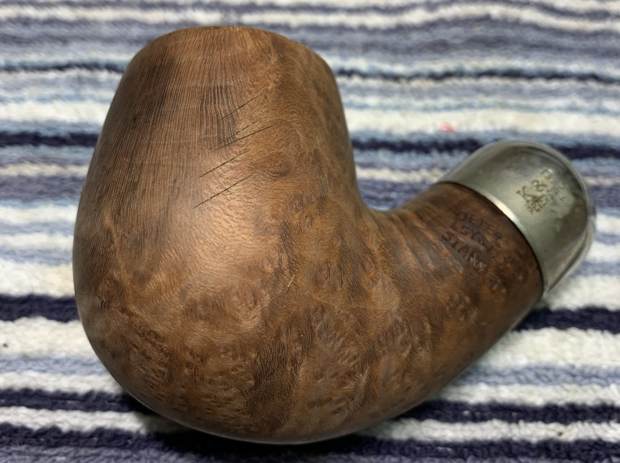
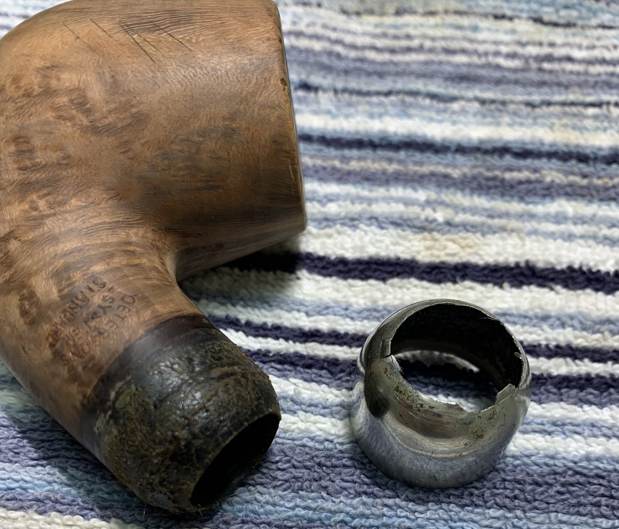
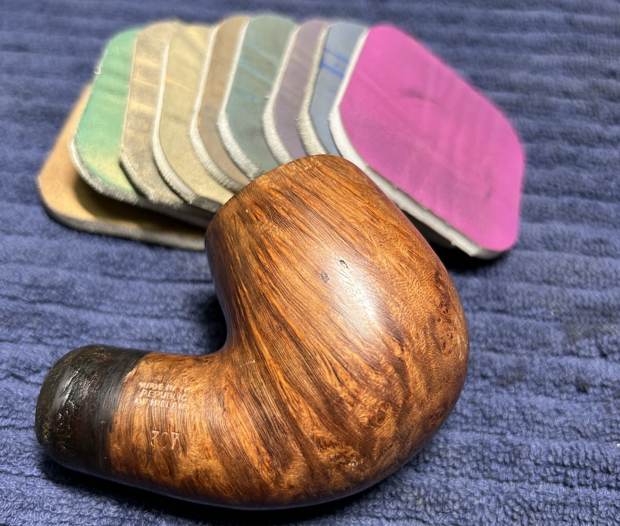
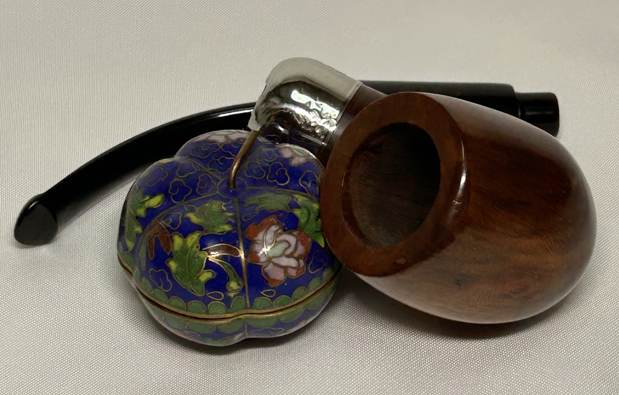
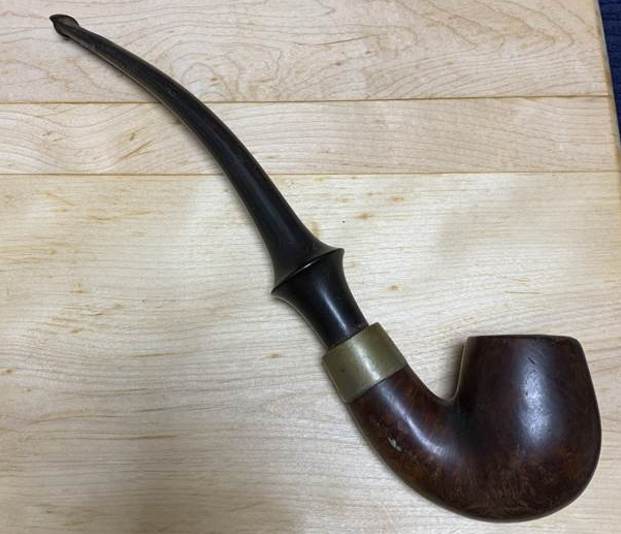
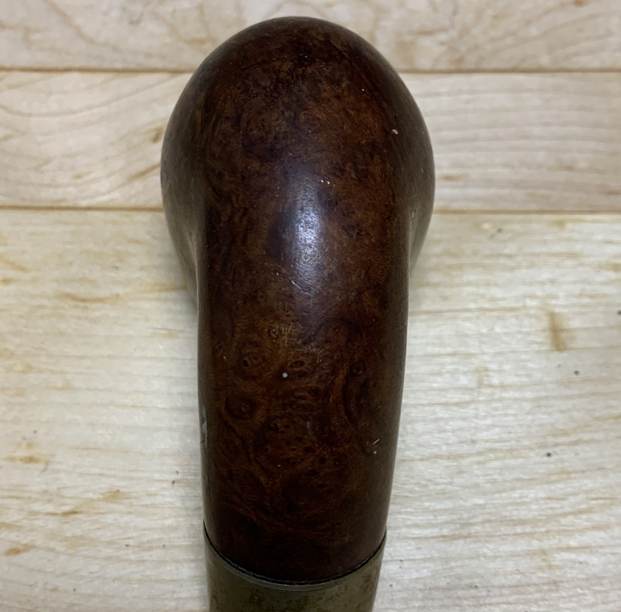
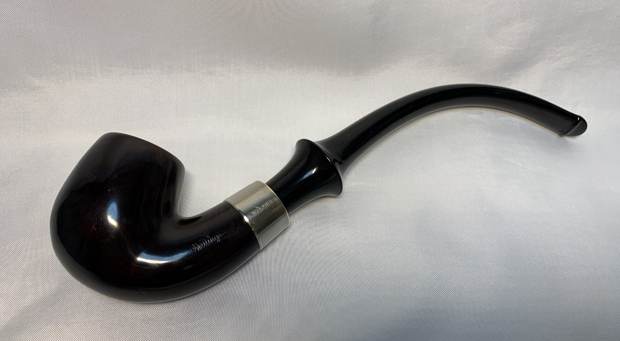
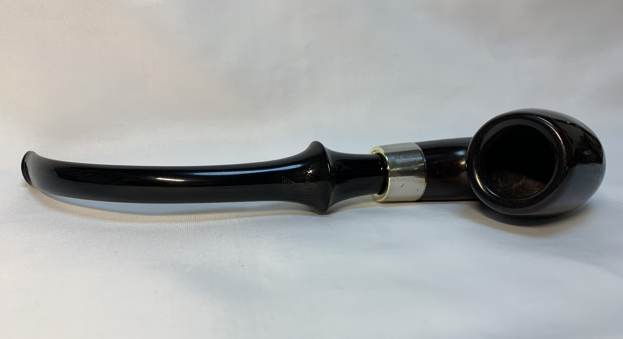
Another pipe in my ongoing “French Collection”, this new addition came in a lot of pipes from France (appropriately). I pulled it out of the pile of filthy pipes and found it quite charming. This pipe is an Oom Paul Egg shape. It was made by the famous and long-standing French pipe maker Butz-Choquin and is a small, wounded, but very attractive pipe.


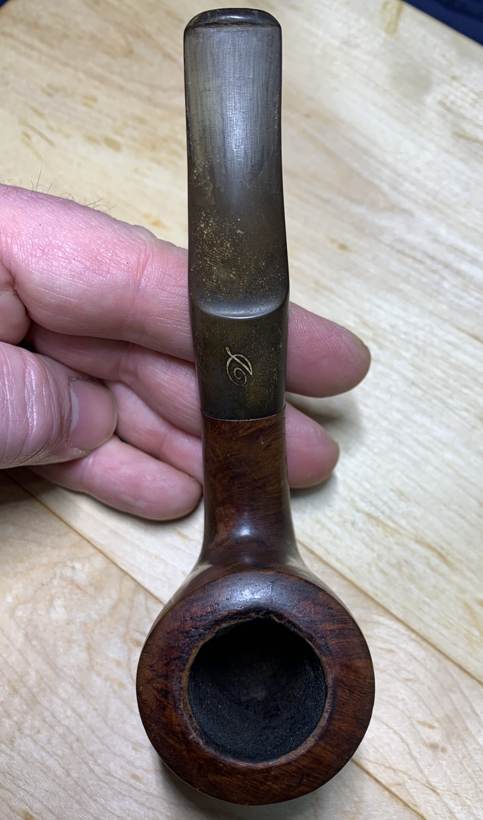
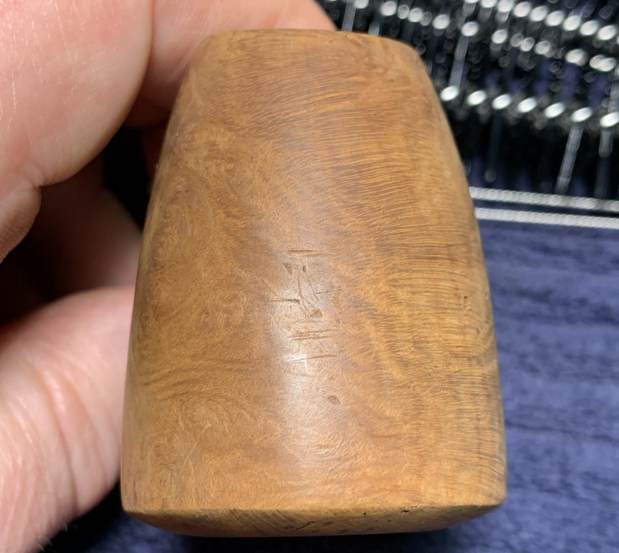
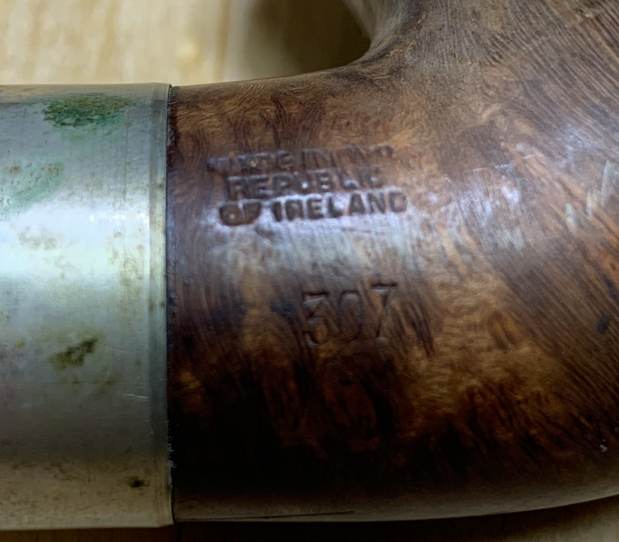
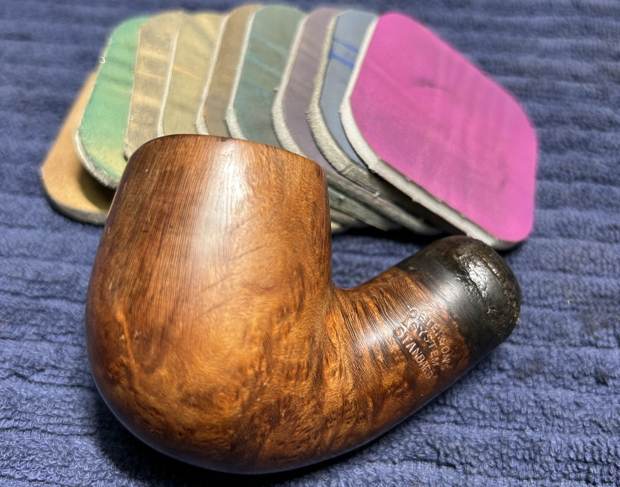
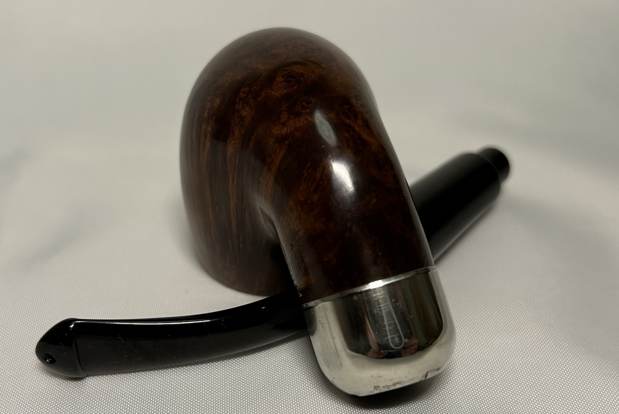
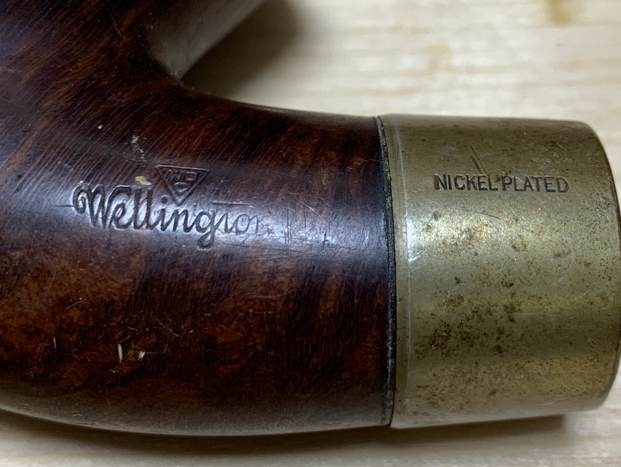
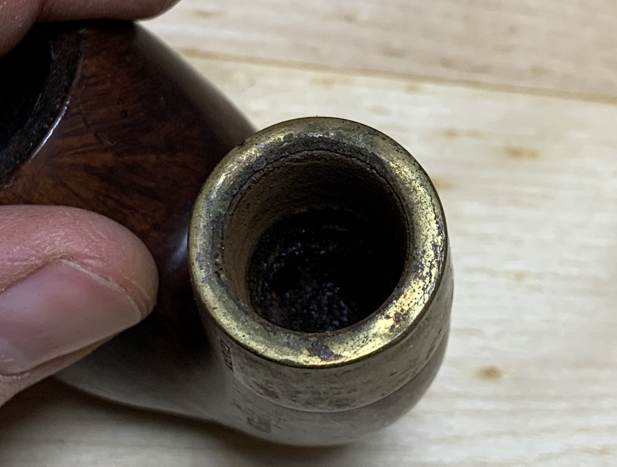
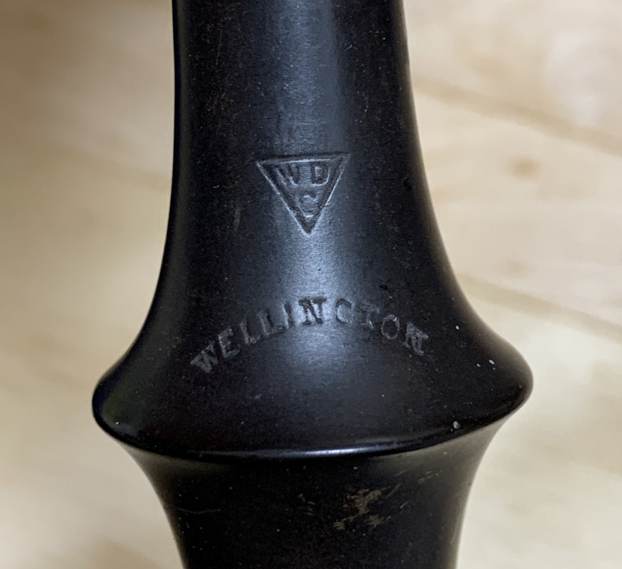
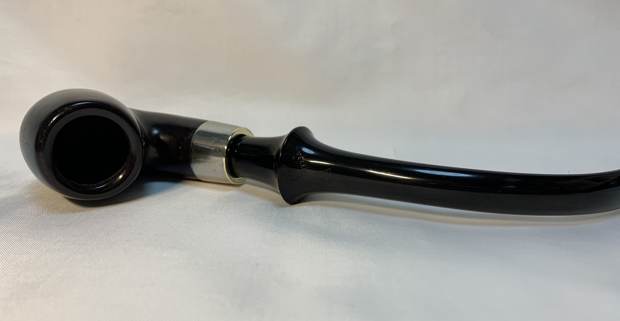
 On the left side of the shank, it reads Butz-Choquin [over] Cocarde (which is the model name). On the right side of the shank, it reads St Claude [over] France [over] 1307. On the left side of the stem is the company’s logo, a “BC”. The logo is badly worn and will be difficult to restore.
 Both Pipedia and Pipephil have good write-ups on the history of Butz-Choquin and I encourage you to read both. Also, Steve has restored quite a few and it’s worth having a look at his writings too. For the moment, here is some information from Pipedia:
The pipe, from Metz to Saint-Claude.
Jean-Baptiste Choquin of Metz started out as a tobacconist. This enterprise was prosperous; he had several employees. Among those, there was a certain Gustave Butz who was its first workman and who became his son-in-law by marrying Choquin’s daughter Marie in 1858.
In 1858 Jean-Baptiste Choquin created, in collaboration with Gustave Butz, the Choquin pipe. This bent pipe with a flat-bottomed bowl was finished with an albatross-bone mouthpiece, fixed with silver rings.
In 1858, still in Metz, Gustave Butz built an establishment for the manufacture of the Choquin pipe which took the name of . In 1951, the Berrod-Regad company bought the trademark, continuing manufacture until 2002. Departing from Metz, the workshop was relocated to Saint-Claude, then also called “the world capital of the briar pipe”, under the Berrod-Regad group. The Berrod-Regad group would go on to completely rebuild the network of representatives until finally entering the export market in 1960 and has since won several prizes, as well as the Gold Cup of French good taste.
In a few years, the brand’s collection increased from ten to seventy series. 135 years after it was founded, the pipe is still well-known not only in France but throughout the world. In 2002, the Berrod family, wishing to preserve manufacture of pipes in Saint-Claude, handed over the company to Fabien Guichon, a native of the area, who will continue to develop the brand during the 21st century.
Meanwhile, Pipephil says this:
The origin of the brand reaches back to 1858 when Jean-Baptiste Choquin in collaboration with his son-in-law Gustave Butz created their first pipe in Metz (France). Since 1951 Butz-Choquin Site officiel Butz Choquin, pipes de Saint-Claude jura. BC pipe de bruyere luxe is a brand of the Berrod-Regad group (Saint-Claude, France).
Jean Paul Berrod managed the company from 1969 to 2002 when he retired and sold the corporate to Mr Fabien Gichon. Denis Blanc, allready owner of EWA, took over the S.A. Berrod-Regad in 2006.
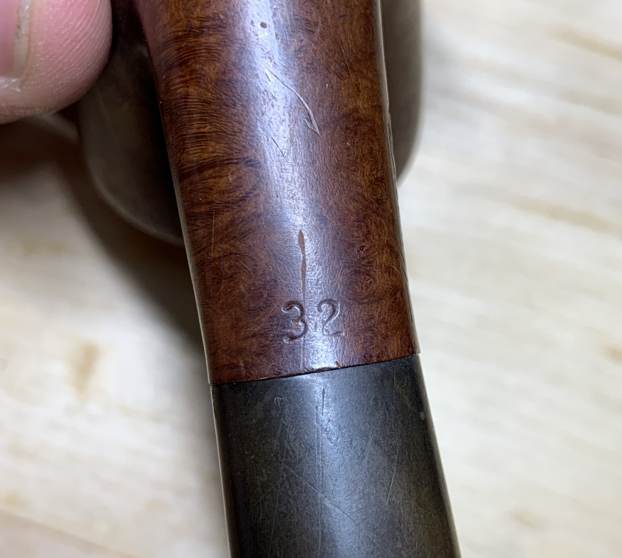
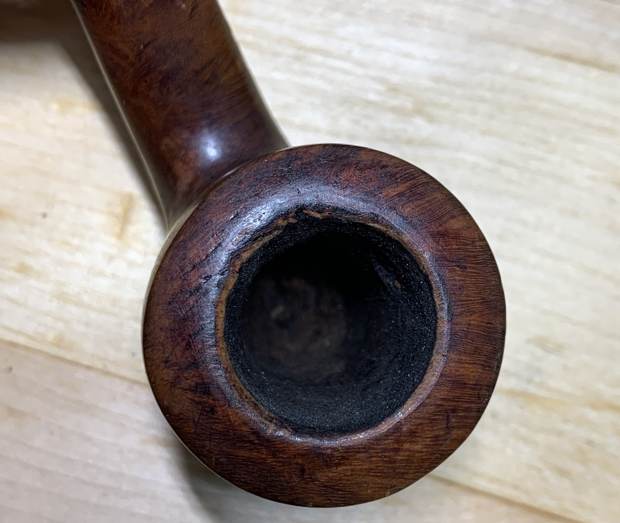
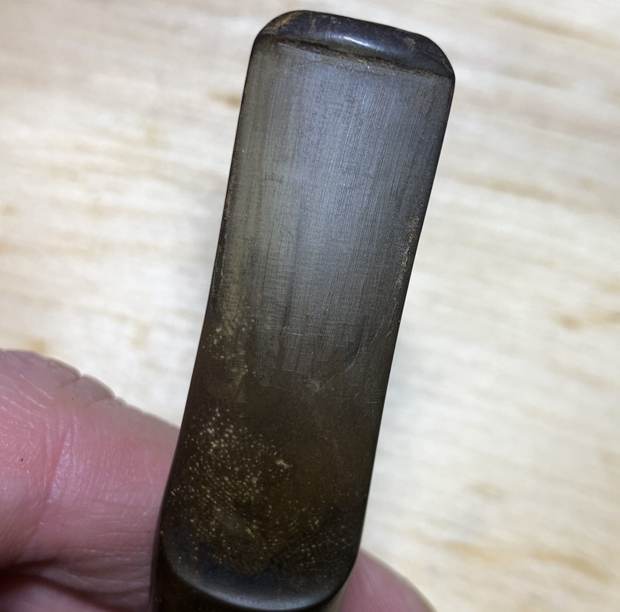
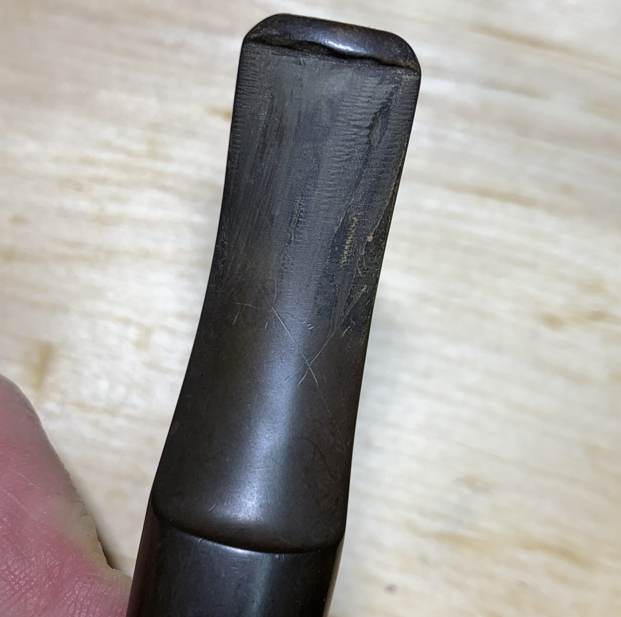
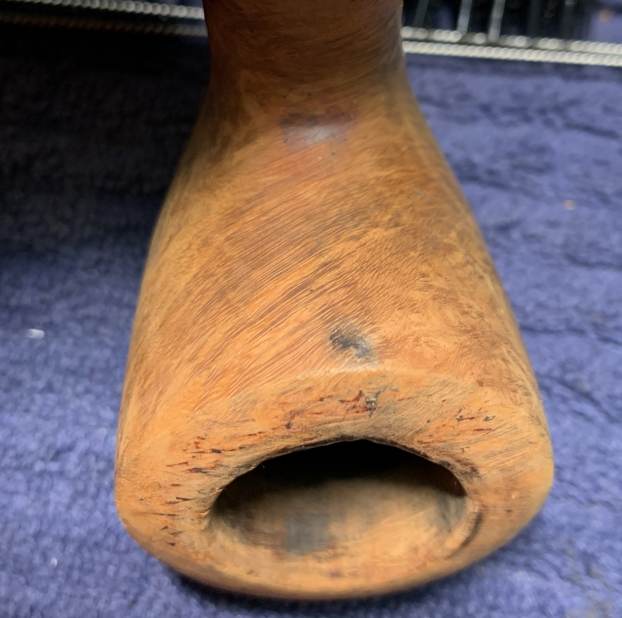
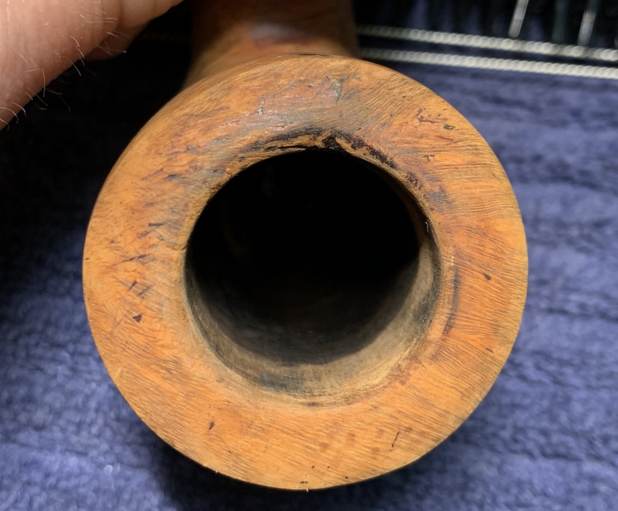
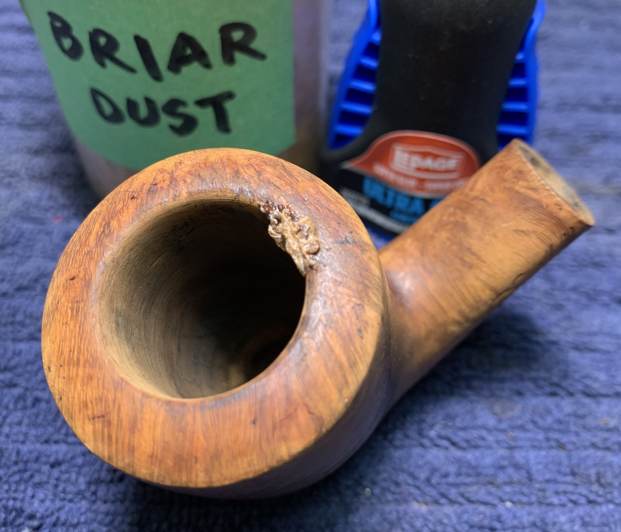
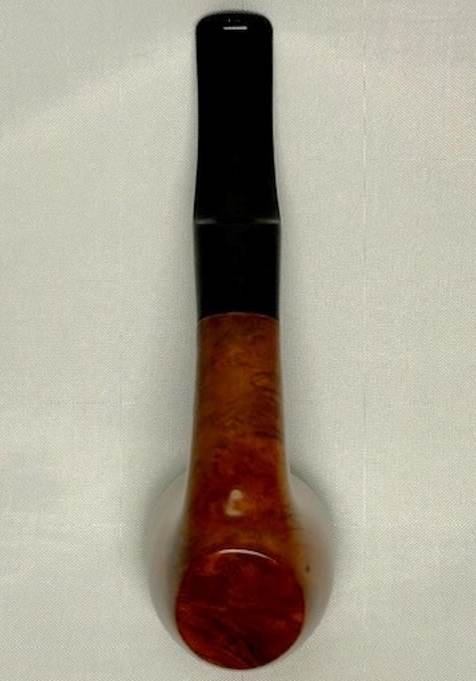
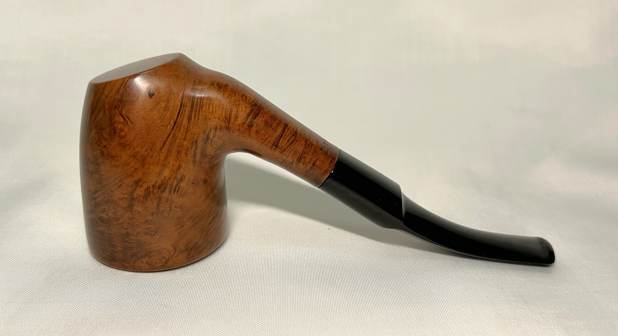
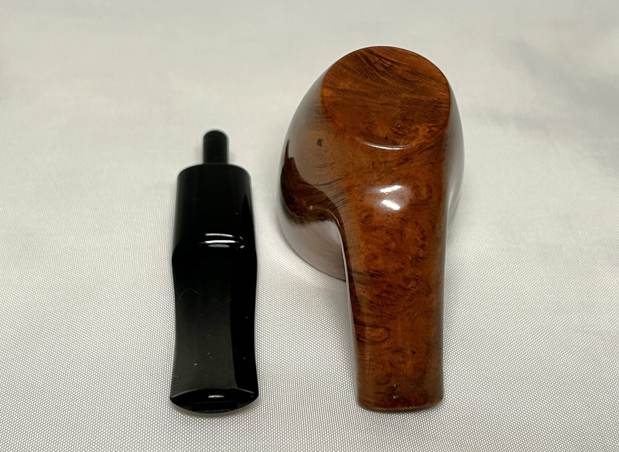
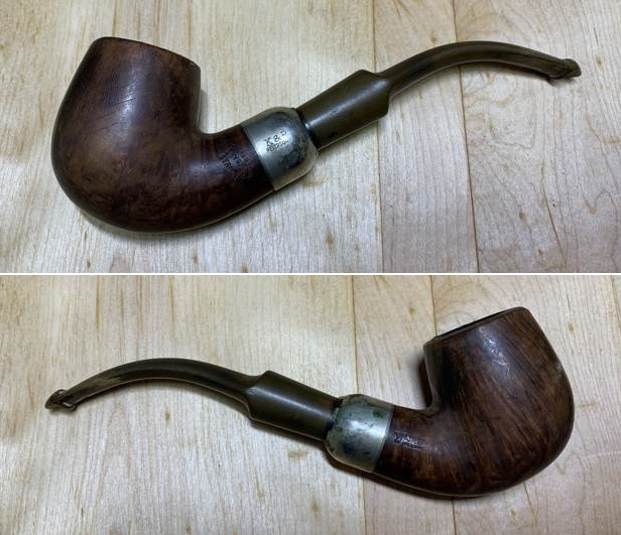
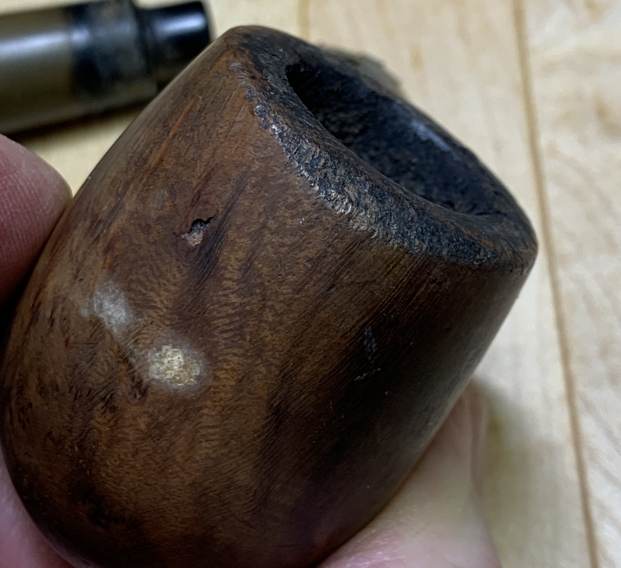
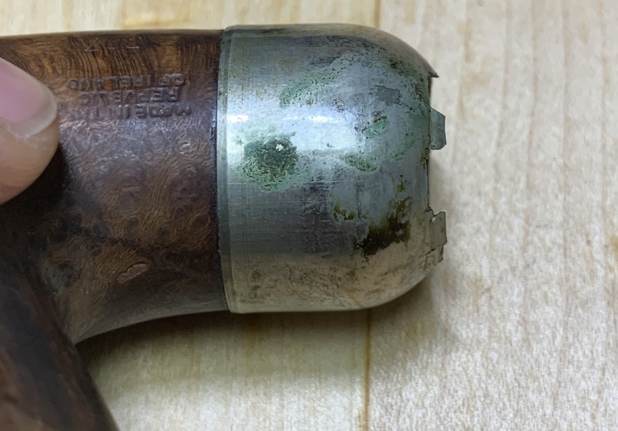
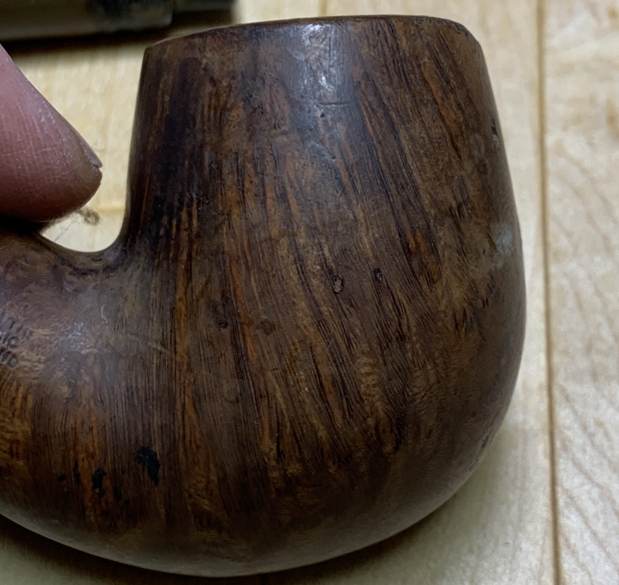
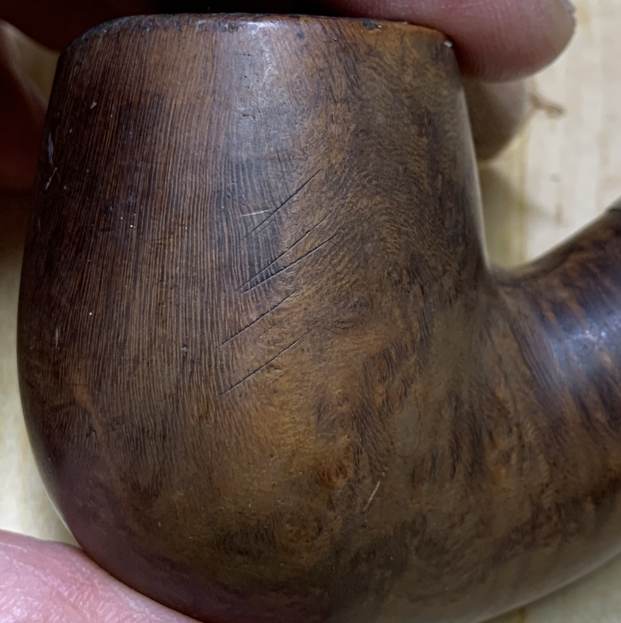
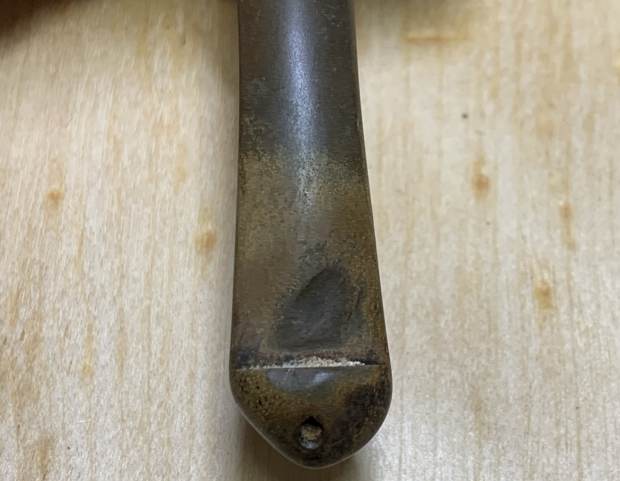
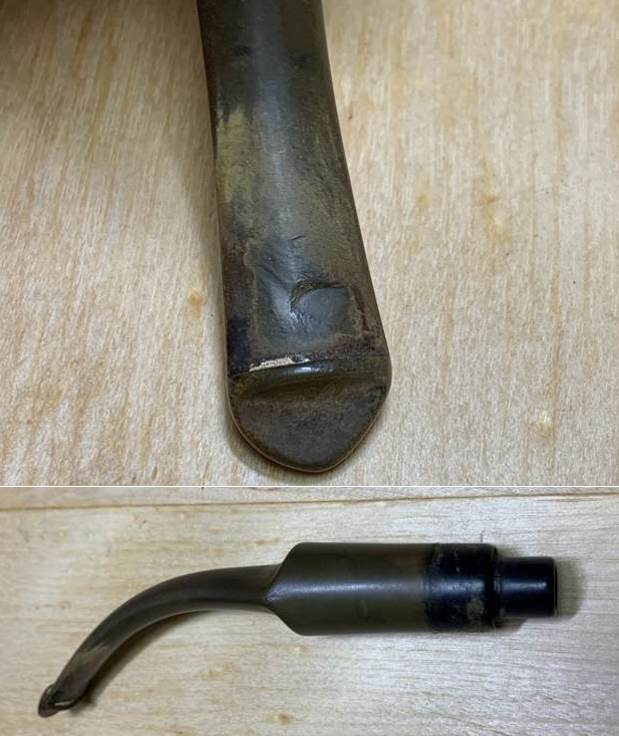
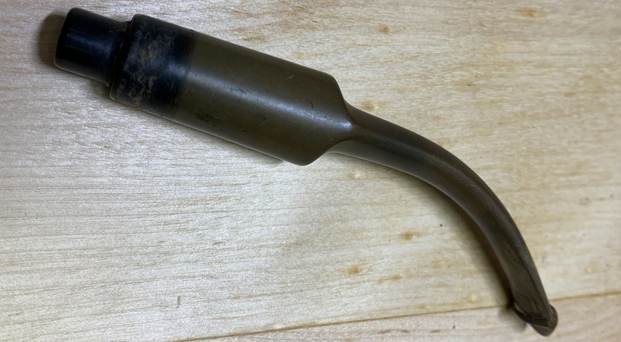
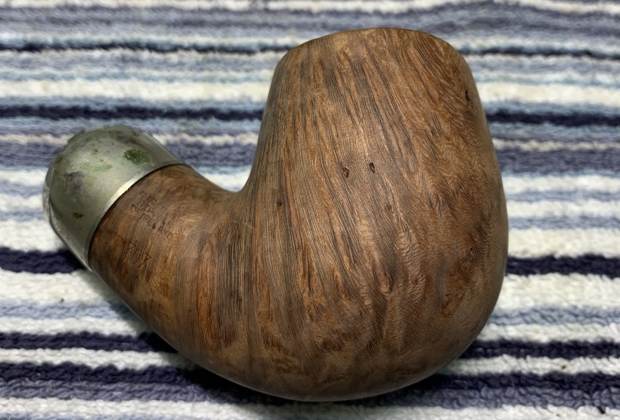
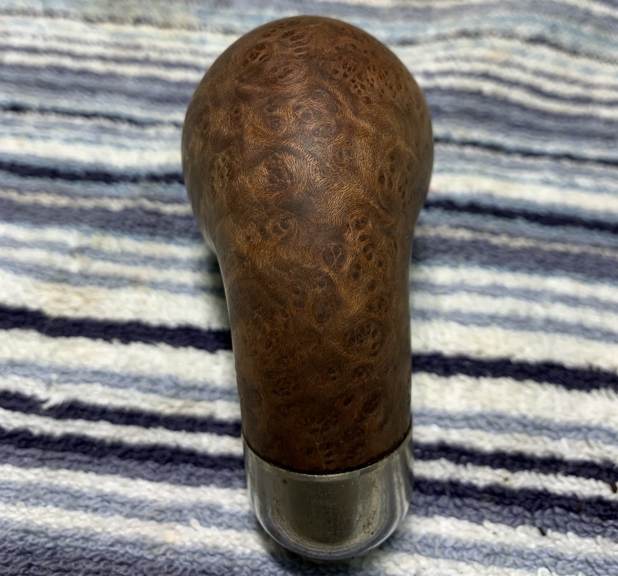
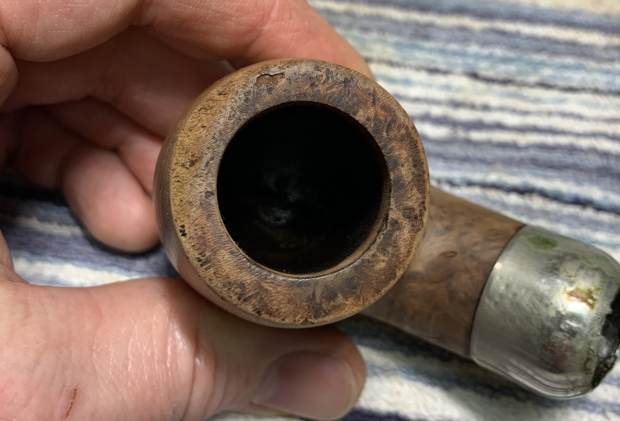
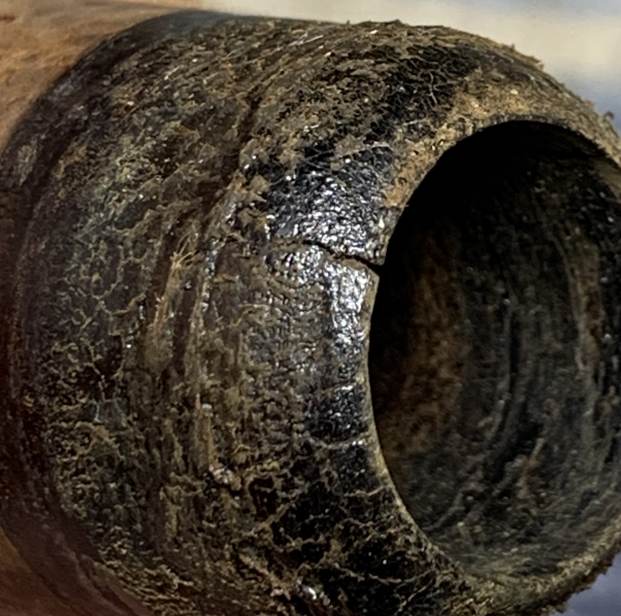
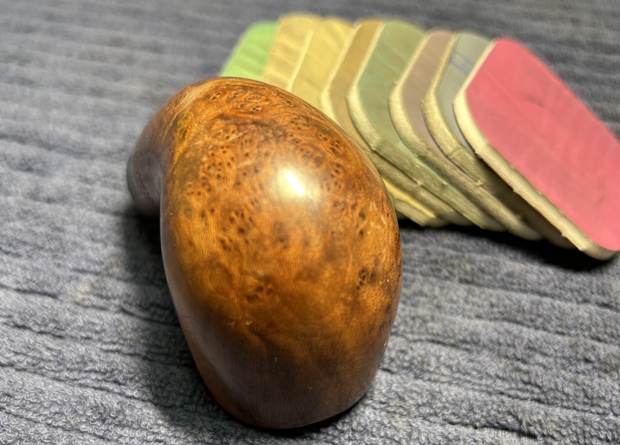
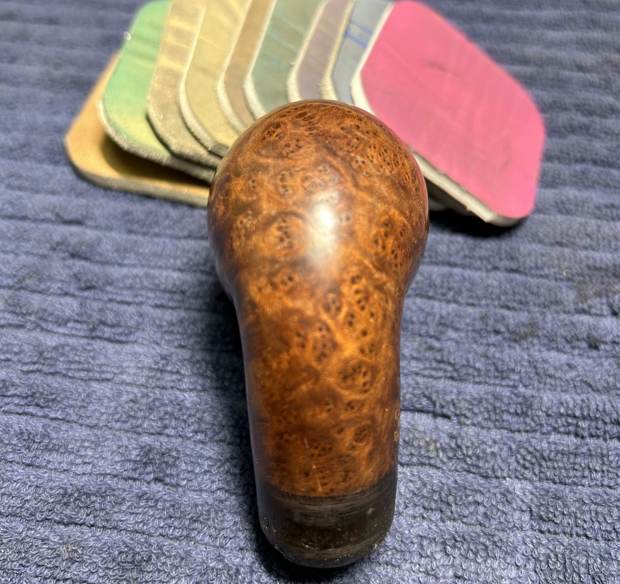
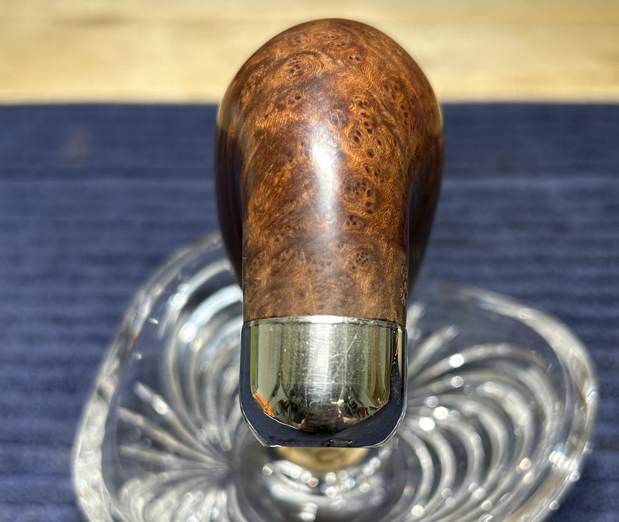
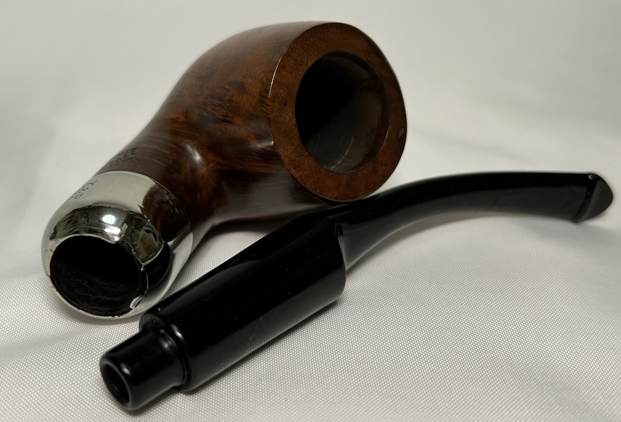
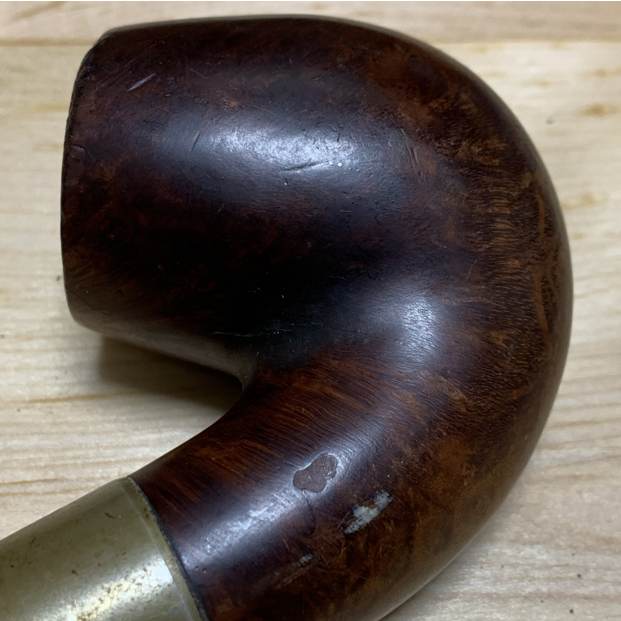
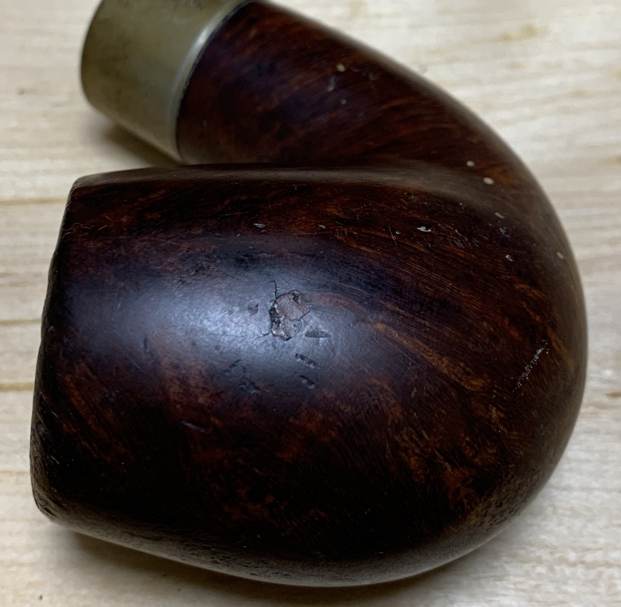
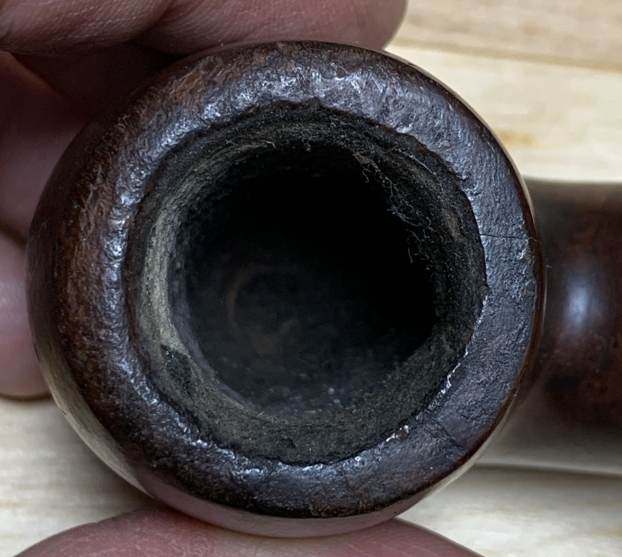
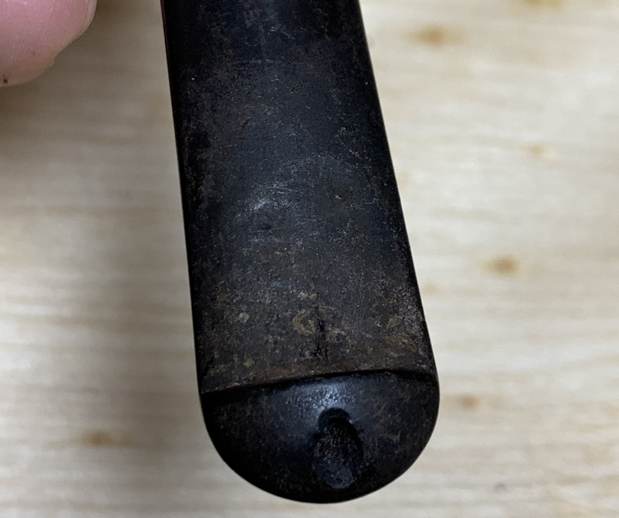
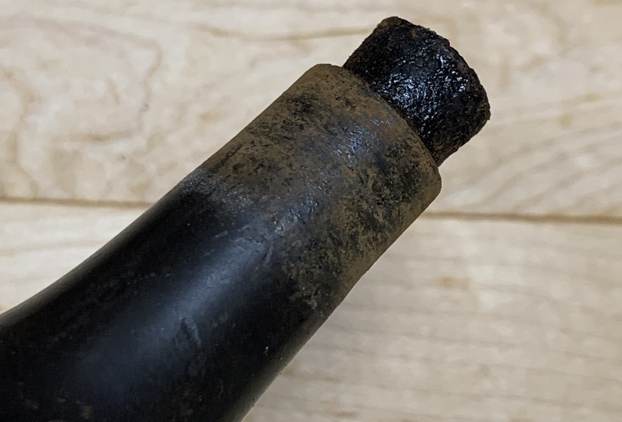
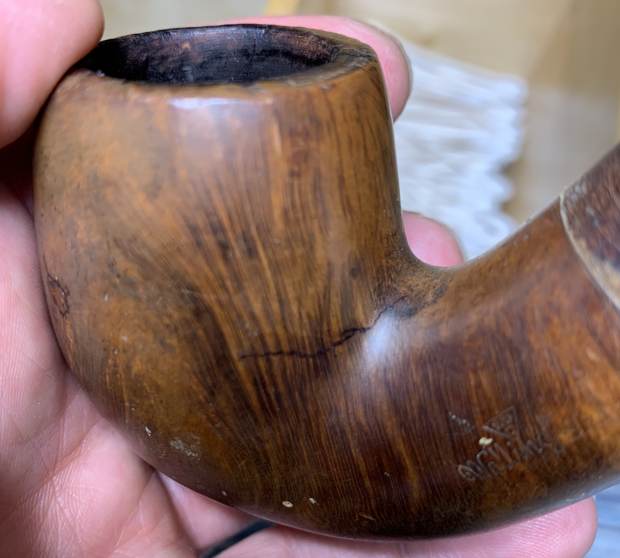
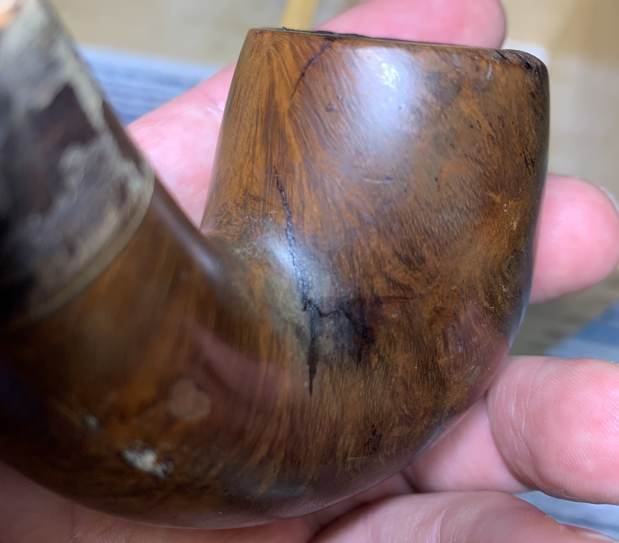
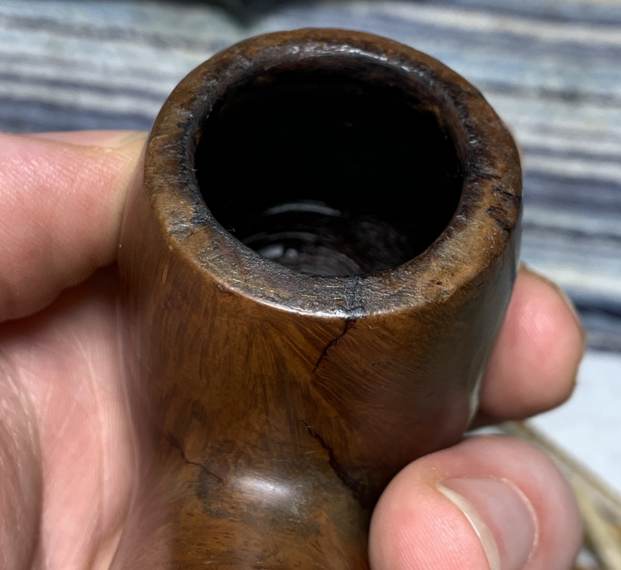
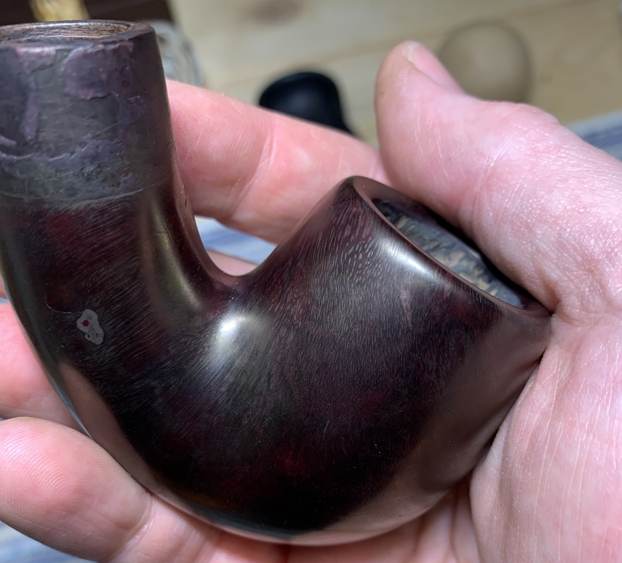
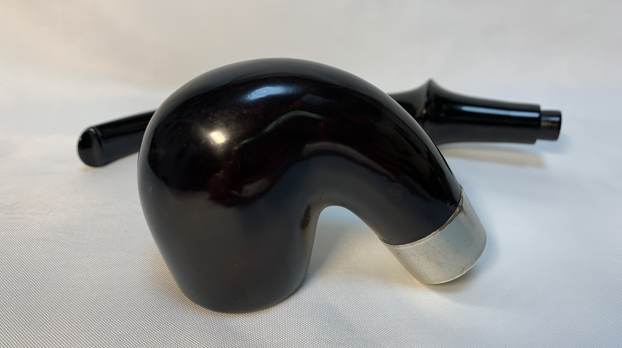
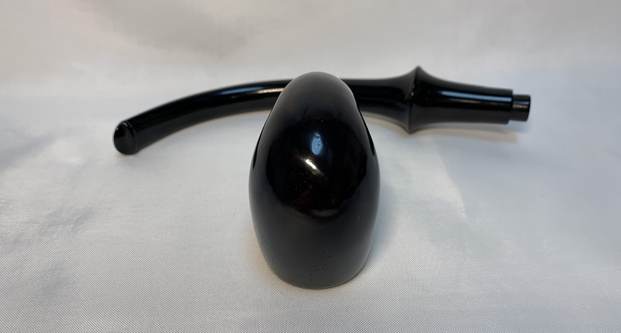
In an old Butz-Choquin catalogue, I found the pipe shape in question, listed with its requisite number: This is an older pipe, and is heavily used, though the stem is in reasonably good shape, compared to the stummel. There are a few minor tooth marks, some oxidation and calcification, but nothing too serious. Additionally, over the decades, the stem has straightened somewhat, so it will need to be bent back into place. The stummel is a different kettle of fish. The wood is very nice, but it has several fills on the outside of the bowl, there are nicks around the rim, the wood is filthy, and there are scratches around the bowl. It just looks tired and worn.


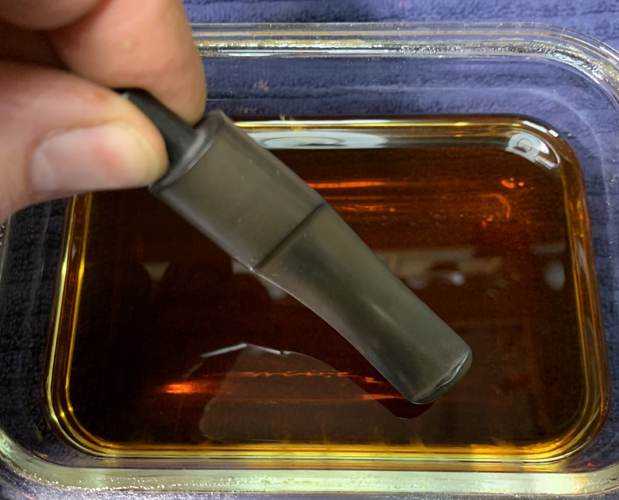
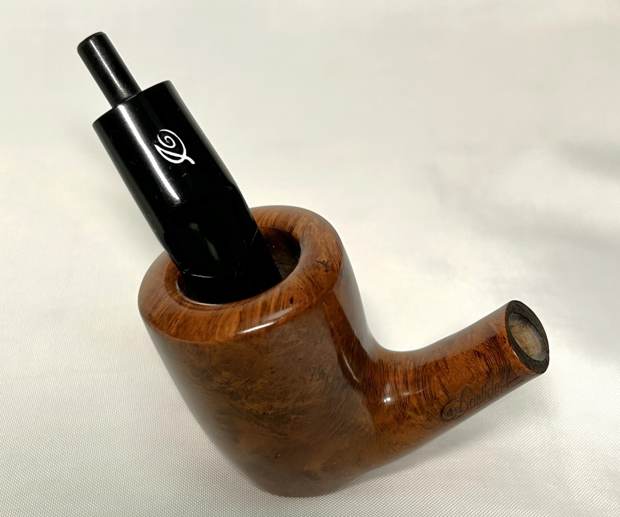
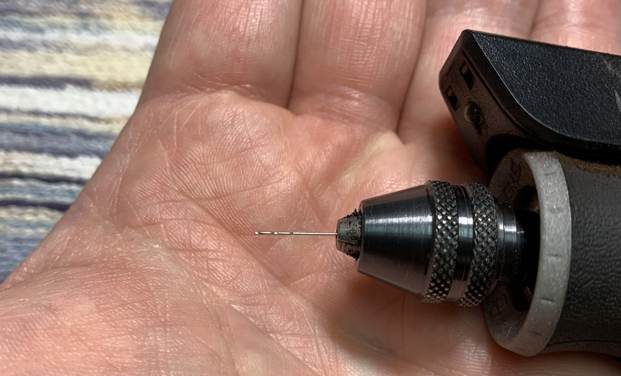
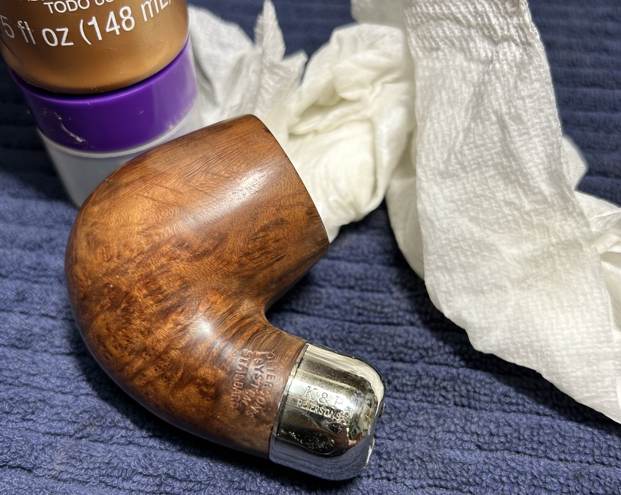
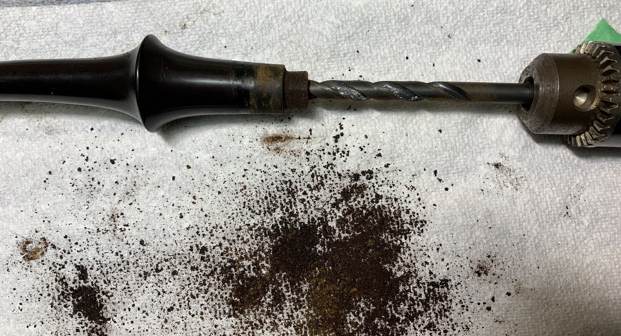
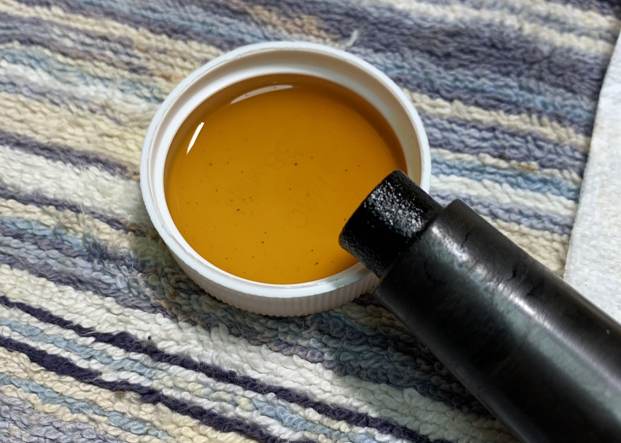
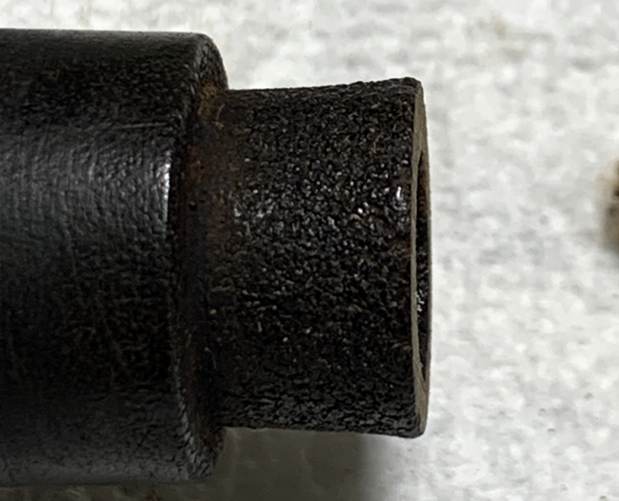
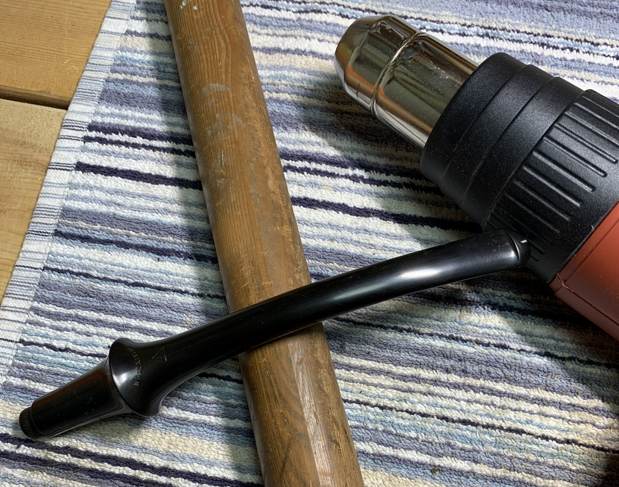
 The stem was first on my list. . . This stem has a stinger in it – and it was being quite stubborn about coming out! The goo had glued the stinger into the tenon, so I opted to warm the stem and stinger with my heat gun and this provided just enough softening of the internal gunk to allow me to pull it out. It then went for a soak in some lemon-infused isopropyl alcohol. I let it sit for several hours and then cleaned it off and it looked much improved. I then finished it with some metal cleanser and moved on.
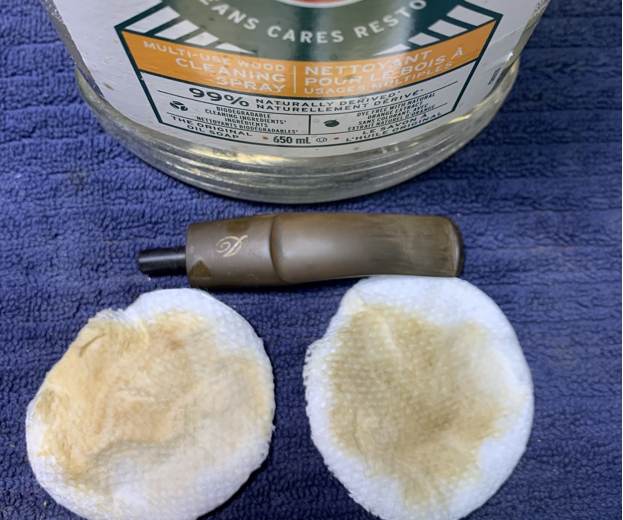
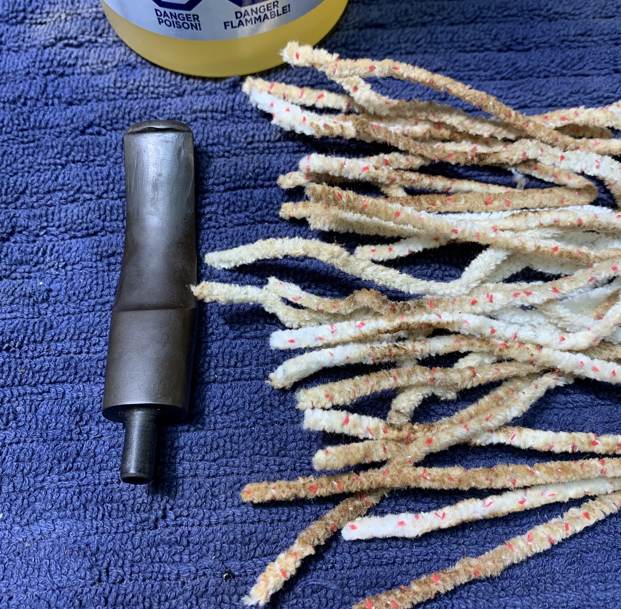
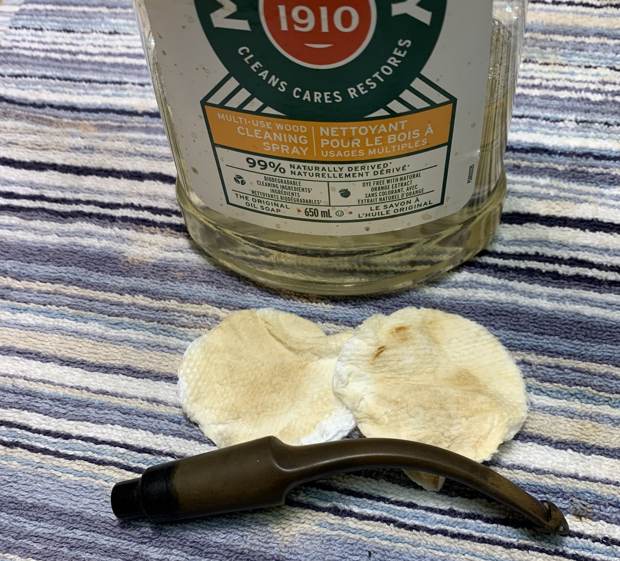
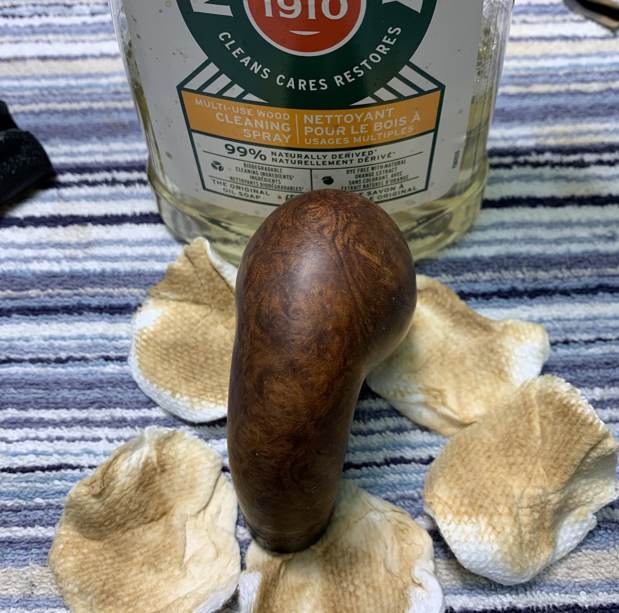
 Next, I wiped the outside down with Murphy’s Oil Soap on some cotton pads. I also took a BIC lighter and ‘painted’ the stem with its flame in order to lift the few bite marks and dents. Then I cleaned out the inside with pipe cleaners and isopropyl alcohol. It was pretty dirty, and I went through a good amount of pipe cleaners.
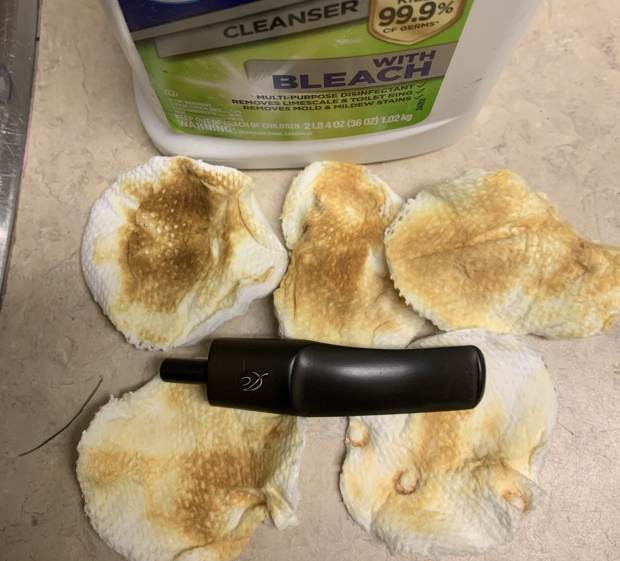
  I then wiped down the stem with SoftScrub cleaner to remove surface oxidation. Once this process was done, the stem went for an overnight soak in the Pipe Stem Oxidation Remover. This allows me to clean the oxidation off in a couple of ways: by applying a mild cleaner to the surface and sanding the stem. The next day, I used SoftScrub again with some cotton rounds.

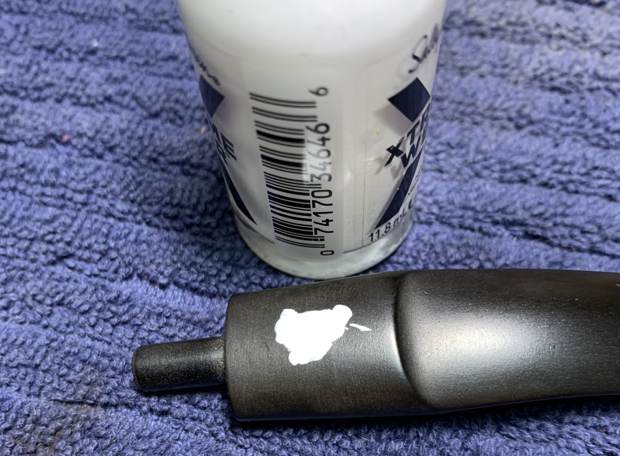
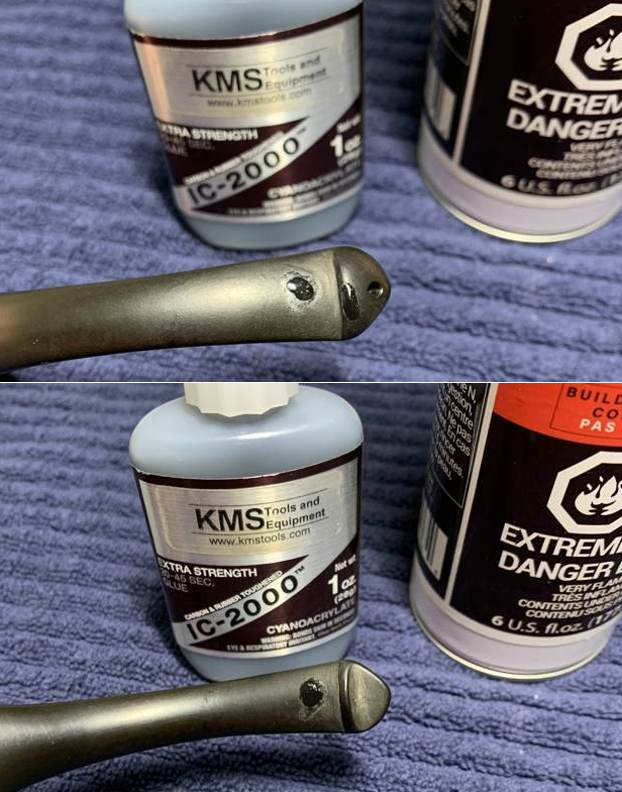
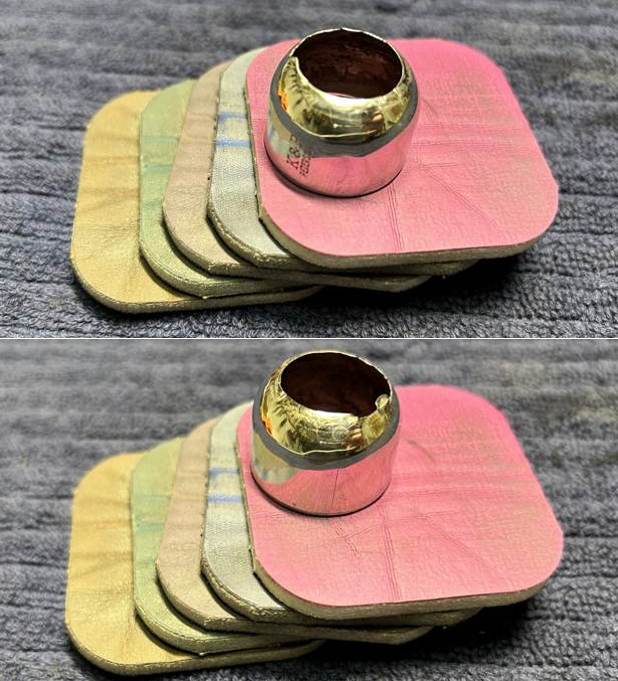
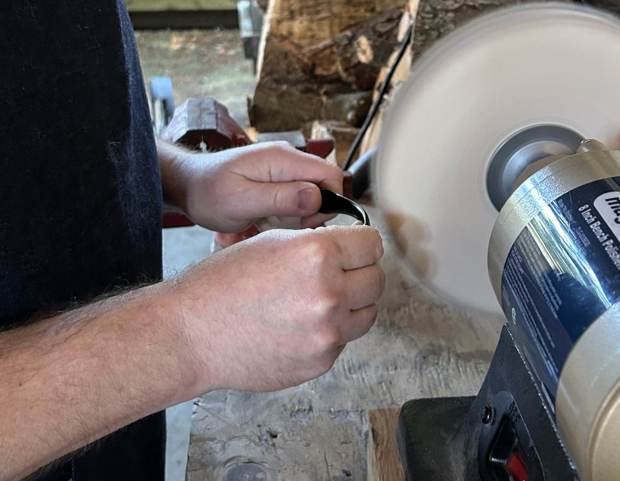
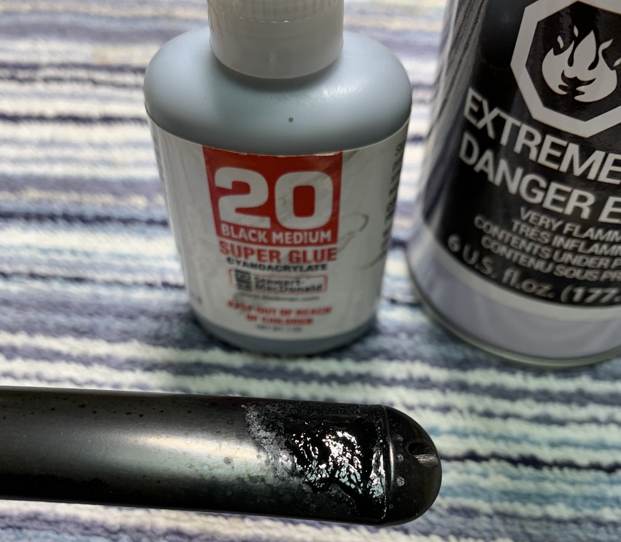
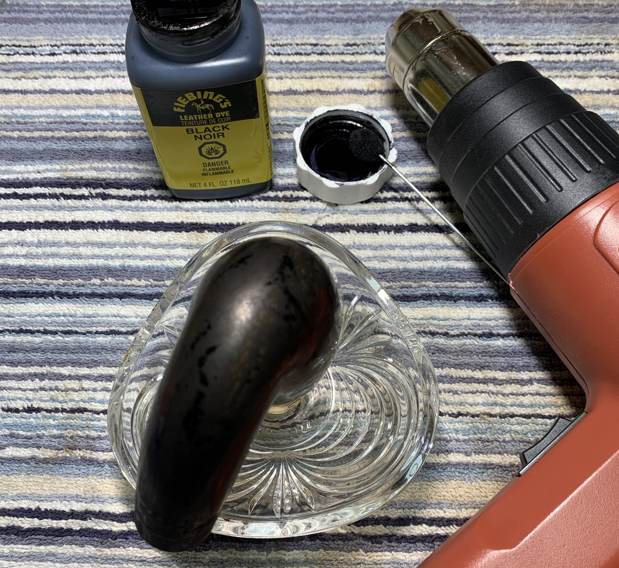
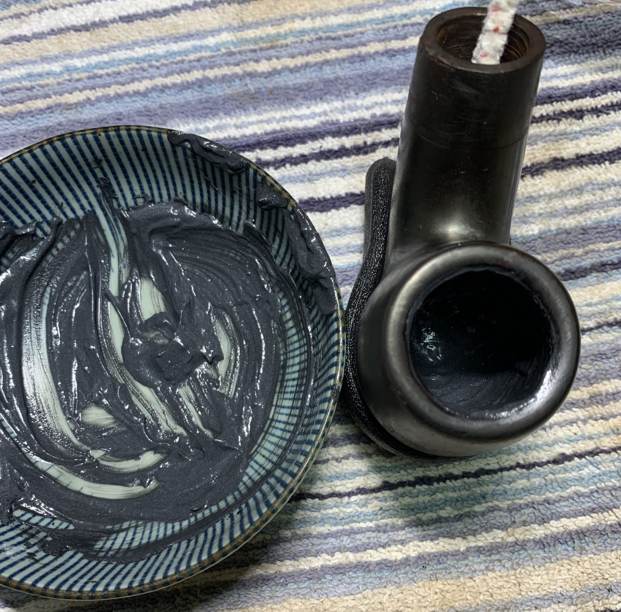
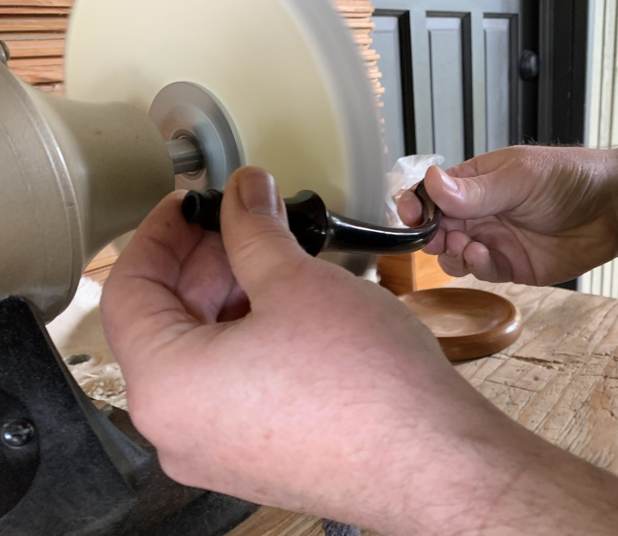
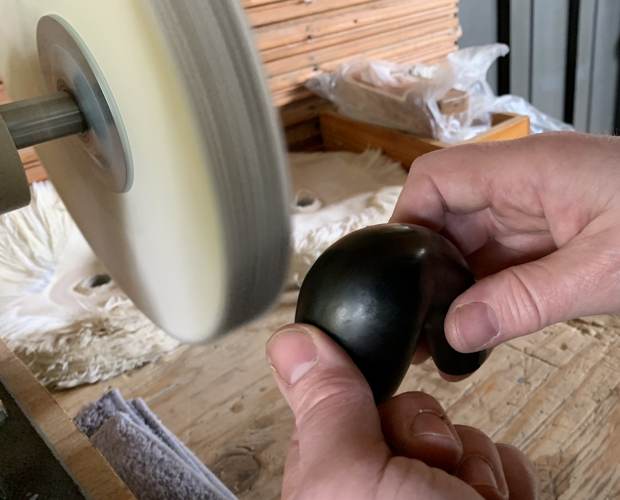
 After this, I used some nail polish to restore the logo on the stem. I painted the area carefully and let it fully set before proceeding. I built up the dents on the stem with black cyanoacrylate adhesive and let them fully cure. I then sanded the adhesive down then with 220-, 400-, and 600-grit sandpapers to meld seamlessly into the stem. As I previously mentioned, the stem had straightened itself out over the years; so I used my heat gun to warm the stem and return it to its original shape.
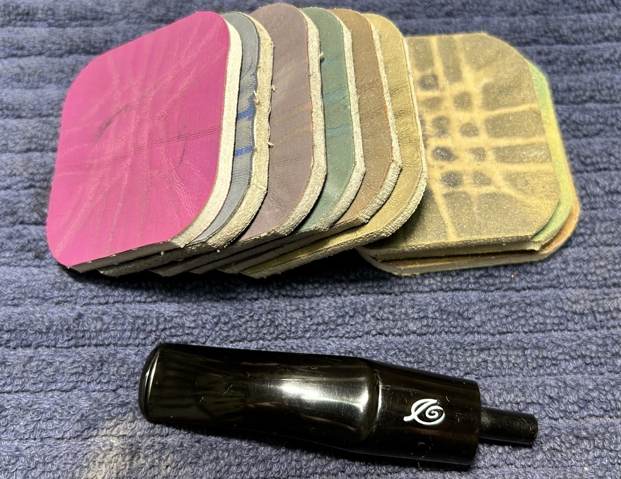
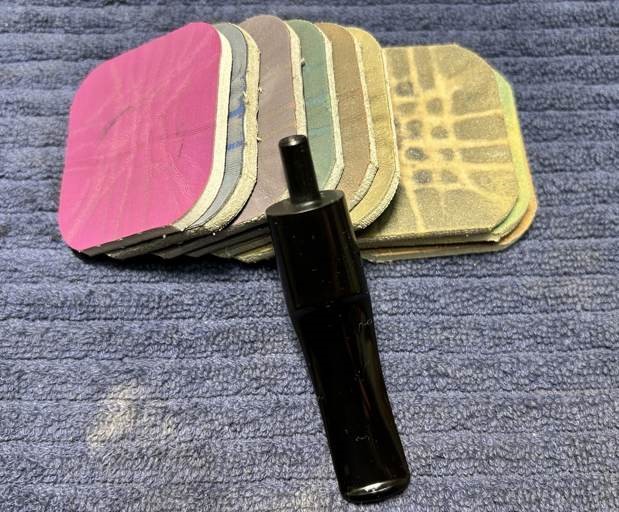
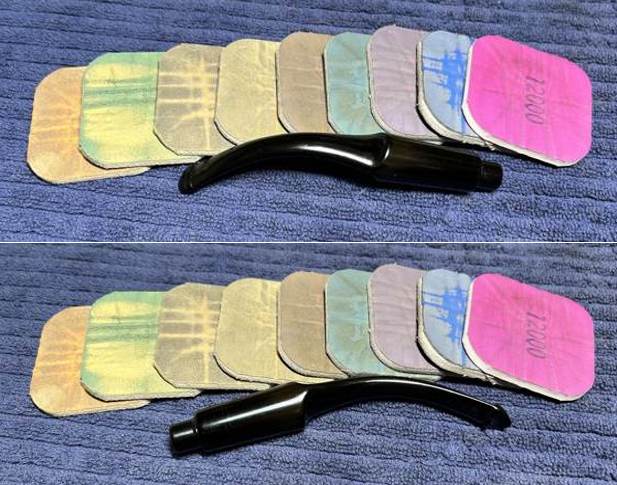
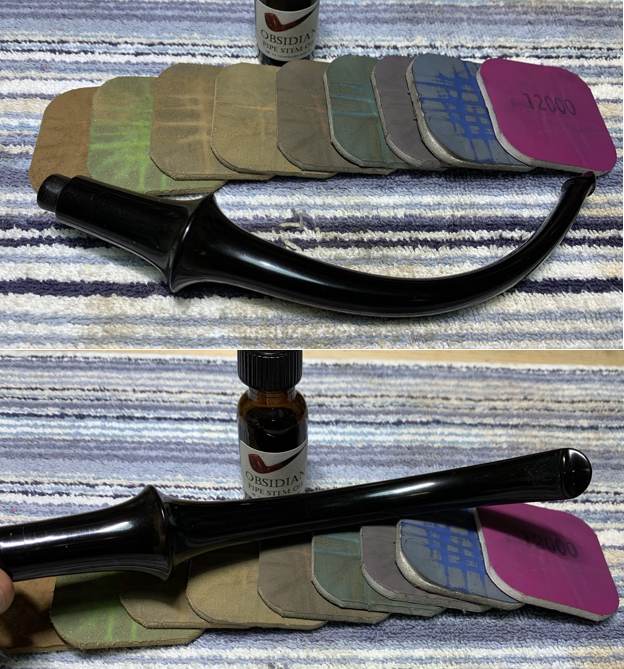
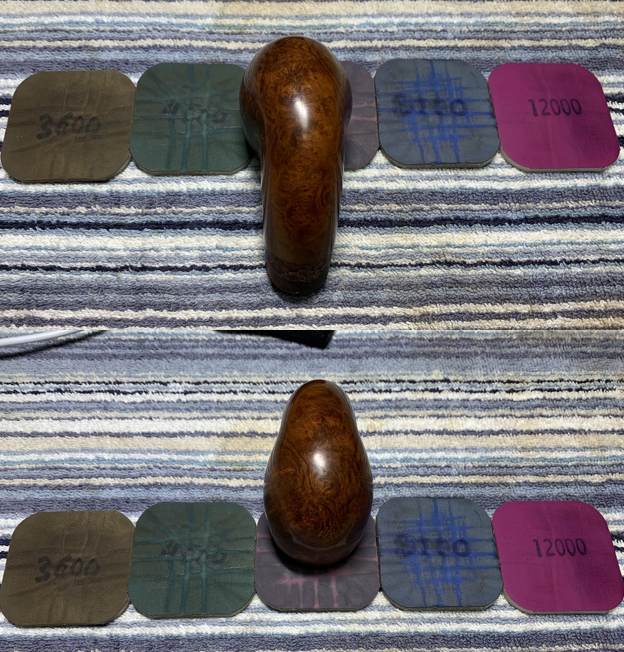
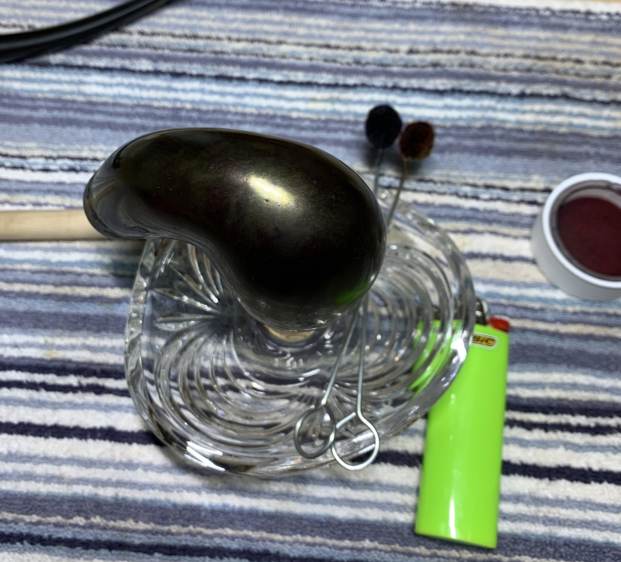
 I then used all nine Micromesh pads (1,500 through 12,000 grit) to bring out the lovely black lustre on the stem. I also used Obsidian Pipe Stem Oil in between each pad scrubbing.
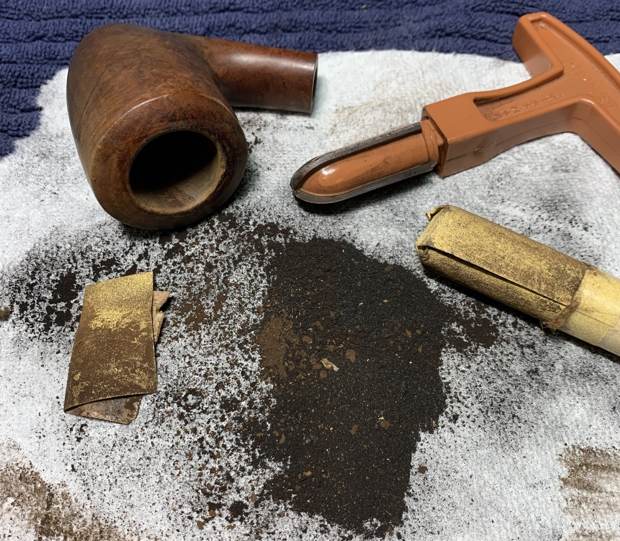
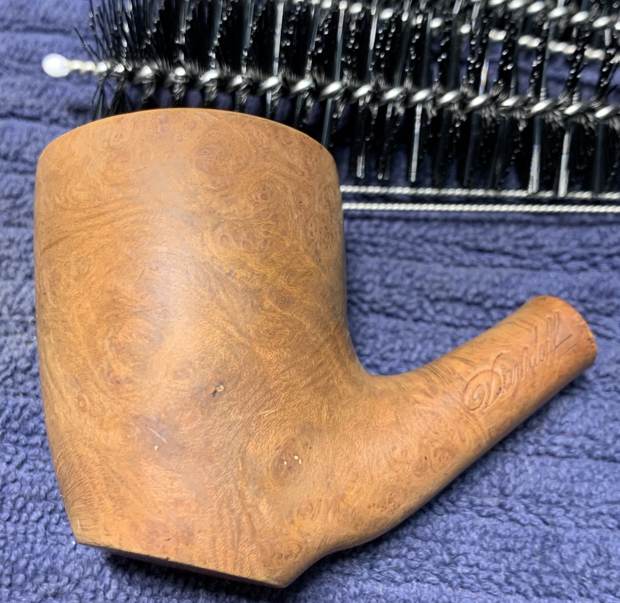
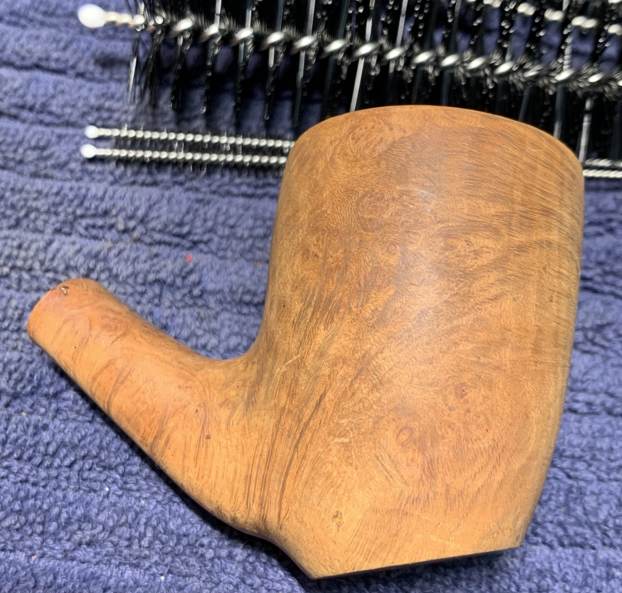
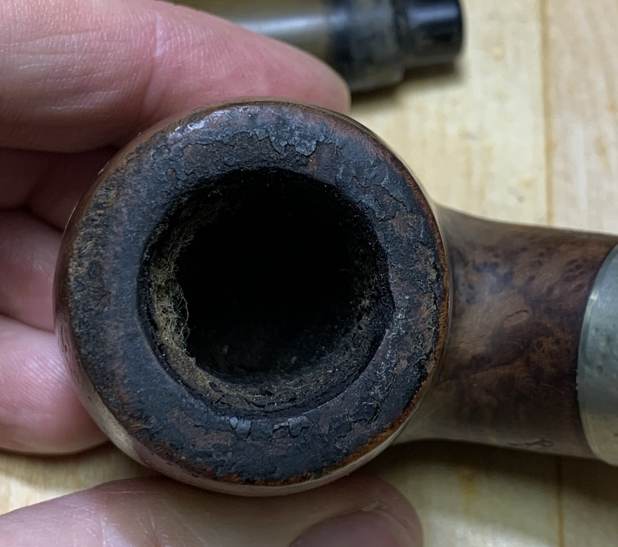
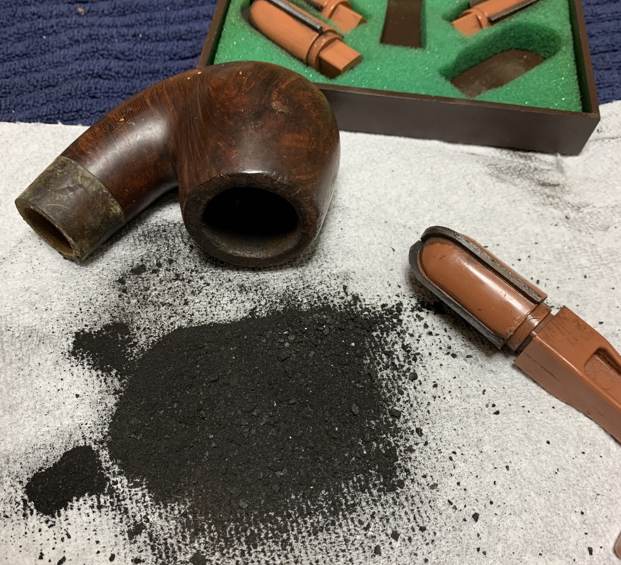
 On with the stummel! I decided to ream out the bowl. I used the PipNet Reamer and the KleenReem to remove the built-up cake and followed that with 220-grit sandpaper taped to a dowel to eliminate as much as I could. I took the chamber down to bare briar, as I wanted to ensure there were no hidden flaws in the wall. Fortunately, there were none.
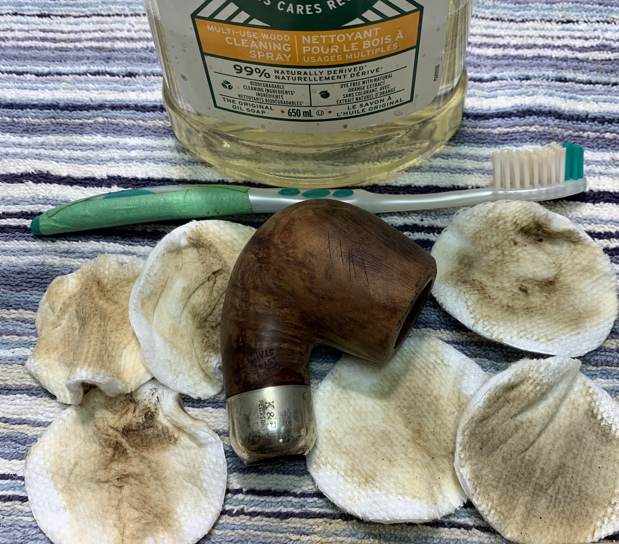
  I used cotton rounds and some Murphy’s Oil Soap to scrub the outside of the stummel and a toothbrush with Murphy’s for the lava on the rim of the pipe.
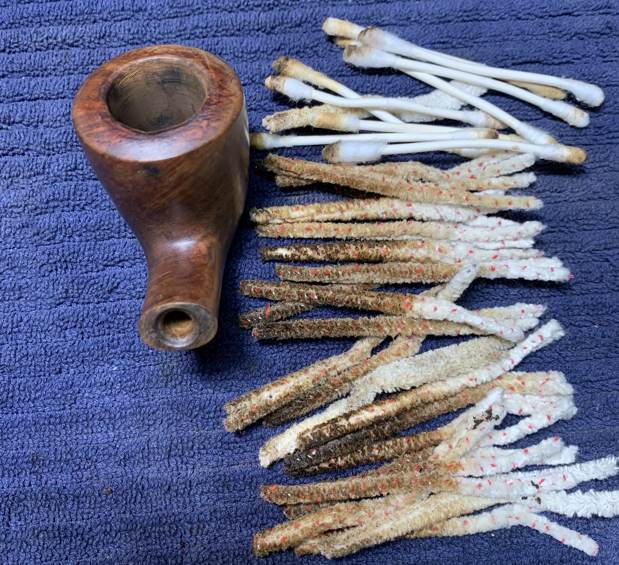
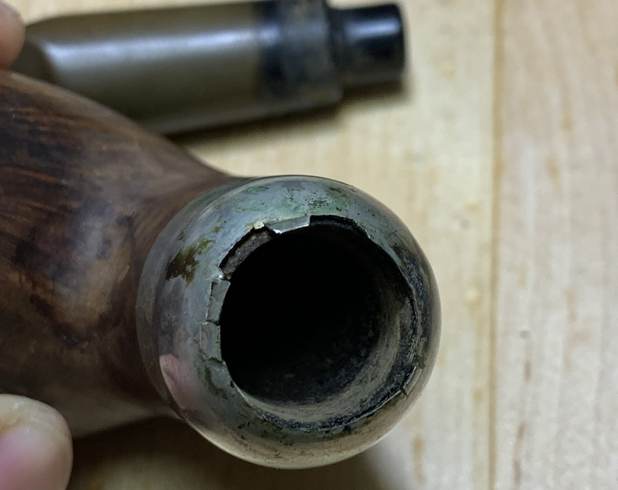
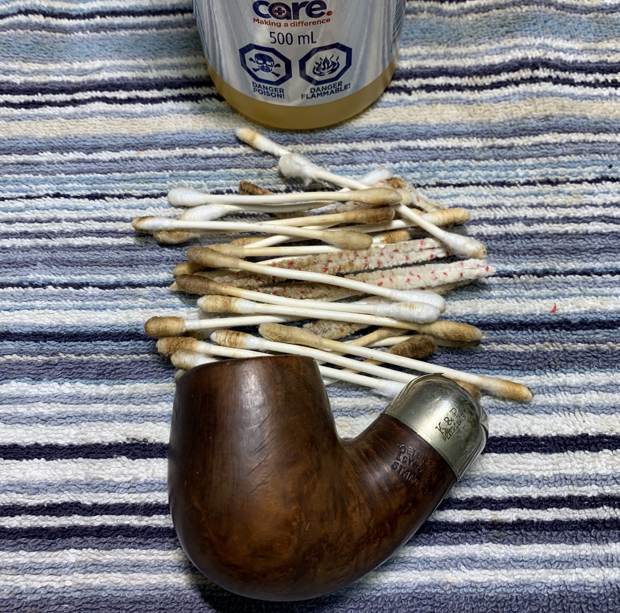
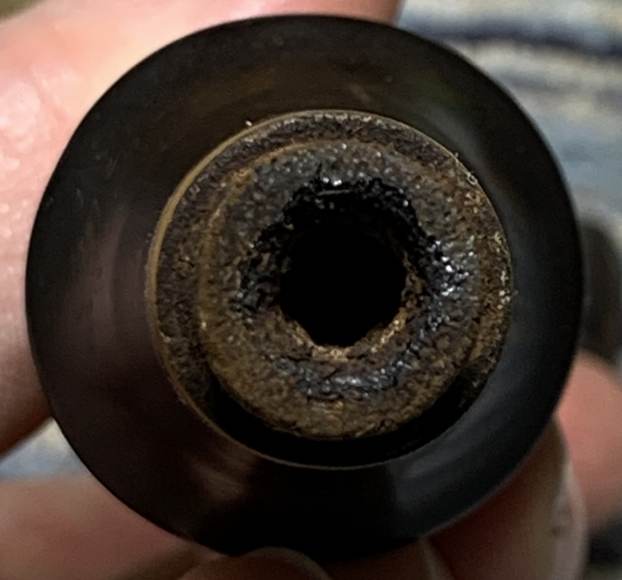
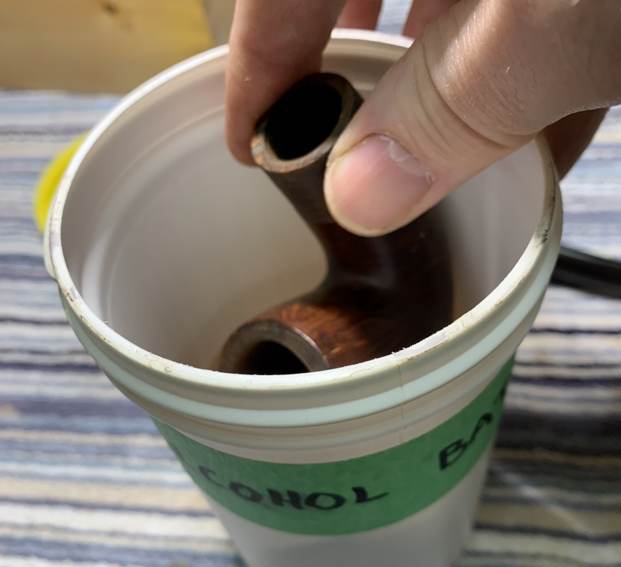
 I then proceeded to clean out the insides of the shank with Q-tips, pipe cleaners, and lemon-infused isopropyl alcohol. The shank was absolutely caked with debris and I went through an extraordinary amount of cotton to clean it out. With all the filth in this pipe, I opted for an alcohol bath to clean it thoroughly. I followed that up by cleaning the insides with some dish soap and tube brushes.
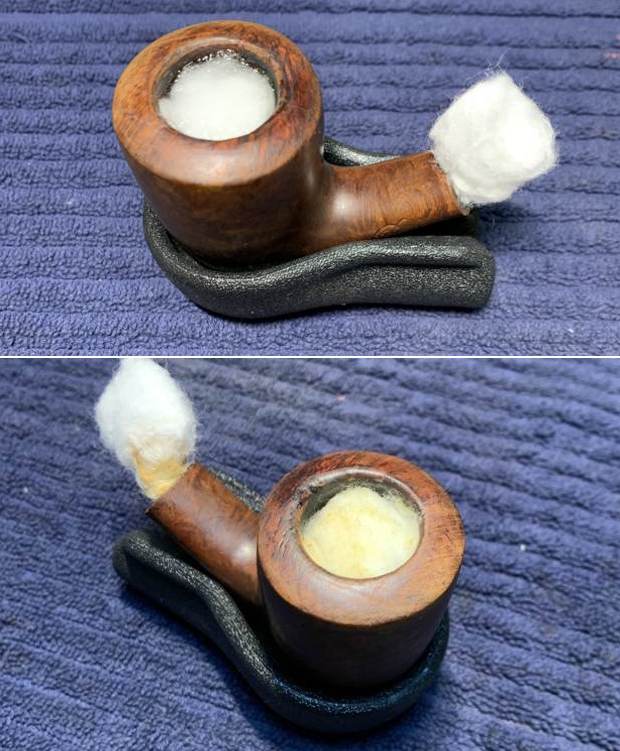
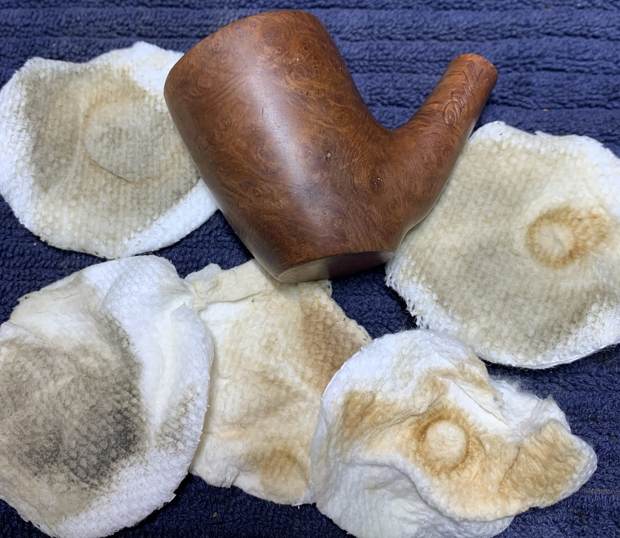
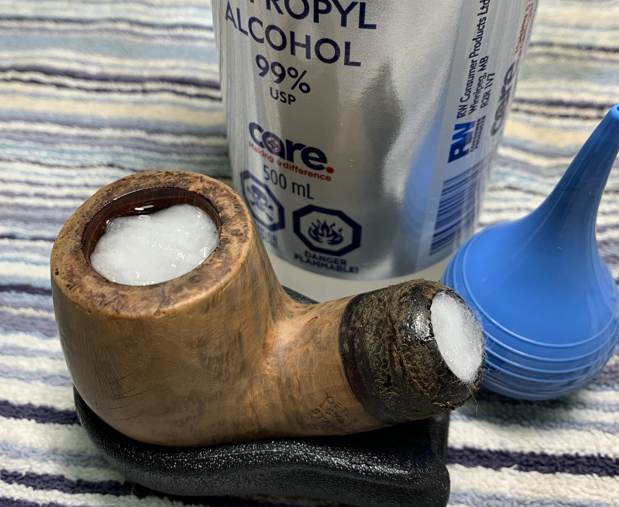
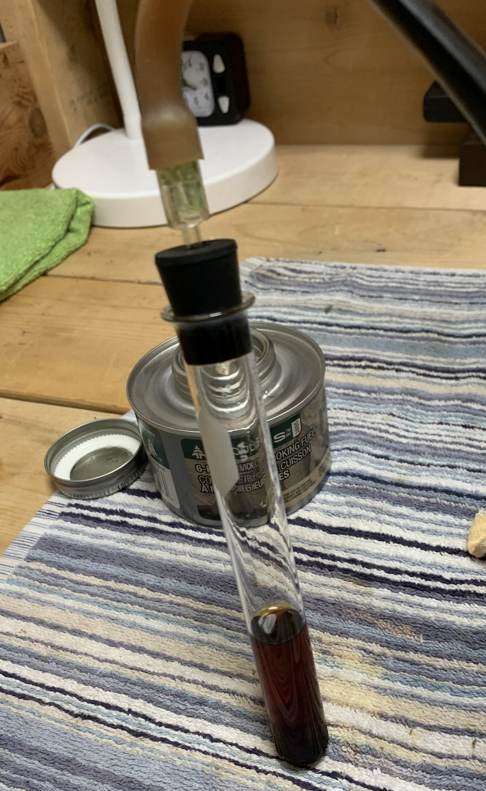
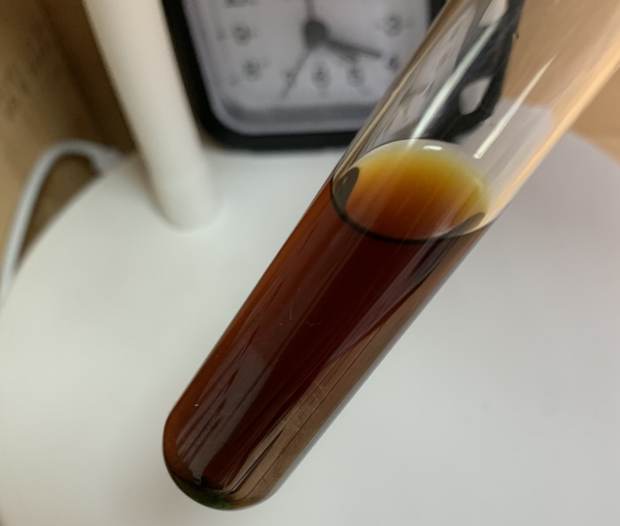
 I decided to de-ghost the pipe in order to remove any lingering smells of the past. I thrust cotton balls into the bowl and the shank and saturated them with 99% isopropyl alcohol. I let the stummel sit overnight. This caused any remaining oils, tars and smells to leach out into the cotton. The bowl was nice and clean after this.
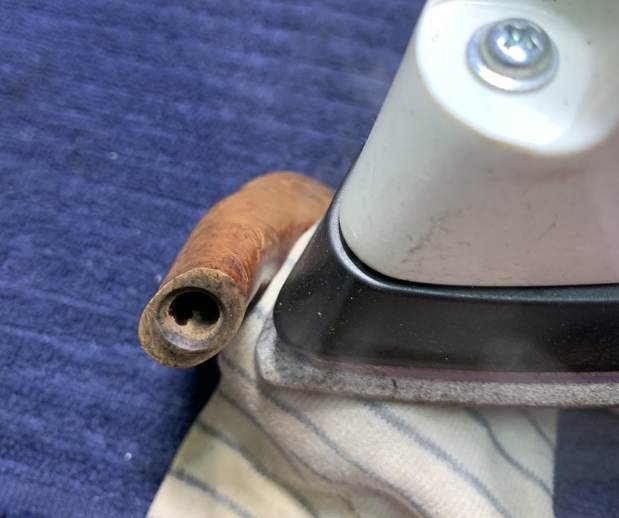
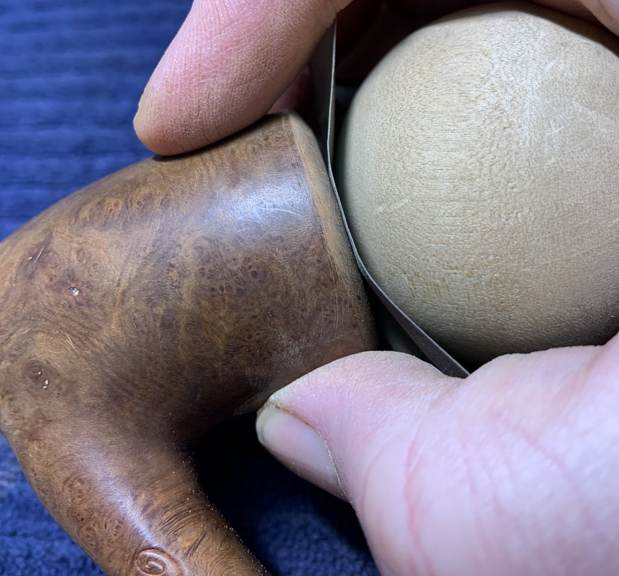
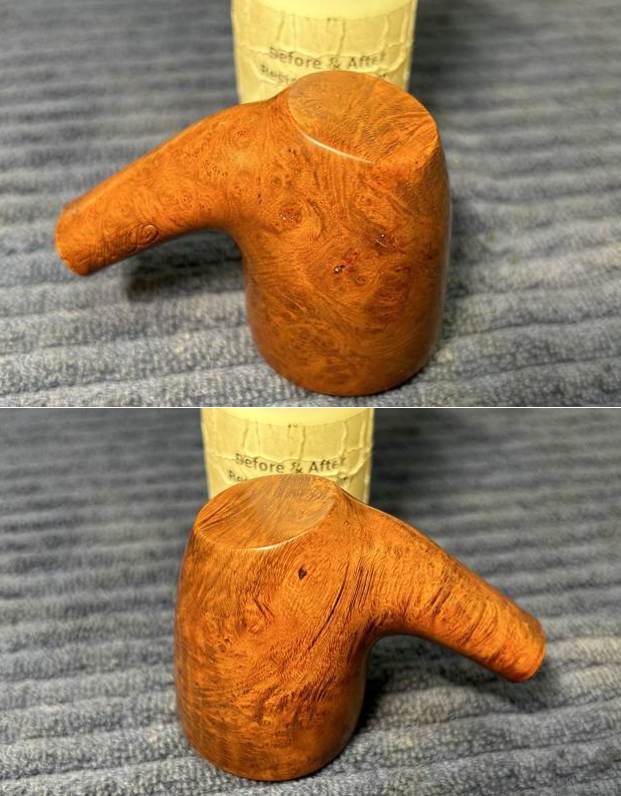
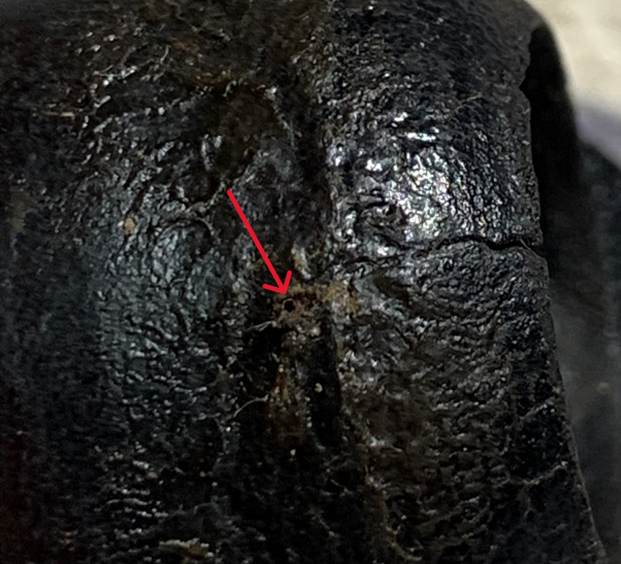
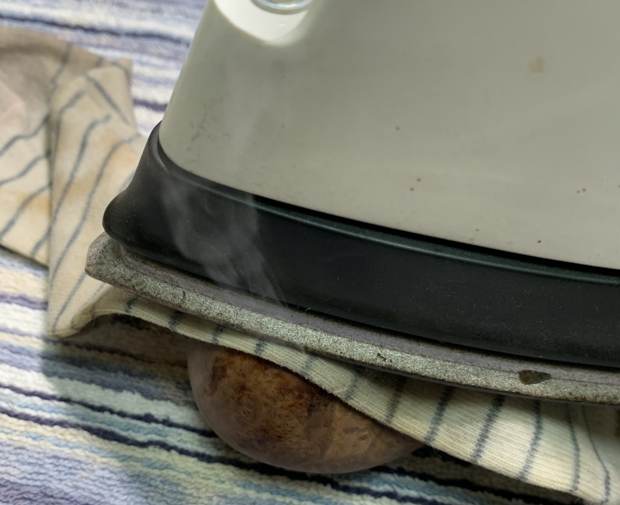
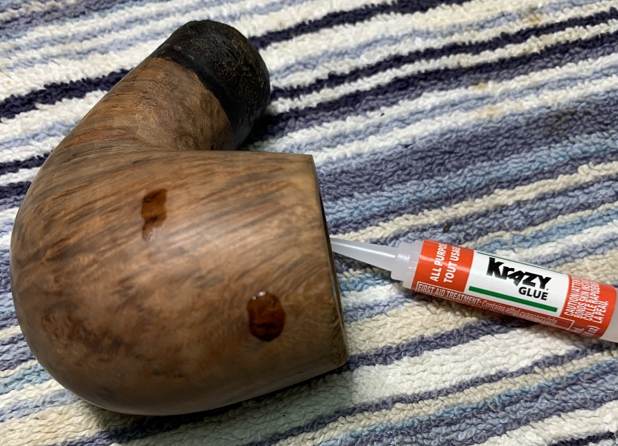
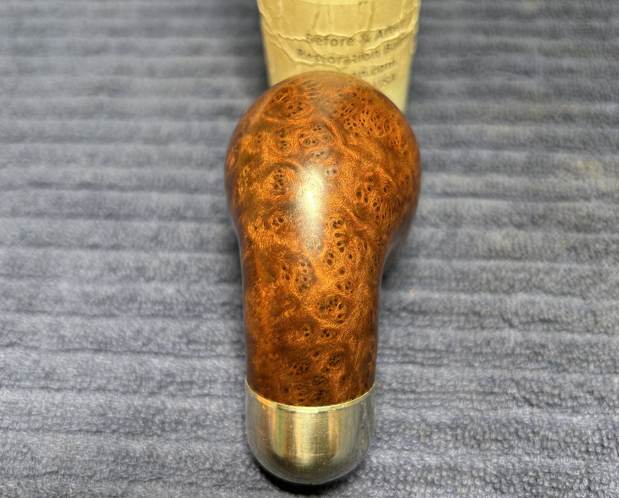
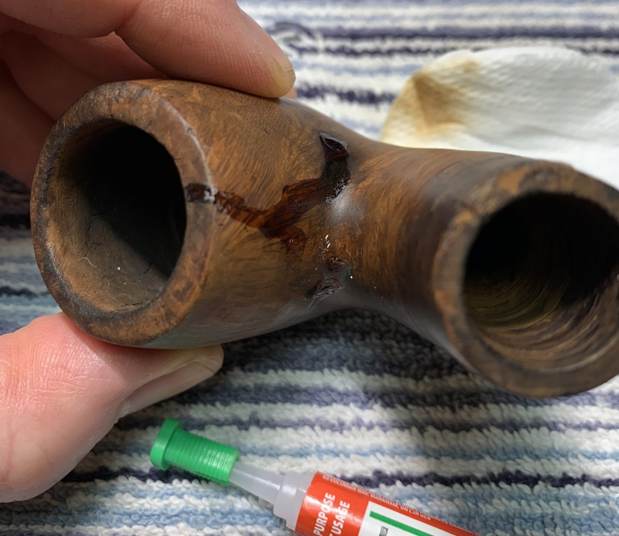
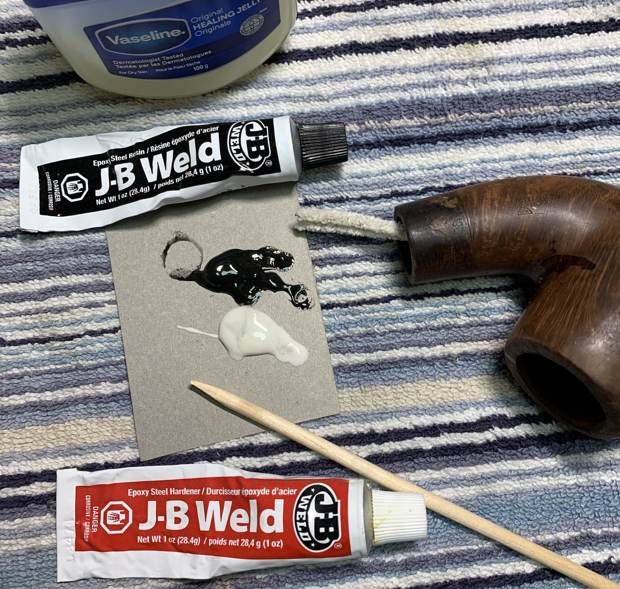
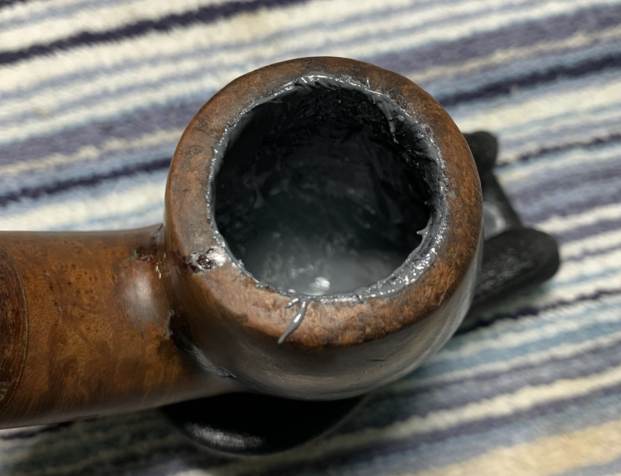
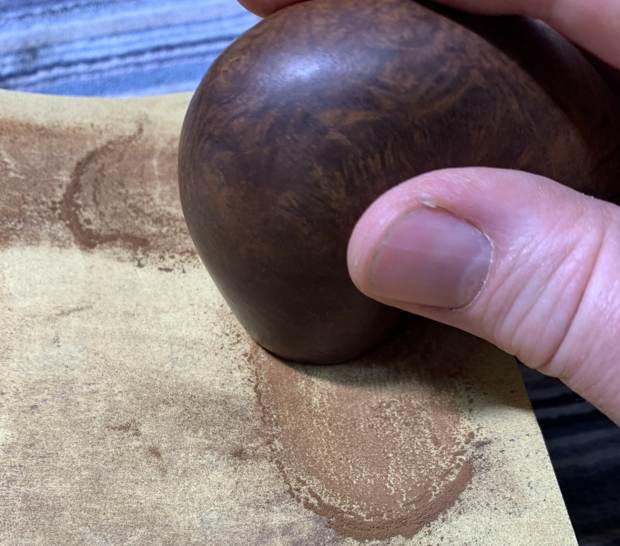
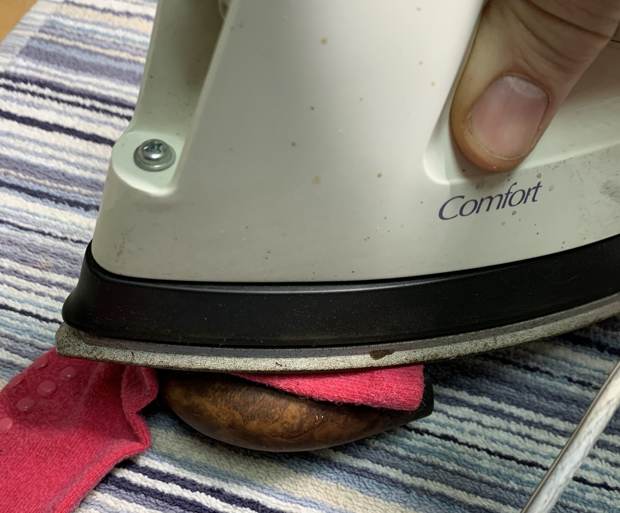
 Having completed that, I was able to address the blemishes to the outside of the bowl. First, I repaired the half-dozen fills with CA glue and briar dust. For the nicks on the rim and bowl, I dug out my iron and a damp cloth to raise the nicks. The hot and moist steam can often cause the wood to swell slightly and return to shape. A little unusually, this technique worked brilliantly and the next two photos (before and after) show a good example of what the iron can do.
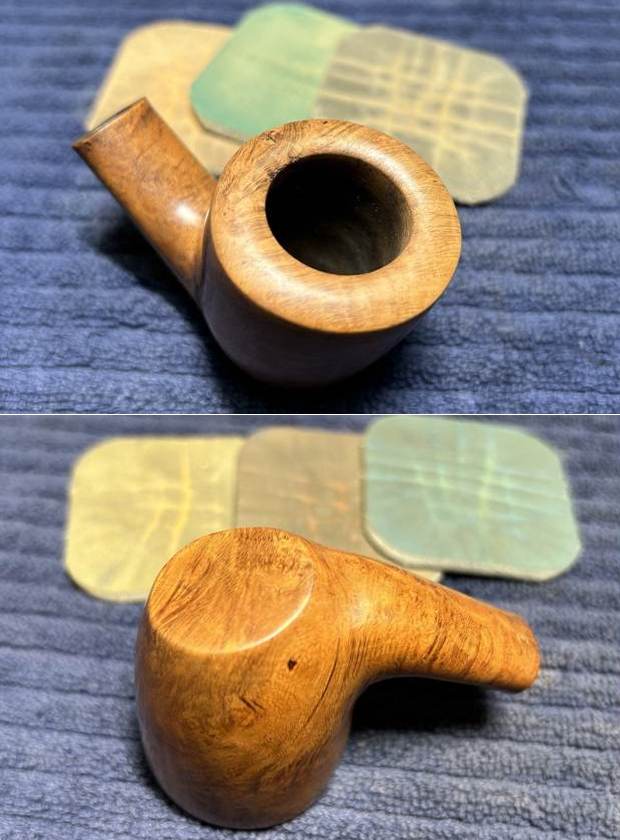
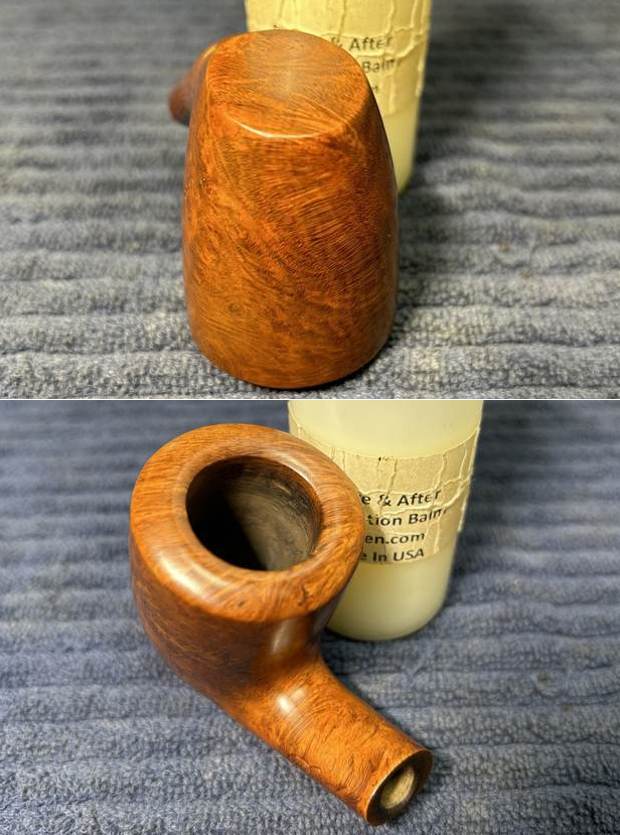
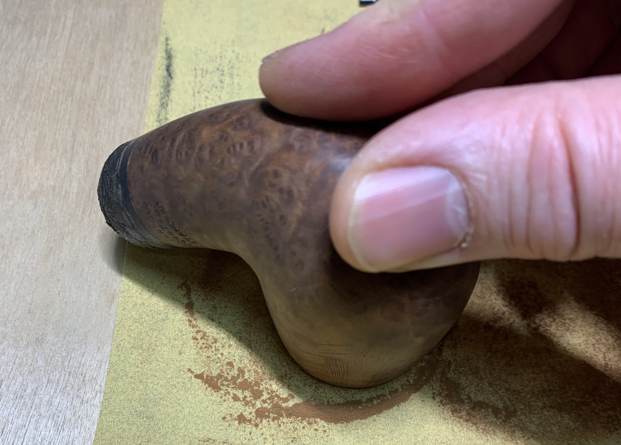
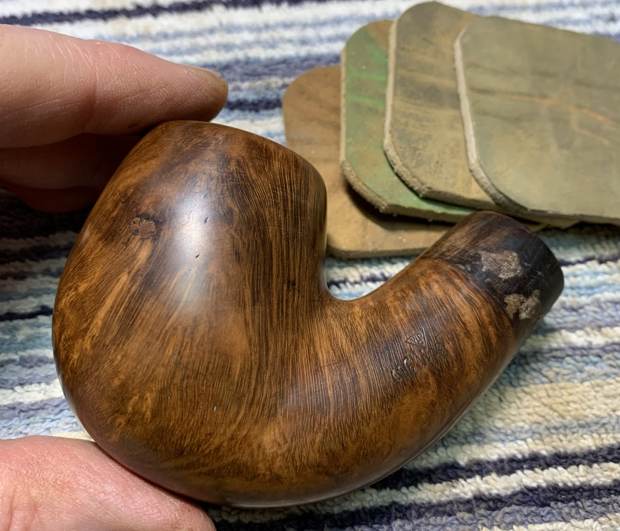
 Now I could address the burn on the rim. I took some sandpaper and my Micromesh pads to sand and smooth everything out.
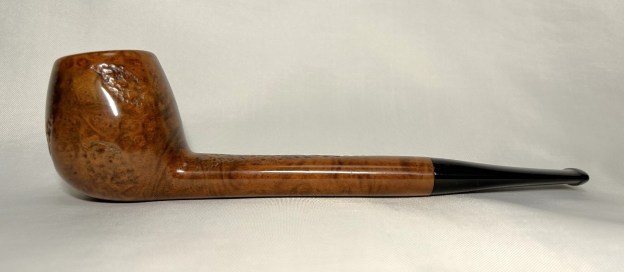
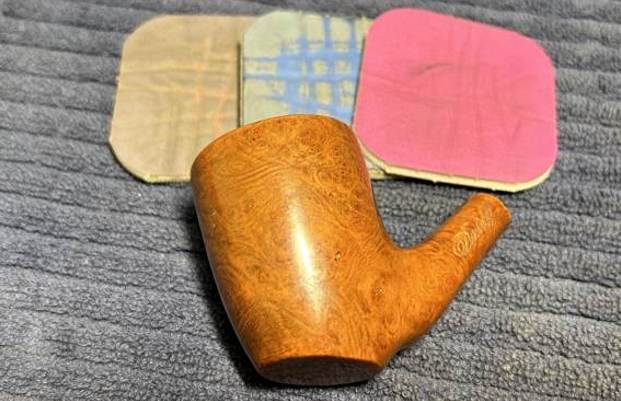
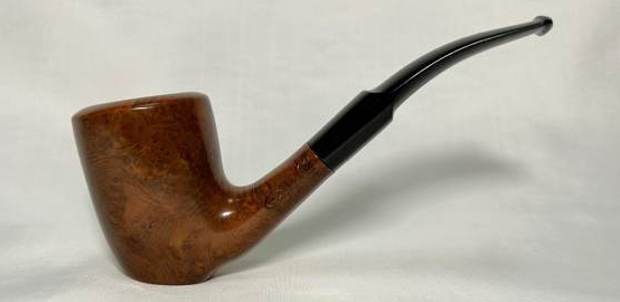
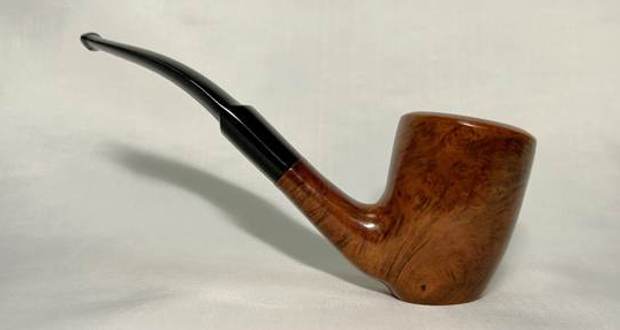
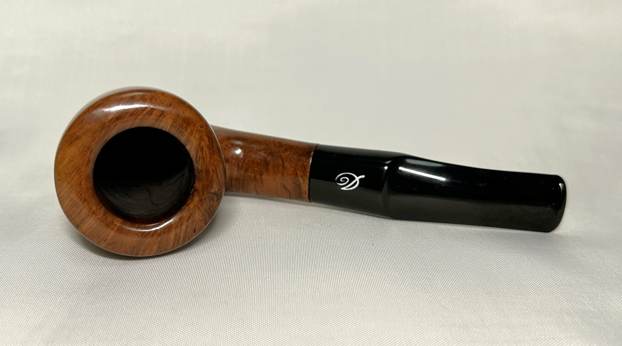
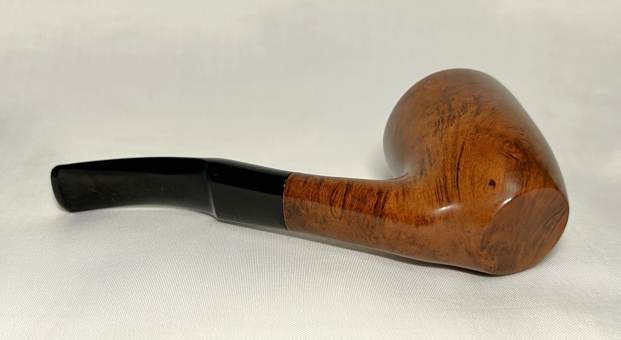
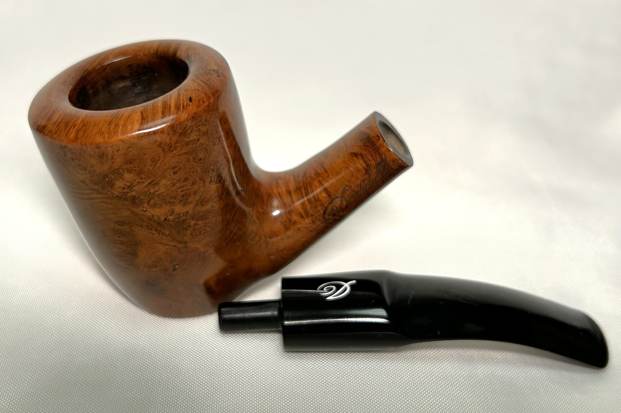
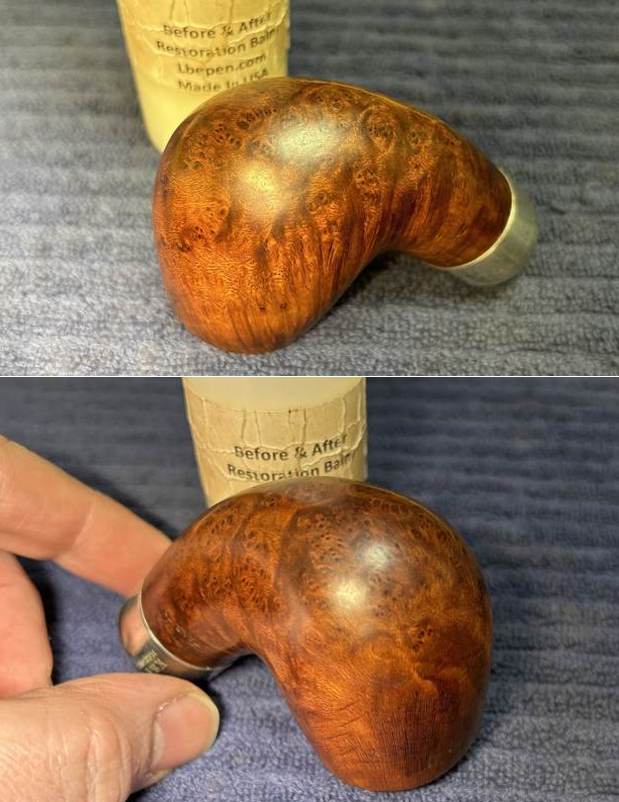
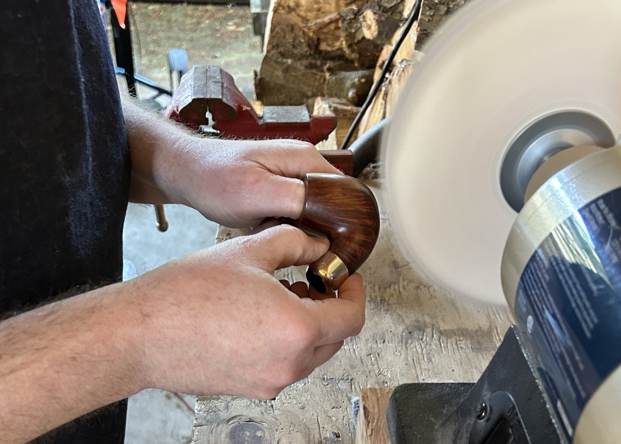
 After that, a light application of Before & After Restoration Balm brought out the best in the stummel’s grain, then took it to the buffer. A dose of White Diamond and a few coats of carnauba wax were just what this pipe needed.

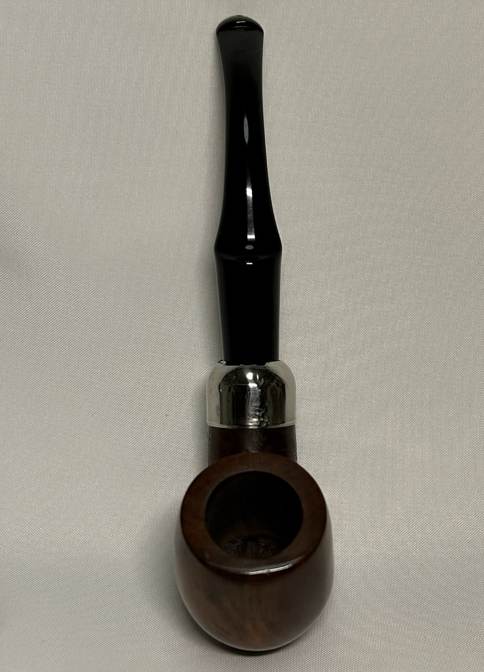
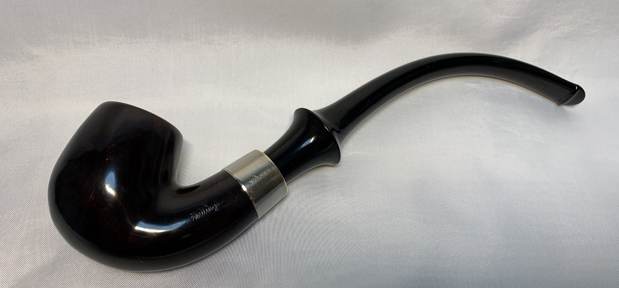
 This little pipe looks fantastic again and is ready to be enjoyed again by the next owner! I am pleased to announce that this pipe is for sale! If you are interested in acquiring it for your collection, please have a look in the ‘French’ pipe section of the store here on Steve’s website. You can also email me directly at kenneth@knightsofthepipe.com. The approximate dimensions of the pipe are as follows: length 4 in. (100 mm); height 3¾ in. (94 mm); bowl diameter 1⅜ in. (36 mm); chamber diameter ¾ in. (19 mm). The weight of the pipe is 1⅜ oz. (41 g). I hope you enjoyed reading the story of this pipe’s restoration as much as I did restoring it. If you are interested in more of my work, please follow me here on Steve’s website or send me an email. Thank you very much for reading and, as always, I welcome and encourage your comments.