Guest Blog by Robert M. Boughton
Member, International Society of Codgers
Member, North American Society of Pipe Collectors
http://www.naspc.org
http://www.roadrunnerpipes.com
http://about.me/boughtonrobert
Photos © the Author
Reinhard: Old Germanic male name meaning brave, hardy; fox
― From “Behind the Name”
INTRODUCTION
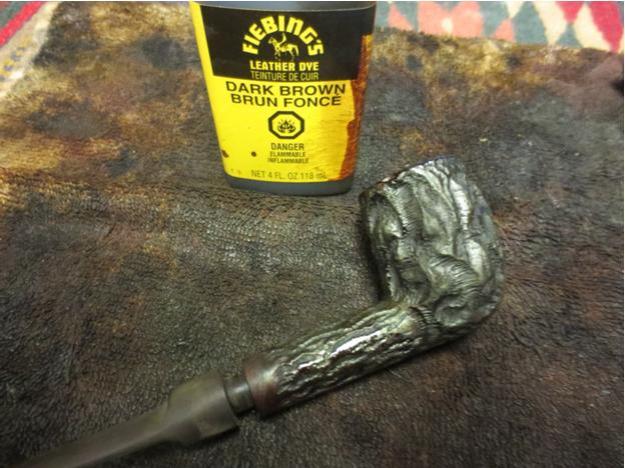
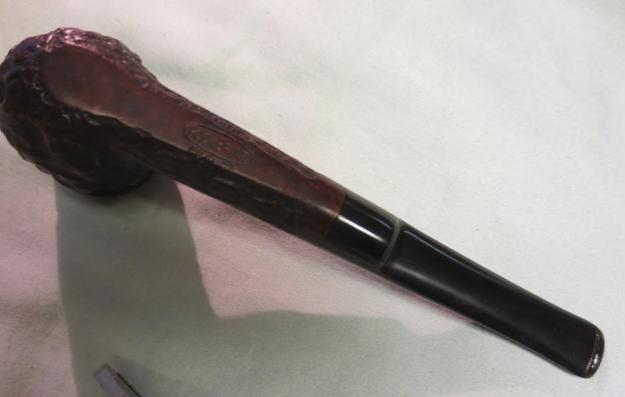
After searching in every nook and crevice of the Internet I could conceive, in search of a single clue, even, as to the origin of this Reinhard’s natural billiard, I had to concede defeat and turn to my friend and mentor, Chuck, for any suggestions he might have. I was certain this sleek gentleman’s pipe, with its classic form and fine engineering that from the general look and color hinted at a vintage make, must be an established brand, however limited its period of manufacture. The crispness of the nomenclature in particular threw me. Although the possibility that the Reinhard’s could be the creation of an independent pipe shop somewhere had crossed wires somewhere in my mind, I wanted to believe the elegant piece of briar was descended from a higher pedigree. When Chuck came back with a scenario that was not only viable but likely, therefore – that the derivation of my pipe indeed was probably a small shop somewhere, but with the added conjecture that it was likely of mid-western U.S. descent, from a place with a high concentration of German or other Teutonic immigrants – my spirits were somehow bolstered. Maybe the Reinhard’s was something more than the variety of pipe commonly relegated to the classification of “no-name” after all.
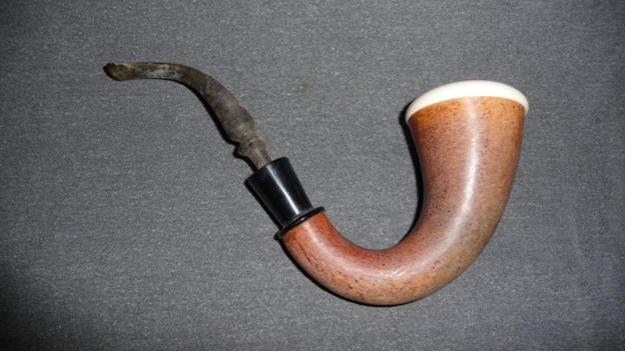
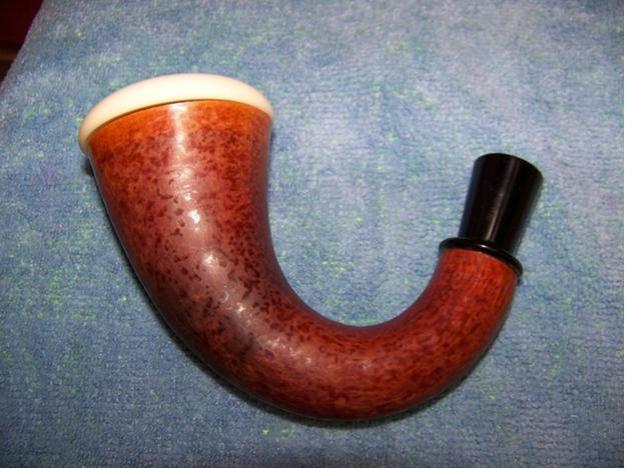
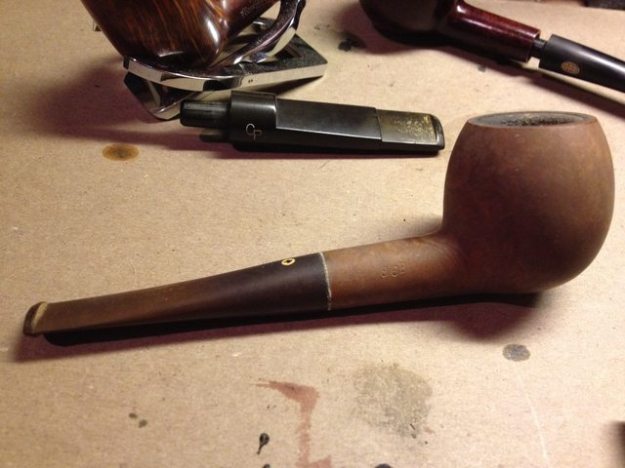
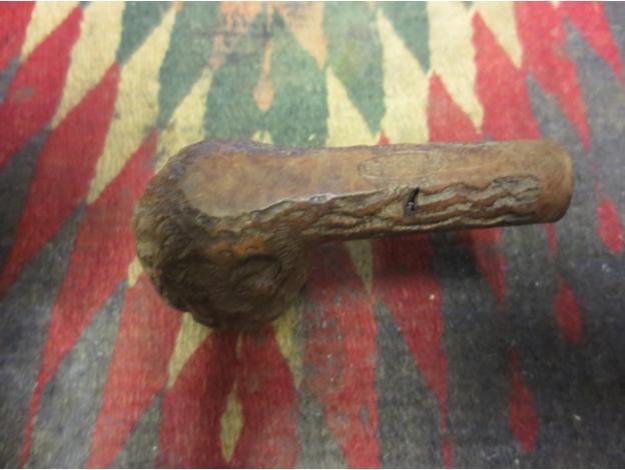
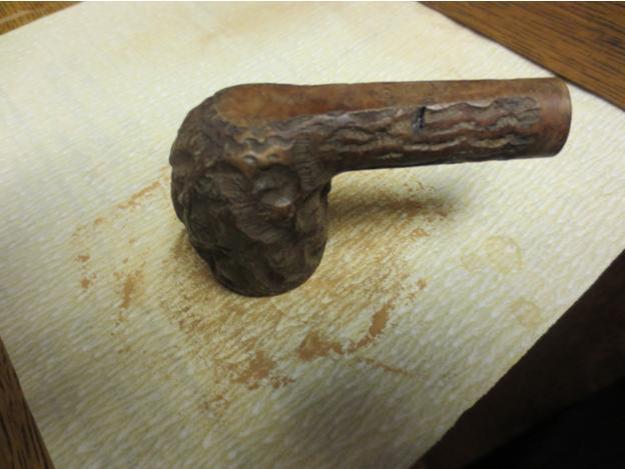
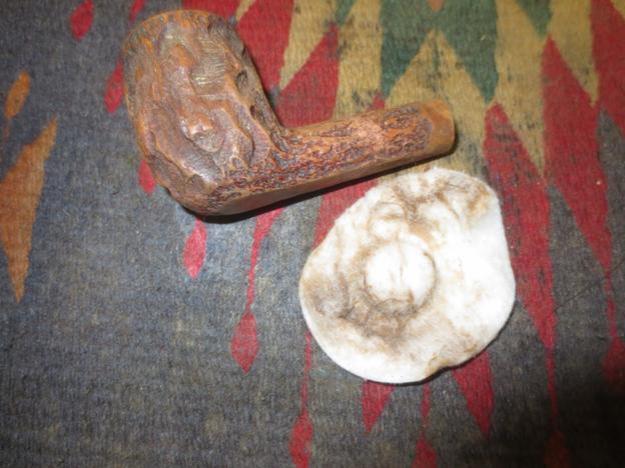
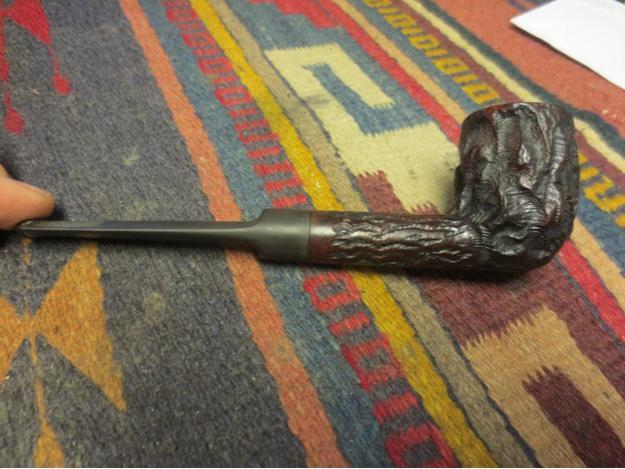
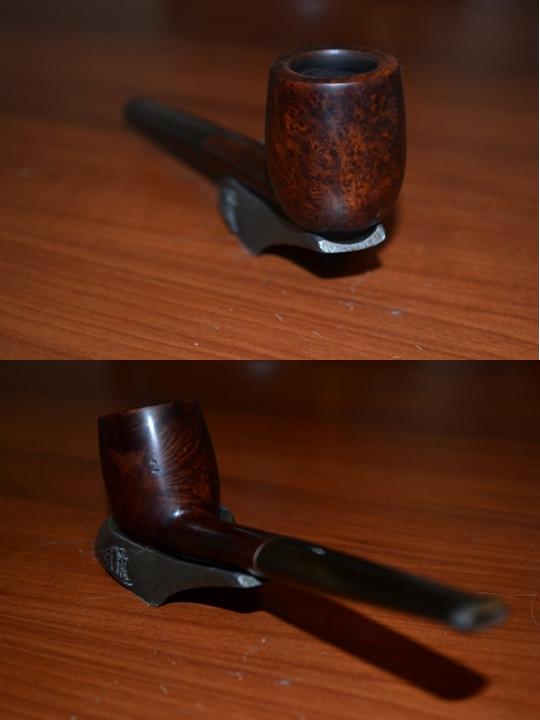
The natural, dark brown color of the pipe, reminiscent of staining popular during the 1950s and ’60s and into the ’70s, had grown more pronounced with age and regular use. As with all such pipes I come across, I wanted to bring out more of the natural grain I was sure was hidden beneath a thin layer or two of decades of accreted grime on top of the original finish. The bowl is slightly canted, suggesting a Canadian except for the longer bit. And so I settled on a sweet, alternative billiard. Please correct me if I’m wrong. I still have trouble with the whole Canadian-Lovat-Lumberman-Liverpool mess.
RESTORATION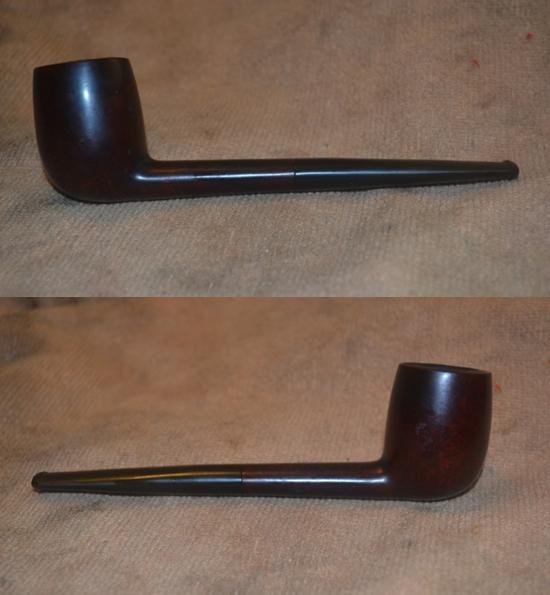
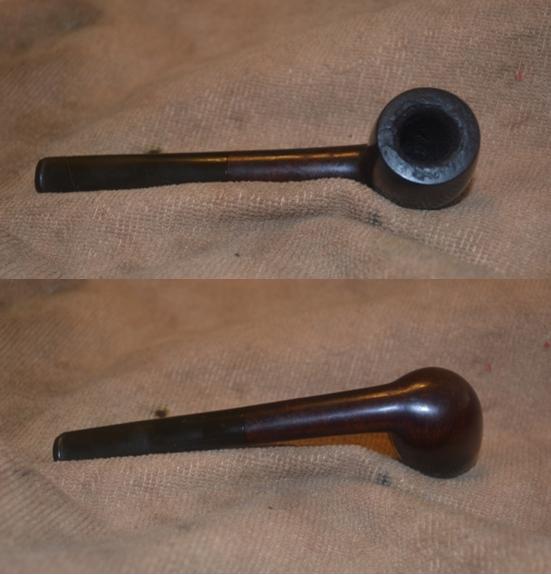
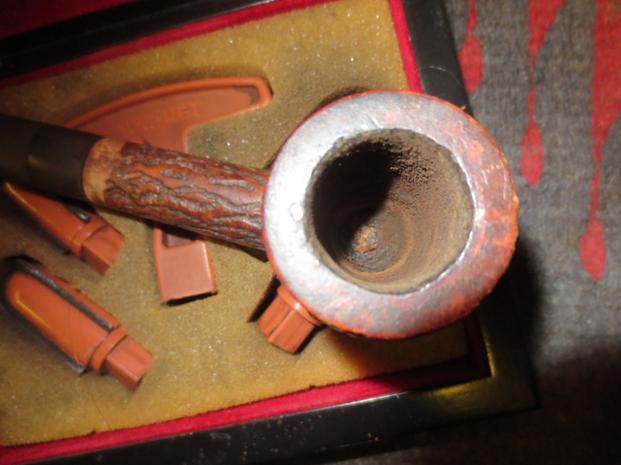
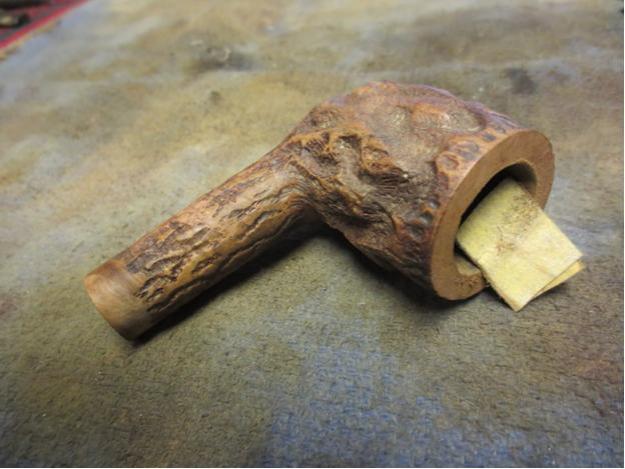
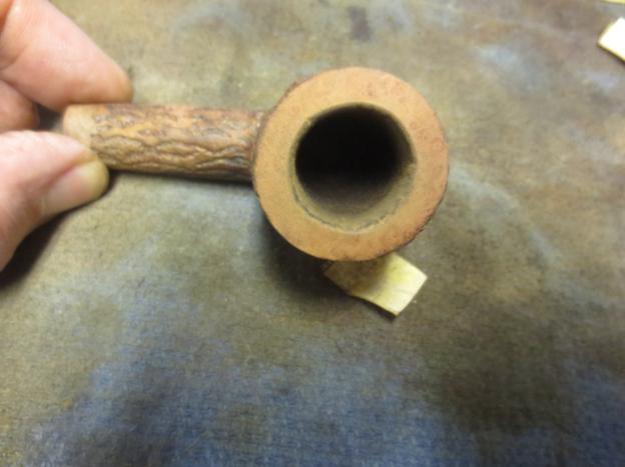
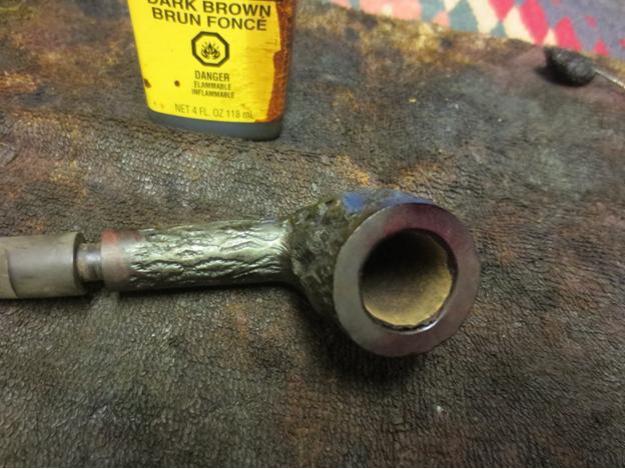
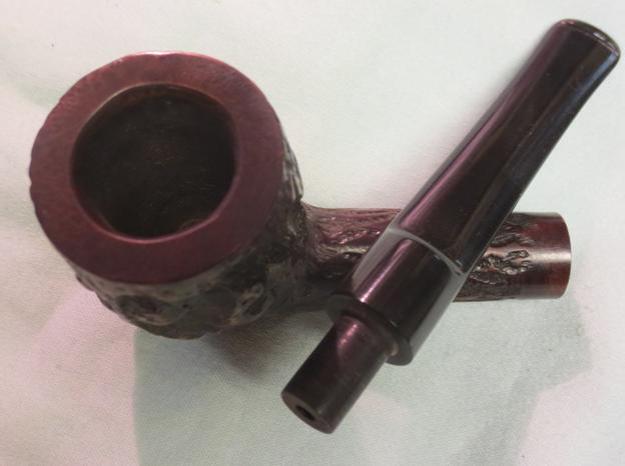
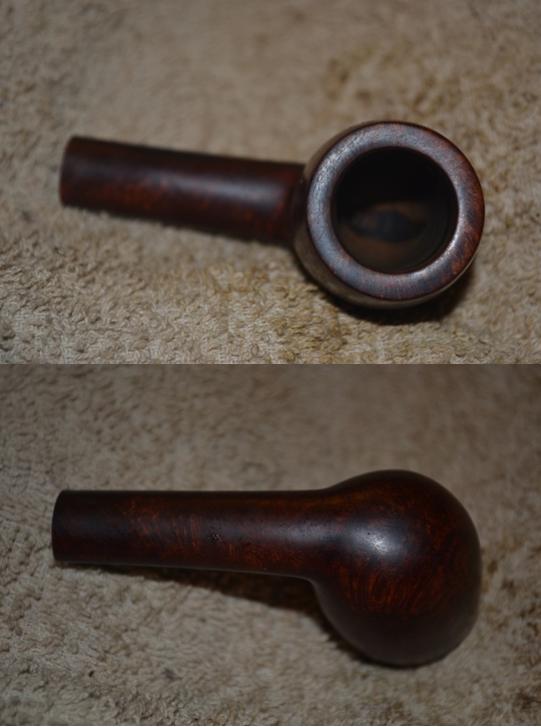
 First, there was the typical carbon buildup in the chamber and the rim cleaning to confront.
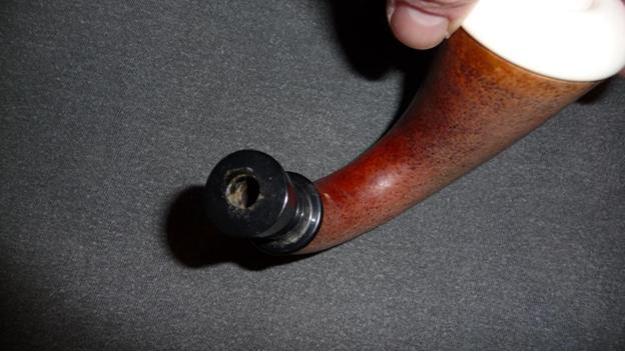
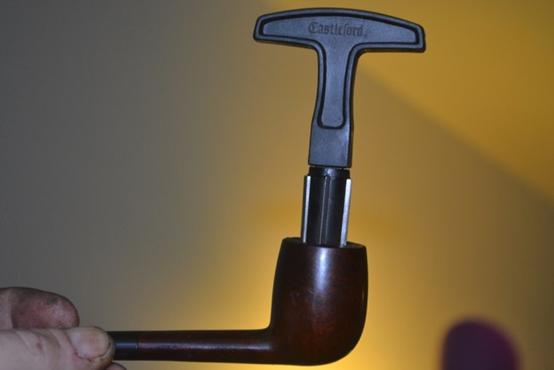 A 17mm fixed reamer started the process of dispending with the cake, and followed up with sanding, using 150-grit paper to even out the chamber interior after which I smoothed it with 320-grit paper, the result was chamois-smooth. The basic cleaning with Everclear-soaked bristly cleaners and a thorough retort was easier than I feared, but still necessary, of course. I’m always happy when a pipe only needs two or three infusions of strong boiled alcohol through its innards to leach out the buildup of tobacco juices and other elements of regular enjoyment; it shows that the previous owner cared for the pipe.
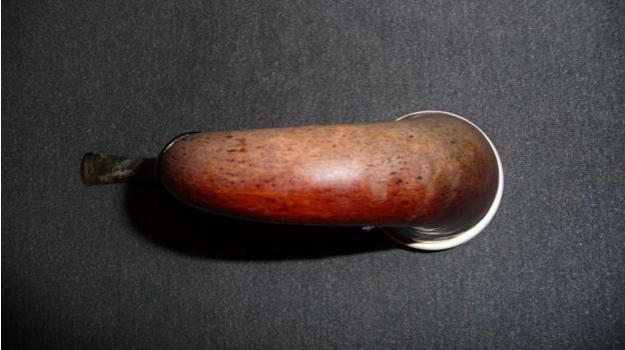
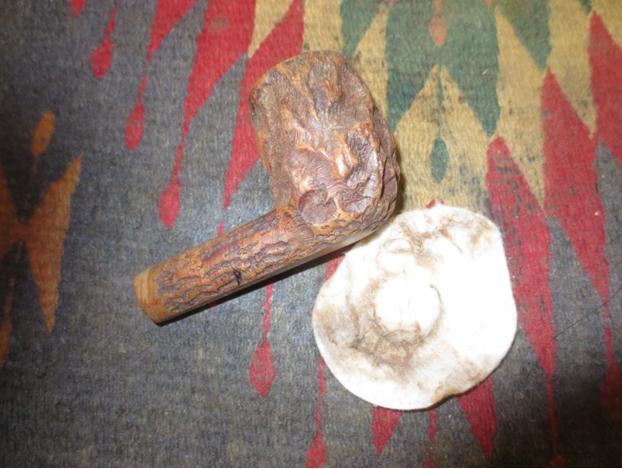
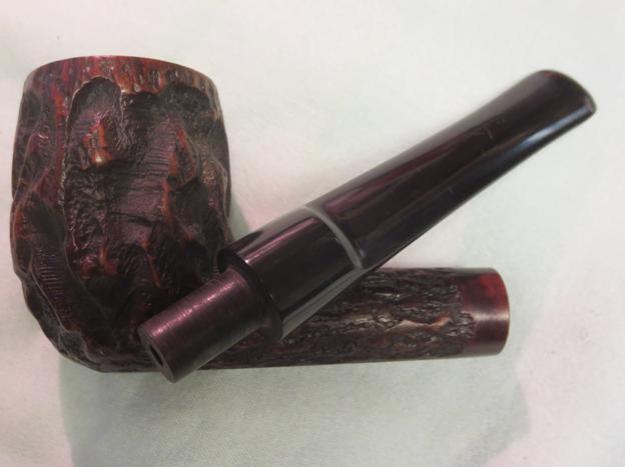
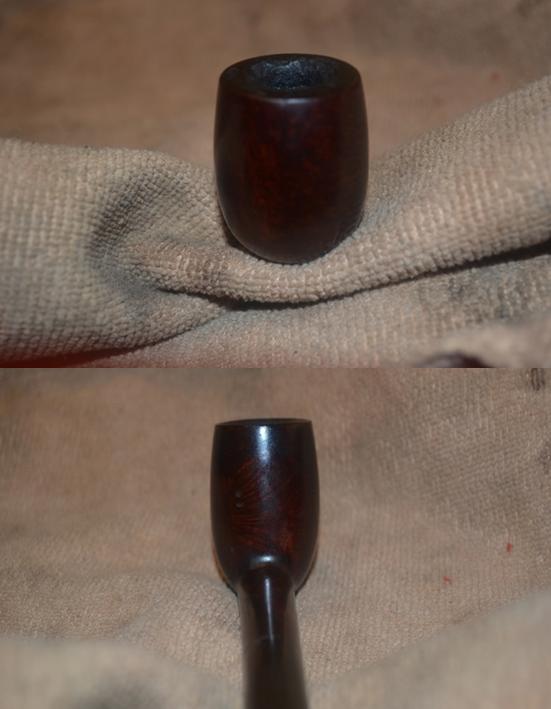
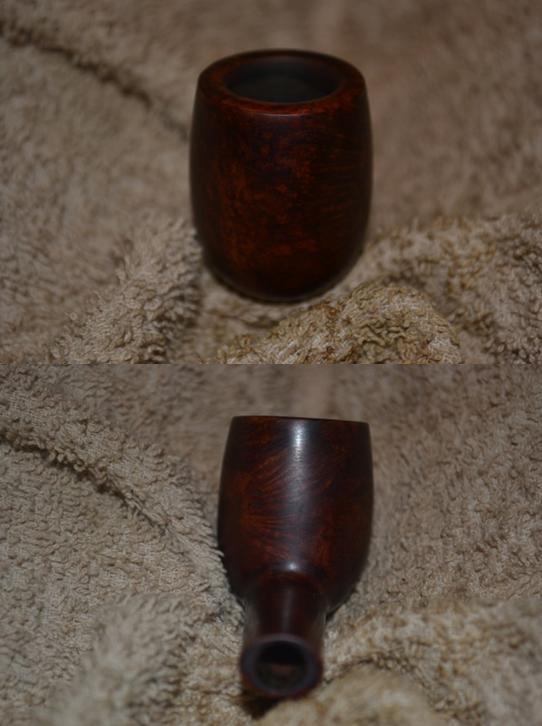
After a bath with distilled water on small pieces of cotton cloth, wet micromesh paper from 1200-3600 did a nice job on the rim. The soft, brown, more natural exterior of the bowl and shank came out with delicate use of superfine steel wool.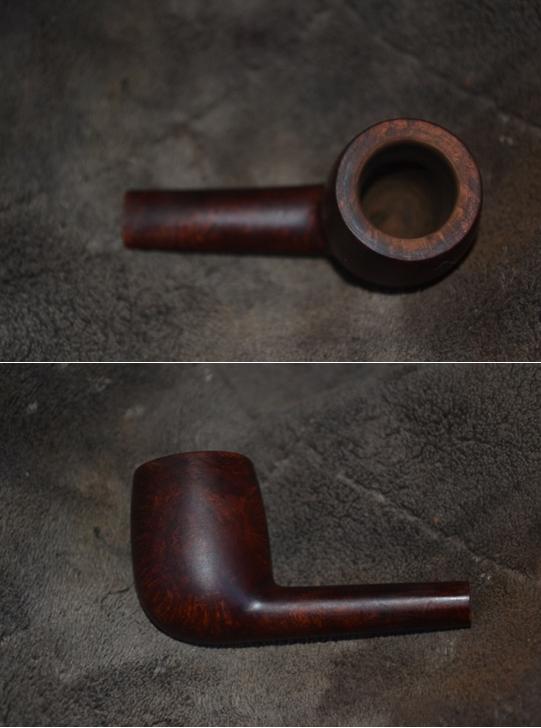
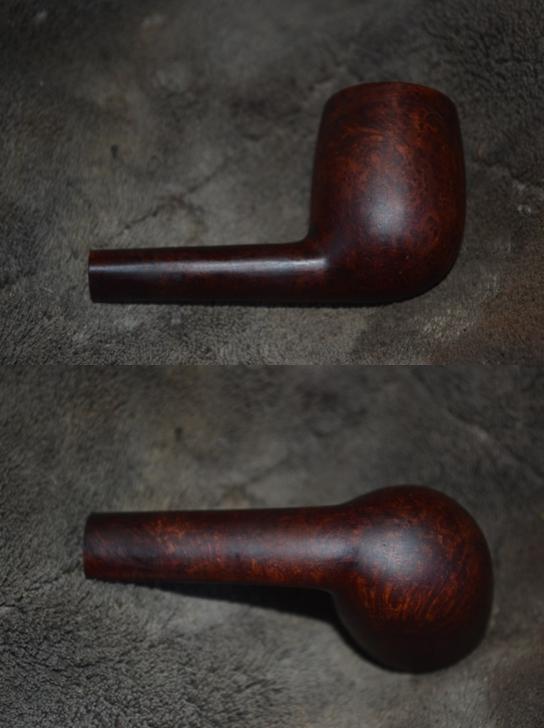
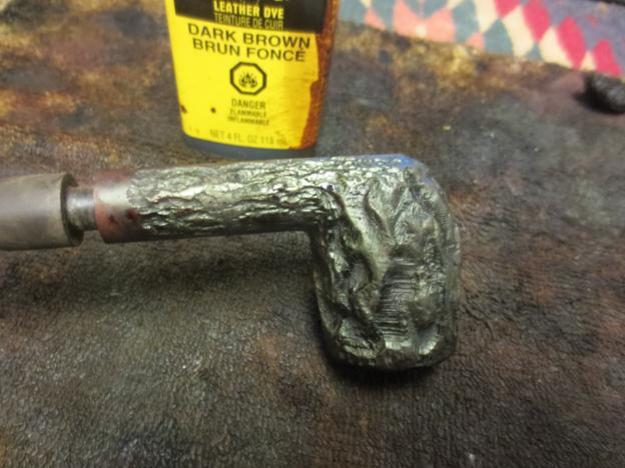
 Almost done, I used the same wet micromesh progression that cleaned up the rim to smooth the exterior of the pipe.
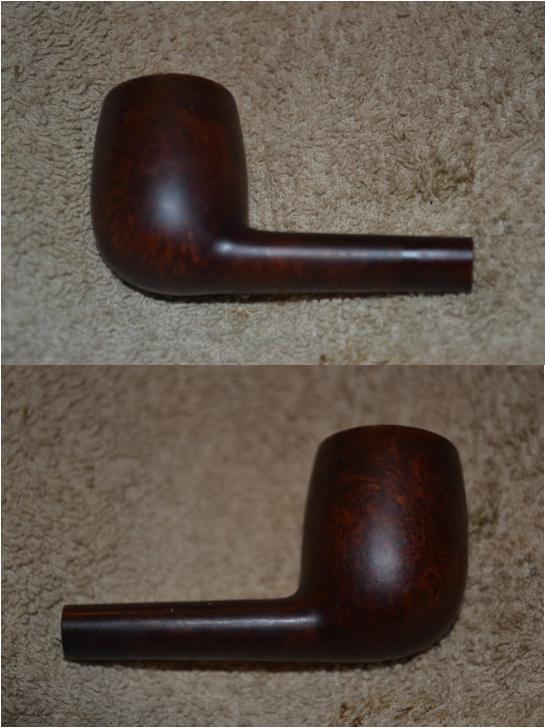
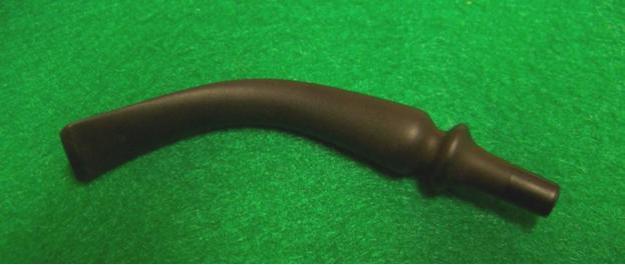
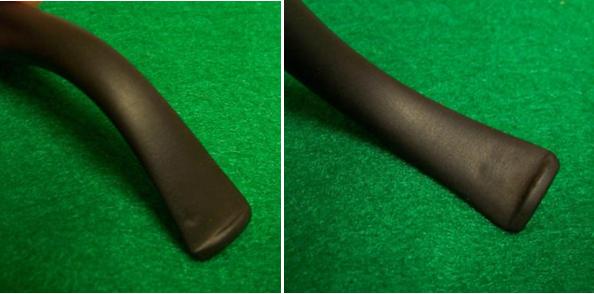
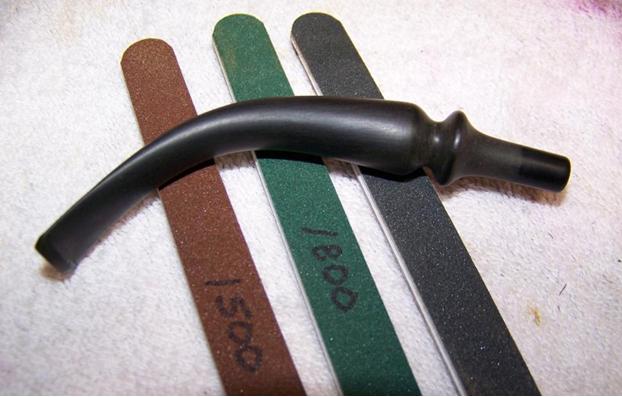
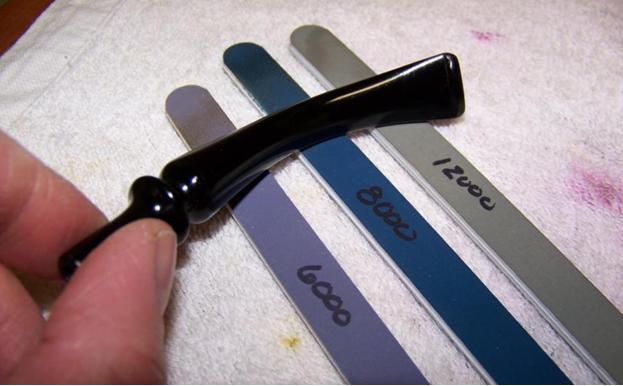
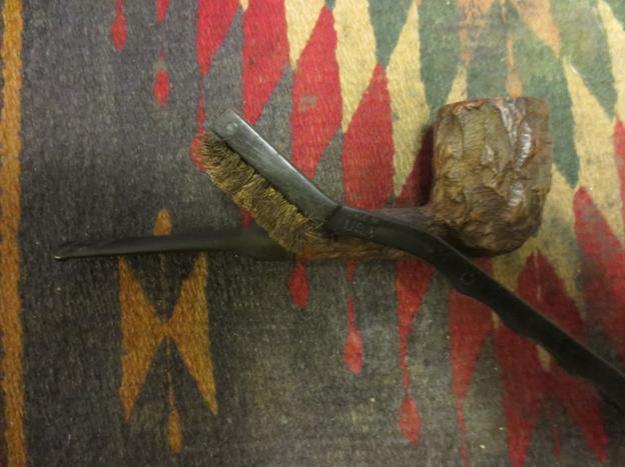
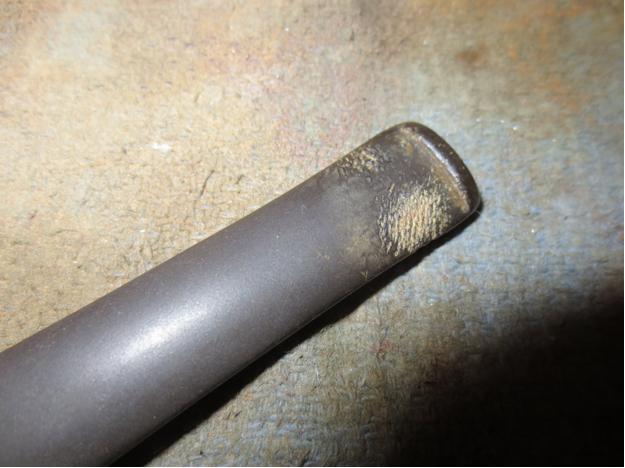
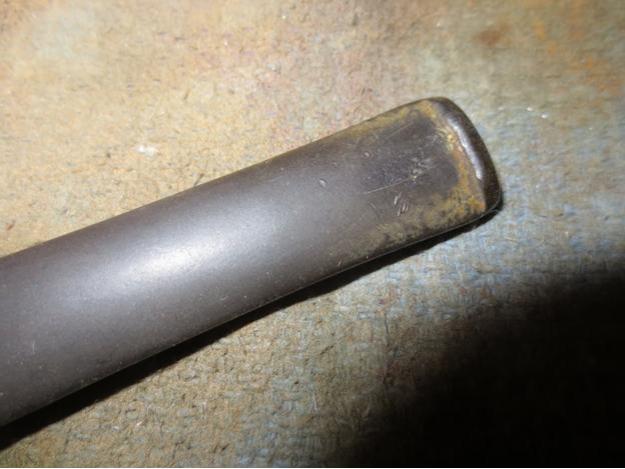
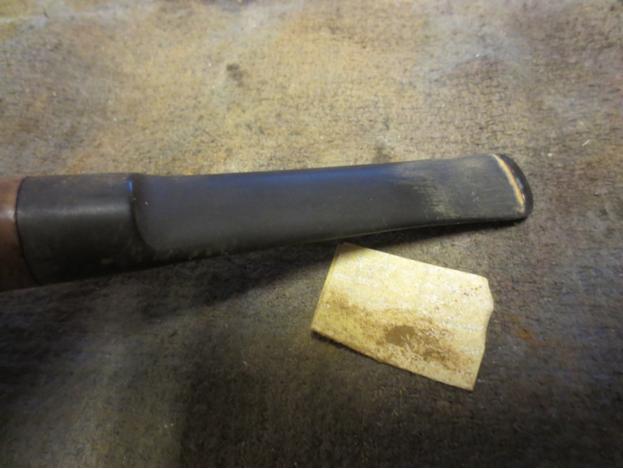
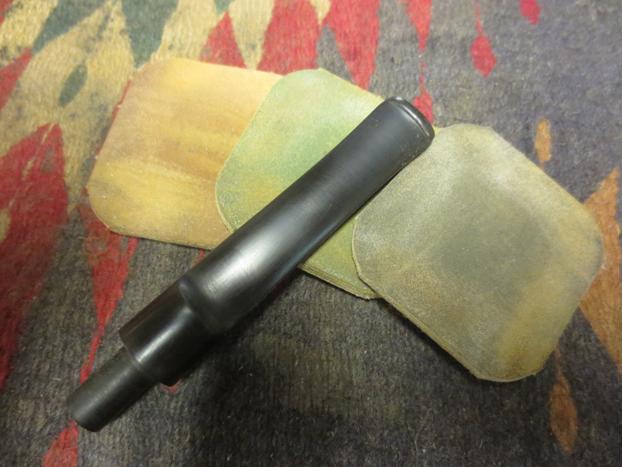
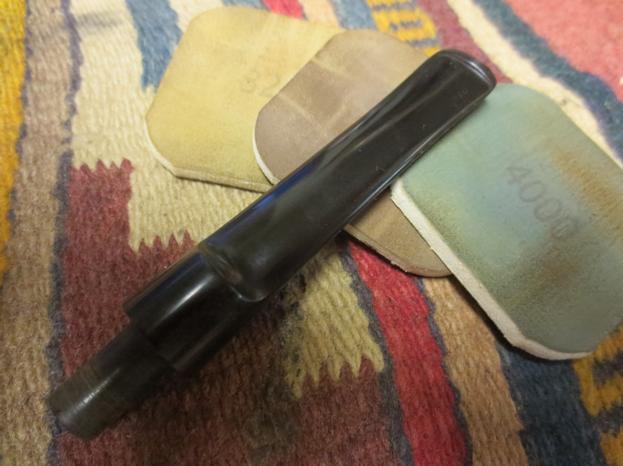
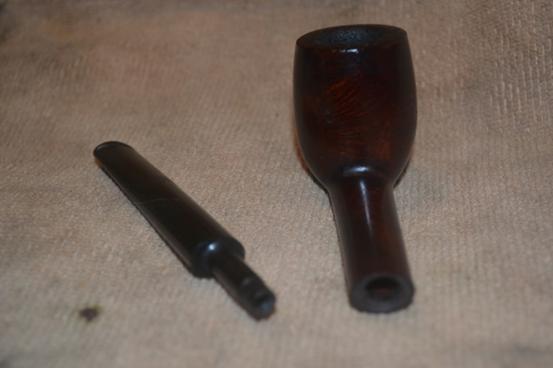
 The bit was in exceptional shape, but I still rinsed it in a OxyClean solution and micro-meshed from 1500-3600. Finally, I buffed the bit with red and White Tripoli, with the clean wheel in between, and used white Tripoli, White Diamond and carnauba on the wood.
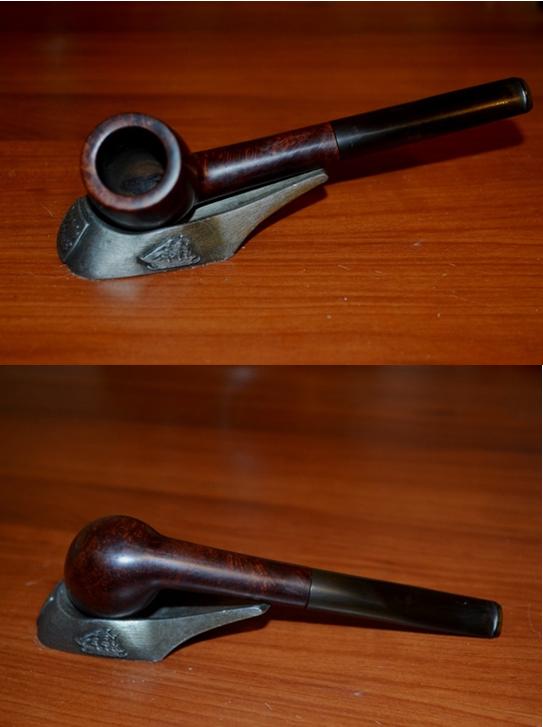
 CONCLUSION
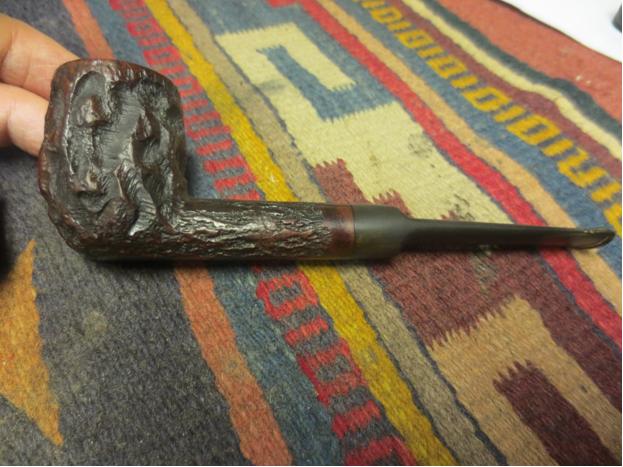
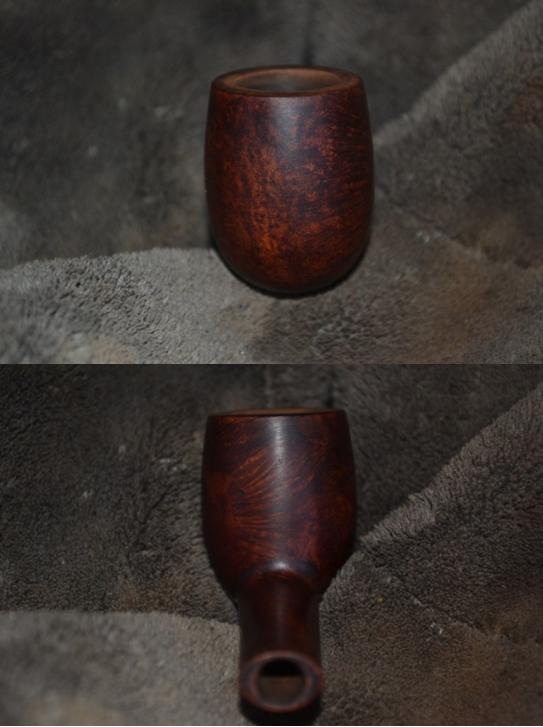
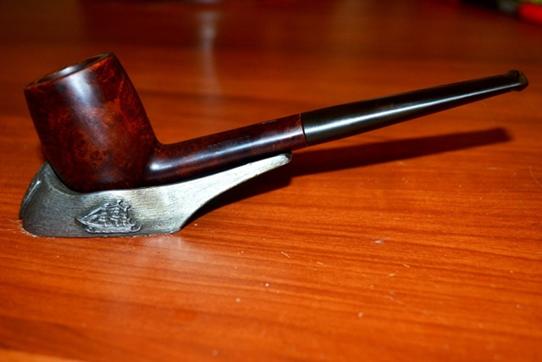
I achieved the effect I wanted, without over-removing the darker stain, to maintain the integrity of the maker’s – whoever he might have been, God bless him – plan.
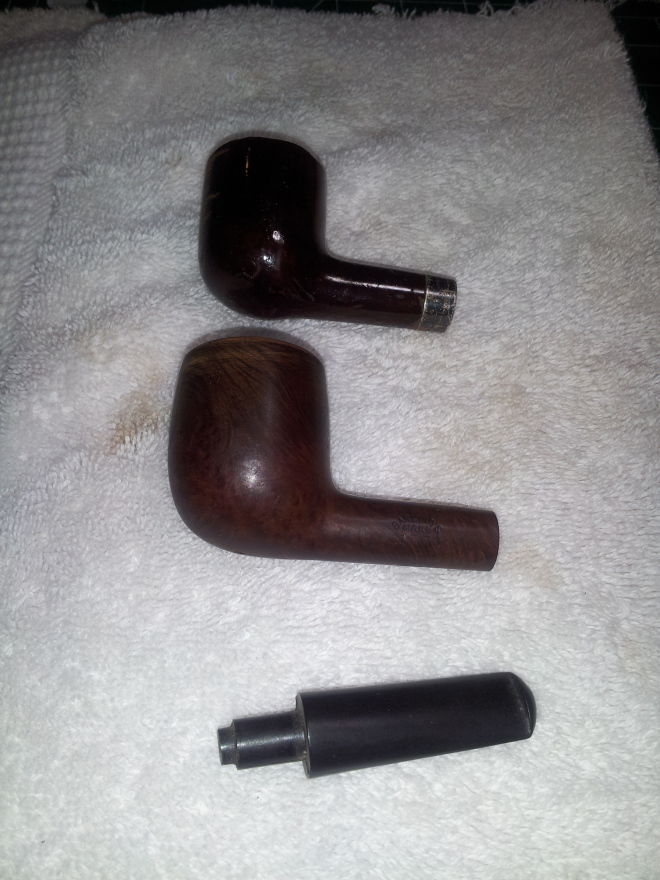
Being somewhat of a known easy touch when it comes to gifting pipes to deserving individuals, I found myself at my tobacconist with a small box of finished pipes, including the Reinhard’s, and some that still needed work. Candice, the lovely young worker on duty, had told me she had her eyes on a golden-orange The Pipe for sale. As it was to be her first foray into the world of pipe enjoyment, in my judgment, that just would not do.

Candice, cropped from a photo with her in the background
Perhaps a bit impetuously, I laid out my wares, separated so that Candice could choose from the restored samples. The good lady did protest, of course, citing the old it’s-too-generous excuse and even offering to pay something, but I would have none of it. They weren’t moving on my business website, after all, and Candice (who was named for Candice Bergen by her thoughtful parents) looked them all over and concluded she could not make up her mind, and she would be happier if I chose one. Isn’t that just like a woman? I love it!
And so, with a slight pang, my hand went on its own volition to the Reinhard’s, which I handed to Candice. Something in her reaction told me it was the one she would have chosen, had push come to shove, so to speak.
In my humble opinion, the Reinhard’s fits her always helpful, friendly, sparkling personality to perfection.

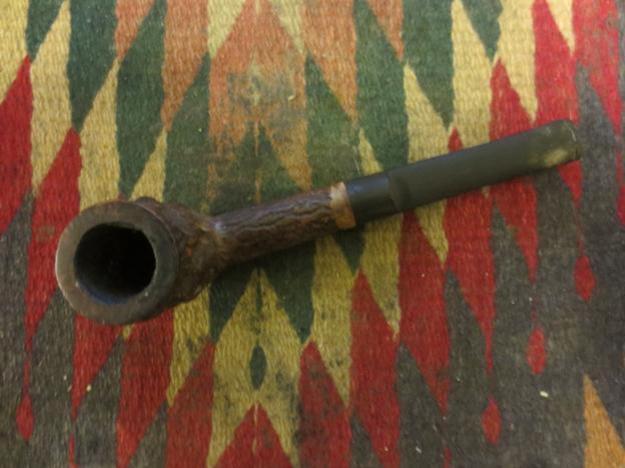
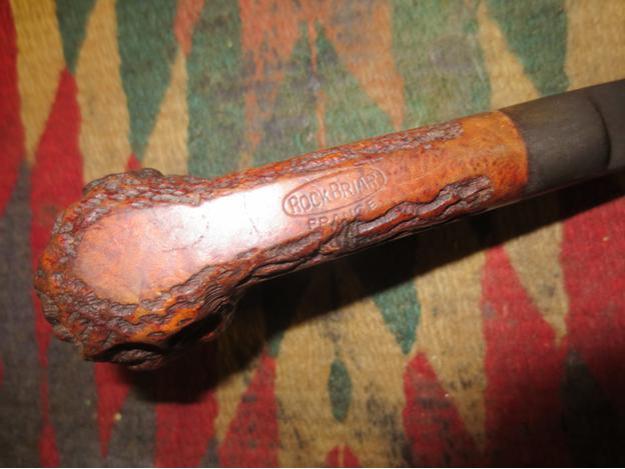
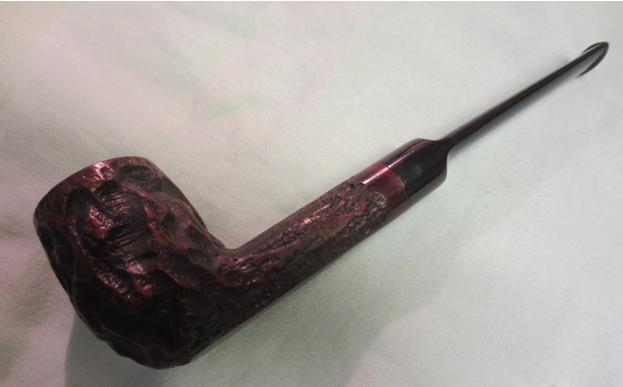
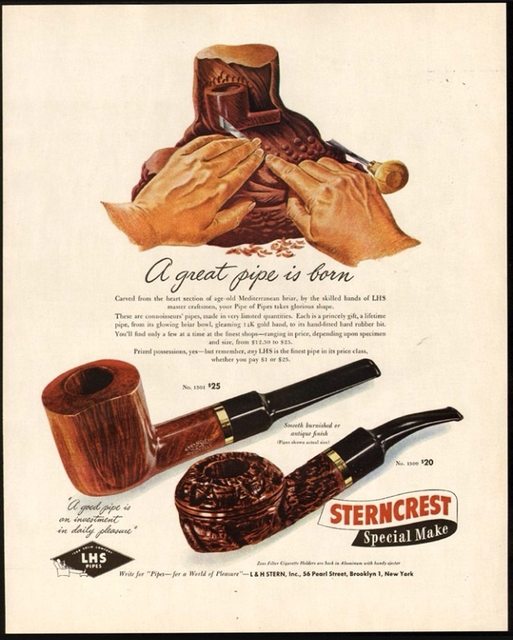 A great pipe is reborn, the ad should read. This old LHS has been an extensive traveler throughout its long life. Plucked from the Mediterranean soil and carved in Brooklyn New York, traveling to the west coast, back to the east coast once more. From there it made its way to British Columbia, then again back to the east coast of America where it currently resides.
 Here is the link to Steve’s great repair/rescue and stem replacement on this pipe.
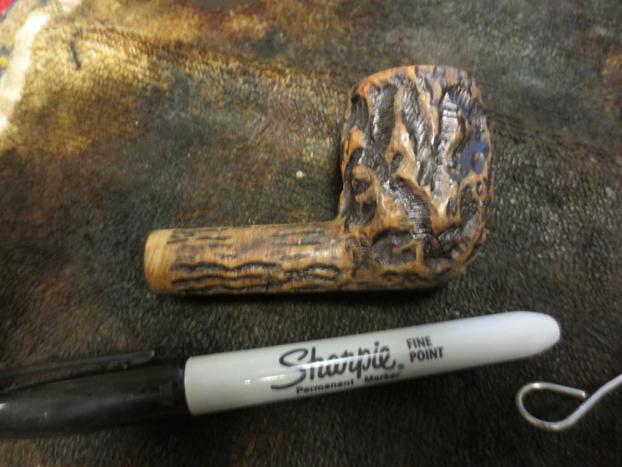
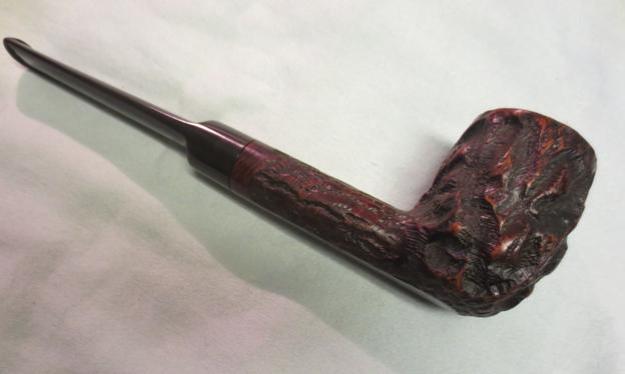
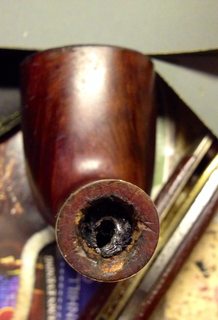
 I started in on the usual ream and clean. Next I lightly topped the bowl and began working out the dents and scratches.


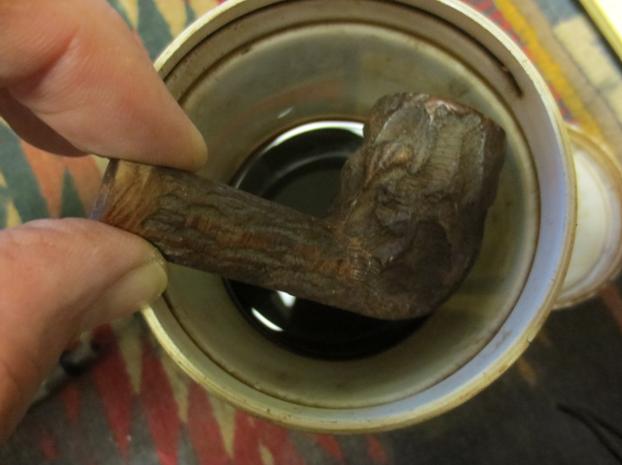
 Once I had a smooth clean stummel, I mixed up some Fiebings and tried to match the original finish.
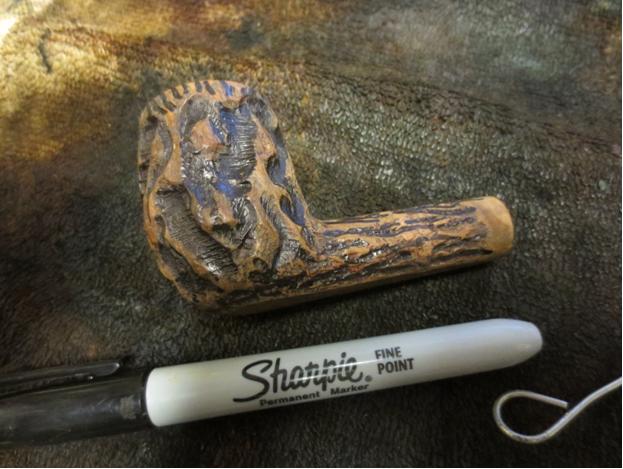
 Sanding with 2500 grit I lightened the stain until I was close to the shade I wanted. I used a rag dampened with alcohol around the stampings to lighten those areas and blend in with the rest of the stummel.