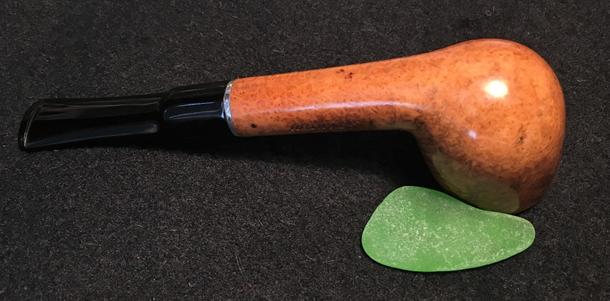
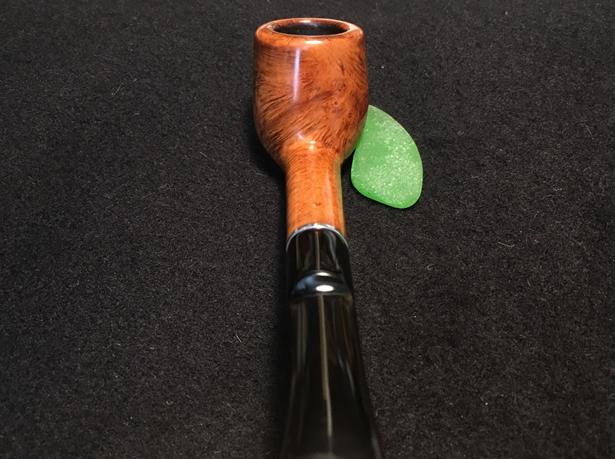
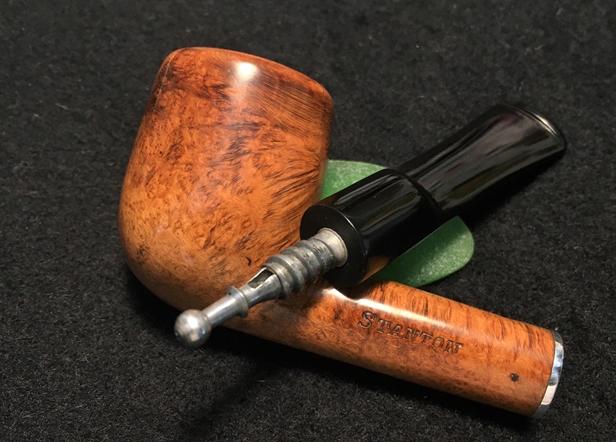
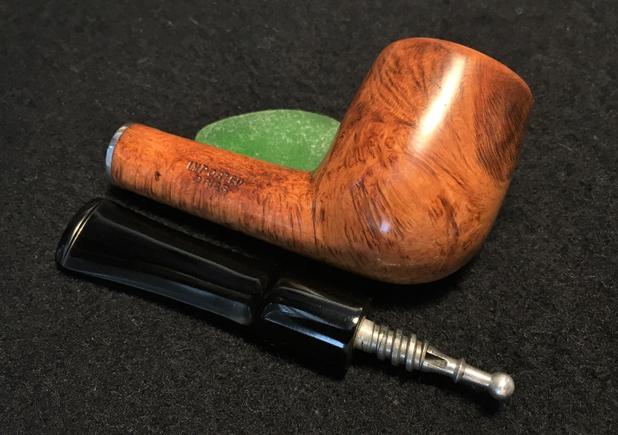
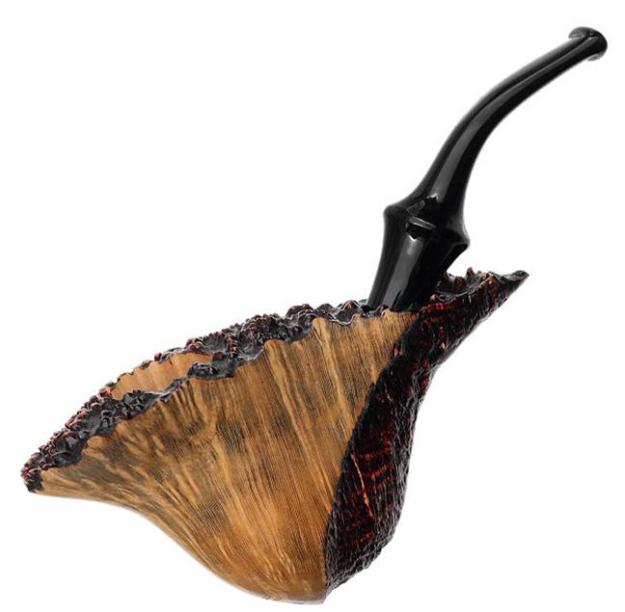
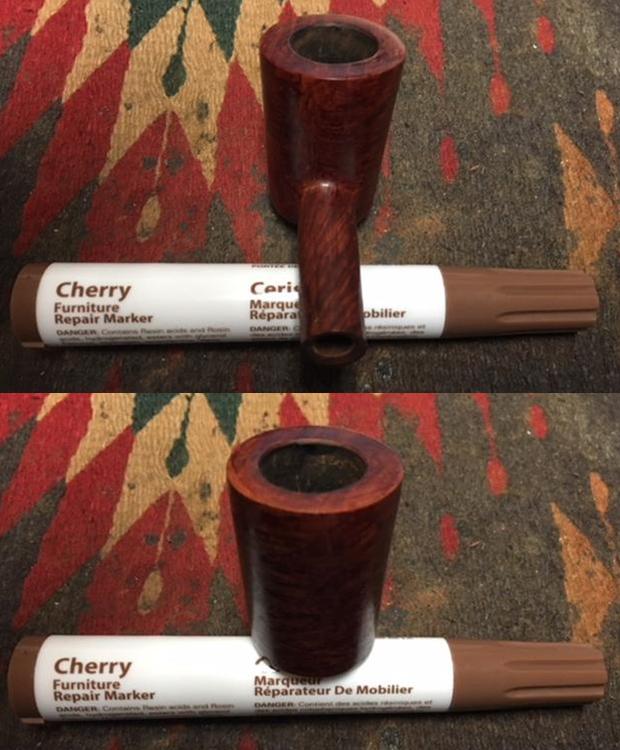
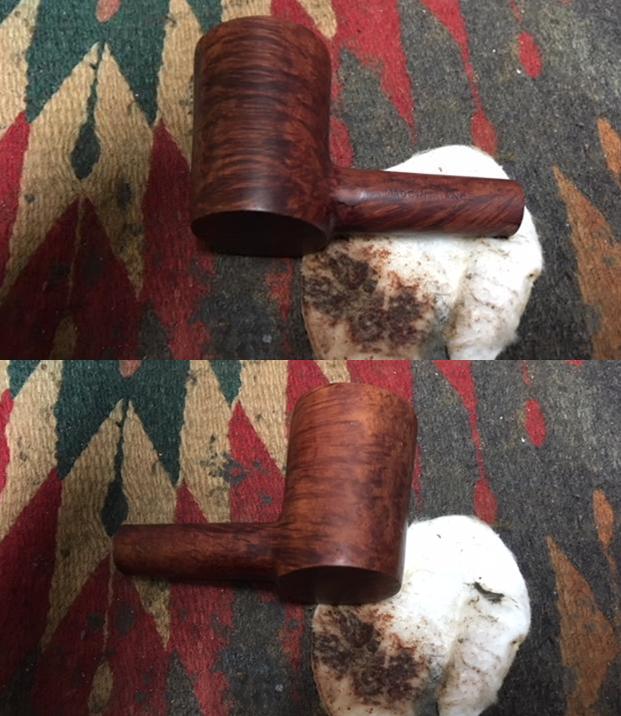
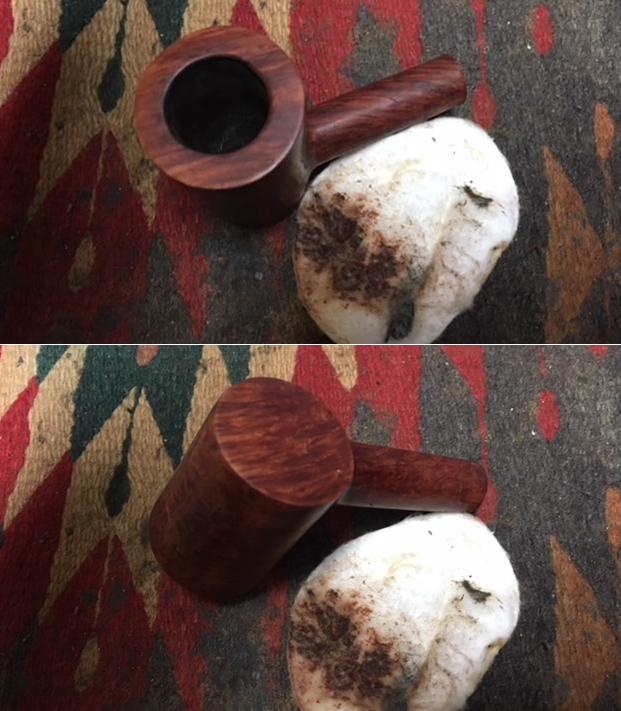
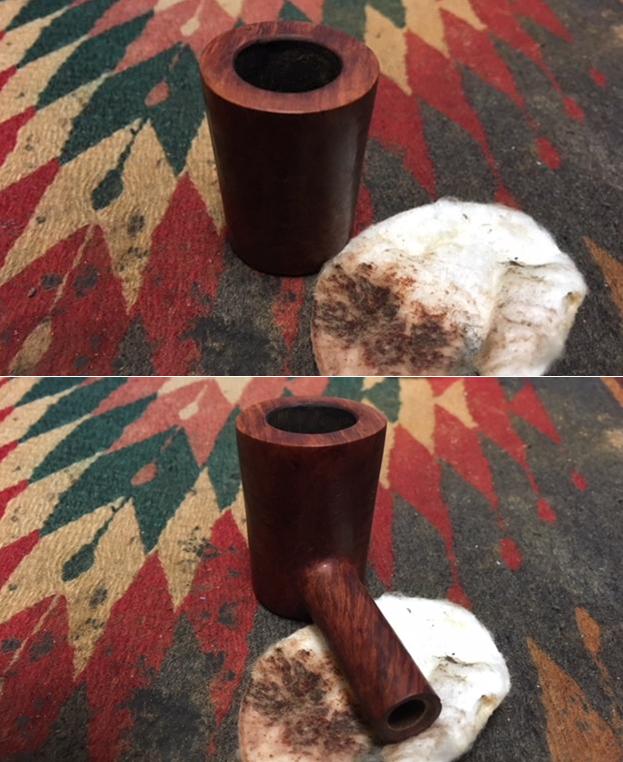
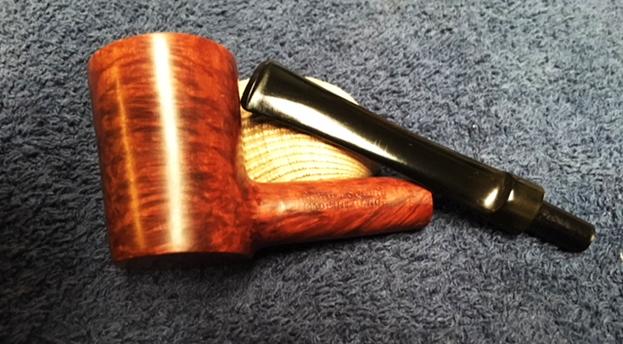
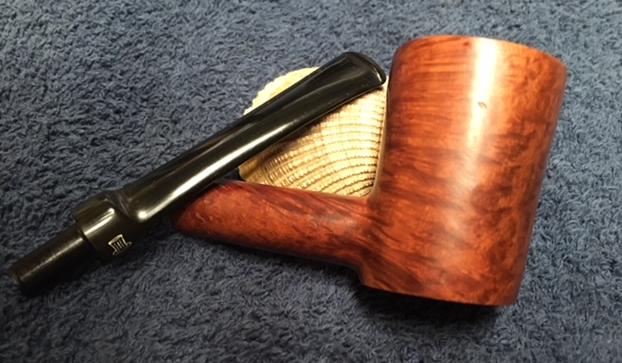
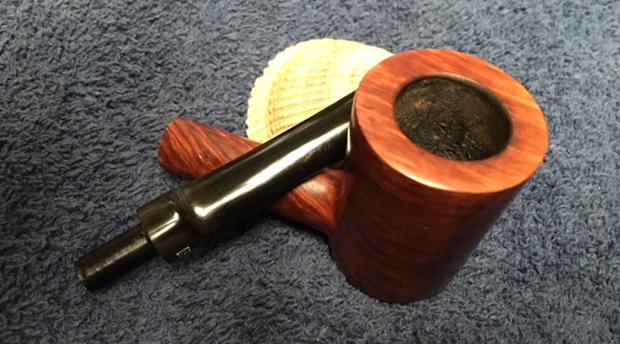
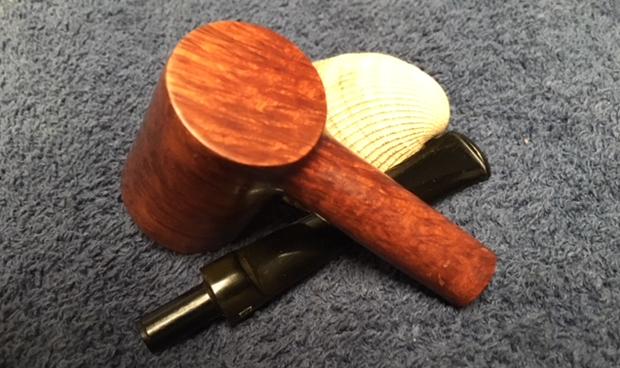
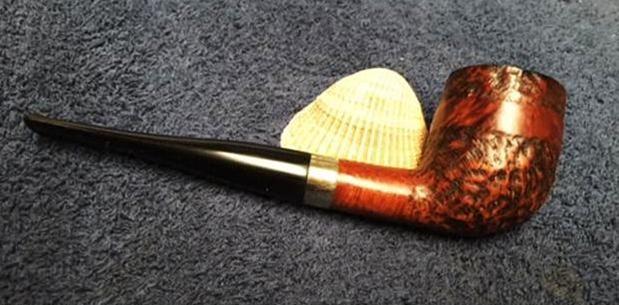
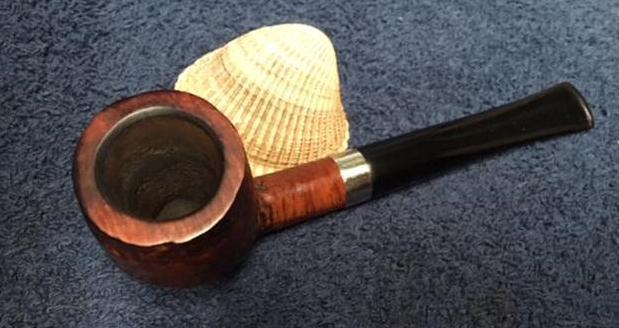
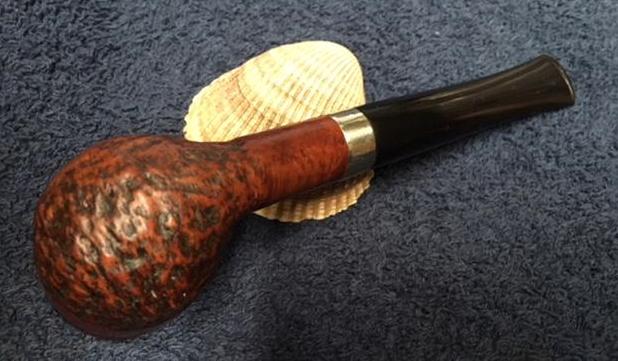
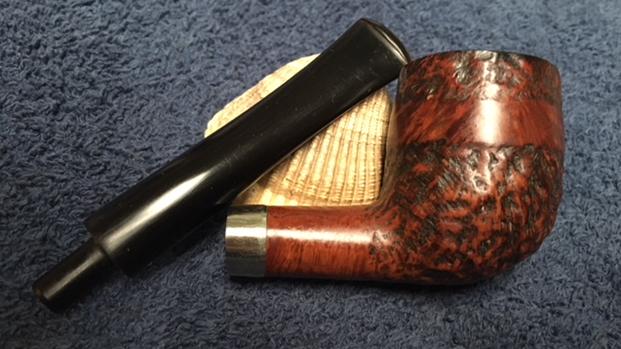
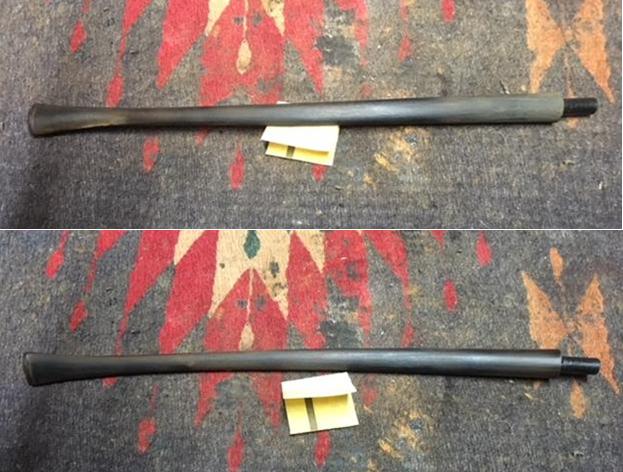
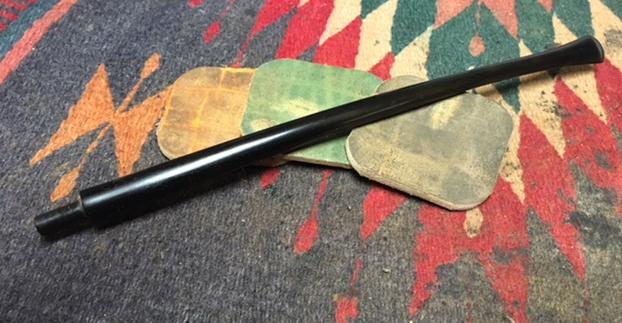
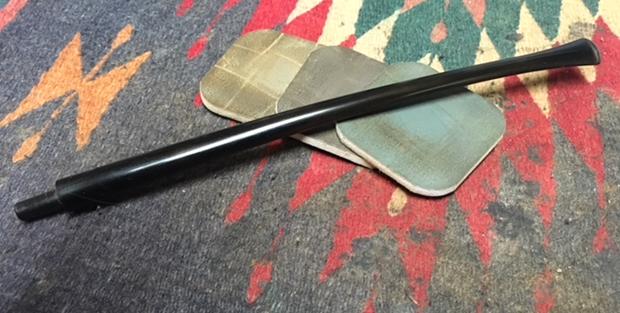
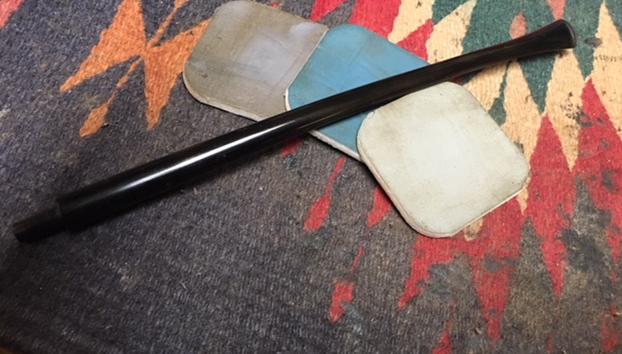
Restoring a CB Weber Inc. Maplewood Streamliner


Blog by Steve Laug

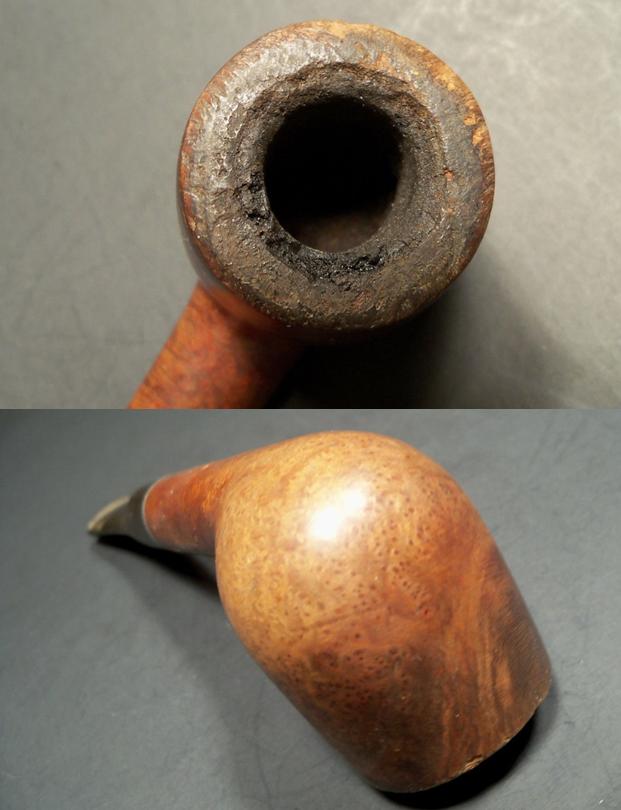
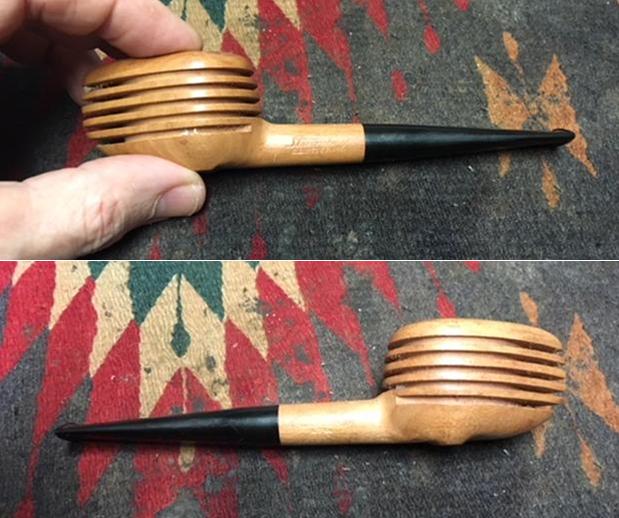
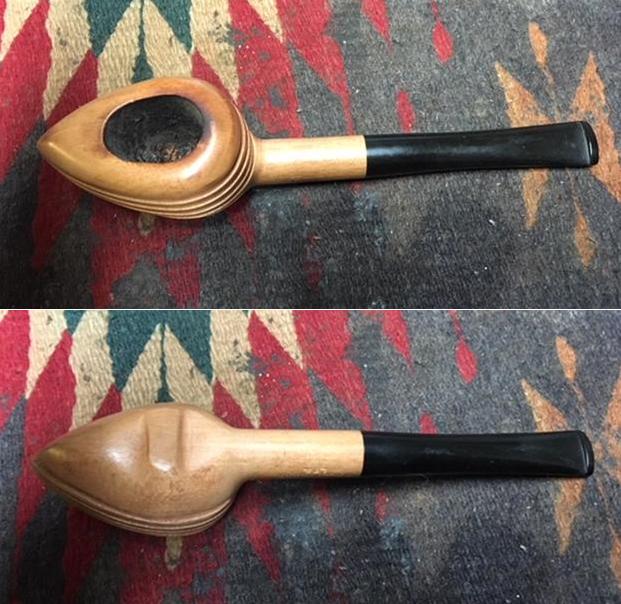
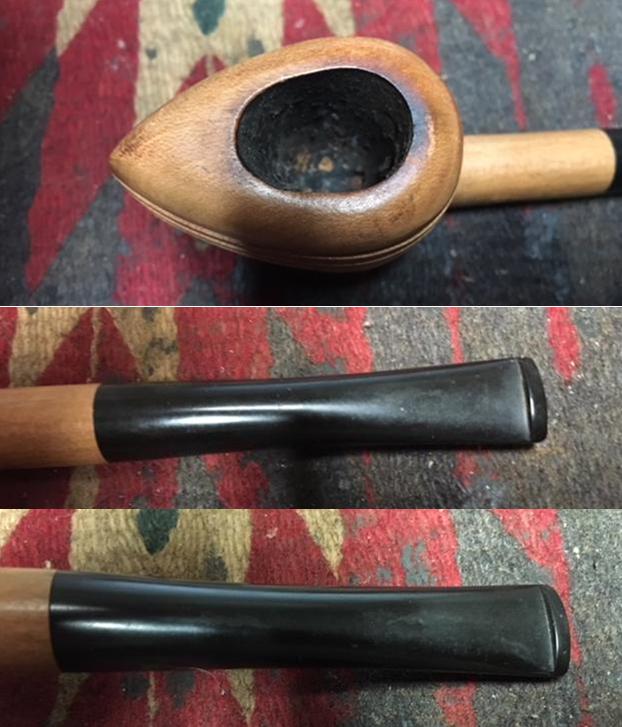
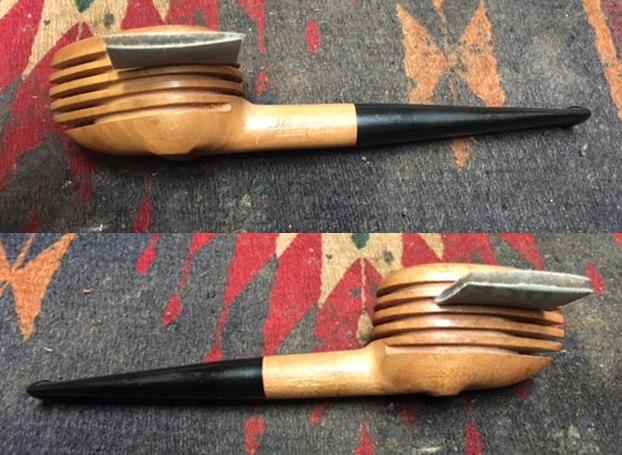
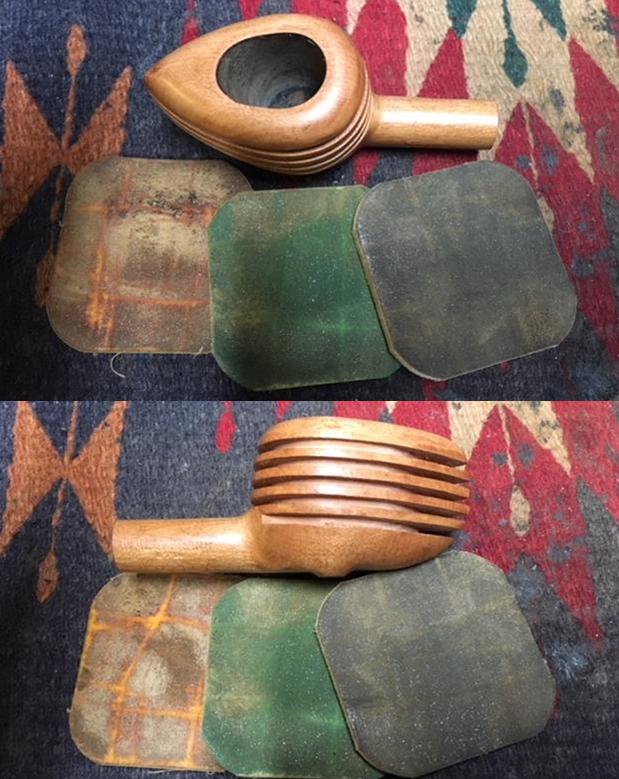
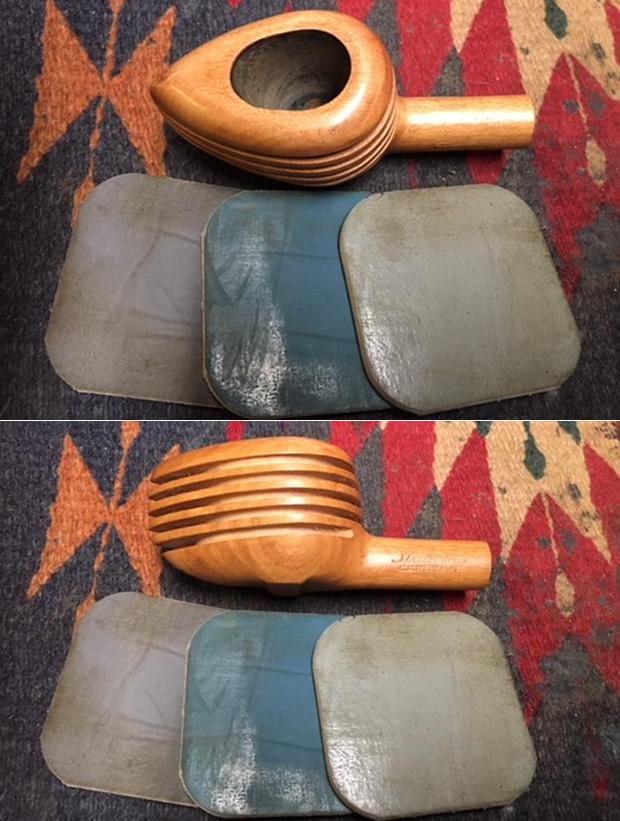
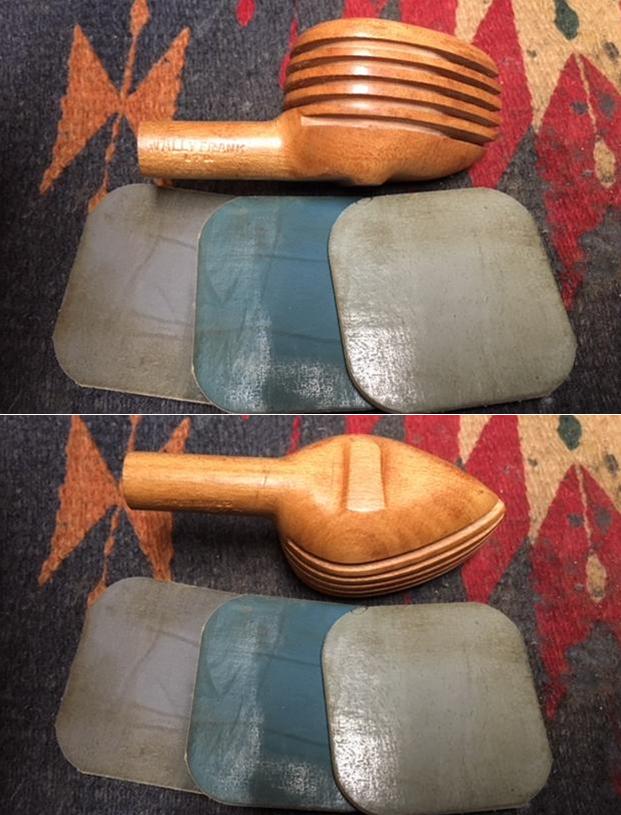
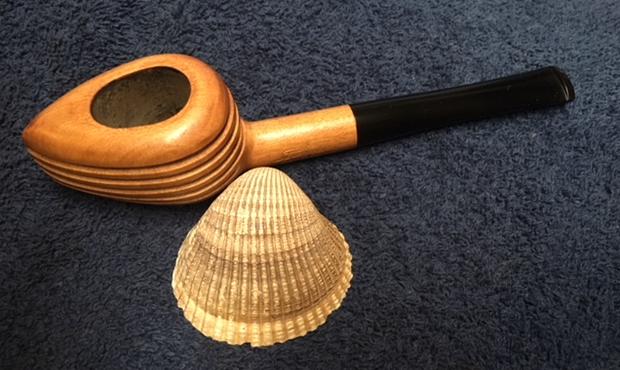
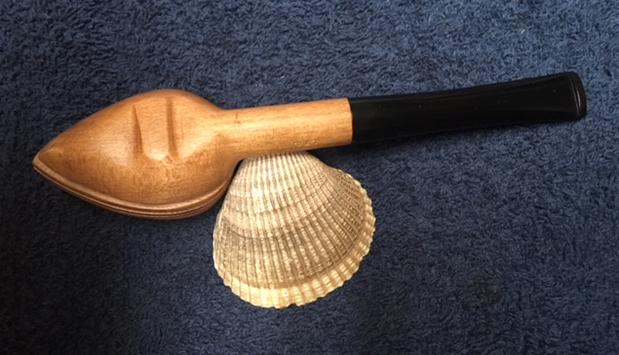
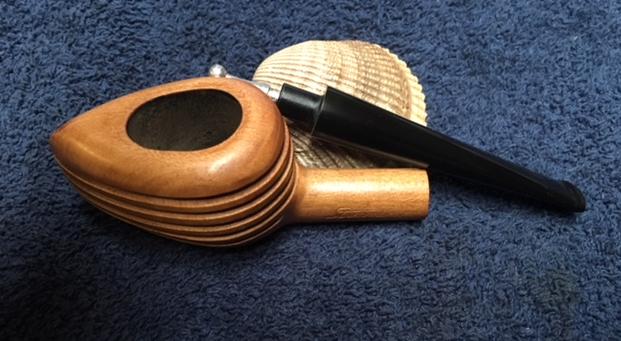
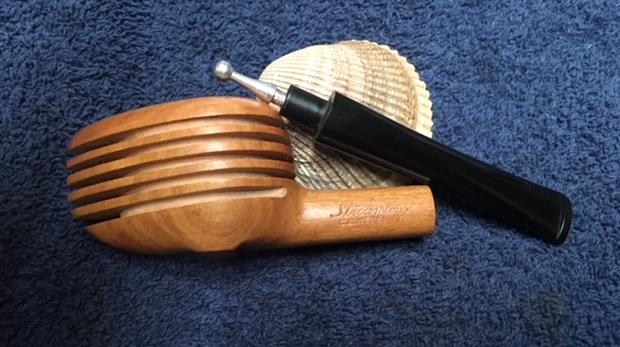
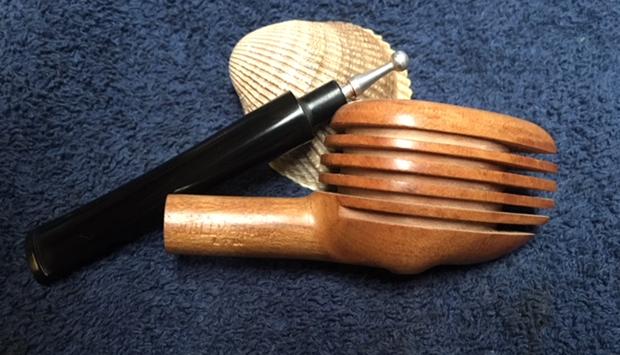
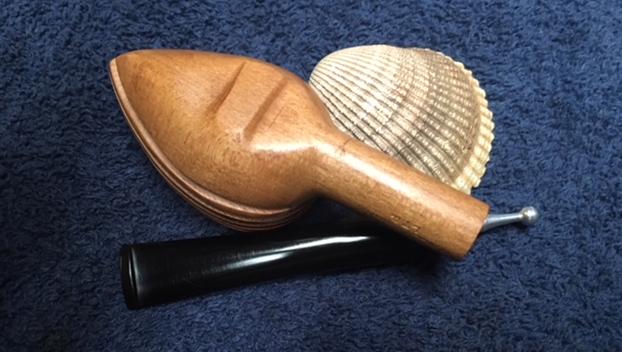
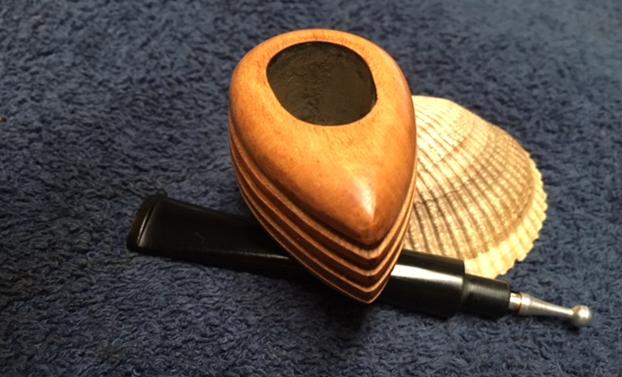
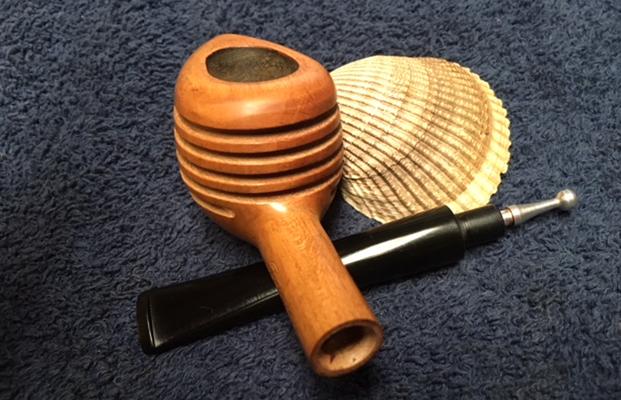
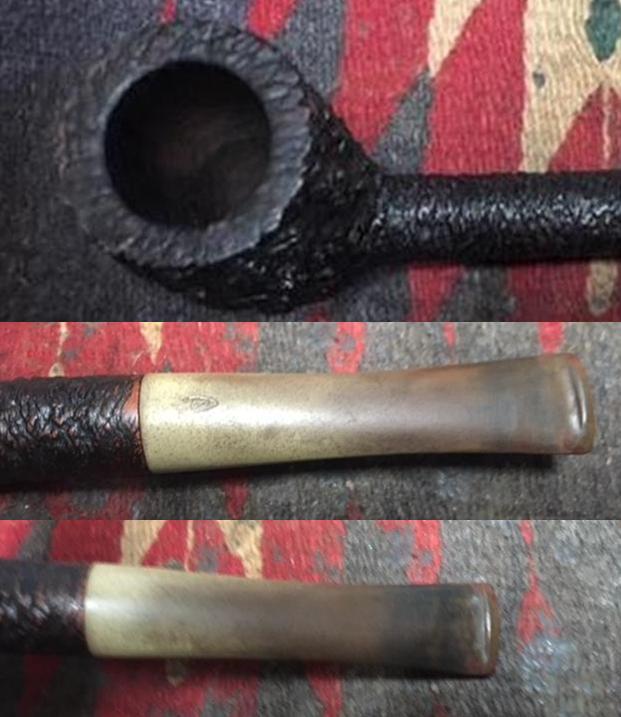
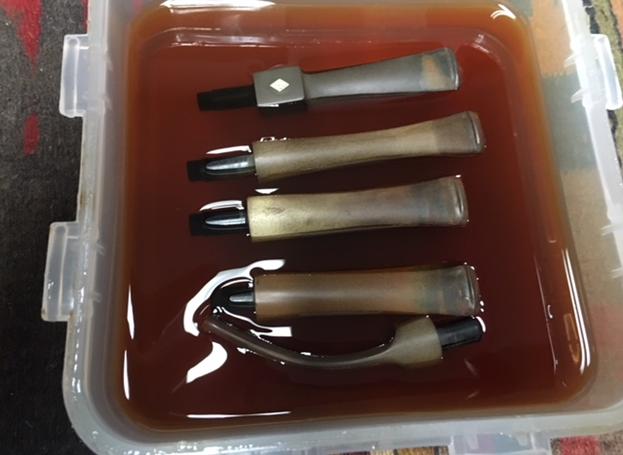
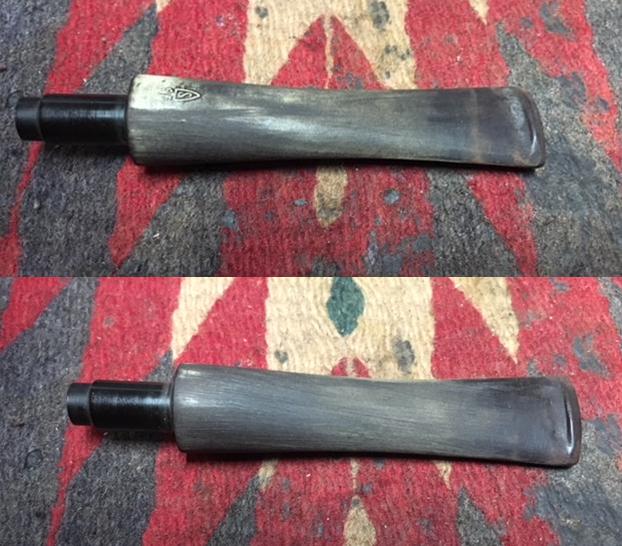
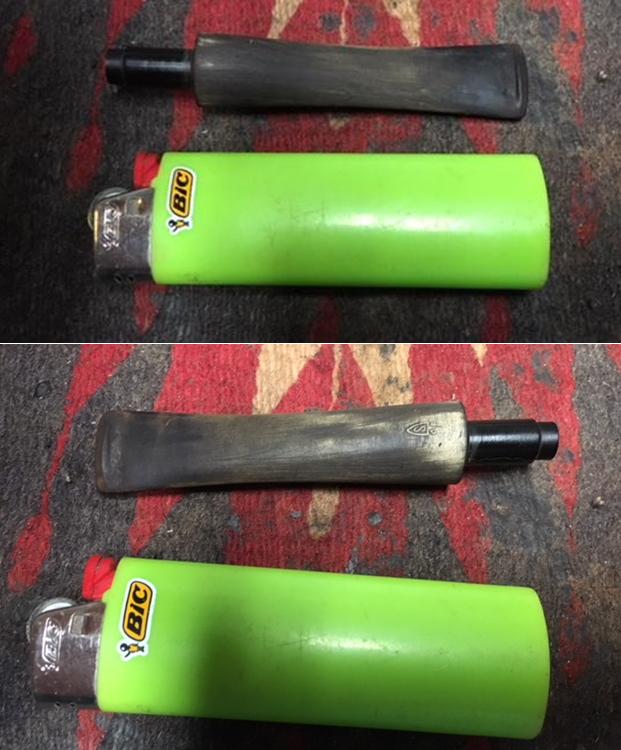
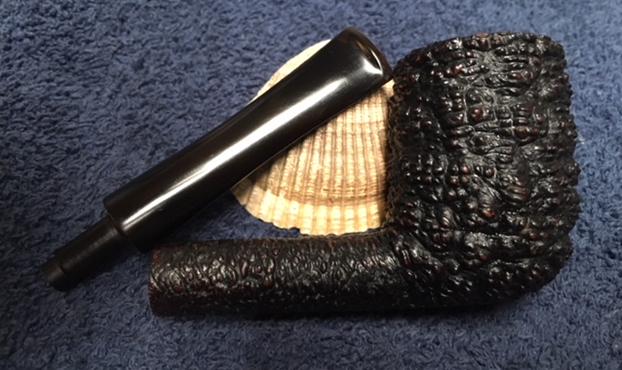
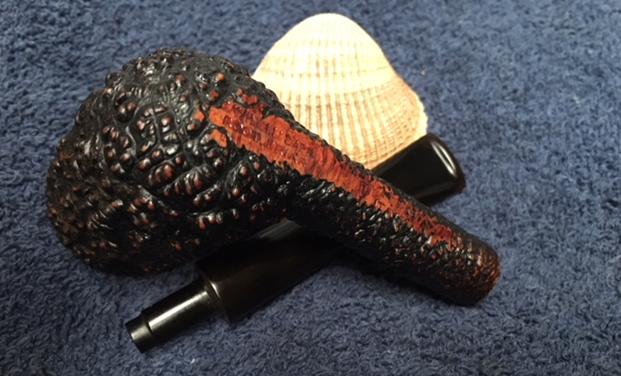
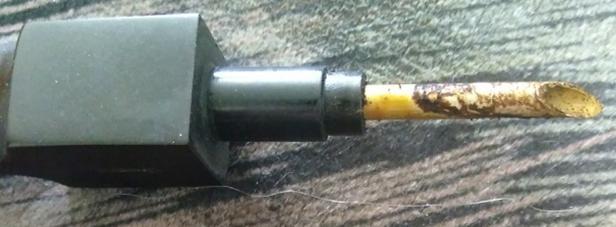
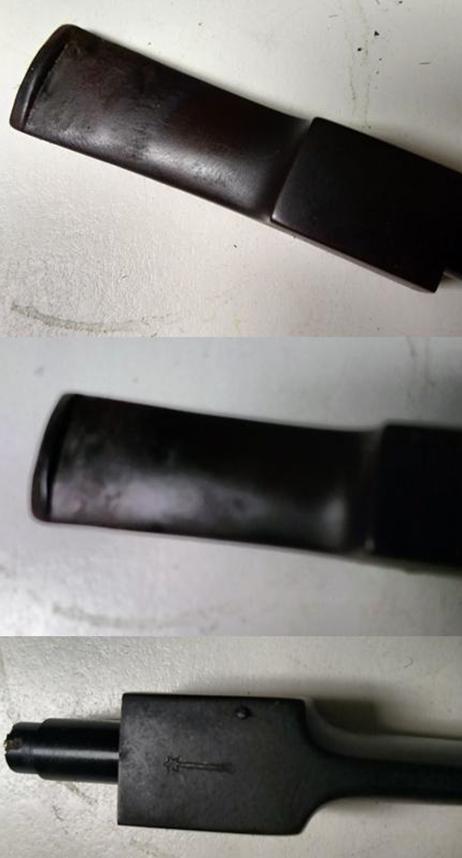
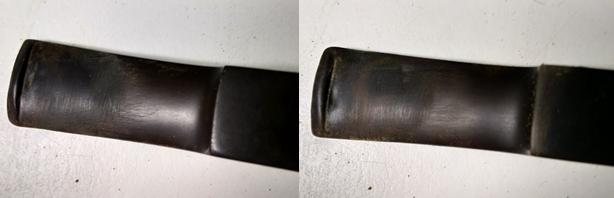
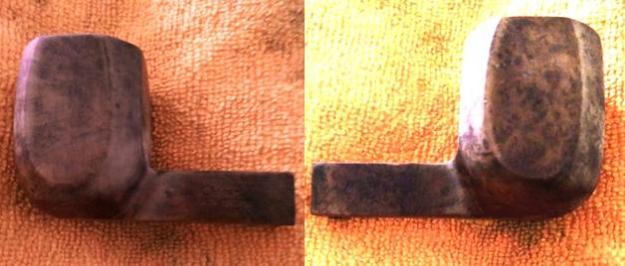
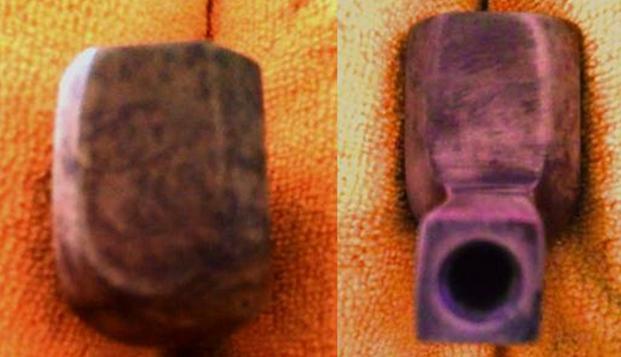
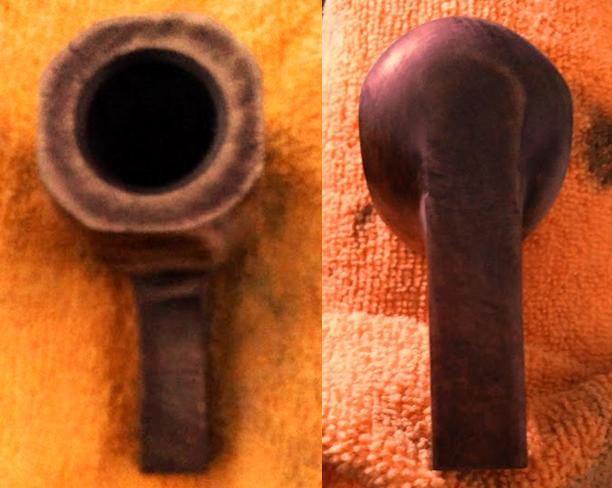
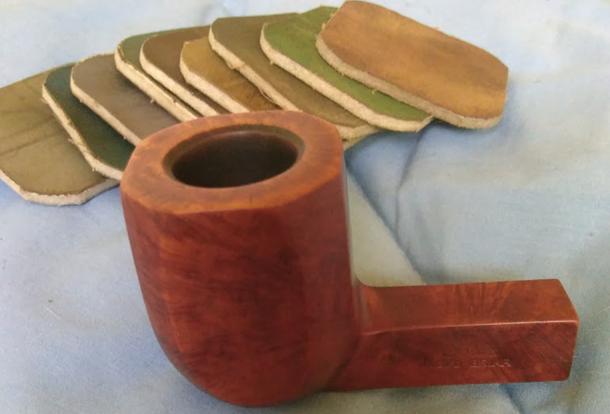
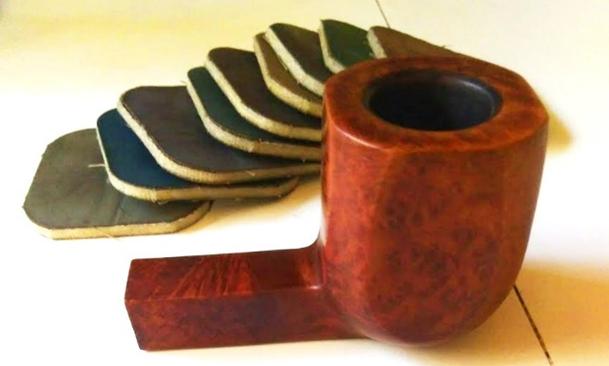
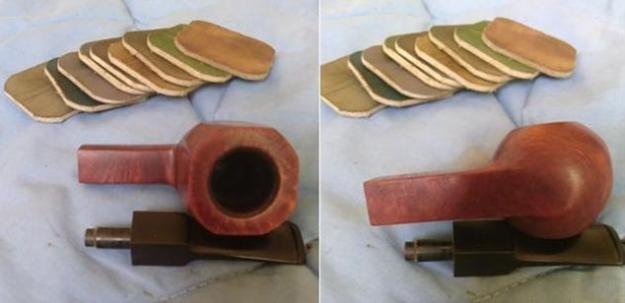
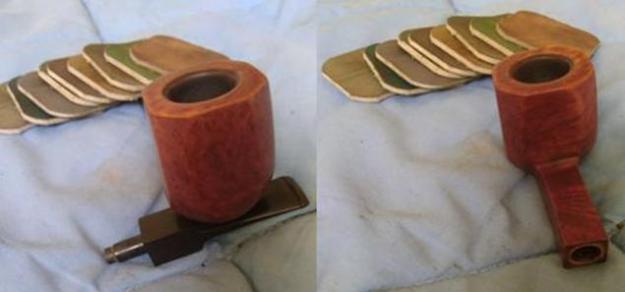
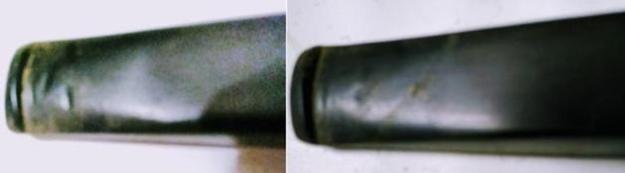
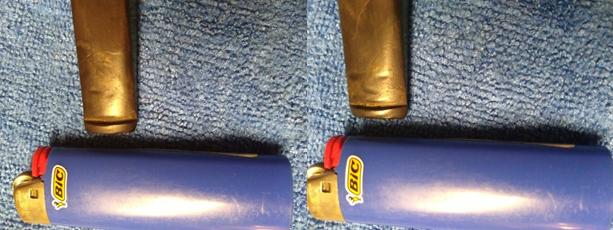
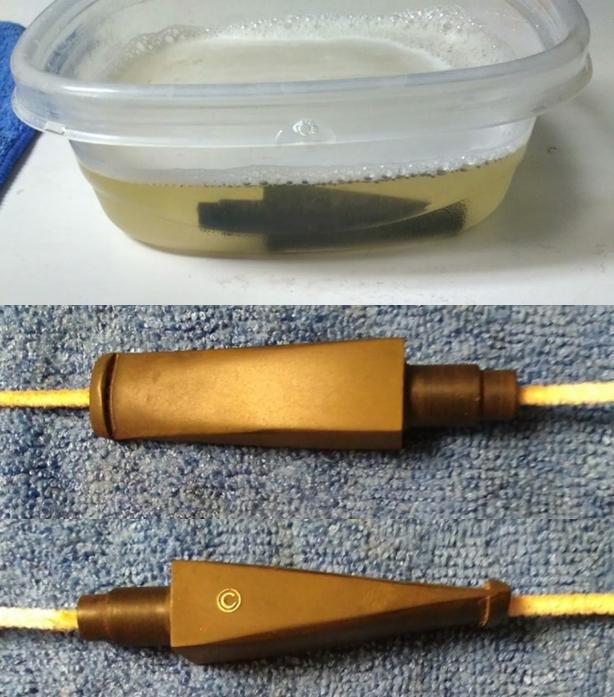
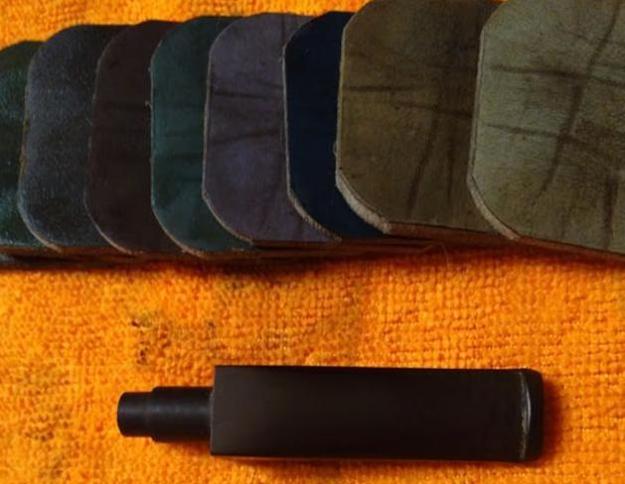
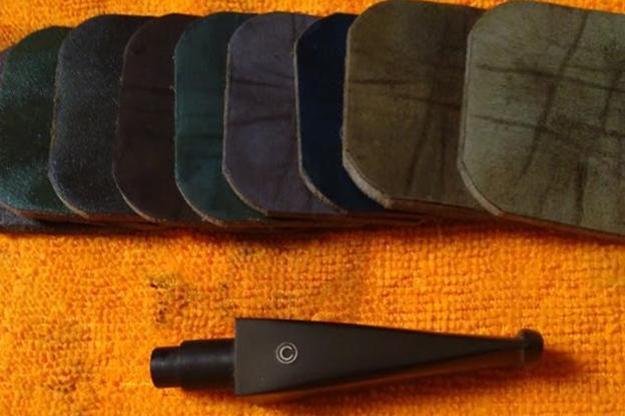
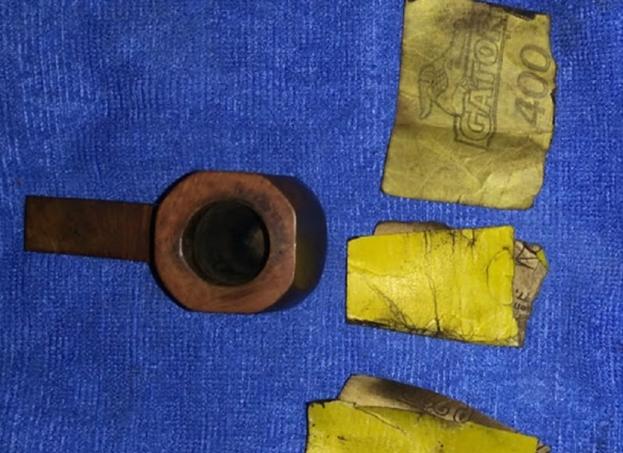
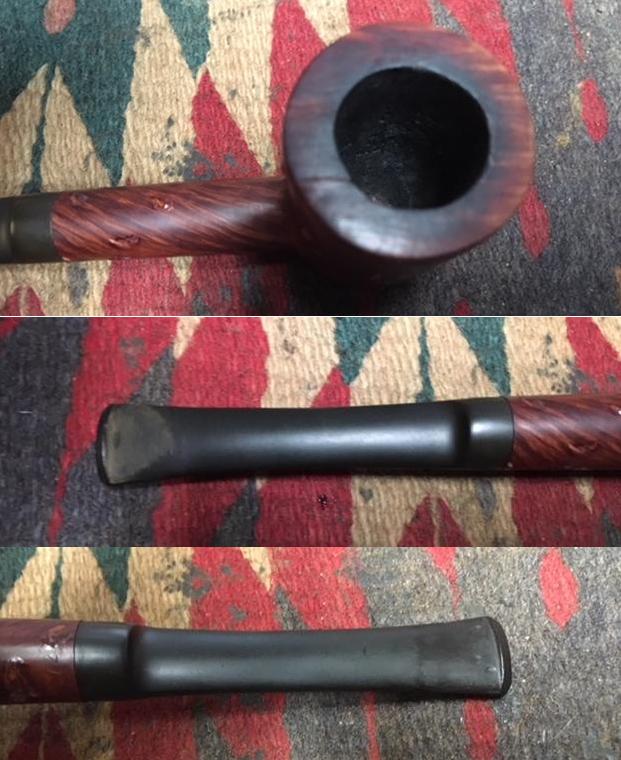
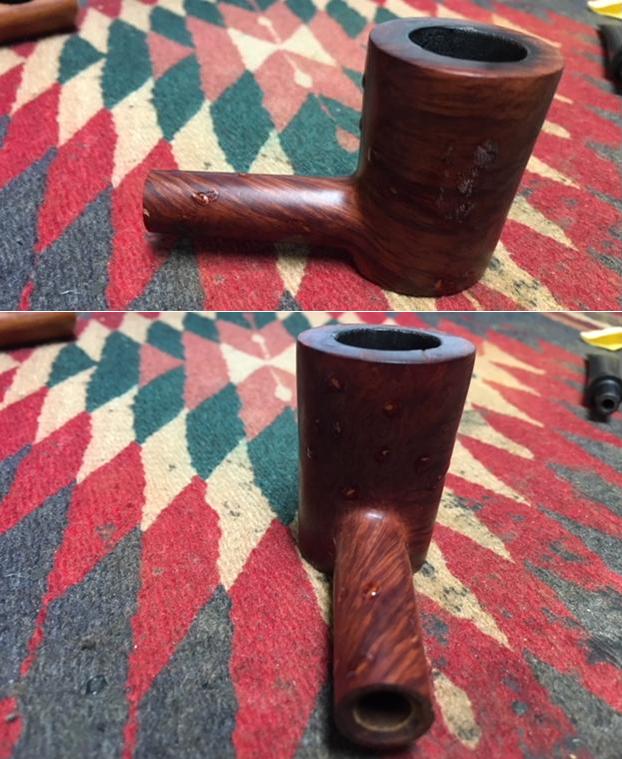
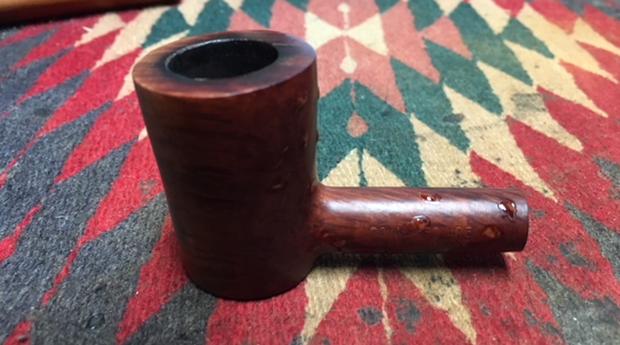
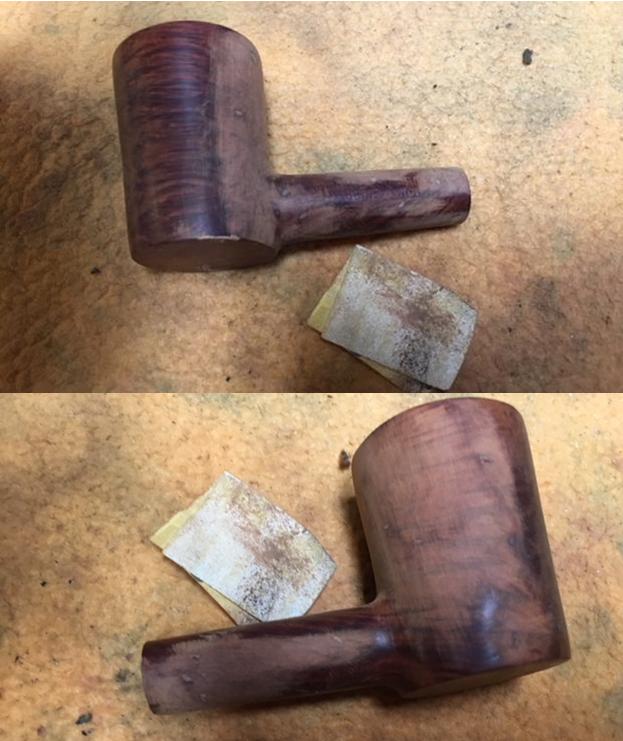
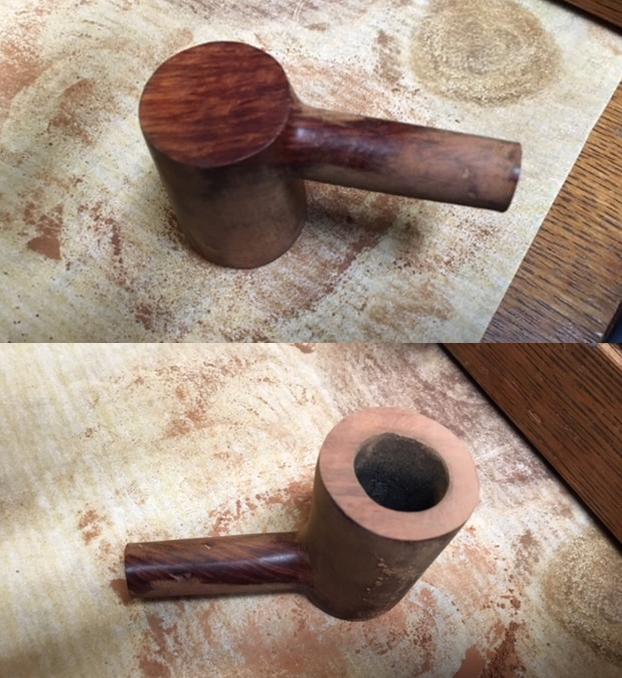
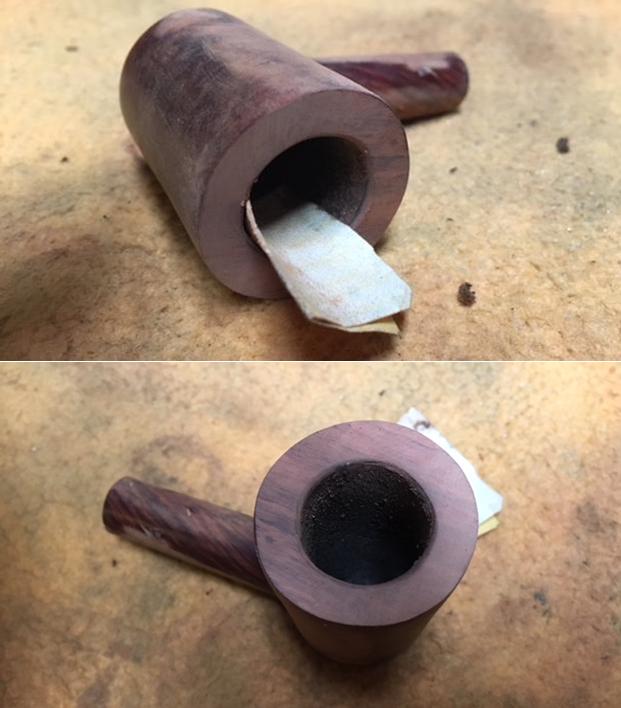
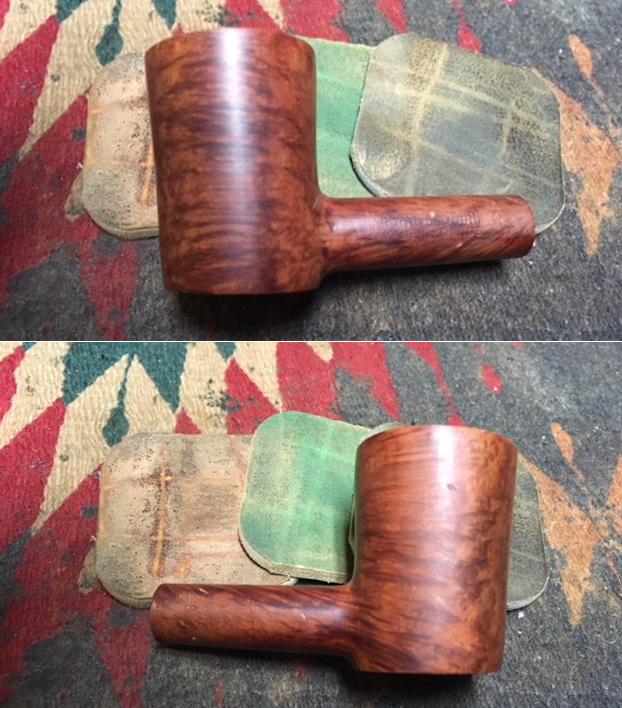
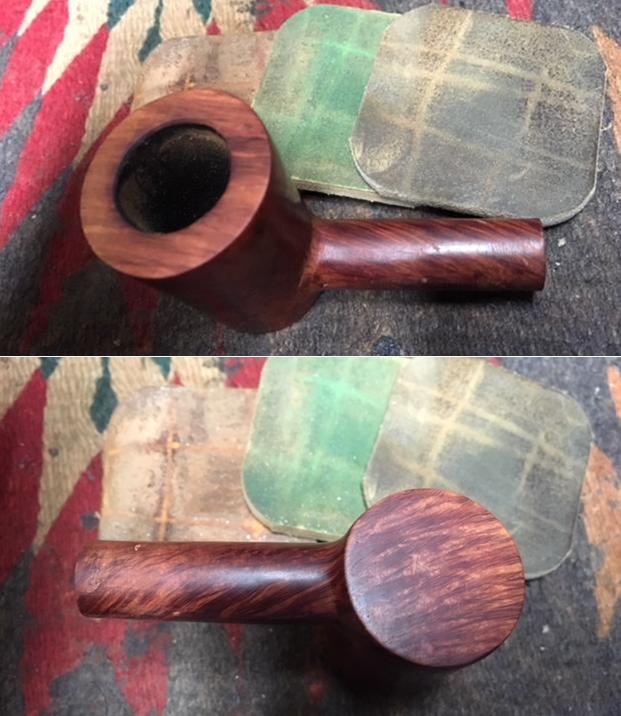
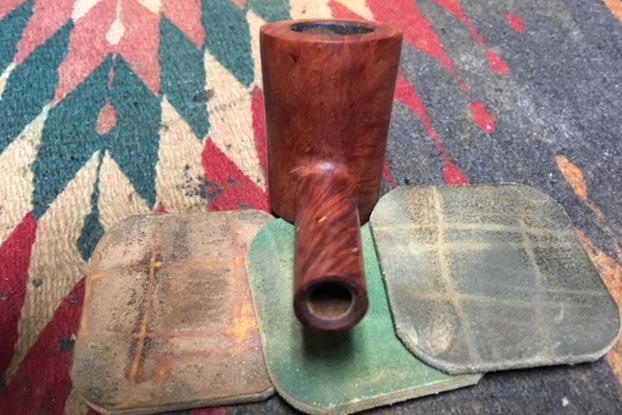
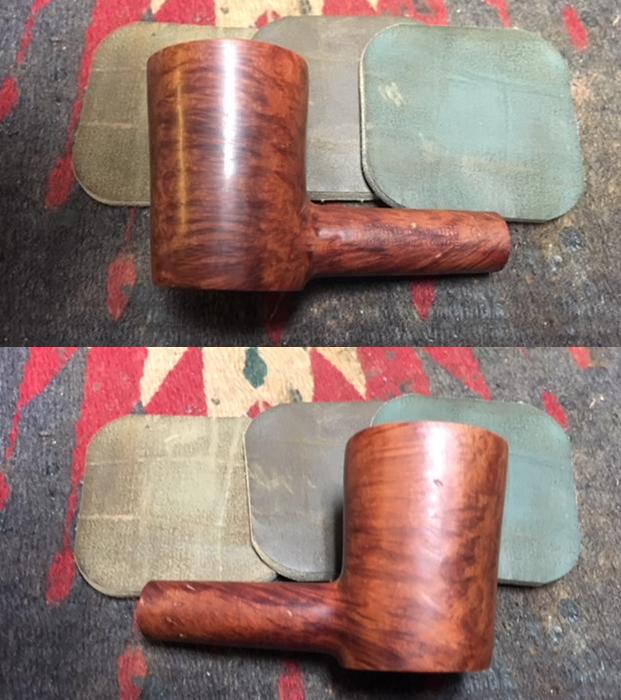
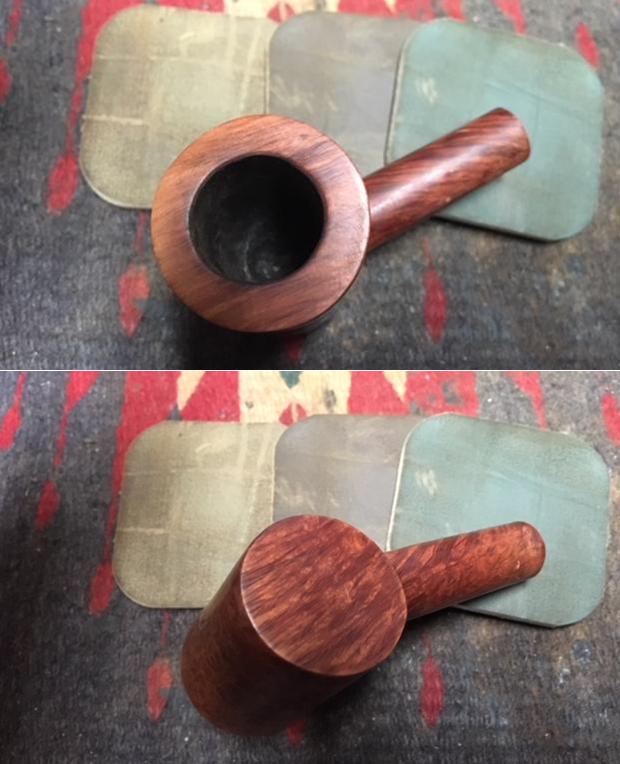
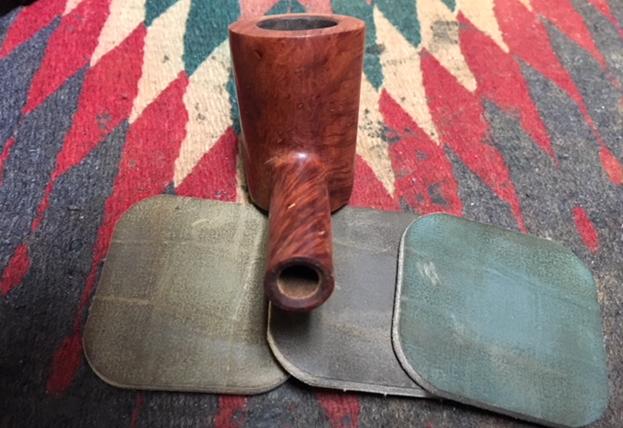
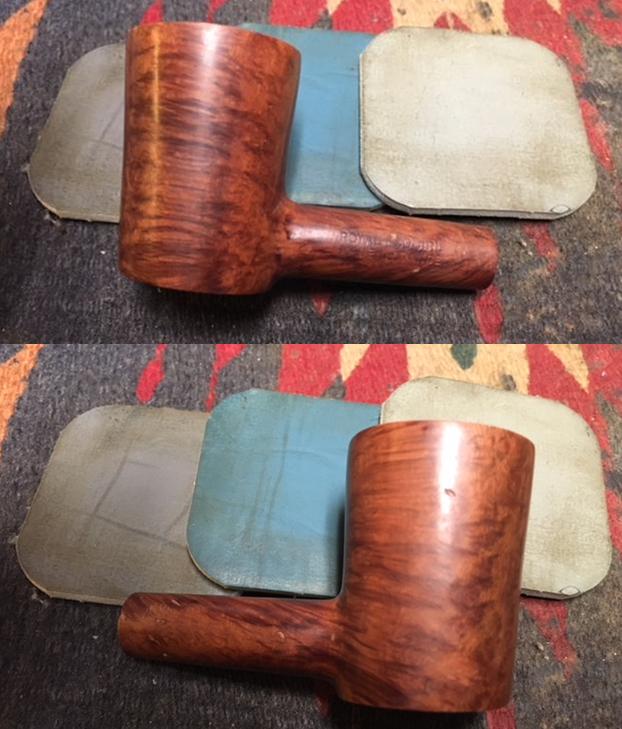
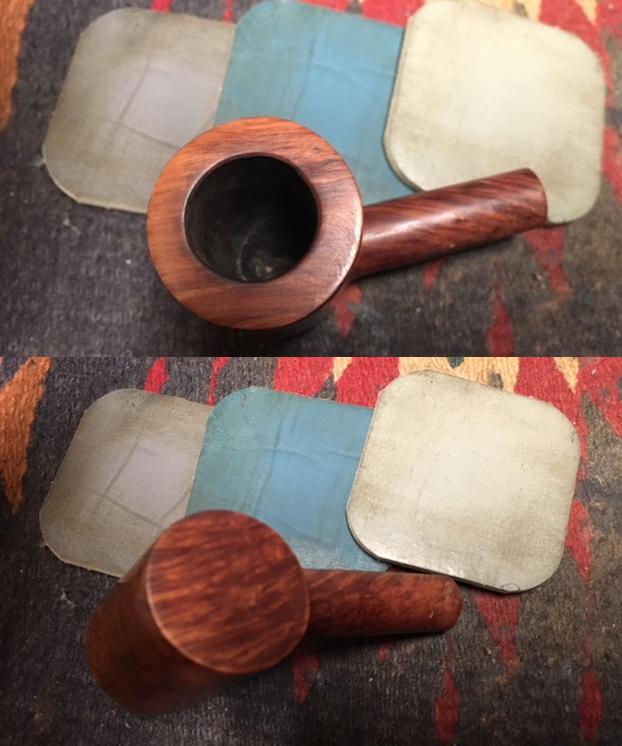
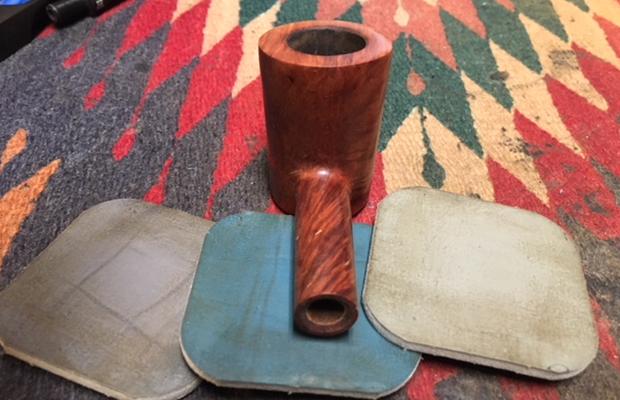
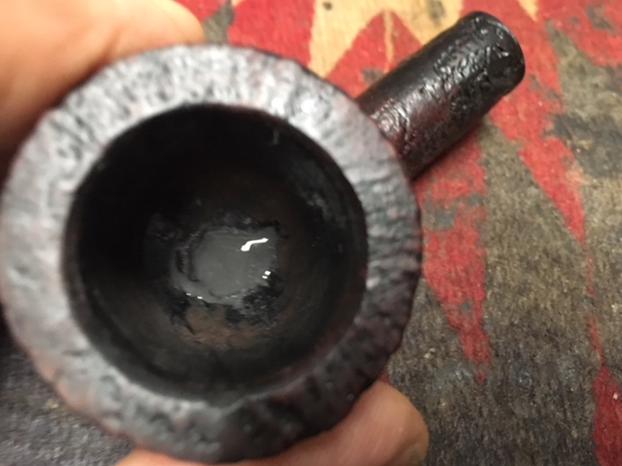
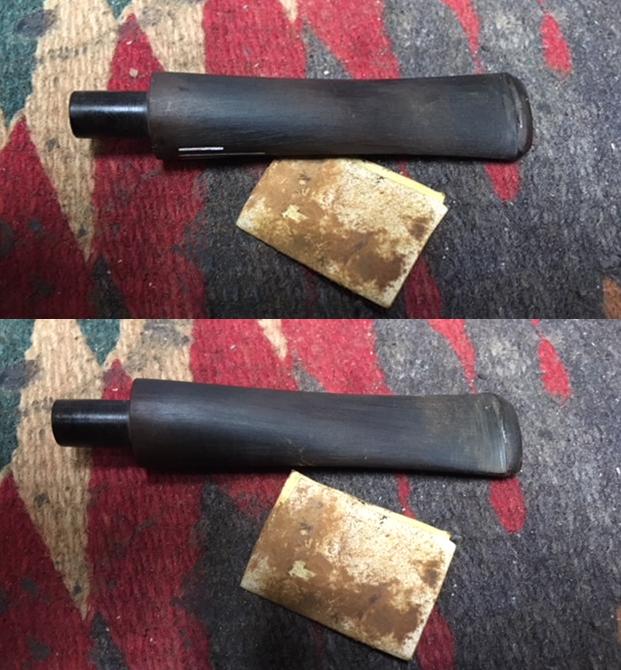
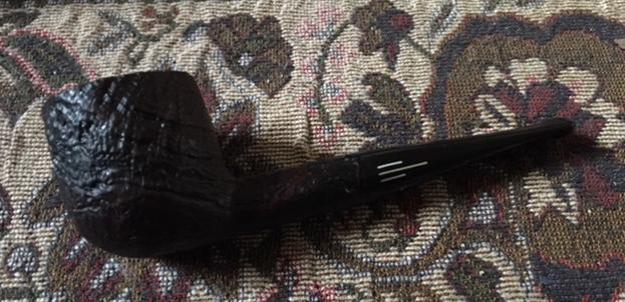
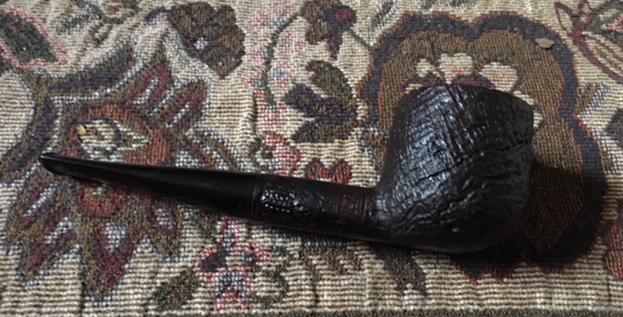
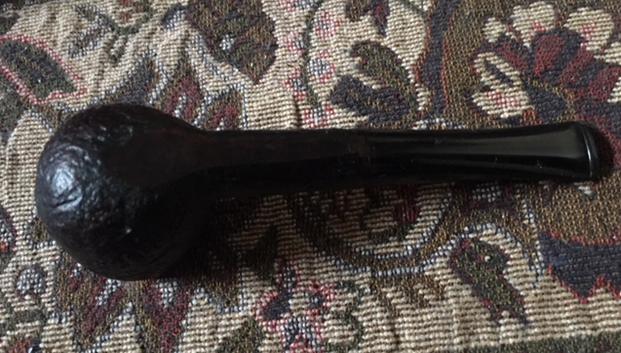
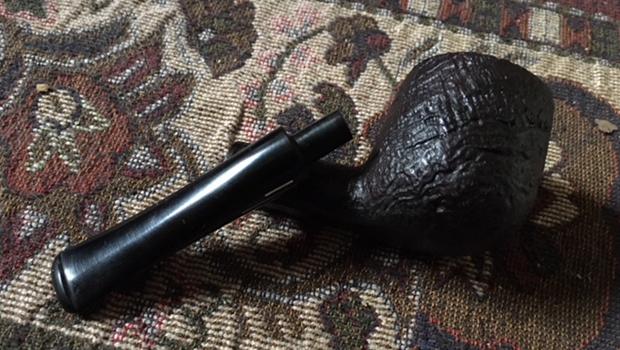
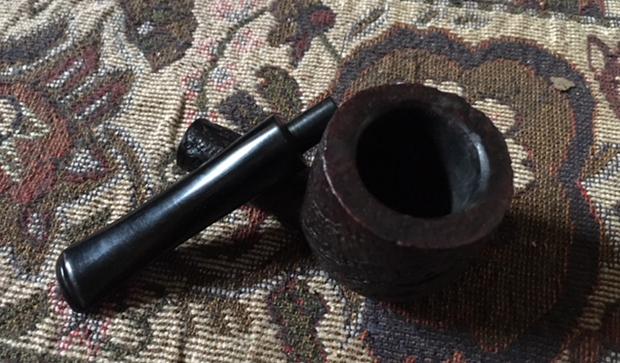
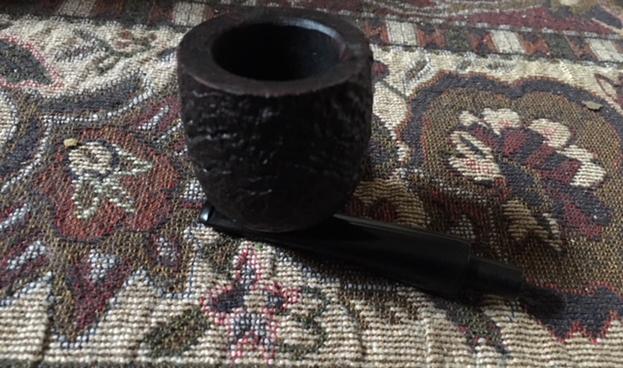
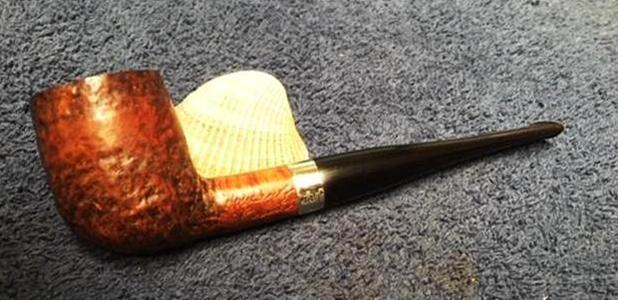
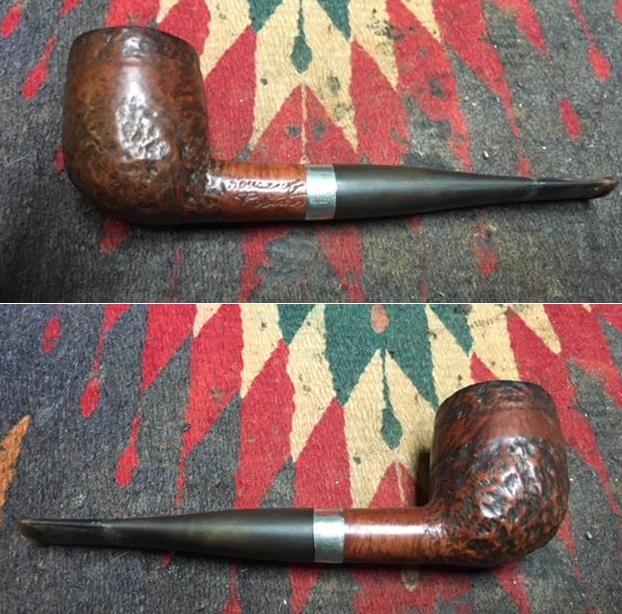
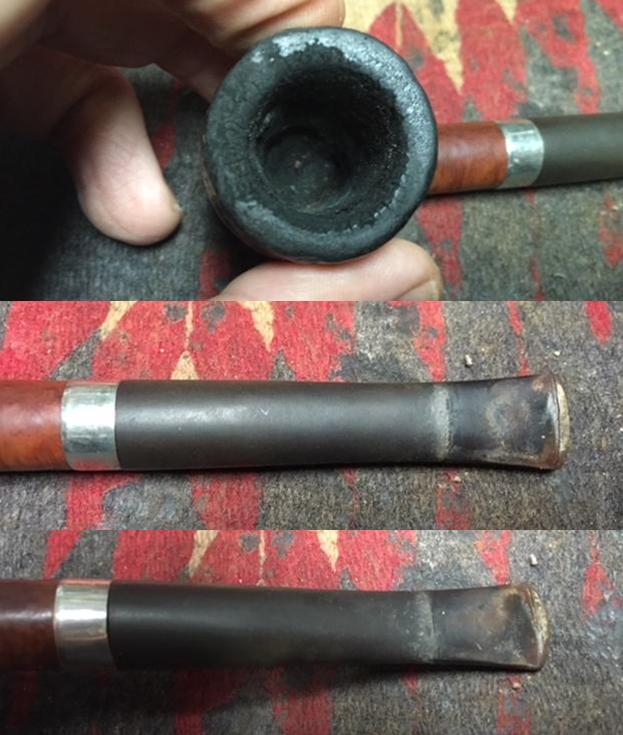
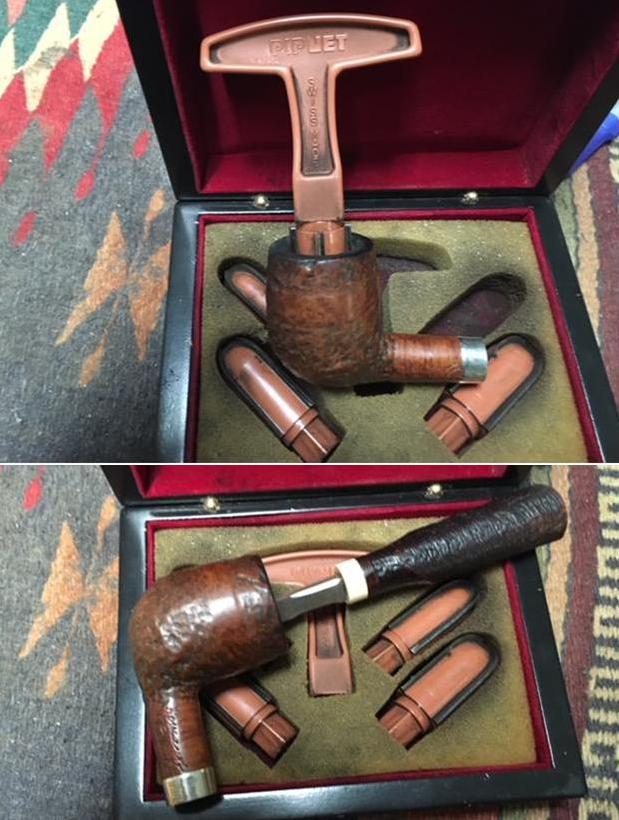
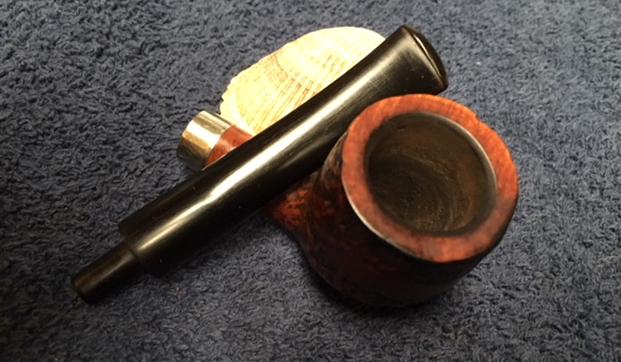
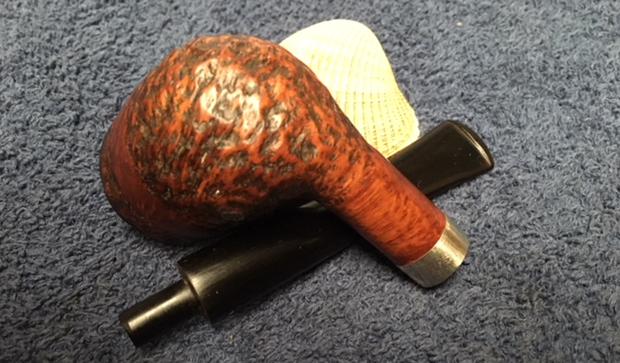
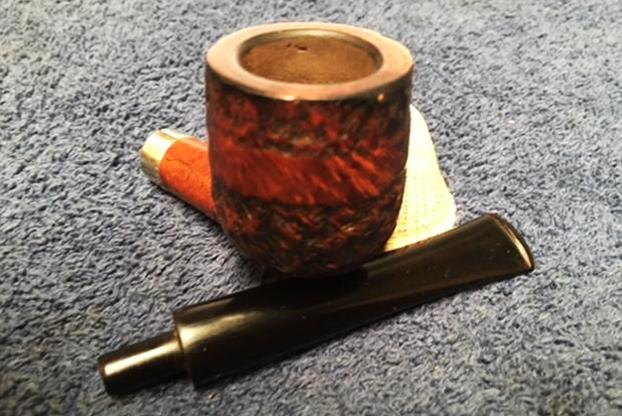
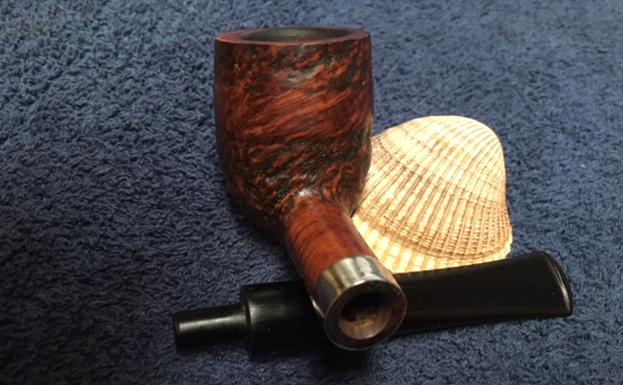
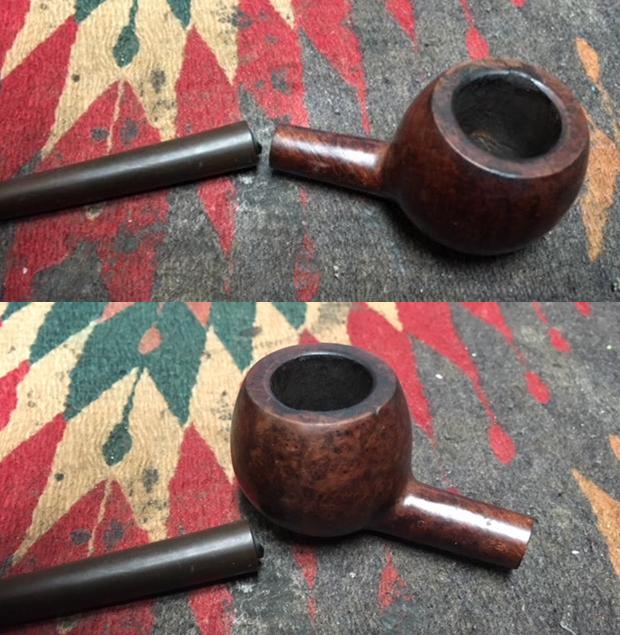
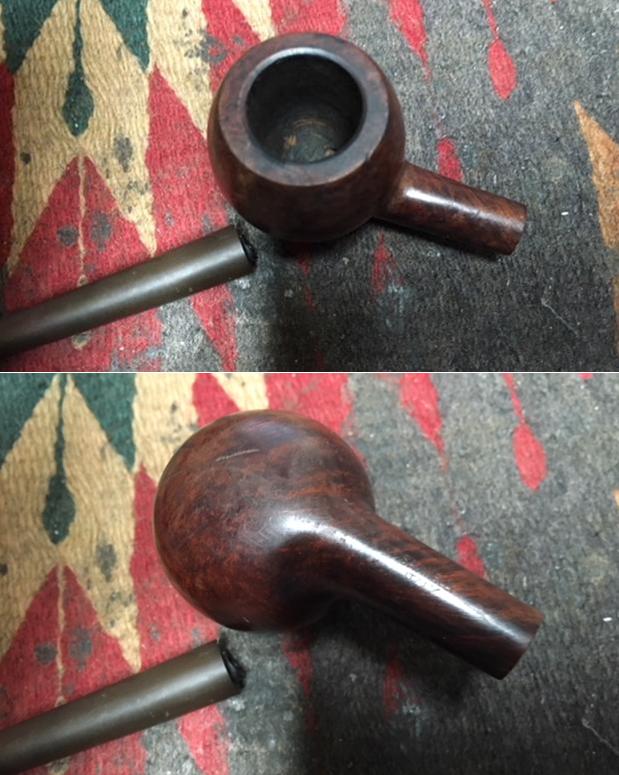
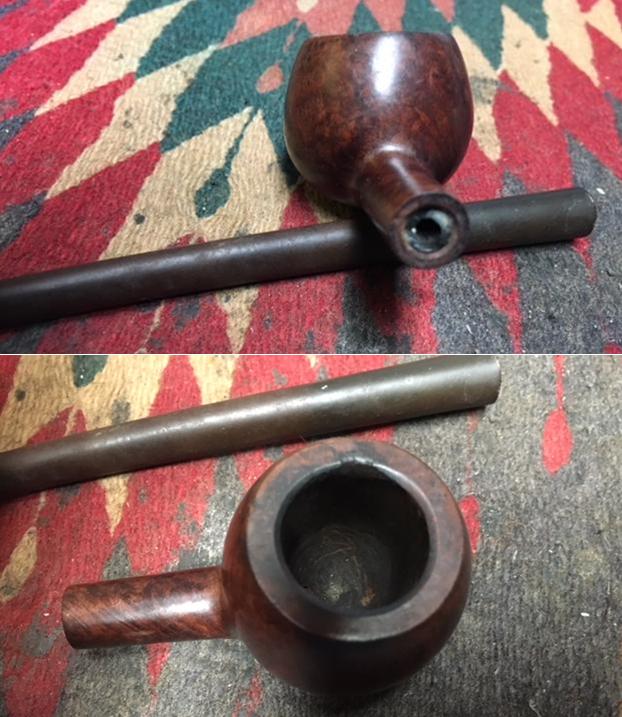
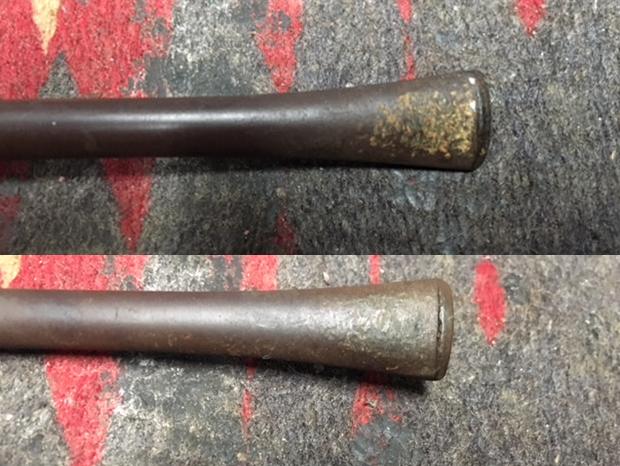
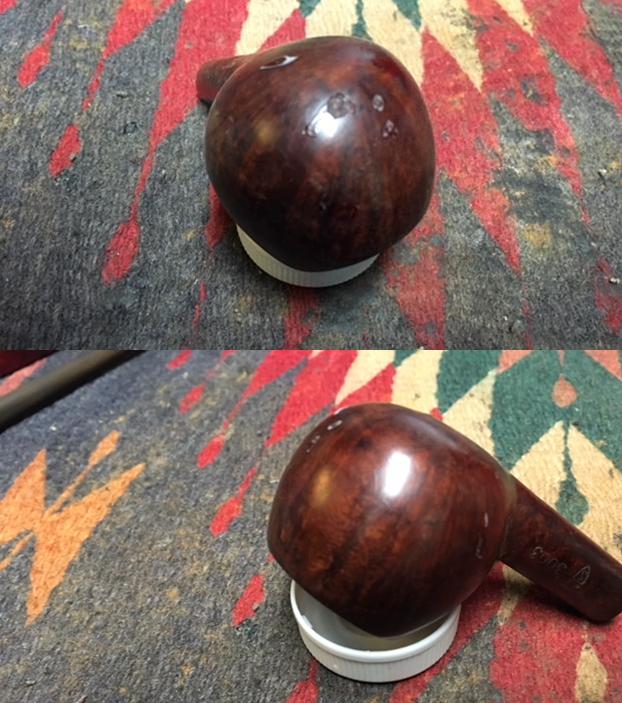
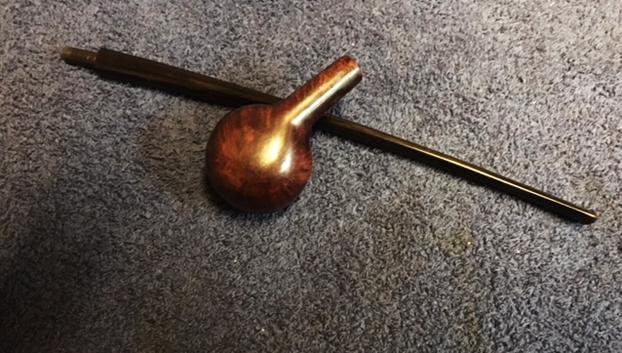
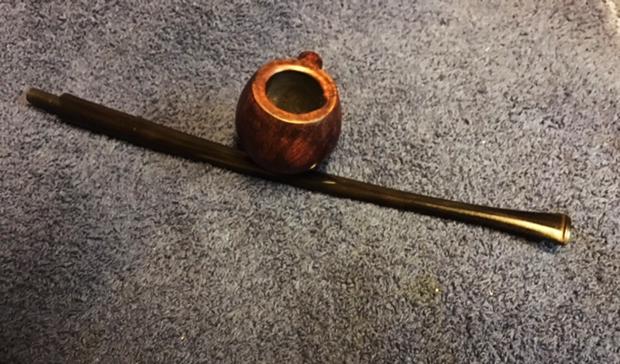
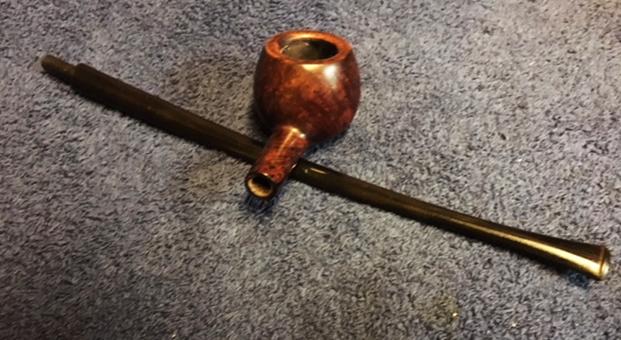
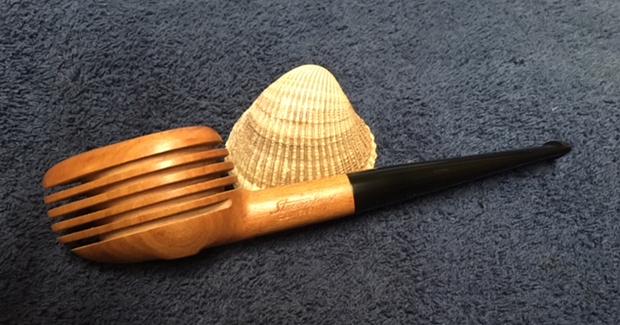
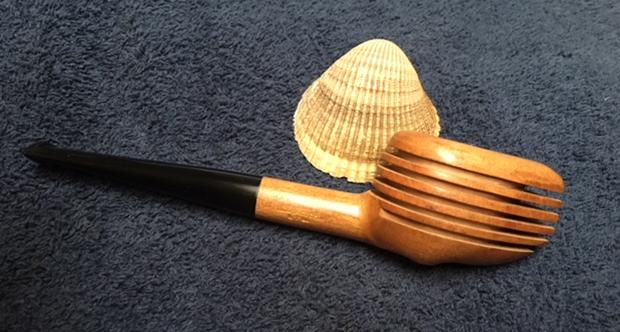
Recently I was contacted by a reader about restoring a couple of pipes that he had picked up at a local antique shop. It was a nice looking Art Deco style pipe with a prow and fins around the bowl. The inside of the bowl itself was oval. The pipe was made out of Maple rather than briar. The fins went around the sides, back and front of the bowl. The finish was dirty but otherwise not too bad. The cuts around the bowl were rough and unsanded with a lot of burrs around the edges of each fin. The top of the bowl was darkened and also had a buildup of lava on the back side of the bowl and some darkening on the rim top. There was a cake in the bowl and shards of tobacco stuck to the sides and bottom. There were scratches on the shank and the bottom of the bowl. The bottom of the bowl had a raised ridge across the middle which made the pipe sit upright on the desk top. The stem appeared to be vulcanite with scratches and tooth chatter on the top and underside at the button. There was a small metal stinger in the tenon. I took photos of the rim top and both sides of the stem to show the condition of both. The close up of the rim top shows the darkening one the back side of the rim top and some around the other sides. The photo shows the tobacco debris stuck in bottom and on the sides of the bowl. Both sides of the stem had tooth chatter near the button. There were no deep tooth marks so it would be a fairly easy cleanup.The first article that I quoted from in that blog came from the following blogpost on WordPress: http://streamlinesdeluxe.wordpress.com/2012/06/01/weber-streamliner-pipe-2/. The author of the blog makes a brief reference to the pipe I found (and this one by the way) and even has a picture of it. He speaks of the stem being made of something other than vulcanite. Other references I found in online pipe forums spoke of the fact that the bowl was not made of briar but of some composite material. Others said that the bowls were made of American hardwoods. Interestingly no one spoke of what hardwoods were used. I have hunted high and low on the web and can find nothing definitive on the pipe’s manufacture or composition.

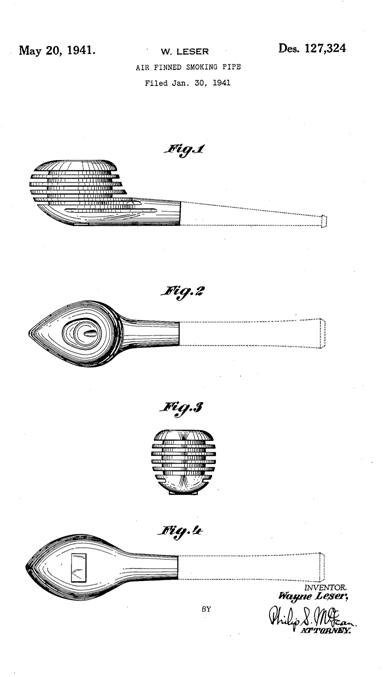
I broadened my search to information on finned pipes. I did not want information on Porsche design pipes or metal finned pipes but was looking for anything on wooden finned pipes. I came across the following information on a patent taken by a carver/designer named Wayne Leser. His diagrams and patent application is included below and it can be seen that it is actually very close to CB Weber’s Streamliner. His patent was applied for through the US Patent Office in January of 1941. I assume the patent was granted as it is on the Patent website. Weber’s design seems to be elongated a bit more than the Leser design but the tear drop shape of the outer bowl and the similarly tear drop shape of the drilling match quite well.

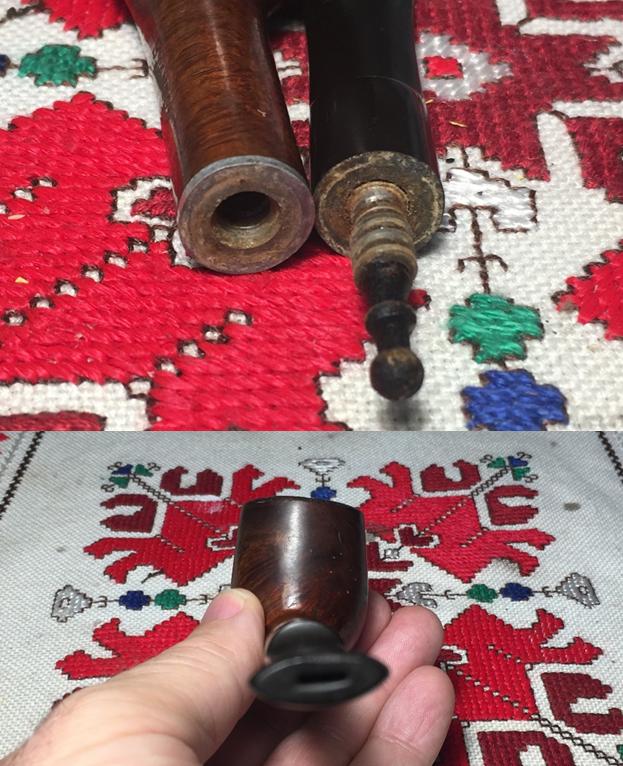
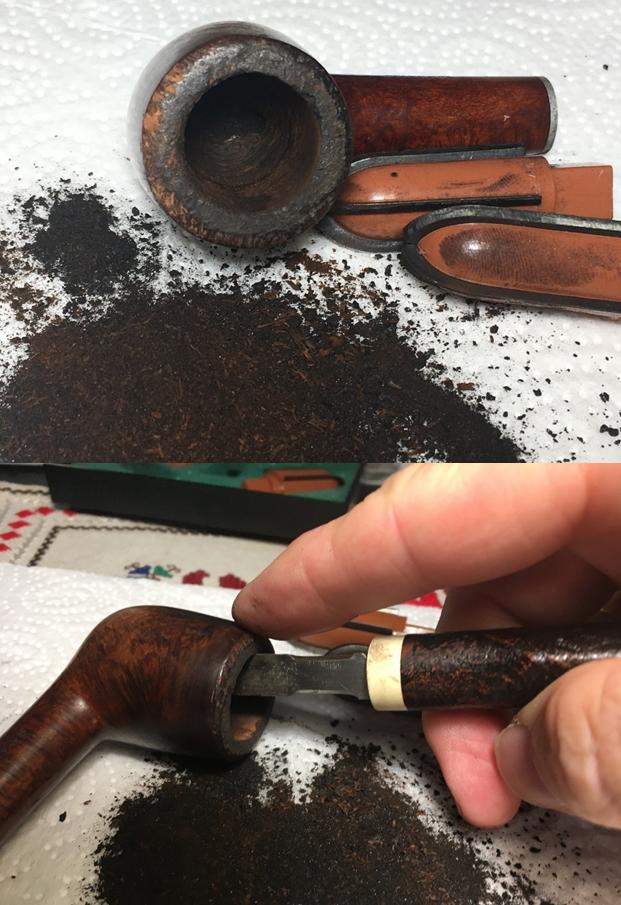
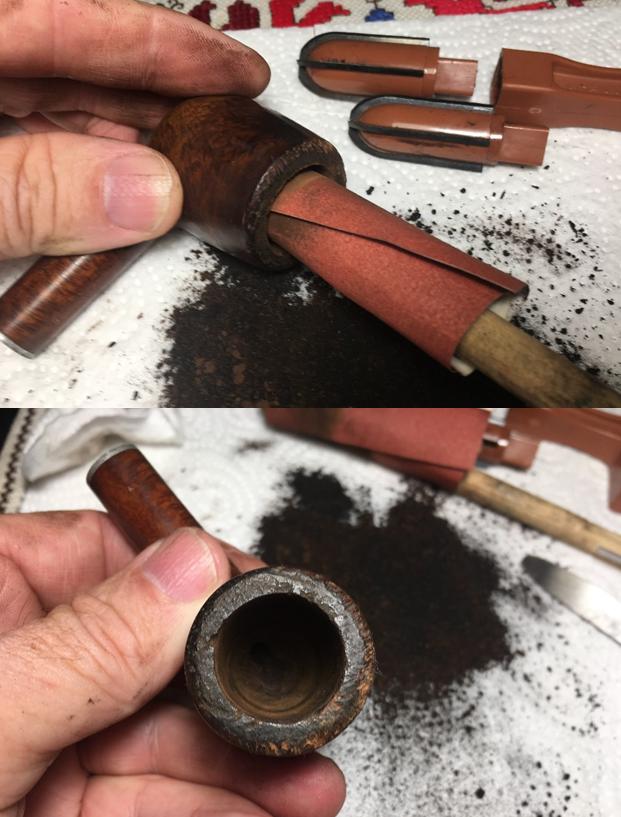
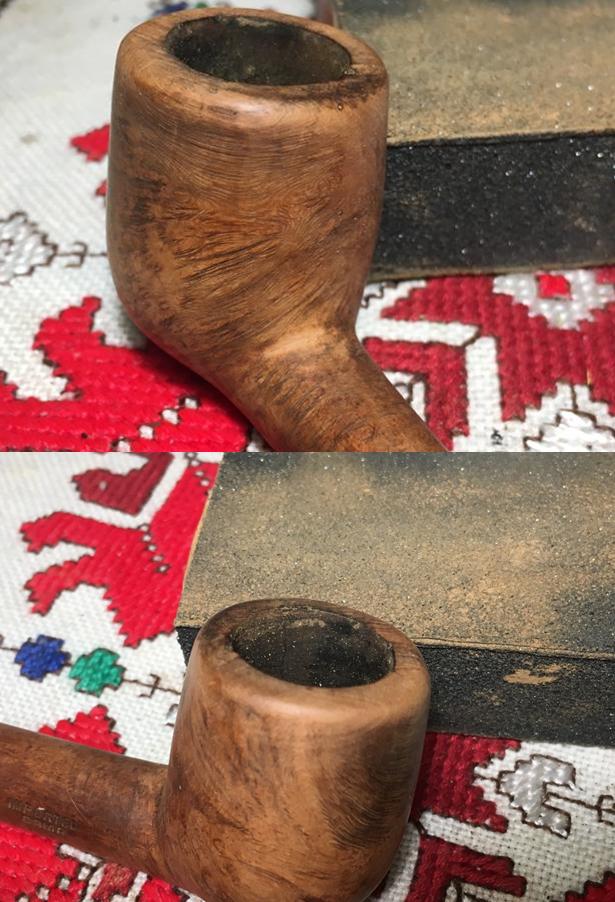
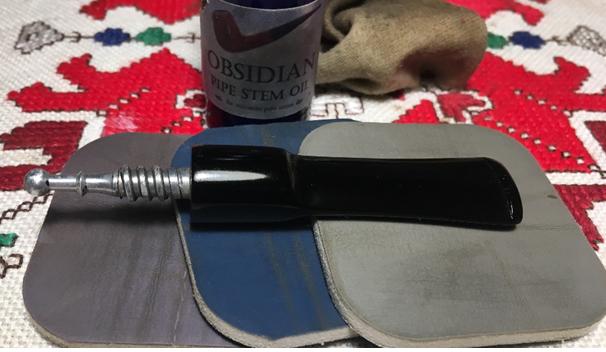
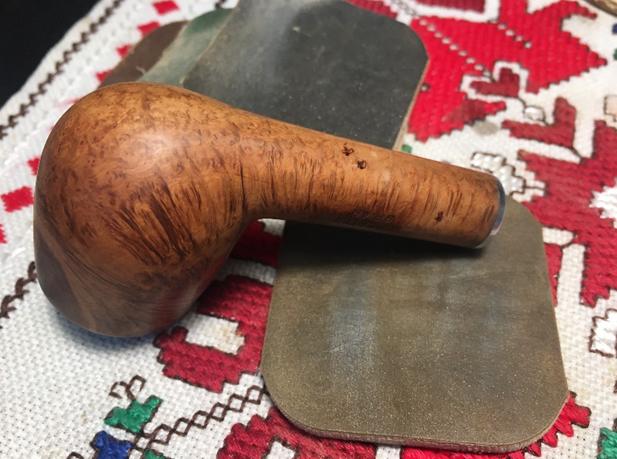
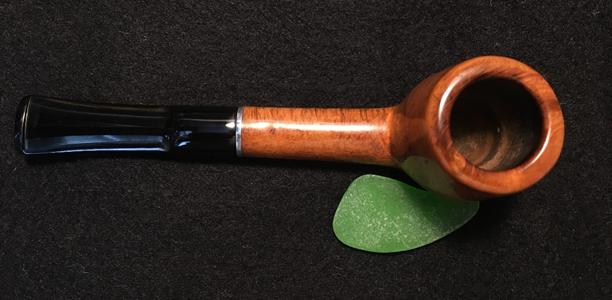
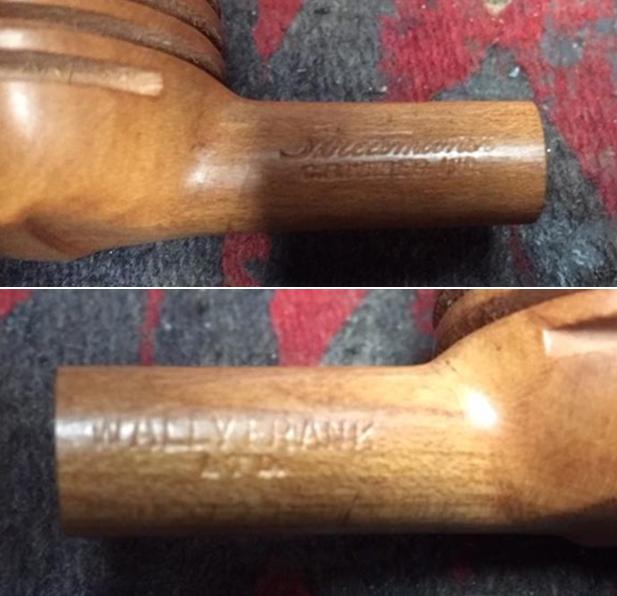
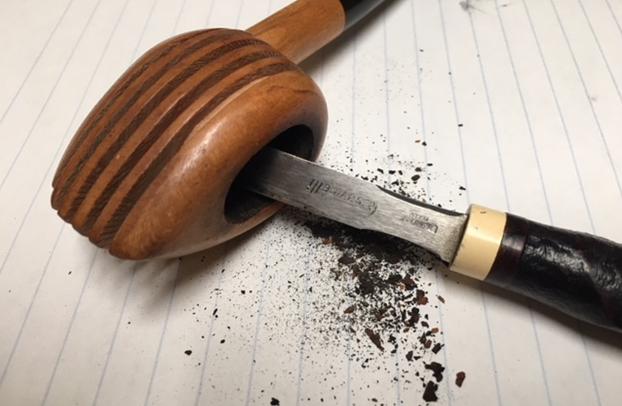
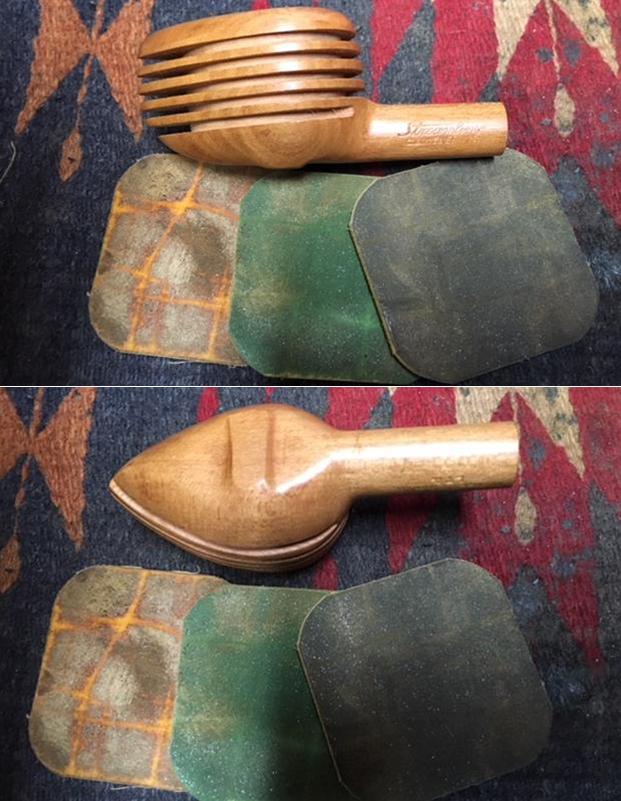
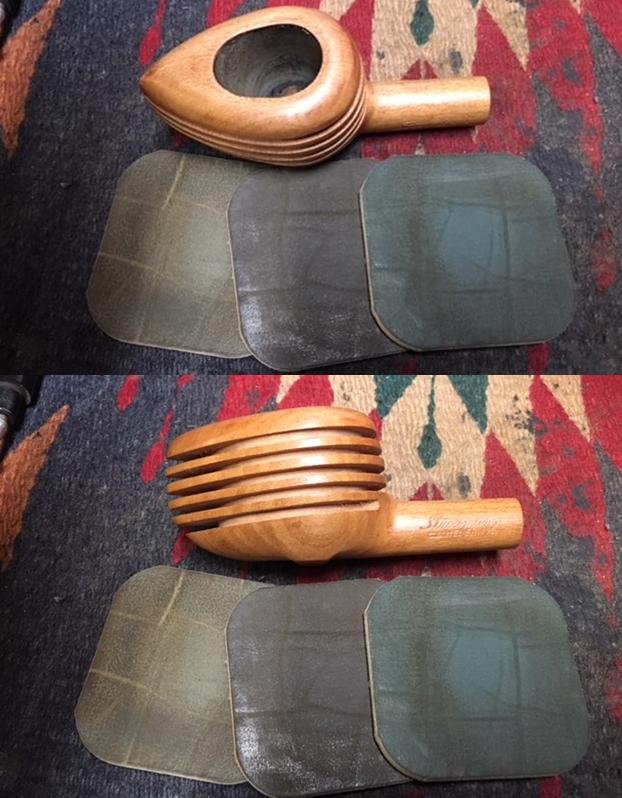
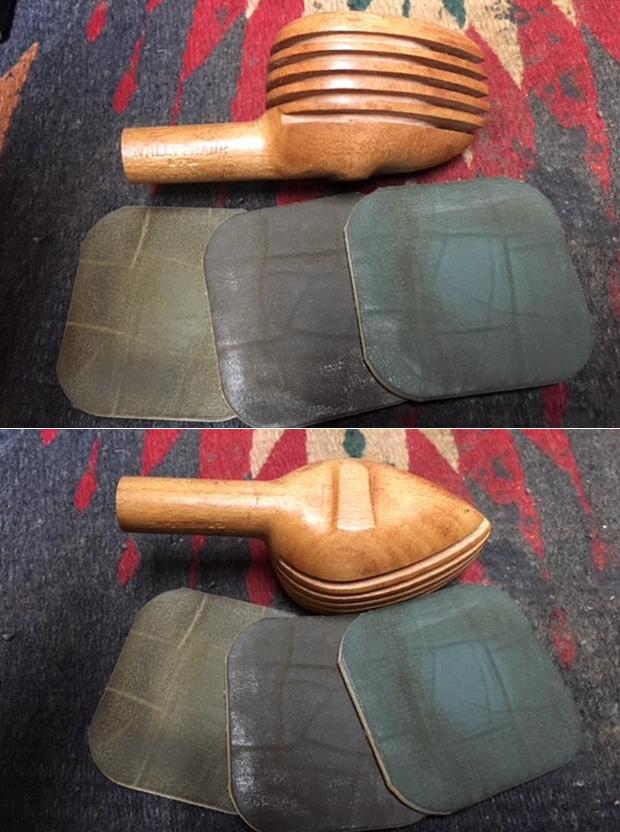
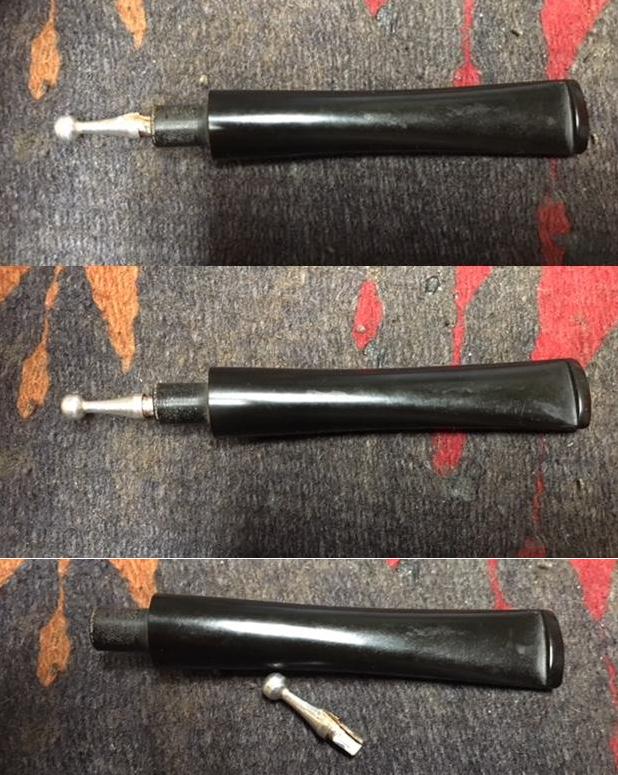
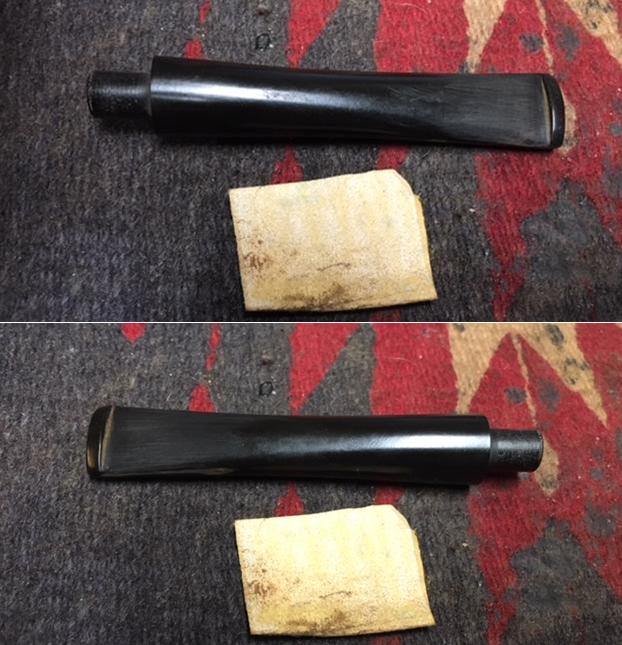
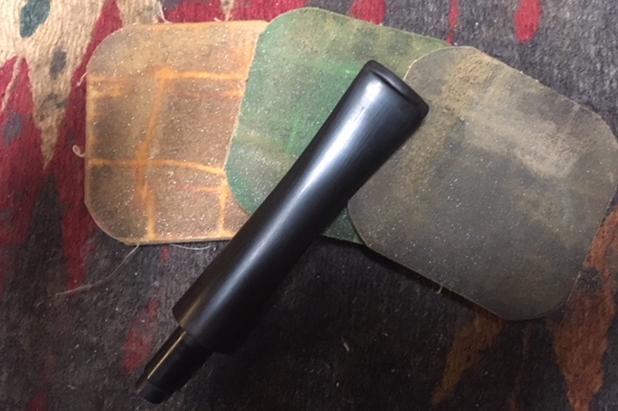
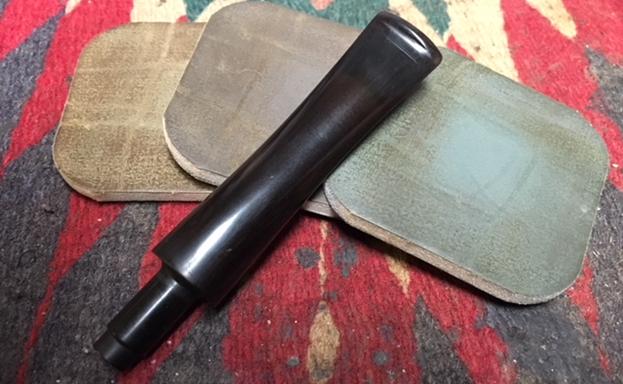
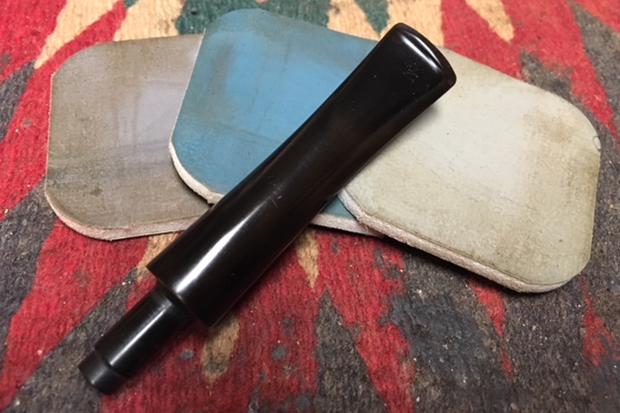
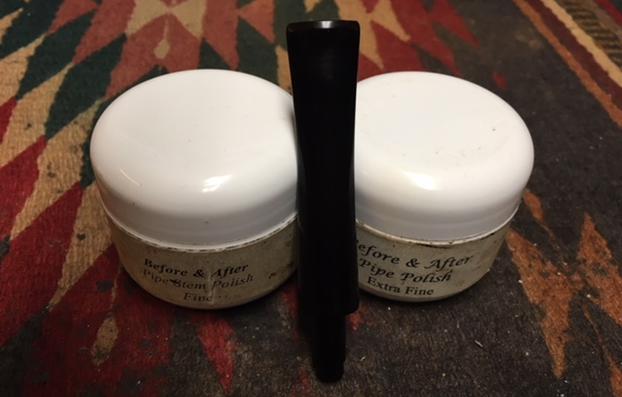
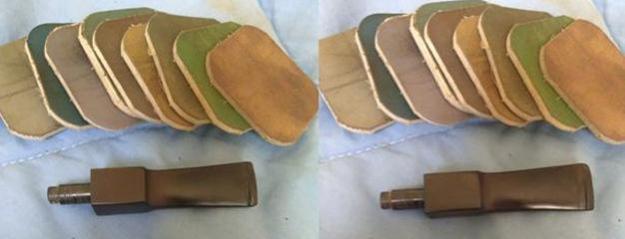
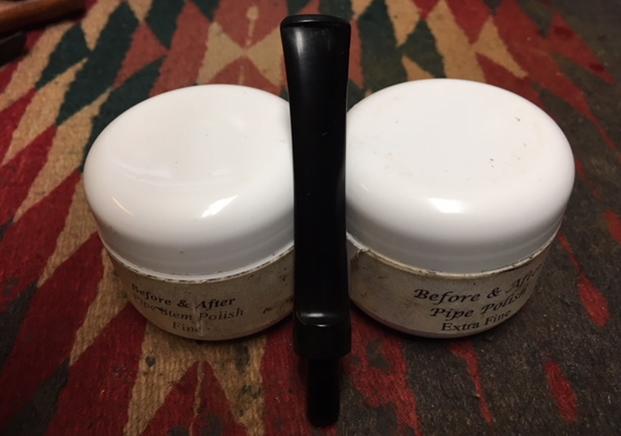
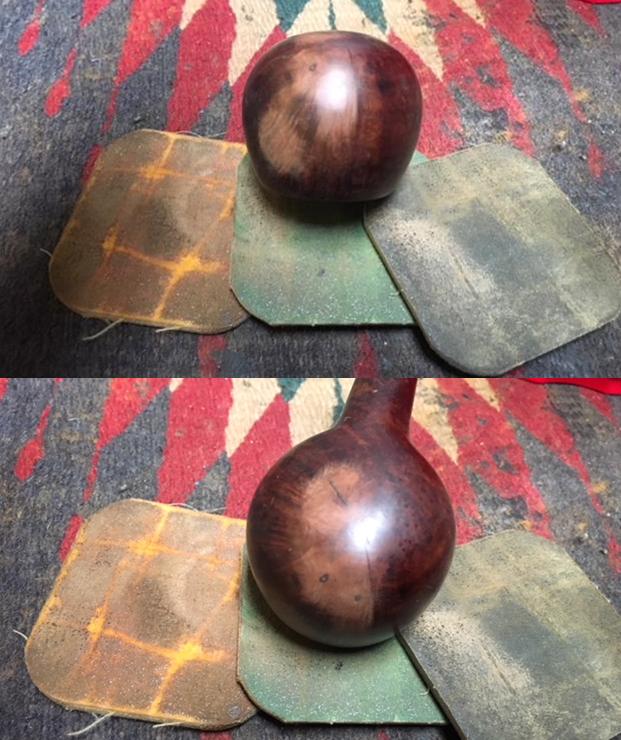
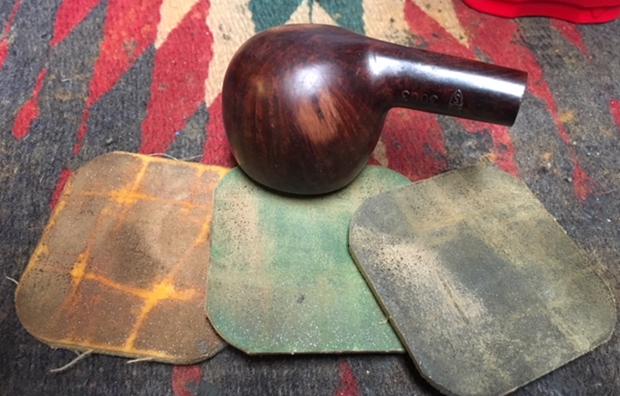
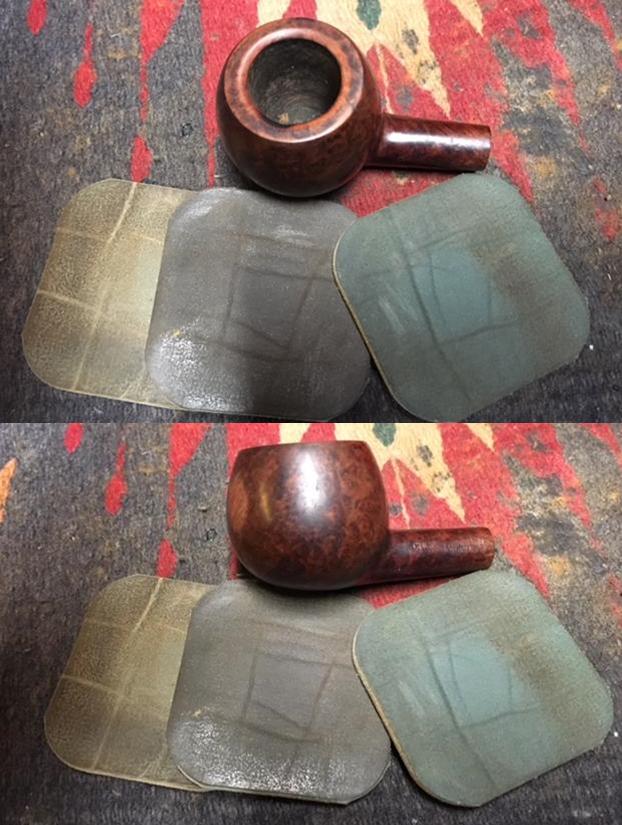
I can find no further information on Wayne Leser so I have no idea if he sold his concept to Weber, or worked for Weber. If anyone has further information on that connection it would be great to learn about it. Please post a response below. Refreshing myself on the history of the brand gave me the kind of background information that I enjoy when working on pipes that I am restoring. I took some close up photos to show that the pipe is made of Maple wood. It also shows that the shank of the pipe I am working bears stamping on both sides. On the left side it is stamped Streamliner in script over C.B. Weber Ltd. On the right side it is stamped Wally Frank Ltd. That means that while the pipe was made by C.B. Weber it was sold and distributed by Wally Frank. I wonder if it was not one of their Pipe of the Month sales.I reamed the bowl with a Savinelli Fitsall Pipe Knife to remove all of the cake and the tobacco debris that was stuck to the walls of the bowl. I scraped the cake back to bare wood so that I could examine the walls of the bowl. There were very clean and there was no checking or burn marks.I used a folded piece of 320 grit sandpaper to smooth out the inside of each of the fins so that the sawed areas were smooth and all of the burrs left behind by the sawing of each fin were removed and smoothed out.I polished the rim top to remove the darkening and the light lava overflow. I also sanded the outside of the bowl with micromesh sanding pads. I wet sanded it with 1500-2400 grit pads and dry sanded it with 3200-12000 grit pads. I wiped the bowl down after each pad with a damp cloth to remove the sanding debris. I took some more photos of the stem when it had been removed from the shank. You can see the scratching and wear on the top and underside near the button and other scratches up the stem toward the stinger in the tenon.  I removed the stinger and took a photo of it next to the stem.I sanded the stem with 220 grit sandpaper to smooth out the tooth marks and chatter. I worked on it until the surface was smooth. I polished the stem surface with micromesh sanding pads – wet sanding with 1500-2400 grit pads and dry sanding with 3200-12000 grit pads. I wiped it down with Obsidian Oil after each sanding pad. I further polished it with Before & After Pipe Stem Polish – both Fine and Extra Fine deepen the shine. I gave the pipe a final coat of Obsidian Oil and set it aside to dry. I put the stem back on the bowl and worked the pipe over on the buffing wheel using Blue Diamond to lightly polish both the bowl and the stem. I buffed the bowl and stem to raise the gloss on the briar and the vulcanite. I gave the pipe multiple coats of carnauba wax. I buffed the entire pipe with a clean buffing pad to raise the shine. I hand buffed it with a microfiber cloth to deepen the shine. The finished pipe is shown in the photos below. The C.B. Weber Maple Streamliner is unstained. The grain on the Maple wood shows through on the rim, sides and shank of the pipe. The blonde maple goes well with the rich black of the vulcanite stem. The dimensions of the pipe are: Length: 6 inches, Height: 1 1/2 inches, Outside Diameter: 1 1/4 inches, Diameter of the chamber: 5/8 inches wide and 1 inch long. This is an interesting pipe with an Art Deco look and a streamlined flow. The fins along the sides, front and back of the bowl act as cooling fins when the pipe is smoked. I have a second pipe to work on for Daniel and then I will mail both of them back to him. I know he is looking forward to loading it up and smoking it. Thanks for walking with me through the restoration.


A Pipe for Vanity – a Stanton for a Stanton


Blog by Dal Stanton

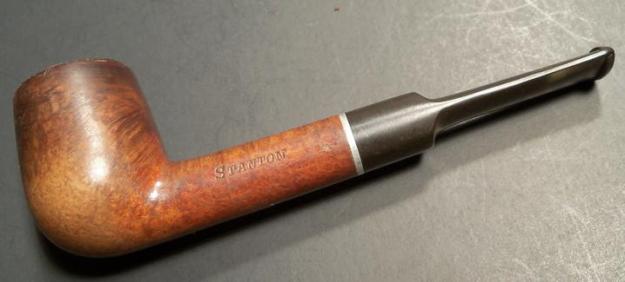
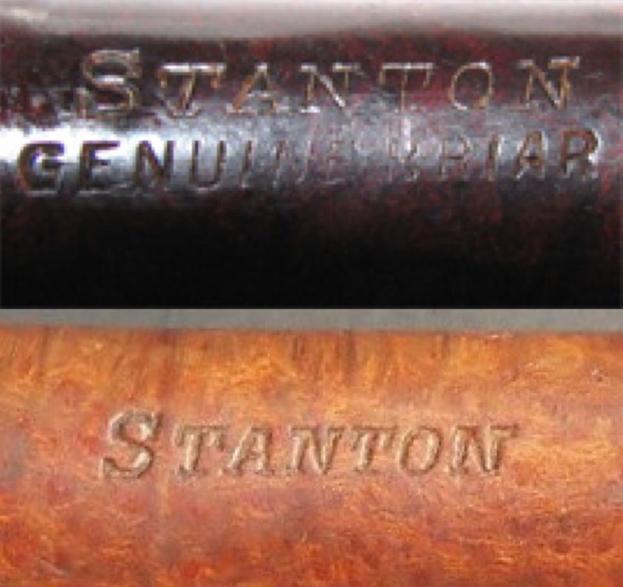
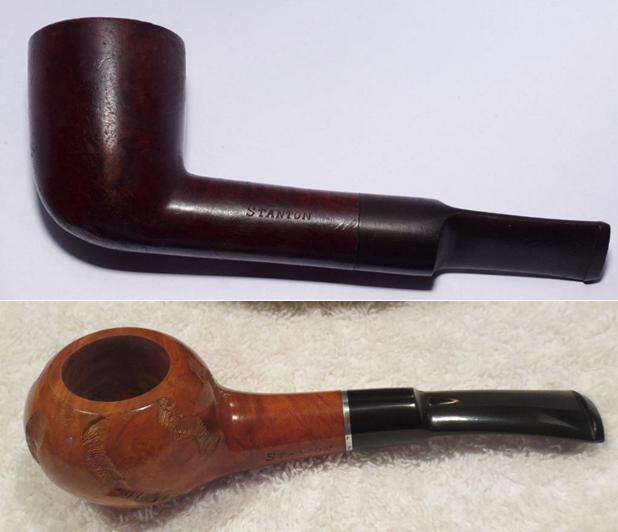
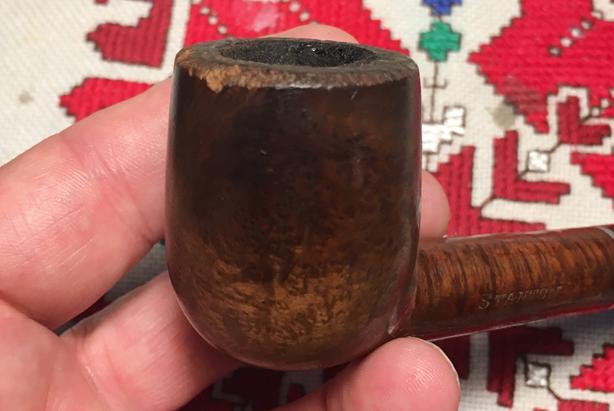
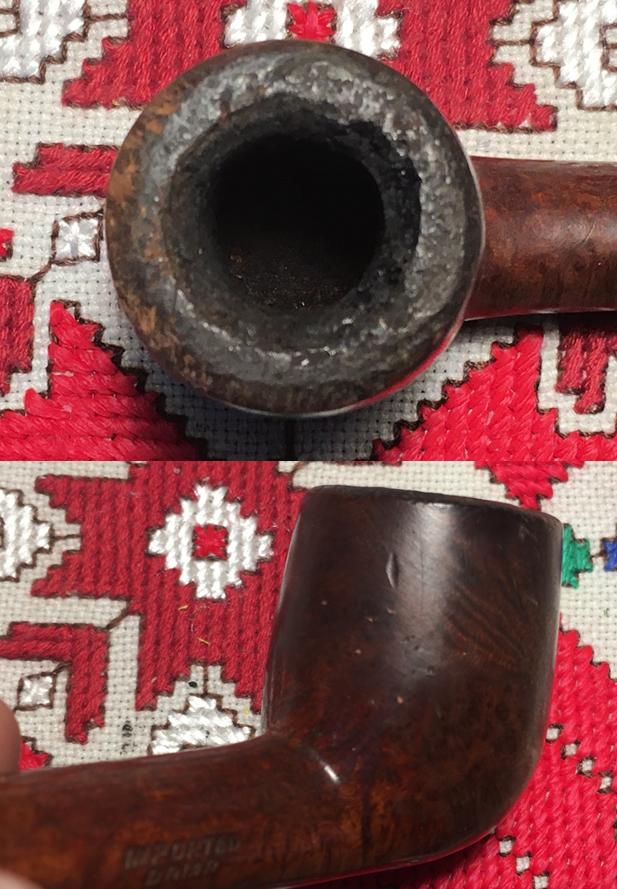
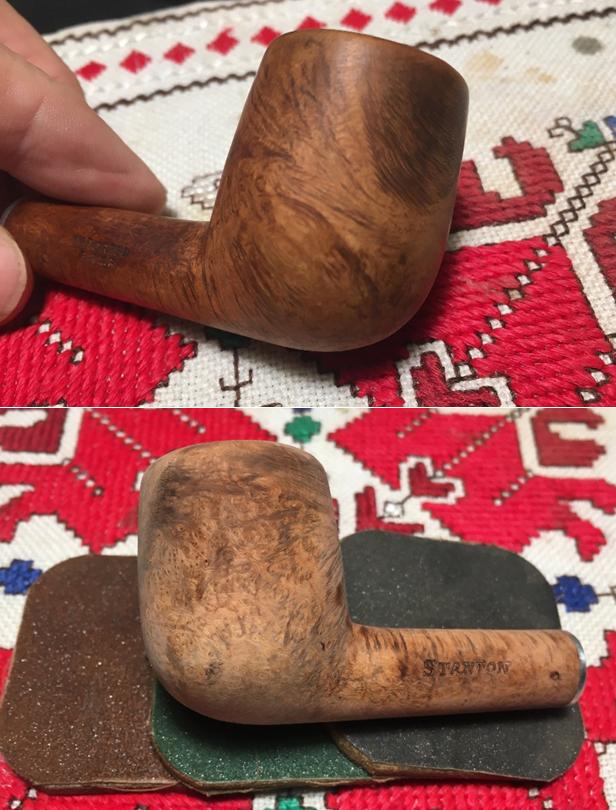
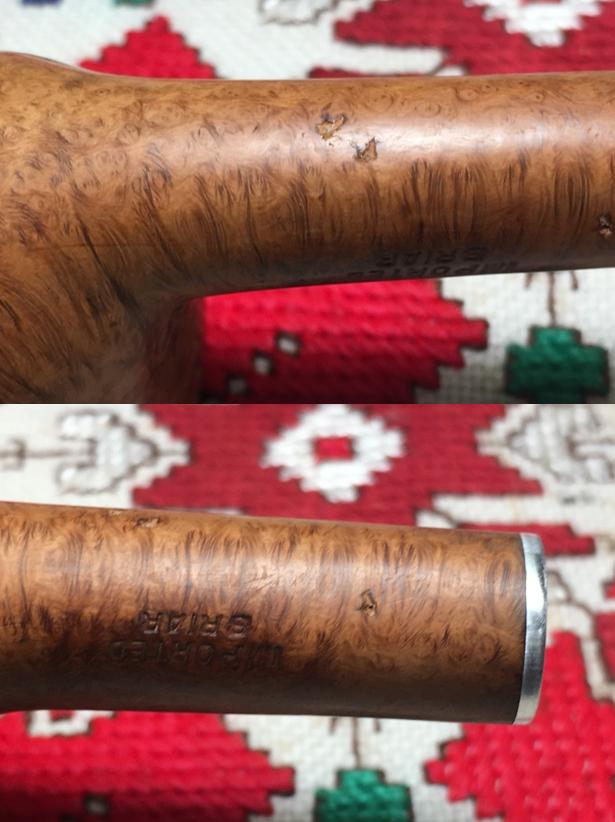
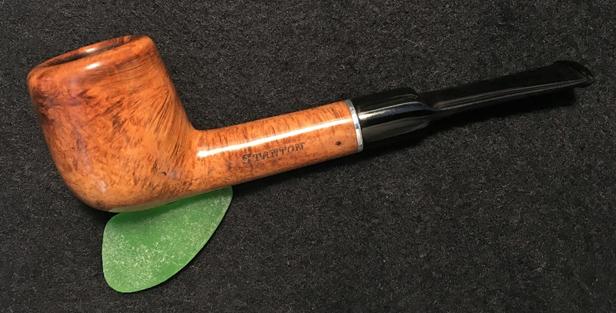
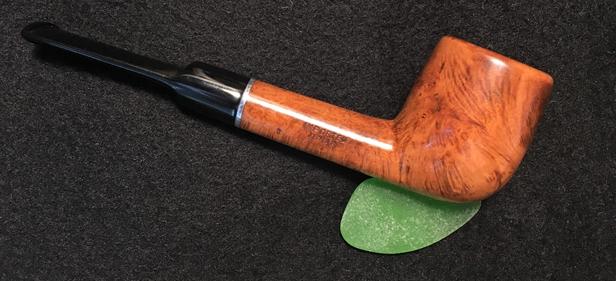
I suppose it IS vain to restart my restoration operations after 6 months with a pipe bearing my name.  In my recent travelogue blog, ‘There and Back again – to Bulgaria’, I described what I called my ‘Vanity Pipe’ as one of the 105 pipes I acquired during our 6 month US visit.  I came across this name-sake while trolling eBay’s offerings.  I hadn’t come across a ‘Stanton’ before and so I decided to place a bid.  As it turned out, I was the only Stanton bidding on the Stanton and claimed my Vanity Pipe with no competition.Name aside, the medium sized billiard looked to me like he was a hearty pipe – I will see if he’s a good smoker.  Yet, if the heavy use, thick cake, and banged up stummel is any indication of the former steward’s affections, I would say it was very much part of the rotation and saw much active duty!  The eBay seller provided good pictures of the Stanton which show the numerous challenges, but also the potential.  The grain is attractive and will look great when the surface is refurbished and polished up.  Here are some the pictures I saw on eBay. ‘STANTON’ is stamped on the left side of the shank, and ‘IMPORTED’ over ‘Briar’ on the right.  Of course, one of my first questions when I landed the Stanton from eBay was, where was this pipe manufactured?  Are there any clues?  My first inquiry was in Wilczak & Colwell’s, ‘Who Made That Pipe?’  Stanton was listed but designated as ‘Unknown’.  My next stop after Pipedia came up empty, was PipePhil.eu where I found my first Stanton cousin listed:There were some differences in the nomenclature – my Stanton has ‘Imported Briar’ stamped on the left side shank.  The specimen from Pipephil has ‘Genuine Briar’ under Stanton.  Another difference is the dot.  My Stanton’s saddle stem has no identifying mark.  Yet, what was very clear from the comparison of the ‘Stanton’ on both pipes is that the same stamp pressed Stanton in the briar.  The font is identical.  My Stanton is the lower comparison. Simple google searches revealed the clan was larger with additional Stanton cousins showing up demonstrating a variety of shapes being produced under the Stanton name.
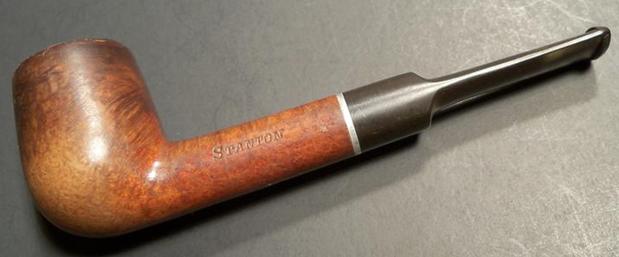
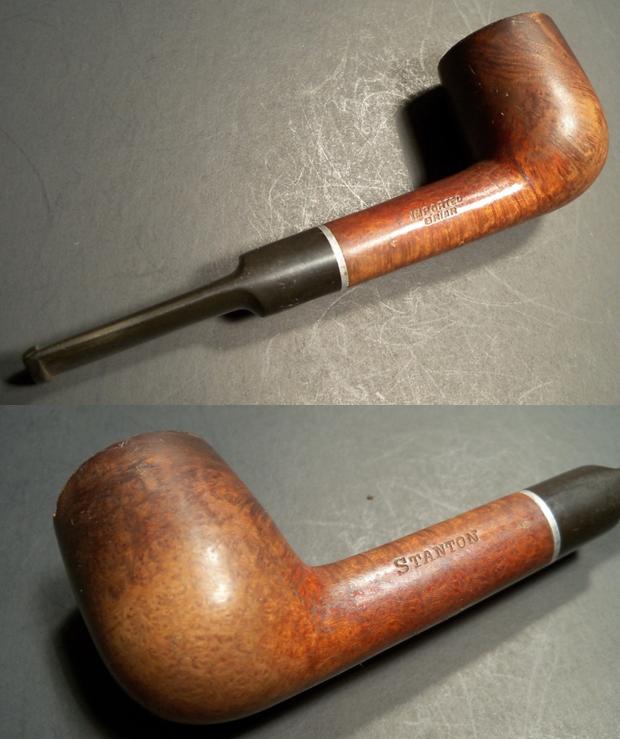
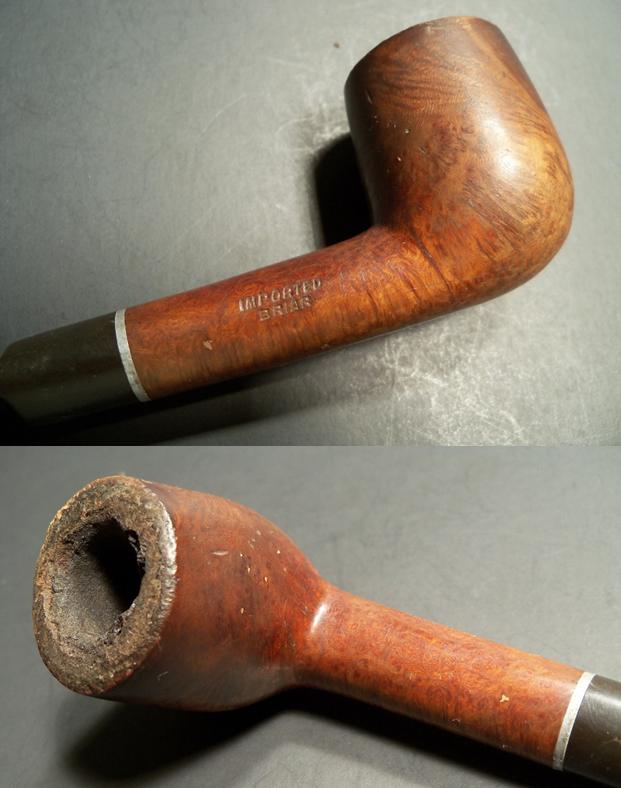

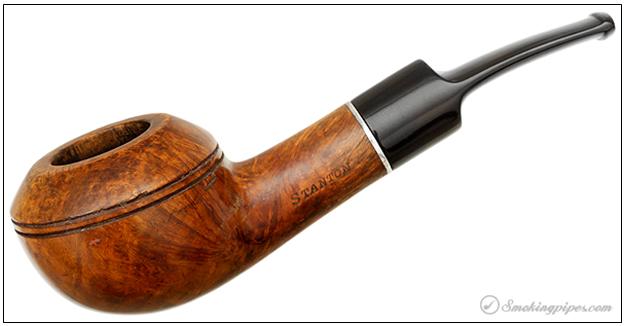
Two cousins from eBay:The only thing I found of a Stanton that provided any remote tidbit on origin was from SmokingPipes.com where the listing was for a very attractive Stanton Rhodesian described as an American Estate pipe.  I liked Eric N. Squires’ description which I thought was apropos for my rugged and worn billiard:
American Estates: Stanton Smooth Rhodesian

Product Number: 004-009-6323

Here is another example of a pipe that was built extra stout, where it is a good thing that it was. This is because whoever else owned it, sure as hell didn’t baby it. I can see why they kept it so long though, as the broad chamber promises plenty of flavor, the drilling is nice and straight, and wide, firmly rounded bowl is pleasing in hand.

– Eric N. SquiresSo, it’s starting to become clearer – my new Vanity Pipe isn’t quite as vain as I!  He has humble origins it would seem.  If anyone can add information to this query into this Stanton’s roots, I would be appreciative.
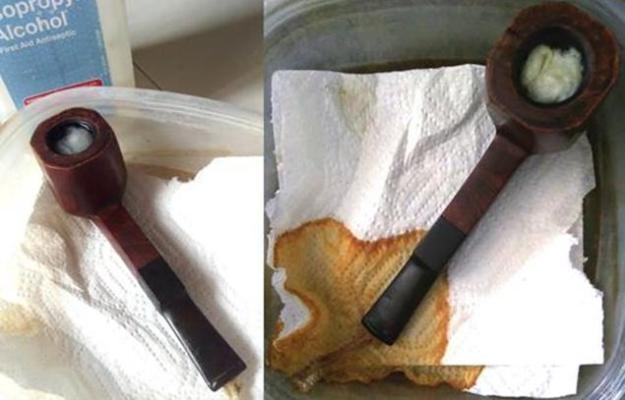
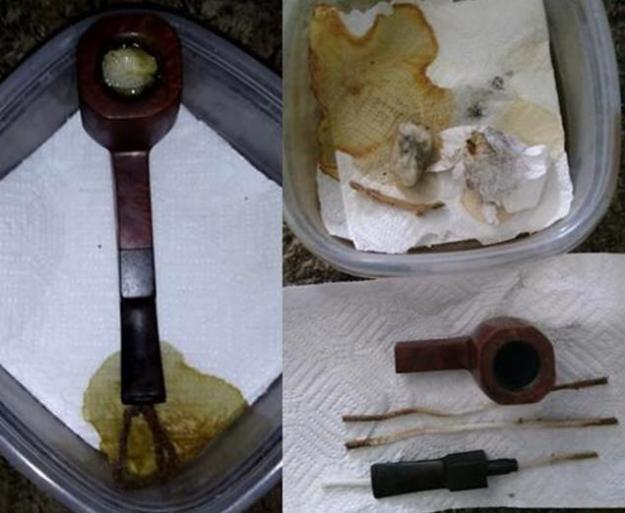
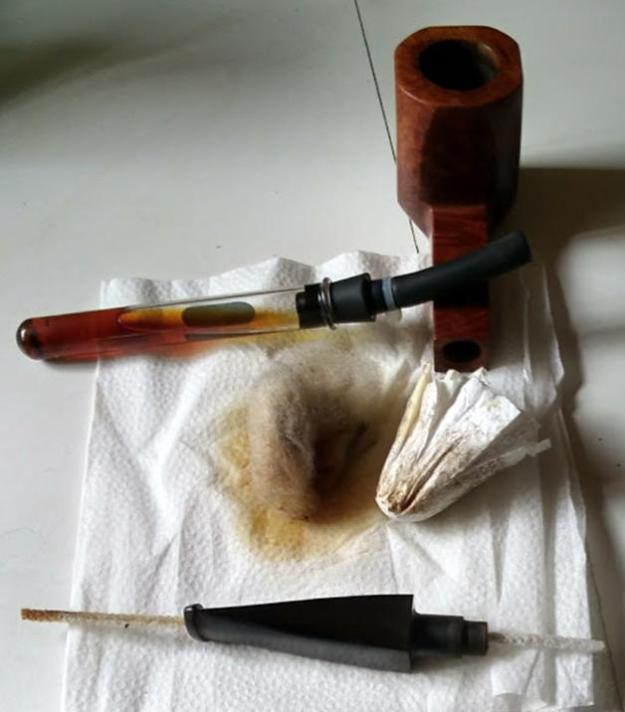
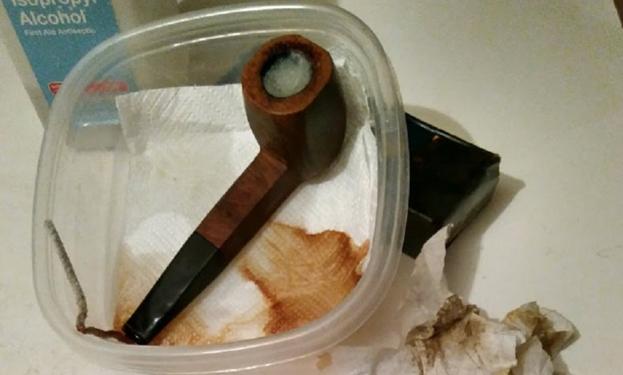
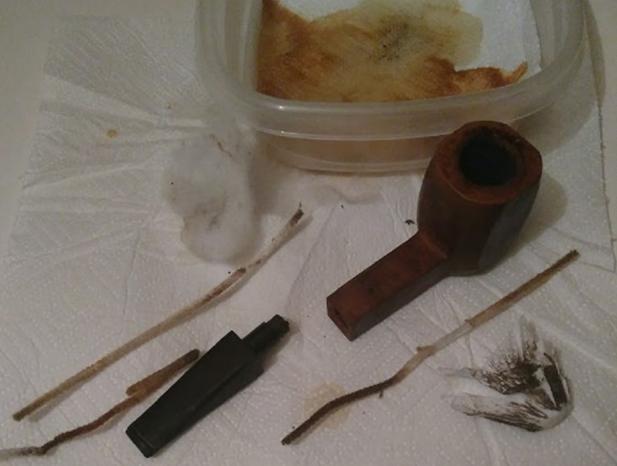
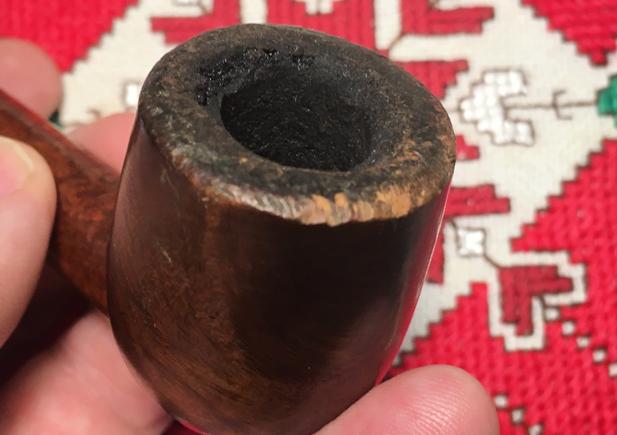
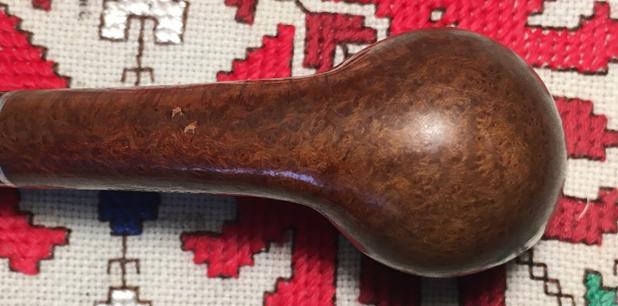
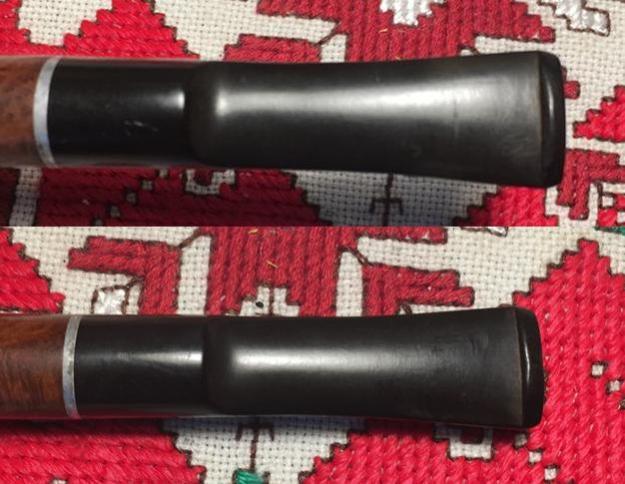
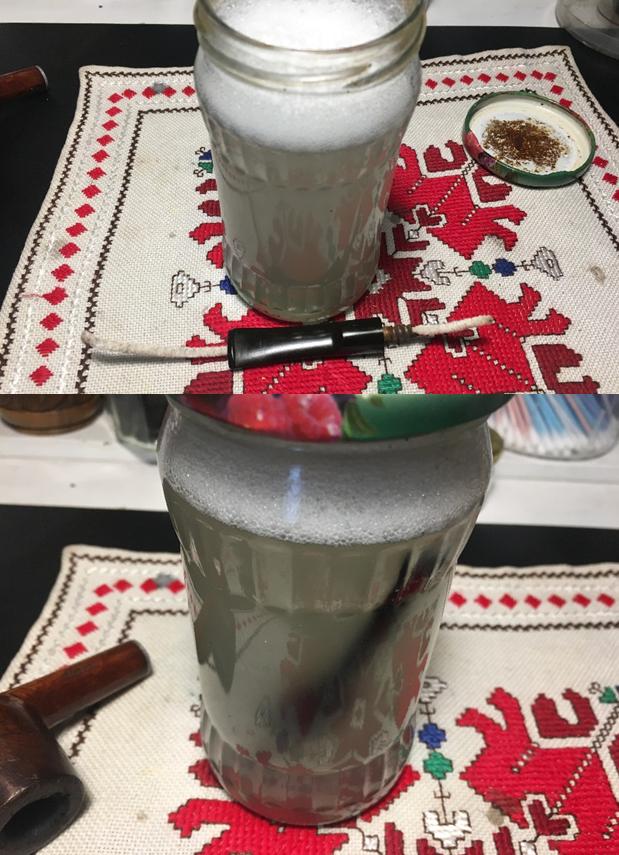
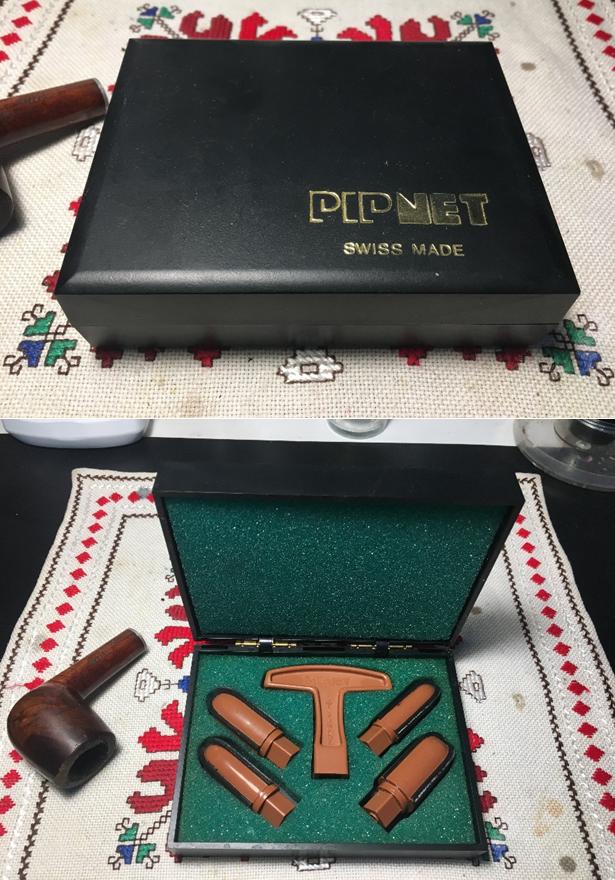
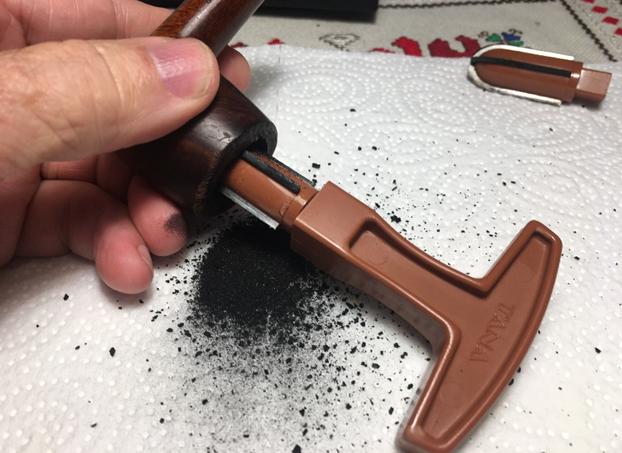
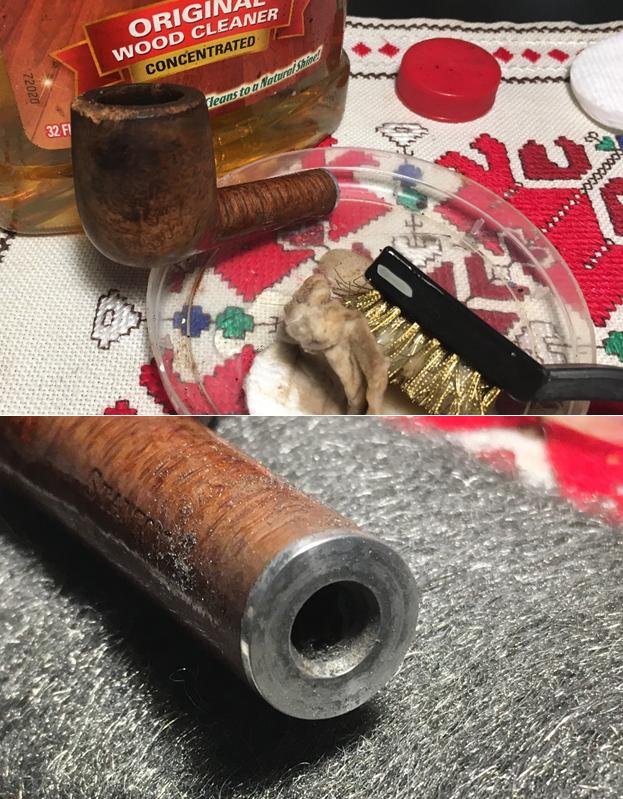
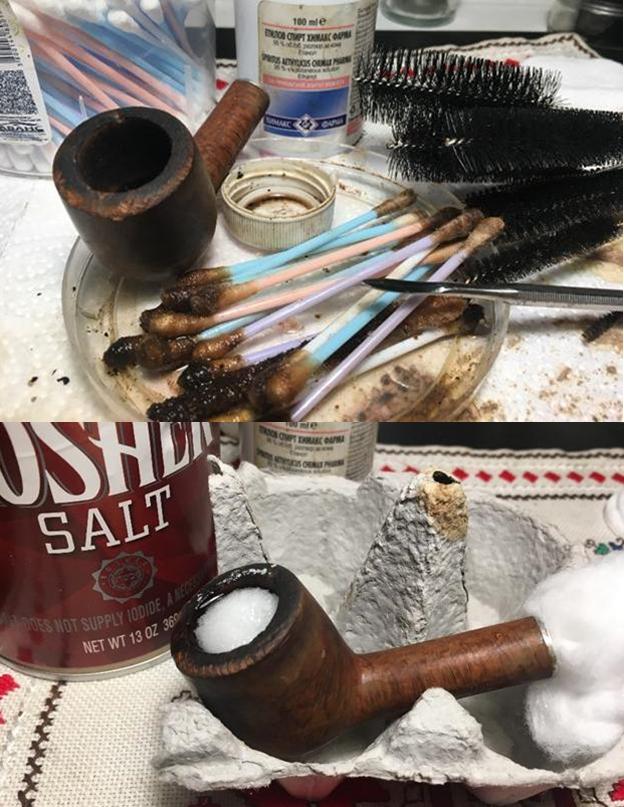
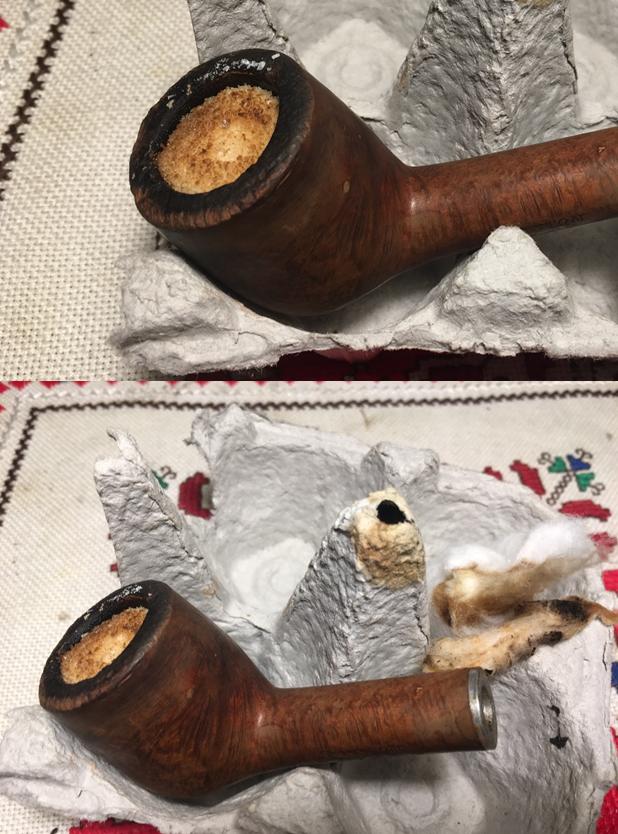
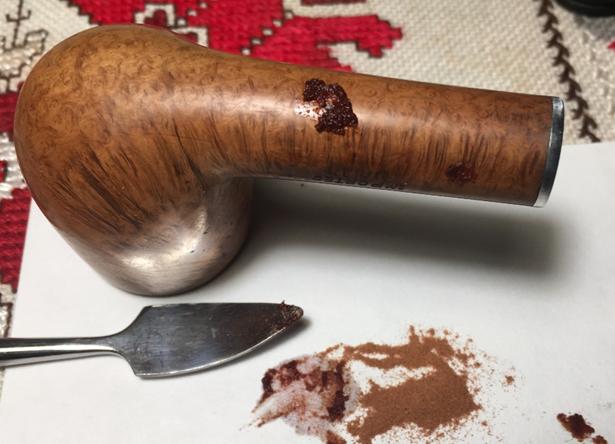
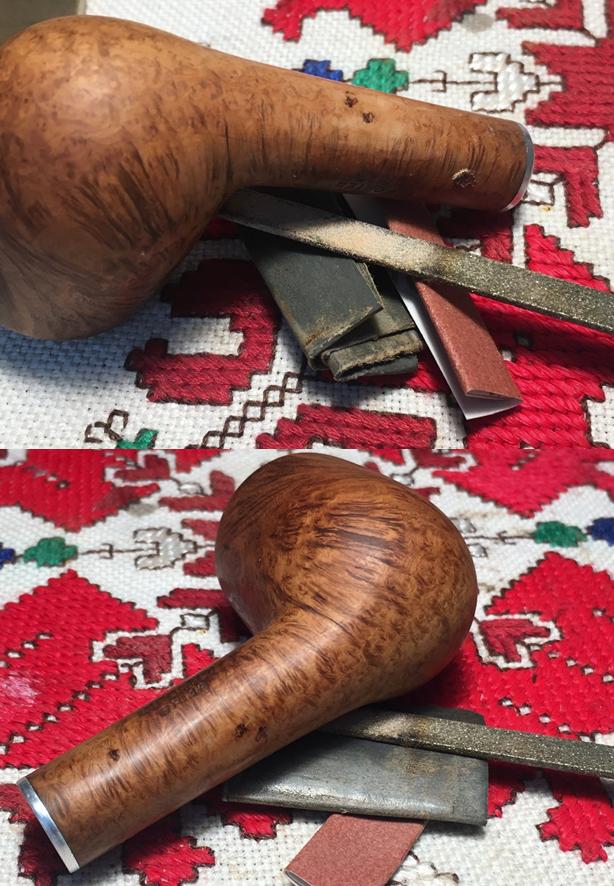
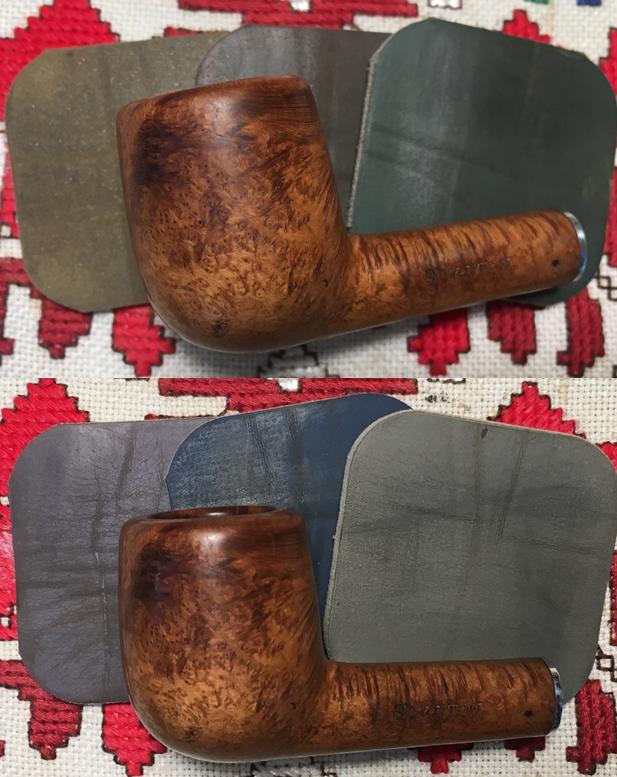
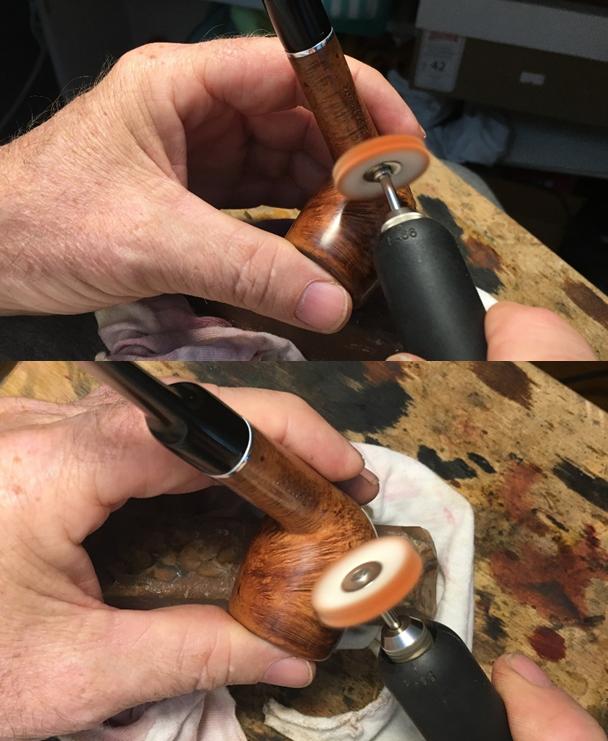
When I take a closer look at the Stanton billiard on my Pipe Steward work table here in Sofia, Bulgaria, I take a few more pictures to chronicle some of the challenges.  The rim is in rough shape, with most of the front quadrant showing heavy wear – almost looks like the edge was scraped on concrete. The cake is heavy and thick in the chamber and will need to be removed to reveal the condition of the chamber wall.  The bowl surface is grimy and dark with old finish, several pocks and dents.  Surprisingly, I do not detect any fills – the briar underneath the surface carnage looks to be very expressive, with much flow and character.  The heel of the stummel is populated with tight bird’s eye grain. The saddle stem looks to be in good condition, with some oxidation and wee bit of tooth chatter and dents.  The old screw in stinger needs to be cleaned along with the nickel insert/band – which seems to be a consistent design with the other Stantons.  I did note that the set of the tenon, when fully engaged, is under-clocked.  I’ll need to address this as well.   I begin the restoration of my first pipe after a 6-month hiatus AND one bearing my name by inserting a pipe cleaner into the stem, through the stinger, and putting it into OxiClean solution to raise the oxidation from the vulcanite.  As a side note, after reading several of Steve’s posts testing and then using Before & After Deoxidizer from Ibepen.com, I decided to try it.  I brought a bottle of it back with me to Bulgaria along with the balm and polishes.  Down the road I’ll give them a try.Turning to the stummel, I begin the reaming process with my newly acquired vintage Swiss Made Pipnet reaming kit made with heavier duty hard rubber.  Previously, I used the acrylic version that Pipnet put out later which tended to be more prone to breaking – the blades cracked on harder jobs.  With a bit of patience watching eBay, the older, stronger Pipnet system surfaced and I’m thankful to have it back in Bulgaria! Now, to take the new Pipnet blades for a test spin!  After putting some paper towel down to help in cleanup, starting with the smallest blade, I work on removing the hard, thick cake.  The blade went through with little effort.  The next larger blade did its job as well.  I then used the Savinelli Fitsall reaming tool to fine tune, removing more of the carbon in the harder to reach places.  Then, wrapping a piece of 240 grade sanding paper around a dowel rod, I sand the chamber walls and finish the job wiping out the remaining carbon dust with a cotton pad wetted with alcohol.  The pictures show the reaming process. Turning to the rim and the stummel surface, I need to clean the lava off the rim and the grime on the briar surface.  Using undiluted Murphys Oil Soap, I scrub the rim and surface with a cotton pad.  I also utilize a brass brush to work on the rim which will not add to the damage already present.  I then rinse the stummel with cool tap water.  While I’m working on the surface, I take 0000 steel wool and clean the nickel plate band/connector.  An inspection of the clean chamber walls reveals no problems.After the surface cleaning, I take a closer look at the stummel surface.  The rim will need to be topped, but it is possible that the severe outer lip damage to the rim can be leveraged to my advantage.  I can introduce an outer, rounded bevel and blend it with the freshened top.  This can allow less real estate to be lost in the topping process.  Along with the dents and pocks I saw before, I notice a dark area on the left front quadrant of the stummel which may indicate overheating of the stummel.  I also note that in the shank area, around the stamping, the old, shiny finish persists.  I want to remove all the old finish, especially around the stampings. To address this old residue of finish I use acetone and a cotton pad and make short work of the finish.  As hoped, the surface is now clean.Before moving further with the surface, I attack the internal cleaning of the mortise and airway.  I use pipe cleaners, cotton buds wetted with isopropyl 95% to do the dirty work.  I also use a dental probe to scrape the mortise surface and to excavate the oils and tars that have congealed over time in the airway.  That was the frontal attack.  With grunge still surfacing on the cotton buds, and with the late hour approaching, I decide to use the passive-aggressive approach.  Using Kosher salt, I fill the bowl and then add alcohol to sit overnight to work on cleaning the mortise.  I set the stummel in an egg crate to provide stability.  Then I fill the bowl with Kosher salt – not iodized salt which leaves an aftertaste.  I then stretch and twist a cotton ball, to create ‘wick’ to draw the crud out of the mortise as the salt/alcohol does its work.  I then fill the bowl with isopropyl alcohol 95% until full.  I wait a few minutes and top it off.  With that, I turn off the lights and head to bed.  Another day coming.  The next day, as hoped, the salt and cotton wick showed signs of the extraction of old oils and tars from the internals of the stummel.  I clean out the dried salt and used a dry paper towel and bristle brushes to remove the residue salt.  I also blow through the airway to help out.  Even after the salt treatment, there is gunk left in the mortise.  I continued to scrape the mortise wall with a dental spatula and follow with cotton buds dipped in alcohol to finish the job.  The pictures tell the story. I put the stummel aside to work on the stem, now soaking in OxiClean.  After taking it out of the soak, I take a picture and see that a moderate amount of oxidation had raised to the surface.  Taking a piece of 600 grade paper I wet sand the stem removing the oxidation from the vulcanite.  I also use a brass brush to remove the caked residue off the stinger.  Taking a close look at the bit, there were only very small dents remaining after the sanding.  I returned with the 600-grade paper focusing on those minute points and the stem is looking good. On a hunch, after the cleaning of the stinger and the mortise receptor band/plate, I refitted the stem to see if it still was under-clocked a few degrees as I saw earlier.  As hoped, the cleaning corrected the alignment – now, looking down the pipe from the steward’s view, one sees a true alignment.  Nice..To complete the clean-up, I turn to the stem using pipe cleaners dipped in isopropyl 95%.  I also utilize a long-bristled brush.  I find that utilizing the set of bristled brushes that I acquired some time ago saves on the pipe cleaners and are effective in getting at the gunk.  Stem and stummel are now clean. The rim needs my attention now.  I take a close look again.  I will top the stummel using 240 grade paper on a chopping board.  Looking at the first picture below, most of the external rim damage is on the front – 7 to 11 o’clock in the picture.  What I’m a bit concerned about is the large internal rim divot at the 2 o’clock position.  I’ll top a little and see if can address this without taking too much briar off.  Otherwise, I’ll need to fill it with a superglue/briar dust patch to build it up to the rim surface.On the topping board with 240 grade paper, I rotate the stummel as evenly as I can to avoid leaning in one direction or the other.  I check the progress to make sure I’m not leaning into softer wood.  I take some intermittent pictures below to show the progress.  I come to a point where not all the damage is removed, but enough that can be addressed by cutting bevels in the external and internal lips of the rim.  To me, applying bevels to rims generally makes it look classier.  I finish the topping by using a sheet of 600 grade and rotate the stummel several times to provide a smoothing of the surface.  The pictures show the progress.  Without going any further with the topping, I look closely at the dents and pocks on the stummel surface.  I see that some of the ‘pocks’ as I’ve described them may be very small fills on the underside of the shank and one on the top.  The fill is a light material.  The shank-side of the stummel is especially banged up with small dents.  I utilize sanding sponges to remove these and work toward smoothing out and rounding of the outer rim lip to remove the damage.  Careful to avoid the stampings on the shank, I progress by using the roughest grade, medium then fine grade sanding sponges in order.  I’m pleased with the results with most all the damage removed from the stummel.  The rounding of the rim looks great.  The pictures show the progress. The inner lip of the rim is next.  The one major divot at the 2 o’clock position I decide is too deep to remove it by creating an internal bevel.  To build this divot up, I apply a few drops of Hot Stuff Special ‘T’ CA Glue.  I’ll let the glue sit overnight before I bevel the inside lip. The next day, the CA has cured well.  To re-establish crisp rim lines, I take the stummel again to the topping board covered by 600 grade paper.  I’ll remove the CA glue mound and redefine the rim after the rounding of the rim edge.  I take a before and after pix. That does the job. Next, to complete this phase of the rim repair, I roll pieces of 120, 240 and 600 grade papers and cut an internal rim bevel to remove the remaining nicks and to soften the look.  With each rolled piece, I pinch the inside of the rim with the paper using my thumb and rotate evenly around the circumference.  The bevel is slight, and I think it looks good.  Again, before internal bevel and after pictures. I set the stummel aside and turn now to the stem.  The initial wet sanding of the stem with 600 grade paper removed the minor bite marks and I’m ready to move to the micromesh cycle.  Using all nine pads, 1500 to 12000, I wet sand with 1500 to 2400, then dry sand from 3200 to 4000 then 6000 to 12000.  Between each set of 3 pads, I apply an ample amount of Obsidian Oil to refresh the vulcanite stem. I love the pop of newly polished vulcanite!  My vanity pipe is shaping up nicely. As I pick up the stummel, I look closely at the briar grain and a dark area I thought might be an overheating of the stummel – scorching.  Now, with the old finish off and the hidden briar making an appearance, the area is a briar knot – a tight swirl of briar. It has character and I think it looks good.  To continue the preparation of the stummel, I wet sand using micromesh pads 1500 to 2400, followed by dry sanding with grades 3200 to 4000 then finishing up with pads 6000 to 12000.After finishing the first wet sanding cycle, I notice that the ‘pocks’ or fills on the shank had softened and become more noticeable and in need of filling.  A detour, but better now than later!  I use a dental probe to work out the softer fill.  I then mixed a small batch of superglue and briar dust to fill the holes.  I use a dental spoon to pack the mixture in the holes and put the stummel aside for it to cure. After the glue cures, I use a flat needle file surgically to bring the patch mounds down to the briar surface.  I am careful to keep the file on the glue mound not to create collateral damage to the surrounding briar.  Then using a tightly rolled piece of 240 grade paper, I remove the remaining glue residue by using the tight abrasive edge of the roll and rotate it in a circular motion over the mound area.  With touch and a close look, I’m able to determine the excess glue is removed.  Then, using 600 grade paper, I fine tune the entire area, not as concerned about the overrun on neighboring briar.  At this point the fine abrasion is blending and shining.  I finish the patches by catching the repair areas up with the first 3 micromesh pads.  The areas are still visible, but now smooth and will blend better as I continue with the finishing process.  The pictures show the detour progress. With the detour completed, I continue with the last two sets of dry sanding with micromesh pads 3200 to 12000.  This pipe’s briar is looking very nice. Well, there are a few pipes the make it through the restoration gauntlet up to this point, and the natural briar just says, I’m enough.  I had been planning to apply a lighter dye to the surface, but now…no.  The actual look of the briar is lighter than the pictures above, which I like.  So, with that decision made by my Stanton Vanity Pipe 😊, “I’m enough!”, I reunite the waiting stem with the stummel and take a picture – the bird’s eye view looks good.To tease out the briar grain even more, I finally take my Dremel off the hook and again use it after the 6 months hiatus!  Using Red Tripoli compound, I begin the buffing process on stem and stummel using a cotton cloth wheel mounted on the Dremel at the lowest speed. After completing a methodical circuit with the Tripoli, I switch to the lesser abrasive, Blue Diamond, using another cotton cloth wheel at the same speed.  Completing the abrasive compounds, I give the pipe a quick buff with a clean cotton cloth to remove the compound dust/powder before applying the wax.  I apply the carnauba wax with, yet another cotton cloth wheel dedicated to application of wax.  I increase the speed of the Dremel by about 20% and I apply a couple of coats of wax to the entire pipe.  For those who have not read my restorations, I live on the 10th floor of a former Communist block apartment building here in Sofia.  I do not have a lot of room, so my techniques for restoration, especially polishing techniques have had to bend to the realities – hence, my exclusive utilization of a Dremel with no room for the more powerful full wheel buffers.  After Steve asked me to write an essay on my techniques using a Dremel, I discovered out in the blogosphere many people who appreciated what I had written out of my own trials and errors.  You can find this essay at the Pipe Steward website here: My Dremel Polishing Techniques with a No-Name pipe from Sozopol Bulgaria.  My techniques have developed since then, but it’s a helpful essay.  Thanks to my wife for helping take the following pixs since I don’t have a third hand to use!After completing the application of carnauba wax, I give the pipe a rigorous hand buffing with a microfiber cloth.  This helps bring out the shine even more but also removes wax buildups that I may have not spread adequately with the Dremel.
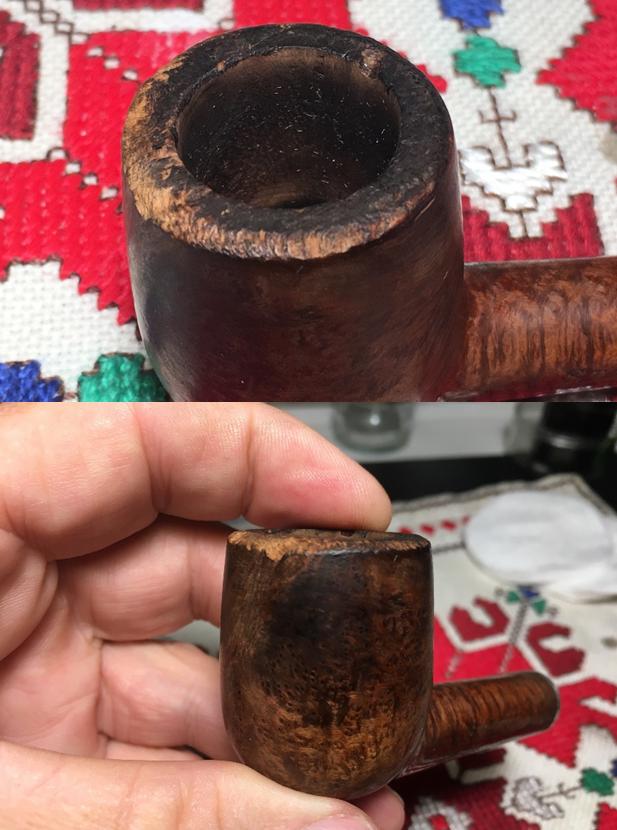
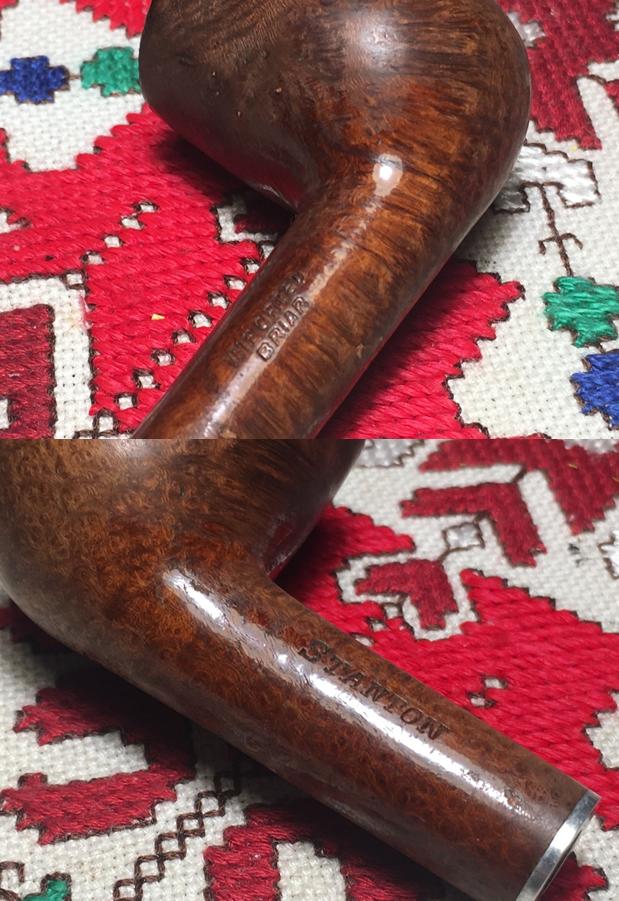
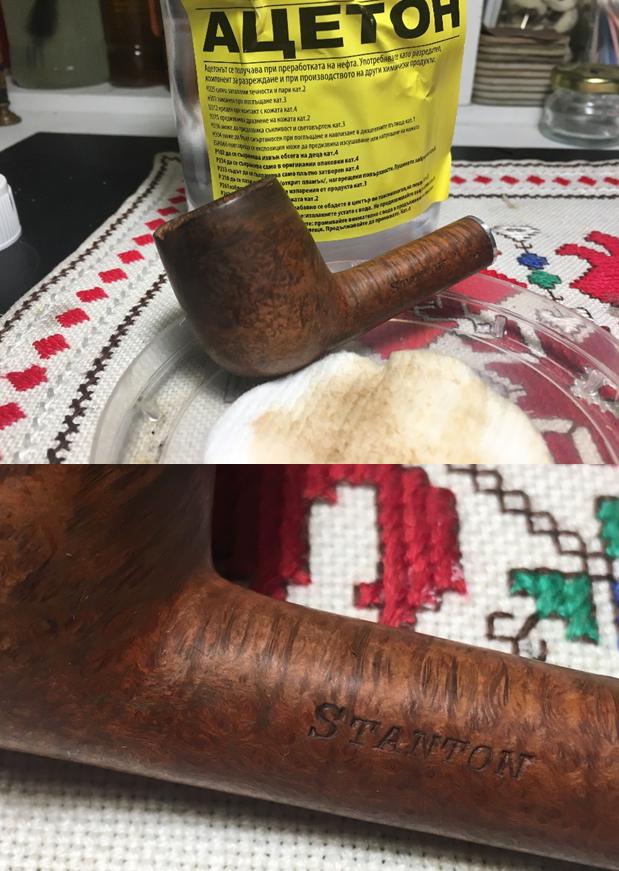
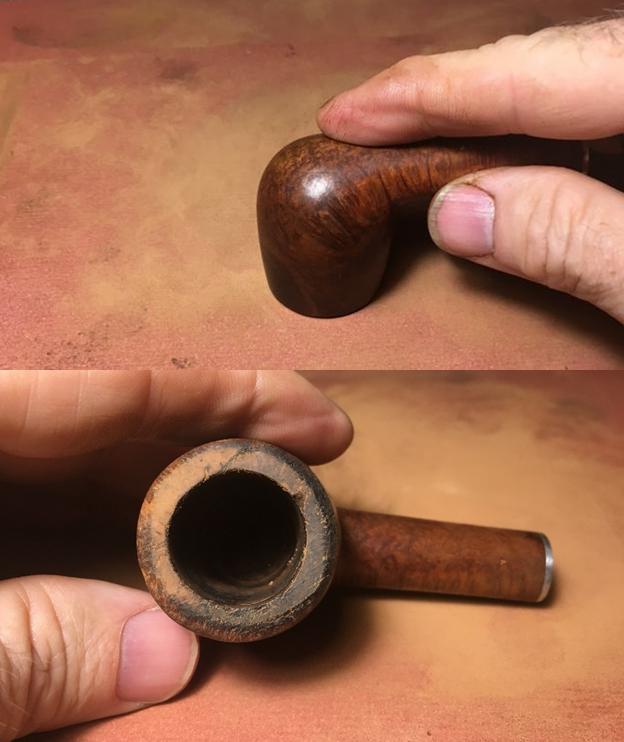
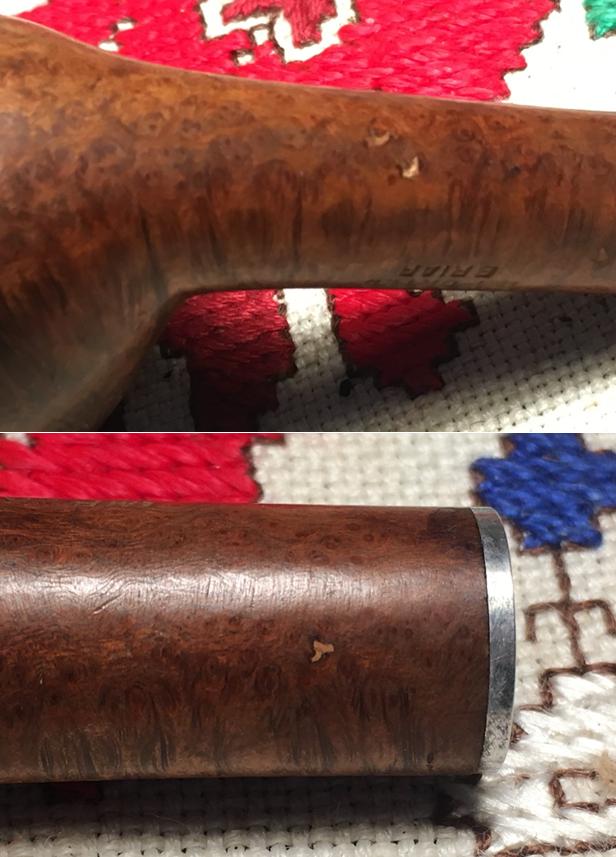
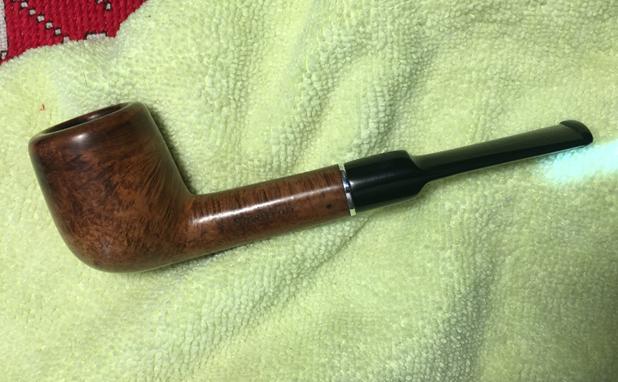
The Stanton Vanity pipe came out well.  I’m please with the rim repair that was significant. The removal of the old finish and cleaning revealed a very nice presentation of briar grain – the highlight is the dark knot cluster that almost looks like a thumb print.  If anyone has any leads on more information about the ‘Stanton’ nomenclature I would appreciate a note!  It is good to back to The Pipe Steward work table.  The vast majority of my pipes are put in the store to help benefit the Daughters of Bulgaria, helping women and girls who have been trafficked and sexually exploited, but this fellow, Stanton, is staying in my collection.  Thanks for joining me!
 

Breathing Life into a Savinelli Capri Root Briar 141KS Billiard


Blog by Steve Laug

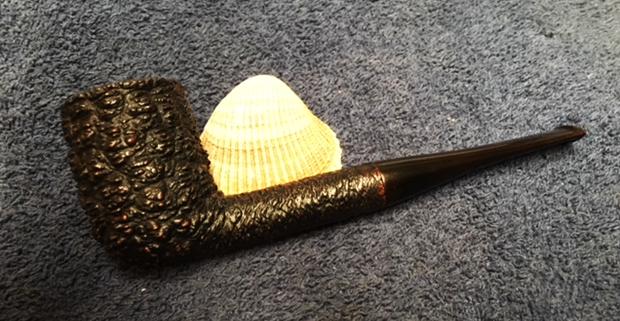
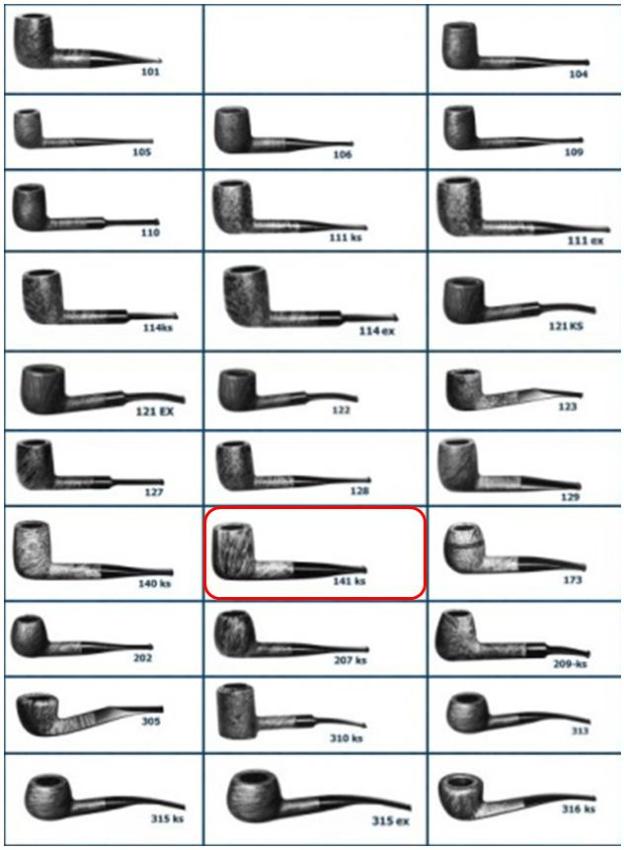
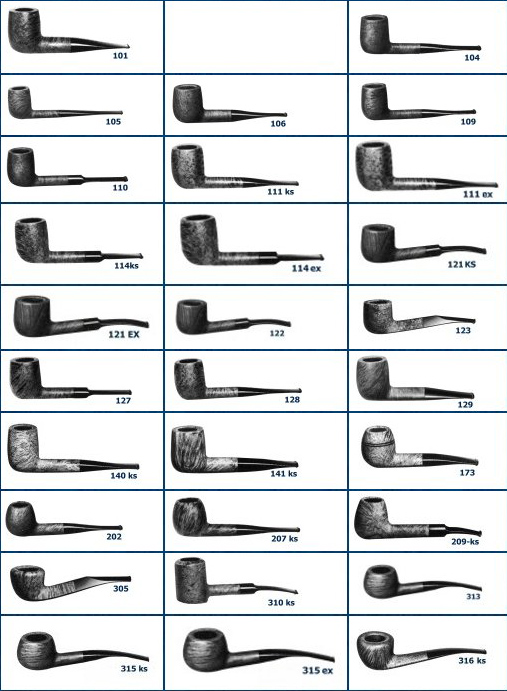
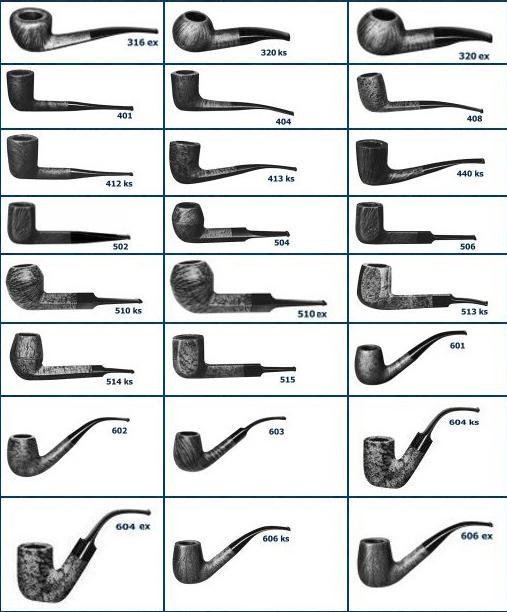
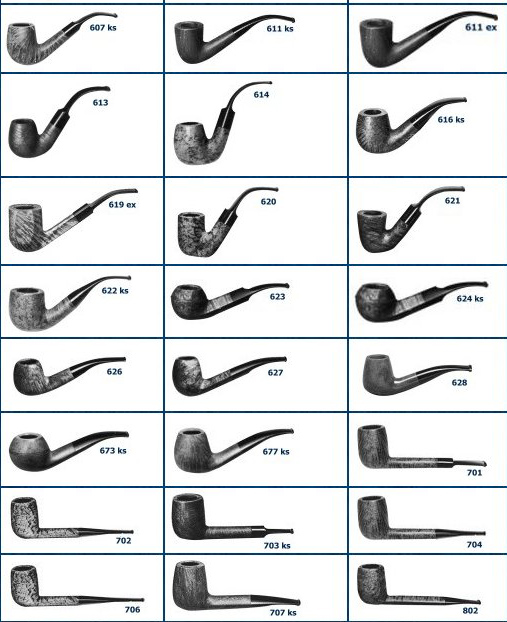
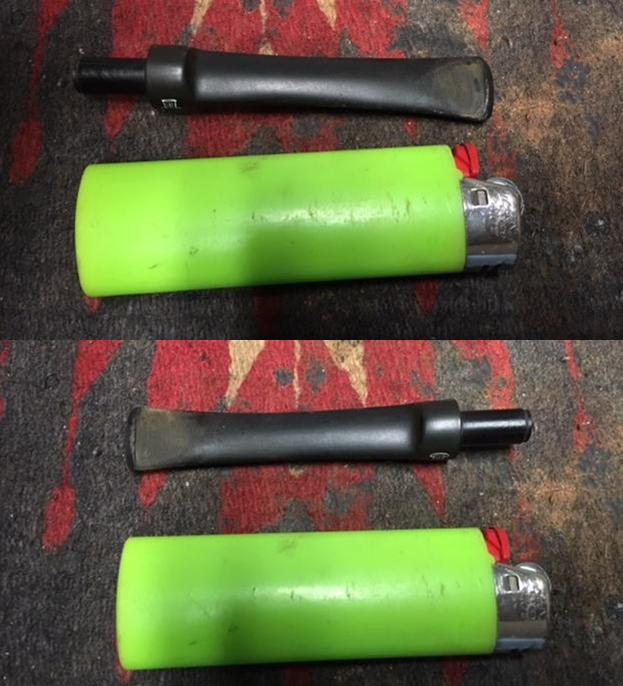
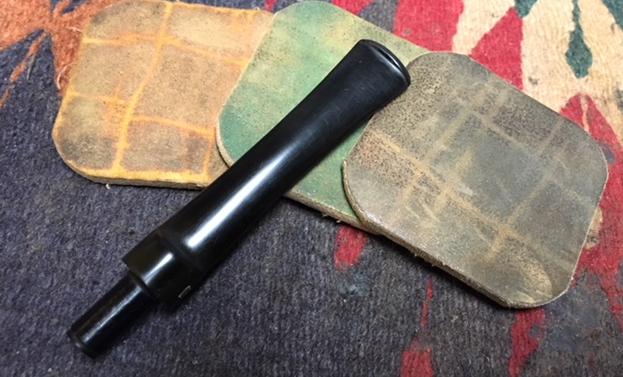
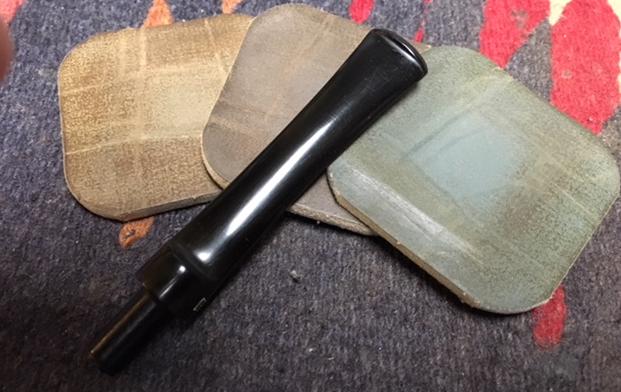
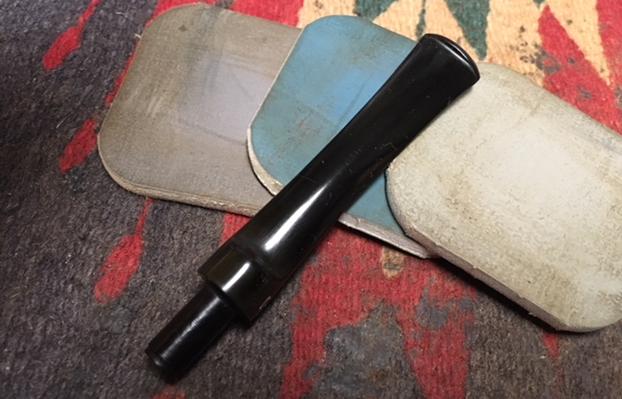
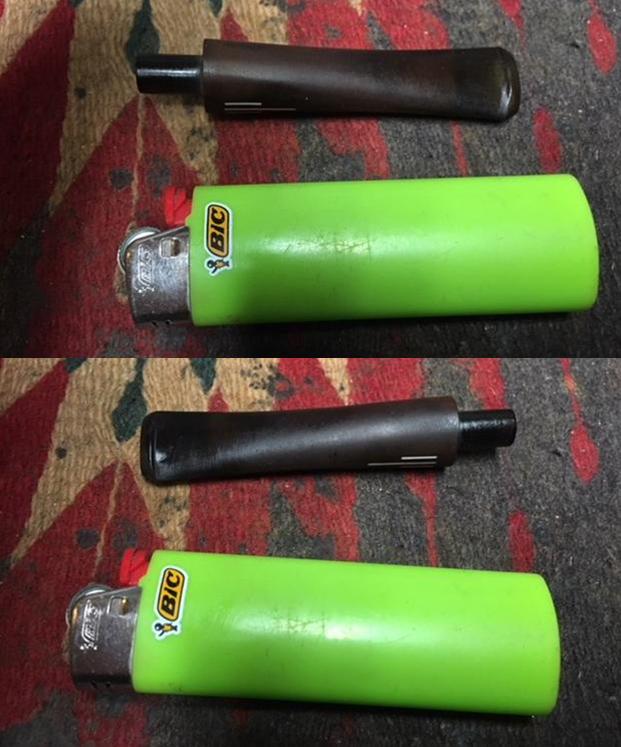
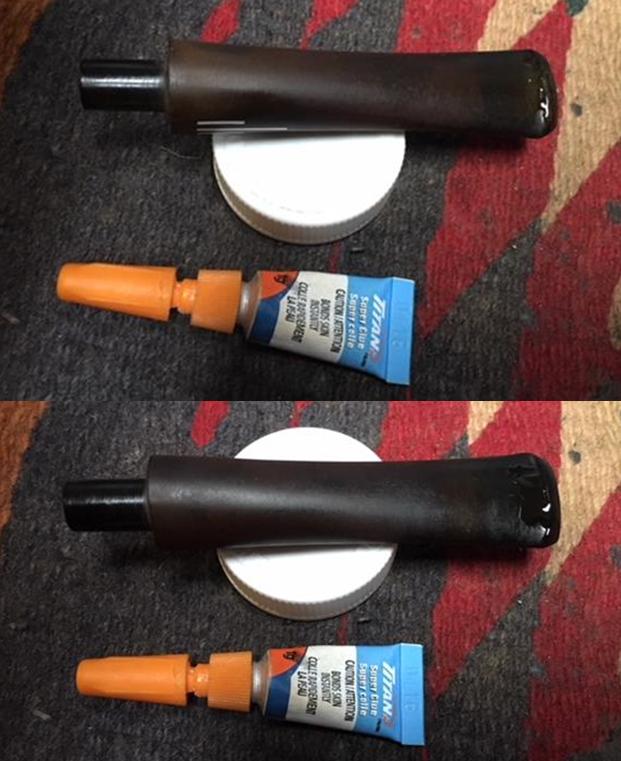
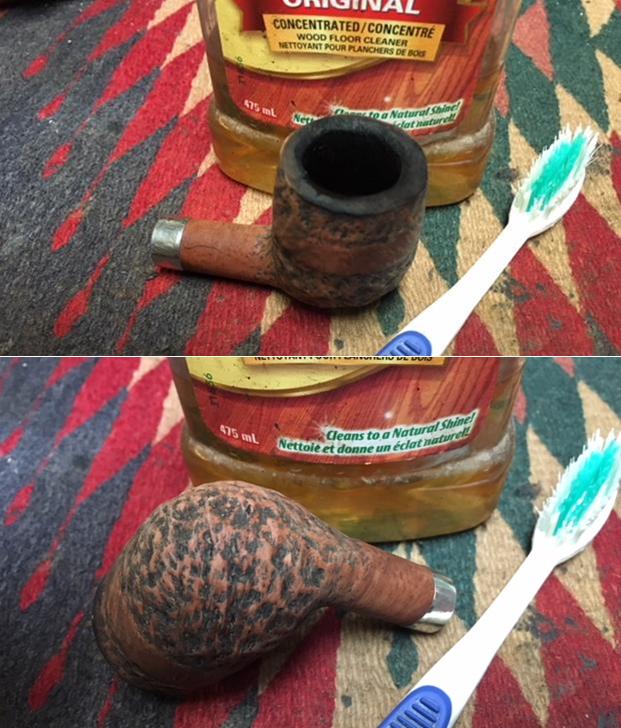
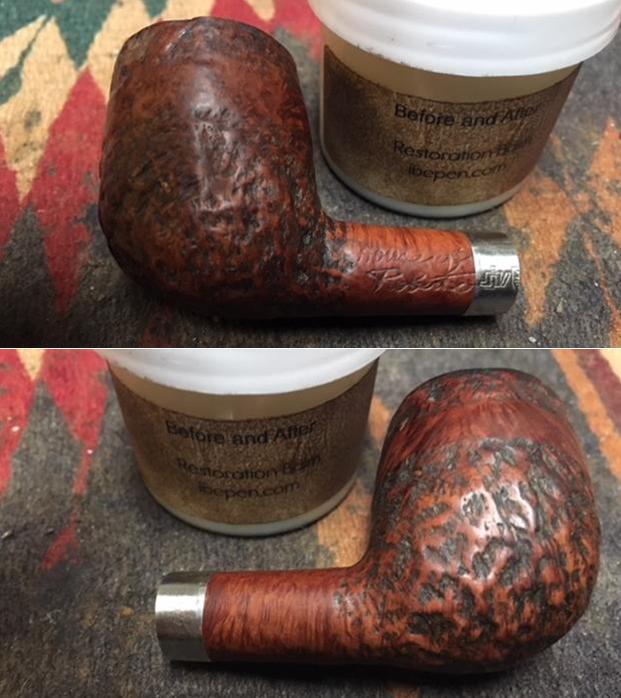
The next pipe on the work table is another pipe from the estate of a Vancouver pipe smoker whose widow left them with a local Pipe Shop. I was asked to clean them and sell them for the shop. The photos show the pipe when I brought it to my work table. It is a nice Savinelli Capri Root Briar with an almost Sea Rock type finish. The bowl was heavily caked with a lava coat on the top of the rim. It was hard to tell how the inner and outer edge of the rim actually looked until the bowl was reamed. The exterior of the bowl was dirty and covered with grime dust in the deep grooves of the finish. The stem had the same tooth marks and chatter on the top and underside near the button as the rest of the pipes in this estate. There was calcification on the first inch from what looked like a Softee bit. The stem has the Savinelli Shield S logo on the top. The pipe is stamped on the underside of the shank with the words Savinelli Capri over Root Briar. There is a Shield S logo next to that and the shape number 141KS at the shank/stem junction. I have included a Savinelli Shape Chart and circled the 141KS in red. It is a billiard with a tapered stem.I took photos of the pipe when it arrived so I would have a base point before I did any clean up or restoration. When I went back to the States after Christmas to visit my parents and brothers I took a box of these pipes with me so that I could have Jeff clean them for me. When they came back to Canada they looked like different pipes. He had reamed the bowl with a PipNet pipe reamer and cleaned it up with a Savinelli Fitsall Pipe Knife. He scrubbed the exterior with Murphy’s Oil Soap and a tooth brush to clean off the grime on the finish and the heavy overflow of lava on the rim top. He cleaned up the internals of the shank, mortise and stem with pipe cleaners, cotton swabs and alcohol to remove all of the oils and tars in the pipe. When it came back to Vancouver it was a quite different pipe. I took pictures of it to show the condition at this point – the bowl looked great and the stem was very oxidized. I took photos of the rim top and the stem to show their condition. Jeff was able to clean out the bowl completely and the rim top. He removed the tars and lava and left behind a clean top that showed all of the original rustication and looked very good. The stem was oxidized and there was tooth chatter and marks on both sides near the button and on the surface edges of the button itself.I am working on five of the pipes from that estate at the same time. I put all of the stems in a bath of Before & After Pipe Stem Deoxidizer to soak. I submerged them all of the stems in the bath and let them soak overnight to break down the oxidation.I took the stem out of the deoxidizer and rinsed it under warm water to rinse off the mixture. I blew air through the stem and ran water through it as well to rinse out the mixture there as well. The stem still had some oxidation spots but it was all on the surface as seen in the first two photos below. I painted the surface of the stem with the flame of a Bic lighter to lift the tooth marks. One of the benefits of the lighter is that it burned off the sulfur on the surface of the stem. It did not take too much work for the vulcanite to return to its smooth condition. I sanded out the lighter tooth marks and chatter with 220 grit sandpaper until there were two deep tooth marks on the underside of the stem that remained. I filled those in with clear super glue and laid the stem aside to let the repairs cure. While the repairs on the stem were  curing I rubbed down the briar with Before & After Restoration Balm. I worked it into the nooks and crannies of the rusticated briar to clean, enliven and protect the finish. I let the balm sit for a little while and then buffed it with a cotton cloth to raise the shine. The following photos show the bowl now. Once the repairs had dried/cured I sanded them smooth with 220 grit sandpaper to blend them into the surface of the bowl. It took a lot of sanding to smooth them all out.I polished out the scratches in the vulcanite with 400 grit wet dry sandpaper and with micromesh sanding pads. I wet sanded with 1500-2400 grit pads and dry sanded with 3200-12000 grit pads. I wiped the stem down after each pad with Obsidian Oil. After sanding with the 12000 grit pad I polished the stem with Before & After Pipe Stem Polish – both Fine and Extra Fine. With the stem polished I put it back on the pipe and lightly buffed the bowl with Blue Diamond. I buffed the stem with a more aggressive buff of Blue Diamond. I gave the bowl multiple coats of Conservator’s Wax and the stem several coats of carnauba wax and buffed the pipe with a clean buffing pad to raise the shine. I hand buffed it with a microfiber cloth to deepen the shine. The pipe polished up pretty nicely. The finished pipe is shown in the photos below. I will be posting it on the rebornpipes store very soon. It should make a nice addition to your pipe rack if you have been looking for a reasonably priced pipe with a Sea Rock style finish. It should be a great smoking pipe with a good hand feel. The dimensions are Length: 6 inches, Height: 2 inches, Outside diameter of the bowl: 1 3/8 inches, Chamber diameter: 3/4 inches. Thanks for walking through the restoration with me as I worked this pipe over.

Father Tom – Thinking through the news, surprised by a gift


Blog by Steve Laug

Father Tom woke up and was surprised to find that he had fallen asleep in his recliner the evening before. He remembered sipping a scotch and his pipe while thinking through the news that the doctor had given him. Even as he awoke he realized that he wanted to talk with Doctor Mac when he returned to find out a bit more clearly what he was facing. He remembered that the biopsy and scans were scheduled before Mac returned. He sighed and began to feel a bit more awake. He wondered what had happened to the scotch and the pipe. He looked down on his lap and had to laugh. His pipe had fallen out of his mouth and landed upright between his legs. He must have laid the scotch on the table before he went to sleep because it was sitting on the table next to the chair.

He put the pipe on the table next to him, stood up and stretched out the inevitable kinks that come from sleeping in a chair. He took the glass to the kitchen and made some coffee. He went to the shower while the coffee was brewing and washed away the remnants of sleep. He dried off and stood looking at himself in the mirror thinking how quickly life could change. Just yesterday as he stood in this same place he was just apprehensive as he always was when he had to go to the doctor. But today he carried with him the news of yesterday – he potentially had cancer. The awkwardness of the locum made it seem to him that potentially was a weak word and that she had believed that he did indeed have cancer. Cancer… what an awful word that conjured up many ghosts for him. He thought of all the friends he had buried who had succumbed to cancer. He knew that prostate cancer was one of the “better” cancers but it was still cancer.

The beep of the coffee pot announcing that his coffee was ready brought him out of his motionlessness. He quickly dressed, took his meds and went to the kitchen for his coffee. He filled his favourite mug with the hot brew, added a bit of cream and went back to the parlour. He picked up his pipe from the table, cleaned out the dottle in an ashtray, ran a pipe cleaner through the airway and reached for some Virginia tobacco to light up. He packed his bowl while sipping his coffee and when everything was right he touched the flame of his lighter to the tobacco. Soon he was wreathed in smoke, sipping his pipe and his coffee. He had decided that today would be a day of rest – a day when he would not go to the office or visit folks. He needed time to process what was ahead of him. He sat in silence letting the pipe and coffee both calm and waken him. He was in no rush today so the quiet was good for him.

When he had finished his coffee he refilled his pipe and got ready for a walk around the neighbourhood. He put the coffee cup in the kitchen sink, put on his jacket and cap and headed out the front door. He locked the door behind him, turned and stood on his front porch long enough to observe the life on the street in front of his house. He tamped and relit the pipe and headed down the steps and out the gate. He had decided to head over to the park around the corner from his house. There was a nice bench there and the sunny day would make that a great spot to stop for a while and think. He walked to the far corner of the park and settled on the bench under the tree there. He tamped and relit the pipe. Once again his mind went over the news that seemed to interrupt his thoughts repeatedly since yesterday. He worked over the implications of the news. He knew that nothing was certain until after the biopsy but he believed in working through the worst case scenarios first. He knew that he had lots of holiday time left because he rarely took any time off. He also could feasibly take a leave of absence to go through the recovery… hmm he thought recovery. There were just too many unknowns for him to wrap his head around. Would he need surgery or radiation or…? He had no idea. He repeated his 3rd Step Prayer of Surrender to God and puffed quietly on his pipe.

As the smoke drifted around his head and up into the trees he felt a deep quietness begin to settle into his soul. The prayer and the pipe together worked to quiet him. He knew that nothing was certain – not the cancer, not the treatment regimen, not health, not work and certainly not life. He let the uncertainty go and was able to empty his head. The smoke from his pipe was almost prayerful as it curled heavenward. It was not impeded by branches or obstacles and he had a deep sense of being heard. He sat quietly just sipping the smoke from his pipe until the bowl was empty of all but ashes. Even then he continued to sit for a while. If you had seen him that morning you would have seen and older gent with a pipe in his mouth that had gone out, a distant look in his eye and a quiet, relaxed posture sitting on the park bench.

A pair of crows flew by and their cawing called him back to the moment. He tipped out the ash from his bowl and absentmindedly put the empty pipe in his mouth. He stood up and walked up the hill and out of the park. He thought he might head over to the pipe shop and pick up some pipe cleaners and see if there was anyone there he could chat with. Maybe he would pick up another tin of tobacco but time would tell. He had a couple of lane way paths that were a short cut to the shop so he headed in that direction. He walked along quietly. His mind was no longer spinning as the time alone with his pipe and prayer had come together to bring quiet. He enjoyed the sunny day and the silence. This combination was something he sought and savoured, so the moment was perfect.

He turned down the first lane way on his short cut across the neighbourhood. He stopped and reloaded his pipe, lit it, tamped and relit it. Once it was burning well he continued on his way. Sometimes he would kick rocks or debris on the ground just for fun – reliving a childhood habit of kicking stones or cans as he walked. He kicked a crumpled bag that lay on the side of the lane expecting to hear the crackle of paper but instead it was quite solid. It had more of a thunk sound like there was a can in the bag. He was used to seeing bags in the gutters and lane ways around his home so he figured it was just an empty that someone had thrown there. He figured he would pick it up and put it in a bin nearby so he bent down to grab it. The bag was a bit heavier than just an empty can so it made him wonder what was inside. He opened the bag and peered into it. To his surprise there in the bottom of the bag laid a small round tin. It was upside down so the only thing he saw was the small price tag on the bottom. It looked like it was a tobacco tin. But there was only one way to know for sure. His curiosity got the better of him and he tipped the contents of the bag into his other hand. He had a hard time believing what was in his hand, but there it was – a sealed tin of Dunhill’s Elizabethan Mixture.

He turned the tin over in his hands examining it and he could see that the tax stamp was unbroken. He looked around to see if there anyone in the lane that could have dropped it. But the lane was empty of people other than him. There was no receipt or anything in the bag to give him a clue as to who had left the tin behind. The bag was crumpled up as if it had been pitched so it seemed like it was ownerless. It looked like it had become his. If you are a pipeman then you can imagine where his mind went now. All thoughts of his cancer or anything else were left behind. All thoughts of heading to the pipe shop were left behind. All thoughts regarding the future were left behind and he was immersed in the moment. He turned the tin over in his hands. He loved a good mixture of Perique and darkened Virginias and this was blend he enjoyed. He kept walking as he knew there was a park bench not too far away and he intended to savour the bounty of this new tin and enjoy the morning.

He got to the bench in short order. It was a great place to watch the world pass by while he enjoyed a bowl. It was not near a bus stop so he could safely smoke without being bothered by others. He looked the tin over to see if he could get a feel for the date of it… he was surprised to see that it was made by Murray’s so it was an older tin. He felt even more blessed than before – not only was it a tobacco he liked, but it also was an older tin which he liked even better. He popped the tin open with a quarter he had in his pocket and heard the characteristic puff of air as the lid lifted. He savoured the pungent aroma of the mixture and laid the lid aside. He opened the paper liner, lifted the card, held the tin to his nose and inhaled the aromas of the tobacco. To his mind there was nothing like the rich smells of a freshly opened tin of tobacco.

He loaded his pipe with a bowl of the new tobacco, tamped it lightly and gave a charring light. He tamped again and gave it another light. The tobacco caught fire and began its slow steady burn while sipped and tasted the richness of the older blend. It was a really good smoke. Soon he was lost in identifying the flavours of each of the tobaccos that made up the blend. It was a ritual that he always went through with a new tin of tobacco. It never mattered if it was one that he had before or if it was something new to him. It was a challenge to try to figure out the components of a blend as he smoked it. He sipped the smoke and let each part play its role on his tongue and mouth. All other thoughts were gone from his mind as he was lost in the moment.

When he finished the bowl, having lost all track of time he reached for his watch only to find that in the morning rush he had forgotten to put it on. He did not even have a cell phone to check. He rose from the bench and walked down the hill to the nearest Vietnamese restaurant. He suddenly realized that he had not eaten breakfast and his stomach reminded him. When he arrived he nodded greetings to his neighbours and ordered his favourite pho with meat balls and rare beef. He sipped the tea that they brought him and cleaned out his pipe on the extra napkin. He ran pipe cleaners through the stem and airway, folded them, swabbed out the bowl and put them on the napkin as well. He folded the napkin and laid it aside while he sipped his tea. He was looking forward to his bowl of soup.

The waitress served the large soup and he quietly sat and finished his lunch. He was finally at peace with what lay ahead of him. It amused him how easily a tin of tobacco could change his whole perspective. But as he thought about it he realised that the pipe and the prayer had begun the process of his surrender of something beyond his control and the tin of tobacco had merely taken his attention at the right time… ah well time to head out. He thought he might head down to the tobacco shop after all and see what they had on their shelves. He was up for a day out on a walk about. He reloaded his pipe, paid his bill and headed outdoors. He stood in the door way and lit the pipe and waited until he had a good coal going before walking. He was enjoying the day. People walked by and nodded their hellos; one older woman even said she loved the smell of his pipe as it reminded her of her dad. He stood quietly waiting for the tobacco to start burning well before he walked on.

Once the pipe was burning well, he tamped his pipe, relit it and started down the next lane way on his trek across the neighbourhood to his favourite pipe shop. Yes indeed, though much was still uncertain in terms of the days ahead for him, there was a lot to be thankful for.


About Savinelli Panels, and a Couple of Restores


Blog by Robert M. Boughton

Copyright © Reborn Pipes and the Author except as cited
https://www.facebook.com/roadrunnerpipes/

Thinking outside of the box is unnecessary when there are no boxes in your imagination.
— Matshona Dhliwayo, Canadian-based philosopher, entrepreneur and author born in Zimbabwe

INTRODUCTION

Four generations of the Savinelli family have managed not only to maintain but enhance the quality of pipes produced since Achille Savinelli Sr. opened his little business in Milan in 1876.  That shop is still there today.  In 1890, the founder’s son, Carlo, continued the original practice of assigning actual pipe production to skilled artisans.  For more than 55 years, that tradition went unbroken, until Carlo’s son, Achille Savinelli Jr., returned from his service in World War II and moved the business to Brebbia, where the pipes first began being made in the family’s own factory/workshop in 1948.  Since 1987, when Achille Jr. died, his son, Giancarlo, has been at the helm.

The Savinelli shop was the first to offer general pipe smoking items in Italy, and the name gained respect to Italian pipes, which before them had almost universally low opinions due to the general low standards of craftsmanship.  Of all the Savinelli pipes I’ve owned, I would describe just one as being notably less than exceptional.  My personal favorite styles are the many panel lines, examples of which I will show.  I had hoped to succeed in providing also a definitive list of shape numbers associated with panels, but every turn in my online searches leads to still more.

The chart below, although not official and woefully incomplete, includes the most panel shapes: 502, 506, 513KS, 515, 619EX and 824KS. Savinelli Pipe Shape Chart courtesy Pipephil

The easiest to find seems to be KS variations of the 515 such as the two I restored before.

Champagne 515KS

de luxe Milano 515KS

Here are more gorgeous specimens, all but one of them not to be found on any chart I can locate.  The official Savinelli chart lists the 505.

Autograph Grade 8 0007 courtesy Savinelli

de luxe Milano 505 courtesy Smoking Pipes

And here’s one I would so love to own.

120th Anniversary 6-panel D courtesy Smoking Pipes

At some point, Savinelli appears to have abandoned the number system altogether, but fighting the urge to show all that I found, I’ll limit it to the two most extraordinary.

Autograph Half Rustic-Half Smooth courtesy Tobacco Pipes

Autograph Mignon Freehand courtesy Smoking Pipes

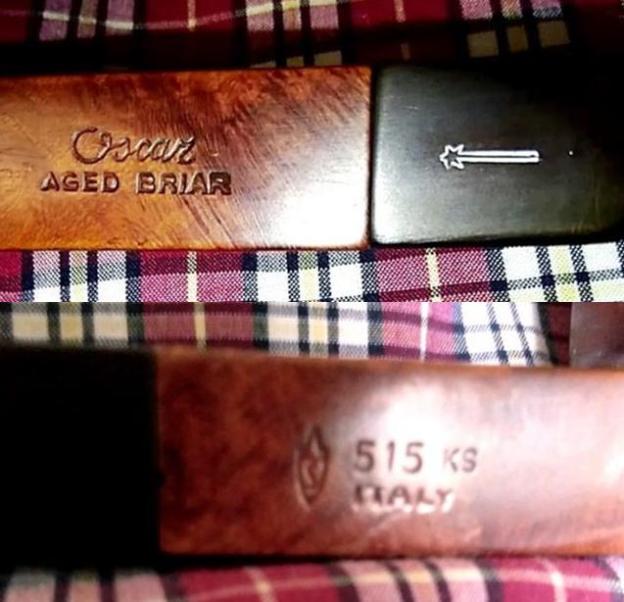
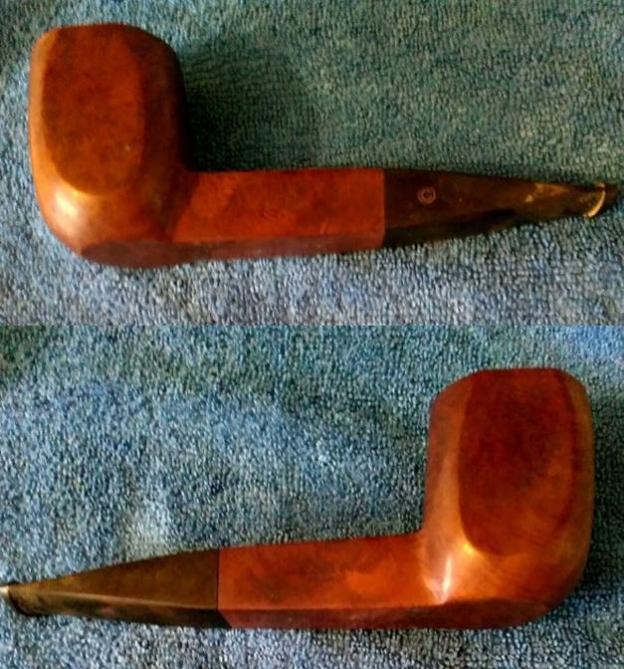
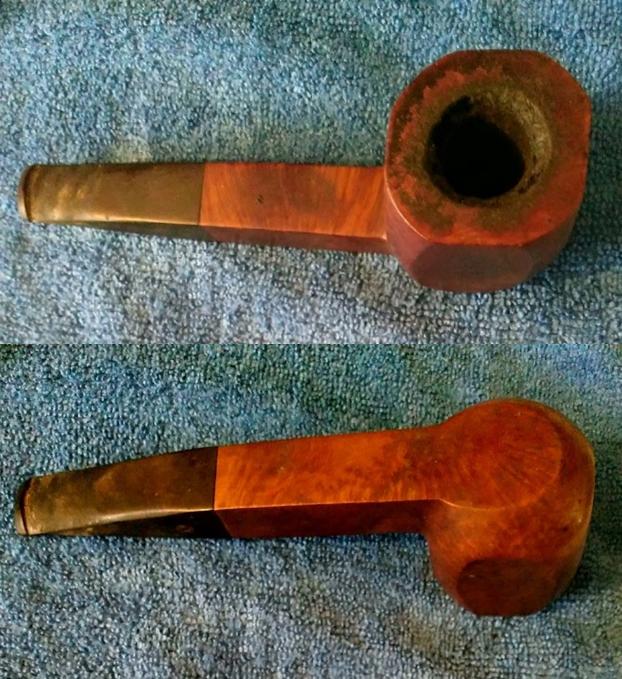
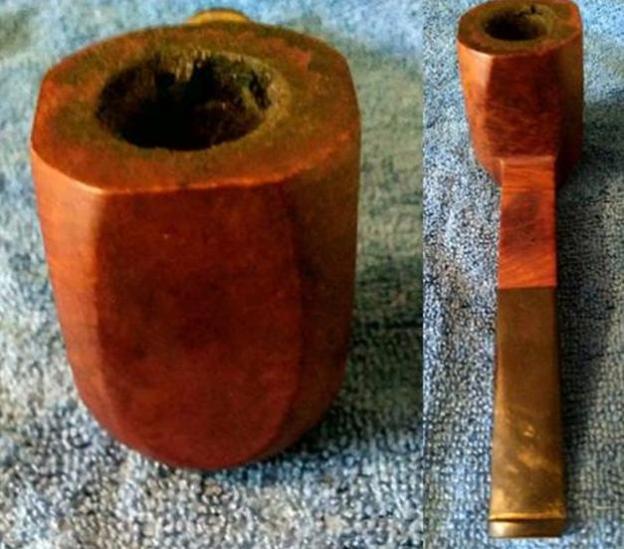
Now for the two more common panels I restored a few months ago, an Oscar 515KS and an un-numbered Colossal, in that order.

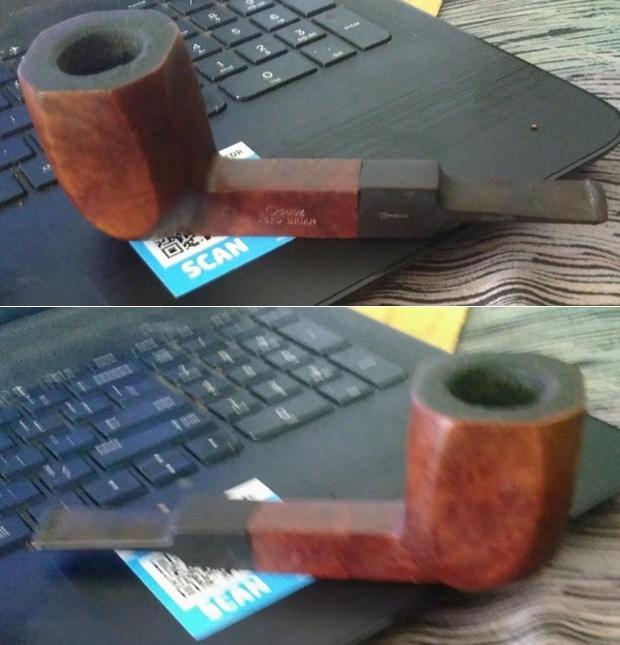
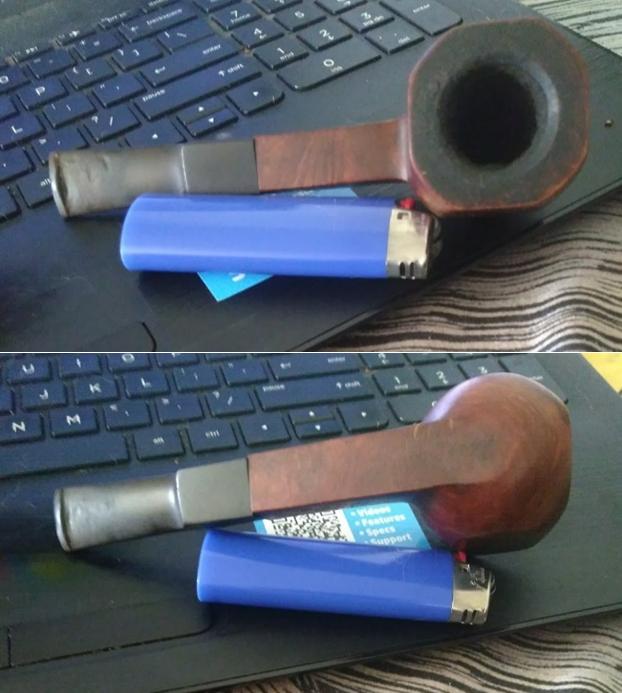
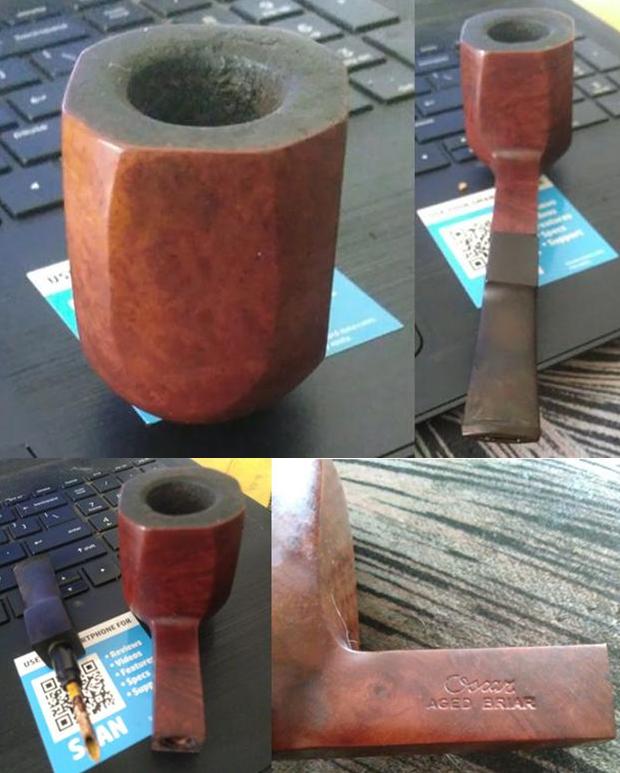
RESTORATION: OSCAR AGED BRIAR 515KS

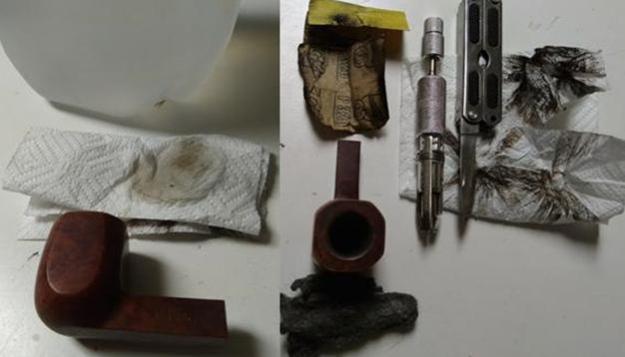
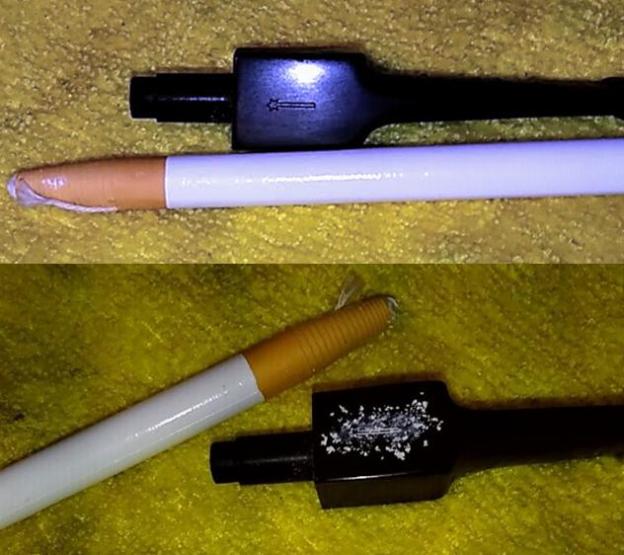
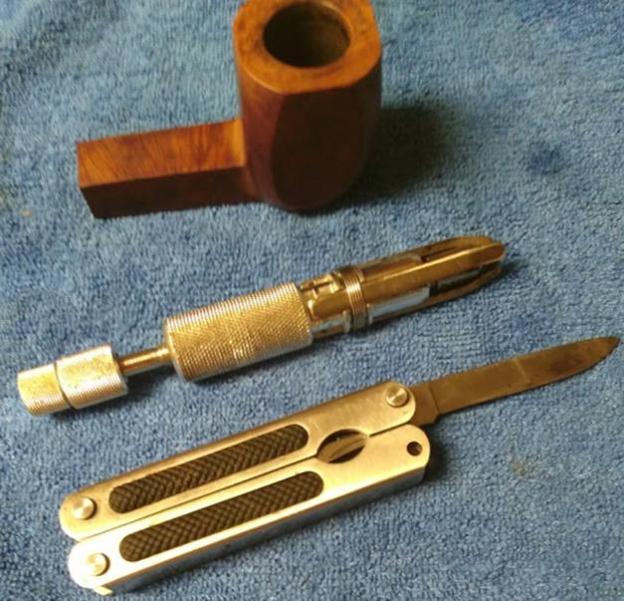
Starting with the stummel that was cleaner than most, some purified water on a paper towel made it look a little better but did almost nothing for the very charred rim.  I reamed the chamber and, in a measure uncommon to me, used the knife from a pocket utility tool to remove large, hardened spots of obdurate cake buildup before smoothing the area with 320- and 400-grit papers.  The rest of the black rim came clean with gentle use of super fine 0000 steel wool. As a preliminary cleaning, I put a soft cotton ball in the chamber and filled it with isopropyl alcohol, plugging the bit with a pipe cleaner.  Then I ran more cleaners through the shank and only one to clear the bit’s air hole. Turning to the bit, I heated the crusty old tenon and removed it before considering how to proceed with the well-used Vulcanite.After wiping it down with a little purified water on a paper towel, I used my Bic to raise some of the chatter and dings. That helped, but I decided on the 180-grit side of a sanding pad to remove some of the remaining marks.Focusing on the deeper marks below the lip with 150-grit paper before smoothing it all out with a progression all the way up to 600-grit, I finished with a full micro mesh workup.  Unfortunately, I didn’t snap any pics of the paper work, but here’s how the bit turned out.I retorted the pipe.To lighten the color, I sanded with 400-grit paper. A full micro mesh progression made the wood shine like new. The shooting star on the bit filled in well with a white grease china marker.  The Oscar is one of four pipes with the shooting star mark on the bit, including the Antique Shell, the Garda and the Sila. Machine buffing with carnauba was all that was needed to finish.

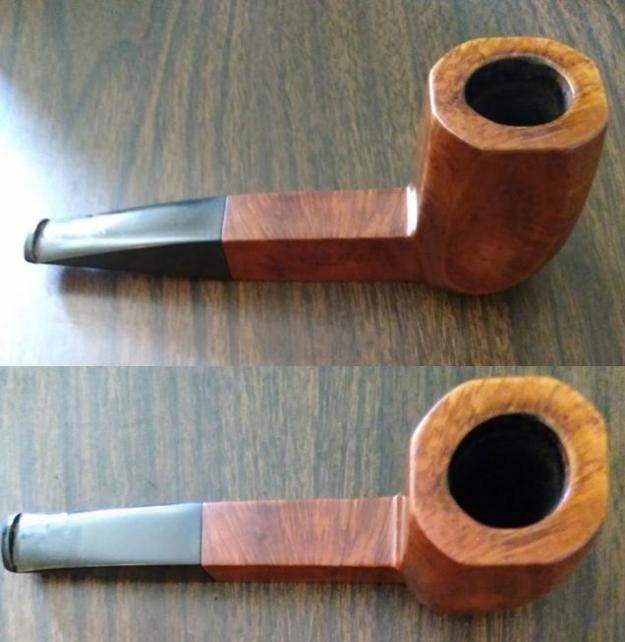
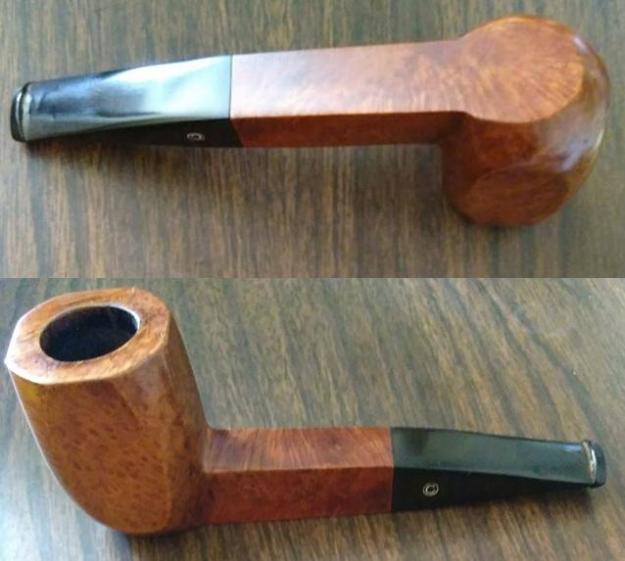
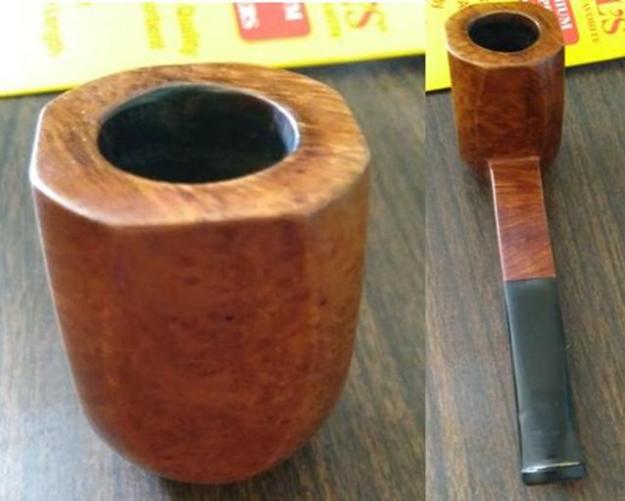
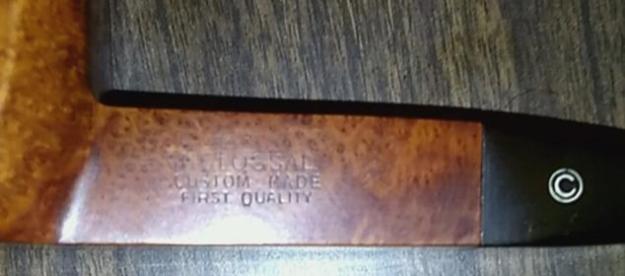
RESTORATION: COLOSSAL CUSTOM MADE FIRST QUALITY This time I decided to start with the bit.Again, the Bic raised some of the blemishes.After that, oddly enough, I gave it an OxiClean bath that had a remarkable effect, followed by wet micro mesh.  The Colossal’s inlaid C is unique. With the stummel, as before, I gave it a preliminary cleaning before the retort. I tried super fine steel wool on the rim, for some reason without success, and turned to 220-, 320- and 400-grit papers.The chamber had the same kind of obstinate cake buildup as the Oscar, so I again reamed it and scraped more with the blade of my utility tool.Micro mesh worked fine on all but the right side.  To eliminate more pernicious scratches there, I turned to 400- and 600-grit papers and re-micro meshed. And that was that other than the final machine carnauba buffing. CONCLUSION

Savinelli panels tend to be big, thick, sturdy pipes that smoke with a uniform, cool evenness.  I really love all of them that I’ve owned and kept the Colossal for my collection but sold the Oscar.  A more complete list of panel shape numbers is in the works, and I’m going to contact Savinelli to see what they have to say on the matter.  I’ll keep you posted.

Ciao!

SOURCES

https://www.savinelli.it/it_en/history
http://www.pipephil.eu/logos/en/logo-savinelli1.html
http://www.pipephil.eu/logos/en/infos/savinelli-chart.html
https://www.smokingpipes.com/pipes/new/savinelli-autograph/
https://www.cupojoes.com/pipes/savinelli/?sort=bestselling&page=1
https://www.cupojoes.com/savinelli-cumberland-smooth-dark-brown-pipe-812/
https://www.cupojoes.com/savinelli-porto-cervo-smooth-pipe-506/
https://www.google.com/search?q=savinelli+panel+pipes&rlz=1C1CHBF_enUS769US769&tbm=isch&tbo=u&source=univ&sa=X&ved=0ahUKEwiGnN2D34TaAhUeHGMKHRBSDJgQsAQIeA&biw=1366&bih=598
https://www.savinelli.it/it_en/pipe-freehand/autograph.html

Breathing New Life into a Royal Esquire French Made Poker


Blog by Steve Laug

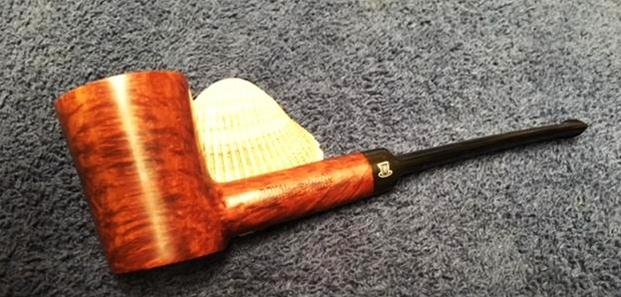
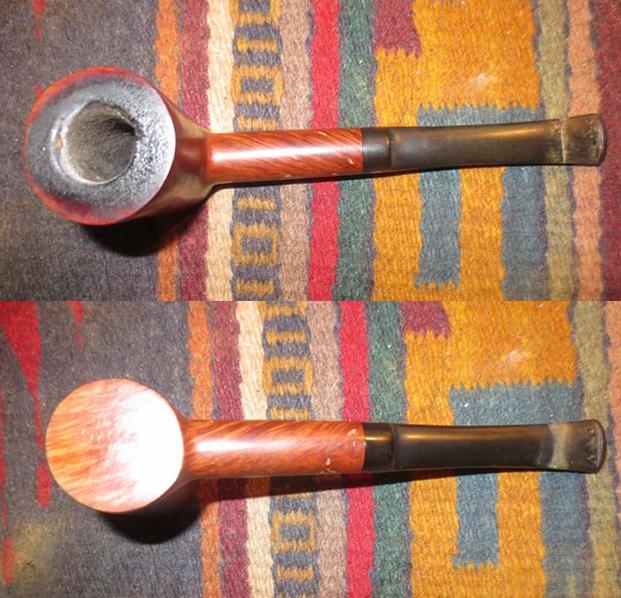
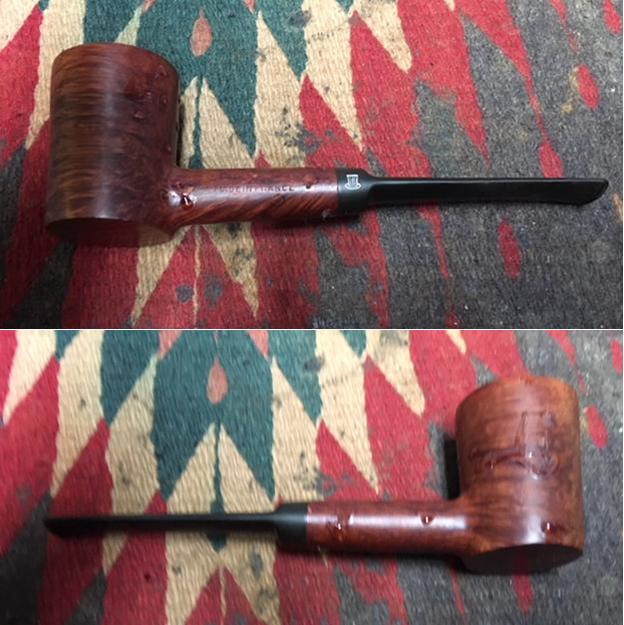
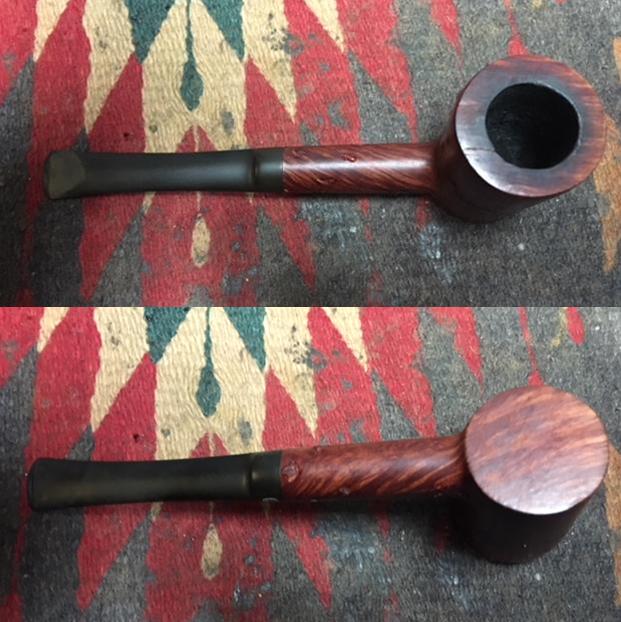
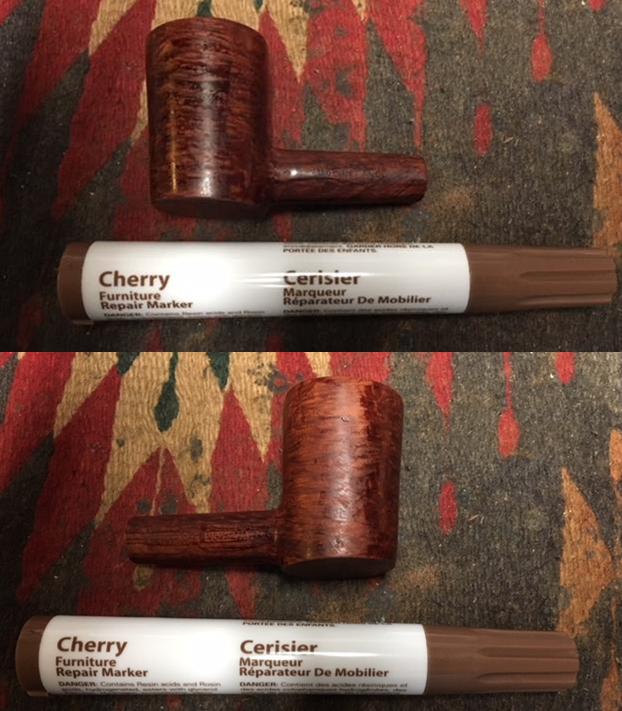
The next pipe on the work table is another pipe from the estate of a Vancouver pipe smoker whose widow left them with a local Pipe Shop. I was asked to clean them up and sell them for the shop after it closed. The photos show the pipe as it was when I brought it to my work table. It is a light weight Poker shape – with some interesting grain but the number of small putty fills in the bowl on the sides, back and shank detract from the cross grain on the bowl sides and birdseye on the front and back sides. The bowl was heavily caked with a lava coat on the top of the rim. It was hard to tell how the inner and outer edge of the rim actually looked until the bowl was reamed. The exterior of the bowl was dirty and covered with grime. The stem had the same tooth marks and chatter on the top and underside near the button as the rest of the pipes in this estate. There was calcification on the first inch from what looked like a Softee bit. The stem has a Top Hat logo on the left side of the saddle. The pipe is stamped on the left side of the shank with the words Royal Esquire over Made in France. There is no other stamping on the pipe. When I went back to the States after Christmas to visit my parents and brothers I took a box of these pipes with me so that I could have Jeff clean them for me. When they came back to Canada they looked like different pipes. He reamed the bowl with a PipNet pipe reamer and cleaned it up with a Savinelli Fitsall Pipe Knife. He scrubbed the exterior with Murphy’s Oil Soap and a tooth brush to clean off the grime on the finish and the heavy overflow of lava on the rim top. He cleaned up the internals of the shank, mortise and stem with pipe cleaners, cotton swabs and alcohol to remove all of the oils and tars in the pipe. When it came back to Vancouver it was a quite different pipe. I was in a hurry this afternoon when I worked on this one and forgot to take photos of the bowl and stem before I started working on the pipe. There were so many fills and places where the putty had shrunk that I had a hard time even looking at it the way it was. I had already refilled the fills in the sides and shank with clear super glue and then remembered to take photos. You will have to imagine it without all the super glue freckles around the bowl. I took photos of the rim top and the stem to show their condition. Jeff was able to clean out the bowl completely and the rim top. He removed the tars and lava and left behind a clean top that would need to be topped to remove some of the deep scratches and burn marks around the edges of the rim. The stem was lightly oxidized and there was tooth chatter and marks on both sides near the button and on the surface edges of the button itself.I took the stem off the bowl and took photos of the repaired fills all around the bowl and shank. Somehow the pink putty that was in them really stood out and made them highly visible. They look like pox marks. Once the repairs had dried/cured I sanded them smooth with 220 grit sandpaper to blend them into the surface of the bowl. It took a lot of sanding to smooth them all out. I was careful around the stamping on the left side of the shank so I would not damage it. To clean up the damaged rim top I used 220 grit sandpaper on a topping board. I topped the bowl until the surface was smooth and the damage was removed. It did not take too much work to remove the damaged areas.I cleaned up the inner edge and the slight bevel with a folded piece of sandpaper. I worked it around the bowl to smooth out the damage and minimize the darkening on the inner edge.I polished the bowl top and sides with micromesh sanding pads – wet sanding with 1500-2400 grit pads and dry sanding with 3200-12000 grit pads. I wiped the briar down after each sanding pad with a damp cloth. I was amazed at how many of the fills blended into the finish of the bowl and virtually disappeared. There were still some showing on the shank but the overall effect of the polishing was really apparent. I decided to stain the pipe with a Cherry stain pen to blend the repaired fills into the rest of the briar. The stain looks streaked and uneven but it will blend in nicely to the grain once I am finished with it. Once the stain dried I wiped the bowl and shank down with alcohol on a cotton pad to remove the streaking and blend the colours on the briar. The pictures below show the pipe at this point in the process. The fills have all but disappeared into the stain. The pipe looks considerably better at this point. I rubbed down the briar with Before & After Restoration Balm. I worked it into the surface of the briar to clean, enliven and protect the new finish. It also evened out the stain coat and gave the stain a multidimensional feel. I let the balm sit for a little while and then buffed it with a cotton cloth to raise the shine. The following photos show the bowl now. The fills are invisible. The bowl is pretty well finished. I still need to wax and buff it but that will wait for the stem. I turned my attention to the stem and worked on the tooth marks and chatter near the button. I sanded it with 220 grit sandpaper until I removed the lighter marks on the surface of the stem.I painted the surface of the stem with the flame of a Bic lighter to lift the tooth marks. One of the benefits of the lighter is that it burned off the sulfur on the surface of the stem. The tooth chatter and marks lifted on both sides of the stem. A little sanding would smooth it out well. I polished out the scratches in the vulcanite with 400 grit wet dry sandpaper and with micromesh sanding pads. I wet sanded with 1500-2400 grit pads and dry sanded with 3200-12000 grit pads. I wiped the stem down after each pad with Obsidian Oil. After sanding with the 12000 grit pad I polished the stem with Before & After Pipe Stem Polish – both Fine and Extra Fine. With the stem polished I put it back on the pipe and lightly buffed the bowl with Blue Diamond. I buffed the stem with a more aggressive buff of Blue Diamond. I gave the bowl and the stem several coats of carnauba wax and buffed the pipe with a clean buffing pad to raise the shine. I hand buffed it with a microfiber cloth to deepen the shine. The pipe polished up pretty nicely and the many fills virtually disappeared with the new stain. The finished pipe is shown in the photos below. I will be posting it on the rebornpipes store very soon. It should make a nice addition to your pipe rack if you have been looking for a reasonably priced pipe that can be used as a yard or shop pipe. It should be a great smoking pipe with a good hand feel. The dimensions are Length: 5 1/2 inches, Height: 1 3/4 inches, Outside diameter of the bowl: 1 1/4 inches, Chamber diameter: 3/4 inches. Thanks for walking through the restoration with me as I worked this pipe over.

Fresh Life for a Comoy’s The Everyman 126 Sandblast Pot


Blog by Steve Laug

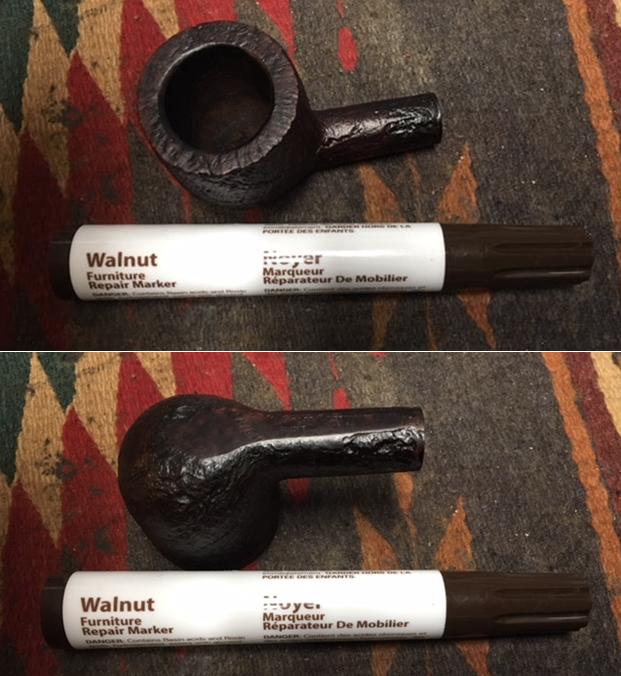
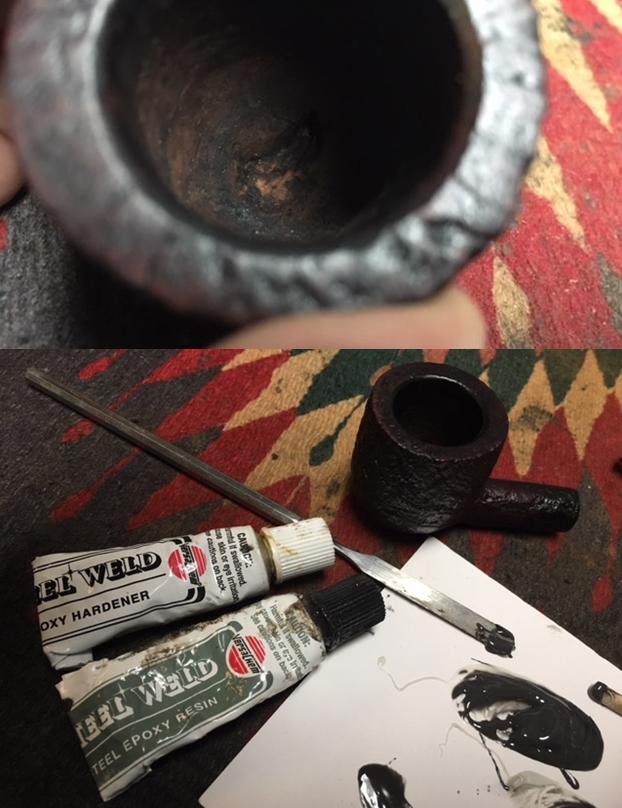
The next pipe on the work table is another pipe that came to me from the estate of a Vancouver pipe smoker whose widow left them with a local Pipe Shop after he died. I was asked to clean them up and sell them for the shop as it has since closed. The photos below show the pipe as it was when I brought it to my work table. It is a nicely shaped sandblast pot shaped pipe – with a a really nice looking grain pattern in the blast under all the grime. The bowl was heavily caked with a lava coat on the top of the rim. It was hard to tell how the inner and outer edge of the rim actually looked until the bowl was reamed. The bowl was dirty and the finish was almost filled in with the grime. The stem had the same deep tooth marks and chatter on the top and underside near the button as the rest of the pipes in this estate. There was calcification on the first inch from what looked like a Softee bit. From the three bars on the left side of the stem and the stamping it was clearly a Comoy’s product. In this case it was stamped on a smooth band on the bottom of the bowl and shank with the words The Everyman London Pipe. Next to that it is stamped Made in London England followed by the 126 shape number next to the shank/stem junction. I took photos of it before cleaning to show that even though it was dirty the pipe showed promise.   When I went back to the States after Christmas to visit my parents and brothers I took a box of these pipes with me so that I could have Jeff clean them for me. When they came back to Canada they looked like different pipes. He reamed the bowl with a PipNet pipe reamer and cleaned it up with a Savinelli Fitsall Pipe Knife. He scrubbed the exterior with Murphy’s Oil Soap and a tooth brush to clean off the grime on the finish and the heavy overflow of lava on the rim top. He cleaned up the internals of the shank, mortise and stem with pipe cleaners, cotton swabs and alcohol to remove all of the oils and tars in the pipe. When it came back to Vancouver it was a quite different pipe. I took photos of it before I started the restoration. I took photos of the rim top and the stem to show their condition. Jeff was able to clean out the bowl completely and the rim top. He removed the tars and lava and left behind a clean top that would need some stain touch ups. The stem was oxidized, though less so where the Softee bit had been. There were scratches, tooth chatter and marks on both sides near the button and on the surface edges of the button itself.I decided to work on five of the pipes from this estate at the same time so I put all of the stems in a bath of Before & After Pipe Stem Deoxidizer to soak. I submerged all of the stems in the bath and let them soak overnight to break down the oxidation.I took all of the stems out of the bath at the same time and rinsed them under warm water to rinse off the mixture. I blew air through the stems and ran water through them as well to rinse out the mixture there as well. Each of the stems still had varying degrees of oxidation but it was all on the surface of the stems. The photos below show the Everyman stem after rinsing and drying.I painted the surface of the stem with the flame of a Bic lighter to lift the tooth marks. One of the benefits of the lighter is that it burned off the sulfur on the surface of the stem. The top side of the stem came out very well as the tooth chatter and marks lifted. A little sanding would smooth it out well. On the underside it was a bit less successful. There were still two deep tooth marks present that would need to be repaired.I filled in the tooth marks and the dents on the top and bottom sharp edges of the button to smooth things out using clear super glue. Once the repair cures, I will sand it smooth and blend it into the surface on each side.While the repair was curing I turned my attention to the bowl. I touched up the faded areas on the rim top and around the sides of the bowl and shank with a Walnut stain touch up pen. It blended in very well with the colour of the rest of the bowl. The bowl had a hollow spot below the entrance of the airway. It was as if the bowl had been reamed with a knife and damage had been done to the bottom of the bowl. It was quite deep and rough. Since it was below the entrance of the airway I mixed a batch of JB Weld to apply to the deep gouge and build up the bottom of the bowl to the same height as the airhole. I applied it with a dental spatula and pressed it into the bottom of the bowl with a piece of wooden dowel. I rubbed down the briar with Before & After Restoration Balm. I worked it into the nooks and crannies of the sandblast finish to clean, enliven and protect the new finish. It also evened out the stain coat and gave the stain a multidimensional feel. I let the balm sit for a little while and then buffed it with a horsehair shoe brush. I buffed the bowl with a cotton cloth to raise the shine. At this point the bowl is pretty well finished. I still need to wax and buff it but that will wait for the stem. The repair on the stem had cured so I turned back to work on the stem. I used a file to recut the sharp edge of the button and then sanded it with 220 grit sandpaper until I had blended the repairs into the surface of the stem. I also worked on the remaining oxidation with the sandpaper until I removed that as well.I polished out the scratches in the vulcanite with 400 grit wet dry sandpaper and with micromesh sanding pads. I wet sanded with 1500-2400 grit pads and dry sanded with 3200-12000 grit pads. I wiped the stem down after each pad with Obsidian Oil. After sanding with the 12000 grit pad I polished the stem with Before & After Pipe Stem Polish – both Fine and Extra Fine. With the stem polished I put it back on the pipe and lightly buffed the bowl with Blue Diamond. I buffed the stem with a more aggressive buff of Blue Diamond. I gave the bowl several coats of Conservator’s Wax and the stem several coats of carnauba wax and buffed the pipe with a clean buffing pad to raise the shine. I hand buffed it with a microfiber cloth to deepen the shine. The pipe polished up pretty nicely. The finished pipe is shown in the photos below. I will be posting it on the rebornpipes store very soon. It should make a nice addition to your pipe rack if you have been looking for a reasonably priced Comoy’s The Everyman Pipe. The sandblast finish looks really good in person with depth and texture. It should be a great smoking pipe with a good hand feel. The dimensions are Length: 5 1/2 inches, Height: 1 1/2 inches, Outside diameter of the bowl: 1 1/2 inches, Chamber diameter: 7/8 inches. Thanks for walking through the restoration with me as I worked over this estate Comoy’s.


Restoring a Tired House of Robertson Billiard


Blog by Steve Laug

Not too long ago I sold one of the House of Robertson pipes to a fellow named John who collects them and lives in Salt Lake City, Utah. He loved the pipe that I sent him and wrote and asked if I would be willing to clean up and restore his first House of Robertson (HOR) pipe that had been given to him 30+ years ago by his brother. He said it was a billiard with a mixed finish – both rusticated and smooth. He said he had smoked it heavily as it was a favourite of his and it needed some attention. We made our arrangements and he shipped the pipe to me here in Vancouver. I was looking forward to working on it as I have enjoyed the other House of Robertson pipes that I have restored over the past months.

While I waited for its arrival, between working on other pipes I read over the last restoration blog I had written on an HOR pipe. I thought it might be helpful to add the information I had previously found for those of you who have not read those blogs. “House of Robertson” was in business for many years, but alas, closed their doors in 1999. They were located in Boise, Idaho. They are noted for making rather large and interesting pipes. Thayne Robertson… started the shop about 1947 and his son Jon started working there in 1970 when he finished college, along with Thayne’s daughter. Thayne and his son started making the big pipes at that time, and made them together until 1987 when Thayne passed away. Jon kept the store and his sister moved on to other things. The House of Robertson appears to have closed around 1999. https://pipedia.org/wiki/Robertson

I also received an email from Ed Mitchell from the Boise, Idaho area offering to share some of the history of the shop if I was interested. He was a frequent customer and loves the HOR Pipes. I of course was excited to learn more about the brand so I was looking forward to what he would write. It came in today’s email and I thought you might enjoy Ed’s reminiscences. Thanks Ed for sending me this information.

Hi, Steve

…I do not have any memorabilia, other than a box of two, from the House of Robertson shop. When Jon Robertson closed the store, it caught me by surprise. I do have several of Robertson pipes including a couple that need small repairs. Five or six I bought unsmoked from the widow of one of his Boise customers. The husband apparently was one of Thayne’s many friends and had bought pipes in the course of standing around visiting in his shop. One is a beautiful blond horn that I have saved unsmoked.

Thayne was a bear of a man in his 60s when I met him in the mid-1960s, a great raconteur with strong opinions on politics, religion, people and good pipes. For instance, he hated cigarette smoking; people who popped in to ask for cigarettes were shown the door with instructions on how to find the only other tobacco store in downtown Boise, an institution (still in business) that sold all types of tobacco, men’s magazines and pipes Thayne considered unworthy of any discerning smoker.

Another consequence of Thayne’s hatred of cigarettes was that he created a line of pipes sized and decorated (in some examples with inset bits of bling) for female smokers. He did make pipes in conventional shapes and sizes but preferred big freestyles. I can say I do not remember his ever making two pipes exactly alike. A large part of his business involved creating custom pipes on order. He mailed pipes to customers around the country and internationally. I am not sure what portion of his output was sold outside Boise but I had the impression that it was considerable.

The pipes I remember Thayne smoking in the shop were a couple of huge Oom Pauls about a foot long. The big man liked big pipes, usually loaded with strong English-style or oriental blends. He hooked me on my taste for Latakia tobaccos.

The shop was in one of the long, narrow brick storefronts of the old city core. An old-fashioned glass display case for pipes and accessories dominated the front along with shelves and stacks of at least 50 choices of tobaccos. A narrow flight of stairs led to inventory storage above the dusty workshop located in back behind a curtain.

For a one man shop, Thayne’s output was prodigious especially considering that the individual pipes were unique. His daughter Rosie and son Jon did assist in the shop’s latter years. Both were skilled makers but tended to create more conventionally carved and sized pipes. Most of the pipes made there, even after Thayne died and Jon was doing the work, came from a hoard of old Greek briar Thayne found in Holland around 1970. Some of the bold grain pipes from the latter years were as spectacular as smoking instruments can be. One feature I have never seen is a fill in a Robertson pipe. Thayne liked rusticating briar whenever the grain was flawed or just uninteresting.

Steve, I hope this gives you some brief insight into the House of Robertson. If you have questions to stimulate my ancient memory, I will be glad to try to answer. — Ed Mitchell

When the pipe arrived I took it out of the box to have a look at it and took some photos of it to show its condition before I began. It had a softee bit on the stem that had slid up about ¼ inch up the stem from the button. The finish was dirty and grimy. The rim top was damaged and the bowl was slightly out of round. There was a thick cake in the bowl and a heavy lava overflow on the top of the rim. There was a burn mark that was on the top of the rim at the front and extended down the bowl about a ½ inch. There was a nickel band on the shank that was a typical repair band that is available through repair suppliers. When I examined around the band on the shank end I could not see any cracks in the shank. The band had been cut off slightly so as not to cover the etched House of Robertson name on the left side of the shank. The stem was an obvious replacement that was slightly larger in diameter than the shank. The pipe definitely needed attention. I took a close up photo of the rim top to show the damage to the front of the bowl and the general condition of the pipe. The bowl is thickly caked and the rim has an overflow of lava on the rim top.  You can see how the bowl is thicker on one side than the other. The front of the bowl looks damaged as the lava on that portion is different in texture than the hard stuff on the rest of the rim top. The stem was in decent condition – some calcification on the top and underside where the rubber softee bit had been. There were some light tooth marks and chatter on both sides. The stem was lightly oxidized.I did a quick assessment of the pipe and wrote John a quick email about what I saw as I looked it over. I sent my questions to him to see if he could shed any light on what I was seeing. I am including both my questions and his response as it helps clarify what I saw when I examined the pipe first hand.

  1. Is the band something that you added? It appears to be cosmetic but it could be a repair band. They are available through online pipe parts guys and are made out of nickel. I think it is a later addition as it covers the N in Robertson. Do you know if the shank was ever cracked?? I will leave it there as it is a touch of bling.
  2. Is the stem a replacement stem? It is wider is in diameter than the shank and appears to be a replacement. The shank was drilled for a filter stem and this one is not the original as far as I can tell. It is well made and will clean up nicely. I took the softee bit off and will clean it up. I will send the softee back with the pipe.
  3. What is the hard substance in the bottom of the bowl? It appears that someone added some fill to the bottom of the bowl (unevenly mind you) to lift the bowl bottom to the level of the entry of the airway into the bowl. Is this something you added or was it there previously? I can leave it be as it is as hard as concrete. I can also smooth it out a bit with a coat of JB Weld (which is what I think is in the bottom of the bowl already).

John replied to my queries and I am including the pertinent parts of his answers:

To my recollection, the pipe is the same un-worked-on one my little brother gave me 38 or so years ago, bought directly from Mr. Robertson at his shop — I’m assuming it was the father and not the son, but I can’t remember when the elder died.

I may have had it worked on — possibly a new stem — at Jeannie’s Smoke Shop (now sold to newcomers since my friend Jeannie died; the shop still retains the name) in Salt Lake City. I do remember taking it, or possibly another pipe, to the craftsman she employed. If that was the pipe I took in, I don’t think he would have filled the bottom of the bowl, but he may have replaced the stem. I smoked that pipe a lot years ago and may have bit the mouth piece off. If you don’t think the current stem is one that Robertson used and feel strongly that it should be changed out with new, proper stem, do it. But you indicate that the stem is fine and you can touch it up and smooth it out, that’s fine, too. Your decision. And do what you suggested with smoothing the bottom of the bowl and adding the JB Weld coat. I have no idea why that would have been filled in.

I don’t recall adding a band. I don’t recall if the shank was cracked years ago and that I may have asked the guy at Jeannie’s to fix that. Please do whatever you need to do with that part. A few weeks ago, I thought I detected a slight crack, or maybe just a dark line along the shank. You don’t seem to think that a new band is necessary. The last Robinson you sold me has a silver band; my other two do not have bands. But I am reasonably sure the nickel band is what Robertson had on it when he sold it to my younger brother ($50 at the time! — a lot of money for a 19-year-old’s gift to his older brother). Possibly the stem got damaged when Robertson was making the pipe, and that’s the way he fixed it…

I reamed the bowl with a PipNet pipe reamer – starting with the smallest cutting head and working up to the third one. I cleaned up the remnants with a Savinelli Fitsall Pipe Knife. Surprisingly there was a rock hard substance at the bottom of the bowl – it looked like JB Weld or something like that. It was rock hard and seemed to have been used to bring the bottom of the bowl up to the bottom of the airway’s entrance to the bowl.I scrubbed the exterior of the bowl with Murphy’s Oil Soap and a tooth brush. I worked over the rim top with a brass bristle wire brush to break up the lava flow there. I rinsed the bowl with running water and scrubbed it under the water while it was rinsing. The bowl began to look pretty good at this point. The contrast between the smooth band around the bowl and shank with the rustication above and below the band looked really good. The rim top was so damaged with the burn mark and the nicks around the outer edge that I decided to top the bowl lightly to remove as much of the damage as I could without noticeably changing the profile of the pipe. I worked on the inner edge of the rim and the light bevel with 220 grit sandpaper to clean up the inner edge. I used it to also lightly reshape the outer edge of the bowl. You can see from the photos how out of round the bowl edges are outside and inside. I worked on the bevel to work on it and you can see the result in the third photo.I did not want to add stain to the oil finished bowl so I just rubbed the bowl down with Before & After Restoration Balm to deep clean the rustication on the briar. The rustication was well done and looked almost like a sandblast. I also rubbed it into the smooth portions on the band around the bowl, the rim top and the shank. The product works to clean, enliven and protect the briar. I hand rubbed it with my fingers to work it into the rustication. I wiped it off with a soft cloth. I buffed the bowl with a horsehair shoe brush to polish it. The briar really began to have a rich shine. I took some photos of the bowl at this point to mark the progress in the restoration. I decided to polish the topped rim top once more using micromesh sanding pads as the balm revealed more scratches in the finish. I wet sanded it with 1500-2400 grit pads and dry sanded it with 3200-12000 grit pads. I wiped it down after each pad with a damp cloth. I cleaned out the internals of the mortise and the airway in the shank and the stem with pipe cleaners, cotton swabs and alcohol. (I forgot to take photos of the stem after I cleaned it with alcohol and pipe cleaners).I mixed up a small batch of JB Weld to level the previous repair to the bottom of the bowl. I applied it to the uneven area with the end of a small sanding stick. I pressed it into the indentation and smoothed it out with the tip of my finger.I set the bowl aside and worked on the stem. I sanded out the tooth chatter, tooth marks and oxidation on the button end. I sanded the rest of the stem to remove the oxidation. The diameter of the stem was bigger than that of the shank so I sanded that at the same time to reduce it to the same size as the shank and reshape it at the junction. I polished the stem with micromesh sanding pads – wet sanding it with 1500-2400 grit pads to remove the scratching. I worked on it until the stem surface was smooth and the marks were less visible. I continued to polish it with 3200-12000 grit sanding pads. I wiped it down with Obsidian Oil after each sanding pad. I polished it with Before & After Pipe Stem Polish – both Fine and Extra Fine. I wiped it down a final time with Obsidian Oil. I put the stem back on the bowl and worked the pipe over on the buffing wheel using Blue Diamond to lightly polish both the bowl and the stem. I buffed the bowl and stem to raise the gloss on the briar and the vulcanite. I gave the pipe multiple coats of carnauba wax. I buffed the entire pipe with a clean buffing pad to raise the shine. I hand buffed it with a microfiber cloth to deepen the shine. The finished pipe is shown in the photos below. I don’t think House of Robertson stained the pipes as they have the rich patina of an oil finish. If it had a stain coat it was a tan stain that went well with the rich black of the vulcanite stem. The dimensions of the pipe are: Length: 5 1/2 inches, Height: 1 3/4 inches, Outside Diameter: 1 3/8 inches, Diameter of the chamber: 7/8 inches. This is an interesting piece of briar that shows a mixture of grain on the smooth portions. I really like HOR pipe work the rustication and smooth parts together in unique ways. Once the repair in the bowl cures I will mail it back to John. I know he is looking forward to enjoying it again. Thanks for walking with me through the restoration.
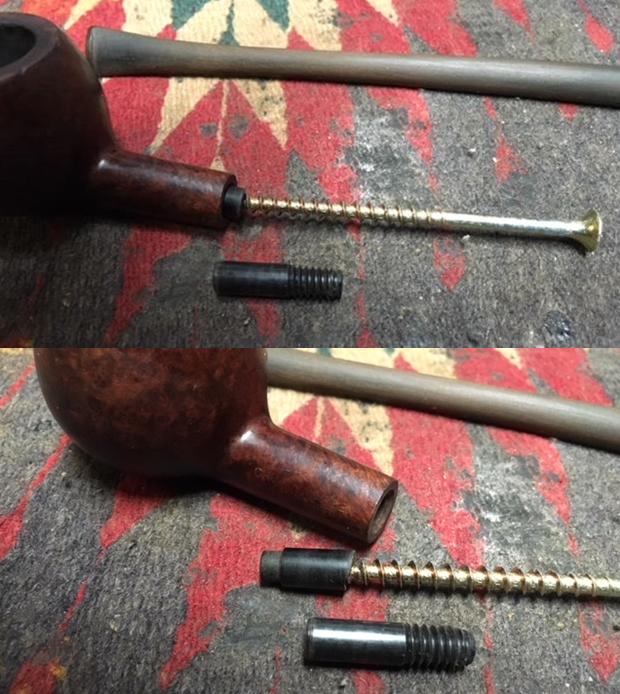
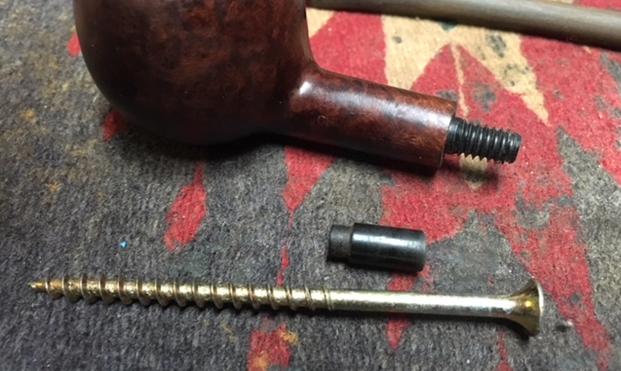
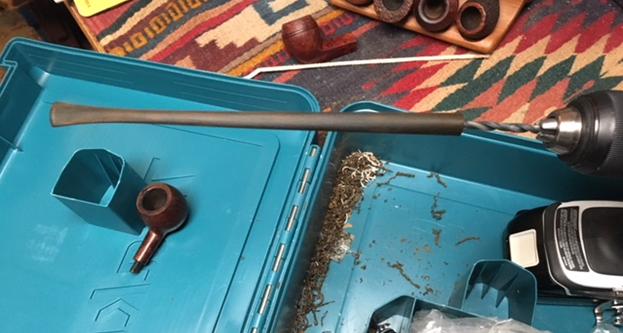
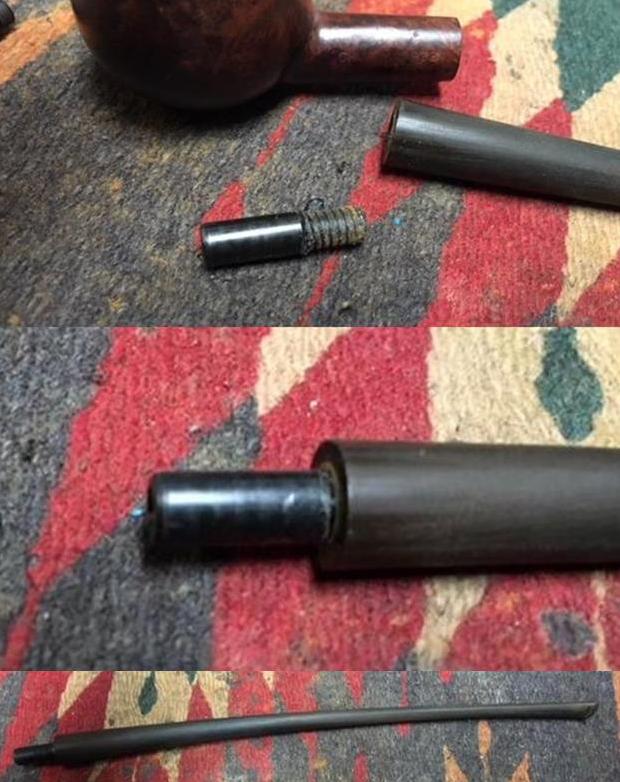
Restoring a Savinelli Churchwarden 3003


Blog by Steve Laug

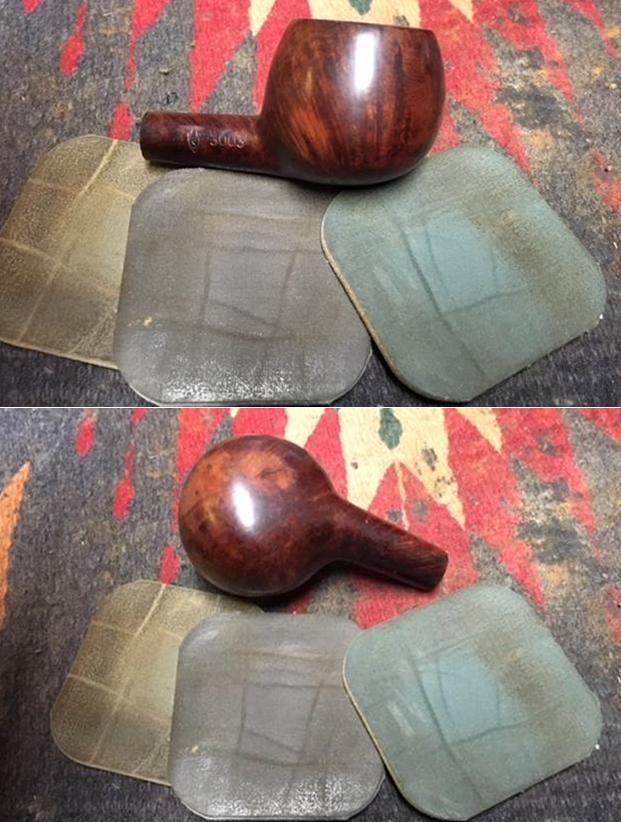
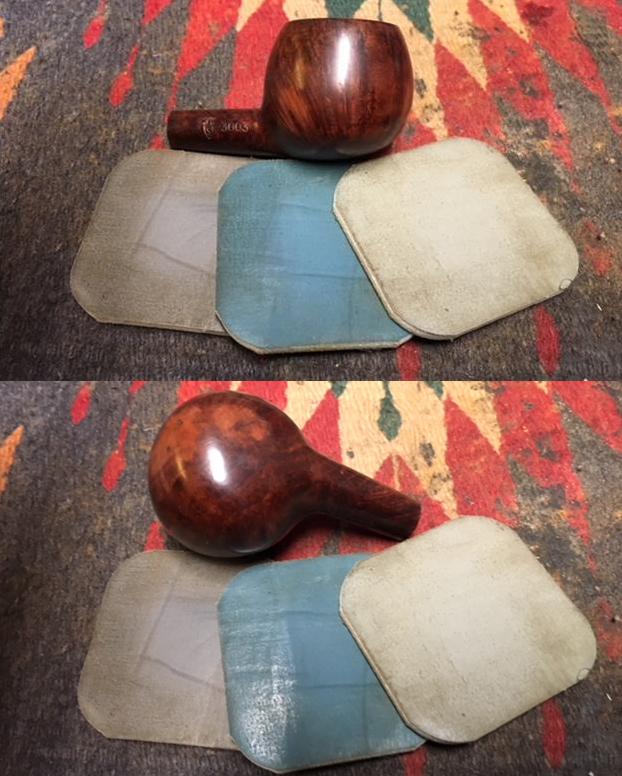
I finished the restoration work on Mark’s uncle’s pipes and a few of his own and sent them back to him in late January of this year. I wrote a blog on each of the restorations. They were a fun batch of pipes to restore for him. He sent me another package a few weeks ago that had just three pipes in it – A GBD Classic Straight Bulldog, a GBD 9242 Rhodesian (one of my holy grail pipes) and a long Churchwarden pipe that had originally belonged to his uncle. Each pipe had a different set of issues that would provide a variety of challenges. The Bulldog was in excellent condition other than the first ½ inch of the stem missing in chunks. The Churchwarden had a broken tenon that was still stuck in the shank. By far the worst of the lot was the 9242 pipe. When I saw it in the bag I was excited. When I took it out of the bag I was saddened at the condition of the pipe. The bowl was dirty and there was some lava and rim darkening on the top. There were a few nicks in the edges of the bowl. The finish was dirty but the grain on the pipe was really nice. If I had stopped my observation at this point I would have been quite happy.

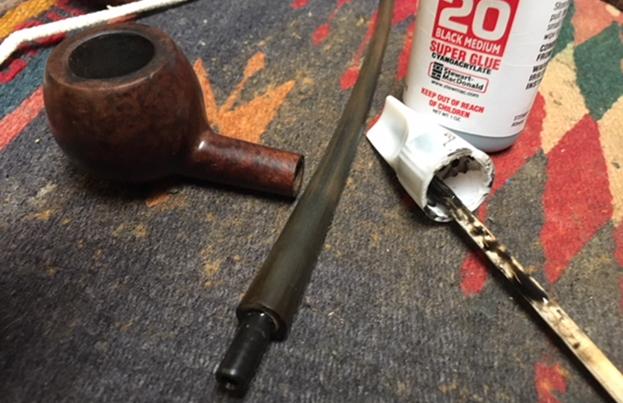
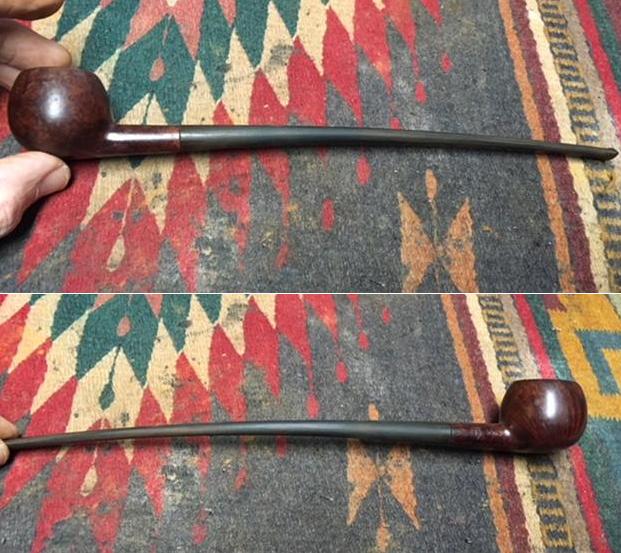
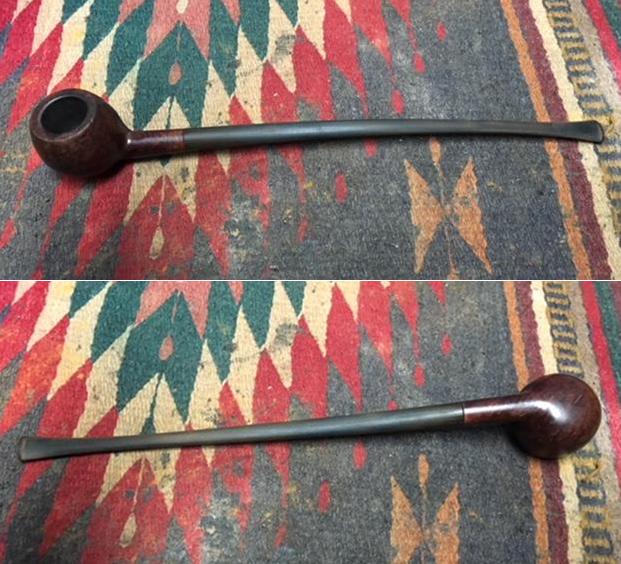
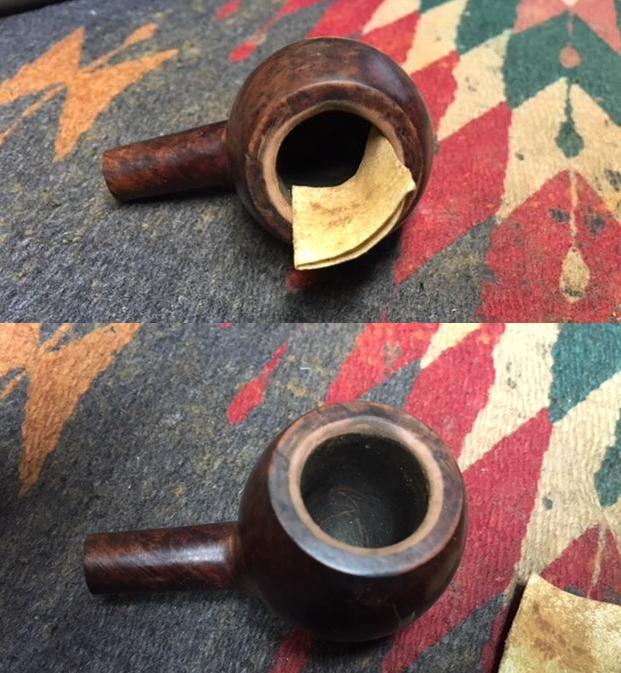
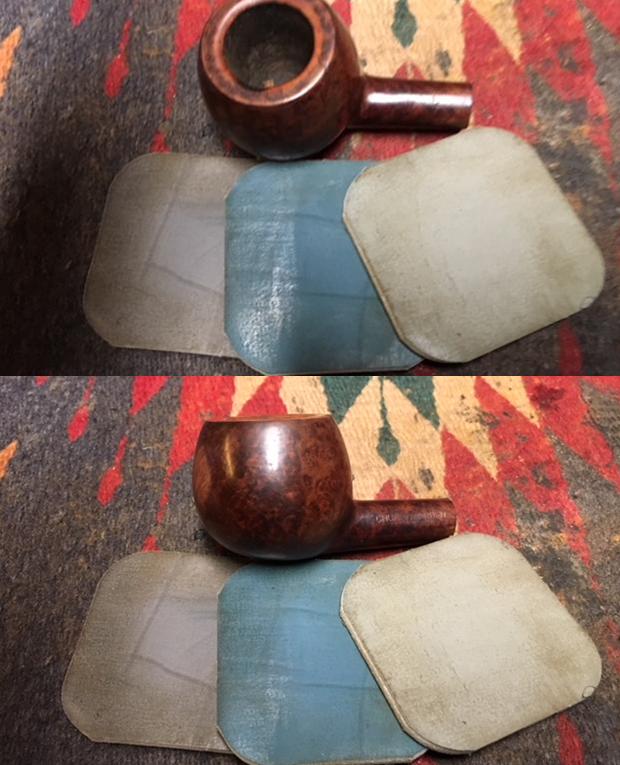
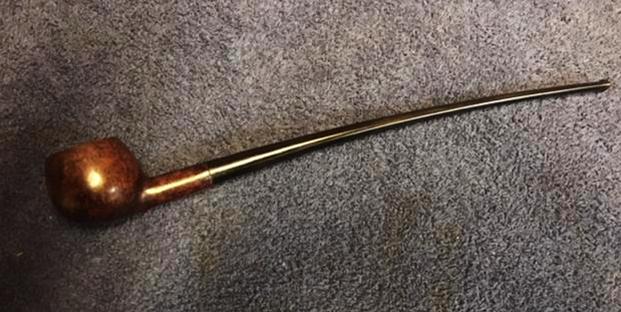
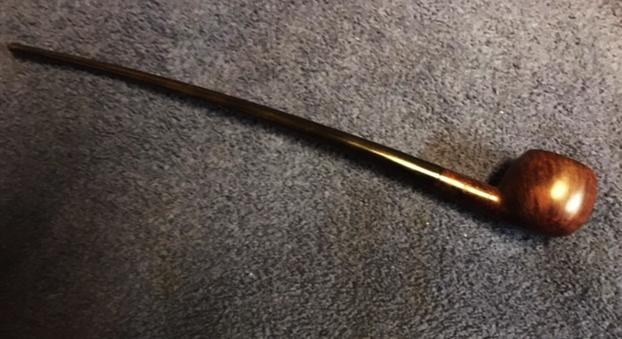
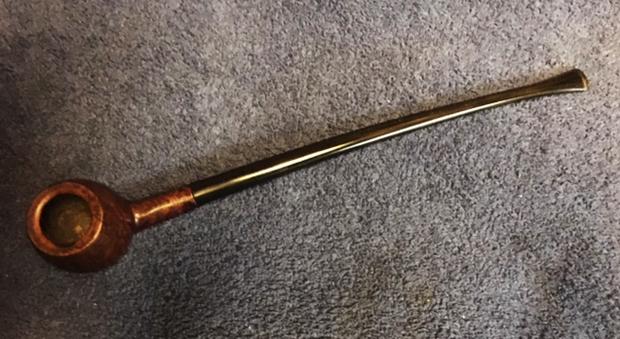
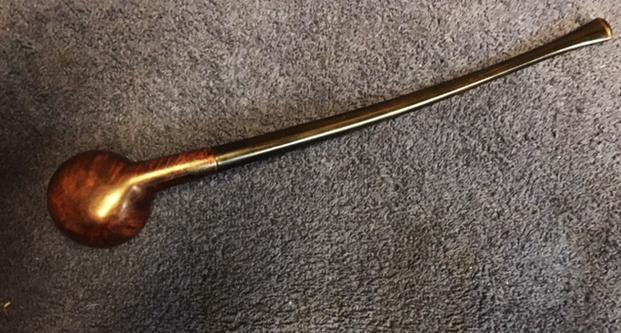
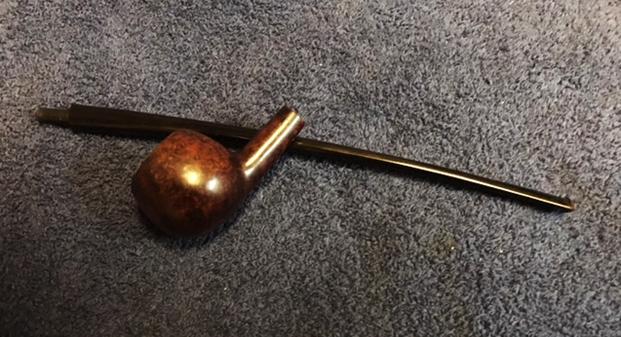
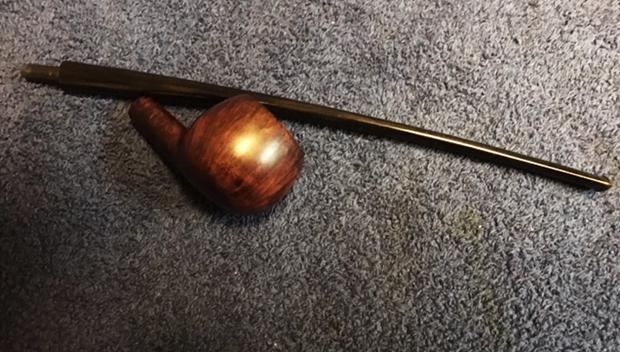
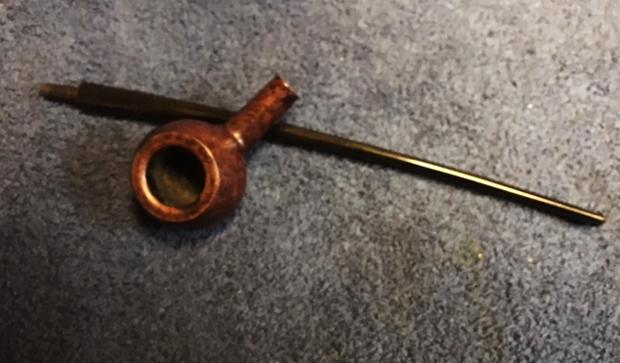
The second pipe I chose to work on from the batch of pipes was the Churchwarden that had belonged to his uncle. The Prince shaped bowl was in decent condition. The bowl was actually quite clean on the inside but the drilling where the airway entered the bowl was slightly off to the right side of the bowl. Other than having the tenon stuck in it; the shank looked pretty good as well. The rim top was dirty and there was a burn mark on the inner bevel of the left side. The finish was dirty and there were quite a few nicks and dents on the surface of the briar. The shank was stamped on the left side with the words Churchwarden over Aged Briar. On the right side of the shank it is stamped with the shape number 3003 and next to that was the Savinelli S shield. The underside of the shank is stamped Savinelli over Italy. The stem was quite oxidized and pitted. There were tooth marks and chatter on both sides of the stem at the button. The broken tenon remnants were on the end of the stem. It was broken pretty close to the stem/shank junction.

Sooo… here we go on the second of Mark’s restoration projects. I took photos of the pipe to show what it looked like when it arrived in all of its tattered splendour. The bowl had some beautiful grain underneath the grime. The photos show the stem the broken tenon and how close to the shank it was snapped off. The above photo shows the damage on the rim top to the inner edge. It is a burn mark from repeated lighting of the pipe in that spot. The photos below show the chatter and tooth marks on both sides of the stem at the button.The broken tenon was stuck in the shank when I first tried to pull it so I put it in the freezer for 30 minutes. I tried again using a long drywall screw and was able to get it free with the first try. I went through my jar of replacement tenons and found one that I thought would work. It is a threaded Delrin replacement tenon. Once I had the broken tenon out of the shank I compared them and found that the diameter was the same on both.  I tried it in the mortise and found that it was a perfect fit. Even the length was correct. I flattened the broken pieces on the end of the stem with a Dremel and sanding drum and then on the topping board. I wanted a flush surface to mount the new tenon on and also to have a snug fit against the shank. The airway was not centered in the stem so I had to do a bit of fussing with it to get it ready for the new tenon. I used a sharp pen knife to flare the side of the airway that was off to get it more centered before I drilled. Once I had done that I drilled the airway with a bit slightly larger in diameter than the airway and worked to keep it both straight and centered. This is yet another time I wished I had a drill press.I followed that drill bit with one that was the same diameter as the threaded portion of the new tenon. I sanded the threads to slightly reduce the diameter and pressed it into the stem. The fit was very good. I took a photo of the stem  at this point to show the look of the new tenon.I used black super glue that had a medium viscosity so that I had time to align the stem and the shank before the glue set. Once it was aligned I took a few photos of the fit of the stem to the shank. I would need to make a few minor adjustments but considering how off the airway was the fit was quite good. I carefully removed the stem and set it aside to let the glue on the tenon set firmly. I turned my attention to the bowl. The first item of business for me was to work on the rim top. I cleaned up the flat surface of the rim with 1500-2400 micromesh sanding pads and then shaped the inner bevel of the rim with a folded piece of 220 grit sandpaper to minimize the damage on the right inner edge. When I finished it definitely looked better. I would do a bit of finessing it once I worked on it with the micromesh pads.I decided to address the many nicks, scratches and cuts in the surface of the finish by filling them in with clear super glue. The next series of photos show the many spots on the front and bottom of the bowl.Once the repairs had dried I sanded them smooth with 220 grit sandpaper to blend them in with the surface of the bowl. I then wet sanded the entire bowl and rim with 1500-2400 grit micromesh pads and dry sanded it with 3200-12000 grit pads until the rim and the surface of the bowl was smooth and polished. I wiped down the surface of the bowl with a damp cloth to remove the sanding dust between each pad. I decided to highlight the reds in the briar and finish so I stained it with a mahogany stain pen. It looks streaked and poorly applied in the photos but the story is not over yet. I am more interested in getting the bowl covered with a stain that is transparent so when I take the next step the grain will come through the finish. Of course I was in a hurry at this point to call it a night so I forgot to take pictures of the next step. I wiped the bowl down with a cotton pad and isopropyl alcohol to spread the stain and wipe away the excess. When the grain stood out and the repairs remained hidden I rubbed the bowl down with Before & After Restoration Balm. I rubbed it into the finish to clean, enliven and protect the finish. I let it sit for a few moments and buffed it off with a cotton cloth. The photos below show the bowl at this point. Once the bowl was finished I set it aside to work on the stem. I sanded out the tooth marks and chatter on the top and underside of the stem at the button. I sanded the entire stem with 220 grit sandpaper to remove the damage and oxidation.I polished the vulcanite with micromesh sanding pads to remove the scratching and remaining oxidation. I wet sanded it with 1500-2400 grit pads and dry sanded it with 3200-12000 grit pads. I wiped the stem down with Obsidian Oil after each pad to remove the dust. I finished polishing the stem with Before & After Pipe Stem Polish – both Fine and Extra Fine to remove the rest of the scratches in the hard rubber surface. I put the stem back on the bowl and buffed the pipe with Blue Diamond on the buffing wheel. I gave it several coats of carnauba wax and buffed it with a clean buffing pad to raise a shine. I hand buffed it with a microfiber cloth to deepen the shine. The finished pipe is shown in the photos below. The repairs on the finish blend in really well with the overall finish of the pipe. The new tenon on the stem works very well and is a snug fit in the mortise. It really is a nice looking Savinelli Churchwarden. There is some nice grain on the bowl. This is the last of Mark’s uncle’s pipes and it is ready to head back to Mark for his smoking pleasure. I have one more pipe to fix for him then this one and the others will be in the post back to Mark. I think it is better than it was… thanks for looking.
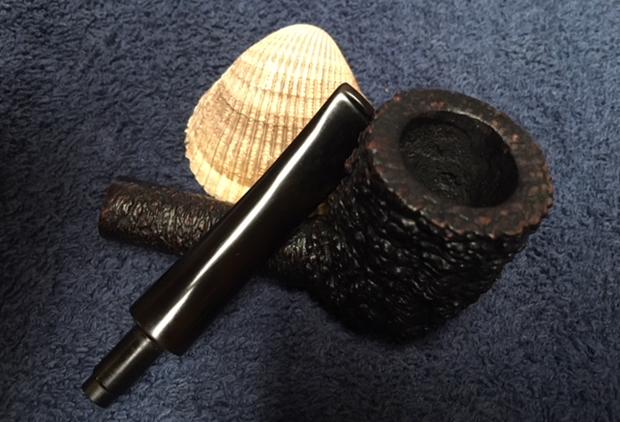
 

There and Back Again – to Bulgaria


Blog by Dal Stanton

Roads go ever ever on
Under cloud and under star,
Yet feet that wandering have gone
Turn at last to home afar.
Eyes that fire and sward have seen
And horror in the halls of stone
Look at last on the meadows green
And trees and hills they long have known
— Bilbo Baggins

These words, ascribed to Bilbo, penned by J. R. R. Tolkien in The Hobbit, captured Bilbo’s thoughts as he came over the rise and his eyes again canvassed his beloved, Shire – home again. I borrow the sentiments he so well expressed after my wife and I returned to Bulgaria, our home, after about six months traveling in the US.  We visited sponsors of our work in Bulgaria, and renewed ties with family and friends – AND not to go unmentioned, we also celebrated the addition of two beautiful granddaughters during this 6-month sprint!  Now, I’m anxious to return to the Pipe Steward work table and to dive back into a hobby I love – collecting, restoring and recommissioning pipes to worthy stewards.  And adding frosting to this cake – these pipes are sold to benefit the Daughters of Bulgaria, helping women and girls who have been trafficked and sexually exploited in Bulgaria and Europe.

Sometime ago, Steve asked me to post a bit of our US adventures and I’m finally getting to it!  From September to February we traveled practically every weekend visiting sponsors and holidays to visit family in Denver, Detroit, Nashville, St. Louis and Port St. Lucie, FL, from home base in Palmetto, GA.  We flew mostly but did some road trips along the way.  Of course, pipe hunts were plotted using Google maps to locate and explore flea markets, second hand stores, and antique shops – choosing to travel off the grid and interstates when we could.  I love the hunt!  I found some nice pipes through these safaris as well as from eBay auctions.  Another source was from people who donated pipes from family pass downs and from personal collections to help support the Daughters of Bulgaria.  All totaled, if I counted accurately(!), 105 pipes were added to my ‘Help Me!’ baskets in queue to be restored and recommissioned to benefit the Daughters!  A couple of those pipes will be added to my own personal collection, but not many!

The first major acquisition was a Lot of 66 from eBay – the largest lot I’ve ever tackled!  One tries to examine the pictures provided by the seller to assess the possibilities – looking for treasures lurking here and there among all the shapes and nomenclature, and I believe I did well.  Some of the highlights of the Lot of 66 include a Gourd Calabash sculpted with a Meer bowl, Comoy’s Made in London England P510 – D billiard, Peterson’s System Standard K&P Republic 312, GBD Flame 1344 Made in France poker, Kaywoodie Super Grain 08 Dublin, Comoy’s Sunrise Volcano – H 16, Savinelli 4015 Dublin, Sculpted Imported Briar calabash, M.G.M. Rock Italy Briar 19 12 – 25 freehand, GBD International London Made London England 549 rustified rim bent bulldog, Butz Choquin Regate St. Claude France 1693 bulldog, Imperial Churchwarden Algerian Briar France, Butz Choquin Regate St.Claude France 1275 Slightly bent billiard, Kiko 343 Made in Tanganyika Meer lined, Peterson System Standard Republic 392, Abbott London Made 715 pocket pipe, Jarl Chieftan 15119 Made in Denmark billiard, Jarl 1545 Made in Denmark Dublin, Savinelli Capri Root Briar Italy 8004 rustified Canadian, Ben Wade Hand Model LONDON MADE, Savinelli Punto Oro 510ks Italy bulldog rustification, Peterson’s “Kildare” Made in the Republic of Ireland 83.  There were a few clay pipes in the Lot which I was interested in seeing.  Unfortunately, the seller didn’t do a very good job packing and these were broken!  Here’s a bird’s eye view of the Lot of 66 I saw on eBay and now in Bulgaria (the pictures aren’t great but gives an idea what I had to work with): Another special acquisition was from Dan in Butler, PA.  He and his wife knew about our work with the Daughters of Bulgaria and my restorations serve to advance it.  During our visit to Butler to speak at their church, they welcomed us into their home and Dan donated this lot of 4 pipes which belonged to his father who had passed away. He told me a bit about his father, his recollections of his dad’s pipe smoking and I’ll look forward to restoring these pipes to benefit the Daughters of Bulgaria.  I will also try to tell the story of this former steward. Not all treasures were pipes.  On a road trip taking us through Somerset, KY, we landed upon a flea market in full swing that gave a unique picture of middle America not often seen on the interstate!  After poking through 100s of tables, I came upon a Kleen Reem Pipe Tool in its original box – with mini-pipe cleaners to boot.  I didn’t have one, so I negotiated a win/win price with the crusty, bearded, table keeper and now it is added to my arsenal here in Bulgaria.  One more reaming tool acquisition was to find an older, vintage Swiss Made Pipnet Reaming tool off eBay.  Patience paid off and one came up on the auction block.  This solid heavy-duty rubber version will replace an acrylic Pipnet version – which was susceptible to breaking. Another highlight during the time in the US was reconnecting with friends.  Dave Shain, was one such friend.  Dave and I worked in Ukraine together when we were both a bit younger.  Over the years, we went in different ways but we found each other again on The Gentlemen’s Pipe Smoking Society group on Facebook.  We discovered that both of us had been found by pipes!  Dave’s endeavors go far, far beyond mine as he has been recognized for his work by the Chicagoland Pipe Collectors Club and has a cool, ‘Master of Pipes’ award hanging on his shop wall and a magazine cover and article to boot!  Dave and I shared a bowl together and reminisced about the past, present and future, around a hot wood stove in his ‘Man Shed’. He gave me a tour of his workshop – a far, far cry from my desktop operation on the 10th floor of a formerly Communist apartment block!  He also donated some promising pipes for my work with the Daughters of Bulgaria.  I left with an aging tin of October 2015, Escudo Navy De Luxe which came to Bulgaria with me.  Thanks, Dave!  It was a pleasure reconnecting with an old friend. Through all of our travels and with more eBay acquisitions after the Lot of 66, more standout pipes caught my attention (from top to bottom below):  Knute of Denmark freestyle (this may make my collection!), Savinelli Autograph 5 bamboo shank rusticated (a great acquisition – needs work but great potential), Stanwell Hand Made 56 Canadian, Pipstar Standard 06 026 Dublin sitter, Comoy’s MADE IN LONDON ENGLAND 4097 H bent bulldog, La Strada Staccato 187 Italy sculpted billiard, Italian Import Italy custom shape, Comoy’s Moorgate 102 Italy bent billiard, and a Savinelli Dry System 3621 (shown) and a Savinelli Dry System 362 (not shown below). Another group of standouts are: Brigham 103 Can. Pat. 372982 rusticated billiard, Lorenzo Savona #750 Made in Italy rusticated chimney, Sasieni The Kensington 236B Canadian Made In England, Longchamp France leather wrapped billiard, Royal Danish 995R 995 R squat tomato, Lorenzo Matera Pipe Studio 807 Italy special shape (the hourglass shape was interesting), a cool Native American Hand Carved Indian Head CHIEF Italy that I couldn’t pass up!, Whitehall Gulf Stream Imported Briar rustified Dublin, a very sweet Comoy’s Pebble Grain Made in London England 605 bent poker, and a Kiko 543 Made in Tanganyika leather wrapped saddle stem billiard.I’ve seen some autograph pipes, but I didn’t know that vanity pipes existed, especially one marked with my namesake, ‘Stanton’.  He’s not too flashy, but obviously a workhorse billiard with some nice grain peeking out.  When I saw him on the eBay auction block, I did a double-take and decided then that he was coming home to Bulgaria.  Curiosity piqued, I did a quick look up in Wilczak & Colwell’s, ‘Who Made That Pipe?’ and came up with a very clear designation: “UNKNOWN”.  He’ll clean up nicely.The last bit of sharing to conclude this, ‘There and Back Again’ blog is not about pipes but tobacco.  For Christmas, in Detroit’s suburb of Dearborn, my daughter-in-law gifted me some popular selections from Boston’s Perretti Tobacconist, the second oldest tobacconist in the US where they still create blends as you wait – free testing too (so I’ve read)! She was in Boston on a business trip and thankfully (!) did some Christmas shopping for the men in her life!  Not pictured below is one of L.J. Peretti’s more popular, signature blends which I like a bunch, Park Street. This shop is on my bucket list of places to visit one day when I make it back to Boston.  The blends are very nice and pleasurable, and I’ve enjoyed sitting on my 10th floor Man Cave balcony here in Sofia, sipping on a bowl and thinking about family and how blessed I am for it.  Thanks Maureen!Now, which pipe is first on the work table?  Hopefully, soon, I’ll let you know!  Check out The Pipe Steward when you have a chance!  Thanks for joining me and my musings. It’s good to be back home!  (Below, enjoying Park Street with my good friend – Savinelli Goliath)