Blog by Steve Laug
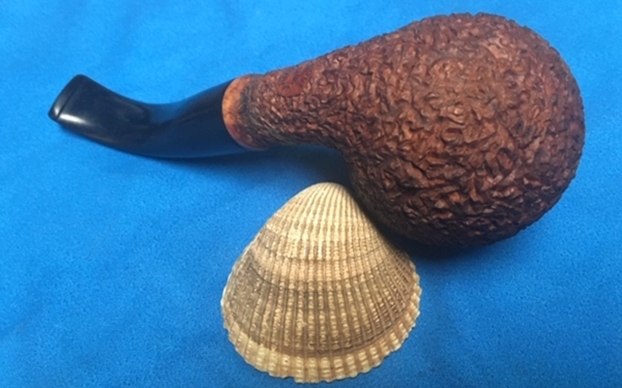
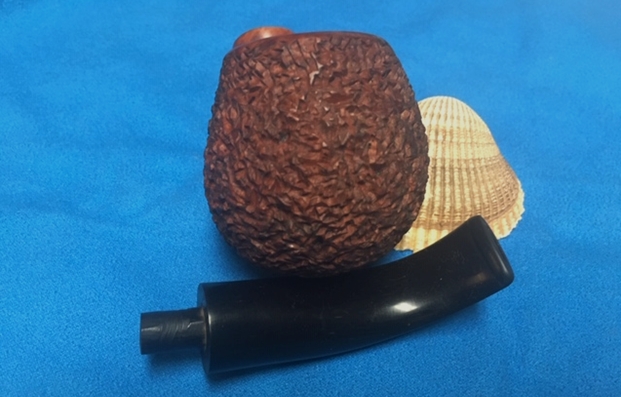
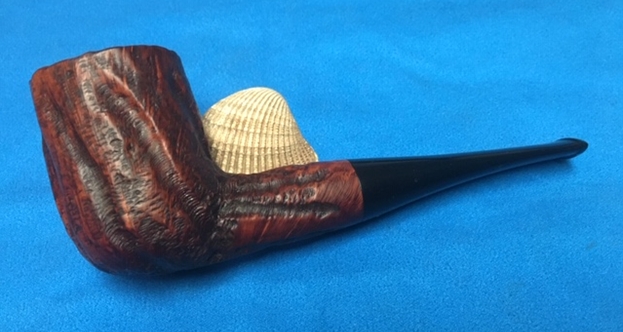
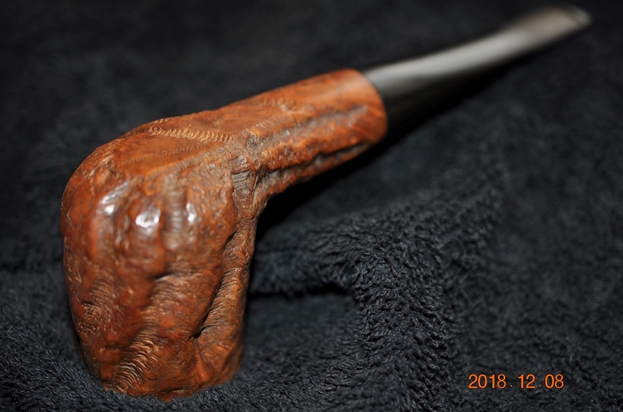
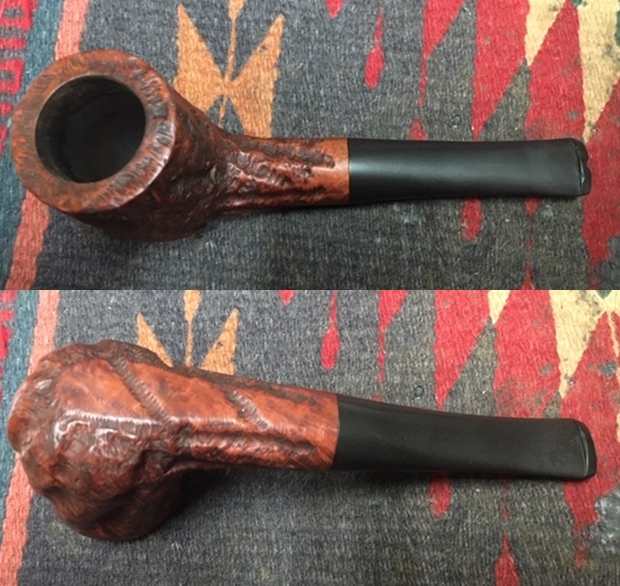
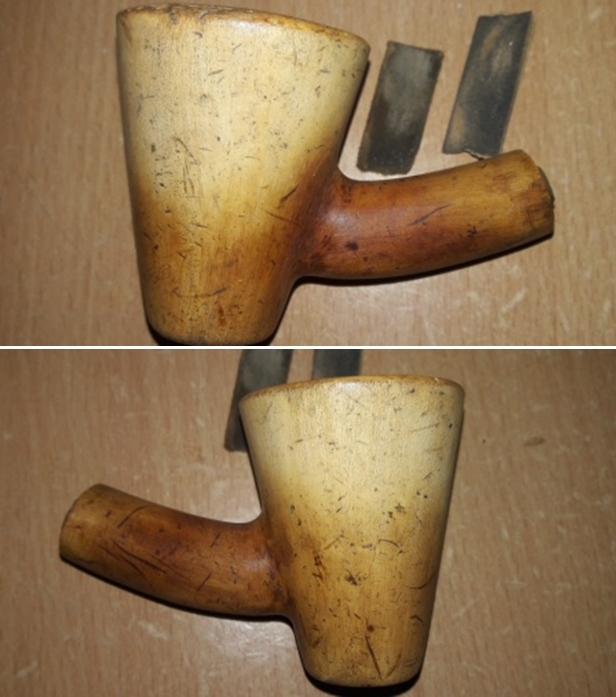
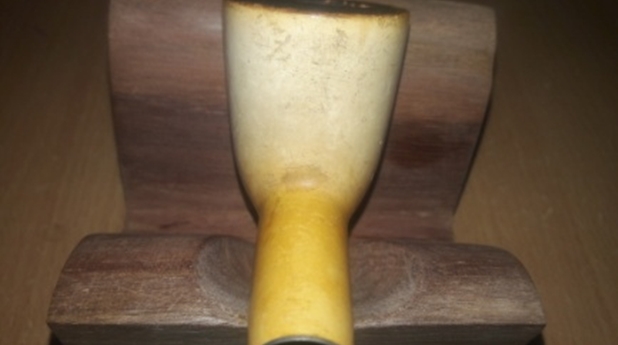
Last evening I had a fellow drop by the house with three pipes for repair. Two of them were not worth repairing – broken shanks and Chinese knockoff pipes. Neither was made of briar and one had the beginning of a large burn out on the back of the bowl. I discouraged the fellow from fixing either of those two as the cost of repair would be more than he paid when he purchased them. However the third one was interesting to me. It was a bent ball bowl without a stem. It was a real mess. He had broken the stem in half and lost it. The shank had also been broken but he was a bit of a wood worker and had clamped and glued it. He had done a decent job and the repair was solid. The bowl had a cake that was thick and soft – made from the heavily case aromatic that he smoked. The airway in the shank was clogged with tars and oils and I could not even blow through it. The rusticated finish was rugged and sharp with a smooth rim and shank band. The bowl and rim were very dirty and the briar looked lifeless. The shank flared at the stem/shank junction.
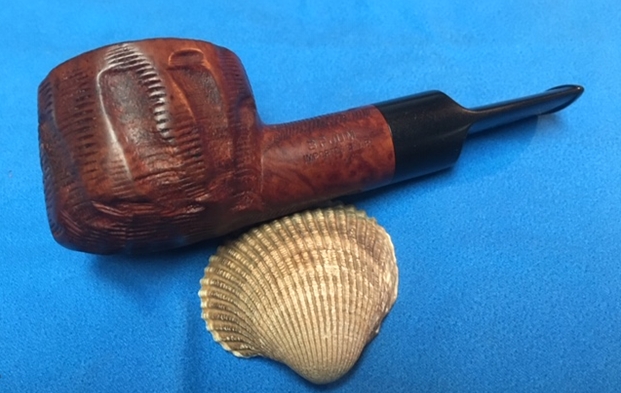
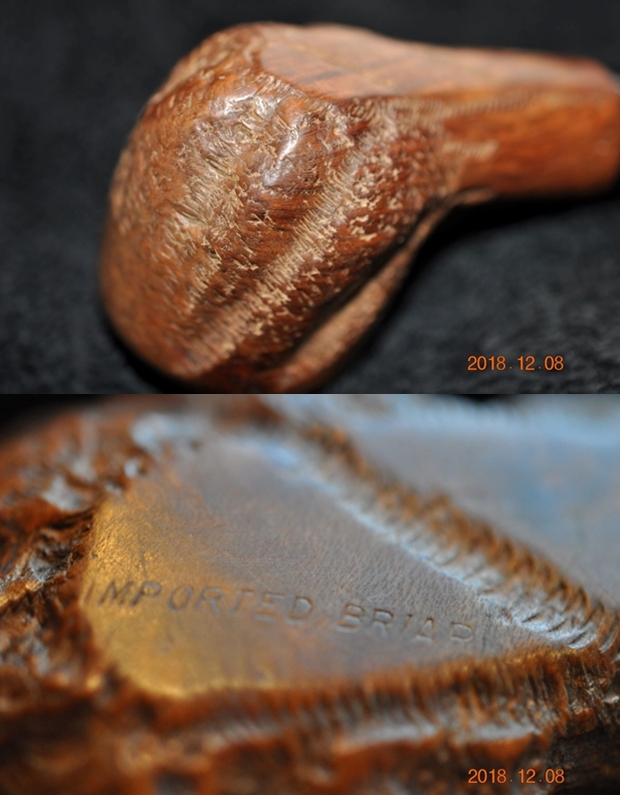
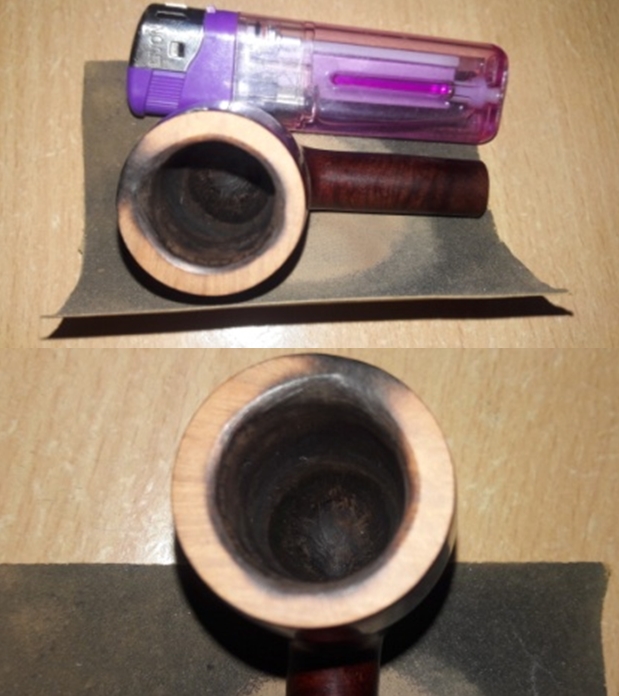
When I examined the pipe while he was there I found that it had a makers stamp on an oval smooth patch on the underside of the shank. It was clearly stamped LANDRY arched at the top of the oval. The year it was made, 2013 was in the middle of the oval and the letters U.I.O.G.D were arched at the bottom of the oval. When I asked the owner of the pipe what those letters were he said that I was some Latin phrase. When I examined it with a loupe I found that there were periods between the letters and that probably I was dealing with an acronym of some kind. I went with his notion of it being Latin, Googled the acronym and found that it stood for the five words making up the Benedictine motto: Ut In Omnibus Glorificetur Dei (translated from Latin it means: So that in all things God may be glorified). That made sense as he had been given the pipe by a Benedictine Priest a while ago when he had first started smoking a pipe and he had broken it after smoking it quite heavily.
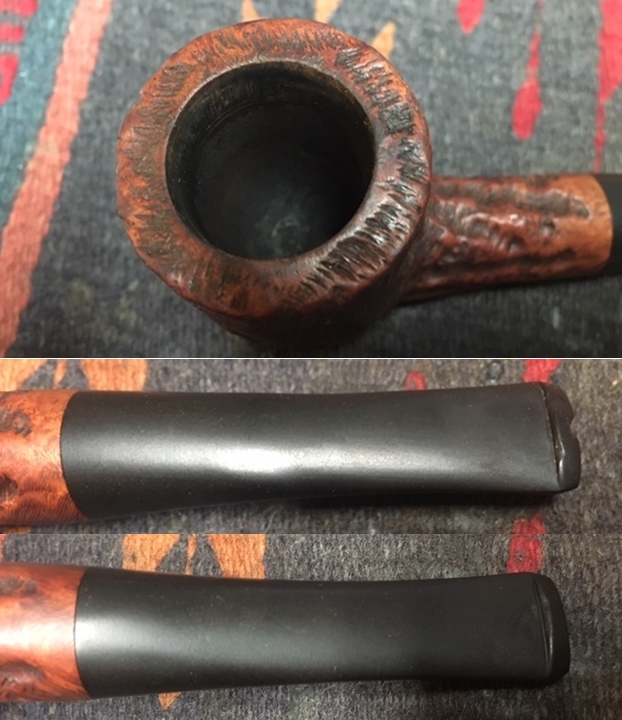
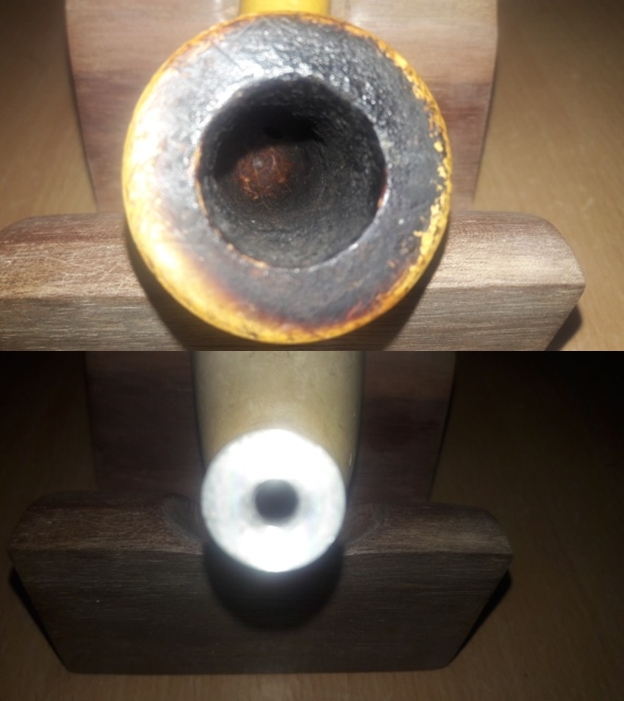
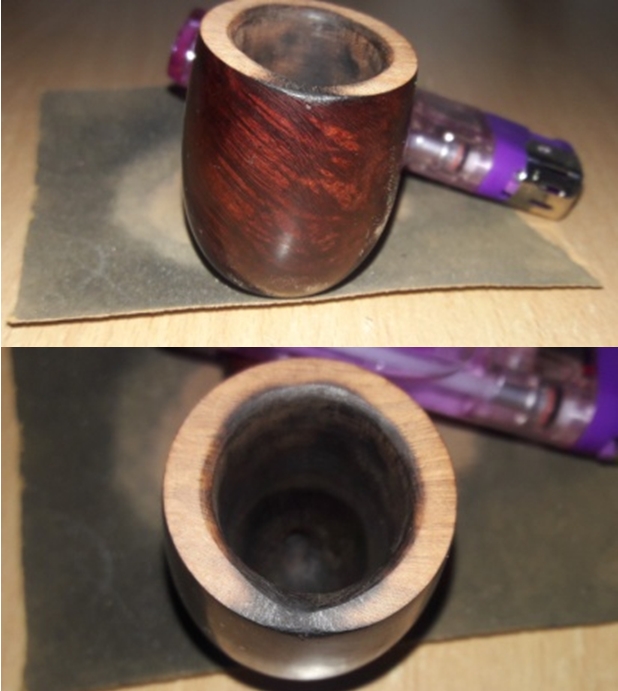
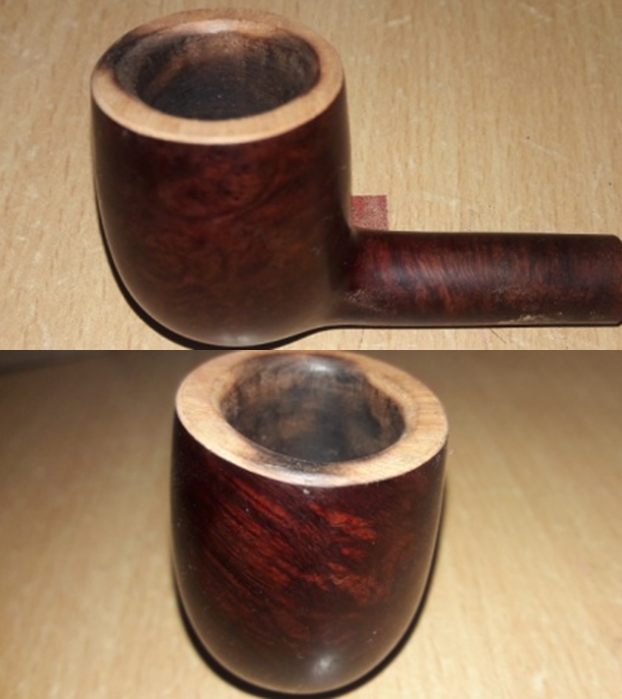
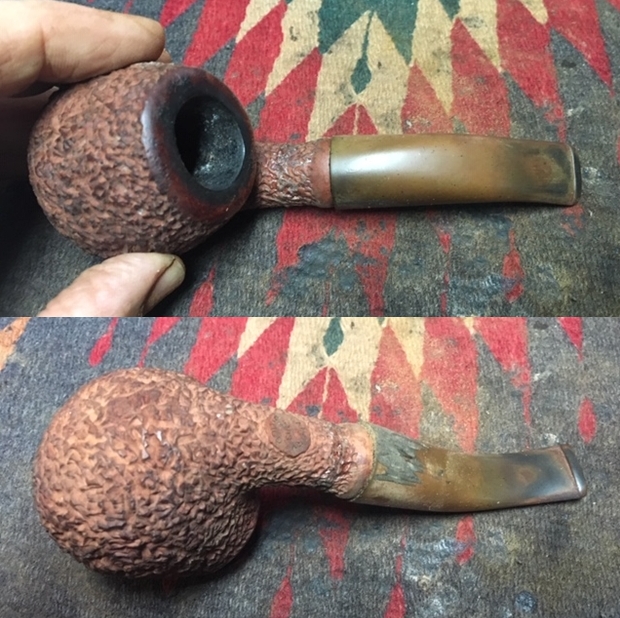
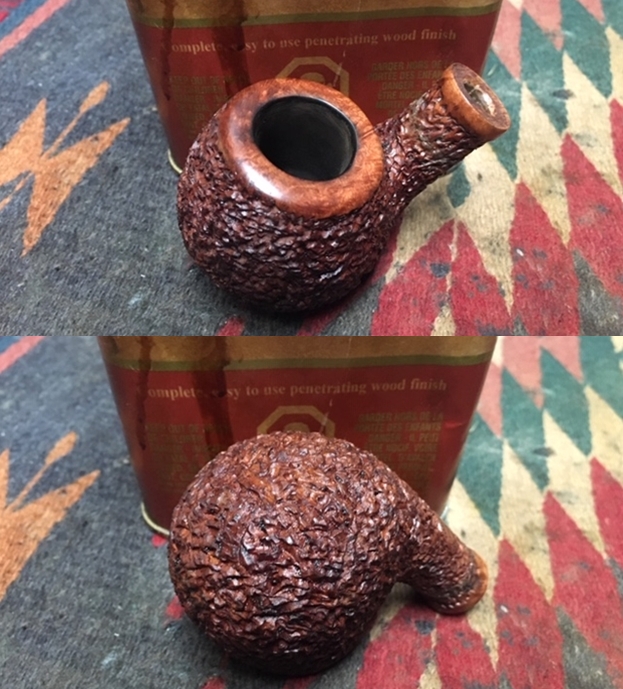
I took photos of the bowl before I started to work on it. You can see the repair on the shank. The rustication is very dirty and the rim top is coated with an overflow of lava from the bowl. The entire pipe reeked of a sweet cherry aromatic. The shank was heavily gummed up and I could not blow air through the shank into the bowl. It was clogged. The bowl also appeared to be drilled at an angle and from a quick glance seemed to be drilled crooked. The pipe was a mess!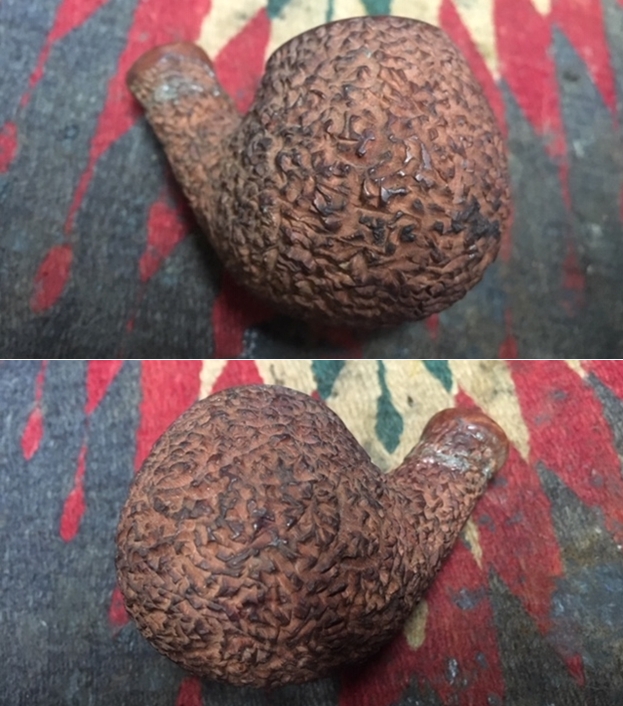
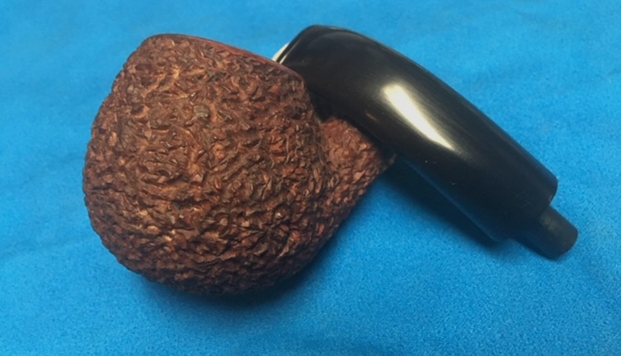
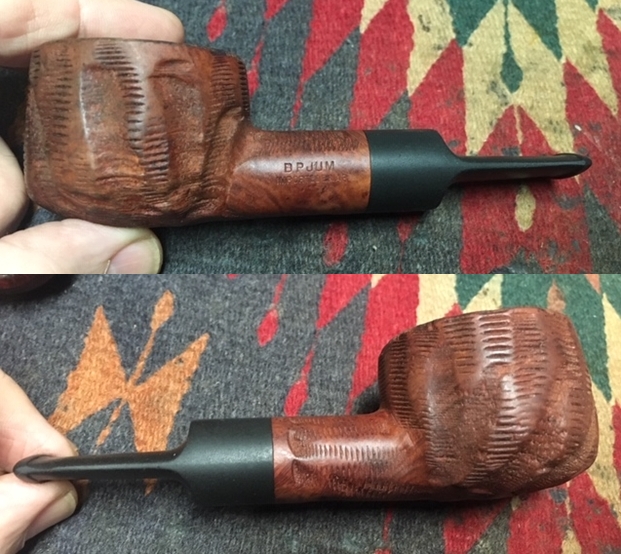
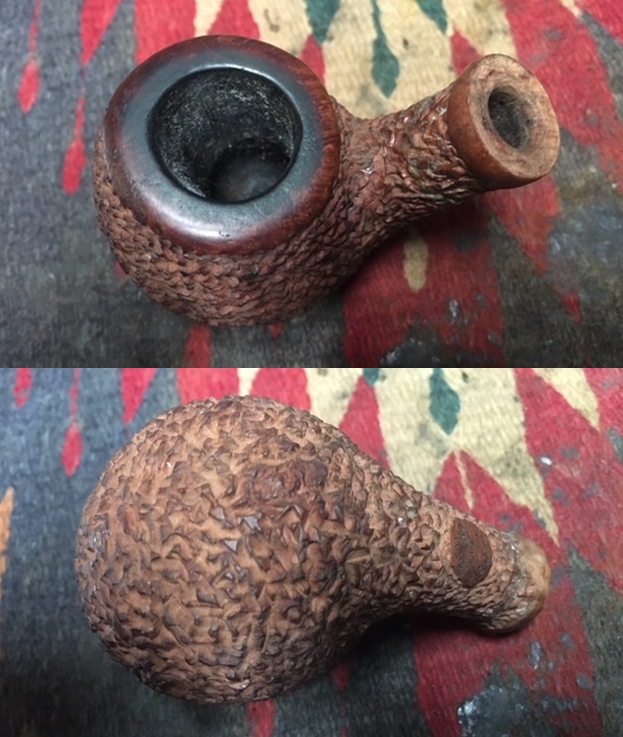 I took a photo of the oval and the stamping on the shank. You can also see the glue repair on the shank. It was a solid repair but a bit sloppy.
 There were some gaps in the glue around the circumference of the shank so I used a wire brush to clean up excess glue from the repair. I wanted to remove all of the excess glue so that it would look cleaner once I finished. I then filled in the gaps in the repair with clear super glue and filled in those areas with briar dust to build up the area ahead of the smooth band at the shank end.
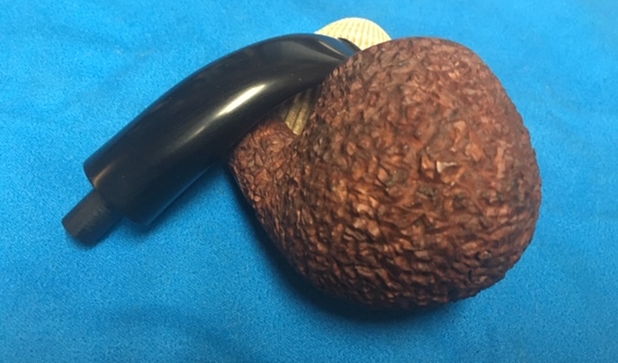
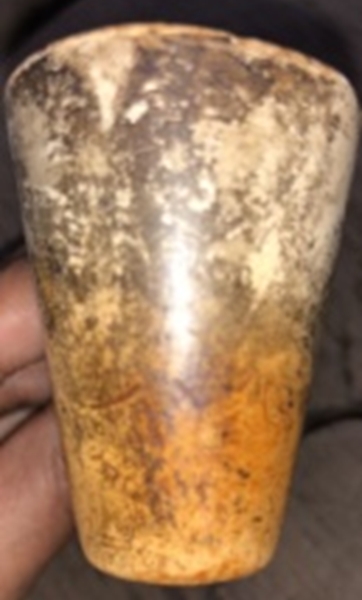
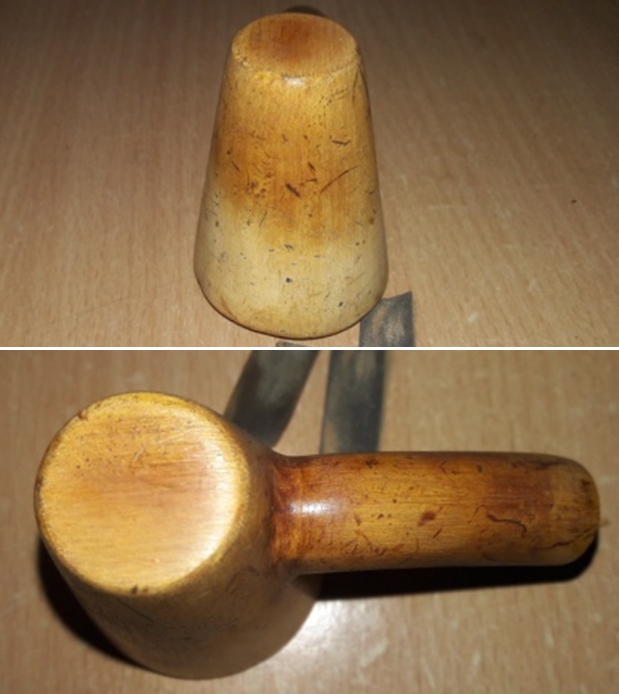
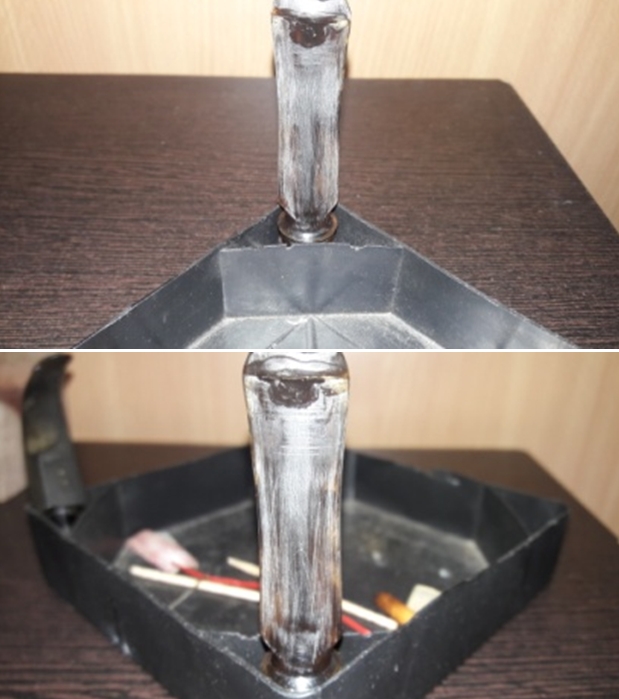
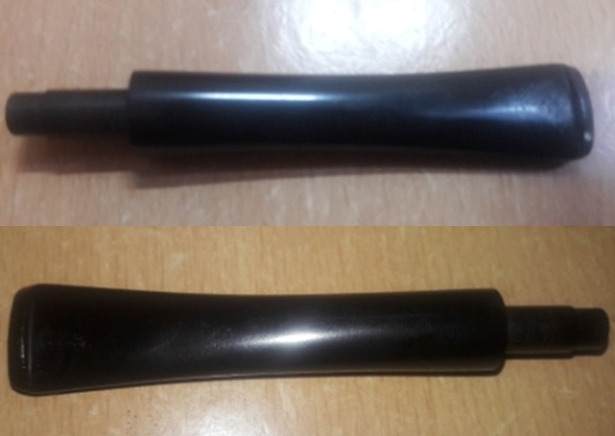
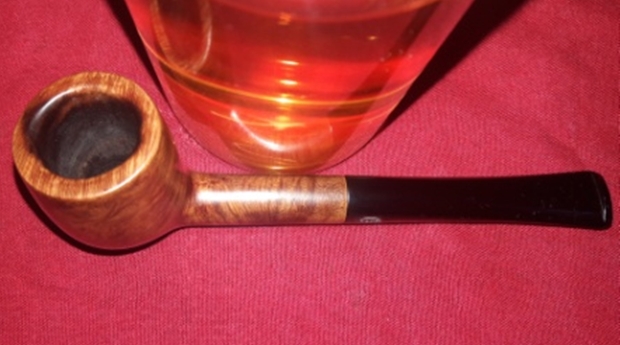
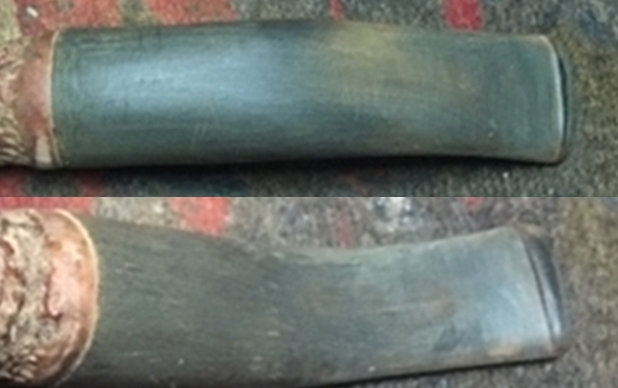
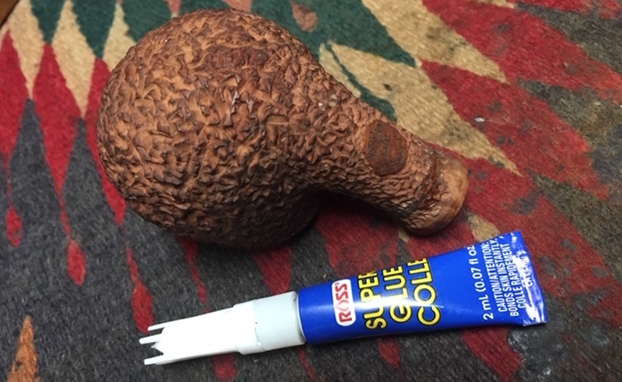 Restemming this old bowl would be a bit tricky. The shank actually flared to a smooth hip at the end where the stem sat. It was wider in diameter than the rusticated shank just below it. It was obvious from the way the shank end and mortise were made that it required a flush fit stem and not a freehand style stem. I would need to find a stem that had a wide enough diameter for me to work with and give the pipe the kind of look that it must have had originally. I went through my can of old stems and found one that was going to work. The tenon was almost perfect. I sanded it lightly with the sanding drum on the Dremel and cleaned it up with a file and the fit was just right. I would need to reduce the diameter of the stem slightly to match the shank but I think it was going to work for me. I took photos of the fit of the “new” stem to show you what I saw. Bear with me for the moment. It was quite ugly and my brother said it looked like a muffin top of a tight belt (or something like that). But I thought it had potential… time will tell.
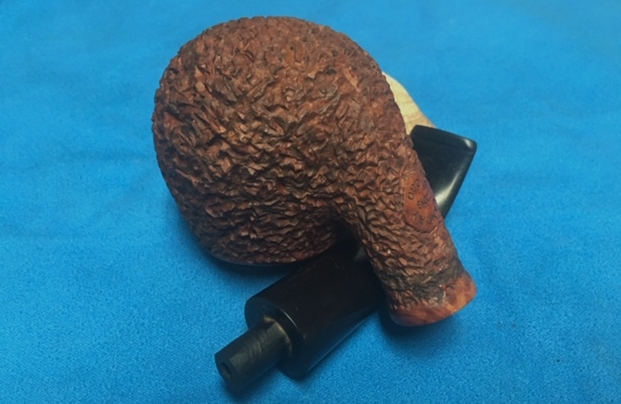
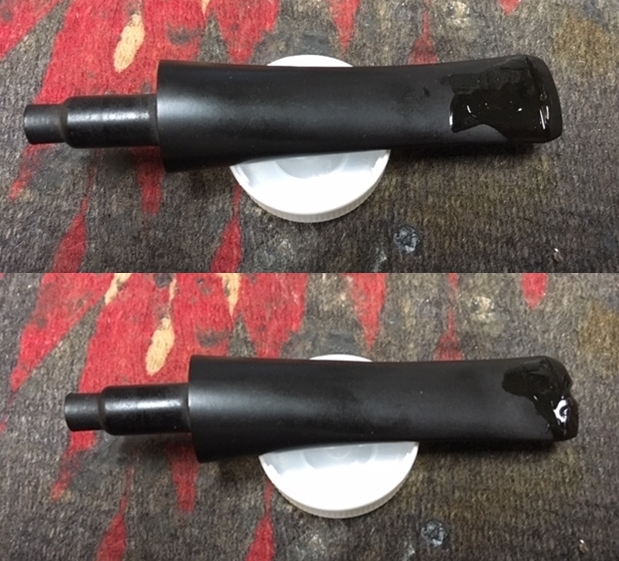
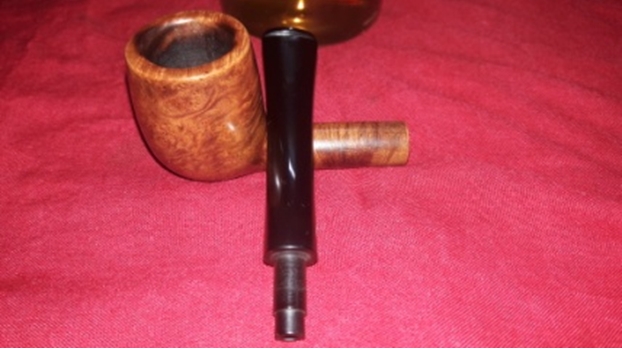
 I trimmed the excess diameter of the stem with a sanding drum on my Dremel. I worked on it until the diameter was very close to the right size. I brought it back to the work table and sanded it smooth with a folded piece of 220 grit sandpaper to remove the scratches from the Dremel. I took photos of the stem and shank at this point.
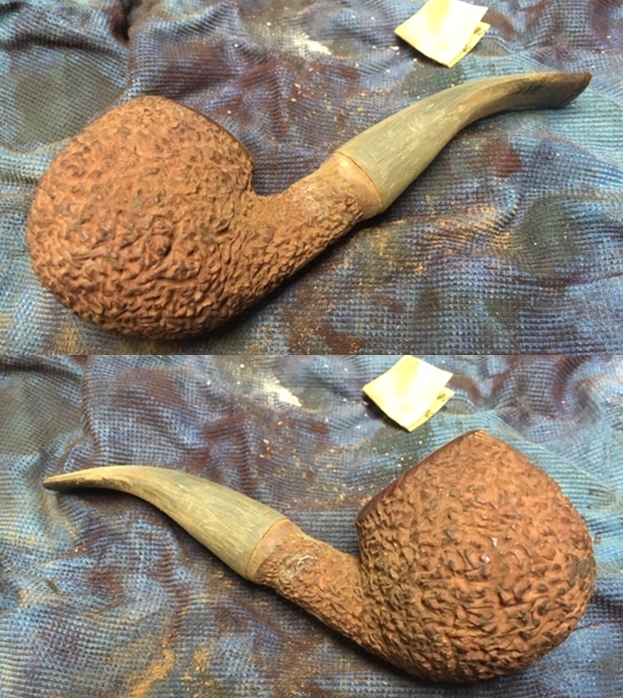
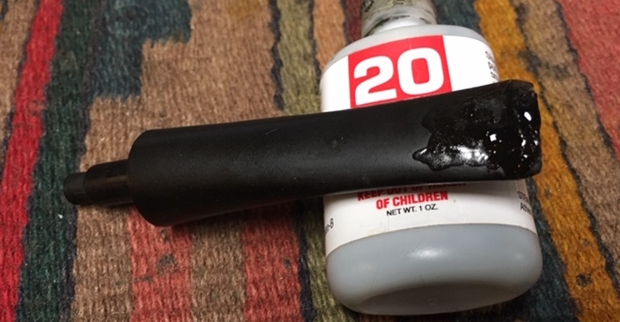
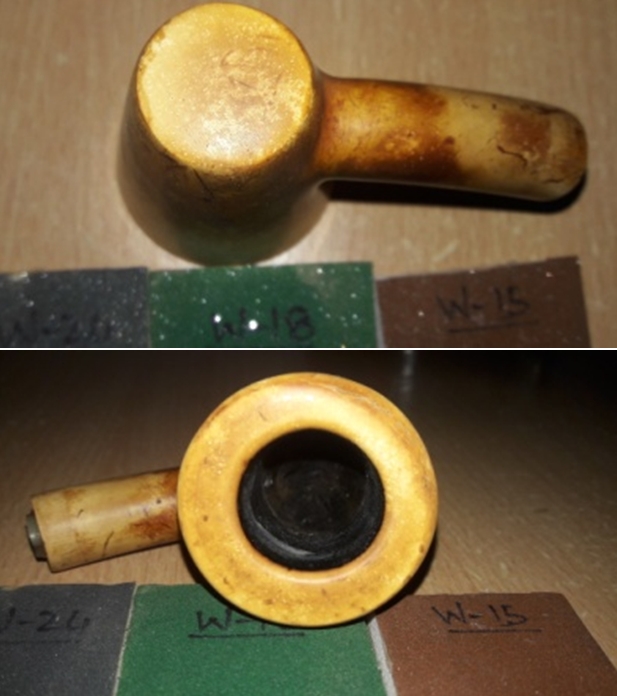
 I wiped down the stem with Obsidian Oil to clean off the dust and get a sense of how it was looking. I sanded the band around the shank a bit too as it had some glue on it from the repair that had been done. I took photos of the pipe at this point in the process.
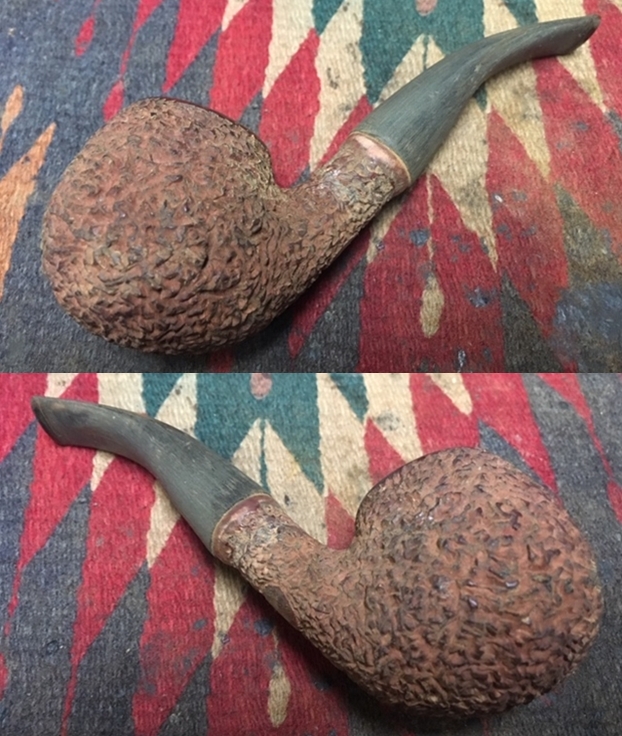
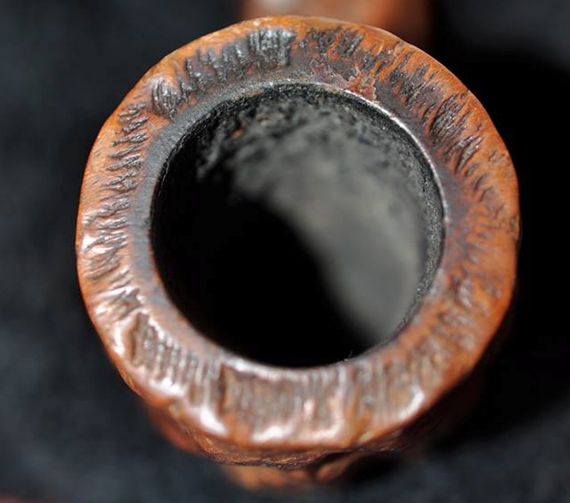
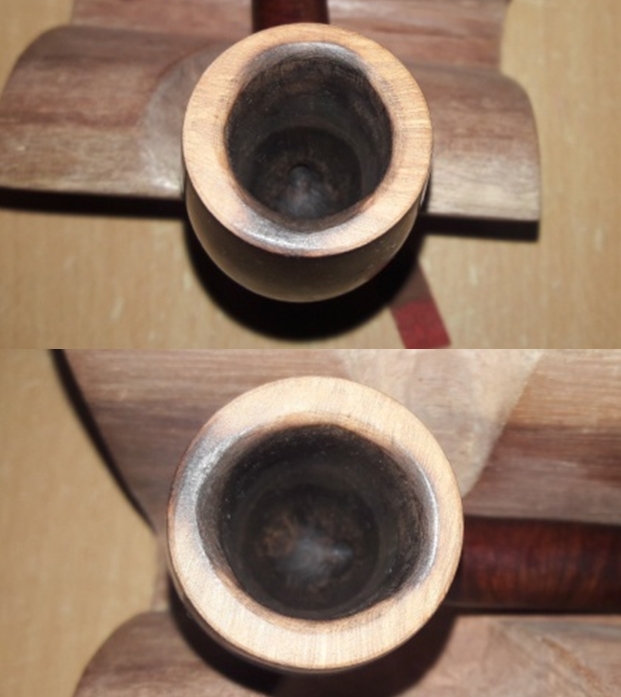
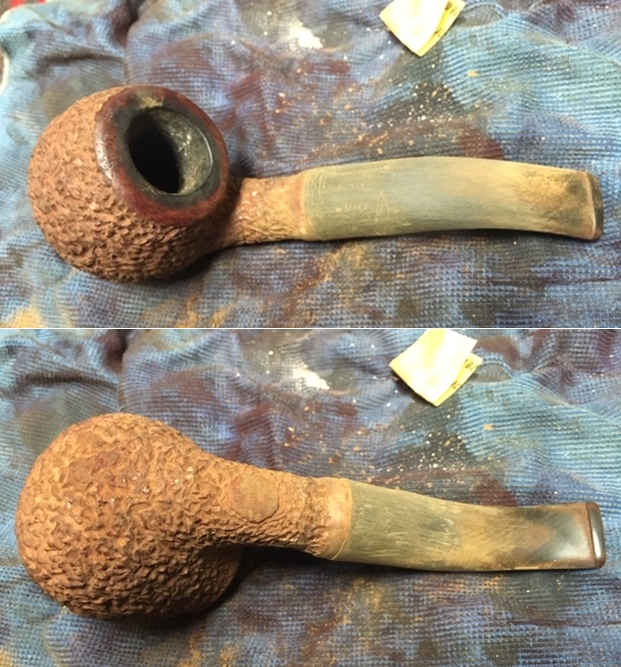
 I decided it was time to set the stem aside for a bit and work on the bowl. I took a photo of the bowl and rim to show what it looked like when I started. The bowl is thickly caked and there was damage to the inner edge of the rim. The lava overflow was quite thick on the rim top as well. I reamed the bowl with a PipNet pipe reamer. You can see the angle of the bowl from the way that the reamer is sitting in the second photo below. I cleaned up the reaming with a Savinelli Fitsall pipe knife and then sanded the walls of the bowl with sandpaper wrapped around a piece of dowel.
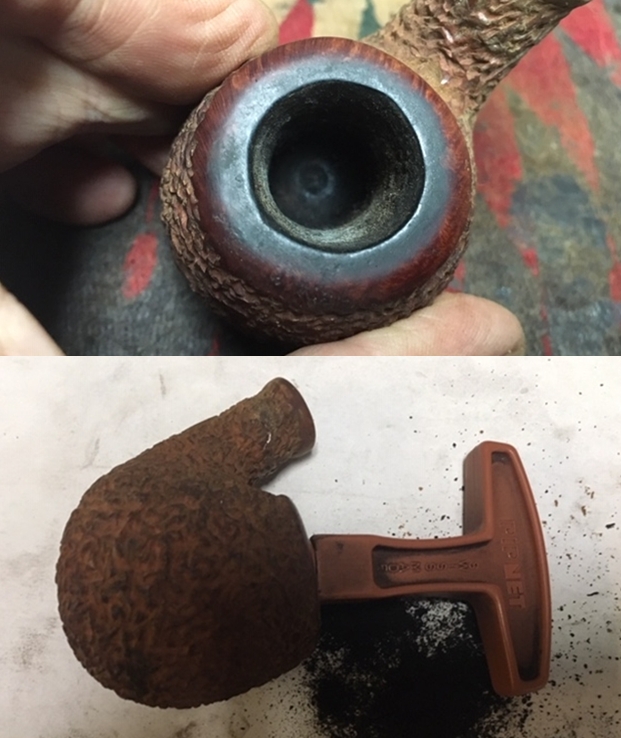
 With the bowl reamed I turned my attention to the dirty exterior of the bowl. I scrubbed it with a tooth brush and undiluted Murphy’s Oil Soap. I worked over the rim top with the tooth brush and a piece of sandpaper to remove the tars and lava there. I rinsed it off with running water to remove the soap and debris in the finish.
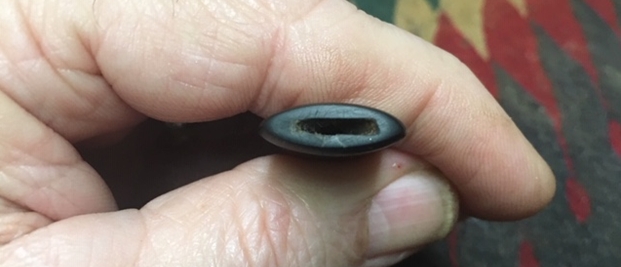
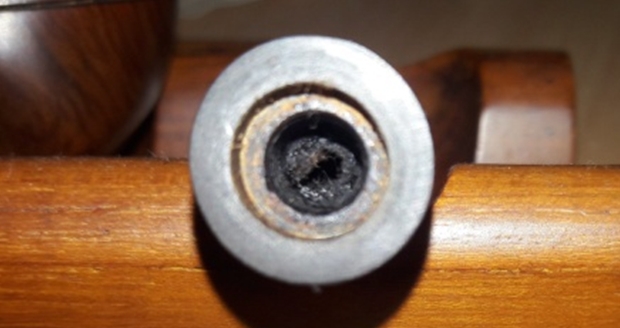
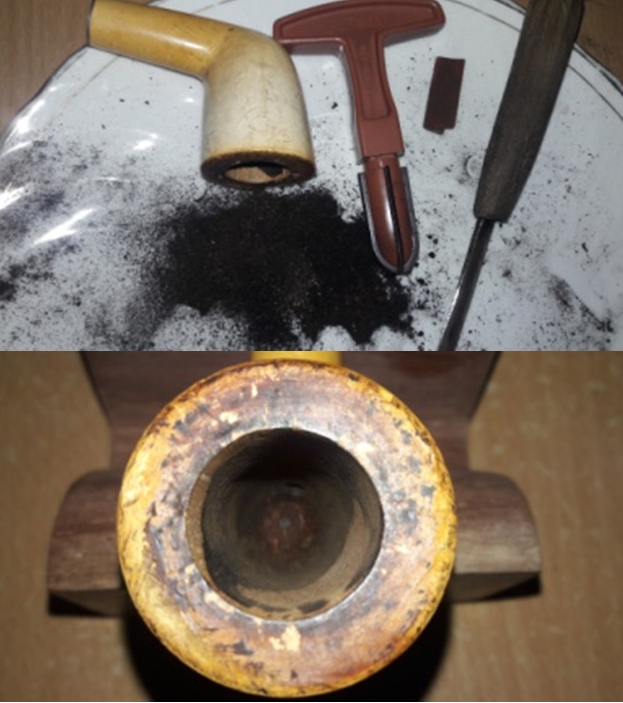
 Now it was time to address the thick tars and oils in the shank and open the airway into the bowl. I worked on the mortise and the airway in the shank with a paper clip, pipe cleaners, cotton swabs and alcohol. Once I had opened the airway I scrubbed it until it was clean. I also cleaned out the airway in the new stem with alcohol and pipe cleaners. It was not nearly as dirty as the shank.
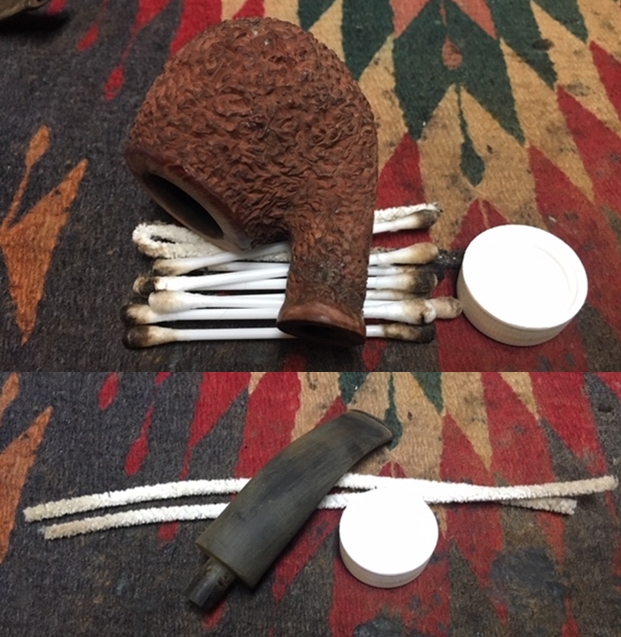 I polished the rim top and the smooth shank end with micromesh sanding pads – wet sanding with 1500-2400 grit pads and dry sanding with 3200-12000 grit pads. I wiped the polished areas with a damp cloth after each sanding pad. The rim and shank end began to really look good.
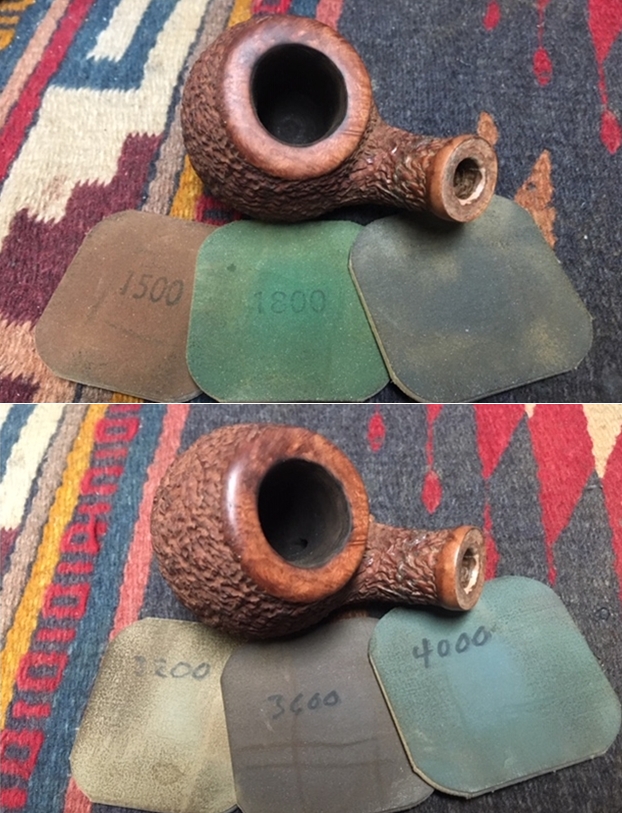
 I decided to stain the bowl and shank with some Medium Walnut Danish Oil. It has the translucence I wanted to let the natural colour of the briar shine through while allowing me to hide the repairs to the shank. I applied the stain with a cotton pad and daubed it deep into the grooves of the rustication. I kept applying it until the coverage was good.
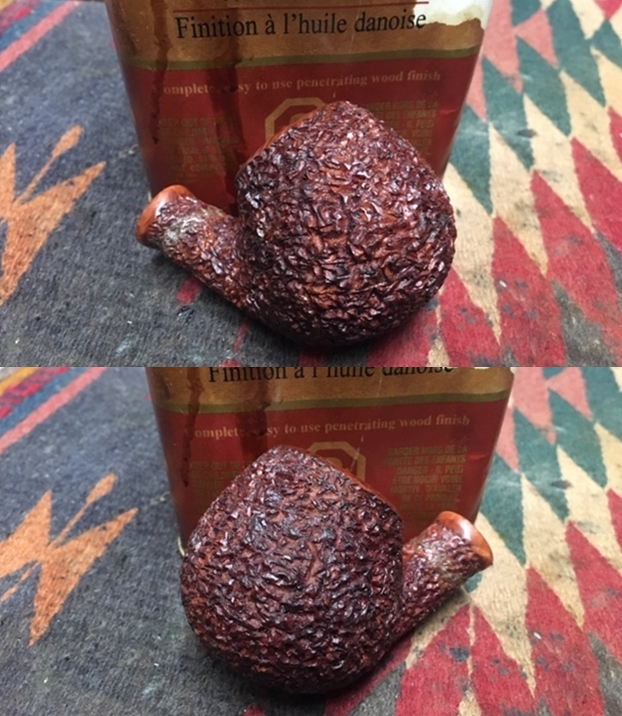
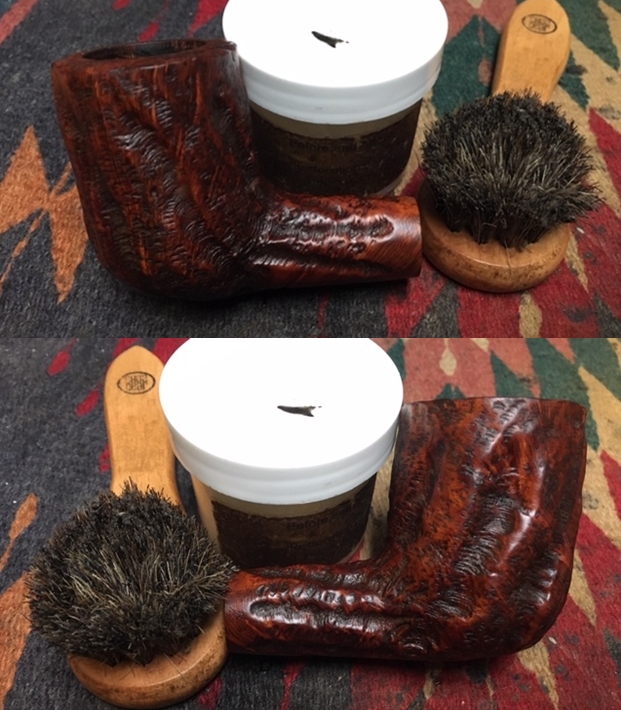
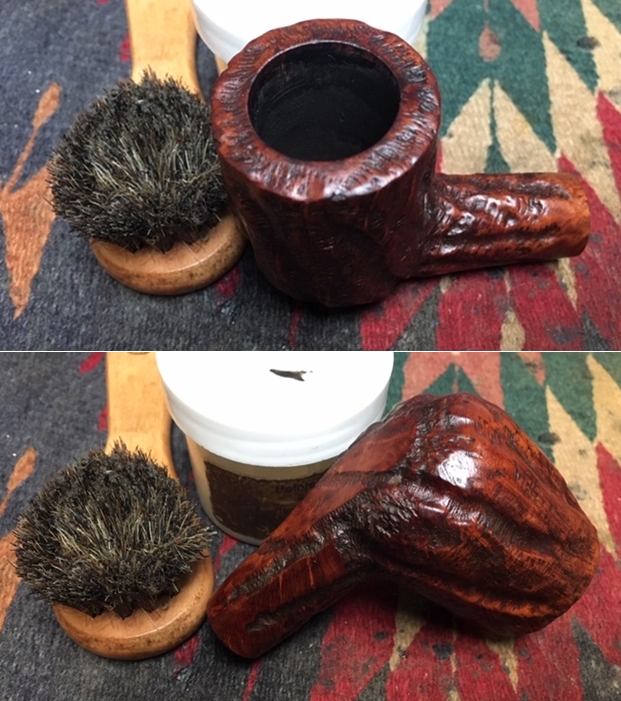
 I waxed the bowl with several coats of Conservator’s Wax and buffed it out with a horsehair shoe brush. The bowl and rim looked really good.

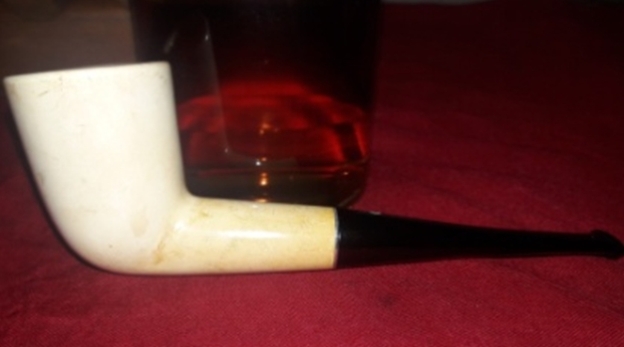
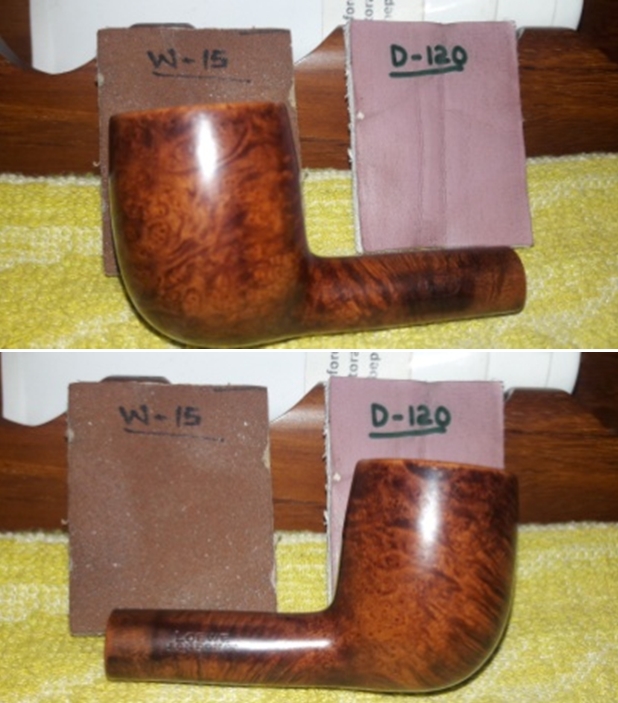
 I really liked the look of the bowl at this point in the process. The shine and the finish looked very good. I set the bowl aside and turned my attention to the new stem. I sanded it with 220 grit sandpaper to remove the oxidation and the scratch marks from fitting the stem. I wiped the stem down with Obsidian Oil to remove the sanding dust and get a feel for the scratching.
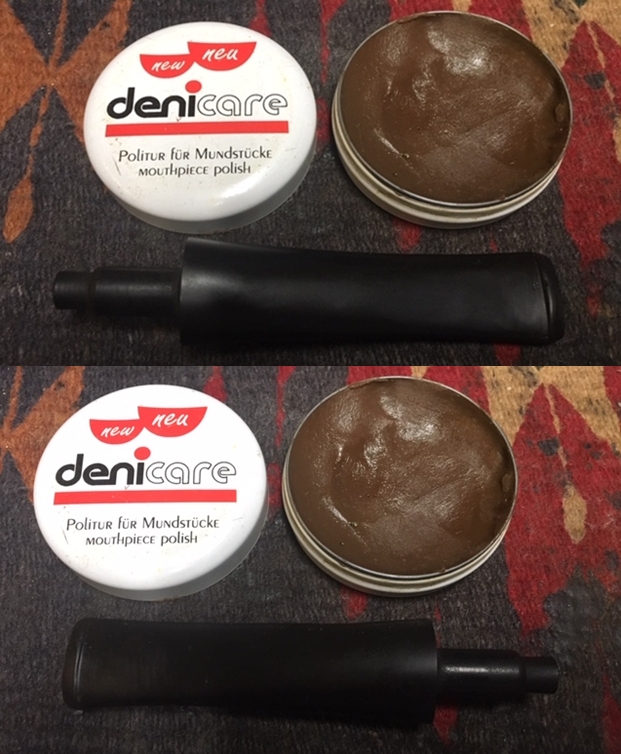
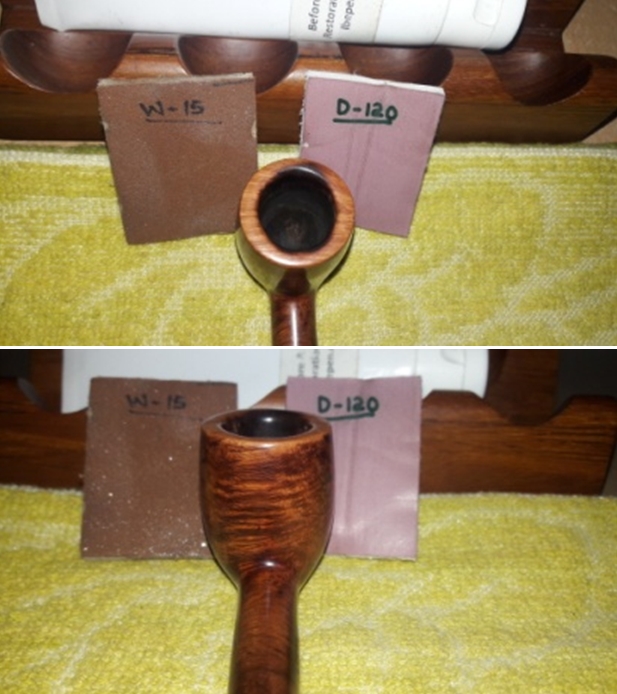
 I polished the stem with Denicare Mouthpiece Polish. I applied it with my finger and rubbed it in and then off with a cotton pad. I find that it is gritty enough to remove the residual oxidation after sanding (besides I have about three tins of the stuff to get through so I use it on each pipe).
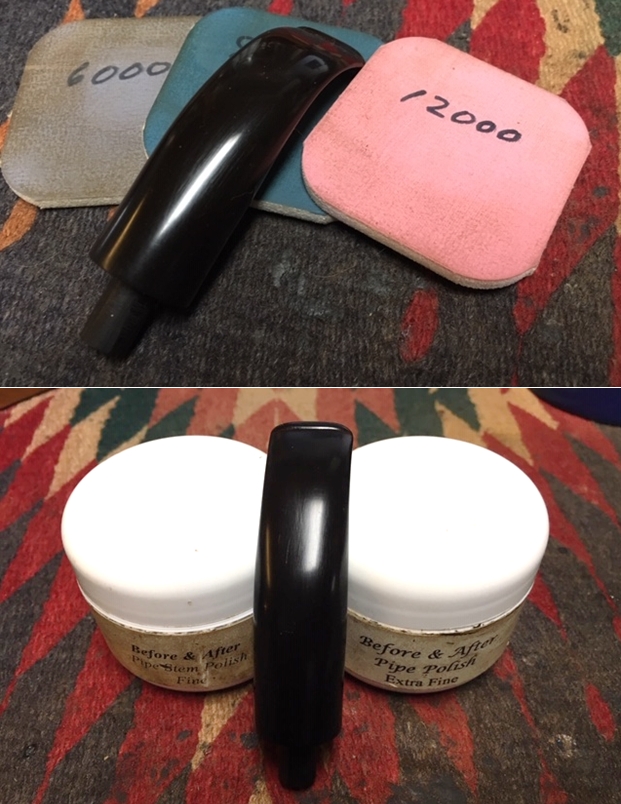
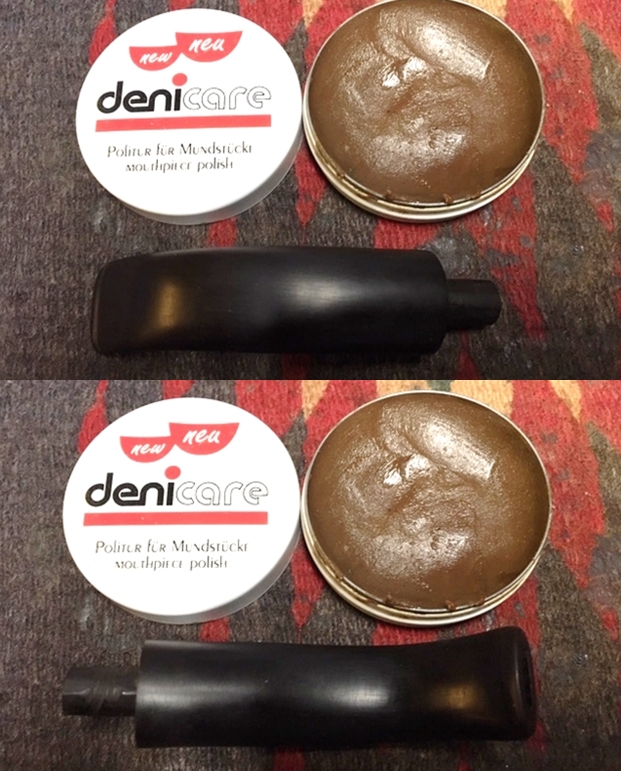 I polished the stem with micromesh sanding pads – wet sanding with 1500-2400 grit pads and dry sanding with 3200-12000 grit pads. I wiped the stem down with Obsidian Oil after each sanding pad. I finished polishing the stem with Before & After Pipe Polish – Fine and Extra Fine. I gave it a final coat of Obsidian Oil and set it aside to dry.
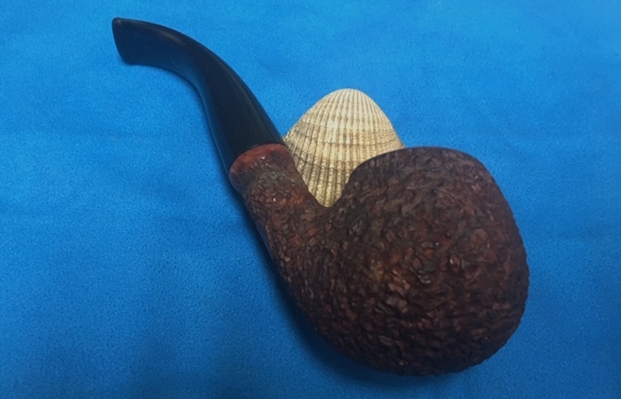
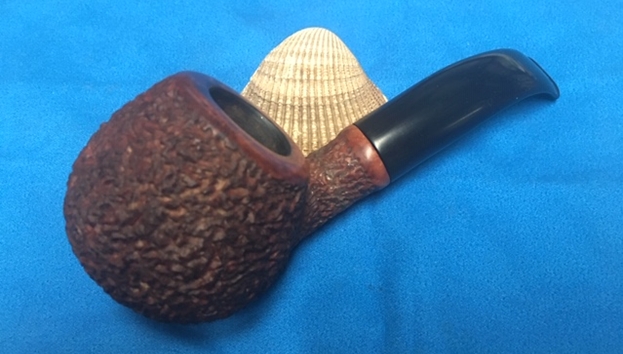
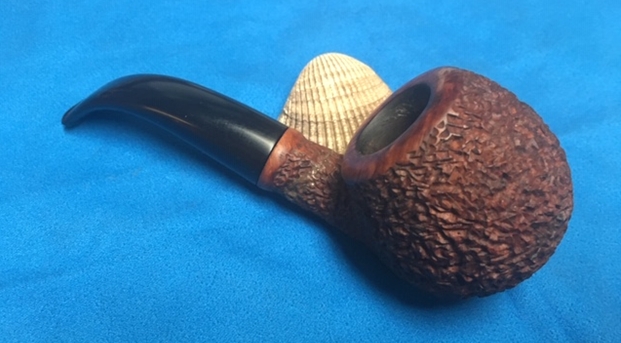
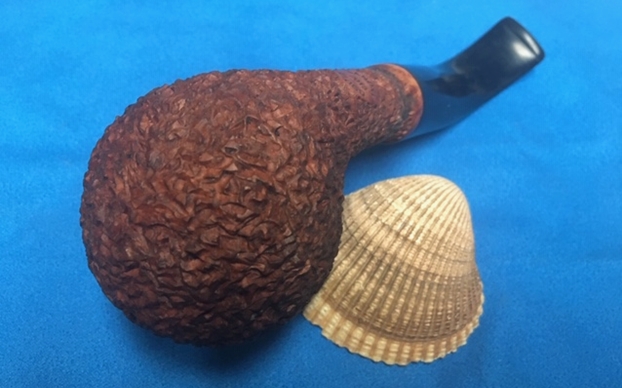
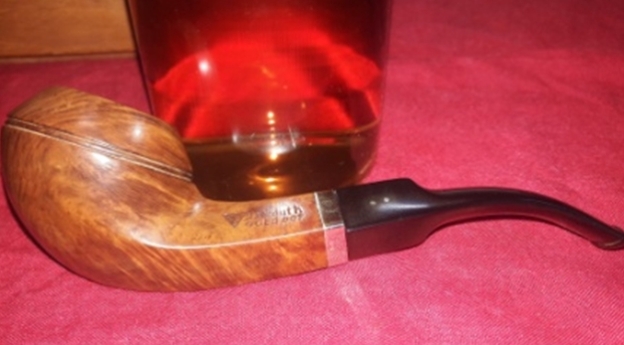
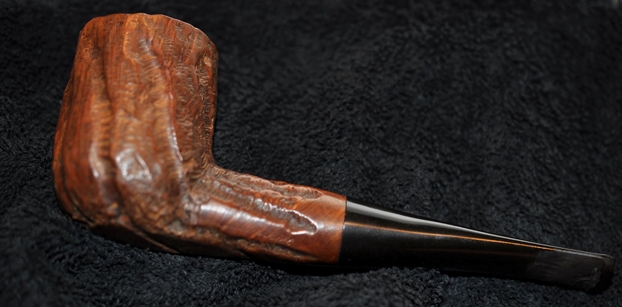
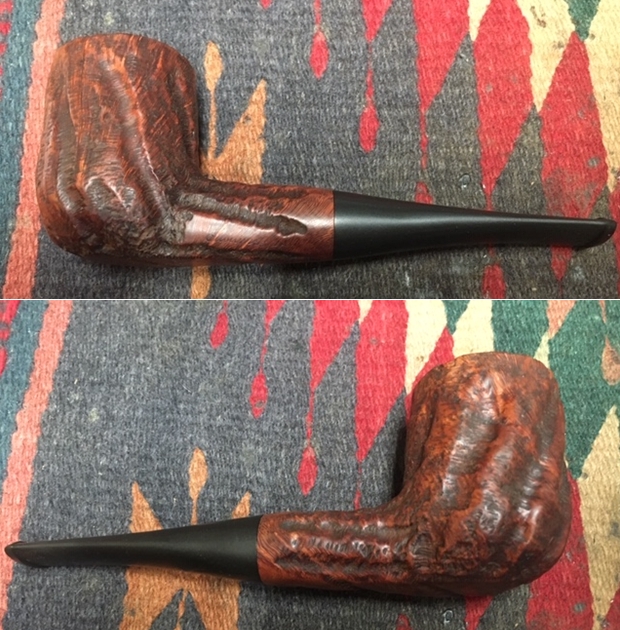
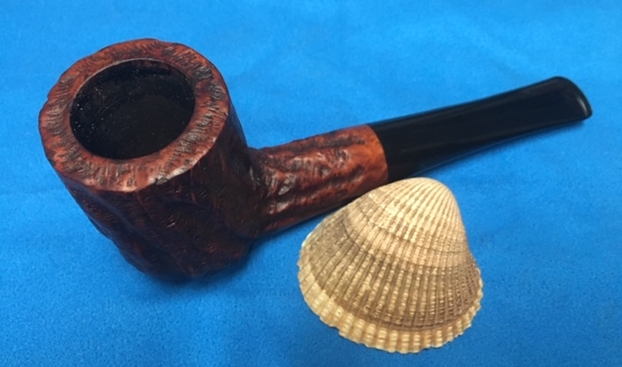
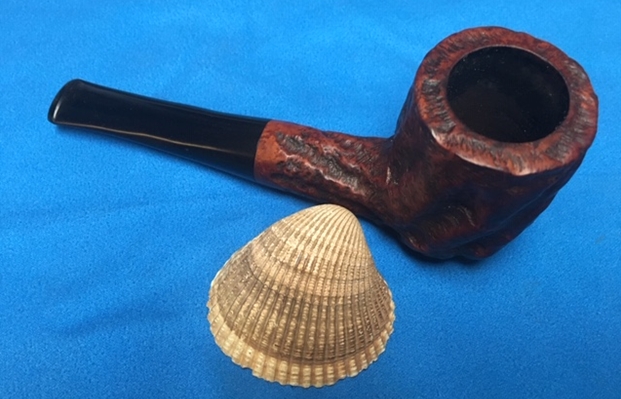
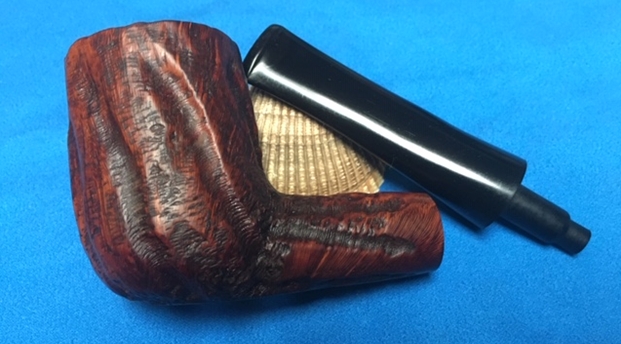
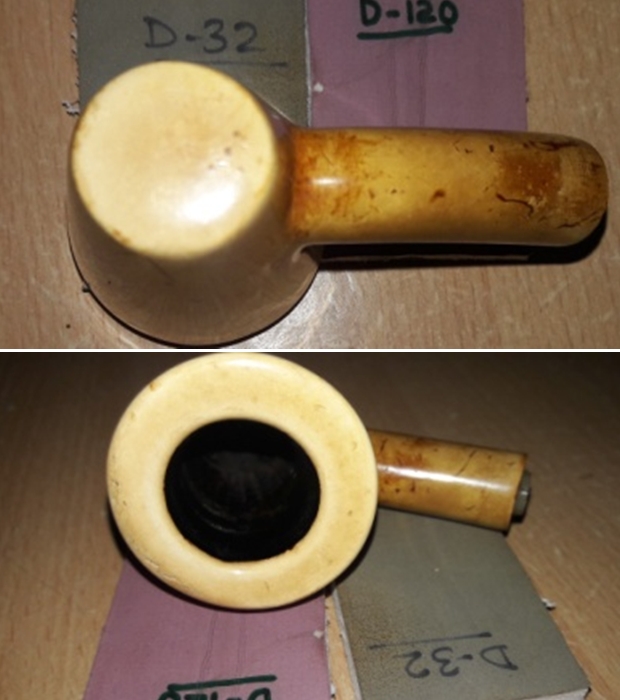
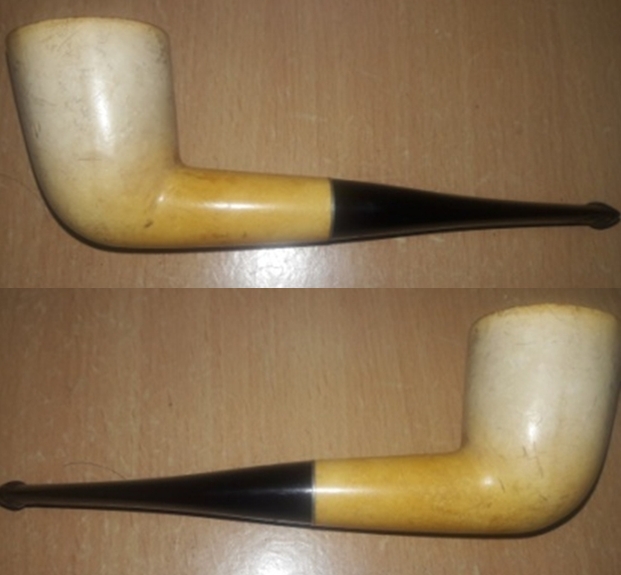
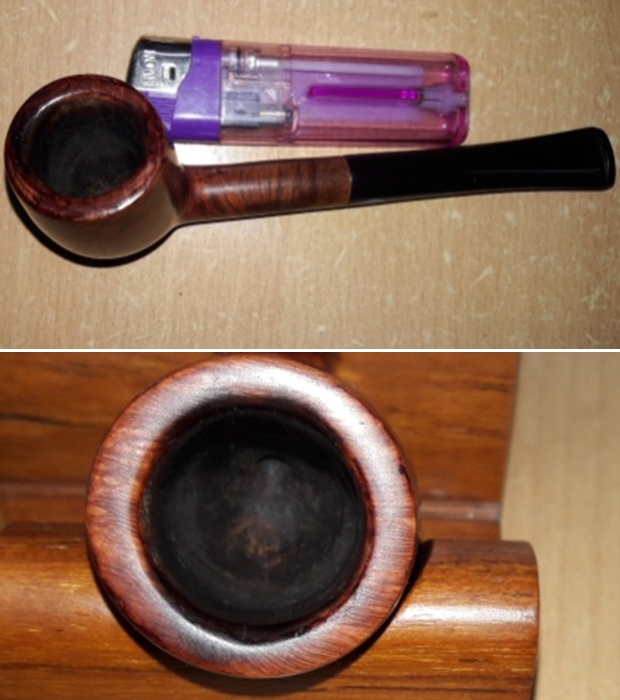
 I bent the stem with a heat gun to get it to follow the lines of the top of the bowl so that it can hang in the mouth with the bowl top straight. I polished the stem with Blue Diamond on the buffing wheel and gave it multiple coats of carnauba wax. I put it back on the shank and buffed the entire pipe with a clean buffing pad to raise the shine on the bowl. The heavy rustication works well with the stain I chose to use on it and the combination looks really good with the polished vulcanite stem. The flared shank end and the thick stem work well together to my mind to create an interesting pipe. The finished pipe is shown in the photos below. Its dimensions are – Length: 6 inches, Height: 2 inches, Outer diameter of the bowl: 1 ½ inches, Chamber diameter: 7/8 of an inch. I will give it another coat of Conservator’s Wax and then call the fellow who dropped it off for repair. I am hoping he likes the look of his pipe. Thanks for reading this blog.