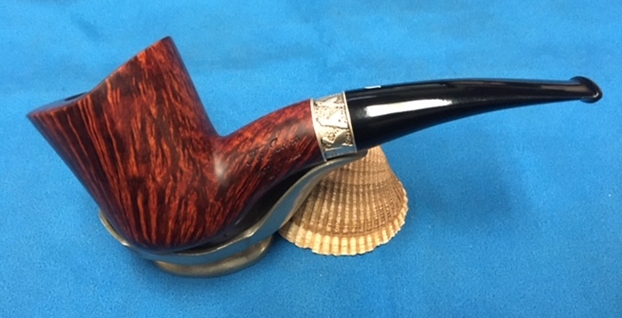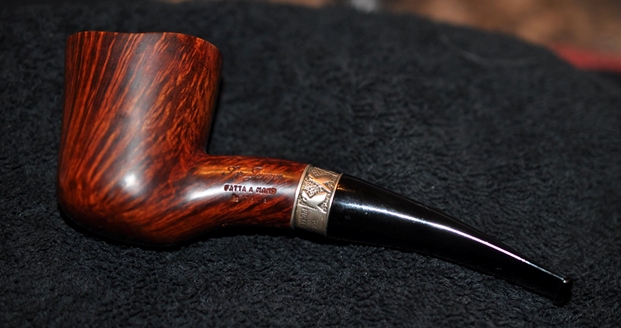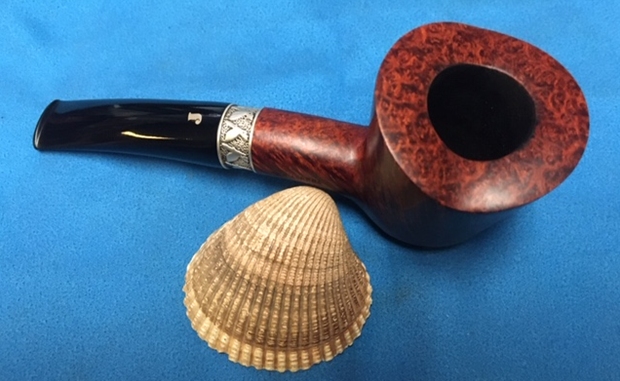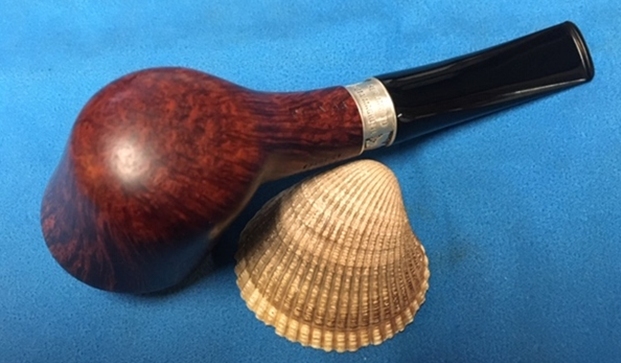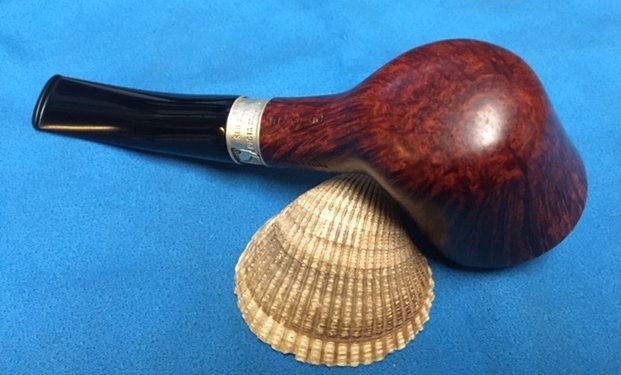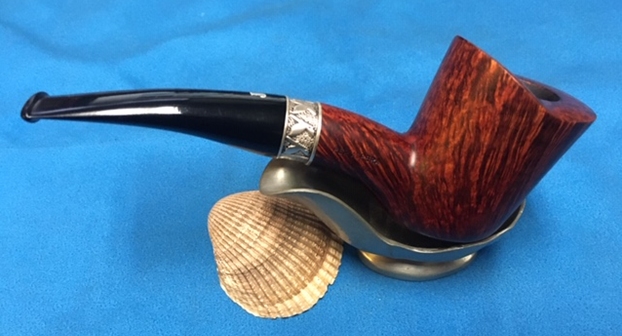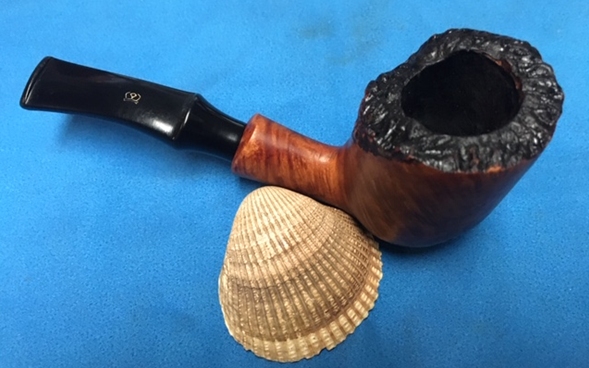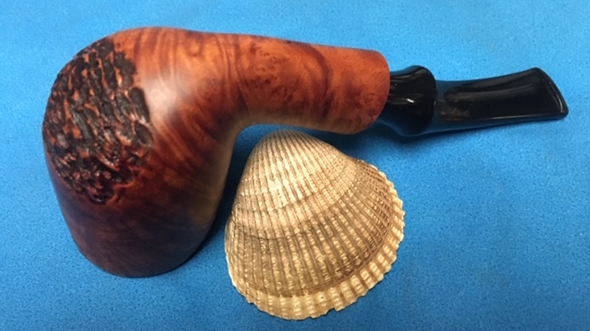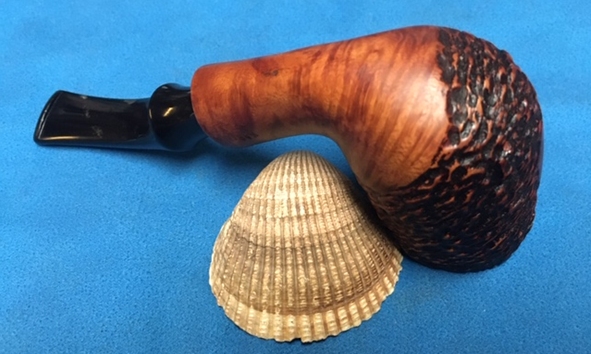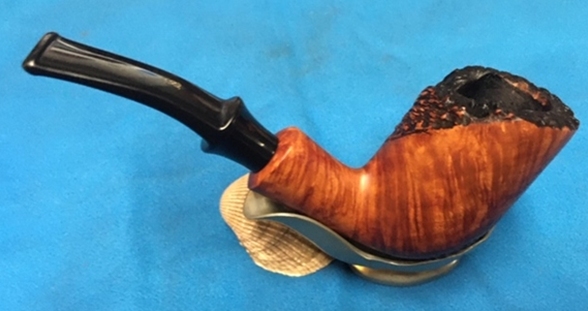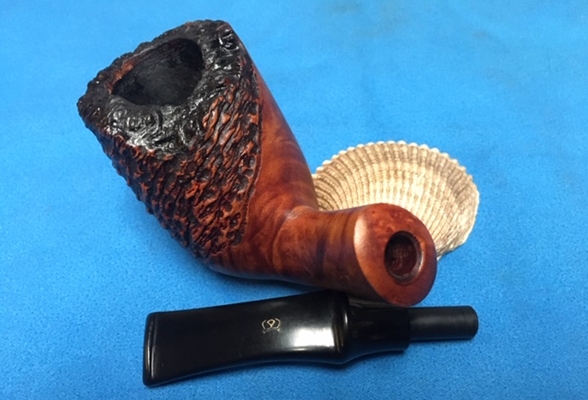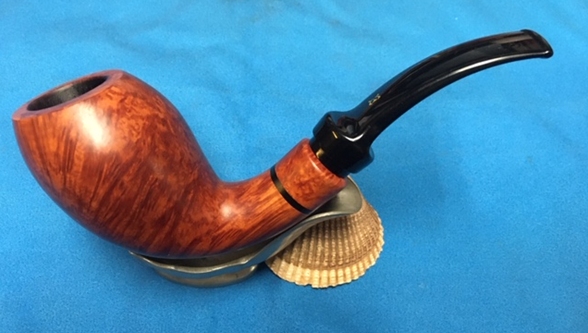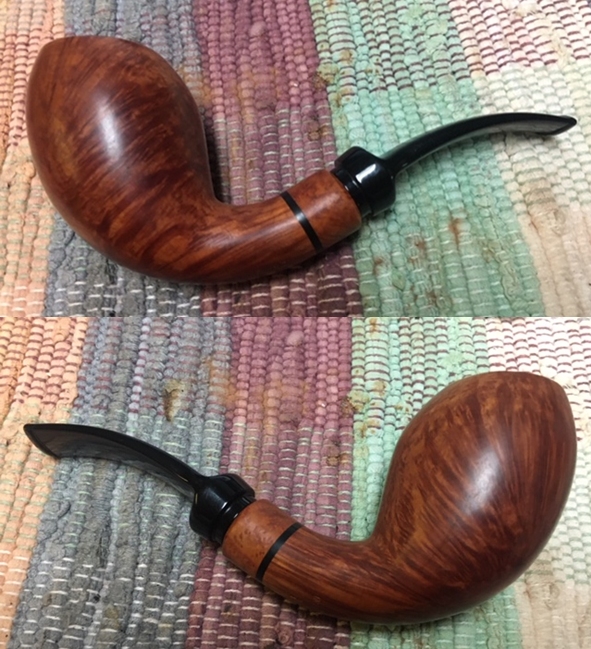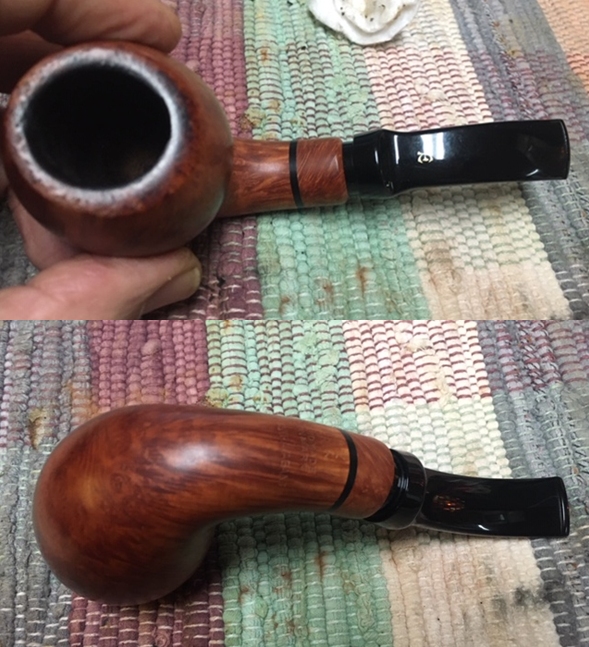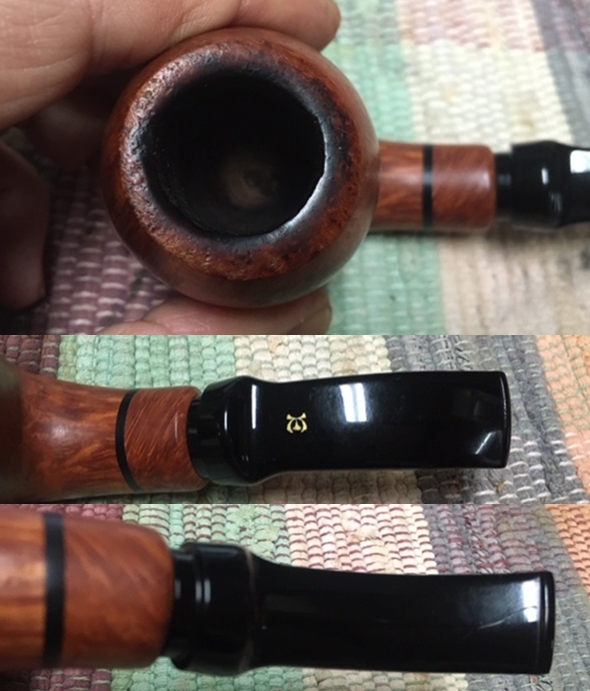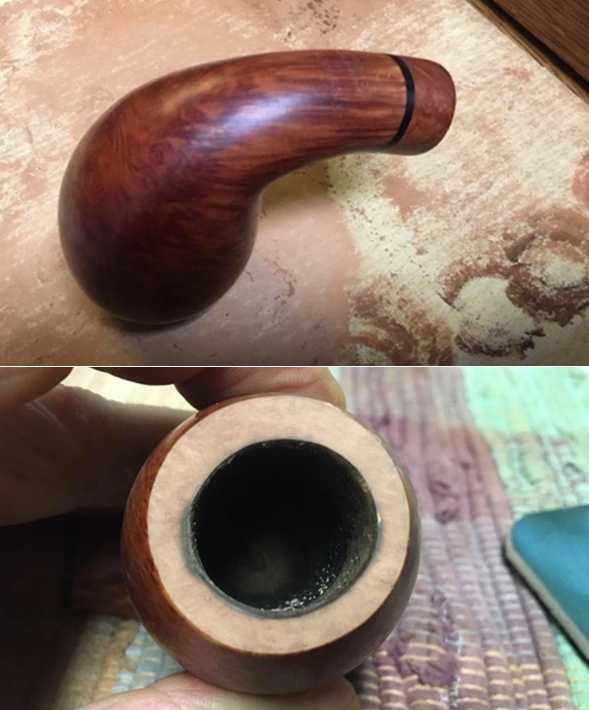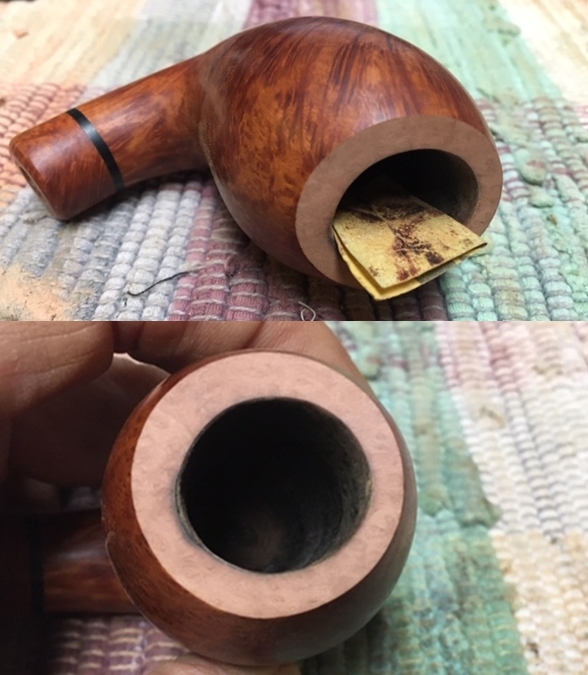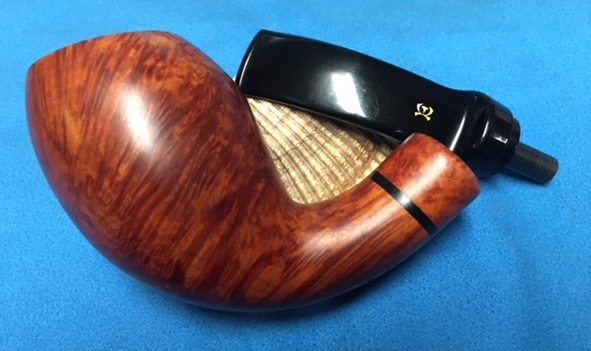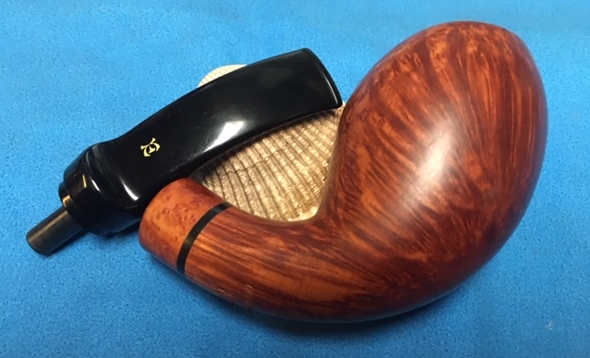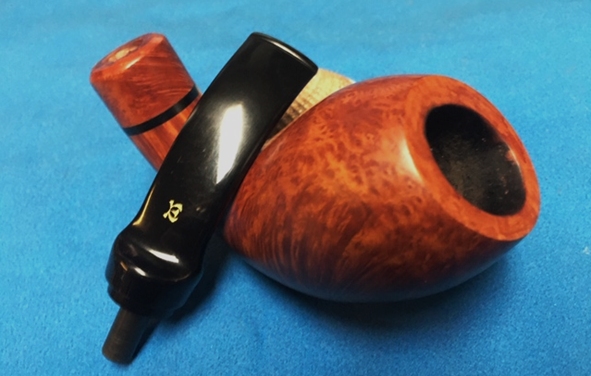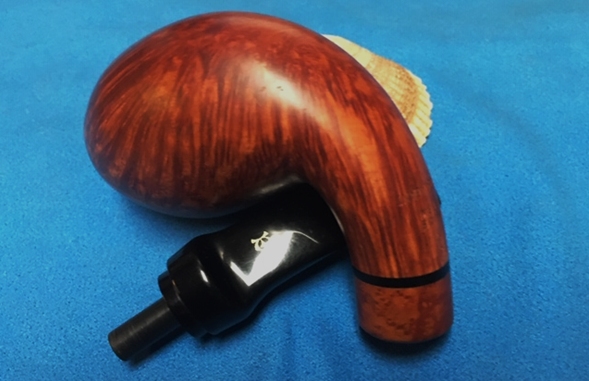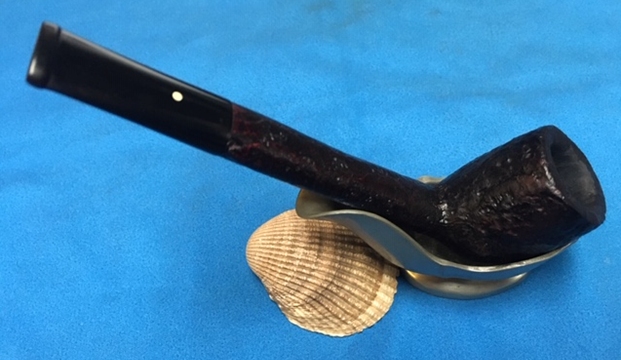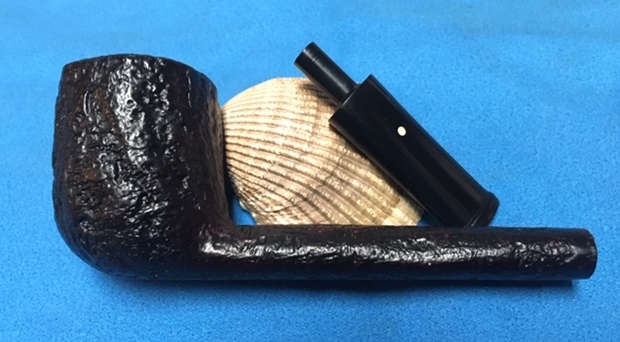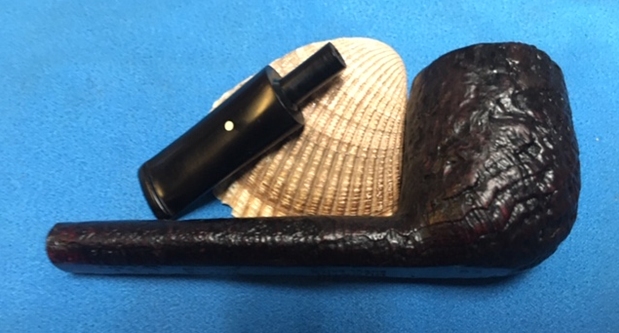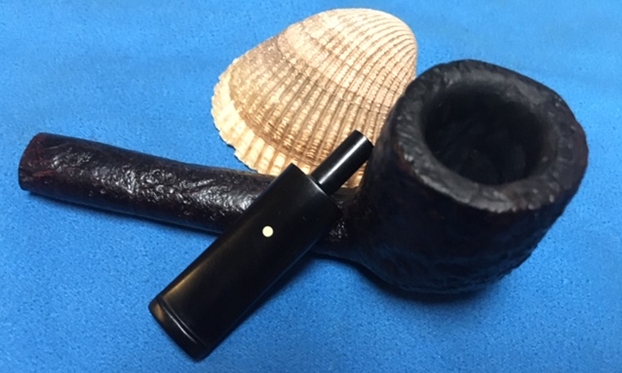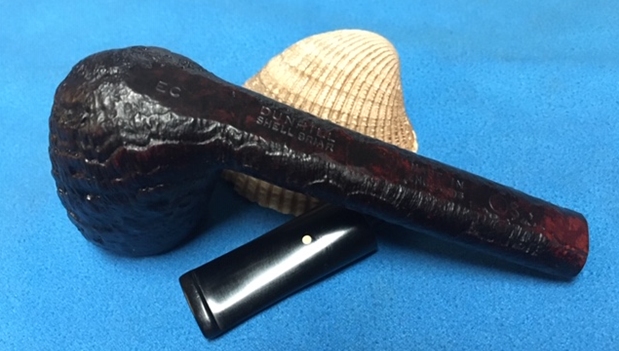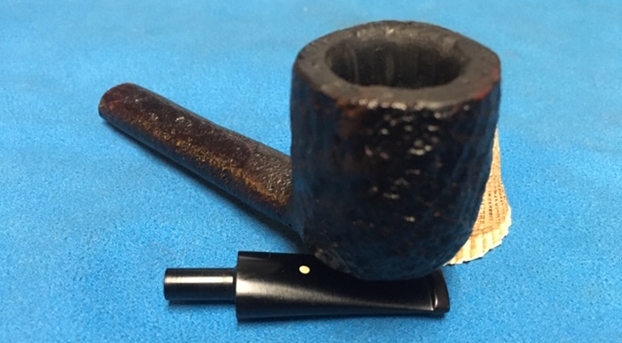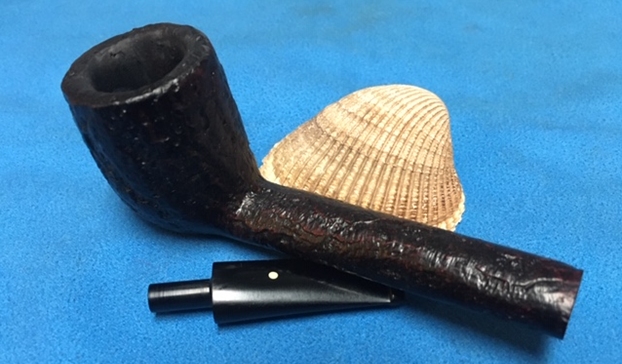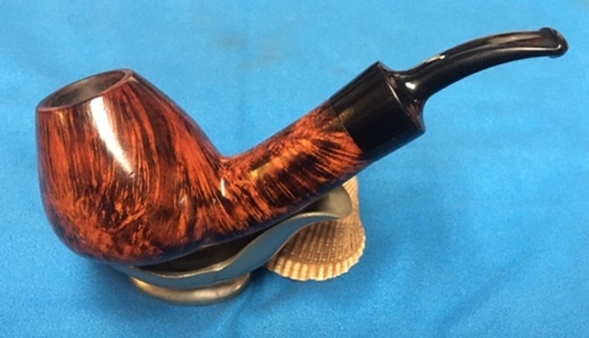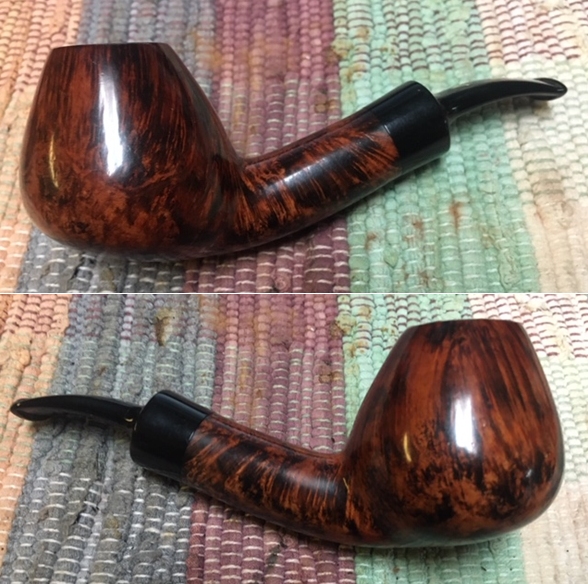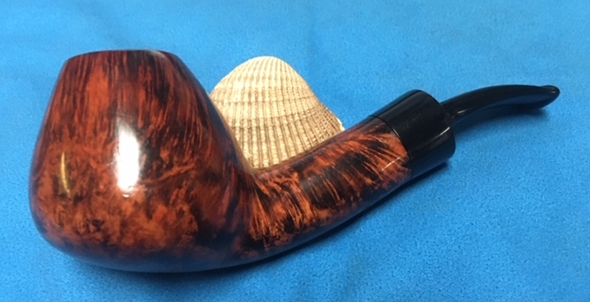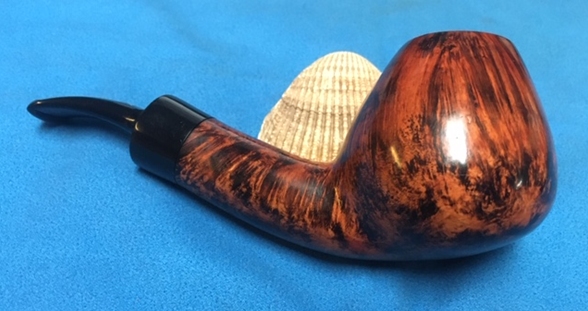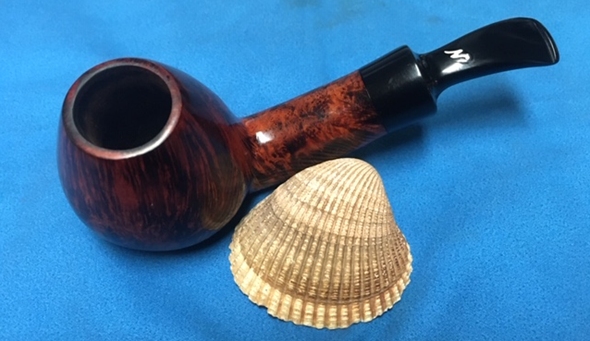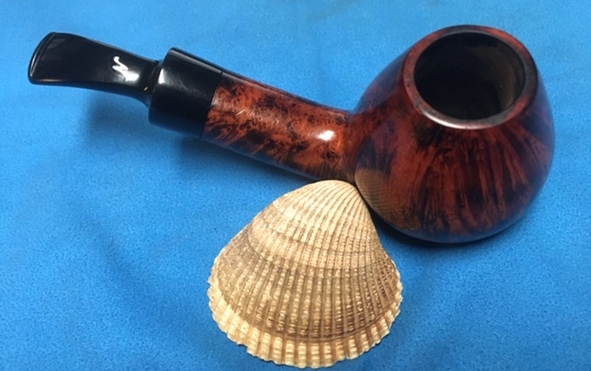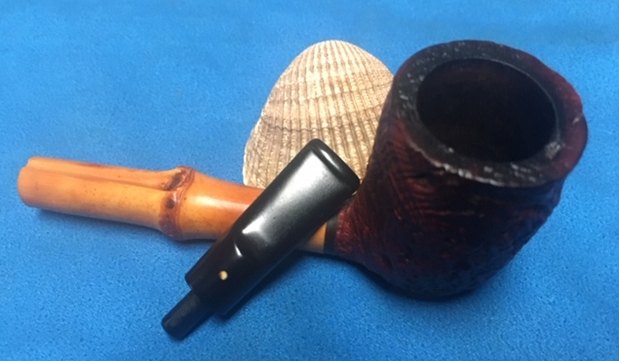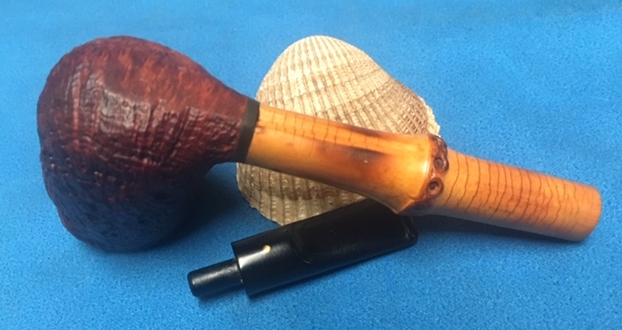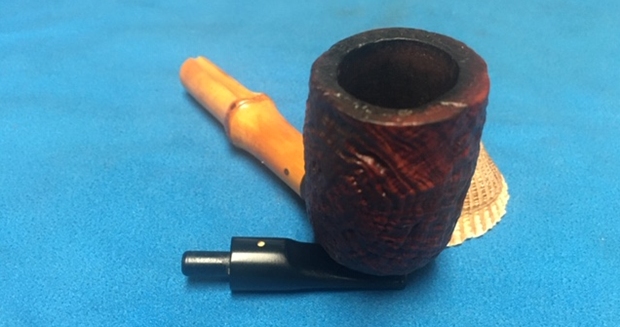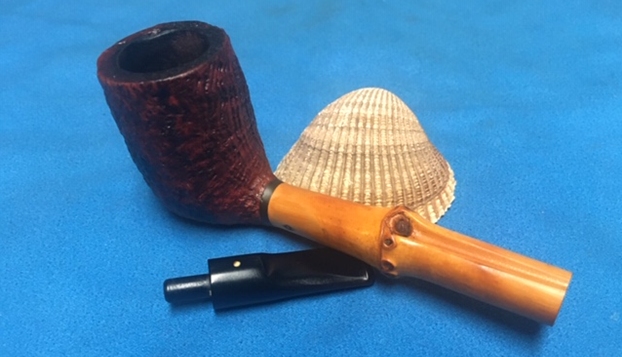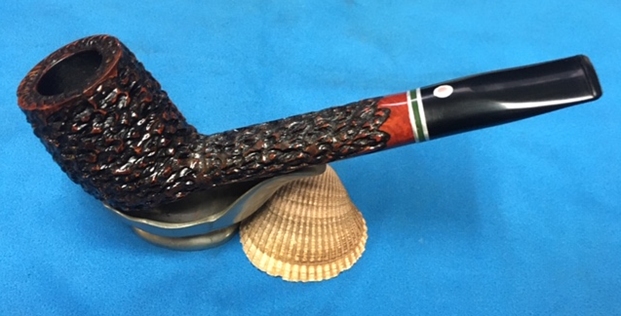
Passing on the Legacy – a Beautiful T. Cristiano Rusticated Canadian


Blog by Steve Laug

I have finished the current batch of donated pipes that were gifted in support of the SA Foundation. Jeff and I purchased a group of 42 pipes from a pipeman who can no longer smoke because serious illness. It is a pleasure to be able to support this Brother of the Briar in this very hard season of his life. He had some beautiful pipes in his collection and with some work we will get them cleaned up and into the hands of other pipemen and women who can carry on the legacy of the briar.

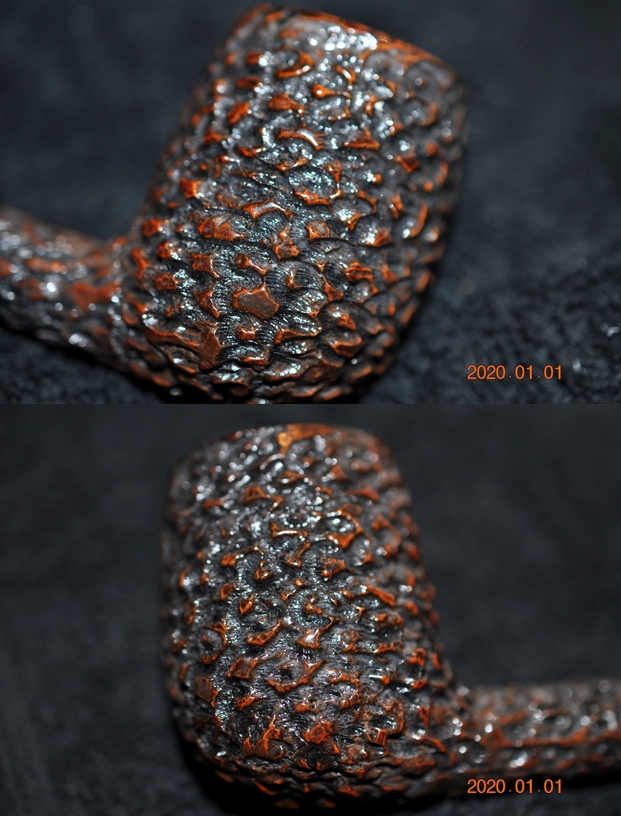
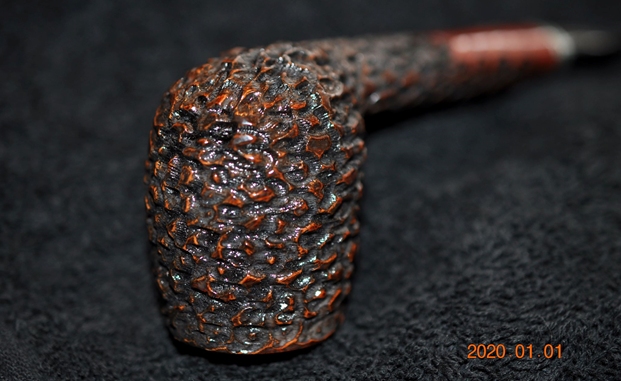
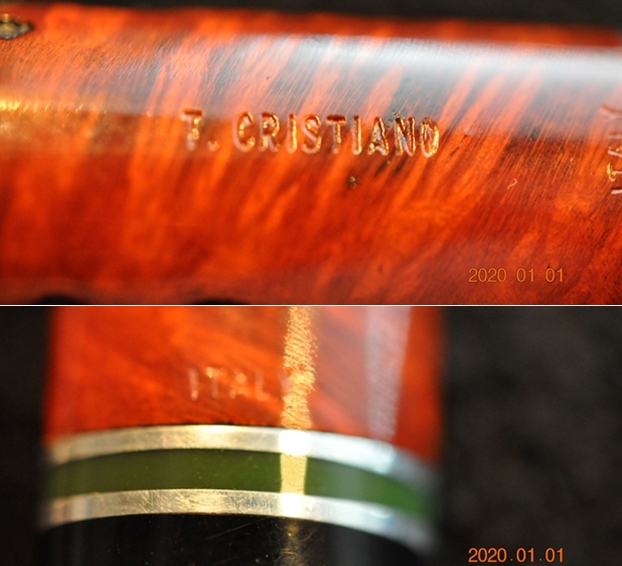
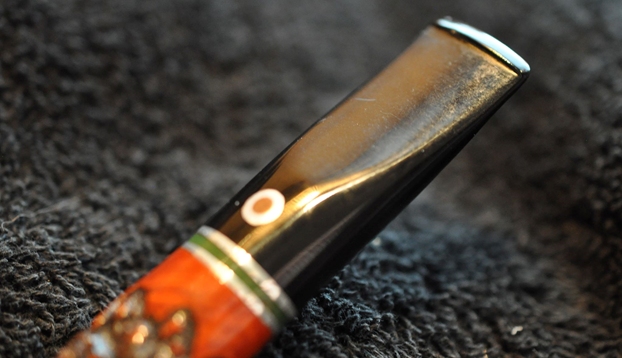
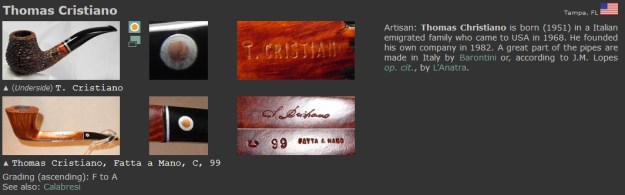
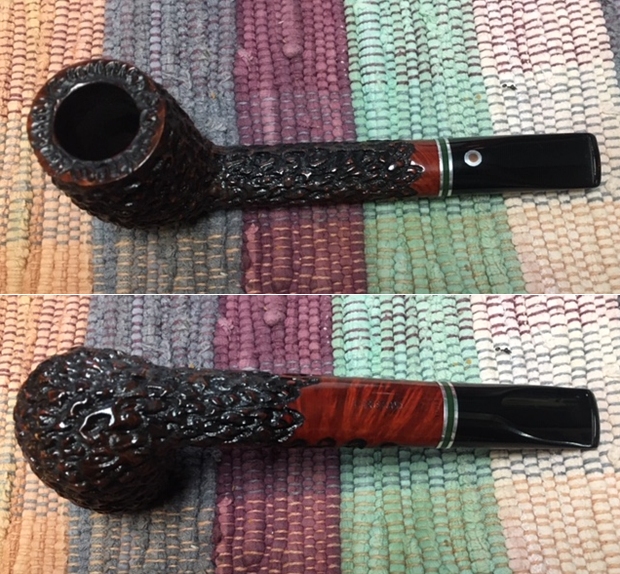
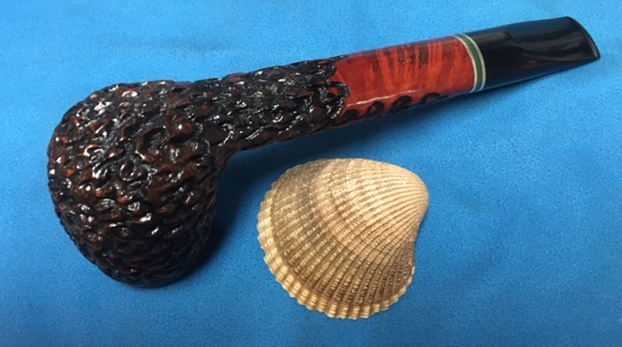
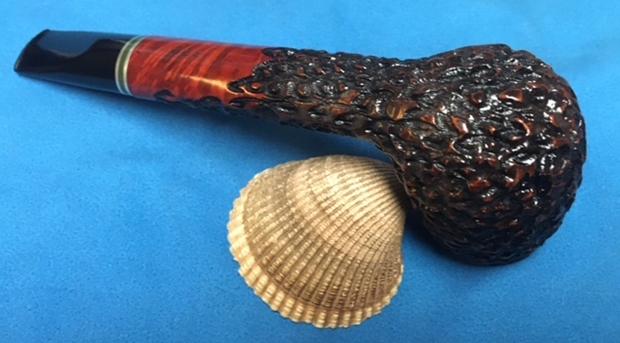
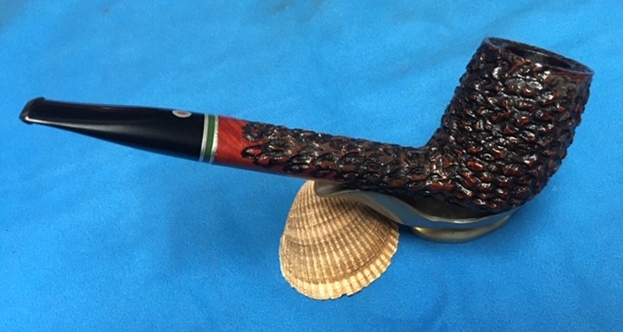
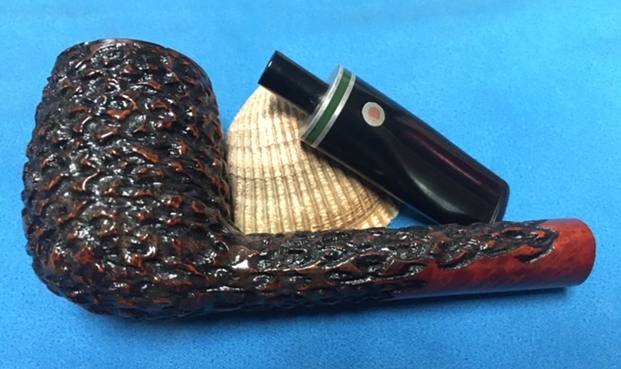
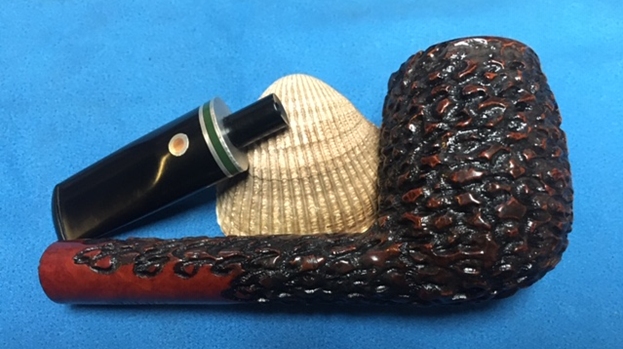
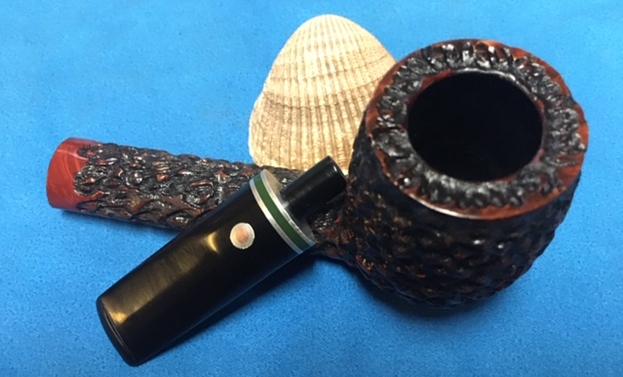
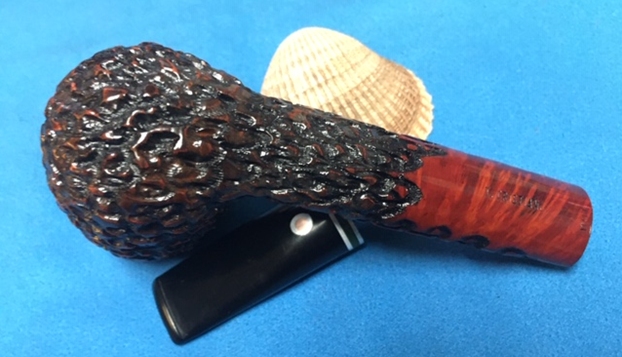
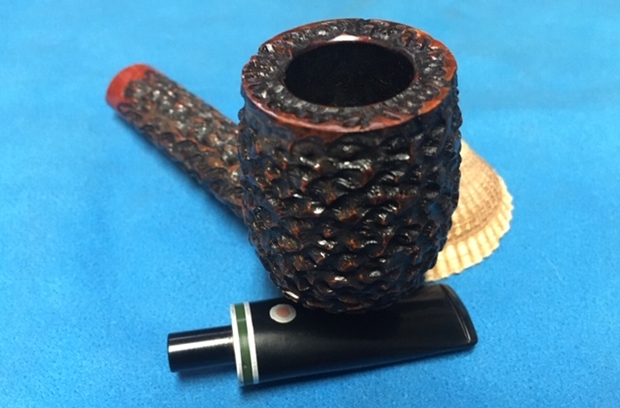
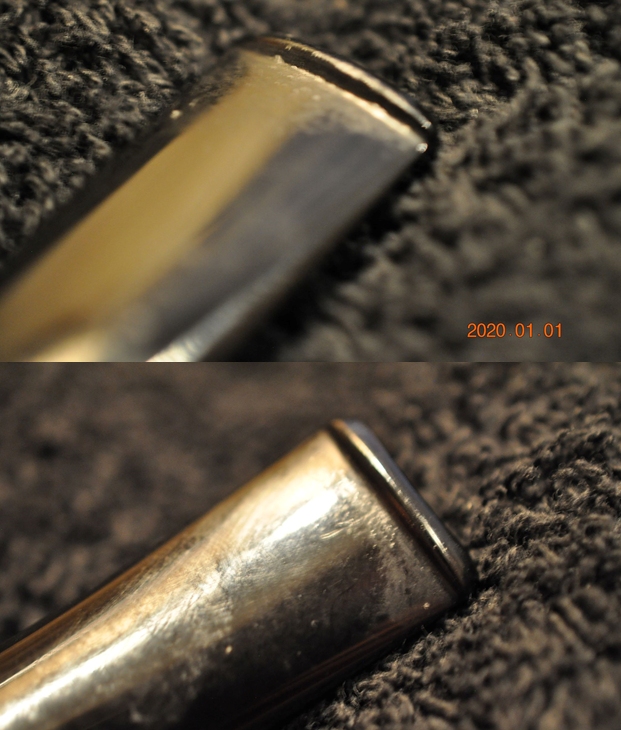
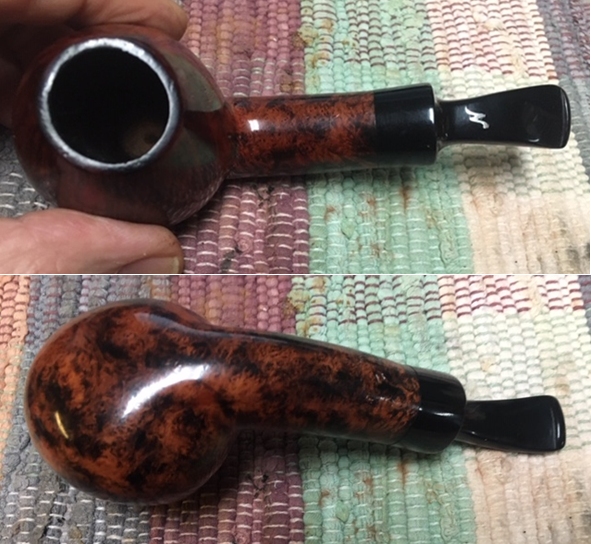
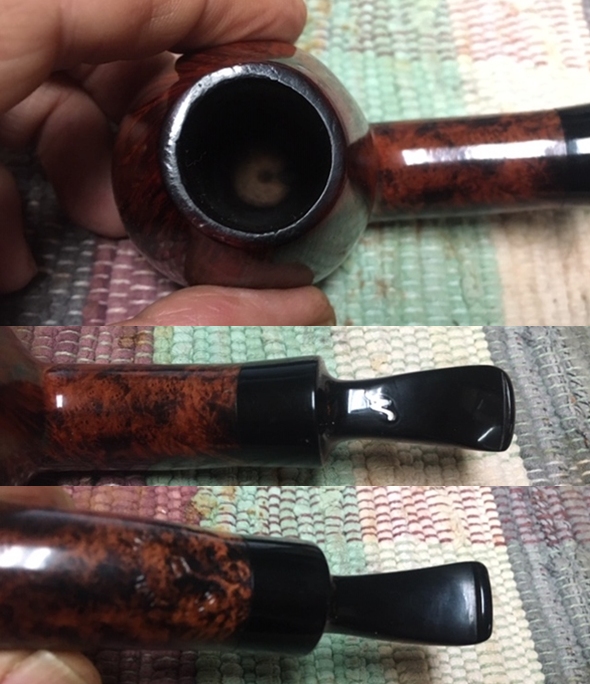
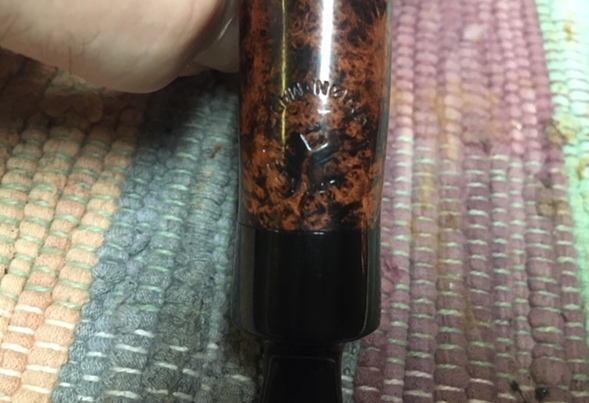
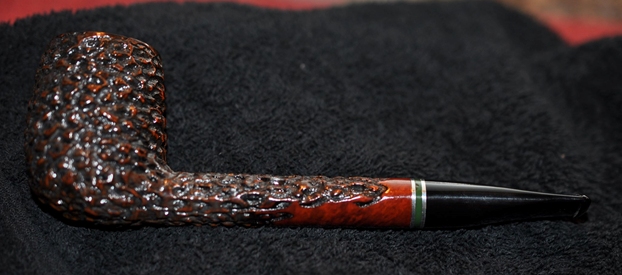
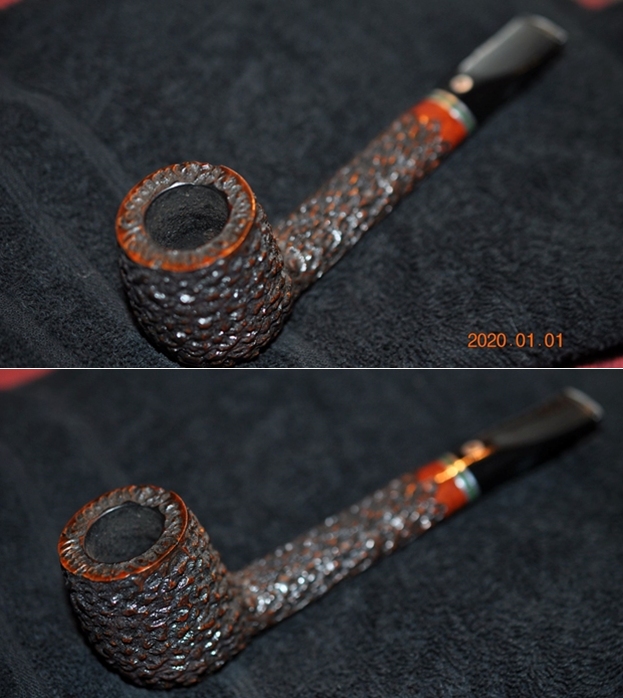
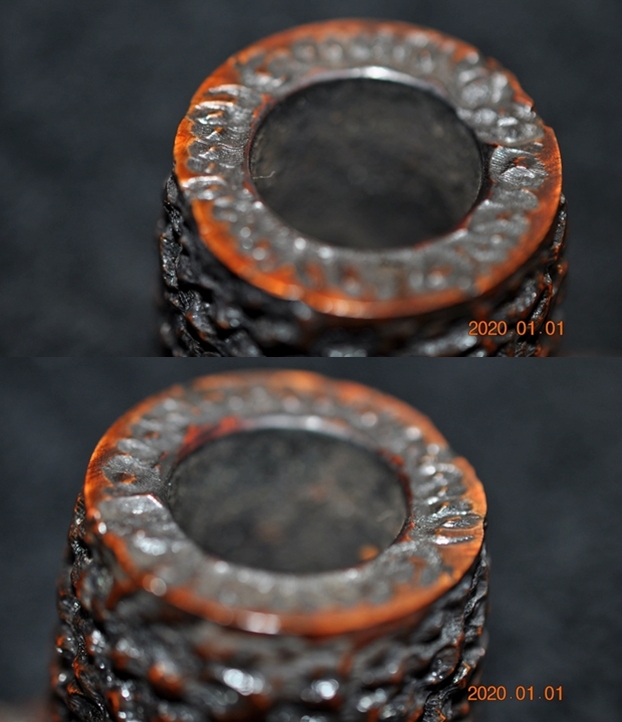
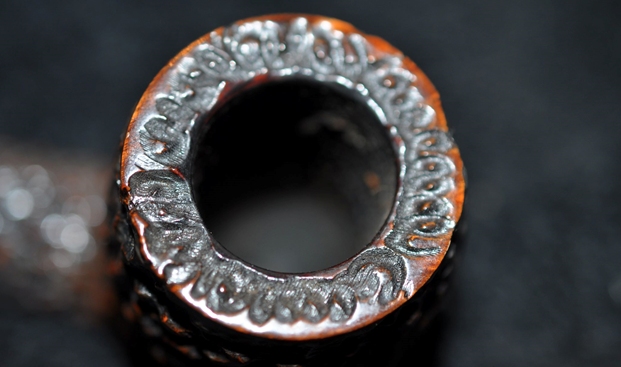
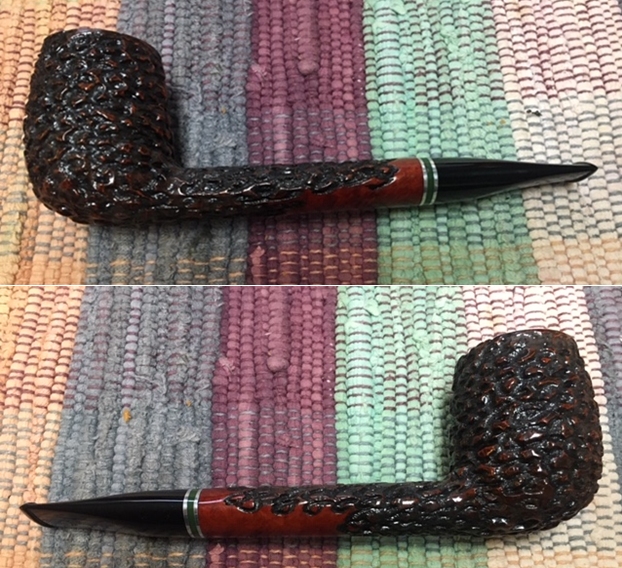
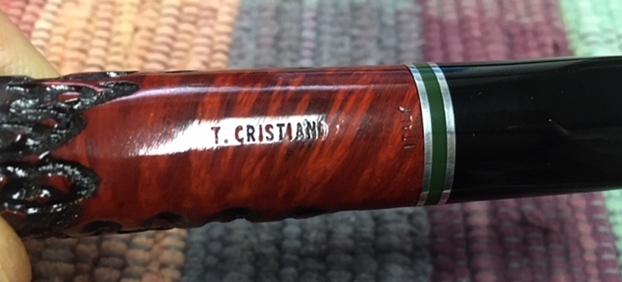
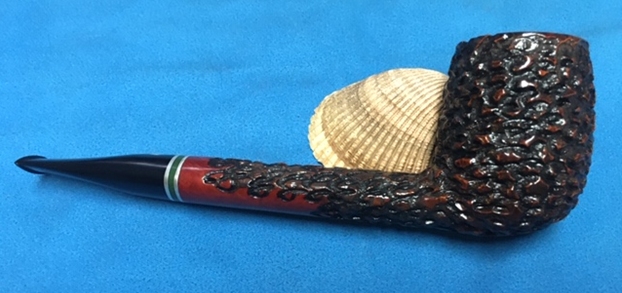
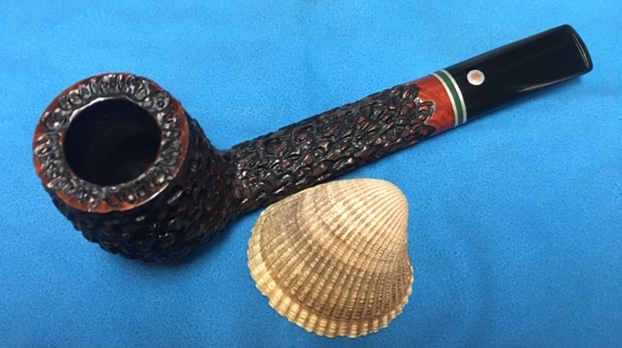
The second of the pipes that I am working on is a T. Cristiano Canadian. It is stamped on the underside of the shank T. Cristiano on a smooth finished portion of the briar. At the shank stem union it is stamped Italy. It is a nice large piece of briar with a triple band – two rings of silver with a ring of emerald green in the middle. The stem is black acrylic and has a double ringed circle inlaid in the top of the taper. The outer ring is silver and the inner is copper. When it arrived at Jeff’s house and he opened the box he could see it was an interestingly rusticated pipe. The pipe was dirty but there was no significant damage to the bowl or stem. The rim top had grime and tars in the rustication but it was otherwise clean. There was a thick cake in the bowl with some bits of tobacco stuck to the walls of the bowl. The decorative silver band had grime and dirt but was in good condition. The acrylic stem was in great condition – just a little dirty and tooth chatter on both sides of the stem near the button. Overall the pipe was a beautiful and a dirty pipe that must have been another favourite smoker. Jeff took photos of the pipe before he started his clean up work. Jeff took photos of the bowl and the rim top to show the condition of the bowl and rim. You can see the tars and grime in the rustication on the rim top but also that it is unburned. The inner and outer edges of the bowl look very good. Jeff took photos of the sides and heel of the bowl to show the condition of the finish – the grime and grit all over the sides and bottom of the bowl. It is a dirty pipe but the rustication pattern is very interesting. He took photos of the stamping on the underside of the shank. The stamping was very readable. He also took a photo of the inlaid logo on the top of the tapered stem. It is an inlaid silver ring surrounding a copper center. He took some photos of the stem surfaces to show their condition. There were not any tooth marks just some light chatter ahead of the button and some wear on the button surface on both sides.  I turned to Pipephil’s site to get a quick summary of the maker of this pipe. It is a brand I was unfamiliar with so every little bit of information helps (http://www.pipephil.eu/logos/en/logo-t5.html#thomascristiano). From that site I learned that the maker was Thomas Cristiano who was an Italian immigrant to the US in 1968. He started his own pipe company in 1982. I did a screen capture of the write-up on that site and have included it below.I turned then to Pipedia (https://pipedia.org/wiki/Cristiano) to gather some additional information. I have included the entry from that site in full below.
Thomas Cristiano began working with pipes only weeks after emigrating to America from his native Italy in 1968 at the age of 16, at the S. M. Frank factory in Long Island, New York. Mr. Cristiano worked at that factory, which produced the Kaywoodie pipes, among others, for a decade before leaving and eventually starting his own company, Cristom Imports and Exports, in Tampa, Florida. In addition to producing three pipe lines of his own, including the Cristiano, Cristiano Signature Series, and Calabresi pipes, Mr. Cristiano is believed to have made the Kaywoodie pipes in Tampa from the mid-1980s until approximately 1992. He was also one of the nation’s most respected humidor makers.

Sadly, Mr. Cristiano became a broken pipe on November 7, 2005 while traveling in his native Italy. He was only 53 years old. He is universally remembered as a kind person, as well as a positive influence on the pipe and cigar industries.

I did further digging on the internet for more information and found a link to Blue Room Briars that had some more information on the brand. It is interesting to note that it is an American Brand by and American pipe maker and it is stamped Italy. Here is the link: (https://www.blueroombriars.com/collections/t-cristiano-pipes/products/t-cristiano-pipe-canadian-with-acrylic-band-6). I quote in part:

Thomas Cristiano was an American Pipe Maker who moved from his native Italy when he was 16 in 1968.  For several decades he made handmade artisanal pipes under his own name and also had pipes made from the mid-century production techniques, back in the Old Country under the Calabresi brand.  Like many machine made marquees, there were several lines of various adornments and finish combinations.  Much of Cristiano’s work is in Freehand pieces though his factory designs were very clean and stylish, showcasing the classic in the Italian School of smart looking shapes.

I found another link on the Paul’s Pipe Shop site (http://www.iapsc.net/store/cristiano.html). It was by far the most comprehensive of the articles on the brand and the maker. It also included a photo of Thomas Cristiano in the banner so I did a screen capture of that and included it along with the information below.When the Cristiano family came to America from Calabria, Italy, in 1968, they brought with them a wonderful and unique talent: pipe making. As the maestros of this craft, the Cristiano family has for nearly two decades, shaped and honed the rare, beautiful — but tough — briar-root into some of the world’s most valued and treasured pipes. They have practiced their art at Calabresi Smoking Pipes, Inc. creating handsome wooden pipes for the largest pipe companies, as well as custom designing pipes for individual special requests.

At age 17, Thomas Cristiano was working in the pipe industry. “I was a floor boy for S.M. Frank & Company,” says Cristiano. “I counted and graded blocks of wood, categorized them, counted and selected pipes and put them in stock.” He has come a long way since then, but every step of that journey has been dedicated to pipes.

The Cristiano’s briarwood pipes are magnificently crafted by both hand and machine from the root of the wild briar shrub, which grows only in the Mediterranean region. Shrub harvesters cut the root into chunks that are later selected by pipe makers based on the grain and quality of the wood.

Thomas Cristiano’s pipes are separated in to two main marks: Calabresi and T. Cristiano. The lines expand the horizon from filter pipes to exquisite freehands and classic shapes with ornate details made from precious metals such as gold and sterling silver.

In the Calabresi line there is the Budget line, the Algerian Imports, Italian Imports, Spindrift, Danesi Series, Massicia Series, Metamorfosi Series, Raffaele Series, Free Forms, Cesare Series, and Fancy.

The T. Cristiano line begins with the T. Cristiano, then the VSQ Series, Metamorfosi Series, Bosso Series, Phidias Series, and finally the highly sought after T. Cristiano Signature Series.

From the above information I knew that the pipe was an American Made pipe. Now that I had the information I wanted to know on the brand it was time to begin to work with it and clean it up. It really is a beautiful pipe.

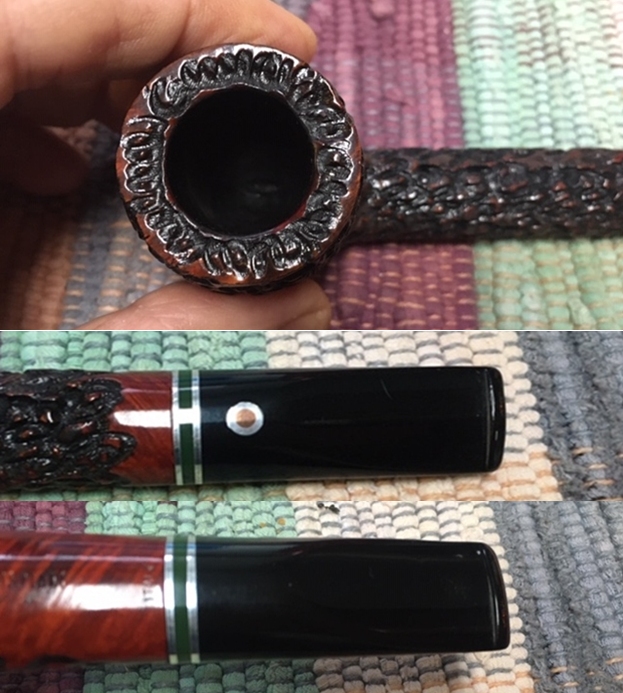
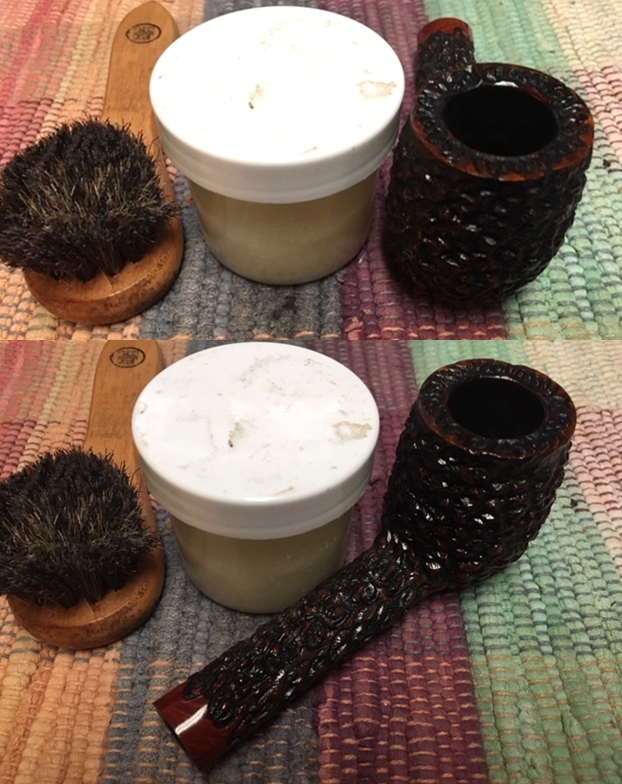
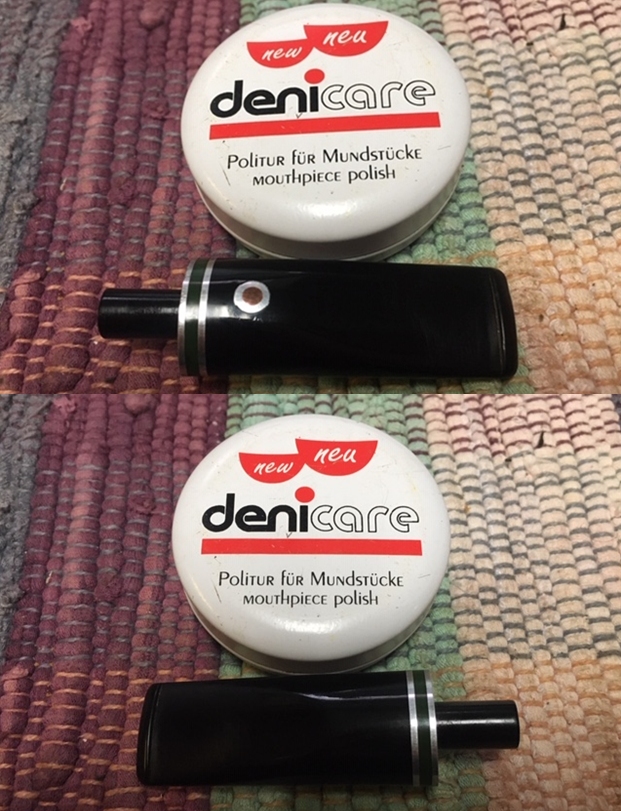
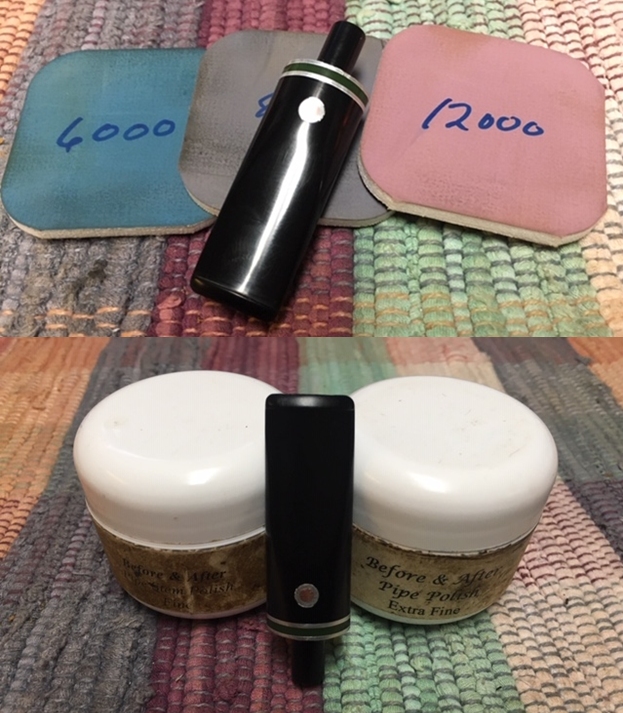
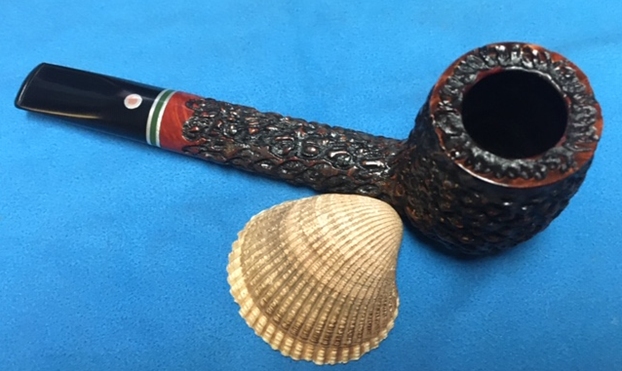
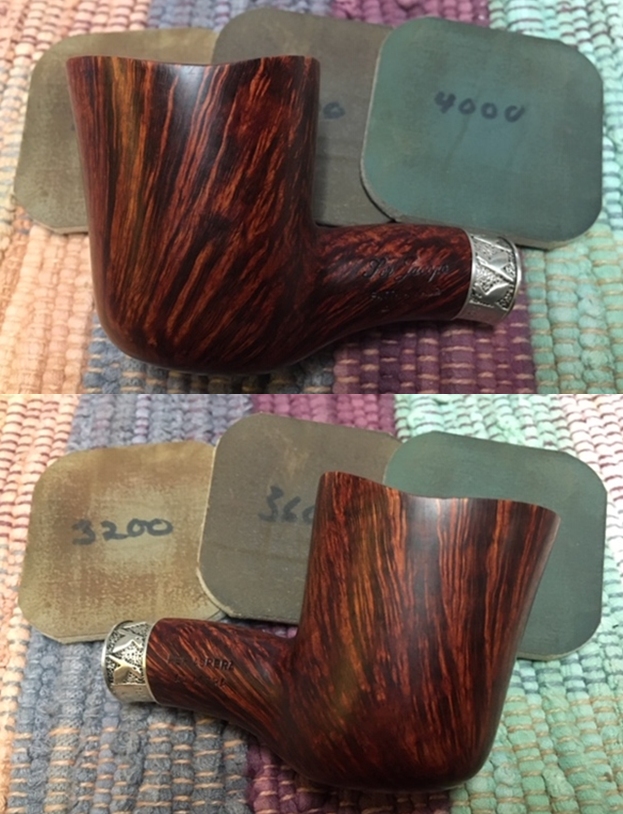
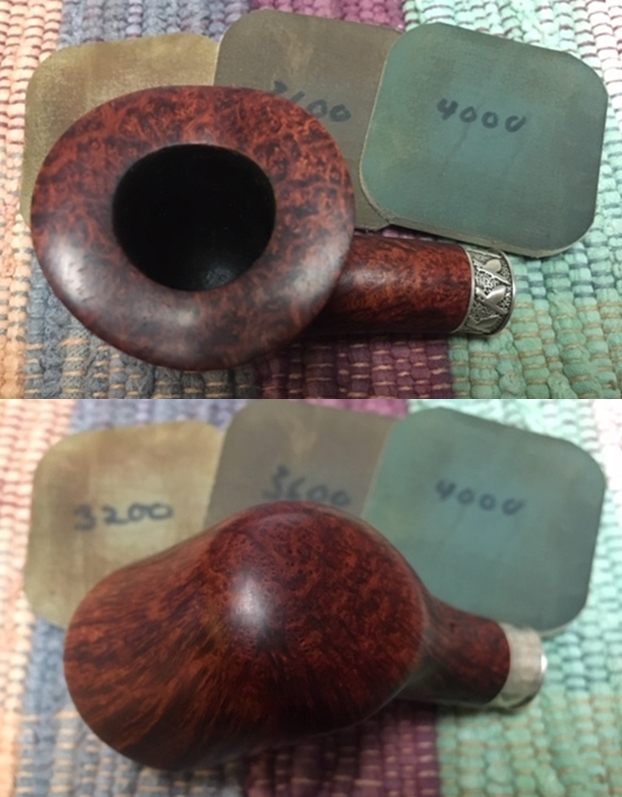
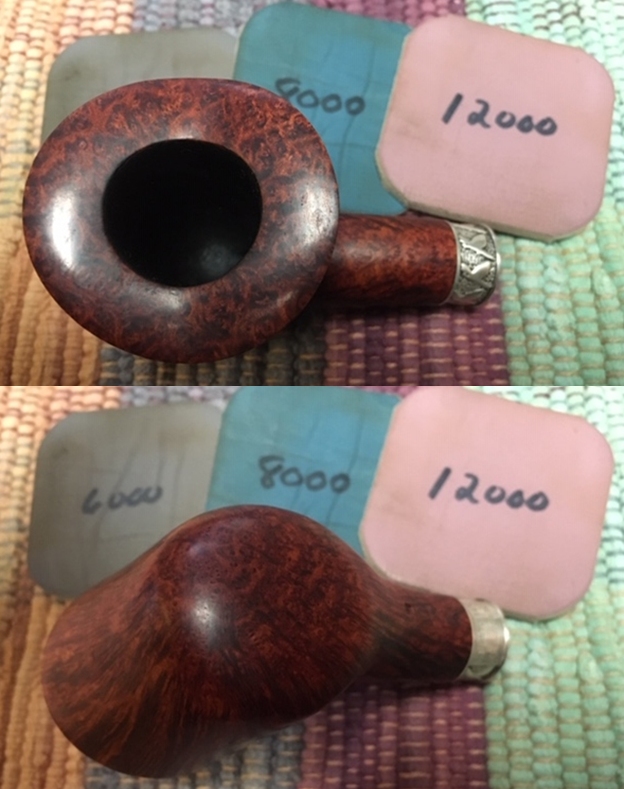
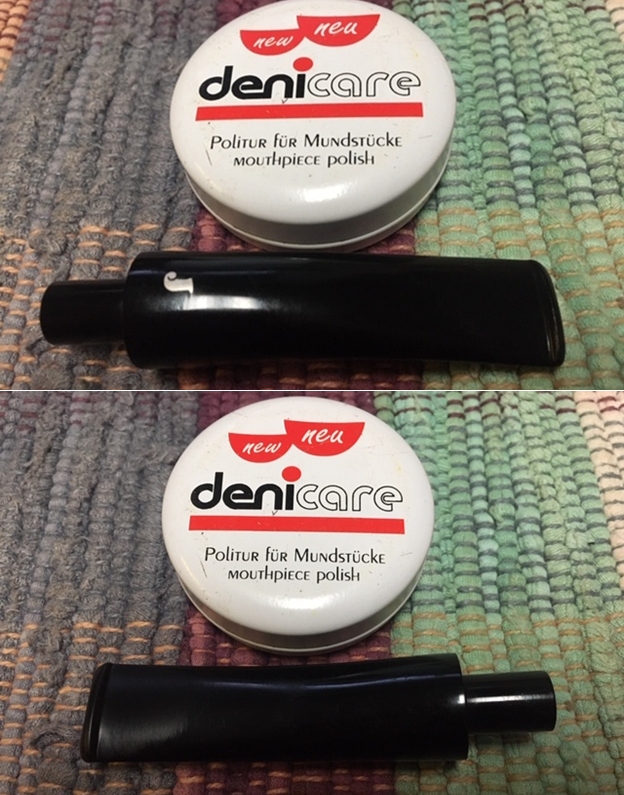
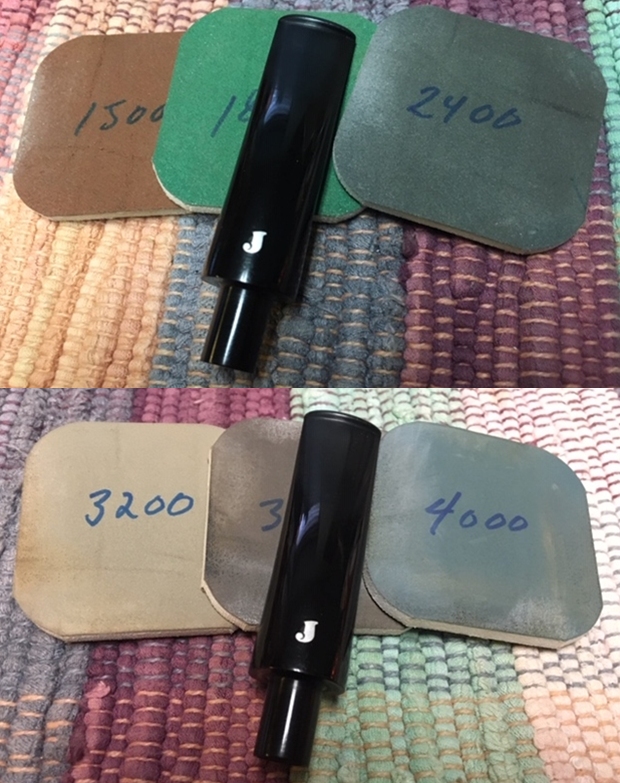
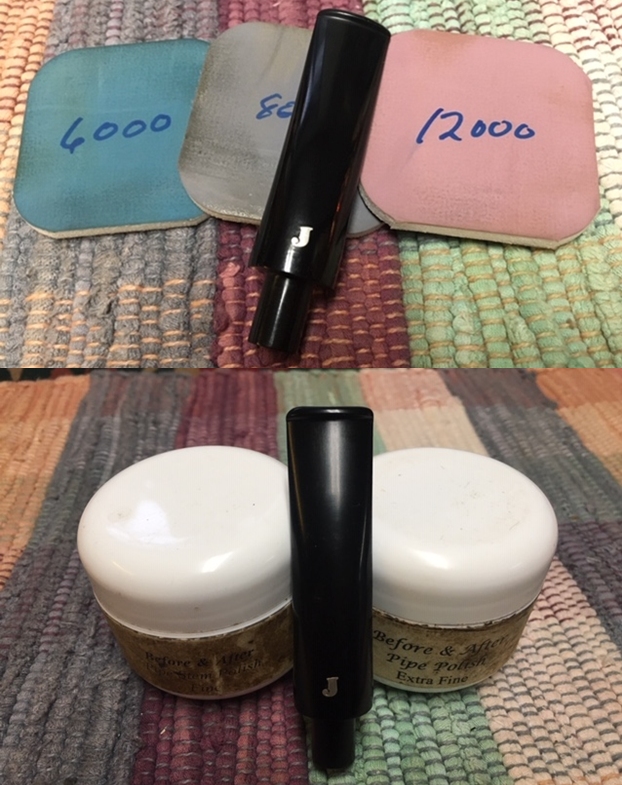
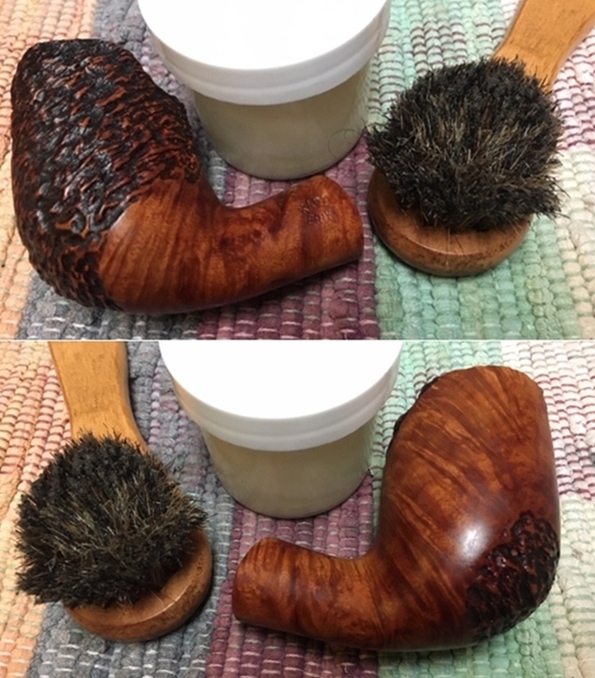
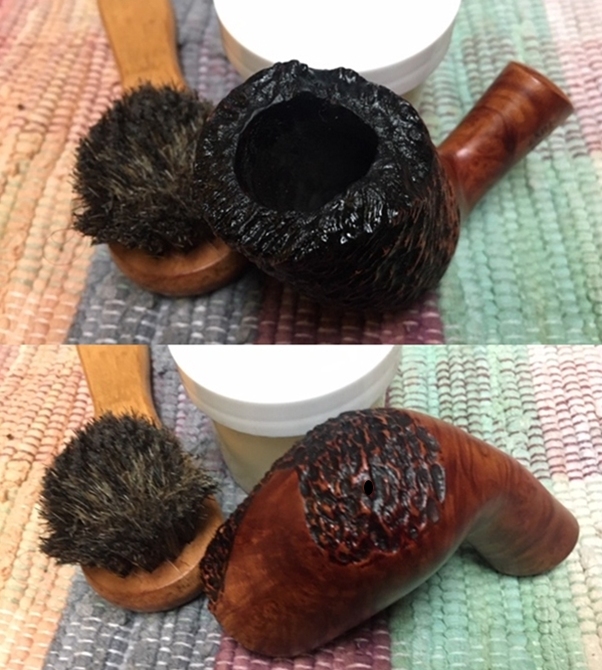
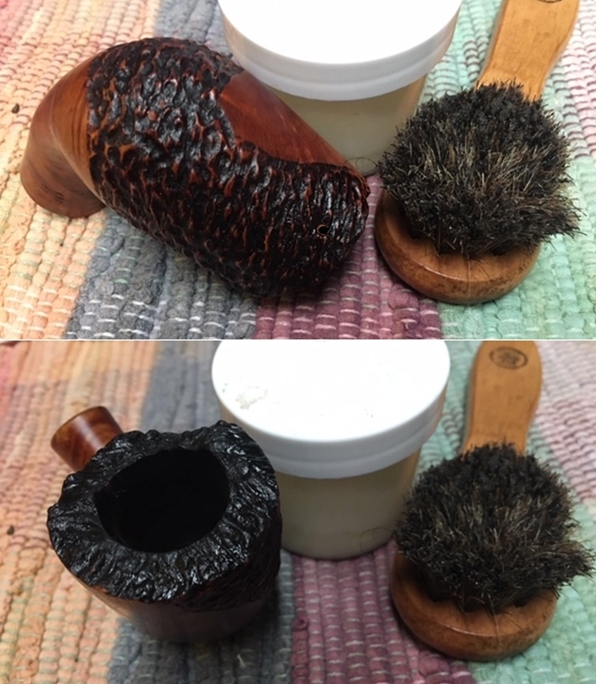
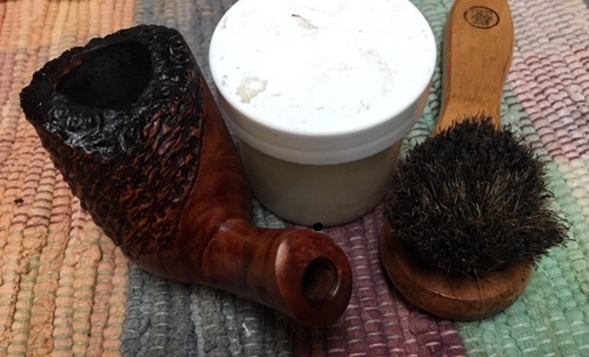
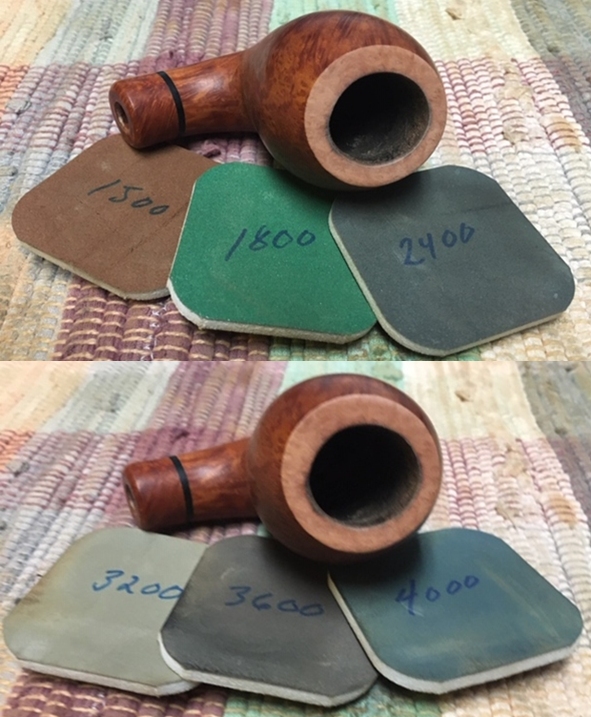
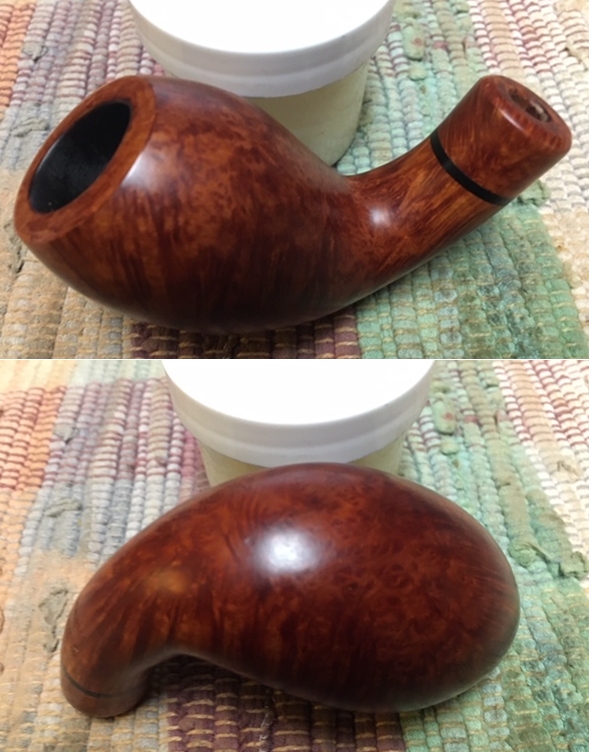
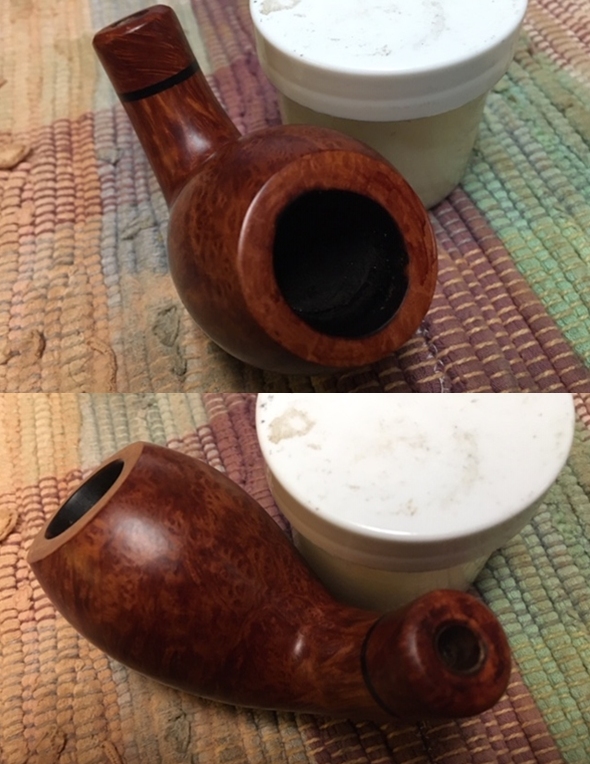
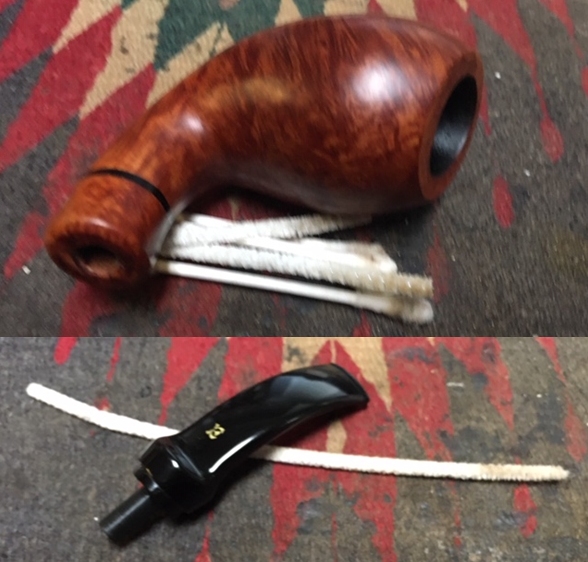
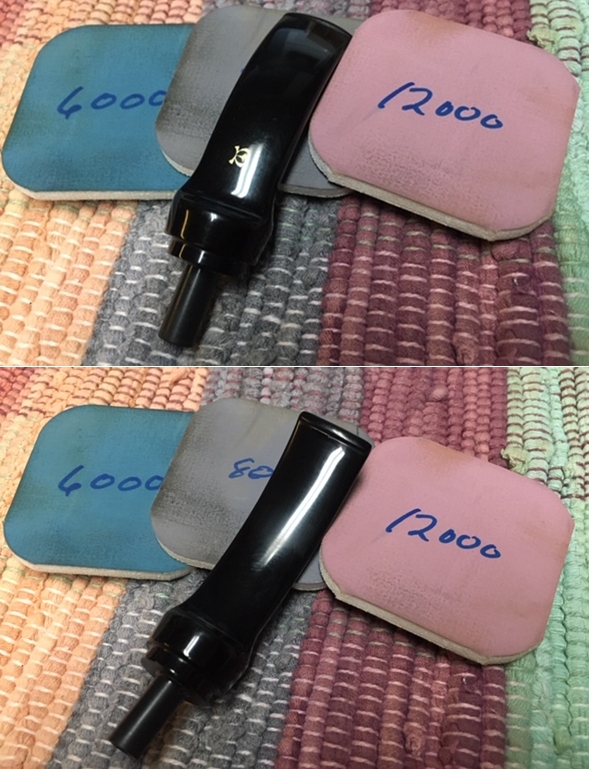
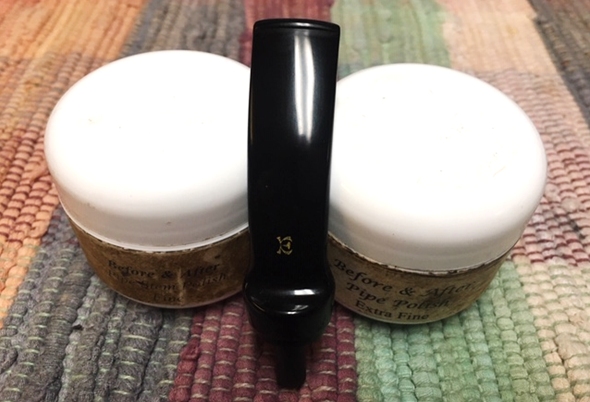
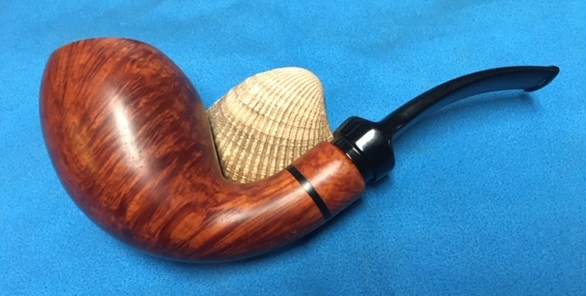
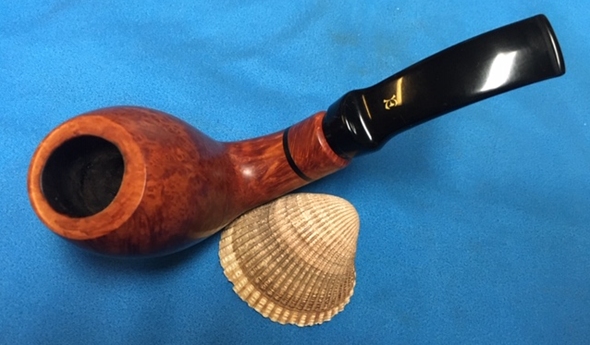
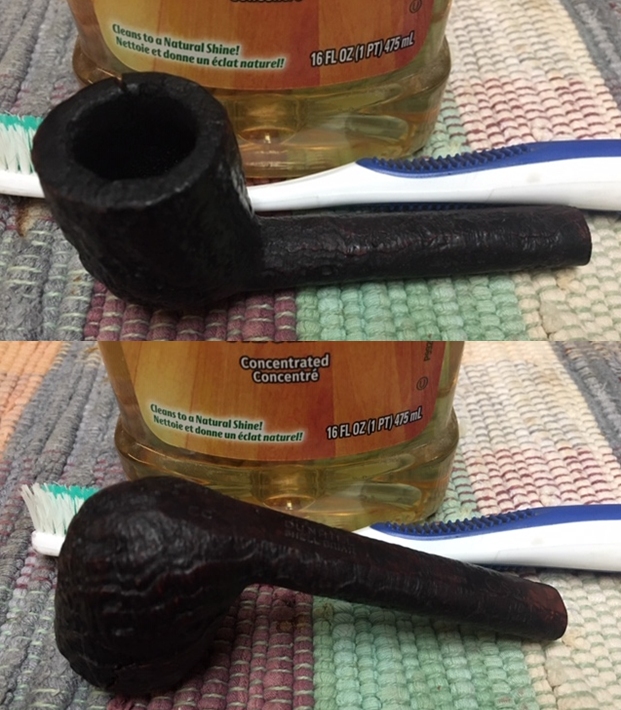
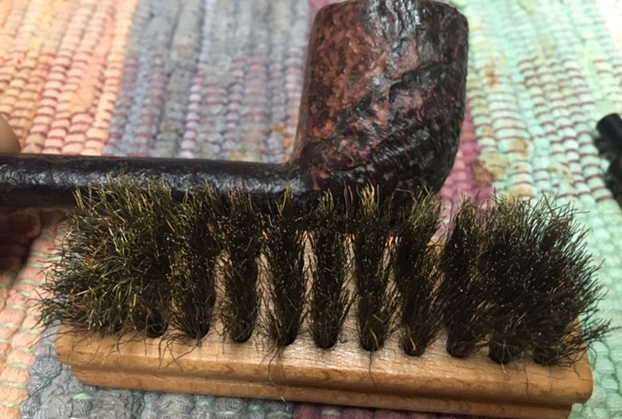
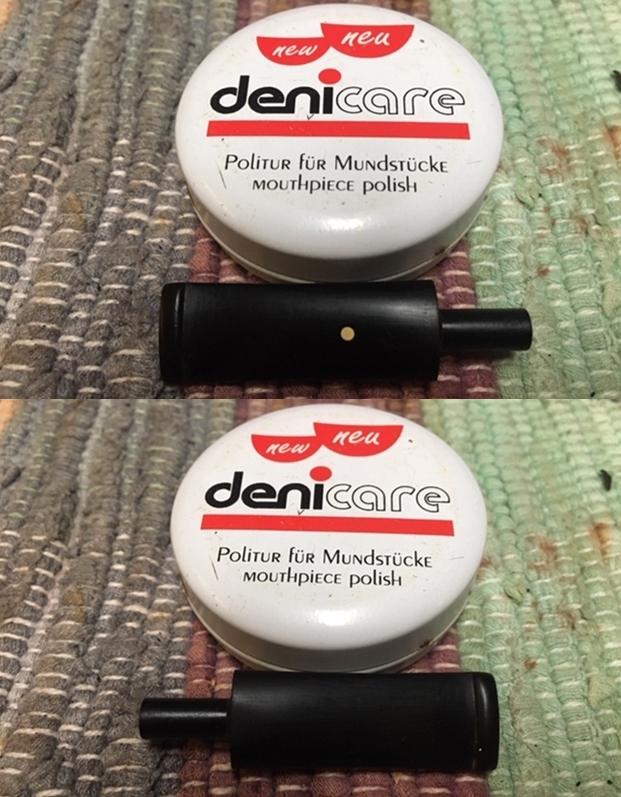
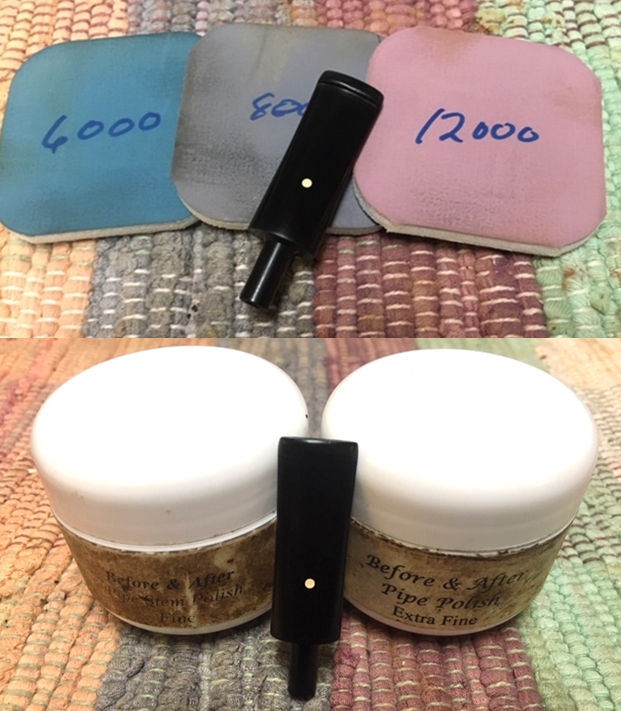
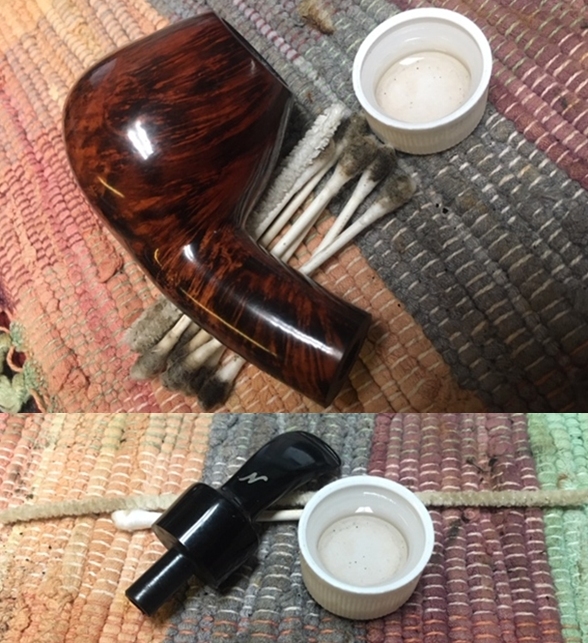
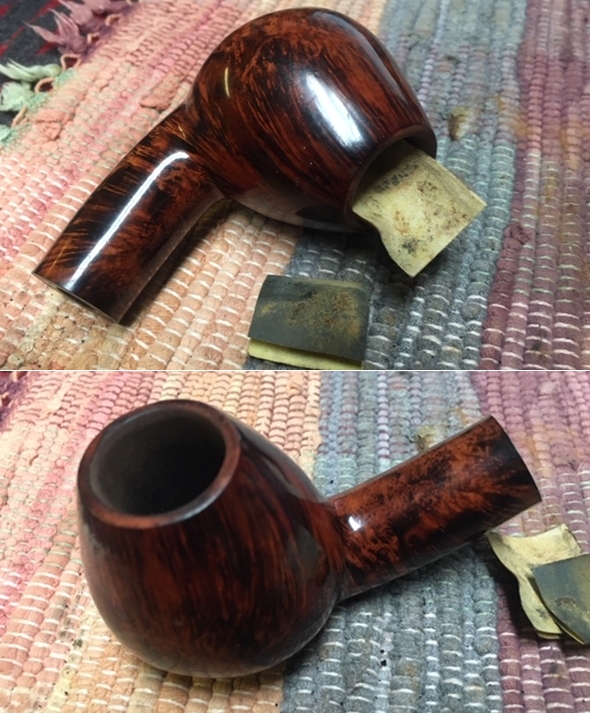
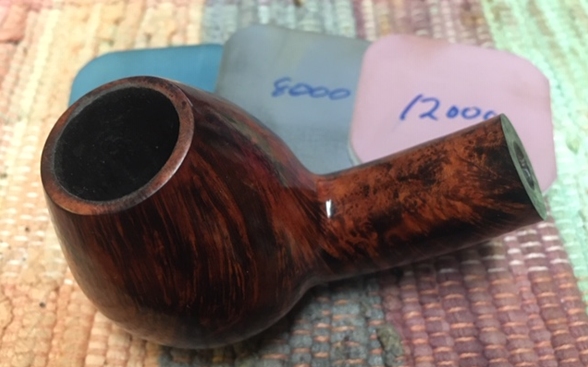
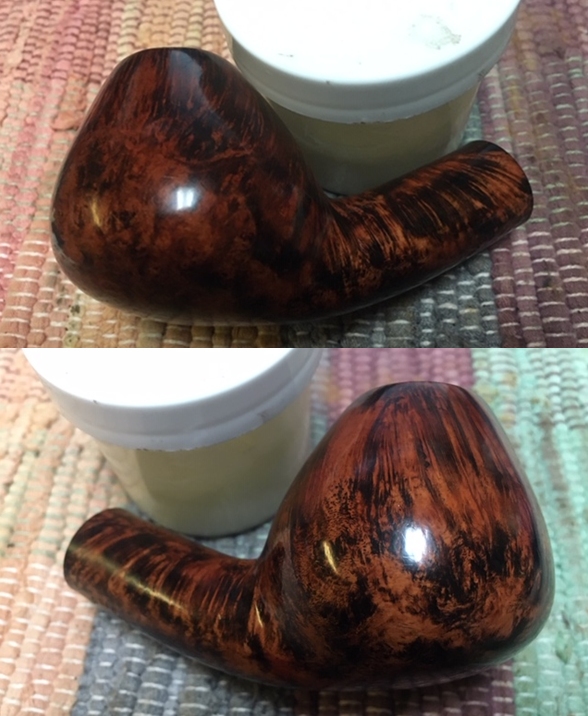
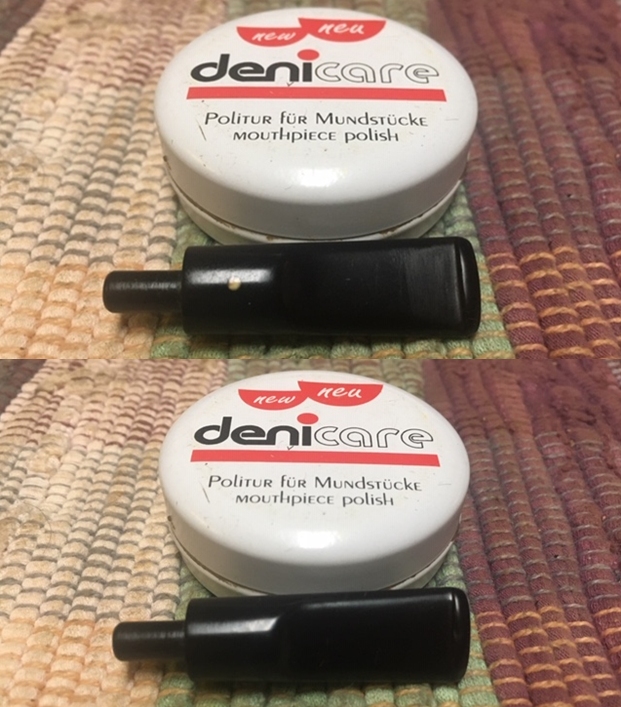
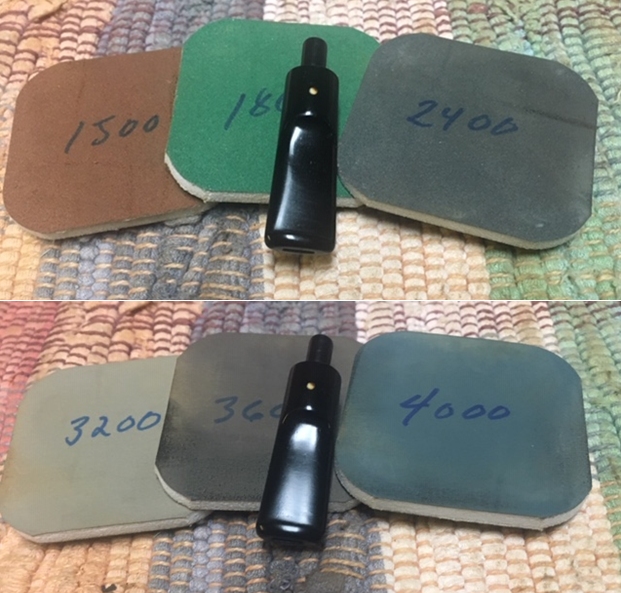
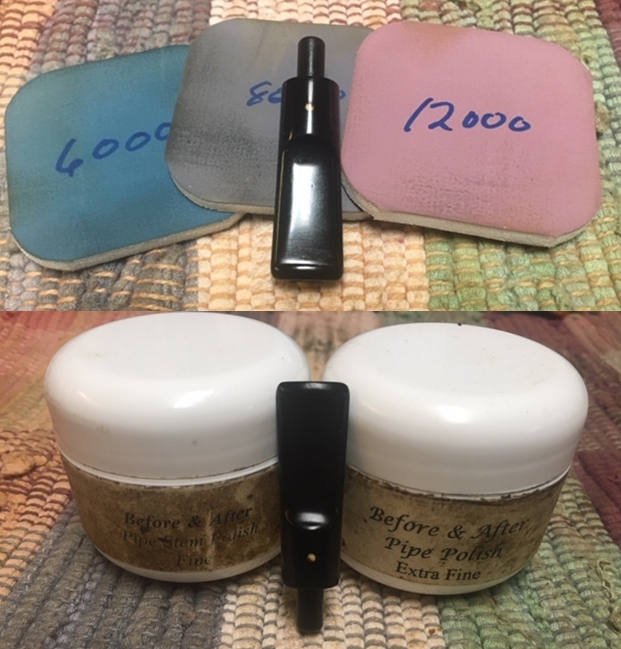
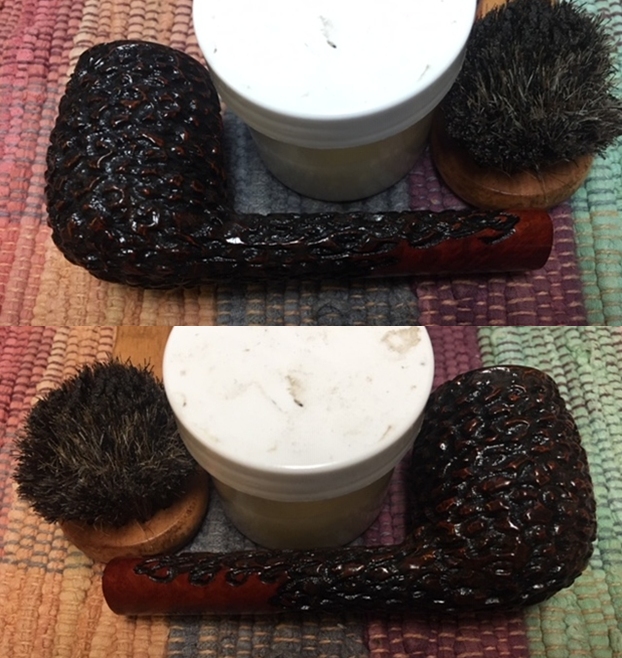
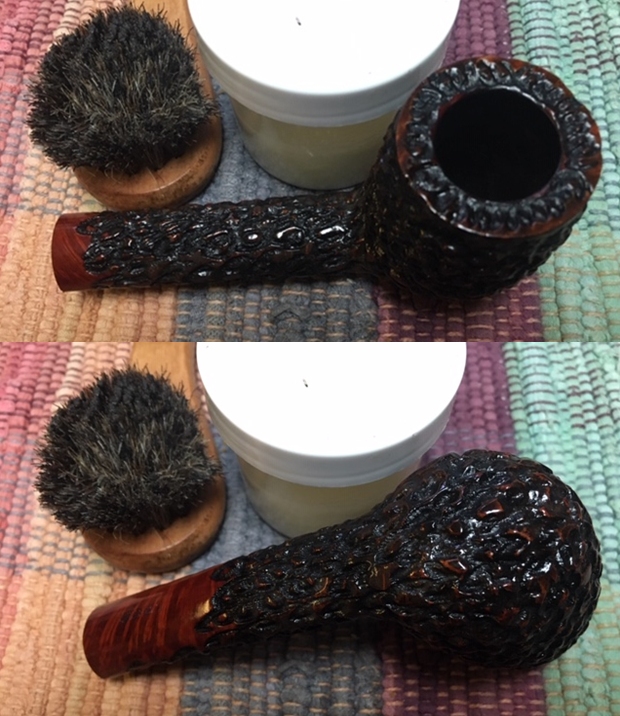
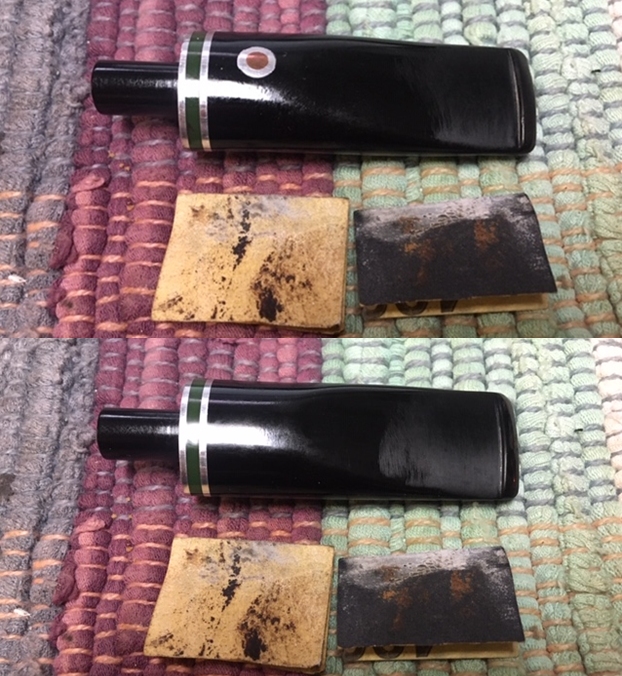
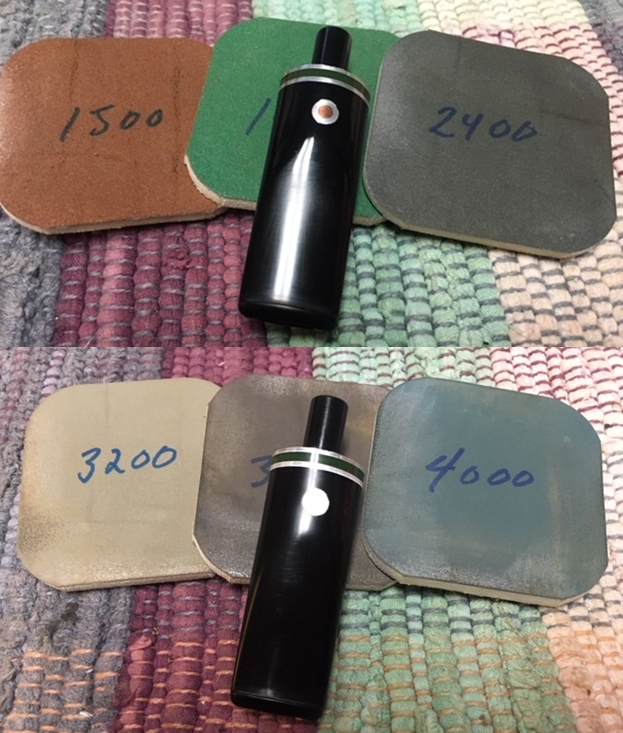
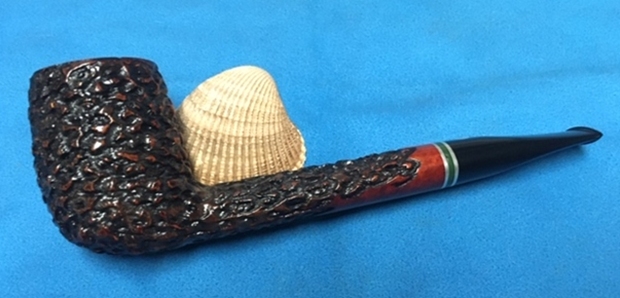
I am so glad Jeff is cleaning up these pipes before they come to me. This pipe was a dirty just like the previous one. I did not know what to expect when I unwrapped it from his box. He reamed it with a PipNet pipe reamer and cleaned up the reaming with a Savinelli Fitsall Pipe Knife. He scrubbed out the internals with alcohol, pipe cleaners and cotton swabs until the pipe was clean. He scrubbed the exterior of the bowl with Murphy’s Oil Soap and a tooth brush to remove the grime and grit on the briar and the lava on the rim top. The finish looked really good once it was clean. There was no damage to the rim top and the rustication looked very good. He cleaned the stem internals and scrubbed the exterior and the result looked very good. When the pipe arrived here in Vancouver for the second stop of its restoration tour it was impressive. I took photos before I started my part of the work.   I took some close up photos of the rim top and also of the stem surface. I wanted to show what an amazing job Jeff did in the cleanup of the rim top. It has a unique rustication pattern. I also took close up photos of the stem to show condition it was in. It would not take a lot of work – just sanding out the light tooth chatter and polishing with micromesh sanding pads.  I took a photo of the stamping on the underside of the shank. Note how beautiful the silver looks on the band. The stamping reads as noted above. The bowl was in such excellent condition after Jeff’s work on it that I did not need to do any restorative work on it. I turned instead to taking it to the next level. I worked some Before & After Restoration Balm into the finish of the bowl, the rim top and shank with my fingertips to clean, enliven and protect it. I find that the balm really makes the briar come alive again. The contrasts in the layers of stain really made the grain stand out. I let the balm sit for a little while and then buffed with a cotton cloth to raise the shine. The pipe really looks good at this point. I am very happy with the way the pipe is looking at this point in the process. I set the bowl aside and turned my attention to the stem. I sanded the tooth chatter on both sides of the stem with 220 grit sandpaper to remove the marks. I followed that by sanding the same with a folded piece of 400 grit wet dry sandpaper to begin the polishing.   I rubbed the sanded areas of the stem down with Denicare Mouthpiece Polish and a cotton pad to further blend in the sanding. The product is a gritty red paste that I have found works quite well as a step before the micromesh sanding pads. The stem was showing some promise at this point in the process.  I polished the stem with micromesh sanding pads – wet sanding it with 1500-12000 grit pads. I polished it further with Before & After Pipe Stem Polish – both fine and extra fine. The stem was made out of acrylic and that is where the polishing stopped for now. I would put the stem back on the bowl shortly and buff the entire pipe. This was a fun pipe to work on since Jeff had done the heavy work in cleaning it. I put the stem back on the bowl and gave the bowl multiple coats of Conservator’s Wax and the stem multiple coats of carnauba wax. I buffed the pipe with a clean buffing pad to raise the shine. I hand buffed it with a microfiber cloth to deepen the shine. The rustication just sparkles and is almost multidimensional it is so deep. The pipe polished up really well. The polished black acrylic bit seemed to truly come alive with the buffing. I polished the silver band with a jewelers cloth to protect it from oxidation and give it a shine. The silver band is a great transitional contrast between the multiple brown stains of the briar and the polished black acrylic stem. The rusticated T. Cristiano pipe feels great in my hand and I am sure that it will feel even better radiating the heat of a good smoke. It must have been a fine smoking pipe judging from the condition it was when we received it from the pipeman who we bought it from. Have a look at it with the photos below. The dimensions are Length: 6 ½ inches, Height: 2 inches, Outside diameter of the bowl: 1 3/8 inches, Chamber diameter: ¾ of an inch. This is a beautiful long Canadian pipe with an interesting rustication pattern. It will be going on the rebornpipes store shortly if you are interested in adding it to your collection. Thanks to each of you who are reading this blog. Remember we are not pipe owners; we are pipemen and women who hold our pipes in trust until they pass on into the trust of the next pipeman or woman.

Passing on Legacy – a Beautiful Ser Jacopo Handmade Picta 06


Blog by Steve Laug

I have finished the current batch of donated pipes that were gifted in support of the SA Foundation. Jeff and I purchased a group of 42 pipes from a pipeman who can no longer smoke because serious illness. It is a pleasure to be able to support this Brother of the Briar in this very hard season of his life. He had some beautiful pipes in his collection and with some work we will get them cleaned up and into the hands of other pipemen and women who can carry on the legacy of the briar.

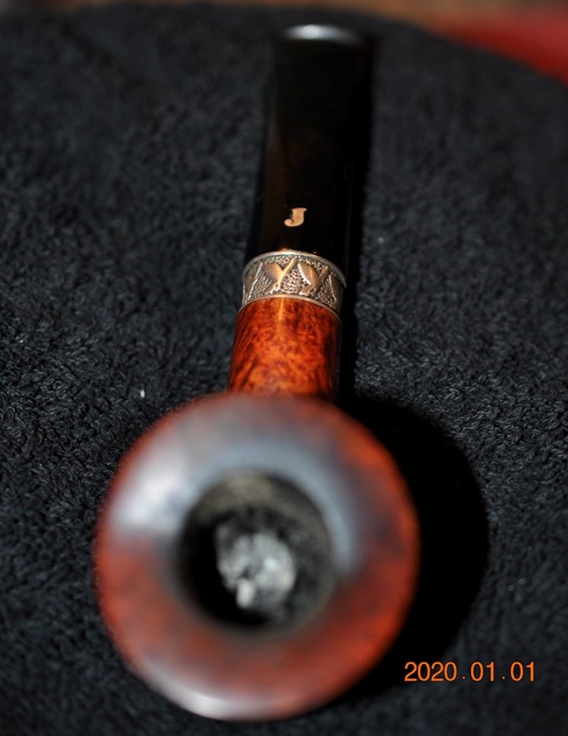
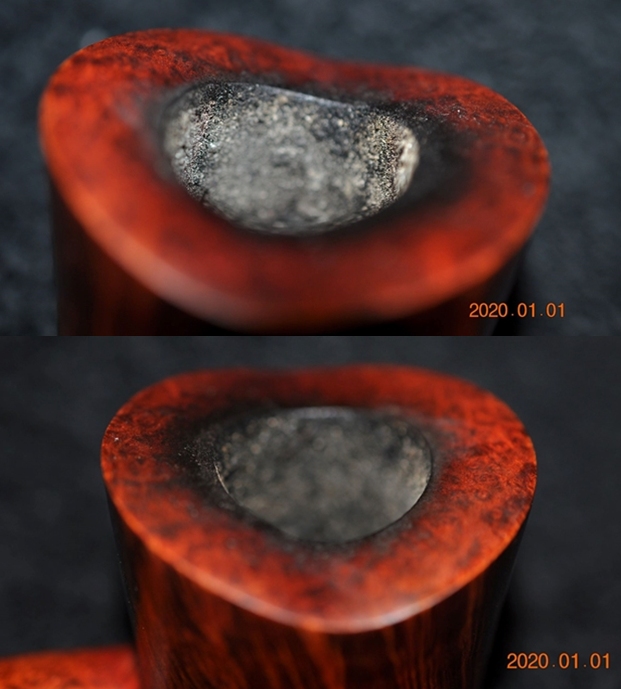
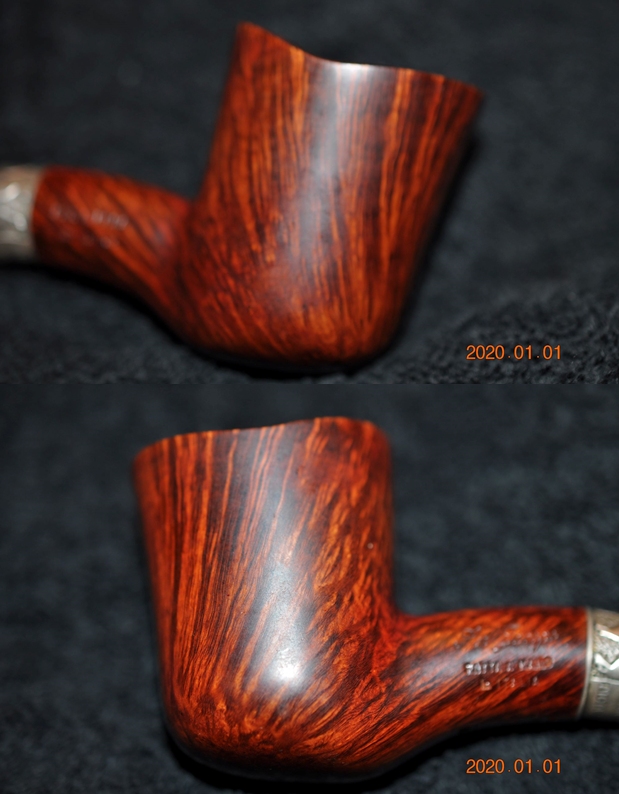
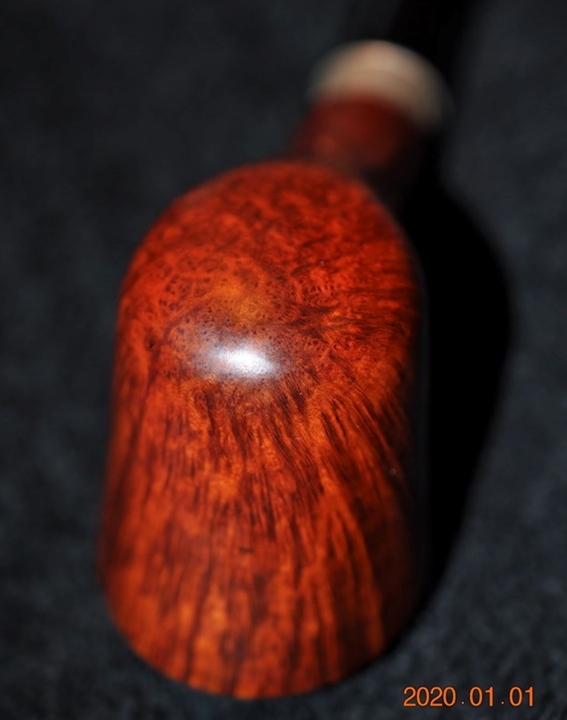
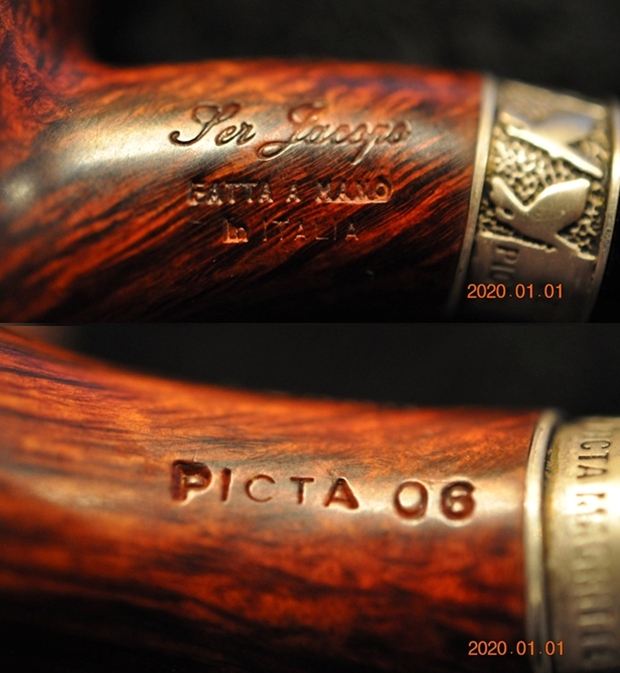
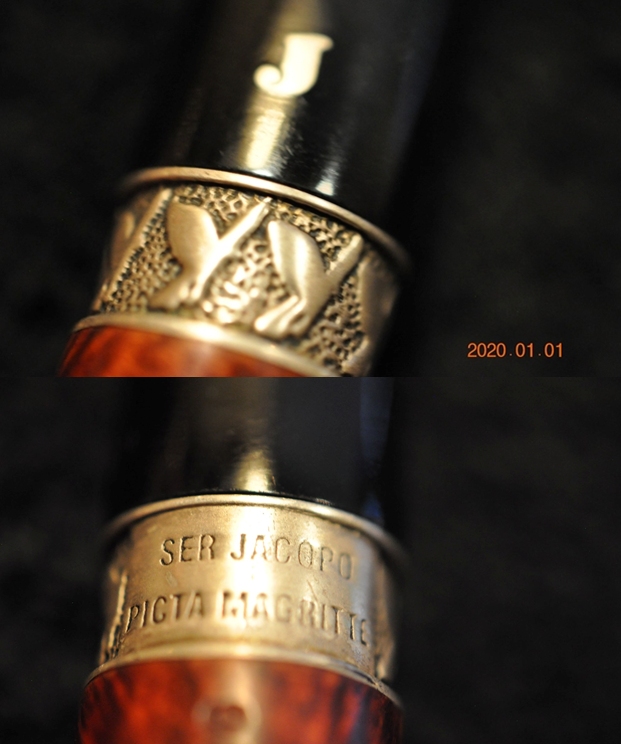
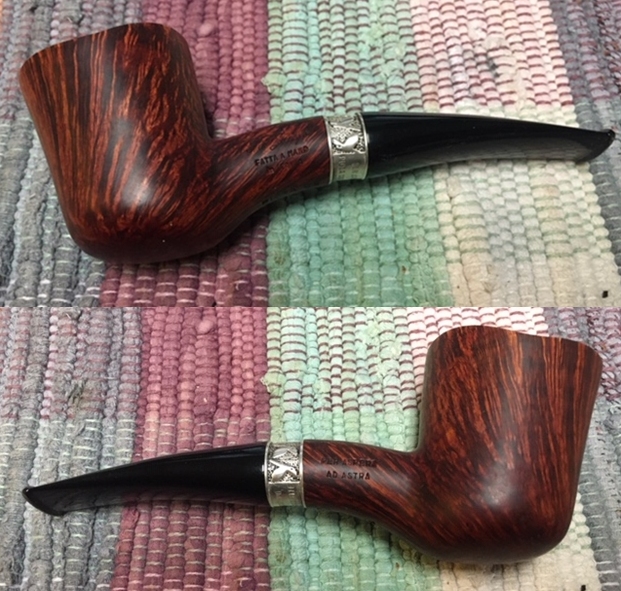
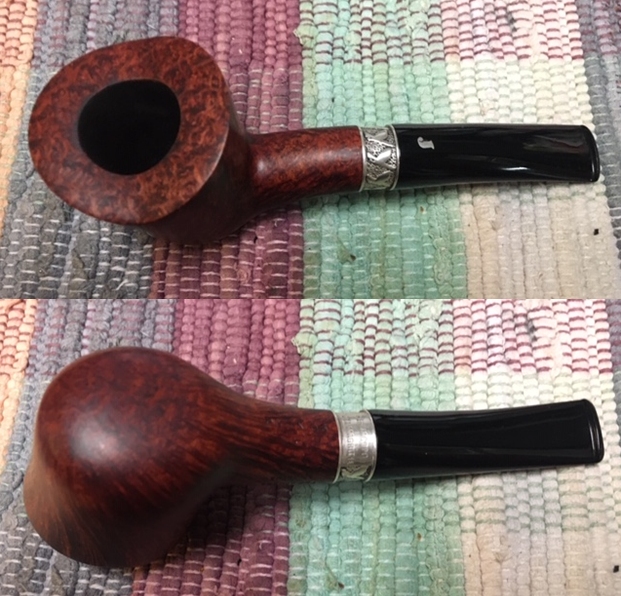
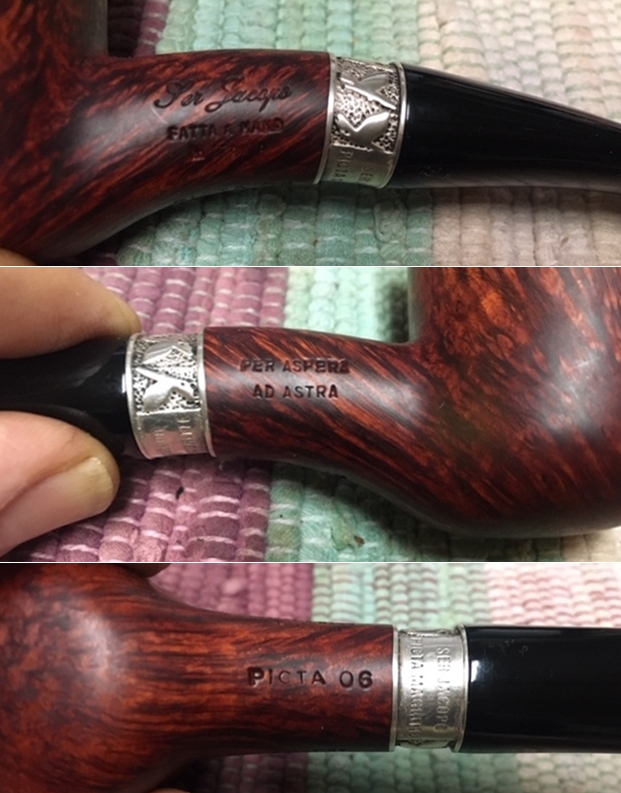
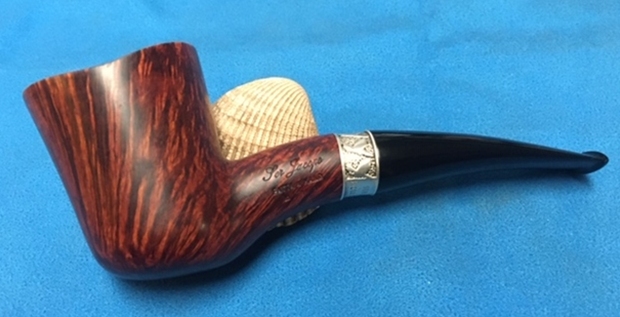
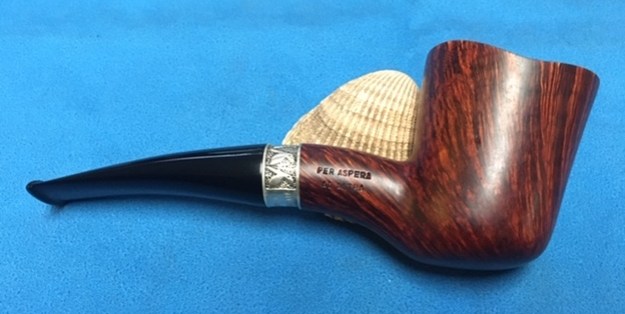
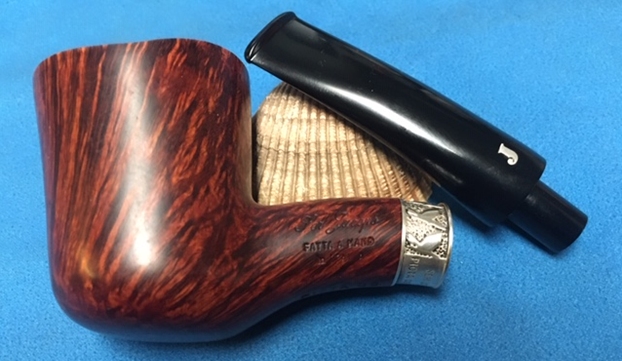
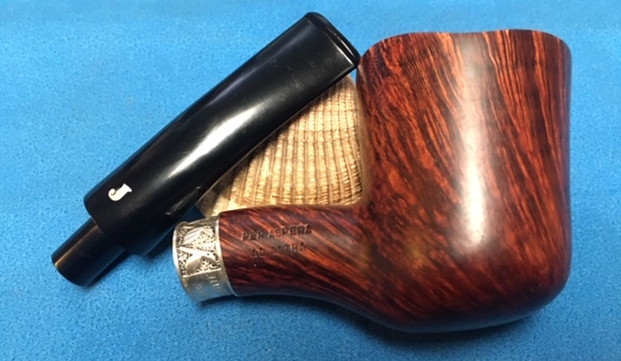
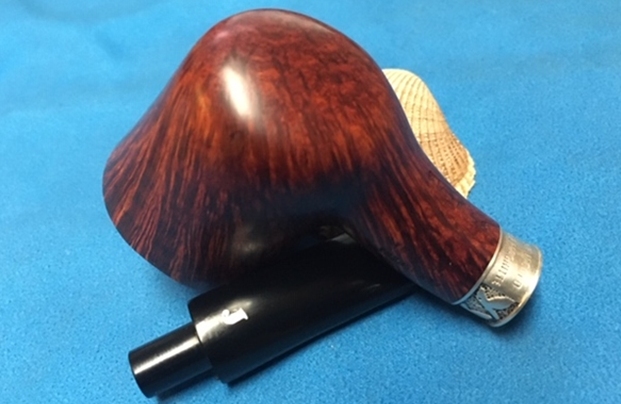
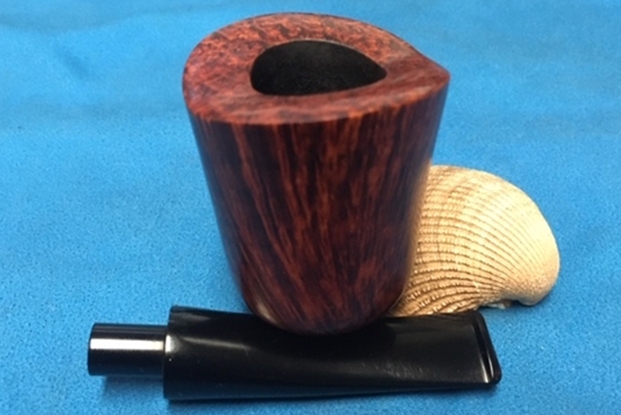
The first of the pipes that I am working on is a Ser Jacopo. It is stamped on the left side of the shank Ser Jacopo in script over Fatta A Mano over In Italia. On the right side of the shank it is stamped Per Aspera over Ad Astra which is a popular Latin phrase meaning “through hardships to the stars”. On the underside of the shank it is stamped Picta 06. It is a stunning piece of briar with a carved silver band on the shank end. The band is decorated with looks like a bird flying around the sides and text on the underside that reads Ser Jacopo over Picta Magritte. The pattern around band is really well done. The stem is black acrylic and has a silver J inlaid in the top of the taper. When it arrived at Jeff’s house and he opened the box he could see it was a beautifully grained piece of briar and an interestingly carved pipe. The pipe was dirty but there was no significant damage to the bowl or stem. The rim top had darkening and tars on it but no burn or char. There was a thick cake in the bowl and some dottle left from the last smoke that had been enjoyed in the pipe. The silver band had grime and dirt but was in good condition. The acrylic stem was in great condition – just a little dirty and tooth chatter on both sides of the stem near the button. Overall the pipe was a beautiful and a dirty pipe that must have been a favourite smoker. Jeff took photos of the sides and heel of the bowl to show the condition of the finish – the grime and grit all over the sides and flat bottom of the bowl. It is a dirty pipe. Jeff took photos of the pipe before he started his clean up work. Jeff took photos of the bowl and the rim top to show the condition of the bowl and rim. You can see the tars and oils darkening the rim top but also that it is unburned. The inner and outer edges of the bowl look very good. Jeff took photos of the sides and heel of the bowl to show the condition of the finish – the grime and grit all over the sides and bottom of the bowl. It is a dirty pipe but the grain is absolutely stunning. He took photos of the stamping on the shank and band. It is both artfully and tastefully done. The stamping was very readable. It is a beauty!   He took some photos of the stem surfaces to show their condition. There were not any tooth marks just some light chatter ahead of the button on both sides.I turned then to Pipedia (https://pipedia.org/wiki/Ser_Jacopo) to learn about the brand. I have worked on very few Ser Jacopo pipes over the years so I wanted to be familiar with the brand as I worked on the pipe. I find that having a clear background on the history adds real colour to my work on the pipe and keeps my interest. I quote in part what I found:
 Ser Jacopo, better to say Ser Jacopo dalla Gemma, was started by Giancarlo Guidi in 1982 upon leaving Mastro de Paja. Giancarlo Guidi and Bruto Sordini broke away from Mastro de Paja in 1981 in pursuit of their own company. Ser Jacopo was named after an Italian nobleman. Guidi and Sordini, having taken part in creating the now infamous Pesaro “school” of pipe making, wanted to expand further. To accomplish this, Ser Jacopo focused their efforts on the pairing of the briar with a seemingly endless variety of mounts. Through the use of precious metals and stones, horn, and exotic woods Ser Jacopo pipes are given unique characters that many collectors find quite aesthetically pleasing. Although Ser Jacopo pipes borrow heavily from classical shapes, they are indeed quite unique in style.

In addition to creative mountings, Ser Jacopo is also well known for making themed pipes, and the most famous of these themes is perhaps the Picta Series, where pipes are modeled after pipes seen in pictures by and of famous artists, such as Vincent Van Gough.

Ser Jacopo makes multiple grades of pipes, with the “entry” level being the Geppetto brand, and the highest grade being the “Gem” series…

…The standard nomenclature found on Ser Jacopo pipes is as follows:

Ser Jacopo Fatta A Mano In Italia Per Aspera Ad Astra

Fatta A Mano translates to “Made By Hand”. Per Aspera Ad Astra is a Latin phrase found on Ser Jacopo pipes and is the Ser Jacopo motto. It translates to “To the Stars Through Travails”, meaning that success comes through hard work. In the Summer 1997 Pipes and Tobaccos article Giancarlo Guidi translated this as “through a difficult way until the stars are reached”.

Ser Jacopo Pipes are generally found in one of three finishes (rusticated, sandblast, smooth)

I turned then to the Ser Jacopo website to learn more about this particular Picta Series – the Magritte (http://www.serjacopo.com). I quote from the site:

This “Picta” collection, the second from the fertile mind of Ser Jacopo’s Giancarlo Guidi, was inspired by the art of Belgian surrealist Renè Magritte, 1898-1967.

These innovative pipes share a silver micro fusion band into which Magritte’s trademark flying dove has been engraved.

This new (Summer 2001) Picta Collection joins the Van Gogh Picta series which has been produced for several years.

There are twenty (20) shapes in the “Magritte Picta” collection. To view the available finishes, click here.

Each Picta Magritte is meticulously handmade, with the attention to detail which has made Ser Jacopo renown throughout the world.

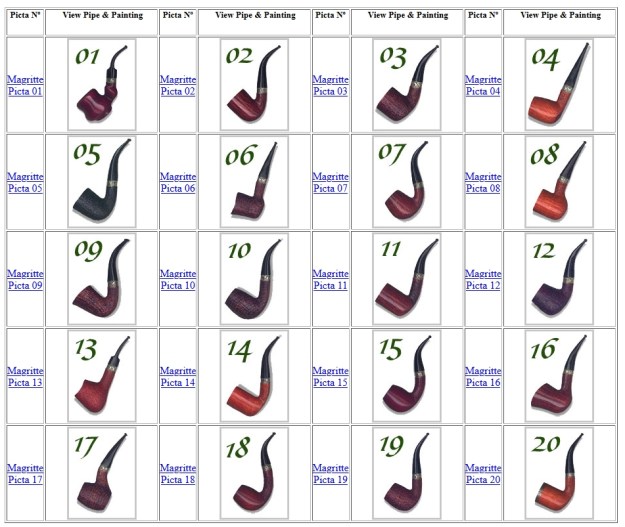
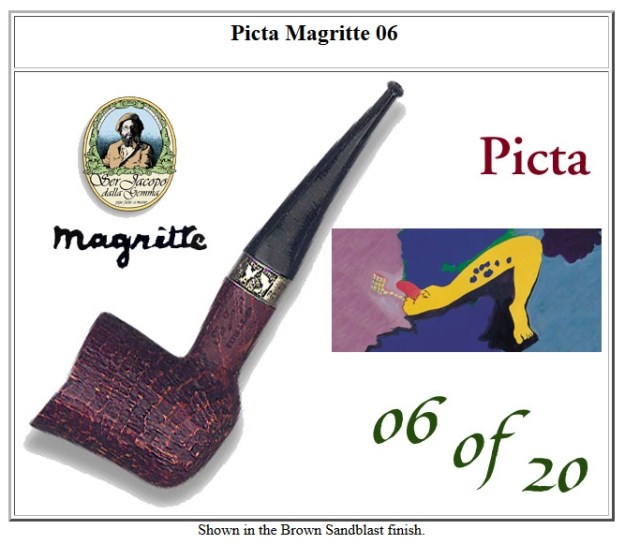
I did a screen capture of the shape chart that the site included for the Magritte Picta Pipes. The one I am working on is an 06 in a Walnut finish.On the site the reader was instructed that clicking on the thumbnails in the chart would take them to a larger picture of the “Picta Magritte” pipes with their associated Magritte painting was shown (http://www.serjacopo.com/MagrittePicta/MagPic_06.html).From the site I determined that the finish on the pipe on my table was the rich Walnut finish used on Ser Jacopo pipes to bring out the depth and quantity of grain. The site states that the depth and quantity of grain are “the hallmarks of the Extra Quality Plateaux briar, which they use exclusively. Giancarlo and Paolo travel to the briar mills in Italy several times a year to hand pick the blocks which will bear their company’s name. Pipes of this quality are often in short supply” (http://www.serjacopo.com/Jacopo/SJ_FWaln.html).

Now I had the information I wanted to know on the brand it was time to begin to work with it and clean it up. It really is a beautiful pipe.

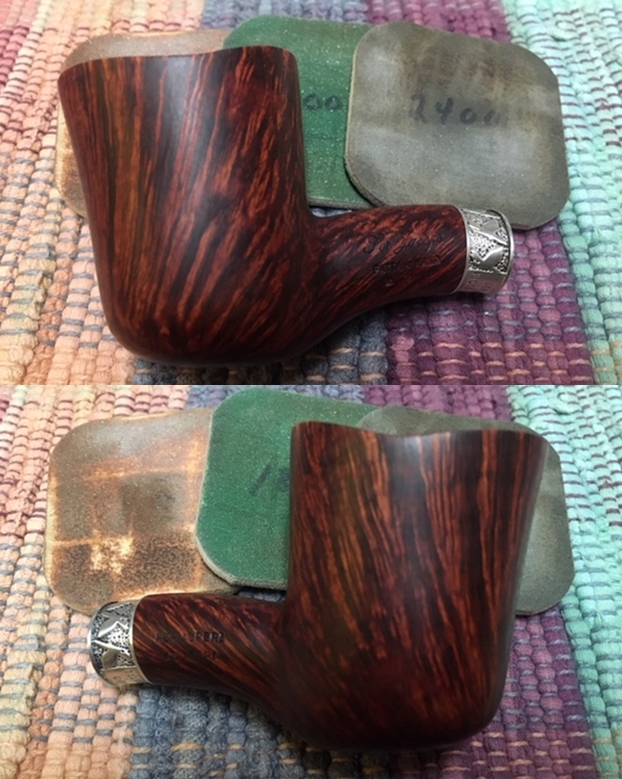
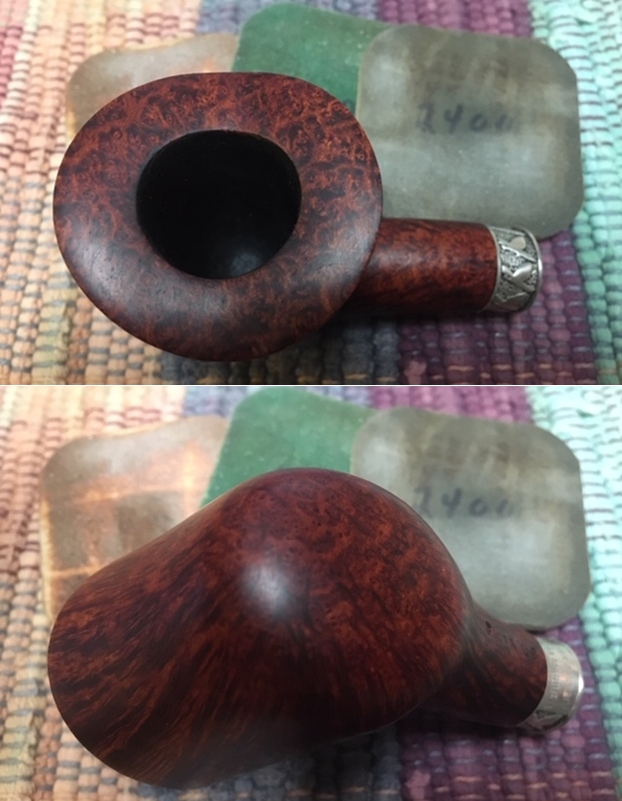
I am getting more and more used to Jeff cleaning up the pipes before I work on them. So much so that when I have to clean them it is a real chore! This pipe was a real mess just like the other ones in the collection. I did not know what to expect when I unwrapped it from his box. He reamed it with a PipNet pipe reamer and cleaned up the reaming with a Savinelli Fitsall Pipe Knife. He scrubbed out the internals with alcohol, pipe cleaners and cotton swabs until the pipe was clean. He scrubbed the exterior of the bowl with Murphy’s Oil Soap and a tooth brush to remove the grime and grit on the briar and the lava on the rim top. The finish looked really good once it was clean. There was no damage and the grain just popped around the bowl. The rim top was bursting with birdseye grain and was beautiful. He cleaned the stem internals and scrubbed the exterior and the result looked very good. When the pipe arrived here in Vancouver for the second stop of its restoration tour it was impressive. I took photos before I started my part of the work. I took some close up photos of the rim top and also of the stem surface. I wanted to show what an amazing job Jeff did in the cleanup of the rim top. It was a real beauty. The layout of the pipe absolutely captured the birdseye grain on the pipe. I also took close up photos of the stem to show condition it was in. It would not take a lot of work – just sanding out the light tooth chatter and polishing with micromesh sanding pads.I took photos of the stamping on the left, right and underside of the shank. Note how beautiful the silver looks on the band. The stamping reads as noted above. I polished the bowl and rim with worn micromesh sanding pads. I sanded it with 1500-12000 grit pads and wiped it down between pads with a soft cotton cloth. You can see the progress in the shine as you go through the photos. I worked some Before & After Restoration Balm into the finish of the bowl, the rim top and shank with my fingertips to clean, enliven and protect it. I find that the balm really makes the briar come alive again. The contrasts in the layers of stain really made the grain stand out. I let the balm sit for a little while and then buffed with a cotton cloth to raise the shine. The pipe really looks good at this point. I am very happy with the way the pipe is looking at this point in the process.  I set the bowl aside and turned my attention to the stem. I sanded the tooth chatter on both sides of the stem with 220 grit sandpaper to remove the marks. I followed that by sanding the same with a folded piece of 400 grit wet dry sandpaper to begin the polishing. I rubbed the sanded areas of the stem down with Denicare Mouthpiece Polish and a cotton pad to further blend in the sanding. The product is a gritty red paste that I have found works quite well as a step before the micromesh sanding pads. The stem was showing some promise at this point in the process.I polished the stem with micromesh sanding pads – wet sanding it with 1500-12000 grit pads. I polished it further with Before & After Pipe Stem Polish – both fine and extra fine. The stem was made out of acrylic and that is where the polishing stopped for now. I would put the stem back on the bowl shortly and buff the entire pipe. This was a fun pipe to work on since Jeff had done the heavy work in cleaning it. I put the stem back on the bowl and polished the bowl and stem with Blue Diamond polish on the buffing wheel. I gave the bowl and the stem multiple coats of carnauba wax. I buffed the pipe with a clean buffing pad to raise the shine. I hand buffed it with a microfiber cloth to deepen the shine. The grain just pops and is almost multidimensional it is so deep. The pipe polished up really well. The polished black acrylic bit seemed to truly come alive with the buffing. I polished the silver band with a jewelers cloth to protect it from oxidation and give it a shine. The silver band is a great transitional contrast between the dark walnut stain of the briar and the polished black acrylic stem. The pipe feels great in my hand and I am sure that it will feel even better radiating the heat of a good smoke. It must have been a fine smoking pipe judging from the condition it was when we received it from the pipeman who we bought it from. Have a look at it with the photos below. The dimensions are Length: 6 inches, Height: 2 inches, Outside diameter of the bowl: 1 ¾ inches, Chamber diameter: ¾ of an inch. This is one beauty that catches my eye. I am still deciding what to do with it. This is the problem with working on so many beautiful pipes. Which do I hold onto and which do I let go of? Ah well definitely not a horrible problem but one that will take a bit of time to solve with this pipe. Thanks to each of you who are reading this blog. Remember we are not pipe owners; we are pipemen and women who hold our pipes in trust until they pass on into the trust of the next pipeman or woman.
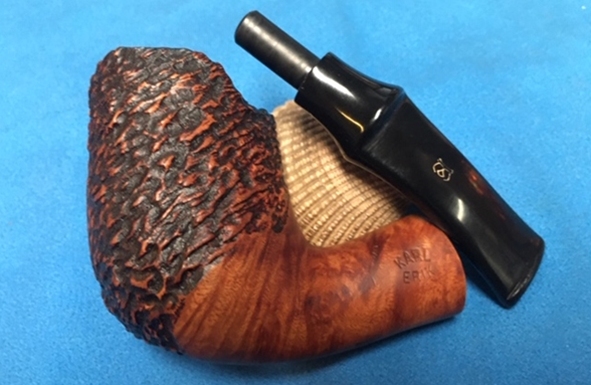
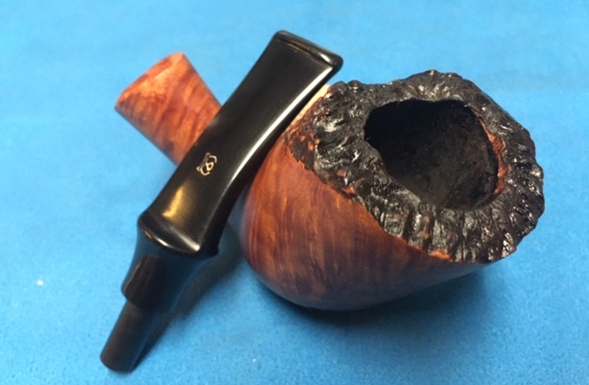
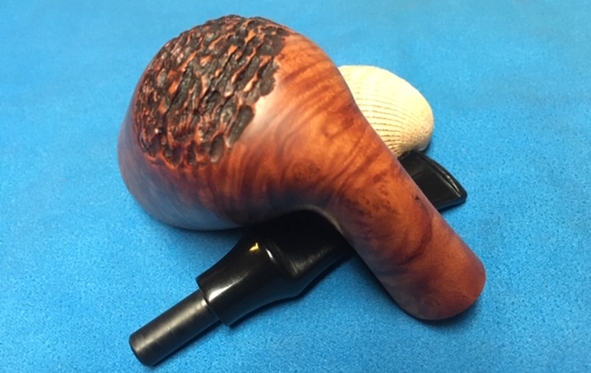
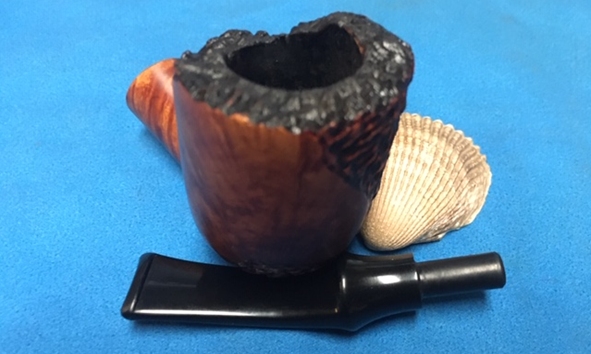
Restoring a Karl Erik Mixed Finish Freehand with a Plateau Rim


Blog by Steve Laug

Every so often I receive pipes from pipemen and women who want them to be sold and the proceeds go to the NGO I work for in my real job! It is an organization called the SA Foundation Canada (www.safoundation.com) and it provides long terms housing, recovery and skill development for women and their children escaping sexual exploitation and trafficking. The organization is based in Vancouver, Canada but has projects in 7 countries and 12 cities globally. It is an organization that is cutting edge in the recovery process for these women and their kids with a success rate of over 70% globally. That simply means that out of every 100 women who enter our program 70 do not go back to their previous lifestyle. It is an amazing organization to work for and it has big vision and a commitment to thinking globally and acting locally. The admin and fundraising costs are 10% meaning that of every dollar donated $.90 goes to the work of providing for the recovery, care and training of the women and their children.

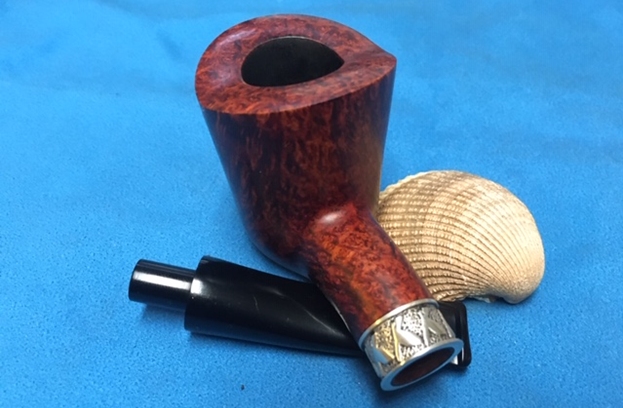
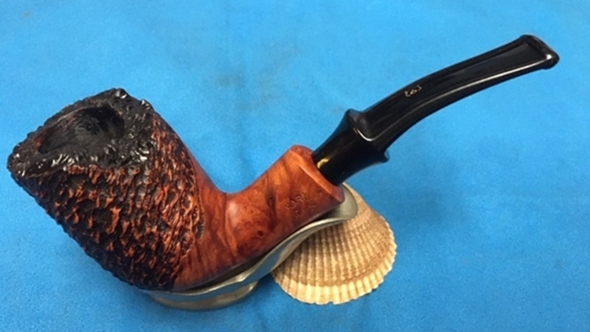
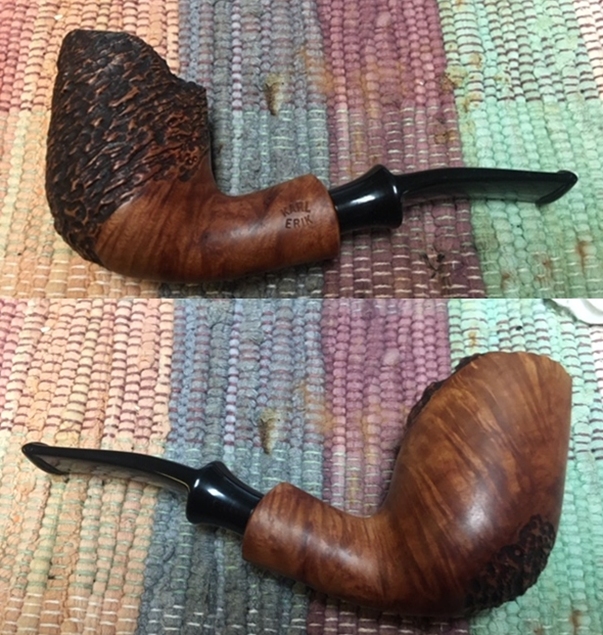
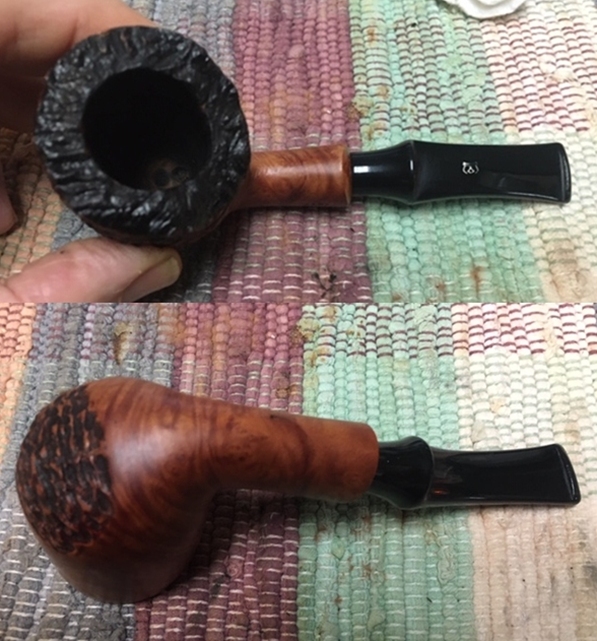
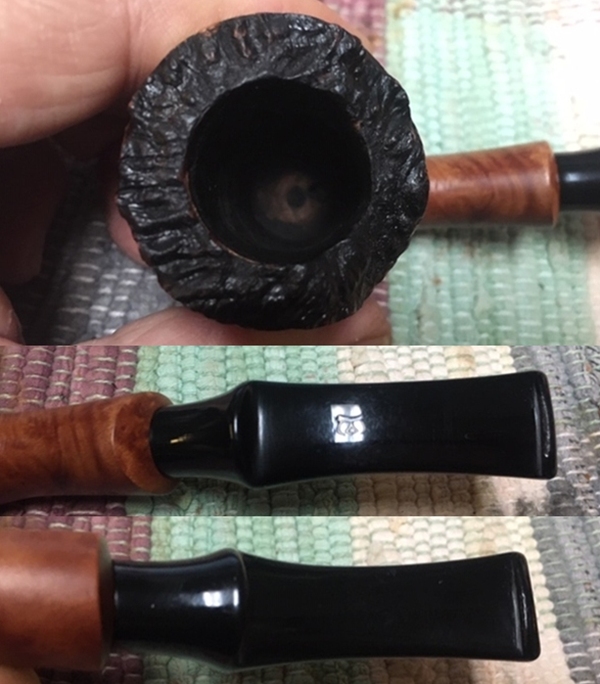
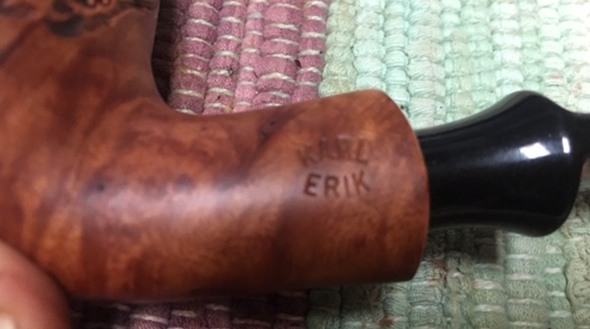
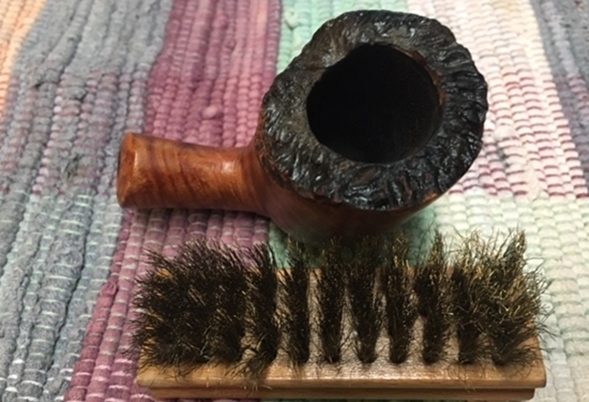
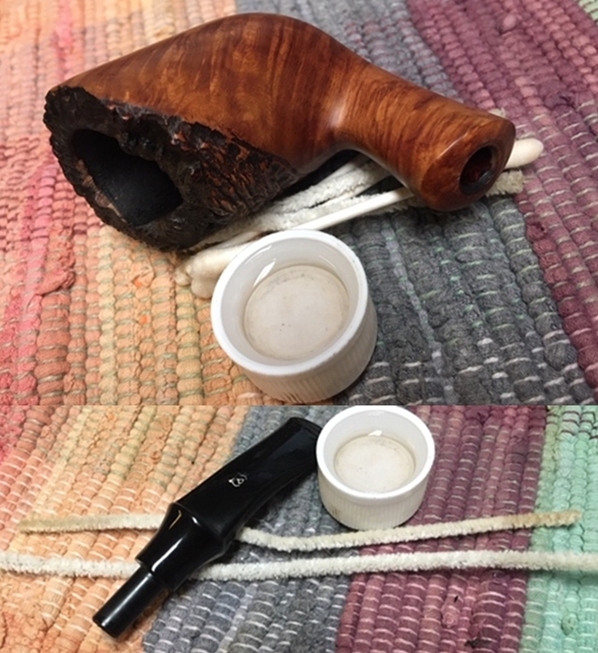
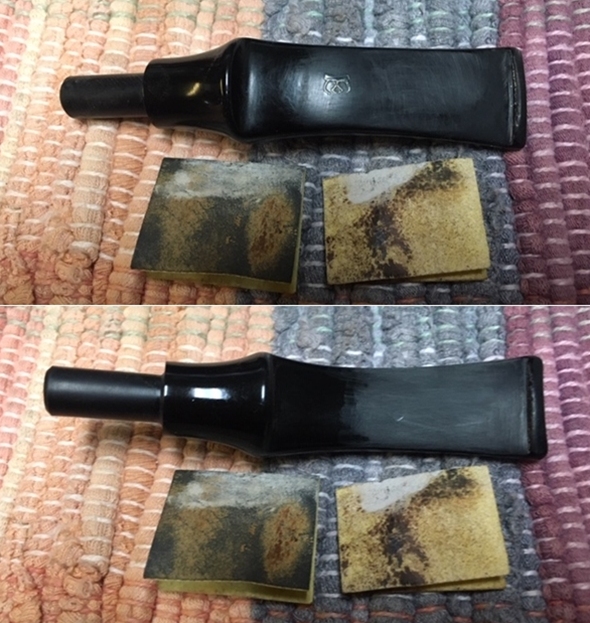
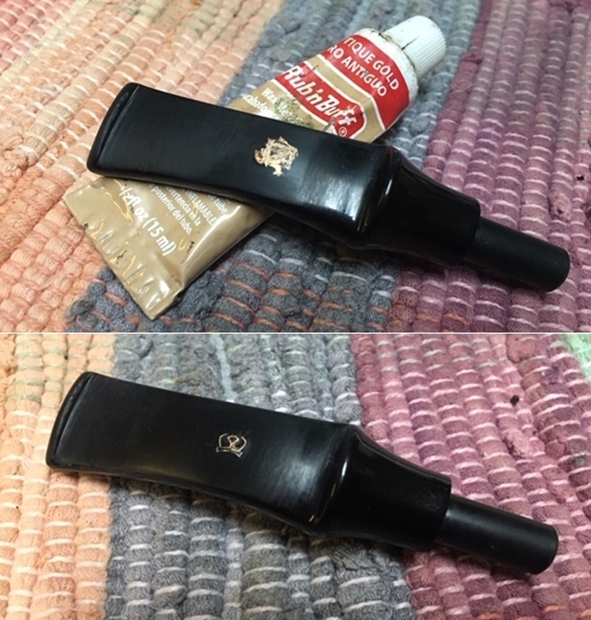
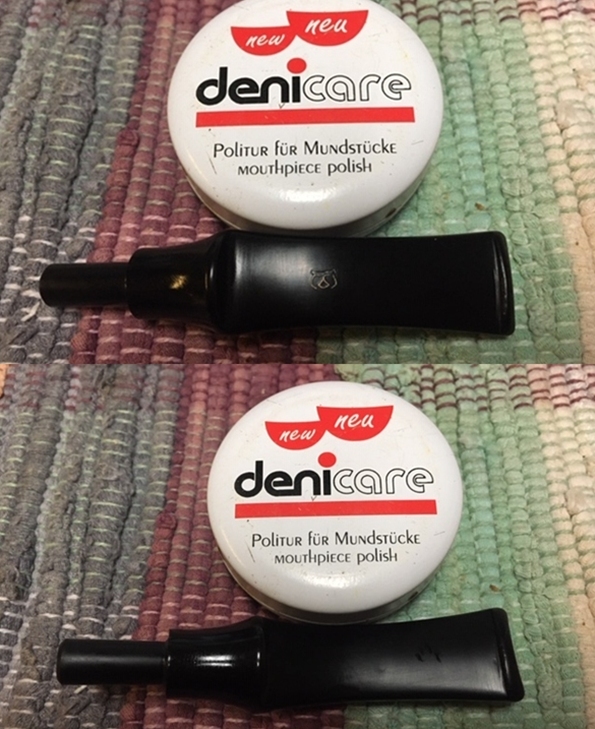
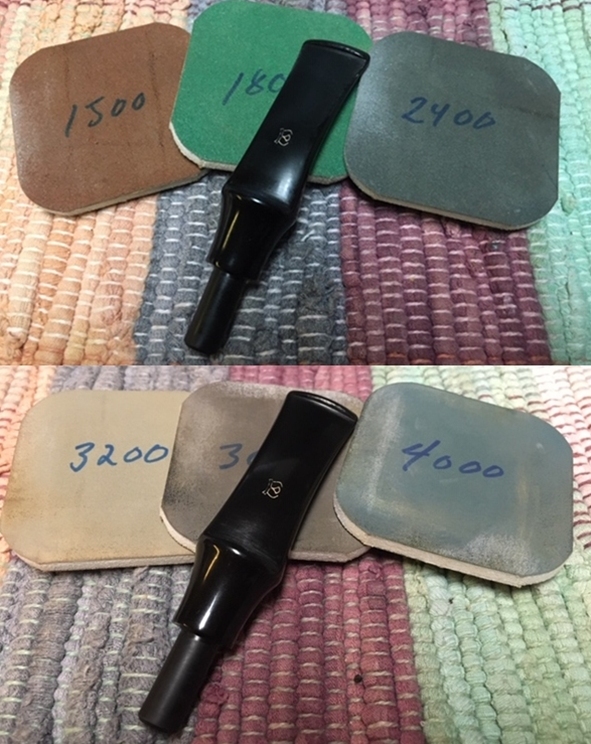
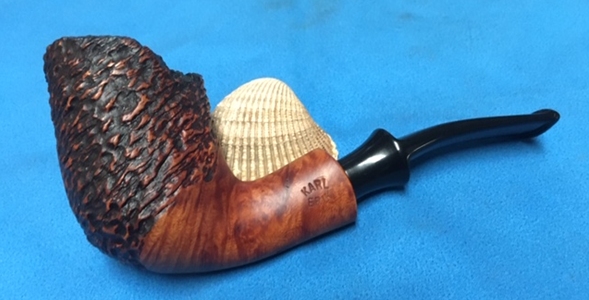
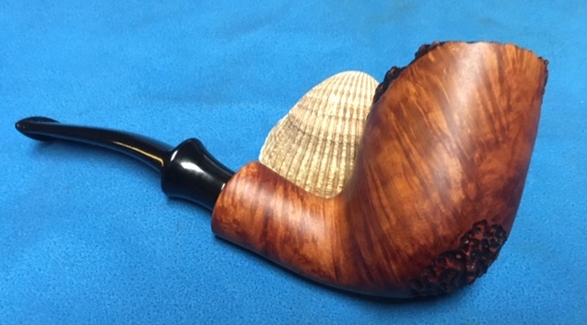
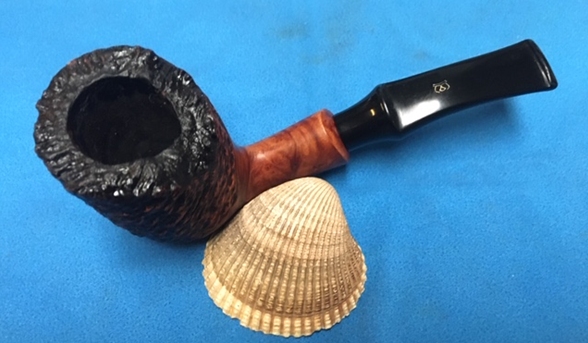
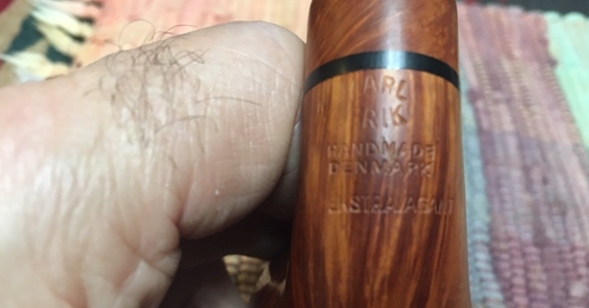
I am posting four pipes that have been donated for this cause. I am donating the restoration work on them and the individuals are donating the income generated by the sale of the pipes. This is the third of those pipes – first was a Nording Brandy 13, second was a Chimera Churchwarden, the third was the Karl Erik Ekstravagant Tulip and now this Karl Erik Freehand. It is a beautiful pipe that has stunning grain, interesting rustication and a plateau rim. The stamping on the shank reads Karl Erik in a circle. The pipe is in excellent condition. The plateau rim looks very good. There is raw briar in the bottom quarter of the bowl which leads me think that it was never really broken in. The bowl and shank were dusty from sitting around and dirty from light use but there was no cake in the bowl. The stem is acrylic with a gold fancy KE on the top. It has some light tooth chatter and marks near the button. I took some photos of the pipe before I started working on it. It is a beautiful, well laid out pipe and feels great in the hand. I took photos of the rim top to show the plateau finish. There was a little grime and dust stuck in the valleys but otherwise it was very clean. The inner and outer rim edges were flawless. I took photos of the stem as well to try to capture the condition of the stem. Both the top and underside of the stem were dirty and dull and had light tooth marks and chatter. The button edge also has chatter. The stylized KE is faint so I will need to have a look at redoing that.I took a photo of the COM stamp on the left side of the shank and it reads as noted above. It is clear and readable with the stamp in an oval shape as shown below.I decided to clean up the bowl first. I cleaned the plateau top with a brass bristle wire brush to remove the dust and debris.I cleaned out the mortise and the airway in the shank and stem with alcohol, cotton swabs and pipes cleaners. The mortise and the airway in the shank was more dusty than dirty and the airway in the stem was pretty clean.I worked some Before & After Restoration Balm into the surface of the briar with my fingertips and a horsehair shoe brush to get it into the rustication and the plateau top. I let it sit for about 10 minutes. I buffed it off with a soft cloth. It is a product that I have really come to appreciate. Mark Hoover crafted it to enliven, clean and protect briar. I use it on every pipe I work on and find that with a single application the briar comes alive with deep glow. I set the bowl aside and turned my attention to address the stem. The stem had some scratches and marks on the surface. The top was worse than the underside but both had them. It was hard to capture the issues with the camera. There were also some light tooth marks on the button surface that needed to be addressed. I sanded out the marks with a folded, worn piece of 220 grit sandpaper. I wanted to remove the marks but not make more scratches. I started the polishing with 400 grit wet dry sandpaper.I used some Rub’n Buff Antique Gold to touch up the KE stamp on the stem top. I apply the product with a tooth pick making sure to work it into the grooves of the stamped letters. I let it short time and wipe it off and polish with a 3200 micromesh pad.Denicare Mouthpiece Polish is a gritty red paste that I have been using as a pre-polish for the mouthpieces. It removes a lot of very minor scratches and works well in removing the hard to get area in the crease of the button. I work it on with my fingers and then scrub the stem with a cotton pad and wipe it off when finished.  I was careful around the gold stamping on the topside to protect it from over buffing.I polished the acrylic stem with micromesh sanding pads – wet sanding it with 1500-12000 grit pads and wiping it down with a damp cloth between each set of pads. The stem began to take on a deep shine. I used Before & After Pipe Polish – both Fine and Extra Fine to finish the polishing. By this point the stem is looking better! Once I finished I put the stem back on the shank and carefully buffed the pipe with Blue Diamond polish using a lightly loaded pad and a soft touch. I wanted to raise a shine and buff out some of the small scratches in the briar and the acrylic stem. I gave the stem a vigorous polish being careful around the stylized gold KE on the stem top. I gave the bowl and the stem several coats of carnauba. I gave the plateau top and rusticated portions of the bowl several coats of Conservator’s Wax. I buffed the pipe with a clean buffing pad and hand buffed it with a microfiber cloth. The finished pipe is shown in the photos below. It is a great looking Karl Erik Freehand shaped pipe with a mixed finish. The money from the sale of this pipe is going for a great cause. The dimensions of the pipe are Length: 5 ½ inches, Height: 2 ½ inches, Outer Bowl Diameter: 1 ½ inches, Chamber Diameter: ¾ of an inch. The pipe will soon be on the rebornpipes store and you can purchase it and support a very worthy cause. Thanks for walking with me through the restoration.
Restoring a Karl Erik Ekstravagant Handmade In Denmark Tulip


Blog by Steve Laug

Every so often I receive pipes from pipemen and women who want them to be sold and the proceeds go to the NGO I work for in my real job! It is an organization called the SA Foundation Canada (www.safoundation.com) and it provides long terms housing, recovery and skill development for women and their children escaping sexual exploitation and trafficking. The organization is based in Vancouver, Canada but has projects in 7 countries and 12 cities globally. It is an organization that is cutting edge in the recovery process for these women and their kids with a success rate of over 70% globally. That simply means that out of every 100 women who enter our program 70 do not go back to their previous lifestyle. It is an amazing organization to work for and it has big vision and a commitment to thinking globally and acting locally. The admin and fundraising costs are 10% meaning that of every dollar donated $.90 goes to the work of providing for the recovery, care and training of the women and their children.

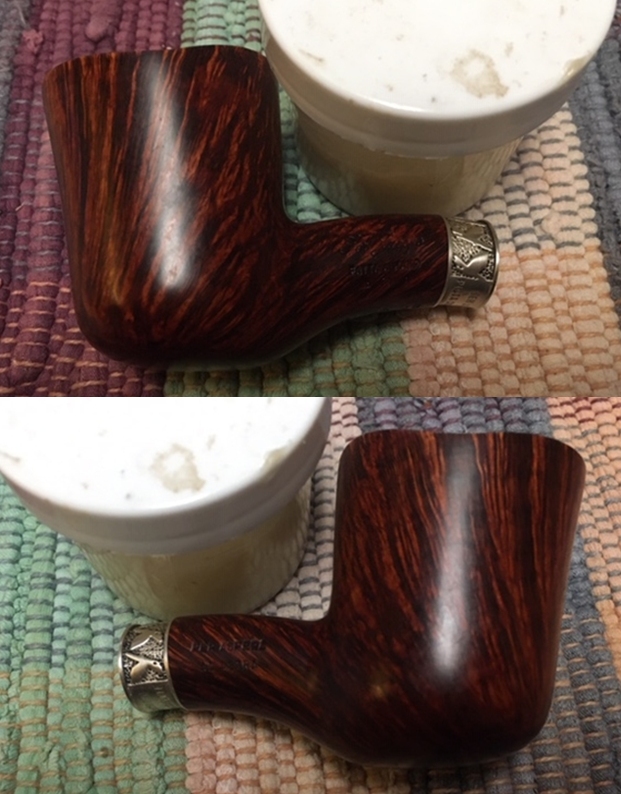
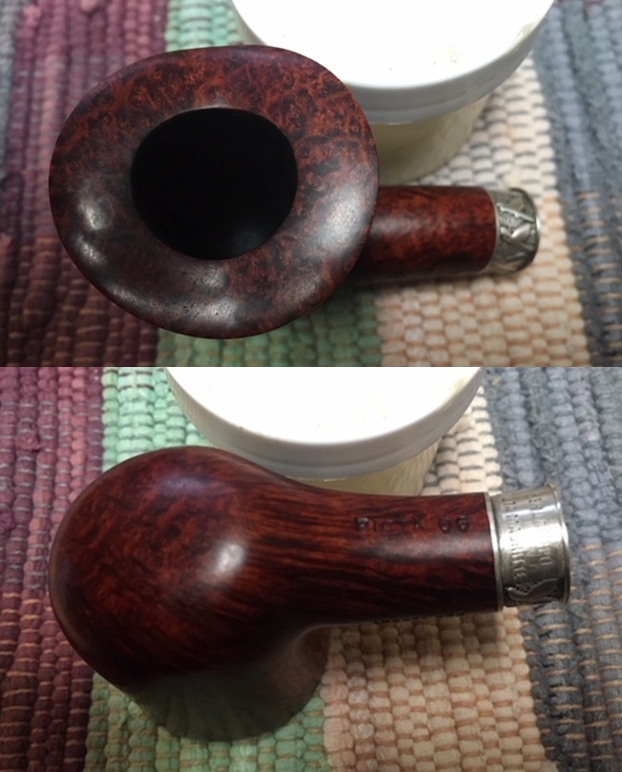
I am posting four pipes that have been donated for this cause. I am donating the restoration work on them and the individuals are donating the income generated by the sale of the pipes. This is the third of those pipes – first was a Nording Brandy 13, second was a Chimera Churchwarden and now this Karl Erik Ekstravagant Tulip. It is a beautiful pipe that has stunning grain. The stamping on the shank reads Karl Erik in a circle over Handmade in Denmark with Ekstravagant underneath that. The pipe is in excellent condition. There was some damage and burn marks on the rim top and inner edge as well as some darkening on the rim edges. The stem is acrylic with a golden fancy KE on the top. It has some light tooth chatter and marks near the button. There was also a long scratch on the underside of the stem running mid stem toward the button. The bowl and shank were dirty from light use but there was no cake in the bowl. I took some photos of the pipe before I started working on it. It really is a stunning pipe and feels great in the hand. I took photos of the rim top to show the damage that is present on the top and on the inner edge of the bowl. It almost looked as if the bowl had been knocked out against concrete. I took photos of the stem as well to try to capture the condition of the stem. The top side was dirty and dull but there were no tooth marks or chatter. The underside looked good other than a deep scratch that ran from the button edge forward on the stem for about an inch. I took a photo of the COM stamp on the underside of the shank and it reads as noted above. It is clear and readable with the stamp running around the circle.I wanted to know a bit more about the Ekstravagant stamping on this pipe. I have worked on quite a few pipes from Karl Erik (Karl Erik Ottendahl) over the years but this was the first with the Ekstravagant stamping. I turned to the Pipedia article on KE pipes for help with this (https://pipedia.org/wiki/Karl_Erik). From there I learned that these pipes were large pipes entirely handmade by Karl Erik Ottendahl.

I quote in part from that article below.

During all periods he had made some of his own handmade pipes, but he felt that the responsibility of managing the factory did not give him the freedom he wished he had. Accordingly, in 1990, he went back to work on his own. He believed that he could produce better work if he worked alone, though his principle reason was simply that he missed the quiet, pleasant atmosphere that a one man shop afforded him. According to him, he has been much happier since he returned to make pipes all by himself. Certainly, the results reflect his rediscovered happiness with the pipe making craft.

Though Karl Erik’s favorite briar mostly came from Morocco or Greece, but he frequently purchased elsewhere, too. He didn’t consider the briar origin to be particularly important provided the briar was well cured. Therefore, he simply purchased the best briar he could find, rather than purchasing from only one or two regions.

Concentrating on more classical influenced shapes Karl Erik’s style emphasized the wood over all other contributing factors by allowing the grain to determine the ultimate shape of the piece. He further emphasized the natural, organic, flowing shape of his bowls with hand cut stems and a broad variety of decorating materials.

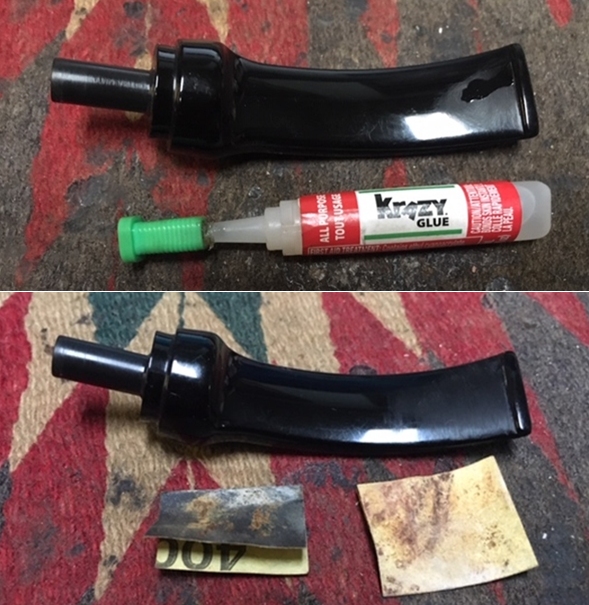
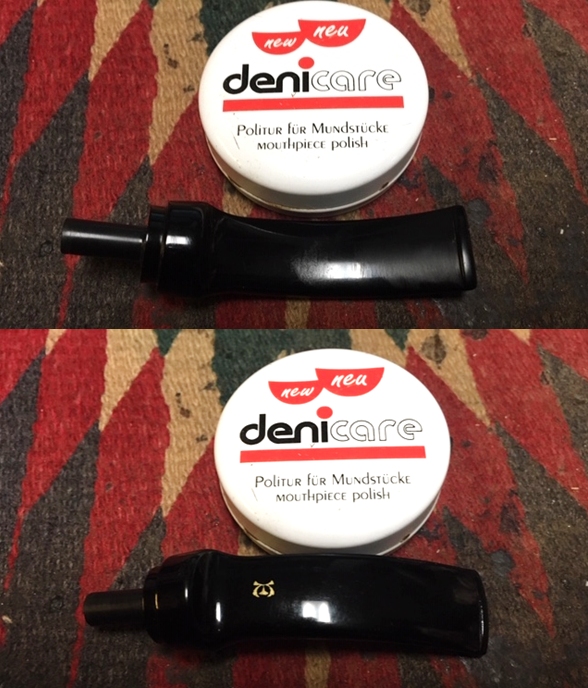
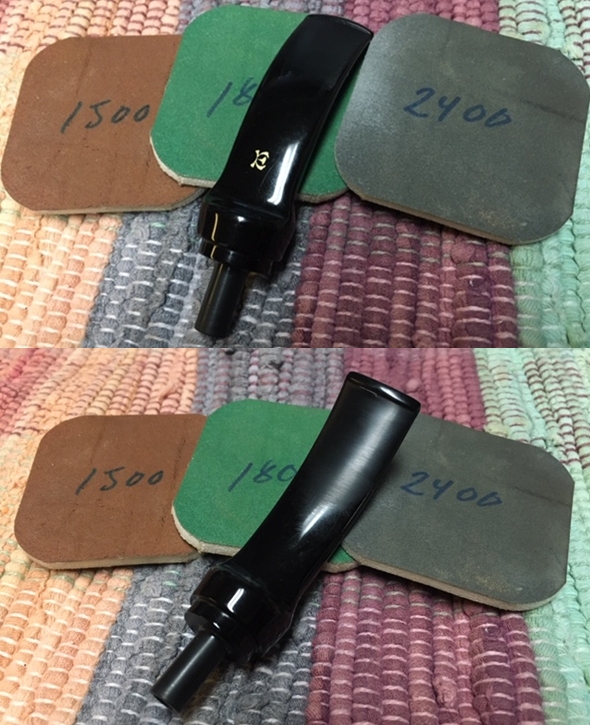
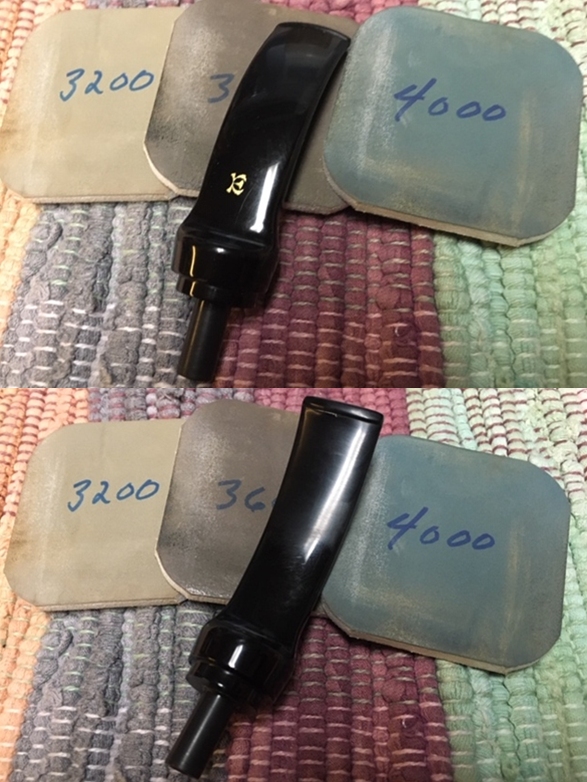
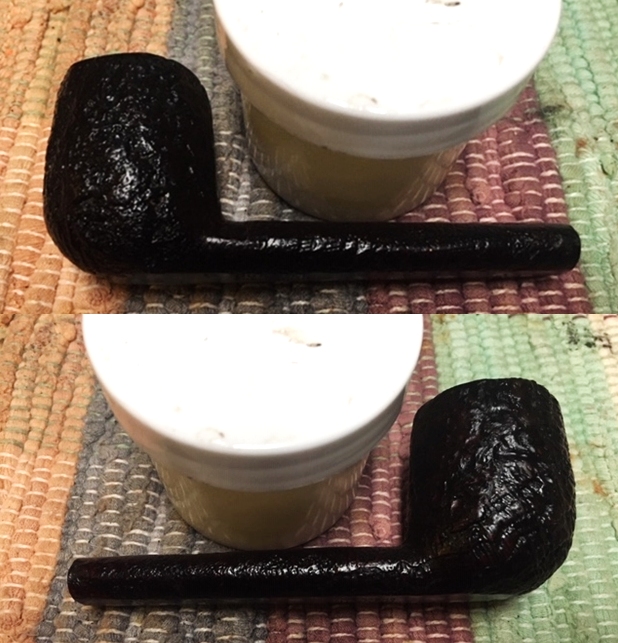
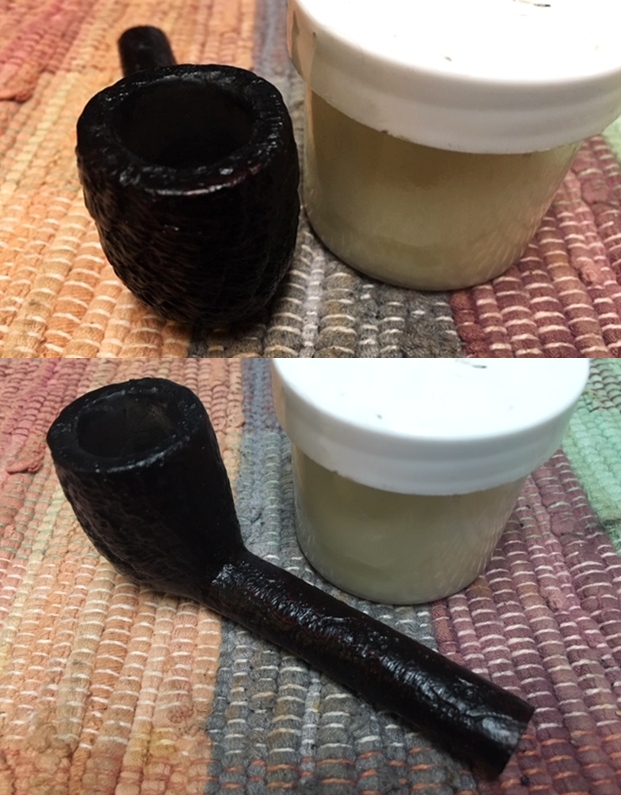
Now it was time to work on the pipe. I decided to address the issues with the rim top first. I chose to use the least intrusive method first. I steamed the nicks and dents to no effect. I sanded it with a folded piece of 220 grit sandpaper to try to remove the damage. You can see the effectiveness of this in the first photo below. I carefully worked on the inner edge of the rim with a folded piece of 220 grit sandpaper. I worked slowly so as not to damage the rim top. It took a little work but I was able to remove some of the burn damage that marred the inner edge but there were some deep burns on the back edge of the bowl that would require stronger methods. I turned to stronger measures and carefully top the bowl on a topping board with 220 grit sandpaper. I needed to address the deep nicks in the surface and the edges – both inner and outer and this was the means I chose. It took care of the majority of the issues and minimized the burn mark at the front and back of the bowl. It was not gone but it looked better. I used a folded piece of 220 grit sandpaper to work on the inner edge. I wanted to give it a slight bevel to clean up the burn damage. While it was not perfect it was much better. I did not want to sacrifice the roundness of the bowl to do more work on it so I left it.I polished the rim top and edges of the bowl with micromesh sanding pads. I wet sanded it with 1500-12000 grit sanding pads and wiped it down with a damp cloth after each pad. The rim top came out looking very good. The darkening was lessened and the damage was smoothed out. The rim was looking very good at this point.  I stained the top of the bowl with a blend of Oak and Cherry stain pens. This combination matched the stain on the rest of the bowl perfectly. I am pretty happy with the look of the rim top at this point in the process.I worked some Before & After Restoration Balm into the surface of the briar with my fingertips and let it sit for about 10 minutes. I buffed it off with a soft cloth. It is a product that I have really come to appreciate. Mark Hoover crafted it to enliven, clean and protect briar. I use it on every pipe I work on and find that with a single application the briar comes alive with deep glow. Because the pipe looked so clean I forgot to clean out the internals. I went back and cleaned out the mortise and the airway in the shank and stem with alcohol, cotton swabs and pipes cleaners. The shank was quite dirty but the airway in the stem was pretty clean. I repeated the scrubbing until the cleaners came out clean.I set the bowl aside and turned my attention to address the deep scratch in the stem. It was really a gouge that had carved a line from the button forward. It was not a crack lest you might think so. I examined it in detail with a lens and the stem was solid. I wiped down the area with a cotton swab and alcohol and then filled in the gouge with clear Krazy Glue. Once the repair cured I used a folded piece of 220 grit sandpaper to blend the repair into the stem surface. I polished the area I had sanded with 400 grit wet dry sandpaper.Denicare Mouthpiece Polish is a gritty read paste that I have been using as a pre-polish for the mouthpieces. It removes a lot of very minor scratches and works well in removing the hard to get area in the crease of the button. I work it on with my fingers and then scrub the stem with a cotton pad and wipe it off when finished.  I avoided the gold stamping on the topside to protect it from over buffing.I polished the acrylic stem with micromesh sanding pads – wet sanding it with 1500-12000 grit pads and wiping it down with a damp cloth between each set of pads. The stem began to take on a deep shine. I used Before & After Pipe Polish – both Fine and Extra Fine to finish the polishing. By this point the stem looks great and the gouge is gone! Once I finished I put the stem back on the shank and carefully buffed the pipe with Blue Diamond polish using a lightly loaded pad and a soft touch. I wanted to raise a shine and buff out some of the small scratches in the briar and the acrylic stem. I gave the stem a vigorous polish being careful around the stylized gold KE on the stem top. I gave the bowl and the stem several coats of carnauba. I buffed the pipe with a clean buffing pad and hand buffed it with a microfiber cloth. The finished pipe is shown in the photos below. It is a great looking Karl Erik Ekstravagant Tulip shaped pipe whose sale price is going for a great cause. The dimensions of the pipe are Length: 6 inches, Height: 2 ½ inches, Outer Bowl Diameter: 1 ½ inches, Chamber Diameter: ¾ of an inch. The pipe will soon be on the rebornpipes store and you can purchase it and support a very worthy cause. Thanks for walking with me through the restoration.
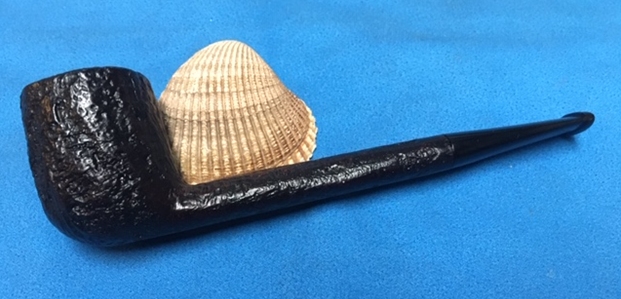
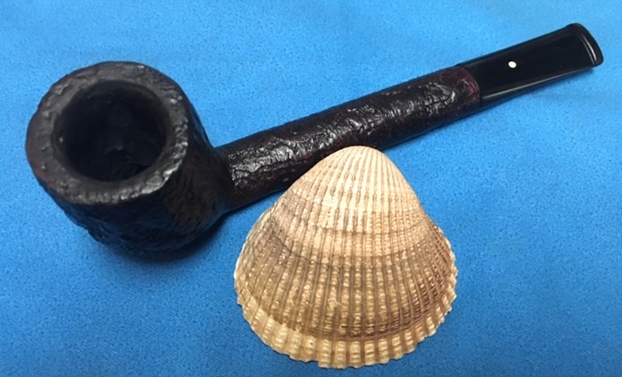
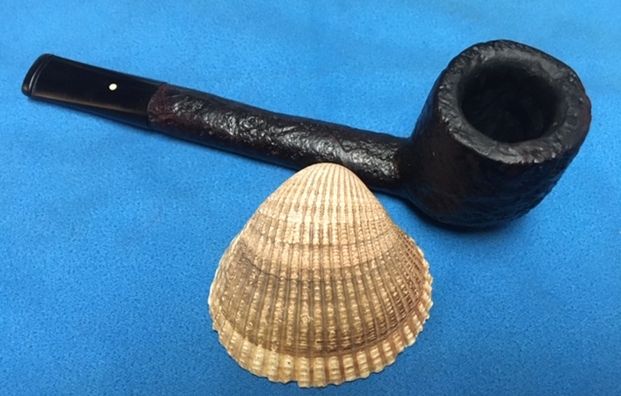
Breathing Life into a Worn and Beat up Dunhill Shell Briar EC Canadian for Alex


Blog by Steve Laug

In a previous blog I mentioned that around Christmas time I got together with Alex to enjoy some great hot cocoa, smoke our pipes and talk about all things pipes. I also gave him a batch of pipes that I had finished from his stash and he gave me a few more to work on for him. I always have a great time when we get together and this time was no exception. He greeted me at the door with slippers and an old smoking jacket. I took my seat in the living room among his latest pipe finds and was handed a great cup of cocoa. I set it down and we both loaded out pipes with some new Perretti’s tobacco that he had picked up. We touched the flame of the lighter to the tobacco and sat back and blissfully enjoyed the flavour. As we did Alex walked me through his latest finds. There were some amazing pipes to look at and savour. I already wrote about the Dunhill Bamboo Tanshell with a lot of nice colour happening around the bowl. I refreshed that pipe for him and wrote about it here – https://rebornpipes.com/2020/01/08/refreshing-a-dunhill-tanshell-w60-t-1962bamboo-lovat-for-alex/.

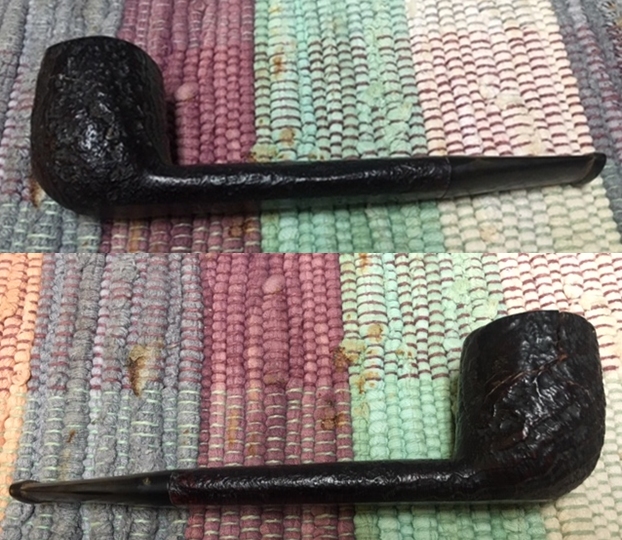
He also pulled another Dunhill from the pile of new pipes that he wanted me to work on. It was the exact opposite of the Bamboo in terms of condition. The Bamboo was relatively clean and he had already enjoyed a few bowls through it so it was a quick and easy refresh. This one was a real mess! It was another sandblast. This time it was a Shell Briar Canadian. I carefully took it in my hands and examined it. It was in very rough shape with many cracks in the briar. Alex knew the issues with the pipe but he wanted to know if I could repair it. I assured him that of course it could be repaired and the current cracks stopped. But all repairs to the cracks would essentially be cosmetic and though he could not see them they were still present. The ones going through into the bowl would need to be treated as well. I have repaired many of the pipes that I smoke in this manner and they continue to serve me undamaged for many years after the repair so I was just giving him the facts. He was fine with that and said to go ahead. So I took it home with me.

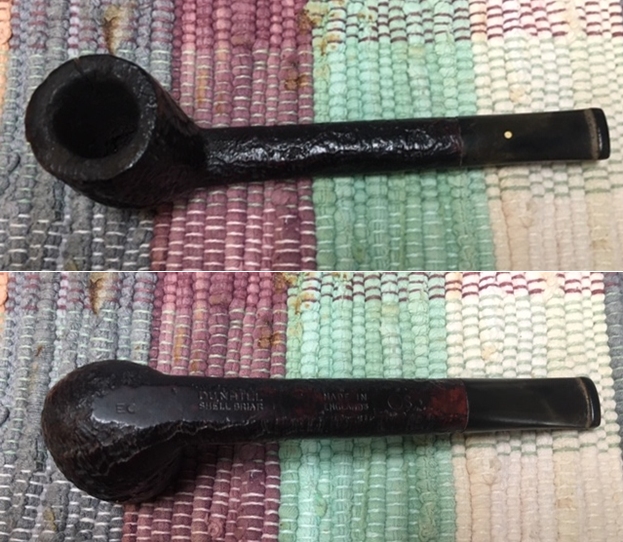
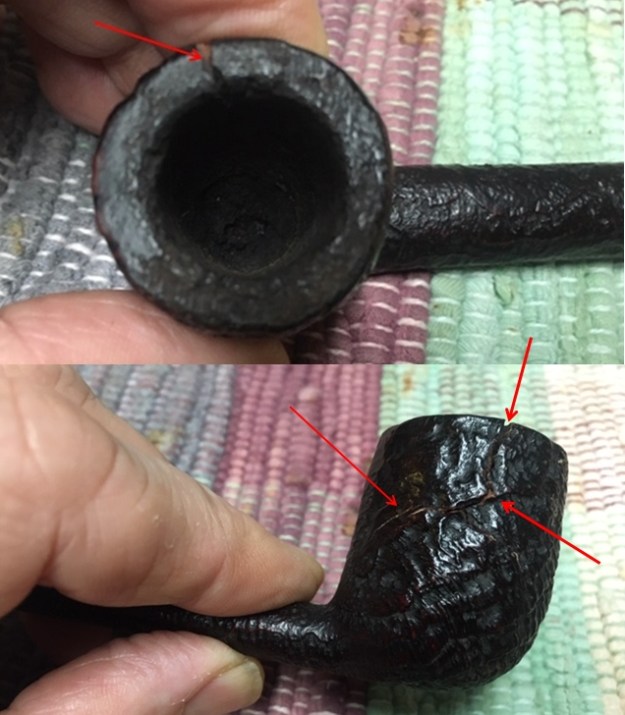
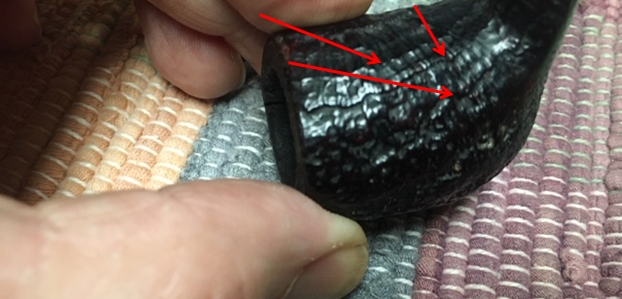
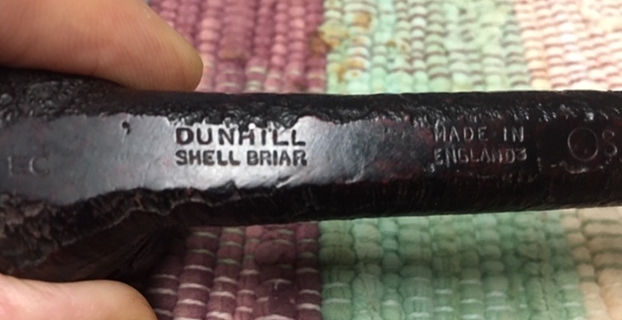
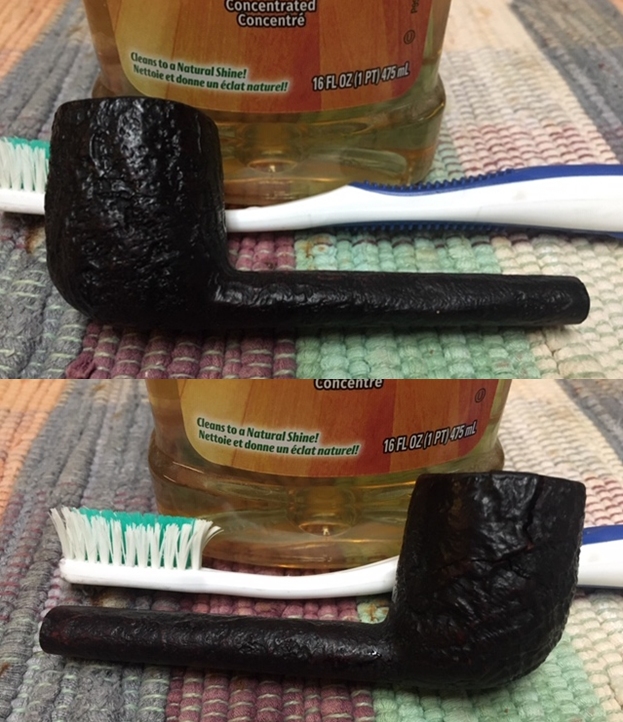
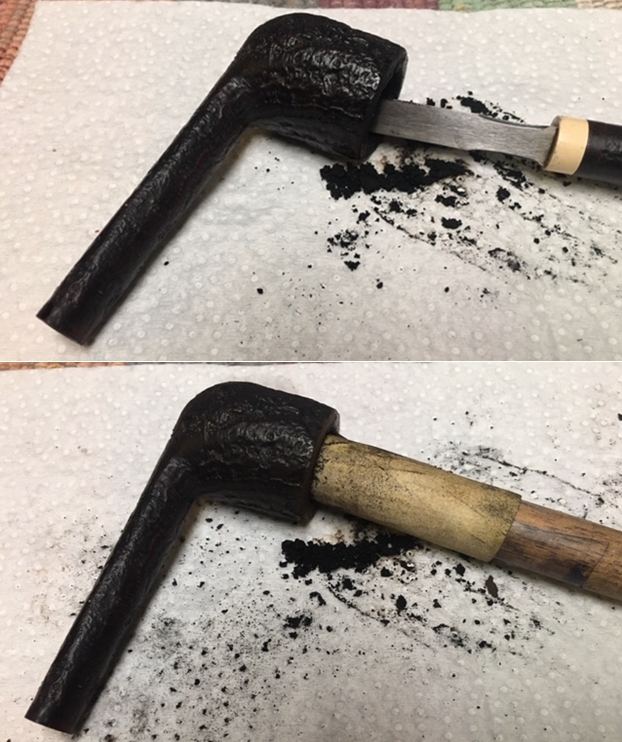
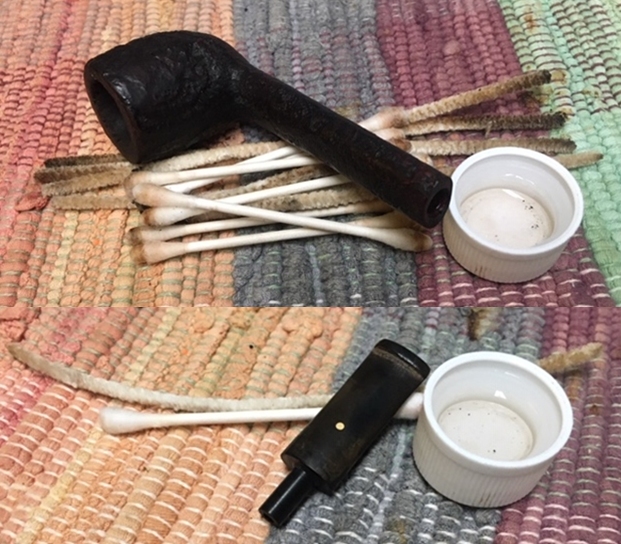
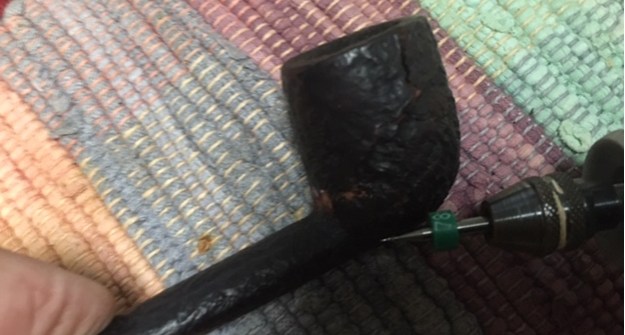
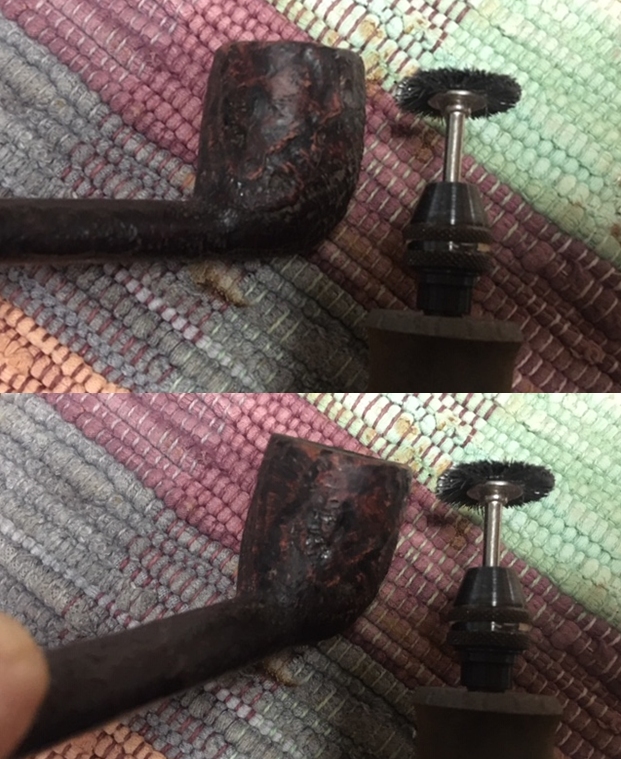
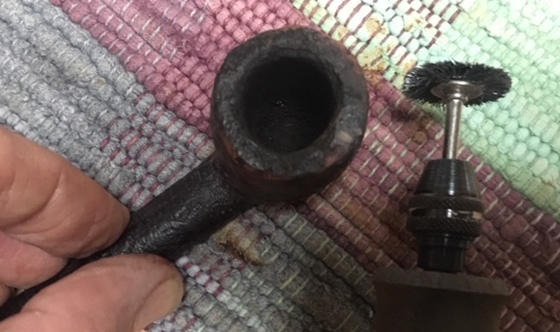
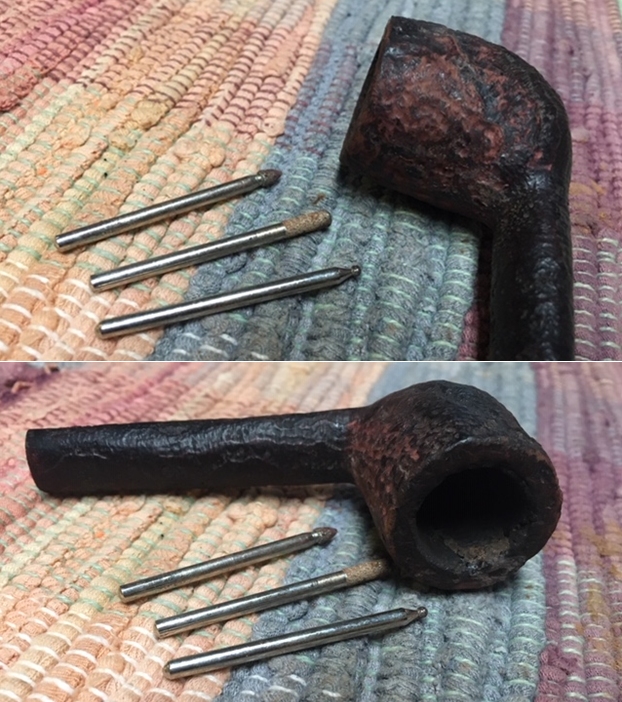
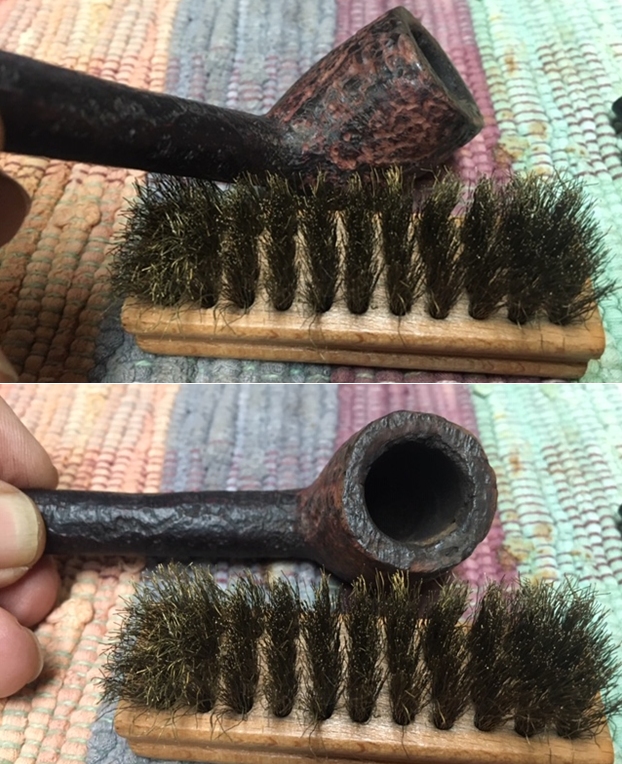
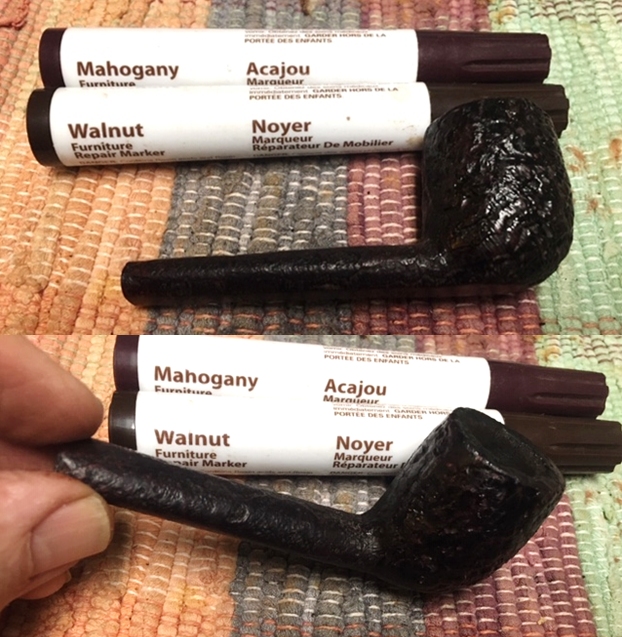
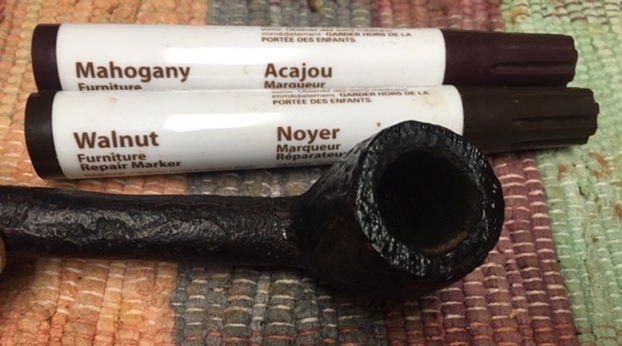
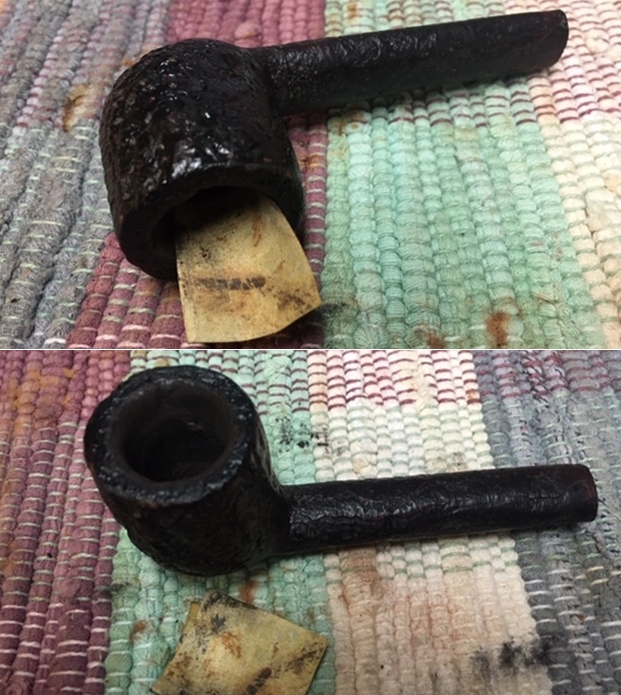
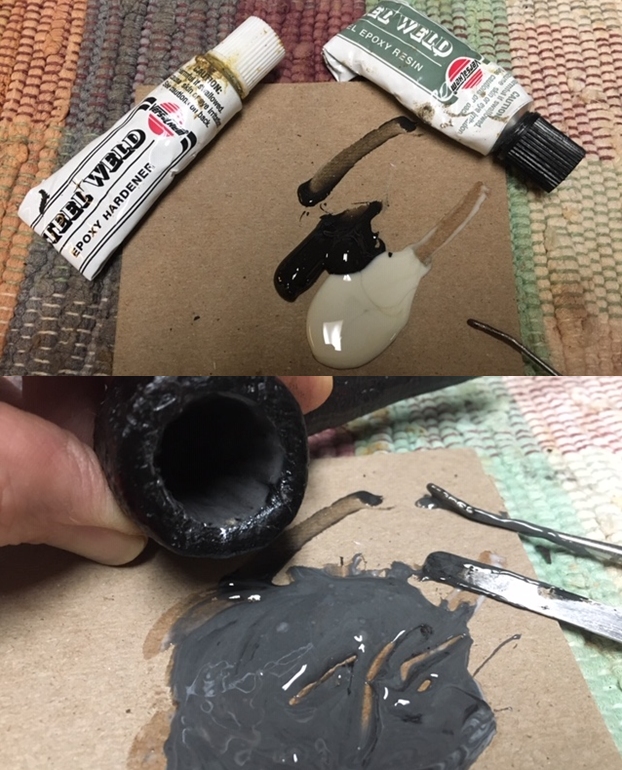
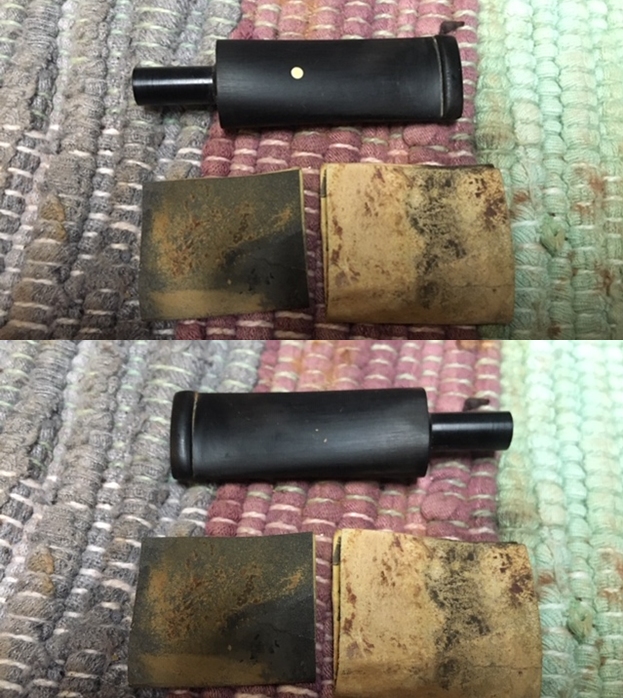
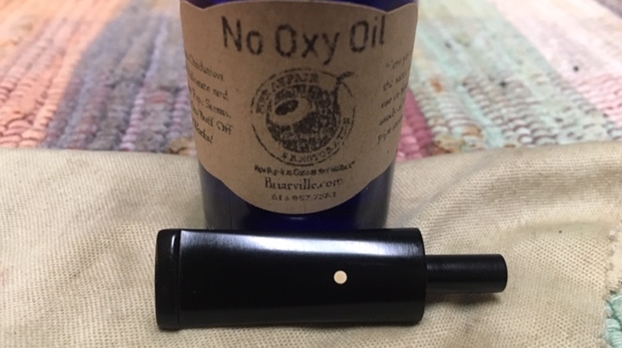
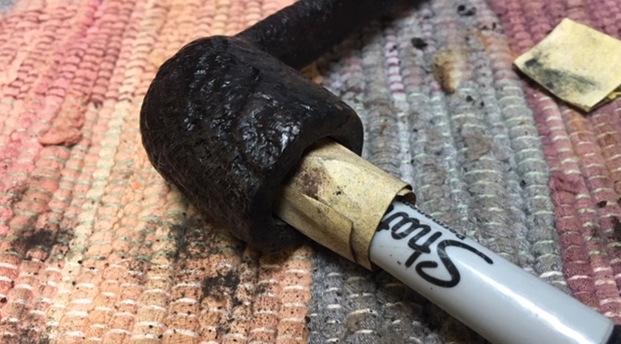
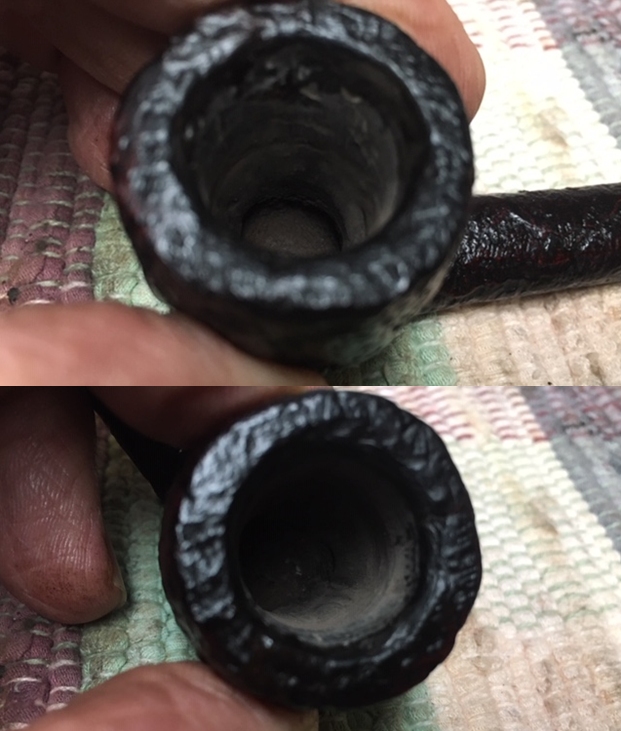
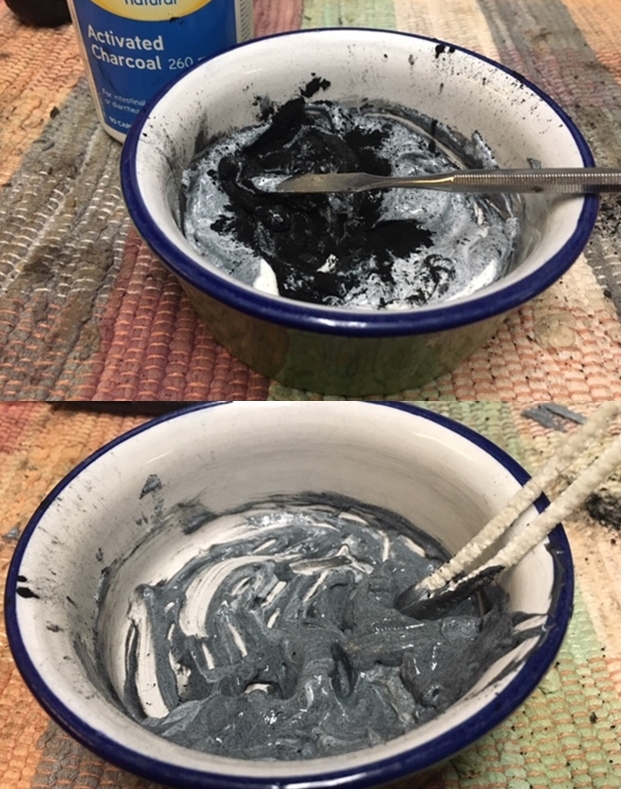
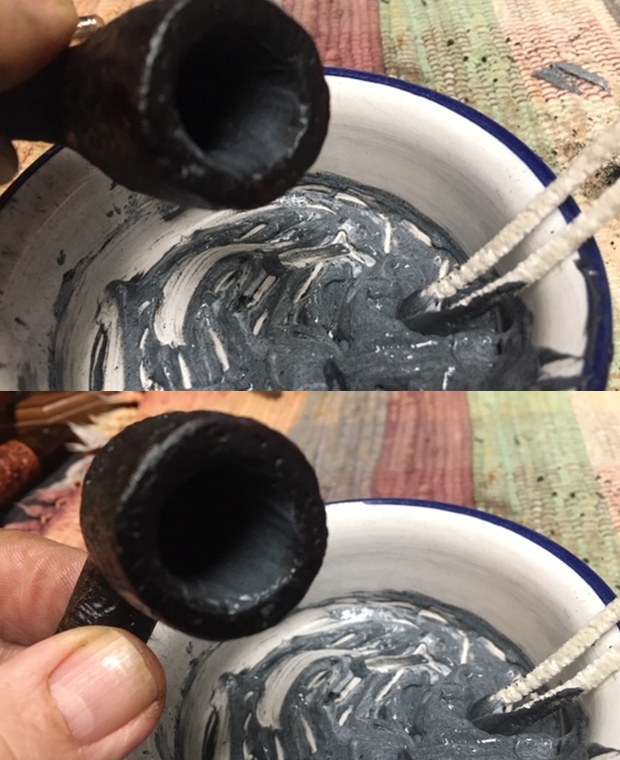
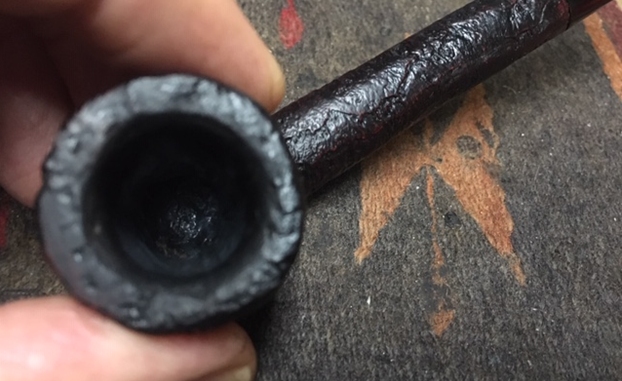
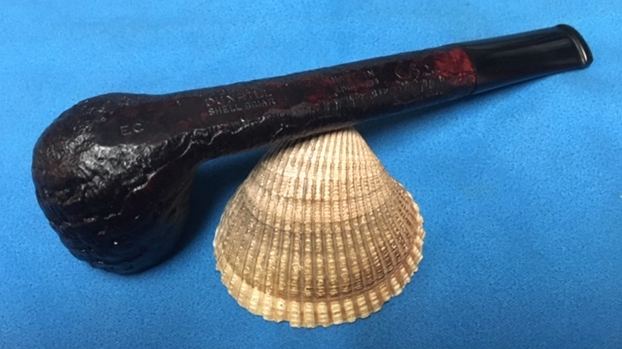
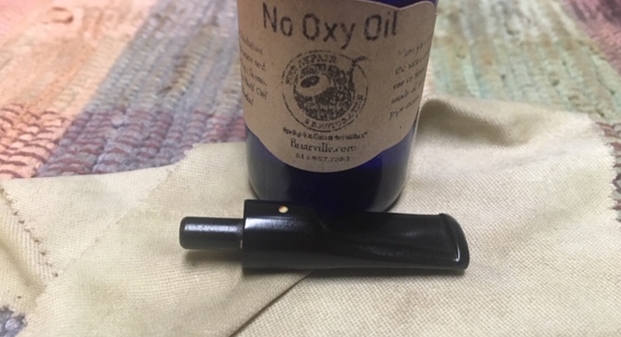
When I got home I laid it aside and tonight took it up to work on it. I examined the pipe to see what I was working with and took some photos. You can see from the first four photos below that there was something redeeming about the pipe. I think that is what Alex saw. It is a really nicely shaped Canadian. The right side of the bowl was dirty but looked very good. The back of the bowl and right side were full of cracks that went virtually the length of the bowl from the rim top to at least shank height. The rim top had significant damage to the inner edge and the crack on the right side went through to the interior and on top. The stem was pockmarked, dirty and oxidized with tooth chatter and marks on both sides just ahead of the button. Overall the pipe a wreck. I took photos of the pipe before I started my cleanup and restoration. Look closely at the second and third photos. You will see the cracks. I took a close up photo of the rim top and the back and right side of the bowl to show the crack damage. I have pointed out the cracks with red arrows for easy identification. The inner edge of the rim also shows burn and poor reaming damage. I took photos of the stem as well. The vulcanite was pitted, oxidized and calcified in the crease of the button. There were some tooth marks and chatter on the stem near the button but otherwise it looked pretty good. The pipe was stamped on the heel and underside of the shank with the following nomenclature: EC (the designation for a Canadian) followed by Dunhill over Shell Briar. That is followed by Made in England with a number 3 in superscript next to the D. This tells me that the pipe was made in 1963. After that there is a circle with a 4 in it designating the size of the pipe followed by the letter S which is the designation for Shell Briar pipes. The stamping was clear and legible which actually surprised me given the condition of the rest of the pipe.I think Jeff has spoiled me with working on clean pipes so I decided to start by cleaning up this one. I wanted it clean even before I began to work on the repairs. I find that the cleaning also helps me see things in the finish that I would otherwise miss. I scrubbed the exterior of the bowl with Murphy’s Oil Soap and a tooth brush to remove the debris from the nooks and crannies of the sand blast as well as from the inside of the cracks. I rinsed the bowl with warm water and dried it off with a cotton cloth. Once that was done the cracks were very clear but so was the natural beauty of this Canadian shape! With the exterior clean I worked on the interior. I reamed the bowl with a Savinelli Fitsall knife. I did not want to risk the pressure that is put on the bowl sides by the PipNet reamer. I scraped the cake out until the walls were clear. I sanded them smooth with a dowel wrapped in 220 grit sandpaper.I cleaned out the mortise and the airway from the shank to the bowl with pipe cleaners, cotton swabs and alcohol. I worked on it until the airway was clean and the pipe smelled clean! I cleaned the stem at the same time working around the buildup on the tenon and stem face as well as the airway and the slot. I used alcohol, pipe cleaners and cotton swabs for this as well. I was surprised at how clean the internals of the stem were. I expected it to be horrid.With the bowl clean it was time to begin the reconstructive surgery on the bowl. I used a lens to trace the cracks to their end. All of them began at the rim and worked downward. I marked the end with a correction pen (thanks for the tip Paresh). Once I had them marked I used a Dremel and microdrill bit to drill a small hole in the end of the crack to stop it from spreading. Once I had the holes drilled I filled them in with briar dust and clear Krazy Glue (CA Glue). The cracks were numerous so I took a few photos to show the extent of the repairs. My method is a bit different from Dal’s due to my glue. I fill in the crack with the glue and press the parts together. It dries quickly and with no internal pressure holds together well. I go back and fill in the cracks in the bowl with briar dust. I use a dental spatula and pick to work them into the cracks. I put a top coat of Krazy Glue to seal it. I repeat the process until the repair is complete. In the case of the large crack that goes into the interior of the bowl I pressed dust into it as well and the glue from the outside held it in place. I will give it a coat of JB Weld to protect it once I finish the bowl. Once the repairs cure I work over the repaired areas with a brass bristle brush to knock of the loose dust and bits of glue that are on the surface. I used my Dremel and sanding drum to smooth out the interior walls of the bowl and the repair to the crack on the right side of the rim top. I think that the repair is starting to look pretty good.With the repairs cured and the interior and high spots smoothed out it was time for some artistry to bring the Shell finish back to the bowl sides and rim top. I started the process by working over the repaired areas with a wire wheel on my Dremel. I worked over the areas around the sides of the bowl and the rim top. It was starting to look right. The shininess of the repairs was reduced and the finish began to show through. Now it was time to etch the surface of the briar with the Dremel and burrs. The photos that follow show the three different burrs that I use to cut the grooves to match the sandblast. The burrs worked to cut a pretty nice match in the briar.I used the wire brush again to clean off the dust left behind by the burrs. It is hard to tell from the photos but the pattern is really close to the surrounding areas of the briar bowl and shank. With the carving done approximating the sandblast finish under the repairs it was time to stain the bowl. I have found that with a Shell Briar finish I have to use a Mahogany and a Walnut stain pen to match the rest of the bowl. I streak on the Mahogany first and fill in the Walnut around the rest of the finish. I blend them together and the finished look is hard to distinguish from the original stain. I moved on to round out the inner edge of the rim and minimize the damage. I used a folded piece of 220 grit sandpaper to carefully give the inner edge a very light bevel. Once I was finished with the shaping I ran a Walnut Stain Pen around the freshly sanded edge to blacken it.With the finish repaired and restained I rubbed it down with Before and After Restoration Balm. It is a product developed by Mark Hoover to clean, enliven and protect briar. I worked it into the briar with my finger tips and a horse hair shoe brush. I let it sit for about 10 minutes and buffed it off with a cotton cloth. You can see the results below. With the exterior finish and the repairs completed it was time to mix up a batch of JB Weld to coat the inside of the bowl and protect the walls where the cracks went through. I mixed the Weld and put a pipe cleaner in the airway to keep the weld from sealing off the airway in the bowl. I applied the mixture to the walls with a dental spatula. Once had the walls covered around the area of the cracks I set the bowl aside to cure. I did not put the mixture in the heel of the bowl as it was solid and had no issues. I set the bowl aside and turned to address the oxidation, tooth marks and chatter on the stem surface. The stem was in good condition with some minor pitting. I used a folded piece of 220 grit sandpaper to sand out the tooth marks, chatter and oxidation. I started the polishing with 400 grit sandpaper. The stem is starting to look very good.I have been using Denicare Mouthpiece Polish as a pre-polishing agent. It is a gritty, red paste that does a great job in removing the oxidation remnants in the crease of the button and also polish out some of the lighter scratches in vulcanite. I rub it on with my finger tips and scrubb it with a cotton pad. I buff it off with another pad.I finished polishing the stem with micromesh sanding pads – wet sanding it with 1500-12000 grit pads and wiping it down after each pad with a damp cotton pad to remove the dust. I polished it with Before and After Pipe Polish – both fine and extra fine. I finished by wiping the stem down with some No Oxy Oil that  received from Briarville Pipe Repair to experiment with. Once the JB Weld repair had cured I sanded the walls of the bowl to remove the excess material and to make sure the mixture was primarily in the damaged areas of the bowl walls. The repair looked very good. I mixed a batch of pipe mud composed of sour cream and charcoal powder and applied a coat of it to the bowl to protect the walls while a cake formed. I know Alex hates bowl coatings as much as I do but this one is essential given the nature of the cracks. It is just a precautionary step and the coating dries neutral and imparts no taste to the tobacco. After a few bowls you do not even know it is there. After mixing it well I applied it to the walls of the bowl with a folded pipe cleaner. I aim for a smooth coating that will dry dark and black and be almost invisible. When it dries the mixture does not have any residual taste. Once it was coated I set the pipe aside to dry. The mix does not take too long to dry. In about an hour it is dry to touch and almost black. After 24 hours it is black and smooth. The last photo below has been drying about two hours. The only remaining damp spot is in the bottom of the bowl. Once I finished I put the stem back on the shank and carefully buffed the pipe with Blue Diamond polish using a lightly loaded pad and a soft touch. I wanted the shine but not the grit filling in the crevices of the sandblast bowl. I gave the stem a vigorous polish being careful around the white spot. I gave the bowl several coats of Conservator’s Wax and the stem several coats of carnauba. I buffed the pipe with a clean buffing pad and hand buffed it with a microfiber cloth. The finished pipe is shown in the photos below. It is a great resurrection pipe for Alex and looks better than when I began the process. The dimensions of the pipe are Length: 5 ½ inches, Height: 1 5/8 inches, Outer Bowl Diameter: 1 ¼ inches, Chamber Diameter: ¾ of an inch. The pipe will soon be heading back to Alex so he can continue to enjoy it. Thanks for walking with me through the restoration.

Refreshing a Nording Made in Denmark 13 Brandy


Blog by Steve Laug

Every so often I receive pipes from pipemen and women who want them to be sold and the proceeds go to the NGO I work for in my real job! It is an organization called the SA Foundation Canada (www.safoundation.com) and it provides long terms housing, recovery and skill development for women and their children escaping sexual exploitation and trafficking. The organization is based in Vancouver, Canada but has projects in 7 countries and 12 cities globally. It is an organization that is cutting edge in the recovery process for these women and their kids with a success rate of over 70% globally. That simply means that out of every 100 women who enter our program 70 do not go back to their previous lifestyle. It is an amazing organization to work for and it has big vision and a commitment to thinking globally and acting locally. The admin and fundraising costs are 10% meaning that of every dollar donated $.90 goes to the work of providing for the recovery, care and training of the women and their children.

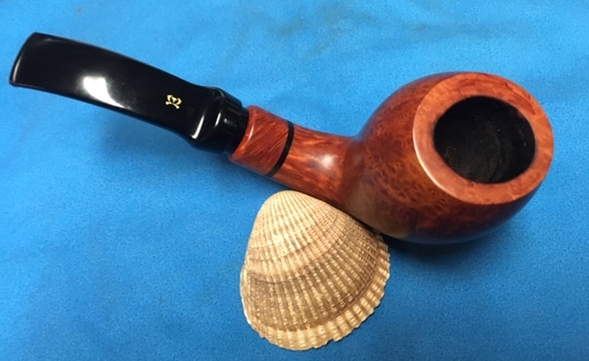
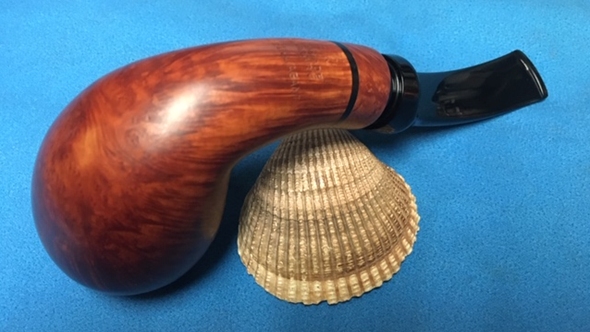
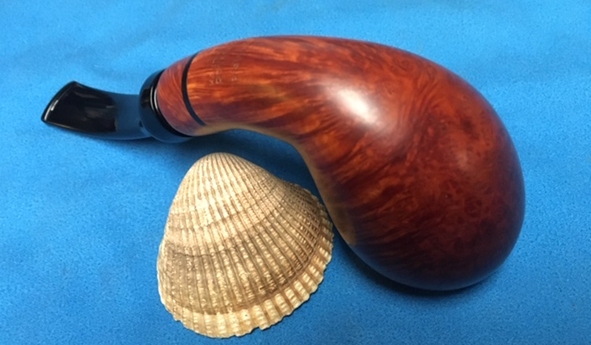
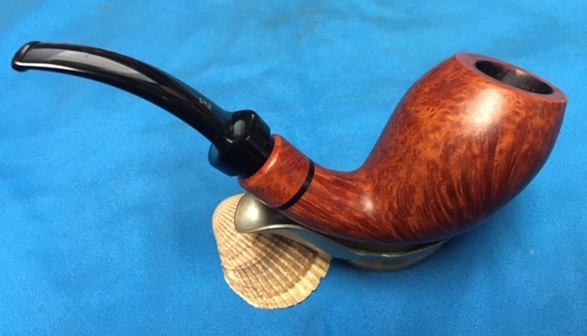
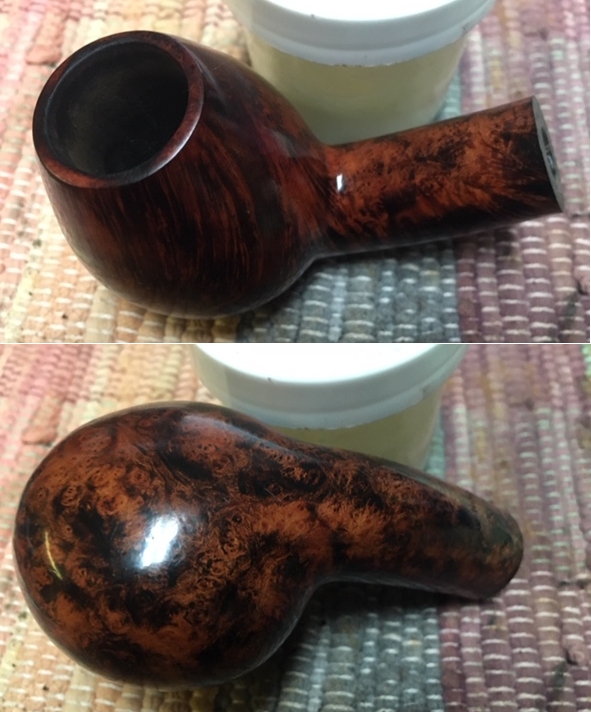
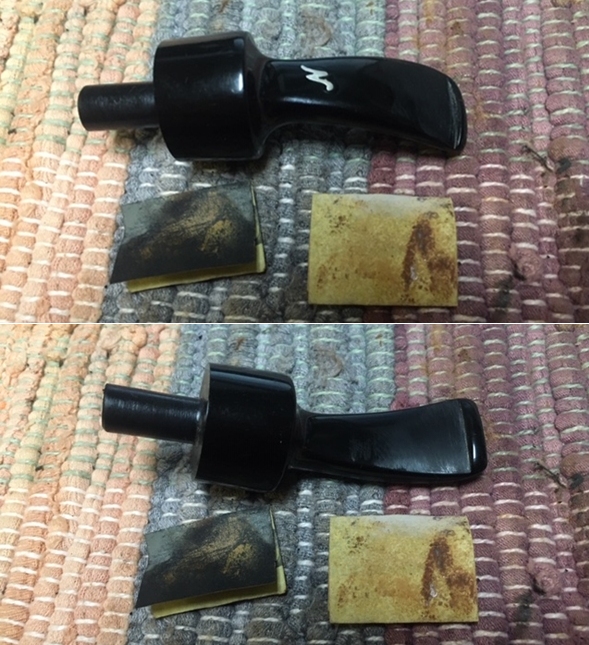
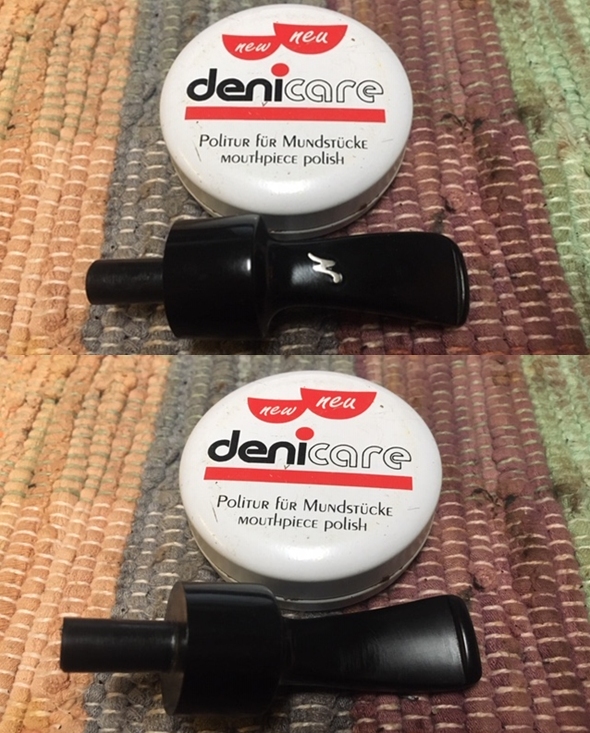
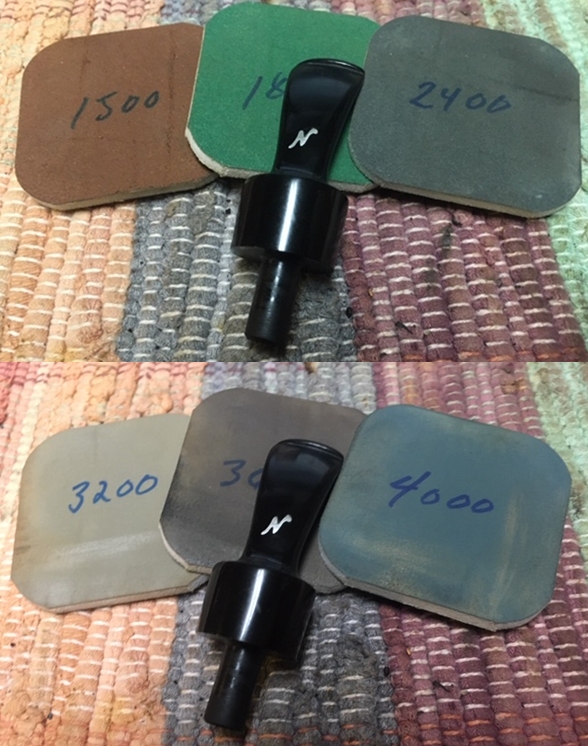
I am posting four pipes that have been donated for this cause. I am donating the restoration work on them and the individuals are donating the income generated by the sale of the pipes. This is the first of those pipes. It is a Nording Made in Denmark Brandy 13. It is a beautiful pipe that has stunning grain. The stamping on the shank reads in a circle Nording Made in Denmark with the number 13 in the center of the circle. The pipe is in excellent condition. There were some light nicks and marks on the rim top and inner edge as well as some darkening on the rim edges. The stem is acrylic with a silver N on the top. It has some light tooth chatter and marks near the button. The bowl and shank were dirty from light use but there was no cake in the bowl. I took some photos of the pipe before I started working on it. It really is a stunning pipe and feels great in the hand. I took photos of the rim top to show the light damage that is present on the top and on the inner edge of the bowl. I took photos of the stem as well to try to capture the tooth chatter on both sides.I took a photo of the COM stamp on the underside of the shank and it reads as noted above. It is clear and readable with the stamp running around the circle.I cleaned out the mortise and the airway in the shank and stem with alcohol, cotton swabs and pipes cleaners. The shank was quite dirty but the airway in the stem was pretty clean. I repeated the scrubbing until the cleaners came out clean.I carefully worked on the inner edge of the rim with a folded piece of 220 and 400 grit sandpaper. I worked slowly so as not to damage the rim top. It took a little work but I was able to remove the nicks and chips that marred the inner edge and keep the bowl in round.I polished the rim top with micromesh sanding pads. I wet sanded it with 1500-12000 grit sanding pads and wiped it down with a damp cloth after each pad. The rim top came out looking very good. The darkening was lessened and the damage was smoothed out. The rim was looking very good at this point. I rubbed some Before & After Restoration Balm into the surface of the briar. It is a product that I have really come to appreciate. Mark Hoover crafted a product that enlivens, cleans and protects briar. I use it on every pipe I work on and find that with a single application the briar comes alive with deep glow. I let it sit for about 10 minutes then buff it off with a soft cotton cloth. I used a folded piece of 220 grit sandpaper to remove the tooth marks and chatter from the stem surface and polished the area I had sanded with 400 grit wet dry sandpaper.Denicare Mouthpiece Polish is a gritty read paste that I have been using as a pre-polish for the mouthpieces. It removes a lot of very minor scratches and works well in removing the hard to get area in the crease of the button. I work it on with my fingers and then scrub the stem with a cotton pad and wipe it off when finished. I polished the stem with micromesh sanding pads – wet sanding it with 1500-12000 grit pads and wiping it down with a damp cloth between each set of pads. The stem began to take on a deep shine.Once I finished I put the stem back on the shank and carefully buffed the pipe with Blue Diamond polish using a lightly loaded pad and a soft touch. I wanted to raise a shine and buff out some of the small scratches in the briar and the acrylic stem. I gave the stem a vigorous polish being careful around the silver inlaid N on the stem top. I gave the bowl and the stem several coats of carnauba. I buffed the pipe with a clean buffing pad and hand buffed it with a microfiber cloth. The finished pipe is shown in the photos below. It is a great looking Nording pipe whose sale price is going for a great cause. The dimensions of the pipe are Length: 5 ½ inches, Height: 2 inches, Outer Bowl Diameter: 1 inches, Chamber Diameter: ¾ of an inch. The pipe will soon be on the rebornpipes store and you can purchase it and support a very worthy cause. Thanks for walking with me through the restoration.


A Review – A Lone Star Briar Works Rusticated ¼ Bent Apple


Blog by Steve Laug

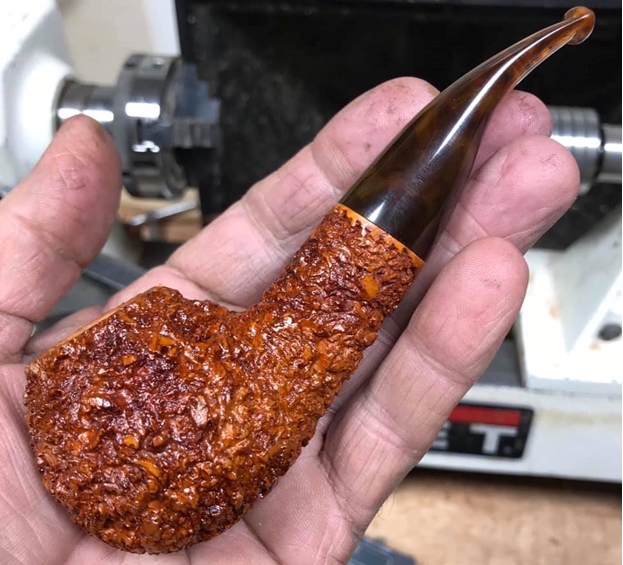
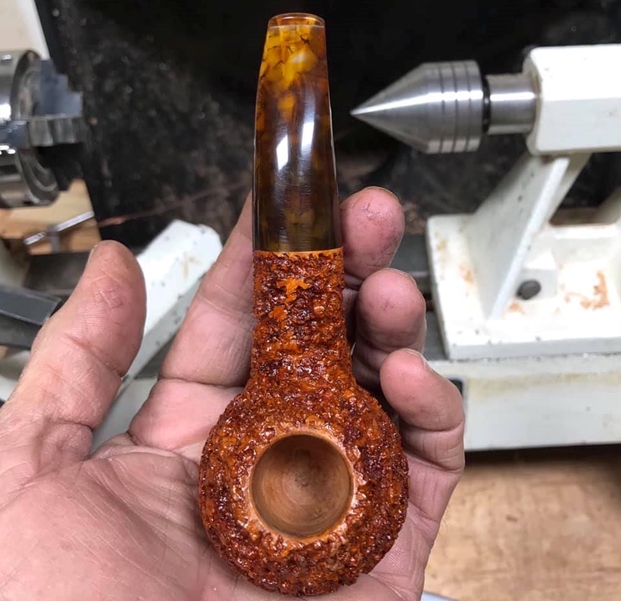
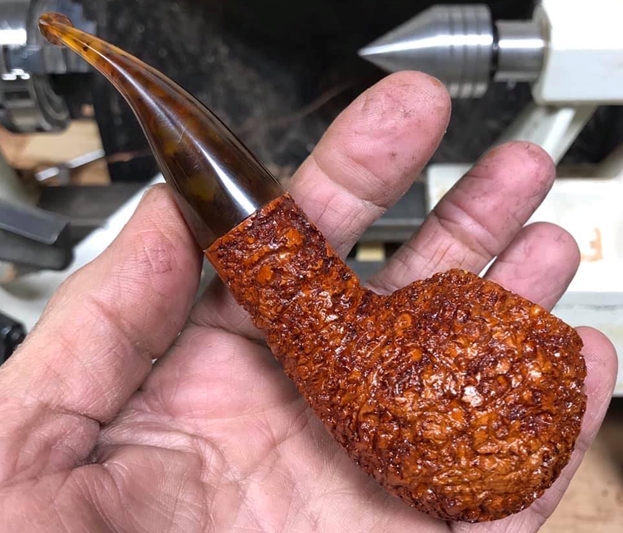
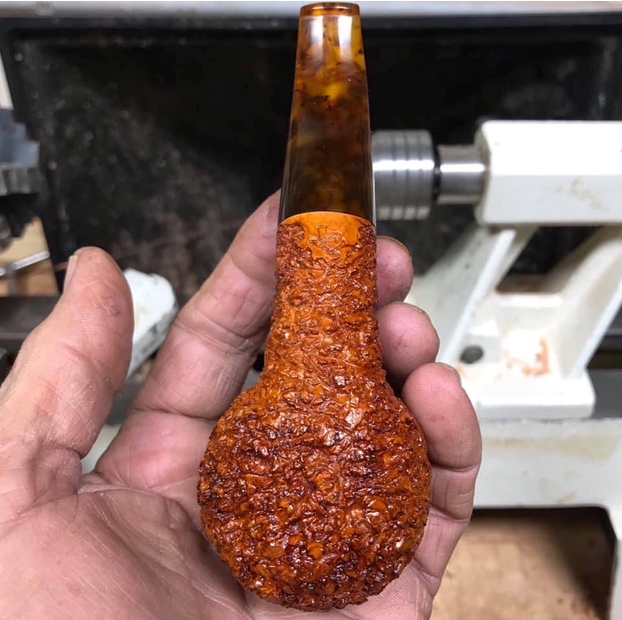
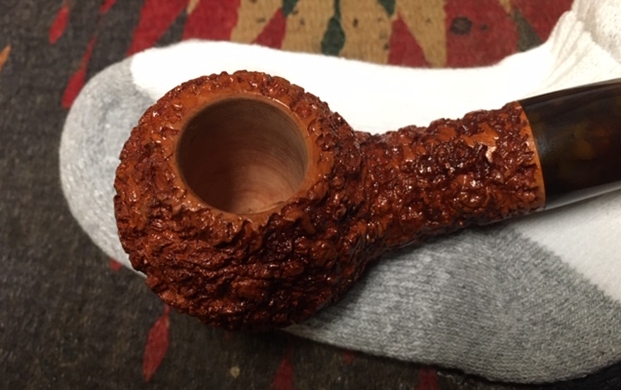
Not too long ago I saw a set of photos that Mark Domingues posted on Facebook of a pipe that he had just finished. It ticked all the boxes for me – thick shank, apple shape, tactile rustication, multidimensional stain colour and a tortoise shell tapered stem. I saved the photos of the pipe that Mark had included and have inserted them below. I sent him a message on Facebook about the pipe and we struck a deal. I purchased the pipe from him and now only had to wait for it to arrive. I don’t know about you but I hate the wait between when I purchase something and it arrives at my door. Add to that the fact that I live in Canada also adds time to the transit from the seller to me. I suppose it is my impatience but I check the tracking information daily and the mailbox as well. I am like a kid waiting for my catalogue order to arrive.

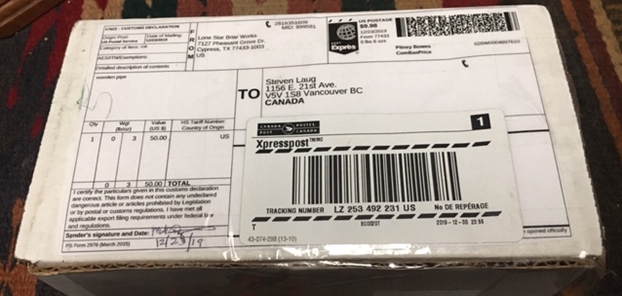
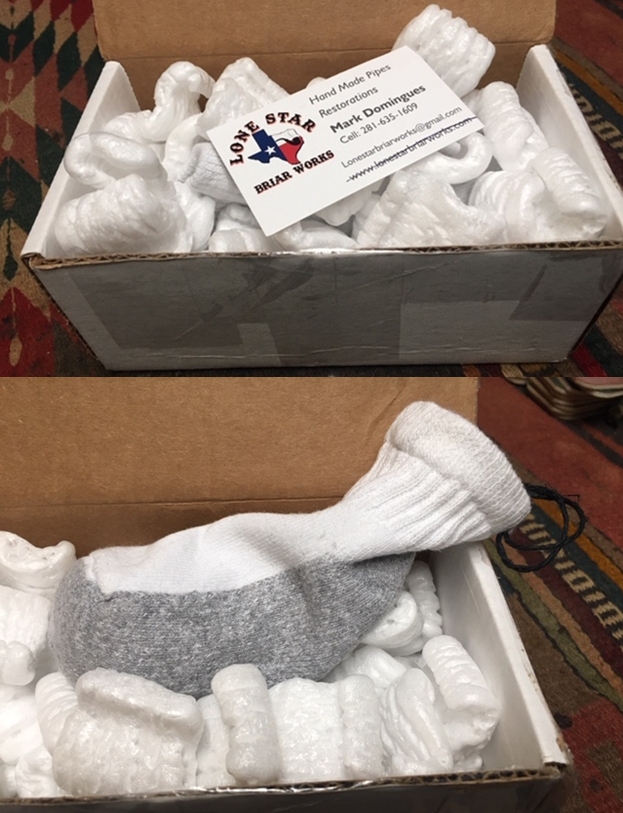
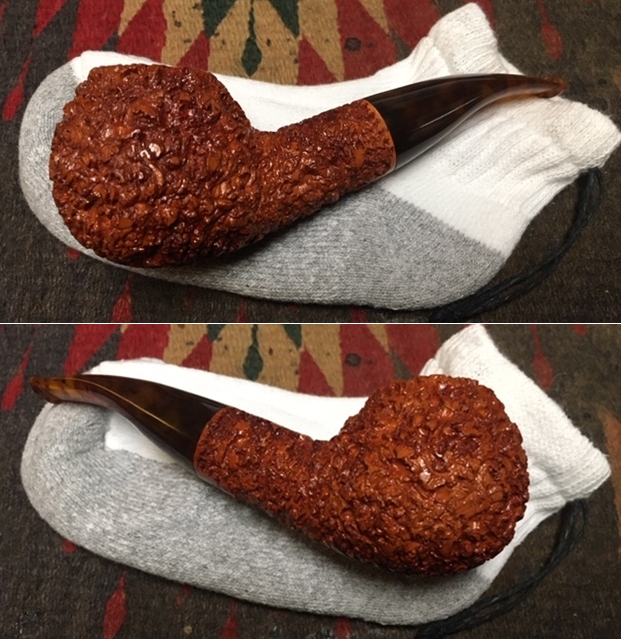
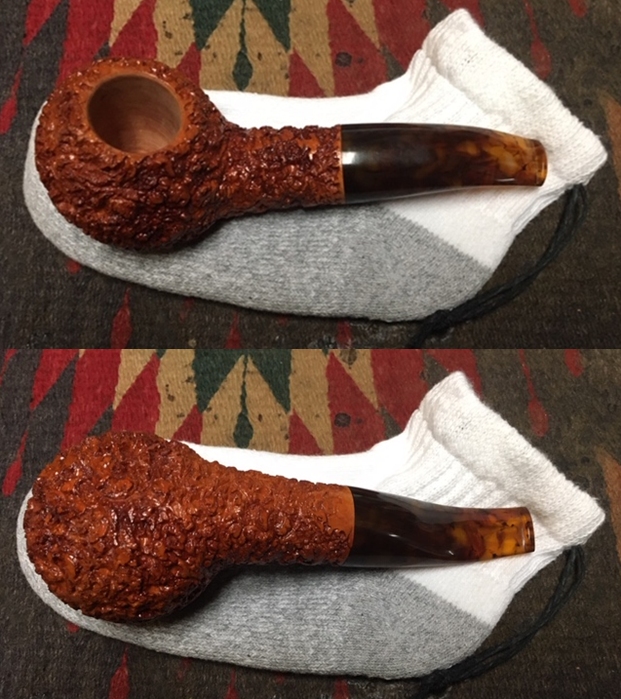
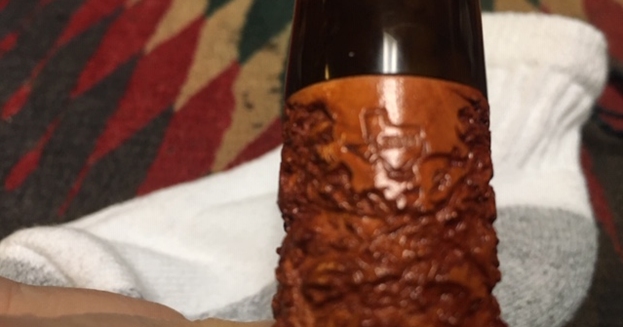
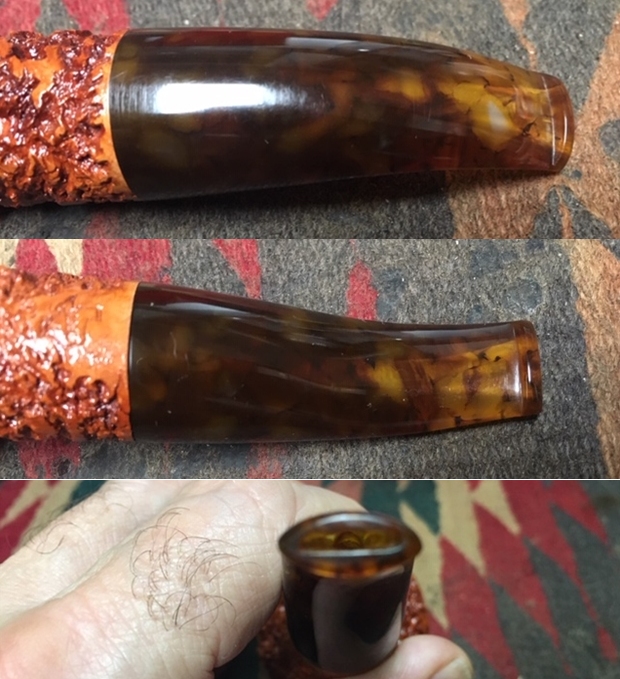
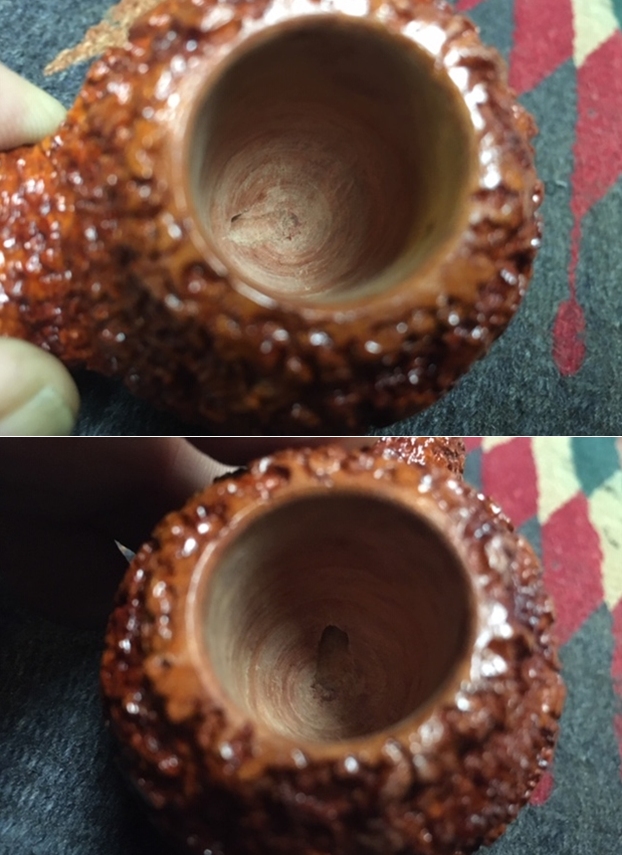
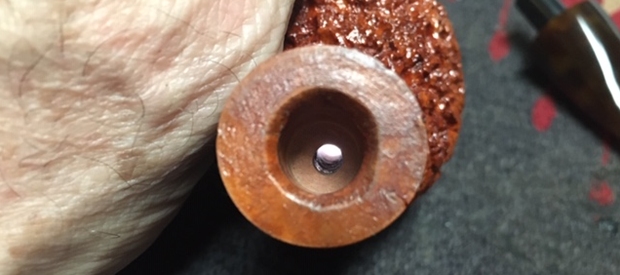
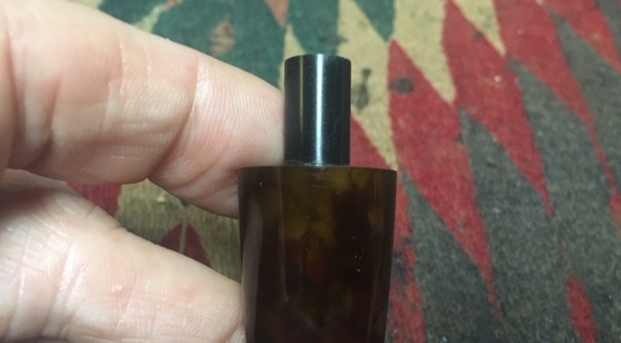
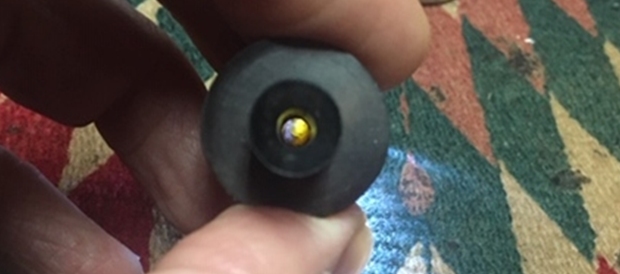
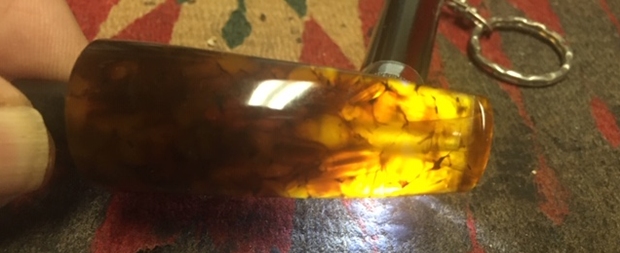
Yesterday morning I received notification that the package was out for delivery. At lunch time I called my wife to see if it had arrived and sure enough there was a package for me. I always reserve my excitement a little bit because I have experienced being excited for a pipe only to get home and the package was not the right one. The afternoon dragged on at a snails pace. When I did get home I looked at the Customs documents to see if it was from Mark and it was! Ah the expectancy of opening this kind of box. The box was a compact box and it was undamaged and UNOPENED by Customs. There were no duties attached to the pipe that needed to be paid.I turned the box over in my hands making sure that I had not missed any damage or slicing of the tape and there was not one issue. I used a sharp knife and cut the packing tape along the edge of the box and lifted the flap. Mark had done a great job in packing this pipe for shipping. The first thing I saw was Mark’s Business card on the top of the packing material. The box was filled Styrofoam peanuts and nestled in the midst of them was what looked like a child’s white sock! Mark innovatively had a draw string sewn around the ankle of the sock so that it could be drawn shut. He had created a pipe sock out of a crew sock! Well done Mark – Bravo! I removed the sock from the box and knocked off the packing materials that stuck to it and laid it on my desk top. I loosened the draw string and removed the pipe from the bag. The pipe is a beauty. I turned it over in my hands and examined it. The shape is very well done and the rusticated finish is eye catching. The way Mark did the stain and the rustication makes the finish sparkle as I turned the pipe over in my hands. The rustication goes right up to the edge of the bowl but does not compromise the rim top at all. There is a thin smooth band at the shank end which makes a good connection spot for the stem. The fit of the stem to the shank is perfect.There is also a smooth area on the underside of the shank where Mark stamped his Lone Star Briar logo.  The logo is vertical on the shanks and is an outline of the state of Texas with LSBW (Lone Star Briar Works) on the inside of the outlined area. The stamping is a little wobbly looking with both the outline and letters double stamped. It still is legible under a lens but not so without a lens.The stem is a Tortoise Shell acrylic that is beautiful and picks up some of the colour from the bowl and shank. The flow of the taper is even and ends at the button with a comfortable thickness that is too my liking. It is very smooth and well finished. There were small scratches or sanding marks that are visible on the top of the stem toward the shank when looked at closely. The underside is far better with no visible scratching. The photos below catch the marks that I am speaking of. The button was thin and comfortable feeling in my mouth. It is not a heavy pipe and sits well in my mouth even though I tend not to be a clencher. Those are my first impressions of the aesthetics of the pipe as I turned it over in my hands. I moved from aesthetics to mechanics pretty quickly. Because I work on so many pipes from many different makers I have become pretty picky when it comes to the mechanics of new artisan pipes. The 3/4 inch diameter bowl had walls that were sanded smooth and there were not any rough edges from the drilling. The airway entered the bowl at the bottom and was centered. From the perspective of looking down the bowl the drilling is spot on. The chamber is straight down from the top of the bowl and does not deviate either toward one side or the other or front to back. The smoke chamber is also proportionally well centred in the bowl and is pleasing to my eye. I have had some beautiful pipes that are just a little off and it bothered me to no end. I removed the stem and looked at the mortise. The shank had been given a slight bevel to draw the tenon and shank face flush against the shank. That bevel was somewhat rough and out of round but it functioned well. That detail was the only detraction from the perfect drilling. The walls of the mortise were also smooth with no roughness – to me a very good sign. The airway at the end of the mortise is centered though because of the bevel it looks off in the photo. The open, smooth airway and mortise give an unobstructed flow of air from the chamber through the mortise. I blew air through it and also sucked air through and the flow was perfect. Well done on the mechanics of the bowl and shank.I turned my attention next to the mechanics of the stem. The tenon is a Delrin insert which is a nice surprise. Many of the pipes I have picked up and worked on have integral vulcanite or acrylic tenons. This tenon was well set in the stem. There was no sloppiness to the drilling or to the area where the tenon face and the stem face met. Very smoothly done and well fit. The tenon itself fit well in the shank – neither too loose nor tight. The airway in the tenon end was chamfered (beveled) into a nice smooth funnel to give more focus to the incoming smoke from the bowl. It is a stark contrast to the bevel on the shank end. From my measurements the depth of the mortise is the same as the length of the tenon. There is no gap where tars and oils can build up. Well executed. The airway in the rest of the tortoise shell stem is smoothly drill and is centred from the end of the tenon to the end of the slot. The stem tapered both on the upper and lower sides but also on the right and left. It flows to a narrow end with a thin button. The air way flares in the button as you can see in the photo below with the light shining through it.To me the button is a critical feature that either makes the mouthpiece comfortable and adds to the overall appeal of a pipe or detracts from the rest of the pipe. Mark has done a really good job in creating a comfortable and really well functioning button. I would describe the shape of the button as a prolate spheroide (North American football). There are no sharp edges. The top edge of the button is a bit more crowned than the underside but both are thin with an edge that is high enough to comfortably hold behind my teeth but not bulky and thick. The slot in the button is smoothly fashioned and fanned out from side to side and slightly to the top and bottom made to deliver a smooth flow of smoke from the bowl to the mouth. I looked down the stem from tenon to button and back and the airway was smooth and unobstructed. Lining up the stem and turning it into the mortise was easily done and the fit between the stem and shank end was flawless. I blew air through and sucked air through the complete Pipe and found that the airflow was very good. The flow was perfect to my liking. Overall I was very pleased with the mechanics of the pipe. With the aesthetics to my liking and the mechanics well done only one thing remained. I needed to load up the pipe and enjoy an inaugural smoke. That would confirm the craftsmanship of the pipe.

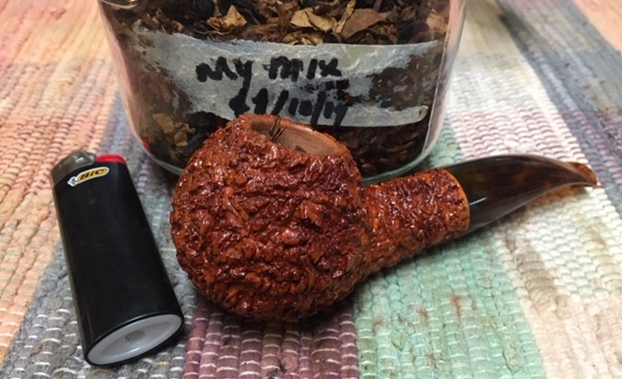
I got the chance to load the bowl with some of a Balkan Blend I put together this afternoon. It is a great blend to test a pipe. I have smoked quite a bit of it so I know the taste it should have which is why I chose to start with this blend. Forgive the crazy label. It is an old jar I had around and I blended the  the tobaccos in that jar back in October. It has melded very well and I enjoy it!I decided to break the family rules this afternoon and have a bowl in the house. It was quiet and most of the household was away. So I put the packed pipe in my mouth and touched the flame of the lighter to the tobacco. I pulled the flame into the tobacco and then it caught. I drew the first smoke through to my mouth. The draught is effortless and smooth. It did not take long for the tobacco to begin to smolder along and give me a good smoke. There are no obstructions on the draw. The stem is just right in terms of thickness. I was able to hold it in my mouth as I typed the end of this review. The bowl was easily kept lit as the draught was perfect. I effortlessly puffed on it while typing this and working another pipe. I had to relight only a couple of times when I became too focused on what I was doing and forgot to puff. It delivered a good tasty smoke from the first bowl. There was none of the taste of burning briar that can often be imparted in an inaugural smoke. This is a well-made pipe.The bowl lasted for the better part of an hour as I wrote and worked. When it was over there was a dry white ash in the bowl. There was no moisture in the smoke or in the leftovers. It was a great smoker and one I would come to again and again. Thank Mark for a great pipe!

If are interested in seeing more of Mark’s work and picking up one of his pipes or commissioning him to make a pipe for you, contact him on Instagram @lonestarbriarworks on Facebook Messenger under Lone Star Briar Works. He regularly posts new work to his page there and I am sure you will see something you like. Thanks for taking time to read the review.

A Comparison Review – Briarville’s No Oxy Pipe Stem Oil and Obsidian Pipe Stem Oil


Blog by Steve Laug

Several months ago I received and email from Rich at Briarville about a new product he had developed called No Oxy Oil to help deal with oxidation. He offered me a bottle of the oil to experiment with and wanted to get my feed back on the product. I wrote and asked him how it compared with Obsidian Oil which I have used for quite a few years now. His response was interesting to me in that he said his product contains all food grade ingredients which he stated was not true of Obsidian Oil. He also said that it was proven effective in combatting oxidation and preventing damage to the stem by UV rays. I thought it would be worth experimenting with for comparison sake. Both products are similarly priced so price point was not the issue for me. I was looking at effectiveness and usability.

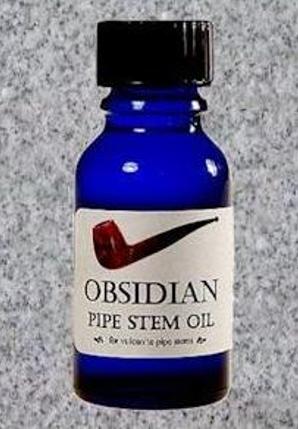
The advertisements for Obsidian Pipe Stem Oil are clear that it isn’t a wax or a cleaner. It was specifically designed to help keep vulcanite, ebonite or Cumberland stems from oxidizing, and help keep them looking newer for longer. In addition to conditioning and sealing the pores of the vulcanite, thus resulting in much less oxidation, Obsidian also contains small amounts of organic quality UVA/UVB protection. It is also billed as being great for new pipes or freshly buffed pipes and slow down the frequency of having to buff the stem to remove the green/gray oxidation that occurs on rubber based stems.

I have used Obsidian Oil on my stems as part of the process of restoring pipes. I put a few drops on a cloth reserved for it and rub down the stems with it. I never put a lot of the oil on the surface as I do not like to leave any kind of coat on the stem. I wipe it on and wiped it off within a few moments as it seems to absorb into the surface fairly quickly. I also find that doing it this way it leaves no residual taste on the stem surface but still works to protect the stem from the harmful UV rays and slows down oxidation.

I have ready many comments since the product was released both singing its praises and questioning its value. I have found that when it is used after cleaning and buffing a pipe it delivers what it promises. It does not remove oxidation that is already present and it actually never promised that in its advertising. It is a preventative and protective product that slows down further oxidation rather than a cleaning or polishing product that removes oxidation. If it is used with that expectation clearly understood I find that the product works very well. If it is applied with expectations of removing oxidation it truly is useless – even though it was never intended to be used in that manner.

Armed with over a years of experience with this product (in both its testing period and since its release) on my own pipes and the pipes that I repair and restore I was ready to try out the new product and compare it with Obsidian Oil. The questions that I began with were very simple. Would the No Oxy Pipe Stem Oil prove to be superior to Obsidian Oil or would they be equally effective? Would they be in essence the same product made for the same usage and be equally effective? Would the only real difference be the “food grade” components used in the Oxy Pipe Stem Oil vs. the organic UVA/UVB protection that is used in Obsidian Oil? My methodology would be simple. I would work with the product for a few months and see what would happen. I would use it the same way I used Obsidian Oil – my adaptation to the process and see how it works.

Here is the press release concerning the No Oxy Pipe Stem Oil.

Ok so here is the latest news. I am a retired pharmacist with an extensive background in chemistry. Through the years working at Briarville I have invented a superior pipe stem oil that we have used on thousands of pipes. It is all natural, food grade, antioxidant, and UV protectant. Shelf life is 5 yrs. Some of our clients have tried it and loved it! I have been asked by many to market this product. Your wish is my command! So here is our new No Oxy Pipe Stem Oil. Our first batch will be available to anyone on our email list for $10.99 with free shipping for 25ml bottle and a free buffing cloth. Ingredient list provided for those who ask. No secrets here. Just a superior product that will keep your stems looking new. Just place a drop on your vulcanite or ebonite stem after each use and keep your stem looking great. Rub on and buff with included cloth. This product will not remove oxidation but will keep new oxidation from forming. Try it and see for yourself what others have been raving about. I will post a video on it soon. If you’re not on our email list, go to our briarville.com page and sign up to get this special release of our new product. Any questions feel free to email me at rich@briarville.com

Now on to the comparison and the review. Both products promise the same thing – while they will not remove oxidation from a stem they will both keep new oxidation from forming. So dispense with any illusions of a softer and easier way of removing oxidation from your stems. This product not only will not do that but it was not made for that. Lets walk through the products as they arrived.

Comparison of packaging and instructions

Both of the oils came with almost identical directions. Obsidian Oil was very specific in terms of how the oil was applied. After smoking the pipe it was to be wiped clean of saliva or debris from the smoker (in other words it needed to be clean). A few drops of the oil were to be applied to the stem and rubbed in. After 30 minutes, wipe the stem with a soft cloth and store as usual. Each 15ml bottle should last for many months/years with regular use.

No Oxy Oil was also very specific in terms of the use of the oil. I assume that the necessity of having a clean stem, newly wiped down was presumed. The instructions just said to place a drop on your vulcanite or ebonite stem after each use and keep your stem looking great. Rub on and buff with included cloth. There is no time frame mentioned for leaving the product on the stem like there was with the Obsidian Oil.

The packing of both products was also similar. Both were clear cobalt blue glass bottles. The Obsidian Oil came in a 15ml bottle and had a nipple/dropper built into the top of the bottle under the screw on lid. This made it easy to apply and also was good for a klutz like me who is prone to knock things over on the desk. If that happens with this bottle – and it has for me – the product stays in the bottle and does not drain out. Obsidian Oil costs $12.50USD per bottle on Amazon.

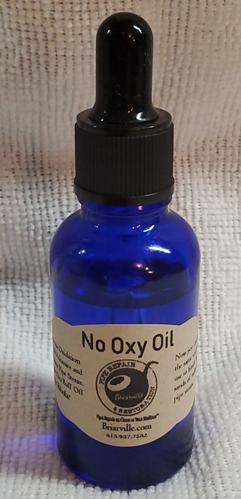
No Oxy Oil came in a 25ml bottle and had an rubber bulb eye dropper built into the lid. To use it you unscrew the lid and squeeze the dropper to load some of the product. Place the drops on the stem surface and rub it in with the cloth. It is not quite as easy as the Obsidian Oil applicator which measures a mere drop. This product requires that you carefully place a drop on the stem and then put the dropper back in the bottle. I have to remind myself to screw on the lid so as not to knock it over and spill it all over the desk top. No Oxy Oil costs $11.99 per bottle on EBay.

I personally like the applicator of the Obsidian Oil over the bulb dropper of the No Oxy Oil. I find it easier to use and more controllable. It is also less likely to be knocked over and spill the product than the No Oxy Oil.

Comparison of the oils

This comparison is not scientific in any way. It does not compare what the products are made of as that is not listed. Rather, I looked at the texture, smell and residual taste of each and give my comparison.

The texture of both oils is identical. They are slick and both give a good shine to the surface of a polished vulcanite stem. Both seem to in some way mask any deep oxidation that has not been removed under the shine of the product as least initially. The smell of both oils is basically neutral. Using both on a cloth they also smell identical and leave the same oily residue. The residual taste on a stem that is treated with both products is interestingly neutral. I have read some who have said that Obsidian Oil leaves a residual taste on the stem that is rancid tasting. I have tried to reproduce that taste on the stems I have worked on and have been unable to reproduce that taste. With the No Oxy Oil I have read of no issues with a rancid or even a residual taste on the stem and have not experienced it over the 3 months I have been using the product. I have not been able to find any taste on a treated stem with either product. In terms of texture, taste and smell both products perform equally.

I applied both oils to the stems following the directions given. One thing I have learned in the process is that both cloths that I used – one of my own for the Obsidian Oil and the one included with the No Oxy Oil – soon became impregnated with the oil and I was able to wipe off the stem with the impregnated cloth instead of new drops each time I worked on a stem. For me this is a bonus as it makes the application much simpler for either product and also extends the life of a bottle of oil.

Using Both Products For Comparison Sake

For a fair sense of comparison it was imperative for me to use the products as specified by the makers. Remember they were not designed to remove oxidation but to protect a cleaned stem from reoxidizing as quickly! To me that is key to remember. They were designed to protect a cleaned stem and slow oxidation. At this point I can speak for Obsidian Oil that it does indeed do this. I have been using it since it came out and it works well to slow down the process of oxidation. I have worked on stems, cleaned, polished and rubbed them down with Obsidian Oil and left them sitting on my work table for months without oxidation reforming. In essence the pipe is in a harsh environment – fluorescent light, ambient light from a window and dust and has remained oxidation free. I have also kept them in a pipe cupboard with the same results. With regard to No Oxy Oil I do not have that kind of history with the product yet, but it seems in the short time I have used it to do the same.

My process with both products has been the same – parallel for the sake of the experiment. I have not varied it at all. I cleaned the stems of oxidation using my normal methods and after the stem is cleaned and buffed I apply the oil to the surface of the stem. I rub it into the vulcanite with the cloth or my finger tips and let it sit. After a short while I buff it off with a cloth. I have a cotton cloth I use for the Obsidian Oil and the cloth that was provided with the No Oxy Oil. Both products give the stem a slick coat on the surface and when polished a deep shine. I have also found that both have the ability to mask light oxidation that will show up through the shine after a short time. Thus cleaning the stem of oxidation is imperative before you set the stem aside. If oxidation shows up in bright light after using either product I go back to the work table and remove the offending oxidation and repeat the process. Once the oil has been absorbed by both products I buffed them with carnauba wax and polished them. There were no issues with either Carnuaba wax or Conservator’s Wax.

Conclusion

Concluding this comparison review of the two products I will summarize what I have found in using them both under identical conditions, with identical procedure and application of the product to vulcanite or rubber stems. I have tried both on acrylic stems in the interest of being thorough. Neither oil is absorbed by the acrylic and the oil has no impact on the acrylic as it does not have the properties of vulcanized rubber. Note that neither manufacturer recommends their product for Lucite or acrylic stems as it was designed for rubber or vulcanized rubber stems.

I have been using Obsidian Oil for several years and have gone through about 3 bottles. I have used it on over 300 pipes. Over time I have developed a rhythm using the product. I have a dedicated cloth that is used to rub down the stem surface with the product. I am pleased with the results of this excellent product. When it is used as directed the results are stellar. I have had none of the negative issues that others have cited online regarding this product. Obsidian Oil produces the results that it claims when application directions are followed.

For the sake of comparison I have used No Oxy Oil for 3 months on half of the pipes I have worked on. I follow the same rhythm as the Obsidian Oil. I have used it on over 30 stems –bent, straight and fancy and have found that the results are identical to those I have had with Obsidian Oil. I am happy with the results of using this product so far. I will continue to experiment with it and test it over time with the same light exposure issues that I have done with Obsidian Oil. I suspect that it will have the same results. To date, No Oxy Oil produces its promised results when application directions are followed.

The bottom line for me is that honestly, I have not found any significant difference between the two products. Both  products achieve the advertised results when used as directed. The caveat for both is that they are best used on a clean or new pipe for protection. NEITHER PRODUCT WILL REMOVE OXIDATION! I will use the product that is easiest for me to obtain here in Canada when I have run out of my current supply. To date that has been Obsidian Oil. I am not convinced to make a change based on the results that I have seen from using the No Oxy Oil over the past three months. With both products achieving the same results at this point I see no reason to shift my brand. Thanks for taking time to read this comparison.


A Parker of London Pipe Catalogue


Blog by Steve Laug

In the interest of preserving historical pipe catalogues and leaflets I am always on the look out for those that I can scan and post on rebornpipes. Not to long ago I was given this colour Catalogue of Parker of London Pipes. It is a beautifully done catalogue with colour photos of the various lines of Parker pipes with a shape chart on the back cover. It is an interesting read and enjoyable to look over these beautiful pipes. Give the catalogue a read and pay particular attention to the descriptions of the various pipes. Really interesting read! Thanks.

Refreshing a Dunhill Tanshell W60 (T) (1962)Bamboo Lovat for Alex


Blog by Steve Laug

Around Christmas time I got together with Alex to enjoy some great hot cocoa, smoke our pipes and talk about all things pipes. I always have a great time when we get together and this time was no exception. He greeted me at the door with slippers and an old smoking jacket. I took my seat in the living room among his latest pipe finds and was handed a great cup of cocoa. I set it down and we both loaded out pipes with some new Perretti’s tobacco that he had picked up. We touched the flame of the lighter to the tobacco and sat back and blissfully enjoyed the flavour. As we did Alex walked me through his latest finds. There were some amazing pipes to look at and savour. He had one that caught my eye when I had arrived. It was a Dunhill Bamboo Shank Lovat that was a Tanshell finish with a lot of nice colour happening around the bowl.

I carefully took it in my hands and examined it. While I have several Stanwell Bamboo pipes and older KBB Yello Bole Bamboos this is the first Dunhill that I had seen up close and personal. Alex told me that these bamboo-adorned pieces were referred to as “Whangee” pipes. I learned later that the term comes from the Mandarin word for bamboo, huáng lí and was used to describe canes and umbrellas with bamboo handles throughout the early to mid-1900s before being attributed to pipes — Dunhill’s in particular. I learned from reading on line that bamboo came to into use in pipemaking during the briar shortage that accompanied and followed WWII. As a means of saving on briar, pipemakers would extend the shank with bamboo.

The pipe was stamped on the heel of the bowl with the following nomenclature: W60 over a circle with a T next to it. T is the designation for Tanshell pipes. I assume that the circle with what looked like a 4 faintly in the center which was the size designation. Next to that is a superscript underlined 2 which I believe designates the year of manufacture – 1962. So now I knew the date on this interesting Bamboo.

Alex had reamed the pipe and cleaned it up very well. He had already enjoyed smoking it and was hooked on it. I even offered to buy it from him and he gently declined! He asked if I could take it home with me and see what I could do about the finish on the bowl. I told him I would take it home and have a go at it.

When I got home I laid it aside and tonight took it up to work on it. I examined the pipe to see what I was working with and took some photos. You can see from the first photo below that there were some dark spots on the left side of the bowl. They were cosmetic burn marks in the finish but not too deep. It was like the pipe had been laid down in an ashtray. The right side of the bowl had some darkening toward the top of the bowl and the rim top had significant darkening and there appeared to be some debris in the sandblast finish. The vulcanite spacer between the bowl and the bamboo shank was also oxidized. The Bamboo shank had some great patina and the characteristic crackling in the finish. It was quite stunning. The stem was in good condition other than a few small tooth marks on both sides just ahead of the button. Overall the pipe was in good condition. I took a close up photo of the rim top. It is an interesting sandblast in that there is quite a large pit on the right front rim top. It is part of the blast and thus part of the story. The rim top is a little dirty close up as there is some dust in the crevices. There is some darkening to the original finish of the rim but no burn damage. The inner and outer edges of the rim look very good. I took photos of the shank and stem as well. The vulcanite space between the bowl and the shank was lightly oxidized. The stem looked pretty good. There were small tooth marks on the top and underside of the stem near the button. Otherwise the stem was in very good condition.I took a photo of the stamping on the underside of the bowl. You can see that it reads as noted above.I have had good success in removing stains and oils on briar using Murphy’s Oil Soap. I scrubbed the briar with the soap using both a tooth brush and a brass bristle brush. I rinsed it off under running water and dried it off with a cotton cloth. I was able to remove most of the staining on the right side of the bowl near the top and to lighten the burn marks slightly on the left side of the bowl. The rim top cleaned up nicely with some significant lightening of the top and edges. I worked carefully around the bamboo as I did not want to damage the patina on it. Overall the cleanup left behind a beautiful looking sandblast that was very clean and defined. With the finish cleaned I rubbed it down with Before and After Restoration Balm. It is a product developed by Mark Hoover to clean, enliven and protect briar. I worked it into the briar with my finger tips and a horse hair shoe brush. I also worked it into the bamboo and the vulcanite spacer to clean up the oxidation around that thin ring. I let it sit for about 10 minutes and buffed it off with a cotton cloth. You can see the results below. I set the bowl aside and turned to address the tooth marks and chatter on the stem surface. The stem was in excellent condition other than that so it did not take a lot of work. I used a folded piece of 220 grit sandpaper to sand out the tooth marks and then started the polishing with 400 grit sandpaper. I left the rest of the stem alone with this process.I polished it further with Denicare Mouthpiece Polish – a red paste that does a great job in removing the oxidation remnants in the crease of the button and also polish out some of the lighter tooth chatter.I finished the stem with micromesh sanding pads – wet sanding it with 1500-12000 grit pads and wiping it down after each pad with a damp cotton pad to remove the dust. I polished it with Before and After Pipe Polish – both fine and extra fine. I finished by wiping the stem down with some No Oxy Oil that  received from Briarville Pipe Repair to experiment with. Once I finished I put the stem back on the shank and carefully buffed the pipe with Blue Diamond polish using a lightly loaded pad and a soft touch. I wanted the shine but not the grit filling in the crevices of the sandblast bowl. I used even a gentler touch on the bamboo. I gave the stem a vigorous polish being careful around the white spot. I gave the bowl and bamboo several coats of Conservator’s Wax and the stem several coats of carnauba. I buffed the pipe with a clean buffing pad and hand buffed it with a microfiber cloth. The finished pipe is shown in the photos below. It is a great piece of pipe history and looks better than when I began the process. The dimensions of the pipe are Length: 5 ¾ inches, Height: 1 7/8 inches, Outer Bowl Diameter: 1 ¼ inches, Chamber Diameter: ¾ of an inch. The pipe will soon be heading back to Alex so he can continue to enjoy it. I have told him that if he ever wants to part with it I get the right of first refusal. Thanks for walking with me through the restoration.