Blog by Steve Laug
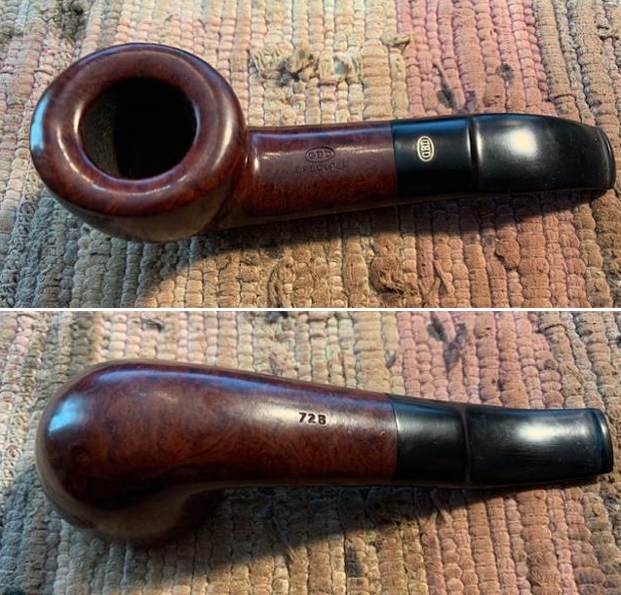
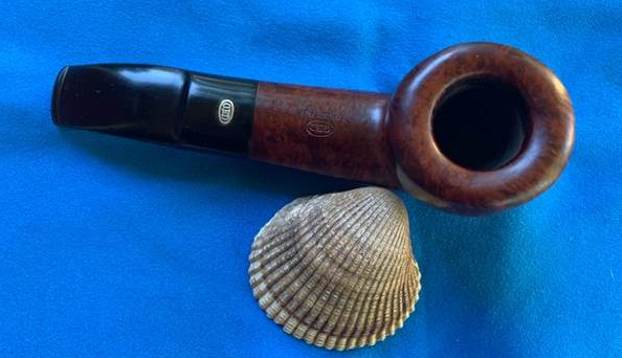
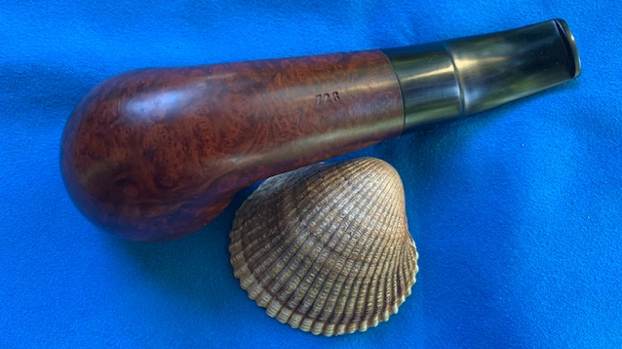
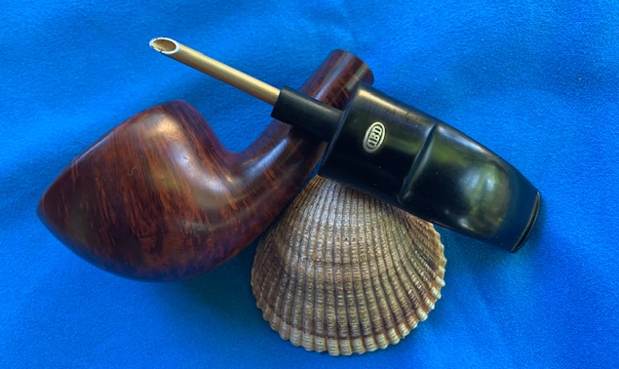
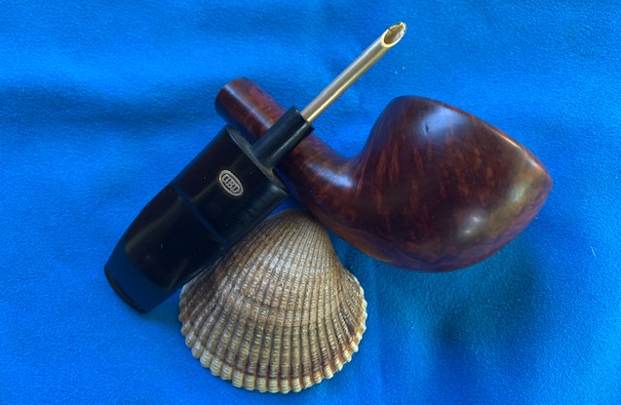
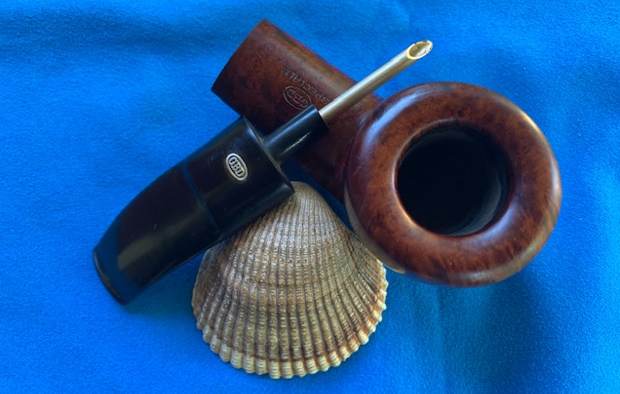
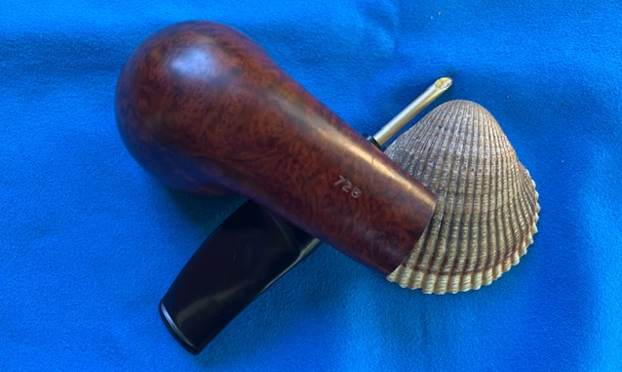
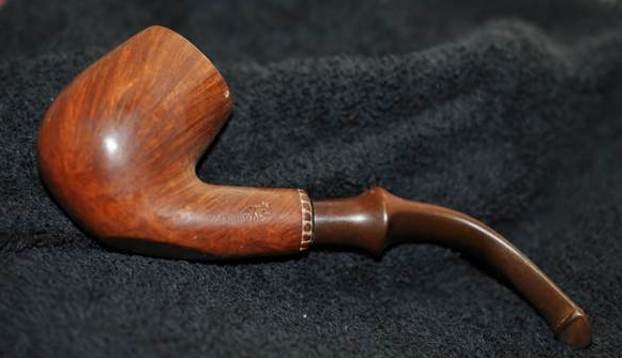
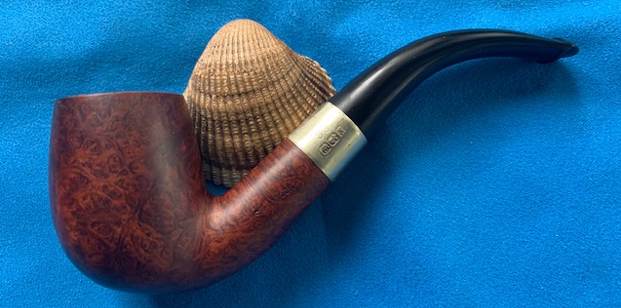
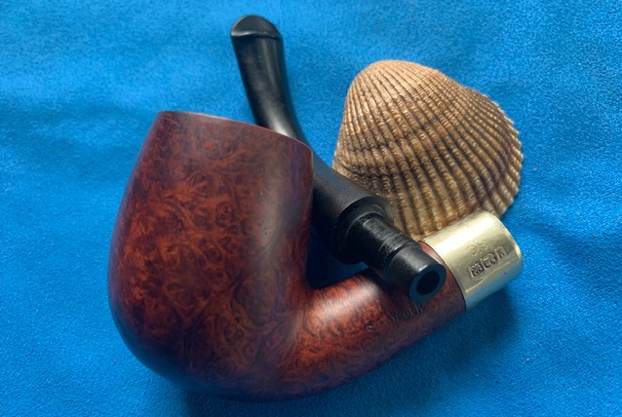
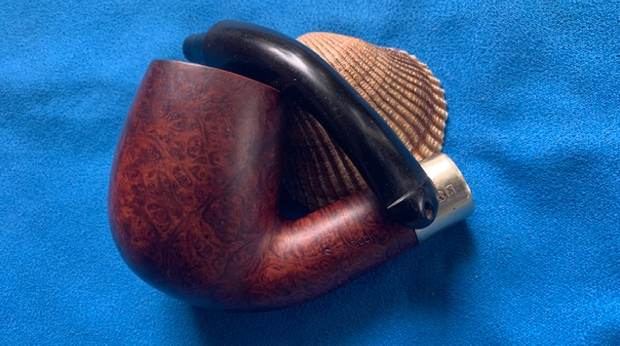
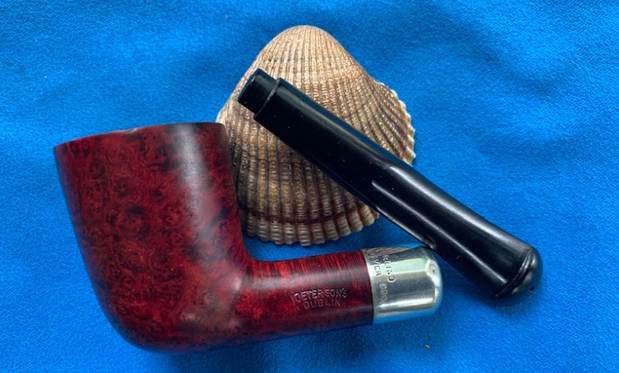
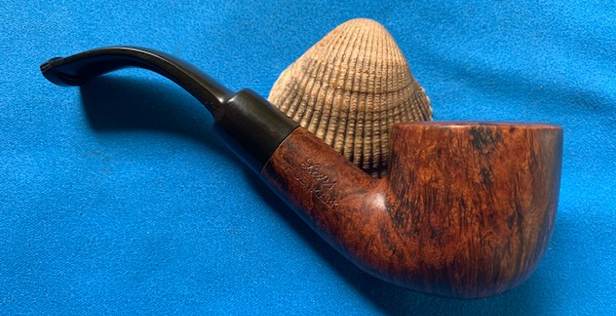
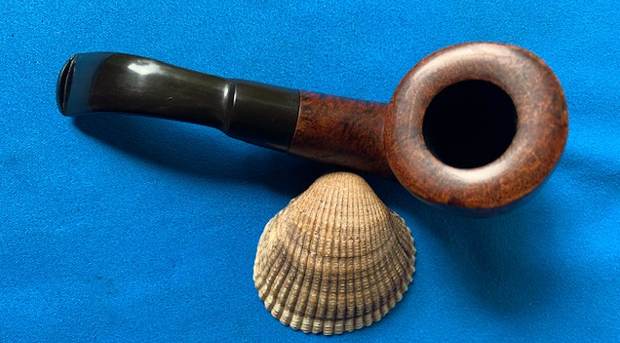
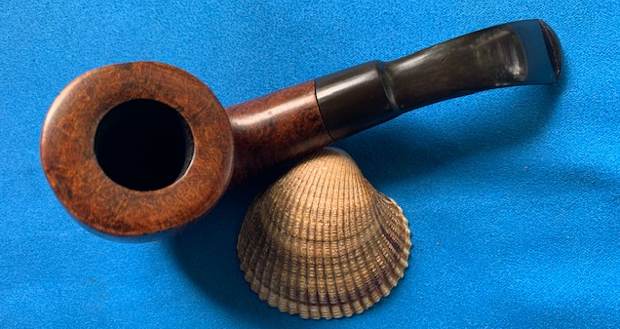
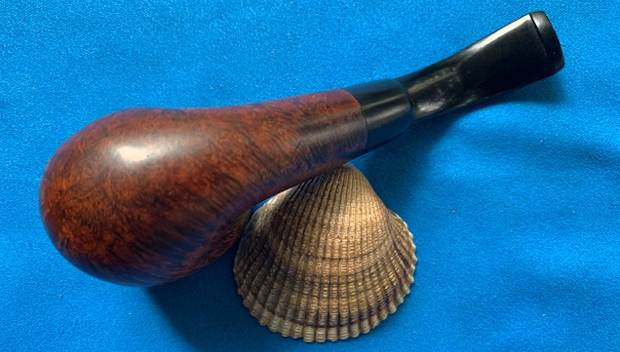
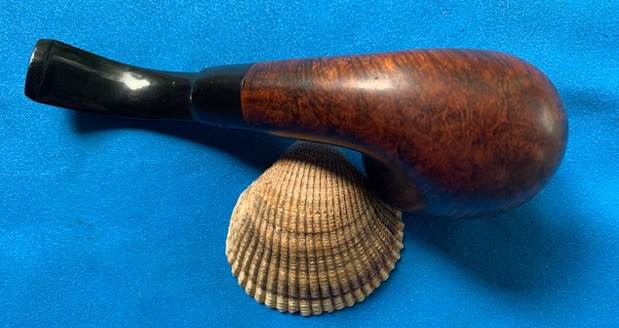
I have worked on several pipes for a fellow in Israel over the past few months and he is great to work with. He has great taste in pipes and the ones he has purchased from me have also been beautiful. Periodically I receive an email from him about another pipe he was interested in purchasing EBay. This next one was one that caught my attention. He sent me the link and wanted my opinion on it. It was a nice GBD with a brass rondel on the stem top. It is stamped with the GBD oval over Speciale on the top of the shank and on the underside it has the shape number 728. GBD called this one a Rhodesian according to their shape charts but I would not call it that. To me it is more of Dublin/Scoop and has some great looking grain around the bowl sides, rim and shank. The pipe appeared to be in decent condition and lightly smoked. Not too many days after that he wrote me to say he had won it and he had it shipped to me rather than to him in Israel. We chatted back and forth about it via email and I would let him know when I received it. Here are the pictures that the EBay seller included with the advertising.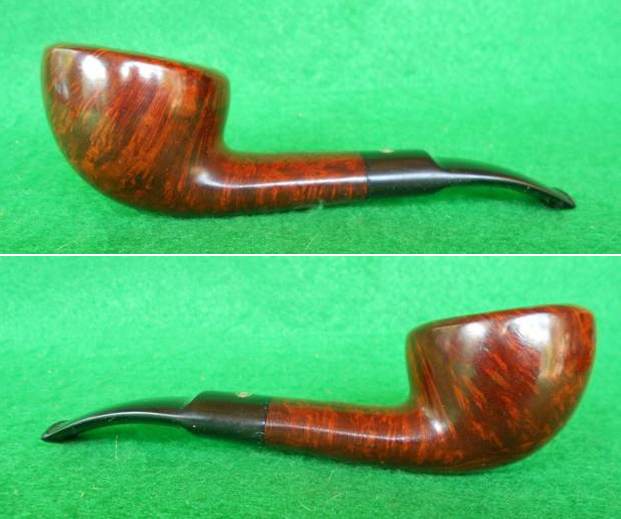
 I always like to be able to set the pipe I am working on in its historical setting so I turn to Pipedia (https://pipedia.org/wiki/GBD) and read through the brand history. Toward the middle of the article I found what I was looking for. I quote below:
The Paris factory moved to Saint-Claude in 1952. Since 1981 the majority of GBD pipes come from the English factory.
The premium lines of GBD offered very good values, and are considered amongst the most affordable high end pipe of the 1960’s and earlier and a rival in quality, design, and price to Dunhill. Smokers’ Haven was the main retail supplier for GBD’s in the US until the early 1980’s.
GBD produced consistently well made pipes, almost entirely of Algerian or Grecian briar. In the late 1960’s to late 1970’s, they introduced the “Collector” and “Unique” lines, made primarily by Horry Jamieson, who had carved for Barling for many years, and was skilled in freehand design. Older GBD pieces are excellent smokers and unique in design. They did an excellent executions of classic pipe shapes, as well as some beautiful freehands in the “Unique” line. [2]
The following list comprises the better grades in descending order:
Pedigree, Pedigree I, Pedigree II, Straight Grain, Prodigy, Bronze Velvet, Virgin, Varichrome, Prestige, Jubilee, New Era, Prehistoric, International, Universe, Speciale Standard, Ebony, Tapestry, New Standard, Granitan, Sauvage, Sierra, Penthouse, Legacy, Concorde.
The pipe I am working on was stamped Speciale and though it does not say it was made in France I think it was like the other Speciale pipes I have worked on. Thus I knew that it was made either in Paris before 1952 or in St. Claude after that date and before 1981 when production moved to England. I also new that I was dealing with one of the better grade pipes with the Speciale Standard stamp.
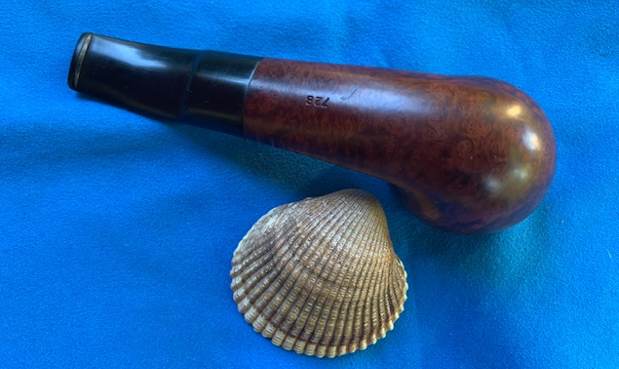
I then followed the links included to a listing of the shapes and numbers on the GBD pipes (https://pipedia.org/wiki/GBD_Shapes/Numbers). The pipe I was working on was labeled by GBD as a 728 which is a Rhodesian/Poker according to the chart. It has an oval shank though and I am not sure I would classify it as either of those shapes.
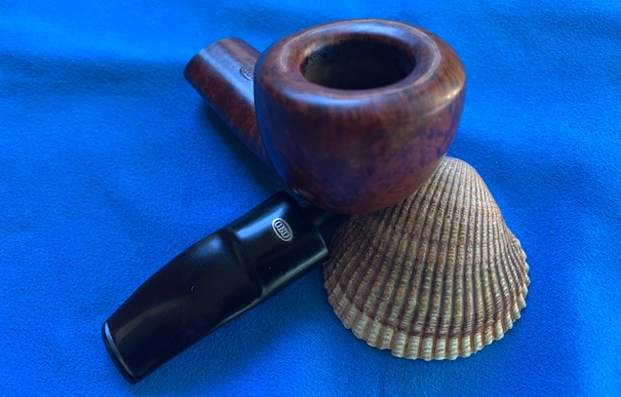
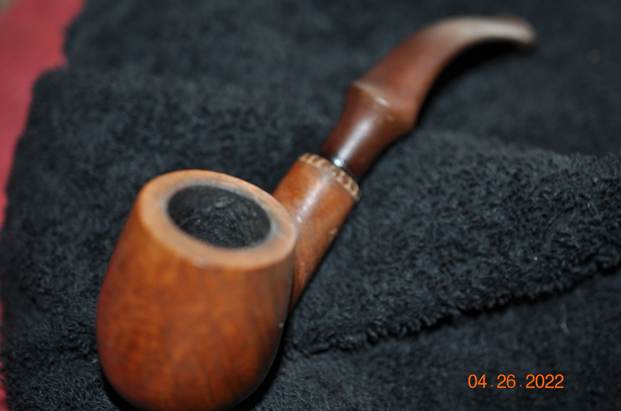
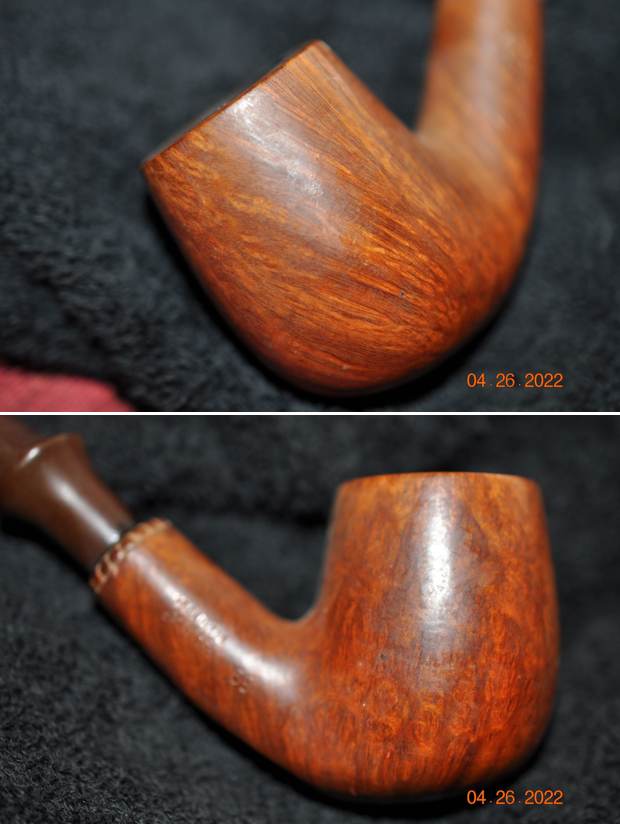
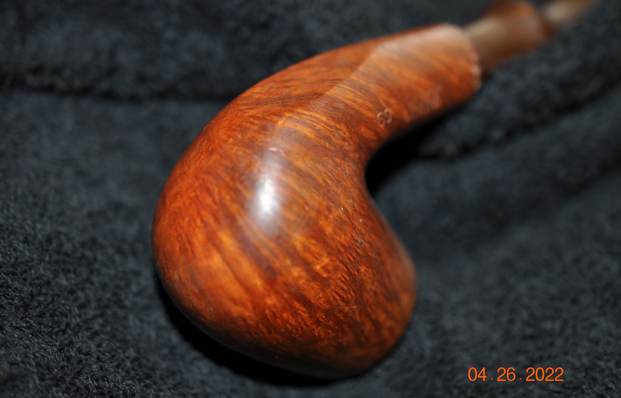
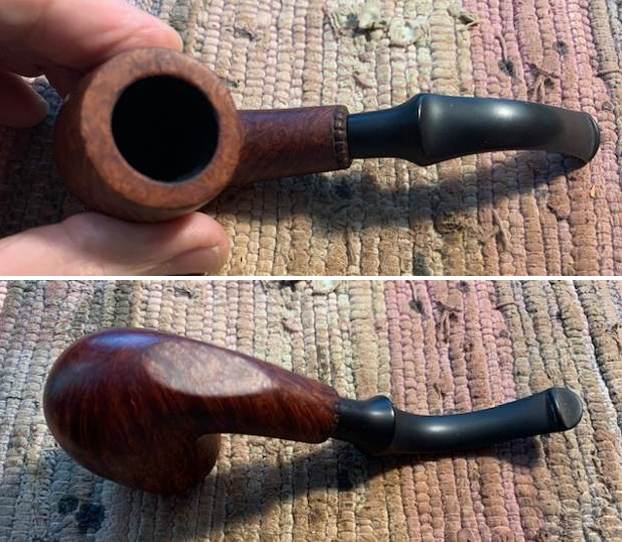
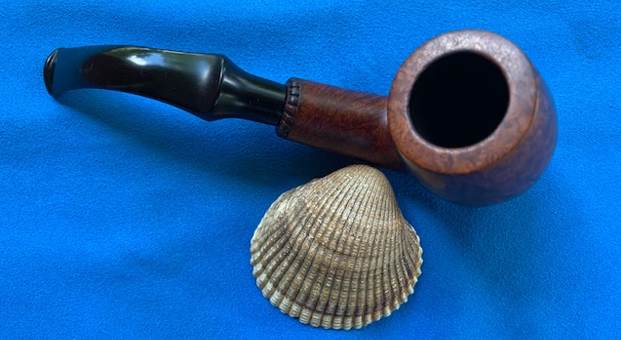
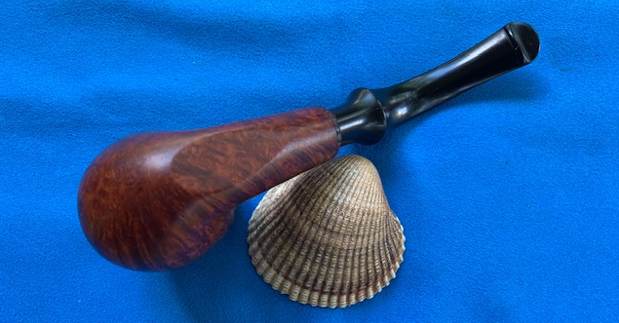
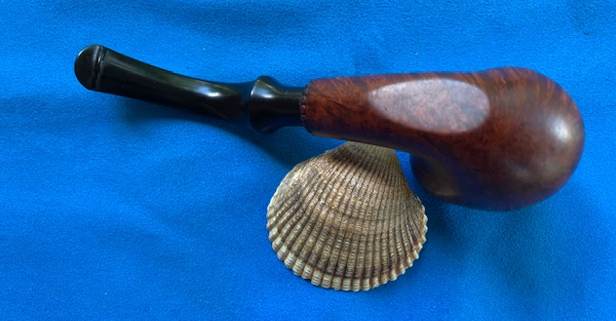
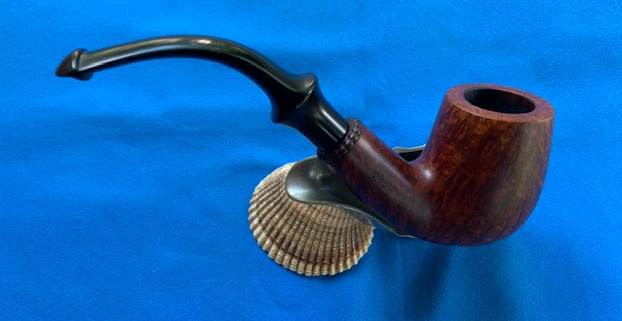
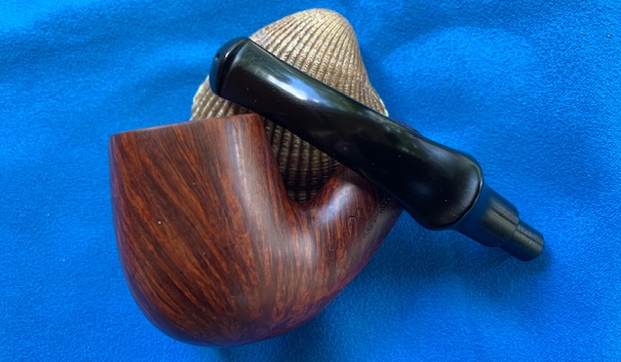
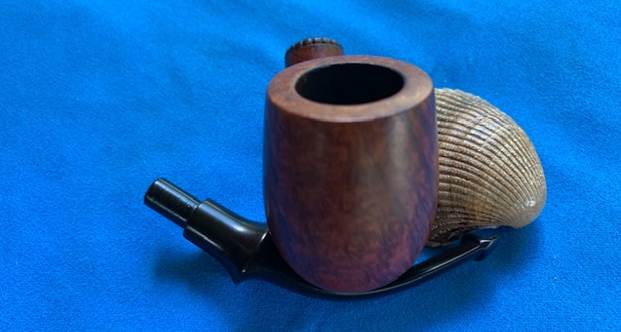
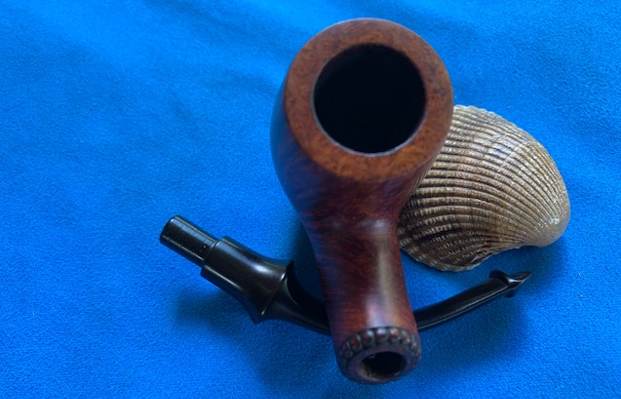
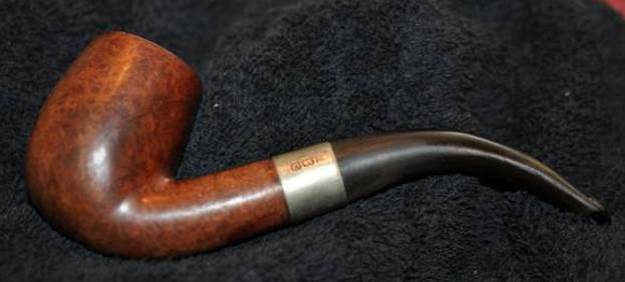
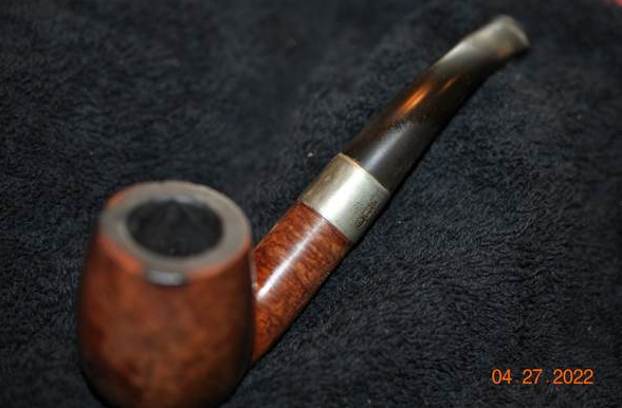
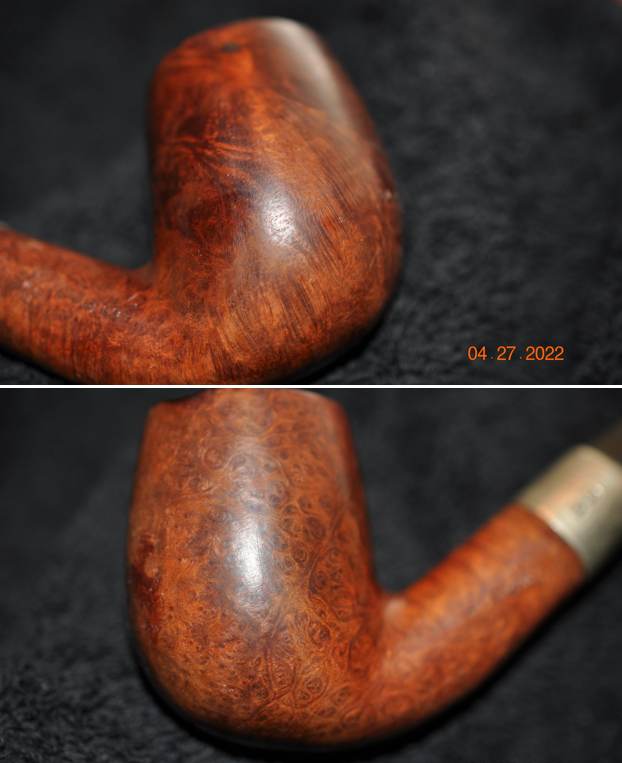
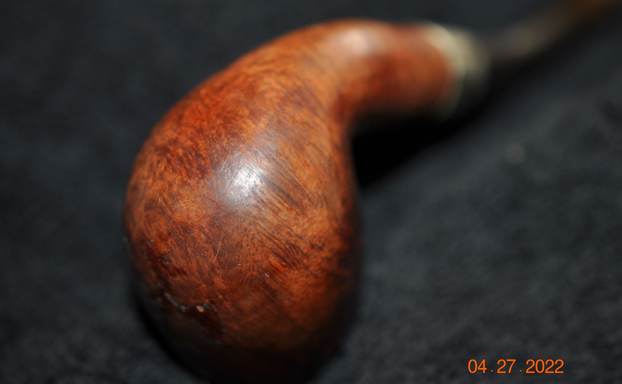
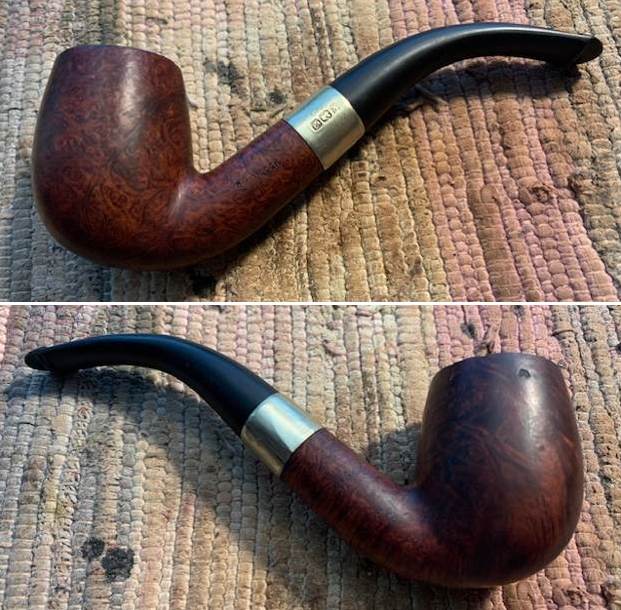
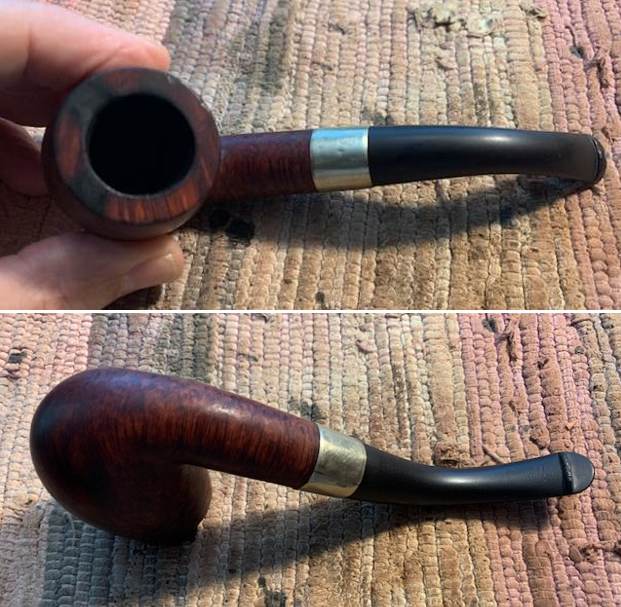
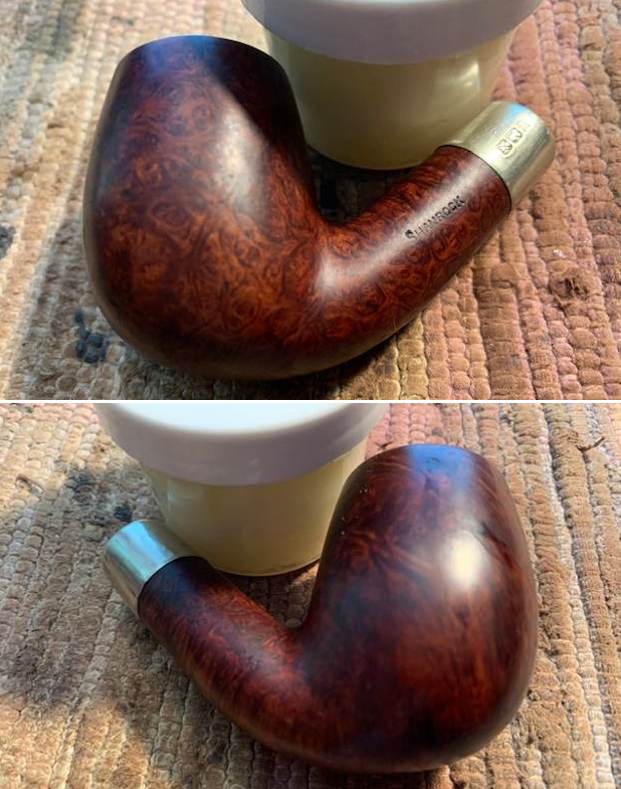
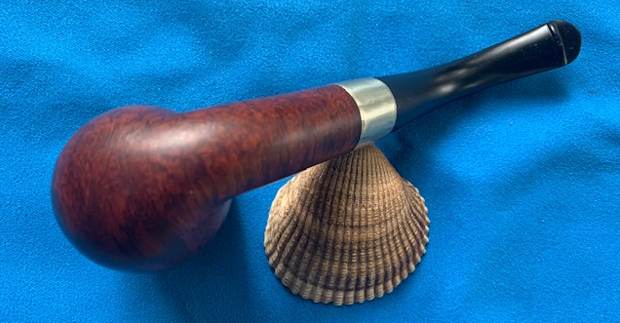
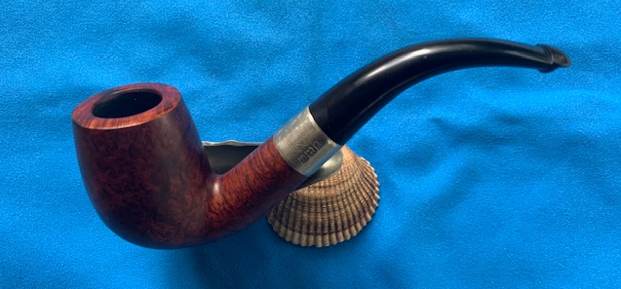
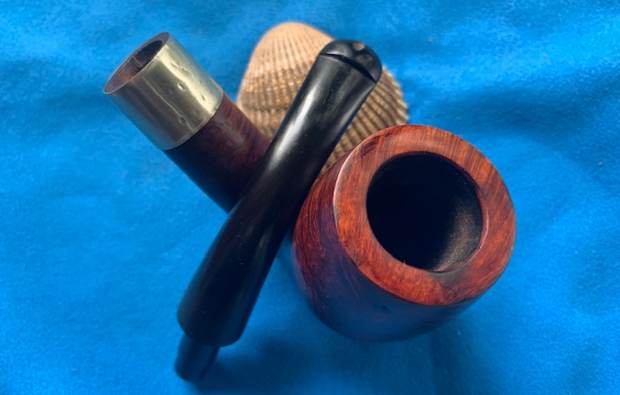
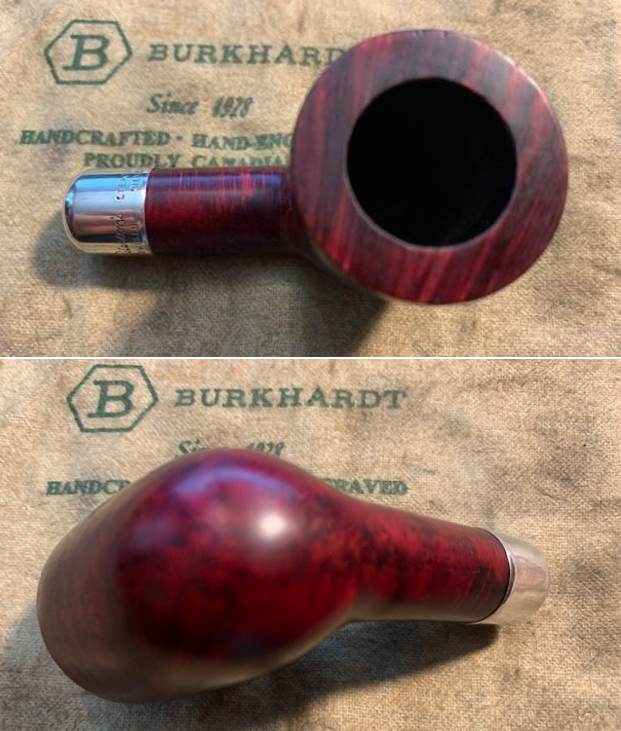
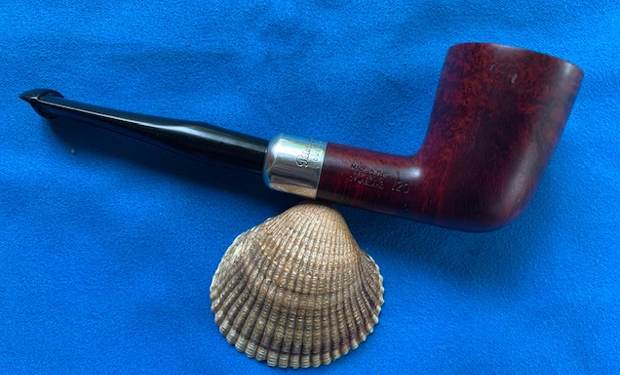
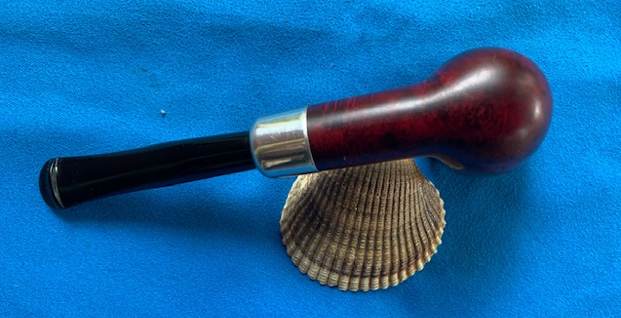
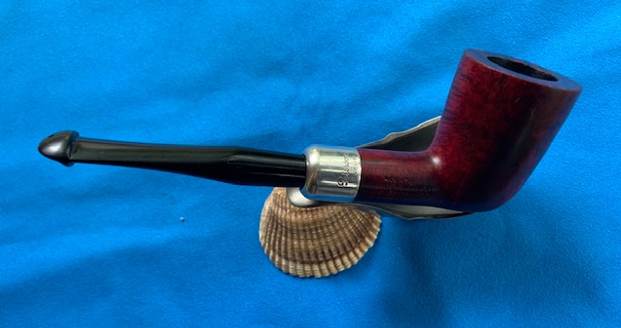
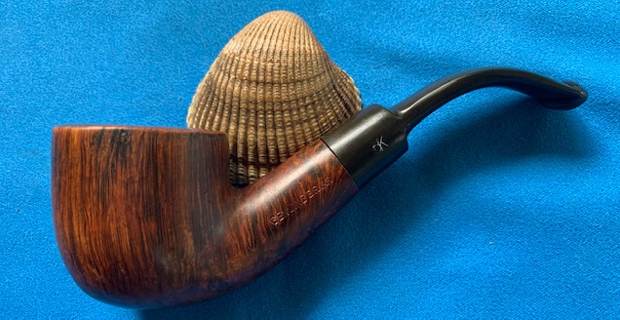
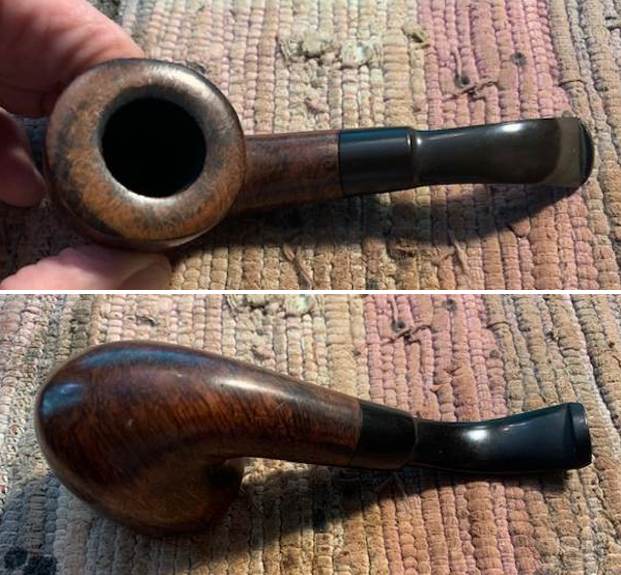
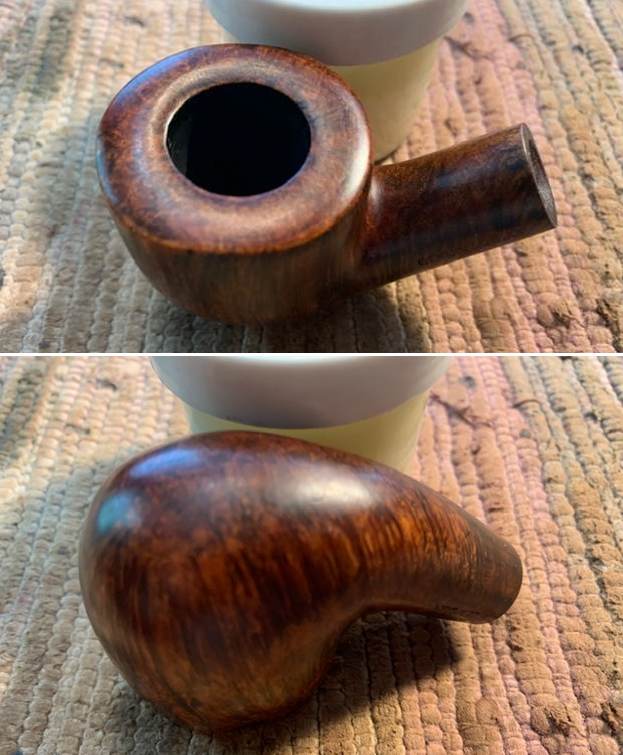
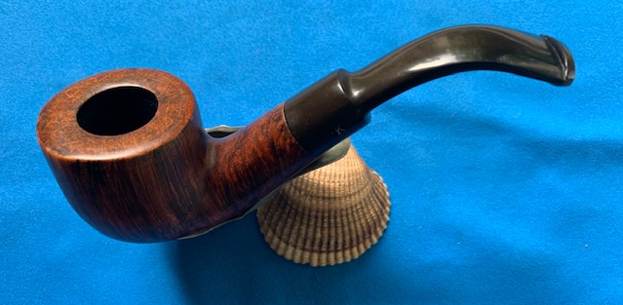
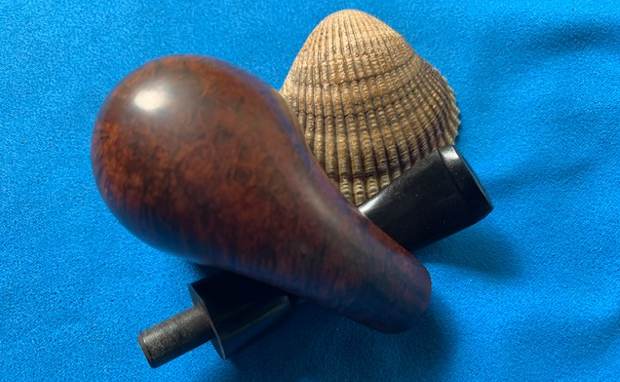
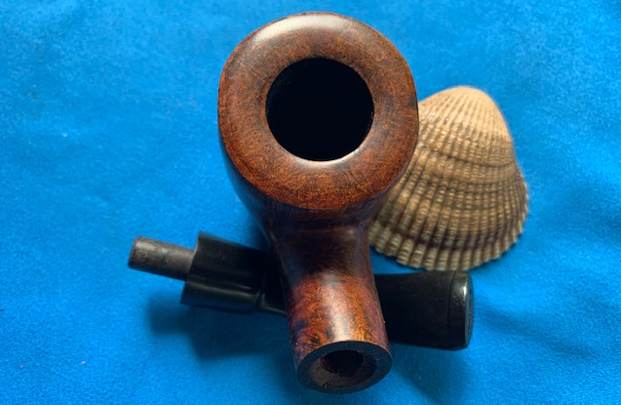
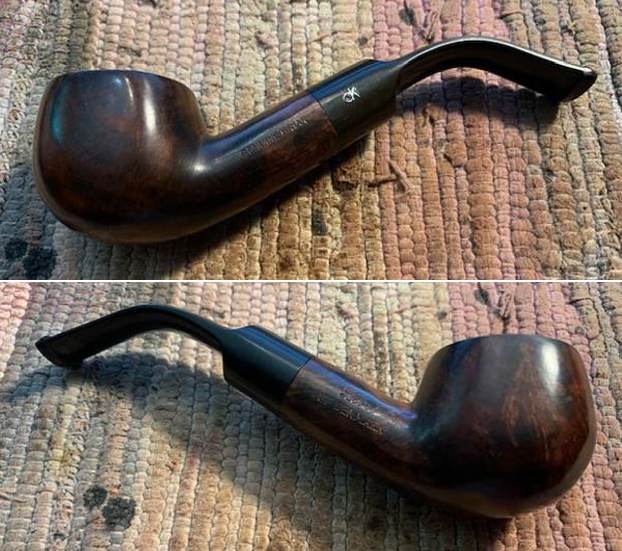
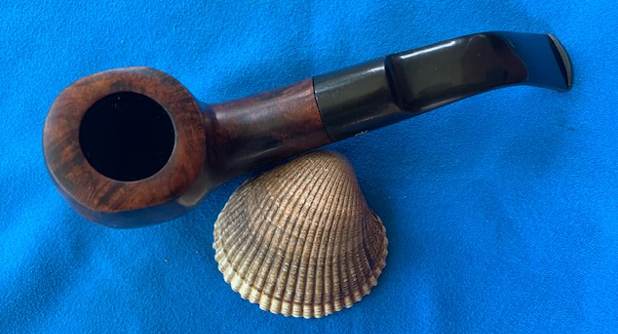
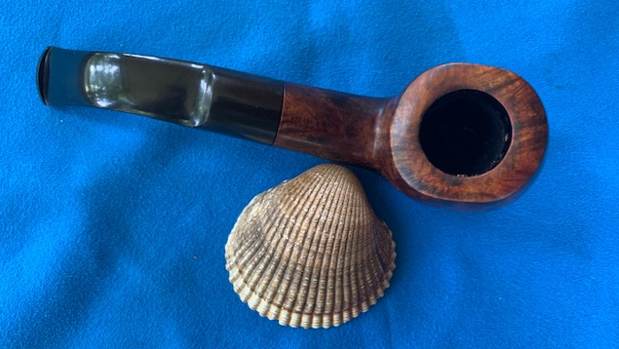
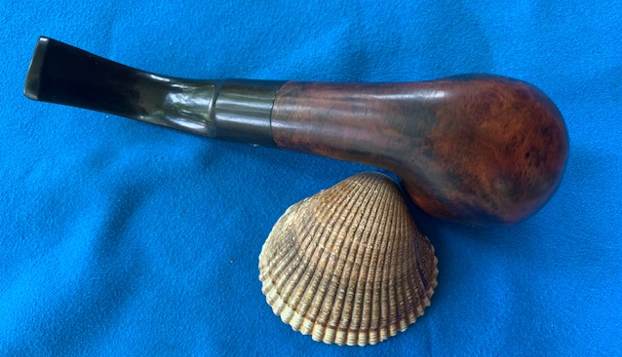
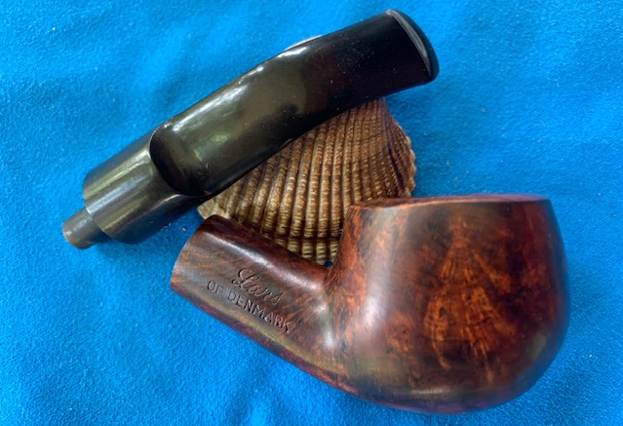
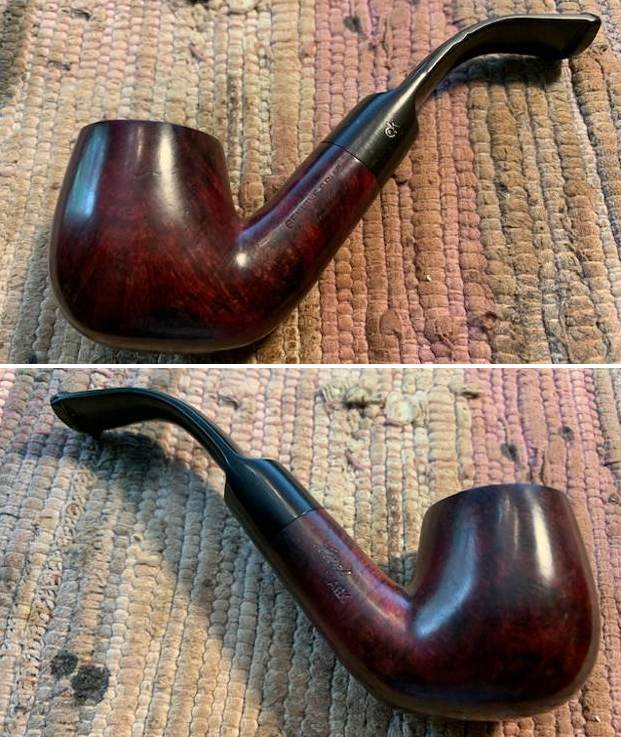
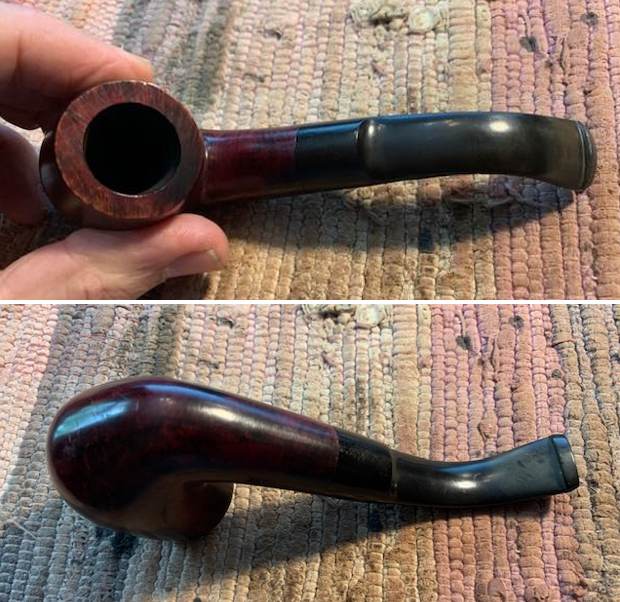
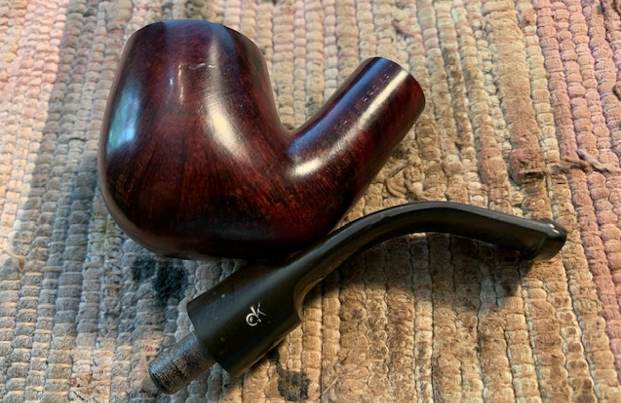
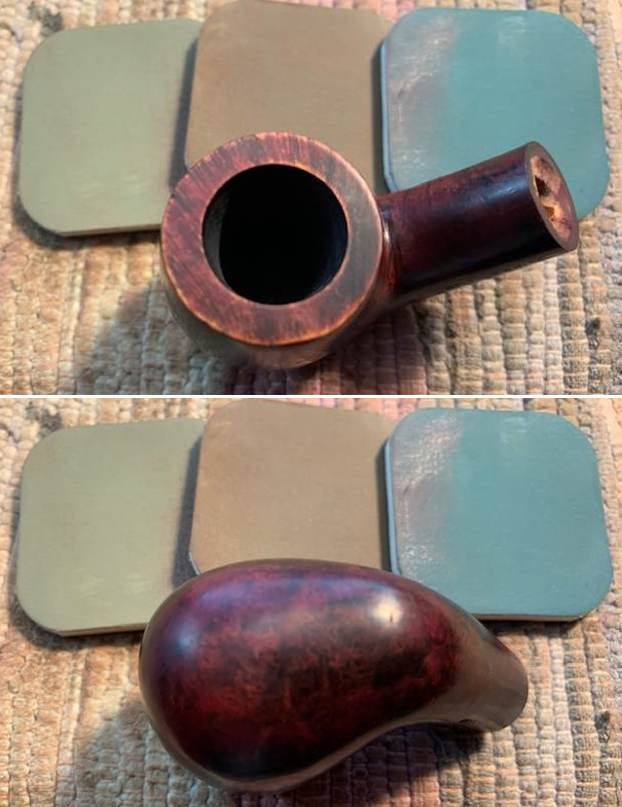
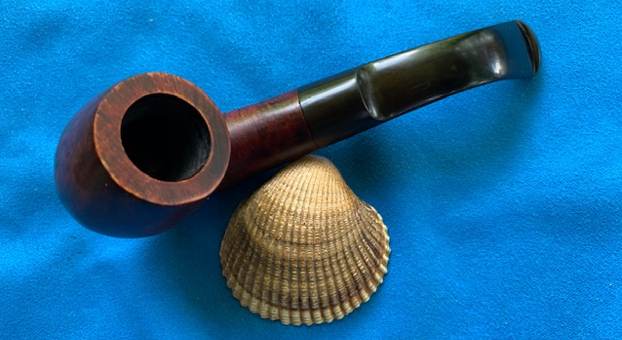
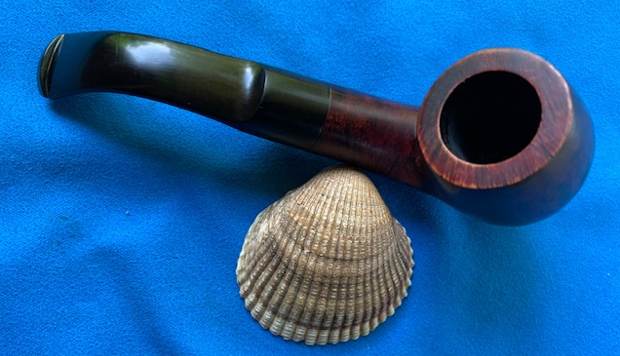
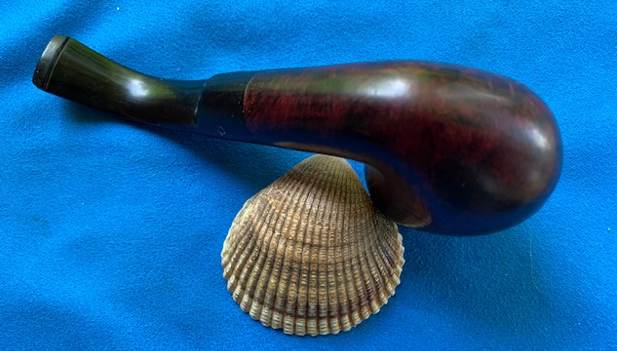
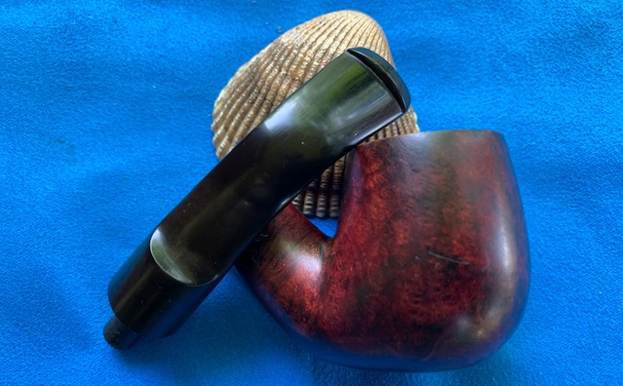
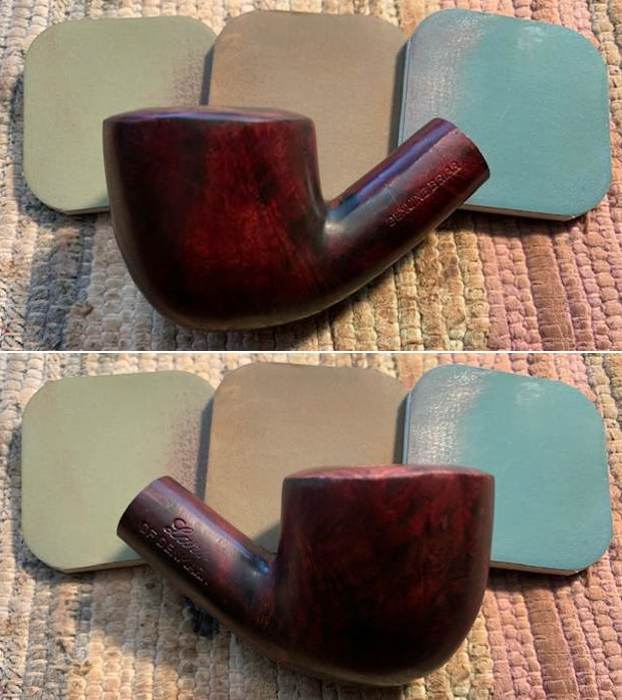
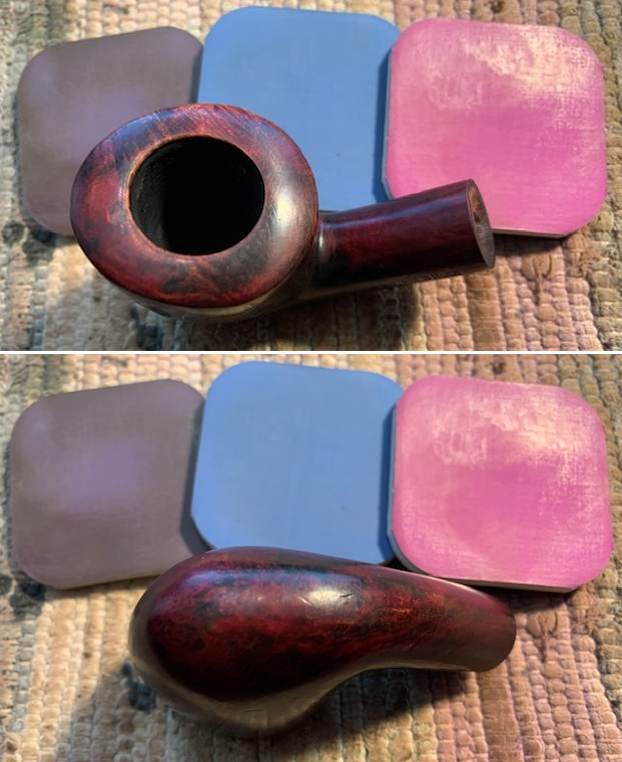
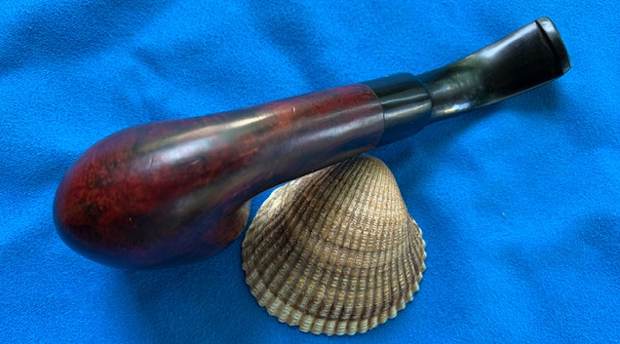
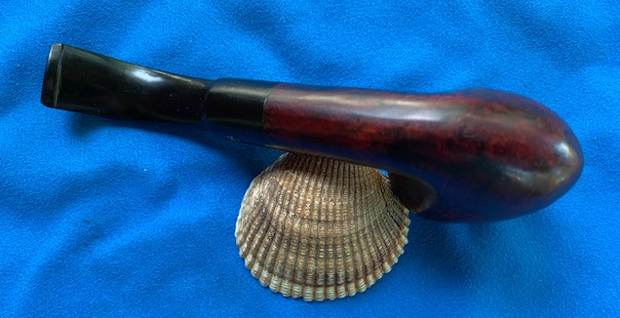
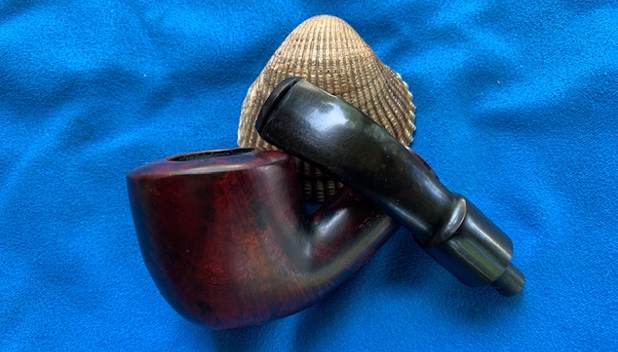
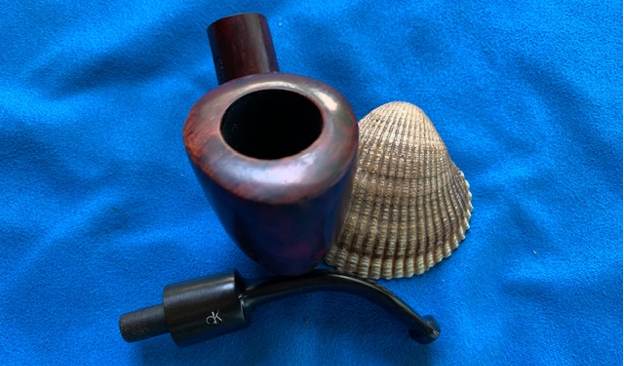
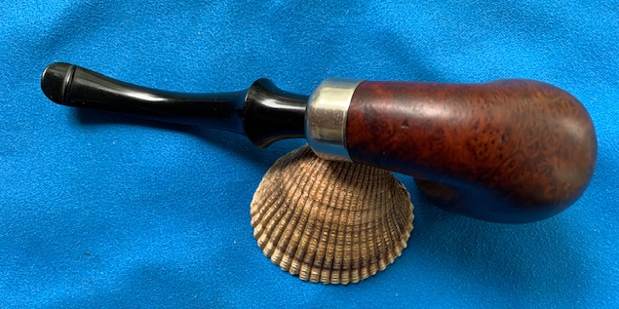
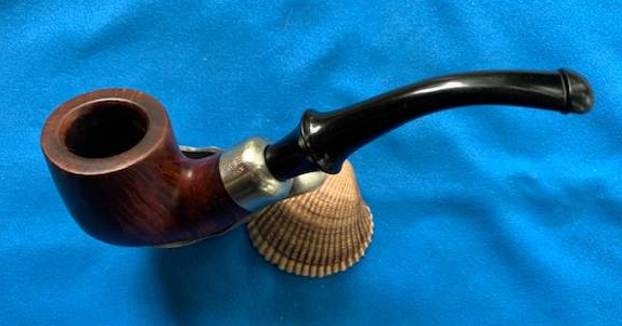
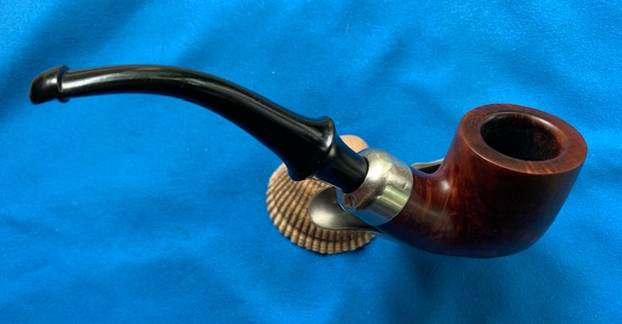
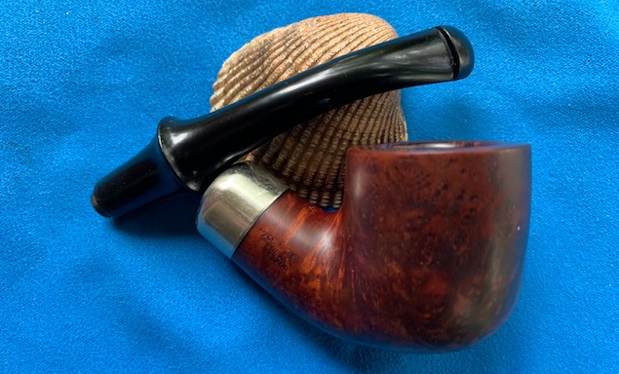
The pipe arrived this week in a Bubble Mailer from the seller in Italy. To me it is a questionable way to ship pipes as they can be easily damaged. I was concerned when I opened the mailer to examine the pipe inside. Fortunately the seller had separated the stem and bowl and wrapped each in thick bubble wrap which certainly helped. I examined the pipe carefully to assess both the condition of the pipe and what I needed to do with it. There was a light cake in the bowl and no lava on the rim top or edges. There light scratches on the rim top and on the sides of the bowl. The pipe was stamped on the on the top and underside of the shank as noted above. The finish was surprisingly clean and shiny with some great grain showing through. As I looked over the finish it appeared to me that bowl had been varnished to give it that shininess. I personally don’t like that kind of coating as I feel that it gets in the way of the briar breathing and often bubbles when the pipe is heated. The stem had the inlaid brass oval rondel on the top of the saddle portion. The vulcanite stem was fairly clean and there was light tooth marks and chatter on the top and underside. I took some photos of the pipe before I started my work on it. I have included them below. 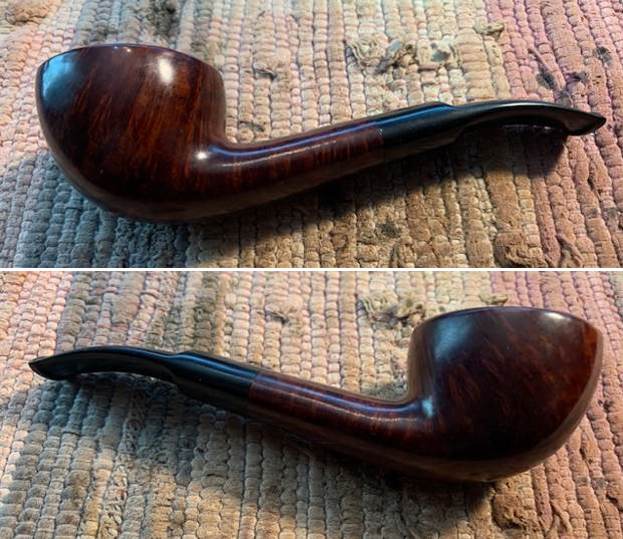
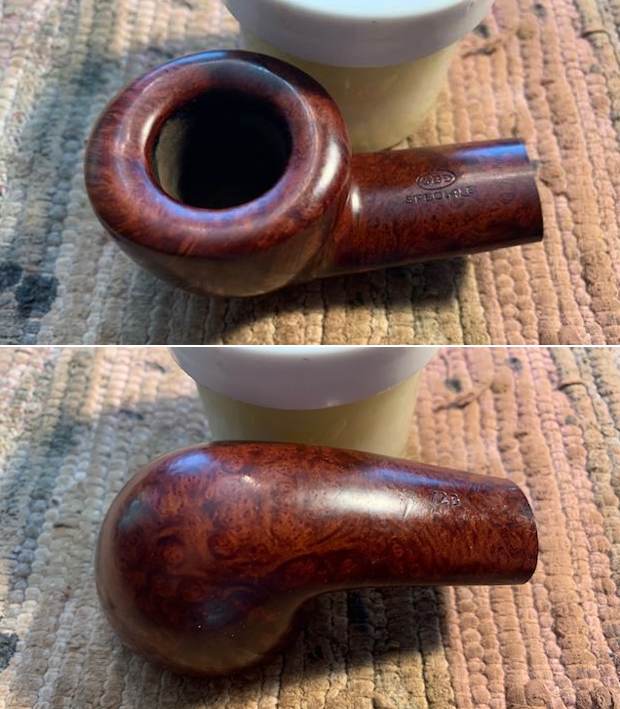
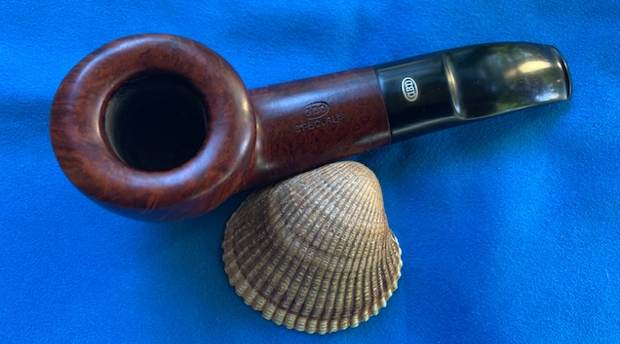
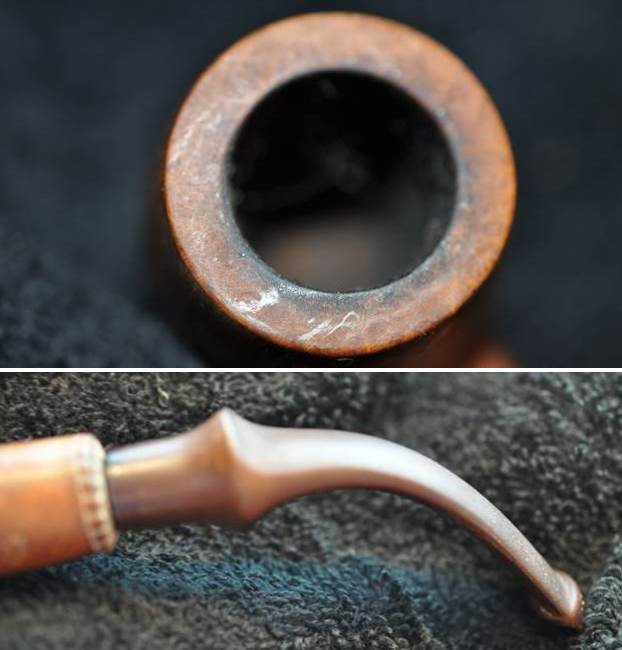
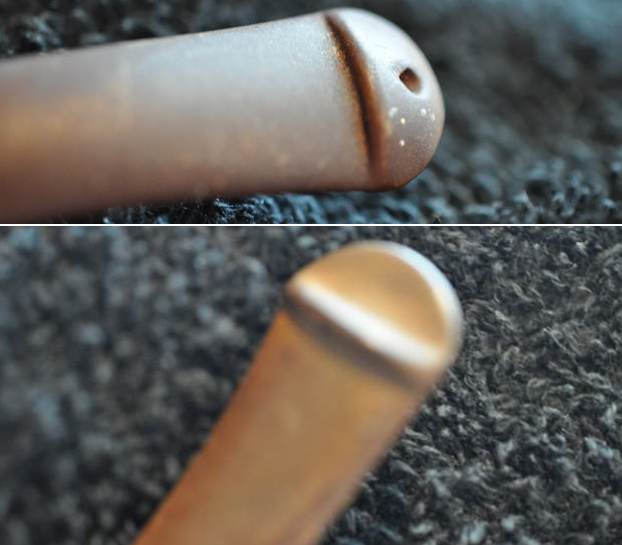
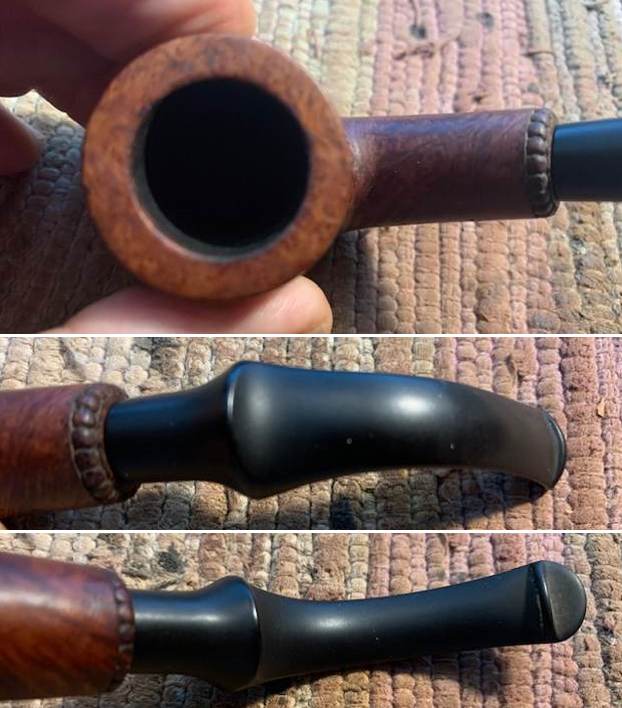
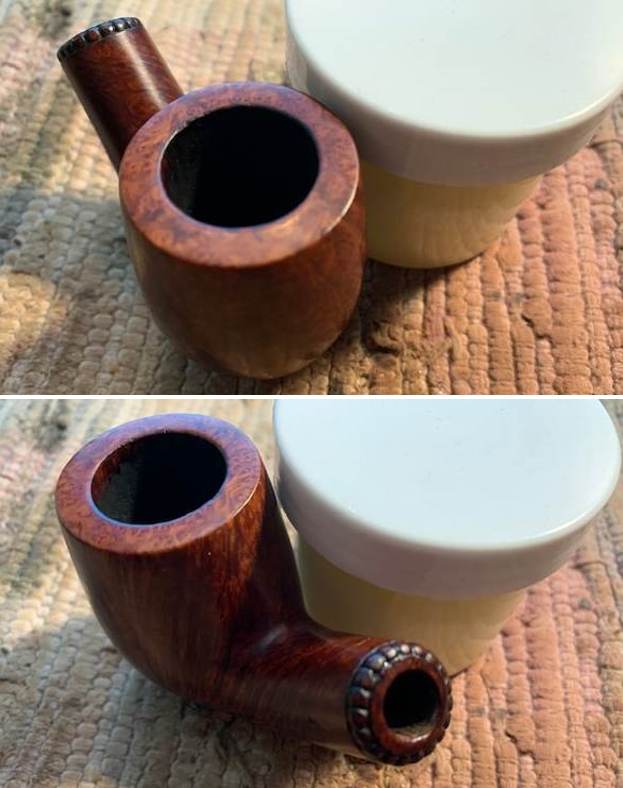
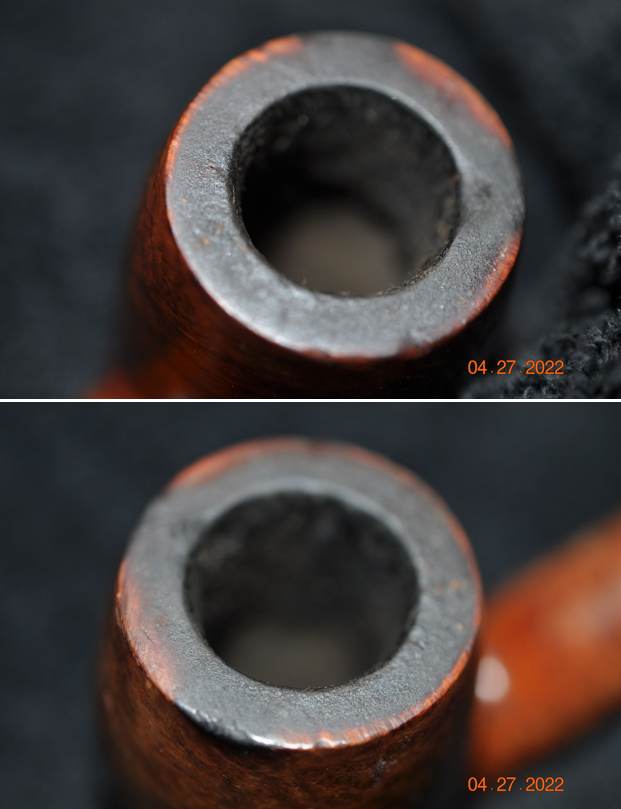
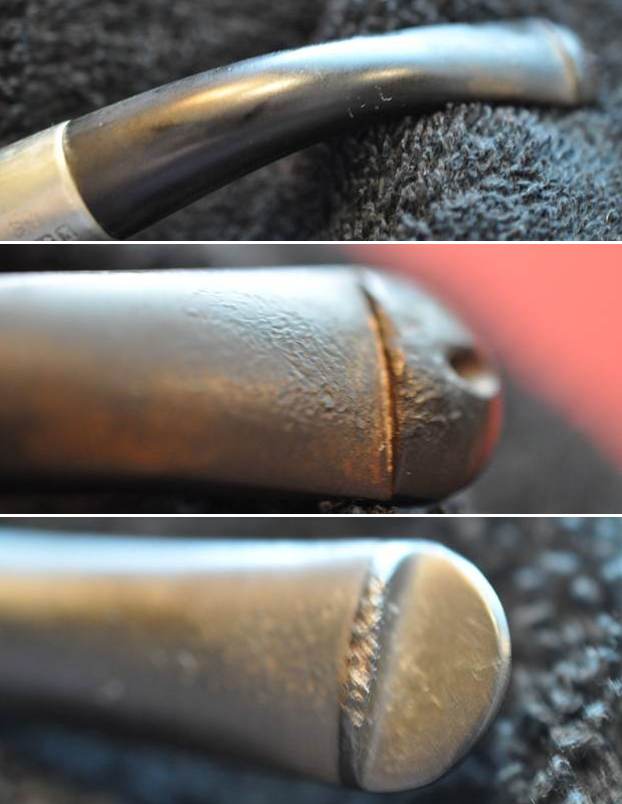
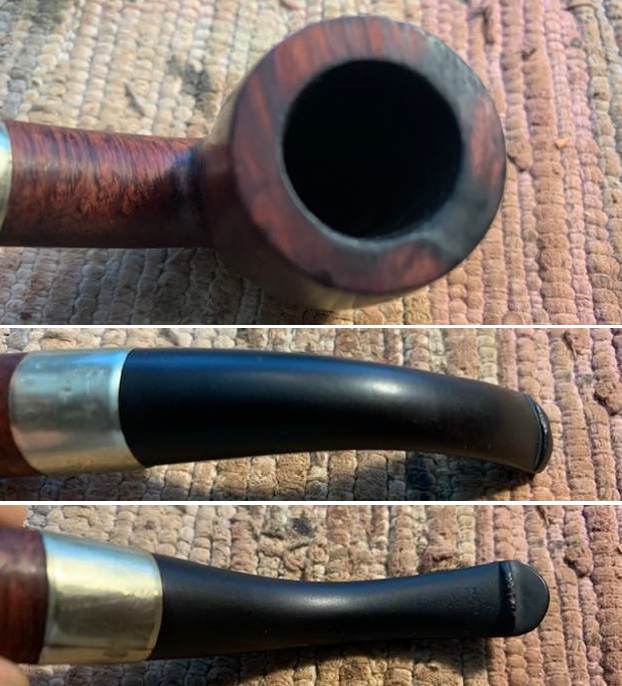
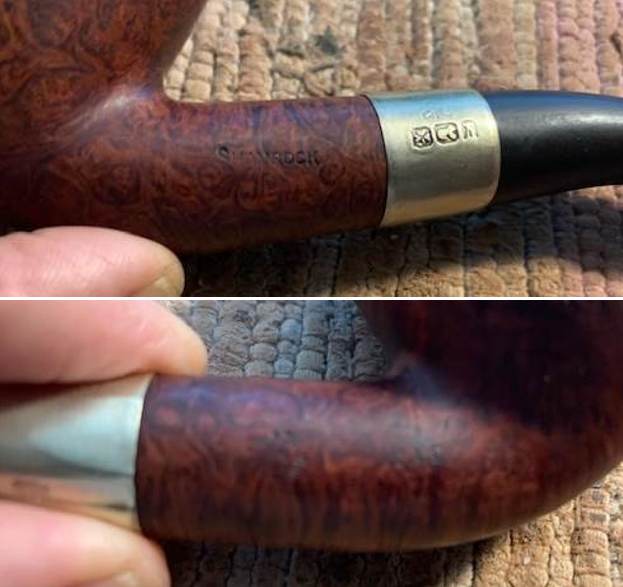
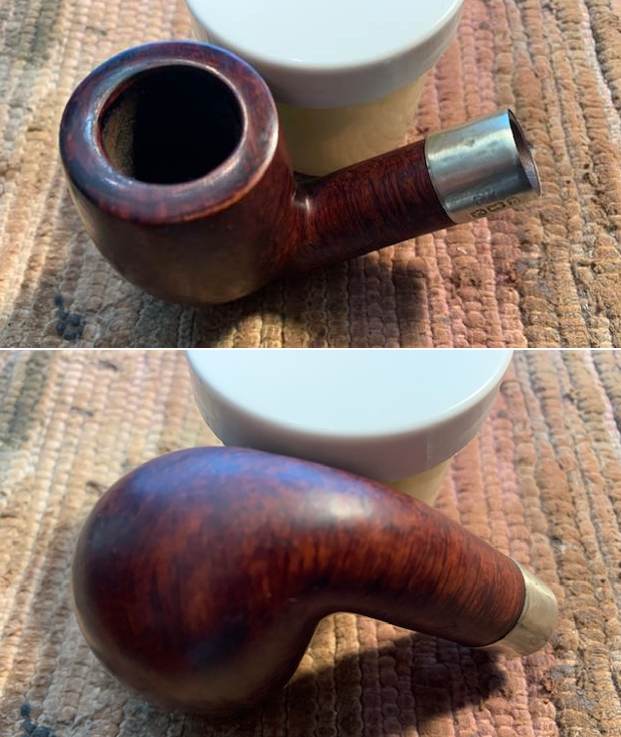
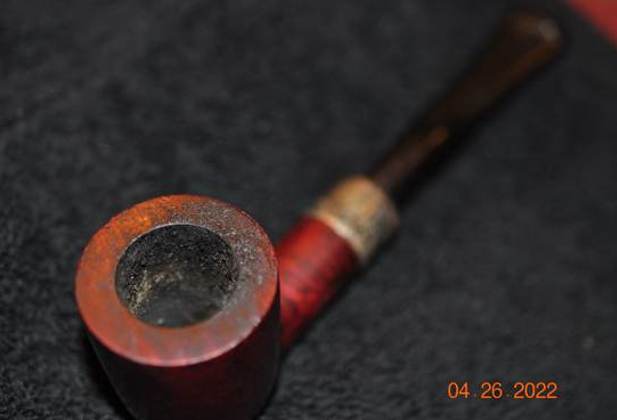
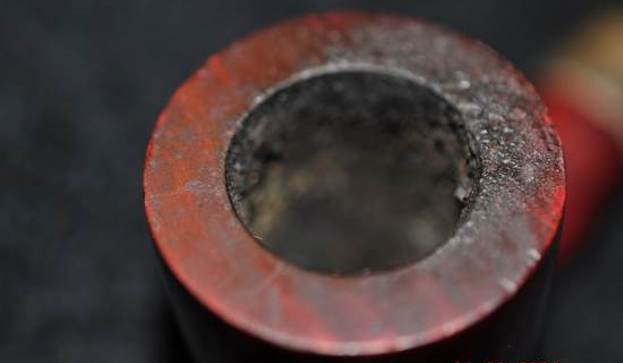
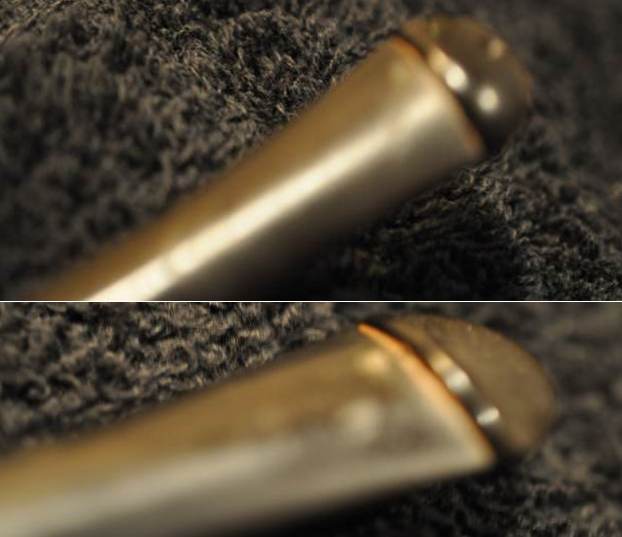
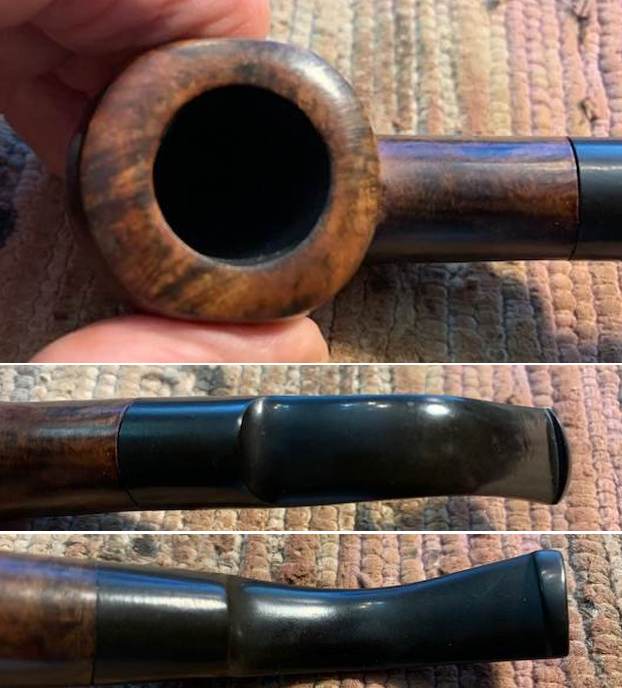
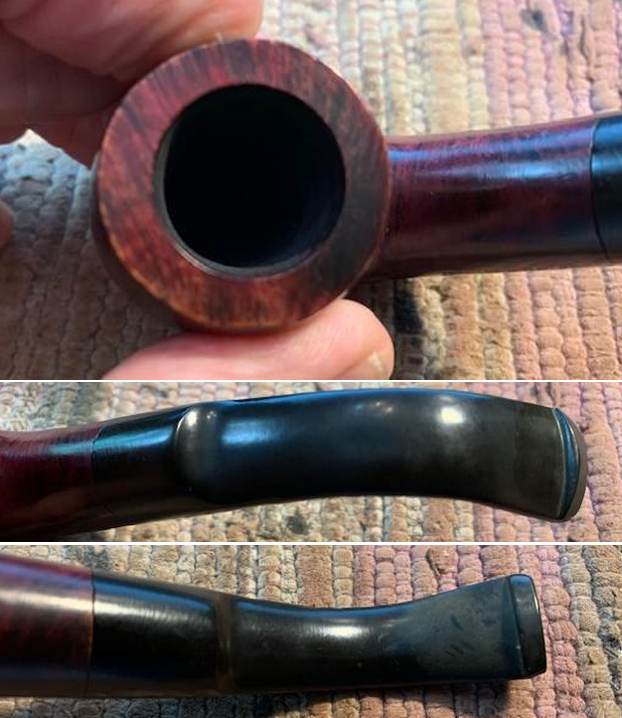
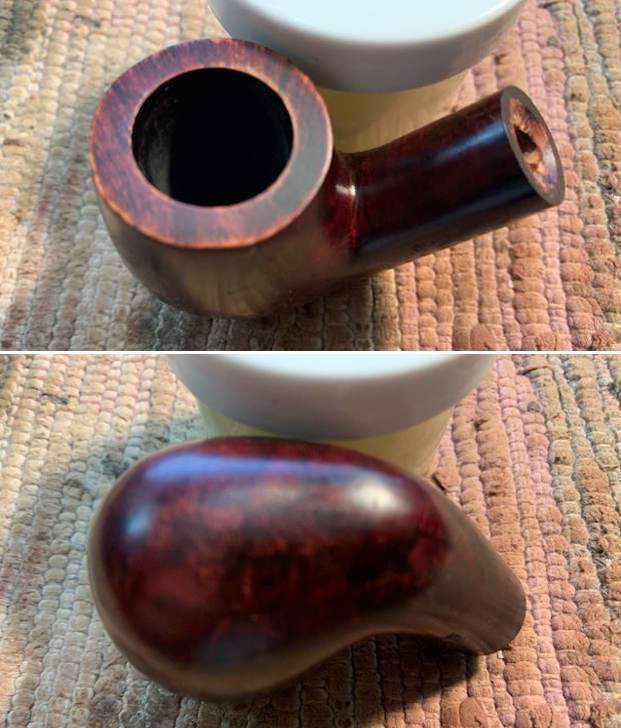
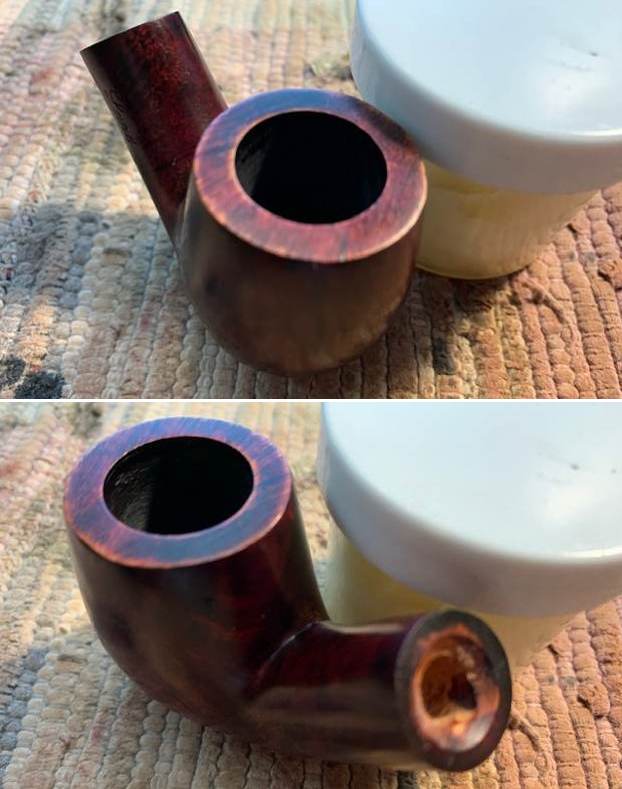
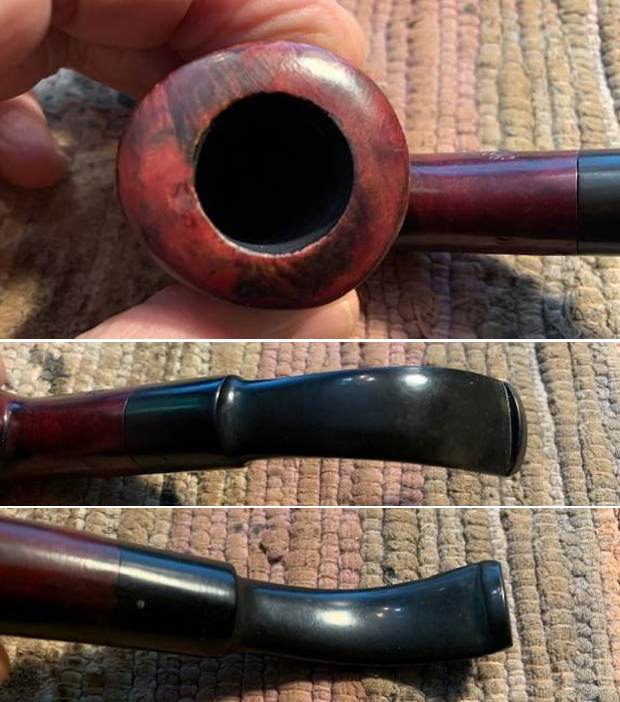
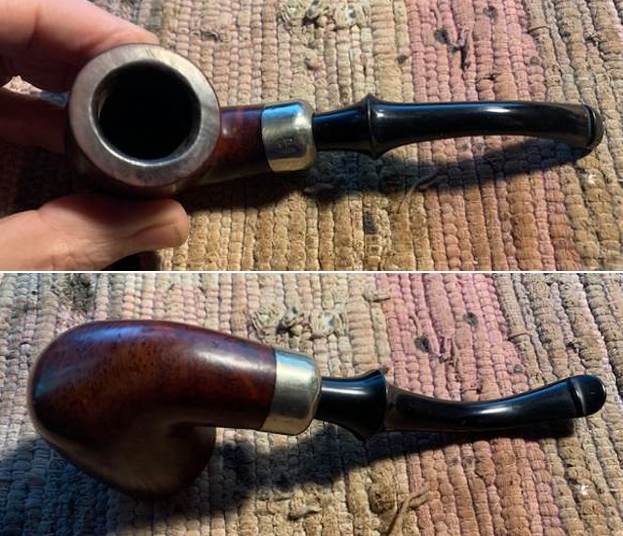
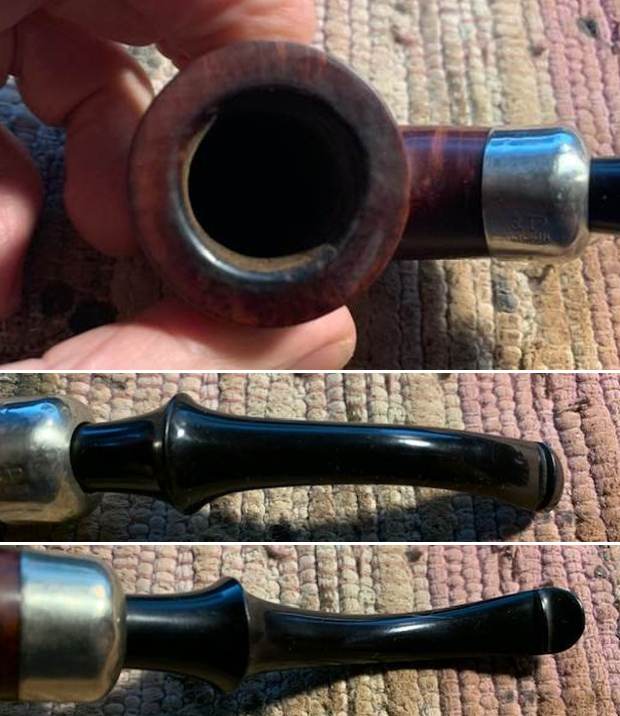
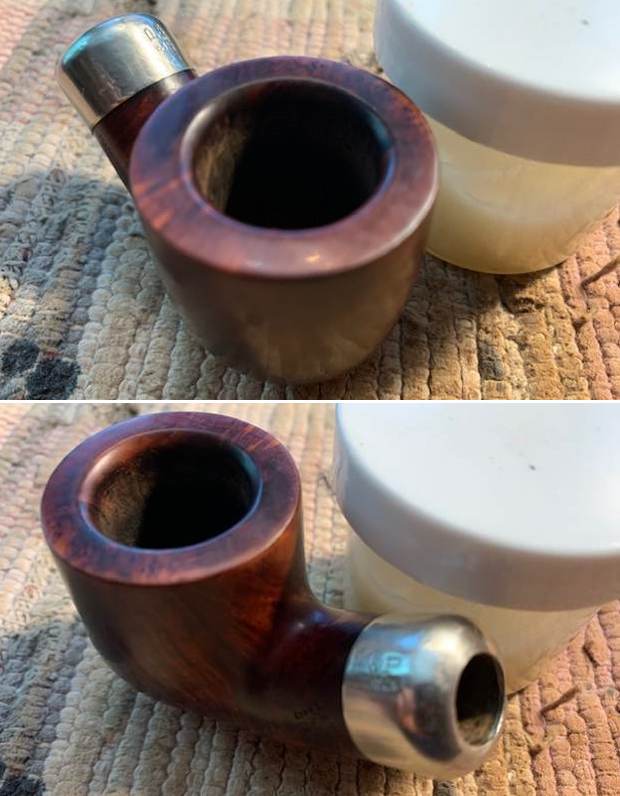
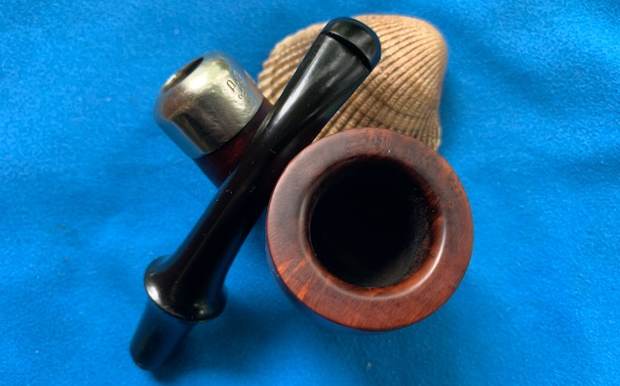
 The cleaned up rim top looked very good around the edges and the top. I took some close up photos of the rim top and edges to show how it looked when it arrived. There were a few dents and scratches in the crowned top. The inner and outer edges looked good. I also took close up photos of the stem to show the light tooth marks on the surface near and on the button itself.
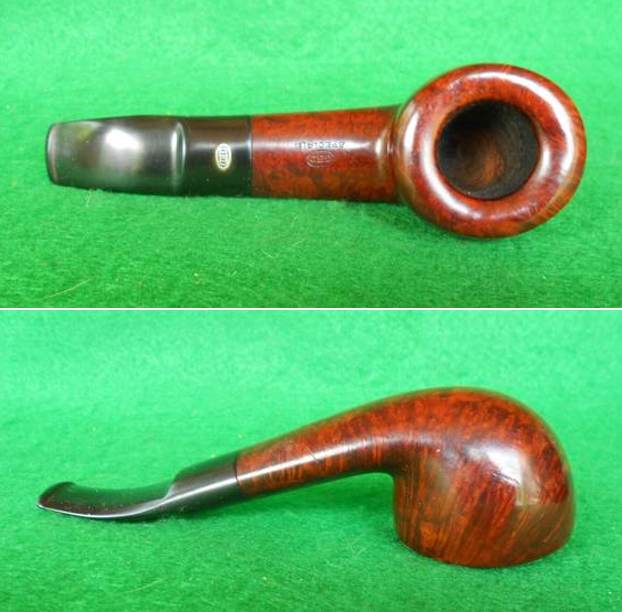
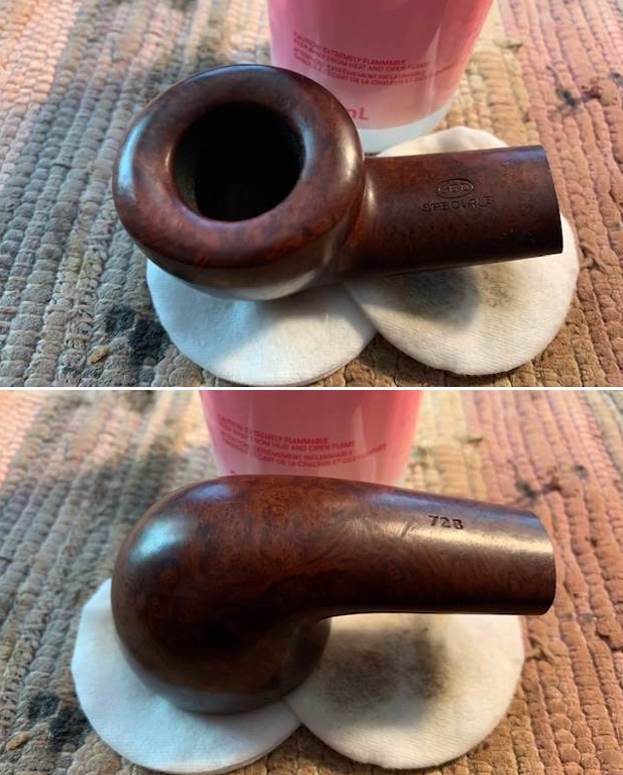
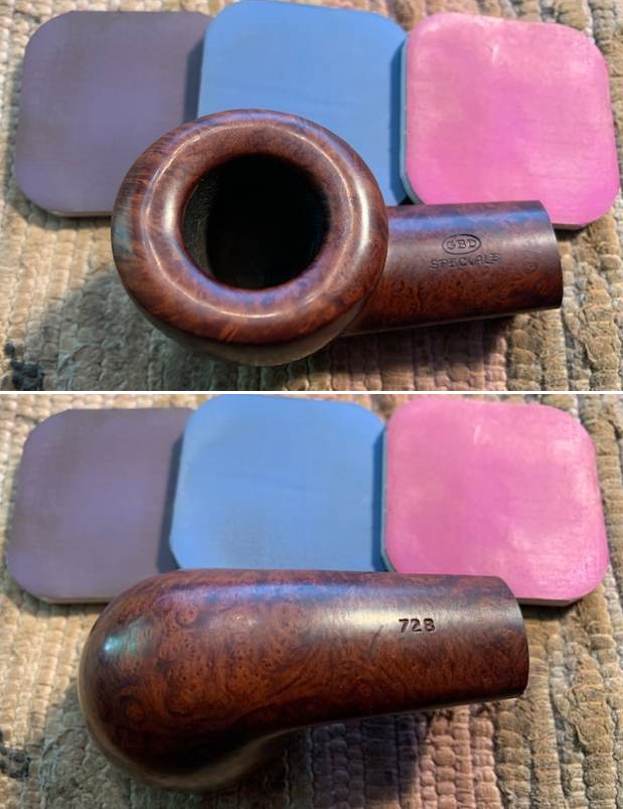
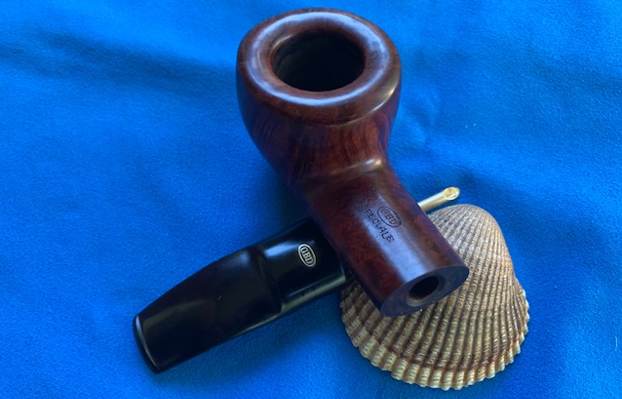
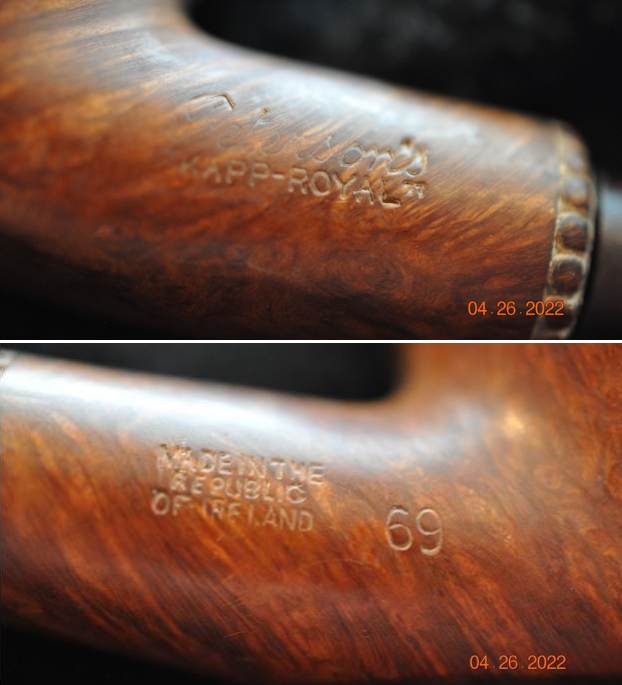
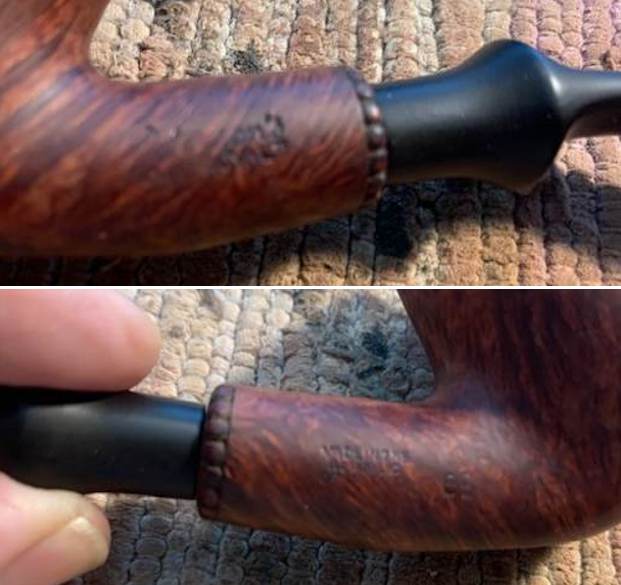
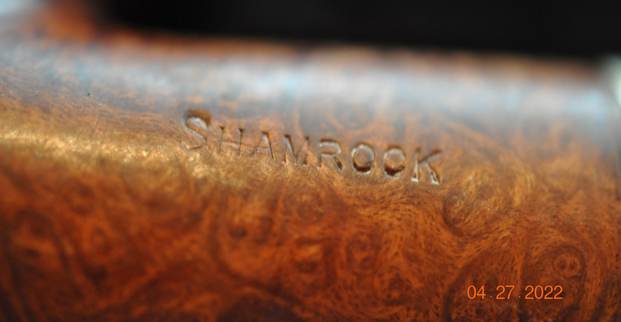
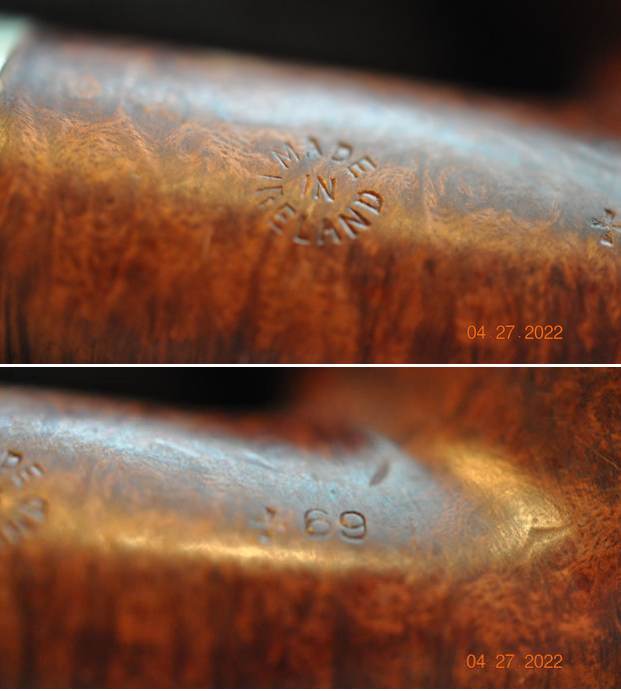
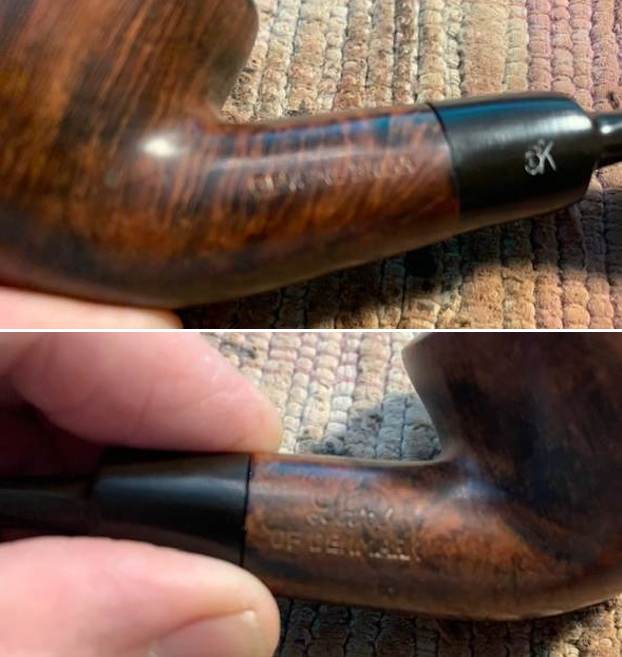
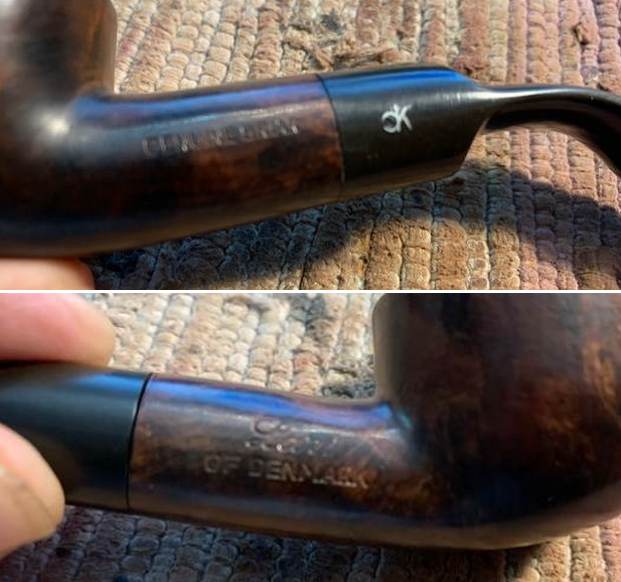
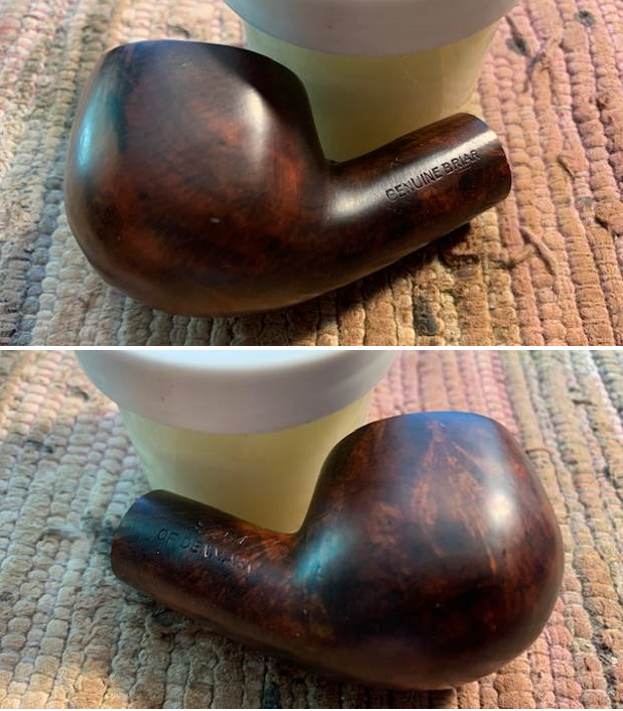
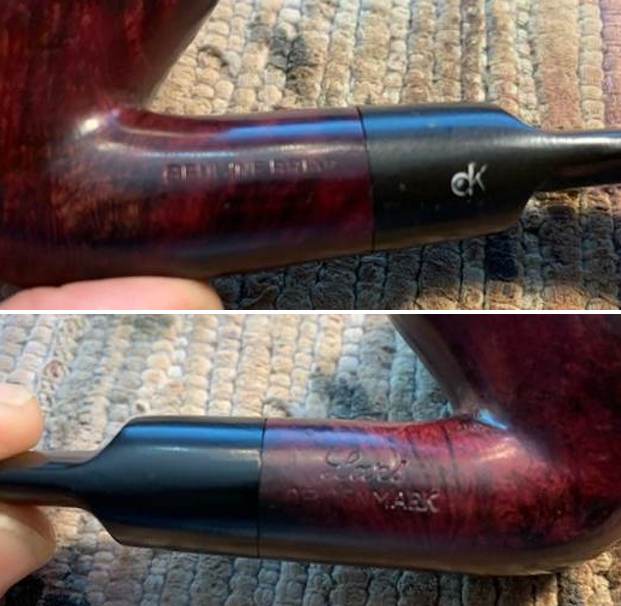
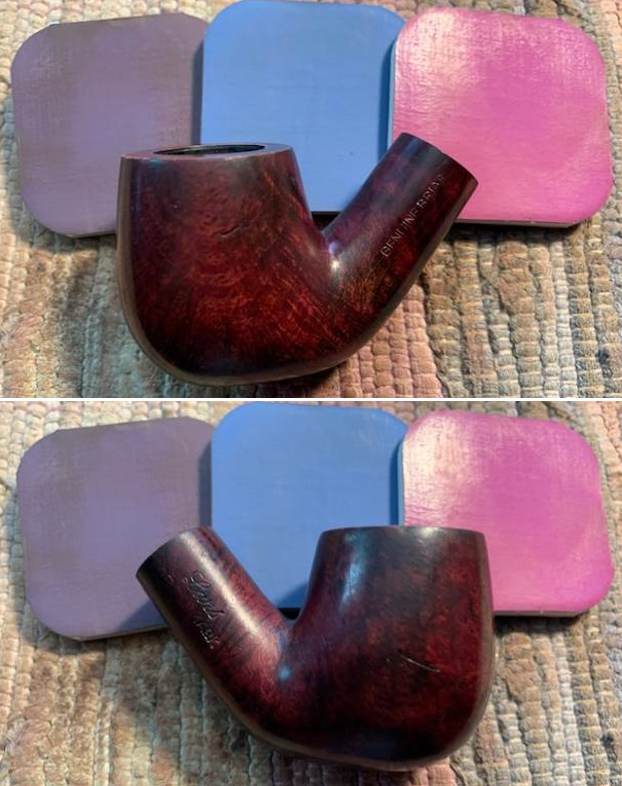
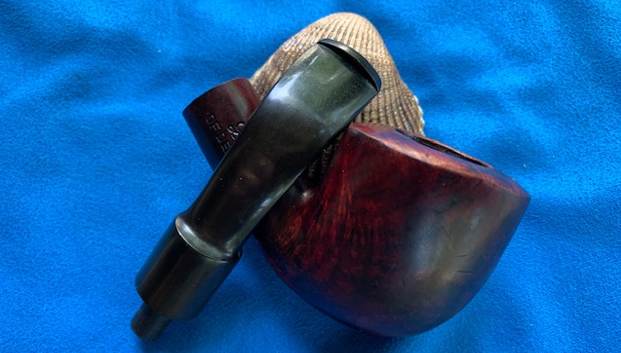
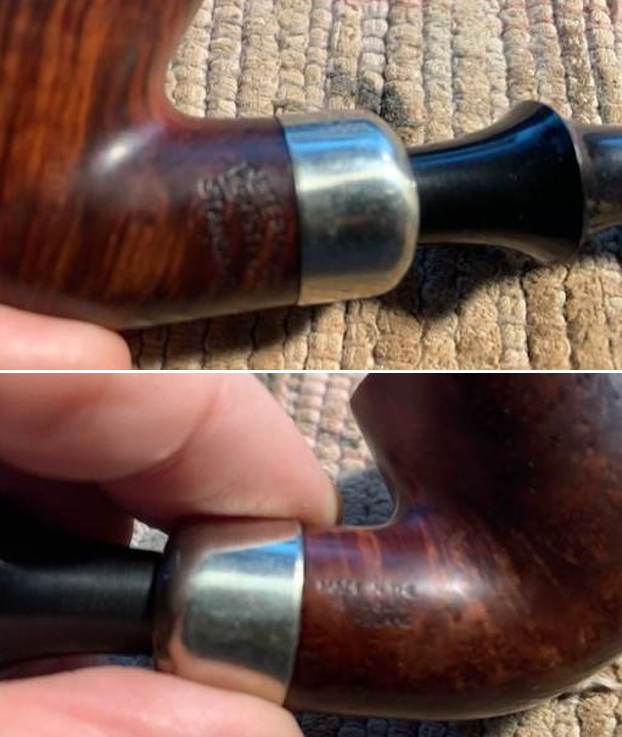
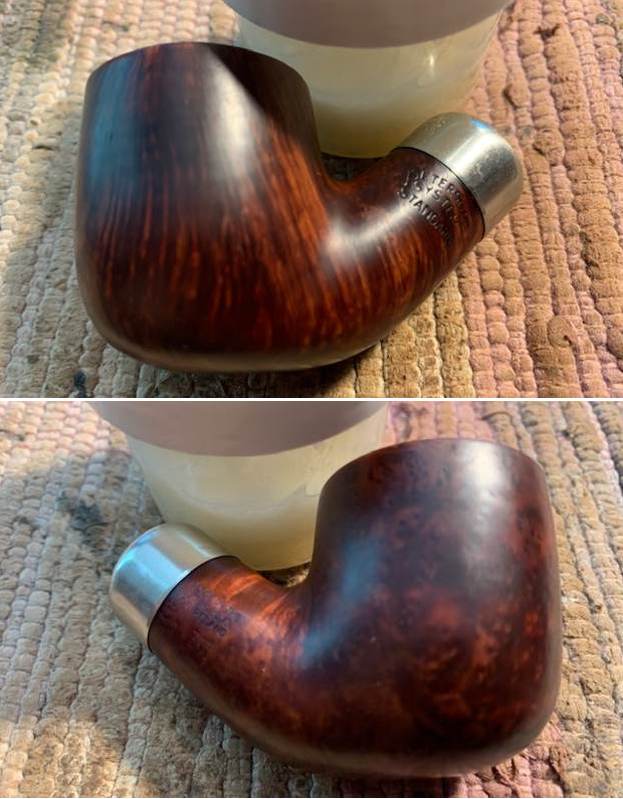
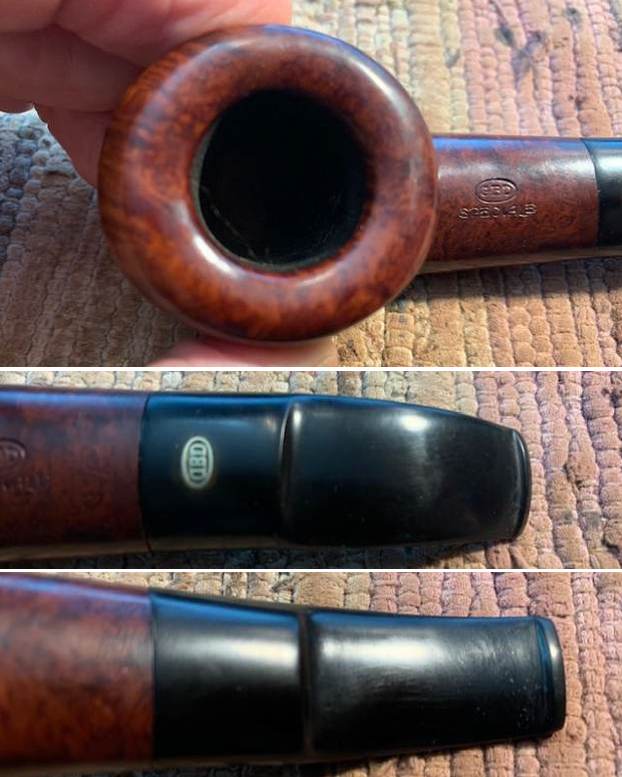 I took photos of the stamping on the top and underside of the shank. It reads as noted above.
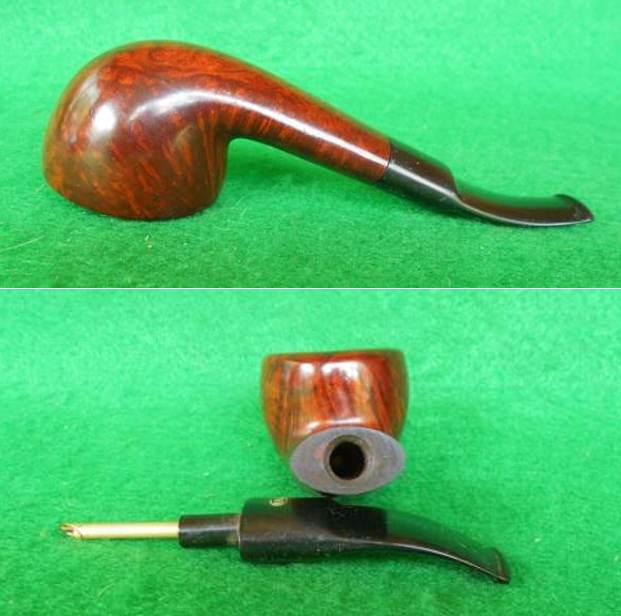
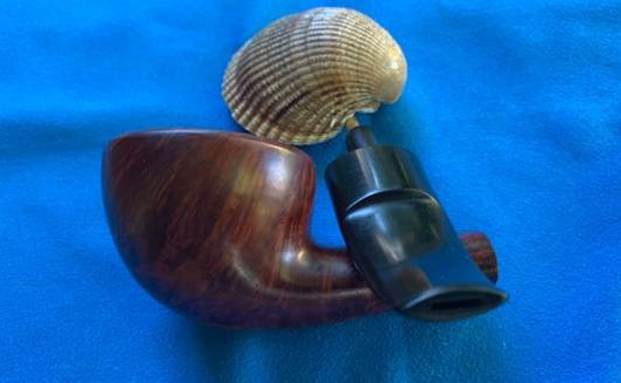
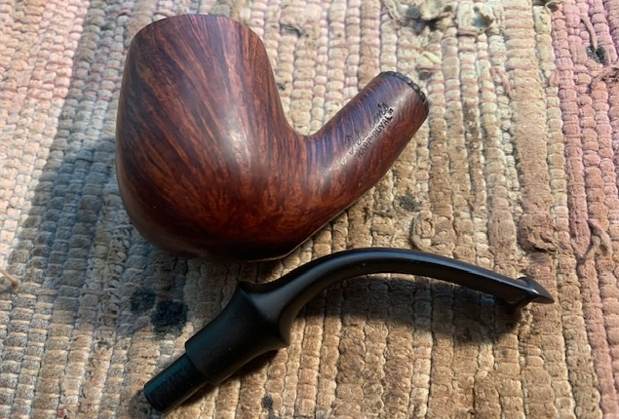
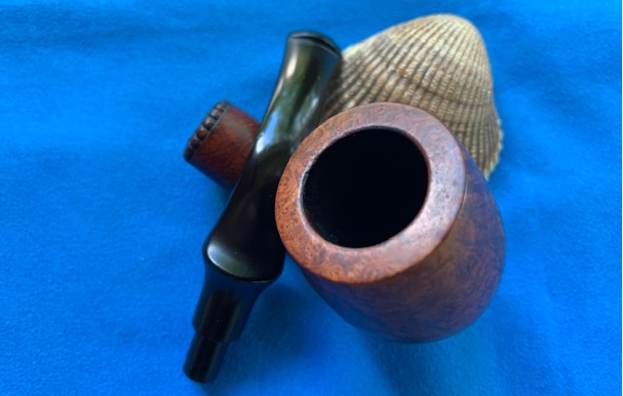
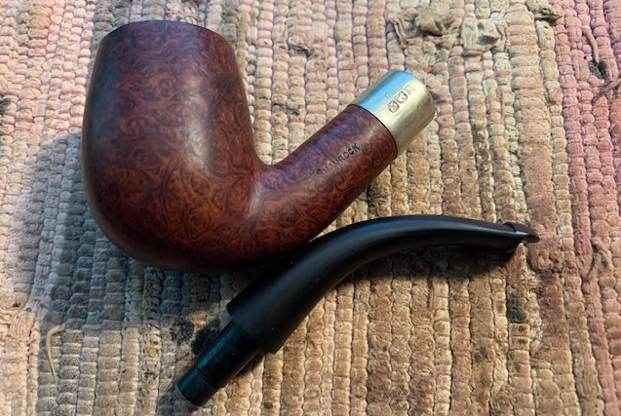
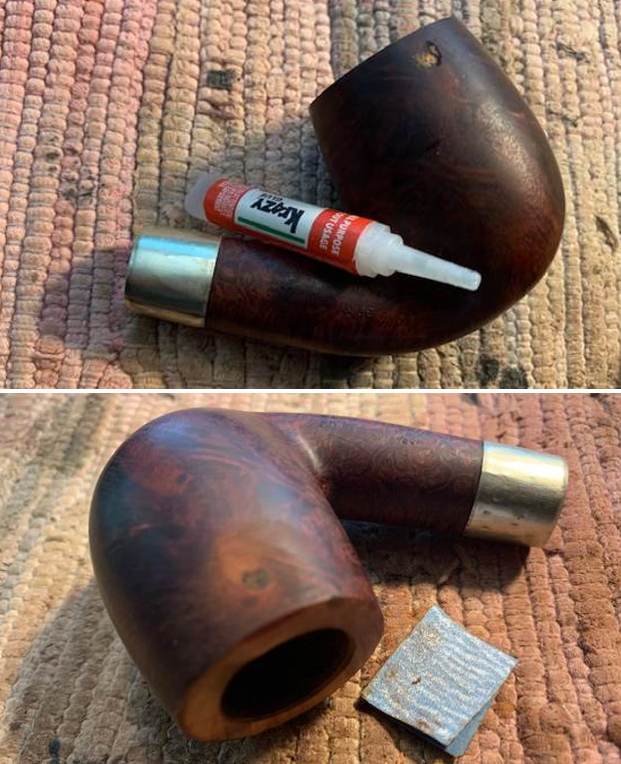
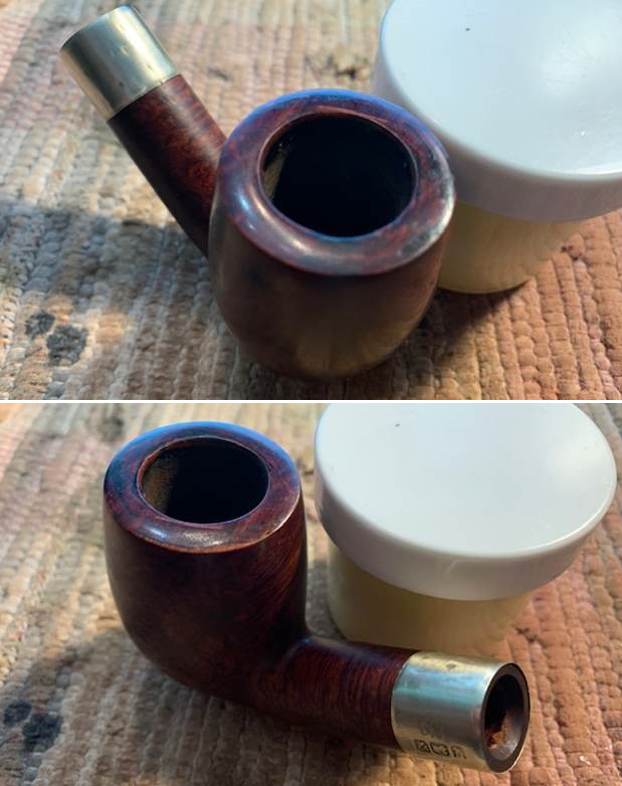
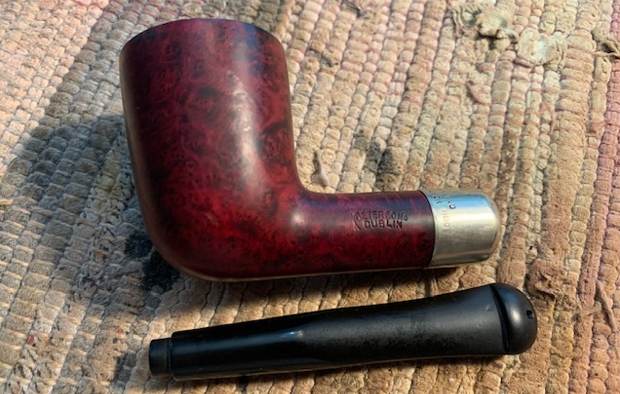
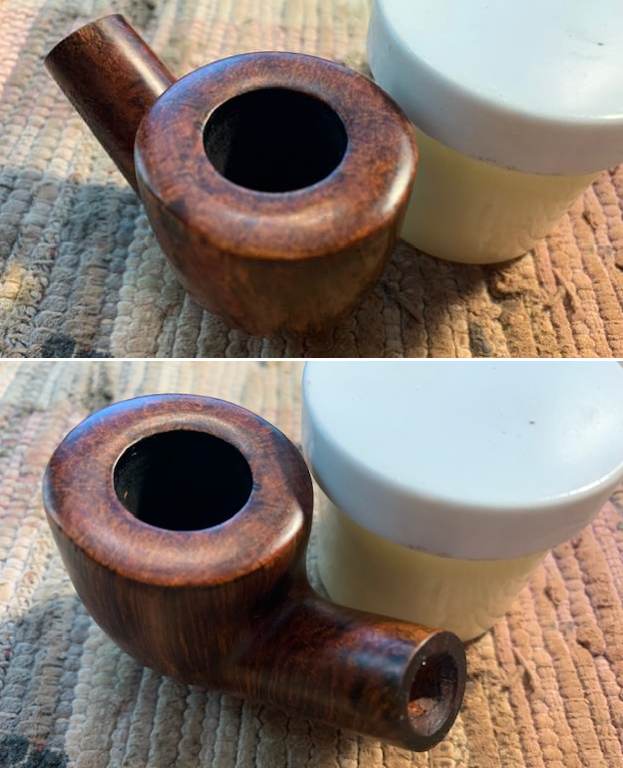
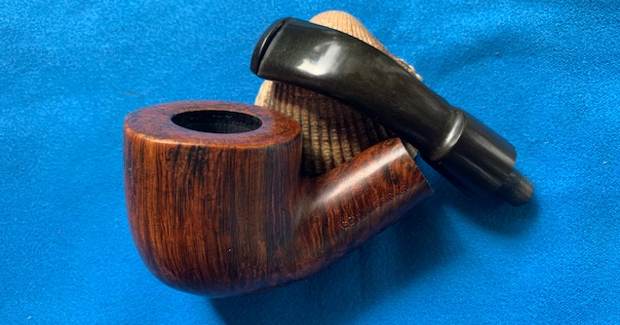
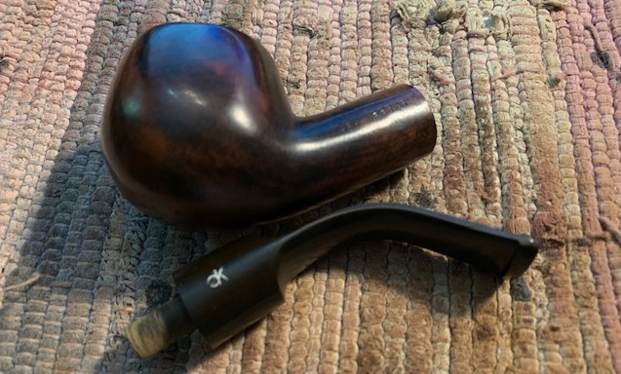
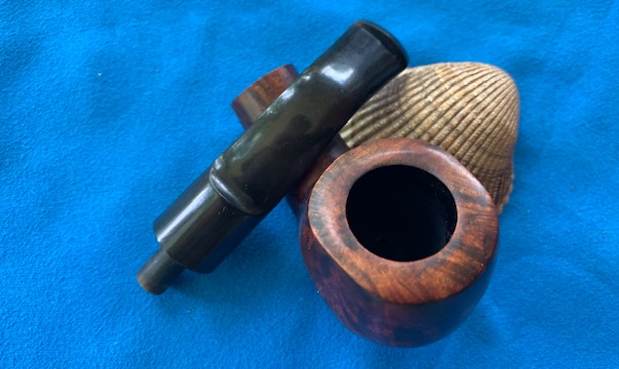
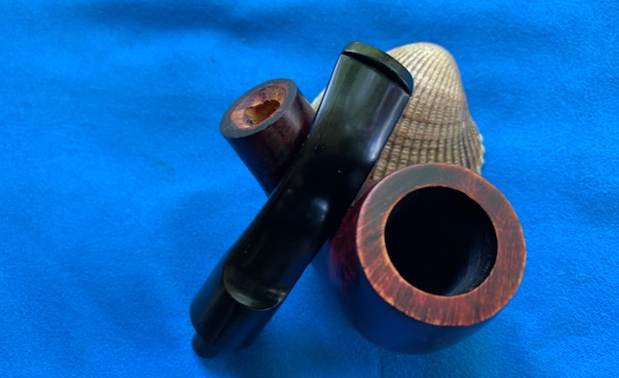
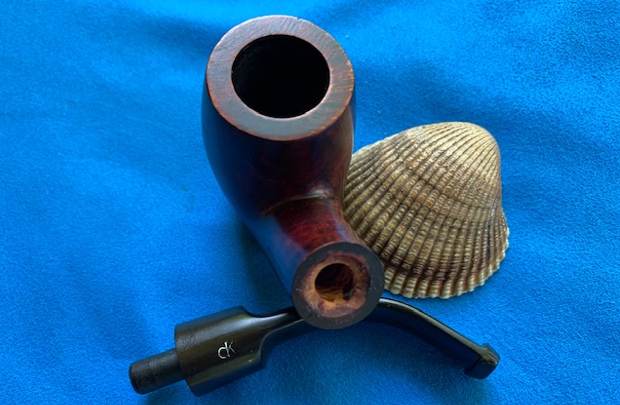
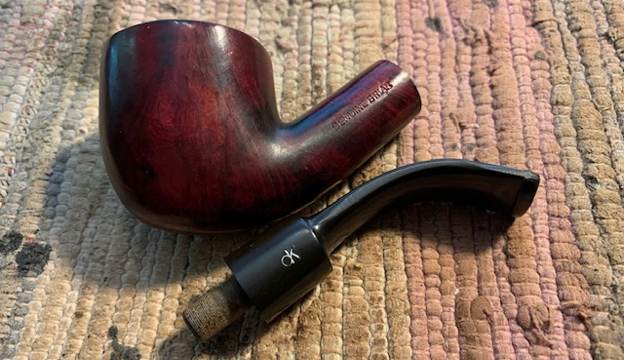
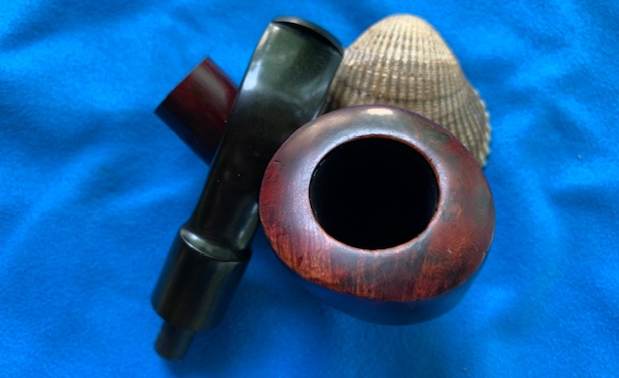
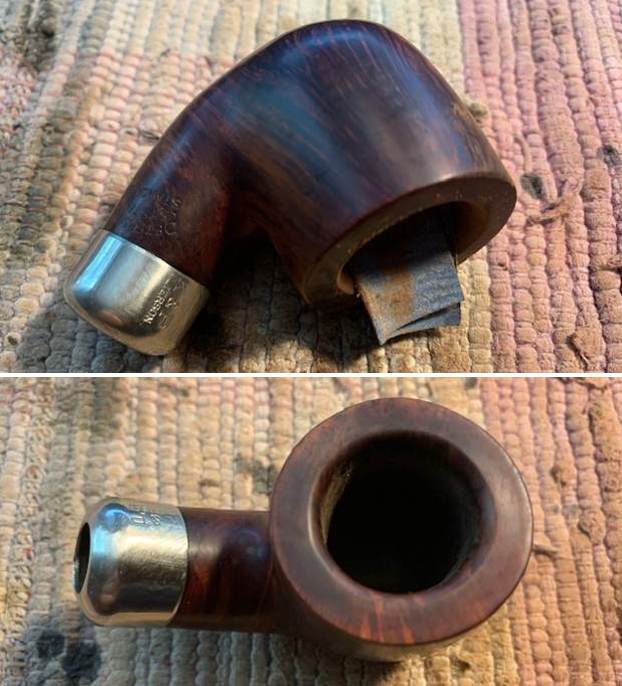
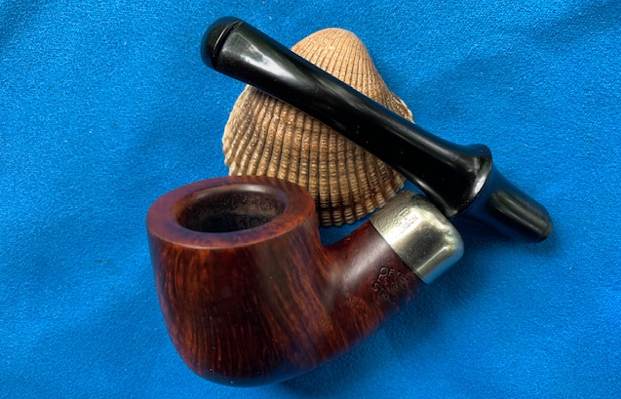
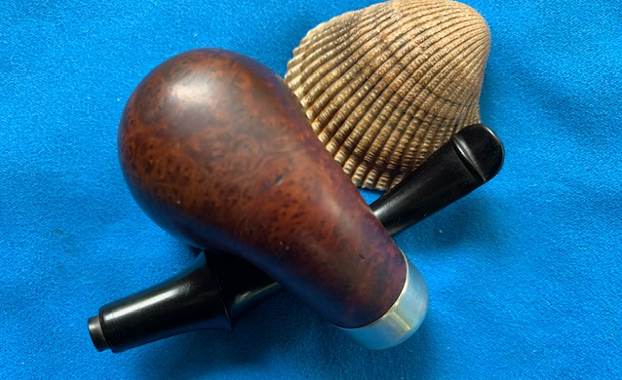
 I removed the stem and took a photo of the pipe to have a look at the parts and overall look. You can also see the inner tube in the tenon. It is removable and I will take it out and clean it up in the process.
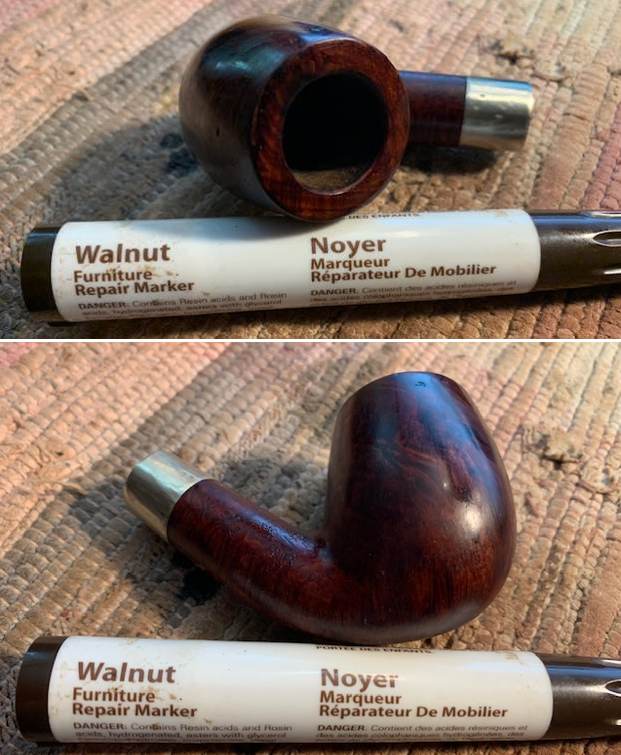
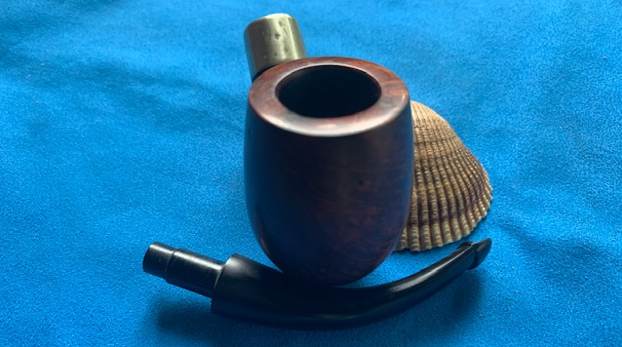
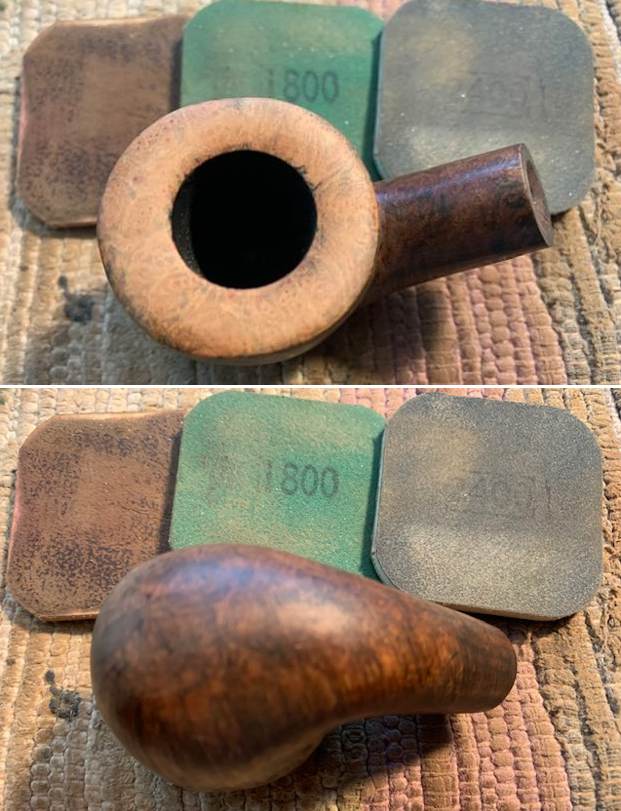
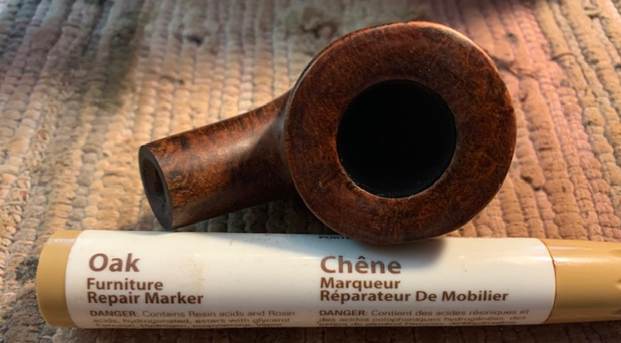
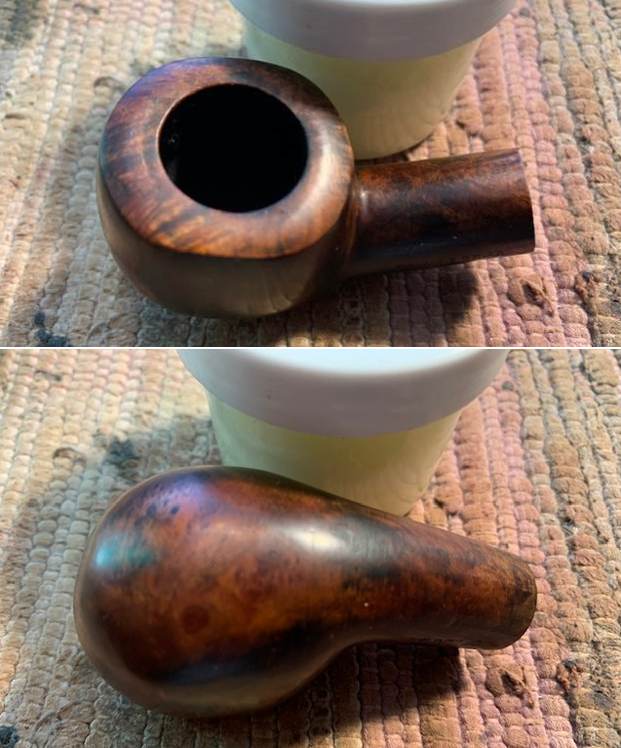
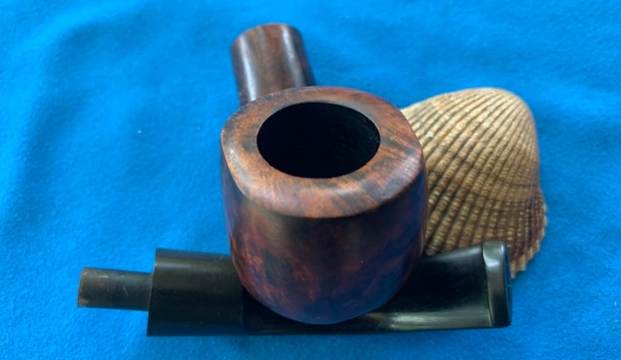
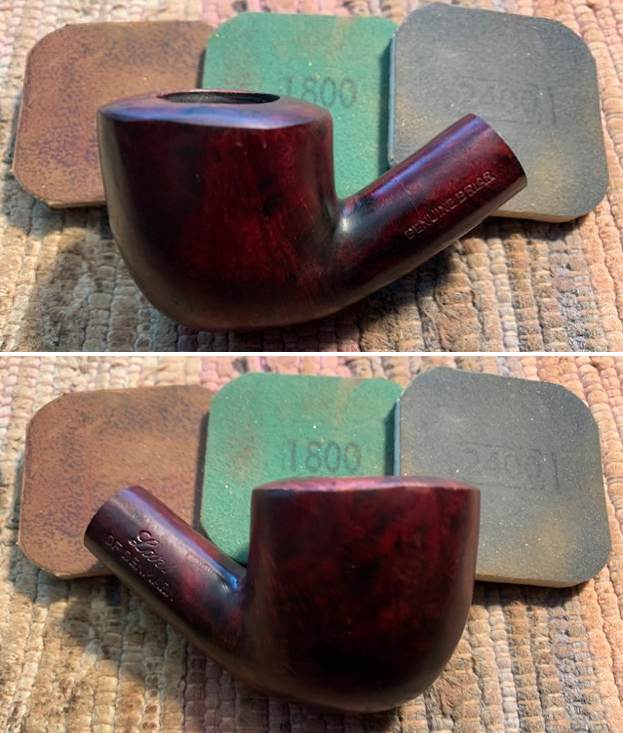
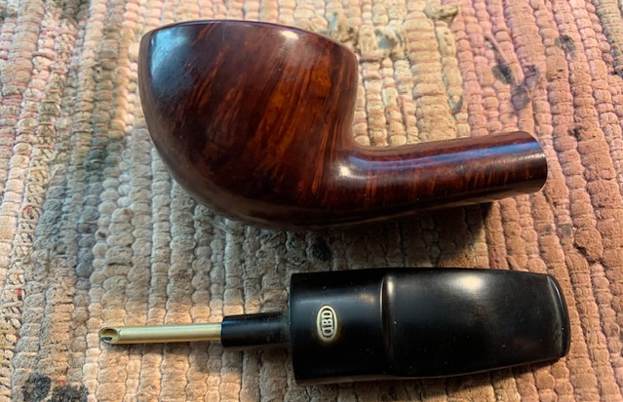 To remove the varnish coat from the briar I wiped it down with cotton pads soaked in acetone. It worked very well and took off the varnish but did no remove the stain finish. It was clean and the grain stood out more clearly. Once the bowl was polished and waxed I think that the rain would sing.
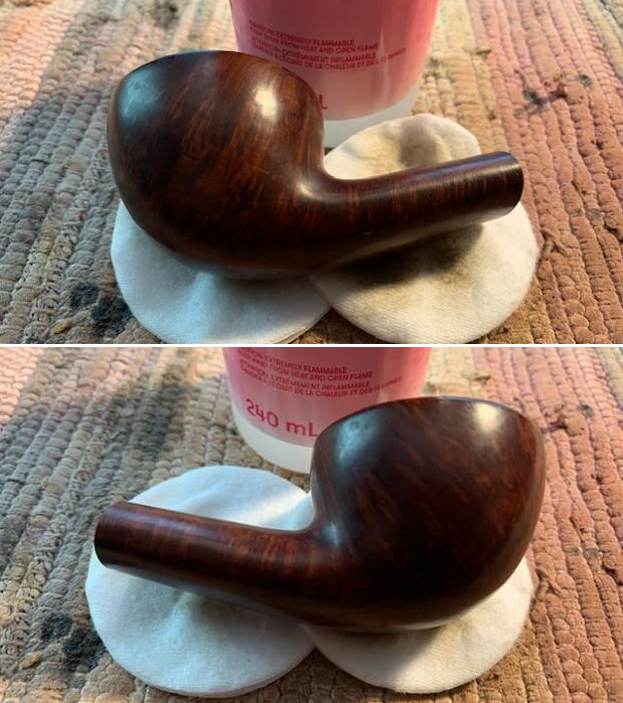
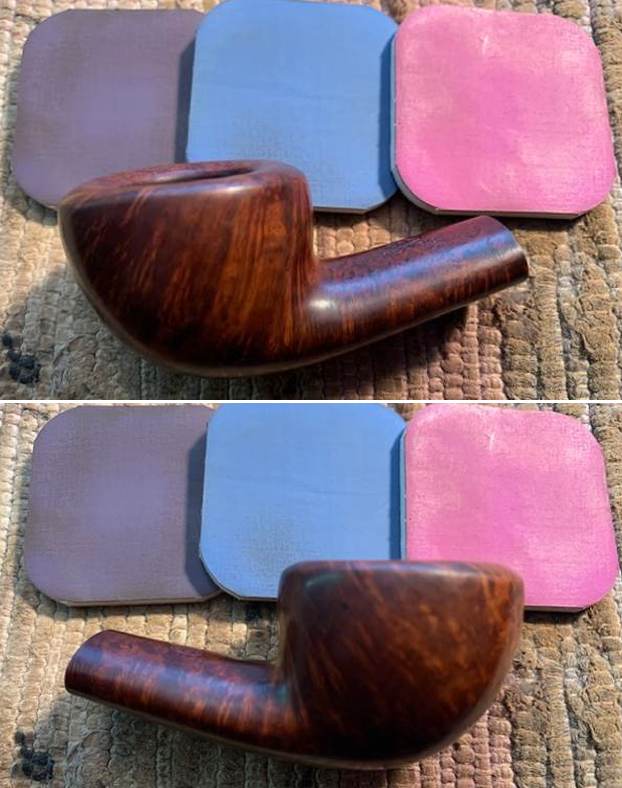
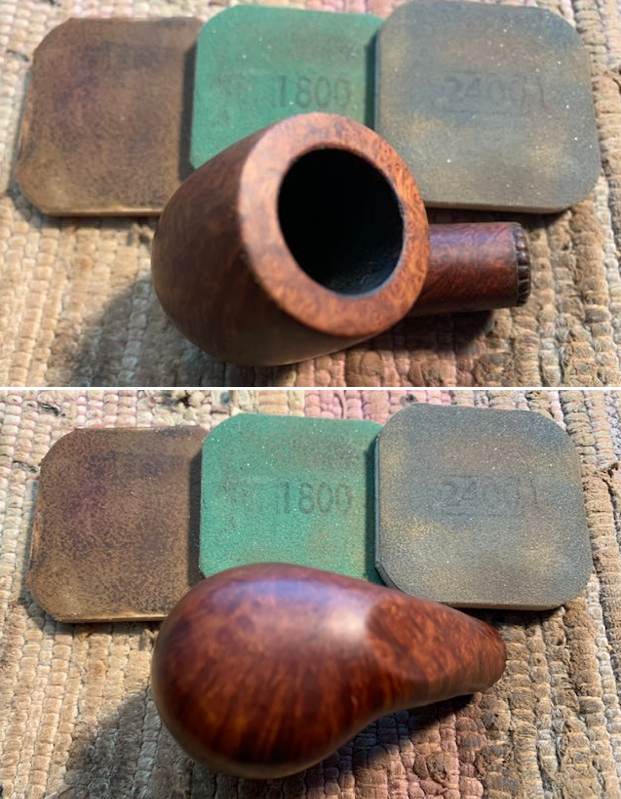
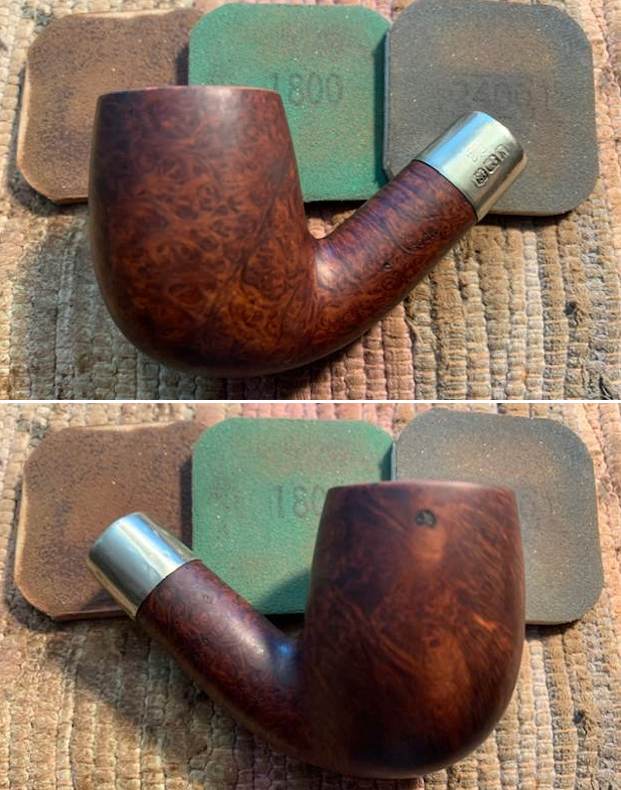
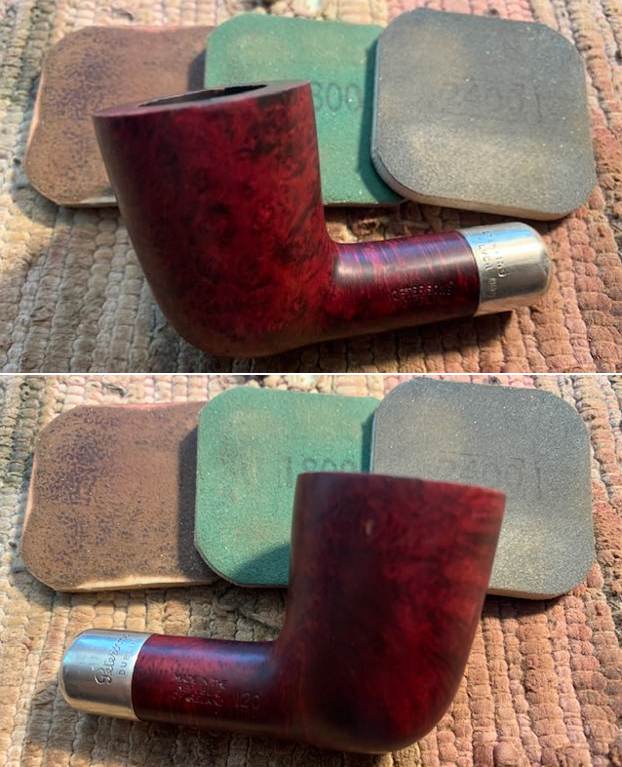
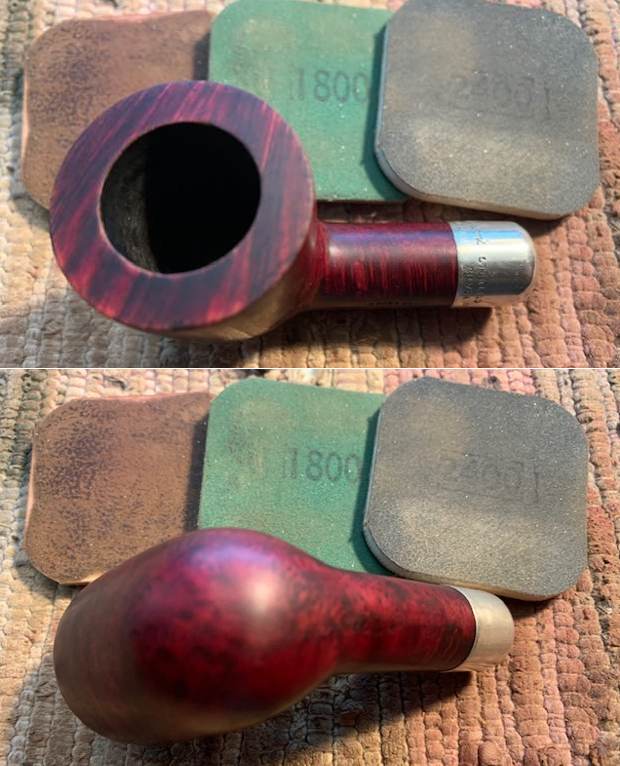
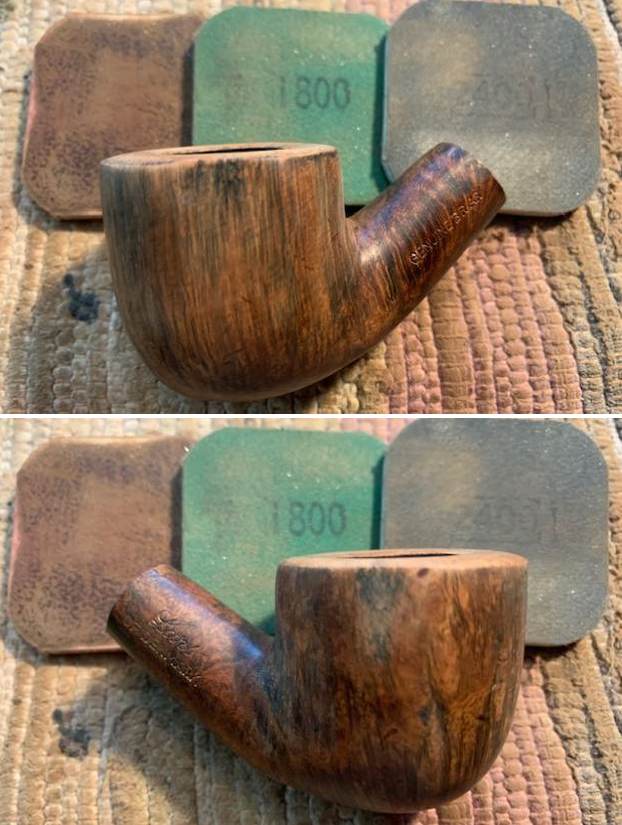
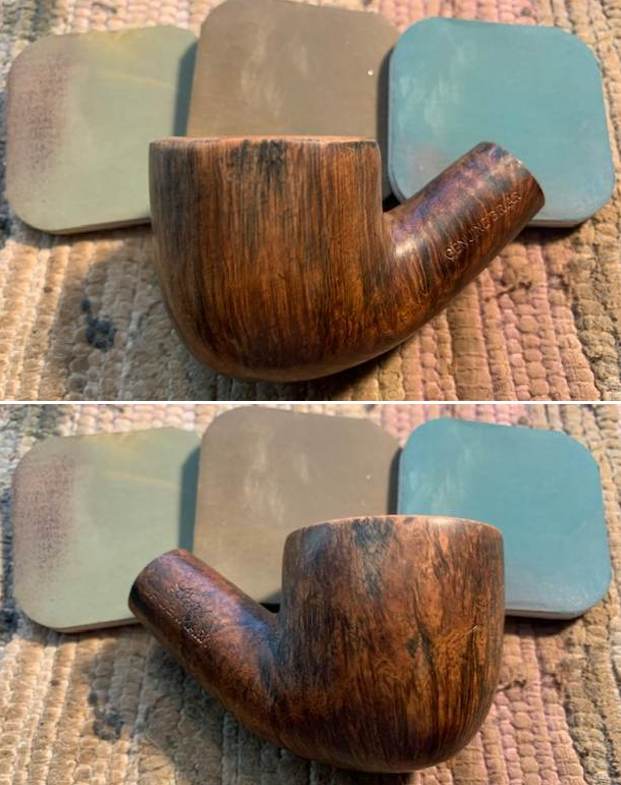
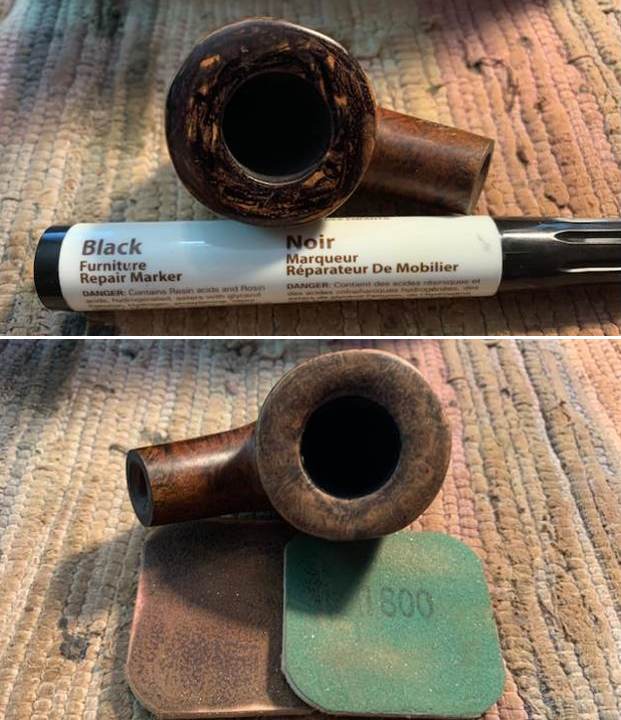
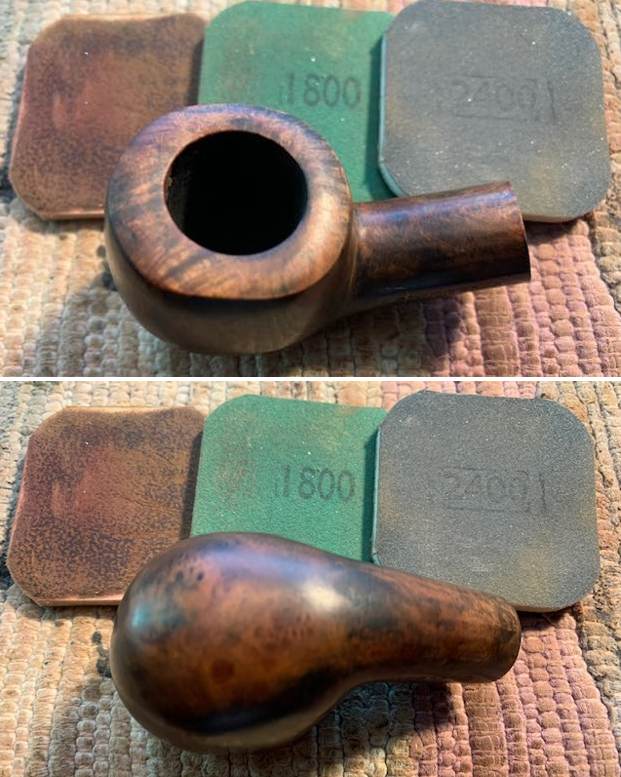
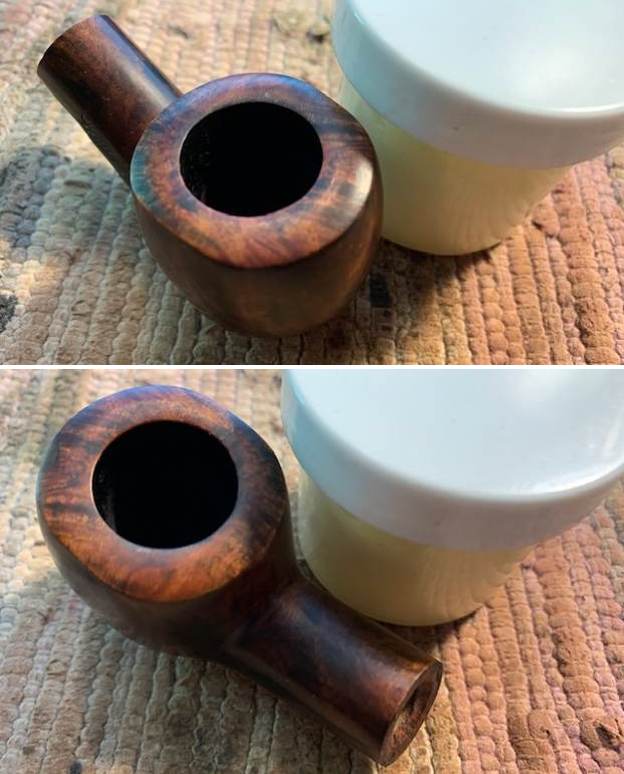
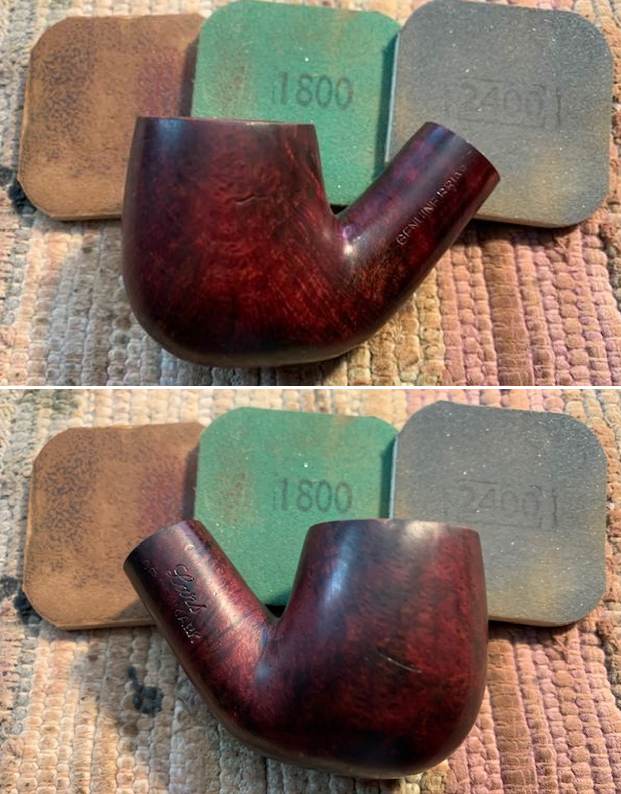
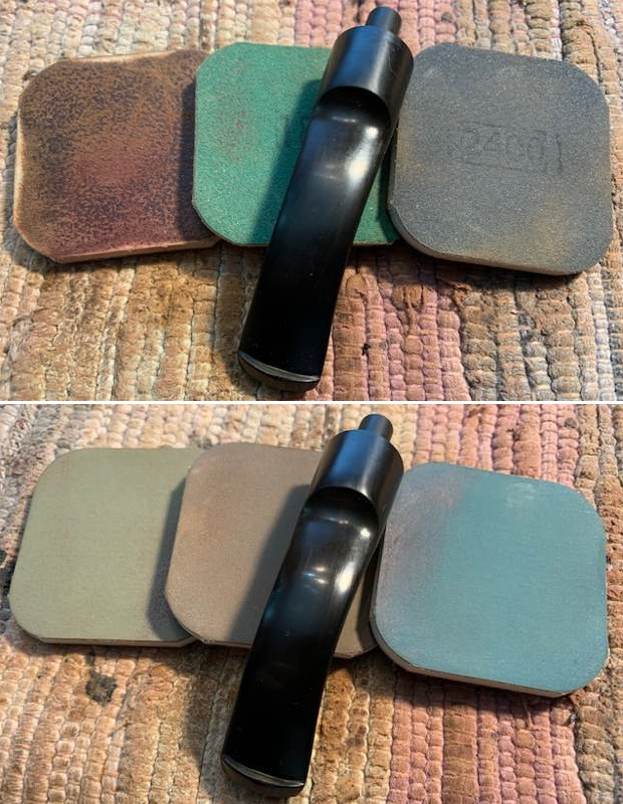
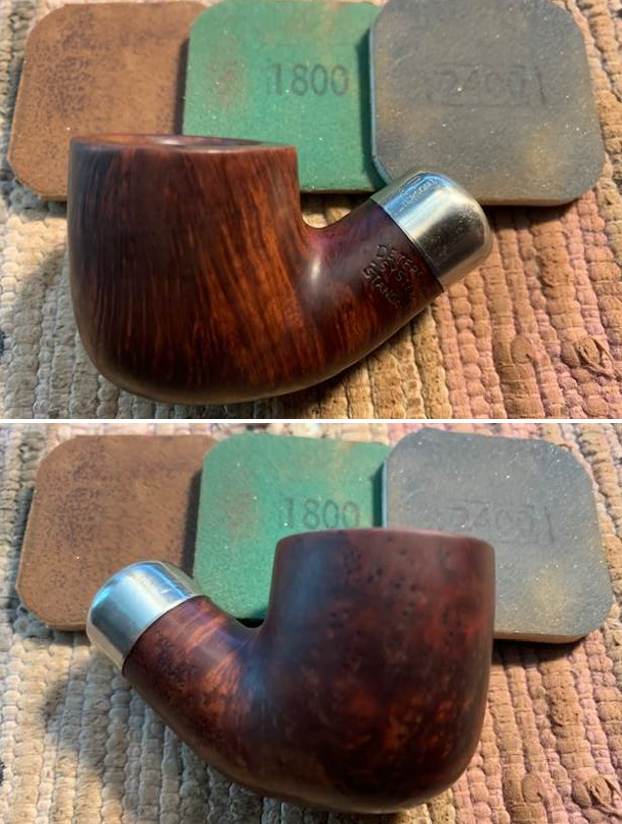
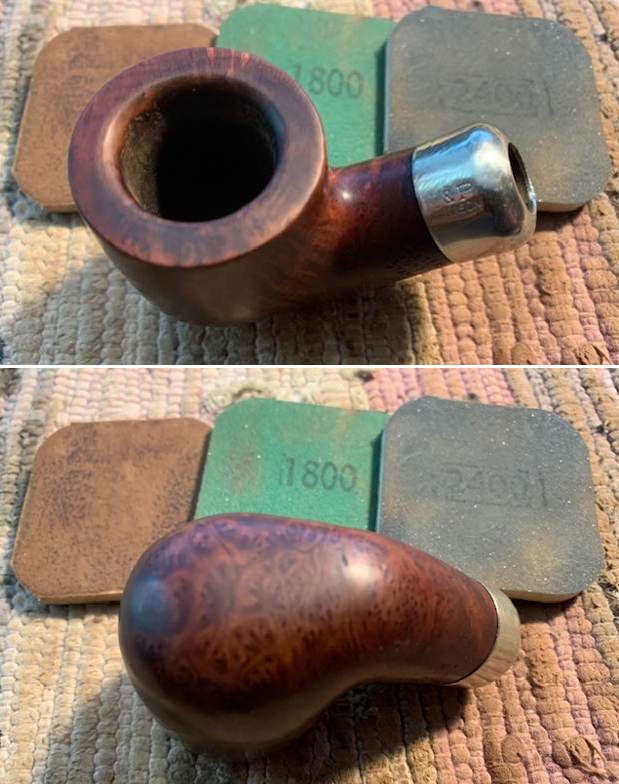
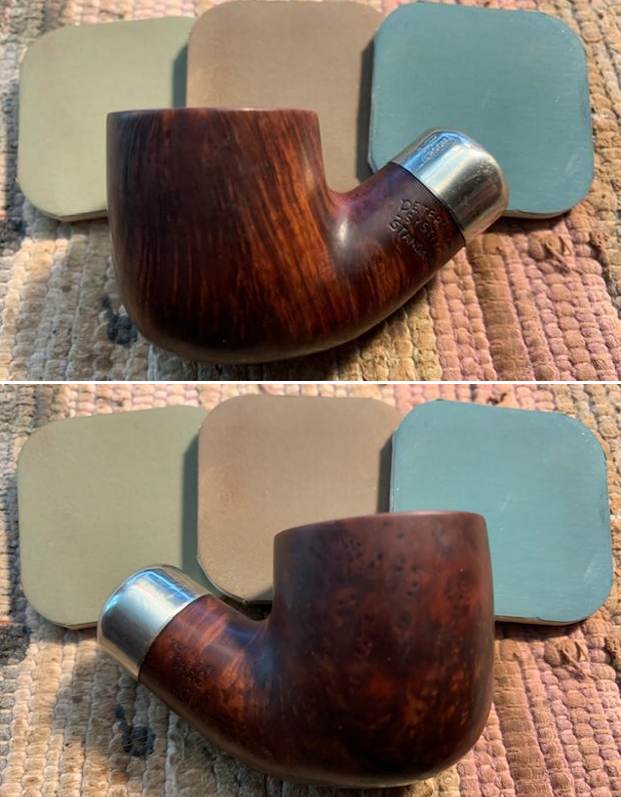
 I polished the briar with micromesh sanding pads – dry sanding with 1500-12000 grit sanding pads. I wiped the bowl down with a damp cloth after each sanding pad.
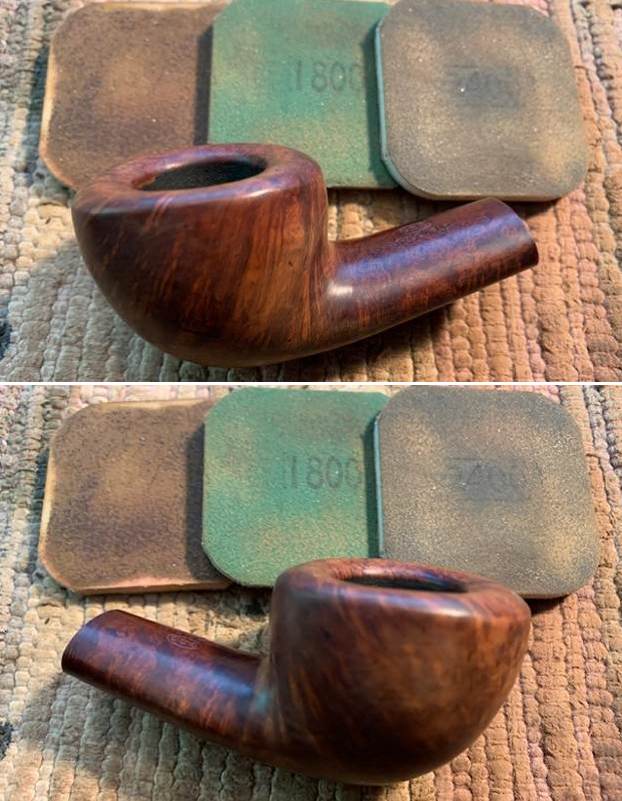


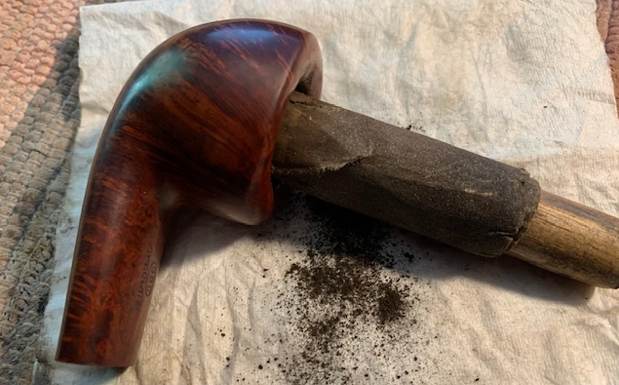
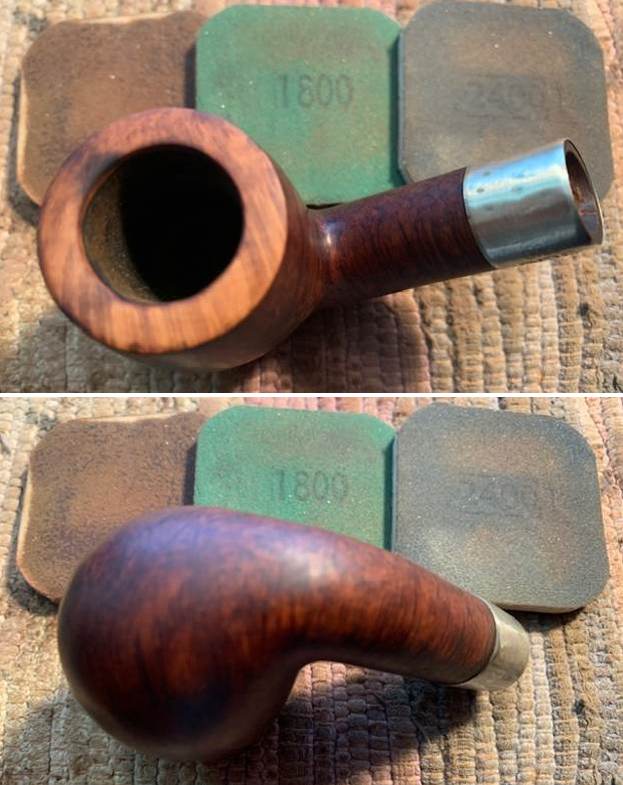
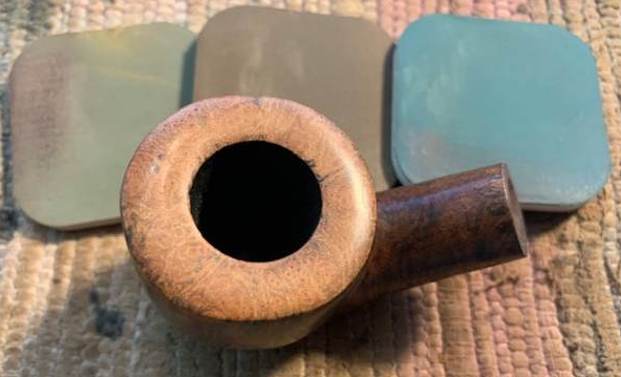
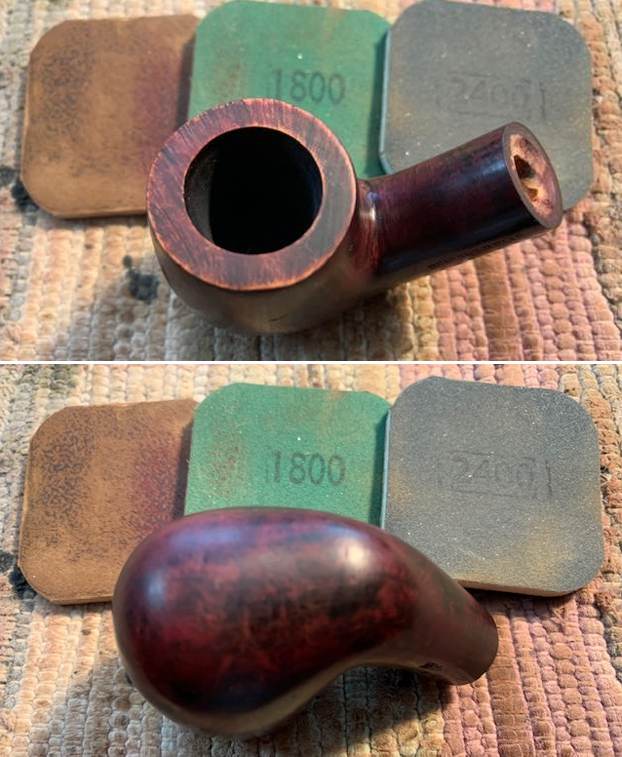
 With the outside polished I decided to clean the insides of the pipe and shank next. I reamed the bowl with the third cutting head of a PipeNet pipe reamer to take the thin cake off the walls of the pipe. I cleaned up the reaming with a Savinelli Fitsall Pipe Knife. I polished the walls of the bowl with 220 grit sandpaper wrapped around a piece of dowel.
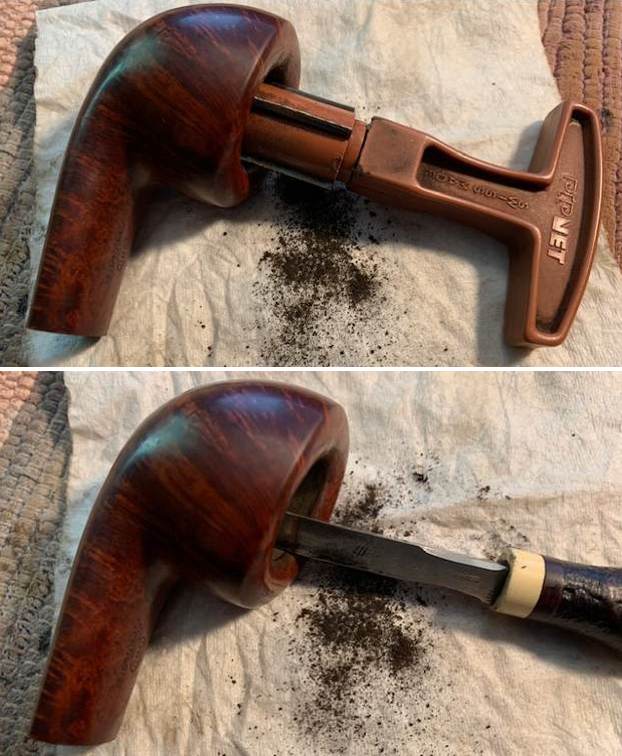
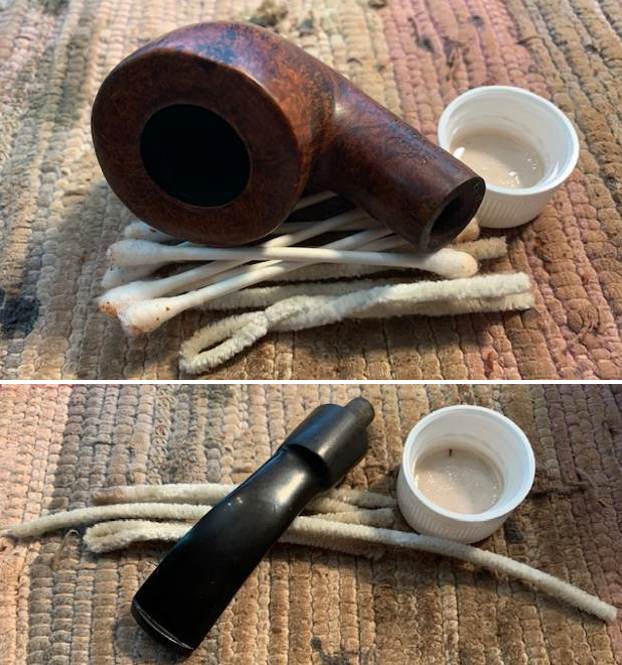
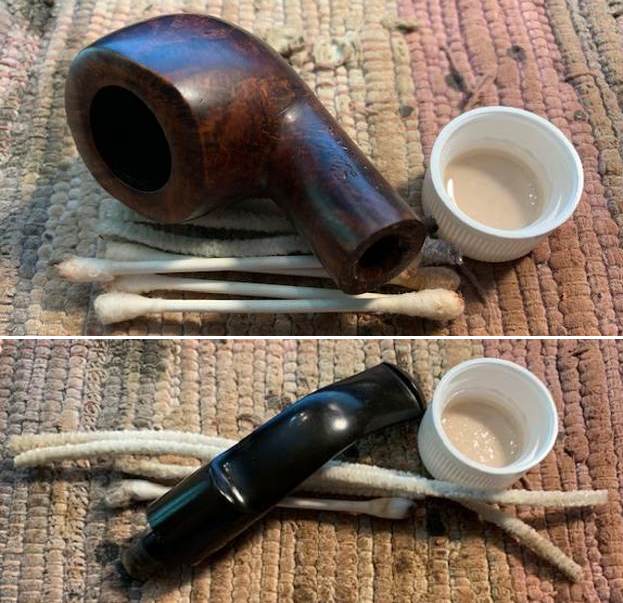
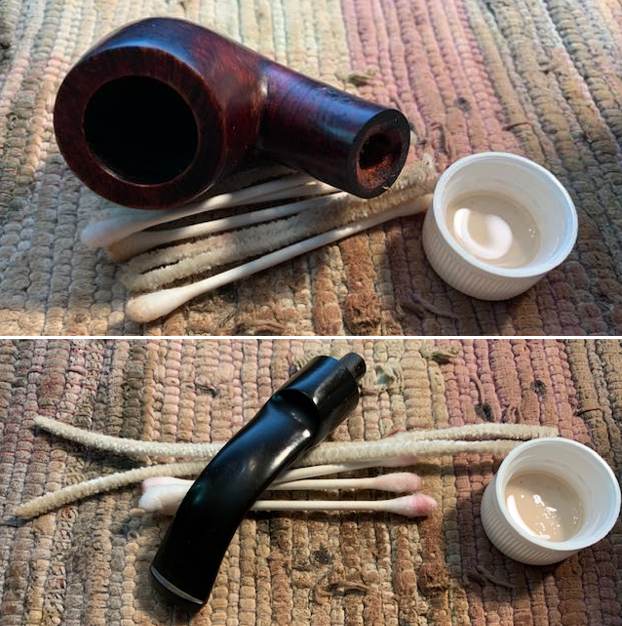
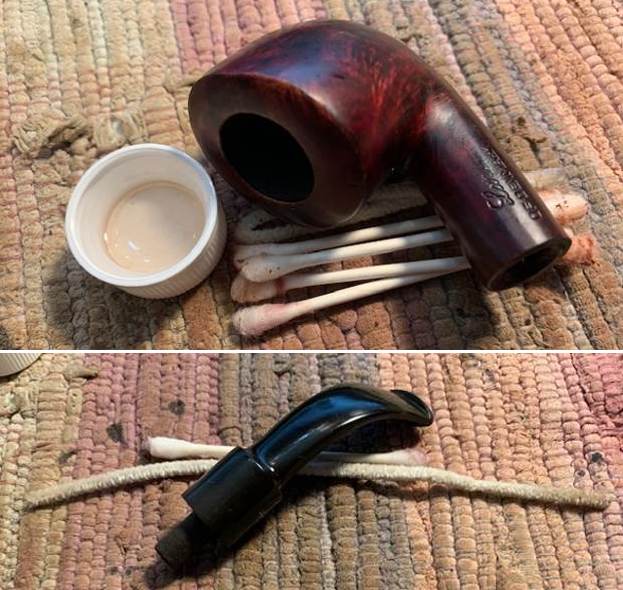
 I scraped the inside of the shank with a small pen knife to remove the tars and oils that had built up on the walls of the pipe. I scrubbed the shank with pipe cleaners, cotton swabs and isopropyl alcohol and worked on it until the shank was clean. I cleaned out the slot in the button and the airway in the stem with pipe cleaners and alcohol. It was quite dirty but with the scrubbing it was very clean.
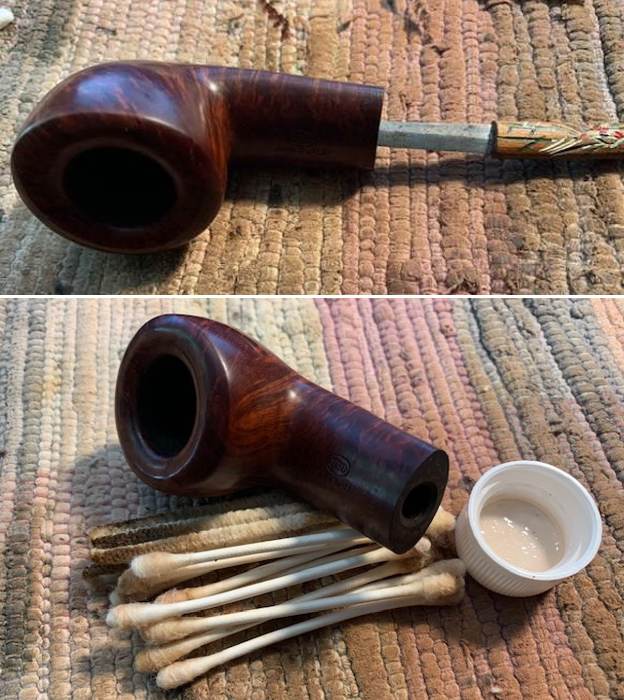
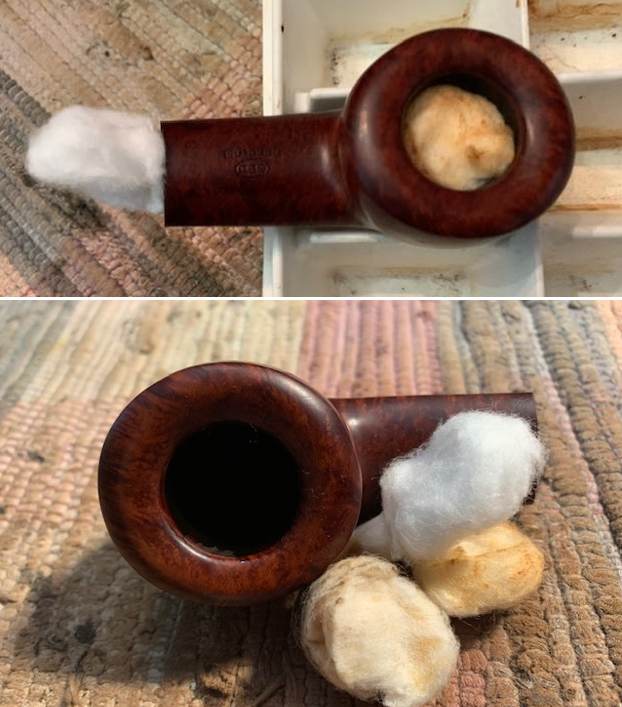
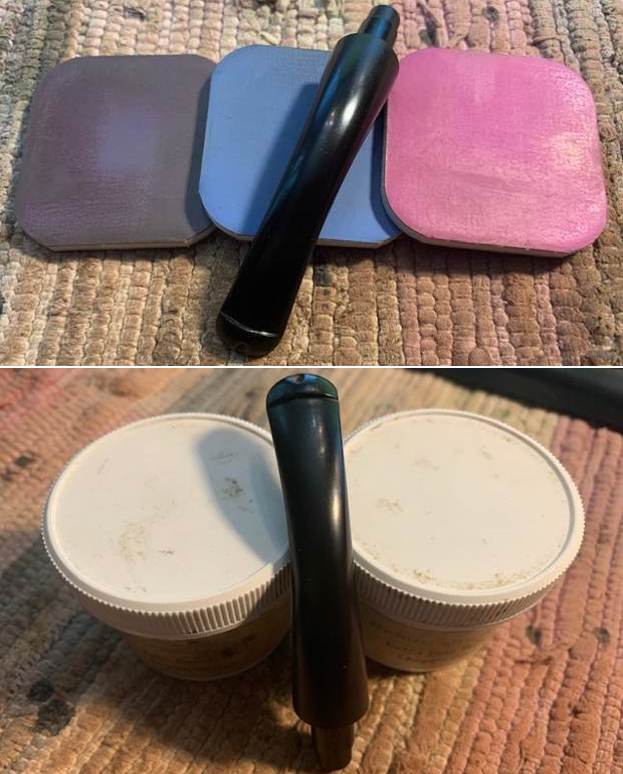
 I decided to de-ghost the bowl with alcohol and cotton pads. I stuffed the bowl with cotton pads and twisted one up to insert in the shank. Once those were in place I used an ear syringe to fill the bowl with isopropyl alcohol. I set the bowl in an old ice cube tray to hold the bowl upright. I set it aside until the morning. At that time the cotton was very dirty with tars and oils both on the twisted cotton in the shank and the bolls stuffed in the bowl. I cleaned out the shank and mortise with alcohol to remove any debris. The pipe smelled much better.
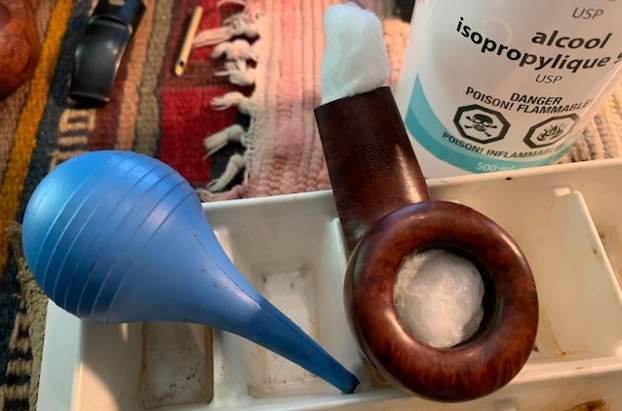
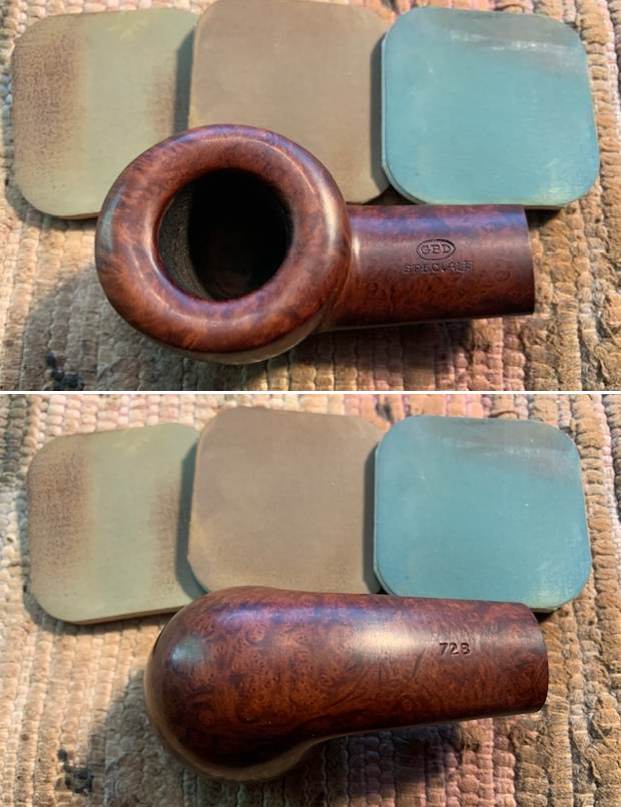
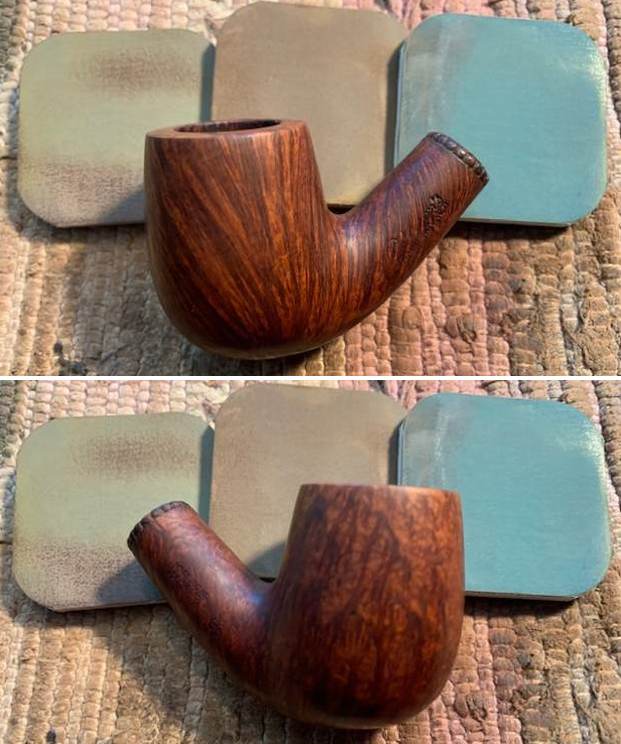
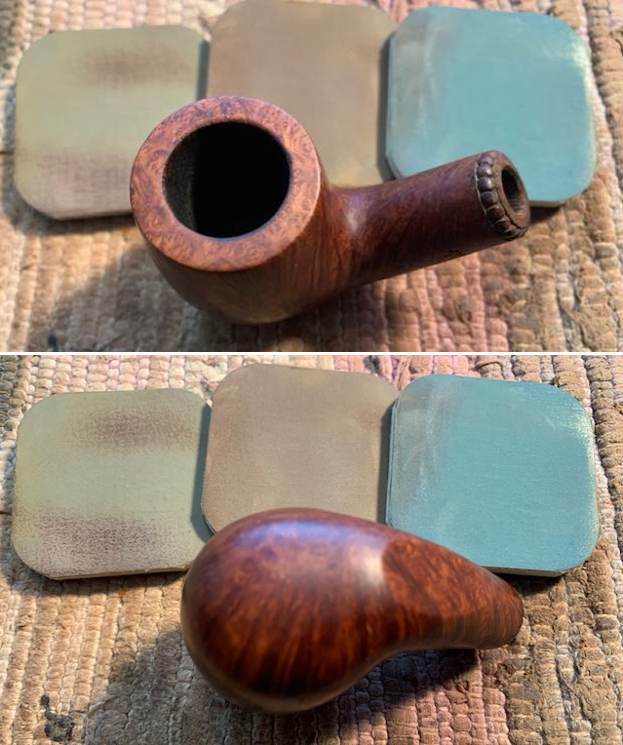
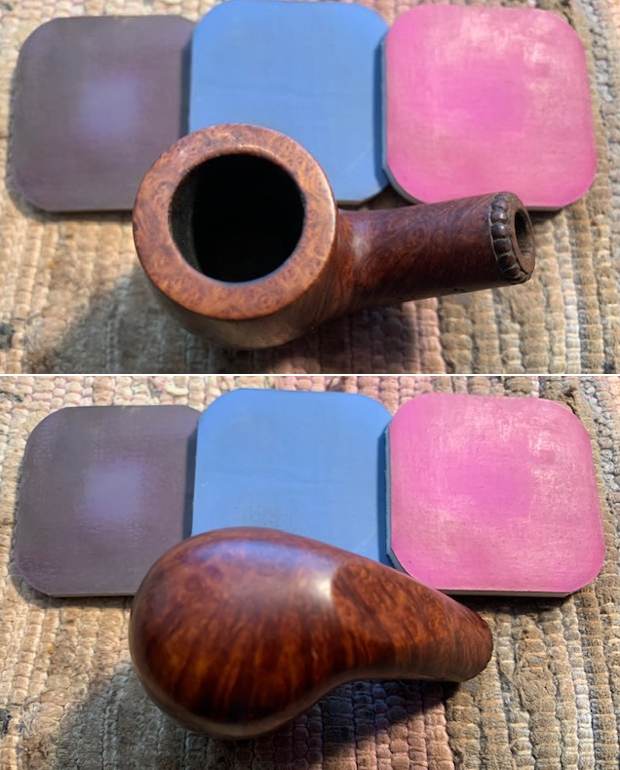
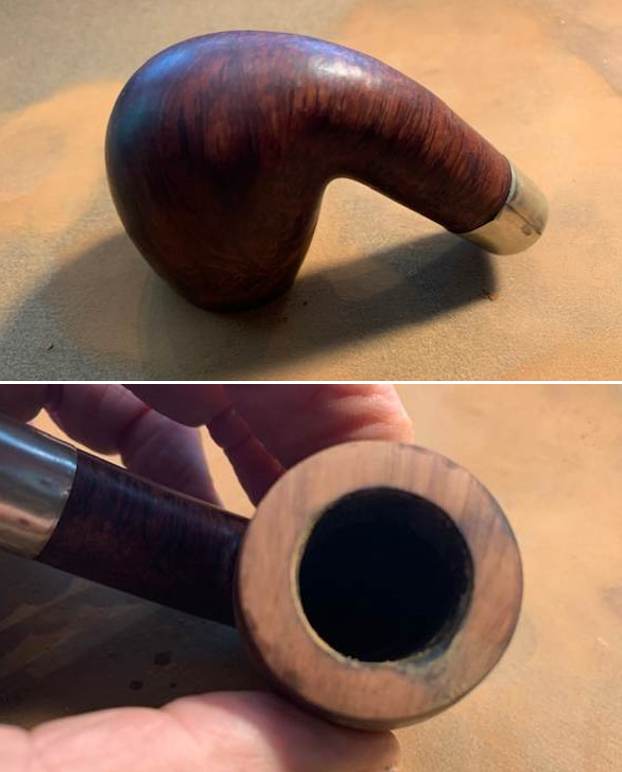
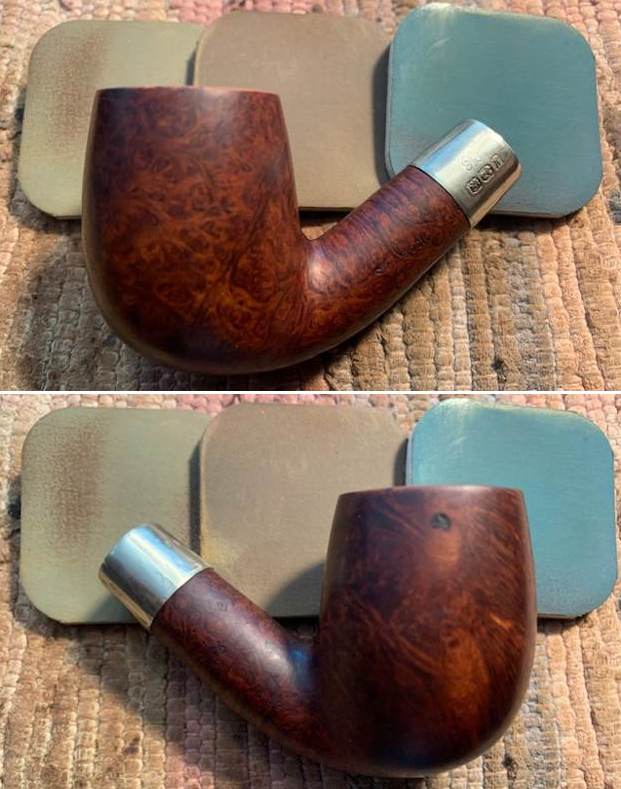
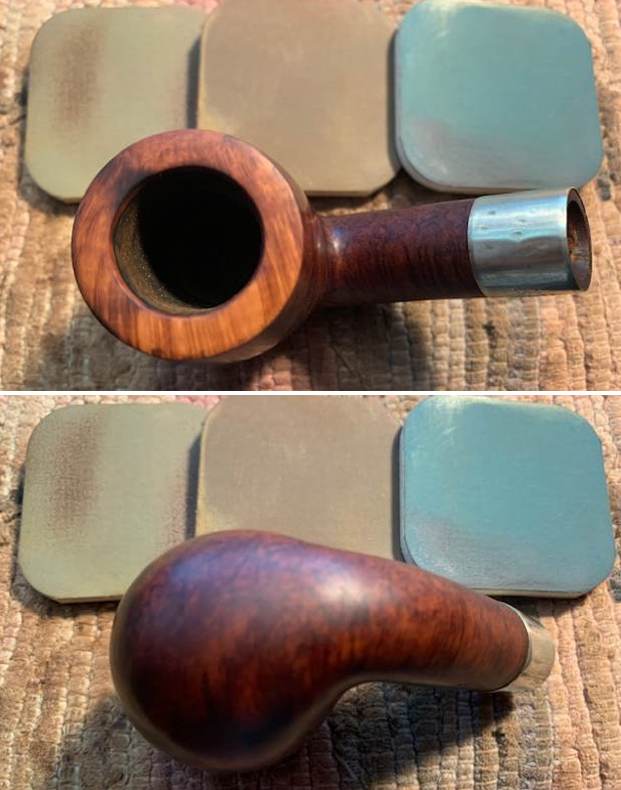
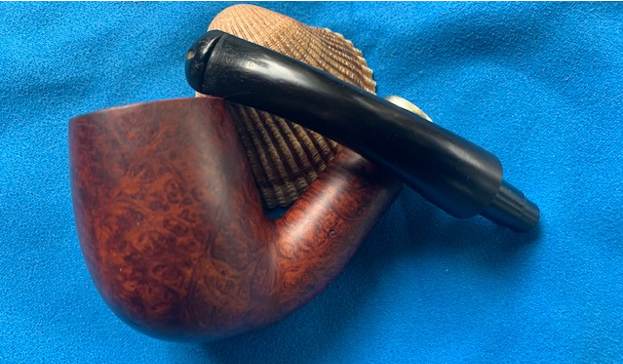
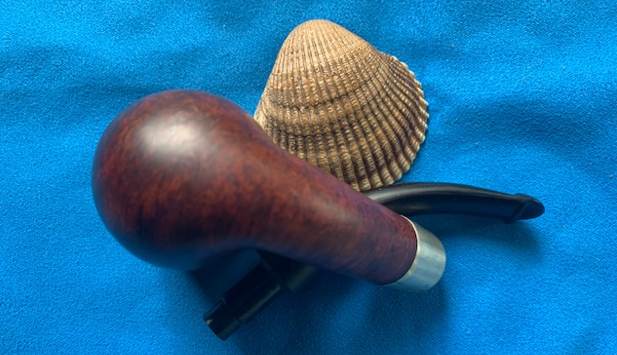
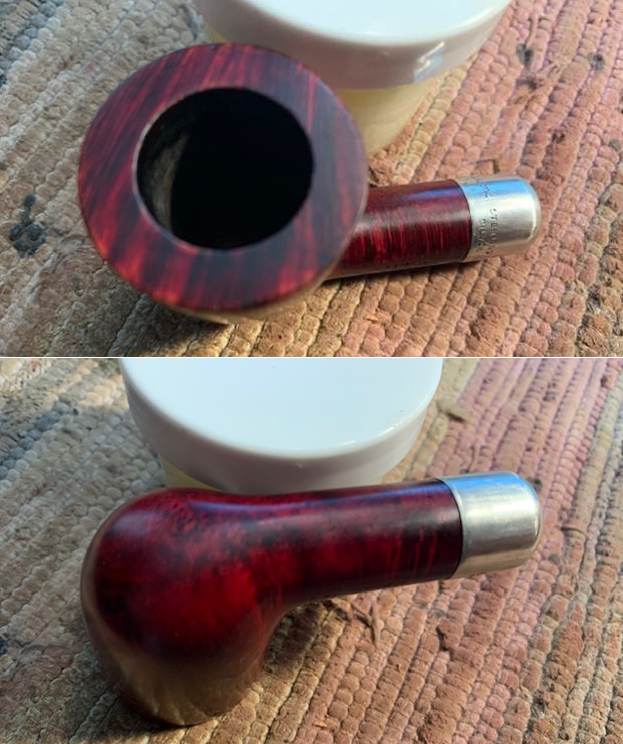
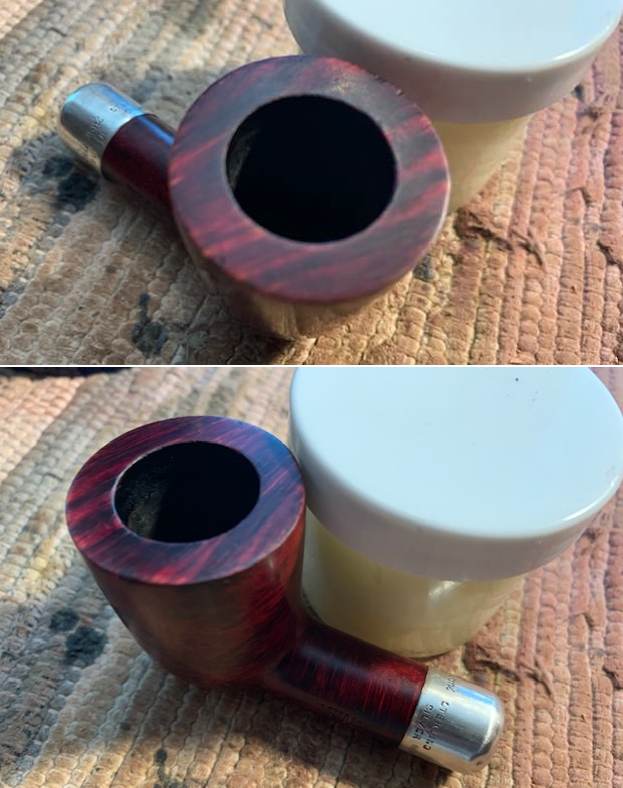
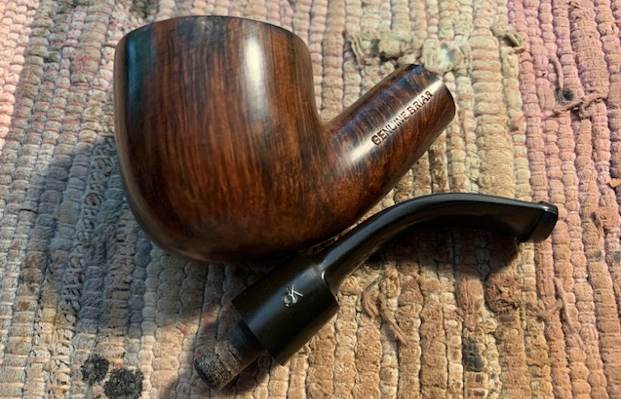
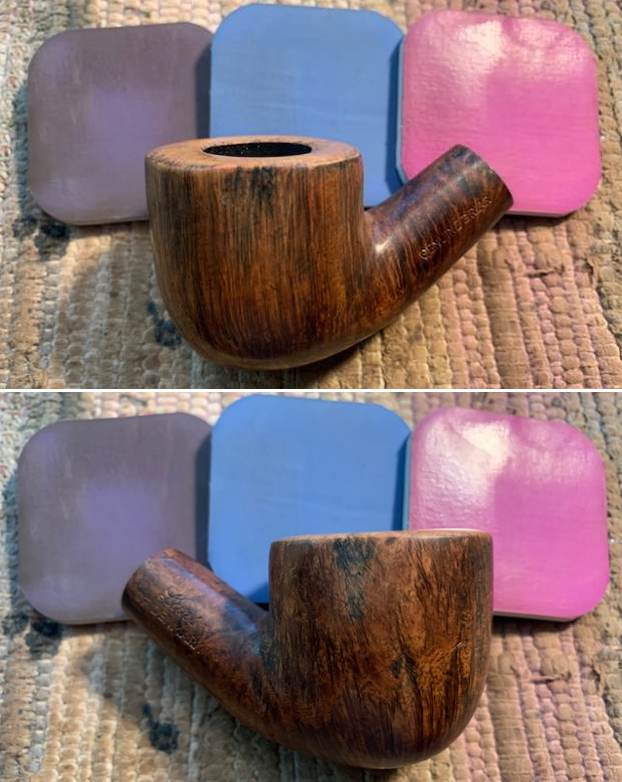
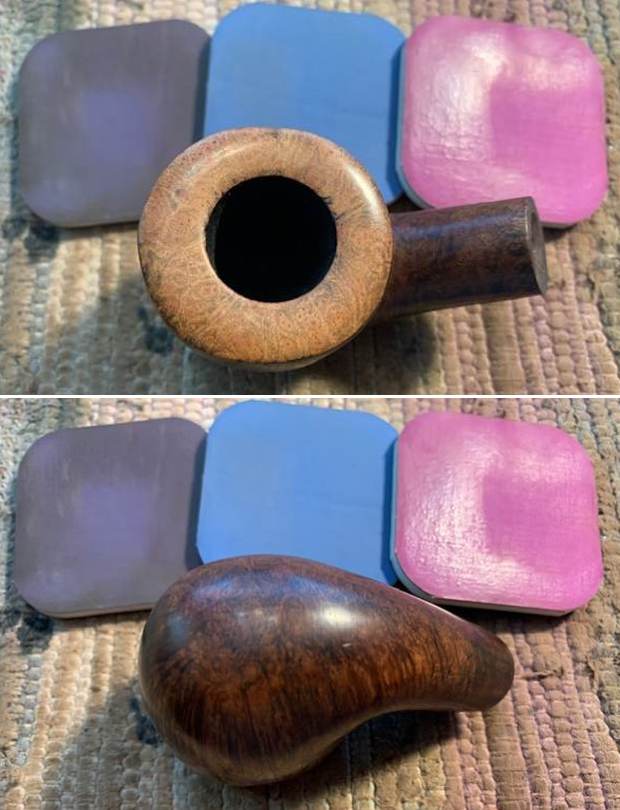
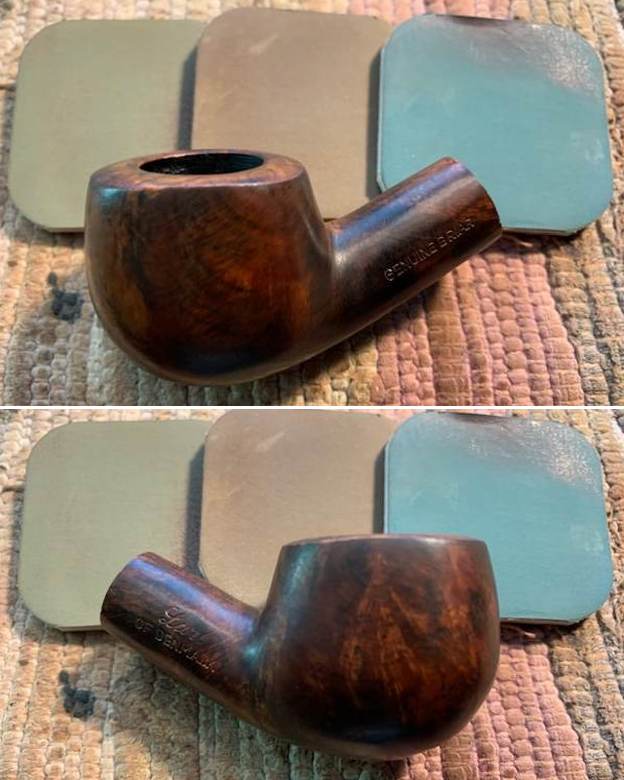
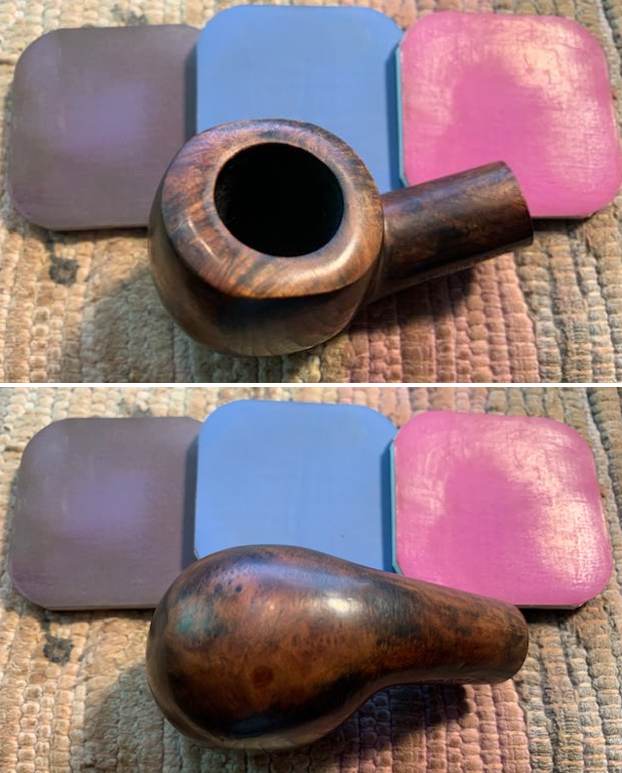
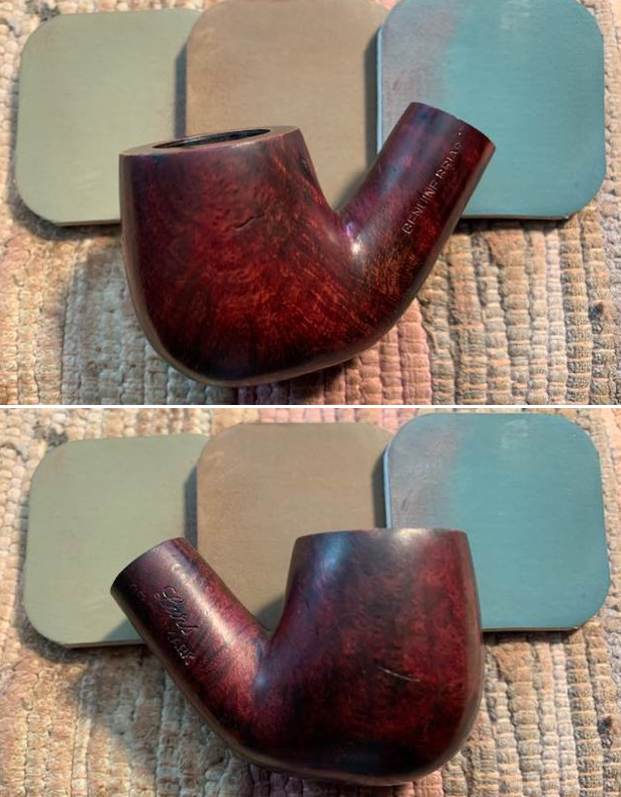
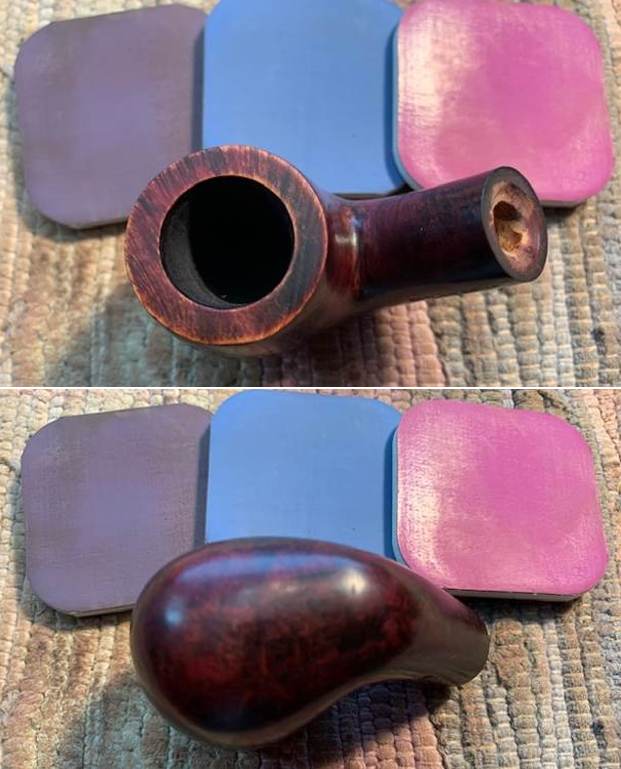
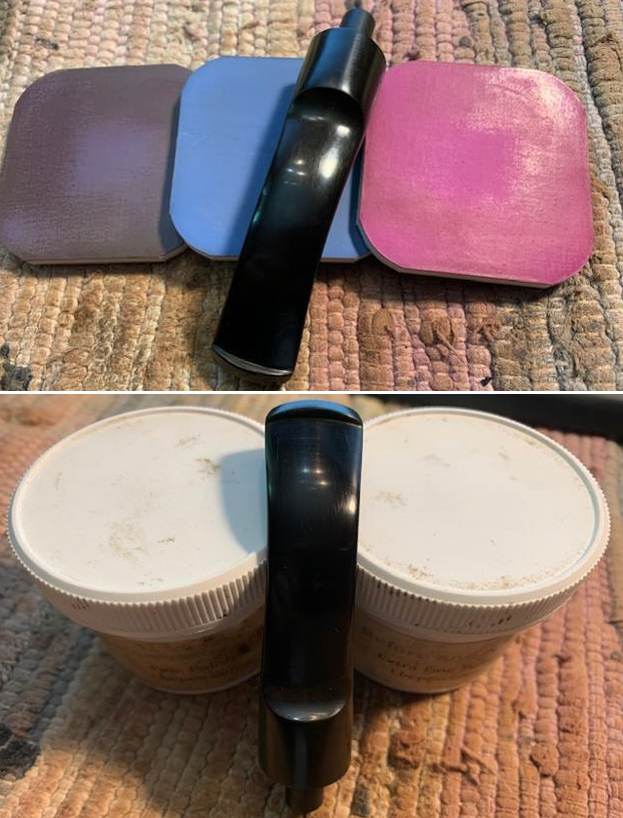
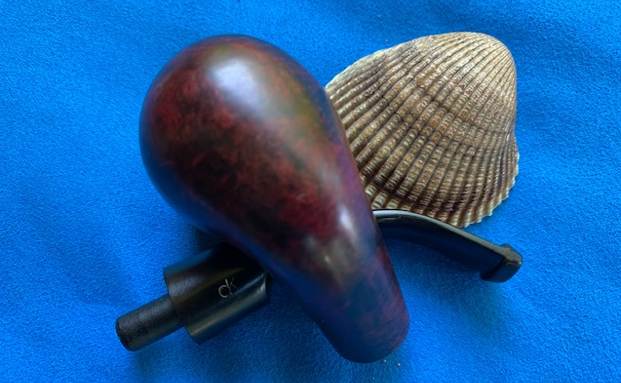
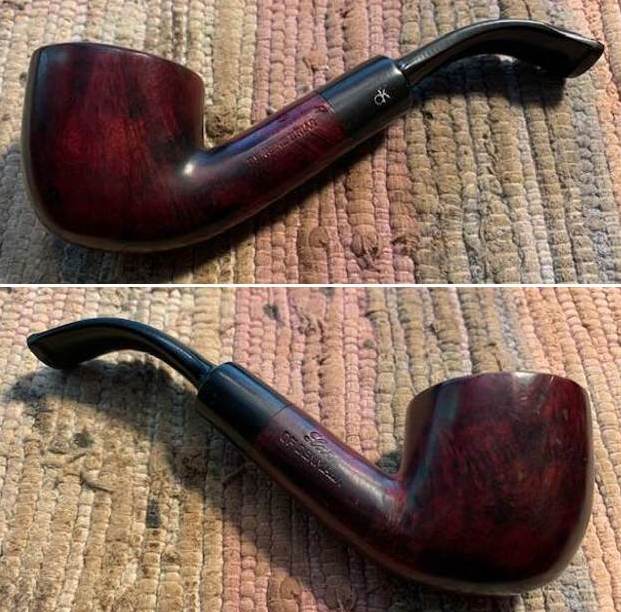
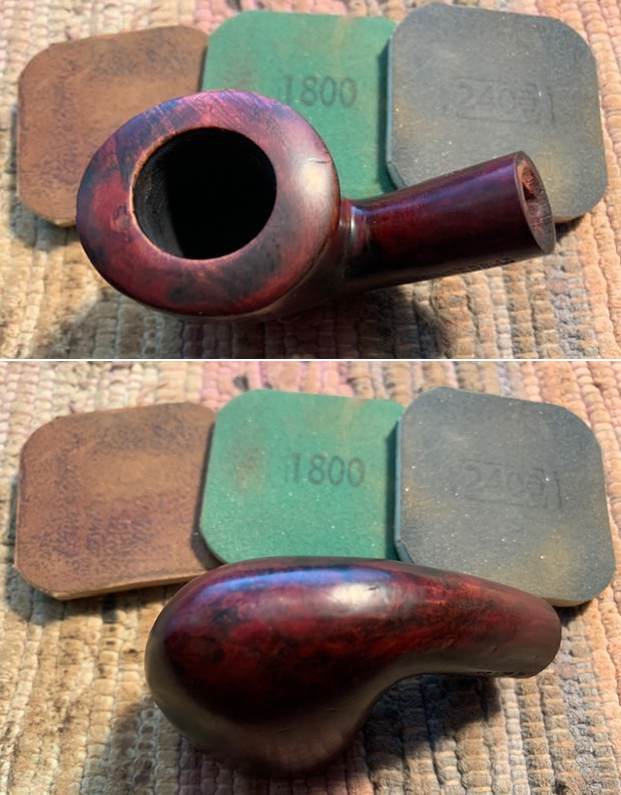
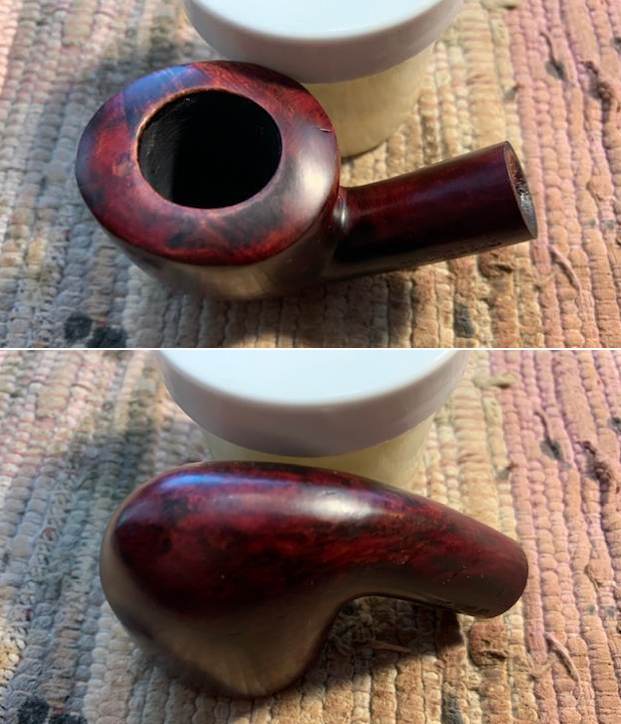
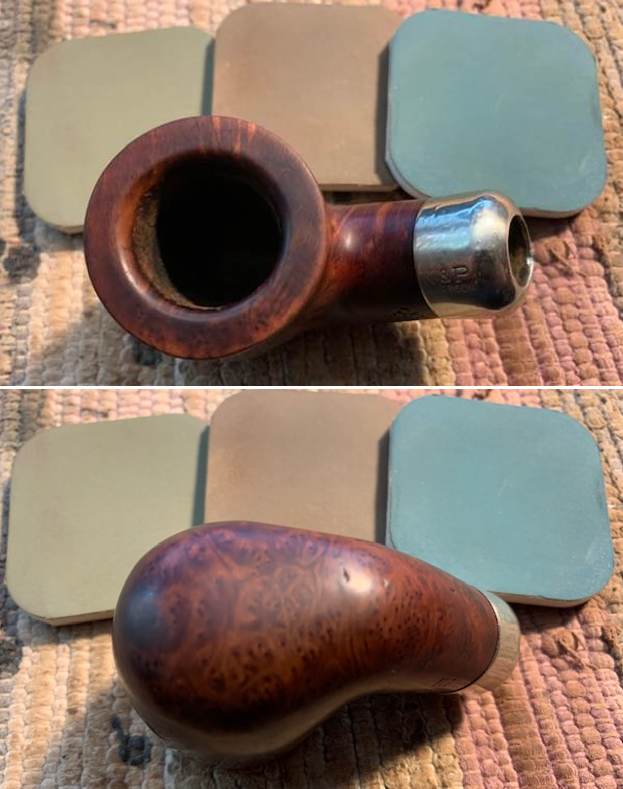
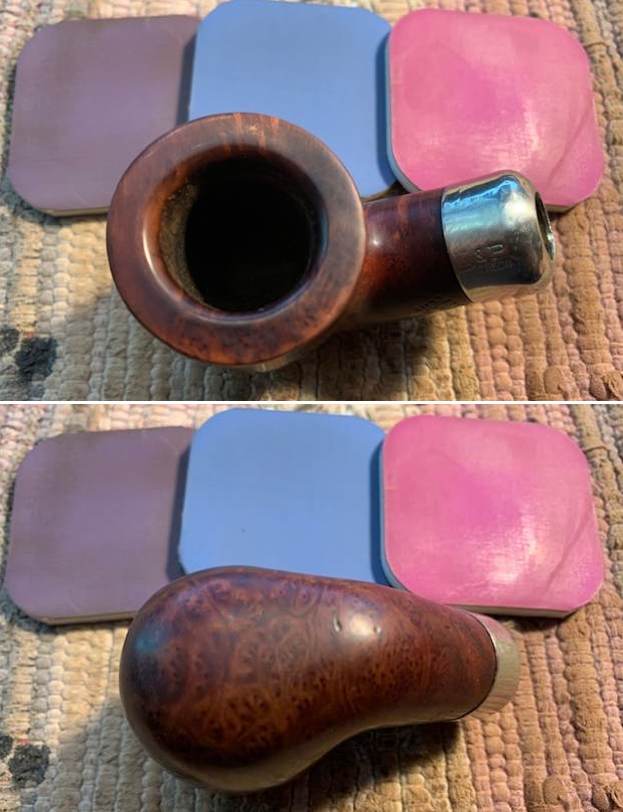
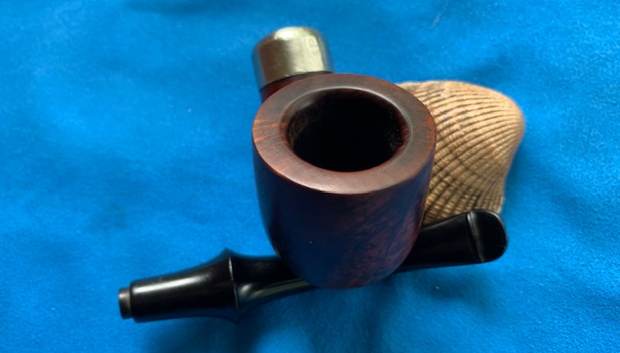
 I worked some Before & After Restoration Balm into the surface of the briar with my fingertips to clean, enliven and protect the briar. I let the balm sit for 15 minutes and then buffed with a cotton cloth to raise the shine. The photos show the bowl at this point in the restoration process.
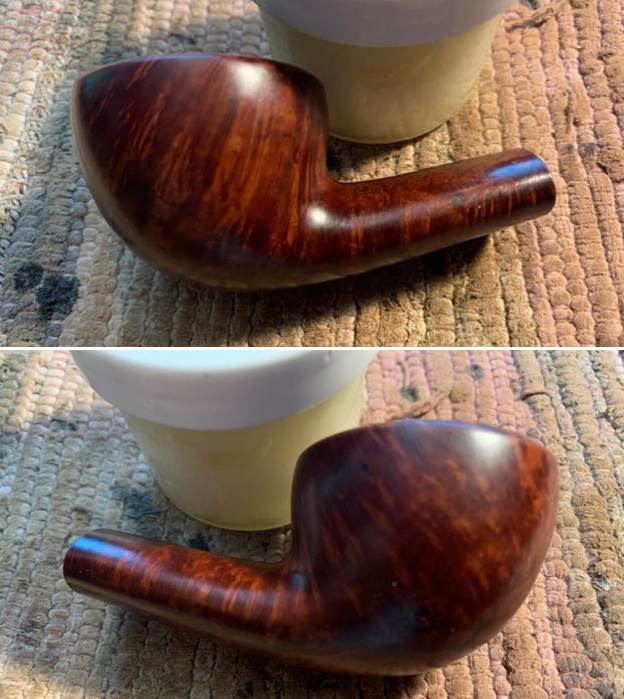
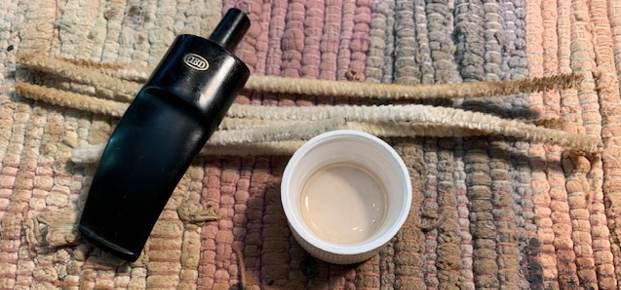
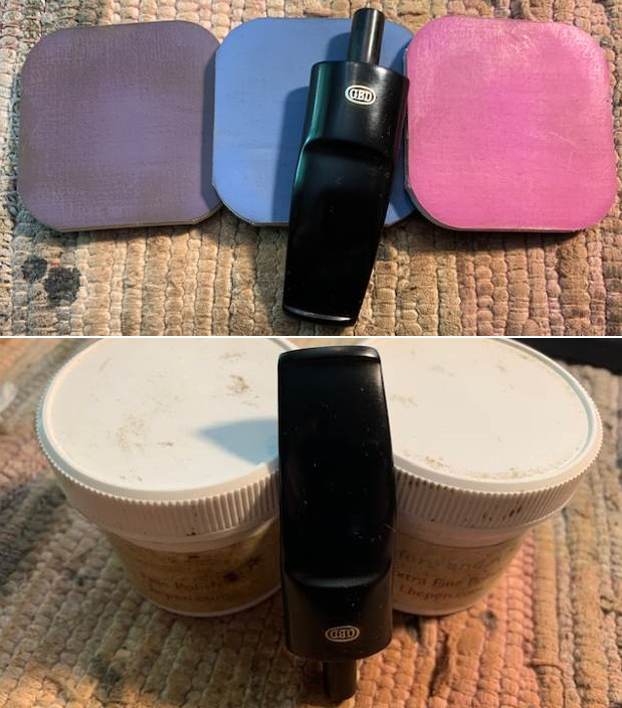
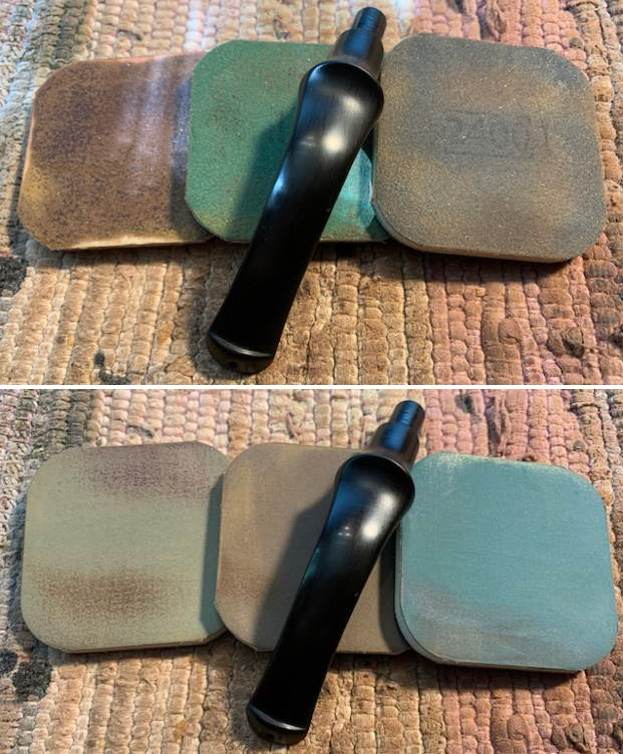
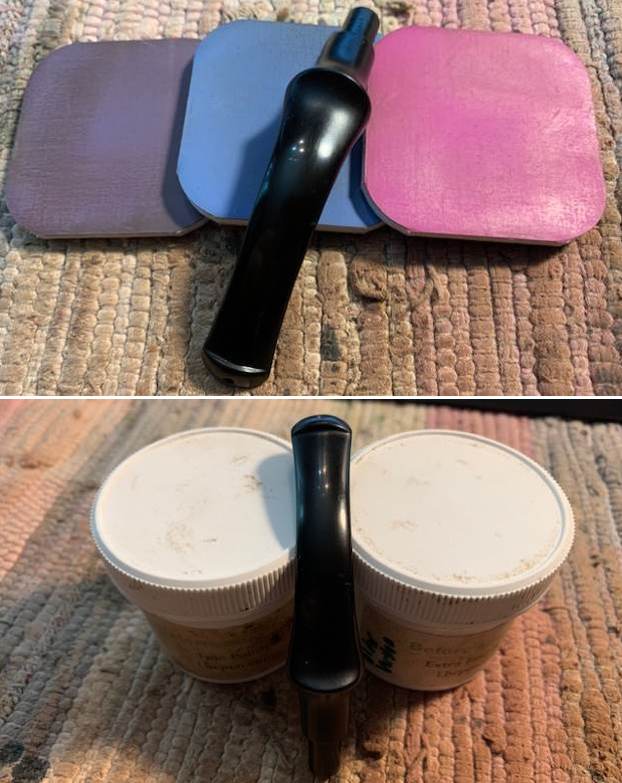
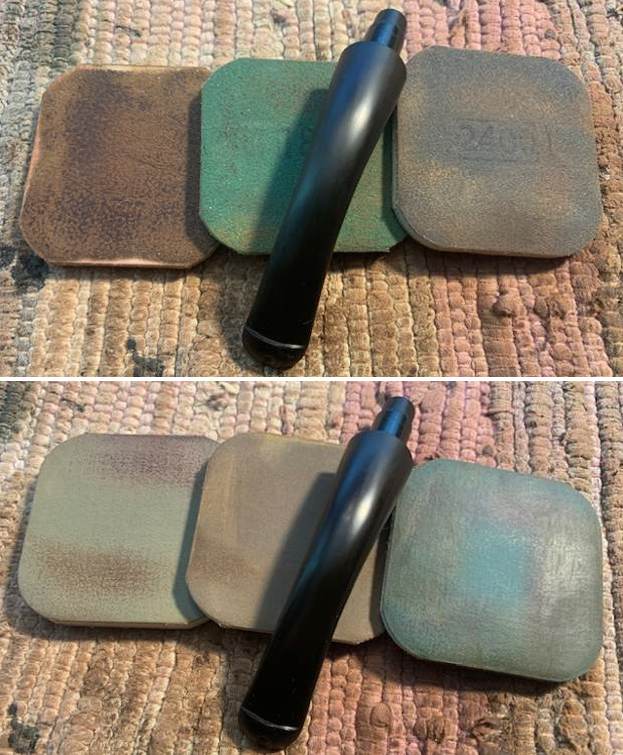
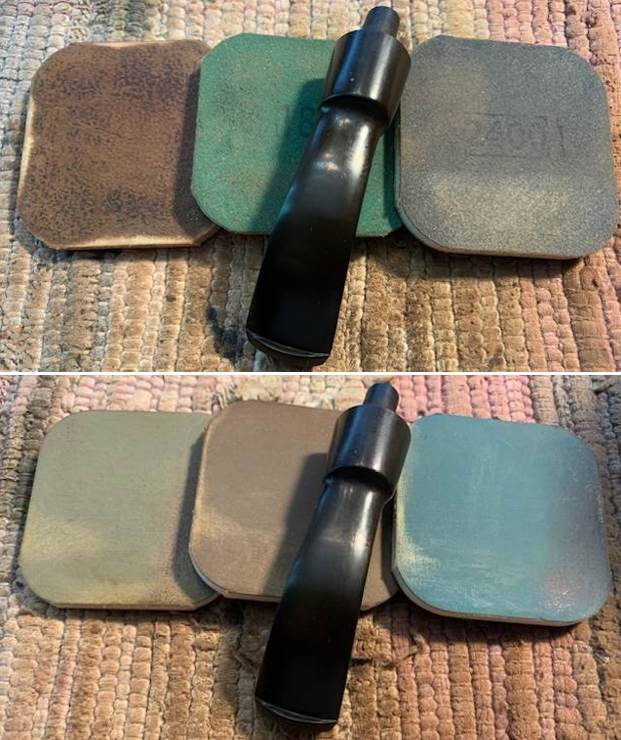
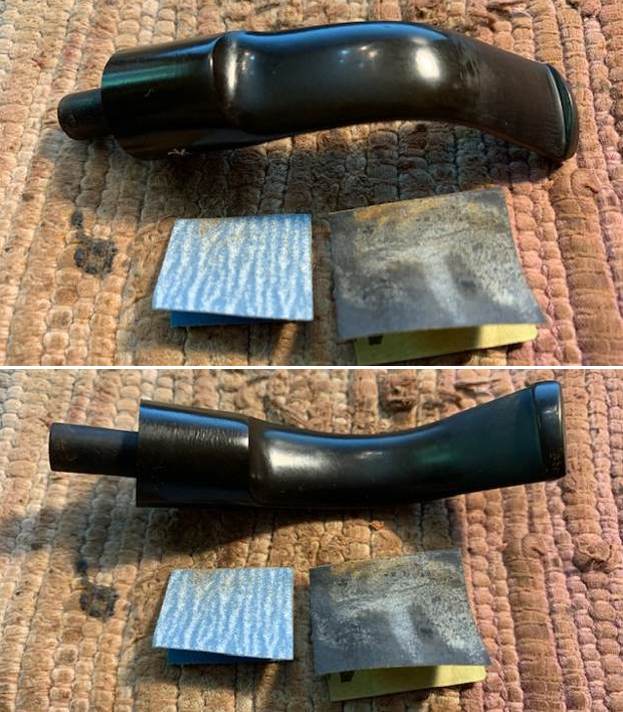
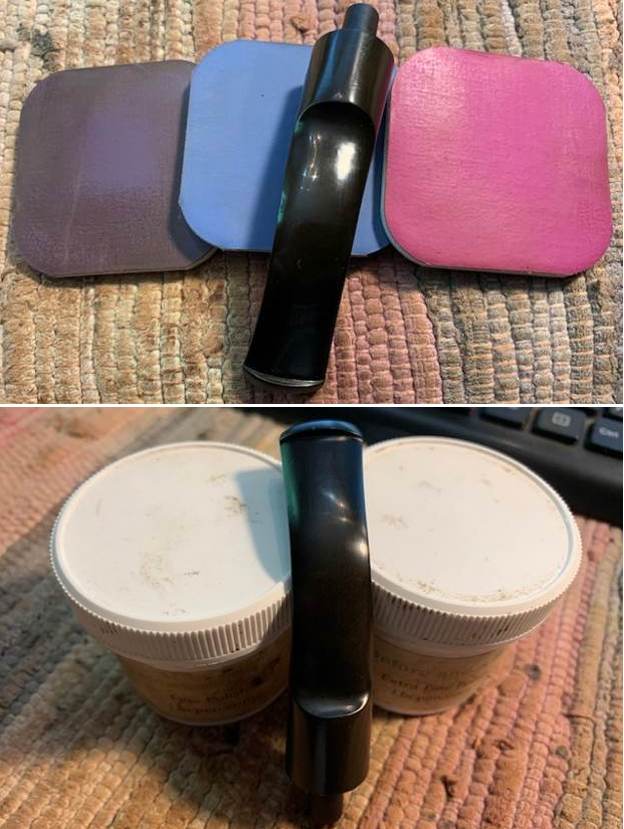
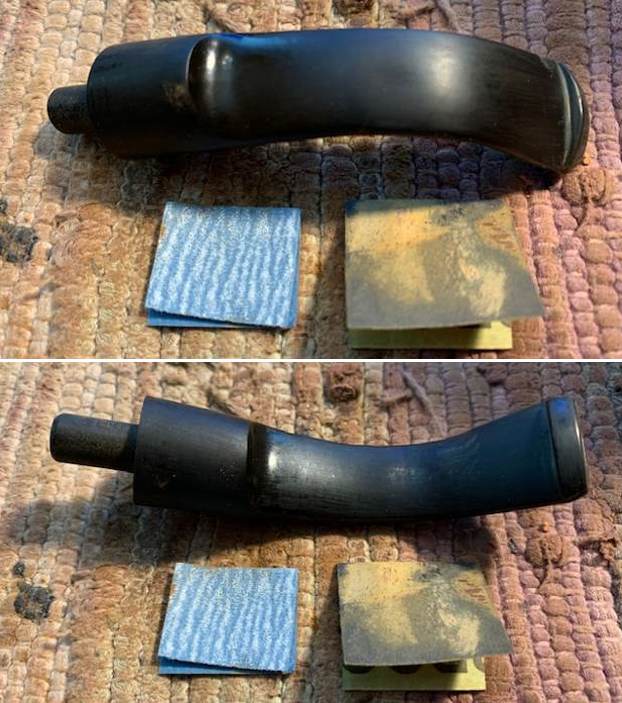
 I set the bowl aside and turned my attention to the stem. I polished the scratches and tooth chatter out of the stem with micromesh sanding pads – wet sanding with 1500-12000 grit sanding pads. I wiped it down after each sanding pad with Obsidian Oil. I polished it with Before & After Pipe Stem Polish – both Fine and Extra Fine.
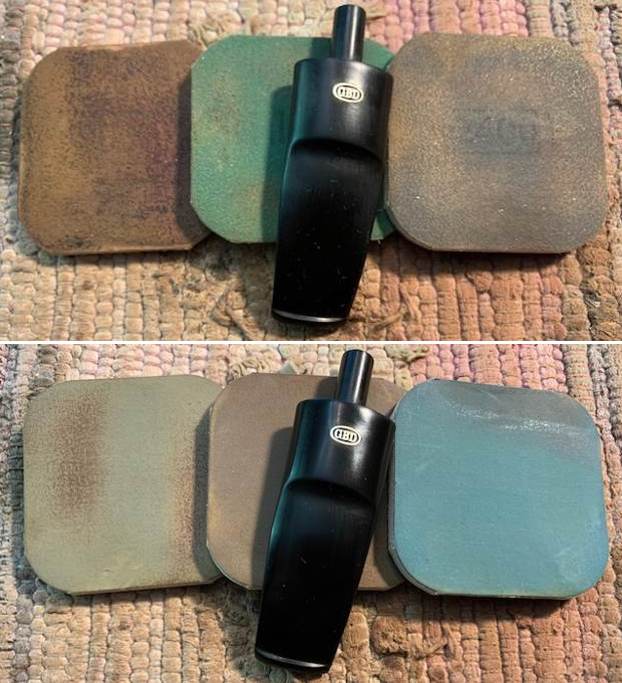
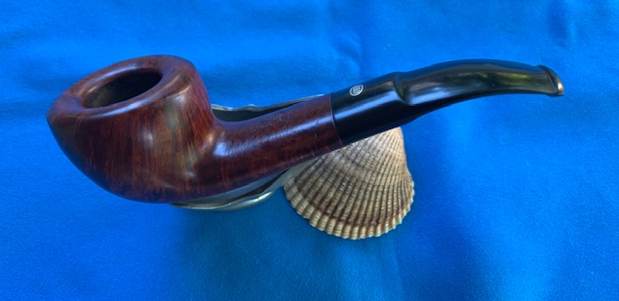
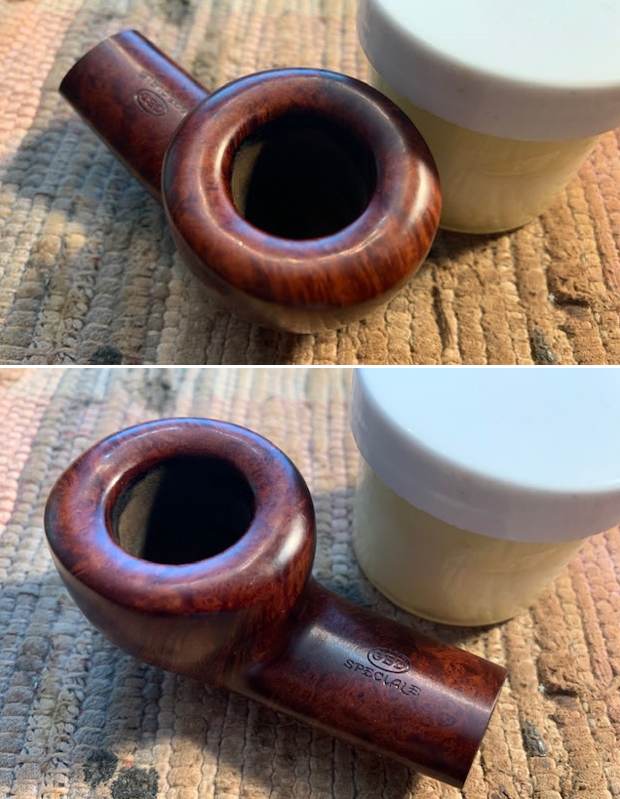
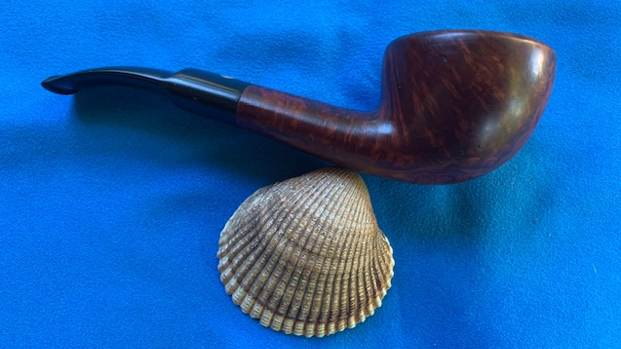
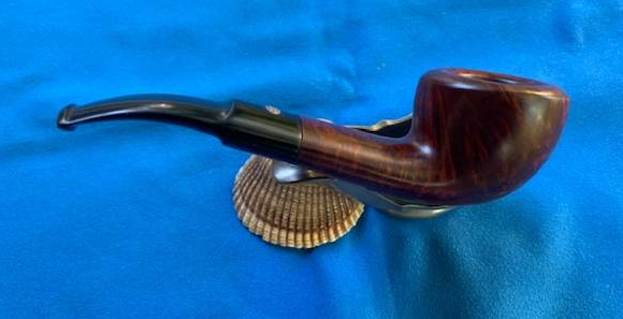
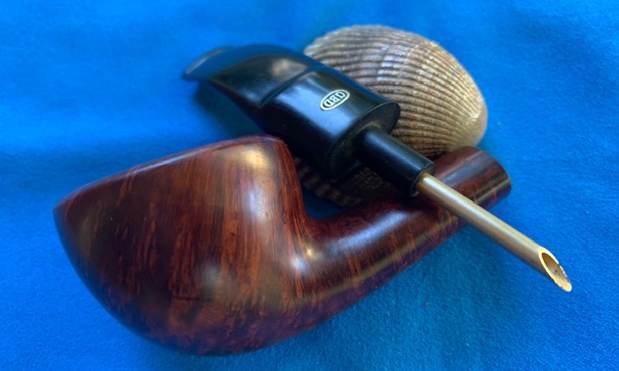
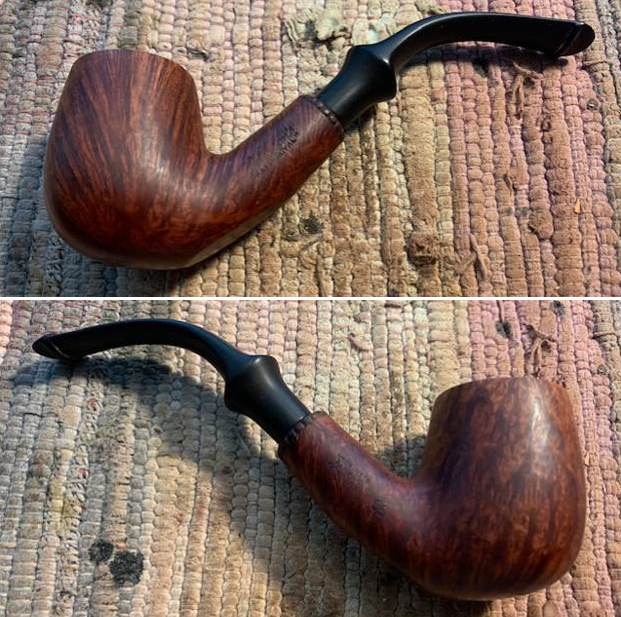
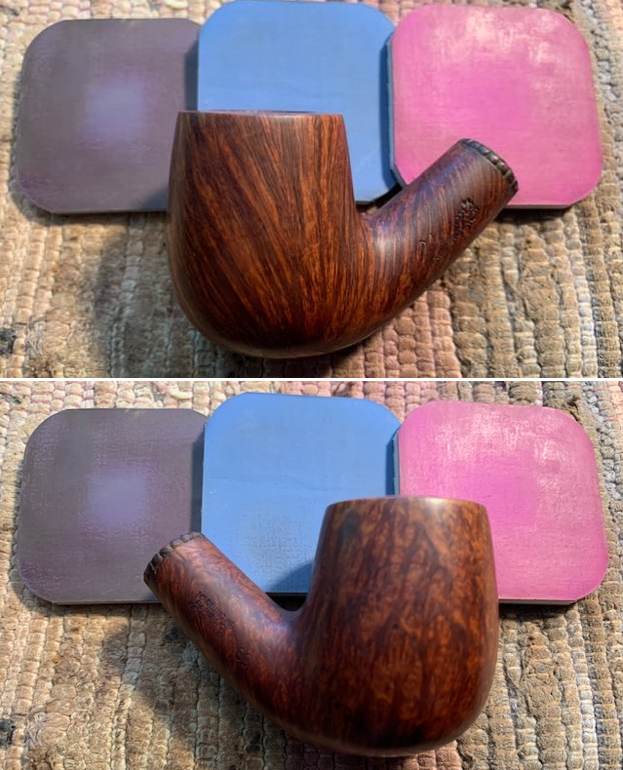
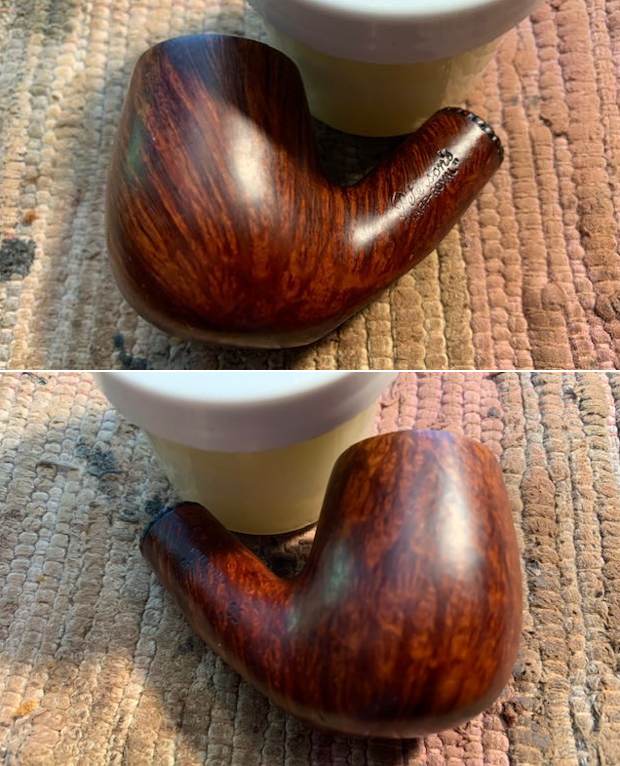
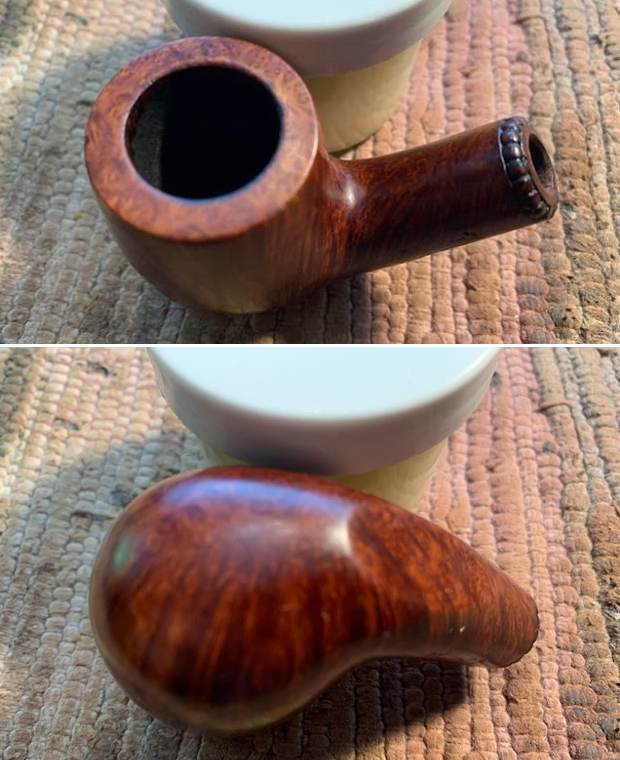
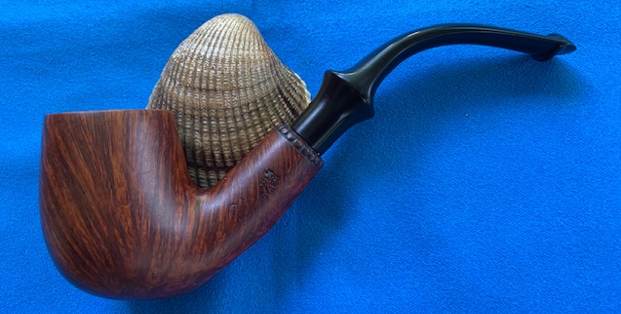
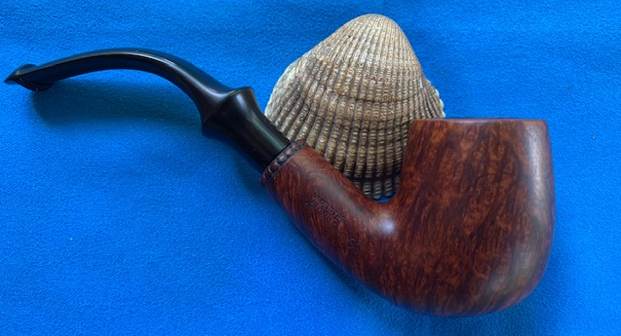
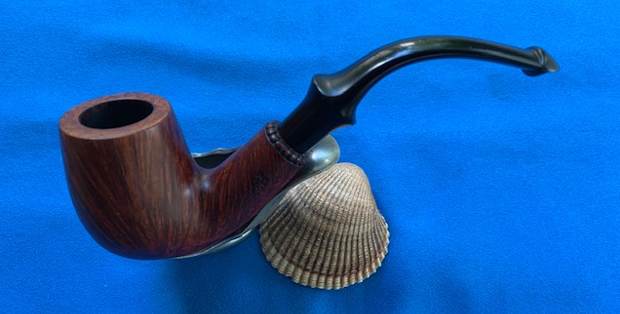
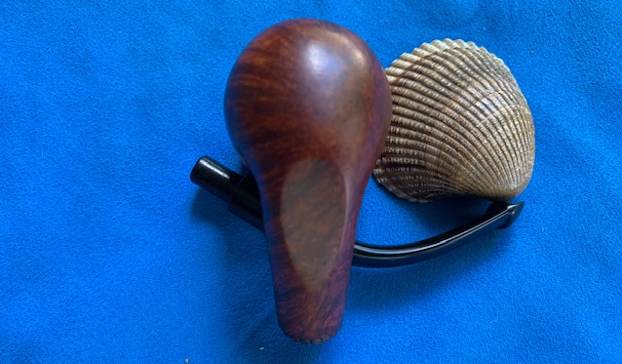
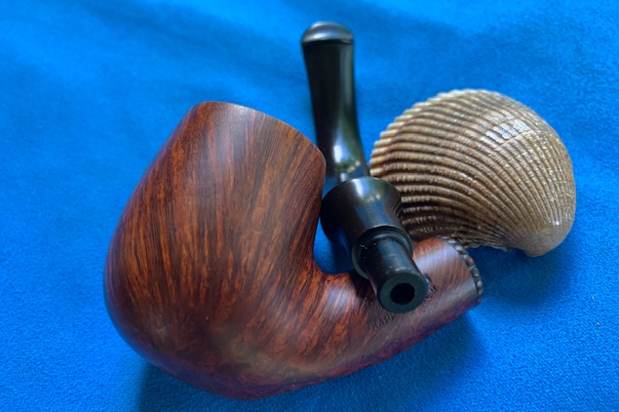
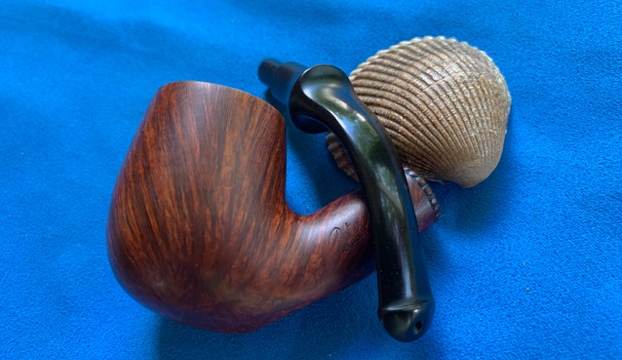
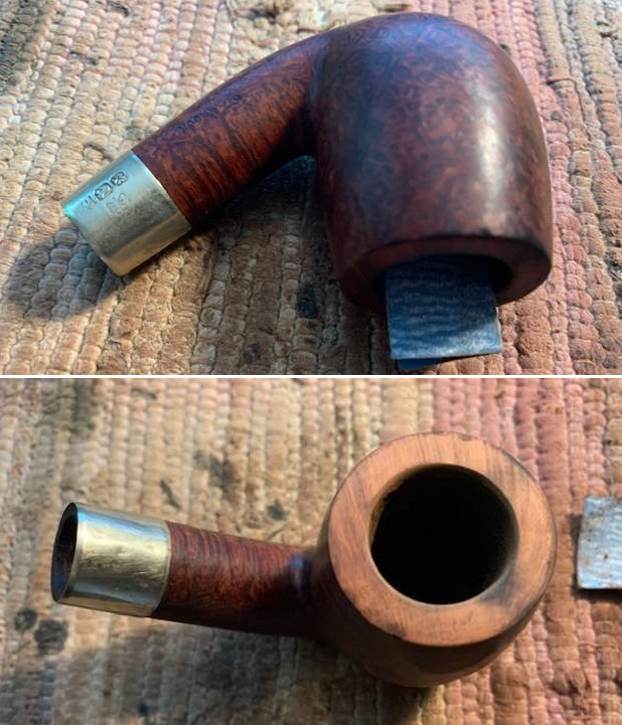
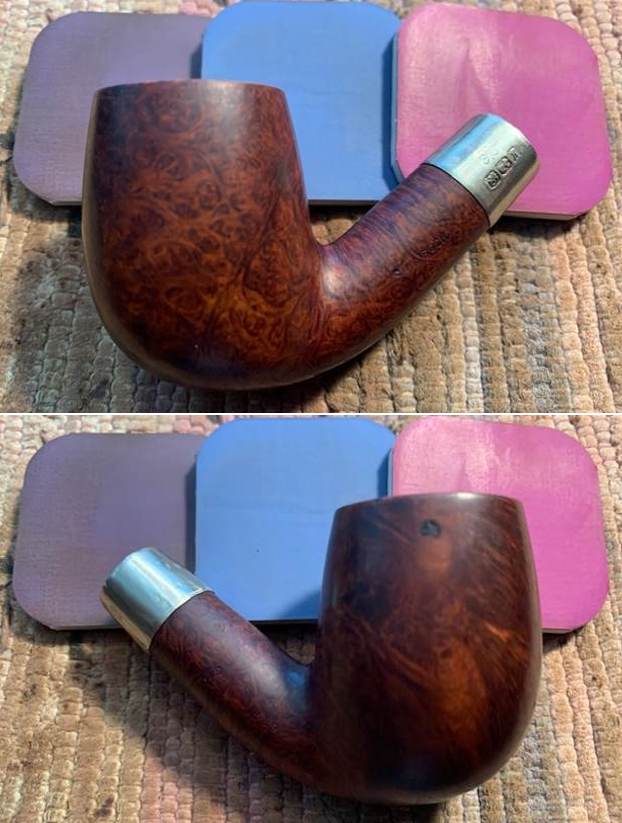
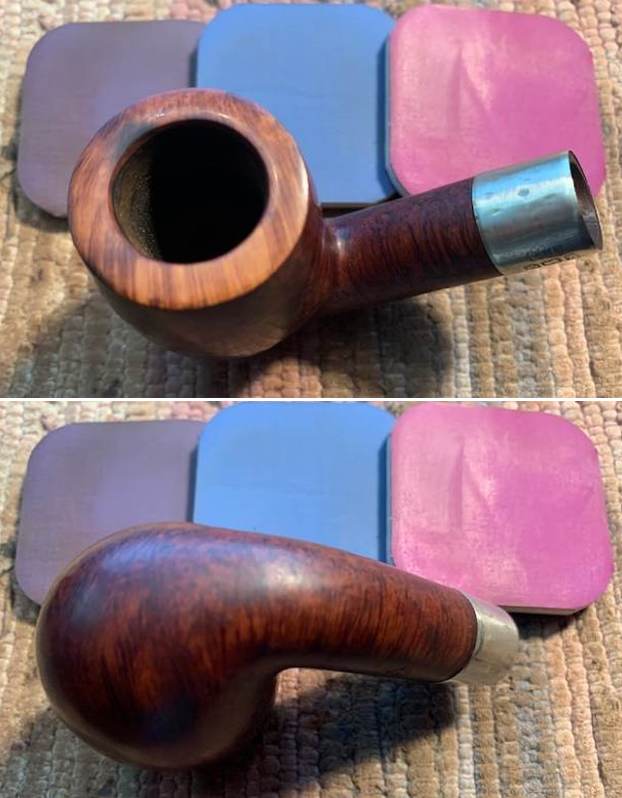
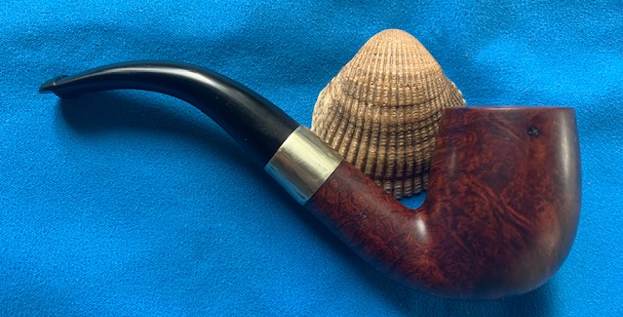
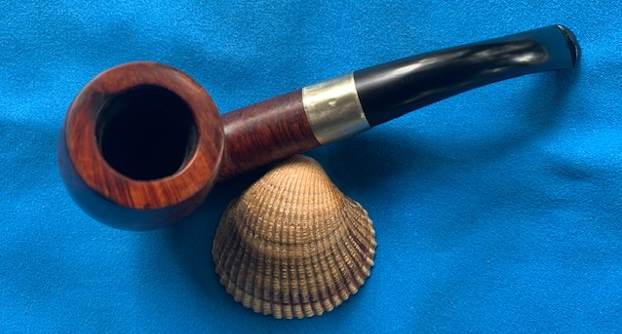
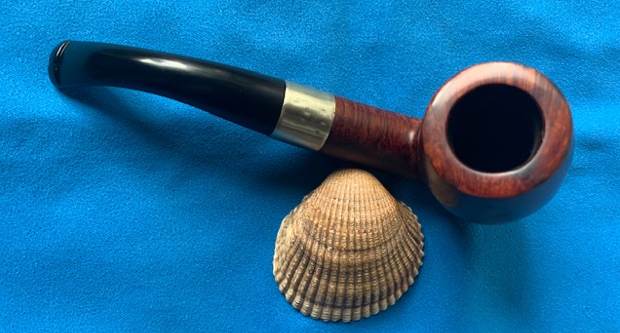
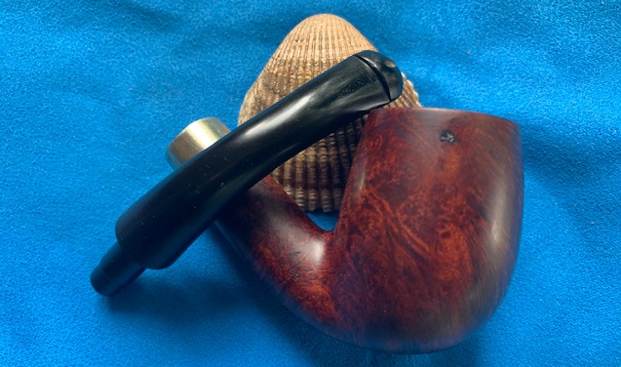
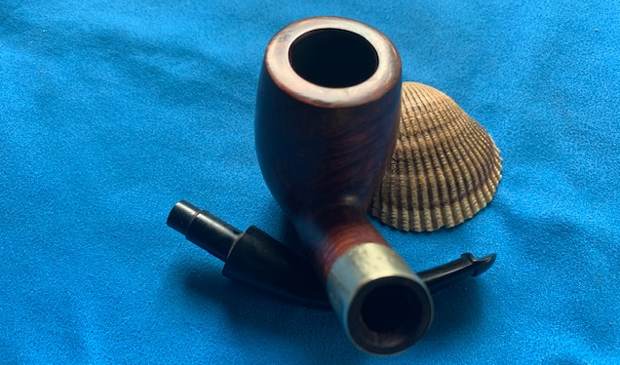
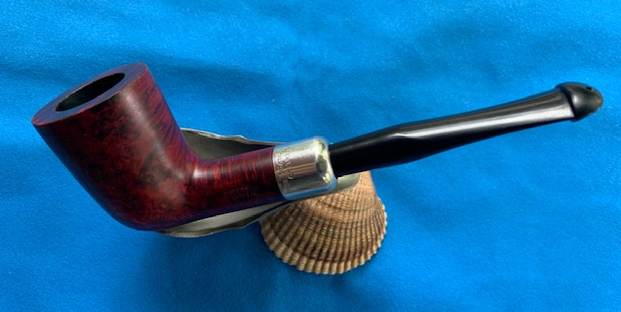
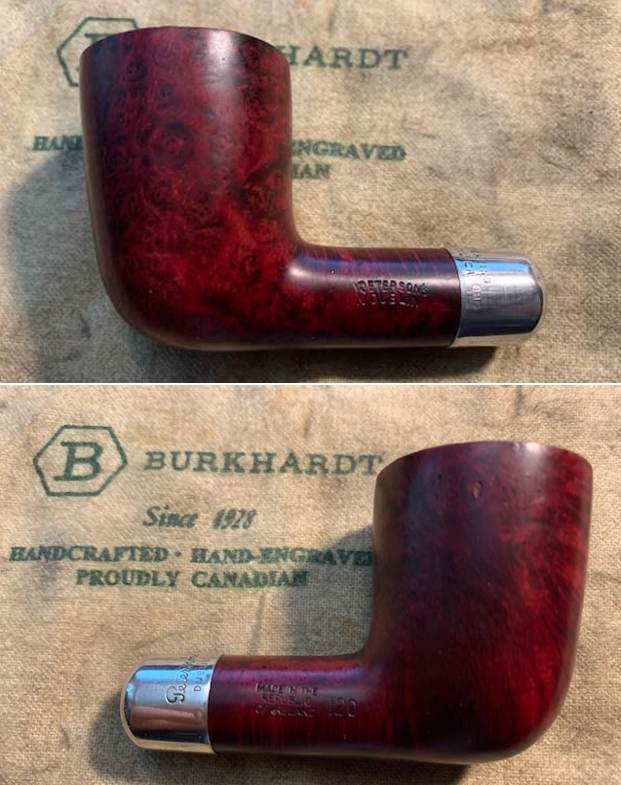
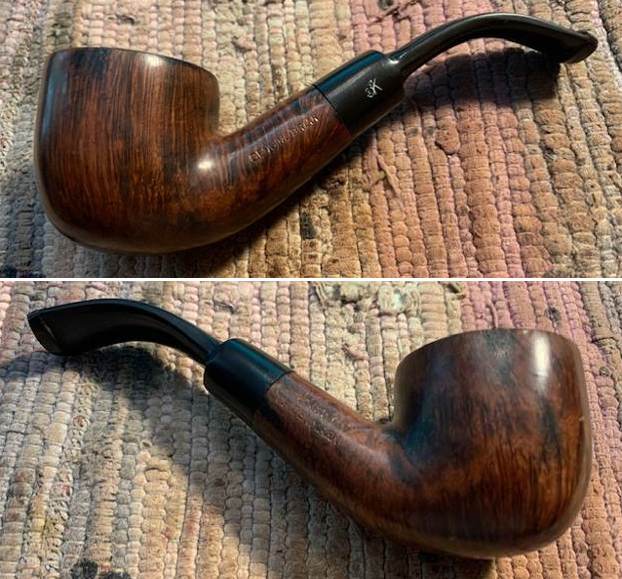
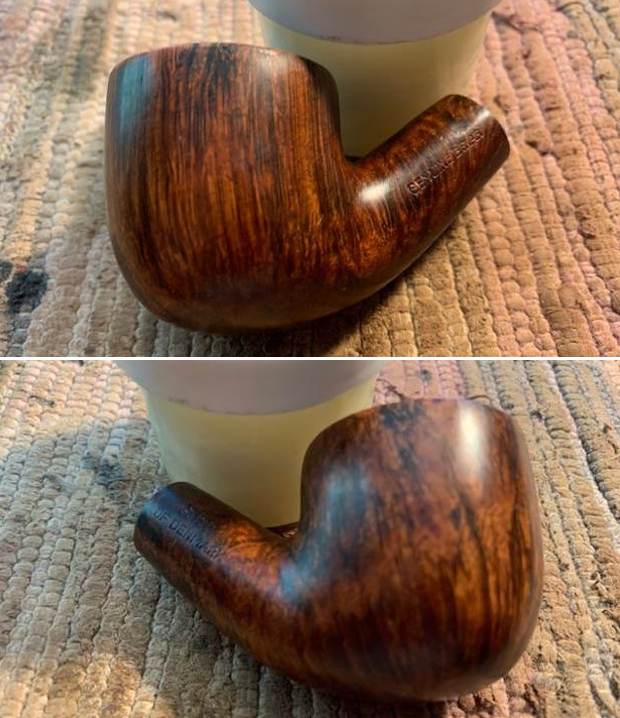
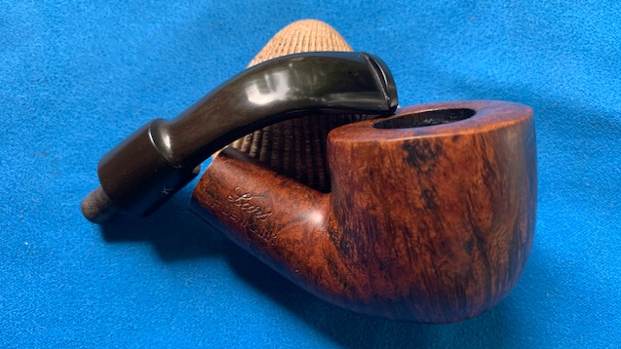
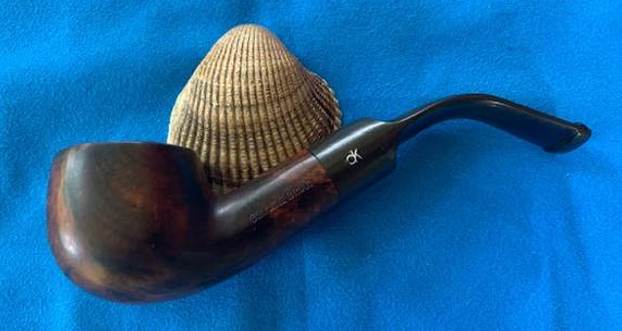
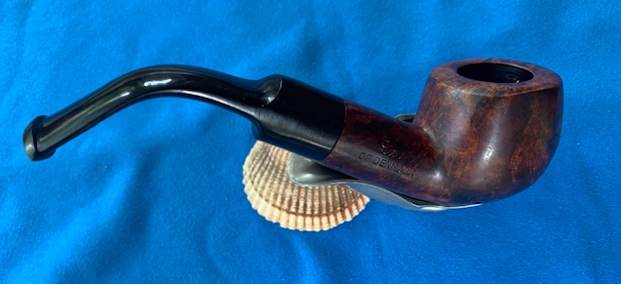
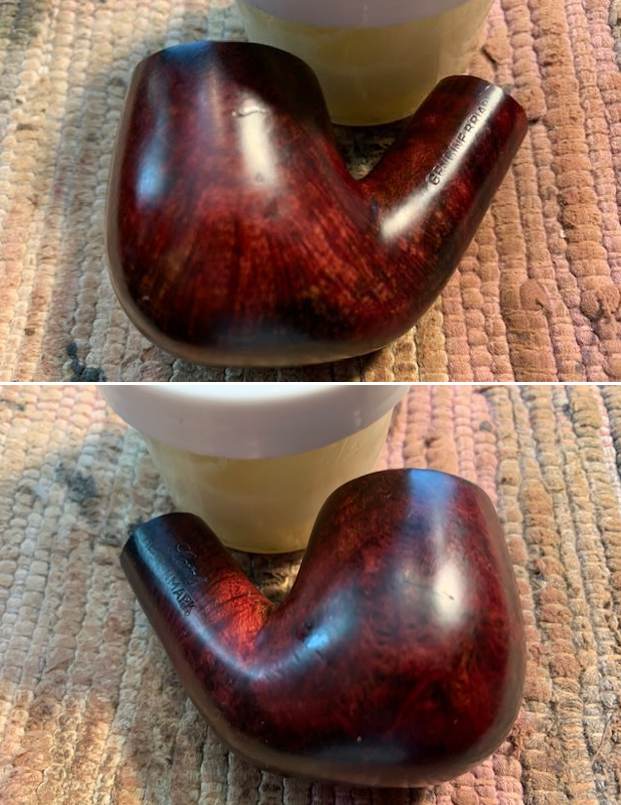
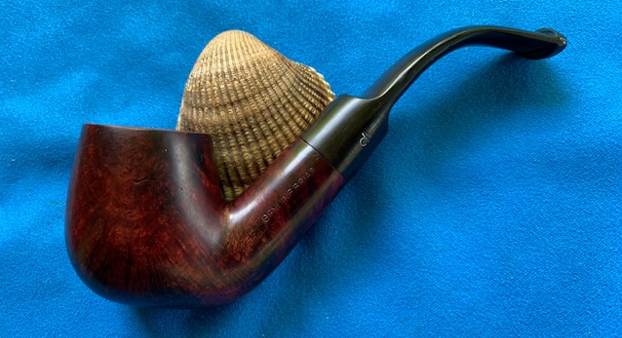
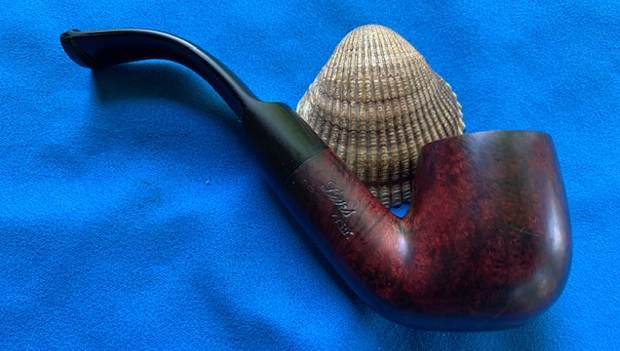
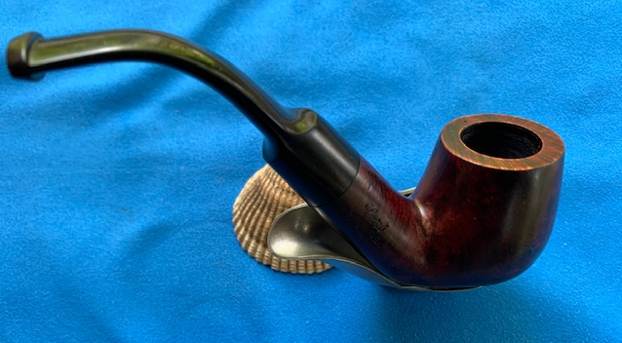
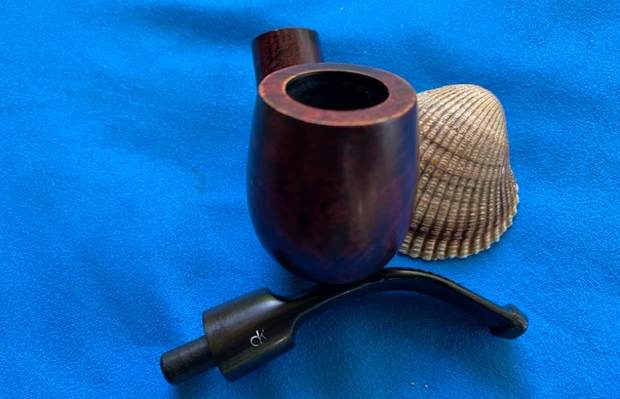
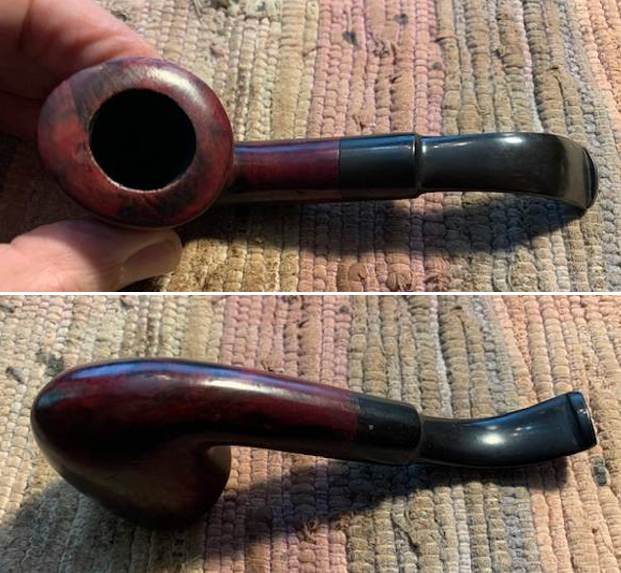
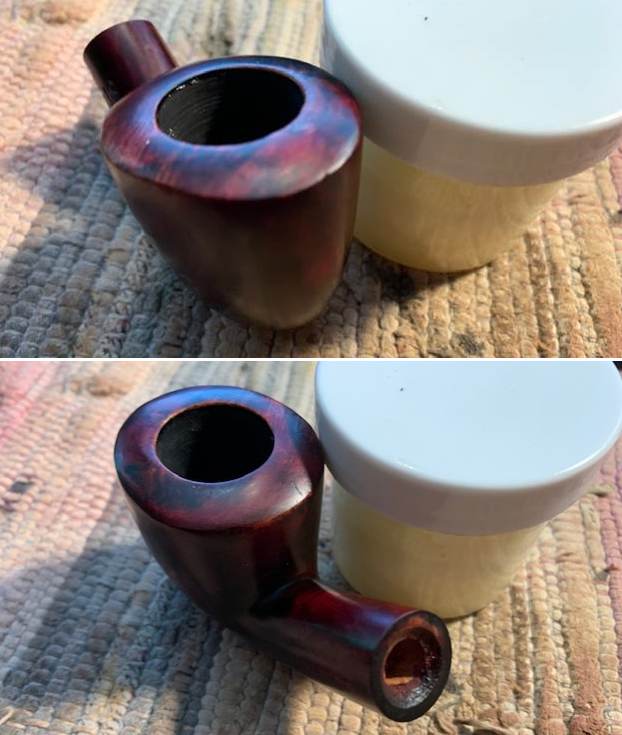
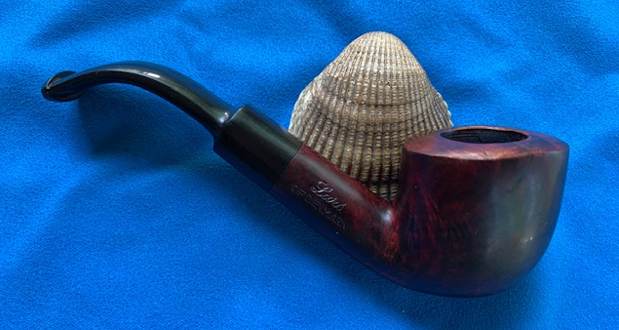
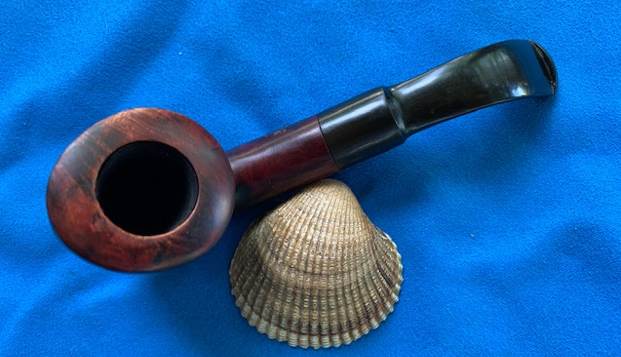
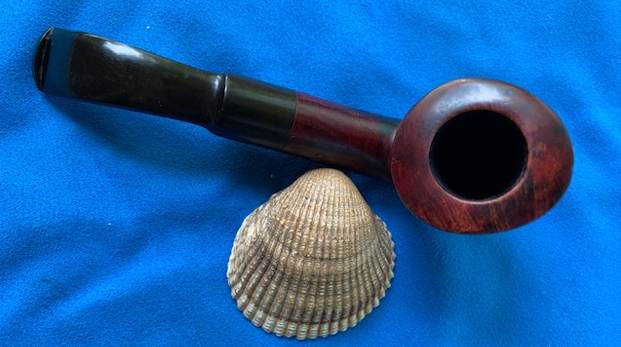
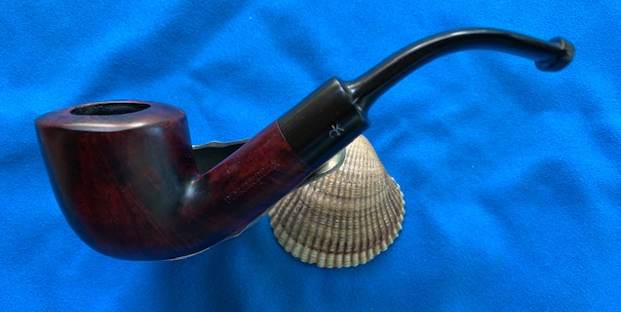
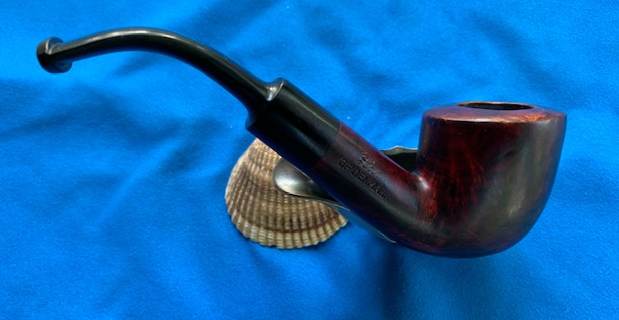
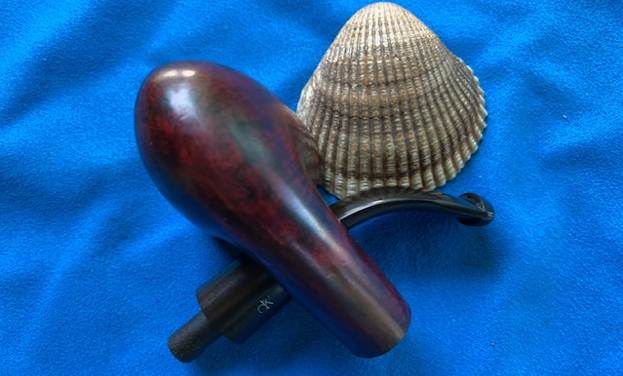
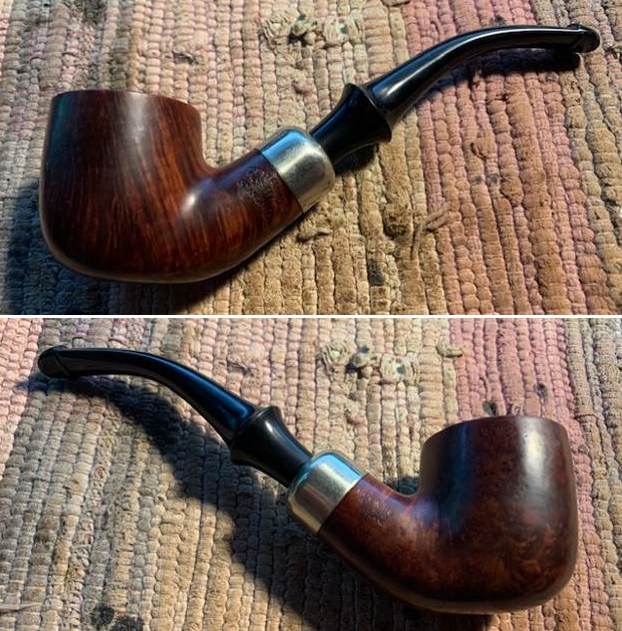
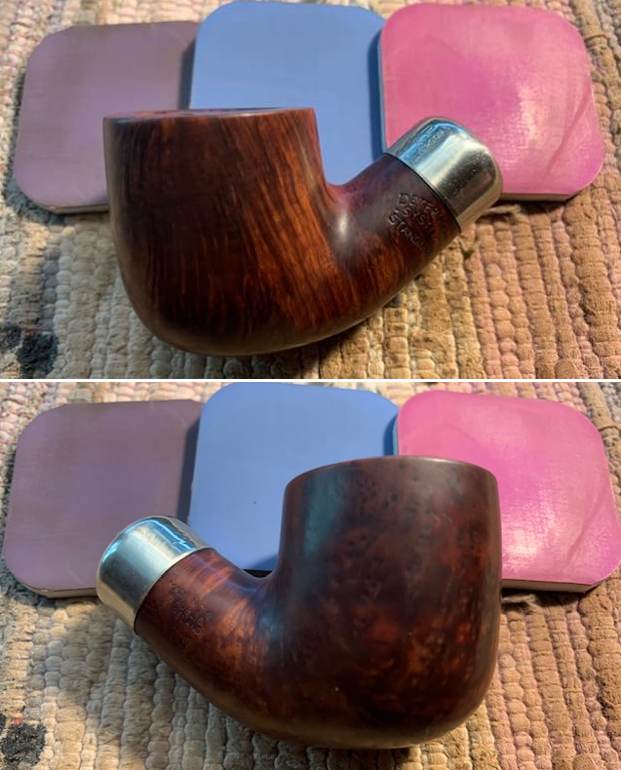
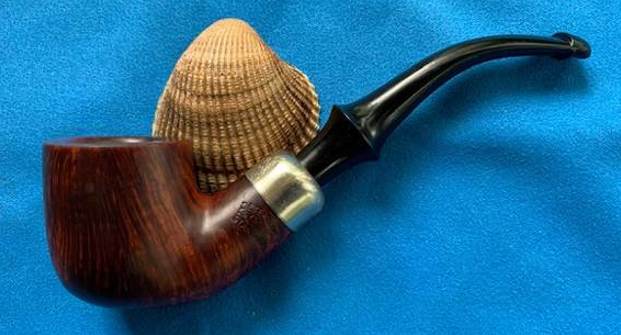
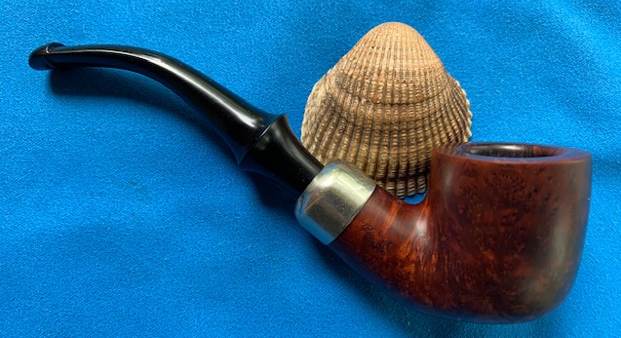
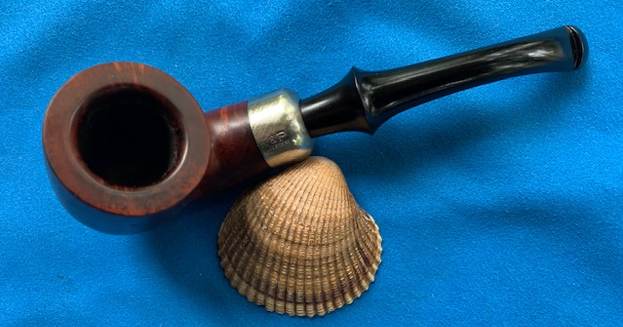
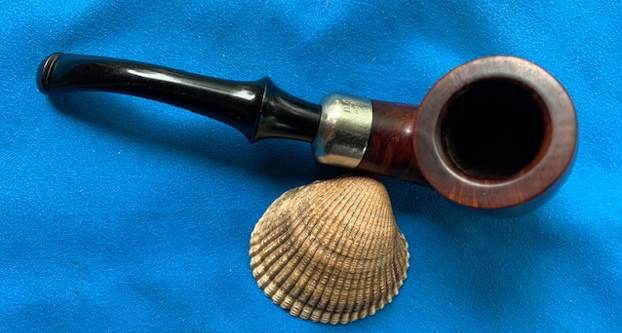
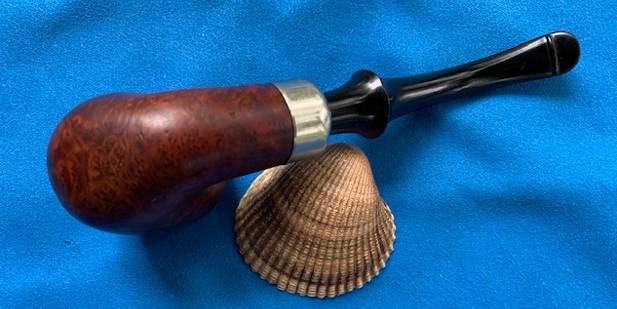
 I am excited to finish this beautifully grained GBD Speciale 721 with a saddle stem. I put the pipe back together and buffed it with Blue Diamond on the buffing wheel. I gave the bowl and the stem multiple coats of carnauba wax. I hand buffed the pipe with a clean buffing pad to raise the shine. It is fun to see what the polished bowl looks like with beautiful mixed grain all around it. The polished bowl looks great with the black vulcanite stem. The removal of the varnish will enable the briar to breathe. This smooth Classic GBD Speciale 721 is great looking and the pipe feels great in my hand. It is light and well balanced. Have a look at it with the photos below. The dimensions are Length: 5 ½ inches, Height: 1 ½ inches, Outside diameter of the bowl: 1 ½ inches, Chamber diameter: 7/8 of an inch. The weight of the pipe is 47 grams/1.62 ounces. It turned out to be a beautiful pipe. I will be sending it off to the fellow in Israel shortly and I look forward to hearing what he thinks of it once he receives it. Remember that we are only trustees of our pipes and long after we are gone the pipes will go onto the next person who takes on the trust. Thanks for your time and as Paresh says each time – Stay Safe.
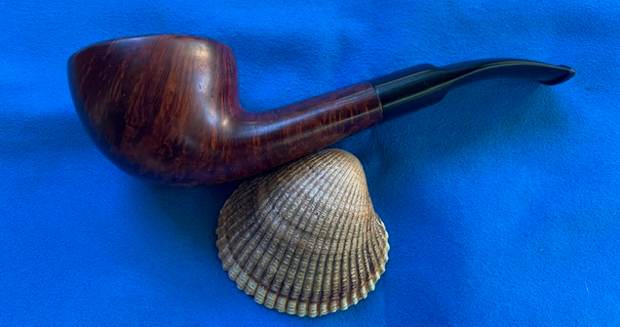


