Category Archives: Pipe Refurbishing Essays

Essays and pictorial essays on the art of refurbishing

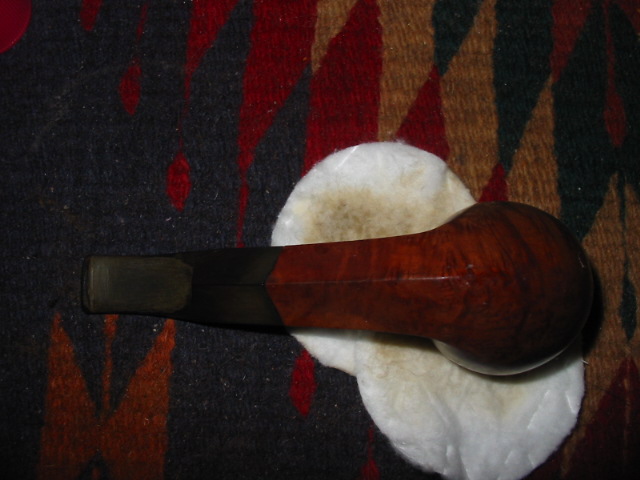
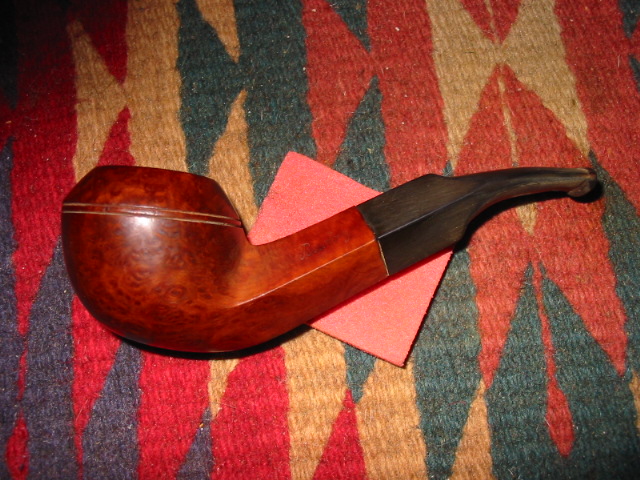
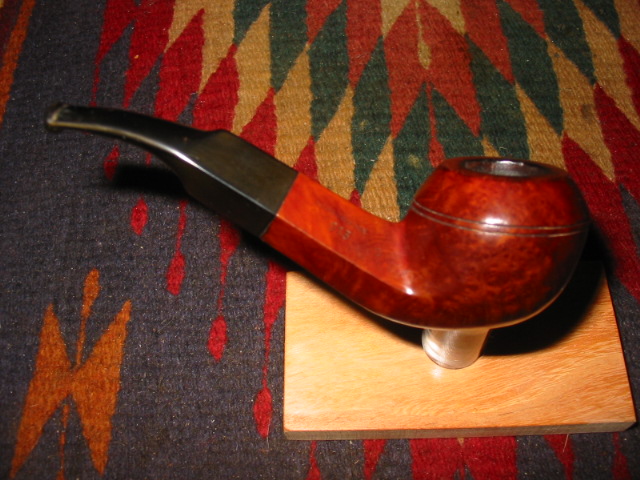
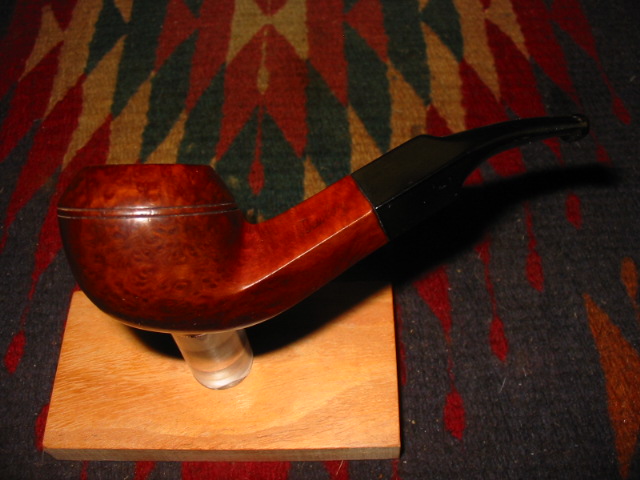
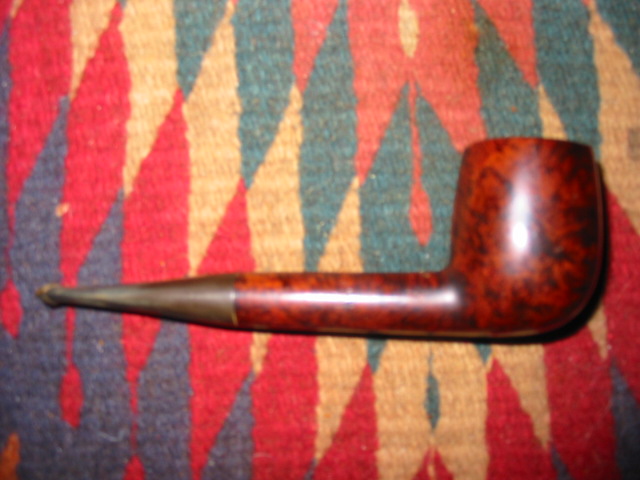
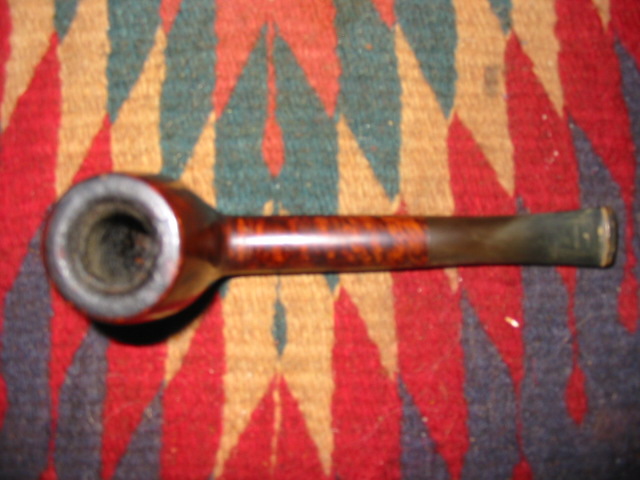
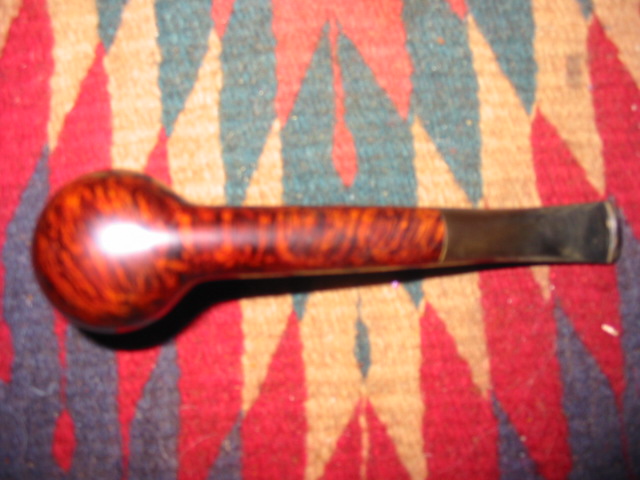
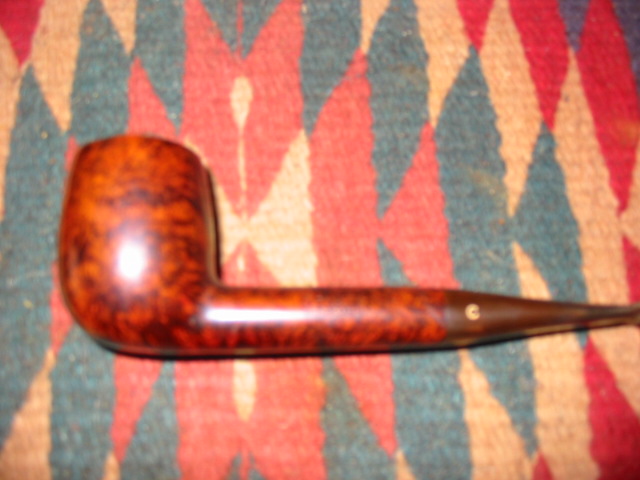
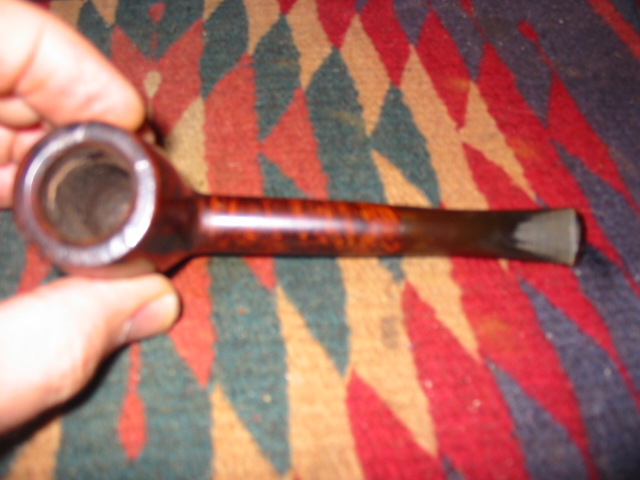
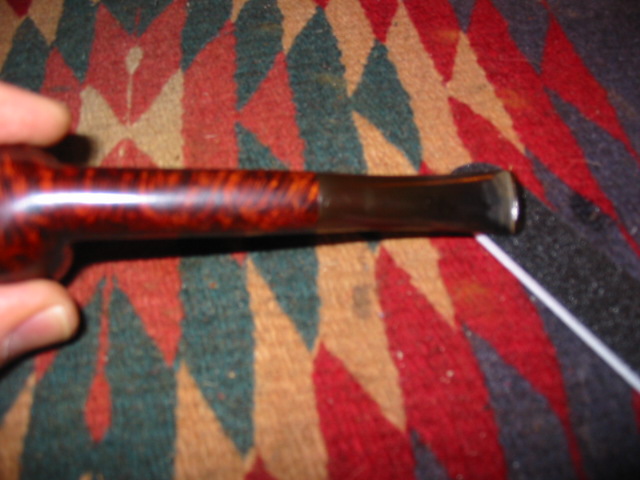
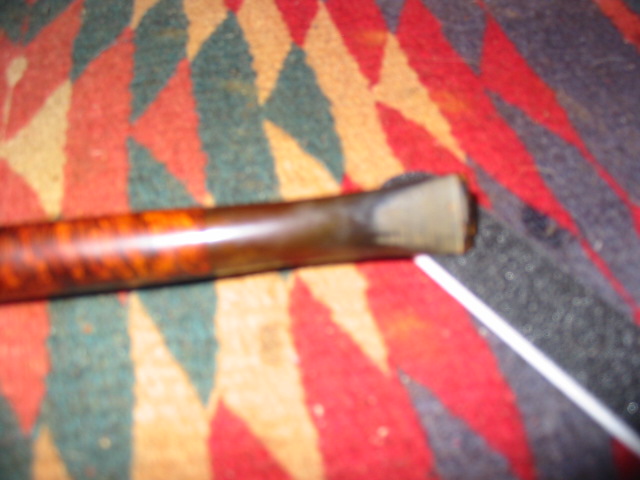
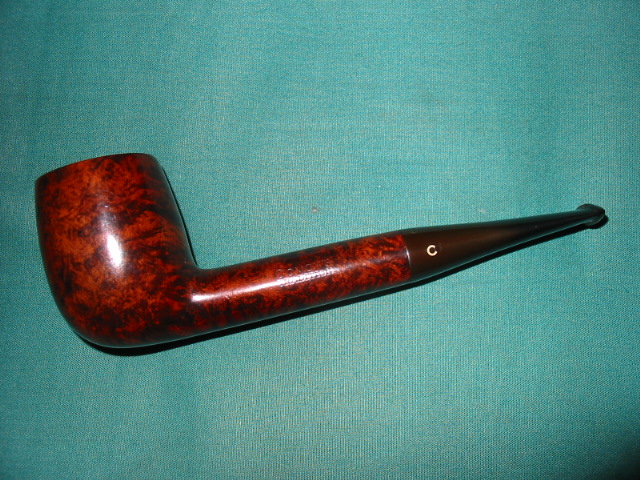
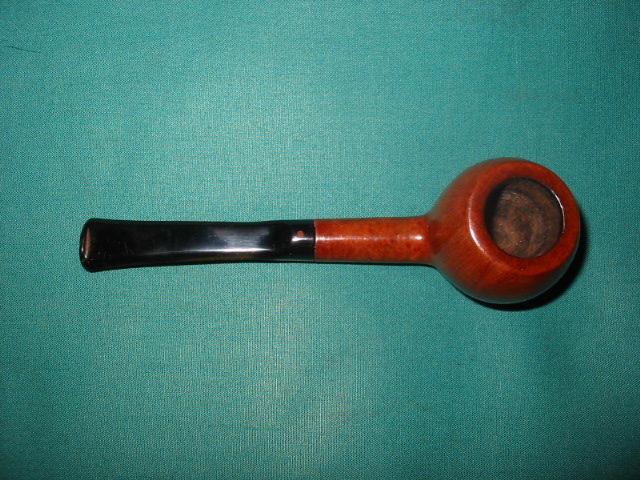
GBD Tapestry 9438 Re-boot


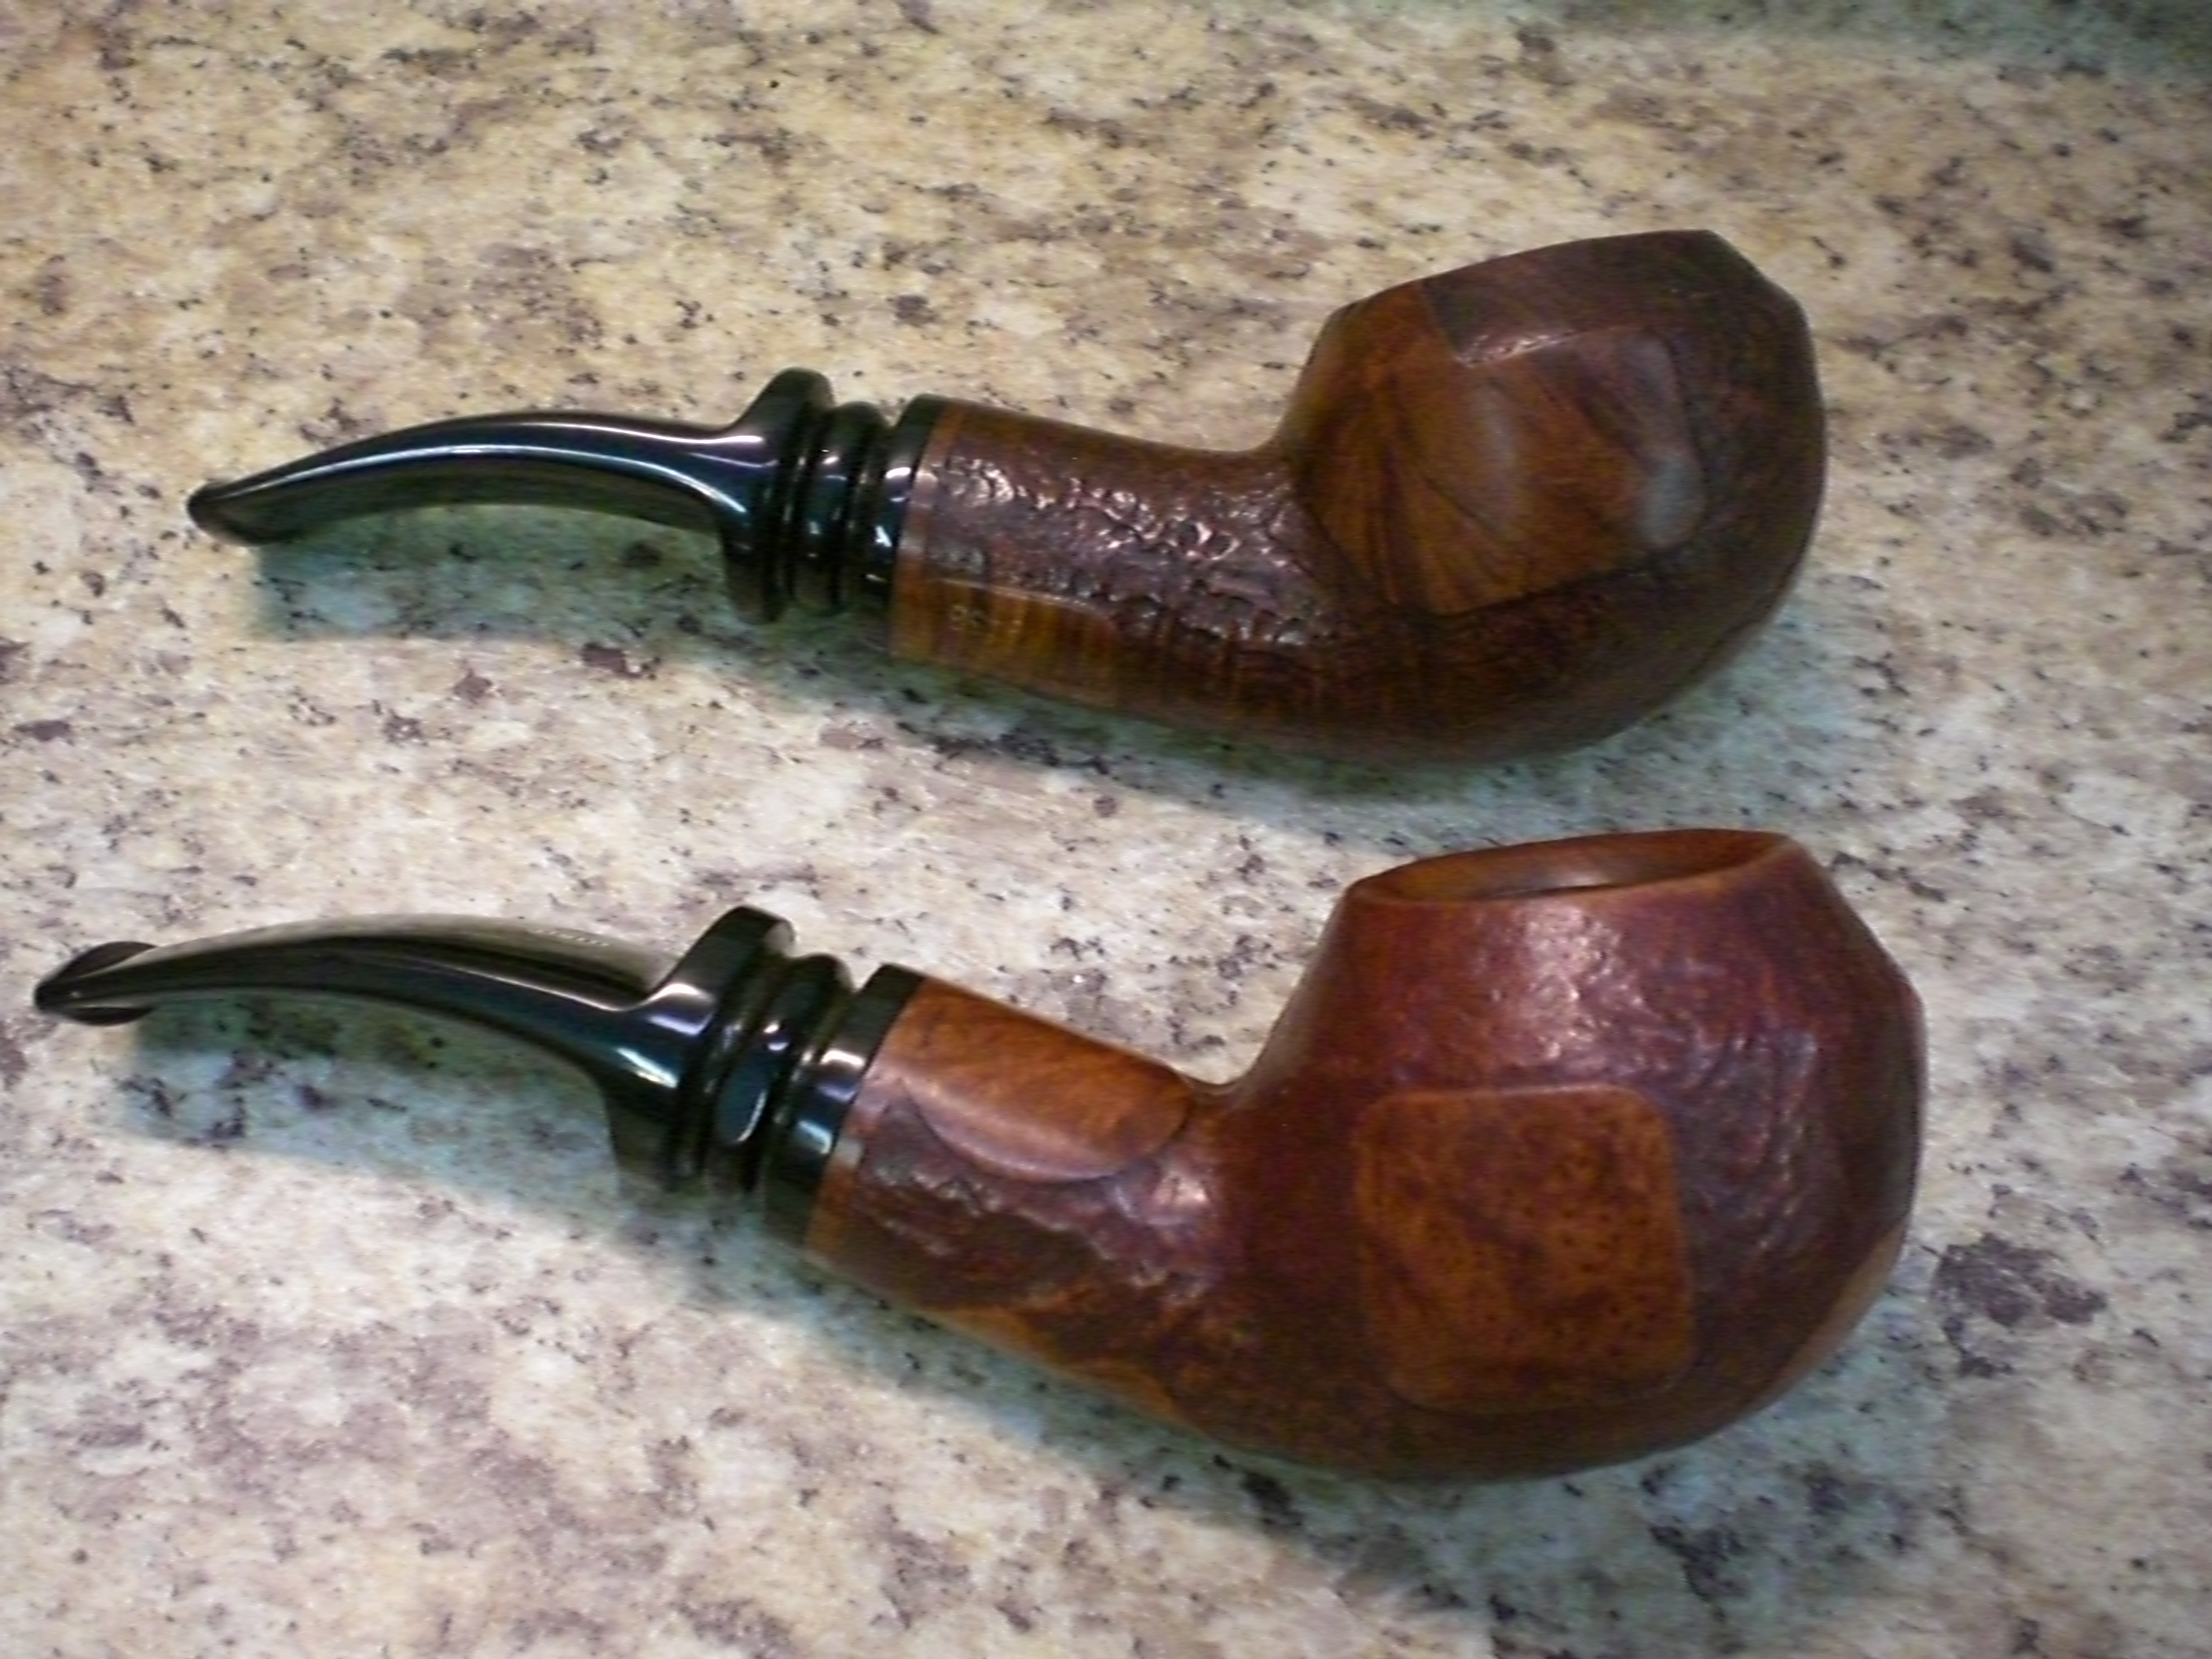
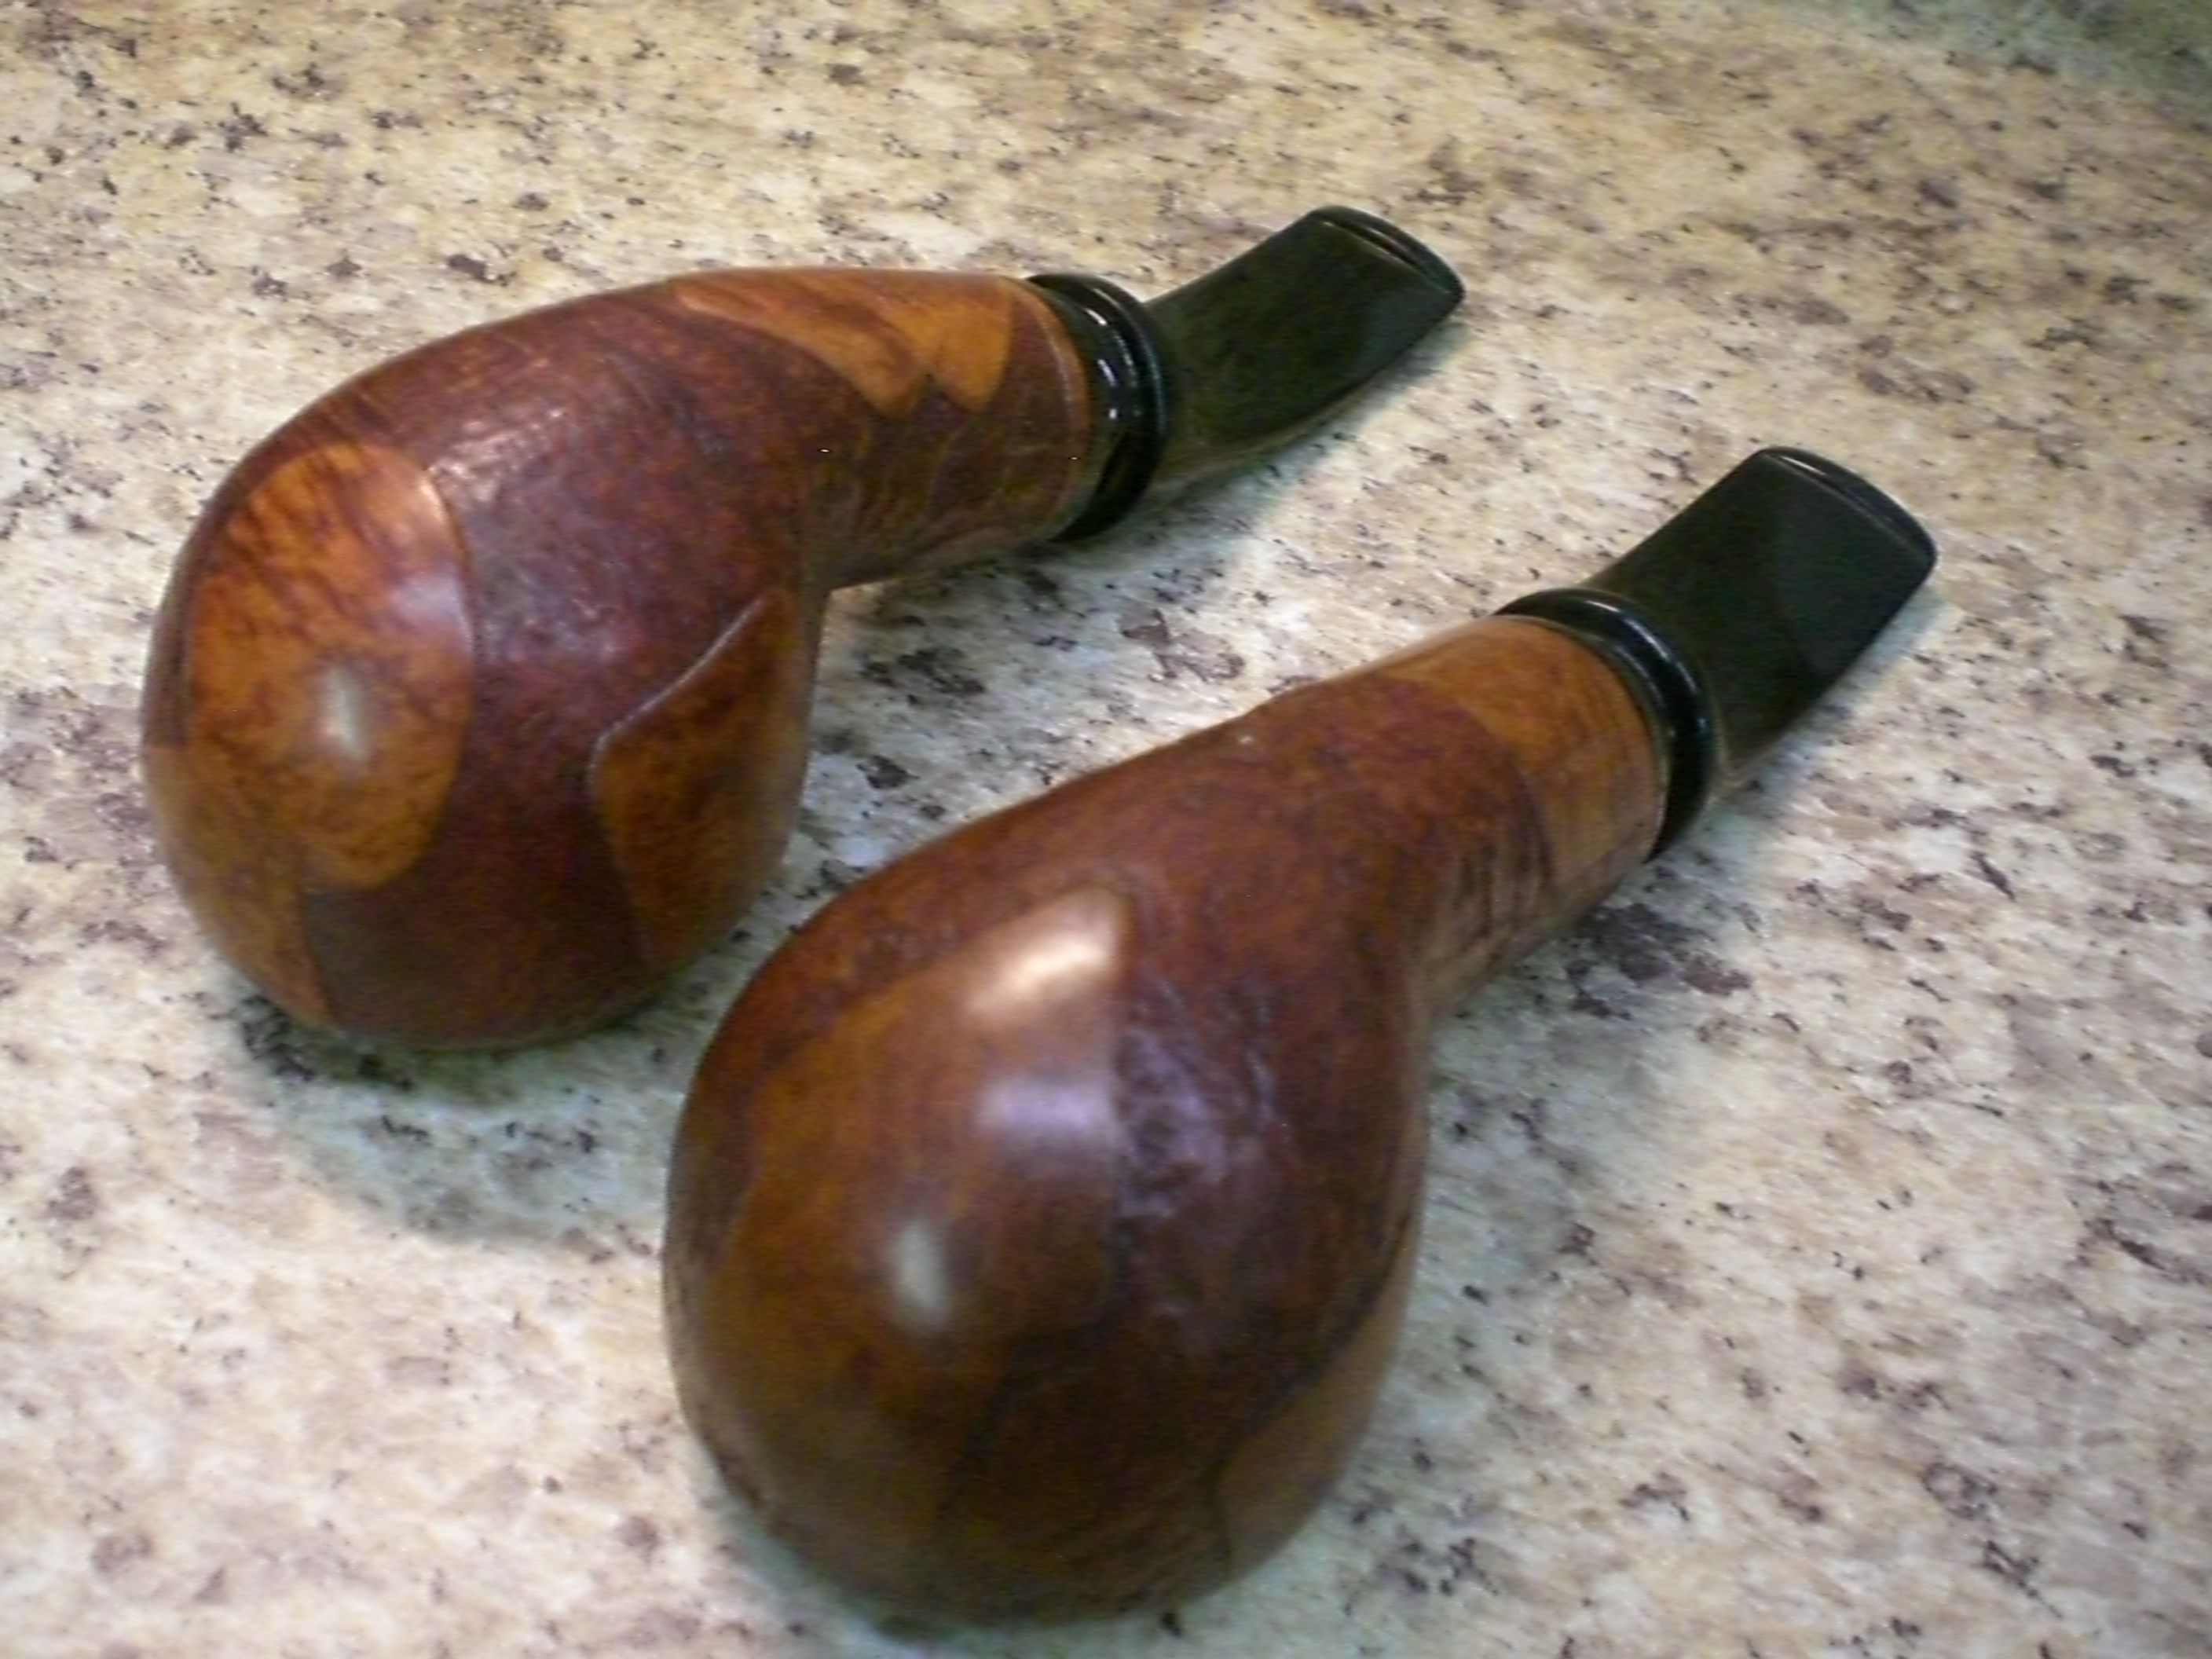
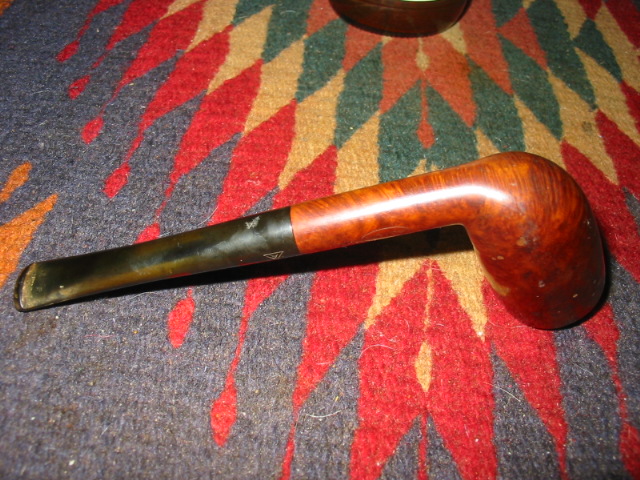
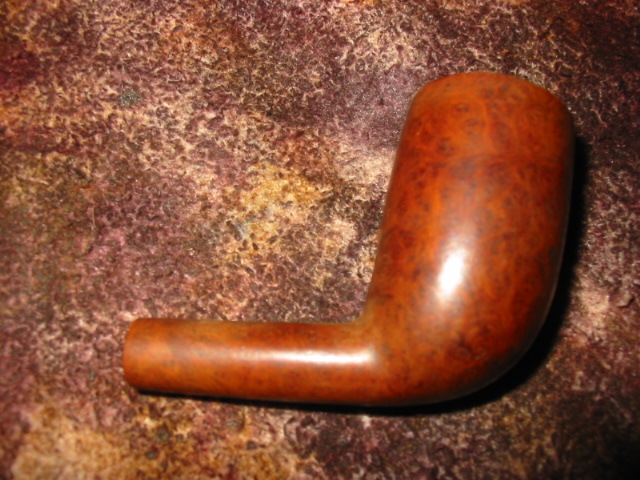
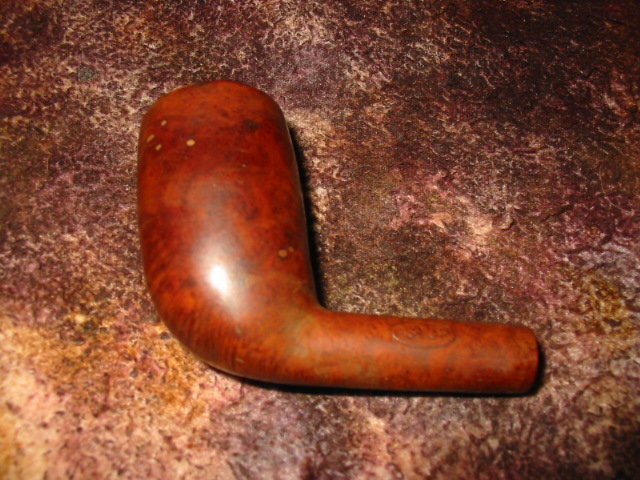
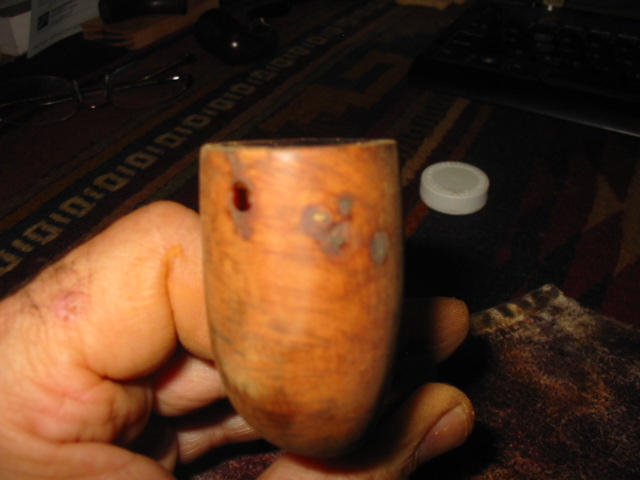
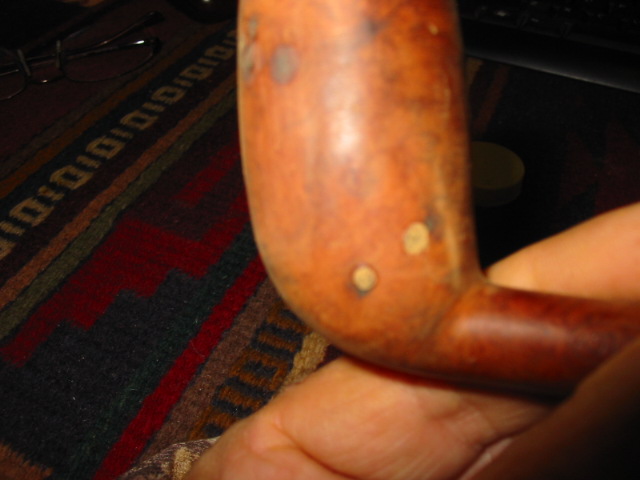
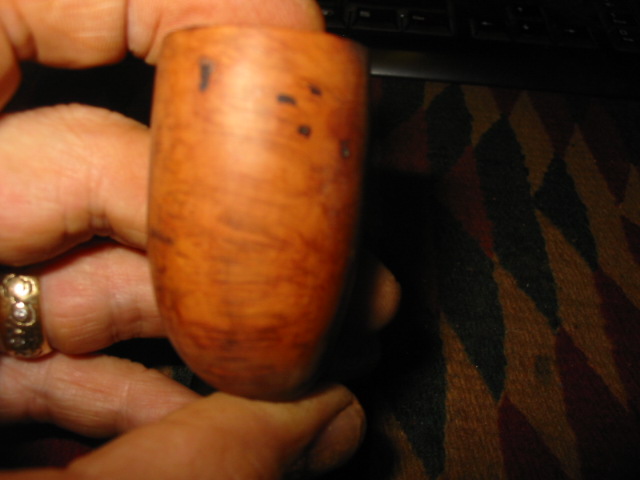
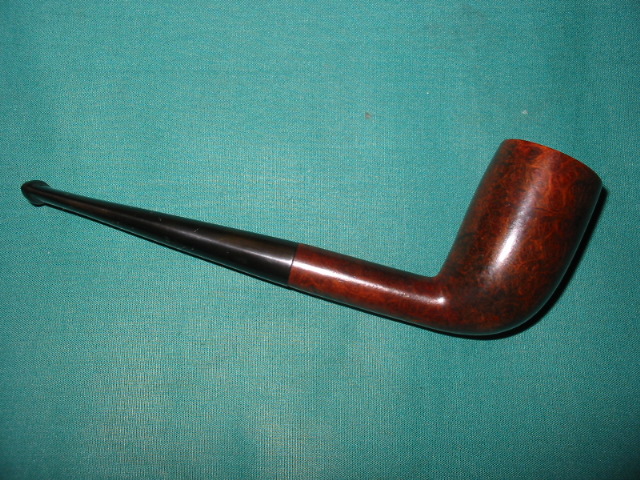
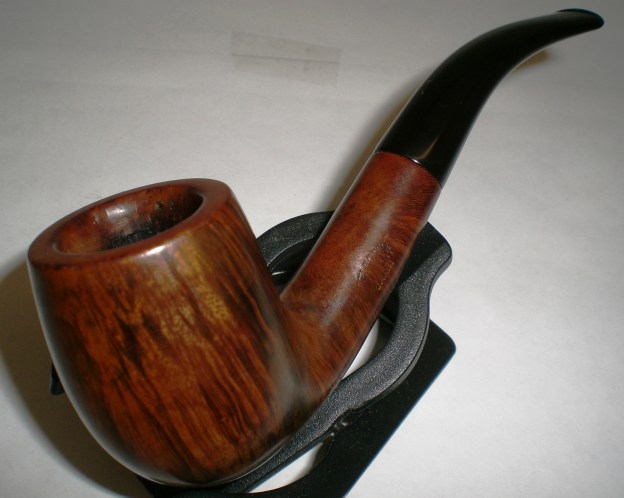
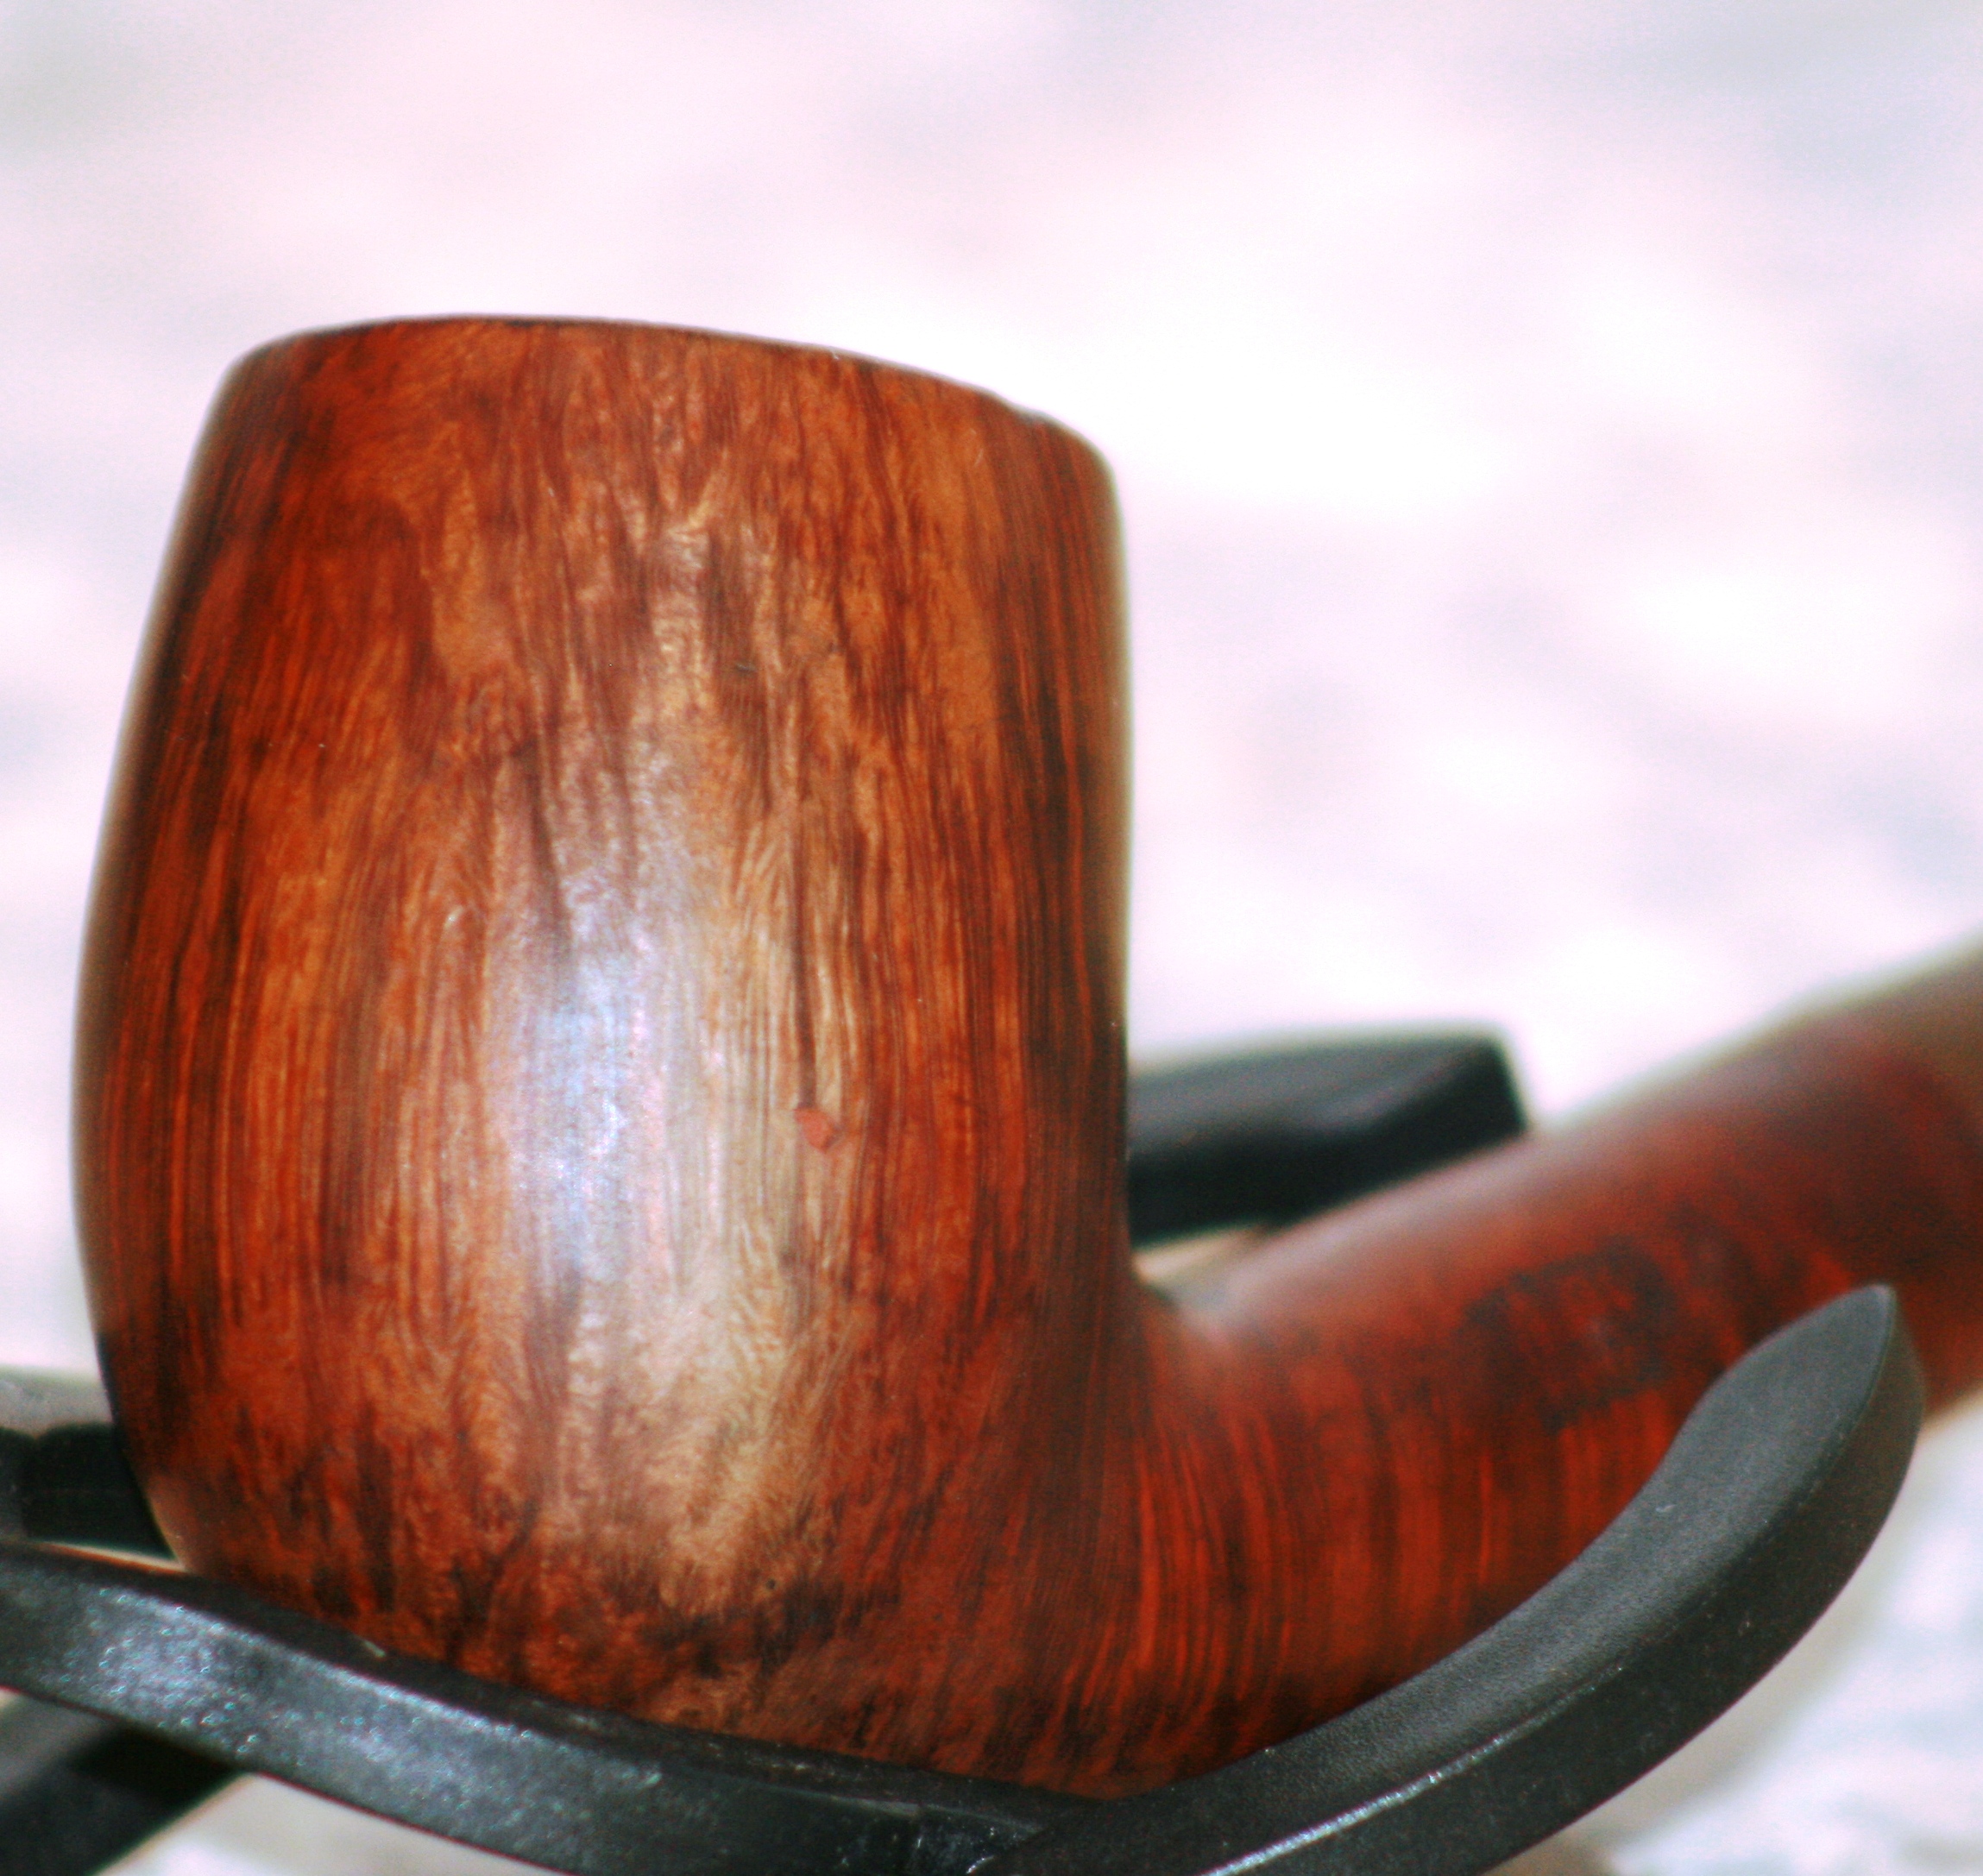
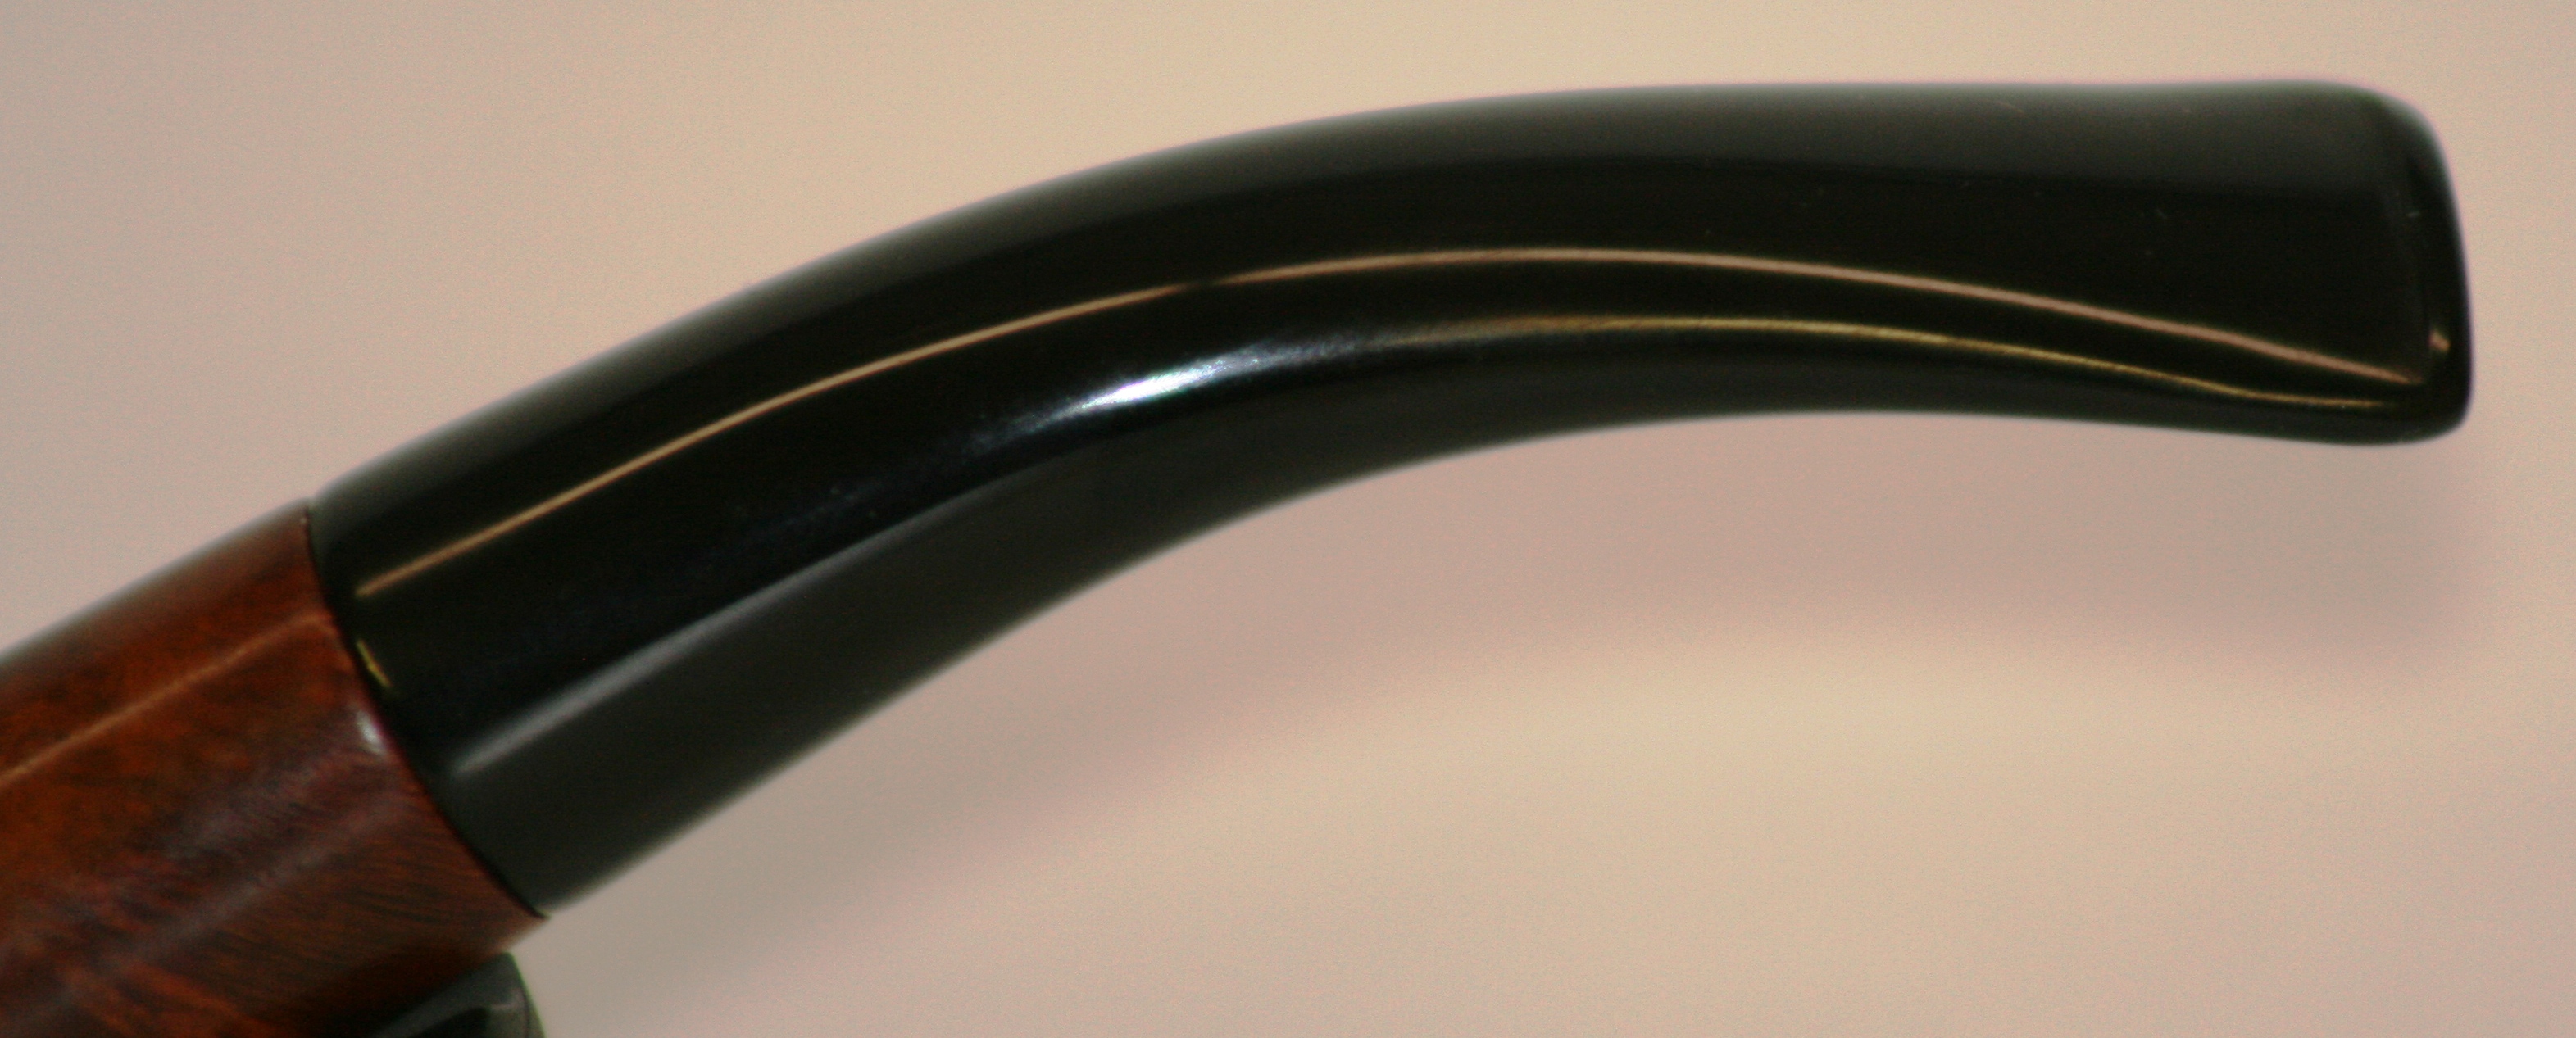
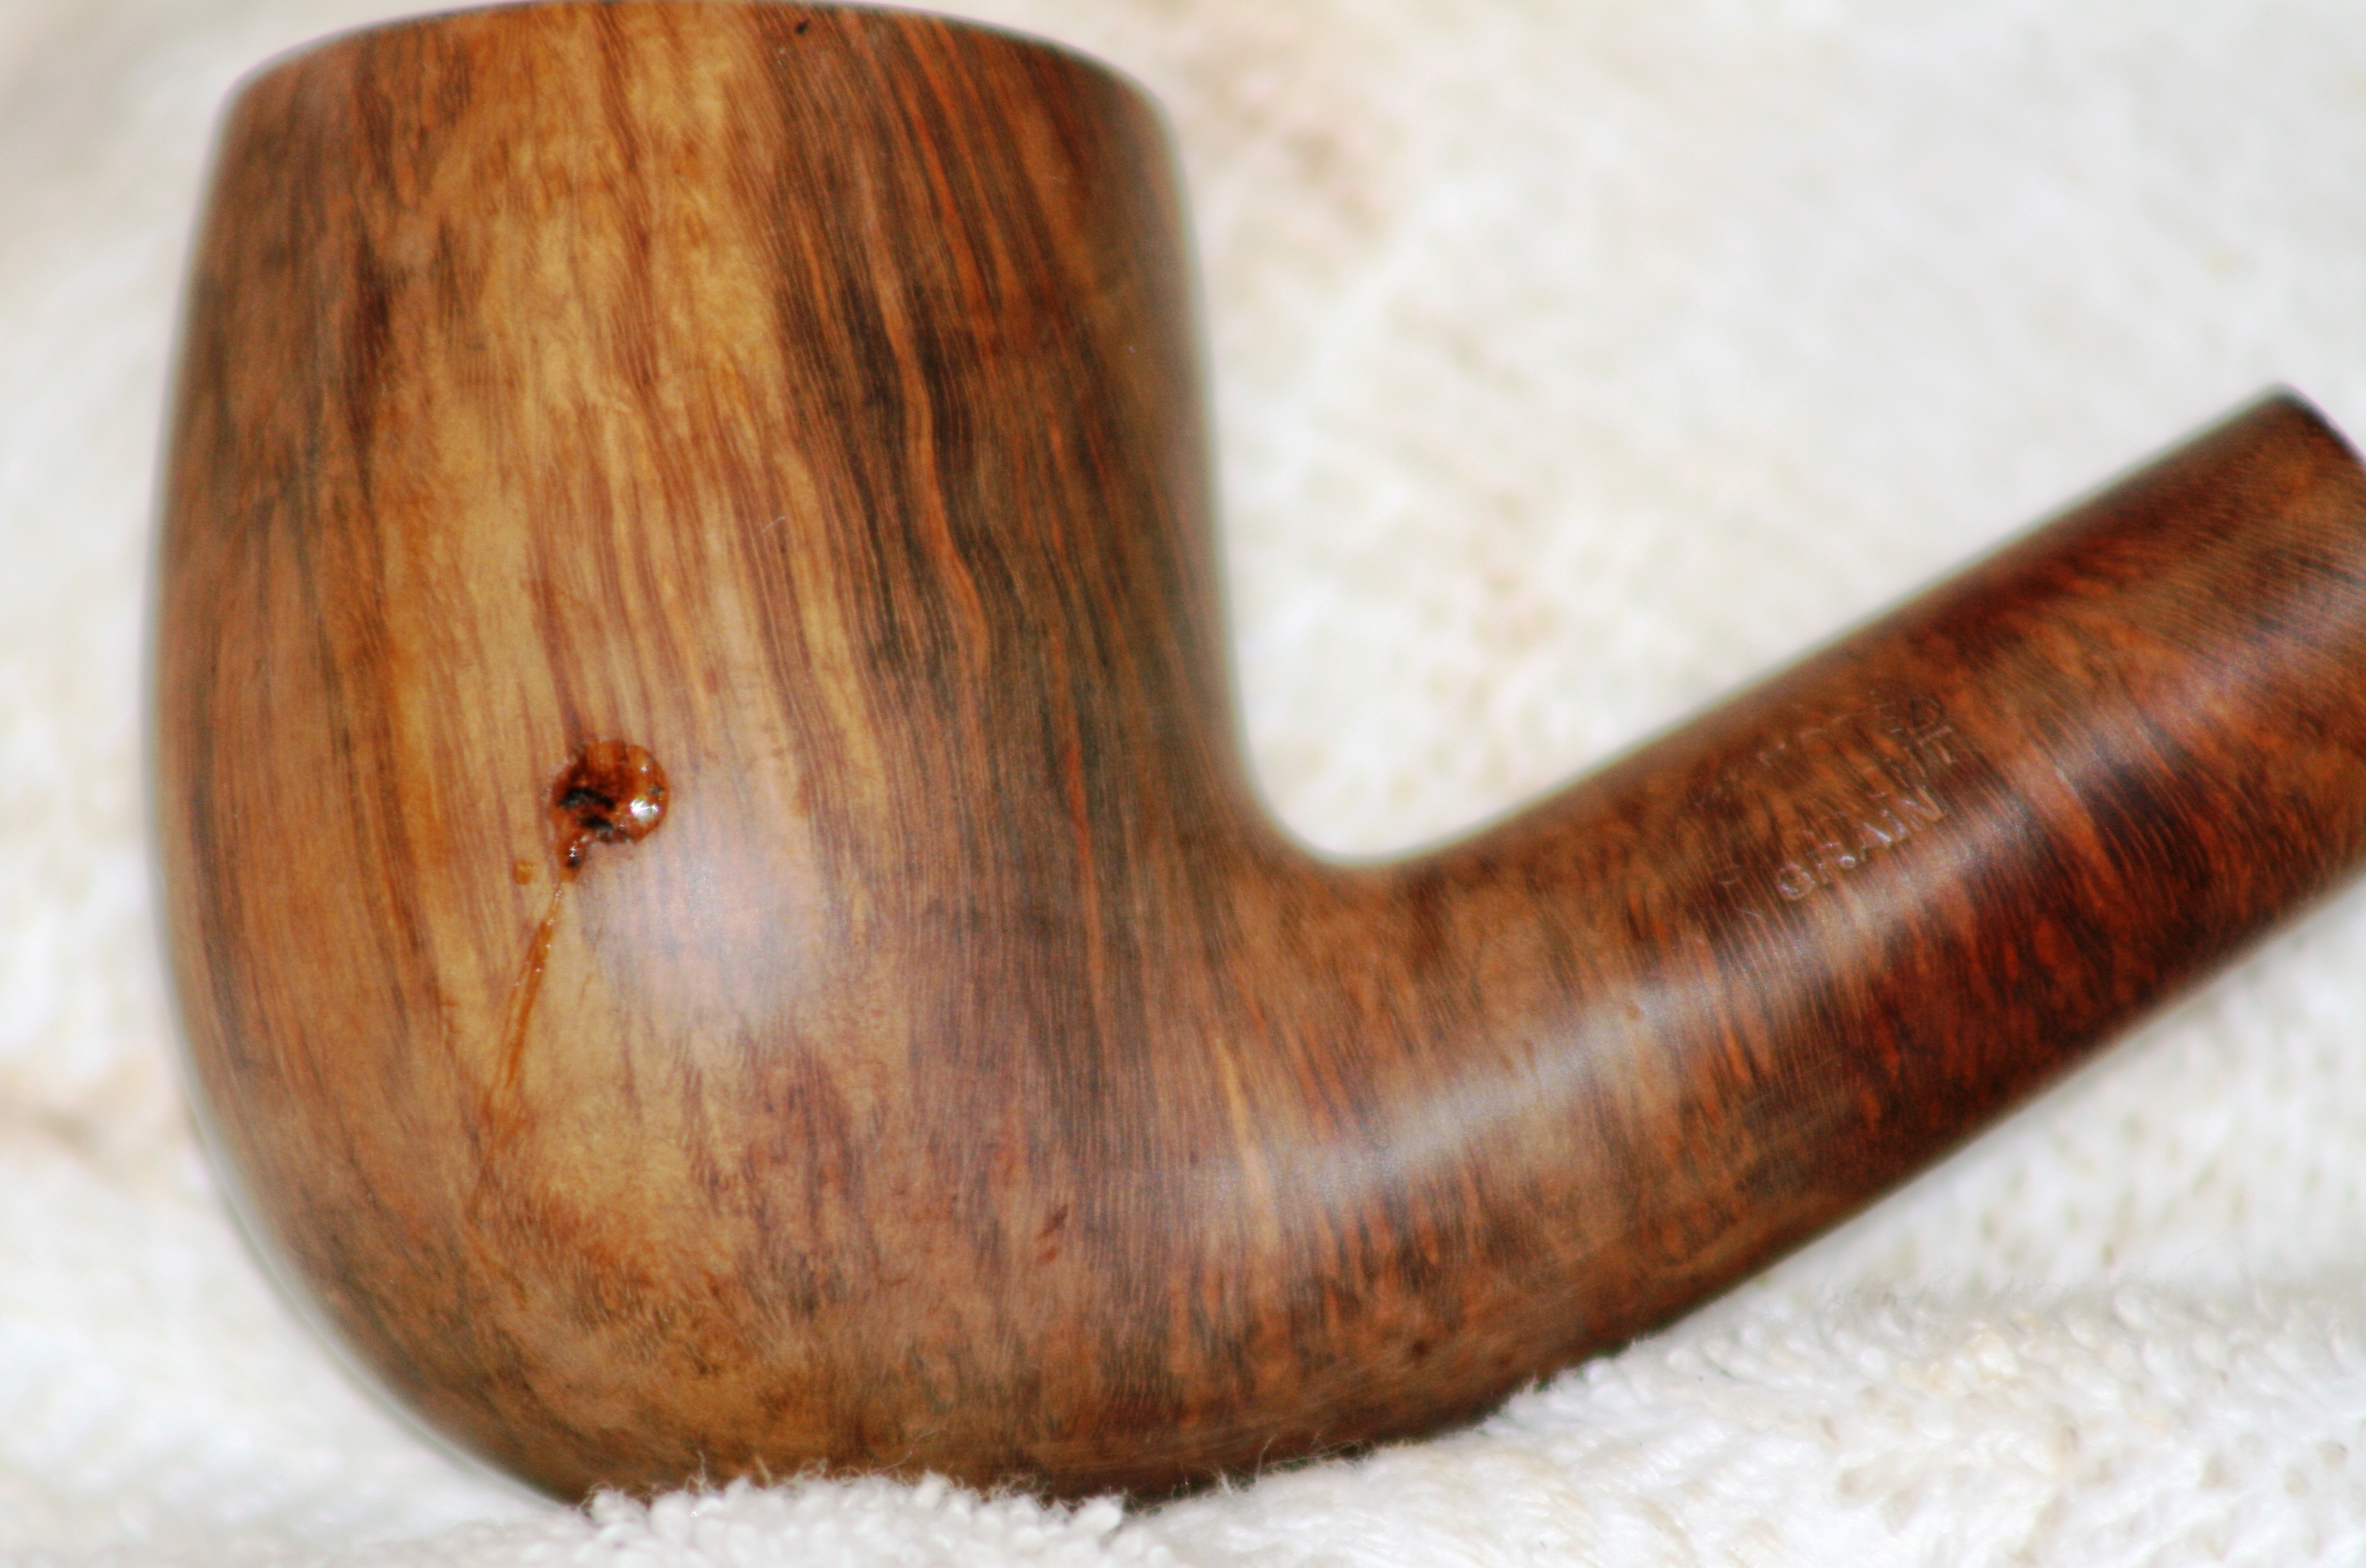
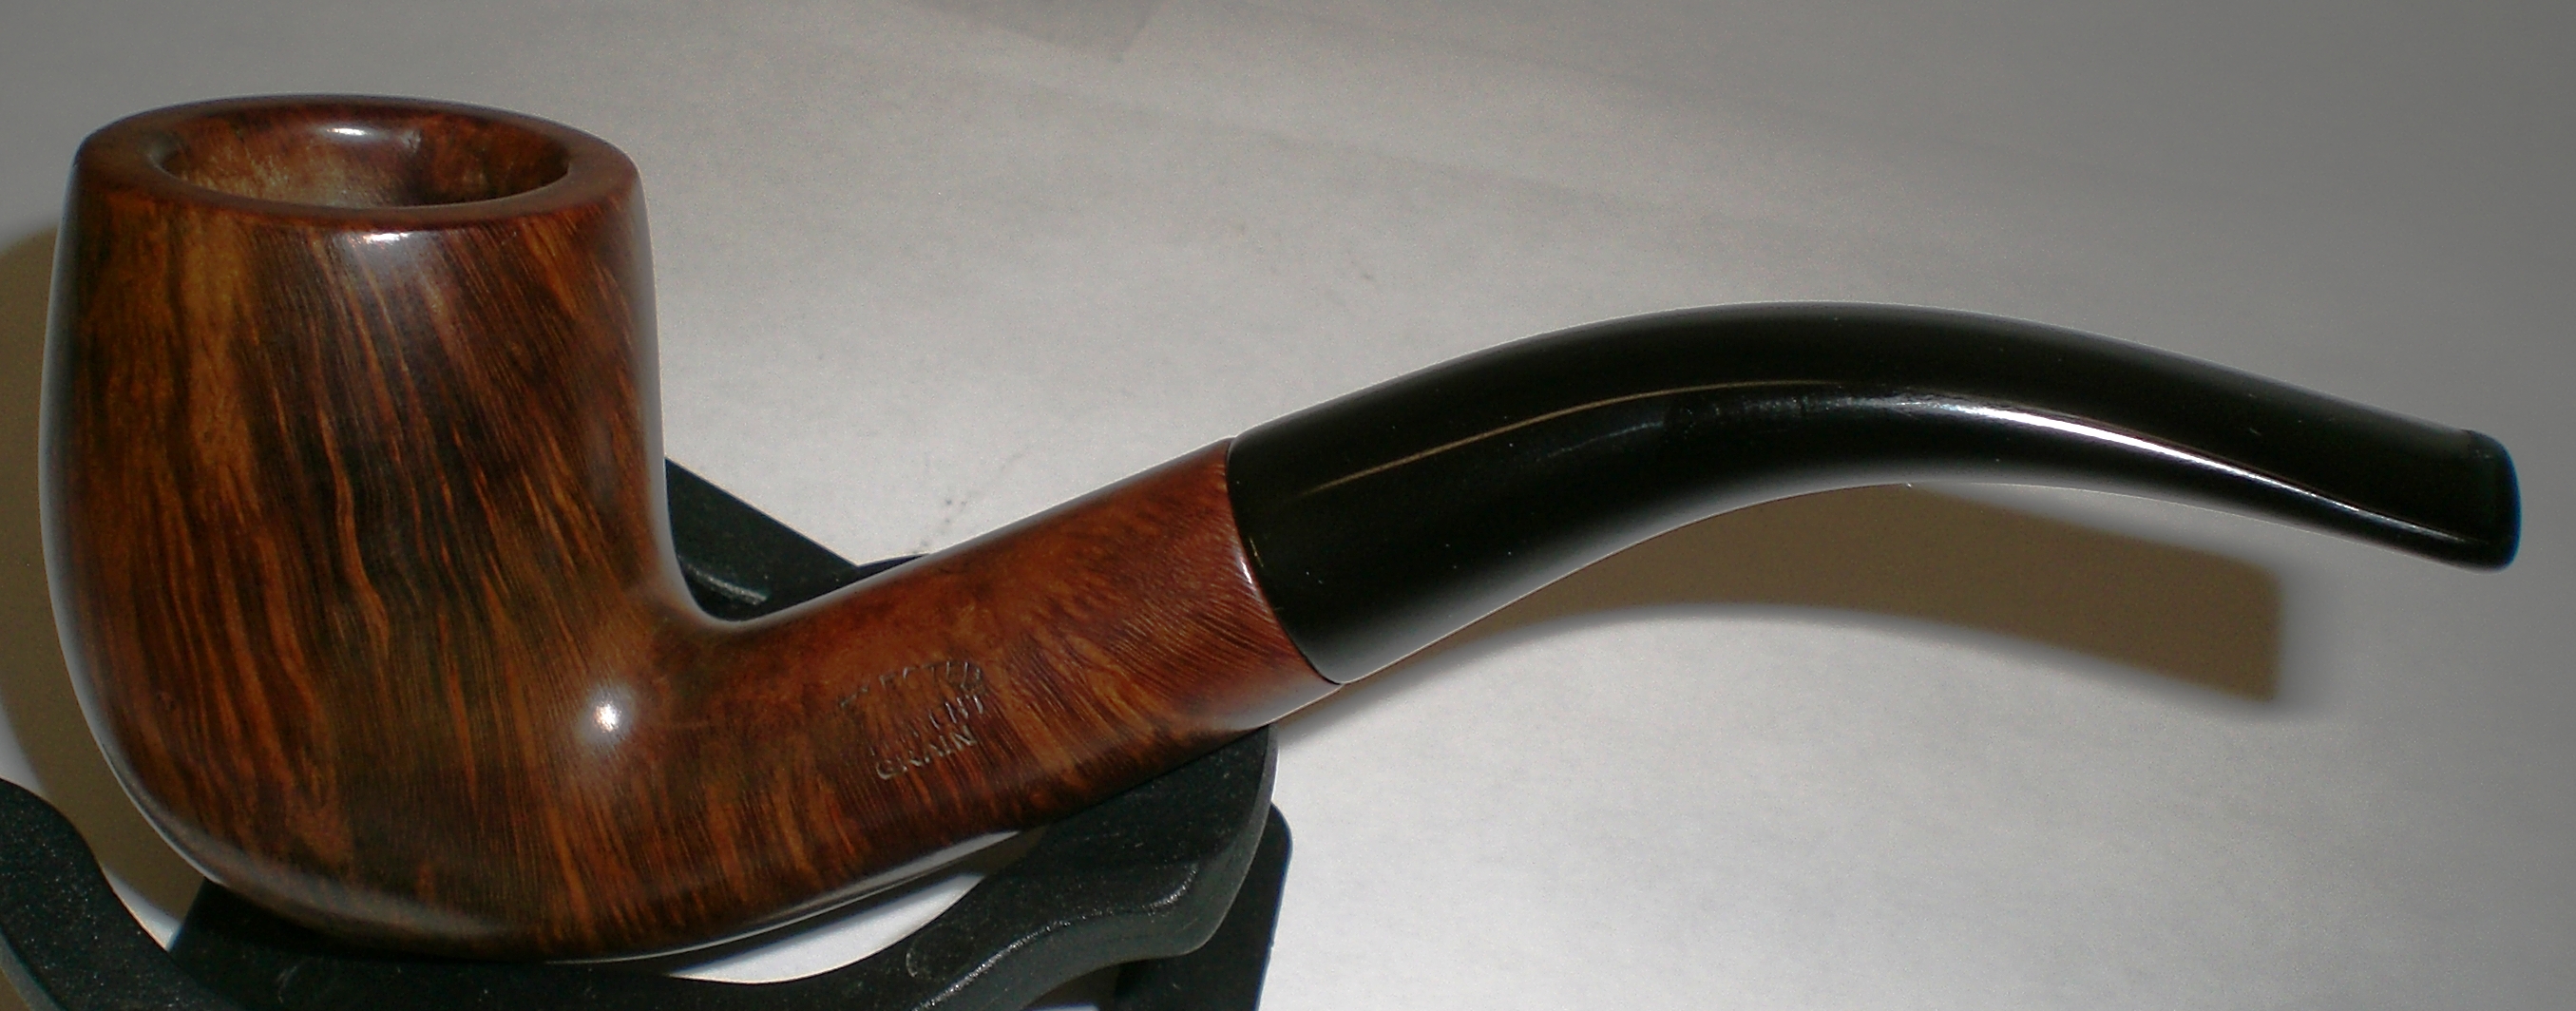
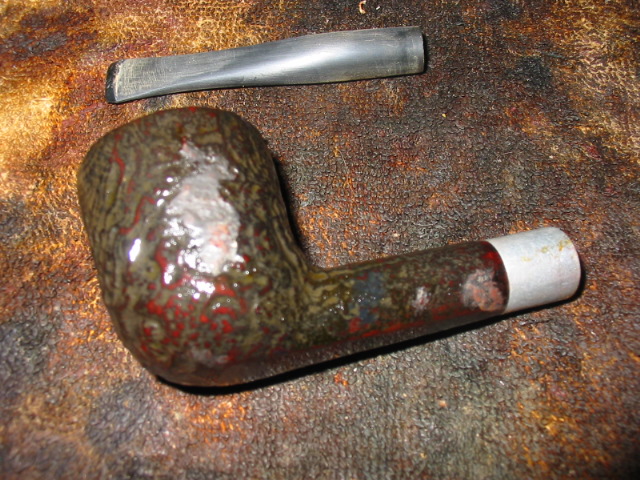
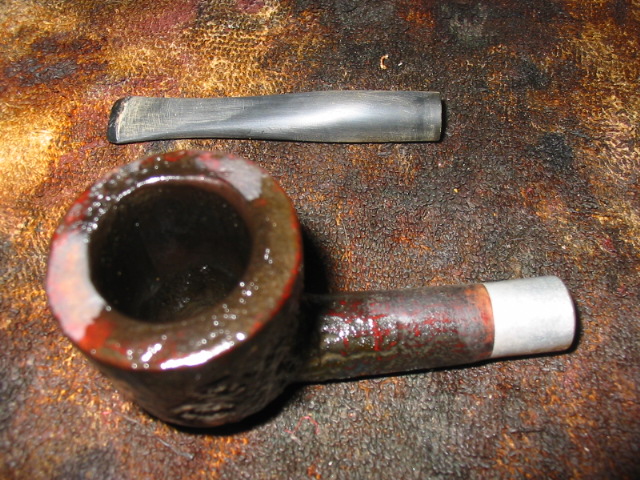
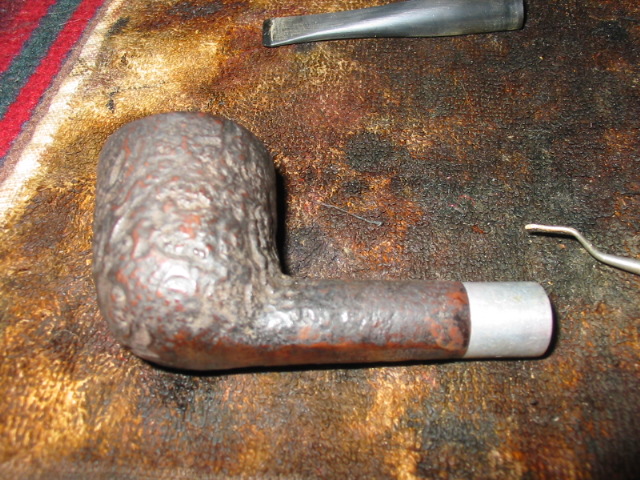
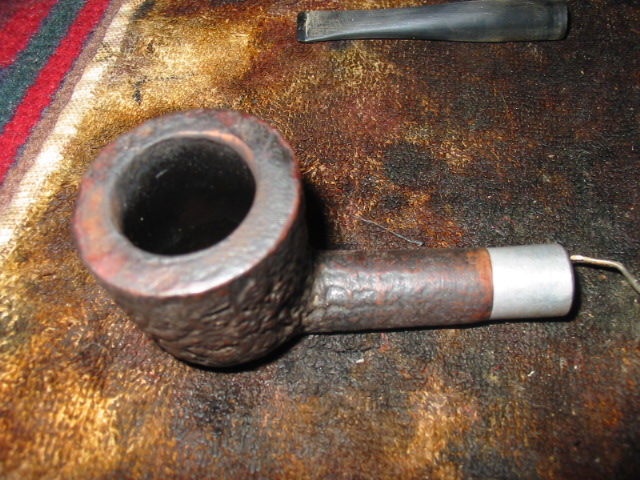
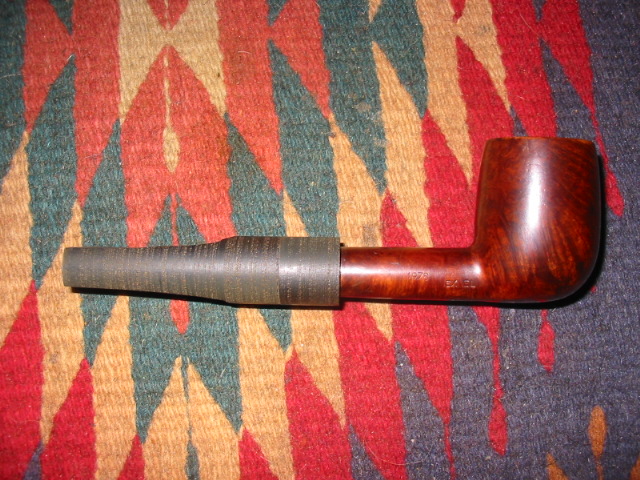
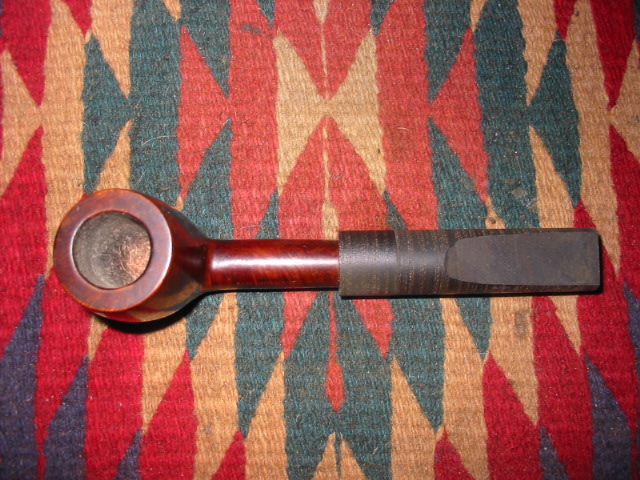
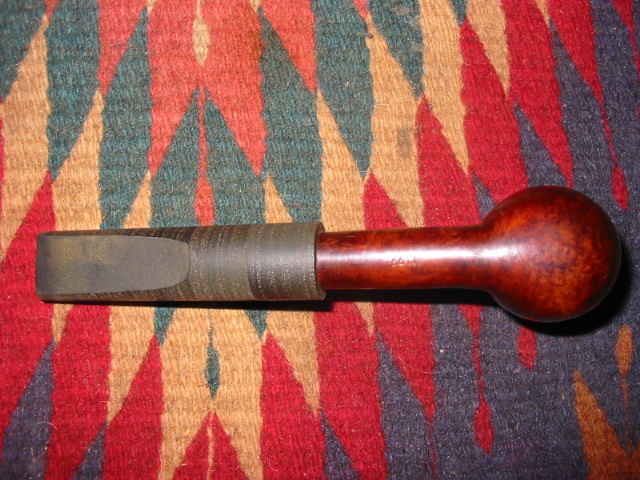
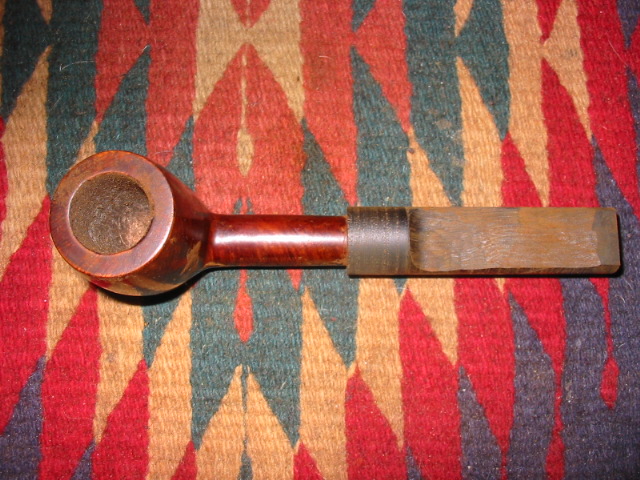
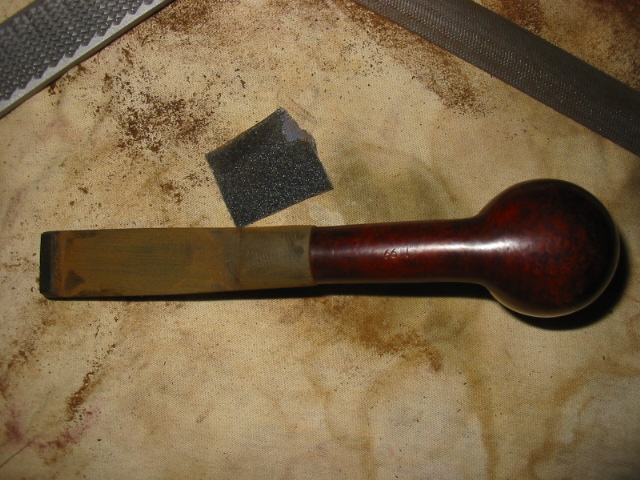
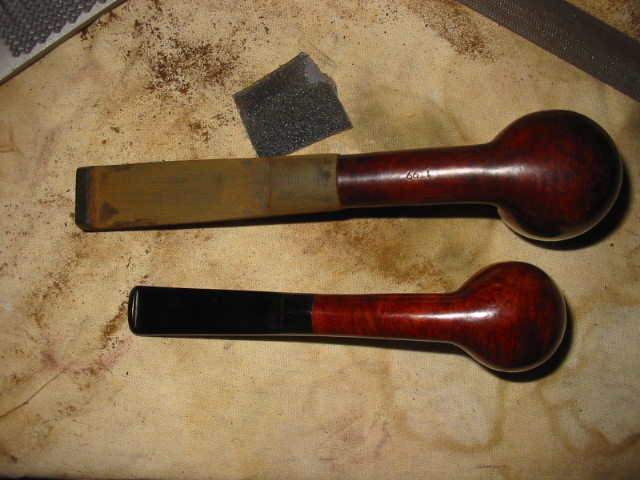
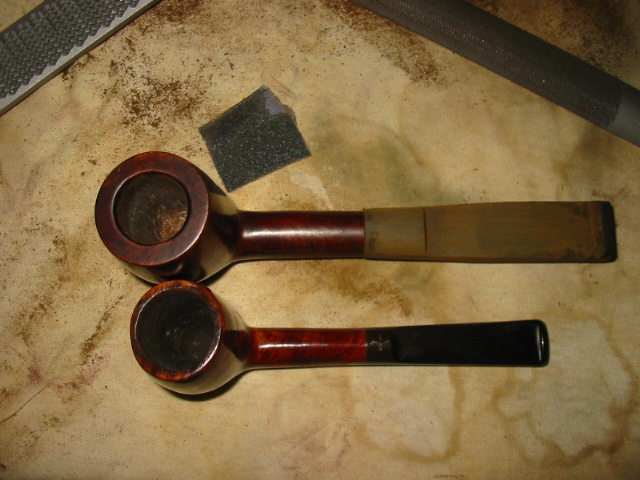
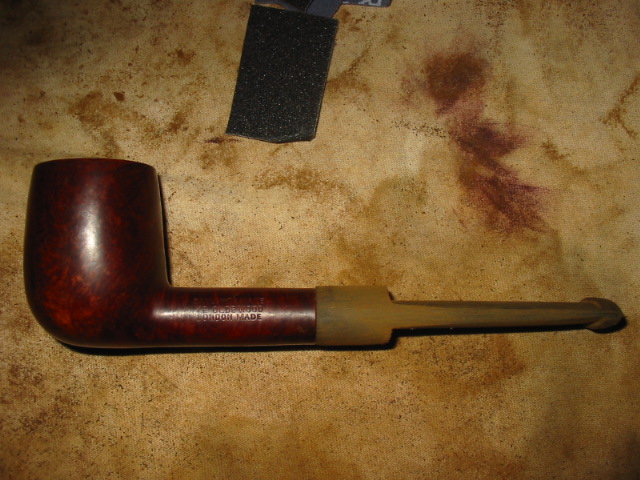
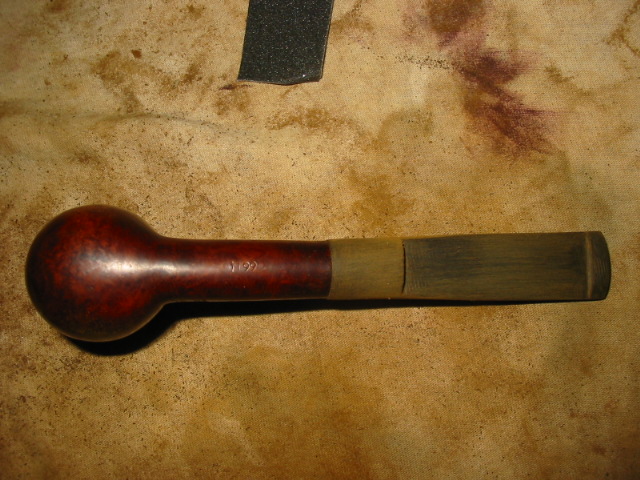
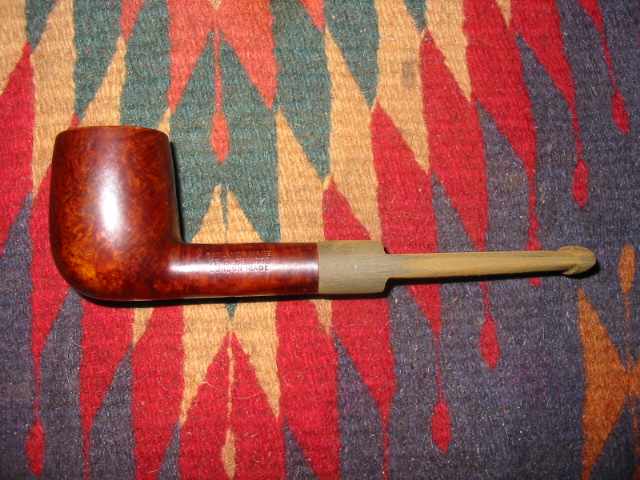
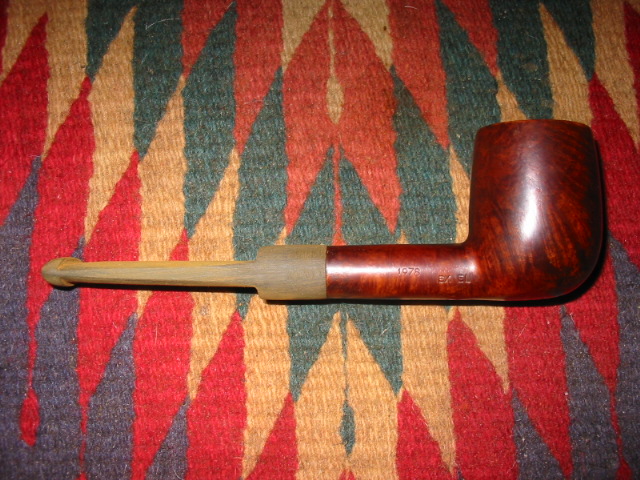
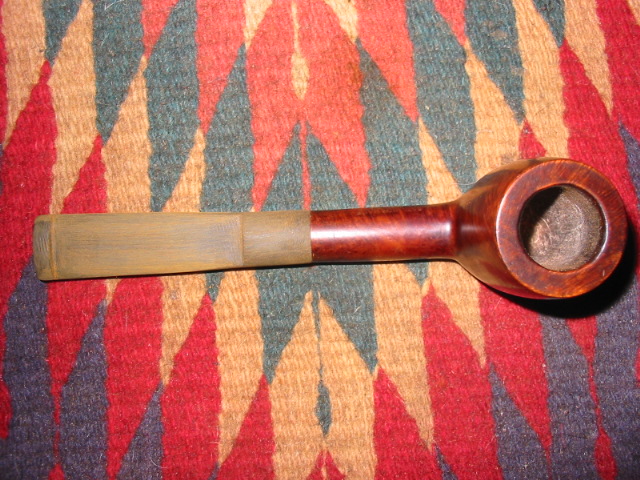
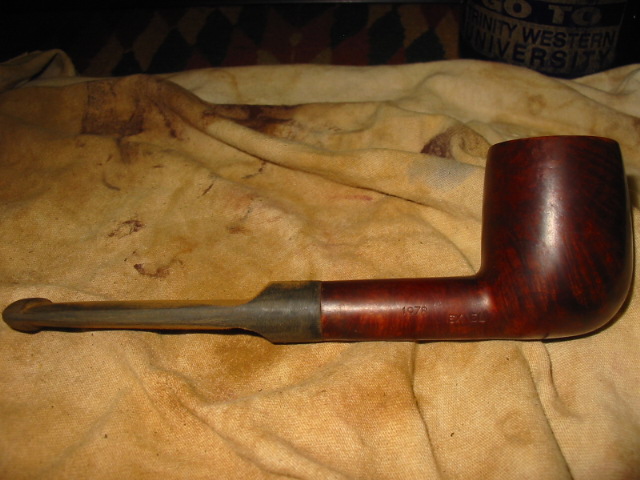
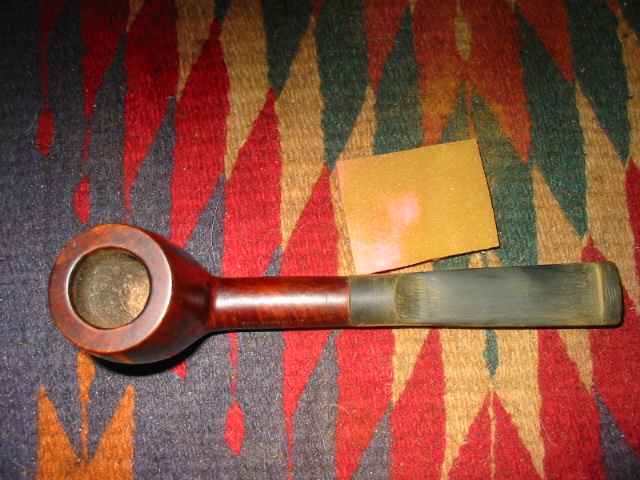
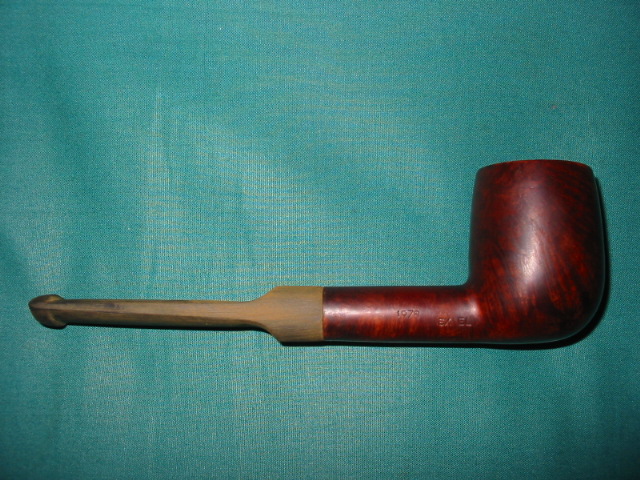
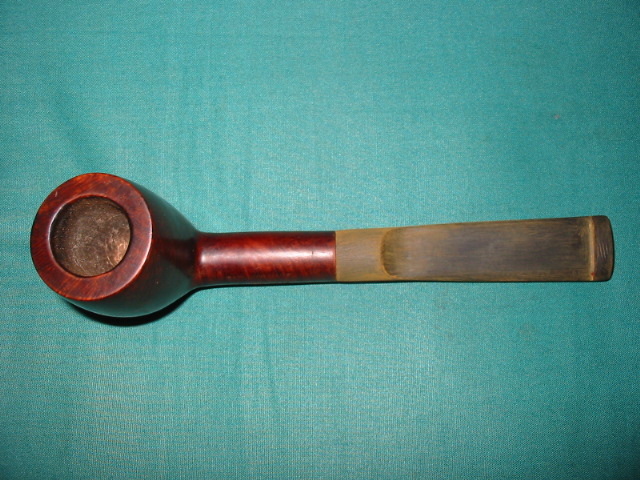
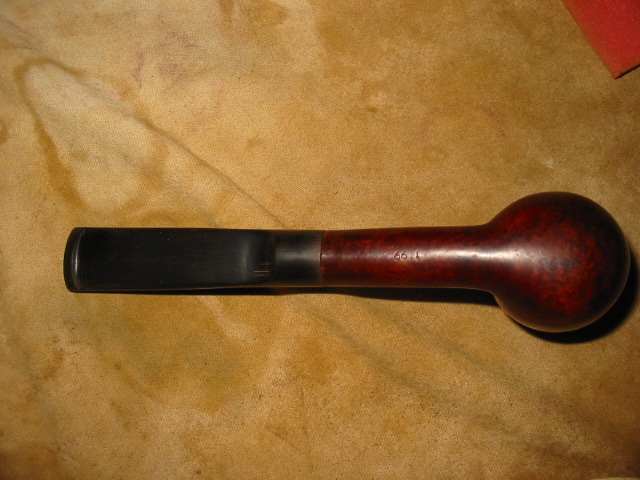
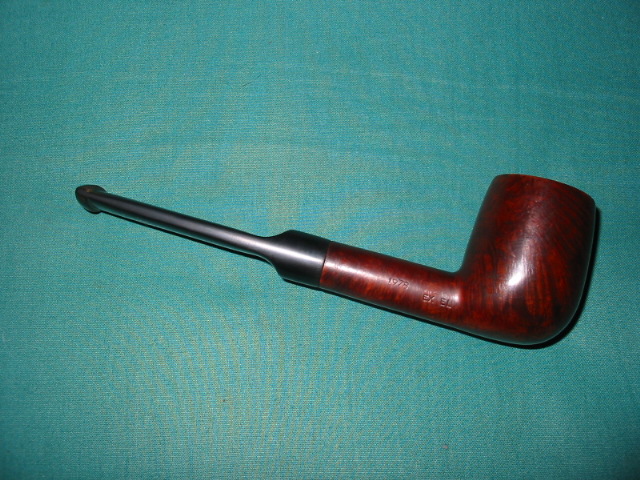
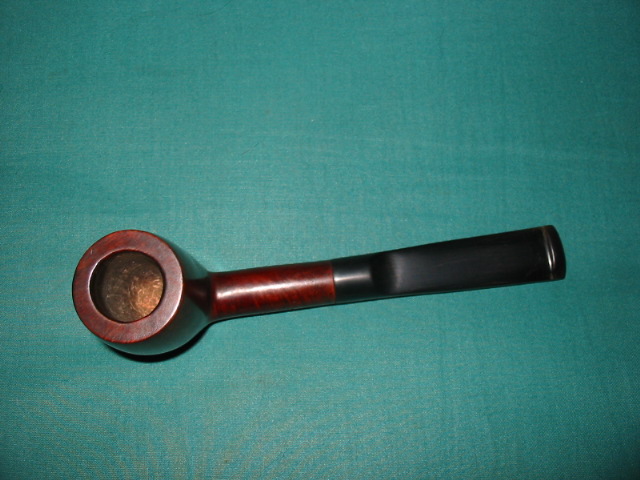
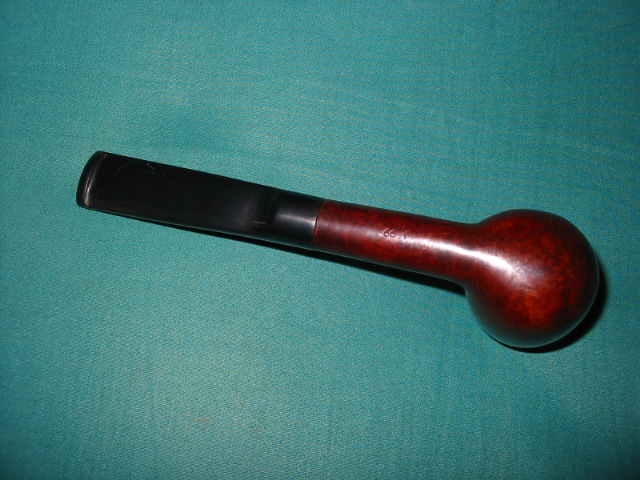
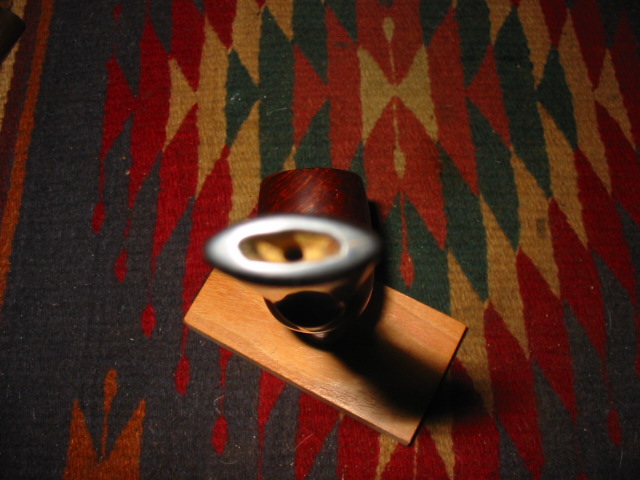
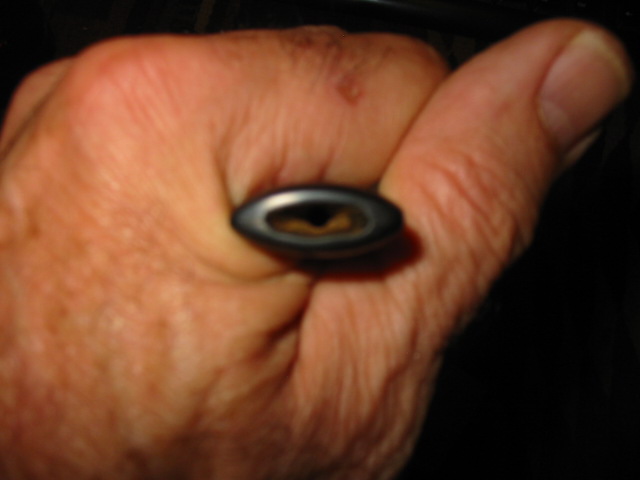
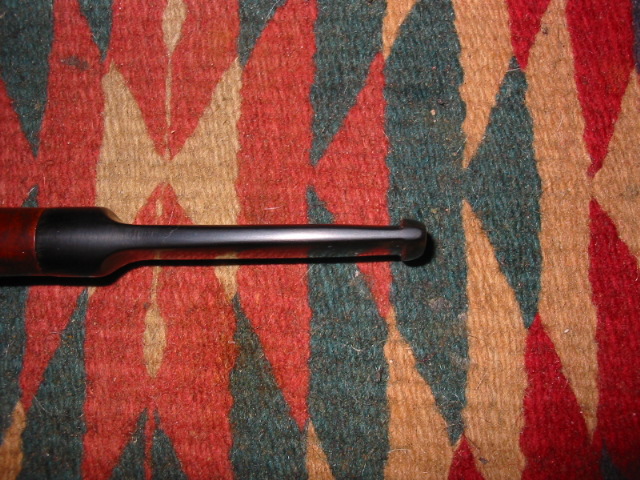
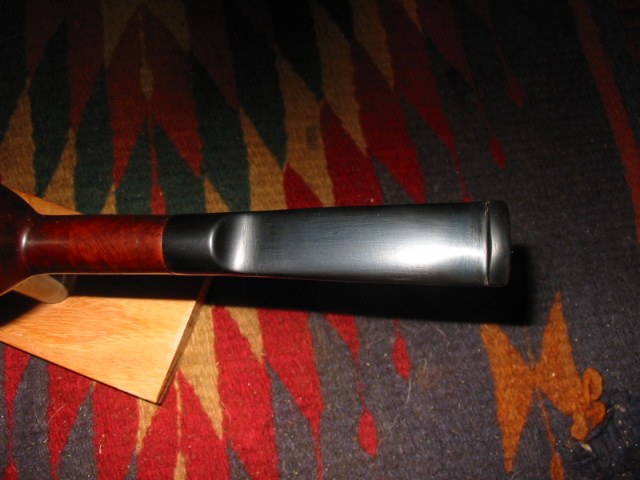
Earlier this year I refurbished a GBD 9438 in Tapestry finish and vowed never to touch a chair-leg stem again. That pipe proved to be a wonderful smoker and is a frequently used pipe in my rotation. A few weeks ago I found the identical pipe on Ebay and won the auction. This second 9438 was in a little better shape and the stem was not nearly as oxidized. The Rondell appeared to be damaged.

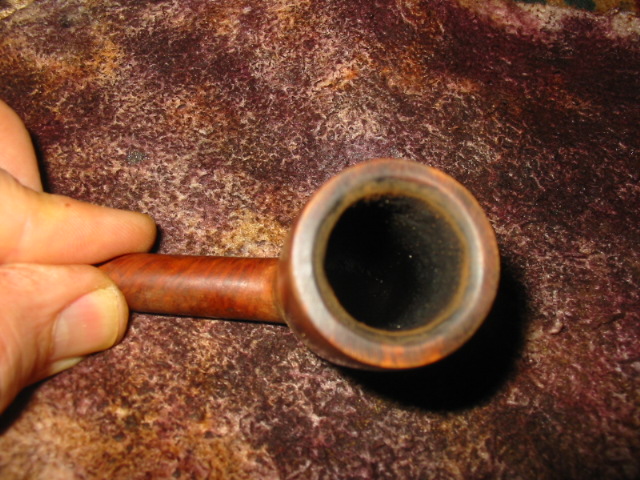
The bowl was in terrific shape, with very crisp nomenclature. There is an “E” stamp just at the end of the stem. If anyone has an insight as to what that means, please comment. The bowl was lightly reamed, then soaked with Everclear and sea salt. After the bowl was soaked, I buffed the briar with some Tripoli, White Diamond and finally a few coats of Carnuba wax. The briar is in really nice shape and the polished top is unmarred.

My attention then went to the stem. From the Ebay picture, I thought a piece of the brass rondell was missing. But that proved to be only grime. These rondells now appear to be unattainable, so I was pleased to discover this. The stem was soaked in an oxyclean solution. It was then cleaned with 2000 grit wet paper, than the last few grades of micromesh. After sanding, I buffed the stem with white diamond and then plastic polish.

I’m very pleased with the finished pipe. The briar a bit nicer than my first 9438 Tapestry. I bought it with the intention of giving to a family member as a Christmas gift, but now.….

Perspective of the pictures makes it appear the pipes are different sizes. However, they are identical in size. The tenon on the recent addition is curiously a bit longer than my first 9438.

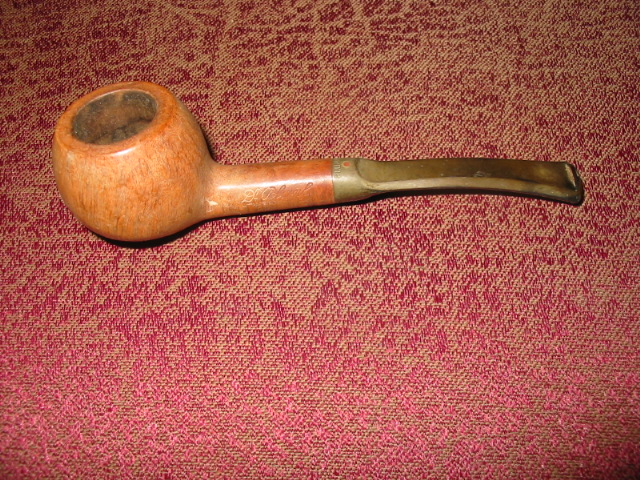
Before:

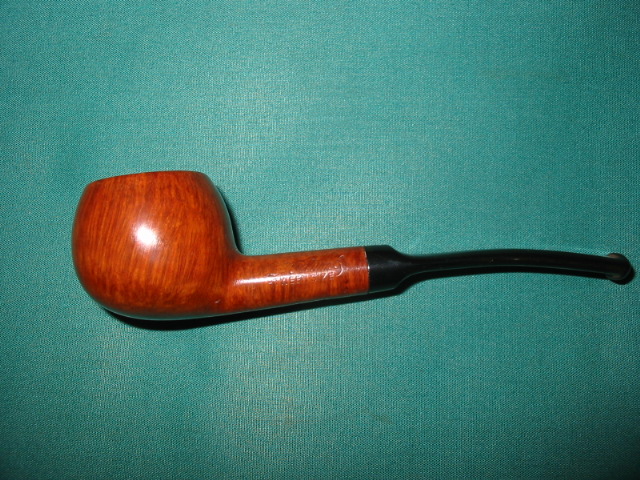
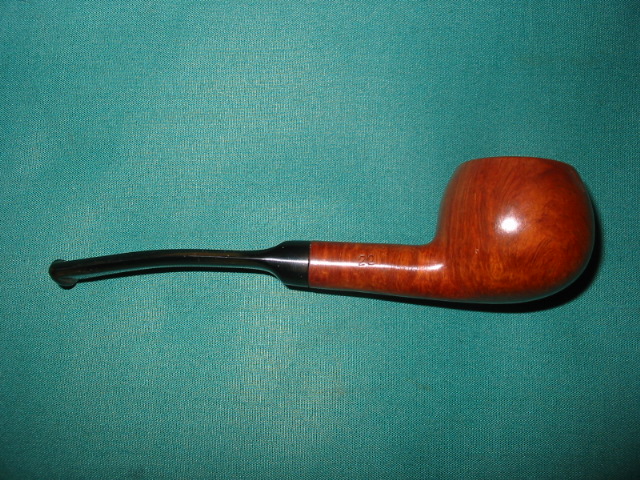
The fisnished pipe and some shots with the sister 9438 Tapestry:

Al Jones aka “Upshallfan”

Reshaping a button and stem on a Bewlay Bulldog


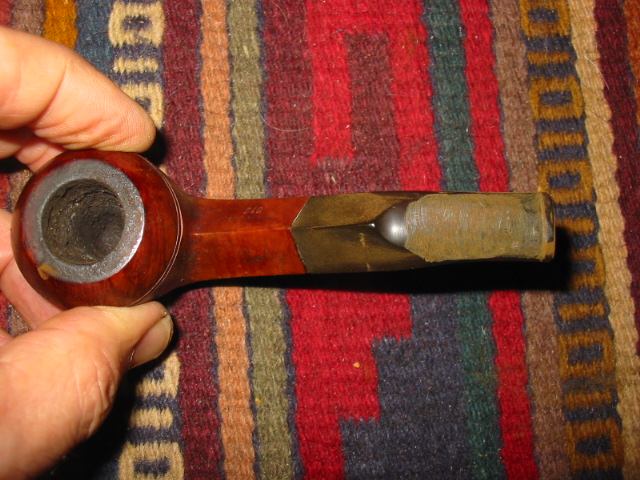
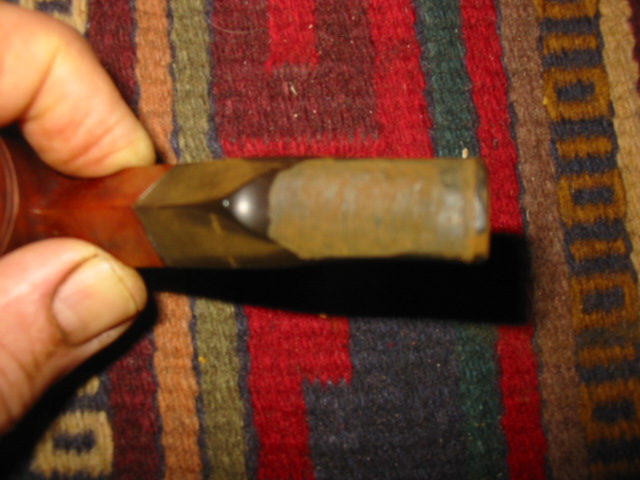
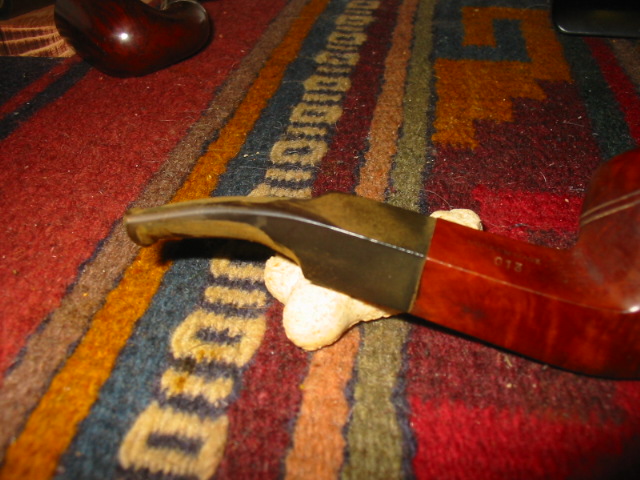
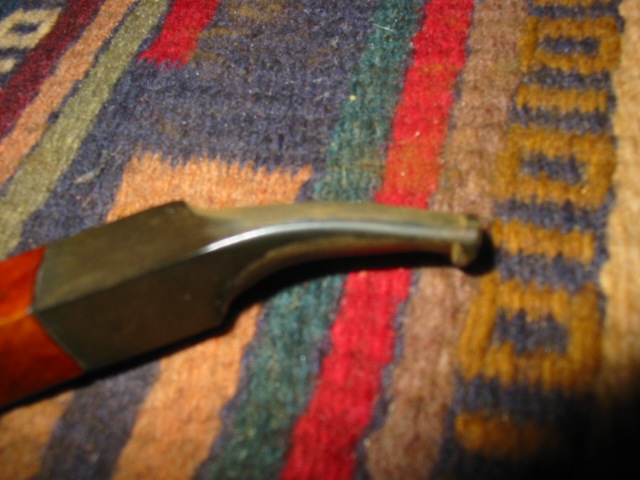
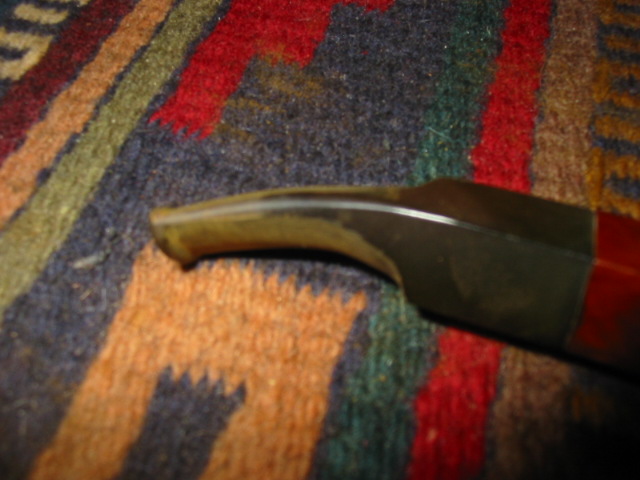
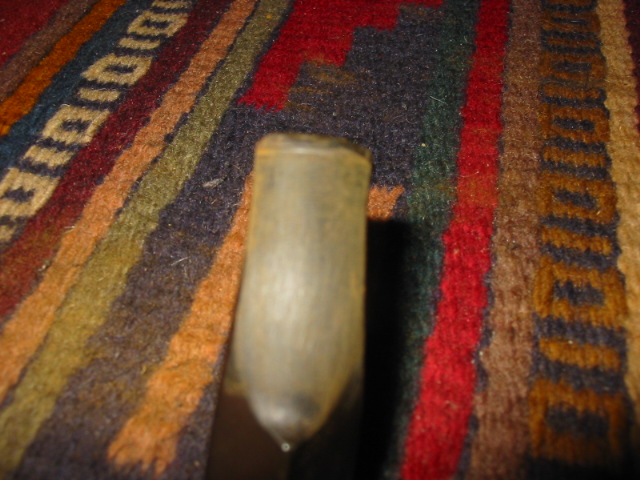
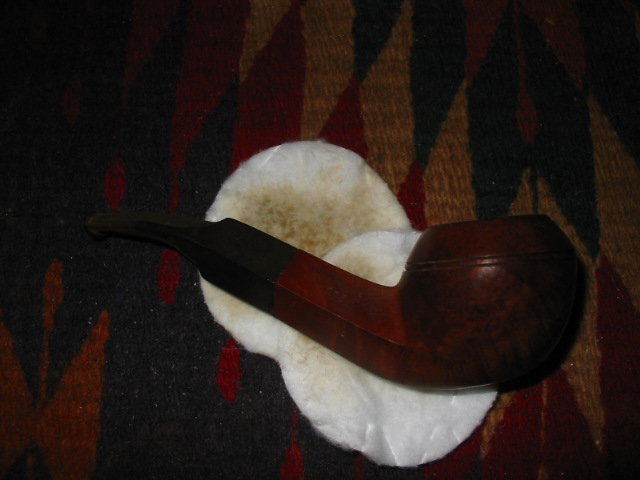
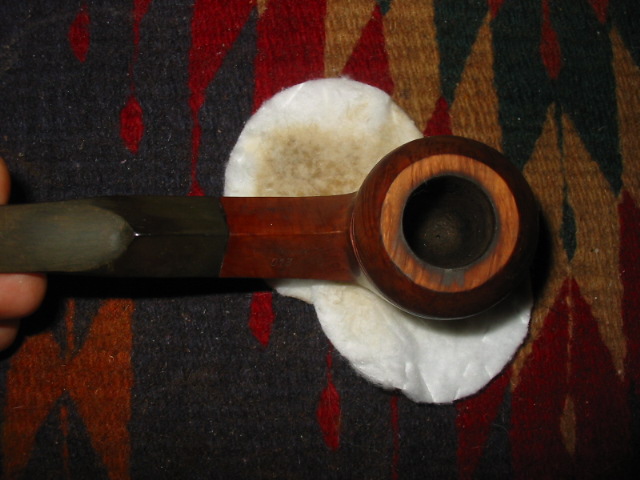
I picked up this nice older Bewlay Bulldog in a group of pipes I got off of Ebay. It was part of a lot that included two other Bewlay’s and two Barlings as well as quite a few other older pipes. This one is a nice little Bulldog – 4 ¾ inches long. When it arrived the stem was really a bit of a mess. The previous owner seemed to have cut off a portion of the stem and cut a groove on the top of the stem and the bottom as well to form some sort of new button. You can see from the first two photos below what the stem looked like. There were channels on the top and bottom of the stem that were about a ¼ inch wide and went the width of the stem. The stem was a bit oxidized and the bowl was dirty and tars and carbon were built up on the rim.

ImageImage

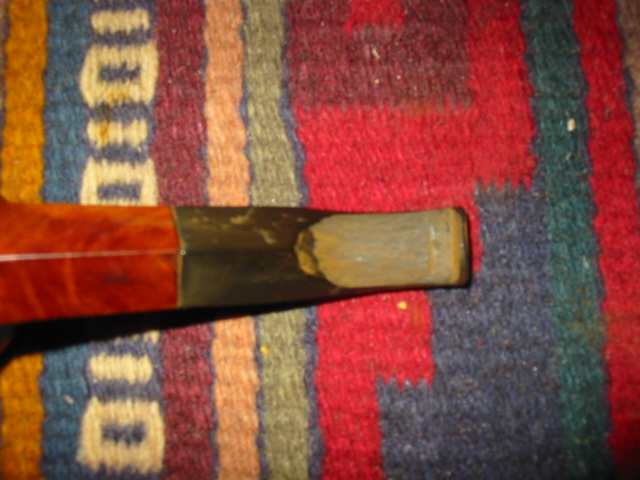
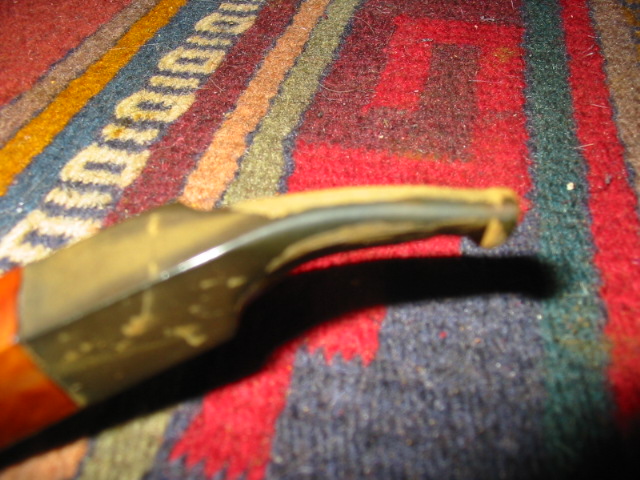
The next two photos show the stem in profile and you can see the channels if you look closely at the button area of the stem. The button had no real profile or shape to it. The briar was very nice on this one so I really wanted to rework the stem and keep the original stem intact.

ImageImage

I used needle files to begin to reshape the stem and the button. There was a lot of material to remove to even out the slope of the stem to the button. I also needed to reshape the button to make it truly a button. The slot needed to be cut in the button as well as there was only the end of the airway and it was very close to the top of the button. The next series of four photos show the work of the needle file in reshaping the stem. The groove on the top of the stem is shown in the first photo and you can see that it was not too deep. The angle of the blade to the saddle however was very steep and the stem was thick. While the groove is gone there still was a lot of work to do in reshaping the angles of the stem. In the second photo you can see the work done on the underside of the stem. This groove was very deep and there was a lot of work to do to smooth the surface to remove the groove and reshape the angles on the blade of the stem. All the work done at this point was done with flat blade needle files to smooth the grooves, flatten the stem and shape the button. The third and fourth photos in the series show the stem in profile so that you can see the button begin to take shape and the grooves begin to be blended into the surface of the stem blade.

ImageImageImageImage

I decided at this point to use my Dremel with the sanding drum to thin the stem down and to work out the groove on the underside of the stem. The next series of five photos show the stem after the sanding with the Dremel. I was careful to not cut too deeply in the top of the stem as the airway seemed very close to the surface of the stem. I thinned the upper portion of the stem just before the saddle. I wanted the slope from the saddle to the button to be gentler and to make the bit thinner. The first two photos show the stem after sanding the top of the stem with the Dremel. The third photo shows the underside of the stem where I sanded to thin the stem and to remove the groove. At this point the groove is just a simple line that is cut in the stem. The groove is gone. The rest I decided to remove with sandpaper and hand sanding. The last two photos in the series show the stem in profile to give an idea of the slope from the saddle to the button and how the shape is beginning to develop. There was still much sanding to do.

ImageImageImageImageImage

From this point on I used sandpaper to shape the stem. The next series of four photos were taken after I sanded the stem with 240 grit sandpaper to remove the marks and scratches from the Dremel sanding drum. The shape is beginning to get close to what I am aiming for in terms of thickness and slope of the stem from saddle to the newly formed button. You will note that the top edge of the button is still pretty shallow – that is because the airway is pretty close to the surface at this point and I do not want to sand through it. The groove on the top and the line that was left in the above photos of the bottom of the stem are gone.

ImageImageImageImage

I then switched to a finer grit sanding pad. The pad is pictured in the photos below. It is pink foam with fine grit sandpaper attached. It allows me to follow the bends of the stem and to get in close to the button and smooth the scratches out even more. I also used it to sand the saddle to remove the oxidation on the flat parts. The next series of two photos show the new look to the stem and button. They are close ups of the stem in profile. I wanted you to see the slope of the stem and the shape of the button. The sanding foam worked great to be able to smooth out the lines and the edges of the stem so that the edge of the diamond saddle follow to the end of the button in a nice smooth slope. The last four photos show the stem once it has been wiped down with some Isopropyl alcohol after finishing with the sanding foam. There is still a bit of oxidation on the stem but the angles and flow of the stem look natural and the button is clearly visible.

ImageImage

I restained the bowl at this point just for a change of pace. The next series of photos show the bowl of the pipe after I had wiped it down with acetone. From that point I went on to restain it with some oxblood aniline stain.
ImageImageImageImage

This series of photos show the restained bowl and the remaining oxidation that needed to be dealt with on the stem.

ImageImageImageImage

In the next photos the pipe is finished. Before it got to this point I sanded the bowl and the stem with micromesh sanding pads from 1500-6000 grit to polish the bowl and rim and to finish polishing the stem. The 1500 grit micromesh worked well to remove the remaining oxidation on the saddle and the remaining scratches on the stem. From there each course of sanding with the different grits of micromesh added more and more shine to the stem. The biggest change in the polishing comes with the shift to 4000 and 6000 grit. I then took the pipe to the buffer and used White Diamond to finish the polishing of the entire pipe and then gave it several coats of carnauba wax to make it shine.

ImageImageImageImage

Restoring an Astor Belge


This was one of the pipes I picked up recently on a trip to the US. It is a small Astor Belge shape which is one of my favourite shapes of pipes. Astor pipes were made by Comoy as a second line of pipes. From the number of fills on this one it can easily be seen why it is a second. It is a shame as it also has some amazing cross grain on the front and back and some beautiful birdseye among the fills on both sides. The extent of the birdseye grain can be seen in the second photo below.

ImageImageImageImage

The pipe was dirty but really in pretty good shape for its age. I reamed the bowl and cleaned the bowl and shank with Isopropyl alcohol (99%) to remove the tars and oils from the inside. Then I dropped the stem in some oxyclean to soak and wiped the bowl down with acetone (fingernail polish remover) to remove the finish. I dropped the bowl in the alcohol bath for awhile to give it a good soak and worked on several others for awhile.

After an hour in the bath, I removed the bowl and dried it off. The next series of three photos show the pipe after removal from the bath. I used micromesh 1500 grit sanding pads to remove the grime and tar from the rim and the inside bevelled edge. It took a bit of work to smooth this out and keep the angles the same all the way around. The third photo below shows the finished bevel and the top after quite a bit of sanding. The top took a bit more sanding with the micromesh to remove the darkening as it was on the surface and not too deep into the briar.

ImageImageImage

At that point I decided to remove the fills from the bowl as I personally dislike the pink putty fills that are often used on these old timers. I used the dental pick to remove the as can be seen in the next series of three photos. They were all pretty deep and would need to be repaired. After picking out the fill I wipe the bowl down with a soft cloth and Isopropyl alcohol to clean the surface of any remaining bits of putty. When they are clean and dry I fill them with briar dust that I have saved for this purpose.

ImageImageImage

After filling them with briar dust I drip the super glue/krazy glue into the dust and it dries almost instantly. The next three photos show the newly filled holes at various stages of the repair. The first photo shows the dust and super glue in the bottom holes before I sanded them. The top holes in the photo have been sanded a bit to smooth them out but are not finished. The second photo of the front of the bowl shows both the sanded ones and a newly filled hole with the super glue patch before it dried. The final photo in this series of three shows all the holes filled and the initial sanding completed.

ImageImageImage

The next two photos sow the holes patched and sanded smooth. The super glue and briar dust turned black in this case. This does not always happen but it did this time. I have no explanation for that in this case but they do look better than the previous pink fills. I have also learned that they can be hidden a bit with a dark understain. In this case I decided to stain the entire bowl with black aniline stain for a first coat. I flamed the stain and when it dried I took the pipe to the buffer and buffed the entire bowl with Tripoli to remove the excess stain and leave the black in the grain and around the fills. You can also use black permanent marker to build the grain pattern around the fills to help hide them though I did not use that method on this pipe. I then sanded the bowl with the 1500 and 1800 grit micromesh pads to remove more of the overstain. I washed the bowl down several times with acetone to also lighten the black. Once it was at the saturation I wanted it was ready for the overcoat of stain.

ImageImage

I decided to use oxblood coloured aniline stain for the finish coat on this one. I wiped it on and then wiped it off before it dried to get good coverage I repeated that several times and finally gave it a full coat and flamed the stain to set it. When it was dry I took it to the buffer and buffed it with Tripoli and White Diamond to give the final coat a real shine.

I finished the stem with my usual regimen of micromesh pads from 1500-6000 before putting it back on the bowl and buffing the pipe with White Diamond. I coated the stem with several coatings of Obsidian Oil and then gave the whole pipe multiple coats of carnauba wax to finish. The pictures below show the finished pipe. Though the fills are still visible they are diminished in their overall presence in the pipe. They no longer stand out in the finish. I personally love the depth of colour that this old Belge has with the new stains.

ImageImageImage

Cleaning Up Estate Meerschaums – Fred Bass


Blog by Fred Bass

Fred Bass, who is the moderator of the All Things Meerschaum Group on Smokers Forums, wrote this article and has given permission to have it posted on rebornpipes. Thanks to Fred for his continued work in educating many of us to the joy and delight of the meerschaum pipe.

There are an abundance of ideas about how to clean up used meerschaum pipes and return them to active service.  Some of these ideas are good while others can generate problems of greater magnitude than those you sought to remedy. I don’t have all the answers and my repair skills are limited by spartan equipment and my lack of finesse with the tools that I do have. Just the same, many of the meerschaums in my collection were smoked by others before I acquired them and cleaned them up, using simple methods to get years of further use from these old soldiers. I’ve written essays and articles on the pleasures of smoking the seasoned meerschaums I’ve acquired, and which I continue to enjoy smoking. This can be done by anyone who cares to invest a bit of time and patience in acquiring vintage meerschaums to resurrect, and cleaning them up so that they can provide you with years of smoking pleasures as well. I don’t claim to be an expert or an artisan, but using the scraps of knowledge I’ve acquired over the years, as a student and devotee of these pipes and their cultures, has been a benefit to me and it is my pleasure to share what I’ve learned. These are things that I would like to pass along, not as the perfect example that should be followed, since there’s already plenty of that from all of the persona in the pipe community, but as something that I can contribute to the body of available knowledge, while not perpetuating myths and hearsay that are commonly held to be fact. The opinions and preferences of meerschaum pipe smoker are as numerous and diverse as the people who smoke them, and I have no intention to slight or refute them. If you read something in this essay that you think might be useful to you, then I will have achieved my intent to provide you with viable information.
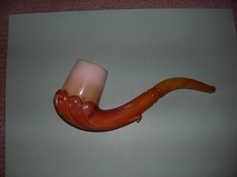
ImageLarge Bent with scalloped underside, Amber mouthpiece, 7″ overall length

I will discuss things to consider prior to purchase of a vintage pipe, which means a pipe that is less than 100 years old, assuming that you don’t already have a pipe that you want to clean up; the basics of removing the debris of past use; routine cleaning to maintain a pipe that will smoke with clarity; and the choices you will need to make about the general appearance of the pipe. I have my own opinions, like everyone else, which you will find throughout this essay, but I will not tell you something that is outside of my experience without giving notice that it either speculation or something someone else has discovered by trial and error. If this sounds like it is something that is worth your time to read, then this is for you. Hopefully, you will find these old veterans of past fires to be as worthwhile as they are to me.

When considering the purchase of a used estate pipe or fixing up a meerschaum that you already have, it is important to get an idea of how much it will cost to fix the pipe, prior to a purchase and/or investing the cash, time and materials that will be required before it can be smoked again. Any good discussion about cleaning up estate pipes should take the value of the pipe and the cost of getting it back in service into consideration, as the two issues are linked to each other, unless you plan to use it for display in its’ current condition. It is best to be able to examine the pipe yourself, which is not always possible since many estate pipes are sold in online auctions.
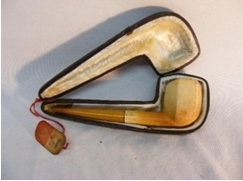
ImageKoncak Andreas Bauer Paneled Billiard

First, determine if there are any cracks, dings or break lines in the block, because if the block isn’t sound, then there is no reason to consider the pipe as being a candidate for future use. Online sellers should be able to provide this information, even if they don’t know a whit about pipes and have poor skills at photography. Reputable sellers are happy to answer your questions. Repairs to damaged block meerschaum are difficult, costly and generally not worth the investment. The presence of a metal band on the distal portion of the shank, where it meets the bit, may be there because of a repair, which is not a good sign for continued block integrity if you intend to smoke the pipe. Metal bands that adorn the pipe for effect don’t present this problem, but it is wise to consider how easy it will be to maintain a bright finish on them without creating problems for the block. Personally, I prefer to avoid having to clean metal on a pipe, especially around the bowl’s plateau, or to have to deal with the metal getting hot while discoloring the block during the smoke.  Another aspect of the condition of the block is how much it has been smoked. Yes, well developed coloration is attractive but the more use a meerschaum has provided, the greater the possibility of diminished strength in the block’s integrity, especially in the older pipes, which are prone to being brittle. This is more of a consideration for Turkish block than it is for African block, because Turkish block is softer and hasn’t been strengthened by a calcification process, commonly used by factories that produced African block meerschaum pipes. That rich patina might also be there because the previous owner smoked a cheap aromatic blend and never spent a cent on a pipe cleaner, so you could be spending years trying to exorcise the ghosts from the pipe. I’ve been fortunate in that most of the estate pipes I’ve purchased were smoked by someone who enjoyed virginia blends, but the few that I discovered had been used to burn cheap aromatics were a real trial to clean up. Remember, you can’t use a retort or the salt-alcohol treatment on a meerschaum pipe. I know a few meerschaum pipe smokers that have drilled out the chamber and shank on pipes that have seen decades of abuse and neglect, but I don’t have the skills to do this. Others have used denatured alcohol as a cleaner but I prefer to rely on the FDA standards that Everclear must meet as a food grade solvent. The alcohol concentration is 95% with Everclear and I don’ need to be concerned about what the remaining 5% has in it, which is likely water. You should scrape the cake down to the block and clean the shank with Everclear, a shank brush and plenty of pipe cleaners before the first smoke, but you will need to repeat the cleaning between every smoke until the pipe starts smoking with clarity. Once the block has flushed the debris left by the last guy from burning his blends in it, the pipe will smoke well and it is up to you to keep it clean if you want it to remain smoking with clarity. After you scrape the cake out of the bowl’s chamber, then use a doubled over pipe cleaner with Everclear on it to get more of it out, and a paper towel to ream it. I don’t recommend using a pipe reamer because the force that is required to use one might crack the block. The shank brush with Everclear will help you clean the pipe’s draft, and it might take more than one to do so because a fouled draft can destroy a good number of them before the job is done. When the pipe cleaners start coming back white, then you will know that the pipe is clean. Smoking the pipe will cause more of the trash to migrate out of the block, so be prepared to use a lot more pipe cleaners, shank brushes and Everclear. Some of the abused estate pipes I’ve cleaned up have made a pint of Everclear look like engine sludge with the first cleaning. This isn’t the fun part of cleaning these old pipes up, so it deserves your consideration prior to a purchase or a decision to clean up that old meerschaum that’s been in the family for generations.

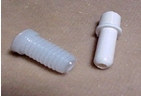
The next thing to consider is the bit and the bit-to-shank connector. I prefer derlin push/pull connectors and bone screws.
Image

The Delrin connectors are easily replaced, providing that the threads in the bit and the shank are intact. The bone screw connectors in some of my pipes have lasted for 35 years or more. The downside to them is that they must be kept clean or they can foul the smoke and they can require advance skills in the use of a pipe cleaner. I’ve never been able to appreciate the taste that metal connectors impart to the smoke, so I avoid them. If the bit and the connector need replacing, then either I’ll do it or send it to a pipe repairman if it requires more skills than I have in order to fix them.  In the past, I have sanded and refinished bit that were badly oxidized. These days, after discovering that it involved a lot of work, I prefer to just have them replaced if they are in poor condition. There are guys that are happy to work for days on restoring a bit. I’m not one of them. If I can’t clean the bit up using Everclear, a shank brush, pipe cleaners and bit polish, then I send it to Floyd Norwood. If the bit is light colored so that the lumen of the draft is visible, then I’ll use hydrogen peroxide to help remove old stains in the plastic, which is a timely process because I use a shank brush to scrub them in my routine cleaning and do not let the bits soak in the hydrogen peroxide. Get used to the fact that everything about meerschaum pipes is a slow process. If the pipe has an amber bit with chunks missing, I will have it replaced with and a new acrylic bit. Amber is expensive and many artisans will not work with it.  Amber is fragile and the ‘cultured amber’, which is made from the dust and chips left over from cutting and polishing the raw material, is the most fragile. I use regular pipe cleaners, Everclear and bit polish on them. Shank brushes and bristled pipe cleaners should never be used to clean amber bits, as they are brittle and break easily.

The general appearance and condition of the block’s exterior must be taken into account. Dirt and grime on the block can be removed by using a clean, white cotton cloth, moistened with Everclear. In a recent reply to my e-mail inquiry to S.M.S. Meerschaums about re-waxing meerschaums, Beth Sermet replied as follows:

Rewaxing a Block Meerschaum
Preparation: 100% beeswax cakes — confectionery quality
Old towel or cloth — to prevent hot wax from dripping or spattering onto other surfaces
Hair dryer — multiple temperature and fan settings
Cotton swabs — for brushing the melted beeswax
Polishing cloth — soft white terry cloth towel or white flannel

STEP 1: Use a hair dryer set to hot temperature setting, but low air speed. Heat the beeswax cake to consistency of lip balm. Hold the pipe by the stem. Smear onto the bowl directly from the beeswax cake like lipstick. Do not touch the bowl with your fingers during any of the steps.

STEP 2: Continue to heat the section of the surface of the bowl until the wax becomes liquid. Use the cotton swab like a brush to paint the area with a coating of wax. Push (the) molten wax into crevices and hard to access areas. The swab may unravel as it absorbs excess wax. Coat the entire bowl surface evenly. CAUTION: Try to prevent wax from dripping into the tobacco hole since it will leave a bitter taste.

STEP 3: Heat the bowl again to allow complete absorption of the wax. Set the pipe down on the towel to cool.

STEP 4: After the bowl cools to room temperature. Buff the surface to a high gloss using a towel first then the flannel cloth for the final buffing. If the surface is tacky, too much wax is on the surface. Heat this area again and remove excess wax with a cotton swab and buff again.

STEP 5: Repeat when the surface becomes soiled or dull. Excessive waxing may cause too much wax accumulation (tacky surface and dripping).
ImagePeterson African Block Meerschaum Prince Estate Pipe Made in Great Britain

In the past, I’ve used aggressive methods to clean up the exterior of the pipe. These days, I try to preserve as much patina as I can, which means that I wax the meerschaum while smoking it, using white beeswax, instead of resorting to the heroic measures of the artisan. Sanding the block to remove scratches and stains will change the shape of the pipe and it could be years before the patina returns, anytime you disturb the color progression. If there is a buildup of cake on the scorched plateau of the bowl, then scrape the carbon off as best you can without scoring or exposing the surface of the block. The beeswax will serve to make the black color soften and become more diffuse in time with continued waxing and smoking of the pipe. This is a more conservative approach but I’ve found it to be preferable to waiting years for the coloration to return to the pipe. These pipes will often take a lot of beeswax because they likely have not been waxed since they received it from the carver, which will produce rapid onset of coloration in pipes that have been heavily smoked by others. It is like having the benefits of a professional smoker- a service that the wealthy and nobles have paid for in the past. Here is a bit of history that Ben Rapaport ran across while digging thru the stacks of resources.

There is no doubt that the industry of colouring meerschaum pipes was, and probably is still, thriving in Paris. I remember, when living in one of the streets surrounding the Palais-Royal, to have seen opposite the house in which I lived a man, with his window open, smoking all day long and all the year round curiously elaborated meerschaum pipes. I met him one day, and could not help asking him how he could resist such inhalation of nicotine. He told me he was a professional ‘meerschaum colourer’ for the account of Madame Hubert, an extensive pipe-dealer in the neighborhood. He was paid a yearly salary of 1500 francs, and supplied gratis with tobacco. (“Very Like ‘Smoke,” Notes and Queries: A Medium of Inter-Communication for Literary Men, Readers, Etc., Fourth Series.–Volume Third, June 12, 1869, 567)   

These days, I’m more selective about the pipes I take in to clean up. If they look like they are going to be a real trial, then I pass on them. There are guys that enjoy working long hours to salvage the pipes that have been abused for decades.  I’ve discovered that I’m simply not one of them. The additional cash that I might spend on another pipe that is in better condition is worth it to me. I know my limitations. Some of you already know that dwelling in the realms of the White Goddess can be devastating to your bank account. In many ways, the estate meerschaum pipe market offers some degree of respite as long as you think about the hidden costs, such as what it takes to clean these survivors up, and/or repair them. In The Thrill of the Hunt (PipesMagazine.com, 10/19 2010): http://pipesmagazine.com/blog/put-that-in-your-pipe/the-thrill-of-the-hunt-a-guide-to-estate-meerschaums/, I wrote about some of the realities of this market and expanded on it in Time Travelers (PipesMagazine.com, 6/2012). It pays to do the homework before playing with the past glories of this seductive mistress because the rewards can be great.  Whether you have found grandfather’s old meerschaum, while rummaging thru the attic, or have acquired the vintage pipe of your dreams from an auction, knowing that returning these old veterans of past fires to active duty will take time is just another of the many lessons in delayed gratification that the White Goddess teaches. Come with me and discover for yourself why these pipes have been so highly prized for the past 300+ years. Care to join me in a smoke?

Fred Bass founded the All Things Meerschaum Group on October 14, 2008 for anyone interested in meerschaum pipes, carvers, culture & history, and the care & maintenance of meerschaums. If you have an interest in, or are curious about the meerschaum experience, you can contact Fred at FBass16117@aol.com or on Smoker’s Forums, http://www.smokersforums.co.uk/

Restored a Comoy’s Tradition from the 50’s


I have been looking for a Comoy’s pipe in the higher grades since I read a thread on Smokers Forums on the various grades of Comoy’s. On my anniversary trip to the States I came across a nice Tradition at an antique store. With a little bit of haggling the pipe and three others became mine (in the picture below the top pipe is an older Edwards that I picked up the next day at a different shop).

Please forgive the blurry pictures in the next foursome, I was too hurried to get at the clean up and restoration and did not focus them well. They are clear enough to see that the finish was in pretty good shape. The bowl was thickly caked and the rim was gummed up and looked to be dented. The stem was clean but oxidized and had tooth marks on the top of the stem near the button and on the underside in a matching pattern. I did a bit of field dressing to the pipe last evening while we were at the hotel, cleaned the stem and the inside of the shank with Isopropyl alcohol and also sanded the stem with a piece of 240 grit sand paper and some micromesh pads I had in my bag. (I know – it was my anniversary but I had thrown my book bag in from work and when I opened it I found the sanding disks. I have them in the bag when I have a break at work and want to get outside and have a pipe and work on one I have with me.) My wife was occupied with talking to the kids on the phone and looking through her purchases from the days shopping. So I had about an hour to do a bit of work!

I wiped down the top of the bowl with some Murphy’s Oil Soap (undiluted) on a cotton facial cleansing pad I picked up in the US. I had read about that on a post by Alan (Castana on SF) and they work very well. I applied the soap and removed it three times to soften and remove the grime. Once it was gone I found that the rim itself was pretty pristine. Just a little bit of wear on the chamfering on the right front. I reamed and cleaned the bowl and shank. I also used the micromesh pads (1500 and 1800 grit) on the rim and then restained the rim only with a dark brown aniline stain, wiped on and buffed off to match the bowl.

I worked on the stem next. It had bite marks on the top and bottom side near the button. I heated the stem and raised them as far as I could with heat then sanded out the remaining marks. To sand them I used 240 grit sandpaper first then used a fingernail sanding board that I picked up at Walmart this afternoon before coming home. It is pictured below in several of the pictures with the stem. It worked extremely well to remove the remaining tooth marks in the stem. I cleaned the oxidation with micromesh pads (1500-6000 grit) and put it back on the pipe to give it a buff with some Tripoli before returning to finish the polishing with the micromesh pads. I gave the stem a coat of Obsidian Oil and let it soak in before taking the whole pipe to the buffer to buff it lightly with White Diamond and several coats of carnauba wax.

Here is the finished pipe. I have been researching the stamping on this one. I found out that the stamping dates it to the early 1950’s. It is stamped in a circle with “Made” at the top, “In” in the middle and “London” at the bottom with “England in a straight line beneath. From the Derek Green’s History of Comoy’s Article I quote: “I believe this stamp was first used in the export drive in the early 1950’s and I have not seen any pre WW11 Comoy’s stamped in this way”.
http://www.derek-green.com/comoy_history03.htm

Dr. Plumb Bulldog Restoration


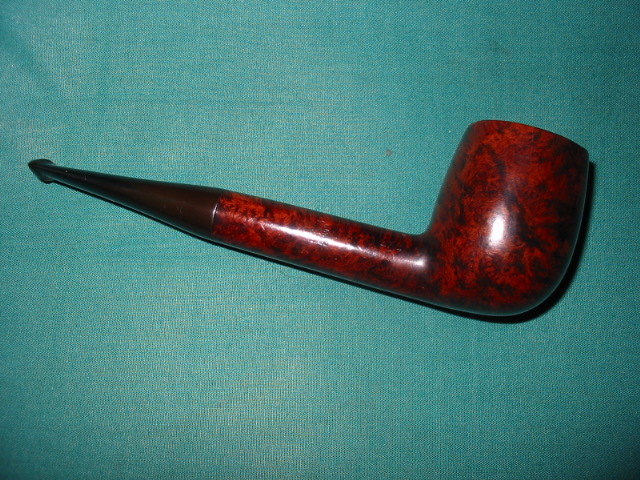
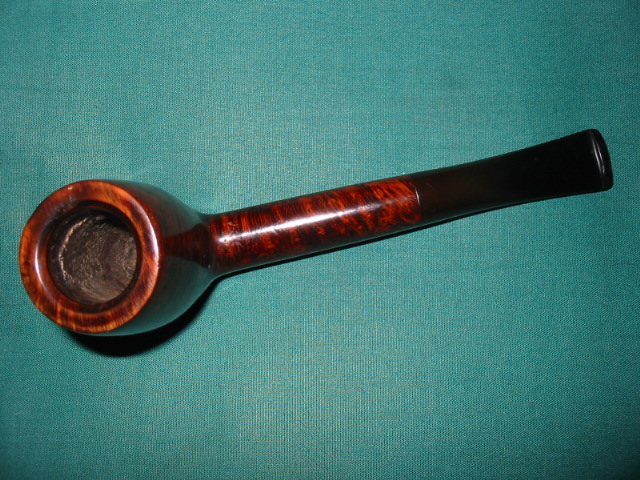
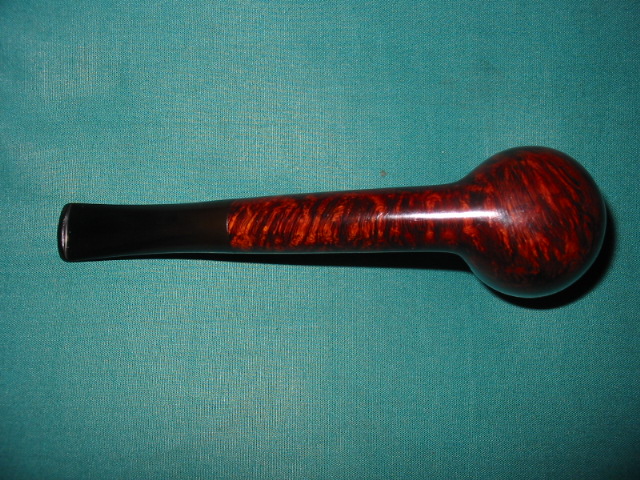
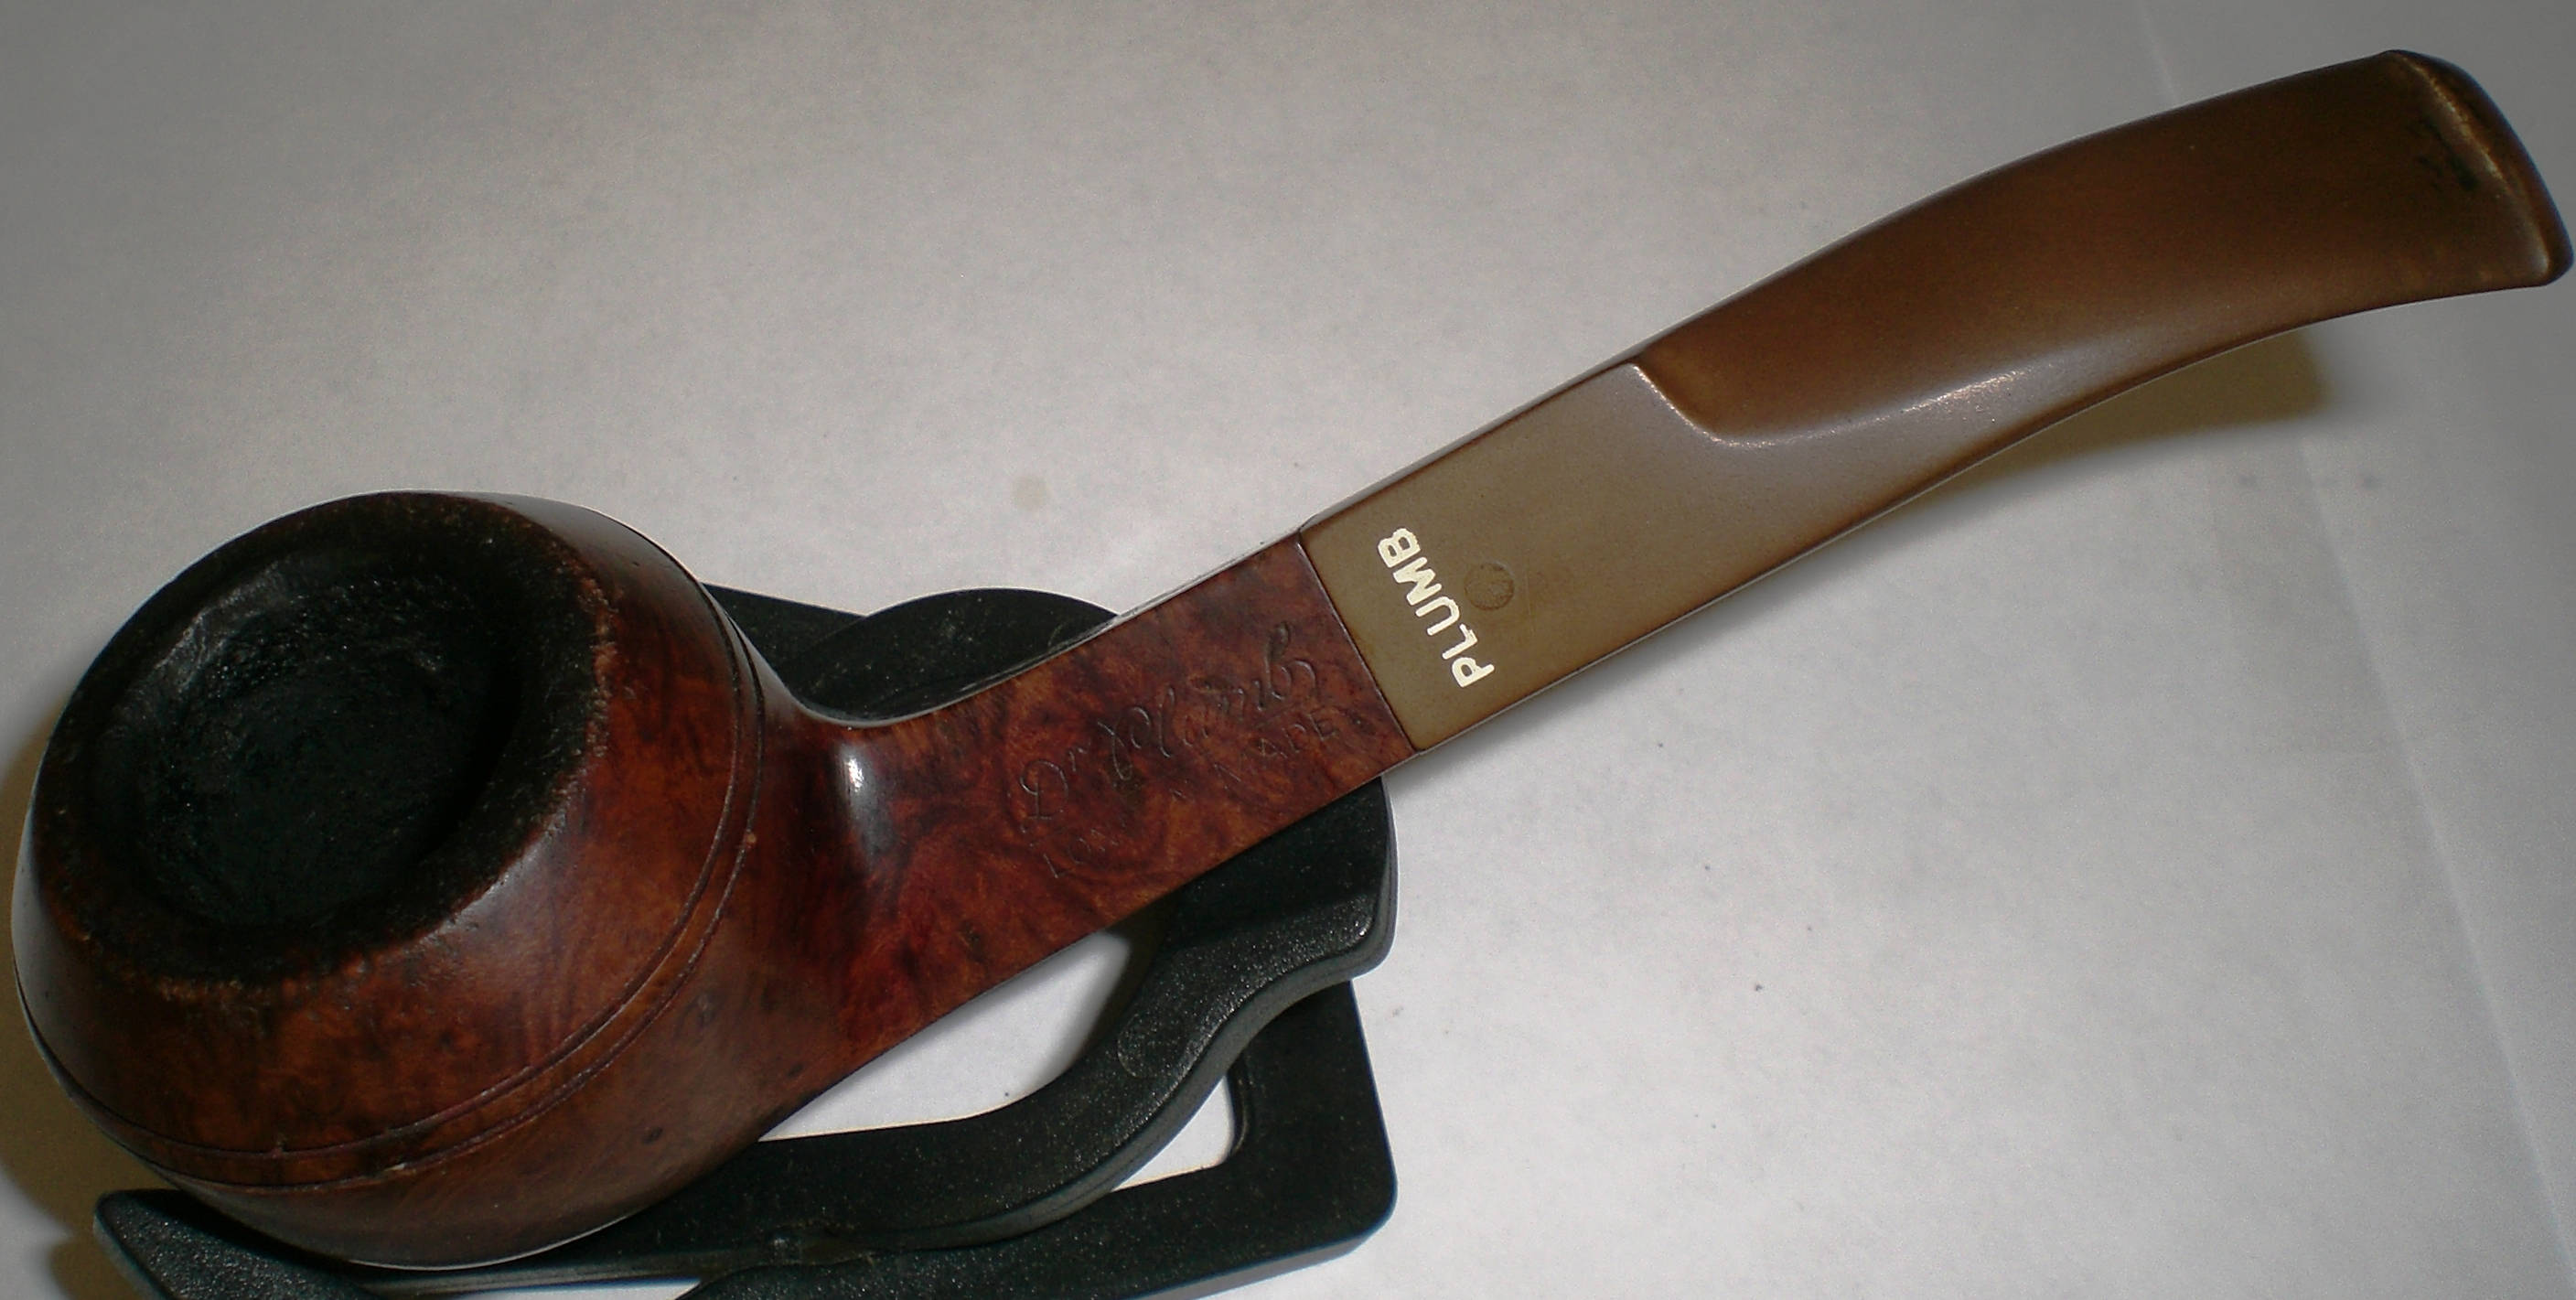
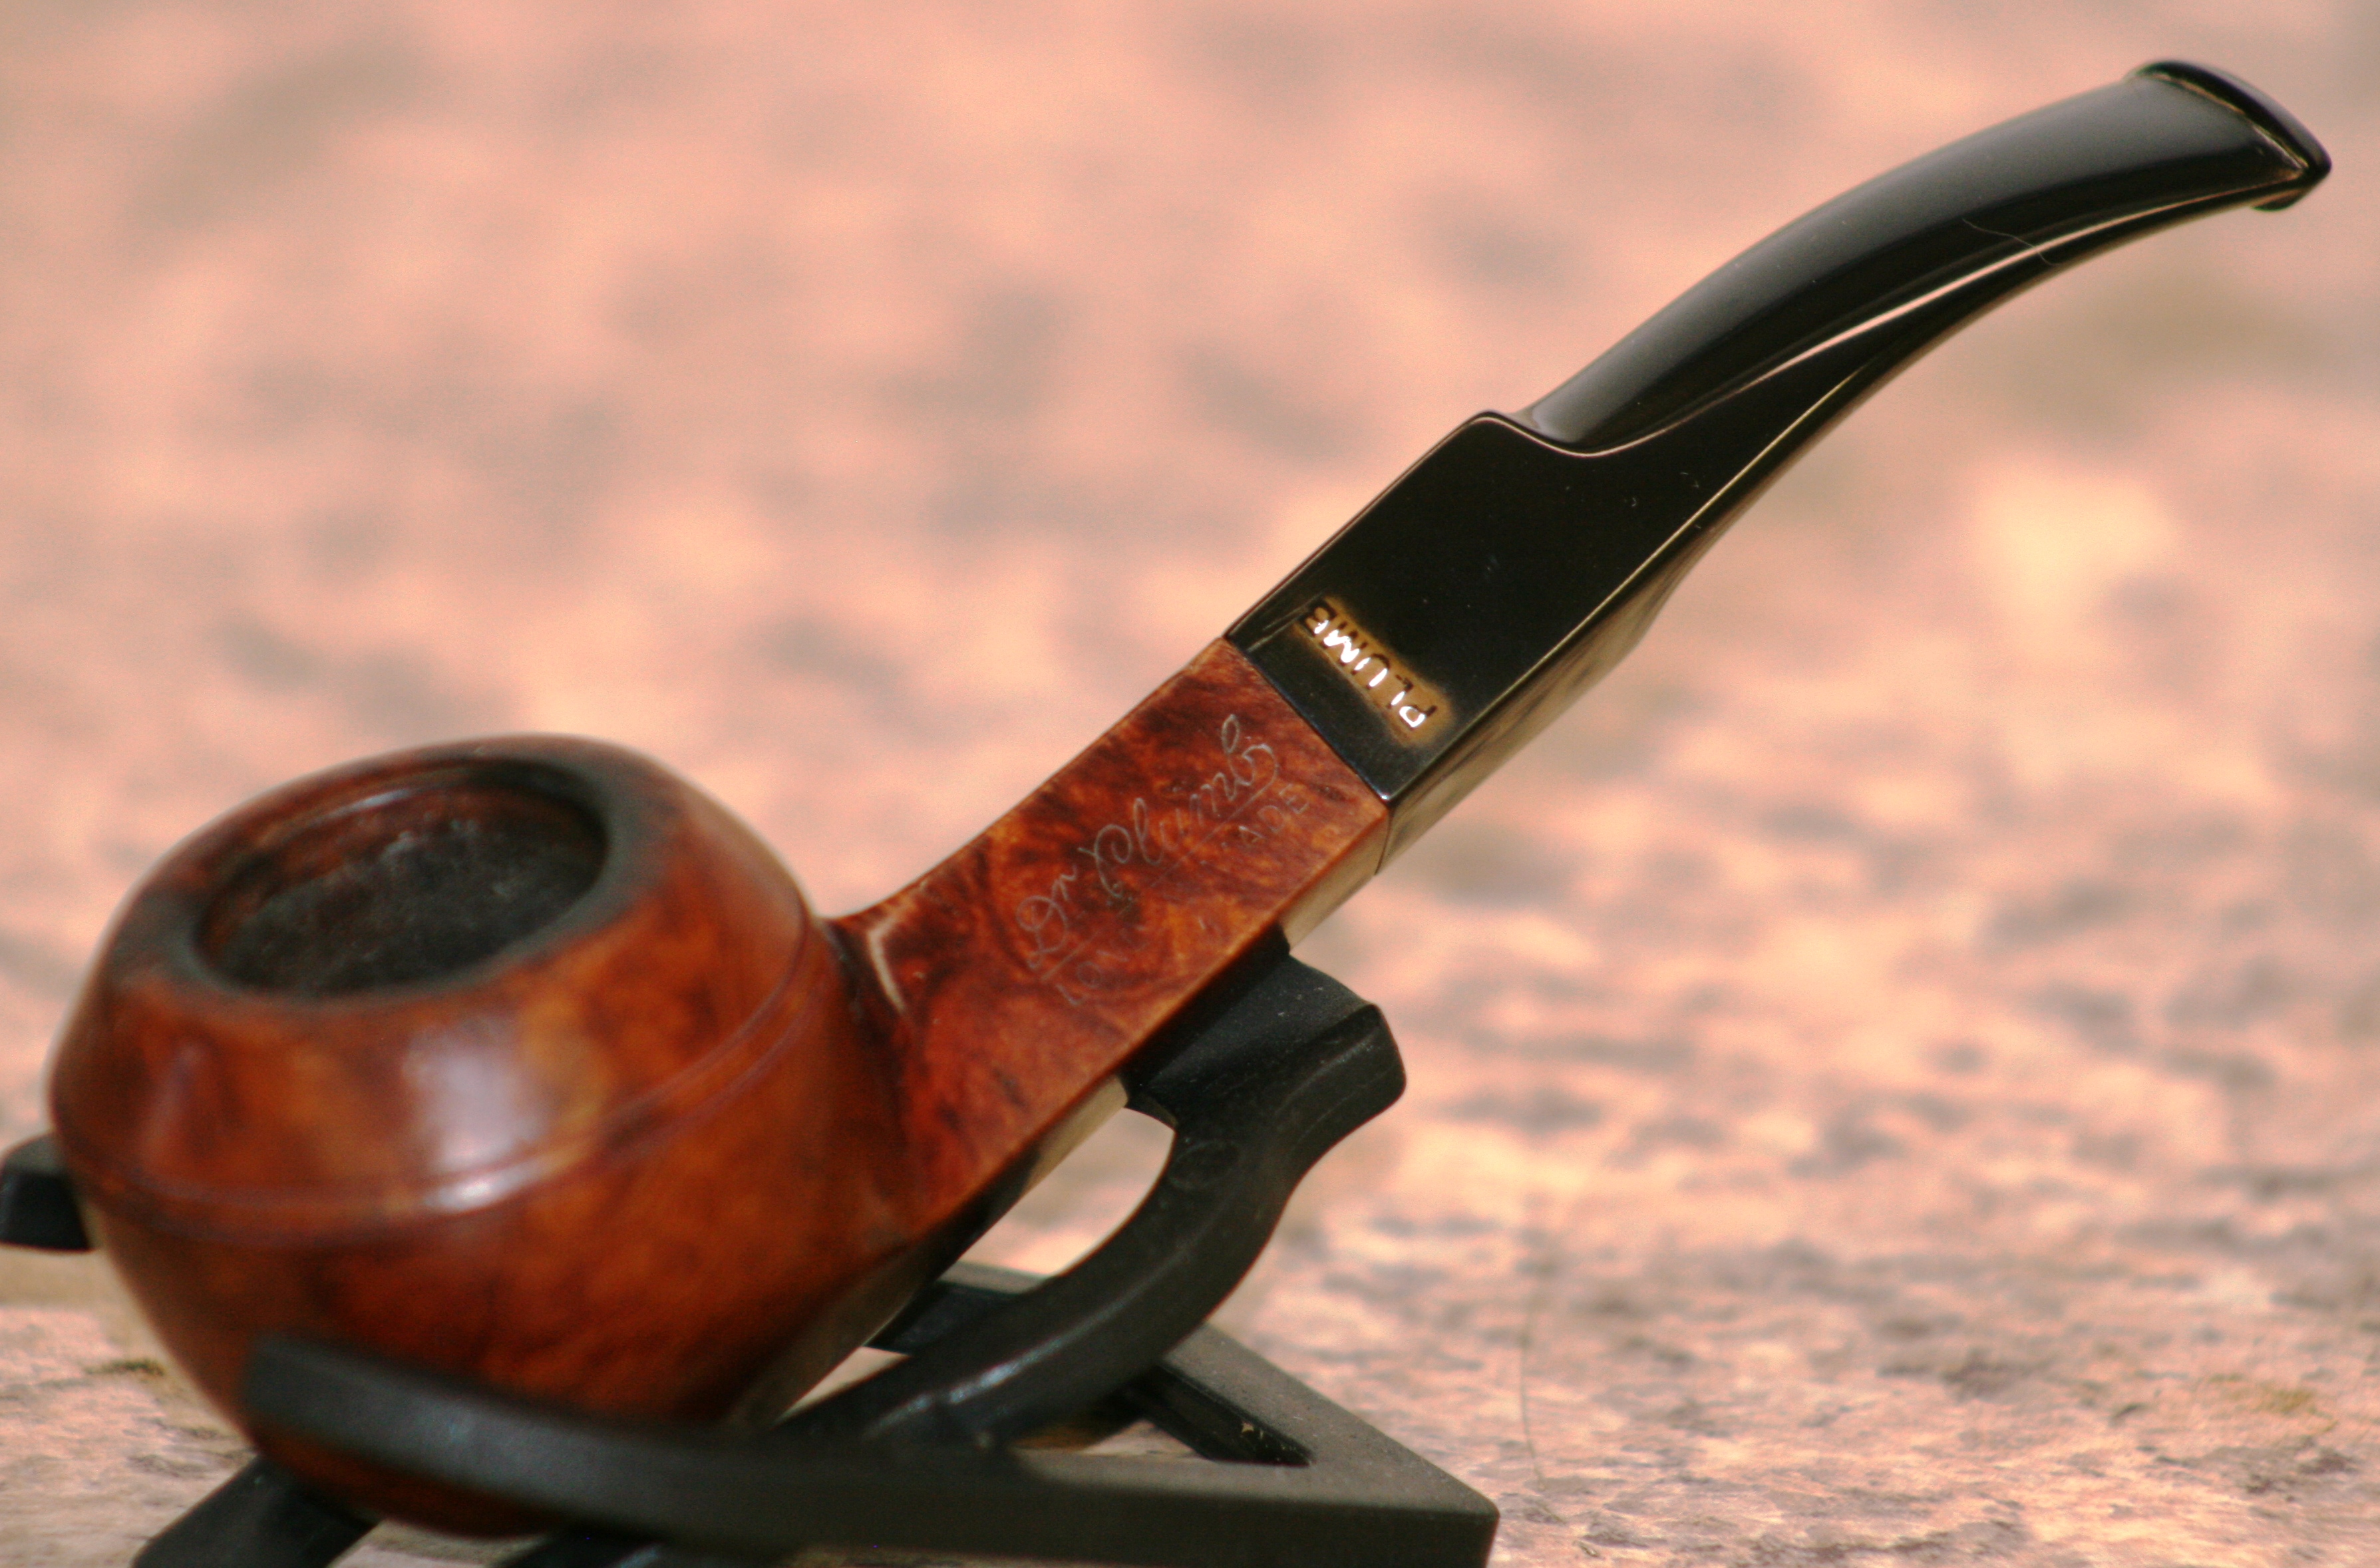
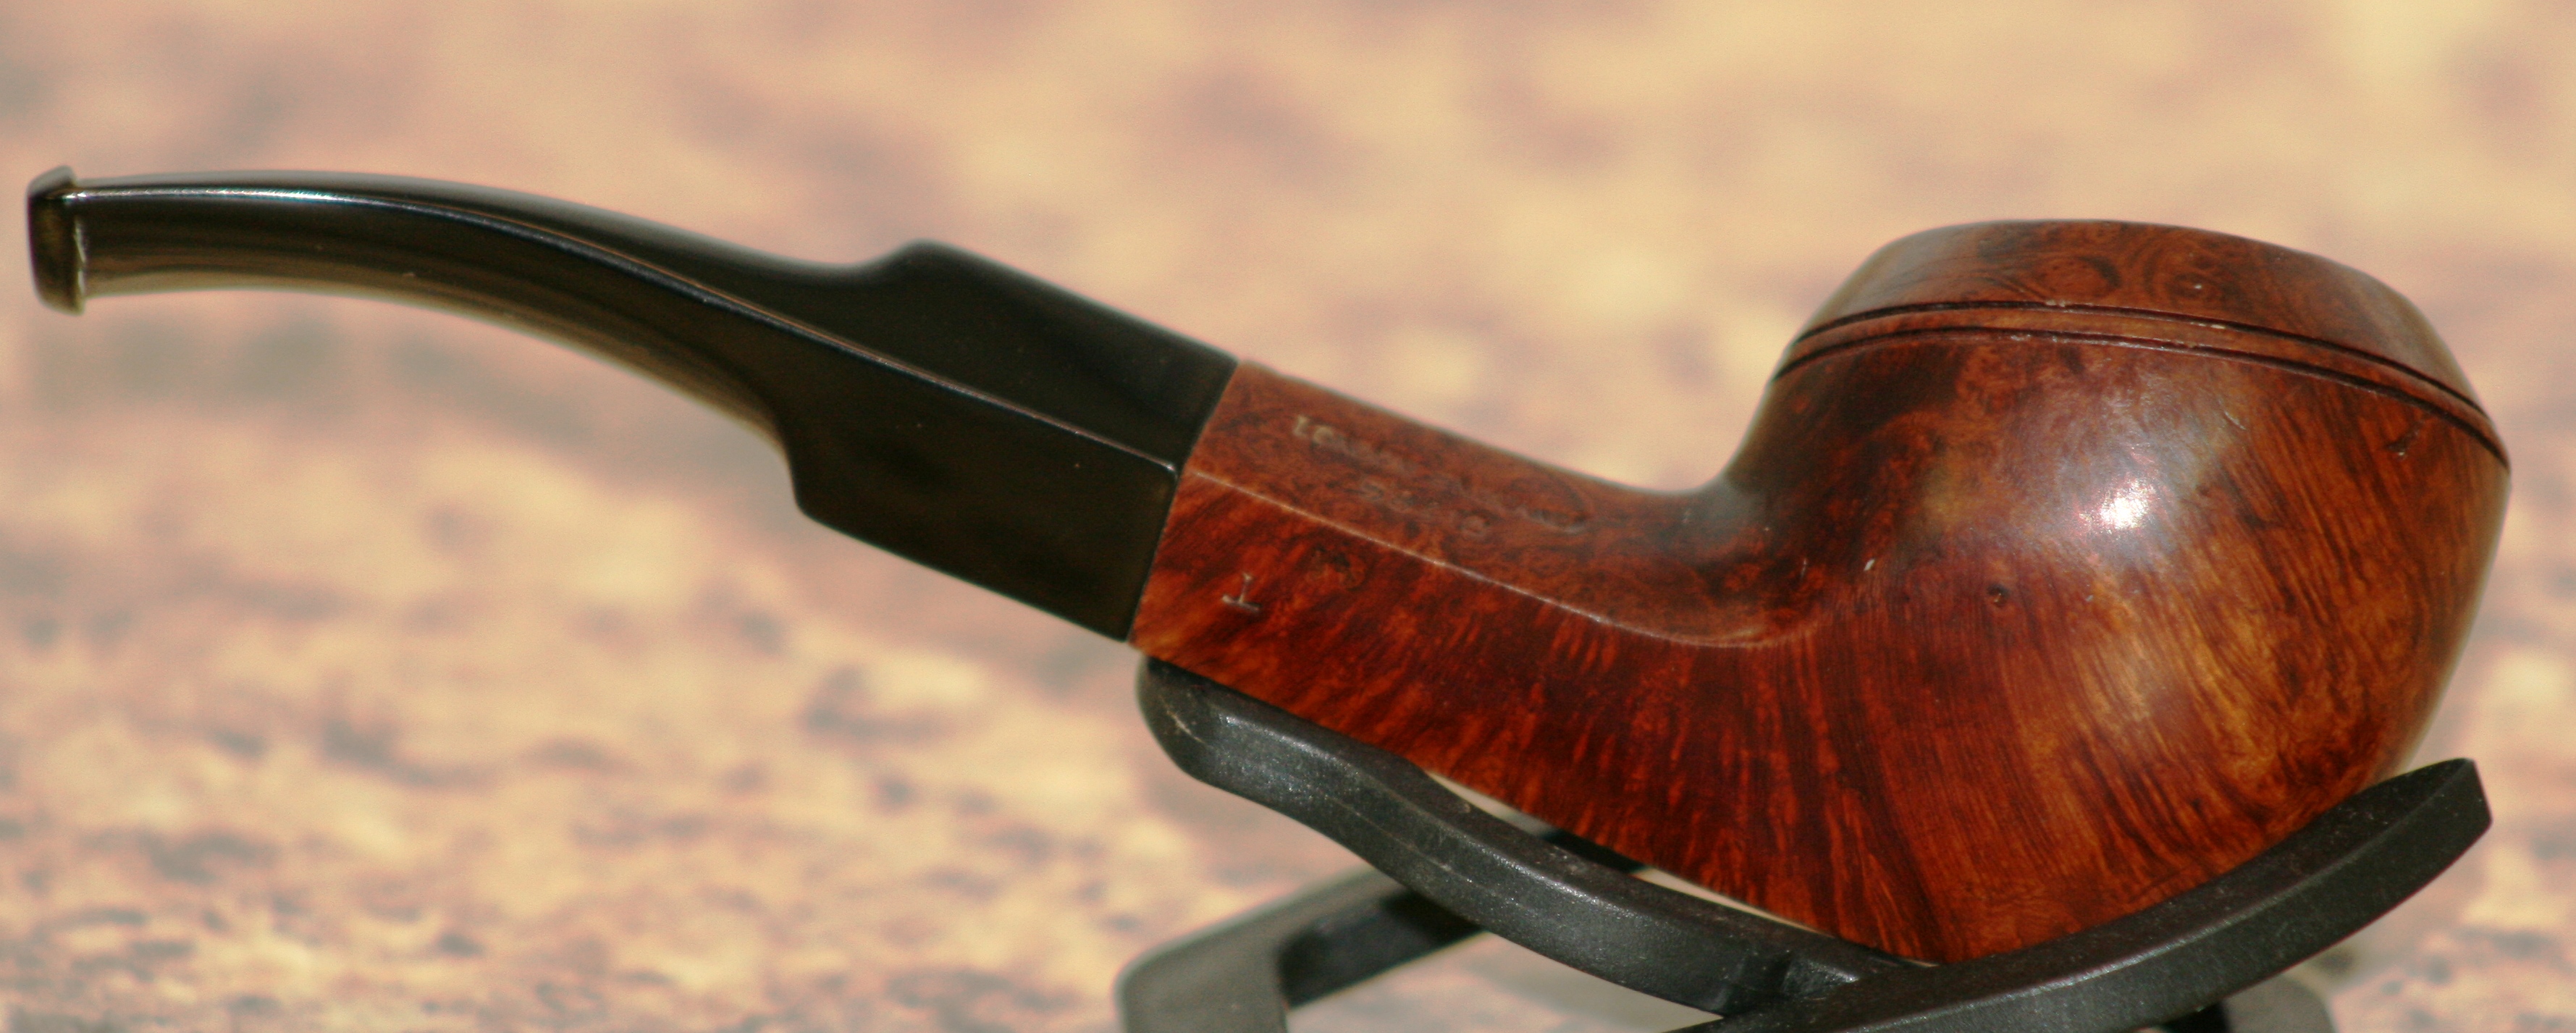
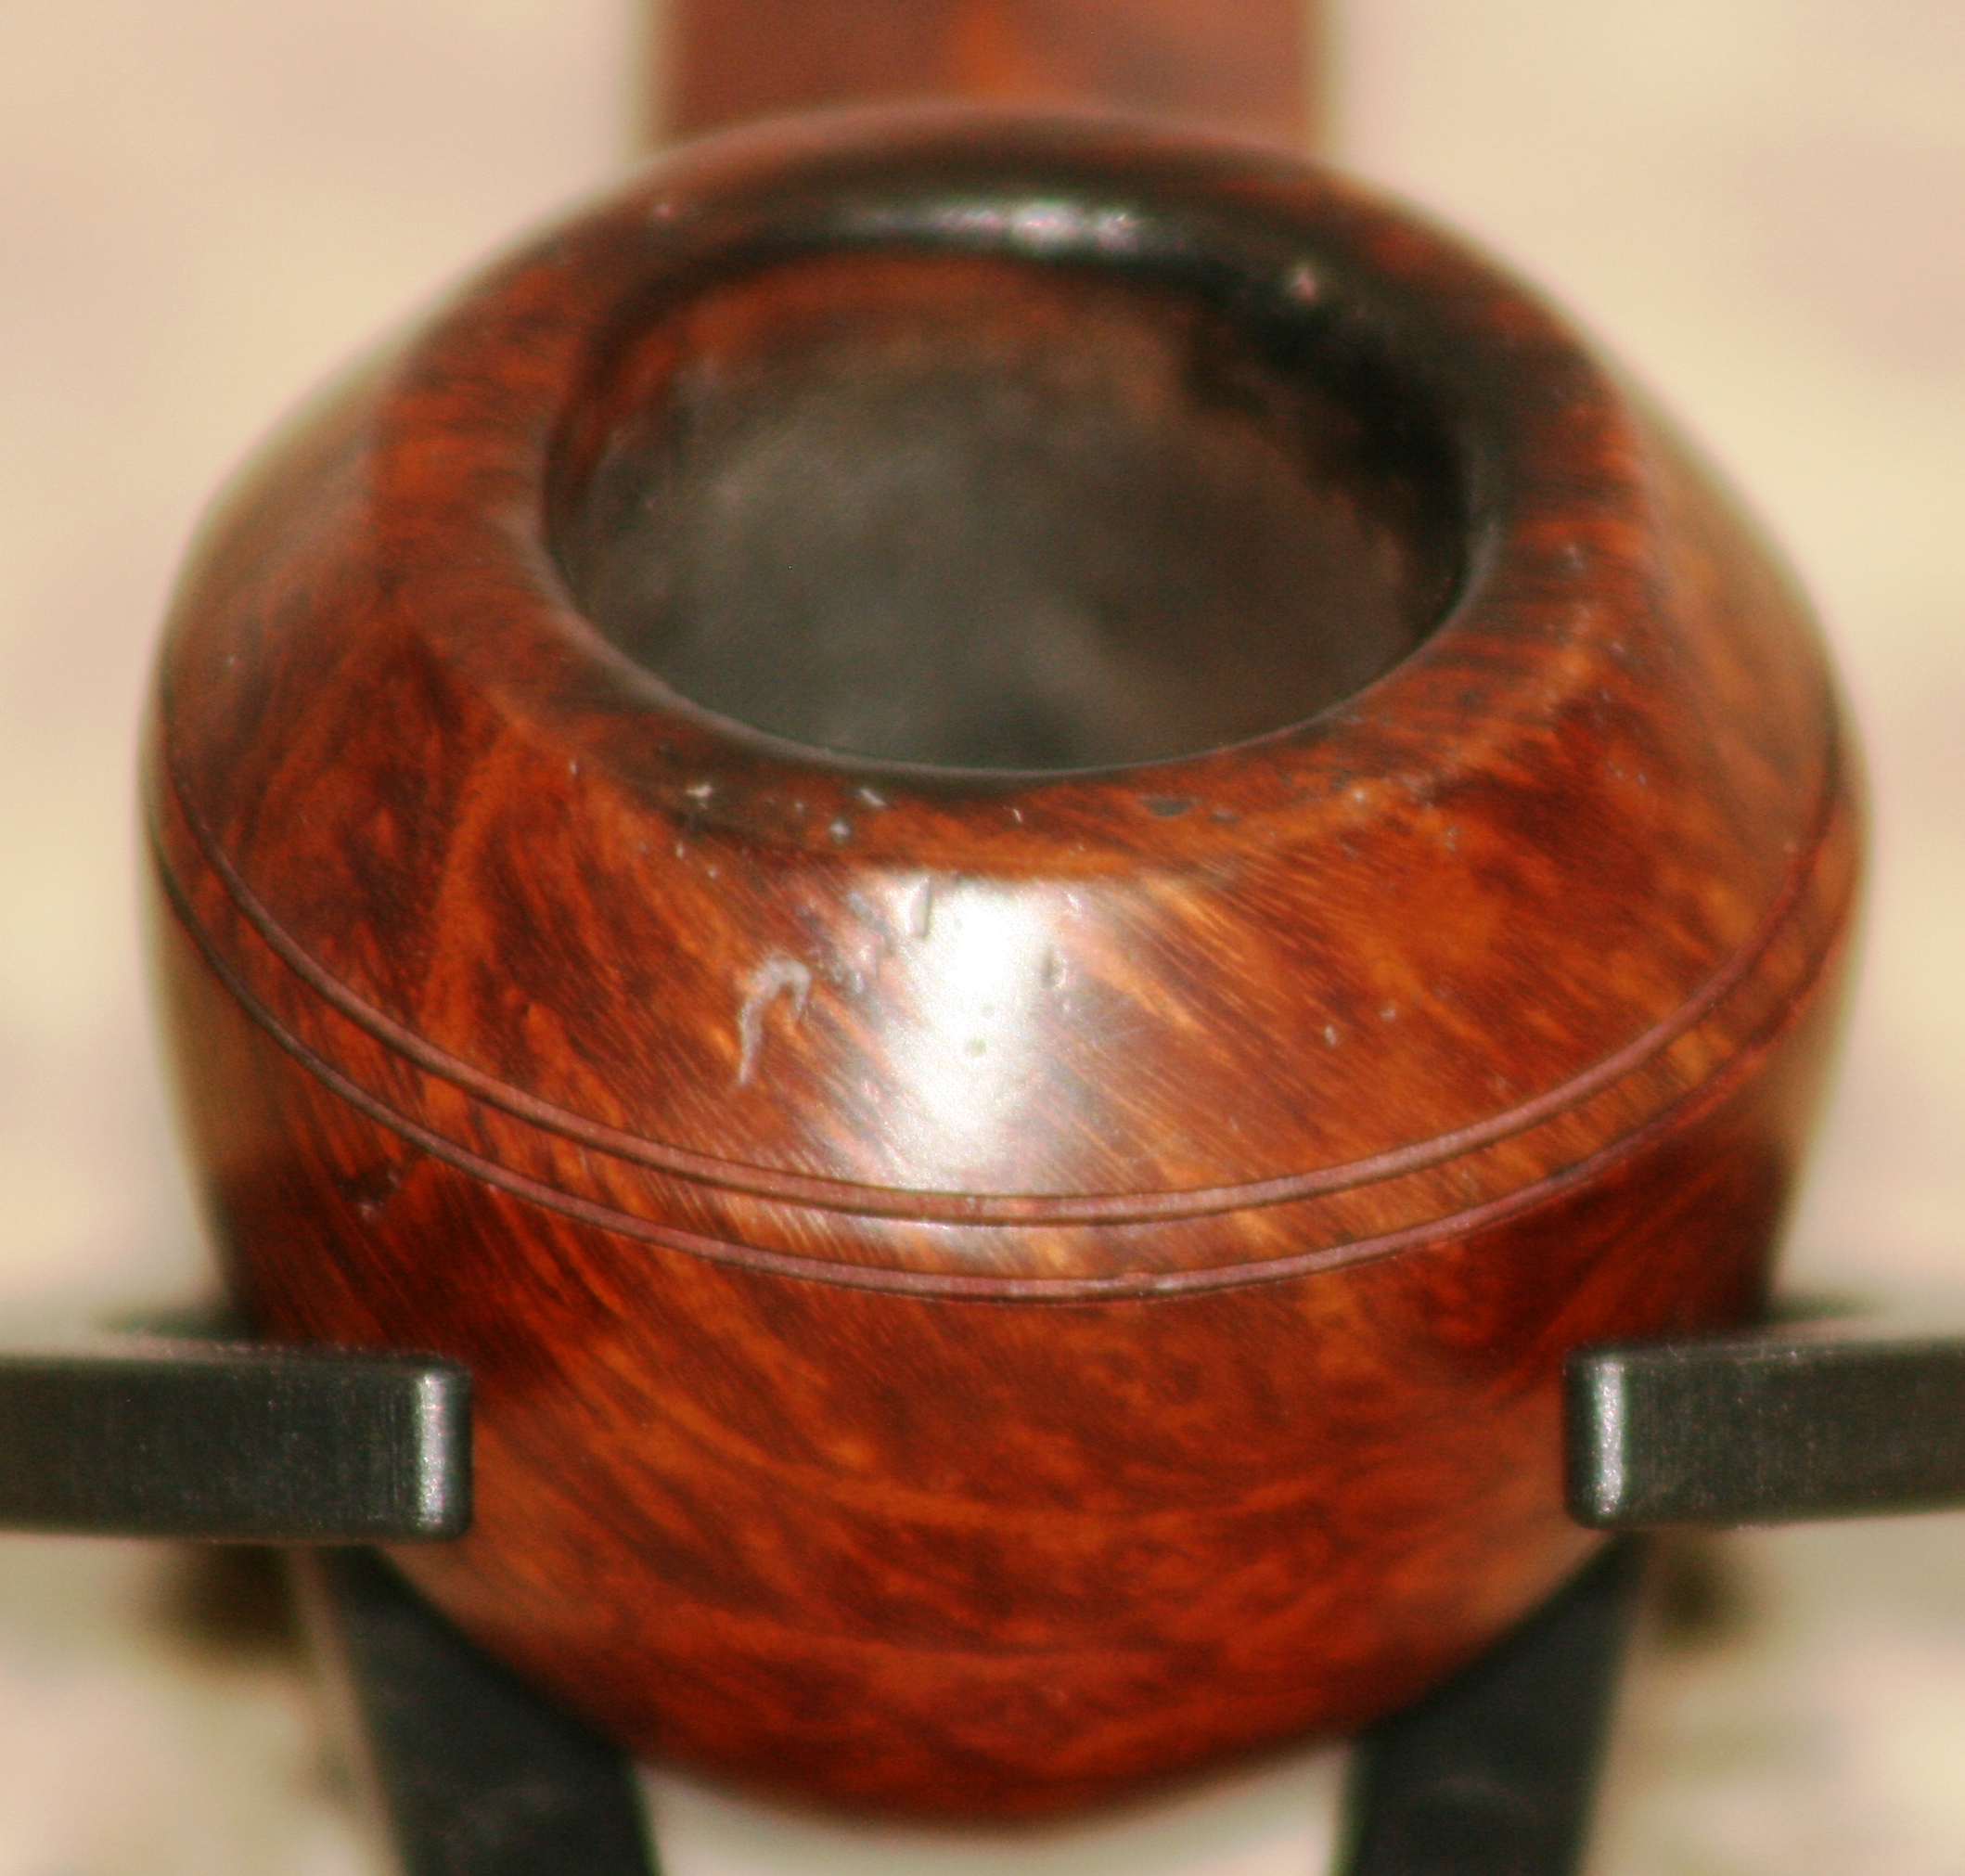
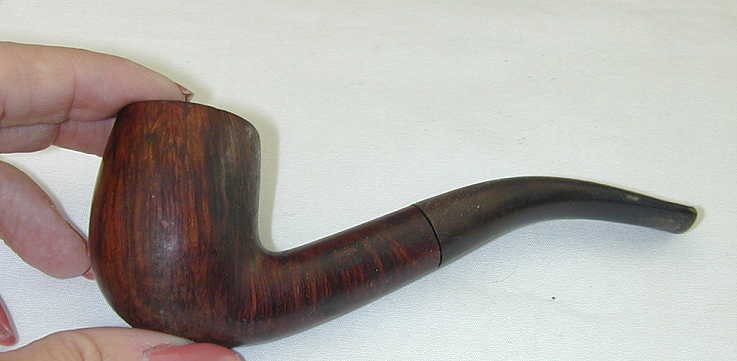
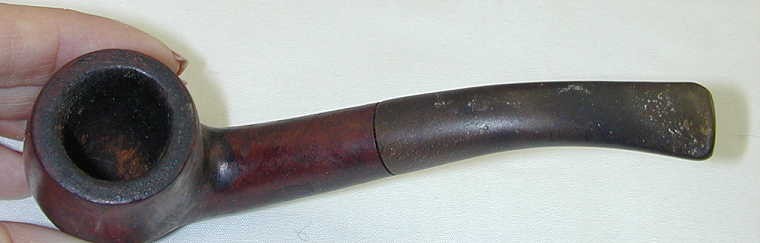
My daughter’s boyfriend found this neat little Dr. Plumb bulldog at a New Orleans shop and sent it to me for restoration. I thought Dr. Plumb had a connection to GBD and I believe they are now owned by the Cadogan group. The stem was in terrific shape, save for a heavy coat of oxidation. The top of the bowl was scorched and it had some dents and scratches.

Before:

I reamed the bowl with both my Castleford and Senor reamers. Someone in the pipes past had reamed it a little out of round, but it wasn’t too bad. I removed some of the dents with a knife heated by a flame and a wet towel. Most of the major ones popped back out nicely. The bowl has some fills, but they are hidden well by the factory finish. In order to remove the scorched top, it would have required a restain. I was afraid with the numerous fills, it would look better with the factory finish. “Character” as they say. I buffed the bowl with some Tripoli, White diamond and with a final buff using Carnuba. The stamping is very legible.

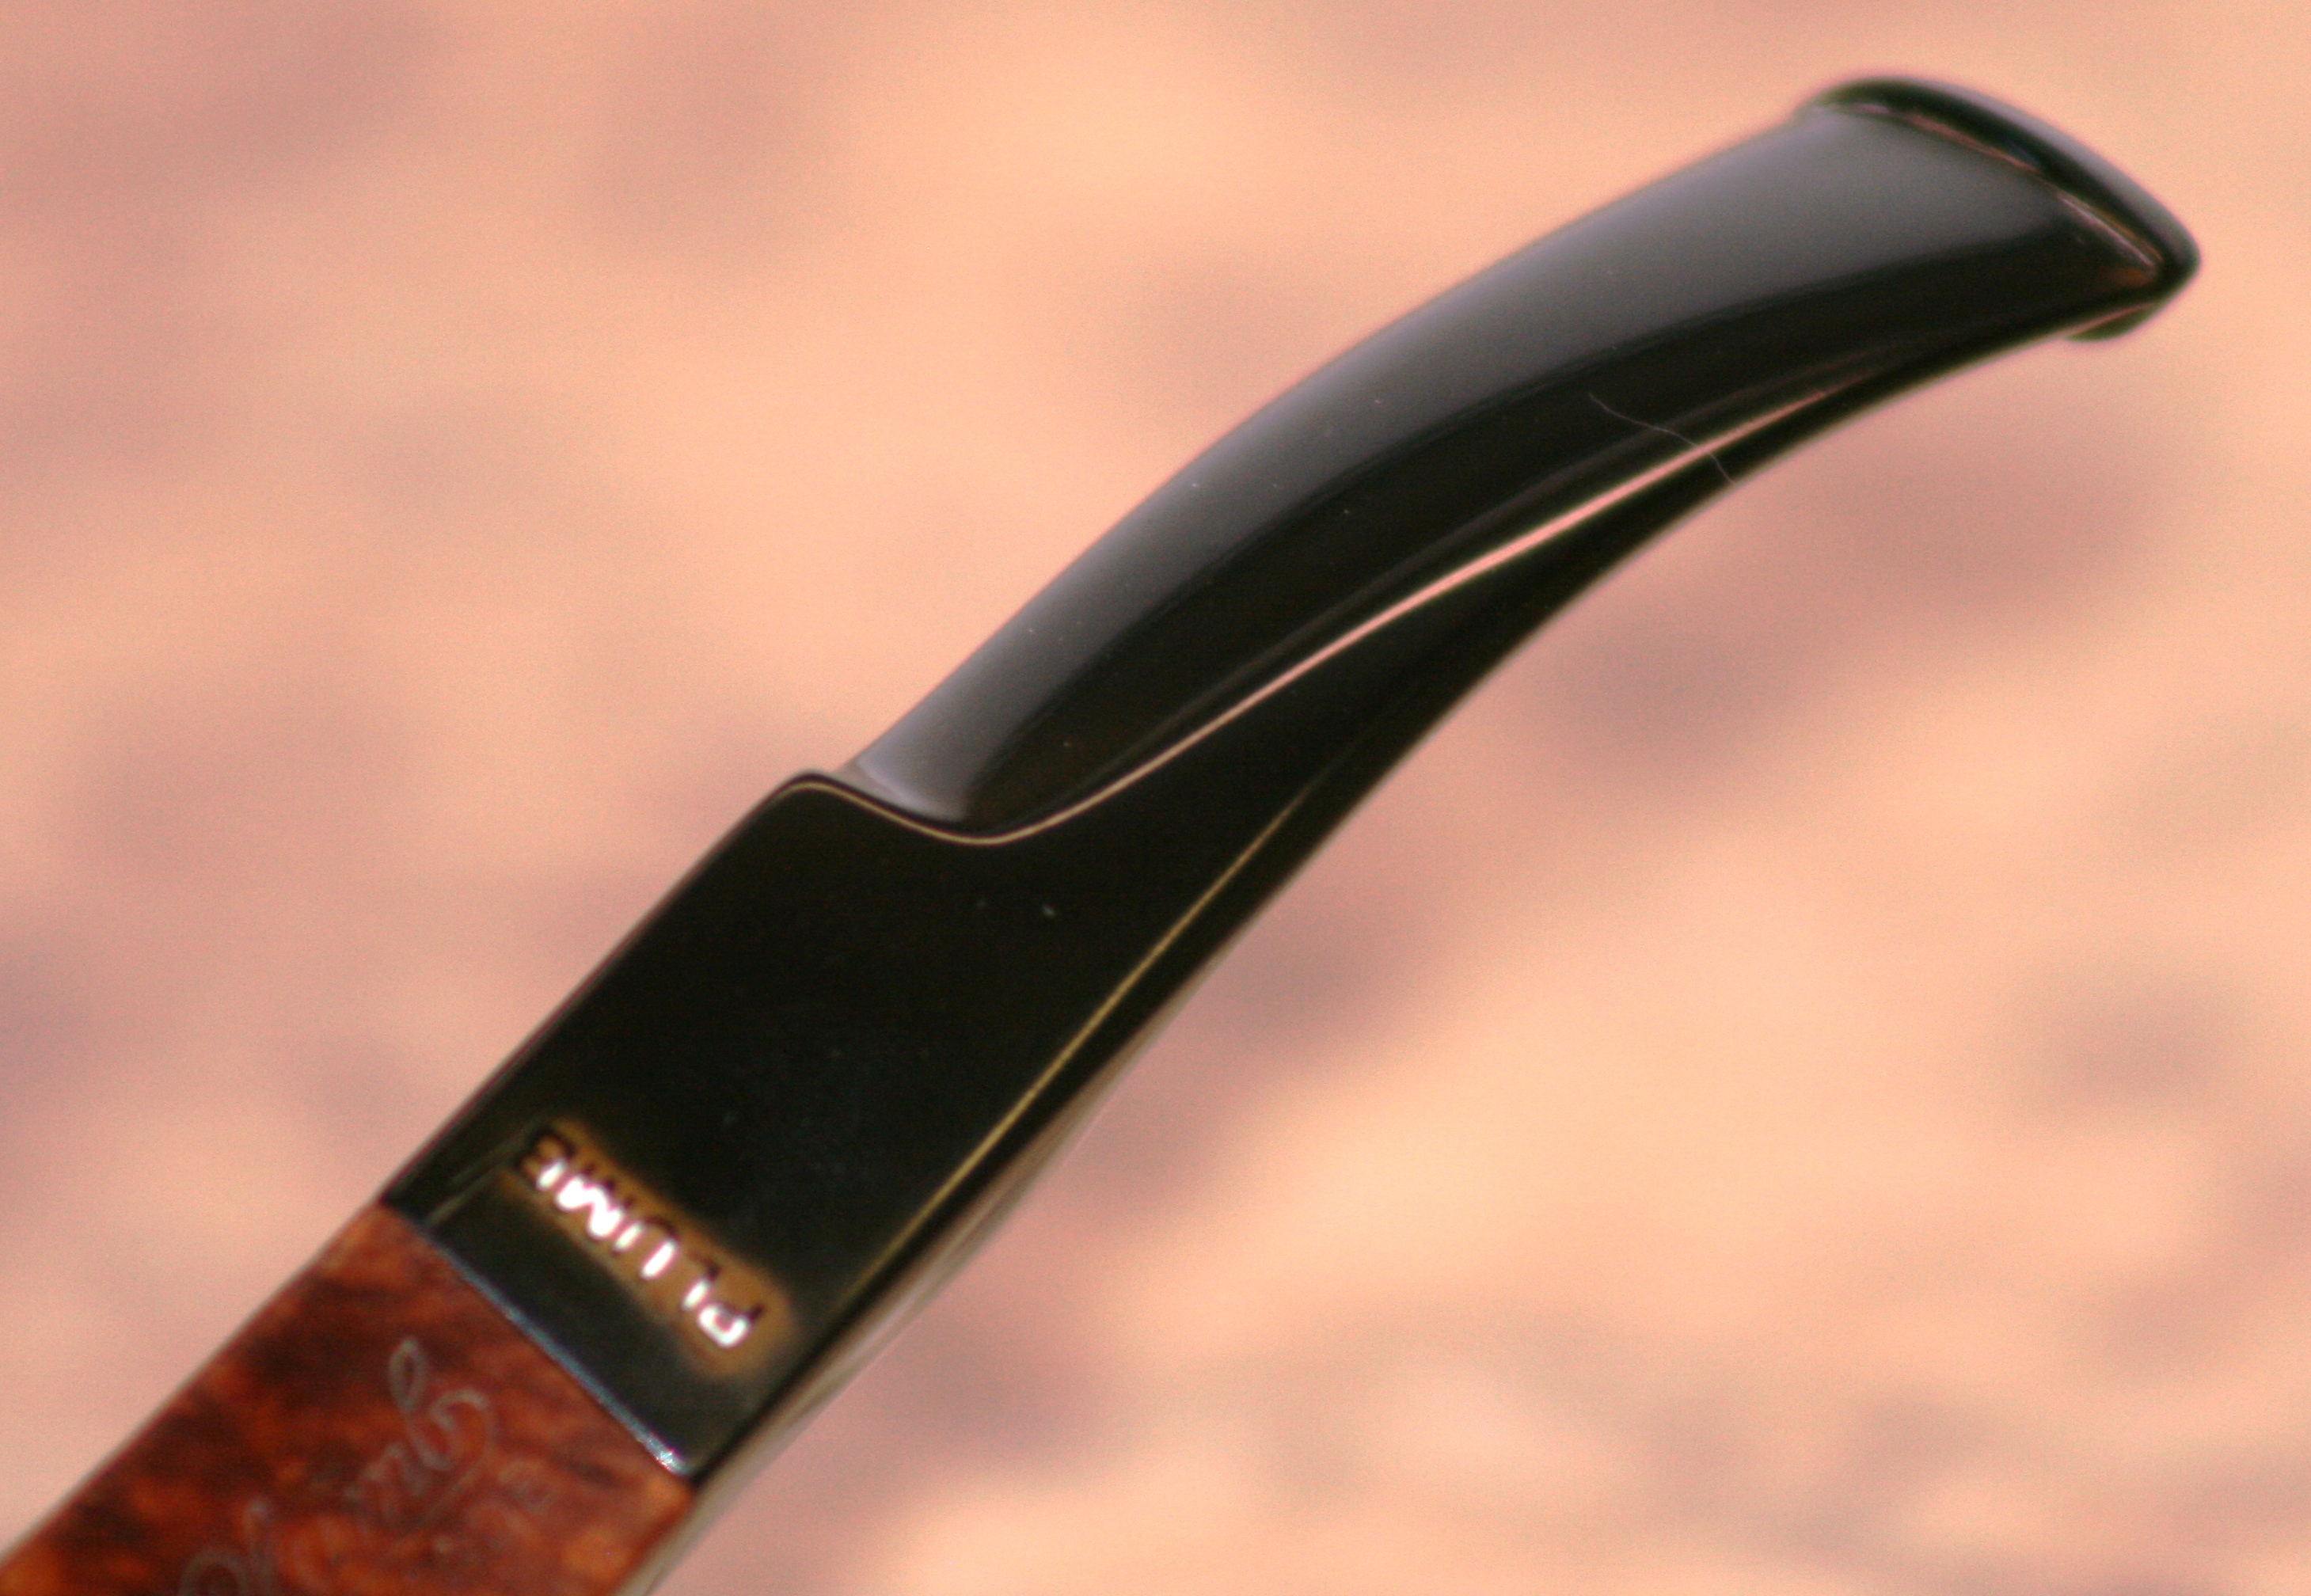
The stem was soaked in an Oxyclean solution overnight to soften the brown coating. Unfortunately, the stem logo proved very problematic. I could not get the oxidation off this part of the stem without removing the logo. The owner opted for me to leave the logo and brown patch.

Here is the finished product.

The pipe sure looks like it would be a good smoking piece and I hope the young man enjoys it for many years.

Selected Straight Grain (Comoys) Restoration


By Al Jones

Several months ago, a thread on the SmokersForum.uk about the Comoys “Selected Straight Grain” pipes piqued my interest. Member Dirigo (Tom) was kind enough to share with me how to identify these interesting pipes. I was able to grab this Shape 13 via Ebay last week, which corresponds with the Comoys shape chart. That shape looked to be in decent shape, with the exception of one putty fill. I assume this flaw made the pipe unworthy of the Comoys stamping. There were only the slightest tooth marks and no pesky stem logo to worry about.

From the Ebay picture, you can see the ugly fill.

There was only minimal cake inside the bowl so it was lightly reamed and soaked with Everclear and sea salt. The top of the bowl was scarred, so that was going to take some work.

While the bowl was soaking, I started on the stem, which had been soaking in a Oxyclean solution. I went thru my usual 1500/2000 grit wet paper that onto the final four micromesh grades. The stem was then buffed with white diamond and a final plastic polish. Removing the light chatter was pretty straight forward. The button was worn, so I used a needle file to slightly reform the edges.  Unfortunately, I was unable to remove the oxidation without making the edge of stem slightly rounded.  I need to learn how to avoid this issue.

Once the bowl was done soaking it was moved to an alcohol bath to remove the stain. I spoke to Steve prior to this step and he recommended the fill be corrected using the superglue & briar technique he recently posted on Reborn Pipes. That solution worked well and I used two steps to fill in the pit. After restaining, the fill is just slightly visible, a big improvement from the factories solution using the bubble-gum putty.
The Super-Glue and briar dust patch.

I used a two-step stain process to highlight the grain, also a recommendation from Steve. First I “painted” on some black stain, after the bowl was warmed to open the grain. Then, the bowl was sanded with micromesh and a very diluted application of Medium Brown stain was applied. The bowl was than buffed with Tripoli and white diamond, followed by a final buff with Carnuba wax. I was careful on all steps not to diminish the stamping, which is quite legible.

Thanks to Steven Laug for his help with this one and Tom for information on this interesting Comoys niche.

Keyser Hygienic Patent Pipe


Blog by Steve Laug

Over the past year I have been picking up these Keyser Hygienic pipes on EBay. This one makes the third one I have picked up at a reasonable price. They are made in England and sold exclusively in South Africa. The word is that they were designed to be virtually indestructible for farmer pipe smokers in SA. All versions of the pipe have the same stem – one size fits all. They seem to be made of nylon and rubber or some combination. They are tough and take tooth wear very well. Two of the three I picked up are older and both had the original stems on them. They had tooth chatter and minor dents. Steaming would not raise the dents at all. I had to deal with them with sandpaper and micromesh sanding pads.

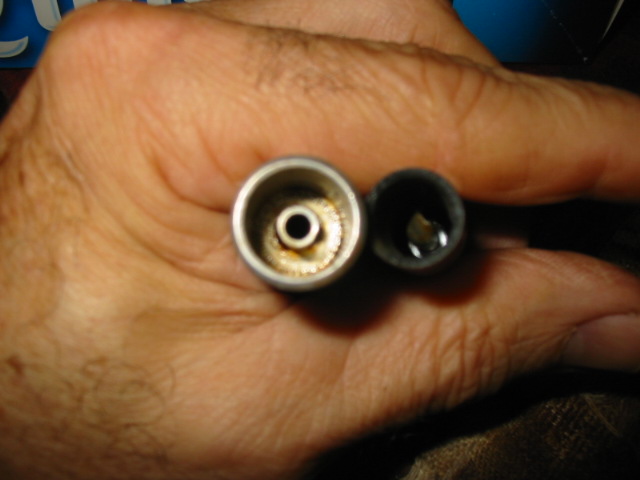
The photo below came from the web and pictures a cutaway picture of the pipe and the unique condensing chamber that makes up the patented portion of the pipe. The shank has an aluminum condensing chamber with a tube in the centre that lines up with the tube inside the stem. It is pointing downward so air swirls around in the chamber formed by the military bit stem and the shank. Moisture is trapped and the smoke is cool and dry without loss of flavour.

Image

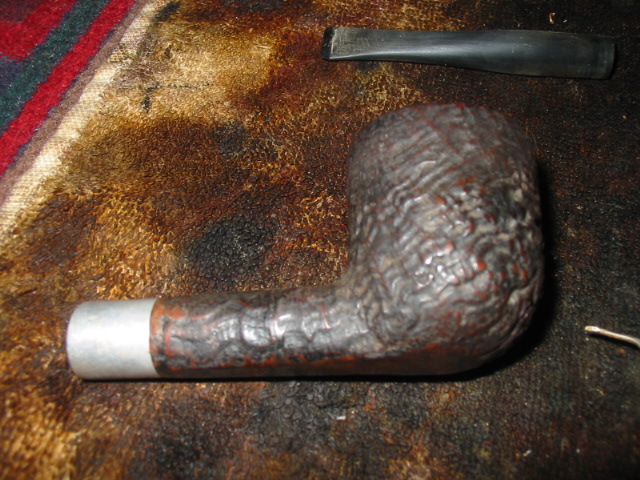
The pipe I am working on this time is a pot shaped sand blasted pipe. The aluminum was oxidized and dull the blast was dirty and the crevices filled with dirt and grime. The stem was in pretty clean shape other than the tooth chatter near the button. The rim of the bowl was tarred and caked. The cake was uneven and tapering in the bowl – almost as if the bowl was only half filled and smoked that way the majority of the time. The upper portion of the bowl had a very thin layer of cake and the lower portion a thick uneven cake. The condenser in both the stem and the shank were filled with a dark brown tar and the airway was constricted in the shank and clogged in the stem. The photo below shows the condition of the bowl and the stem and highlight where the work would be needed to clean up the exterior of this pipe.

Image

I reamed the bowl back to bare briar and scrubbed the blast surface with a brass tire brush to clean out the crevices. I also used a soft bristle tooth brush to finish cleaning the surface off. Once that was done I put the bowl in the alcohol bath to soak while I worked on the stem. The next two photos below show the stem after I used 240 grit sandpaper to remove the tooth marks and slight dents. I then used micromesh pads from 1500-6000 grit to polish the stem and work out the scratches. I have learned the hard way that you cannot buff these stems on the buffer as a little bit of surface heat from the buffing pads melts and distorts the surface. So these stems are totally buffed and polished by hand.

ImageImage

The next two photos show the stem after it has been sanded up to the 3200 grit micromesh pad. The stem is beginning to get a shine and the scratches are disappearing with the sanding. From this point I went on the sand the stem through the remaining micromesh grits and when finished I gave it a coating of Obsidian Oil to penetrate the surface and give it a deep polish. Once that dried I buffed it by hand with some carnauba wax in paste form that I purchased from Walker Briar Works.ImageImage

From the next series of photos you can see that I interrupted my work on the stem to remove the bowl from the alcohol bath. I did that because I was curious to see how it was cleaning up. You will notice in these photos the brownish grey sludge in the grooves of the blast. I used the tooth brush once again to scrub the surface with Isopropyl from the alcohol bath. Once the grime was removed I washed the bowl down with clean Isopropyl and dried it off.

ImageImageImage

The next series of photos show the dried bowl. The grime is gone and the finish is now down to the stain. Even some of the top coat of stain has been removed and you can see the briar. I laid the bowl aside and finished up the stem as I described it above.

ImageImageImage

The aluminum condensing chamber on the shank and the chamber in the stem needed much work. I used cotton swabs that I flattened to clean the area inside the shank around the airway extension and the same in the stem. Once that was clean I polished the oxidized aluminum with the micromesh pads to burnish the aluminum and get the shine back.

Image

I then restained the bowl with a dark brown stain, knowing that when I buffed it the reddish brown undercoat would shine through on the high spots and the dark would fill the crevices and give the pipe a contrast stain. The next series of three photos show the staining and the way the various grains took the stain. The right side of the bowl has a great ring blast that is fairly deep and craggy. The left side is more of a blast on birdseye. It is an interesting looking blast. The bowl rim came out clean as well and shows an interesting contrast in the light of the flash.

ImageImageImage

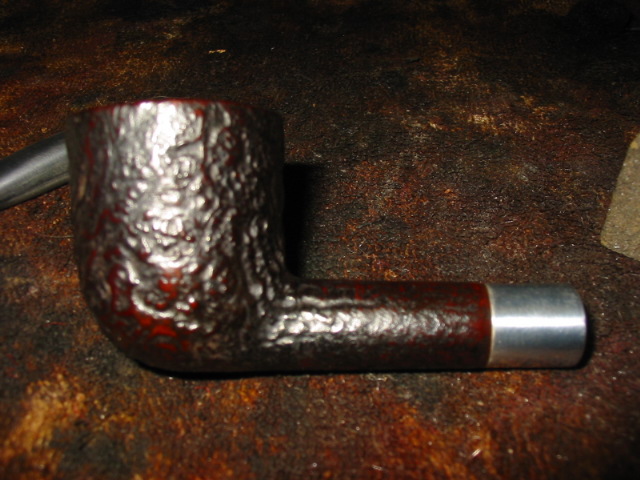
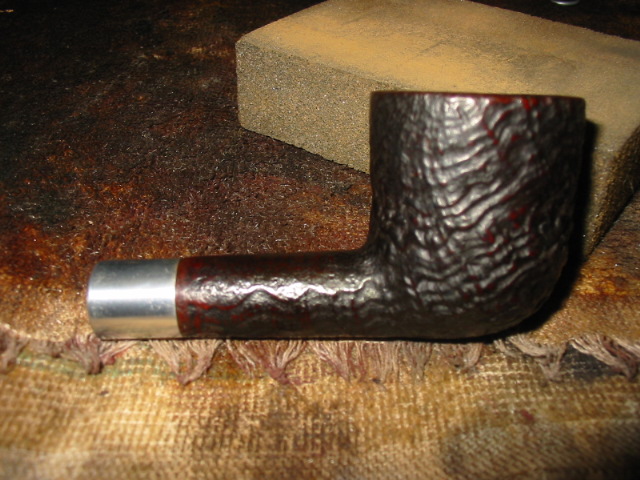
The final series of four photos show the finished pipe. The entirety has been given a coat of wax. I used Halcyon II on the blast to polish it without leaving the white residue in the grain of the blast when it dried. I buffed it by hand. The stem received another hand applied coat of carnauba wax and a buff by hand. The pipe pictured is clean and ready to smoke.

ImageImageImageImage

I have included pictures below of the other two Keyser pipes that I picked up and refurbished. The top one is an apple with really nice grain. I have been smoking this one and enjoying the dry and cool smoke that it gives. The second is a smaller prince shape that is no longer available. It had some burns on the rim that are still visible but it too smokes very well. One day will rework the rim a bit and minimize the burn marks. Till then I will smoke these Keyser’s and keep an eye for more of them.

ImageImageImageImage

Cutting a new stem from rod stock – a photo essay


Blog by Steve Laug

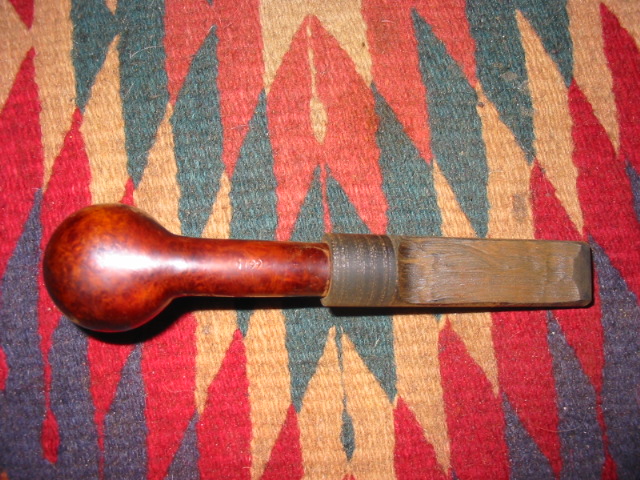
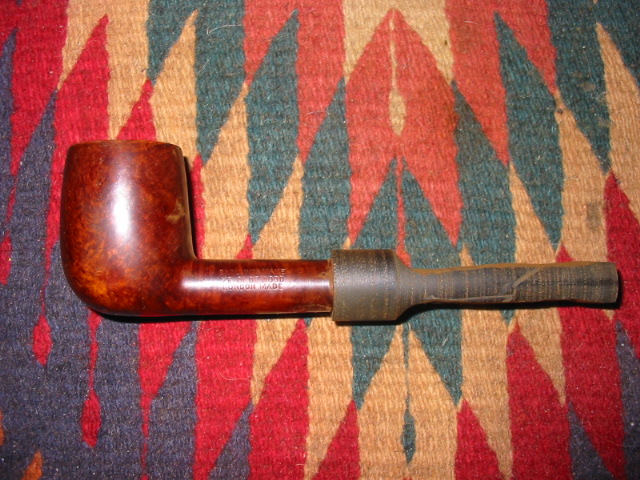
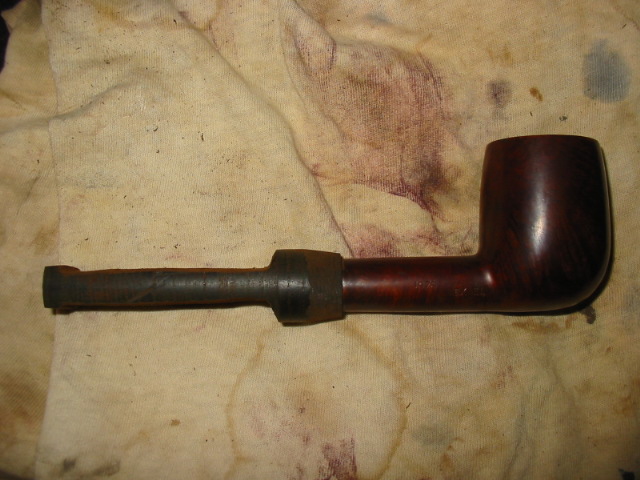
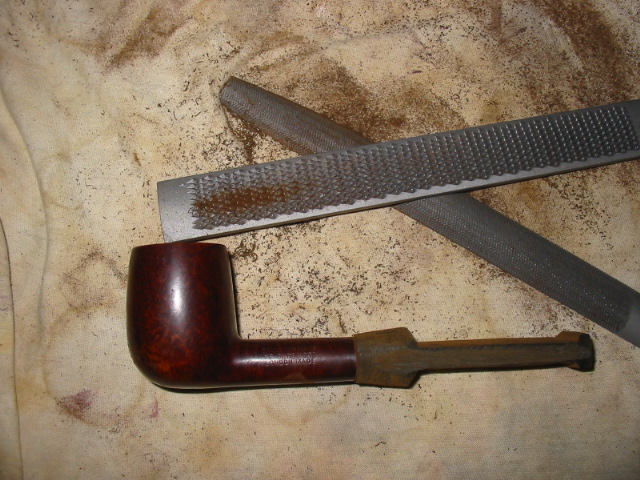
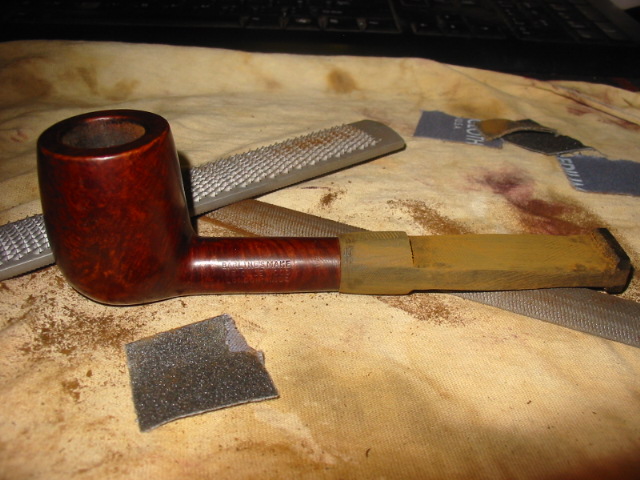
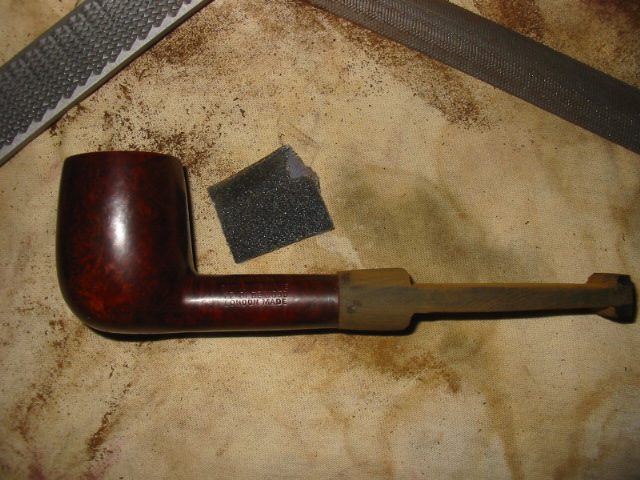
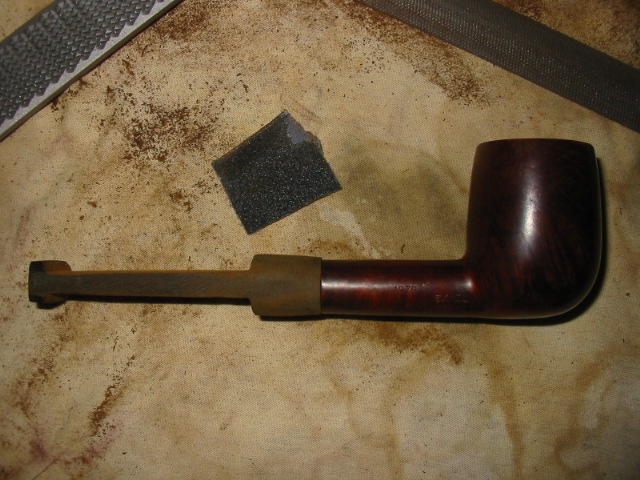
This one has been sitting on my desk for a long time in need of a stem. I have restemmed it with at least two different moulded stems that I have fit the tenon on and carved the surface down to make a slab like stem but none of them worked for a variety of reasons. One of them I sanded right through the top of the stem as I flattened it. The second just was not wide enough in the flare that makes a Barling stem what it is. I scrounged on EBay for old stems or ruined Barlings so that I could scavenge a stem. I found several but when they arrived they were oval stems or stems with a smaller diameter at the shank. So I was stuck and the pipe sat for probably four more months.

One evening I was chatting on Skype with Dan Chlebove from Gabrieli Pipes about it and asked him if he would be willing to cut a piece of vulcanite rod stock for me to work on. He agreed and quickly did that for me and sent it up to the Great White North! It arrived and I fit the tenon to the mortise with very little effort. After that I again set the pipe aside while I worked on the fortitude to go to work on the stem. The piece of rod stock looked daunting to me and I had never hand cut a stem before. This was going to be my first hand cut a stem and a Barling slab stem to boot. I was not sure whether I would be able to pull it off. So it sat! Probably another month went by with it sitting on my desk next to the computer just quietly, silently taunting me to take the plunge.

ImageImageImageImage

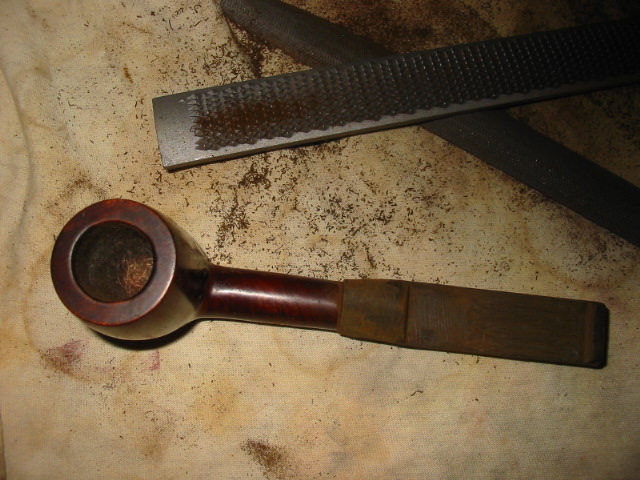
The long and short of it is that five months to the day from when I received the pipe stummel in the mail, I finally went to work on the stem. I set up my Dremel with the large sanding drum and got out my wood rasps and files and went to work on the stem. I did the initial shaping and cutting away of material with the Dremel and the sanding drum. I decided to start by cutting back volume on what would be the slab part of the bit. Notice in the pictures below I left a bar at the tip for where the button would be when I finished the stem. I did not work on the diameter of the saddle or the curves of the Barlings saddle at this point. I was only interested in removing material to begin to get the rod shaped into the stem and remove as much material as possible with the Dremel. The three photos below show the first steps in the process and the result of sanding with the Dremel. I have shown the stem on the pipe from the top and bottom view to give an idea of what I was aiming for and in profile in the third photo to show how much material had been removed at this point in the process.

ImageImageImage

There was still a long way to go to get the stem to even close to the final shape. I used the Dremel and sanding drum to remove more material and begin to take the saddle down to size to fit the diameter of the shank. At this point the saddle is slightly conical as I was working particularly on the junction of the stem and shank. I also sanded away more of the slab material and used the drum to shape in the portion of the rod that would end up being the button on the finished pipe. The next three photos show the results of the next process of sanding with the Dremel. The shape is beginning to emerge from the rod stock.ImageImageImage

The next two photos show the file and rasp that I used in the next part of the work of shaping. I would come back to the Dremel to remove more material but I wanted to flatten the slab and not have any waves in it that the round sanding drum left behind (visible in the photos above, I was careful so they were not too bad, but they were there). I sent up the pipe on the work bench and use the rasp to cut away material. I held it horizontal to the slab and worked the length back and forth until it was straight and smooth. I used a file to take out many of the deep cuts of the rasp and to work on the edge of the button on the end of the rod stock. The first photo shows where the stem is beginning to more clearly emerge. There is still a lot of work to do at this point but it is beginning to tentatively take shape. All through the process from this point on I kept a picture of a Barling’s Make Billiard close at hand to compare as I removed more and more material. It has been wisely said that you should progress slowly because you can always remove more material but you cannot put it back. The saddle of the stem is still conical because I still needed to work the taper and slight flare of the slab bit. The flat slab is very proportional in the second profile picture. It is flat at this point but still far too thick for the finished stem. The button is better defined and the stem is very clearly outlined in both pictures.

ImageImage

At this point I took the pipe back to the Dremel to remove some the saddle and some of the thickness of the slab. The picture below shows what the pipe looked like when I brought it back to the work bench to use the files again. You will note that I worked with the stem on the pipe. I do this because I want to keep things in proportion and find that when I work with it off of the stem it is easy to lose the roundness of the saddle portion and a feel for the look of the pipe in profile. I use the pipe bowl as a guide to keep me focused in what I remove of the vulcanite. Each step the stem is emerging more and more from the rod stock.

Image

In the next three photos I used some 80 grit sand paper to remove more material from the saddle. At this point I still left a bit of the conical shape. I was working on the profile to bring the saddle into line with the horizontal lines of the shank. You can see that there is still a lot of material to remove before it is in line. I also began to work on the taper back to the button. I would have to remove some more of the thickness of the slab but I wanted to narrow the flow back to the button.ImageImageImage

The next two photos show the pipe from the top and the bottom next to a smaller Barling’s Make billiard that I was using as an example along with the photos I had collected. I was ready to start working on the taper of the slab on each side. Note the way the little billiard stems line go from the shank to the button in the photos. I wanted to make the lines on the slab I was working on to go the same angles. You can see what I am speaking of most clearly in the second photo of the top of both stems. I was aiming for the shape and angle of the sides of the original to match the stem I was shaping. At this point the stem is really taking shape and I can see it more clearly as I work on it. There is still much material to remove from the thickness of the slab but care must be exercised as I needed to open up the airway with a larger drill bit before going much further. I did not want the stem to be so thin that I would drill right through the top or bottom.

ImageImage

The next four photos show the pipe stem after I have drilled the airway and opened it up. I then removed more of the material from the slab and the saddle with the sanding drum and then sandpaper. The stem was getting closer to the shape I was aiming for. I also sanded the taper from the saddle back to the button with the files and the sandpaper. I wanted a gradual move and flow back while keeping the profile flat. The upper portion of the stem next to the saddle was close to flatness I wanted but the nearer the button the stem was crowned and needed to be sanded flat once again. I shaped the button and removed material from the thickness of it to approximate the finished profile. I also slanted the lip of the button away from the stem. In the last two photos of the foursome I show the top and bottom views of the stem at this point. I had the angles from the saddle to the button along the sides with the right flare. The overall look of the stem was very close to the original, just a bit thick and crowned rather than flat at the button end. More sanding needed to be done!

ImageImageImageImage

In the next four photos the crown on the stem has been removed, the diameter of the saddle and the shank are very close and the fit is excellent. The button has been shaped a bit more but there it still a lot of material on it. The slab of the stem is still thicker than I would like but it is getting closer to the finished stem. The shape is very clear now and the round piece of rod stock has all but disappeared. You will notice at this point that the saddle and slab are at right angles and there is not the curve of the original Barling’s Make stem where the saddle merges with the slab. That remains to be done. The angles of the slab from shank to button are finally getting there. Lots of sanding has been done and more to come to get this just so.

ImageImageImageImage

I used the Dremel sanding drum to carve the angles of the saddle to slab transition. I needed to go from the ninety degree angle in the above photos to more of a curved flowing transition. I drew the curve I was aiming at with a carpenters pencil on the saddle portion of the stem so that I could see how much material to cut away with the sanding drum. The next three photos show the stem after the sanding drum had done its work. It is hard to see in the profile shots but I pushed the drum a little too deeply into the slab portion and caused the flatness to have a slight dip on the top and the bottom of the slab. It would take much sanding to bring that back to level with both files and sandpaper. I used a file to work on the surface first to smooth out the surface and level it and then 80 grit sand paper to begin to smooth out the slab and bring it back to level.

ImageImageImage

The next two photos show the progress of removing the dips. The first shows the profile and if you look closely you can see the dip in the top and bottom is lessening though it is still present. The sanding disk in the picture is a soft sponge with 100 grit sandpaper attached and it is perfect for working the curve of the angles on the saddle. I also worked on the angles from shank to button some more with the sandpaper and also the button to give it more definition.

ImageImage

The next series of photos show the work that was done to remove more of the material in the saddle and smooth out the shank/stem junction. There was still material that need to be removed from the underside of the saddle at this point as can be seen in the two profile pictures. The top is pretty close but both need more sanding to make the surface horizontal from the bowl to the saddle transition to the slab. I also worked on the width of the slab horizontally. I would also need to flatten the sides of the slab rather than curve them as they are in these photos. The curve of the saddle to the slab it looking very good at this point and is a match to the original stem in terms of angle and position. I sanded the button some more as well to thin it down and to taper it backward toward the slot.

ImageImageImageImage

The next series of photos show the stem after I have removed much of the thickness around the shank junction. The top is just about perfect in terms of it horizontal look. The bottom needs to have a bit removed near the slope to the slab. The side profile shots show that the taper in terms of width is getting very close. I also flattened the edges of the stem profile from shank to button to give it a more Barling’s shape. The button is getting a cleaner look as I shape it with the sandpaper and the slab is just about the correct thinness and flatness. The last two photos of the top and bottom of the stem show that the angles of the stem flow nicely from the bowl to the buttonImageImageImageImage

The last four photos show the pipe with the shaping finished. The stem fits the shank well and the diameter of the shank and saddle match. The curved edge of the saddle is matching and when overlaid on a picture of the original stem it also matches. The taper of the bit from saddle to button is smooth and flowing. The width of the bit tapering from the bowl back to the button is equal and smooth. The button has been shaped and the width and angles on it are matching the original stem. I have opened the slot on the end of the stem but still need to shape the slot to be more like the Barling slot. There are also scratches that need to be removed from the surface of the stem to get the rich polish on the vulcanite. Those are minor things that need to be completed before the stem is completely finished but it has gone from a vulcanite rod to a Barling’s stem shape.

ImageImageImageImage

I enjoyed the process of stem shaping from start to finish. Though this took probably about 5 hours or more, and I am sure there are faster ways to do the work, I learned far more than the time spent can spell out. I would not change anything about the learning as I do my best in hands on experiences. The process of shaping a piece of rod stock into a stem has been demystified for me and I have gained a new appreciation for the work of pipe makers and repairmen who hand cut stems. There is no way a craftsman can be compensated adequately for the painstaking detail that goes into shaping and crafting a hand cut stem. My hat is off to those who take the time to do that on the pipes they make. Thank you.

UPDATE: I just finished shaping the button and the slot on the new stem. I used needle files and folded sandpaper to smooth out the slot. I funneled it back quite a ways. The pictures below show the shape of the button and the slot as it stands now.

Here are a couple of photos of the shape of the button in profile and from above.

Refurb on a Dr. Plumb Tween Size Prince


Blog by Steve Laug

Off the workbench today is a nice little Dr. Plumb Tween Size Prince (that is what the stamping on this one says). It was pretty rough looking as can be seen from the before shots. I had reamed it before I remembered to take the photos, so the bowl is very clean in the photo below.

Image

The bowl, in fact, was very dirty with tars and crumbling cake as well as a thick white “gunk”, for lack of a better word, in the bowl and all the way through the shank. I have no idea what it was other than the fact that it had a plastic feel to it. It was stringy and literally all over the inside of the bowl and shank. I had never seen anything like this in the years I have been refurbishing pipes. It came out with the reaming of the bowl and out of the shank with alcohol soaked pipe cleaners and a shank brush. It took some time to clear it out. Many pipe cleaners later it was clean. The state of the bowl when I got it told me that obviously this little guy (5 inches long, group one sized bowl) was a great smoker.

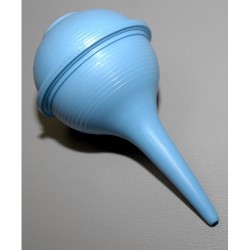
I stuffed the bowl with cotton bolls and filled it with alcohol using an ear syringe.

Image

I removed the stem and put a cork in the shank so that the alcohol would go all the way into the shank. I wanted to make sure that all of the remnants of white stuff and tars were removed from the bowl before I went further in cleaning it. I left it overnight and the next morning removed the cotton bolls and plug and cleaned out the bowl and stem with pipe cleaners. The bowl smelled fresh and almost new once that final cleaning was done and the alcohol evaporated. The bowl was then dropped in an alcohol bath for a soak. While it was soaking I went to work on the stem.

The stem took quite a bit of work to restore as it was badly oxidized. I had soaked it in Oxyclean while I worked on the bowl so now when I took it out the oxidation had softened. I buffed it with Tripoli, sanded with 240 grit sandpaper, buffed again with Tripoli, sanded with 400 and 600 grit wet dry sandpaper until I was able to get the grit off and then polished with micromesh pads from1500-6000 grit. Each level of micromesh gives the stem a deeper polish and shine to the stem. In buffing a stem by itself, I always avoid the saddle area or the area next to where it joins the shank as it is very easy to over buff this area and make rounded shoulders on the stem and ruin the stem/shank junction. Once that was finished I laid it aside with a coat of Obsidian Oil and turned again to the bowl.

I removed the bowl from the alcohol bath and dried it off. The bath removed the remnant of finish and all of the oils and grime on the bowl. I used the 3200 and 4000 grit micromesh pads to sand down the bowl, being careful to not damage the stamping. Once it was smooth, I wiped it down with a soft cloth dampened with Isopropyl alcohol to remove the sanding dust and then stained the pipe with a light cherry coloured aniline stain. (I mixed the stain by adding Isopropyl to the oxblood stain until it was basically a light cherry coloured wash.) I flamed it and then put the stem on and buffed both the bowl and stem with White Diamond and finished it with several coats of carnauba wax. Here is the pipe ready to smoke!

ImageImageImage