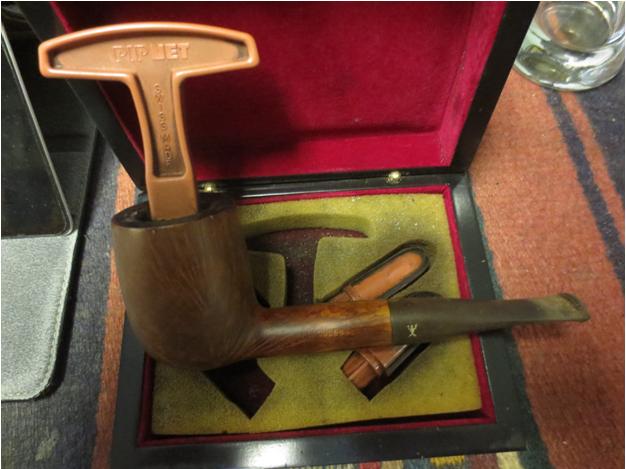
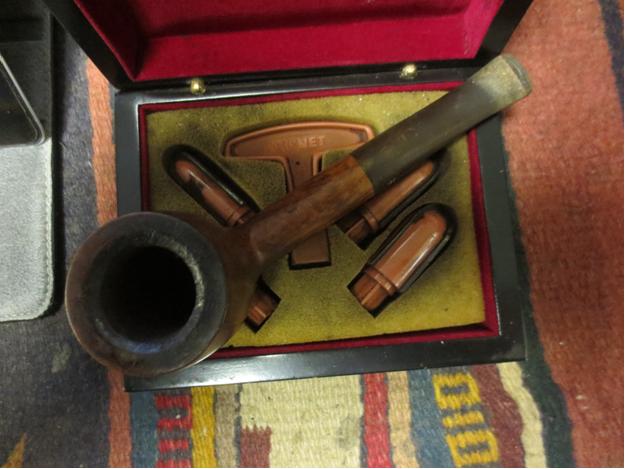
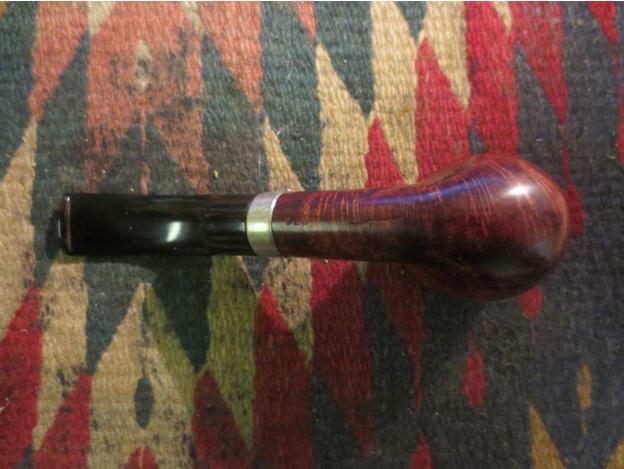
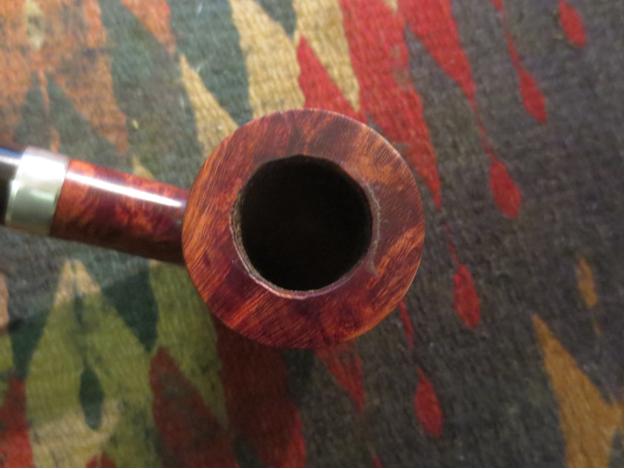
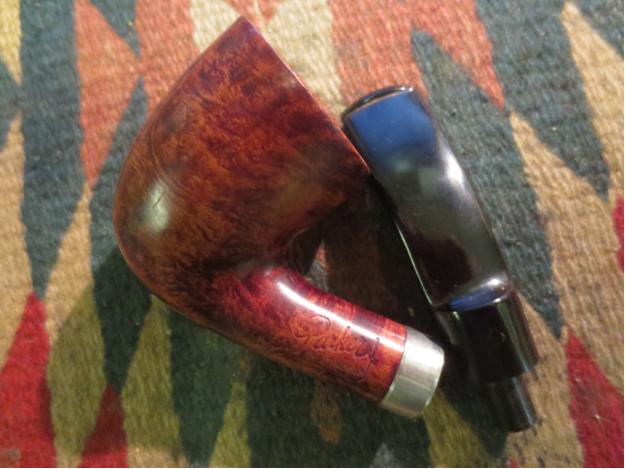
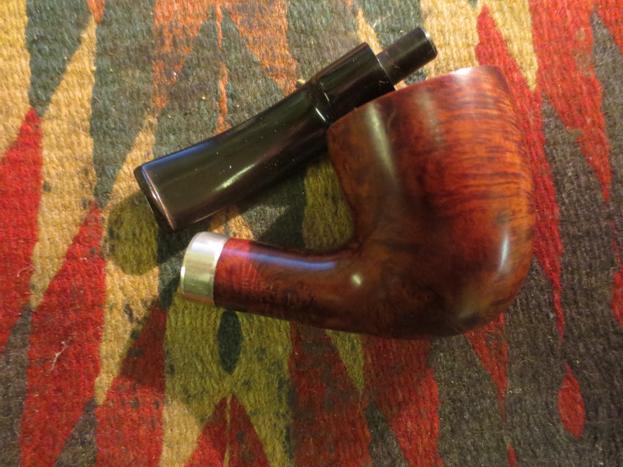
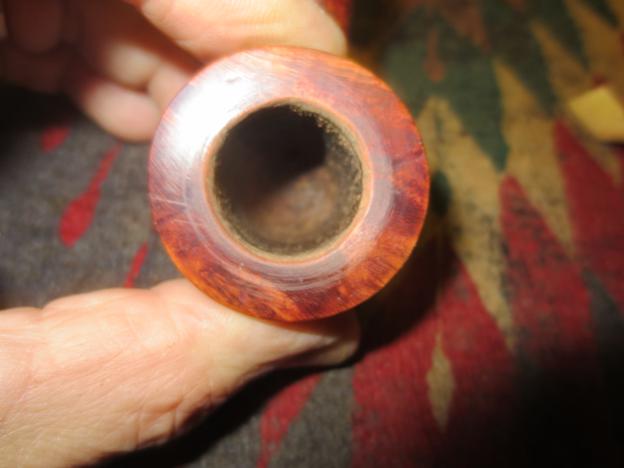
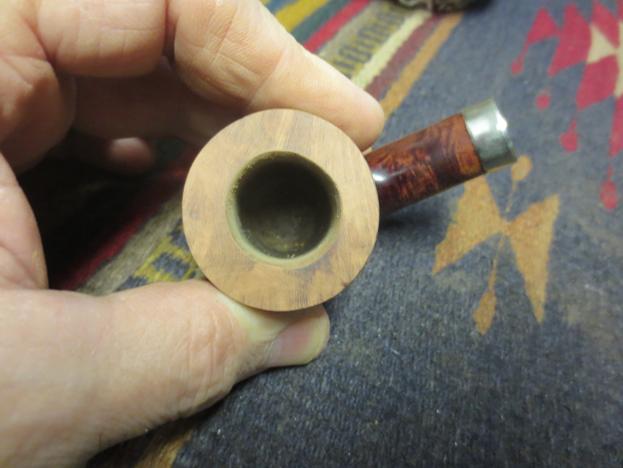
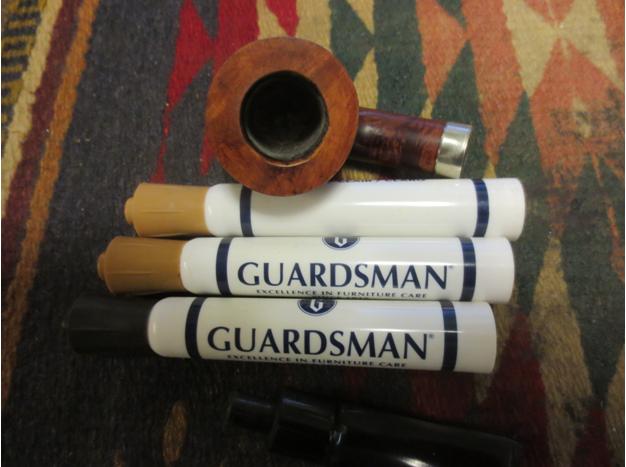
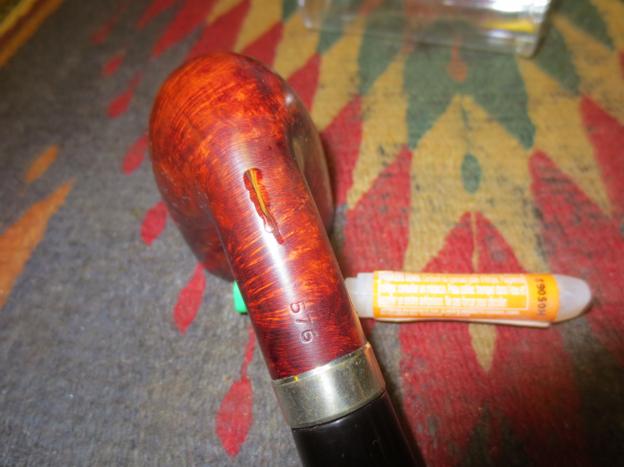
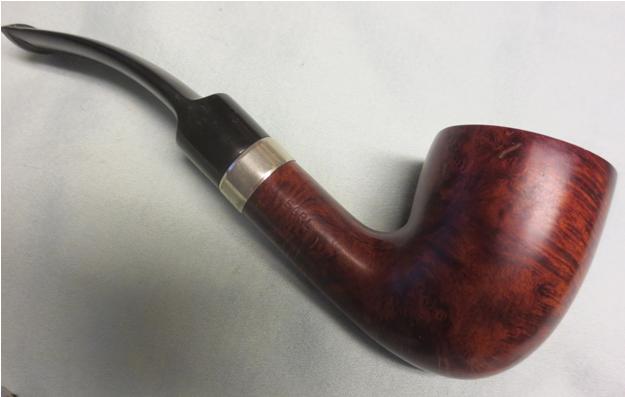
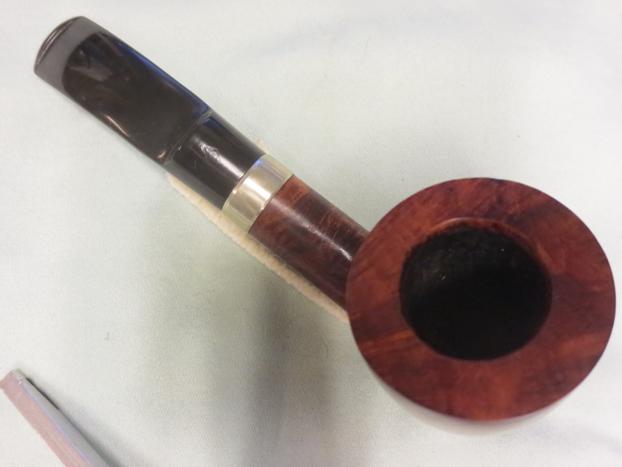
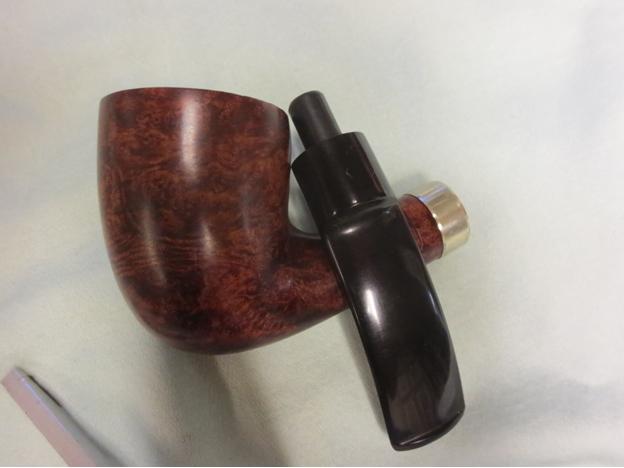
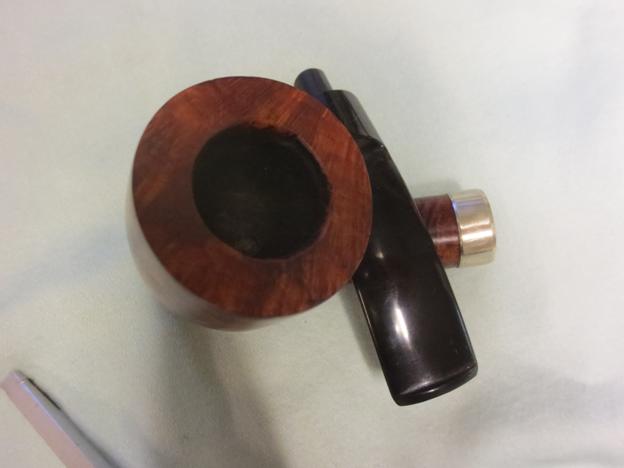
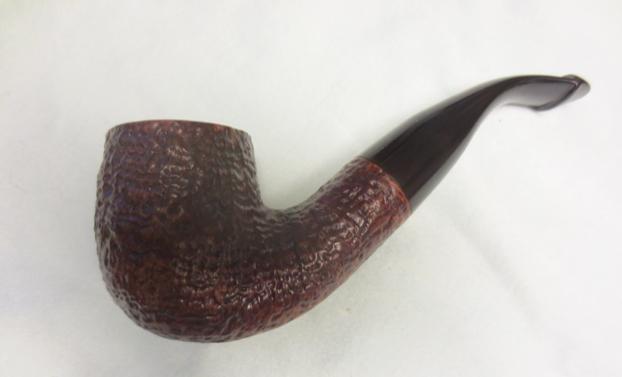
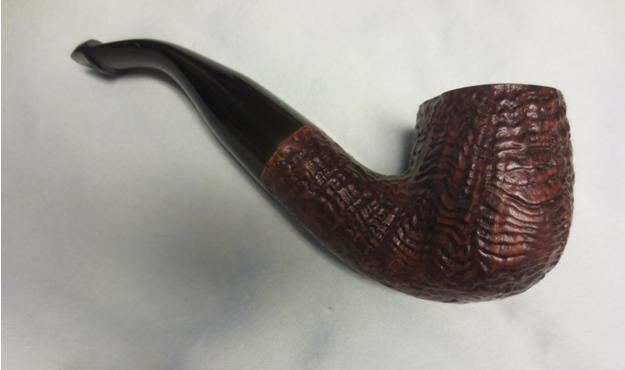
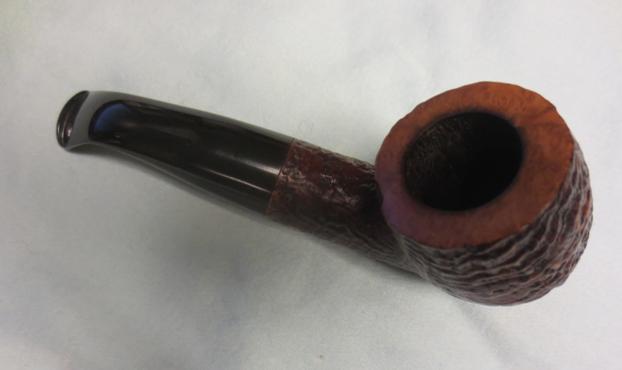
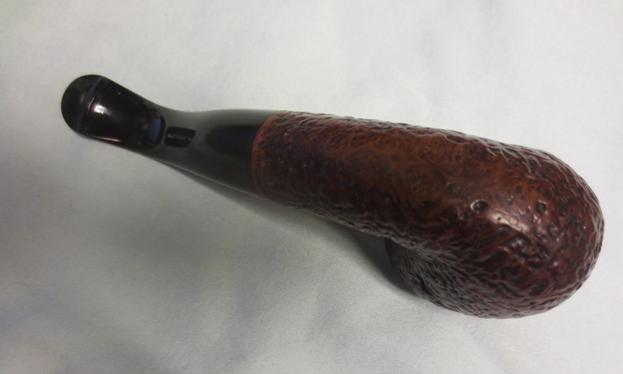
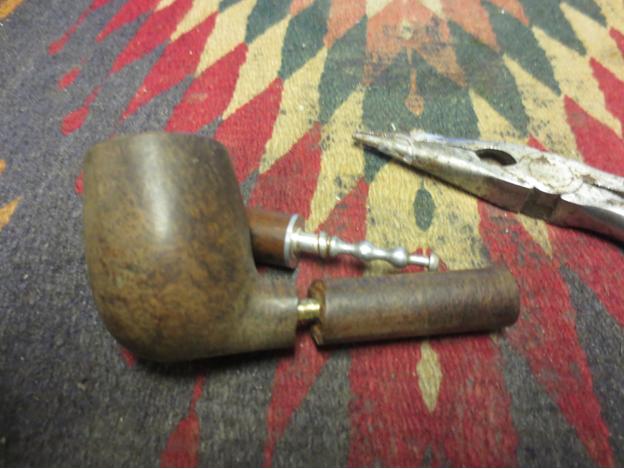
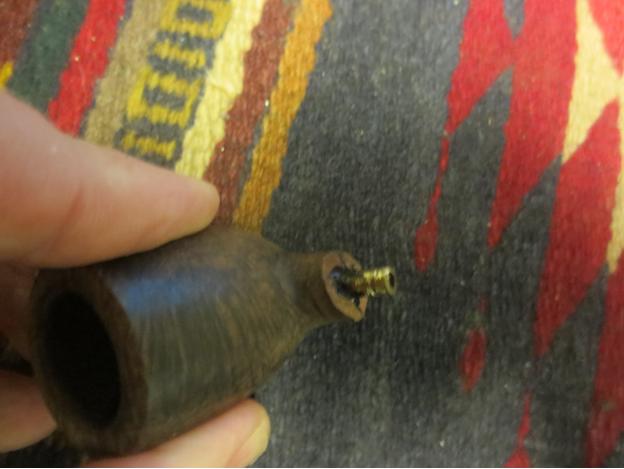
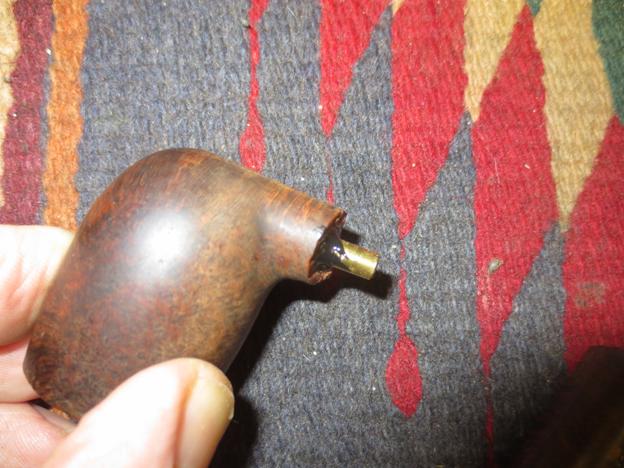
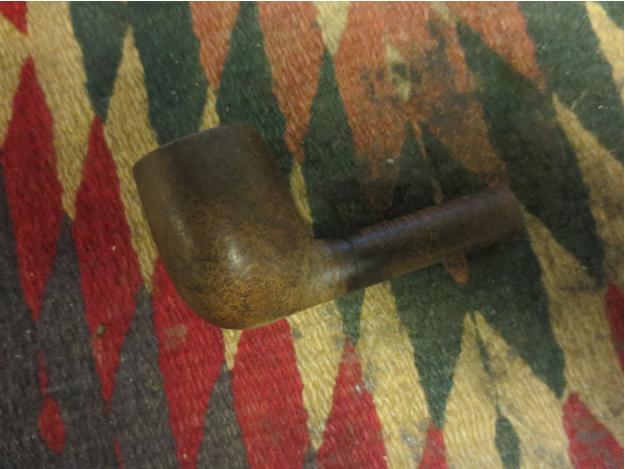
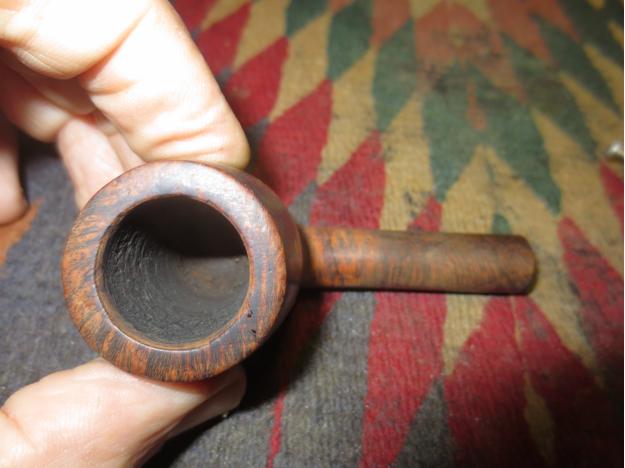
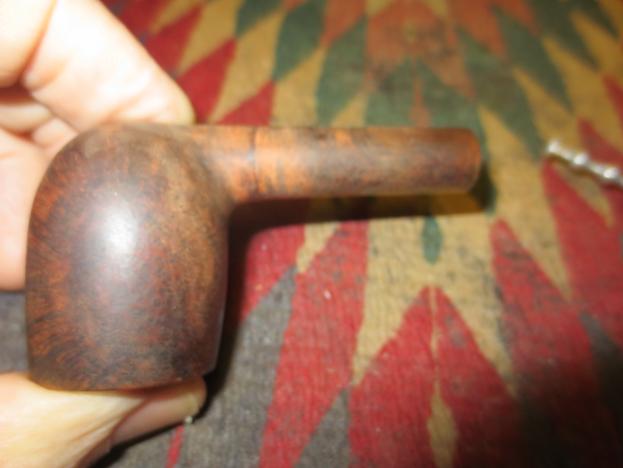
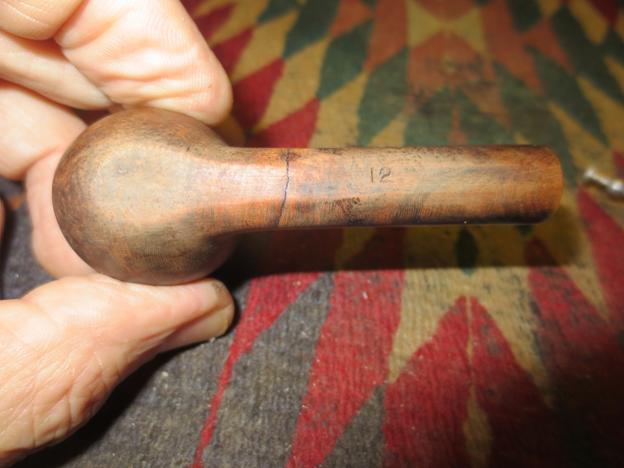
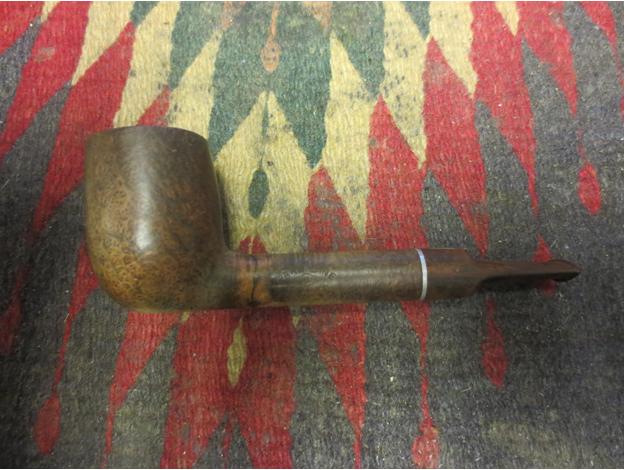
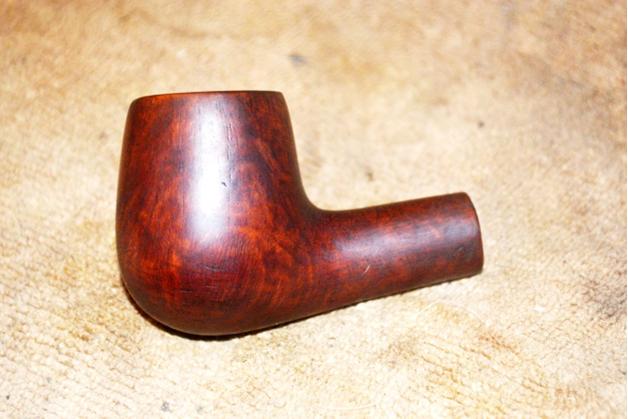
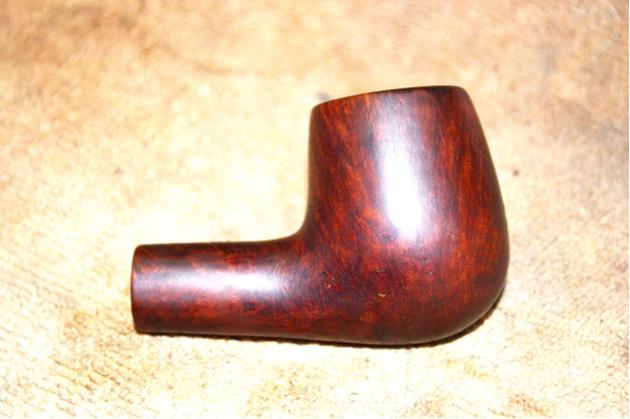
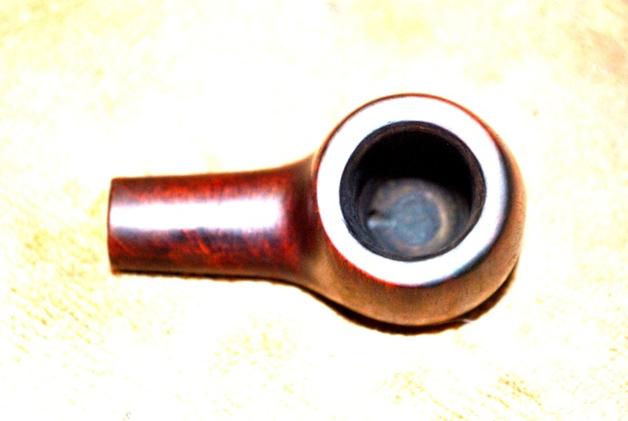
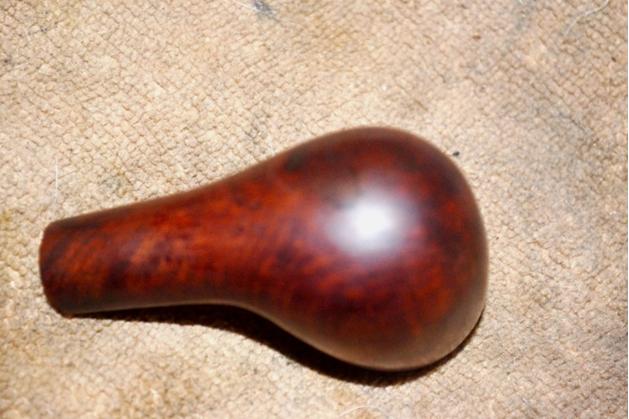
Category Archives: Pipe Refurbishing Essays

Essays and pictorial essays on the art of refurbishing

Restoring a Savinelli Hercules Billiard


Blog by Steve Laug

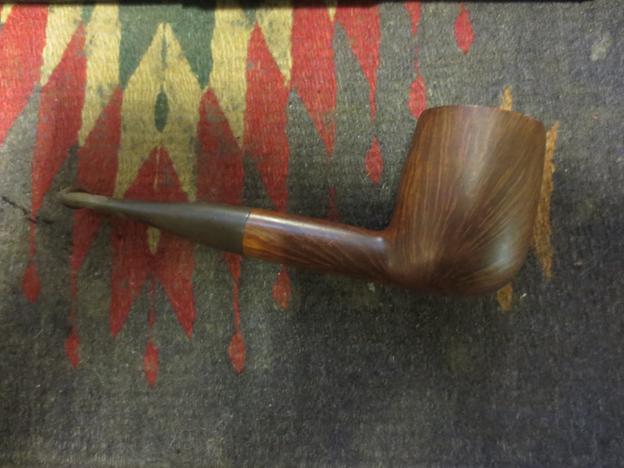
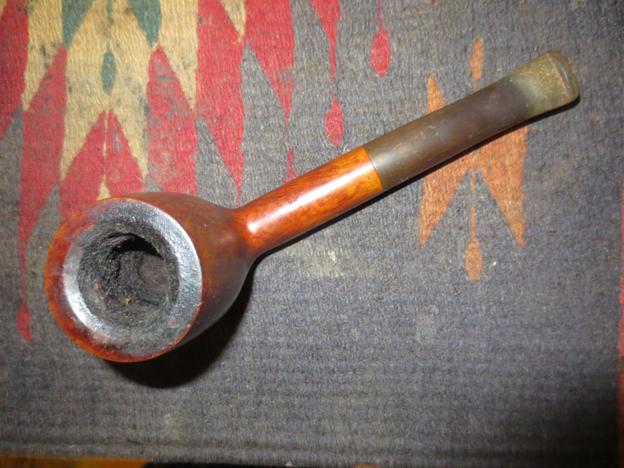
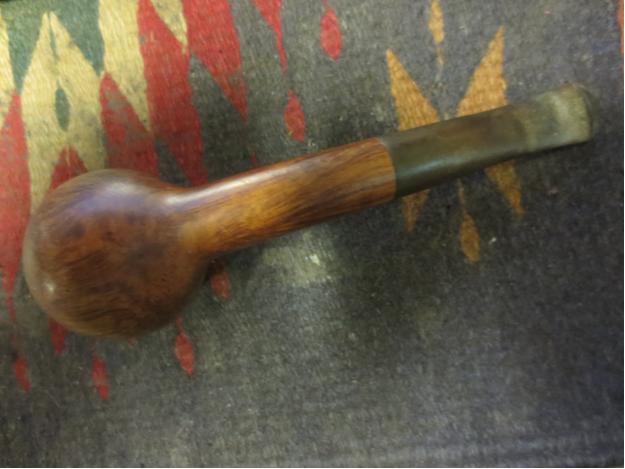
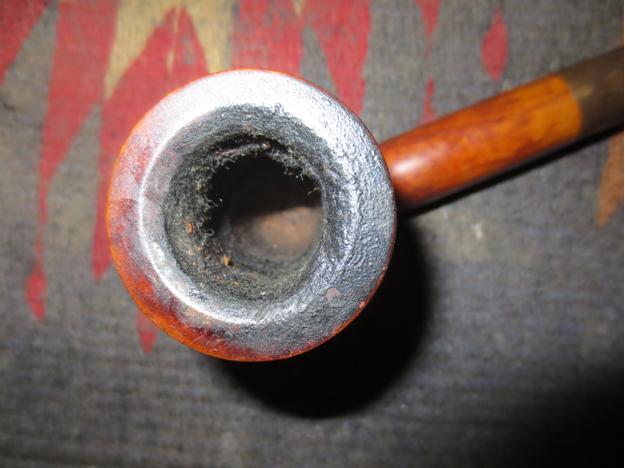
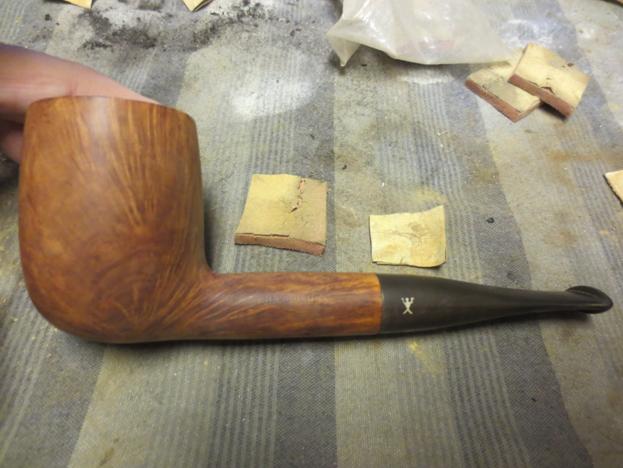
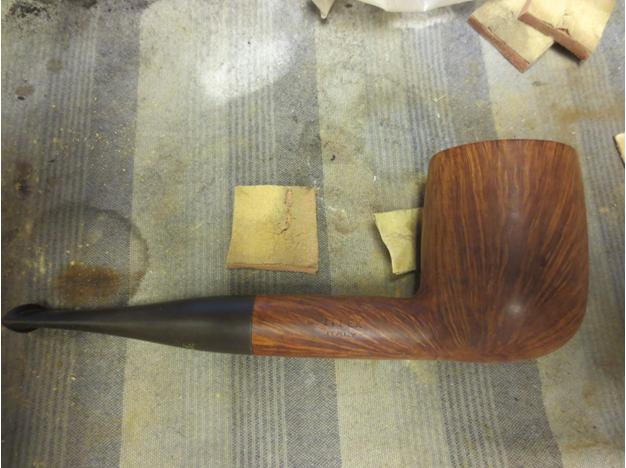
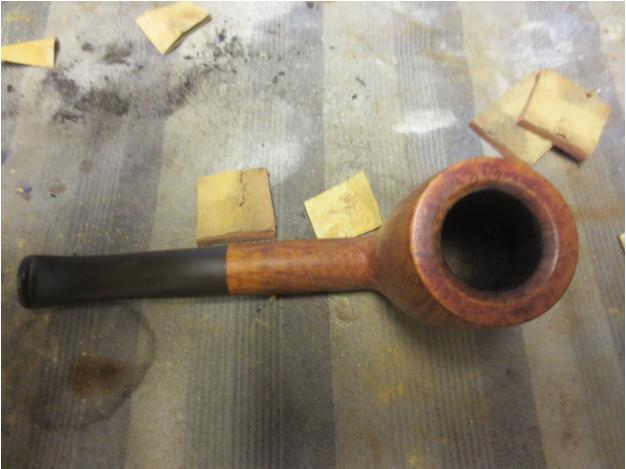
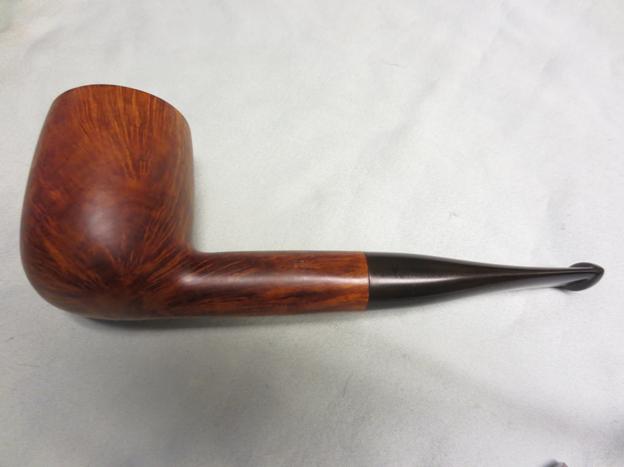
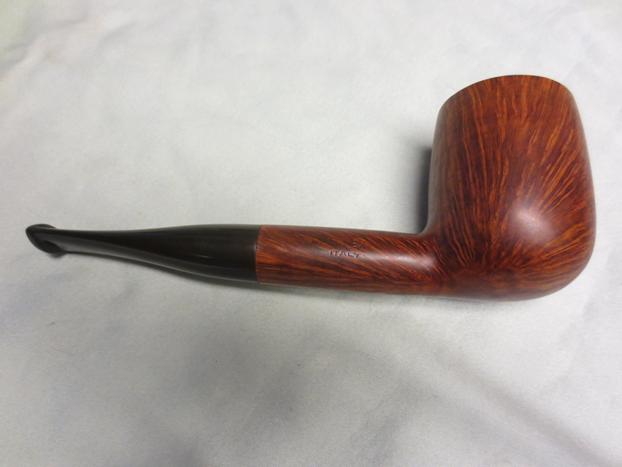
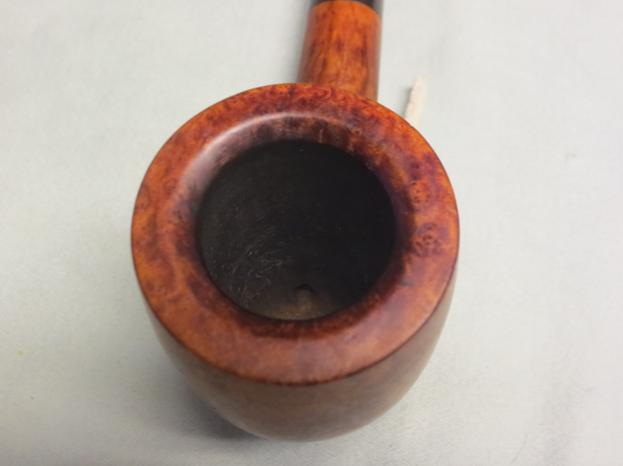
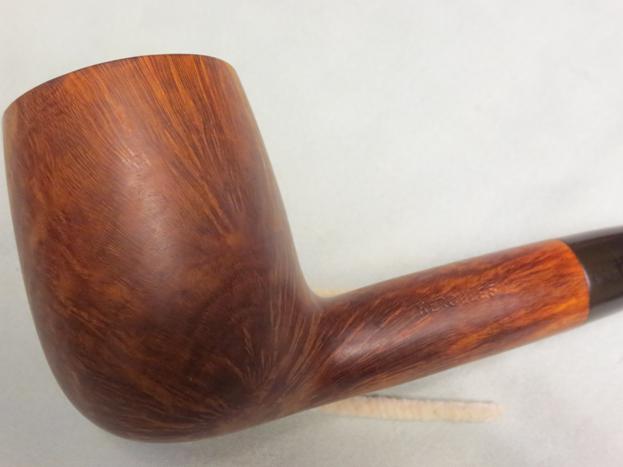
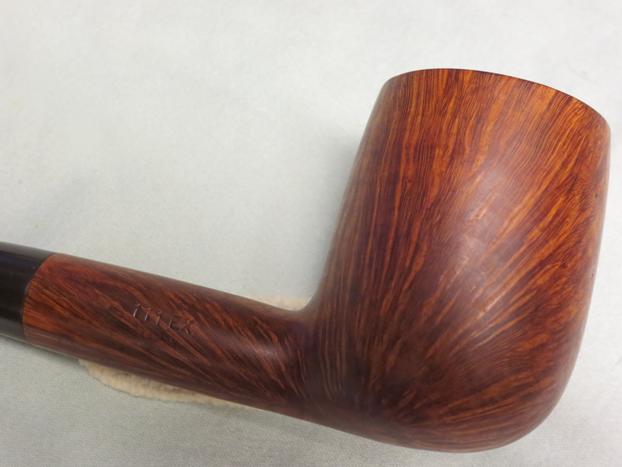
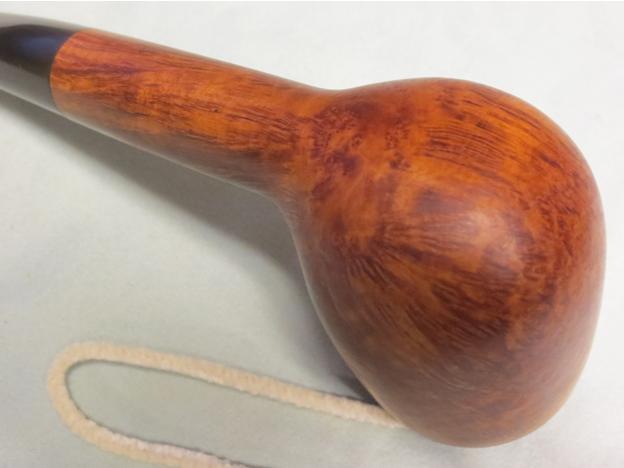
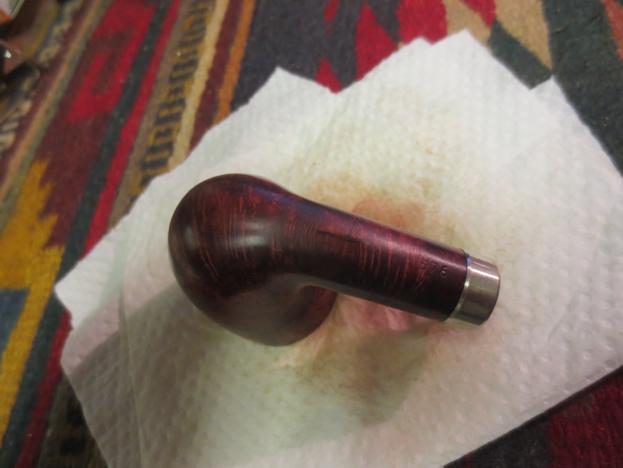
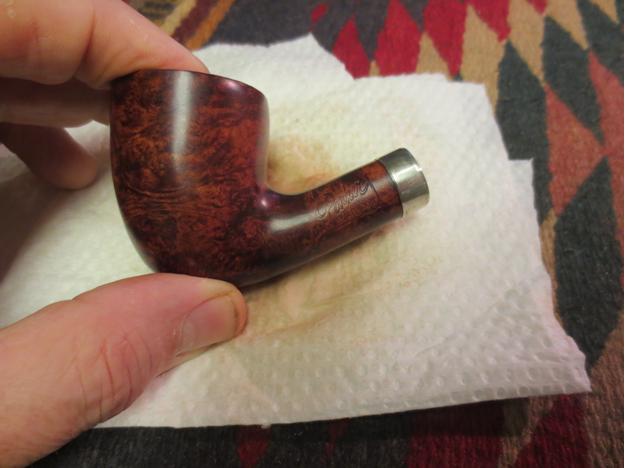
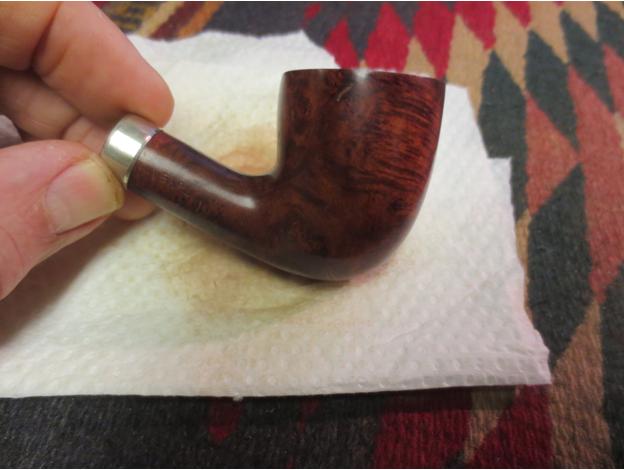
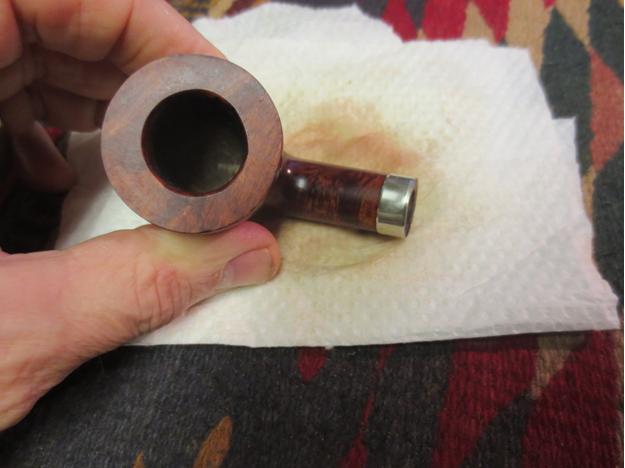
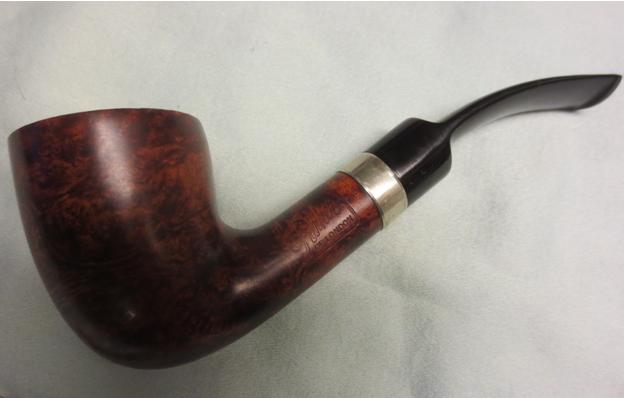
This pipe came to me as a fund raising donation for Smokers Forums. The donor wanted this and other pipes he sent cleaned up and restored then sold for the support of Smokers Forums. This pipe is a large Hercules Billiard made by Savinelli. It is stamped Hercules on the left side of the shank and on the right it read 111EX over Italy. This big pipe had some stunning grain. It would clean up very well. The finish is dull and dirty with grime but the briar is in excellent condition with no dents or flaws. There was a thick and uneven cake in the bowl and the overflow of lava on the rim was also heavy. In my experience the thick lava on the rim generally protected the rim from damage. The inner bevel on the rim and the edge was also undamaged. The stem was oxidized. The stamping on the stem shows well in the photo below but it was actually very light and faint. It would be virtually impossible to save it once it soaked and was cleaned up. It was almost like a decal applied to the stem rather than stamping.Herc1

Herc2

Herc3

Herc4 I reamed the bowl back to bare wood to remove the crumbling and uneven cake with a PipNet reamer. I started with the smallest cutting head and worked my way up to the diameter of the bowl.Herc5

Herc6

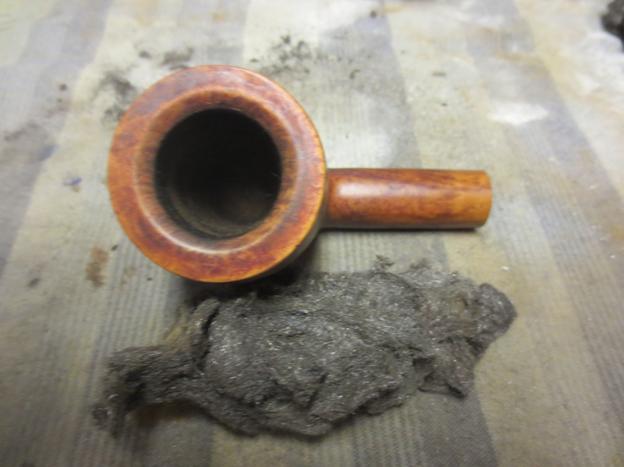
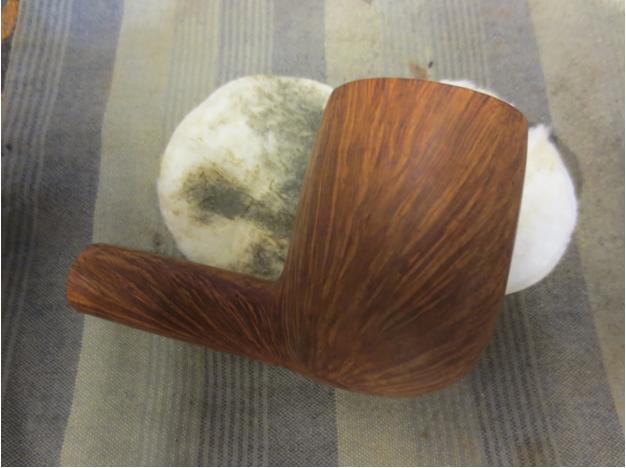
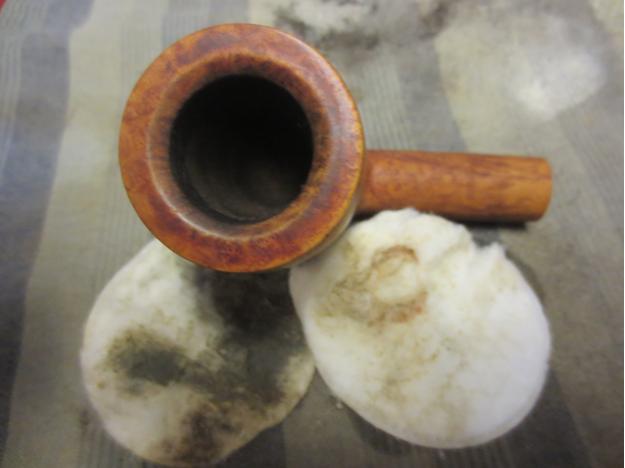
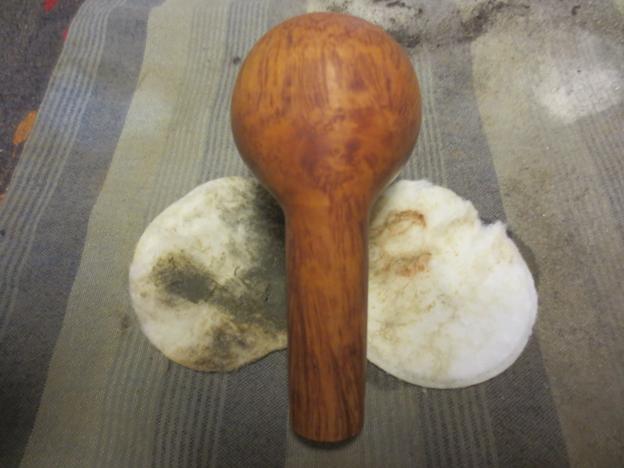
Herc7 I worked on the buildup on the rim with 0000 steel wool. Working it around the rim I was able to remove all of the tar and lava without damaging the finish.Herc8 I scrubbed the exterior of the bowl with acetone on cotton pads to remove the grime and the wax buildup. I believe these pipes had an oil finish originally and were not stained. The grime came off easily and the grain just popped!Herc9

Herc10

Herc11

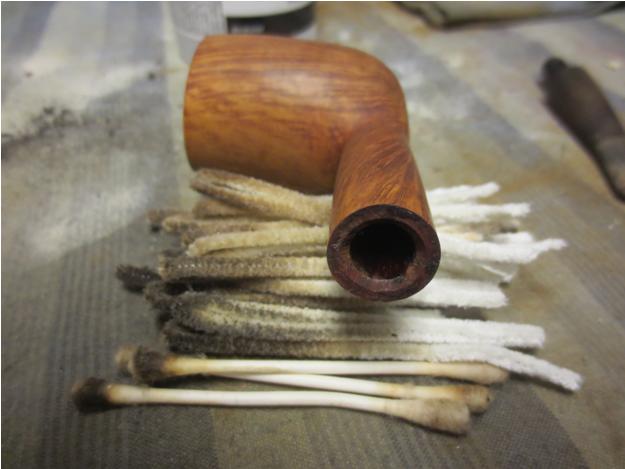
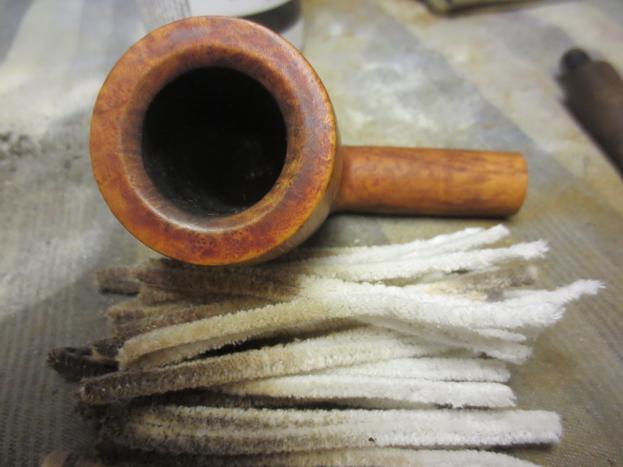
Herc12 I cleaned out the interior of the bowl and the shank with pipe cleaners, cotton swabs and alcohol until they came out spotless. I also folded each pipe cleaner and swabbed out the inside of the bowl to remove the dust and particles left behind by the reaming.Herc13

Herc14 I gave the stem a light sanding with 220 grit sandpaper and then with a medium and fine grit sanding sponge to remove the oxidation. I worked carefully around the stamping to see if I could preserve it. So far so good on that point.Herc15

Herc16

Herc17

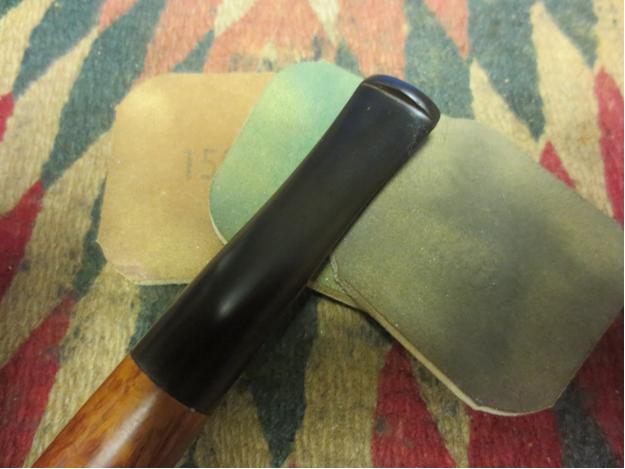
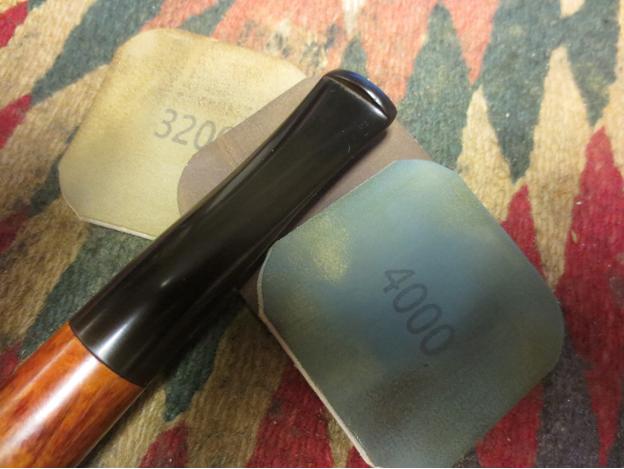
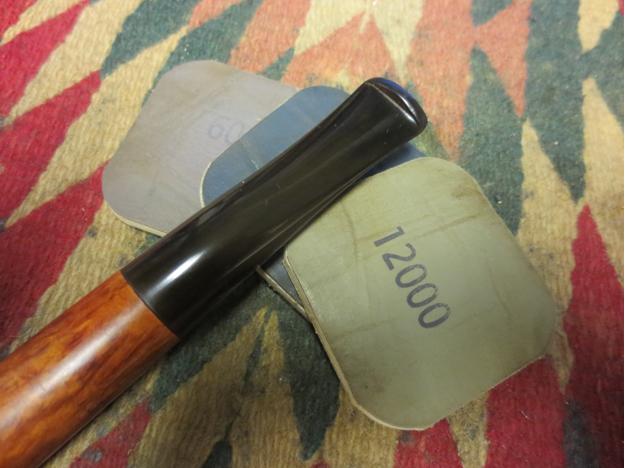
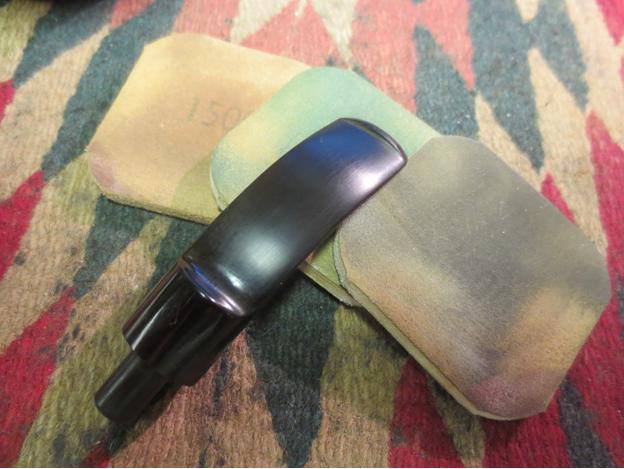
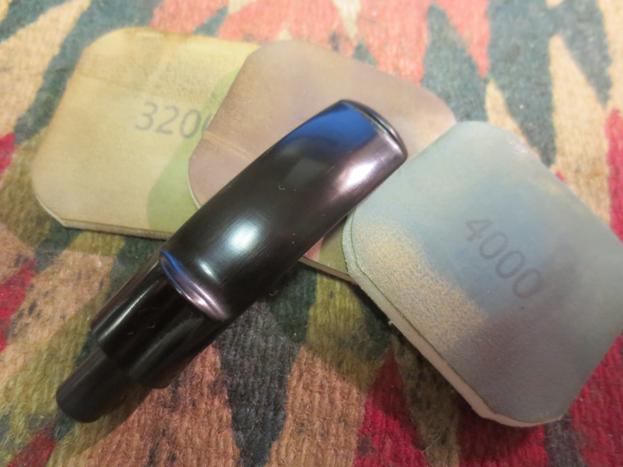
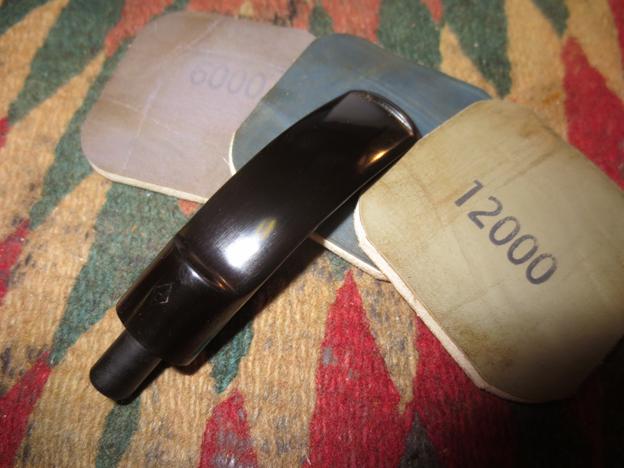
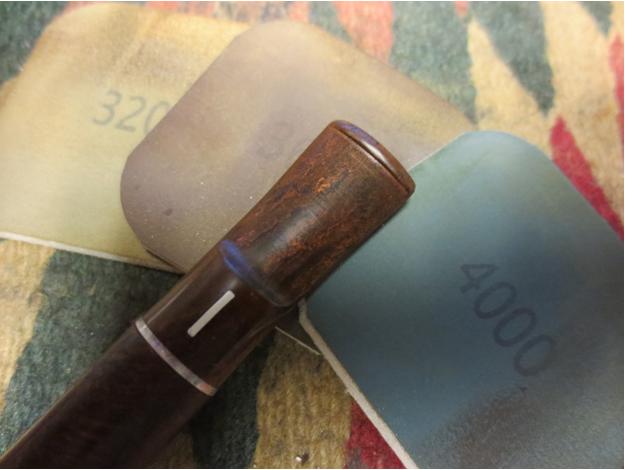
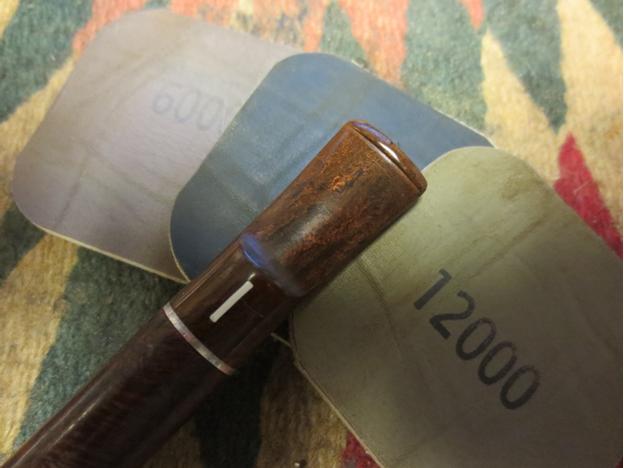
Herc18 I worked on the stem with micromesh sanding pads to remove the rest of the oxidation and to polish the stem. The first 1500 grit micromesh literally obliterated the stamping. That kind of thing bugs me but I can’t go back and change it. The decal/stamping was gone. I wet sanded the stem with 1500-2400 grit micromesh pads and then rubbed the stem down with Obsidian Oil. I dry sanded with 3200-4000 grit pads and gave it another coat of oil. I finished with 6000-12000 grit pads and gave the stem a final coat of oil and let the oil dry before taking it to the buffer.Herc19

Herc20

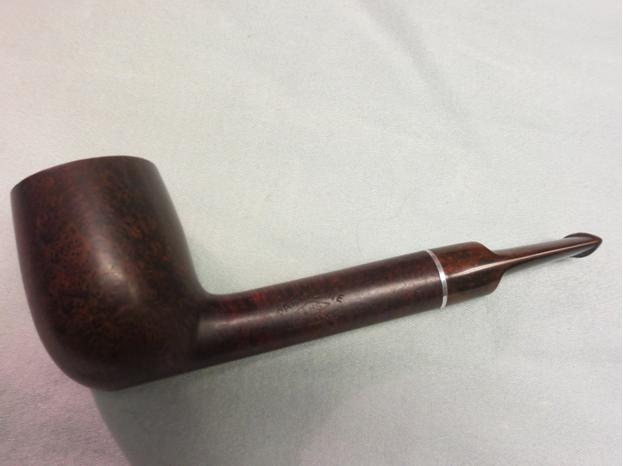
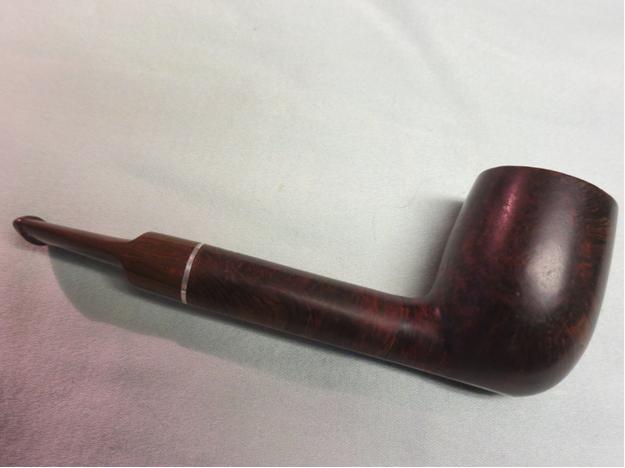
Herc21 I gave the bowl a light coat of olive oil and rubbed it in. I let it absorb over night. In the morning I buffed the bowl and stem with Blue Diamond and then gave both multiple coats of carnauba wax to protect. I buffed it with a clean flannel buffing pad to raise the shine then finished by hand buffing with a microfibre cloth. The only flaw in the process was the removal of the stamp/decal on the stem. For that I apologize. Otherwise the pipe is a stunning piece of craftsmanship. The finished pipe is shown in the photos below. I think this pipe will be a great smoker for whoever decides to add it to their rack.Herc22

Herc23

Herc24

Herc25

Herc26

Herc27

Herc28

Herc29

Herc30

Herc31

First in Flight: Refurbishing and Restemming a Falcon #4


Blog by Anthony Cook

I had never smoked a metal pipe before, but I was curious. I liked the idea of interchangeable bowls, especially when dealing with stronger and “ghostlier” blends (I’m looking at you, Lakelands). So, when this Falcon #4 showed up on eBay I put in a low bid that luckily turned out to be the winning one. I knew from the seller’s photos that the pipe was going to need a bit of work to get it into shape, but I was still in for a few surprises.

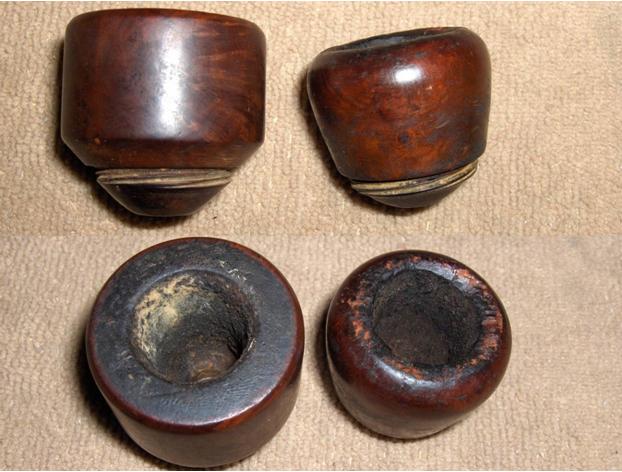
When it arrived, I could see that the aluminum frame was in good shape. There were several small dents and scratches, but nothing that would affect the smoking qualities of the pipe. The nylon stem (or, “bit” in Falconese), however, must have really suited someone’s taste because had been chewed so badly that it was crushed and the airway was almost completely closed. The larger, pot-shaped bowl was in fair condition with some tar build-up and a few scratches on the rim, but the smaller Dublin/apple-shaped bowl was charred and almost beaten to death around the rim. Luckily, the threads on both bowls were still in good shape and they would screw tightly to the frame.

Here are a few photos of the pipe as it was when it arrived:Falcon1

Falcon2

Falcon3 The first order of business was to remove the stem, since there was no way that it would work in its condition. Thankfully, Al (upshallfan) offered to send me another one that was in better shape. Removing a Falcon stem is easier said than done though. They’re intended to be a permanent part of the pipe.

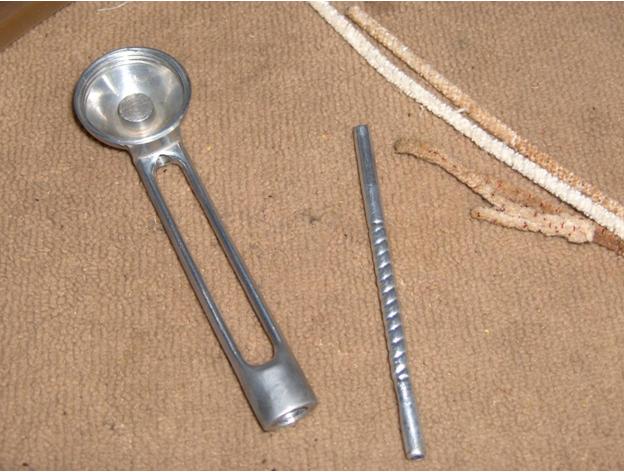
I turned to the forums in the hope of finding someone who had done it before and had developed a reliable removal method. I received several suggestions and tried them all with no luck. In desperation, I decided to try to heat the stem in boiling water. I knew from past experience that nylon would blister and burn all too easily when exposed to high heat, but I thought that this method might heat the stem slowly and gently enough to avoid that risk. Surprisingly, it worked like a charm! After about 20 minutes of submerging the stem in boiling water, not only was I able to remove the stem, but the aluminum smoke tube came out as well. That would make cleaning and polishing the frame much easier.Falcon4 After soaking the frame in alcohol for about 30 minutes, I cleaned out the interior. Without a doubt, this was the easiest cleanup job that I have ever done on a pipe. That’s not to say that it wasn’t dirty. This was obviously a well smoked pipe, but the grime came away easily from the nonporous aluminum. It took only three pipe cleaners (two for the airway and another folded one to scrub the cup) and an old toothbrush (for the threads) to completely clean the frame.Falcon5 The bowls were next on my to-do list. I reamed them both back to bare wood so that I could see what I was dealing with, and then I placed them in a jar of isopropyl alcohol to soften the build up on the rim and strip the finish. An hour or so later, I removed them and used a soft cloth to scrub away the remaining finish and grime.

I set up my topping surface to sand out the scratches on the rim of the larger bowl and level the uneven rim of the smaller one. I lightly topped the larger bowl first with 220-grit paper, and then with 320-grit until the scratches were gone. I started to top the smaller on the smaller one, but the condition of the rim was so bad that chunks of it began to fall out as I worked. I could see that was going to be a losing battle and decided that if I couldn’t beat ‘em, I’d join ‘em.

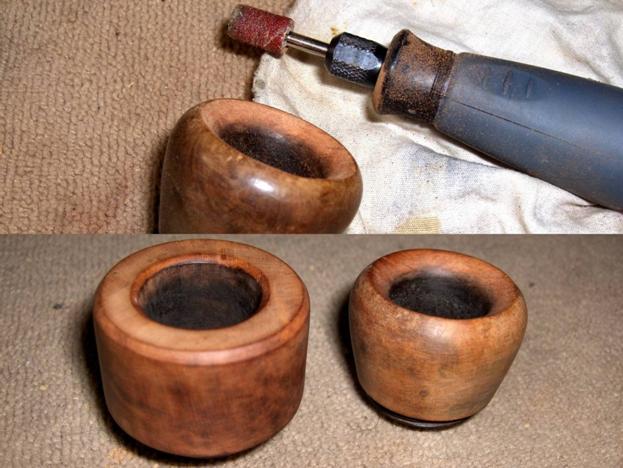
I used a Dremel with a sanding drum to bevel the inner rim of the smaller bowl back as far as the deepest gouge. I was only doing some rough shaping at that point to create the general depth and angle of the bevel. Then, I used 220-grit and 320-grit paper to clean things up and further refine the shape. After that, I lightly sanded the surface of both bowls with 220-grit and 320-grit paper to remove most of the scratches and dings.Falcon6 Once the heavy lifting was complete on the bowl cosmetics, I turned my attention back to the stem. The stem that Al had sent me was in much better shape than the original, but it was still badly chewed. It also wouldn’t pass a cleaner, which seems to be an issue with Falcon pipes in general. They make thinner cleaners specifically for Falcons, but I don’t like the idea of having to buy something else just to overcome a design flaw. So, I decided to try an experiment to see if I couldn’t open up the airway and remove much of the chatter all in one shot.

I had noticed earlier that the boiling water had not only loosened the original stem, but it also appeared to raise the dents to some degree. It wasn’t enough to save it, but I found it surprising all the same since I’d had no luck lifting dents in nylon with heat previously. I thought I’d try it again with the replacement stem. I rigged up a simple suspension mechanism with some string, a hex nut, and a wooden spoon, and then put the stem into a pot of boiling water. After nearly about 40 minutes of being submerged, there was some slight improvement but not enough to make much difference. So, I called an end to the experiment and decided that the method wasn’t worth the effort. I have a suspicion that there was some harm done to the stem with this method however, and I’ll talk more on that later.Falcon7 The constriction in the airway extended about ¼” behind the button. So, I decided to drill the airway out from the slot end. The airway was so tight that I had to start cutting through with a 3/64” bit and work my way up to a 3/32” bit. I tested the draw and it was good, and then I tested with a cleaner and it would pass, but it still needed a bit of force to get through the tight area. The stem wouldn’t take a larger bit, however, and I had to be satisfied with what I had. I finished up the work on the airway by cleaning up the slot and giving it a slight funnel with some sandpaper, needle files, and sanding needles.

In the photo below, you can see one of the drill bits chucked into a Dremel, but I never actually used the motor. That would likely have been a disaster. Instead, I used the Dremel to stabilize the bit while I turned the stem over it.Falcon8 The mechanics of the stem had been addressed and it was time to start working on the cosmetics. I used a course, flat needle file to score the surface of the stem, applied black CA glue to the indentations, and sanded it back with 220-grit paper once it was dry. Then, I began to rebuild the button. I wrapped clear tape around the area behind the button to create a sharp edge and applied more CA to the button to build up the surface. I used 220-grit paper to sand the CA back and start shaping the button after it had completely dried. When the shape was vaguely buttonish, I began to clean the edges and remove more chatter from the stem, first with 320-grit, and then with 400-grit paper.Falcon9 I lightly sanded the entire surface of the stem with 600-grit and 1200-grit paper to smooth it out and remove the seams and molding artifacts from the sides. Then, I polished the stem with Micro-Mesh pads 1500-grit through 12000-grit and used a drop of mineral oil to lubricate the stem between every three grits.

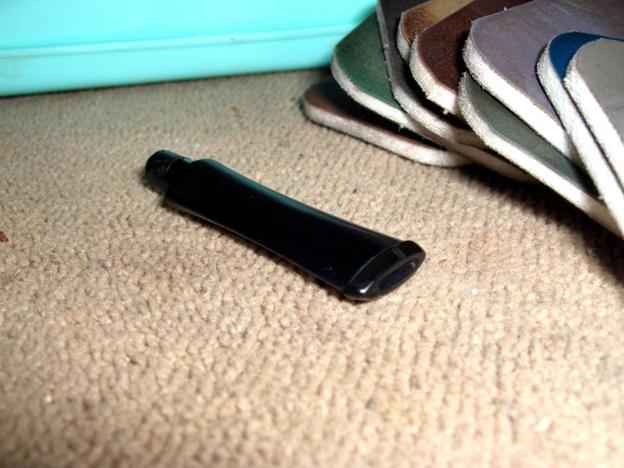
Remember when I mentioned something about the heat of the boiling water doing harm to the stem? This is where that comes into play. I had noticed that the stem felt different under the paper as I was sanding it. The higher the grit, the more noticeable it became. The surface felt normal to the touch, but it kind of grabbed at the sandpaper and pads and gave some resistance as they slid across, almost like it was gummy. It was unlike any nylon stem that I had ever worked with before and I believe that submerging it in boiling water changed the surface in some way. I’m just making a guess, of course, but in the end I wasn’t able to achieve the level of glossy shine that I had with previous nylon stems and I doubt that I’ll be trying the boiling method again. You can see the finished stem in the photo below.Falcon10 The stem was out of the way. So, it was time to get back to the bowls and start wrapping this pipe up. I wanted each bowl to have a slightly different color. So, I used a heat gun to heat the briar and open the grain, and then applied a 3:1 mix of isopropyl alcohol and Fiebing’s dark brown dye to the larger bowl and the same ratio with mahogany dye to the smaller bowl. After hand buffing with a soft cloth and sanding the surface of both bowls with 400-grit and 600-grit paper to remove most of the dye except for what was in the grain, I gave the larger bowl a medium brown stain and the smaller one an oxblood stain using the same ratio of stain to thinner as before. Then, I hand buffed again and sanded each bowl with 1200-grit and gave them both a light Tripoli buff. Both bowls received one final stain; buckskin for the larger one and British tan for the smaller. They were hand buffed again to remove the excess stain, and then polished with Micro-Mesh pads 3200-grit to 12000-grit.

Before reassembling the pipe, I polished the frame with Semichrome polish and buffed the stem and bowls with White Diamond compound on the buffer. I put everything back together (it went easily) and applied several coats of carnauba wax with the buffer. Finally, I applied a bowl coating to both bowls to give them some protection until they could build a little cake. You can see the completed pipe in the photos below.Falcon11

Falcon12

Falcon13

Falcon14 And here are a couple of shots of the other bowl…Falcon15 I’m still not happy with the stem on this one and I’m sure that I’ll be replacing it sometime in the future when there aren’t other pipes that need attention. For now, though, it serves its purpose well. I’ll admit that I was a little skeptical of the metal pipe concept, but this pipe smokes wonderfully and I can see many more Falcon bowls and a few more metal pipes in my future. Thanks for checking it out!

Cleaning up my Budapest Pipe Find – A Parker of London Earl 576 Bent Dublin


Blog by Steve Laug

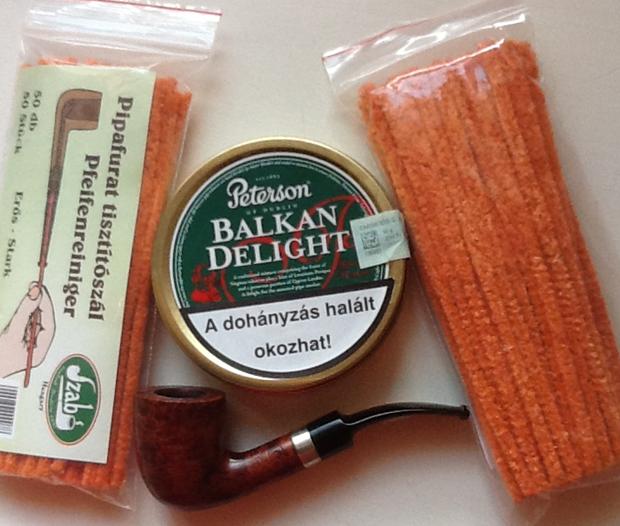
On my recent trip to Budapest I visited several of the pipe shops that I found when I was there five years ago. The experience was sad in that much has changed and the pipe and tobacco selection has greatly diminished. I was in the Gallwitz Shop and looked at their estate pipes. I turned several over in my hands before leaving and not buying any. I walked about a block before I got to thinking that this would probably be the last time I was in that shop and if the downward turn of pipeshops in Budapest continued it might not last. I turned around and went back to the shop and purchased a small bent Dublin that is stamped on the left side of the shank, Parker of London. On the right it is stamped Earl and on the underside it bears the shape number 576. I have included a photo I took on my phone of the pipe and some of my other finds that day.Find1 The pipe was in decent shape. It had quite a few fills on the right side of the bowl and a long narrow fill on the underside of the shank that had shrunk and left a groove. The rim had a lot of grooves and damage that had been waxed over. The bowl was out of round but was clean. The inside of the shank and stem were still pretty dirty. The original stem was loose but relatively clean with no tooth marks and the faint diamond P logo on the top of the saddle. There was some minor oxidation in the crease at the button and the surface of the stem had some scratches that had not polished out. On the underside of the stem there were some bits of metal that were in the mix of the rubber stem. I know that in the war years the rubber used for stems was recycled so I am thinking that this one may come from that era. When I got home from Budapest I took the following photos of the pipe to show what it looked like when I began.Parker1

Parker2

Parker3

Parker4 I also took a few close-up photos of the rim and the stamping on the shank. To me there is a quiet elegance to this shape. You can see the rim damage and the inner edge damage in the first photo below.Parker5

Parker6

Parker7 I worked on the inner edge of the rim with a folded piece of 220 grit sandpaper. I wanted to even out the inner edge and minimize the out of round look. I gave it a slight bevel to get rid of the damage. In doing so I did not particularly care that I scratched the surface of the rim because I planned on topping it lightly to remove the damage.Parker8

Parker9 I topped the bowl on a topping board to remove the deep scratches and damaged areas on the surface of the rim.Parker10

Parker11 I sanded the rim with a medium and a fine grit sanding sponge. I then sanded it with 1500-2400 micromesh sanding pads to polish the rim. I then stained it with the staining pens – starting with the lightest colour and gradually working my way up to the darkest colour. I worked to blend it into the same colour as the bowl and shank.Parker12 The long worm shaped fill on the bottom of the bowl needed to be refilled. I decided to use clear super glue and no briar dust as the groove was not very deep. I filled it and let it dry. I sanded the repair with micromesh sanding pads until it blended into the surface of the briar. It is smooth to the touch now and is better blended into the surface of the briar.Parker13

Parker14

Parker15 I rubbed down the bowl and shank with a light coat of olive oil and then buffed it with a microfibre cloth to raise a bit of a shine.Parker16

Parker17

Parker18 I worked on the oxidation on the stem in the crease with micromesh sanding pads. I wet sanded with 1500-2400 grit pads. I scraped the groove in the crease with a dental pick and then sanded it until it was smooth. I rubbed it down with Obsidian Oil and then dry sanded with 3200-4000 grit pads, reoiled it and then finished sanding with 6000-12000 grit pads. I gave it a final coat of Obsidian Oil and then let it sit until the oil had been absorbed into the vulcanite.Parker19

Parker20

Parker21 I buffed the pipe with Blue Diamond and then gave it multiple coats of carnauba wax. I buffed it with a clean flannel buff to raise the shine. I took it back to the work table and buffed it by hand with a microfibre cloth. The finished pipe is shown below. It is cleaned and ready to use. It should give many years of good service now that it is clean. Every time I pick it up I will think of the Gallwitz shop and the changes that it went through from the first time I visited until this past time. The sad changes will go through my mind for a long time.Parker22

Parker23

Parker24

Parker25

Parker26

Parker27

Internal Injuries – Repairing an Over-Reamed Bowl and Opening the Airway on a Yello-Bole Duo-Lined


Interesting use of JB Weld to raise the bowl bottom. I have not tried that. The bowl dating is fascinating both in terms of materials and application. Worth a read. Let us know your thoughts gets. Pipe looks great.

Charles Lemon's avatar

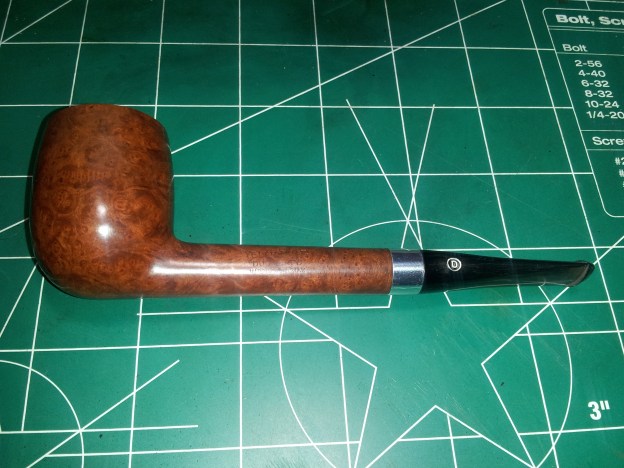
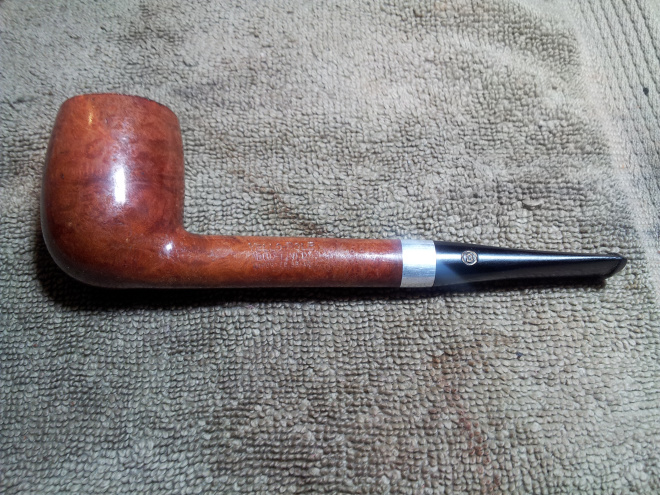
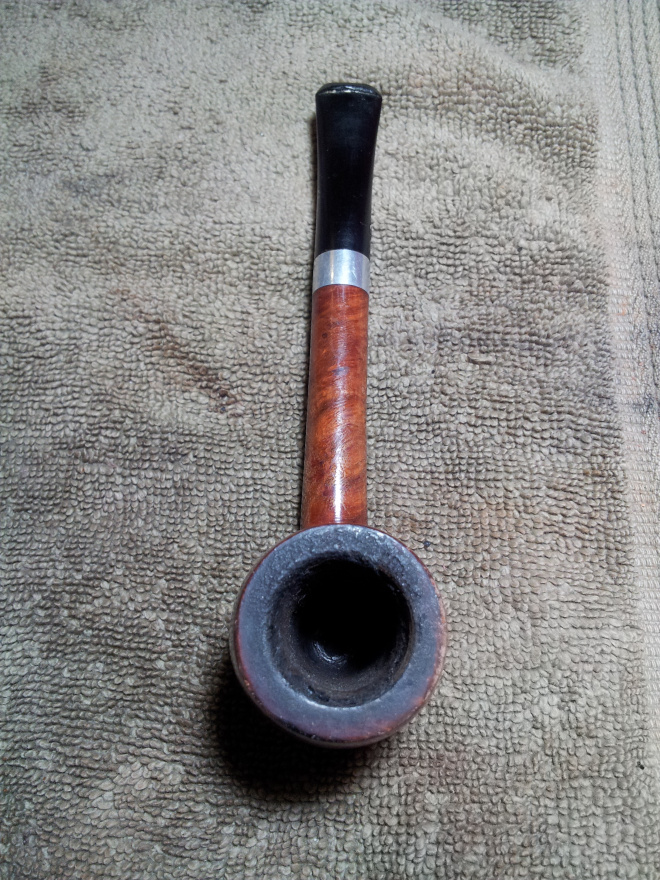
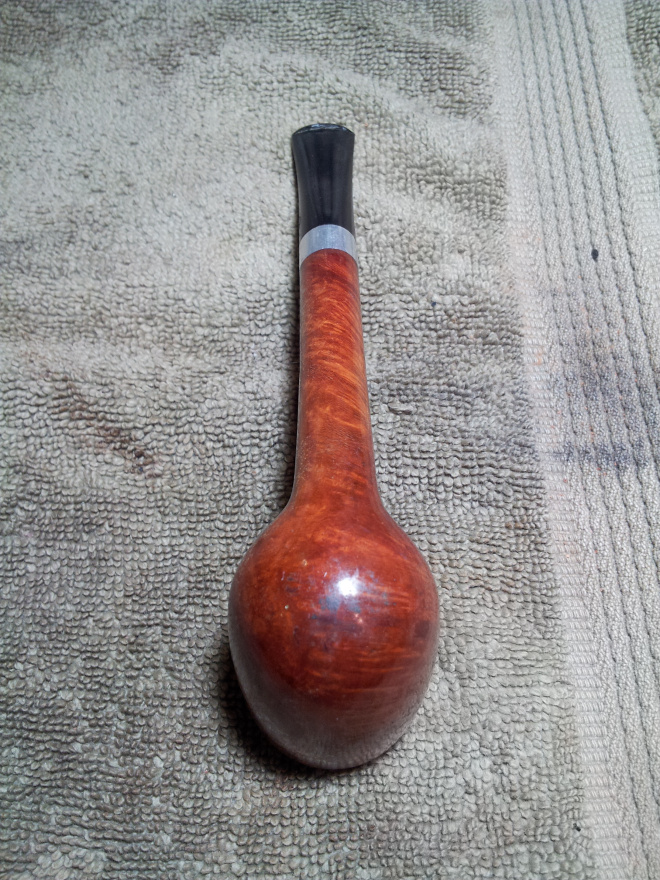
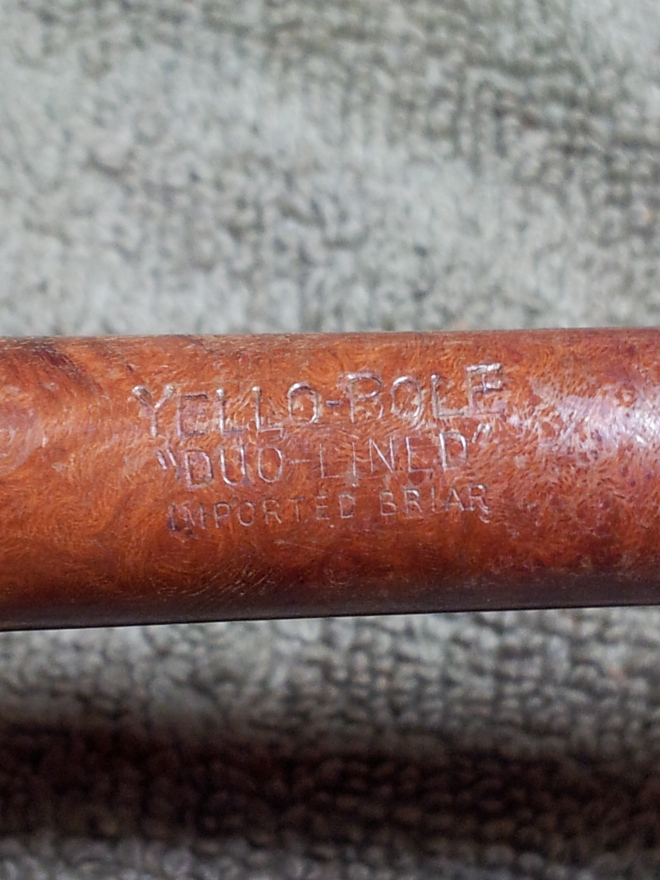
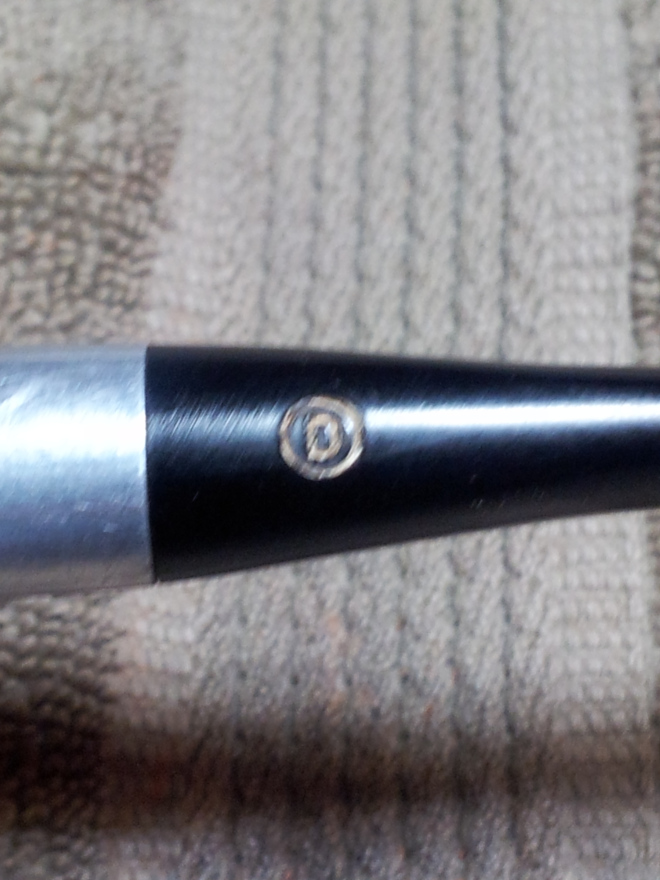
This is another pipe I picked up on a recent wander through my local antique mall – a Yello-Bole Duo-Lined in a classic Lumberman shape. It was in relatively good condition on the outside, with a bit of rim tar and a few flakes of original lacquer finish missing. The stem was original and still bore the D in a circle stamping that paired with the “Yello-Bole” over “Duo-Lined” over “Imported Briar” stamped into the left shank. The bowl had some fairly thick, though even, cake. It had obviously been a favourite of the previous owner, who had devoted a decent bit of care to the pipe’s maintenance.

20150922_09533620150922_09534520150922_09535520150922_09541320150922_09544020150922_095445

My first action on this refurb was to ream the bowl back to briar and clean the tars off the rim. This led to the discovery of a few decent dents in the rim that had been hiding under the tars, and, more seriously…

View original post 843 more words

Finally with Al’s help I picked up a PETERSON’S KAPRUF 9BC


Blog by Steve Laug

The other day Al Jones sent me a quick message about a pipe that he knew I was looking for. It was a pipe shape that I have been looking for since Mark Irwin wrote up his blog on the Peterson 9B shape. Al had found one from a Russian seller that was stamped PETERSON’S KAPRUF 9BC over LONDON MADE ENGLAND on the underside of the shank. The seller described it as follows on the EBay sale: Used pipe, smoked. Chamber reamed slightly, moderate heat crackling. Refurbished top of the bowl. Air passage opening is well centered and bottomed in the chamber. P-lip stem is clean and buffed, faint occasional oxidation, light traces of removed toothmarks. Markings on the pipe are buffed but visible: “PETERSON’S “KAPRUF” LONDON MADE ENGLAND 9BC” on the bottom of the shank. Stem has no markings or logos. It had a nice sandblast finish. The only deviation from online photos of the sandblast version of the pipe that I had seen was the smooth rim on the bowl. The seller’s comment above in bold – “Refurbished top of the bowl” makes me wonder if he had not topped the bowl in his clean up of the pipe. I am not certain if he had topped the bowl or not but if he had done so, he had done it very well. The light stain on the rim matched the light portions on the pipe as a whole at the shank and on the high points in the blast.

Included in the description was information that in the past I seemed to ignore and had paid for by the surprise of a larger or smaller than expected pipe. This time I read it and it fit my general expectations and current collecting habits.
Dimensions (approximate):
Length 4-15/16″ (125 mm)
Height 1-7/8″ (47 mm)
Bowl depth 1-3/8″ (35 mm)
Bowl width (top) 1-5/8″ (33 mm)
Chamber opening 3/4″ (19 mm)
Weight 2.05 oz (58 grams)
Peterson 9B1

Peterson 9B2

Peterson 9B3

Peterson 9B4

Peterson 9B5

Peterson 9B6

Peterson 9B7

Peterson 9B8

Peterson 9B9 The pipe arrived while I was traveling and Al had included some generous samples of tobaccos to try out in this “new to me” pipe. It came clean and ready to smoke. The condition of the pipe is superb. The finish is in excellent shape. The blast is rugged and the stain contrasts highlight the depth of the cragginess. The rim and the smooth bottom of the shank match well in terms of colour of the stain. The stampings were faint, caused either by the age of the pipe and the years of buffing that had occurred. It also could have been over buffed by the seller, but I am inclined to think otherwise due to the care with which he worked over the rest of the pipe. The stem is in great shape with no tooth marks and a deep gloss other than the slight oxidation of the stem where it meets the shank. There is no P stamp on the stem but I am pretty sure that the stem is the original. The internals are spotless and the bowl has a slight smell of tobacco. The fit of the stem to the shank is impeccable with no gap. The bend in the stem is perfect – with age it had neither straightened nor become over bent. It was precisely as had been advertized. I can’t tell you how surprised I was to find that it matched the description. Too often these days I purchase an estate pipe that has been “refurbished” only to find that the pipe was filthy on the inside.

I took a few pictures of the pipe with the stem removed to illustrate the condition of the pipe. I literally had nothing to do in terms of cleaning up the pipe. I would need to work on the oxidation on stem but other than that it was flawless.Peterson 9B10

Peterson 9B11

Peterson 9B12 Since the only thing that remained for me to do on this beautiful pipe was the oxidation on the stem I decided to tackle it immediately. I sanded it with a medium and a fine grit sanding sponge to remove the oxidation. I then wet sanded the stem with 1500-2400 grit micromesh sanding pads and then rubbed the stem down with Obsidian Oil. I dry sanded with 3200-4000 grit pads and gave it another coat of oil and then finished sanding with 6000-12000 grit pads and gave it a final coat of Obsidian Oil.Peterson 9B13

Peterson 9B14

Peterson 9B15 I buffed the stem with Blue Diamond on the wheel and then gave the stem several coats of carnauba wax to seal and protect it. I buffed it with a clean flannel buff and then hand buffed it with a microfibre cloth. The finished pipe is shown below. The oxidation is far better. The pipe looks good to my eye. The blast is stellar. Now all that remains is to fire this one up with one of the blends Al sent.Peterson 9B16

Peterson 9B17

Peterson 9B18

Peterson 9B20

Repairing a Broken Shank on an LHS Park Lane DeLuxe — Lovat 12


Blog by Steve Laug

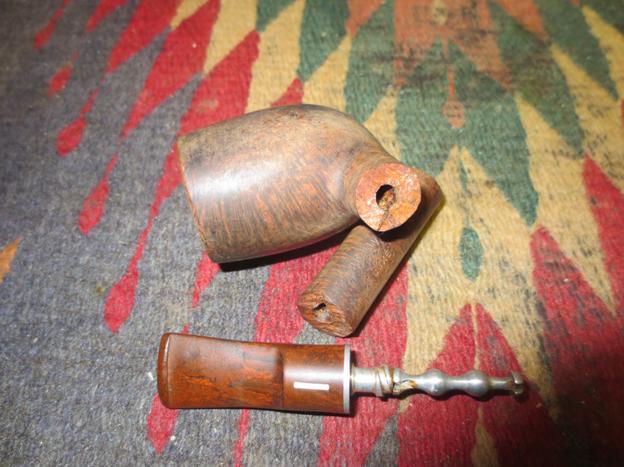
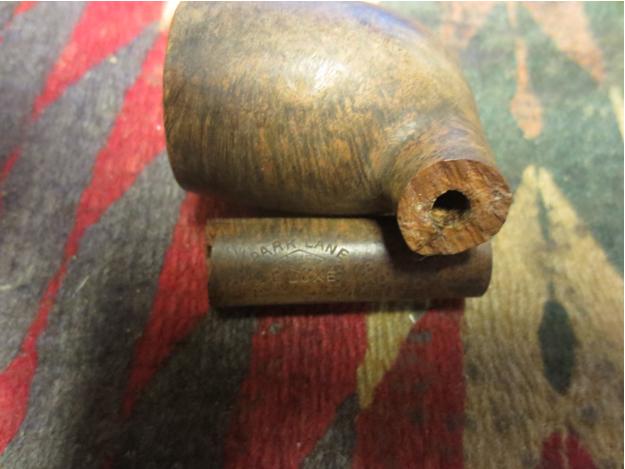
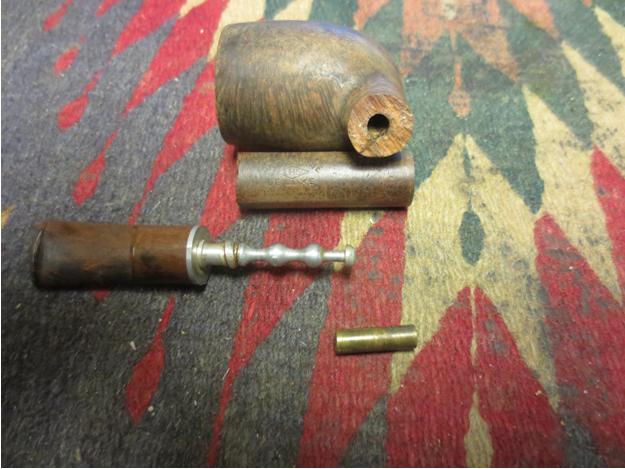
I came home from a two-week work trip to Berlin and Budapest to find a package from Troy Wilburn waiting for me. It contained a beautiful little LHS Park Lane De Luxe Lovat shape 12 that we had been speaking about before the trip. I am a sucker for LHS pipes and really like the Park Lane series as they have a quiet elegance about them. The shank on this one had broken near the bowl. Fortunately it was a clean break and not splintered or chipped. The repair on these has become pretty straight forward for me. I have learned a few tricks in joining the parts of a broken shank together from the Frankenpipes that I have crafted. That was their purpose and their schooling has paid off on quite a few of these shank repairs for me. The Park Lane had a Bakelite stem (at least I think it is Bakelite as it feels and acts different from Cumberland). The next two photos show the snapped shank.LHS1

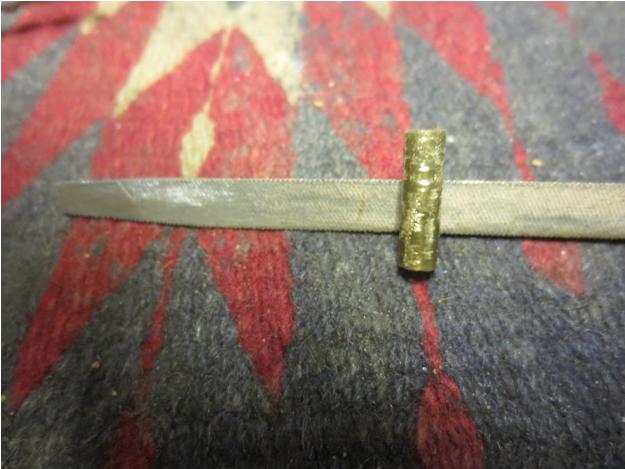
LHS2 Just as I suspected I had a piece of brass tubing that was the perfect size and fit for the repair. I used a file to cut grooves into the tube and to roughen the surface for the glue to have something to hold onto when I glued it in the shank.LHS3

LHS4 I cleaned out the airway on both sides of the broken shank to remove debris and to give a good clean surface for the glue to bond with. To check the size and the fit of the tube in the two parts of the shank I inserted it in the bowl end of the break and then twisted the shank end onto it. The fit was perfect and once glued the repair should be solid.LHS5 I mixed some epoxy and applied it to the metal tube being careful to not get any inside of the airway. I inserted it into the bowl side of the break. I left slightly over half of the tube extending so that when I put the shank piece in place there would be enough of the metal tube to strengthen the repair on that end.LHS6

LHS7 When the epoxy set and the tube was solidly in place I painted some more of the epoxy on the opposite end of the tube and a little on the briar surface of each side of the break. I have learned not to overdo the glue on the briar as it is a pain to remove from the wood when it dries. I twisted the shank piece in place, lined it up and pressed it in place against the bowl side. I held it firmly until the quick set epoxy set and that portion of the repair was finished.LHS8

LHS9

LHS10

LHS11 I pushed some fine briar dust into the small space that remained around the surface of the crack and then filled it with clear super glue. I applied it with the point of a dental pick so as not to get too much glue on the briar.LHS12

LHS13

LHS14

LHS15 I sanded the repaired area carefully with a folded piece of worn 220 grit sandpaper to remove the excess glue and briar dust from the patch. Then I sanded with a fine grit sanding sponge to remove the scratches. I used a medium brown coloured stain pen to touch up the sanded area around the patch. I cleaned out the shank with a pipe cleaner to make sure that there was no glue in the tube.LHS16

LHS17

LHS18

LHS19 The stem was slightly under clocked. I heated the stinger with a lighter until the glue in the stem softened and then carefully screwed it into the shank while holding the shank. I was able to align it perfectly with the shank.LHS20 With that completed, the repairs to the pipe were finished. The stem was in the right position. The cracked shank repaired and strengthened with an inner tube. All that remained was to clean up the surface of the pipe and give it a coat of stain to blend in the sanded areas around the repairs. I also needed to do some work on the stem with micromesh to raise the shine and polish the Bakelite. (I rarely use the buffer on these older LHS stems as I do not want to risk it. I would rather polish them by hand than damage them.)LHS21

LHS22 I wiped the bowl and shank down with alcohol on a cotton pad to remove the grit and grime on the surface of the bowl and to remove the remaining finish.LHS23

LHS24 I cleaned off the tars on the stinger with 0000 steel wool. I wet sanded the stem with 1500-2400 grit micromesh sanding pads and then rubbed it down with Obsidian Oil. I continued to dry sand the stem with 3200-4000 grit pads and then gave it another coat of oil. I finished with the final three grits of micromesh – 6000-12000 – and gave it a final coat of Obsidian Oil. Once the oil dried I gave the stem some coats of Paragon Wax and hand buffed it with a microfibre cloth.LHS25

LHS26

LHS27 I gave the bowl a rubdown with some olive oil and then buffed it out. I touched up the light areas of the stain on the repaired shank with a dark stain pen and then rubbed a little more oil onto the shank. I buffed the pipe with Blue Diamond and then gave it several coats of carnauba wax. I buffed it with a clean flannel buff and then hand buffed it with the microfibre cloth. The finished pipe is shown below. I am hoping to put it in the mail later today or tomorrow to get it back to Troy.LHS28

LHS29 There was some light damage to the rim surface. I decided to leave it alone as it was not enough to top the bowl. It gives character to this old pipe.

LHS30

LHS31

A Quick Refurb of a BBB 2 Star Billiard


I love BBB pipes. They are great smokers and generally great pieces of briar.

Charles Lemon's avatar

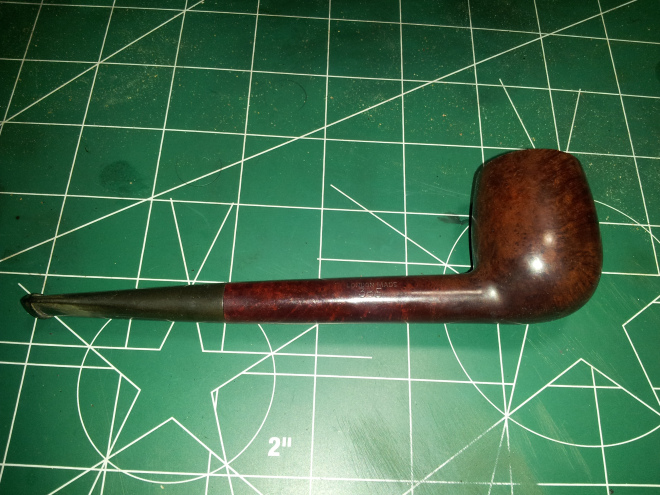
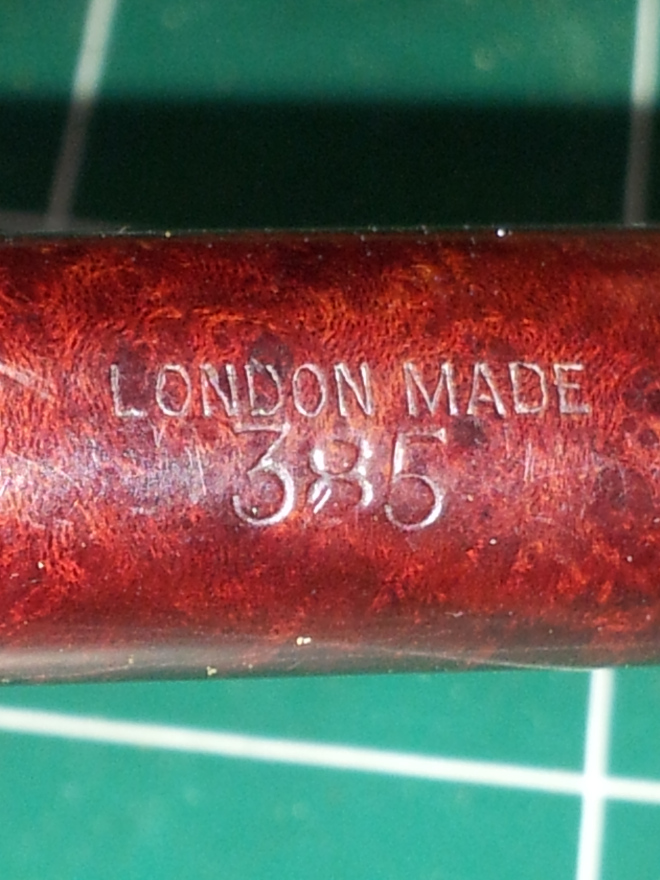
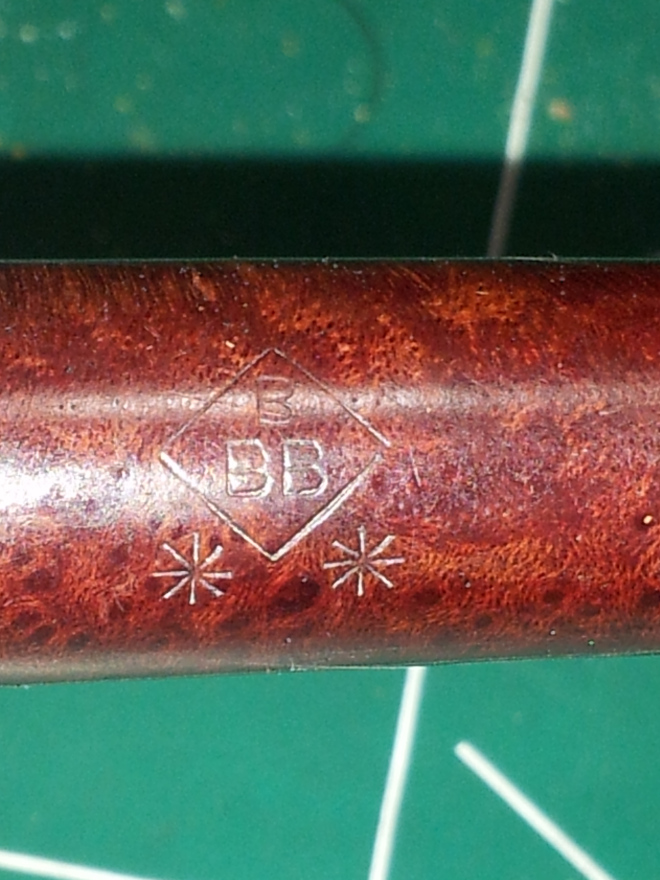
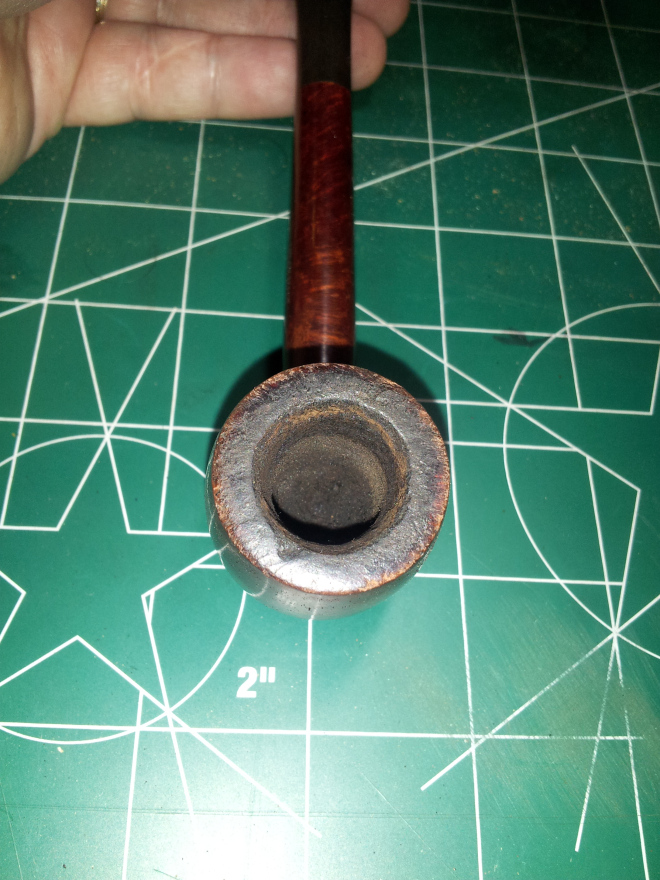
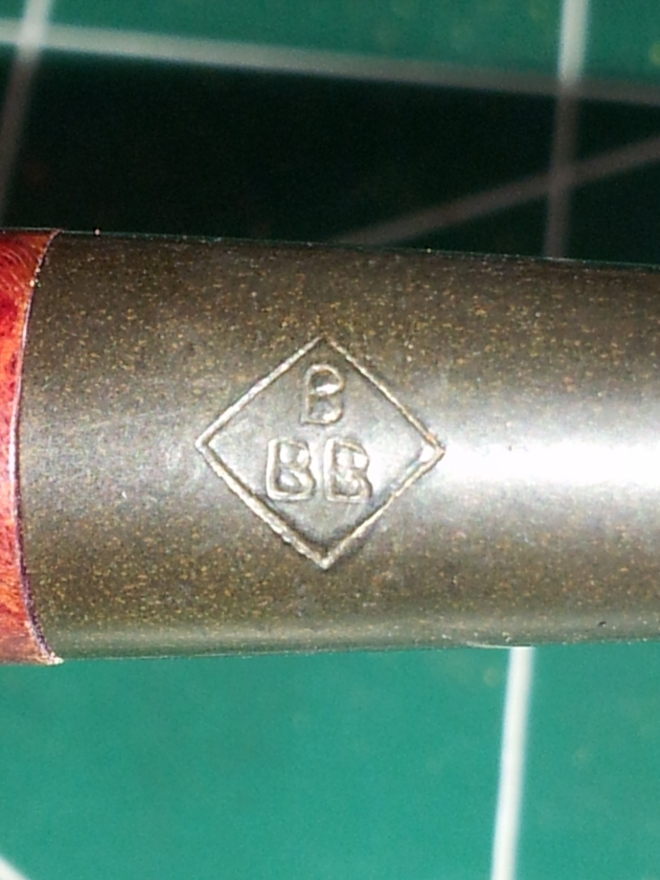
I found this BBB 2 Star Billiard at a local antiques and collectibles sale. It was in rather good shape other than a very tarry rim with a few visible dents. The stampings were crisp – the BBB 2 Star logo on the left shank, with “London Made” over “385” on the right shank. The original stem was intact, along with its own BBB logo stamping. The stem had a small bit of oxidation, mainly around the button.

20150915_19043420150915_19044120150915_19055920150915_19065220150915_19080420150915_19081020150915_190837

I decided that the stummel was clean enough to bypass my usual isopropyl alcohol soak; instead, I used alcohol-dipped cotton pads to wipe down the exterior of the briar. This cleaned things up nicely and removed the old finish in the process.

20150915_193433

I reamed the thin cake from the bowl and then cleaned the airway and mortise with alcohol and pipe cleaners. As you can see, it didn’t take a lot of…

View original post 315 more words

A No-Account, Son-of-a-Gun, Sorry Excuse for a Bent Billiard


Guest Blog by Robert M. Boughton
Member, North American Society of Pipe Collectors
http://www.naspc.org
http://www.roadrunnerpipes.com
http://about.me/boughtonrobert
Photos © the Author

“Pipes are like dogs: the smokin‘ man’s best friend. Why, you can cuss at ’em, shout out loud about the state of the world to ’em, carry on all you like ’til yer blue in the face an‘ sore in the jaw about how great the whole place would be if only you was in charge, heck, even put ’em out of mind and ignore ’em altogether…for a while. In fact, a perfectly good, loyal pipe, same as an old coonhound, will even put up with a might mess of outright scandalous behavior an‘ never even consider turnin‘ on you – say, like as if the dog was to chomp off yer ignorant head or the pipe up an‘ went to dumpin‘ hot, burnin‘ ash in yer lap all on its own…But Heaven help the man that treats either his pipe or dog like garbage to be thrown in the dumpster or a bug to be stomped on. He’ll end up with a companion called Cujo if it doesn’t find a better master in time to escape. The pipe or the dog, that is.”
― The Author, in “Musings of a Mind Bored Silly by a Roommate with ADHD Who Just Doesn’t Know the Meaning of Silence Is Bliss,” today

INTRODUCTION
My friend, Phil, he’s a heck of a nice guy. He’s a real big fella – six-three, 280 pounds or right there in the ballpark – and one of the smartest dudes you could ever meet. Now by smart I’m not implicating he’s got some big old stuffy nansy-pansy degree from any of your fancy-schmancy Poison Ivy Universities, with a capital U, back east somewheres, or anyplace else, for all that matters. What would he need with some piece of paper, outside of hangin it one of his walls? Now that’s the day I’d like to see! And if he was the type to frame up a piece of paper all marked with gibberish scrawling like the tests I used to get back from my teachers when I was just a young buck, where do you suppose he’d hang it? I’ll tell you, I will! Right in the throne room, direct across from where he’d be sitting to ponder what the heck good it does him, and other earth-shaking notions and such.

No, boy! Phil’s smarts are part on account of he was born that way, with a genius IQ is my guess, and the other part from all the books and fancy magazines he reads. Plus old Phil, why, he never watches regular TV; doesn’t even own one, not counting this huge thin flat monster that rightly belongs on a wall like I’ve seen at some of the old-timey stores you can still find at the mall, only he connects it to his computer with nary a cord somehow, and that’s how he likes it. Hooks it up to his little old lap computer right through the air with what he calls Wi-Fi and something else that goes by Blue Teeth or Blue Fairy or whatever. Anyhow, whatever kind of magic it is he does to make all this confounded tech-nol-o-gy happen that bring all of his gadgets, not just the TV monster but his walk-around pocket phone and even this genuine Made in China nineteen-hundred and seventies-era Ghetto Blaster he has, work together – well, it’s something else, and how! Why, it’s like he’s at Carnegie Hall in New York City, or at least that’s what I hear tell. Personally, I went to the Grand Ole Opry in Nashville once when I was a kid, and that was good enough for me.

Now, to get to the meat and potatoes of this little fireside story, my friend Phil, he’s a good man, and he’s also one heck of a carpenter. When it comes to woodwork, why, there aint a thing he doesn’t know about all the woods ever grown, and how to build a custom home, with balloon walls and the works, from the ground up – and up and up – and pretty much all by himself. He’s as comfortable with his tools, from his cat’s paw and level to a pettibone, as he is with his own big mitts. And when it comes to the strength and soundness of the whole enchilada, Phil just pretends to listen to all the back-seat drivers, even if it’s the new owner! And you can bet all the money in your sock old Phil won’t take any guff from some pissant, oil-palmed CCI snagger with his eyes out for left-over parts to pilfer more than finding any real faults with the job. Yessir, Phil knows his stuff, from cripples to “A” Braces, trimmers, bearing walls and joists. But…

Ain’t there always a but? Well, Phil’s but is that for all he knows about wood and carpentry, he doesn’t have a bull pucket of a clue about restoring tobacco pipes, even if it’s a fair shake he could whip one up that would be right-on engineering-wise and even show his own, one-of-a-kind style. He’s even told me a few of his ideas, and they sound pretty clever and original. Only, as far as using a wood that wouldn’t give him rashes or boils or even the Big C, and staining the shapely wonder with something other than a nice, thick, shiny, Chinese-style lacquer that would leave the wood Code Red as far as breathing goes, he’s, well, clueless. And then there’s all the taking care not to forget to tuck it away all safe and sound instead of setting it on his work table with all of his sandpapers and rasps and drill bits and other implements of construction that are, what you might say, not Kosher to keep around a frail work of art, plus dropping it and all around banging the thing every chance he gets.

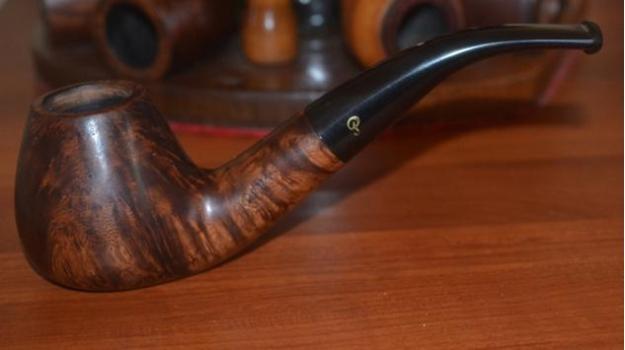
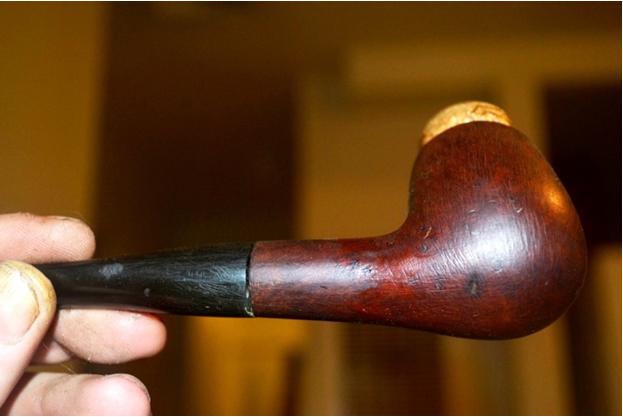
To put it nice, Phil is pretty dang bullheaded when it comes to thinking he can do, make or fix anything, and what’s more, that he’s better than the experts that are here to do it right. And he wouldn’t budge when I suggested he must have had something to do with the billiard’s condition when I got a gander of it. He held to the story that he had nothing to do with it; never touched it, he said, other than smoking it. So I’m sure you all can use whatever cents you had to rub together when you were born and come up with a notion of how dramatic it was for him to – well, ask ain’t the right word – oh, snap! He intimidated that he could use “some advice” on how to fix this no-name, no country but probably Italian bent billiard. Okay, okay, I’m a nice guy, too, and I knew what he was driving at, so when he said it was one of the first pipes I gave him and I said I made it myself, I didn’t want to be rude, but I almost couldn’t help it. One thing is, I’ve never made a pipe in my life nor said I did, even if I have plans to soon; I even bought a nice square block of walnut with grain that’s the bomb and is big enough for two pipes. I figure I’ll go vertical with both of them, seeing as how once I cut it in half I’ll be all-in one way or the other. Anyways, to get back to what I was saying, the other thing is, I did finish a few pre-formed pipes I got my hands on and even made them look pretty smart, if I say so myself, but this here bent billiard wasn’t one of them, no way, no how.

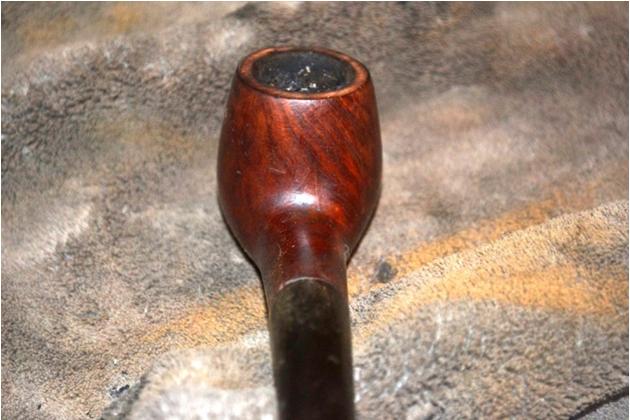
So Phil, he hands the thing to me, and from the second he picks it up from the Blitzkrieg debris that his apartment was full of that day, I saw it was totally FUBAR. I mean, it looked like it was all that could be dug from the rubble of some poor Englishman’s former place of commode during the Battle of Britain after a buzz bomb attack where one of those nasty suckers stopped its buzzing and fell out of the night sky right through his roof before it went off. Okay, so maybe I’m exaggerating, but you get the picture. I’ll tell you, the real shocker to me was that Phil had somehow let this happen when he took real good care of all the other pipes I remembered giving him, including a su-weet, smooth Peterson Aran B11 Bent Brandy I fixed up from my collection and gave to him on his birthday or something after he’d developed a real taste for pipe tobacco. I threw in a sleeve, and he’s kept it the same as the day I gave it to him.Phil1 Back to the sad billiard, while I’m turning it in my hands, forced to admire the almost total stripping of the wax I told myself had to be there when and if I actually gave him the once proud pipe, not to mention the unbelievable uniformity of scratches all over it that – I kid you not – looked to me to be the work of a man with a careful if twisted plan, Phil even uses that word, plan, just as I’m thinking it! I would have jumped if the awfulness of the billiard’s deformities hadn’t already made me numb all over, like. Here’s my favorite angle.Phil2 Phil’s going on how he has some plans for it, like re-staining it some special, unknown color and yada-yada-yada, but he’s real quiet like he never gets unless he’s embarrassed and wants to ask a favor, which he doesn’t ever quite get around to doing. Well, I wasn’t born yesterday, and I just keep it in hand until I’m set to leave, and then I ask him all casual, “Hey, Phil, mind if I hold onto this to look it over some more?” And of course he just has to put on like he doesn’t want to, when that was the plan all along, but in the end I walked out the door with the mysterious, thrashed pipe still in my hand.
RESTORATIONPhil3
Phil4

Phil5

Phil6

Phil7

Phil8

Phil9

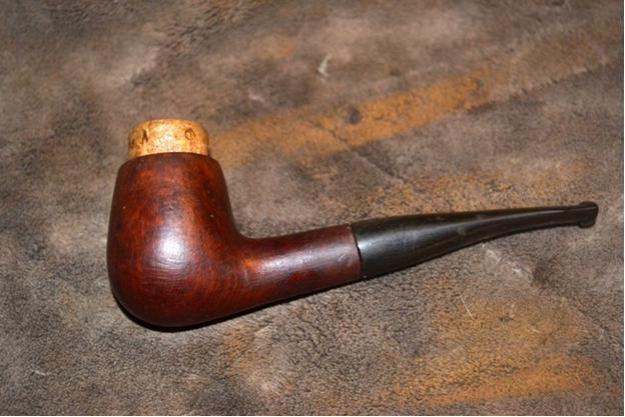
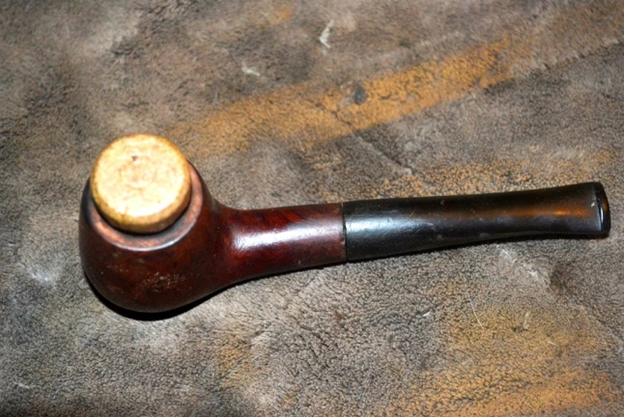
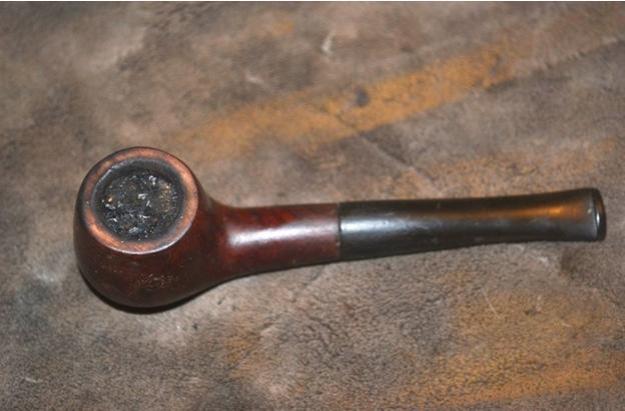
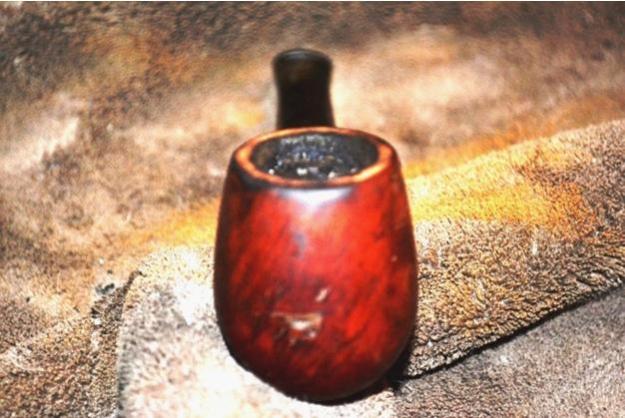
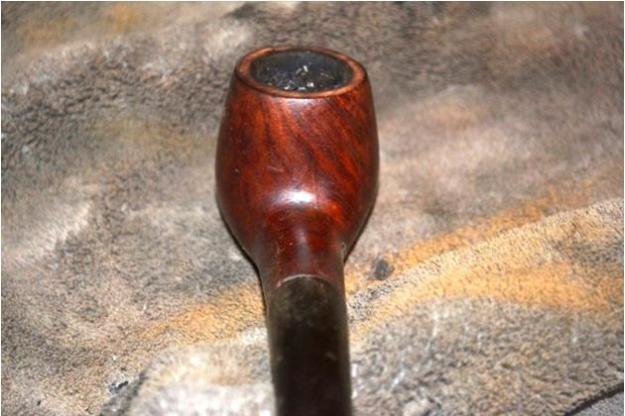
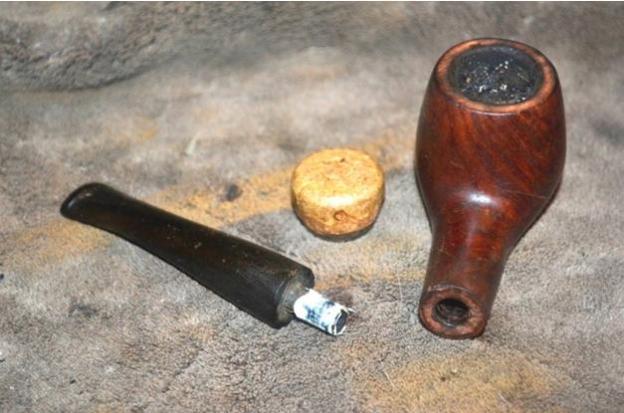
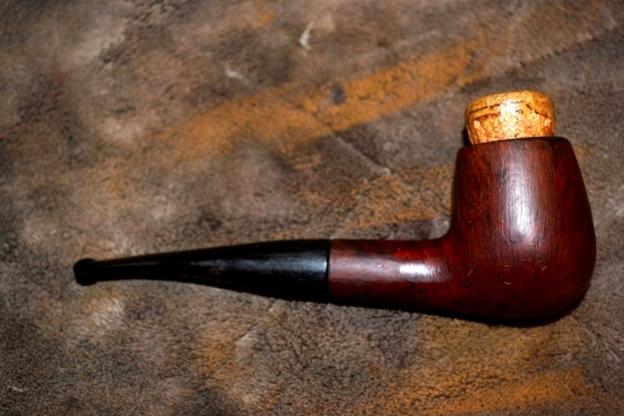
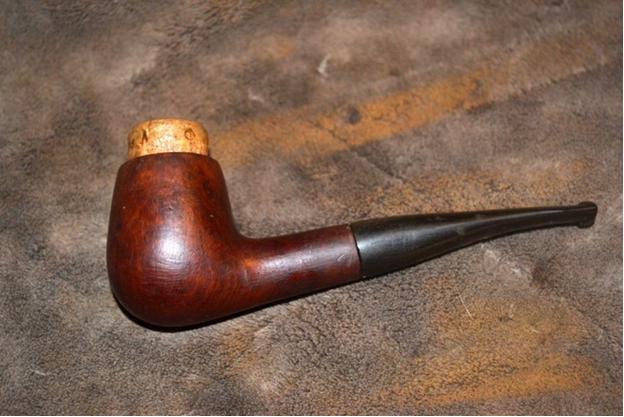
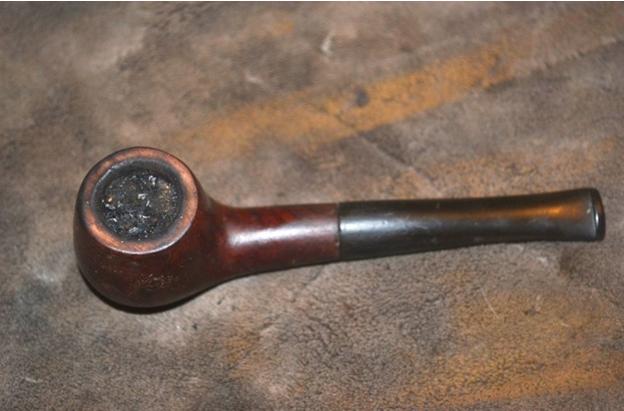
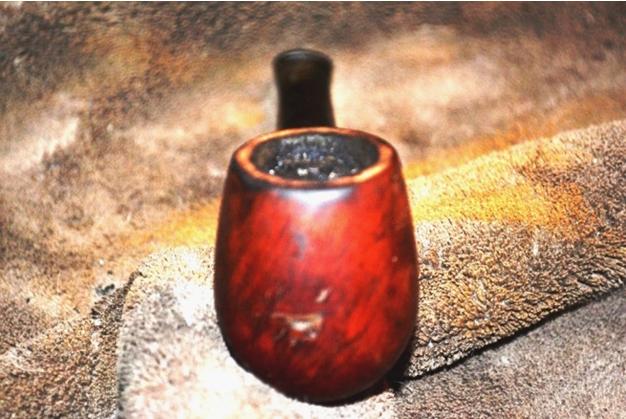
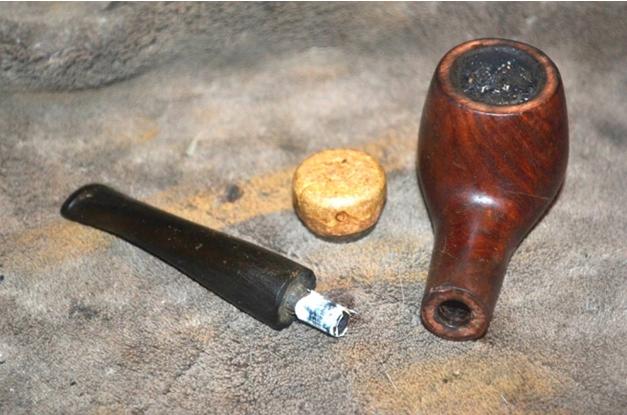
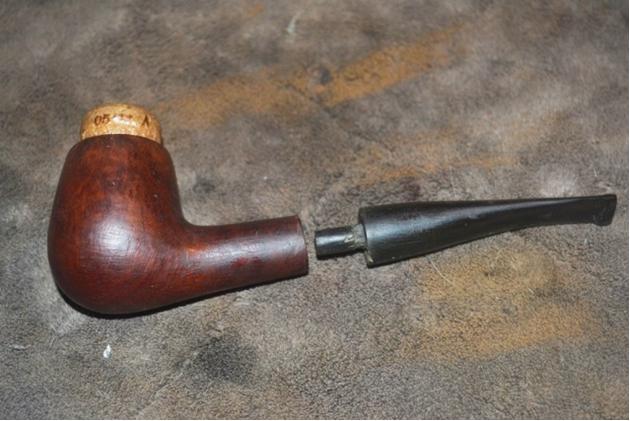
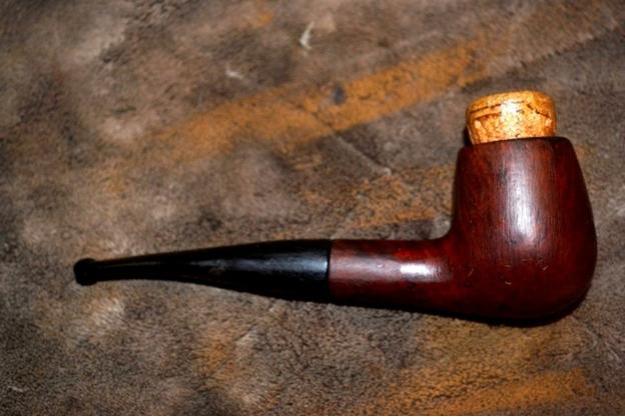
Phil10 I really like three of the things you’ll notice in the first of those photographs: the peculiar piece of cork used for some reason I won’t go into, the chamber chock-full of some leaf and the little improvised piece of paper on the tenon to make it fit right like it did when he got it (whoever gave it to him in the first place).

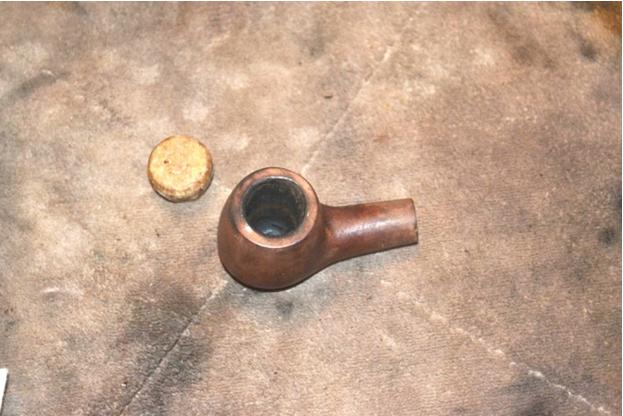
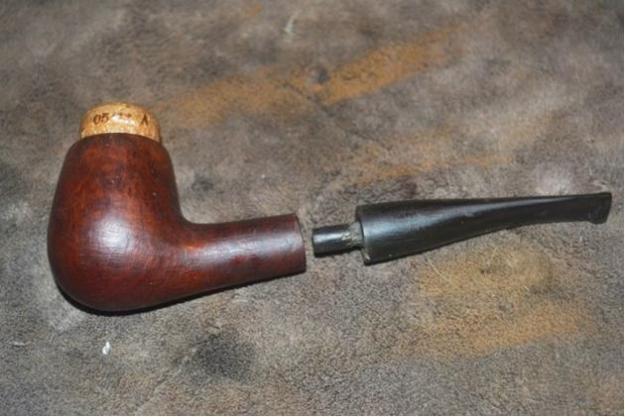
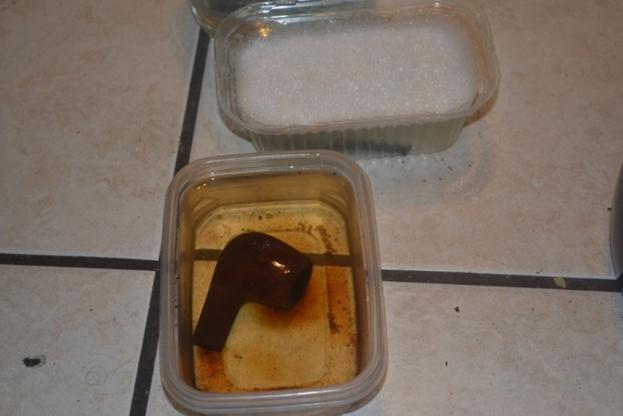
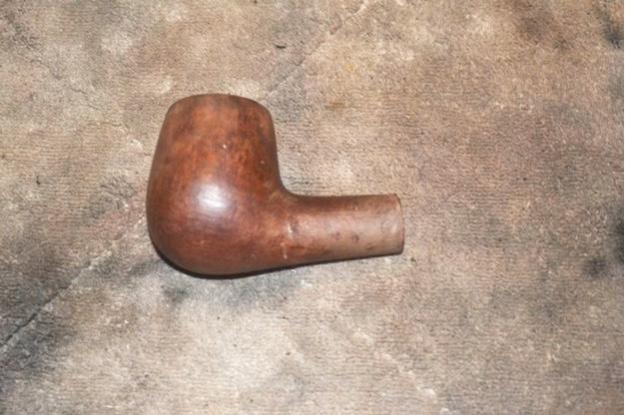
First off I scooped out all the stuff in the chamber and peeled away the sticky paper on the tenon. Without the paper, here’s a good general idea of how it looked.Phil11 Now I don’t know about you, but I couldn’t abide with that ghostly remnant of stain, so I set to stripping all of it down to the bone and soaking the bit in an OxiClean bath.Phil12 I took the wood out of the Everclear after a couple of hours and saw it still need some help removing the old stain. I used 500-grit paper and made the bowl and shank a little better.Phil13
Phil14

Phil15

Phil16

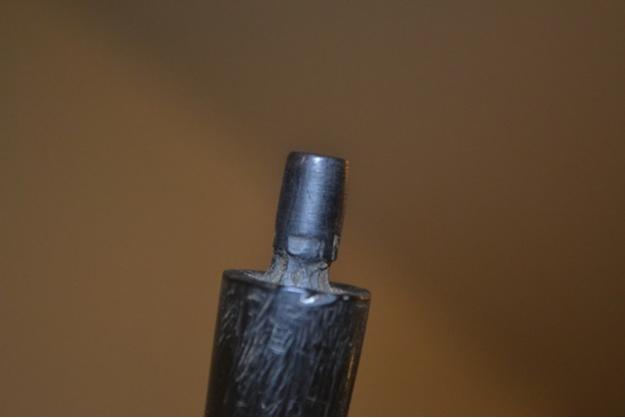
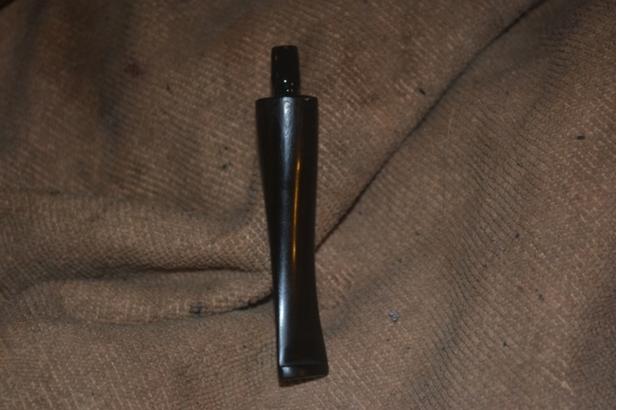
Phil17 And back to the stem for a minute. For a number of reasons, it clearly didn’t fit the shank, and so the motive behind the cover-up with paper. The OxiClean didn’t do much other than get rid of a whole lot of dirt and other mess inside and out, but this is a better view of the tenon and how someone had undercut it at the bottom and generally made a mess of the whole try at making it fit right in the shank. I suppose Phil had nothing to do with that, too.Phil18
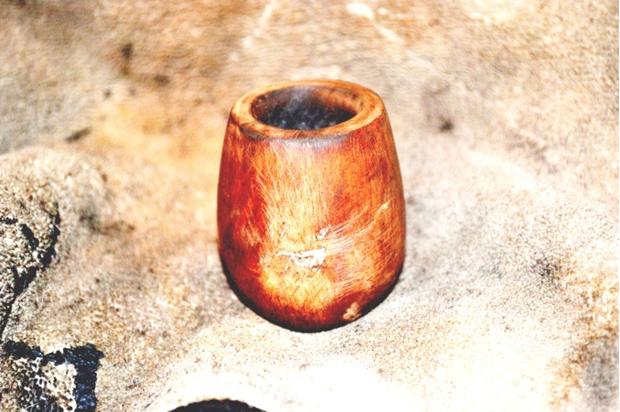
Phil19 Other than replacing the whole stem, a plan I wasn’t keen on seeing as how it was going to be for free, I figured I could mend it another way. I sanded it all over with 200-grit paper before putting the 400 to it and micro-meshing as far as I could go, from 1500-12000. With that a done deal, I put a liberal amount of Black Super Glue on the tenon, most of it on the undercut part, to make it all even again.Phil20 Meanwhile, back to the bowl and shank. The stripping ferreted out more cover-up: the front of the pipe, no big surprise considering it wasn’t proud enough of the results to put a name to it or even the country it came from, had a nice little weed-like patch of holes that needed wood putty.Phil21
Phil22 Since I had some time on my hands while the putty and Black Super Glue finished drying, I smoked my own pipe for a spell. Actually it was one heck of a long spell. But it came to an end, like everything else in this life.

I smoothed the putty real gentle with the old 12000 micromesh and used a brown indelible marker, then an orange one, to make it look a little more natural. Then I put just a thin coat of regular Super Glue over that. I had to get out of my place anyway, so while it dried I did some errands. Heck, yeah, even I have errands to run.

What with the swamp cooler on full-blast, by the time I got home again the Super Glue was good and hard and ready for a smoothing of its own. This time I needed something a little rougher and settled on 3200 micromesh with a respectful light touch. And I’ll be darned if it didn’t just do the trick! The rest of the wood I went the whole nine yards micro-meshing.

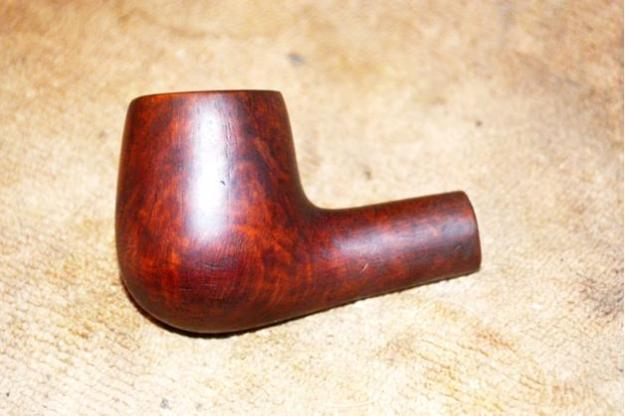
One of the ideas Phil had for doing it himself was to use a “different” color. After thinking on it a while, I came up with a mix of Lincoln Marine Cordovan and Fiebing’s brown boot stains – don’t ask me what was going through my head because I don’t remember. Anyways, it worked nice enough, so I flamed it and let it sit to cool before using the 3200 again to clear off the char.Phil23
Phil24

Phil25

Phil26

Phil27

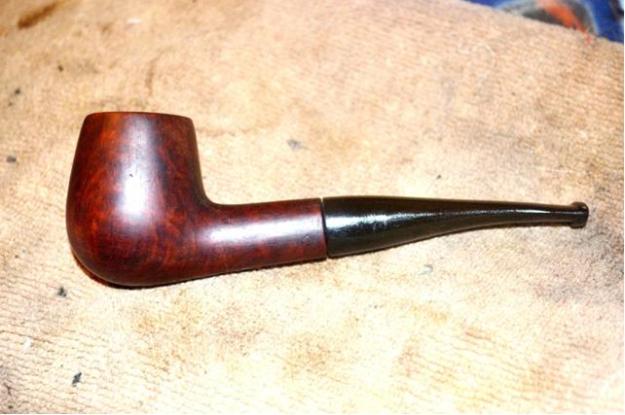
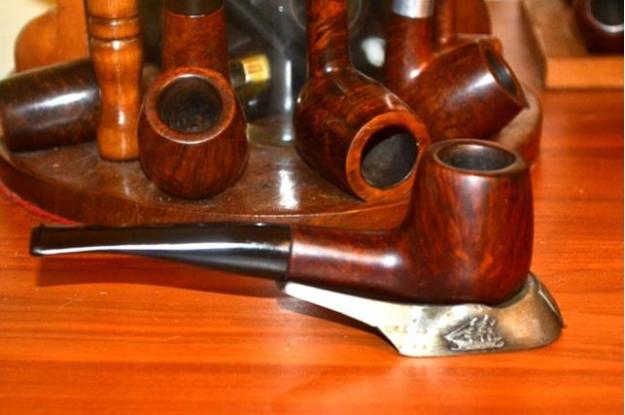
Phil28 Alright, now, hold your water! I know it! The front view here shows a need for more attention, which you’ll just have to trust me when I say I gave it because I forgot to snap a shot after. Also I sanded down the shank opening so the stem would meet it better.Phil29 Again, I know it’s not perfect, but this was for free and besides, Phil was starting to breathe down my neck to get it back. Finally I just buffed it up on the wheels with a few waxes.Phil30
Phil31

Phil32

Phil33

Phil34

Phil35 CONCLUSION
Phil is happy with the job I did – and the replacement cork that fit.

Restoring an LHS Certified Purex #24


Blog by Dave Gossett
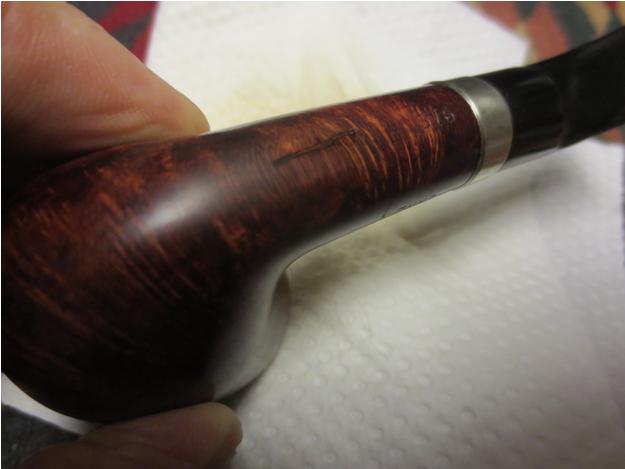
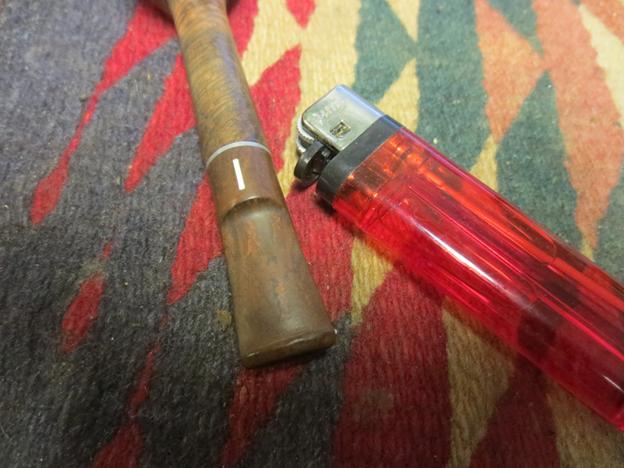
Dave1 This pipe was a pretty straight forward cleanup. It was in overall decent shape. It had some light rim char and the stem was out of alignment. Steve had recently posted an LHS repair with this very problem so it came in handy. I followed his process and sanded the aluminum shank cap gently on a flat sanding board until the stem was in proper position. I can’t imagine they left the factory out of alignment, so I don’t know how they end up like that.Dave2
Dave3 Next I sanded the rim with 1000 grit until I reached fresh briar, and went over the rest of the stummel with 2000 grit to remove the nicks and scratches, then began working my way up the grit ladder until it was smooth.

A quick wipe down with alcohol was applied before adding Fiebings dark brown. I left it to cure for 24 hours. For a nice contrast stain, I lightly mist the briar with alcohol and use a very worn piece of 2000 grit. This removes the dark stain from the soft wood and makes the grain more prominent. After the pipe has been wiped down with a damp cloth to remove the excess stain, it was left to dry and then lightly sanded with micro mesh one last time.Dave4

Dave5

Dave6

Dave7

Dave8

What the Heck is Brylon?? – A Yello Bole Standard Panel Billiard


These nearly indestructible pipe smoke hot at times but I have had friends who rant them through the dishwaher to clean them with no harm done.

Charles Lemon's avatar

Down near the bottom of my box of estate pipes to refurb was this Yello Bole Standard Brylon octagonal billiard. I had noticed the unique shape of the bowl when the auction lot arrived, but I figured I had better do some research before playing with this pipe too much.

According to Pipedia, Brylon was invented in 1966 by the S.M. Frank & Co Ltd as a cheap alternative to briar. Brylon consists of a resin material mixed with “wood flour” (aka sawdust). It’s heavier than briar, and can reputedly heat up considerably if smoked too quickly, but is practically immune to scratches, dents and other damage common to briar pipes.

This Yello Bole Brylon pipe came out of the refurb box in relatively good shape, a testament perhaps to the impervious qualities of its synthetic makeup. The pipe was dirty on the outside, of course, and had an uneven…

View original post 565 more words