Blog by Steve Laug
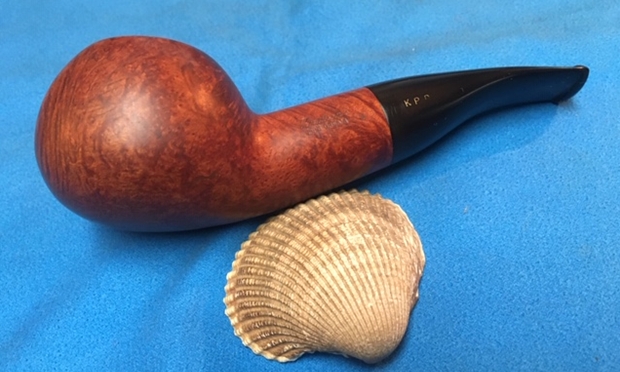
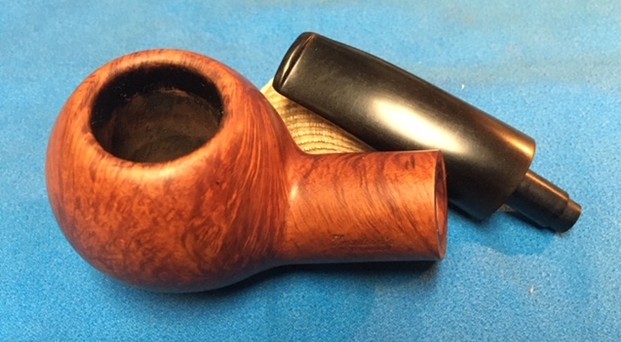
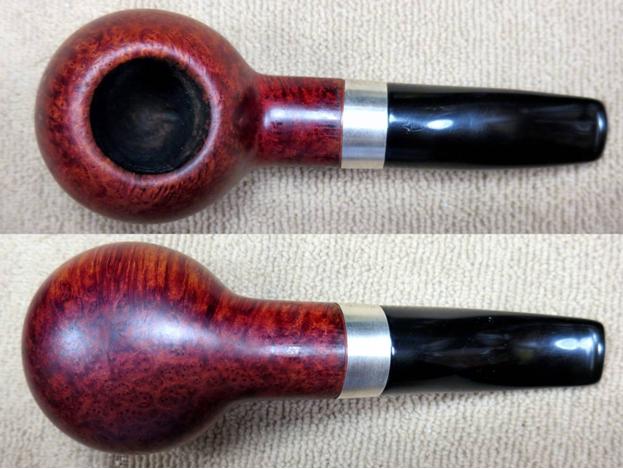
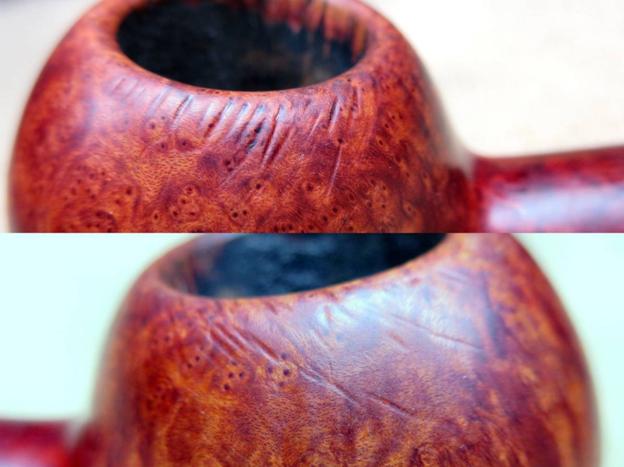
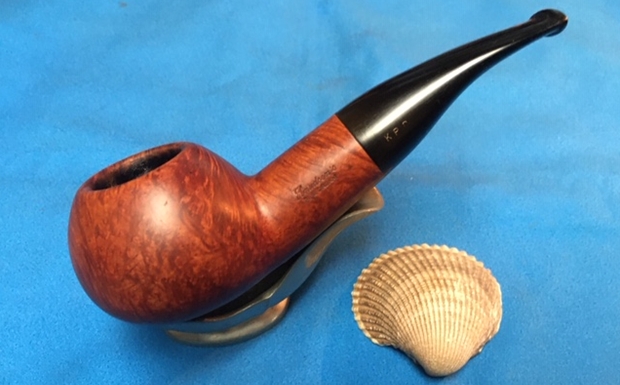
Recently I was traveling in Alberta with my brother Jeff and his wife, Sherry. In between work appointments and presentations we took some time to visit local antique shops and malls. We found quite a few pipes. In a small Antique Shop in Nanton we found a few interesting pipes. The fourth of the pipes that I have chosen to work on from that find is a beautifully grained Savinelli Shaped Author. The taper stem has a K.P.D. stamped logo on the left side. The pipe was dirty and caked when we picked it up. The rim top had a little lava and some small scratches in the edges of the bowl. The bowl had a thick cake in it that was hard and dense. The exterior of the bowl and shank are very dirty with grime and oils from prolonged use. It was also dull and lifeless. The stamping on the left side of the shank was readable and read Knudsen’s over Pipe Dream. On the right side of the shank it is stamped 320 KS over Italy. The vulcanite stem was had tooth chatter and tooth marks on the top and the underside near the button. I took photos of the pipe before I started the cleanup. 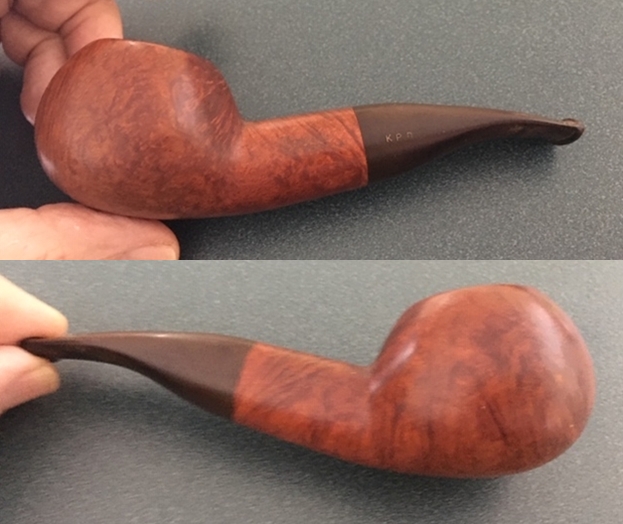 I took close up photos of the bowl and rim to capture the condition of the pipe before I started my cleanup work. The rim top had some lava build up on the edge and there were some small nicks on the inner edge. There was a thick cake in the bowl. Other than being so dirty it appeared to be in great condition. The stem was dirty and there was tooth chatter and marks on the top and underside near the button and on the button surface itself. The stem was lightly oxidized.
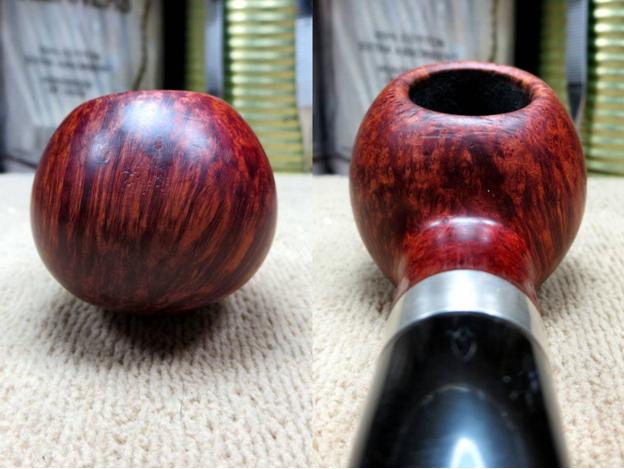
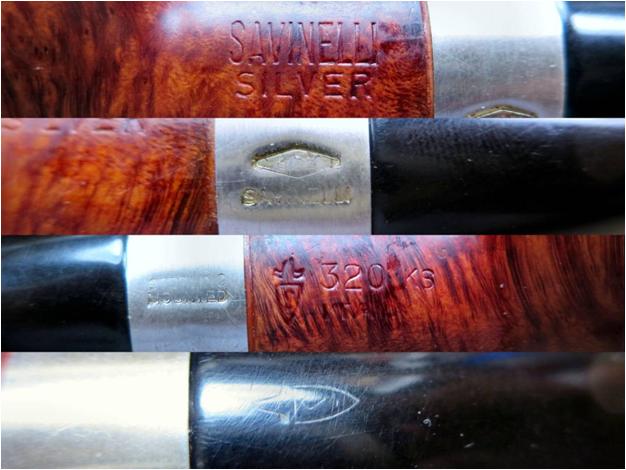
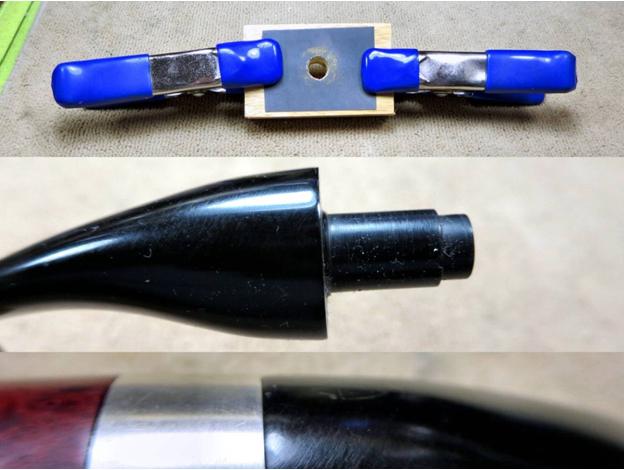
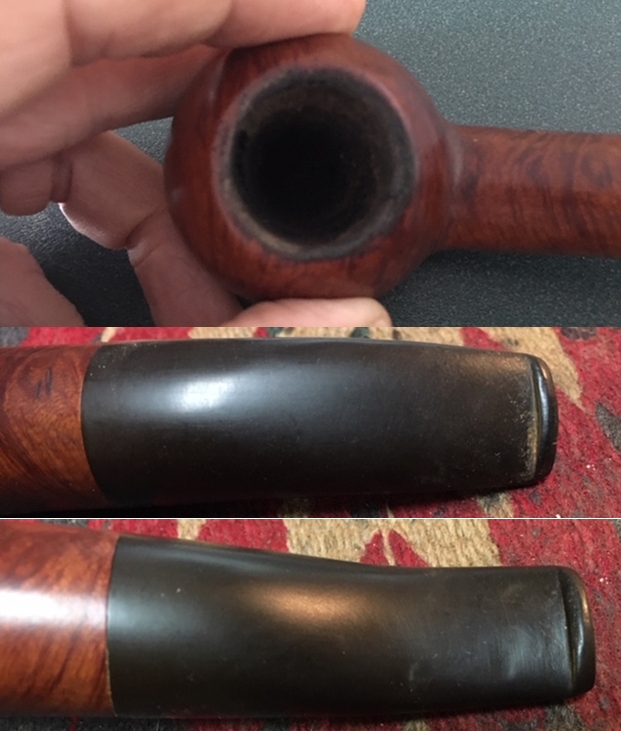 I took a photo to capture the stamping on the left side of the shank. The photo shows the stamping Knudsen’s Pipe Dream. The stamping on the right side says 320KS Italy. The first photo also shows the K.P.D. stamp on the left side of the stem. The shape number tells me this is a Savinelli made pipe and the shape is the 320KS.
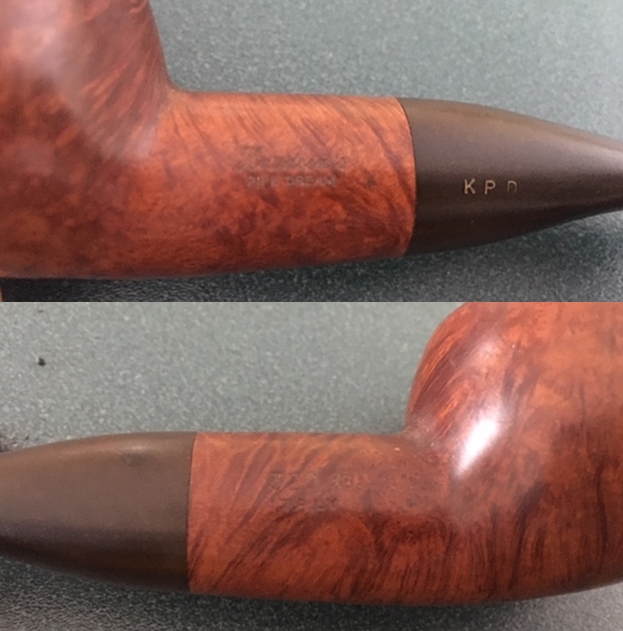 While we were traveling I decided to do a bit of work on some of the pipes that we had found. This was the fourth one that I worked on. I scraped the inside of the bowl with a sharp knife. I scraped the tars and lava off the top of the rim with the same knife.
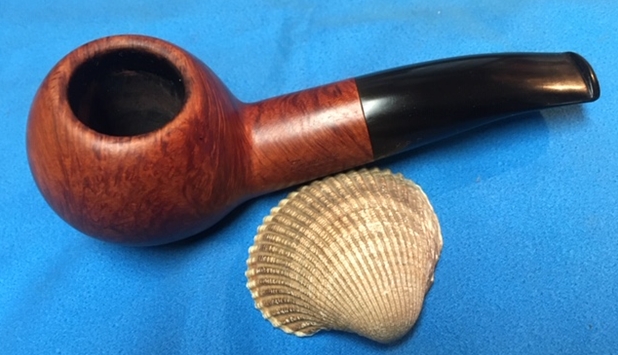
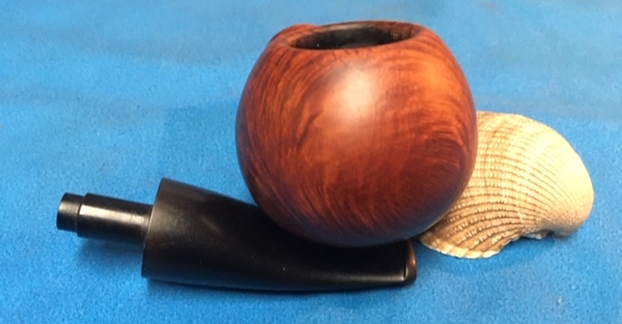
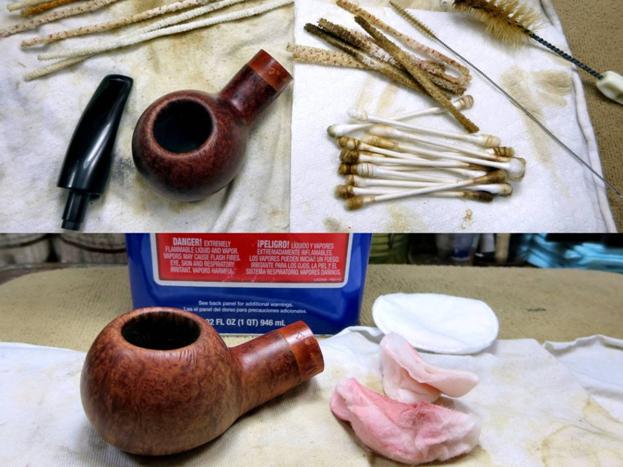
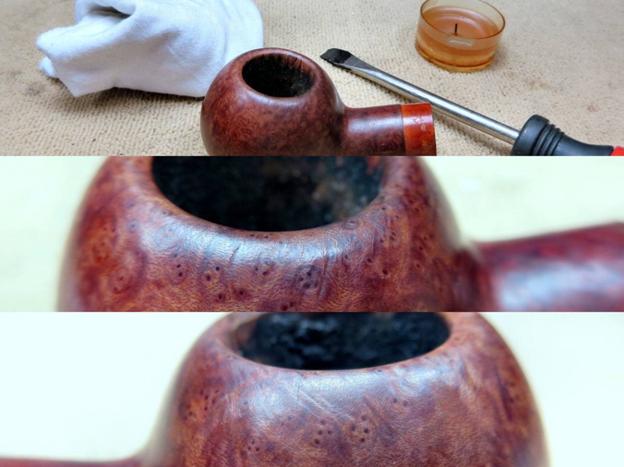
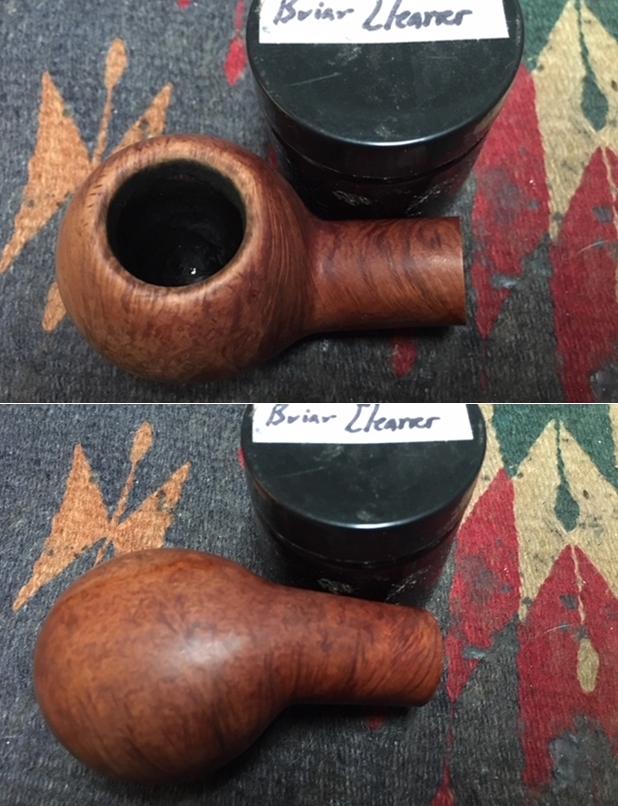
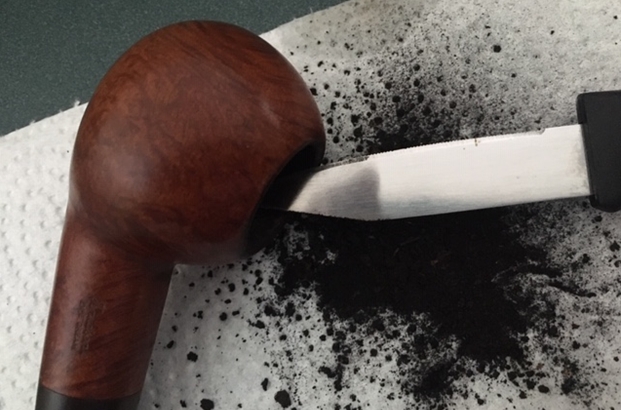 I scrubbed the exterior of the bowl with warm water and Dawn Dish Soap to remove the buildup of tars and grime around the bowl and on the rim top. I rinsed it well and wiped the bowl down with a clean paper towel to polish the finish on the bowl. The pictures that follow show the condition of the pipe after it had been scrubbed. When I got it home I would scrub the exterior and the interior some more.
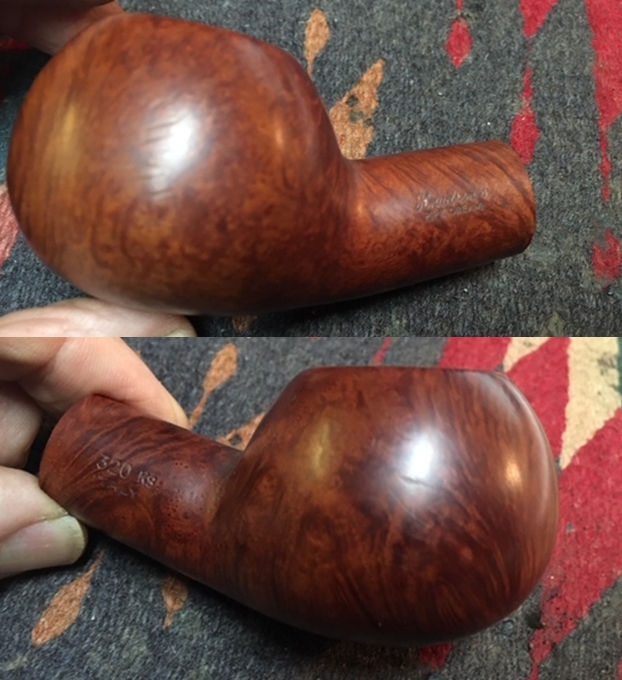
 I did some digging to see if I could find anything out about the brand stamped on the left side of the shank. I found that there was a Knudsen’s Pipe Dream Pipe Shop in Regina, Saskatchewan. It was originally located at 4621 Rae St, Regina SK S4S 6K6. The company was originally incorporated on 7 February 1974 in Canada and was dissolved as a company on 2 May 2002. I worked on a previous Knudsen’s pipe that had been made by Charatan and was stamped London, England as opposed to having been made by Savinelli and stamped Italy. Here is the link to the previous blog on the English made pipe: https://rebornpipes.com/2016/09/09/charatan-made-knudsens-pipe-dream-oval-shank-banker-brought-back-to-life/
When I returned from my trip I turned my attention to cleaning up the pipes that we had found. I did a deeper and more thorough cleaning of the bowl and shank. I reamed the bowl with a PipNet Reamer using the largest cutting head to take the cake back to bare walls. I followed up with a Savinelli Fitsall pipe knife to remove the remnants of the cake in the bowl. I sanded the bowl with 220 grit sandpaper wrapped around a piece of dowel to smooth out the inside walls of the bowl.
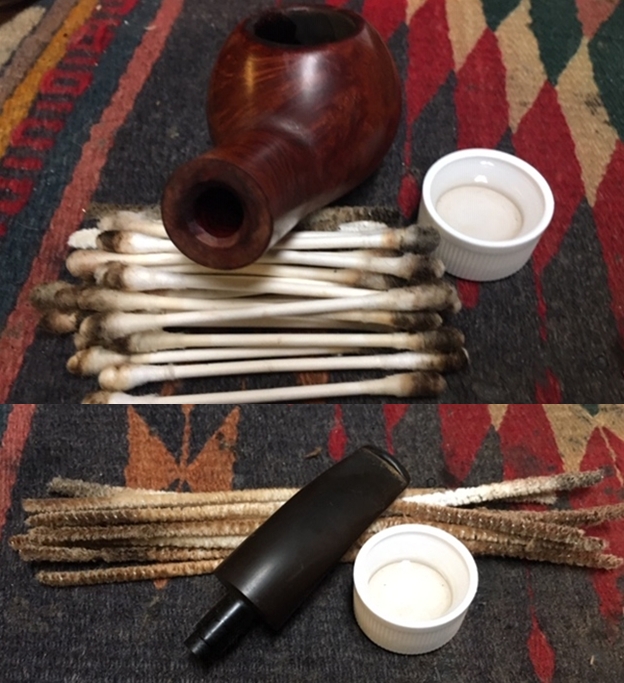
 I scraped the inside of the mortise with a dental spatula to remove the buildup of tars and oils on the walls. I scrubbed out the mortise and the airway in the shank, the metal mortise and the stem with alcohol, cotton swabs and pipe cleaners.
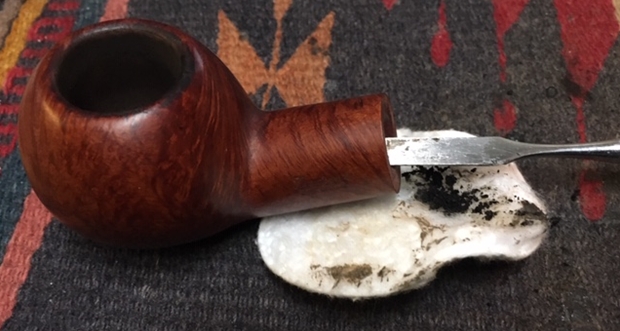
 I cleaned up the scratching and darkening on the rim top with a medium and a fine grit sanding sponge. I steamed out the deeper scratches with a damp cloth and an iron.
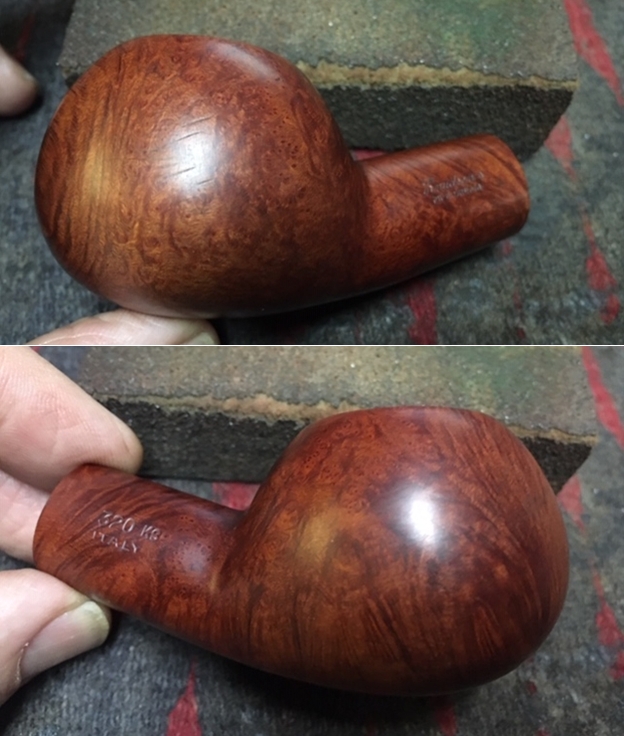
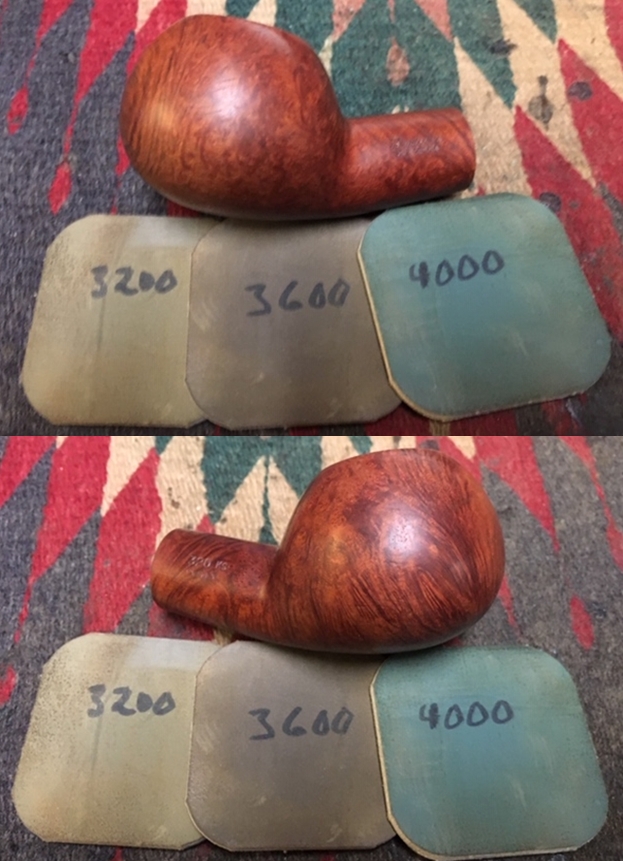
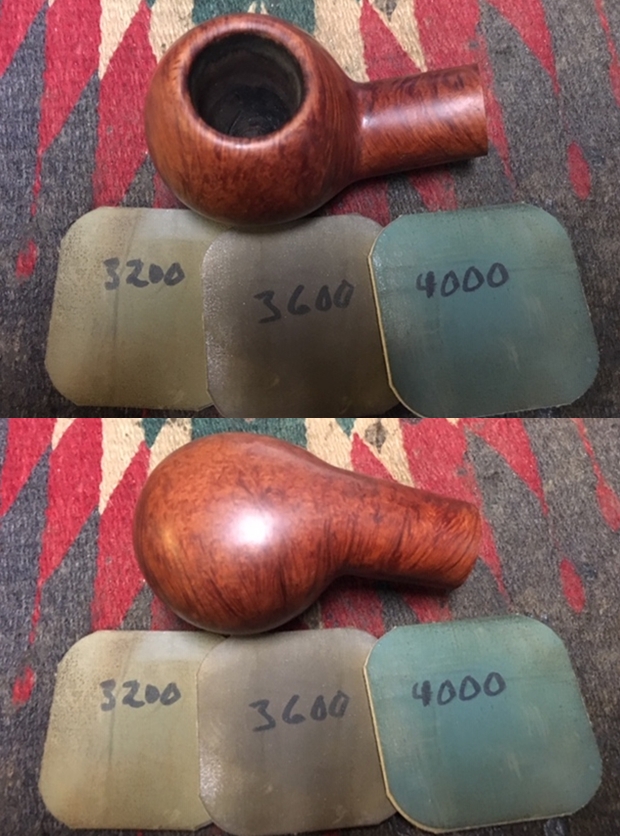
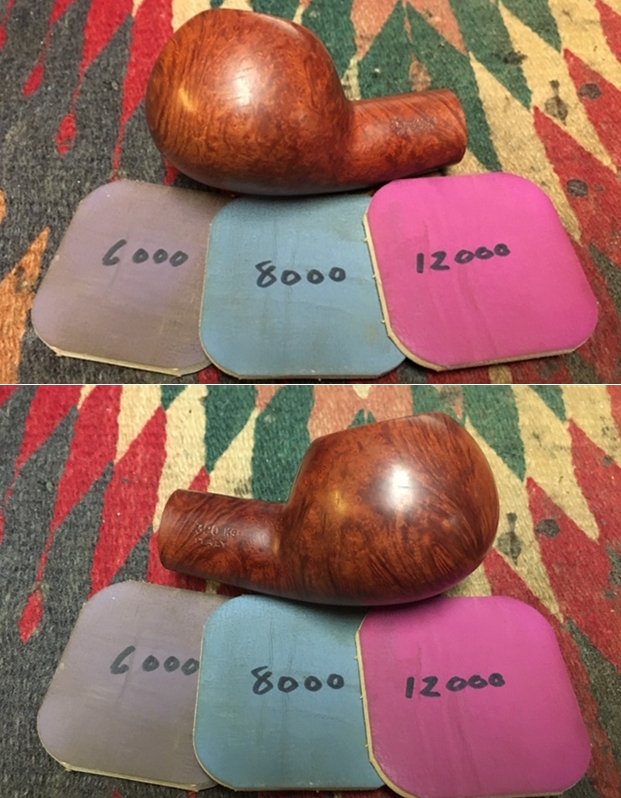
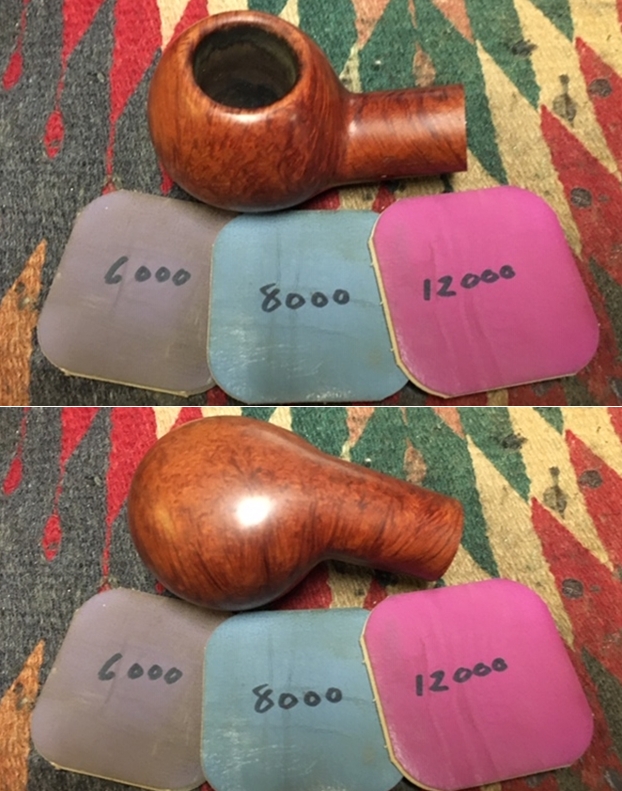
 I polished the briar with micromesh sanding pads – wet sanding the bowl walls and rim top with 1500-12000 grit pads. I wiped the bowl down after each sanding pad with a damp cloth to wipe of the dust.
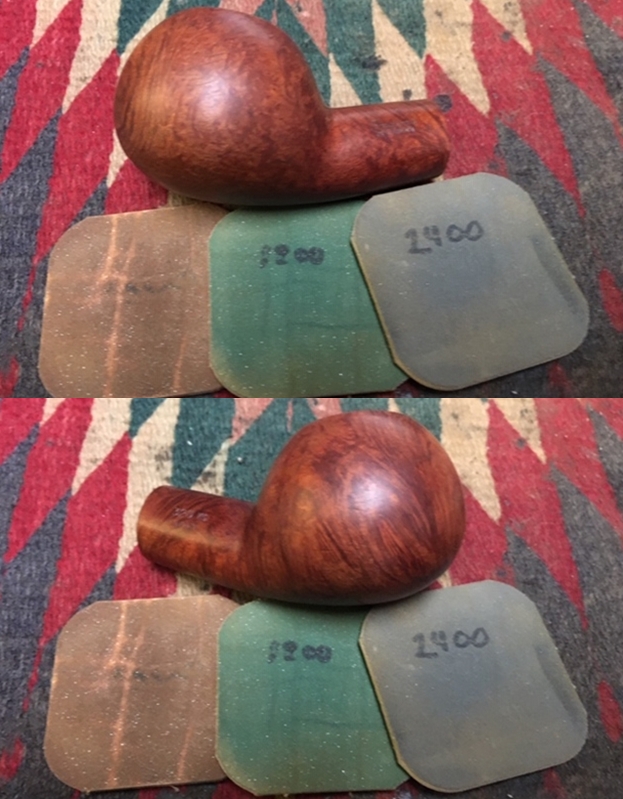
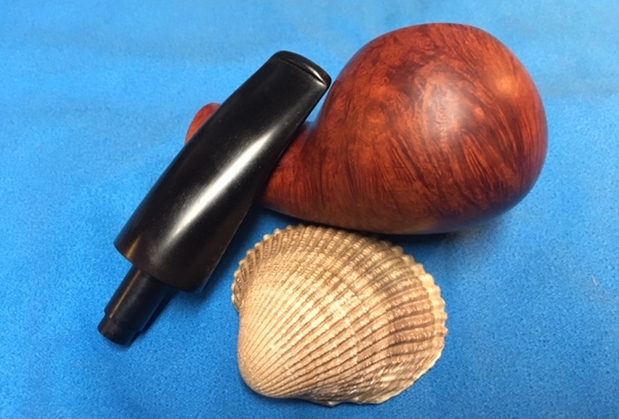
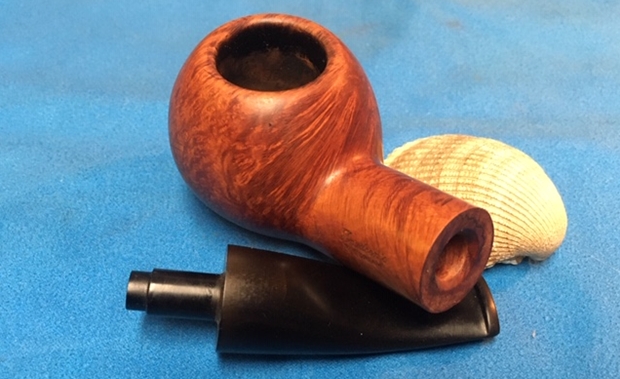
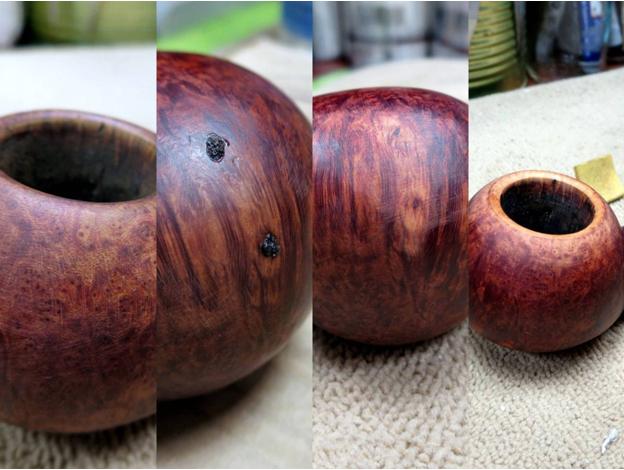
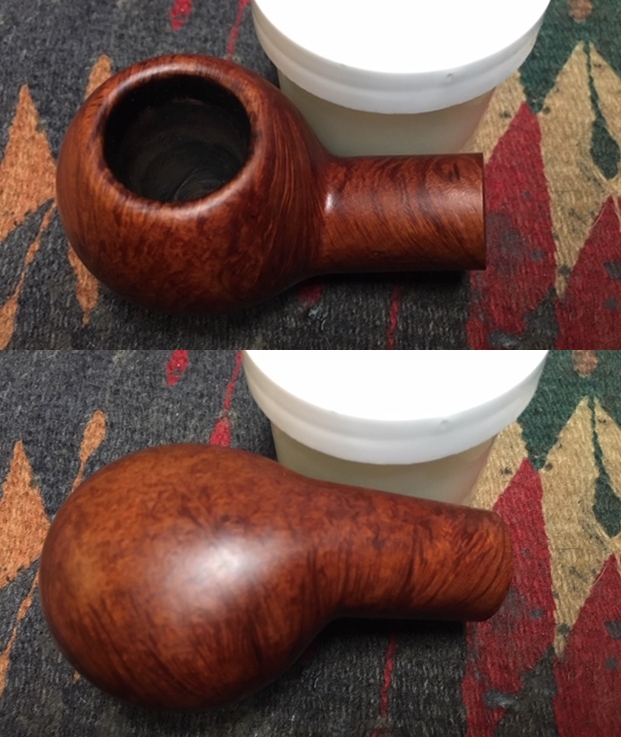
 I scrubbed the bowl down with Mark Hoover’s Before & After Briar Cleaner. I rubbed it into the surface of the briar, and as Mark wrote me it lifted the grime and dirt out of the briar. I rinsed the cleaner off the bowl with warm running water and dried it with a soft cloth. The photos below show the cleaned briar… Look at the grain on that pipe!
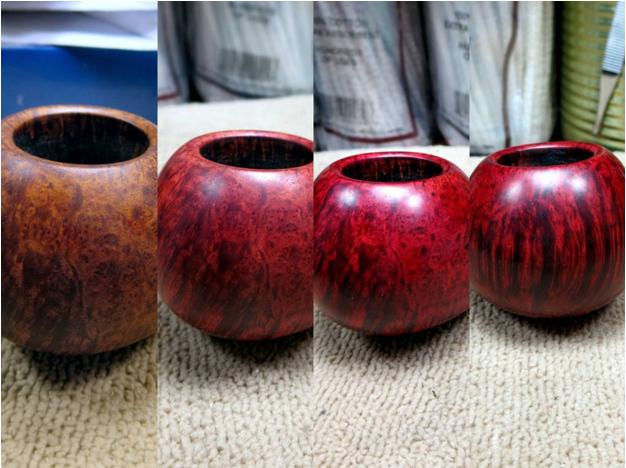
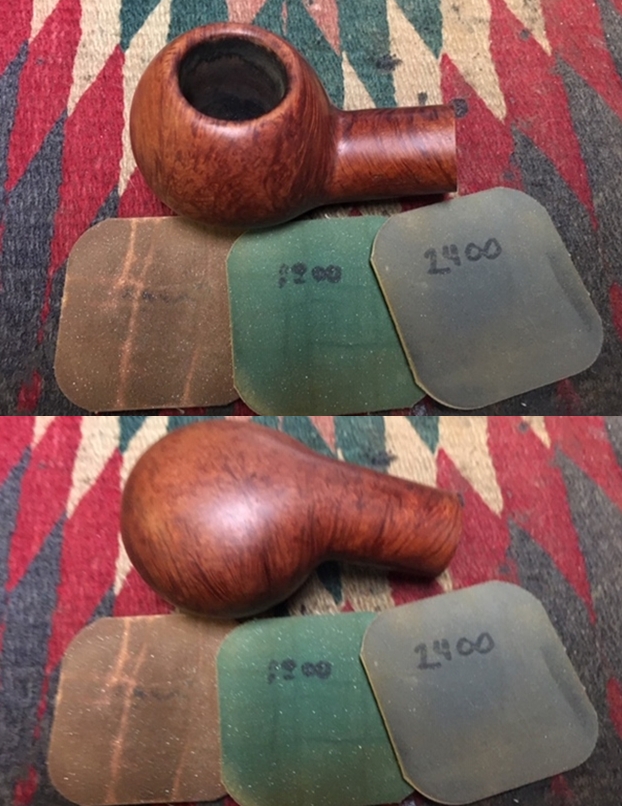
 I worked some Before & After Restoration Balm into the surface of the briar with my fingertips to clean, enliven and protect it. I let the balm sit for a little while and then buffed with a cotton cloth to raise the shine. The photos show the bowl at this point in the restoration process.
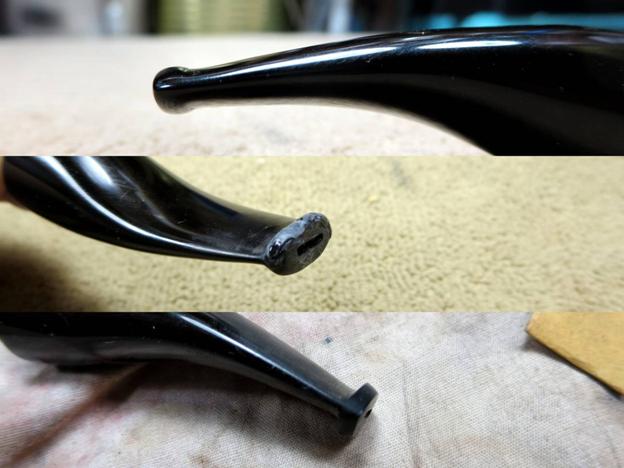
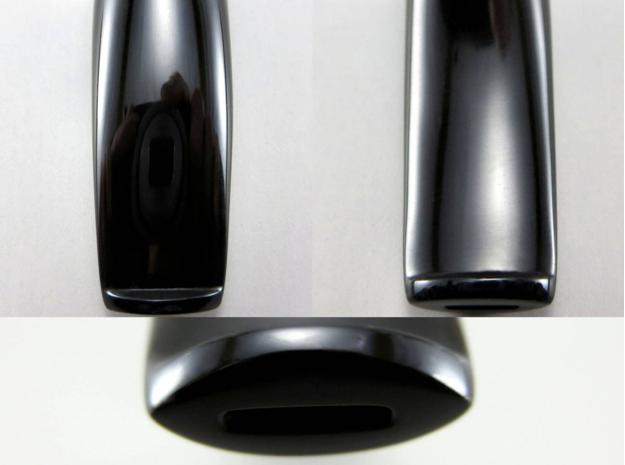
 I set the bowl aside and turned my attention to the stem. I painted the vulcanite stem with lighter to lift the tooth dents in the stem surface. I was able to lift them almost to the surface which allowed me to sand out the remnants of the tooth marks and chatter.
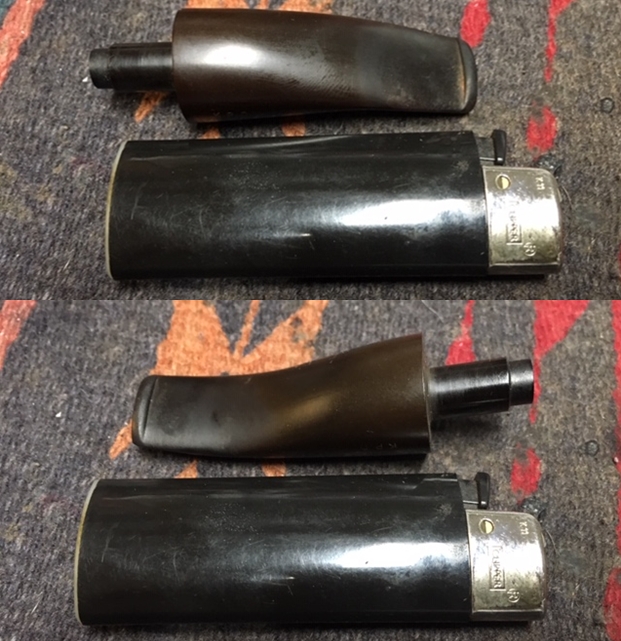 I sanded out the remnants of the tooth marks with 220 grit sand paper and started to polish it with a folded piece of 400 wet dry sandpaper. I carefully worked my way around the KPD stamp on the left side of the stem. Once it was finished it began to shine.
 I polished the stem with some Denicare Mouthpiece Polish. It is a coarse red paste that works to remove oxidation. I rubbed it into the surface of the stem and buffed it off with the same cotton pad. It did a good job of further removing the oxidation.
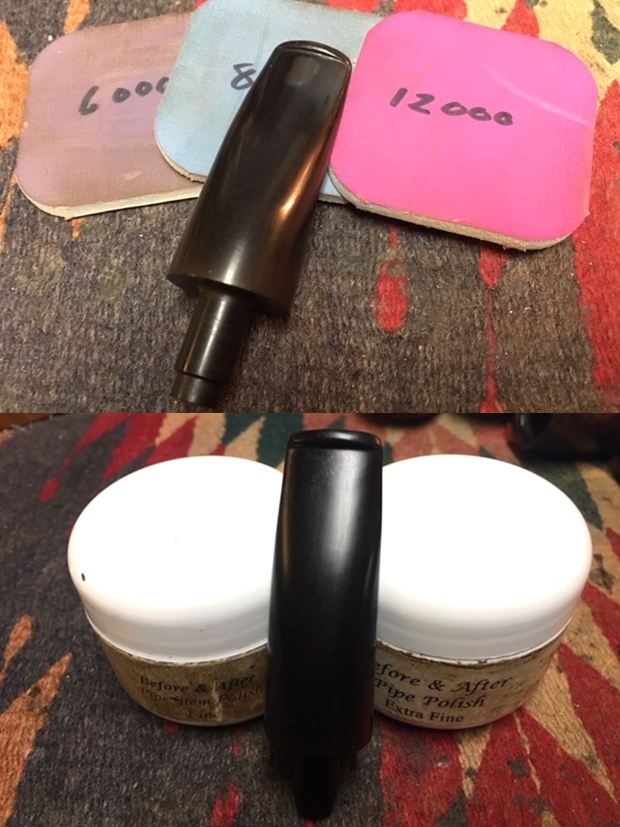
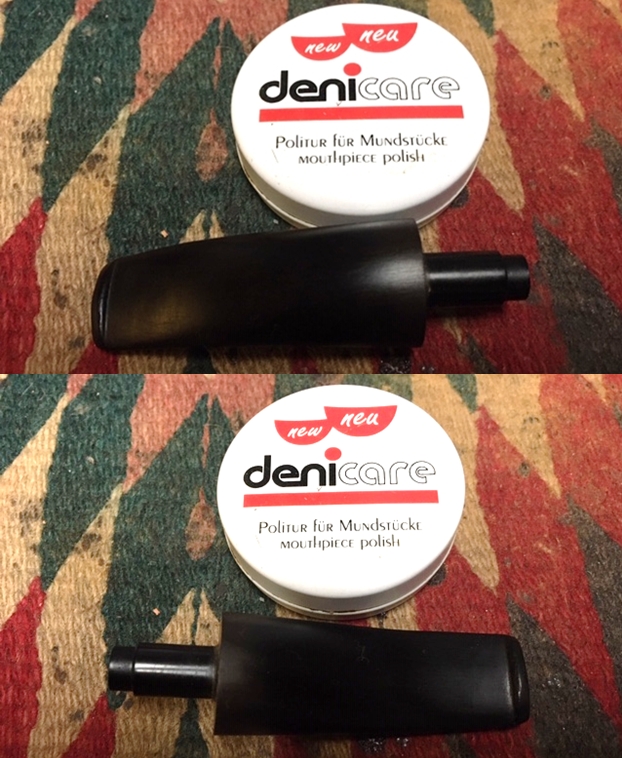 I polished the stem with micromesh sanding pads – wet sanding with 1500-12000 grit sanding pads. I wiped it down after each sanding pad with a damp cloth. I polished it with Before & After Pipe Stem Polish – both Fine and Extra Fine and buffed it off with a cotton cloth.
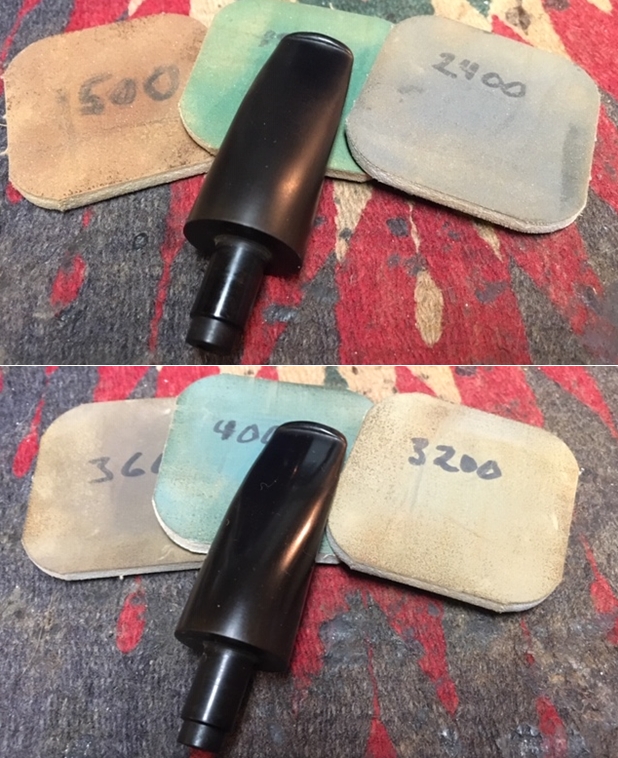
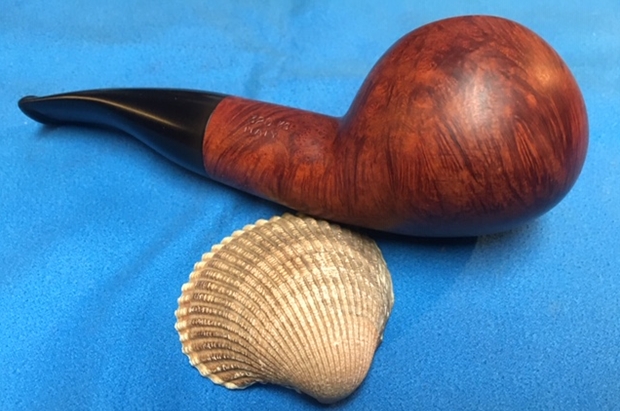
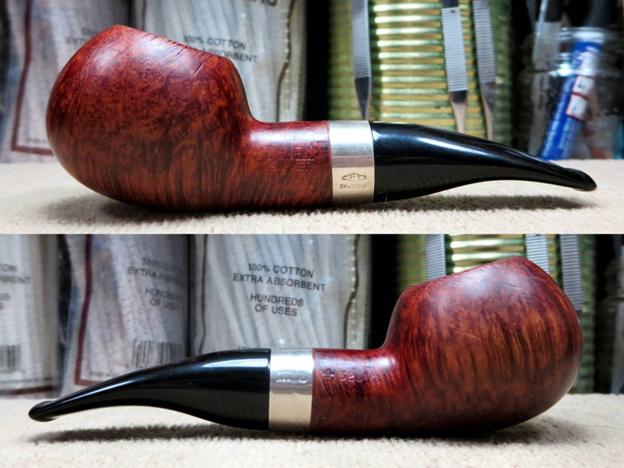
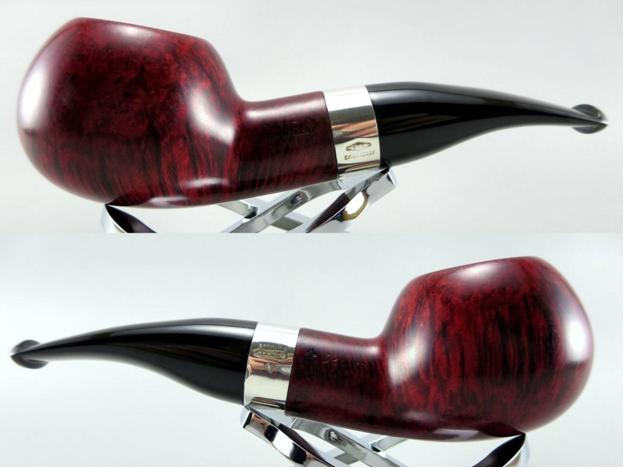
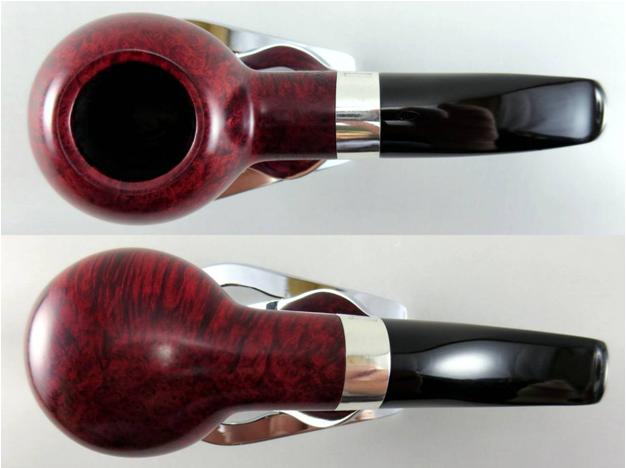
 This is a chubby shanked and nicely grained Savinelli made pipe with a black tapered vulcanite stem. It has a great look and feel. The shape is a handful and feels comfortable and substantial in my hand. I polished stem and the bowl with Blue Diamond polish on the buffing wheel. I gave the bowl and the stem multiple coats of carnauba wax. I buffed the pipe with a clean buffing pad to raise the shine. I hand buffed it with a microfiber cloth to deepen the shine. The pipe polished up pretty nicely. The grain on the bowl came alive with the buffing. The rich contrasting browns works well with the polished vulcanite stem. The finished pipe has a rich look that is quite catching. Have a look at it with the photos below. The shape, finish and flow of the pipe and stem are very well done. The dimensions are Length: 5 ½ inches, Height: 1 ¾ inches, Outside diameter of the bowl: 1 ¾ inches, Chamber diameter: 7/8 of an inch. Thanks for walking through the restoration with me as I worked over the next of the finds of Jeff and my Alberta pipe hunt. It is a beautiful straight grain Savinelli 320KS that bears the stamping of a now defunct Regina, Saskatchewan based pipe and tobacco shop. I will be adding it to the rebornpipes store soon so if you are interested in adding it to your collection let me know.