Category Archives: Pipe Refurbishing Essays

Essays and pictorial essays on the art of refurbishing

A New Vision for a Butz-Choquin Galion 1661 Sitter


A wonderful example of risk/reward in pipe restoration displayed on this one.

Charles Lemon's avatar

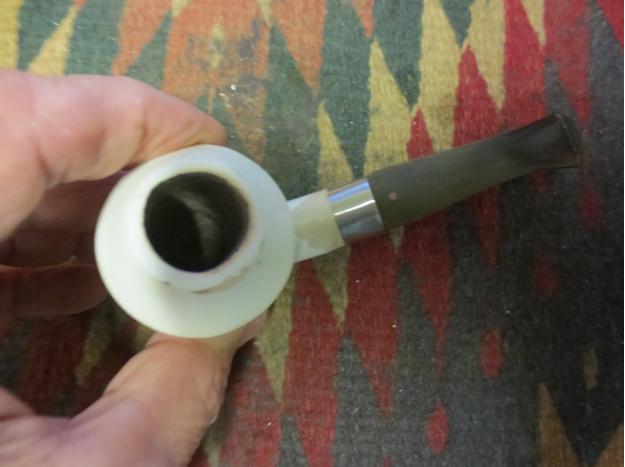
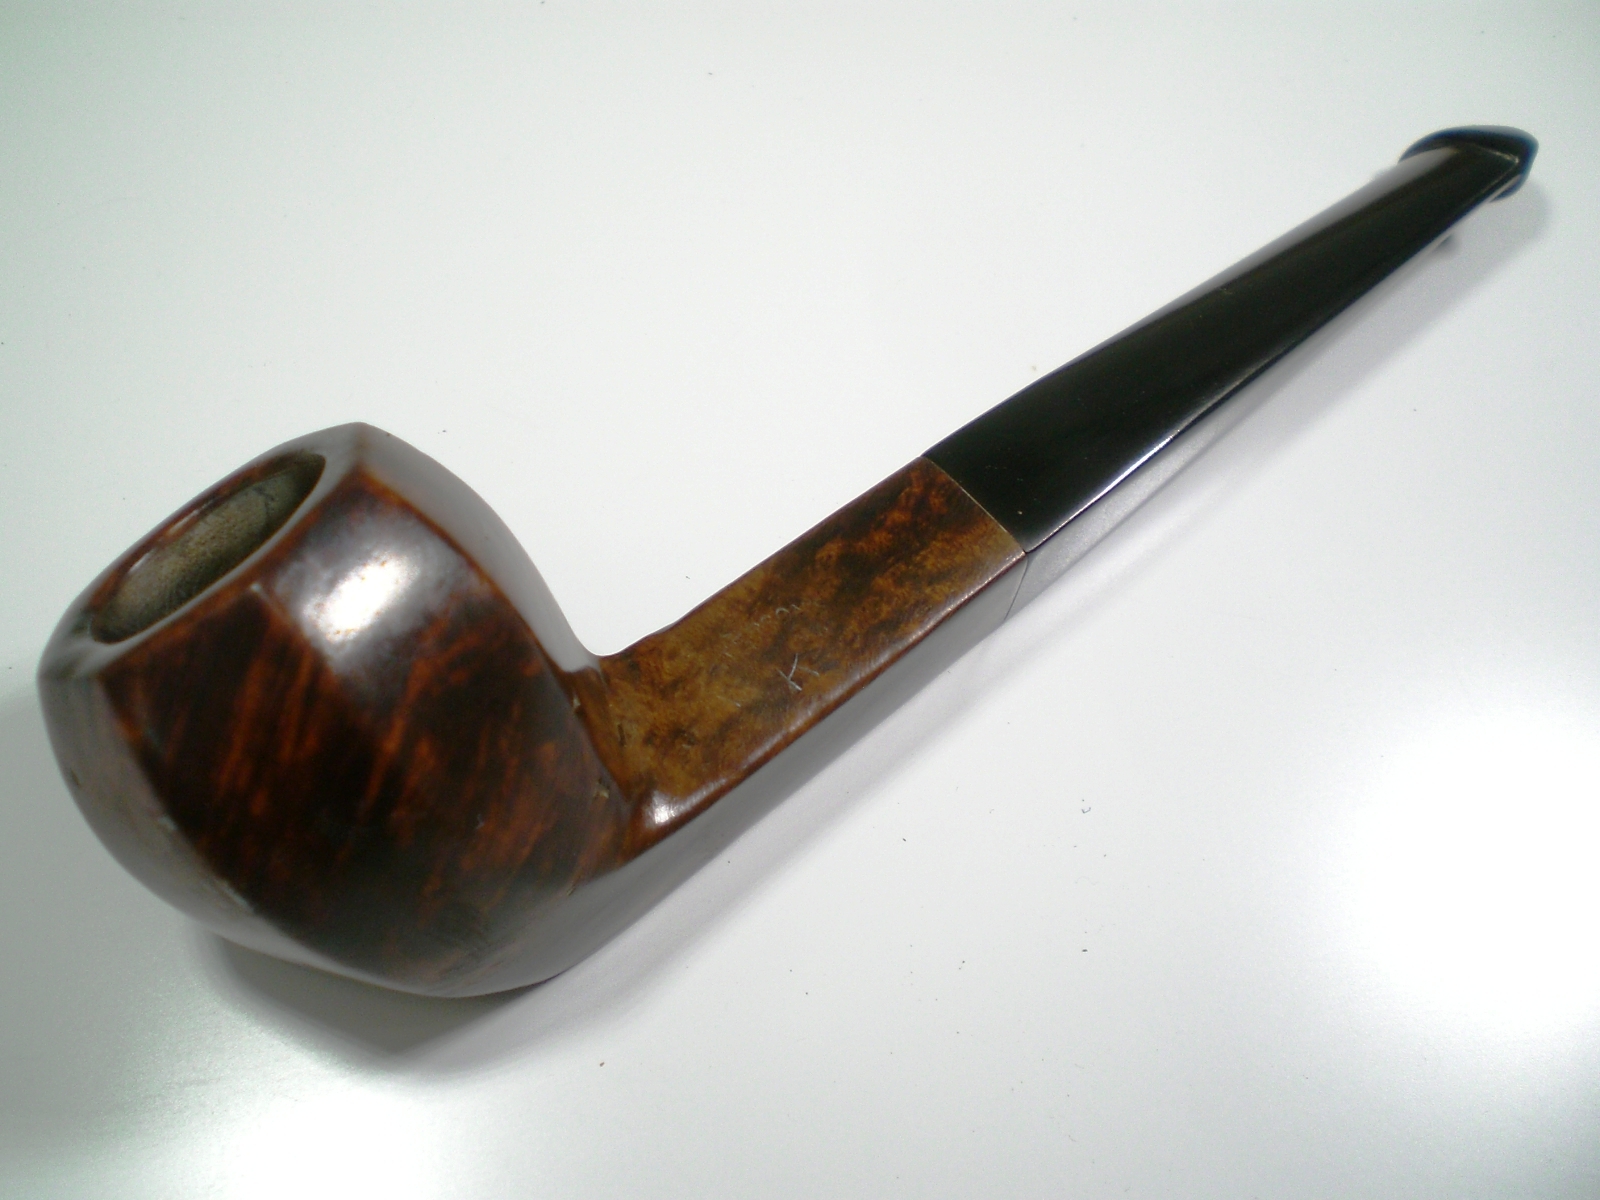
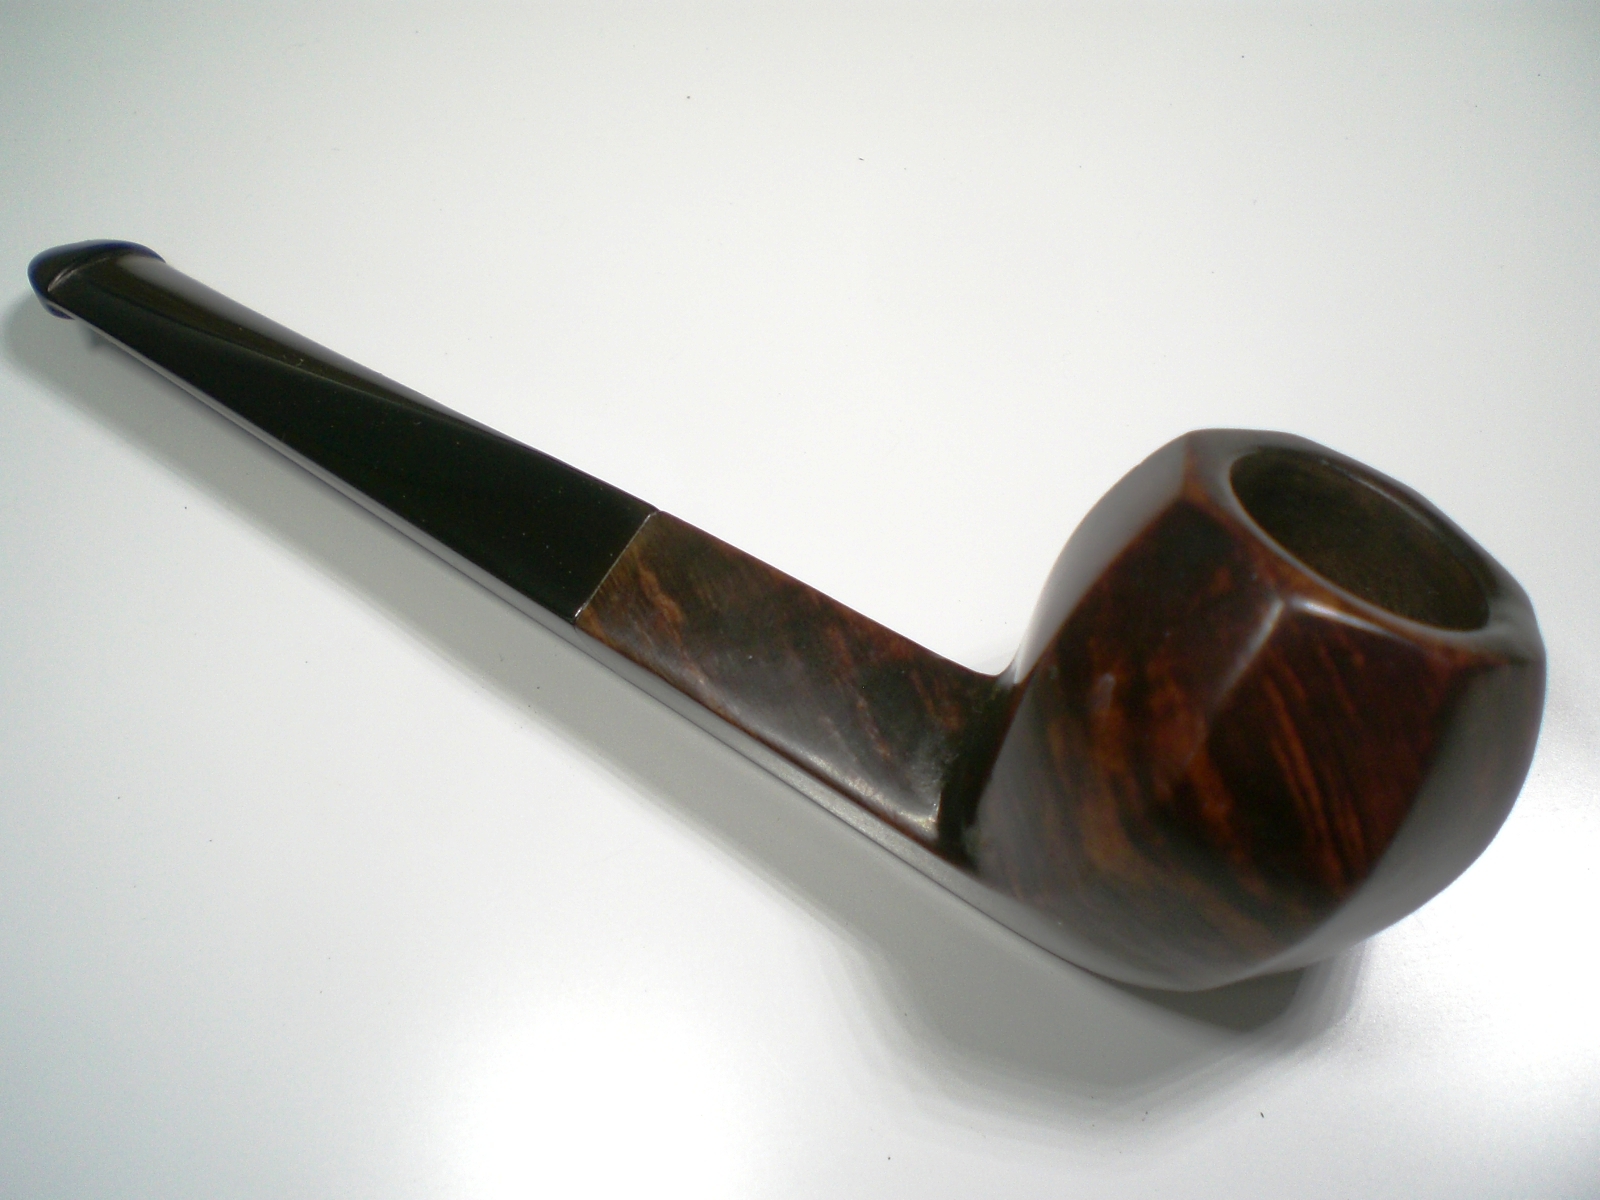
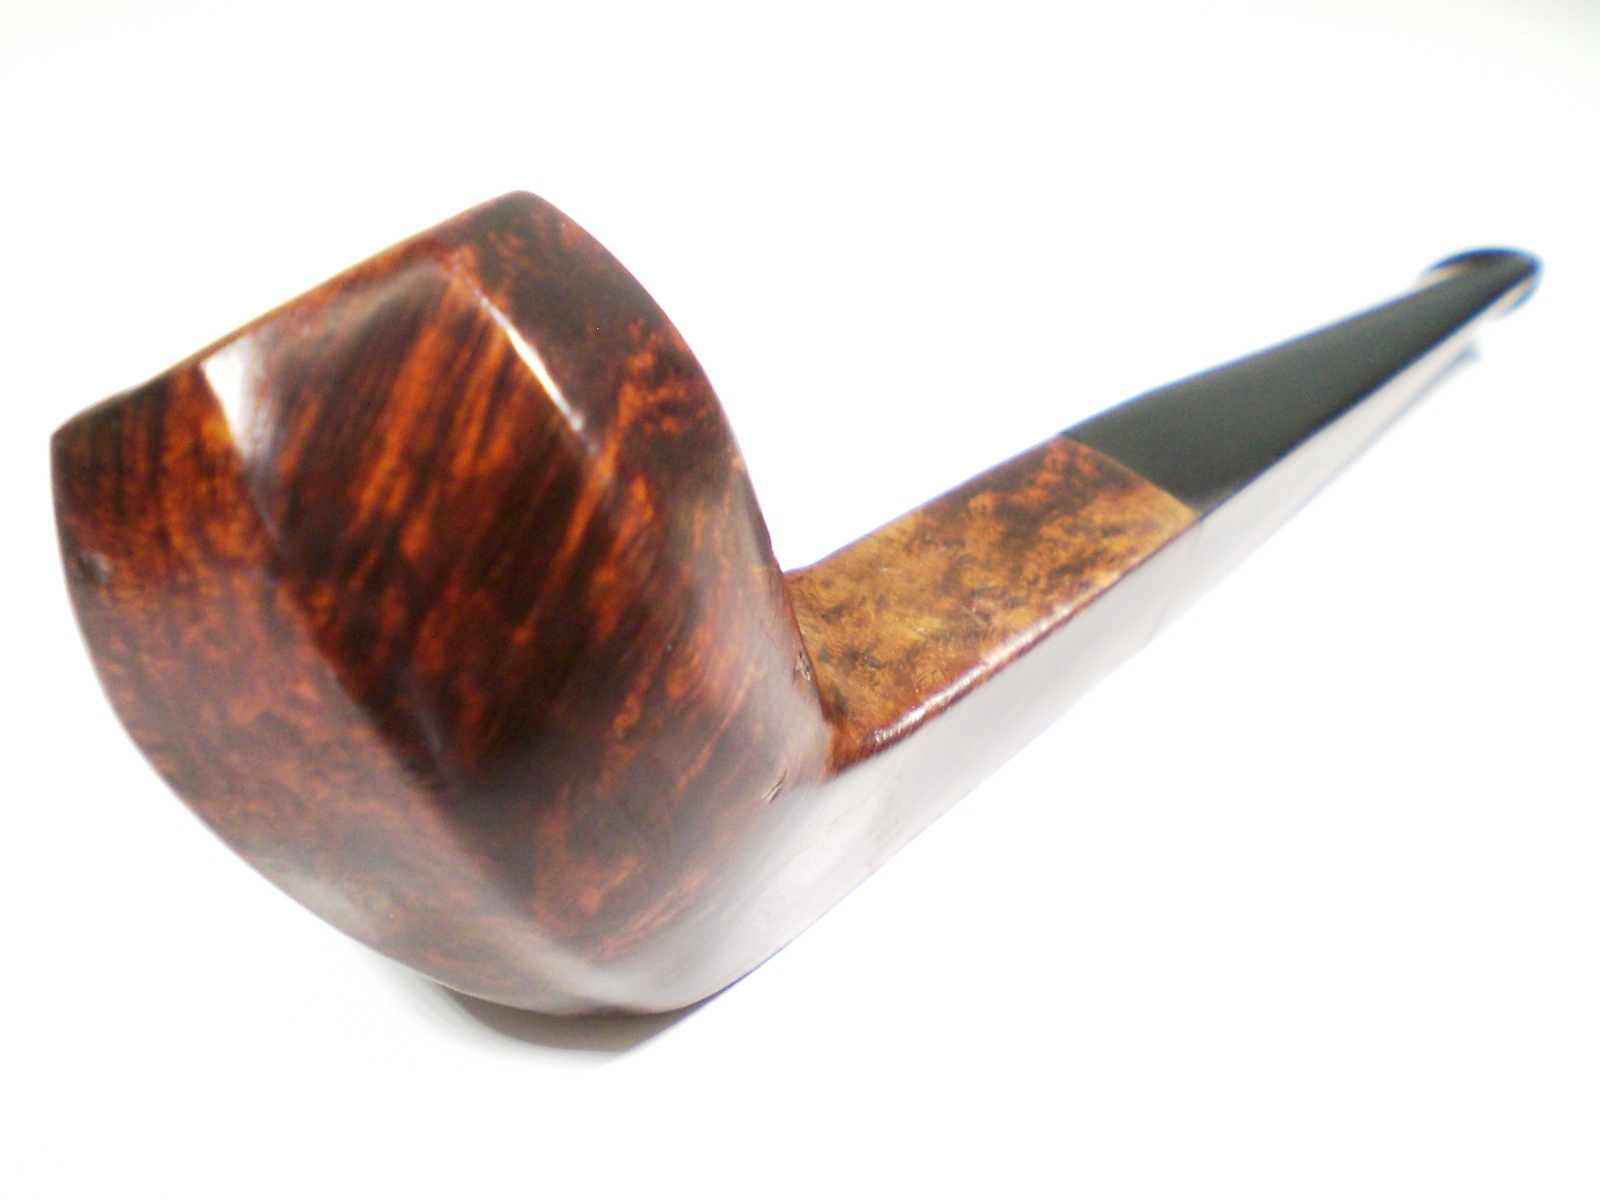
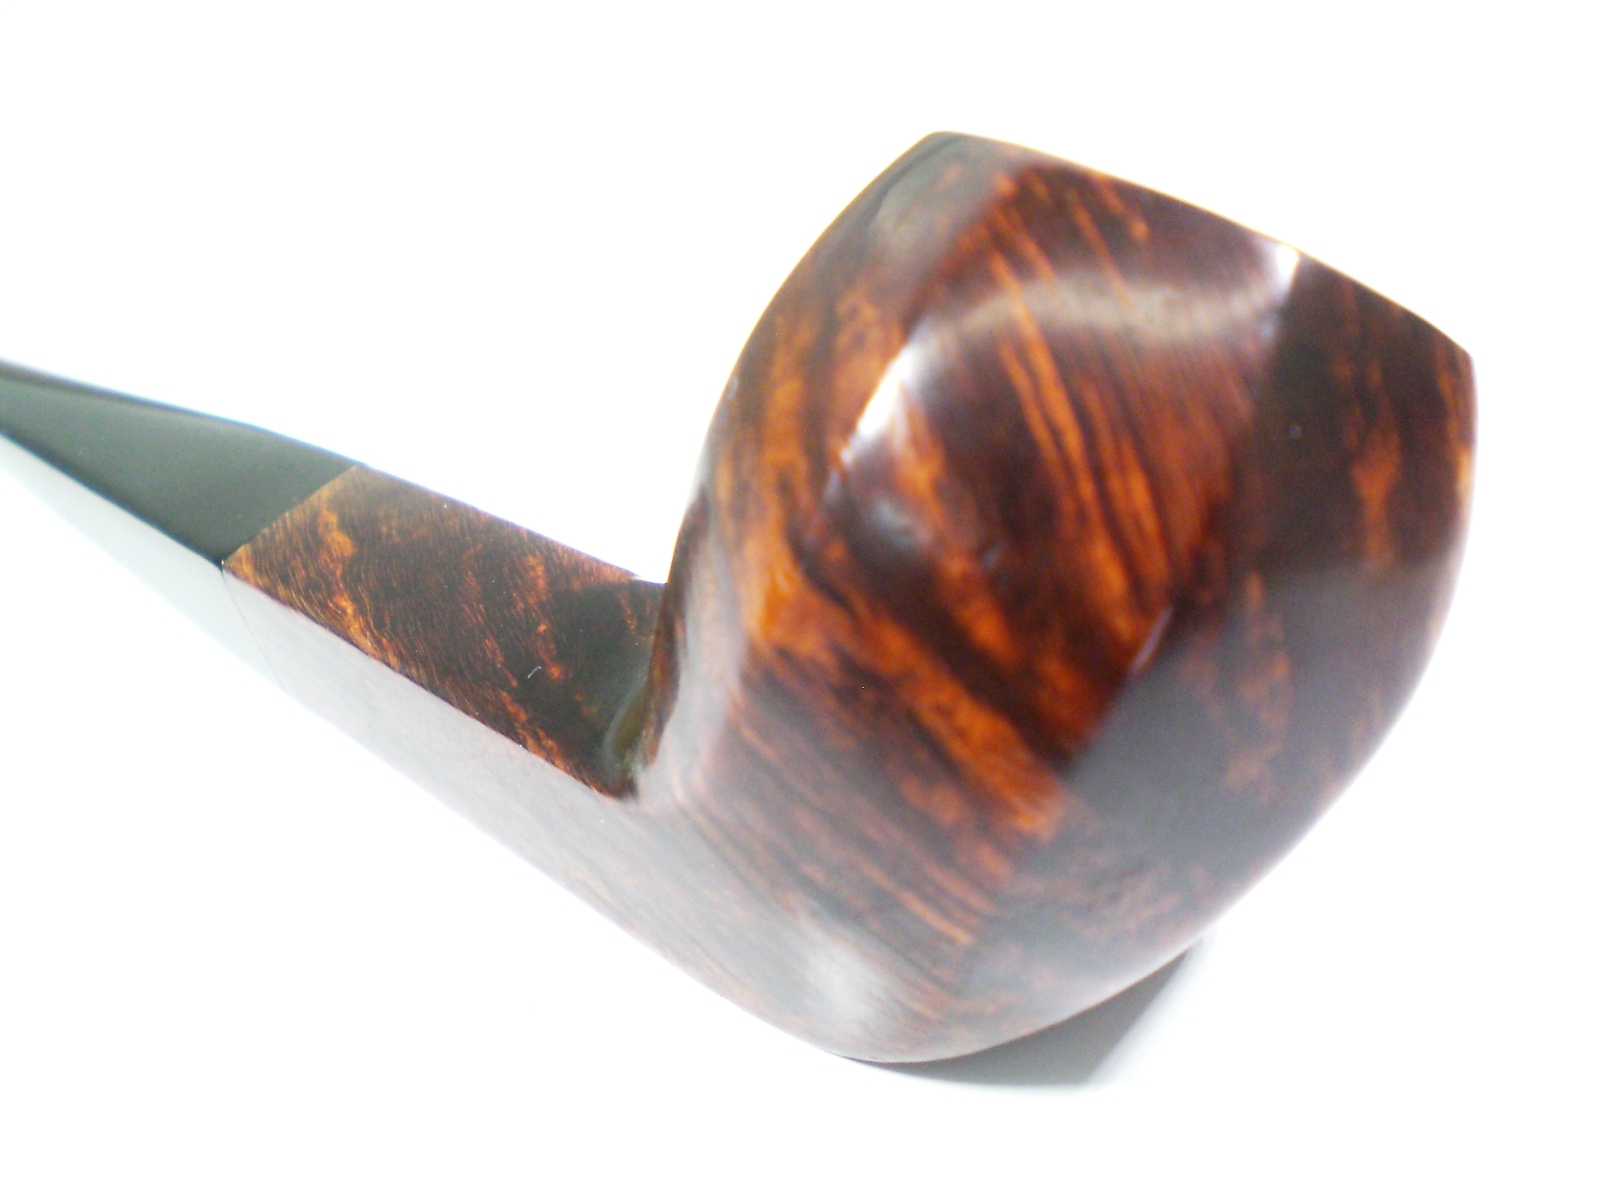
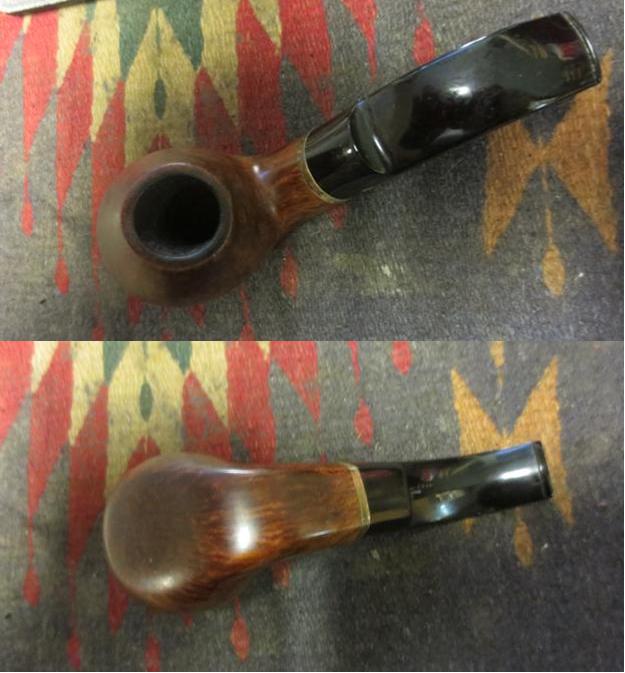
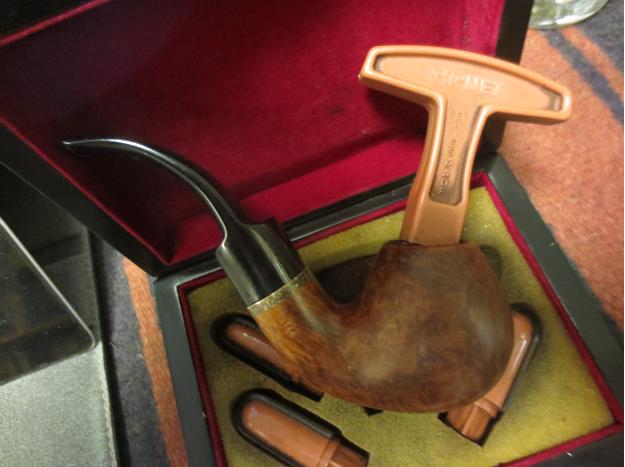
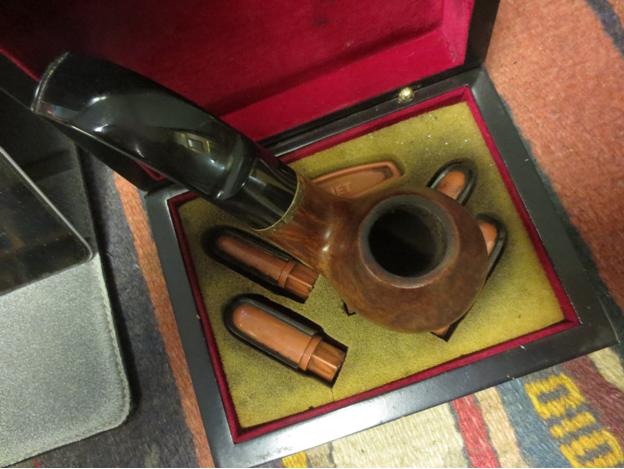
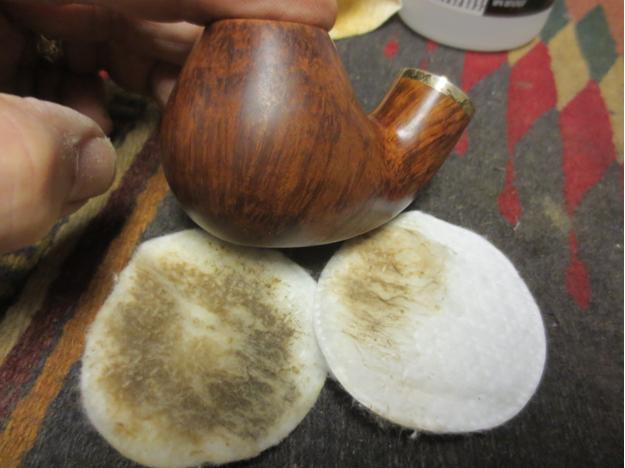
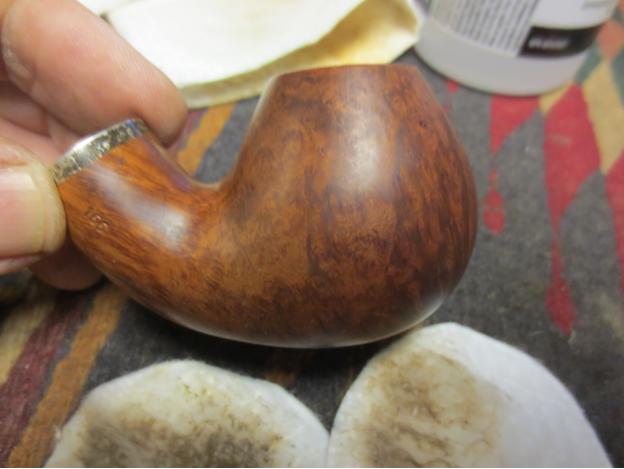
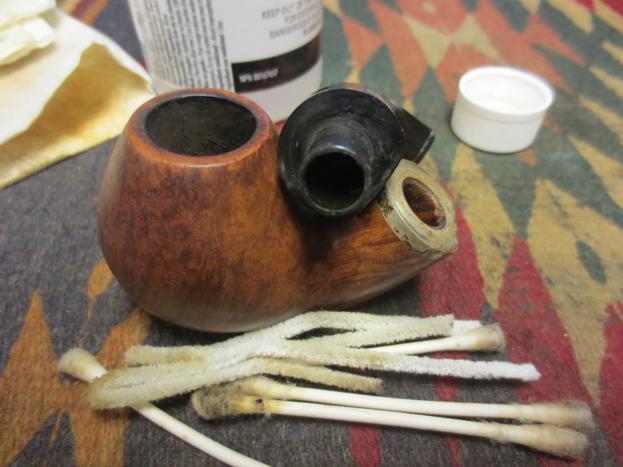
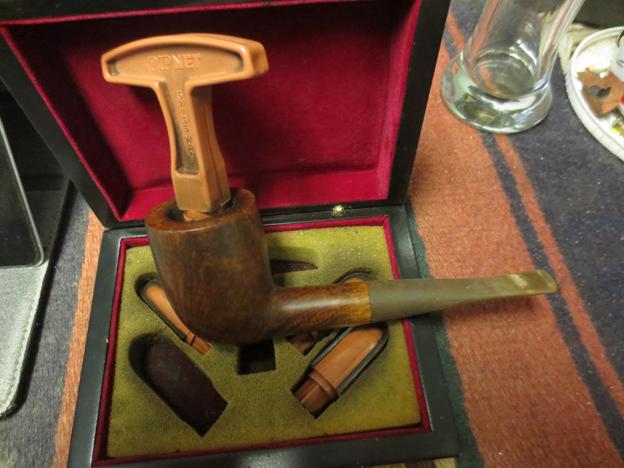
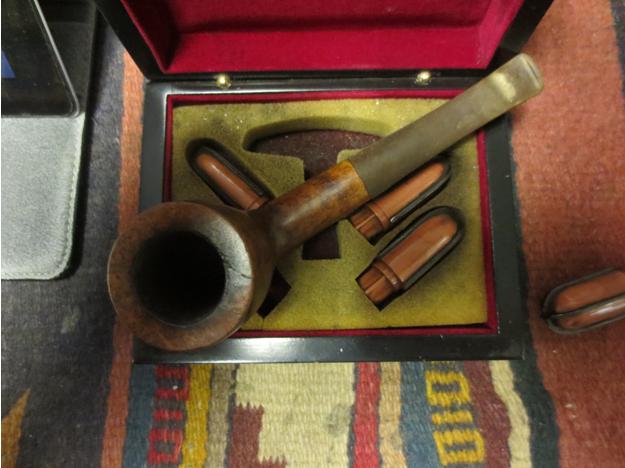
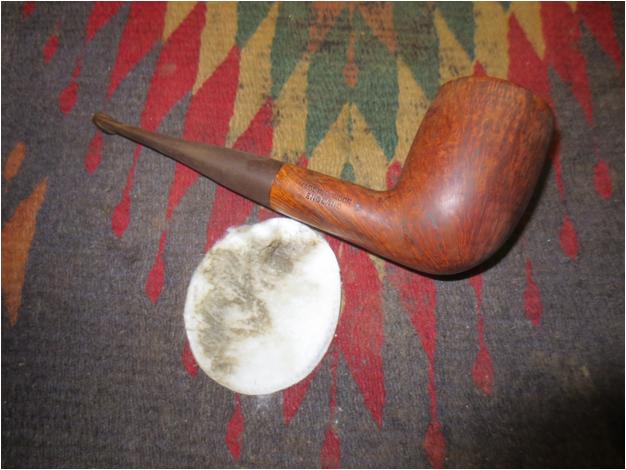
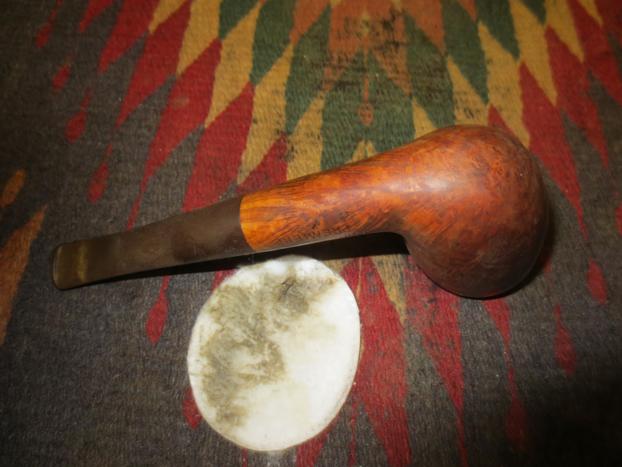
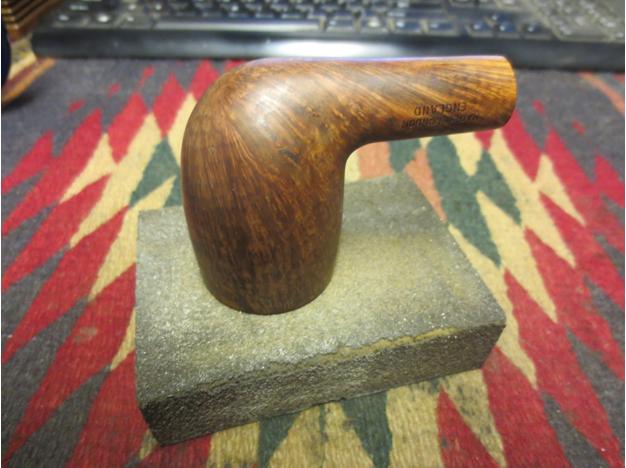
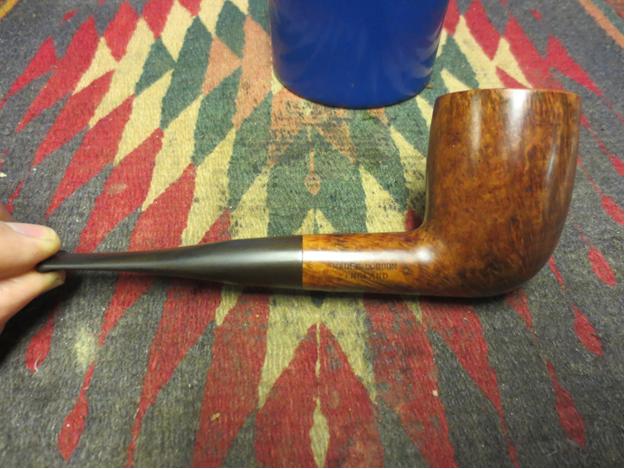
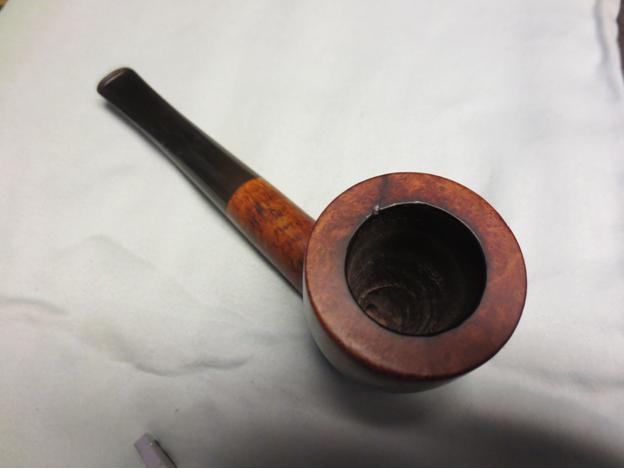
This is a story about potential and a bit of risk-taking to fulfil it. When I pulled this pipe from the refurb box, I immediately felt that it wasn’t quite living up to its potential, not necessarily as a functional pipe, but rather as an “objet d’art”. Pipes, in my mind, fall into that rare category of things that serve a simple function but can also be beautiful works of art in their own right. This large Butz-Choquin sitter was several points off course in that respect. It’s shape seemed heavy and ponderous, and to top it off, it had been “customized” by a previous owner who carved a linear design around the bowl, and signed it with a large “SK” on the bottom. He was presumably proud of his handiwork, but it did not ring any aesthetic or artistic bells for me.

Apart from the custom carvings, the pipe was…

View original post 890 more words

Repairing a hole in the stem of Dr. Grabow 36


Blog by J.D. Dohrer

I am glad to be able to post this first blog by JD Dohrer. He has done a masterful job in repairing this stem. I am hoping he continues to submit blogs to rebornpipes and we can continue to enjoy and learn from his work.– Steve

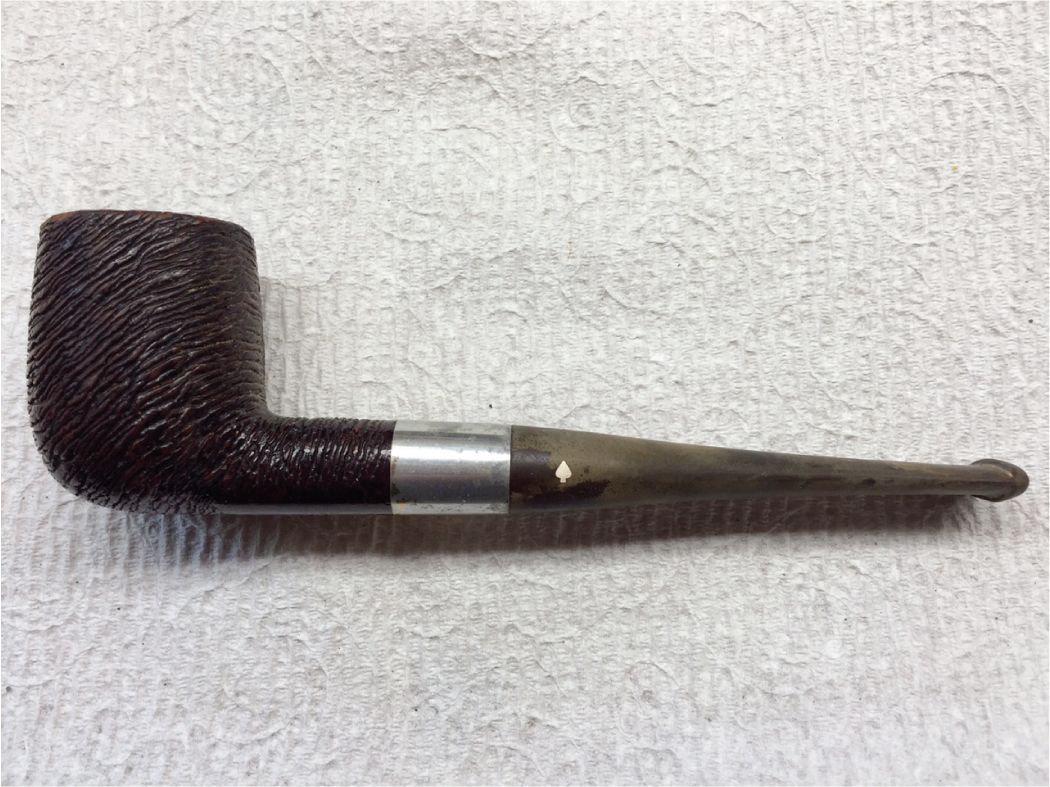
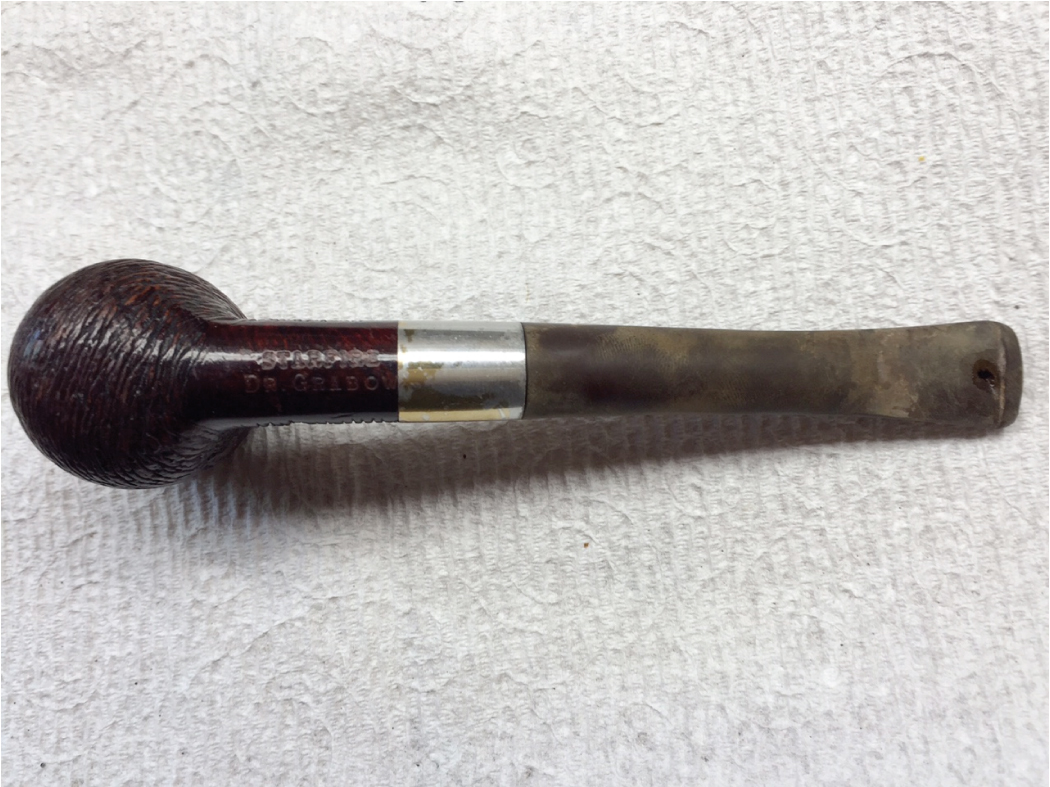
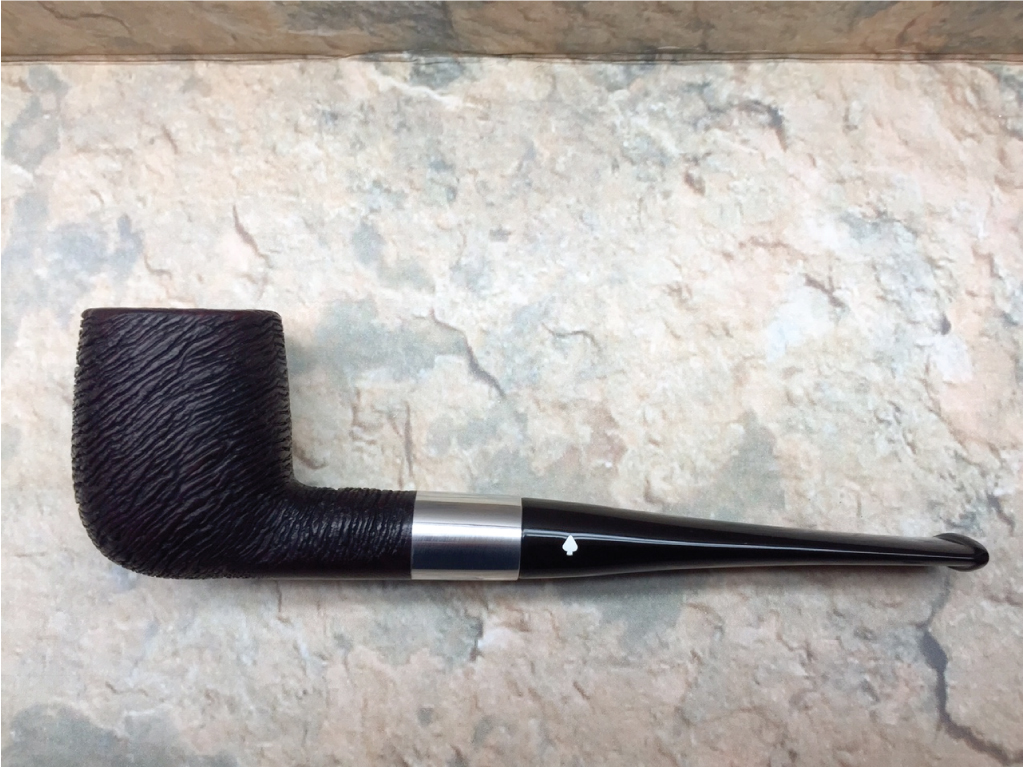
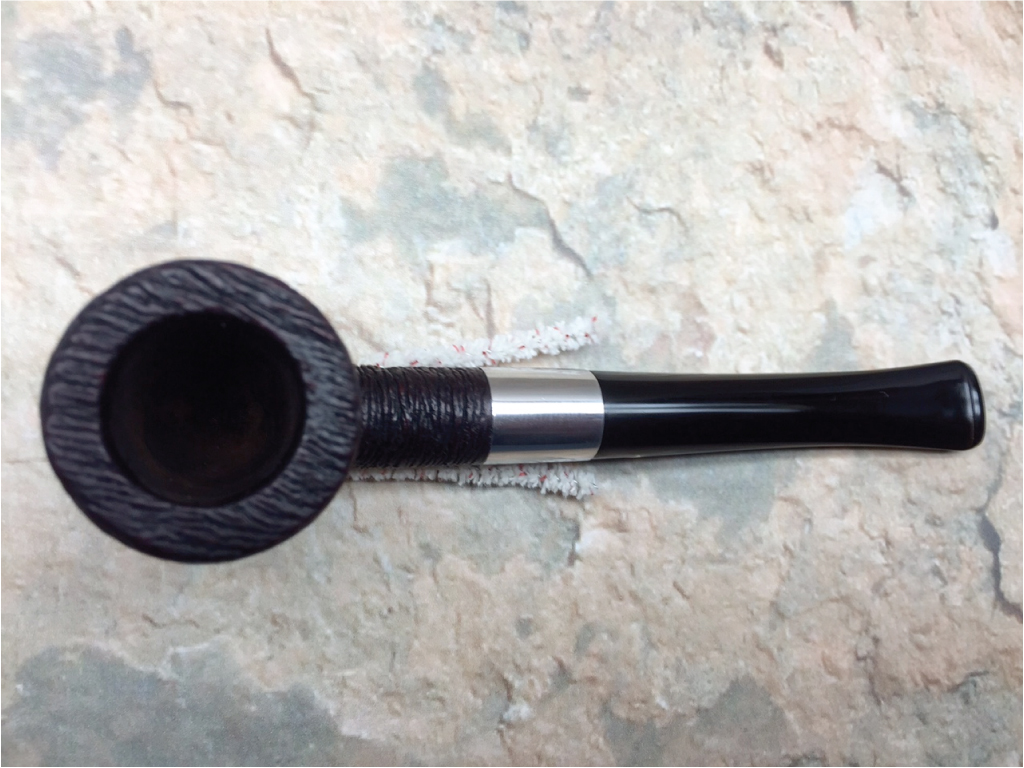
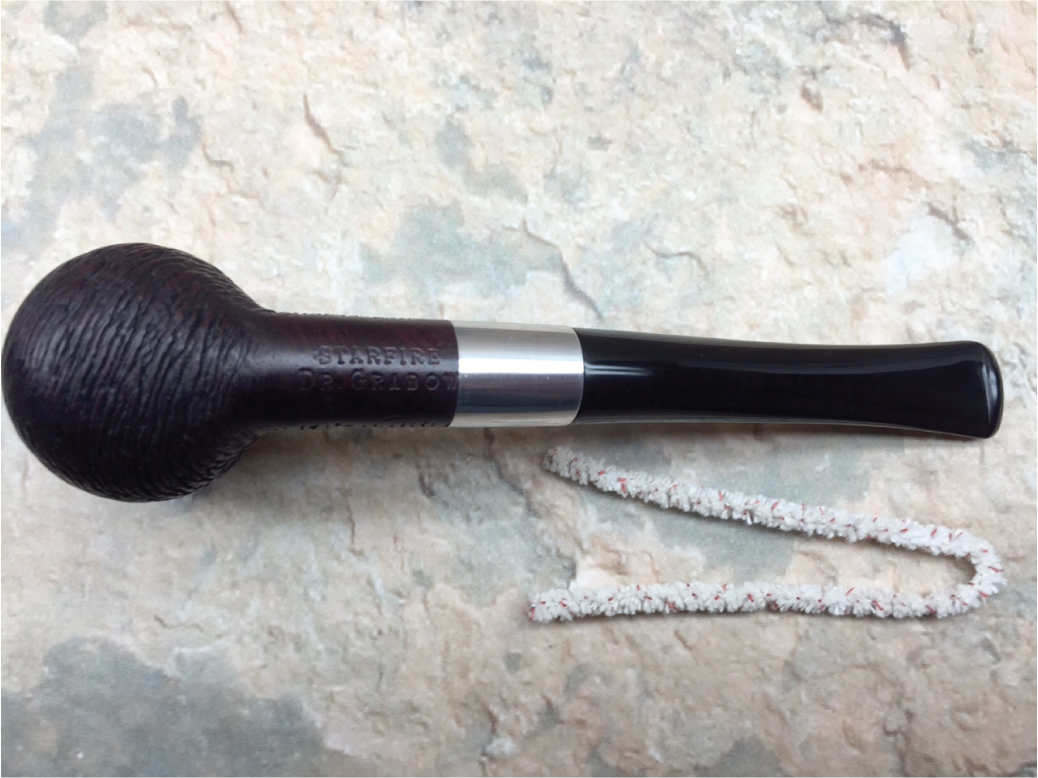
This is a Dr. Grabow Starfire wire carved large billiard #36. DG Starfires are one of my favorite lines/styles of pipes. I am quite keen on the models that have the metal shank extension. I snagged this one off of ebay for 10 dollars, delivered. I bought it specifically for the hole in the stem. I had been wanting to try my hand at a stem rebuild, especially after seeing the results that Steve and some others here on Reborn had completed.

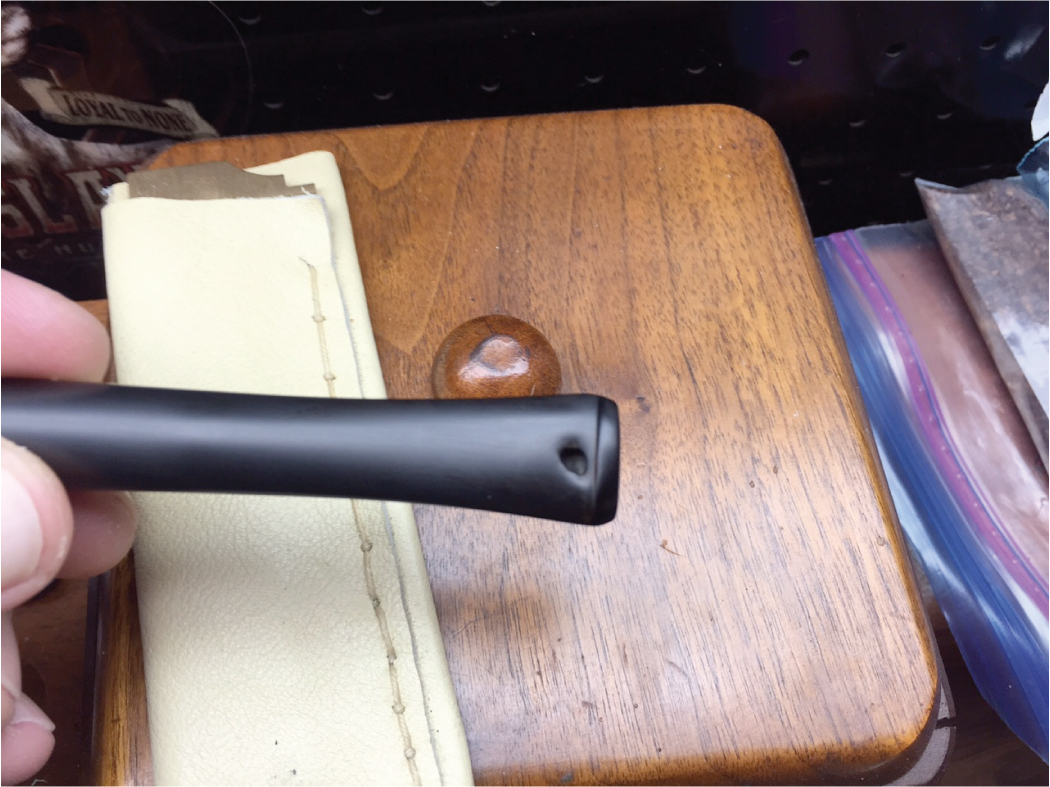
The following pics are how I received it in the mail. It was actually in quite good condition. The stummel was in nice shape, with just some minor chips on the rim and the typical grime in the wire carving. The stamping was still nice, sharp and deep. The cleaner was even still in the tenon. The stem was in rather good condition even considering the hole that was chewed through the button. The hole was on the underside of the button. Which gave me hope, that if I mucked this up terribly, it would be on the less than visible side of the pipe.JD1

JD2

JD3

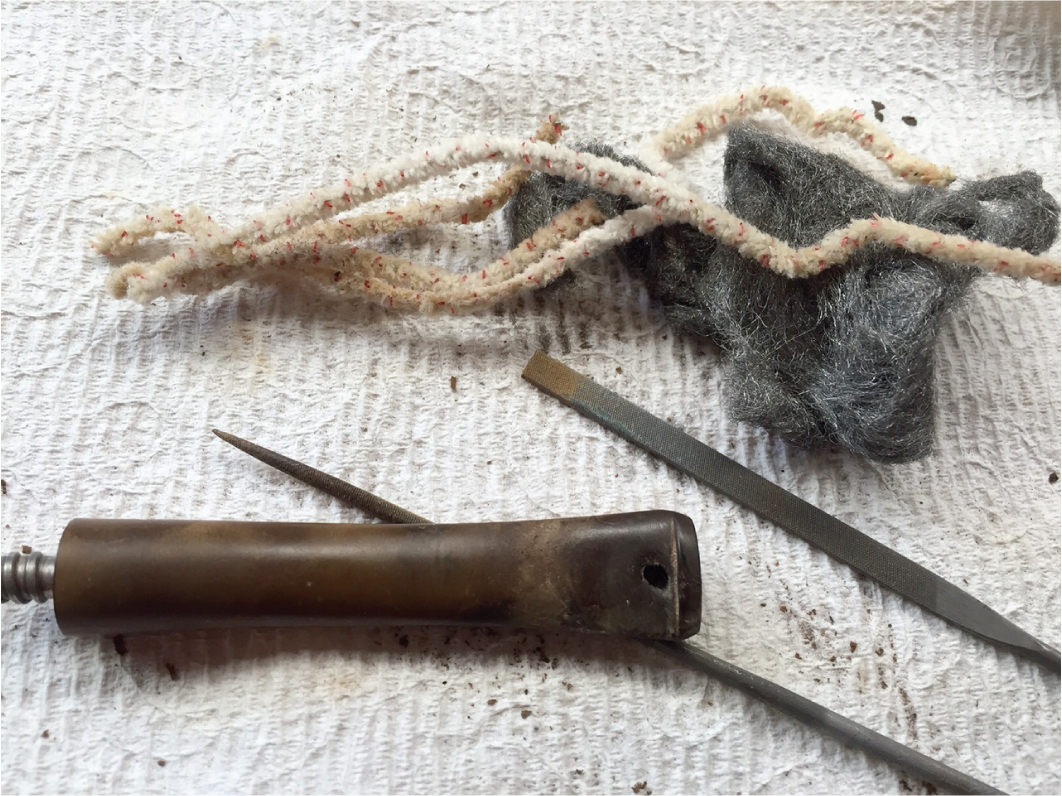
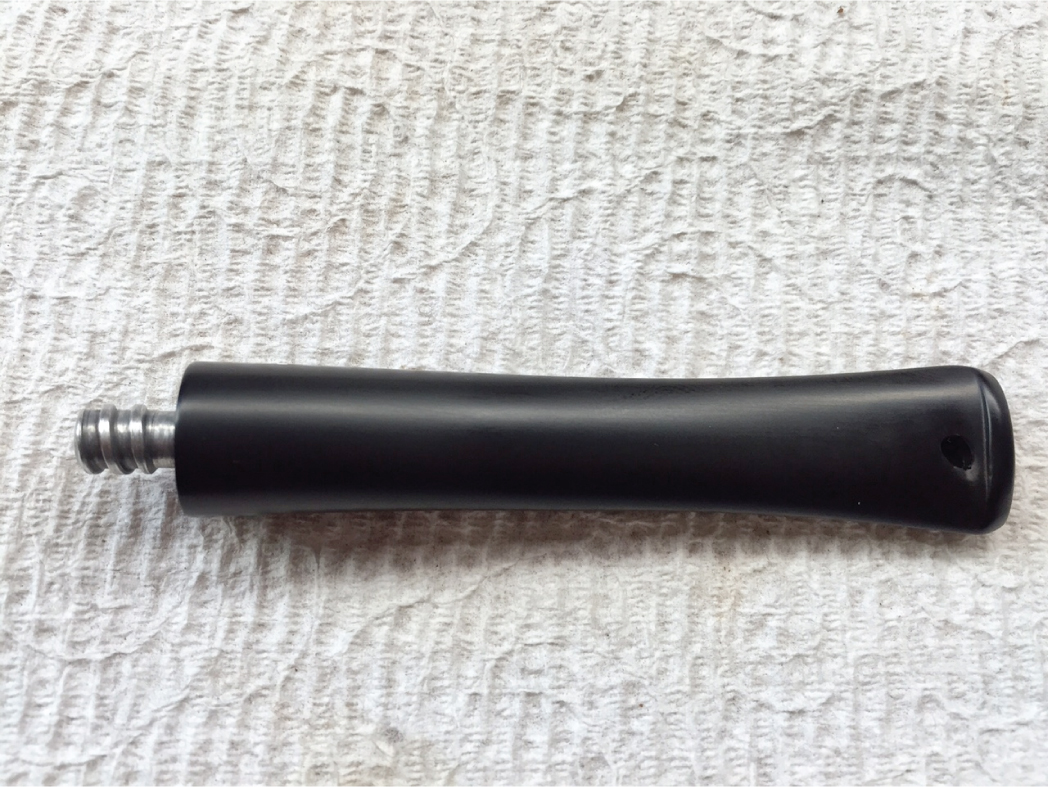
JD4 The first thing I did was give the stem a good soaking in ISO 91% alcohol. I then cleaned the interior of the stem with pipe cleaners. Amazingly it only took a couple of pipe cleaners to get rid of the gunk in the stem. I then did some filing around the hole and inside the button. I also cleaned up the edges of the hole and expanded its size a bit.JD5 I let the stem soak in oxyclean for a few minutes. I then scrubbed the stem with a scotch brite pad and oxyclean. I wet sanded the stem from 400, 600, 800 and 1500 and got rid of all the oxidation. I took care of some other minor tooth chatter also at this time. I then finished with a good scrubbing and a magic eraser. I then re-cleaned the stem and hole area with 91% and scuffed up the hole.JD6

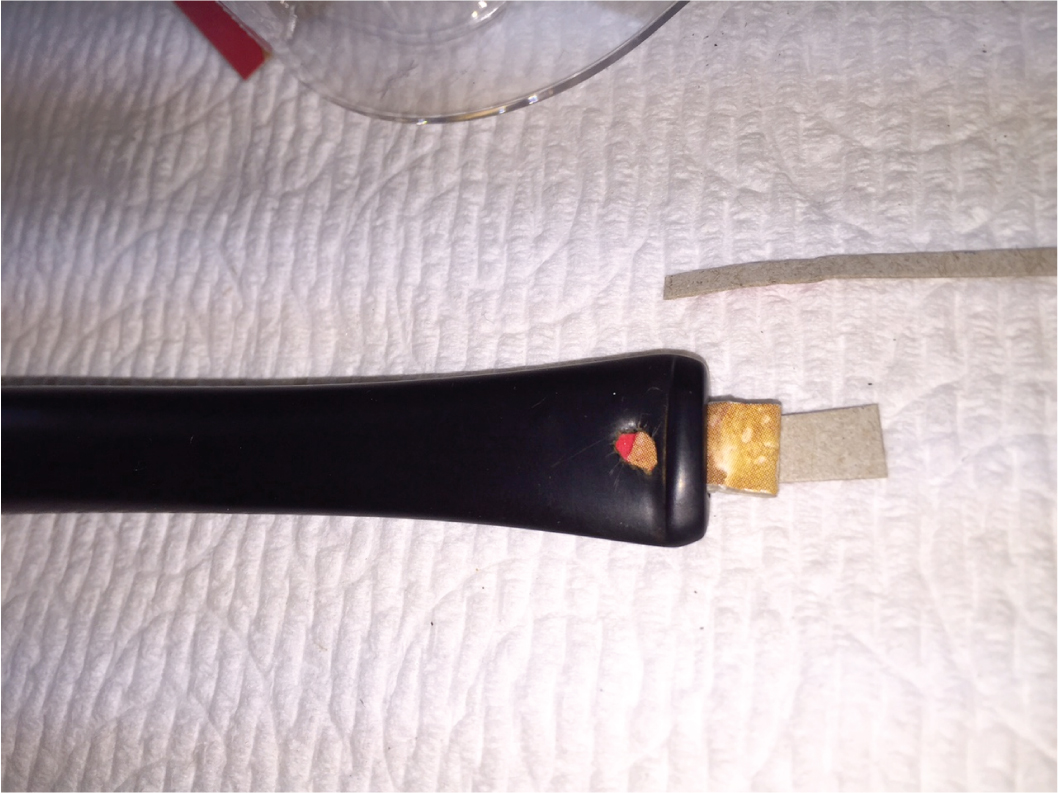
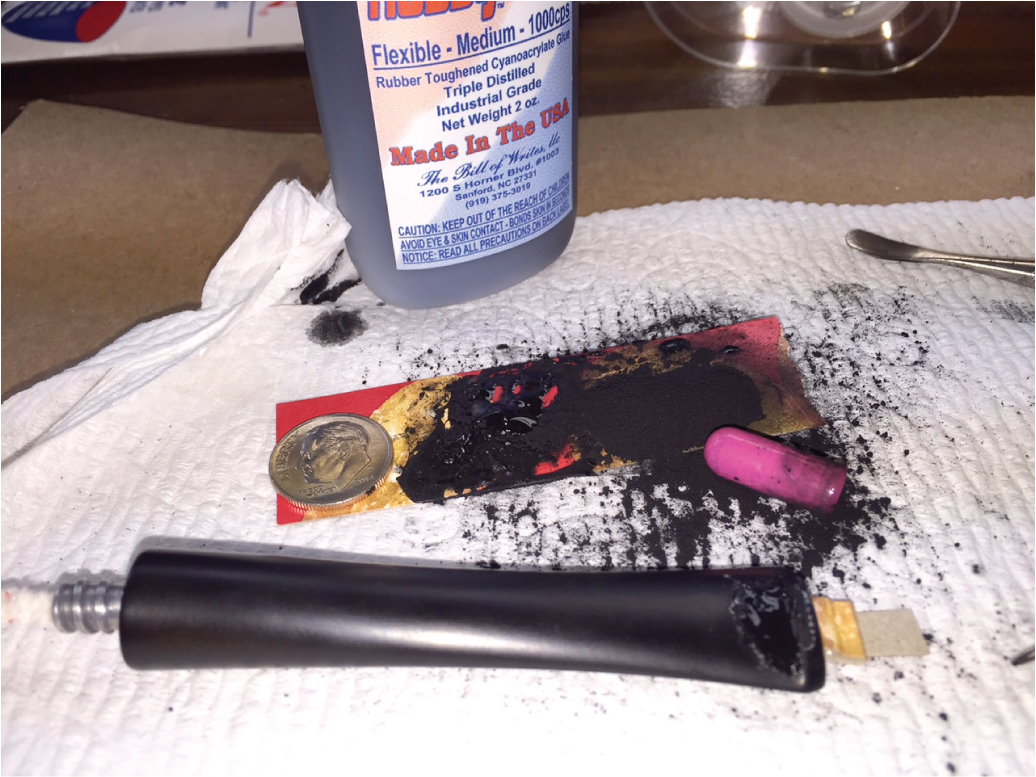
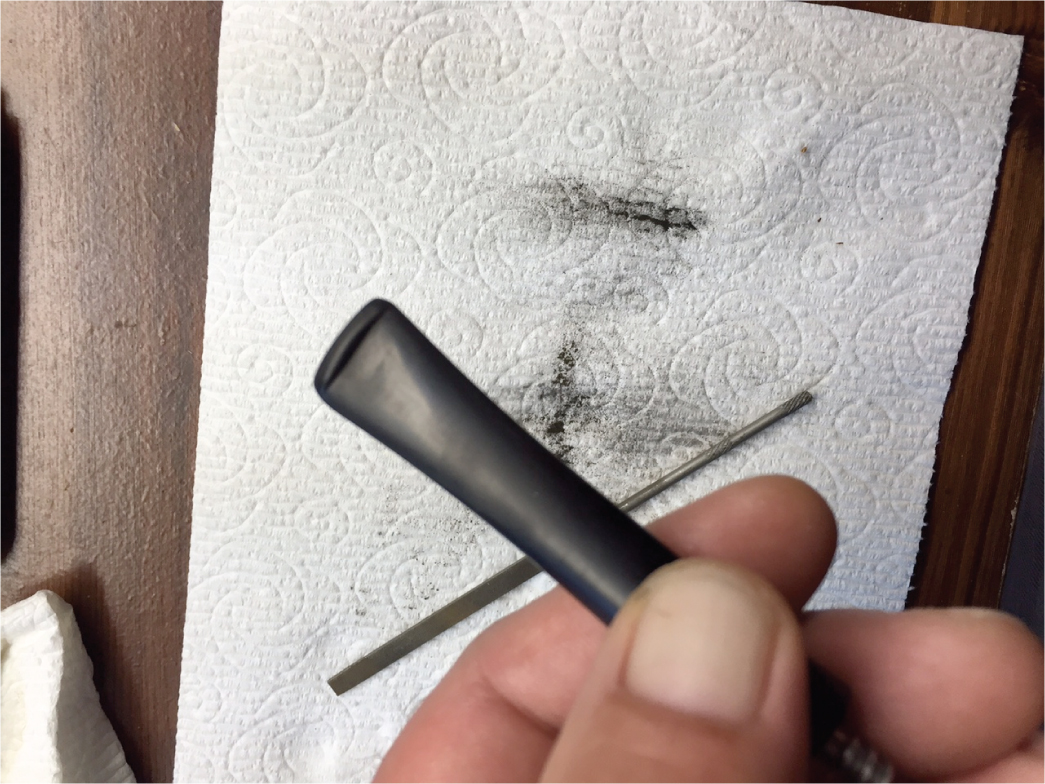
JD7 At this point I made a cardboard backer that I wrapped in scotch tape. I made sure it was a nice and tight fit. As a precaution I also inserted a pipe cleaner in the airway just to cover my butt.JD8 Next I opened up a 250mg capsule of activated charcoal. I crushed up the AC as finely as I could, using a medicine measuring cup and a small wax carving spoon type tool. Next I poured a small puddle of black CA glue on a piece of scrap and mixed in some AC. I got it to a pretty thick consistency that didnt drip off my mini trowel tool. I applied in 3 quick layers. The last layer was pretty messy as it was starting to set up but, I got it smoothed out and set it off to the side to dry. The total amount of AC used was probably less than 100 mg. You can see the glue puddle next to the dime. The puddle is smeared around a bit, as this was when I was done applying the glue.JD9 Here is dried glue after 16 hours.JD10 I filed down the area and then did the same steps again with the wet sanding. The filings were very fine and powdery and the glue sanded very nicely.JD11 Now it was onto the easy part. I cleaned/reamed the chamber with a small round blade pocket knife and some 100 grit sandpaper wrapped lengthwise over a Sharpie pen. The caking was very light and I took it down just enough to leave the walls blackened.JD12 Now it was time for the draft hole and mortise/shank extension. I figured since the stem was such a breeze, this should be just as easy. I was dead wrong. I used ISO 91%, quite a few pipe cleaners, qtips, shank brush and a small bladed wax carving tool. It was definitely the worse job to do on this pipe. I cleaned the threads and exterior of the shank extension with 0000 steel wool.JD13 I then moved onto the cleaning of the exterior of the stummel itself. I used oxyclean and a scotchbrite pad to scrub the exterior. I removed a lot of grime and some of the dye on the higher points of the wire carving.JD14 I smoothed out and blended some of the smaller chips in the rim and redyed the stummel. I used 2 parts Fiebings Oxblood and 1 part Fiebings Cordovan. I gave it a couple of good quick coats of dye. I let dry for a few minutes and wiped off any excess.JD15 With all the heavy lifting done, it was time for the buffing and waxing. I used tripoli, white diamond and carnauba on the stem. I hit the shank extension with a bit of white diamond. I used a couple coats of Halcyon 2 on the stummel. I then finished up by buffing with a microfiber cloth. Below is the finished product with as good of a close up as I could get with my iphone.JD16

JD17

JD18

JD19

JD20 I am pretty dang pleased with myself on how this pipe came out looking. When I started working on pipes, I always made sure that the pipe I was bidding on had a stem that was in good shape. But, after this project, I will seek those pipes out that need some stem work. In fact, I have 3 pipes on their way that need some intense TLC and stem work. I again thank Steve and all the rest on here and DGCF for their postings, tips and ideas. Truly appreciated.

I fired ‘er up last night and ran a bowl of Carter Hall, Chatham Manor and a burley/cavendish blend through it. It smokes just as well as my other Starfires. Its a keeper and it will join with my other 6 Grabow Starfires.

Thanks in advance for checking it out. My picture taking skills are a bit lacking and my iphone does not take the best close up pics. W

Now I’ve Seen Everything


Guest Blog by Robert M. Boughton
Member, North American Society of Pipe Collectors
http://www.naspc.org
http://www.roadrunnerpipes.com
http://about.me/boughtonrobert

“What will they think of next?”
― From “What Will They Think of Next?” Canadian science TV series (1976-1979), with Joseph Campanella and guest hosts

INTRODUCTION
On tonight’s episode, we’ll look at some of the most unusual smoking pipes ever conceived by innovative inventors whose lives have been committed to making the world the place we now know it to be! First from Langley, Virginia in the United States, a pipe that was, for many years during the Cold War, classified “Top Secret” by the intelligence community there; then to the United Kingdom for a glance at a pipe even children can enjoy, however illicitly; next to another U.K. company, originally headquartered in the U.S., known best for its metal pipes that have sold 44,000,000 and counting, but which also holds the distinction of having introduced this “unbreakable” pipe; back to the U.S., in San Marcos, Texas, for a pipe you can literally stick almost anywhere you find yourself…and more!

CUT TO COMMERCIAL BREAK

OUR PROGRAM CONTINUES

For those James Bond fans who think his gadgets are cool enough to die for, created by the ingenious Q in his ever-clever if not always quite perfected lab full of spy toys for Her Majesty’s secret agents with a 00-series license to kill clearance, we offer this glimpse of real-life tradecraft brought to you by the brilliant though perhaps somewhat sociopathic inventors at the Central Intelligence Agency: the meerschaum small billiard pipe, c. 1950s, complete with a screw-in tenon that can be removed for the open shank to act as a gun barrel. Capable of firing a single .22-caliber bullet by simply pressing the tiny ventilation-like system “trigger” on the underside of the shank, this is one tobacco pipe that would indeed be deadly to use.Rob1 Although this petite, gorgeous beauty of a meerschaum, very similar to the women in Bond thrillers, was capable of being enjoyed in the usual sense of the term (with a nice bowl of tobacco), in this case the word smoked takes on a more sinister meaning. Note the somewhat creepy, lightly used condition of the bit just below the lip, indicating the pipe’s actual use at least once by an actual non-official cover (NOC), or deep-cover and fully-deniable, CIA agent.

Now, onto our next amazing variation from the norm in the world of tobacco pipes: the Puff Pop Lollipop Pipe! That’s right – Lollipop Pipe! Distributed by everyonedoesit.com, these unique candy pipes are fashioned with clear, hollow, plastic combination shanks/bits leading into the same old lollipops enjoyed by generations of children – except that one side of the round ball of candy is hollowed out to add real pipe tobacco, and the other is flat.Rob2 Although there is a clear drawback here – the pipe shapes are limited to the one shown above – they are designed as sitters. The Puff Pop Pipes, cutting-edge versions of the old-fashioned candy on a stick, create an “original, cool, easily usable, tasty smoking accessory.” And that leaves out the obvious, disposable. Conceived by the “think tank that is Pitara, who are all about dual purpose,” they are available to order only online at a site that requires anyone who wishes to enter to certify he is 18 or older. That certainly ensures that potential underage smokers will be weeded out. The real draw of this great new pipe variety is that the tobacco taste and aroma are sweetened and flavored and “come in a number of different mind crackling flavors and colors, for all to enjoy.” Now, there’s a great idea!

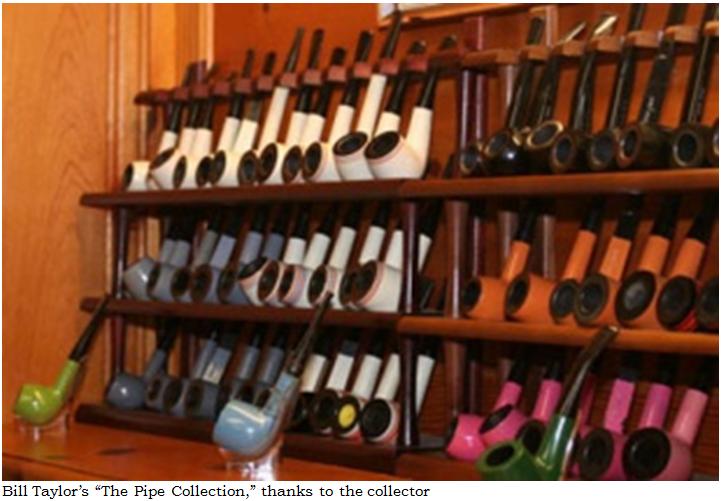
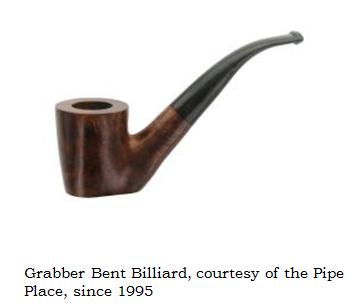
Now onto a pipe – “The Pipe” – invented by Super Temp in 1963 with sales beginning in 1965, during the height of the Hippie movement, by Tar Gard. Not until 1971 did The Pipe become part of Falcon family, the renowned inventor of the metal pipe. Constructed of virtually unbreakable materials that led Falcon to drop this line quietly in 1972, due to the very nature of The Pipe’s unconventional construction, their manufacture passed to yet another pipe interest. Responsibility for making The Pipe moved for the last time to RJ Reynolds in 1973, the final year of its short period of manufacture but seemingly permanent existence. They remain available to collectors to this day, perhaps due to their all but indestructible nature.Rob3 At last we come to the last but not least of this evening’s scientific wonders: Grabber Pipes! Available in two great traditional shapes and made of the usual briar, with one major difference, these pipes are modernized with the insertion of magnets to allow pipe enjoyers on-the go, or those who don’t have a pipe rack, to set the finished Grabber on almost anything metallic!Rob4

Rob5 And that concludes tonight’s episode. Thank you for joining us, and look forward to the next account of scientific breakthroughs.

CONCLUSION
What can I add other than…now I’ve seen everything! Anyone with an account of any tobacco pipe odder than these, please, do tell.

SOURCES
For those of you who are interested, here are the websites to visit for more information.

http://www.popularmechanics.com/culture/movies/g985/23-most-memorable-james-bond-gadgets/?slide=1 23 Most Memorable Bond Gadgets – Popular Mechanics
http://www.ebaumsworld.com/pictures/view/81348090/ CIA pipe-gun
https://www.cia.gov/news-information/featured-story-archive/2007-featured-story-archive/cia-museum.html CIA Museum
http://www.everyonedoesit.com/online_headshop/puff-pops-lollipop-pipes.cfm# Puff Pop – Lollipop Pipes
http://www.pipetobacco.com/grabber.html Magnet pipes
http://www.thepipe.info/info/anatomy.html Anatomy of The Pipe
http://www.thepipe.info/history/index.html#Timeline The Pipe Timeline

Peterson Pre-Republic K Briar Restoration


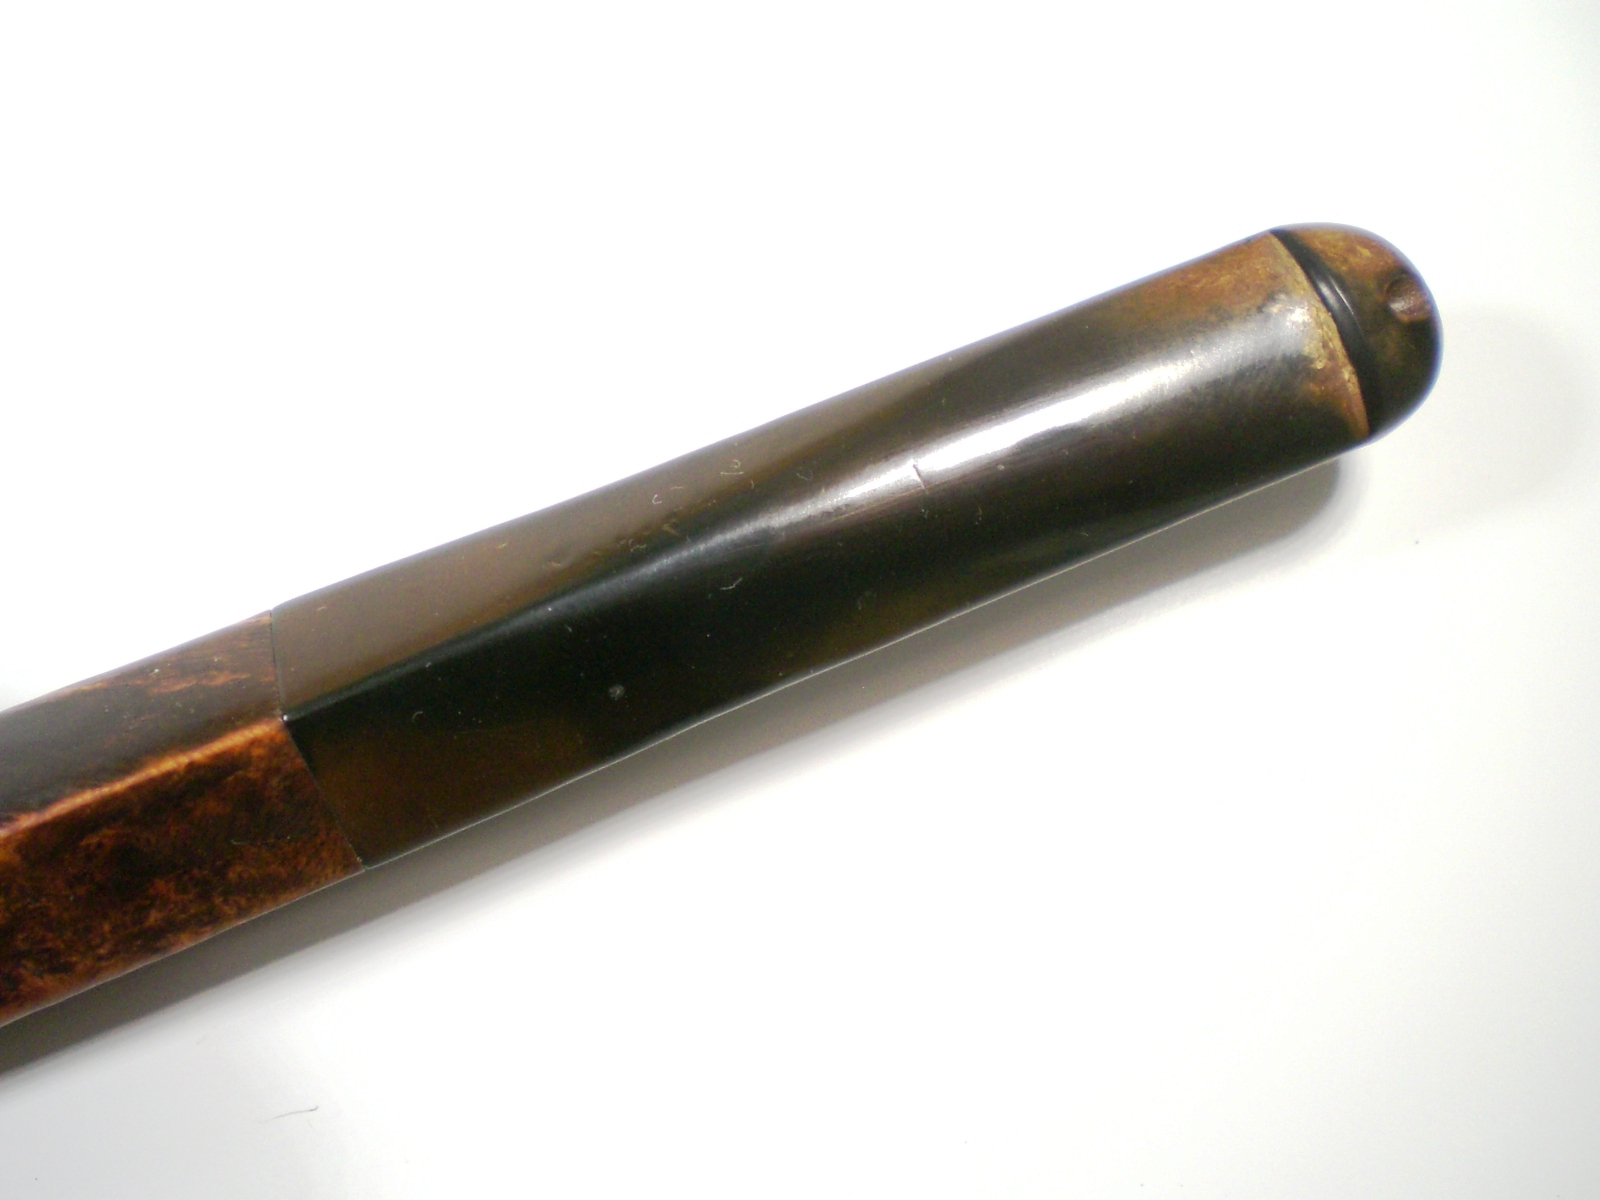
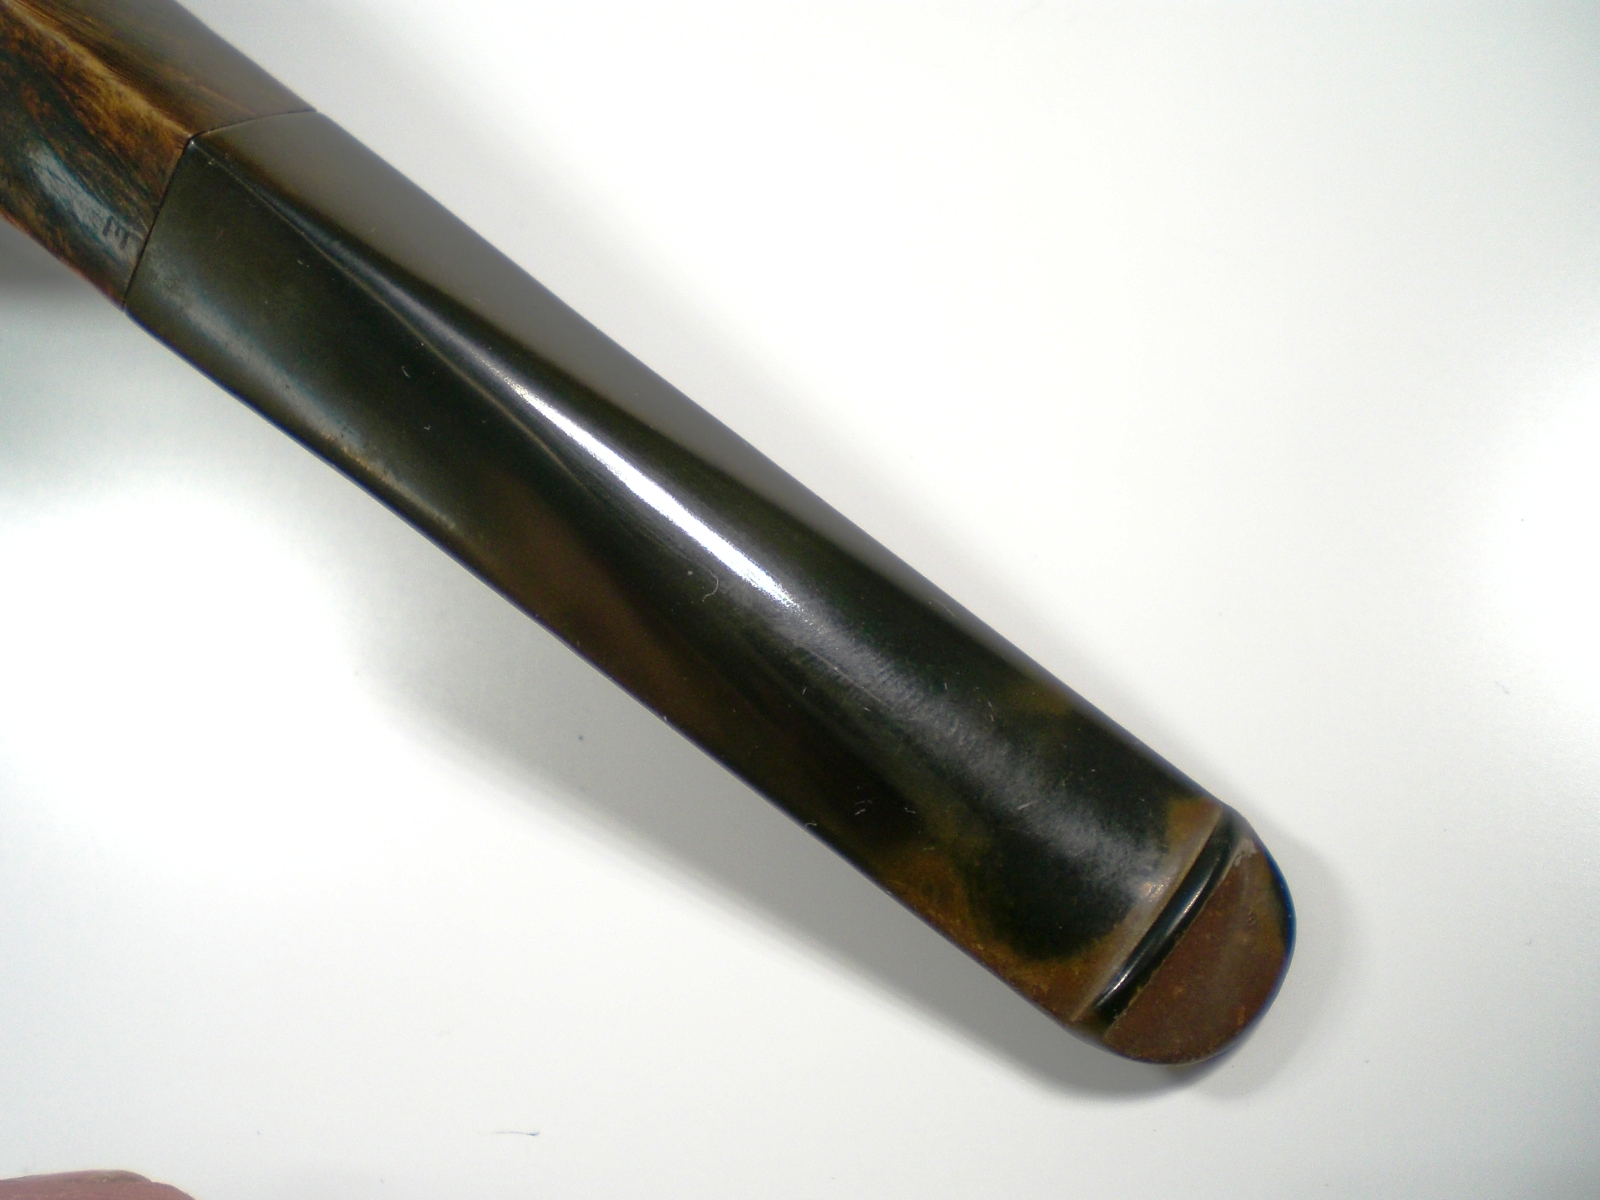
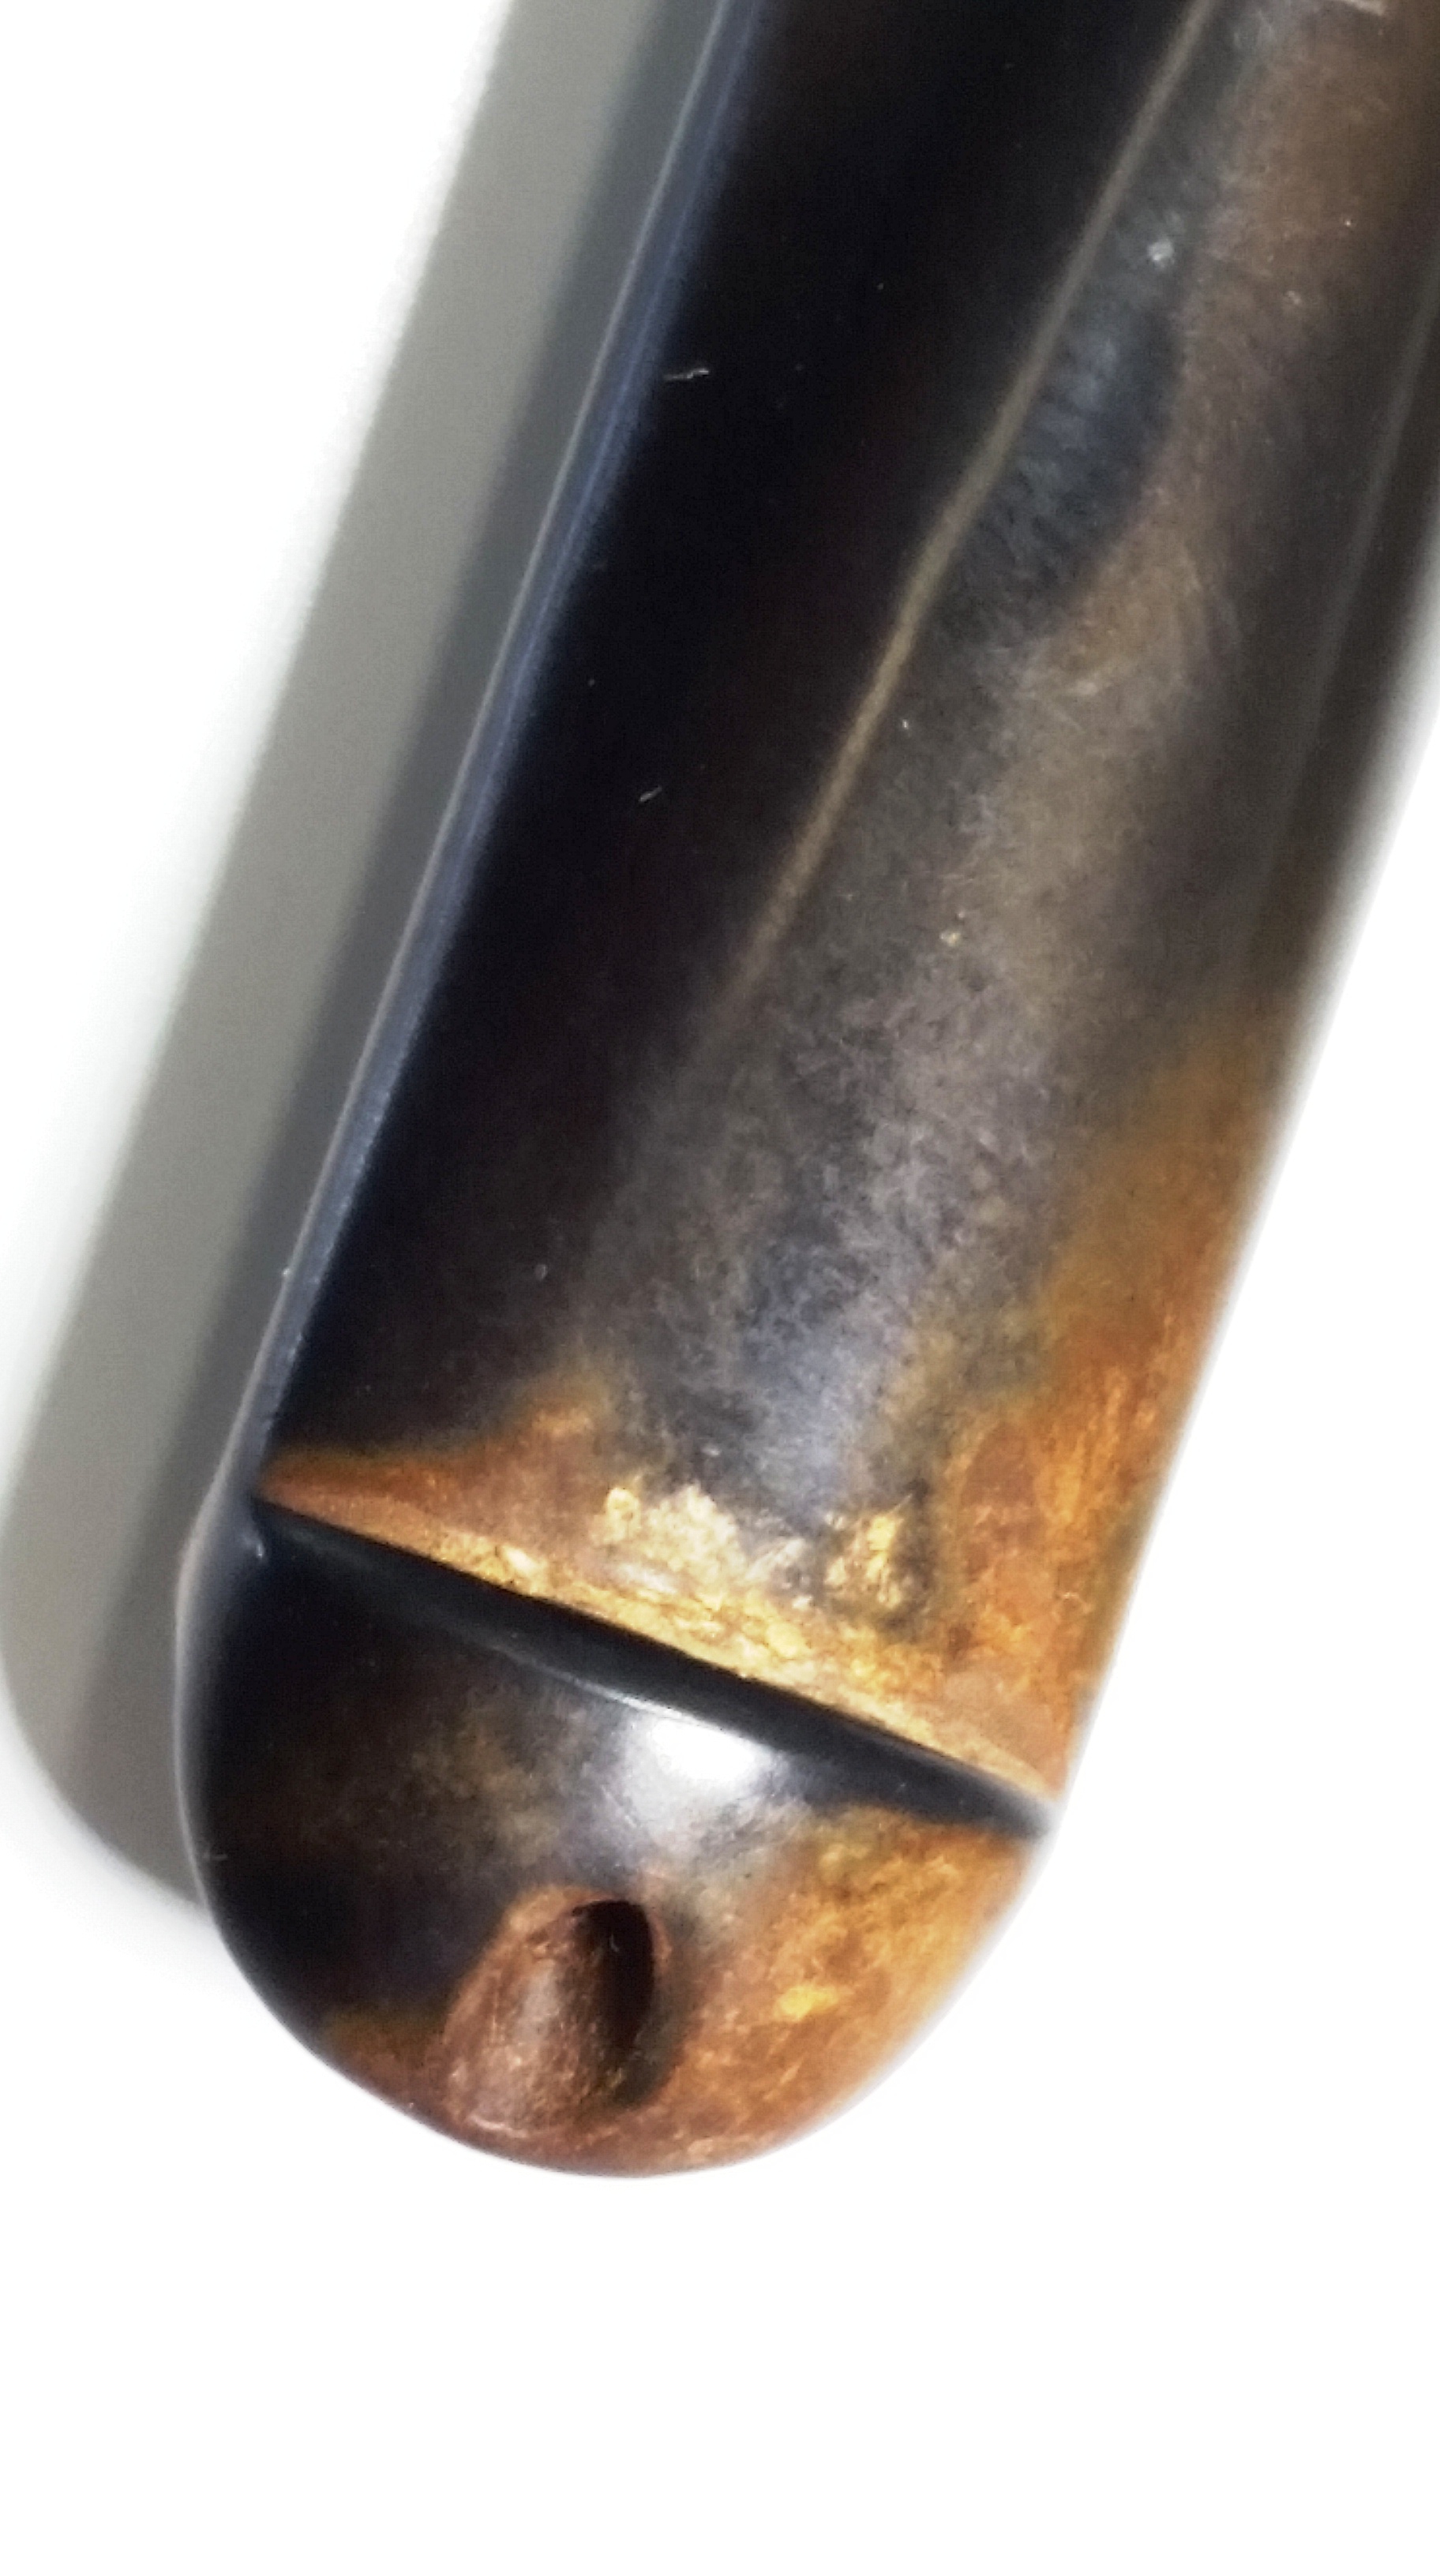
This pipe was sent to me by a friend on the Brothers of Briar forum. This was his first pre-Republic Peterson and I think he chose well. The pipe was in very good shape, with some just minor stem oxidation.

Here’s the pipe as received.

Peterson_K-Briar_Before (1)

Peterson_K-Briar_Before (2)

Peterson_K-Briar_Before (3)

Peterson_K-Briar_Before (4)

?

?

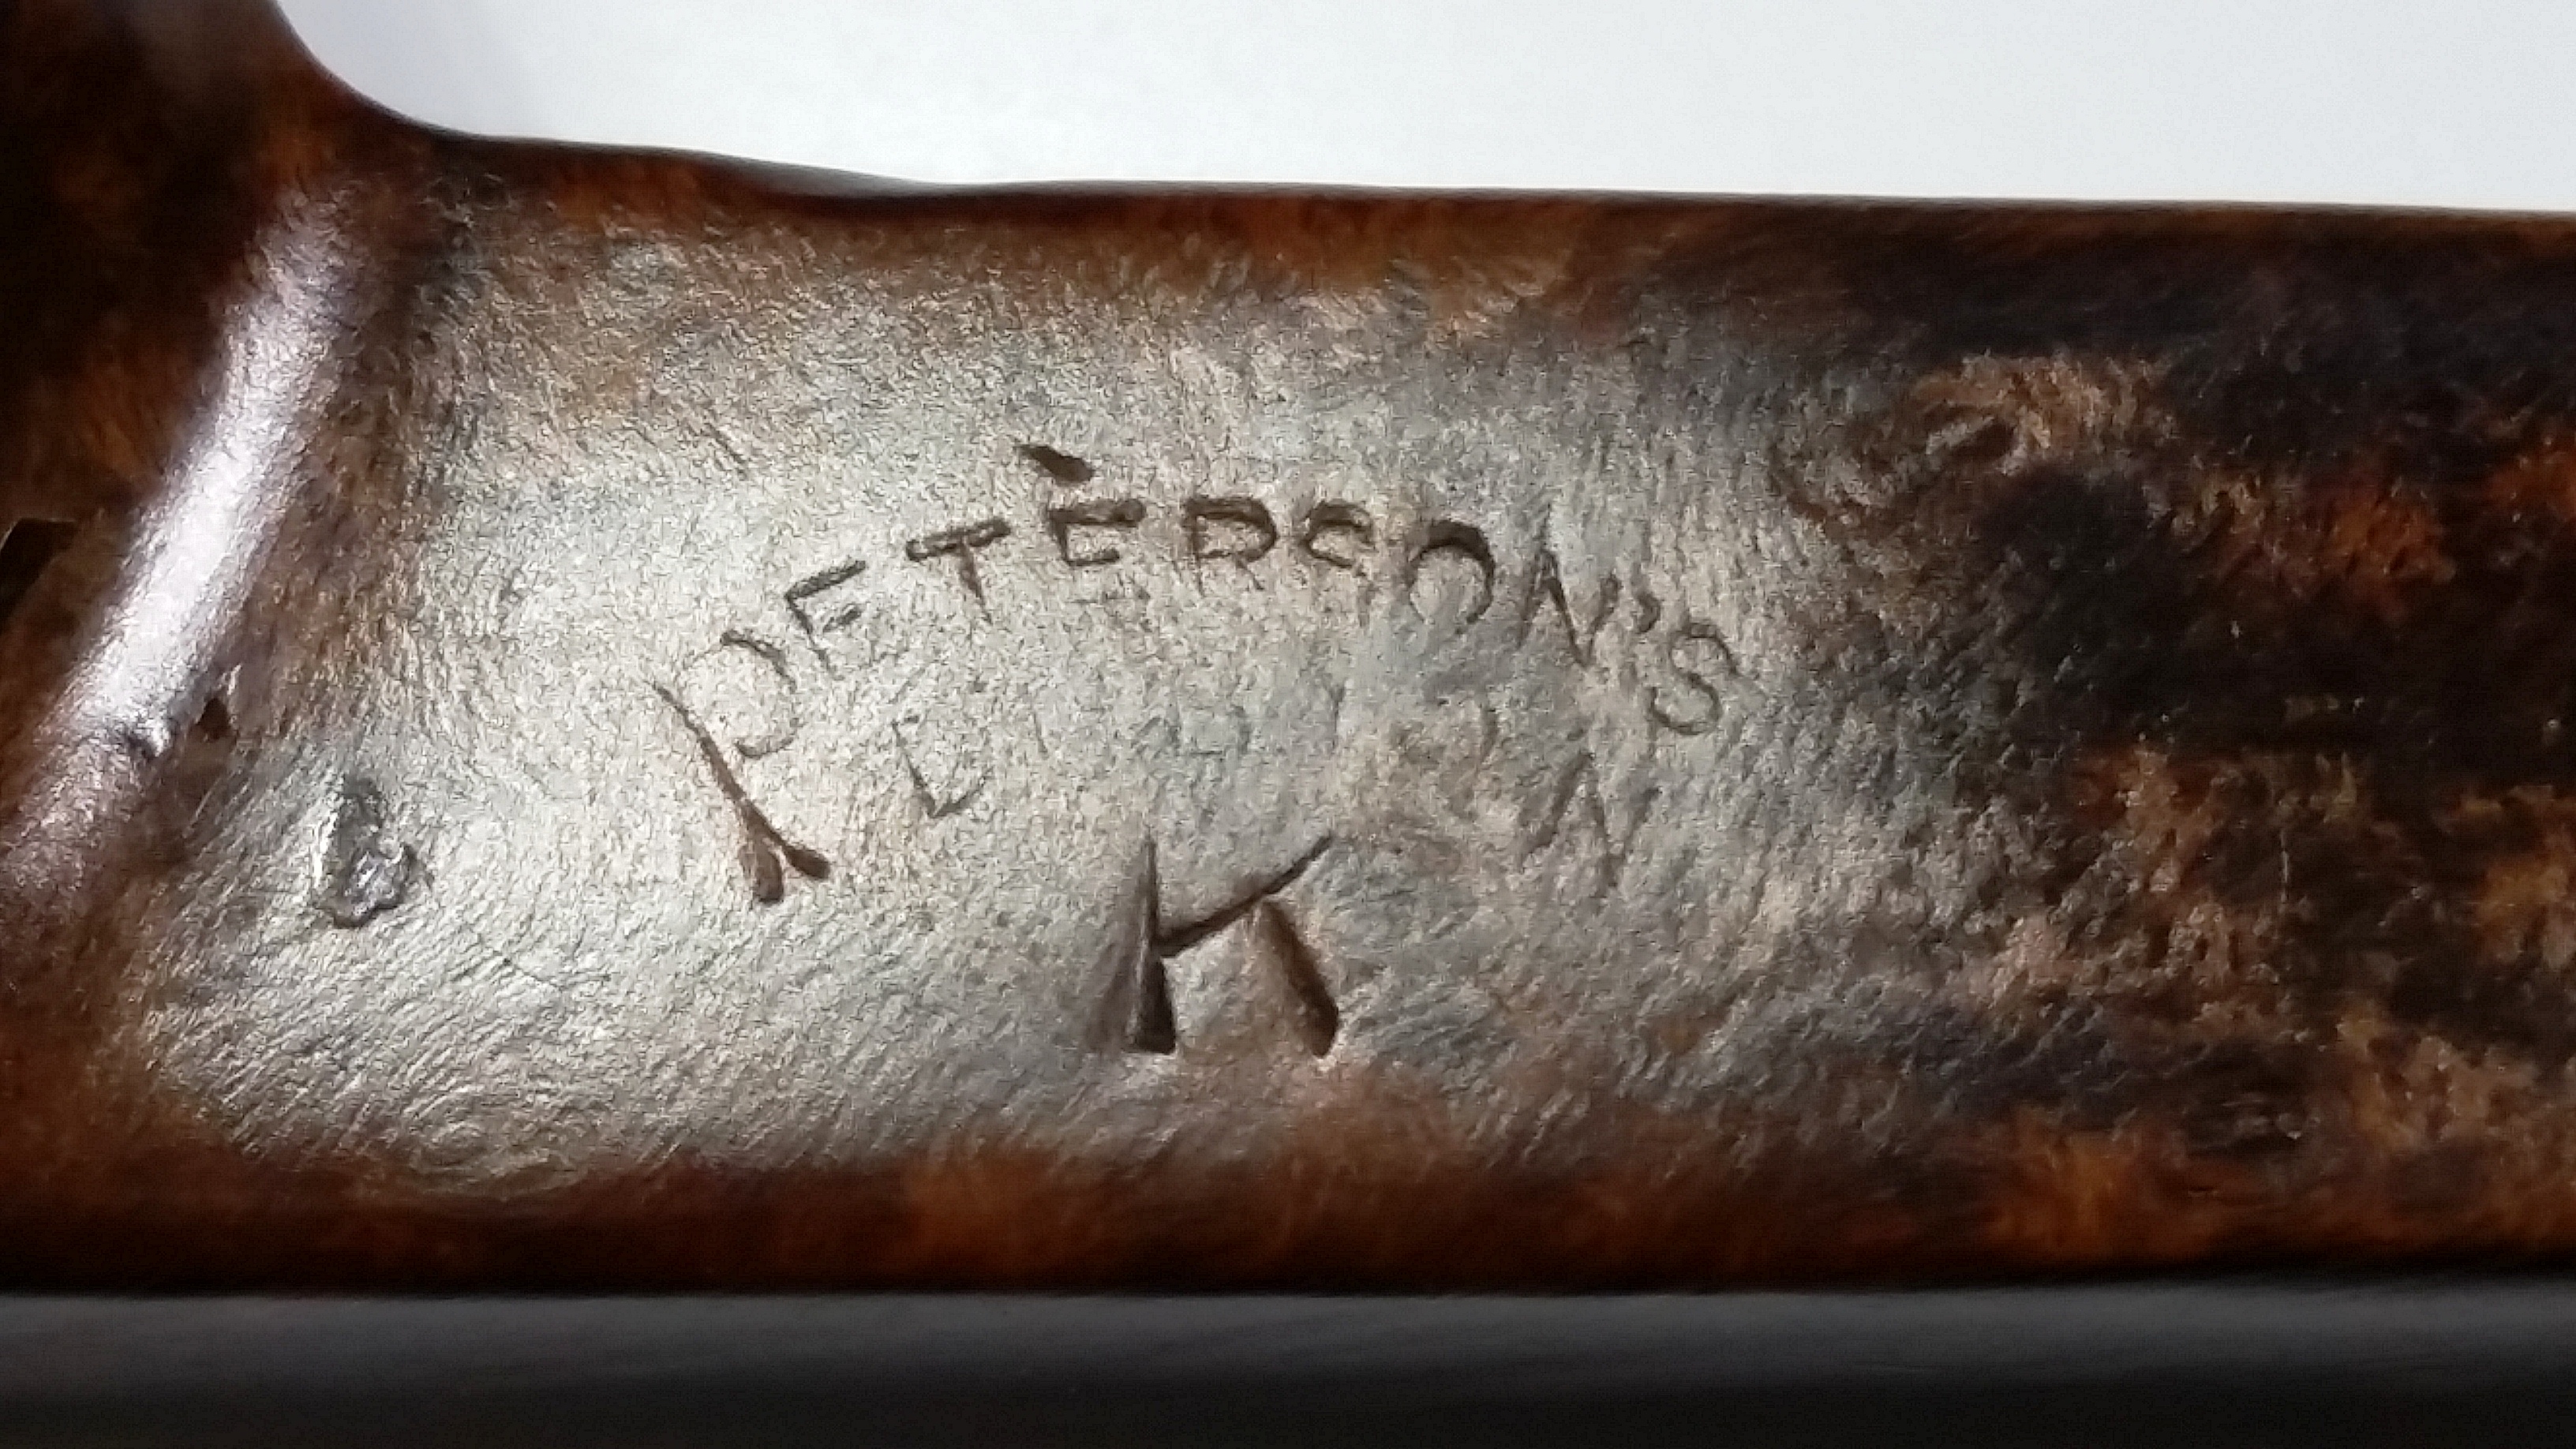
The pipe is only stamped “Eire” which according to Mike Leverette’s Peterson Dating Guide, was used between 1938 and 1941. The nomenclature is weak, but visible. I’ve found that my Samsung S5 camera is the best choice for taking close-up pictures of nomenclature, as below. One day I’ll add a macro lens to my wife’s digital SLR camera.

?

?

?

?

The pipe had only the slightest cake, which was removed with a reamer bit and a piece of sandpaper wrapped around the bit. It was so clean, the owner and I decided against the alcohol and sea salt soak. I did clean the shank with alcohol and a bristle brush, but it was also very clean.

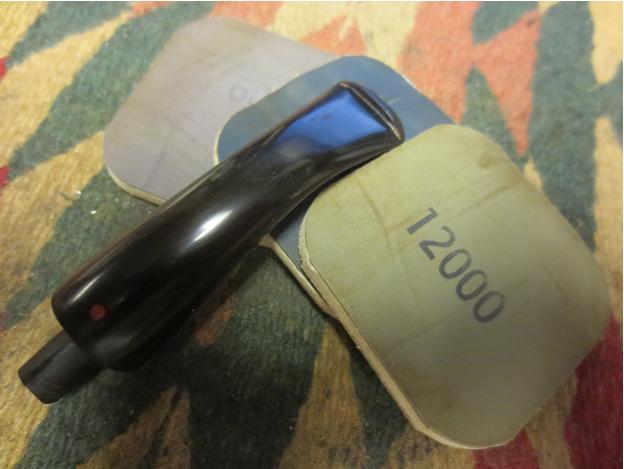
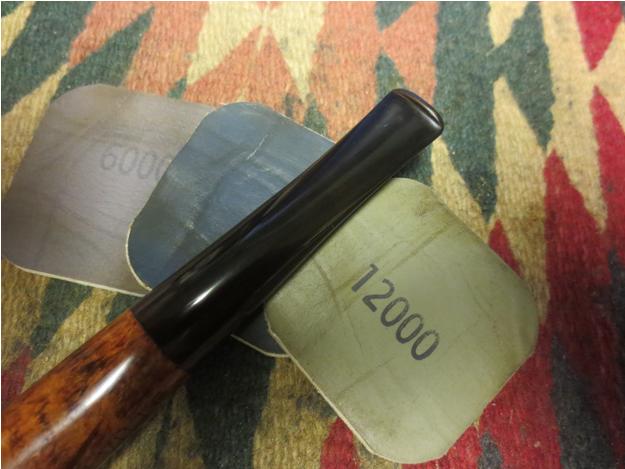
I tried to lift some of the dents with steam, but most were too deep. So, the briar was polished with white diamond and several coats of carnuba wax. The stem was soaked in a mild mixture of Oxy-Clean (dry powder mix) and then sanded with 600, 1500 and 2000 grit wet paper. 8,000 and 12,000 micromesh sheets were used next followed by a polishing with White Diamond rouge and then Meguiars Plastic Polish.

Below is the finished pipe. It still has a few bruises, but I think some patina on an old pipe is a good thing.

Peterson_K-Briar_Finished (1)

Peterson_K-Briar_Finished (2)

Peterson_K-Briar_Finished (3)

Peterson_K-Briar_Finished (4)

Peterson_K-Briar_Finished (5)

Peterson_K-Briar_Finished (6)

Peterson_K-Briar_Finished (7)

Peterson_K-Briar_Finished (1)

Update – 9/14/15
I posted this blog entry to the PipesMagazine.com forums and one member (rblood) provided this feedback regarding the date and unique Country of Manufacture (COM) stamp:

First, we know that Eire came into being in late 1937 so we can assume that as a starting point. Peterson tends to use old stampings, sometimes much later than we expect – Eire and other odd stampings possibly through 1948 from what I have seen, so that gives you a range of 1937 – 1948.

The “P” in Peterson is the old fork style, so still good on that count. Here is where it get’s interesting – The “Peterson Dublin” (with no “of”) and the single “K” in non-serif font to me points to an early Eire pipe.

Add to that the odd COM stamp. You would expect to see an Eire pipe COM in circle format with “made” on top, “in” in the center and “Eire” at the bottom of the circle. A very odd COM stamp indeed – can’t say that I have ever seen this before. I am guessing here, but it is possible that they just did not have the circle stamps ready if this was early production – That would narrow it to late 1937 – 1938 in my mind.

The stem in this era would have had the “P” stamp, not the “K” stamp – the K stamp I believe came into use with the “A Peterson Product” pipes in the 1960’s. The 1960’s pipes also got the “‘K’-Briar” stamp, not just the “K”.

Quick & Easy Removal Of Heavy Rim Cake


Thanks for the simple how to with the Scotch Brite. Got some here and will have to give it a go. I have been using the 0000 steel wool trick and it doing well so this will be another tool for the kit. Thanks Troy.

Troy W's avatarBaccy Pipes

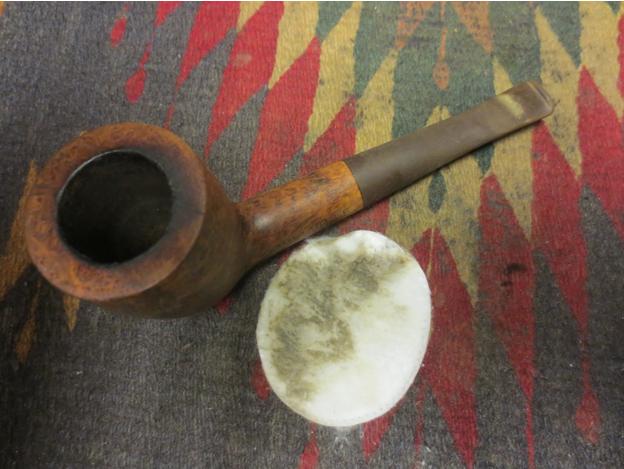
I thought i would post my simple way to clean up heavy rim cake . Its the fastest and easiest way I’ve found.

This is a old  E.Wilke poker I’m working on .

I will use Oxy Clean as my cleaner because its a natural finish and I’m not worried about preserving a factory stain finish. I will soak the stem of this pipe in it as well ,so i will be killing two birds with one stone.

If i was preserving a pipe and wanted to be careful i would substitute Oxy Clean for a mild detergent and water such as a drop of dawn in warm water, or just water. It will remove the cake  slower but will do just as well with out removing stain . Oxy Clean will strip stain and finish if applied like i will be  doing on this rim. If you do this…

View original post 582 more words

Cleaning Up a Kaywoodie “500” Canted Billiard


Looks really good. I have not used the Tan before but I like it. I always dilute the dark brown to get whatever colour I am looking for 🙂

Charles Lemon's avatar

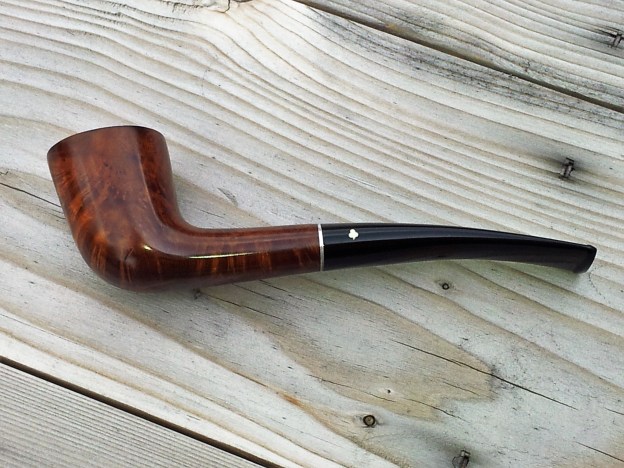
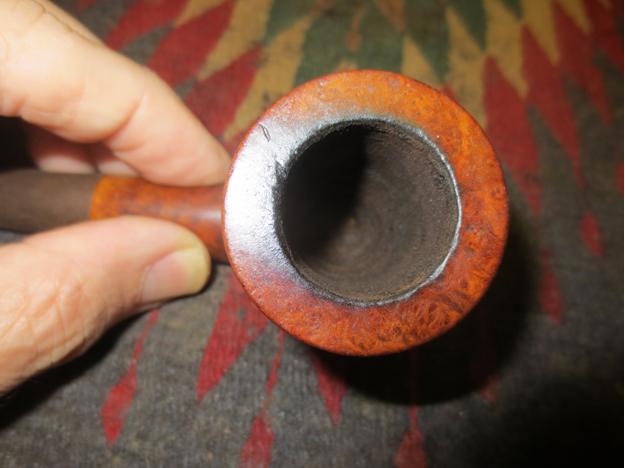
This old Kaywoodie “500” came in a recent auction lot and arrived in fair condition for a pipe that was likely never expected to last as long as it has. On the other hand, the 500 and 600 lines from Kaywoodie were cheap, low-end pipes manufactured between 1959 and 1967, so perhaps my specific 500 wasn’t doing too badly for its age. It did have a few things going for it to increase its longevity: a nowadays unheard of quality of briar for an entry-level pipe (I couldn’t find any factory fills), and a flexible nylon pipe stem, which doesn’t oxidize and can take quite a beating and still clean right up.

The pipe had also been given reasonable care, or at least not been outright abused, unlike other estate pipes I’ve come across. The internals were relatively clean, though the original lacquer finish was chipped and peeling, and the rim had…

View original post 694 more words

I don’t know if I improved this old meer or just made it worse


Blog by Steve Laug

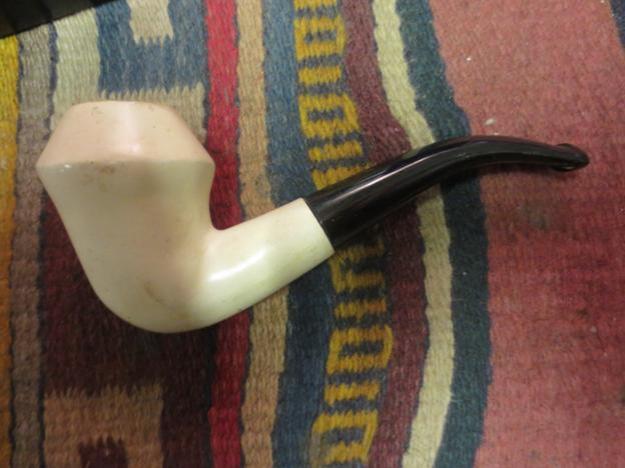
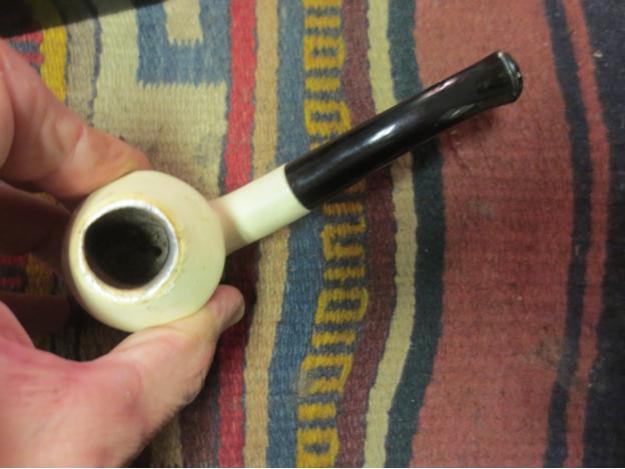
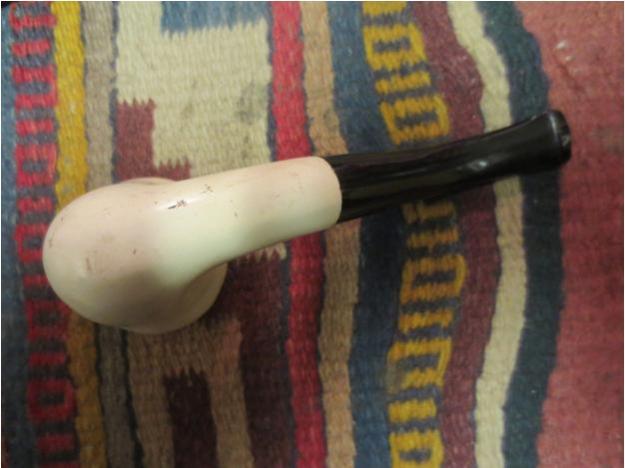
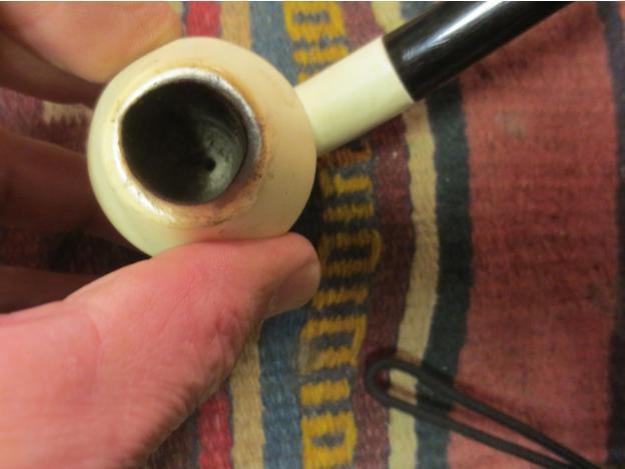
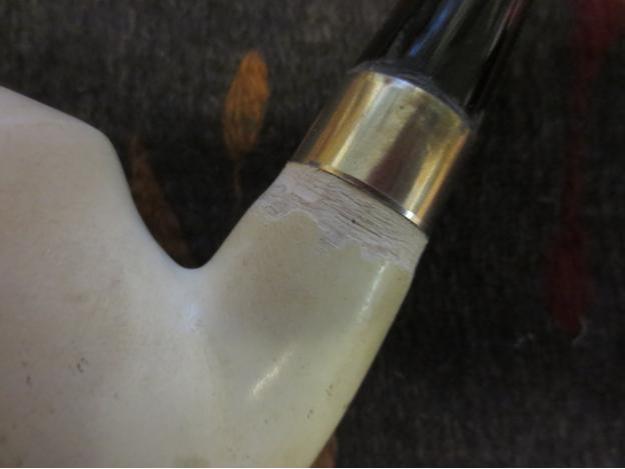
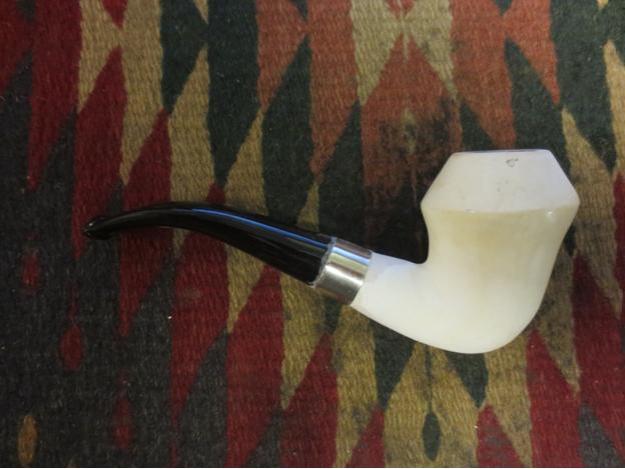
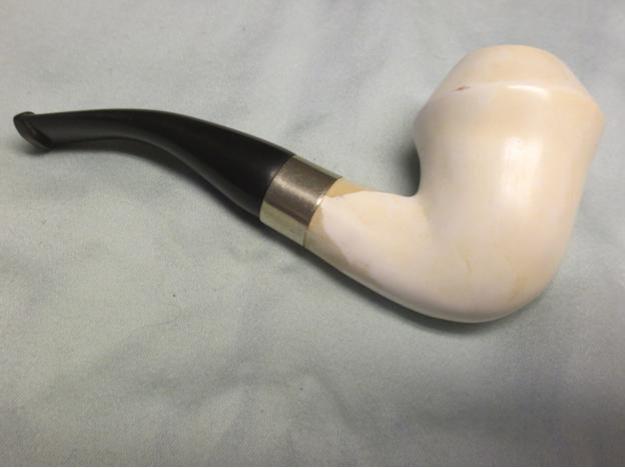
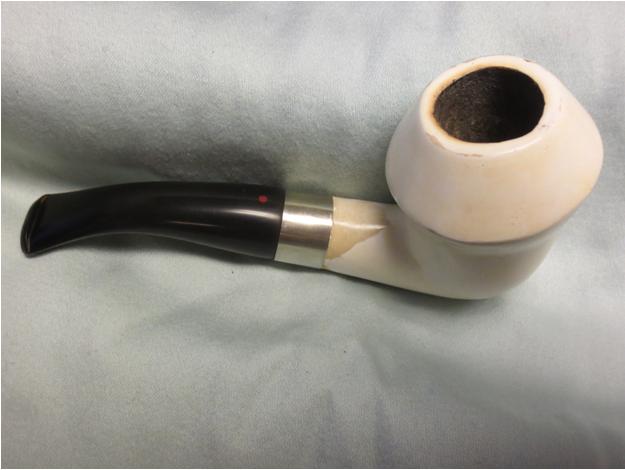
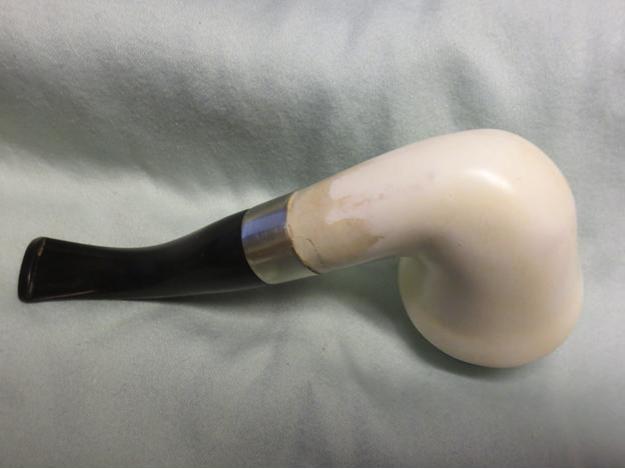
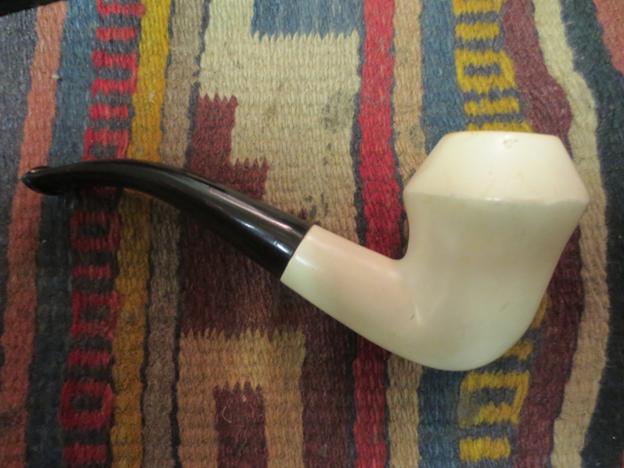
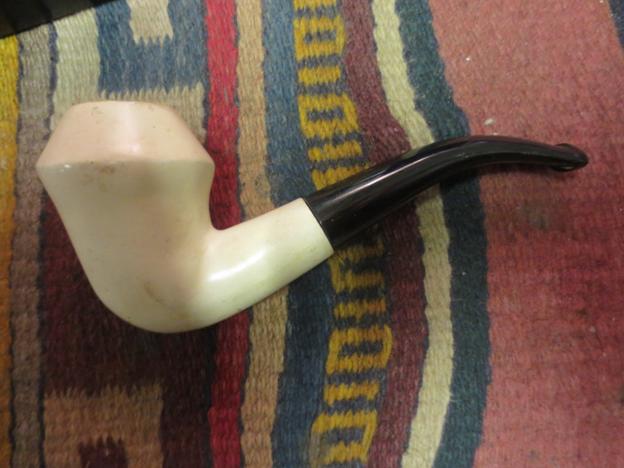
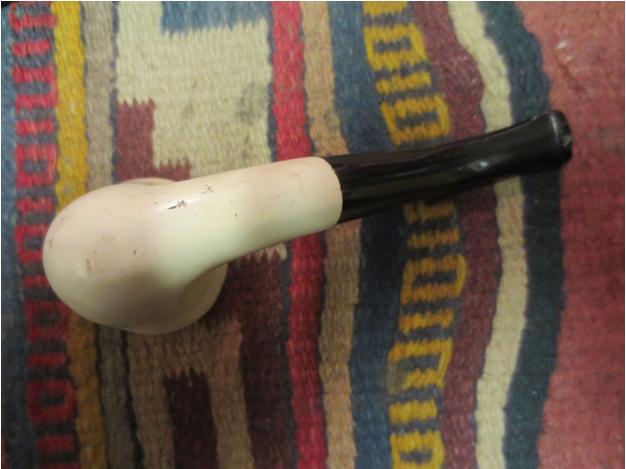
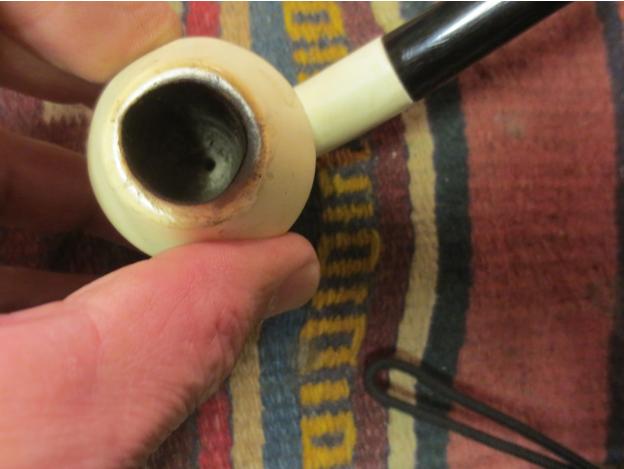
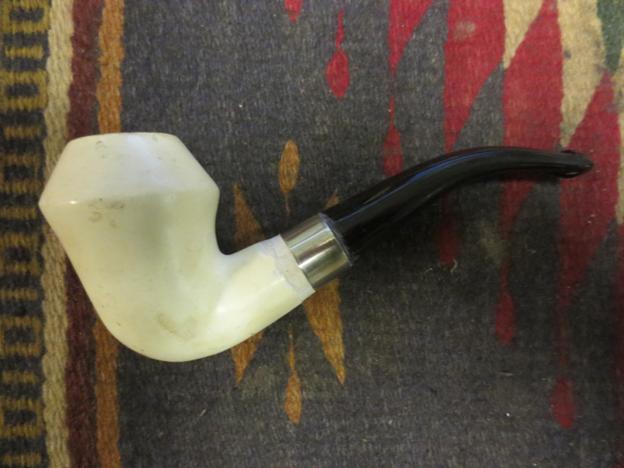
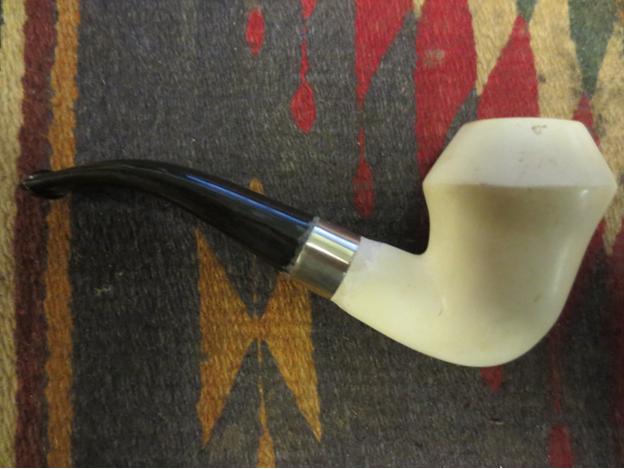
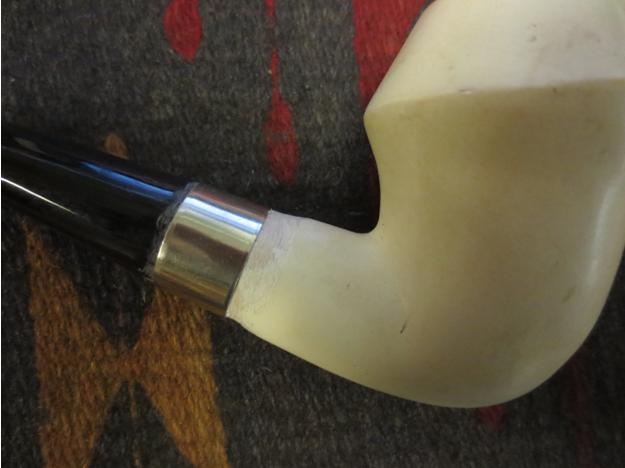
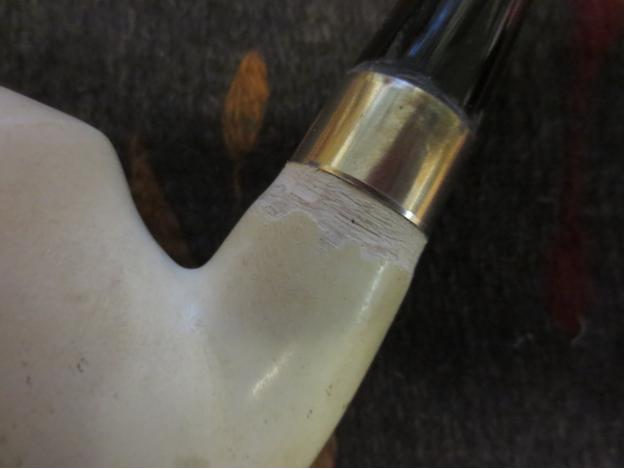
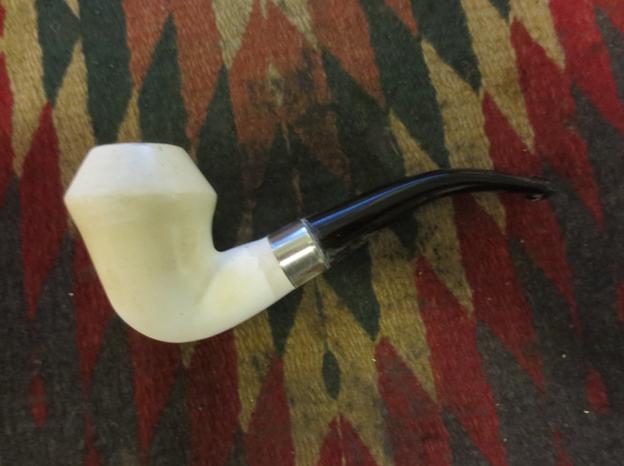
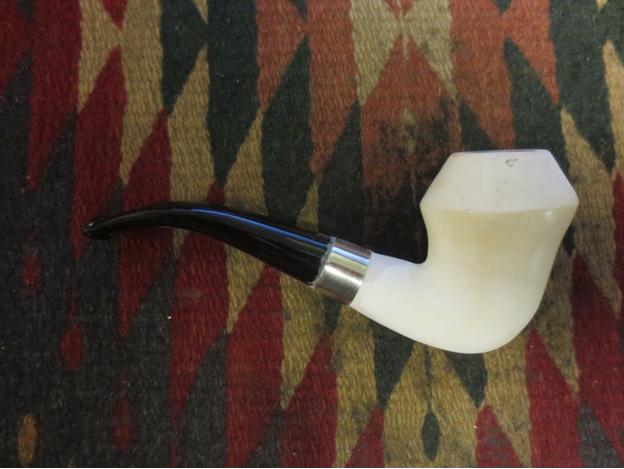
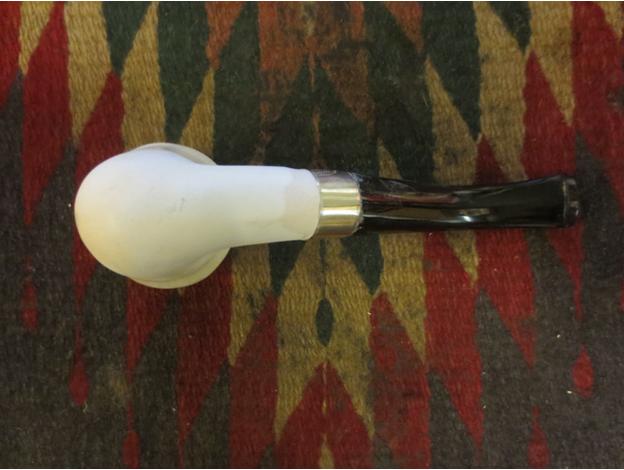
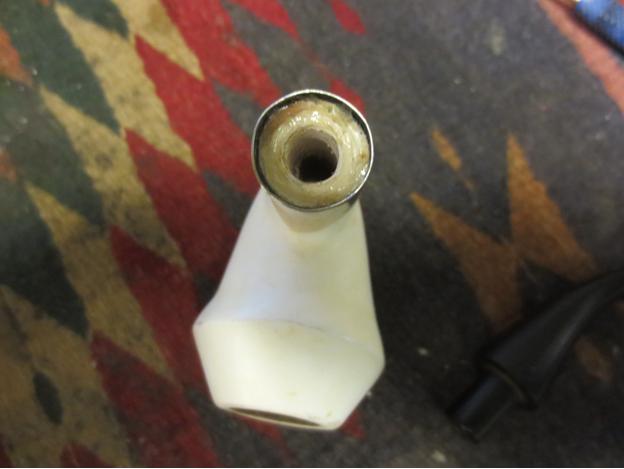
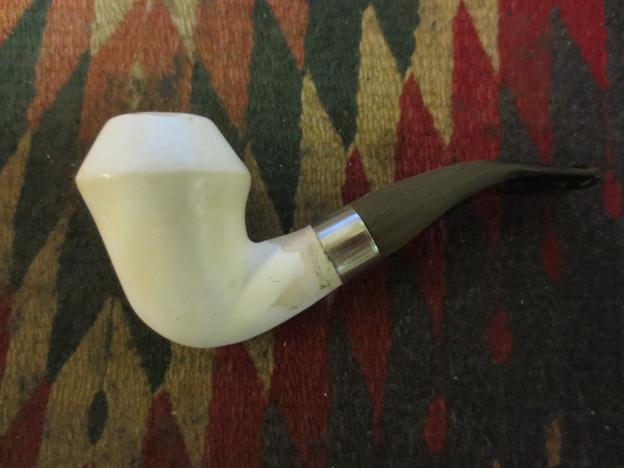
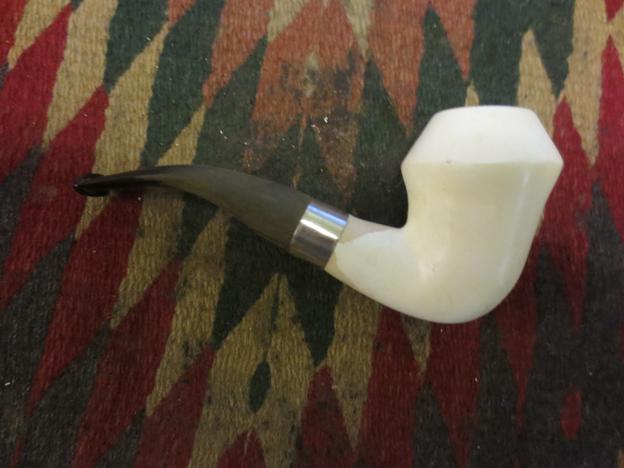
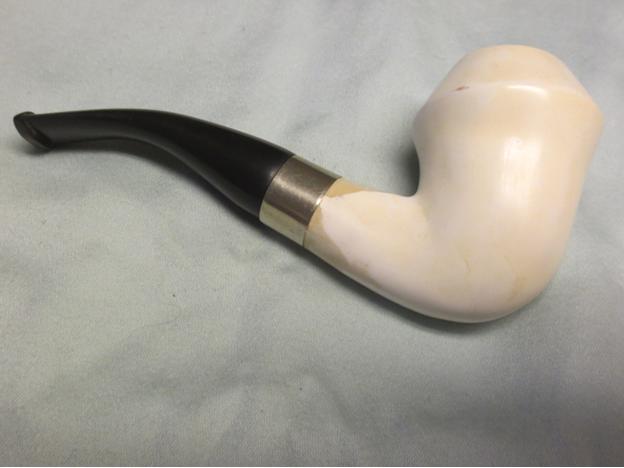
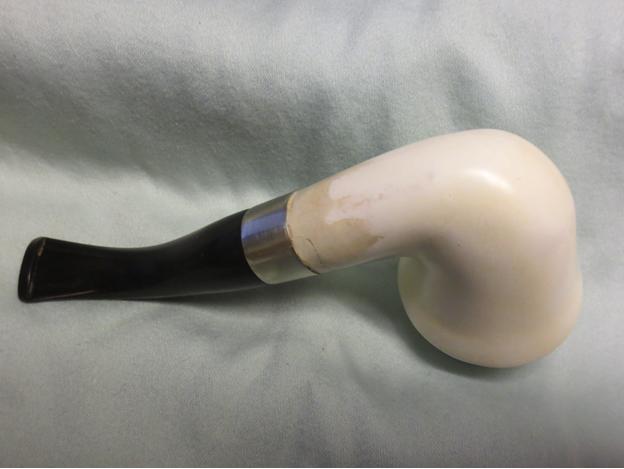
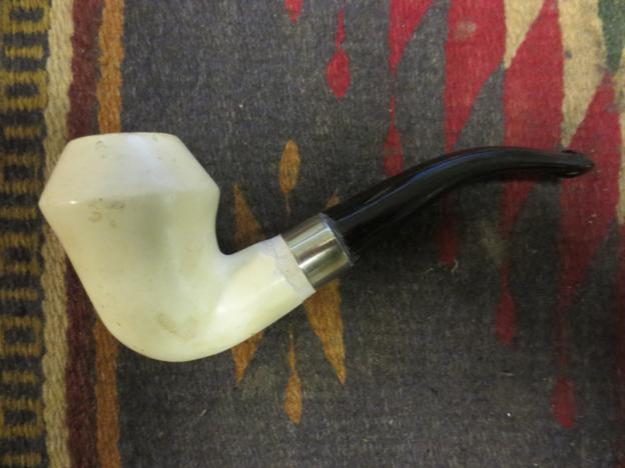
Sometimes when I take on a project it is a no win situation. Or at least it appears that way! This is one of those times. In the box of recent pipes that I am working on cleaning up to sell was an older no name meerschaum calabash shaped pipe. The meer was in passable shape – some nicks and scratches and some run over on the rim but it should have been an easy clean up. If you look at the first set of photos below you may well wonder about the comments that follow. It actually looks far worse than the pictures depict. The stem shank joint does not match even though it the photo it looks great. If I went just be the photo I would have been better off to leave well enough alone — still even having the pipe in hand I may have been smarter to just polish and sell it as is.

Here is my diagnosis and the assessment I did that led me to the conclusions that it was worth fussing with the pipe to see if I could at least improve upon it. Starting with the bowl I could see that it was slightly out of round but I am not sure it did not come that way. The whole pipe has a bit of a lopsided look to it – a slant towards the left. I pulled the stem and there were more issues that needed to be addressed. Someone had installed a push tenon and mortise replacement. The mortise insert had not been set all the way into the shank but it had been epoxied in place. The tenon was deeply set into the hollowed out end of the stem to accommodate the lip that had been left on the mortise insert. The end of the push tenon had been cut off at an angle and the end was constricted from the cutter. This seriously hampered the clear airflow through the stem.

At this point you will have to trust my assessment because the pictures do not clearly show a pipe that fits this description. But honestly – the stem was slightly smaller in diameter than the shank so with the fiddling that had been done to the stem it was a loose fit. It was wobbly in the shank. The stem was bent in such a way that it was cocked to the left and just irritated me. Looking back after the fact I can honestly say that at this point I should have made the decision to just lightly clean this one up and let somebody have it as a bargain. I certainly would have saved me a lot of grief as you will see if you follow this tale to the end.Mess1

Mess2

Mess3

Mess4

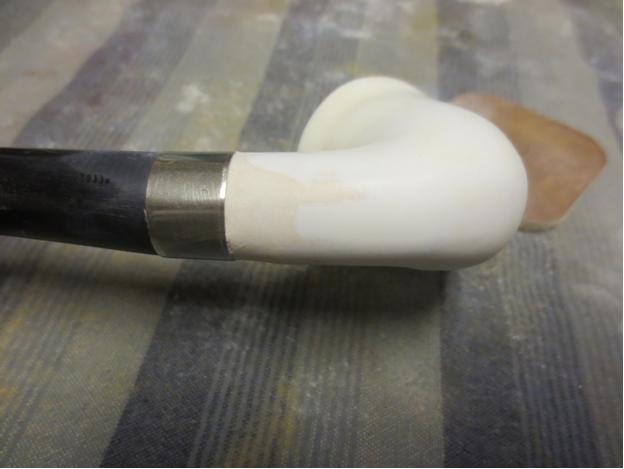
Mess5 Sadly I have to tell you that what I should have done and what I ended up doing are two singularly different tales. I decided that I could definitely improve the draw on the pipe, clean up the tenon and mortise area, and maybe give the pipe a bit more distinguished appearance. So…I took the Dremel and sanded down the shank to slightly smaller than the diameter of the stem so that I could add a nickel band and dress this pipe up. This is where the first issue became apparent. It became clear that the bowl was pressed rather than block meerschaum. When I removed the “shiny” surface coat the underneath meerschaum was a different, almost tan colour. The shiny coat was like an egg-shell over the tan undercoat. What had been a simple project just changed. I had planned to hand shape the shank to the bowl and remove the new hump that I had created and make the shank a bit more delicate looking and in keeping with the flow of the band and stem. But now, the top shiny coat removal left me with a bit of a dilemma. If I removed more of the shape to bring it into line I would also remove more of the shiny coat. What to do? Honestly at this point I put the pipe back in the box and almost decided to just bite the bullet, buy it myself and scavenge a few parts from it. It looked that bad to me. I left it and cleaned up the Stanwell Volcano Sitter that I posted about earlier on the blog.Mess6
Mess7

Mess8

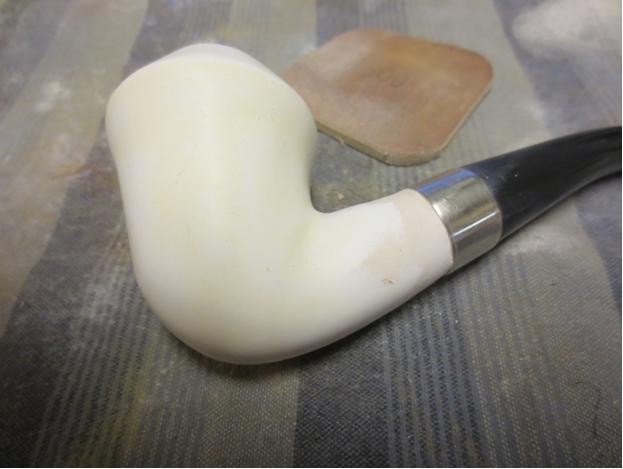
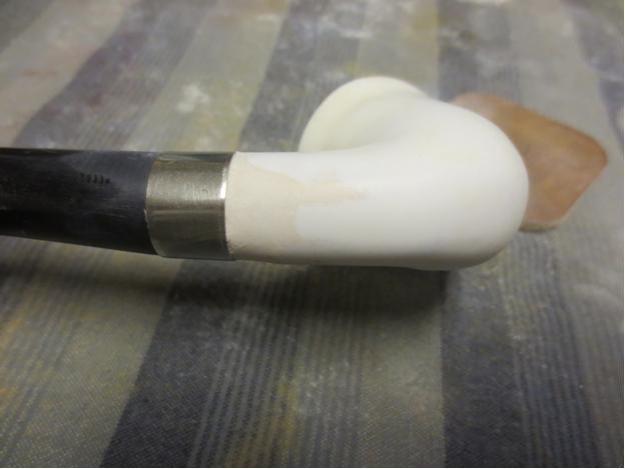
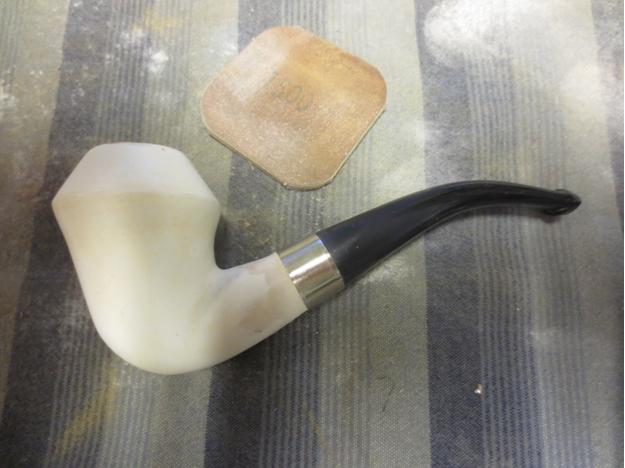
Mess9 After I finished working on the other pipe, I decided to pull the meerschaum out and have another look at it. It was bad. No it was actually worse than that – it was downright ugly. However, I don’t give up easily – though I wonder if in this case I should have. You will have to ask if my stubbornness was a good thing in this case as you read the rest of the process. All I know is that each step I took to improve the pipe ended up making more work for me. Each adjustment led to more adjustments. But at this point, for better or worse, I decided to work on the shape and see what I could do. Maybe I could bring out the shape in such a way that it incorporated the different tan coloured portion of the bowl and the rim. I sanded the shank with 220 grit sandpaper to shape it and round it out. I smoothed out the roughness left behind by the Dremel and worked on the fit of the stem. It was still crooked but at least I could get it to sit straight against the shank and just inside the band. I also lightly topped the bowl to remove the tars and some of the rim damage.Mess10

Mess11

Mess12 I sanded the pipe outside in the yard while Spencer played so as not to make a mess of white dust all over my work area. I finished the rough shaping and went over it with a medium and a fine grit sanding sponge and a fine grit sanding block before I brought it back inside. Once I had it back at the work table I sanded the shank with 1500 micromesh sanding pads to smooth out the surface and shape it even more. All the sanding was merely fine tuning. It turned out that the “shiny” coat was actually quite thin so you can see the flame like extensions up the shank toward the bowl. The nice thing was that the micromesh was giving the meer a bit of a shine. I worked on the scratches on the stem and fit in the band with the micromesh 1500 grit pad as well and the stem was beginning to shine.Mess13
Mess14

Mess15

Mess16 So far what do you think of my major make work project? This is a refurb that did not have to go this way. Those of you who are refurbishing pipes learn from this tactical error and think twice before having the audacity of thinking you can make something better when really all it needs is a quick clean up. You will save yourself a lot of headaches if you learn from my poor example on this “deadly” meer.

Today after work I went back to the meer. I probably should never have touched it again. I am telling you this thing is a nightmare. I removed the stem so that I could heat it and rebend it. I set up things as normal and held the stem about 6 inches above the heat gun. I was worried about melting the plastic stem. I should not have worried about that because I never even had the opportunity to try to bend it. Within seconds I heard a small pop – the stem crack horizontally across the top about an inch from the button. I could not believe it. Now I would have to make a new stem for it. Ah well that should not be a problem. I took out some new push stems to see if they would work in the shank insert in the meer. They were too large. That meant that I would need to pull the shank insert and replace it with another one. The trouble was that it was epoxied into the shank and I could not turn it out of the threads.

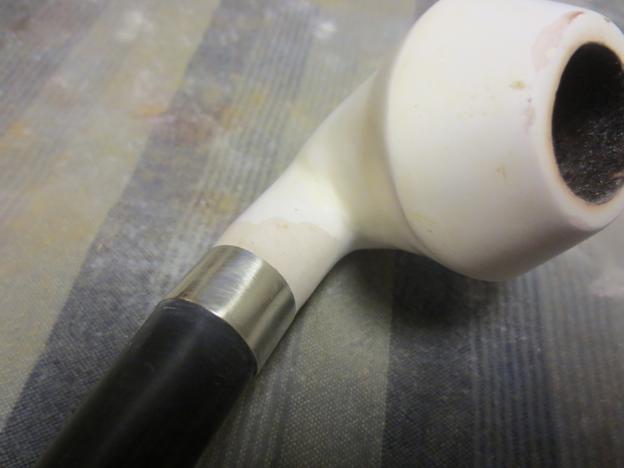
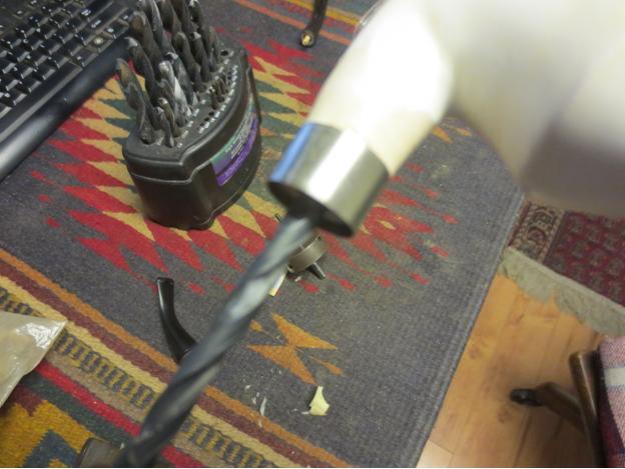
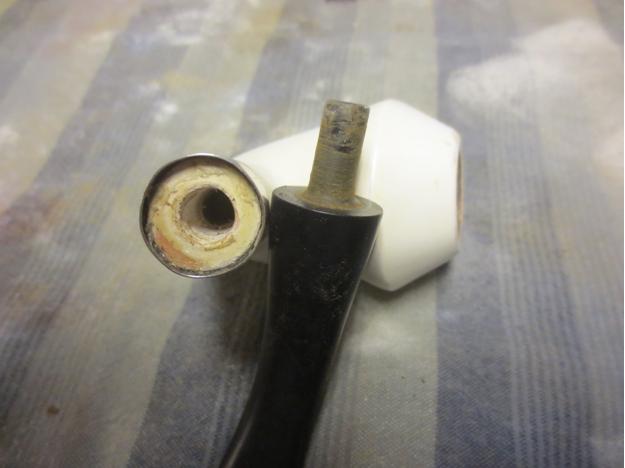
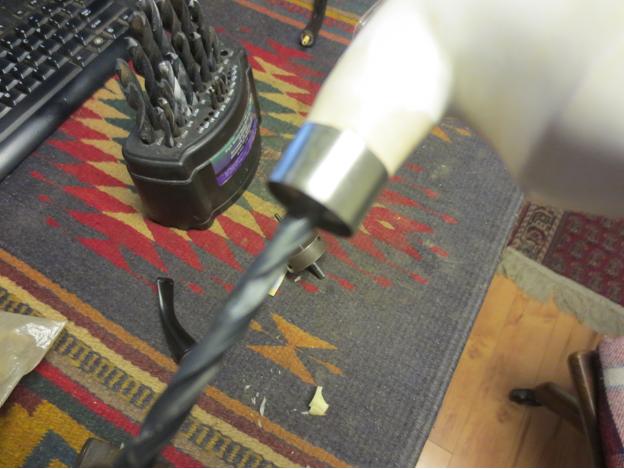
That basically left me with one choice. I would need to drill out the existing mortise push insert so I could put a new one in place. I set up the drill with a bit that would work and hand turned the shank on to the bit. It did not take long to drill through the old insert but cleaning out the epoxy in the threads was another story. It was like rock. I decided to use the next size drill bit and just remove the threads. This pipe was now destined for a push tenon on a regular vulcanite stem. That would solve the draw and make the thing a lot better smoking pipe.Mess17
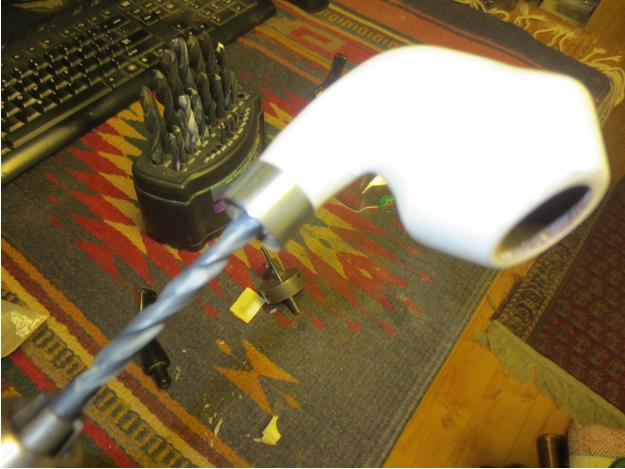
Mess18 Here is a picture of the newly drilled out shank. It is open and clean. I used a small needle file to clear out the debris from the drilling and a wet cotton swab to remove the dust from the walls and base of the mortise. Now I had to turn a tenon to fit the mortise. Again that should have been quite simple.Mess19 I found a stem in my can of parts that would do the trick and turned the tenon down to the measurements of the mortise. This finally was going great! I should have been warned that another ugly turn in events was about to happen. With the fit perfect I turned the stem into the shank and felt a pop on my fingers. I removed the stem and could see two small hairline cracks in the pressed meer. What made this humorous was that I had just read an email from Troy about how easily pressed meer crack under pressure. No worries the band had already been pressed into place and the crack was contained.Mess20
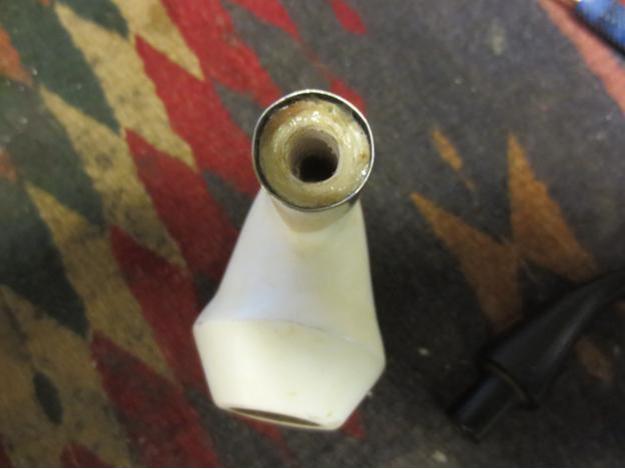
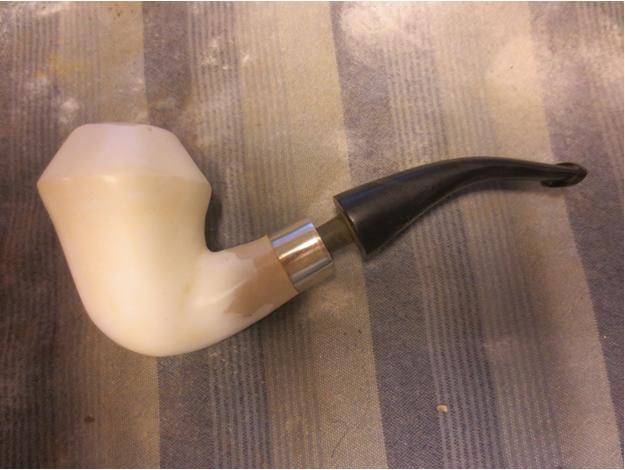
Mess21 Then I examined it around the other side of the band and on the left side saw some fine spider web like cracks – so tiny that formed an arch from the edge of the band at the top and curved down the side to the bottom. The issues with this old pipe never seemed to end. I cleaned out the crack and used some of the meer powder and superglue to fill in the crack. I sanded the crack with micromesh pads to smooth things out once again. I sanded the stem with 220 grit sandpaper to make the fit right. The next series of photos show the improved look – repairs and all.Mess22
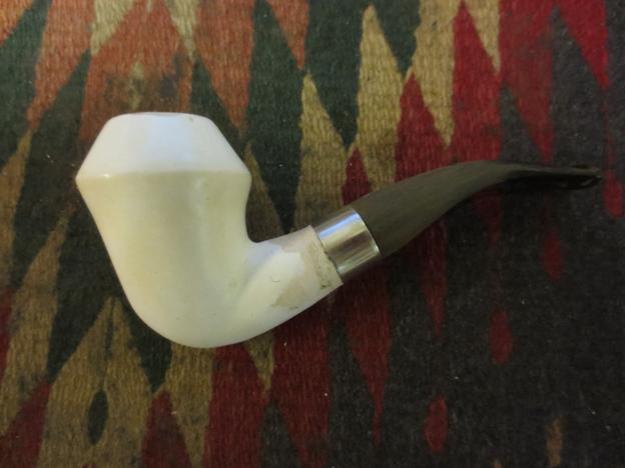
Mess23

Mess24

Mess25 I put the pipe away and called it a night. To say I was frustrated is probably an understatement. I can’t tell you how many times in this process I came close to throwing the pipe away and scavenging the parts for later use. In the morning I worked some more on the stem to make the stem/band junction smooth. I thought I would take the next two photos of the new stem along side of the original stem to show the changes. The first shows the deep inset of the push tenon in the original. The second photo shows the crack across the top of the stem. It appears as a white line.Mess26
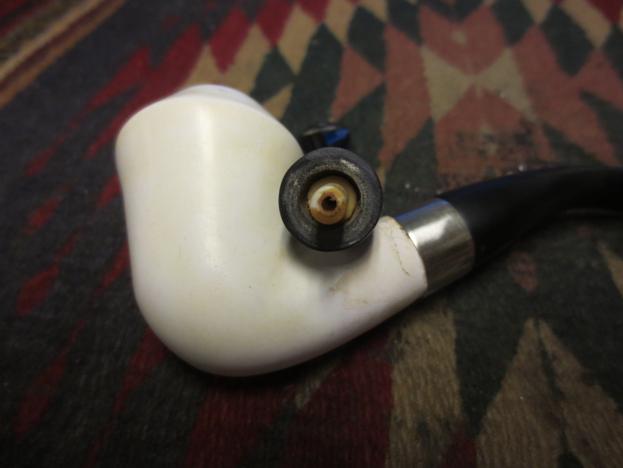
Mess27 At this point I think the pipe looks great! The new stem fits well and the look is improved – from a distance. You can see the repaired crack next to the band on the left side if you look carefully at both pictures. I think that this one will end up staying with me or being a giveaway. It is a shame really as the shape looks far better.

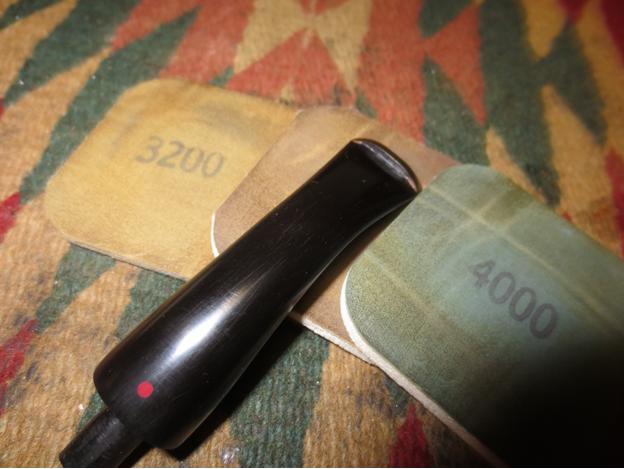
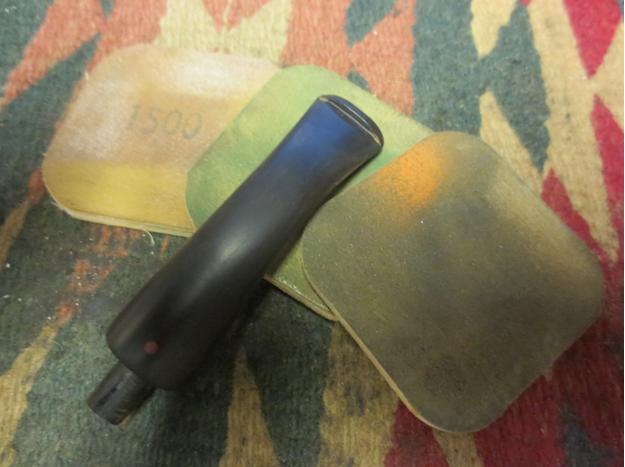
I worked over the stem and the bowl with micromesh sanding pads – wet sanding with 1500-2400 grit pads and dry sanding with 3200-12000 grit pads. I rubbed the stem down with Obsidian Oil and then continued to sand it through the next three grit pads. I finished the last grit and gave it a final coat of the oil and set it aside to dry.Mess28
Mess29

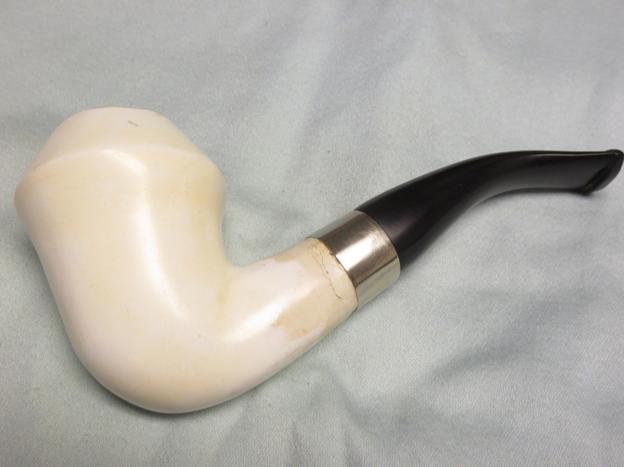
Mess30 I buffed the stem and the bowl lightly with Blue Diamond polish and then gave the stem multiple coats of carnauba wax. I hand buffed it with a microfibre cloth. The photos below show all of the flaws of this old pipe. There is nothing hidden. The small web of cracks on the left side of the shank, the areas on the sides of the rim and on the shank where the shiny coat disappeared when I sanded it are all visible. It is a great looking shape. The stem and the flow of the pipe are greatly improved but it is sadly not one that will be for sale. My improvements ended up making the pipe different from the original. I think the verdict is still out in terms of if I made it better or worse. Maybe it is just a difference in terms of degree of worse! It certainly is a better smoking pipe now. The draw is easy and open so I gained that in the process. I think this one will end up being a shop pipe here. What do you think?Mess31
Mess32

Mess33

Mess34

UPDATE: I just came in from sitting int he backyard with my dog giving this pipe an inaugural smoke. I loaded up a bow of Kohlhase & Kopp Easter Edition and enjoyed it for over an hour sitting and watching Spencer play with sticks. It delivers a flavourful smoke with effortless draw. The stem is comfortable in the mouth and I actually enjoyed smoking the pipe. Who knows what it will deliver over the days ahead. Worst case scenario I will have pressed meer to smoke that I will not care about damaging…

An Easy Refurb – A Stanwell Royal Danish 166 – Volcano Sitter


Blog by Steve Laug

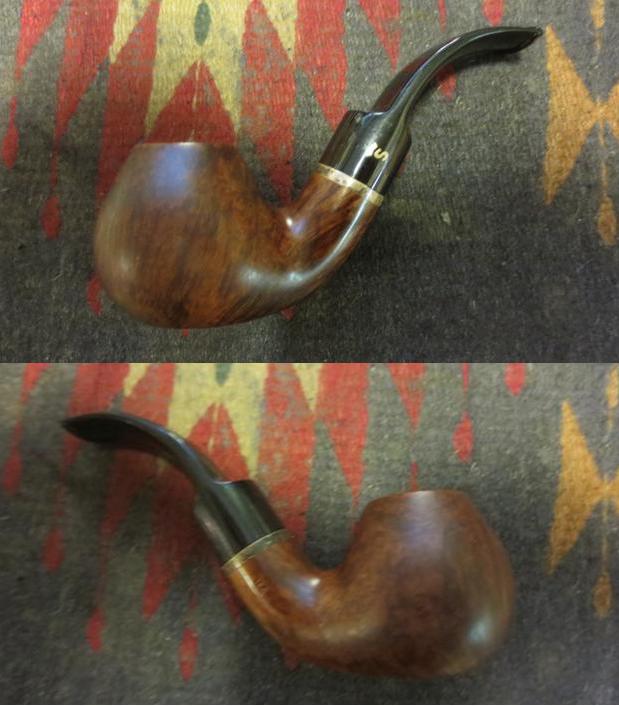
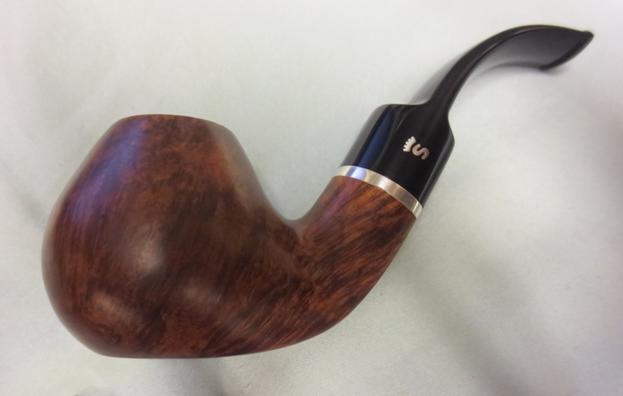
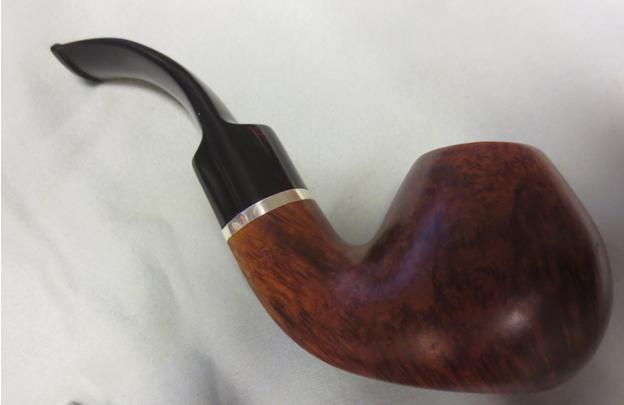
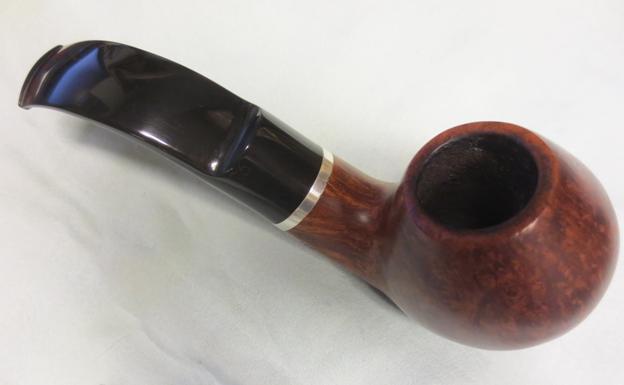
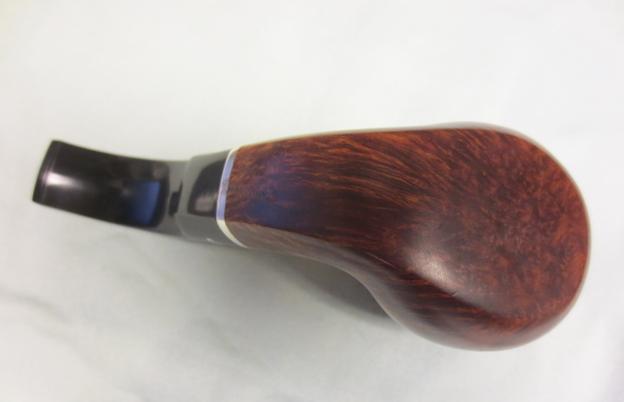
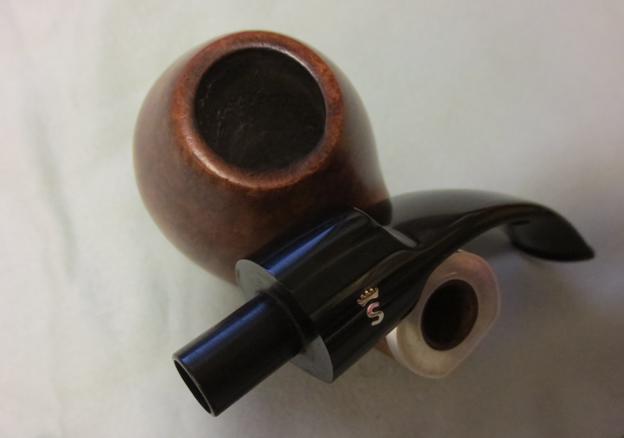
On to the next pipe in the lot that will be sold for the benefit of Smoker’s Forum online community. It is a beautiful Stanwell Royal Danish shape 166 which is a volcano sitter. It had a gold end plate and narrow band on the shank that was distinctive and tasteful but oxidized. The stem and the shank were drilled for a 9mm filter. It also had the gold S and crown on the left side of the shank. Underneath the surface dirt the pipe had some gorgeous grain. The finish looked to be in great shape with no dings or dents to be found. There are no fills or flaws visible in the briar. The rim had a slight build up of lava and the bowl was caked. It is a deep bowl but somewhat narrow and drilled at an angle toward the shank. Stanwell1

Stanwell2 I reamed the pipe with a PipNet reamer and took the cake back to a thin coat on the walls of the bowl.Stanwell3

Stanwell4 The mortise and the empty 9mm tenon had some loose debris that led me to believe they would be extremely dirty. I used the 0000 steel wool on the rim and was able to clean off the tar build up and leave the rim spotless.Stanwell5 I scrubbed down the bowl with alcohol on cotton pads to remove the grime and get a good view of the grain on this beauty. It was something – not a fill and not a pit in the briar. It was a great piece of briar.Stanwell6

Stanwell7

Stanwell8

Stanwell9

Stanwell10 I cleaned out the shank and the 9mm tenon and was surprised how quickly they cleaned up. I expected them to be far worse but the debris was loose inside both and it took very little to swab them out and leave them clean.Stanwell11 The stem also was not in bad shape. It is Lucite/acrylic and thankfully that does not oxidize. It had some sticky substance on it that was like the residue from tape and that came off with a little alcohol. I wet sanded the stem with 1500-2400 grit micromesh sanding pads and dry sanded with 3200-12000 grit pads.Stanwell12

Stanwell13

Stanwell14 I used the higher grits of micromesh to work on the gold band and plate until they shone. I buffed the bowl and stem with Blue Diamond plastic polish on the wheel and then gave the pipe multiple coats of carnauba wax. I buffed it to a shine with a soft flannel buff and then finished by hand buffing it with a microfibre cloth. The finished pipe is shown in the photos below. It is one stunning pipe!Stanwell15

Stanwell16

Stanwell17

Stanwell18

Stanwell19

Restoring a Millville Premiere Large Billiard


Blog by Steve Laug

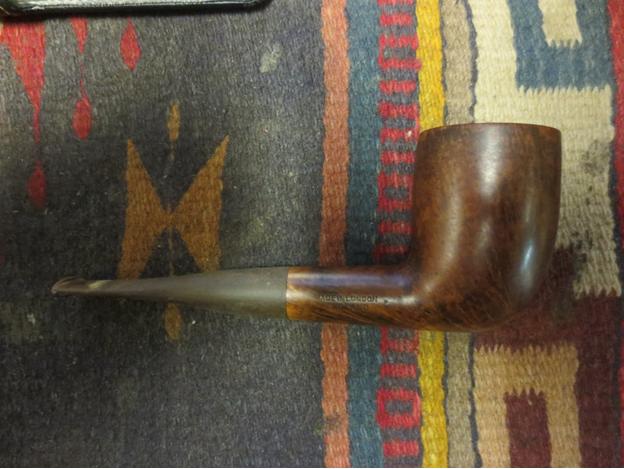
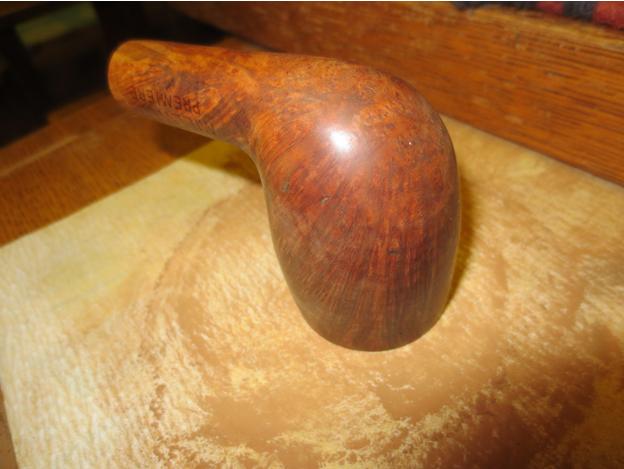
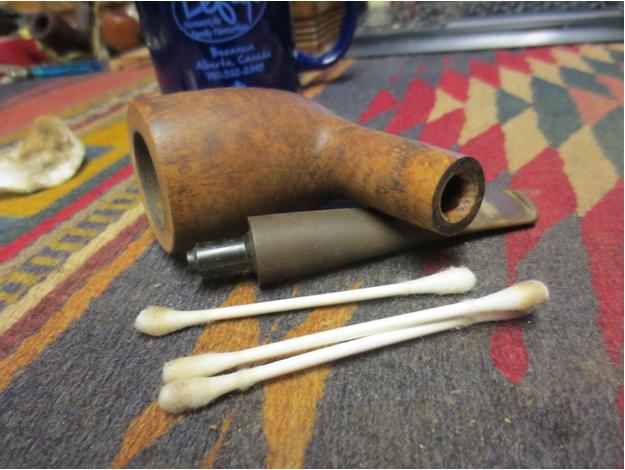
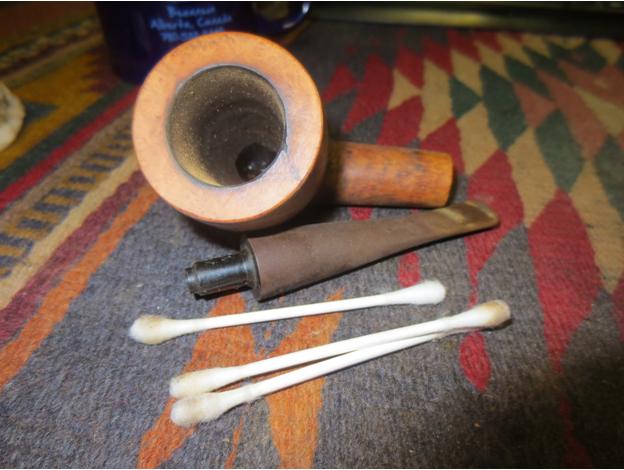
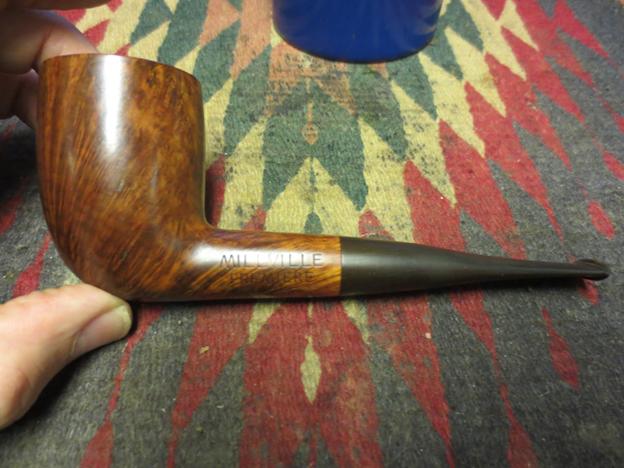
The next pipe on the worktable is another that will be for sale for the benefit of Smokers Forum online community. It is a truly beautiful piece of briar that is stamped Millville Premier on the left side of the shank and Made in London over England on the right side. I have had a few Millville pipes come across my table over the years but this is by far one of the most stunning. The grain on it is beautiful. When I got it the finish was dirty and the grain did not stand out clearly. The stem was rough and porous feeling and was oxidized. There seemed to have been a softee bit in place at one time on the stem as it had left behind the characteristic calcification on the vulcanite. There were two light tooth marks on the top and bottom of the stem near the button. The fit of the stem is perfect to the shank and there is a very faint characteristic M that graces this brand of pipe. It is almost gone from over-buffing but I am hoping it will still show when I have finished cleaning up the pipe. The finish was lightened at the shank stem junction and would need to be darkened. The rim had what appeared to be a gouge across the top surface at the backside of the bowl.

I wanted to know more about the brand so I did a bit of searching on the web to see what I could find out about Millville pipes. Dennis Marshall started the brand in 1980. He had worked for Barling and Charatan for many years. His son John now makes all of the Millville pipes as Dennis is retired. Their pipes still very closely follow the artistic, freeform designs and grading of the old Charatan lines. The pipes are sold almost exclusively in Piccadilly, London in a stall in the market in front of St. James’s Church. Though you can sometimes find them online at British pipe sellers such as Bond’s of London. According to Pipedia the prices of their pipes “start at about 20 £ – hardly the price of a cheapish Stanwell. These were made from pre-turned bowls. The better pipes, entirely hand-made freehands in the old Charatan style, are made from a stock of very old briar, as John stresses. They use several grades like “Unique” or “Executive”. A “Bamboo” can make it up to 500 £.”

Below are some photos of the pipe when I received it. It is a beauty that needed some TLC but it would soon be shining again.Mill1

Mill2

Mill3

Mill4 I reamed the bowl with a PipNet pipe reamer to take the cake back to the briar. I wanted to clean up the inner edge of the rim before I worked on the mark on the surface.Mill5

Mill6 I took the next photo to show what appeared to be a gouge in the top of the rim. It went at an angle from the inside of the bowl across the back surface of the rim.Mill7 I used some alcohol on a cotton pad to scrub down the surface of the briar. Once the grime was removed you can see the stunning grain on this beauty!Mill8

Mill9

Mill10

Mill11 I spent some time examining the rim with a loupe to check how deep the gouge went and if I could steam it or if I would need to sand it to repair it. To my surprise I found that it was not a gouge at all but rather a fill. Somehow along the way the fill had shrunken and left the divot in the surface of the rim. I decided to top the bowl and see if I could minimize the divot. I started with a medium grit sanding sponge to see if that would do the job. I hate to use the extreme of topping the bowl with a full topping.Mill12

Mill13 While it worked to some degree it did not remove the dip in the surface of the bowl. I decided to lightly top the bowl with the sandpaper on the topping board.Mill14 In the next photo you can clearly see the fill in the rim. I was able to flatten the surface of the rim so that it is smooth to touch.Mill15 I sanded the inner edge of the rim with a folded piece of 220 grit sandpaper to smooth out the nick in the rim. Then it was time to clean out the bowl, shank and stem. I used pipe cleaners, cotton swabs and alcohol to remove the tars and oils in the pipe. It did not take a lot of scrubbing before the pipe was clean.Mill16

Mill17 To smooth out the rough texture of the stem and remove the oxidation I sanded it with 220 grit sandpaper and then with a medium and a fine grit sanding sponge.Mill18 For a change of pace, I turned my attention to the bowl finish. I used a stain pen to touch up the lighter areas of the finish at the stem shank junction and on the rim that I had topped. I blended two of the stain pens – the medium and the dark stain pen – to get the colour to match the bowl. I then buffed the bowl with White Diamond on the wheel to smooth out the blend. I would also need to use the micromesh sanding pads in the higher grits to bring the finish to a nice blend.Mill19

Mill20

Mill21

Mill22 I worked on the stem with micromesh sanding pads – wet sanding with 1500-2400 grit pads and then rubbed the stem down with Obsidian Oil. I dry sanded with 3200-4000 grit pads and gave it another coat of oil. This time I let the oil dry on the stem before I took it to the buffer.Mill23

Mill24 I buffed the bowl and stem with White Diamond and then finished sanding with 6000-12000 grit micromesh sanding pads. I gave the stem a final coat of Obsidian Oil and let it dry.Mill25 I buffed the pipe with Blue Diamond and then gave it multiple coats of carnauba wax. I buffed it with a soft flannel buffing pad and then hand buffed it with a microfibre cloth to add depth to the shine. The finished pipe is shown in the photos below.Mill26

Mill27

Mill28

Mill29

Mill30

Mill31

Investigating a Melting Stem While Refreshing a Willard Imported Briar


That turned out really well. I wanted to pass on the results of your experiment and the heads up with regard to alcohol! Great work Charles.

Charles Lemon's avatar

This smaller pipe came to me in pretty rough cosmetic condition. Marked “Willard” over “Imported Briar”. Pipedia tells us this:

“The Willard pipes were made by Sparta Industries in Sparta, N.C from 1963 to 1975 (about 60,000 pipes per week). Some were distributed by the Post and Base Exchanges that serviced the military during the Vietnam War. Others were produced for R. J. Reynolds Tobacco.”

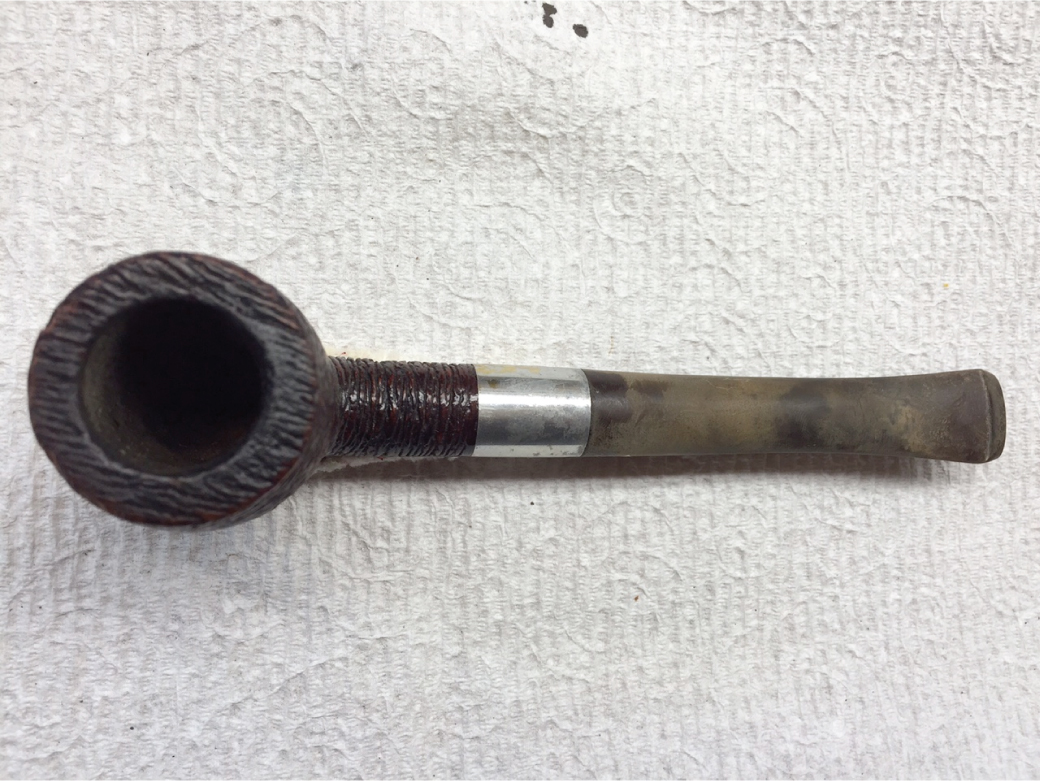
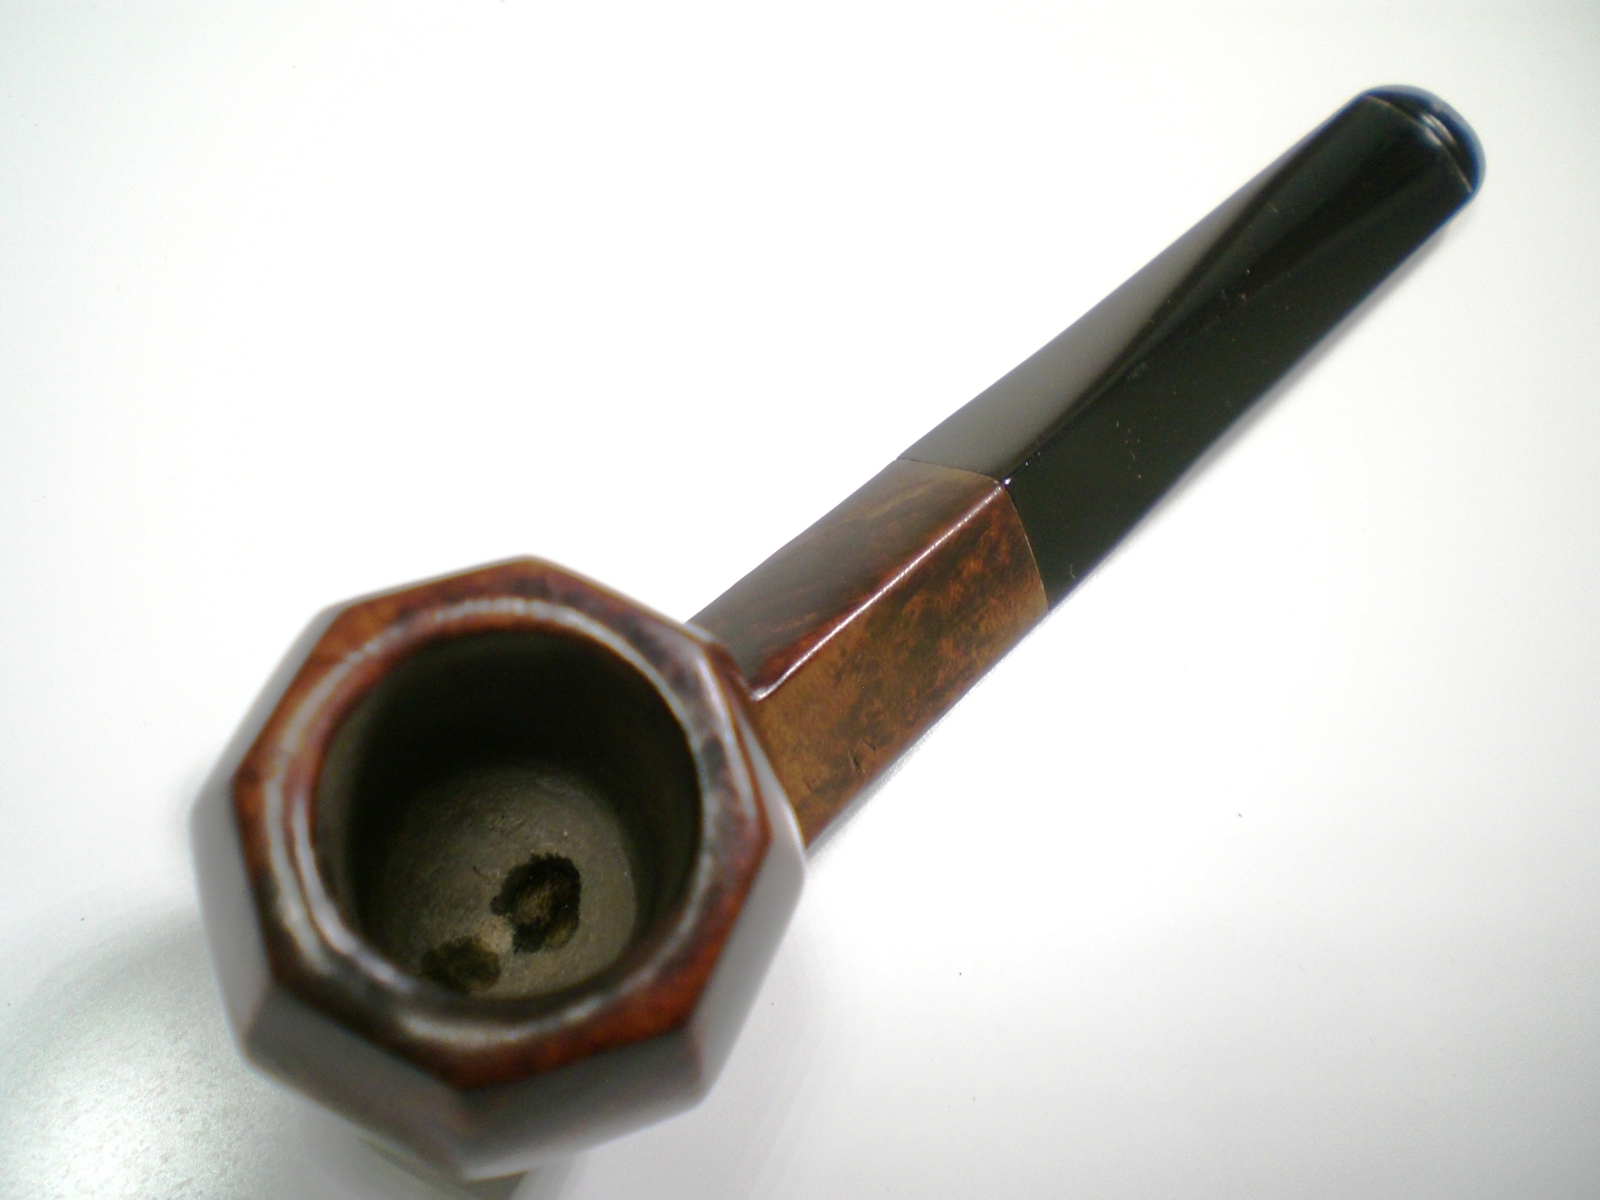
The pipe was covered in blobs of sticky gunk and general grime, the lacquer finish was chipped and peeling, and the rim was covered in a hard, flaky layer of “lava flow” – tars and other crud produced through heavy use. The stem had considerable tooth chatter in the “bite” area, both above and below, though otherwise it seemed in good shape, with little to no oxidation. The stinger was intact and, somewhat remarkably, the stem was not overturned, lining up perfectly with the shank. The lack…
View original post 889 more words