
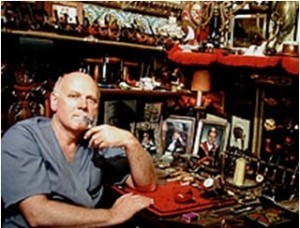
by Steve Laug
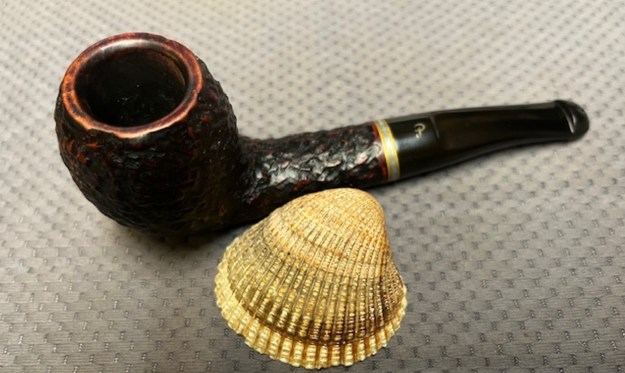
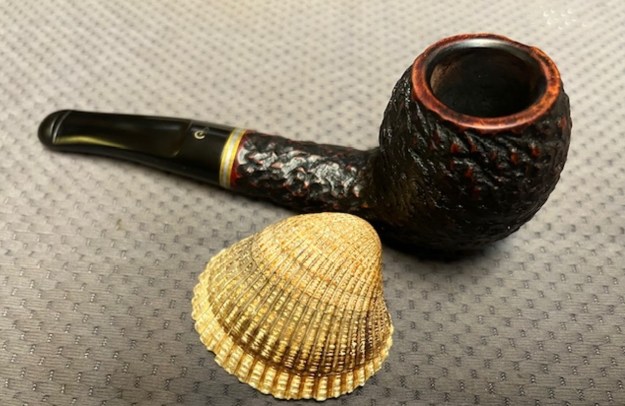
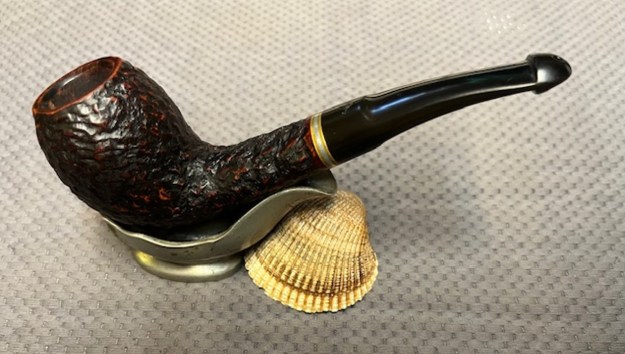
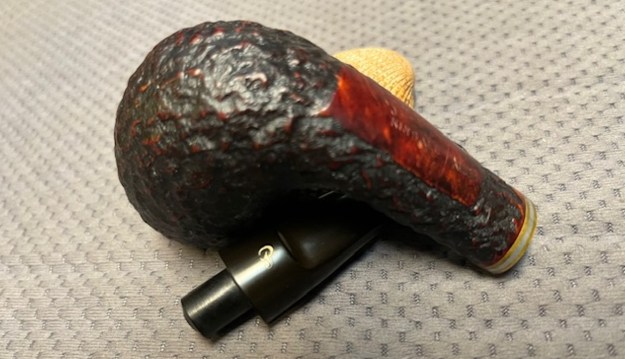
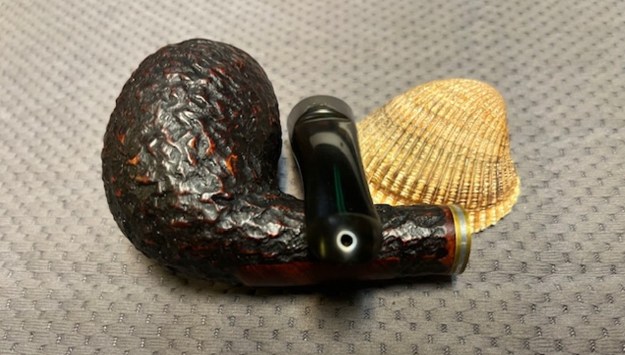
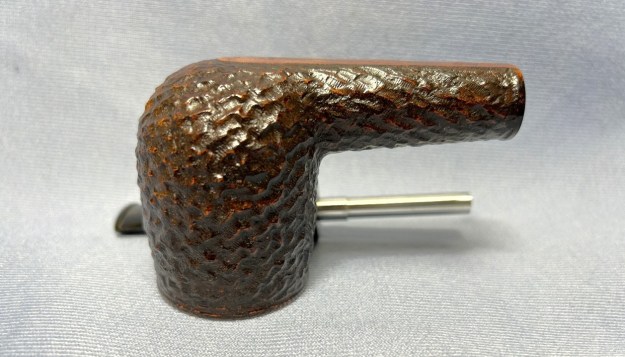
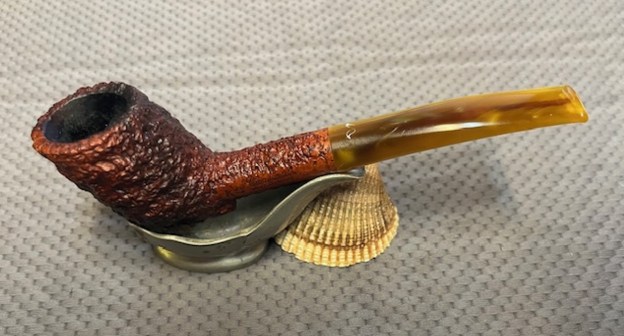
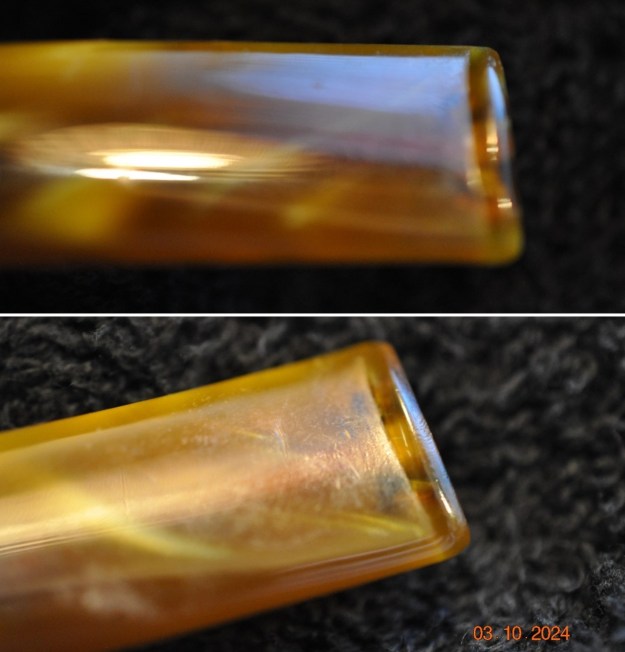
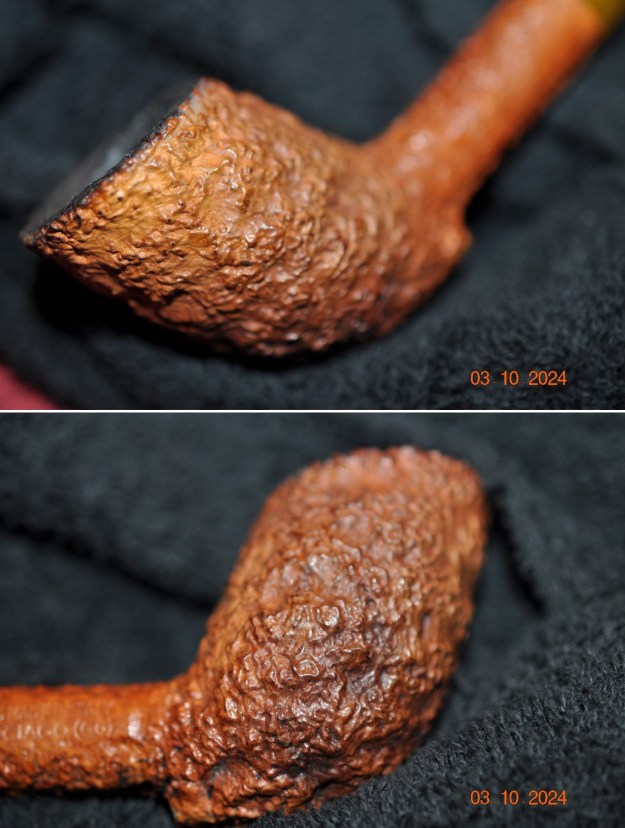
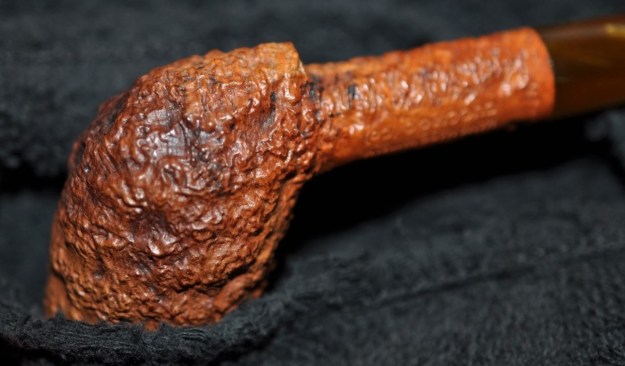
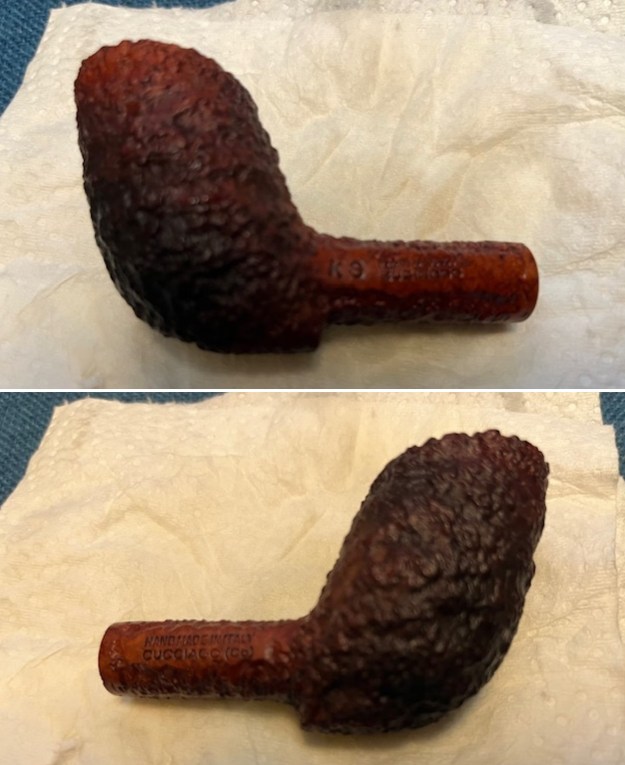
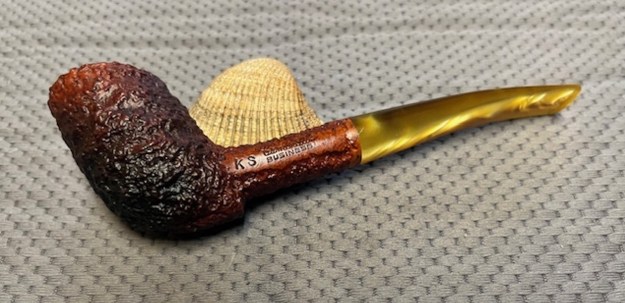
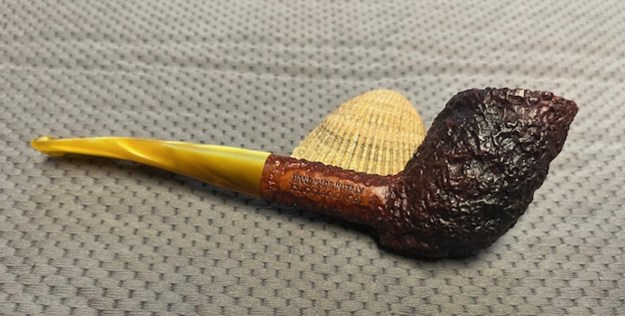
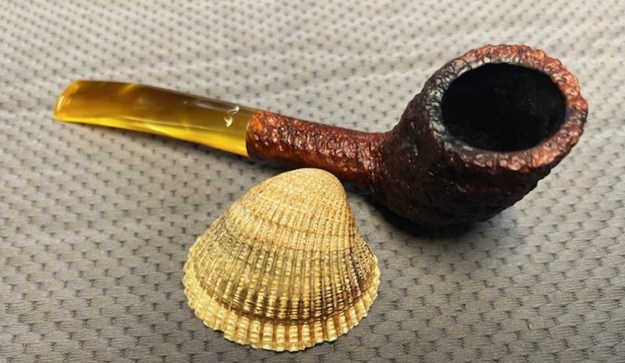
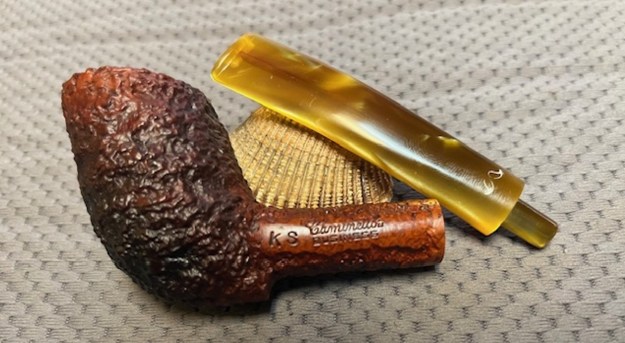
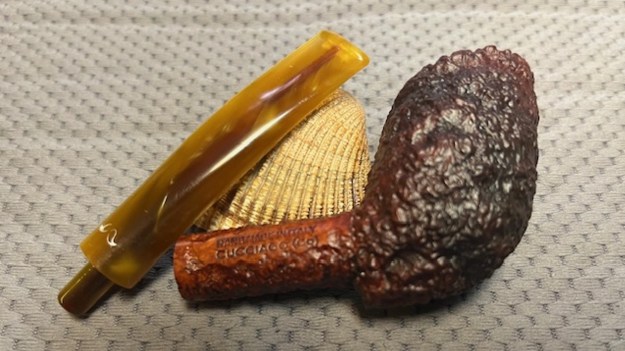
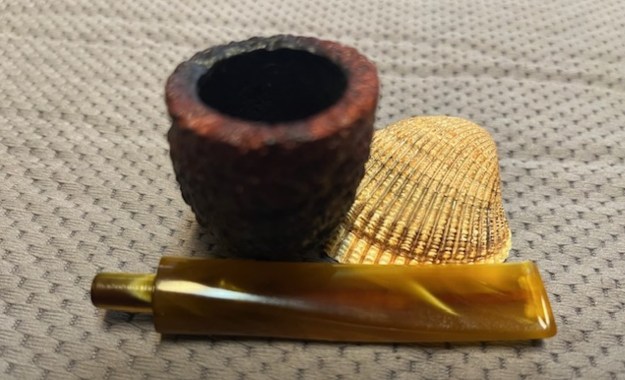
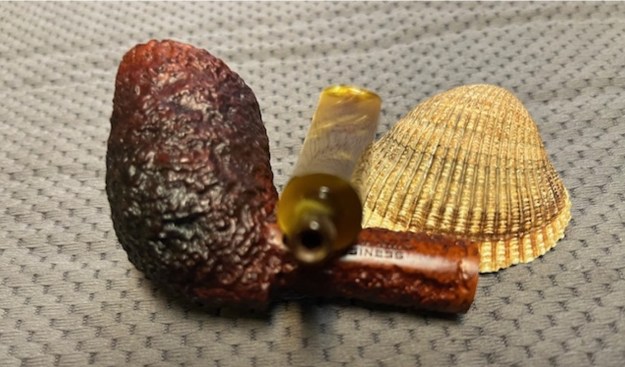
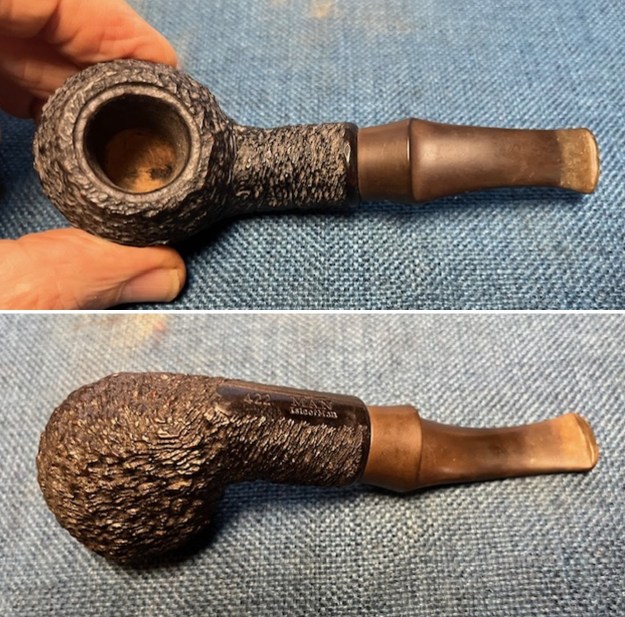
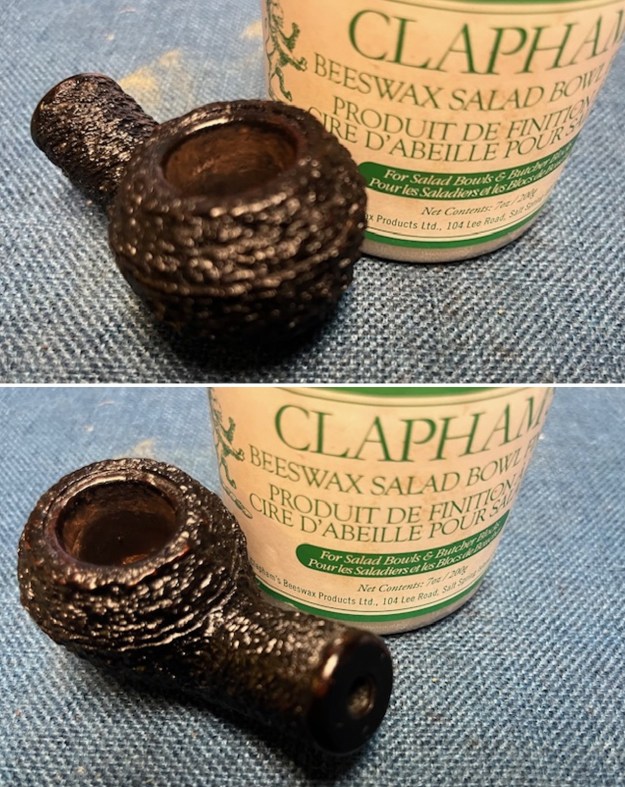
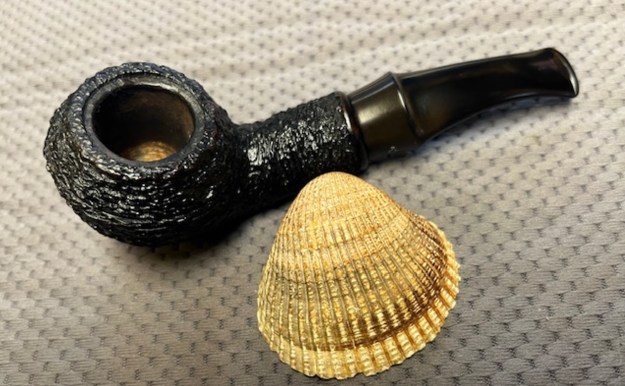
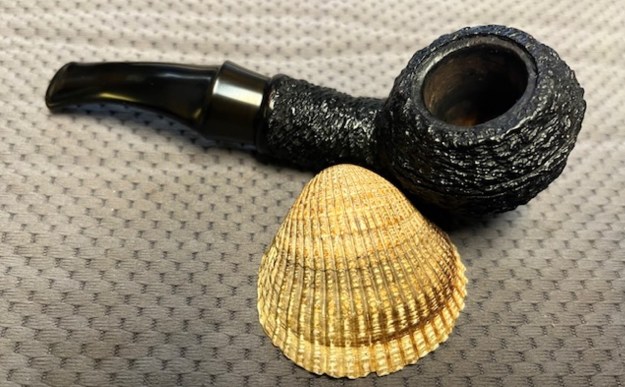
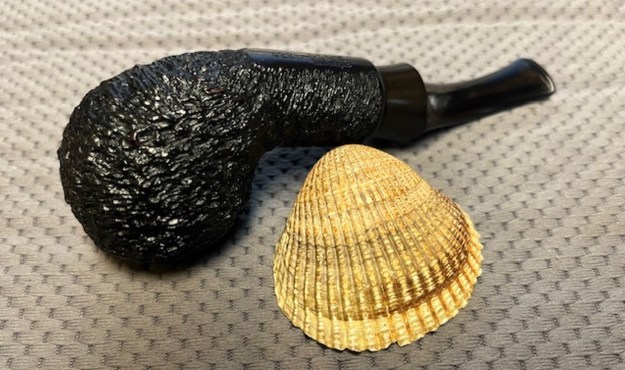
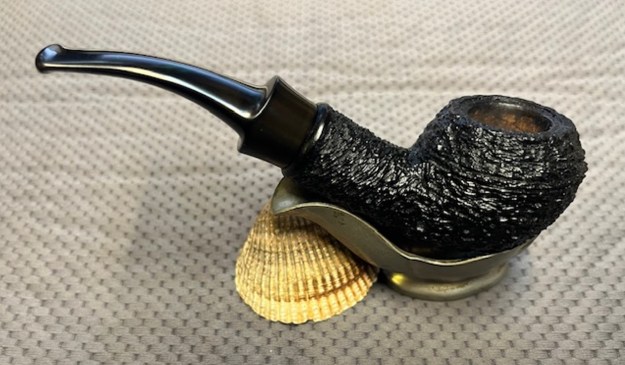
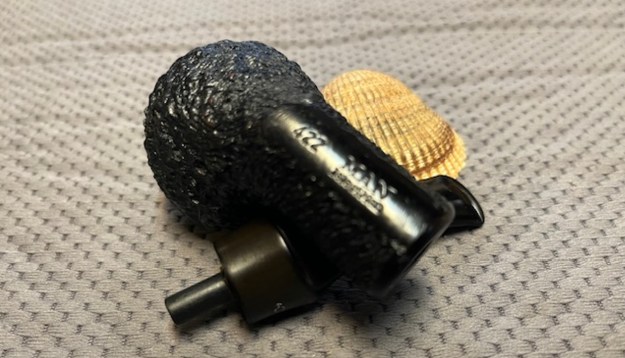
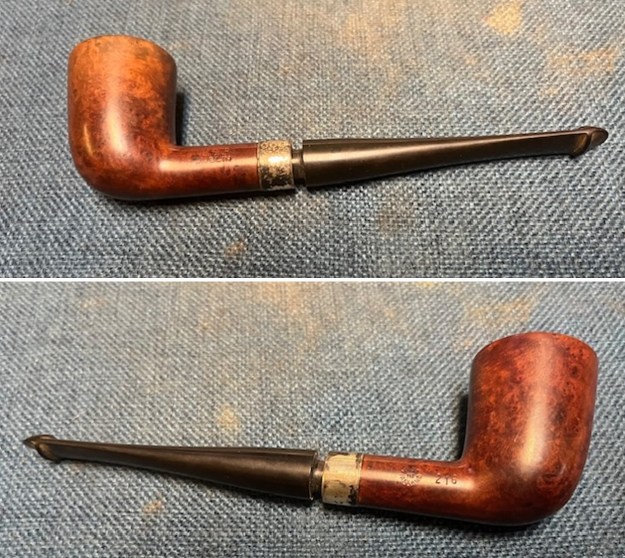
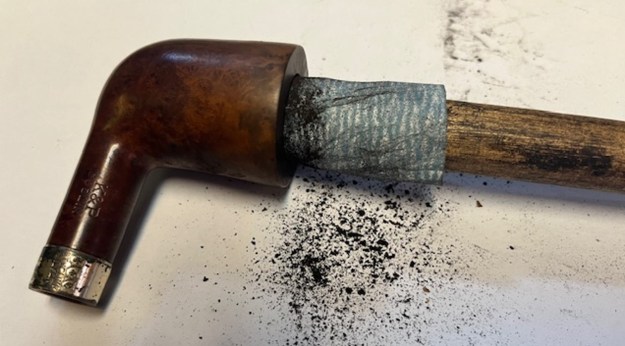
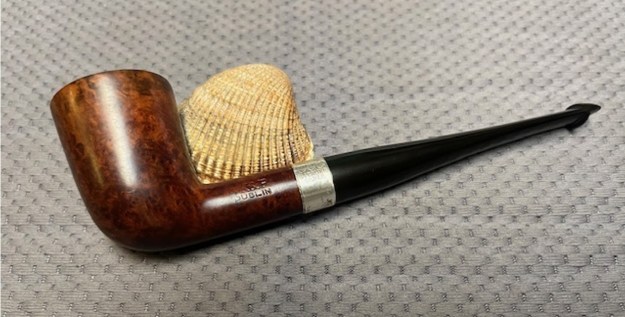
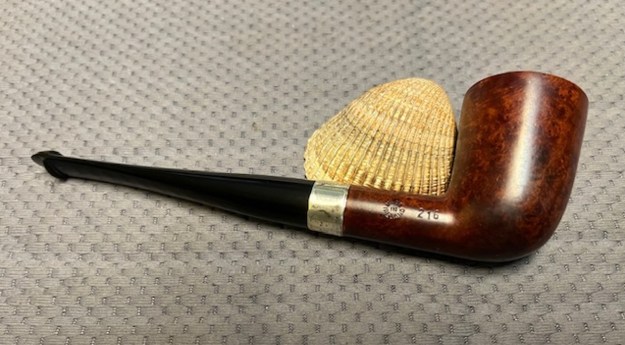
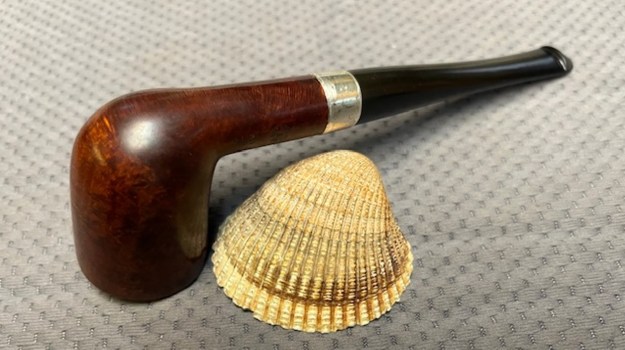
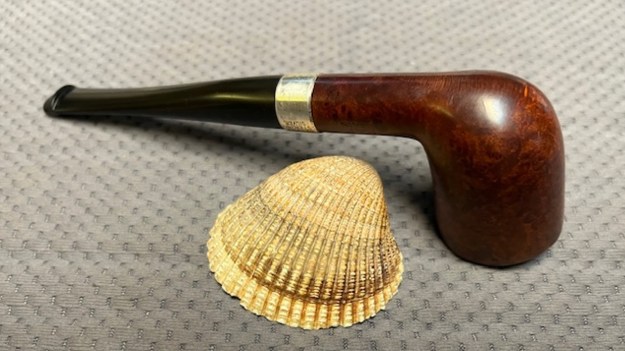
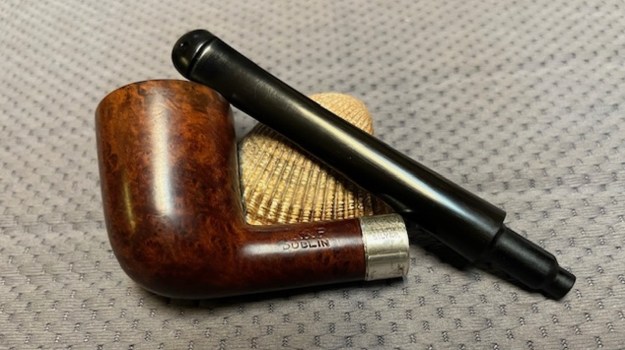
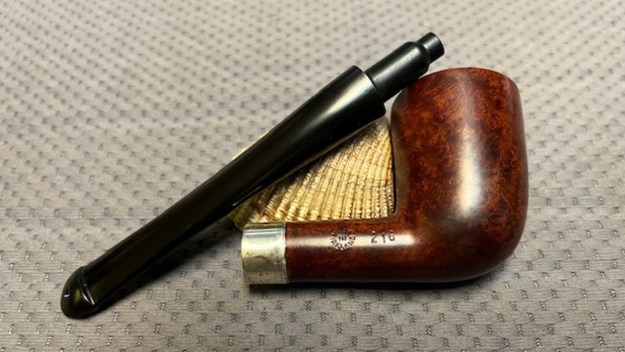
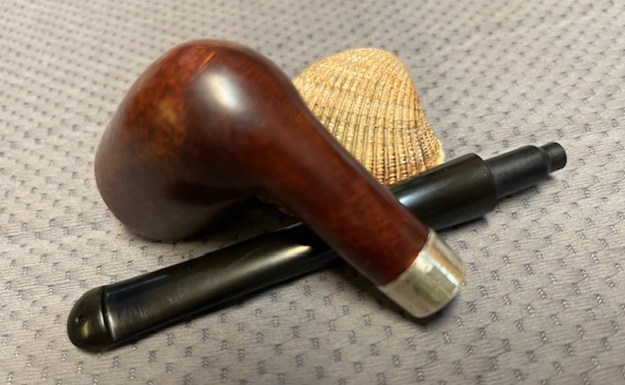
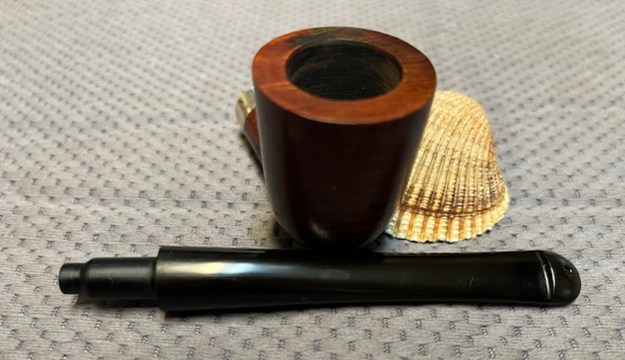
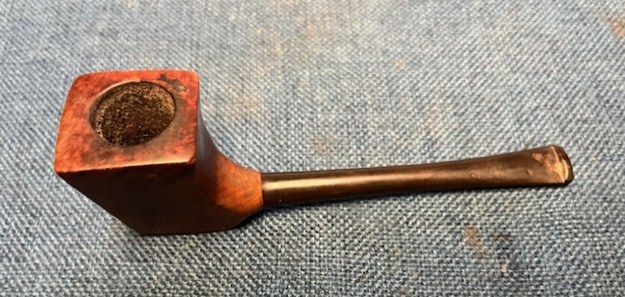
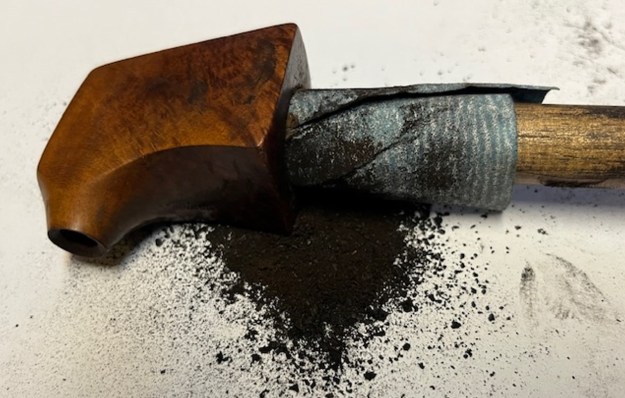
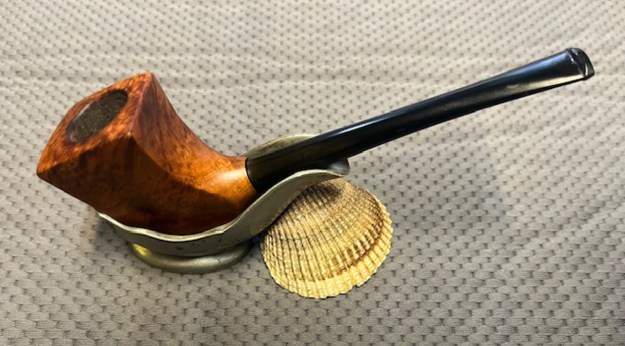
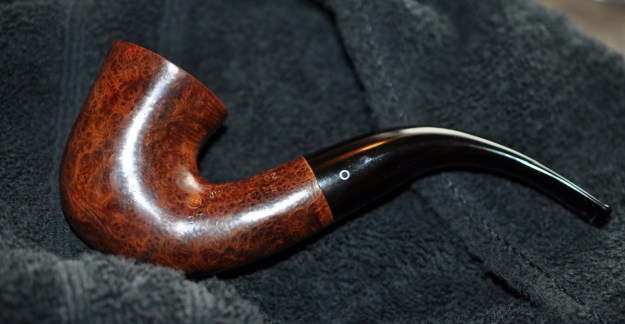
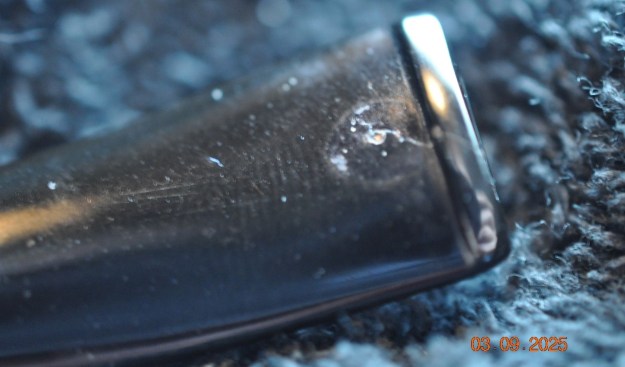
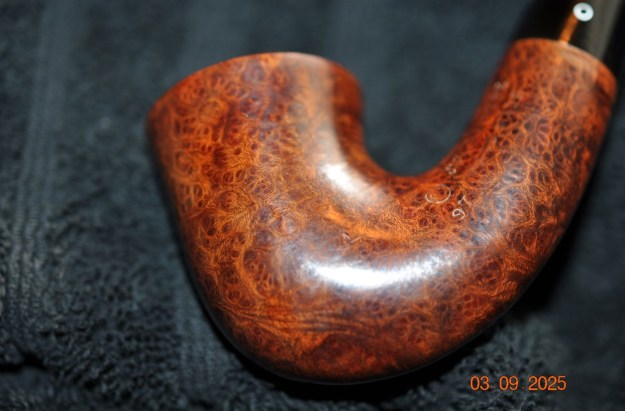
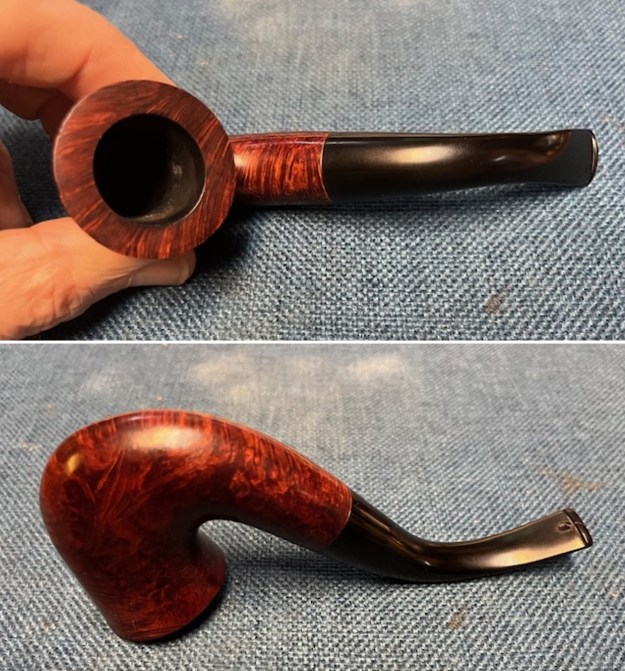
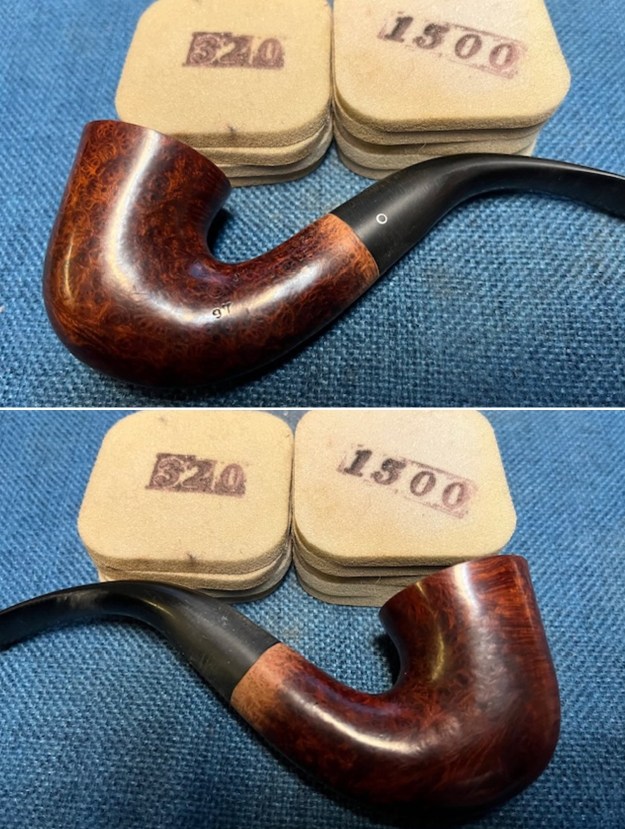
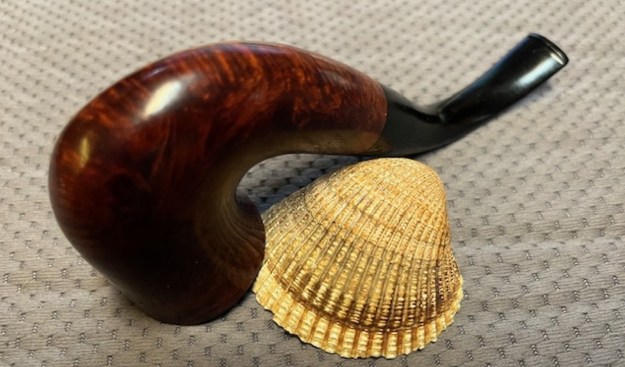
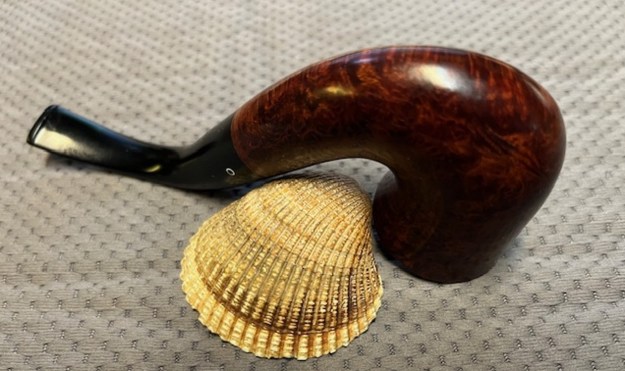
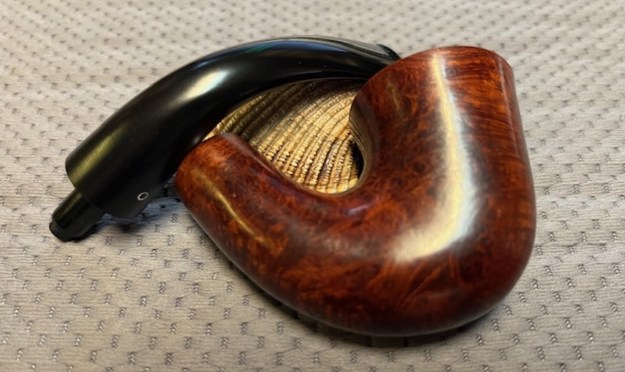
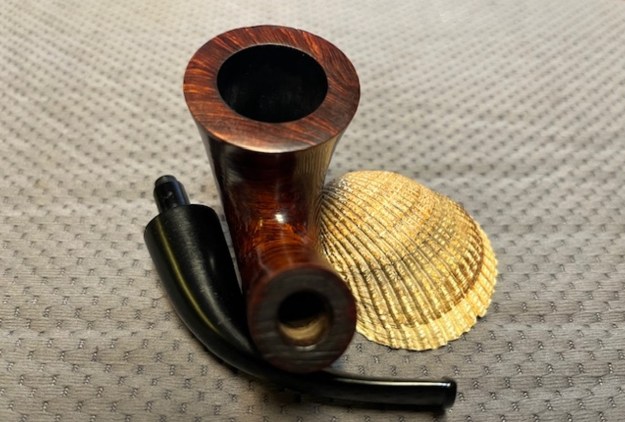
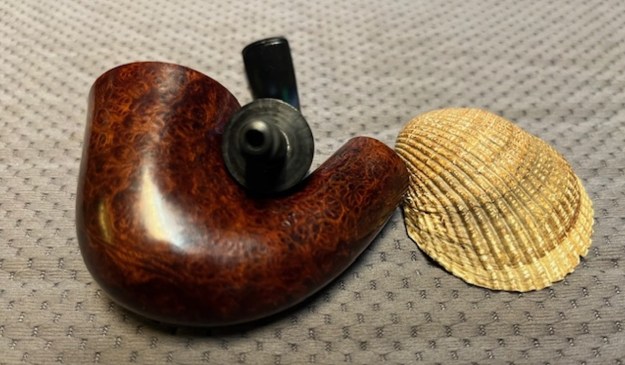
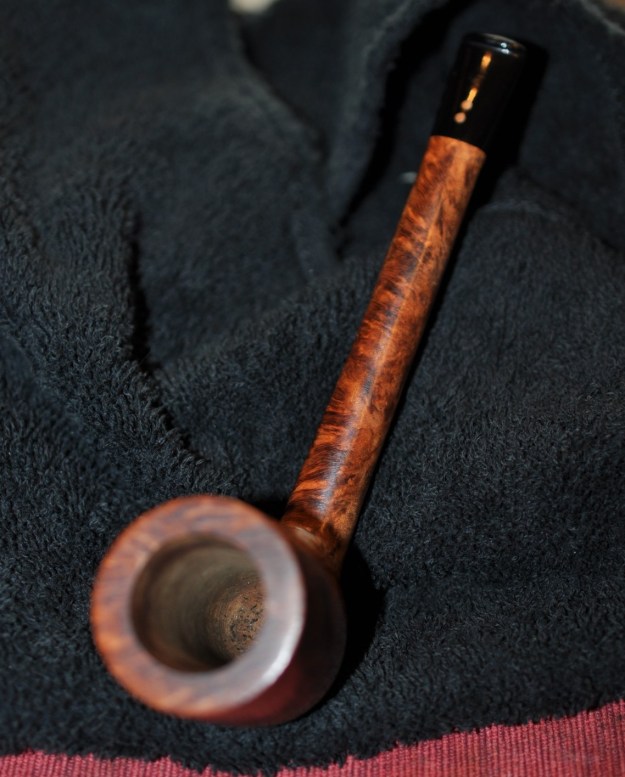
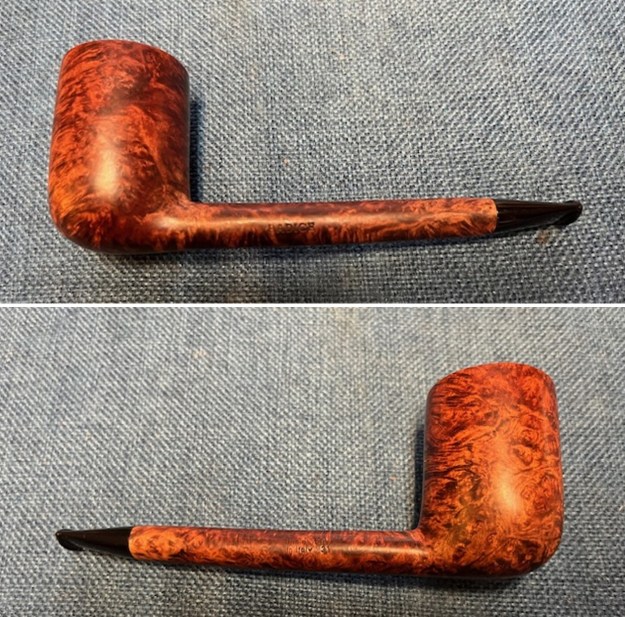
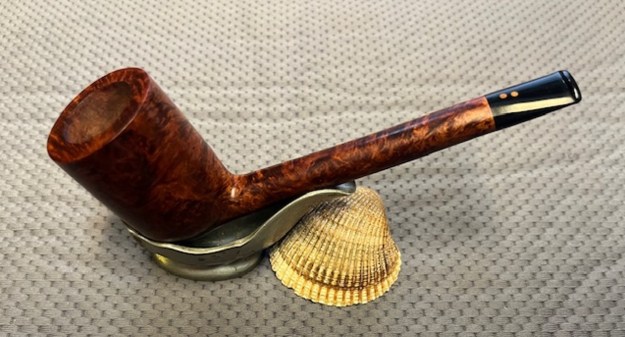
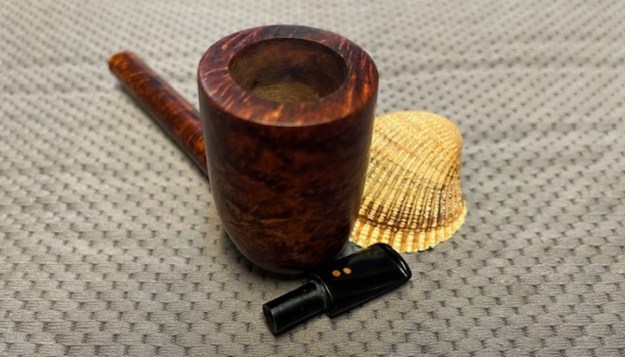
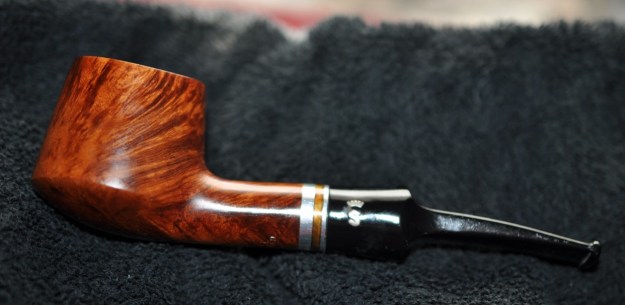
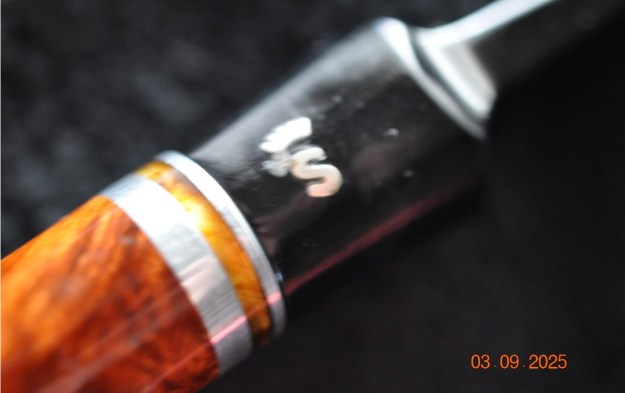
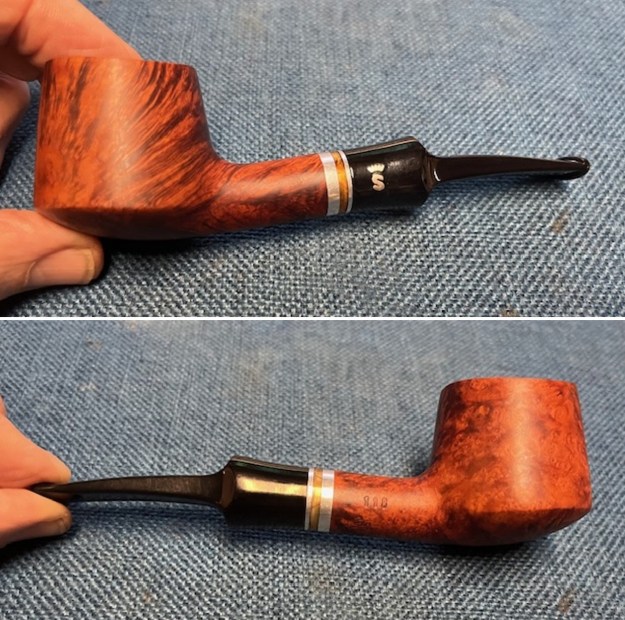
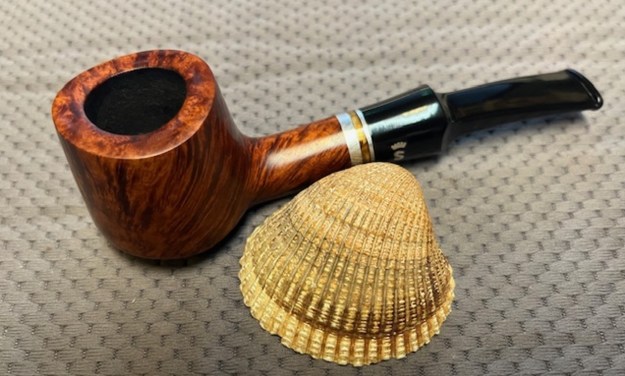
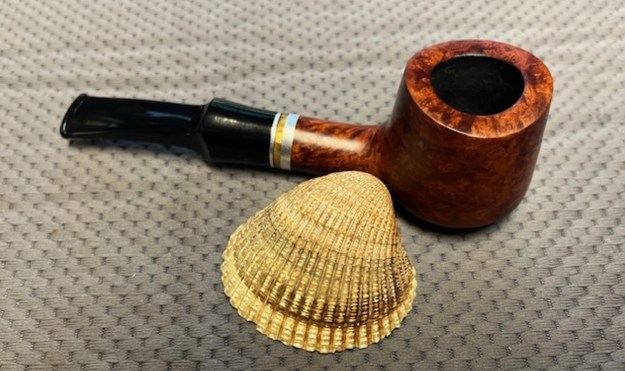
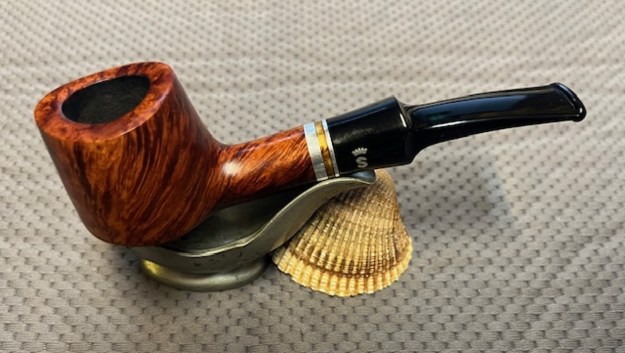
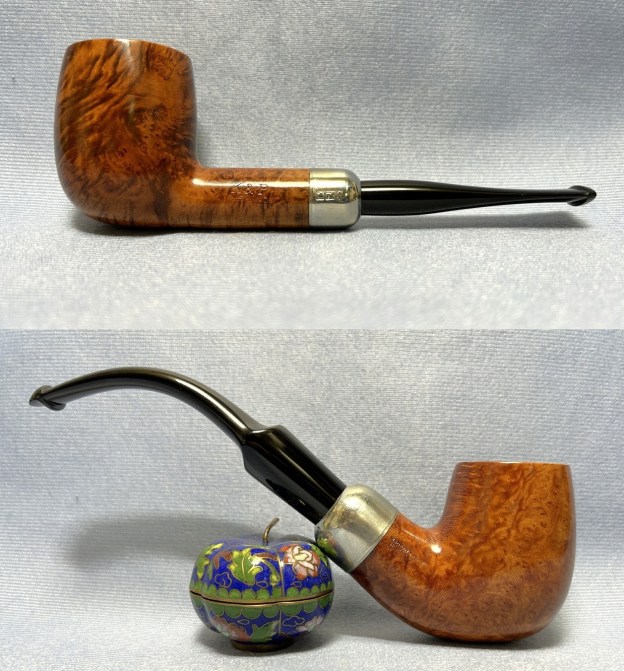
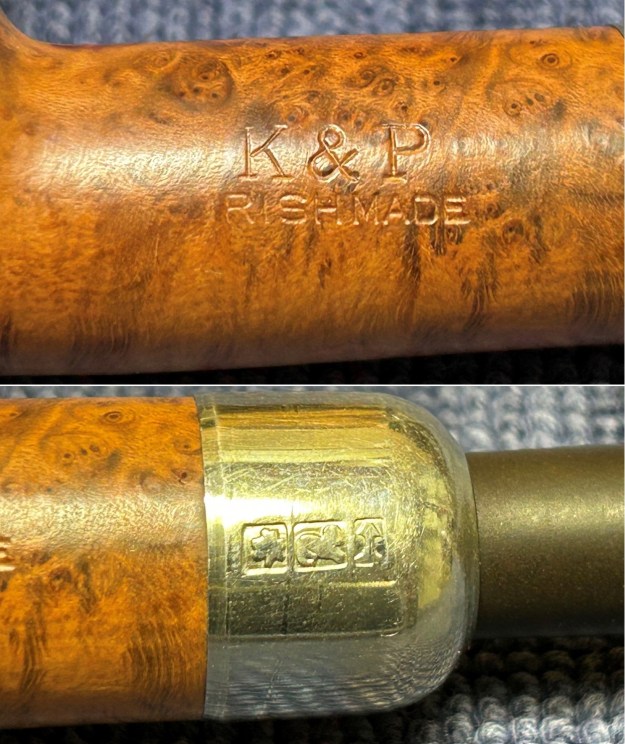
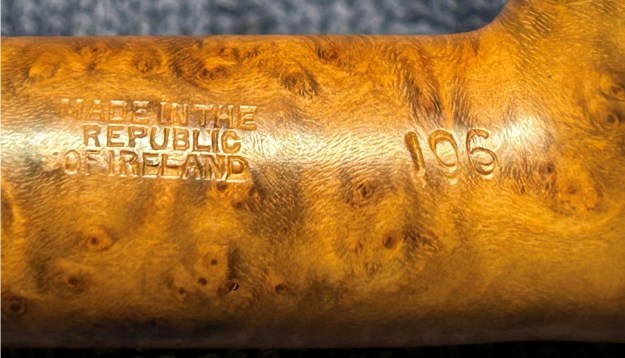
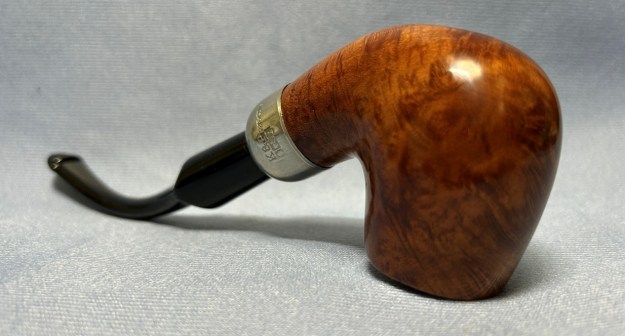
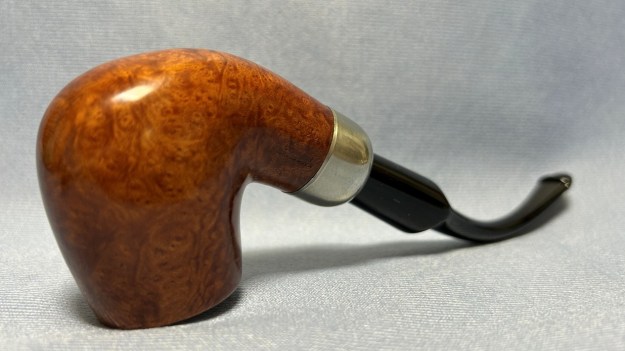
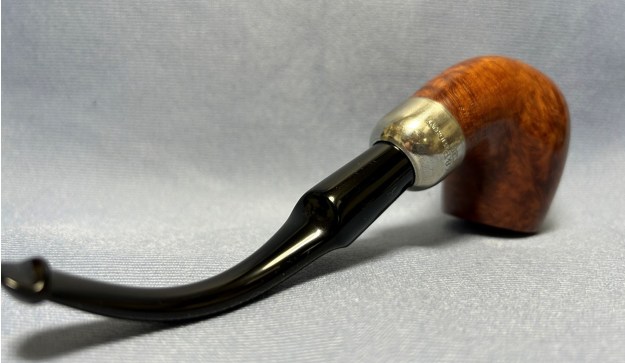
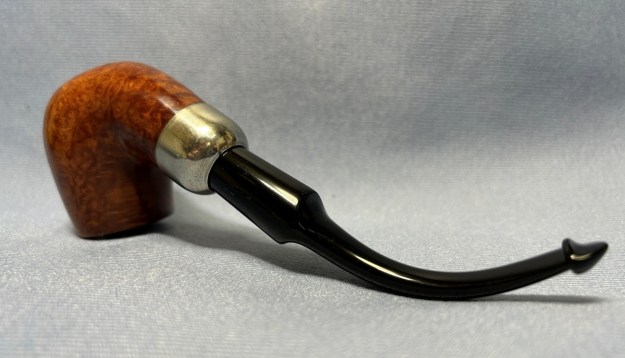
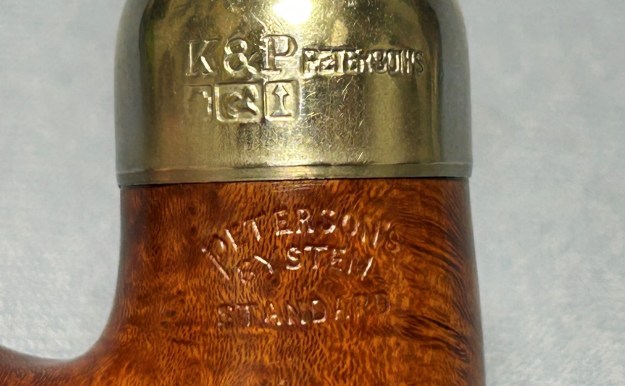
Sunday afternoon Auke stopped by with a pipe he wanted me to work on for him. It was obviously a favourite pipe of his. It was a Peterson’s shape that I have worked on before and one that was in the Sherlock Holmes series and labelled as a Strand. This one however was stamped on the underside of the shank in a smooth band and read Peterson’s [over] of Dublin [over] Kinsale. To the right of that it was stamped with the shape number XL25. It is a large rusticated pipe that is quite beautiful. This one was dirty with a moderate cake in the bowl smelling of the aromatics that Auke smoked. There was a lava build up on the rim top covering the smooth surface. The finish was a bitty sticky with the grime and dirt. Otherwise it was in good shape. The three stacked bands were a little tarnished on the shank end. The stem was very tight from the build up of tars and oils in both. Auke said the draw was quite constricted and was hard to pull air through – a symptom of a dirty, gummy airway in the shank and stem. The vulcanite stem is also very dirty. There was oxidation, calcification and some light tooth damage on both sides ahead of the button. The gold “P: stamp on the left side of the stem was in good shape – just a bit tarnished. I took photos of the pipe before I started my work on it.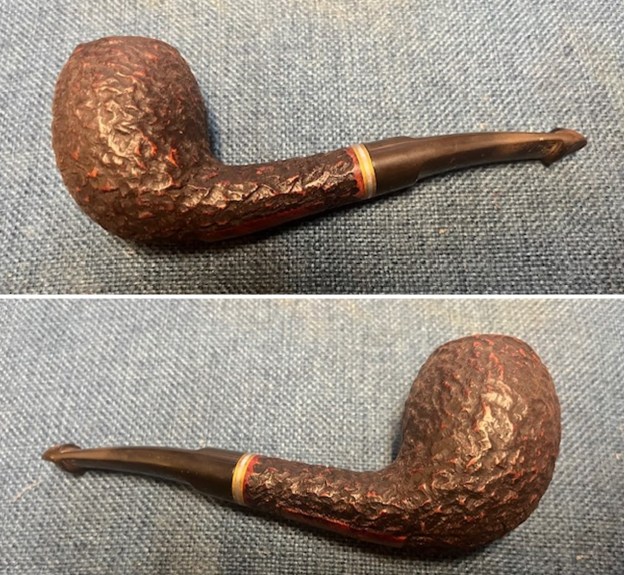
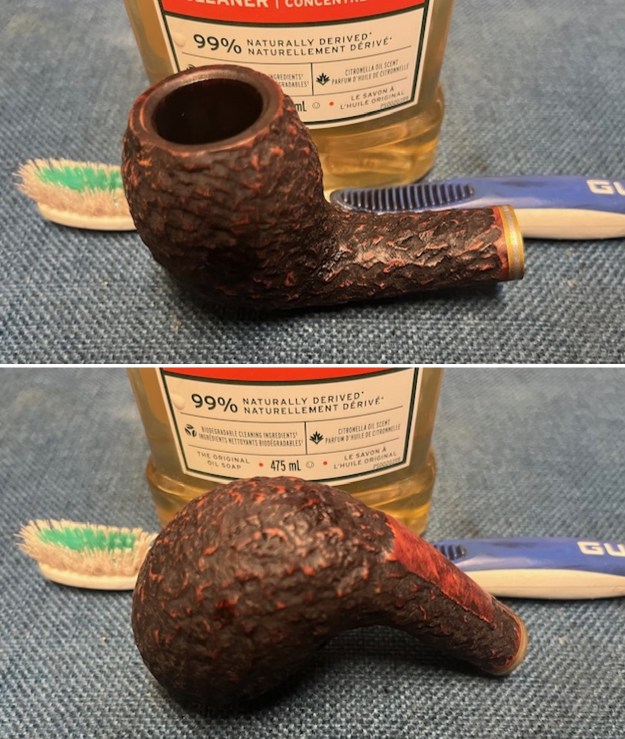
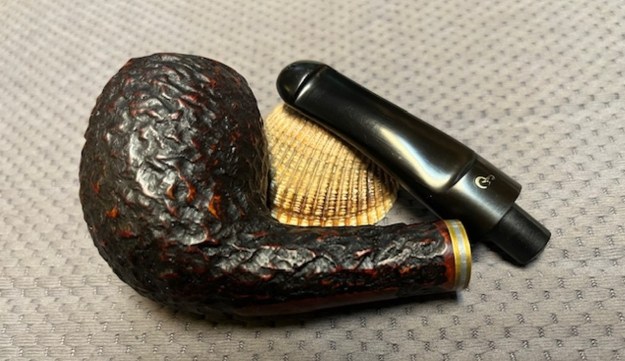
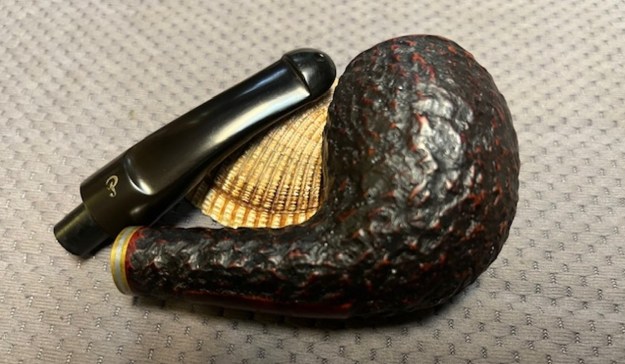
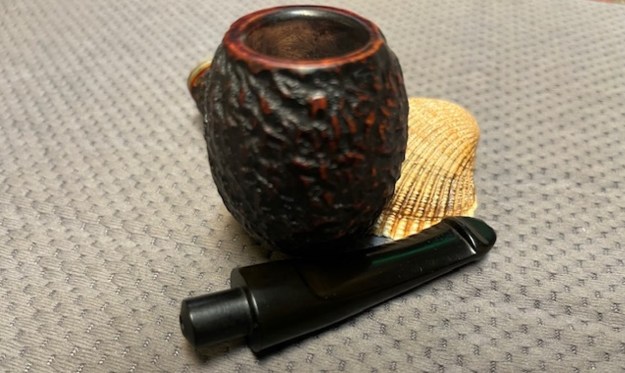
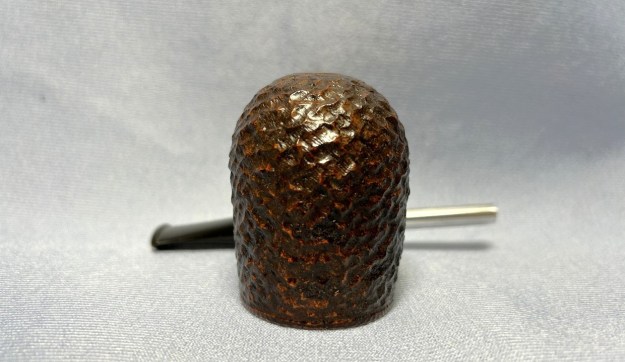
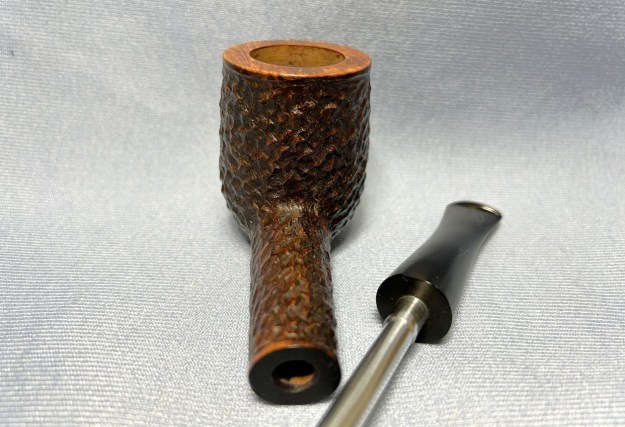
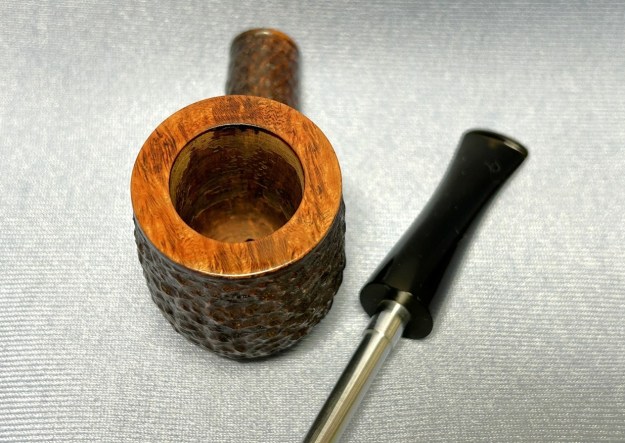
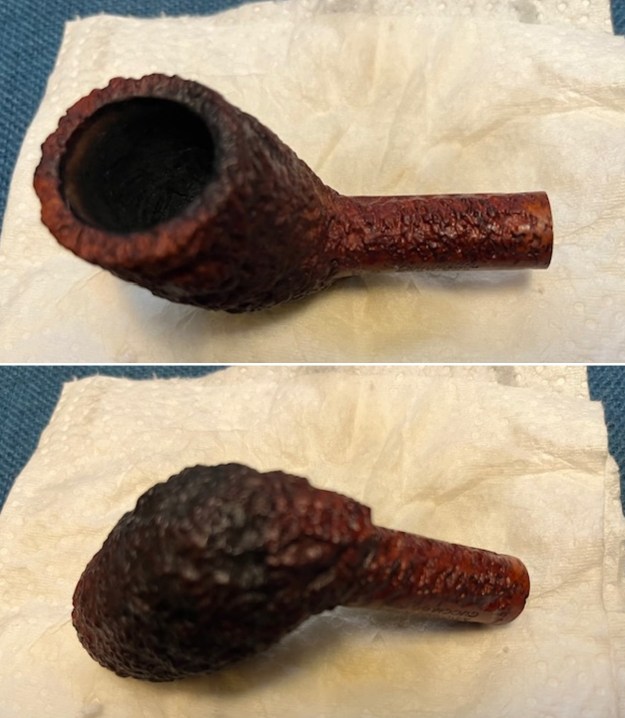
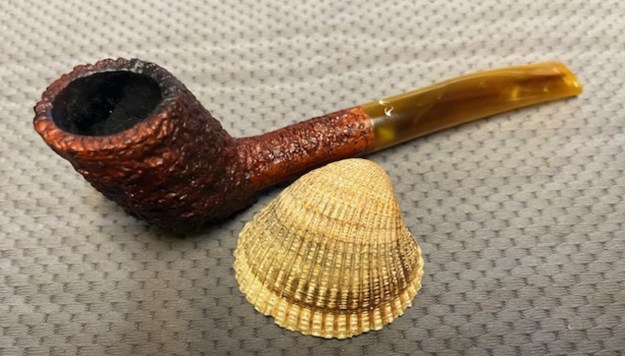
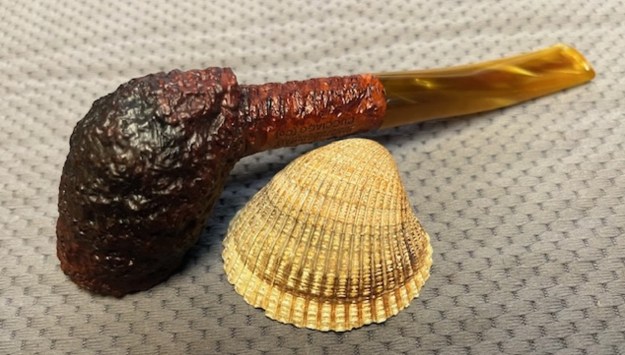
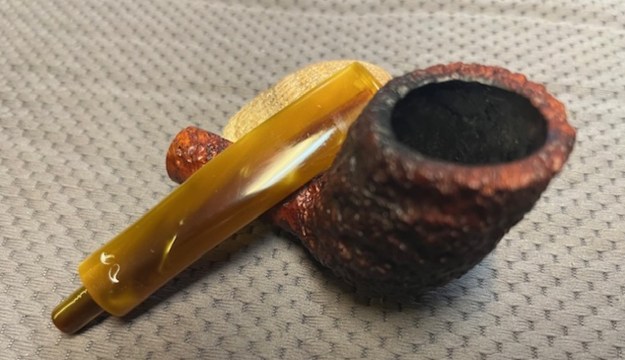
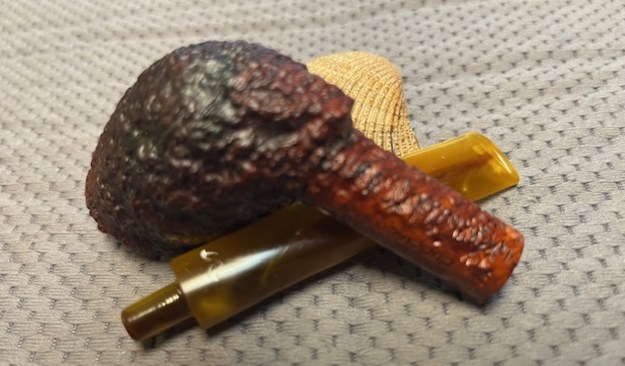
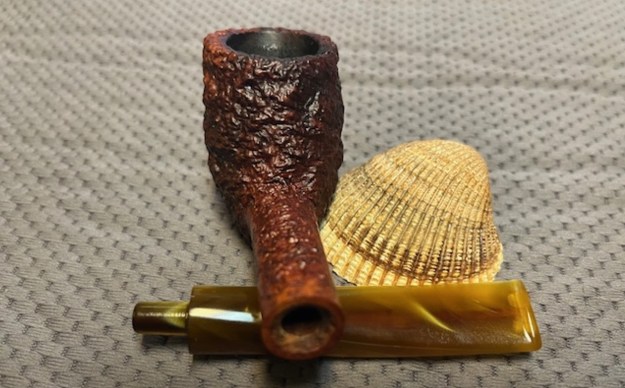
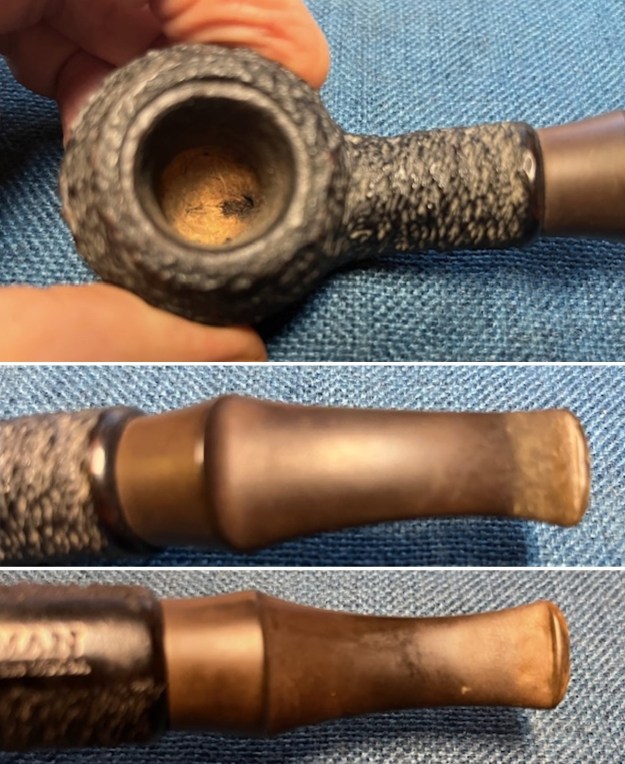
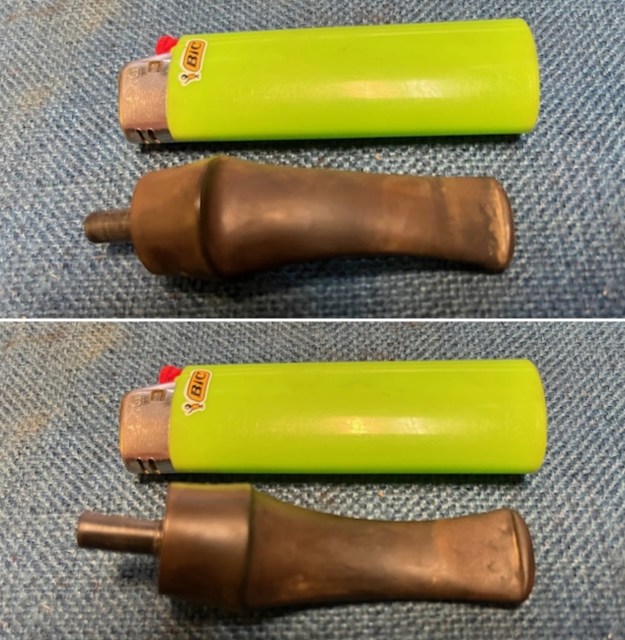
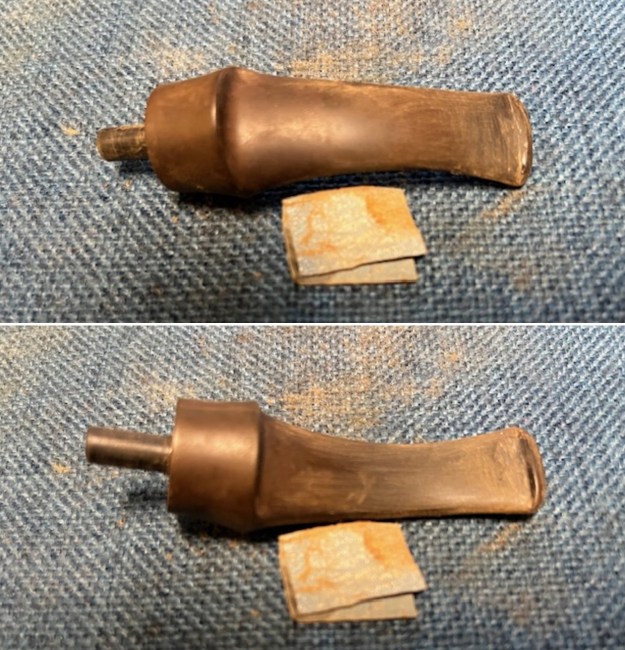
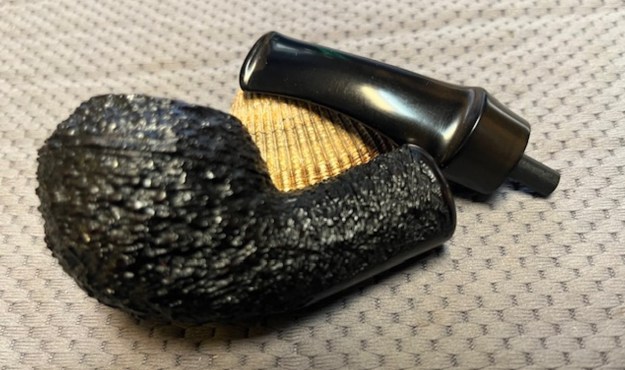
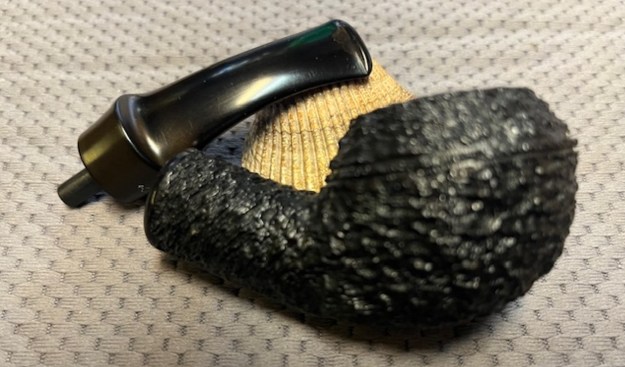
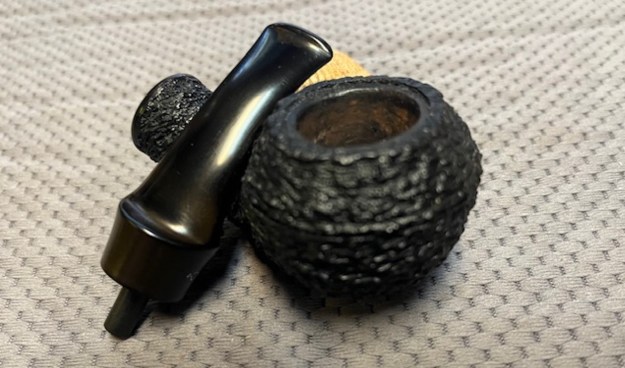
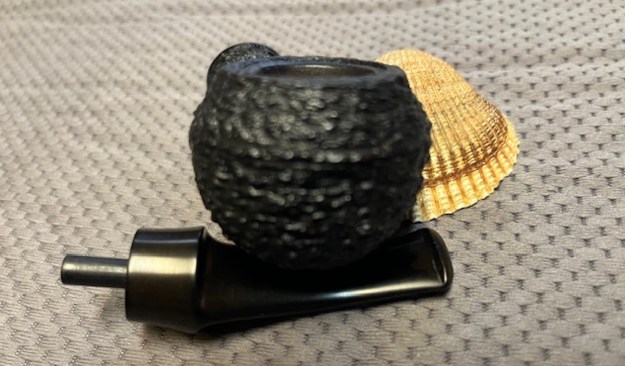
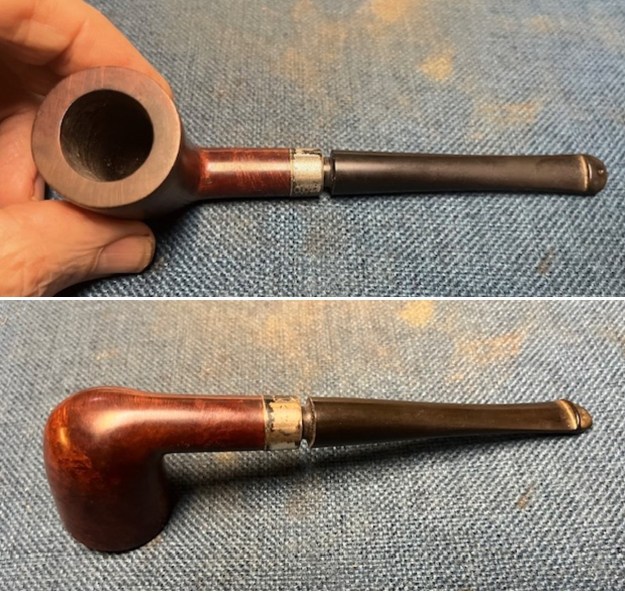
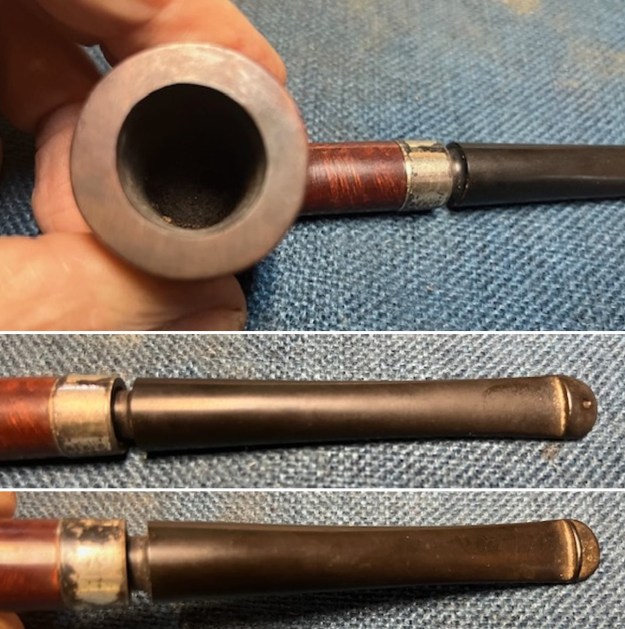
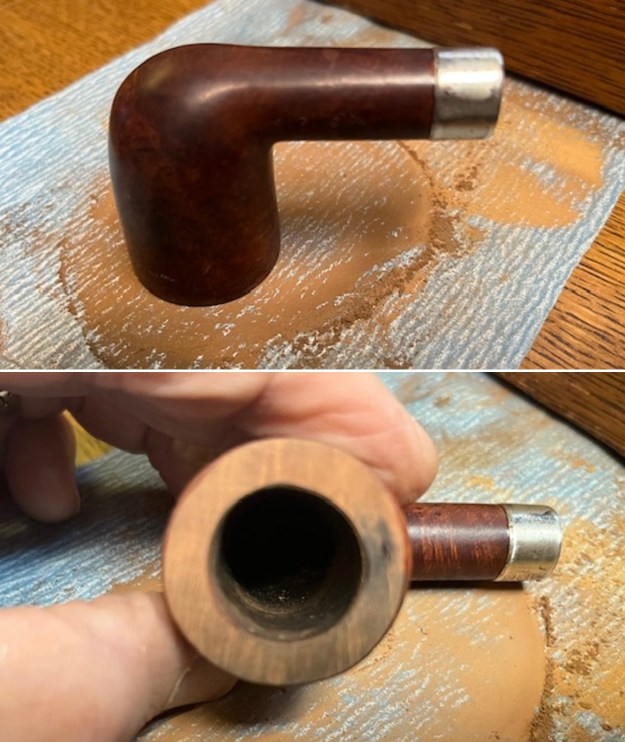
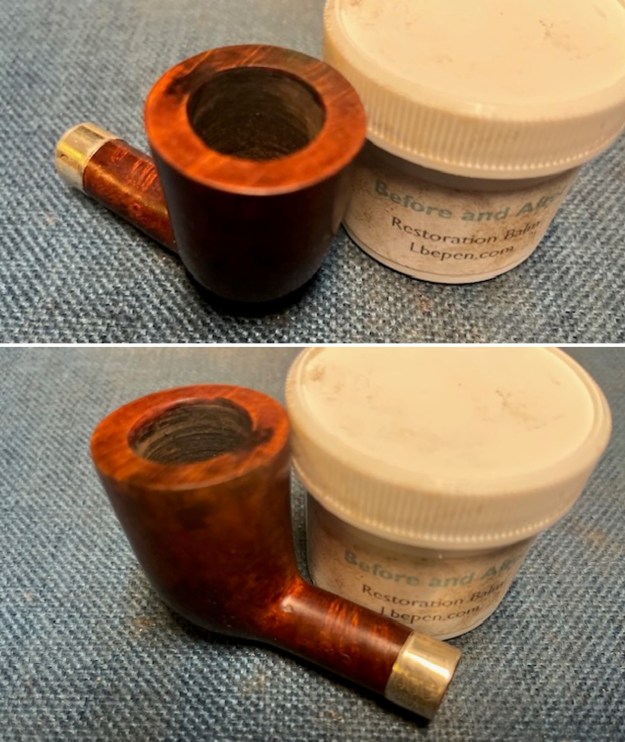
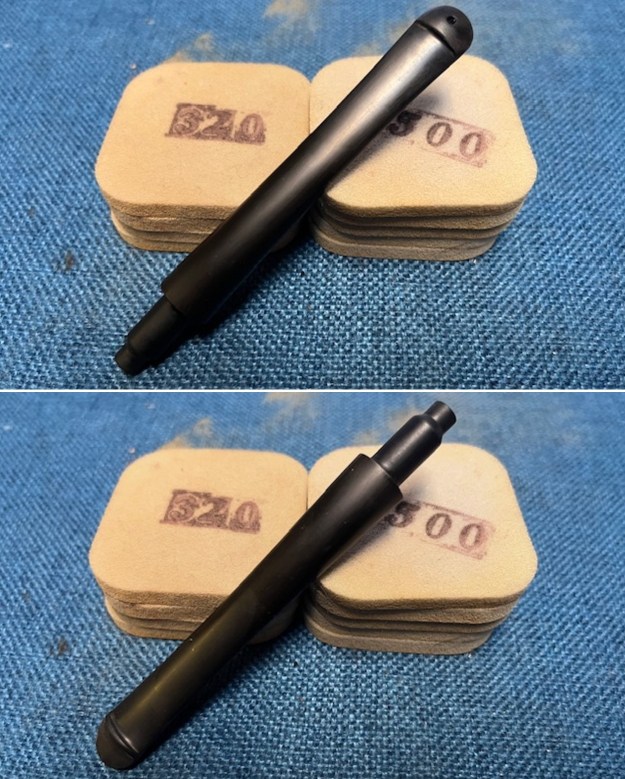
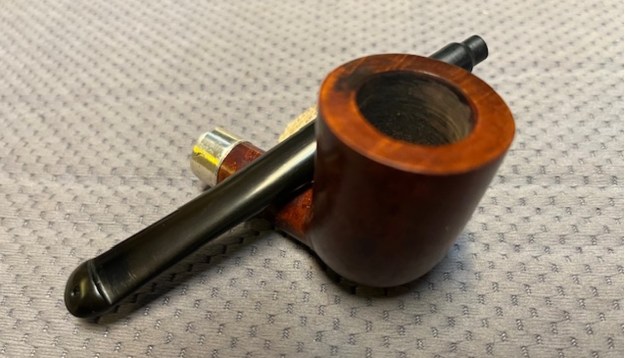
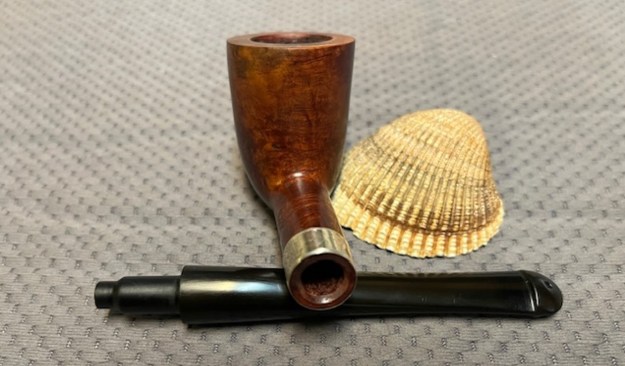
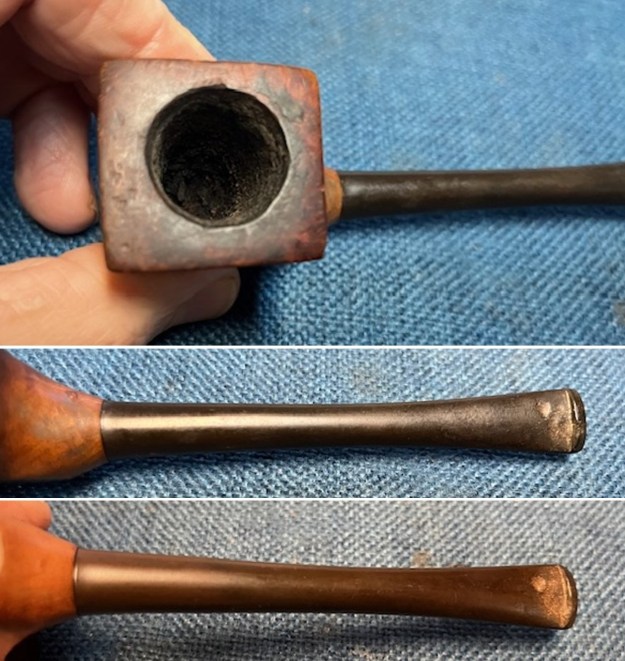
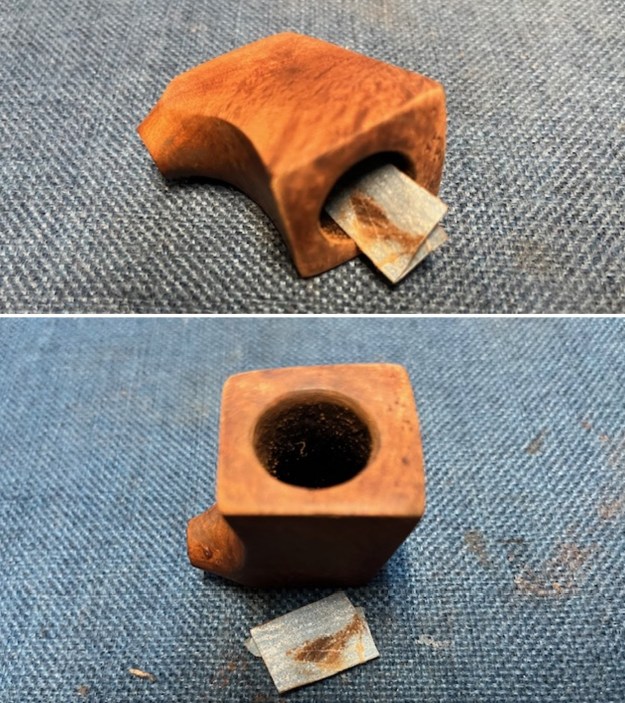
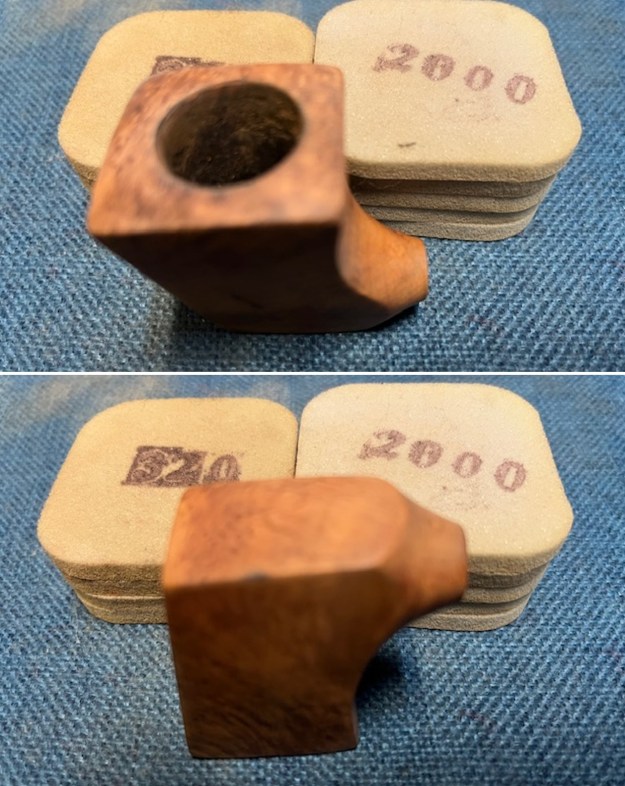
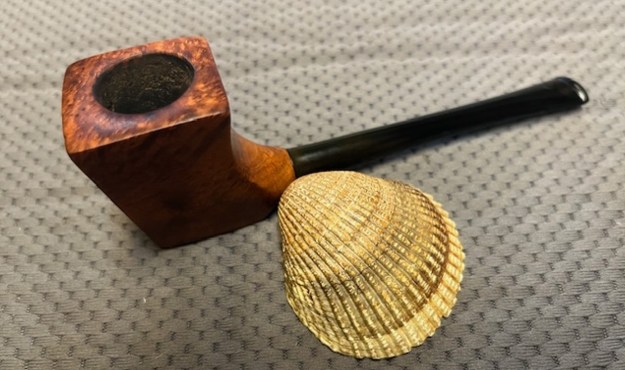
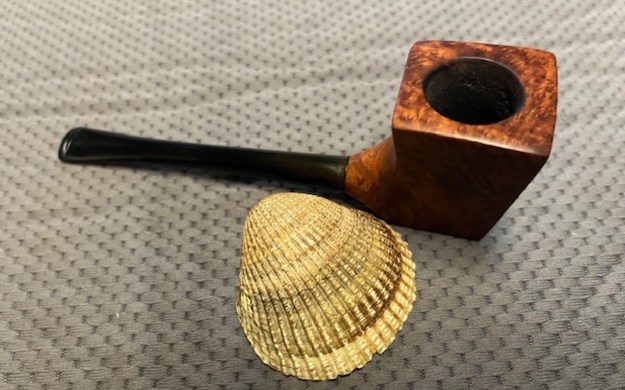
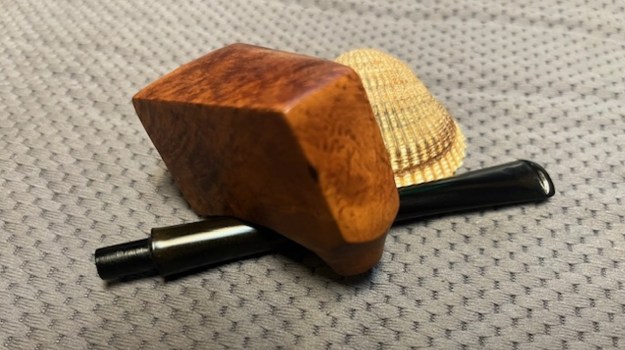
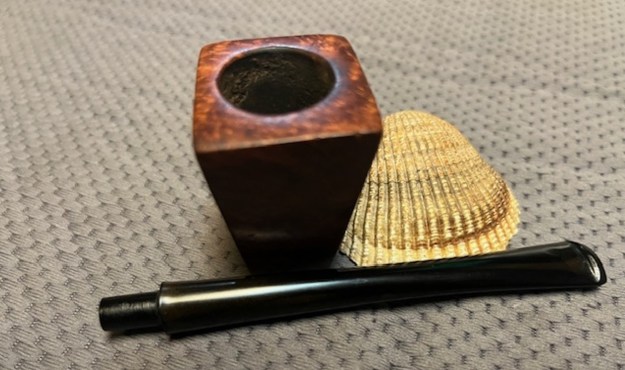
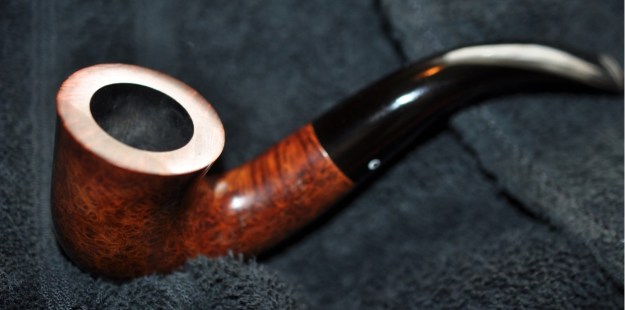
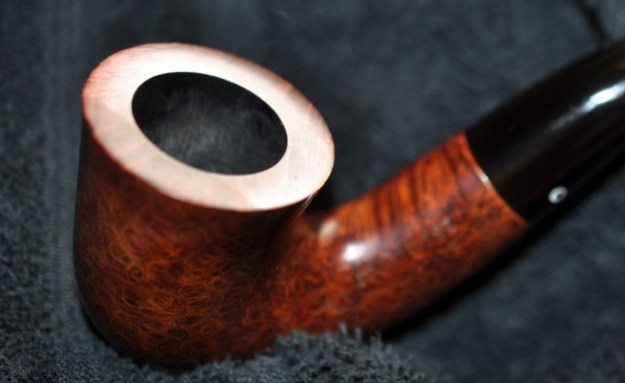
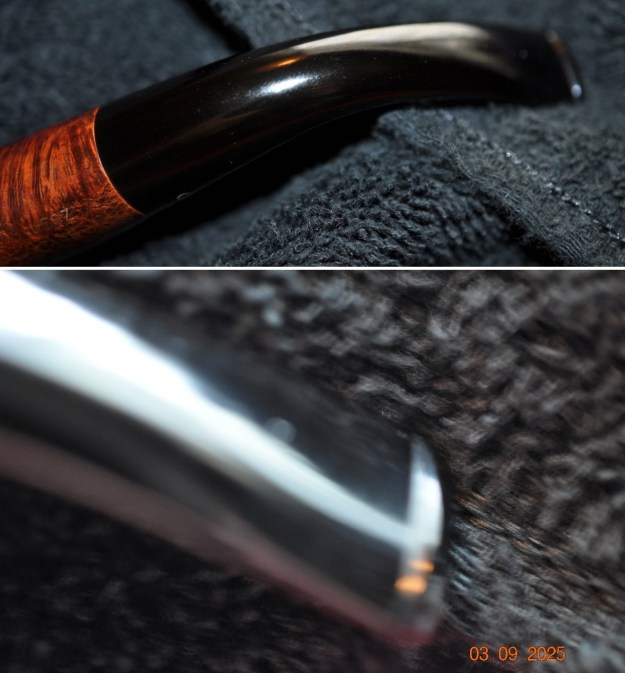
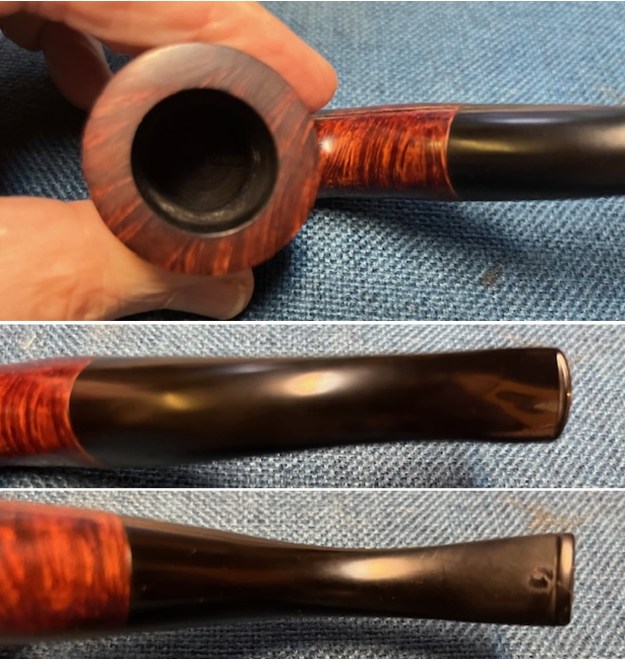
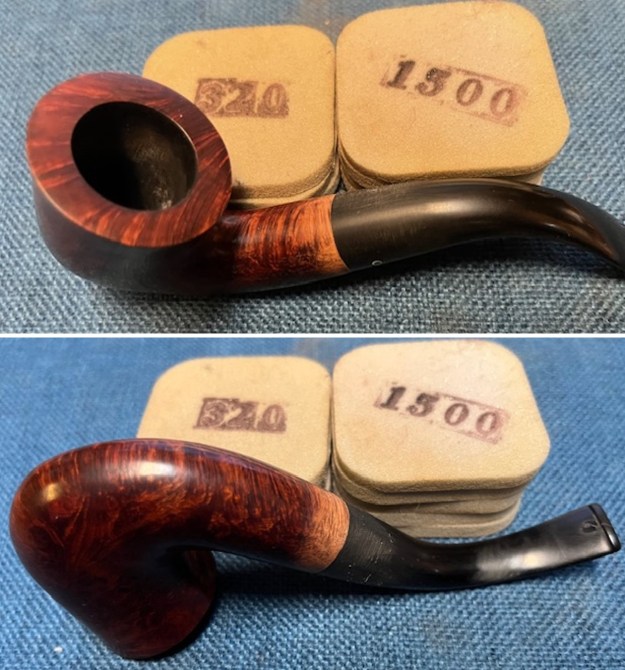
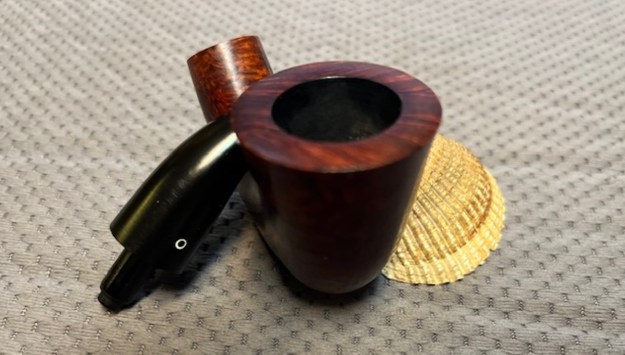
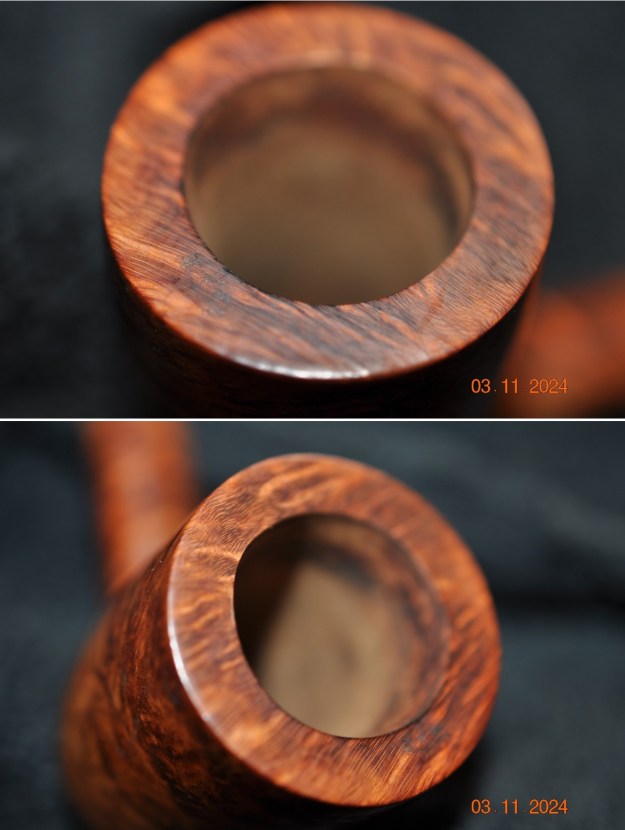
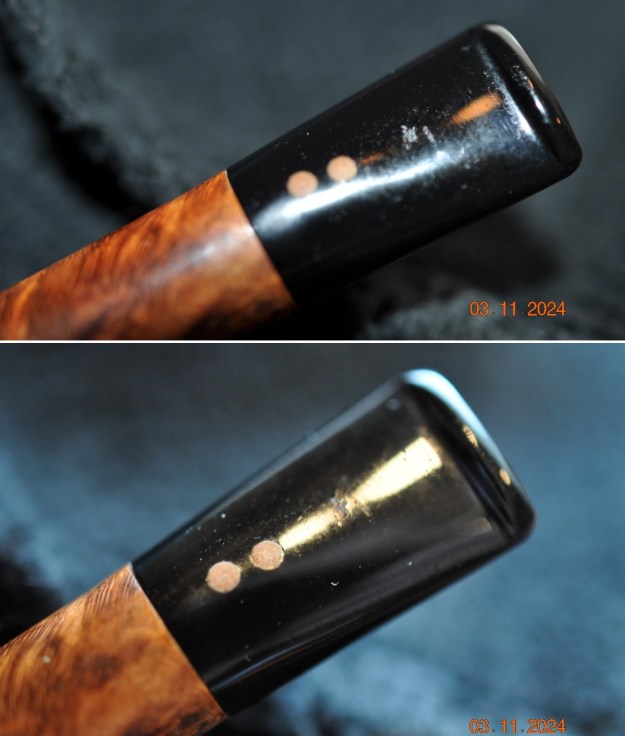
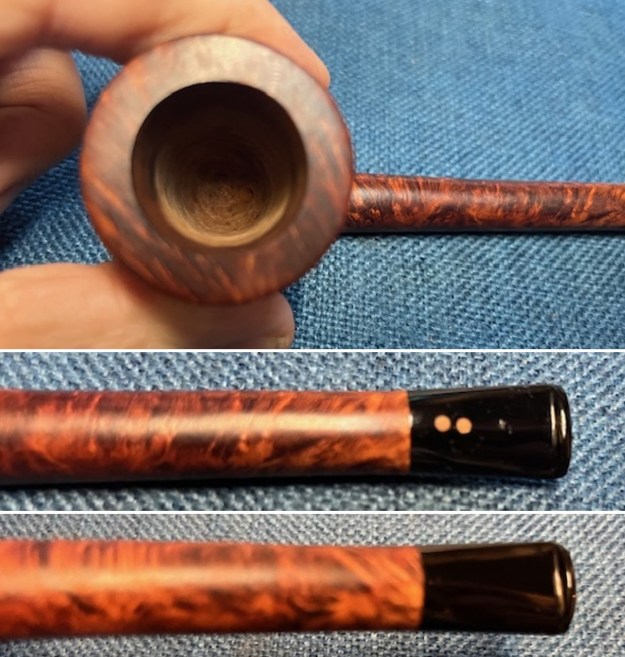
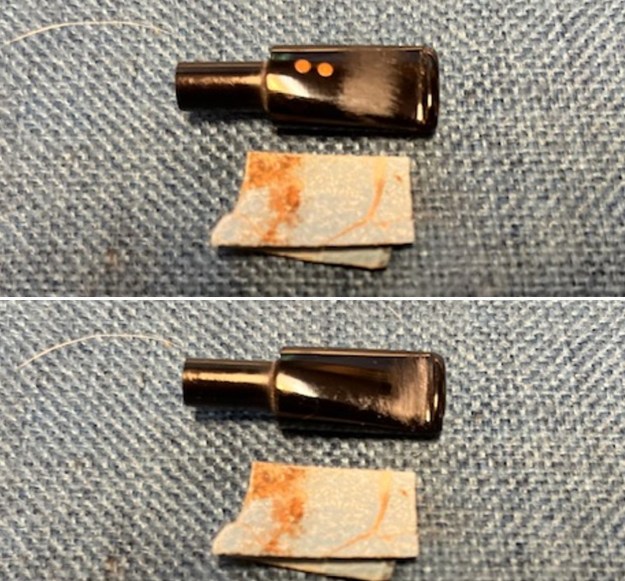
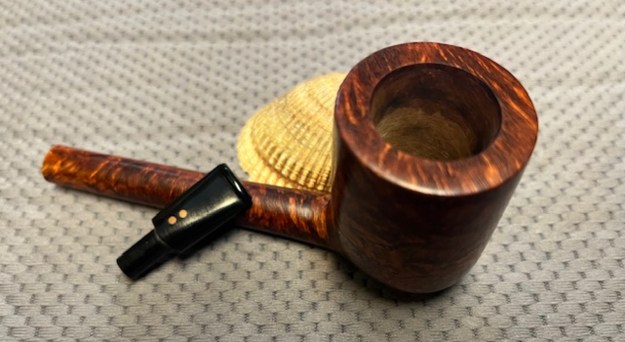
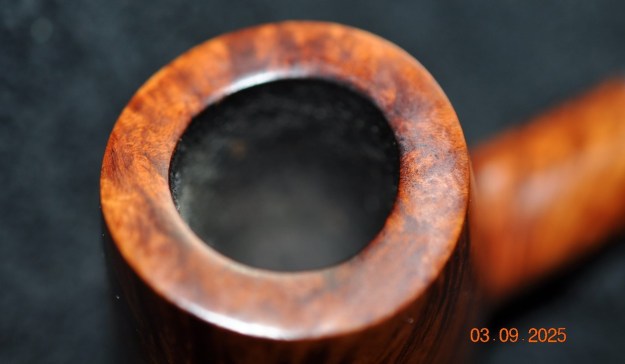
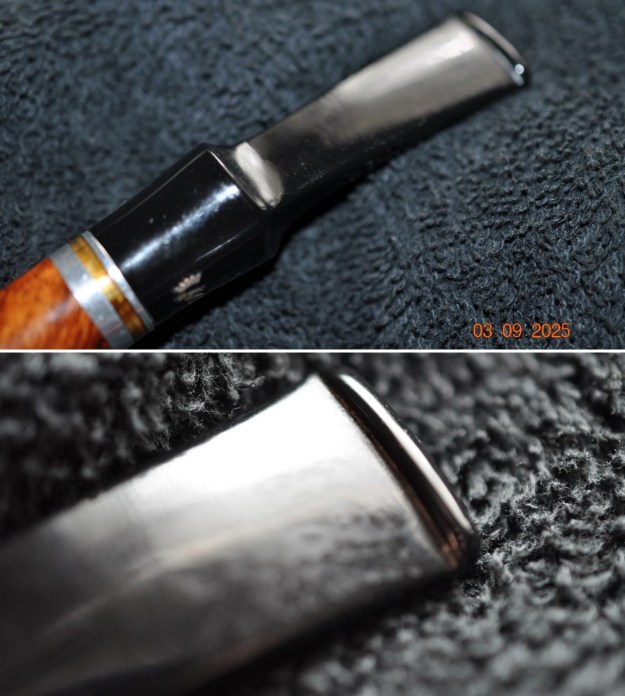
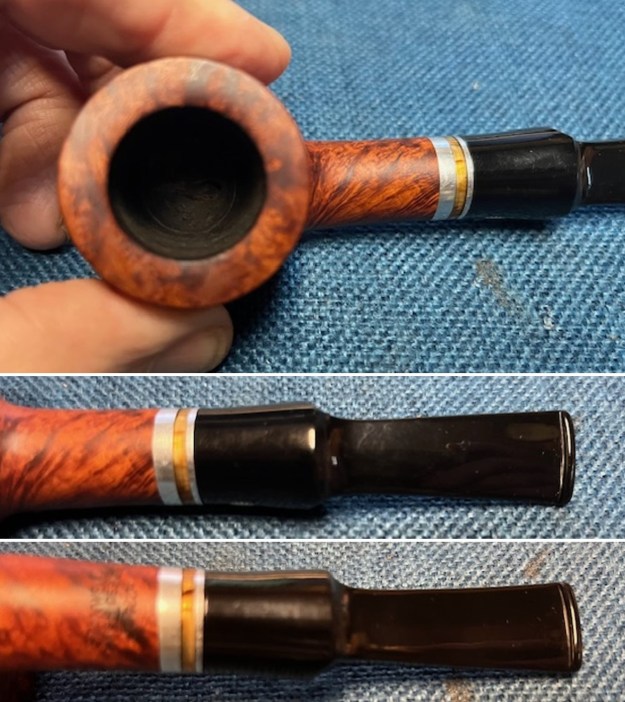
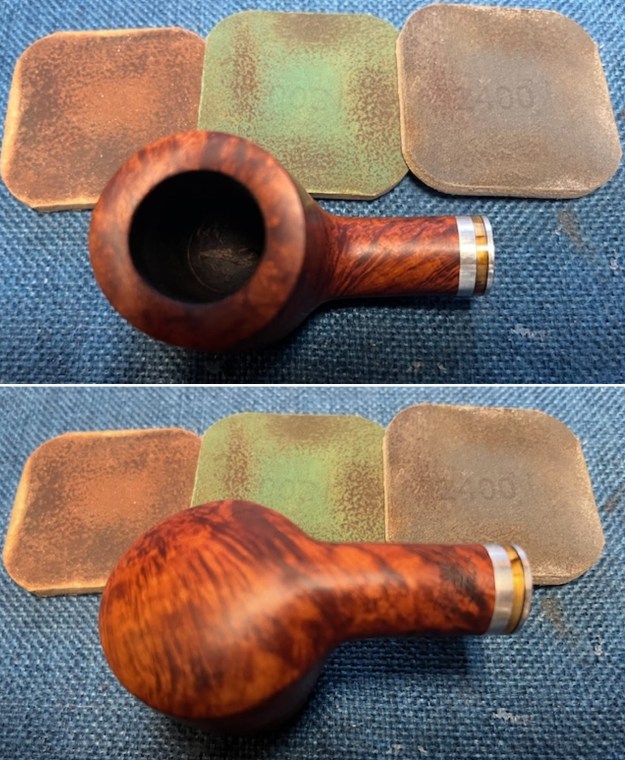
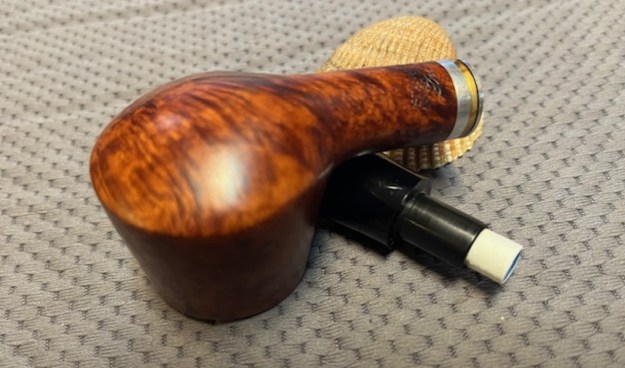
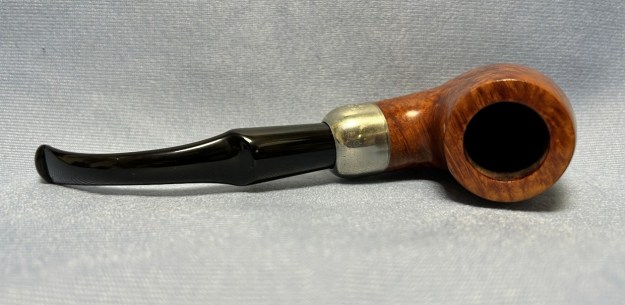
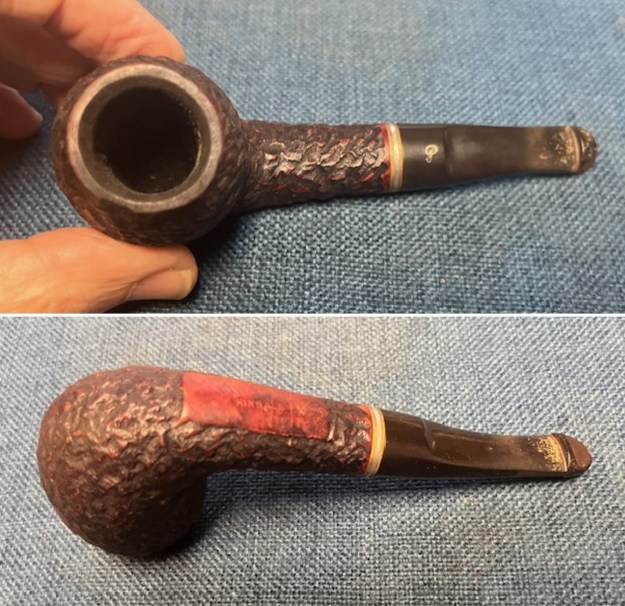 I took a closeup photo of the rim top and bowl to give a sense of the dirty condition of the pipe and the thickness of the cake and lava on the bowl top. The rim top and edges look to be under the lava coat but the cleanup will reveal the facts. I also took photos of the stem to show the top and underside ahead of the button.
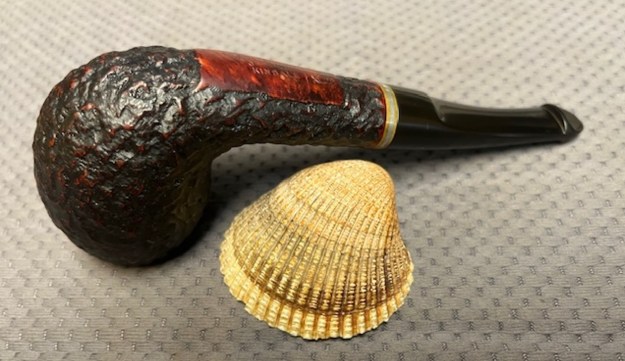
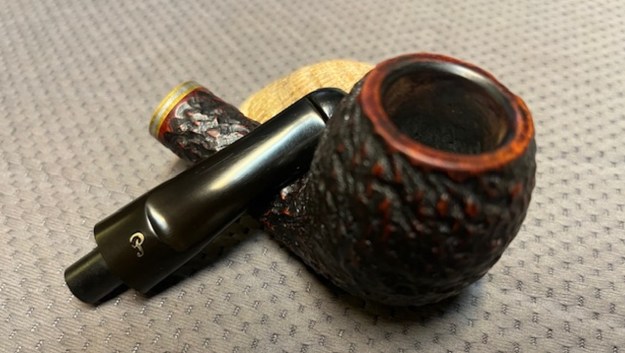
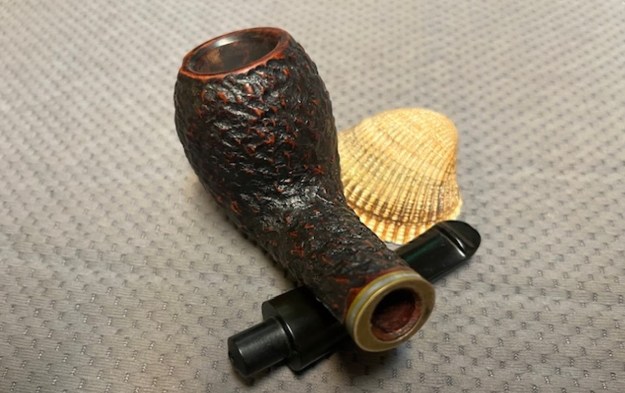
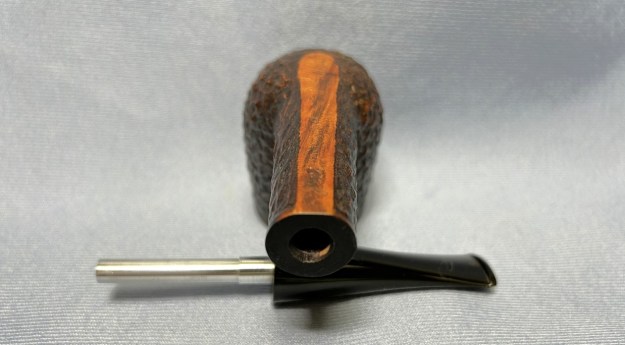
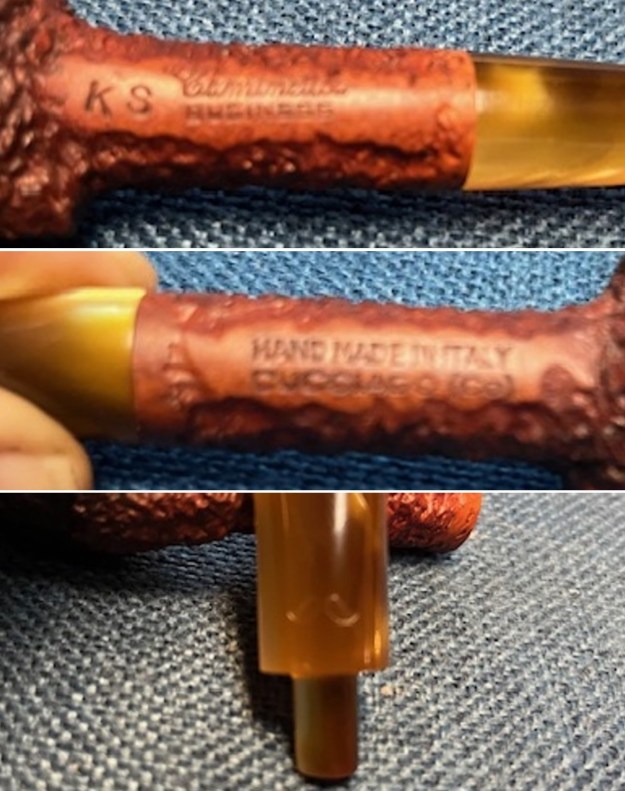
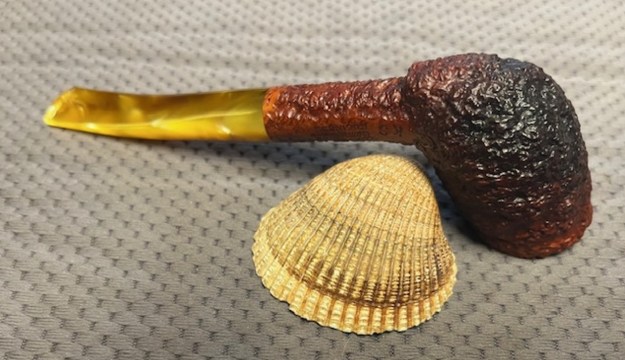
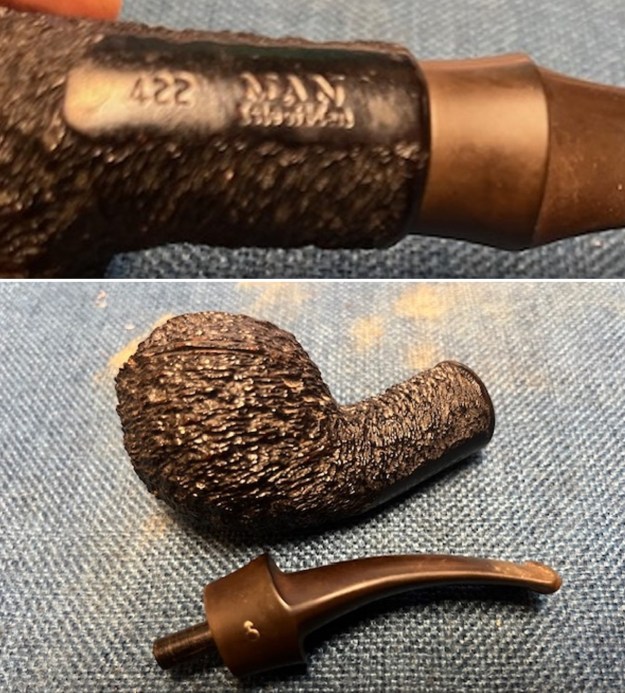
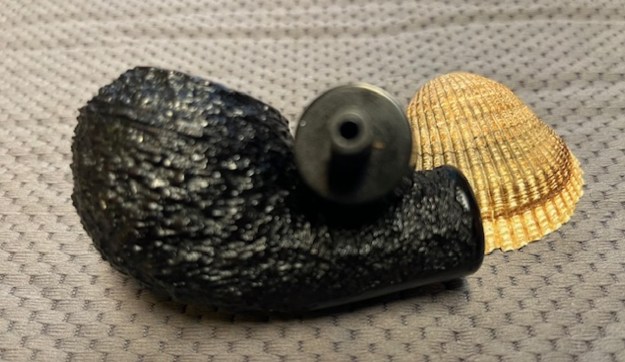
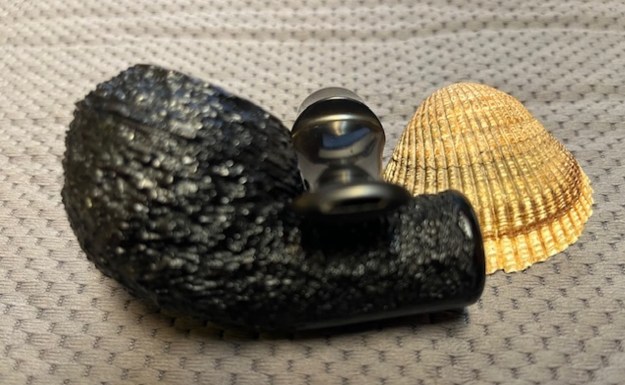
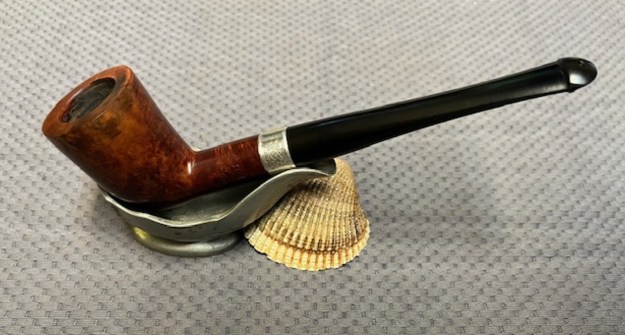
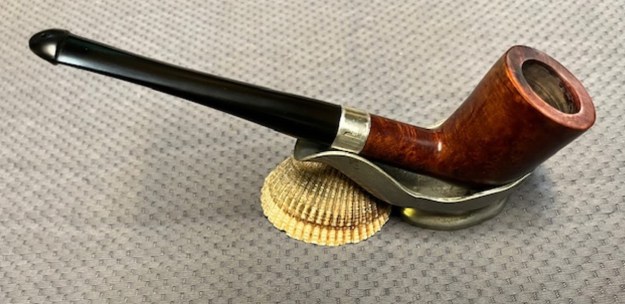
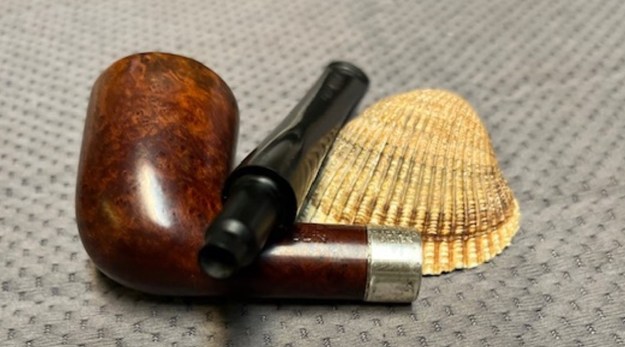
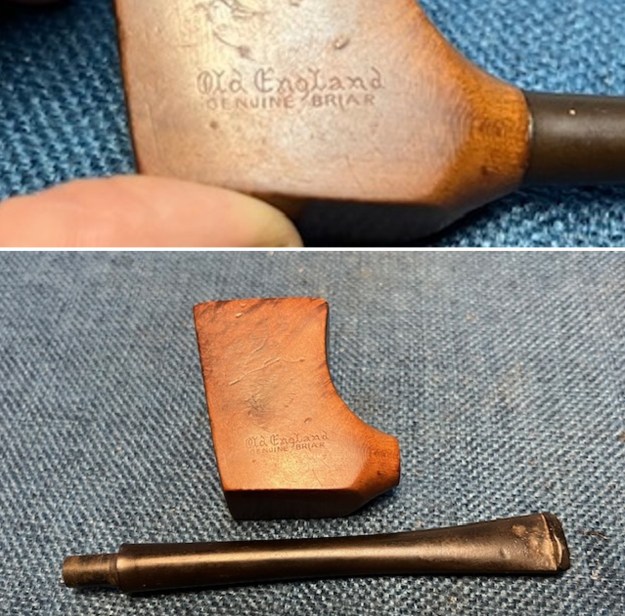
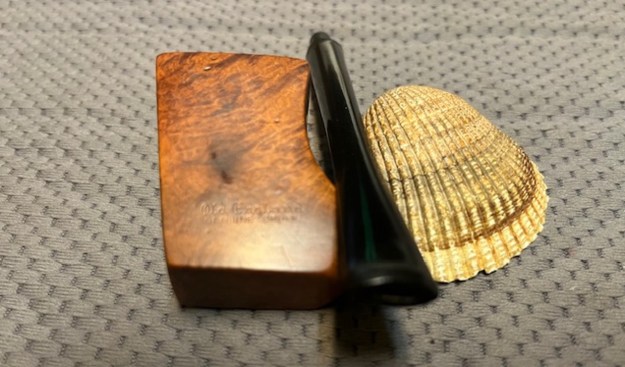
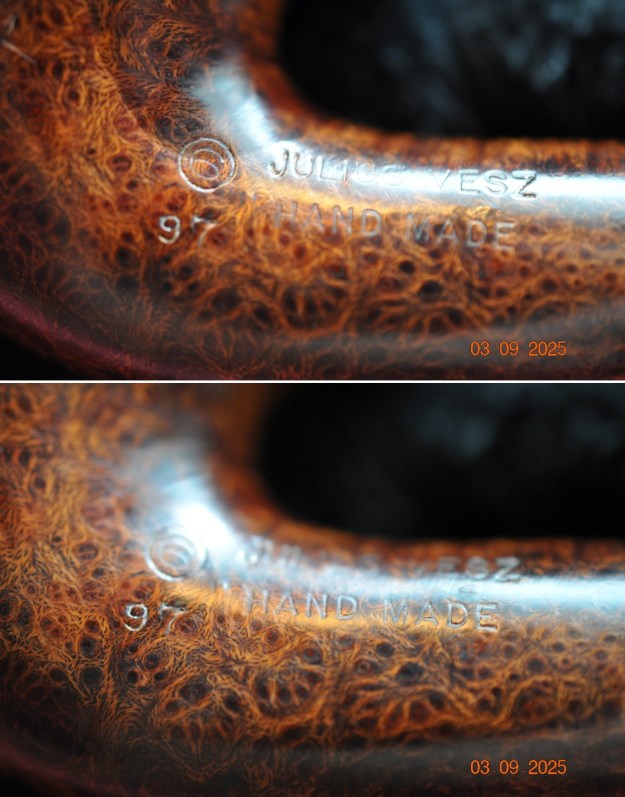
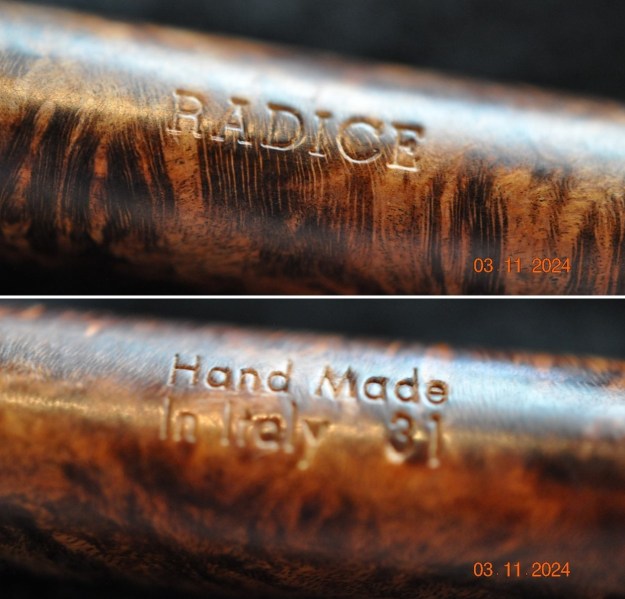
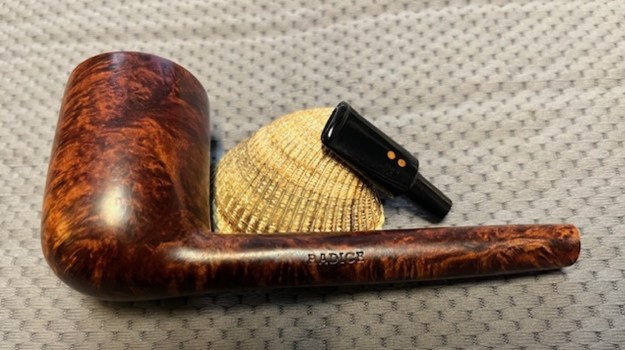
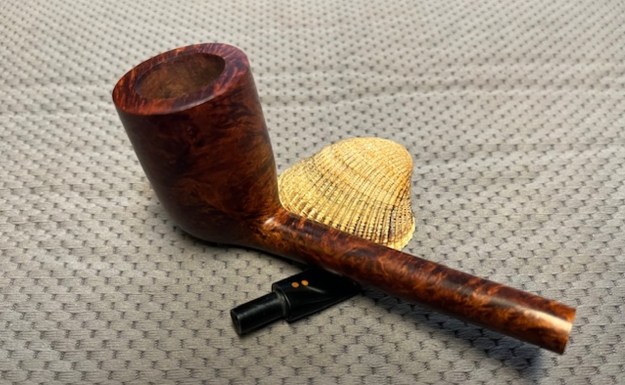
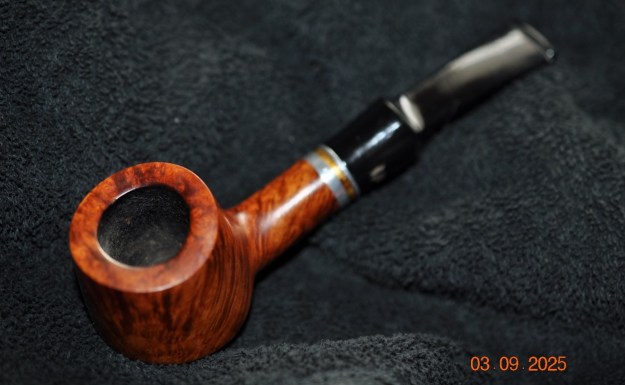
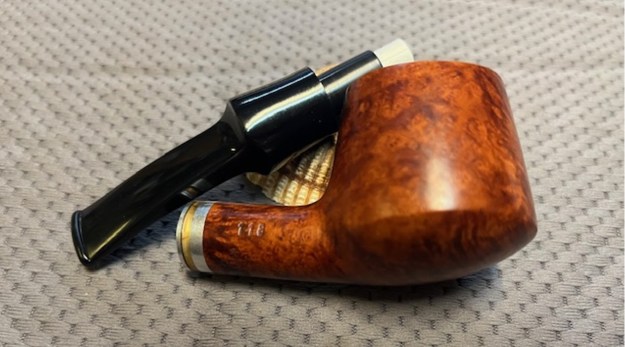
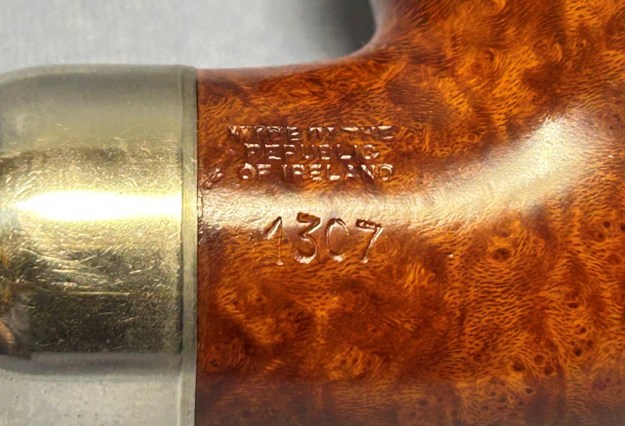
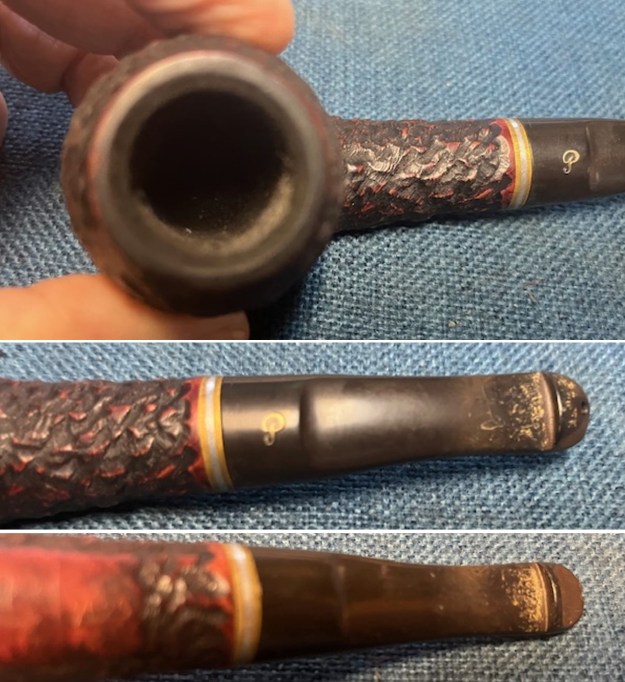 I took photos of the stamping on the underside of the shank. It was readable through the grime and debris. It read as noted in the above paragraphs. I also took the stem off the shank and took a photo of the look and proportion of the pipe.
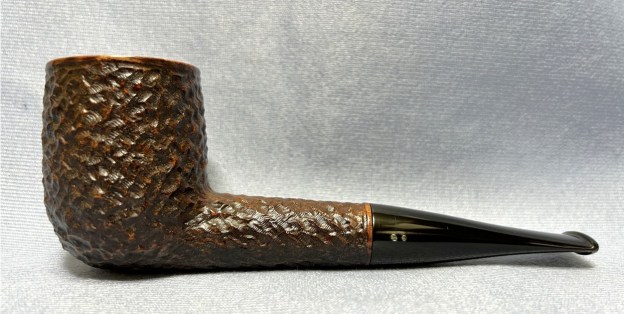
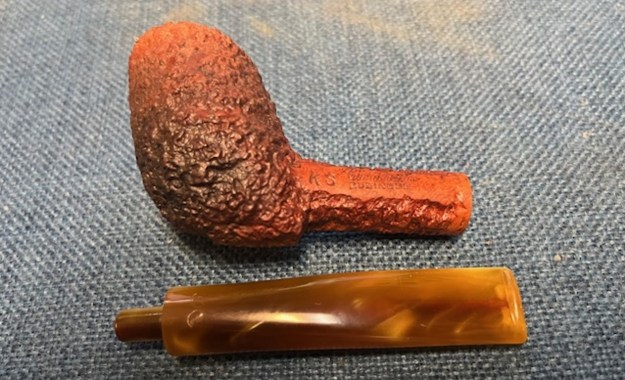
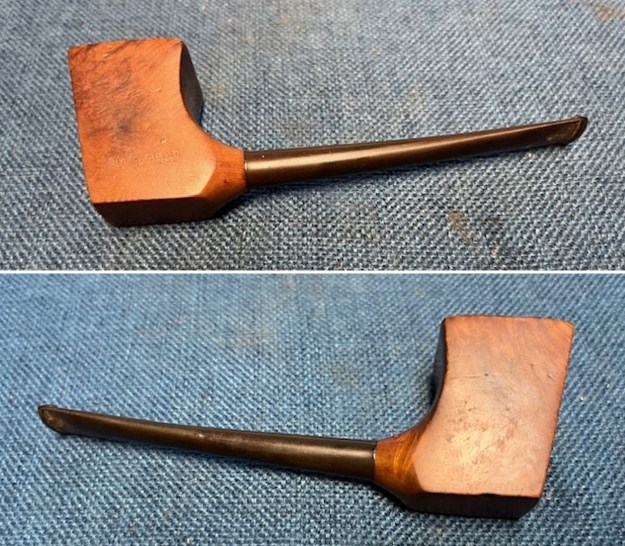
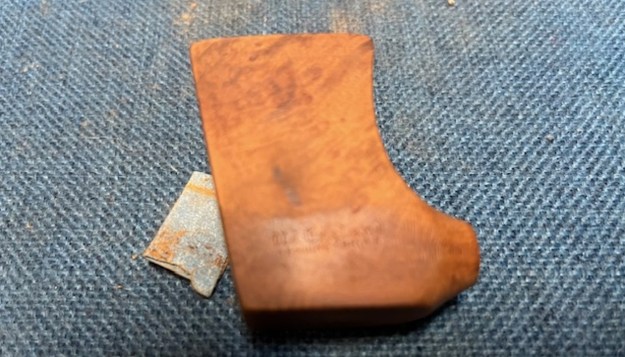
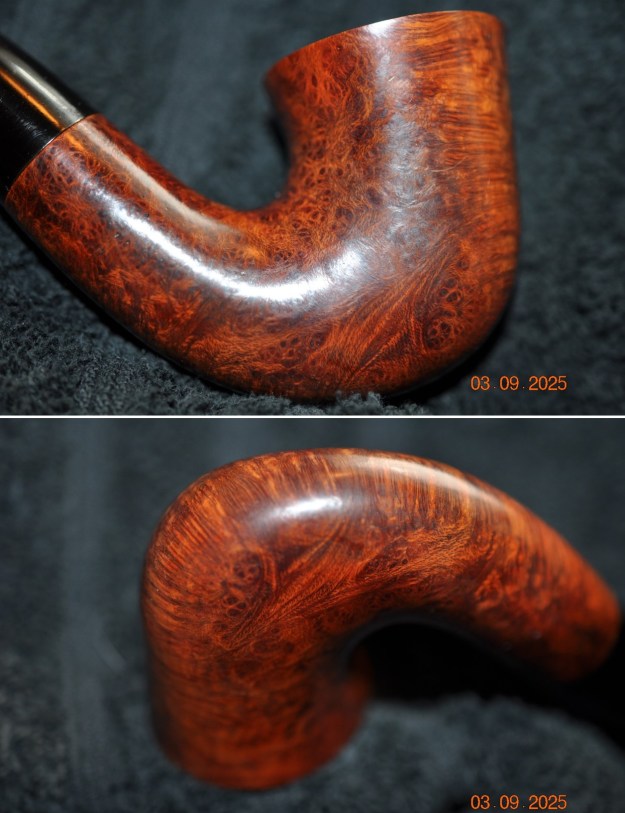
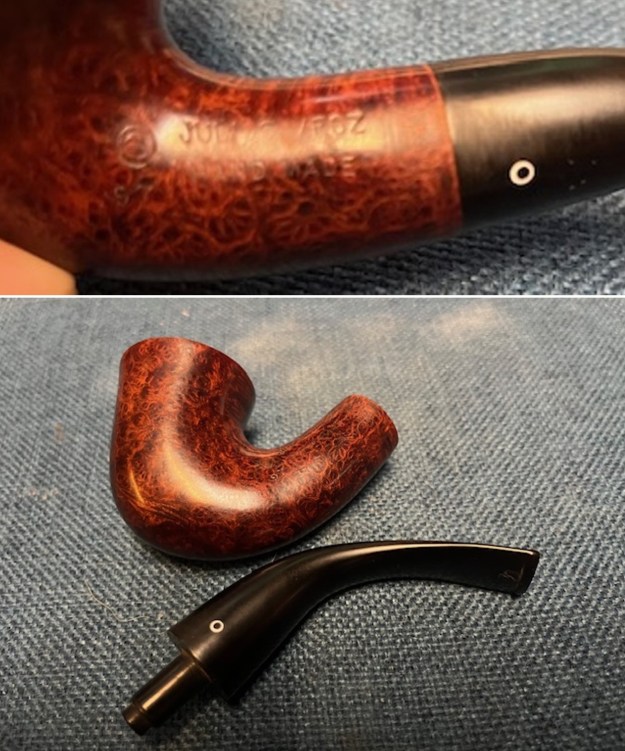
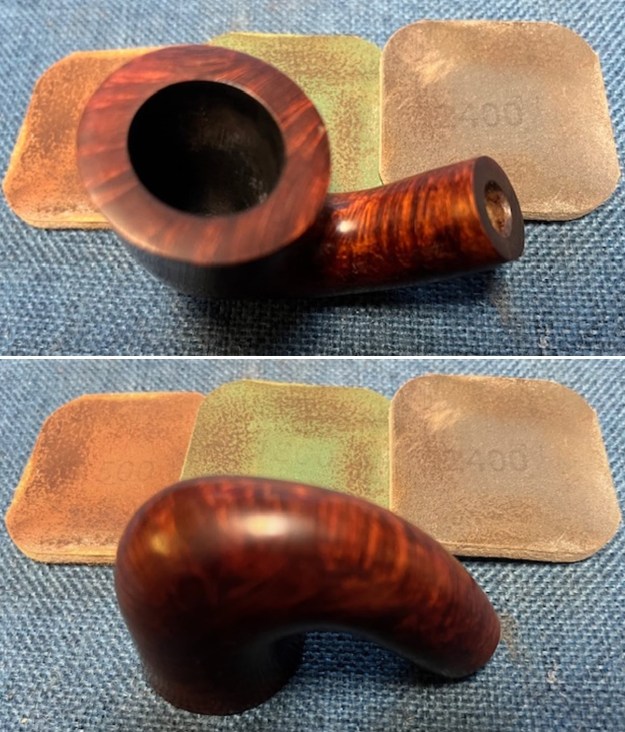
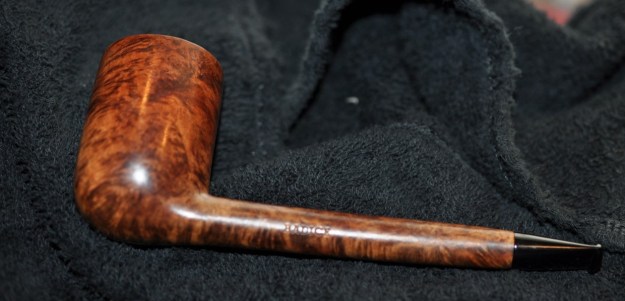
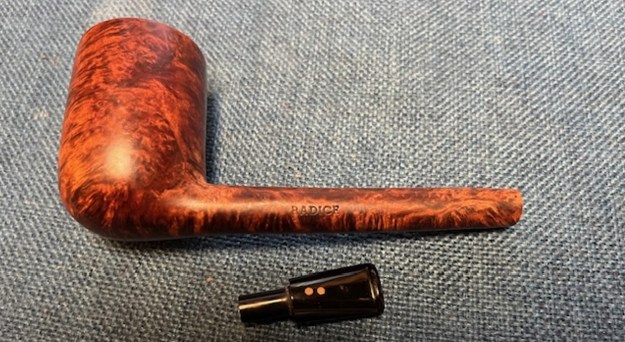
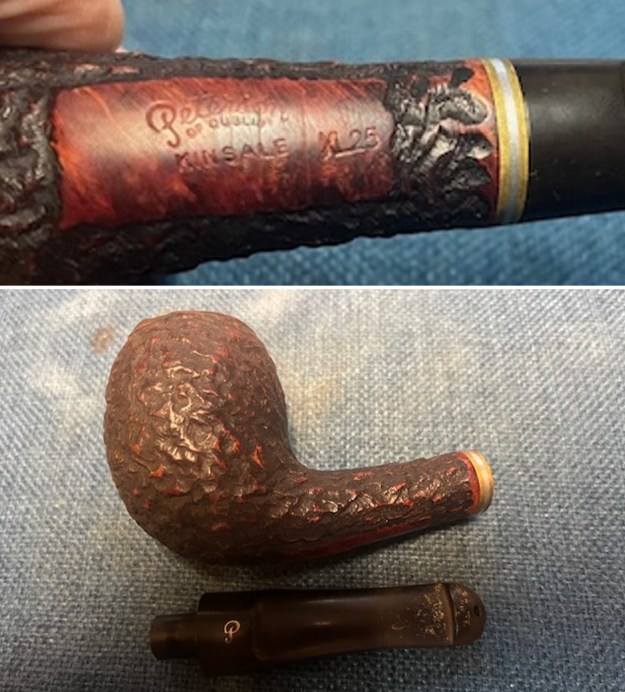 I turned to a Catalogue I have on the blog that has a section on the Classic Range Kinsale Smooth and Rustic finishes. It says that it is based on the Sherlock Holmes collections. A quality briar in a smooth burnt orange or rustic finish. Here is the link (https://rebornpipes.com/wp-content/uploads/2015/05/peterson-cataloguecomp_page_30.jpg). I have included a copy of the page below.
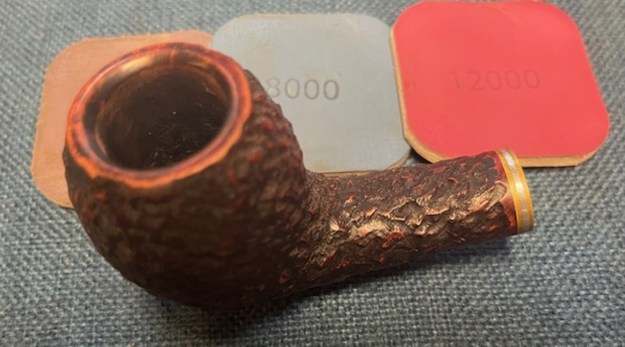
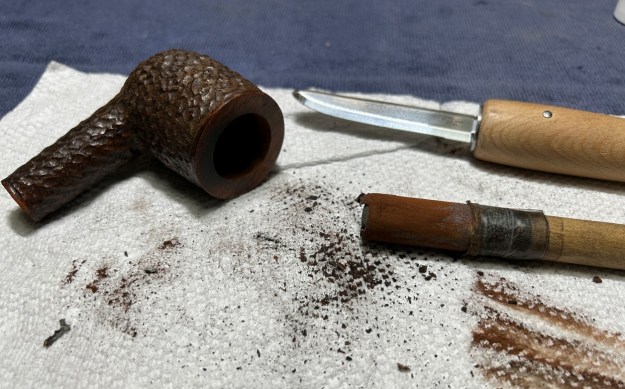
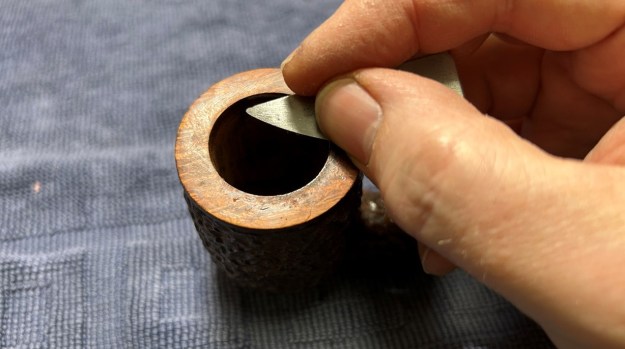
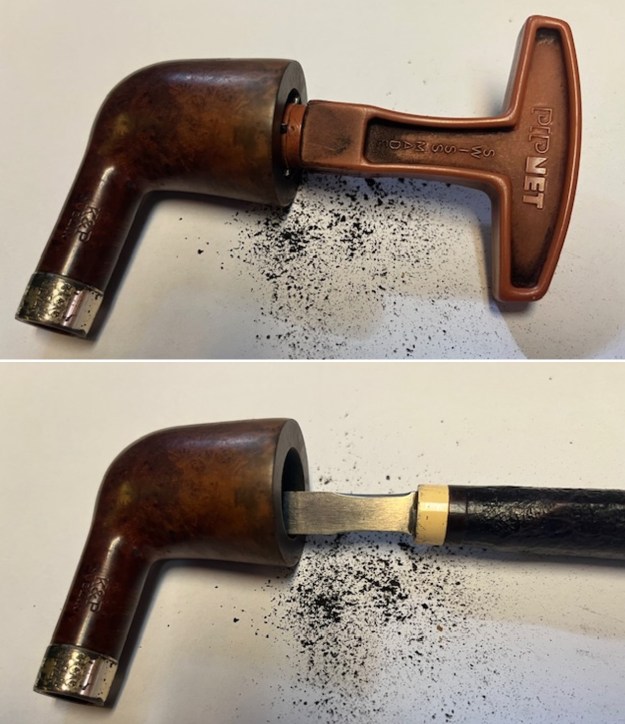
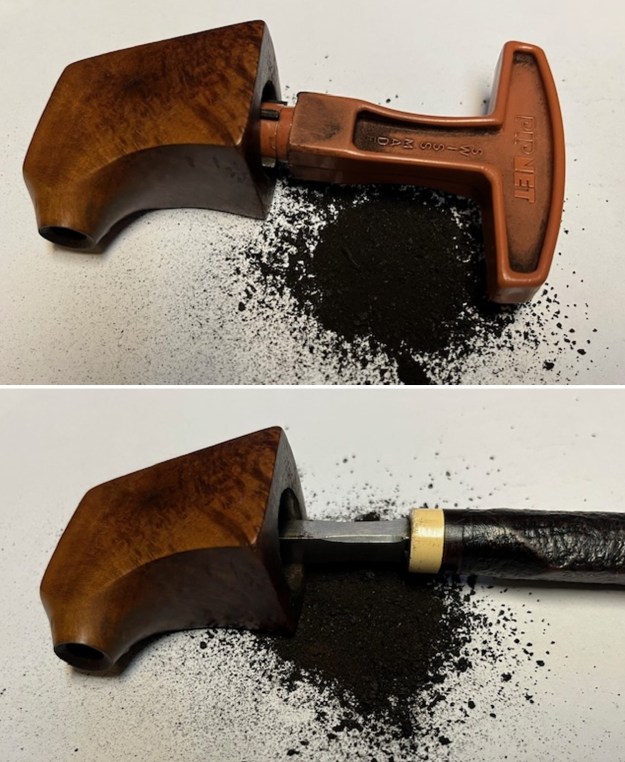
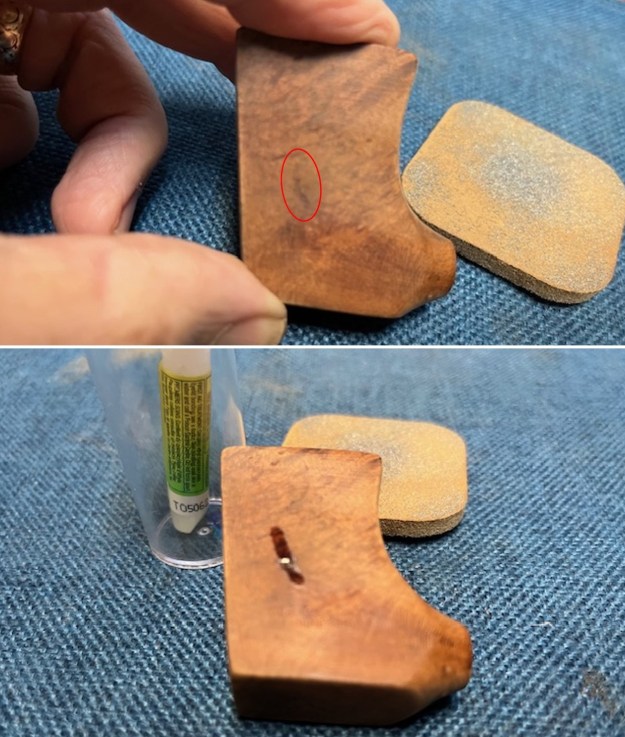
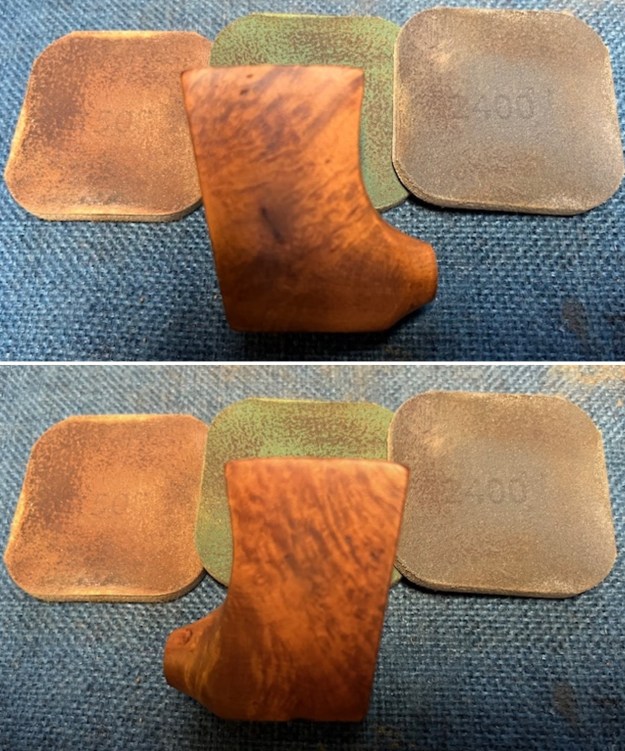
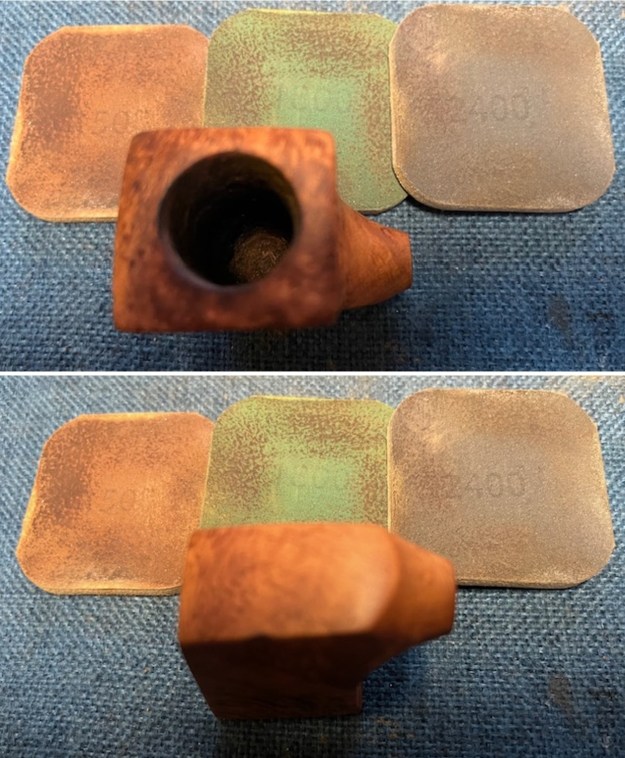
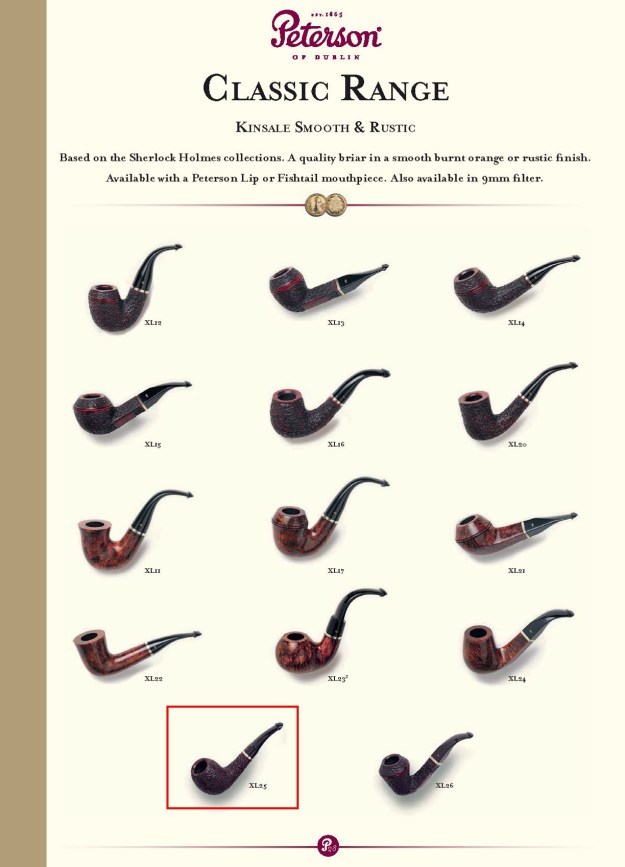 I started my work on the pipe by reaming the cake in the bowl. I used a PipNet pipe reamer with the second and third cutting heads to take back the cake. I used a Savinelli Fitsall Pipe Knife to scrape the remainder of the cake out of the bowl and clean up the bottom of the bowl. I sanded the bowl walls with 220 grit sandpaper wrapped around a piece of dowel. With the bowl cleaned out I was able to see that the bowl walls and bottom were in great condition. There was no checking or damage.
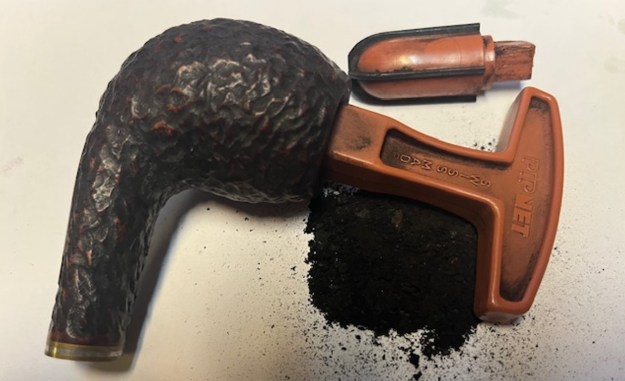
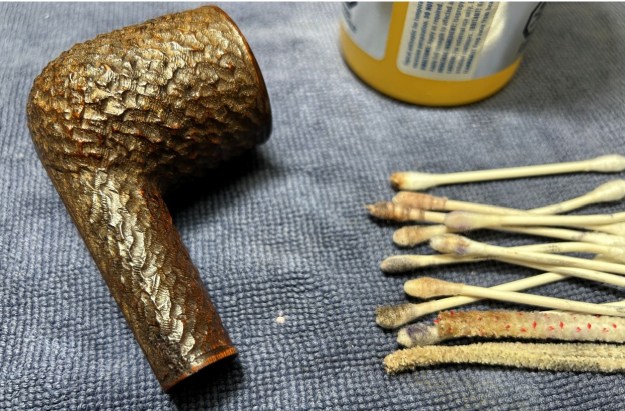
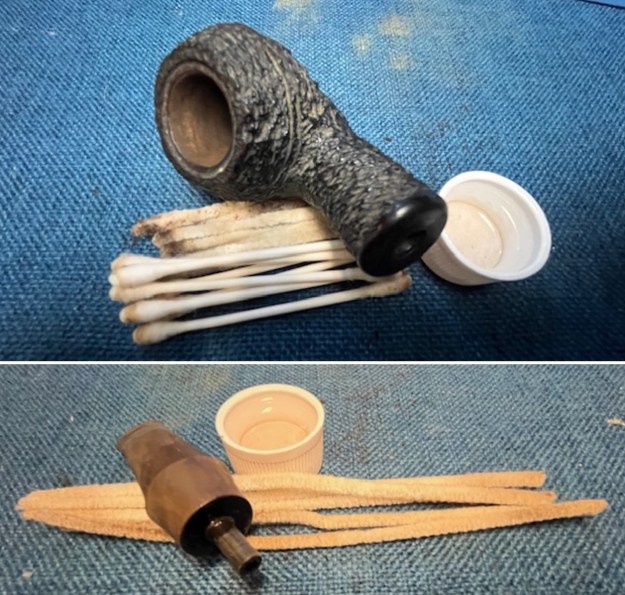
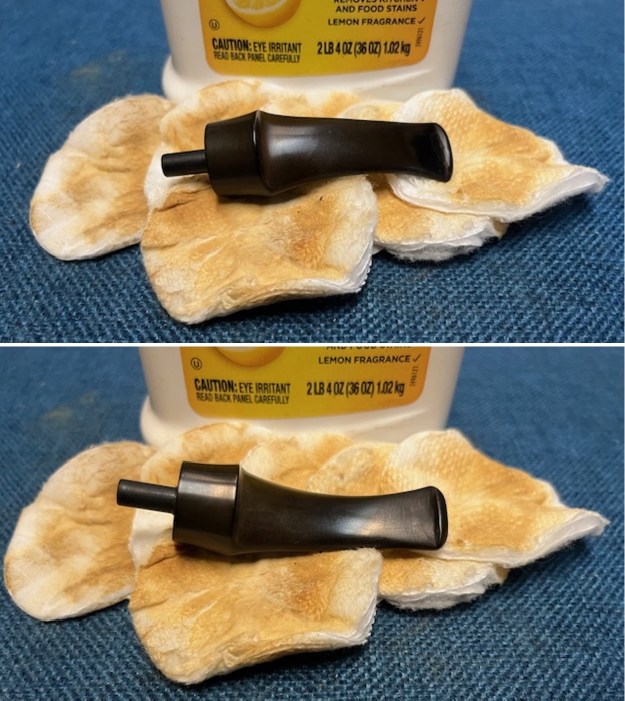
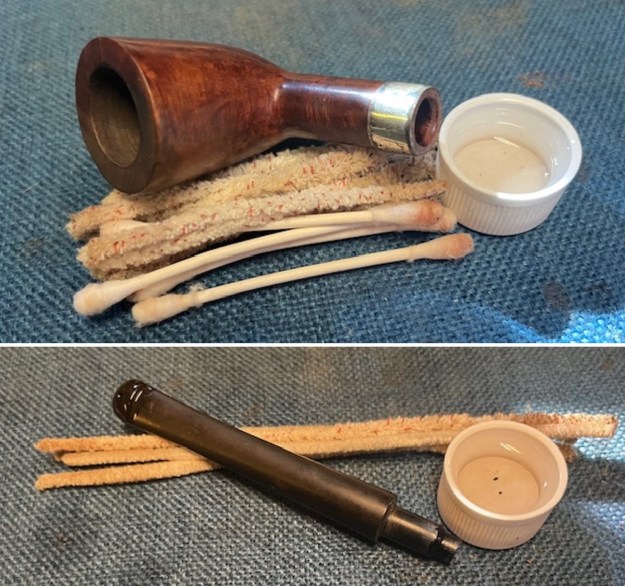
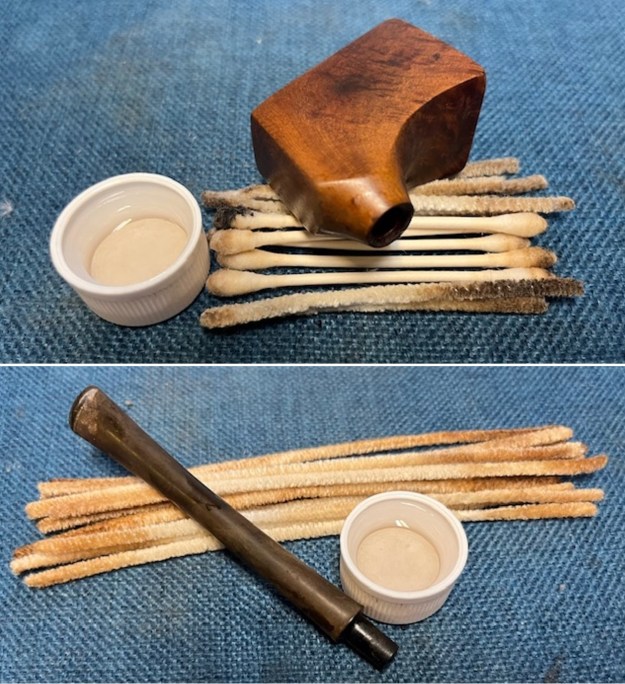
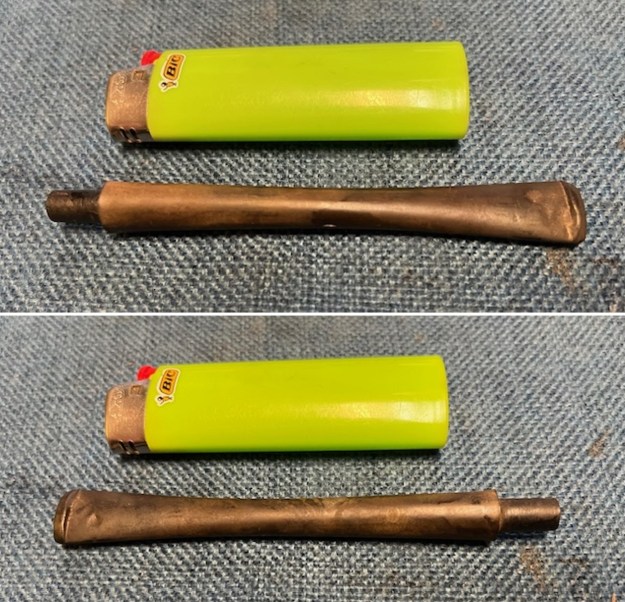
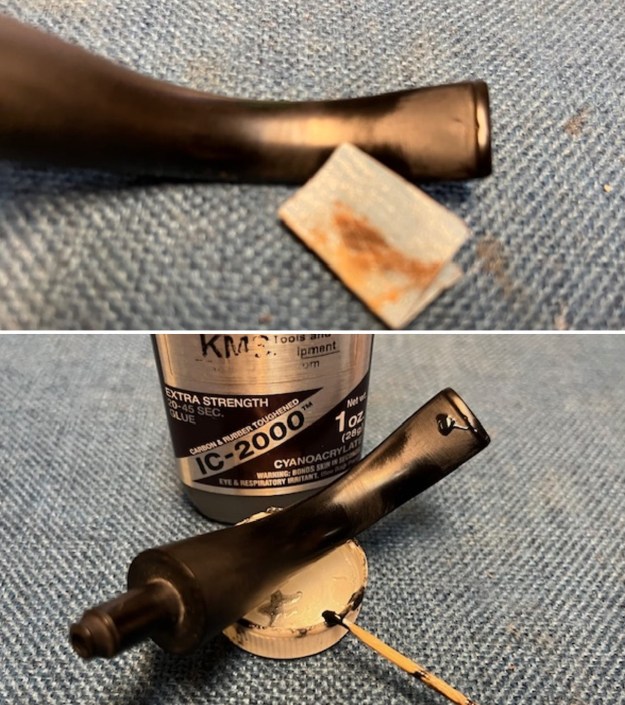
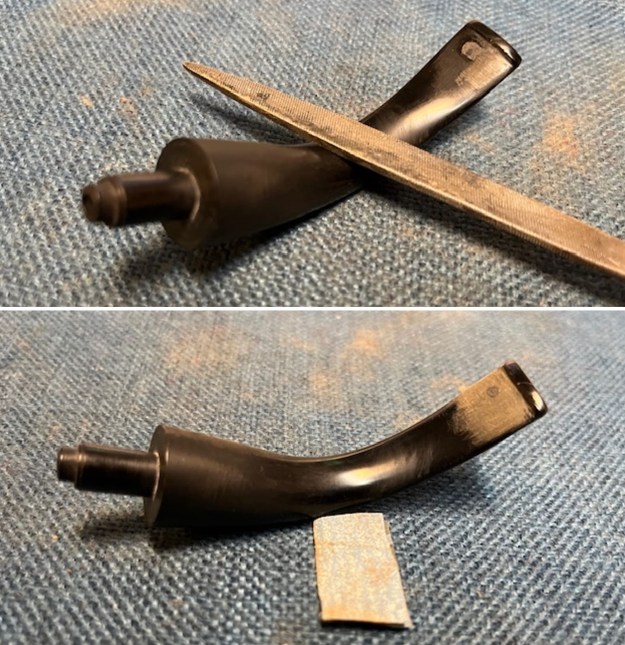
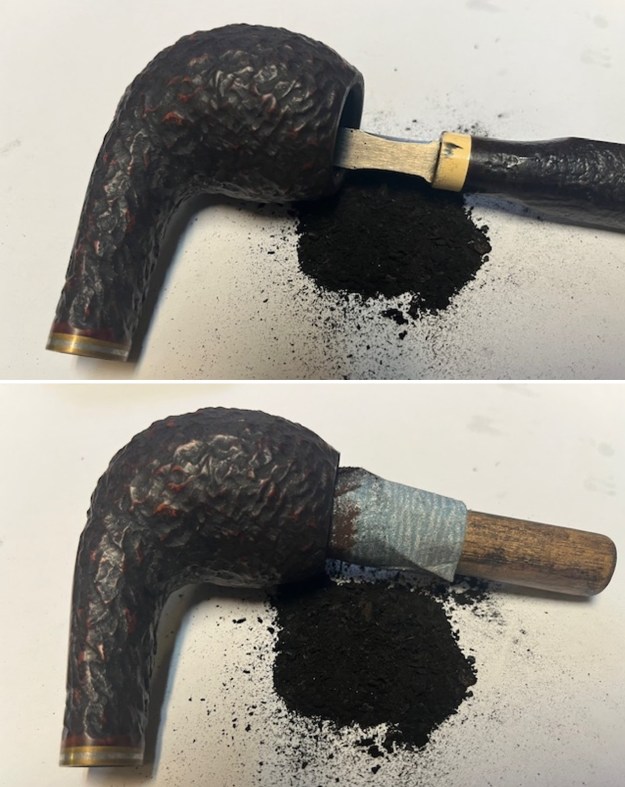 I cleaned the airway in the shank and stem with pipe cleaners, cotton swabs and isopropyl alcohol. Many pipe cleaners later that airway was clean and once again wide open.
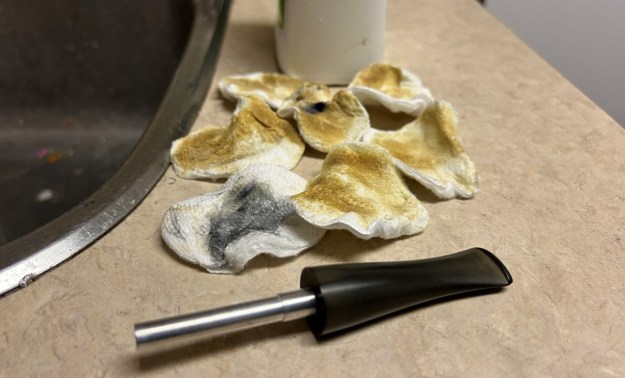
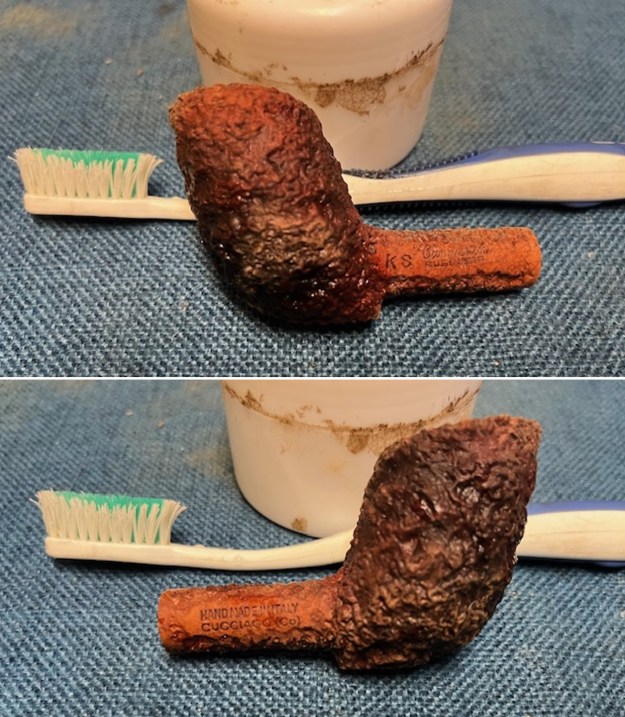
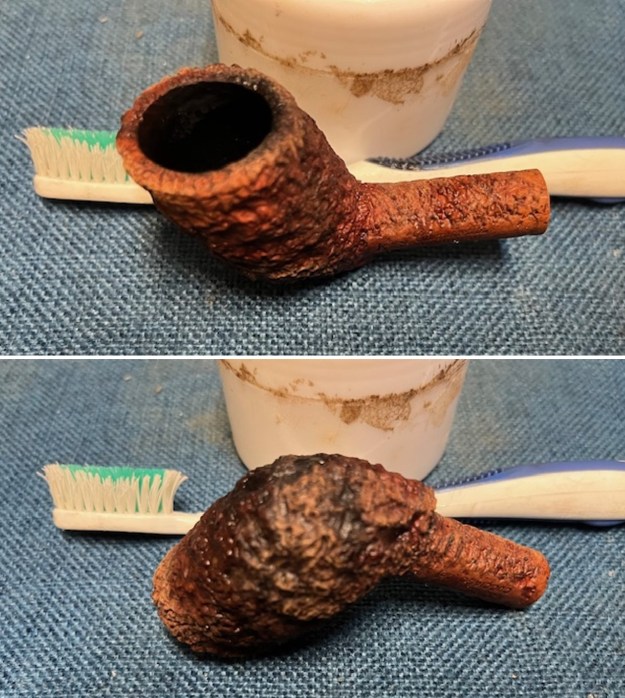
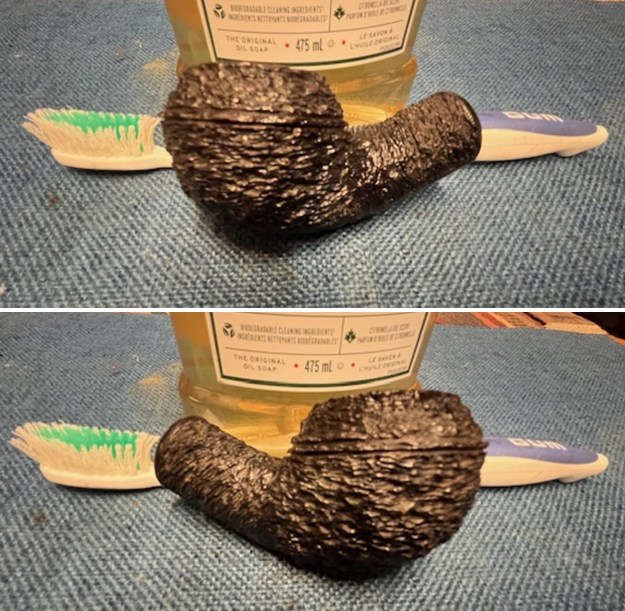
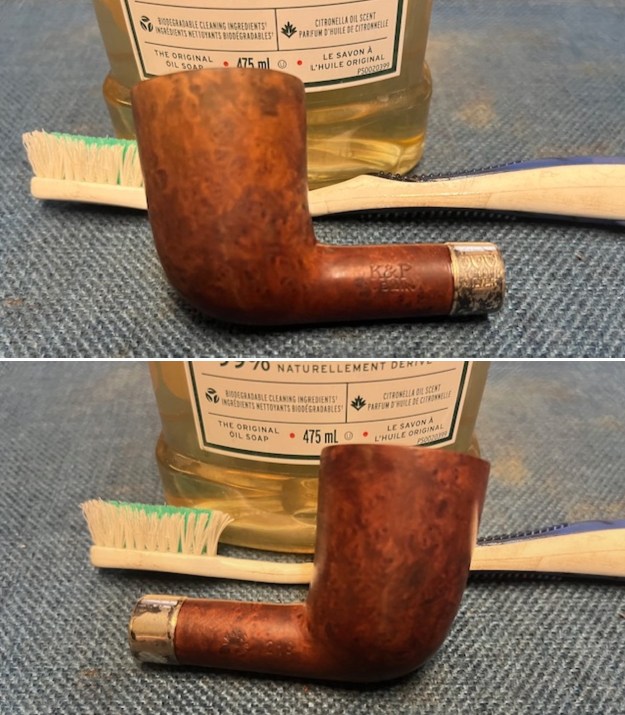
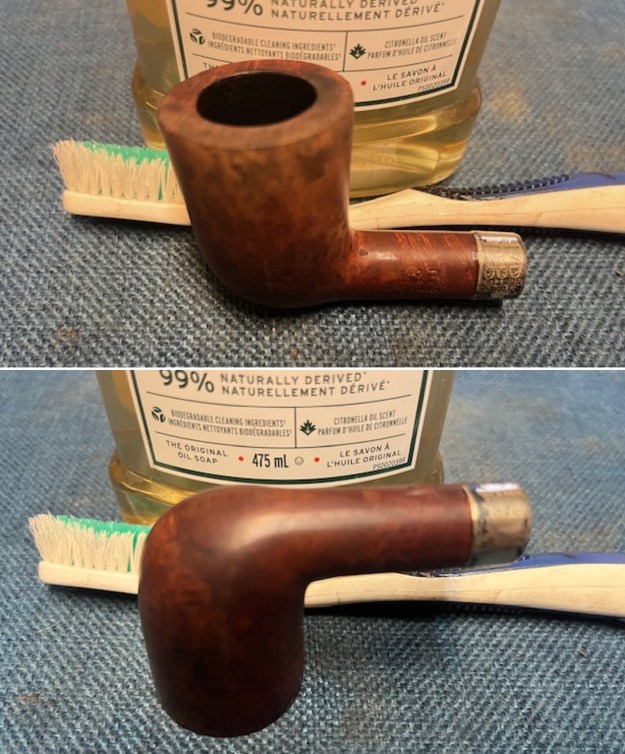
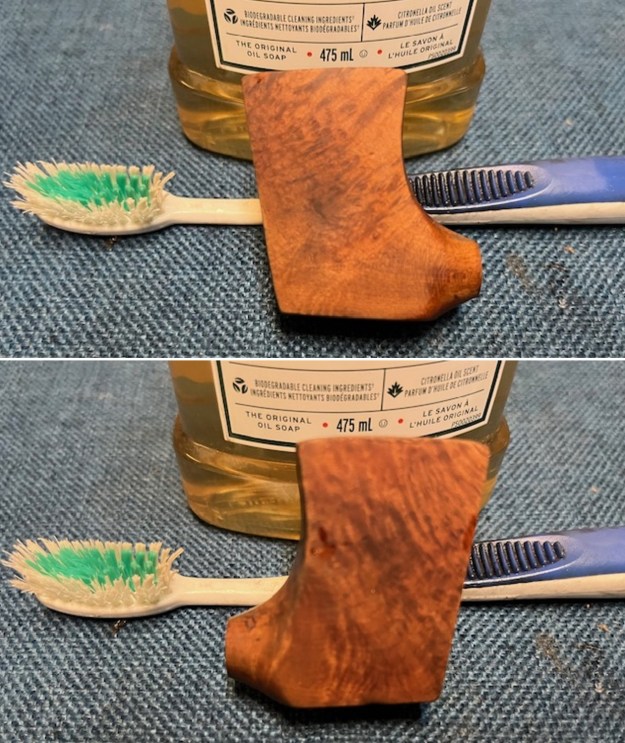
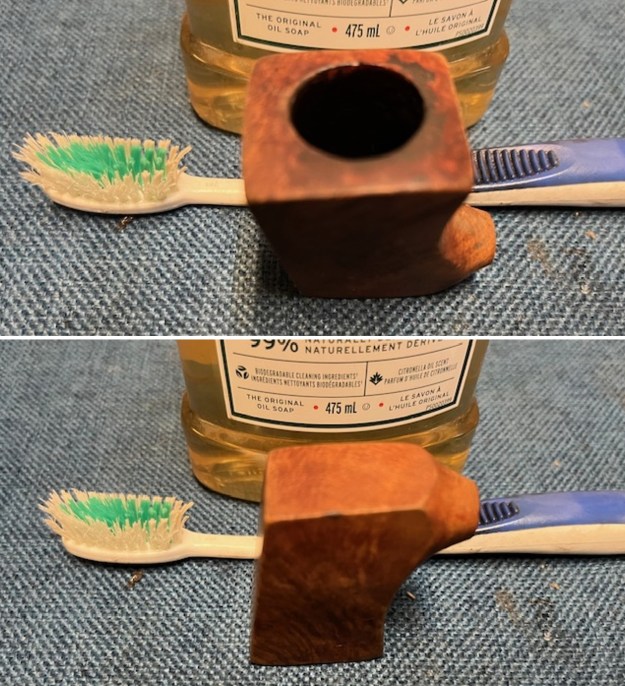
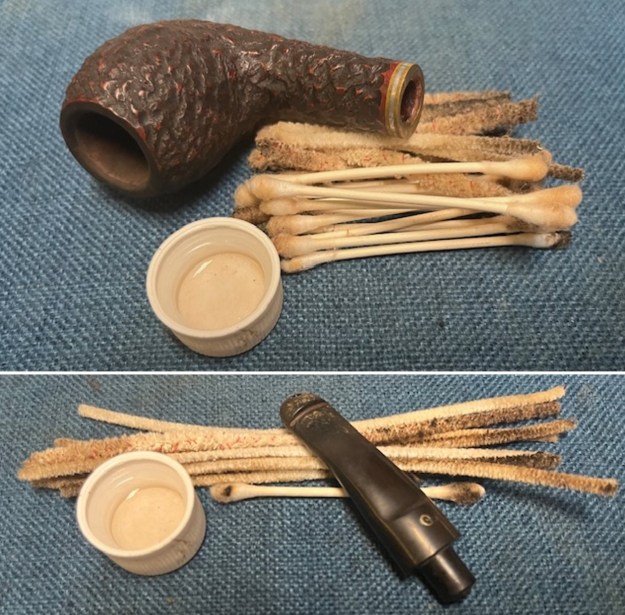 I scrubbed the externals of the bowl and shank with undiluted Murphy’s Oil Soap and a tooth brush. I rinsed it with warm running water and repeated the scrubbing and rinsing process until the pipe was clean and looked better.
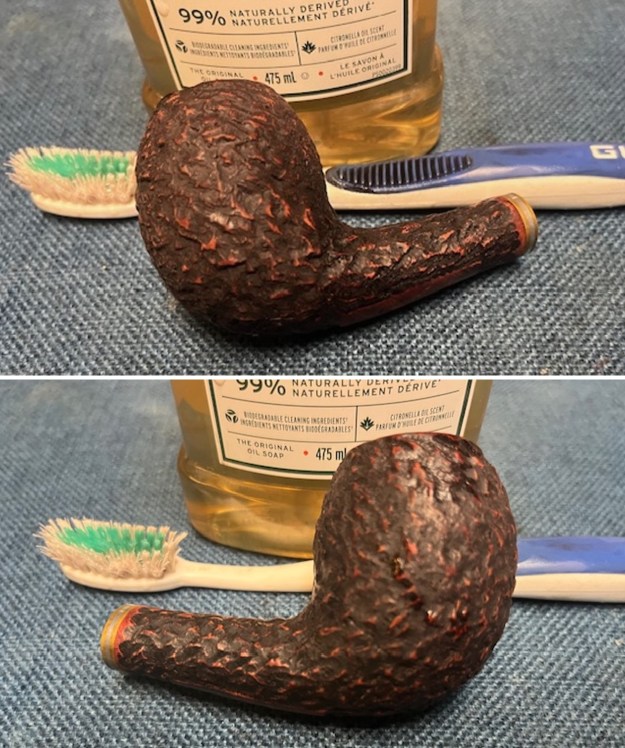
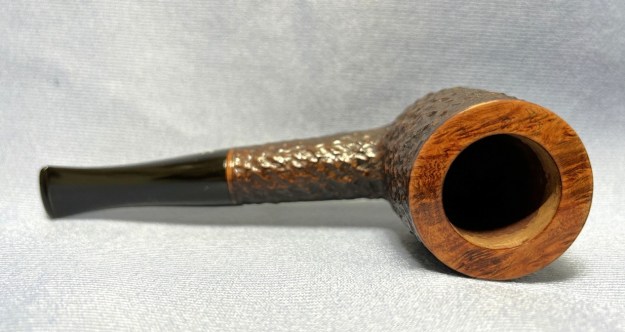
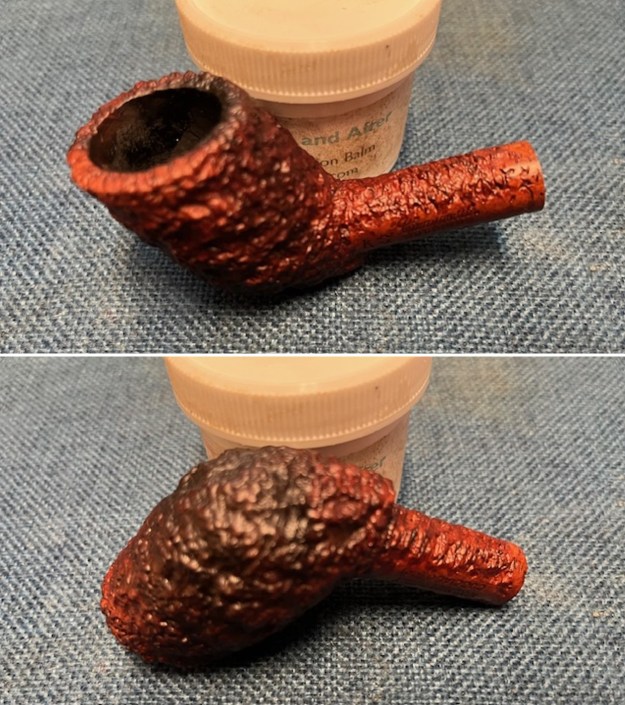
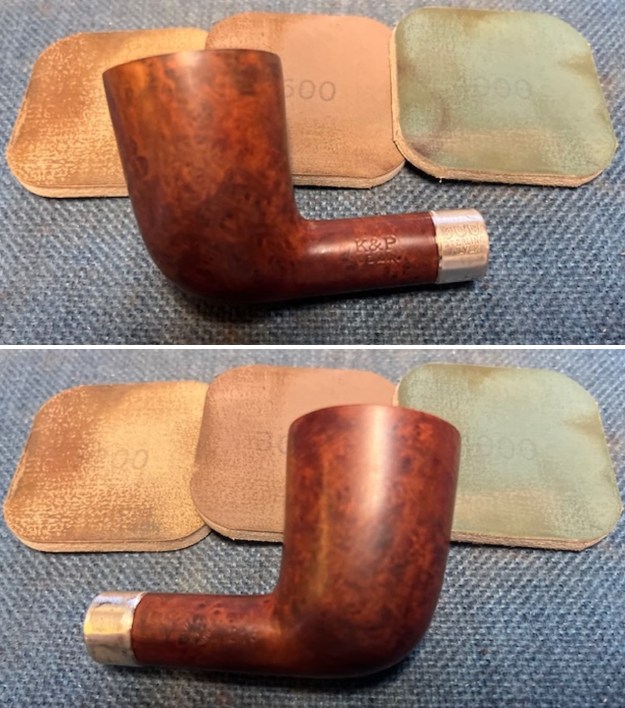
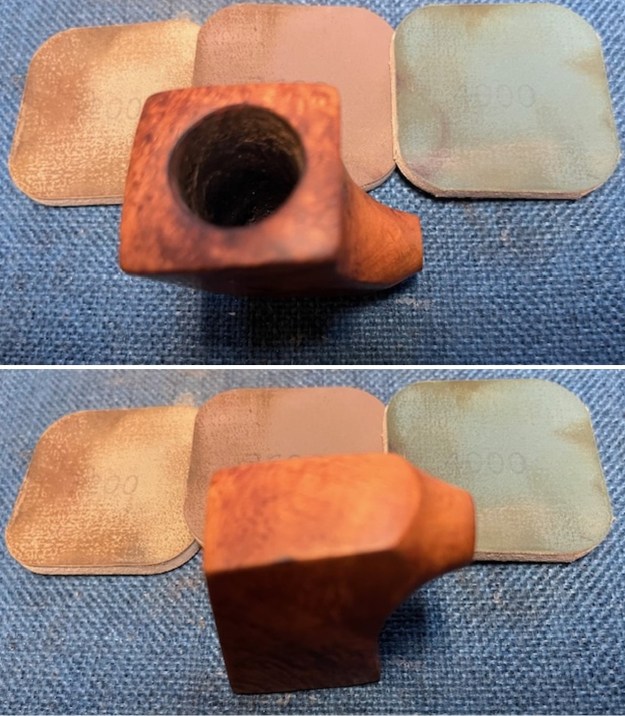
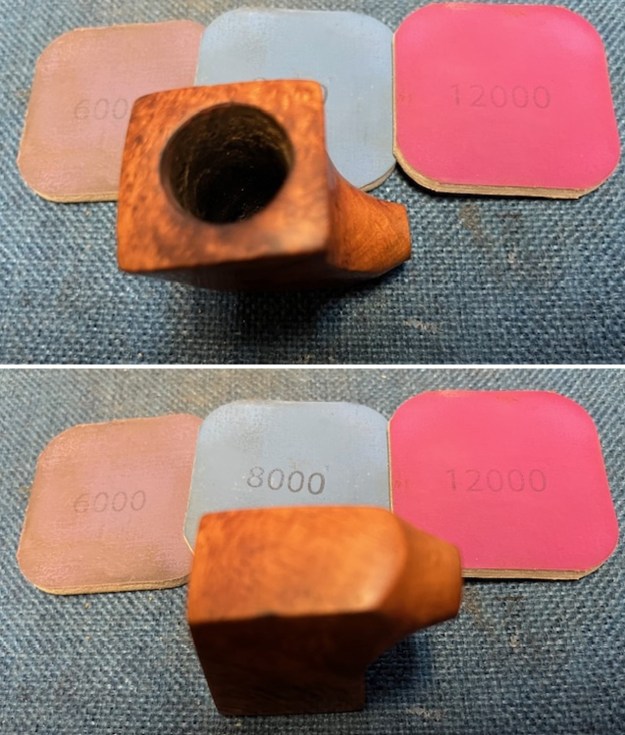
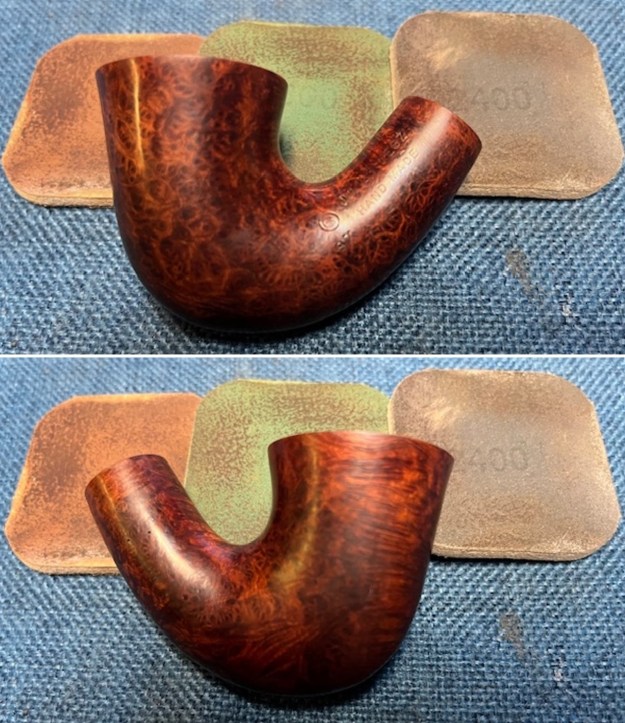
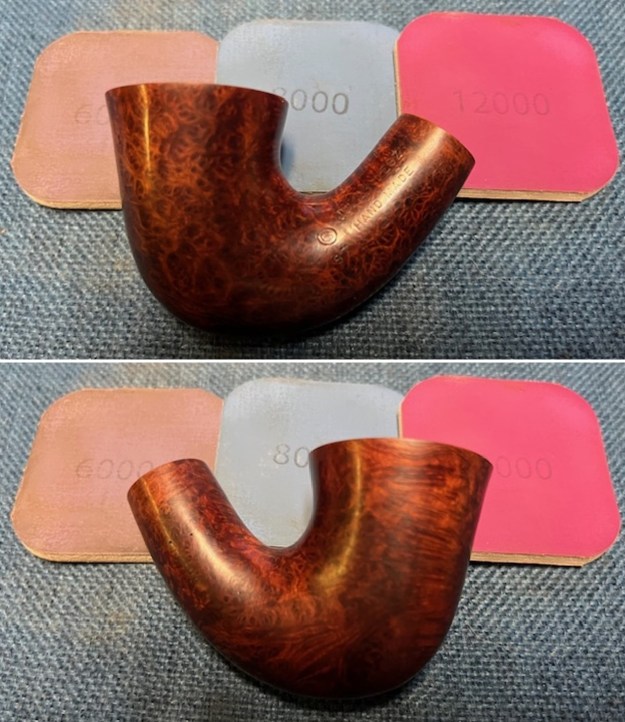
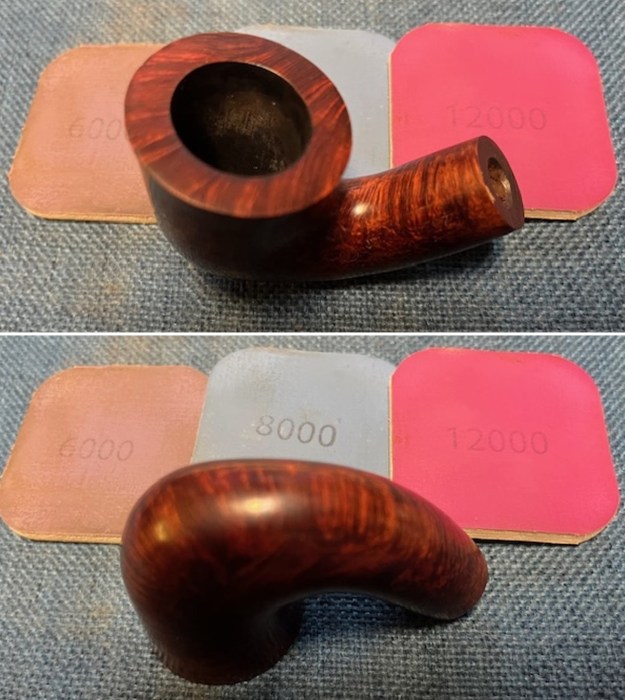
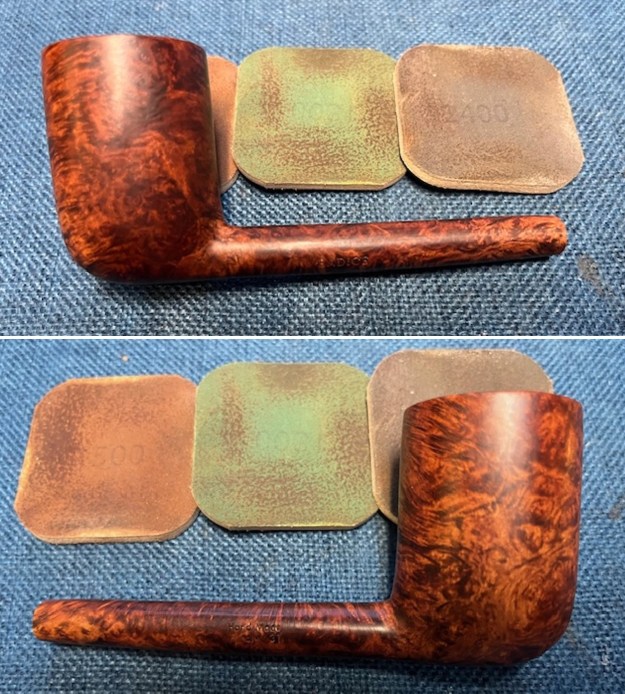
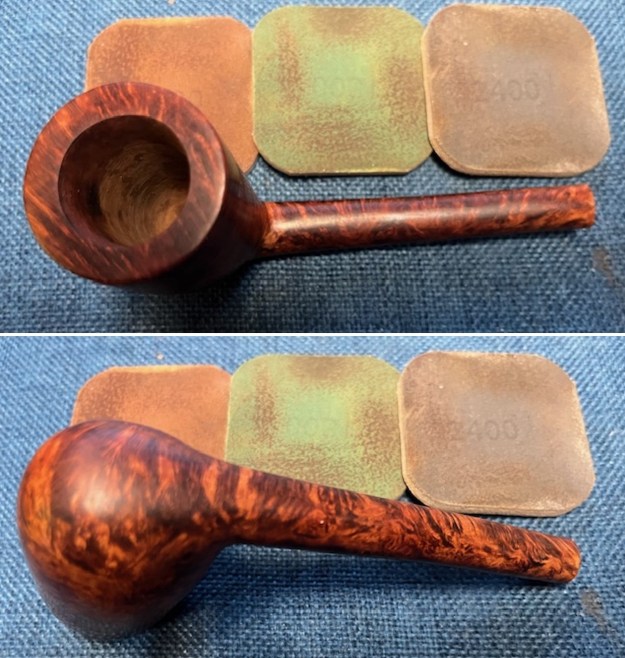
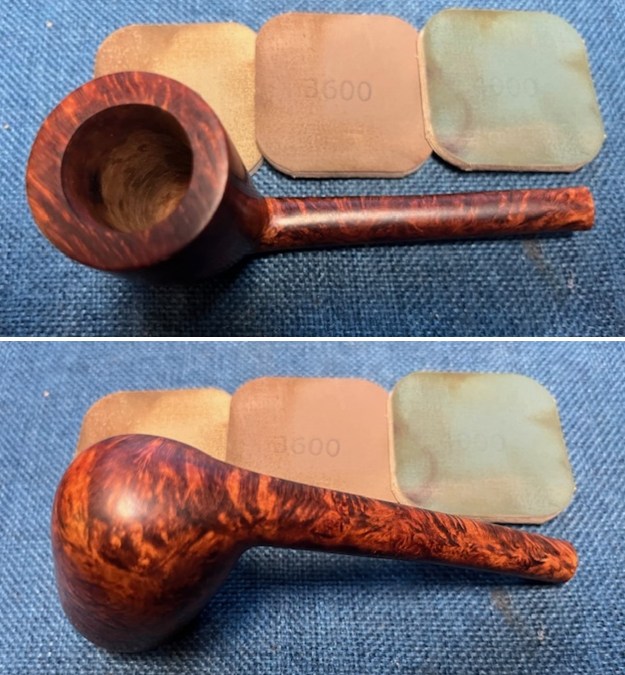
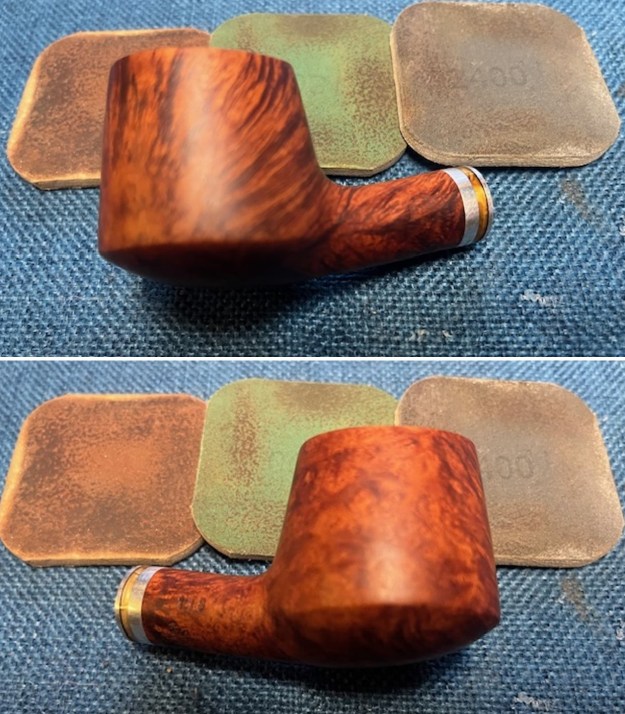
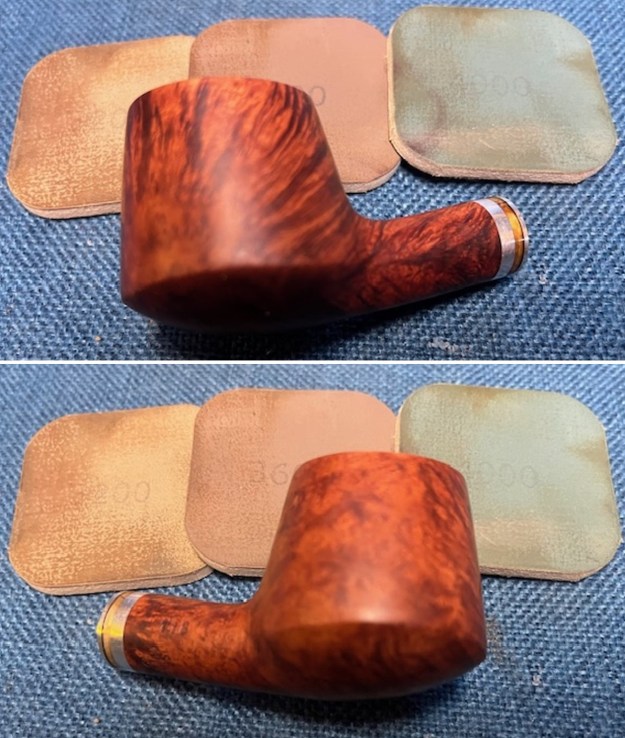
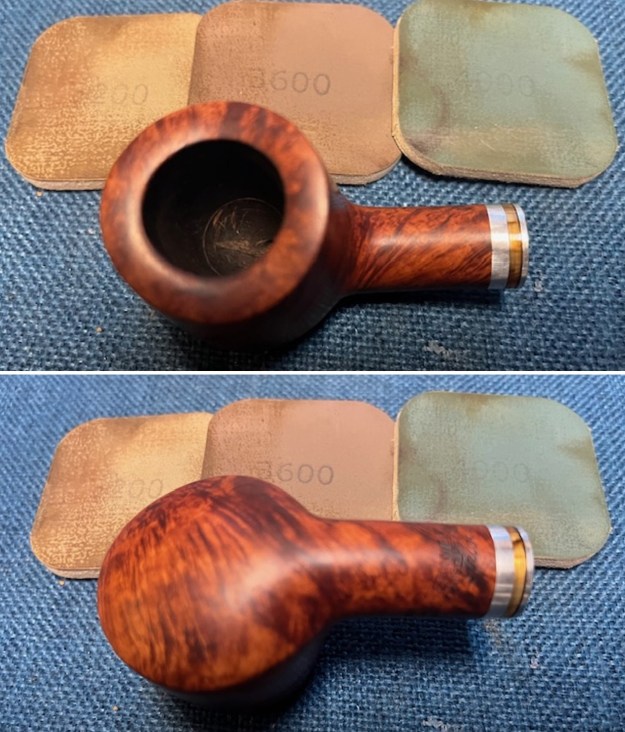
 I polished the rim top with micromesh sanding pads to clean up the darkening on the smooth surface and inner bevelled edge. It looked much better.
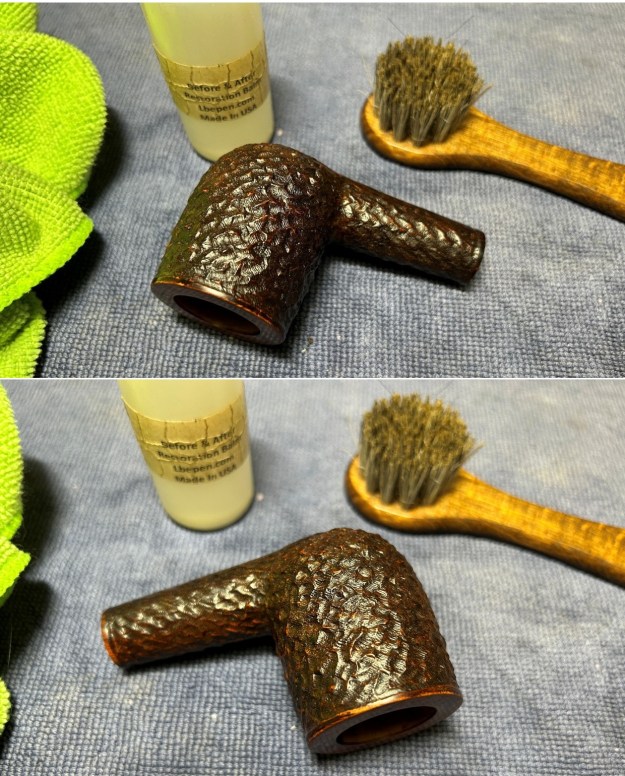
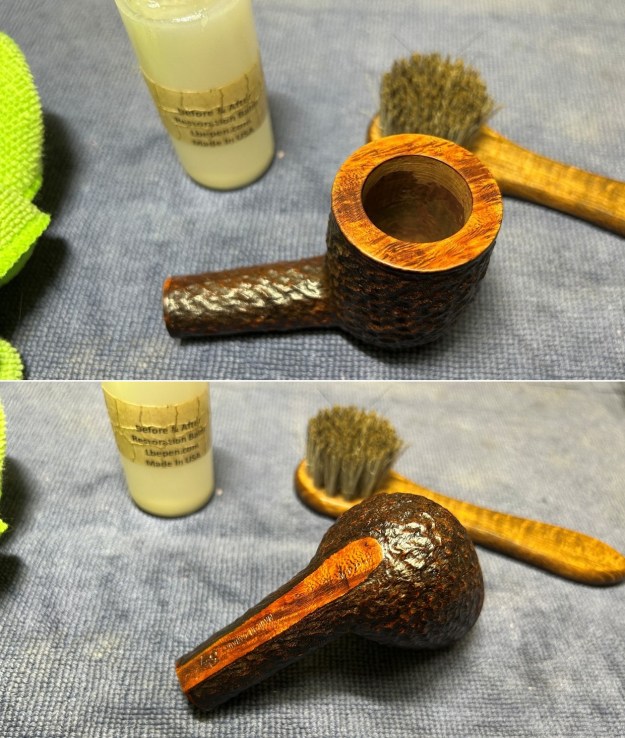
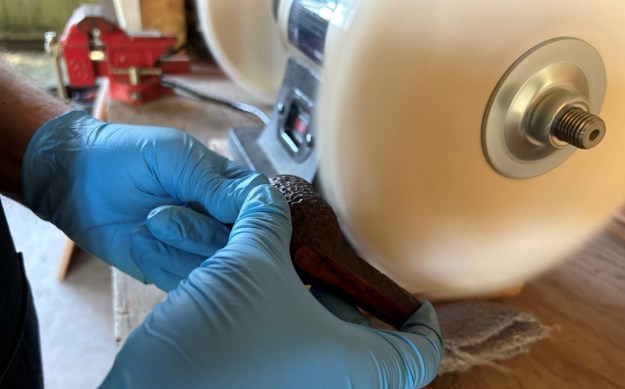
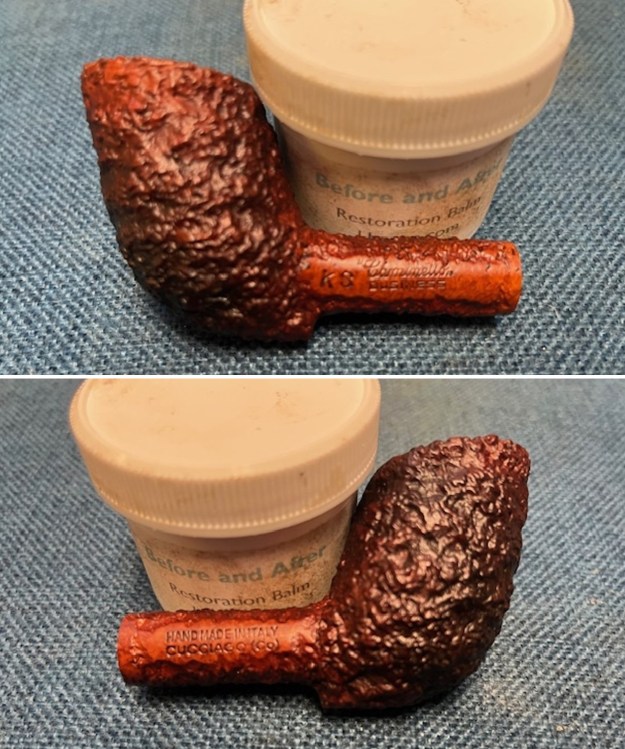
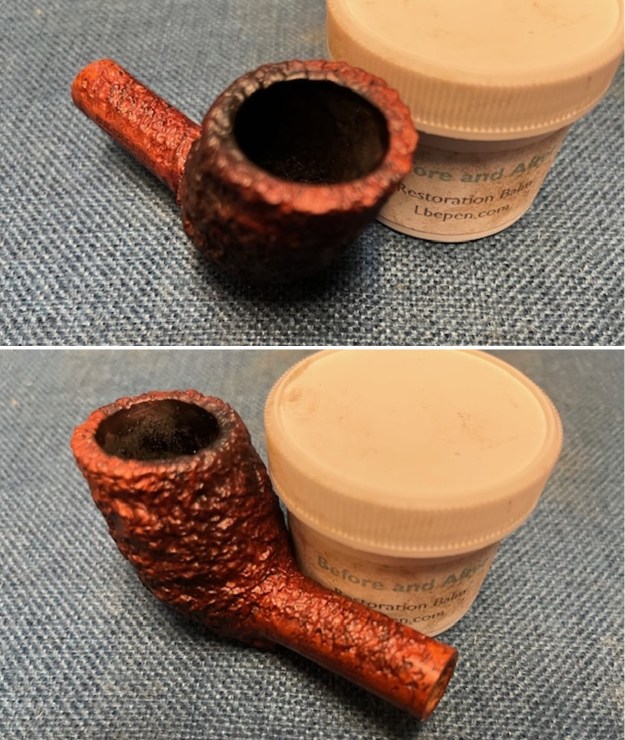
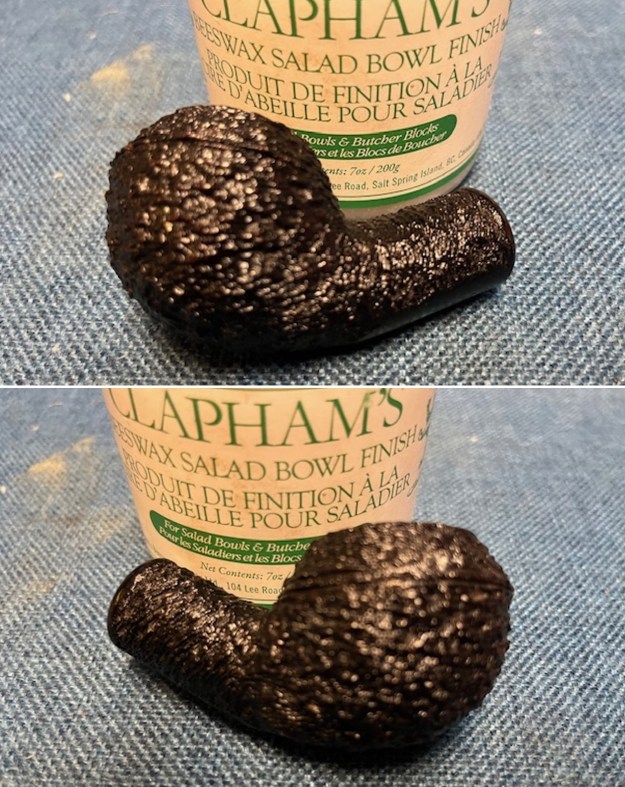
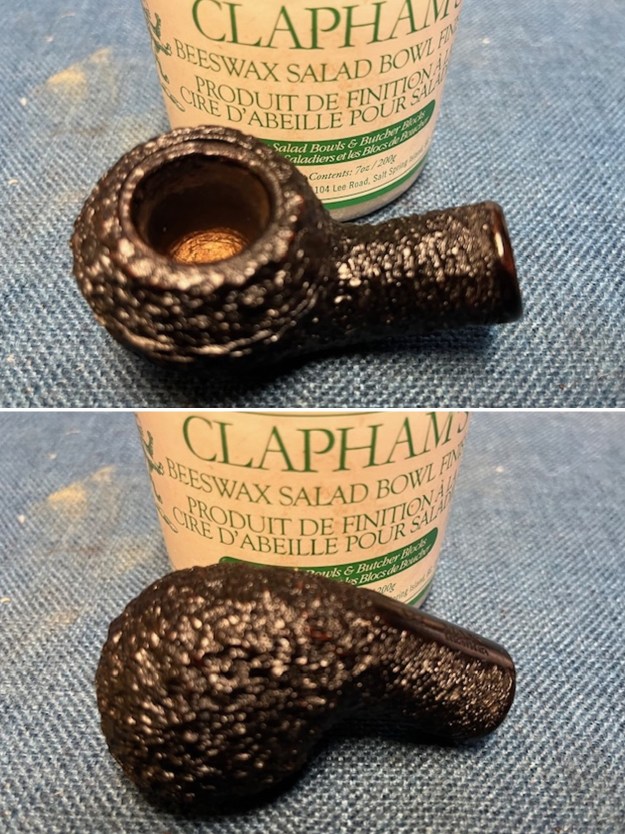
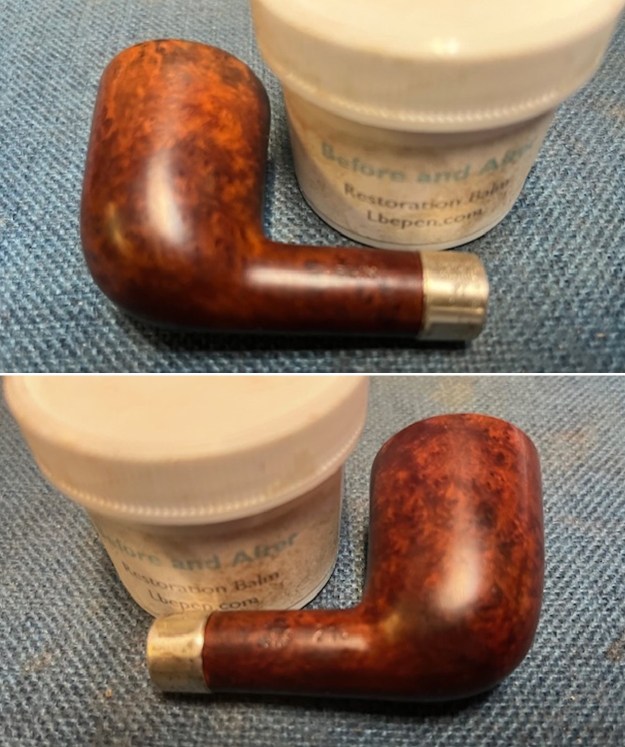
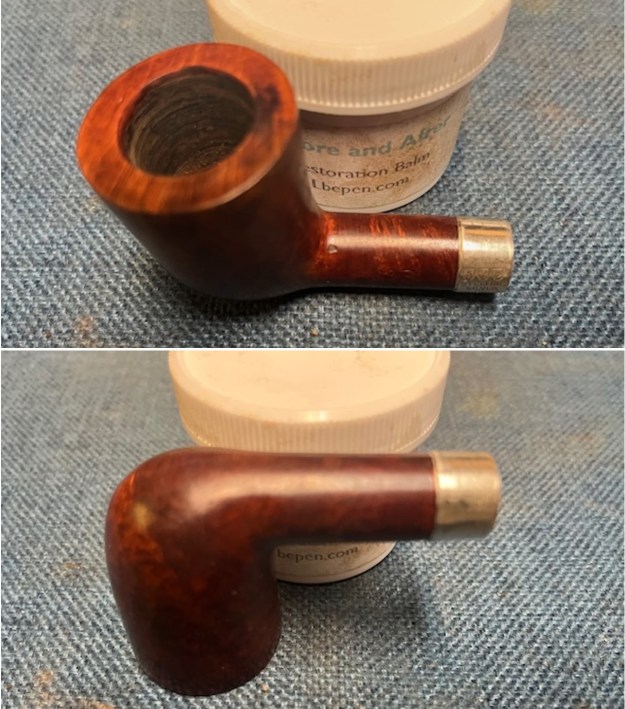
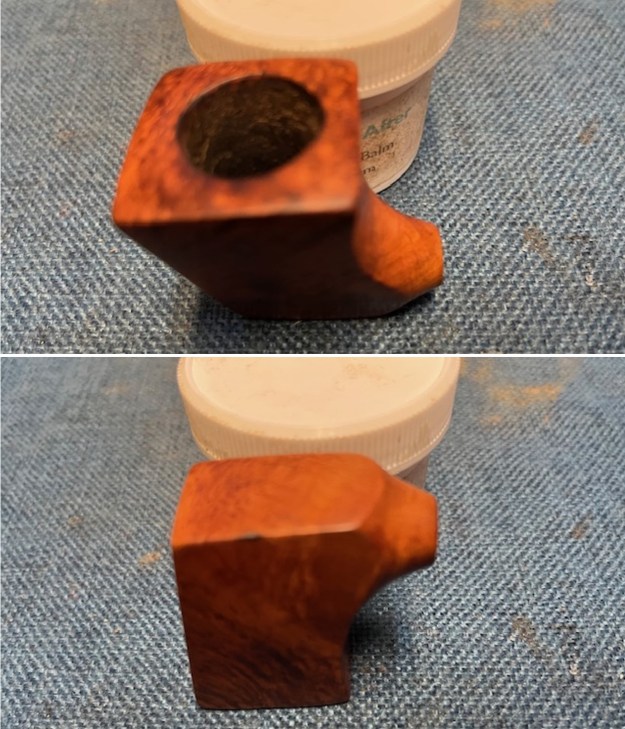
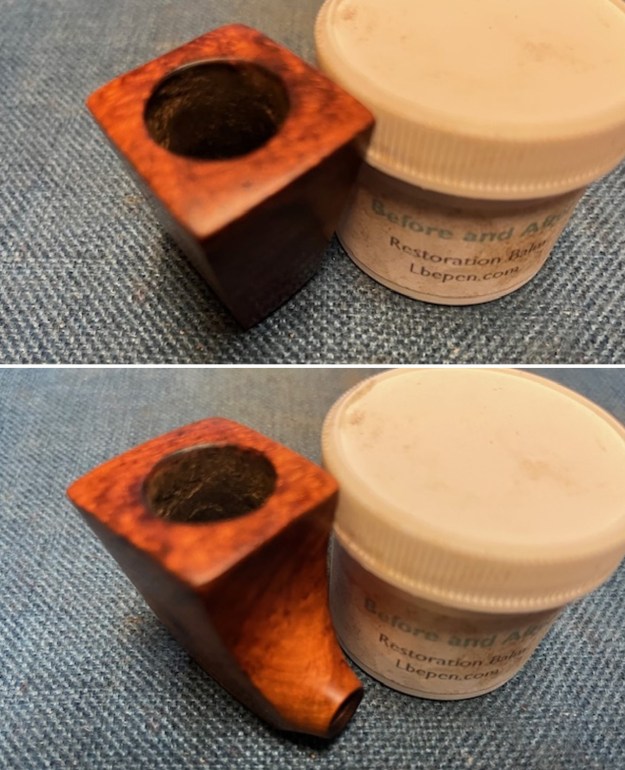
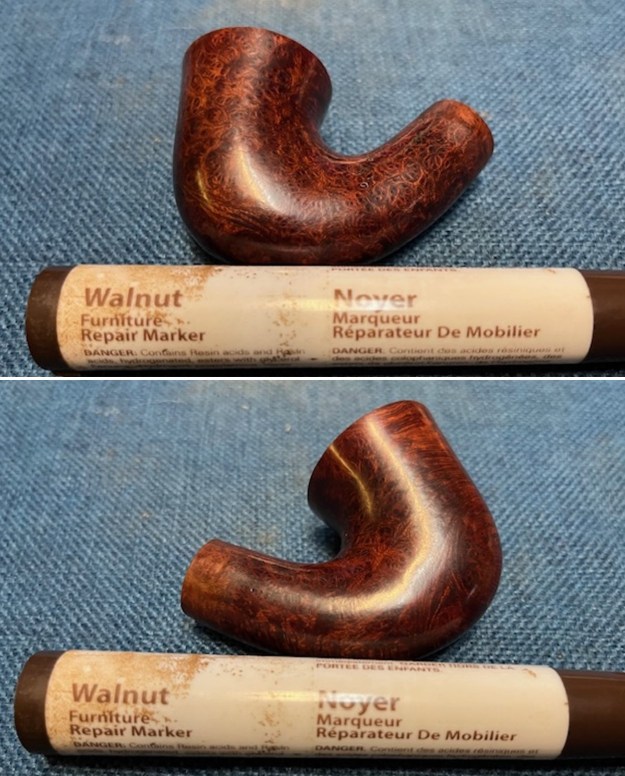
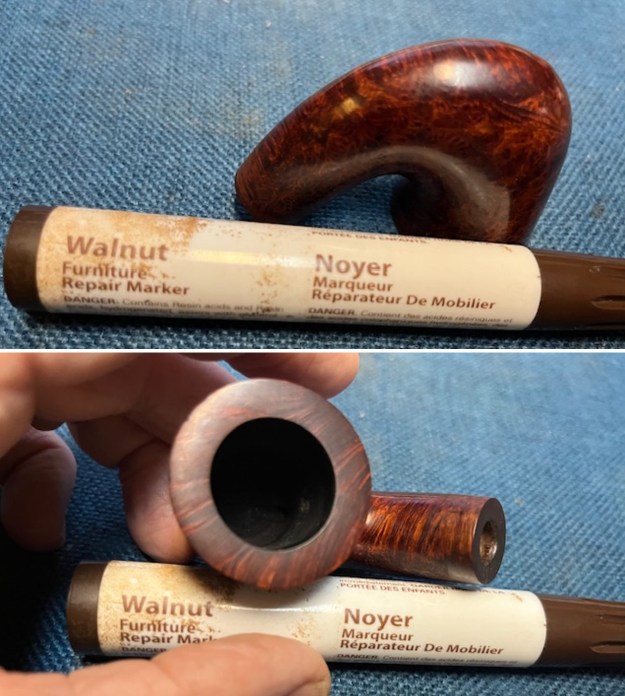
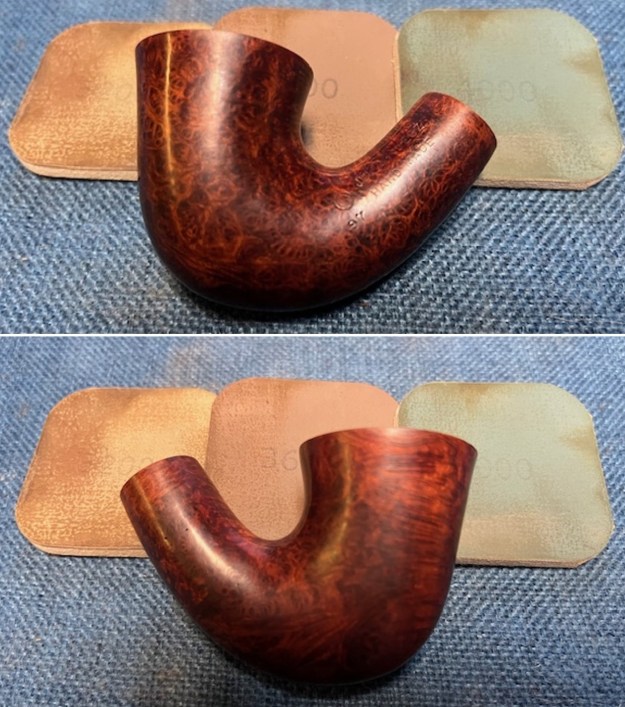
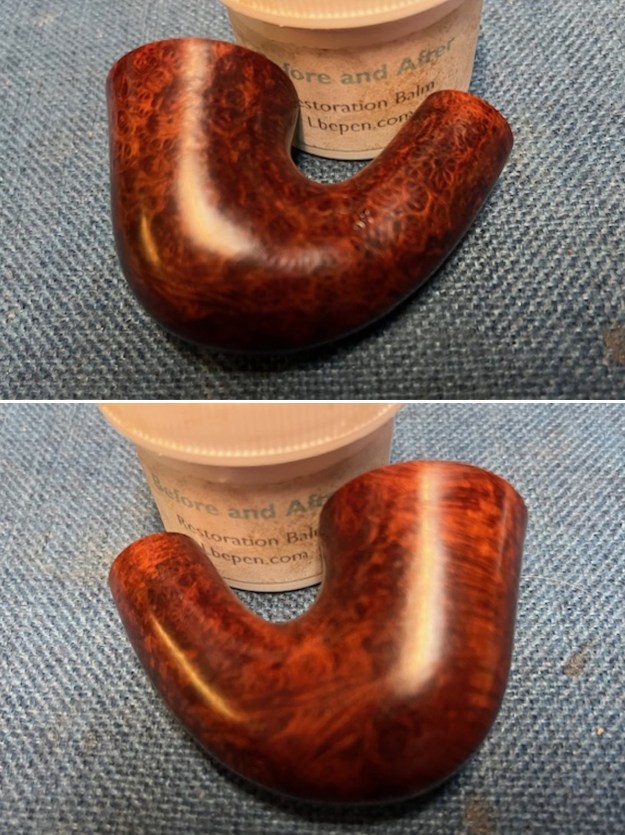
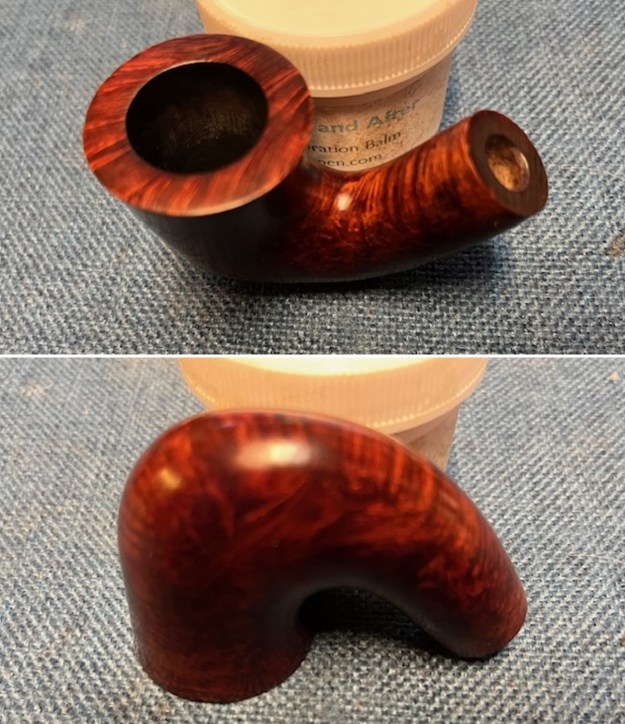
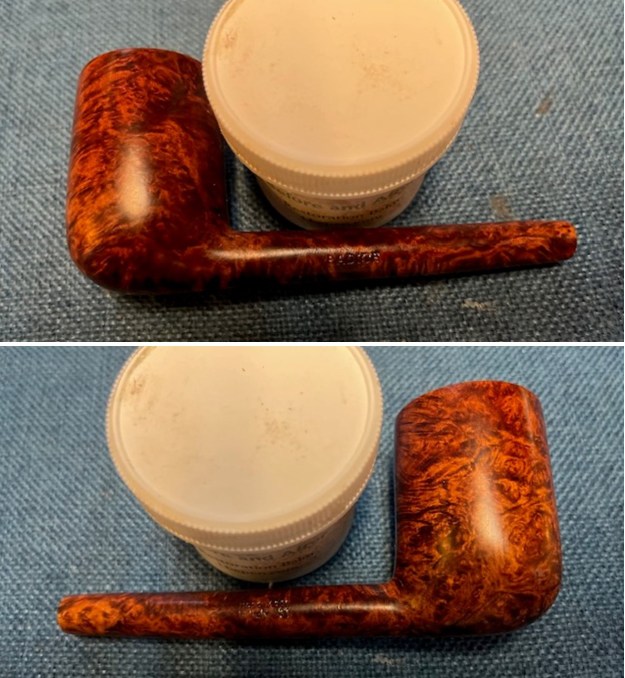
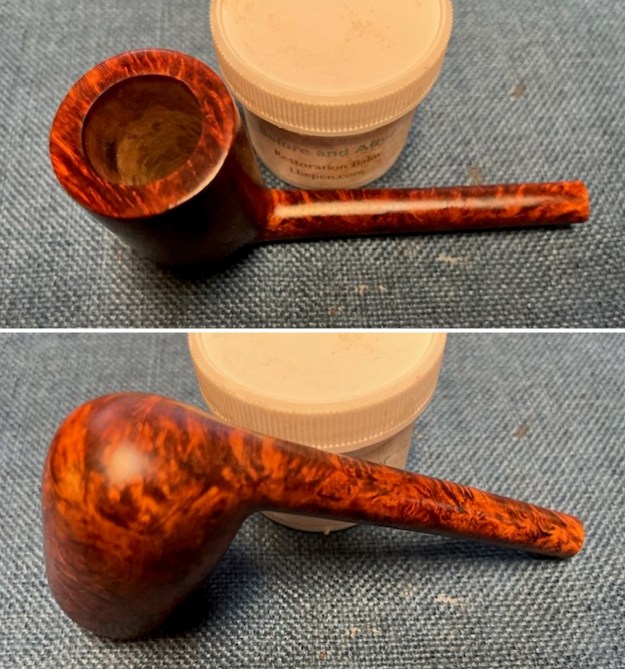
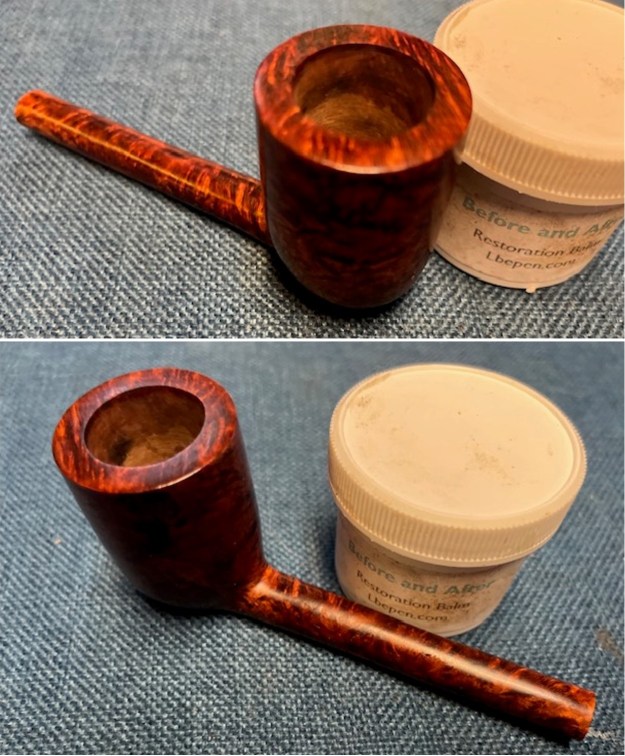
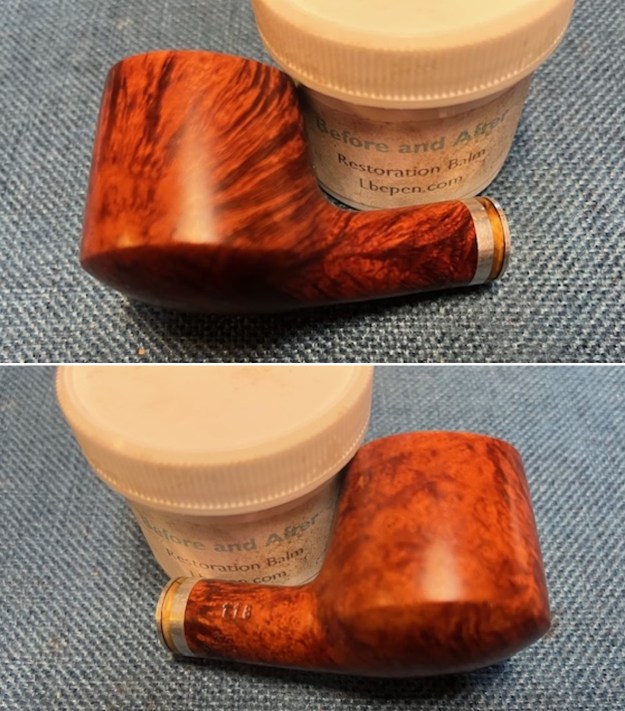
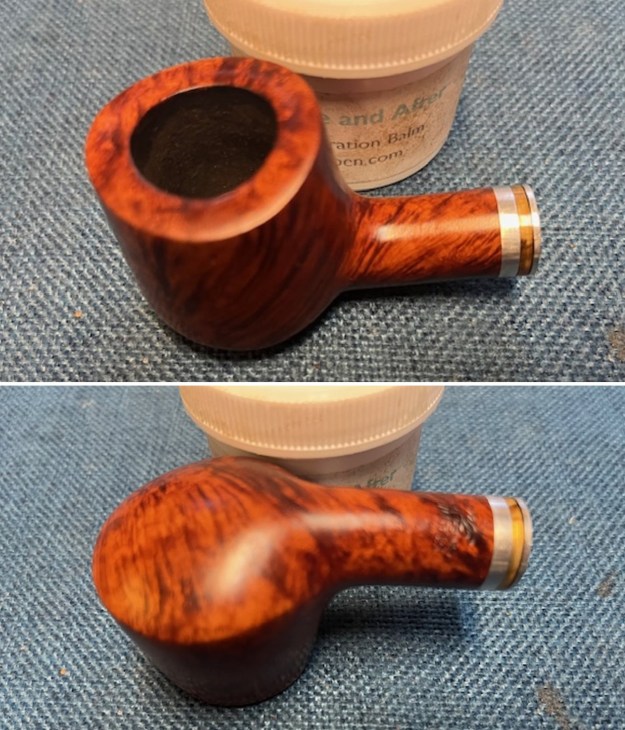
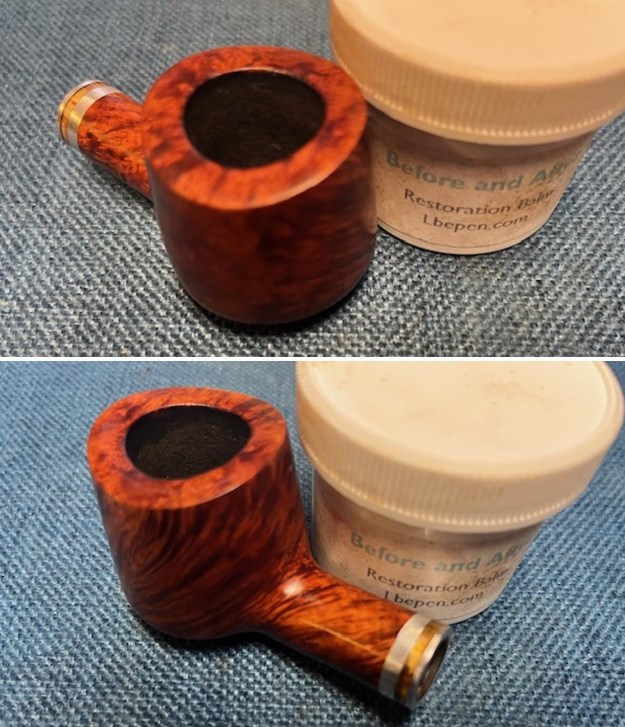
 I rubbed the briar down with Before & After Restoration Balm. I worked it into the briar with my fingertips and a horsehair shoe brush to work it into the finish. The product works to clean, enliven and preserve the briar. I let it sit for 10 minutes then I buffed it with a cotton cloth to deepen the shine. The briar really comes alive with the balm.
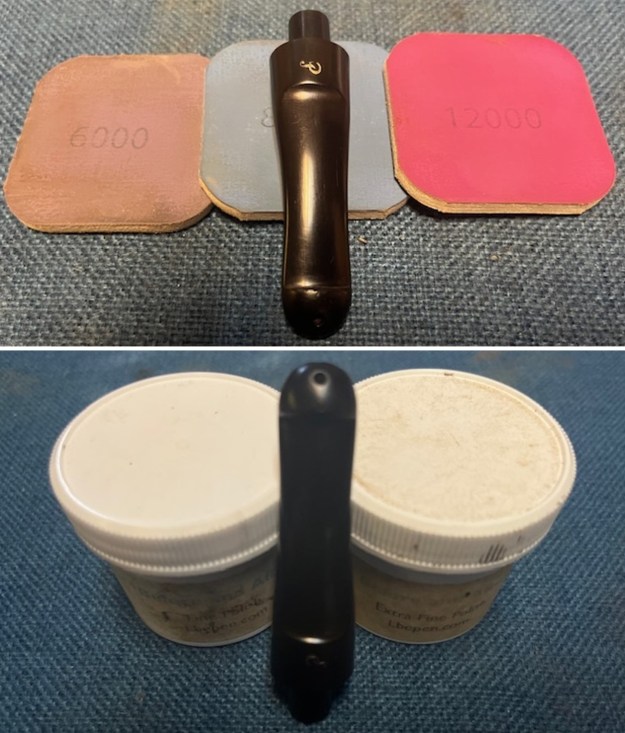
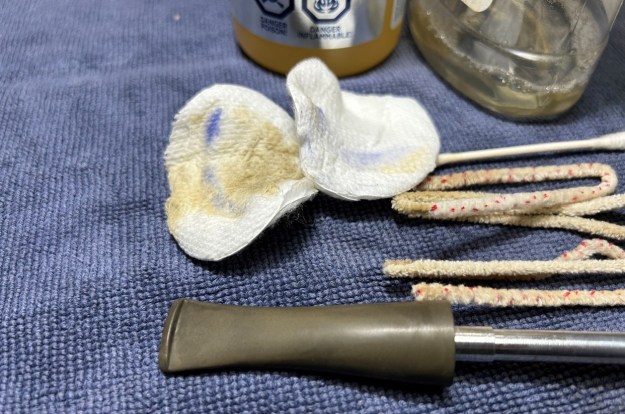
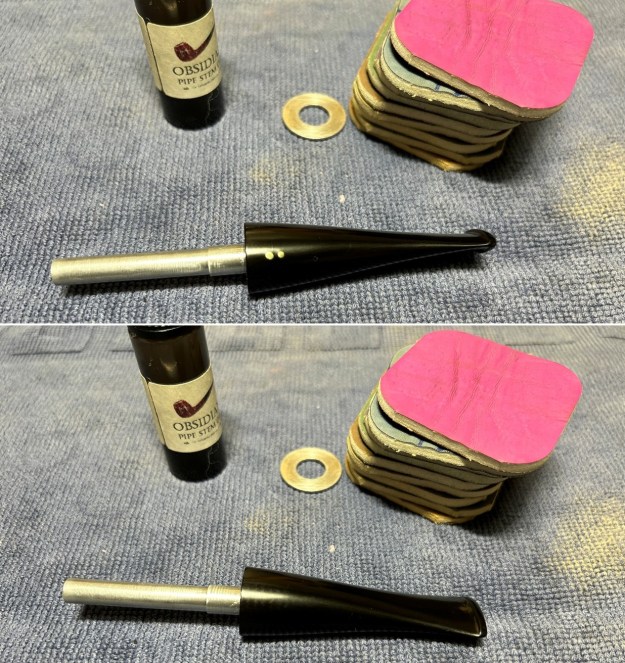
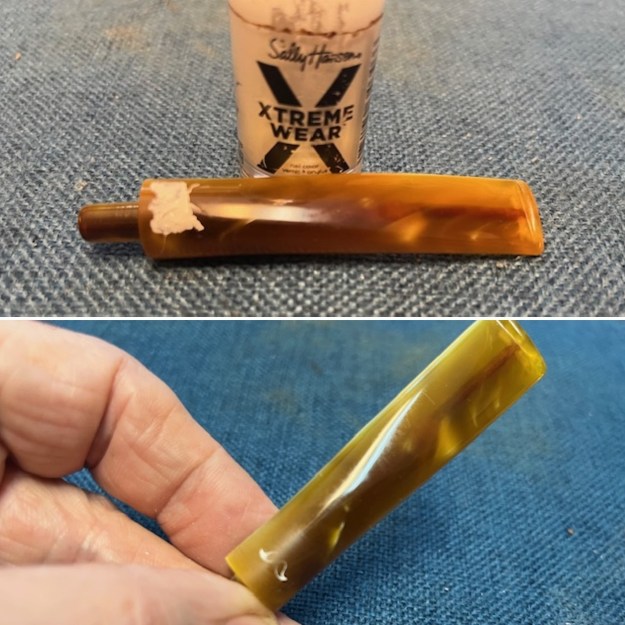
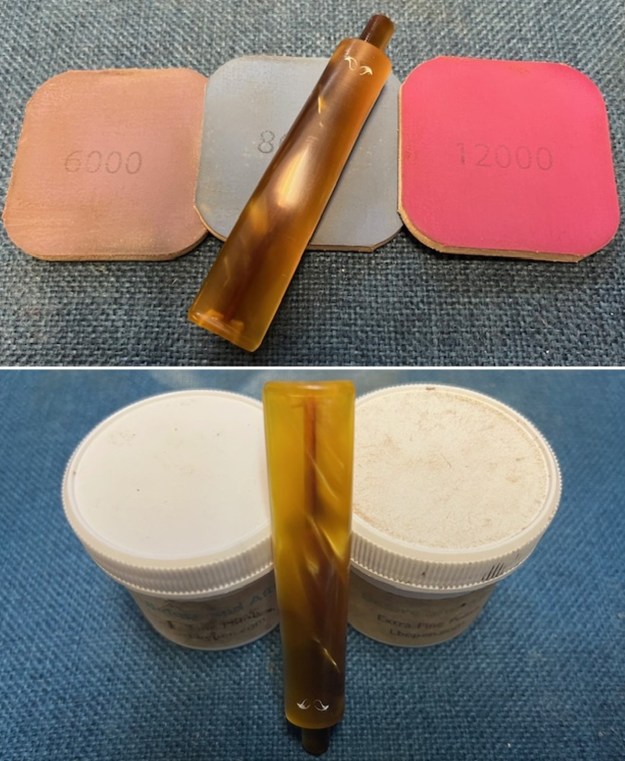
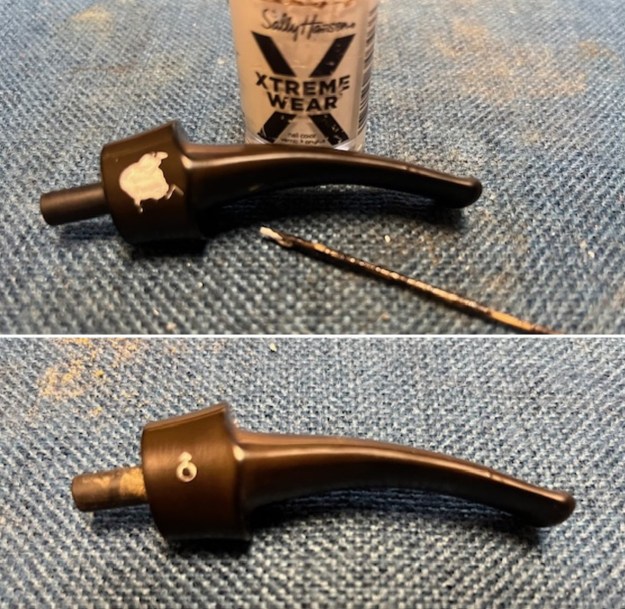
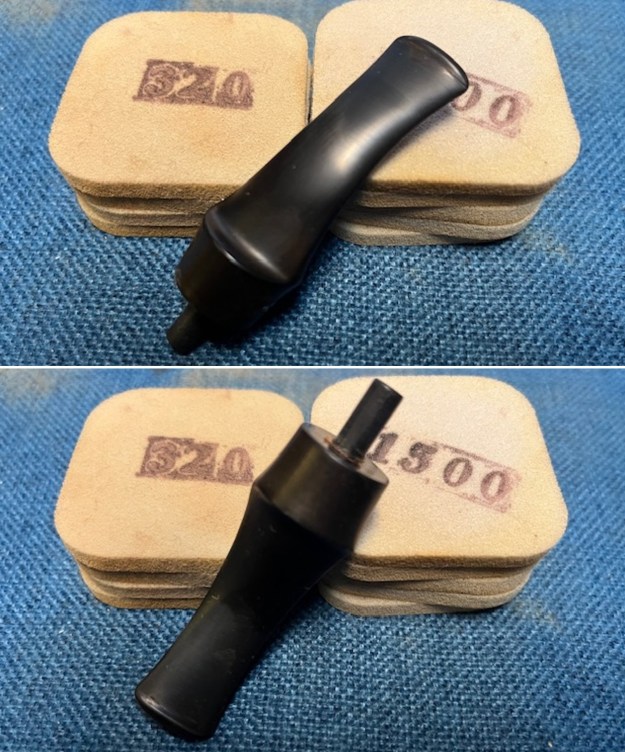
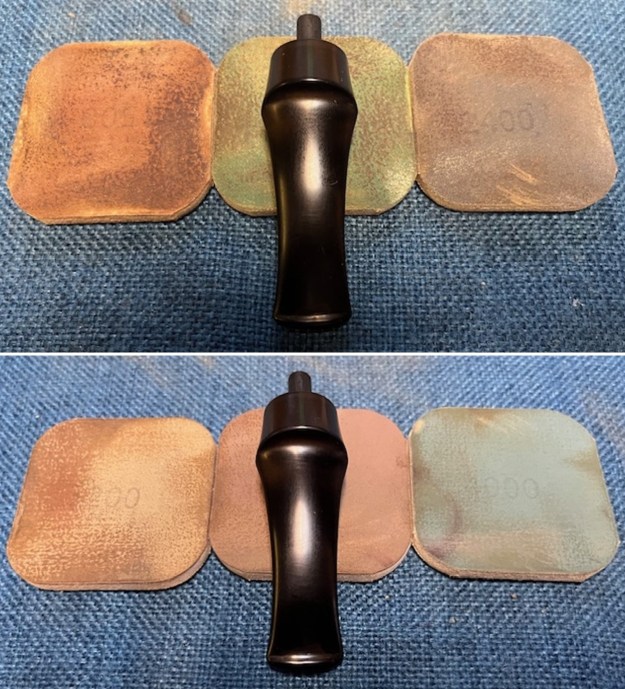
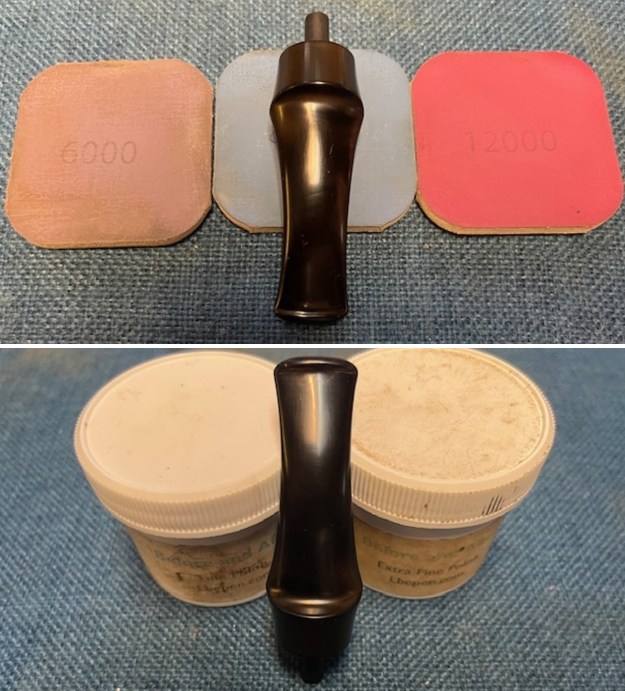
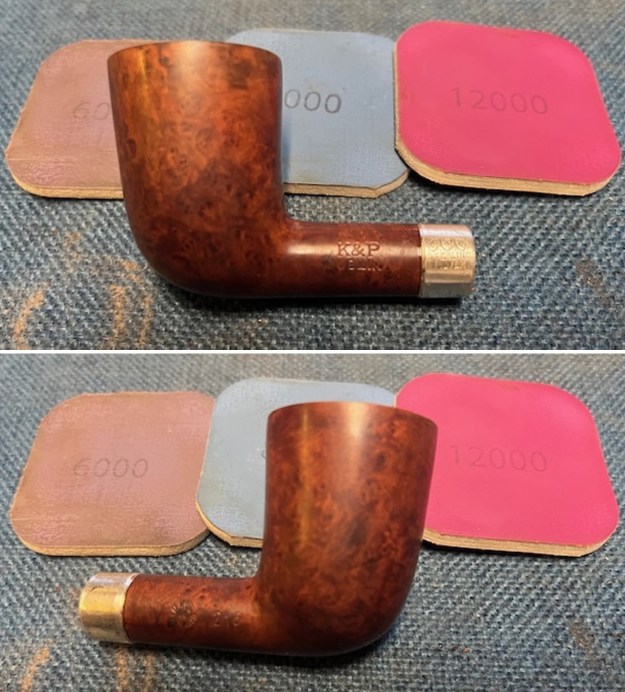
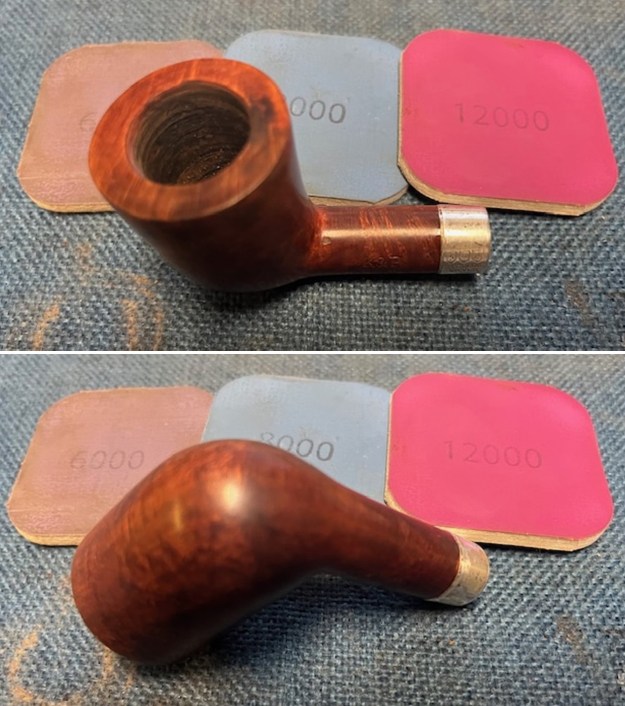
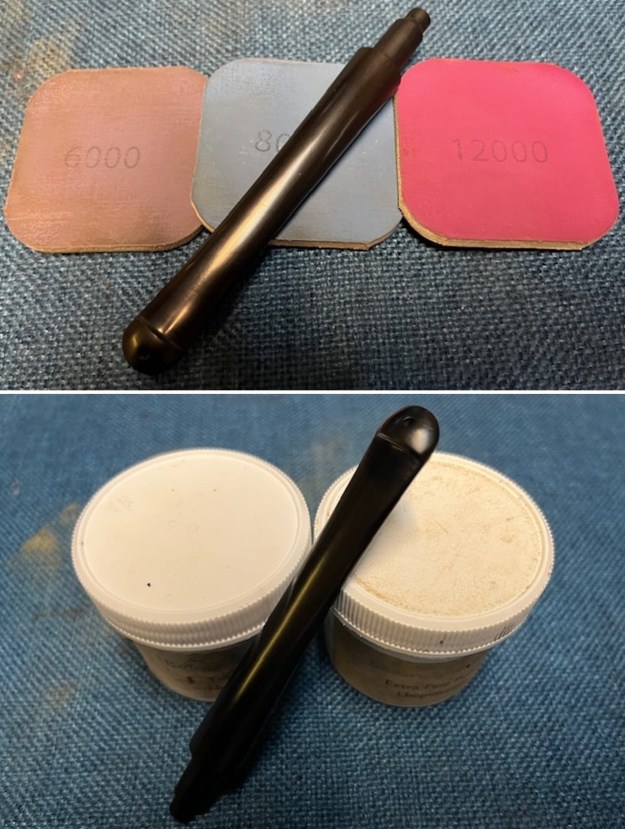
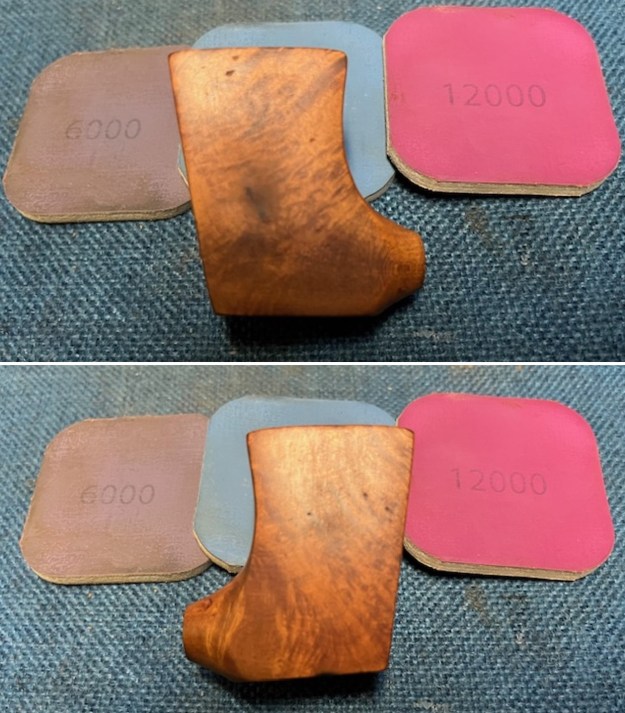
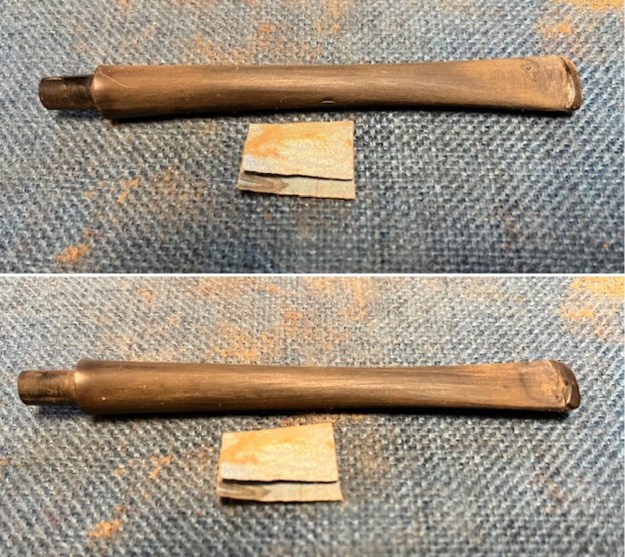
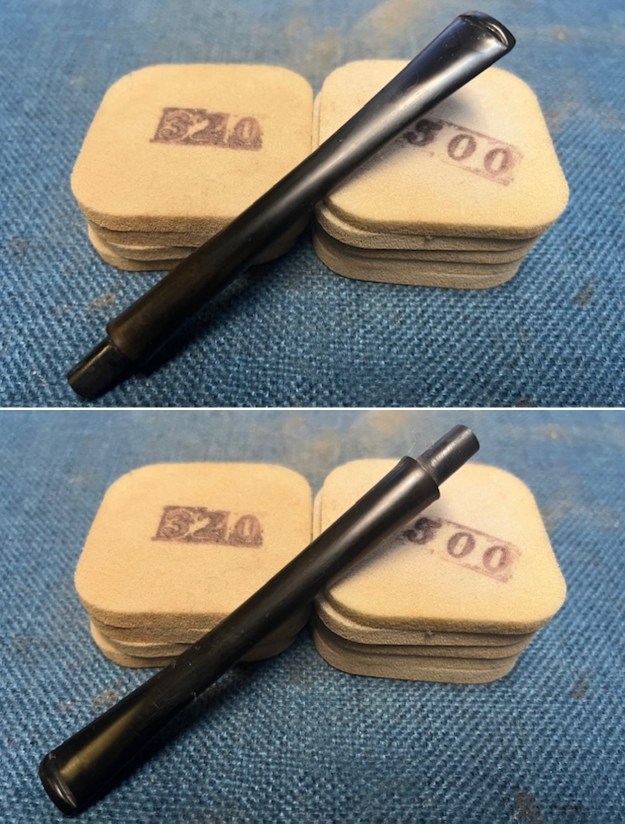
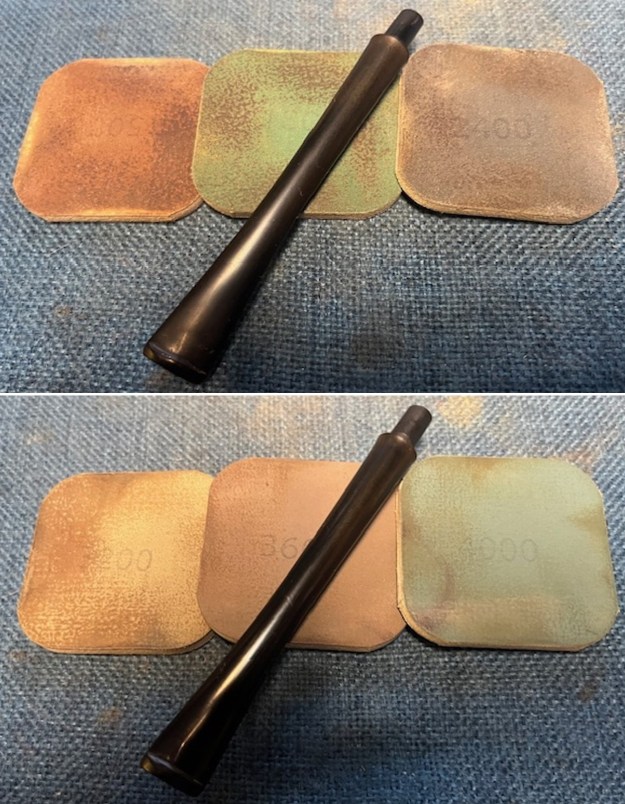
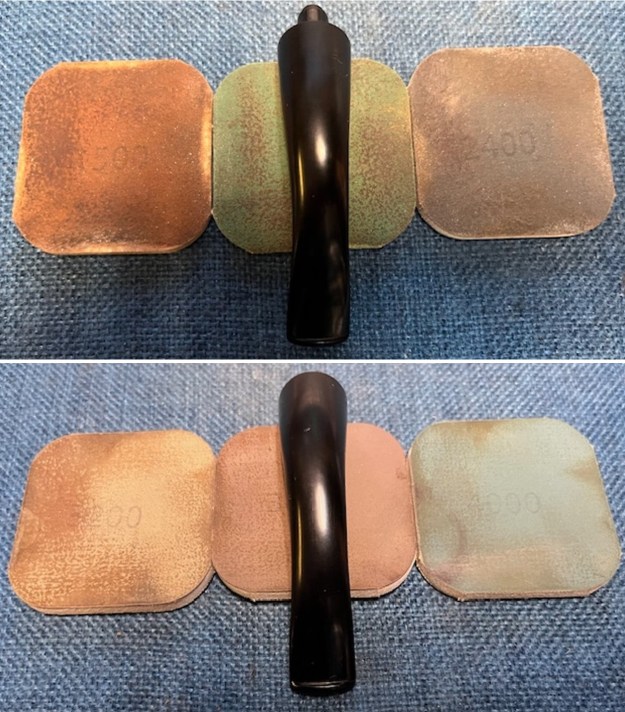
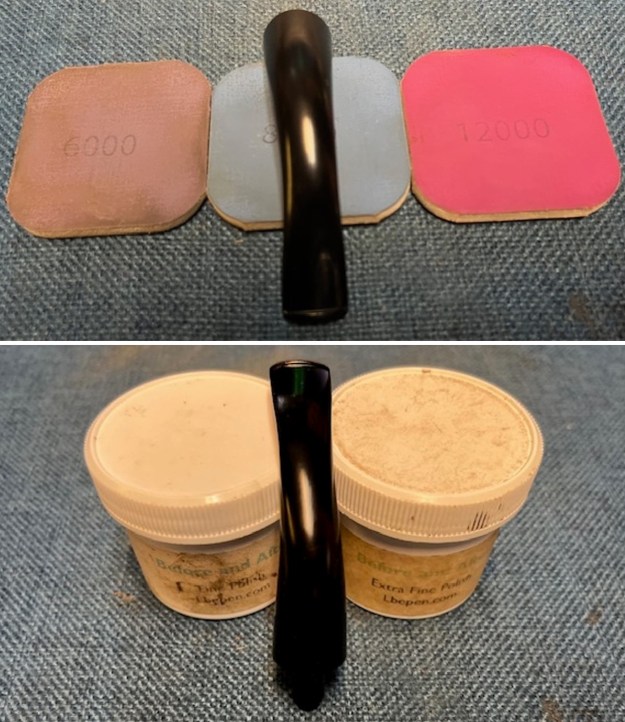
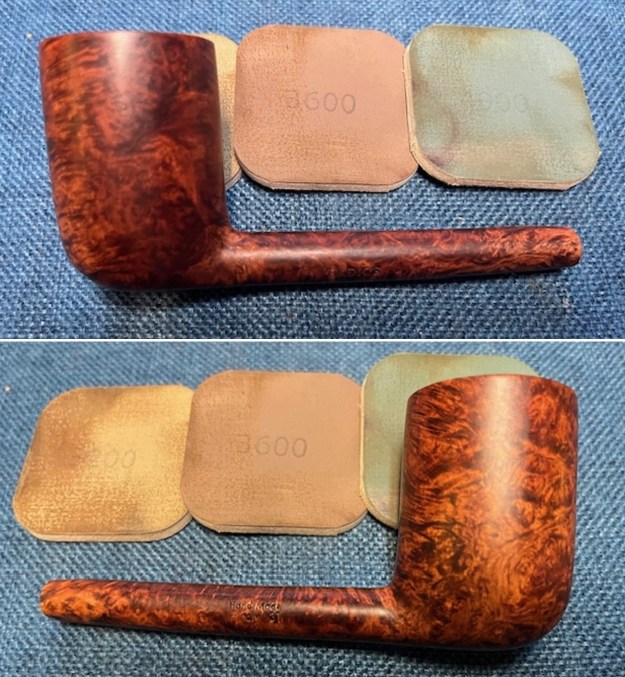
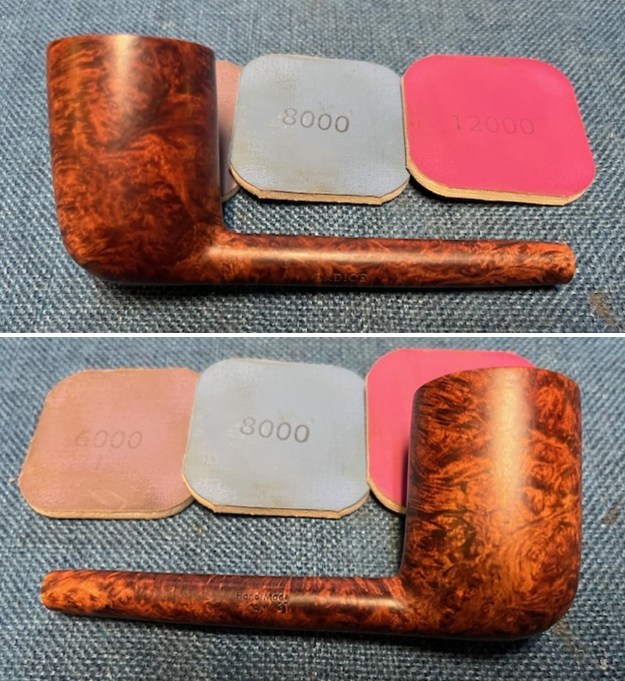
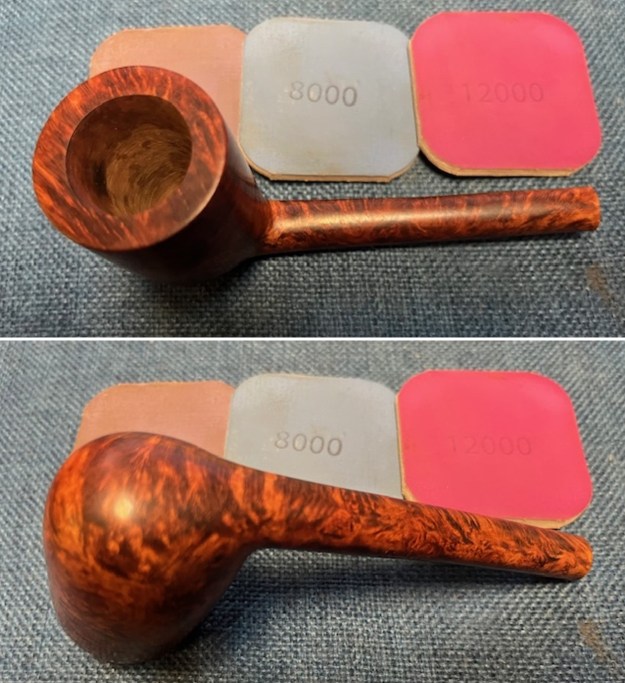
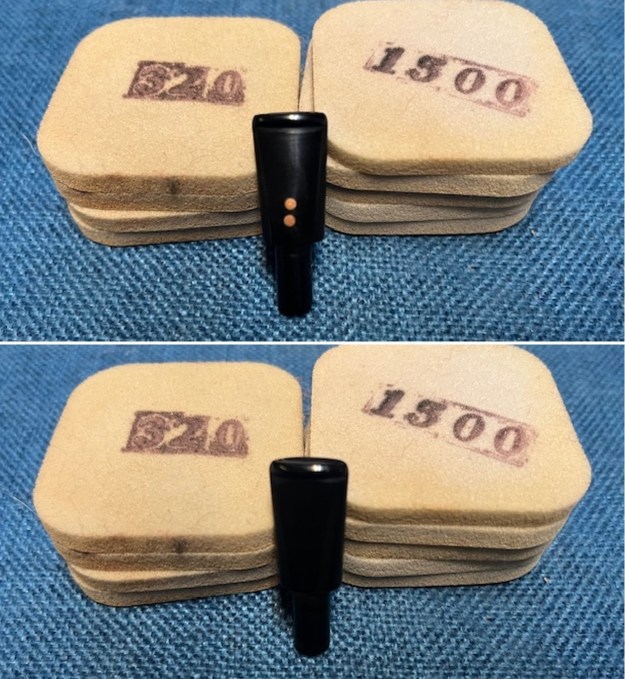
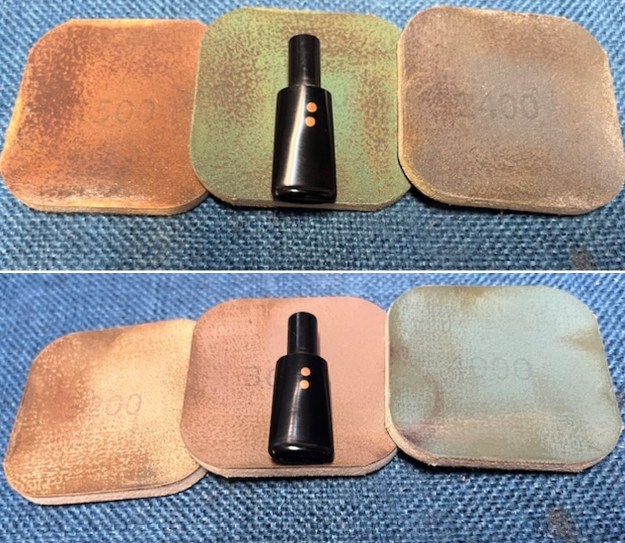
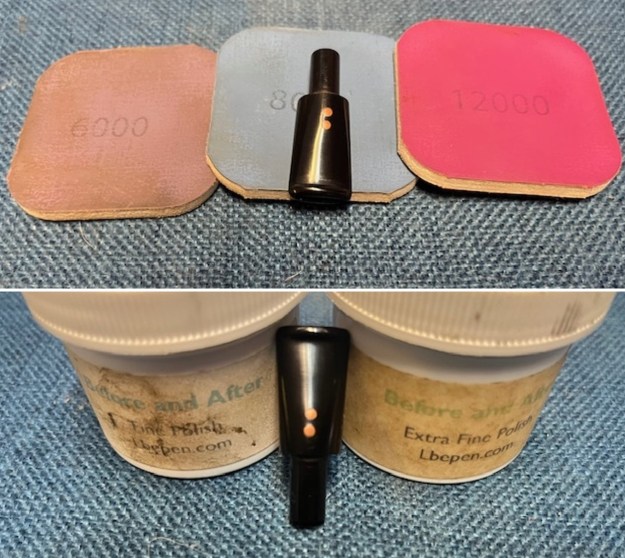
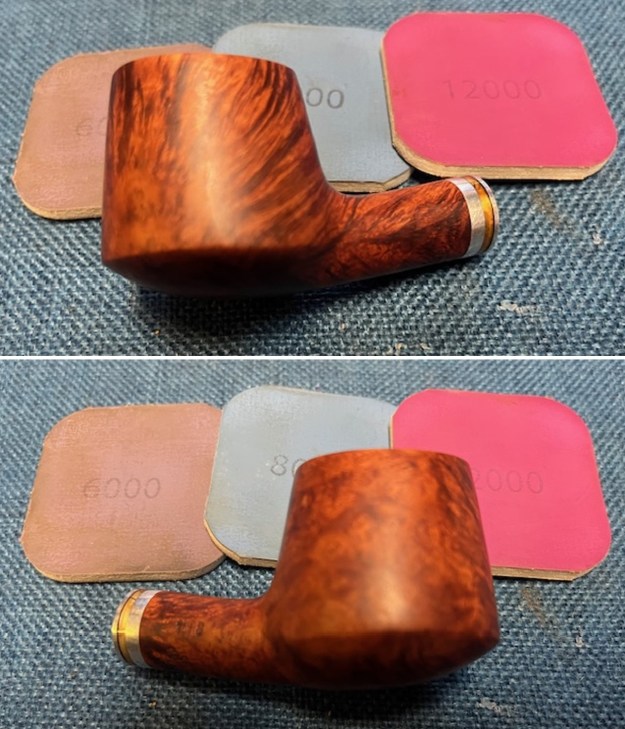
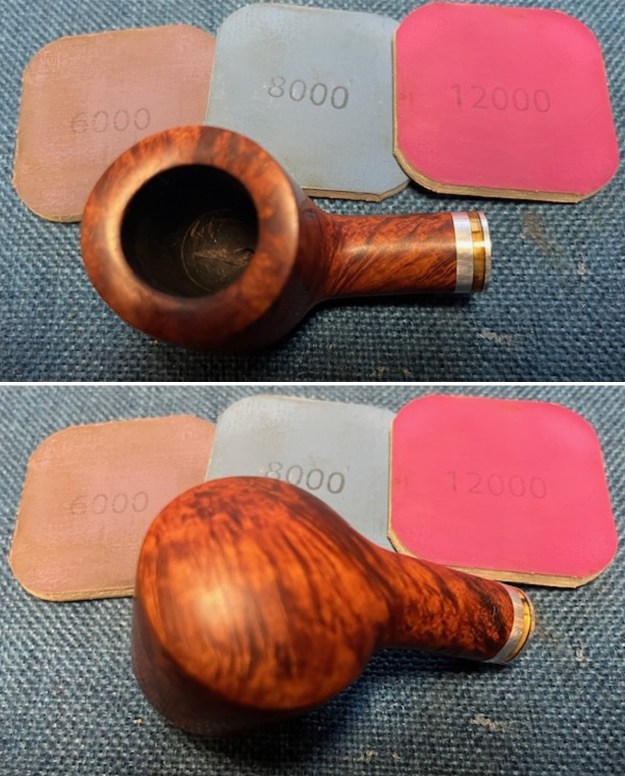
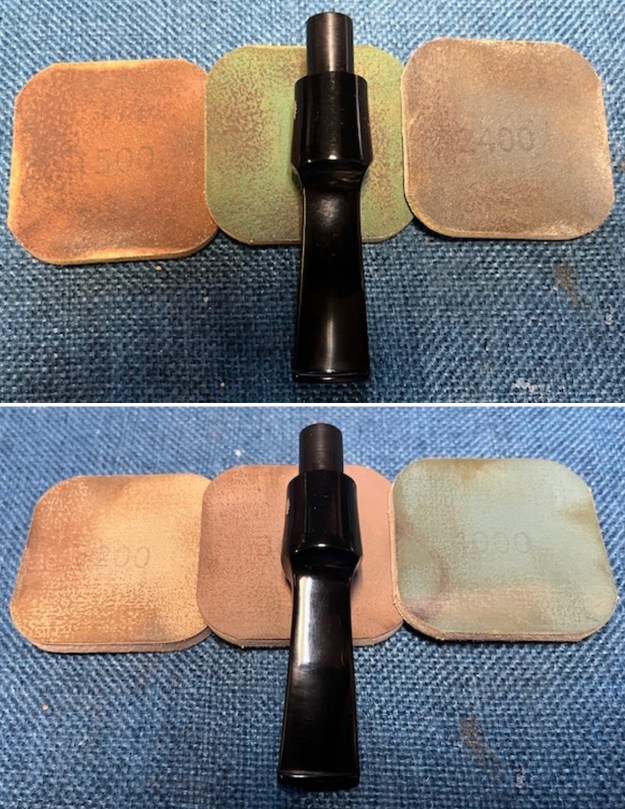
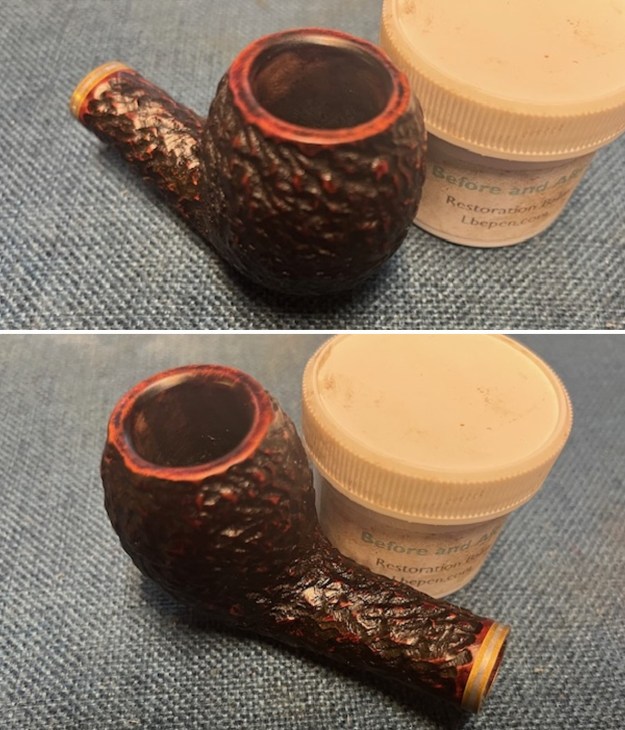 I polished the stem with micromesh sanding pads – dry sanding with 1500-12000 grit pads. Once again, I wiped it down between each pad with Obsidian Oil. I further polished it with Before and After Stem Polish – both Fine and Extra Fine. It looked very good.
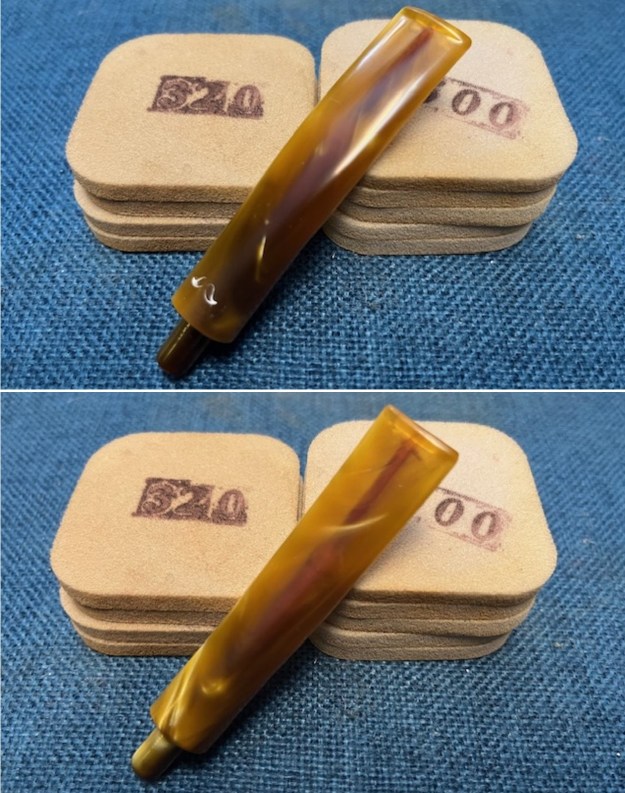
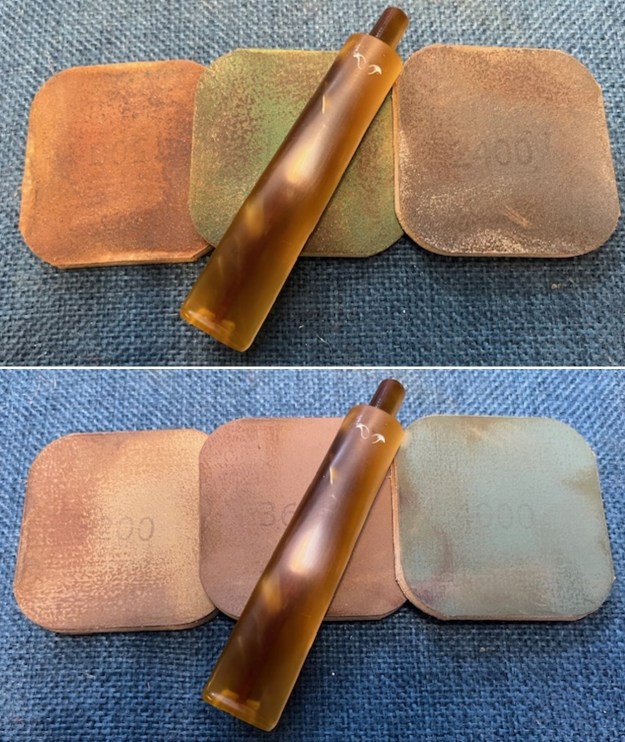
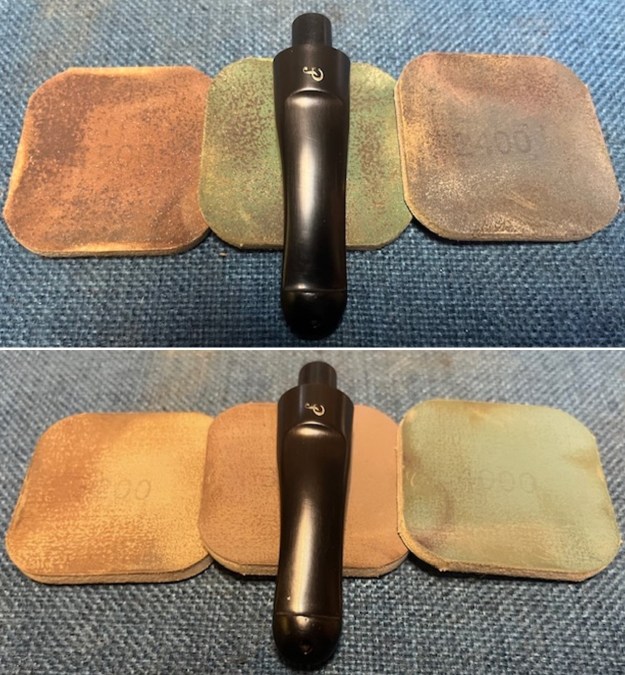
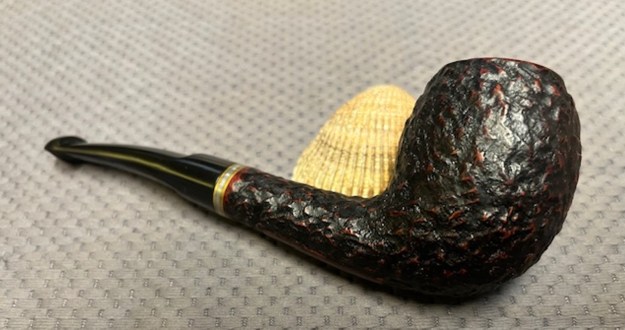
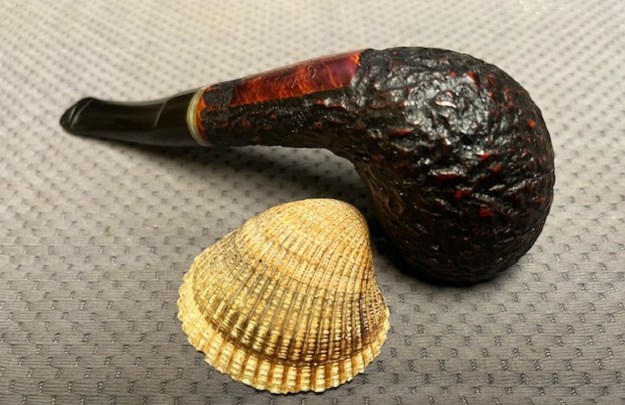
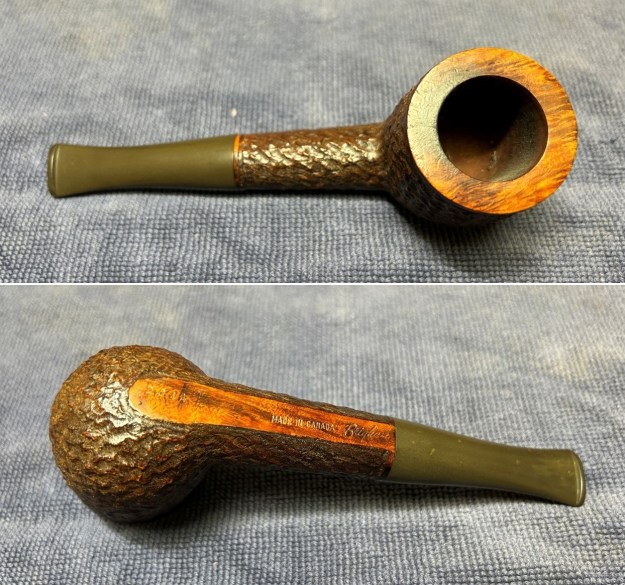
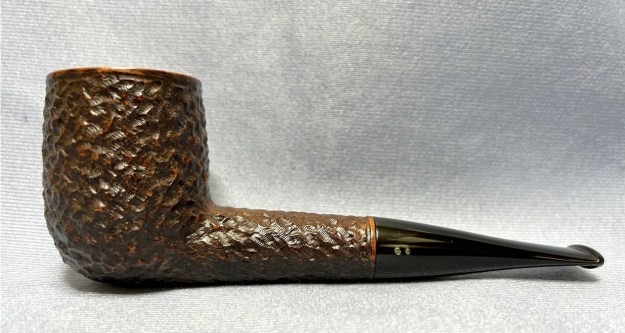
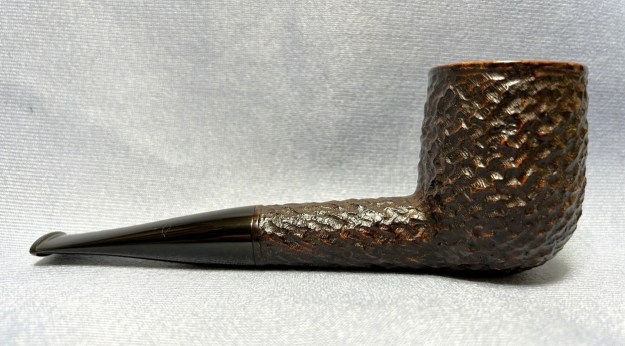
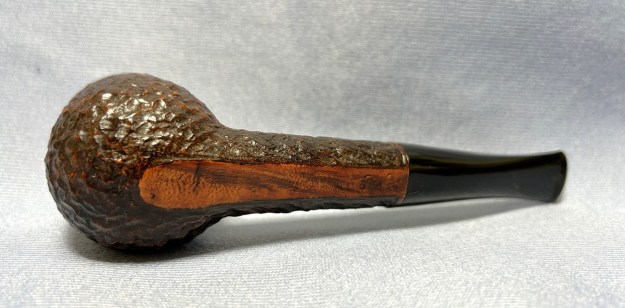
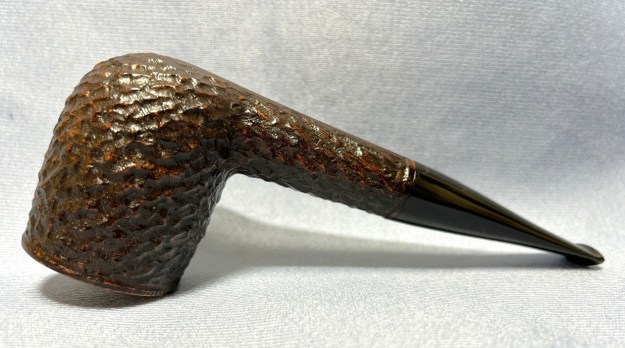
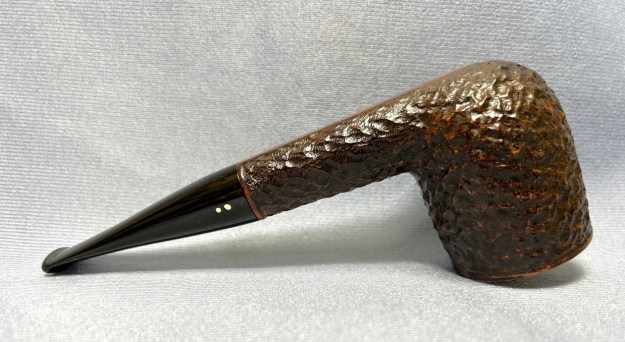
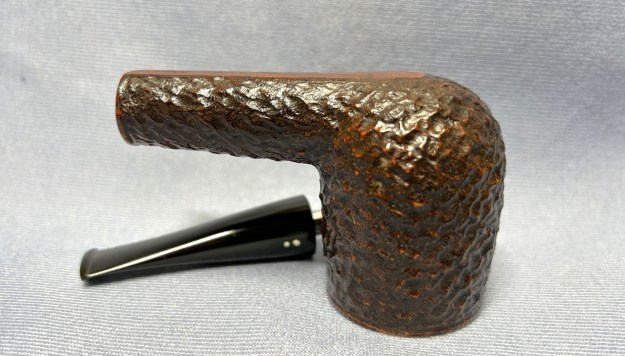
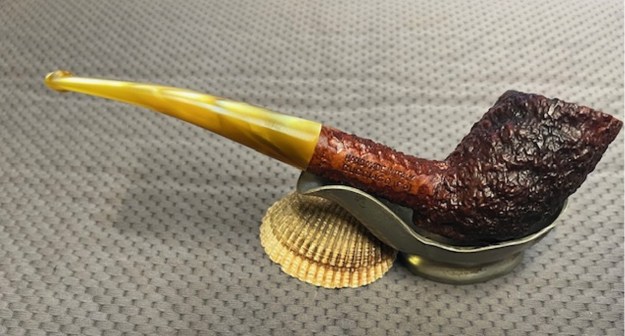
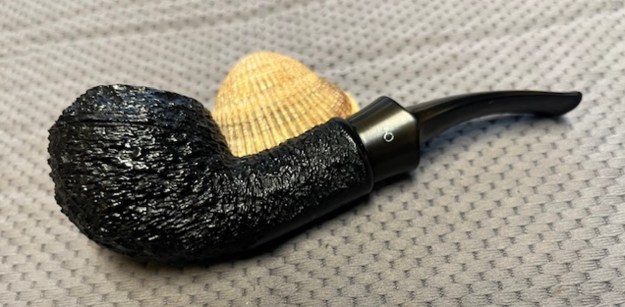
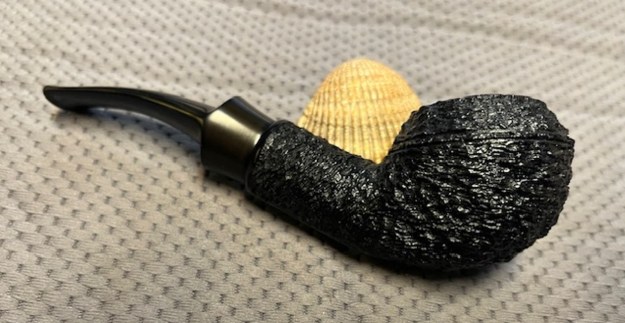
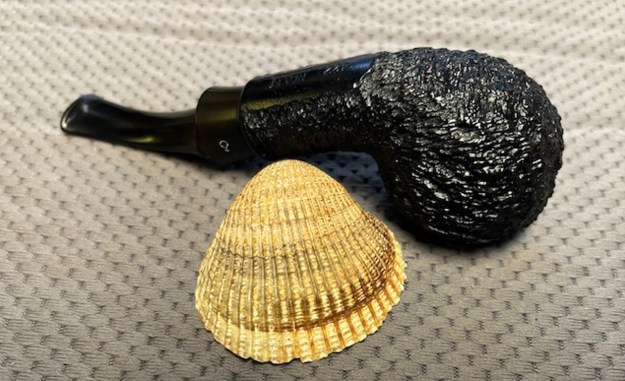
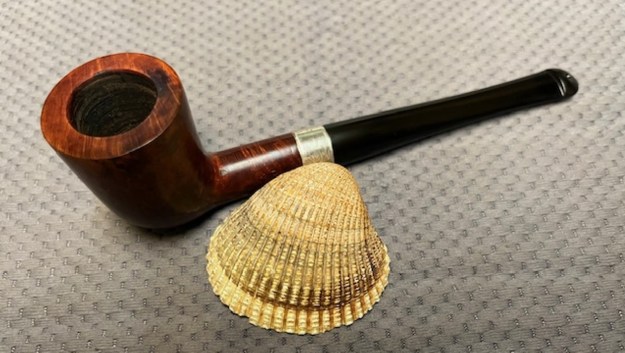
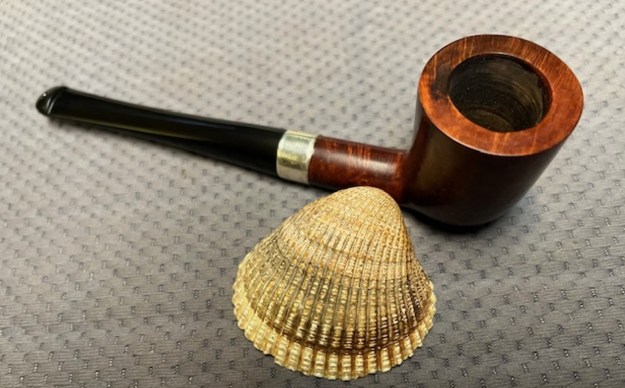
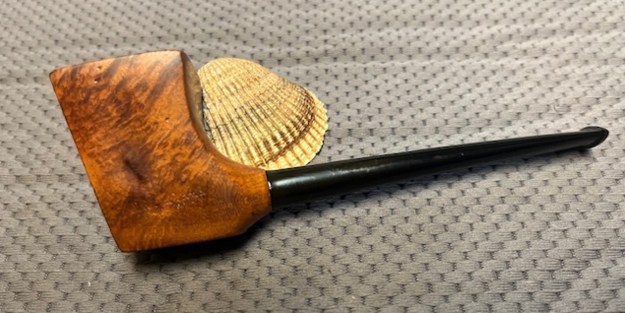
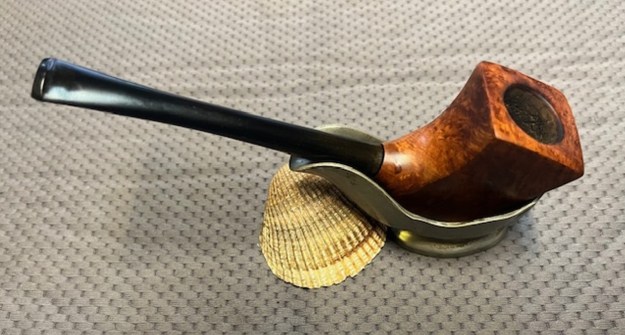
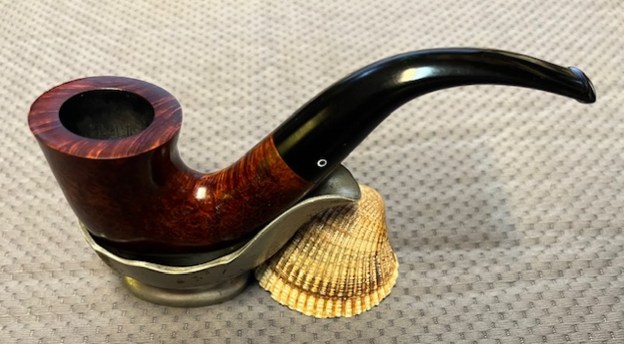
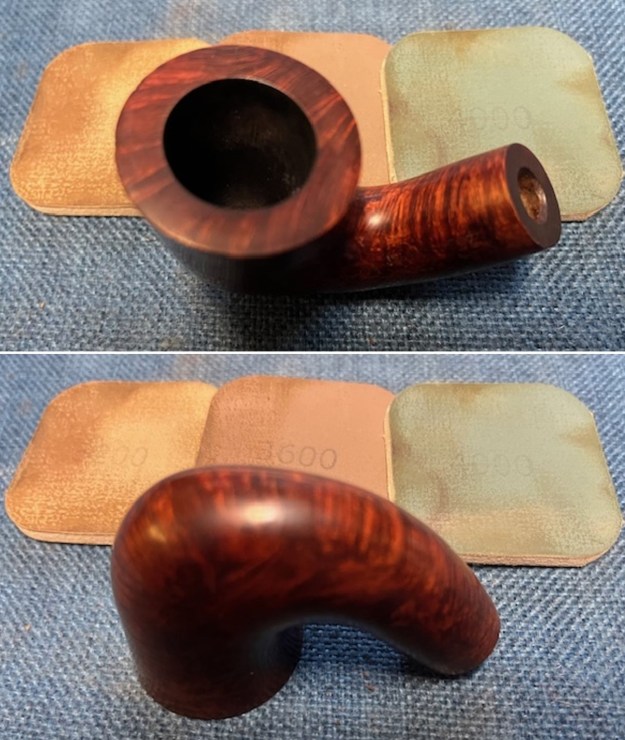
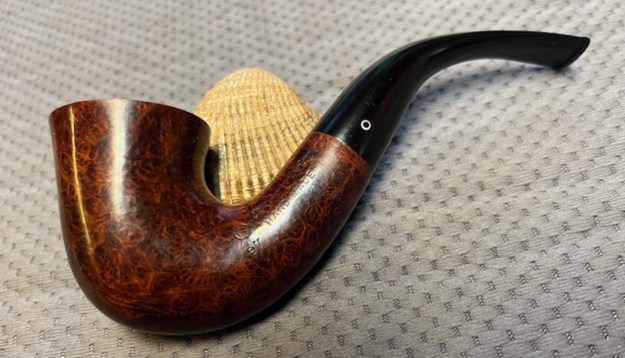
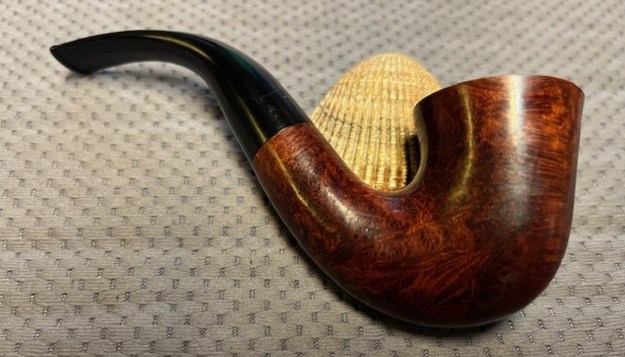
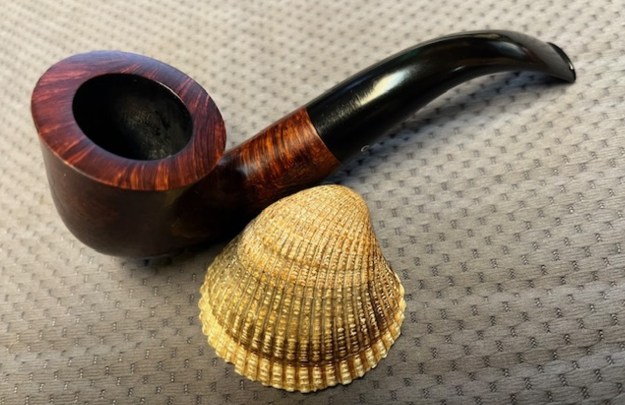
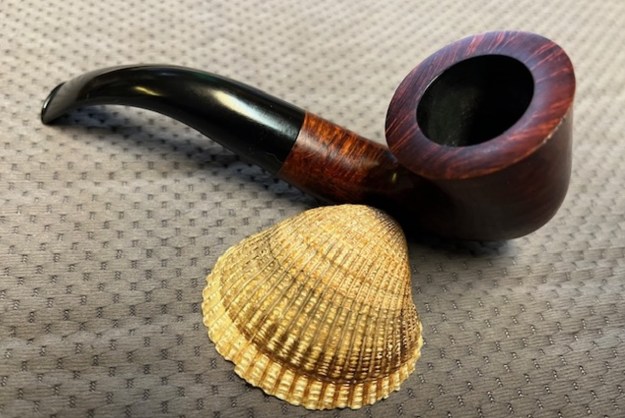
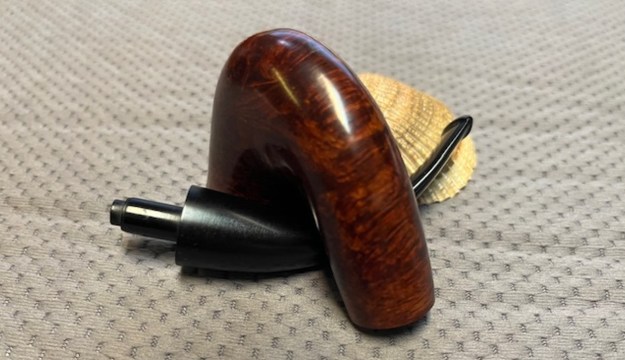
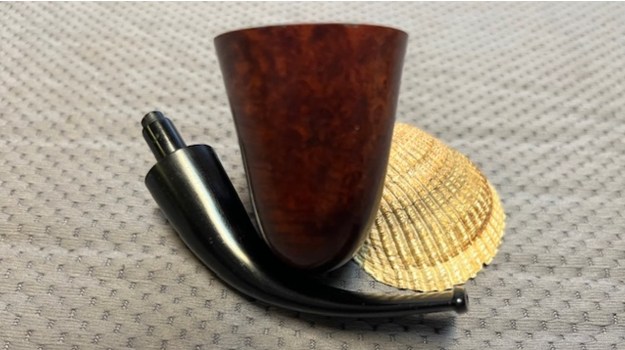
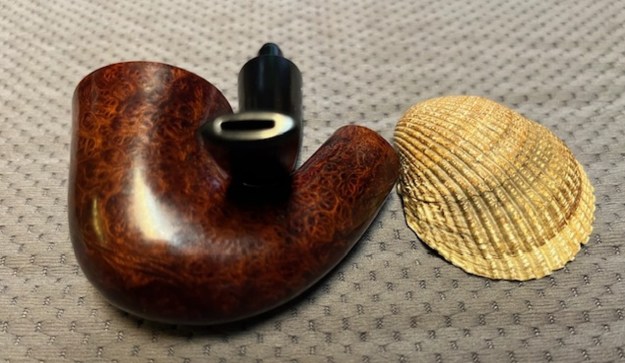
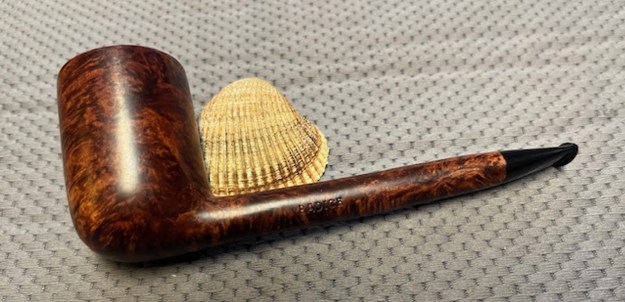
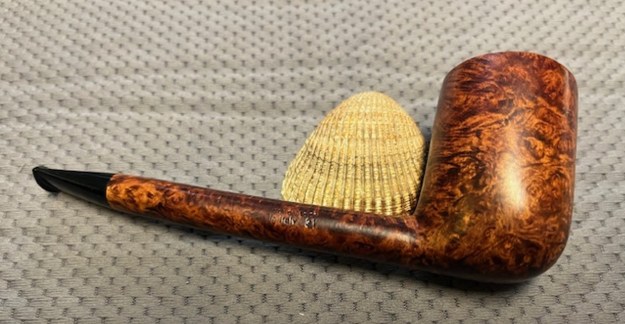
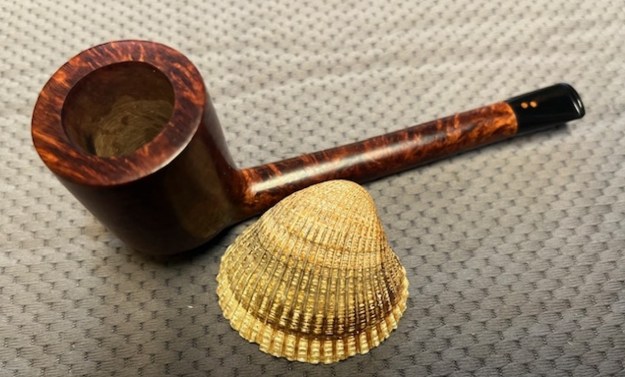
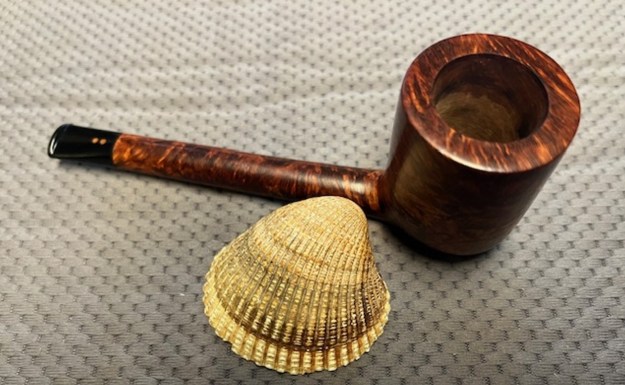
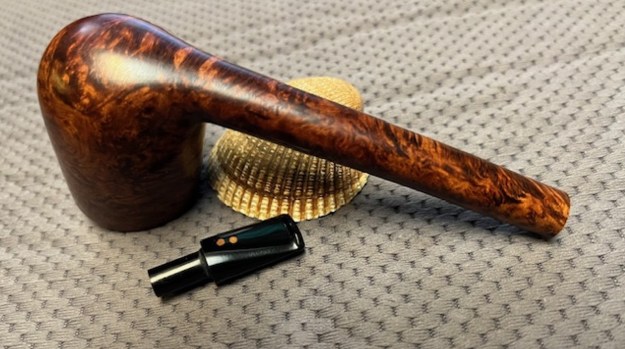
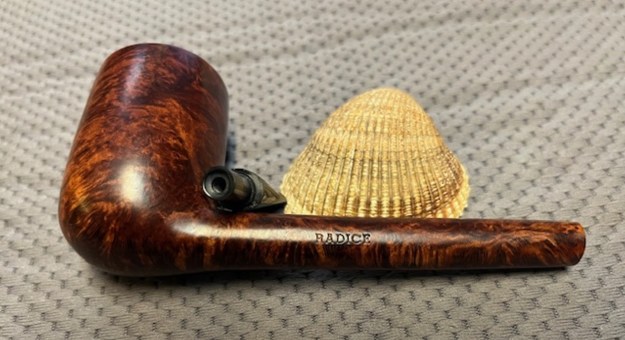
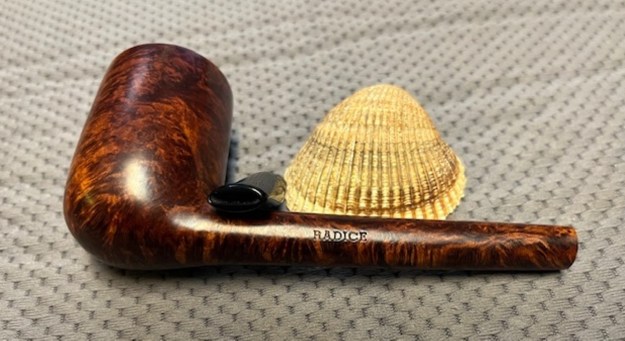
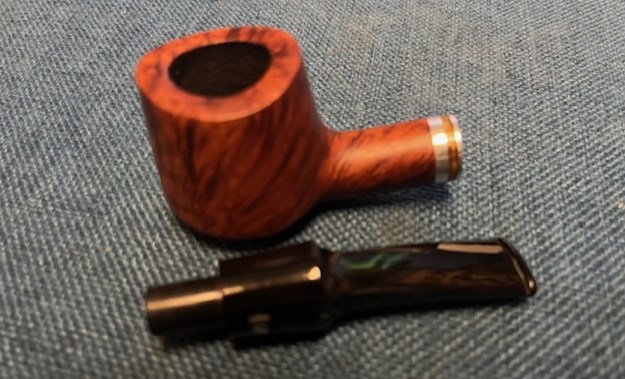
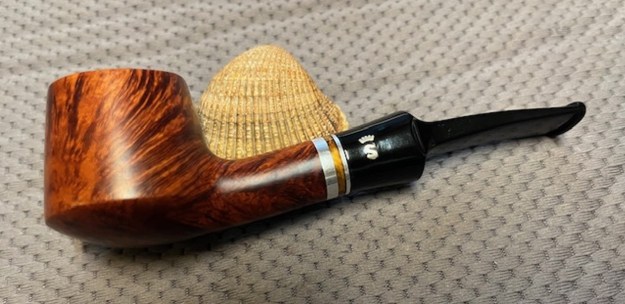
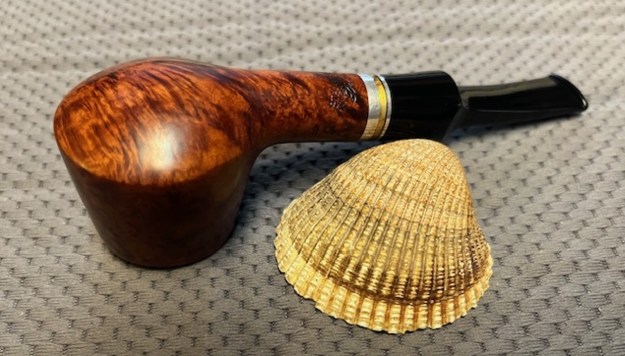
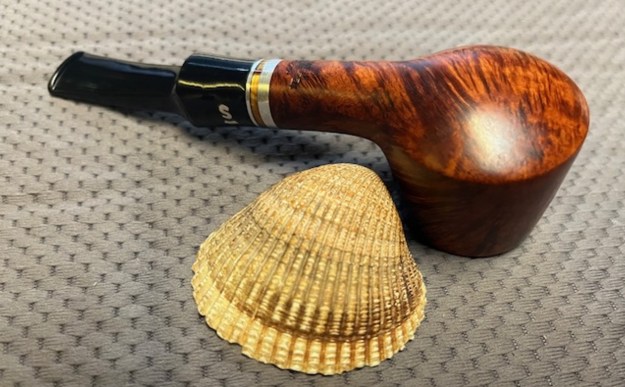
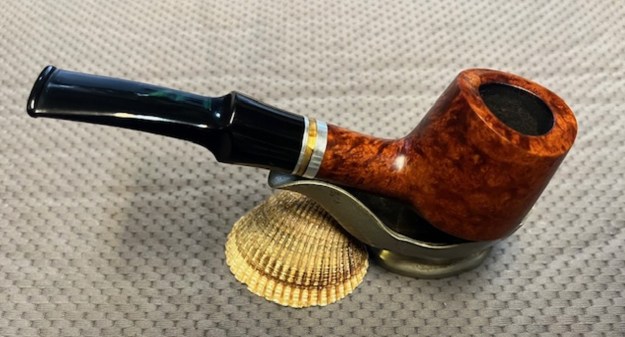
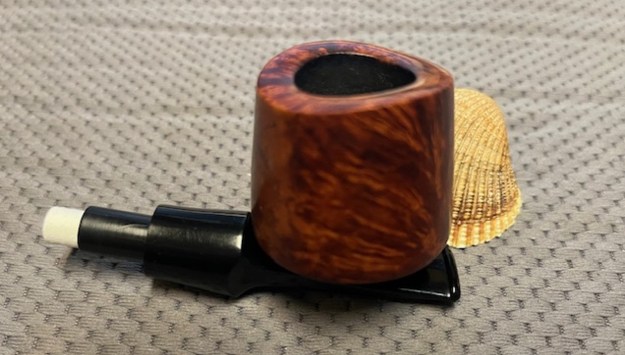
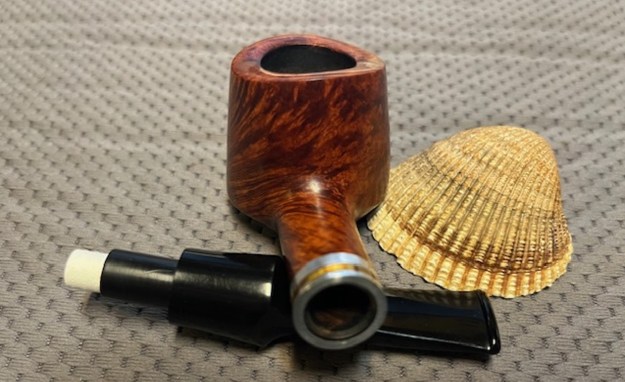
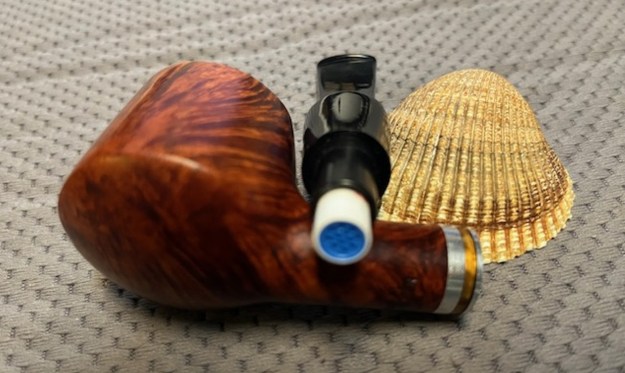
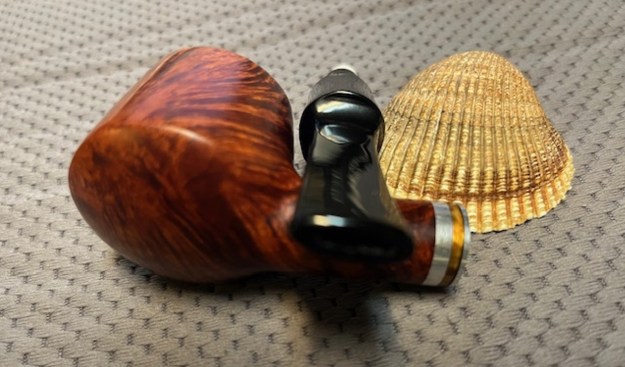
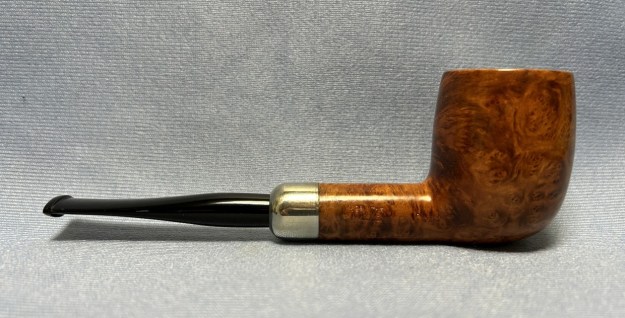
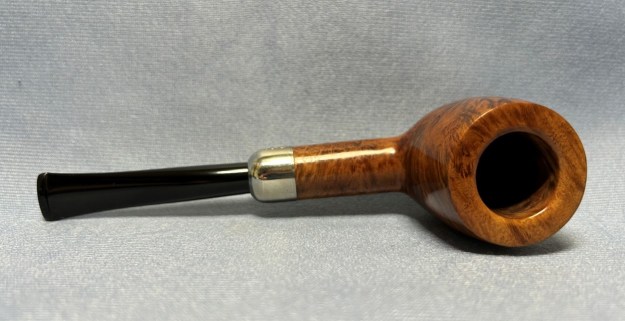
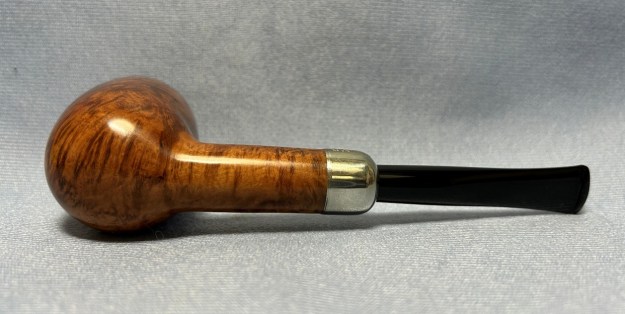
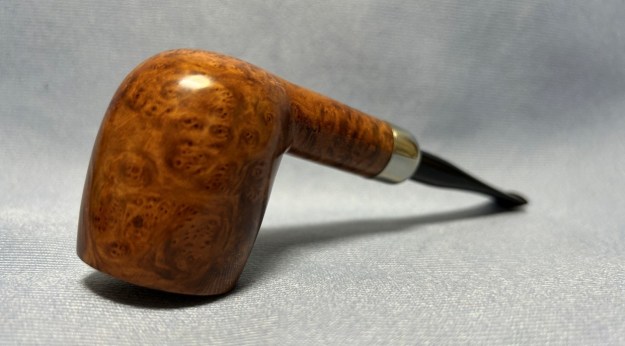
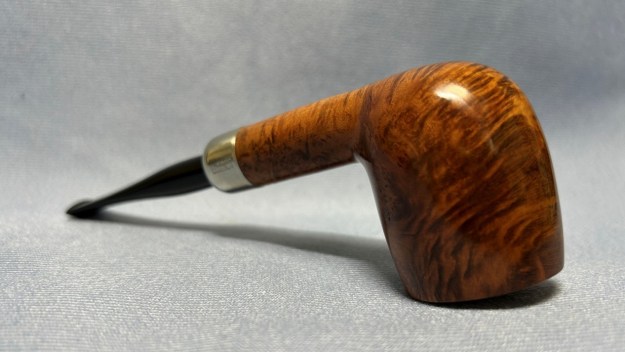
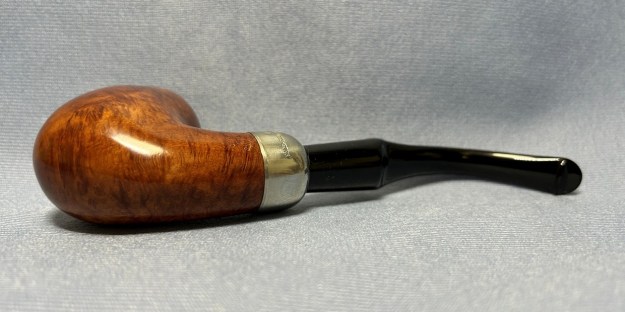
 This Rusticated Peterson’s of Dublin Kinsale XL25 with an oval Taper Stem has a beautiful rusticated finish that has a new lease on life. The medium brown/black/mahogany finish gives depth to the rustication around the bowl and shank. It has a classic look of a Peterson’s pipe. The rebuilt and polished black vulcanite taper stem adds to the mix. I put the stem back on the bowl and buffed the pipe with Blue Diamond on the buffing wheel being careful to not buff the stamping. I gave the bowl multiple coats of Conservator’s Wax and the stem multiple coats of carnauba wax on the buffing wheel and followed that by buffing it with a clean buffing pad. I hand buffed the pipe with a microfiber cloth to deepen the shine. The finished Peterson’s of Dublin Kinsale XL25 is quite nice and feels great in the hand. Give the finished pipe a look in the photos below. The dimensions of the pipe are Length: 6 inches, Height: 2 inches, Outside diameter of the bowl: 1 ¼ inch, Chamber diameter: ¾ of an inch. The weight of the pipe is 1.83 ounces/52 grams. Thanks for walking through the restoration with me as I worked over another beautiful pipe. Auke will pick up his pipe on the weekend. I am looking forward to seeing what he thinks of it.
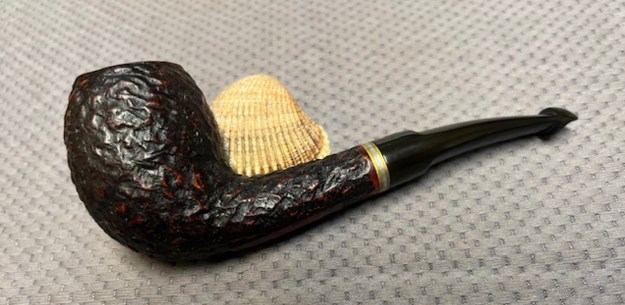


