by Steve Laug
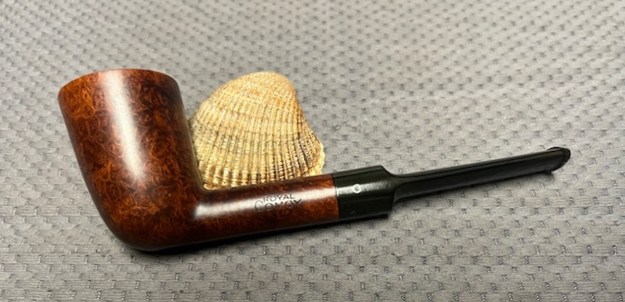
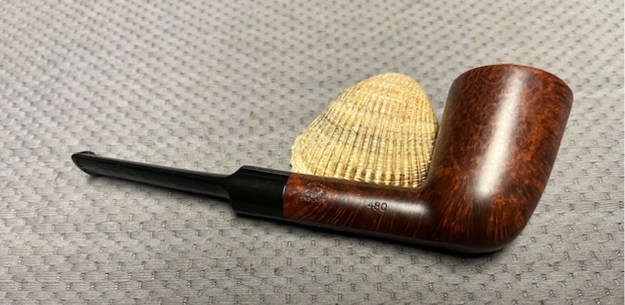
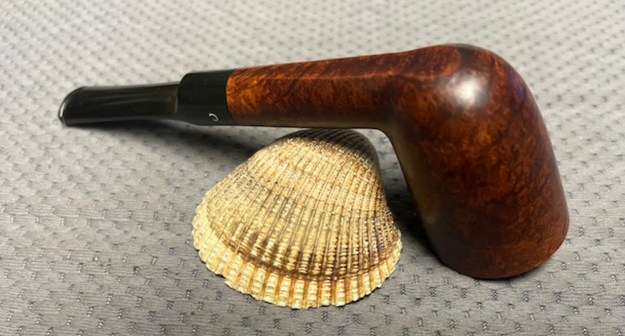
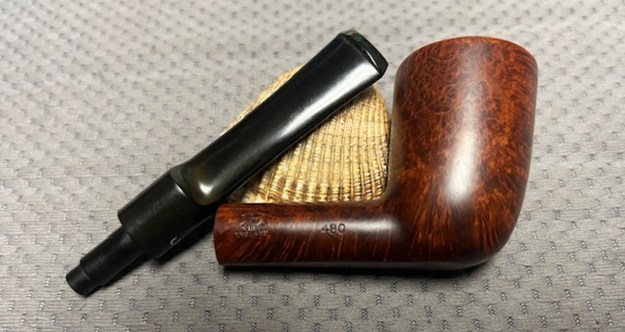
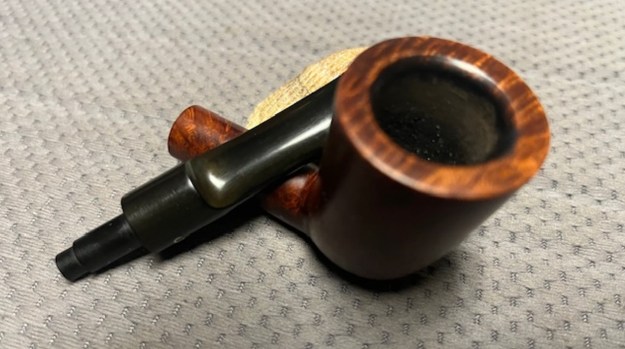
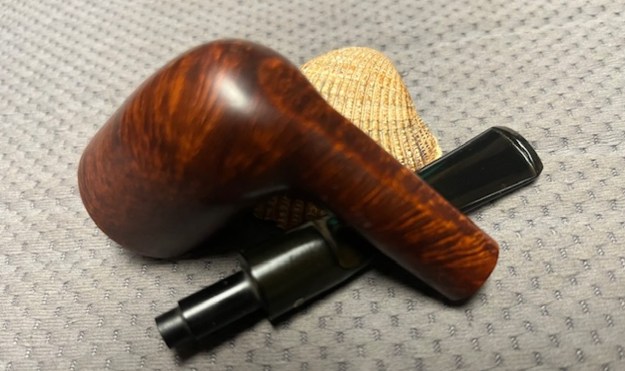
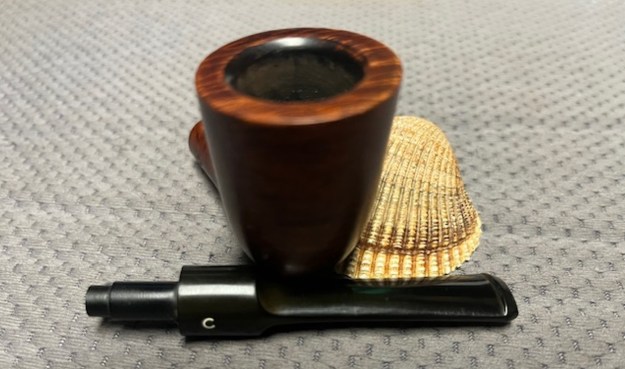
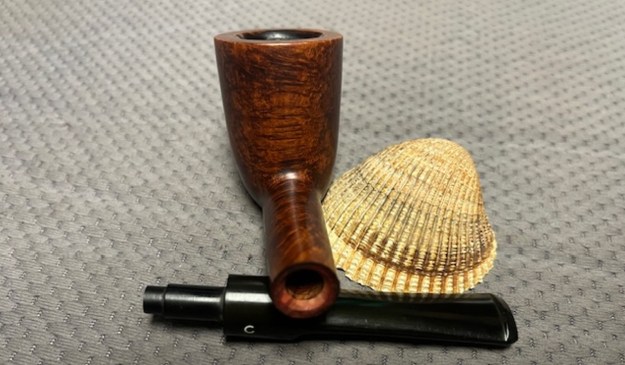
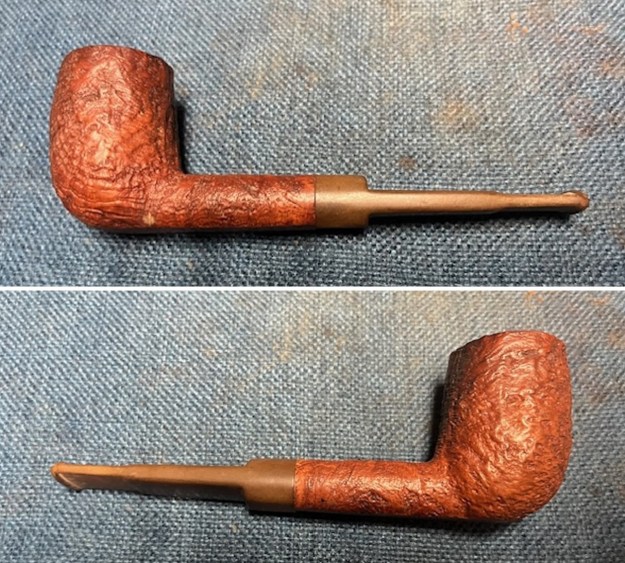
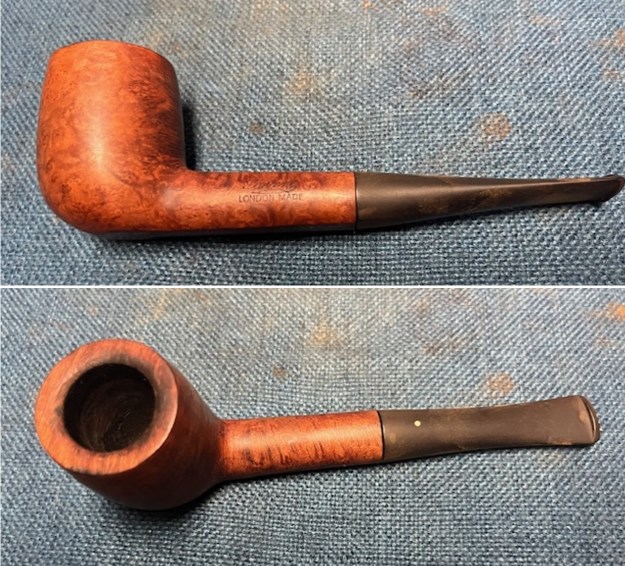
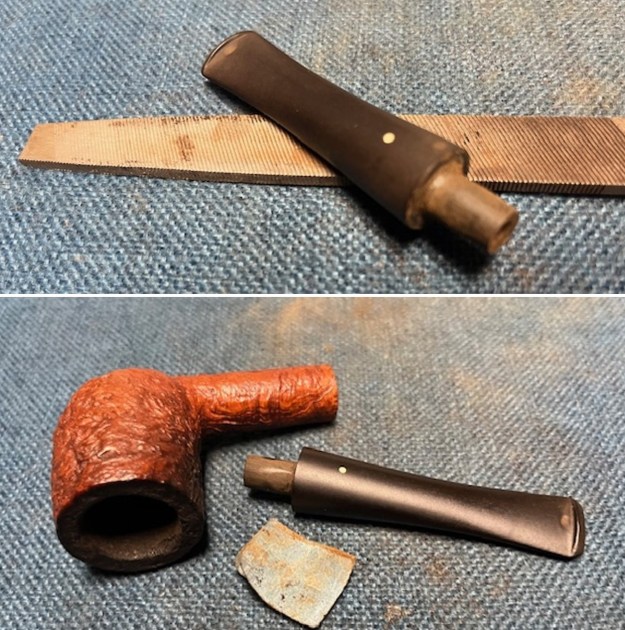
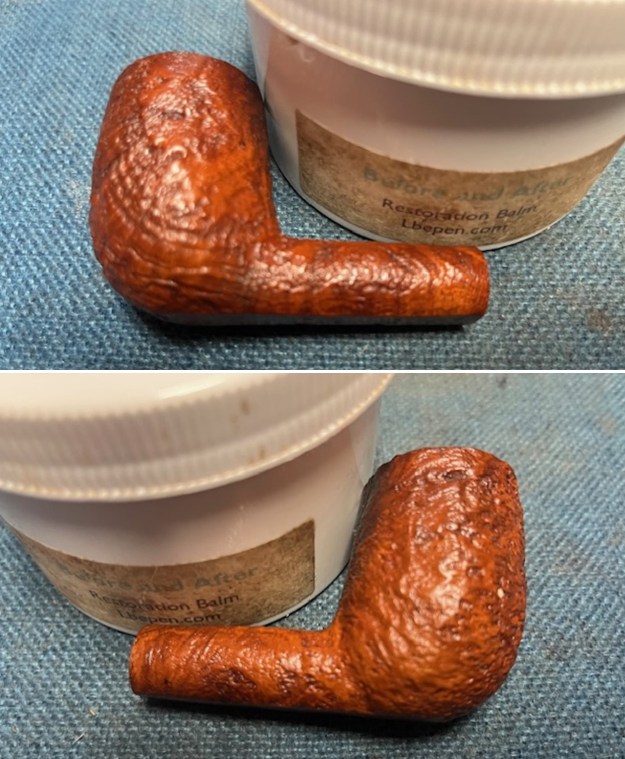
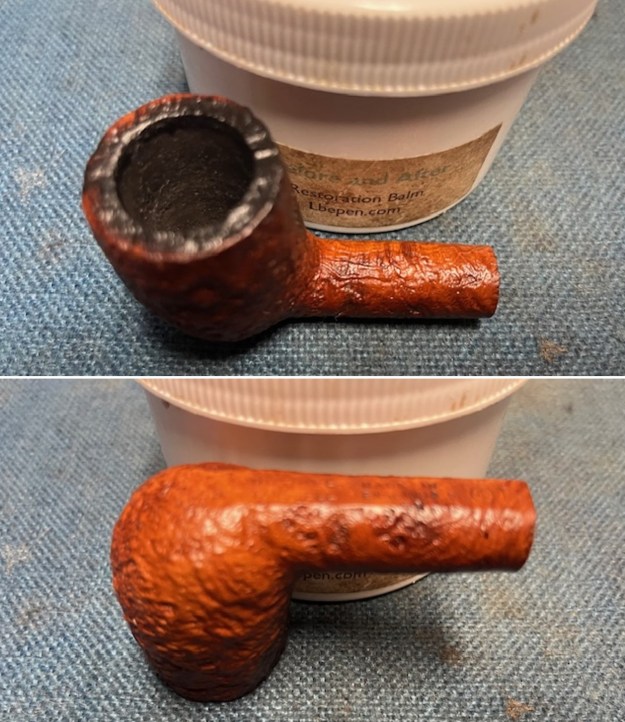
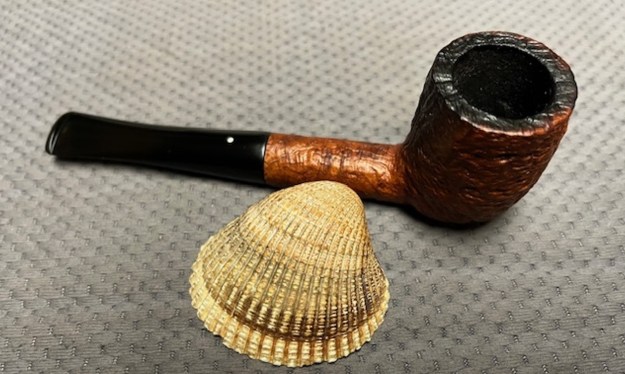
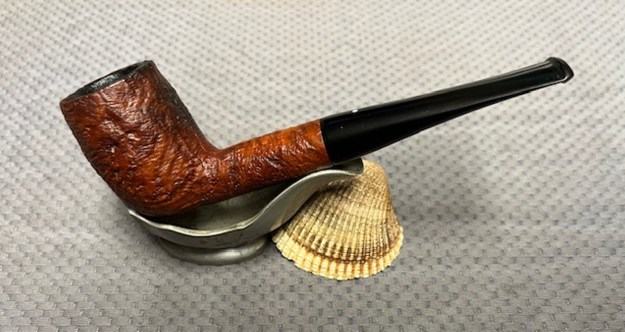
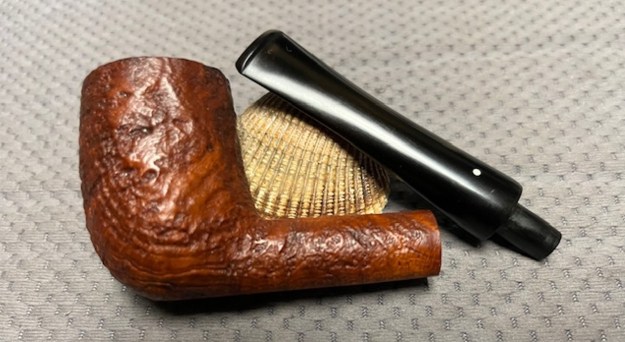
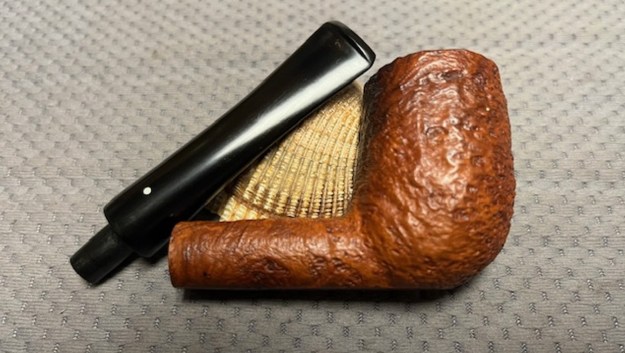
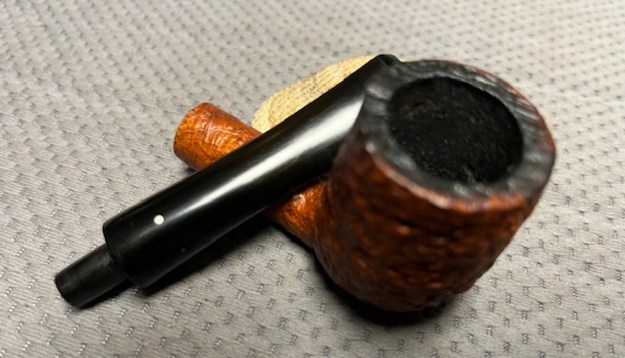
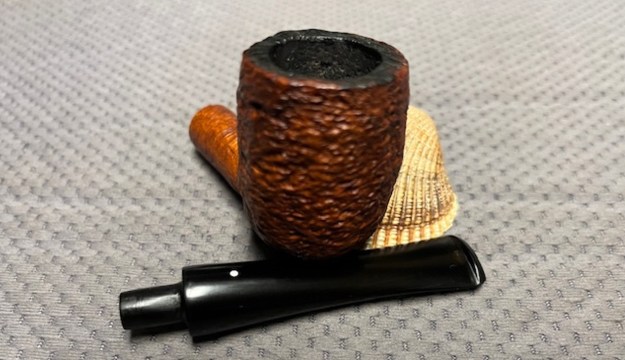
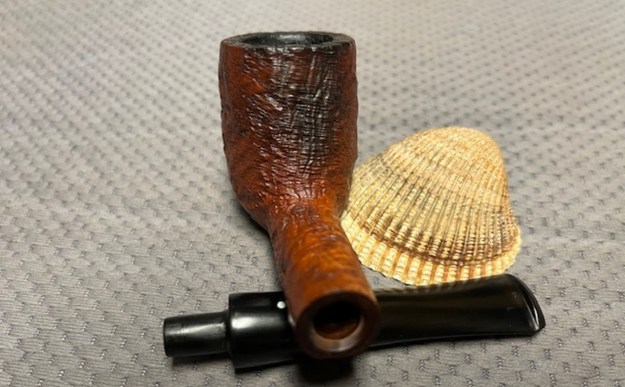
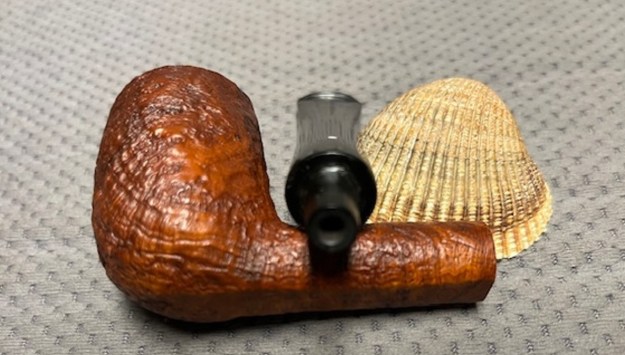
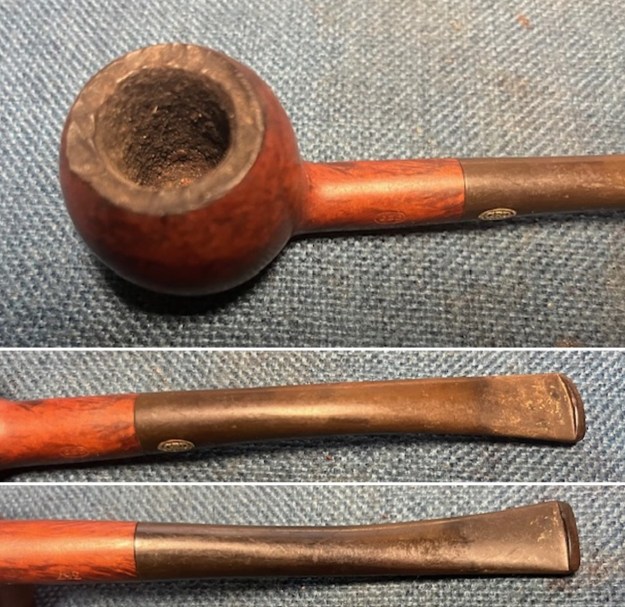
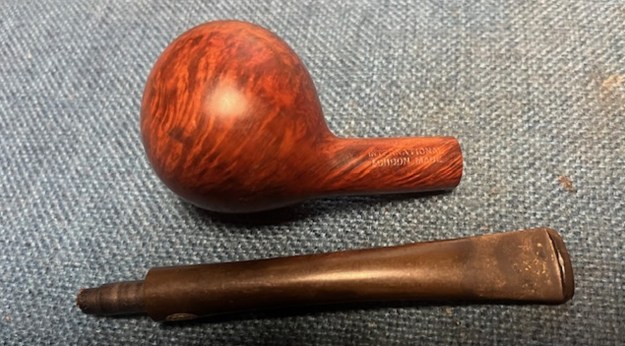
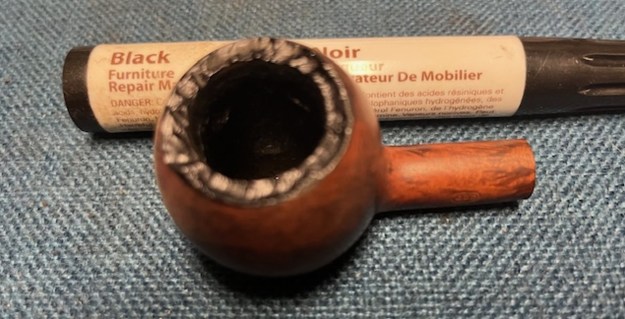
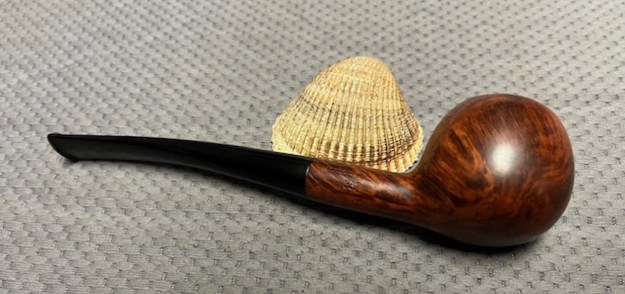
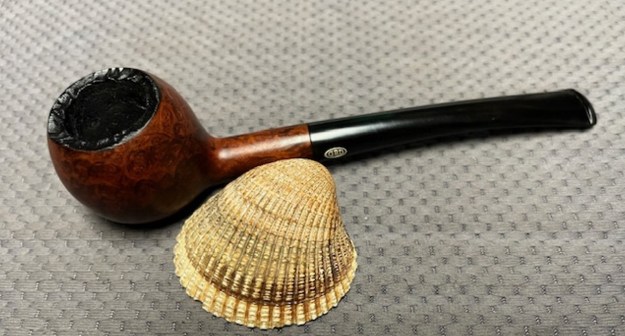
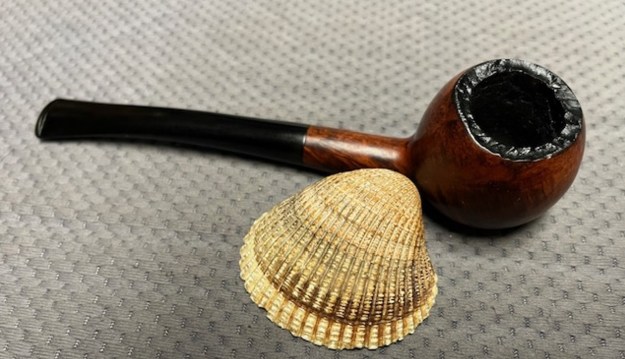
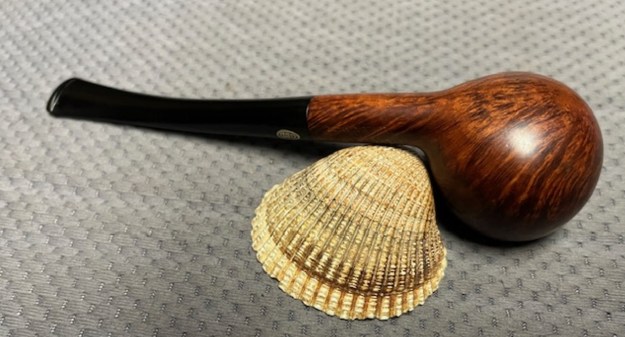
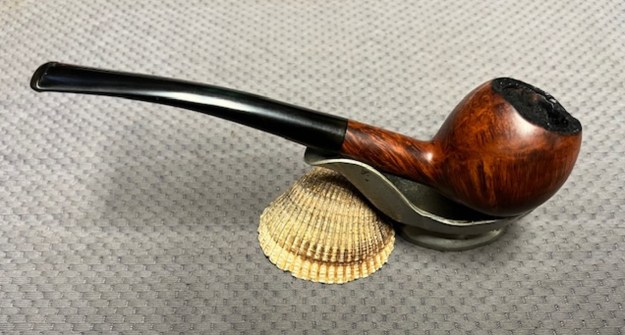
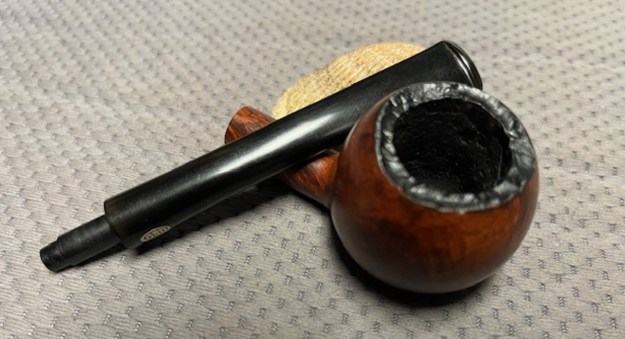
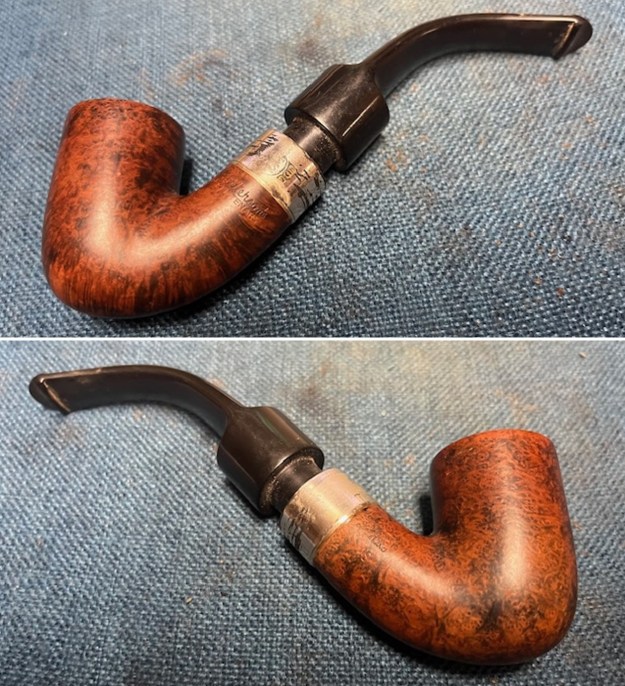
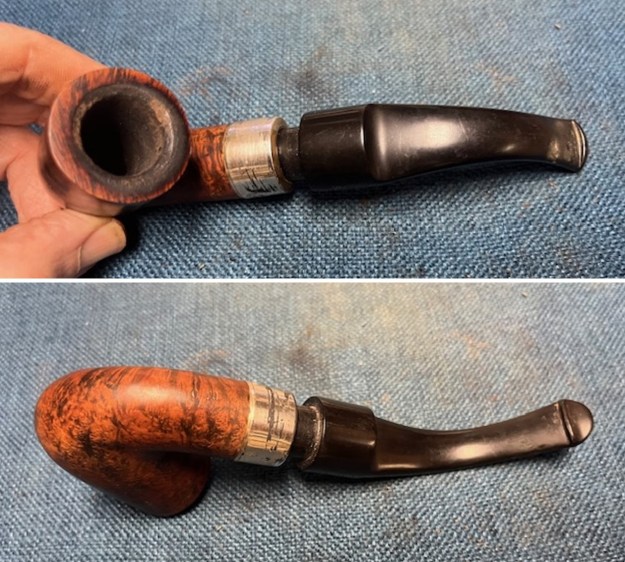
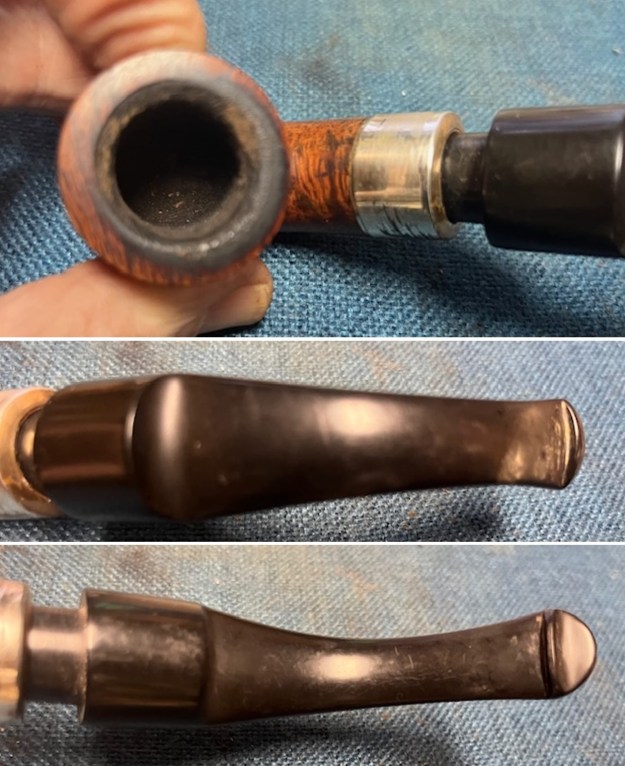
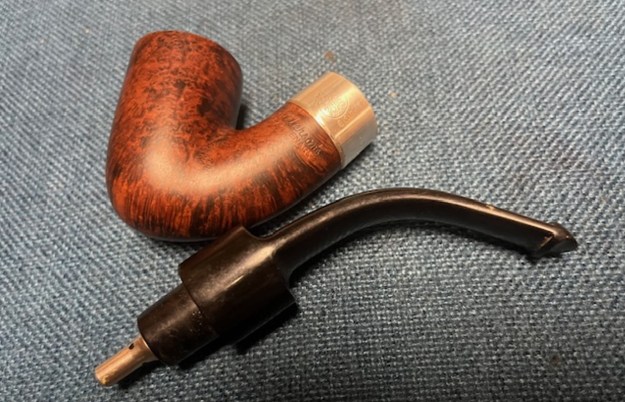
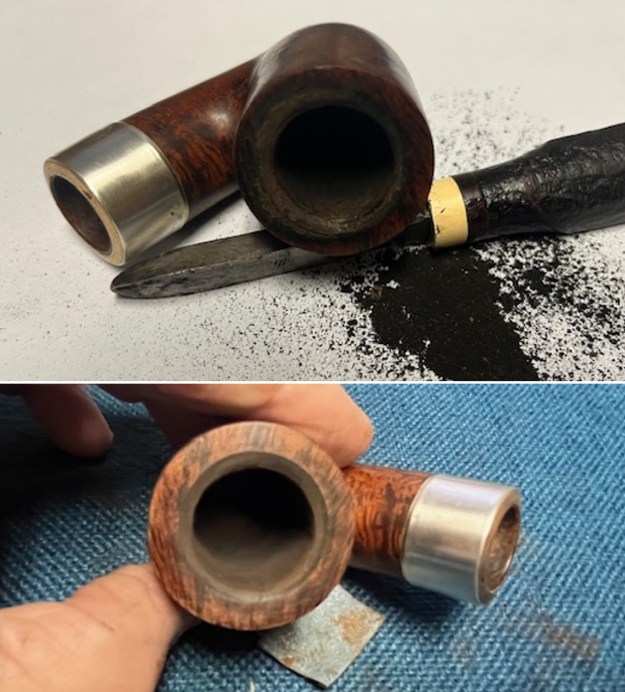
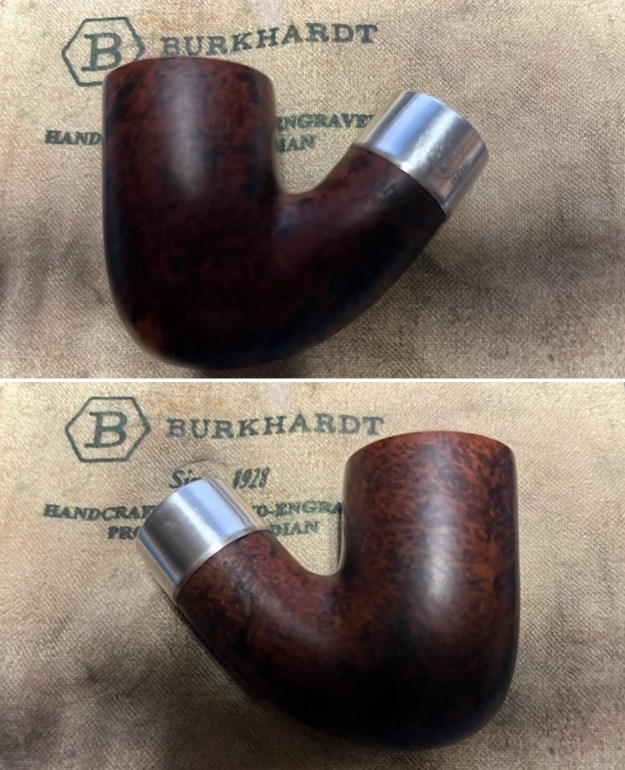
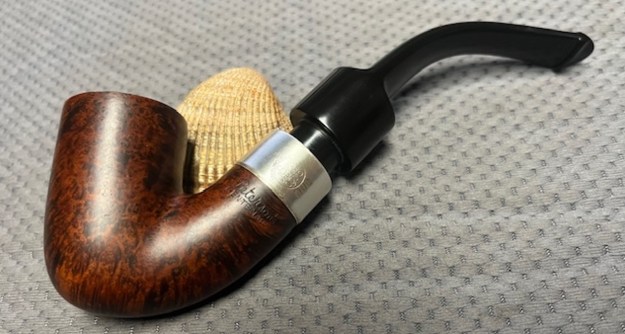
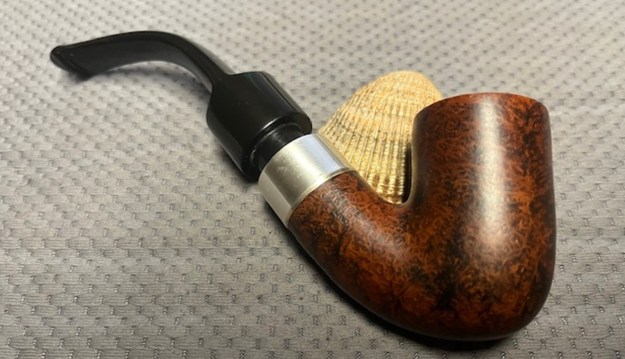
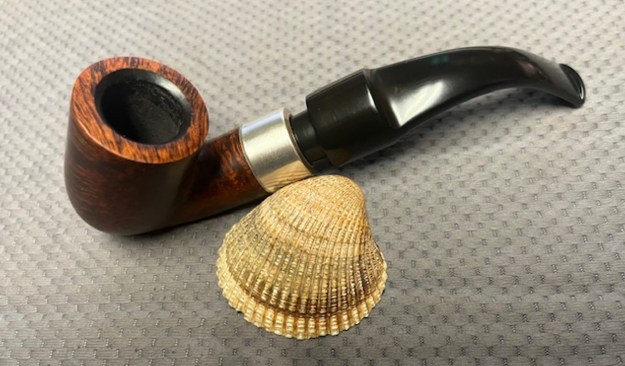
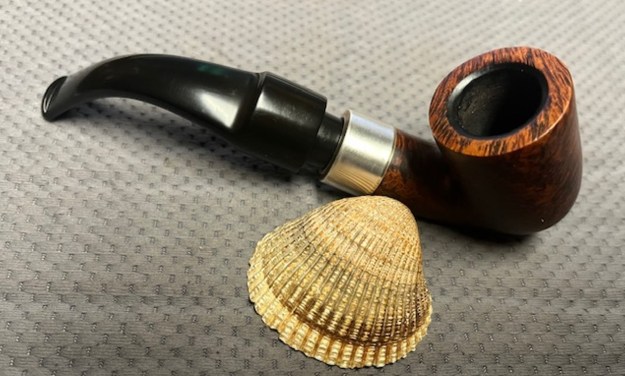
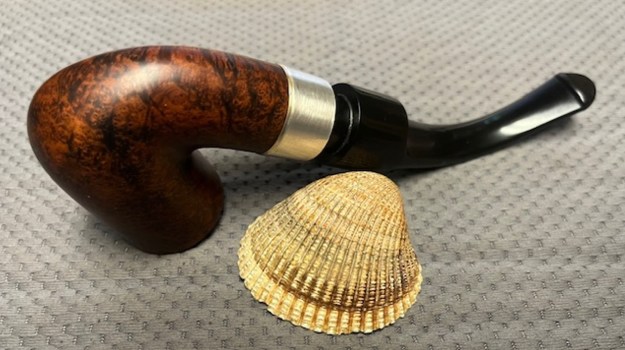
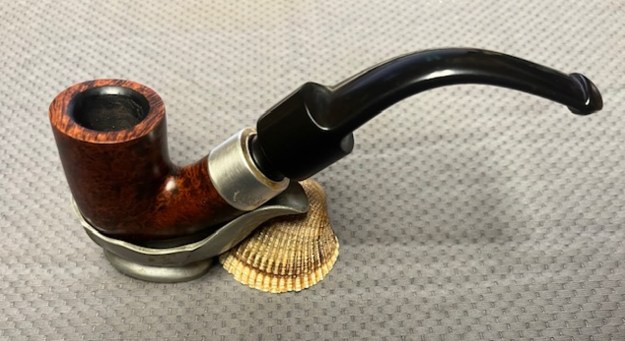
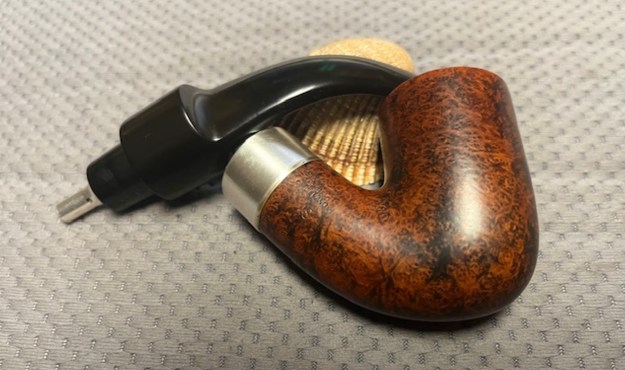
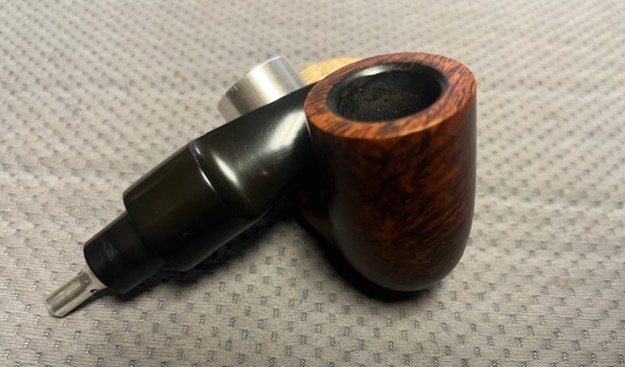
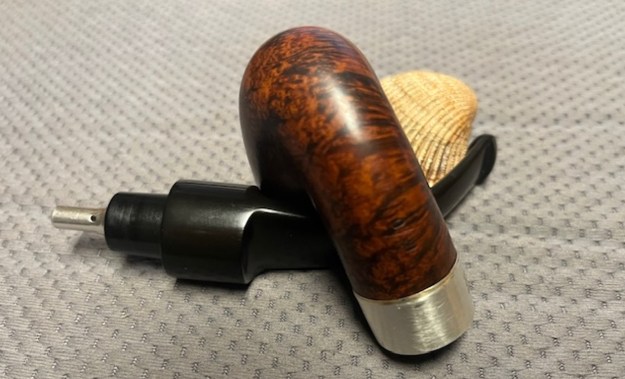
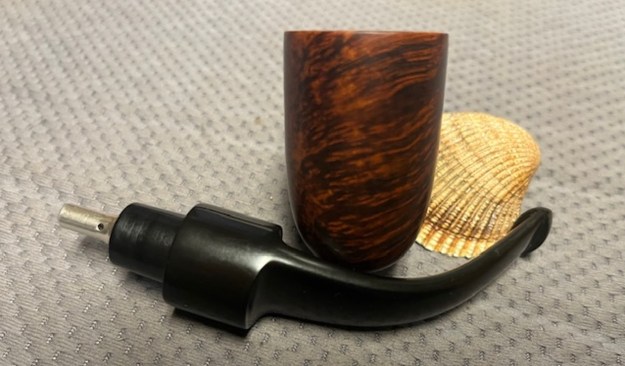
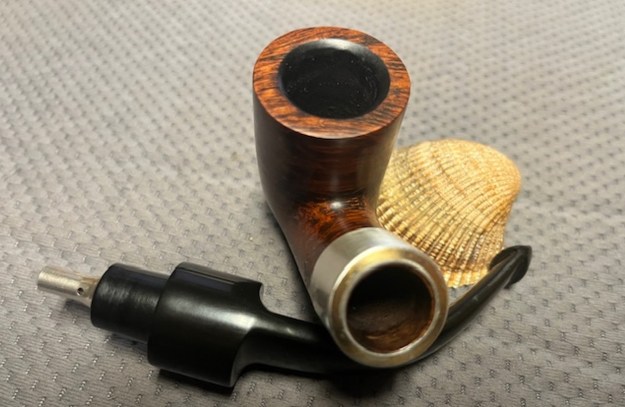
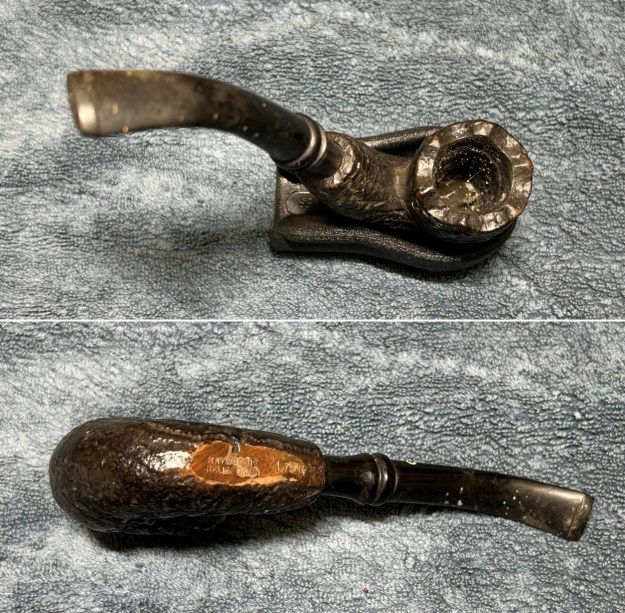
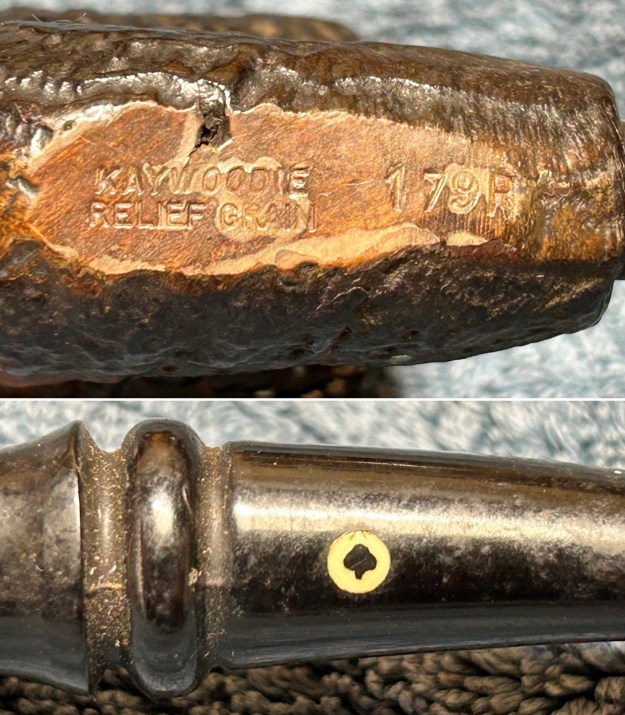
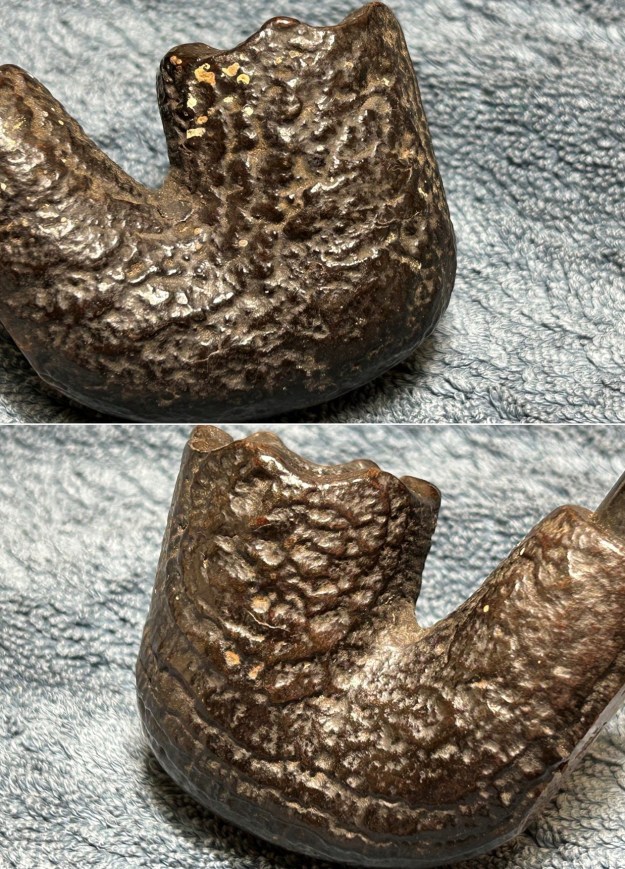
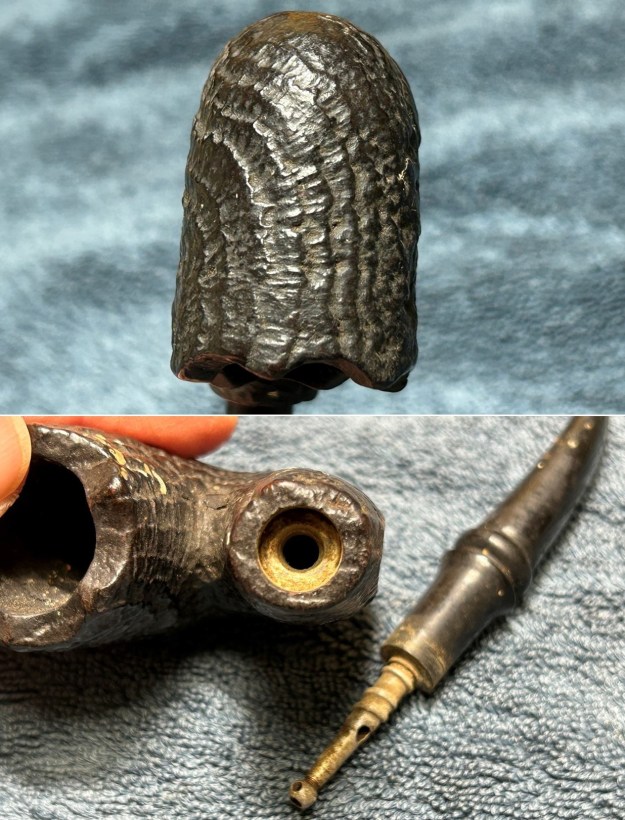
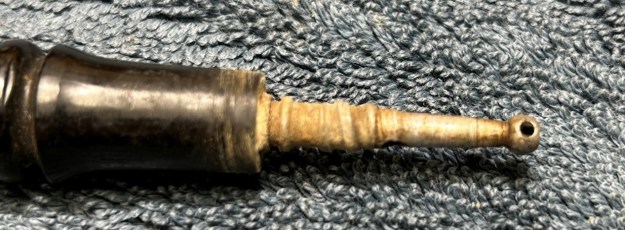
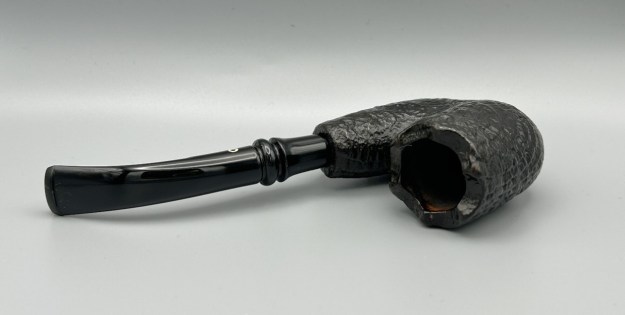
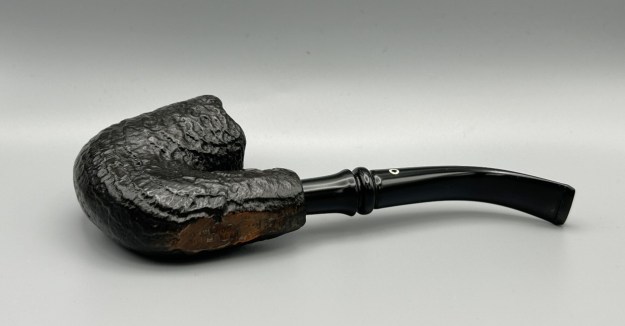
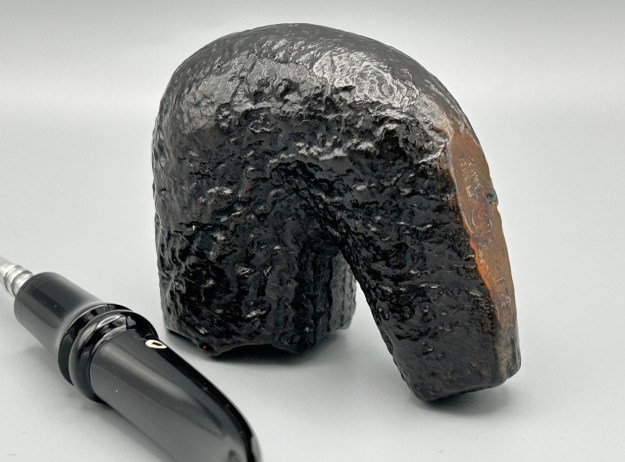
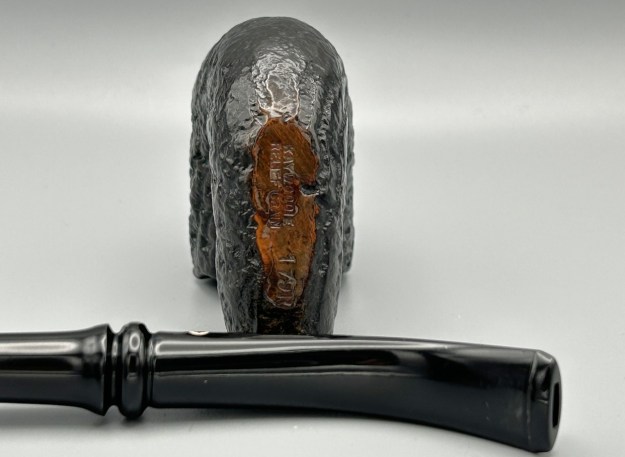
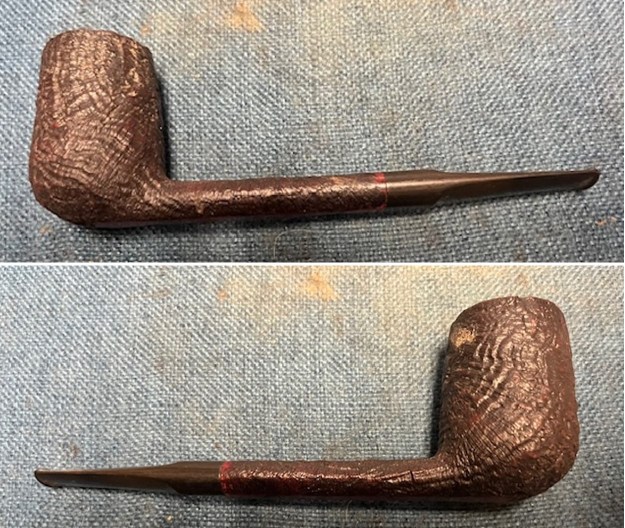
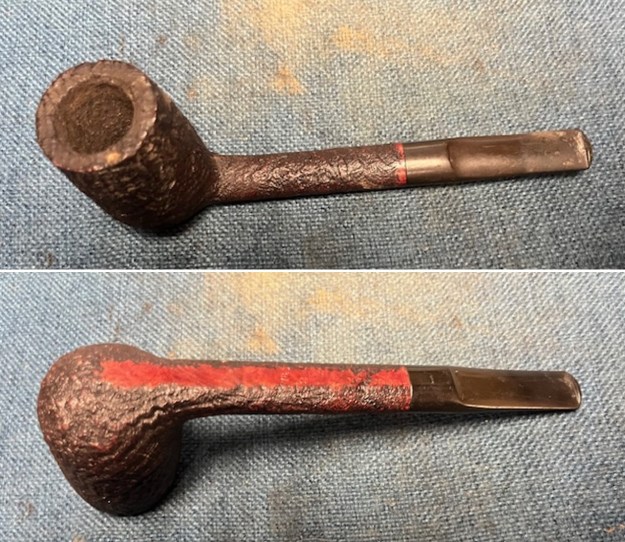
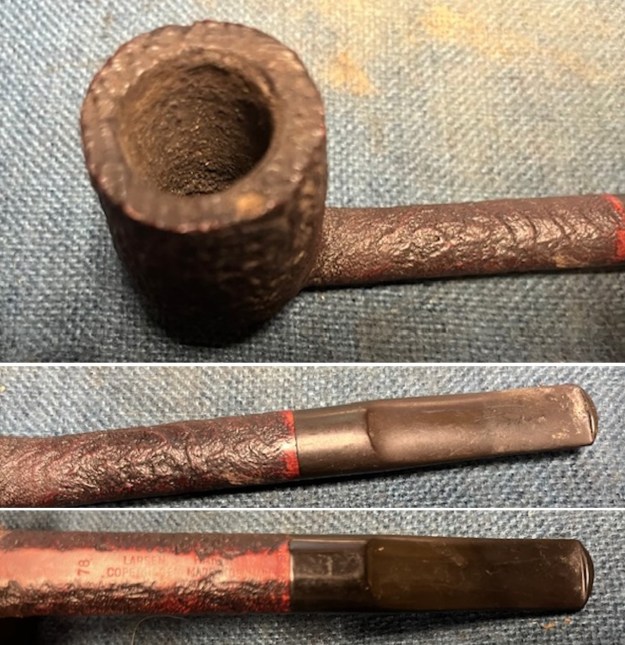
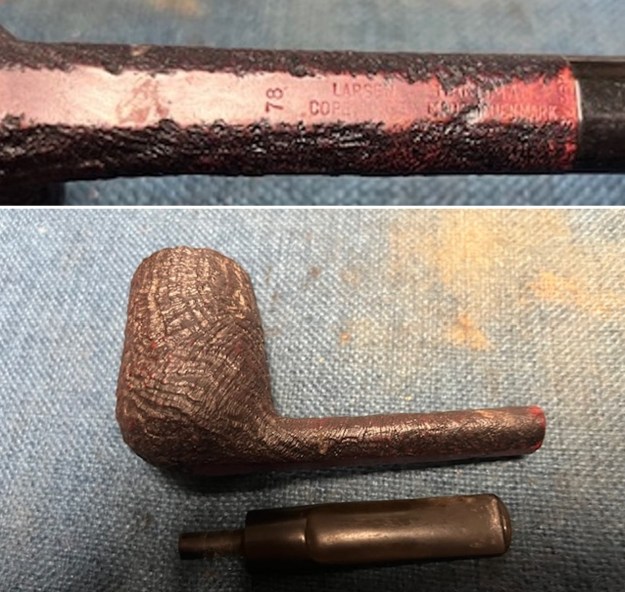
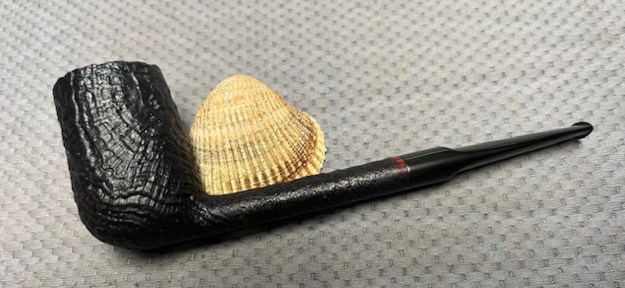
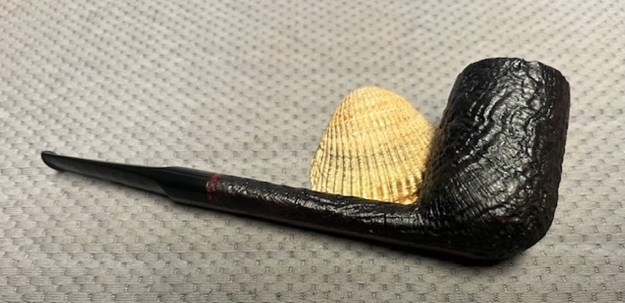
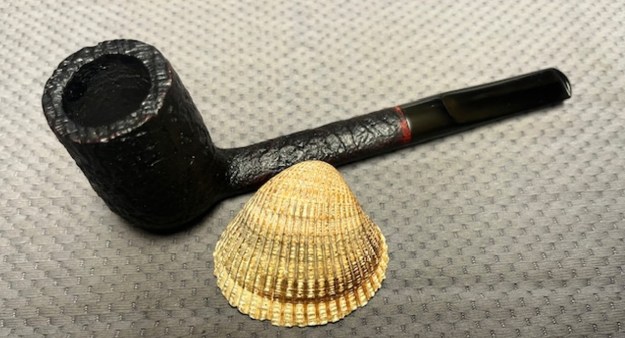
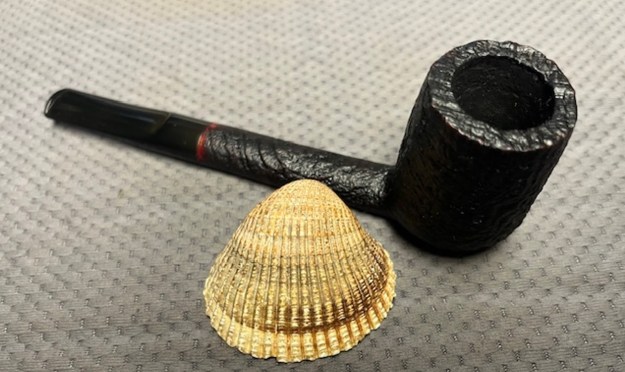
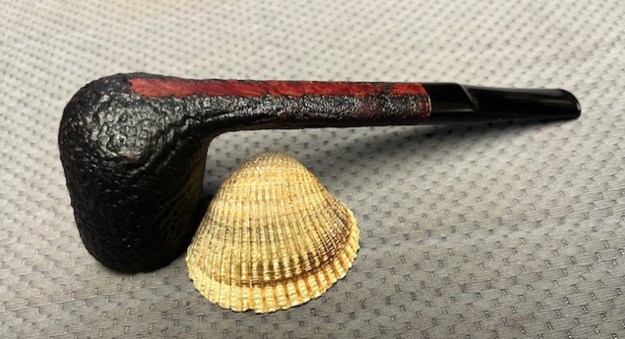
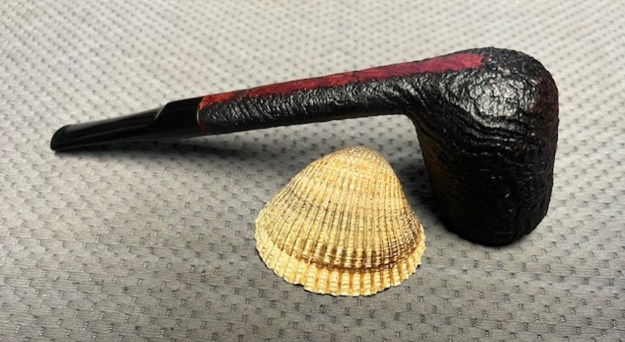
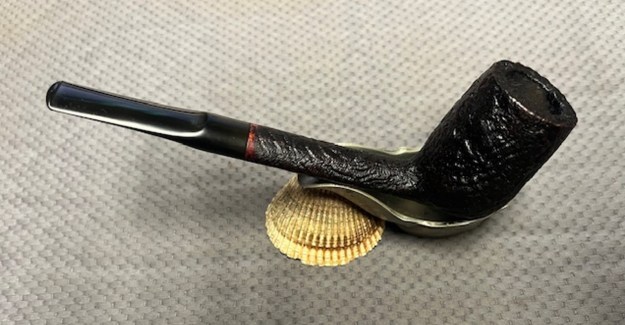
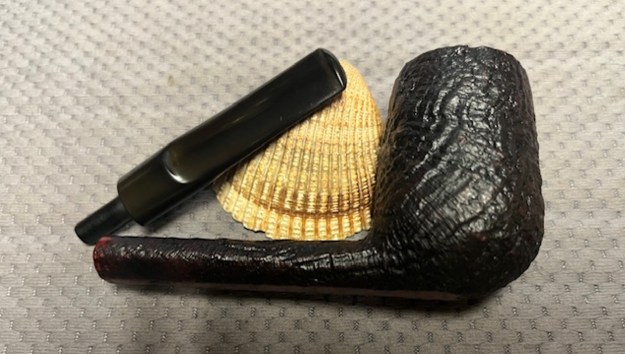
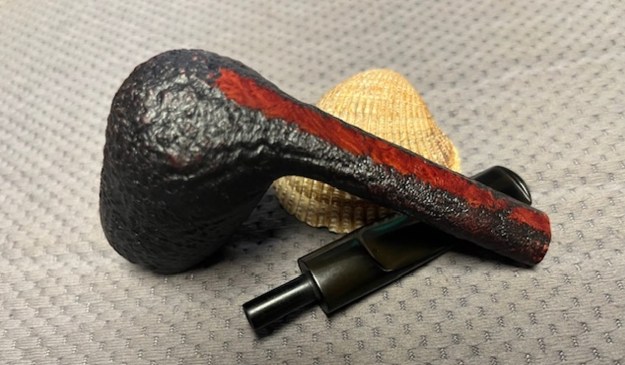
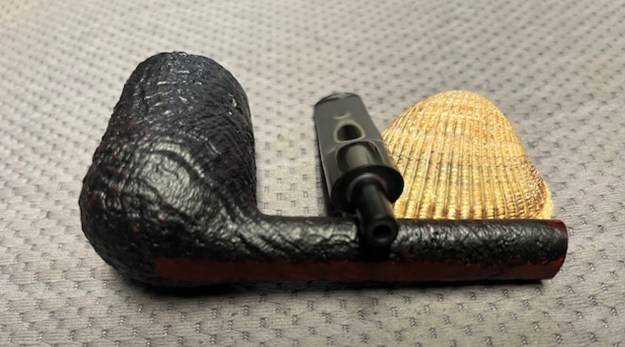
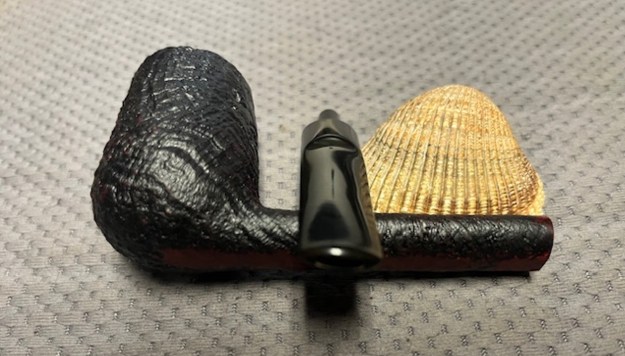
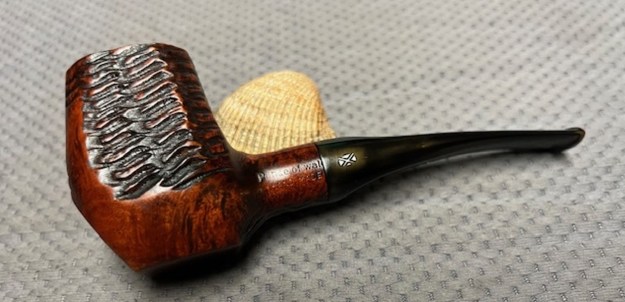
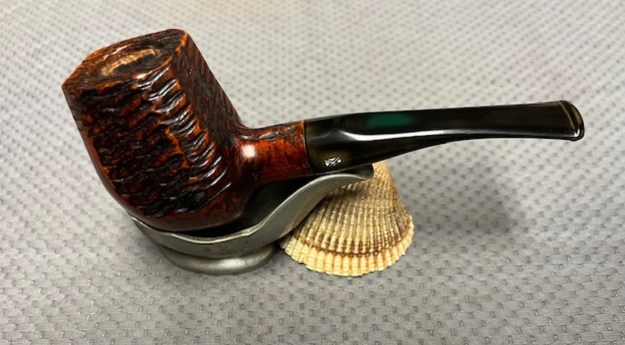
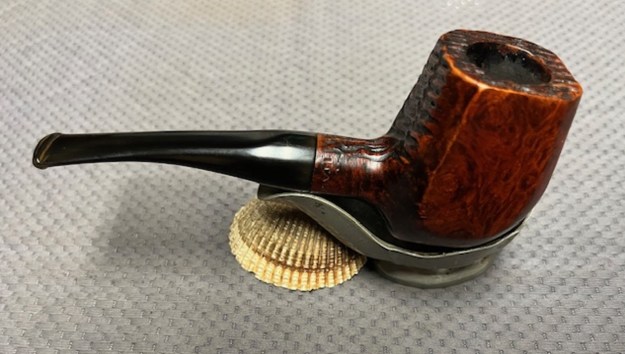
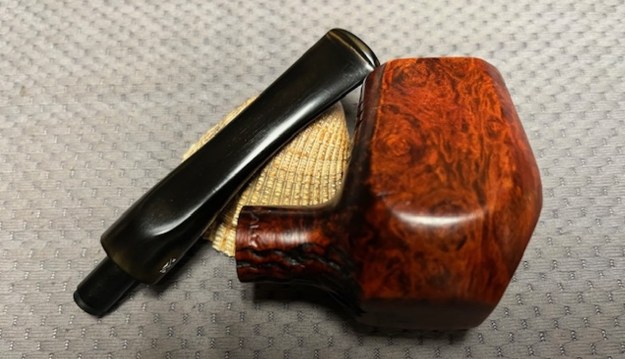
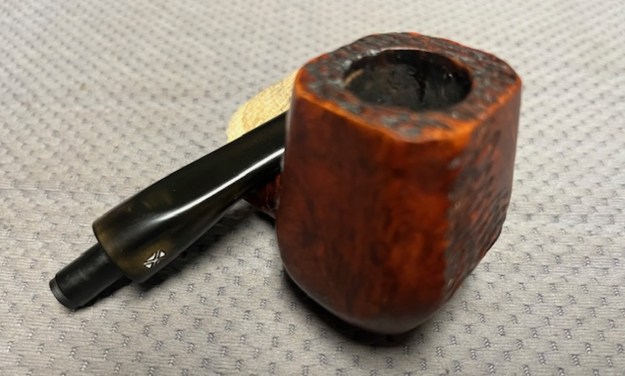
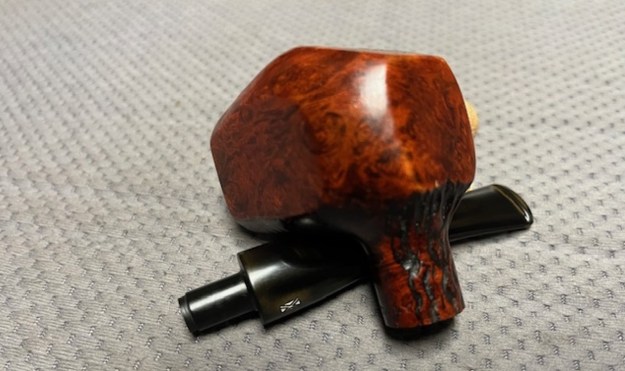
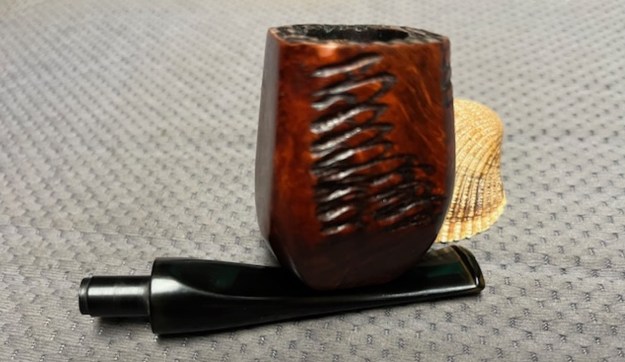
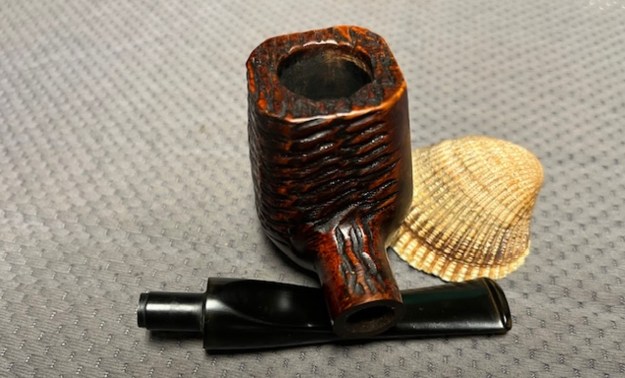
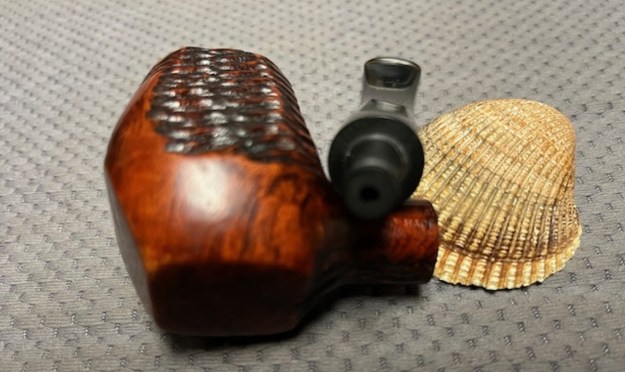
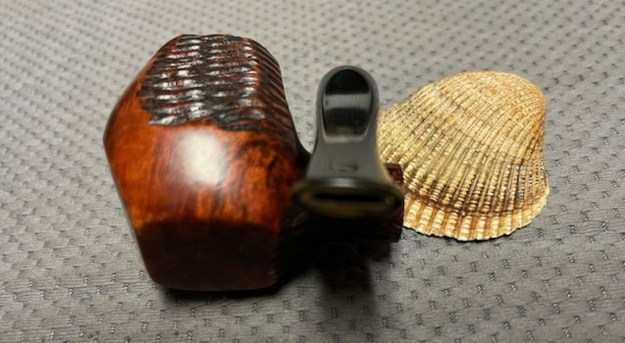
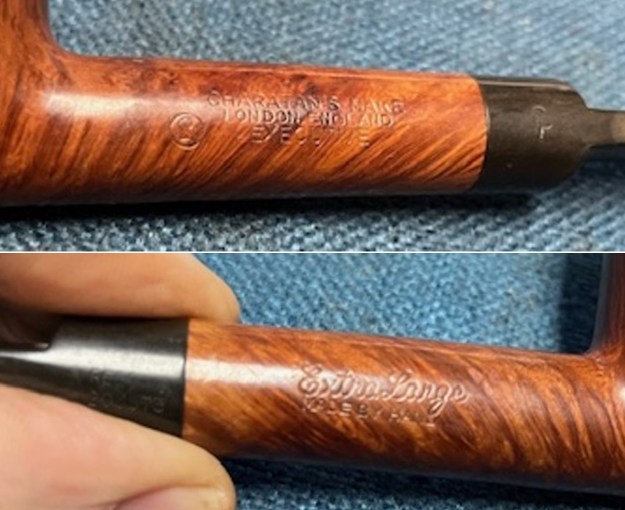
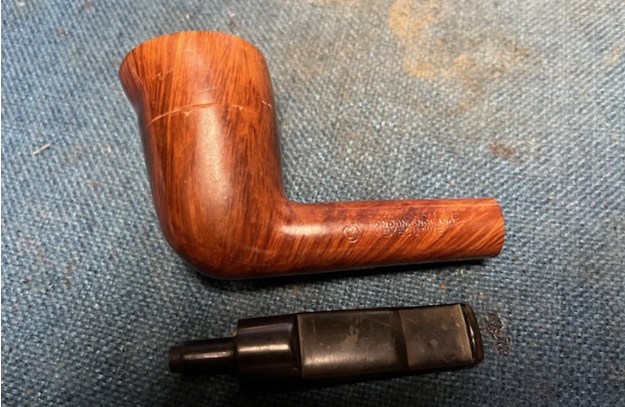
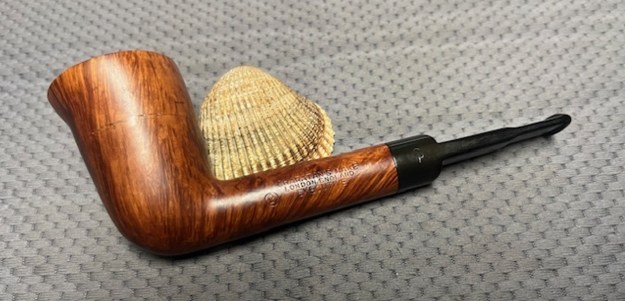
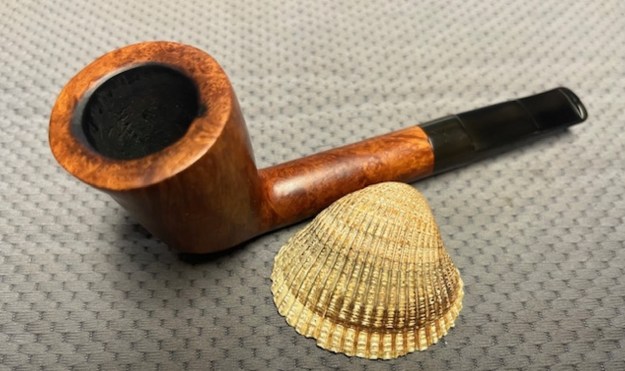
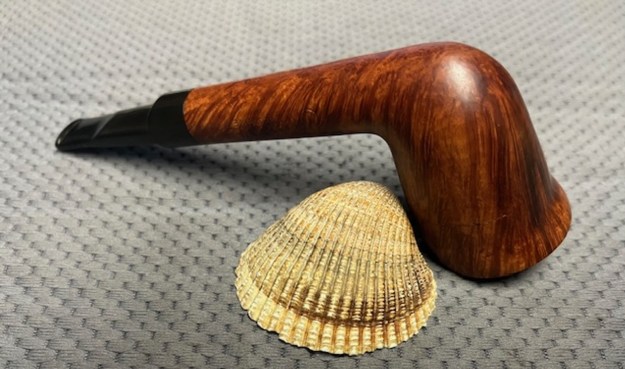
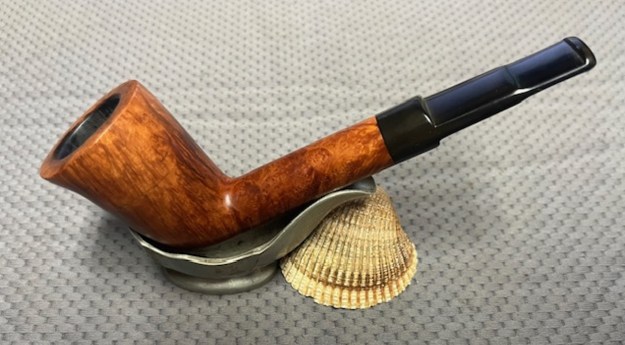
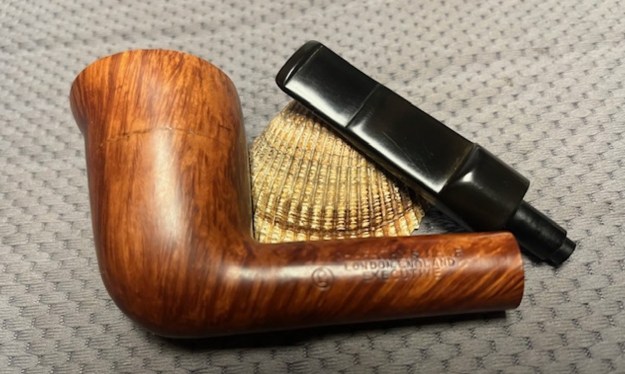
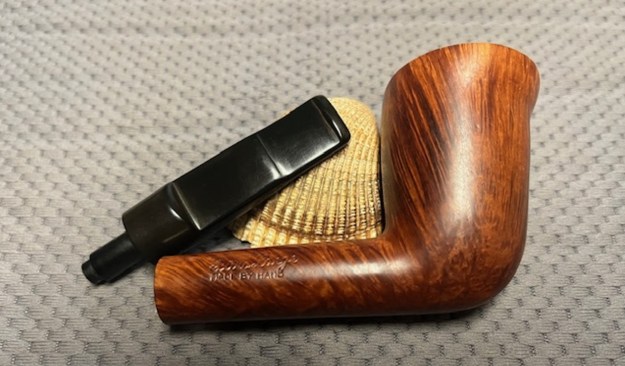
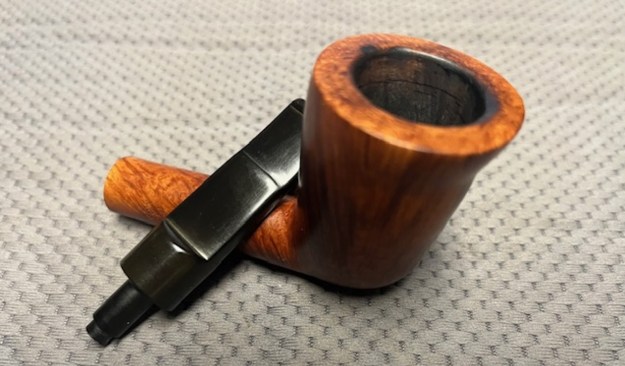
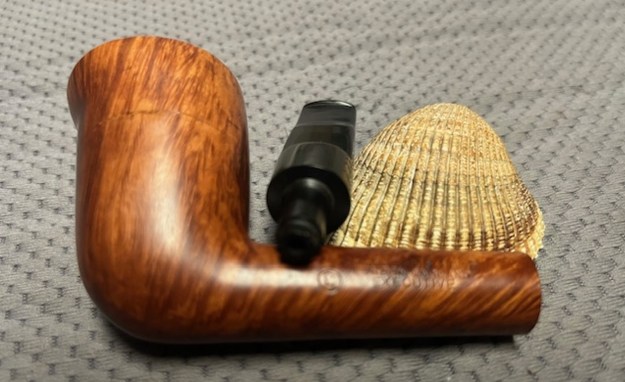
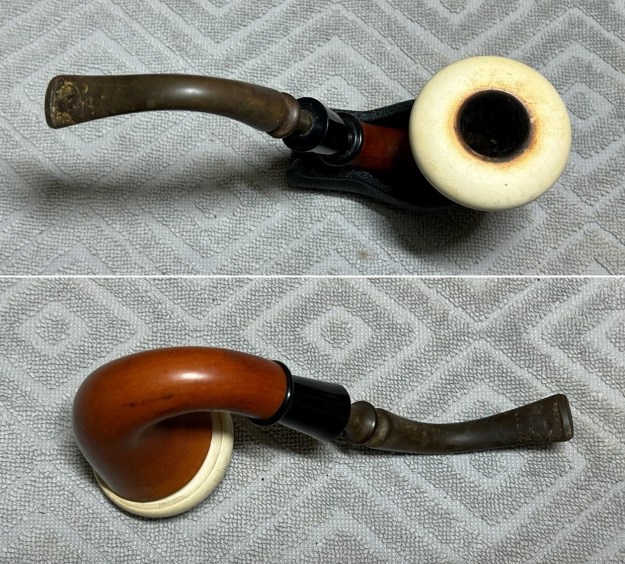
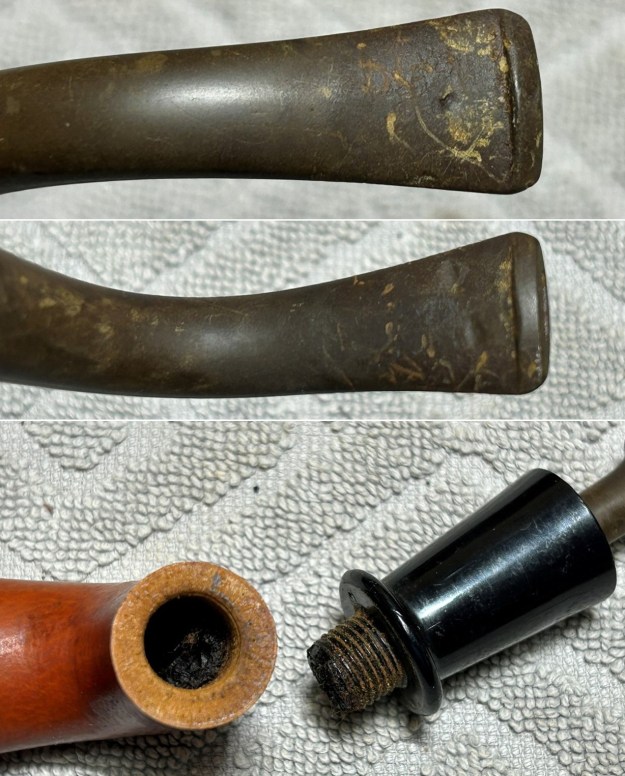
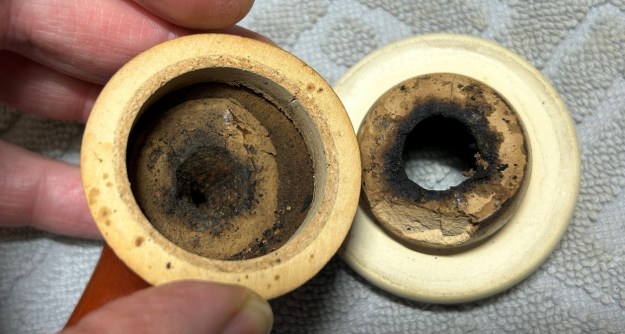
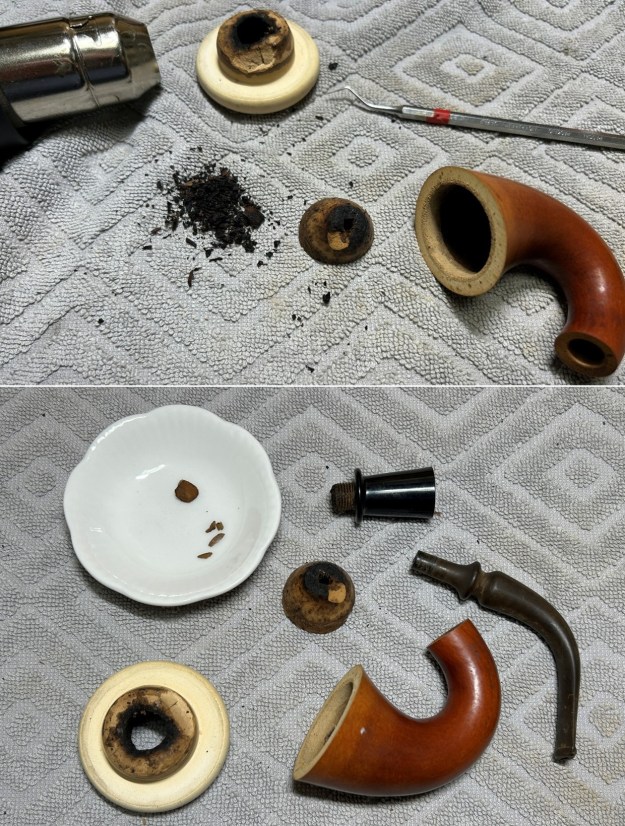
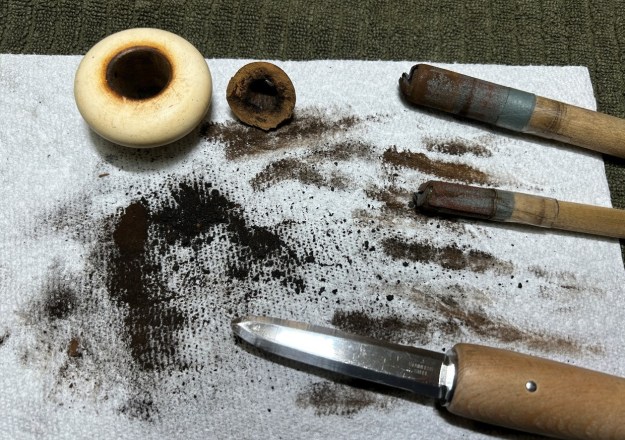
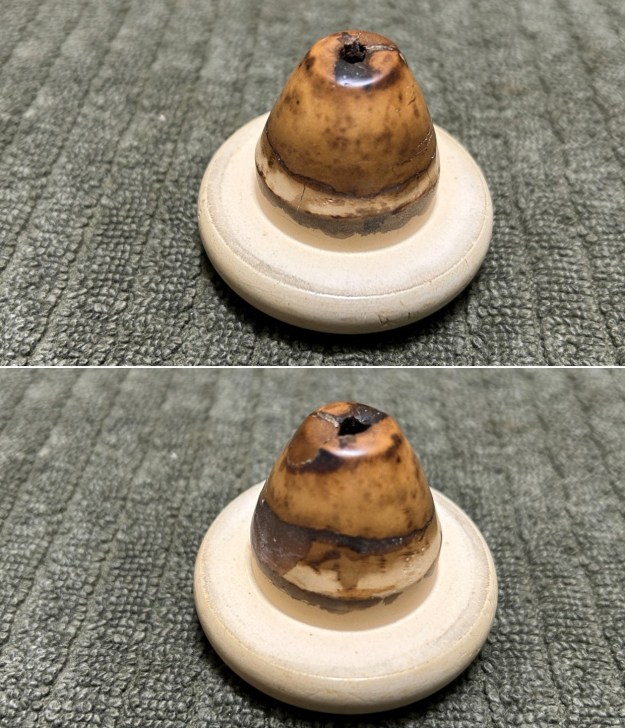
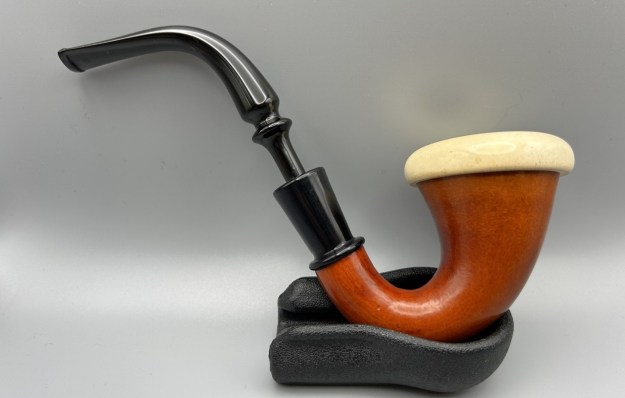
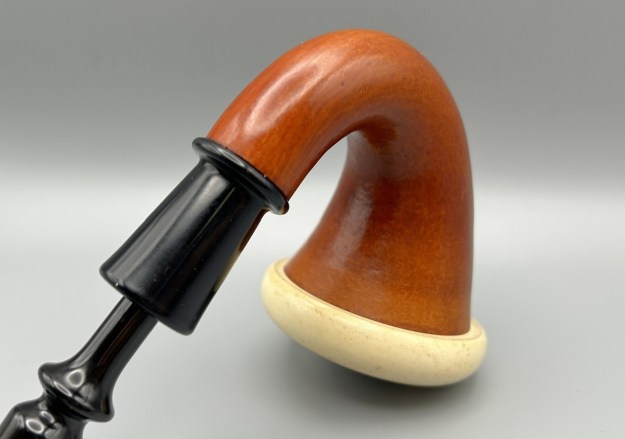
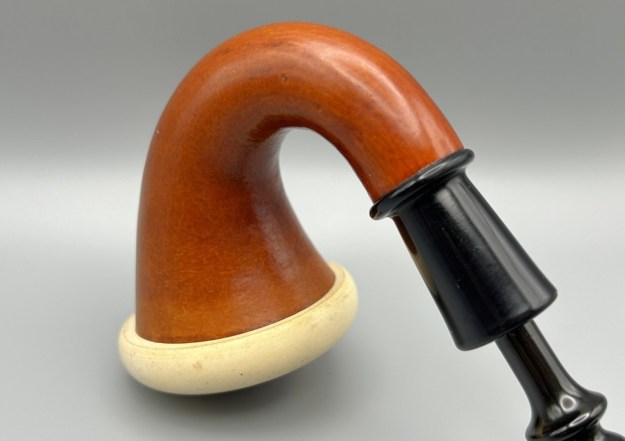
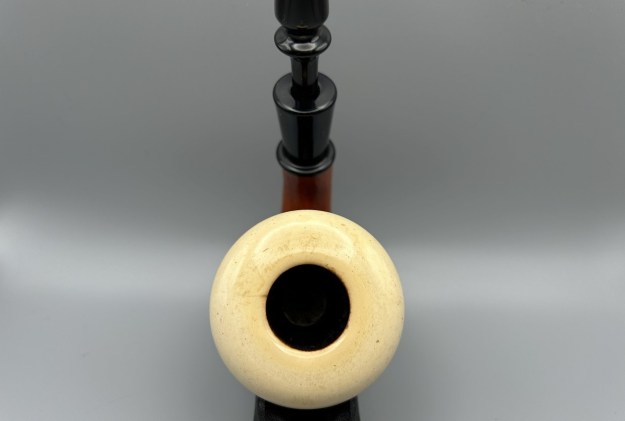
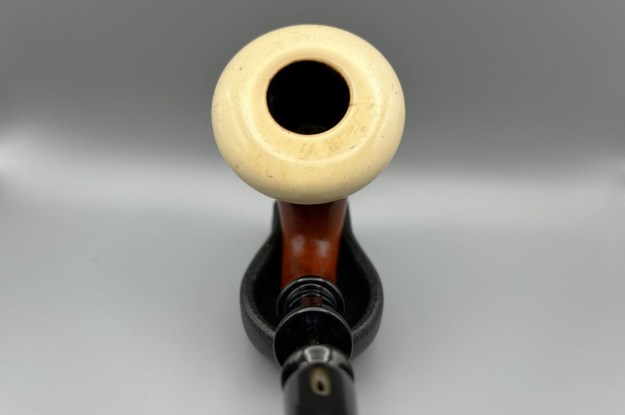
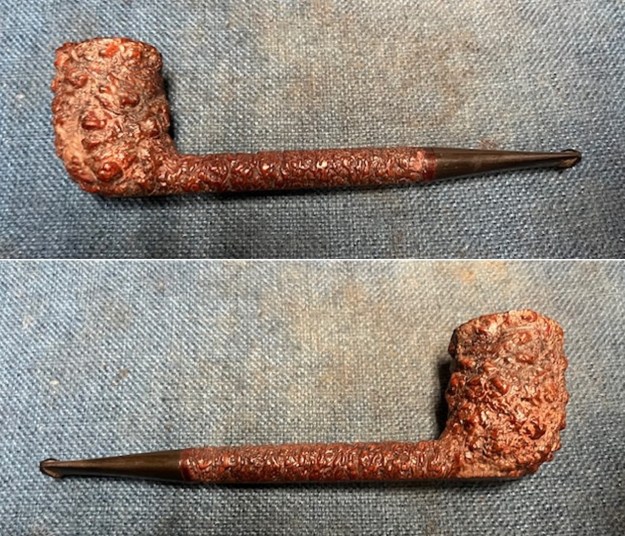
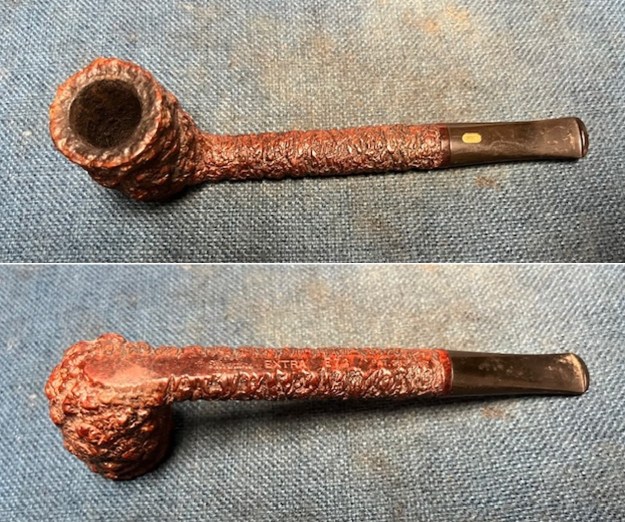
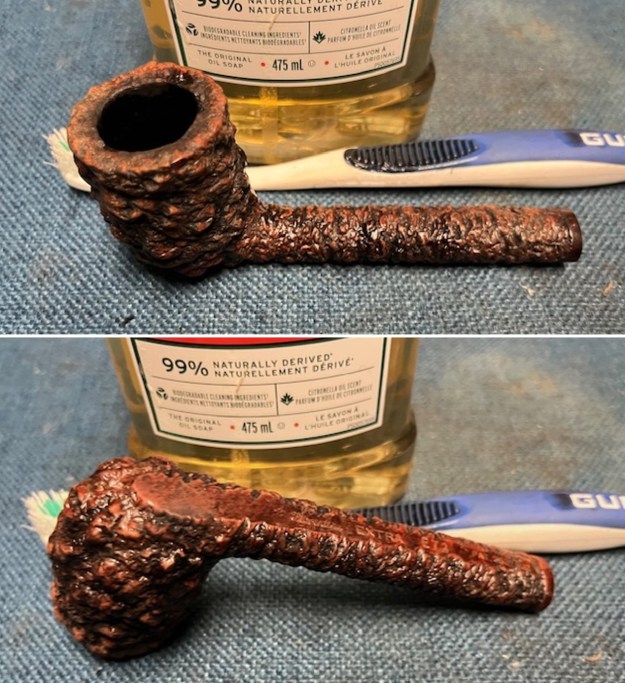
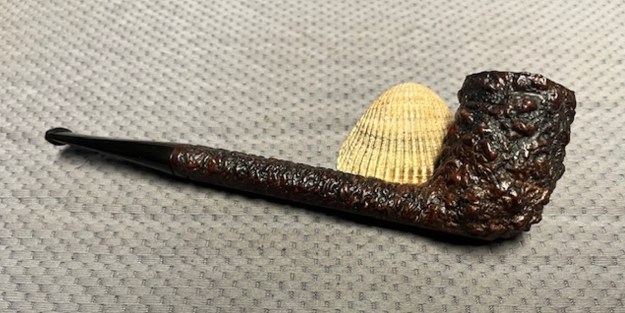
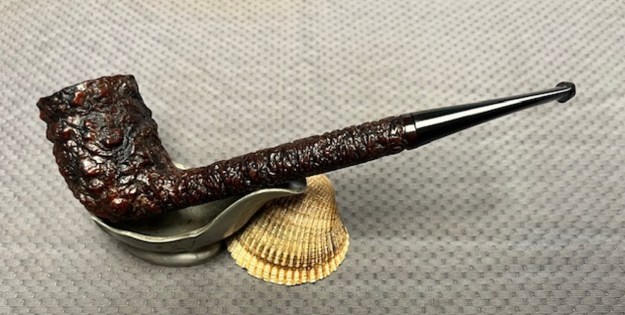
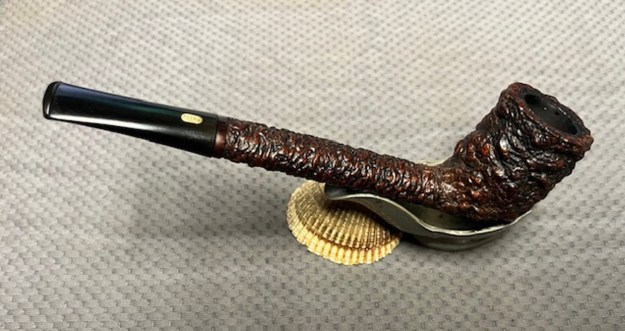
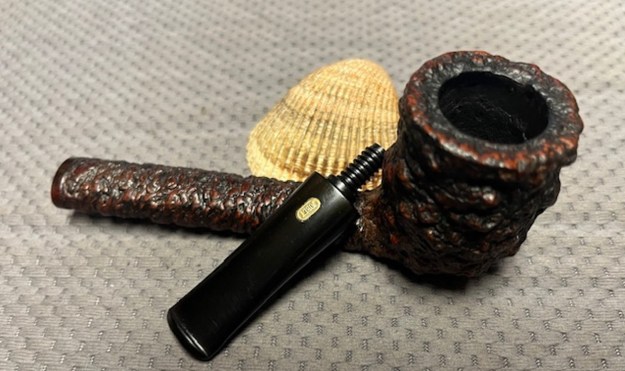
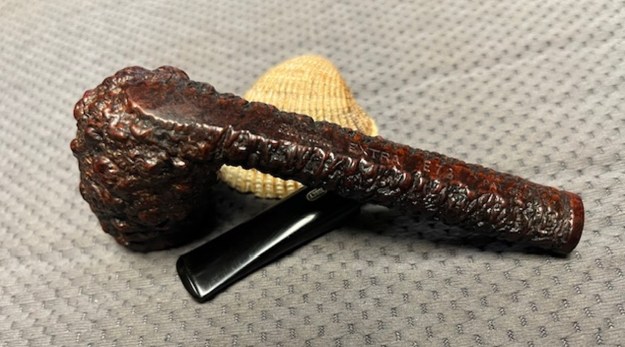
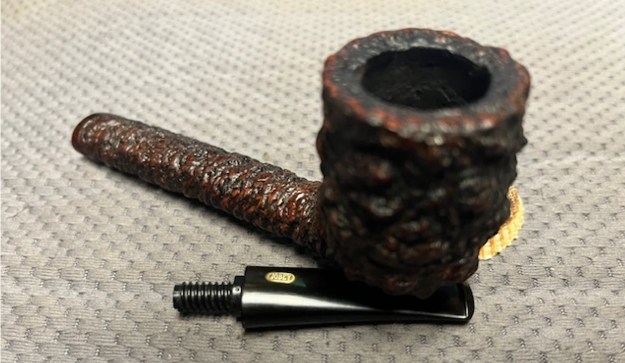
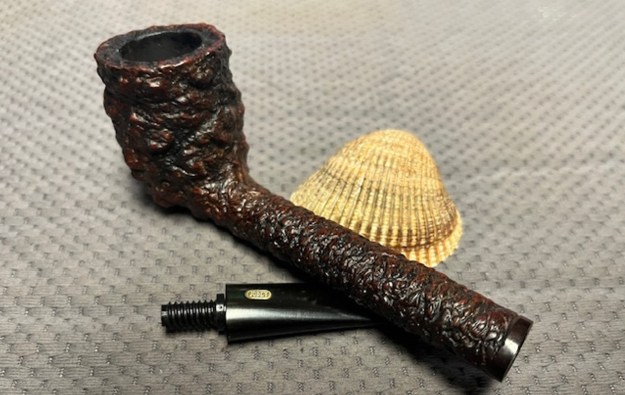
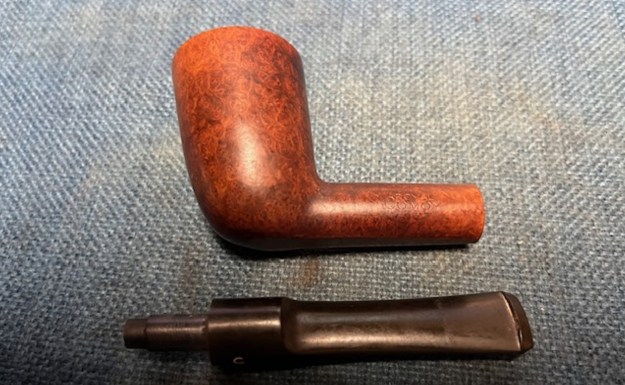
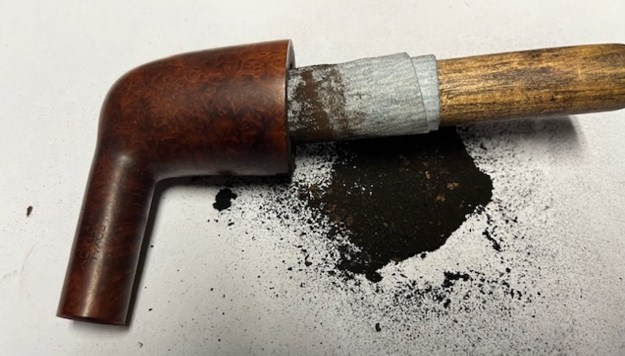
The next pipe on the table is another one that came to us from the seller in Caldwell, Idaho, USA on 07/12/2025. It is a beautiful Comoy Royal Dublin with a straight vulcanite saddle stem. It is in dirty but in good condition as can be seen in the photos below. It is stamped on the left side of the shank and reads Royal [over] Comoy. On the right side it is stamped with the Comoy COM stamp – in this case Made in London in a circle over England [followed by] the shape number 480 next to the bowl shank union. The stamping is clear and readable. It has rich finish with a blend of brown stains that highlight the grain around the bowl and shank that the shape follows well. The finish was dusty and dirty with grime ground into the finish. The bowl had a moderate cake and there was tobacco debris in the bowl. The rim top had a thick lava on the top and edges. The stem was quite dirty and oxidized. It had a three part C on the left side of the saddle stem. I took photos of the pipe to show what it looked like before I started working on it. 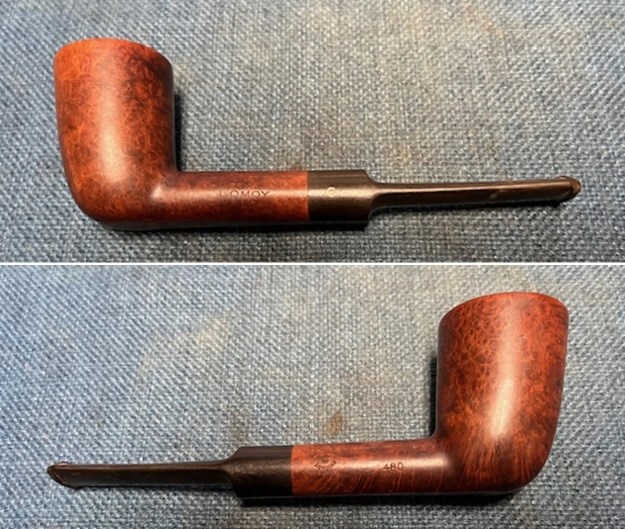
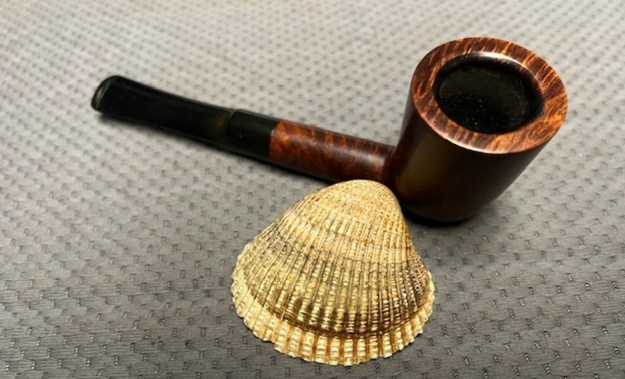
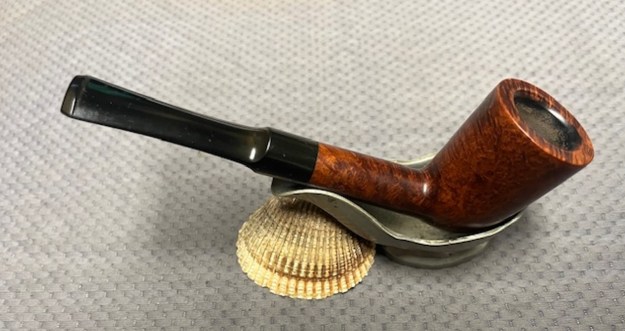
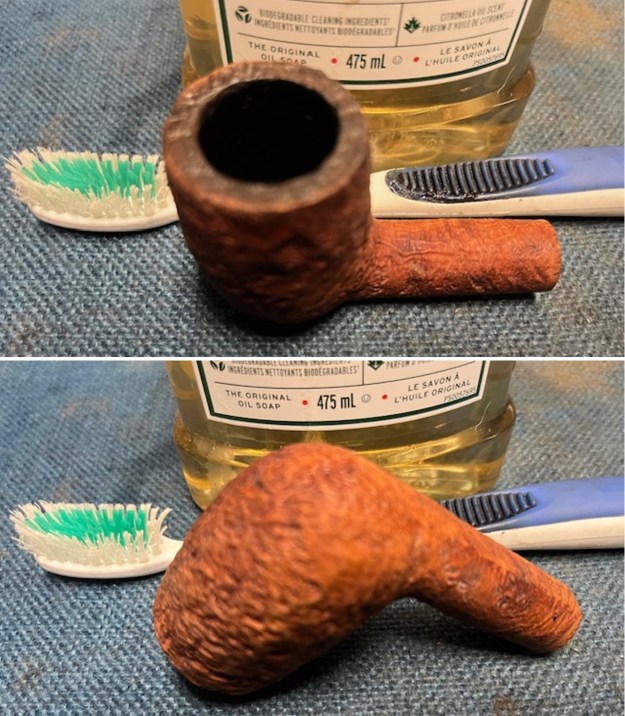
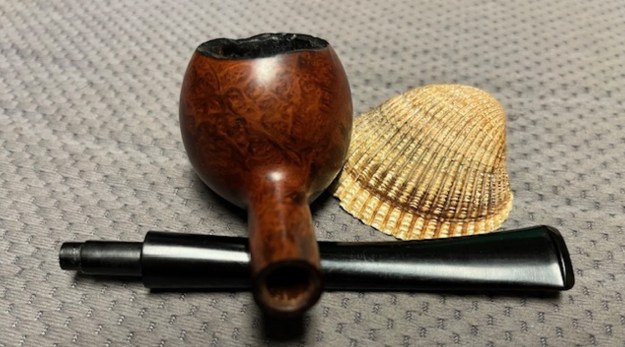
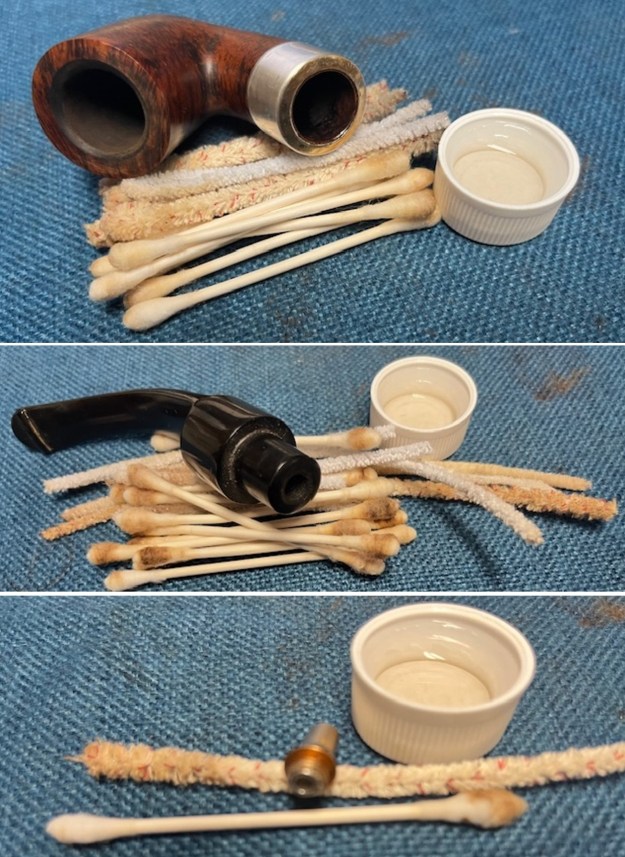
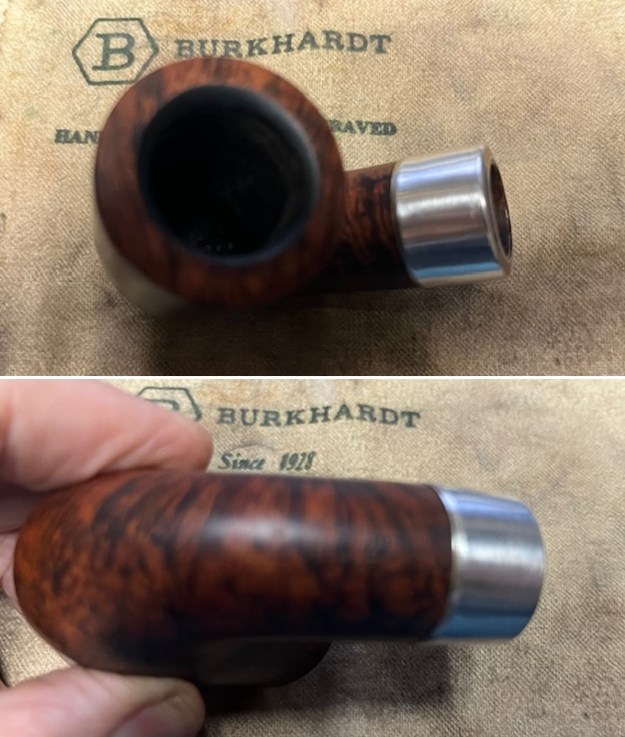
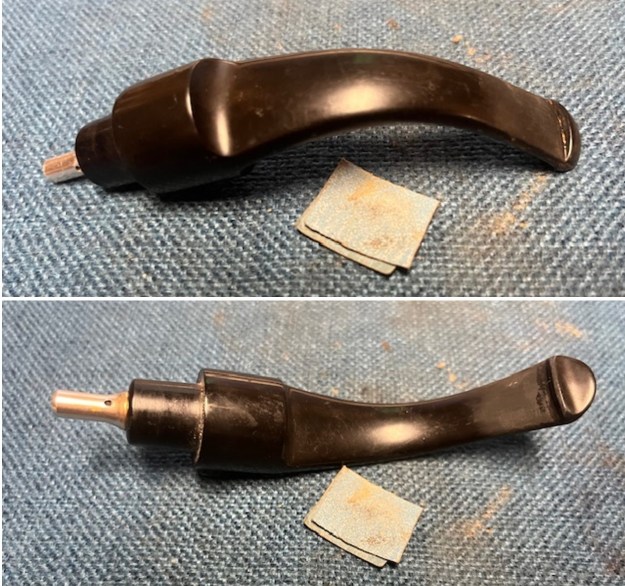
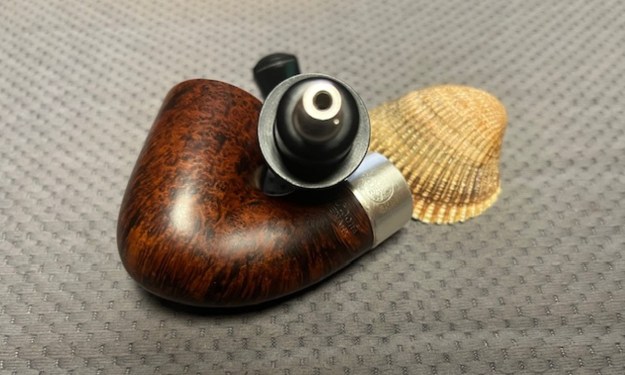
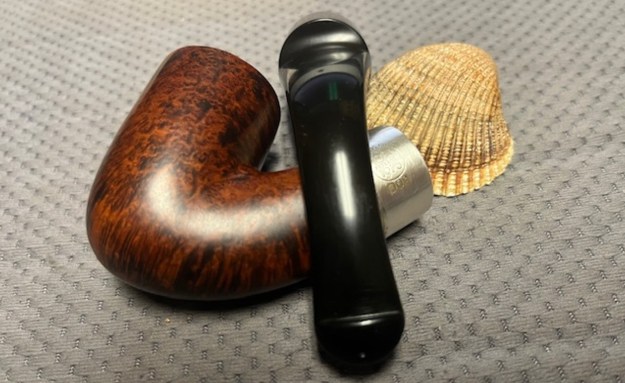
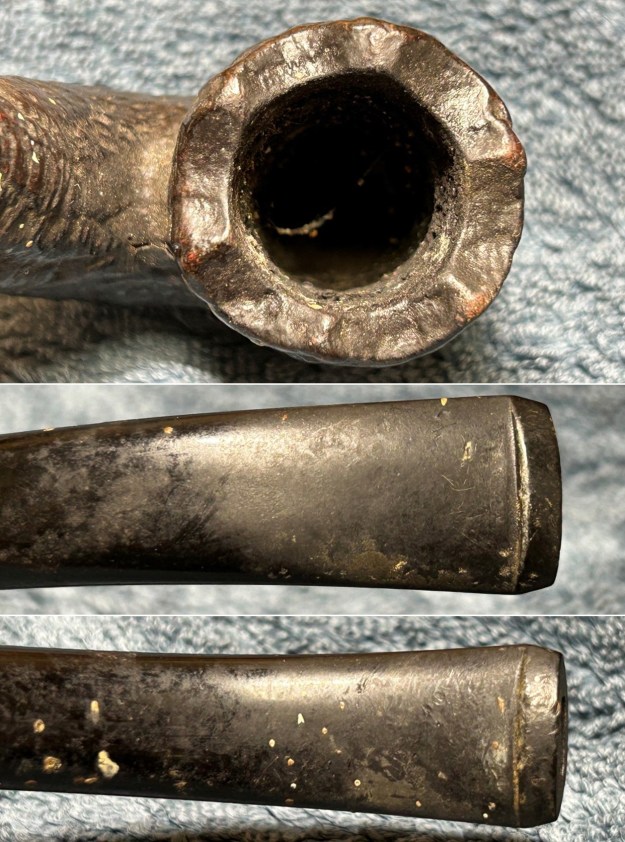
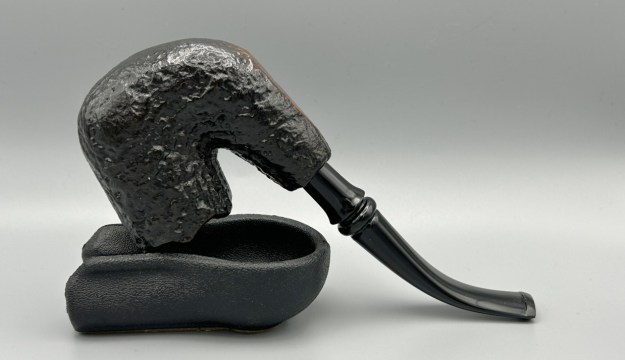
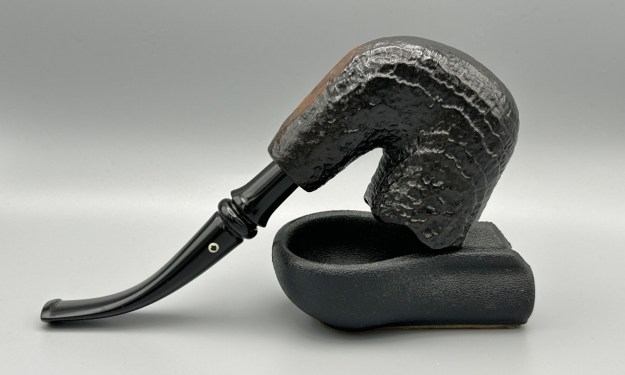
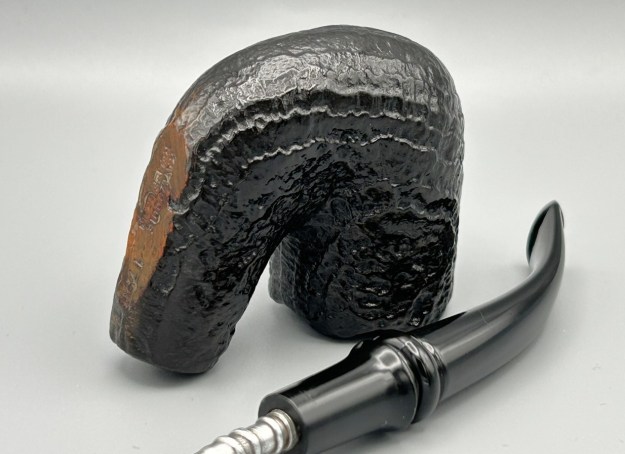
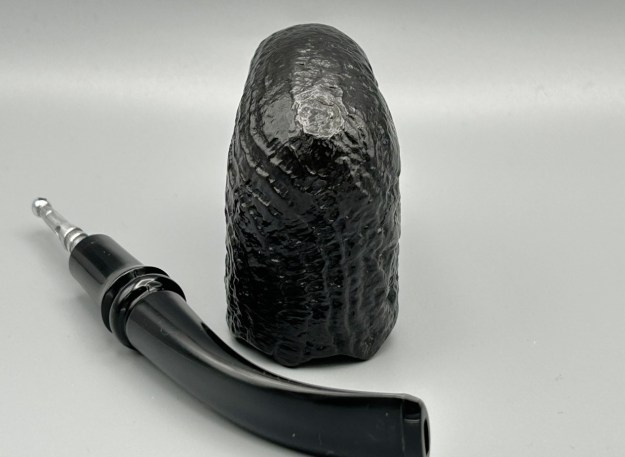
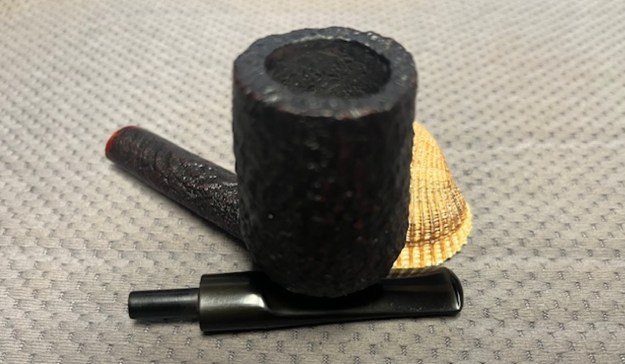
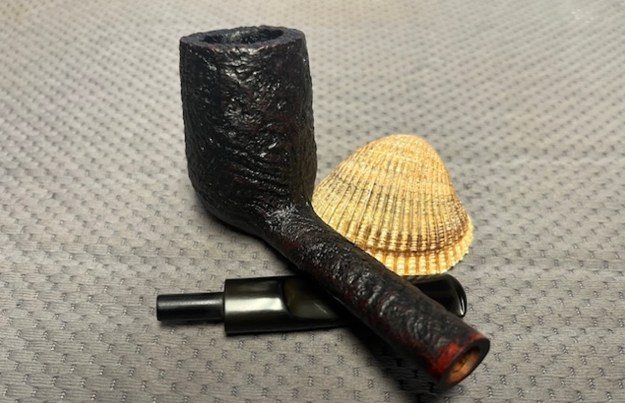
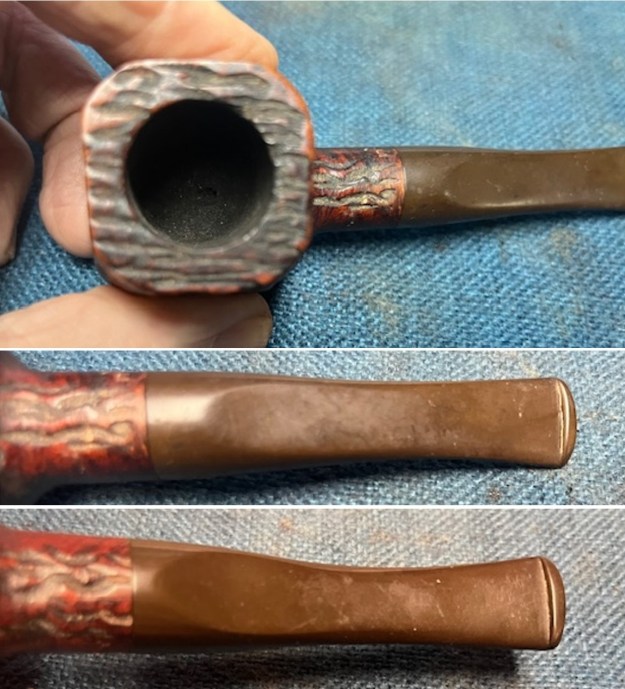
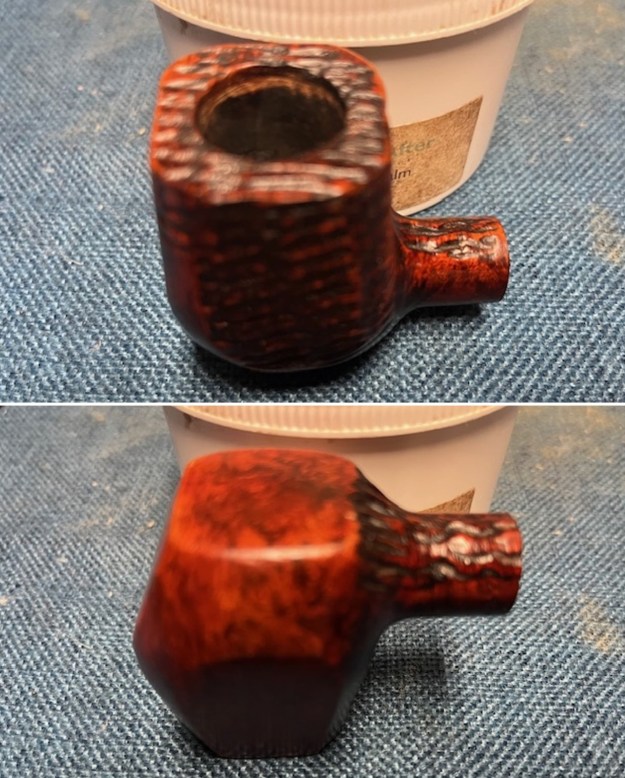
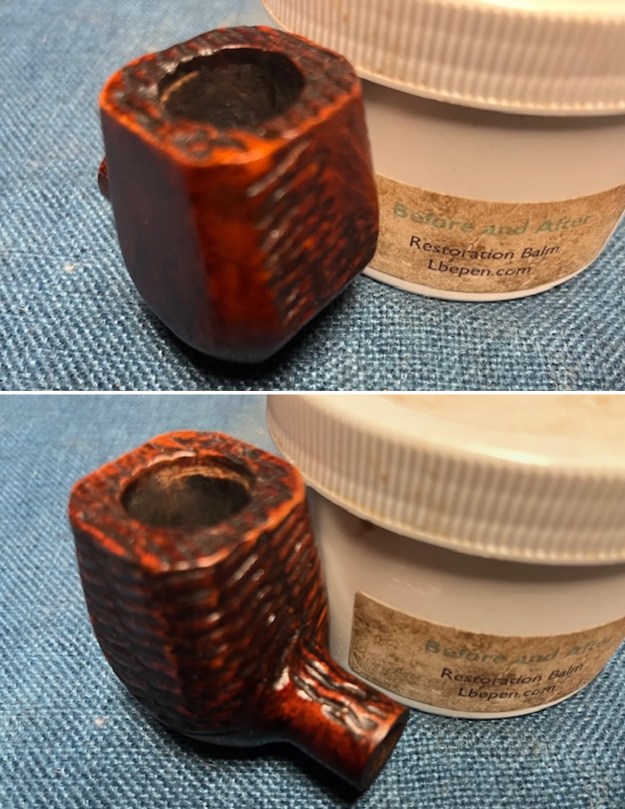
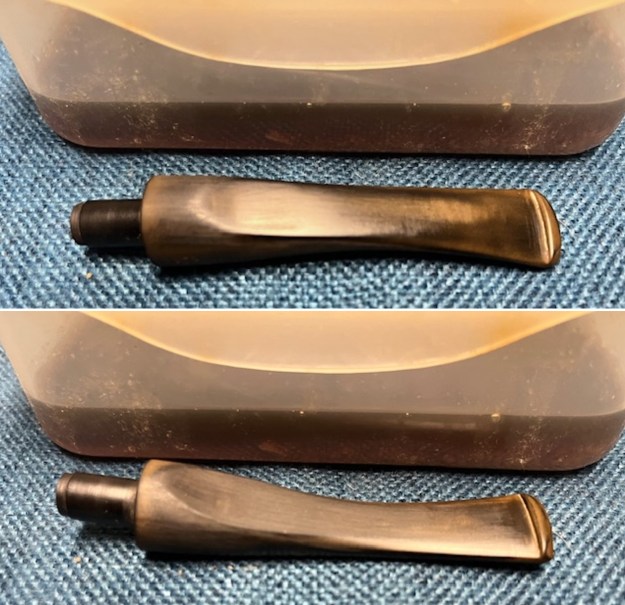
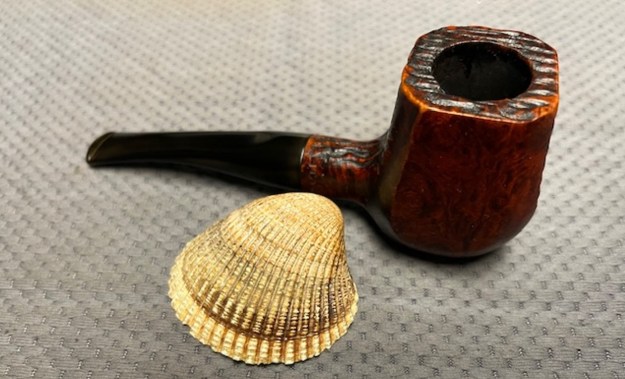
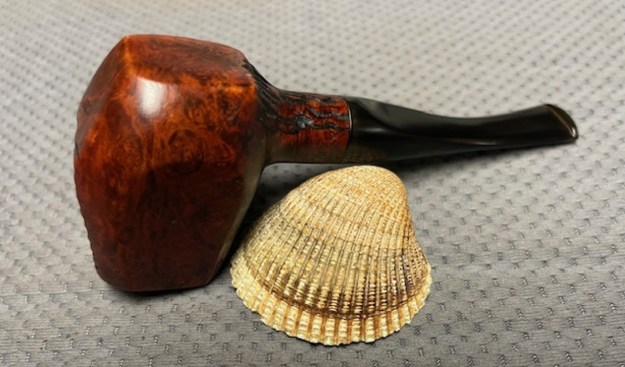
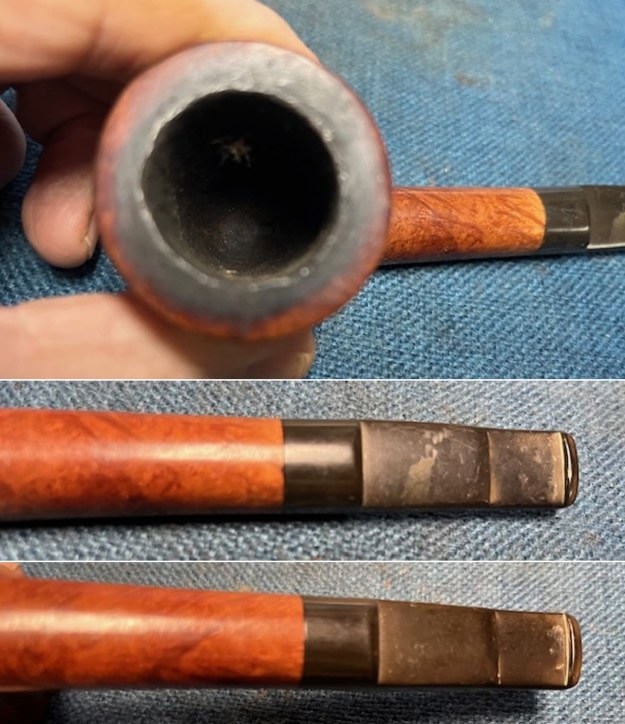
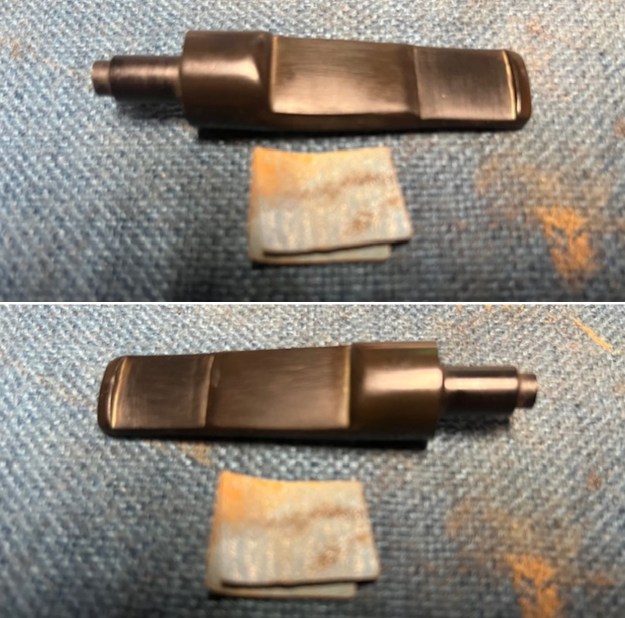
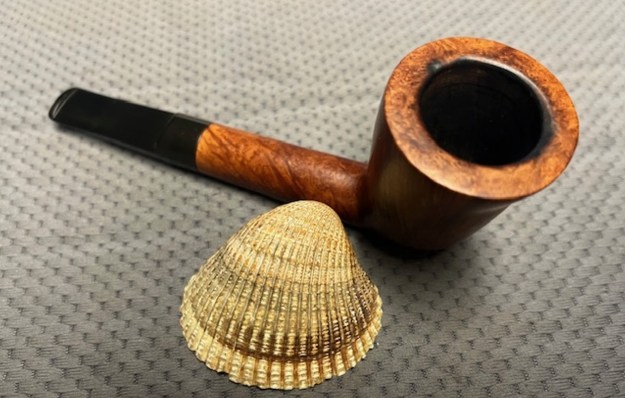
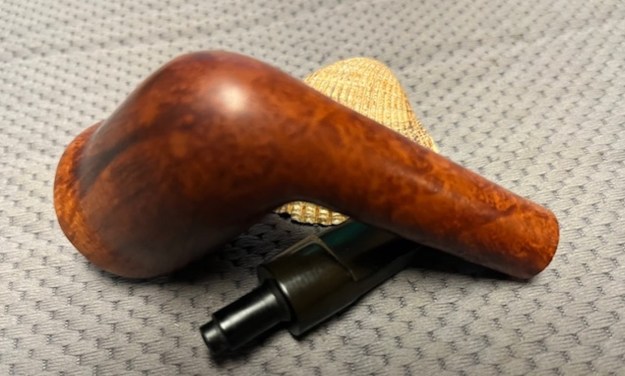
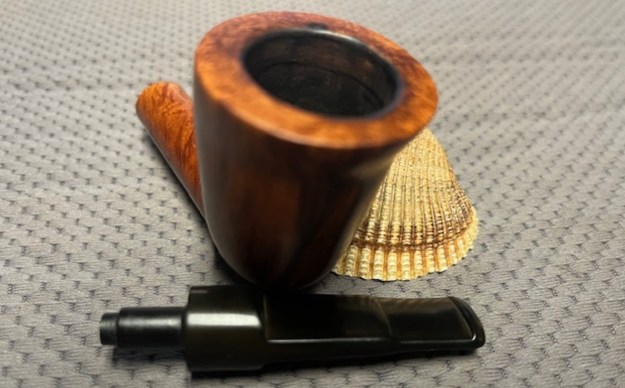
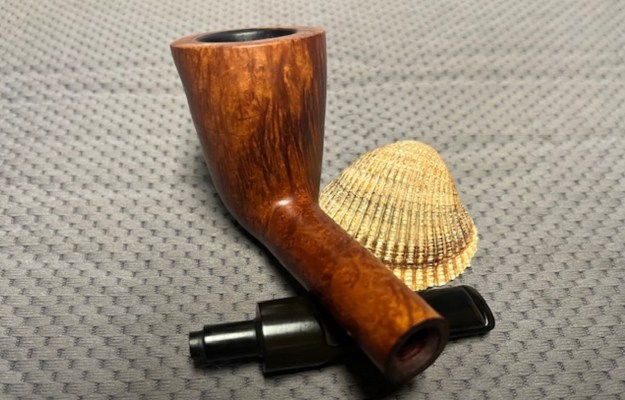
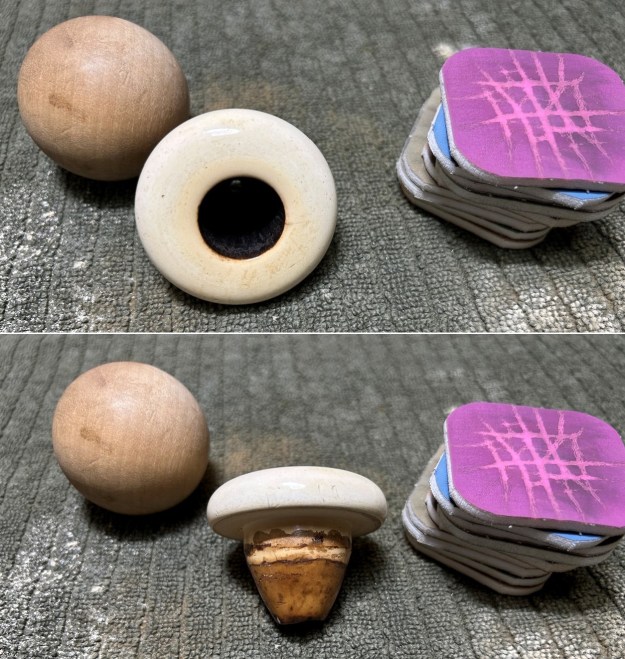
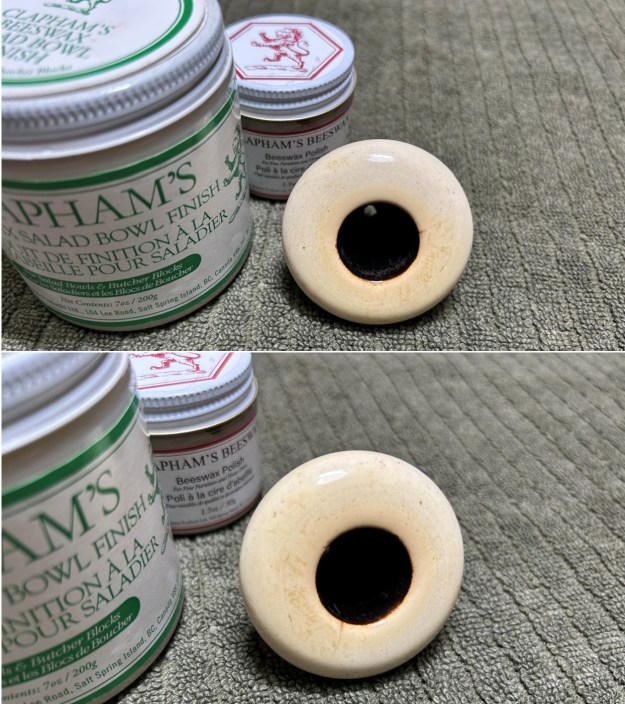
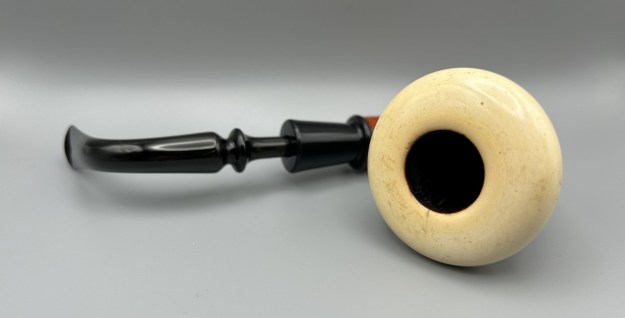
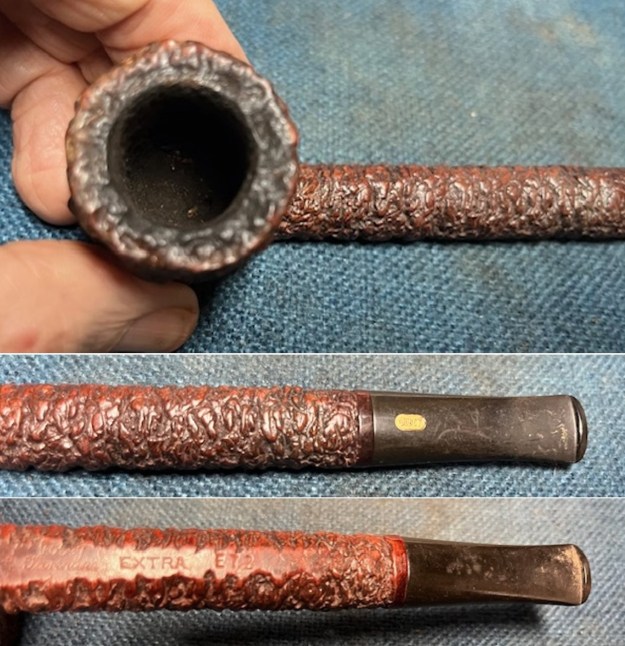
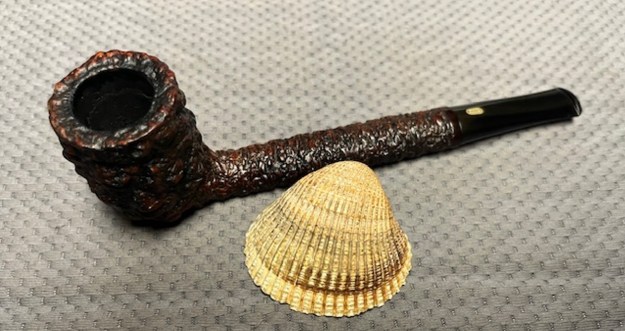
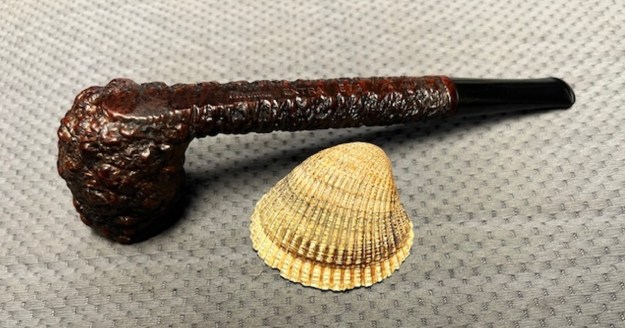
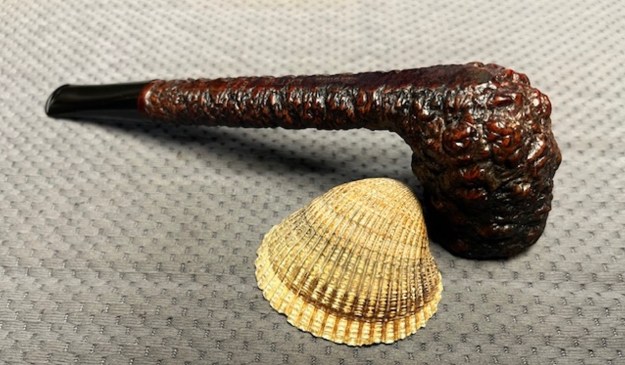
 I took photos of the bowl and rim top to show their condition and of the stem to show the condition of both sides of the stem.
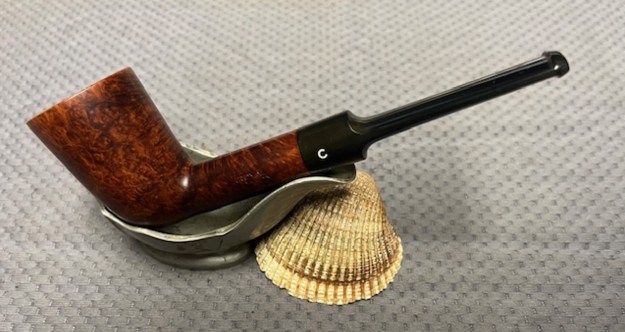
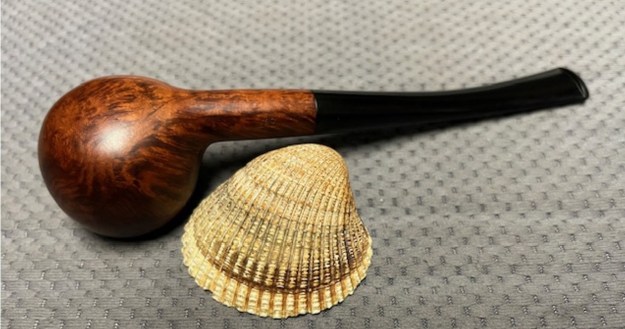
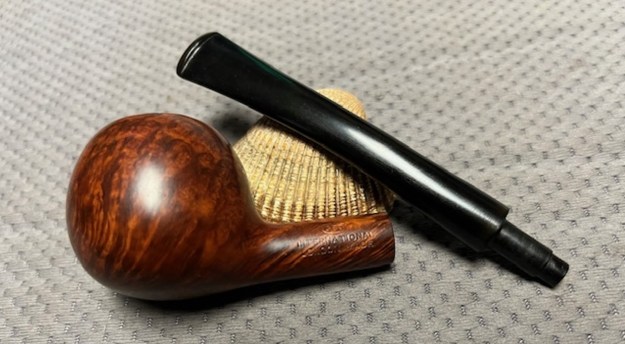
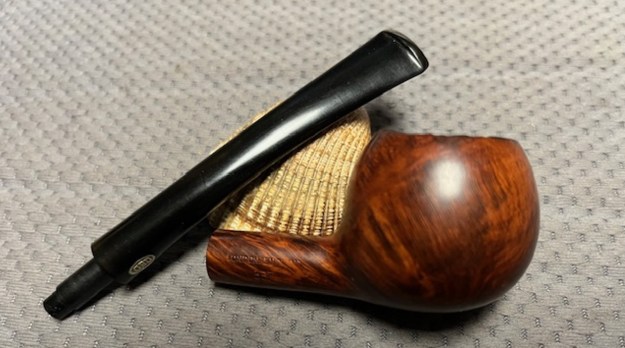
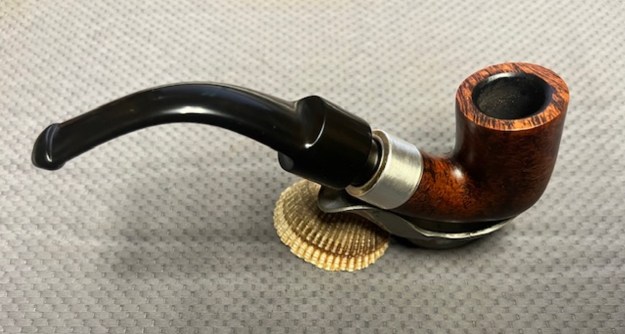
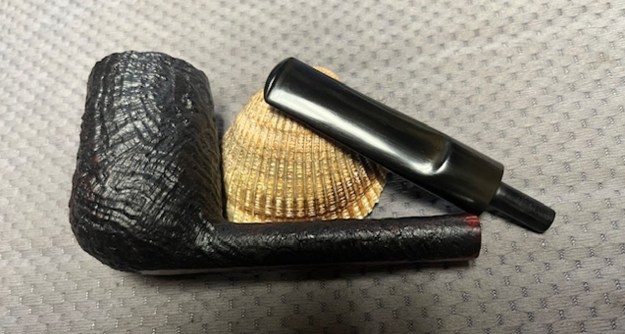
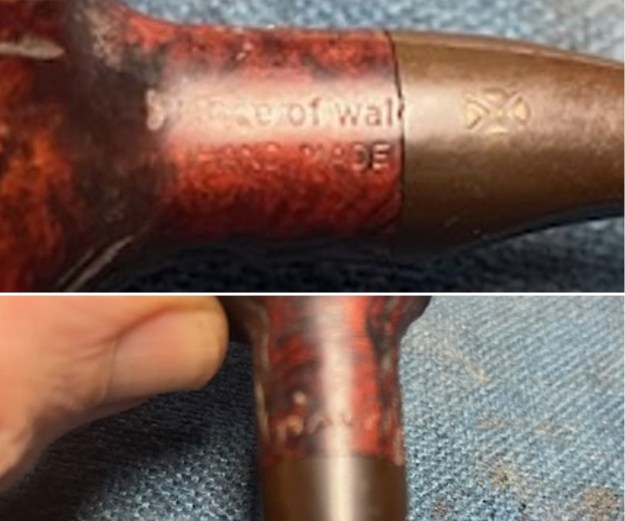
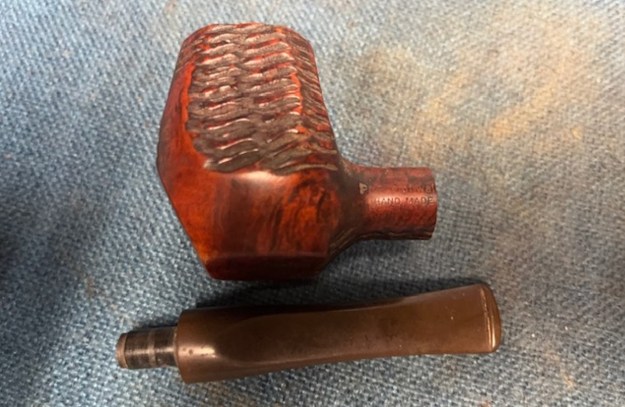
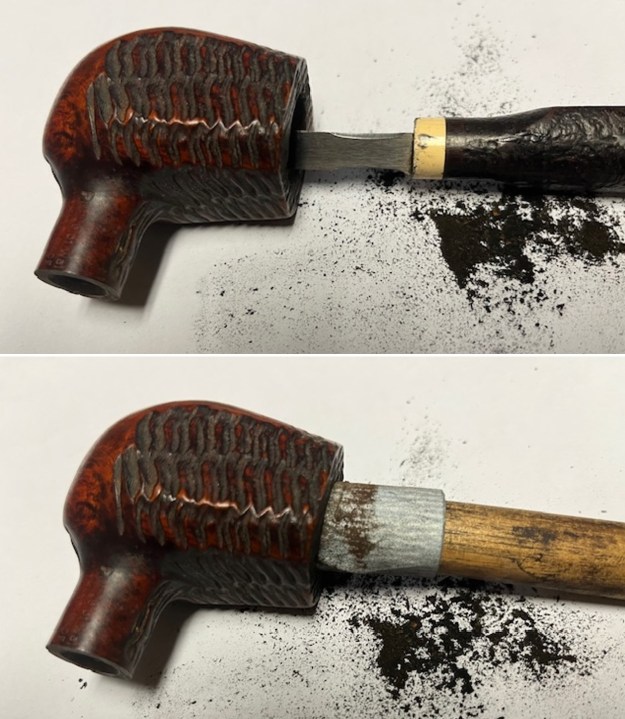
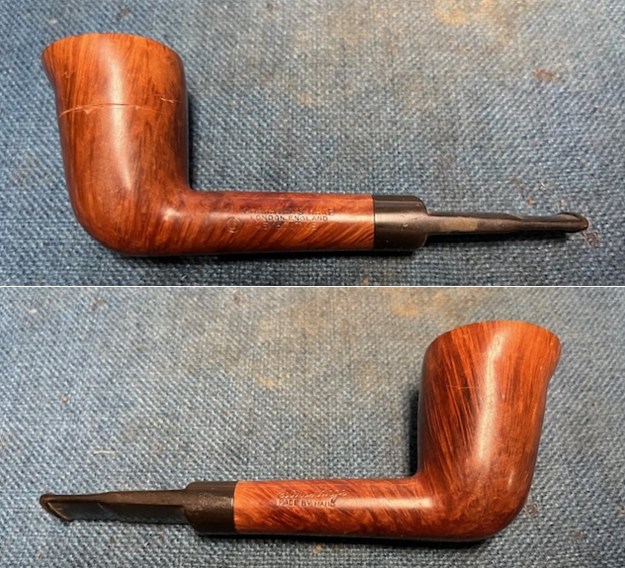
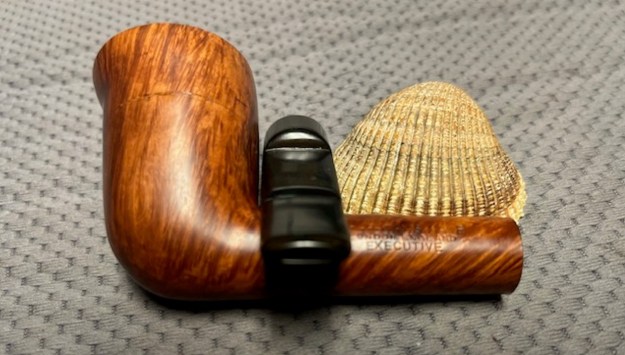
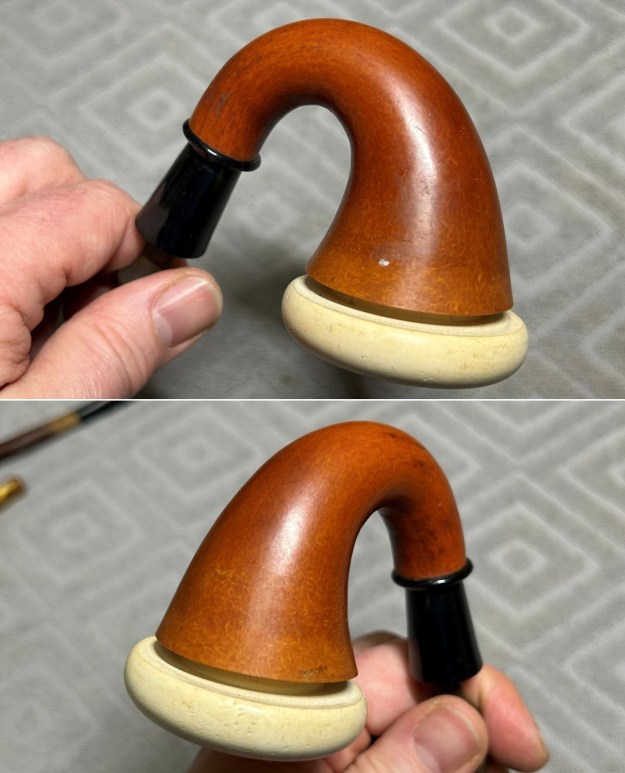
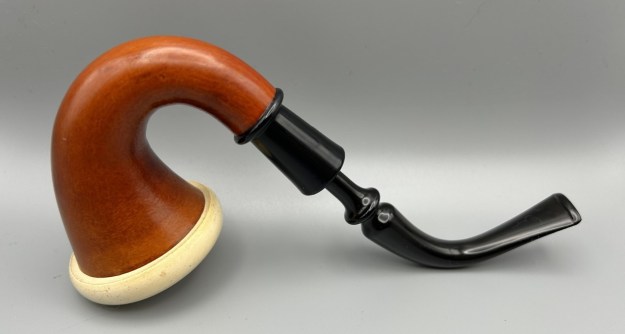
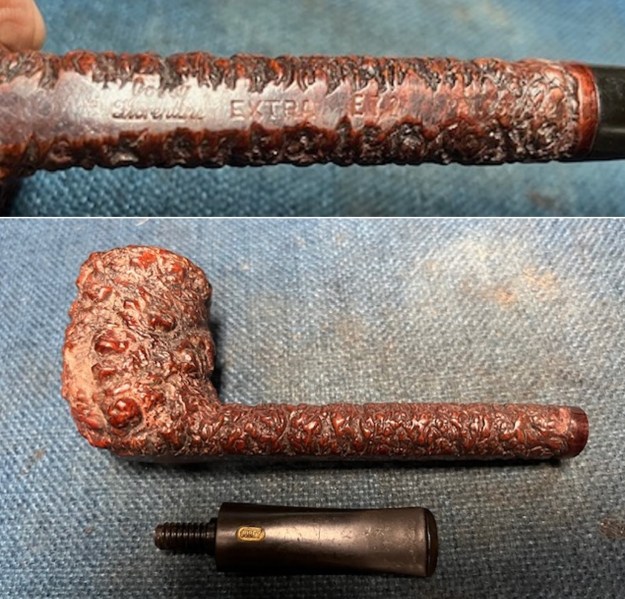
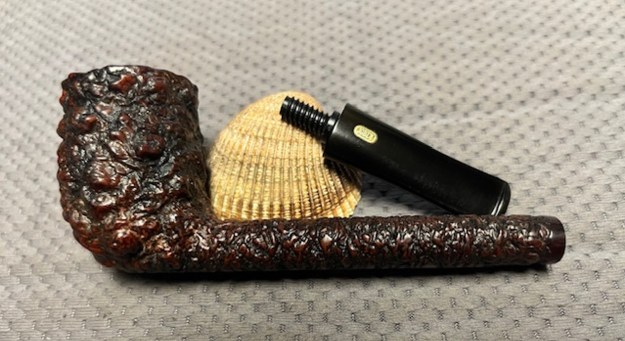
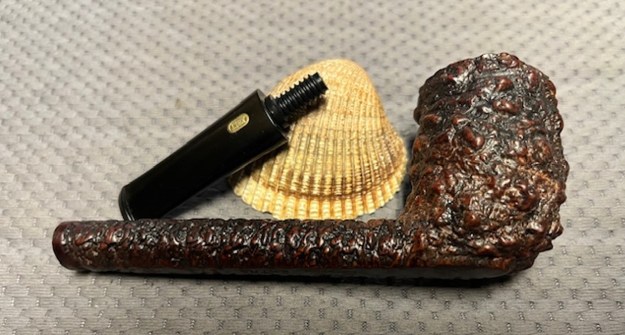
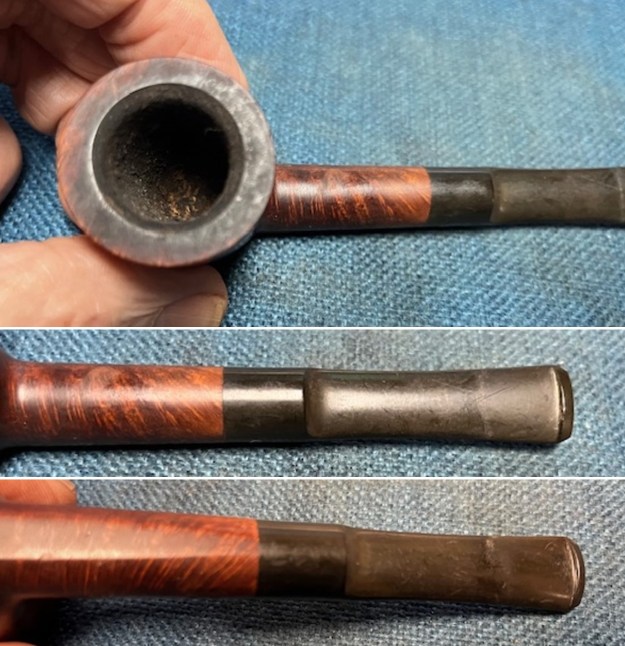 The stamping on the sides of the shank is shown in the photos below. It looks very good and is readable. It reads as noted and explained above. I captured the detail in the photos below. I removed the stem from the shank and took a photo of the pipe to give a sense of the proportion and look of the pipe.
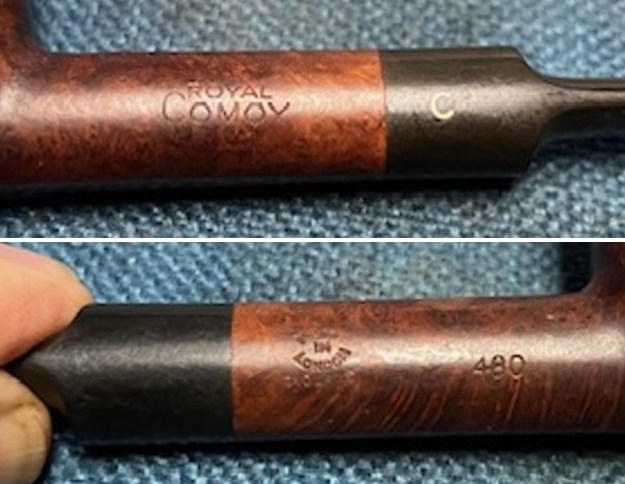
 Al Jones, upshallfan has worked on several Royal Comoy pipes in the past and had some write ups on rebornpipes. I have included the link and the pertinent information below.
https://rebornpipes.com/2015/01/28/royal-comoy-603/
I couldn’t find much about the Royal grade and this one was particularly unusual in that it was only stamped “Comoy” versus “Comoys”. The only reference point I could find was an old Ebay ad from Tony Soderman see below and the accompanying picture. He describes the grade as below. I find very few use of the singular “Comoy” stamping. This pipe doesn’t feel like a Blue Riband quality grade and my selling price definitely didn’t reflect that either. Tony uses “Comoy” and “Comoys” in his ad titles which makes the designation a little less clear. At any rate, it is a Comoy not often seen.
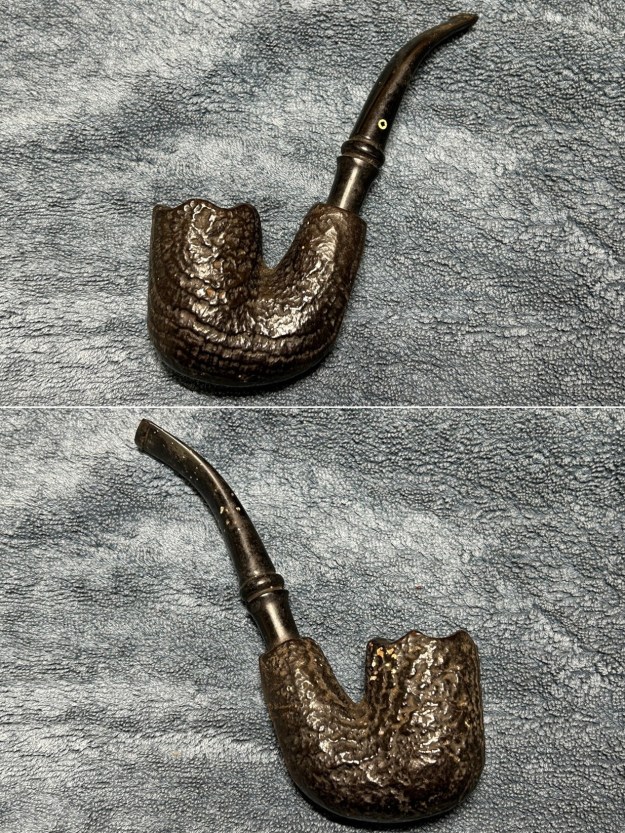
Old timers know that the ROYAL COMOY was the predecessor to the fabled “Blue Riband”!!! The name is from the “old” Comoy’s Nomenclature (like “Prima,” “Grand Slam,” “Old Bruyere,” “Lions Head” and so on). Those pre-date the more familiar modern grading (like “Selected Straight Grain,” “Blue Riband,” “Specimen Straight Grain” and so forth). While the Blue Riband was NEVER Comoy’s highest grade, the ROYAL COMOY originally appeared as the absolute top-of-the-line Comoy in the late 1930’s! (ALL pre-World War II Royal Comoy’s were top-of-the-line pipes!) The Royal was “downgraded” only though the addition of higher grades (much like Charatan did indirectly downgrading their top-of-the-line “Supreme” through the addition of higher grades)! Shortly before World War II, Comoy replaced the ROYAL COMOY with the Blue Riband (at the same time as they introduced the Specimen Straight Grain). The ROYAL COMOY reappeared after World War II and was always a HIGH GRADE Comoy – – – either at or near the TOP-OF-THE-LINE!!!  From there I turned to Pipephil’s site (http://www.pipephil.eu/logos/en/logo-comoy.html). I have included a screen capture of the listing for Royal Comoy that was there. It is interesting to me in that I have a second Royal Comoy that is the same shape number. I also have included the side bar information.
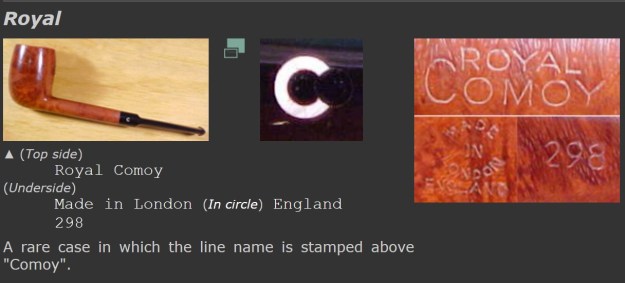 There are three pieces (two black, one white) inlaid “C” logo. This marking/inlay method was canceled in the early 80s.
I thought Pipedia was worth checking on the Royal Comoy and it took some digging but I did find it buried in a list of brands. It was just two lines but had some interesting information (https://pipedia.org/wiki/A_History_Of_Comoy%27s_and_A_Guide_Toward_Dating_the_Pipes). I quote from there below.
Royal. The Royal has always been a high-grade Comoy, and, pre-WW II, it was the highest standard grade after the Prima was dropped. Priced at $7.50 in 1936.
I wanted to know when the line was dropped so I googled (https://vkpipes.com/pipeline/comoys-royal-185/) for further information. I found some helpful information on the vkpipes site. I quote that below.
The Comoy’s Royal grade is both one of the oldest and one of the rarest to date. Royal Comoy pipes appeared in the late 1930s and were then considered the absolute highest grade. However, very soon, the Royal pipes were replaced by the Blue Ribband series. After the Second World War the Royal series reappeared as one of the top lines until it was discontinued in the early 1980s. In any case, all our sources agree that “The Royal has always been a high-grade Comoy.”
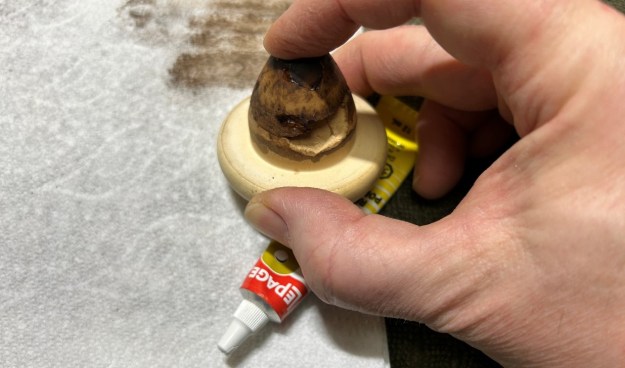
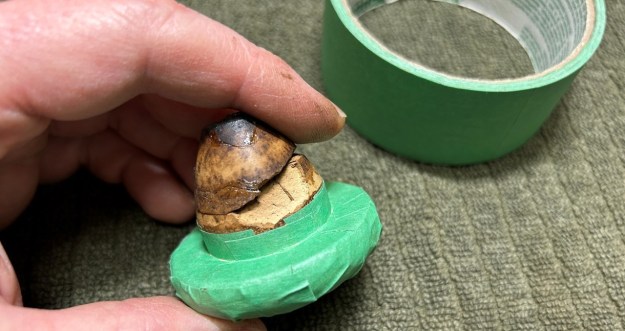
From what I can find the brand was displaced as top of the line when the Blue Riband came out in 1936. It seemed to have been dropped shortly after that and then reappeared after WWII as a top line until it was discontinued in the early 1980s. Now it was time to start working on the pipe.
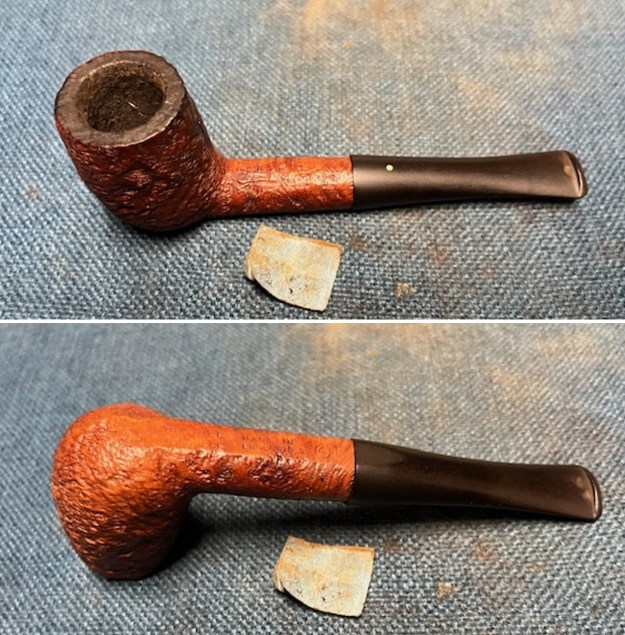
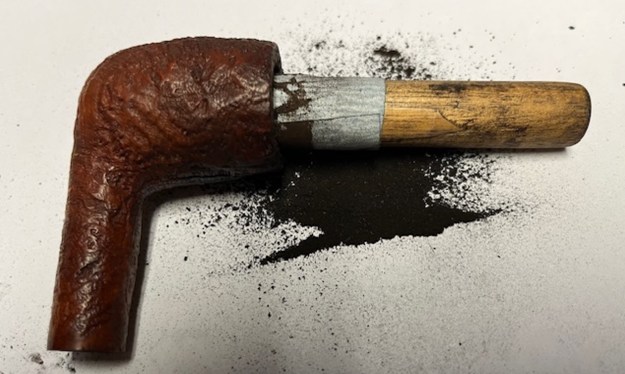
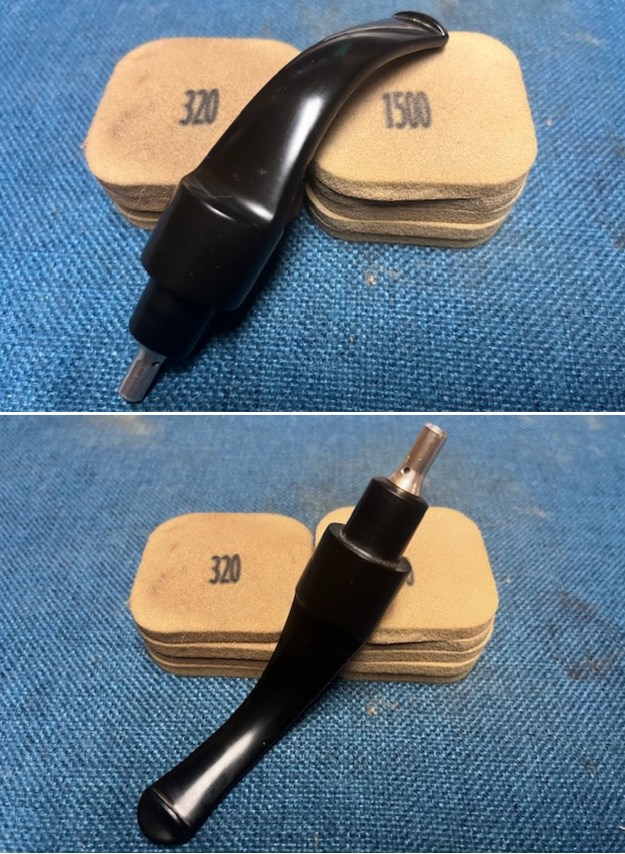
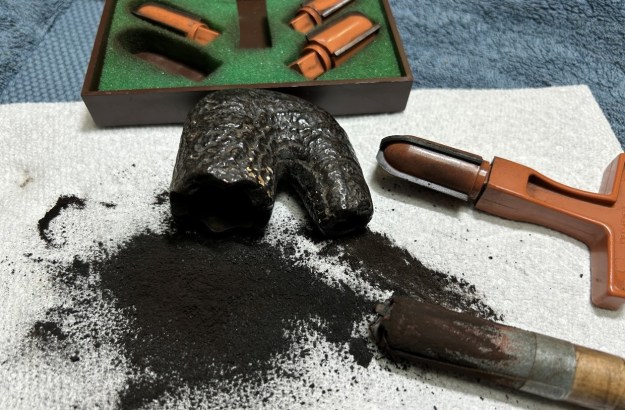
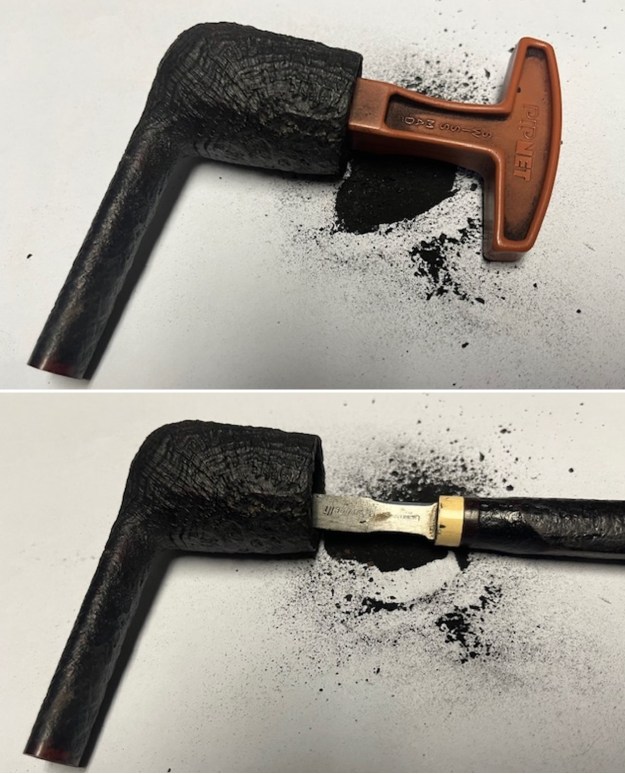
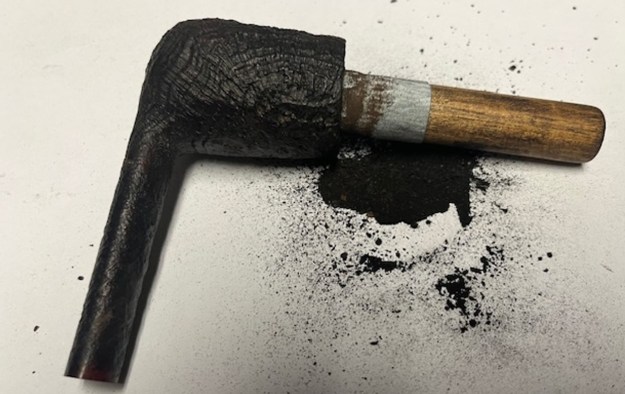
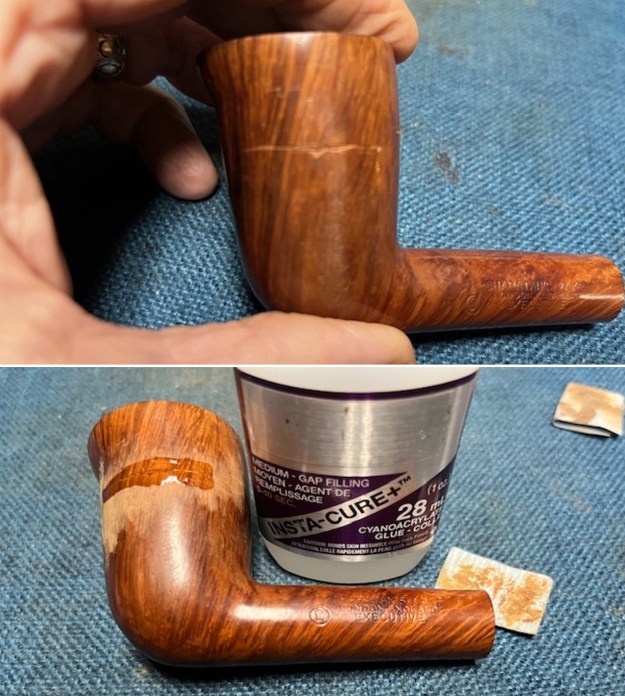
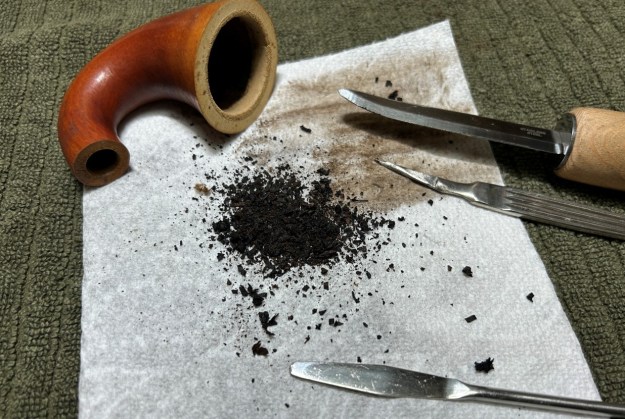
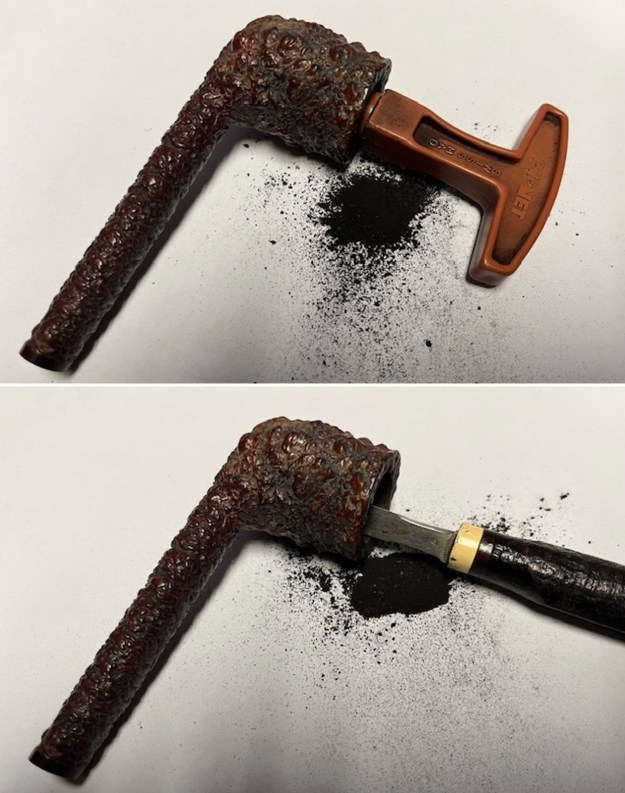
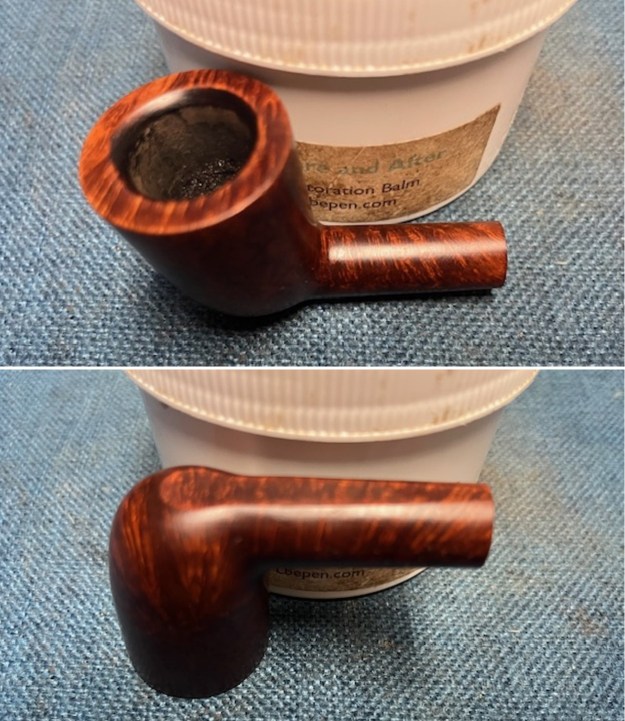
I reamed the bowl with a PipNet reamer using the second and third cutting head. I took the cake back to bare briar. I cleaned up the reaming with a Savinelli Fitsall Pipe Knife and then sanded the bowl walls with a piece of dowel wrapped with 220 grit sandpaper. The bowl looked very good at this point there were no burn marks and only light checking on the walls. 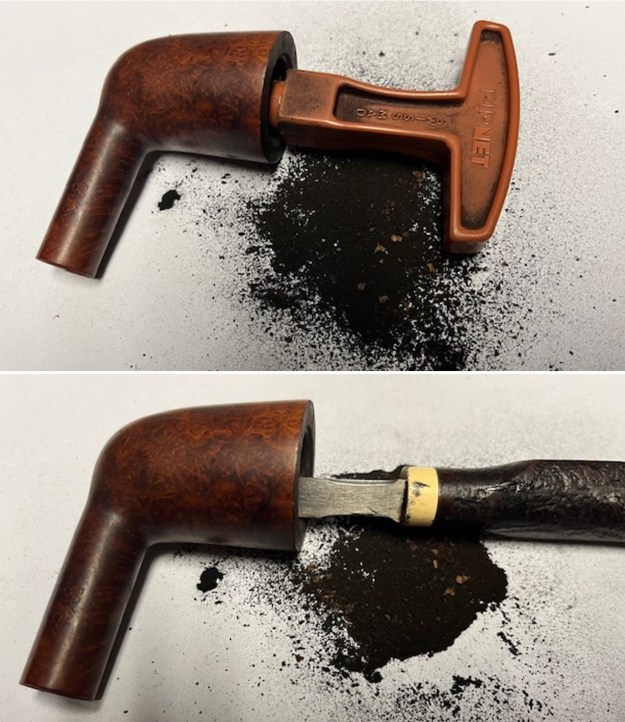
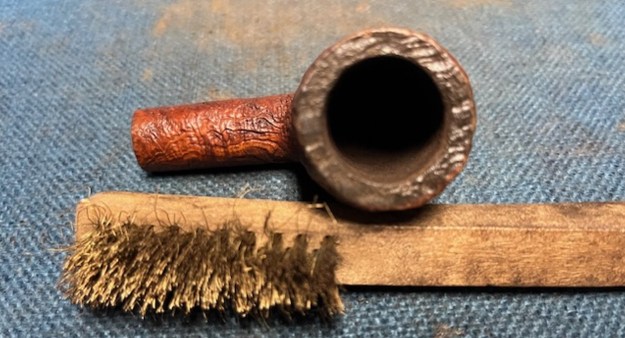
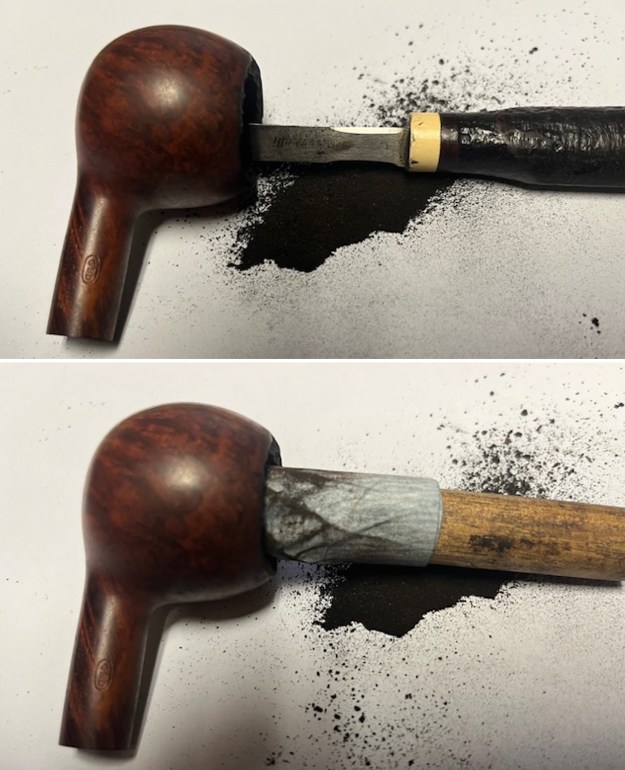
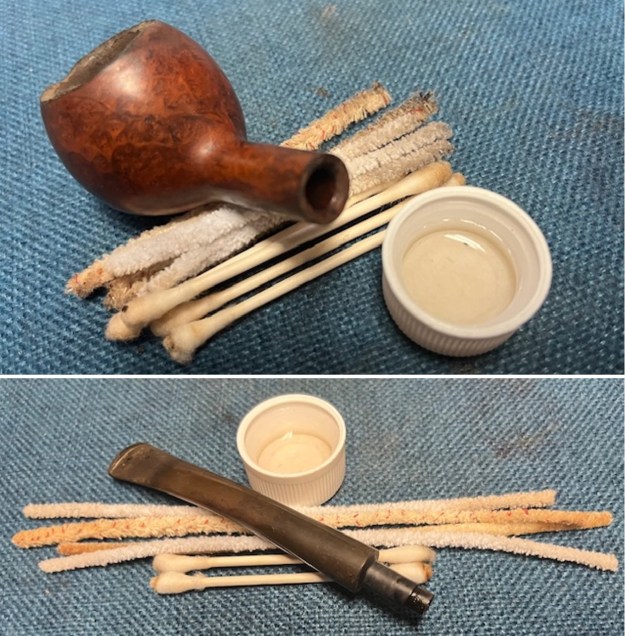
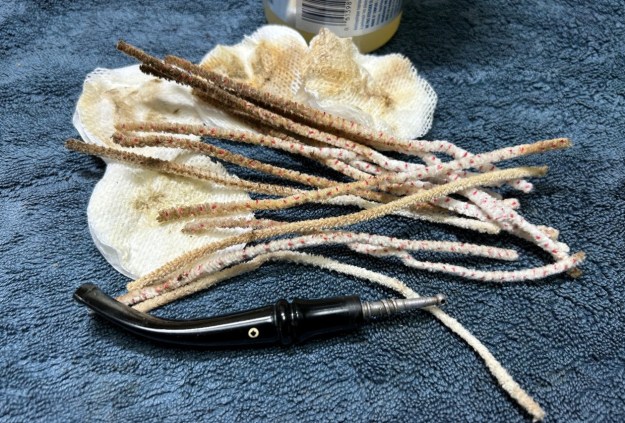
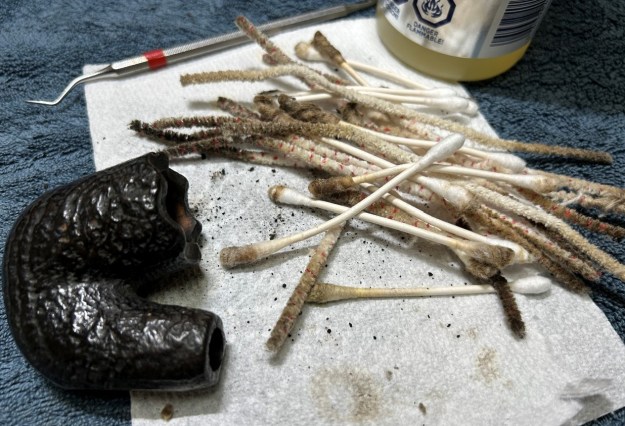
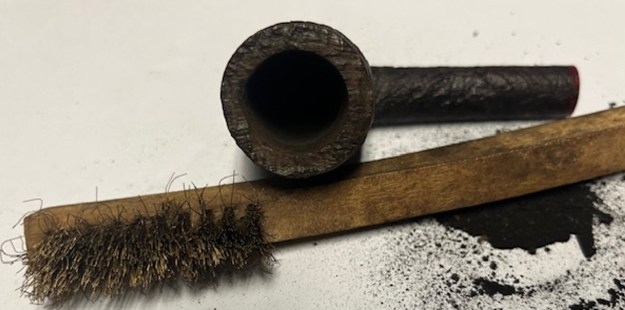
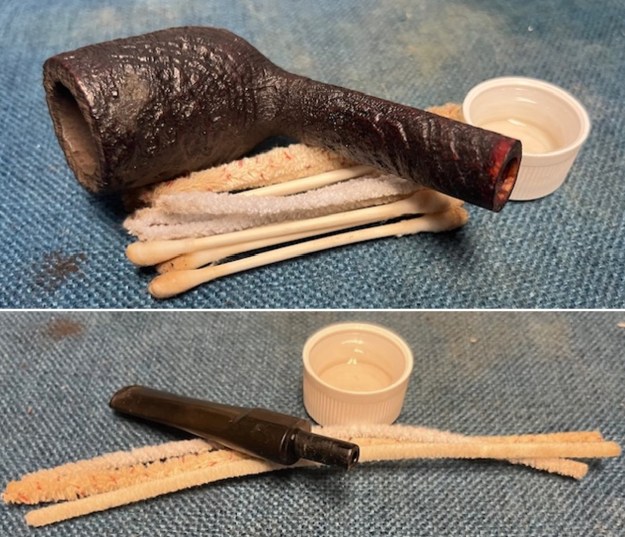
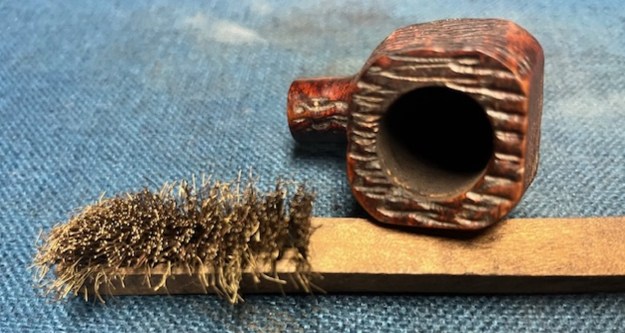
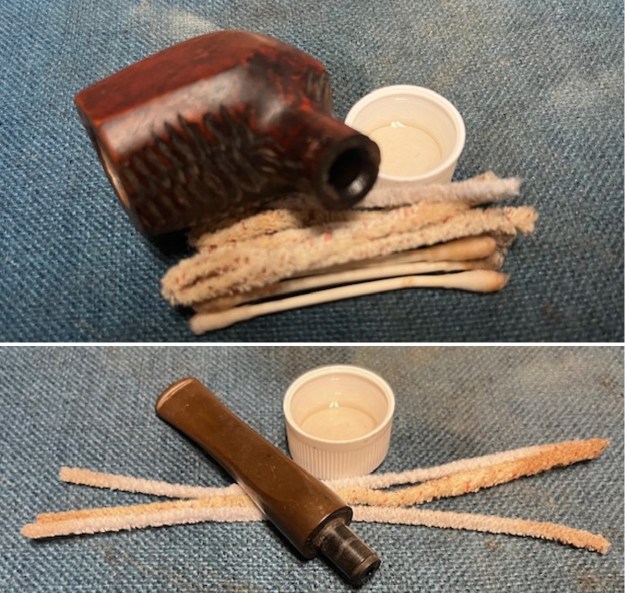
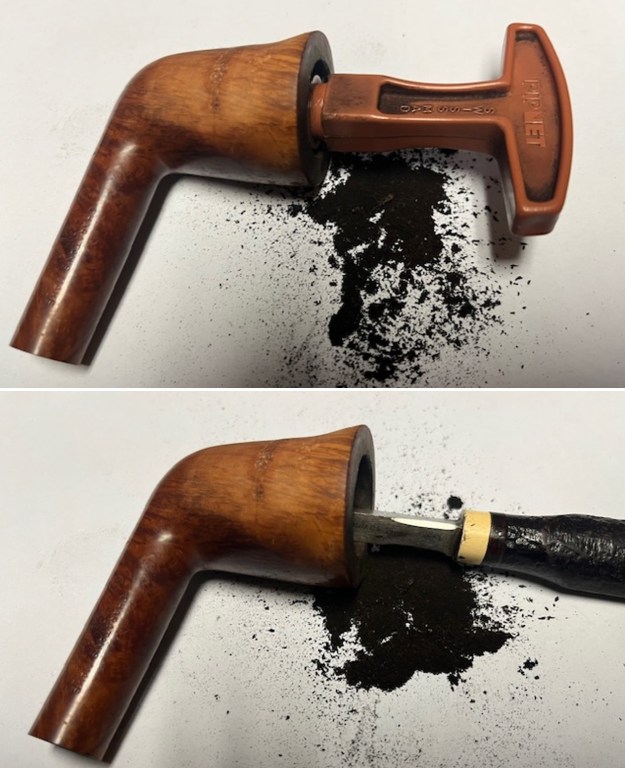
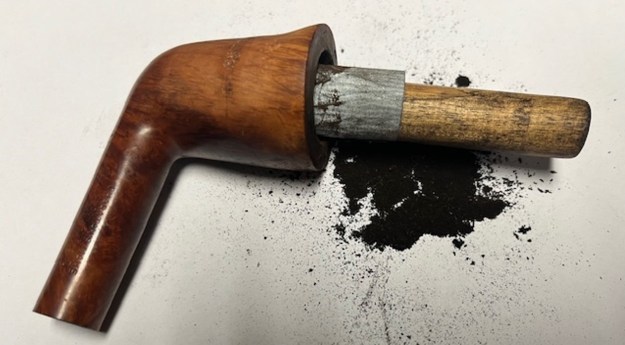
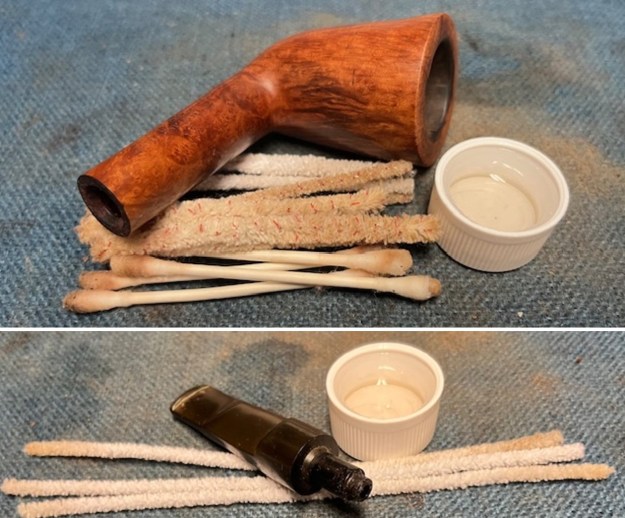
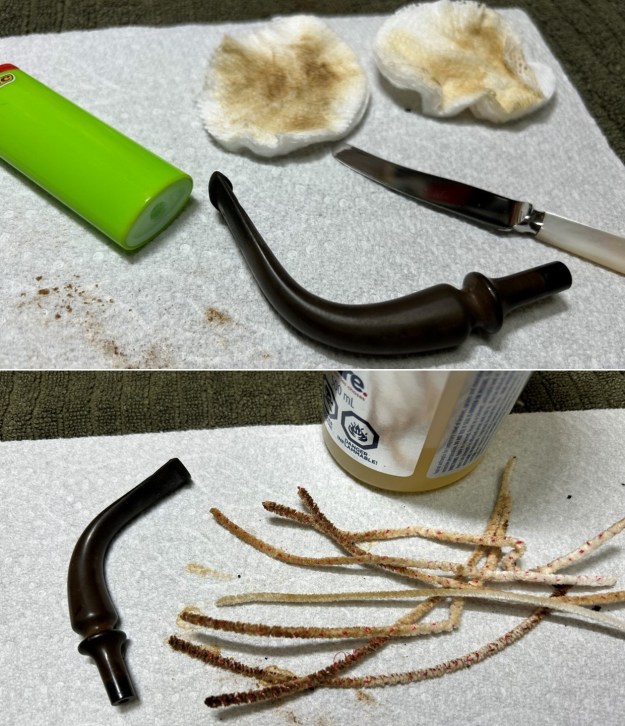
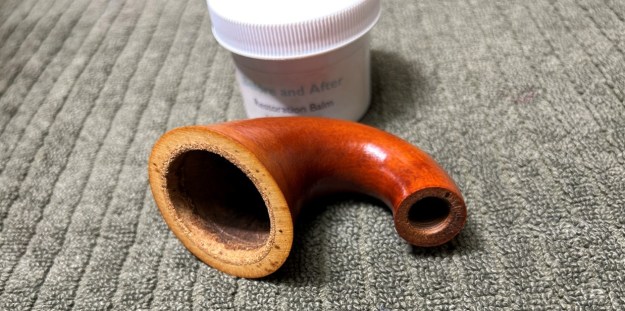
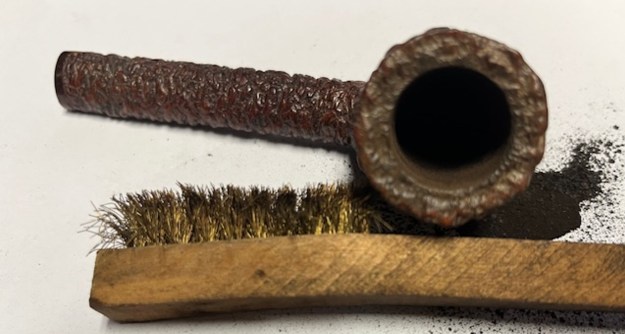
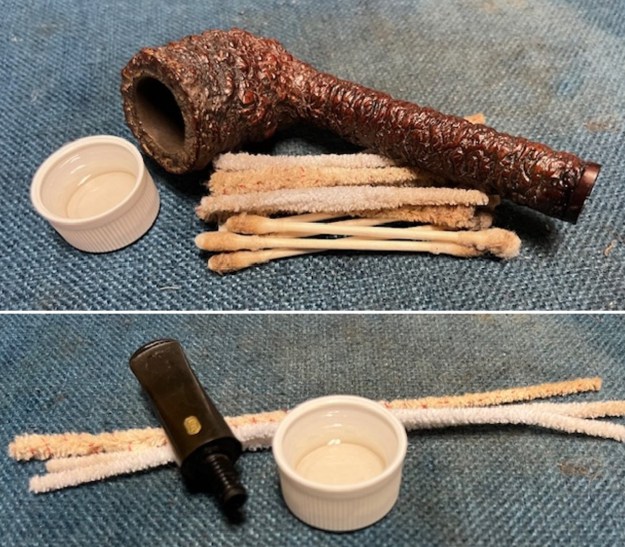
 I cleaned out the inside of the shank and the airway in the stem with alcohol, cotton swabs and both bristle and regular pipe cleaners.
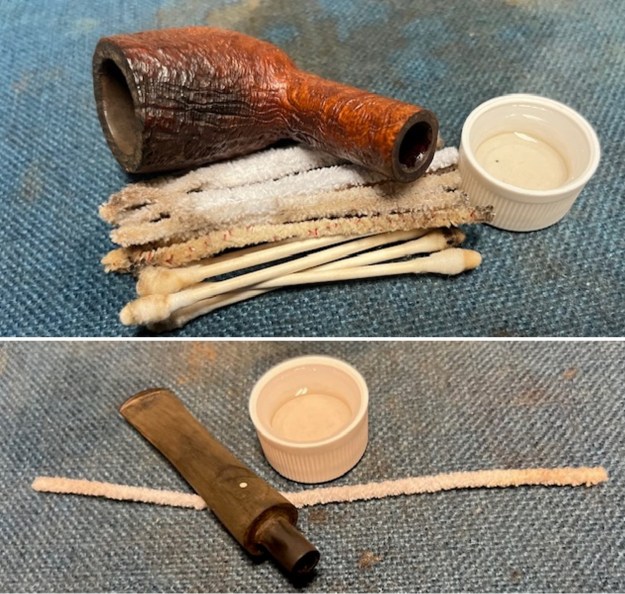
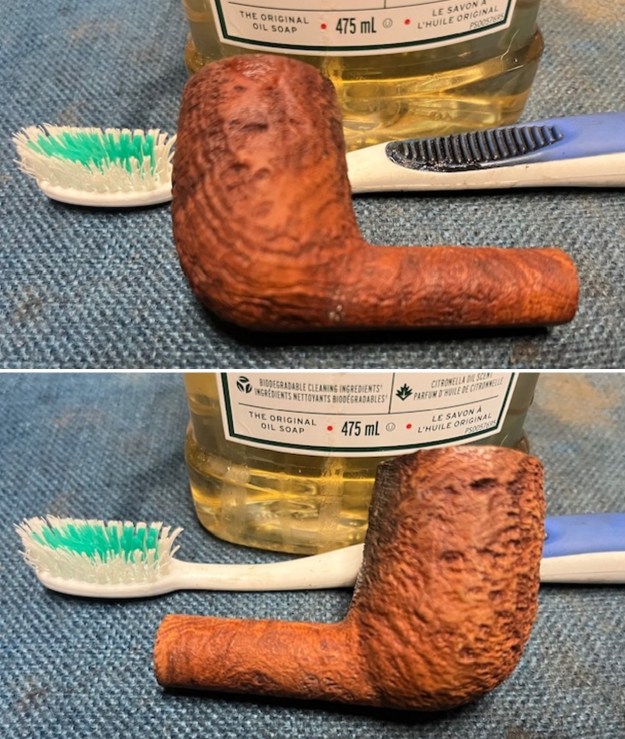
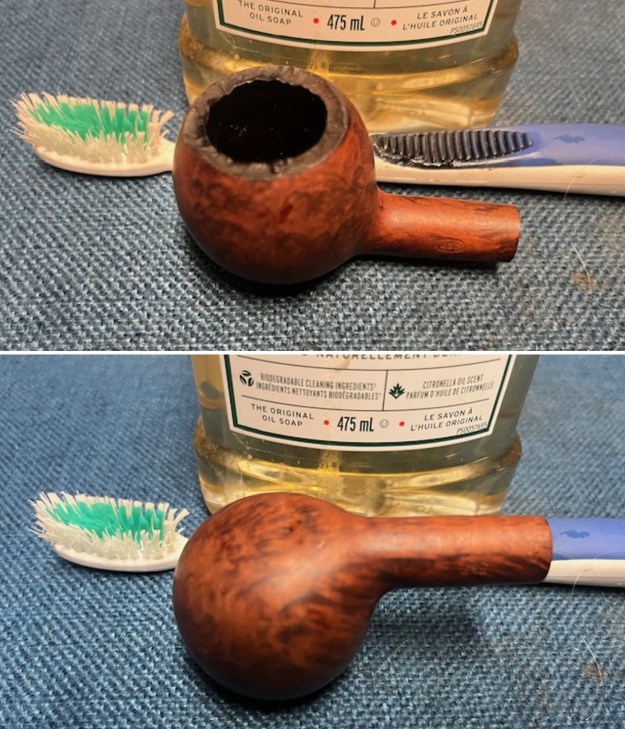
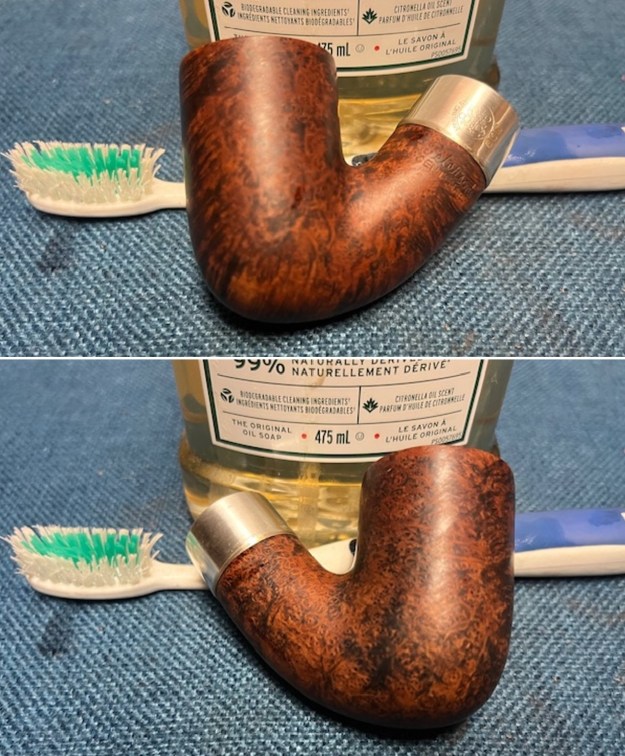
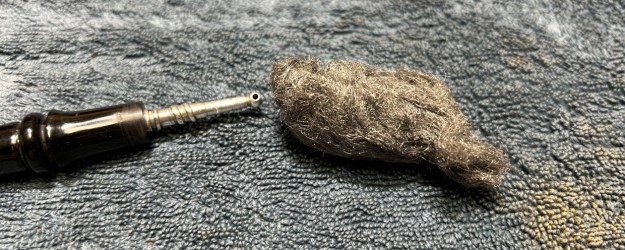
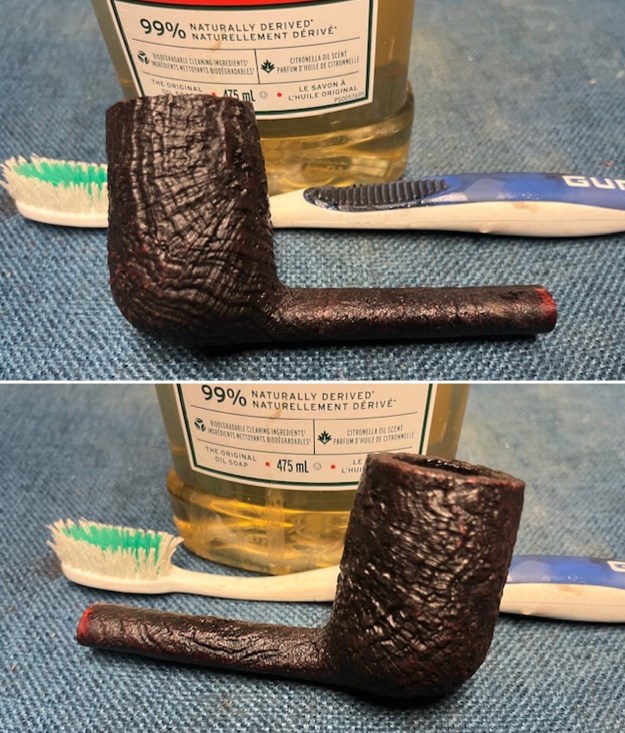
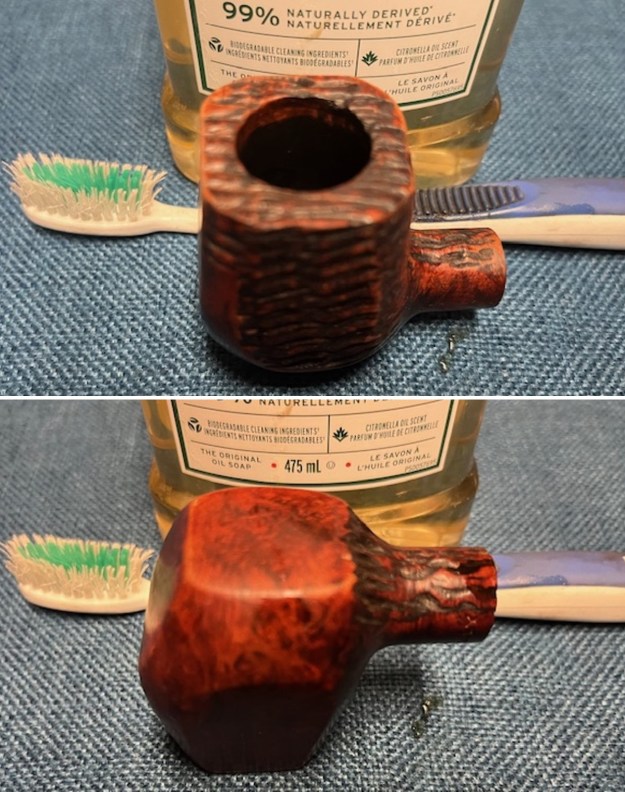
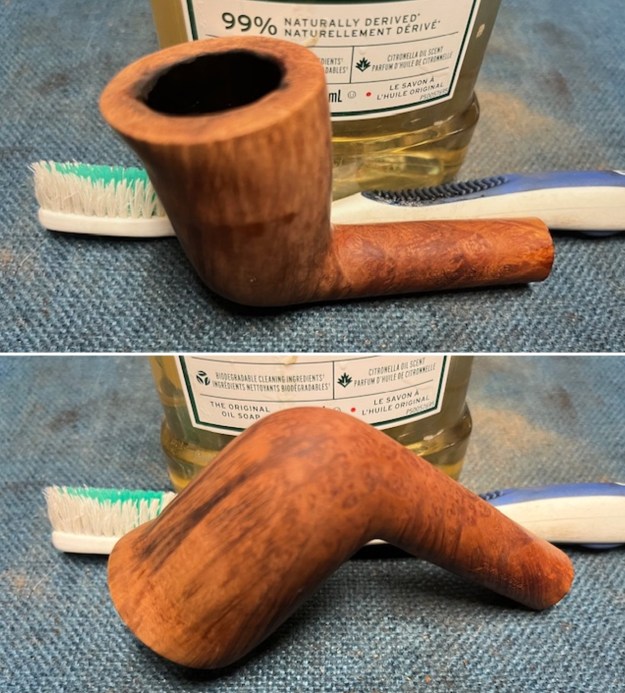
 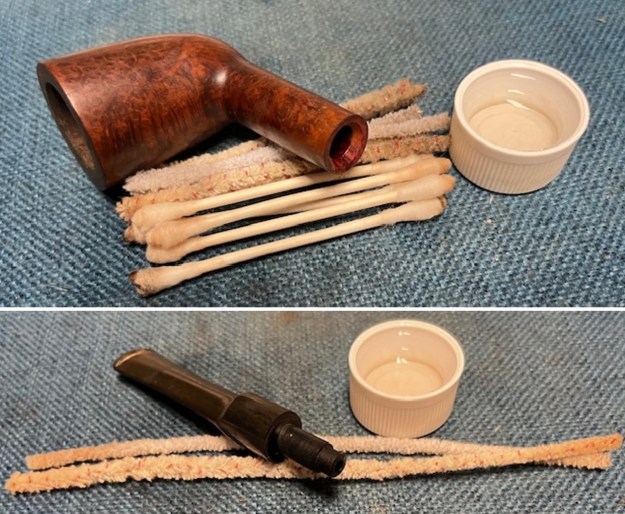 I scrubbed the bowl and shank with a tooth brush and some undiluted Murphy’s Oil Soap. I rinsed it off with warm water to remove the dust and soap from the finish. I dried it off with a soft cloth and it looked much better.
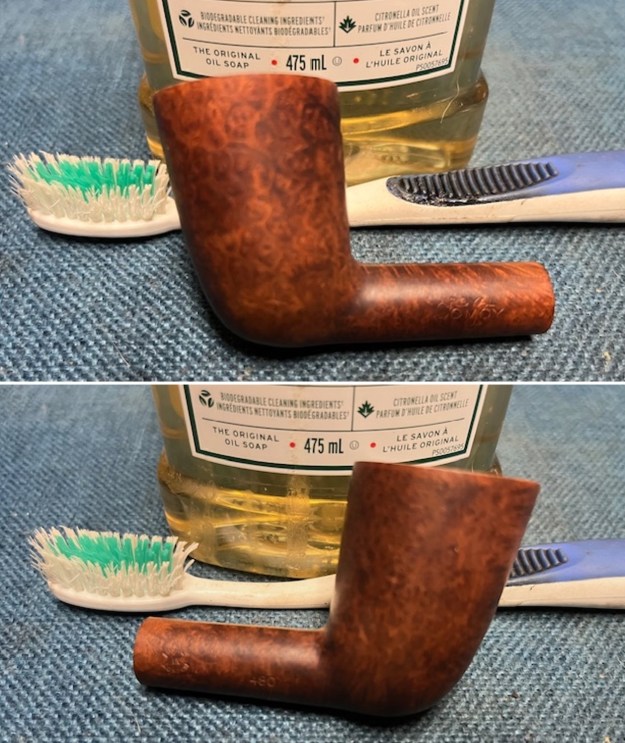
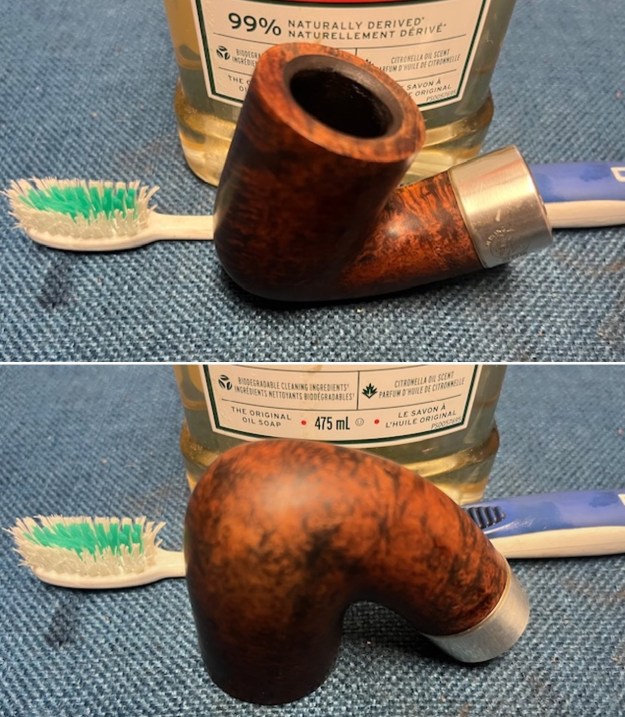
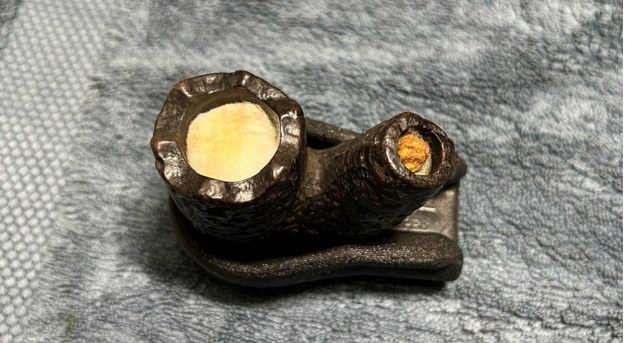
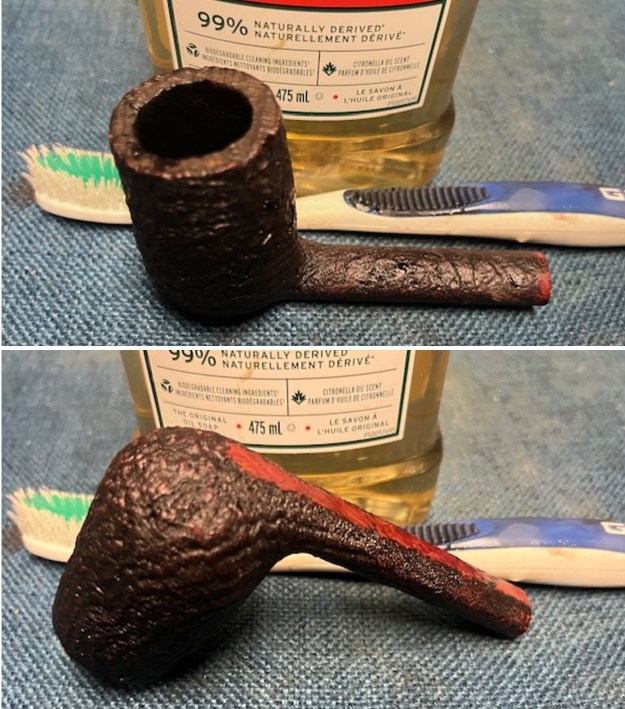
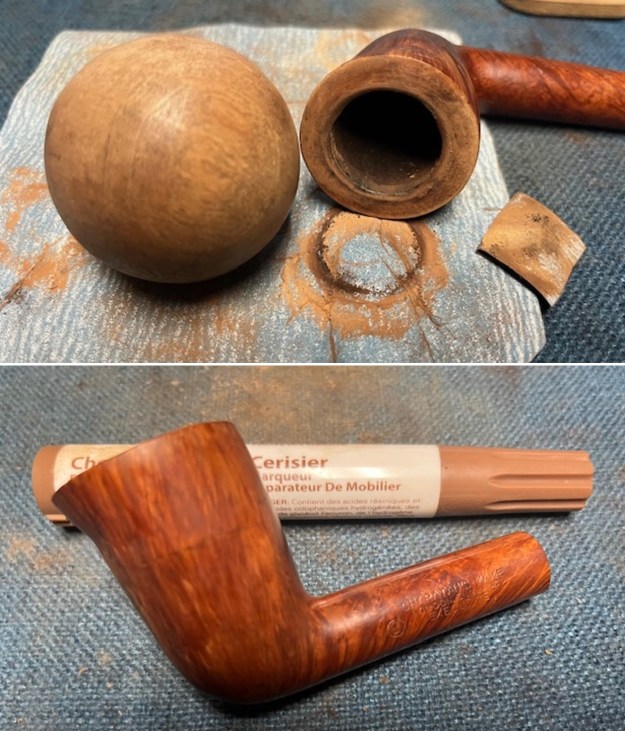
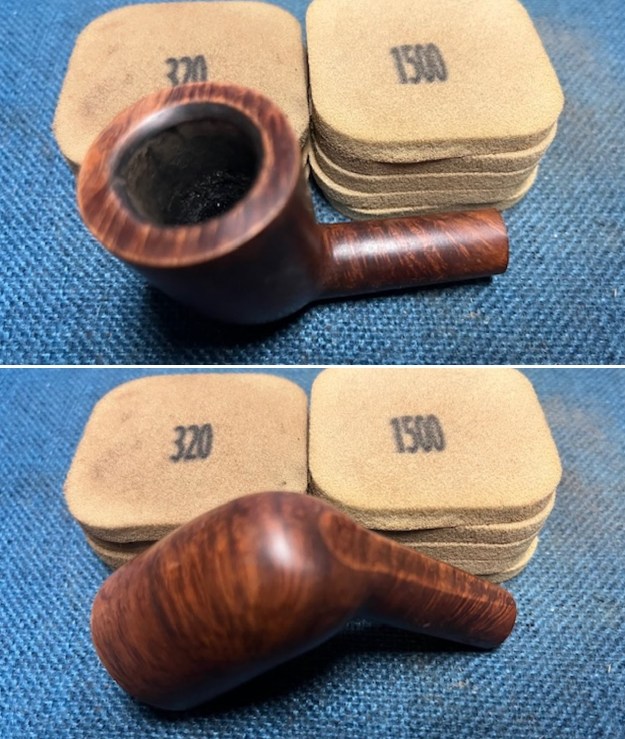
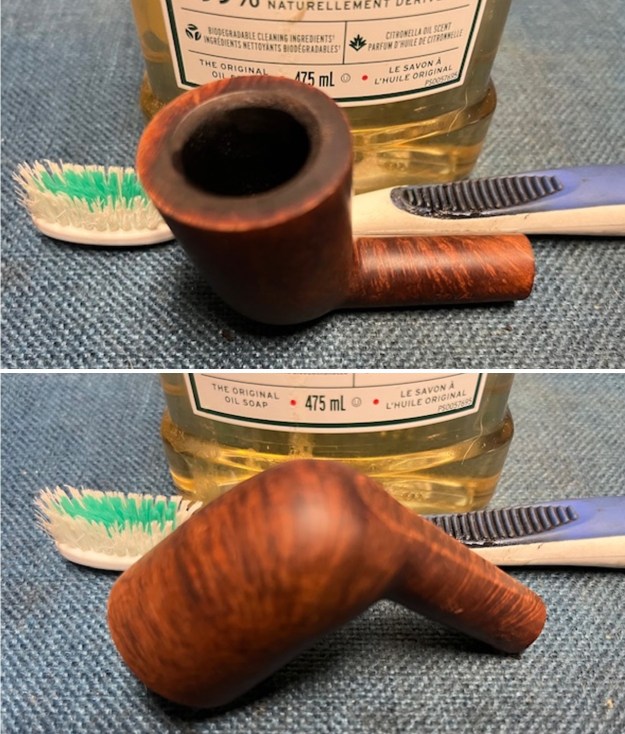 I used a folded piece of 220 grit sandpaper to clean up the rim top and inner bevel of the rim. Once it was finished it looked significantly better.
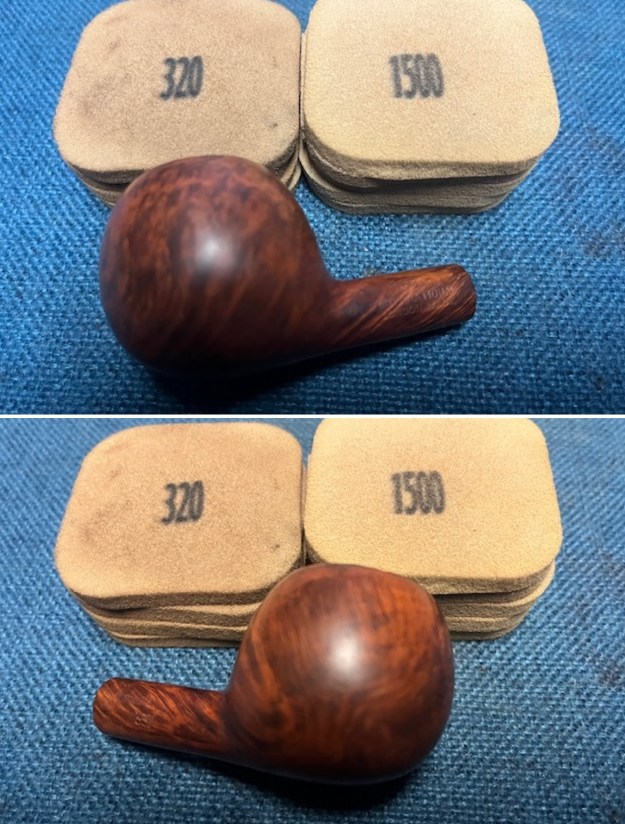
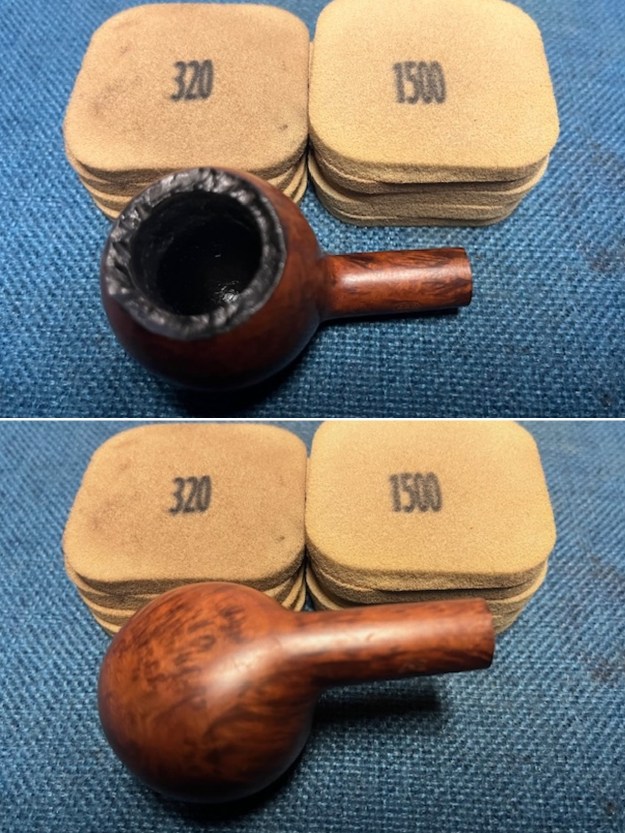
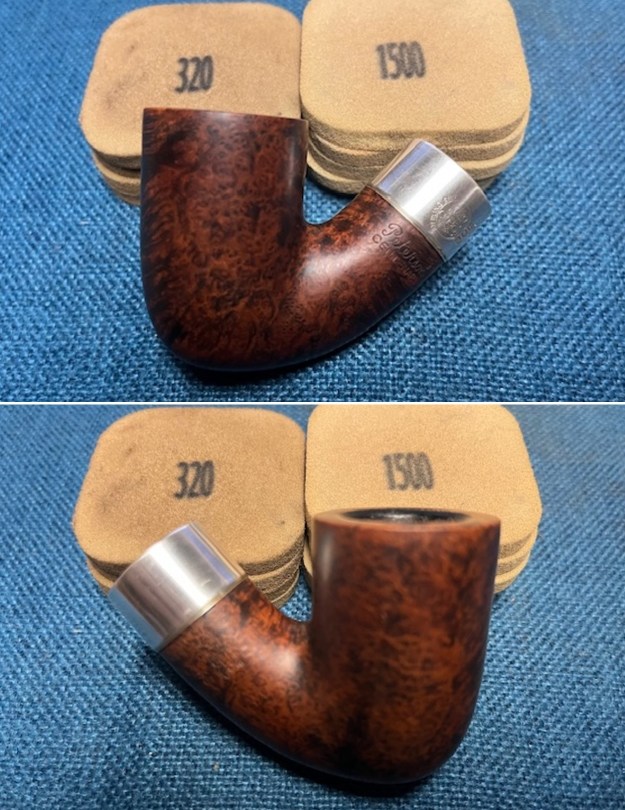
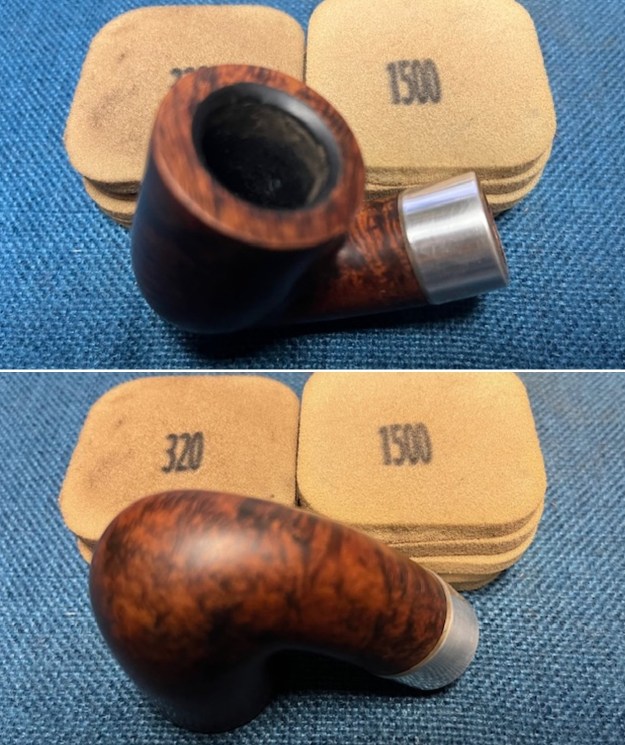
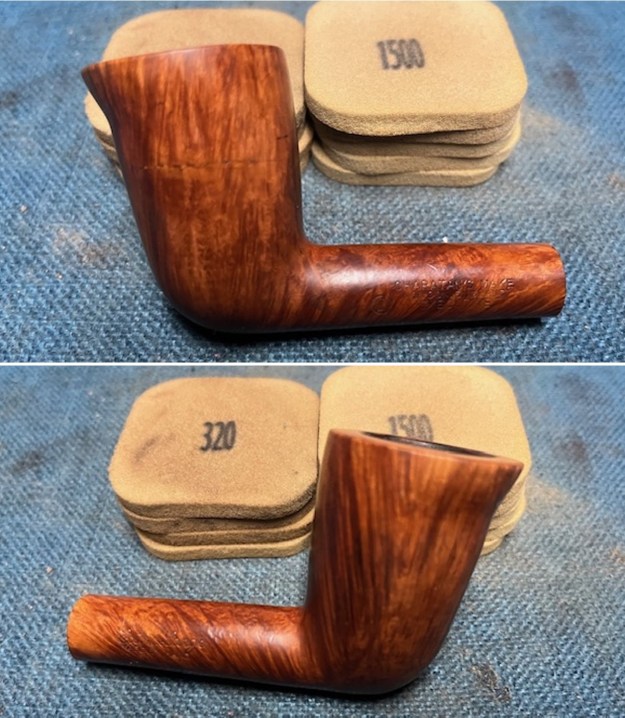
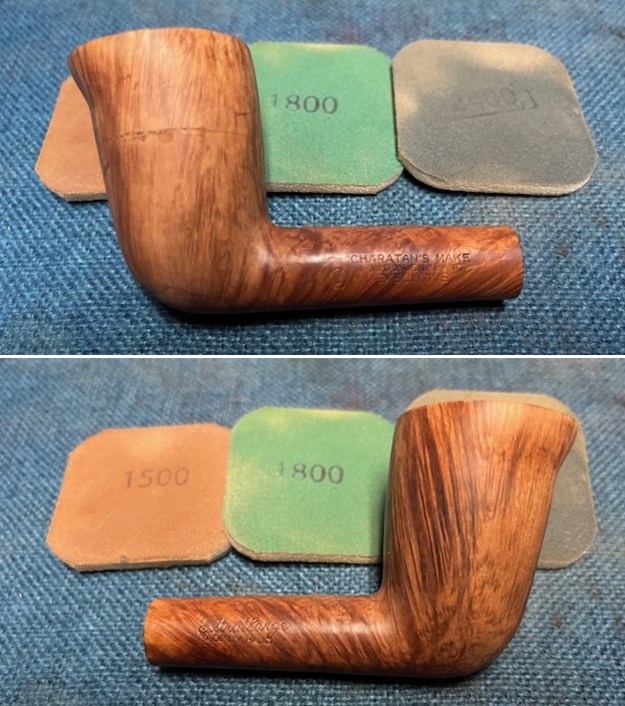
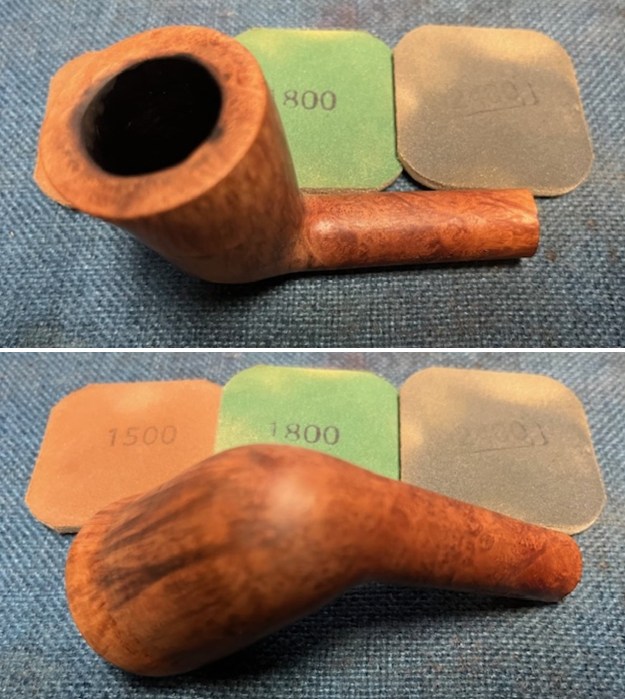
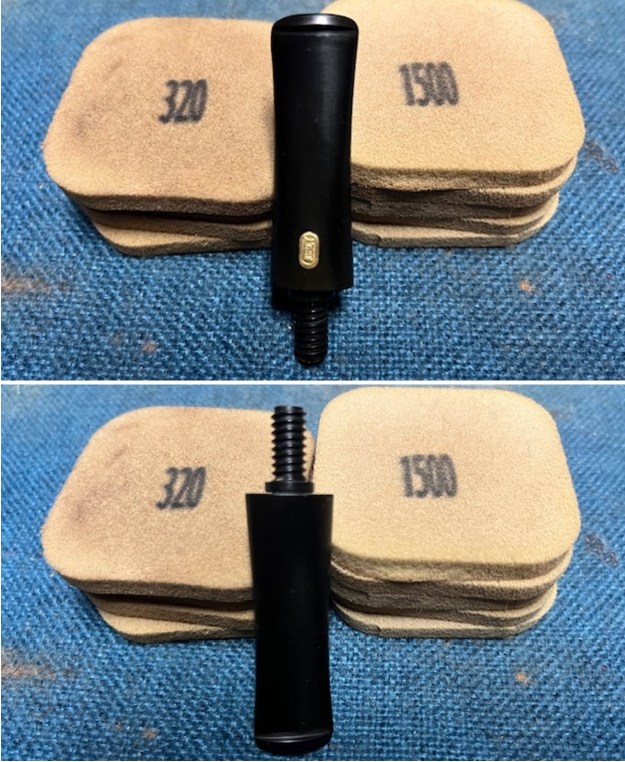
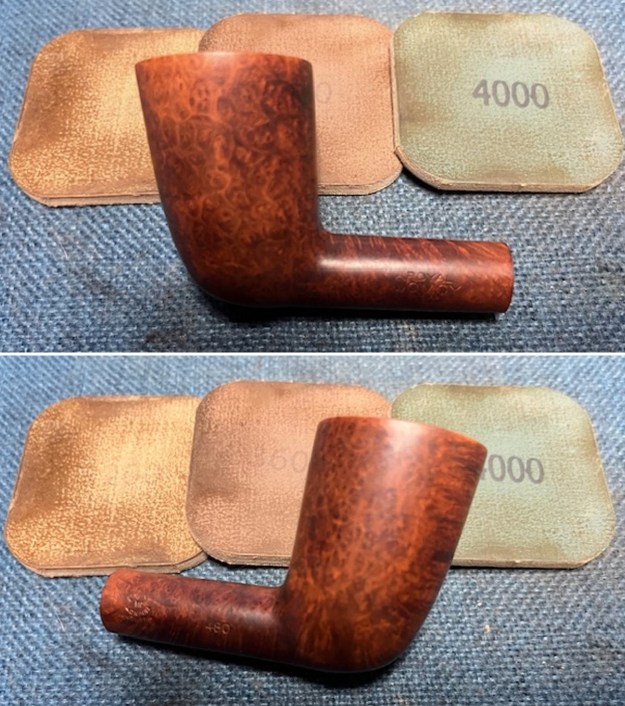
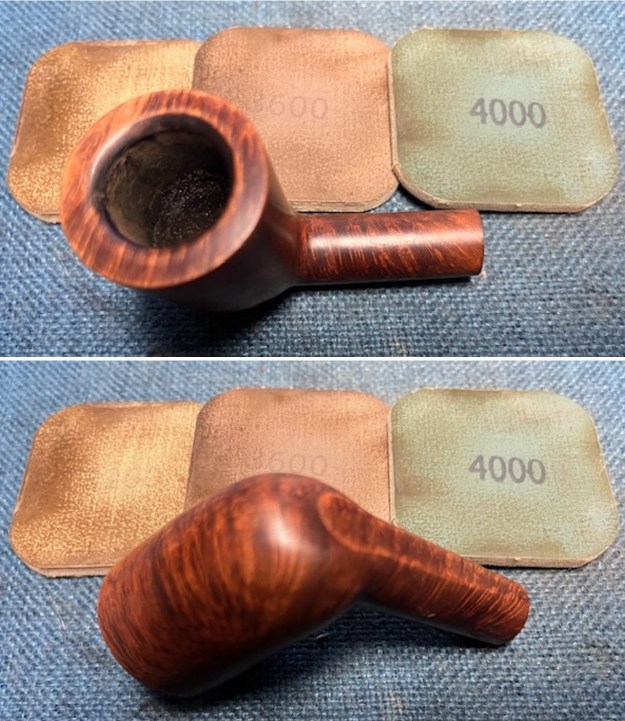
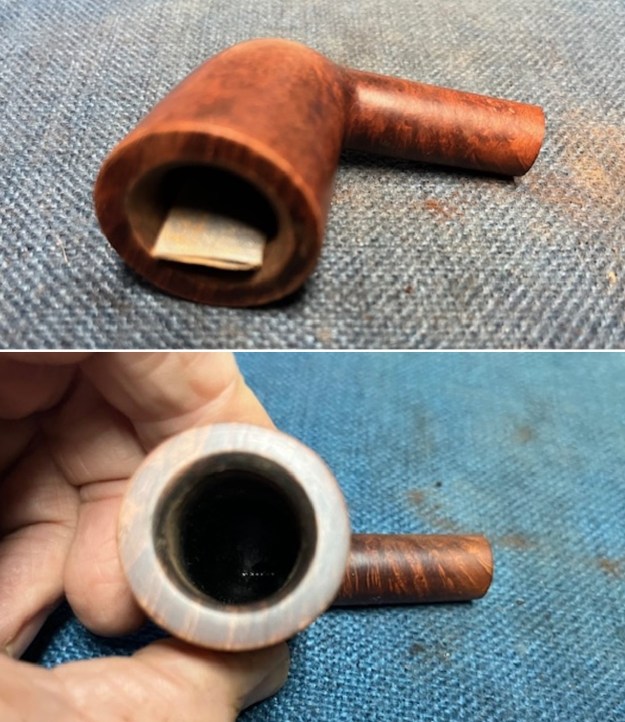 I sanded the bowl and shank with 320-3500 grit 2×2 inch sanding pads. I wiped the briar down with a damp cloth after each sanding pad to remove the sanding debris. It was beginning to look very good.
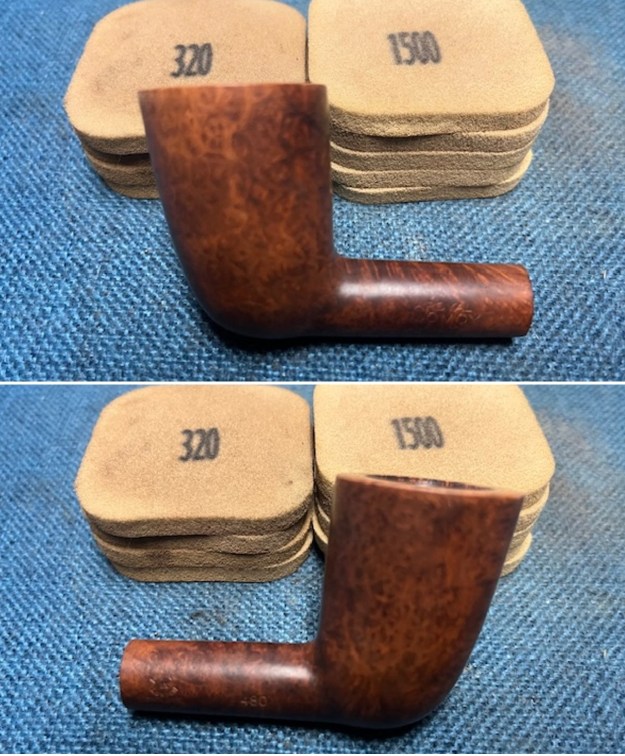
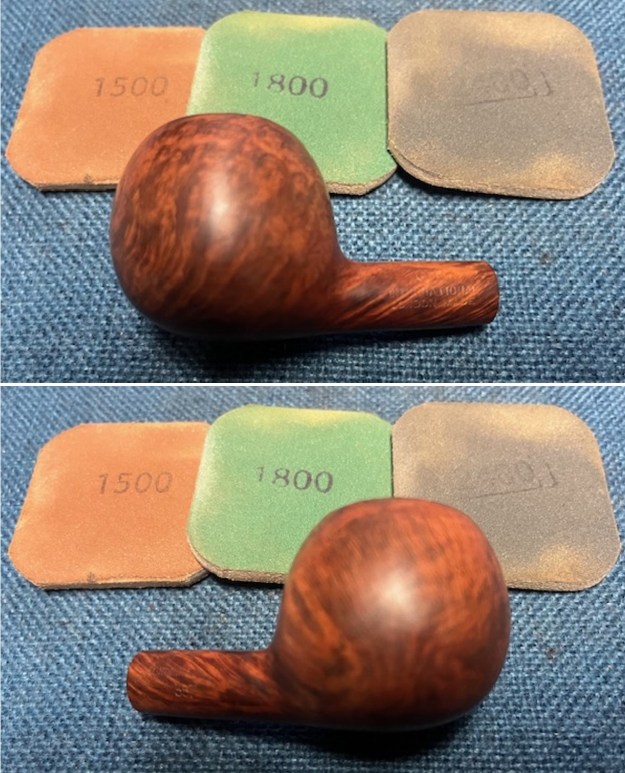
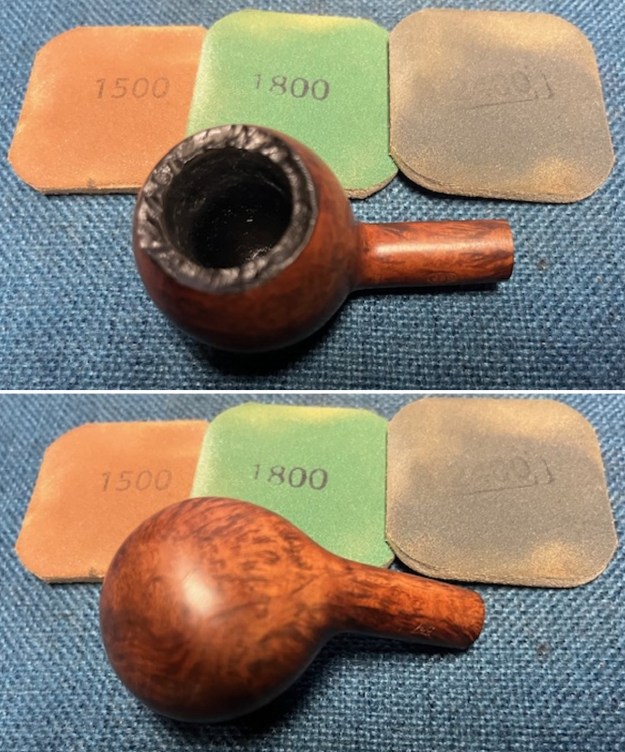
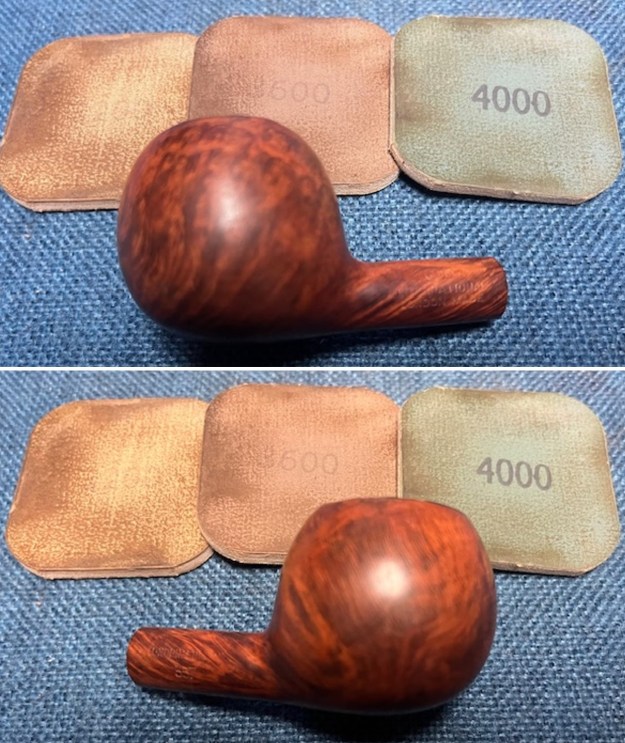
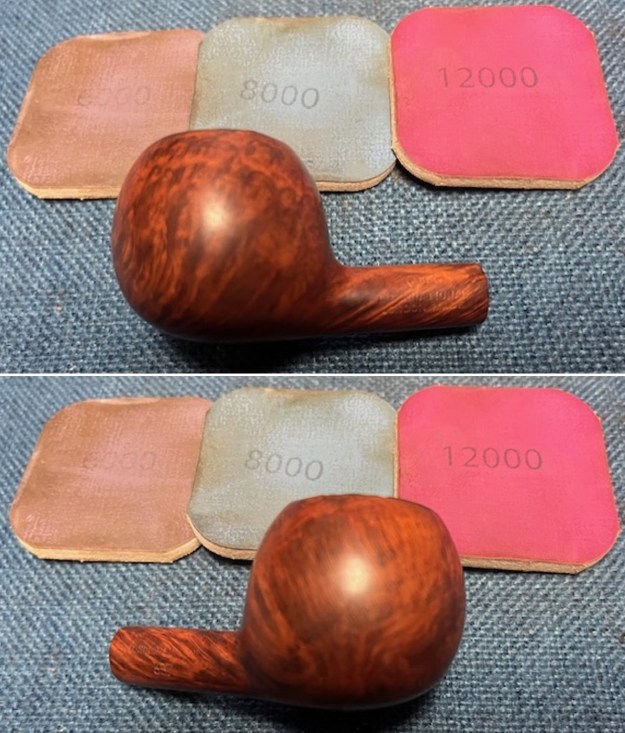
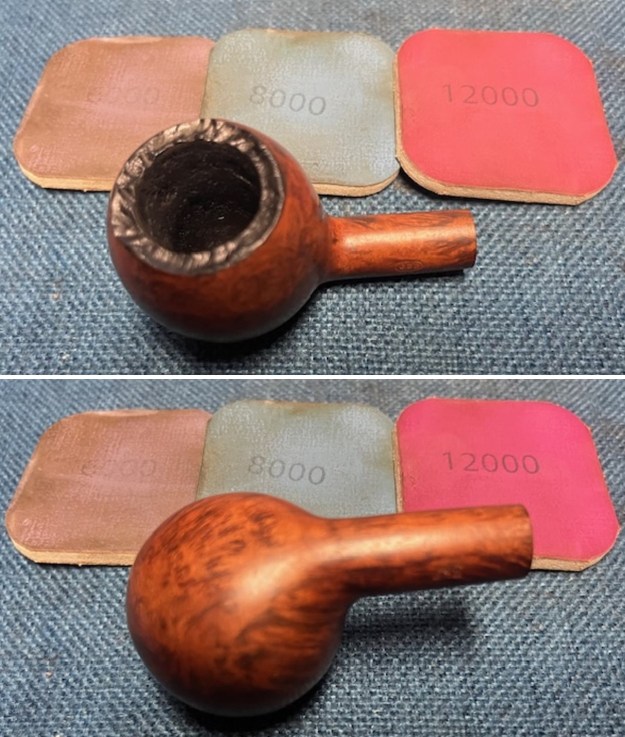
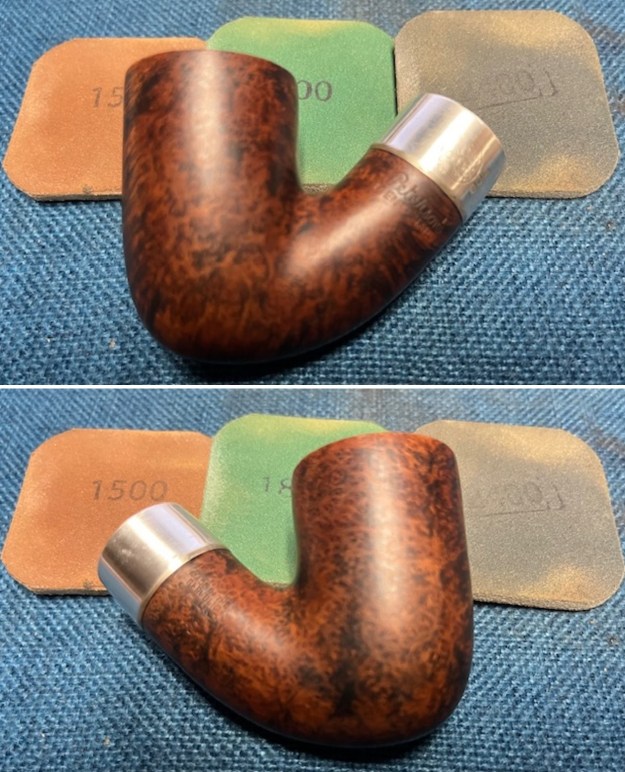
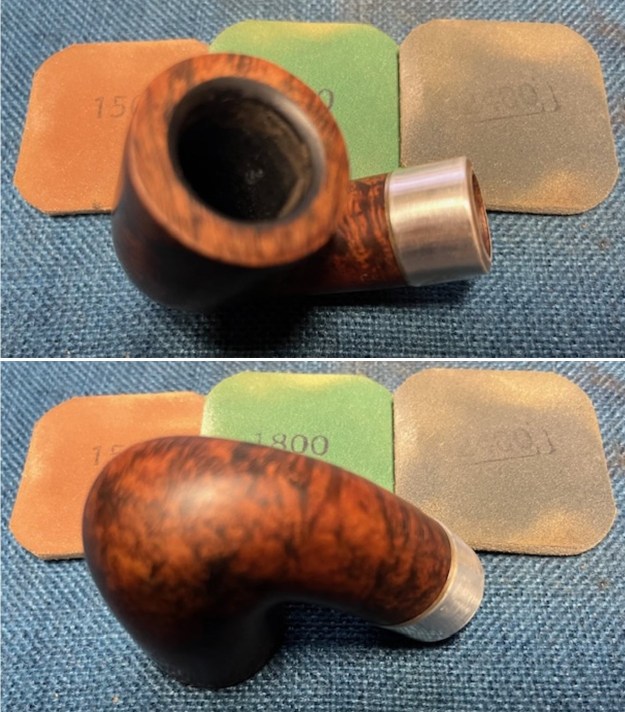
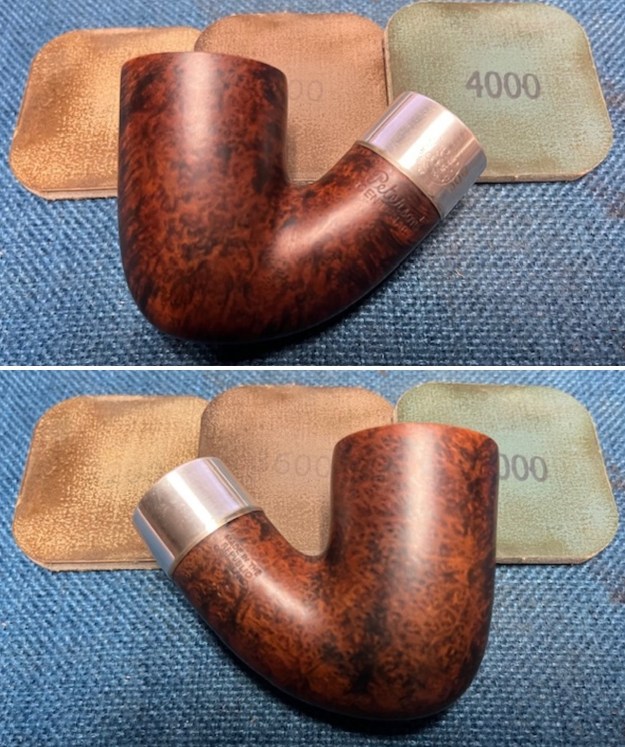
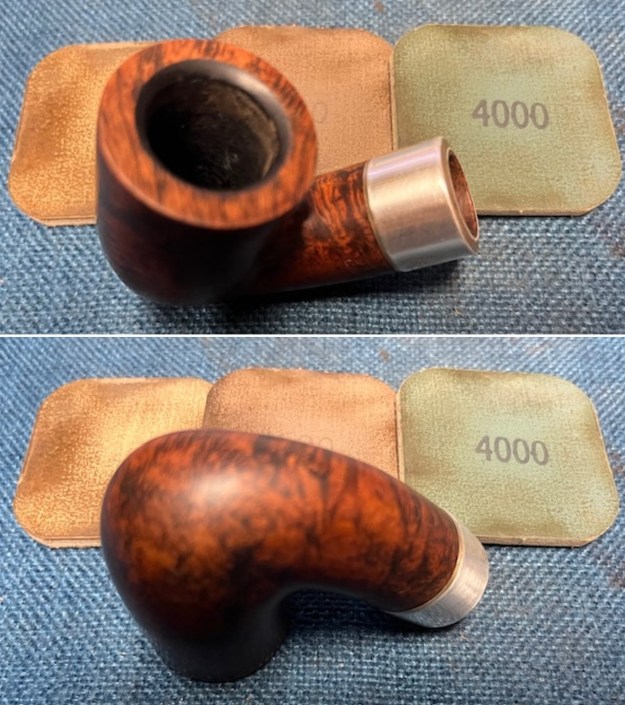
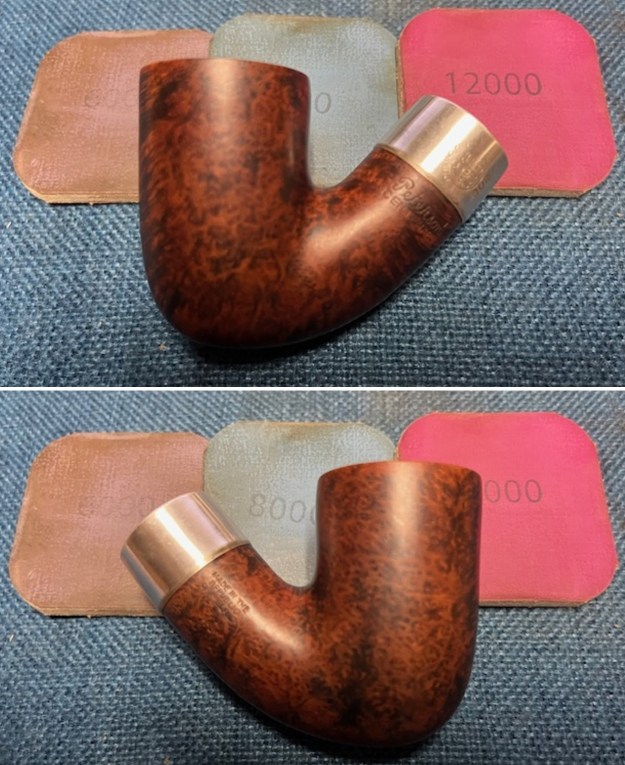
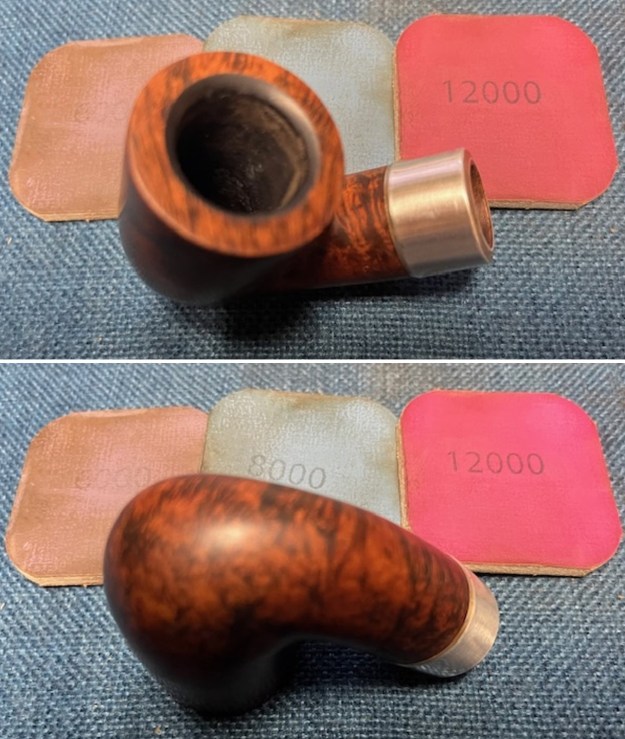
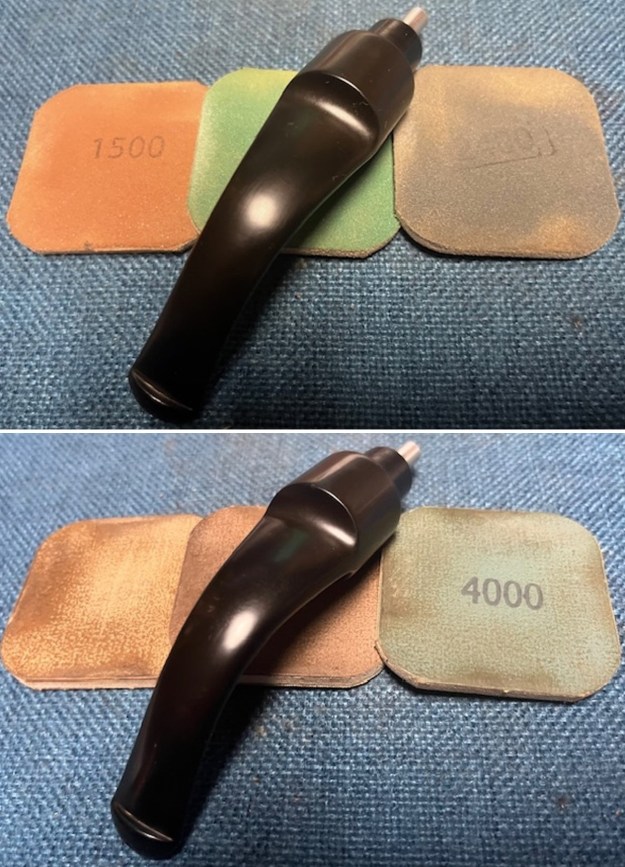
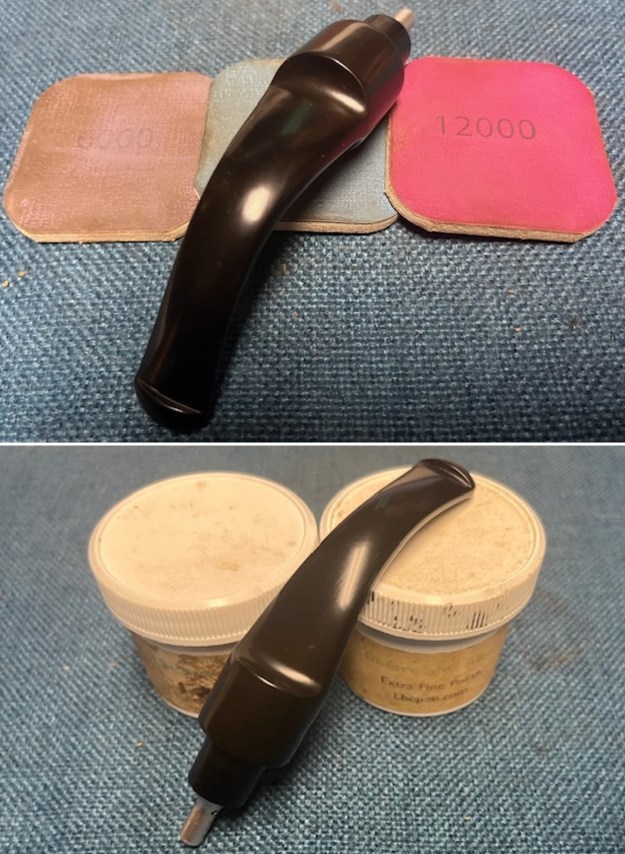
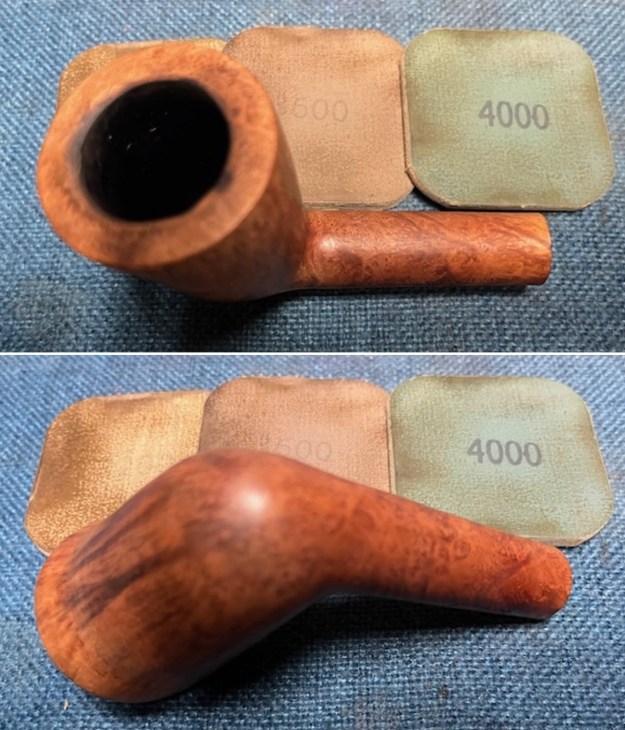
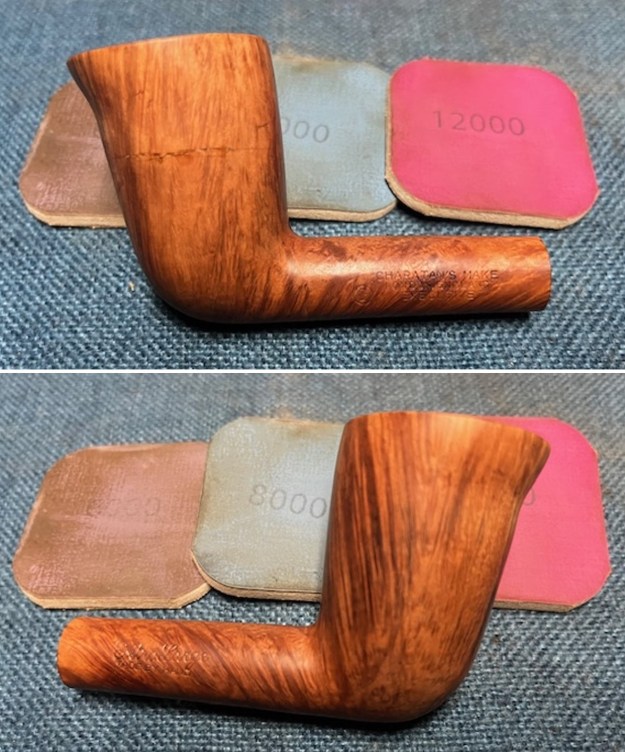
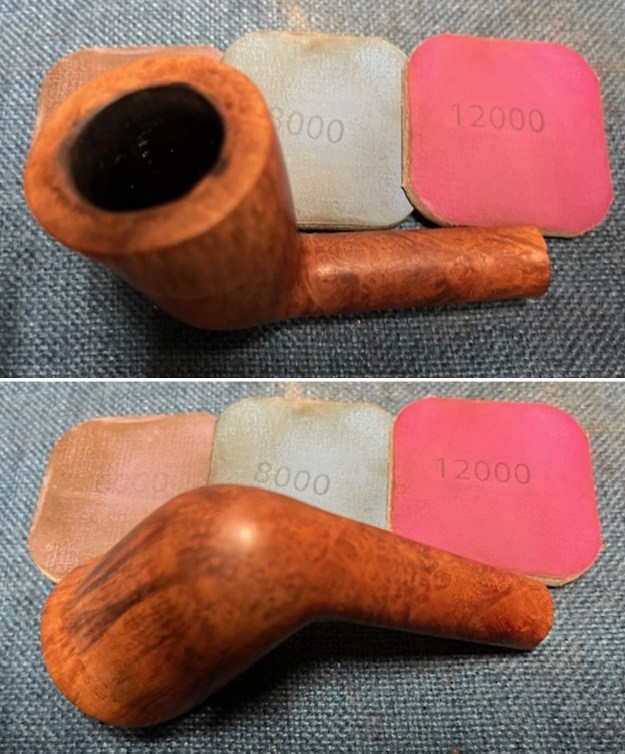
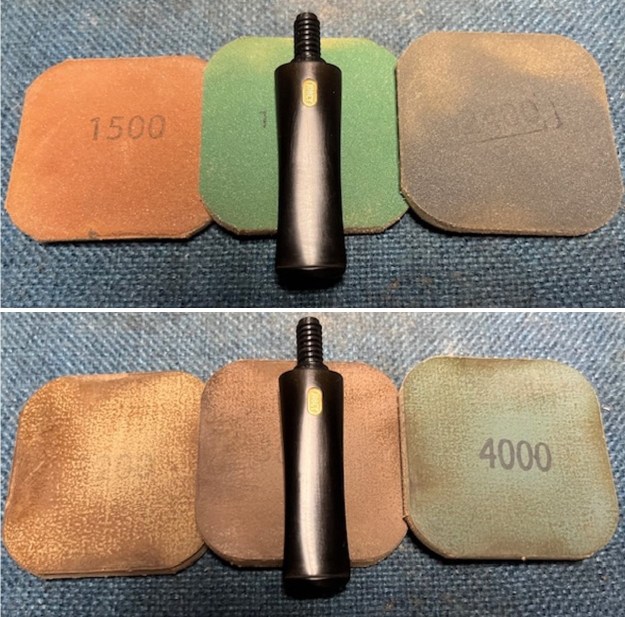
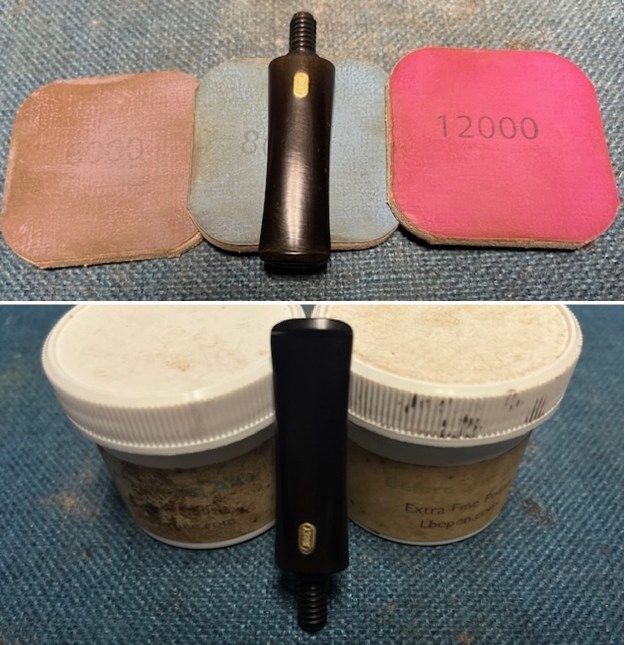
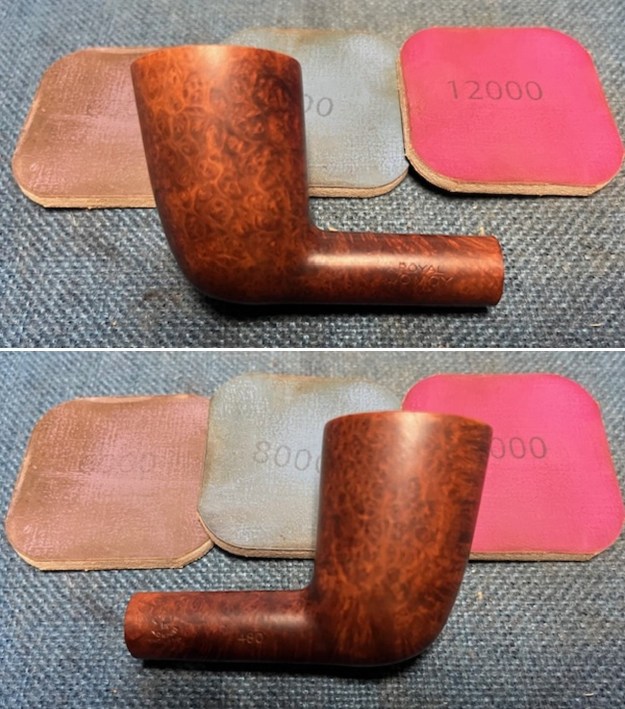
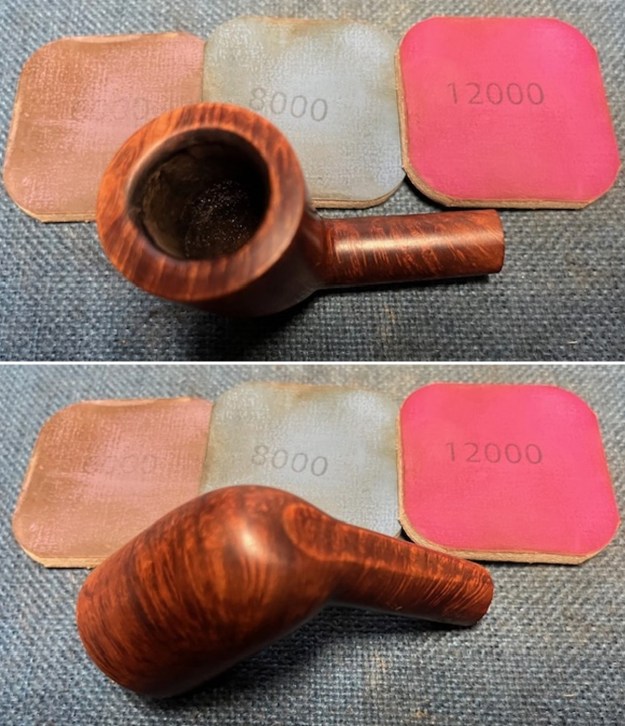
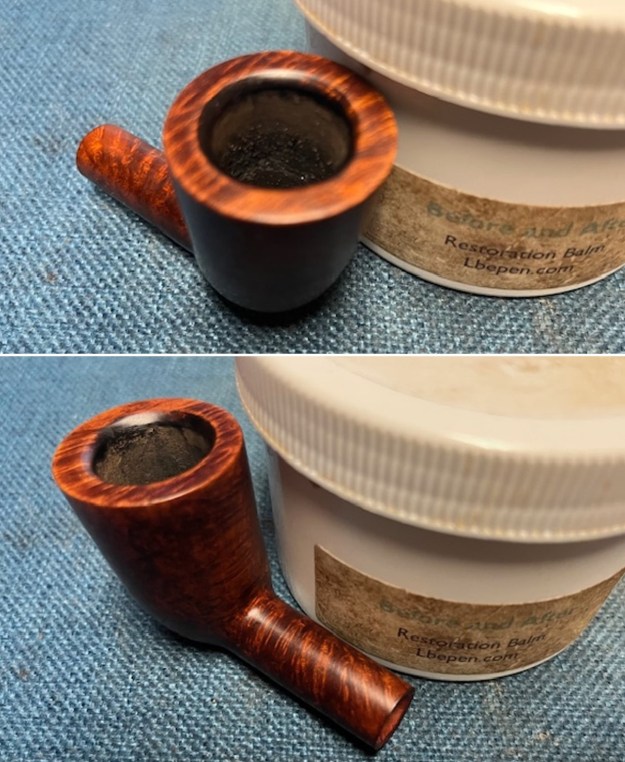
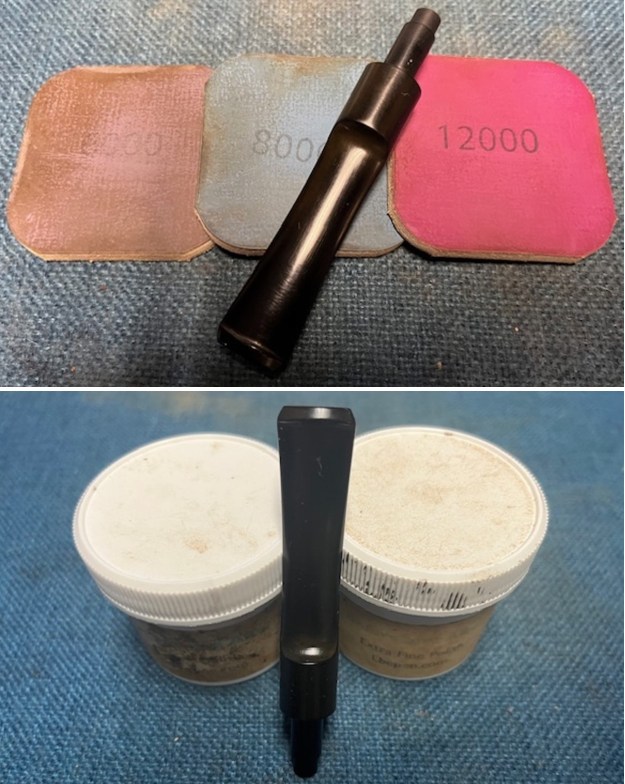
 I polished the briar with micromesh sanding pads – dry sanding with 1500-12000 grit sanding pads. I wiped the bowl down with a damp cloth after each sanding pad. The pipe began to take on a rich finish.
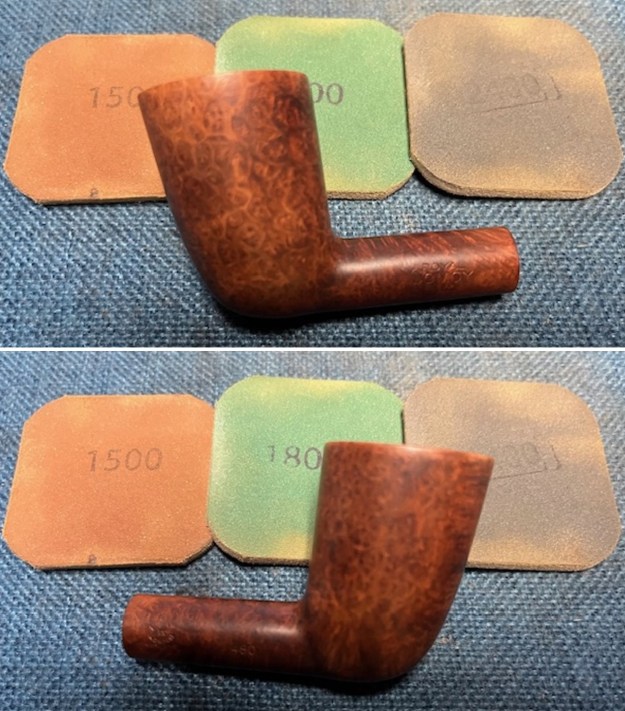

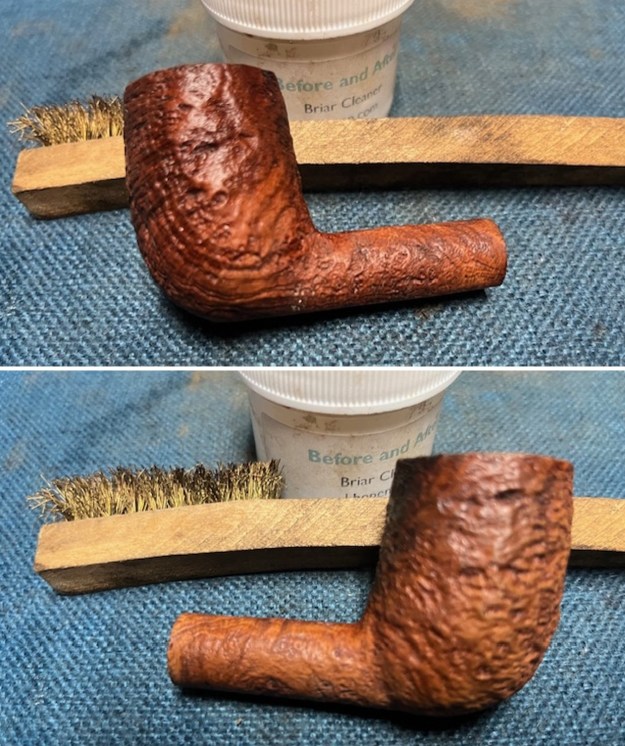
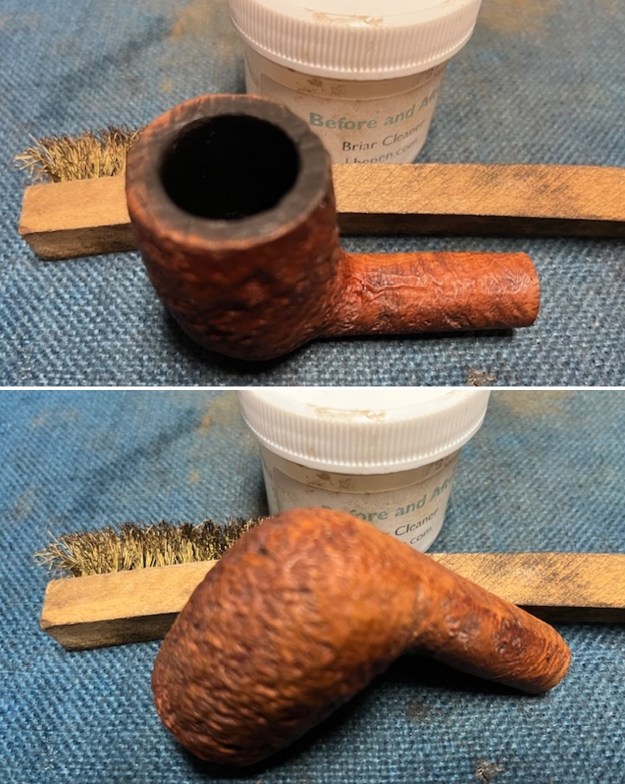
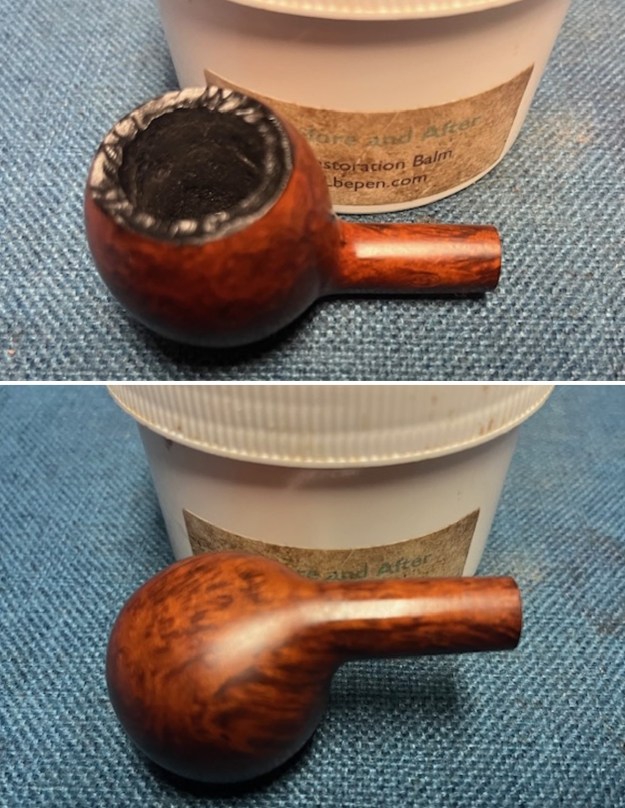
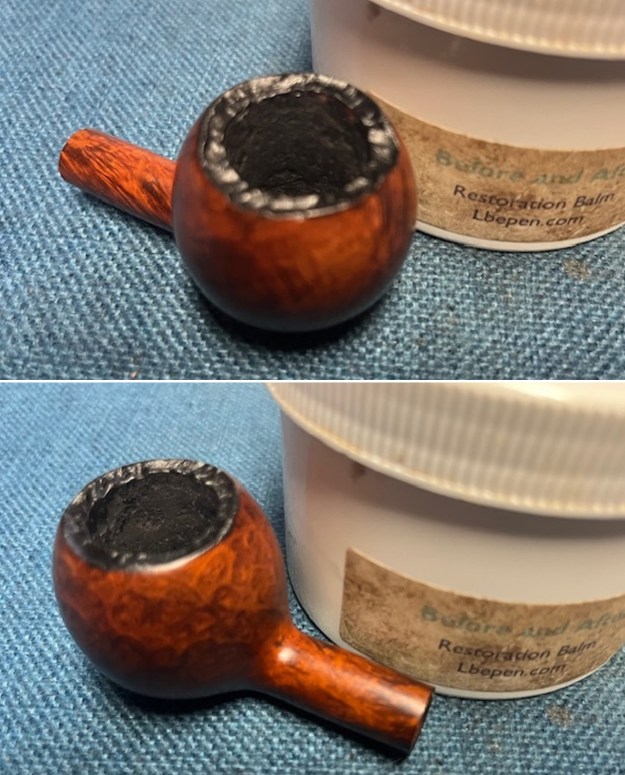
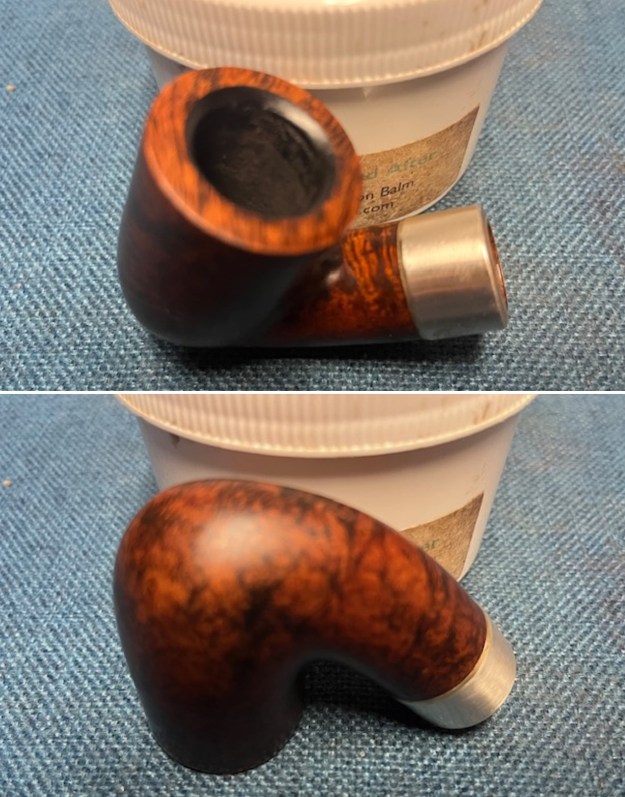
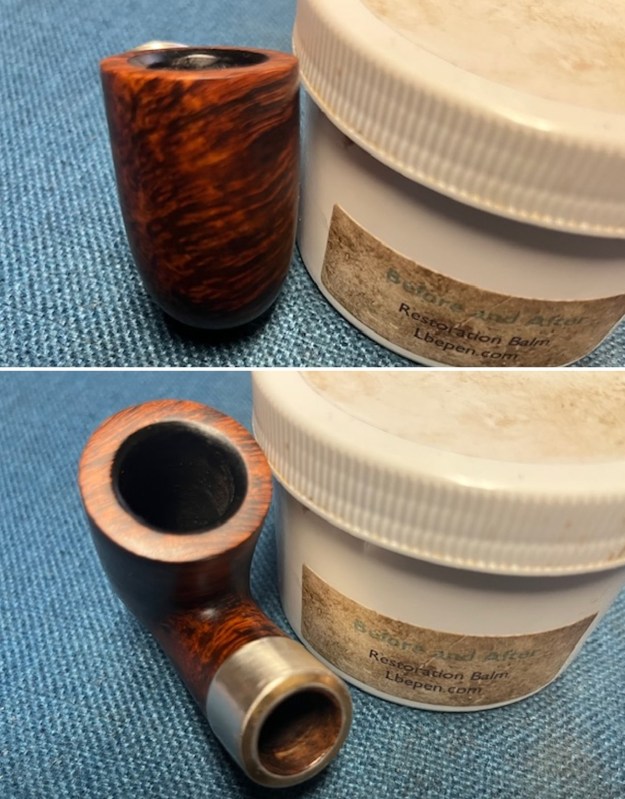
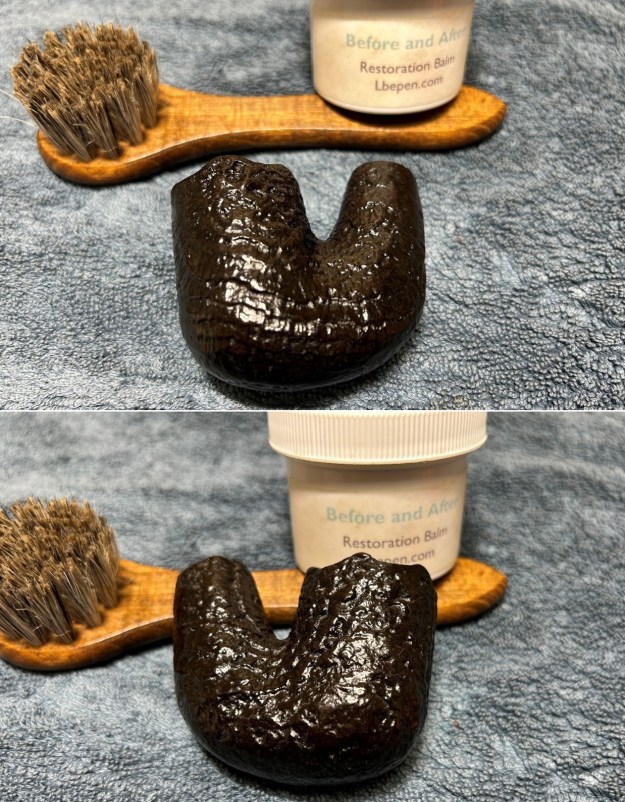
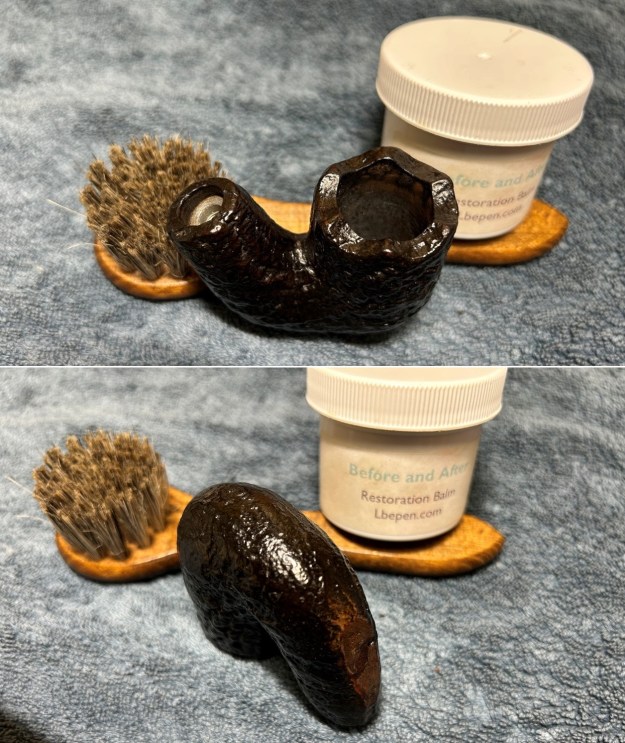
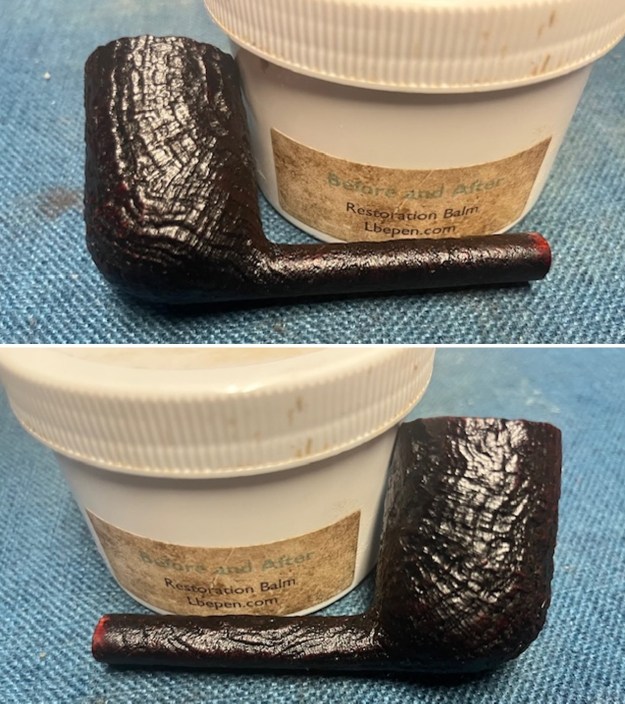
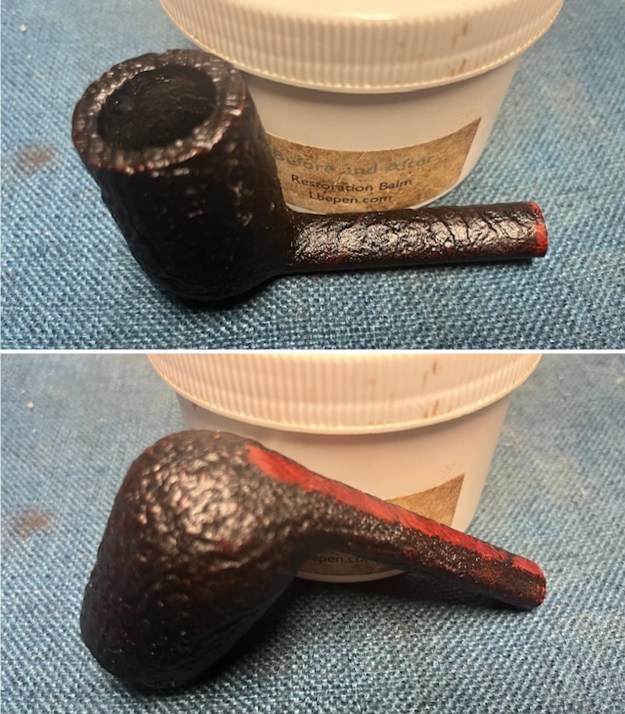
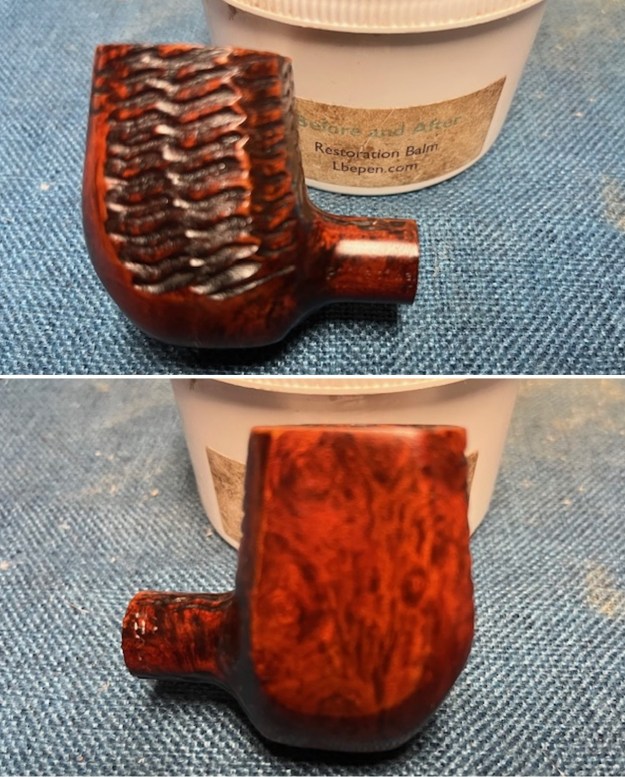
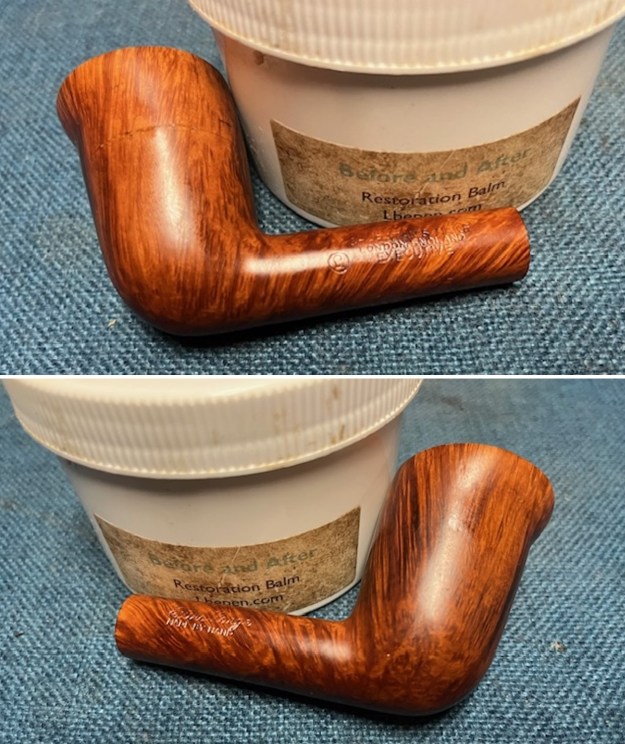
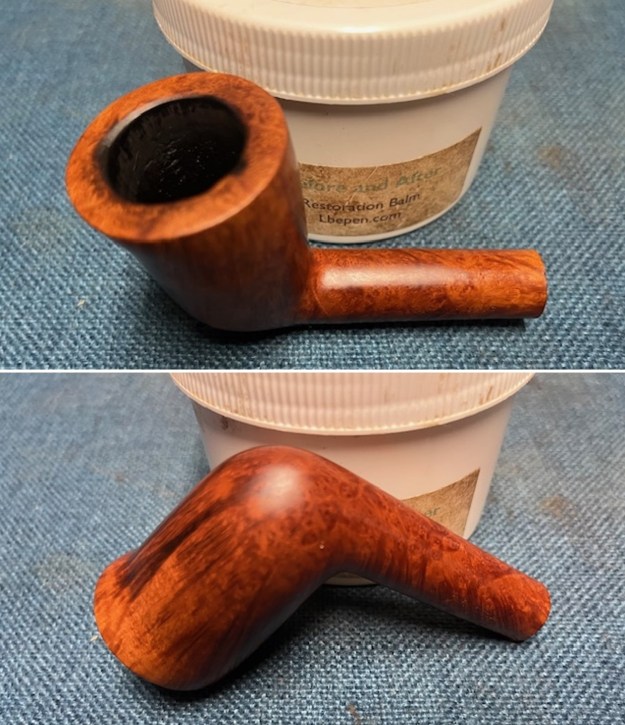
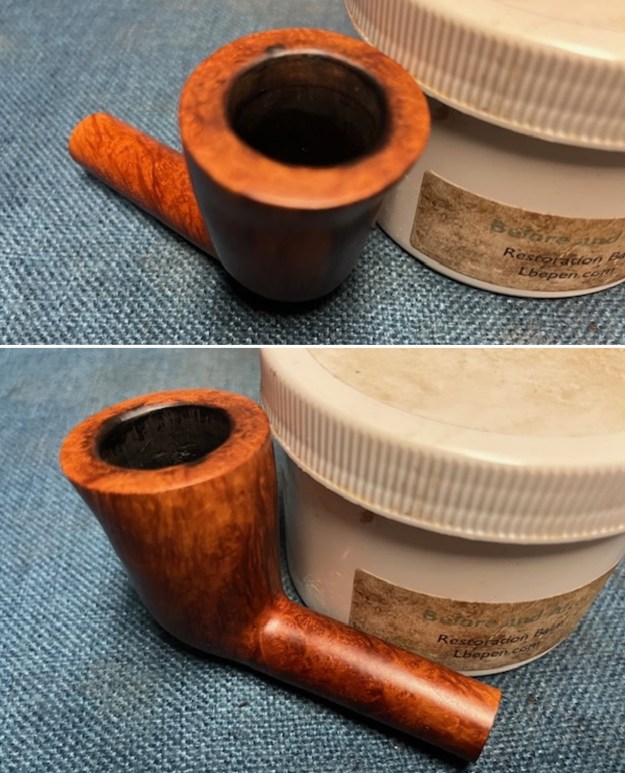
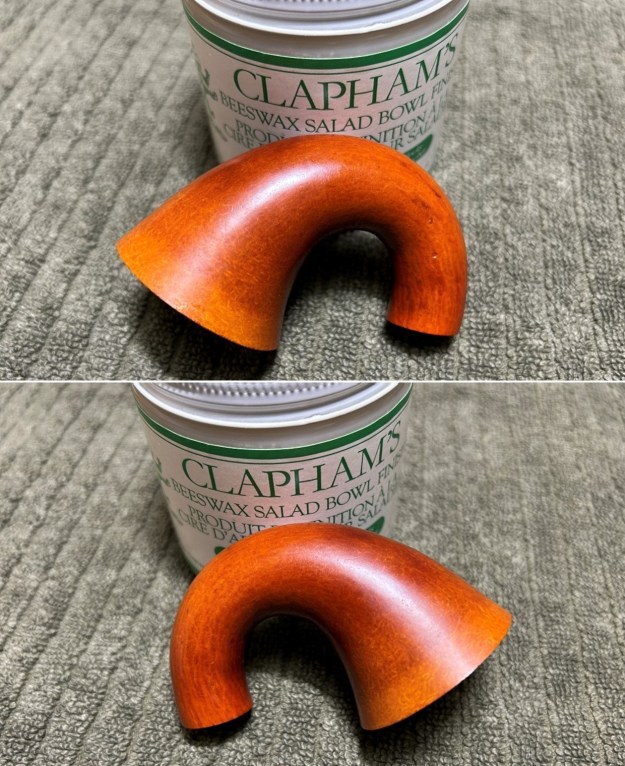
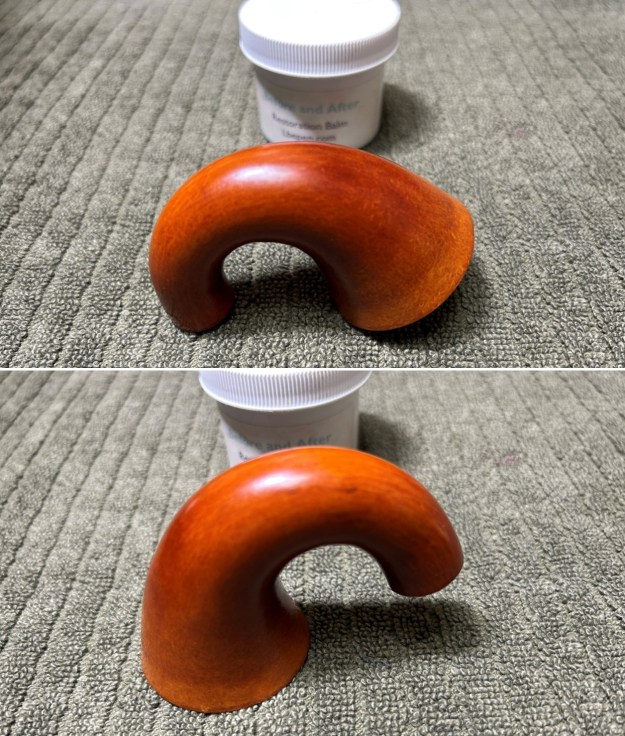
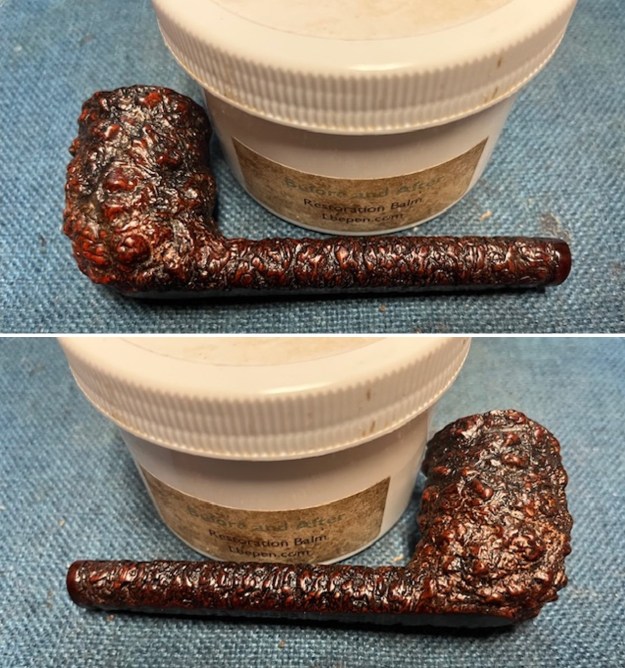
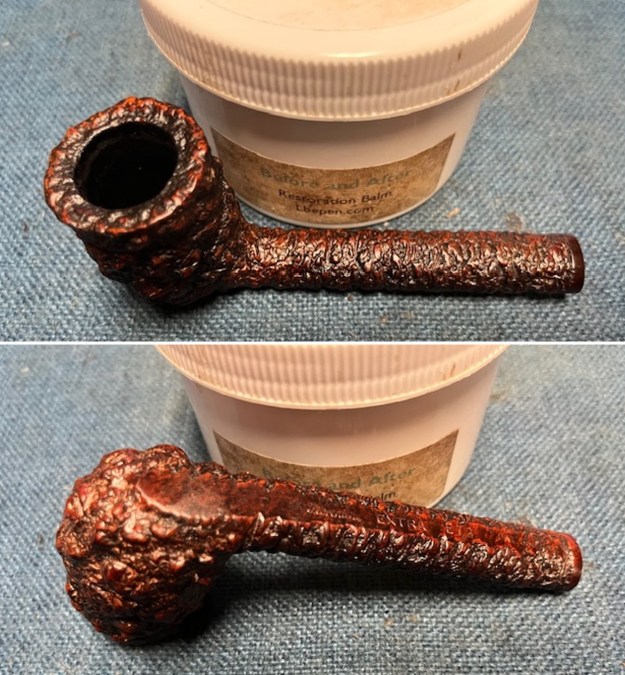
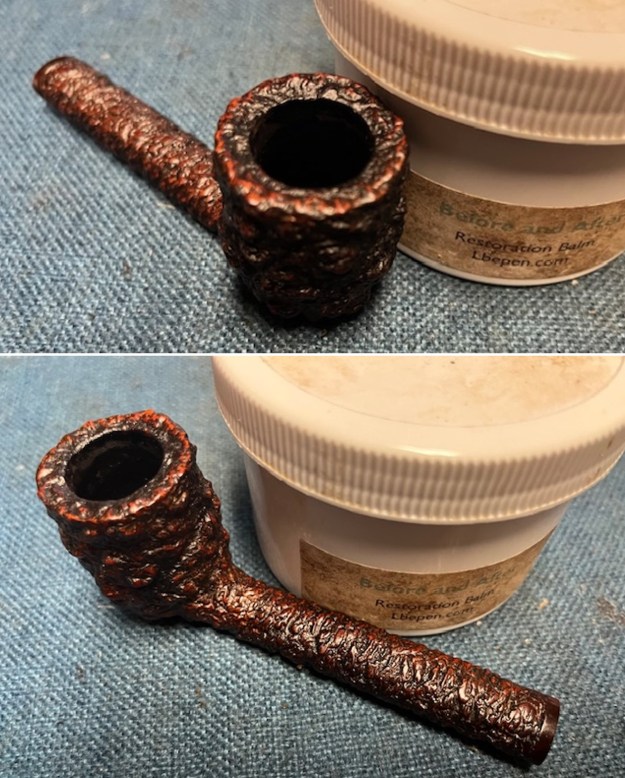
 I rubbed the briar down with Before & After Restoration Balm. I worked it into the rusticated rim top and the smooth briar with my fingertips to work it into the finish. The product works to clean, enliven and preserve the briar. I let it sit for 10 minutes then I buffed it with a cotton cloth to deepen the shine. The briar really comes alive with the balm.
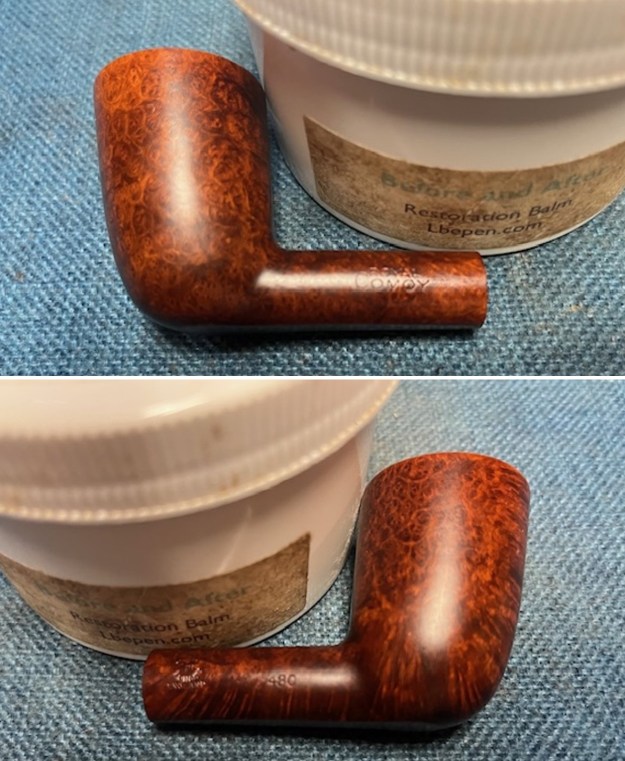
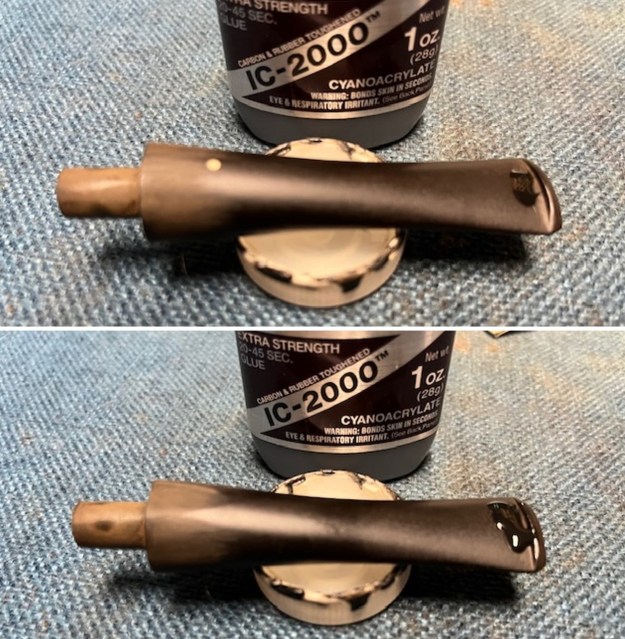
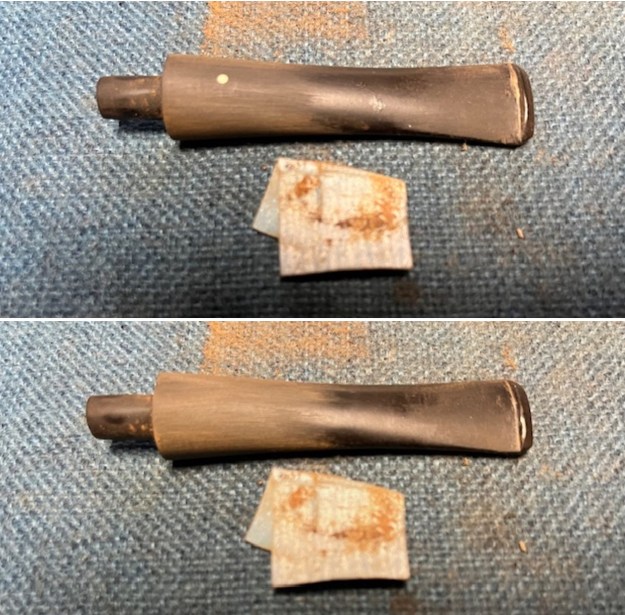
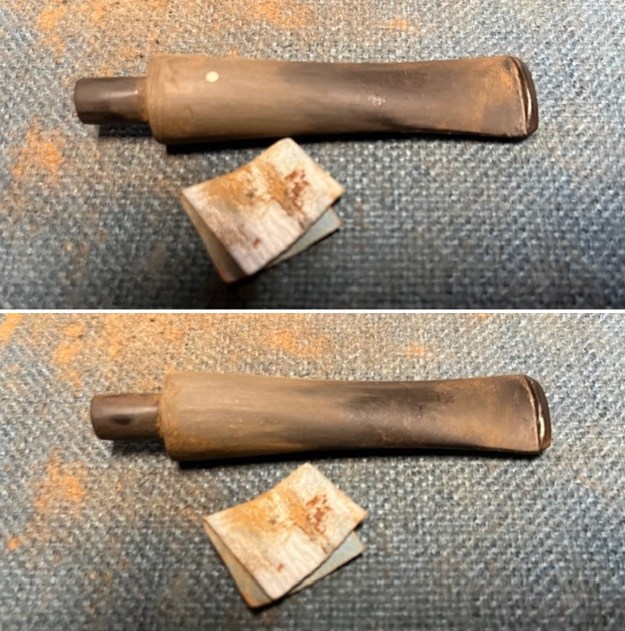
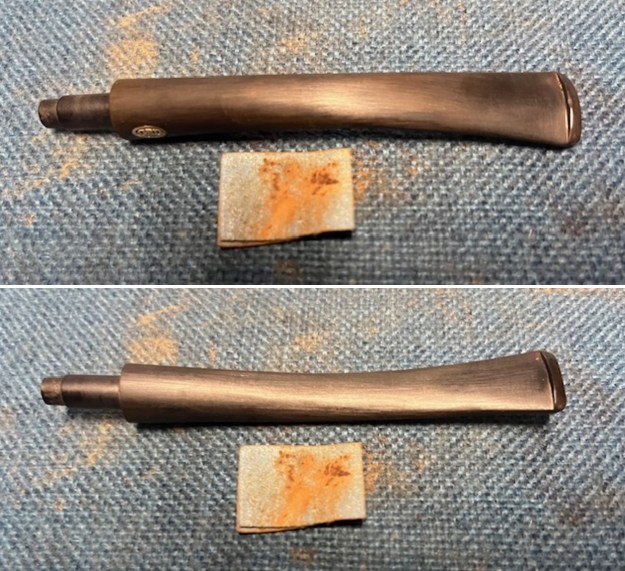
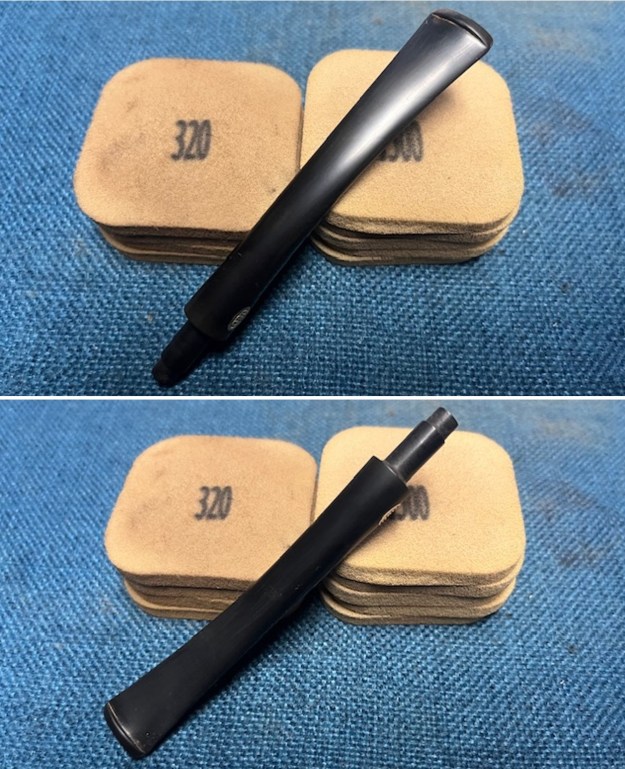
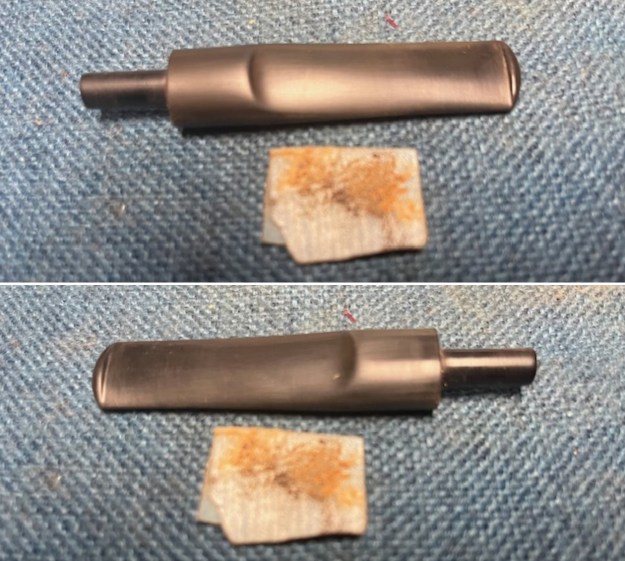
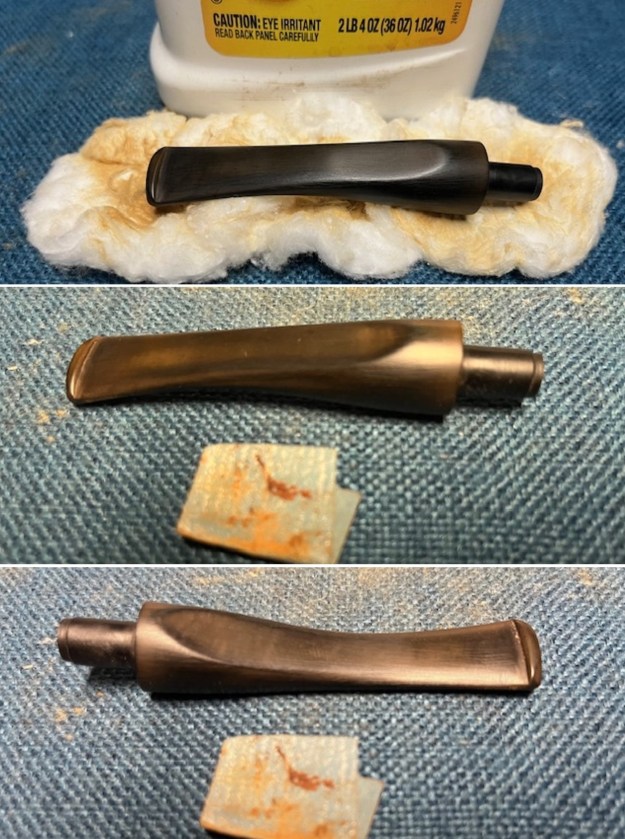
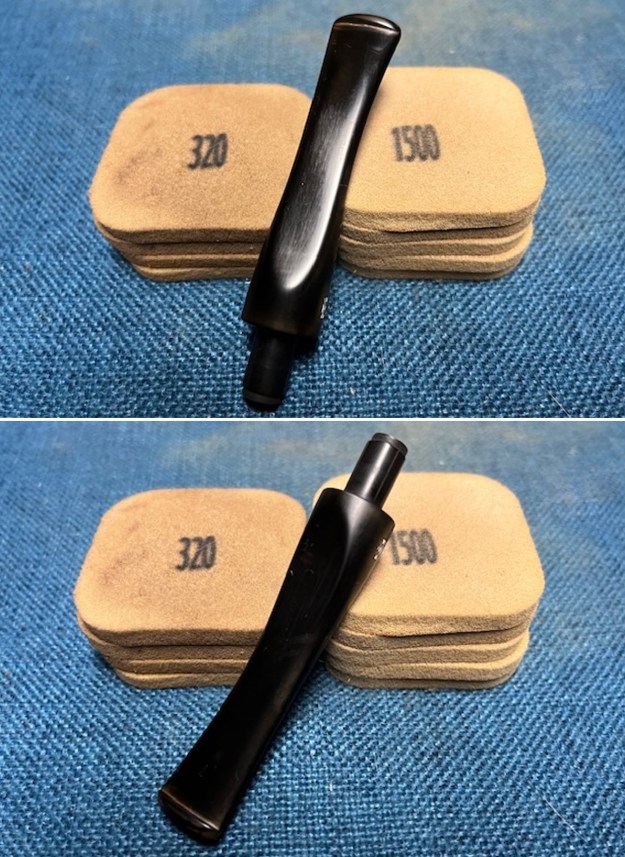
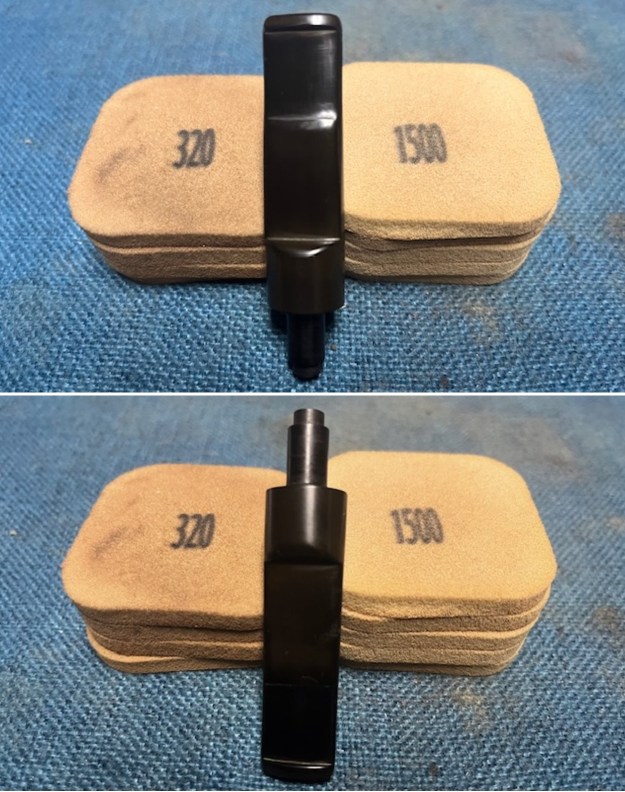
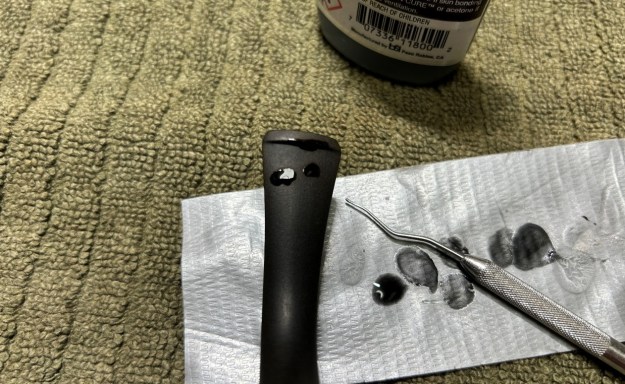
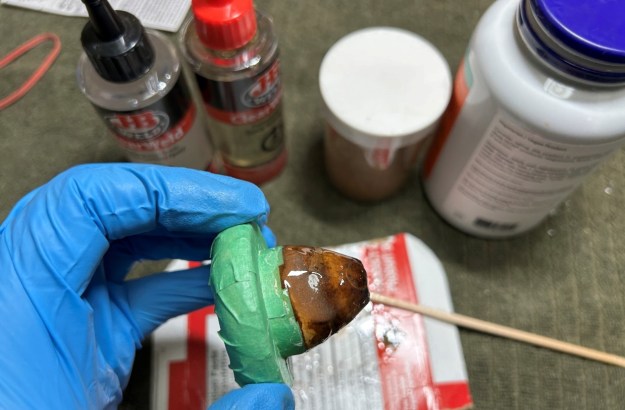
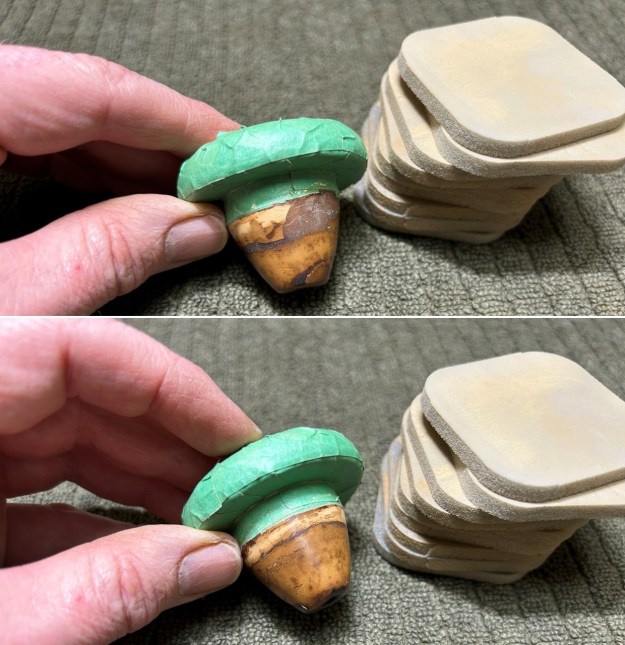
 I set the bowl aside and worked on the stem. I sanded the surface of the stem with a folded piece of 220 grit sandpaper to remove the oxidation and clean up the tooth marks and chatter on both sides of the stem ahead of the button.
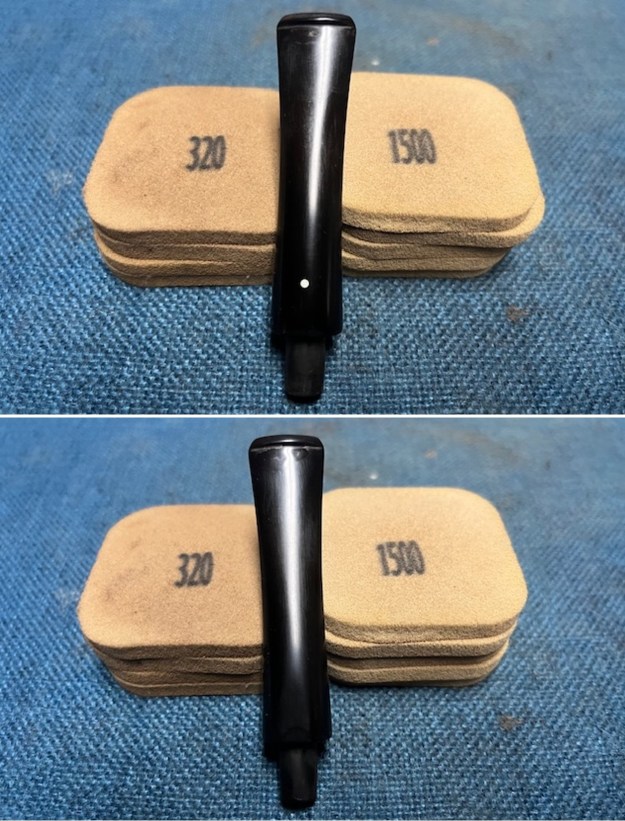
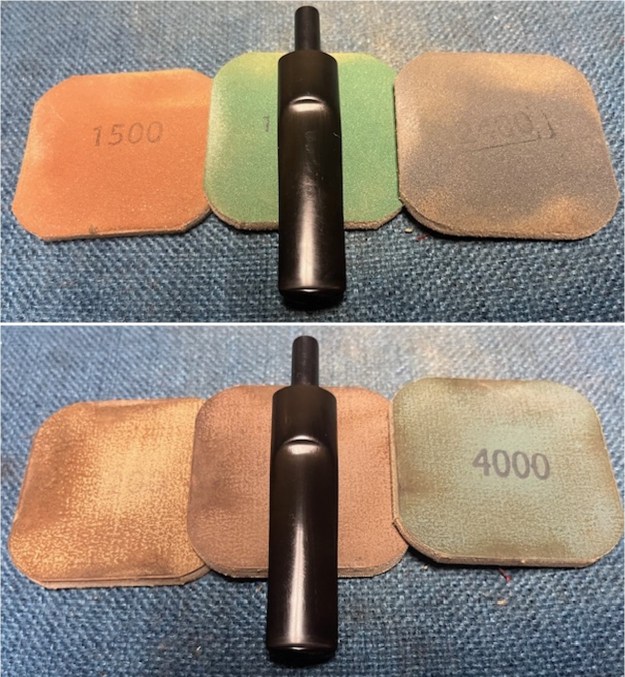
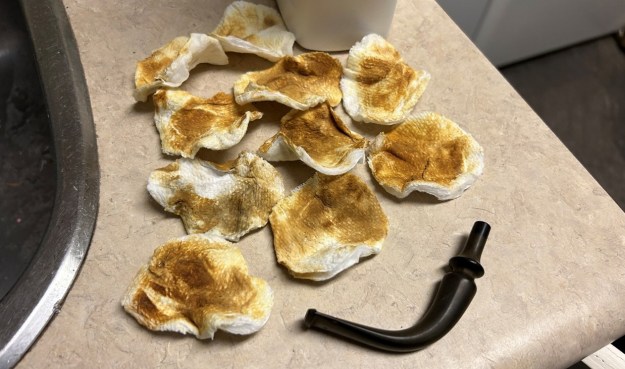
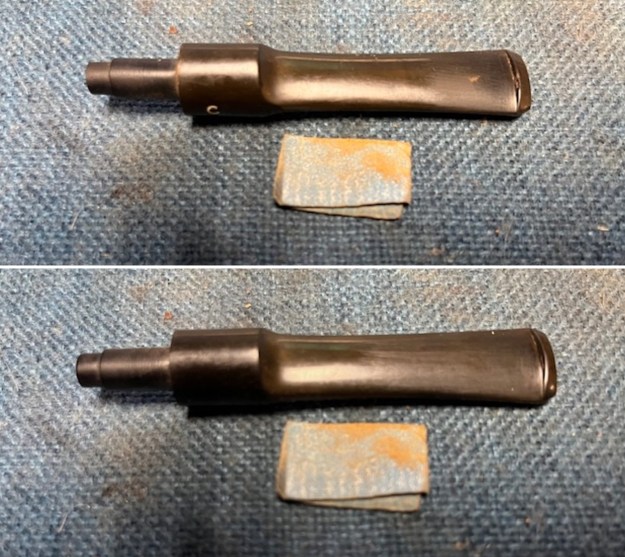 I sanded the stem with 320-3500 grit 2×2 inch pads. I wiped the stem down with an Obsidian Oil cloth after each sanding pad.
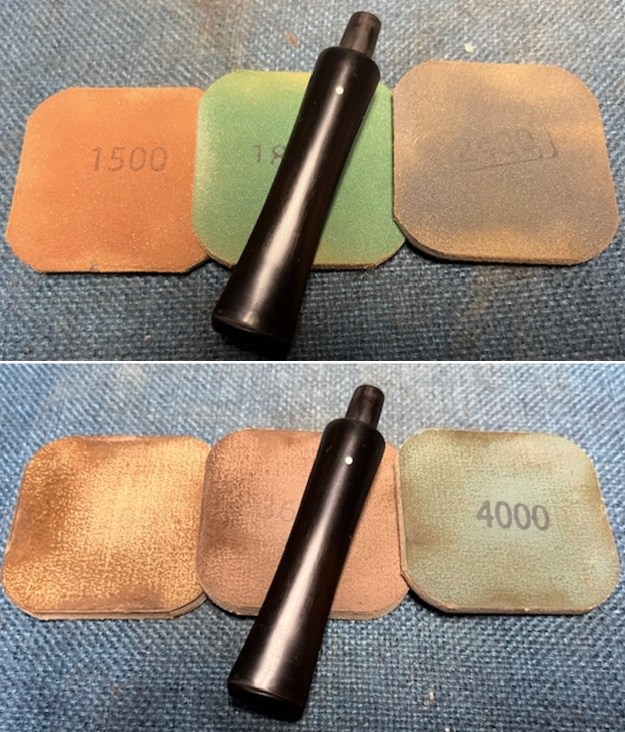
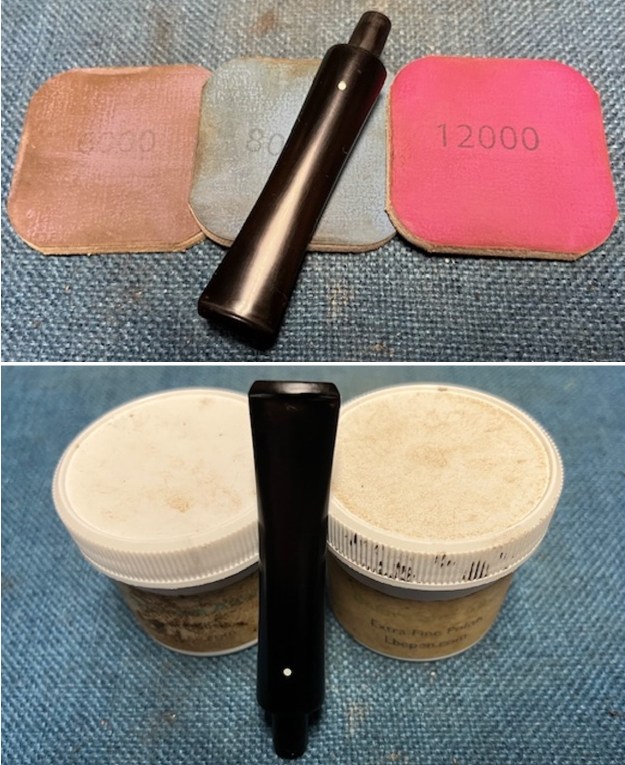
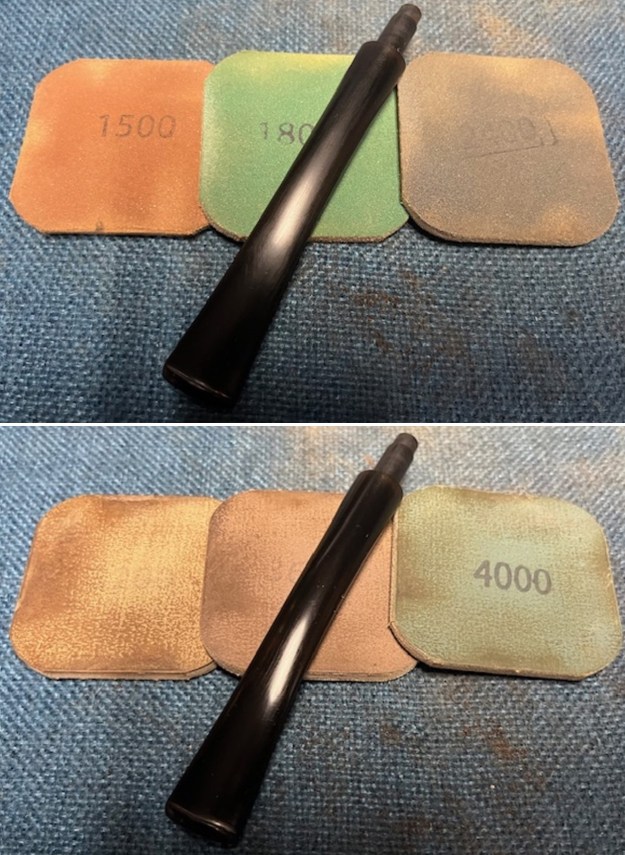
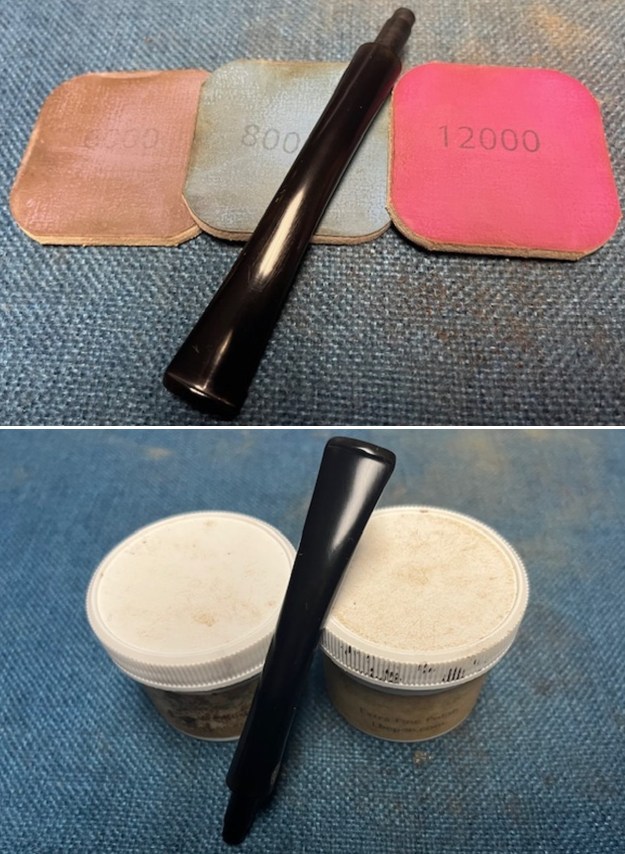
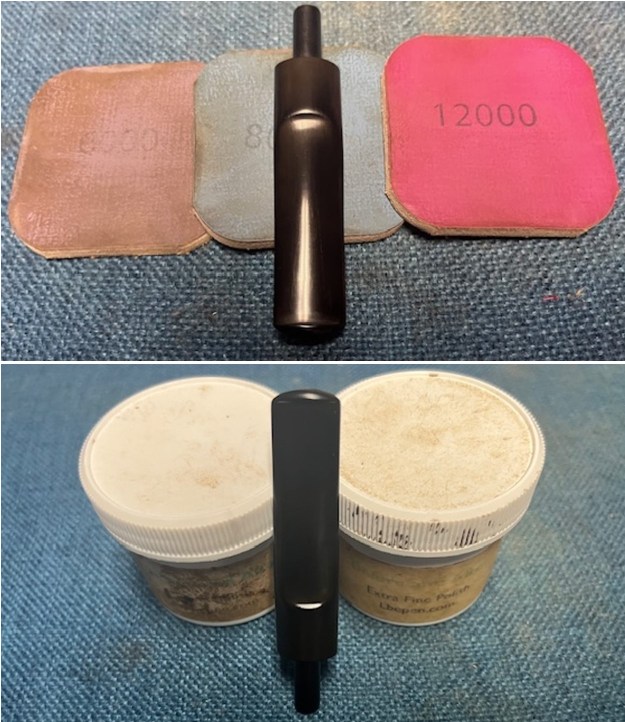
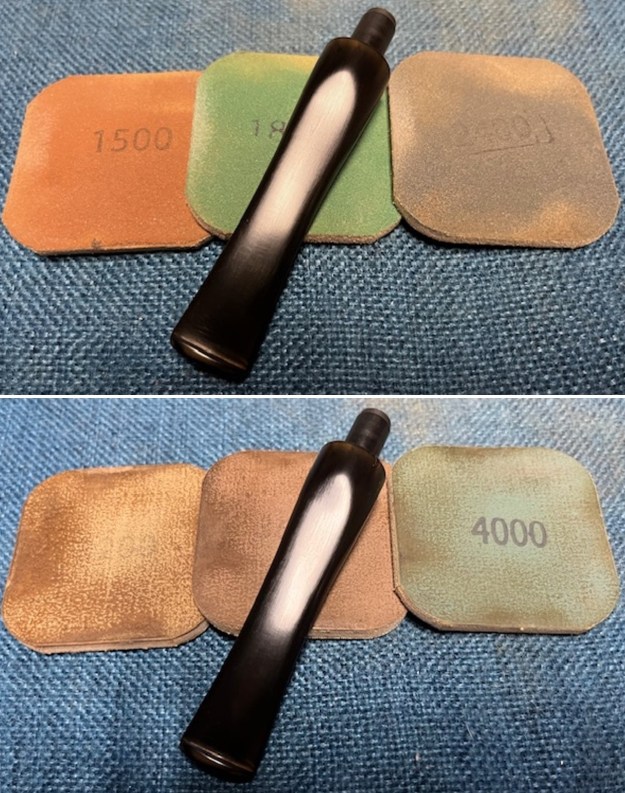
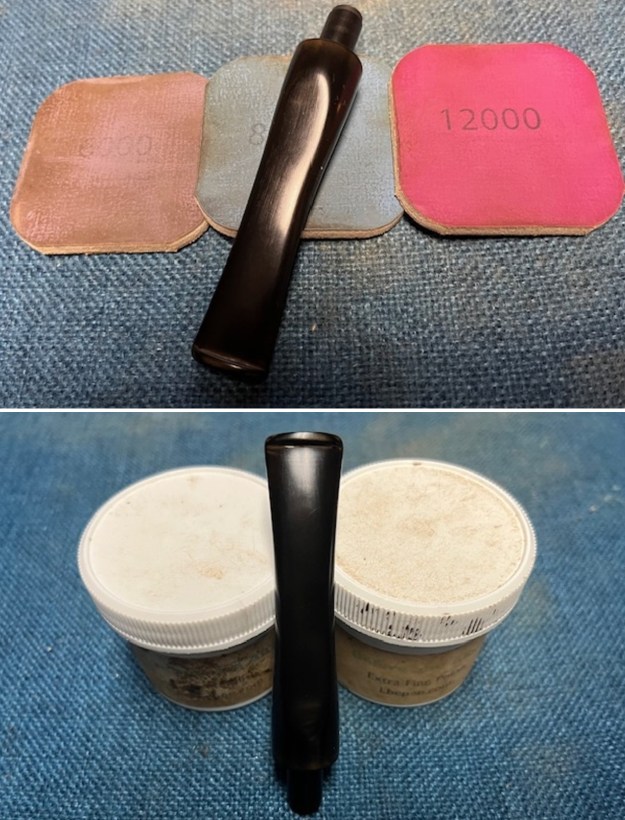
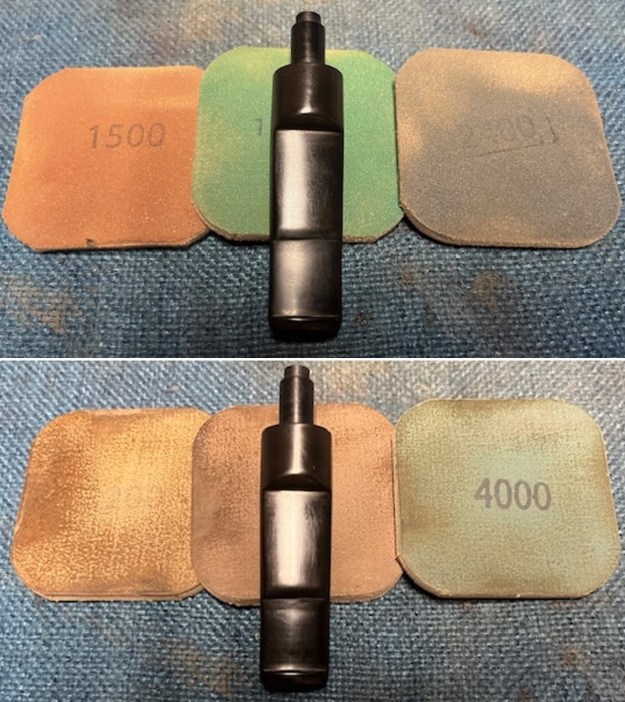
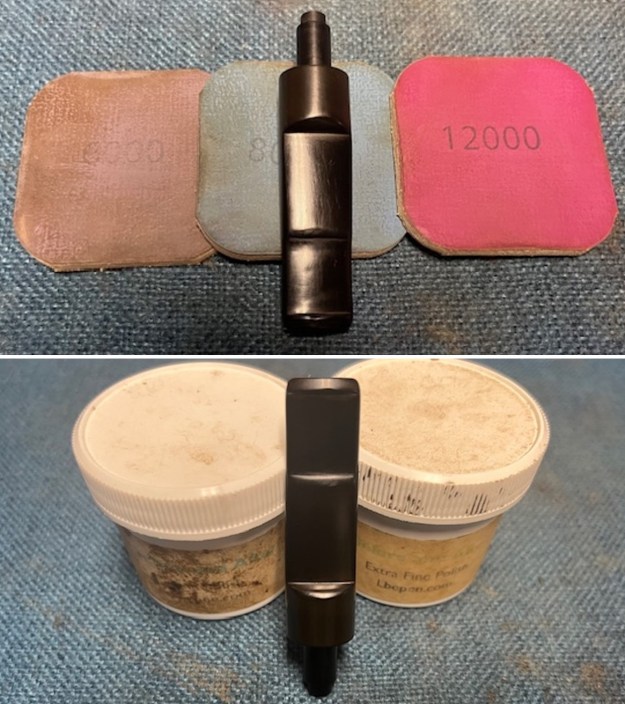
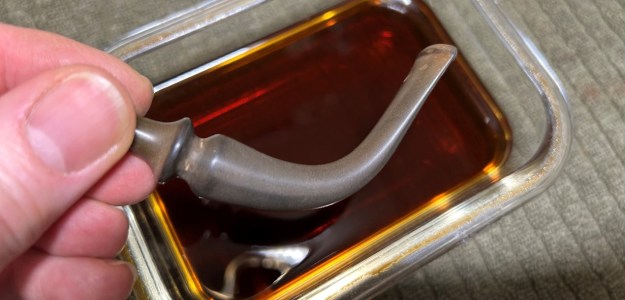
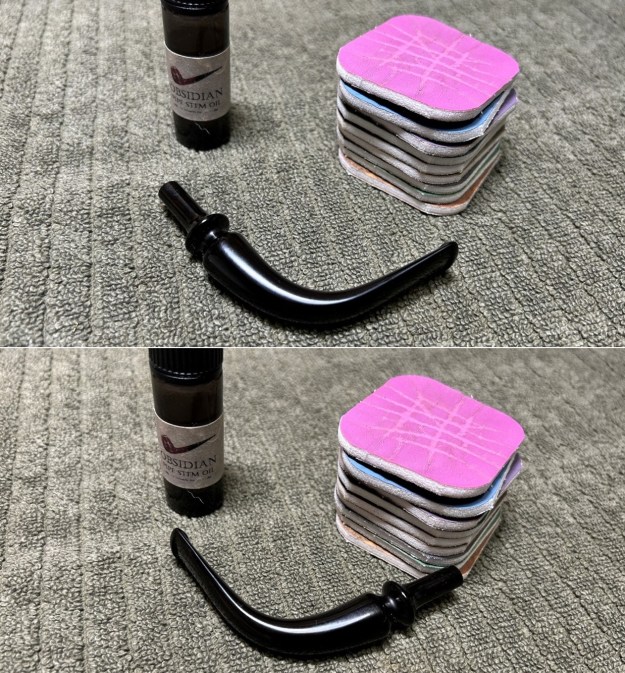
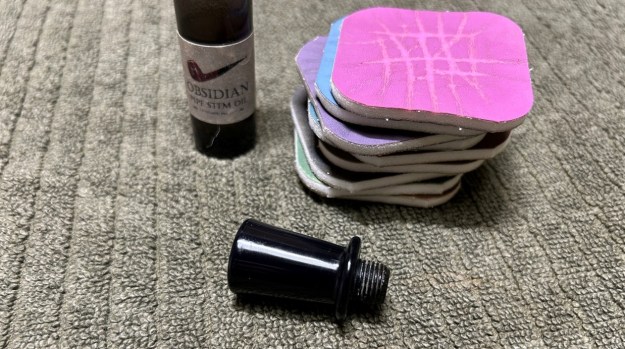
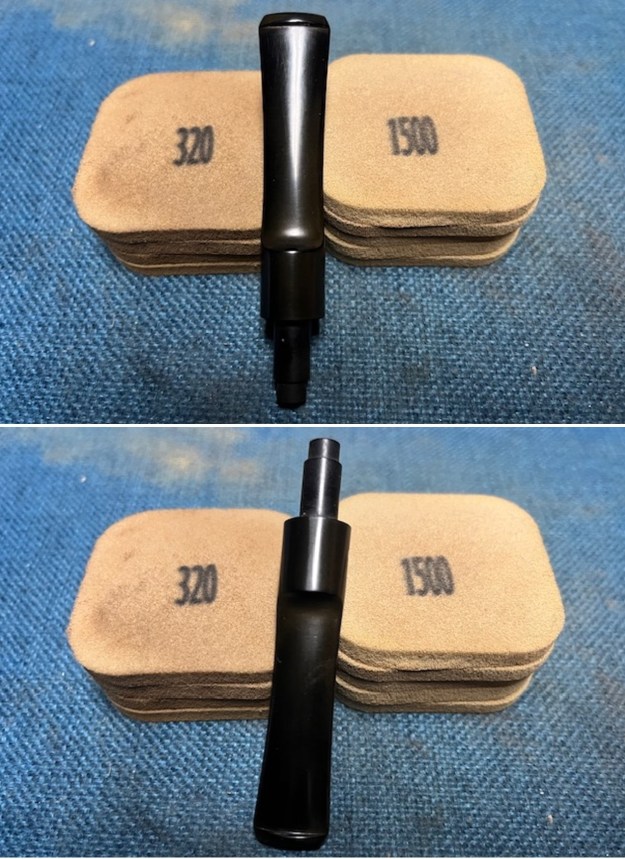 I polished the vulcanite with micromesh sanding pads – 1500-12000 grit pads. I wiped it down with Obsidian Oil after each sanding pad. I used Before & After Pipe Polish – both Fine and Extra Fine to further polish the stem.
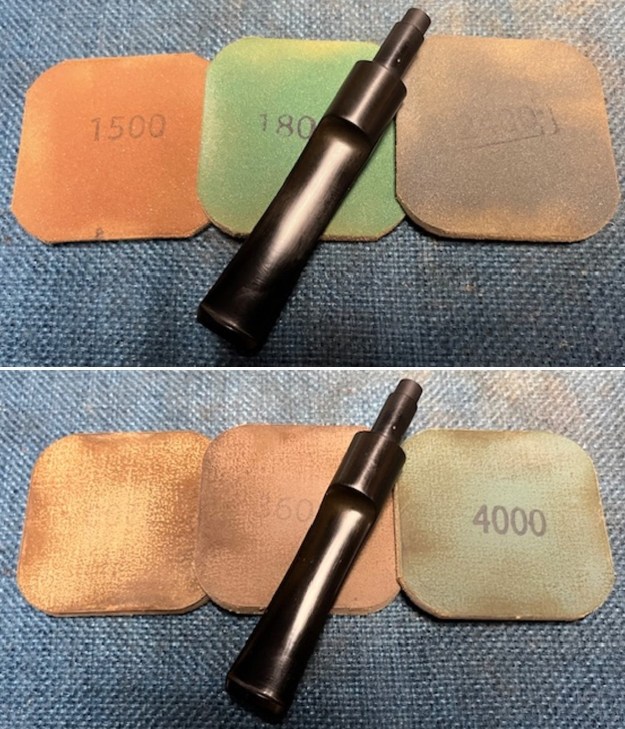
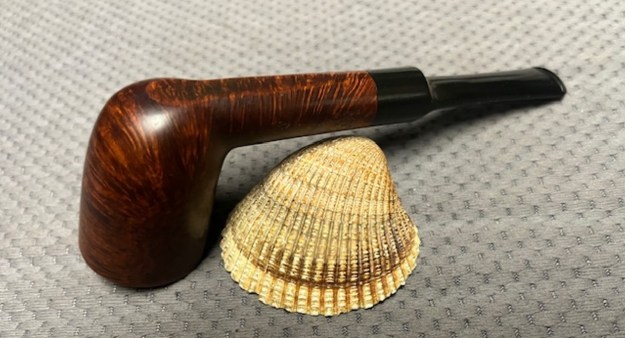
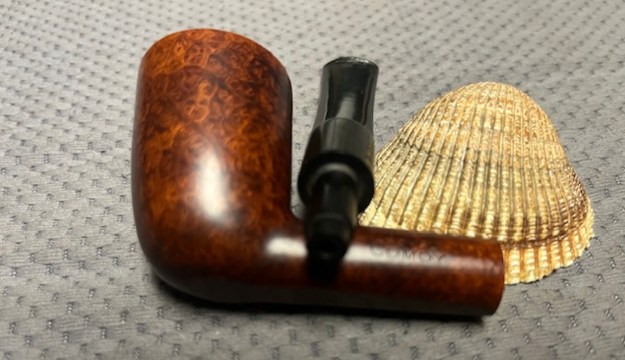
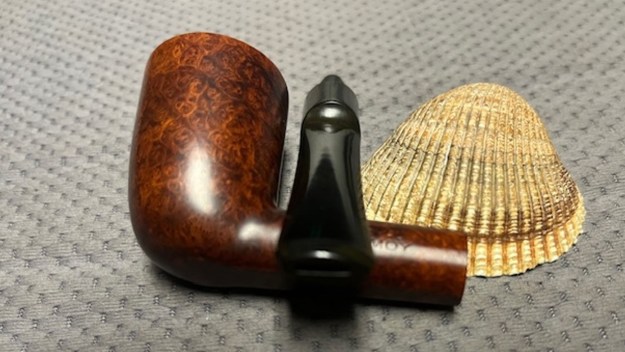
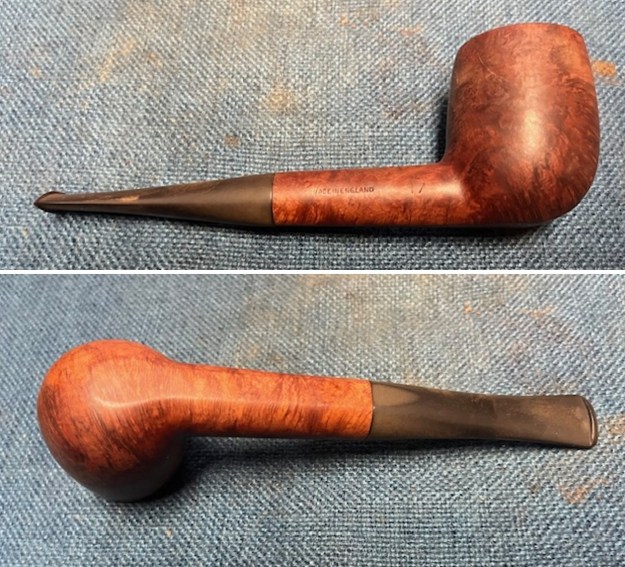
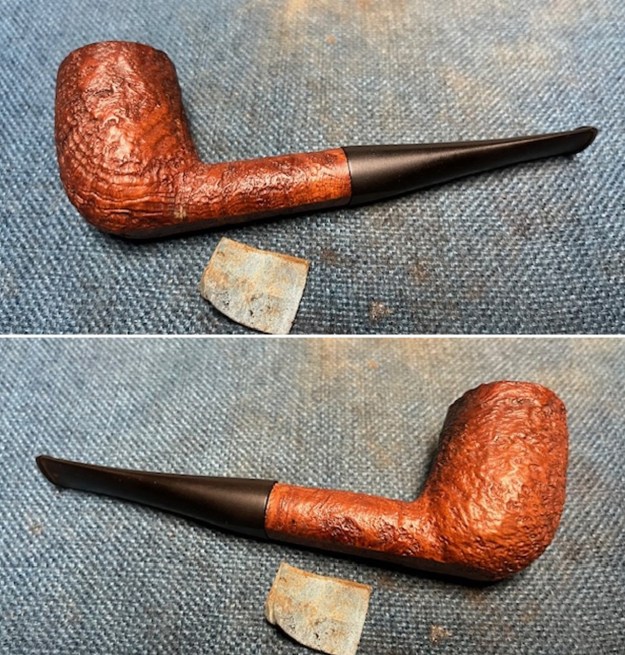
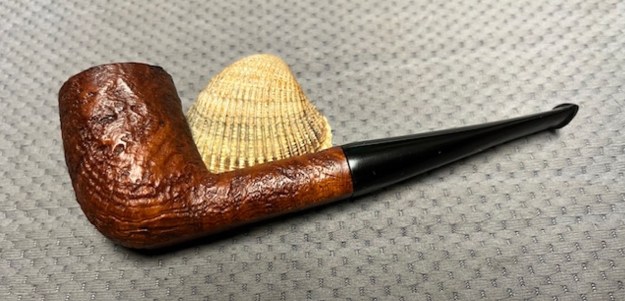
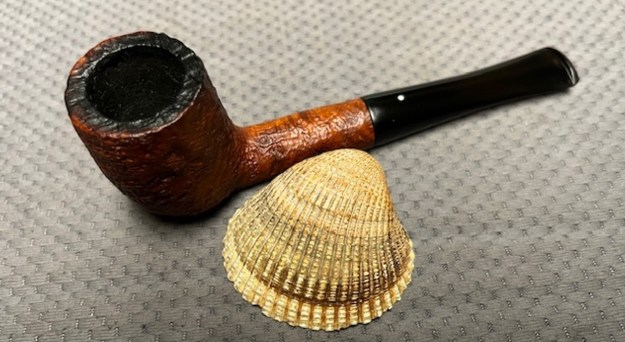
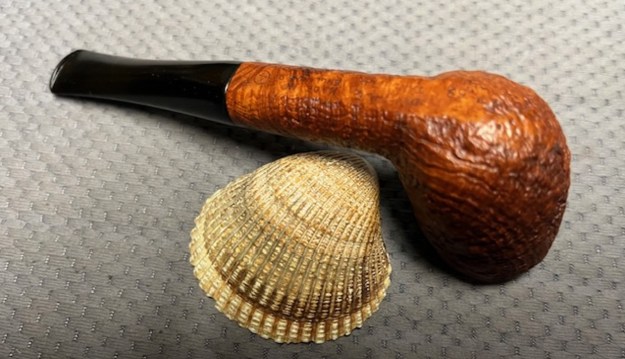
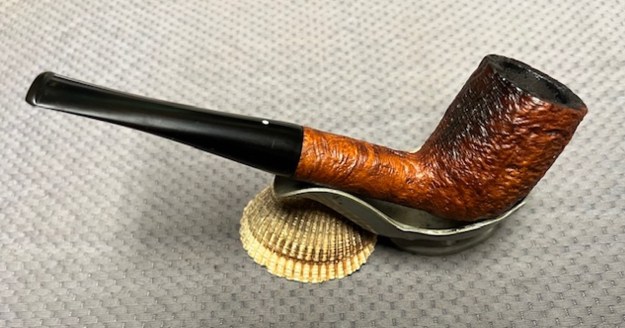
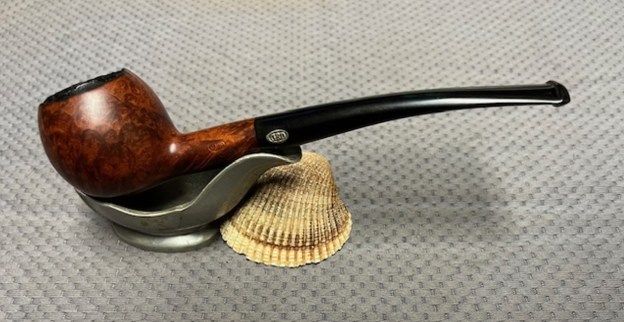
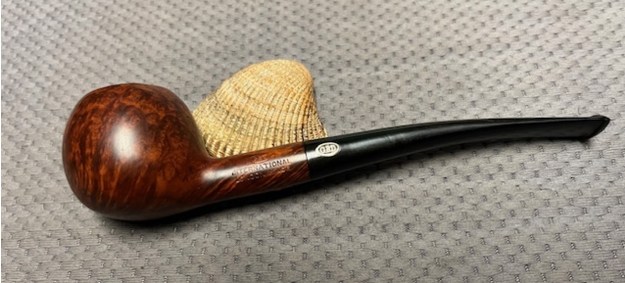
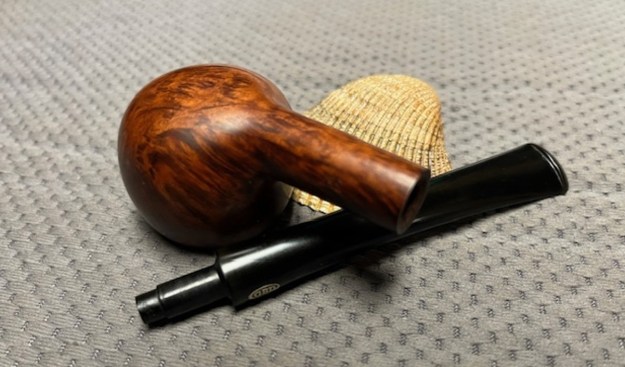
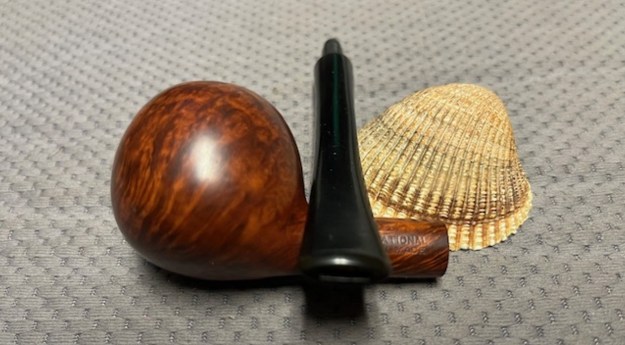
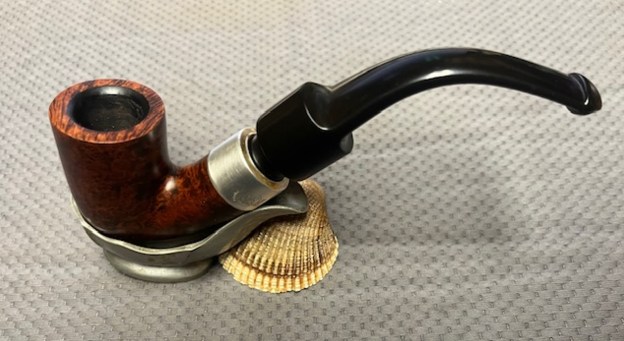
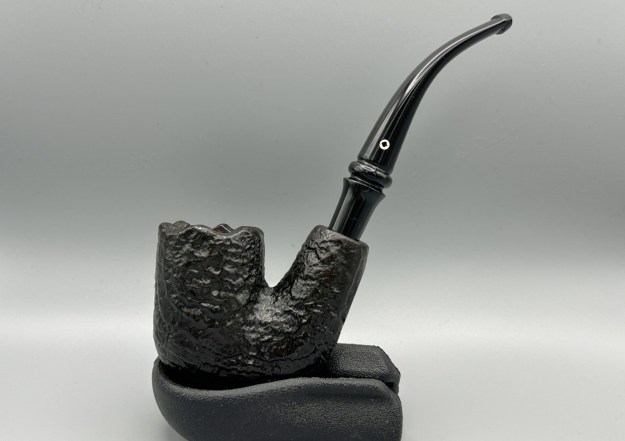
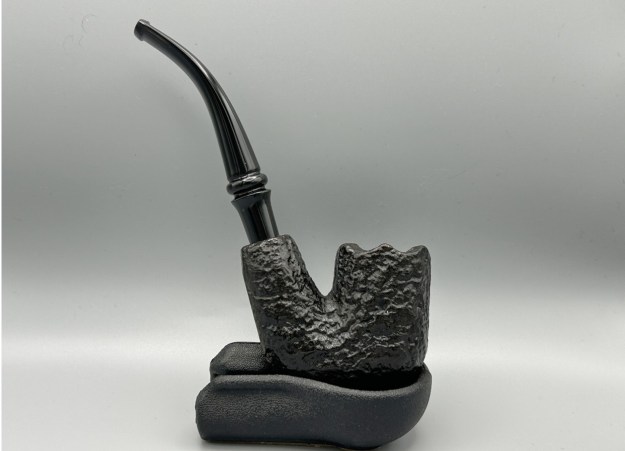
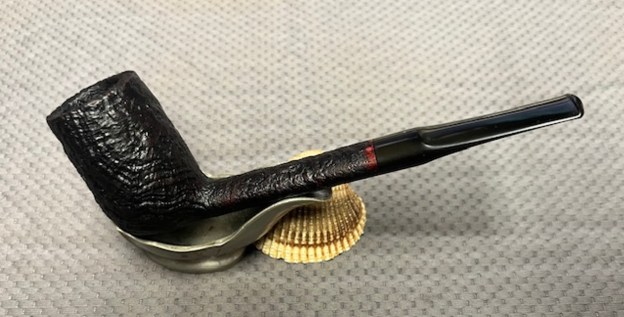
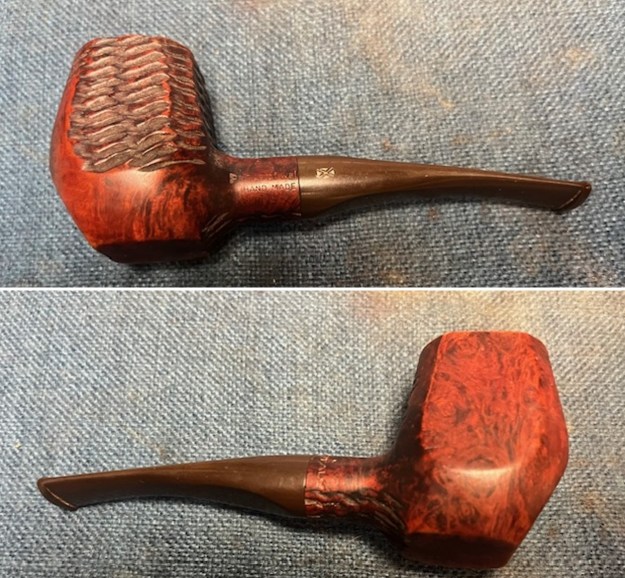
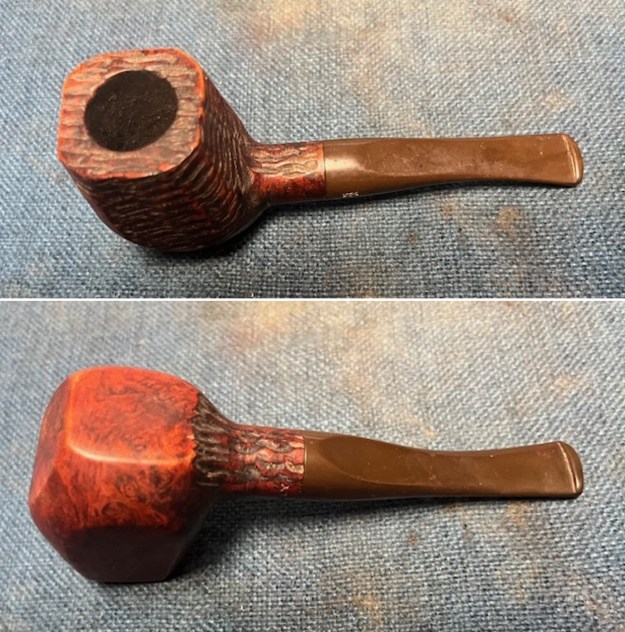
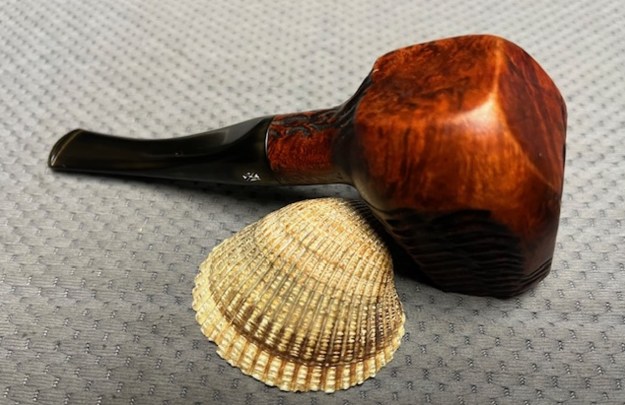
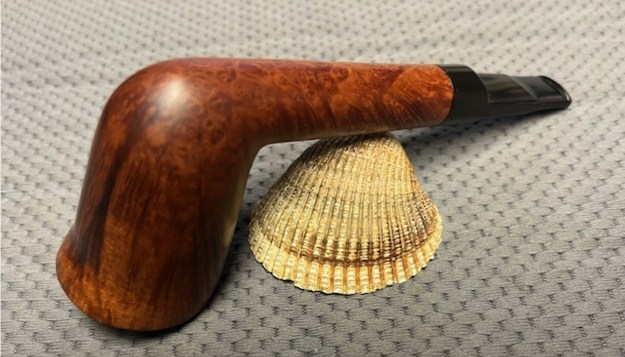
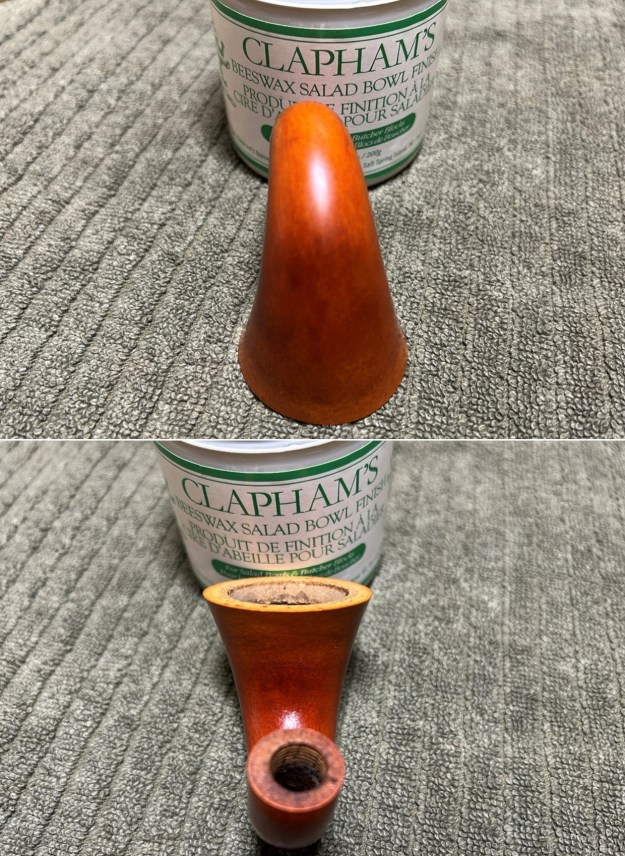
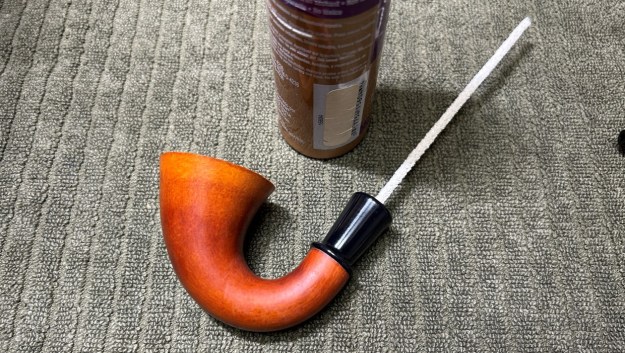
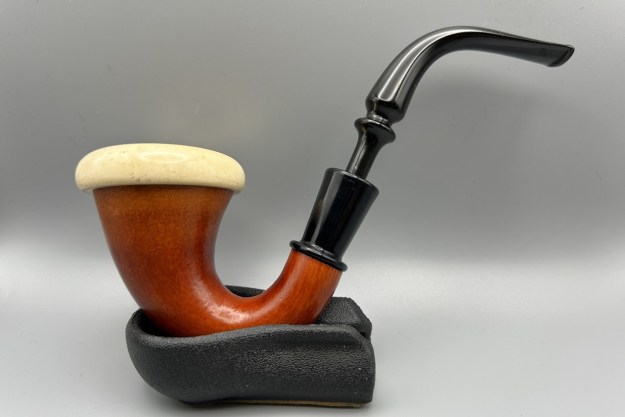
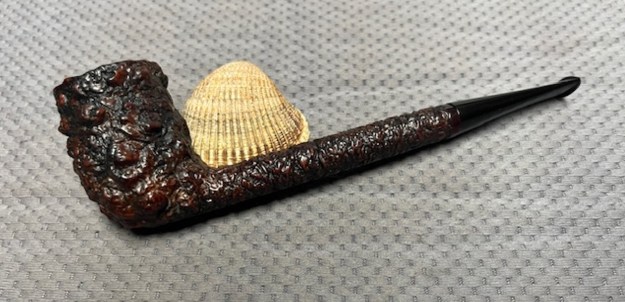
 This interestingly stamped Royal Comoy 480 Saddle Stem Dublin with a vulcanite saddle stem is a great looking pipe now that it has been restored. The rich browns and blacks of the contrasting stains came alive with the polishing and waxing. I put the stem back on the bowl and carefully buffed the pipe with Blue Diamond on the buffing wheel using a light touch on the briar. I gave the bowl and the stem multiple coats of carnauba wax on the buffing wheel and followed that by buffing the entire pipe with a clean buffing pad. I hand buffed the pipe with a microfiber cloth to deepen the shine. The finished Royal Comoy 480 Dublin is a beauty and fits nicely in the hand and looks very good. Give the finished pipe a look in the photos below. The dimensions of the pipe are Length: 5 ½ inches, Height: 1 ¾ inches, Outside diameter of the bowl: 1 ¼ inches, Chamber diameter: ¾ of an inch. The weight of the pipe is 29 grams/1.02 ounces. If you are interested in adding this pipe to your collection send me a message or an email. Thanks for reading this blog and my reflections on the pipe while I worked on it. There are many more to come!