By Steve Laug
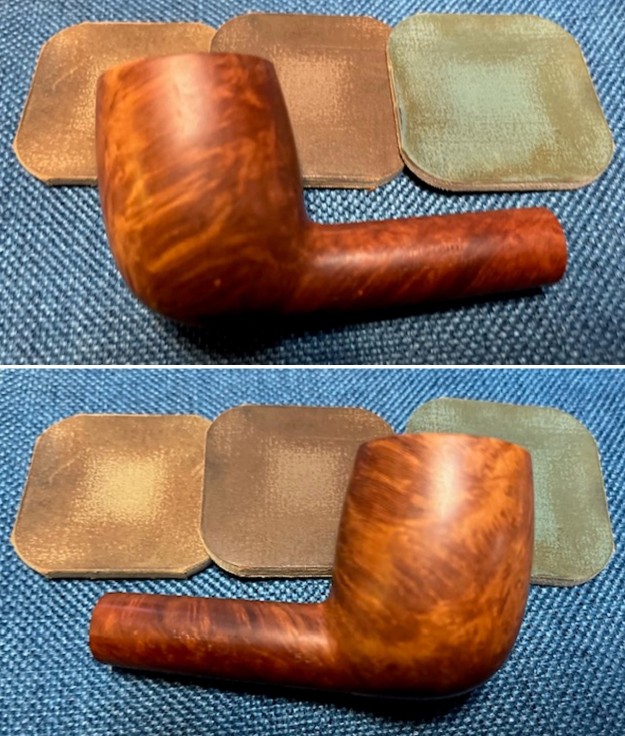
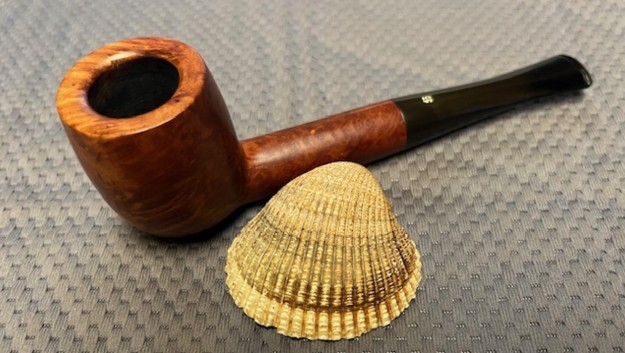
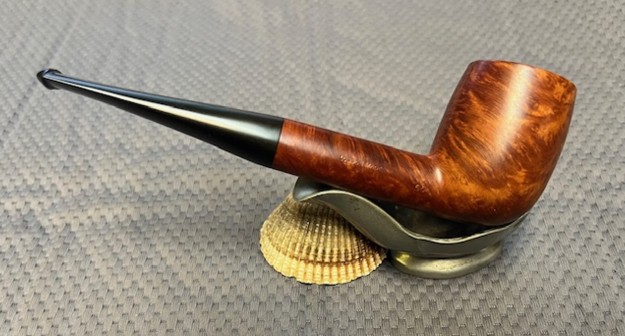
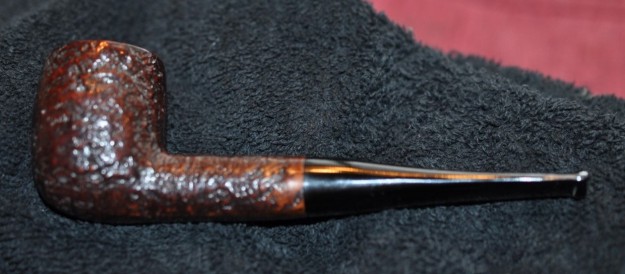
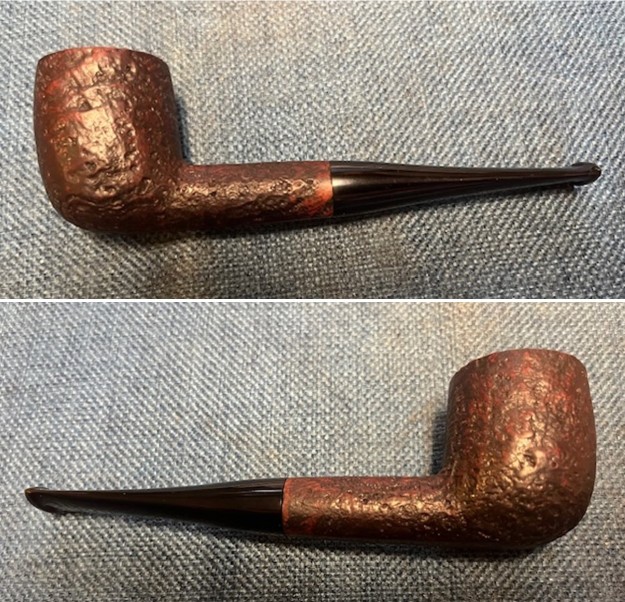
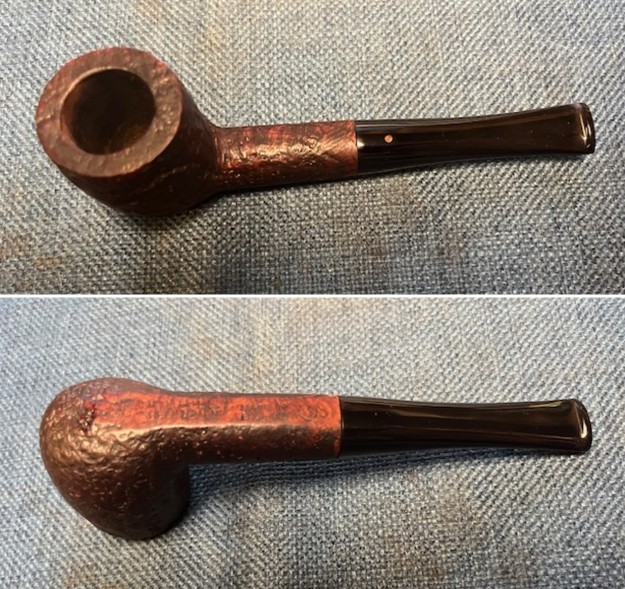
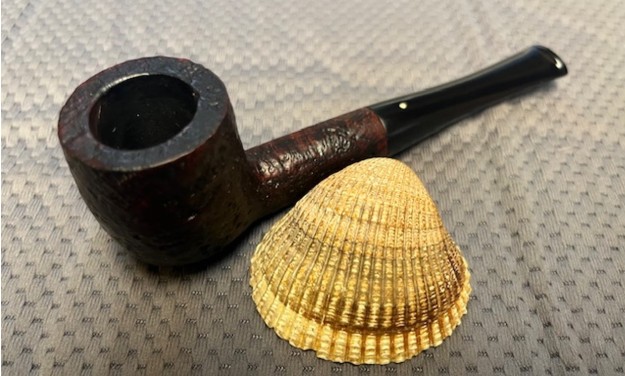
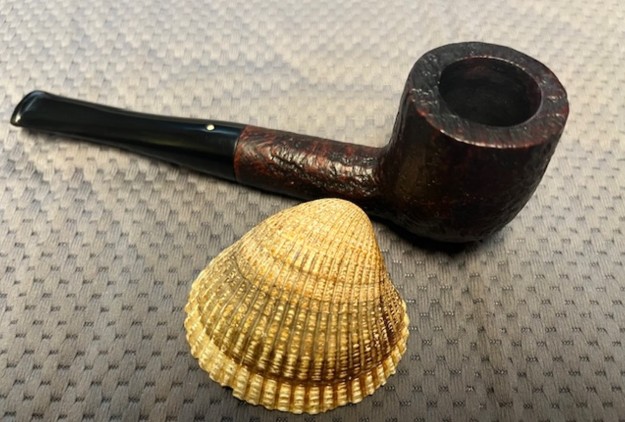
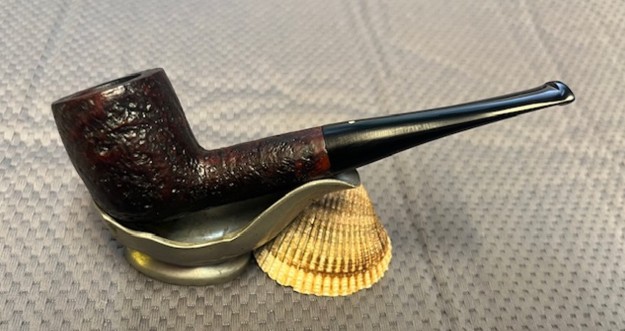
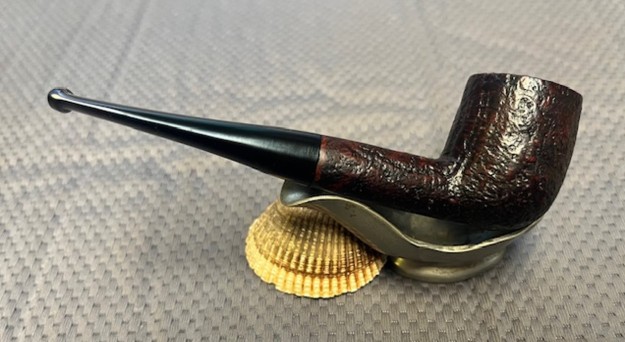
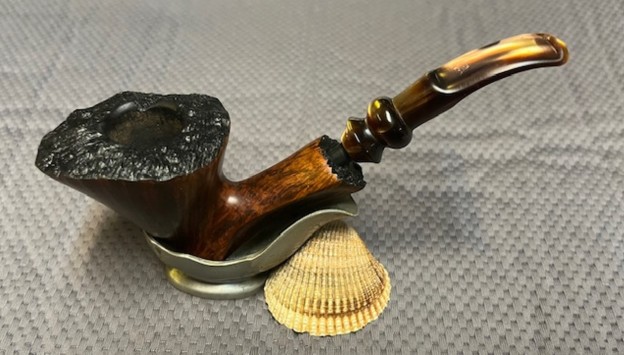
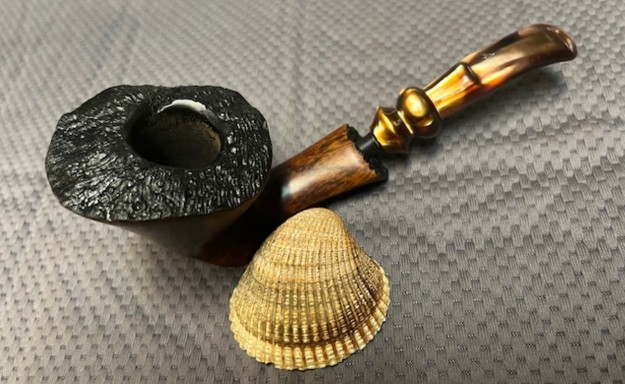
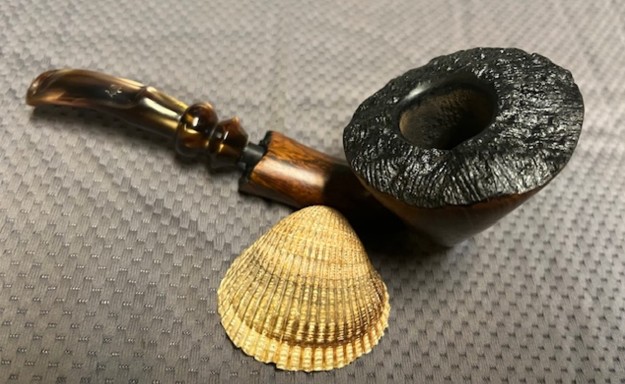
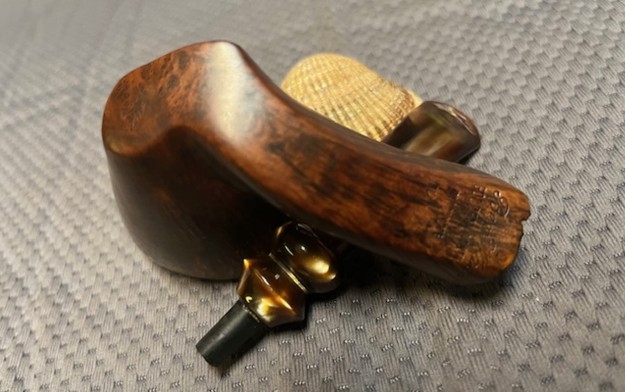
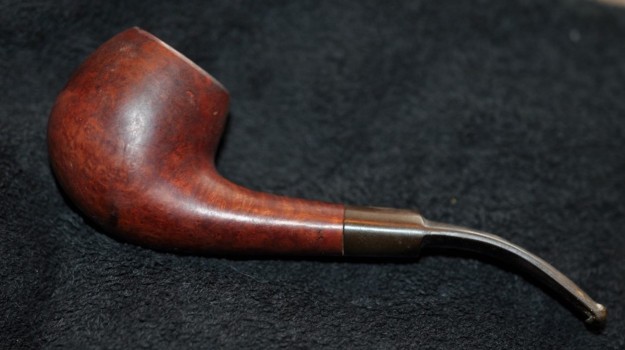
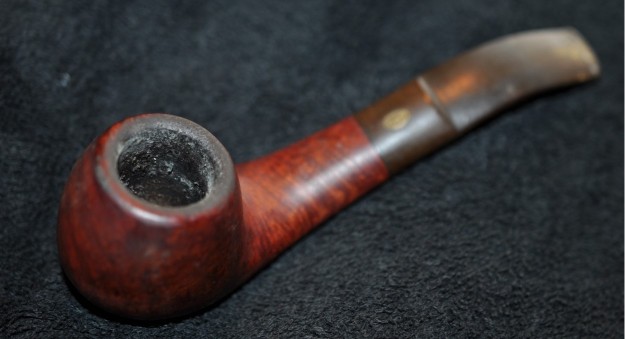
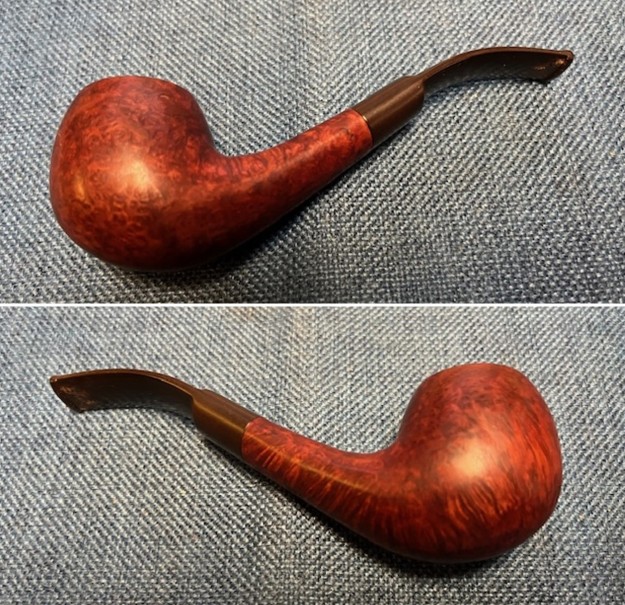
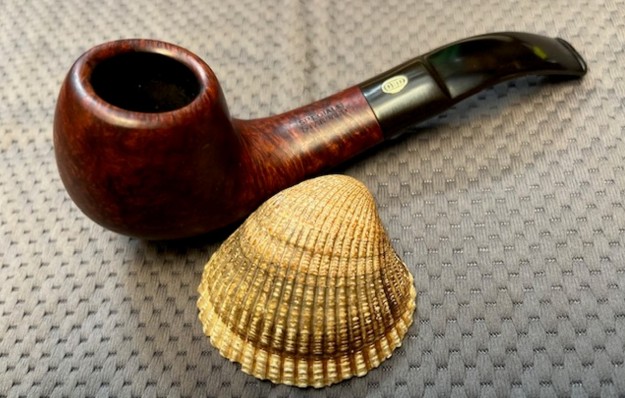
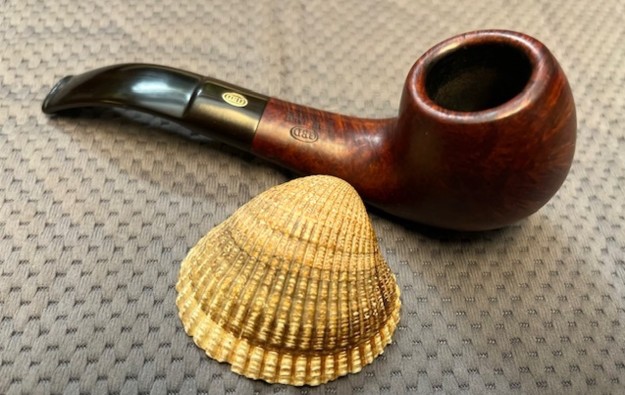
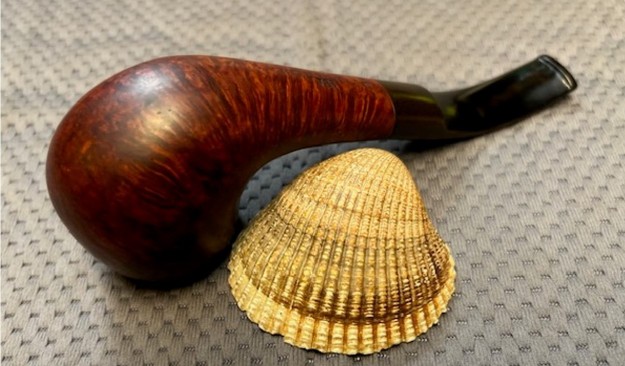
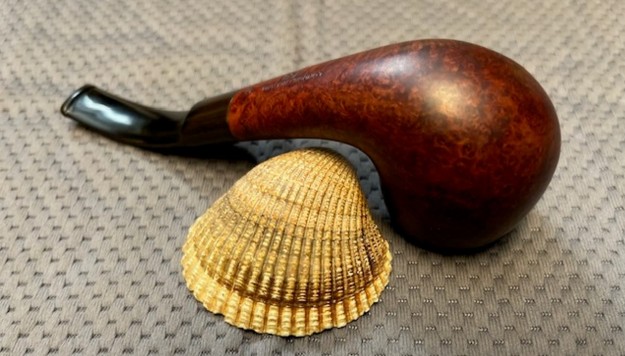
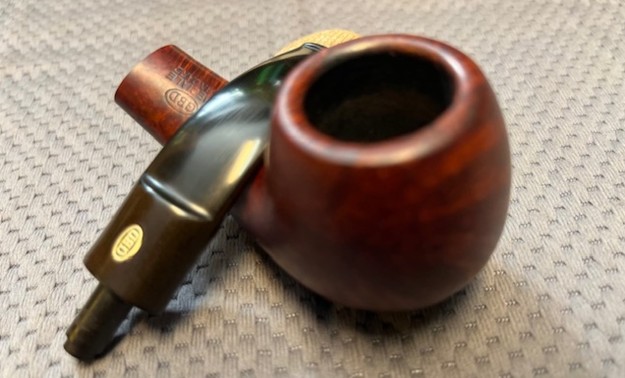
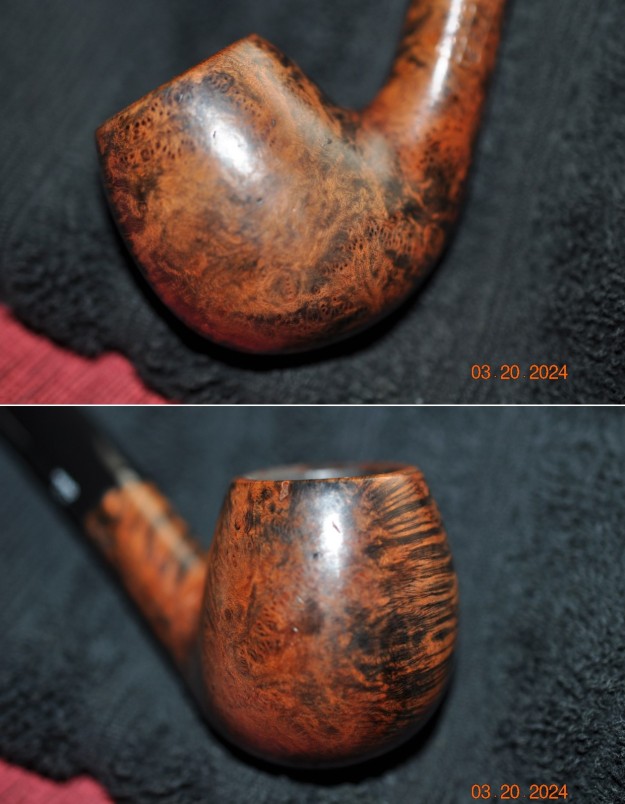
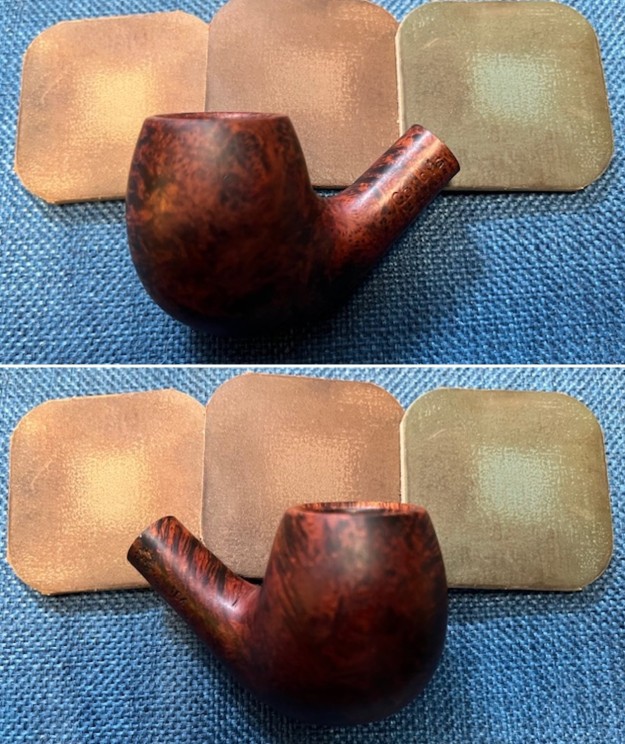
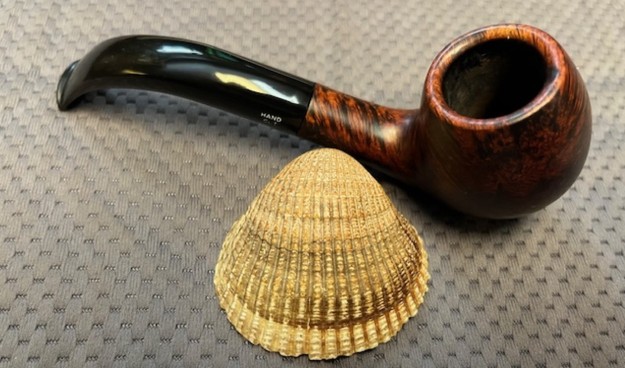
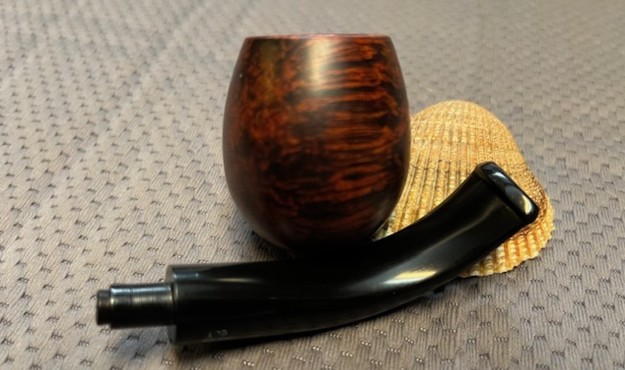
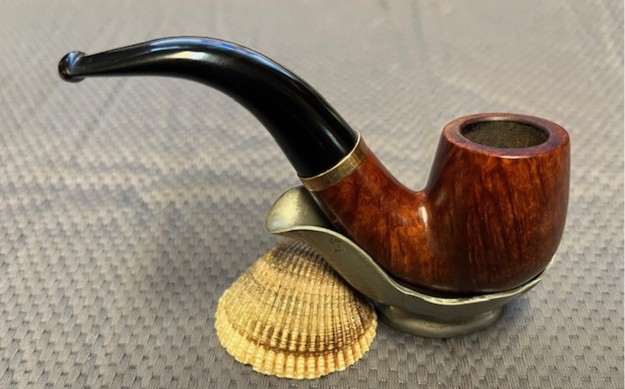
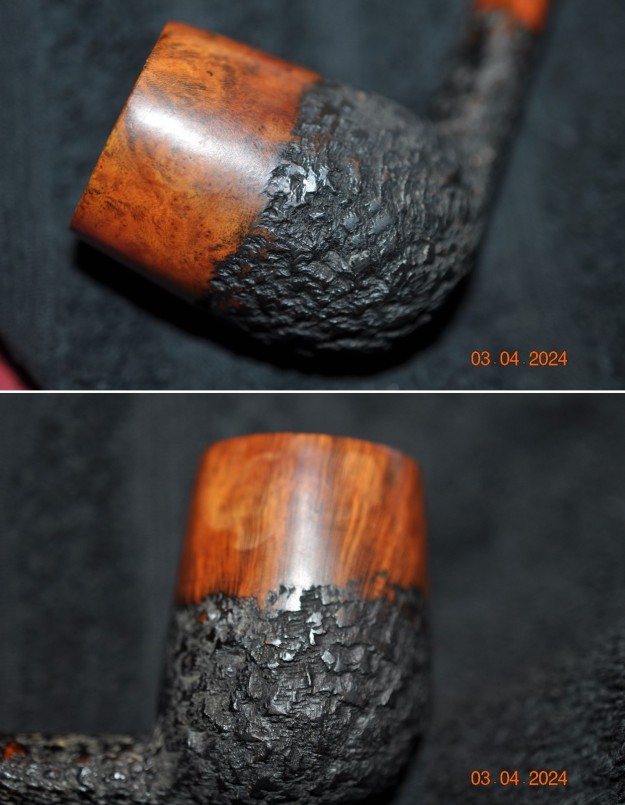
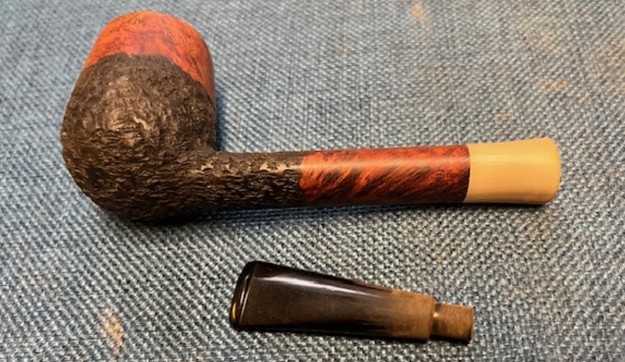
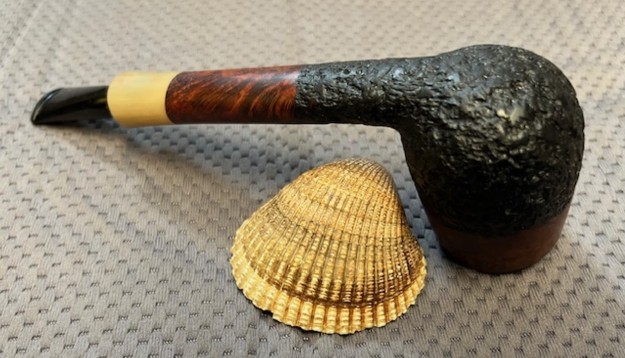
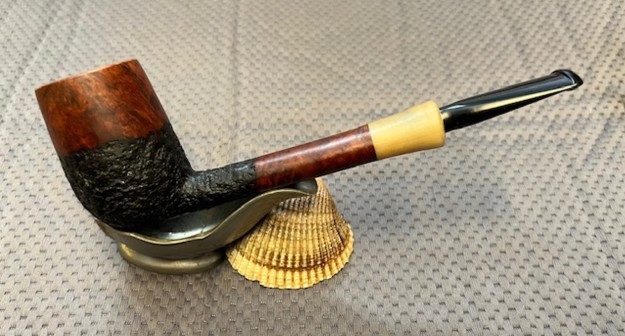
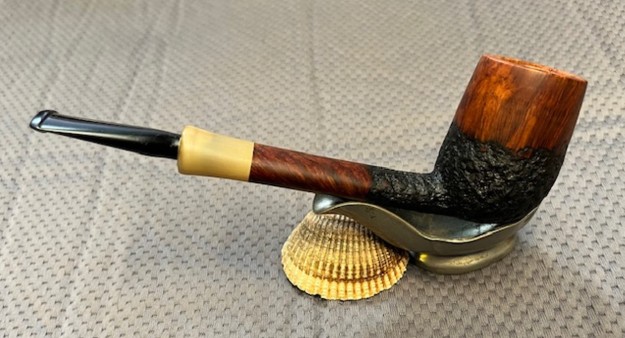
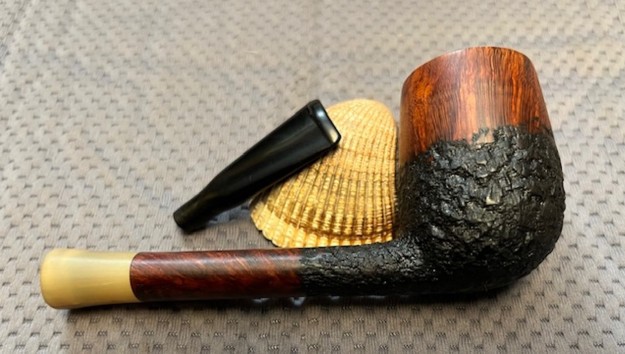
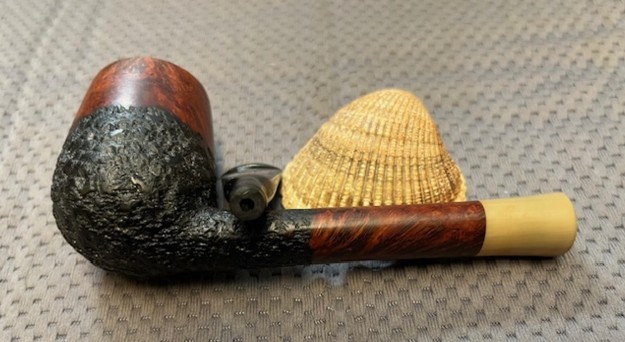
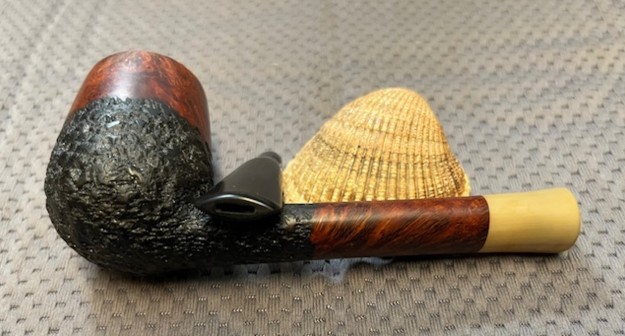
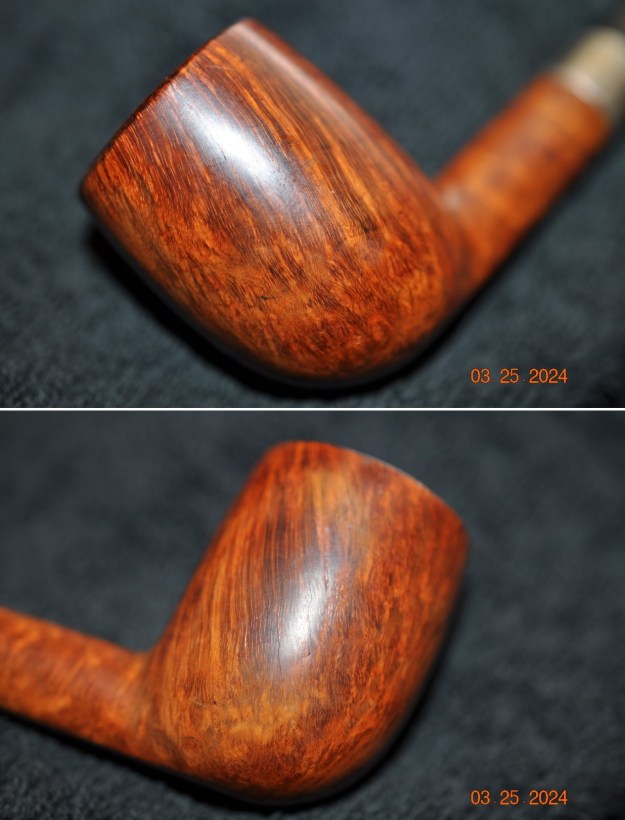
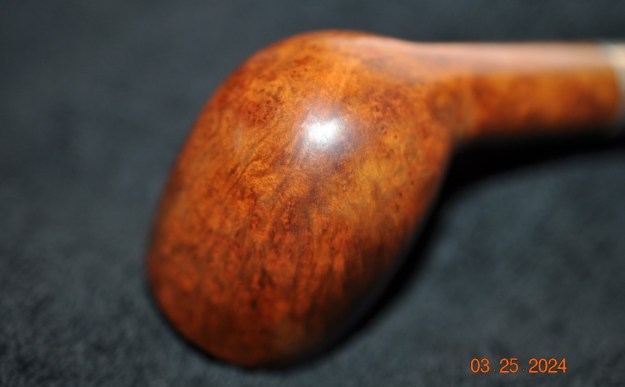
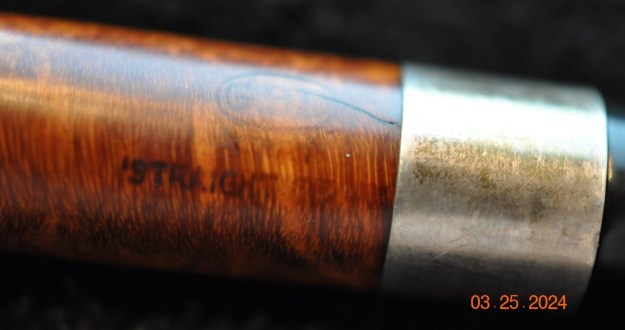
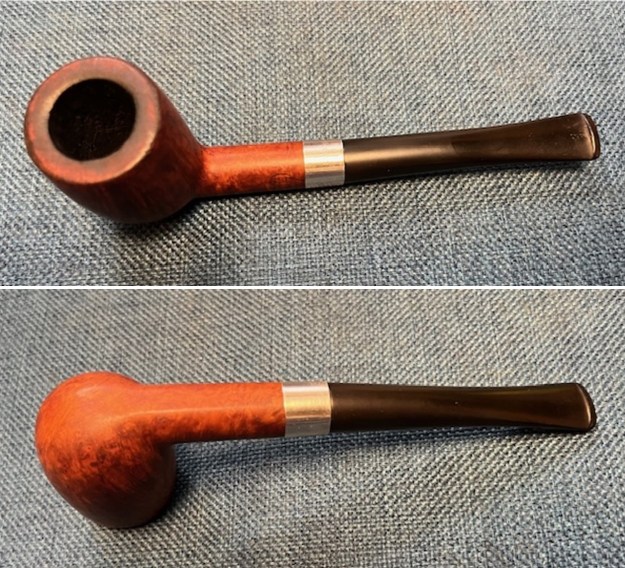
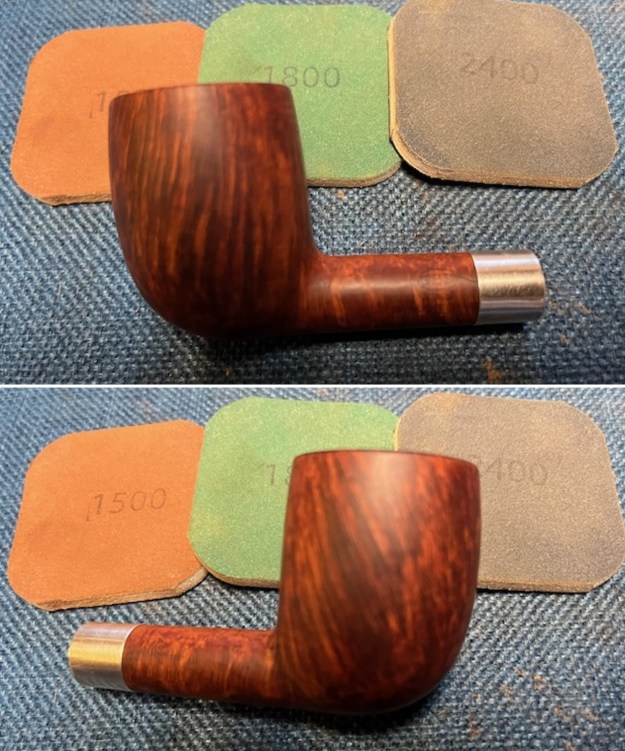
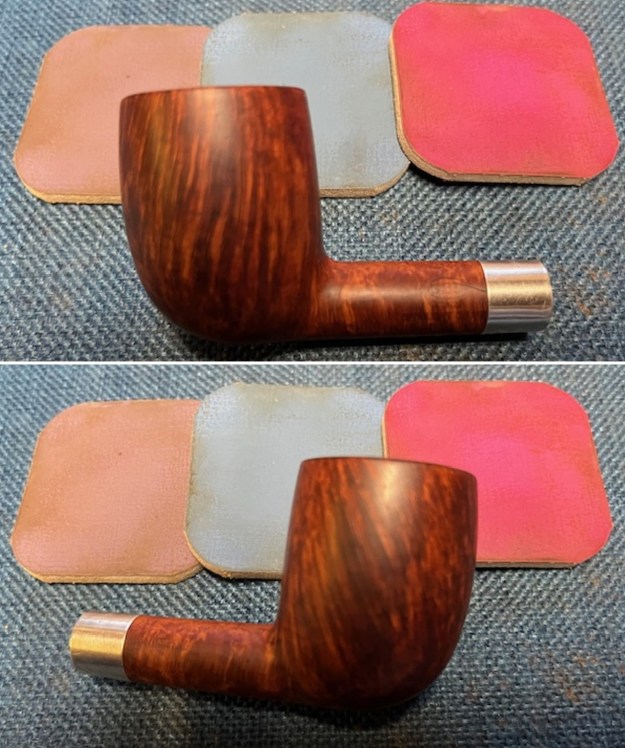
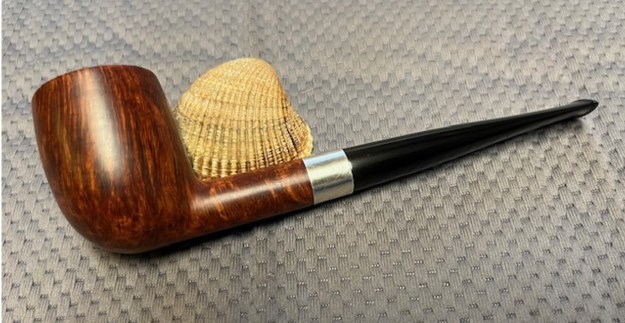
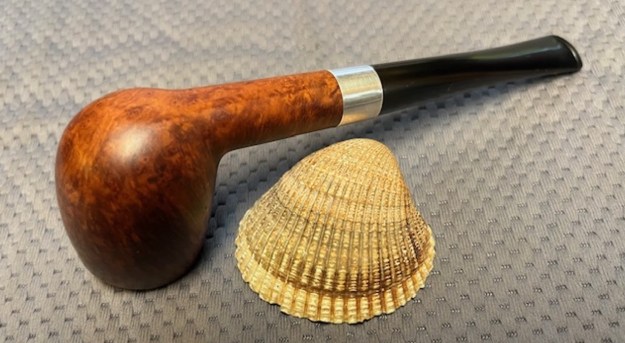
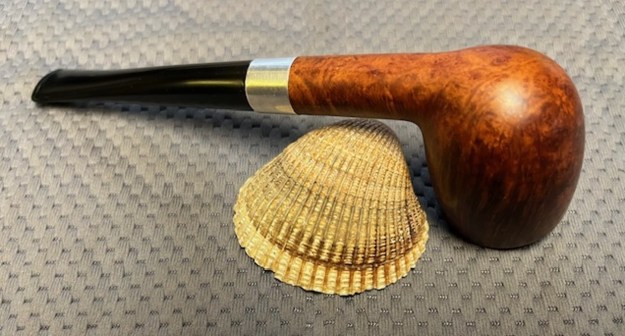
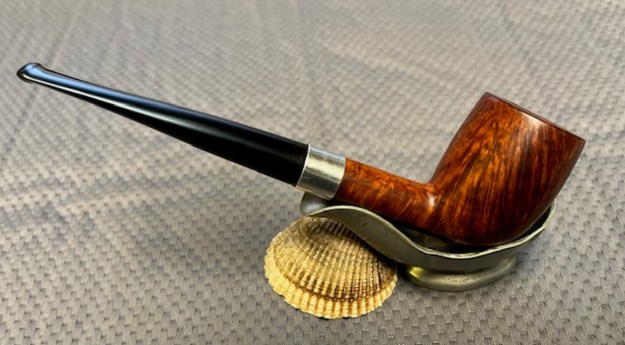
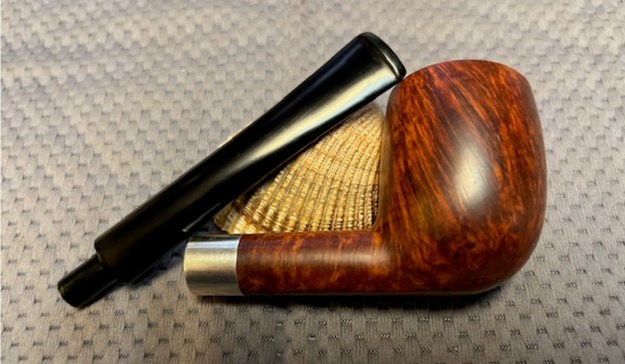
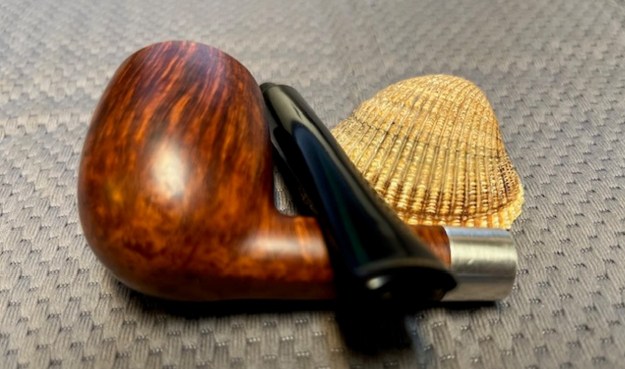
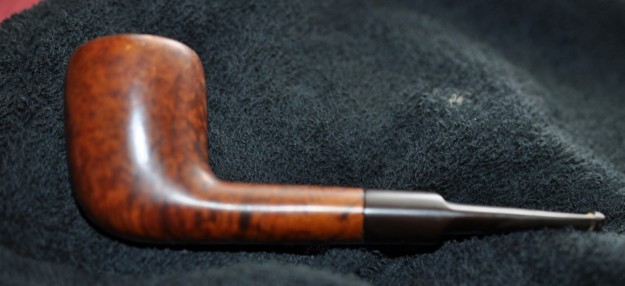
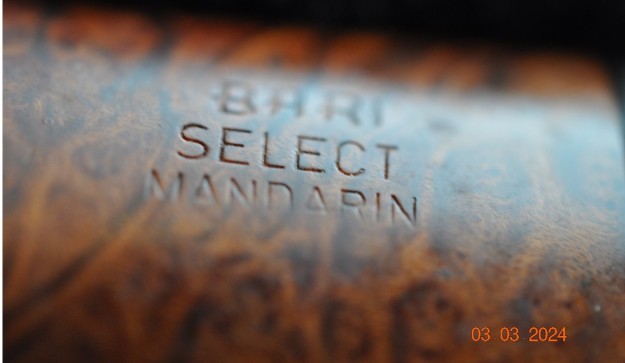
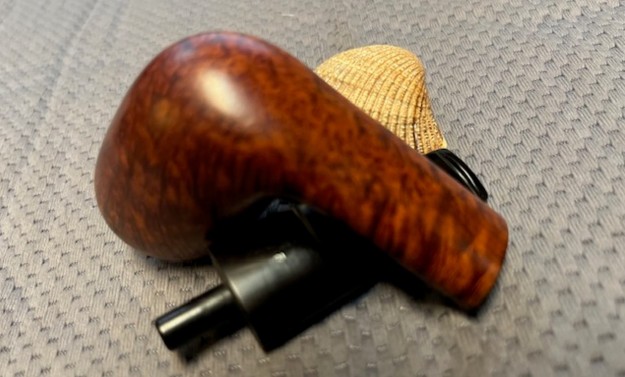
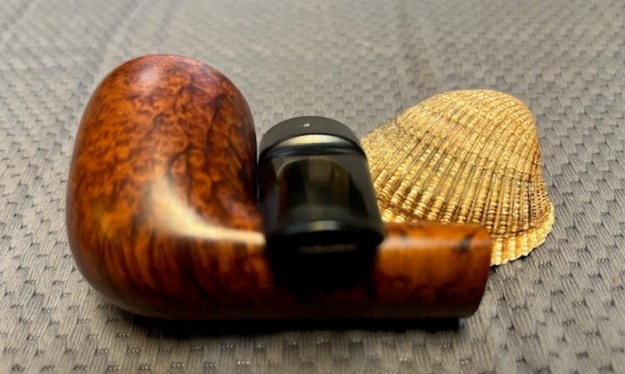
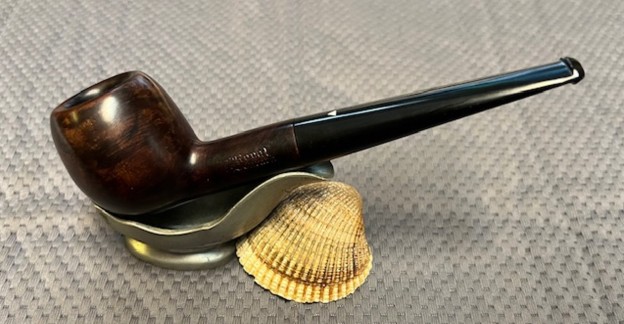
We met up at a local eatery and had a great breakfast together with our aunt. We took her to her residence afterwards and visited with her for most of the morning. Together we headed to Old Town Bellingham to begin our pipe hunt. We visited three of my favourite antique malls and worked out way through the aisles of wares for sale. Jeff and I tend to divide and conquer, each walking through the aisles of the shop looking for pipes. The rest of the family moves through looking for their own treasures. In the first shop there was a rack and in it were two pipes. The first was a Sasieni Royal Stuart Billiard and the second was a Sasieni Mayfair Apple. Both were great and were added to the hunt bag. Here is the link to the blog on the hunt and a photo of the pipes we added (https://rebornpipes.com/tag/bellingham-pipe-hunt/). Both were dirty but both contained the Sasieni Magic – classic shapes and nice briar. 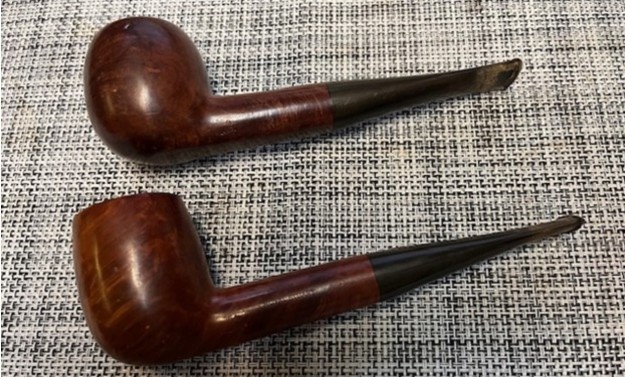 The next pipe on the work table is the Sasieni Royal Stuart which is the lower pipe in the photo below. It is stamped on the left side of the shank and has a rugby ball stamp Made in England next to the shank/bowl junction. That is followed by Sasieni [over] Royal Stuart. On the right side it has the shape number 55 next to the bowl/shank junction followed by London Made stamped mid shank. The stem has an RS logo on the topside. The bowl had a thick cake and almost a half bowl of tobacco filling it. There was a thick lava overflow on the rim. It was hard to estimate the condition of the rim top with the cake and lava coat but I was hoping it had been protected from damage. It appeared that the outer edge was in decent condition. The finish was a classic Sasieni smooth. The finish was dusty and tired but had some nice grain under the grime and the finish appeared to be in good condition. A lot would be revealed once I had cleaned it. The stem was dirty, oxidized, calcified and had tooth chatter and tooth marks near the button on both sides. I took photos of the pipe before I started my cleanup work.
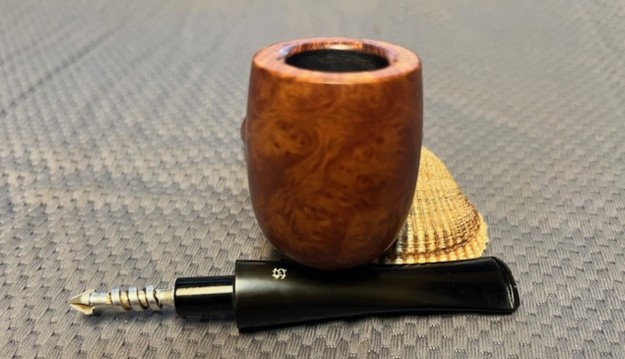
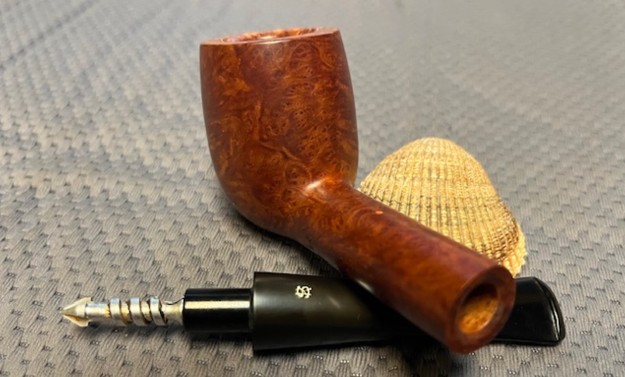
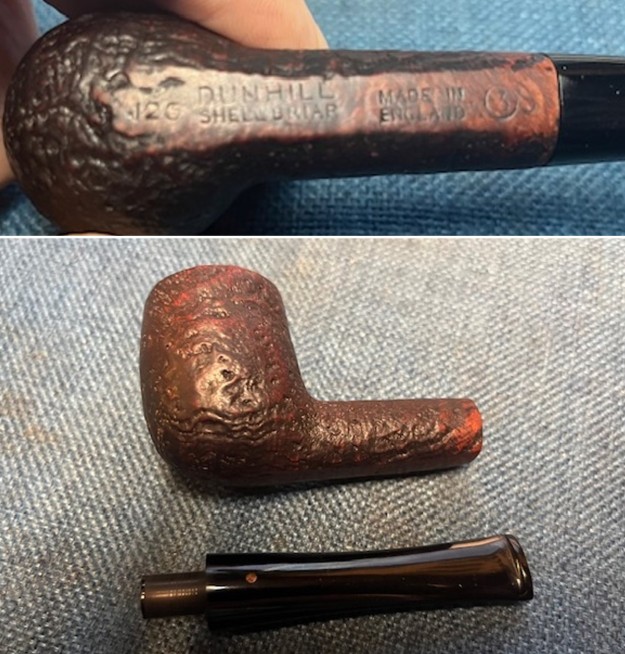
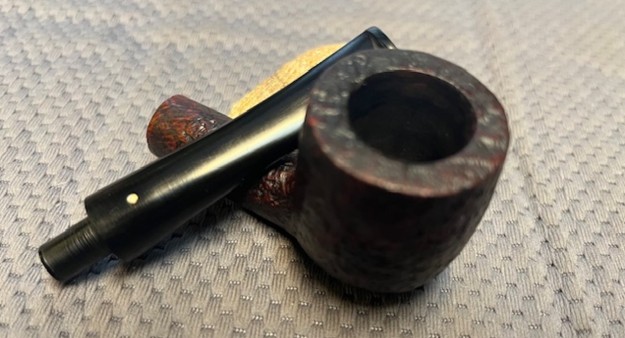
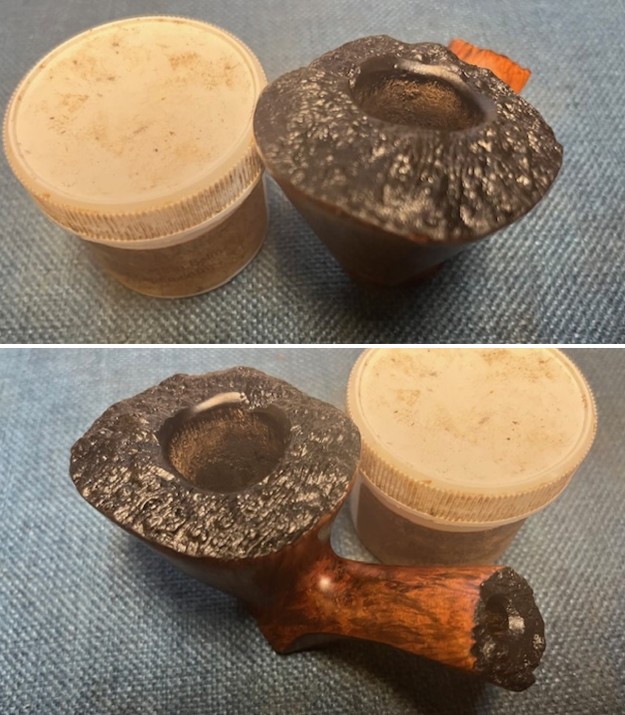
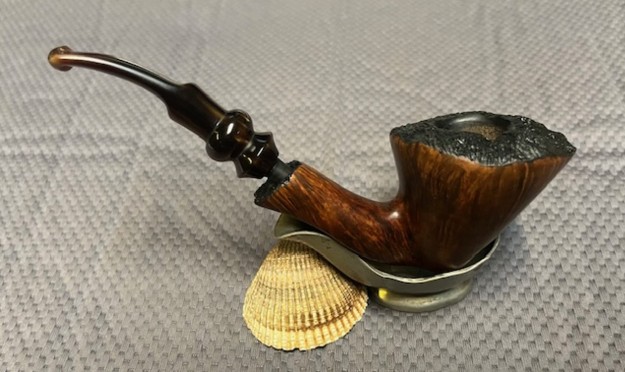
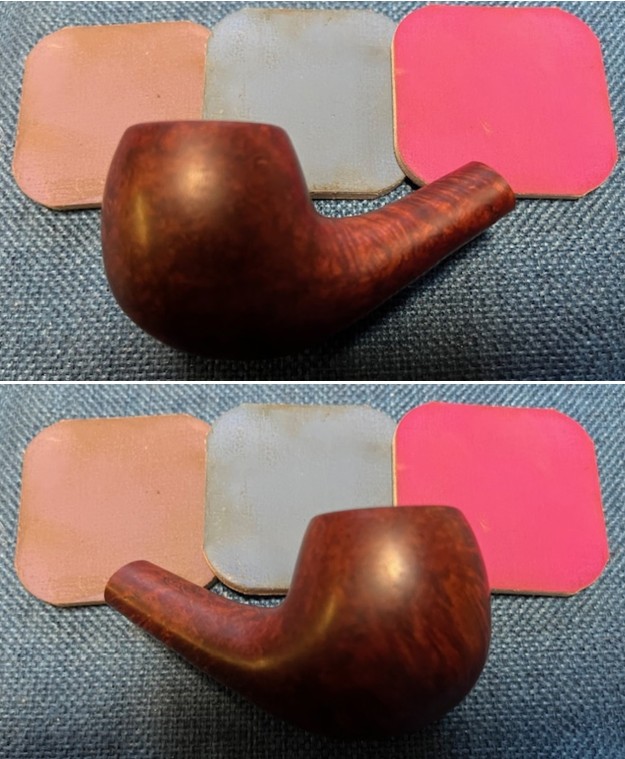
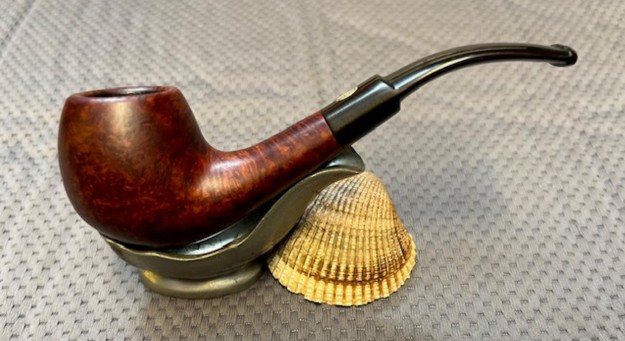
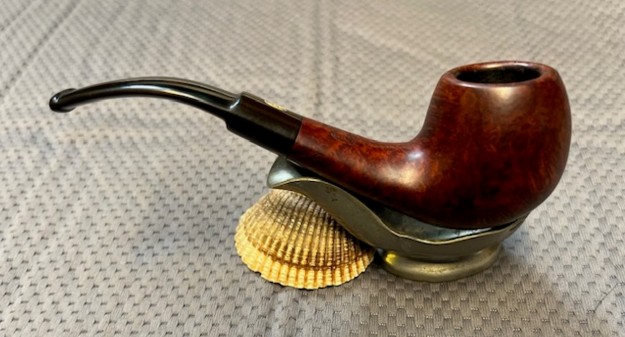
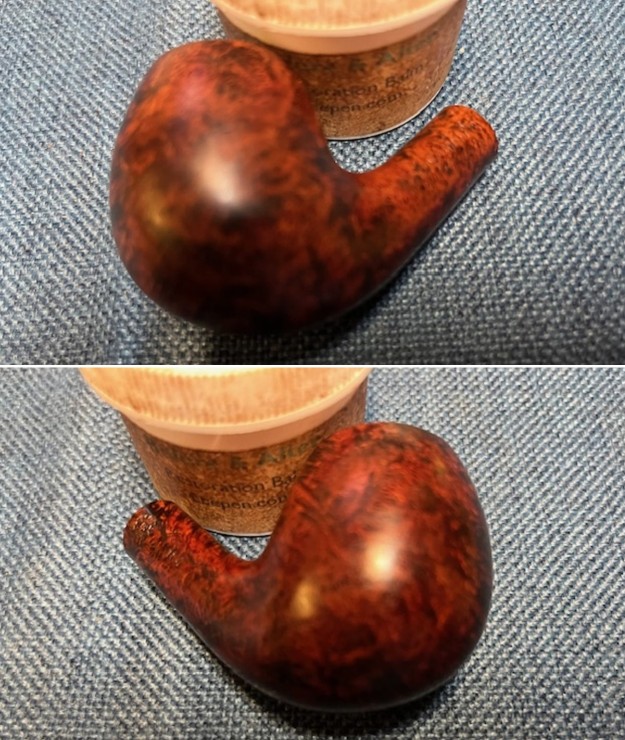
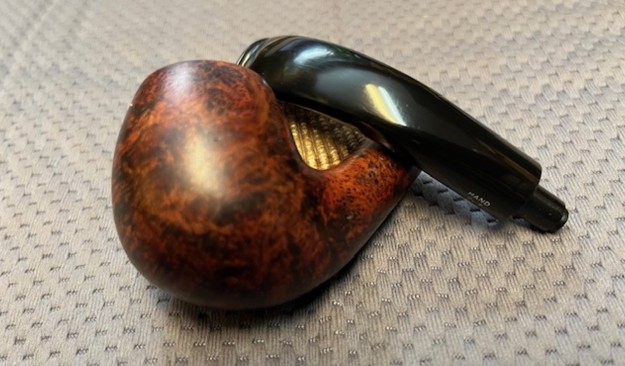
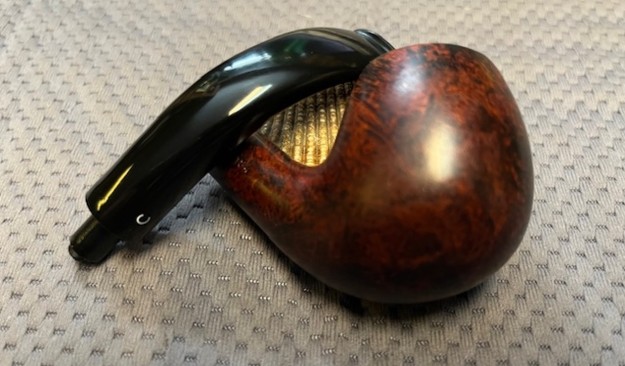
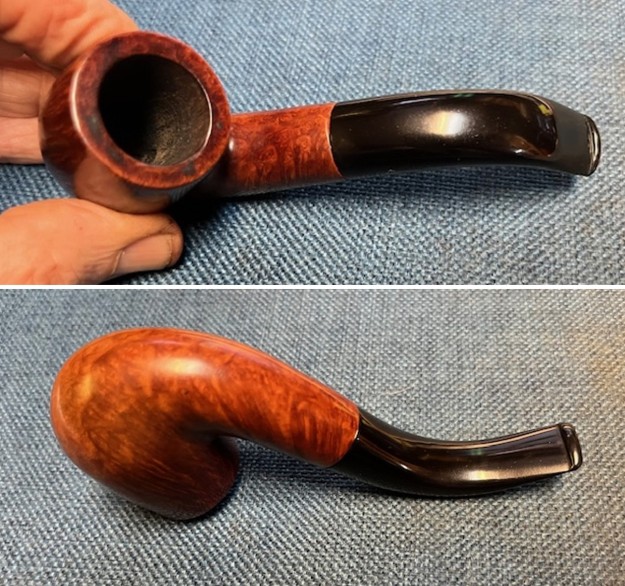
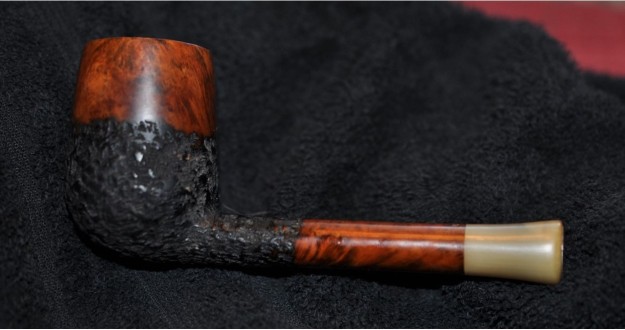
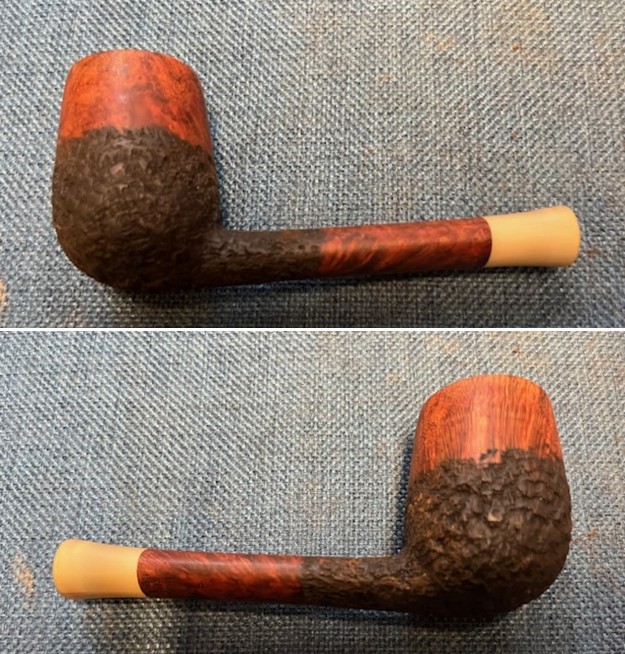
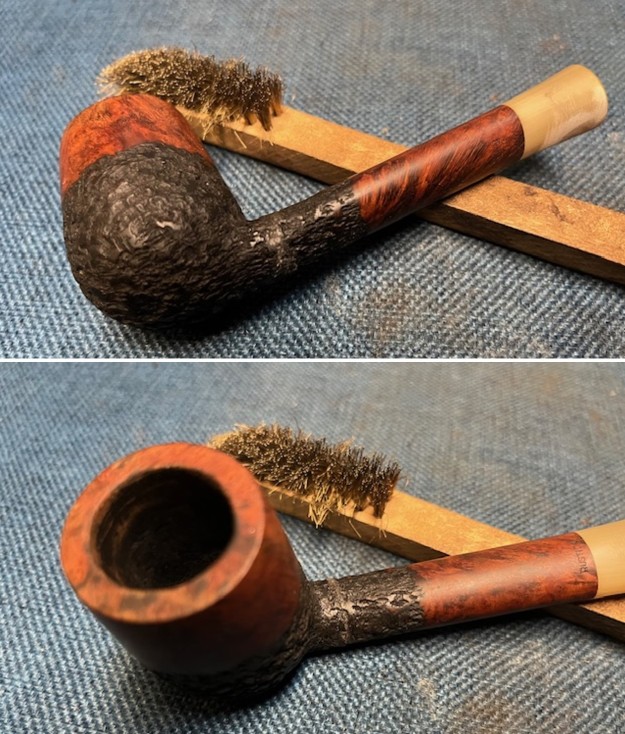
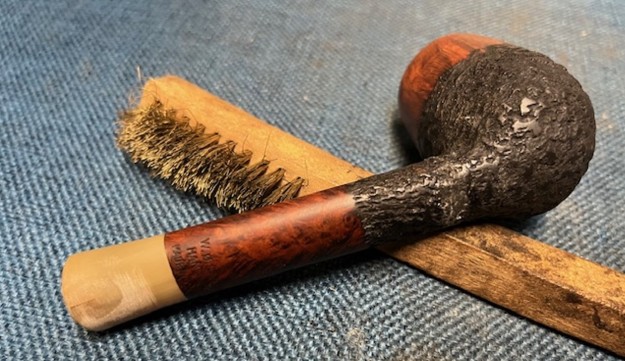
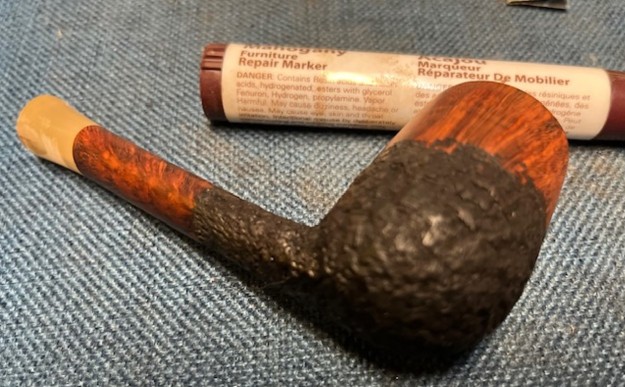
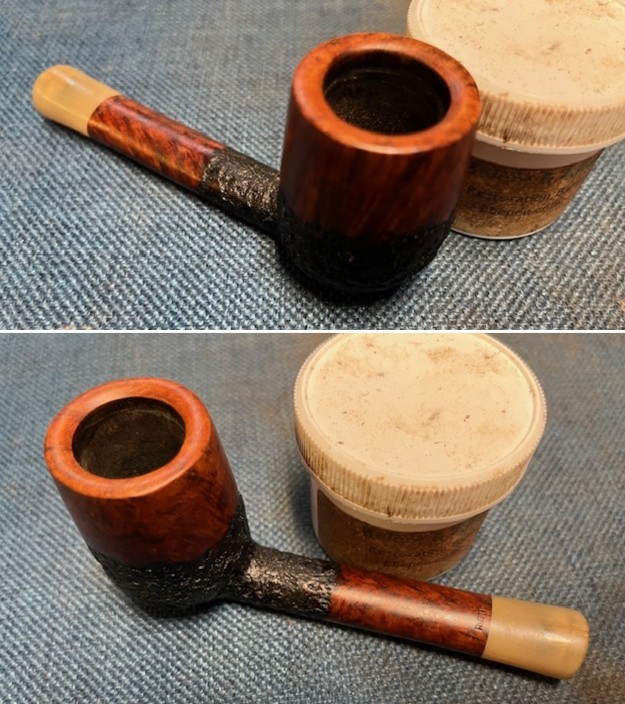
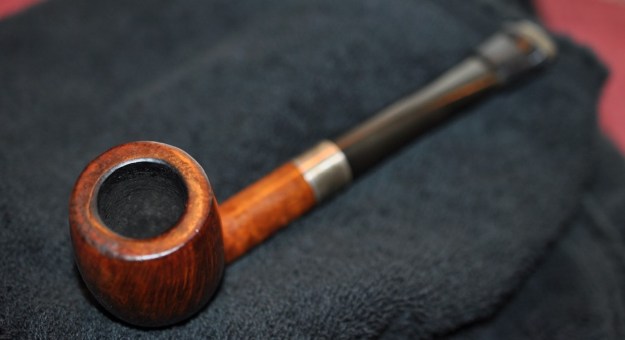
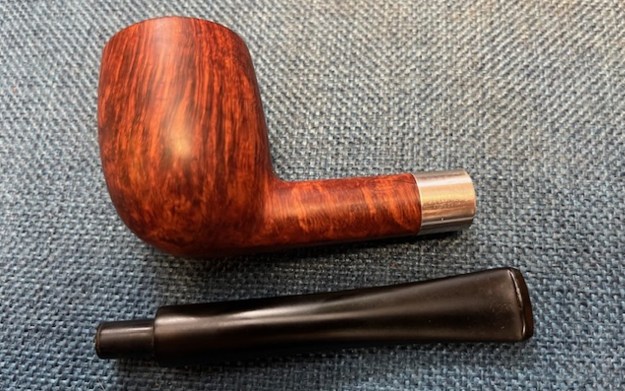
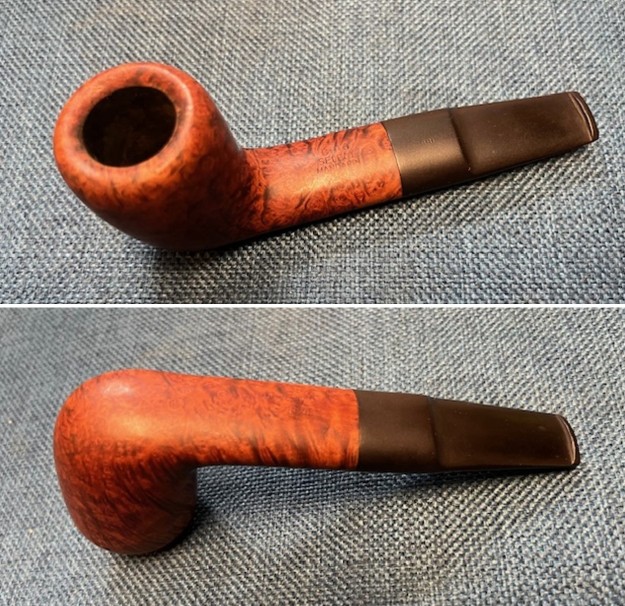
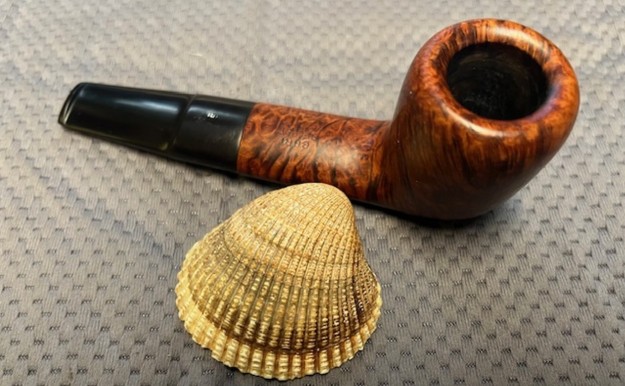
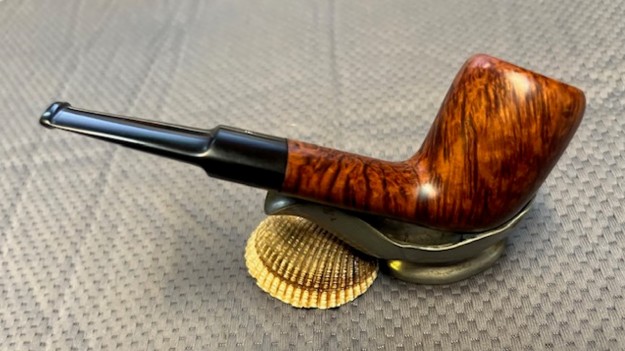
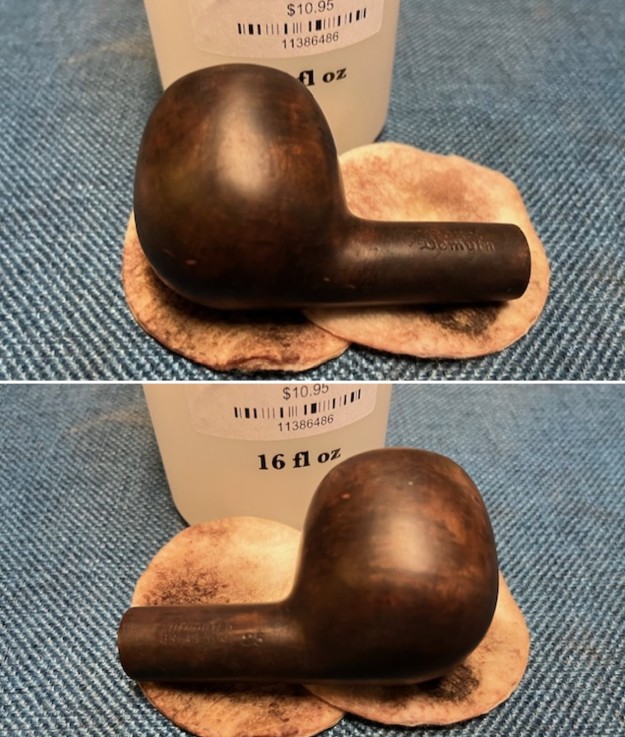
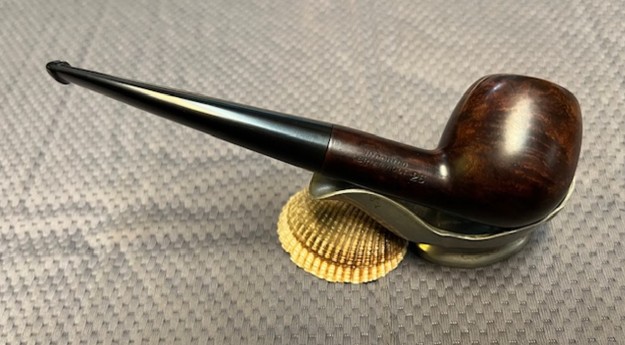
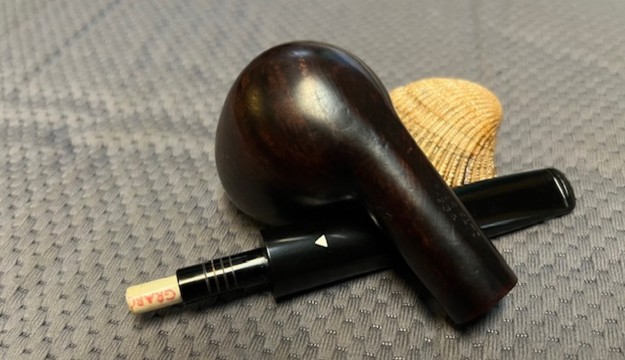
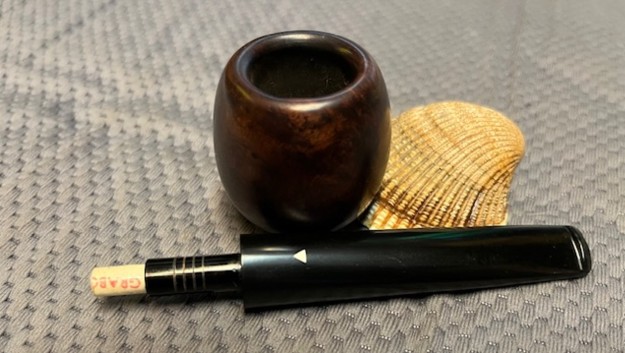
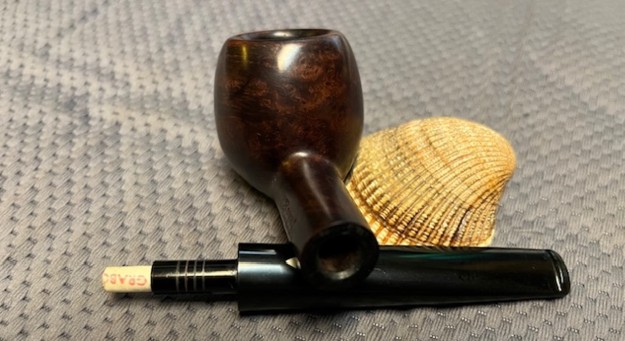
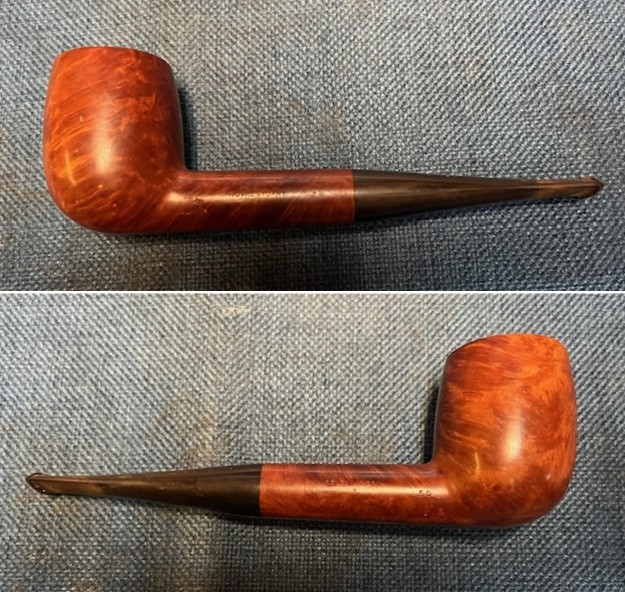
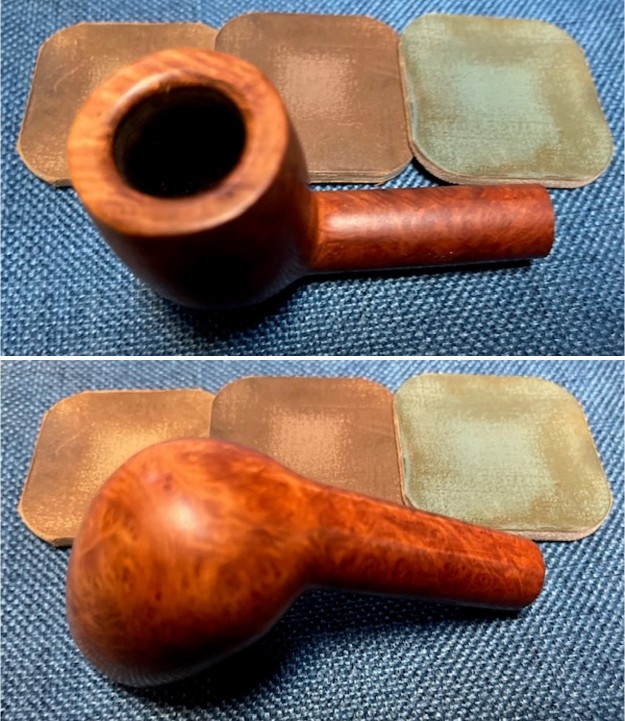
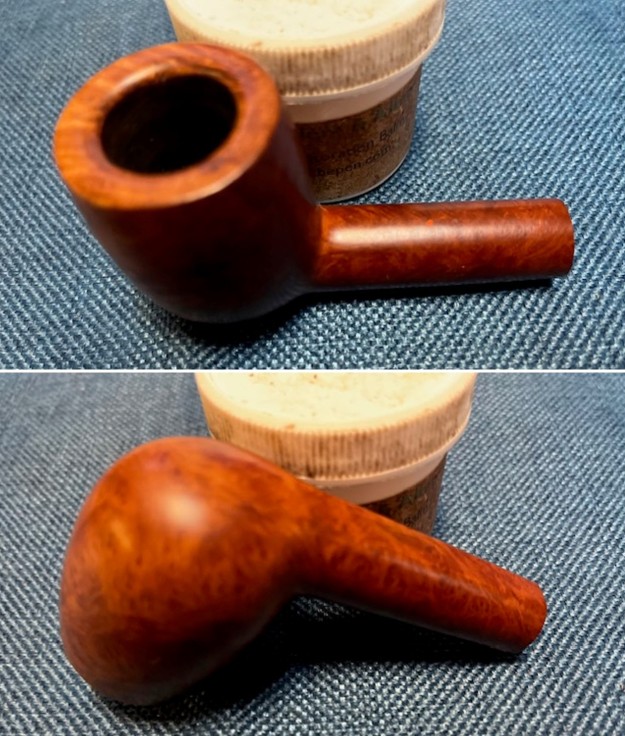
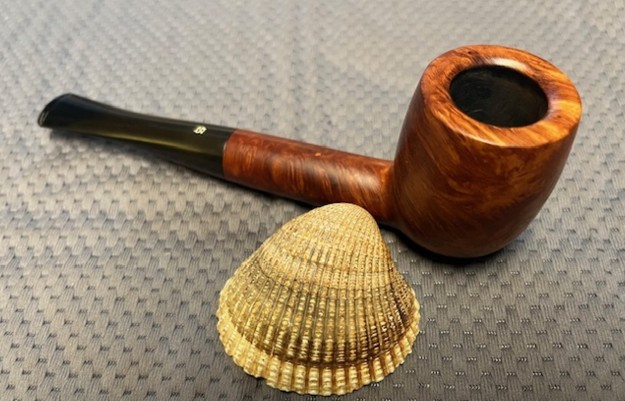
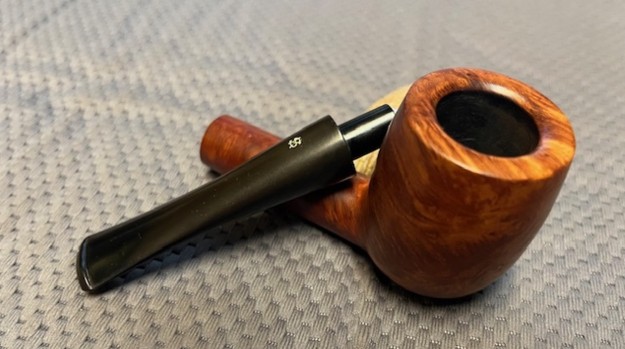
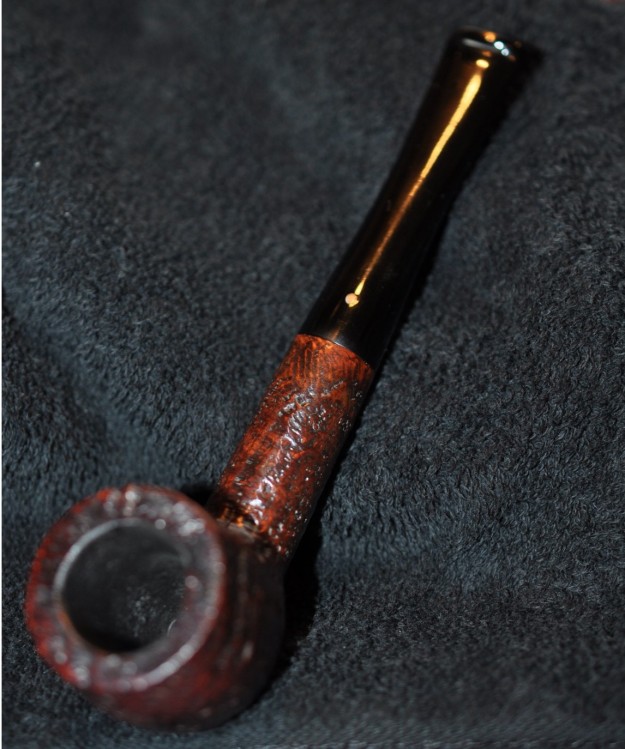
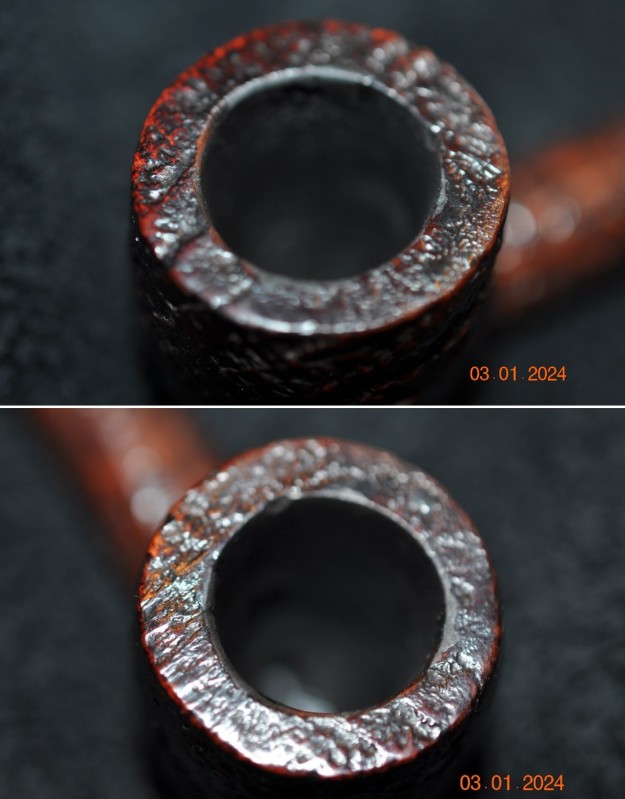
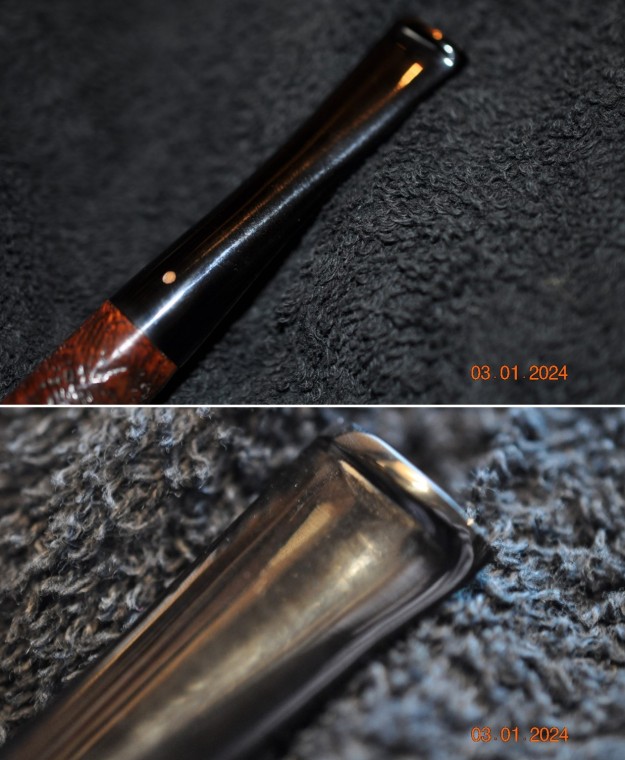
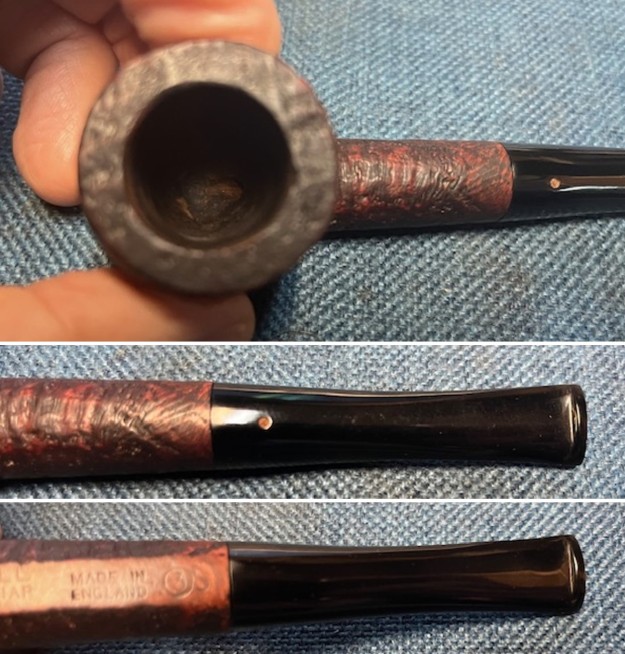
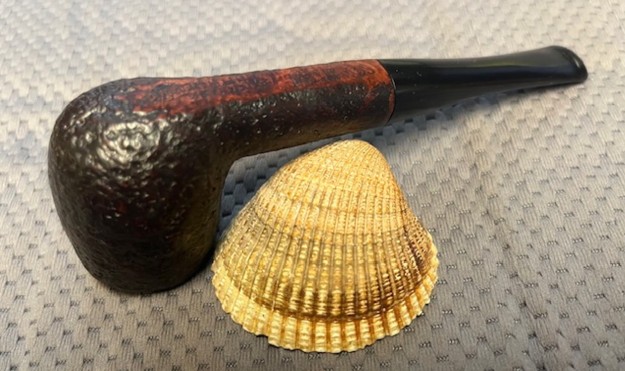
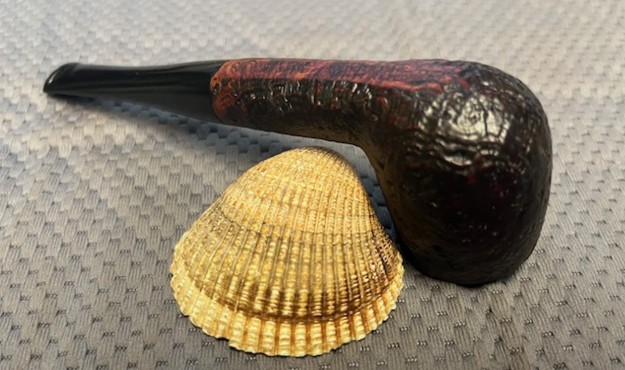
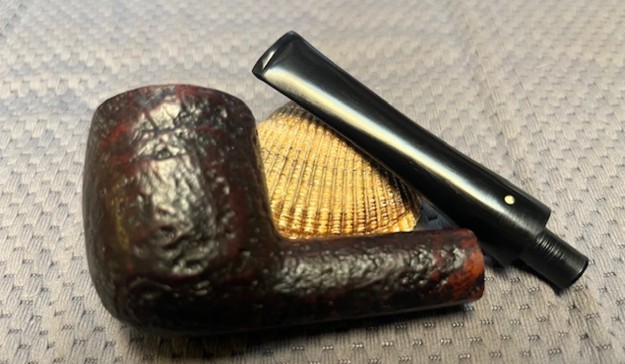
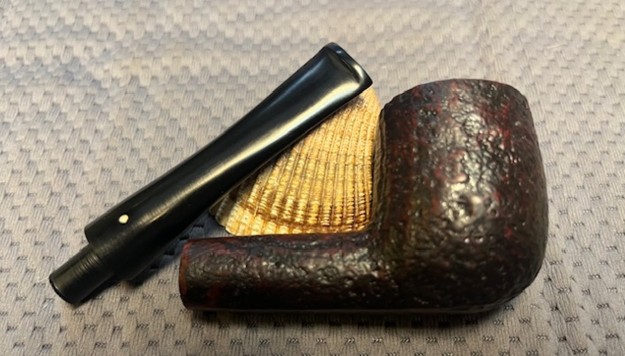
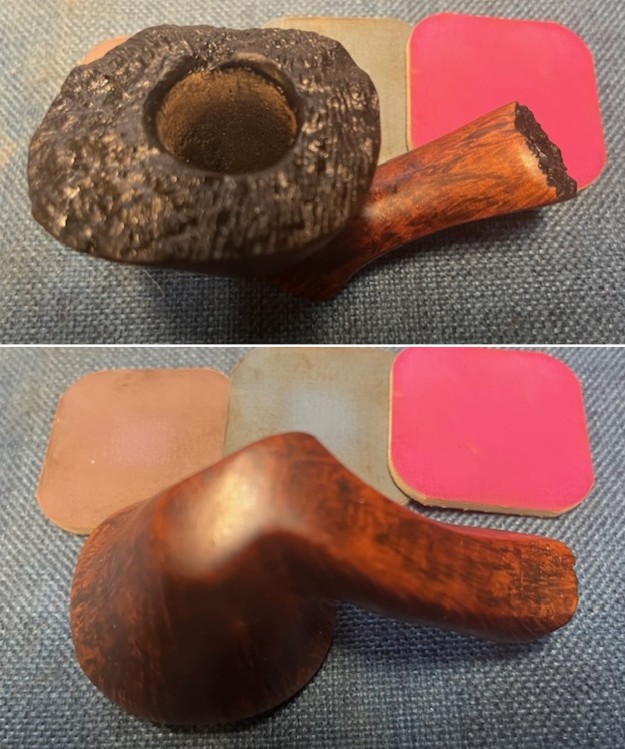
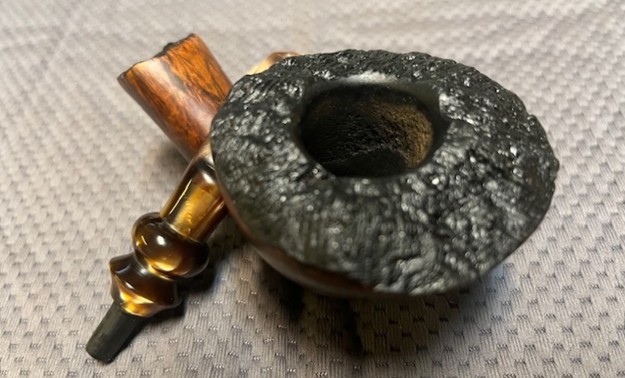
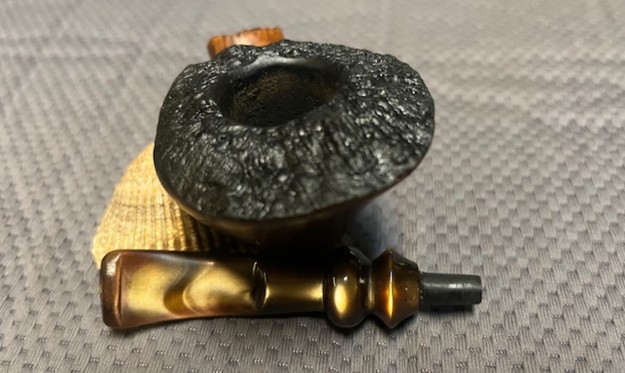
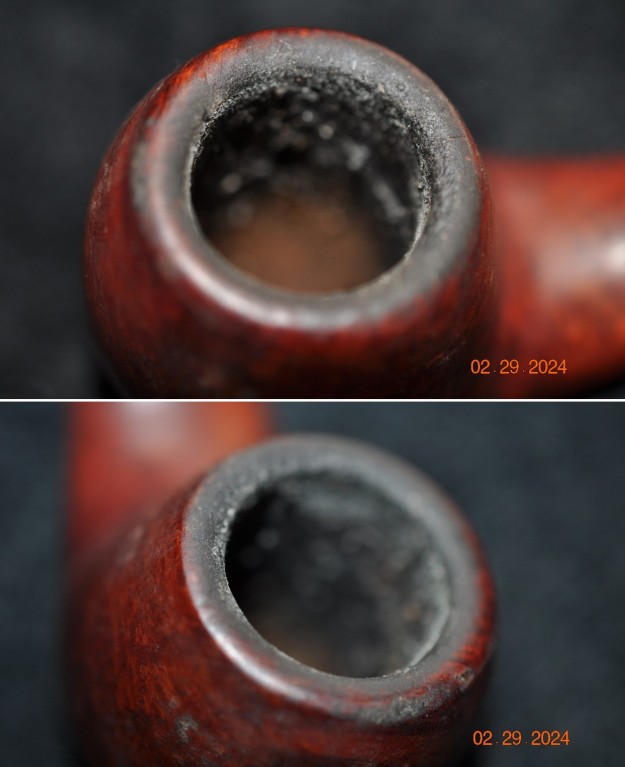
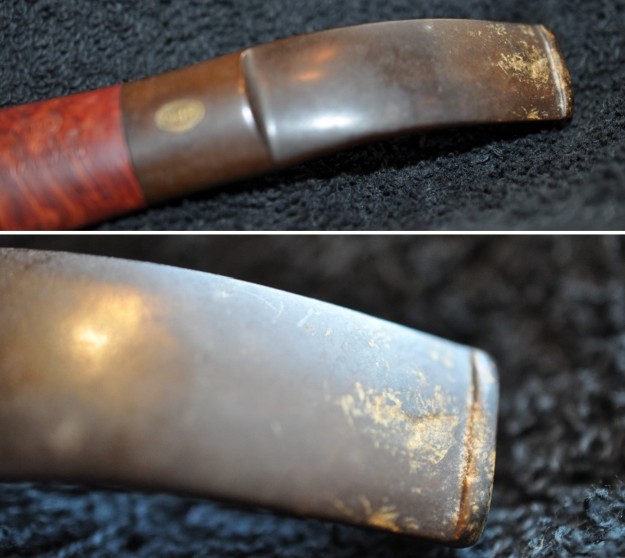
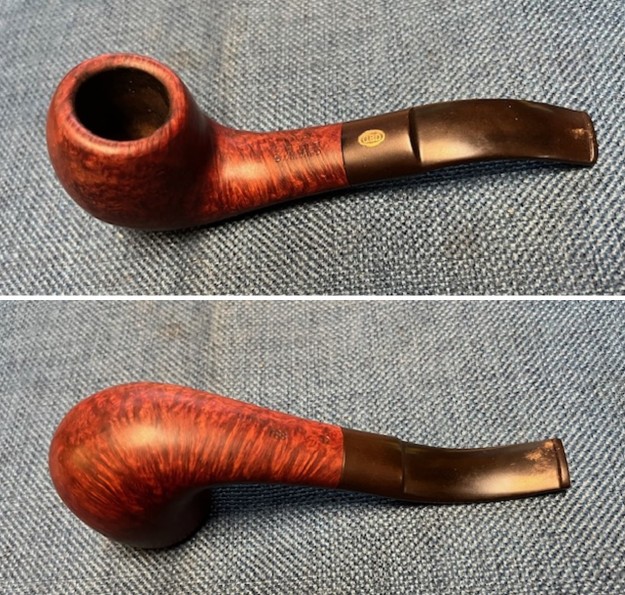
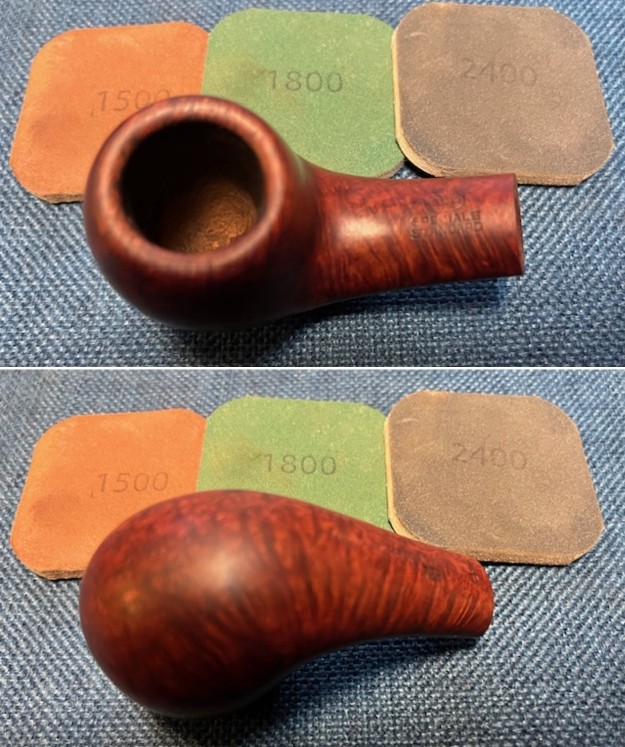
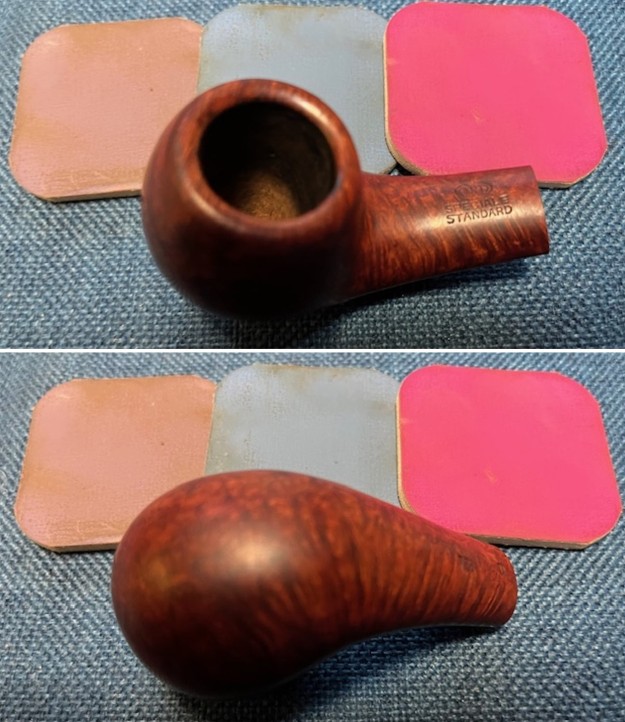
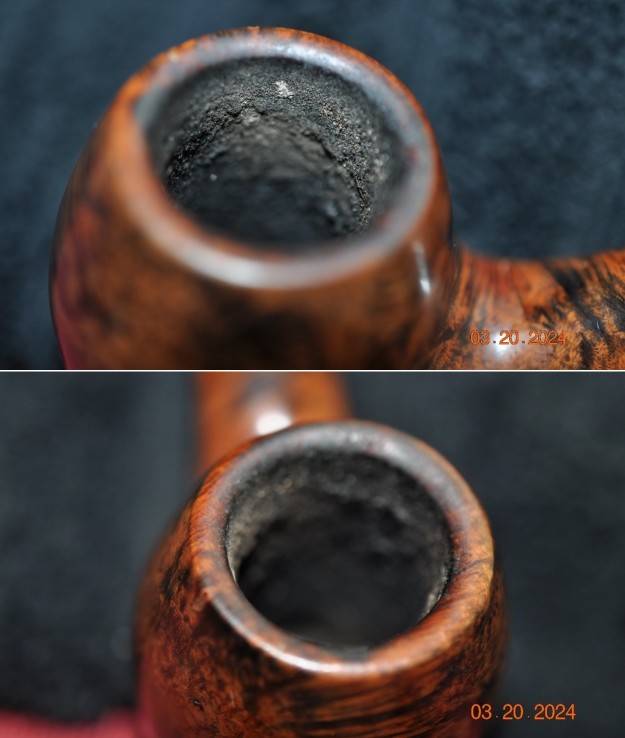
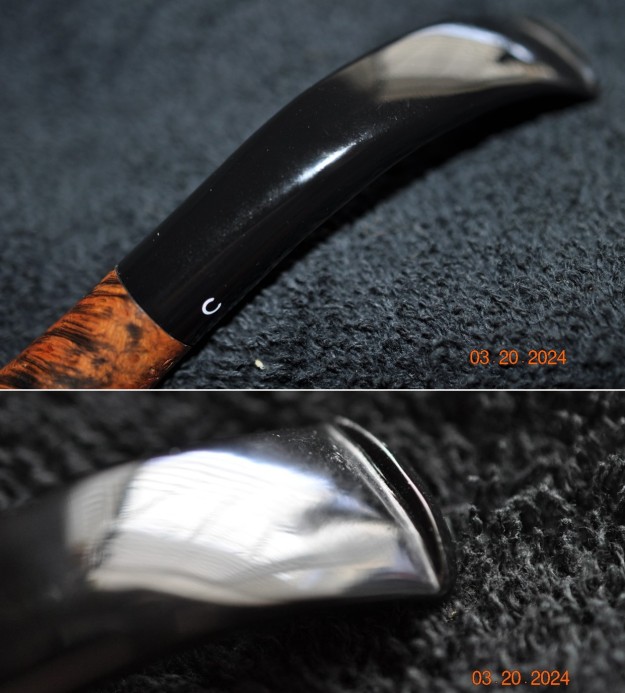
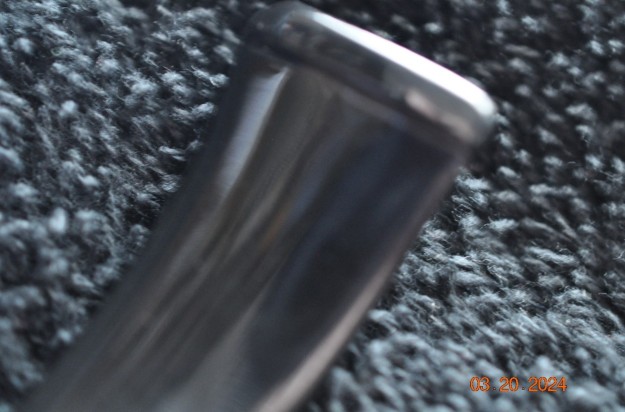
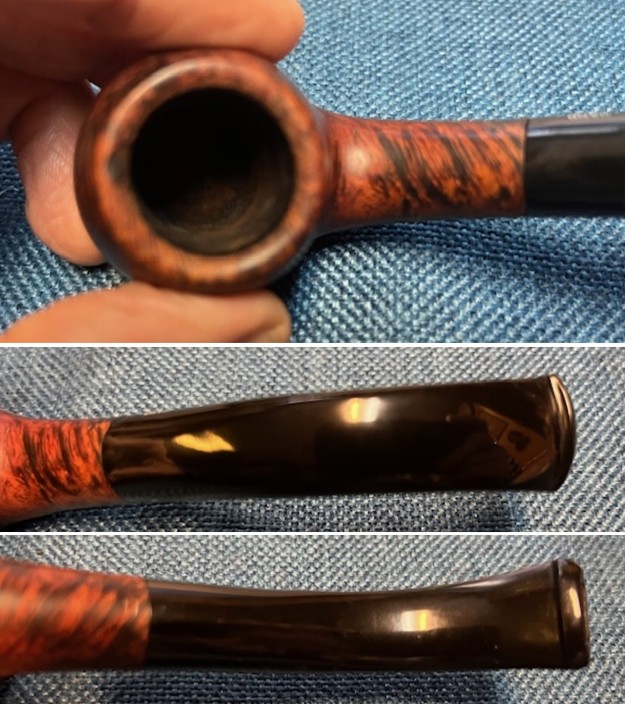
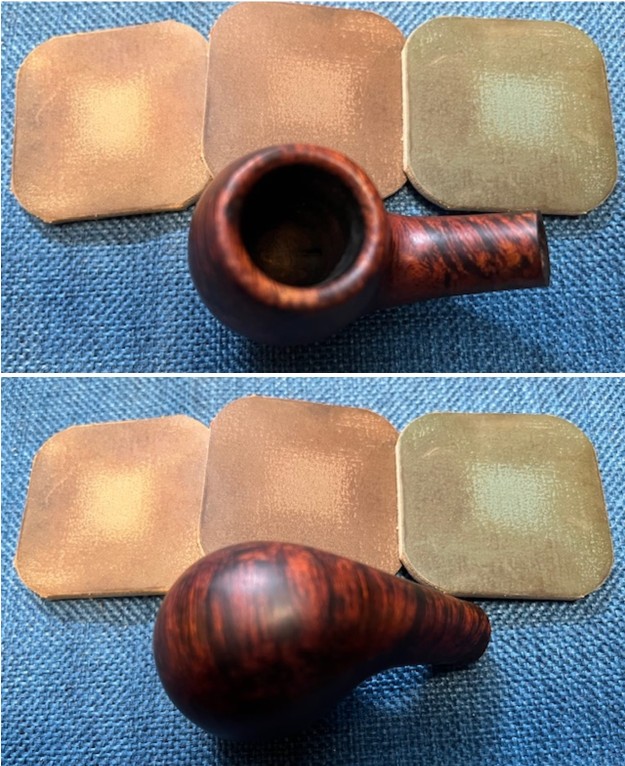
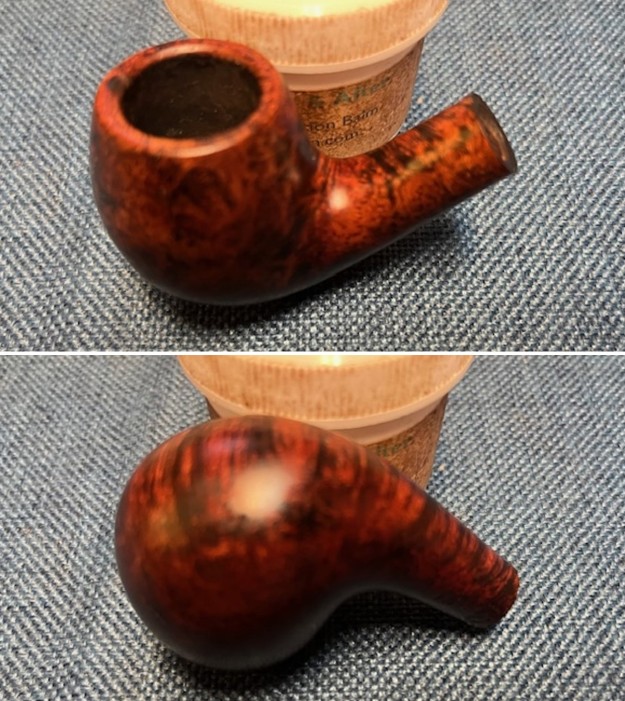
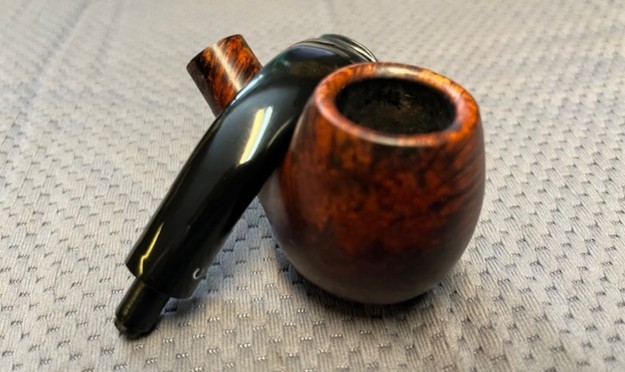
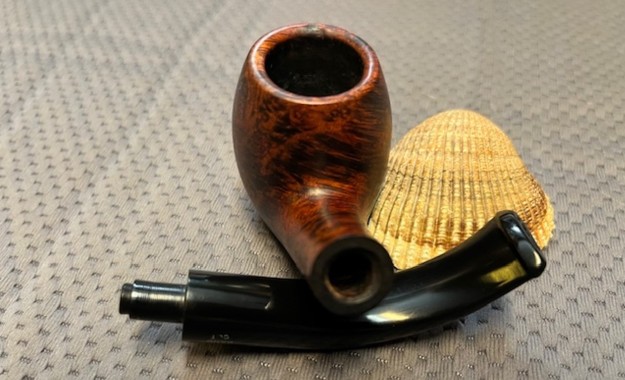
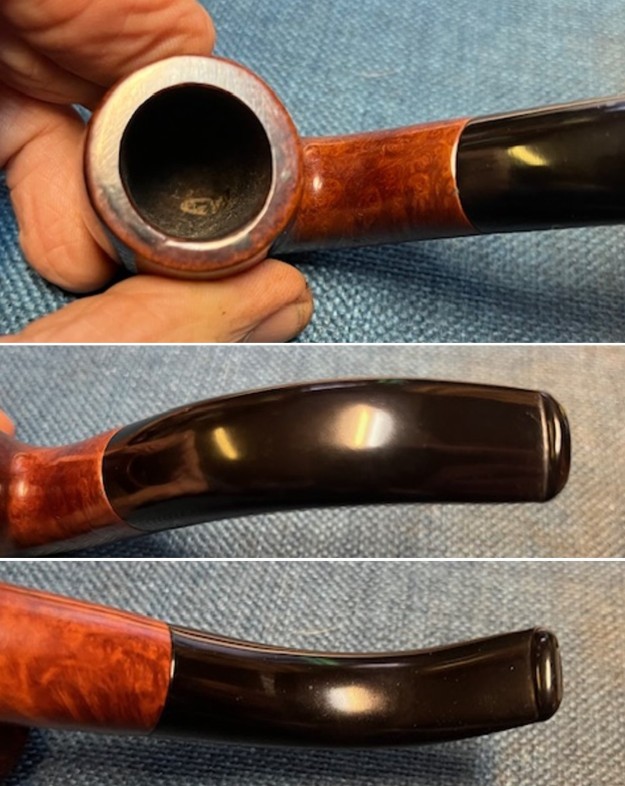
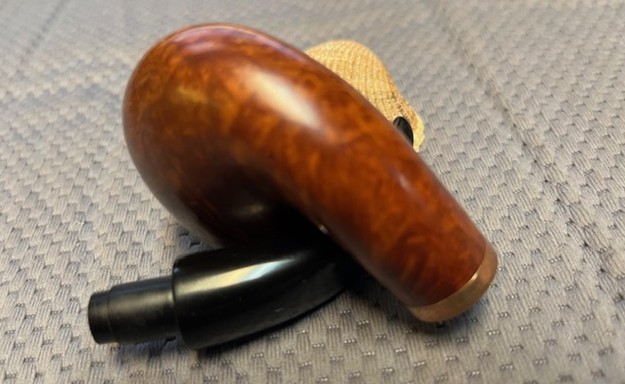
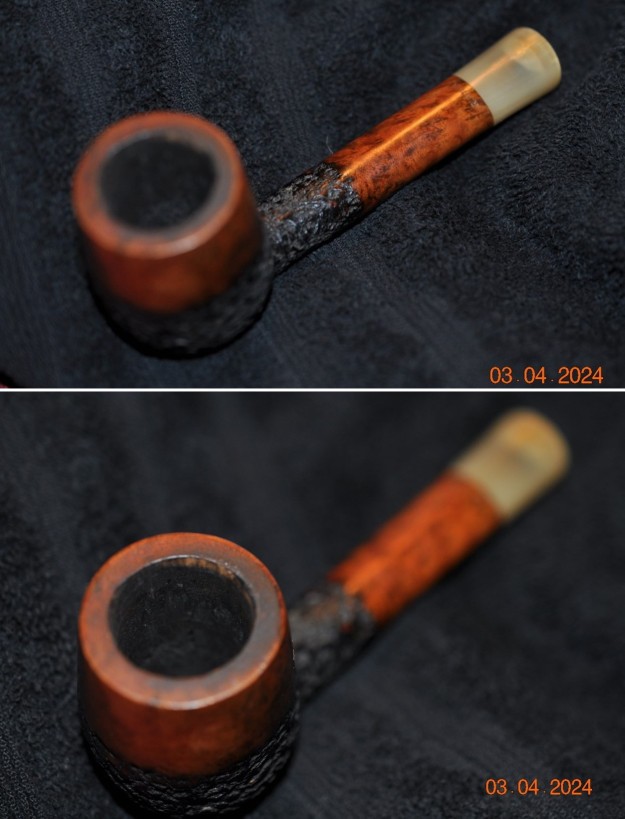
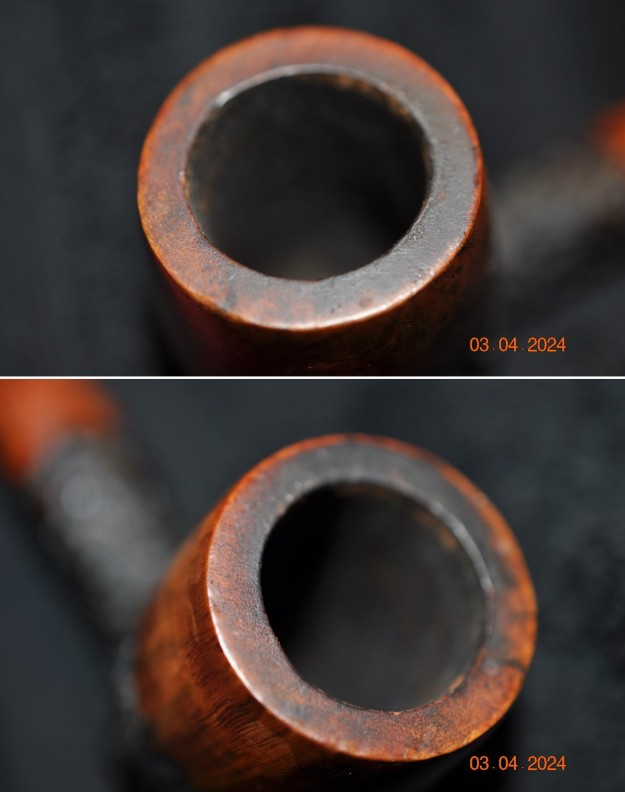
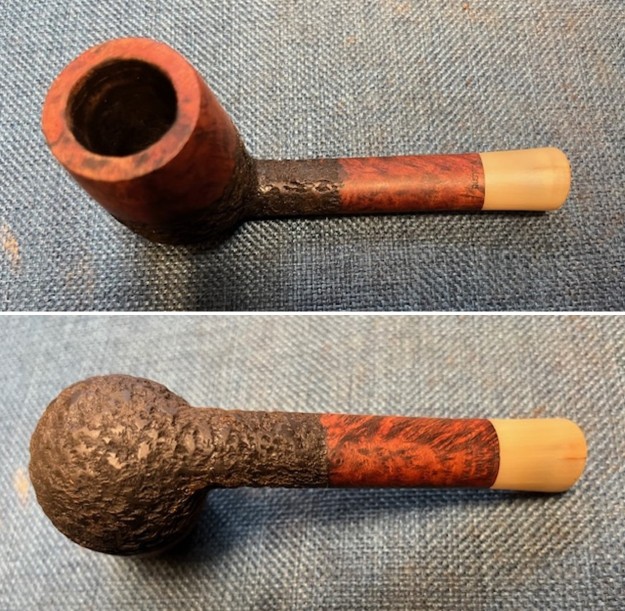
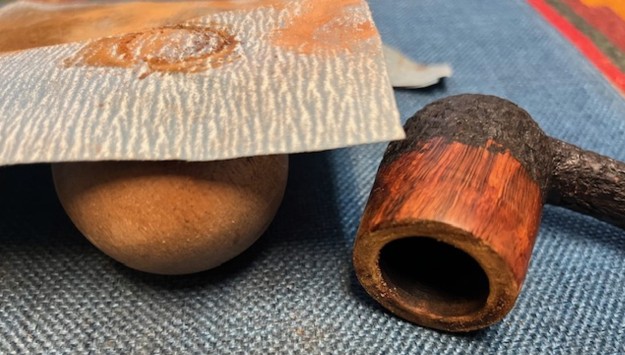
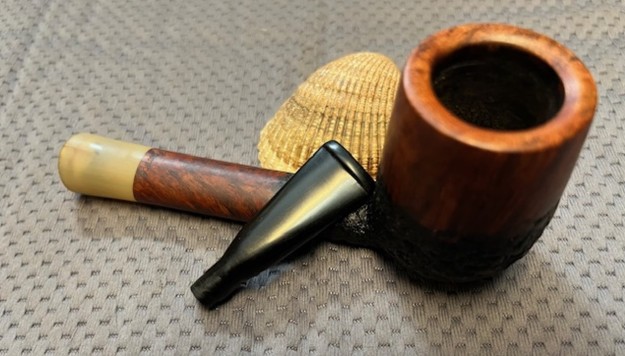
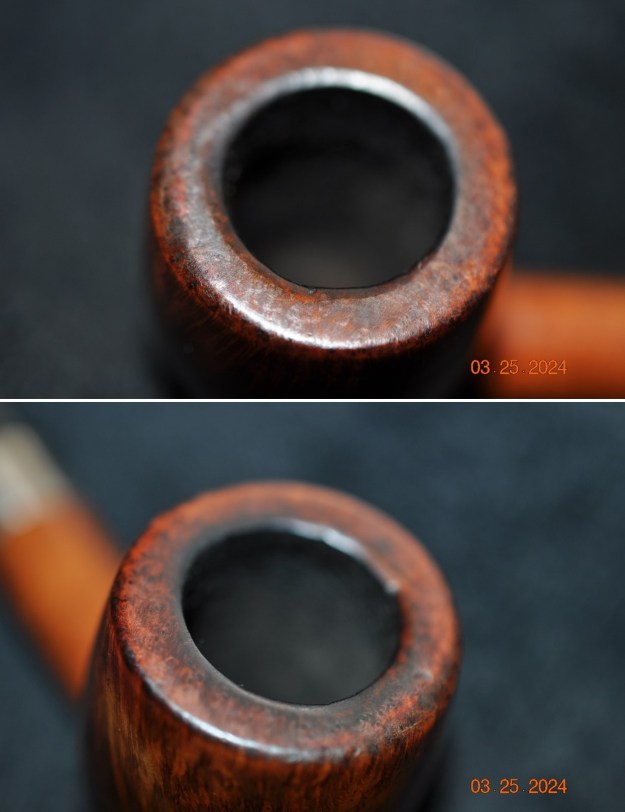
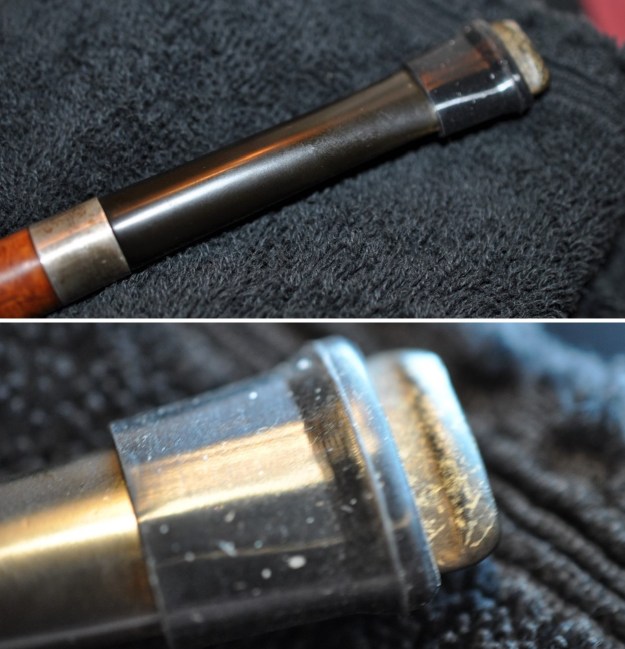
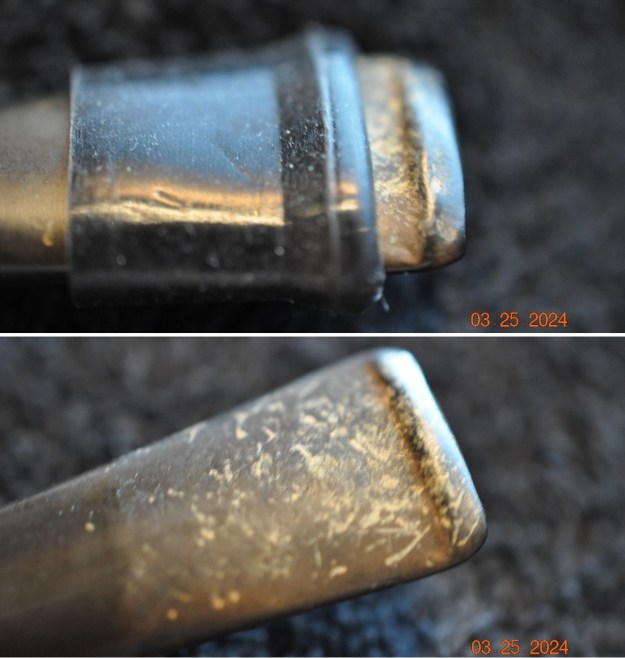
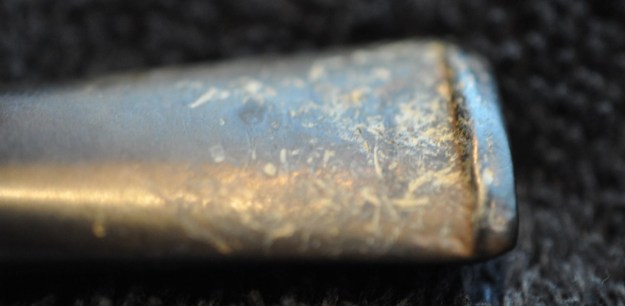
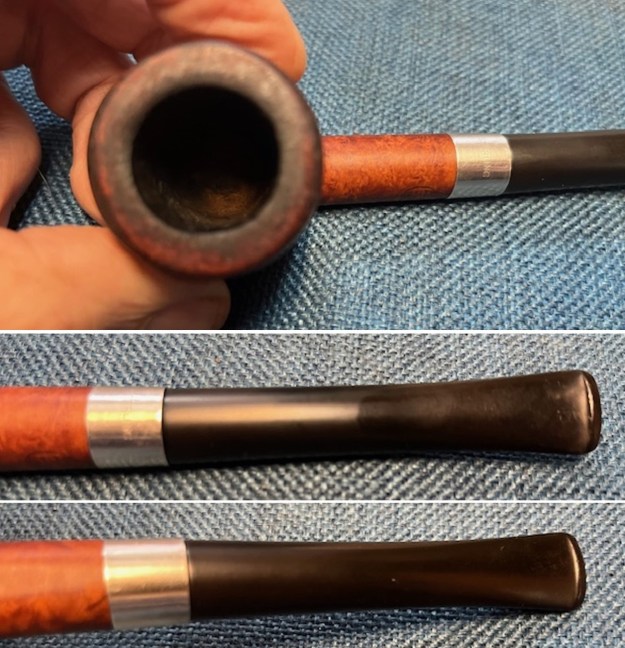
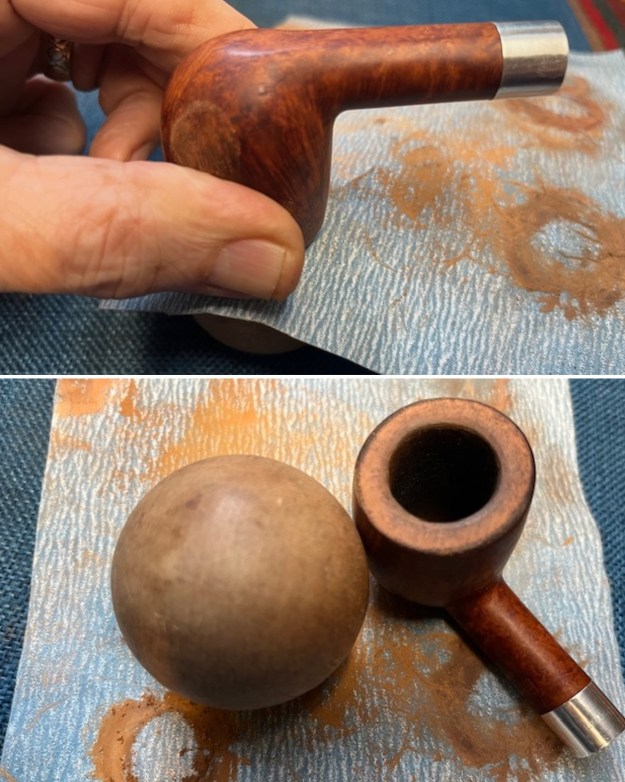
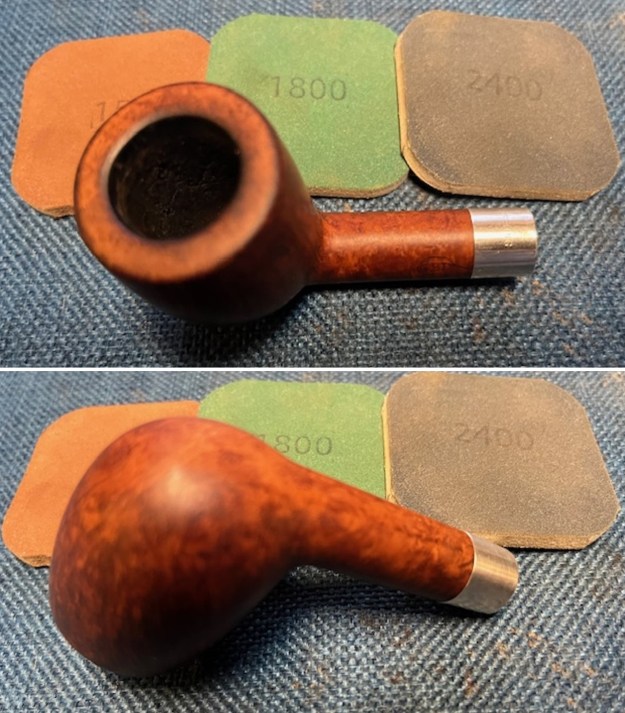
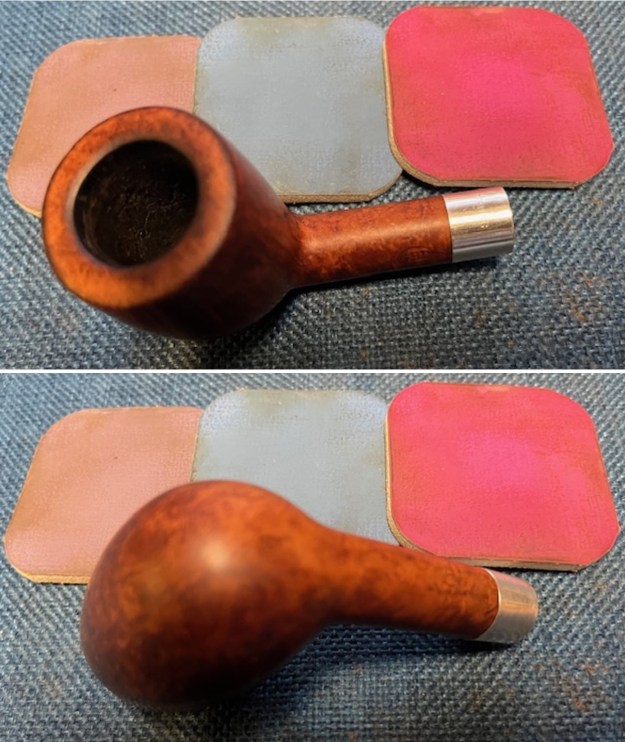
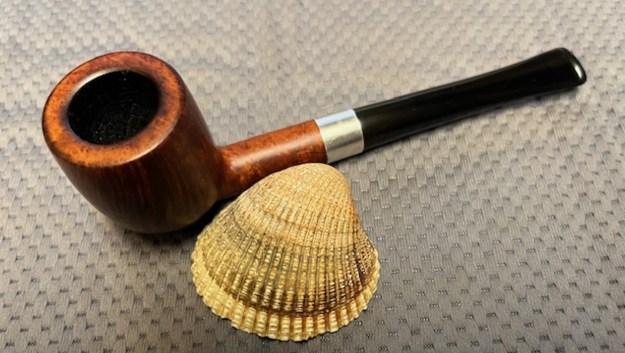
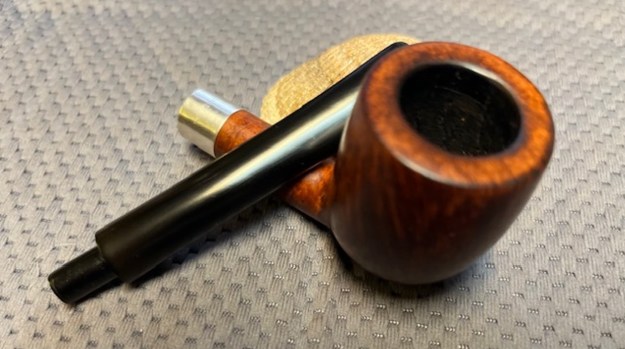
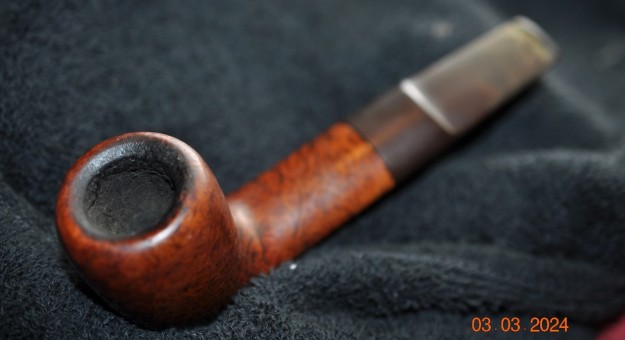
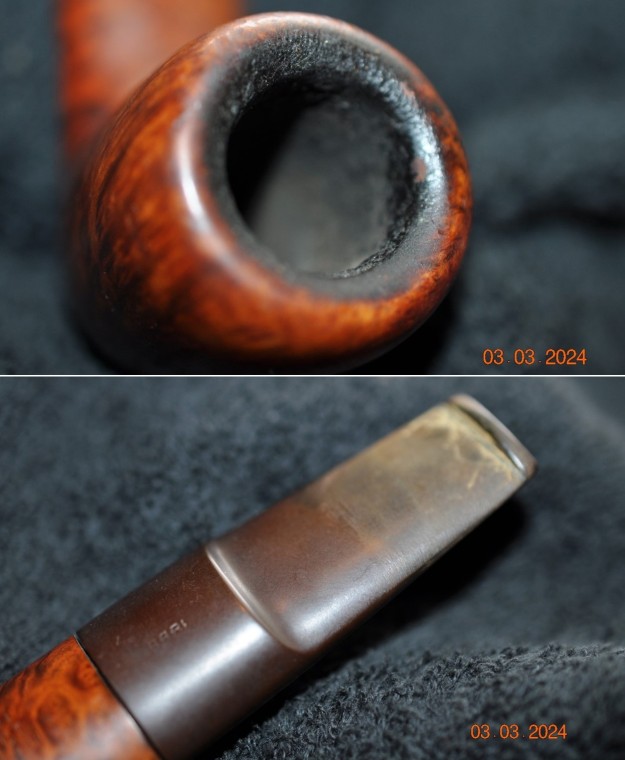
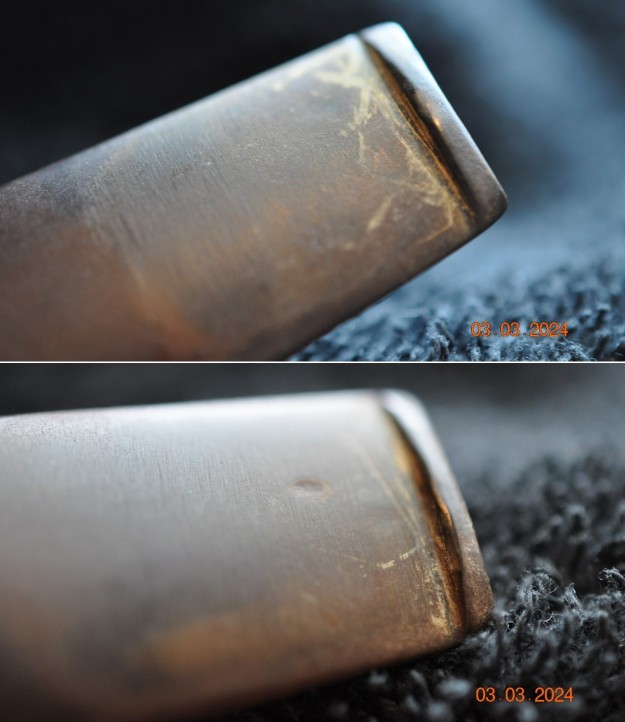
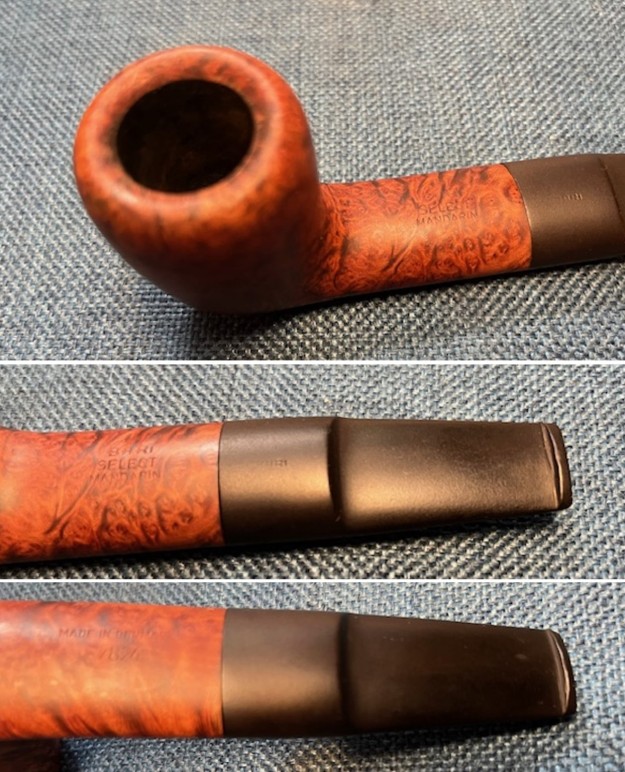
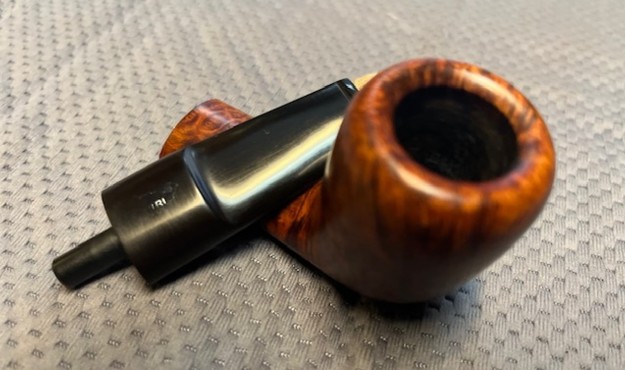
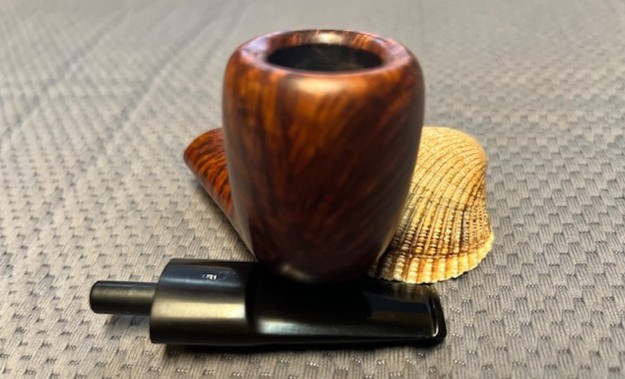
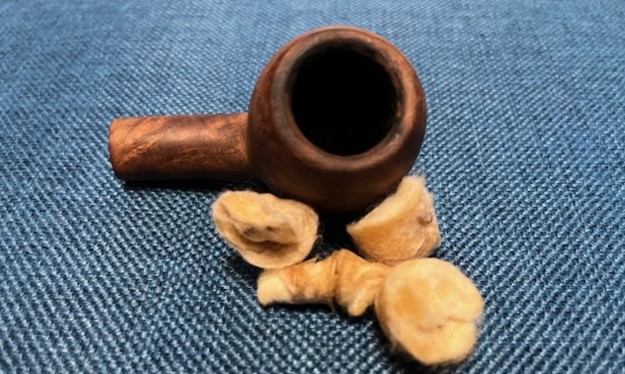
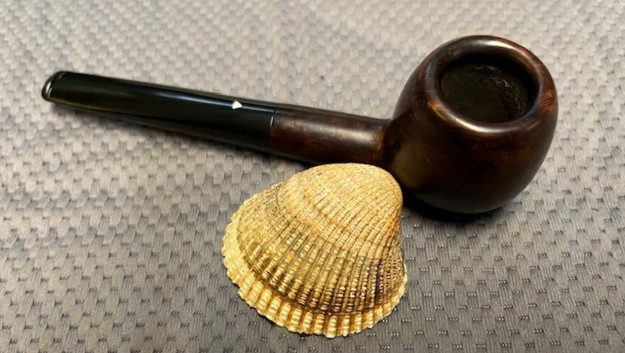
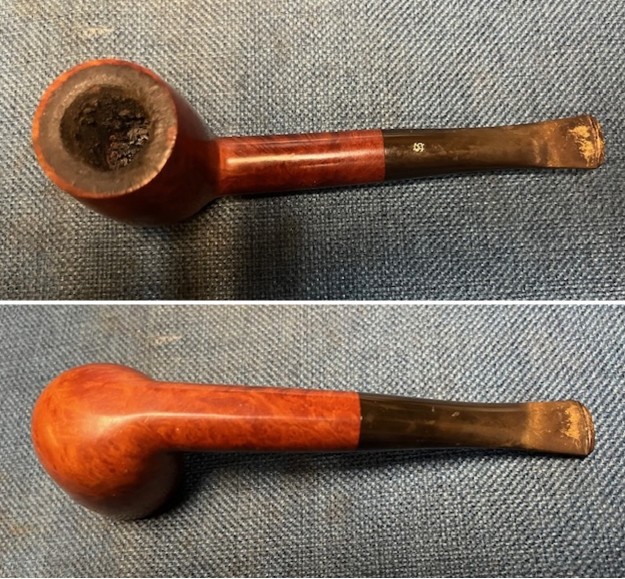 I took a close-up photo of the bowl and rim top to show its condition. The bowl is over half full with burned tobacco and debris. It is unburned just below the surface of the ash. I always wonder when I find a bowl filled like this what happened to the pipeman who had the pipe before. Was he suddenly called out during a smoke? Did something happen to him after he laid the bowl down that kept him from coming back and finishing his smoke. I guess know one will ever know. It left a mess for me to clean up. The stem was also is a mess. There was some tooth marks and dents on the top and underside ahead of the button. There was a thick coat of calcification and oxidation on the stem. RS logo stamp on top of the stem was clear and readable.
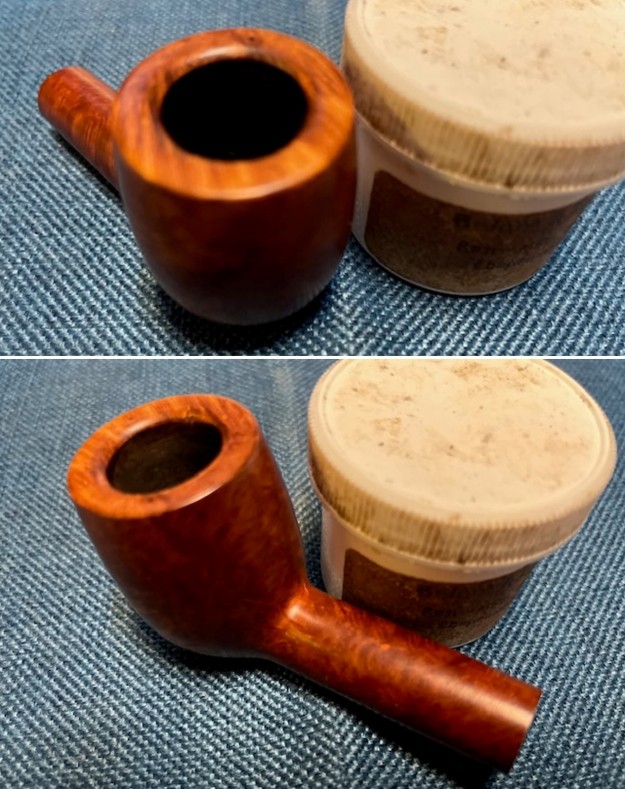
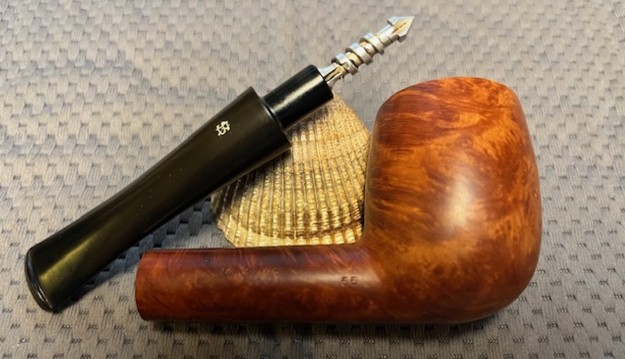
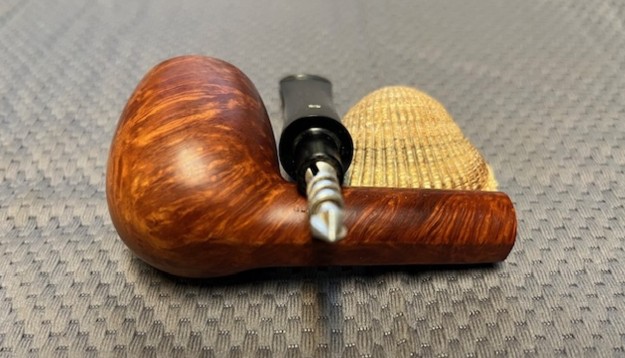
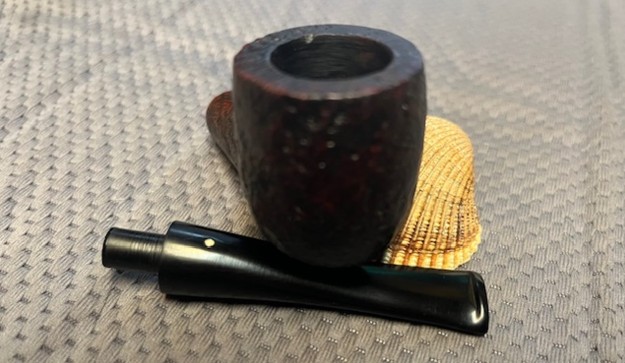
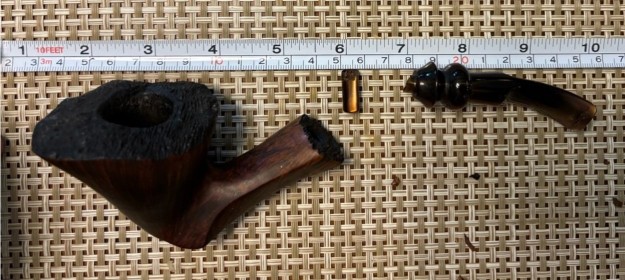
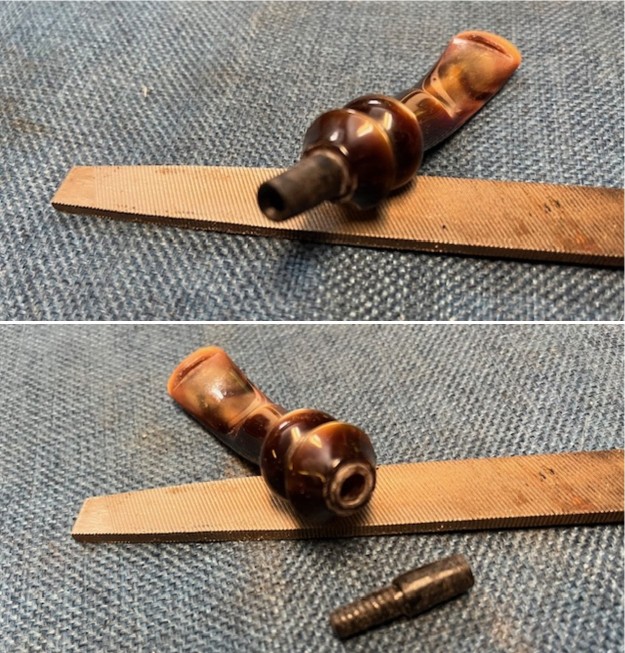
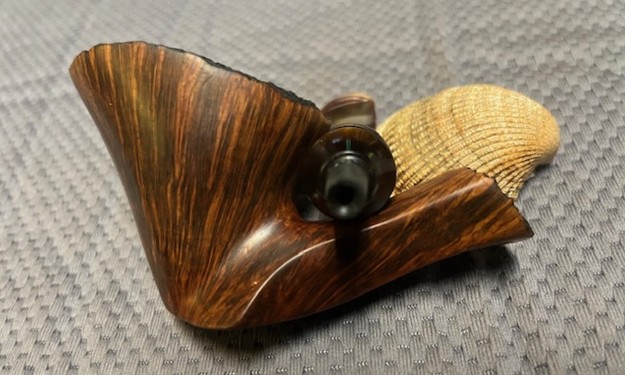
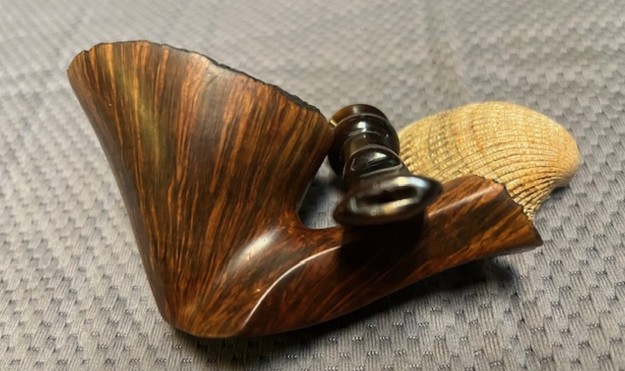
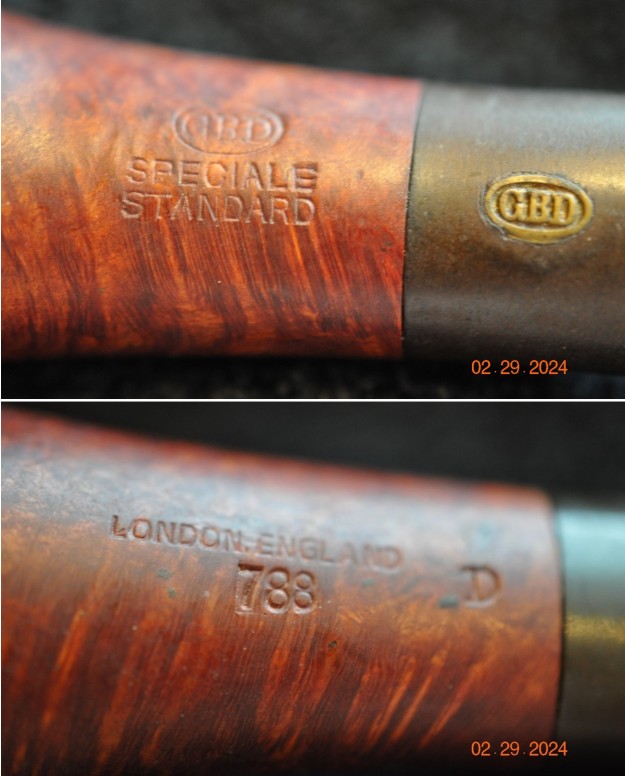
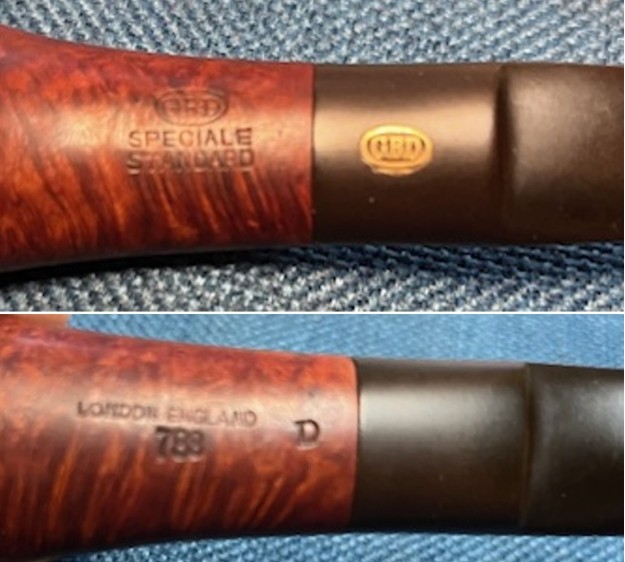
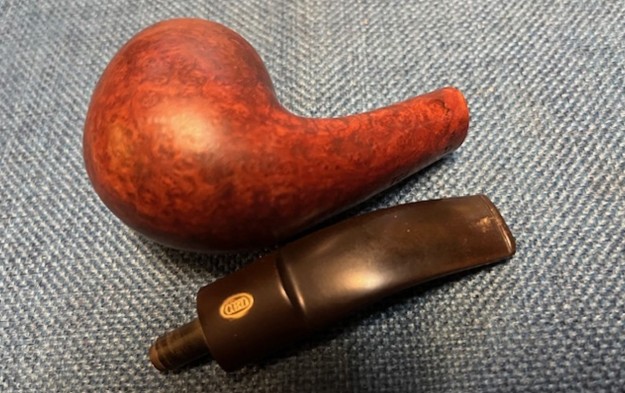
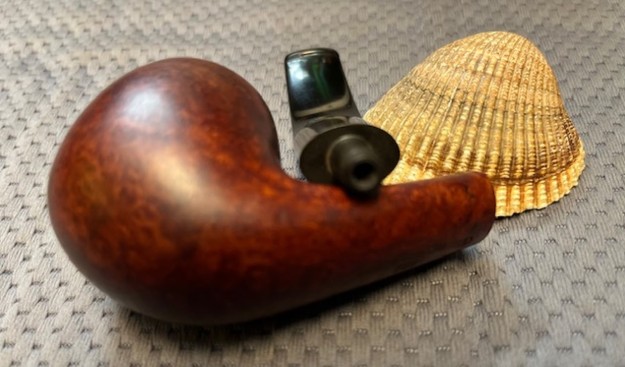
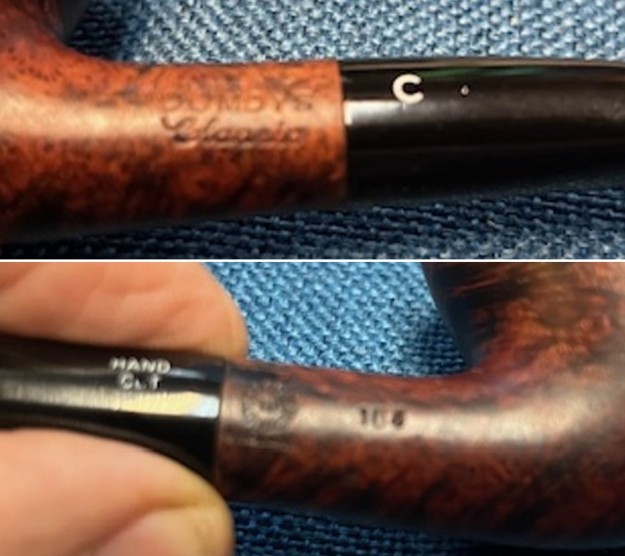
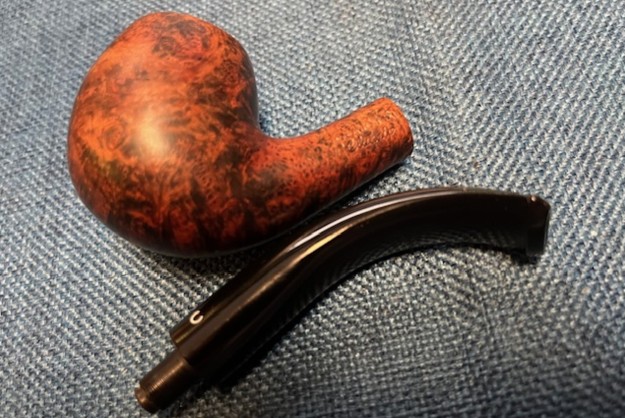
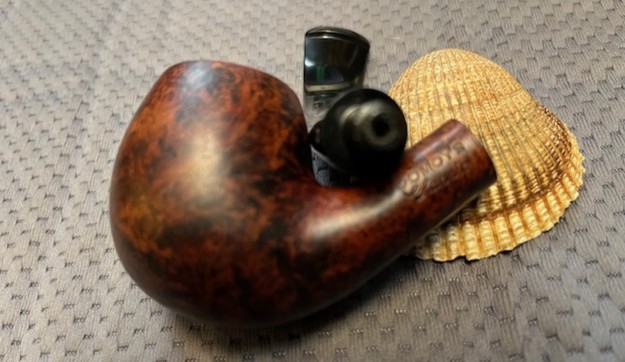
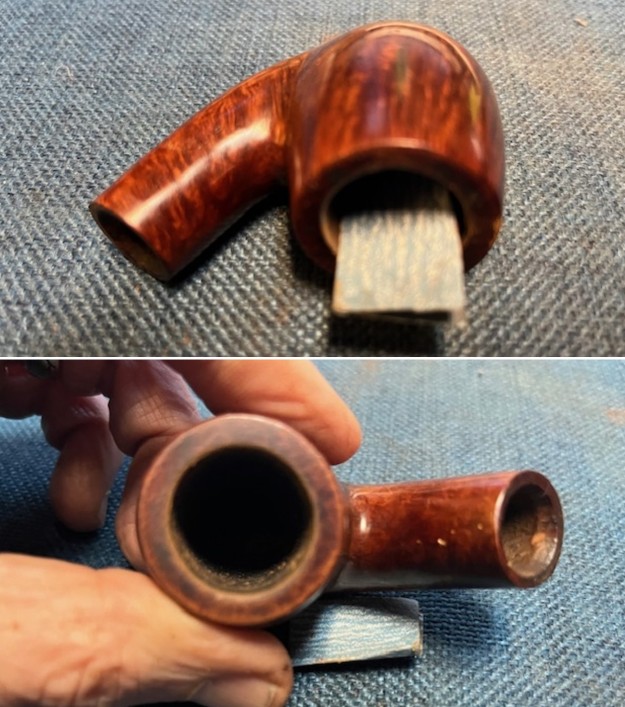
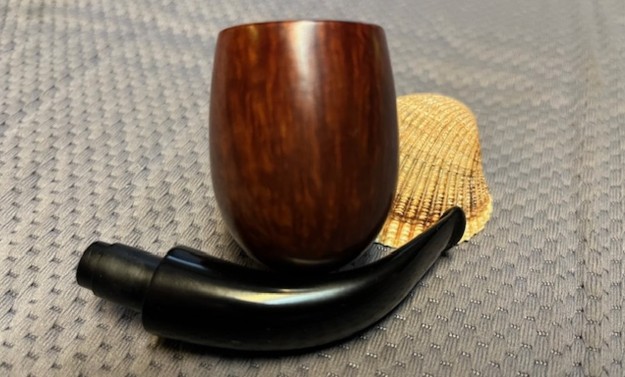
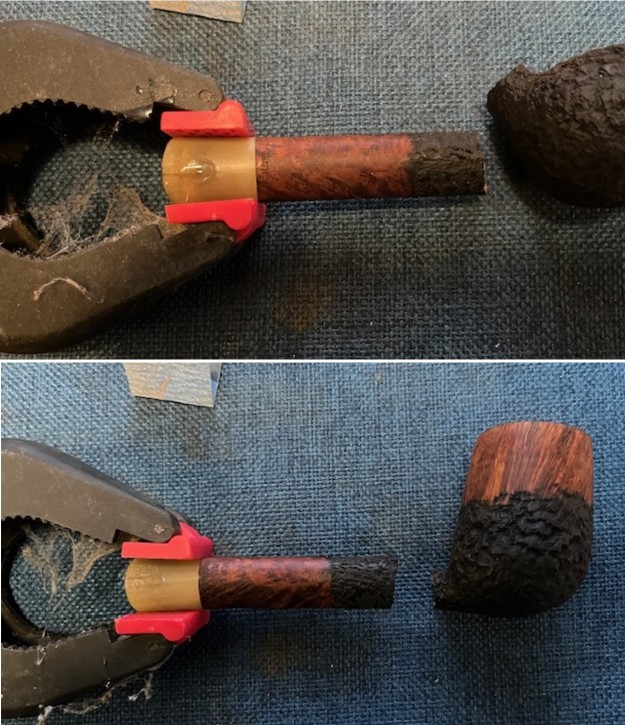
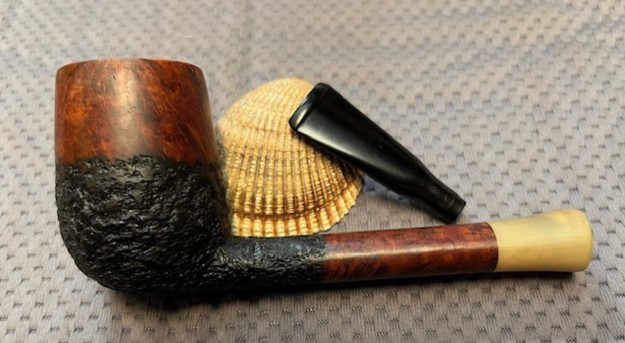
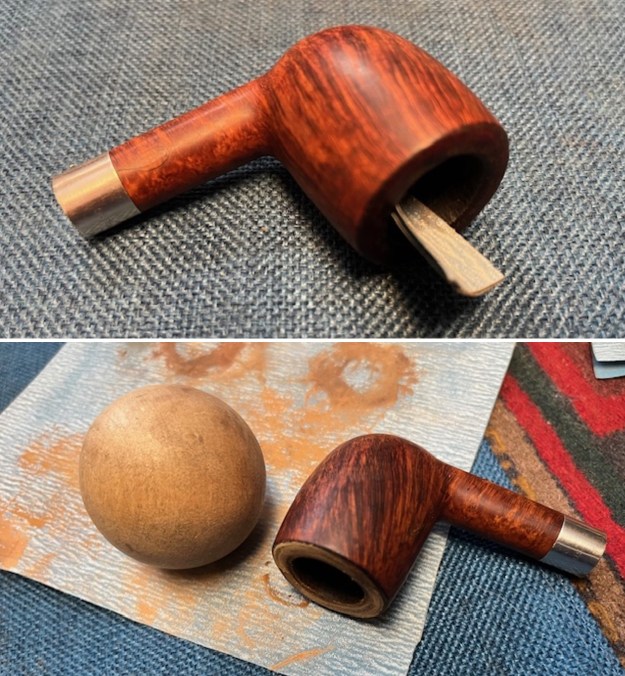
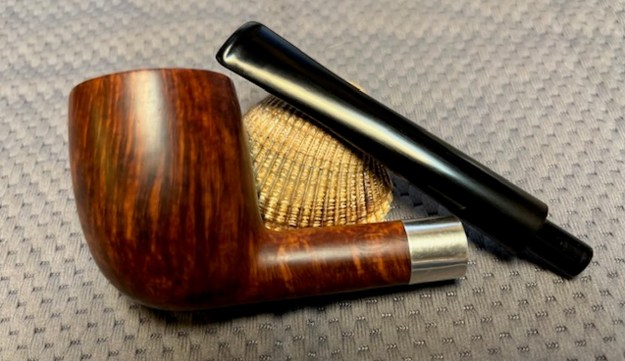
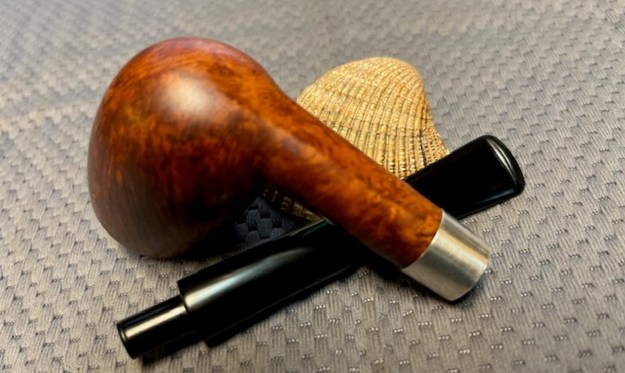
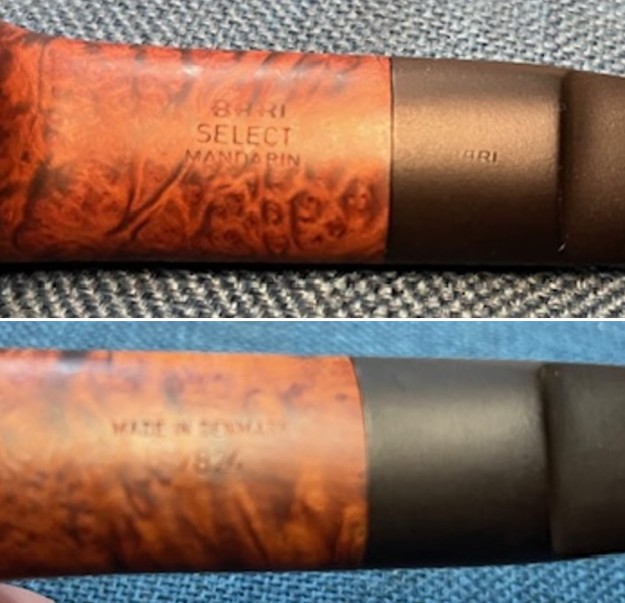
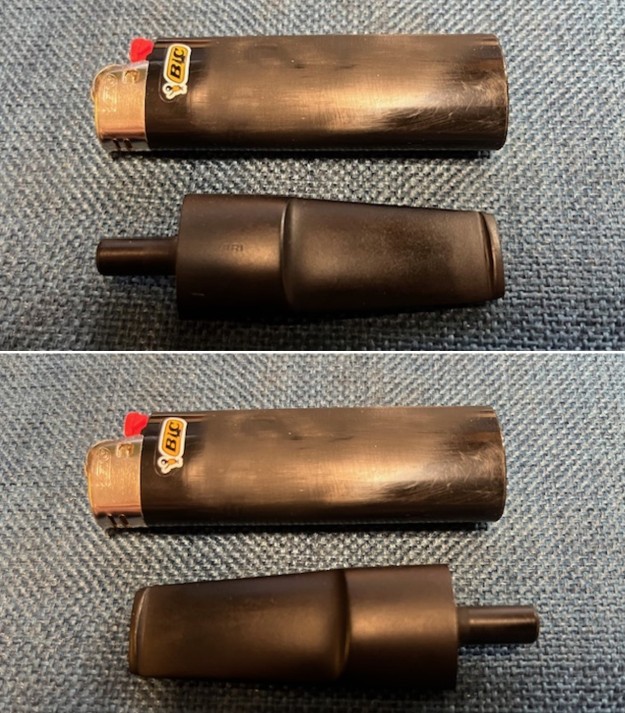
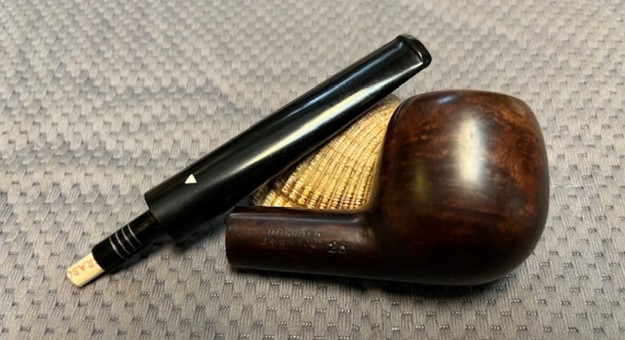
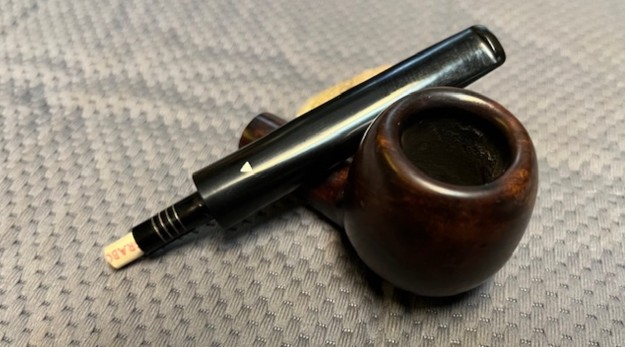
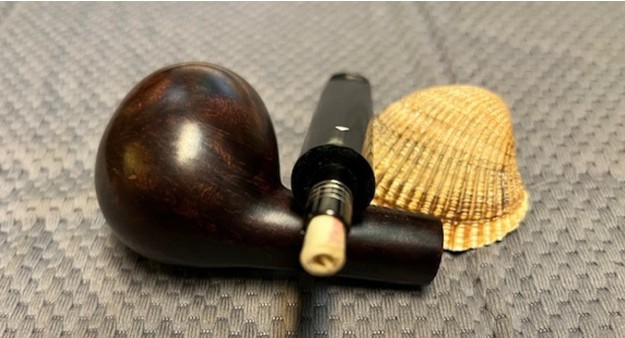
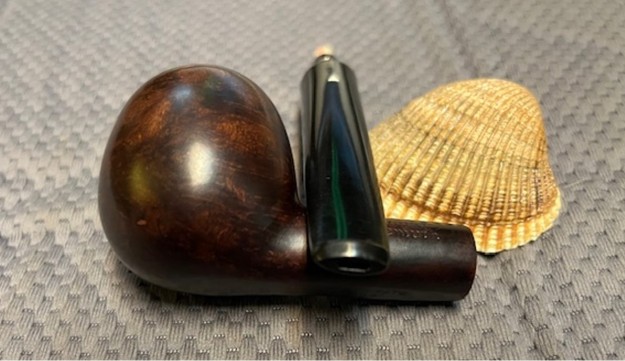
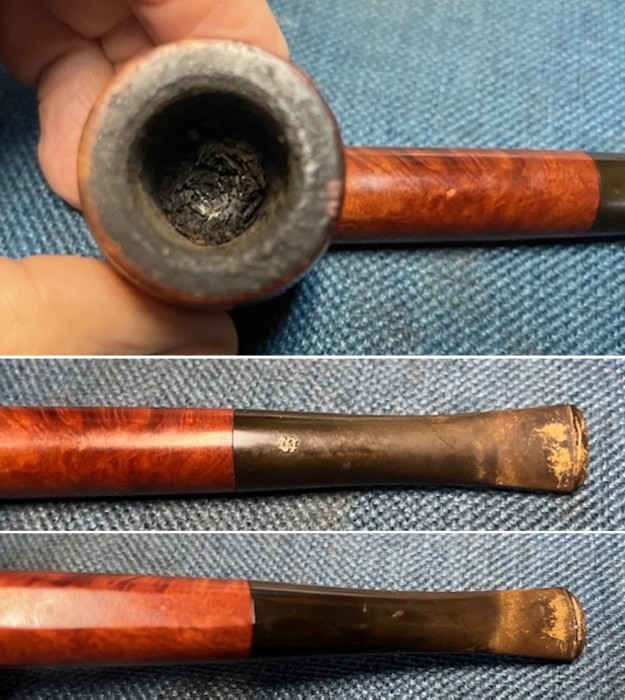 I took photos of the stamping on the right and left side of the shank. It is clear and readable as noted above. I removed the stem from the shank and took a photo of the parts. It is a beautiful pipe. The stinger apparatus was filthy and clogged with tar and oils in the spear end and all the spirals. It is aluminum but you would never know that from looking at it.
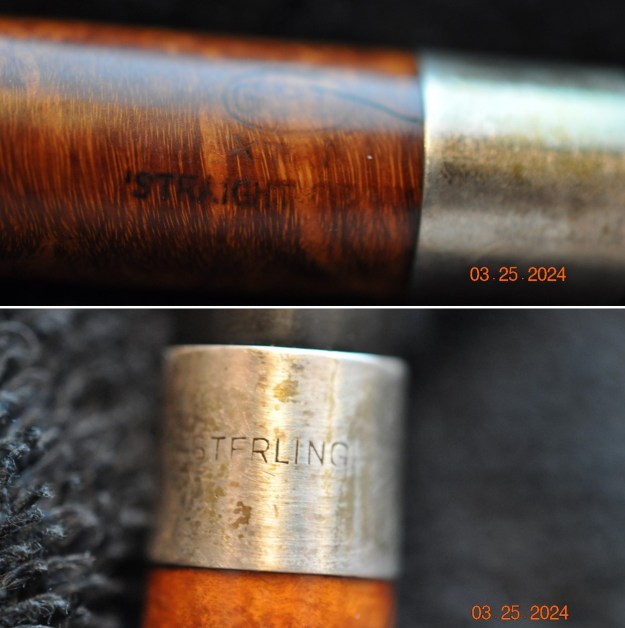
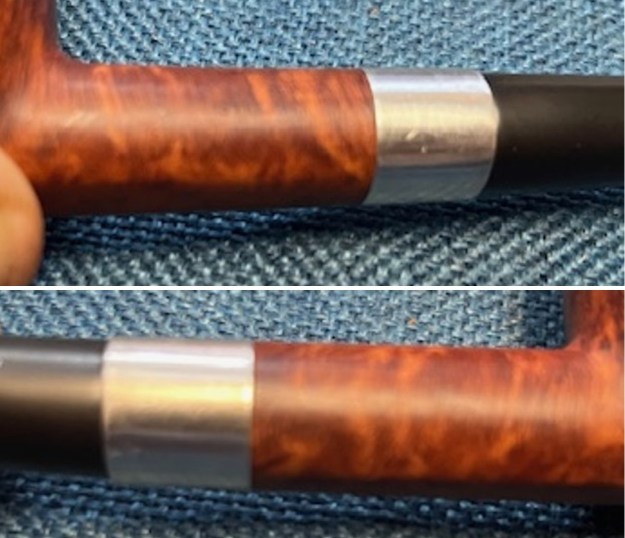
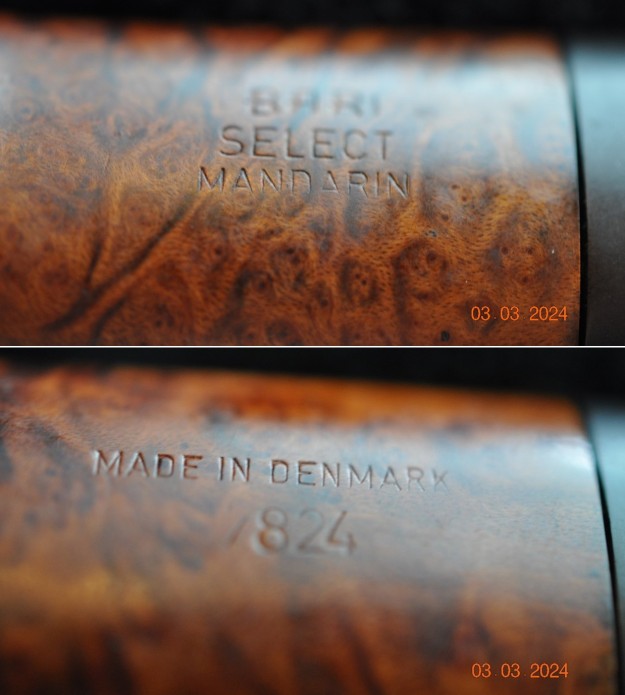
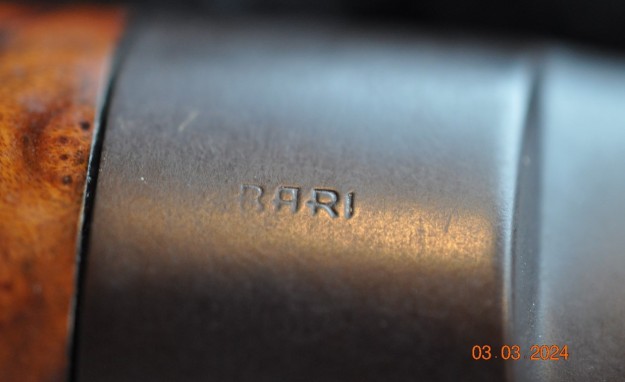
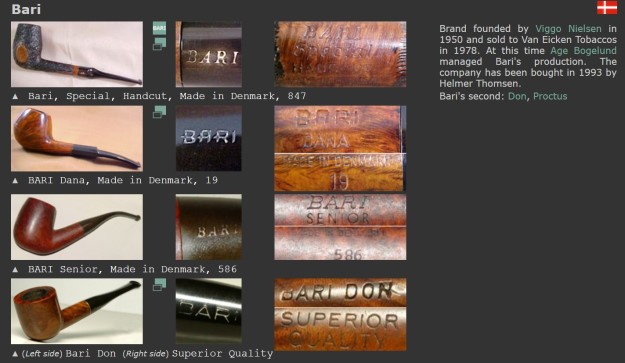
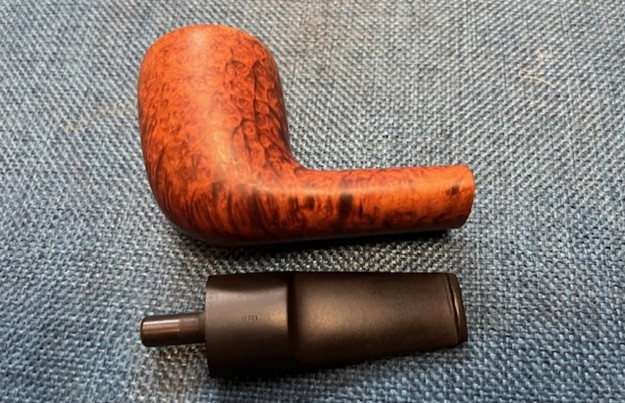
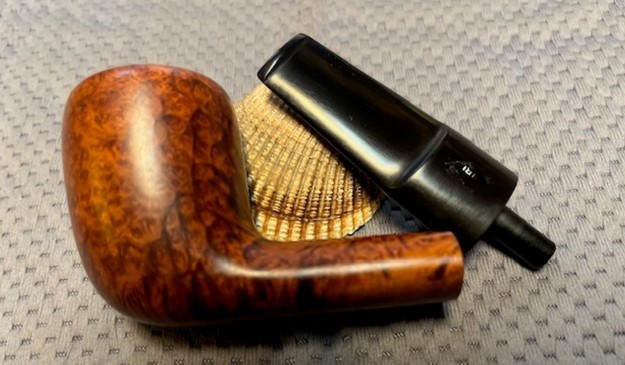
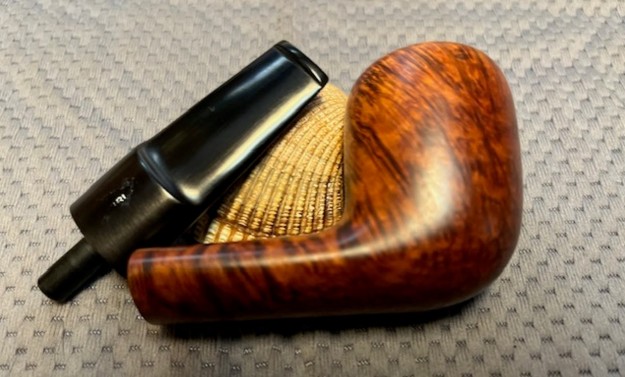
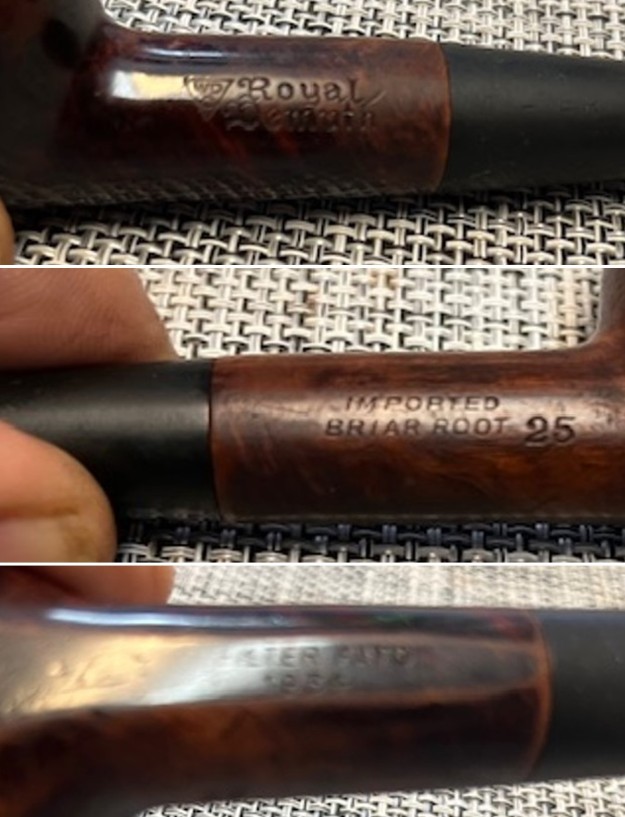
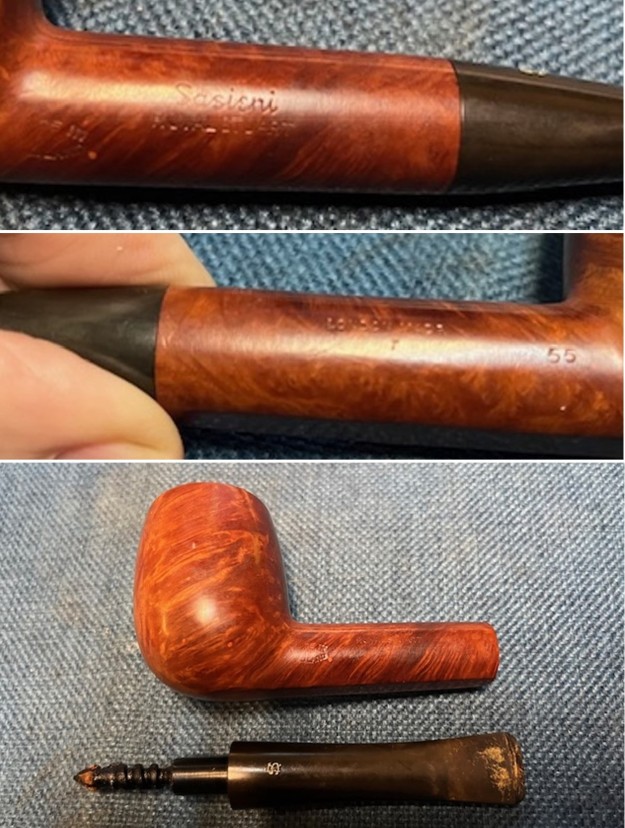 As is my usual practice I turned to Pipephil (http://www.pipephil.eu/logos/en/logo-sasieni2.html) to look for any information on the Royal Stuart line. It was not listed in the original Sasieni list but it did come up in the Sasieni Seconds list. It was listed there and I did a screen capture of the section and have included it below. The logo on the pipe stem I was working on is stamped like the second one below. The shank stamp was like the one in the third photo below.
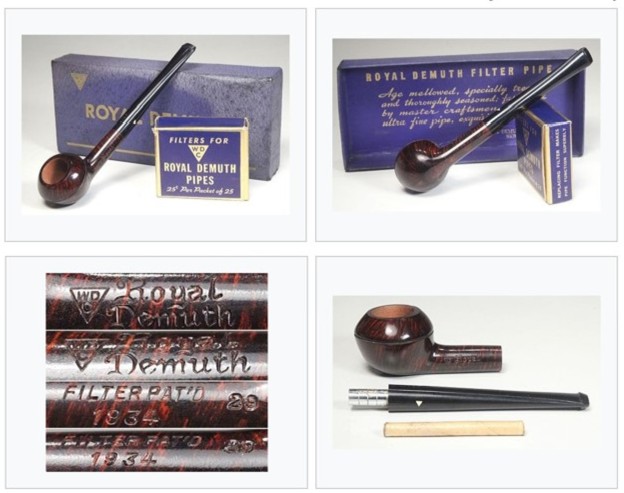
 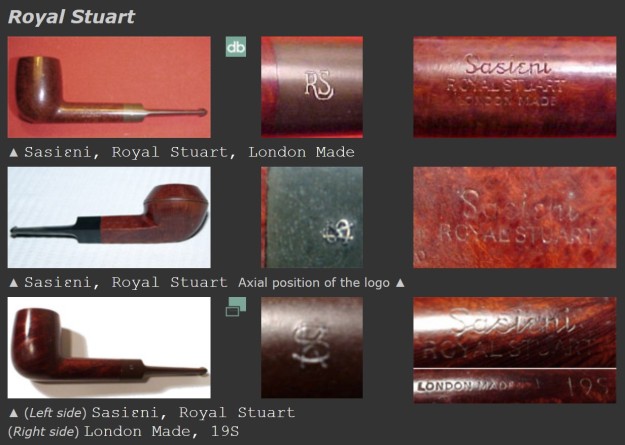 While this was helpful it did not get me any closer to establishing a date for the pipe. I turned to Google and did a quick search there. It came up with a Worthpoint article that I have included along with the photos below (https://www.worthpoint.com/worthopedia/sasieni-family-era-royal-stuart-139465999).
 This COLLECTIBLE BRIAR PIPE is an OLD “FAMILY-ERA” SASIENI in the CLASSIC CANADIAN Shape!!! It is a Dunhill Group 4 Size. Although like most non-dotted Sasieni’s it does not have a “Town Name” (which Sasieni used in lieu of Shape Numbers), Sasieni connoisseurs will recognize this as the ever-popular “Amesbury” Shape (#44 on the Sasieni Shape Charts)! It comes from one of Sasieni’s oldest and most popular lines – – – the “ROYAL STUART”!!! It is one of the OLDEST ROYAL STUART’s because it has the ORIGINAL “RS” OVERSTAMPED LOGO (with the “R” Stamped over the “S” or vice versa)! For those who have not experienced the quality of Sasieni Pipes, this is an outstanding opportunity that does not require the commitment of a substantial investment as do many higher graded Sasieni’s! In the early Sasieni History after the short reign of the One Dot, Sasieni Eight Dots, the Four Dots became the top-of-the-line throughout most of the “Family Era” (or the time during which the Sasieni Family continued in ownership and operated the company including the quality control). Pipes that were not quite good enough to receive a higher grade became Two Dots or “Claret” One Dots. At the same time and throughout the history of the Company, Sasieni also offered a wide variety of non-dotted pipes beginning with their earliest catalogs. Many of those early lines like “His Royal Highness,” “The Henley Club” and “The Friar” disappeared into the rich lore of Sasieni History. But the “ROYAL STUART” survived the test of time and continued throughout the Family Era. During the “FAMILY ERA,” the finish often became the distinguishing characteristic between lines of “non-dotted” Sasieni’s. Mayfair’s were “Smooth Tawny Natural finish,” and Old England’s started as rusticated pipes while Royal Stuart’s were natural smooth or “deep plum” colored . Their great popularity quickly caused Sasieni to expand the Royal Stuart line to include “carved rusticated finish” pipes, too! And, the Royal Stuart became one of the longest-running “workhorses” among all Sasieni lines! Royal Stuart’s were advertised as an “outstanding quality and rare value” pipe but it was the bowl selection process that separated this line from others. Sasieni explained: “These bowls are selected for their fine grain conformation.” And this Canadian is a good example! Much of the Bowl has BIRDSEYE on the sides with DIAGONAL CROSS GRAIN which is actually more like STRANDS OF FLAME GRAIN on the front and back!!! The FLAME GRAIN continues on both sides of the Shank where it becomes PERPENDICULAR, PARALLEL STRAIGHT GRAIN!!! The NATURAL SMOOTH Finish has mellowed into a LIGHT WALNUT BROWN PATINA and there are NO dents, chips or scratches which detract from the beauty of the finish! A few small sandpits or sandspots keep the Pipe from perfection (and undoubtedly kept it from becoming a “dotted” Sasieni)! NO varnish, lacquer or shellac has been added to improve the finish for the pictures and temporarily conceal scratches and toothmarks! And, NO coating has been applied to the inside of the bowl to hide cracks, heat fissures and even burn-outs! The Pipe shines as it did when it came from the factory! This Canadian is 6″ LONG with a Bowl just OVER 1 3/4″ TALL!!! The nomenclature is crisp and clear: “Sasieni [in script], ROYAL STUART, LONDON MADE, MADE IN ENGLAND [in the classic Sasieni “football” shape], 44N”. The very oldest White Sasieni “RS” Overstamped Logo used on Royal Stuart’s remains mostly visible on the original bit! This is an unusual and collectible old Sasieni that is in PRISTINE CONDITION!!! It is an excellent entry-level Sasieni collectible! If the CONDITION of your eBay purchase is of importance to you, you will not find a better Sasieni Royal Stuart on eBay. Particularly because of its condition, this Royal Stuart is a bargain priced collectible! This Sasieni Canadian has been refurbished and is ready to smoke. There are no toothmarks on the mouthpiece and no carbon build-up on the Rim of the bowl.
From that information I knew that I was dealing with a Family Era Sasieni with the white overstamped RS logo that was used on these older ones. That placed the date before 1979 when the company was sold.
From there I turned to Pipedia and read through the history of the brand. It confirmed the date of manufacture as pre-1979. At the bottom of the Pipedia article there was a 1965 catalogue. I have included the link to the catalogue (https://pipedia.org/images/1/1b/Sasieni_1965.pdf). Page six of the catalogue had a listing of the Sasieni lines and on the top left column the Royal Stuart was shown.
Page seven below gives a great description of the Royal Stuart line. It reads: Royal Stuart a sweet smoking pipe of fine smoking quality bruyere. Finished to a satin smoothness in both light natural and deep plum. These bowls are selected for their fine grain conformation.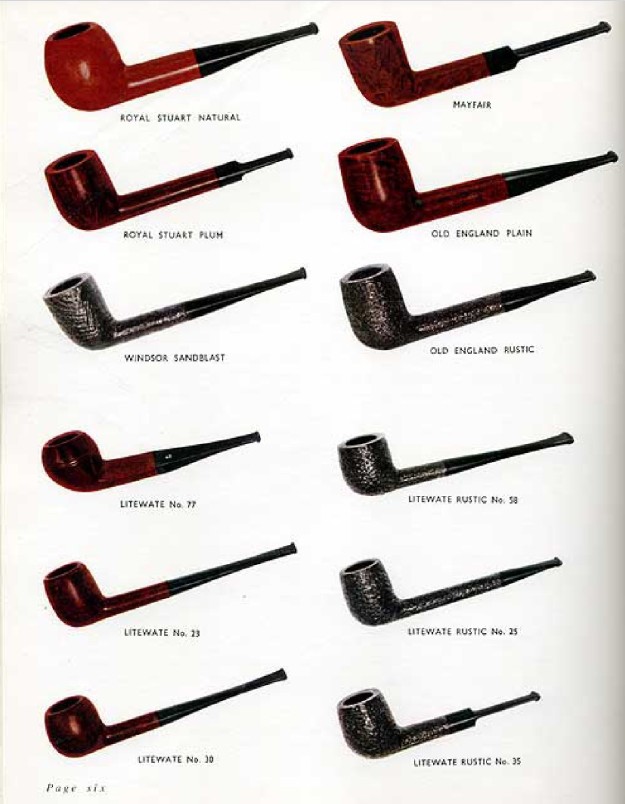
 Now I knew that is was not a second at all at this point in time. It was rather a well made pipe selected for its fine grain conformation. That also pushed the date back to at 1965. The catalogue also had a shape photo that matched the numbers on the pipe I am working on. The shape 55 was known as a Buckingham and was used in quite a few of the Sasieni lines for that large Billiard. I have included a screen capture of the shape photo in the catalogue.
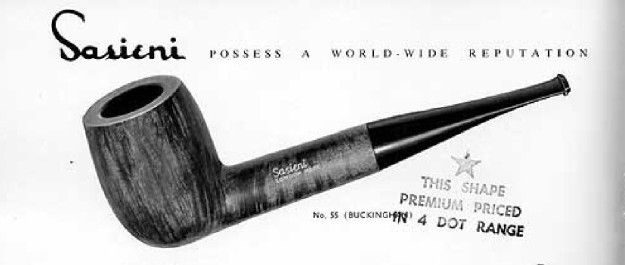 There was also a shape chart on Pipedia and I have saved the page that included the shape of the 55 (Buckingham) (https://pipedia.org/wiki/File:Sasnieni_Shapes.jpg).
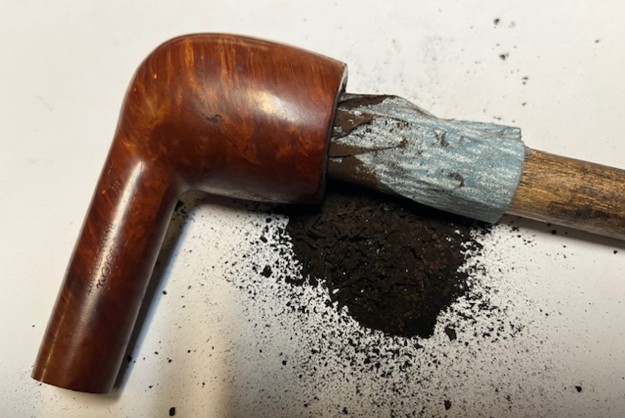
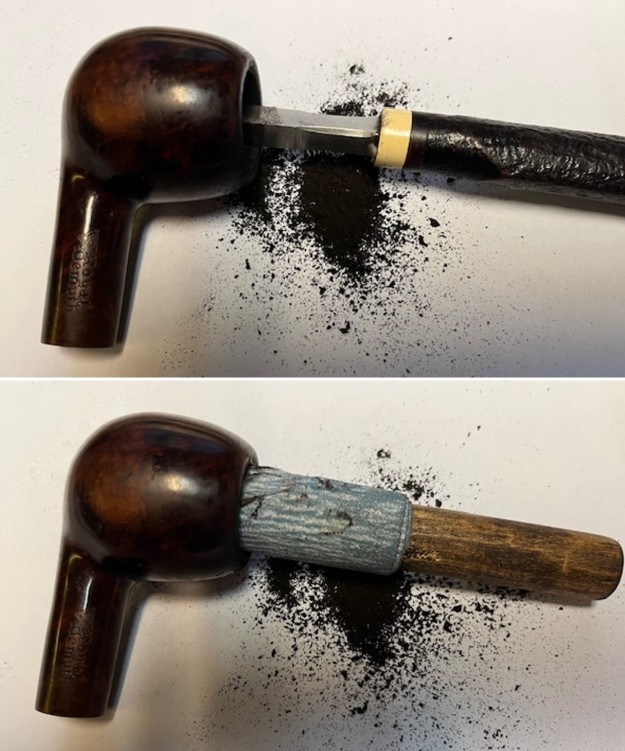
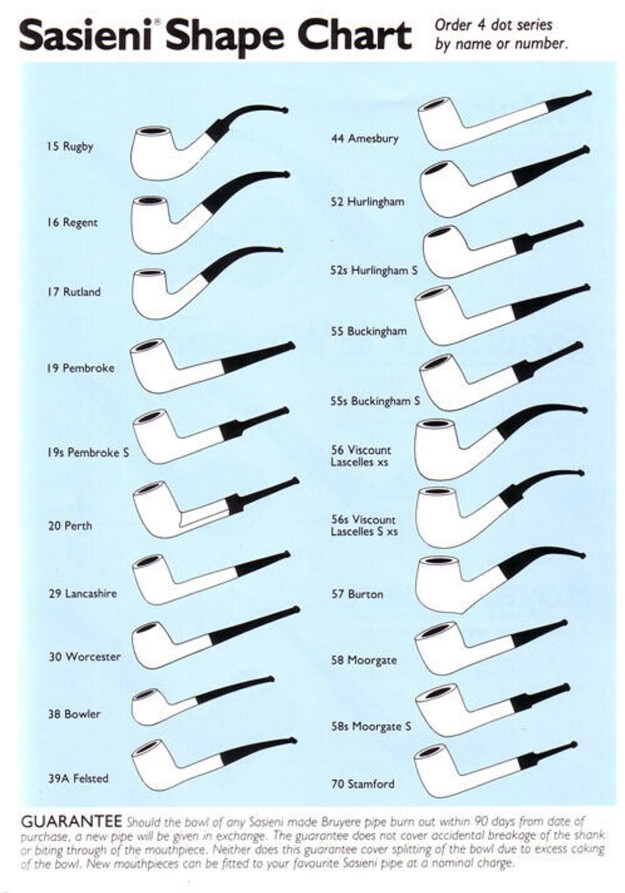 Now I knew what I was working on. It was a pre-1965 Billiard in the Buckingham shape in an early version of the Royal Stuart and in the light Natural finish that had taken on some colour through smoking. Now it was time to start my work on it. I used a dental spatula to remove the dried tobacco in the bottom half of the bowl. It was too dry and to compromised to determine the type of tobacco but I could tell that it was not an aromatic as there was no smell in the tars and oils in the shank and on the stinger.
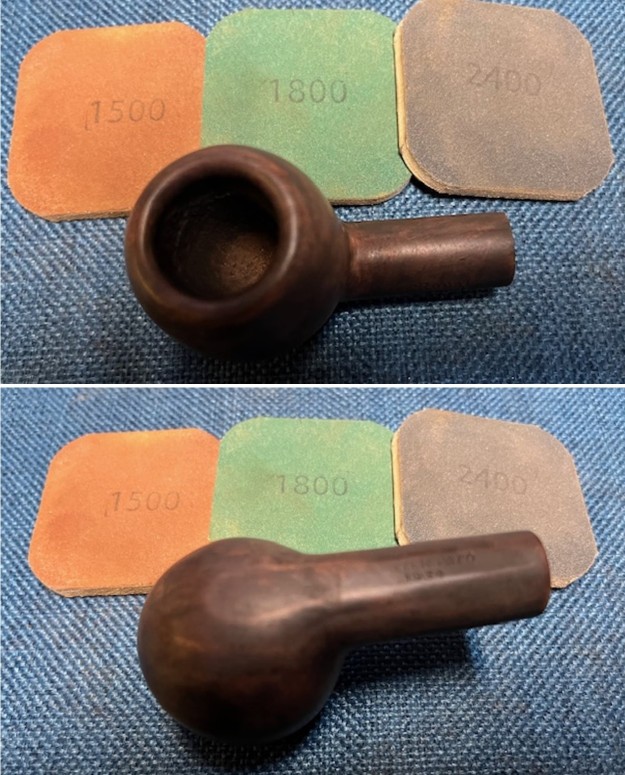
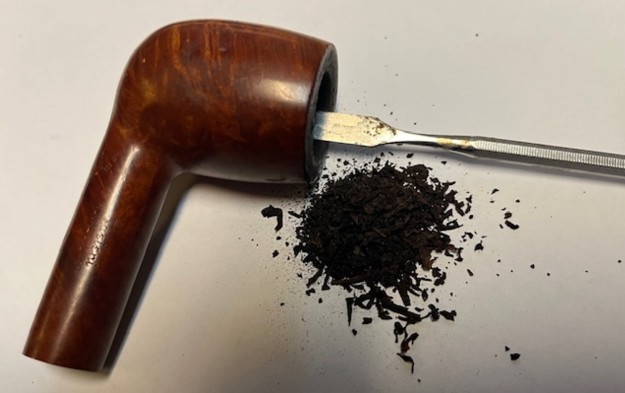 I reamed the pipe with a PipNet pipe reamer using the second and the third cutting head to take the cake back to bare briar. I cleaned up the remnants of the cake with a Savinelli Fitsall Pipe Knife. I finished the bowl internals by sanding the bowl walls with 220 grit sandpaper wrapped around a piece of dowel. The bowl walls looked very good with no checking or cracking to the walls.
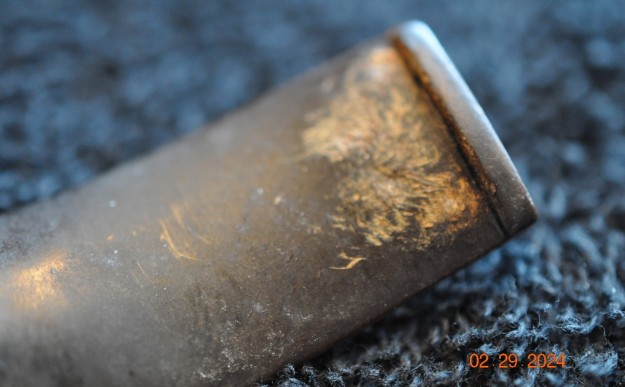
 I scraped the heavy lava on the rim top with the edge of the Savinelli Fitsall Pipe Knife. I was able to remove the majority of the build up. The rest would come up after I scrubbed the bowl.
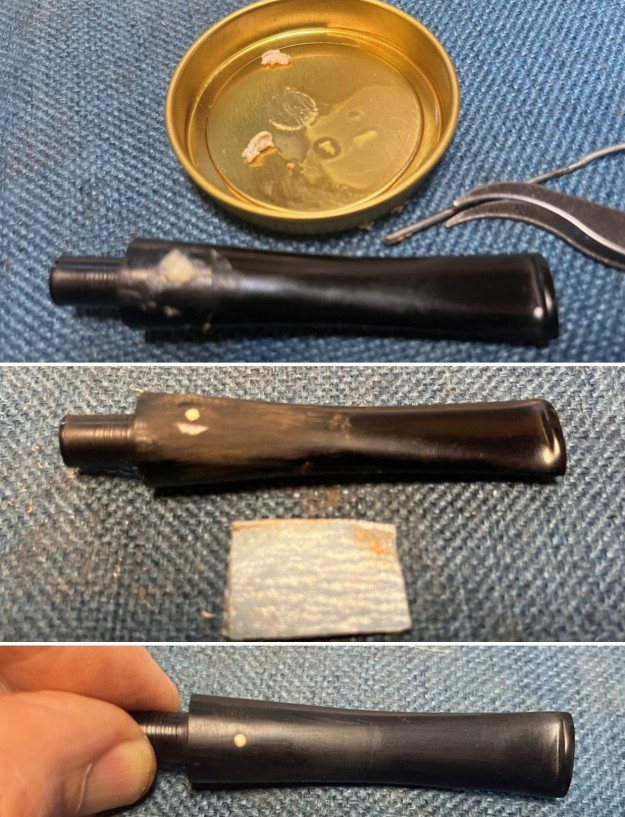
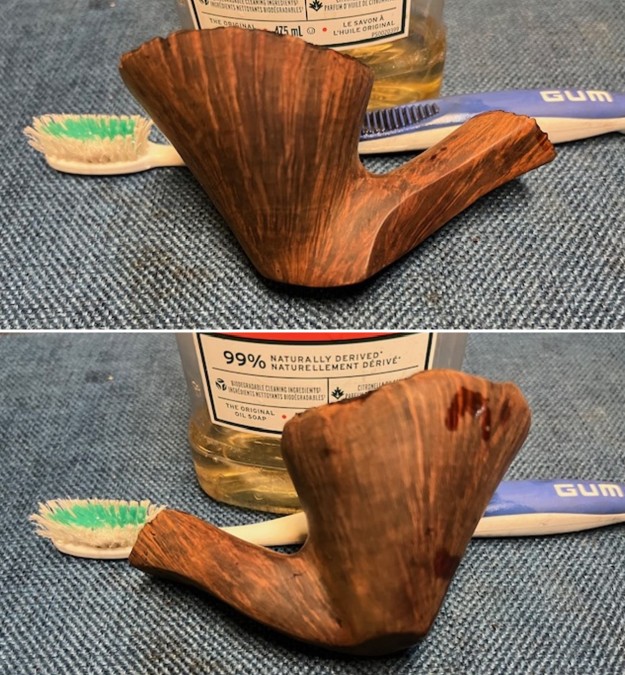
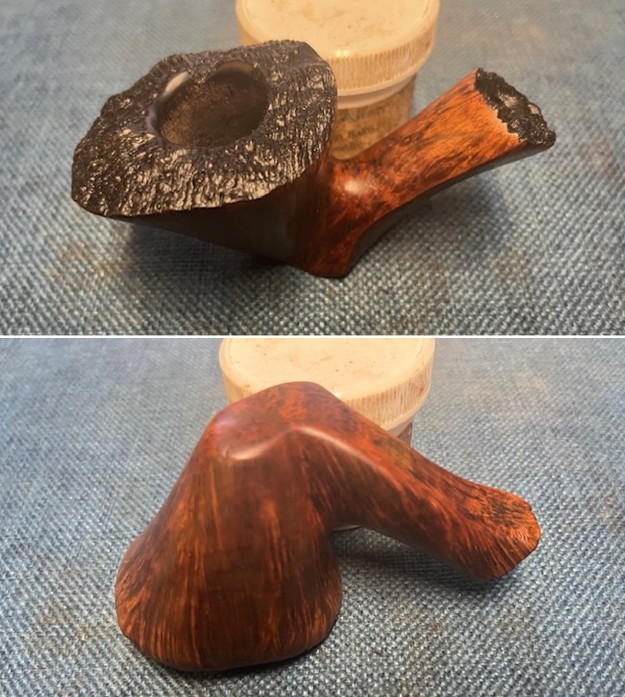
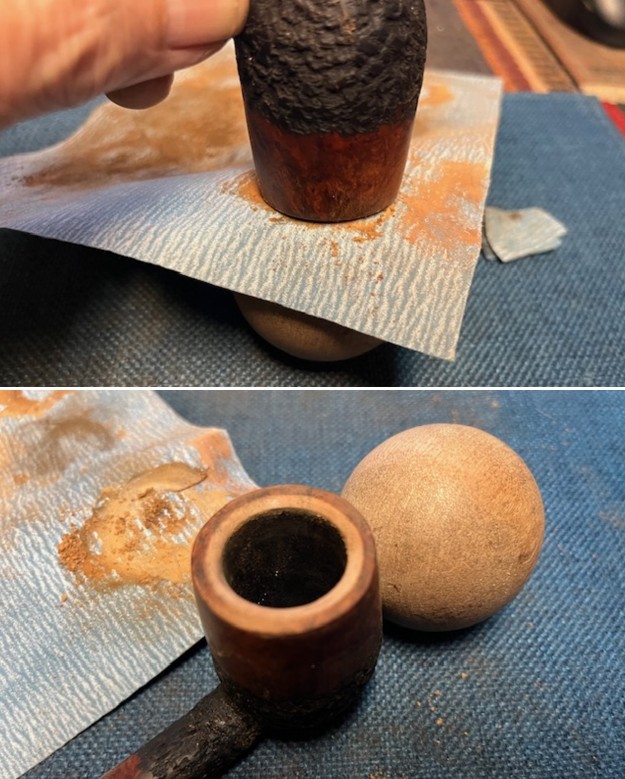
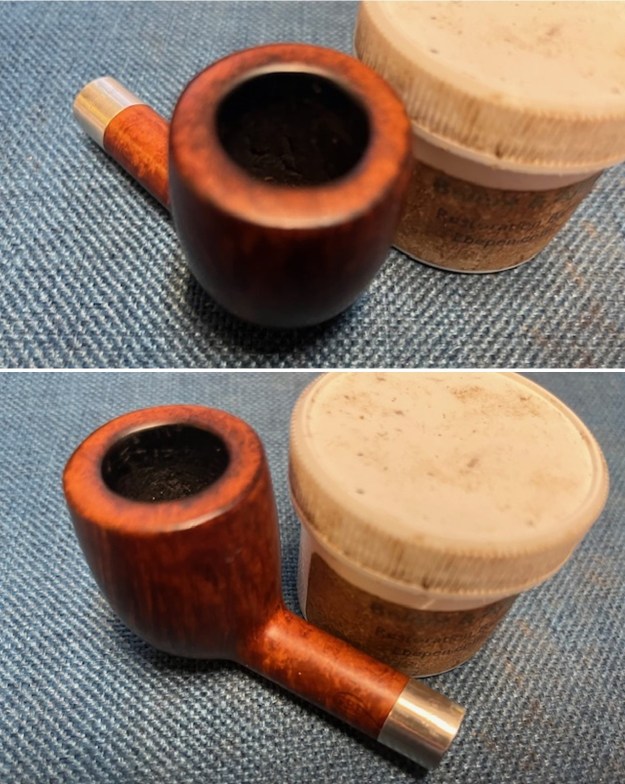
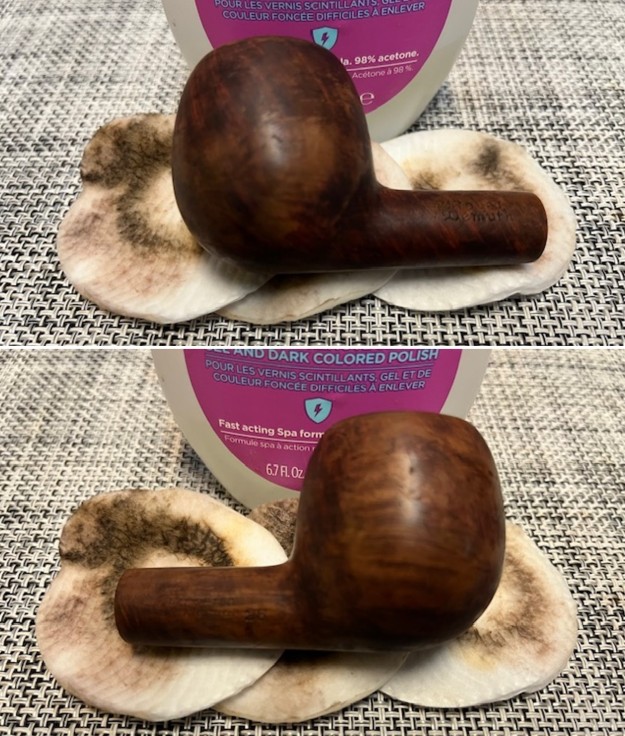
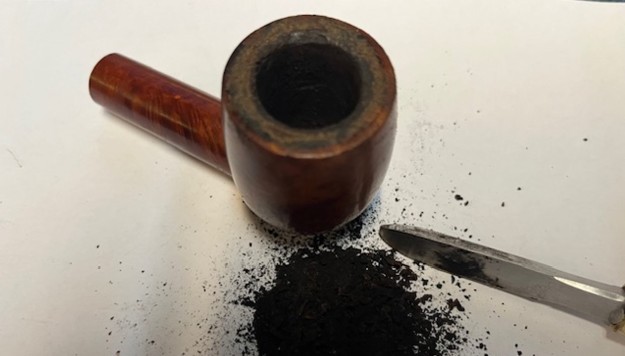 I decided to scrub the bowl with Mark Hoover’s Before & After Briar Cleaner. He had sent me a sample to try out so this was the first pipe to try it out on. I shook the jar to make sure it was well mixed. I applied it to the surface of the briar bowl and the filthy rim top with my finger tips. I scrubbed it with a tooth brush and wiped it off with a cotton pad to remove the grime and the residual product left on the briar. It looked much better once I had cleaned it. I rinsed it off with warm water and dried the briar with a cotton cloth.
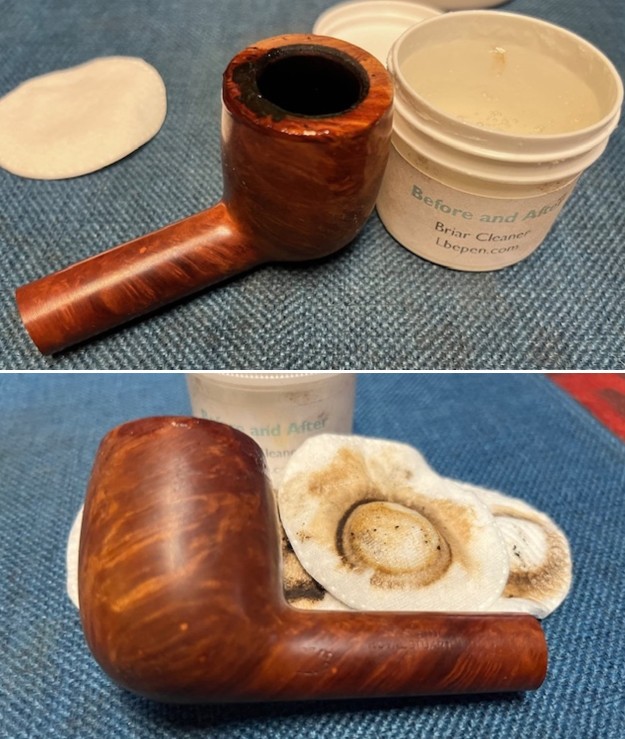

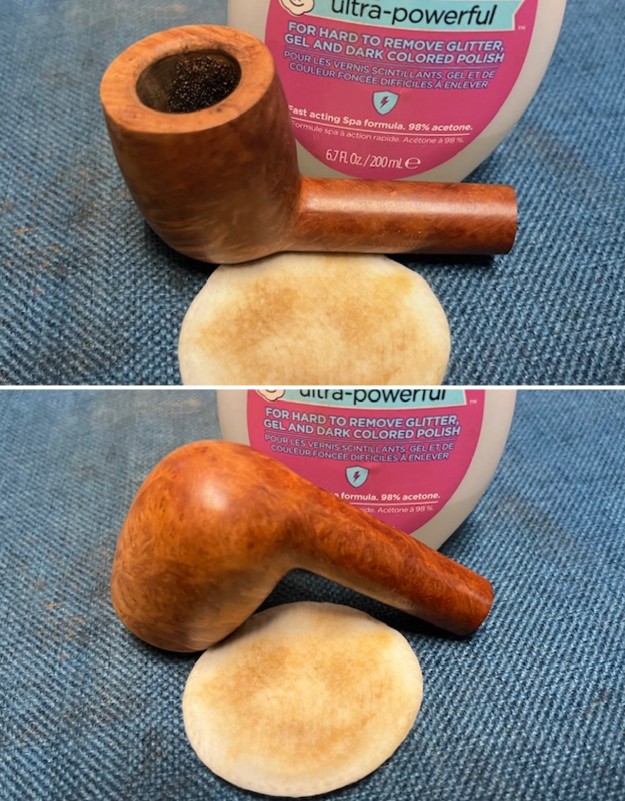
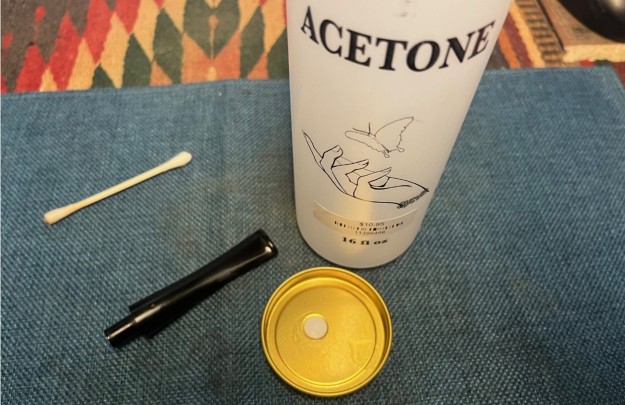
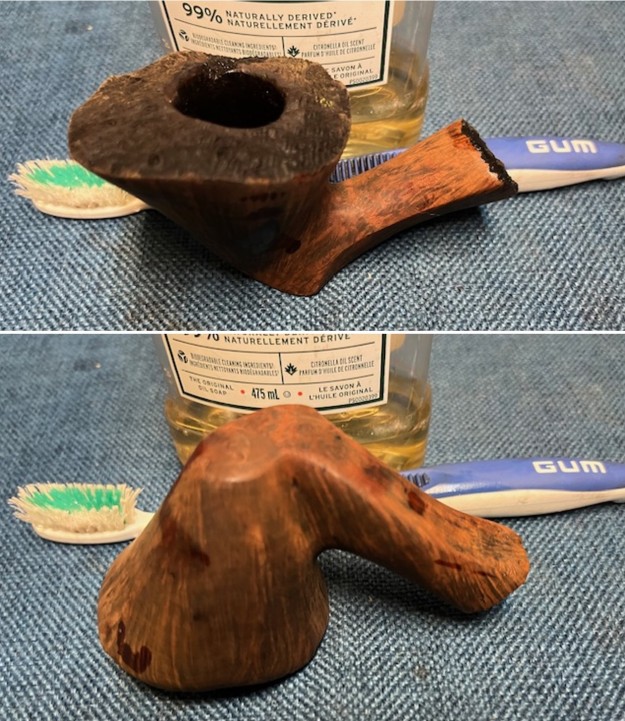
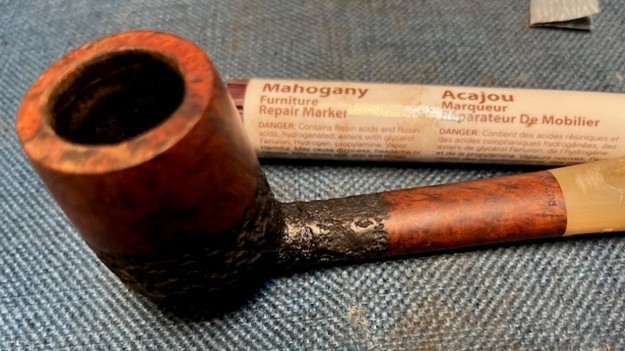
 There were still some flecks of paint and debris on the briar and the rim top still had some lava that I needed to remove. I wiped the bowl with a cotton pad and acetone and cleaned off the remainder of the debris and the briar looked very good.
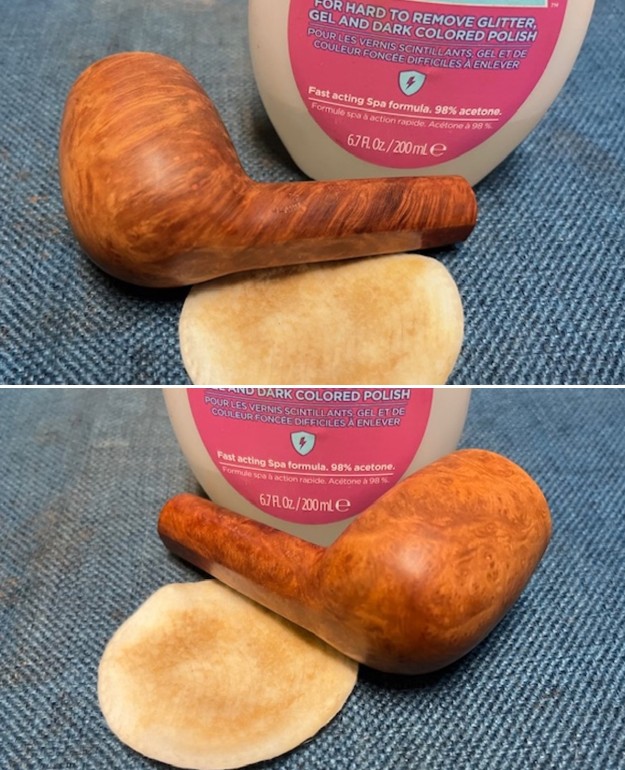
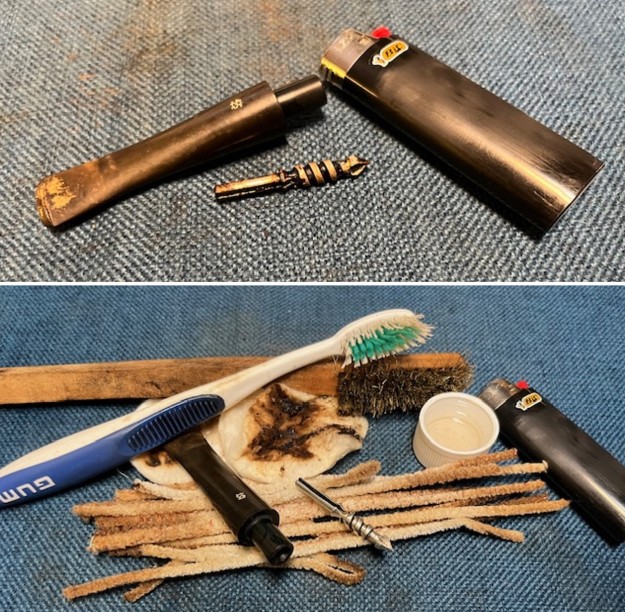
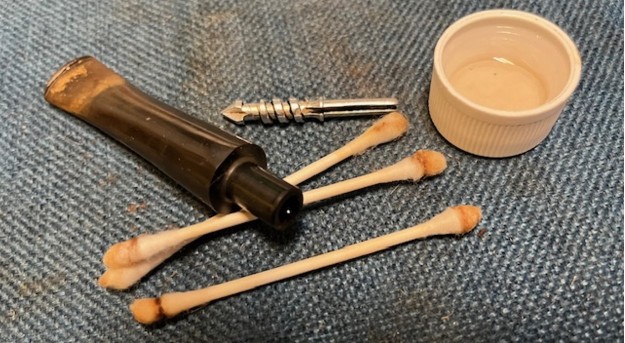
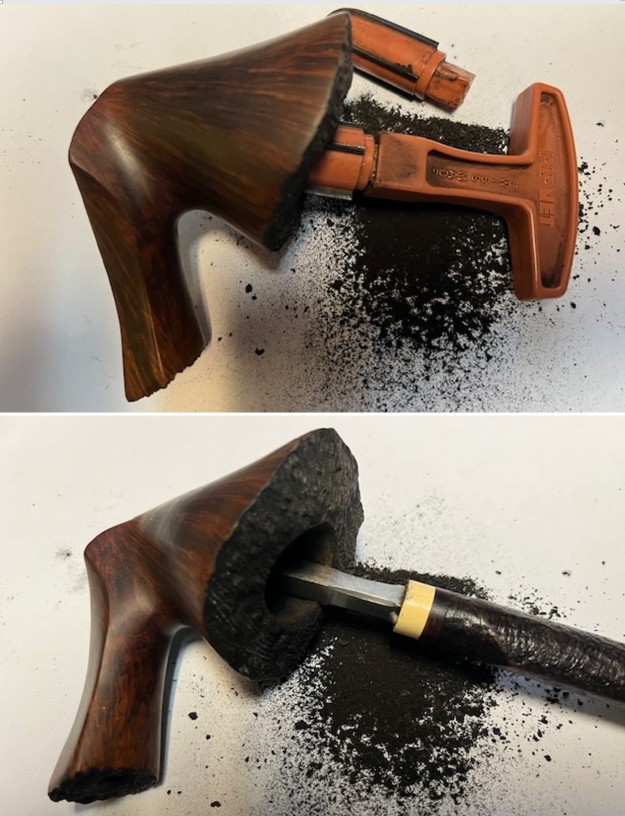
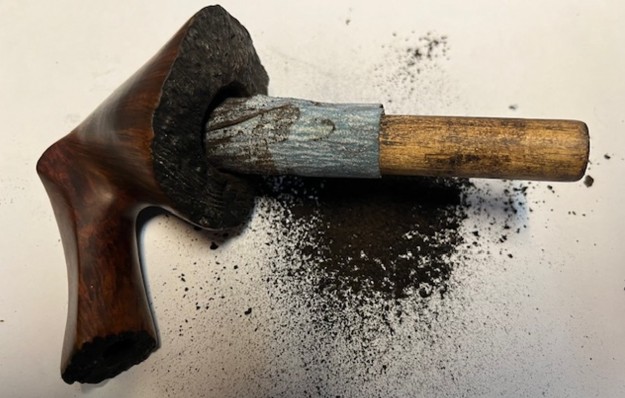
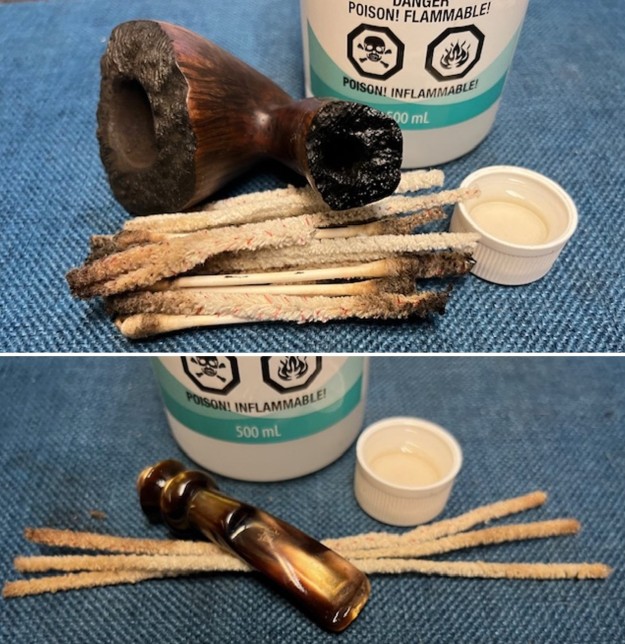
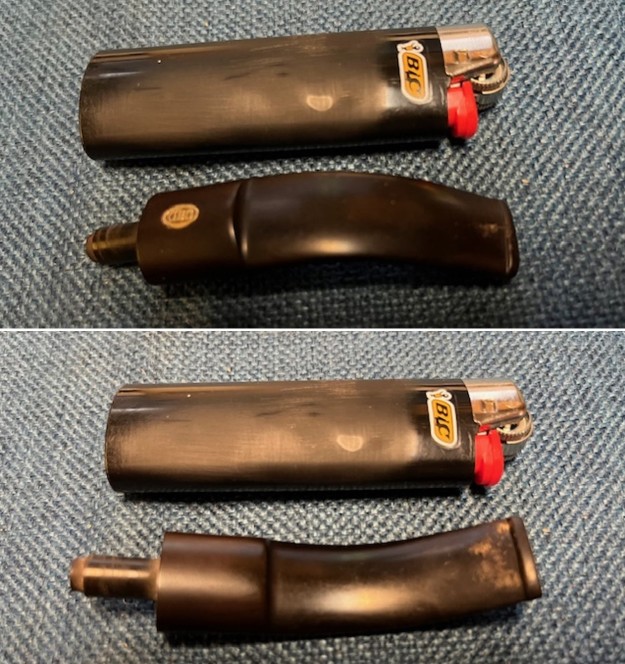
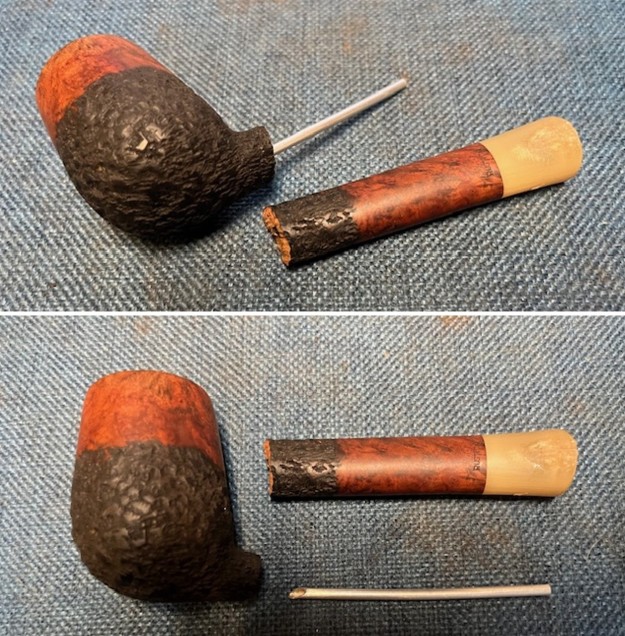
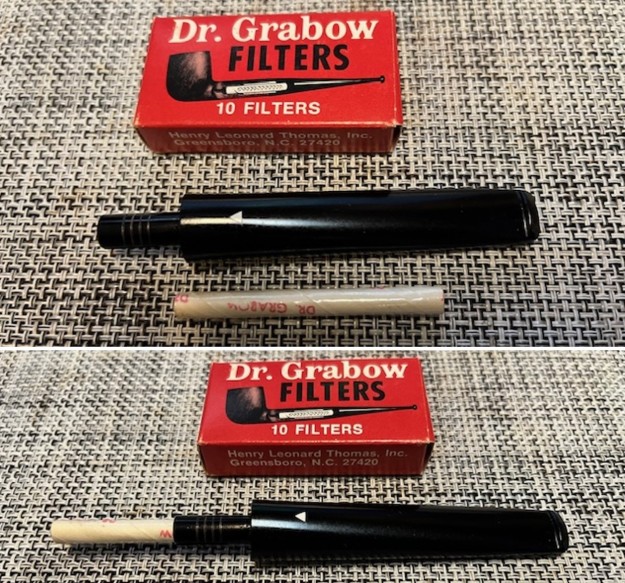
 With the externals cleaned it was now time to work on the internals of the mortise, shank and airway in the stem. I scraped the walls of the shank with a dental spatula and took a lot of tars and oils out with the spatula. From there I cleaned up the debris with pipe cleaners, cotton swabs and isopropyl alcohol until it was clean and the smell was gone. In order to clean out the shank I needed to remove the stinger apparatus from the tenon. I heated the stinger with a lighter and the goo softened enough to be able to remove the singer. I then cleaned the airway in the stem with alcohol, cotton swabs and pipe cleaners. I used both bristle and fluffy pipe cleaners to clean out the oils and tars. I used a tooth brush and a brass bristle wire brush to clean off the stinger at the same time. I scoured out the open tenon with a cotton swab. It came out looking much better.
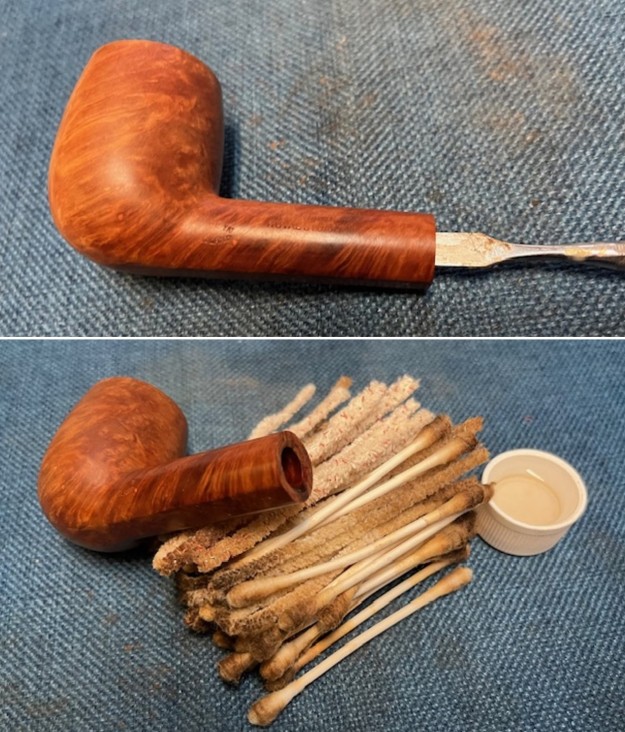
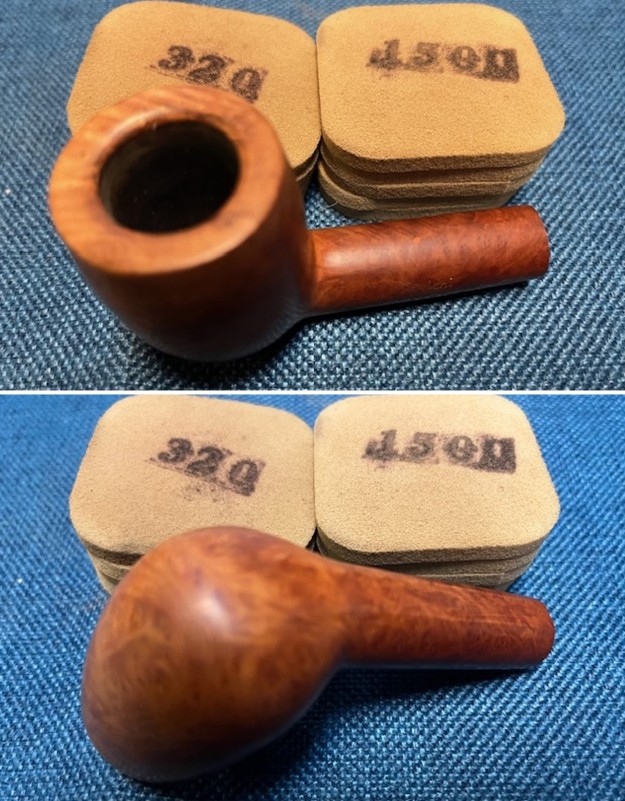
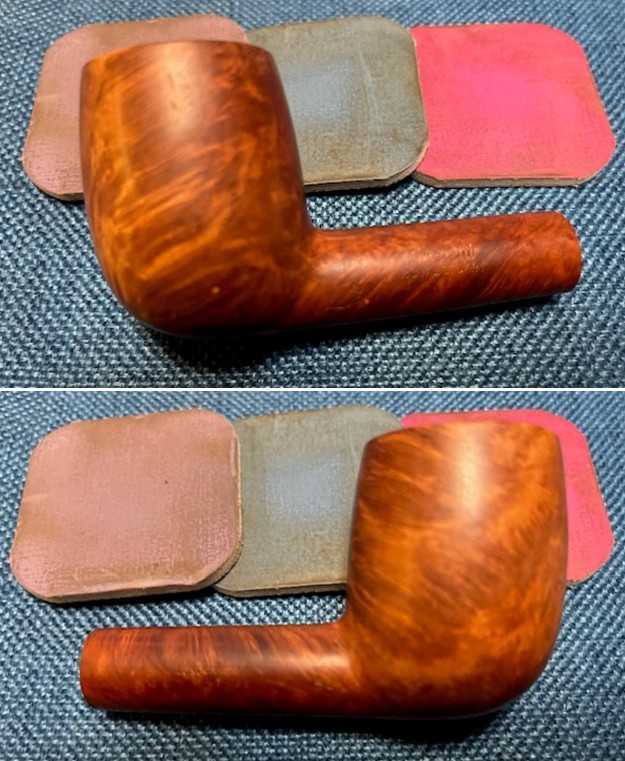
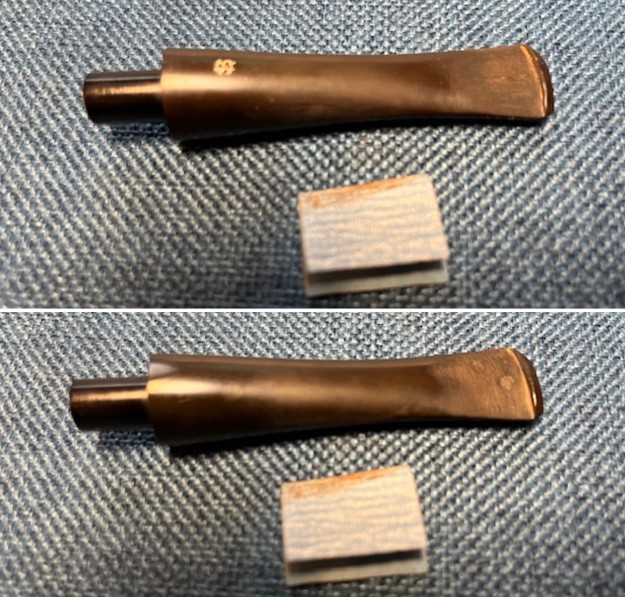
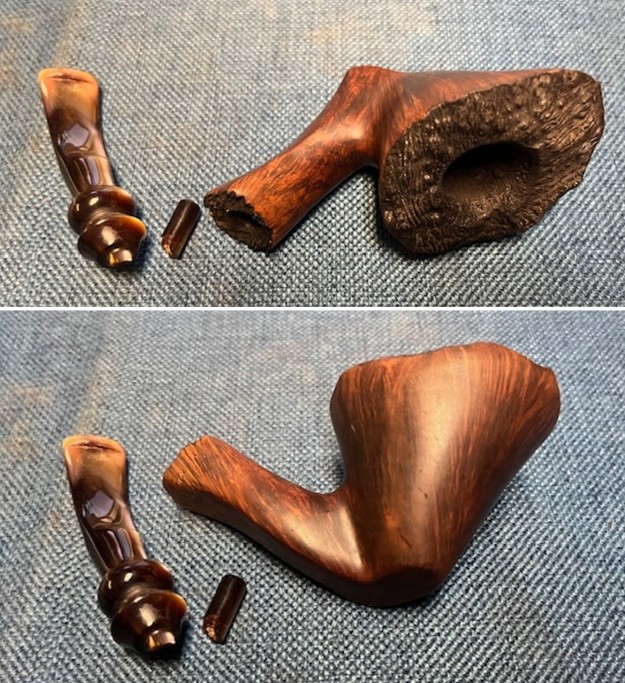
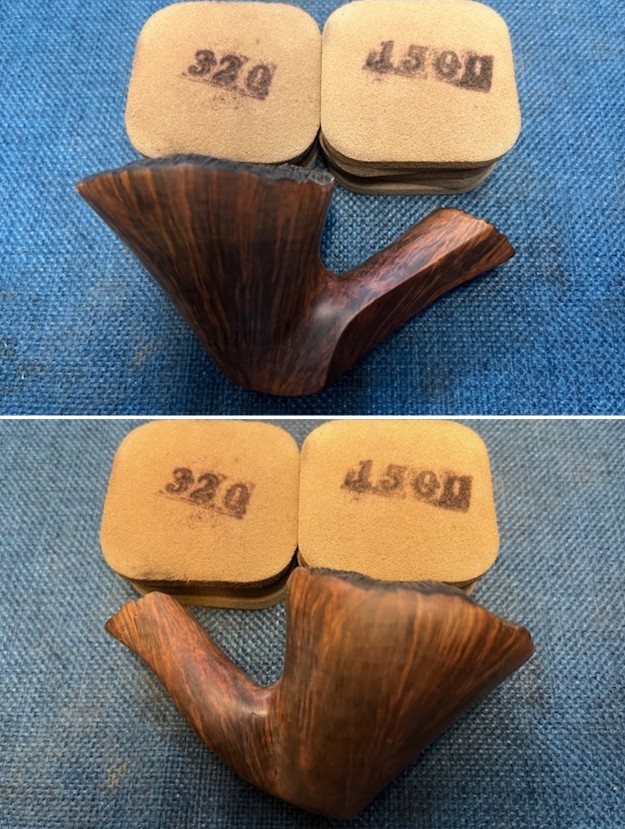
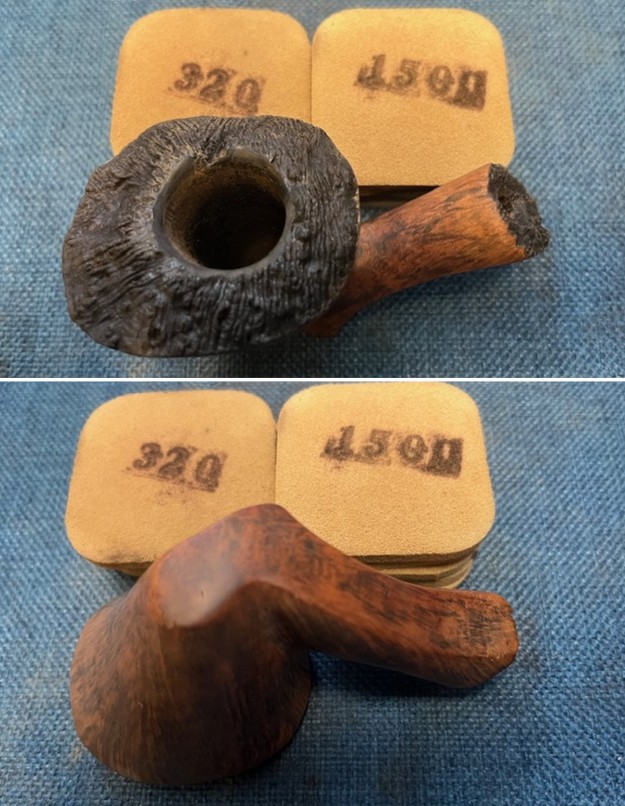
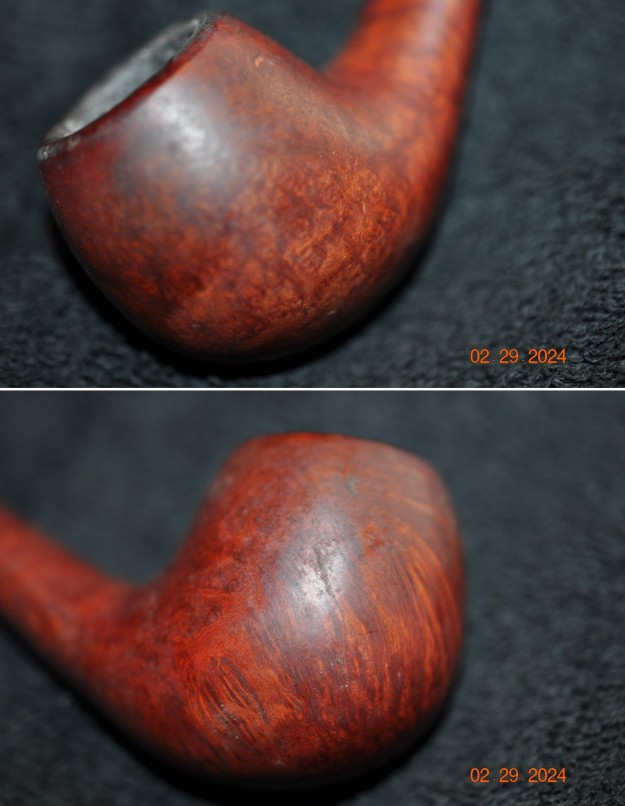
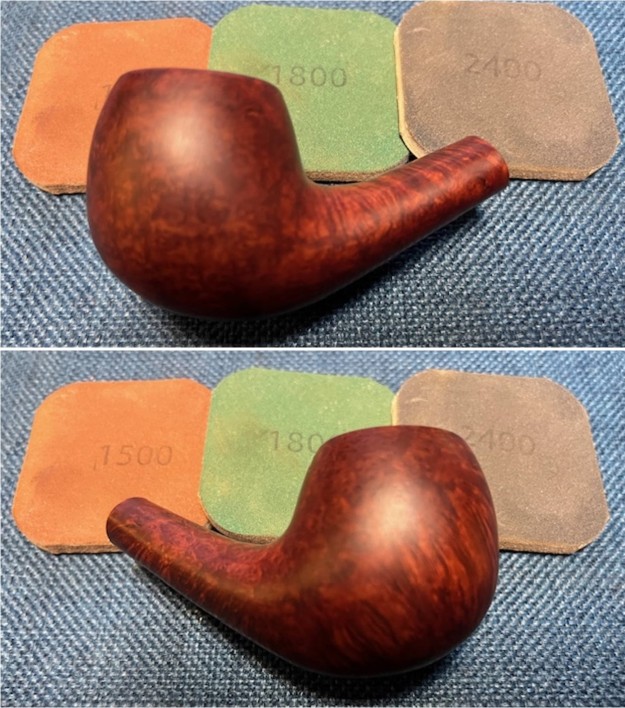
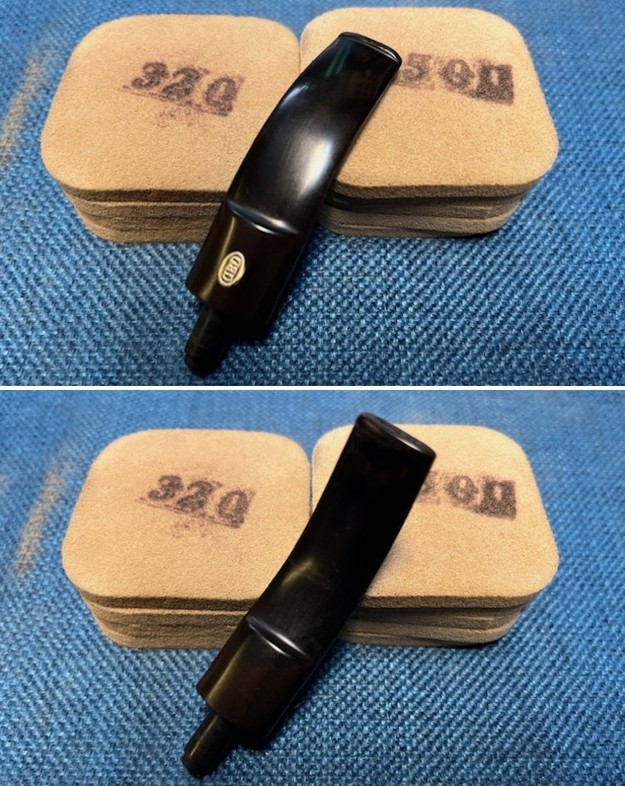
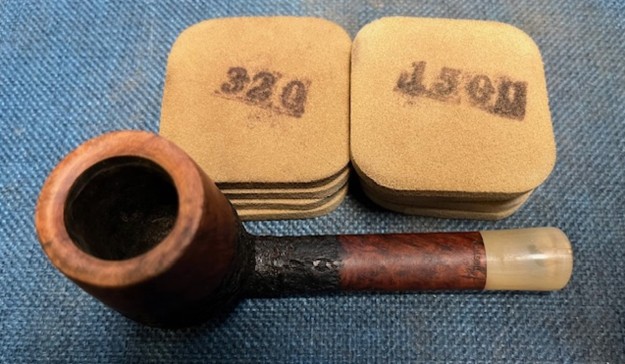
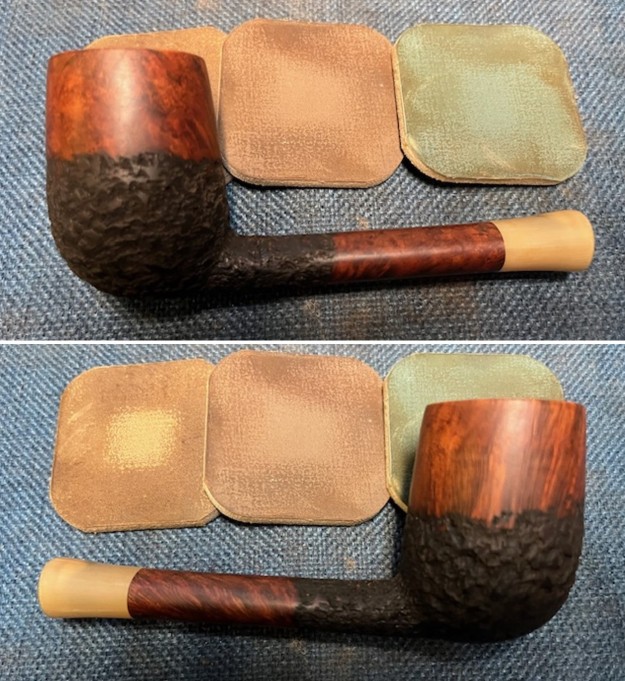
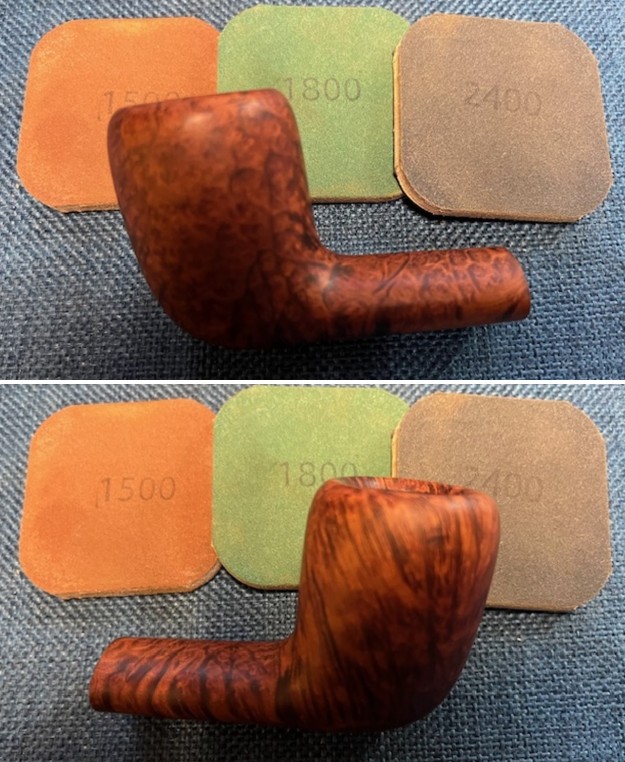
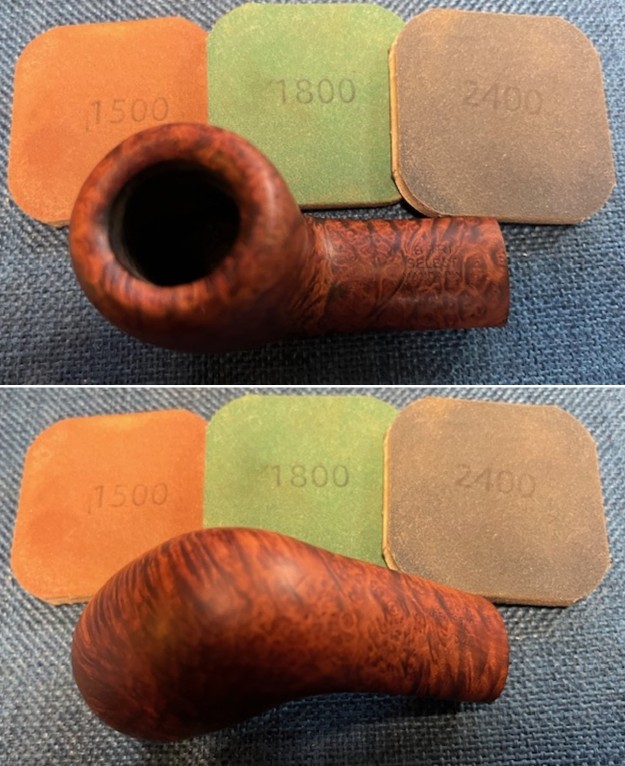
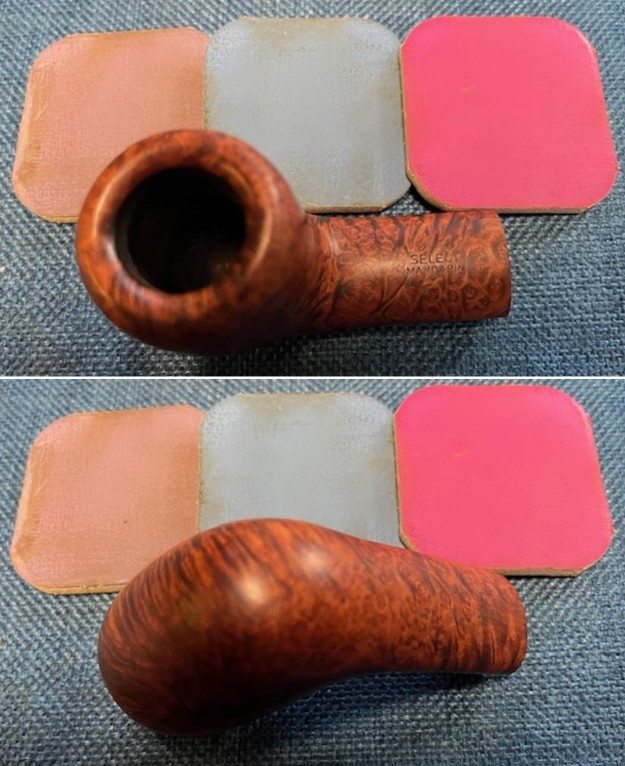
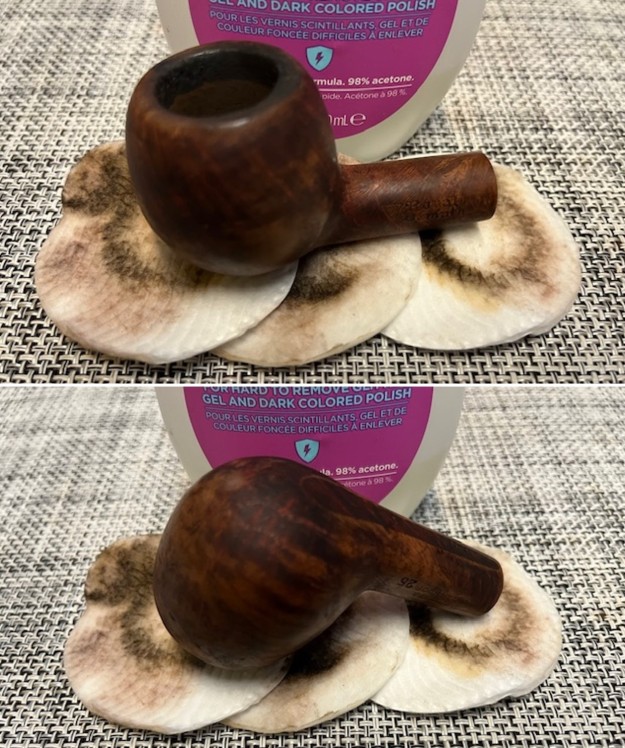
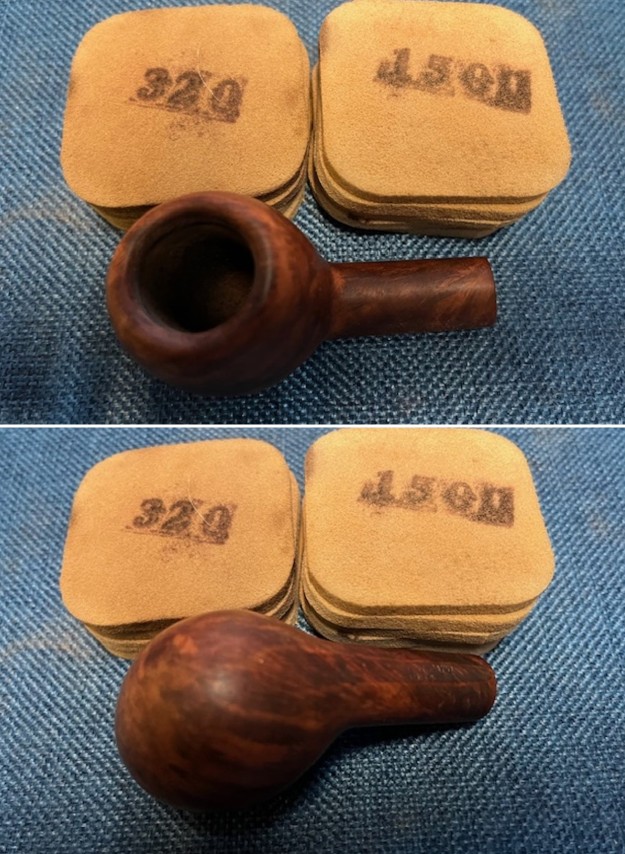
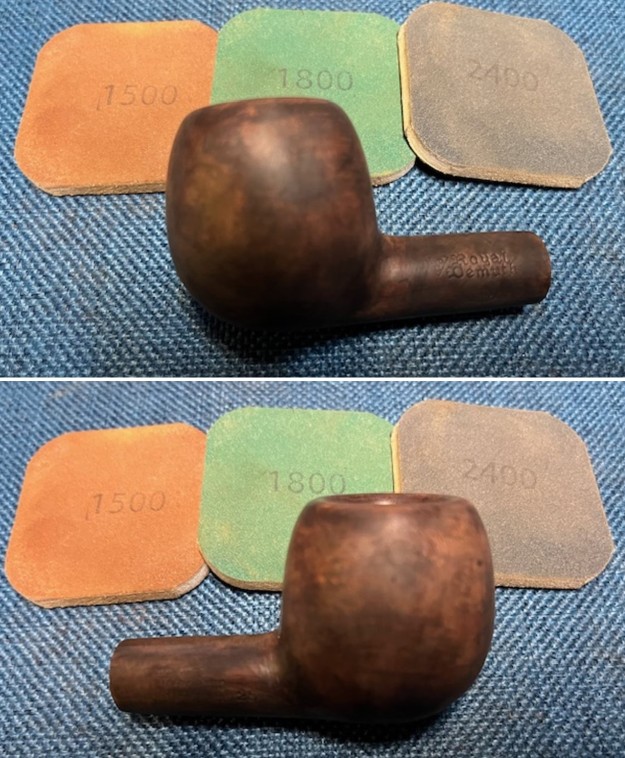
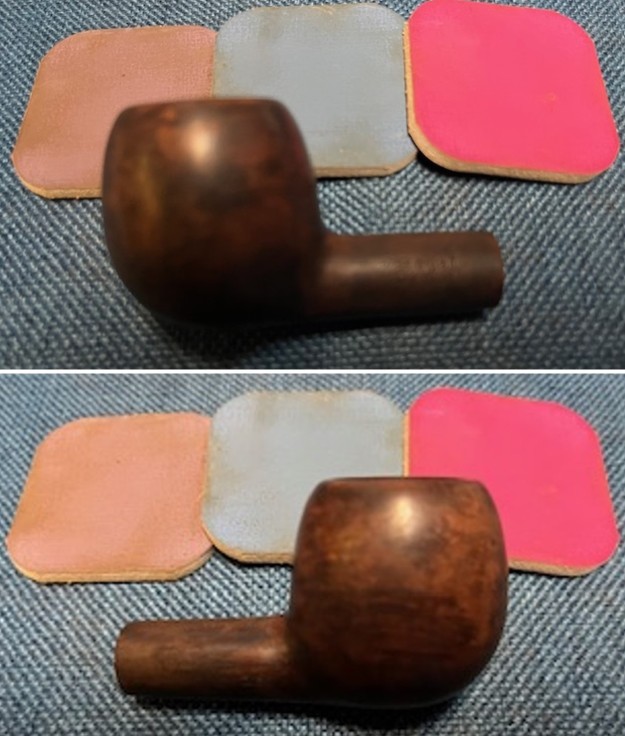
 I set the stem aside and went back to working on the bowl. I sanded the briar with 320-3500 grit sanding pads. I wiped the briar down after each sanding pad with a damp cloth to remove the debris that was left behind. By the time I finished the last pad the briar was very smooth and clean to the touch.
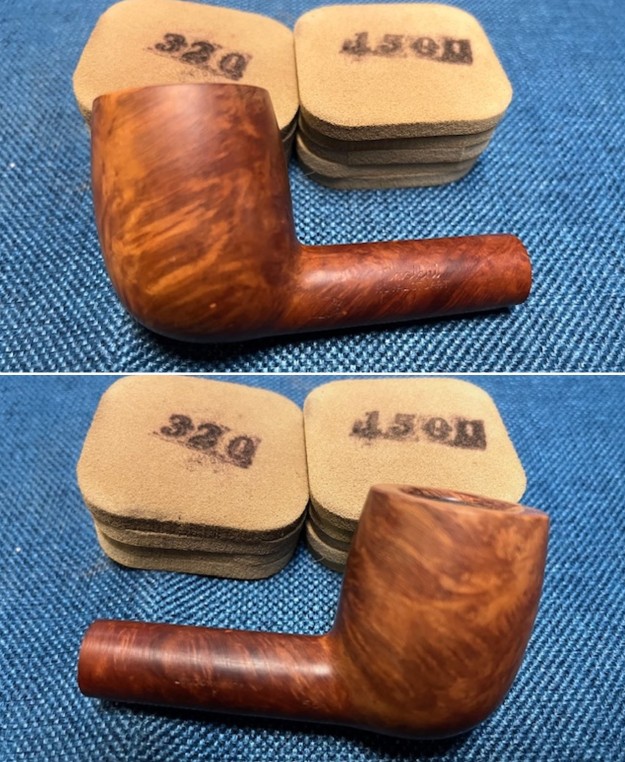
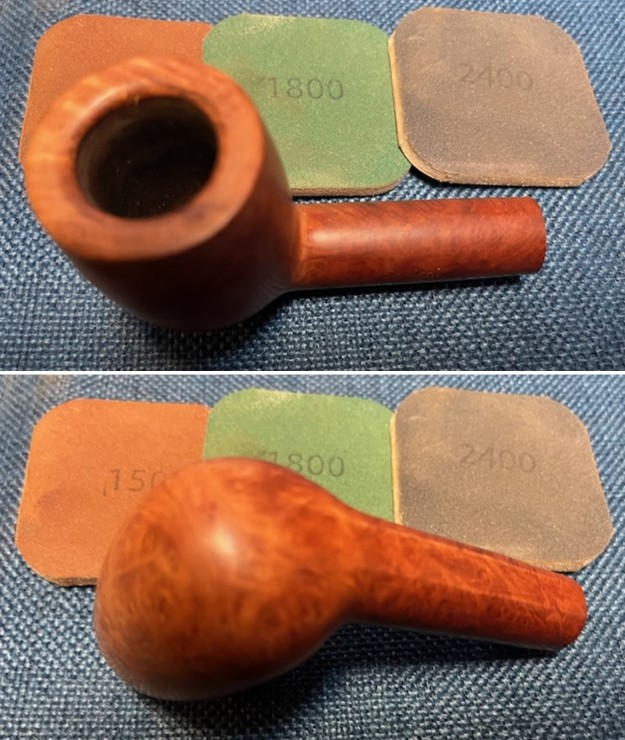
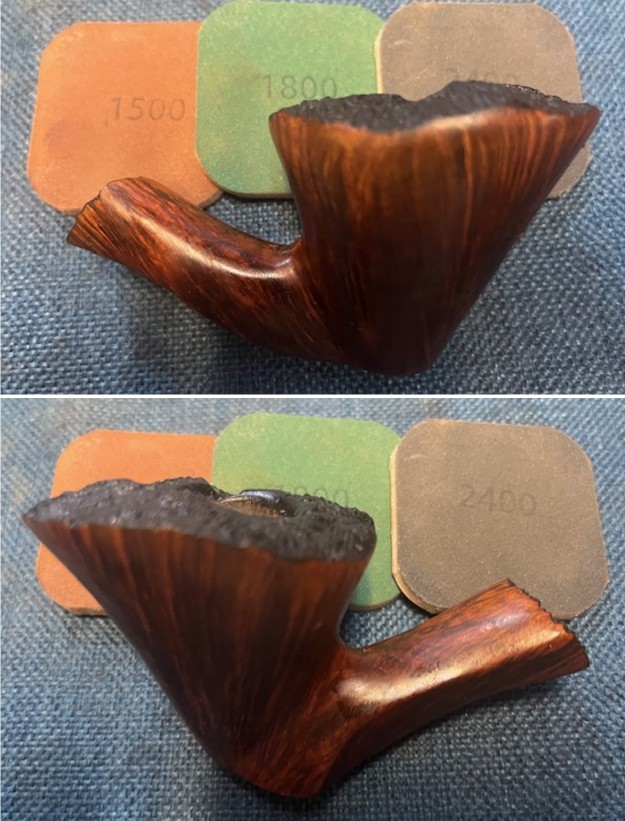
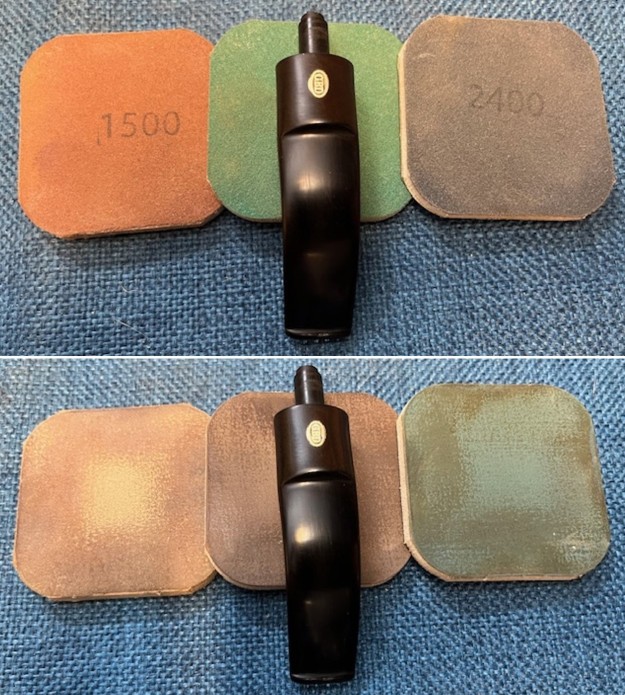
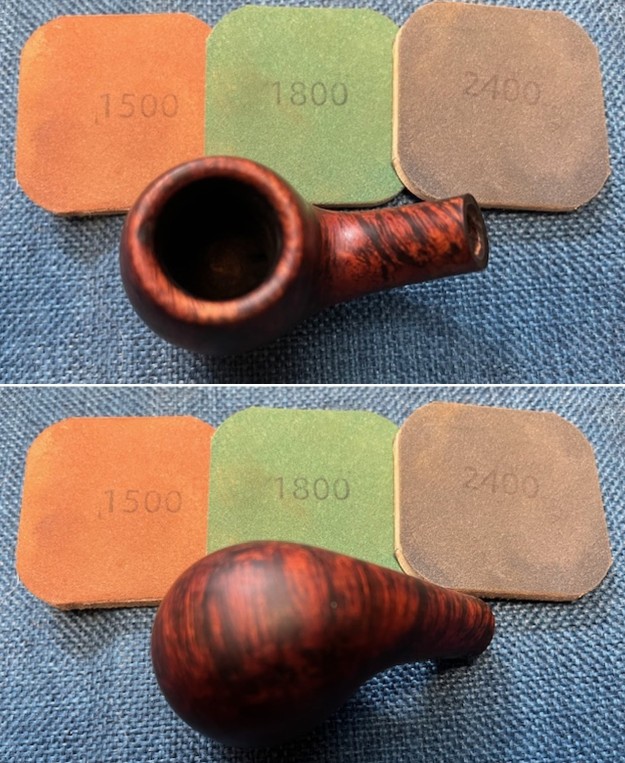
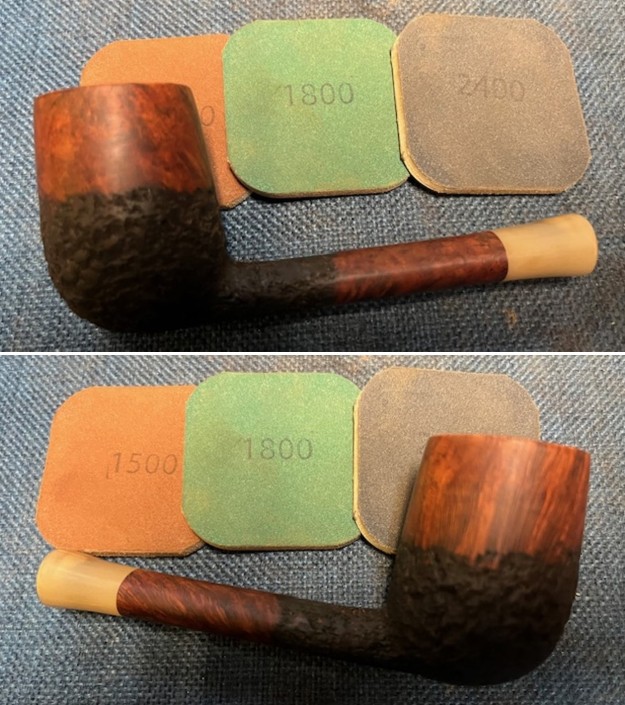
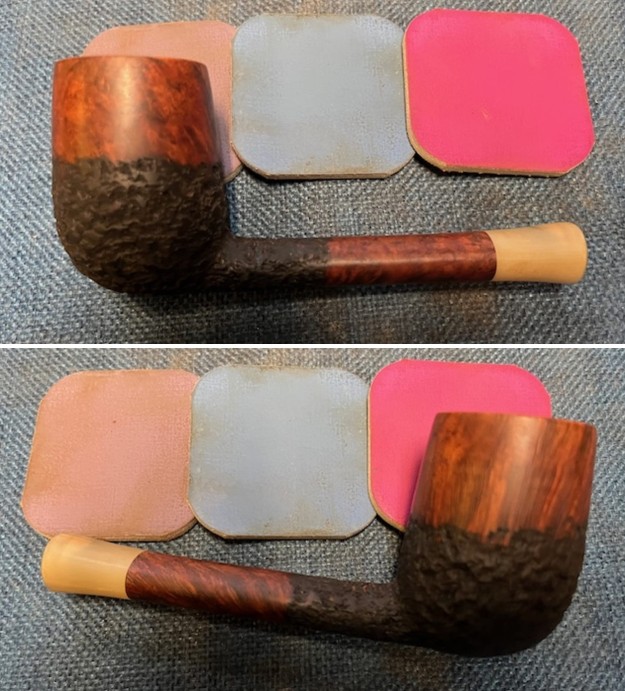
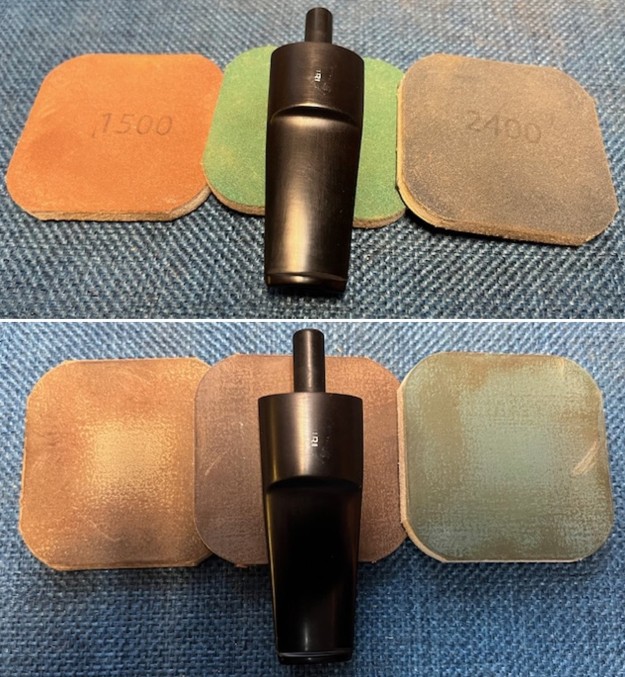
 I polished the briar with micromesh sanding pads – dry sanding with 1500-12000 grit sanding pads. I wiped it down with a damp cloth after each sanding pad. The bowl began to really shine with the polishing.
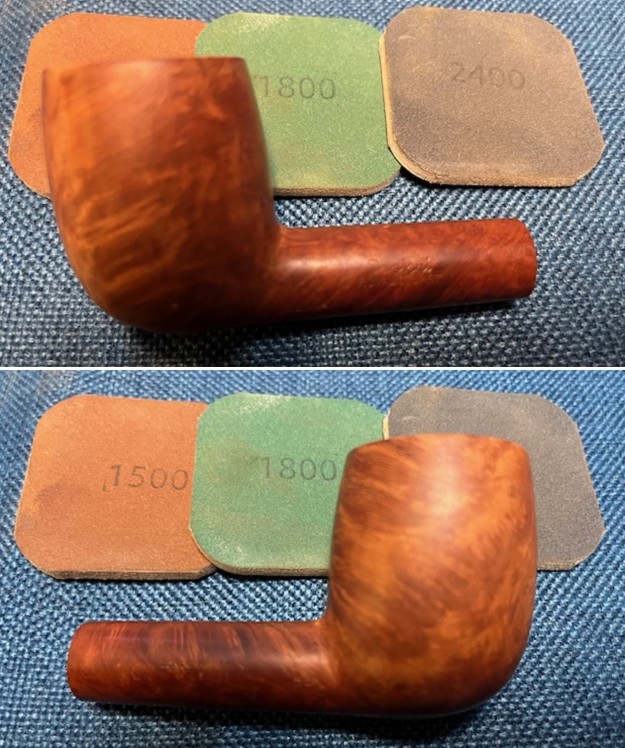
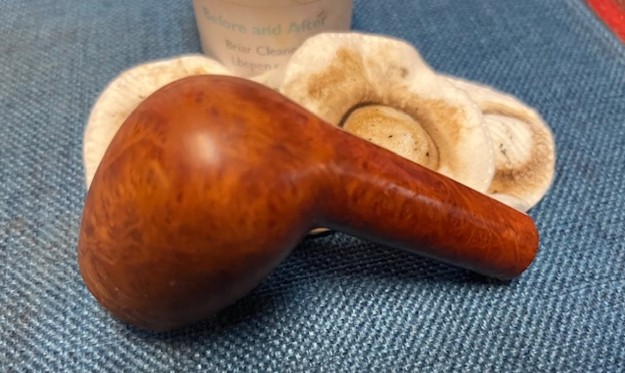
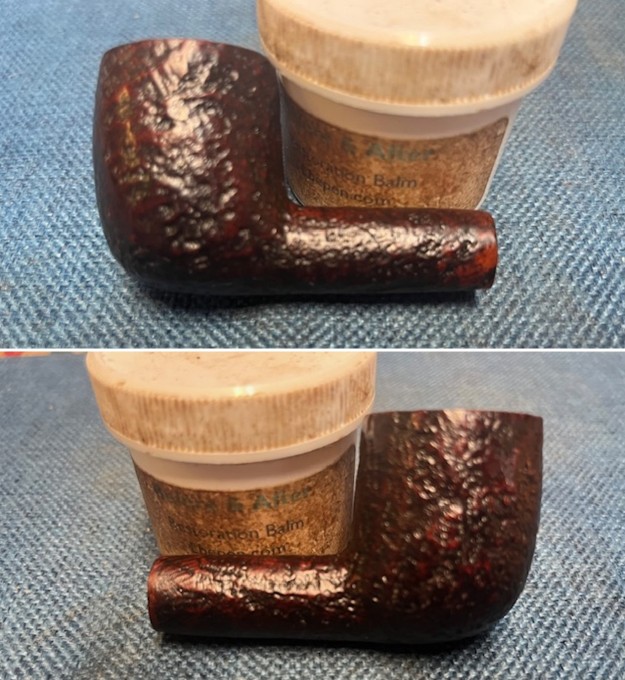
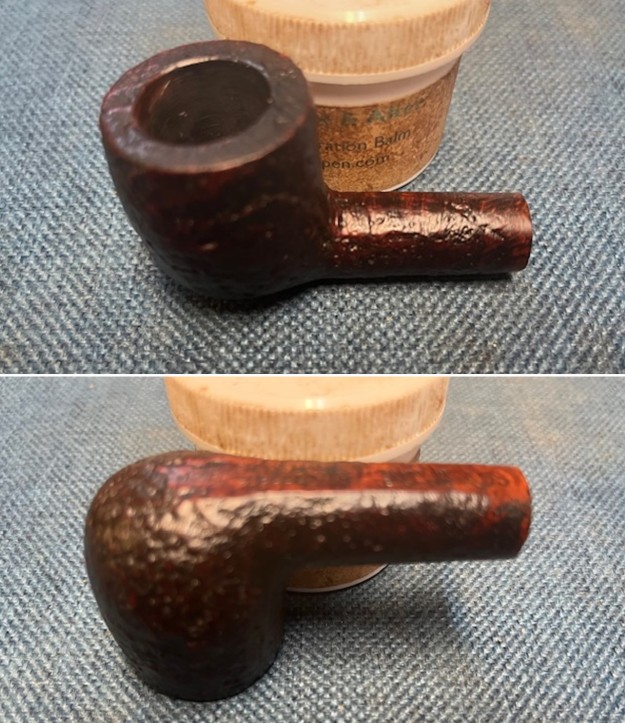
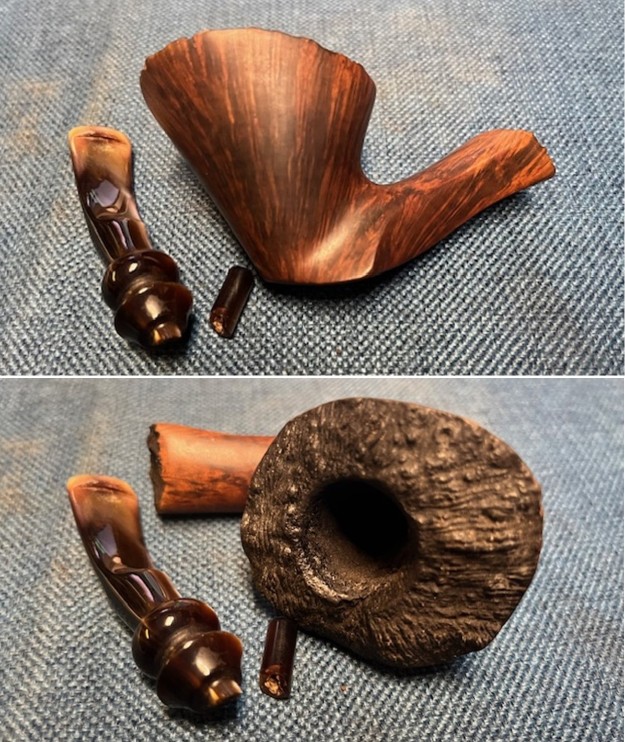
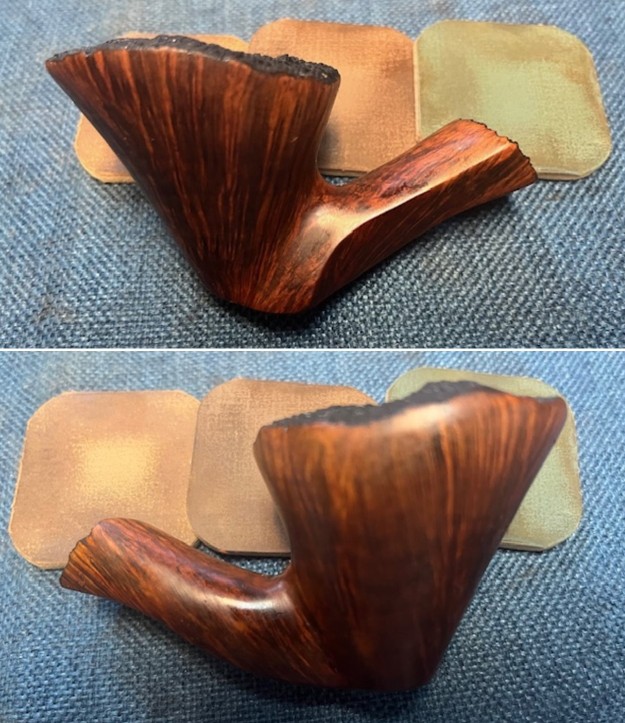
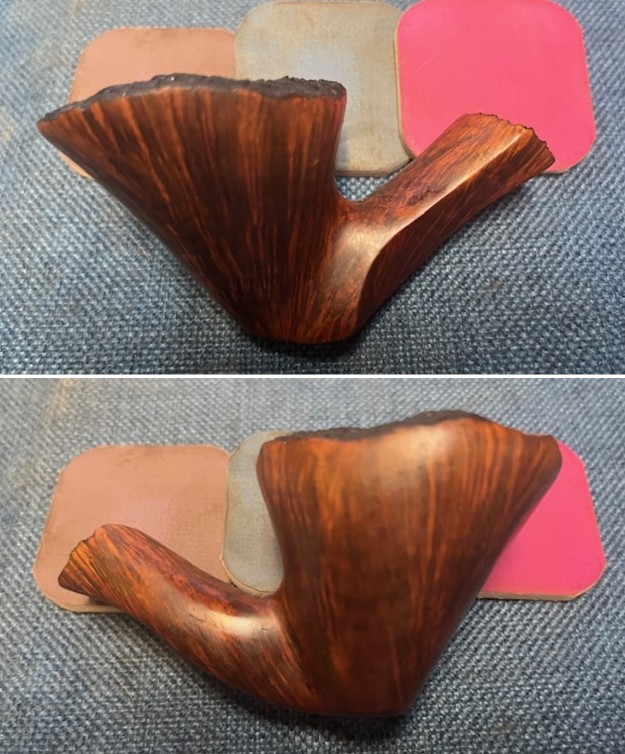
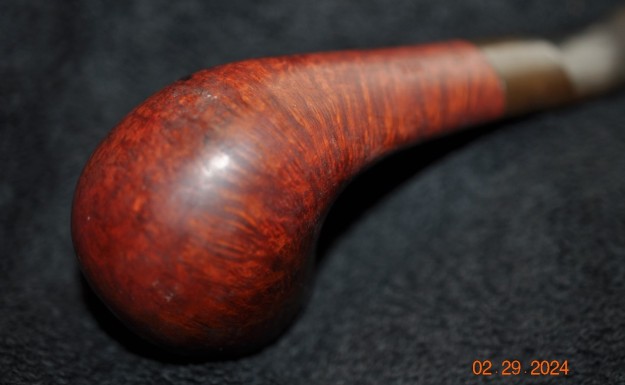
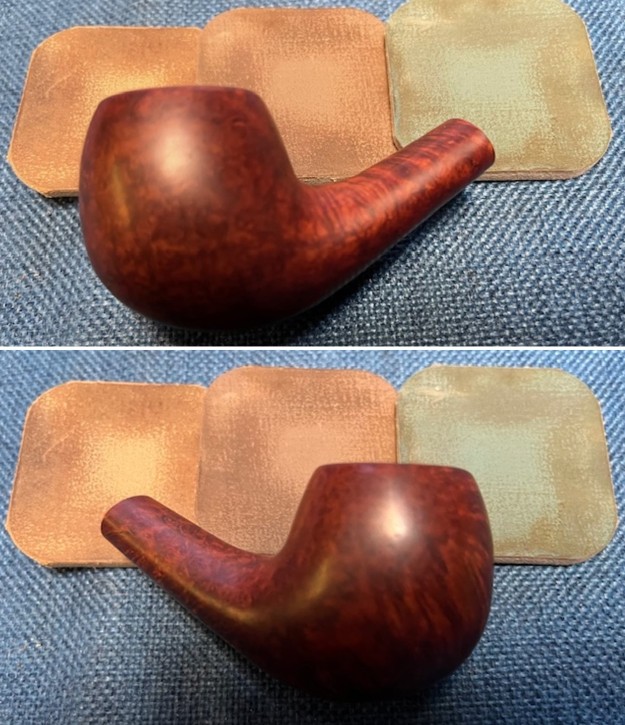
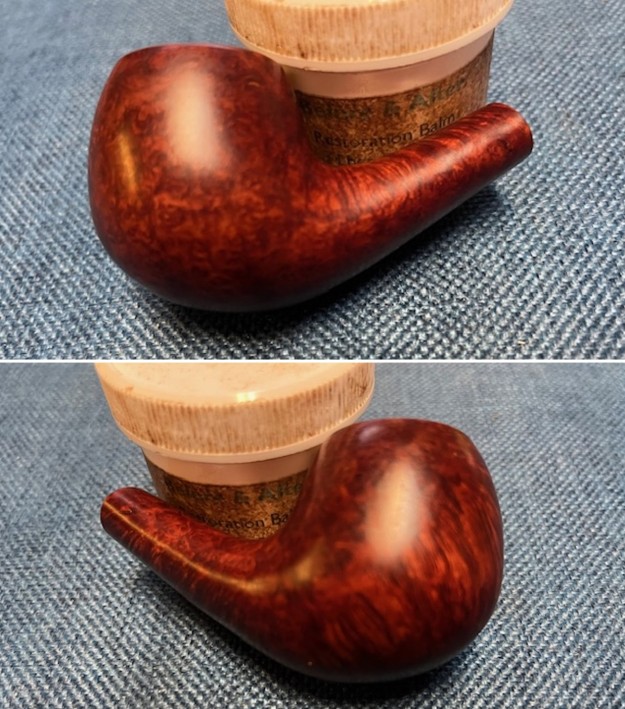
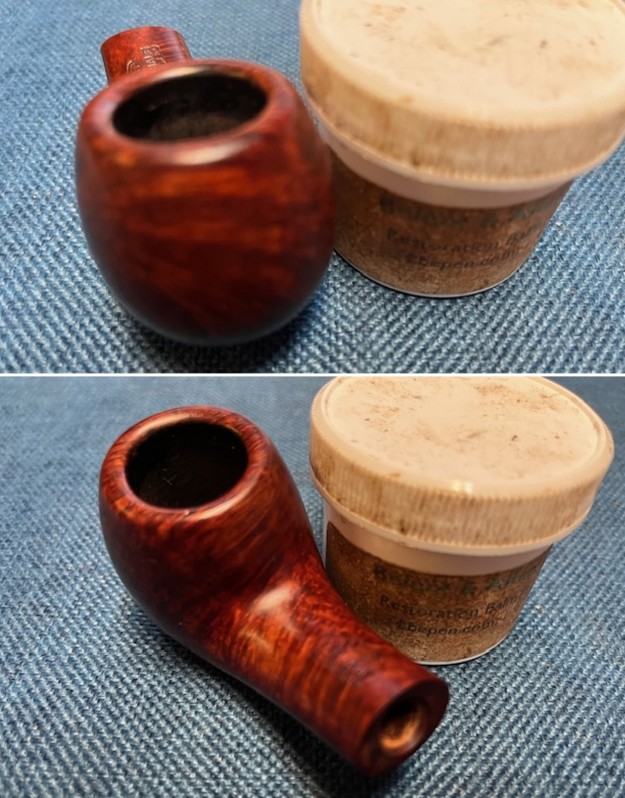
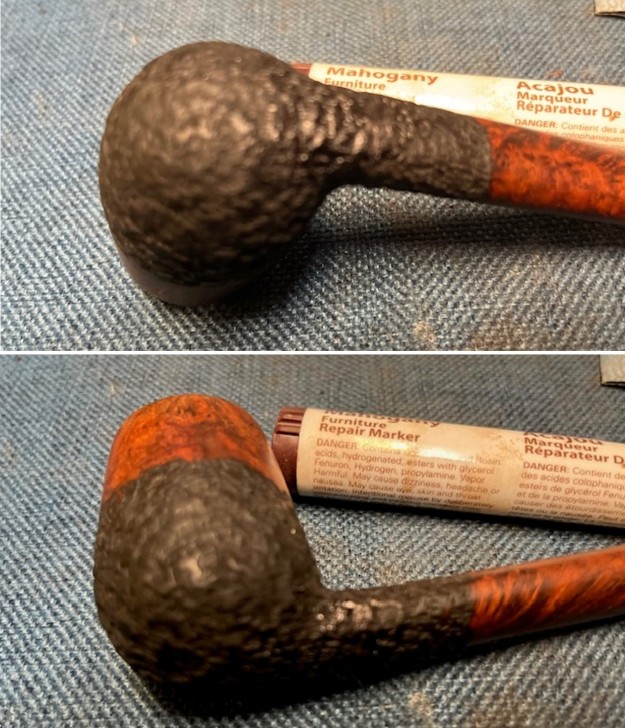
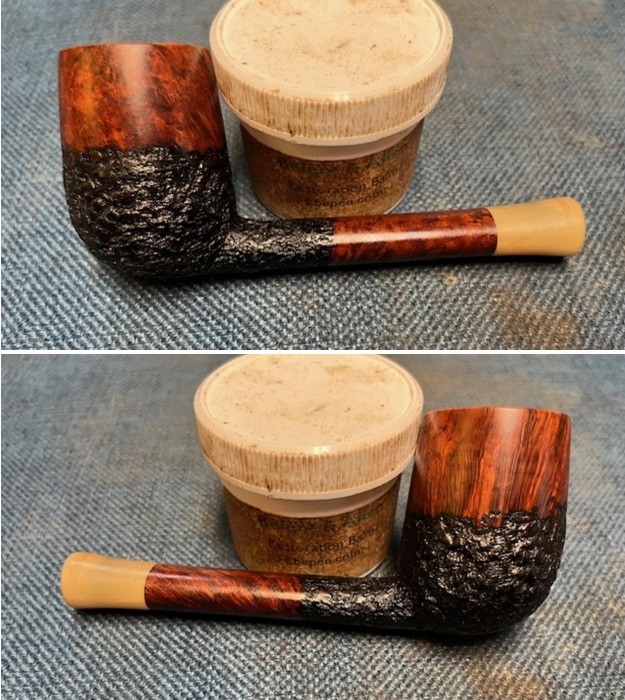
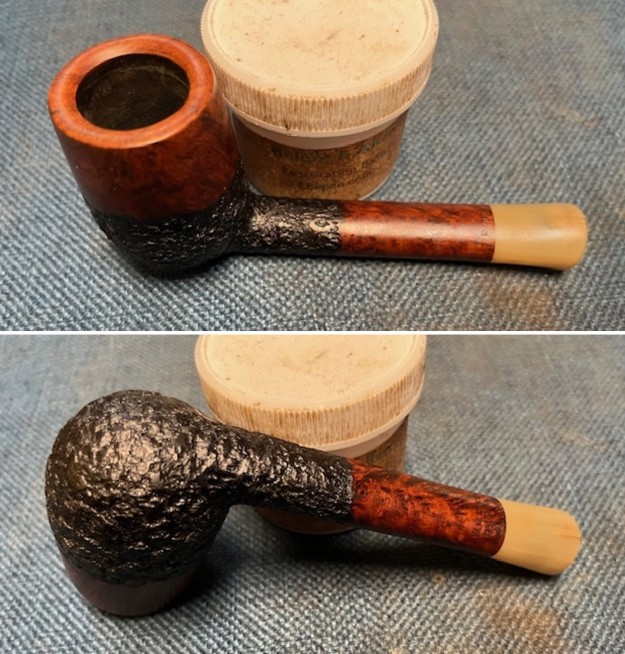
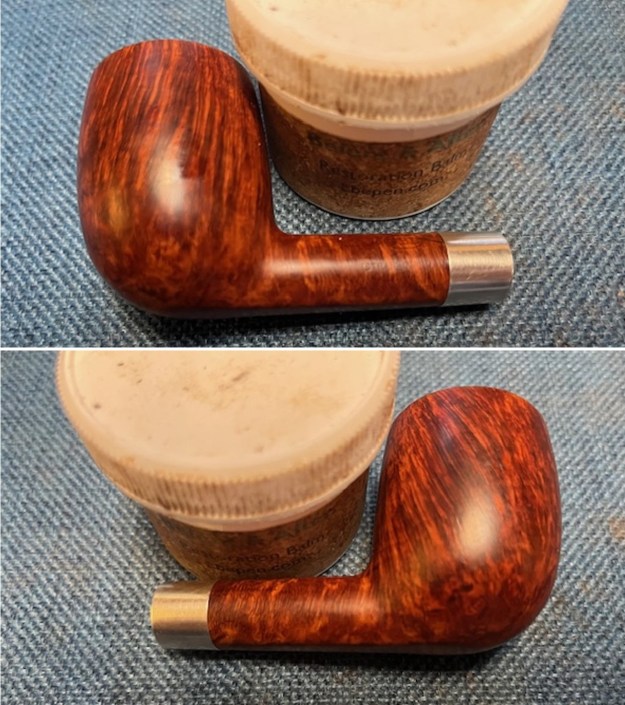
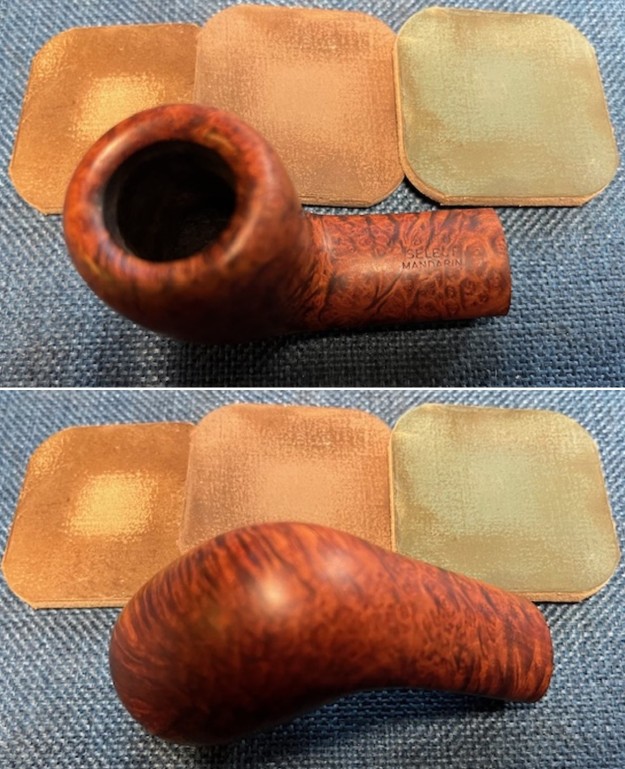
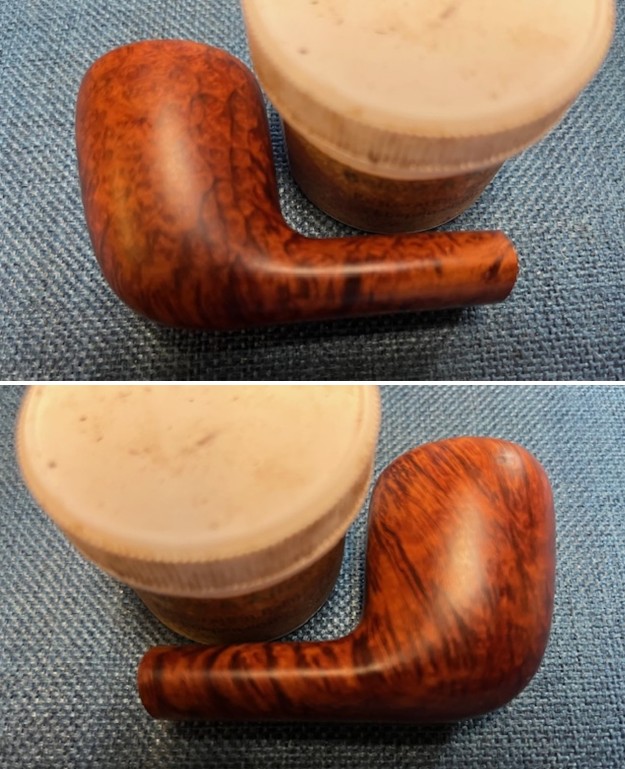
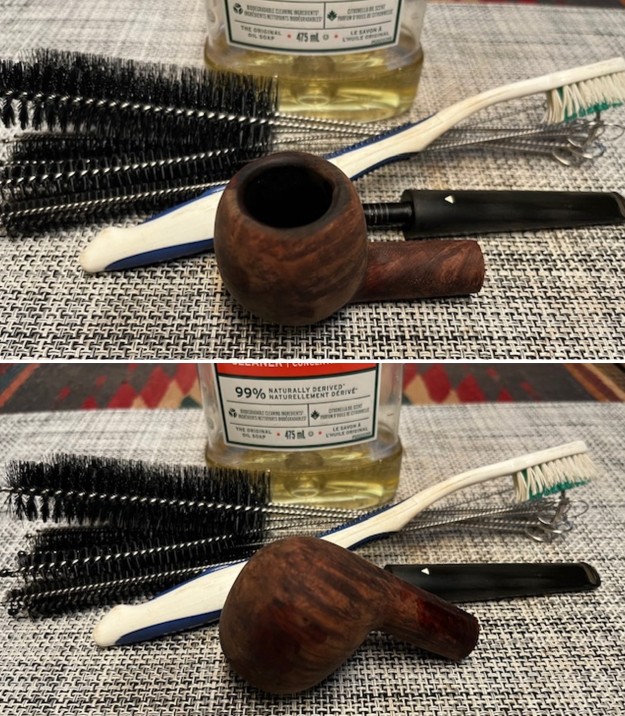
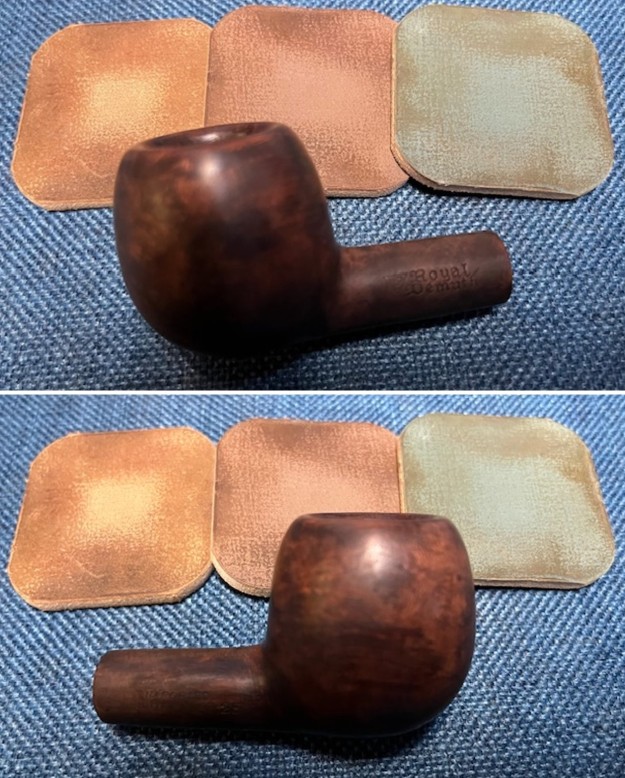
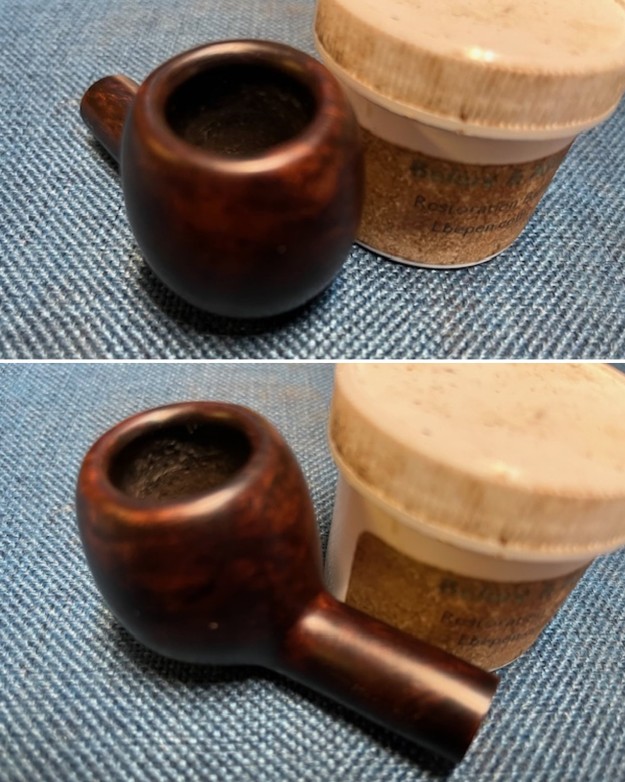
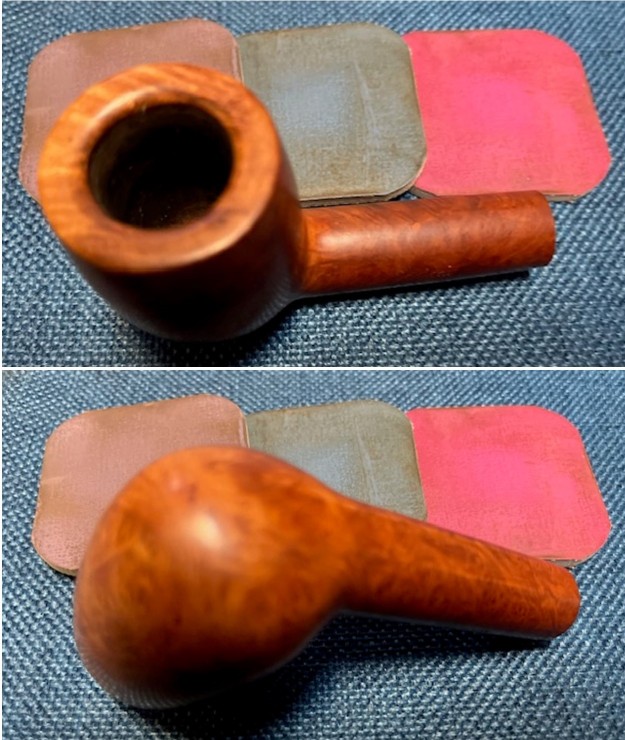 I worked some Before & After Restoration Balm into the finish of the briar with my finger tips. The product works well to clean, enliven and protect the briar and really brings it back to life. I have been using it for quite a few years now and really like the way it makes the briar come alive and makes the grain pop.
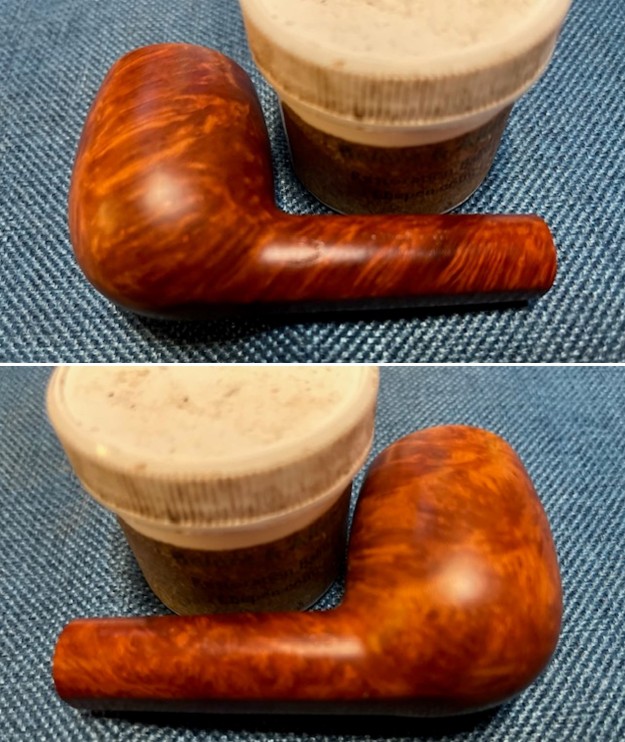
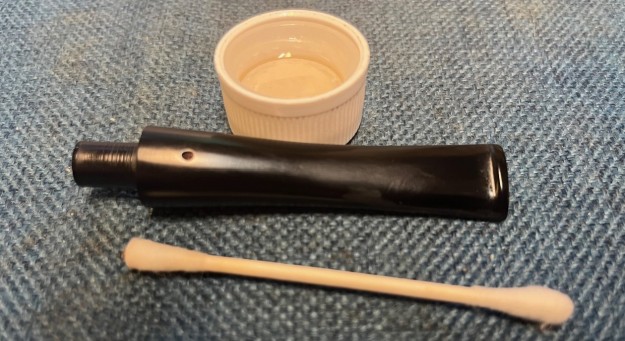
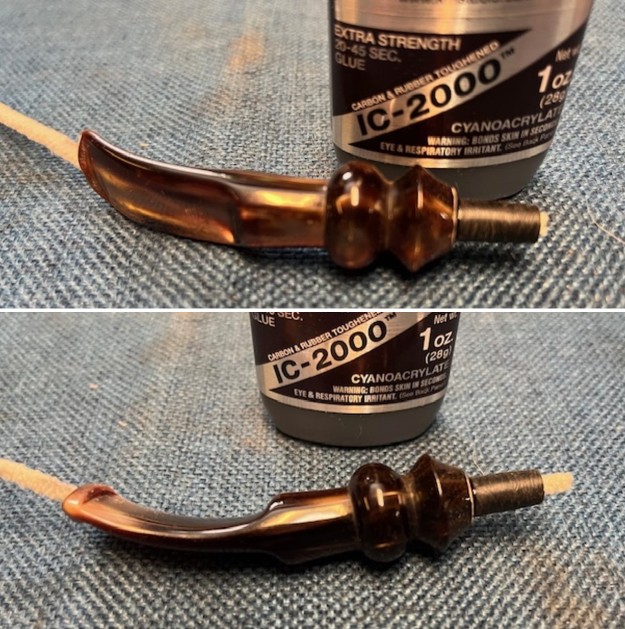
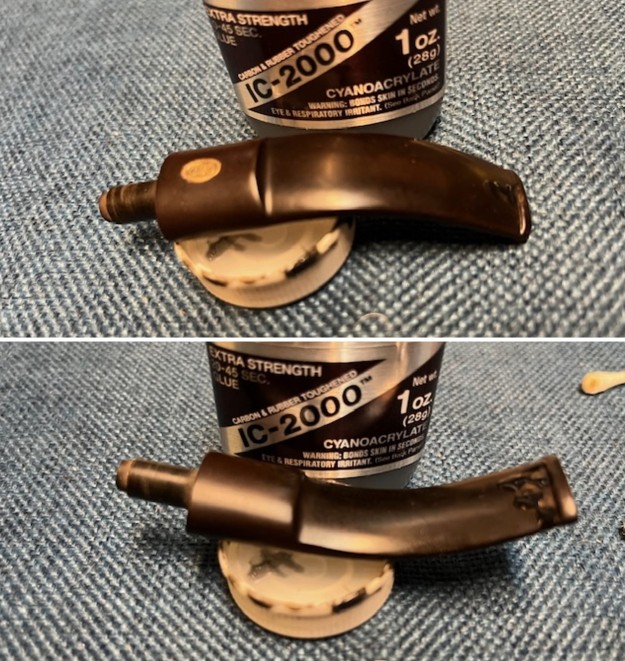
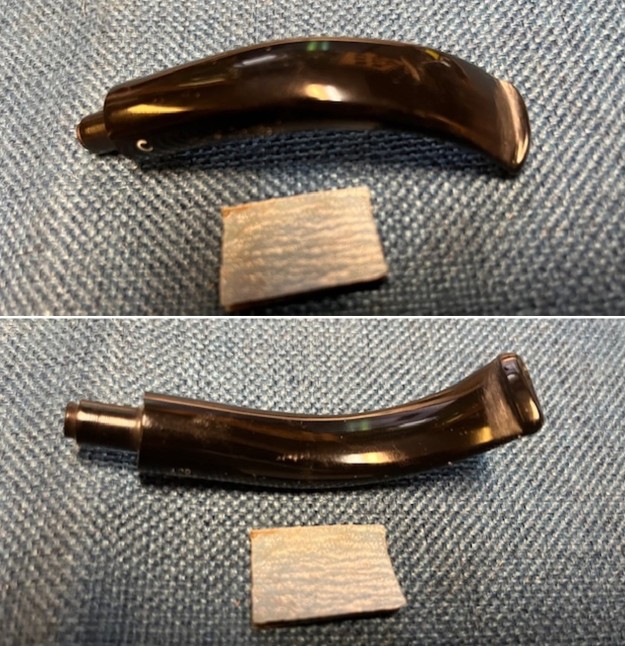
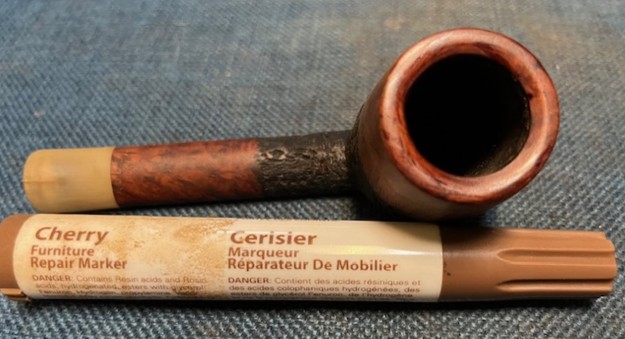
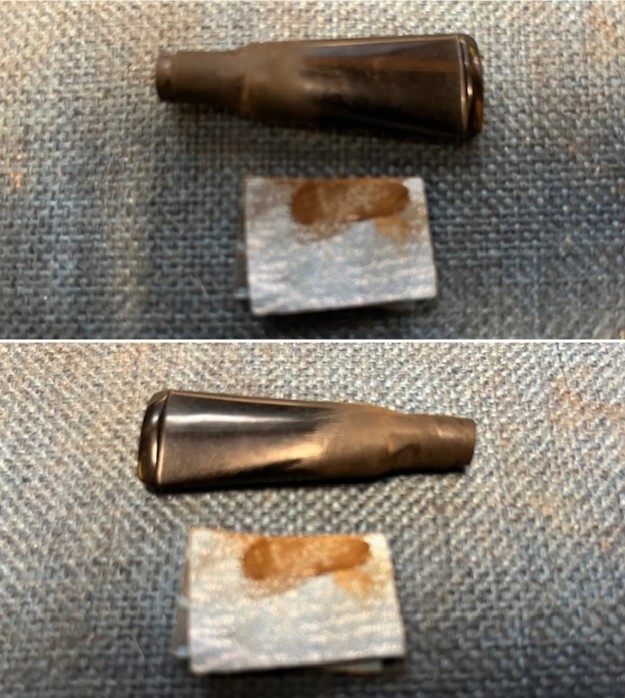
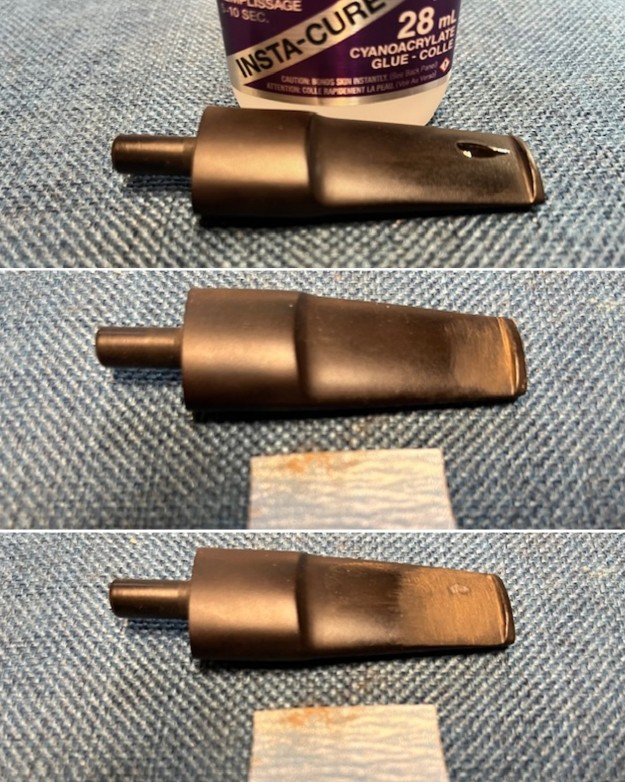
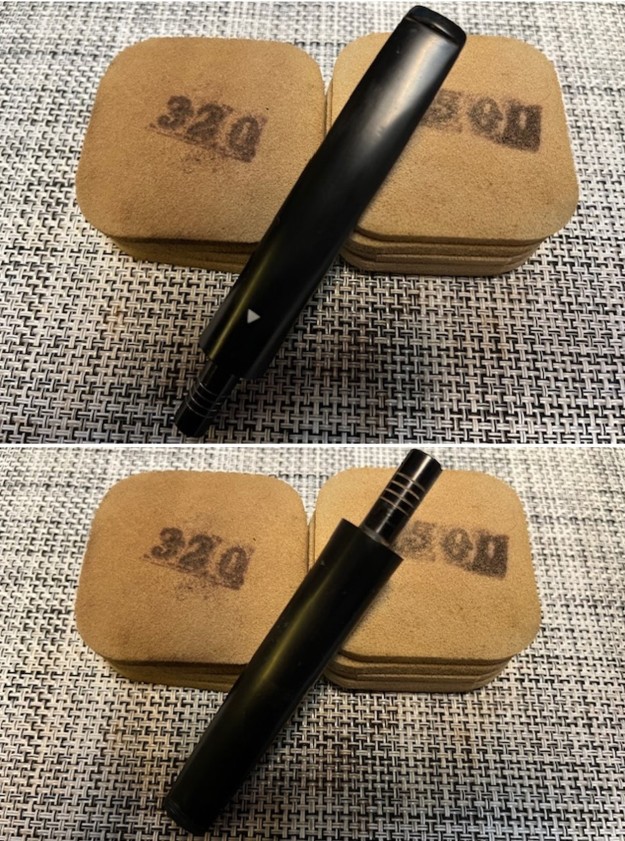
 I set aside the bowl and turned my attention to the stem. I “painted” the tooth marks on the surface of the stem and was able to lift them partially. I cleaned out the tooth marks with alcohol and q-tip then filled in the ones that remained with some rubberized, black CA glue. Once the glue cured I flattened out the repairs and recut the button edge with small files to start the process of blending them into the surface of the vulcanite. I further blended then with a folded piece of 220 grit sandpaper.
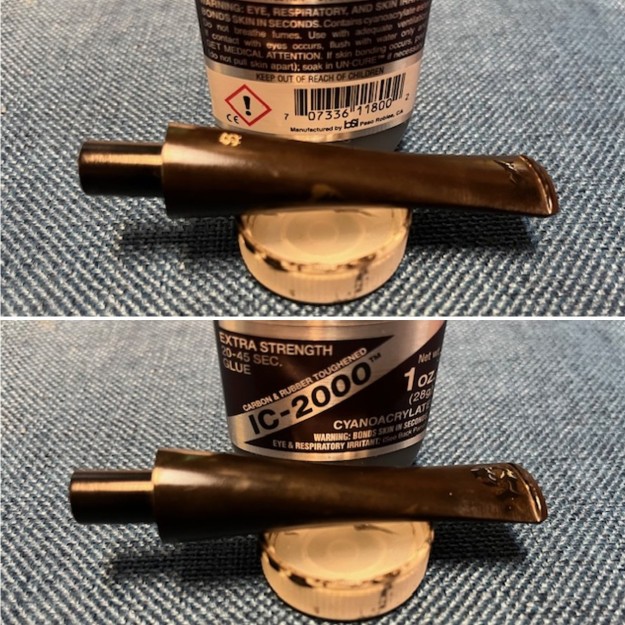
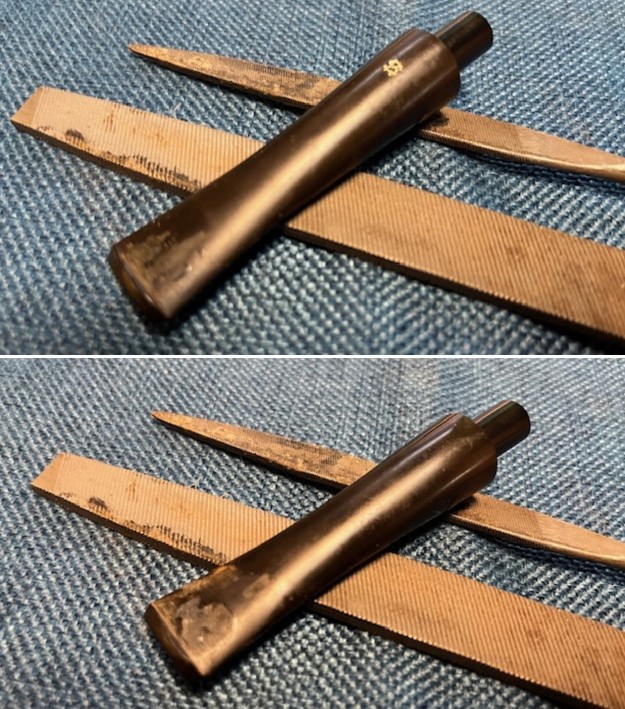
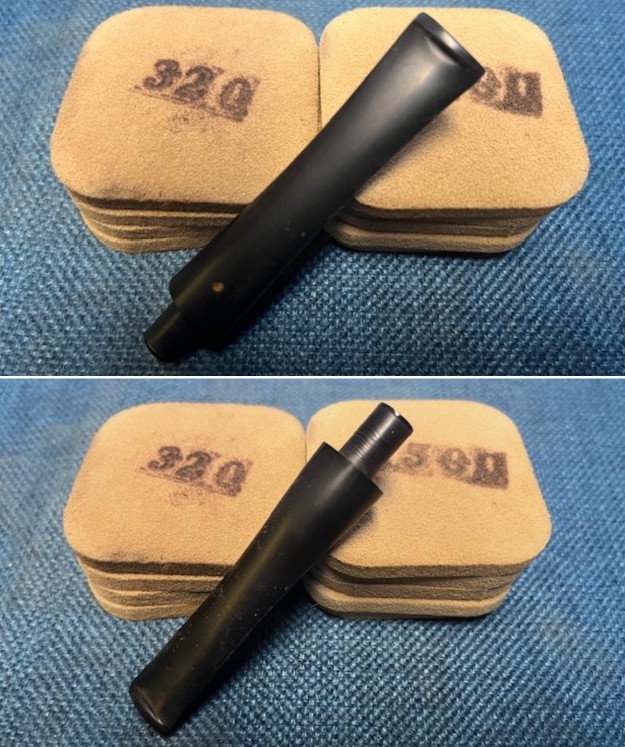
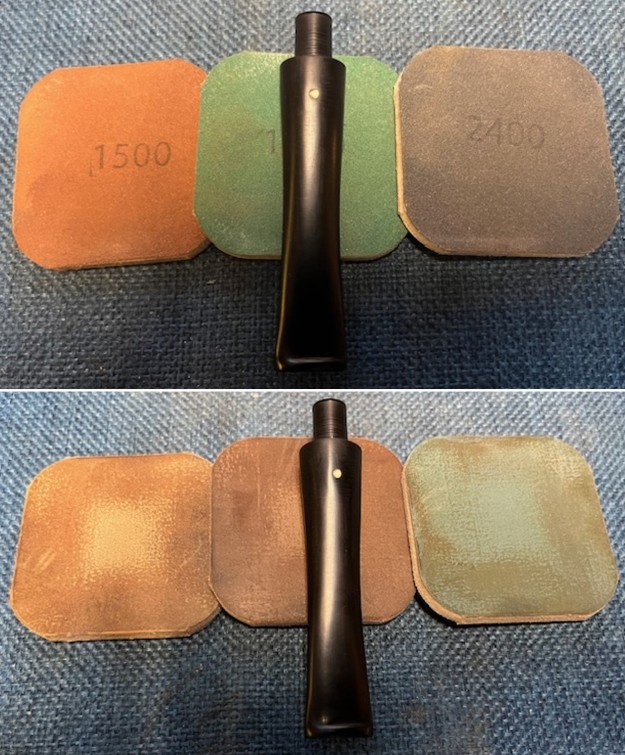
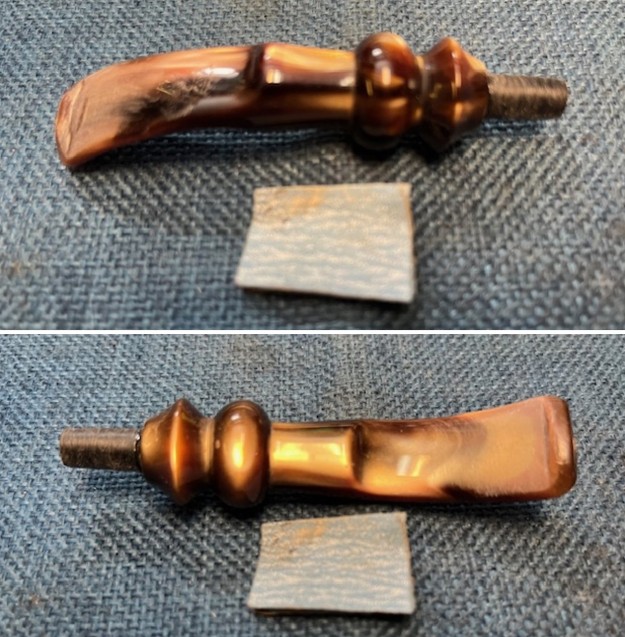
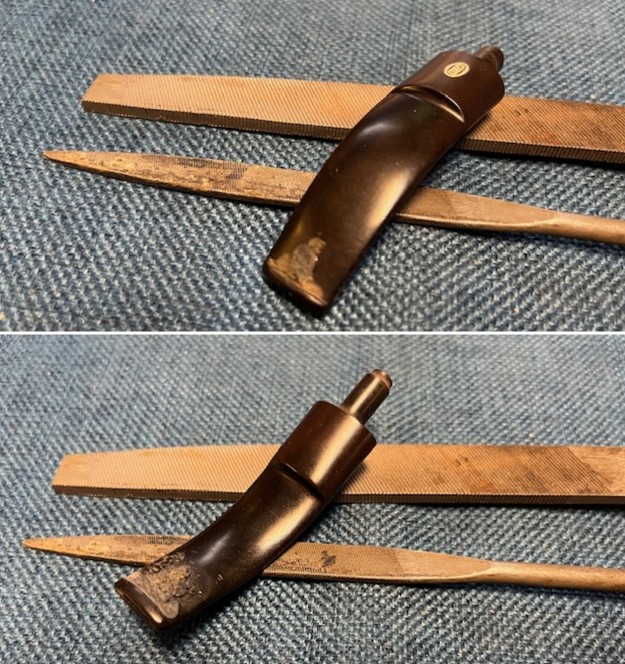
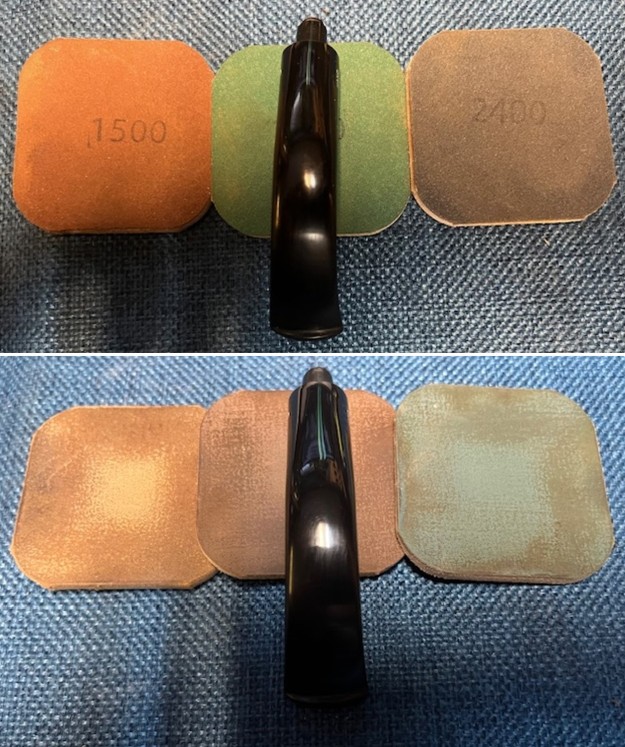
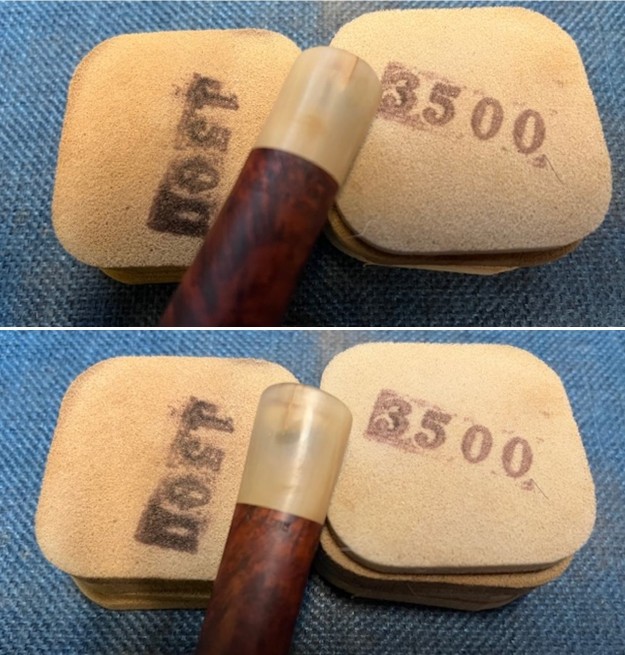
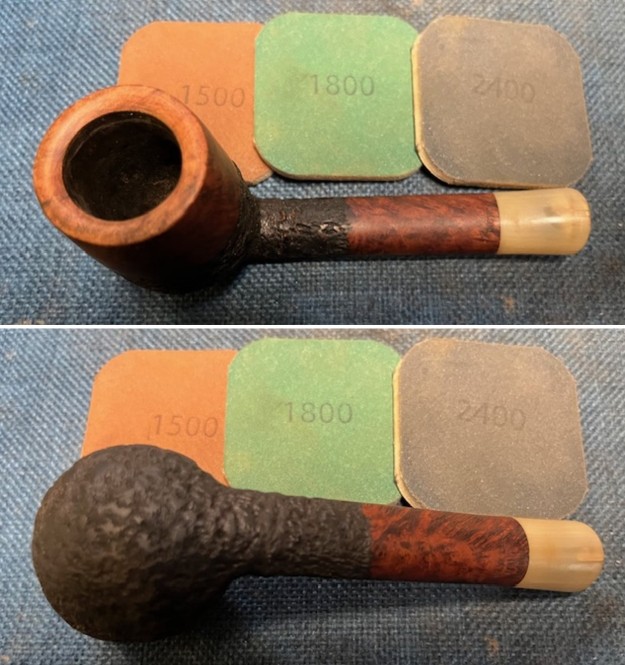
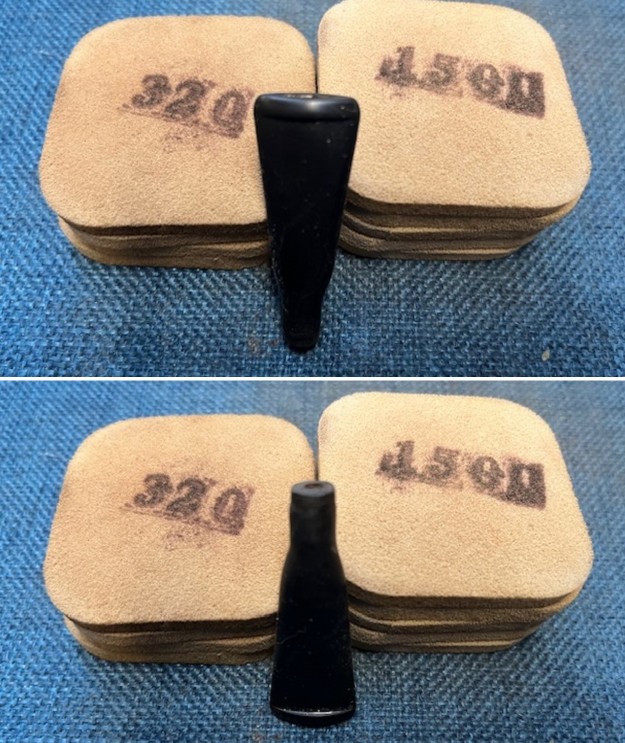
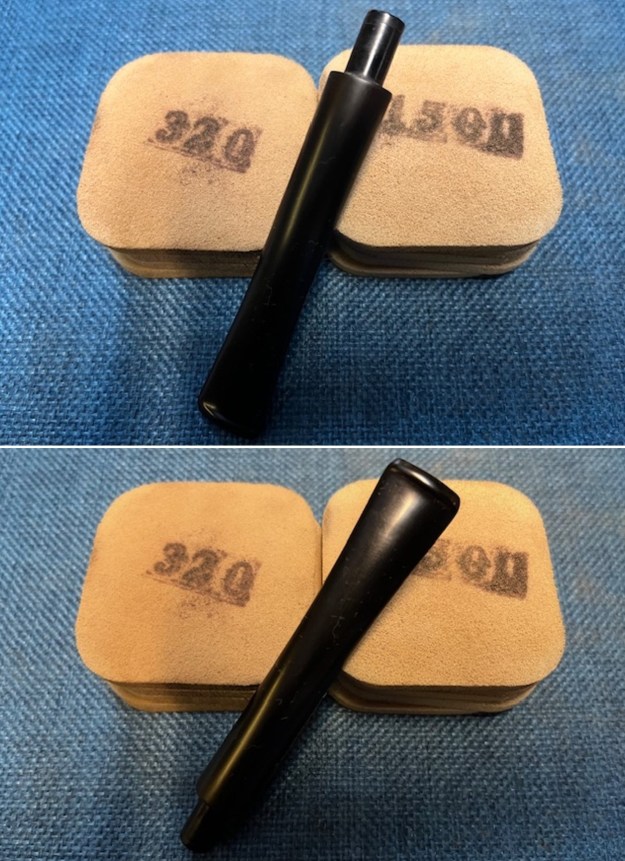
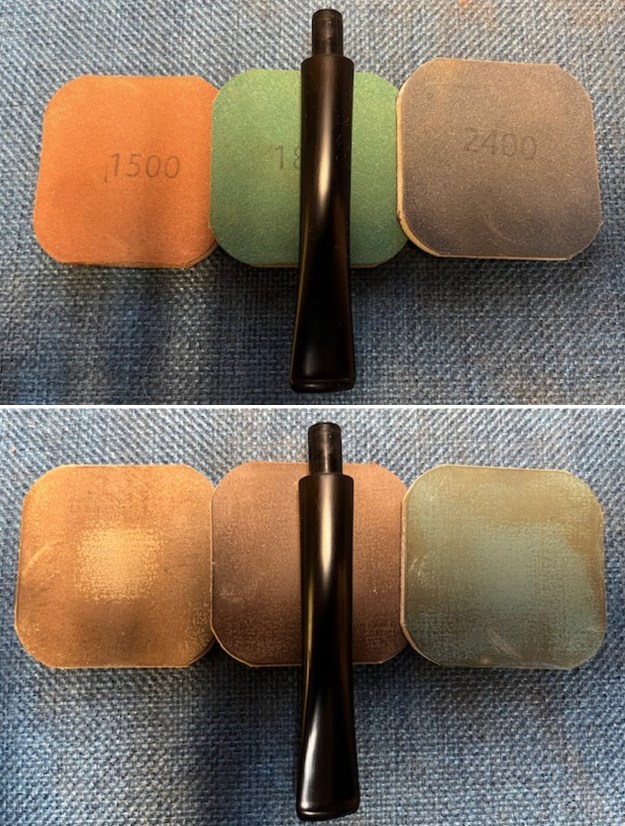
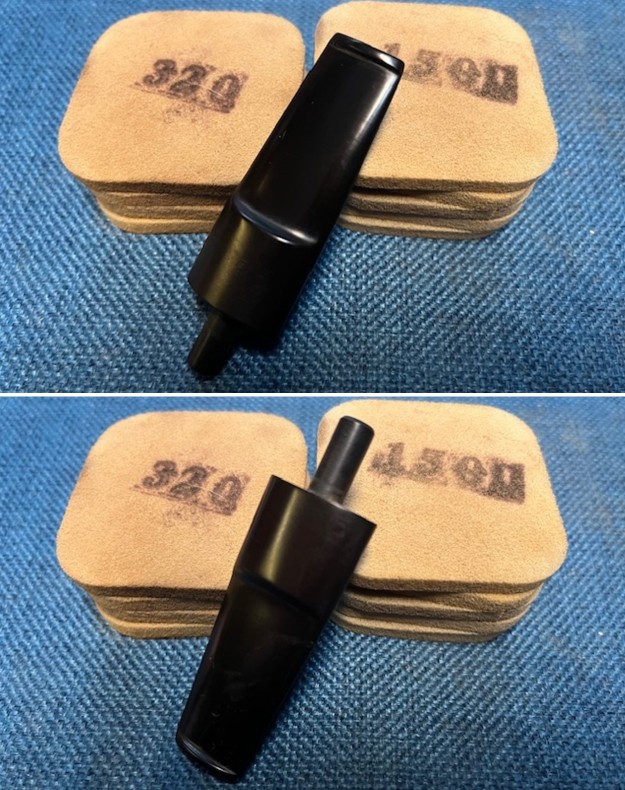
 I sanded the stem with 320-3500 grit sanding pads to remove the varnish coat that covered it. I wiped it down after each sanding pad with a damp cloth. By the final 3500 grit sanding pad the stem had a more normal shine and the varnish, tooth marks and chatter were gone.
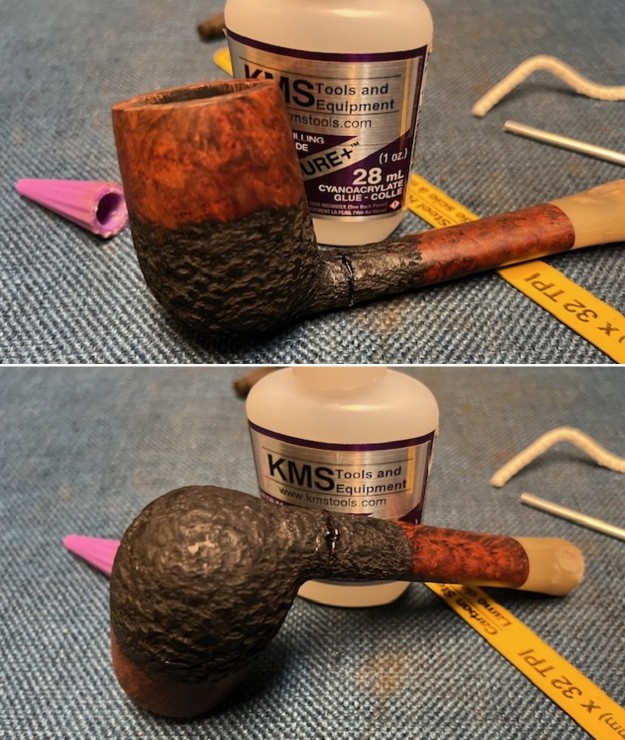
 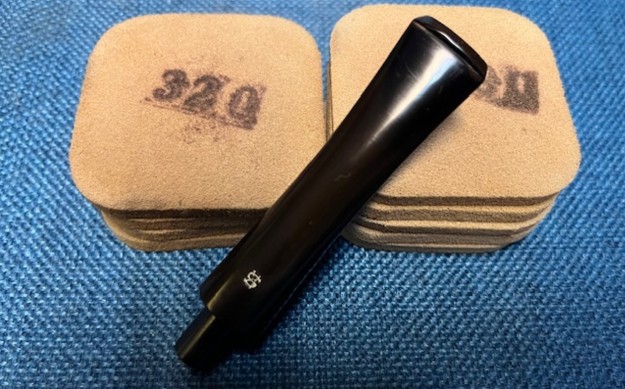 Once I finished with the sanding pads I reinserted the stinger apparatus in the tenon. I used a small blade to spread the gap in the end of the insertion part and pressed into the tenon. It is really a strange looking piece of aluminum.
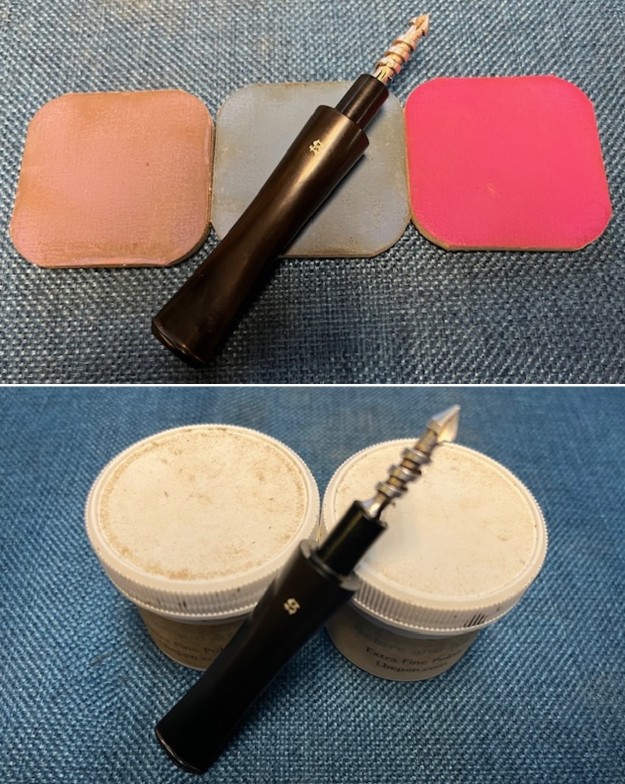
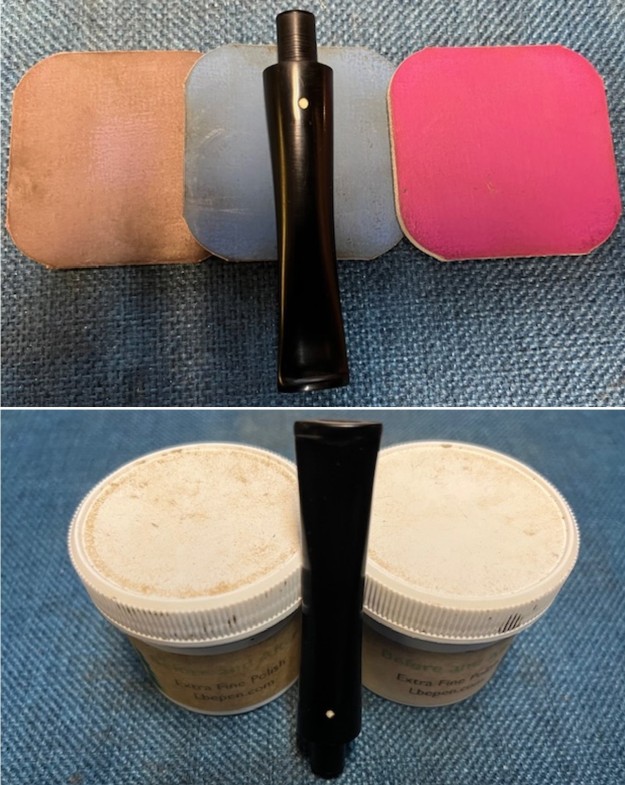
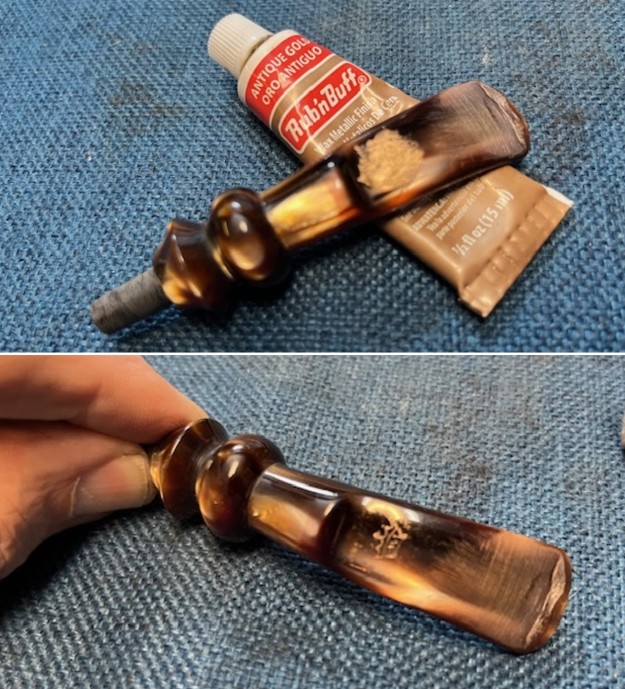
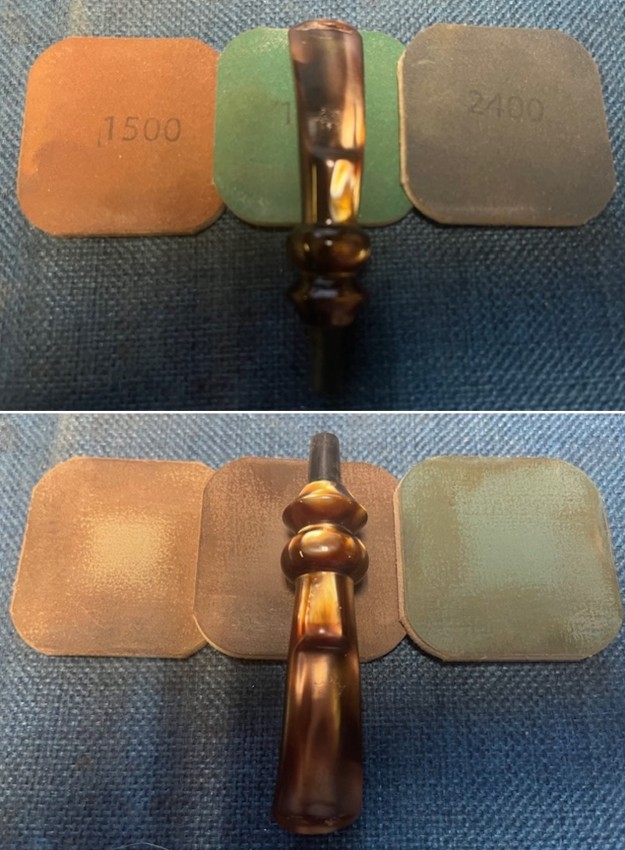
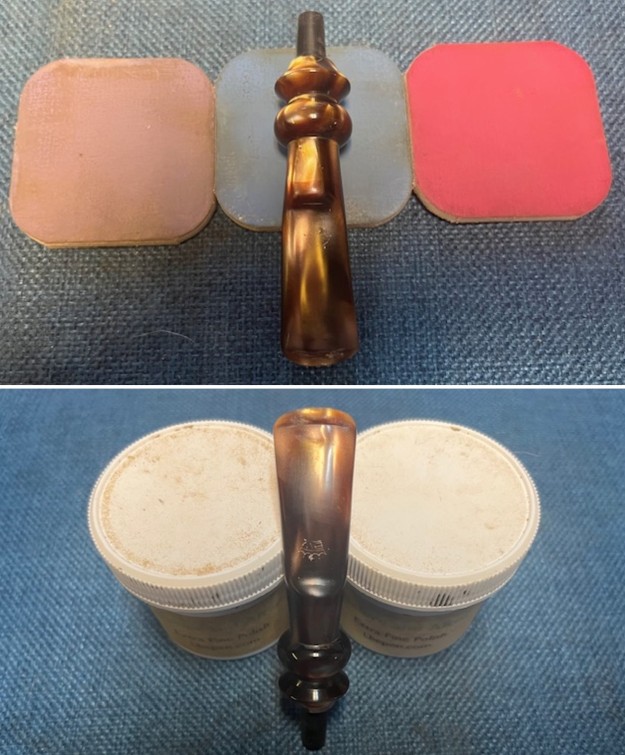
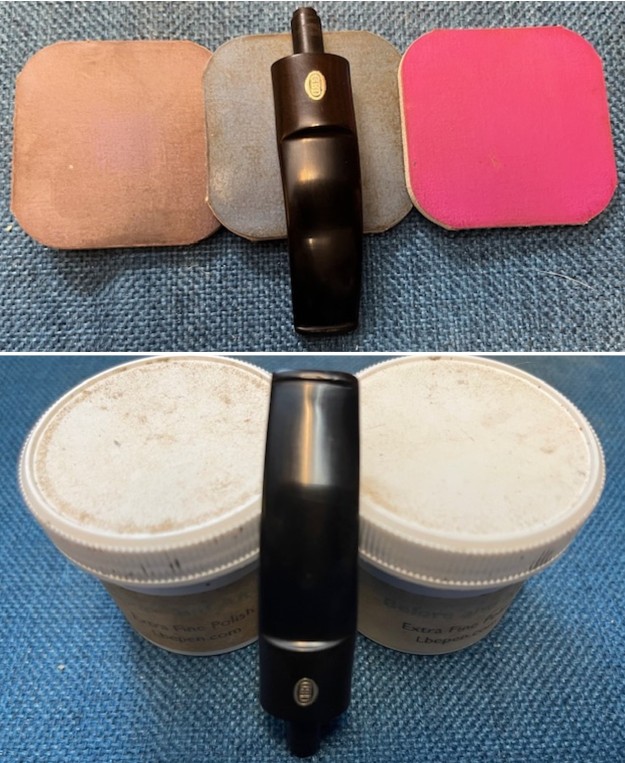
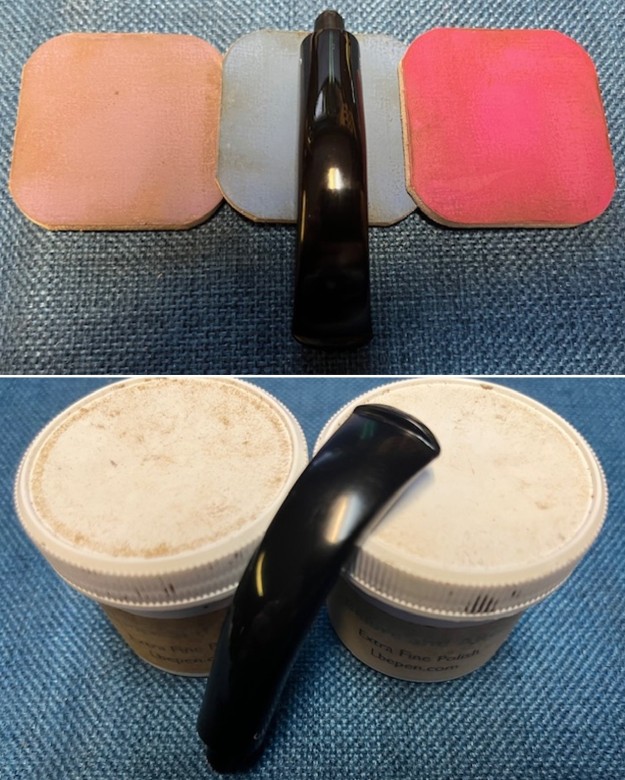
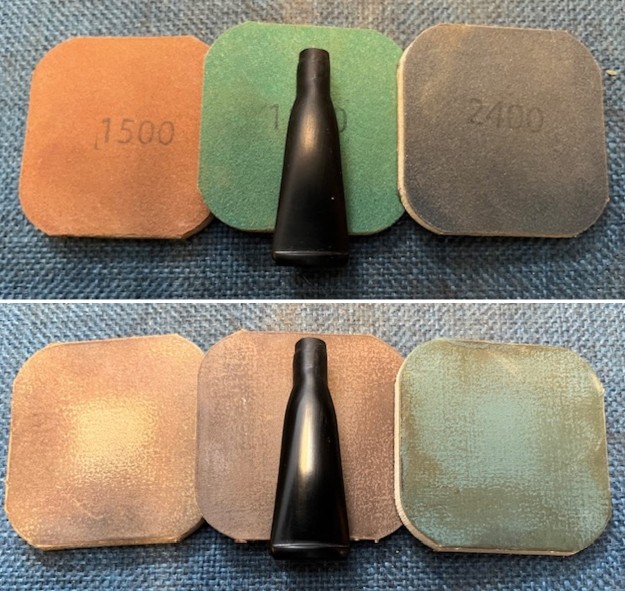
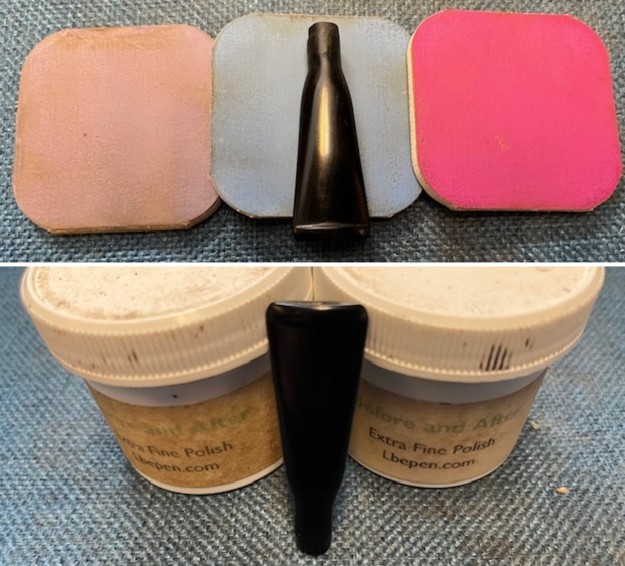
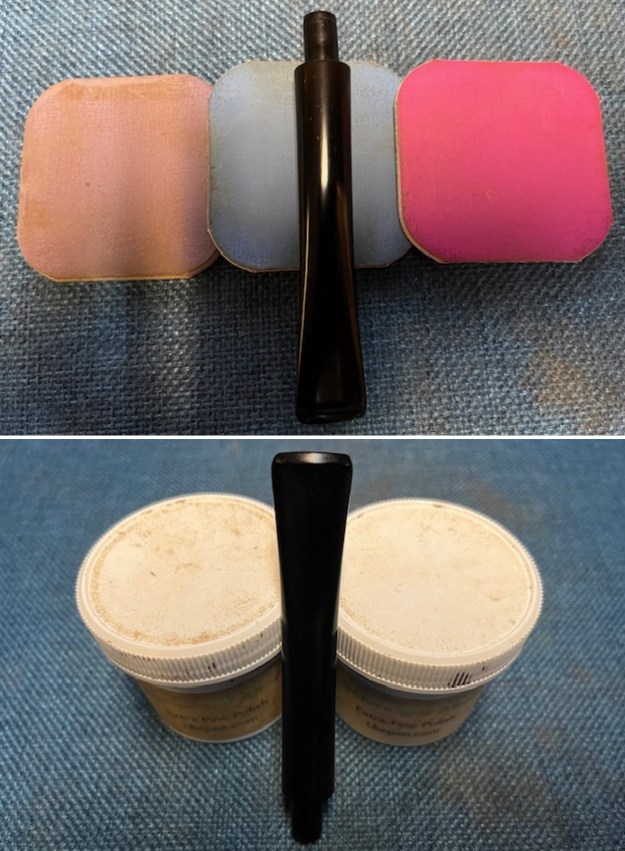
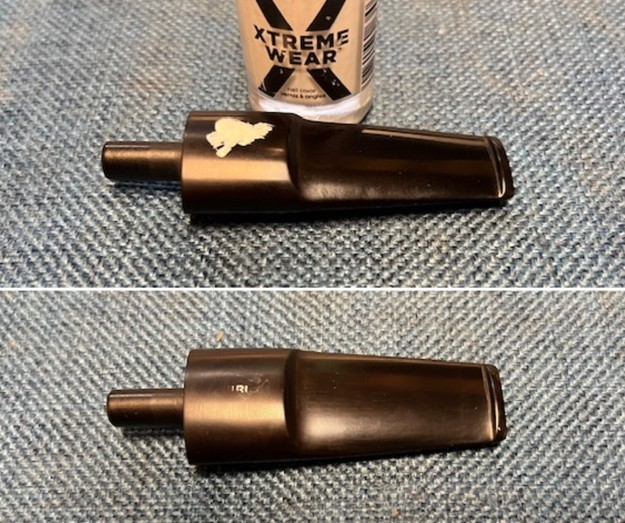
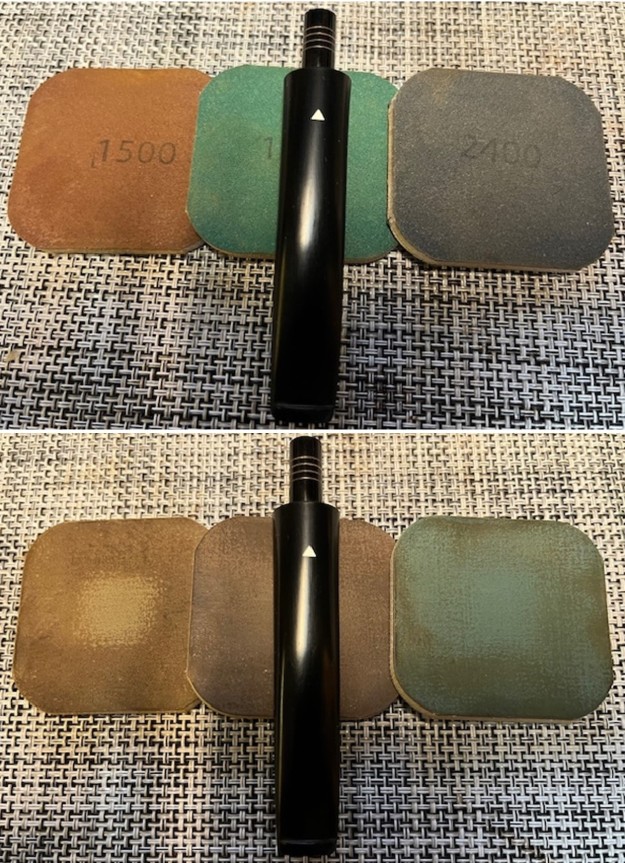
 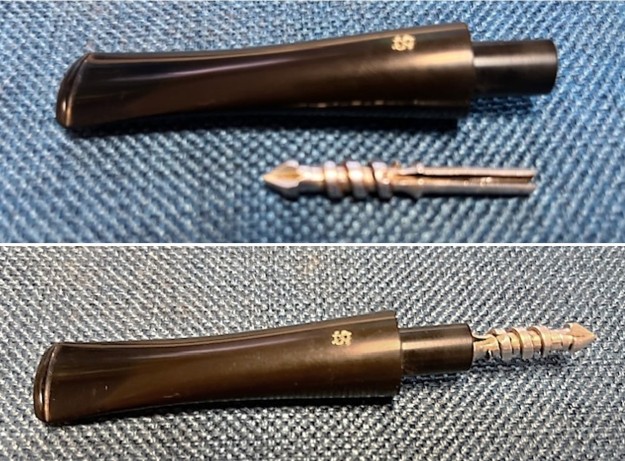 I polished the vulcanite with micromesh sanding pads – 1500-12000 grit pads. I wiped it down with Obsidian Oil after each sanding pad. I used Before & After Pipe Polish – both Fine and Extra Fine to further polish the stem.
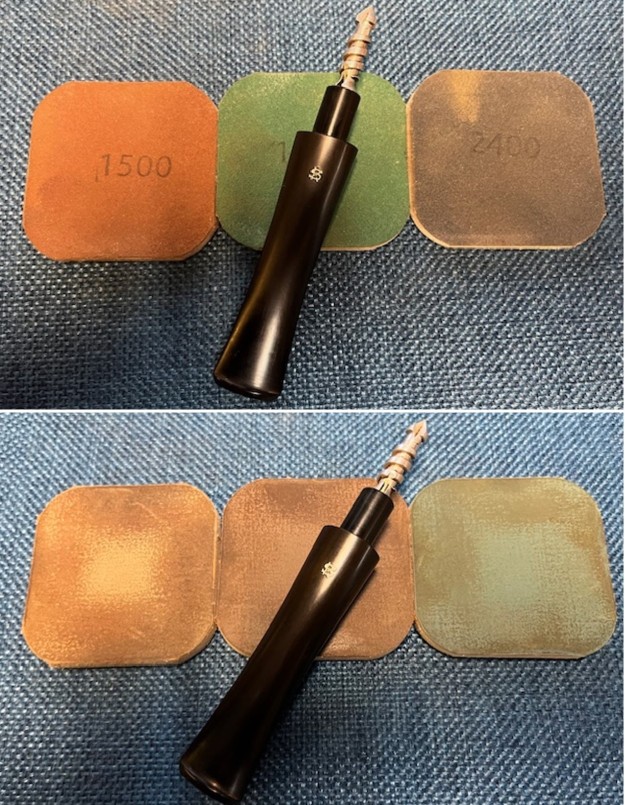
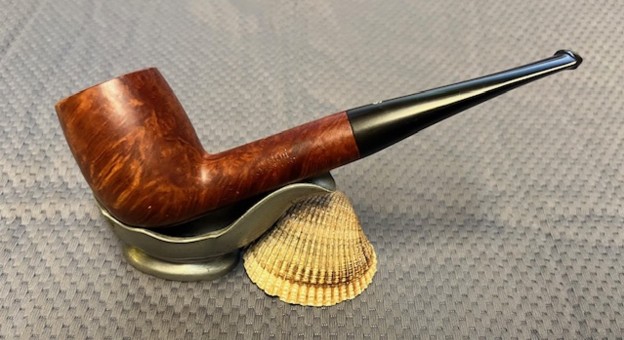
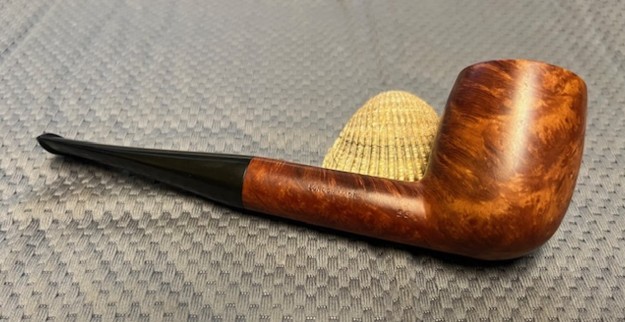
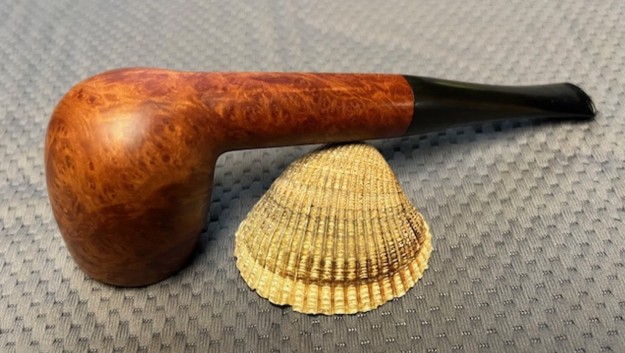
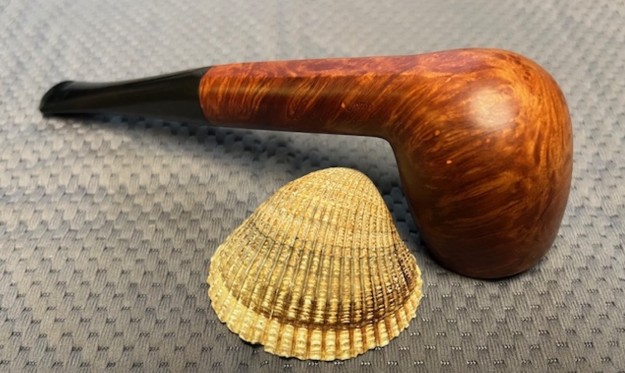
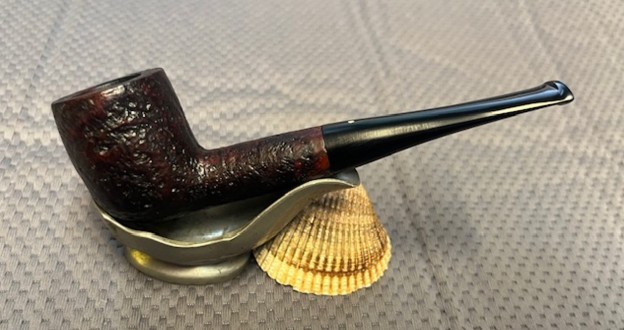
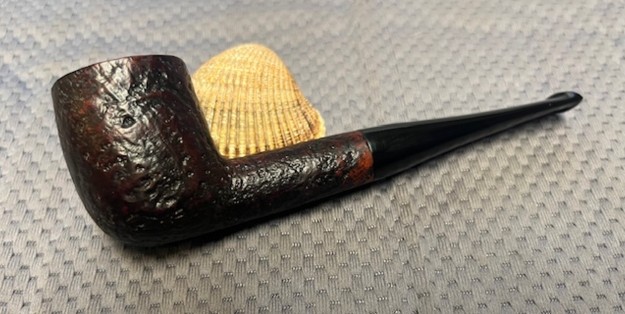
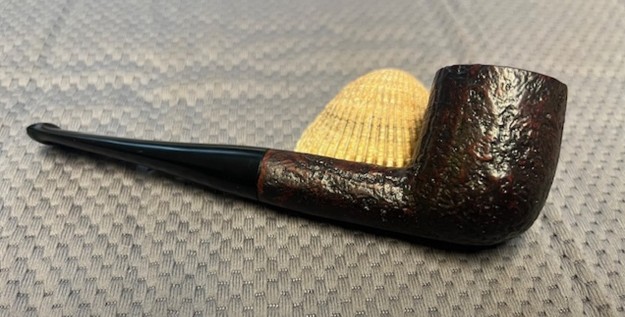
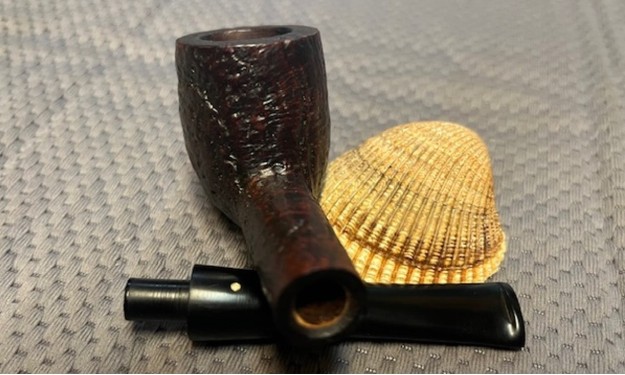
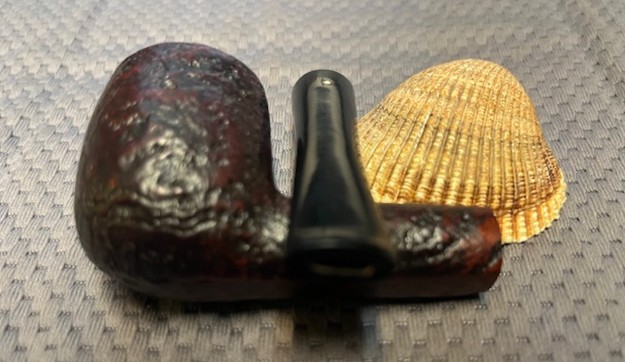
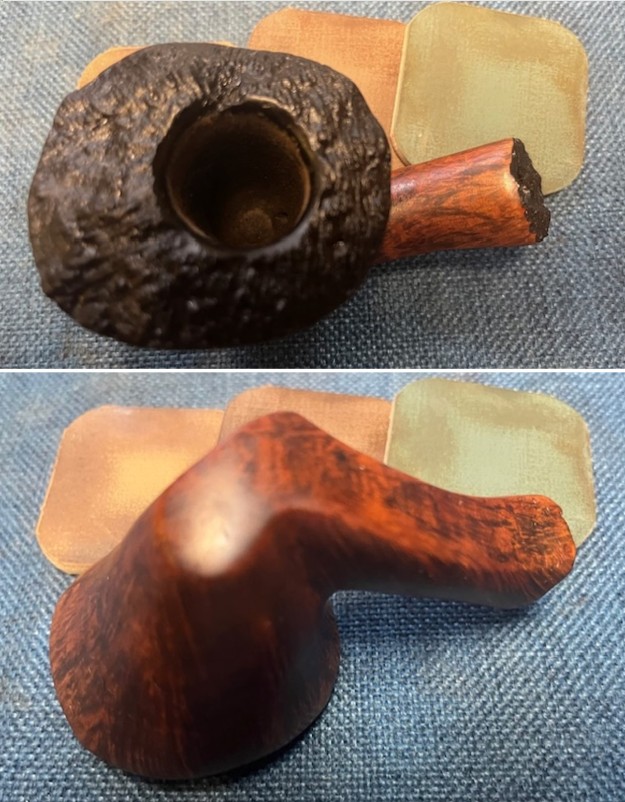
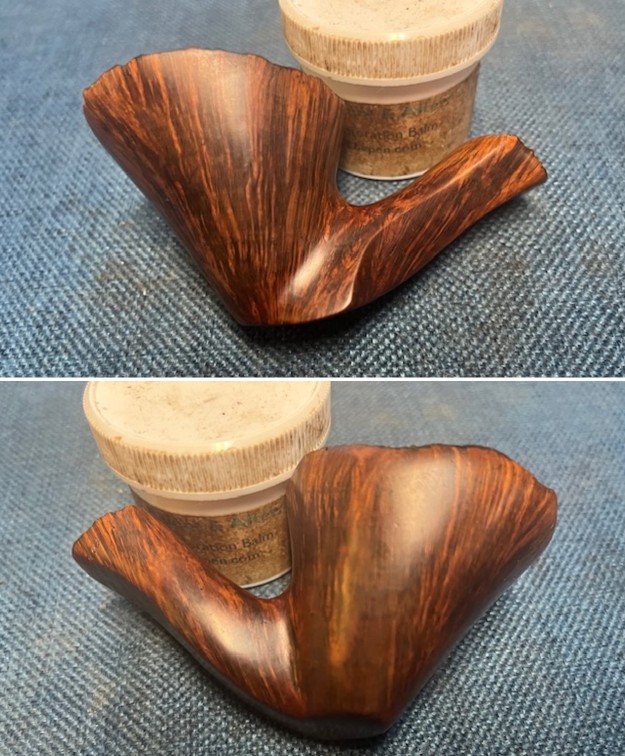
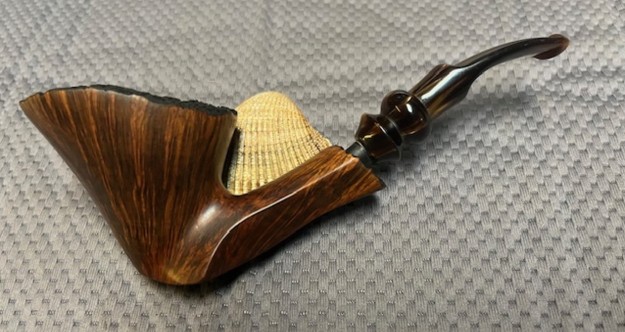
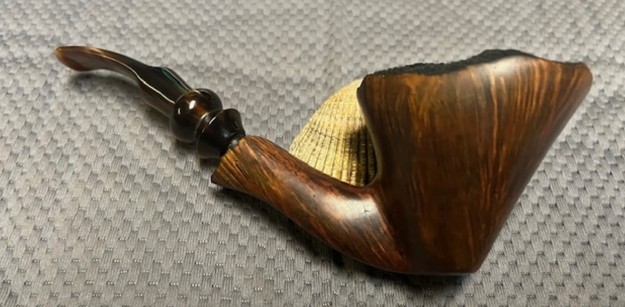
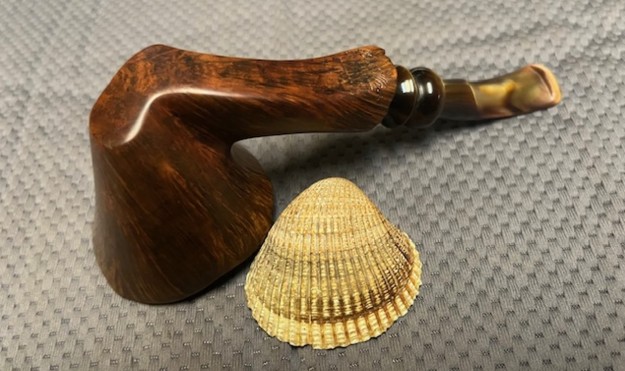
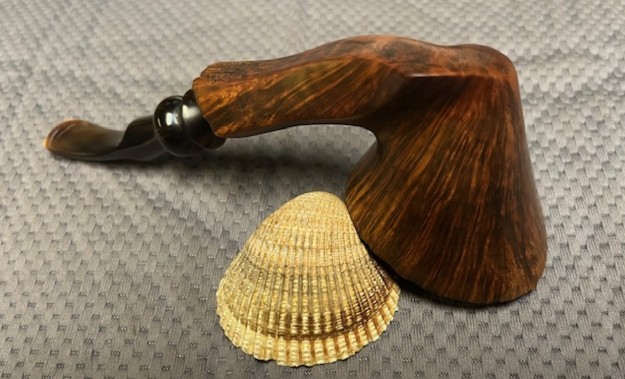
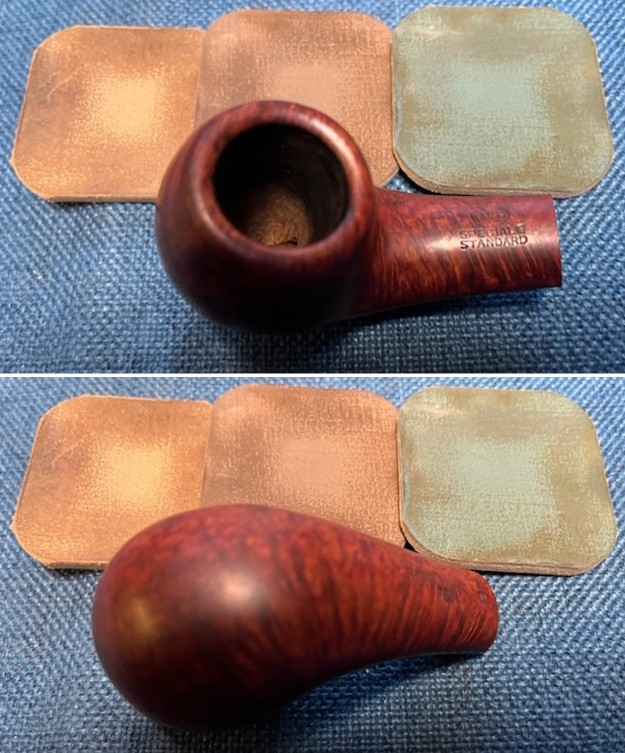
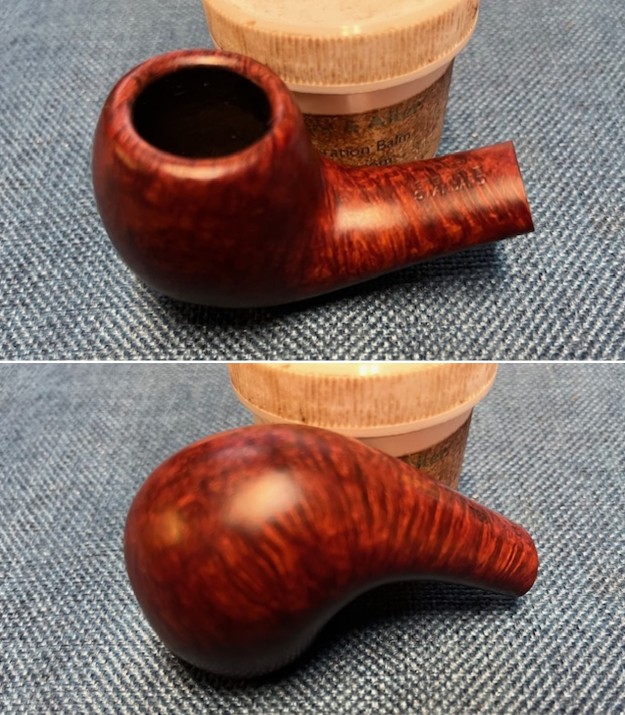
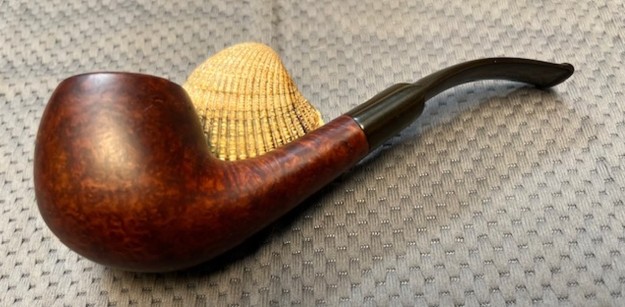
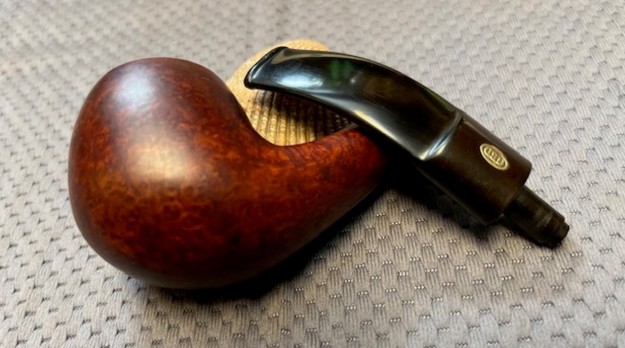
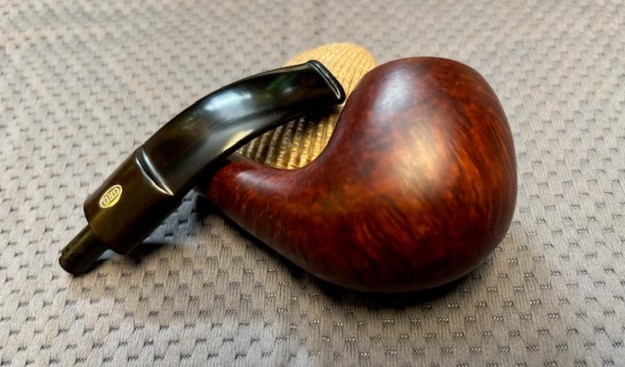
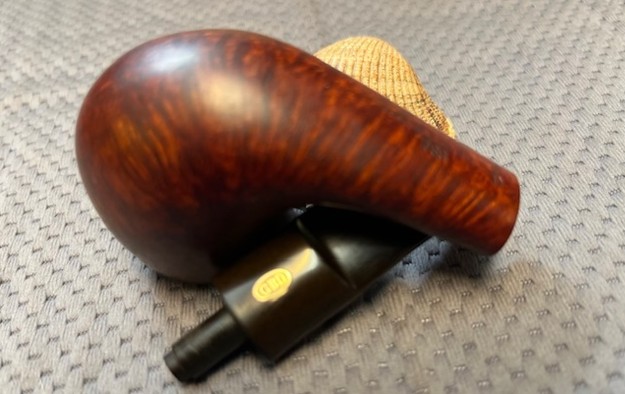
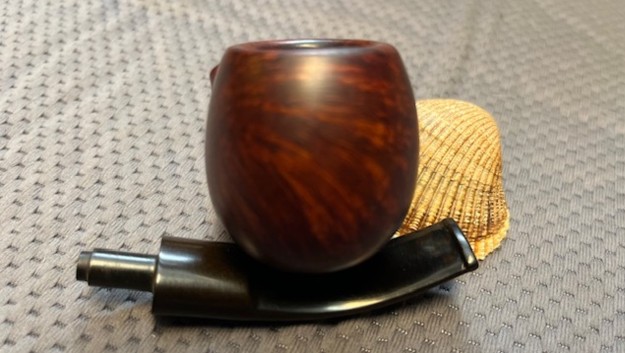
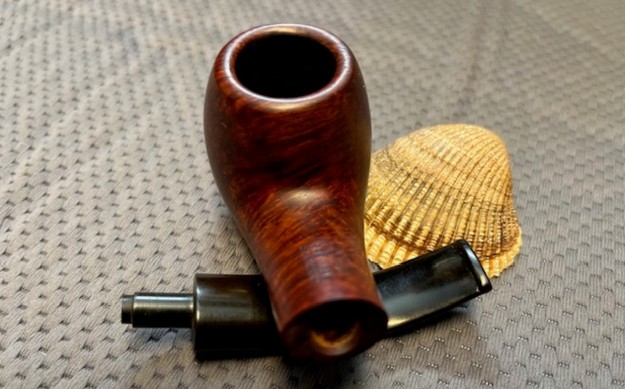
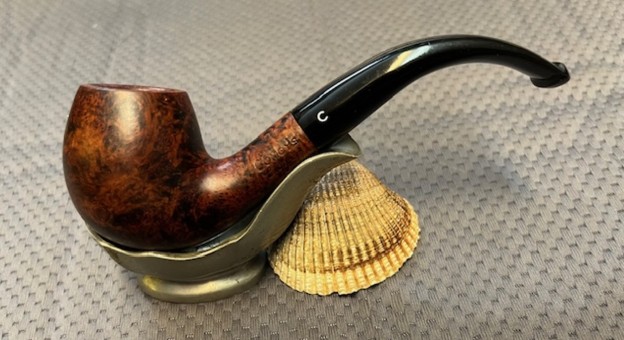
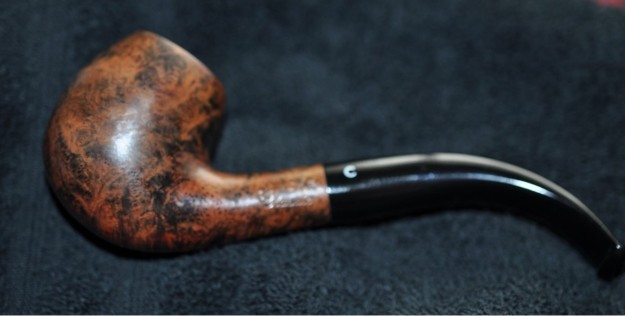
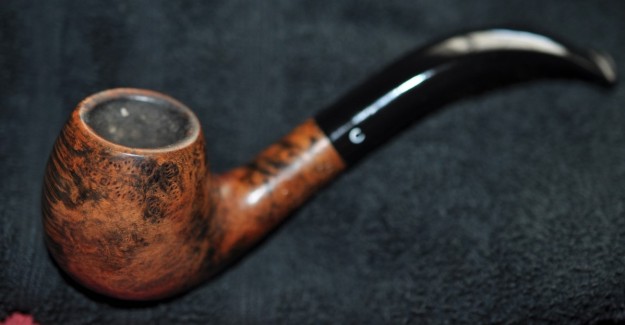
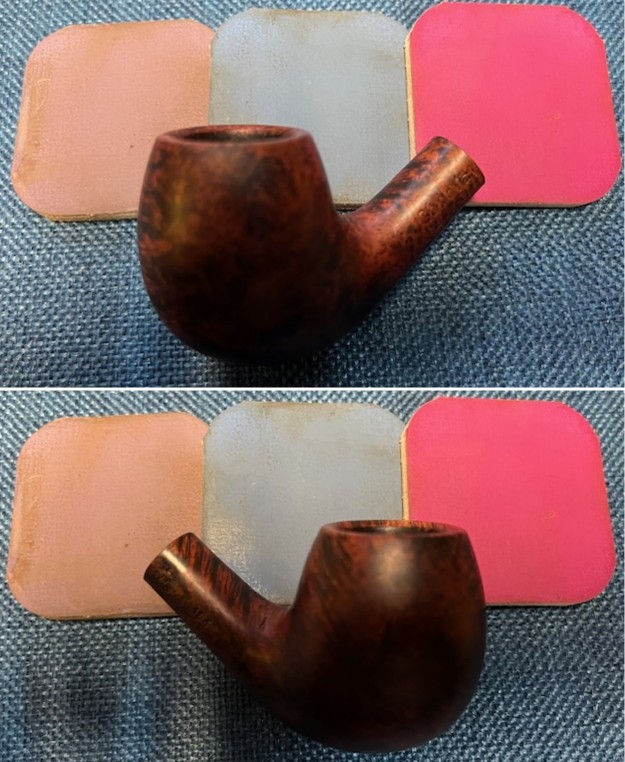
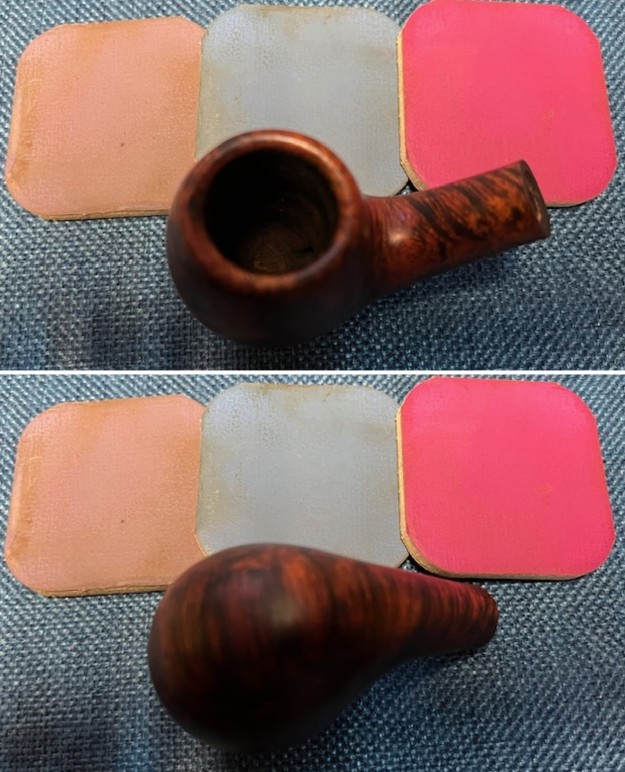
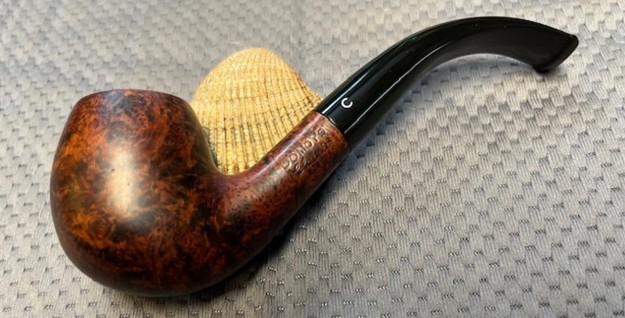
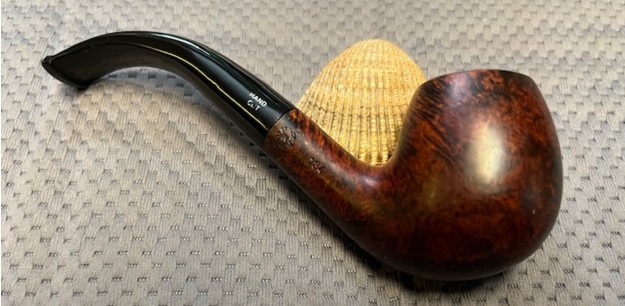
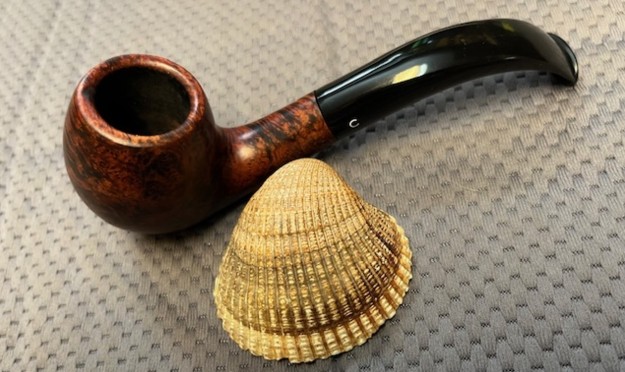
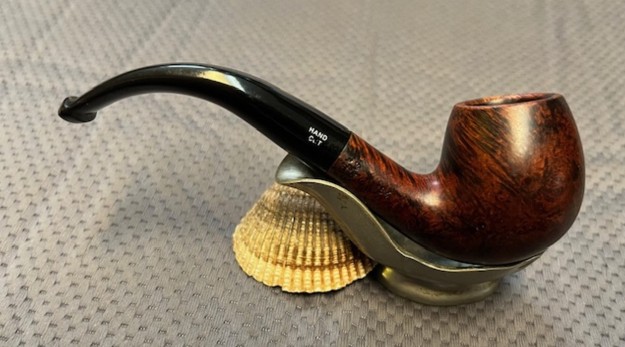
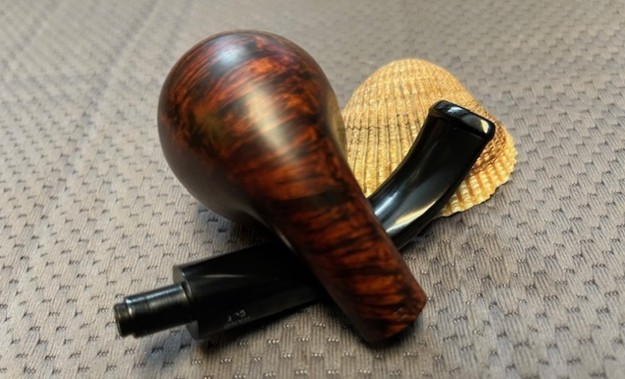
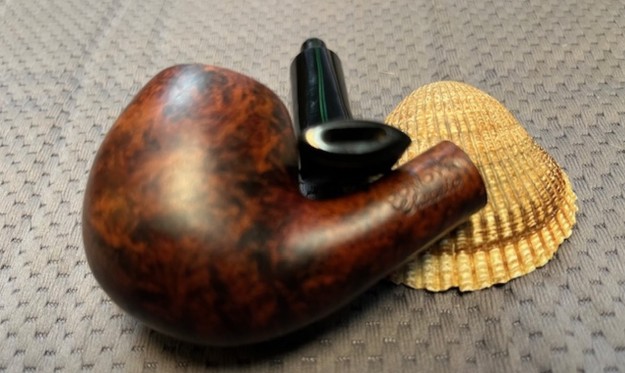
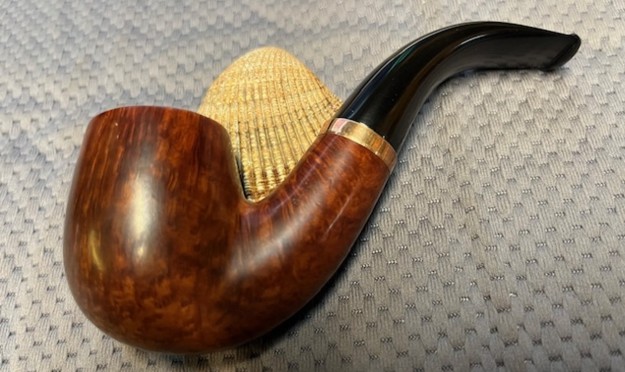
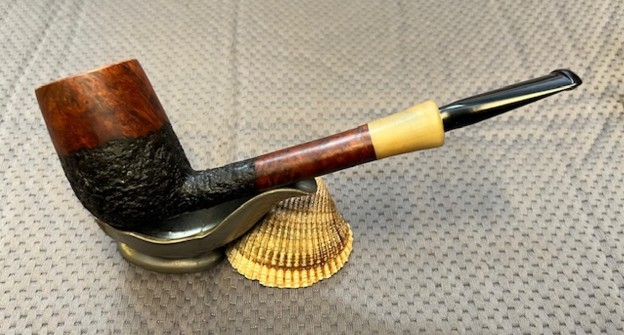
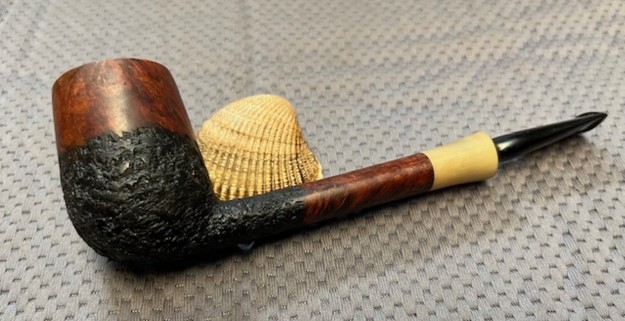
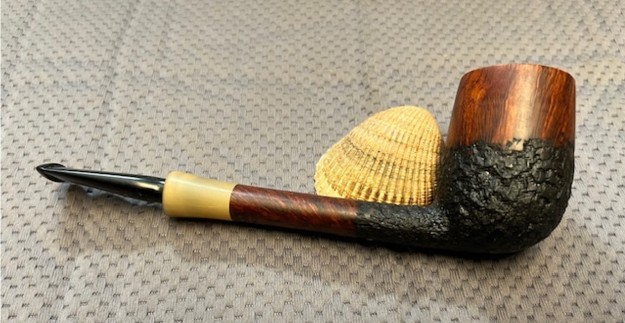
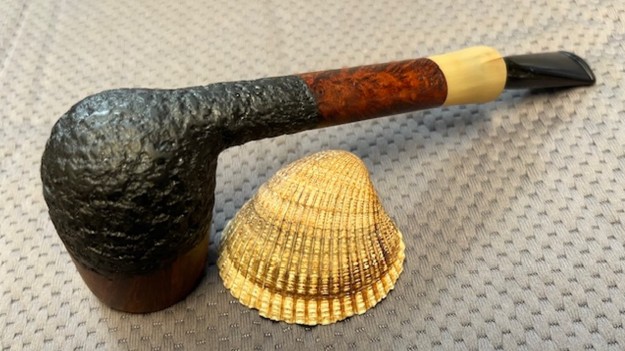
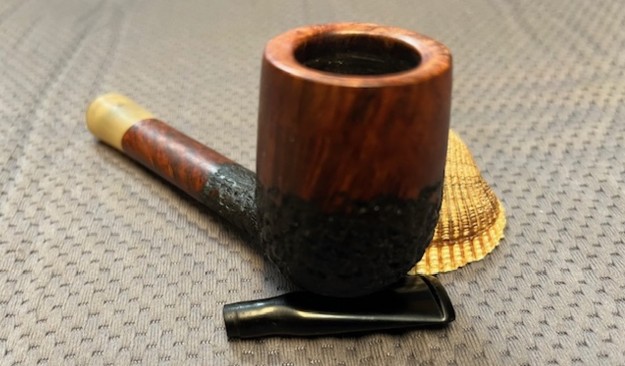
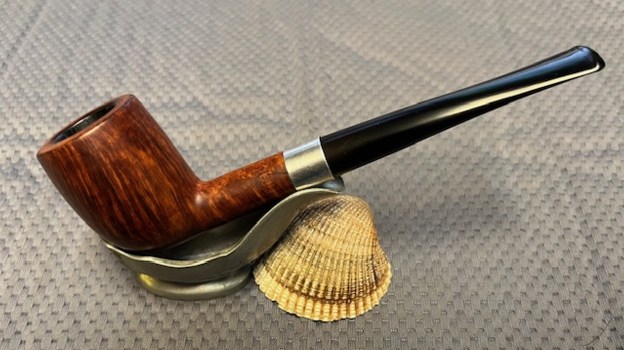
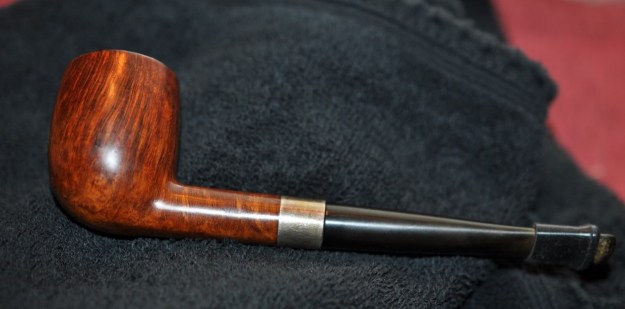
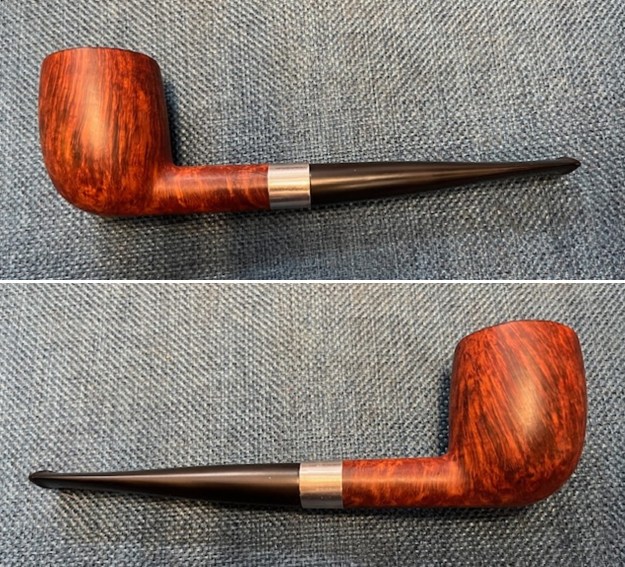
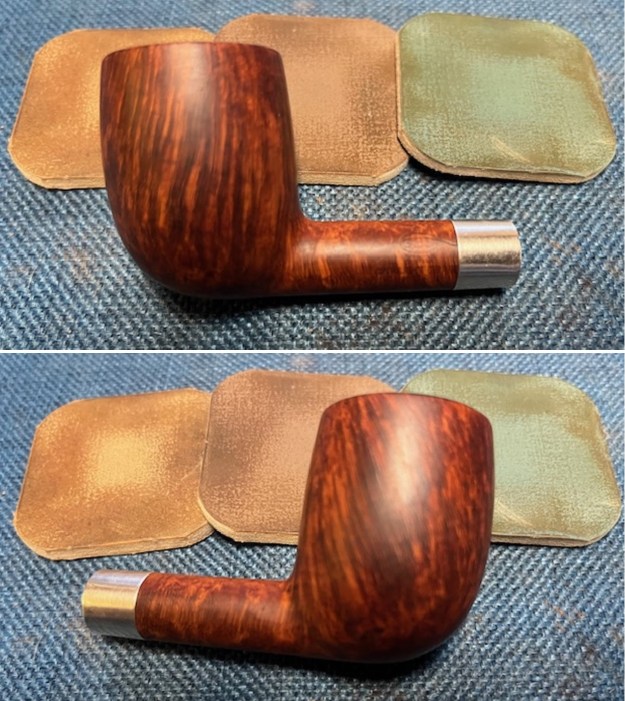
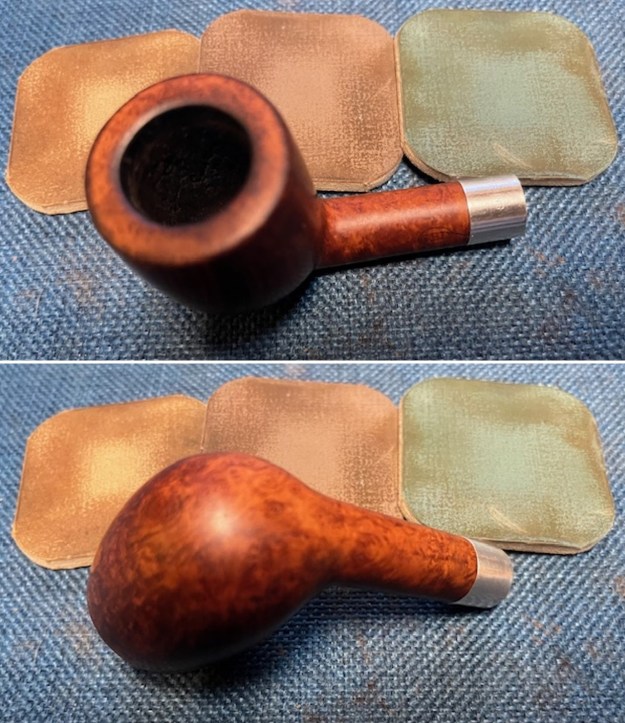
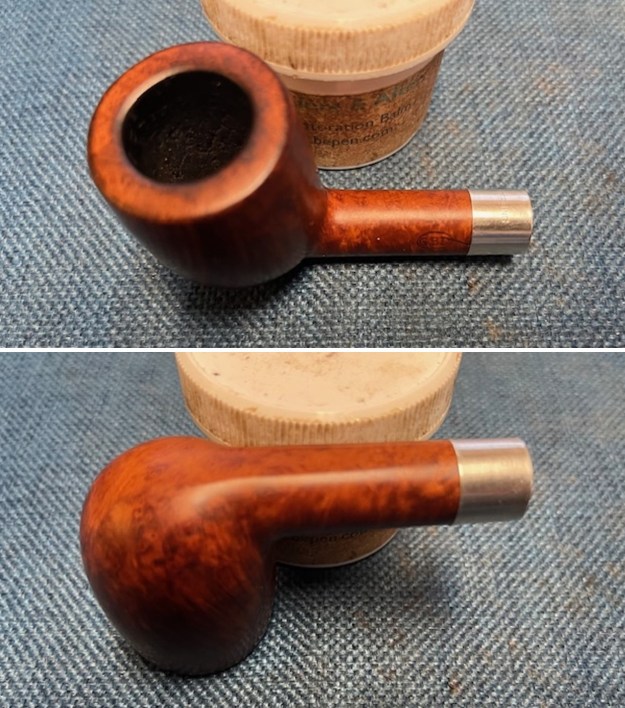
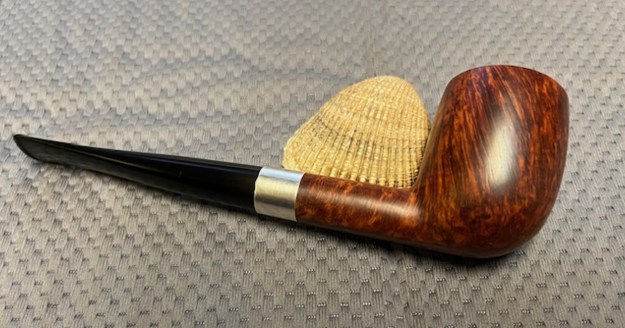
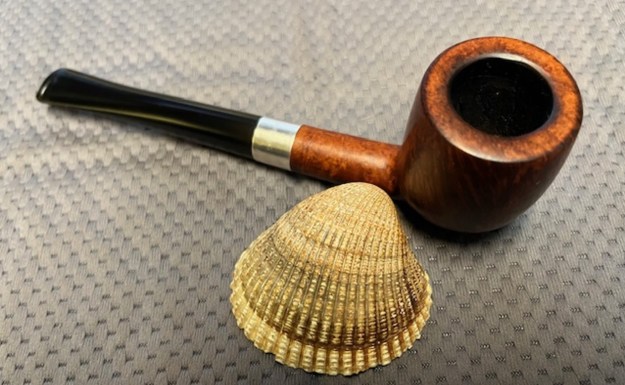
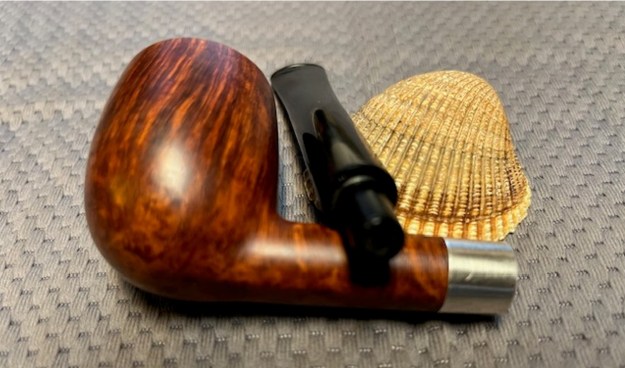
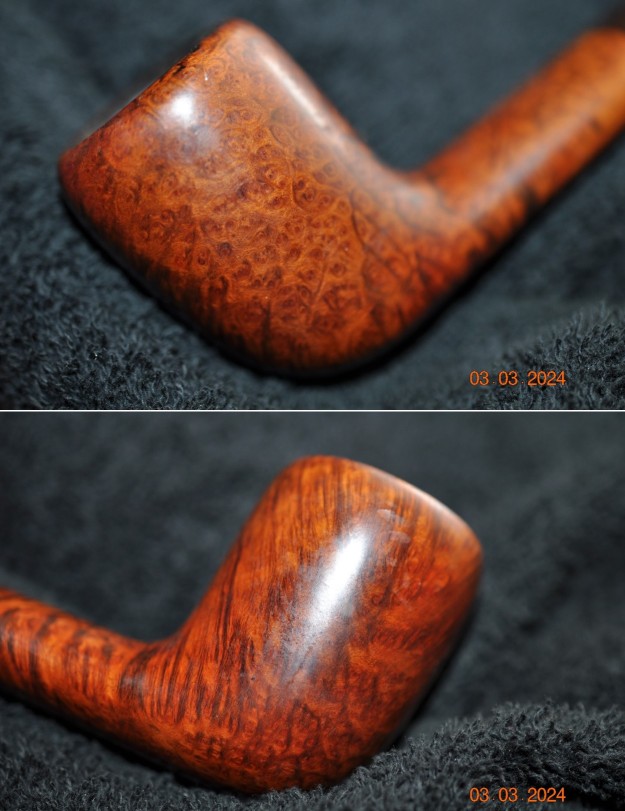
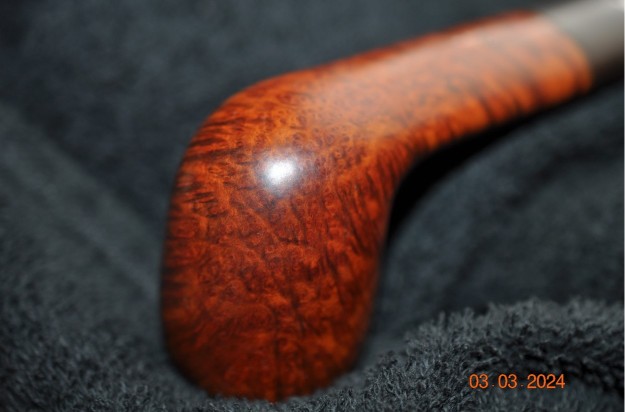
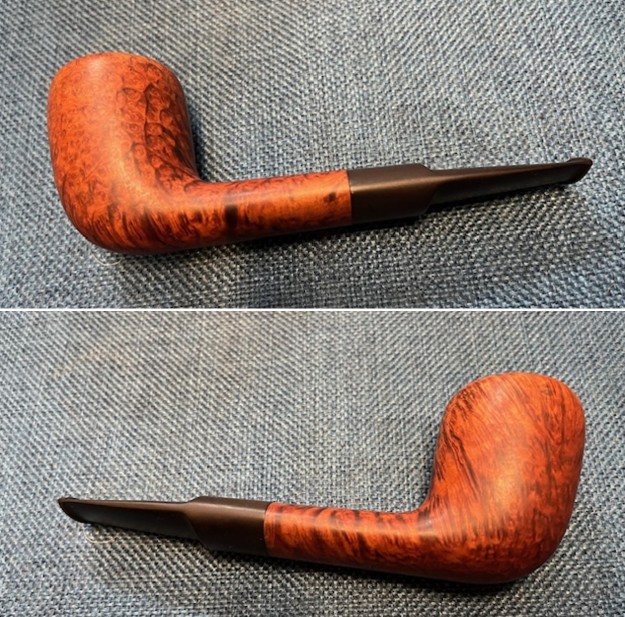
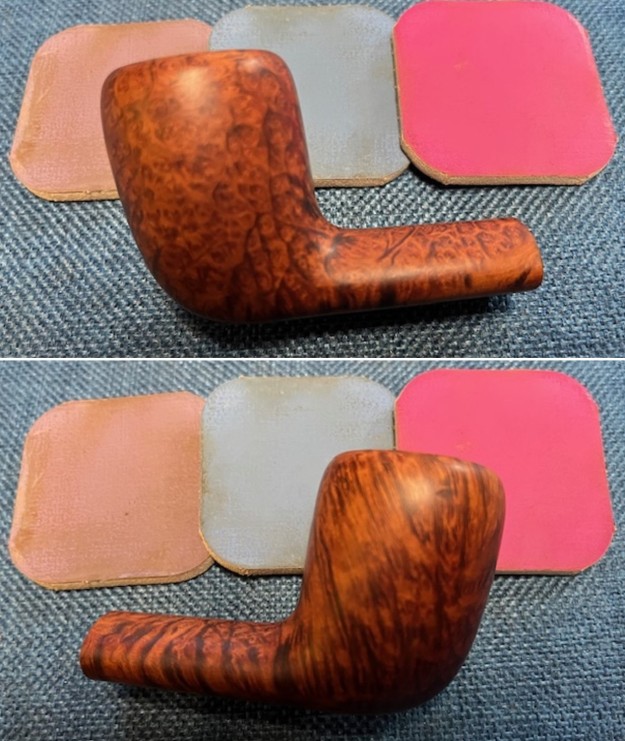
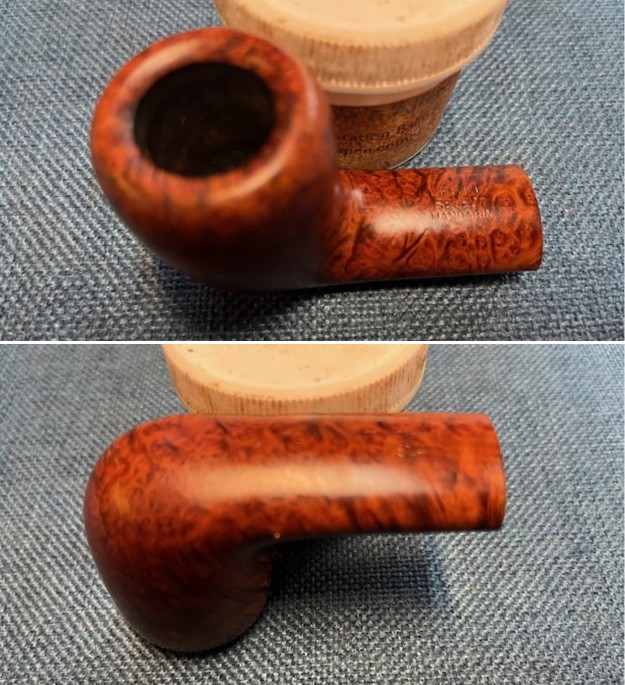
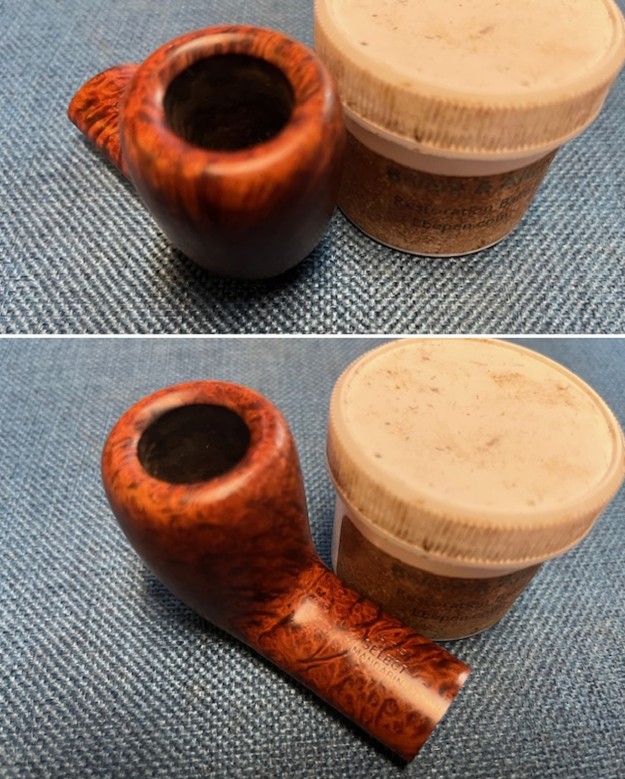
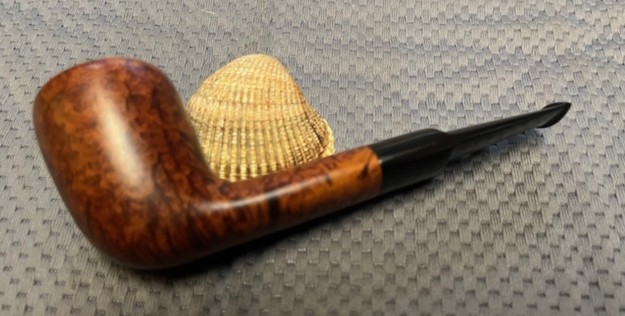
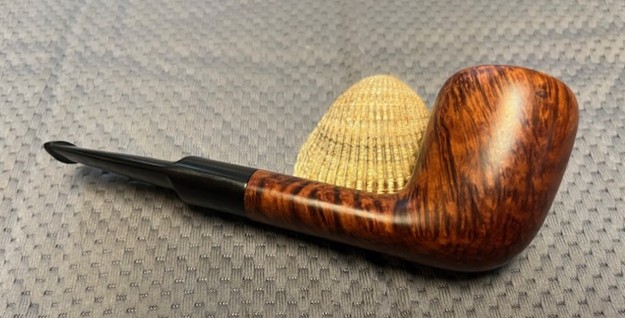
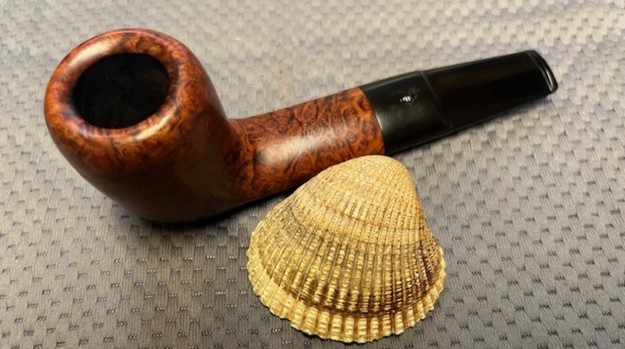
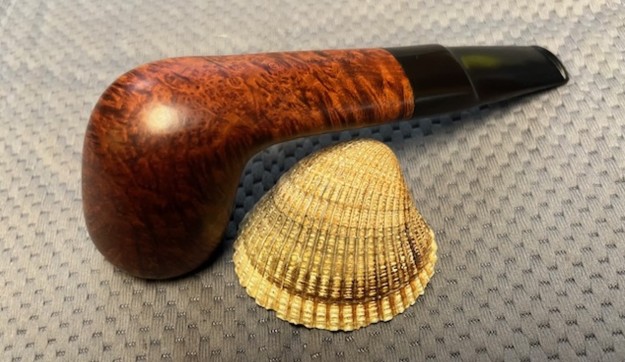
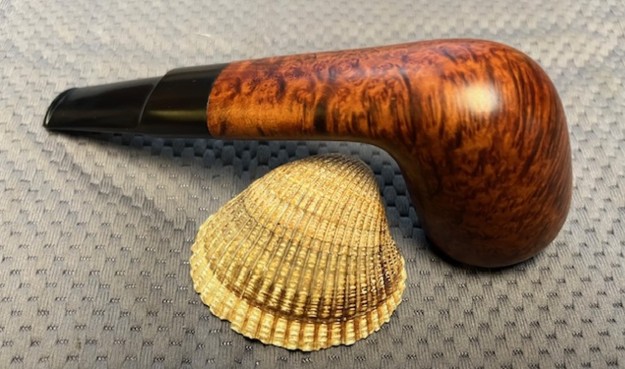
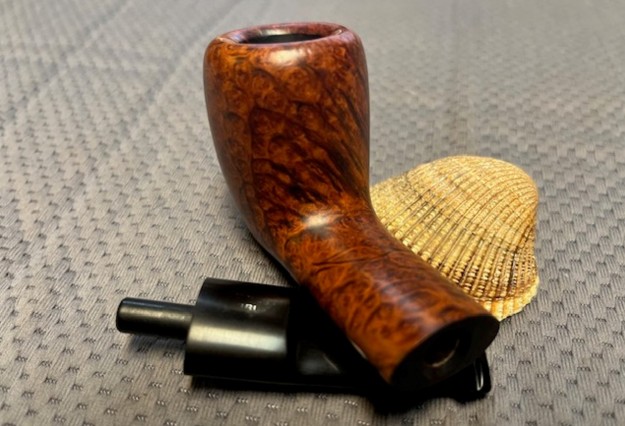
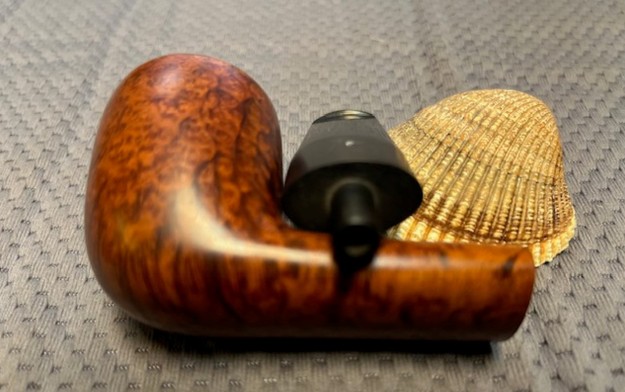
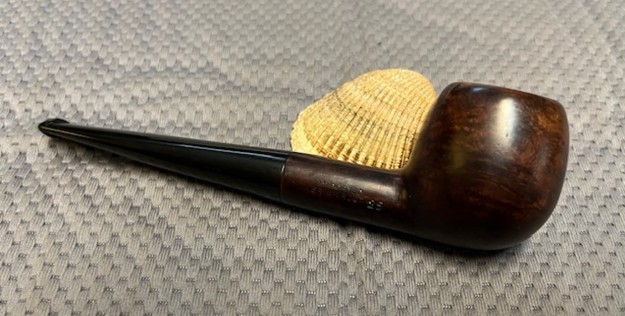
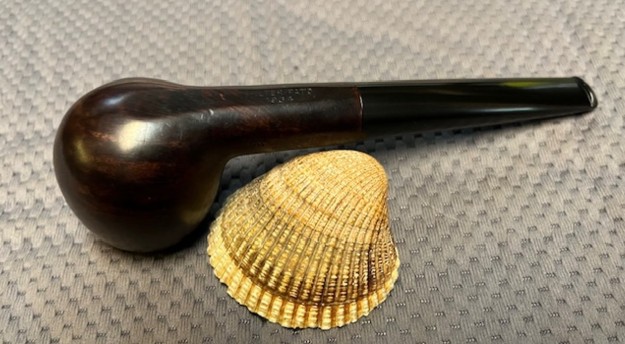
 This Sasieni Royal Stuart 55 Billiard with a vulcanite taper stem has a beautiful, unique Natural Sasieni Royal Stuart finish that has some great grain standing out. The polished vulcanite taper stem adds to the mix. I put the stem back on the bowl and buffed the pipe with Blue Diamond on the buffing wheel being careful to not buff the stamping. I gave the bowl and the stem multiple coats of carnauba wax on the buffing wheel and followed that by buffing it with a clean buffing pad. I hand buffed the pipe with a microfiber cloth to deepen the shine. The finished Made in England Sasieni Royal Stuart 55 Billiard is quite nice and feels great in the hand. Give the finished pipe a look in the photos below. The dimensions of the pipe are Length: 6 inches, Height: 2 inches, Outside diameter of the bowl: 1 ¼ inches, Chamber diameter: ¾ of an inch. The weight of the pipe is 1.73 ounces/49 grams. Thanks for walking through the restoration with me as I worked over another beautiful pipe. This one will be going on the rebornpipes store in the English Pipe Makers Section. Thanks for your time.
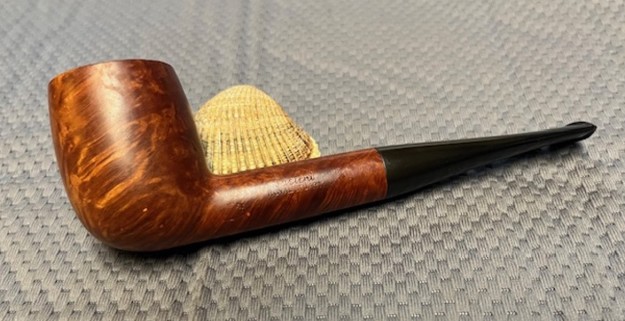


