Blog by Steve Laug
 Many years ago while I was active on the Yahoo pipes page I had conversations with Johan via email and public posts regarding some of his pipes. I was intrigued with the varieties of African wood that he used for his pipes. Good friend John Offerdahl had several pipes made by Johan and I liked the look and feel of them. Over time I settled on an olive wood Liverpool shaped pipe. I contacted Johan and the deal was struck. My olive wood pipe was on its way to Canada.
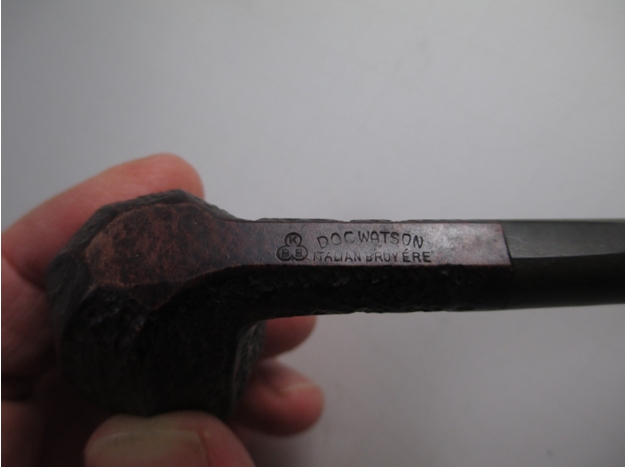
Recently I had the pipe out and was smoking it and wondered what had ever happened to Johan. I had heard that he had been ill and was no longer making pipes. I had emailed a few times and gotten no response. His website was down and unavailable so that did not bode well in my opinion. When I decided to write up a review of my wonderful pipe by Johan Slabbert the creator and crafter of Jobert pipes I went digging on the web to see if I could find more information regarding what had happened to him. I found a good write up on Pipedia.org http://pipedia.org/wiki/Jobert
The opening two sentences of the article gave me the information I was seeking. All of the posts and interactions I had read had spoken of a serious health issue for Johan. While that may be true it seems that his pipe making was cut short by “the untimely death of his friend and fellow pipe maker Leon du Preez…” Since that time Johan Slabbert no longer made pipes. The opening paragraph goes on to say that this information“was confirmed by his wife”.
The article also included the following for Johan himself. It reminds of what was originally on his website but I cannot confirm that at this point. I have copied the article here for ease of reference:
“I am Johan Slabbert from Goodwood, a suburb of the Cape Peninsula, South Africa.”
“I am a self trained pipe maker and a wood lover. Since my retirement in 1992, I kept myself busy with woodcarving, sculpturing, wood turning and restoring/renovating antique furniture. I also collect antique carpenters’ tools and other memorabilia.”
“During October 2000, while pondering what else I could do, I took one of my old collectors’ pipes and after 30 years I lit up a pipe again. While smoking, the idea came to me to try pipe making. Well, you are seeing the results now.”
“No Briar was available and I used our local obtainable wood like Wild Olive, Leadwood, Mopane, Black Hookthorn and African Black wood, which turned out to be very good smokers and popular among the local pipe smokers. I have since obtained some Briar, which I cherish.”
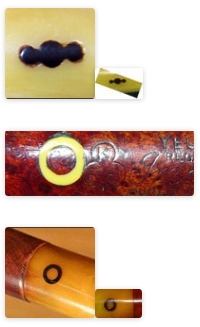
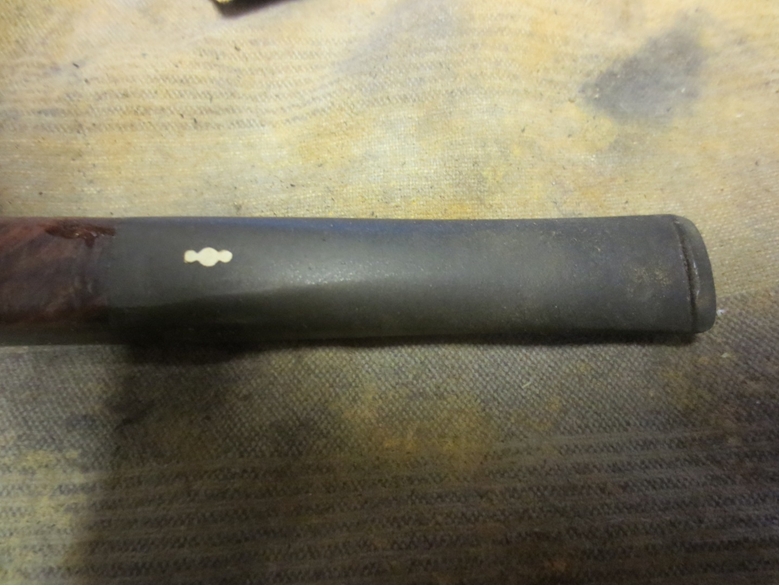
“My pipes are specially engraved with my logo “JOBERT”, an abbreviation of my first and last names.”
“Since I started creating pipes, I made a lot of pipe smoking friends on the Internet. I am also a member of the “Stuttgarter Pfeifen Freunde-79”, the “Buenos Aires Pipa Club” and the “Confraria Do Cachimbo” of Brazil.”
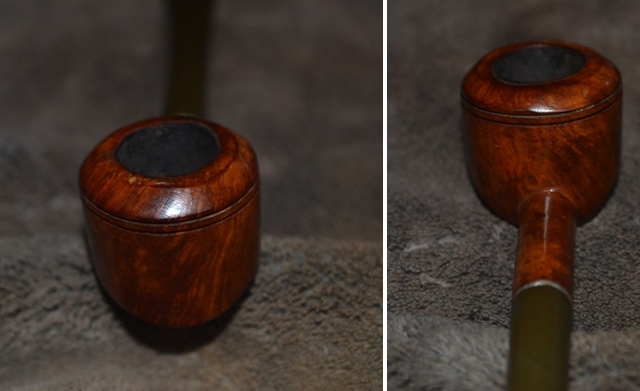
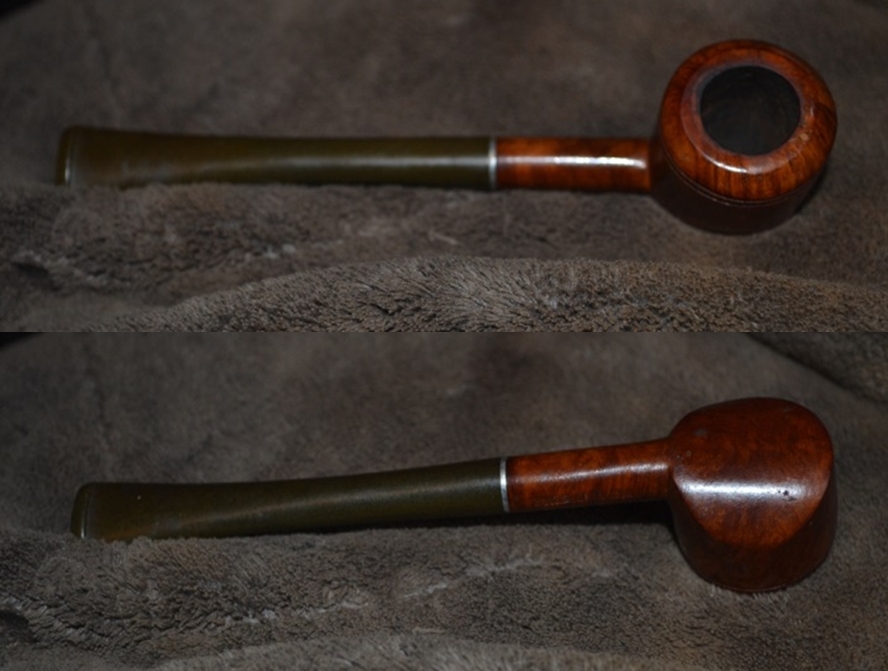
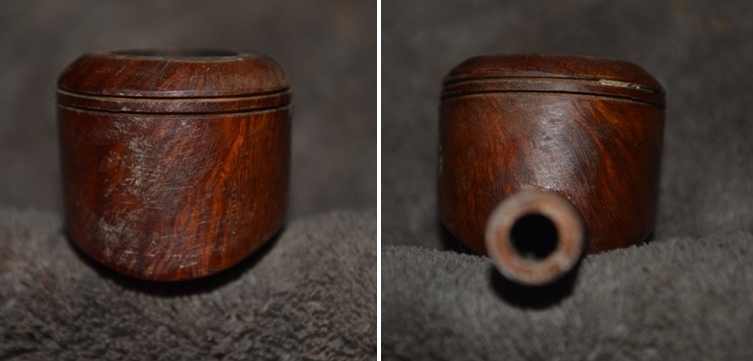
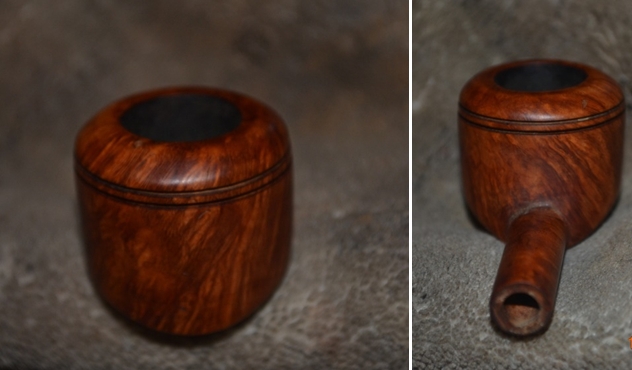
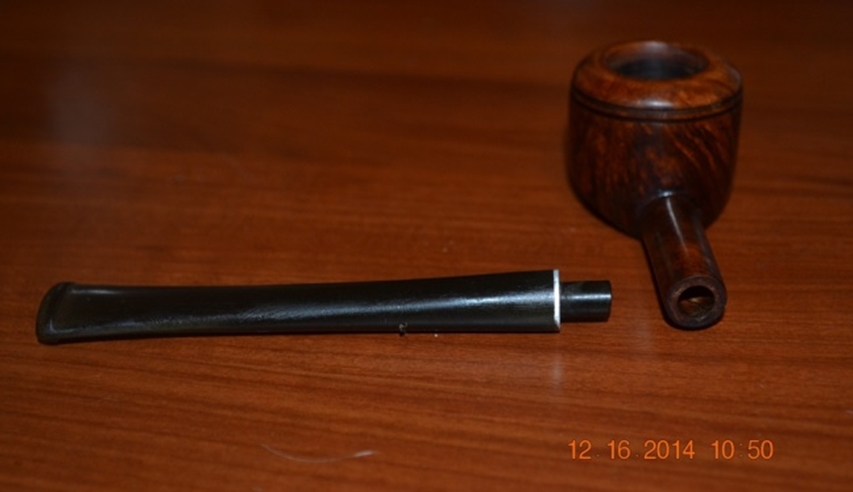
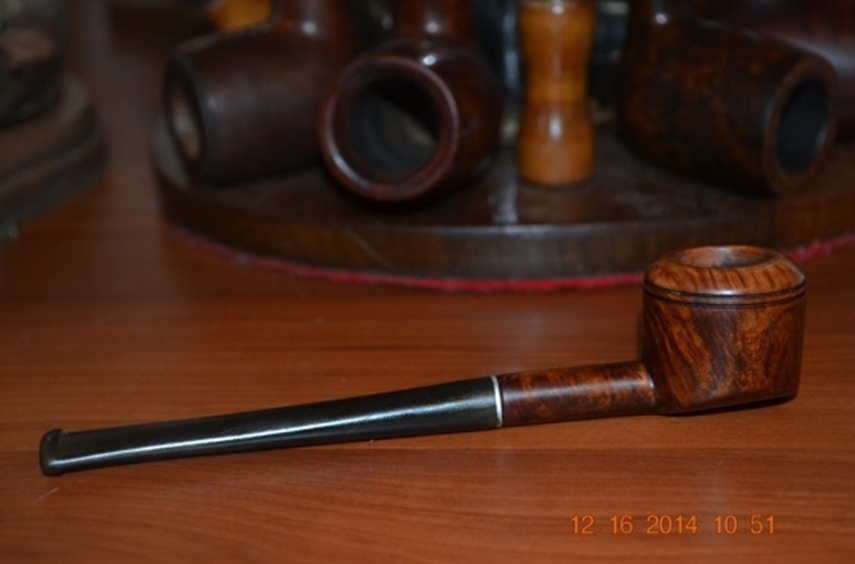
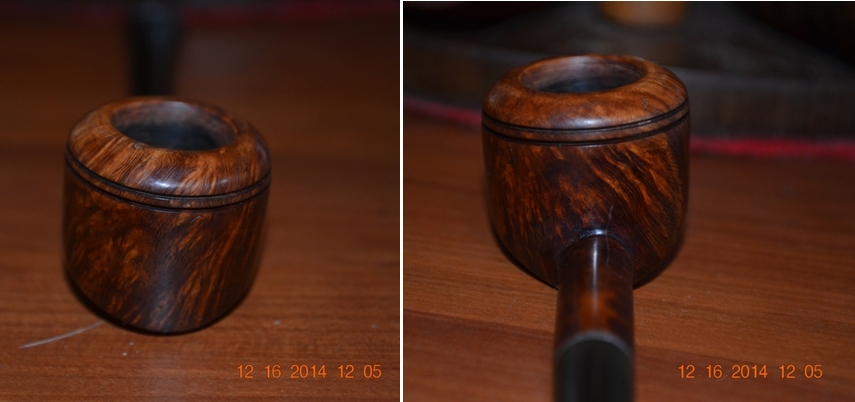
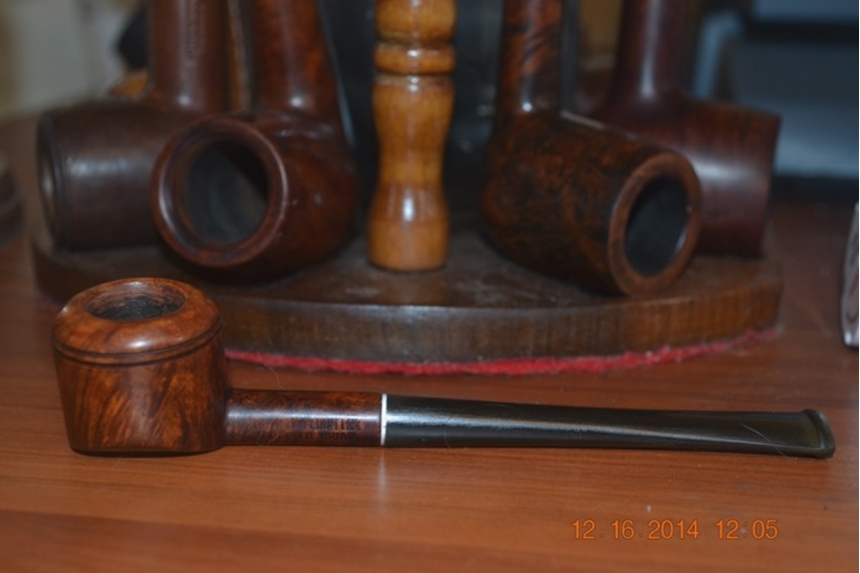
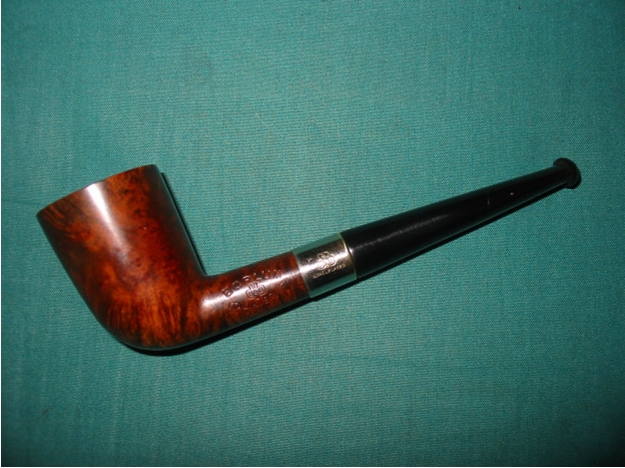
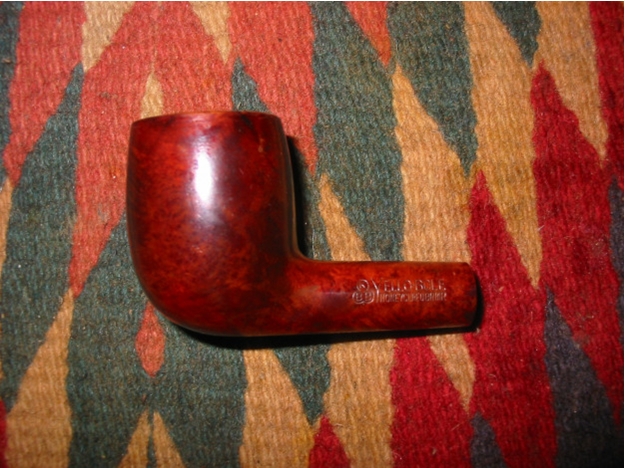
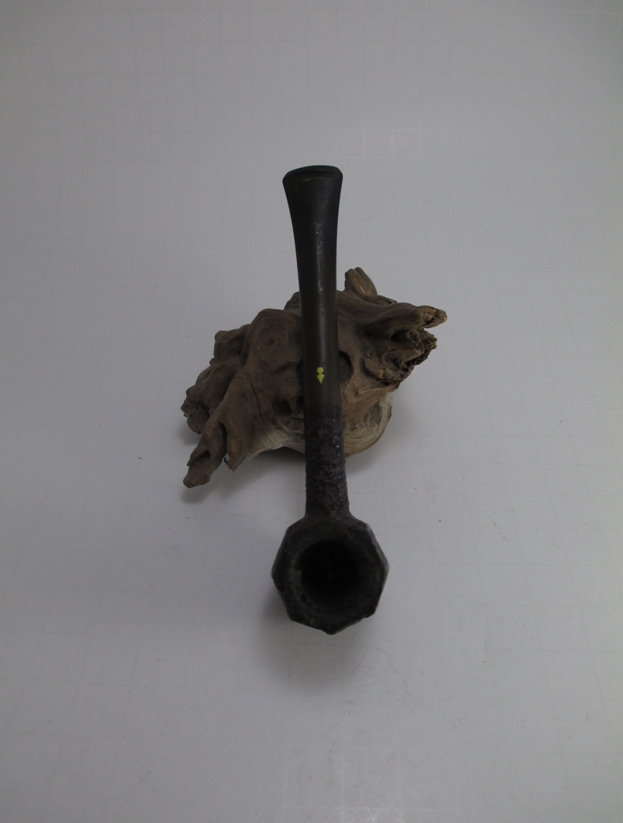
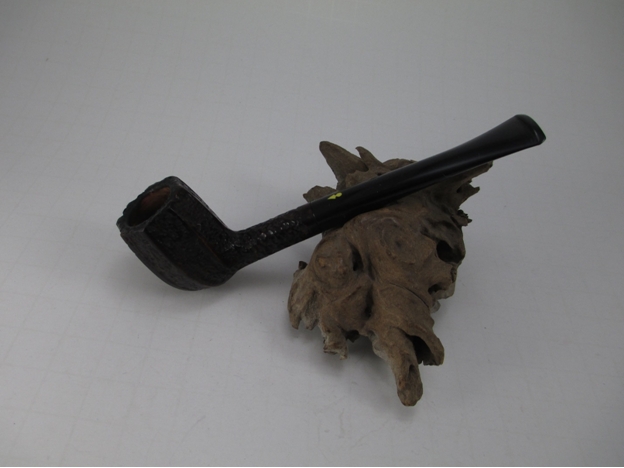
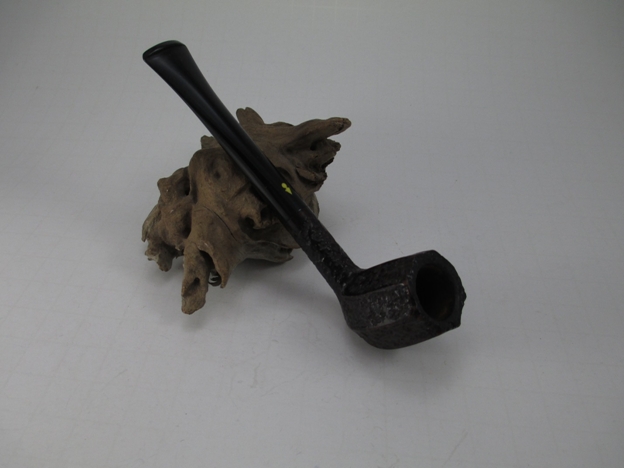
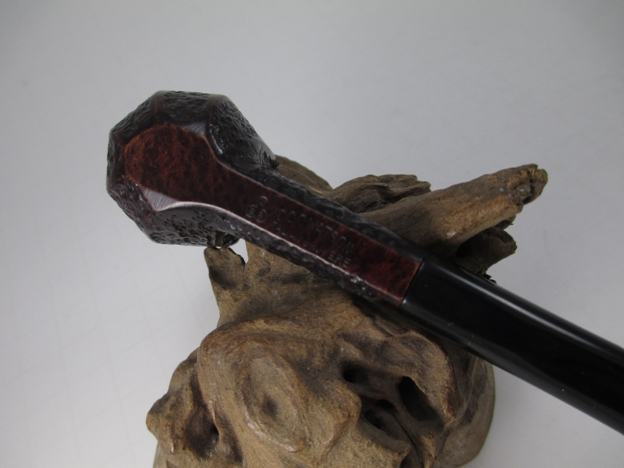
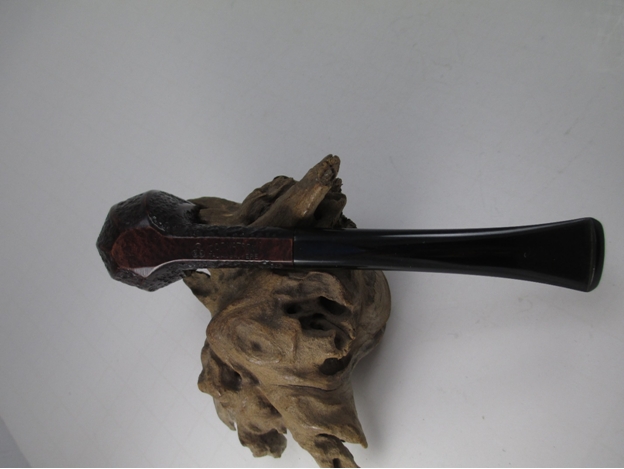
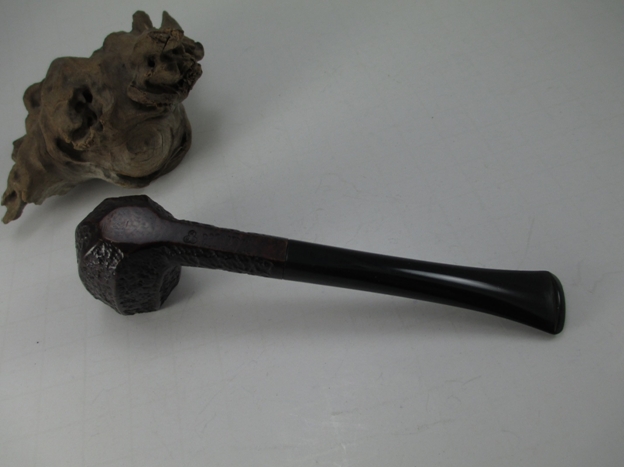
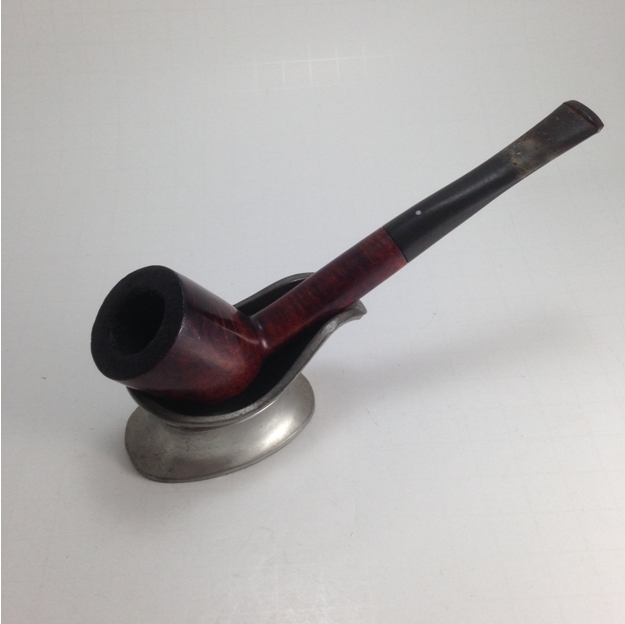
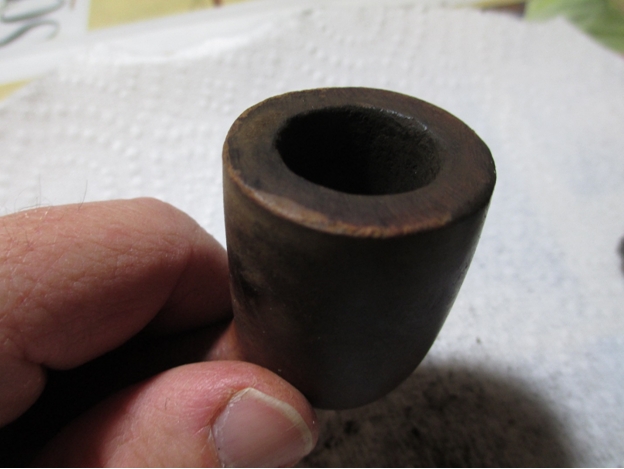
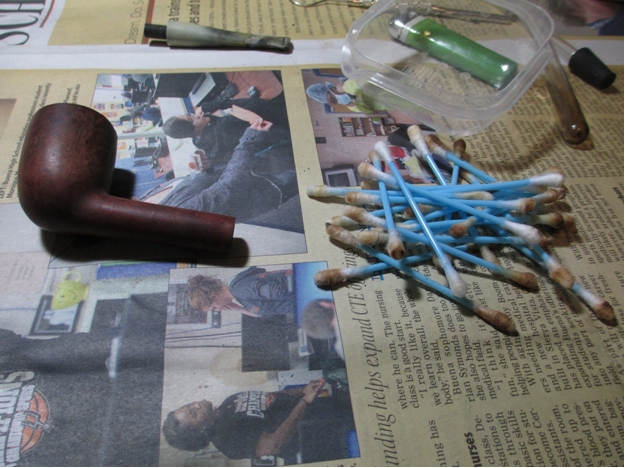
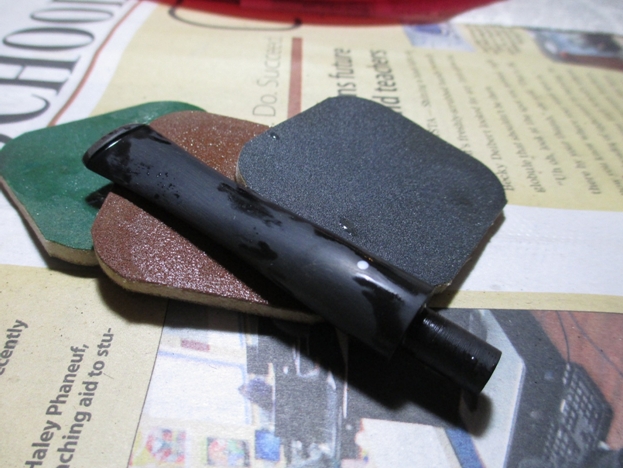
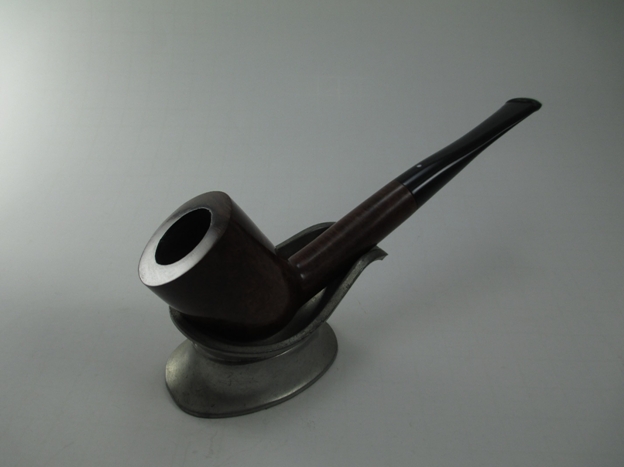
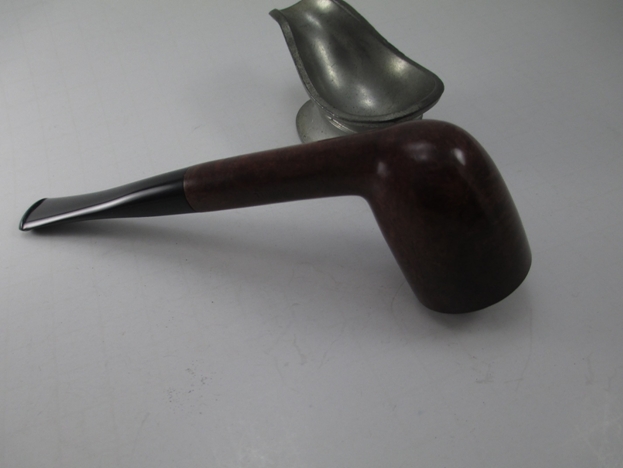
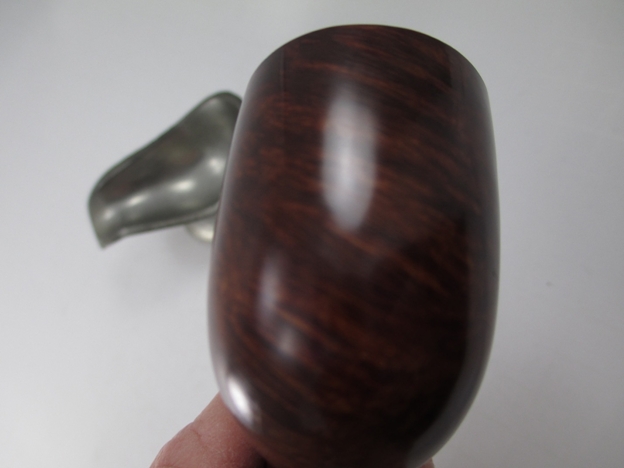
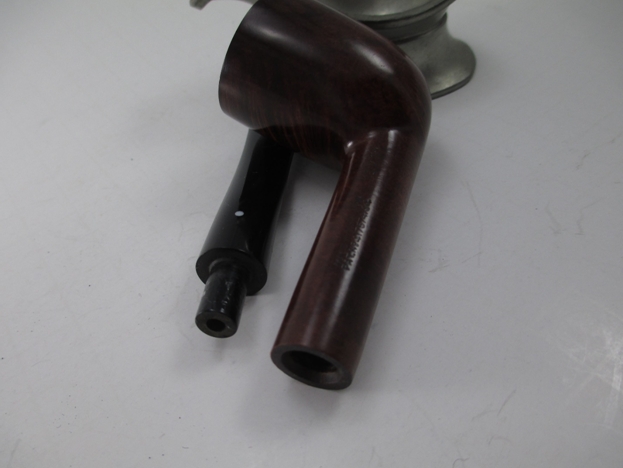
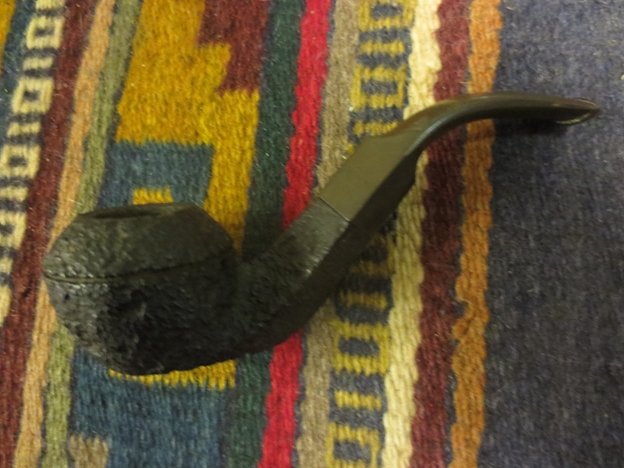
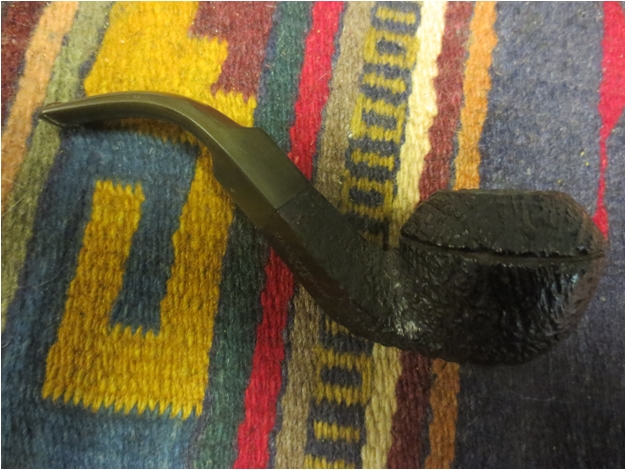
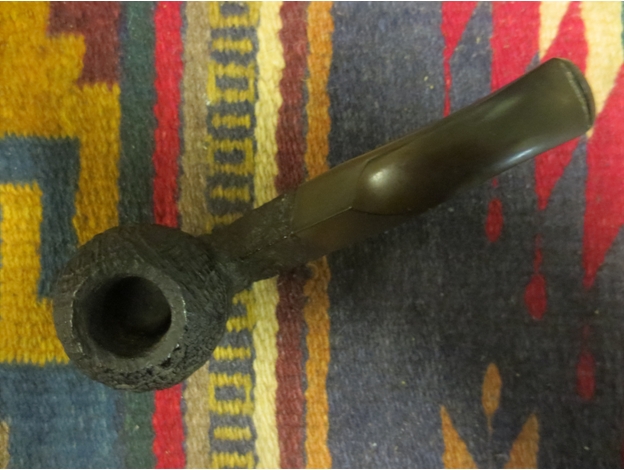
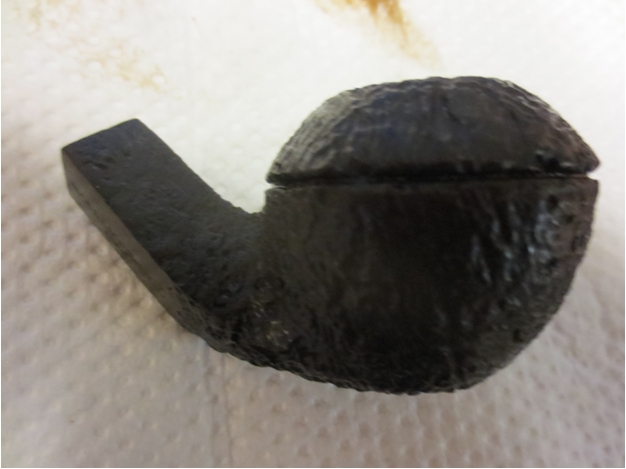
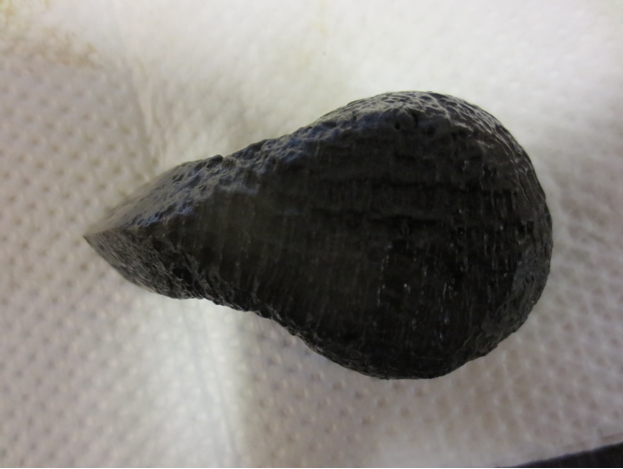
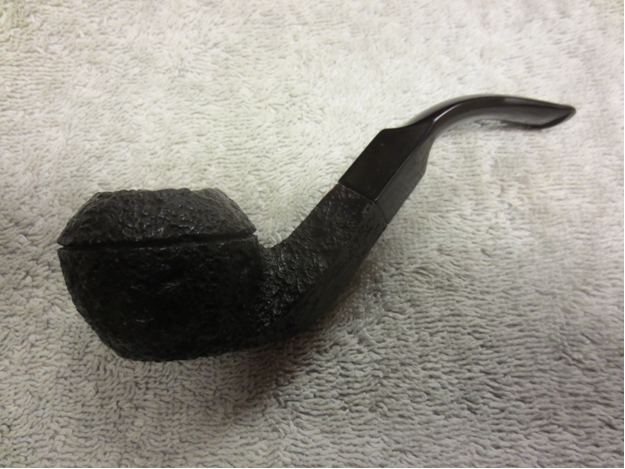
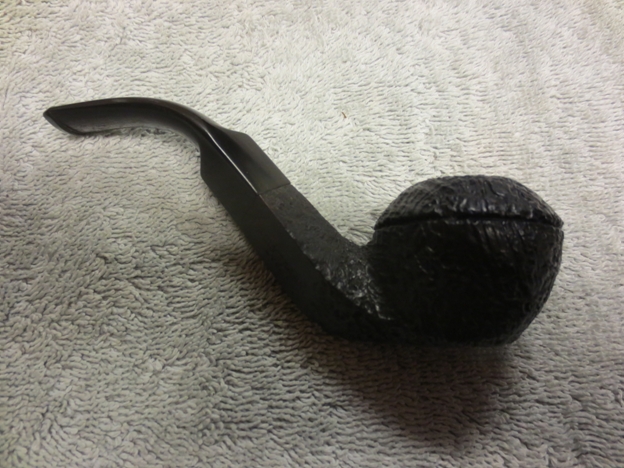
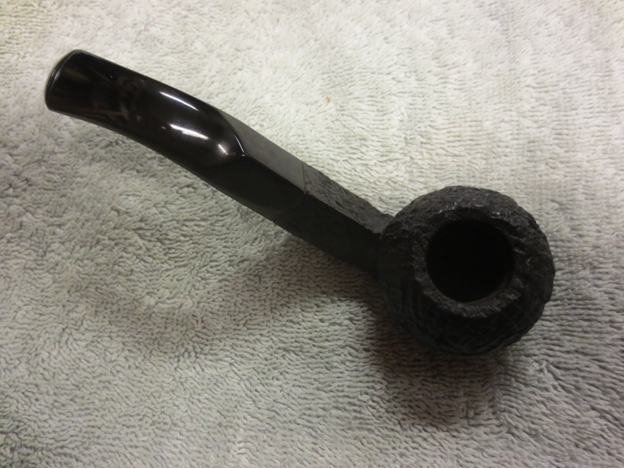
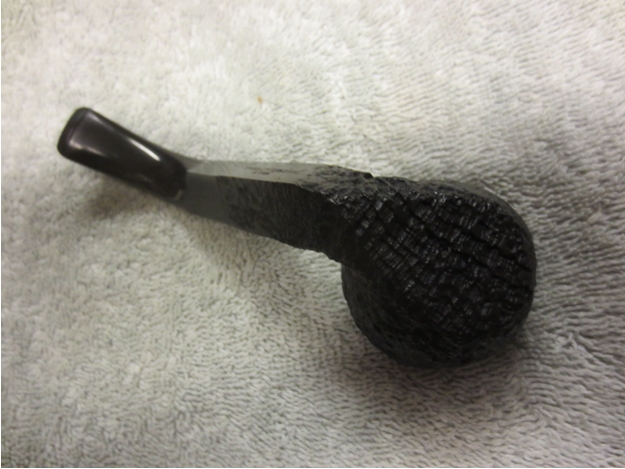
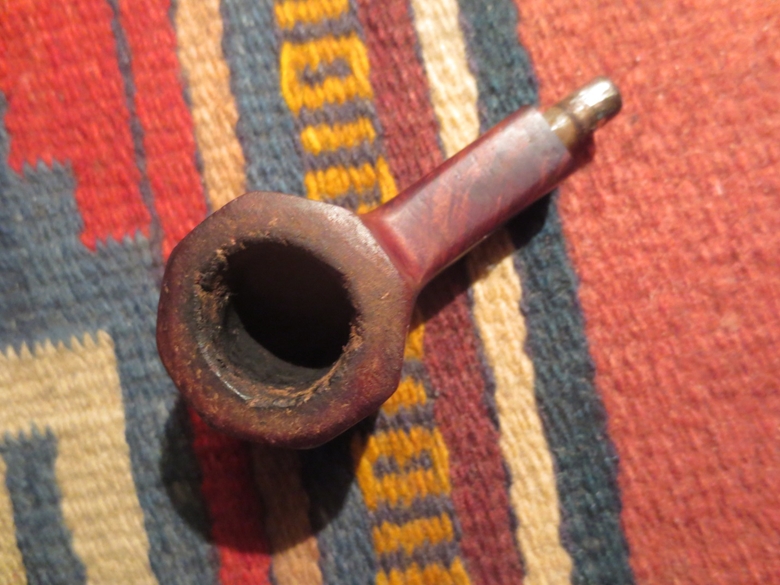
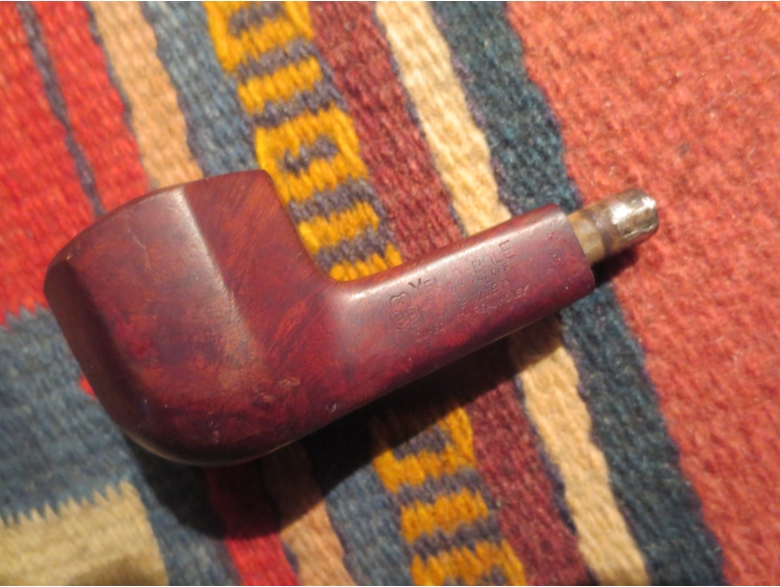
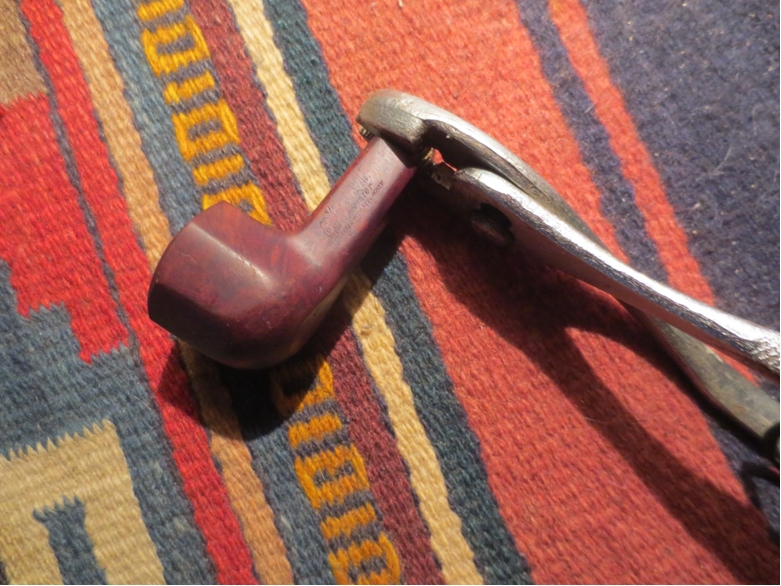
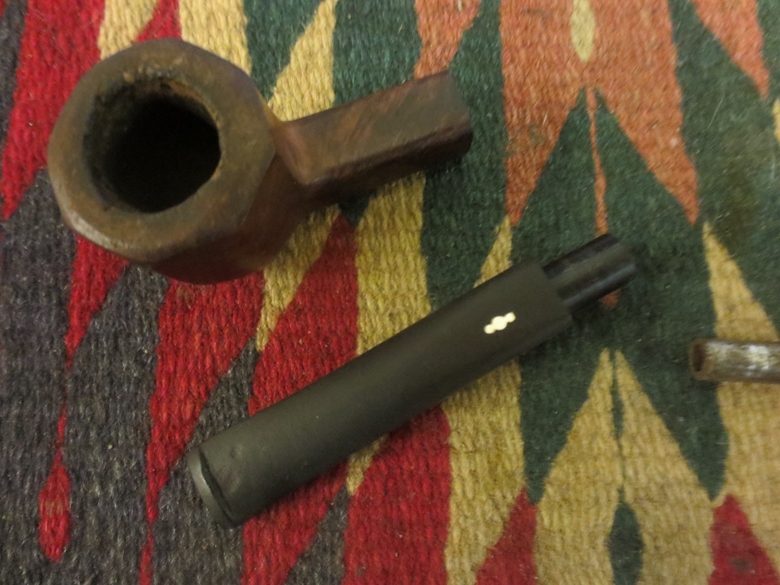
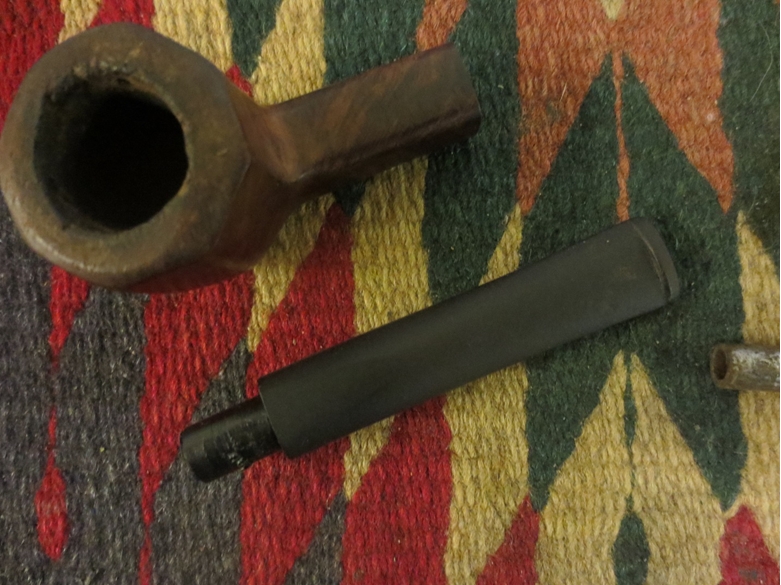
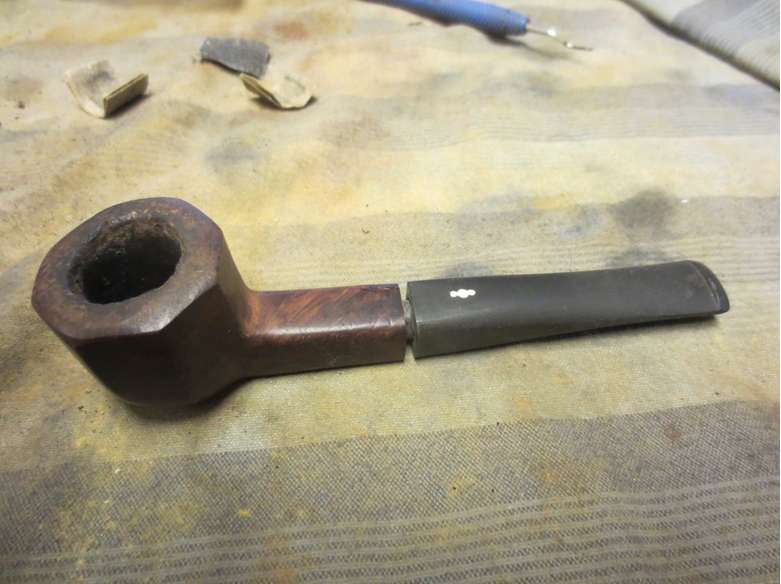
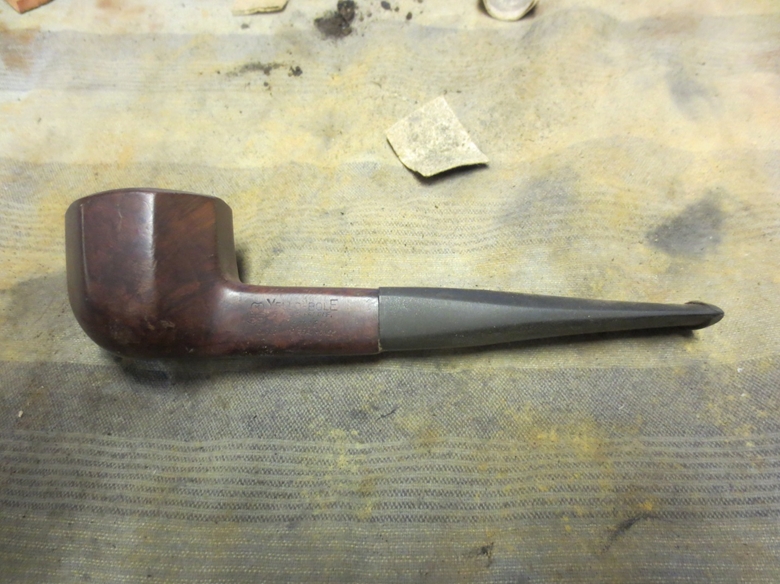
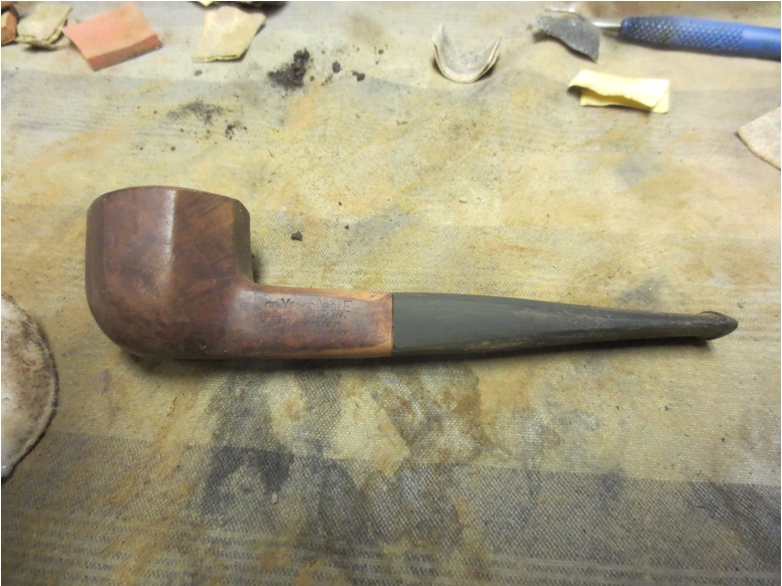
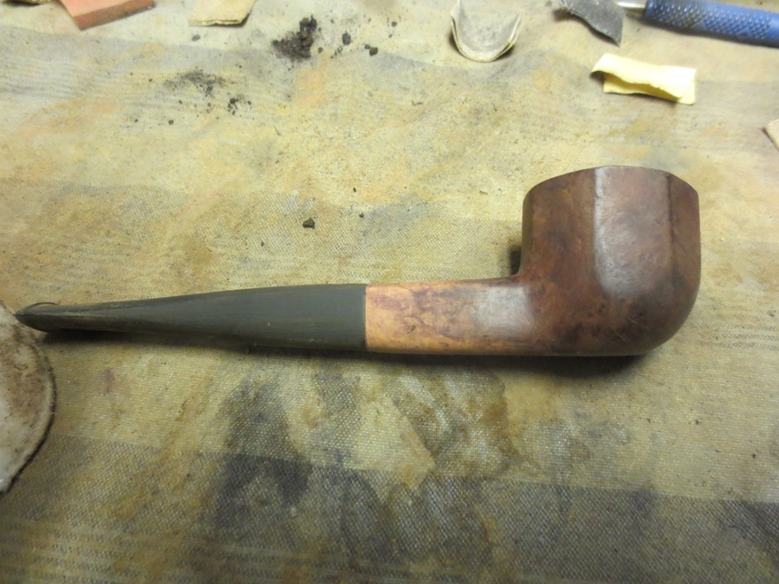
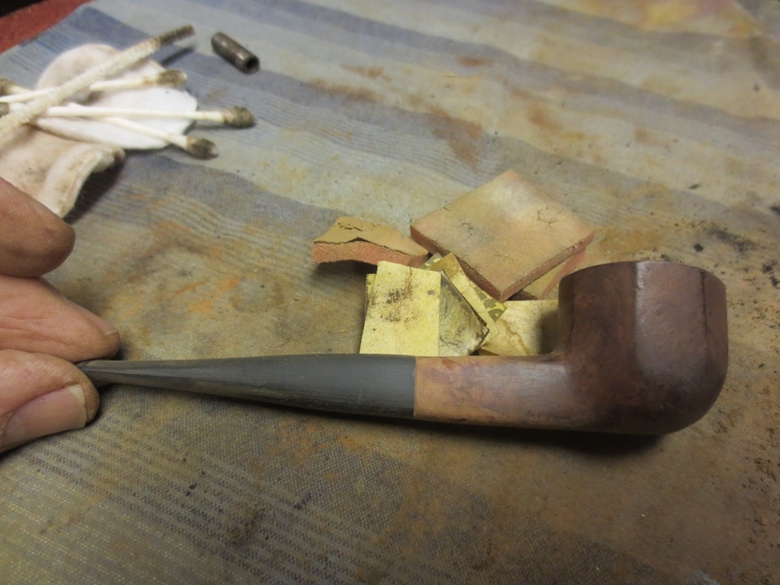
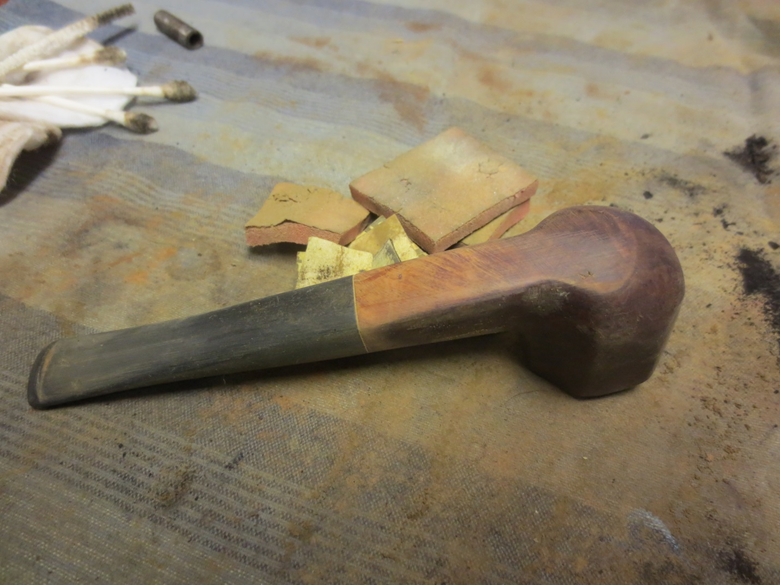
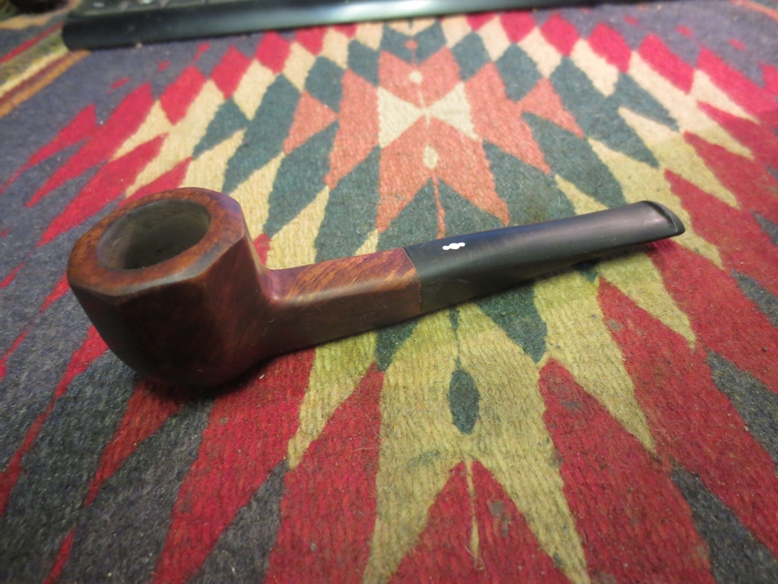
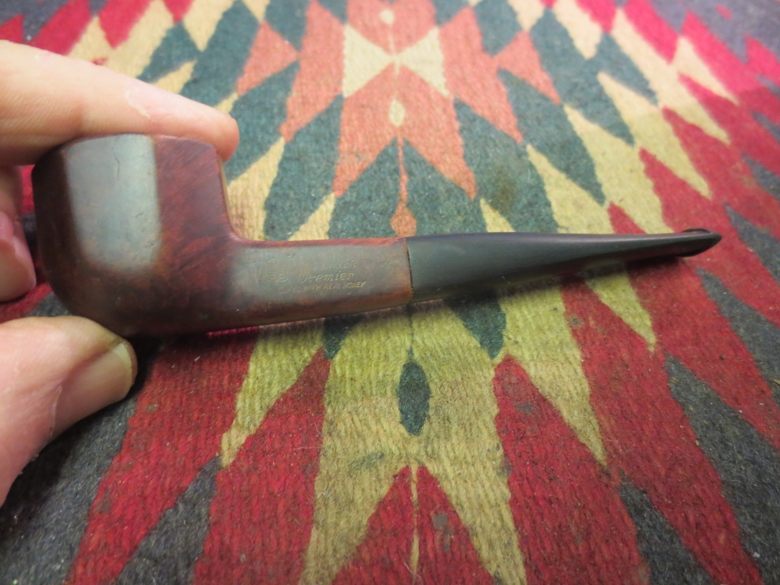
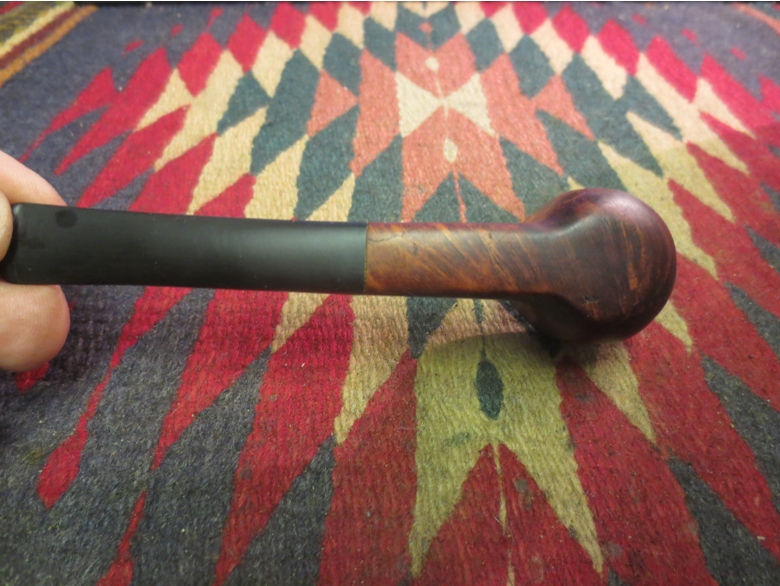
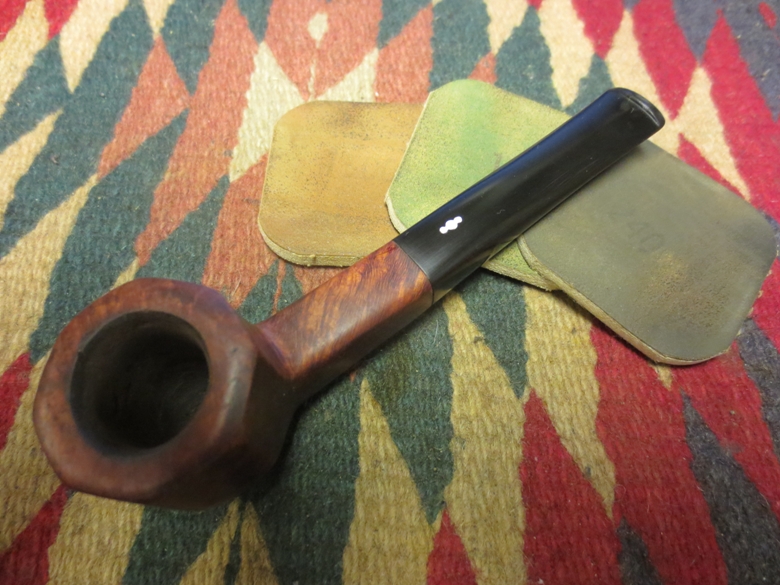
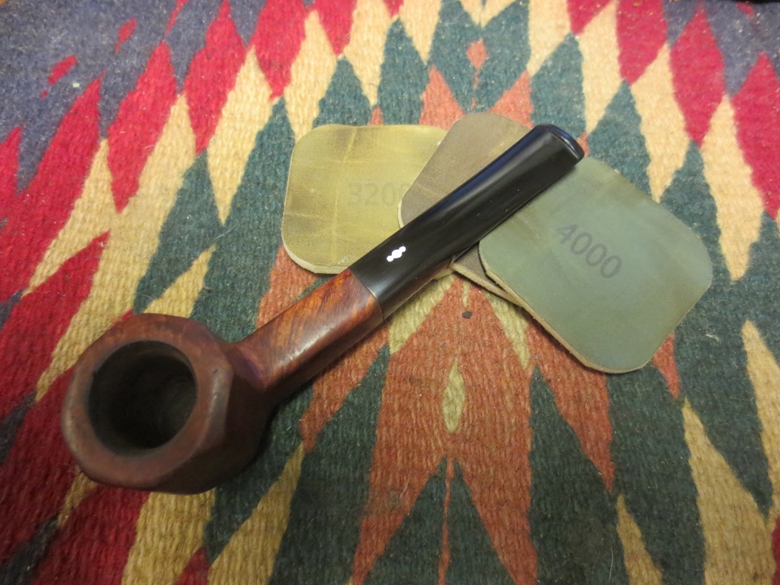
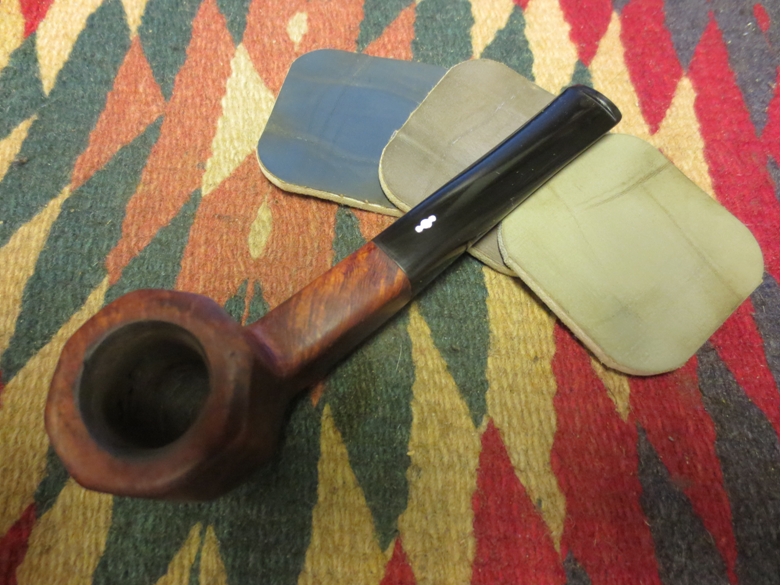
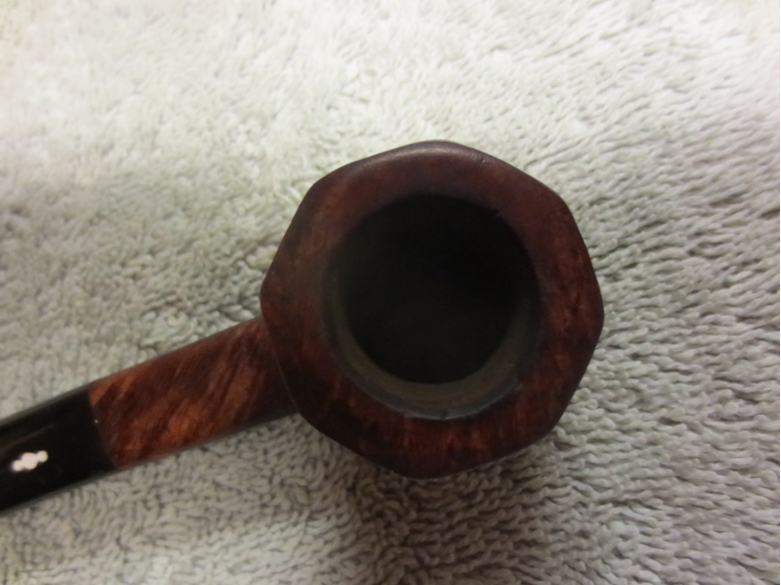
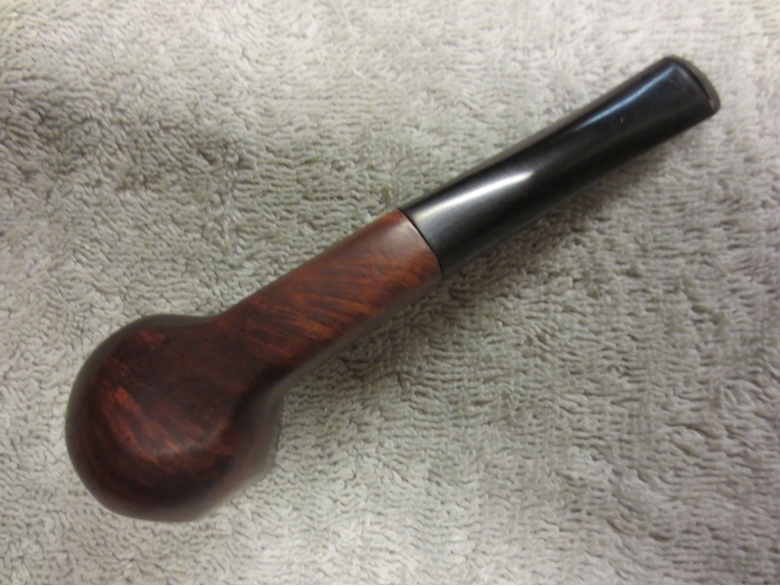
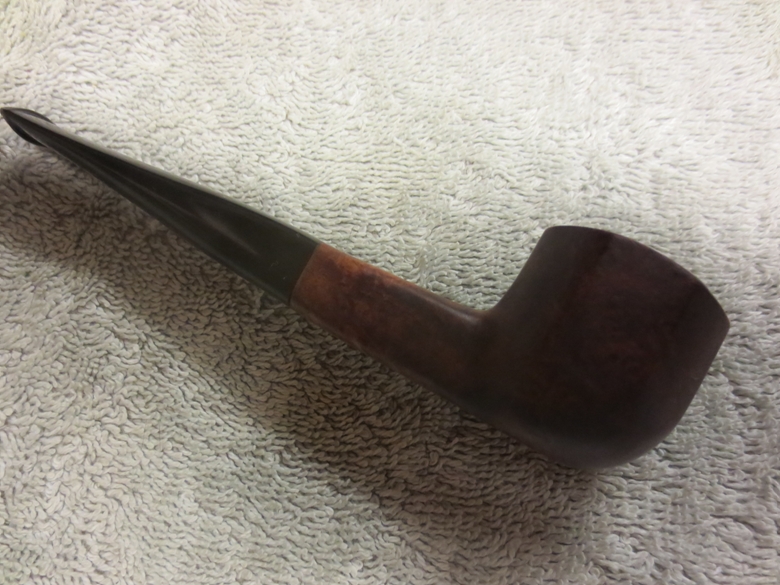
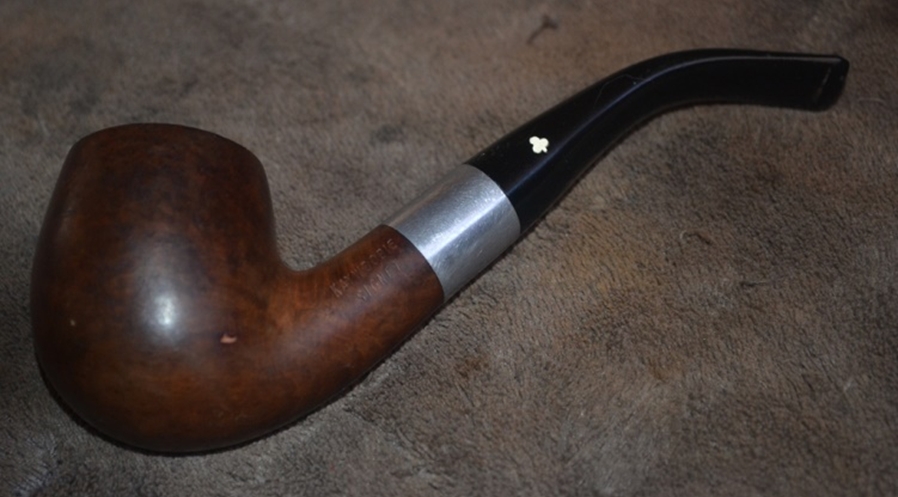
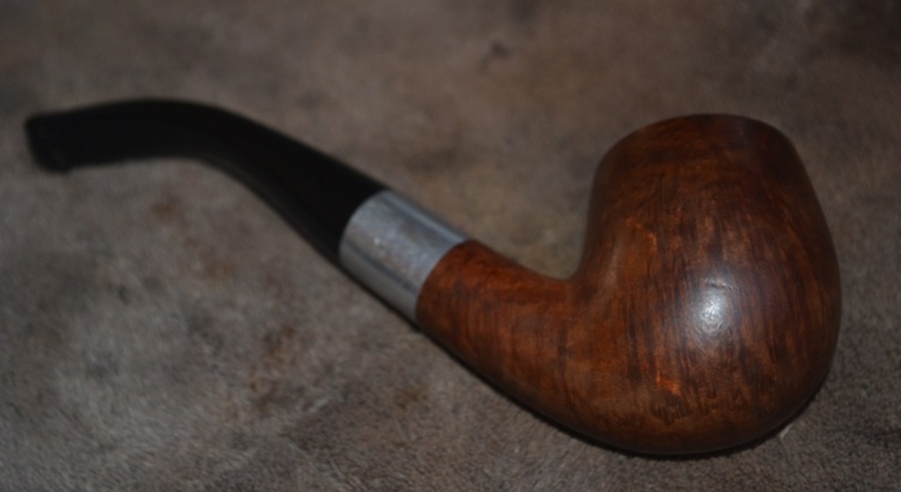
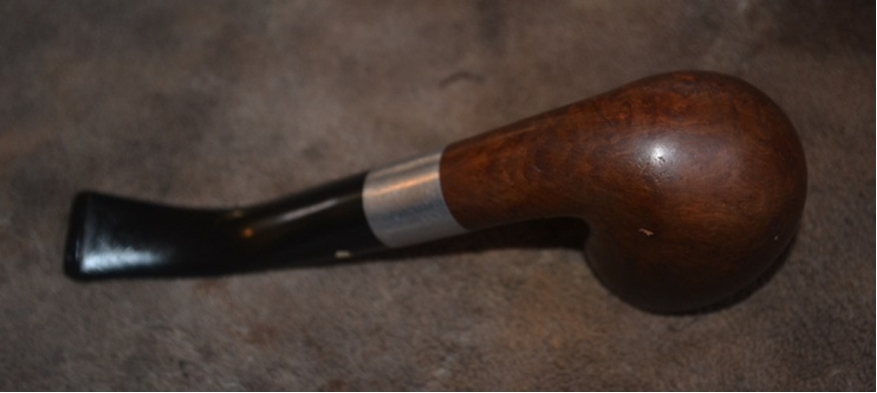
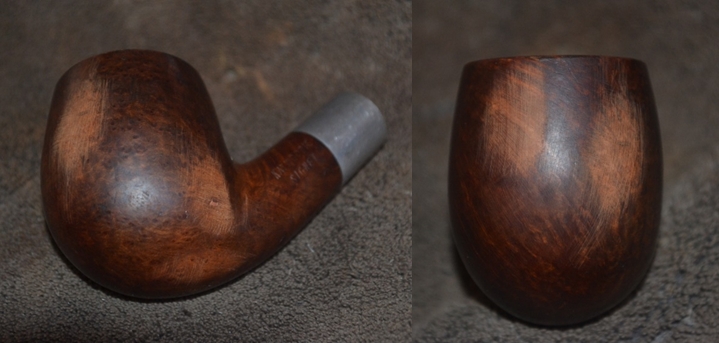
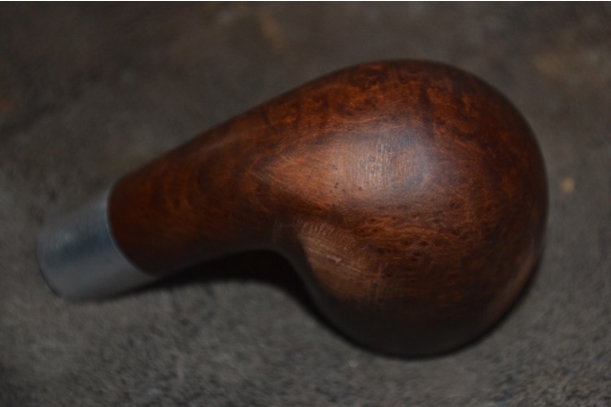
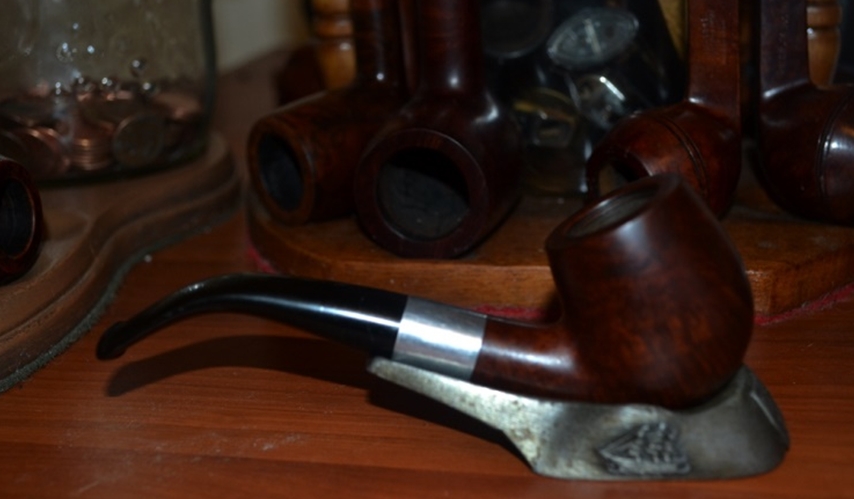
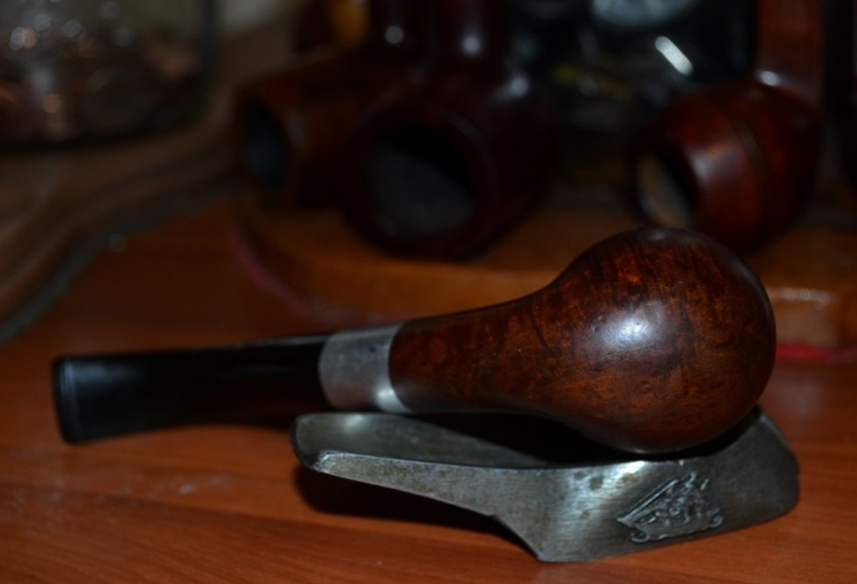
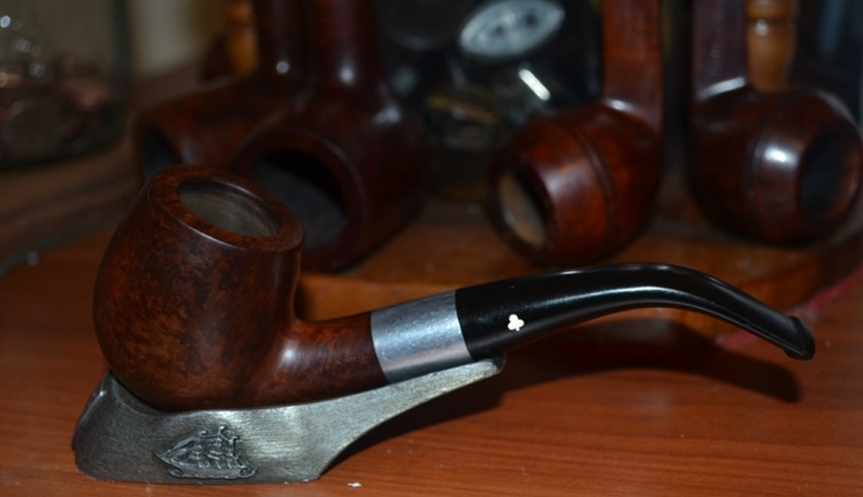
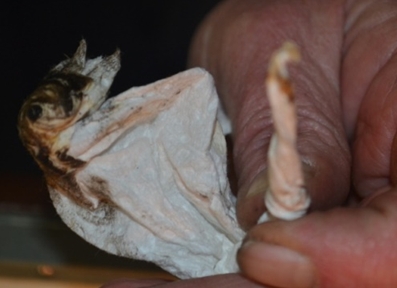
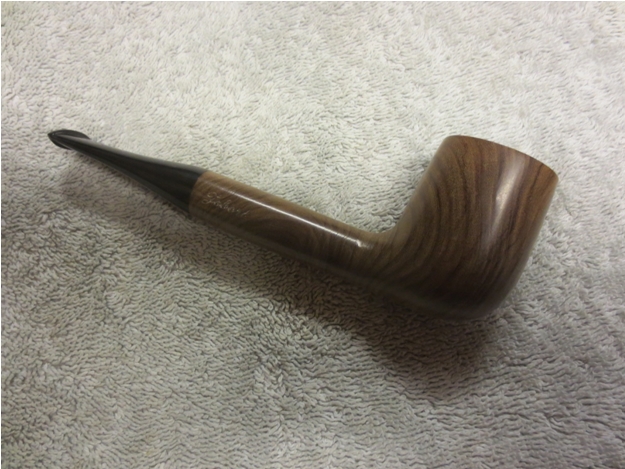
My own Jobert is a large Liverpool shaped pipe crafted of Wild Olive wood. It is a heavy piece of wood – far heavier than briar of the same size. It is 6 inches long and almost 2 inches tall. The tobacco chamber is 1 9/16 inches deep and 7/8 inches in diameter. The stem is handmade from vulcanite and its taper is smooth enough to make a comfortable stem. The shape execution is well done, though not quite ‘classic’. Johan takes a unique interpretation of traditional shapes. The craftsmanship, drilling and fit are all precise. This finish is natural, and no attempt has been made to mask or cover any imperfections in the graining of the wood. Wild Olive is visually stunning and unique in its pattern and flow. The look of the pipe, the natural wood and feel of it in my hand continues to keep me coming back to this pipe. I remember when the pipe arrived. I cut open the package, removed the bubble wrapped package on the inside and took the pipe out. I was immediately struck by the look and feel of this pipe. Johan had done a magnificent job on this one and it was beautiful. There is something about the smell and feel of a new pipe that is unique and special. In this case I could almost taste my favourite green olives in the aroma of the new pipe. The grain pattern swirls around the bowl and shank with a contrast between the dark lines and the warm light colour wood between the lines.Examining at it I can see Johan’s masterful plan in laying out the cutting pattern of the piece of wood he chose. It is a beautifully laid out pipe.
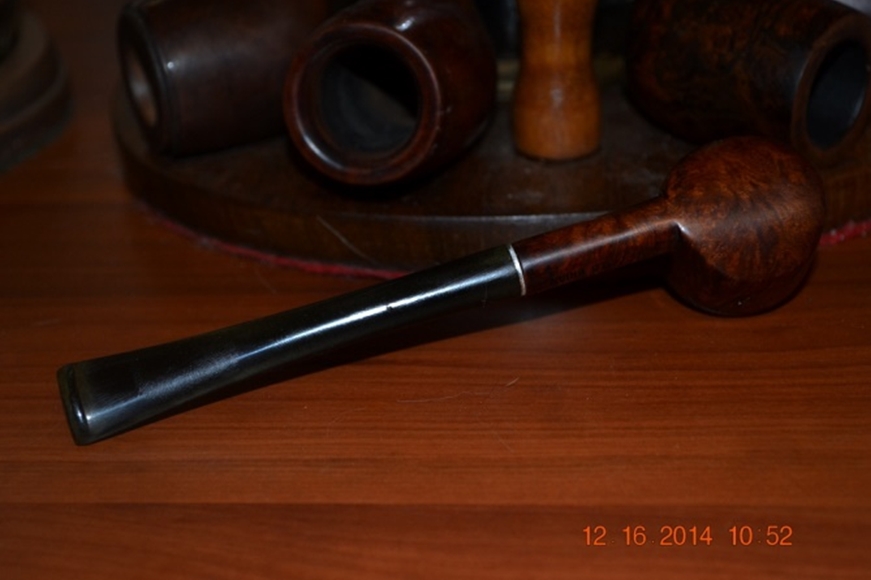
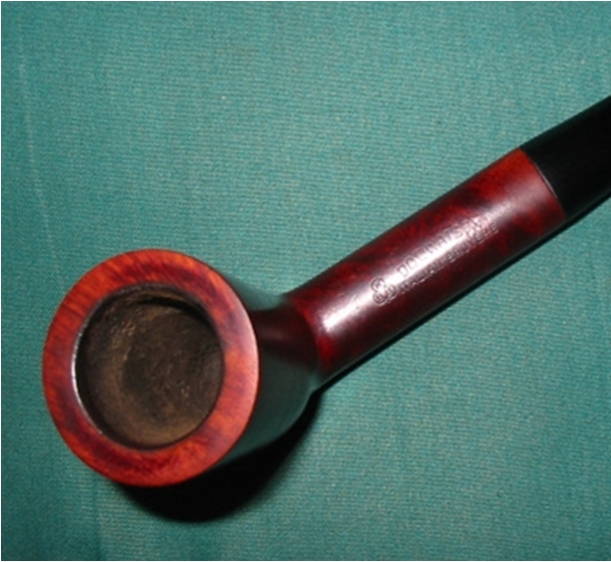
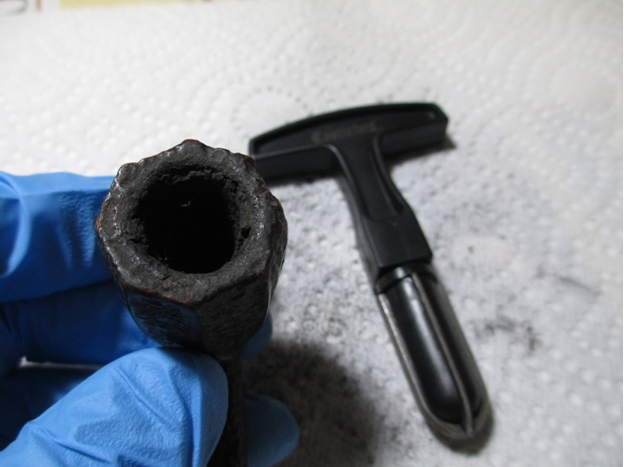
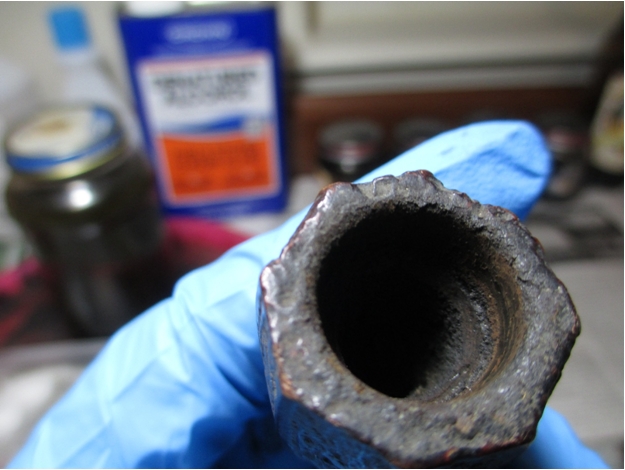
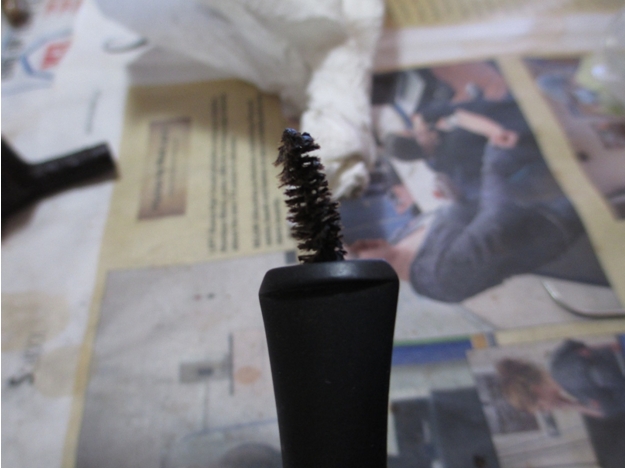
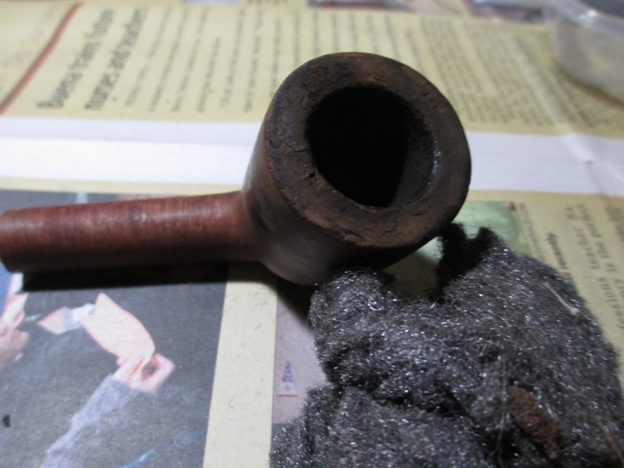
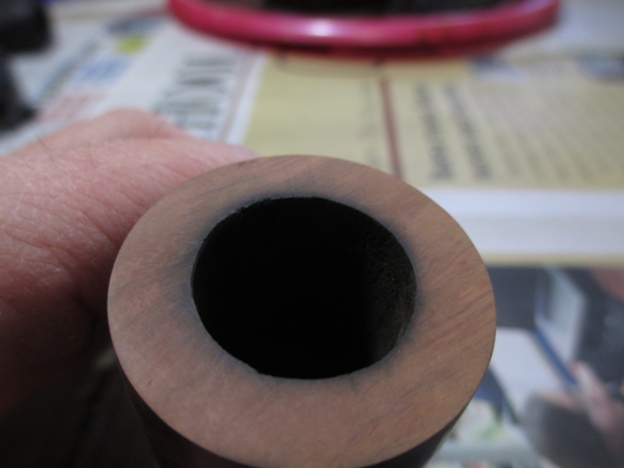
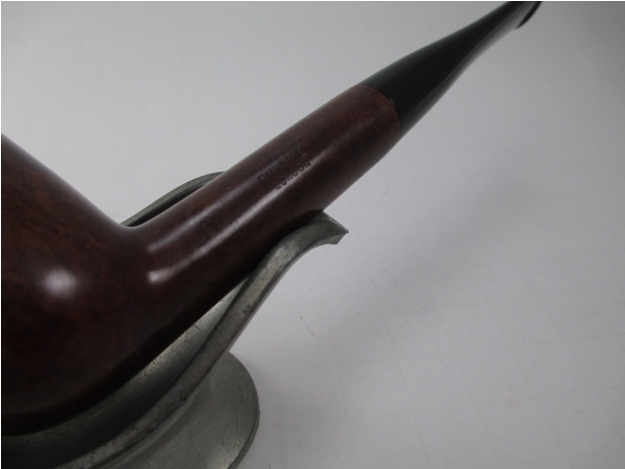
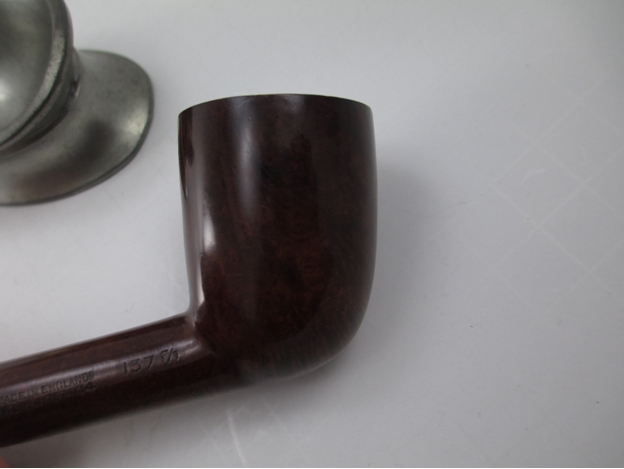
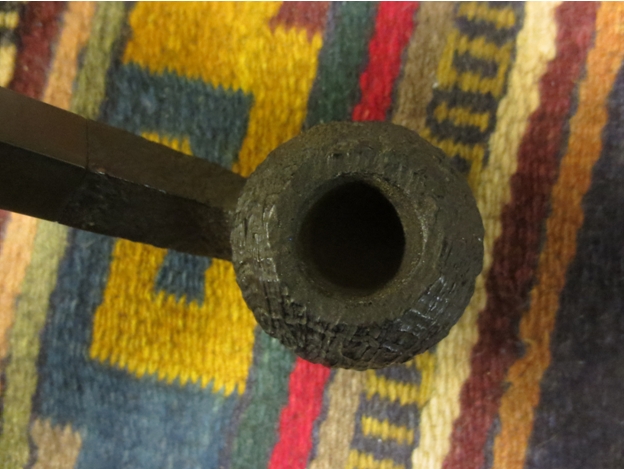
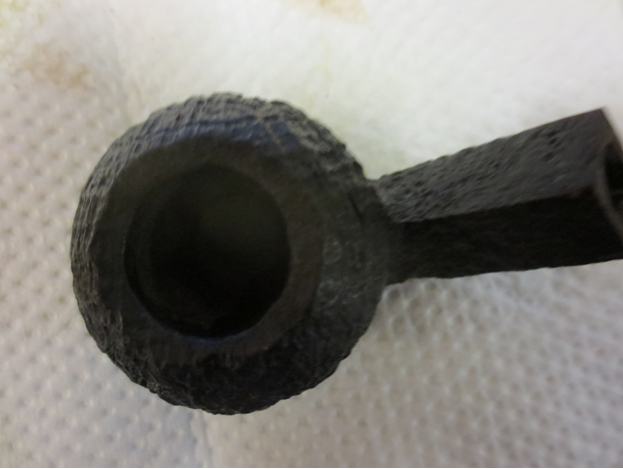
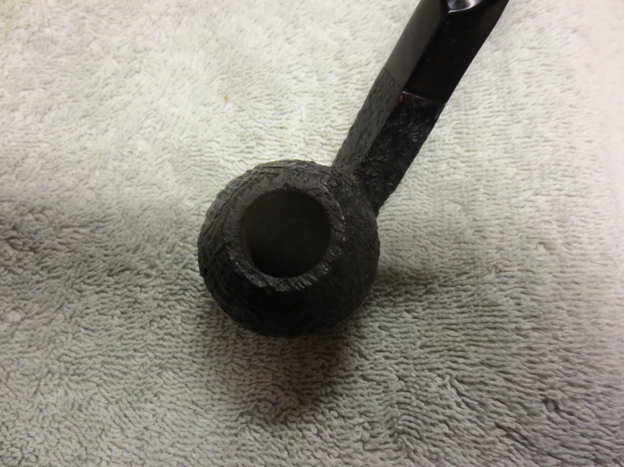
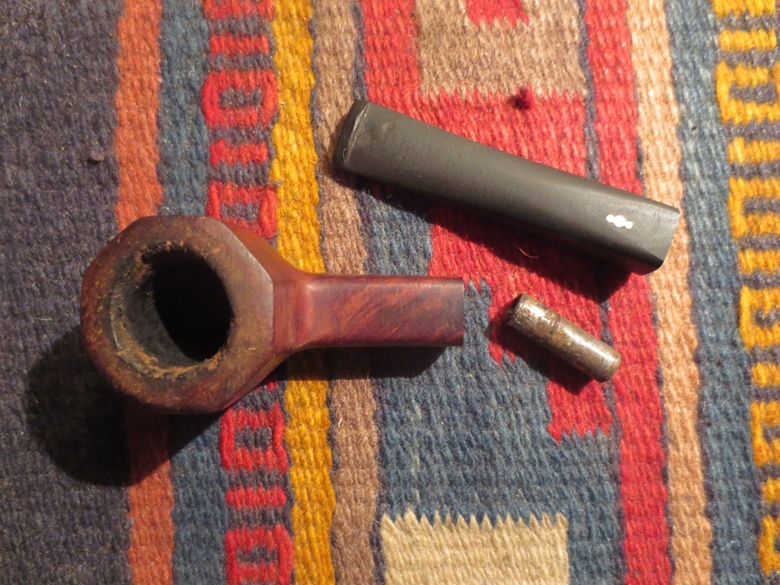
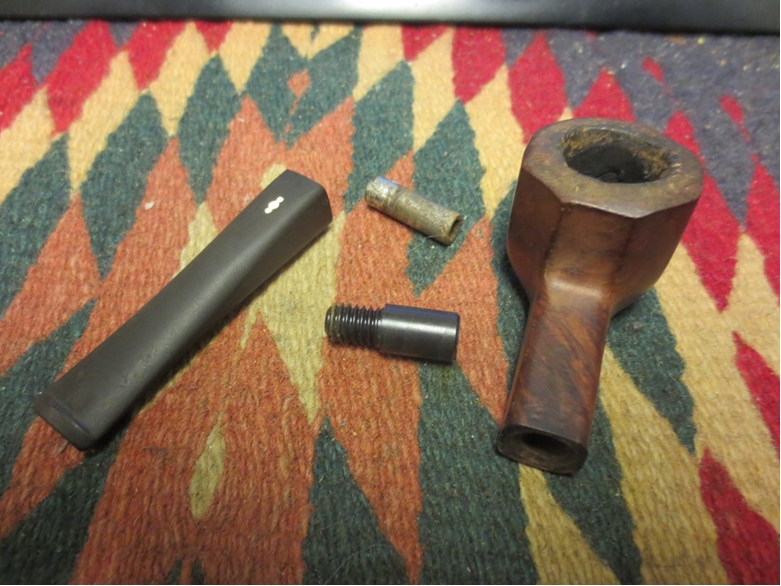
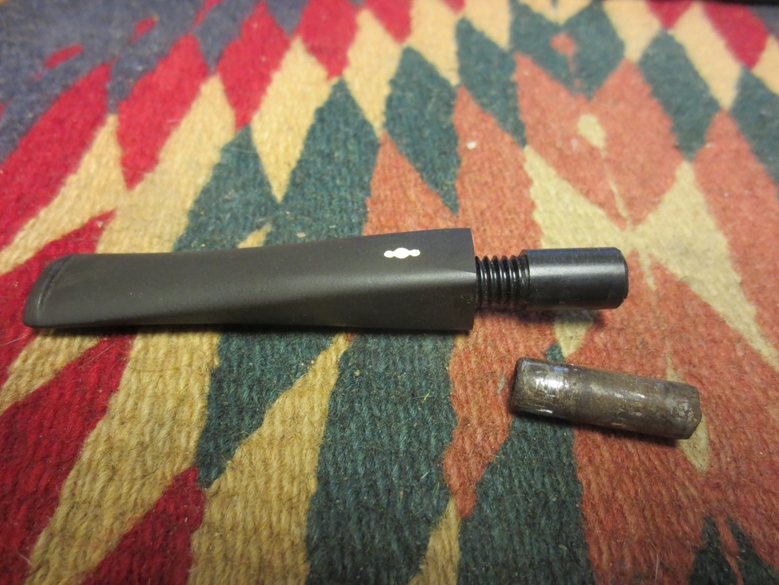
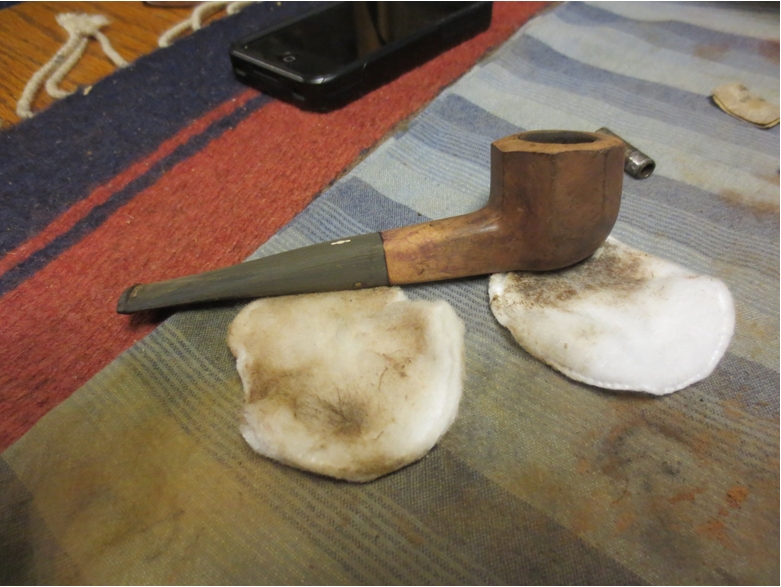
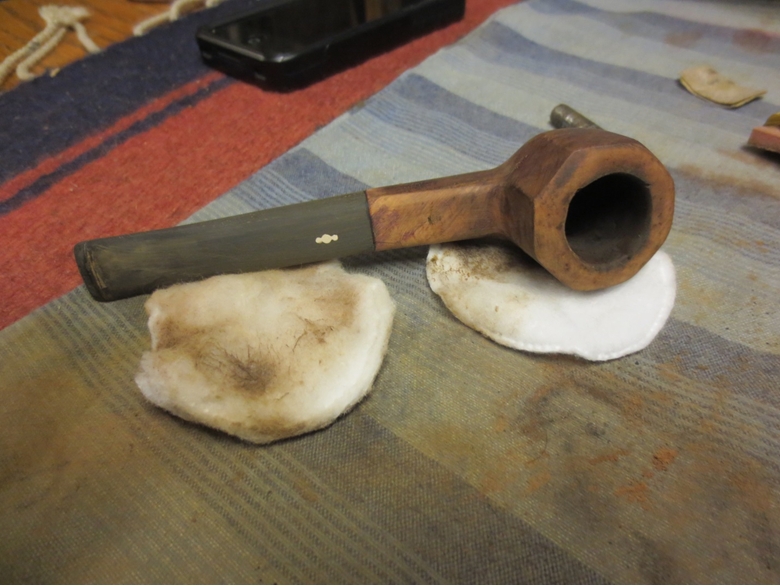
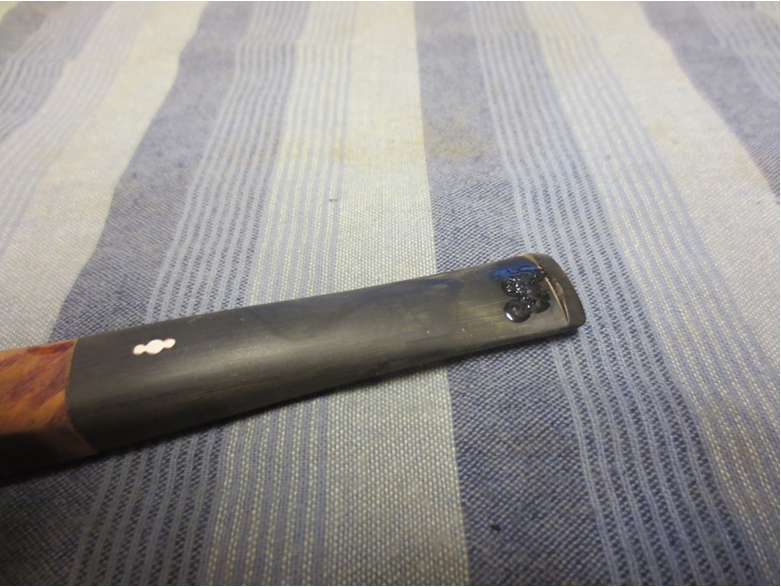
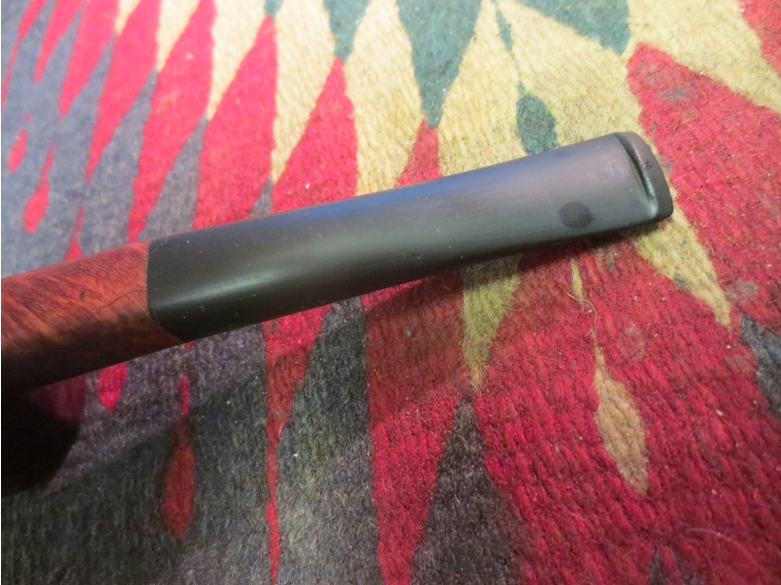
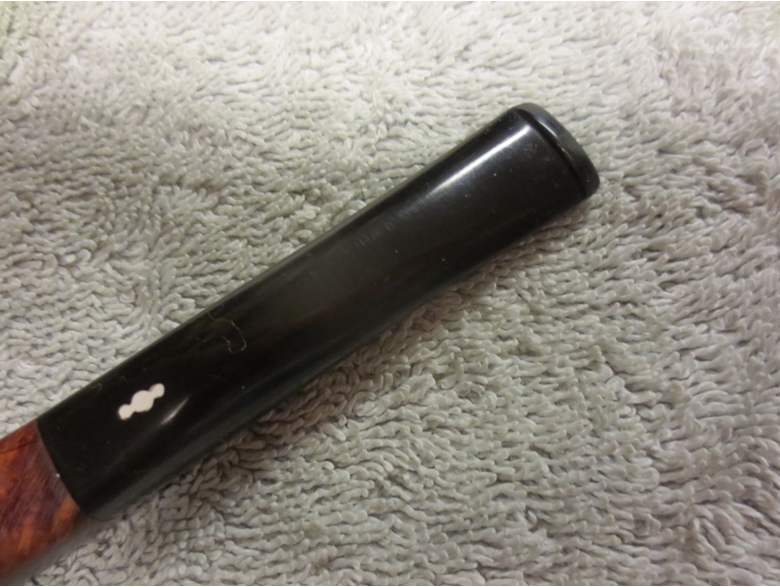
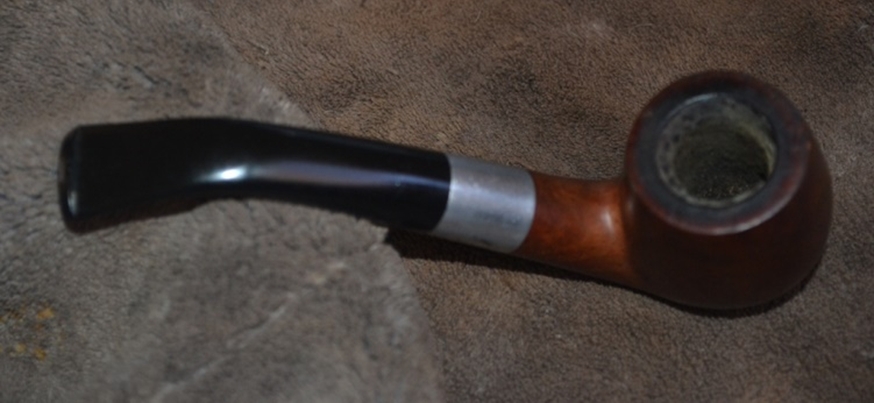
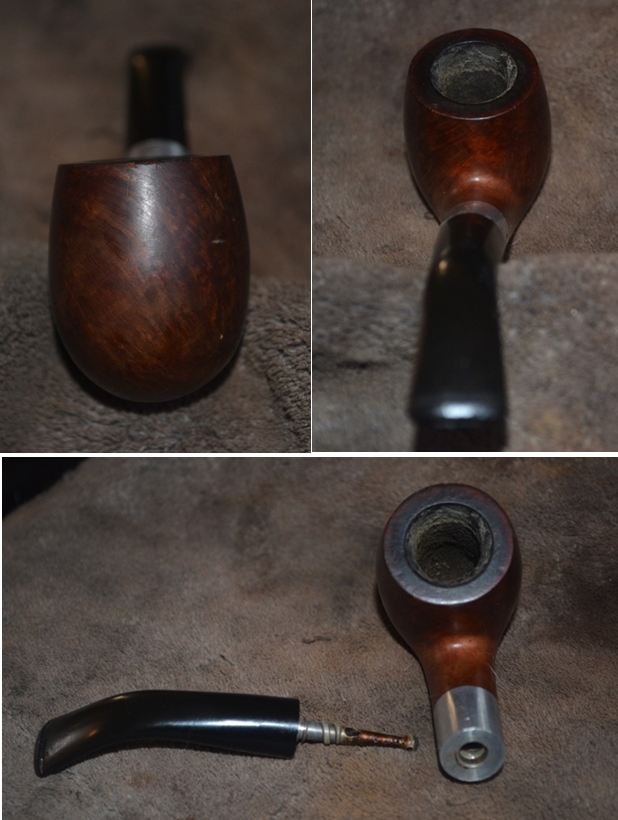
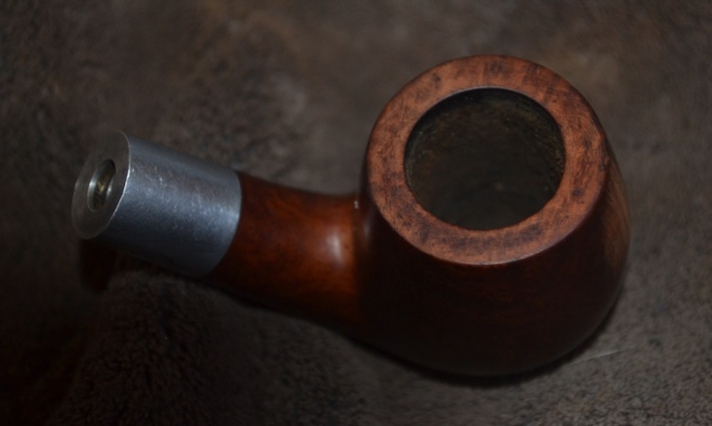
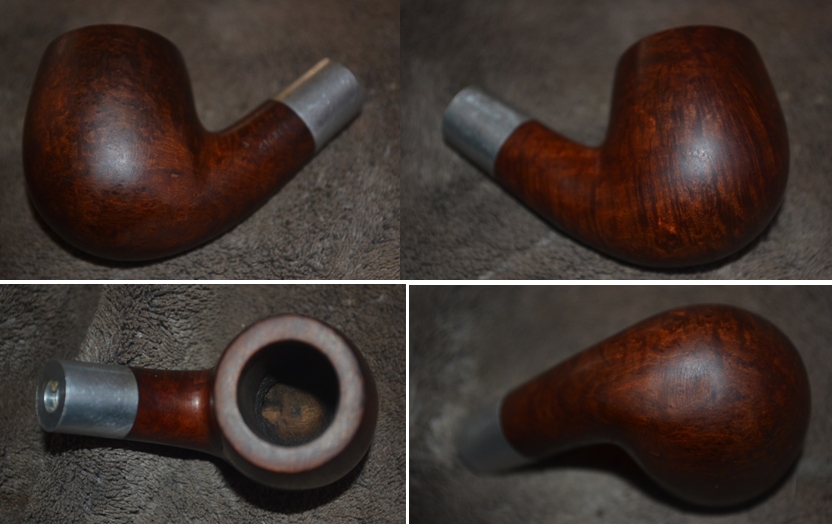
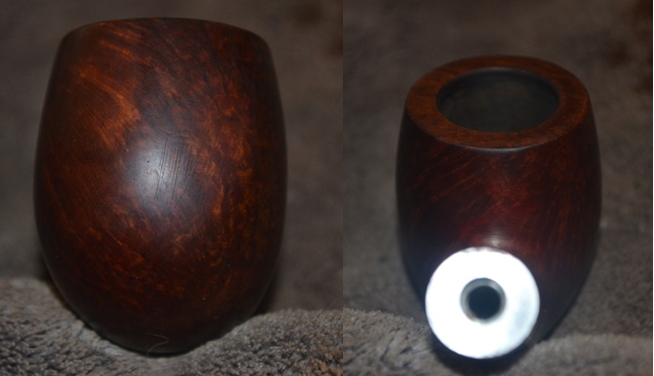
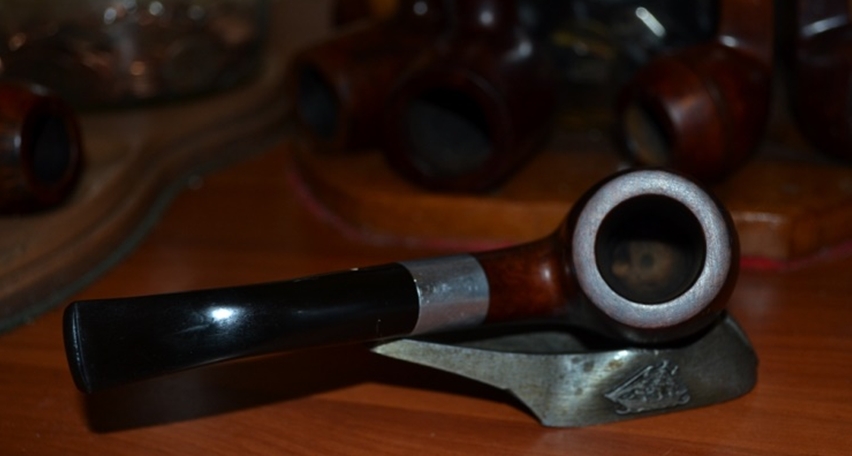
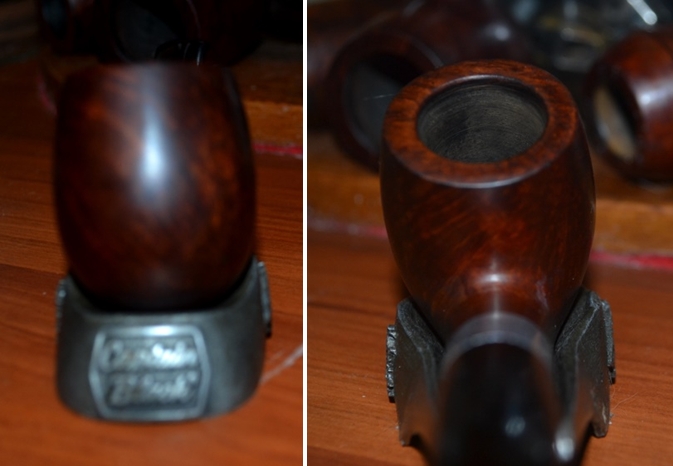
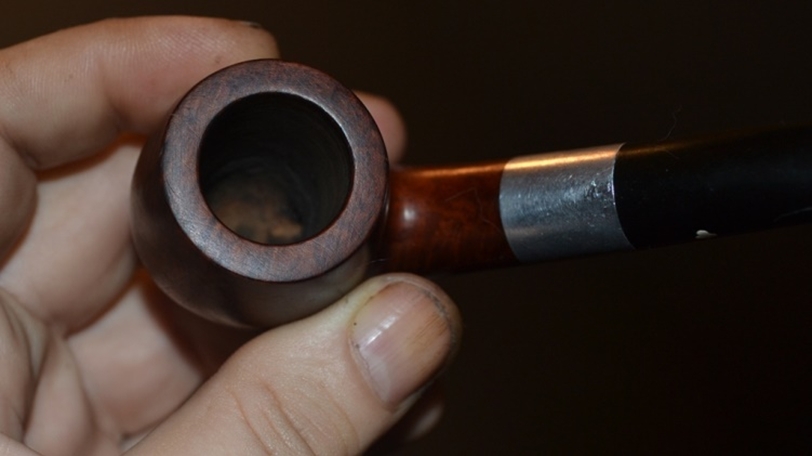
The stamping on the shank reads SOUTH AFRICA on the left side neat to the shank/stem union. On the other side it is stamped Jobert in script. The overall flow of the pipe from the bowl to the stem well executed. The natural colours of the olive wood bowl and shank are a stark contrast with the black of the tapered stem. The combination really sets off the pipe and gives it an air of distinction. The inner mechanics of the pipe are perfect. The drilling is straight and true from the shank and into the bowl – coming out exactly centre in the bottom of the bowl. The airway from the bowl into the mortise is centered. It is smooth in its entrance to the mortise and the mortise itself is also smooth with no rough spot left by drill bit. The end of the shank is sanded smooth and is finished. There is a bevel in the shank end to accommodate the tenon and provide a smooth fit against the shank. The bowl itself is U shaped and smooth from sides to bottom. The air way enters the bowl and is smooth and clean. The draught on the bowl is wide open and effortless. The bowl was bare – no bowl coating had been used to prepare the bowl.
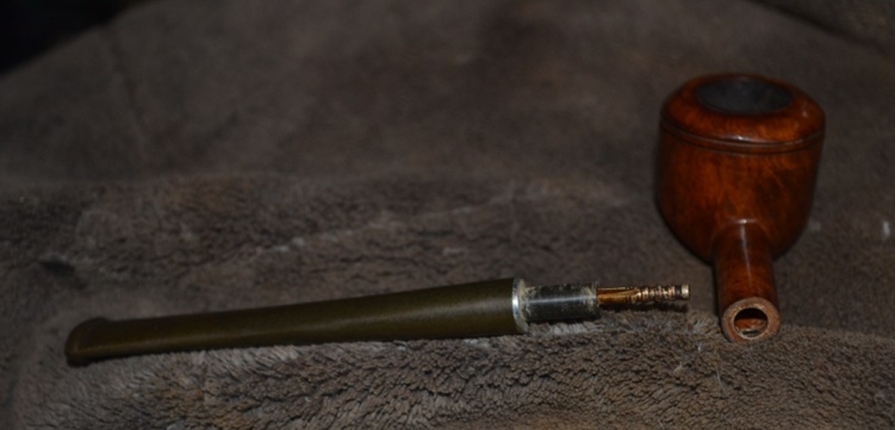
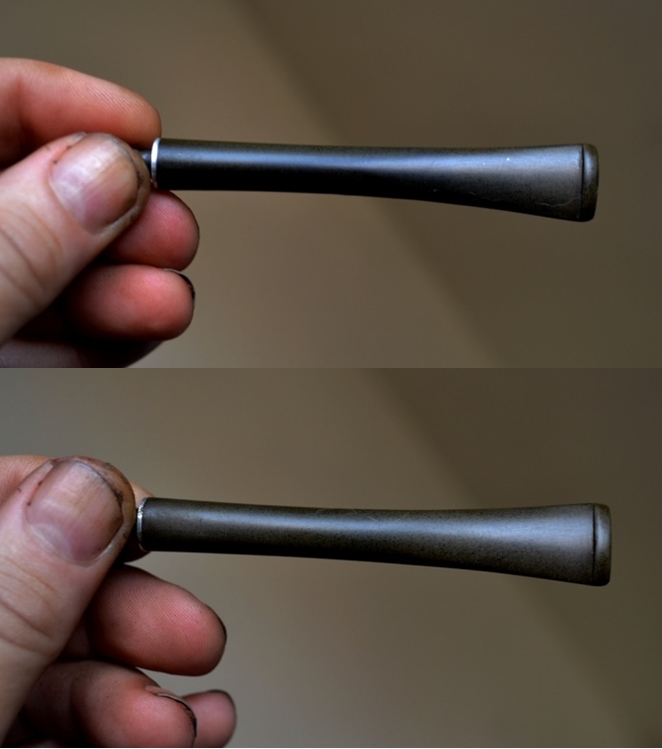
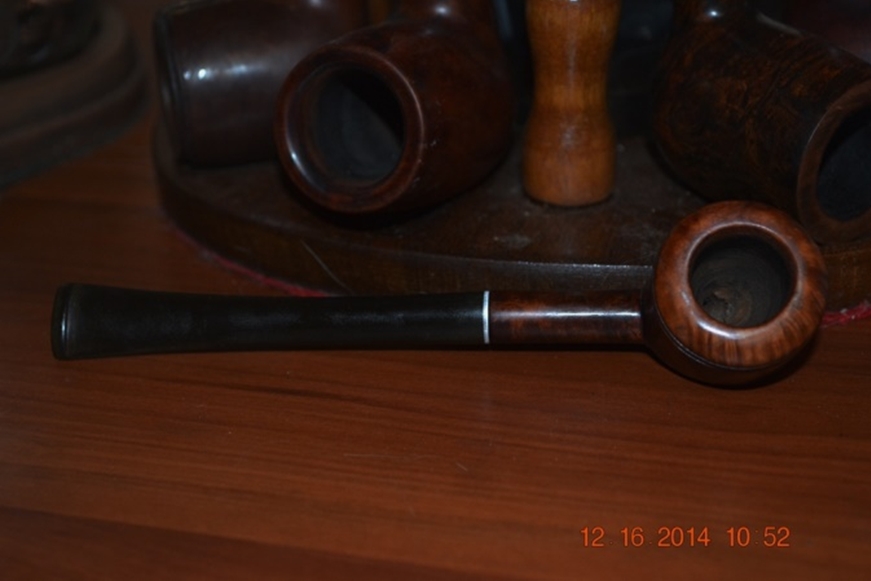
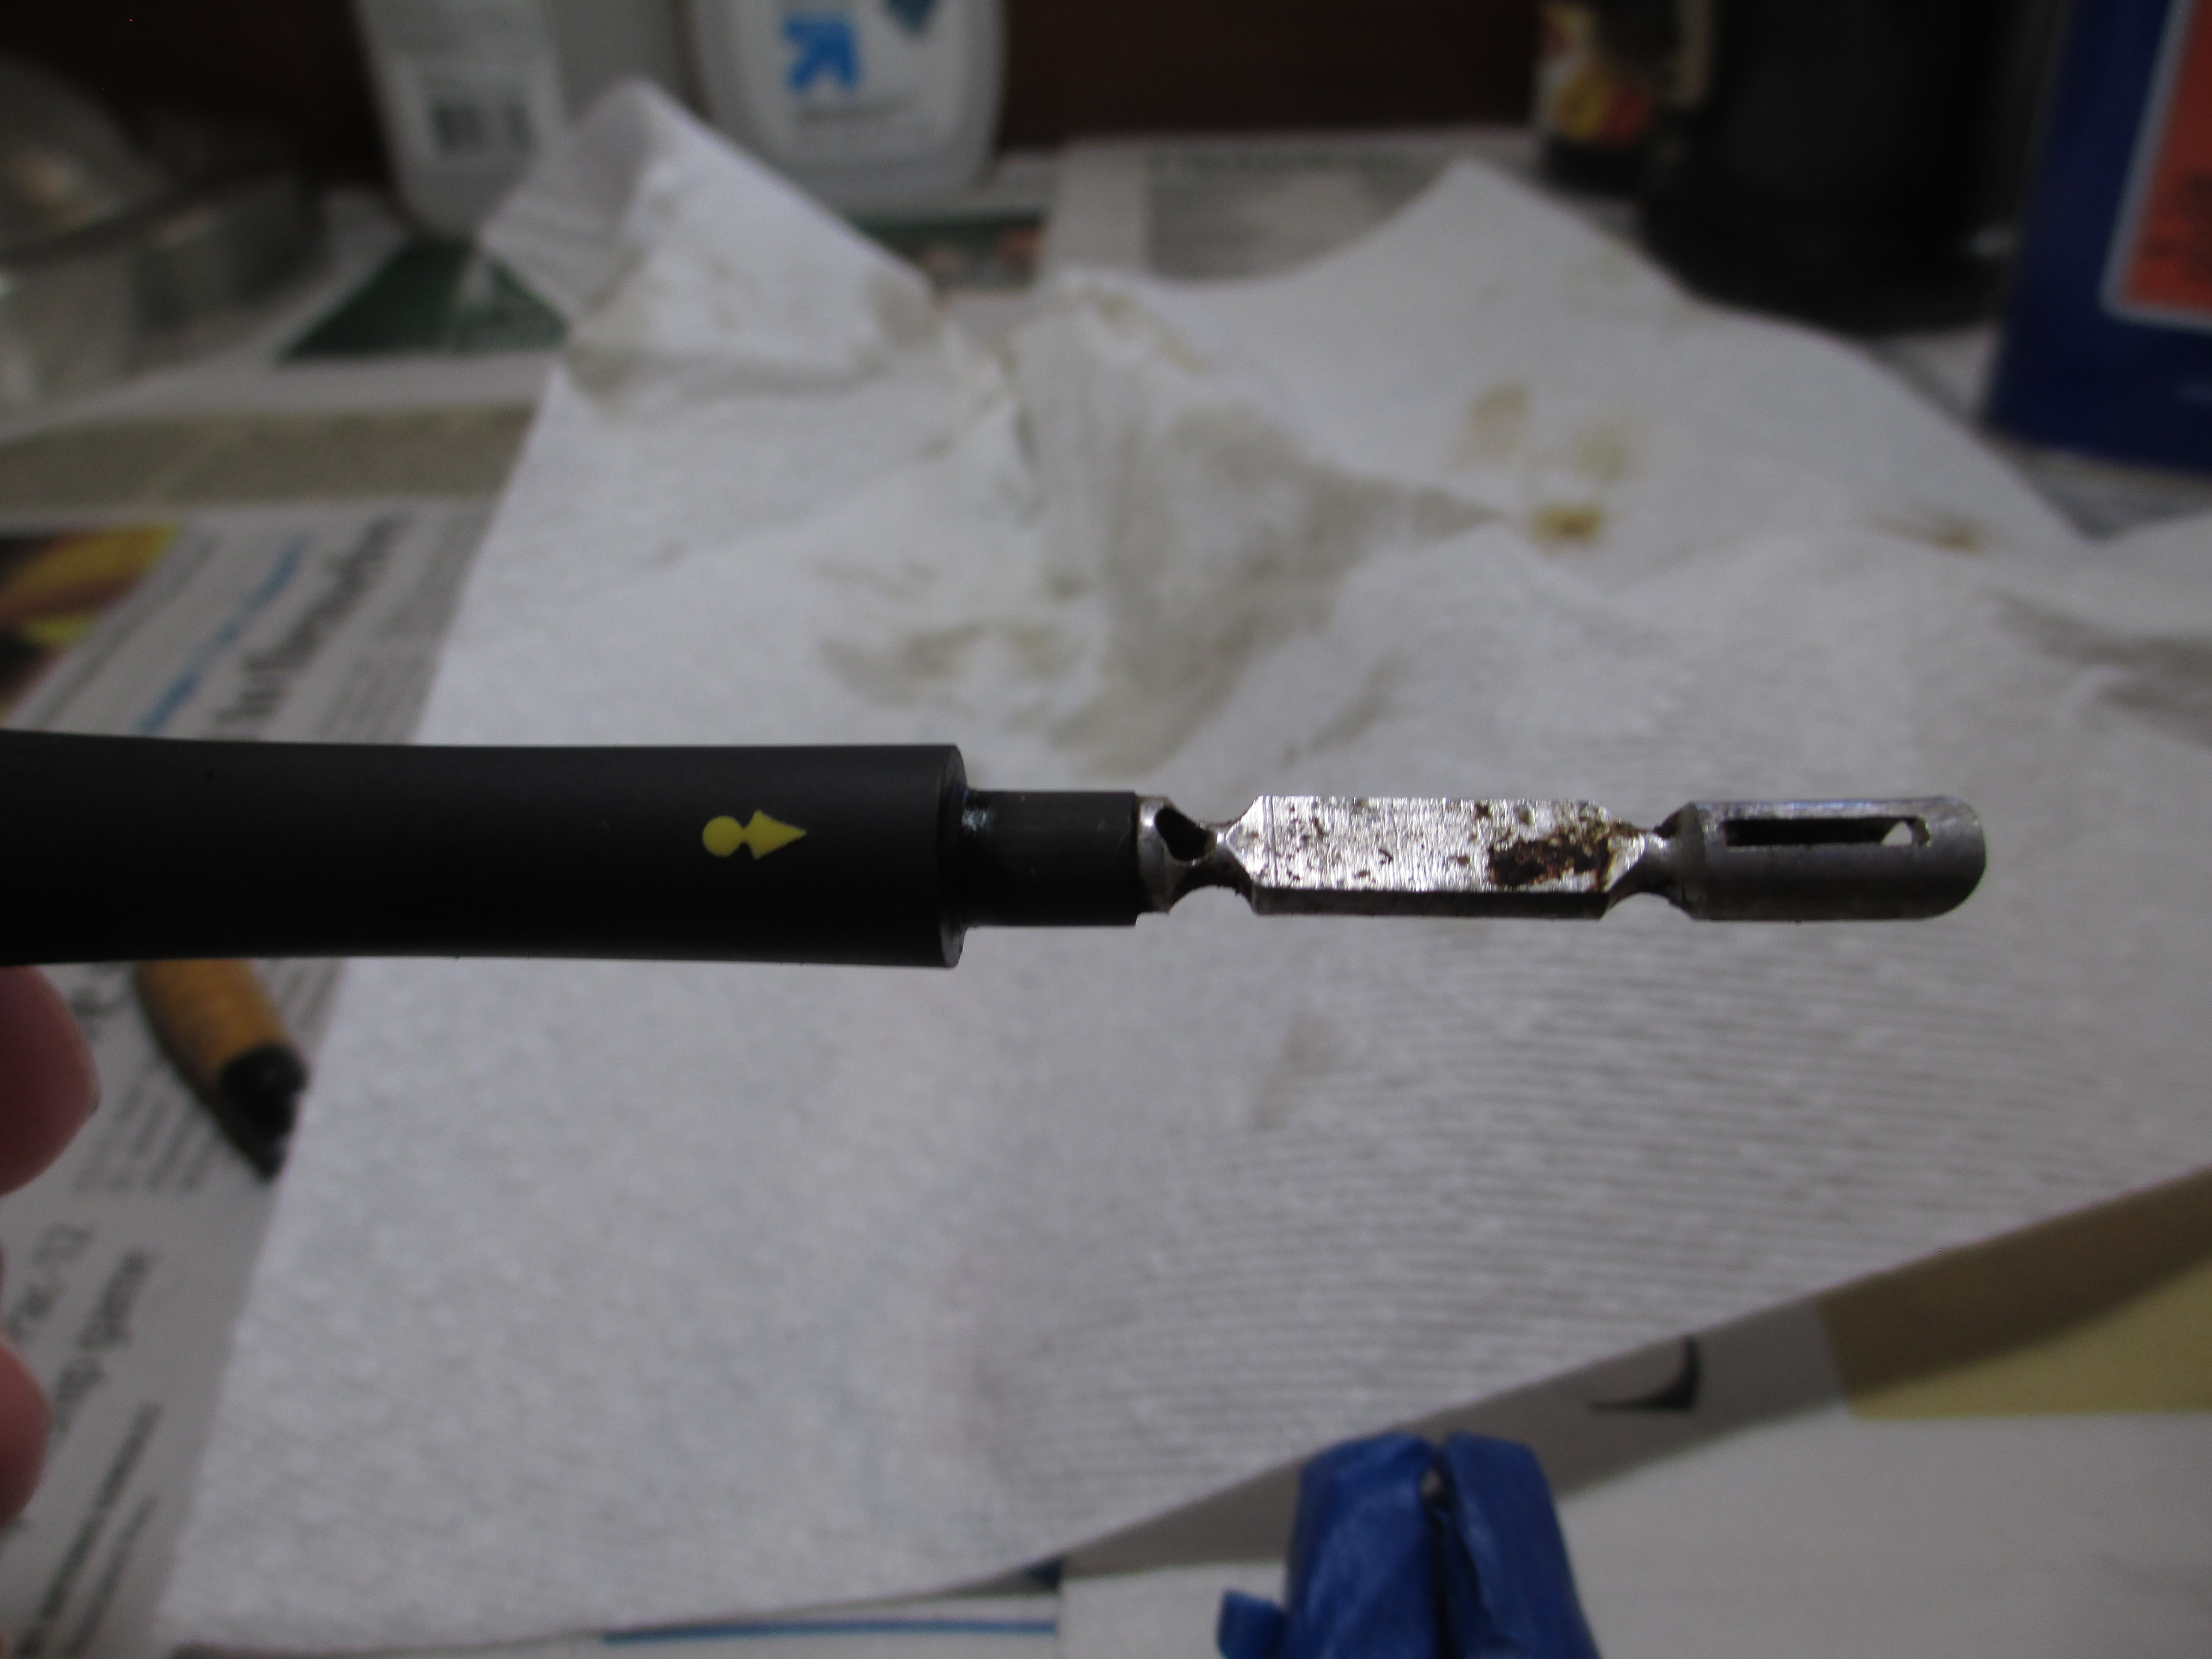
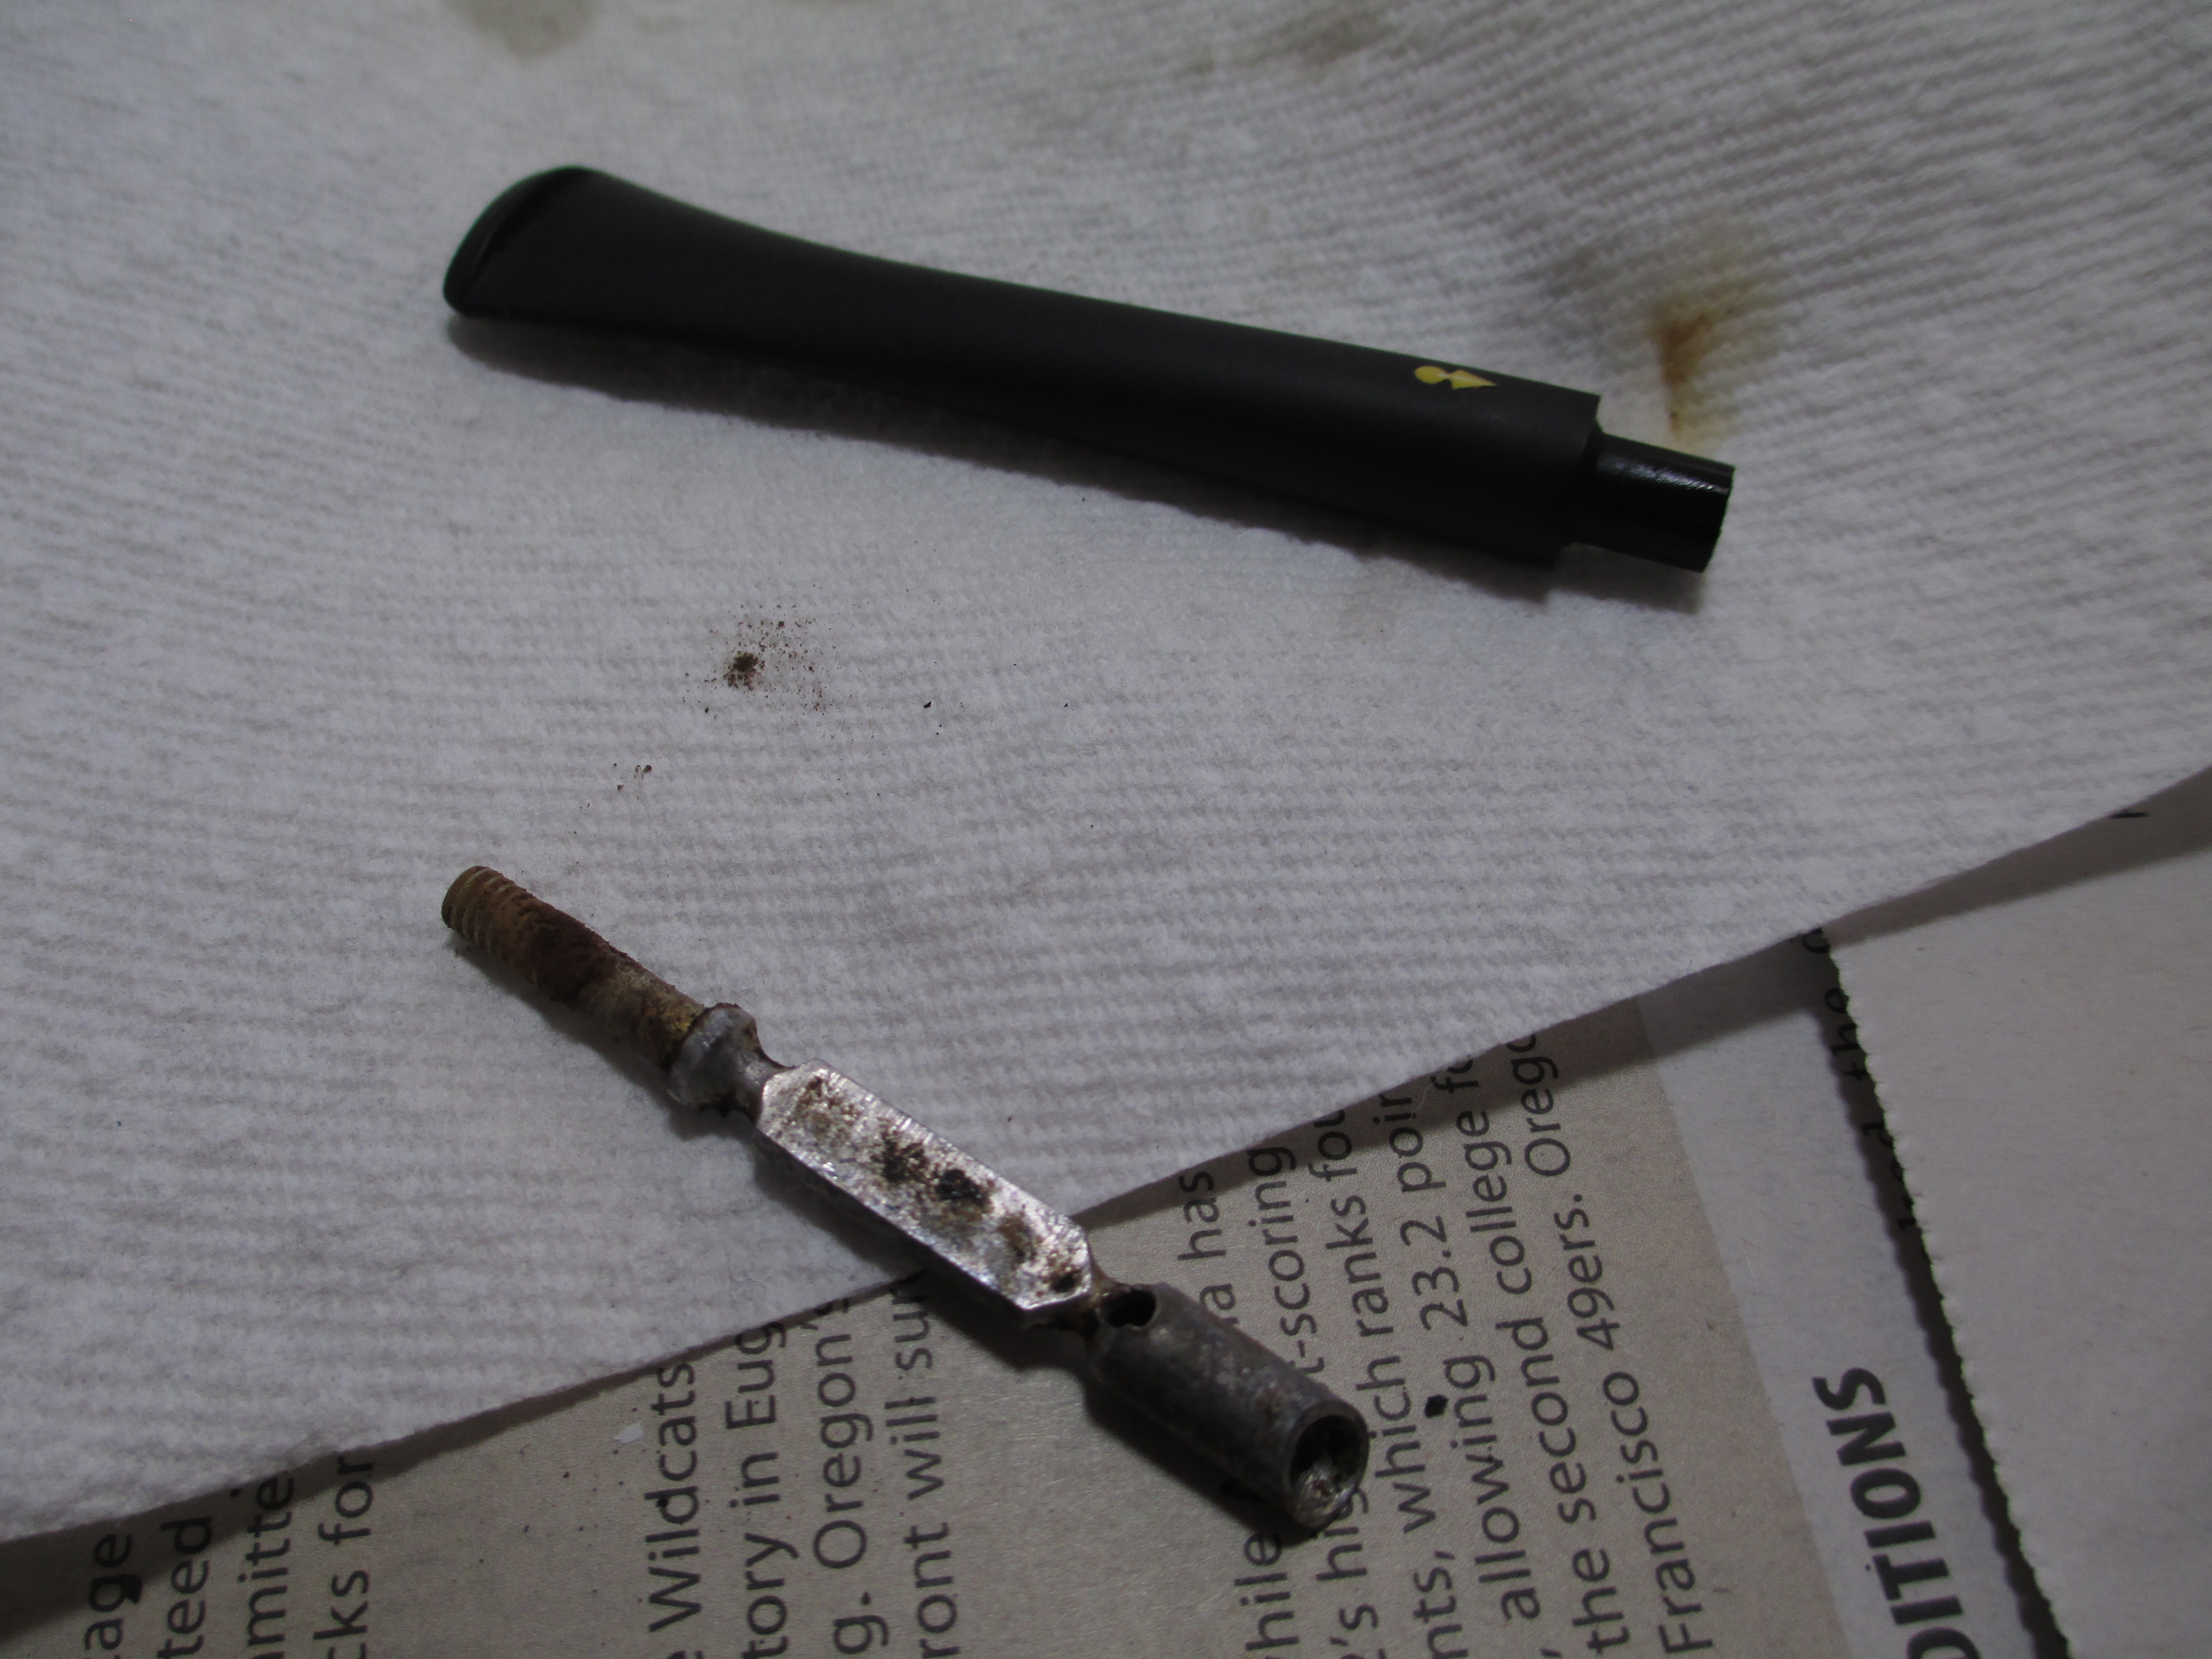
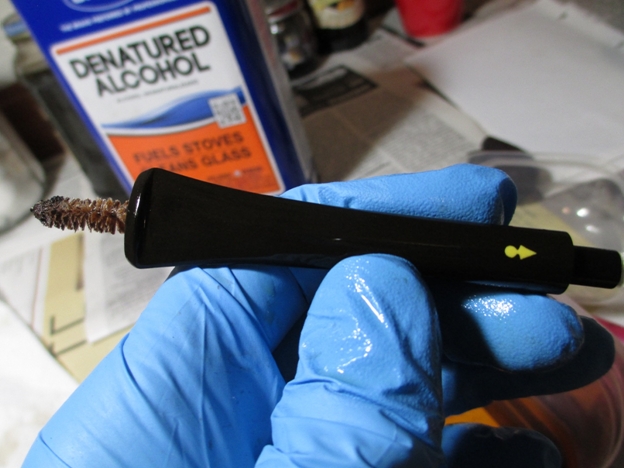
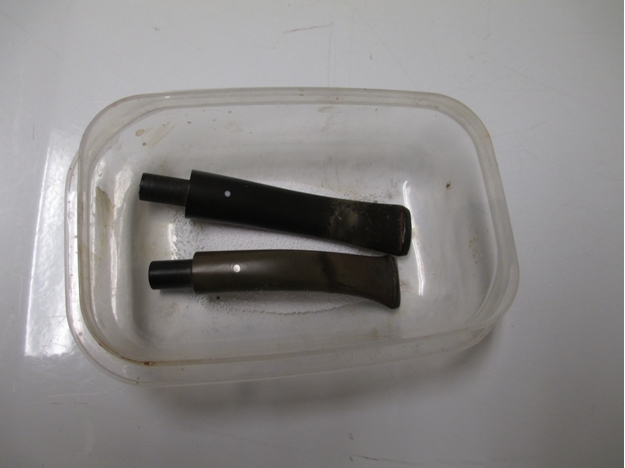
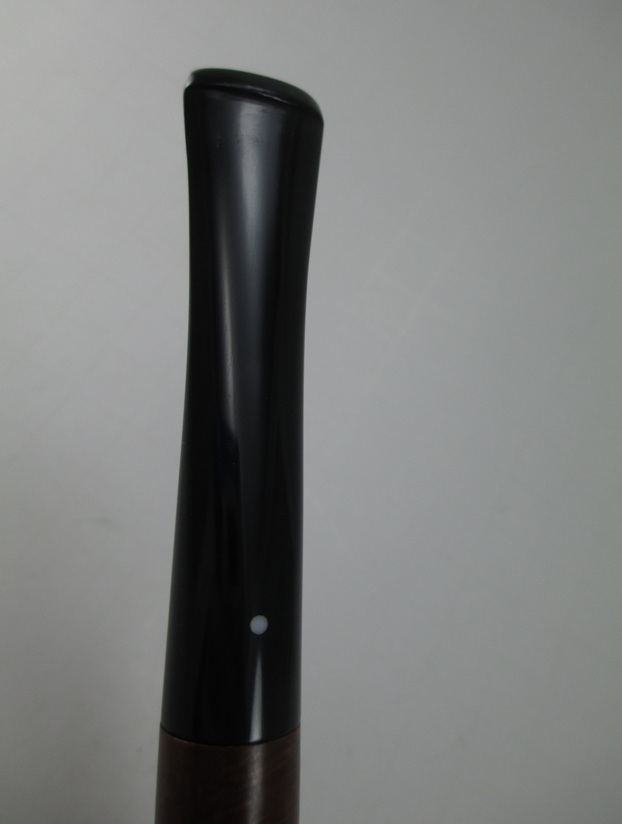
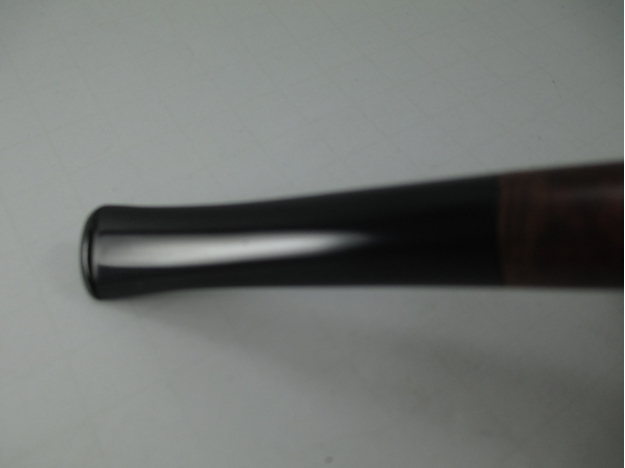
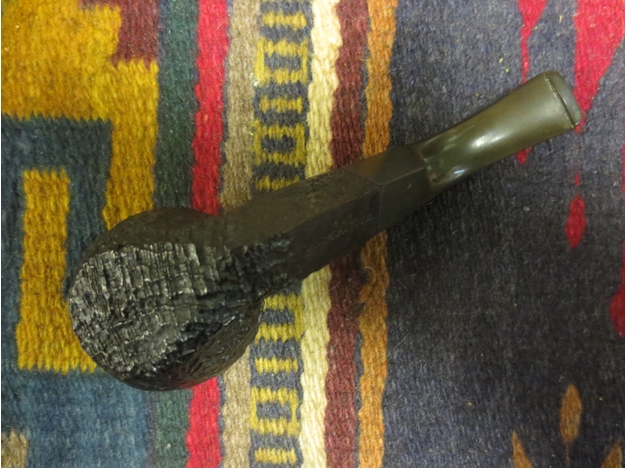
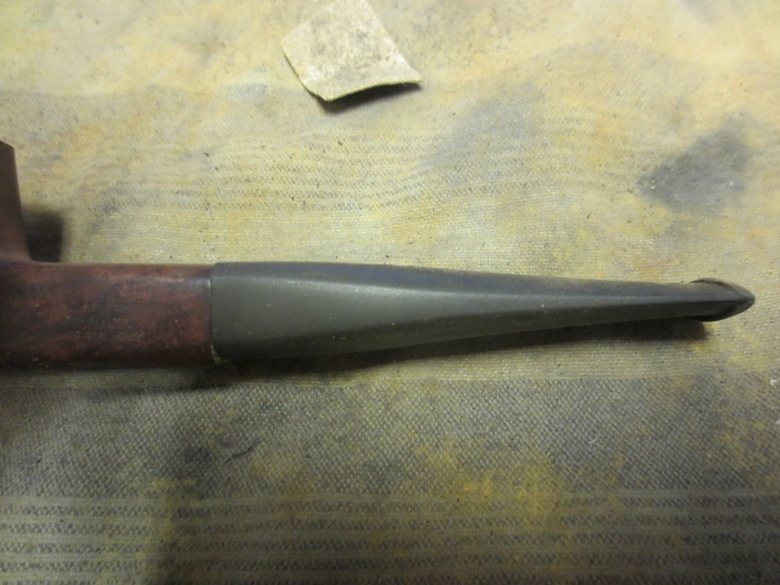
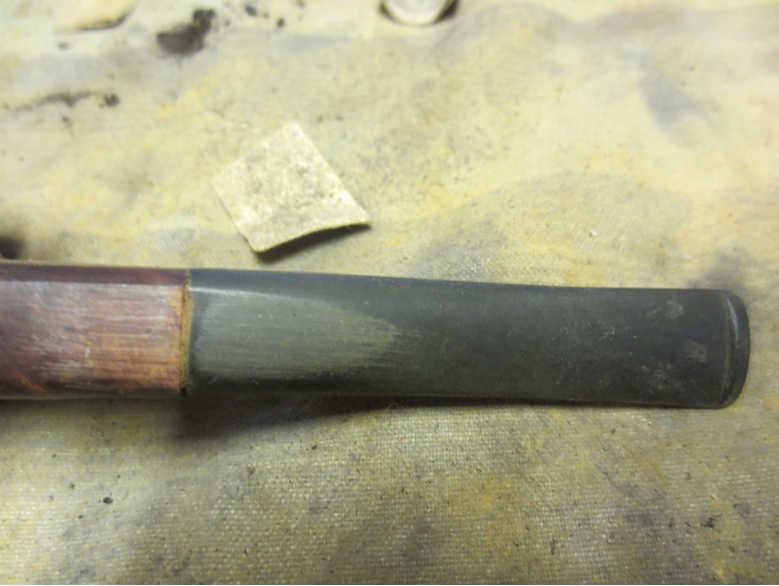
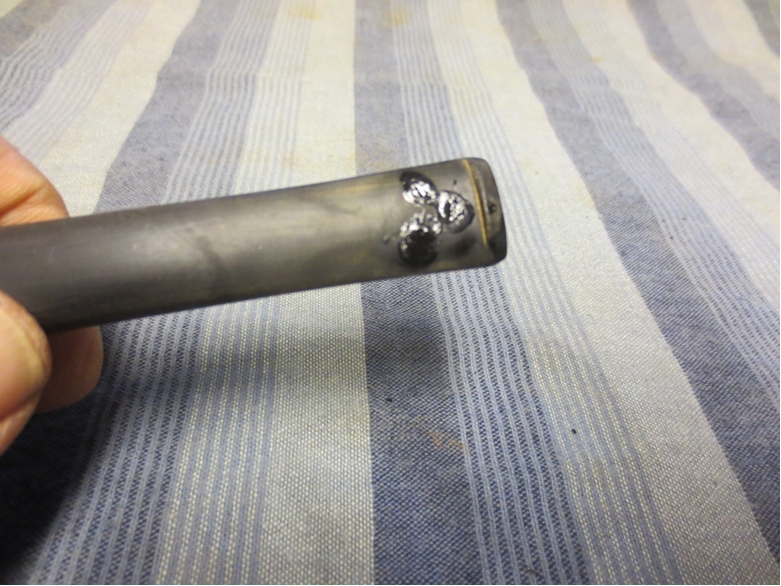
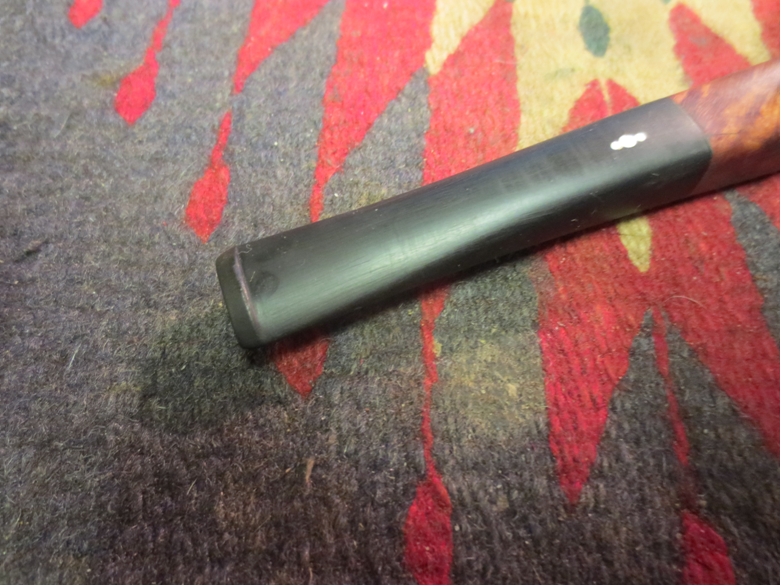
 The stem is either hand cut vulcanite or a modified stem blank; it is very hard to tell. The shaping and flow are nicely done and descend gently to the button leaving a good thin bit for the mouth. The taper is even on both sides and the bottom with good even angles top and bottom progressing from the shank to the button. The bit end of the stem is thin and very comfortable. Johan did a great job shaping the stem and capturing a shape that really works with this pipe. The tenon is cut from the vulcanite stem and is quite short and compact. The airway is drilled wide open and lines up with the one in the mortise end. There is a gap between the end of the tenon and the base of the mortise that serves as a short condensation chamber.
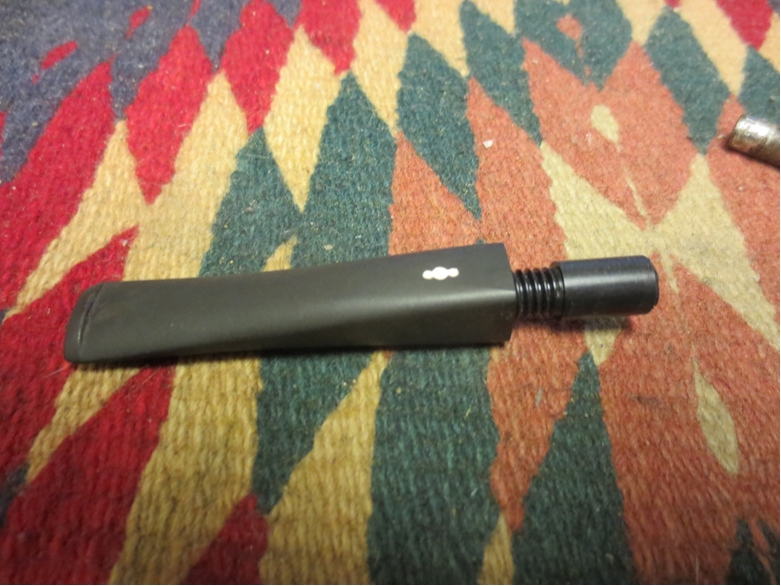
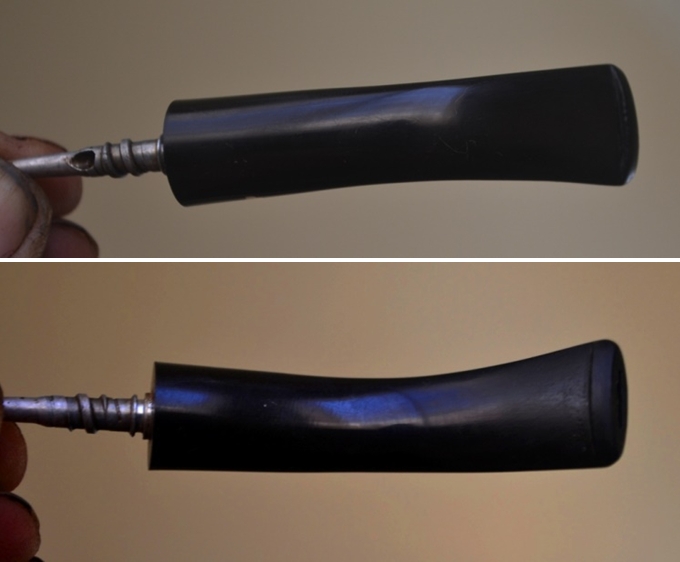
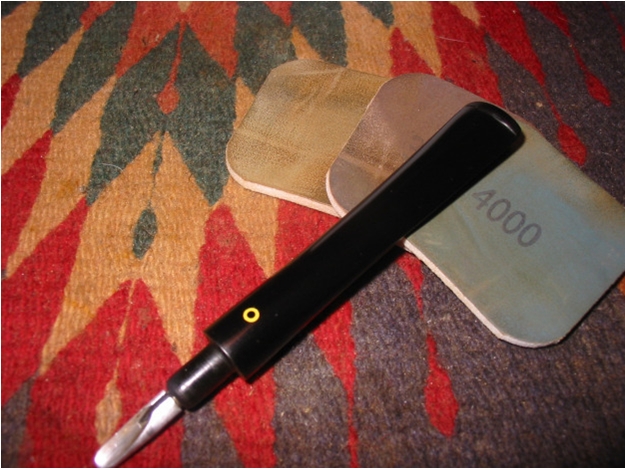
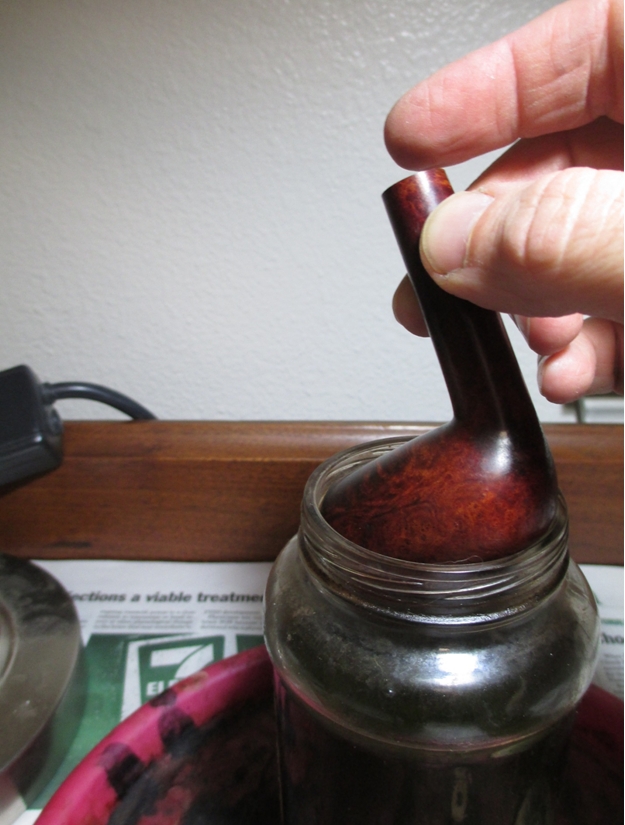
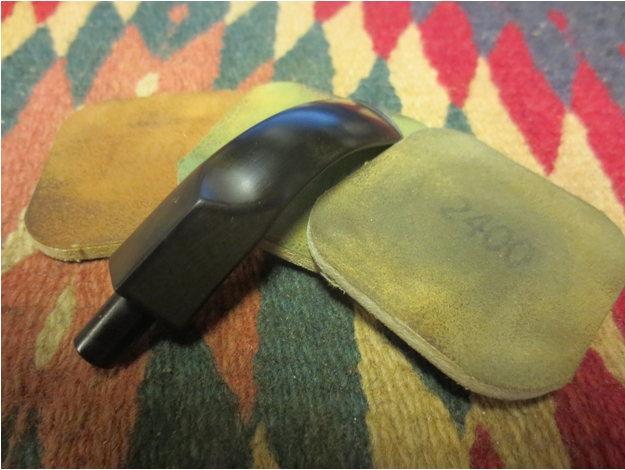
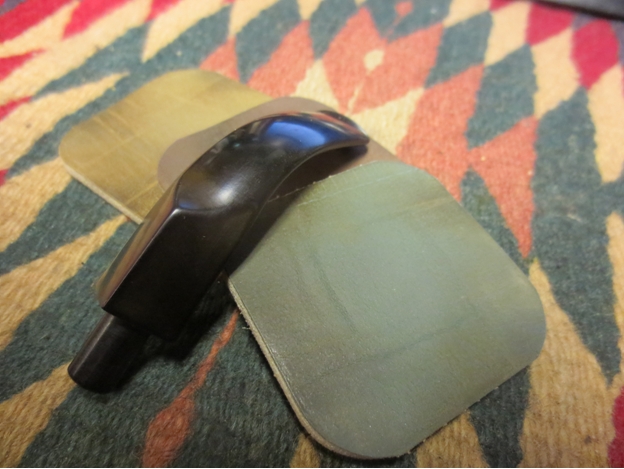
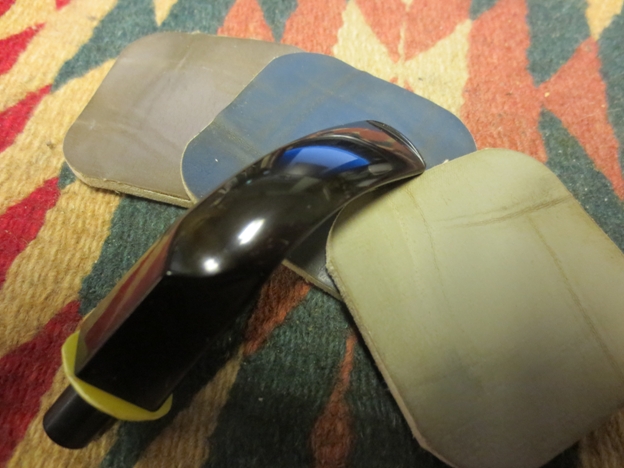
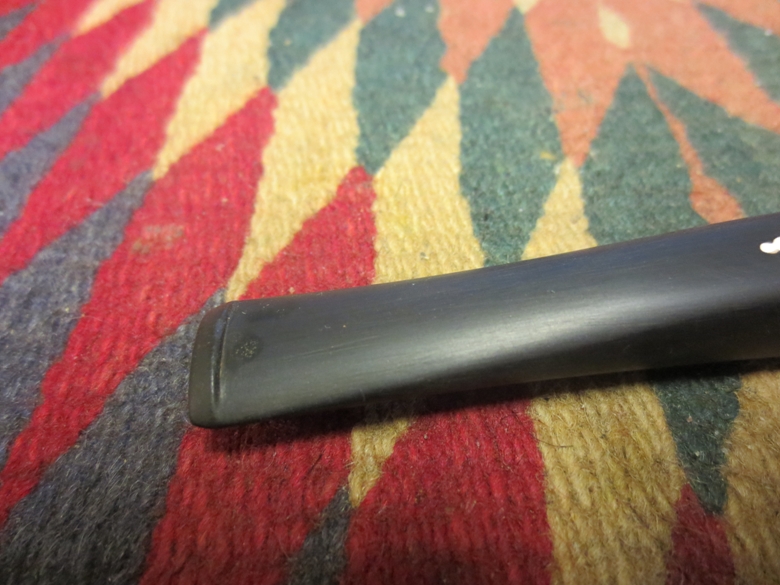
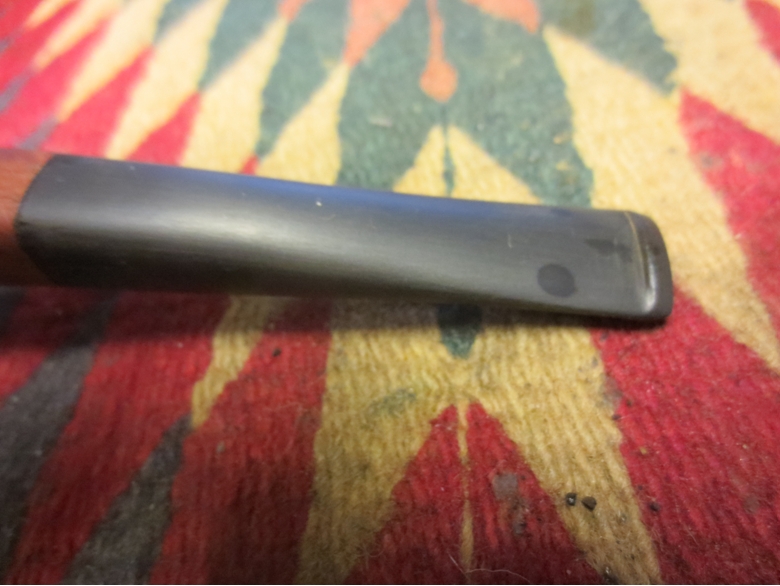
The draught of the stem is unrestricted and open. When the pipe is put together the draught is effortless. The fit of the stem to the shank is very well done. The button is cut with a good sharp inner edge and tapered to the tip. It is a thicker button compared to most of my pipes but still works for me. The edge provides a place for the button to fit behind the teeth. The slot is a straight rectangle and fanned out from the slot to the airway in the stem. The inside of the slot is sanded smooth and polished. The airway is absolutely smooth from slot to tenon. The overall construction of this pipe is very good. While not a work of art per se it is highly functional and delivers a flavourful and cool smoke. The finish is probably the biggest weakness in this pipe. It is rough with sanding scratch marks left behind. More time spent with higher grit sandpaper would have polished the wood to a glassy finish. Over time my hands have rubbed the finish smooth. One day I may well sand it down and refinish it myself but have not done that yet. The pipe is slightly heavier than a briar that is similar in size. It is well balanced and fits well in the hand. I have smoked the pipe a lot since I got it and have chosen to keep it as a designated English or Balkan pipe. Latakia smokes exceptionally well in it and seems to deliver a fuller range of flavours than some of my briar pipes. From the first bowl I smoked in it the pipe delivered a good smoke and continues to do so. It draws well; the lighting has never been a problem and continues to be an effortless smoke.
Thanks Johan for delivering a beautifully grained, well-made functional pipe that remains a very good smoking pipe to this day. Over the years the grain has darkened and both the lighter and darker portions of the bowl have acquired a grey brown hue that is quite nice.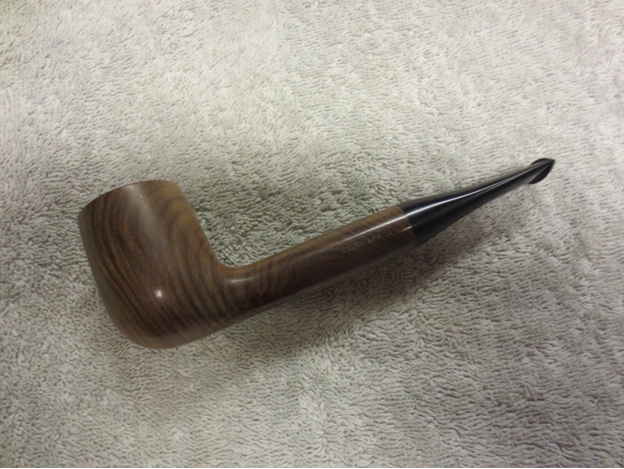
 If you can acquire a Jobert pipe, regardless of the type of wood, it will not disappoint you. It consistently delivers a great smoke. It may well become a favourite in your rack. For those who have never owned or smoked a Wild Olive pipe, try to find one you like and purchase one, you will not be sorry. Like others have said before me, Olive wood pipes initially impart a very nutty quality to a bowl of tobacco. Eventually as the cake develops in the bowl this property fades.
 I am sure that this will not be the last Jobert that own. I am on the prowl for one that fits the styles that I am now collecting. One day it will turn up and I will pounce on it. Until then I will continue to look and enjoy smoking this Liverpool. If anyone has heard on Johan is doing I would love to hear from you. If Johan, you happen to read this review of your pipe, I hope that you are well. Know that I continue to enjoy this beauty that was made for me.