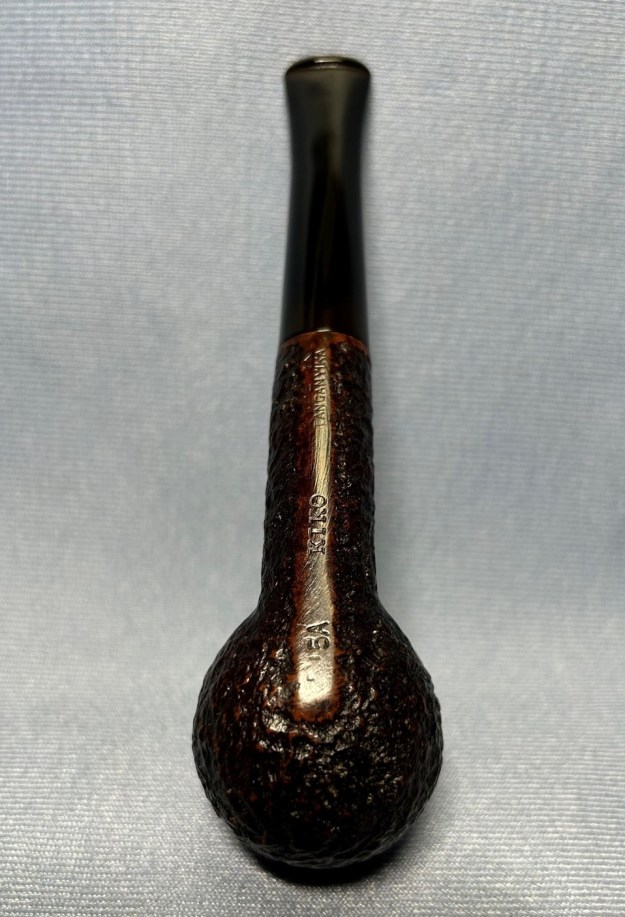
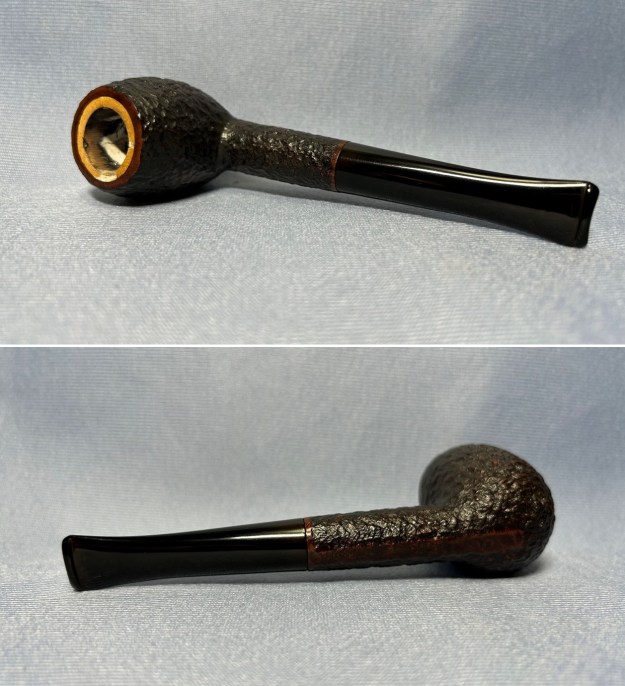
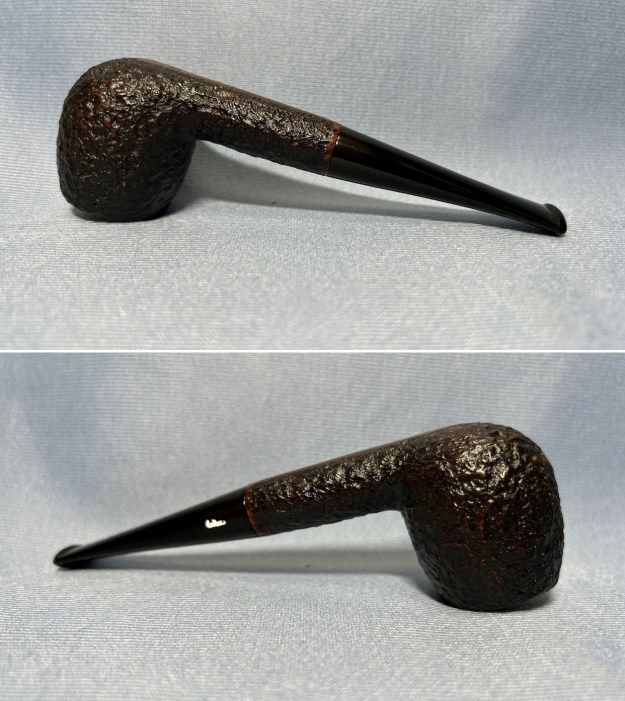
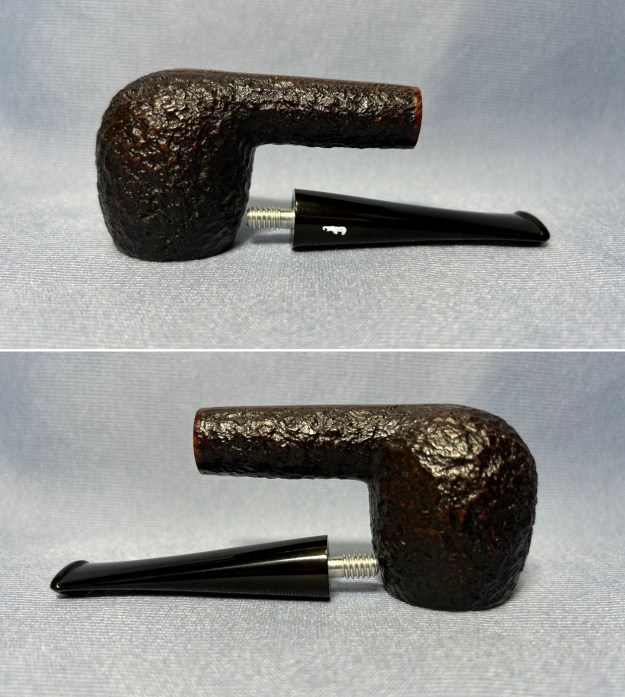
Author Archives: Kenneth Lieblich

De Profundis: Rescuing a Peterson 301


Blog by Kenneth Lieblich

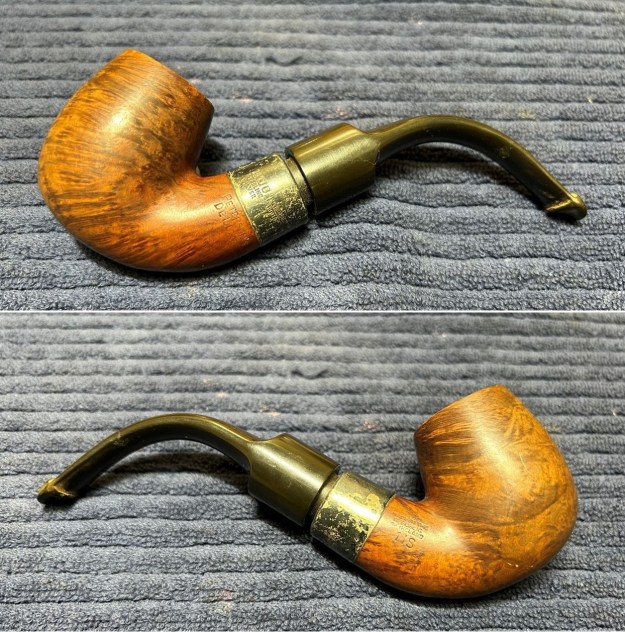
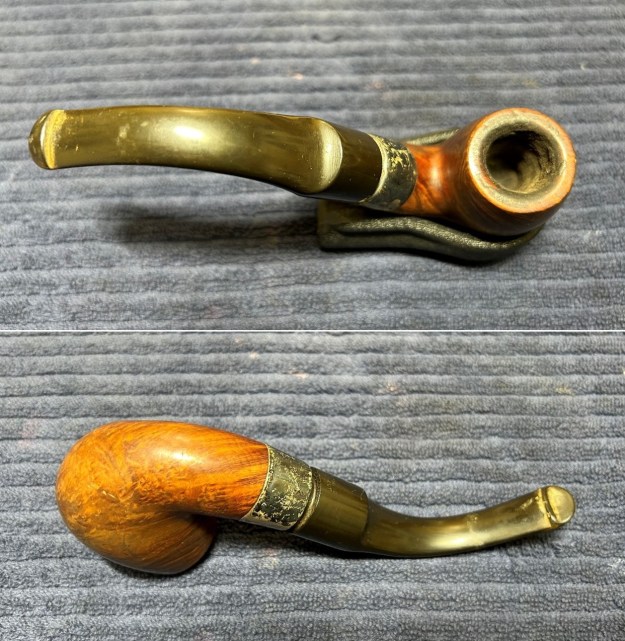
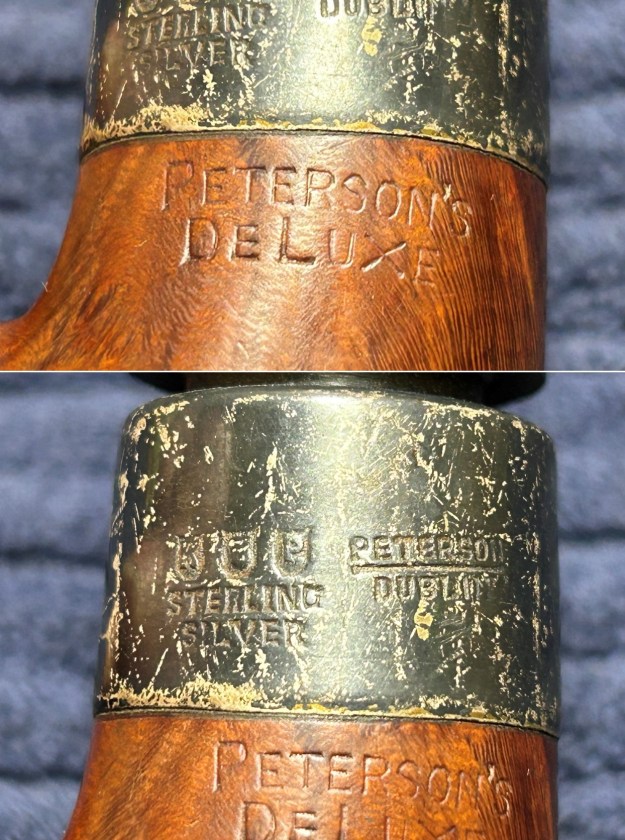
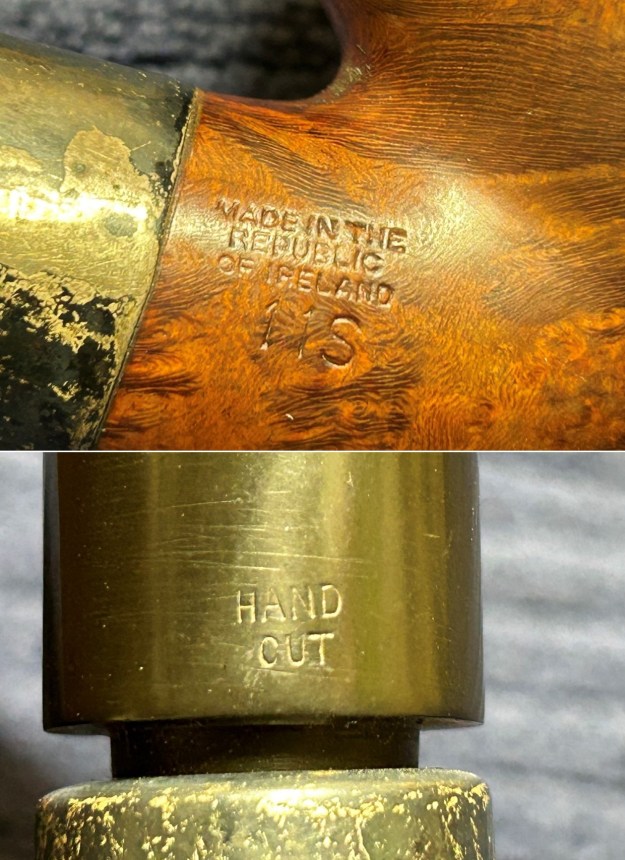
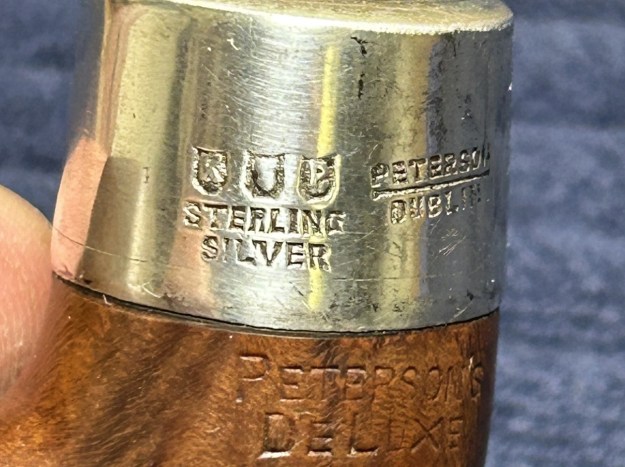
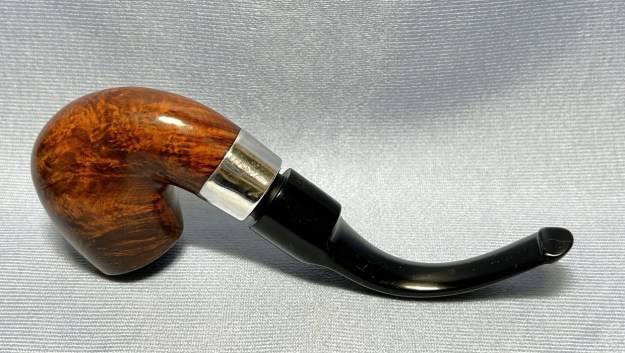
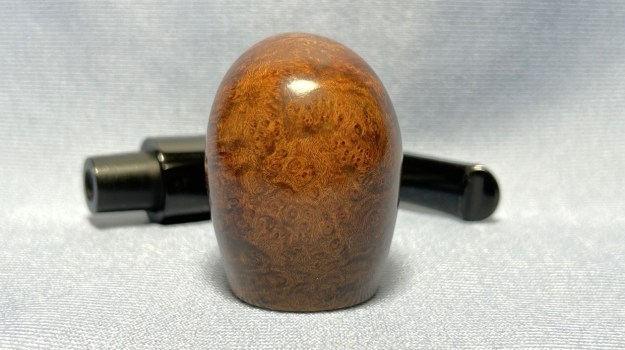
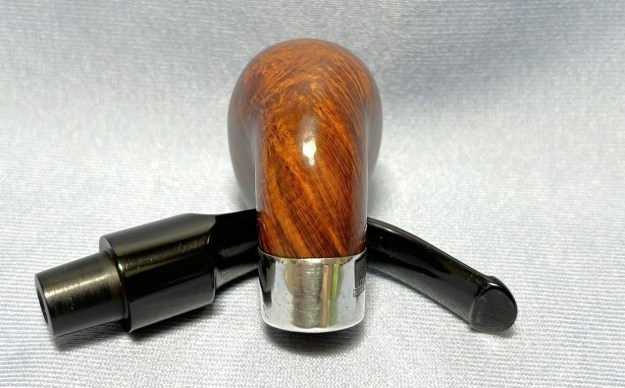
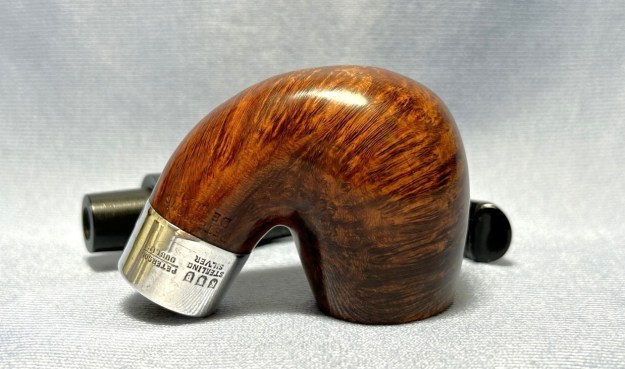
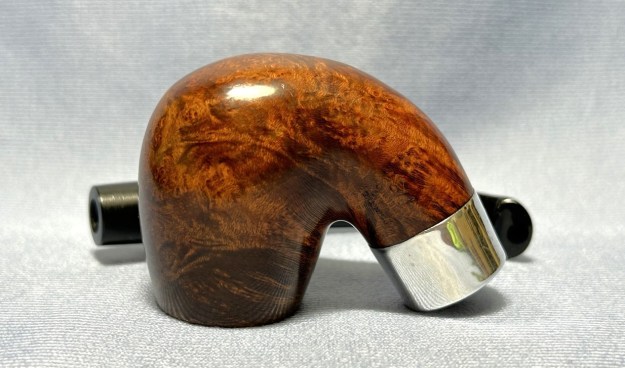
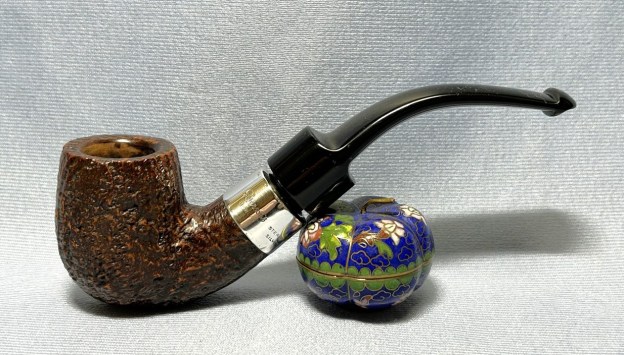
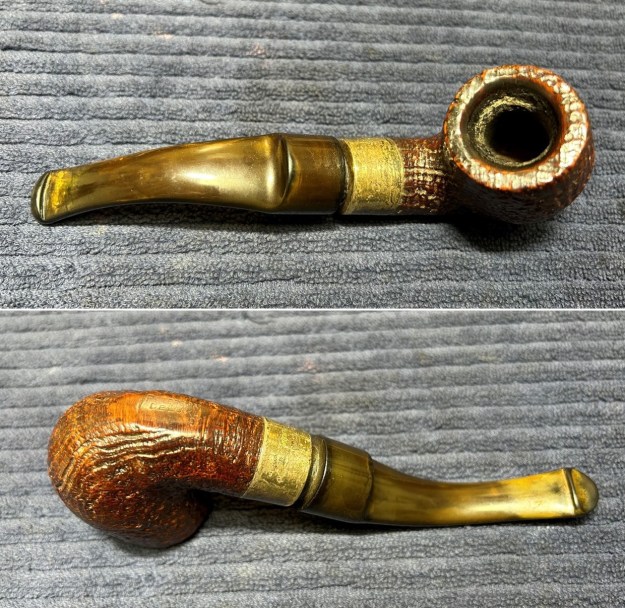
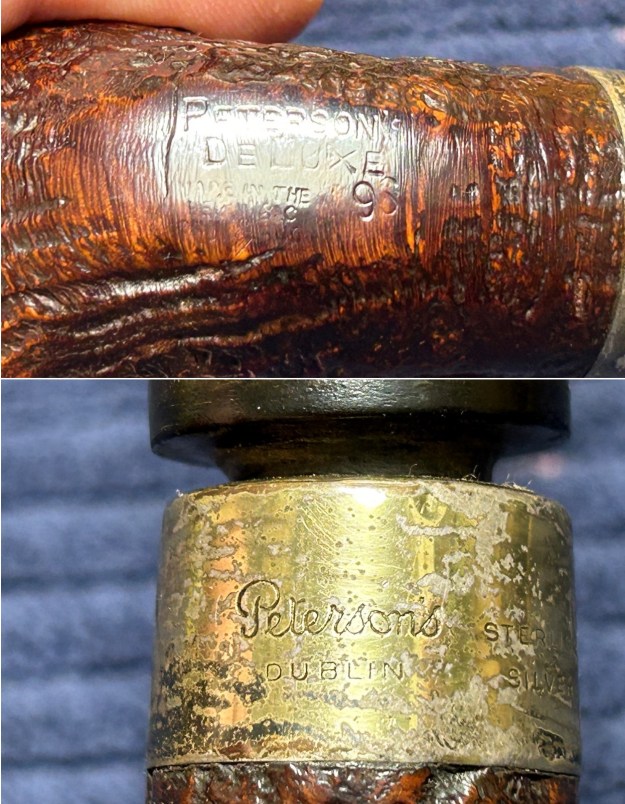
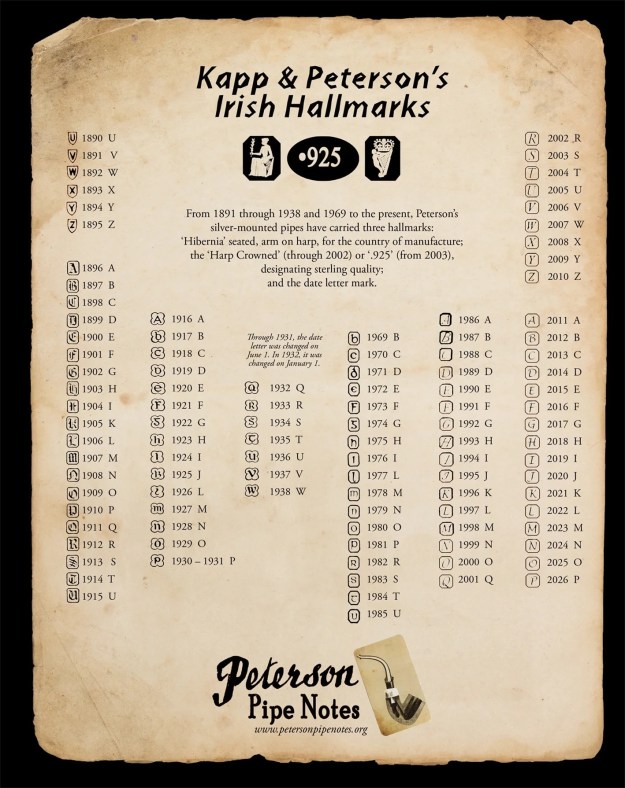
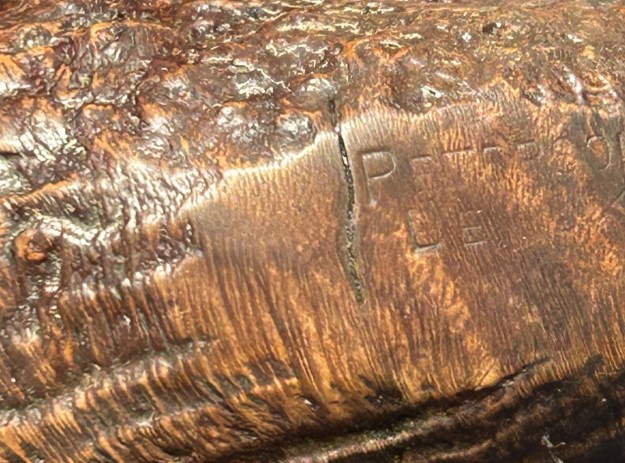
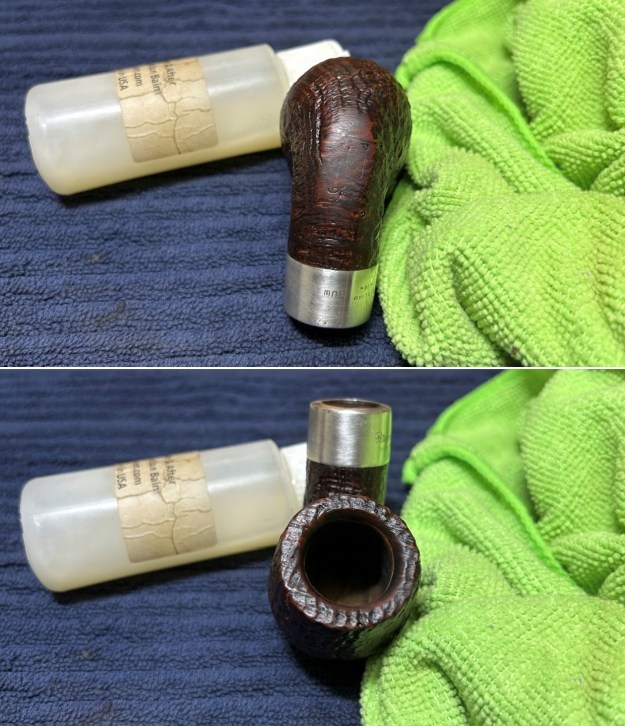
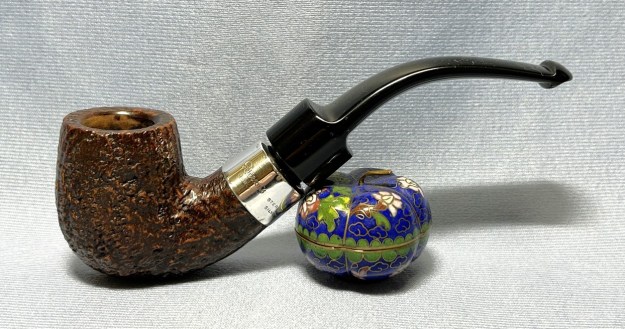
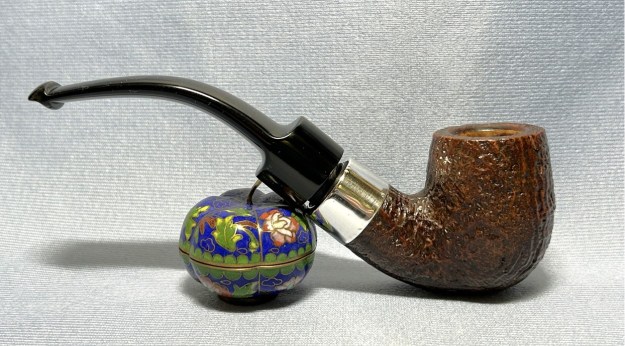
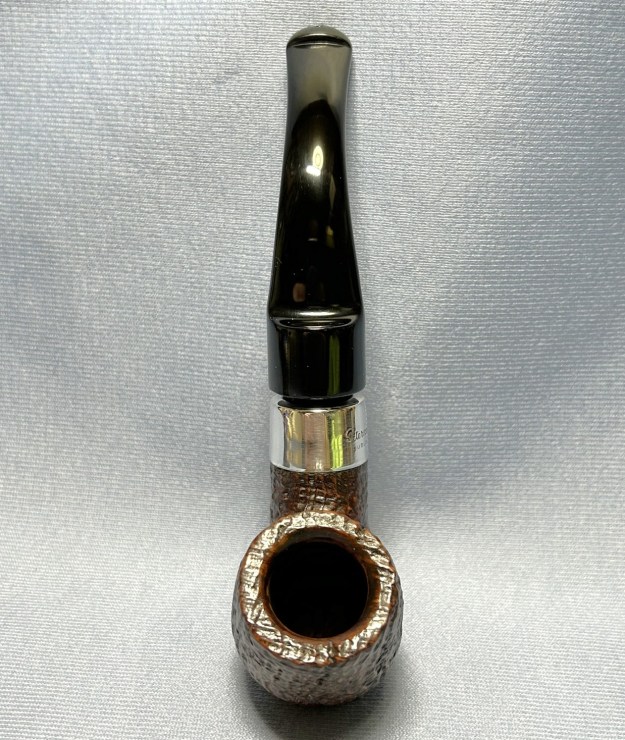
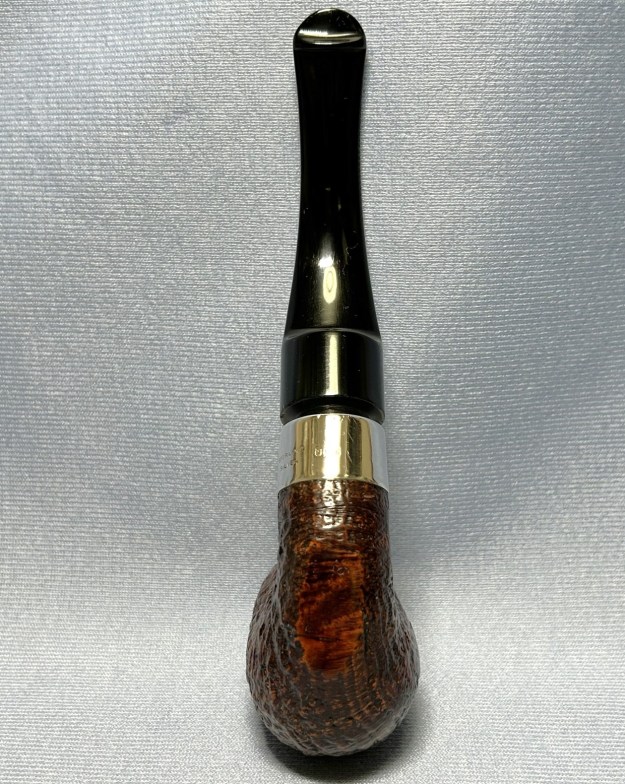
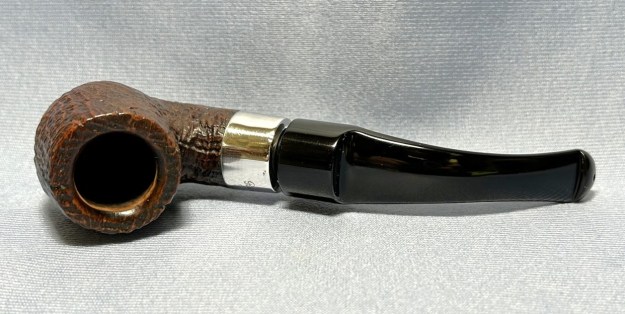
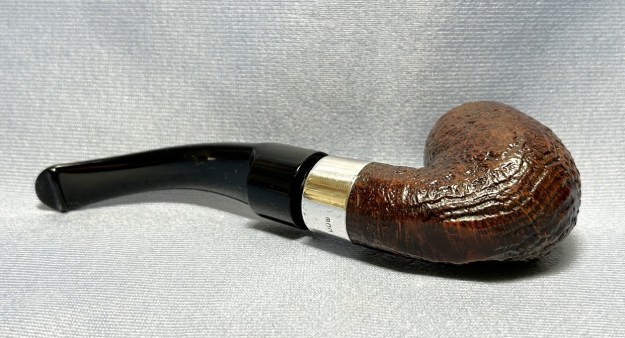
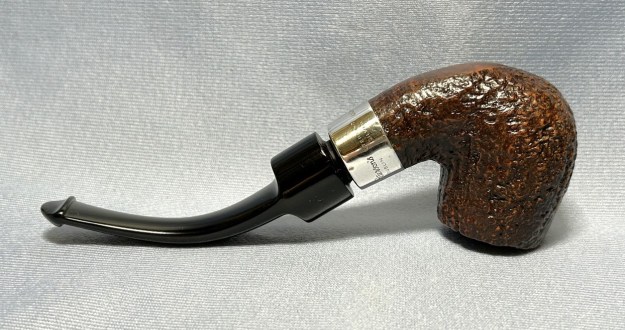
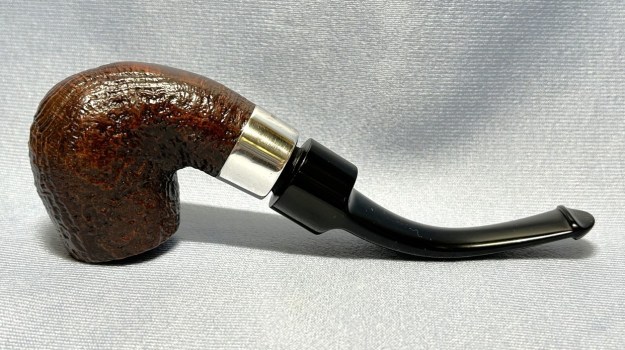
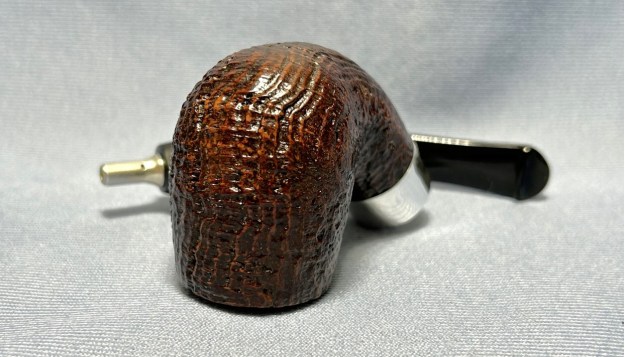
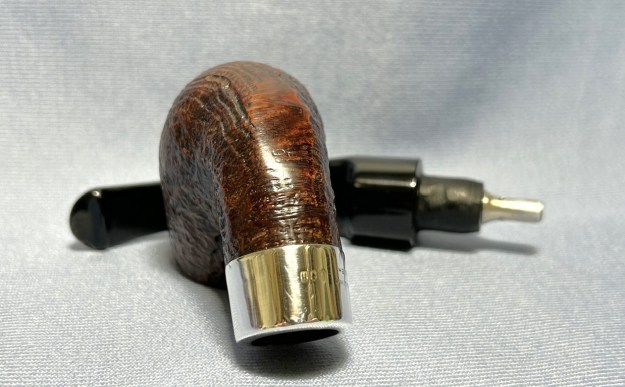
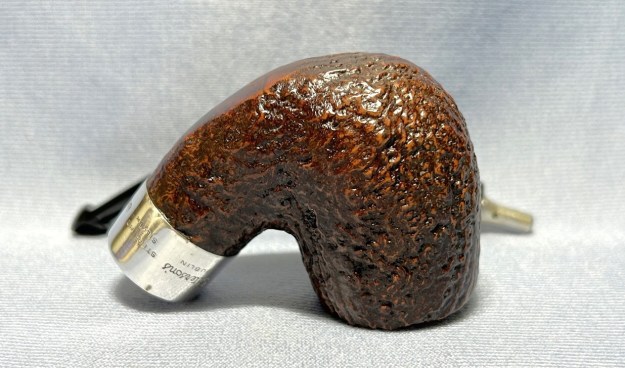
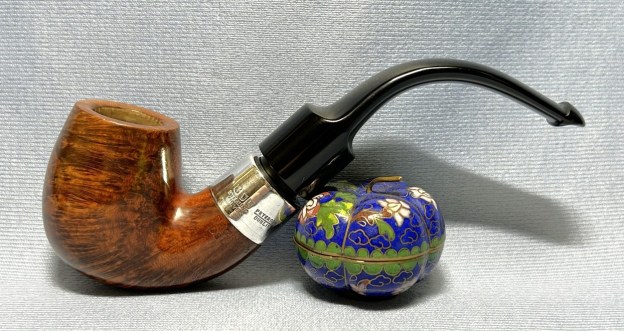
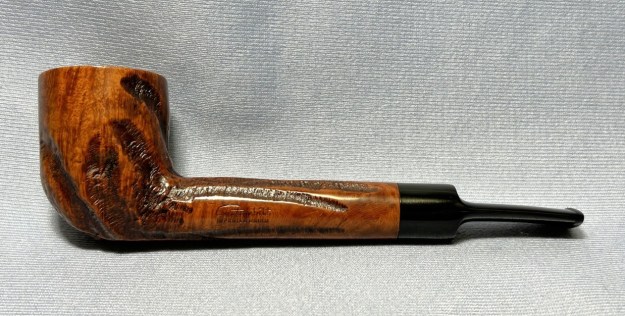
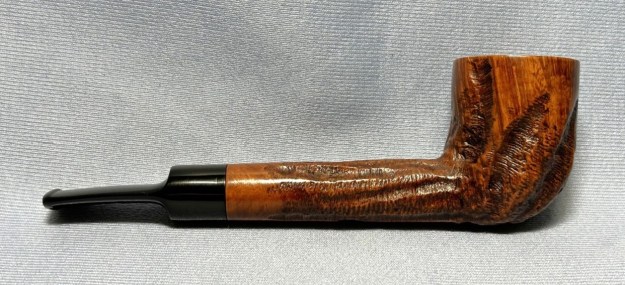
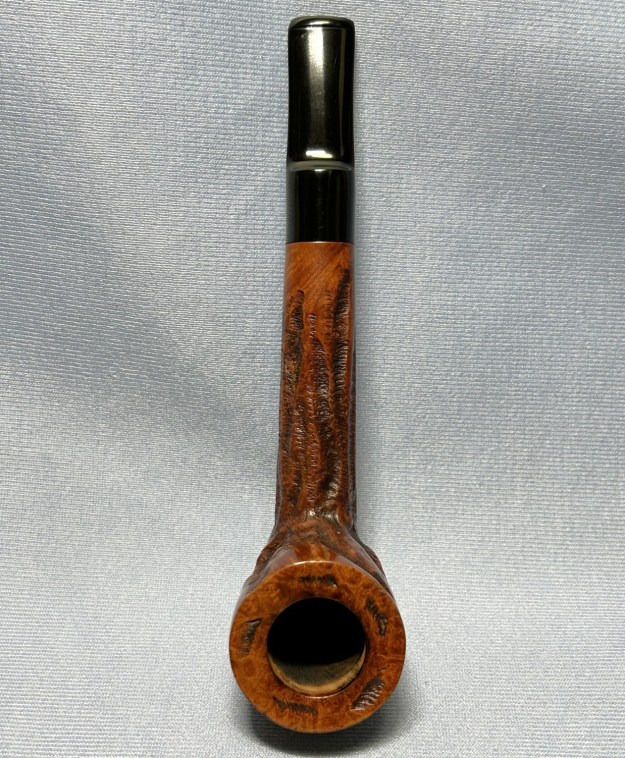
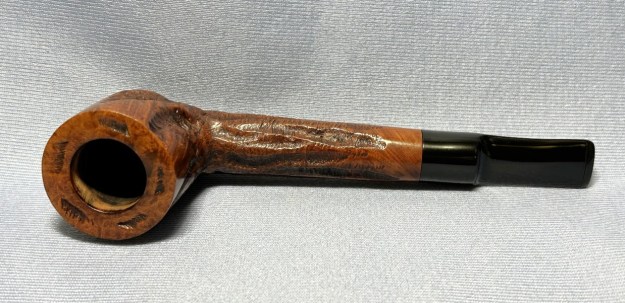
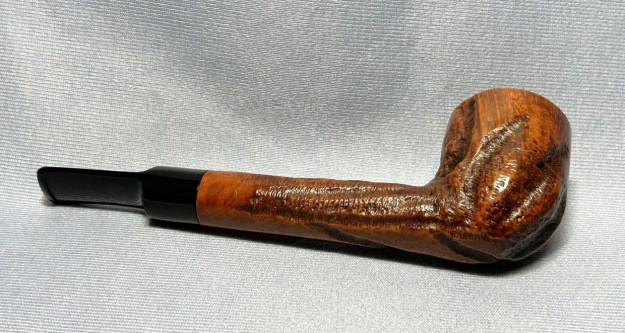
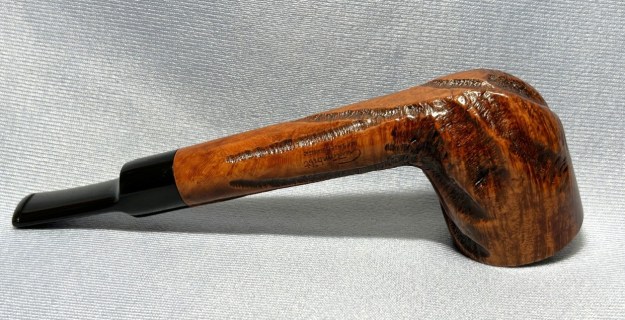
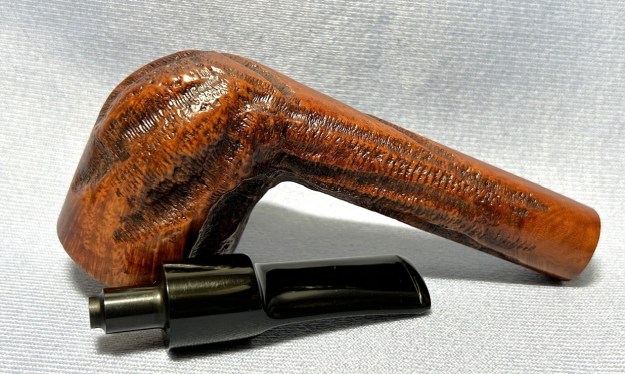
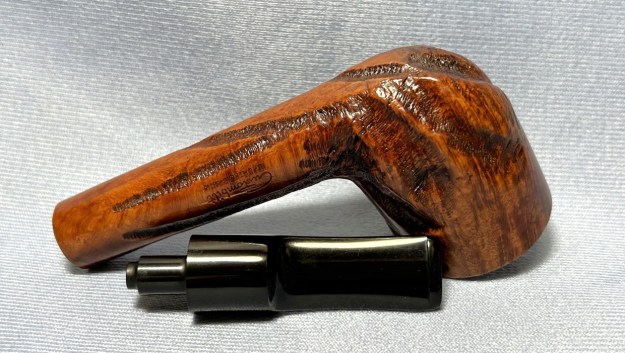
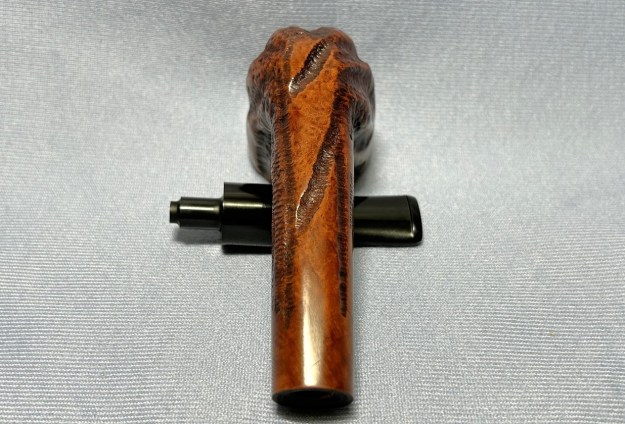
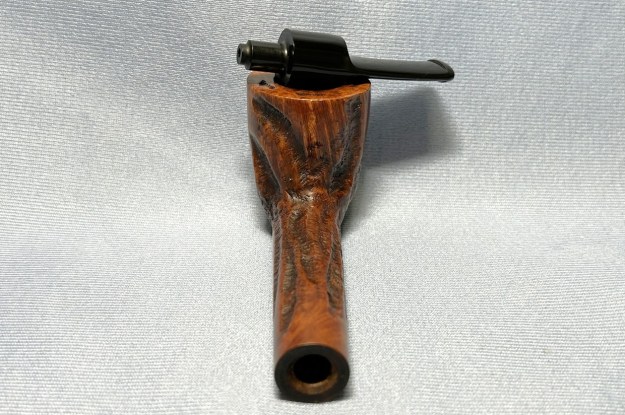
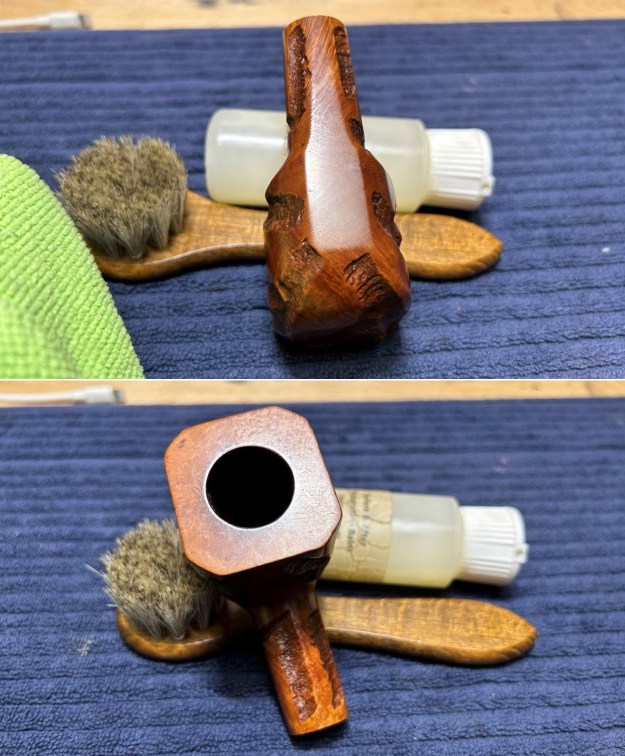
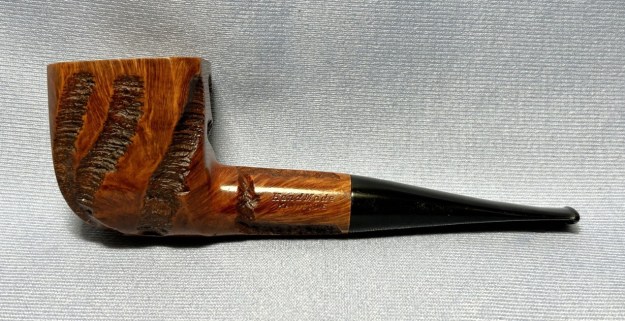
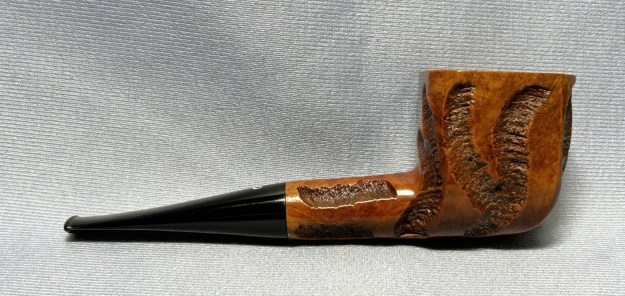
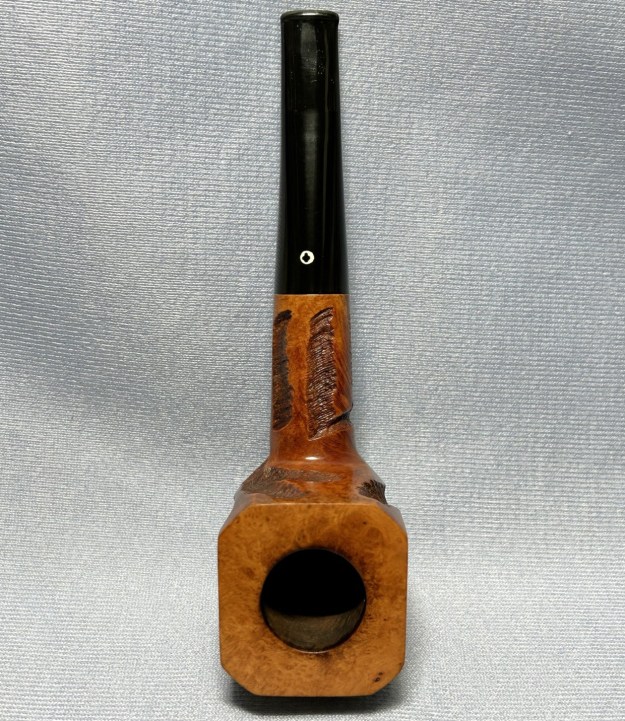
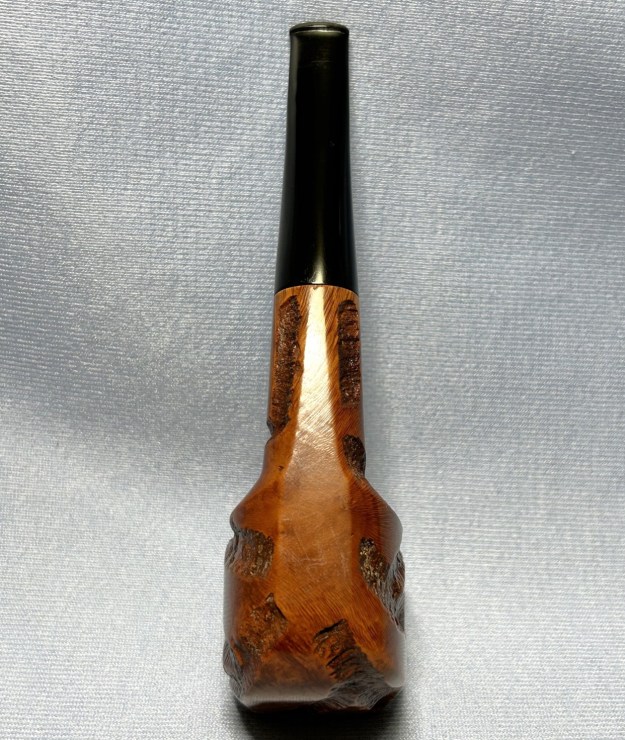
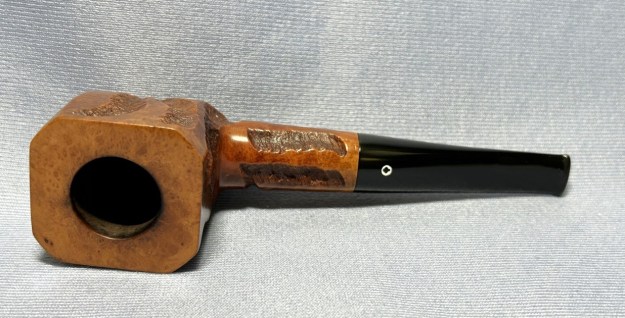
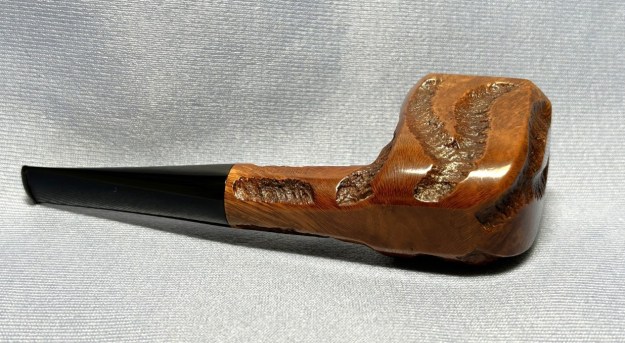
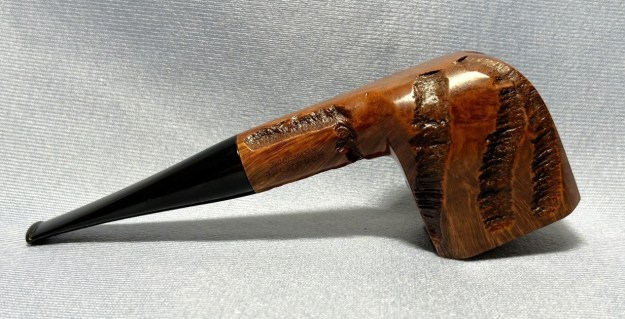
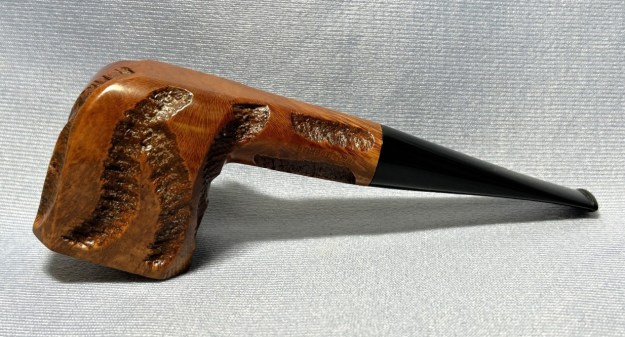
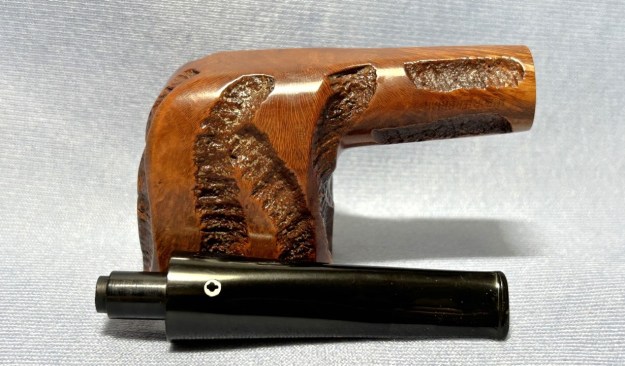
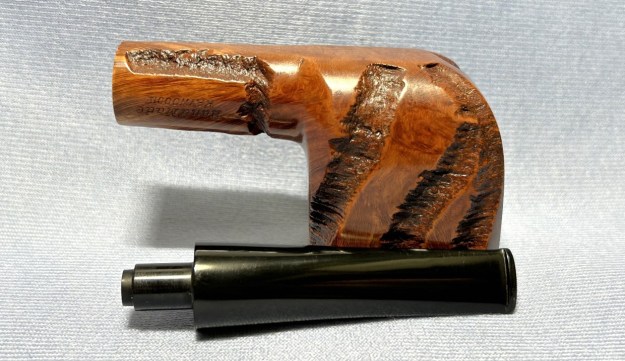
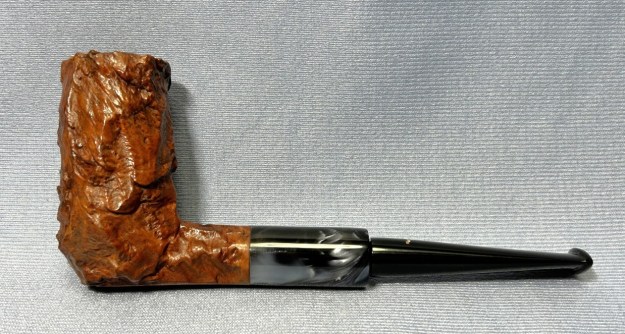
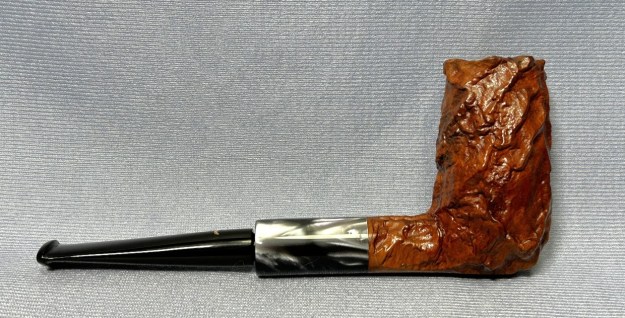
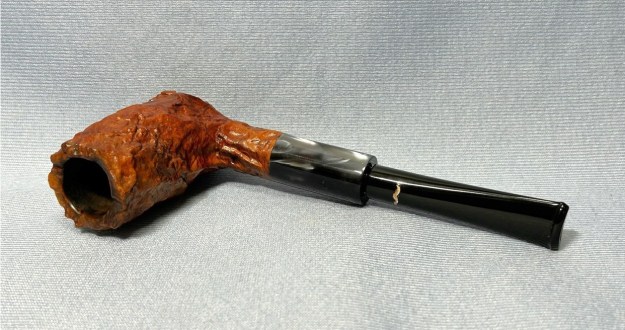
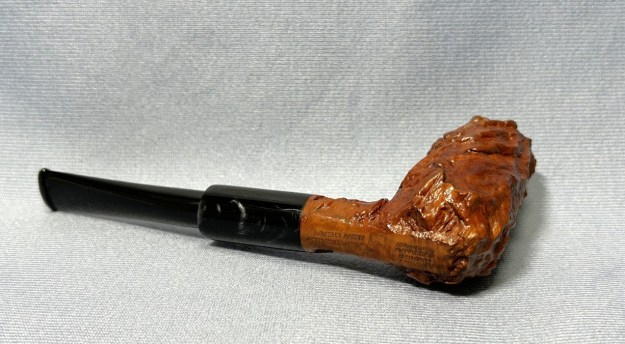
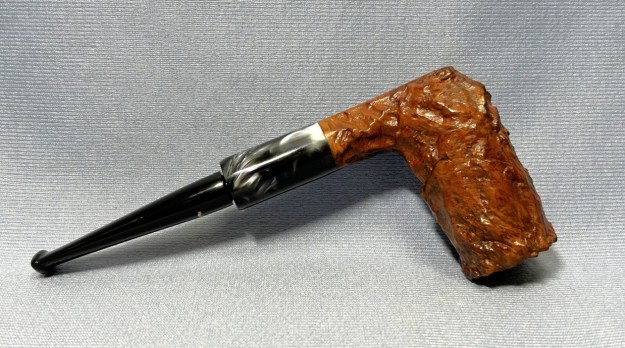
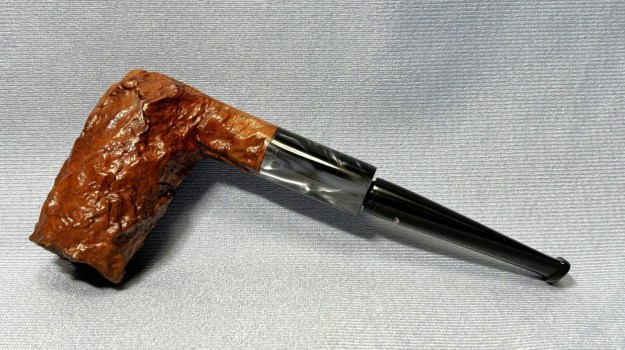
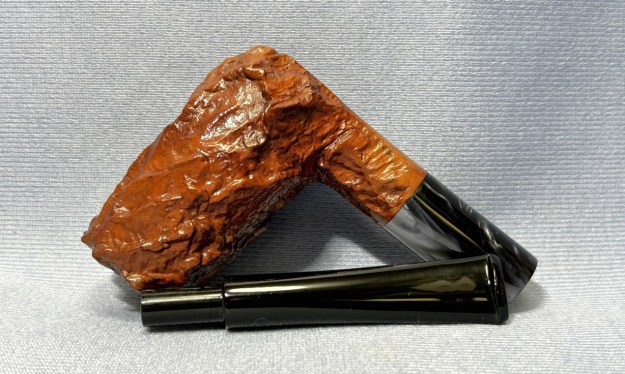
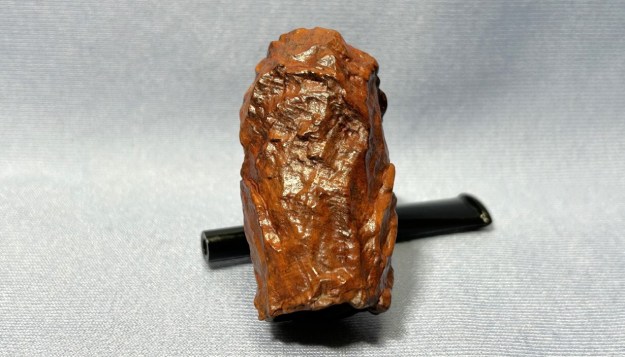
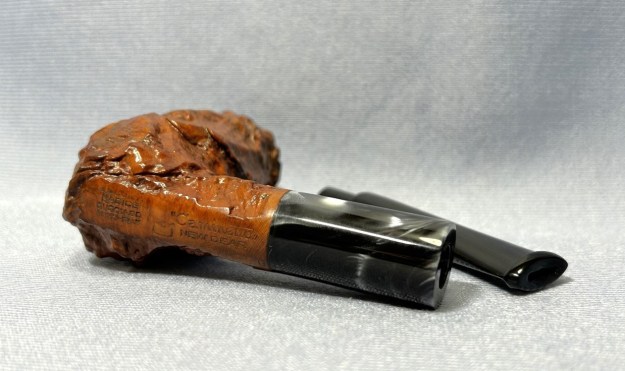
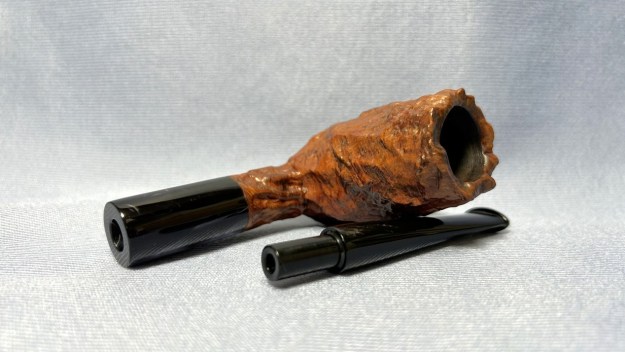
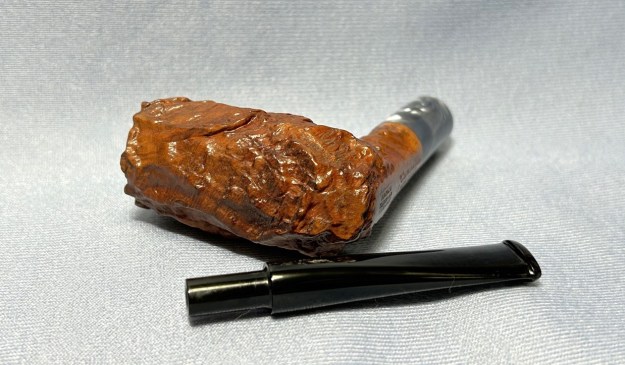
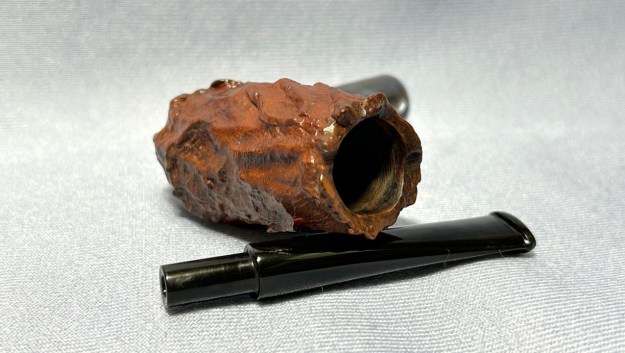
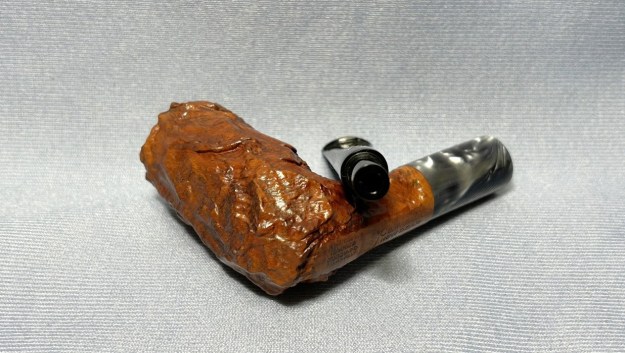
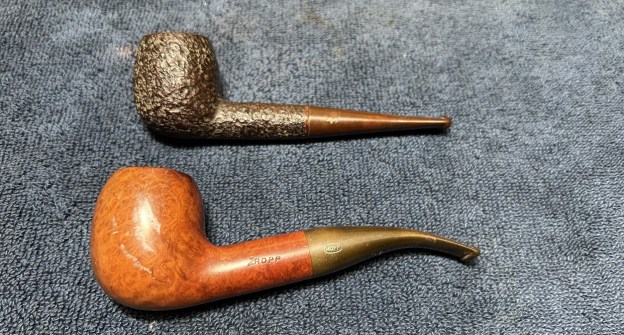
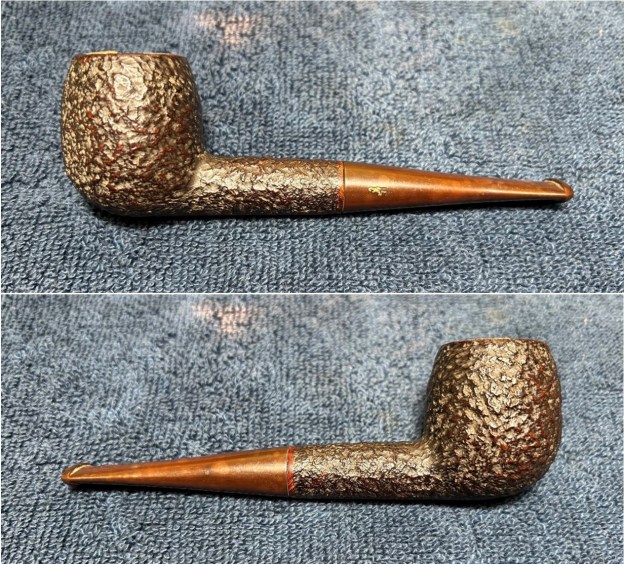
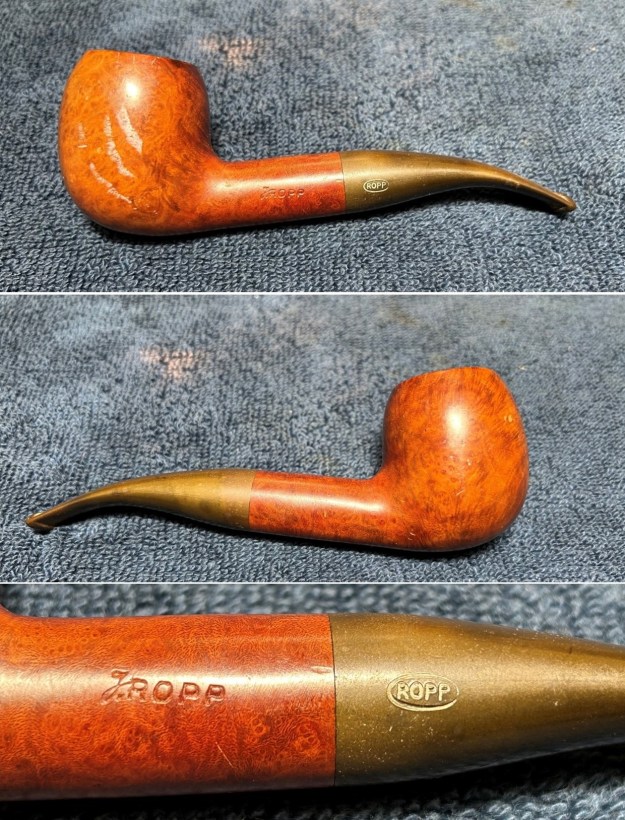
If this pipe could talk, surely it would say, “Out of the depths I have cried unto Thee, O Lord…”. This great pipe has truly come from the depths of … who knows where. It’s a handsome, rugged Peterson 301 System rusticated bent pot with a P-lip. As is often the case, this pipe (and the others in the photo below) came from an old gentleman, now deceased, who lived on Vancouver Island. The first two pipes below are both 301s and the third is perhaps/maybe a 317 (not sure yet). I have no idea what he did with these pipes (dropped them down the mines perhaps), but boy-oh-boy, these are pretty rough. No problem – it’s my job to sort things out.The only markings to be found on this pipe are the 301 found on the underside of the stummel, the K&P [over] Peterson on the nickel ferrule, and the double-stamped, stylized P on the stem. That’s annoying! Mark Irwin of Peterson Pipe Notes has written a few good articles about the 301s on his blog and I recommend reading one here and another one here. Of course, Steve has also written restoration blogs about the 301, including this one and it contained an important tidbit of information that I quote here:

I learned previously that the shape 301 was not introduced until 1975. Considering the Republic stamp, this one would likely date between 1975 and 2000.

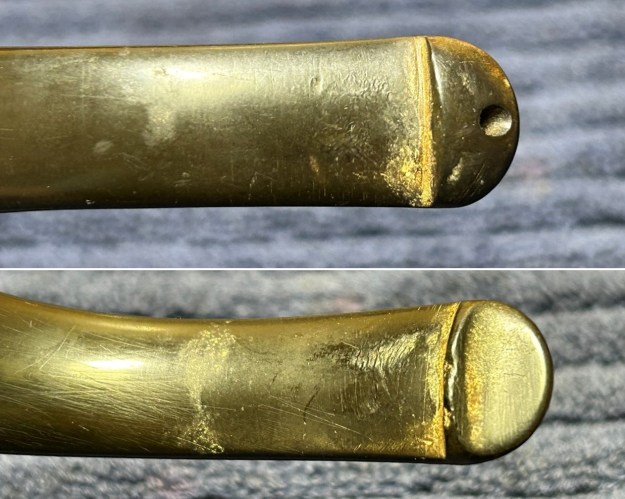
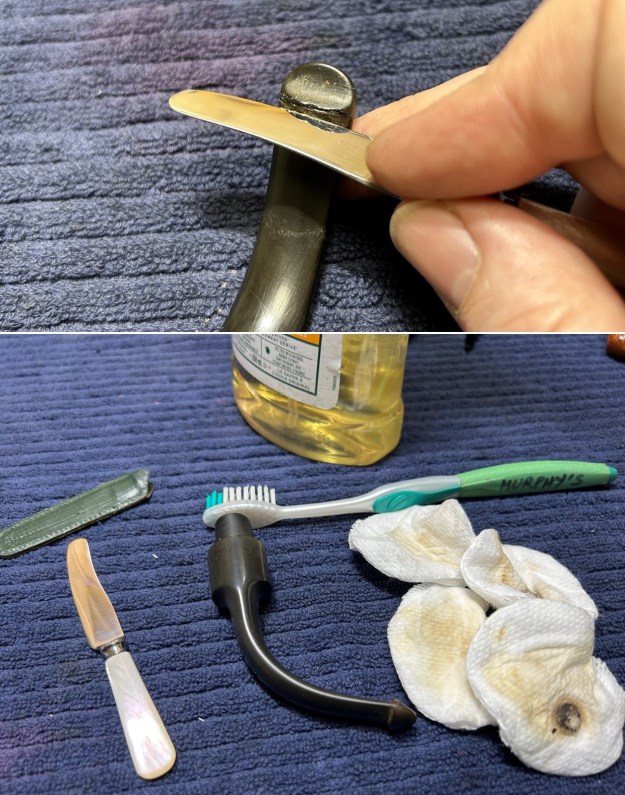
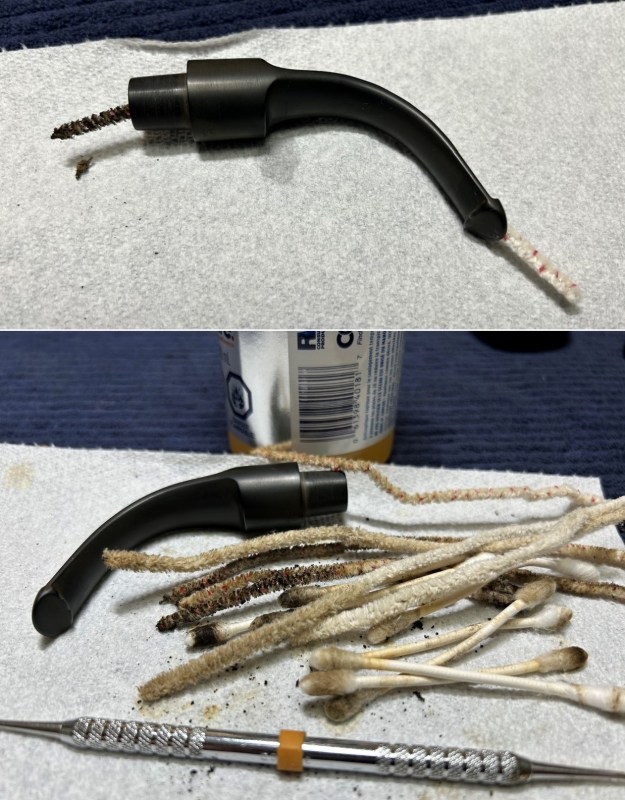
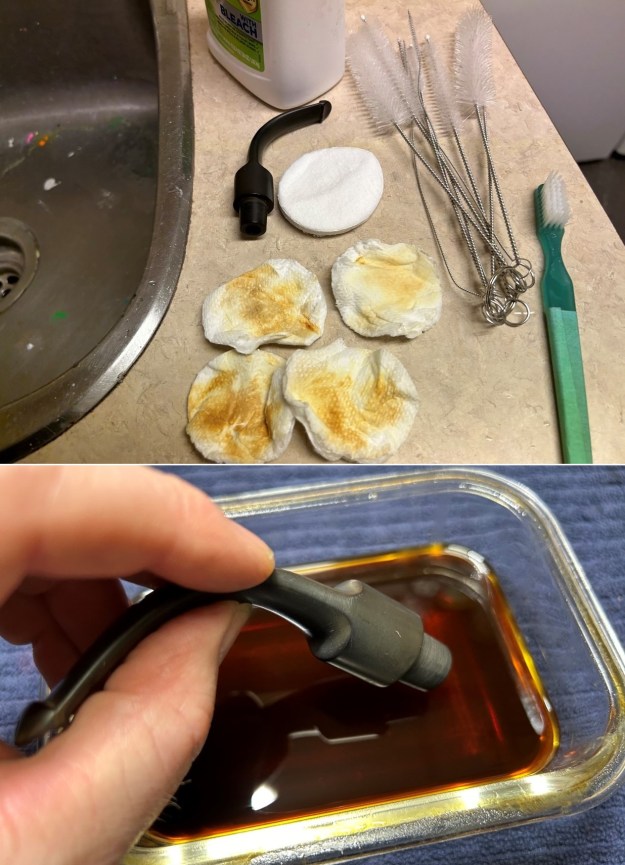
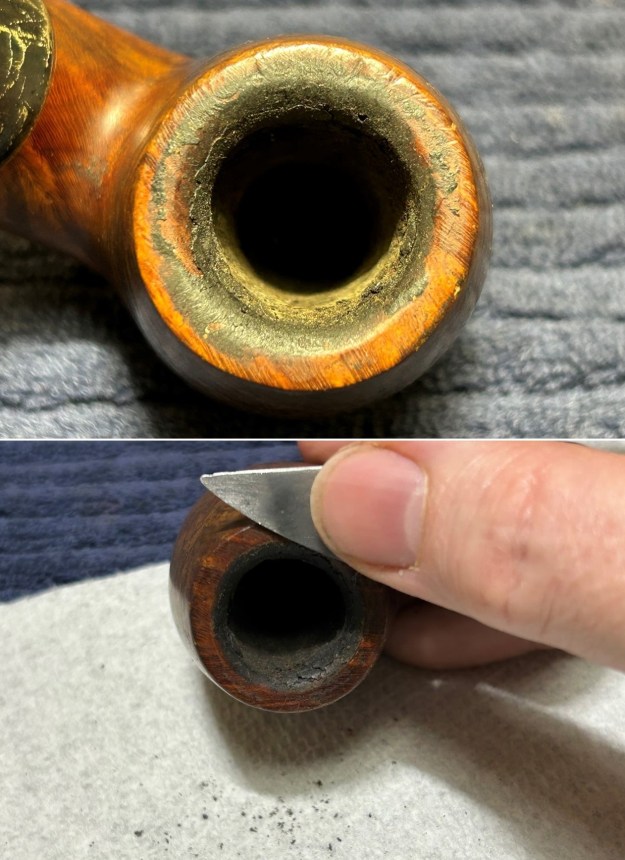
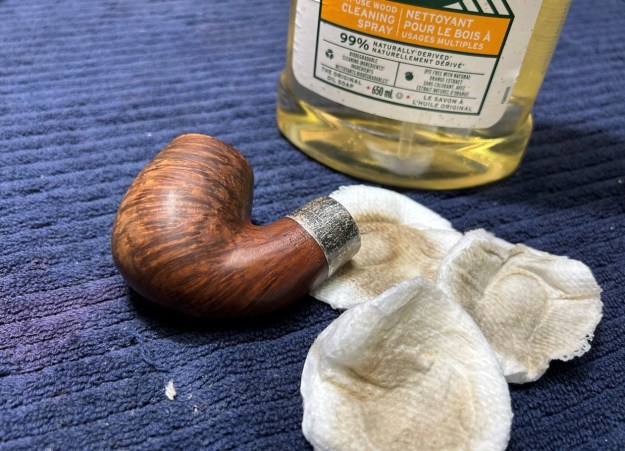
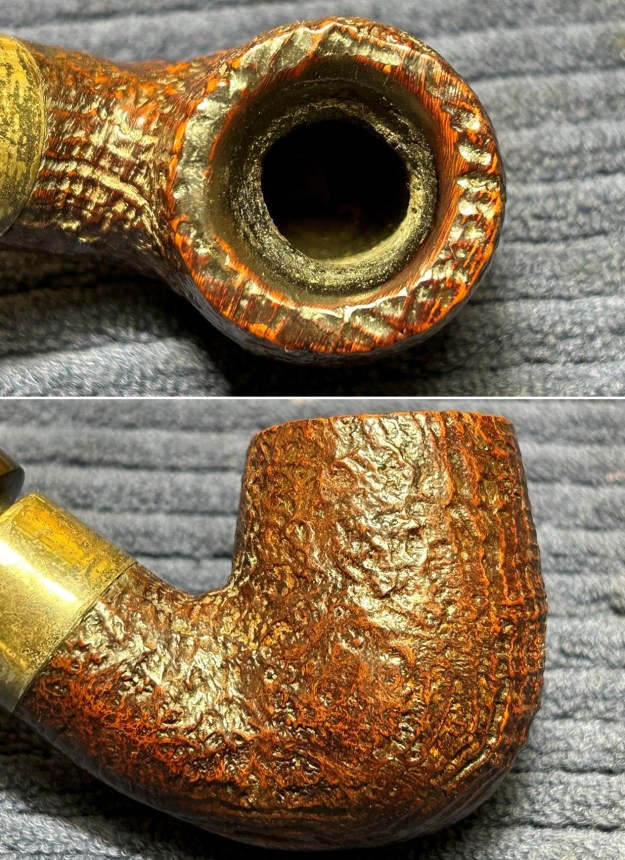
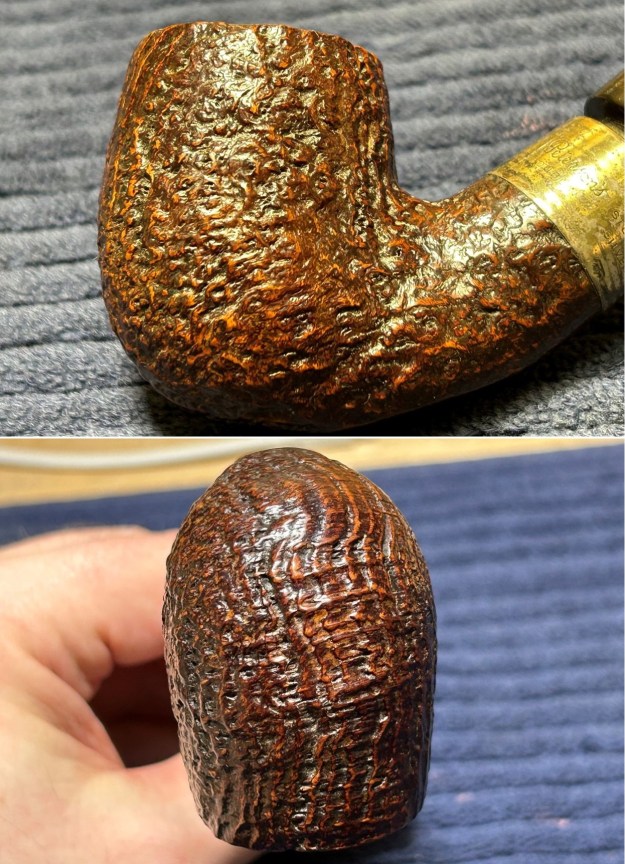
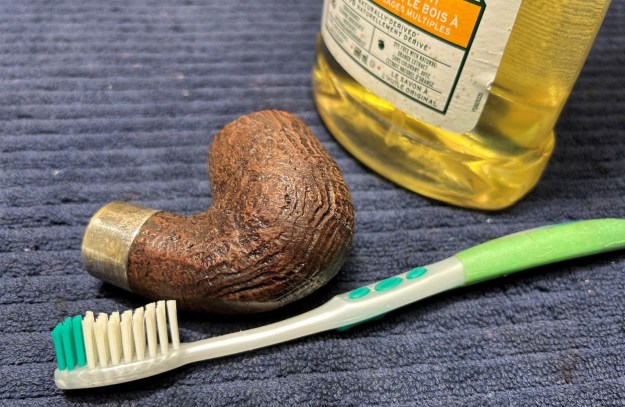
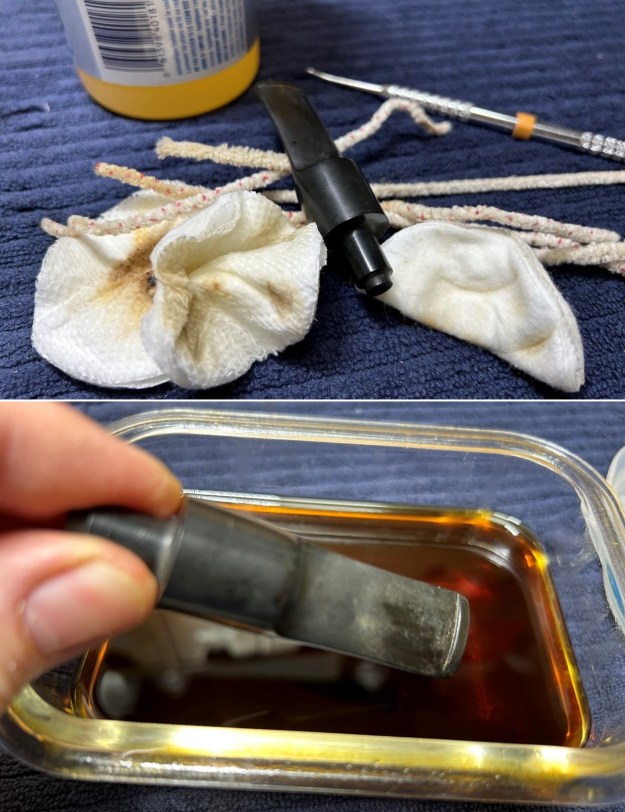
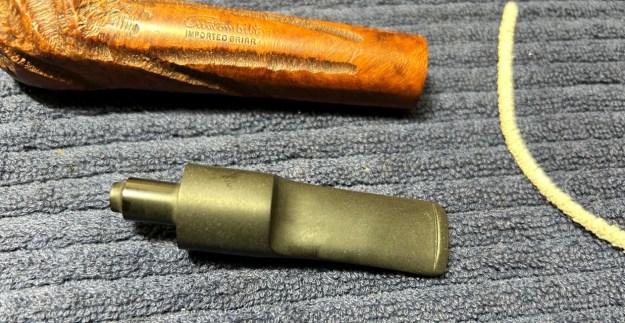
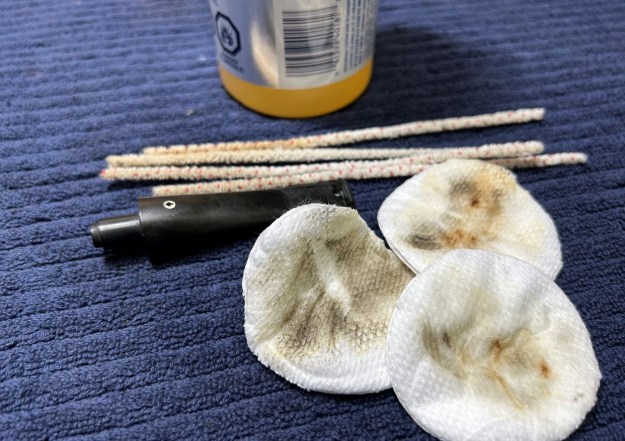
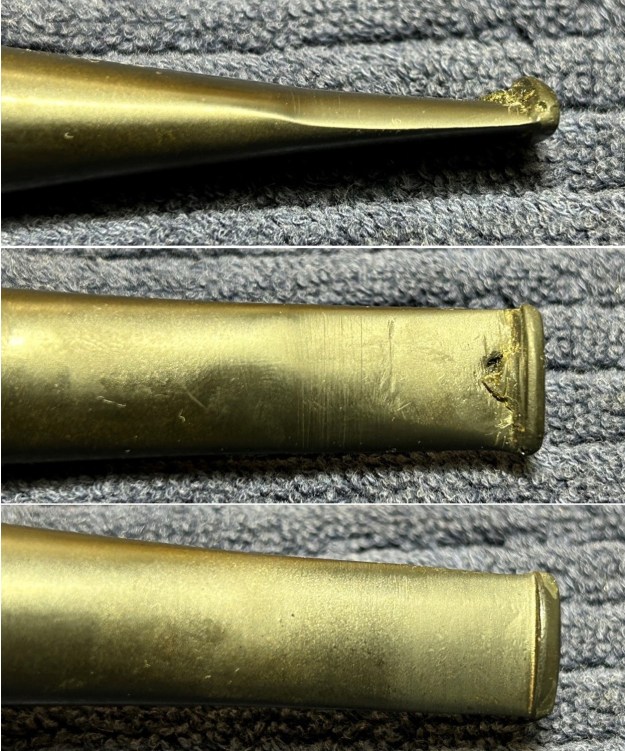
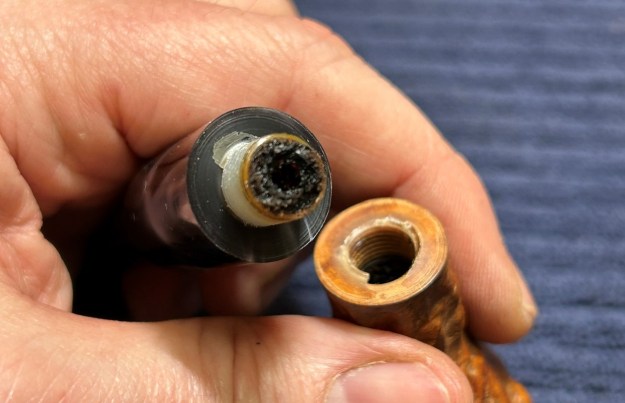
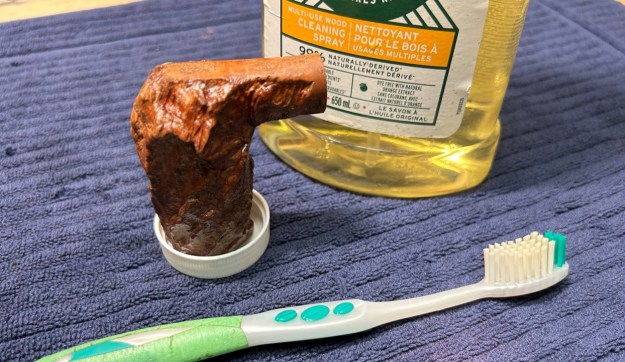
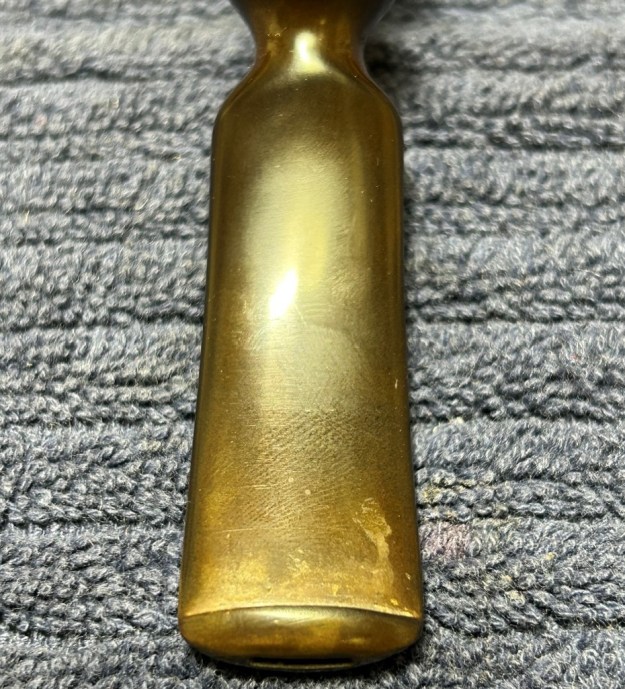
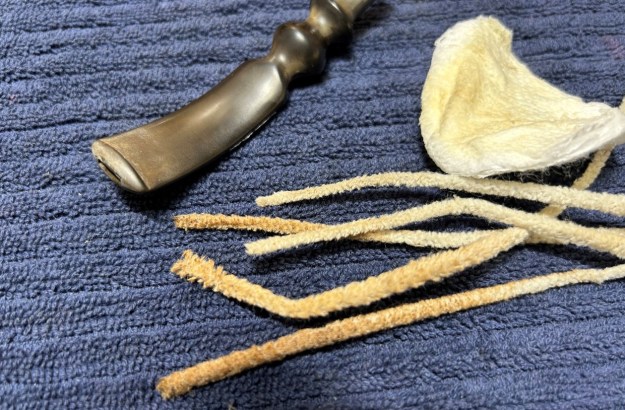
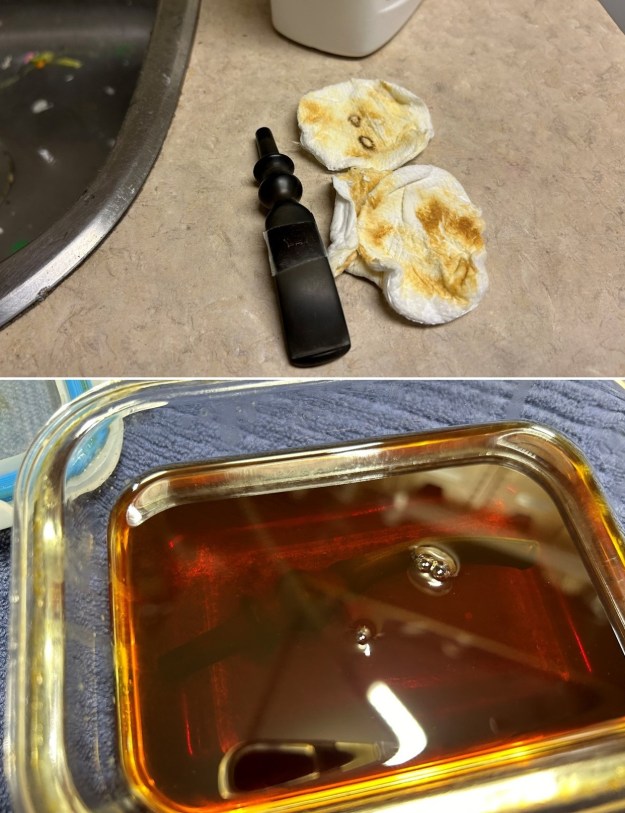
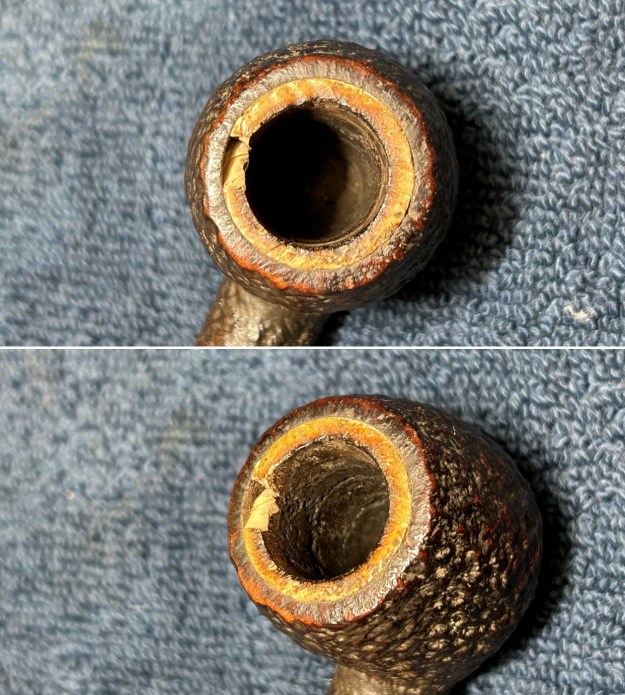
This was significant because, due to the markings being almost entirely worn on this pipe, there was nothing on the wood other than the number 301 – and I couldn’t tell an age from that. Charles Lemon from Dad’s Pipes also has a post about a 301, which he describes as coming from the “1970’s era”. Now, what’s interesting about Steve and Charles’ pipes is that the patch of briar which shows the marks is quite different from mine. Below are Steve’s, Charles’, and my pipes, respectively. The first two are sort of freeform oval-ish shapes. Third (mine) is a rectangle and I wonder if that indicates a different era. I don’t know, but any of you reading this do, please let me know!  This pipe is filthy beyond description – but must have been smoked frequently and with great affection. The stem has dirt everywhere, severe toothmarks aplenty, and calcification as I have seldom seen. Meanwhile, the stummel looks as though oily dirt has been rubbed into the surfaces of the rustication. The rim is coated in lava, the front edge of the rim is bashed, and the bowl is clogged with cake. Some spots on the rustication are really worn – the old fellow must have really loved his pipes. I began by cleaning some of the calcification on the outside of the stem. I took a blade (an old butter knife, actually) and began gently scraping at all that build-up. Obviously, I took it easy, as I did not want to damage the stem’s vulcanite any further. The butter knife worked quite well and I got a good amount loose. I followed that up with some Murphy’s on some cotton rounds to try and scrub the rest away. I broke out the isopropyl alcohol and pipe cleaners, and got to work on the inside of the stem. Predictably, it was unbelievably dirty and I went through a good number of pipe cleaners in order to clean it up.As I mentioned, there were quite a few dents in the stem. Some were obviously tooth marks, but other dents looked like blunt force trauma! Time to break out the BIC lighter to see if it could raise some of them. Quite frankly, it did not do much – this repair was going to require some considerable sanding etc. Before that, however, the stem went for an overnight soak in the deoxidizer. The following day, the oxidation had migrated to the surface and would be fairly straightforward to remove. I scrubbed vigorously with SoftScrub to remove the leftover oxidation. At this point, I painted the accidentally-duplicated P on the stem, as it was pretty rough – just like everything about this pipe.

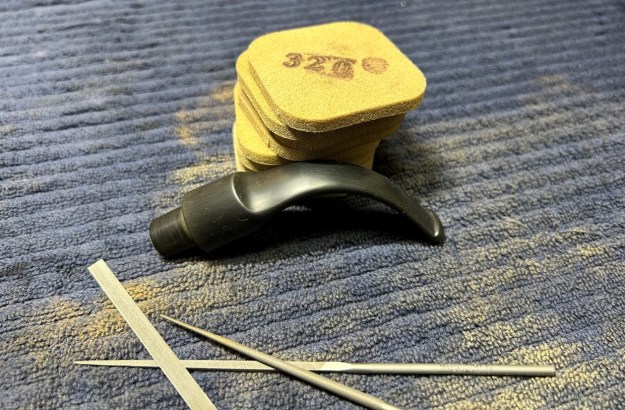
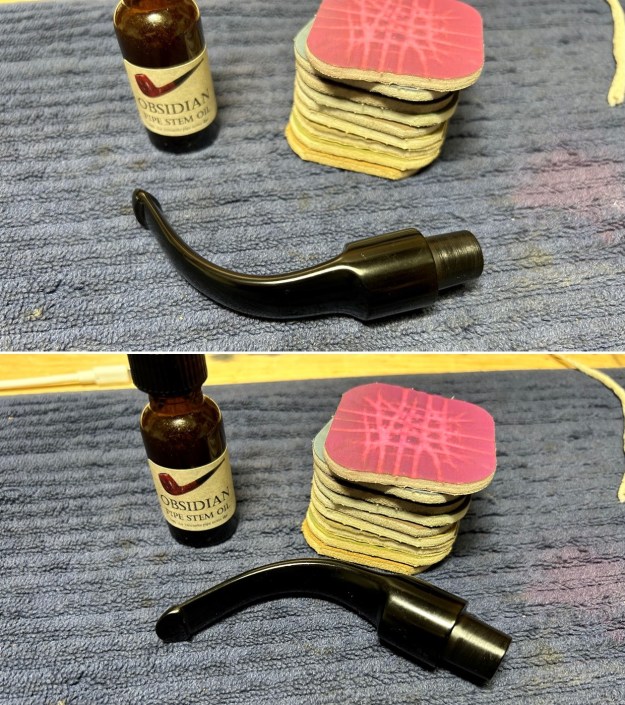
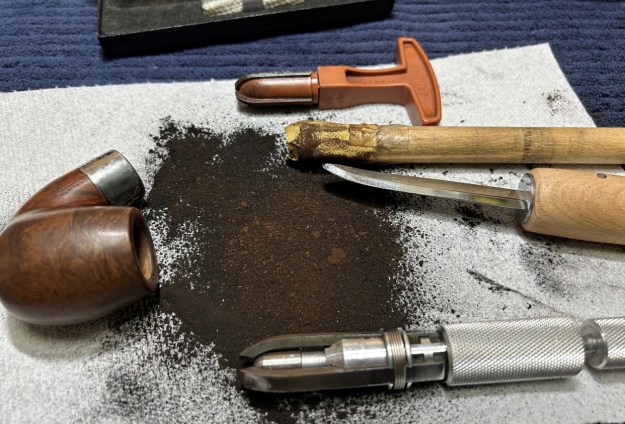
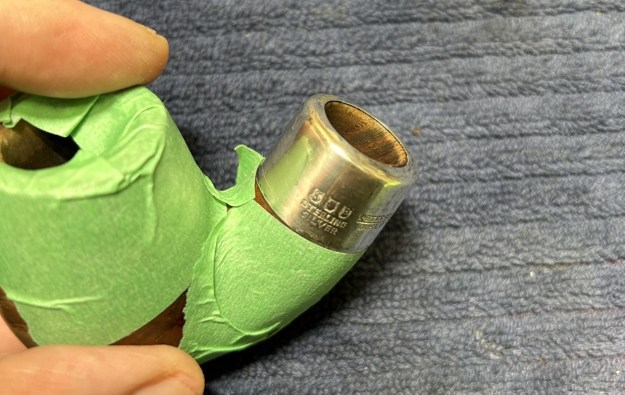
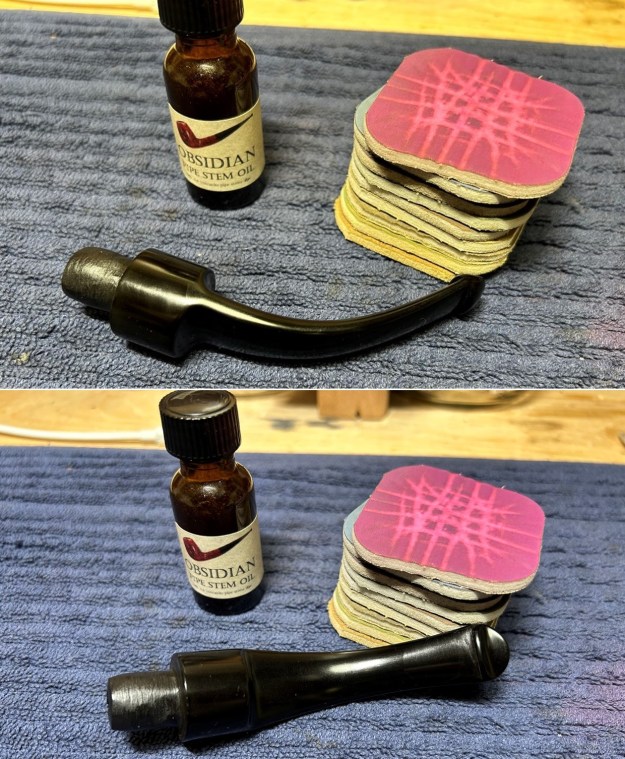
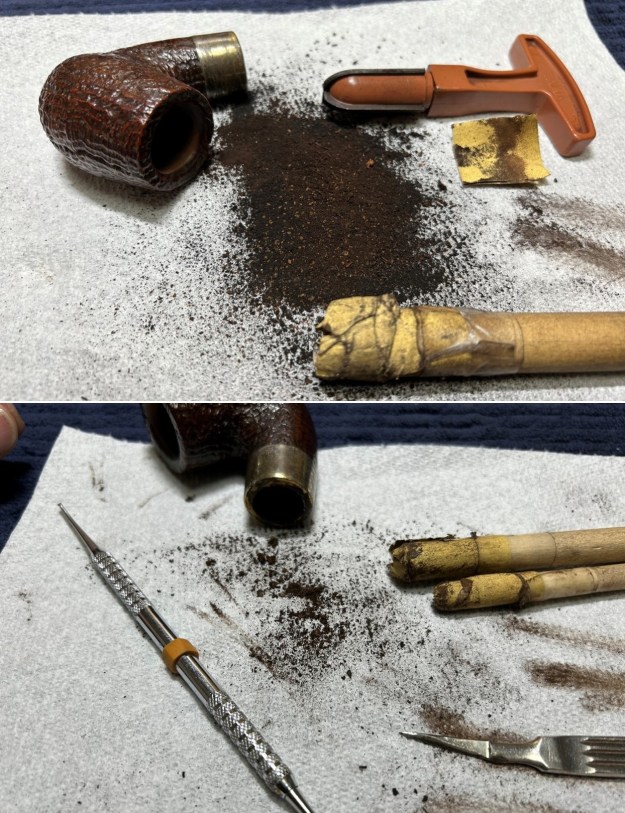
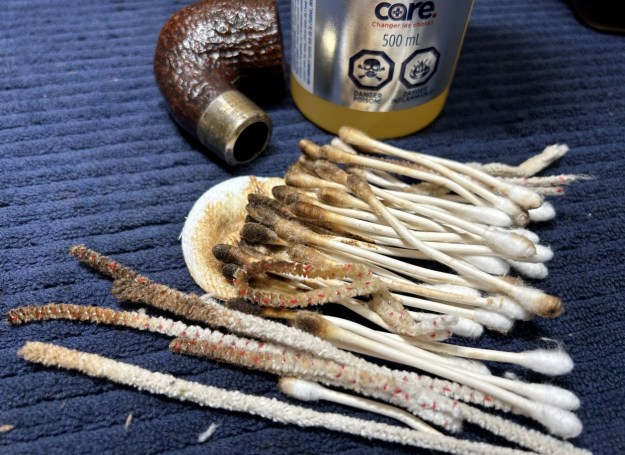
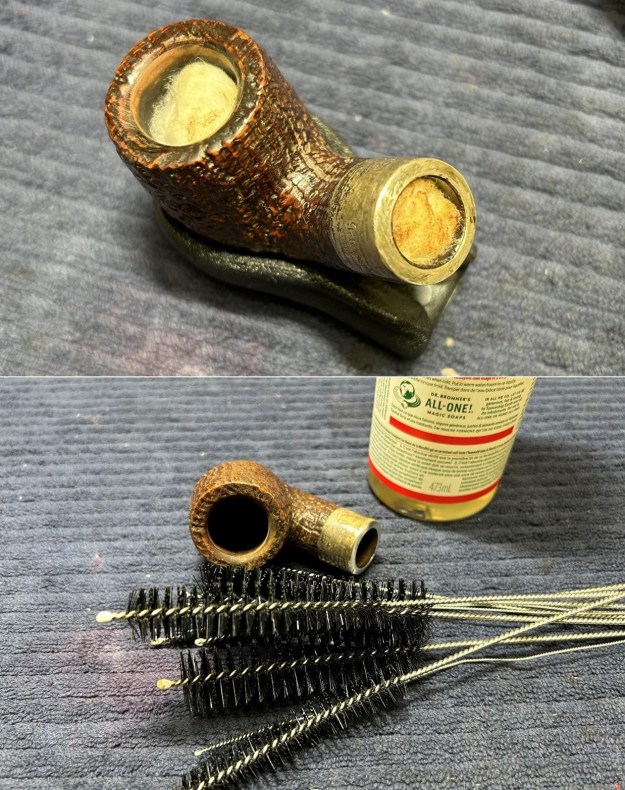
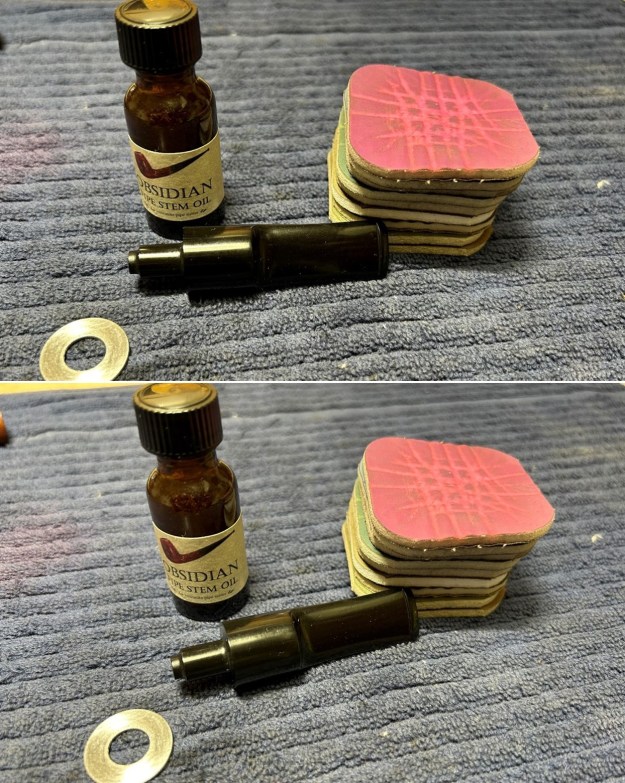
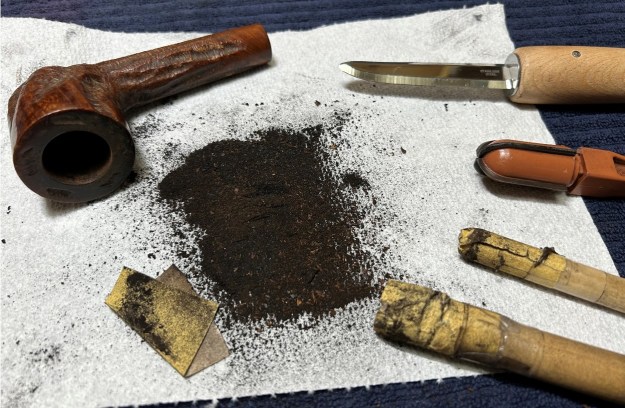
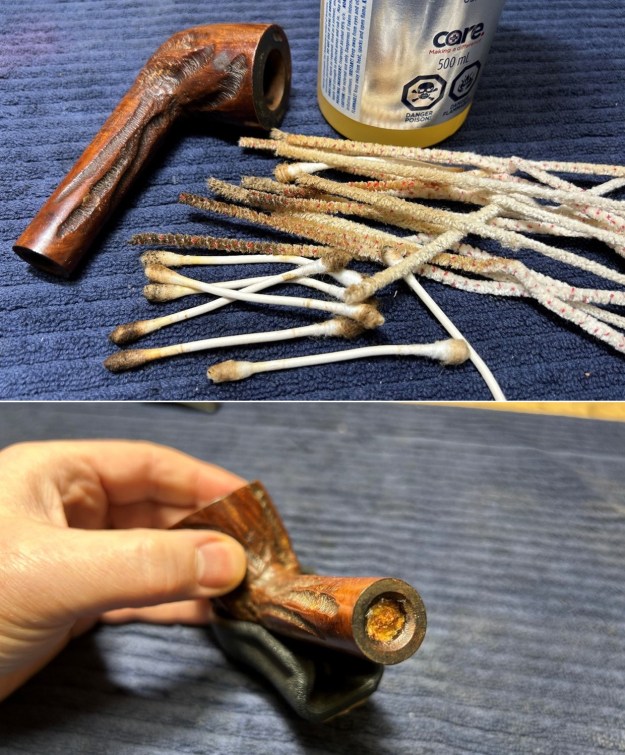
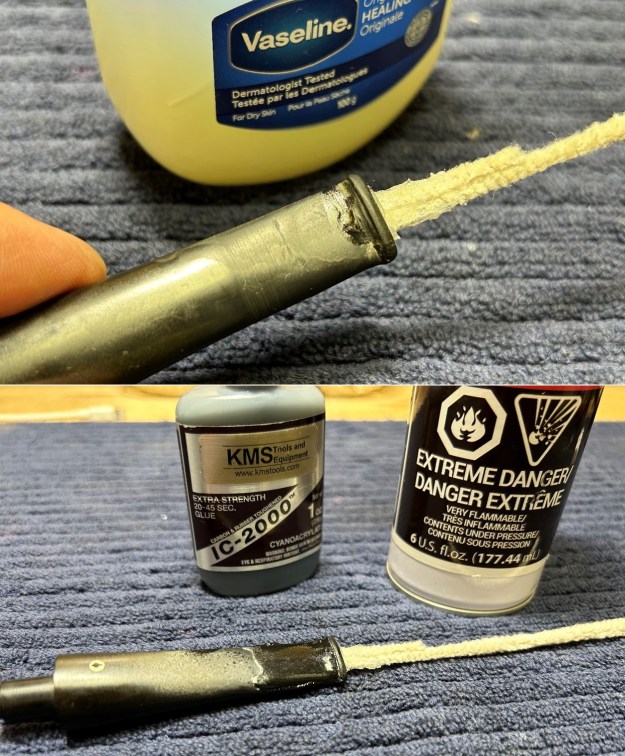
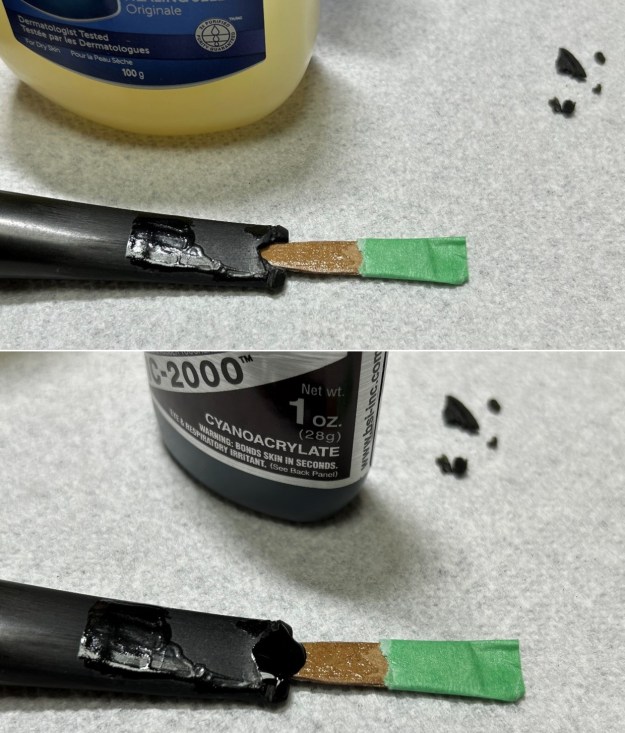
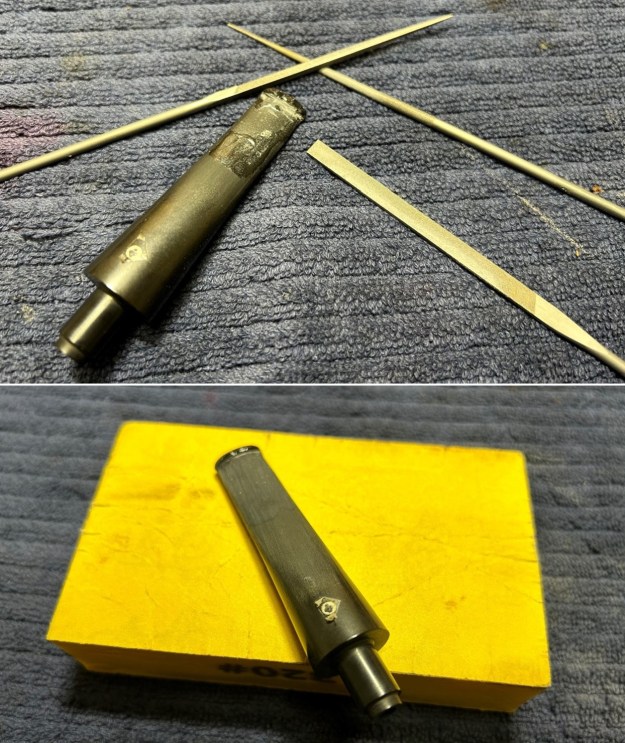
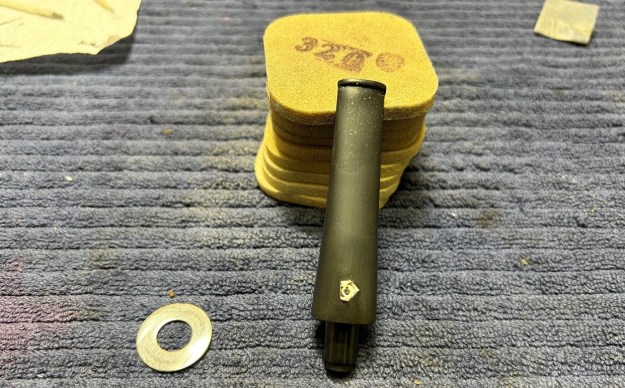
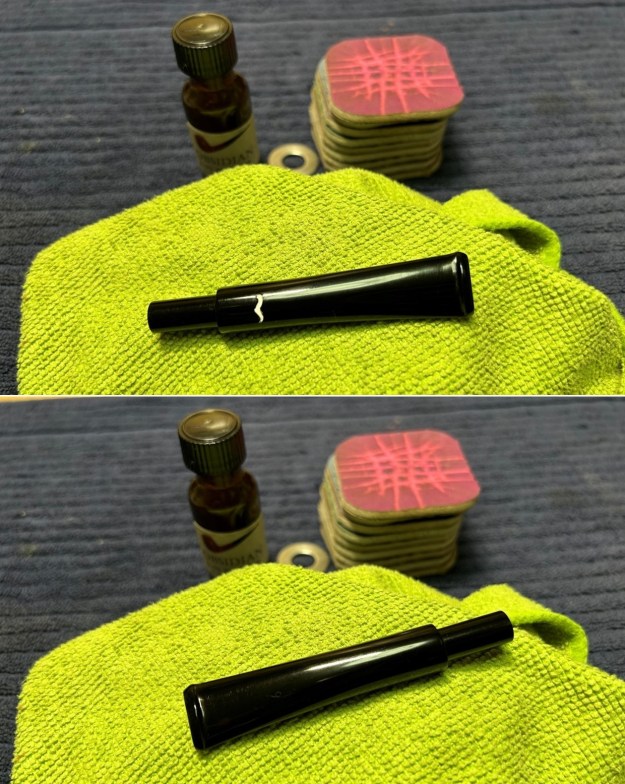
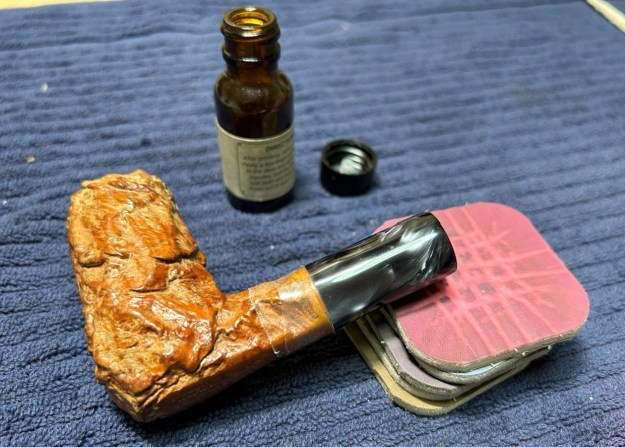
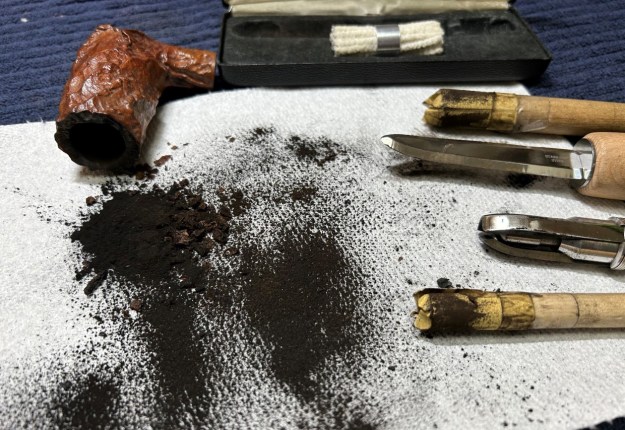
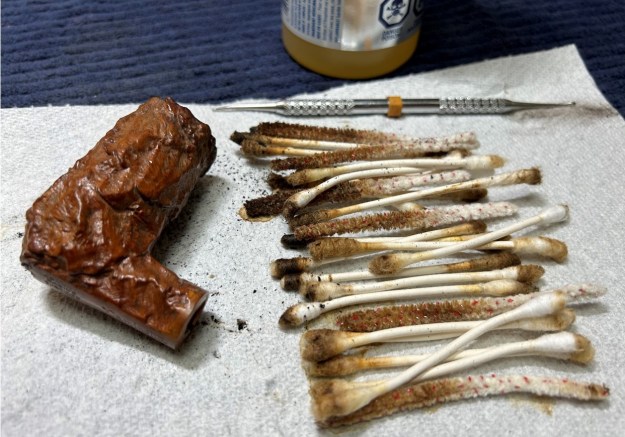
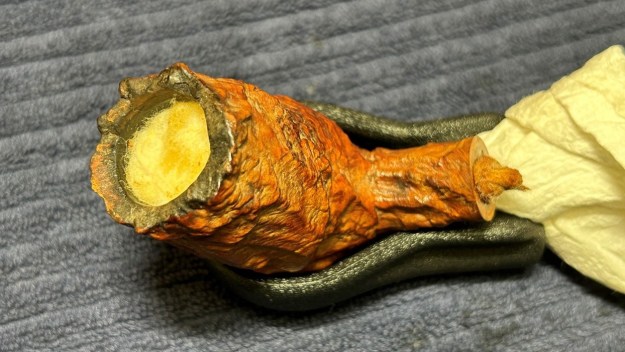
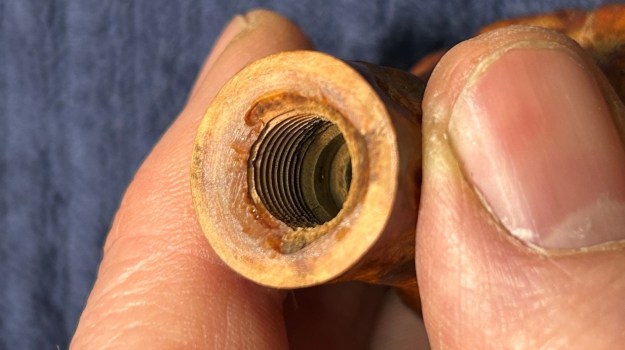
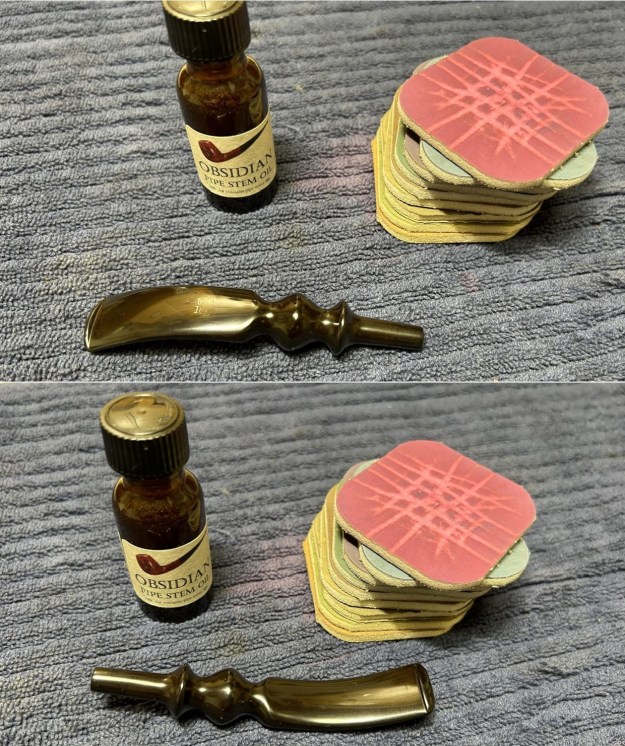
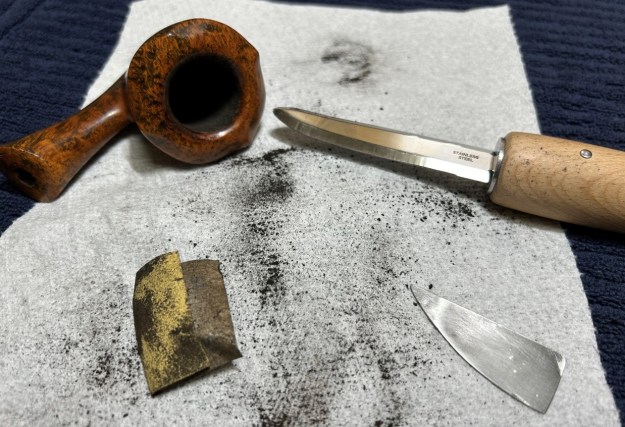
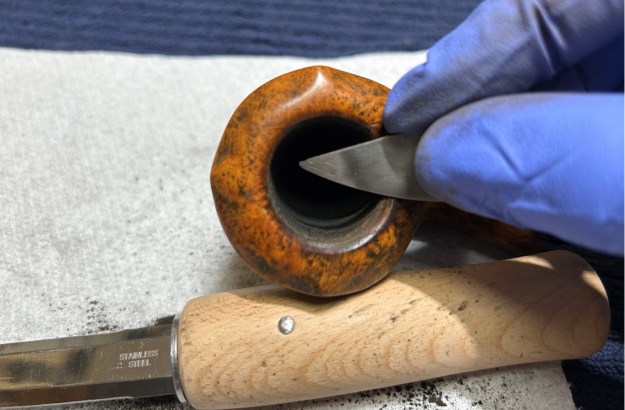
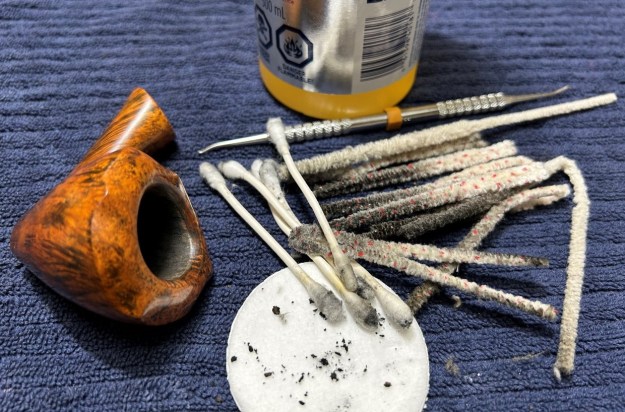
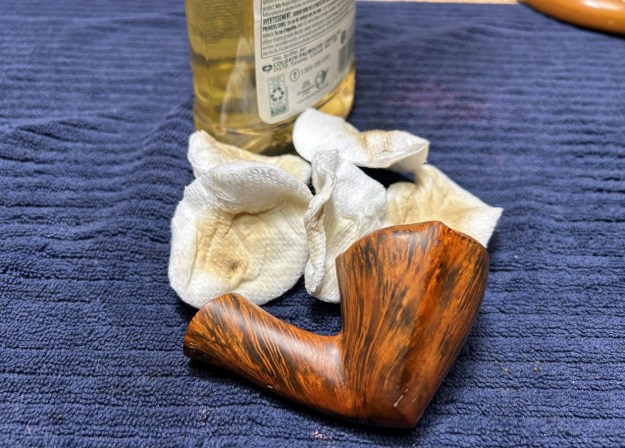
Once clean, I set about repairing the dents. Before I moved on to the Micromesh pads, I built up the dent damage on the stem with black cyanoacrylate adhesive and let it fully cure. It turned out that this was not as straightforward as I had hoped. It took more than one application of adhesive to sort this problem out. I sanded the lumps down with my needle files and my grey pads, to make the stem look sort of normal. I then used all nine Micromesh pads (1,500 through 12,000 grit) to bring out the lovely black lustre on the stem. I also used Obsidian Pipe Stem Oil in between each of the last five pads. On to the stummel – this is where the lion’s share of the work was. The insides (both bowl and shank) were overwhelmed with cake and tar and anything else you’d care to mention. The bowl really needed to be reamed, so I used the KleenReem to scrape off as much built-up cake as possible. Generally, I prefer to sand the chamber down to bare briar. When restoring, it is important to ensure that there is no damage to the briar under the cake. There are a few situations when I might leave some cake in the bowl, but not today. There were definitely some craze lines in the briar on this pipe. I’ll come back to that later. Just like the bowl, the shank was absolutely disgusting. It had never been cleaned – or, not for many decades. I started cleaning the inside with isopropyl alcohol, Q-tips, and pipe cleaners. This took a while. The inside was very dirty and required and extraordinary number of Q-tips and pipe cleaners. Eventually some cleanliness came to it.I threw the stummel in my alcohol bath in the hope that it would loosen some of the ground-in filth on the outside of the bowl. After 24 hours, this worked a bit, but not enough. I added some scrubbing with Murphy’s and a toothbrush. This made things much better, but it’s a case of two steps forward and one step back: sure, it’s clean, but lots of the stain in now gone too. I decided to de-ghost the pipe despite what I had just done with the alcohol bath. I thrust cotton balls into the bowl and the shank and saturated them with 99% isopropyl alcohol. I let the stummel sit overnight. This caused even more oils, tars and smells to leach out into the cotton. The bowl was nice and clean after this.On to the ferrule – which was bashed and discoloured from years of mistreatment. Somewhat to my surprise, the ferrule came off very easily and required no special effort. I began by cleaning the metal with some SoftScrub on cotton rounds. This was quite good at removing the unsightly bits. I used some of my MicroMesh pads (only 3,600-12,000) to eliminate some of the minor scratches on the metal. It also gave a nice shine which clearly hadn’t been seen for decades. I used a jewelry cloth to give the final polish to the nickel. This ferrule would always retain some small dents etc. from its hard life, but it looks much improved. And this is where I stopped for a looooong time. It occurred to me that the amount of work involved in this pipe was tremendous. I was torn about how invasive I wanted to be in my pipe surgery. What about the damage to the rim? What about rematching the stain? What about the heavily worn sections of the rustication? Perhaps my temperament didn’t suit this pipe too well. I freely admit that I set aside the pipe for nearly six months before coming back to it. That sounds absurd, I know, but it was either that or chucking it in the fireplace.

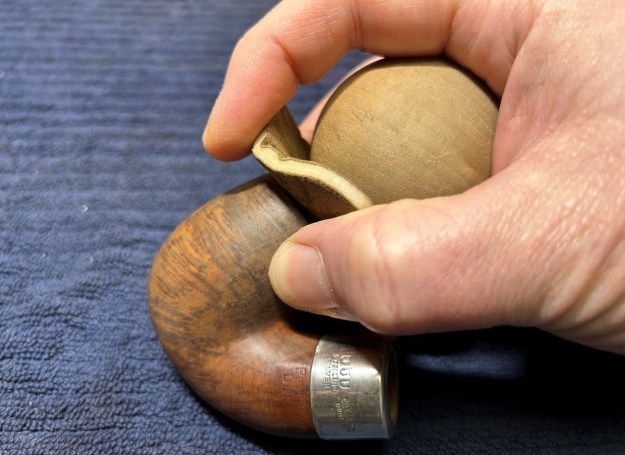
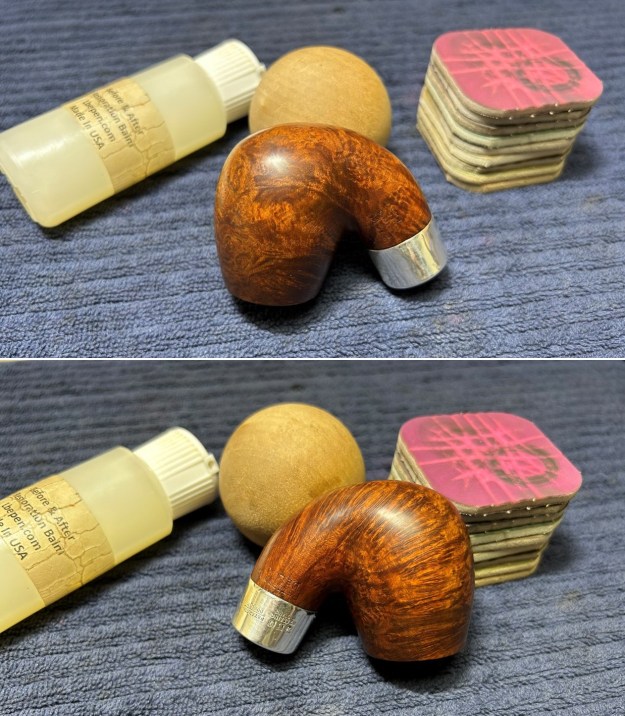
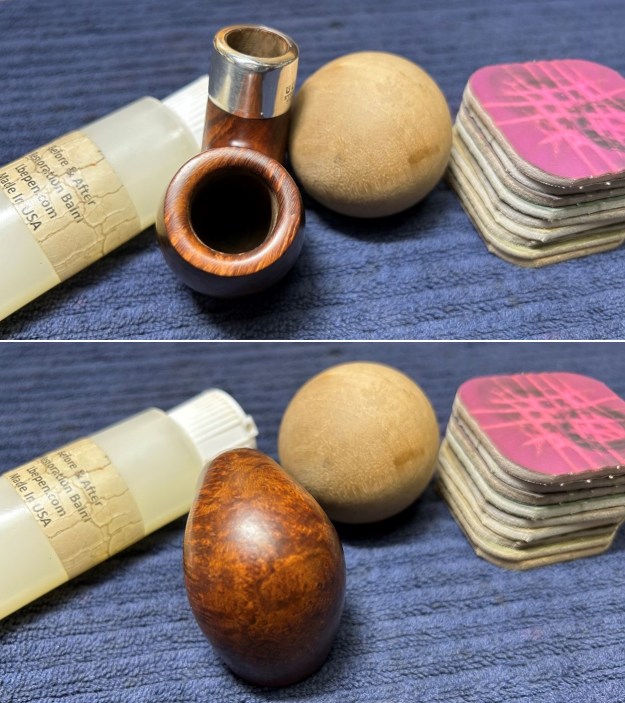
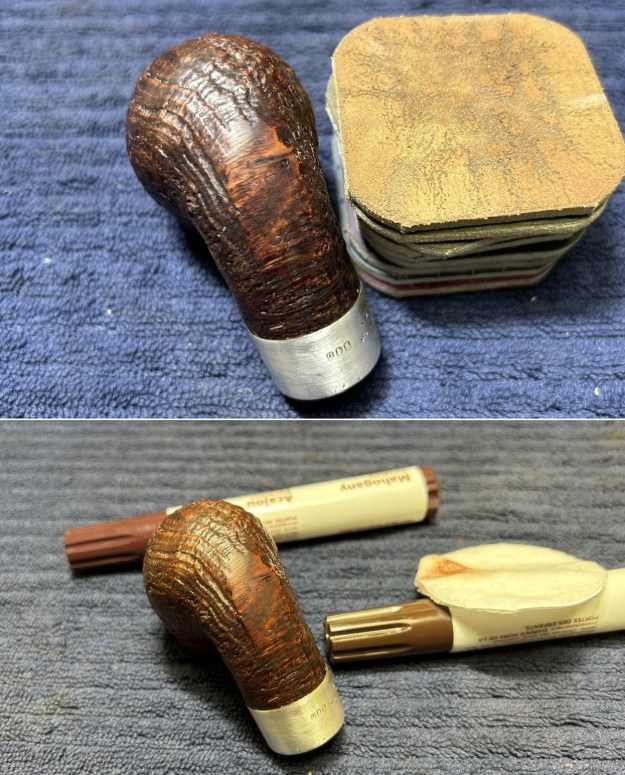
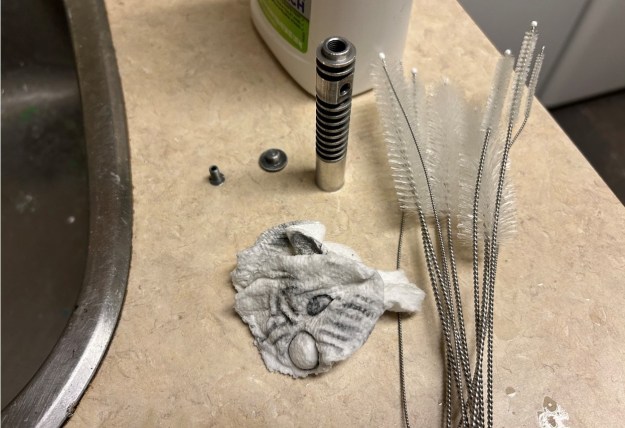
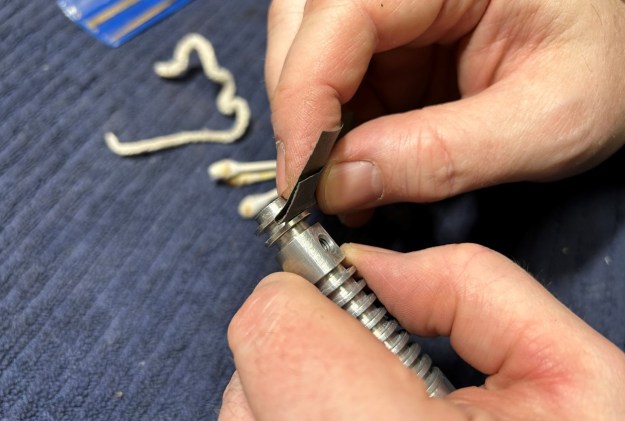
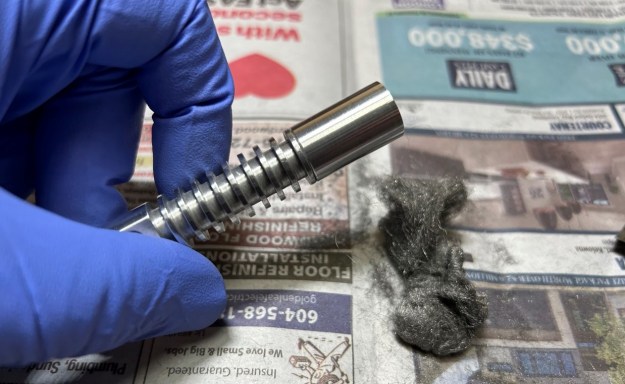
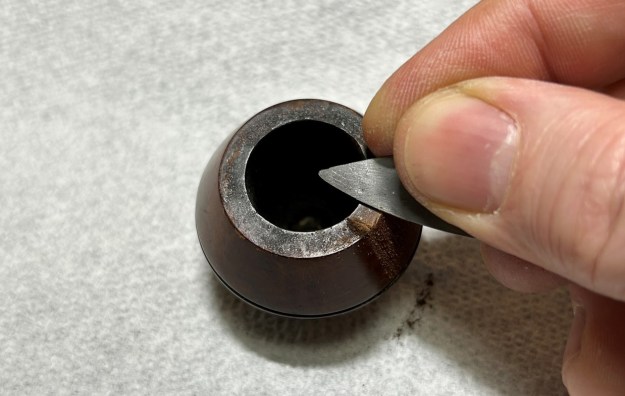
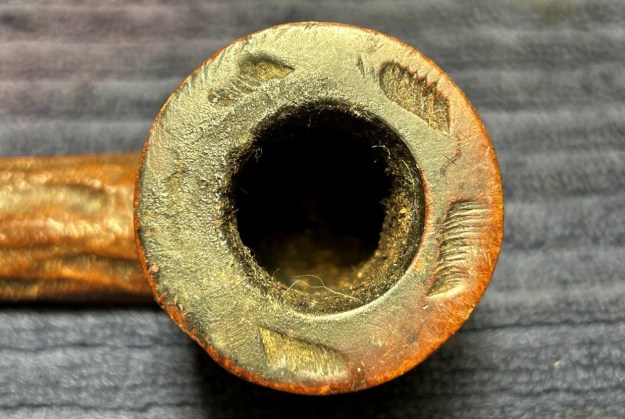
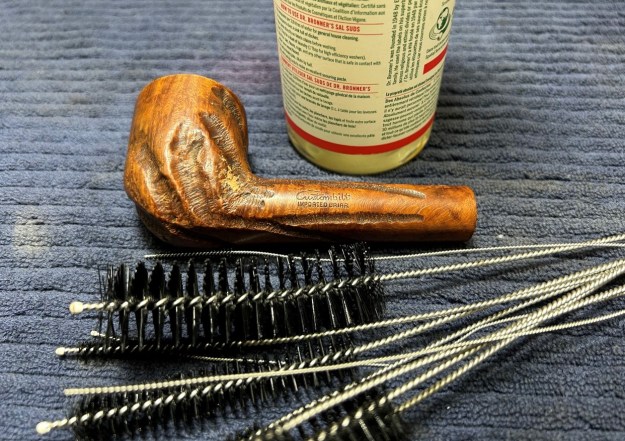
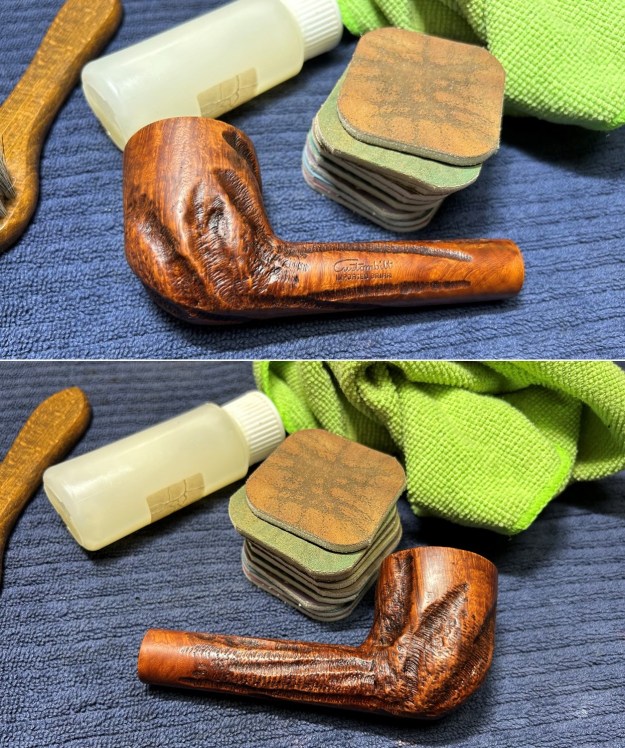
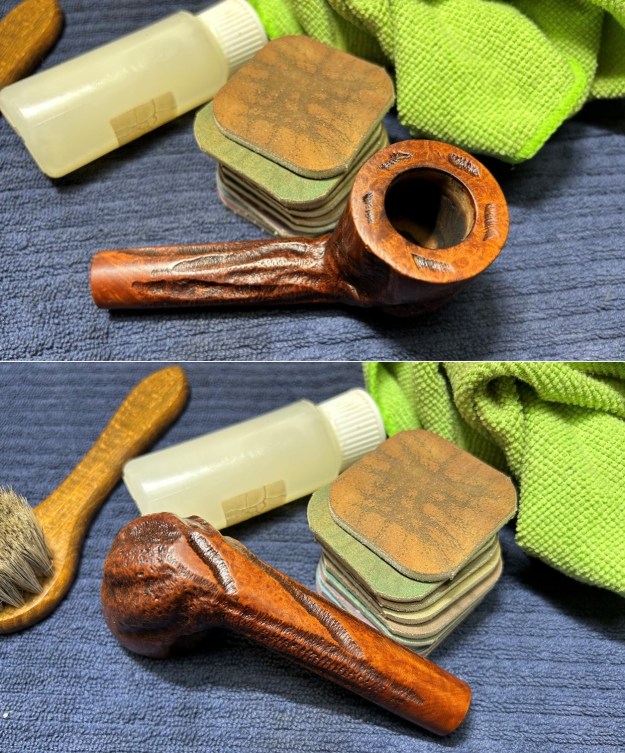
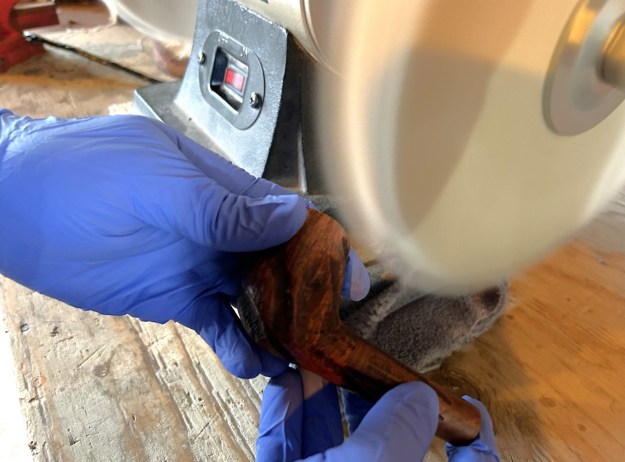
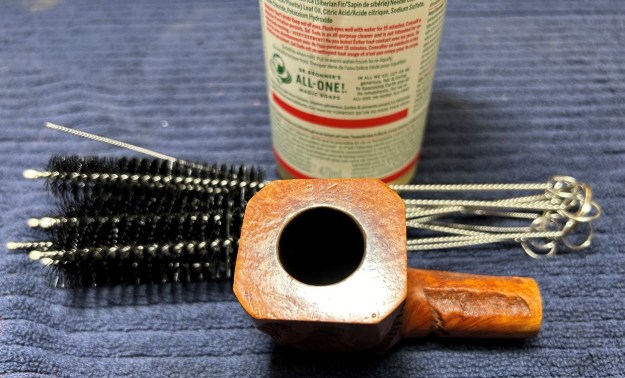
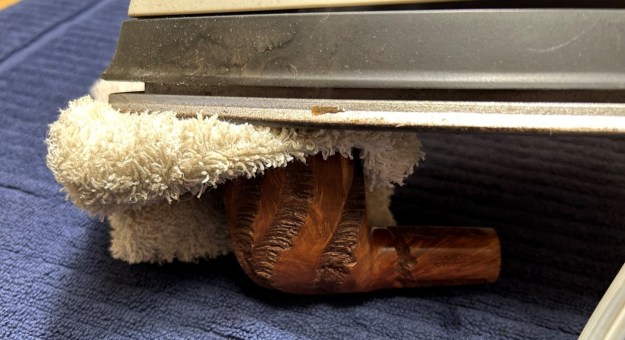
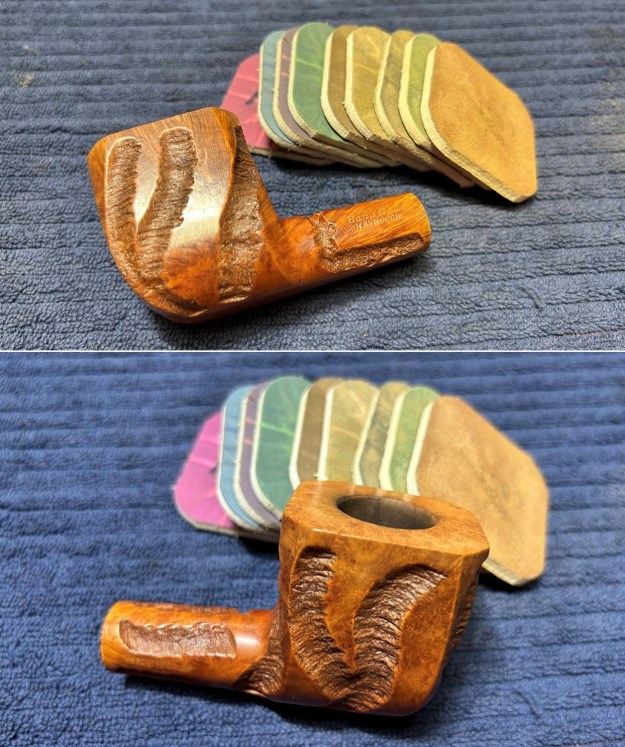
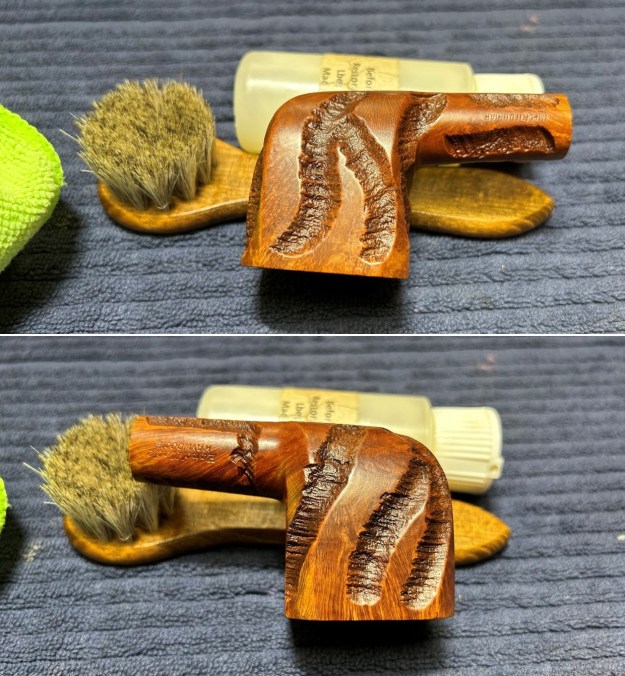
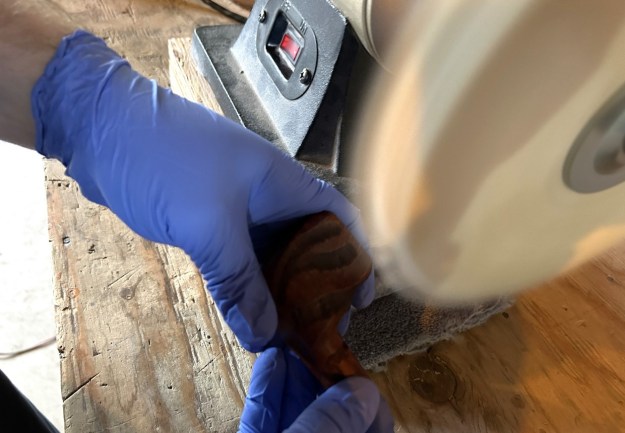
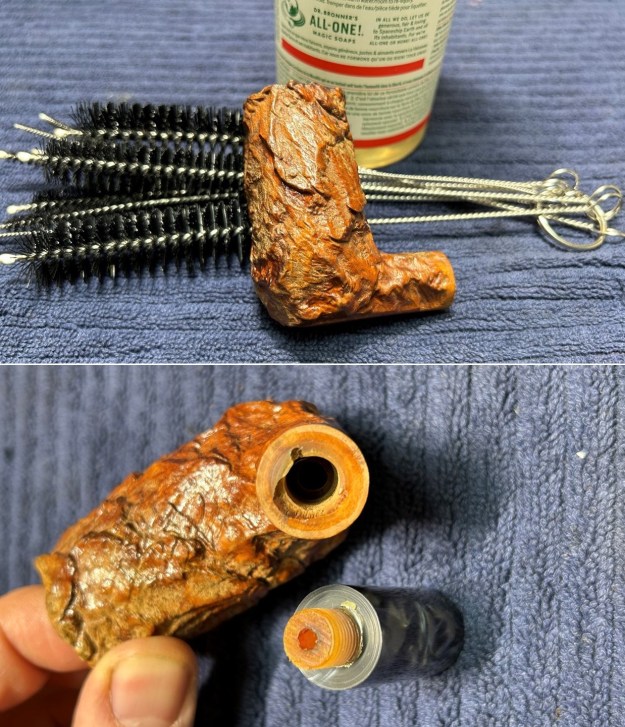
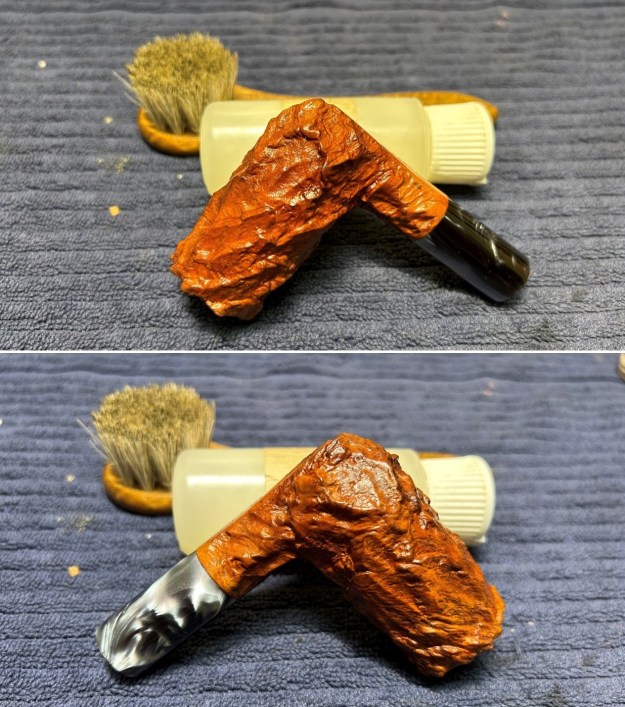
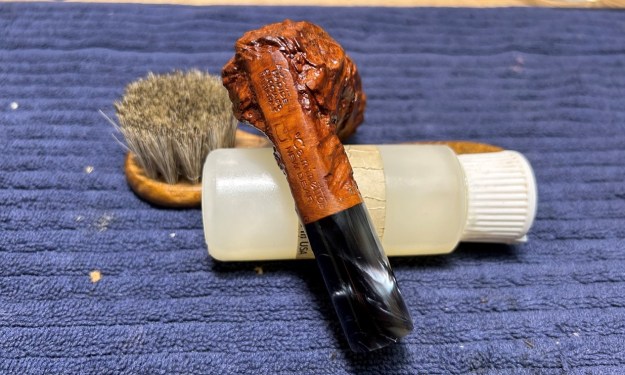
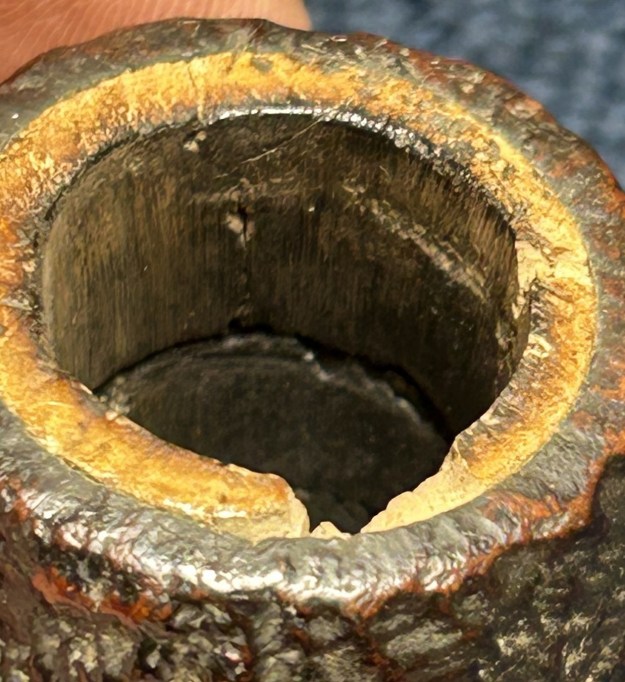
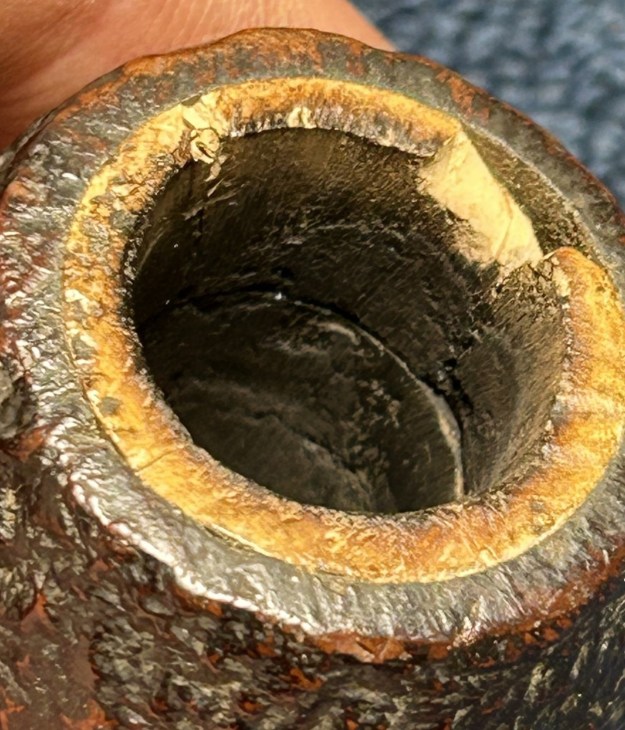
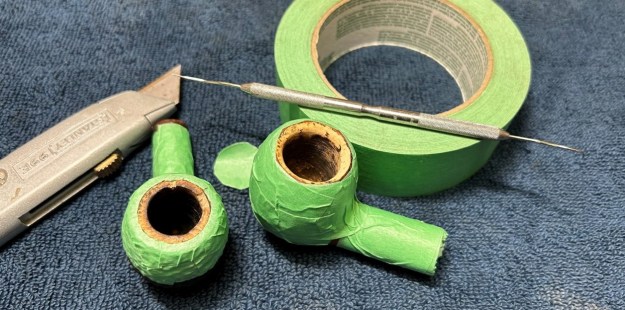
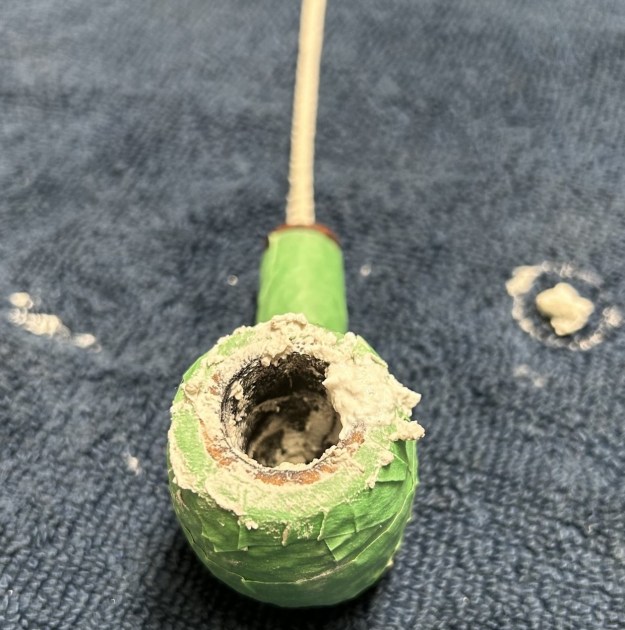
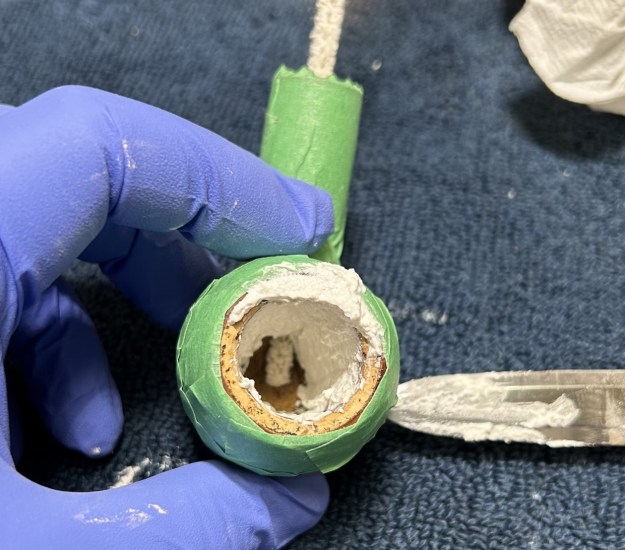
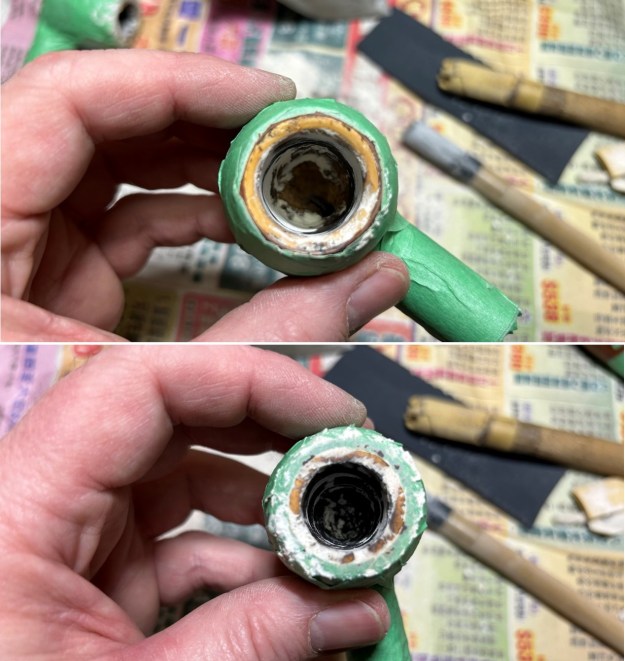
Back in the present day, I began by working the rim back into shape. I sanded it down on my topping board so that it was level (it wasn’t before). I used some tools, including my Dremel and some modified screwdrivers, and re-rusticated the rim. It looked great, but too sharp. So, I sanded the sharp bits to add some softness to the rim. At this point, six months on, I couldn’t remember what cleaning I had and had not done to the pipe. I dragged out some soap and some tube brushes and scrubbed the insides. I’m glad I did – it still needed it.I wanted to have another look at the underside of the stummel for any sign of markings. I used a piece of chalk and pretended this was an old gravestone rubbing. The 301 came out more clearly, but, sadly, nothing else was revealed. It was worth a shot.I knew I had to stain the stummel, but I wanted to address the heat crazes inside the bowl first. I prepared some heat-resistant epoxy and filled the cracks and gouges, ensuring that the epoxy was evenly spread throughout the bowl. Of course, I did plug the draught hole with a folded pipe cleaner (coated in petroleum jelly) to make sure none of the epoxy made its way up there. Once done, a good 24 hours was needed to ensure that the epoxy was properly set.Having completed that, it was time for staining. This would require more than one colour and some finessing to get right. I applied black leather dye with a cotton dauber to colour the recesses (or valleys, if you like) of the rustication. I flamed it with my BIC lighter and let it set. This dye is alcohol-based, so I used isopropyl alcohol to wipe down the pipe and remove excess stain. This wasn’t sufficient, so I also used some 0000-grit steel wool. I coated it again with cordovan leather dye, flamed it again, and let that set too. As before, I wiped it down with alcohol to provide depth, nuance, and variation to the colour. I was pleased – and would be more pleased soon. At long last, I was off to my bench buffer to put the final touches on this pipe. I first gave it a thorough going-over with Red Tripoli. This may seem strange, but I needed to lighten the colour of the high points of the stummel. Then I used the White Diamond compound. Following that, several coats of conservator’s wax created a beautiful, glossy seal on the pipe and moved closer to closure for this long and involved repair.At this point, I glued the ferrule back in place. Then I gently sanded the inside of the bowl to provide a rough surface for what was to come next. I thinly coated the entire inside of the bowl with a mixture of activated charcoal and my wife’s homemade yogurt. Once hardened, this provided a good, slightly rough surface for a new cake to build.This rugged and handsome Peterson 301 System rusticated bent pot has come out of the depths and is back to life. I am pleased to announce that this pipe is for sale! If you are interested in acquiring it for your collection, please have a look in the “Ireland” pipe section of the store here on Steve’s website. You can also email me directly at kenneth@knightsofthepipe.com. The approximate dimensions of the pipe are as follows: length 5¾ in. (145 mm); height ¾ in. (45 mm); bowl diameter 1½ in. (38 mm); chamber diameter ¾ in. (20 mm). The weight of the pipe is 2 oz. (60 g). I hope you enjoyed reading the story of this restoration as much as I enjoyed restoring it. If you are interested in more of my work, please follow me here on Steve’s website or send me an email. Thank you very much for reading and, as always, I welcome and encourage your comments.

Restoring a 1914 BBB Pencil-Shank Billiard


Blog by Kenneth Lieblich

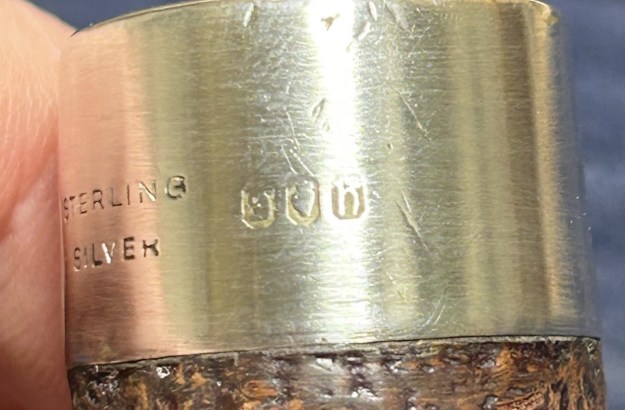
For those of us who hunt for lost pipes, there are always peculiar tales of acquisition – but this one might be my most peculiar location of acquisition. A couple of weeks ago, my wife was out shopping with one of my daughters and they decided to go into an old-time ice cream parlour. While there, my wife spotted a jar for sale on the counter that read ‘Jar with parts + pipes’. That seemed quite odd for an ice cream joint, so she texted me the photo below and asked if I wanted it. It was very inexpensive, so I said, ‘Sure’. What an unusual spot for a jar of pipe parts!Well, there were some interesting bits and bobs in the jar – including a couple of items that particularly caught my eye. This lithe and comely pipe is one of them – and it will enter my pipe collection. As the title says, it is a 1914 BBB pencil-shank billiard with a sterling silver band and vulcanite, tapered, orific stem. How do I know it is from 1914? Well, let us take a closer look at that sterling silver band.Amidst the heavy tarnish, we can see three distinct marks. From left to right, they are an anchor, a lion passant, and a letter ‘P’. What do these marks mean? The anchor is the city mark and indicates the English city of Birmingham. The lion passant is the silver standard mark and indicates sterling – that is to say, 92.5% pure silver. The letter ‘P’ is the date letter and, as shown in the chart below, indicates the year 1914.That information was definitive in establishing a time period for the pipe. The other marks are perhaps slightly less helpful. The left side of the shank, the left side of the stem, and the silver band each have the recognizable logo of BBB inside a diamond shape. There are no other markings – although the absence of a model name etc. tells its own story. Read on. Let’s learn a bit about BBB. The article on Pipedia is bizarre insofar as the vast majority of the text is an egregious translation (from the French) of a good history of BBB on the Fumeurs de Pipe website. I speak French and the Babelfish translation that Pipedia uses is not helpful to anyone. I intend to make my own translation of that history one day. In the meantime, here is the non-translated text at the start of that article:

The initials once stood for Blumfeld’s Best Briars after Louis Blumfeld, who took over the management of the Adolph Frankau Company in 1856. After his death, the BBB gradually became known as Britain’s Best Briars. Soon to be the oldest English trademark in current use and the first pipe ever to have a registered trade mark. “Britain’s Best Briars”, often called BBB, is one of the oldest brands still in production and has always been the most popular foreign brand in Denmark. Earlier pipes included a metal rondel with a diamond shape including BBB imbedded in the stem top, and later post-Cadogan went to a stamped on logo, similar to the GBD pipes.

One detail that is of note from this time period of BBB pipes is that they only had two grades/models of pipe. One was ‘BBB Own Make’ (which later became BBB Best Make) and the other being simply ‘BBB’. This pipe is clearly in the latter category. Below is a page from a 1910 Harrods catalogue, showing some BBB pipes for sale. I have circled the one that most closely resembles the pipe I have and showed a close-up of it. Let us move on to the restoration. This pipe is 110 years old and I suppose it has fared well in that time. Certainly, I have seen much newer pipes in much worse condition. As I mentioned earlier, this stem is tapered, made of vulcanite, and concludes with an orific button. For more information on the orific button, please take the time to read Steve’s interesting article on the subject. As you can see, the stem is coated with calcification and oxidation. It has a few tooth marks, but nothing too serious. Sadly, however, the stem’s tenon has broken off inside the stummel’s mortise. More about the tenon in a bit. The stummel is in rougher shape. The wood shows wear and tear, including the odd nick and a significant gouge at the rim edge. The bowl is pretty thoroughly coated with cake and lava has erupted on to the rim. There is also some evidence of burned wood under that lava. I will have to excavate to learn more. Fortunately, this stummel does not look over-smoked (which was a real possibility), despite it clearly being a favourite of the previous owner. The sterling silver band (as you have already seen) is in fairly good physical condition, although it clearly has been heavily tarnished.I began my restoration of this pipe by cleaning the stem. I wiped it down with some oil soap on some cotton rounds in order to remove some calcification. I then cleaned the insides with pipe cleaners and 99% isopropyl alcohol. Although it was a bit dirty, it was much cleaner than I had expected after all these years.In order to address the oxidation, I dropped the stem in an oxidation removing fluid and left it to sit overnight. This mixture tends to draw the stem’s oxidation to the surface, where it can be more easily removed. When the stem was done soaking, I scrubbed the stem with some surface cleanser squirted on cotton rounds. This worked very well at removing the unsightly oxidation.I took a closer look at the diamond-shaped logo – it had been heavily worn over the past century or so. I hemmed and hawed about adding gold paint back to the logo on the stem. In the end I did it and figured that I can always remove later if I so desire.In my desire to keep original components wherever possible, I perfunctorily decided to not replace the tenon at this time. I knew that I could superglue it back in place – but I also knew that that would not hold in the long term, due to its poor shear strength. This would only be a cosmetic solution. Ultimately, however, I will replace the tenon at a later date. For now, I just want to see this thing restored!

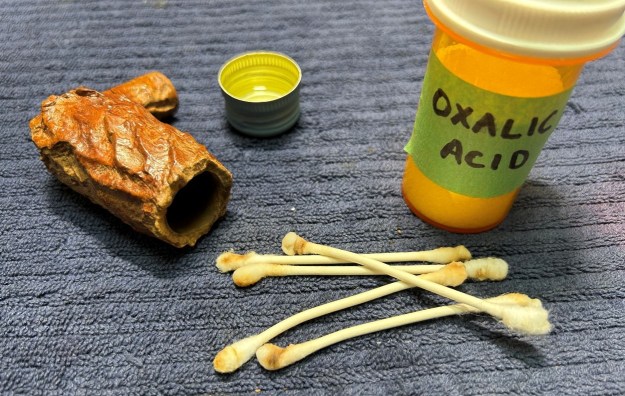
In order to smooth and shine the beautiful black surface of the stem, I used my nine Micromesh pads to sand everything down gradually and delicately. For the last five of these pads, I also use some oil, both as a lubricant and as a method of inhibiting the return of oxidation. It is a lovely stem and it complements the stummel perfectly. On to the stummel – and my first task was reaming the cake out of the bowl. This was surprisingly challenging work, as the cake had become very hard over the years. There was a lot of debris and the narrowness of the bowl made it all the more tricky. I was also conscious of not wanting to crack the briar as I was doing this. In the end, a lot of carbonized material came out and the bowl remained perfectly intact. Next, I wanted to address the thick layer of lava on the rim. I put some oil soap in a shallow, plastic lid and soaked the rim in it for about a dozen minutes. This softened things up and I attacked it with a toothbrush. This allowed me to clean the rim very well, also using a piece of machine metal as a gentle scraping device. There was still damage, but it was much improved. As with the stem, I cleaned the insides of the stummel with pipe cleaners and 99% isopropyl alcohol. It was among the dirtiest pipes I have ever dealt with. Wow. The filth seemed as though it would never end. Obviously, it did at some point and I put the pipe down for a while – I was sick of seeing it!Of course, I came back to it and used some cleaner and tube brushes to scrub the insides clean. My efforts had not been in vain however, as the pipe looked so much better when I was done. I removed some of the burn marks on the rim with an aqueous solution of oxalic acid. I took some cotton swabs and rubbed and rubbed. The burns did improve but never fully disappeared. I took solace from the fact that the burns were superficial and did not affect the structural integrity of the wood. Alas, I neglected to take photographs of this step.

I also opted to leave the large wounds in the briar without filling them. They are part of this pipe’s long life and I am happy for them to remain as they are. The sanding will soften the edges of these wounds and that is sufficient. With that in mind, I set about sanding the stummel with my Micromesh pads. With each pad, the wood got smoother and the pipe got prettier. One product that always makes things better is the restoration balm that I use on the wood. It provides protection and revivification to the wood grain. I applied the stuff lightly but thoroughly, and then let it sit for 15 or 20 minutes. I then buffed it with a microfibre cloth and set it aside. What a beauty! After the Micromesh pads, but before the restoration balm, I cleaned up the sterling silver band. I worked very hard and very gingerly to remove the tarnish without damaging the antique silver. I reglued it in place, back on the shank, and finally buffed with my jewellery cloth.

Last step: off to my bench polisher! Here, I gave both the stem and stummel a thorough going over with the White Diamond compound and followed that up with a coat (only one this time) of carnauba wax. The pipe is absolutely beautiful and is truly reminiscent of an earlier time.All finished! This is a wonderfully crafted pipe and has a very jaunty feel to it. It took some work, but I am proud of it. It retains some wounds from battle, but, as Steve would say, they are part of this pipe’s story. This is one pipe that I am keeping for myself and adding to the ‘Lieblich Collection’. I am sure that I will be enjoying this one for many years to come. The approximate dimensions of the pipe are as follows: length 6 in. (153 mm); height 1½ in. (37 mm); bowl diameter 1 in. (27 mm); chamber diameter ⅔ in. (17 mm). The weight of the pipe is ⅝ oz. (18 g). I hope you enjoyed reading the story of this pipe as much I as I did restoring it. If you are interested in more of my work, please follow me here on Steve’s website or email me directly at kenneth@knightsofthepipe.com. Thank you very much for reading and, as always, I welcome and encourage your comments.

Restoring a Beautiful Savinelli Punto Oro


by Kenneth Lieblich

Next up on my restoration adventures is this Savinelli Punto Oro 915 KS. I acquired it from an older gentleman in Vancouver. He said he bought this (and the other pipes I got from him) more than “fifty years ago” – his words. That would date it to the early seventies, which fits with the style of the pipe. This is an unusual shape, to be sure. Savinelli calls it a Dublin – and so it is – but it has a luxurious, hourglass look to it as well. It has an elegant, elliptical shank and tapered, vulcanite stem. Perhaps I’ll call it a clessidra di Dublino. It’s a wonderful pipe and it deserves to be part of someone’s collection again. This pipe promises to be a great smoker. Let’s look at the markings. The top side of the shank reads Savinelli [over] Punto Oro. Savinelli, of course, is an Italian company, and the words Punto Oro mean literally, “gold point”. On the underside of the shank is the lovely Savinelli crown, next to which are the marks 915 KS [over] Italy. Naturally, the number refers to the shape and KS means “King Size”. Finally, there is a gold-coloured dot on the stem (made of brass) – a very nice touch.Savinelli is one of the most recognized names in pipe smoking and they have a long and storied history. You can read about them from their own website or from Pipedia’s article about them. However, I was particularly interested in learning more about the Punto Oro line. Sadly, Pipedia had nothing on this subject. I checked with Pipephil and they did have a bit of information, which I display below.I also found a bit of information on the Punto Oro line from Savinelli’s own website. They write:

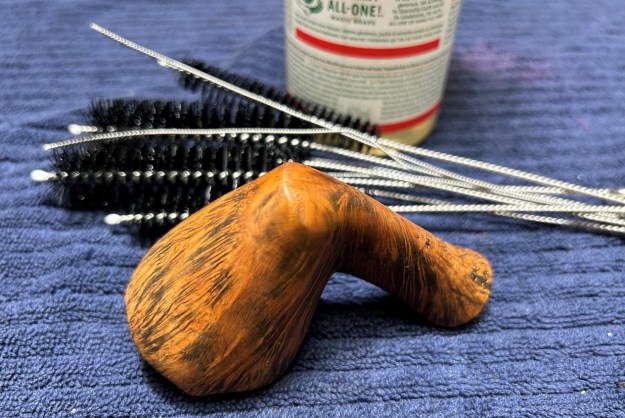
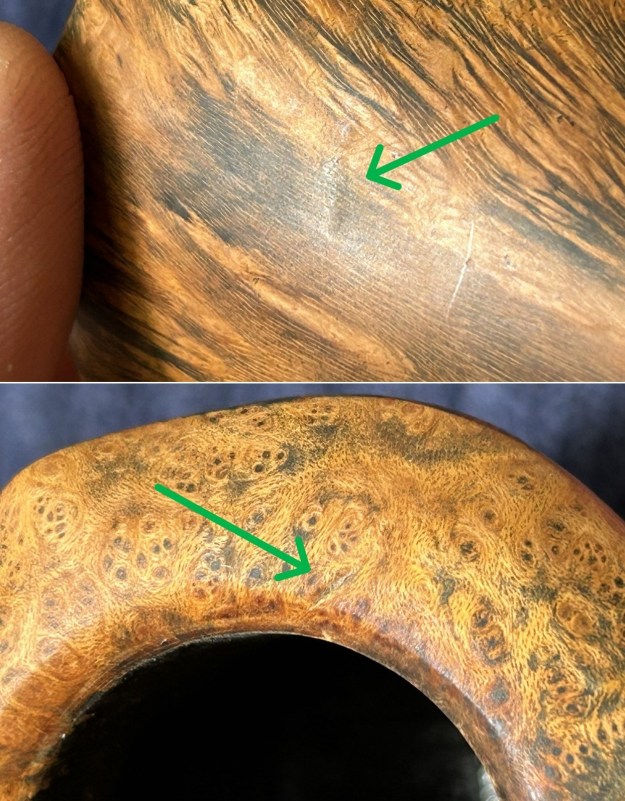
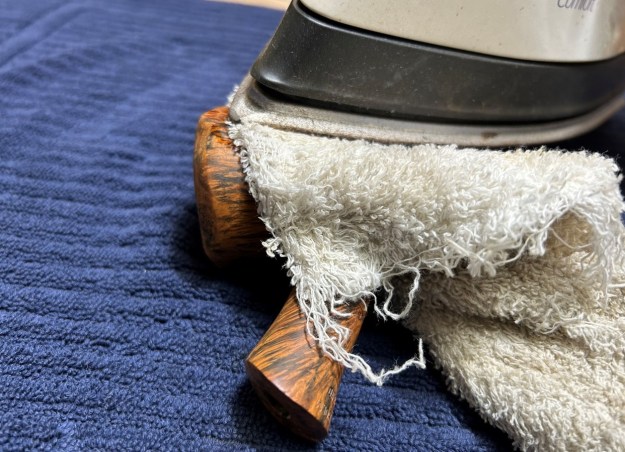
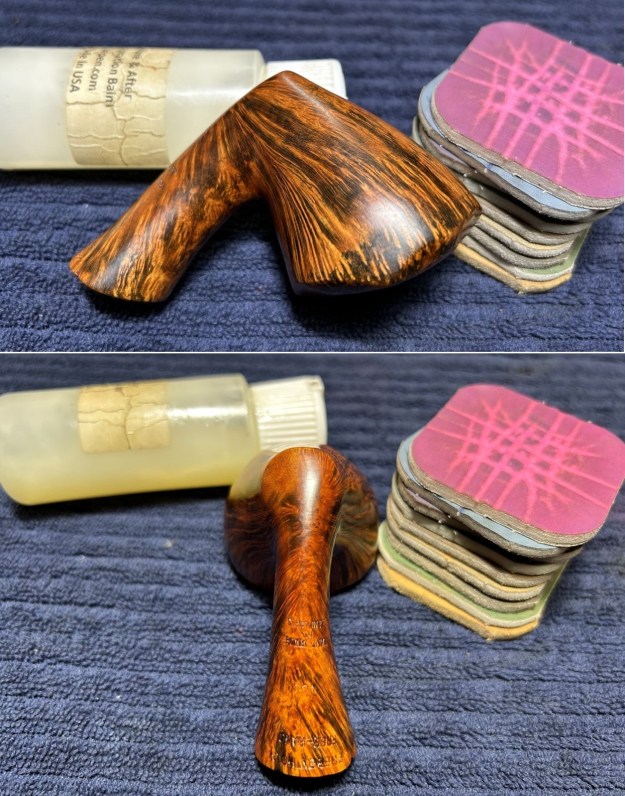
PUNTO ORO pipe was the first pipe created by Achille Savinelli after the opening of the factory in 1958; a pipe that has always distinguished the Savinelli brand, its elegance, reliability and tradition. It is a top quality pipe with a wonderful grain. It is important to know it is very difficult to find a briar piece suitable to become a PUNTO ORO: just 1,2% of the whole choice is selected for this series, therefore not all our shapes are always available for these pipes.This was a well-loved pipe – and it shows in the best way. The stem on this pipe definitely shows signs of use. There were quite a few scratches in the vulcanite. There was also some calcification and oxidation. The stummel looked elegant, but tired. There were indications of lava on the rim and plenty of cake in the bowl. Also, the briar had a few little nicks along the rim from the years of love of its previous owner. Most concerning though, was a field of nicks on one side of the briar. Eek! More on that later. Well, the usual cleaning procedures were in order for this pipe. I started on the stem by wiping it down with some Murphy’s on a cotton round. Then, I cleaned out the insides of the stem with pipe cleaners and lemon-infused isopropyl alcohol. It wasn’t too dirty.Once that was done, the stem went for an overnight soak in the Before & After Hard Rubber Deoxidizer. After soaking, I cleaned off the de-oxidizing fluid with alcohol, pipe cleaners, et cetera. The oxidation had migrated to the surface and I used SoftScrub to work it off.Before I moved on to the Micromesh pads, I built up the tooth damage on the stem with black cyanoacrylate adhesive and let it fully cure. I used my miniature files to take down the majority of the dried glue. I then sanded it down with 400-grit sandpaper to meld seamlessly into the stem. I then used all nine Micromesh pads (1,500 through 12,000 grit) to bring out the lovely black lustre on the stem. I also used Obsidian Pipe Stem Oil in between each pad scrubbing. This also really made the brass dot pop! Putting the stem aside, I moved on to the stummel. I used both the PipNet Reamer, the KleenReem, and some sandpaper taped to a wooden dowel to take the bowl down to bare briar, as I wanted to ensure there were no hidden flaws in the walls of the bowl. Fortunately, there were none.I then proceeded to clean out the insides of the shank with Q-tips, pipe cleaners, and isopropyl alcohol. There was an enormous amount of nastiness inside this stummel and – boy-oh-boy – it took a lot of cotton to get this thing clean! A de-ghosting session seemed like a good idea. This de-ghosting consisted of thrusting cotton balls in the bowl and the shank, and saturating them with 99% isopropyl alcohol. I let the stummel sit overnight. This caused the oils, tars and smells to leech out into the cotton. Finally, a relatively clean and fresh-smelling bowl emerged. I then moved on to cleaning the outside of the stummel with Murphy’s Oil Soap and some cotton pads. What a difference that made! I also cleaned the insides with some soap and tube brushes. I examined the vast range of bumps in the briar. I dug out my iron and a damp cloth to try to raise them. The hot and moist steam can often cause the wood to swell slightly and return to shape. This worked incredibly well – I was absolutely delighted with the results. I took a close look at the rim. In order to save as much of the rim as possible, I used a piece of machine metal to very delicately scrape away as much lava as I could. I do this before automatically jumping to my topping board. This worked well and the topping board was not needed. Instead, I filled in a couple of nicks and used a wooden sphere and some pads to even out the top side and make it beautiful. After this, I used all nine Micromesh pads (1,500 through 12,000 grit) to make everything smooth. I applied some Before & After Restoration Balm and finally saw the beauty of my work. Off to the bench polisher I went. I applied some White Diamond and a few coats of carnauba wax and they added the finishing touch. This Savinelli Punto Oro 915 KS clessidra di Dublino was in need of a new lease on life. I am pleased to announce that this pipe is for sale! If you are interested in acquiring it for your collection, please have a look in the “Italy” pipe section of the store here on Steve’s website. You can also email me directly at kenneth@knightsofthepipe.com. The approximate dimensions of the pipe are as follows: length 5⅞ in. (150 mm); height 2 in. (51 mm); bowl diameter 1⅝ in. (39 mm); chamber diameter ¾ in. (20 mm). The weight of the pipe is 1½ oz. (46 g). I hope you enjoyed reading the story of this restoration as much as I enjoyed restoring it. If you are interested in more of my work, please follow me here on Steve’s website or send me an email. Thank you very much for reading and, as always, I welcome and encourage your comments.

New Life for a Butz-Choquin Supermate Lovat


Blog by Kenneth Lieblich

Another pipe in my ongoing “French Collection”, this one came in a lot of pipes from a local auction. It’s a good-looking pipe, despite its considerable superficial blemishes. This pipe is a Lovat – a member of the Canadian family of pipe shapes. It has a long, round shank with a short, saddle stem. It was made by the famous and long-standing French pipe maker Butz-Choquin and is a wounded but very attractive pipe. As I don’t have photos of the restoration process this time, I am merely doing a “before and after” display of this charming pipe. Both Pipedia and Pipephil have good write-ups on the history of Butz-Choquin and I encourage you to read both. Also, Steve has restored quite a few and it’s worth having a look at his writings too. For the moment, here is some information from Pipedia:

The pipe, from Metz to Saint-Claude.

Jean-Baptiste Choquin of Metz started out as a tobacconist. This enterprise was prosperous; he had several employees. Among those, there was a certain Gustave Butz who was its first workman and who became his son-in-law by marrying Choquin’s daughter Marie in 1858. 

In 1858 Jean-Baptiste Choquin created, in collaboration with Gustave Butz, the Choquin pipe. This bent pipe with a flat-bottomed bowl was finished with an albatross-bone mouthpiece, fixed with silver rings.

In 1858, still in Metz, Gustave Butz built an establishment for the manufacture of the Choquin pipe which took the name of. In 1951, the Berrod-Regad company bought the trademark, continuing manufacture until 2002. Departing from Metz, the workshop was relocated to Saint-Claude, then also called “the world capital of the briar pipe”, under the Berrod-Regad group. The Berrod-Regad group would go on to completely rebuild the network of representatives until finally entering the export market in 1960 and has since won several prizes, as well as the Gold Cup of French good taste.

In a few years, the brand’s collection increased from ten to seventy series. 135 years after it was founded, the pipe is still well-known not only in France but throughout the world. In 2002, the Berrod family, wishing to preserve manufacture of pipes in Saint-Claude, handed over the company to Fabien Guichon, a native of the area, who will continue to develop the brand during the 21st century.Meanwhile, Pipephil says this:

The origin of the brand reaches back to 1858 when Jean-Baptiste Choquin in collaboration with his son-in-law Gustave Butz created their first pipe in Metz (France). Since 1951 Butz-Choquin Site officiel Butz Choquin, pipes de Saint-Claude jura. BC pipe de bruyere luxe is a brand of the Berrod-Regad group (Saint-Claude, France).

Jean Paul Berrod managed the company from 1969 to 2002 when he retired and sold the corporate to Mr Fabien Gichon. Denis Blanc, allready owner of EWA, took over the S.A. Berrod-Regad in 2006.

In an old Butz-Choquin catalogue, I found the pipe shape in question, listed with its requisite number:On the left side of the shank, it reads Butz-Choquin [over] Supermate (which is the model name). On the right side of the shank, it reads St Claude, France [over] 1602. On the left side of the stem is the company’s logo, a “BC”. The logo is in decent condition, but not perfect. This pipe was heavily used – in fact, pretty much everything is wrong with this pipe. The stem has been chomped and smashed by the onslaught of teeth. There is horrific calcification and oxidation. It’s been scratched and beaten and battered. The stummel has fared no better. It’s clearly been through the wars. It’s filthy and badly stained by who-knows-what. The bowl is full of cake and the rim is overflowing with lava. There are burns and bumps and scrapes. The wood itself is actually very attractive – despite a couple of fills – but it will take all of my “nous” (as my English friends would say) to get this pipe back to life. I scrubbed the stem with Murphy’s Oil Soap on some cotton pads. I also took a BIC lighter and ‘painted’ the stem with its flame in order to lift the few bite marks and dents. Then I cleaned out the inside with pipe cleaners and lemon-infused isopropyl alcohol.

I wiped down the stem with SoftScrub cleaner to remove surface oxidation. Then the stem went for an overnight soak in the Pipe Stem Oxidation Remover. The next day, I used SoftScrub again with some cotton rounds.

After this, I used some nail polish to restore the logo on the stem. I built up the tooth dents on the stem with black cyanoacrylate adhesive and let them fully cure. I then used my Micromesh pads and Obsidian Pipe Stem Oil to make it look great. I reamed out the stummel and removed all the filth. Fortunately, there was no damage to the interior walls. I used cotton rounds and some Murphy’s Oil Soap to scrub the outside of the stummel and a toothbrush with Murphy’s for the lava on the rim of the pipe.
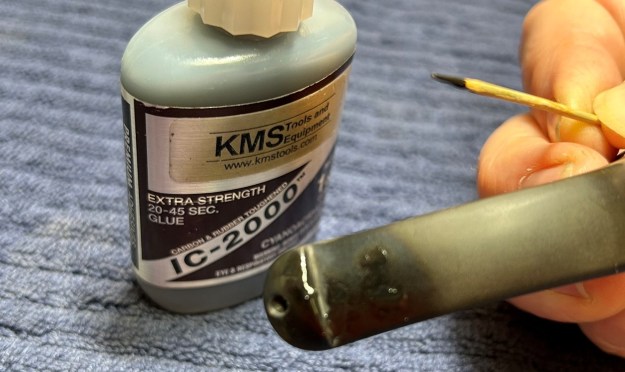
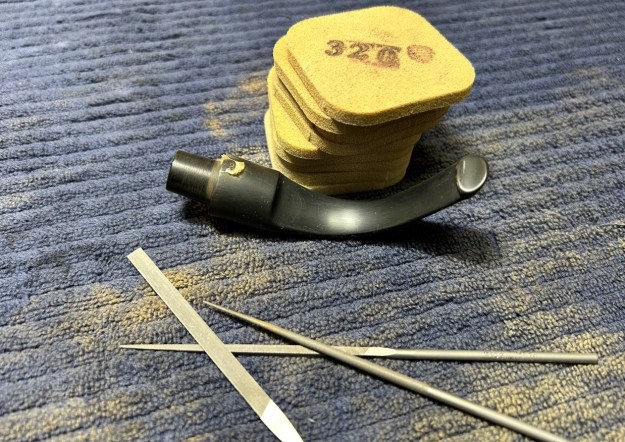
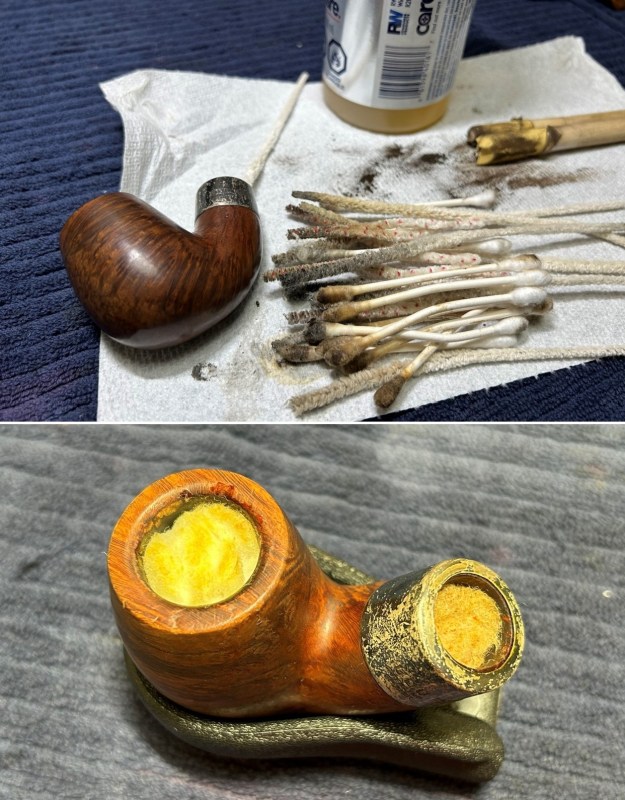
I then proceeded to clean out the insides of the shank with Q-tips, pipe cleaners, and lemon-infused isopropyl alcohol. I followed that up by cleaning the insides with some dish soap and tube brushes. I then de-ghosted the and the bowl was nice and clean after this.
I repaired the fills in the wood, then took my Micromesh pads to sand and smooth everything out. Because of the suffering this pipe endured, I decided to apply some stain to the wood and I was absolutely delighted with the results. The pipe looked so good!After that, a light application of Before & After Restoration Balm brought out the best in the stummel’s grain. I took it to the buffer. A dose of White Diamond and a few coats of carnauba wax were just what this pipe needed.

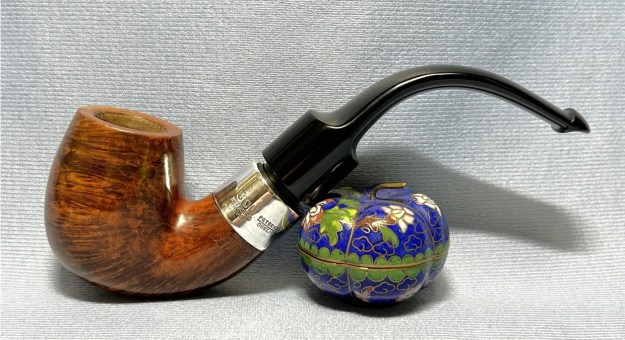
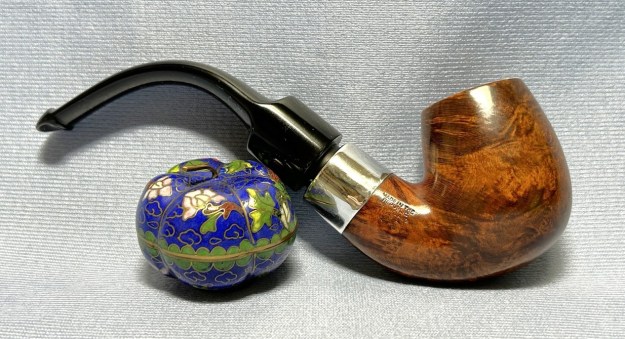
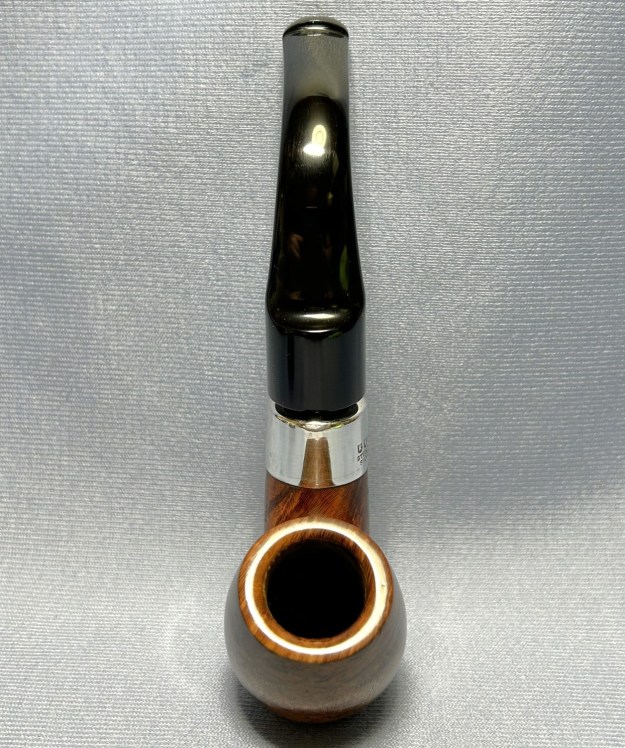
This Butz-Choquin Supermate 1602 lovat looks amazing now – in fact, it hardly looks like the same pipe! Its beauty is back again and it is ready to be enjoyed by the next owner! I am pleased to announce that this pipe is for sale! If you are interested in acquiring it for your collection, please have a look in the ‘French’ pipe section of the store here on Steve’s website. You can also email me directly at kenneth@knightsofthepipe.com. The approximate dimensions of the pipe are as follows: length 5⅔ in. (144 mm); height 1¾ in. (44 mm); bowl diameter 1⅓ in. (33 mm); chamber diameter ¾ in. (20 mm). The weight of the pipe is 1 oz. (29 g). I hope you enjoyed reading the story of this pipe’s restoration as much as I did restoring it. If you are interested in more of my work, please follow me here on Steve’s website or send me an email. Thank you very much for reading and, as always, I welcome and encourage your comments.
Fixing an Unusually Tricky Crack


Blog by Kenneth Lieblich

Welcome to another instalment of my Pipe Incident Reports. The idea, in general, is to provide a brief write-up – focusing on a particular pipe-restoration-related issue – rather than an entire restoration story. Today’s story is on the resolution of a very specific pipe repair, with some added challenges. I hope this blog post will be useful for those undertaking a similar repair.

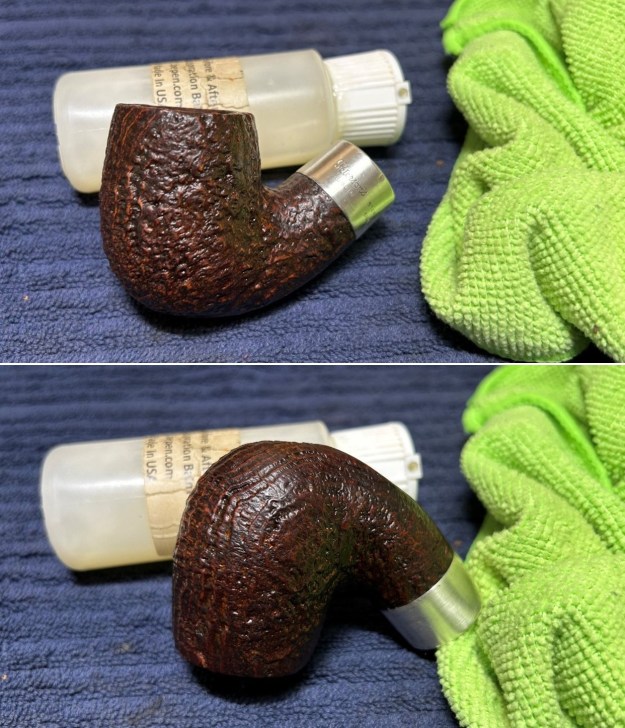
A couple of years ago, I restored a handsome Vauen Luxus 2013 for a friend and he’s smoked it with great gusto since then. In fact, you can see the story of its restoration here. By his own testimony, it’s a great pipe, smokes well, feels good in hand, etc. However, he noticed that a crack had appeared in the stummel and he wondered what I thought about it. This news sounded concerning, so I asked him to text me some photos and here is what he sent me: Yikes! Not good at all. Aside from the obvious damage, I wondered if I had missed something the first time around. I went back in my files and closely examined all the photographs of the pipe from two years ago. There was no hint of any damage or potential for damage. Naturally, I asked Steve about it, and he posited that there must have been a pre-existing flaw in the briar. As it was hidden in the shank, there’s no way we could have known about it in advance. Whatever the cause, it was up to me to fix it. The photos show that, as the pipe was smoked, tobacco oils leeched through the crack and stained the wood. Furthermore, the horn shank extension was also being stained. That isn’t a good sign, but – first things first – let’s get the pipe clean. I did my usual thing: reaming out the bowl, cleaning the tars and oils with isopropyl alcohol, etc., and scrubbing the insides with a cleaner and some tube brushes. I also used a dental pick to remove as much debris as possible from the crack. Here it is looking clean, albeit a bit the worse for wear:Fixing a crack like this isn’t the end of the world: it usually involves drilling micro-holes at both ends of the crack and then sealing it. In this case, its location added some considerable challenges. One end of the crack was adjacent to the horn shank extension and I didn’t want to risk drilling there and potentially damaging the horn. The other end of the crack was in the trickiest location to access – right in the lowest point of the bend in the stummel.

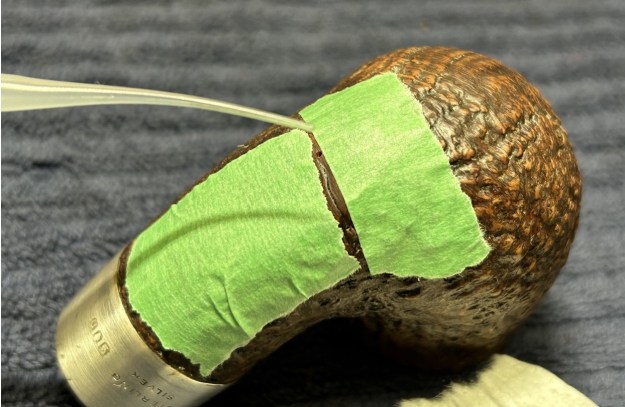
As usual, I used the smallest micro-drill bit I owned. This drilling is done to stop the crack from extending on its own. Before I stated drilling, however, I covered everything around the crack with some clear hockey tape. I wanted to prevent my drill from rubbing against the wood or horn, or potentially gouging anything during this rather precarious procedure. With great care, I managed to successfully drill the hole through the briar. I then plugged the shank with pipe cleaners coated in petroleum jelly, as it prevents the soon-to-be-applied cyanoacrylate adhesive from adhering to the insides (in case it drips inside). I created a thin bead of adhesive along the damaged area and ensured that it was well filled. I left the adhesive to cure and came back to inspect my work. It looks like it worked well. This sort of restoration will never be invisible, but will ensure a very strong repair for the future.Once again, the location of the repair proved challenging as I set about sanding down the excess adhesive with needle files and then using my Micromesh pads over the whole stummel. I added some Before & After Restoration Balm and worked that into the wood. I also took it to the buffer for some wax, but the photos below were taken before that. Thanks so much for joining me on this tricky repair. I hope you enjoyed reading this instalment of the Pipe Incident Report – I look forward to writing more. If you are interested in my work, please follow me here on Steve’s website or email me directly at kenneth@knightsofthepipe.com. Thank you very much for reading and, as always, I welcome and encourage your comments.

Restoring a Beautiful Danish Freehand


Blog by Kenneth Lieblich

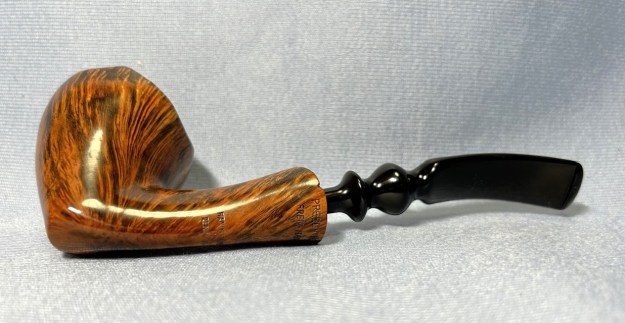
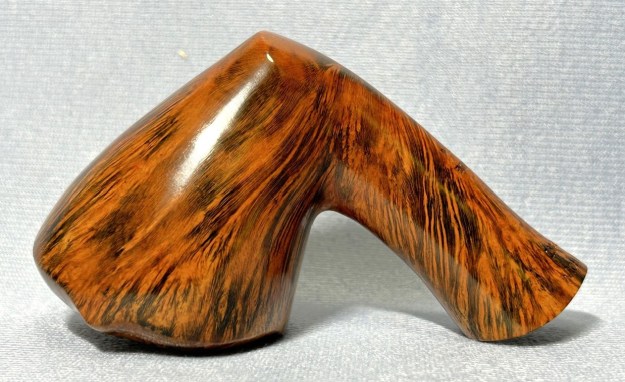
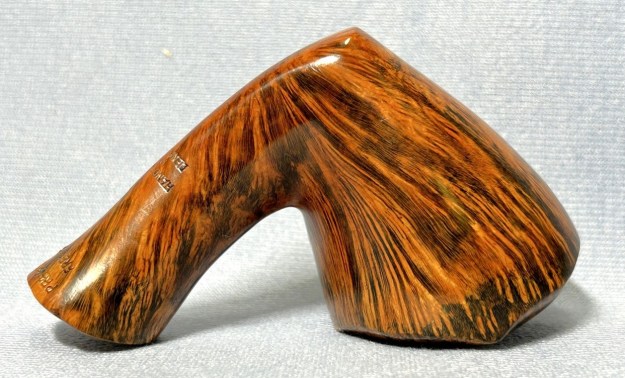
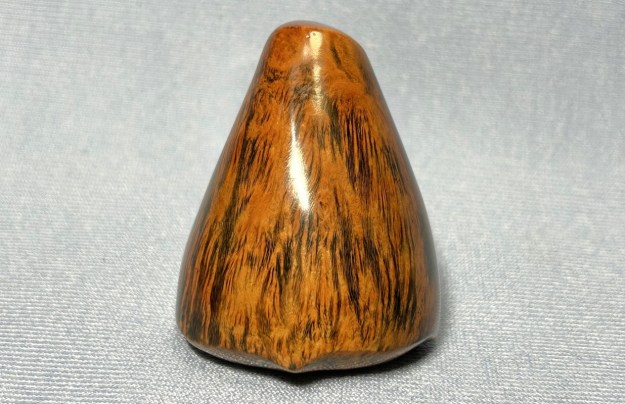
From time to time, I come across a pipe that seems to embody everything one wants a pipe to be: aesthetically pleasing, well proportioned, skilfully carved, forcefully present. This is one of those pipes. It is a Granhill Select Freehand. The grain on this pipe is absolutely beautiful. There is precious little information on the Granhill name. Yonks ago, Steve did a blog post on a Granhill pipe and it contained all the available information at the time. The maker was either a carver named Michael Kabik or a tobacconist named Lonnie Fay. Now, Fay may well have produced pipes under this name, but I think we can say with certainty that this pipe is by Kabik, based on the similarity of design and logo. I will reproduce here some of what is written is Pipedia:

Michael Victor Kabik or Michael J. Kabik, now retired artisan and pipe repairman, was born in Annapolis, Maryland in 1950. As a student he was fascinated by science, but finally turned to the arts. In the early 1970s he started working as an artisan and designer for Hollyday Pipes Ltd., and when the company closed he set up in his own right.

Kabik writes as follows:

…In the 1960s, I had helped Jay build Jay’s Smoke Shop and was his first employee. Since that time, he had set up one of the very first freehand pipe-making operations in the U.S. along with his partner, Chuck Holiday, called CHP-X Pipes. The staff consisted of four full-timers actually making the pipes and perhaps another four in sales and office work. Chuck, who did the actual design and carving, had long since had serious disagreements with Jay and split. Chuck’s replacement from the staff was quitting, and Jay was in a bind. Jay offered me the job, and I gladly accepted. The fellow quitting was supposed to train me for two months but left after two weeks, leaving me with an awesome responsibility. I felt as though the future employment of all these people depended on me as the designer and cutter…and it did.

 …Sadly, CHP-X closed its doors two years after my arrival, due primarily to distribution, sales force problems, and other issues to which I was not privy…In love with a medium that satisfied my creative impulses while, pretty much, paying the bills, I bought up the essential equipment and produced pipes on my own. I did this from a farm house my wife and I rented in Phoenix, Maryland. I produced pipes under the name KANE, Gran Hill and others I can’t remember as well as a private label line for a store in, I believe, South Dakota.

 …In 1973, I was approached by Mel Baker, the owner of a chain in Virginia Beach called Tobak Ltd. Mel was interested in producing a freehand pipe line and was alerted to my product by Al Saxon, one of his managers and a former CHP-X employee. Mel wanted to relocate me to Virginia Beach, give me carte blanche, and recreate the CHP-X studio with, of course, a new name for the product. I’m sure my answer came very quickly.

 …We decided on the name Sven-Lar. Why? Well, when I bought out CHP-X, I also got a small drawer full of metal stamps that were created for private-label work. The Sven-Lar name was conceived but never realized. Aside from having the stamp already made, there were other reasons we chose Sven-Lar. First, we were making a line of pipes in the Danish freehand tradition and also, sadly, we knew the difficulty American pipe makers had breaking the foreign market mystique barrier. The latter certainly played a big part in the demise of CHP-X.

You can read the entire Pipedia article on Kabik here. Just to close the loop on this, I also found Kabik on Facebook. I haven’t contacted him yet, but I may to see if we can get some more historical information. Here is a relatively recent photo of him:

The markings on the pipe are as follows. On the shank, there is a large letter Z [over] Danmark [over] Granhill [over] Select. Mysteries abound! I don’t know what the “Z” refers to, I don’t know why he uses the Danish spelling of Denmark rather than the English (given that he’s American), I don’t know if Granhill is the same as Gran-Hill, etc., and, finally, I don’t know where “Select” ranks in the pantheon of Kabik pipes. Frustrating.

Let’s have a closer look at the pipe itself. It really is an attractive piece. Overall, it is in good condition – no major issues to resolve. Just a few minor ones – particularly on the stem. It had some significant tooth marks in the button and, as the photo shows, debris clogging the bore. I started with the BIC lighter and “painted” the stem with its flame, in the hopes of raising some of the dents in the vulcanite. Although they did not disappear altogether, they were substantially improved and I was pleased with the results.I wiped down the stem with some Murphy’s on some cotton rounds. Then, I cleaned out the insides of the stem with pipe cleaners and lemon-infused isopropyl alcohol. Once that was done, the stem went for an overnight soak in the Before & After Hard Rubber Deoxidizer. After soaking, I cleaned off the de-oxidizing fluid with alcohol, pipe cleaners, et cetera. The oxidation had migrated to the surface and I used SoftScrub to work it off. I built up the tooth damage on the stem with black cyanoacrylate adhesive and let it fully cure. I used my miniature files to take down the majority of the dried glue. I then used all nine Micromesh pads (1,500 through 12,000 grit) to bring out the lovely black lustre on the stem. I also used Obsidian Pipe Stem Oil in between each pad scrubbing. I used the PipNet Reamer (and some sandpaper taped to a wooden dowel) to take the bowl down to bare briar, as I wanted to ensure there were no hidden flaws in the walls of the bowl. Fortunately, there were none. I then proceeded to clean out the insides of the shank with Q-tips, pipe cleaners, and isopropyl alcohol. It took a fair amount of cotton to get this thing clean!A de-ghosting session seemed like a good idea. This de-ghosting consisted of thrusting cotton balls in the bowl and the shank, and saturating them with 99% isopropyl alcohol. I let the stummel sit overnight. This caused the oils, tars and smells to leech out into the cotton. Finally, a relatively clean and fresh-smelling bowl emerged. I then moved on to cleaning the outside of the stummel with Murphy’s Oil Soap and some cotton pads. I also scrubbed the plateau with a toothbrush. What a difference that made! I then cleaned the insides with some Castile soap and tube brushes. After this, I used all nine Micromesh pads (1,500 through 12,000 grit) to smooth out everything in the briar. Then a light application of Before & After Restoration Balm brought out the best in the stummel’s grain. The grain on this pipe is pretty fantastic! Off to the bench polisher to put the final touches on this pipe. A dose of White Diamond and a few coats of carnauba wax were just what this pipe needed. The lovely shine made the wood look absolutely beautiful.

All done! This Granhill Select Freehand looks fantastic and is ready to be enjoyed again by the next owner. I am pleased to announce that this pipe is for sale! If you are interested in acquiring it for your collection, please have a look in the “American” section of the store here on Steve’s website. You can also email me directly at kenneth@knightsofthepipe.com. The approximate dimensions of the pipe are as follows: length 6 in. (155 mm); height 2½ in. (64 mm); bowl diameter 1⅞ in. (47 mm); chamber diameter 1 in. (24 mm). The weight of the pipe is 1¾ oz. (52 g). I hope you enjoyed reading the story of this pipe’s restoration as much as I did restoring it. If you are interested in more of my work, please follow me here on Steve’s website or send me an email. Thank you very much for reading and, as always, I welcome and encourage your comments.
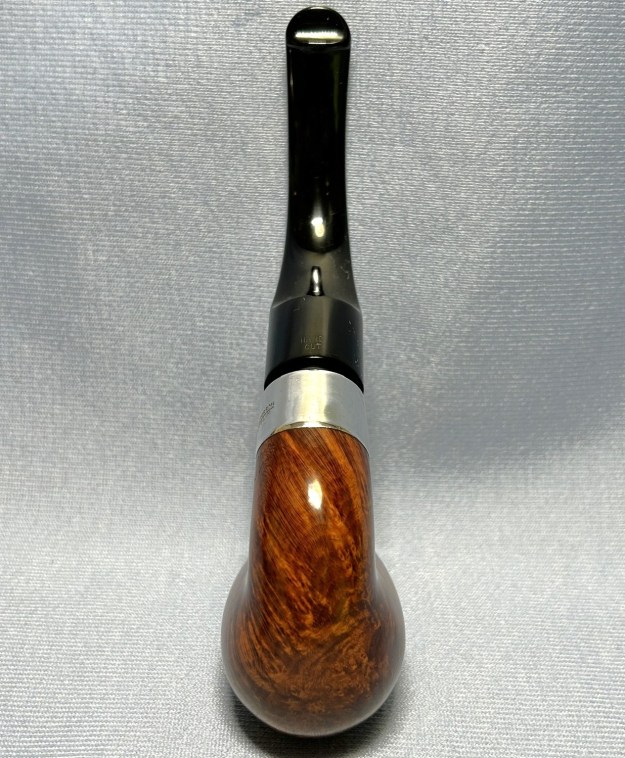
Restoring Five Pipes at Once


Blog by Kenneth Lieblich

One of my customers very kindly sent me five pipes to clean up for him. I had the pleasure of working on some beauties and I thought I would share the results with all of you. I was sent two Jobeys and three Peterson Sherlock Holmes pipes. On this occasion, I did something different than I usually do: I restored all five at once, rather than one at a time. The results on the pipes were as good as usual, but the results on your author’s sanity were perhaps less good. This blog is more of a show-and-tell than my usual restoration stories. Onward ho!

Let’s examine the five pipes. First is a Jobey Band E79 partially rusticated bullmoose with a variegated, acrylic, fishtail, saddle stem. Second is a Jobey Hand-Rubbed 680 smooth bent egg with a black, vulcanite, fishtail, saddle stem. Third is a Peterson’s Sherlock Holmes Professor large bent billiard with a sterling silver band and a black, vulcanite, P-lip, tapered stem. Dated 1998. Fourth is a Peterson Sherlock Holmes Hansom large (and very tall) bent bulldog with a sterling silver band and a black, vulcanite, P-lip, tapered stem. Dated 1997. And fifth is a Peterson Sherlock Holmes (without a specific name) large bent Rhodesian with a sterling silver band and a black, vulcanite, P-lip, tapered stem. Dated 1987. I cleaned the outside of all of the stems with Murphy’s and the insides with pipe cleaners and Q-tips dipped in isopropyl alcohol. The vulcanite stems were tossed into the oxidation removal fluid for a good soak. I later cleaned off the oxidation and went to fill in the tooth dents with black cyanoacrylate adhesive. I worked off the high points with my needle files and sanded them all with Micromesh pads and Obsidian Oil. On to the stummels. I reamed out all the bowls and removed all of that old cake. Some bowls had lava on the rim, so I carefully removed that without damaging anything further. I also cleaned the outside of the stummels with Murphy’s. These stummels had been quite well maintained over the years, so there wasn’t much difficulty in cleaning out the gunk inside – with one exception. The Jobey bent egg had a hidden trap of debris inside that had evidently never been noticed. As the photos show, there was some dreadful goo to remove from there! I set all five pipes up for a de-ghosting session and, since I was doing them all at once, an egg carton made an excellent holder for multiple pipes at once.Again, four of the five stummels were in great condition and didn’t really need much work to the outside briar. The exception was that same Jobey egg – it had a couple of significant blemishes which I repaired with briar dust and cyanoacrylate adhesive. After this, all of the stummels were sanded down with Micromesh pads and then left to sit with a coat of Before and After Balm. It sort of moisturizes the wood and gives it a lovely gloss. I took the pipes to my bench buffer and spiffed them all up with some White Diamond and carnauba wax. My last stem was to polish the sterling silver ands with my jewellery cloth. And voilà! These beauties are already on their way back to their owner. I trust that he will enjoy their new and improved status. I hope you enjoyed reading this quick write-up of this lovely bunch of pipes. If you are interested in my work, please follow me here on Steve’s website or email me directly at kenneth@knightsofthepipe.com. Thank you very much for reading and, as always, I welcome and encourage your comments.
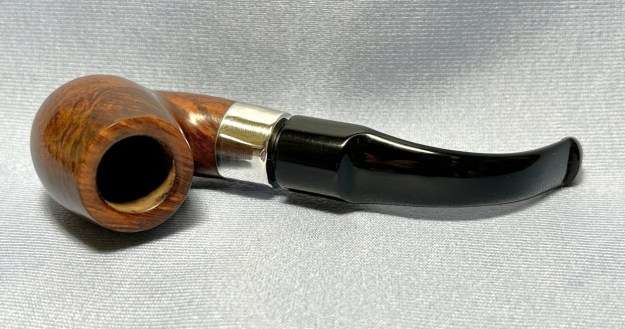
More from the Great Morning Pipe Hunt


Blog by Kenneth Lieblich

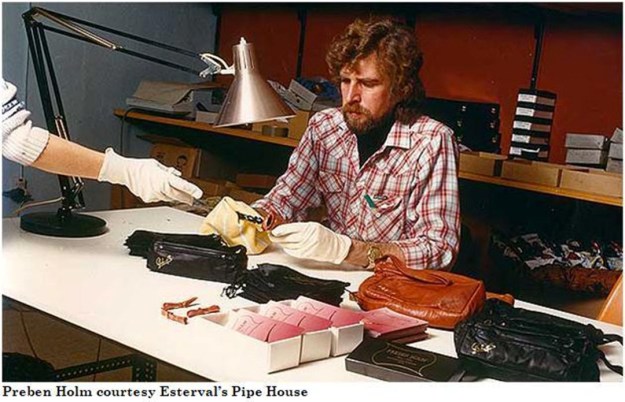
Having read Steve’s run-through of our treasure hunt, I figured I may as well add my finds, for the record. Steve has obviously infected me with the ‘bug’ of hunting down pipes. As he related, we had a great time and here are the six pipes I grabbed:First is a gorgeous black meerschaum billiard with an amber stem (not snapped – Deo gratias) and sterling silver bands around the shank and bowl. And it came with its proper case! I checked the hallmarks and they date this pipe to 1919 – a real old timer. Markings indicate that this is an Adolph Frankau. More on this pipe will come when I do some research.Second is a pipe that we thought was from Preben Holm – but isn’t. Doesn’t matter, it’s still a beauty. It’s made in Denmark by Granhill, which was a brand used by an American, Michael Kabik. This is a really well-made freehand pipe with a fine stem and stunning grain all over the bowl.Third is a really handsome rusticated pipe from Edward’s – a storied company from Florida that secretly stashed a bunch of Algerian briar during a time when it was hard to come by. I really like this shape and looking forward to cleaning it up.Fourth is a fascinating Peterson meerschaum Rhodesian. It has really neat colouring on the bowl and looks like it was greatly enjoyed by its previous owner. I assume that this pipe was made in the Isle of Man, as I believe all (or most) of Peterson’s meers were made there.Fifth is a cutty that’s a bit of a gamble. It isn’t fancy in any way, but it is well-drilled and well-fitted. It says KOOTENAY on the shank, which is a word I know from geography, but not from the world of pipes. Why did I buy it? Because the other side of the shank reads “Made in Canada” in a style that strongly resembles the pipes of the great Canadian artisan, Leonard Payne. More research will definitely be needed here.Sixth and last is a handsome French Lovat with no name of note, but a lot of character. It’s a real looker and I think it’s going to clean up really well.

Steve gave you a good overview of the antique fair, so I won’t reinvent the wheel. I had a great time with Steve and I am always indebted to his knowledge and insight. Hopefully, as time passes, some of that will leech its way into me!

Please follow me here on Steve’s website or email me directly at kenneth@knightsofthepipe.com. Thank you very much for reading and, as always, I welcome and encourage your comments.
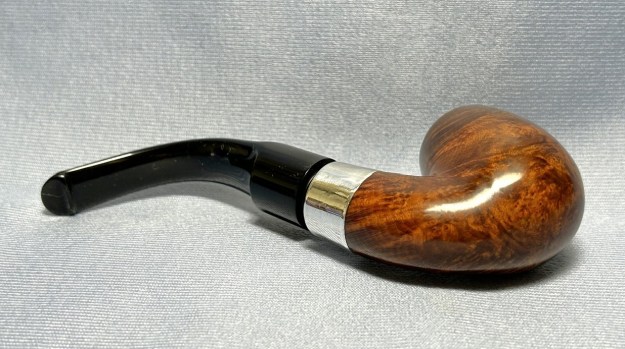
Experiments with Pipe Mud


Blog by Kenneth Lieblich

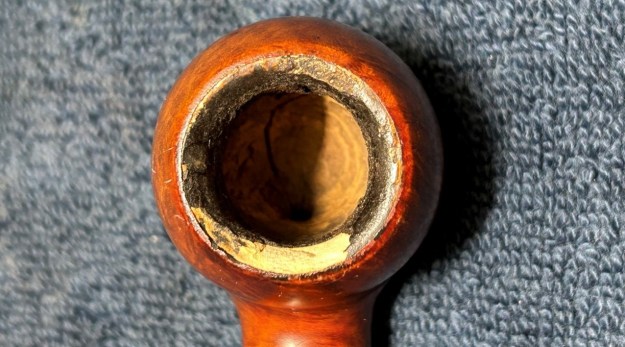
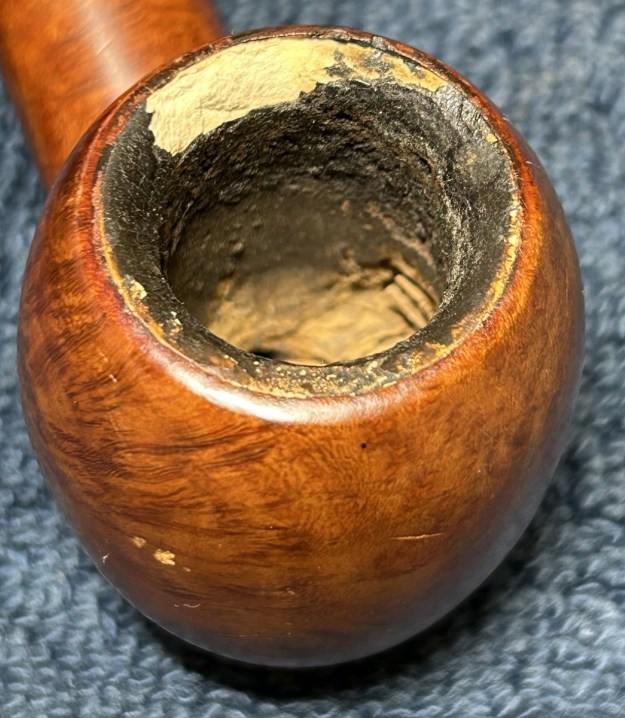
Welcome to another exciting episode of Kenneth Provides Solutions to Problems That Don’t Exist! In other words, it’s another installment of my Pipe Incident Reports. The idea, in general, is to provide a brief write-up – focusing on a particular pipe-restoration-related issue – rather than an entire restoration story. Today I’m conducting a detailed examination of the issue of pipe mud (aka pipe mortar, pipe plaster, pipe cement, etc.). Heretofore, the standard for pipe mud has simply been cigar ash mixed with a bit of water. This is what Steve uses and, undoubtedly, many, many other pipe men have used it over the years. Here is a link to an article Steve wrote about it and here is a link to an article Fred Hanna wrote about pipe mud, back when Adam was a boy.

The pipe ash mud is useful and simple, but could there be better mixtures? Maybe. The Pipes Magazine forums have a very interesting discussion on the use of ash in pipe mud and I recommend reading it here. What I have written below is absolutely not the first word on pipe mud (and it certainly won’t be the last). I am delving into only a small part of the world of mud.

Before we go any further, let’s answer this question for the uninitiated: what is pipe mud used for? There are several uses, but the most common for me include (1) filling in micro-fissures from heat damage in the walls of a pipe bowl, and (2) lifting the heel of a bowl in order to ensure that it’s more closely in line with the draught hole. For these purposes, we need a material that is simple to make, easy to manipulate, and – once it has dried and set – inert, safe, and hard.

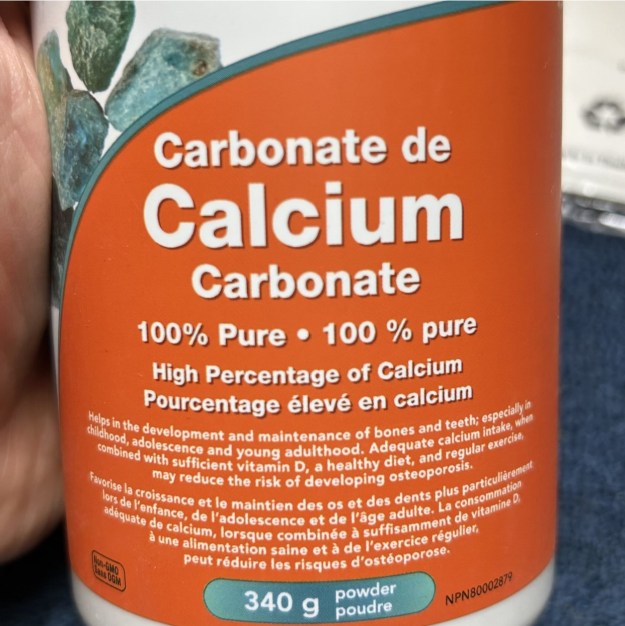
I’ve set myself the challenge of testing several different mixes of pipe mud – in this case, only based on plaster of Paris. I also made a batch with cigar ash, as a control. For the engineers and other scientists reading this article, please know that I have no scientific background and I am not equipped to conduct scientifically accurate tests of compressive (or tensile) strength at my home. However, I’ve done my best to eliminate as many variables in the tests as is reasonable, and I’ve attempted to test the compressive strength of the muds by comparison (and without having access to methods of testing through numbers). Given the disparity in results (and, quite frankly, the frivolity of the project), this proved to be quite sufficient for my needs. The idea for testing mud came to my mind after watching a YouTube video with a particular recipe for what the creator called ‘pipe mortar’. I’ve used it once or twice — it was fine, but nothing special. I’ll discuss its contents in a moment, but as soon as I mentioned it to Steve, he had some issues with it. I also chatted with John Young of NebraskaPeteGeek about it and he also had issues.I first set about making the control mud with cigar ash. I burned a small cigar by Schimmelpenninck until it was fully ashen. I then mixed it with a few drops of water to make a paste and let it set. For reference, I used distilled water in all of the muds – not because I think distilled water is required in any way to make this stuff, but just to eliminate a variable in my production. It’s important to know that ‘hardened’ pipe mud (made with cigar ash) is NOT very hard until the pipe has been smoked several times. It is the oils and tars from the tobacco that actually harden this type of mud.I’m not going to belabour my description of the recipes or the results. The first recipe below comes from the YouTube video I mentioned above. I’m giving all recipes a letter name for ease of reference.

A: cigar ash, drops of water (sorry I don’t have precise amounts for this one)
B: 1.0g of plaster of Paris, 0.5g of salt, 0.6g of activated charcoal, 12 drops of water.Recipe B is the one that Steve and John talked to me about. The creator says that the salt helps in strengthening his ‘mortar’. Steve’s concern is that salt isn’t great for the wood. It can cause tiny fissures, etc. to expand – this is also one of the reasons why Steve and I do not use salt in de-ghosting pipes. Anyway, the amount of salt involved is very small, so I don’t know if this has any effect or not. John, who has a background in chemistry, added that the salt wouldn’t be doing much in the hydrated calcium sulfate reaction. His view was that the salt is unnecessary.

Here are the other recipes:

C: 1.0g of plaster of Paris, 8 drops of water.
D: 1.0g of plaster of Paris, one drop of white glue, 8 drops of water.
E: 1.0g of plaster of Paris, one drop of wood glue, 8 drops of water.
F: 1.0g of plaster of Paris, 0.5g of salt (pulverized), 9 drops of water. In case you’re wondering why I tested both white glue and wood glue, it is because I didn’t realize that they were both polyvinyl acetates. Anyway, in producing the four muds above, I didn’t do a great job of keeping the shape of the samples similar to each other. However, I don’t think this had an overly negative effect on the results at this stage. Definitely the worst of the four in compressive strength was F (similar to B). The middling mixture was C. The best were D and E. I’m giving the edge to E overall, but the difference between the two might just be in my head. They both had good hardness and compressive strength. I have some fine results, but there is an aesthetic problem: the best mud is white! It’s not the end of the world, but it doesn’t look great on the inside of a pipe one has just restored. A new test was in order. I made two new batches of E – but I added activated charcoal to one of them. These recipes look like this:

E: 1.0g of plaster of Paris, one drop of wood glue, 8 drops of water.
G: 1.0g of plaster of Paris, 0.6g of activated charcoal, one drop of wood glue, 9 drops of water.
For this test, I made a much better attempt to have the same shape of mud – a sort of cylinder. The result of the compressive strength test here was definitive: E was notably better. This was no surprise to John. He commented that the charcoal would weaken the structure of the plaster, as it would interfere with (rather than adhere to) the crystalline structure.One thing that I did not test – but probably should have – is mixing pipe ash with plaster of Paris and water. However, given the above results, I expect that it would also be inferior to E.

Here is my (slightly strange) conclusion: although E (perhaps along with D) was hardest and strongest, I am not advocating for YOU to use any particular pipe mud. I have my own thoughts on which mud is best for my work, but my opinion isn’t worth a hill of beans. My goal here is to present my amateurish results, hopefully for your benefit – and that’s it. It is your task now to take the results and do with them as you wish. Special thanks to Steve Laug and John Young for their words of wisdom.

If you make use of these results in your pipe work, please let me know how it goes. I would also be interested to know if you have a different pipe mud recipe you recommend. I hope you enjoyed reading this installment of the Pipe Incident Report – I look forward to writing more. If you are interested in my work, please follow me here on Steve’s website or email me directly at kenneth@knightsofthepipe.com. Thank you very much for reading and, as always, I welcome and encourage your comments.
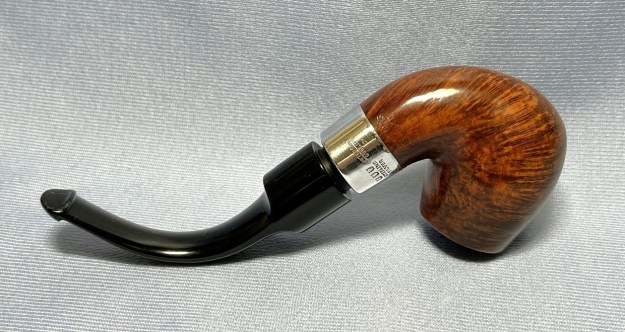
A Brand-New Jima Pipe


Blog by Kenneth Lieblich

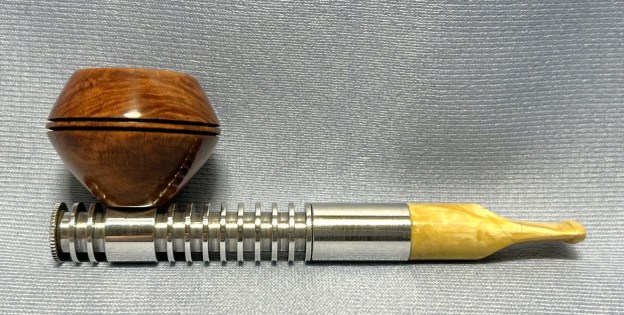
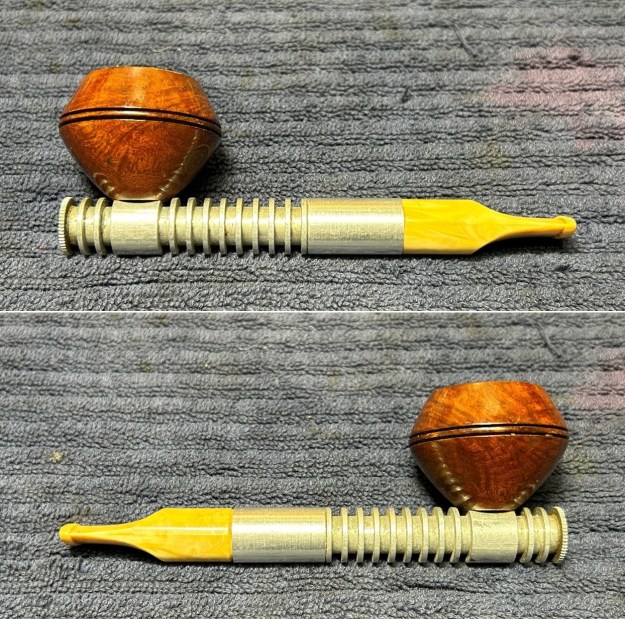
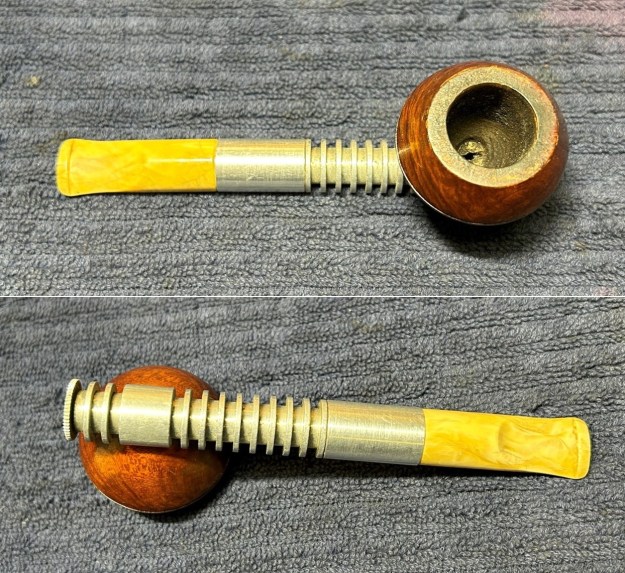
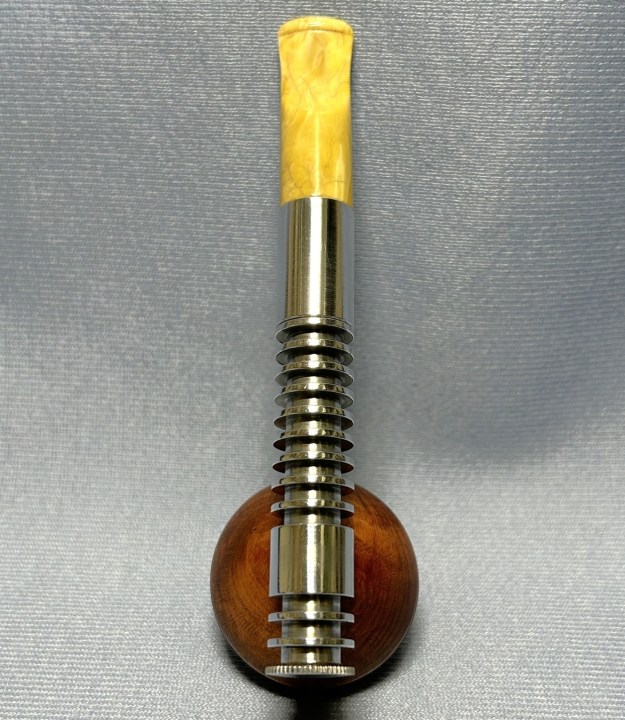
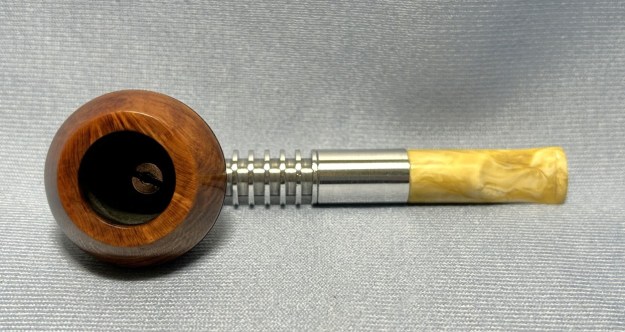
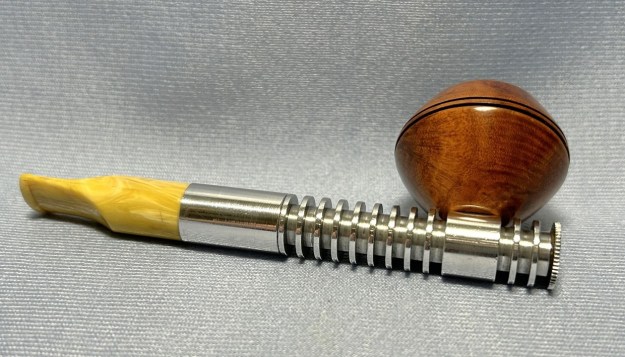
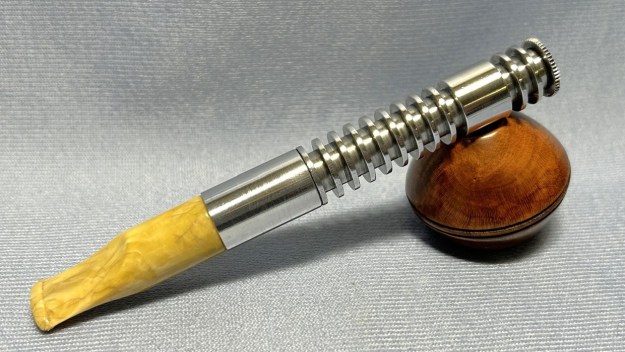
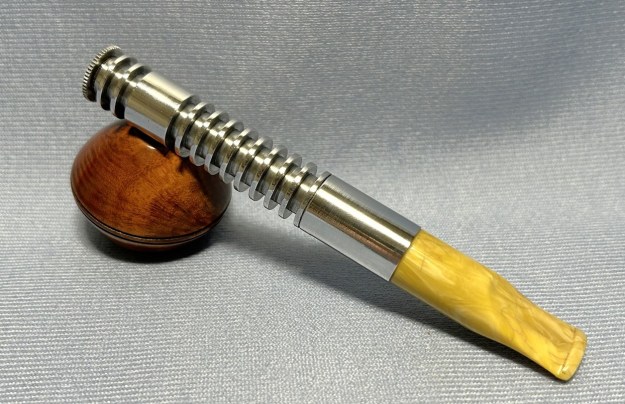
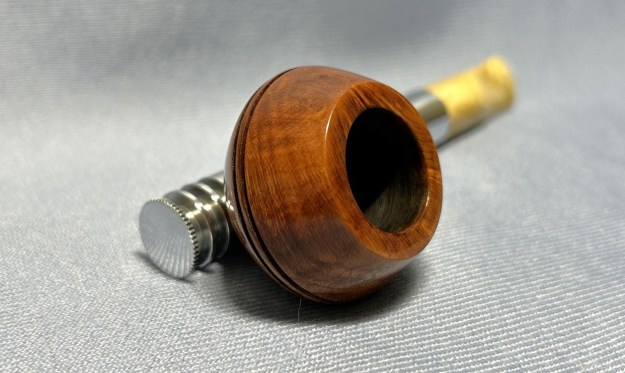
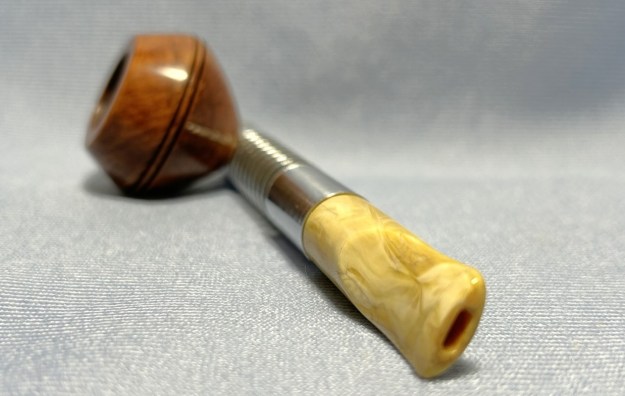
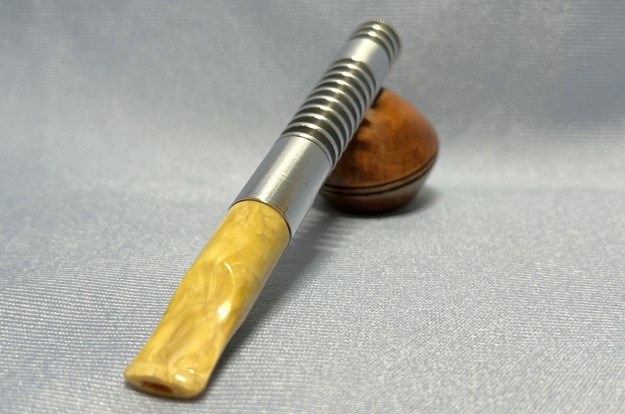
Welcome to the wonderful world of Jima! Are you interested in metal pipes? Are you interested in strange system pipes? Are you interested in French pipes? Are you interested in futuristic designs? Well, have I got a pipe for you! One sees Jima pipes from time to time, but it’s particularly nice to see an unsmoked one. Today, I’m putting this new Jima up for sale. Let me tell you a bit about them. The following information is from Pipedia:

French brand created in the 1960s by Mayeux (editor MAHIEUX) , which had a very modern look. This modern look was emphasized by the manufacturer in the promotion material. The slogan speaks of “La pipe de l’an 2000” or “The pipe of the year 2000”. The factory was sold to Chapel Frères & Cie, which became part of the Berrod-Regad group in 1987. The Jima pipe is no longer made.   Although Pipedia says “created in the 1960s”, I can provide the more exact date of 1963. It was marketed until the mid-1970s. The pipe shown in the above ad is actually a much rarer version of the Jima – it has its metal bars wrapped around the outside of the plastic case.Much of what is written in the Pipedia article is, in fact, blatantly ripped off from the website of the Amsterdam Pipe Museum. The original article from which this is taken was in Dutch, but here is their English translation:

A special product of French origin is the Jima pipe, for export also known under the name Garland. It concerns a pipe having a different shape provided with a silver-plated or gold-plated steel metal frame, connecting a plastic mouthpiece with a plastic outer shell that houses the pipe bowl. This plastic pipe comes in different colours, with black and ivory as the most popular. More modern versions are mottled in pastel shades, whose sales stay far below any level. The inner bowl looks like meerschaum but is actually made of pressed white clay. The stem has a specific filter system which consists of a wound spiral, the so-called “filtres serpentins helicoidaux”, which according to the product information is electrostatic. To access the filter the stem can be unscrewed, although in other instances a user-friendly spring system is applied. At the top of the mouthpiece we often read “Breveté France & Etranger” or “Modèle Deposé Made in France”.

Jima was certainly futuristic looking and, by all accounts, they smoke very well. The Smoking Metal website has also has an entry on Jima pipes, which is worth looking at. Additionally, Elie’s Freehand Pipes has several photos – with this particularly useful photo of a partially disassembled Jima:Even more helpfully, there is a French website called PBMI. This stands for Pipes en Métal à Bol Interchangeable, which, in English, means Metal Pipes with Interchangeable Bowls. They have some interesting information for those who read French and many photos for those who don’t. Most interesting of all, however, is a brief article in the French edition of Popular Mechanics in March 1963. I have translated the article for you all here below:

All new in its shape, its technique and the materials that make it, this pipe is like a pocket hookah. The bowl is made of a permeable silica-alumina clay and has no taste. The bowl is cooled during smoking because it is mounted with a radiation ring and housed in a special plastic case. As a result, the air circulates easily, through holes in the bottom and by an annular slit located under the radiation ring.

The pipe is very light and the bowl can be easily replaced, if necessary. It is connected to the tip by two fixed side rods and a removable condenser-radiation tube that can be emptied instantly. This radiation tube contains a newly-developed, electrostatic spiral filter which has many surfaces to trap tobacco tar and condensation. This coil, coated with an insulating aluminum oxide film, suspended by two insulating joints, causes an electrostatic effect, resulting in the quick condensation of nicotine and other alkaloids. The smoke is cooled, to the satisfaction of the smoker and those around him. This newly designed and produced pipe is very healthy.Anyway, all in all, a fascinating piece of pipe history and design. It is bound to be a great smoker and it is available now. If you are interested in acquiring it for your collection, please have a look in the French pipe Section of the store here on Steve’s website. You can also email me directly at kenneth@knightsofthepipe.com. The approximate dimensions of the pipe are as follows: length 5⅔ in. (144 mm); height 1⅝ in. (40 mm); bowl diameter 1½ in. (38 mm); chamber diameter ¾ in. (19 mm). The weight of the pipe is 1¼ oz. (39 g). If you are interested in more of my work, please follow me here on Steve’s website or send me an email. Thank you very much for reading and, as always, I welcome and encourage your comments.