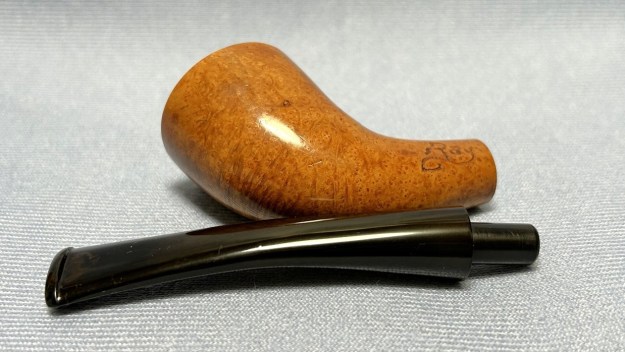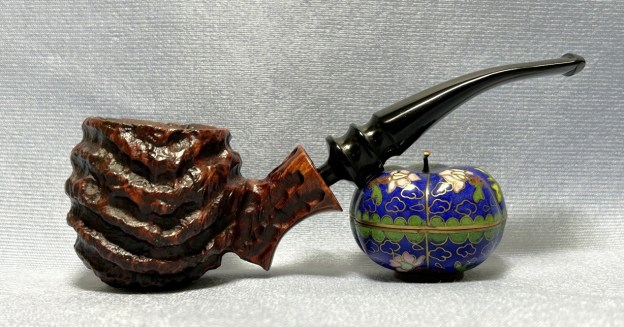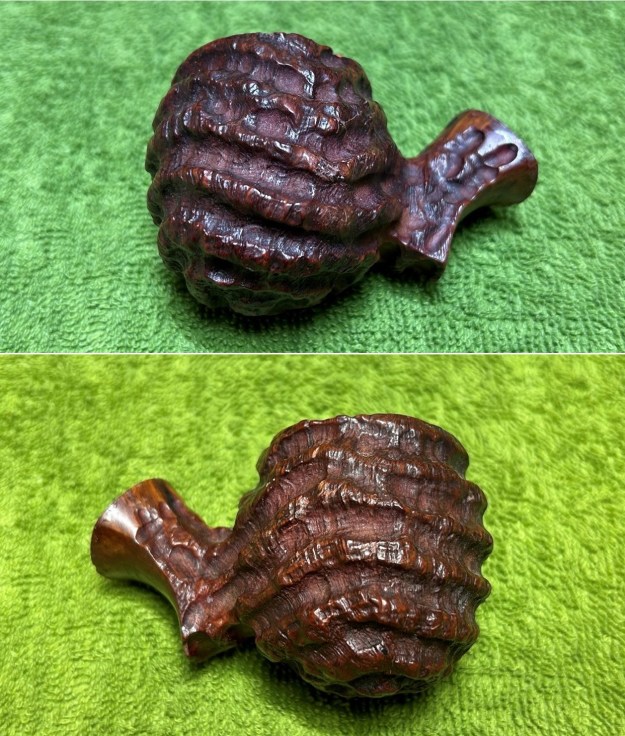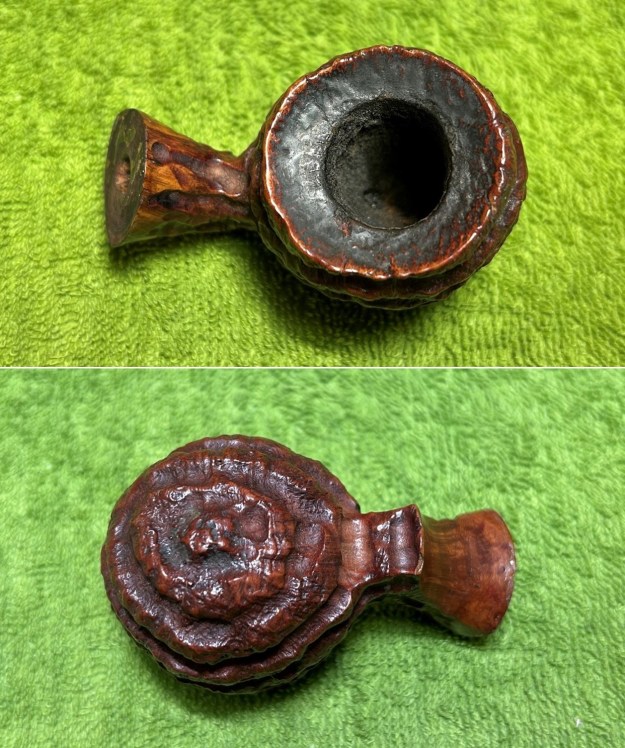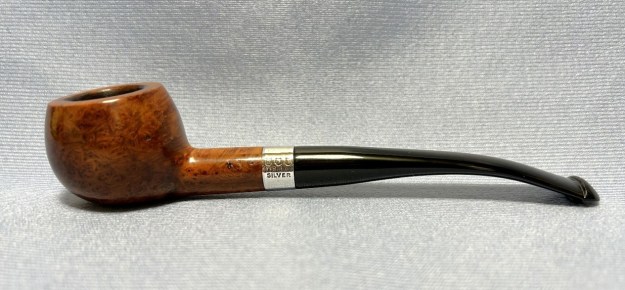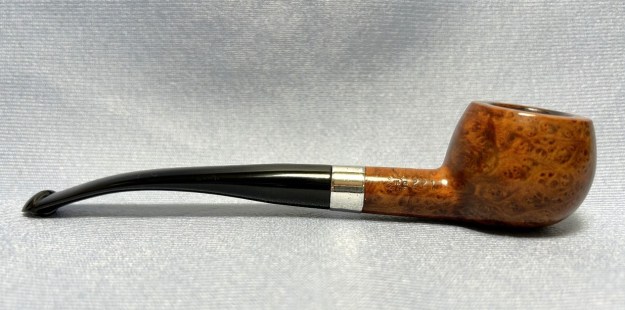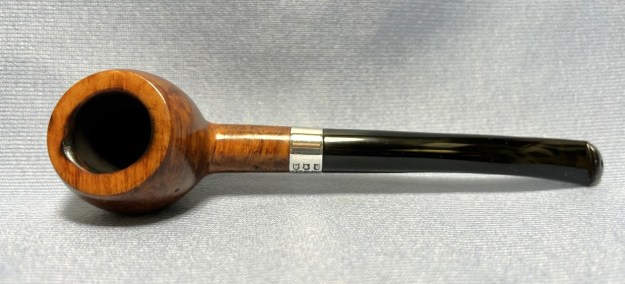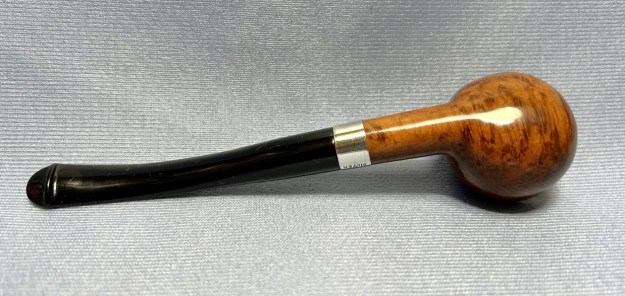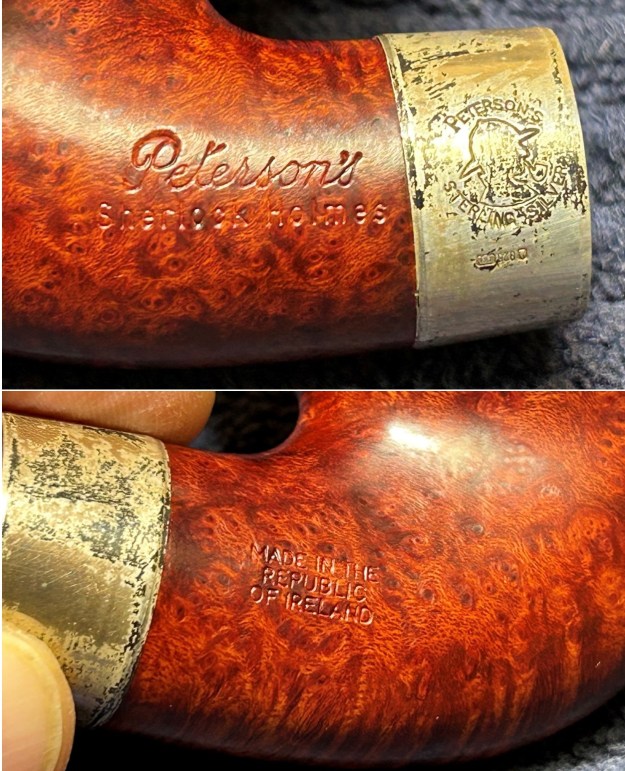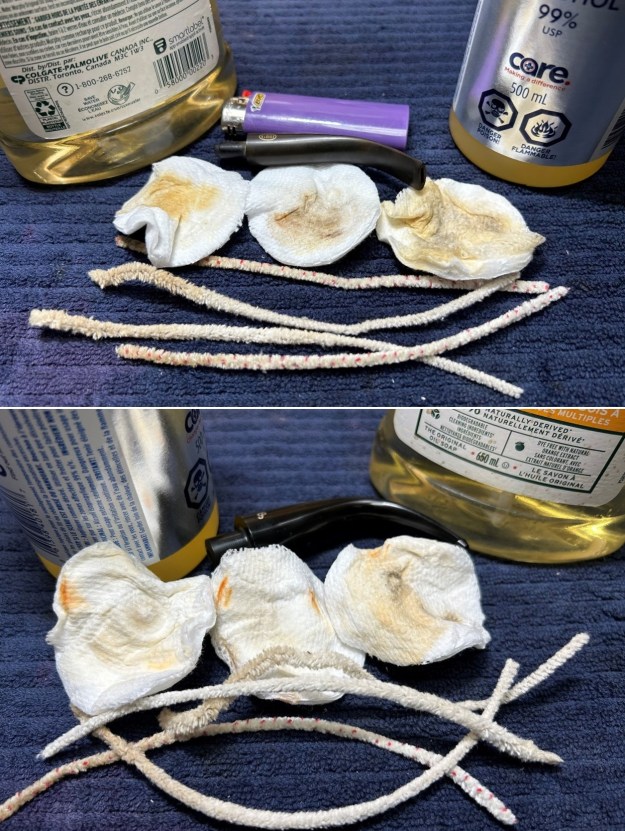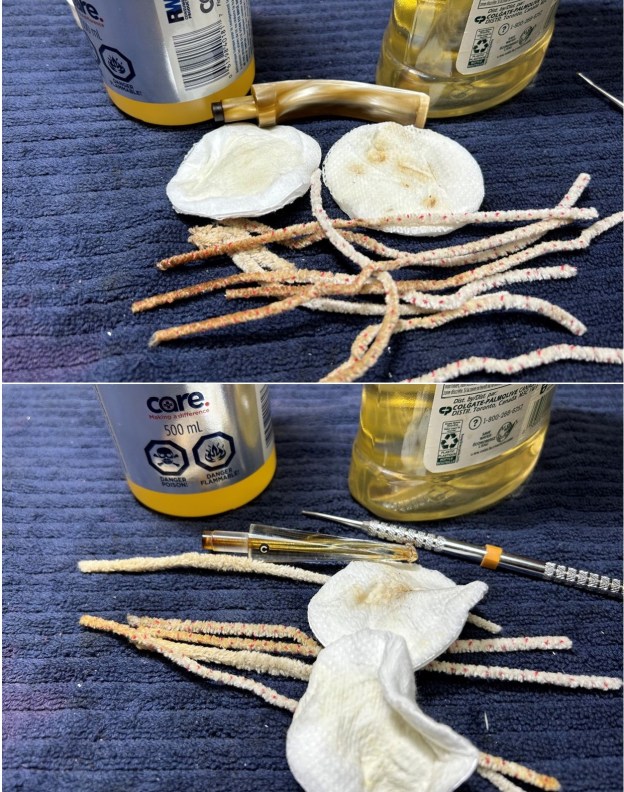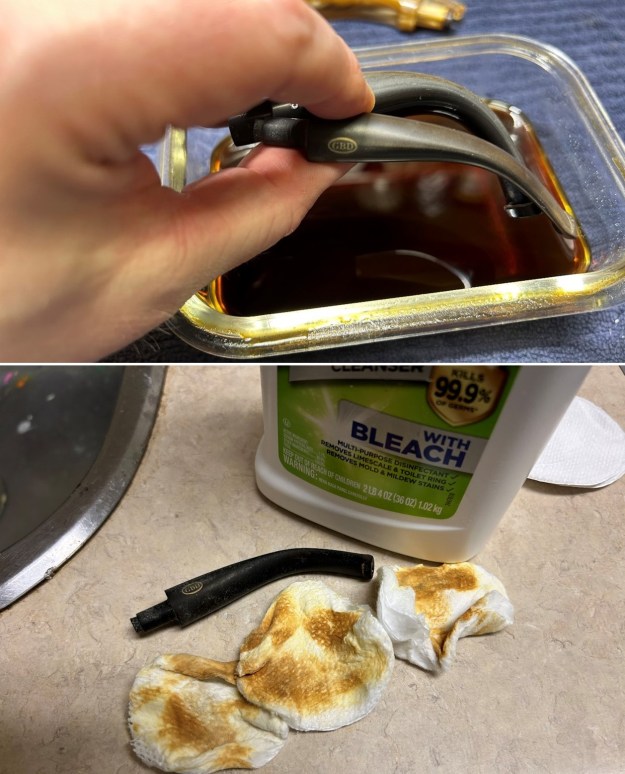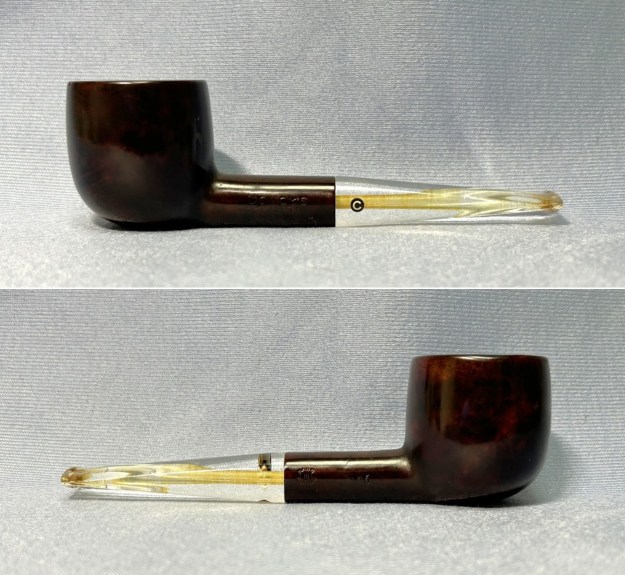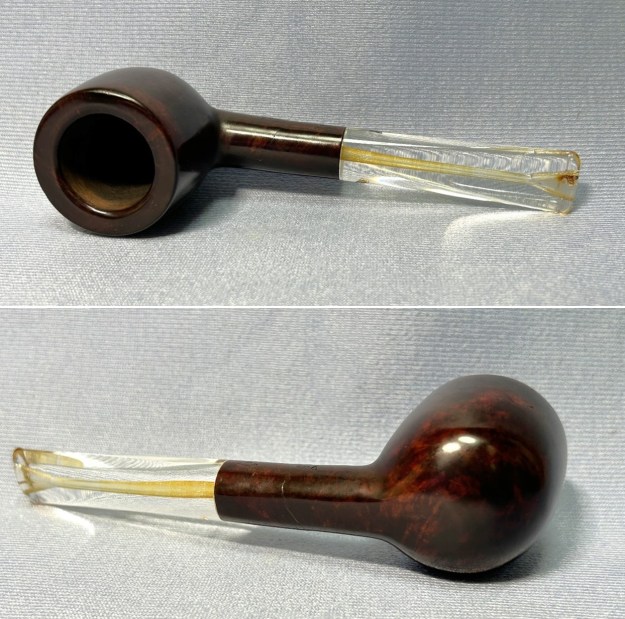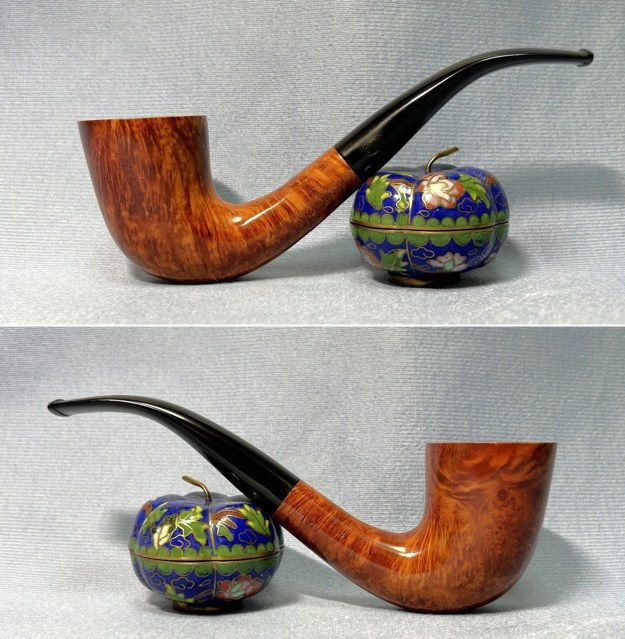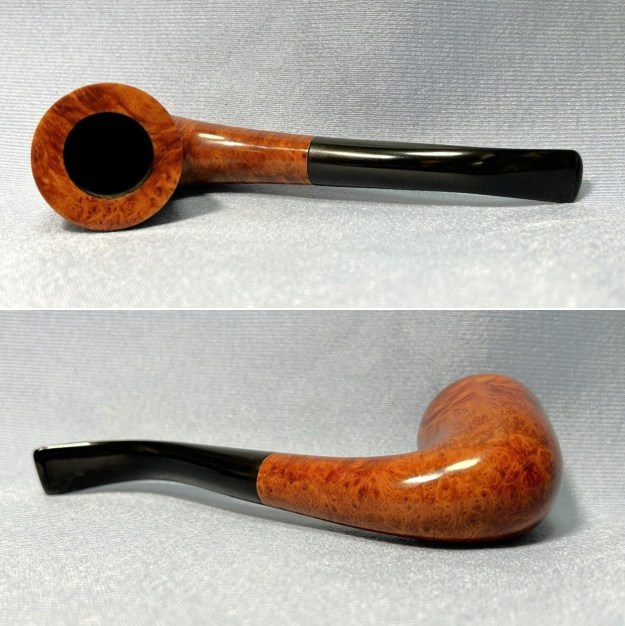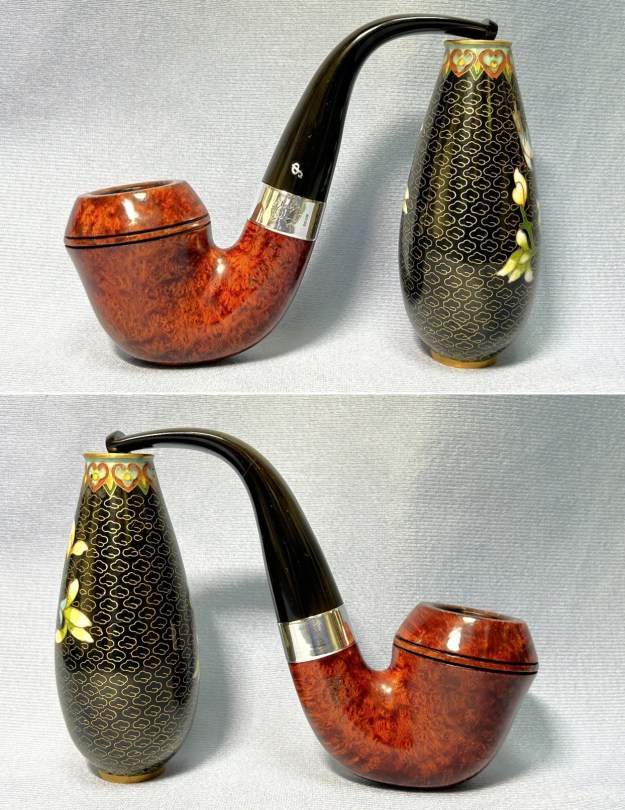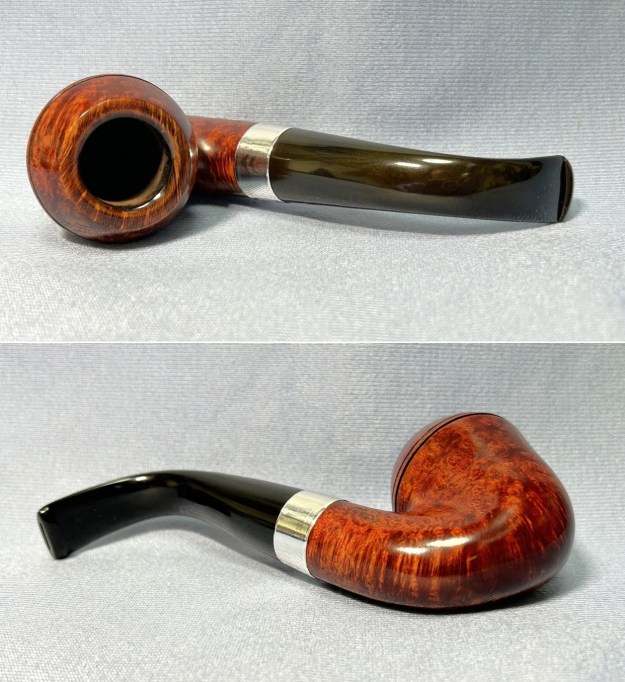
Author Archives: Kenneth Lieblich

A Beautiful Preben Holm Surprise


by Kenneth Lieblich

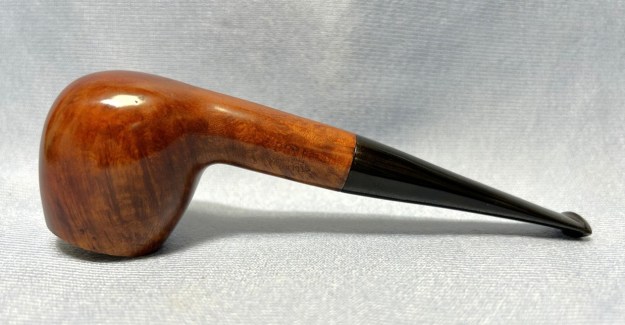
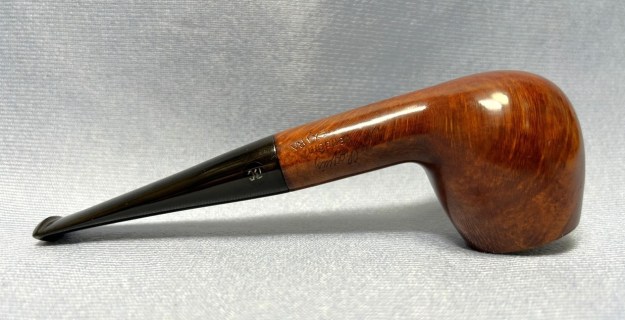
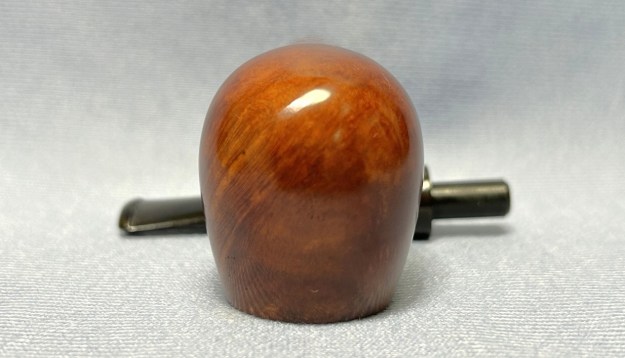
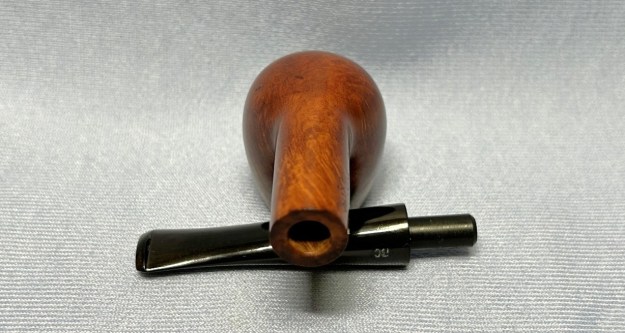
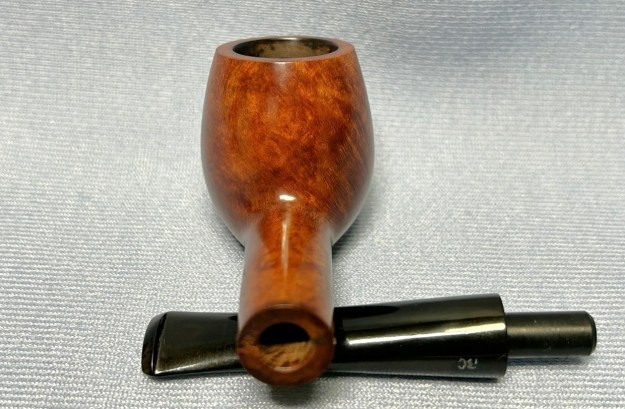
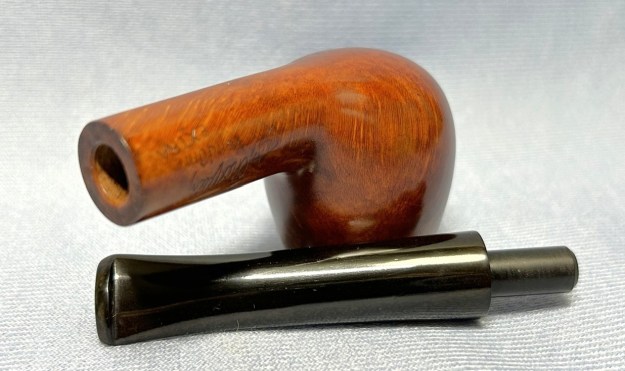
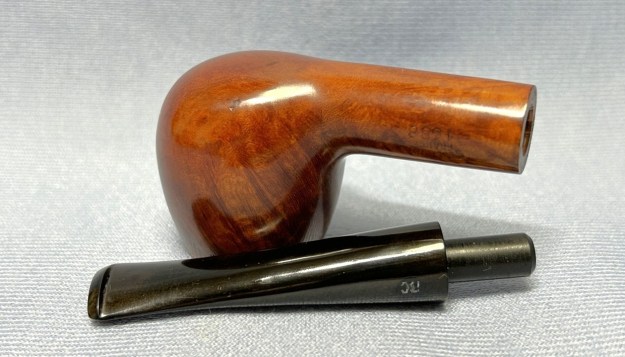
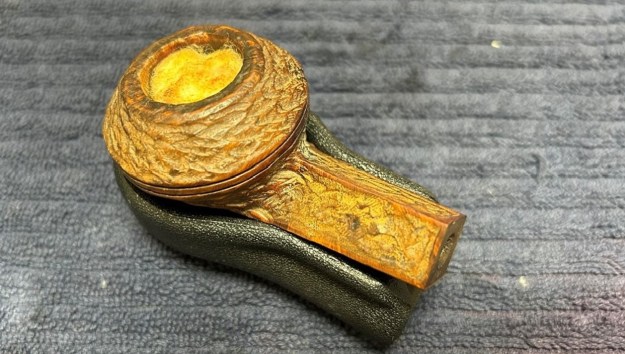
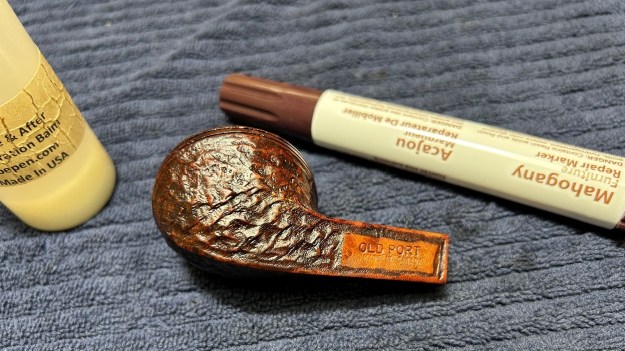
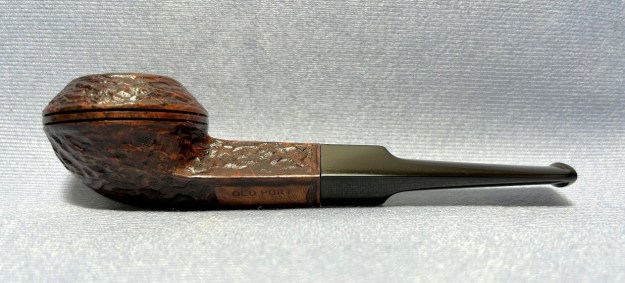
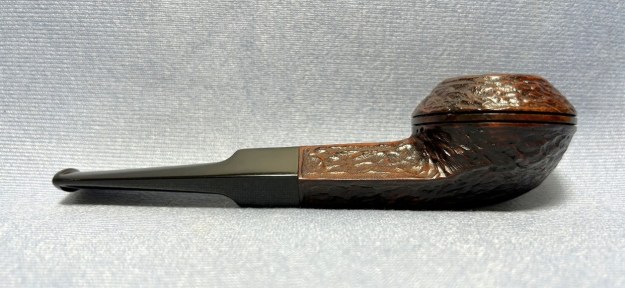
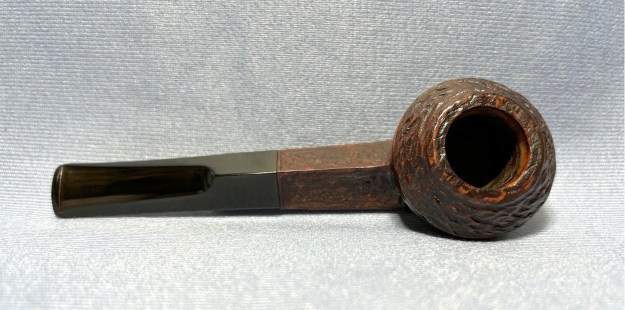
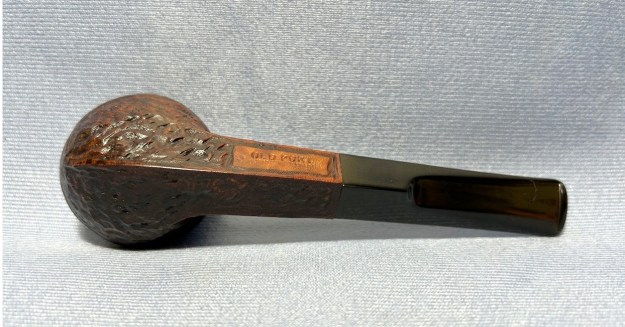
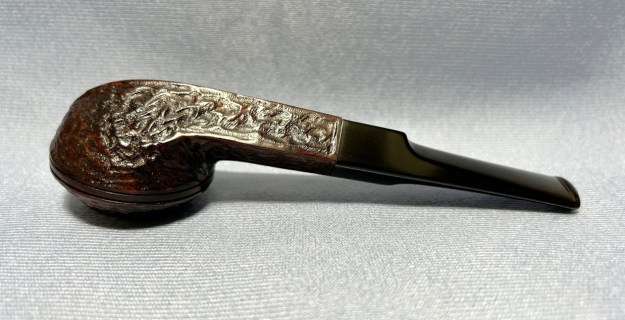
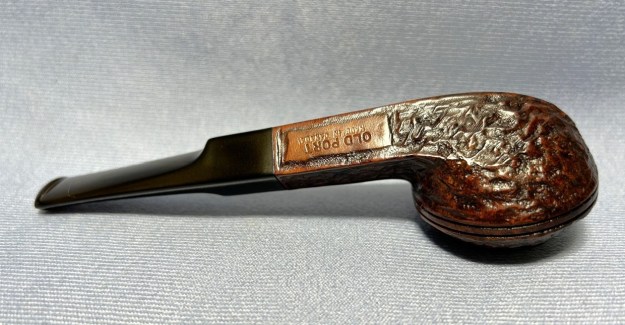
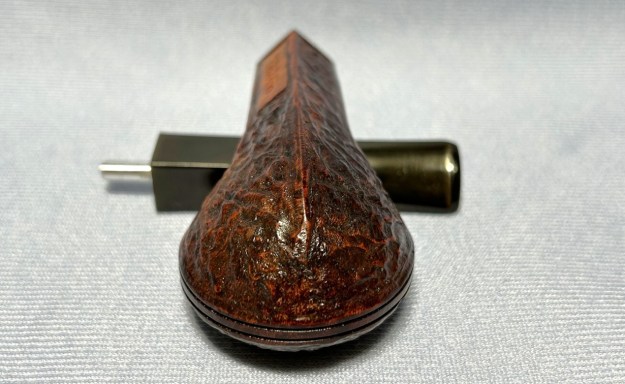
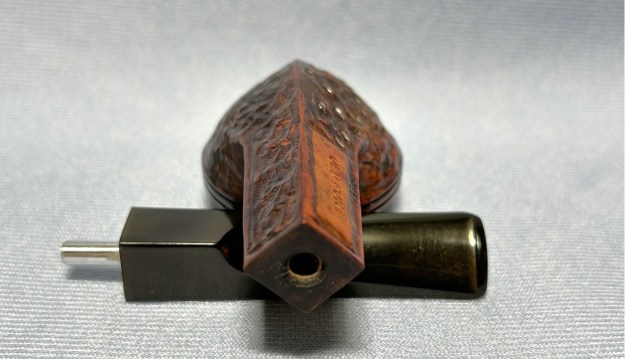
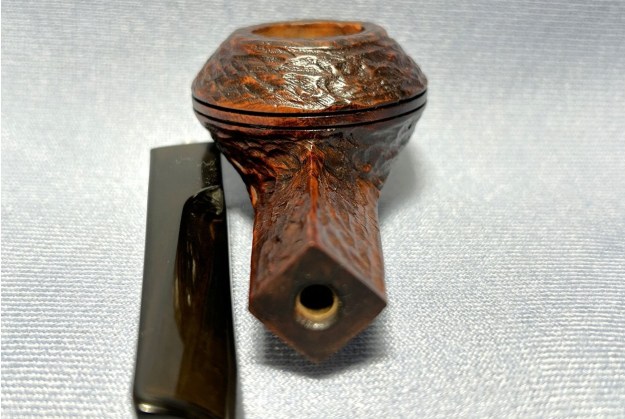
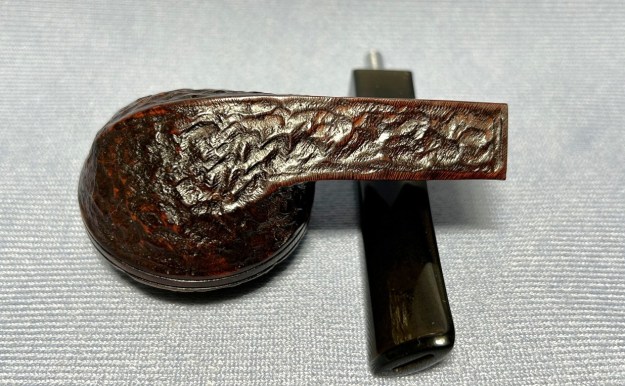
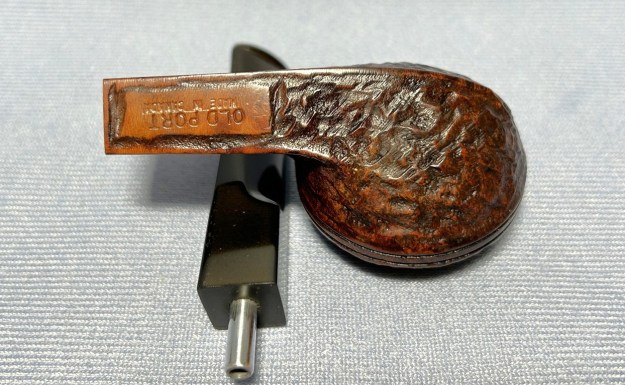
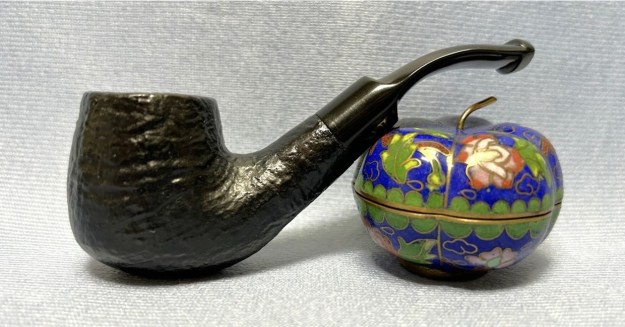
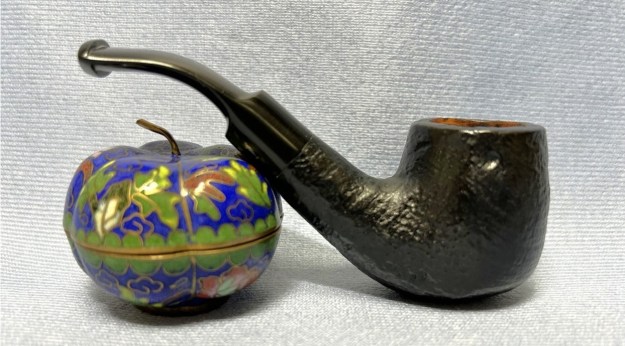
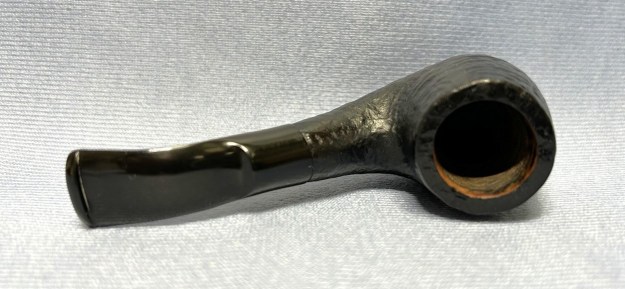
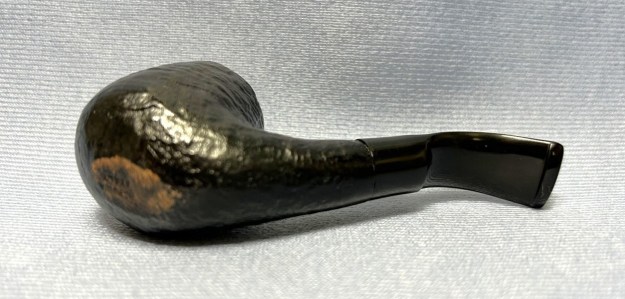
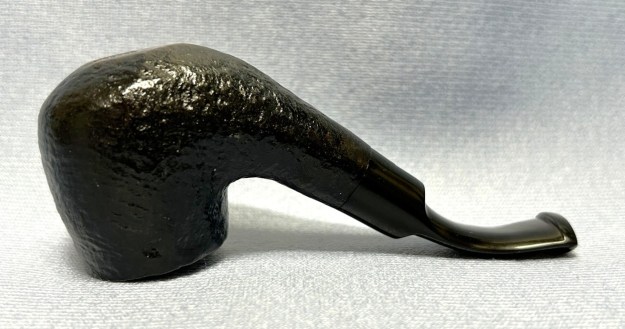
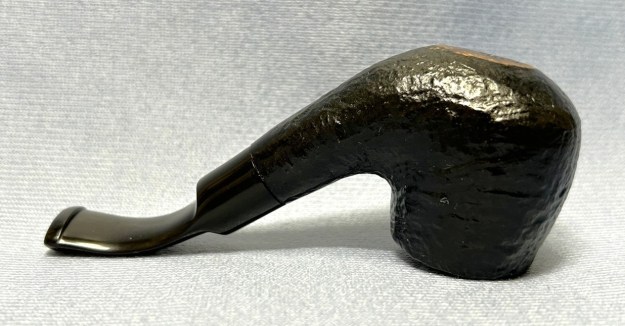
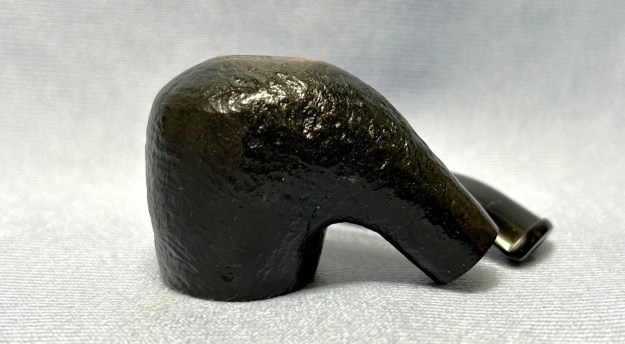
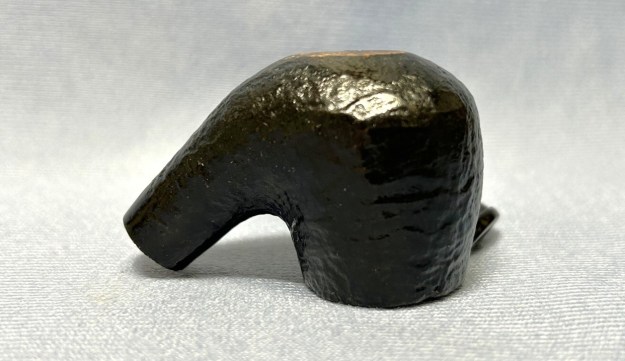
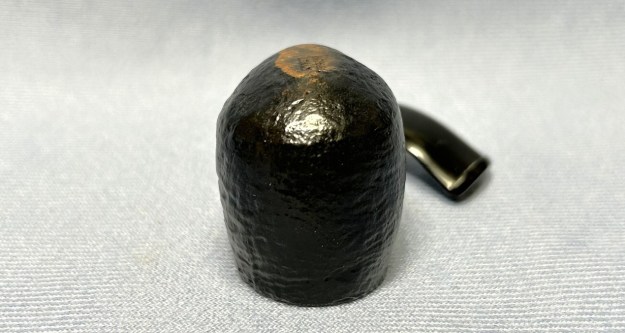
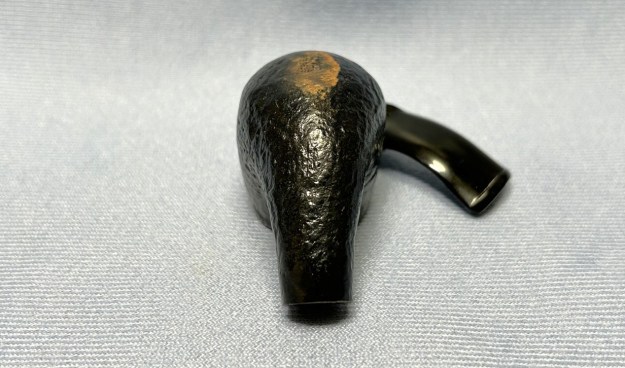
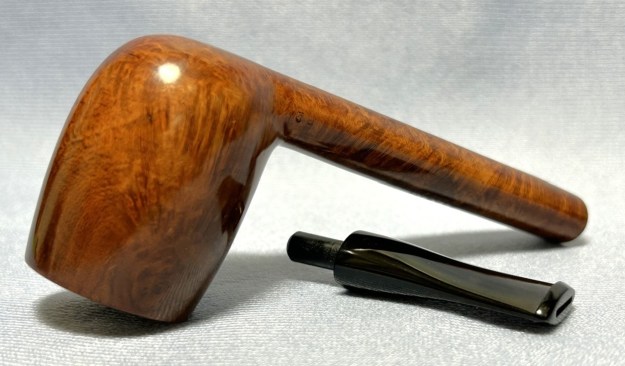
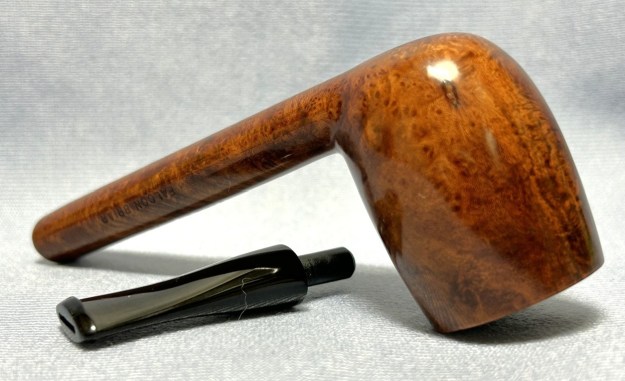
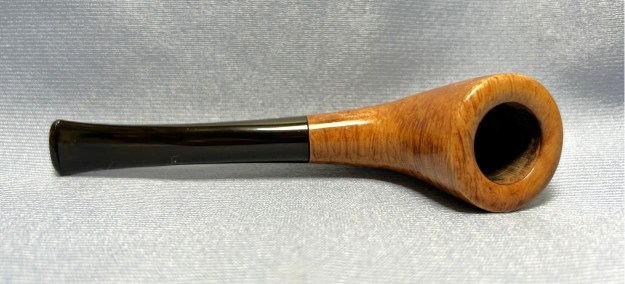
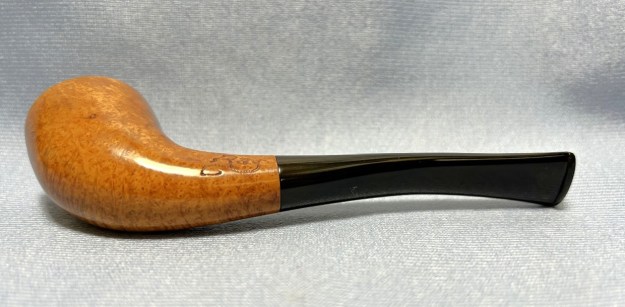
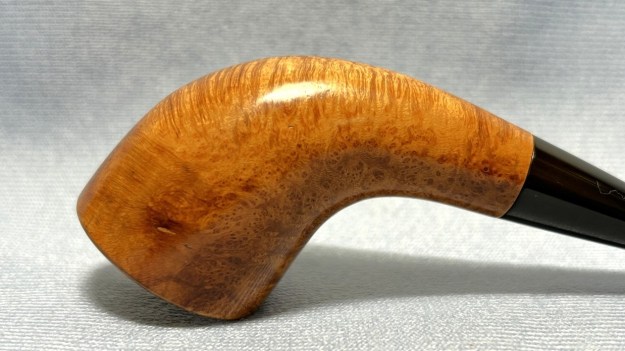
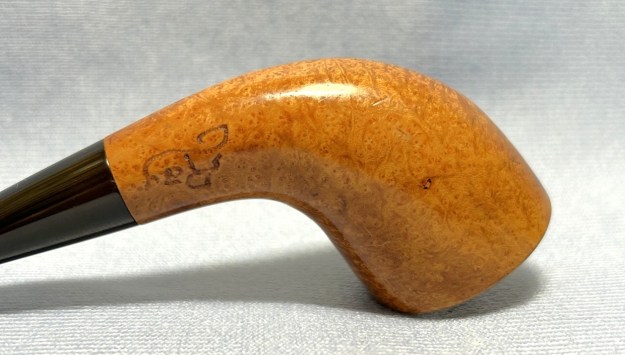
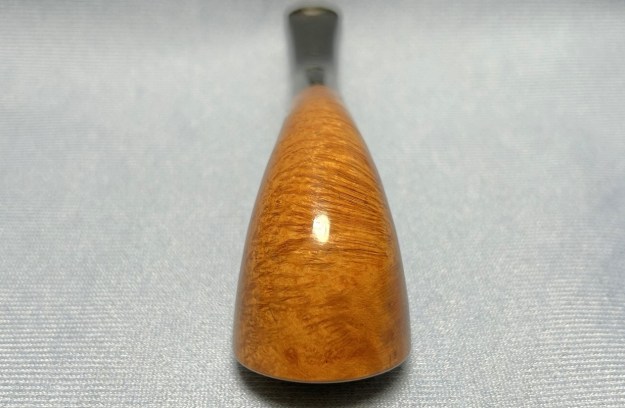
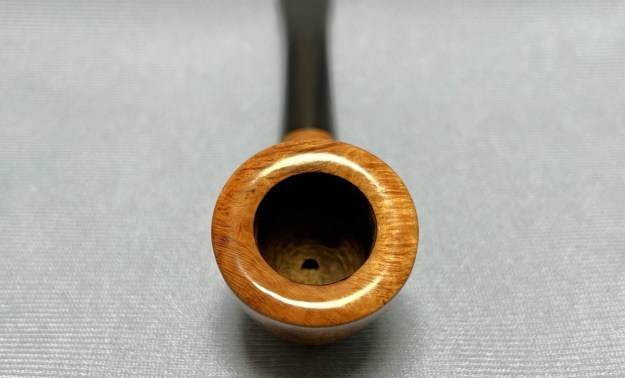
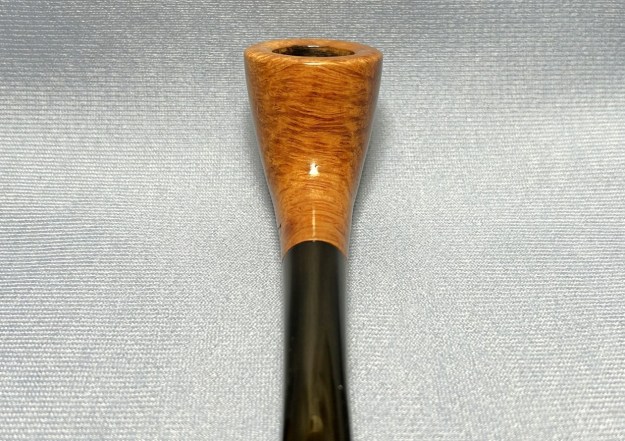
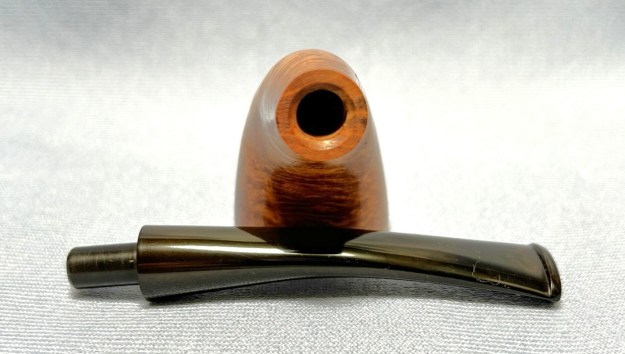
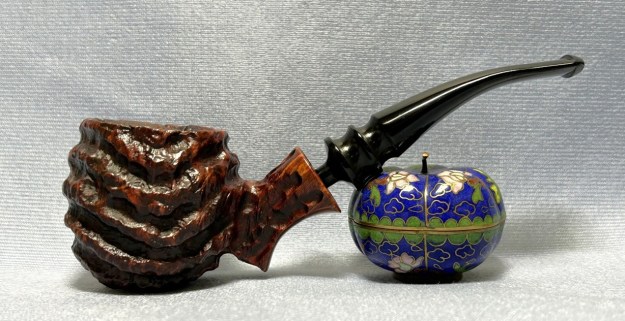
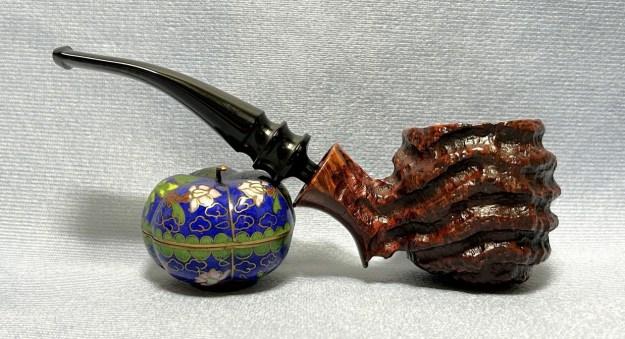
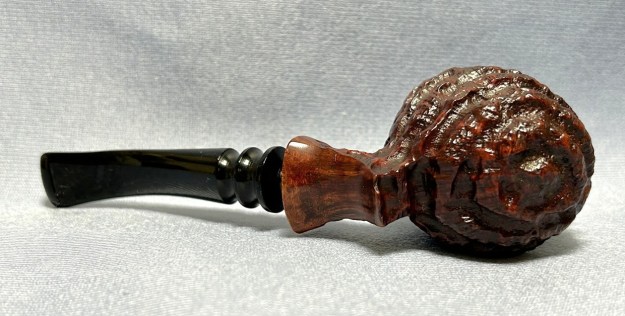
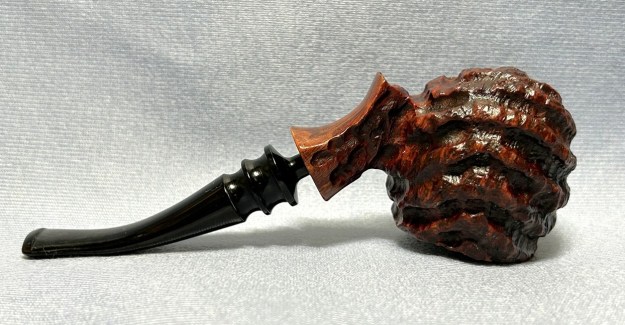
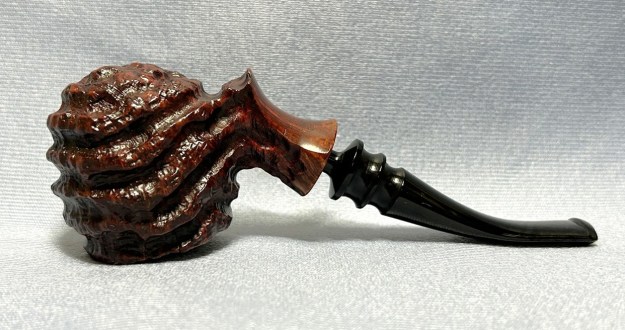
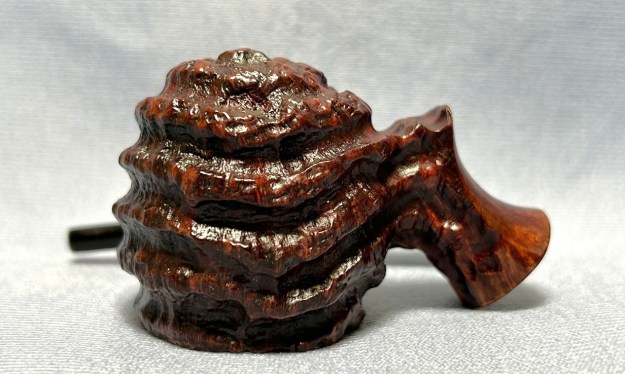
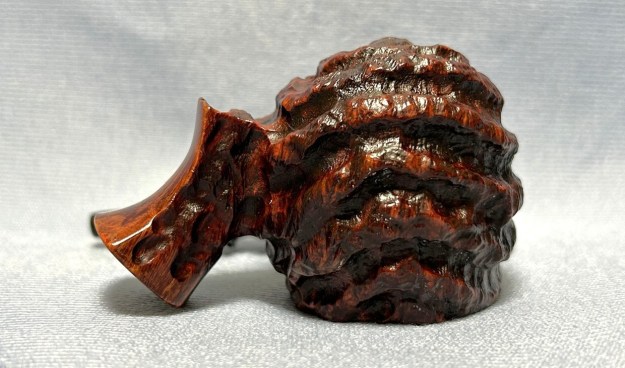
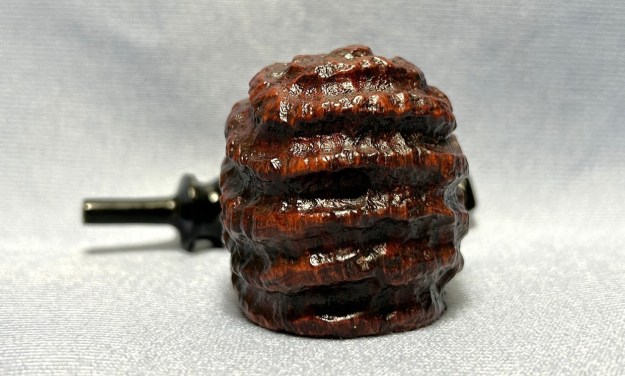
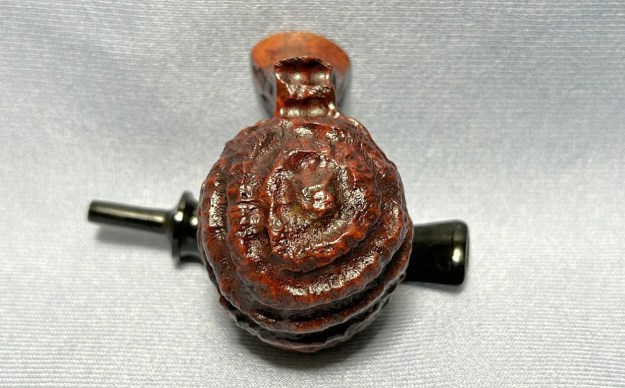
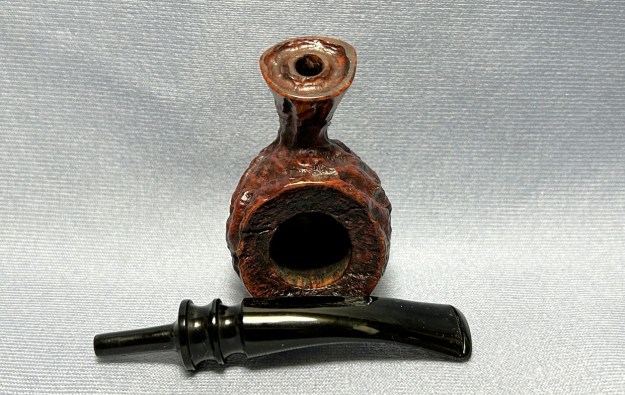
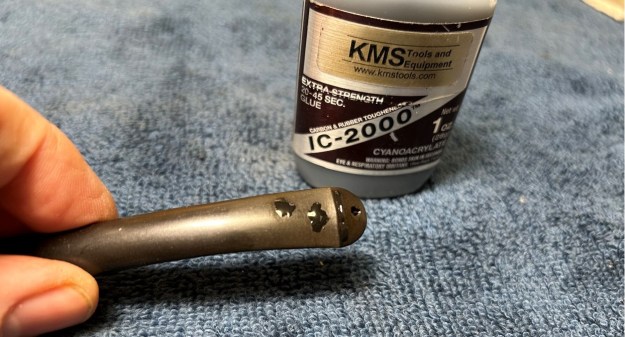
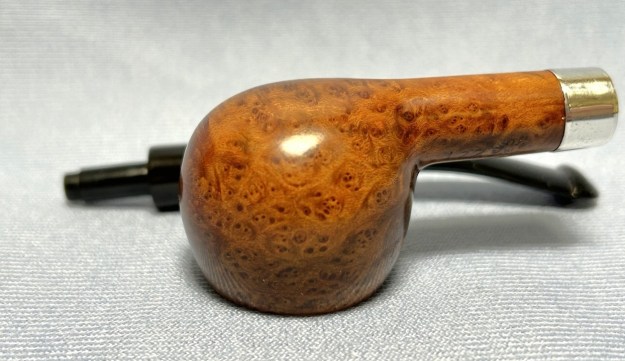
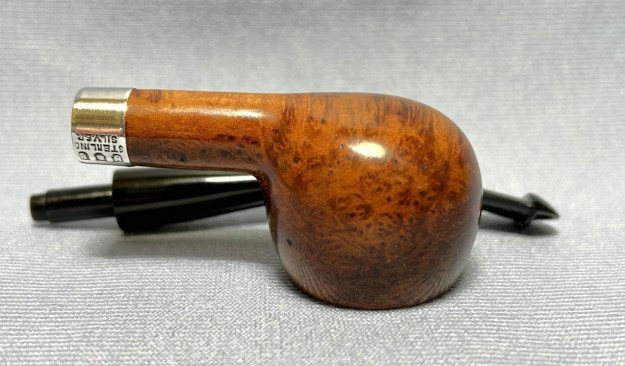
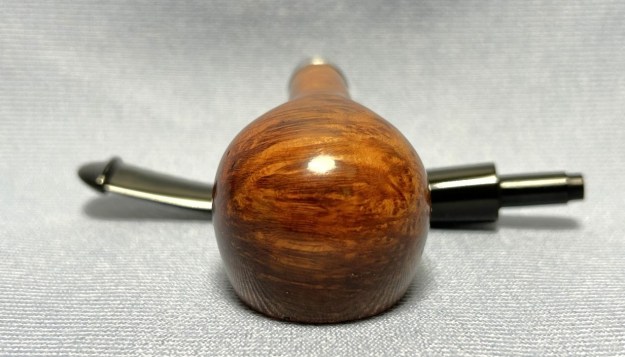
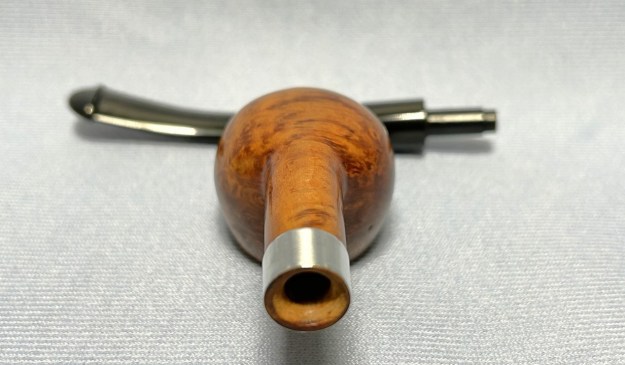
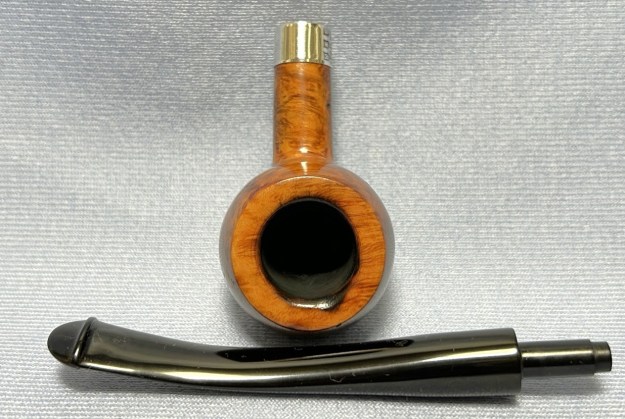
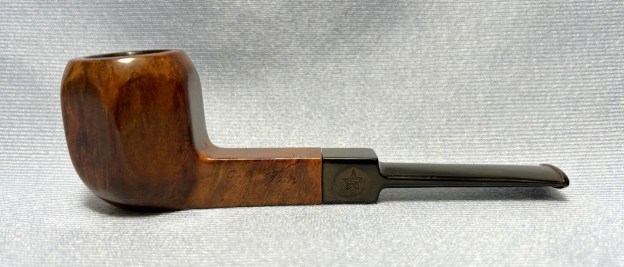
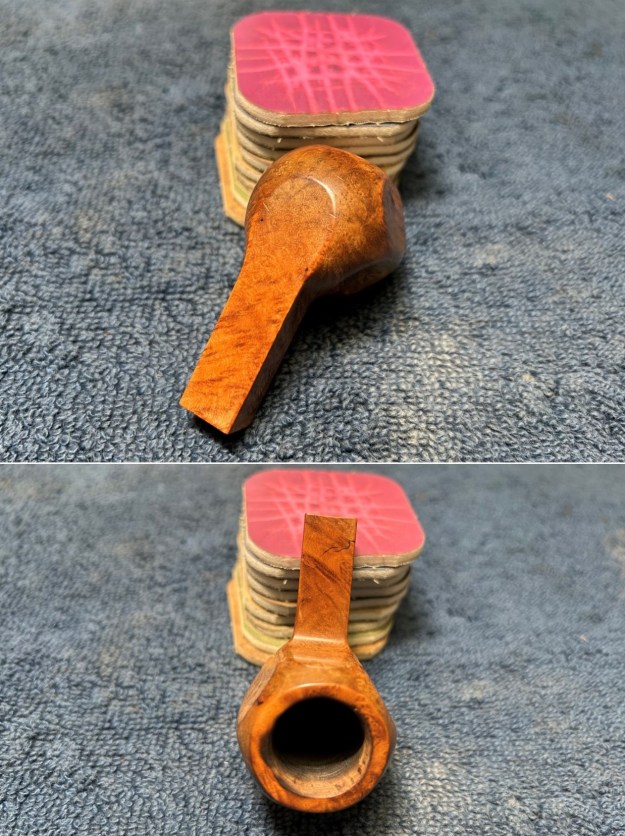
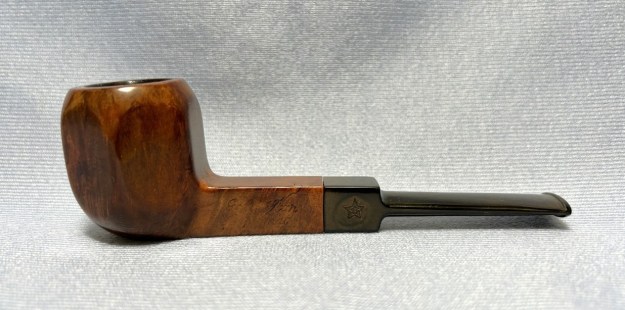
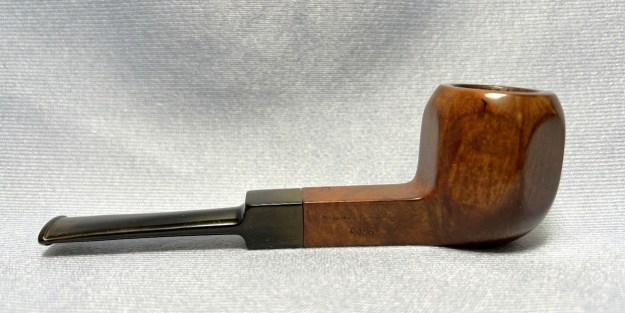
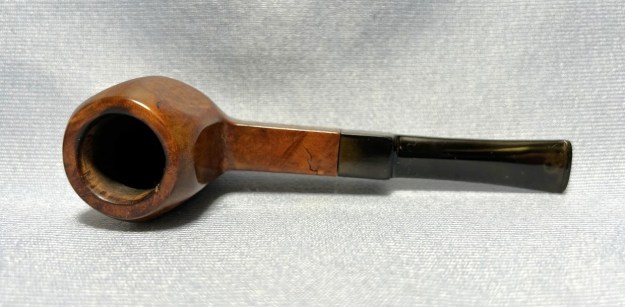
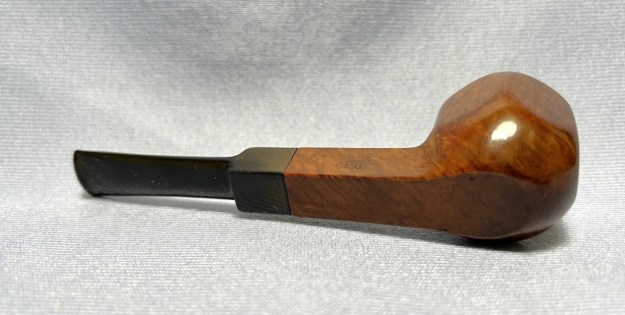
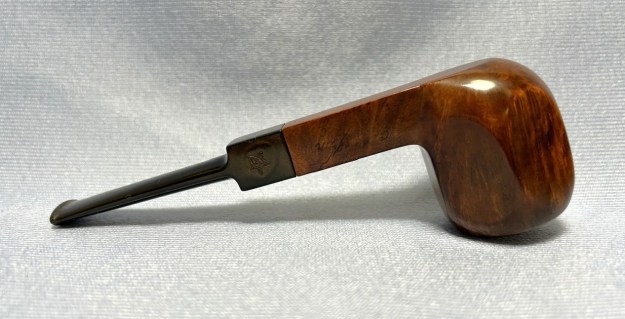
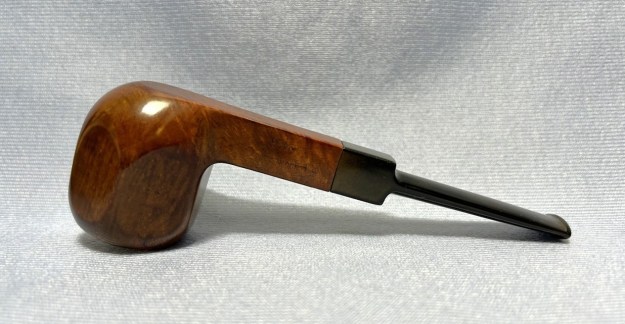
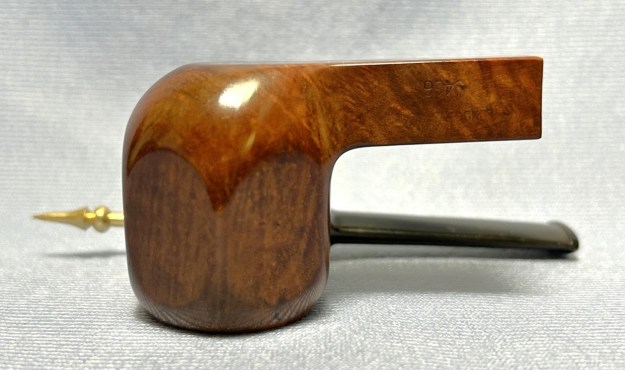
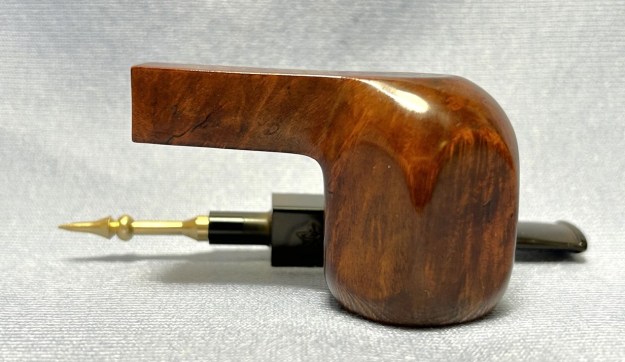
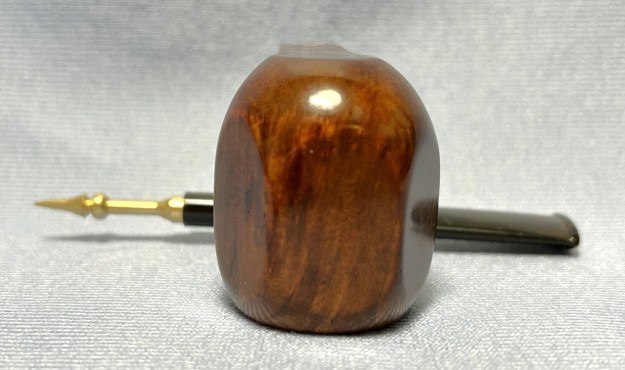
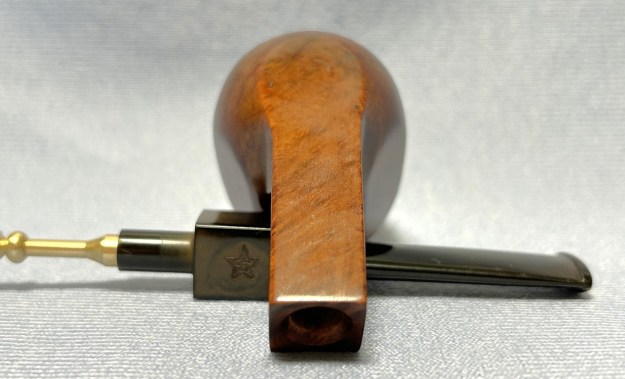
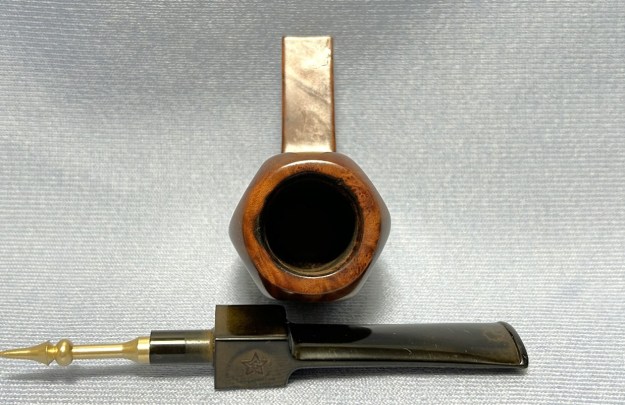
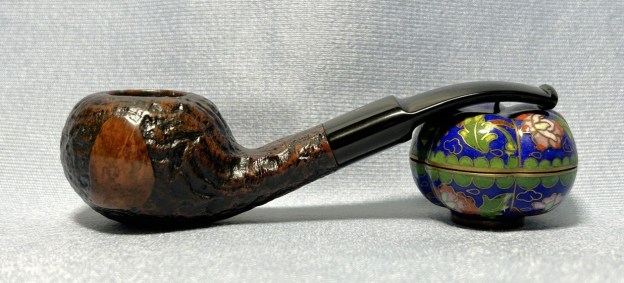
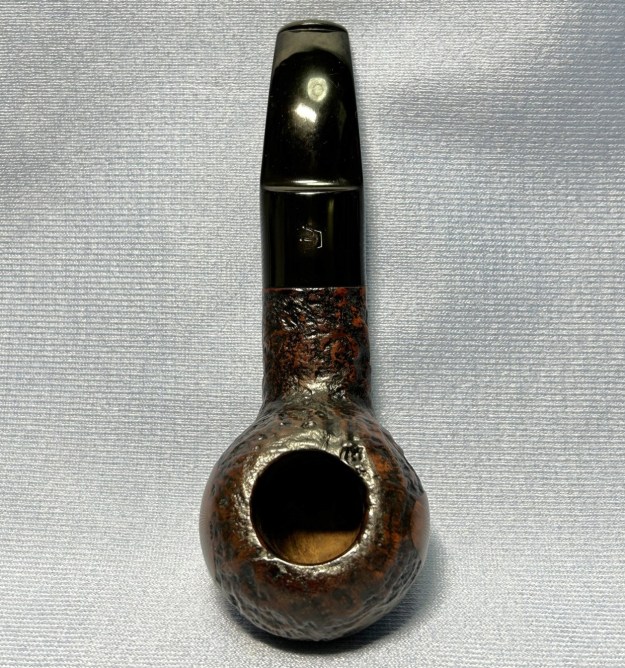
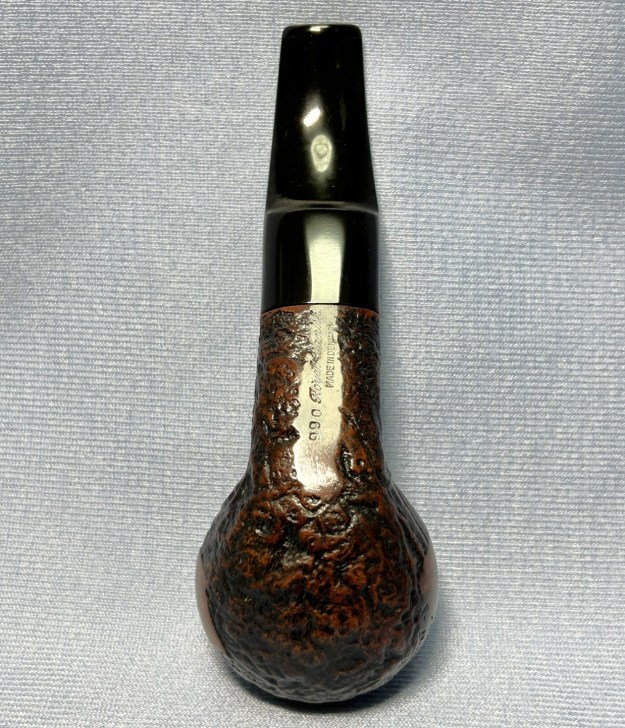
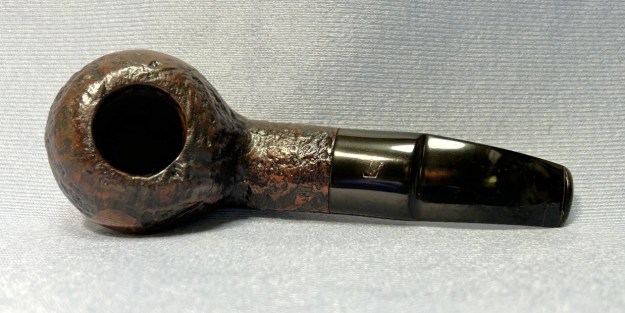
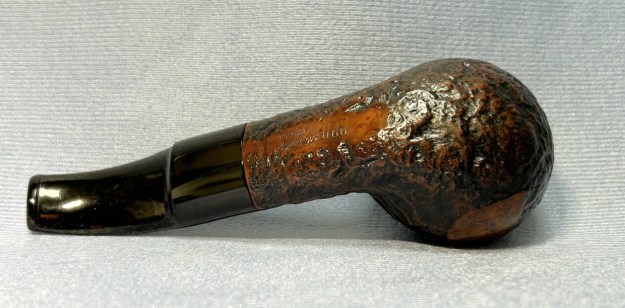
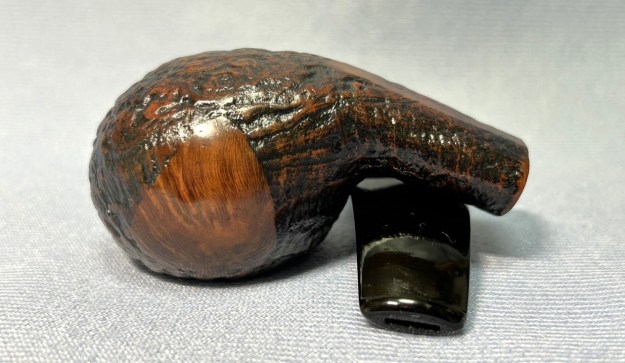
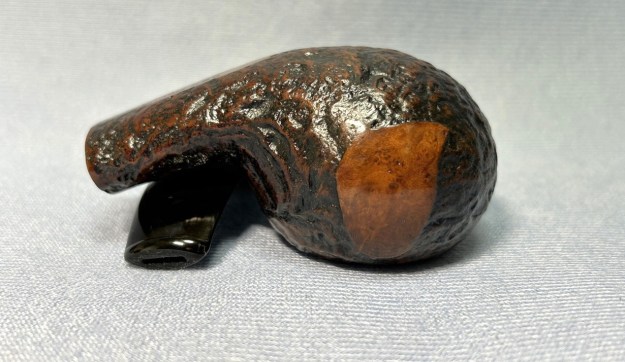
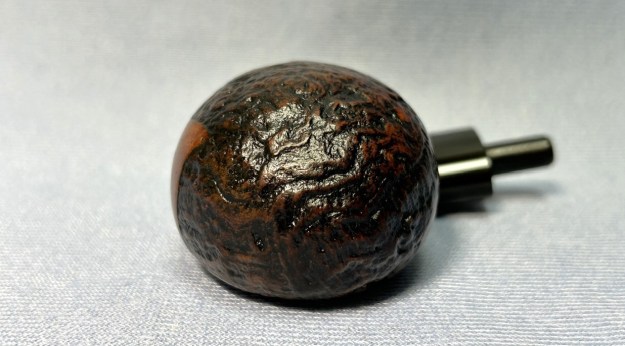
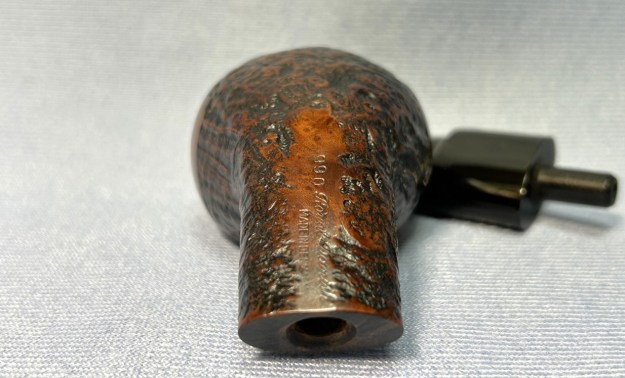
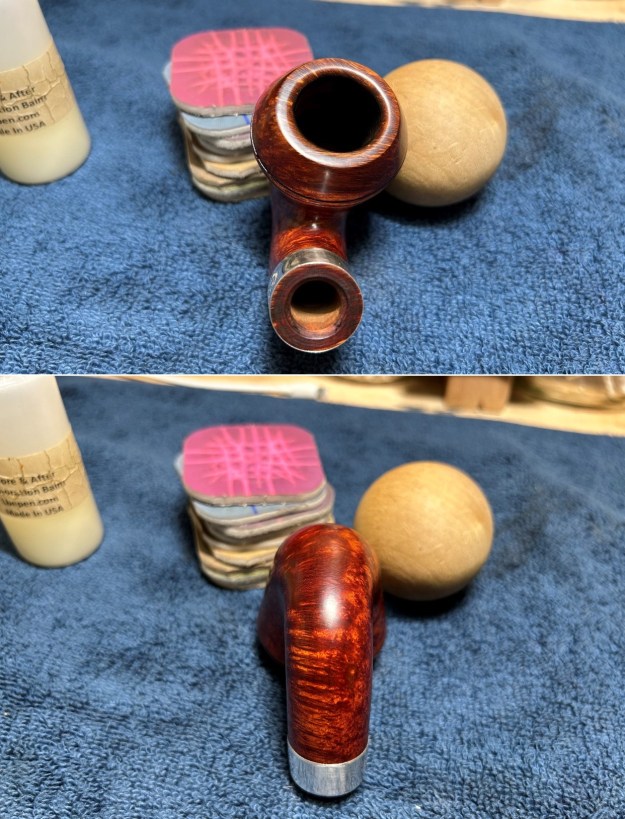
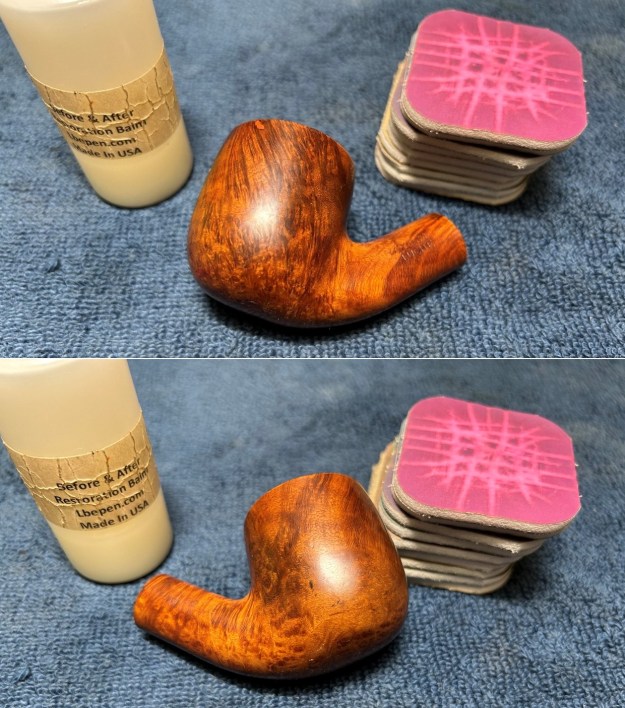
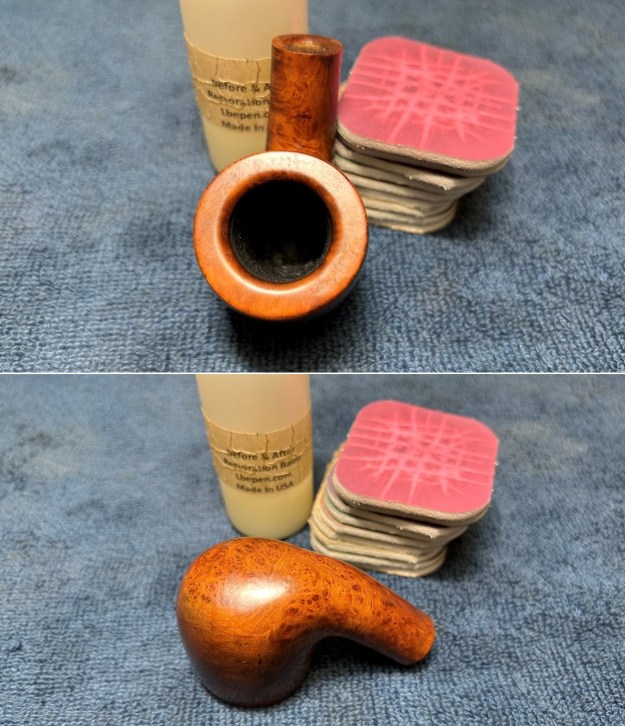
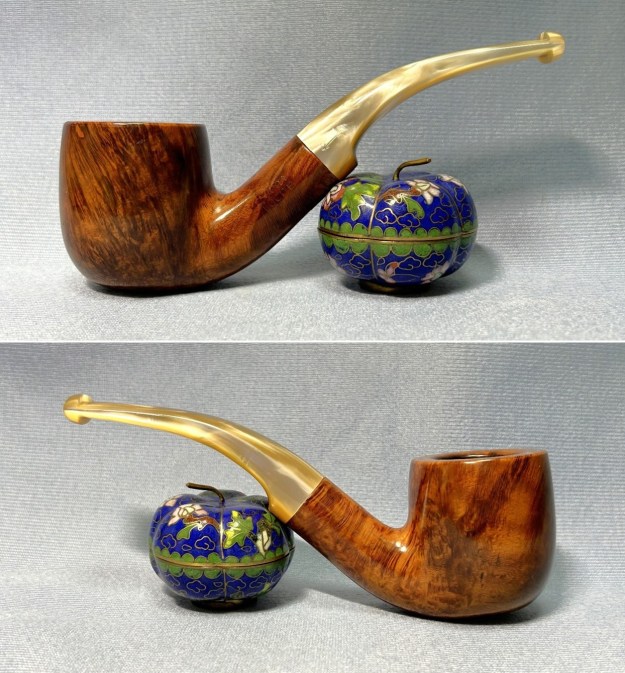
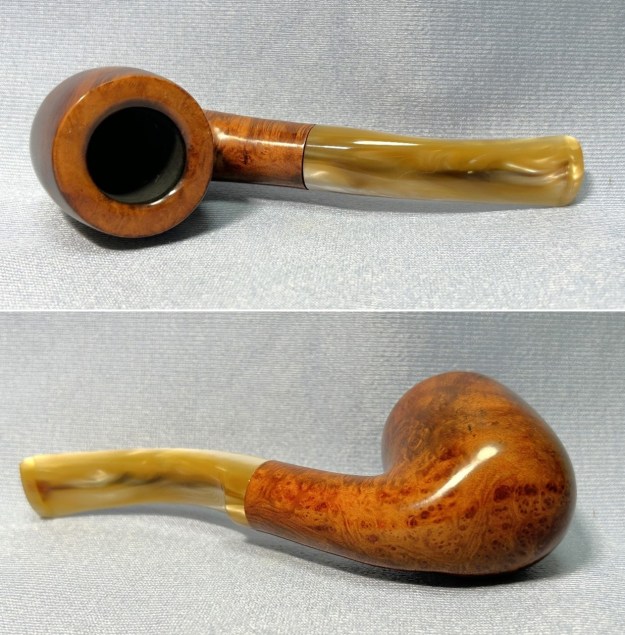
It was my birthday a couple of weeks ago and, much to my surprise, my parents gave me pipes for my birthday! I say “surprise” because my lovely folks were somewhat bemused when I got into the pipe-restoration hobby. However, this would seem to indicate that they have endorsed this great hobby of mine. This pipe is, by far, the nicest of the three I received. It is a Preben Holm 400 Free Hand. The grain is truly wonderful. Fortunately for me, the pipe was in decent condition when I got it. Not too much work required. Let’s have a look at the markings. On the underside of the shank, there are the words Preben Holm [over] Free-Hand [over] 400 [over] Hand Made [over] in [over] Denmark. My mother is of Danish extraction, so perhaps that played a role in this pipe’s selection. Over on the top of the stem, we see a crown above the letters PH (obviously standing for the man himself). In the past, I have often wondered about many Danish freehand shapes – especially Preben Holm’s. Sometimes (not always) they seem to be intricate merely for intricacy’s sake – or made to look like a piece of abstract art. However, Preben Holm is a true master of the craft and I don’t feel that sense of unnecessary complexity with this specific pipe. It is genuinely well made and beautiful. Let’s learn a bit more about Preben Holm and his pipes. Pipedia’s article about him says:

Preben Holm (1947-1989) has set some marks in pipe history. Just before his 16th birthday in 1963 he sold pipes to the legendary Pipe-Dan shop and at the age of only 22 he headed 45 employees. He was among the first Danish artisans who made “Danish pipe design” famous in the USA in the 1960’s. More than that he was one of the very first carvers who exceeded this moderate Danish Design which based on the classical shapes. “Chasing the grain” they turned out wild and dramatic fancy pipes. Combining smooth with blasted surfaces, showing big areas of the original bark at the top of the bowl and at the end of the stem, these pipes were quite shocking to many elder and more conservative pipe smokers. When he started to sell his pipes to Lane Ltd. under the Ben Wade label, he caused a hype fairly beyond comparison. Especially in the U.S., as most of his pipes were sold there.The Pipedia article also goes on to provide the very interesting tale of his business written by the man himself. I recommend reading it, although it deftly sidesteps discussing his own inner demons. In the same article, Poul Winslow says about Preben Holm:

Preben was a genius. Maybe a bit wild, always flying from idea to idea and impatient for results. But could he turn a pipe! Some of the most extreme free-hands came out of our workshop in the ’70s, and whatever his critics say, they sold like crazy, mostly in America. And when it came to finishing, he was the best in the business.There are a number of forums and websites that talk about his grading system. Unsurprisingly, much of this information is muddled, contradictory, or applicable to the Ben Wade pipes he made. From what I can understand – and I am happily corrected by those who know more – the era of pipes from which my pipe came used a grading system (ascending) of 100 to 500. Regardless of the accuracy of that information, my pipe is a 400.

Holm had a line of pipes called “Crown”, which, fittingly, had a crown on the stem – just like mine. However, all the examples of Crown pipes I’ve seen state that word on the pipe and that word isn’t on my pipe. The other point of mild frustration is that I seemingly have no way of dating this pipe, other than the unhelpfully and nebulously statement that it was made “in the ‘70s”. In 2020, Steve wrote an article about a PH Crown that he restored. It is not the same as mine and doesn’t have the same markings, but there is some indication that this pipe might have been distributed in the US by Lane Ltd under Preben Holm’s own name.  Moving on…

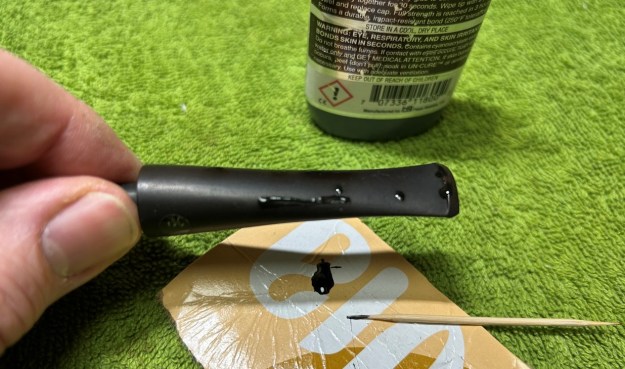
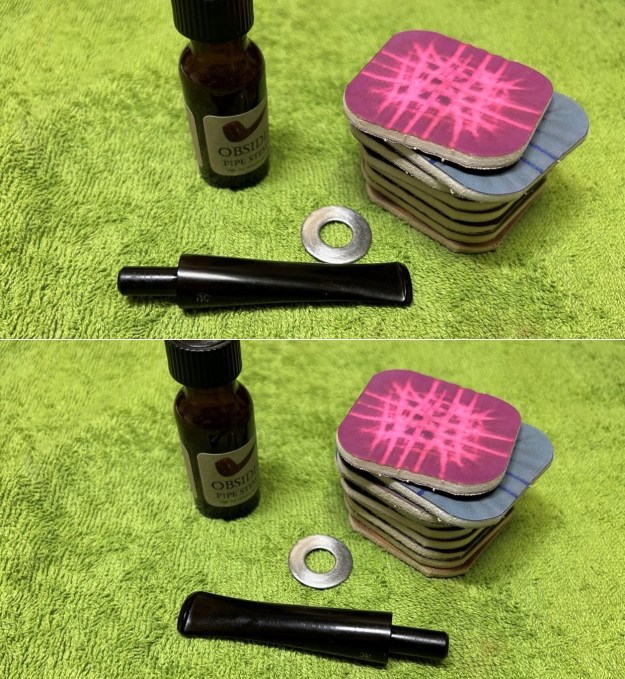
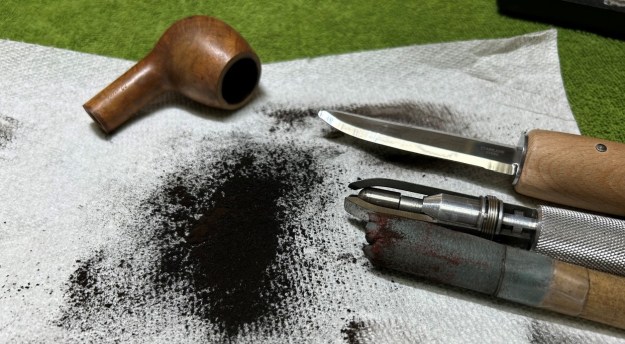
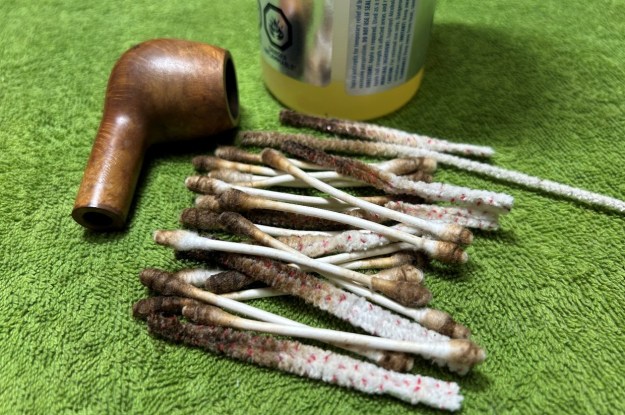
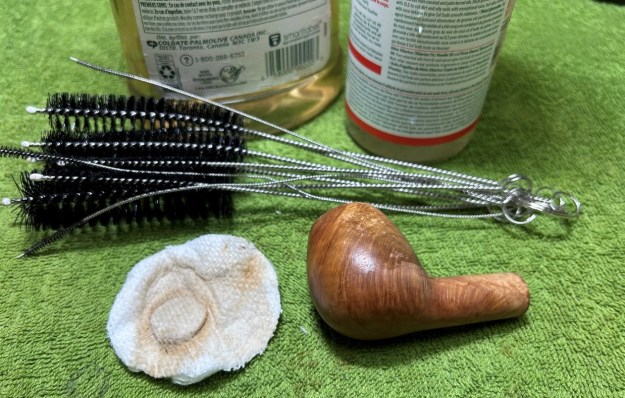
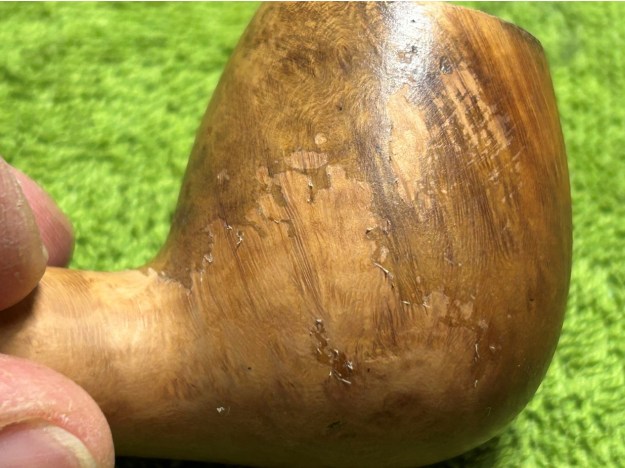
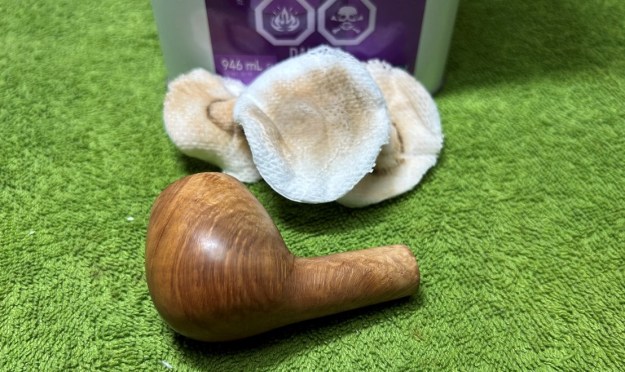
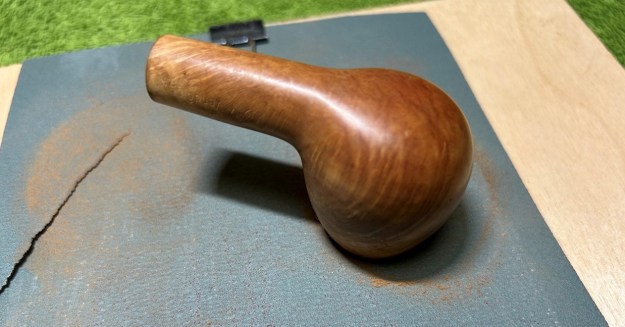
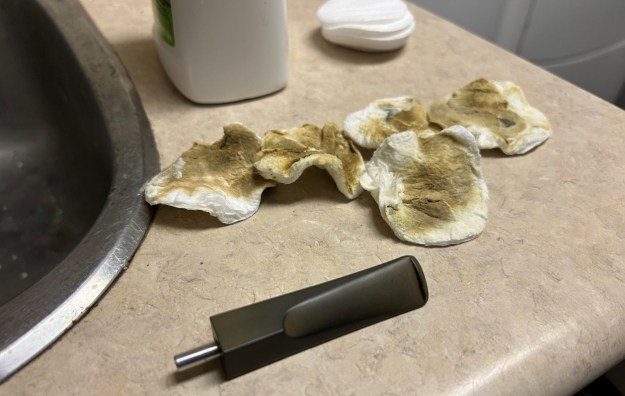
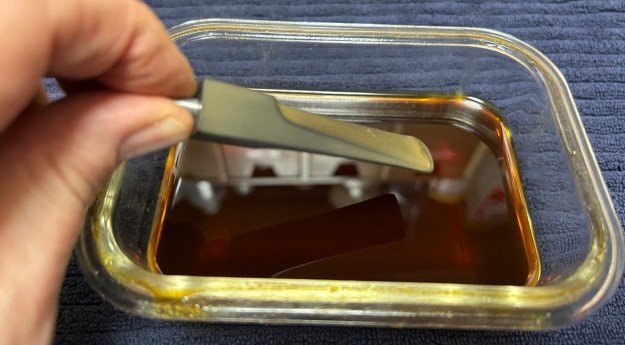
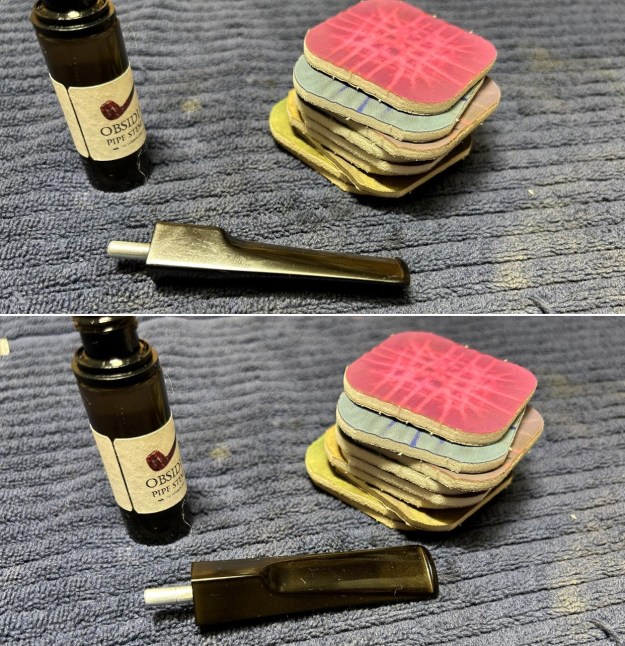
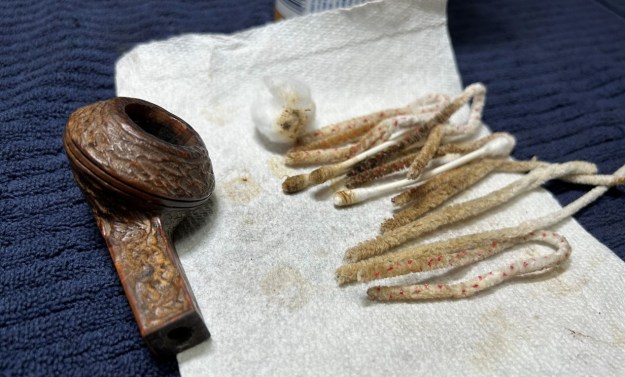
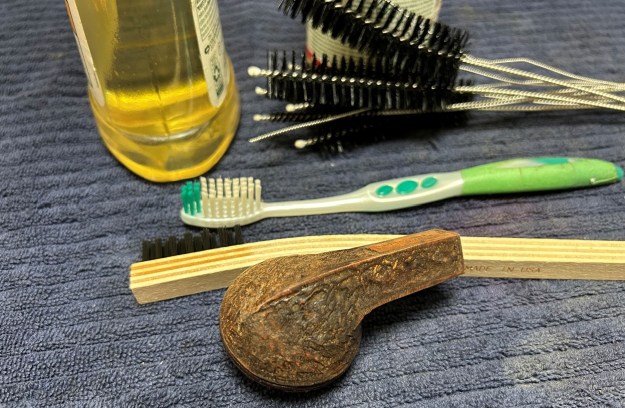
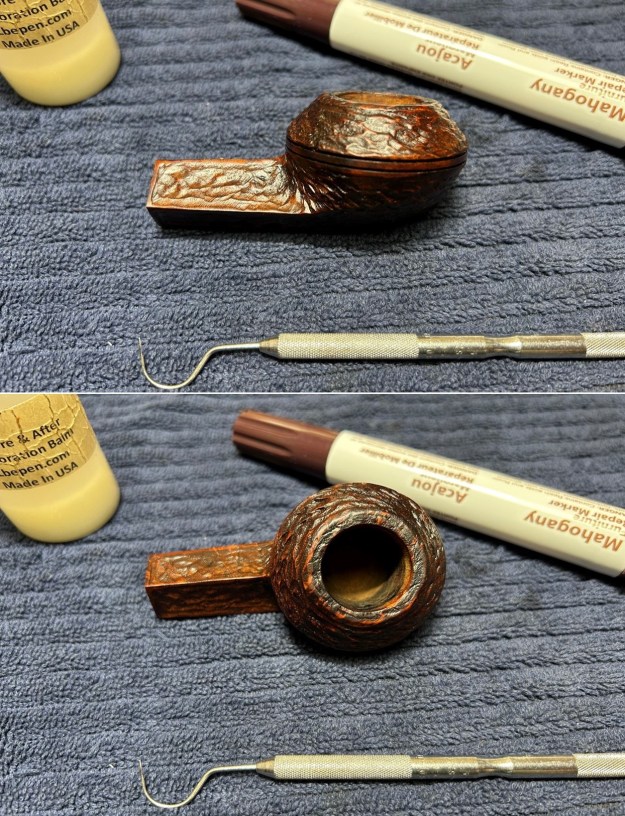
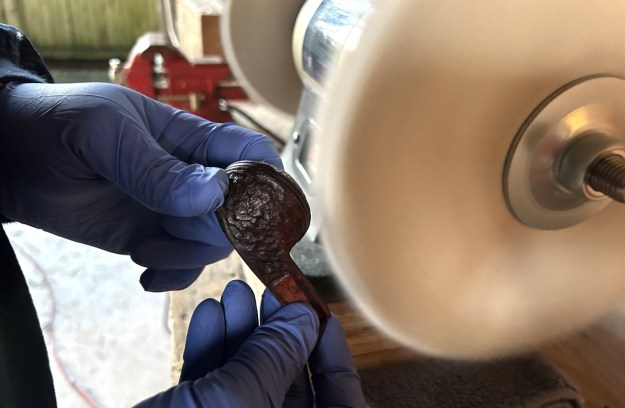
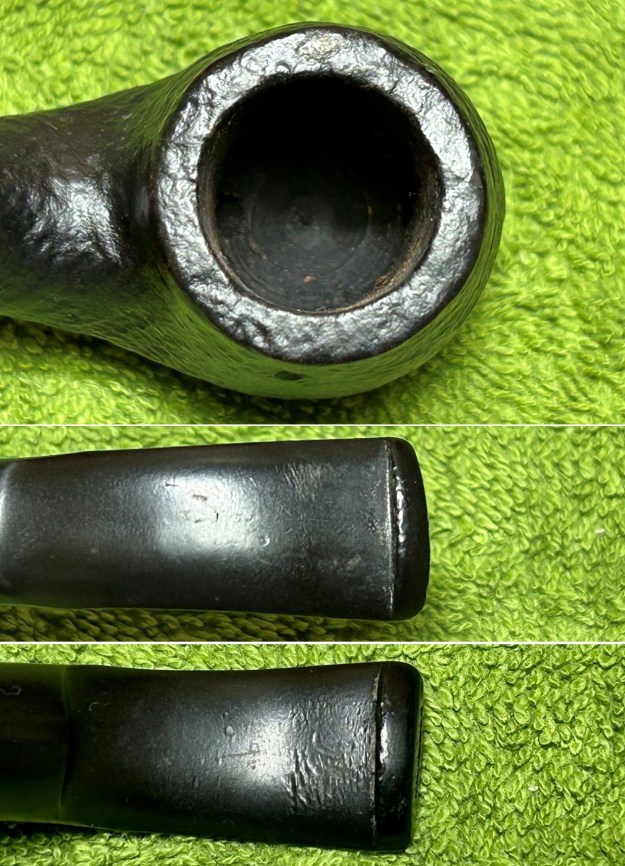
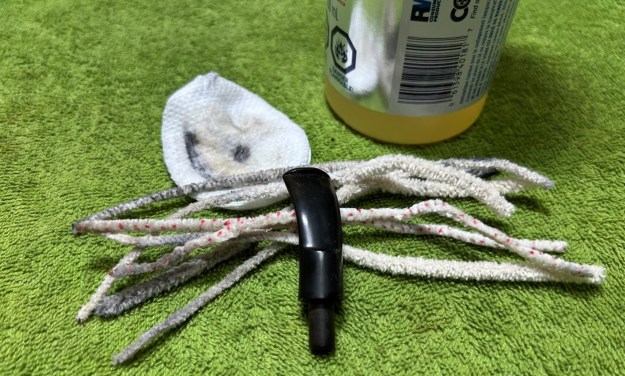
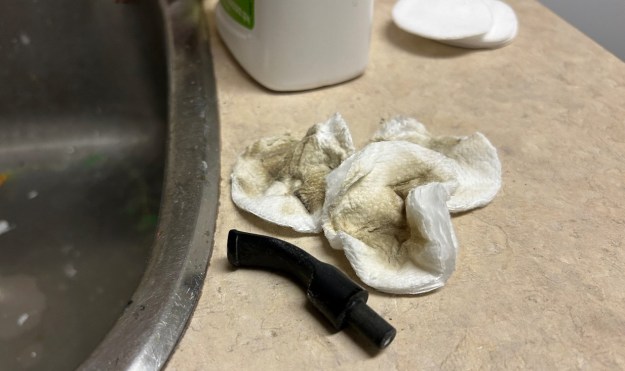
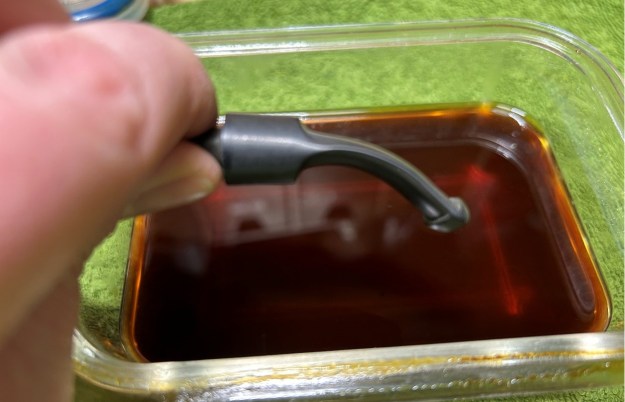
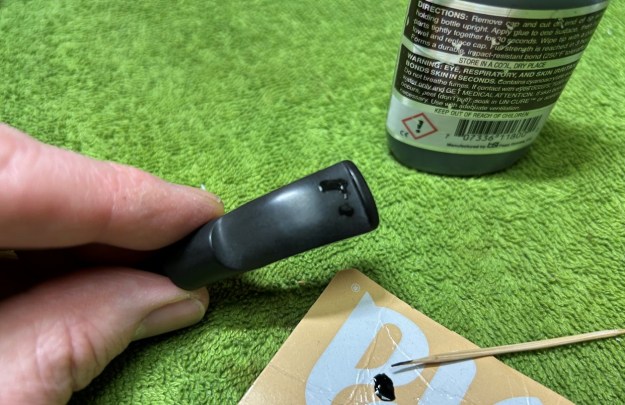
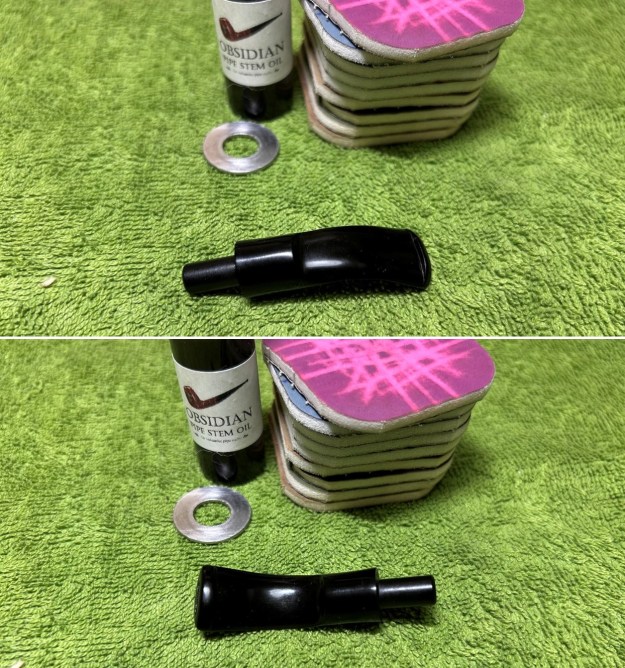
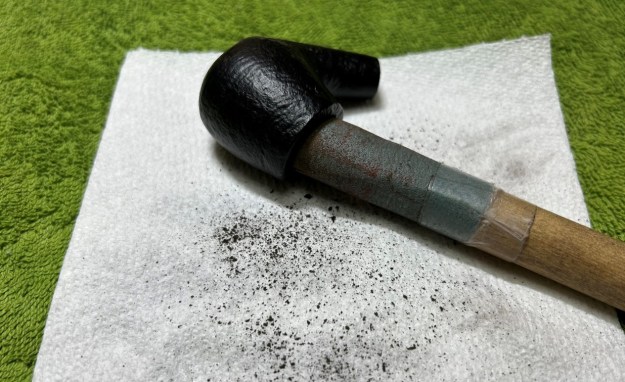
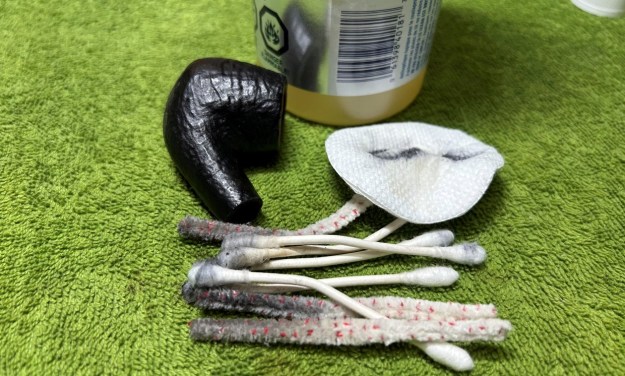
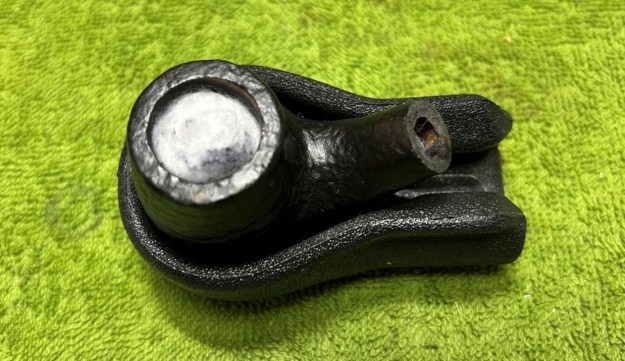
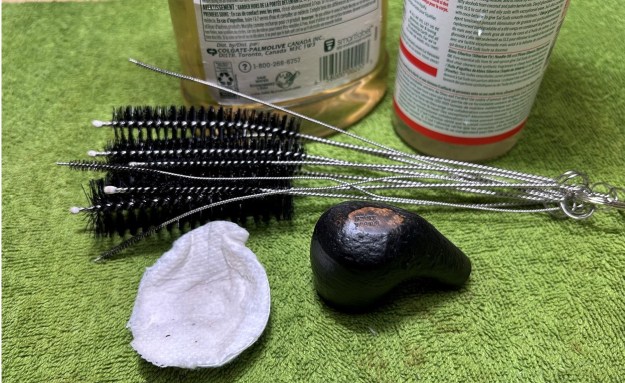
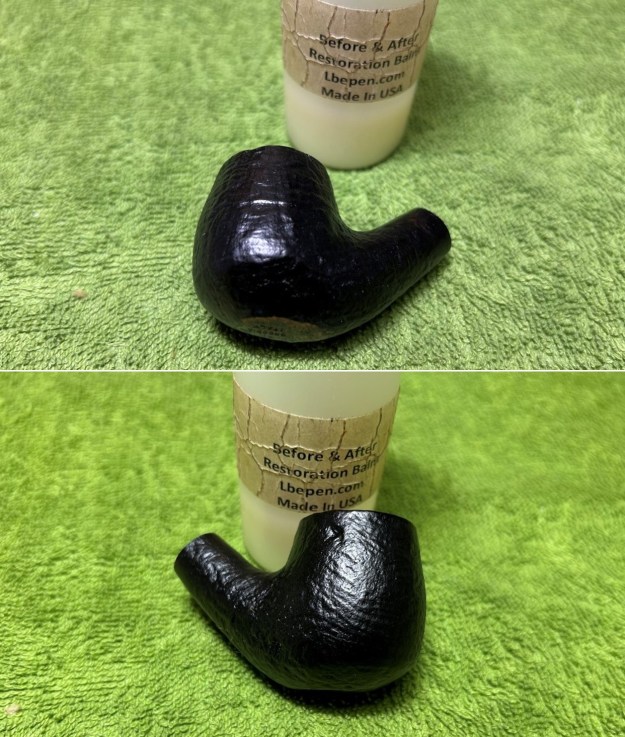
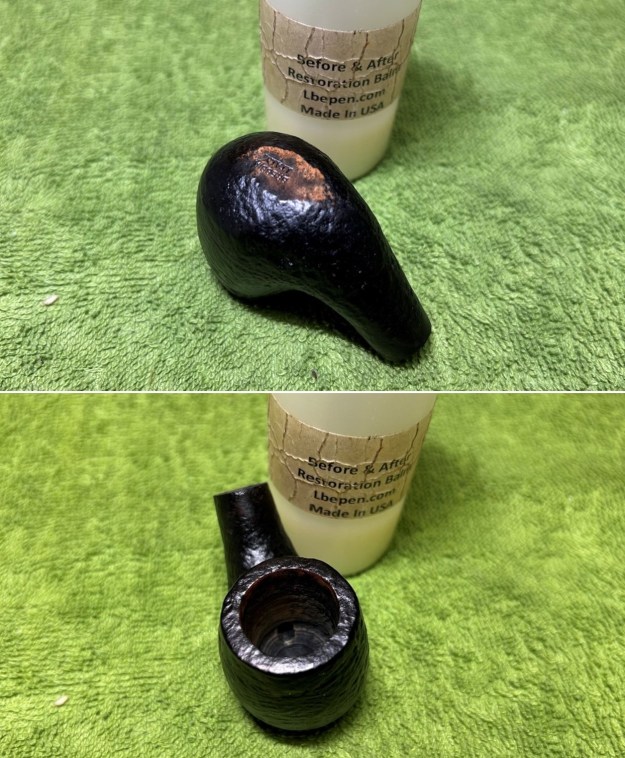
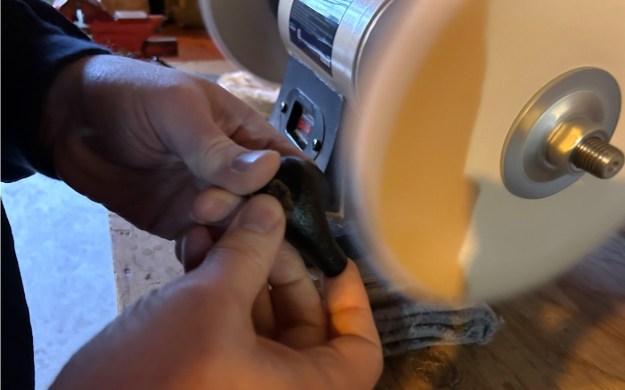
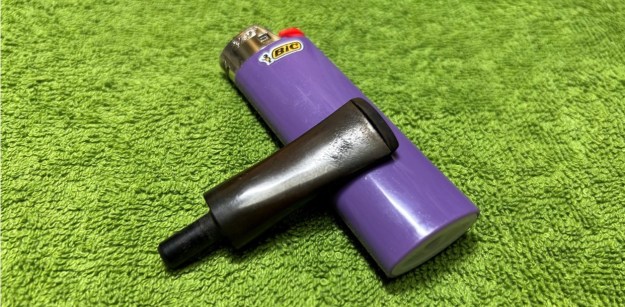
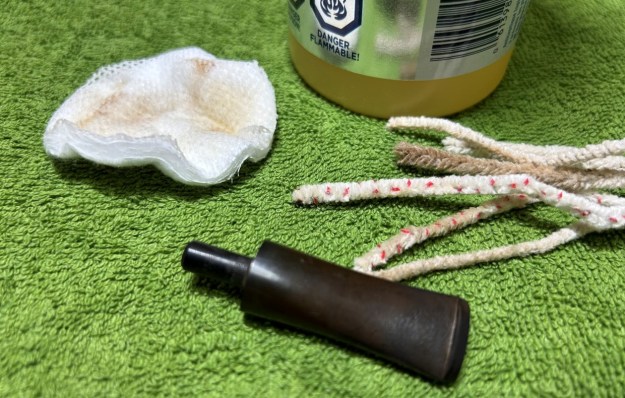
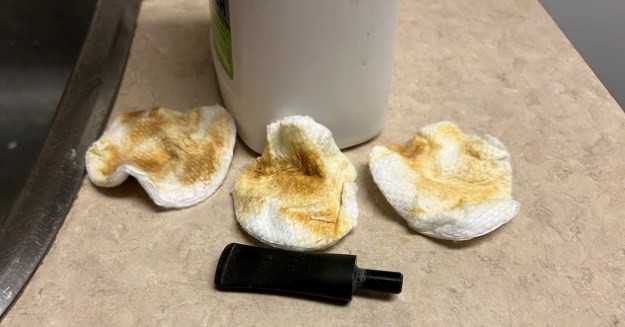
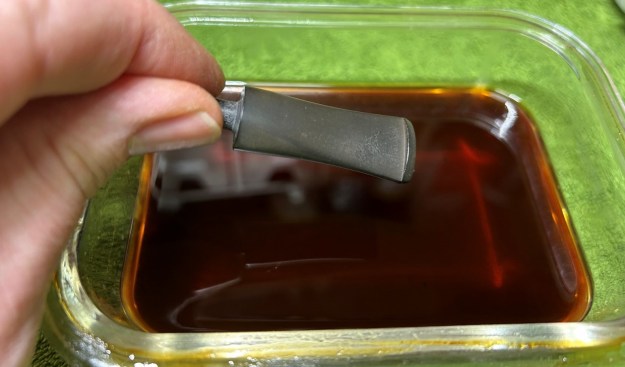
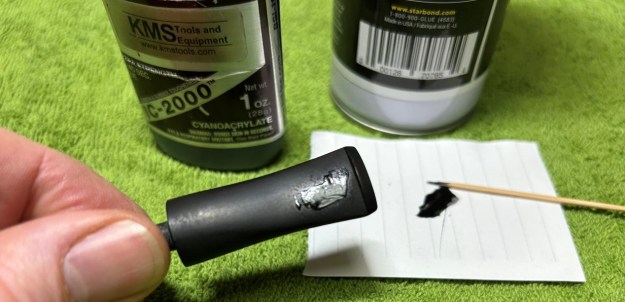
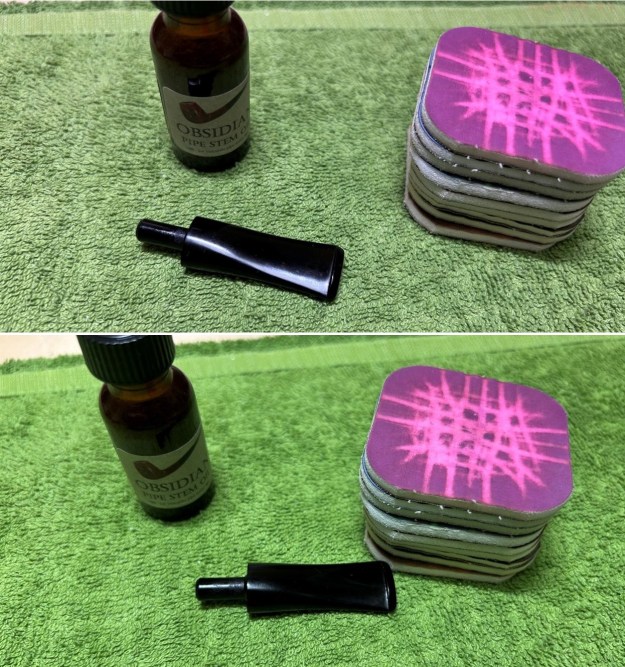
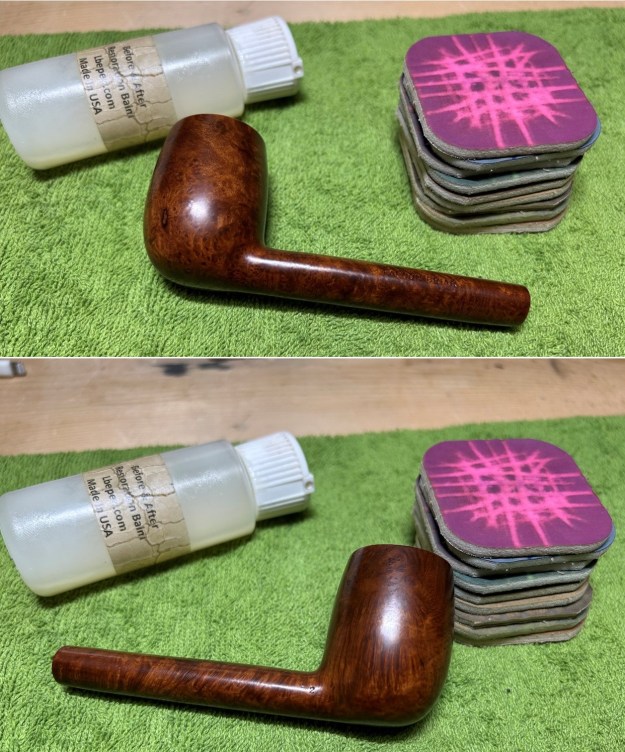
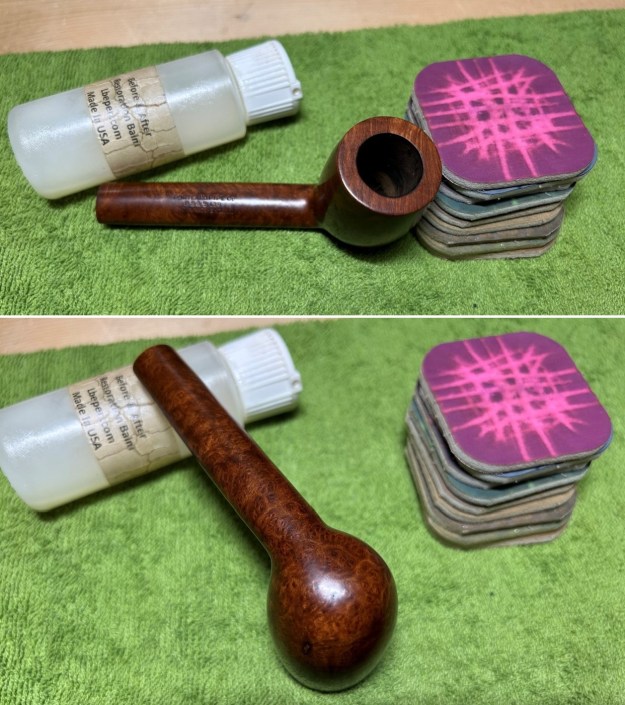
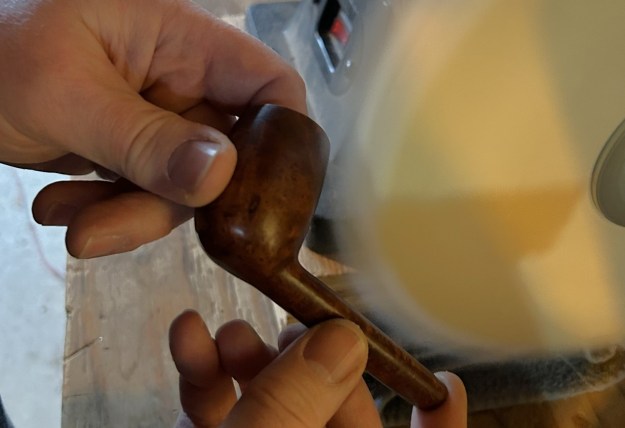
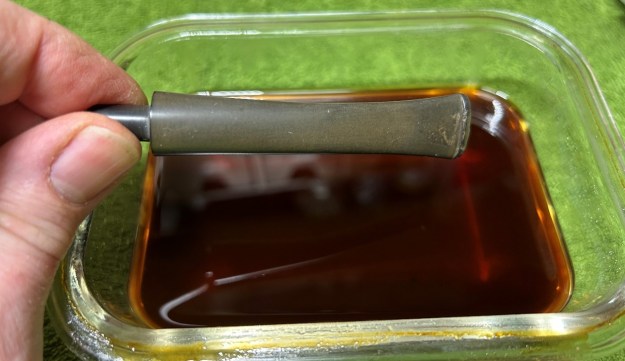
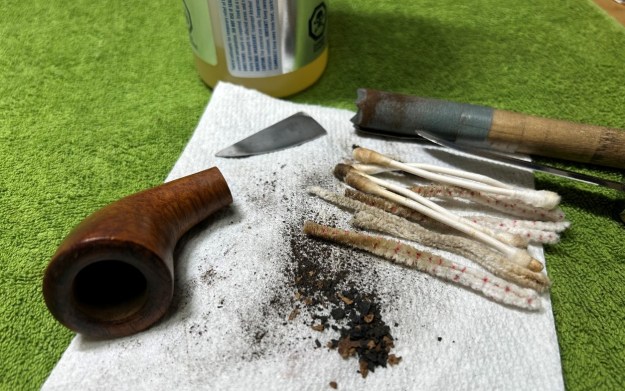
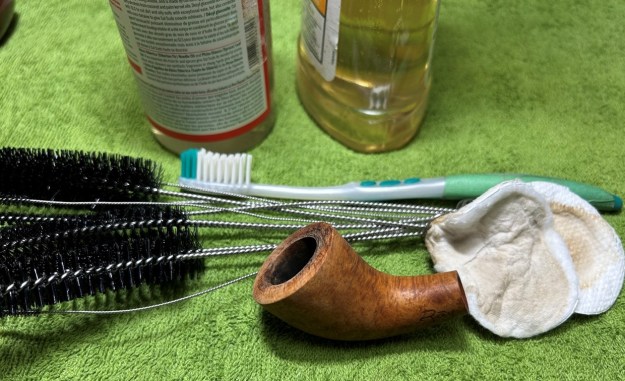
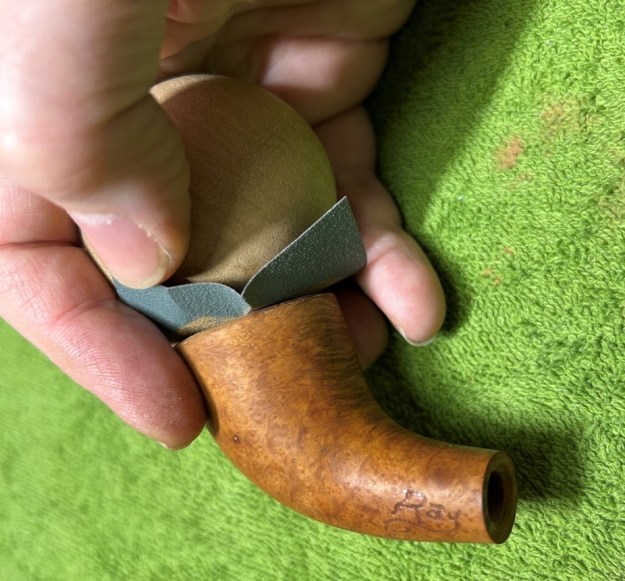
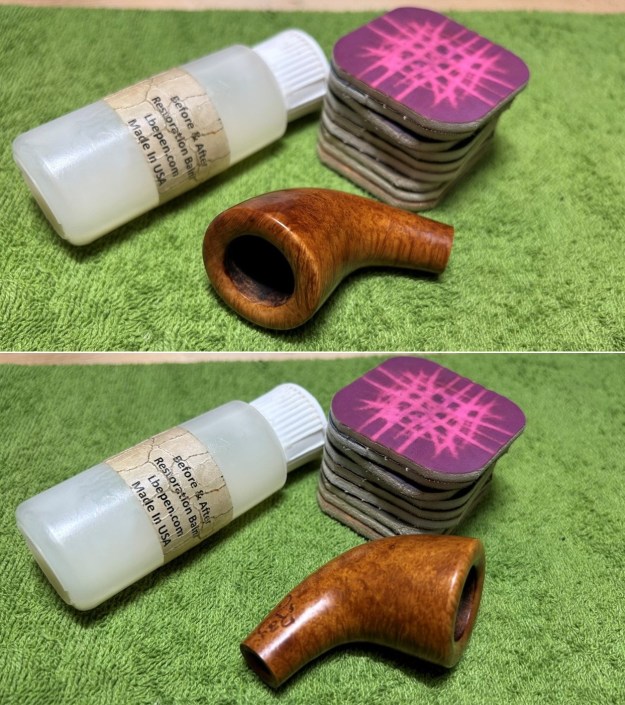
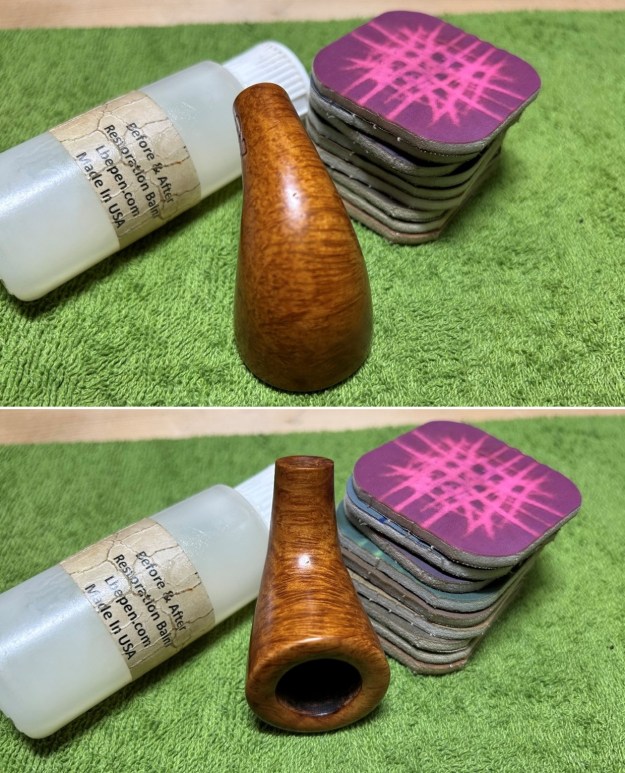
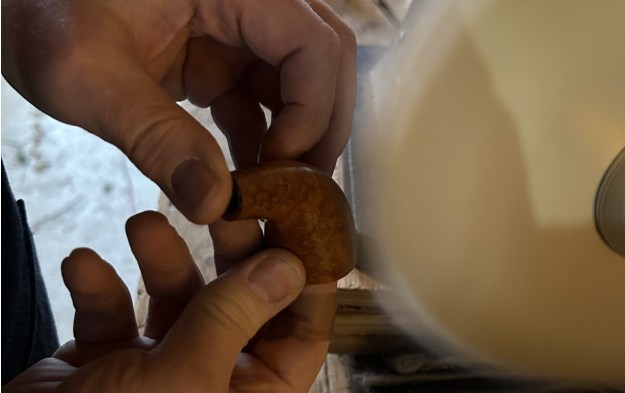
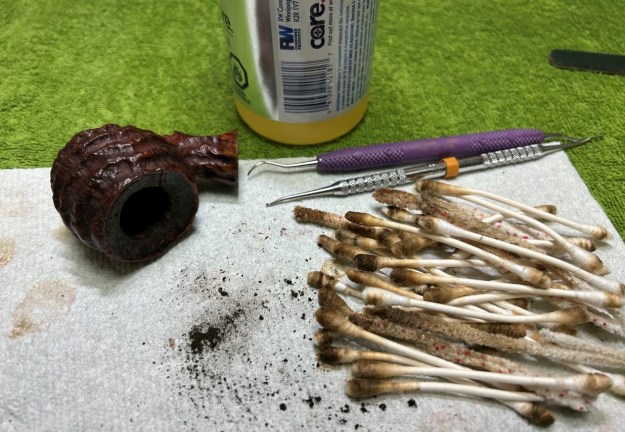
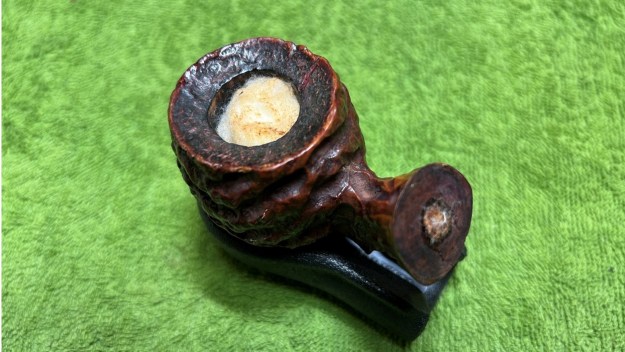
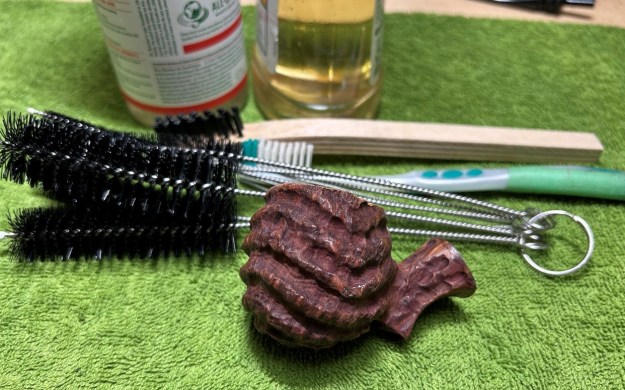
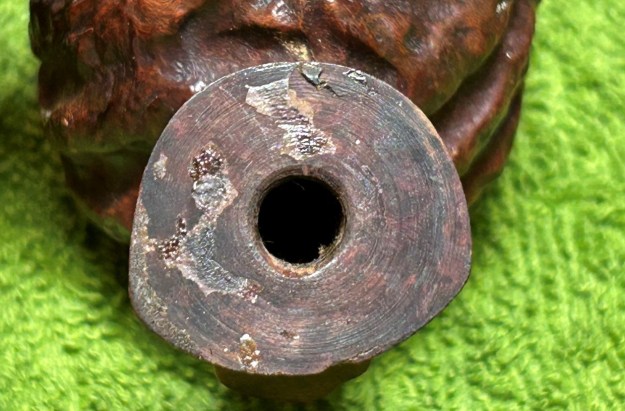
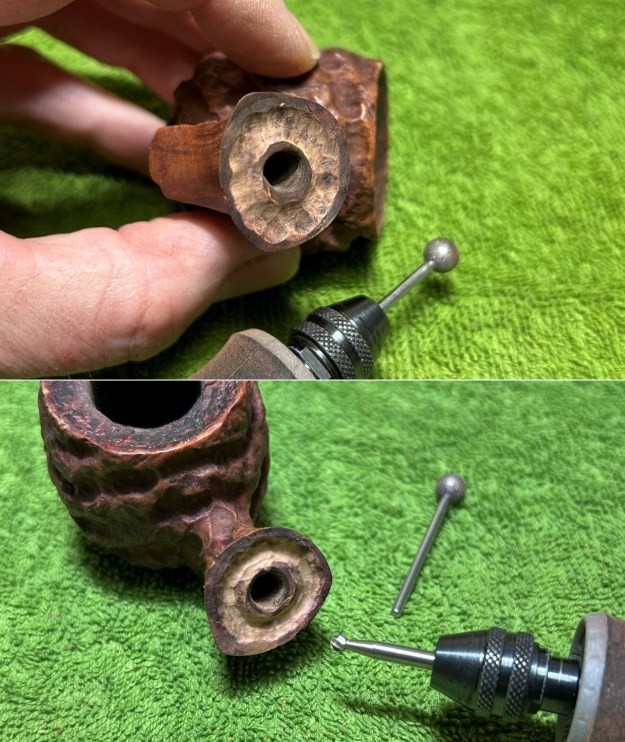
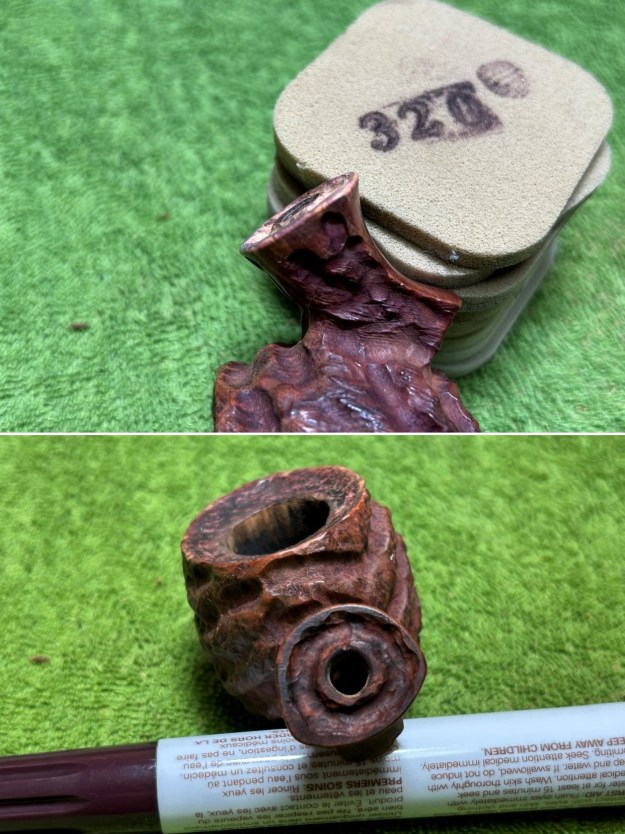
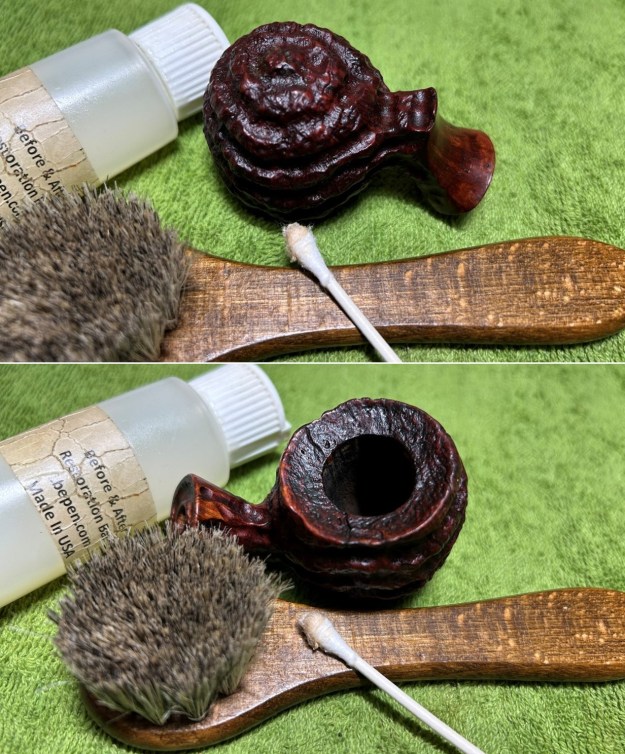
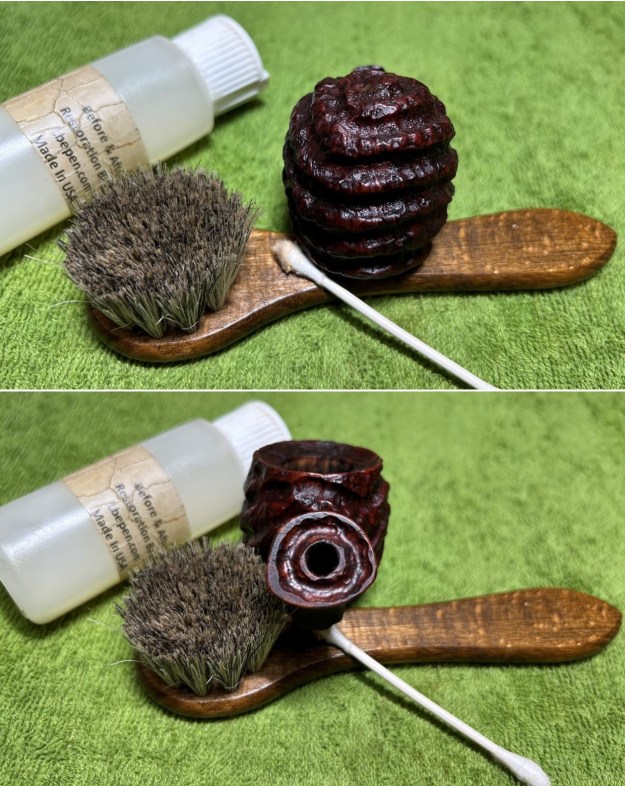
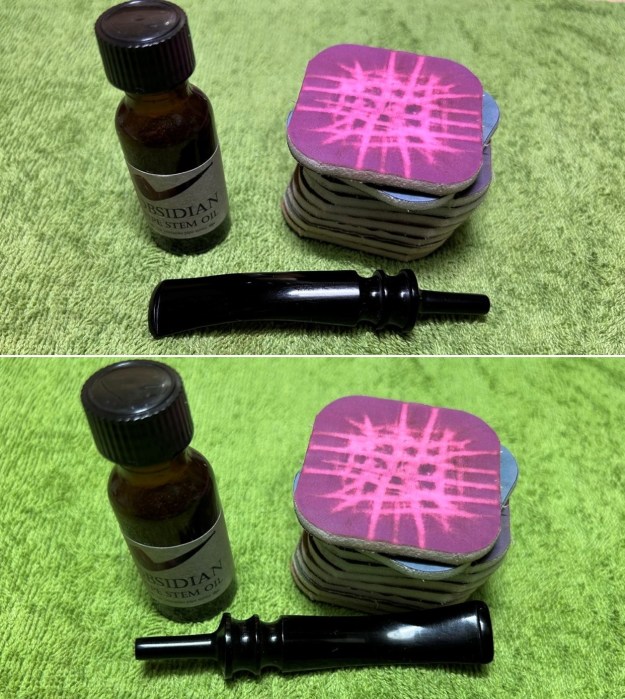
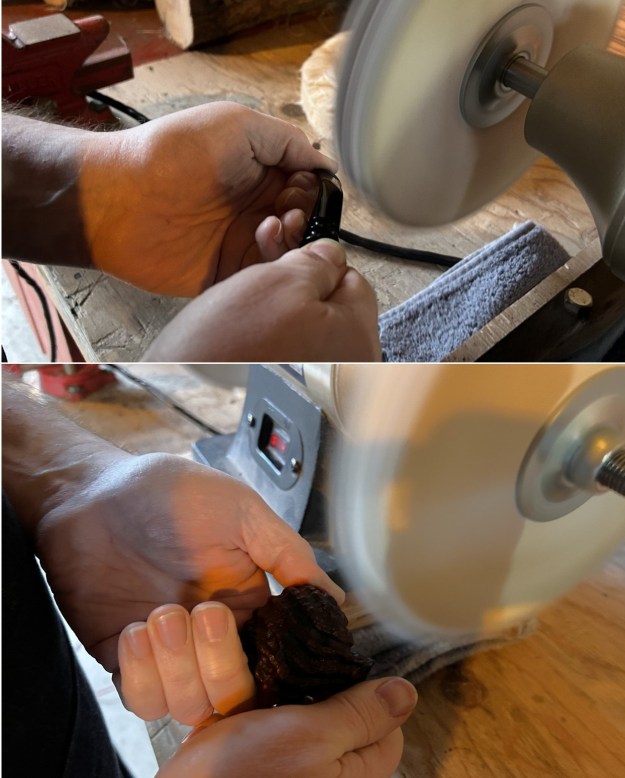
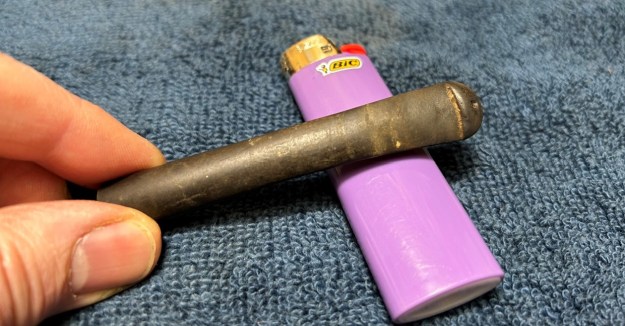
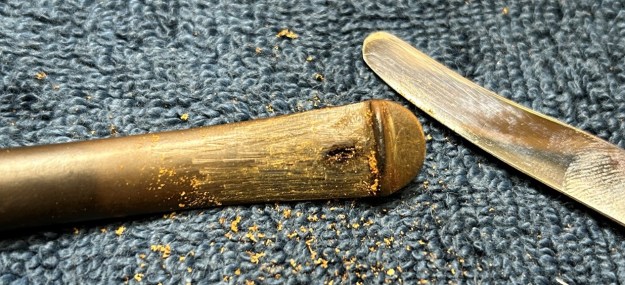
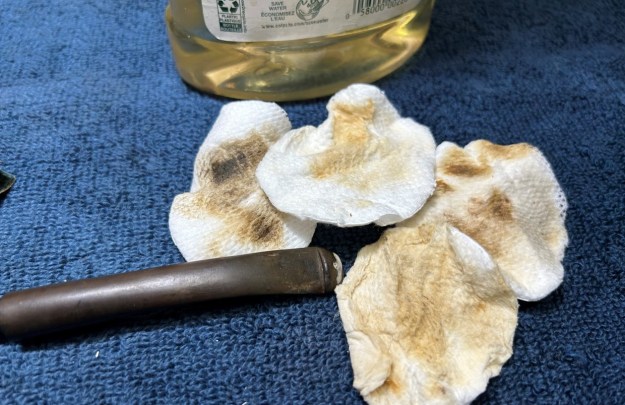
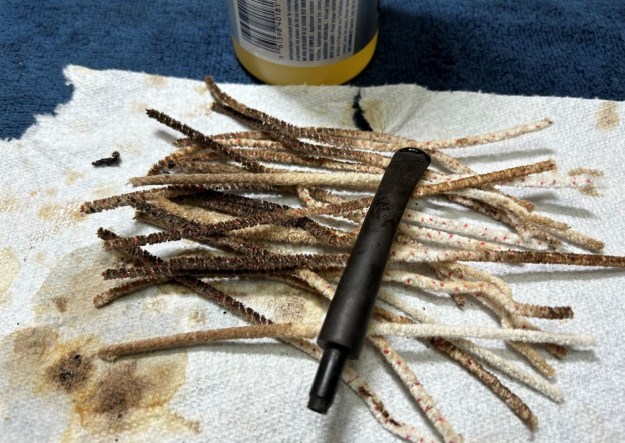
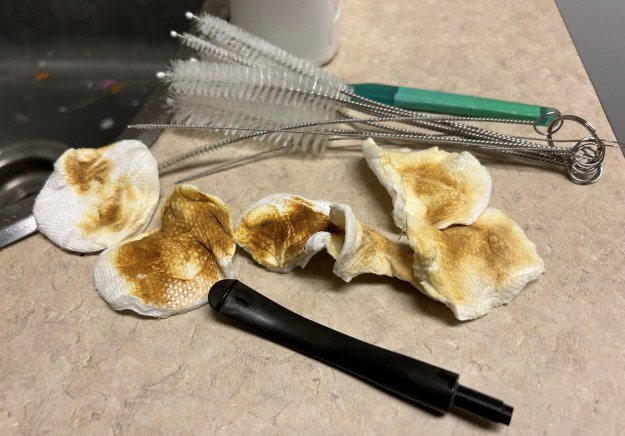
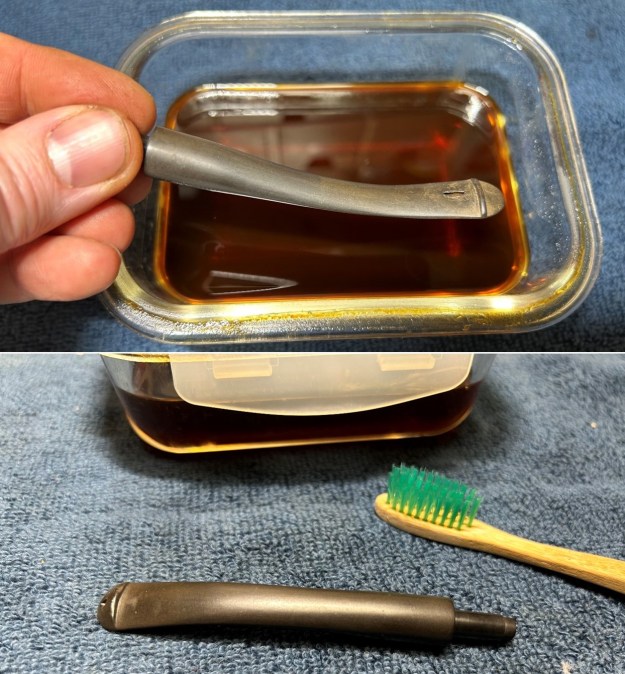
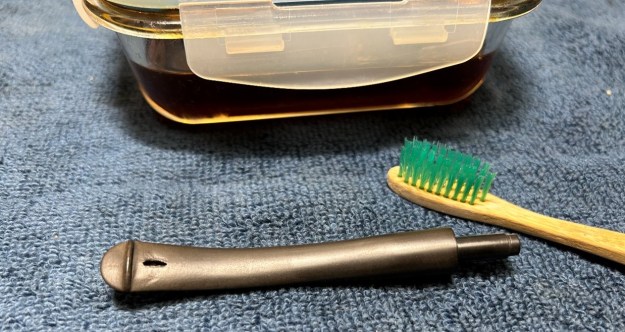
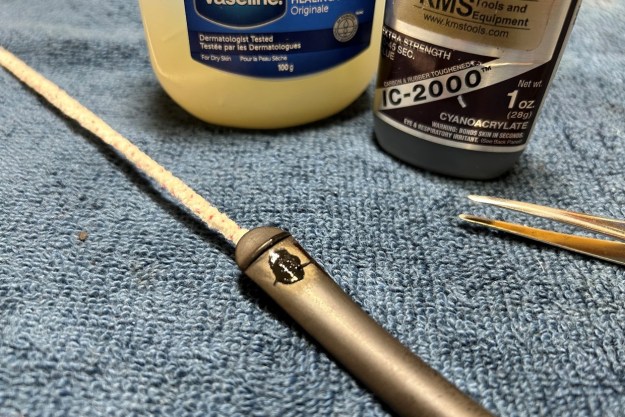
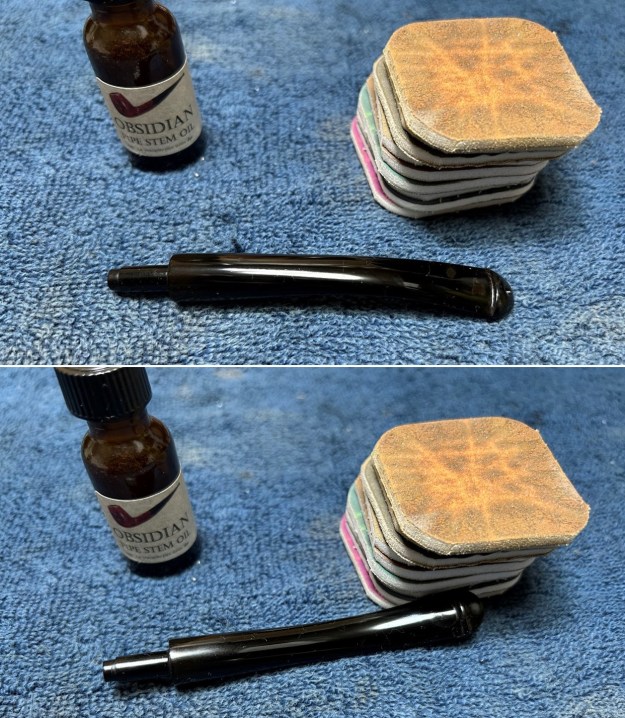
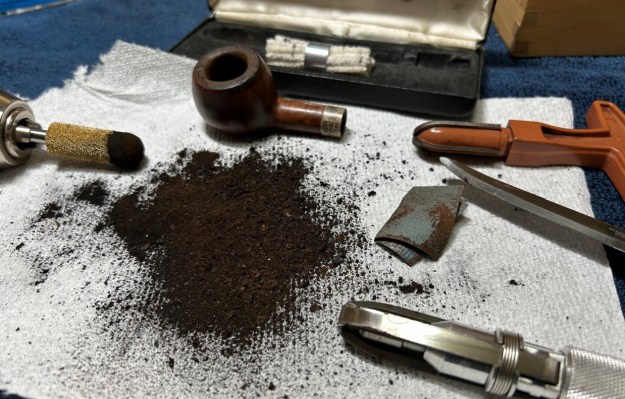
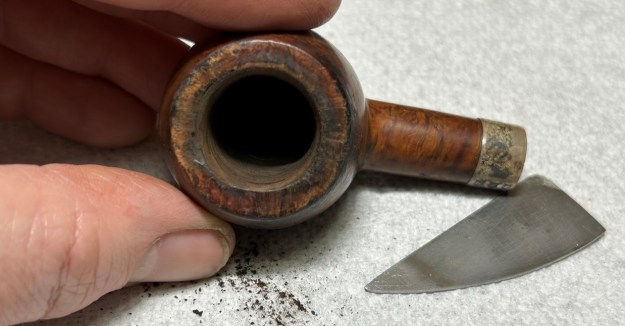
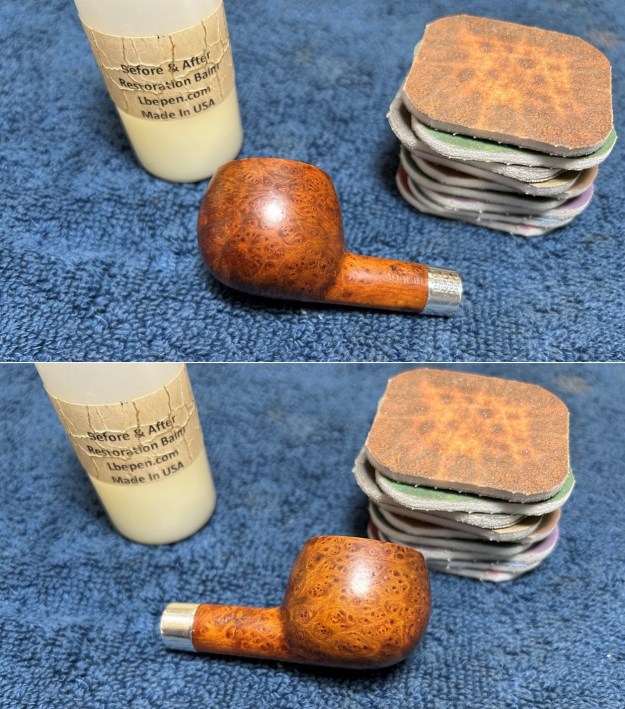
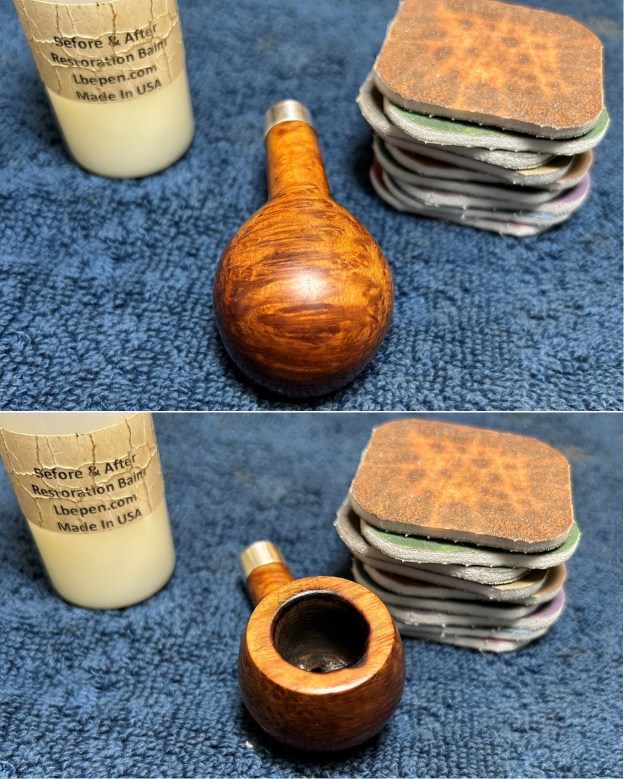
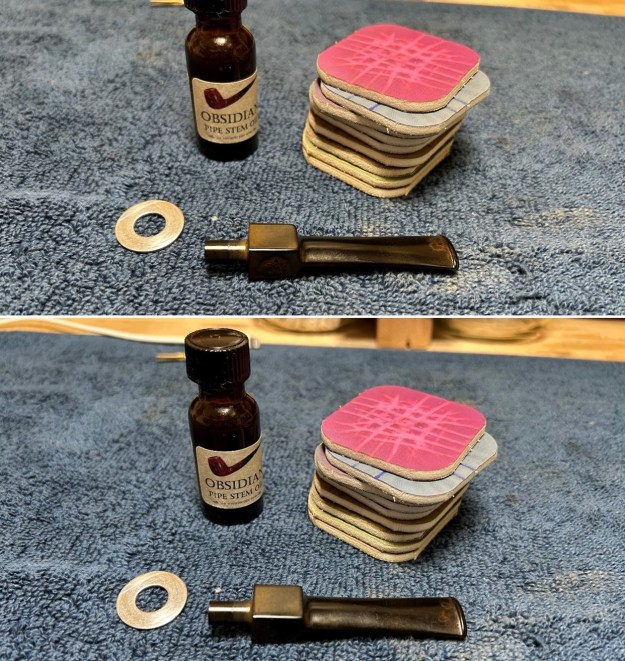
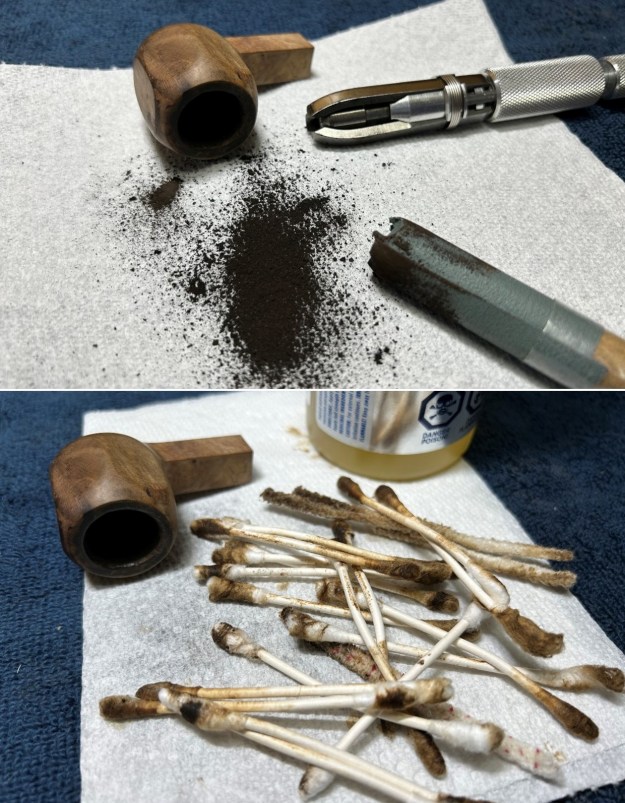
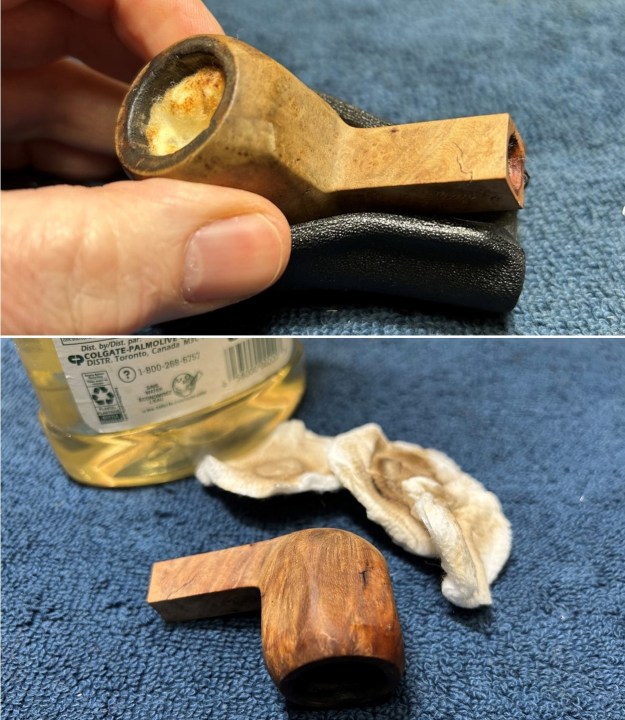
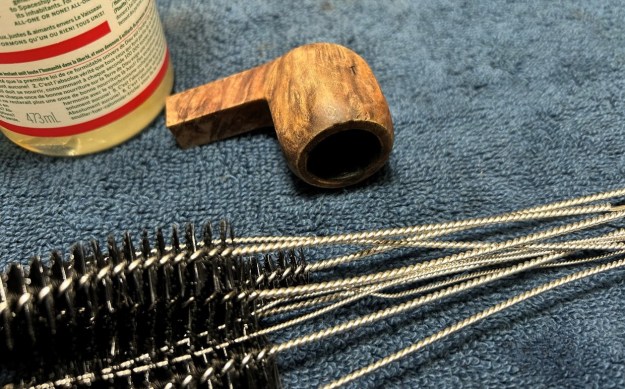
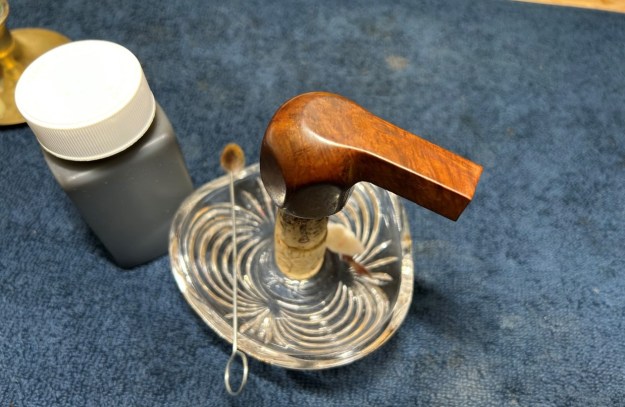
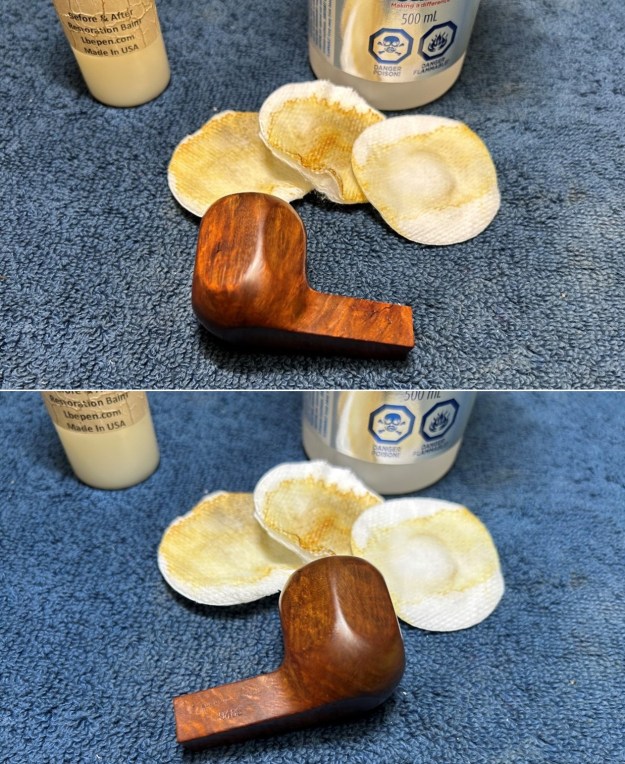
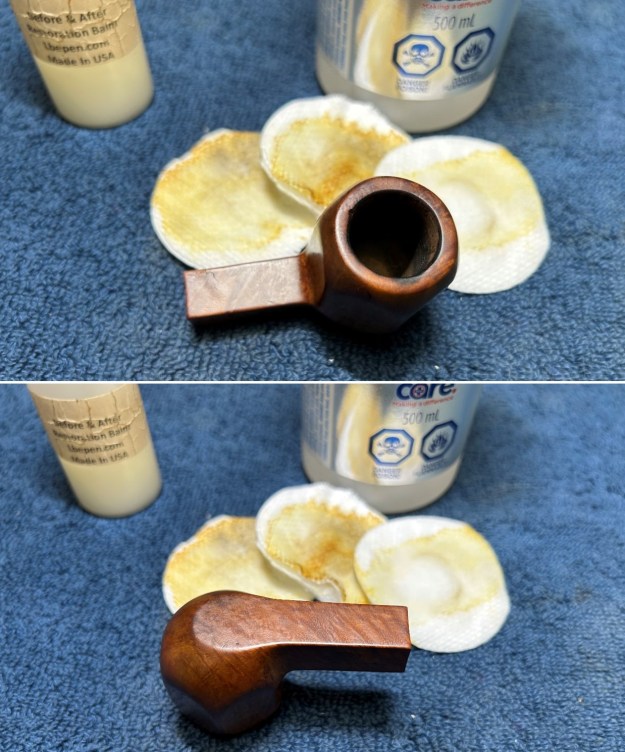
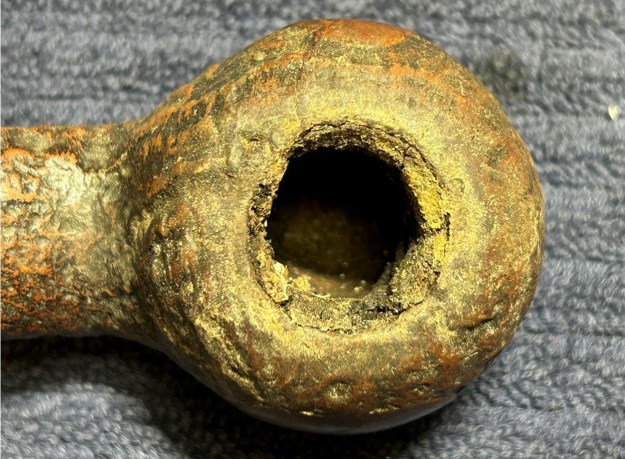
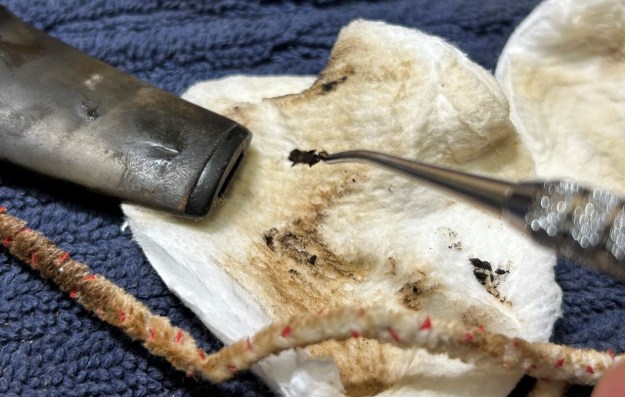
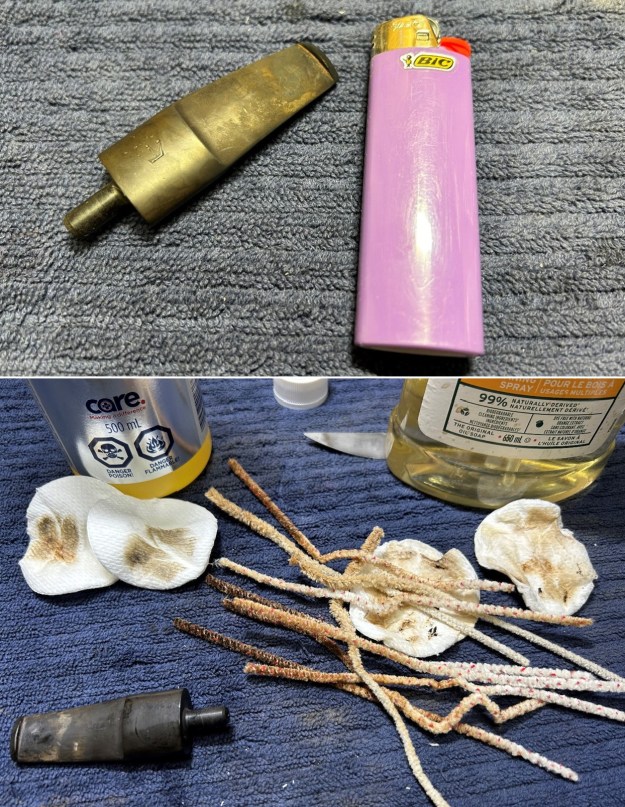
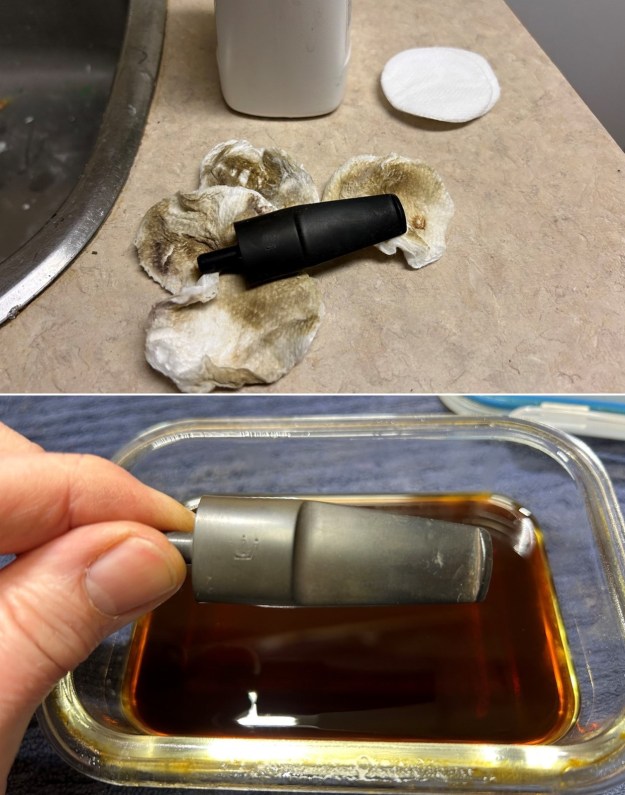
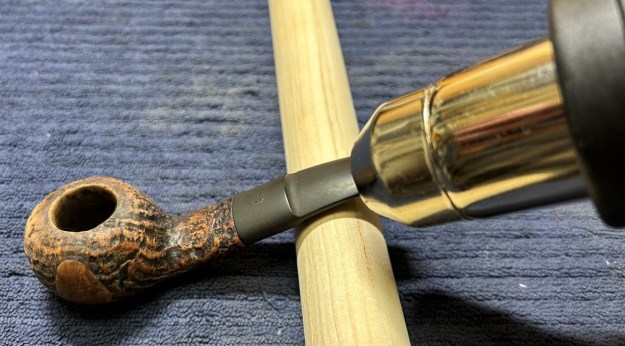
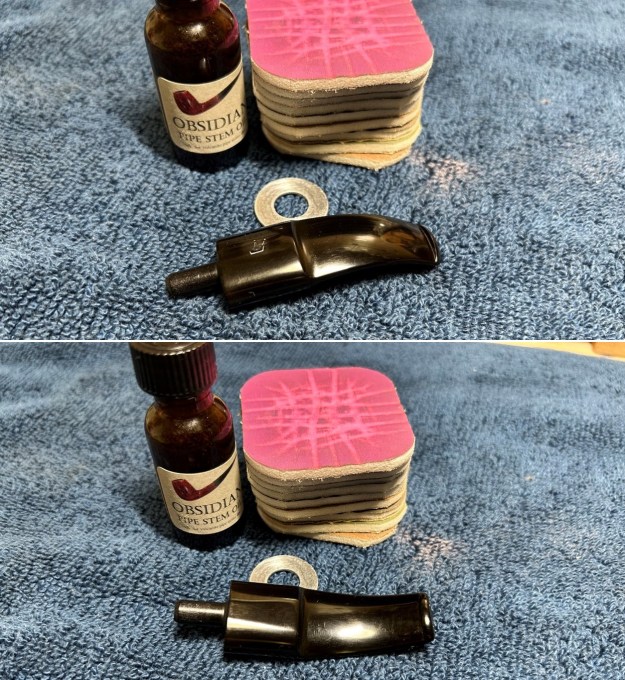
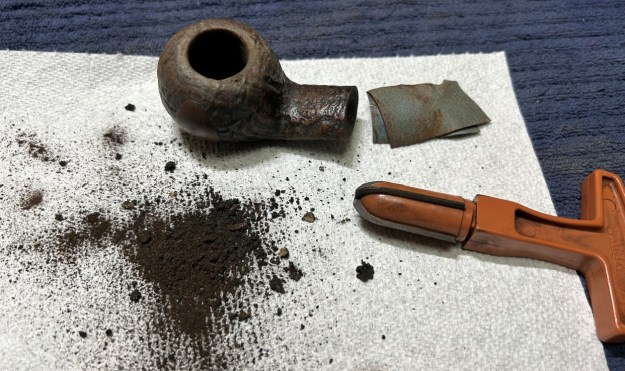
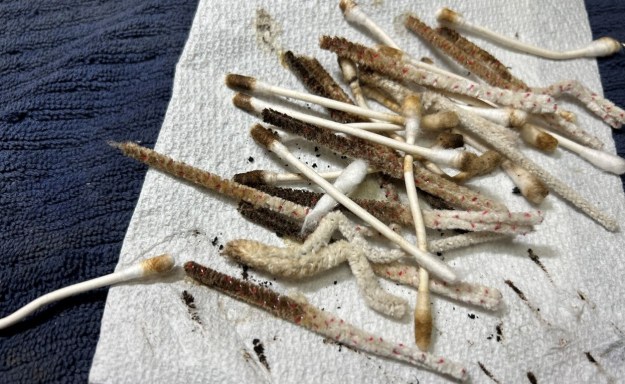
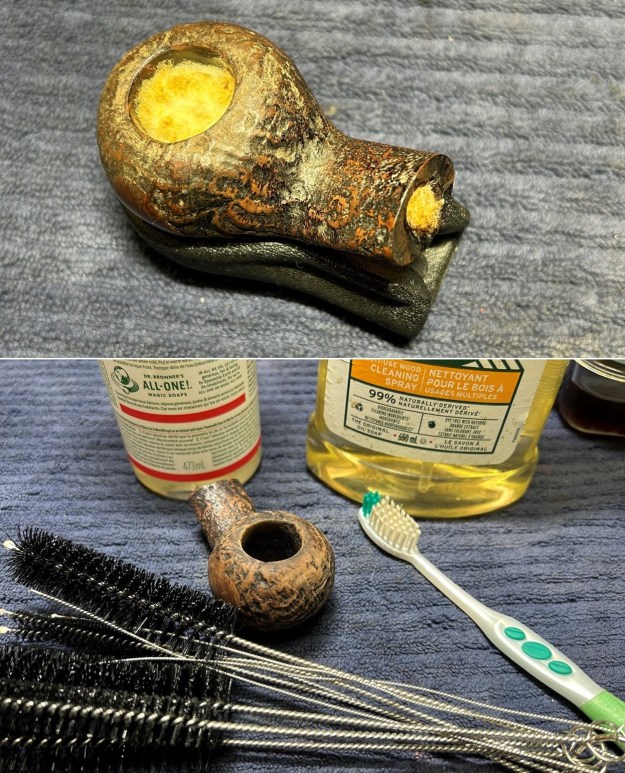
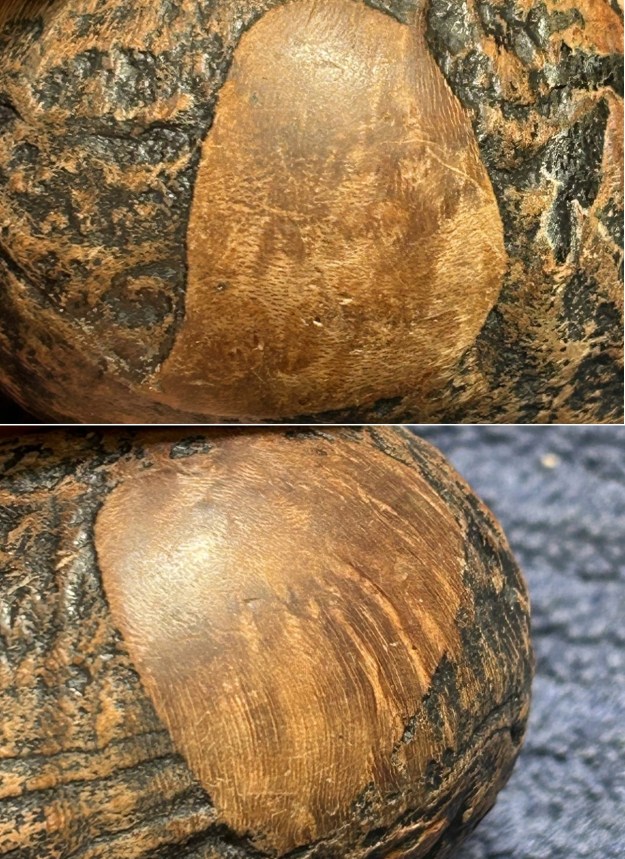
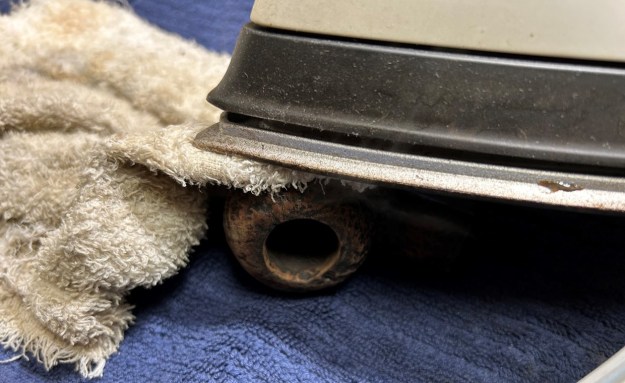
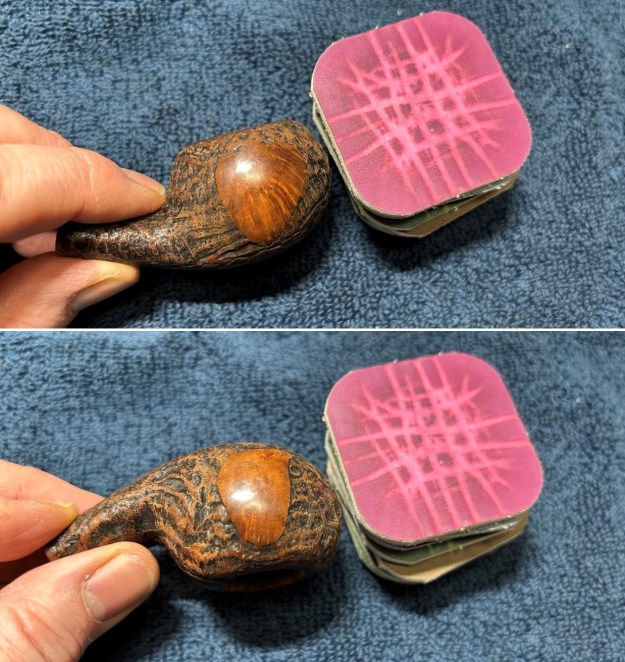
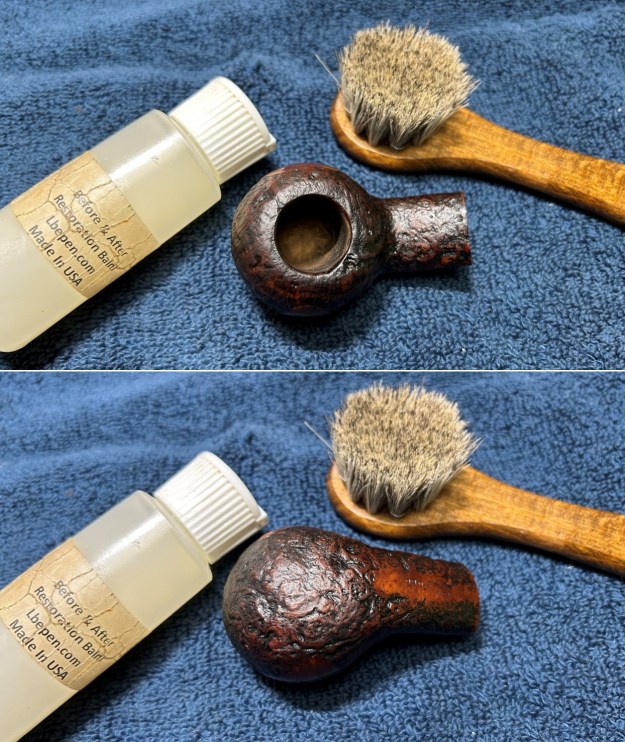
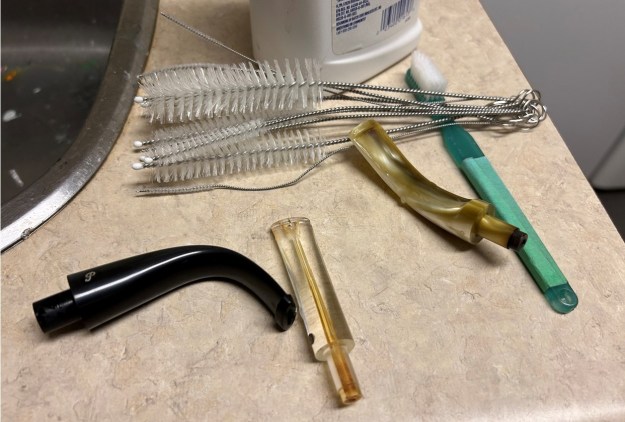
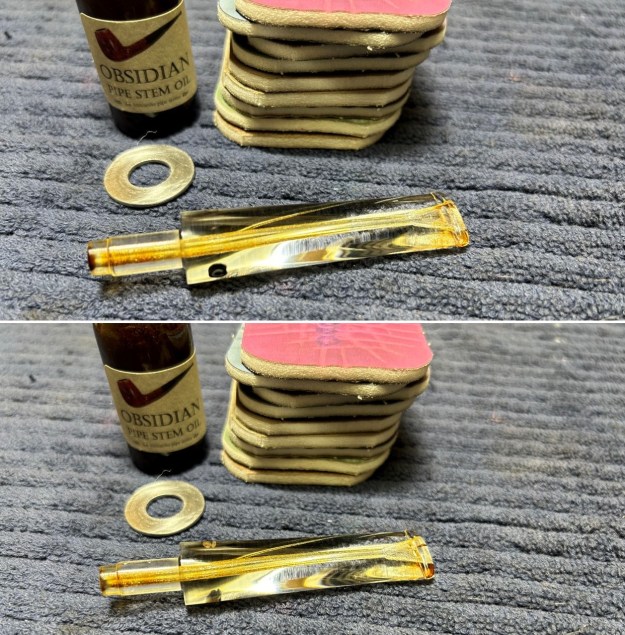
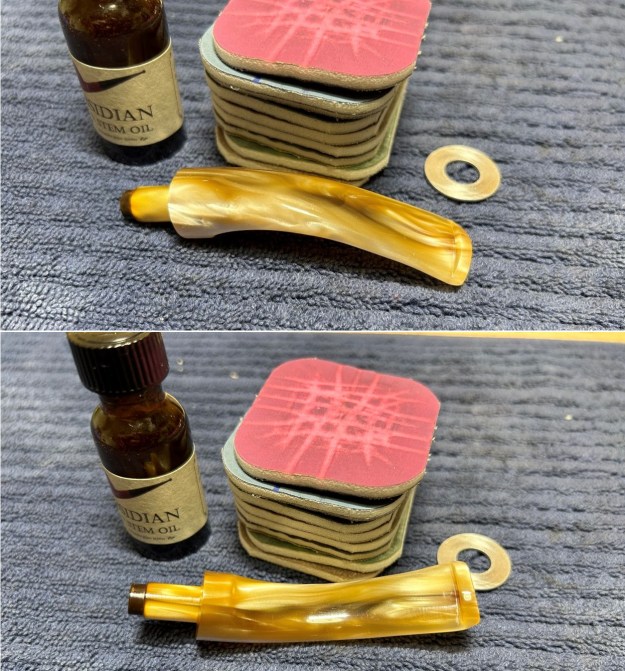
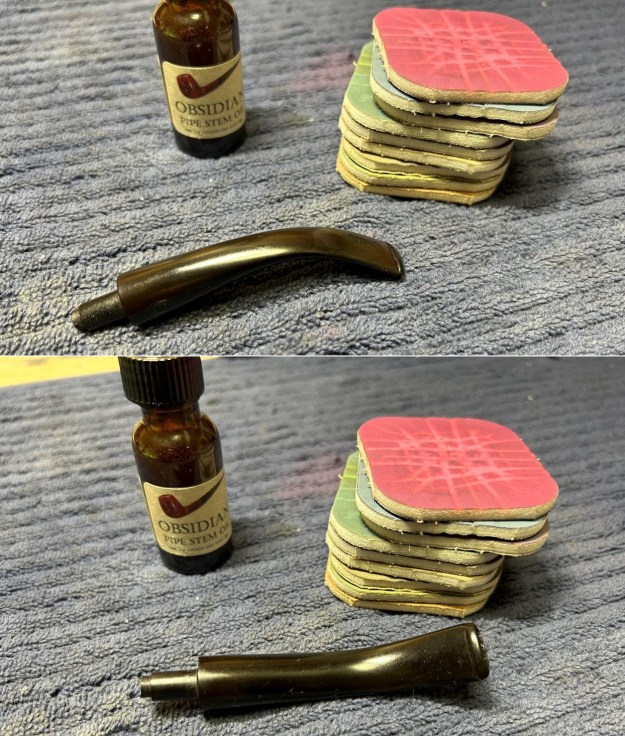
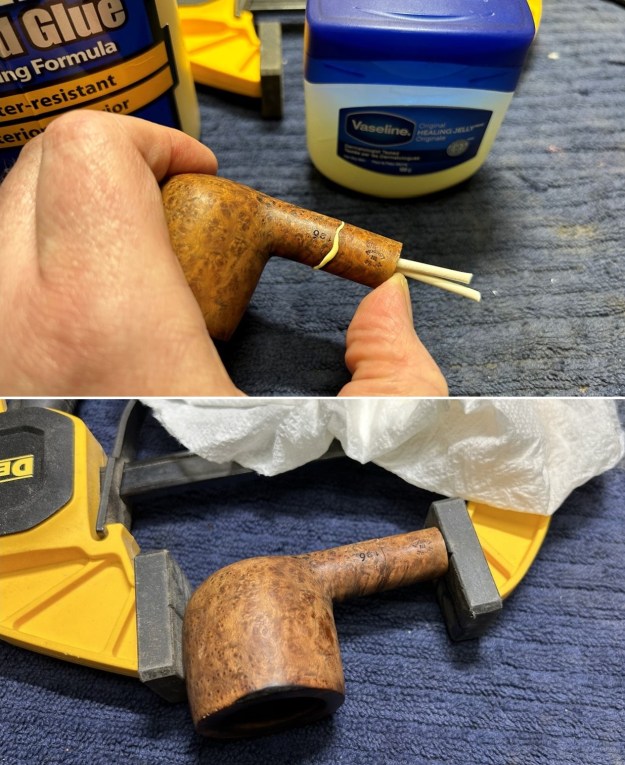
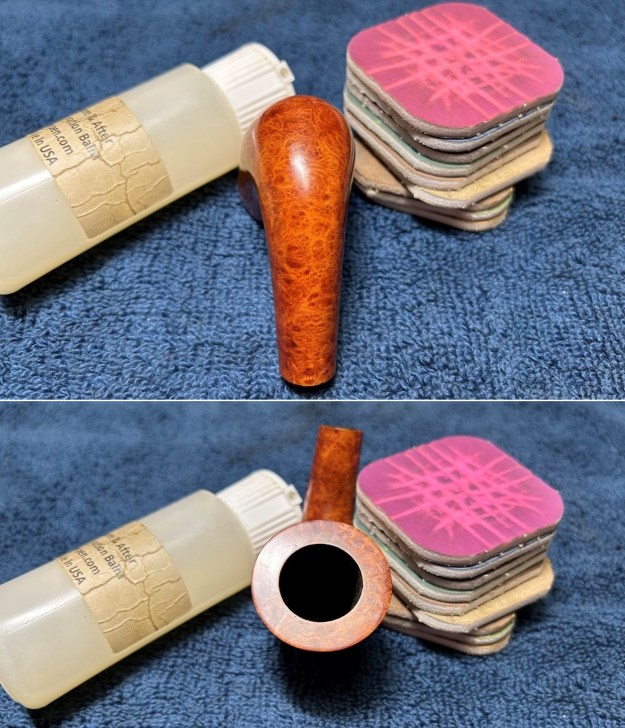
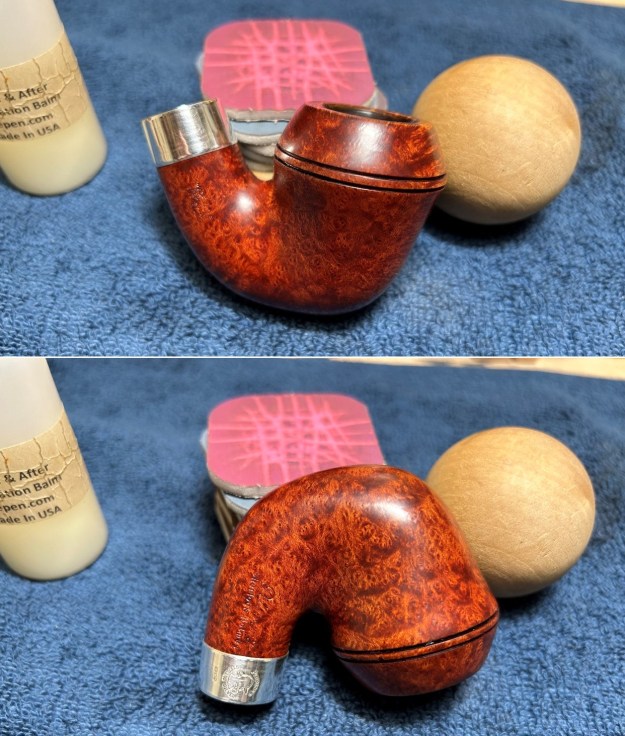
I began work on the stem. Nothing especially remarkable here, but I needed to pay attention to the crown logo and PH because they were not as distinct as one would wish. I wiped down the outside of the stem with oil soap on some cotton pads. I also took a BIC lighter and ‘painted’ the stem with its flame in order to lift the little bit of tooth chatter. This helped a bit. Then, I cleaned out the insides of the stem with pipe cleaners and isopropyl alcohol. Once this process was done, I used some cleanser and cotton pads to wipe down the stem. I covered the logo with a dab of petroleum jelly before throwing it in the Pipe Stem Oxidation Remover overnight. The following day, I cleaned all of the de-oxidizing mess and used a toothbrush to remove the leftover oxidation. This worked well.I then used all nine Micromesh pads (1,500 through 12,000 grit) to bring out the lovely black lustre on the stem. I also used Obsidian Pipe Stem Oil in between each pad scrubbing.On to the stummel, and whoever previously had this pipe had done a decent job of cleaning the inside of the bowl. It didn’t need reaming, but I did use my pipe knife and some sandpaper to remove any cake. I took the bowl down to bare briar, as I wanted to ensure there were no hidden flaws in the walls of the bowl. Fortunately, there were none.Another important step in this process was removing the dirty remnants on the rim (as you’ve seen in the photos). I took a piece of machine steel and gently scraped away at this debris until it was gone. I love this technique because it is incredibly effective (more so than soaking) and does no damage whatsoever to the briar. The results speak for themselves.I then proceeded to clean out the insides of the shank with cotton swabs, pipe cleaners, and isopropyl alcohol. There was some filth inside this stummel, but it wasn’t too bad. I then moved on to cleaning the outside of the stummel with oil soap and some cotton pads. That removed any latent dirt. I followed that up by cleaning the insides with some soap and tube brushes. I noticed some very minor dents in the wood (see the photos) and I felt confident that those could be raised. I took an iron and a damp cotton cloth and steamed them. The hot, moist steam can often cause those sorts of injuries to swell back into shape. In this case, it worked a treat! I sanded down the stummel with my some of my micromesh pads to make it smooth and lovely. You will have noticed that there were two small nicks on the end of the shank. I deliberately decided to not fill these in. Instead, I simply sanded them thoroughly as I just described. This was a good decision as the nicks were minimized and are part of the pipe’s history. Of course, I added some restoration balm to the wood and let it sit for 20 minutes or so. I then buffed it with a microfibre cloth and – boy – did it look good! This balm does beautiful things to the wood and really generates a beautiful shine. I then took the pipe to my bench polisher and buffed it with White Diamond and a few coats of carnauba wax. All finished! This is a wonderfully crafted pipe and it really looks lovely. As it is a gift from my parents, this is one pipe that I am keeping for myself and adding to my collection. I am sure that I will be enjoying this one for many years to come. The approximate dimensions of the pipe are as follows: length 6½ in. (165 mm); height 2¼ in. (57 mm); bowl diameter 1¾ in. (46 mm); chamber diameter ⅞ in. (22 mm). The weight of the pipe is 1⅞ oz. (55 g). I hope you enjoyed reading the story of this pipe as much I as I did restoring it. If you are interested in more of my work, please follow me here on Steve’s website or email me directly at kenneth@knightsofthepipe.com. Thank you very much for reading and, as always, I welcome and encourage your comments.

A Charming NOS Cherrywood from France


by Kenneth Lieblich

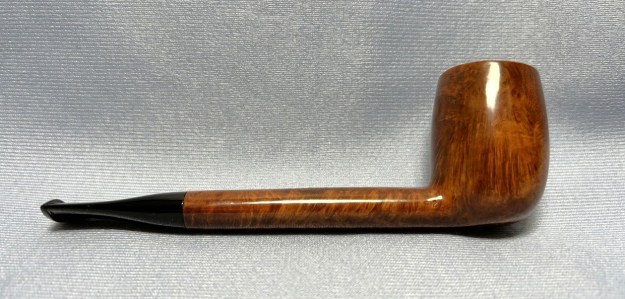
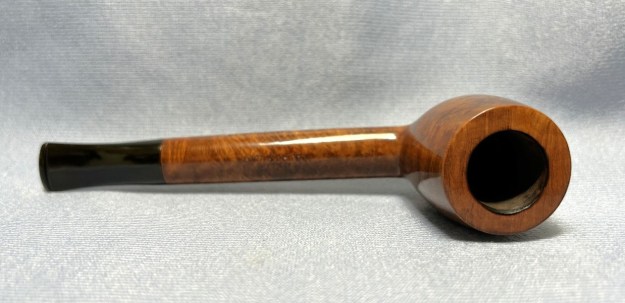
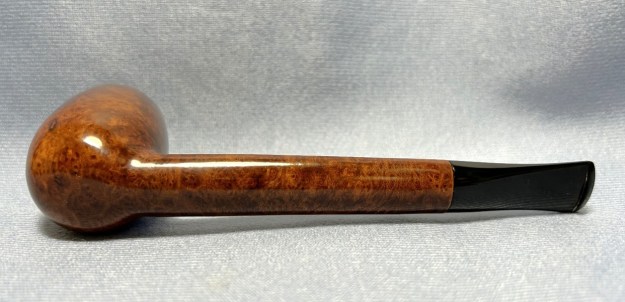
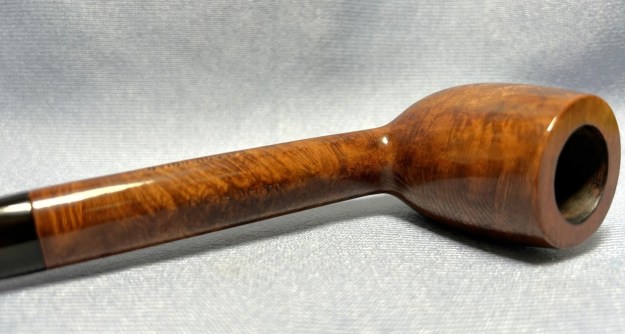
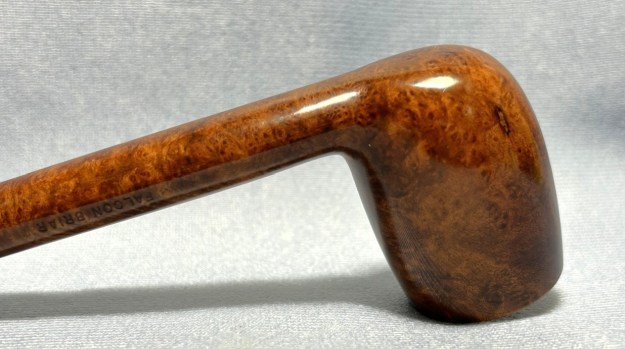
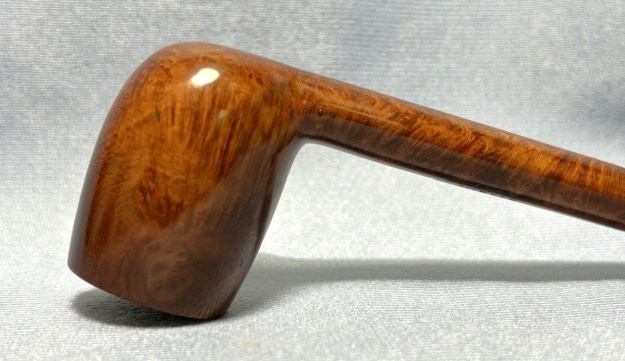
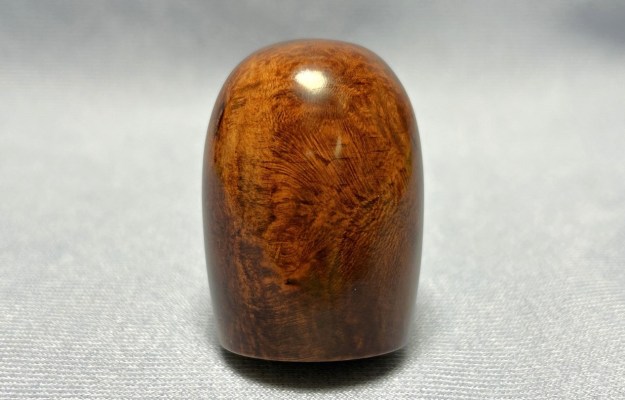
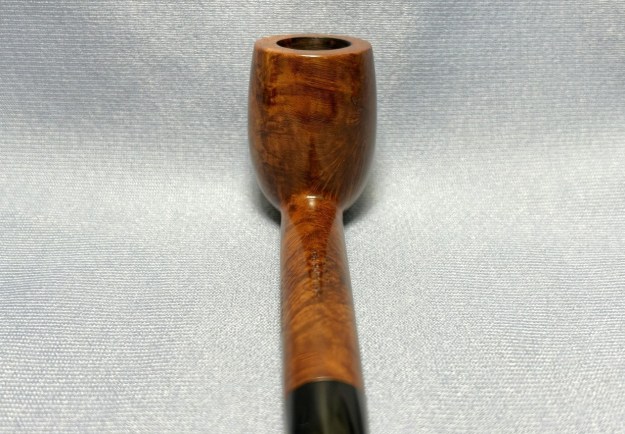
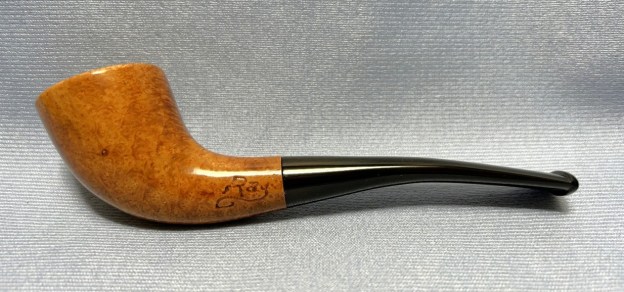
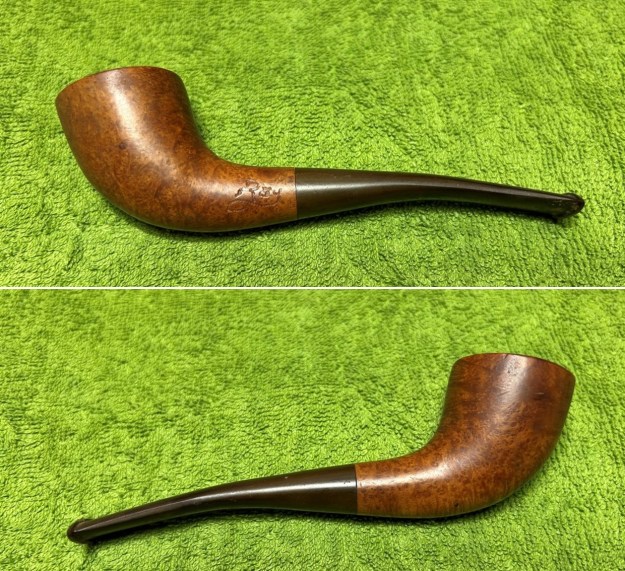
I have a BIG pipe that came my way recently and I am happy to offer it to you for sale. No major restoration story on this one – just a remarkable pipe! I gave it a quick and thorough once-over (and a quick polishing) and now it’s time to turn it over to you. This old timer has never been smoked and has some real old-world charm. It’s sort of churchwarden sized. Take a closer look at the photos below.

This one doesn’t have any markings on it, but that doesn’t preclude it from being made by the venerable French pipe company, Ropp. Many of the cherrywoods from the old days came without markings. Just as a reminder, here is a very brief history of the Ropp company from Pipedia:

Eugène-Léon Ropp (1830–1907) acquired a patent for the cherrywood pipe in 1869. In 1870, he established a workshop to manufacture such pipes in Bussang, in the Vosges mountains. Around 1893, his business moved into the former mill of Sicard (part of the community of Baume-les-Dames in Upper Burgundy. The pipes were a big success in export as well. Shortly before 1914, Ropp designated A. Frankau & Co. (BBB) to be the exclusive distributor in the UK and its colonies. Probably in 1917, a workshop in Saint-Claude in the rue du Plan du Moulin was acquired to start the fabrication of briar pipes. In 1923, another small building in Saint-Claude, serving as a workshop for polishing, was added. Cherrywood pipes were the mainstay of Ropp until the company finally closed down in September 1991. The company was taken over by Cuty-Fort Entreprises in 1994.

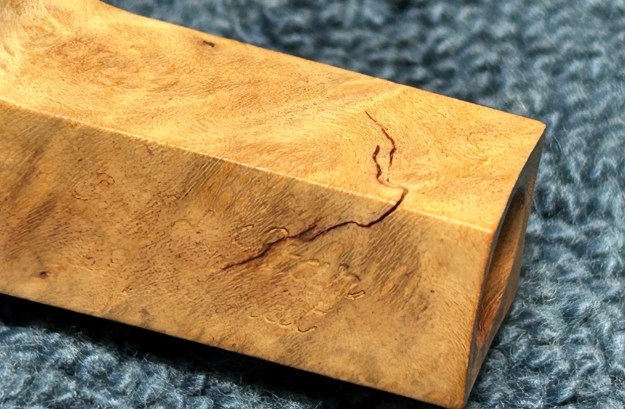
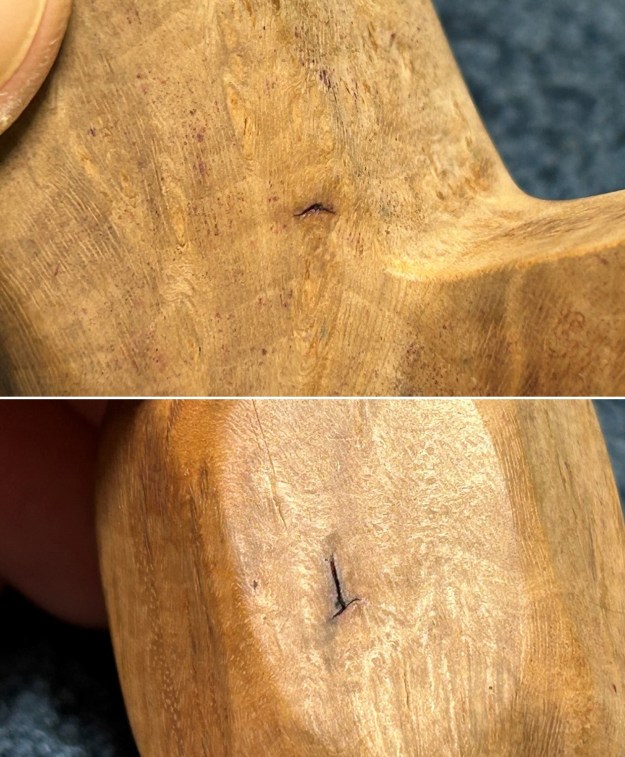
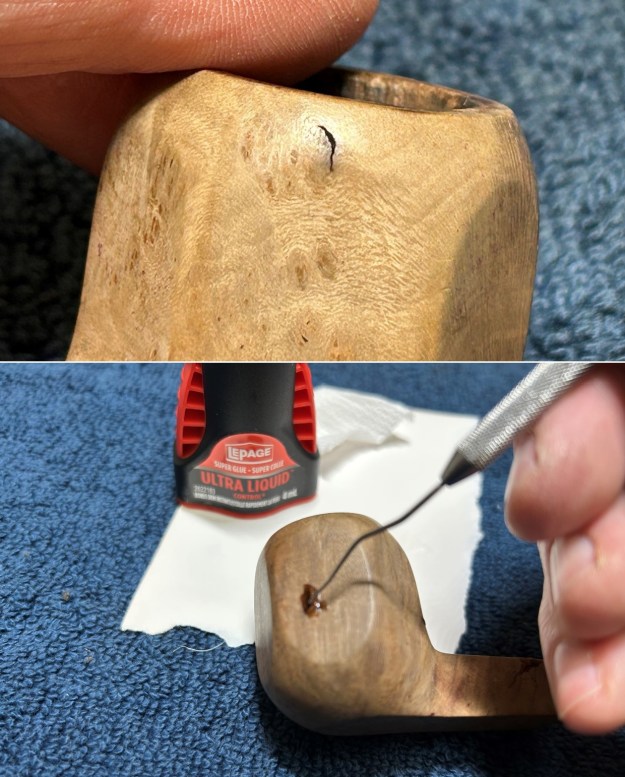
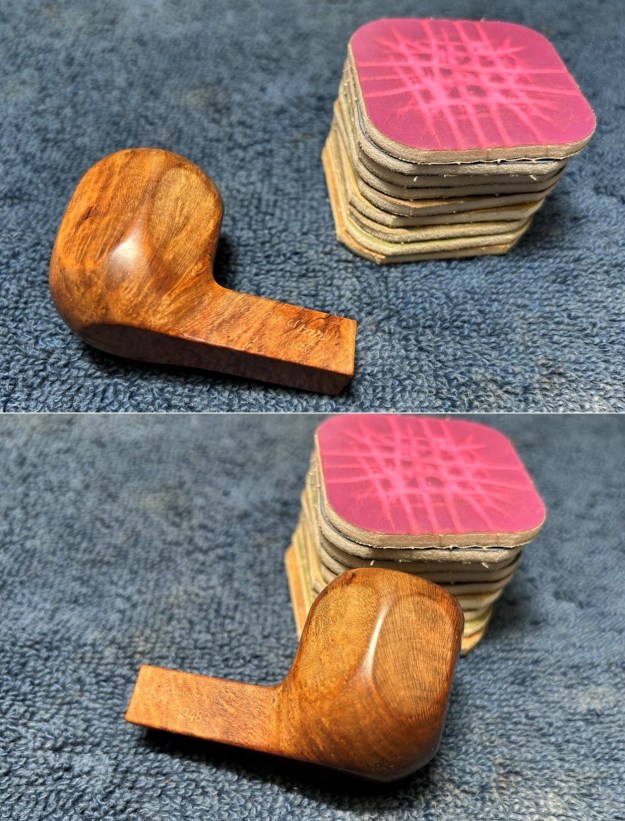
Even though the pipe is new, old stock, I cleaned up the dust from decades ago, polished up the stem to make it shine, and completely repaired a small craze line on the bottom of the bowl with some cyanoacrylate adhesive. Later, I applied some Restoration Balm and buffed it with a microfiber cloth. To preserve the bark, I didn’t use the bench buffer on the sides of the bowl and shank, though I did apply Clapham’s Beeswax Finish. However, I did buff the top and bottom with White Diamond and carnauba wax on the bench buffer.

It’s a lovely, elegant pipe. If you are interested in acquiring it for your collection, please have a look in the “French” pipe section of the store here on Steve’s website. You can also email me directly at kenneth@knightsofthepipe.com. The approximate dimensions of the cherrywood are as follows: length 10½ in. (270 mm); height 2½ in. (65 mm); bowl diameter 2 in. (51 mm); chamber diameter ¾ in. (19 mm). The weight of the pipe is 2⅞ oz. (84 g). If you are interested in more of my work, please follow me here on Steve’s website or send me an email. Thank you very much for reading and, as always, I welcome and encourage your comments.

Fixing the Unfixable


by Kenneth Lieblich

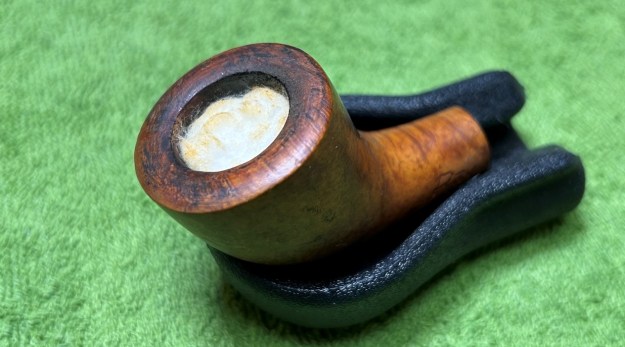
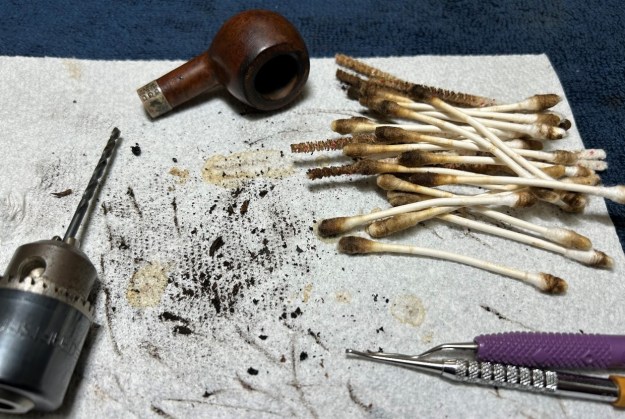
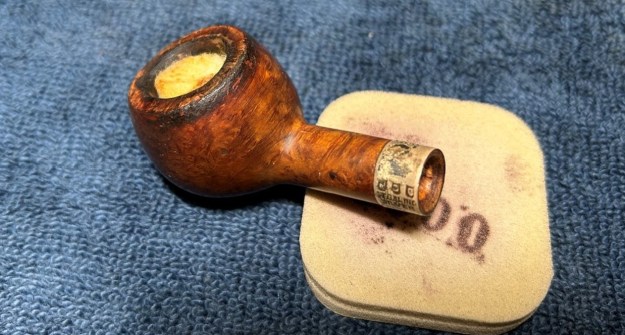
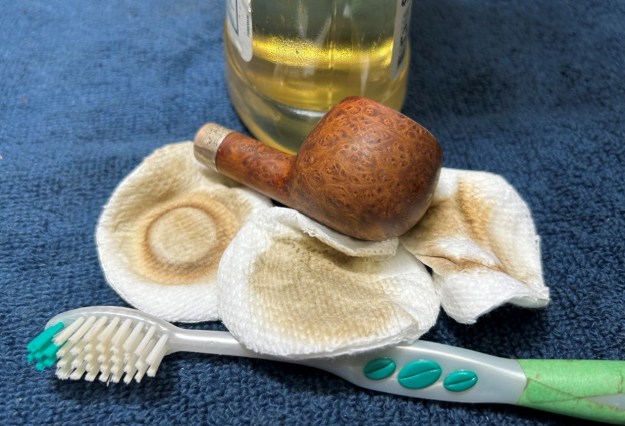
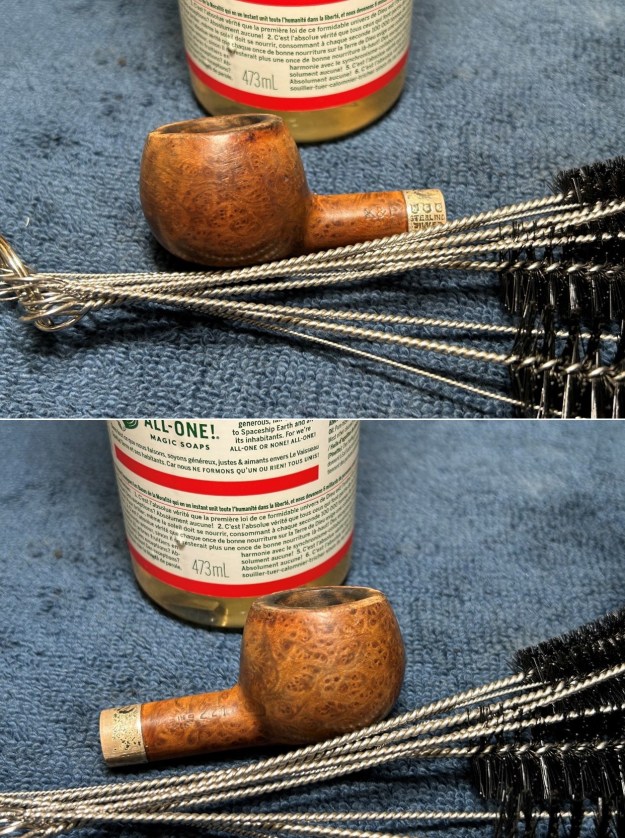
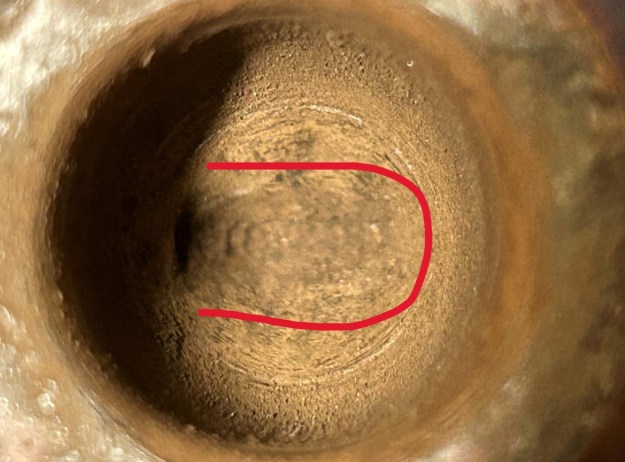
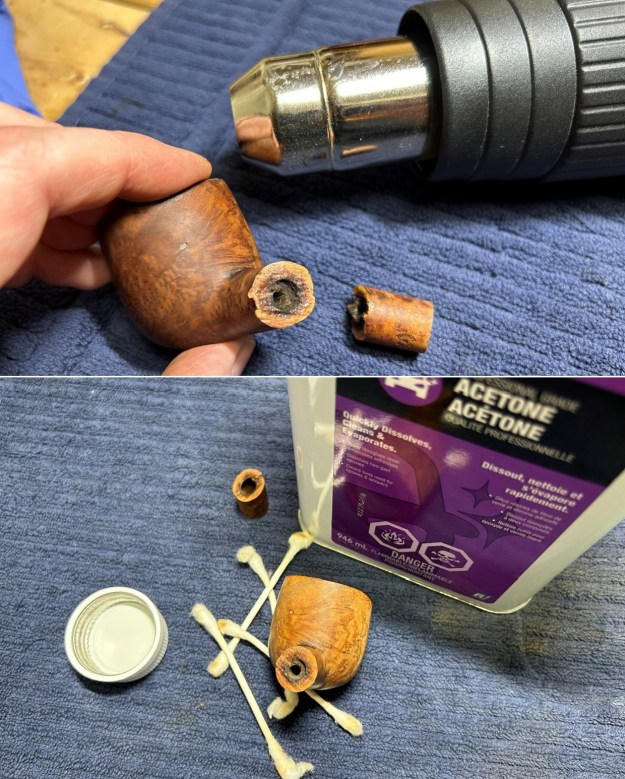
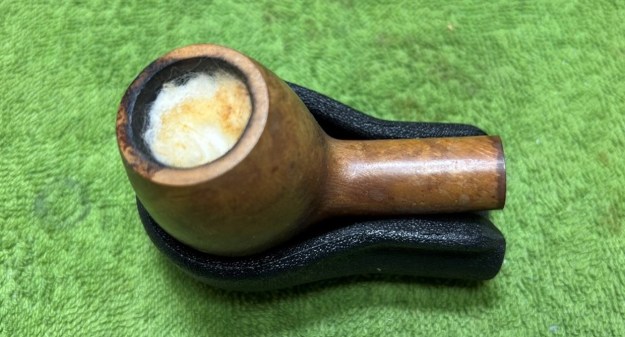
Strap yourself in – this is going to be a wild ride! My cousin-in-law likes to send me pipe projects that are a little off the beaten track. They also usually end up being quite tricky and this one is no exception. He sent me two meerschaum-lined pipes that have been badly damaged and require repair. One pipe is a Kiko, from Tanganyika in eastern Africa, and the other is from Ropp, the venerable pipe-maker of St Claude, France. Although the briar exteriors are fine, the meerschaum interiors of the bowls are a complete disaster. The Kiko looks as though it’s probably been dropped at some point. Meerschaum is quite fragile, so no wonder it cracked so badly. The Ropp is equally bad, but I think that’s because it was badly reamed rather than dropped. Who knows and, quite frankly, the answer is of academic interest. They both suffered from having a cake which is not a good idea for meerschaum. I subjected these pipes to my usual cleaning procedures – for both stem and stummel – but I’m going to gloss over those details today. To be clear, both stems were deoxidized, repaired, sanded, and polished. In addition, the briar parts of the stummels were thoroughly cleaned, sanded, and polished too. I also did a thorough, but exceptionally careful, cleaning of the insides. I needed to remove as much filth as possible, but liquids like water, alcohol, etc., don’t do well with meer. As an aside, the Ropp had a substantial crack in the briar and this only added to the complexity of the repairs.In this blog post, I’m skipping writing about the usual stuff in order to focus on the major issue with these pipes – the busted meerschaum lining and how to fix it. In consulting with Steve, he mentioned a post on a blog from a few years ago that talked about repairing this very thing. The blog is called ‘Baccy Pipes’ and the fellow’s name is Troy W. I want to give him full credit for starting me on my research for this job. Here’s the link to his repair: https://baccypipes.wordpress.com/2017/06/10/old-time-meer-lining-repair-method-on-a-1930s-kaywoodie-shellcraft-5651/. The curious thing about this repair was that Troy used a mixture of egg white and chalk to mend the broken meerschaum. As he writes:

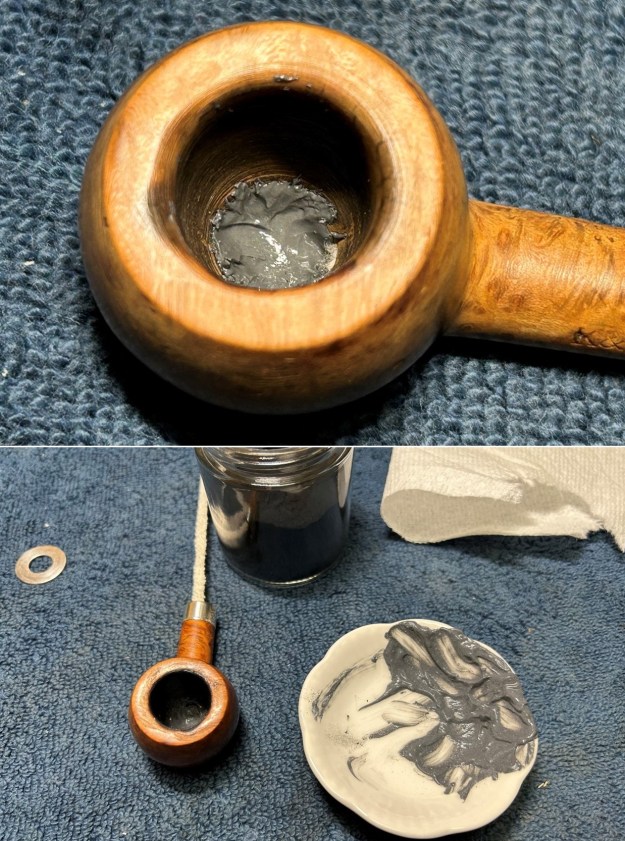
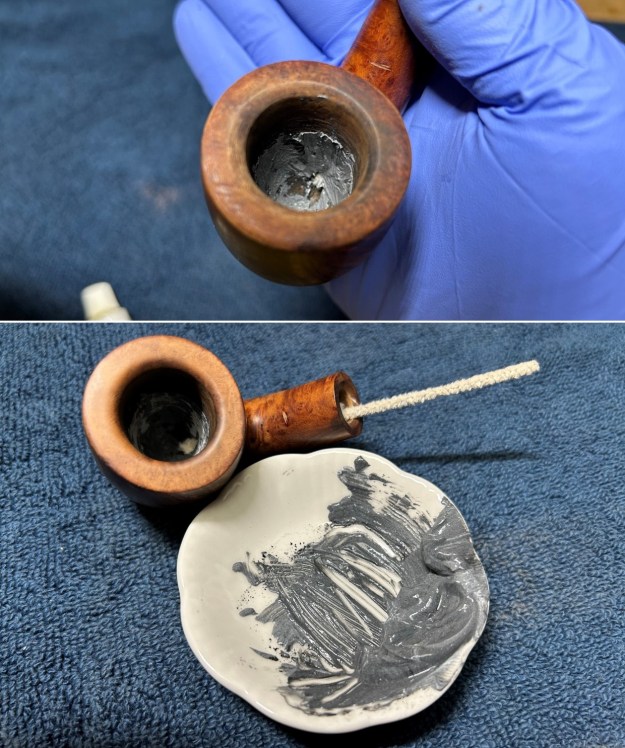
I had read and heard from other pipe restores that a old late 19th-early 20th century druggist recipe for fixing broken meerschaum was egg whites and finely ground chalk, so that was what I was going to try and fix the meer lined rim with. It is said to have about the same porous properties of meerschaum and imparts no taste to the tobacco.I was immediately intrigued and my brain began to ruminate on this. In the past, Steve and I have both used plaster of Paris when repairing meer-lined bowls. What about egg and chalk? Putting together the ingredients would be no problem: chalk, that is to say, calcium carbonate is easy to acquire. And then a thought struck me – I wonder if I could do an experiment on the properties of both calcium carbonate and a product that’s much closer to meerschaum in composition. Meerschaum is a type of magnesium silicate – and so is talc. They are not identical substances, but surely closer than chalk. If I could buy some pure, unadulterated talc, that might prove to be a good option. Well, it turns out that getting pure talc with absolutely nothing else in it was not as easy as I thought. I did eventually find a small package for sale on Amazon and it ended up being shipped from Germany (no idea why) to my home on the west coast of Canada. Let’s have a quick look at the insides of the two bowls, because they have different problems and very different sized apertures. The Ropp had the much larger bowl, and its insides were more damaged at the bottom. There was a surprising amount of meerschaum missing at the bottom and it is difficult to convey this in photos. However, the photos do clearly show the large chuck missing from the rim. I suspected that, although the width of the bowl meant it would be easier to access, it would require the most work and be the most difficult to repair satisfactorily. The Kiko had its own set of problems. There were also missing chunks on the rim, but the cracks inside were devastating. The width of the bowl meant that I could get nothing larger than my pinky finger inside. A small piece of broken meerschaum fell out from one of the cracks while I was inspecting it. That didn’t bode well. Now let’s start cracking some egg! Obviously, I took two dishes and mixed up a batch of chalk and egg white in one and talc and egg white in the other. Both materials were powdered, so I had no concerns about overly large particles in either mixture. During mixing, the talc seemed grittier than the chalk, but it was difficult to assess this properly and difficult to know how much to mix into the egg white. I put the two blobs on a piece of cardboard for a couple of days and let them set. Once dry, I conducted my own absurdly unscientific compressive strength test on both materials as a way of determining straight away if one material was clearly superior to the other. There wasn’t any obvious difference – and any differences I may have detected could easily have been a figment of my imagination. Both materials seemed about equal. I opted to try the talc first – for no other reason than it was chemically closer to meerschaum.I took both stummels and wrapped all of the wood in painter’s tape. I had nightmarish visions of what could happen to these pipes if I got the eggy goo on them. Better safe than sorry. I started applying the egg/talc mixture to the Kiko first. I wanted to make sure than the cavernous cracks were completely filled with the stuff. I needed a good bond and I added more than I needed – assuming there would be some shrinkage in the drying process. Similarly, I smooshed the mix on the Ropp too, hoping for the best. There’s no way to sugarcoat this: the whole process was a mess. Really a mess. Once the pipes had dried overnight, I took a look and I wasn’t particularly impressed with my work. But a more detailed examination was needed, so I put on a sanding mask and set about removing the excess material. I used sandpapers of various grits on dowels, sandpapers on my fingers, and sandpapers on my topping board. Hmm. The results were ok, but no better than that – and ‘ok’ just isn’t good enough for me.I hadn’t put enough material inside the Ropp – there were still areas that needed to be built up. I also felt that the material on the rims of both pipes was just too brittle – especially on the Kiko. Perhaps I was wrong to try talc.Round two. This time I repeated the entire process with egg white and chalk. Old boys in days of yore used it, so why not me? I won’t bore you by rewriting the same slathering and sanding process as above, but, the chalk mixture yielded no better results than the talc. The extra layer of goo was good insofar as it added more protection to the walls – but the results may have been the same if I’d added more talc. Sadly, the chalk did not seem to improve the frangibility of the rim.Round three. More slathering and sanding. I added a bit more egg/chalk mixture to bulk up areas that needed it and I hoped that perhaps the rim would somehow magically be improved.Round four – yes round four. This time – a slight change. I opted to return to the material that Steve and I have both used successfully in the past – plaster of Paris. This was not a complete redo, as before, but merely touch ups (in some cases aided by a drop of glue). At this point, I was placated by the plaster and felt that the results were acceptable – not perfect, but acceptable. Once the sanding was done, I could remove the painter’s tape and finish the pipes off. The Kiko needed some colour added to the rim after all the topping. I used my furniture pens to match the colour and it came out very well.Both pipes went on the buffing wheel and they look great. This was a very timing-consuming and enormously frustrating process. In the end, I learned quite a few things about the repair of meerschaum. Just like everything else, there isn’t a one-size-fits-all solution. I think egg/talc or egg/chalk is fine for small repairs, where the cracks are small and not structural. But larger repairs require something different: either grafting on a spare piece of meerschaum (which I have done successfully in the past) or using a more reliably solid goo like plaster of Paris.The Kiko and Ropp are much improved and I hope my cousin will like them. I hope you enjoyed reading the story of these pipes as much I as I did restoring them. If you are interested in more of my work, please follow me here on Steve’s website or email me directly at kenneth@knightsofthepipe.com. Thank you very much for reading and, as always, I welcome and encourage your comments.

Having Some Fun with a Hilson Bolero Bulldog


by Kenneth Lieblich

Greetings, one and all! It’s been a little while since my last blog post, but, to my chagrin, life intervened in some challenging ways. Now I’m back with a nifty pipe that put a smile on my face and I’m sure it’ll do the same for you. It’s a charming, whimsical Hilson Bolero 40, partially sandblasted straight bulldog. Normally, when I think of Hilson, my mind meanders to resin (or ‘pipenite’, as they called it) stylings from the Fantasia line – but not today! This is a pure briar pipe, with a lovely vulcanite stem. I acquired it in a lot from FB Marketplace, but I don’t know the pipe’s individual history. It certainly was a favourite smoker for the fellow who previously had it. It showed all the hallmarks of a much-loved pipe.

What do the markings say? The underside of the shank shows, first, the shape number, 40, and to the right, Hilson [over] Bolero. Again, to the right of that are the words Made in Belgium. There are no other markings to mention.Let’s check Pipedia to see what they have to say about the Hilson brand:

Jean-Claude Hillen (other sources: Jean-Paul) founded a trading company in the City of Bree in 1846. He soon turned his main interest on pipes and other tobacco related goods. Particularly in the 1960’s and still throughout the 1970’s the brand Hilson of Broers Hillen B.V. (Hillen Bros. Co.) was quite successful in many European countries. They produced large numbers of machine-made pipes covering the whole range of shapes and finishes. The pipes were well respected for good quality and craftsmanship at very moderate prices. Rarely seen there are also nice freehands from this era stamped MASTRO and signed by A.M. Sanoul, who is otherwise completely unknown as a pipemaker. All the same, in 1980 Hillen faced major financial problems. At this time there was only a second manufacturer of briars pipes in the Benelux countries, the Elbert Gubbels & Zonen B.V. in the Netherlands. The Belgian competitor being in trouble, Gubbels used the favour of the hour and bought up the company. The reason is plausible: in some countries, particularly in Germany, Hilson held larger market shares than Gubbels’ mainstay brand Big Ben. The Hillen plant in Bree was closed down shortly after and ever since then Hilson pipes are manufactured in Roermond, NL.Likewise, there is a bit more to be found from our friends over at Pipephil:

In 1846 a German named Jean Knödgen started to produce clay pipe in Belgium. In the late 19th century Jean Hillen who married into the Knödgen family took over the company and changed the firm in order to manufacture briar pipe. Jean Hillen had 2 sons: Jos Hillen was responsible for sales and Albert Hillen was responsible for the production. After WWII Albert founded the HILSON brand (Hillen and Son) and exported his pipes all over the world. In 1980 after having gone bankrupt, the Belgian brand from Bree (Limburg) was taken over by the Royal Dutch Pipe Factory.It’s also worth noting that I’ve seen several posts over at the PipeMagazine forums that state that the older (and better) Hilsons are marked “Made in Belgium”, as this one is.

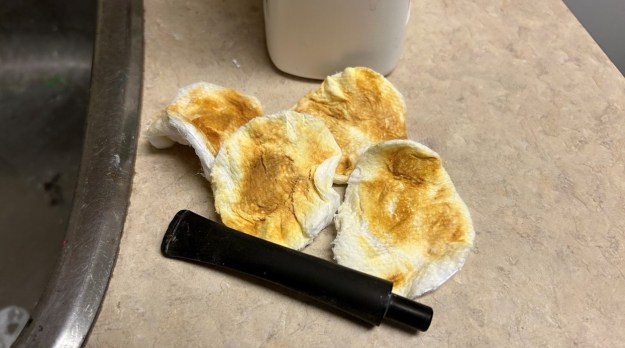
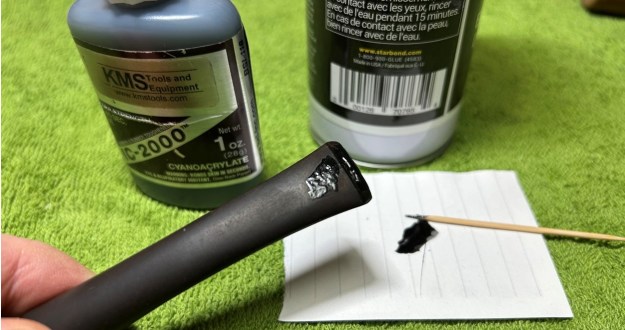
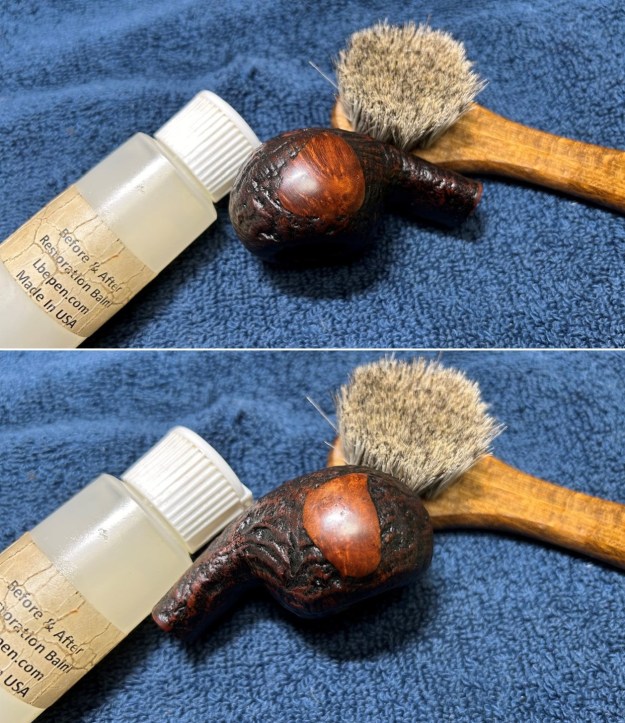
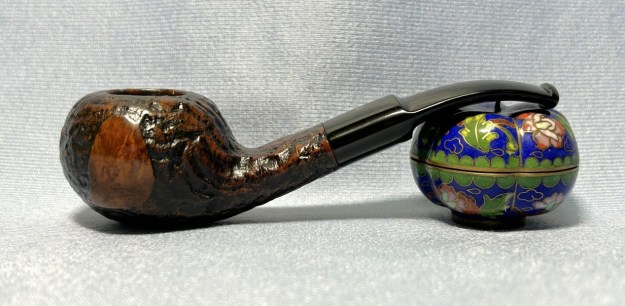
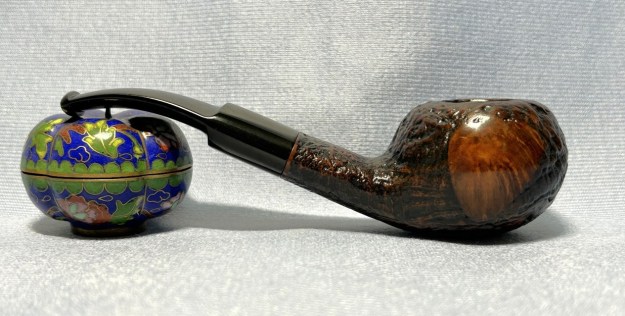
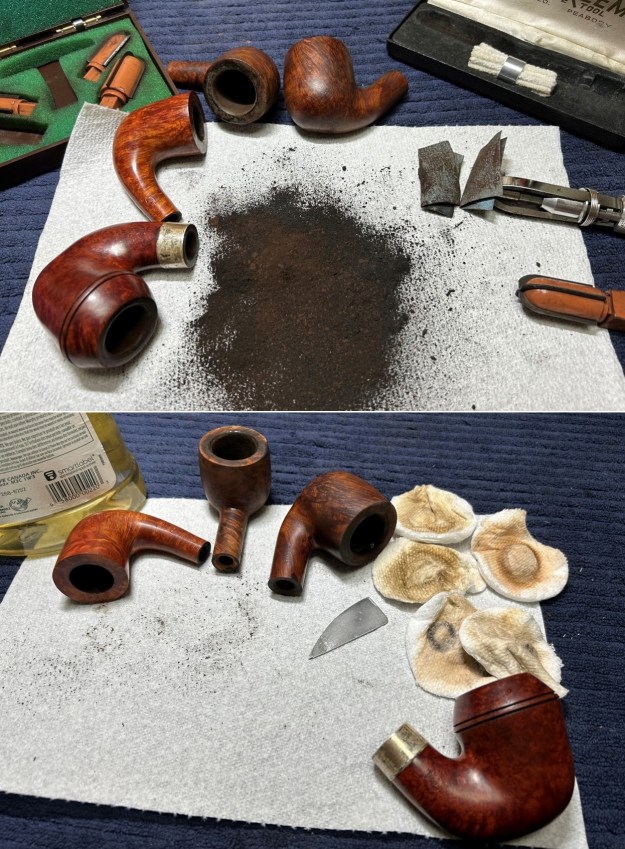
The pipe is in very nice shape and was well-loved. The stem had some tooth scratches and dents, plus it was coated with a lot of oxidation – a LOT. There were no significant issues with the stummel, although it did have a bit of lava on the rim and the bowl was choked with cake. I started out by cleaning the inside of the stem with 99% isopropyl alcohol and some pipe cleaners. It was dirty, but not too bad. I also wiped the stem with some Murphy’s on some cotton rounds. As you can see, the stem was pretty filthy.This was going to take some work, so I went to the sink and scrubbed the stem with some cleanser on a few cotton pads. The photos testify to the icky oxidation that came off.After that, the stem went for a dip in the stem oxidation remover. I let it sit overnight, to allow all the oxidation to rise to the surface of the stem. The next day, I cleaned up the stem again with more cleanser on some cotton pads. This took some serious scrubbing, but, in the end, worked very nicely.Once complete, I filled the tooth marks with my carbon and rubber enhanced cyanoacrylate adhesive. Once cured, I took down the excess with my needle files. After that, I took my nine Micromesh pads and sanded the whole stem until it was shining like new. I also used my pipe stem oil in between the pads (from 3600 on) to bring out some extra lustre.This pipe comes with an innertube, so I cleaned that too. I used rubbing alcohol to remove all the tars and oils of the past, then scrubbed with some 0000 steel wool to make the tube shine.Onto the stummel. In order to clean out the massive amount of cake in the bowl, I used the Pipnet reamer and followed that up with a piece of sandpaper taped to a wooden dowel. I sanded down the cake until I hit the briar walls, so that I could inspect them for potential damage. Everything looked good on the inside, which is great. I proceeded to clean out the inside of the shank with 99% isopropyl alcohol and pipe cleaners and cotton swabs. It was surprisingly dirty in there! But I got it clean in the end.When that was done, I set up to de-ghost the pipe. I put some cotton balls into the bowl and the shank and soaked them with 99% isopropyl alcohol. I let that sit overnight so that any remaining smells and/or filth would leach out into the cotton. I also scrubbed the insides with some soap and tube brushes. It was beautifully clean after that!The stummel was in very nice shape, although the rim did have some lava on it, as previously mentioned. I soaked the rim in some Murphy’s to loosen this up, then used more Murphy’s to clean the whole stummel. This removed any external dirt and oils, and it was much improved.Most of the pipe was sandblasted, but there were three areas of smooth briar: the two shield-shaped patches on the sides of the bowl, and the underside of the shank where the markings were. On those smooth areas, I sanded down with the Micromesh pads to make it beautiful. I then took my restoration balm, rubbed it in the wood with a horsehair brush and let it sit for about 20 minutes. This balm is fantastic stuff and does wonderful things to nourish the wood. After letting it sit, I used a microfibre cloth and buffed it. Off to the bench polisher to put the final touches on this pipe. I first gave the smooth sections (only) a thorough (but light-handed) going-over with White Diamond compound. Following that, several coats of conservator’s wax created a beautiful, glossy seal on the pipe.All done! This Hilson Bolero 40 straight bulldog looks fantastic and is ready to be enjoyed again by the next owner. It promises to be a great smoker and conversation piece. I am pleased to announce that this pipe is for sale! If you are interested in acquiring it for your collection, please have a look in the “Various” section of the store here on Steve’s website. You can also email me directly at kenneth@knightsofthepipe.com. The approximate dimensions of the pipe are as follows: length 5⅔ in. (145 mm); height 1⅝ in. (41 mm); bowl diameter 1½ in. (37 mm); chamber diameter ¾ in. (18 mm). The weight of the pipe is 1⅛ oz. (35 g). I hope you enjoyed reading the story of this pipe’s restoration as much as I did restoring it. If you are interested in more of my work, please follow me here on Steve’s website or send me an email. Thank you very much for reading and, as always, I welcome and encourage your comments.

Cleaning Up a Bewlay Popular 510 Billiard


by Kenneth Lieblich

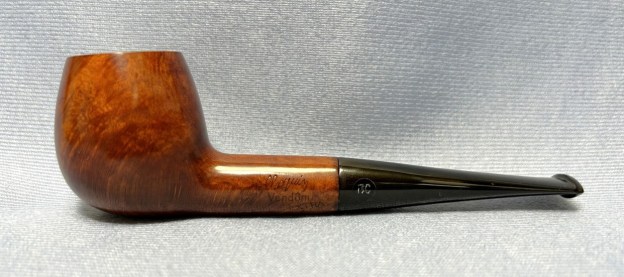
Next up is a handsome and modest Bewlay Popular 510 billiard. It is a simple, salt-of-the-earth type of pipe that I love. No muss, no fuss – just a solid, classic pipe. I acquired it from a local gentleman who had smoked a pipe once upon a time, but was finally divesting himself of his smoking paraphernalia. As some of the photos show, this one still has its original pipe sock to go along with it. The pipe is from The House of Bewlay – a chain of pipe stores and not a manufacturer itself – and is a classic billiard shape. The pipe’s markings on the left side of the shank read Bewlay [over] Popular. The right side of the pipe shows London Made [over] 510 (the shape number). Next to that is either a letter O or a number 0 (or maybe even a U) – it’s hard to know which, since it doesn’t look either like an O from the word “London”, nor like the 0 in the number “510”. Finally, there is a letter B on the left side of the stem.The shape number corresponds perfectly with a Bewlay catalogue from the late 60s, as you can see in the photo below. I do not know the exact date of the pipe, but it is likely from the 1960s or 70s.Let us read a bit more about Bewlay from the Pipedia article:

The English brand of Bewlay & Co. Ltd. (formerly Salmon & Gluckstein Ltd.), was in business from the early 20th century until the 1950s. The brand ended up being sold and taken over by Imperial Tobacco Co. The shop chain closed in the 1980s but there seems to be one shop still in business on Carr Lane in the city of Hull. Bewlay pipes were made by prestigious firms. Notably Barling, Charatan, Loewe & Co., Sasieni, Huybrecht, and Orlik. So understandably, the English considered a Bewlay pipe a quality pipe.

The website, Very Keen on Pipes, also includes the following information about Bewlay. I don’t know what the source of his information is, but I will reproduce here nonetheless:

One of the most famous English tobacco shops, Bewlay & Co. Ltd, was founded in 1870 at 49 W. Strand in London by the Jewish Elkan family, who immigrated from the Netherlands. At the initial stage, the business was positioned as retail trade in tobacco products; Bewley was one of the first to sell cigars. Of course, in the early 20th century, briar pipes became very popular, and Bewlay’s offered a range of Barling, Charatan’s, Loewe, Sasieni, and Orlik models. Bewlay’s was one of the first companies to export pipes to the United States. Some fans claim that Bewlay’s was the start of Joel Sasieni (Sassieni’s family were also Jewish immigrants, lived in the same area, and appear to have attended the same synagogue). In 1937, the family business was sold to Salmon & Gluckstein, which was already controlled by Imperial Tobacco. The chain of stores closed in the 1980s.

There is a long-standing confusion over determining who made which Bewlay pipes when. Bewlay used a several different fonts for the B of their logo. Equally, the pipes are marked with variations of “Made in England”, “London, England” and “London Made” (as this one is). The photo below is from Pipephil and the middle pipe is very similar to this one, in terms of markings. There is a multi-page thread in the forums of PipesMagazine.com on this topic and, if you’re interested, you can find it here. I’m not sure which of those companies might have made this pipe, but I would certainly welcome any information from someone who does know.The pipe is in very nice shape and was well-loved. The stem had some tooth scratches and dents, plus it was coated with a lot of oxidation and calcification. The previous owner must have treated this one like a lollipop. There were no significant issues with the stummel, although it did have some lava on the lovely rim. I started out by gently and carefully scraping off some of the thick layer of calcification on the stem with a butter knife. You can see in the photos that this created quite a bit of debris.I then cleaned the inside of the stem with 99% isopropyl alcohol and some pipe cleaners. It was dirty, but not too bad. I also cleaned the stem with some Murphy’s on some cotton rounds. As you can see, the stem was pretty dirty, and will need a good soaking. In fact, it had a funny pattern of tiger stripes on the stem.After all that, the stem went for a dip in the stem oxidation remover. I let it sit overnight, to allow all the oxidation to rise to the surface of the stem. The next day, I cleaned up the stem with some cleanser on some cotton pads. This took some considerable elbow grease, but, in the end, worked very nicely. Forgot to take a photo though.I then renewed the colour on the stem’s “B” by painting some nail polish there and letting it set. After that, I took my nine Micromesh pads and sanded the whole stem until it was shining like new. I also used my pipe stem oil in between the pads (from 3600 on) to bring out some extra lustre. Beauty.Onto the stummel. In order to clean out the cake in the bowl, I used the KleenReem and followed that up with a piece of sandpaper taped to a wooden dowel. I sanded down the cake until I hit the briar walls, so that I could inspect them for potential damage. Everything looked good on the inside, which is great news.I proceeded to clean out the inside of the shank with 99% isopropyl alcohol and pipe cleaners and cotton swabs. It was surprisingly dirty in there! But I got it clean in the end.When that was done, I set up to de-ghost the pipe. I put some cotton balls into the bowl and the shank and soaked them with 99% isopropyl alcohol. I let that sit overnight so that any remaining smells and/or filth would leach out into the cotton. I also scrubbed the insides with some soap and tube brushes. It was beautifully clean after that!The stummel was in very nice shape, although the rim did have some lava on it, as previously mentioned. I used a piece of machine metal to ever-so-gently scrape off as much of this as I could so as to avoid damaging the rim. This worked perfectly. A good amount of debris came off, which was nice to see.

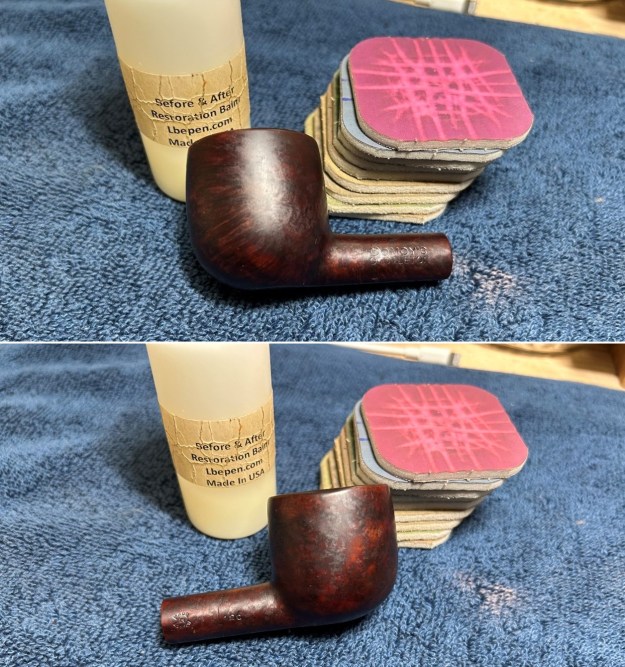
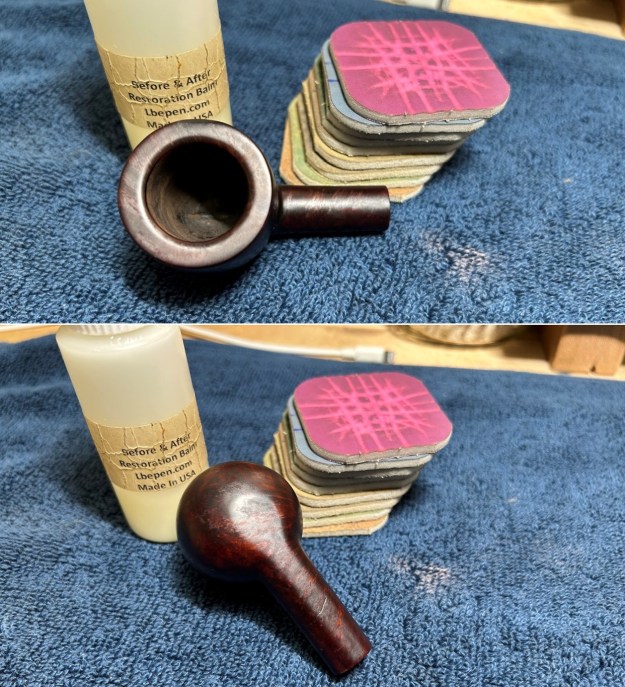
I then used some lightly diluted Murphy’s to clean the whole stummel. This removed any external dirt and oils, and it was much improved.I then took my restoration balm, rubbed it in the wood and let it sit for about 20 minutes. This balm is fantastic stuff and does wonderful things to nourish the wood. After letting it sit, I used a microfibre cloth and buffed it. Off to the bench polisher to put the final touches on this pipe. I first gave it a thorough (but light-handed) going-over with White Diamond compound. Following that, several coats of carnauba wax created a beautiful, glossy seal on the pipe.

All done! This Bewlay Popular 510 billiard looks fantastic and is ready to be enjoyed again by the next owner. I am pleased to announce that this pipe is for sale! As I mentioned before, it comes with its original branded pipe sock. If you are interested in acquiring it for your collection, please have a look in the “British” section of the store here on Steve’s website. You can also email me directly at kenneth@knightsofthepipe.com. The approximate dimensions of the pipe are as follows: length 5⅔ in. (143 mm); height 1¾ in. (45 mm); bowl diameter 1¼ in. (32 mm); chamber diameter ⅔ in. (18 mm). The weight of the pipe is 1 oz. (30 g). I hope you enjoyed reading the story of this pipe’s restoration as much as I did restoring it. If you are interested in more of my work, please follow me here on Steve’s website or send me an email. Thank you very much for reading and, as always, I welcome and encourage your comments.

Another Danish Beauty Designed by Sixten Ivarsson


by Kenneth Lieblich

This wonderful pipe is a Danish Sovereign 64 Freehand with a smooth finish, a plateau rim and a stylized saddle stem. The more I look at this pipe, the more I like it. It is a short and stocky pipe (like an MMA fighter) and it feels strong and rugged (also like an MMA fighter). It feels wonderful in the hand and was clearly a much-loved pipe. It came from the same collection of pipes, here in Vancouver, that my recently restored freehand canted egg came from. Let’s look at the pipe’s markings. On the left side of the shank are the words Danish [over] Sovereign. On the right side of the shank is the number 64 – that’ll be the shape number. On the underside of the shank are the words Made in Denmark. On the left side of the stem are three letters: XXX. These are used to designate Danish Sovereign, specifically. I’m not sure why – there doesn’t appear to be anything smutty about these pipes. Sorry – dad joke. From previous restorations, I learned that ‘Danish Sovereign’ is a sub-brand of the esteemed Danish pipemaker, Stanwell. Pipephil lists Danish Sovereign as such, and also mentions that this brand was marketed specifically for North America.Pipedia equivocates a bit about Danish Sovereign. They list the company under its own name and that the pipes “appear to be Stanwell seconds”. However, the Stanwell page lists it clearly as one of their brands. Pipedia has a good amount of information on the Stanwell brand and its history. I certainly recommend looking it over: https://pipedia.org/wiki/Stanwell.

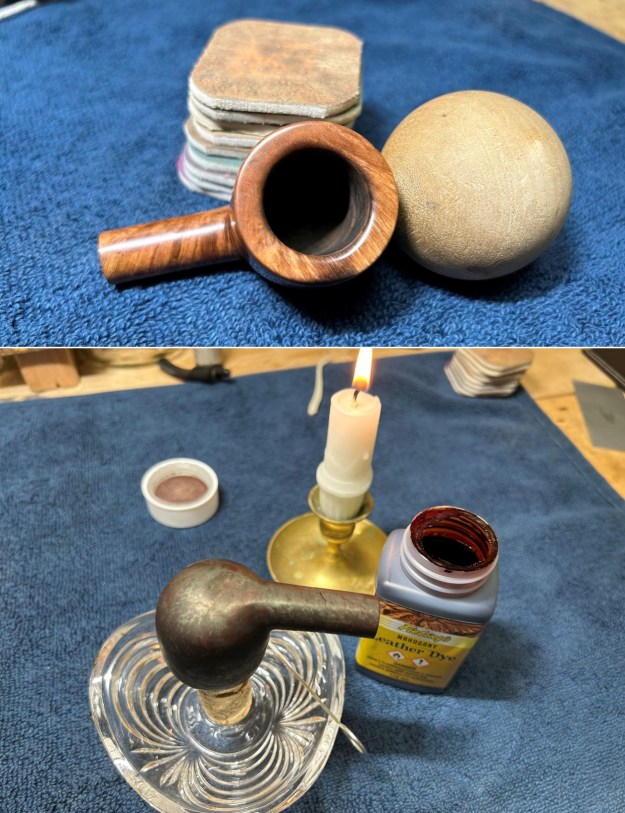
With the number 64 on the shank, I went to check the list of Stanwell shapes, here on Rebornpipes, and I found a match. Shape 64(a) is listed as “Freehand, Plateau top, saddle mouthpiece, by Sixten Ivarsson”. To further confirm this, here is a page from an old 80s Stanwell catalogue which clearly shows the same shape of pipe with the matching shape number.Anyway, this really is a good-looking pipe. Just a few issues to resolve. The stem was oxidized and calcified, and had some small bite marks. The plateau rim on the stummel was a bit encrusted with lava, but not too bad. The insides were fairly dirty and would need some work to clean out. The main issue with the stummel, however, is a strange mottling of the stain. The last of this series of photos shows an example of the ruined finish. The stem was first on my list. I wiped down the outside of the stem with oil soap on some cotton pads. I also took a BIC lighter and ‘painted’ the stem with its flame in order to lift the bite marks and dents. Unfortunately, this didn’t really work, but I have ways of sorting this out. Then, I cleaned out the insides of the stem with pipe cleaners and 99% isopropyl alcohol.Once this process was done, I used some cleanser and cotton pads to wipe down the stem before throwing it in the pipe stem oxidation remover overnight. The following day, I cleaned all of the de-oxidizing mess and again scrubbed with the cleanser on some cotton pads to remove the leftover oxidation. This worked well.I used some nail polish to restore the letters XXX on the stem. I painted the area carefully and let it fully set before proceeding.Before I moved on to the Micromesh pads, I built up the dents on the stem with cyanoacrylate adhesive and let them fully cure (forgot to photograph this). I sanded the adhesive down with my needle files to meld seamlessly into the stem. I then used all nine Micromesh pads (1,500 through 12,000 grit) to bring out the lovely black lustre on the stem. I also used Obsidian Pipe Stem Oil in between each pad scrubbing, from 3,600 on.On to the stummel, and the usual cleaning procedures were in order for this pipe. I used both the KleenReem and some 220-grit sandpaper taped to a dowel to remove the built-up cake and take the bowl down to bare briar. I wanted to ensure there were no hidden flaws in the walls of the bowl. Fortunately, there were none.I then proceeded to clean out the insides of the shank with cotton swabs, pipe cleaners, and 99% isopropyl alcohol. There was some filth inside this stummel, but it wasn’t too bad. I followed that up by cleaning the insides with some dish soap and tube brushes.I then moved on to cleaning the outside of the stummel with oil soap, some cotton pads, a toothbrush, and a wire brush. That removed any latent dirt. However, it didn’t remove the odd, mottled stain. That needed to be sorted out straight away.In order to remove the existing mess, I opted to begin with my grey sanding pads. Those greys start out with more aggression than my Micromesh pads. That aggression was necessary to strip the wood down. I gave the wood a thorough going-over before shifting to the usual Micromesh pads. I was satisfied, as the wood came out smooth, clean, and pale. Now what? Here’s the plan. The grain in this briar was so attractive, that I wanted to make a special effort to emphasize it. I took some black leather dye and coated the stummel with it (excluding the plateau). After applying the dye, flaming it, and letting it set, I wiped those areas down with isopropyl alcohol to remove most of the dye. The goal here was to accentuate the grain with only residual amounts of black dye.The next step was to bring back the lovely rich colour that was always supposed to be there. In similar fashion, I coated everything – bar the plateau – with some light brown dye. Again, after flaming and setting, I wiped everything down with isopropyl alcohol on cotton rounds. I was so pleased with the results – the pipe looks absolutely fantastic.Naturally, I then applied the Before & After Restoration Balm to the stummel and let it sit for 20 minutes or so. There is some beautiful wood on this Danish pipe and I mimed a chef’s kiss in approval. Then it was off for a trip to the bench polisher. I buffed with gusto by applying the finishing touches of white diamond compound and carnauba wax. I had to be especially careful with the bench polisher, since the plateau edge had a tendency to catch on the buffing wheels.

This Danish Sovereign 64 Freehand was a delight from the start and its beauty only increased through the restoration process. I am pleased to announce that this pipe is for sale! If you are interested in acquiring it for your collection, please have a look in the ‘Danish’ pipe section of the store here on Steve’s website. You can also email me directly at kenneth@knightsofthepipe.com. The approximate dimensions of the Stanwell are as follows: length 4⅞ in. (124 mm); height 2 in. (50 mm); bowl diameter 1⅔ in. (42 mm); chamber diameter ¾ in. (19 mm). The weight of the pipe is 1⅞ oz. (55 g). I hope you enjoyed reading the story of this restoration as much as I enjoyed restoring it. If you are interested in more of my work, please follow me here on Steve’s website or send me an email. Thank you very much for reading and, as always, I welcome and encourage your comments.

Bringing a Dunhill Tanshell 59 Billiard Back to Its Best


By Kenneth Lieblich

Dunhill is a name that inspires awe and warms the cockles of the hearts of many pipe smokers worldwide. Today, I am pleased to show the restoration of a wonderful tanshell briar. I acquired it in an auction last year. Other than that, I don’t know much of its provenance. Its colour and cragginess are very handsome, and I have no doubt that it was a much-loved pipe. I instinctively have a certain reverence for Dunhill pipes, and I am especially keen to restore this one so that the next pipe smoker can enjoy it. As I mentioned, this is a Dunhill Tanshell and the markings confirm this. It is a beautiful, classic billiard shape. Pleasingly, those markings are very clear and well-cut on the bottom of the shank. On the left-hand side is the model number, 59. Immediately to the right of this is Dunhill [over] Tanshell. Then, to the right of that, is Made in [over] England12. To the right of that is an encircled 4, followed by a T. Finally, the stem, of course, has the iconic white spot of Alfred Dunhill’s company. Here is a photo of Alfred, followed by the markings. Let’s have a closer look at what all of these markings mean. The model number 59 is one of the classic Dunhill shapes – that number first appeared all the way back in 1928. The page on Pipedia about Dunhill shapes says this:

The original skus/model numbers from the 1920’s until the early 1970’s stood for very specific shapes and bowls. For example, the codes 31, 34, 59, 111, 113, 117, 196, LB, LBS… were all different types of Billiard shaped pipes and there were about 50(!), such codes for the Billiard shape alone.Let’s have a closer look at what all of these markings mean. The model number 59 is one of the classic Dunhill shapes – that number first appeared all the way back in 1928. The page on Pipedia about Dunhill shapes says this:

The original skus/model numbers from the 1920’s until the early 1970’s stood for very specific shapes and bowls. For example, the codes 31, 34, 59, 111, 113, 117, 196, LB, LBS… were all different types of Billiard shaped pipes and there were about 50(!), such codes for the Billiard shape alone.Furthermore, John Loring’s fine book, The Dunhill Briar Pipe: The Patent Years and After, says this about the Tanshell:

The TanShell was Dunhill’s fourth finish and its first major post-war line addition. Introduced in 1951/1952 the TanShell was a naturally stained sandblasted pipe made exclusively from Sardinian briar through the 1960s. The TanShell apparently was not simply a light stained Shell but rather was also the product of “certain processes [unrevealed] not previously employed.” Initially, it appears that the pipe was to be named the Root Shell and a stamp to that effect was ordered and received by Dunhill in May 1951. Ultimately, however, the name TanShell was settled upon but the stamp for the TanShell name was not received by Dunhill until the beginning of December. Thus while the Tanshell was in production in 1951 it appears that most if not all TanShells made in that year did not enter into retail distribution until 1952 and were given a 1952 date code.The markings Made in [over] England12 give us an indication of when this pipe was manufactured. The number is the date suffix and provides us the information we need to figure out the date. I already knew the answer, but allow me to walk you through the process. I went to Pipephil’s Dunhill Dating Key (which you can find here) and I have reproduced (below) the two charts they use to date Dunhills. In the first image below, we are asked if our pipe has a date suffix. It does, so we follow the arrow and the chart asks if our pipe has a patent number. It does not, so we proceed. Then we are asked if our pipe reads Dunhill [over] London – again, it does not. As a result, we know that our pipe dates from after 1954.On to the second chart – and it is much more straightforward. The chart asks for the digits in our date suffix. In our case, it is 1 and an offset 2, so we know that the date of our pipe is the result of simple addition: 1960 + 1 = 1961 and the 2 identifies the date of sale for the Dunhill guarantee. Now we know that the year of manufacture is 1961! (thanks for the help Al). Is this your birth year? If so, have I got a pipe for you!Next, the encircled 4 and the capital T. This tells us about the size and finish of the pipe. Pipedia says:

The encircled group number indicates the size of the bowl (1, for example, is the smaller bowl). It is usually followed by a letter corresponding to the pipe finish. This number/letter code has been introduced about 1950 and was discontinued about 1976 replaced by a 4 or 5 digits code. They were reintroduced in March 2012, but only for commemorative versions.

In this case, the 4 indicates a medium/large size bowl and the T naturally refers to Tanshell.Finally, the white spot. Have you ever wondered about it? Well, very briefly, here is the origin of the famous white spot (from Pipedia):

In 1912, the famous white spot was introduced for very practical concerns. With straight pipes, customers had trouble knowing which way to insert the handmade vulcanite mouthpieces. So Alfred Dunhill ordered white spots to be placed on the upper side of the stem. This very practical solution would become a definitive trademark of Dunhill pipes. The “white spot” soon became known as a symbol of quality.

Now let’s get on with restoring this beautiful pipe!

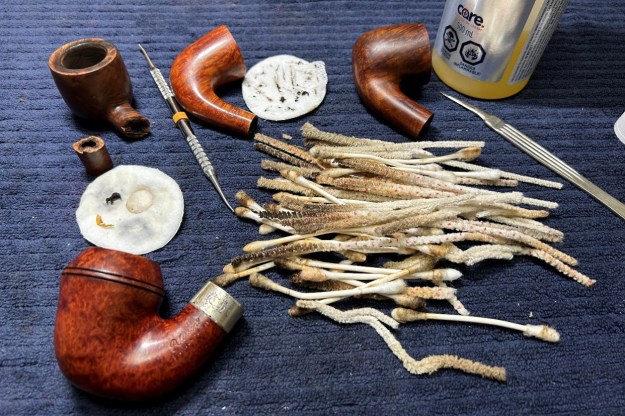
This pipe was in generally good condition – nothing outstanding and no significant damage. As you can see, the stem had the usual wear-and-tear – some scratches, tooth dents, etc. There was some calcification, but not much oxidation. Meanwhile, the stummel was in lovely condition, but a bit dirty. The shank was dark and the bowl had lots of cake and lava. The sandblast looked rich and beautiful. I began by making an attempt at lifting some of those tooth marks. I “painted” the stem with the flame of a lighter – this can sometimes raise the vulcanite back into place. There was definitely progress, but I would need to repair the more significant dents.I wiped the stem with oil soap on some cotton pads. There was calcification there and I needed to remove it. Meanwhile, the stem was pretty dirty inside. I cleaned out the inside with various pipe cleaners and 99% isopropyl alcohol. There was quite a pile afterwards. I then wiped down the stem with cleanser to remove some surface oxidation. Once this process was done, the stem went for an overnight soak in the oxidation remover. As the name suggests, this liquid removes oxidation, but, more than anything, it helps draw oxidation to the surface of the vulcanite. This allows me to clean the oxidation off in a couple of ways: both by applying a mild abrasive cleaner to the surface, then by sanding the stem. The following day, I cleaned all of the de-oxidizing mess off with alcohol, pipe cleaners, et cetera. The oxidation had migrated to the surface and would be fairly straightforward to remove. I scrubbed with the cleanser again on some cotton pads to remove the leftover oxidation.Next step was to address the remaining tooth marks. I filled those dents with some black cyanoacrylate adhesive that is infused with carbon and rubber. This makes a better repair than regular CA glue, as it more closely mimics the original material. When the adhesive was cured, I used my needle files to remove the excess and bring it down to the level of the vulcanite.Then I used a set of nine Micromesh pads (1,500 through 12,000 grit) which gradually erased the ravages of time and brought out the stem’s lovely black lustre. For the last five pads, I also lightly coated the stem with Obsidian Pipe Stem Oil in between each scrubbing. At last, I set the finished stem aside. Off to work on the stummel! The outside looked very well cared-for. No notable damage and the blast maintained its great appeal. Alas, the rim had plenty of lava, but first things first. The bowl needed a thorough reaming, so I used the KleenReem to scrape off the built-up cake and I followed that with 220-grit sandpaper taped to a dowel to eliminate as much as possible. Generally, I prefer to sand the chamber down to bare briar. When restoring, it is important to ensure that there is no damage to the briar in the bowl, under the cake. I was pleased to see that the walls were sound.Next up, I needed to clean the shank and bowl thoroughly. I proceeded to use Q-tips, pipe cleaners, and 99% isopropyl alcohol. Holy moly – this was a dirtier pipe than I had initially anticipated. There was quite a pile of Q-tips and pipe cleaners left behind.Then, to further clean the inside of the pipe, I opted to “de-ghost” the pipe. I put some cotton balls in the bowl and in the shank, and then saturated them with 99% isopropyl alcohol. I let that sit overnight to exorcize any evil spirits (i.e. bad smells and oils) from the old pipe.Time to deal with that rim. I gently scraped as much debris as I could with a piece of machine metal. However, given the craggy blast, that only worked so well. I moved on to cotton rounds and some oil soap to clean the outside of the stummel and a toothbrush with oil soap for the lava on the rim of the pipe. This worked a treat. I followed that up by cleaning the insides with some Castile soap and tube brushes. At this point, I rubbed some Before & After Restoration Balm into the briar and left it to sit for 15 minutes or so. I brushed it with a horsehair brush and buffed it with a microfibre cloth. The balm does wonderful things to the wood, and I really like the sheen on the sandblast. Then it was off for a trip to the bench polisher. A few coats of conservator’s wax (from Lee Valley) were just what this pipe needed. Boy – that wax really makes this pipe pop! The lovely shine made the wood look absolutely beautiful. The sandblast looks fantastic and is ready to be enjoyed again by the next owner.

I thoroughly enjoyed bringing this Dunhill Tanshell 59 Billiard back to life and I am pleased to announce that this pipe is for sale! If you are interested in acquiring it for your collection, please have a look in the “British” pipe section of the store here on Steve’s website. You can also email me directly at kenneth@knightsofthepipe.com. The approximate dimensions of the Dunhill are as follows: length 5⅜ in. (137 mm); height 1⅞ in. (46 mm); bowl diameter 1¼ in. (33 mm); chamber diameter ⅔ in. (18 mm). The weight of the pipe is 1¼ oz. (36 g). I hope you enjoyed reading the story of this restoration as much as I enjoyed restoring it. If you are interested in more of my work, please follow me here on Steve’s website or send me an email. Thank you very much for reading and, as always, I welcome and encourage your comments.

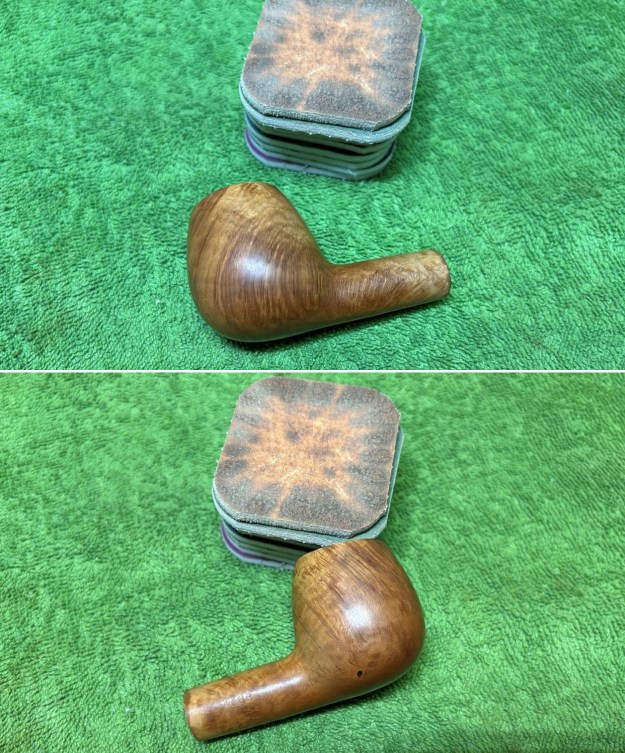
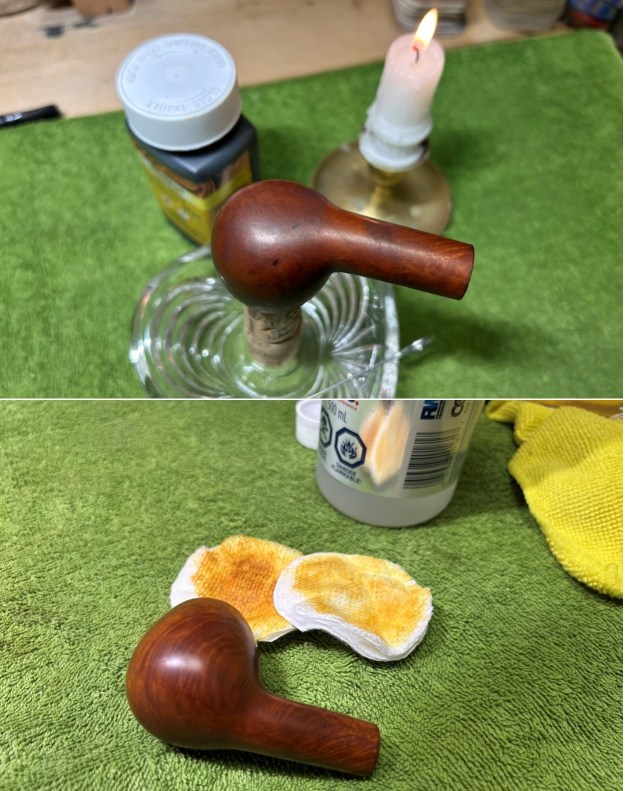
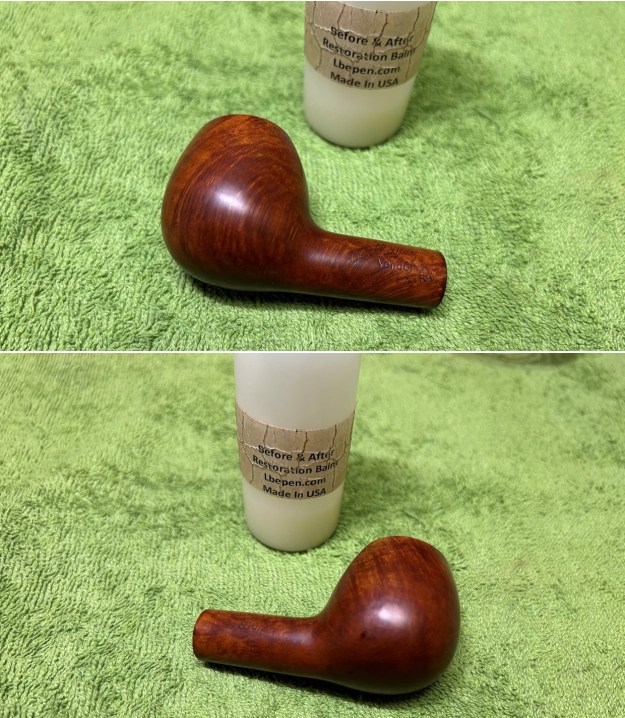
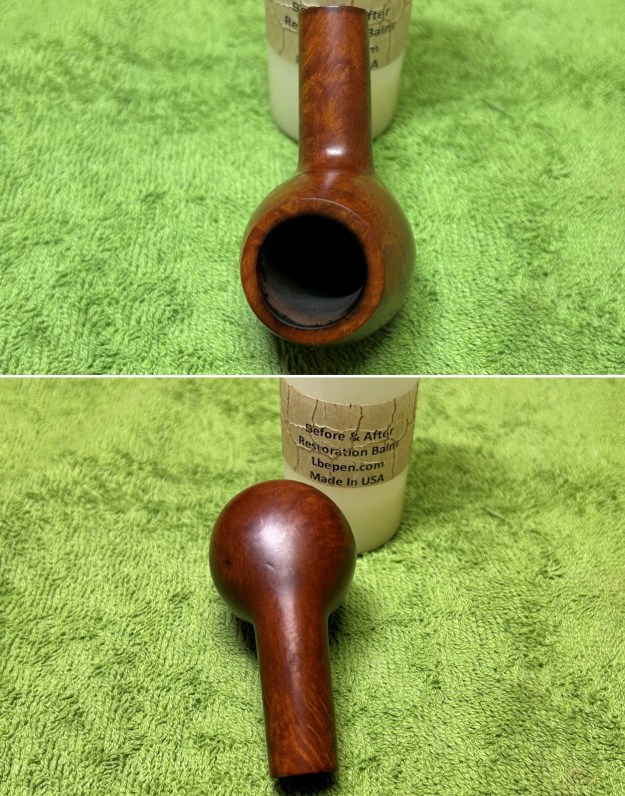
Restoring a Gorgeous Danish Freehand Canted Egg


by Kenneth Lieblich

Wow – this is one breathtaking pipe. I acquired this beauty from a kind lady in the Vancouver area who sold me her late husband’s pipes. He had good and modest taste, and I immediately took a liking to this pipe. The combination of smooth and sandblasted briar is very attractive and the blast itself is really craggy and wonderful. The restoration was good fun too. This is a Royal Guard 535M freehand canted egg – or, at least, that’s what I’m going to call it. I learned from previous research that “Royal Guard” is a Stanwell sub-brand (in this case). I believe there was also a full Stanwell line called Royal Guard too, but that’s a topic for another time. It’s all a bit confusing, but this pipe is definitely of the sub-brand variety. As is typical of Stanwell sub-brands, the quality is immaculate and it’s not at all obvious why this wasn’t a full-blown Stanwell. This canted egg is a very attractive shape and it really makes an impression. It has beautiful, partially-sandblasted briar from the bowl and down the shank to the vulcanite shank extension. It also has a lovely flared push stem. The underside of the shank reads 535M [over] Royal Guard [over] Made in Denmark and, on the stem, the letters RG, indicating the Royal Guard make. Both Pipedia and Pipephil list Royal Guard as being a Stanwell sub-brand or second (and not much else), as per the photo below.I did some searching for that “535M” shape number, but came up empty. Stanwell does not have a 535 shape number. Sometimes a digit can be added to a shape number, but the Stanwell 35 shape does not correspond to this pipe at all. I learned that some of the Stanwell sub-brands used the Stanwell shape numbers and some used their own. Apparently, Royal Guard uses their own. Meanwhile, Pipedia has a good amount of information on the Stanwell brand and its history. I certainly recommend looking it over: https://pipedia.org/wiki/Stanwell.

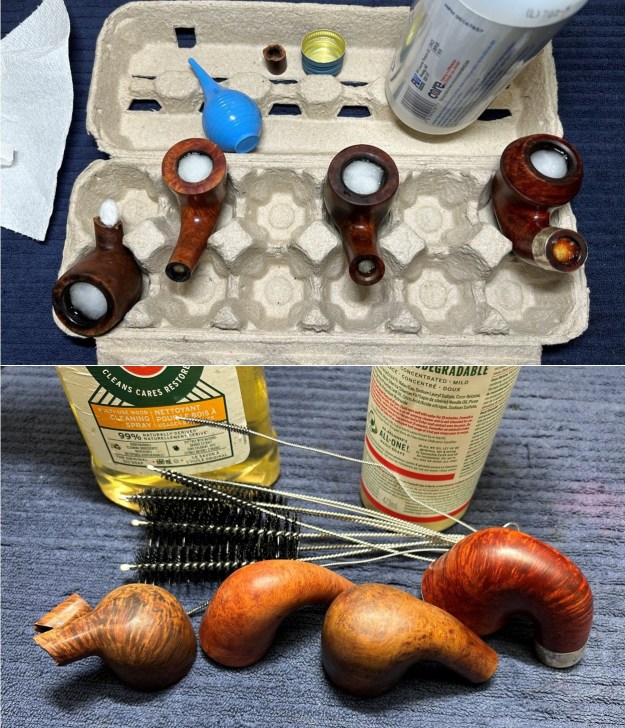
Anyway, this really is a good-looking pipe. No major issues to resolve – just a few minor ones. The stem was a bit dirty, and had some small dents. There was also some oxidation on the vulcanite. The rim on the stummel was a bit blackened, but not seriously. The insides were dirty and would need some work to clean out. The stem was first on my list. I wiped down the outside of the stem with oil soap on some cotton pads. I also took a BIC lighter and ‘painted’ the stem with its flame in order to lift the bite marks and dents. This worked reasonably well, but I would still need to sort out the dents. Then, I cleaned out the insides of the stem with pipe cleaners and isopropyl alcohol. Once this process was done, I used some cleanser and cotton pads to wipe down the stem before throwing it in the oxidation remover overnight. The following day, I cleaned all of the de-oxidizing mess and again scrubbed with the cleanser on some cotton pads to remove the leftover oxidation. This worked well. I used some nail polish to restore the letters “RG” on the stem. I painted the area carefully and let it fully set before proceeding.Before I moved on to the Micromesh pads, I built up the dents on the stem with black, carbon-and-rubber-infused cyanoacrylate adhesive and let them fully cure.I sanded the adhesive down with my needle files to meld seamlessly into the stem. I then used all nine Micromesh pads (1,500 through 12,000 grit) to bring out the lovely black lustre on the stem. I also used pipe stem oil in between each pad scrubbing (from 3600 on up). I then proceeded to clean out the insides of the shank with cotton swabs, pipe cleaners, and isopropyl alcohol. There was some filth inside this stummel, but it wasn’t too bad. I followed that up by cleaning the insides with some dish soap and tube brushes.I decided to de-ghost the pipe, so I thrust cotton balls into the bowl and the shank and saturated them with 99% isopropyl alcohol. I let the stummel sit overnight. This caused any remaining oils, tars and smells to leach out into the cotton. The bowl was nice and clean after this.At this point, I turned my attention to the vulcanite shank extension. This, like the stem, needed to be cleaned and deoxidized. However, I did not want to soak the whole shank in the deox fluid. Similarly, I couldn’t risk getting any of the powerful cleanser on the beautiful briar. So, I took some clear hockey tape and carefully, precisely masked the briar with it, as protection. I then proceeded to clean the vulcanite safely with the cleanser. I’m glad I did – boy, was it dirty!I then moved on to cleaning the outside of the stummel with oil soap, some cotton pads, and a toothbrush. That removed any latent dirt hidden in the lovely recesses of the sandblast.As I mentioned earlier, there were some very minor burn marks on the rim of the stummel that also needed to be addressed. Fortunately, I was able to resolve this by gently sanding the interior rim edge to remove any remnants that remained. This worked perfectly and didn’t affect the pipe at all. Since this was a partial sandblast, I only needed to use the Micromesh pads on the smooth sections near the rim and shank. Of course, I also sanded the vulcanite shank extension and, like the stem, I used pipe stem oil on it. A light application of Before & After Restoration Balm brought out the best in the stummel. The balm does wonderful things to the wood and really emphasizes how beautiful this pipe is. I’m going to be sorry to see it go.

I took the pipe to my bench polisher and gave it a thorough going-over with my buffing compound and carnauba wax. This pipe was a delight from the start and its beauty only increased through the restoration process. This Royal Guard 535M freehand canted egg is elegant, light, and incredibly comfortable to hold. Finally, I am pleased to announce that this pipe is for sale! If you are interested in acquiring it for your collection, please have a look in the ‘Danish’ pipe section of the store here on Steve’s website. You can also email me directly at kenneth@knightsofthepipe.com. The approximate dimensions of the pipe are as follows: length 5½ in. (142 mm); height 2⅛ in. (54 mm); bowl diameter 1½ in. (39 mm); chamber diameter ¾ in. (19 mm). The weight of the pipe is 1⅜ oz. (41 g). I hope you enjoyed reading the story of this restoration as much as I enjoyed restoring it. If you are interested in more of my work, please follow me here on Steve’s website or send me an email. Thank you very much for reading and, as always, I welcome and encourage your comments.

New Life for a NOS French Churchwarden


by Kenneth Lieblich

Next up is a charming apple churchwarden that I found in one of my bins and it piqued my interest. It’s got the typical shape and feel of a regular churchwarden, but this one is a bit smaller – and perhaps a bit more manageable. It’s hard to know how old this one is, but it feels old and it has certainly seen better days. I’m looking forward to this one.

Frankly, this one didn’t look like it had been smoked at all. It was certainly filthy, but that seemed to be from questionable storage rather than smoking. The only markings were on the left side of the shank: Bruyère [over] Garantie which translates to ‘Genuine Briar’. The words Bruyère Garantie on a pipe are the bane of my pipe restoration existence. They are found on a plethora of different pipes, usually without any other identification. Ugh. One comment on the old Pipes Magazine forums confirms exactly what my meagre research has uncovered:

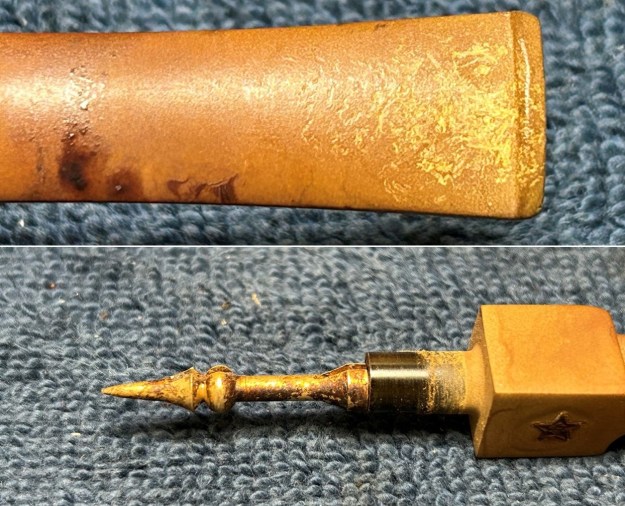
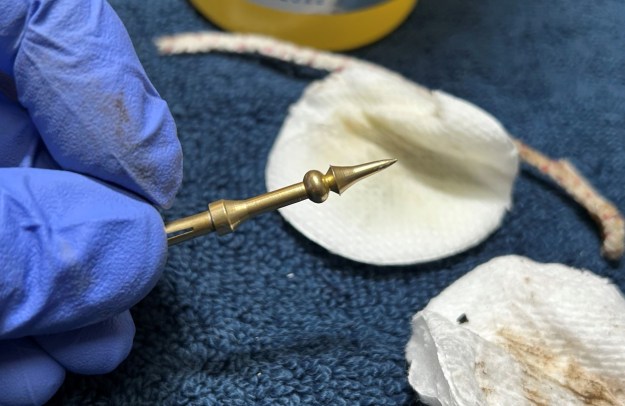
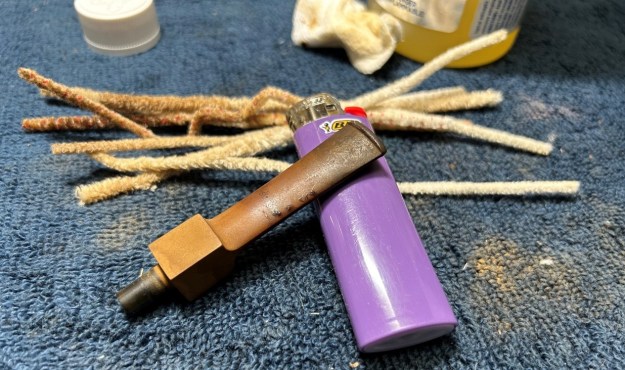
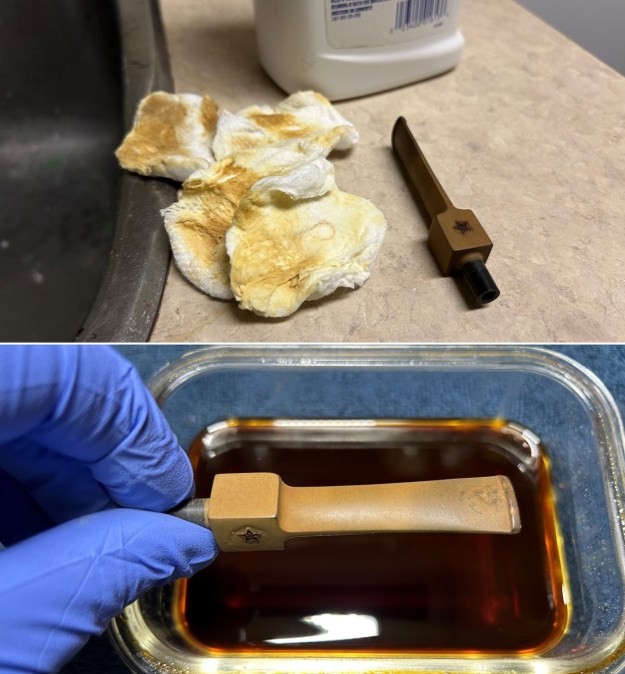
“Lots of French and German pipes, even pre-war ones, were given the label “Bruyere Garantie.” At least the ones I’ve seen for sale were listed as being from the 1920s and 30s. But I suspect that is a genuine date for those because many of them had horn stems, which are much rarer in post-war pipes and some of them definitely had an Art Deco/Art Nouveau look about them as well as old-fashioned rounded buttons.” — pitchforkThis pipe doesn’t have the old orific button, but it might date from just after that time period. Anyway, time to get to work! I started by sending the stinger for a soak in some lemon-infused isopropyl alcohol. I let it sit for several hours, cleaned it off and gave it a quick polish. Good as new!The shank had a lovely, thin band around it – but it was quite encrusted. I removed it, looked closer, and saw that there was rust! Interesting – the band must have some iron in it. I dropped the band in a little plastic bowl of plain white vinegar and let it soak overnight. I scrubbed with some 0000-grit steel wool and that worked a treat. Gave it a quick polish with my Micromesh pads and it looked good as new.Next, I went to work on the long stem. It appears to be acrylic – definitely not vulcanite. I gave it a good wipe-down with some soap on cotton rounds and that helped. As mentioned earlier, I don’t think this pipe was smoked and, though I can’t be sure about that, the stem’s insides had dust-type filth rather than tobacco debris. Regardless, I cleaned it out with pipe cleaners and 99% isopropyl alcohol. It wasn’t too dirty.Fortunately, the stem was in good enough shape that it didn’t show any tooth marks/dents. So, I skipped the cyanoacrylate treatments and jumped straight to the Micromesh pads. I used all nine pads (1,500 through 12,000 grit) to bring out the lovely black lustre on the stem. I also used Obsidian Pipe Stem Oil in between each pad scrubbing (from 3,600 onward).Now for the stummel. As the photos show, the finish on the wood has crackled and/or degraded somewhat over the years. It looks terrible and I’ll have to address that. First, I decided to ream out the bowl – but there wasn’t anything to ream! This is another clue that suggests an unsmoked pipe. It was certainly dusty inside – very. I cleaned out the insides with pipe cleaners and 99% isopropyl alcohol. I also cleaned the insides with some soap and tube brushes. It was nice and clean after this.Now to deal with the finish on the stummel. I grabbed some Murphy’s and rubbed the surface to clean things up. This did precious little. Since there was a fill that also needed to be fixed under this finish, I took some acetone and thoroughly cleaned the surface – that was the best decision I made! The pipe looked so much better with the old finish removed. There was actually some very nice wood under there.I examined the nicks in the briar. I took my iron and a damp cloth to try to raise them. The hot and moist steam can often cause the wood to swell slightly and return to shape. This worked well – I was pleased with the results. However, some lumps and bumps remained on the rim and a big fill to boot. In order to safely remove the marks on the rim, I “topped” the pipe – that is to say, I gently and evenly sanded down the rim on a piece of 220-grit sandpaper. This effectively removed the damage, without altering the look of the pipe. Then, I made a mix of cyanoacrylate and briar dust and filled the fill. I sanded the repair down with 400-grit sandpaper, then proceeded to use the Micromesh pads over the whole thing. Oh boy, it really looked good. I glued the band back on the shank and applied some Before & After Restoration Balm. I let it sit for 20 minutes or so. It does lovely things to the wood. I polished it with a microfibre cloth and it shone. Wow – the pipe really looks lovely.

Off to the bench polisher I went. I applied some White Diamond and a few coats of carnauba wax and they added the finishing touch. This old Bruyere Garantie churchwarden was in need of a new lease on life. I am pleased to announce that this pipe is for sale! If you are interested in acquiring it for your collection, please have a look in the “French” pipe section of the store here on Steve’s website. You can also email me directly at kenneth@knightsofthepipe.com. The approximate dimensions of the pipe are as follows: length 7⅜ in. (185 mm); height 1⅛ in. (28 mm); bowl diameter 1¼ in. (32 mm); chamber diameter ⅔ in. (15 mm). The weight of the pipe is ¾ oz. (23 g). I hope you enjoyed reading the story of this restoration as much as I enjoyed restoring it. If you are interested in more of my work, please follow me here on Steve’s website or send me an email. Thank you very much for reading and, as always, I welcome and encourage your comments.

A Portland Pipe from my Grandfather


by Kenneth Lieblich

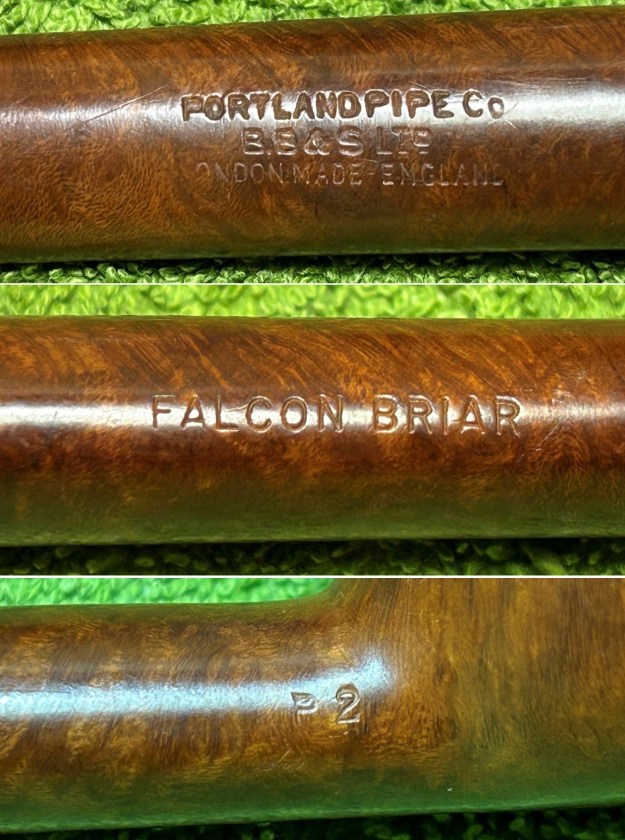
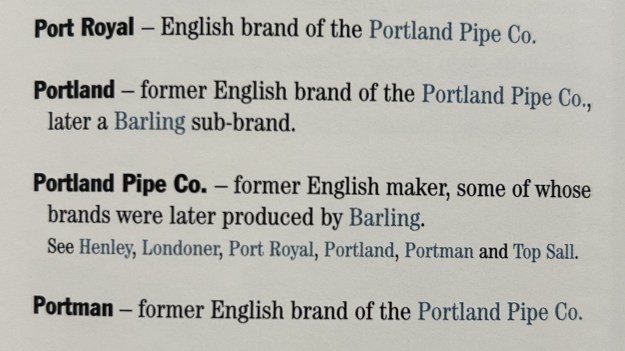
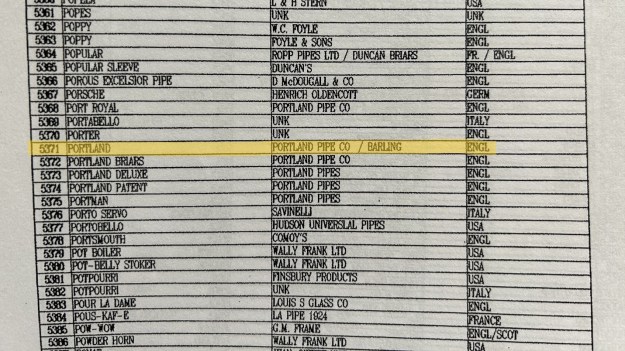
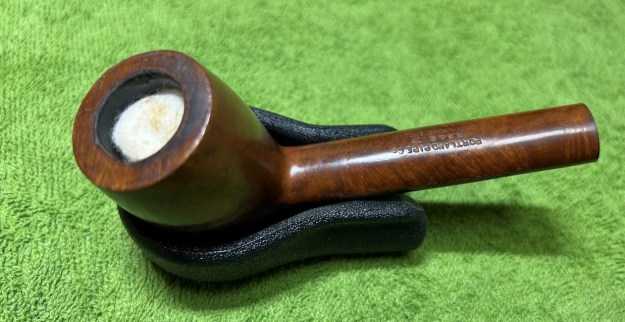
Next on the chopping block is a very personal pipe – and one that is staying in my collection. The pipe you see belonged to my late grandfather. It is this pipe’s restoration that I am recounting today. I have blogged here about some of my grandfather’s pipes before, but I haven’t done one in a while. In this case, I do not know where my grandfather acquired it (or under what circumstances), but I suppose it does not ultimately matter. My grandfather was an enthusiastic pipe smoker and I am definitely looking forward to cleaning this one up. It has a value well beyond dollars – especially because this is actually the first pipe I ever smoked. Unsurprisingly, I didn’t know what I was doing it with it, so any damage you see is almost certainly from me! I don’t remember why I picked this pipe of his to try, but it definitely worked well. The pipe is a classic billiard shape with a lovely, long stem. What a handsome pipe! I do not know the exact date of the pipe, but, knowing what I do about my grandfather and his pipes, it seems likely to be from the 1950s or 1960s. On the left-hand side of the shank, the pipe’s markings read, First Call [over] London. To the right of that is the number 69 – presumably a shape number. The right hand side of the shank also has markings, but they are more worn. They read, Portland Pipe Product [over] Made Wholly in England. I wasn’t familiar with these names, so I did some digging.I began my research with José Manuel Lopes’ book, Pipes: Artisans and Trademarks. As the photo shows, there was a little information, but not a lot.The connection with Barling was interesting, so I also checked Wilczak and Colwell’s book, Who Made That Pipe? From the photos below, you can see that First Call refers me to the Portland Pipe Co. and that they both make a connection to Barling too.Time to check online. Pipephil had a similarly brief write-up (included here).Pipedia was a bit more helpful. Their page on the Portland Pipe Co. includes the following information (the typos are in the original and are NOT mine):

Portland Pipe Company was an English pipe maker, and appears to have started in the 1930’s, and went out of business in 1962. It’s though they had ties to Barling pipes from the 1930’s. They might have been a sub-brand or “second” which was separate from, but fully owned by Barling’s all along. It also thought that after Portland closed down, and during Barling’s corporate era (BB&S), Barling picked up some of the Portland brand (Londoner, Cragmoor and Portland) and made them for a while. WILCZAK & COLWELL in their book “Who Made That Pipe?” acknowledge the brand as from England, though some have been made in Italy as well (see Pipephil.eu). The Brand John Peel is a pipe which has the stamping: JOHN PEEL, A PORTLAND PIPE, MADE WHOLLY IN ENGLAND. I have a model with is also stamped SPECIAL, it’s a stack design with shape number 801. This pipe might have been made either by Portland or Barling. According to a 1940 price sheet, the following models were offered, along with the correlating prices:

Vintage (10/6)
Exchange (7/6)
Londoner (7/6)
Mosaic (7/6)
Portland Super (7/6)
Crustor (5/6)
Diploma (5/6)
Port Royal (5/6)
Port-de-Luxe (5/6)
Portland Patent (5/6)
Souk-el-Arba (5/6)
Times (4/6)
British Sovereign (3/6)
John Peel (3/6)
Jubilee (3/6)
Sirdar (3/6)
Campaigner (2/6)
Dandy (2/6)
First Call (2/6)
Knobby (2/6)
Topsall (2/6)
Topsall Comfort (2/6)
Portman (2/-)
British National (1/6)
Ruf Kut (1/6)

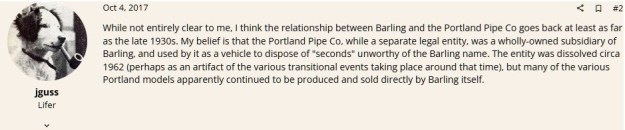
This seems to confirm that this pipe is in the lower range of Portland Pipes AND that it likely comes from before 1962. However, there are a few other tidbits of information. The PipesMagazine.com forums include an interesting comment from Barling expert Jonathan Guss:Finally, over at the Very Keen on Pipes website, a reader commented on one of their posts by saying:

“… Portland pipes make up one of the great mysteries of London pipe making. No one knows when Barling bought Portland but most of us barling guys believe it was mid to late 30’s. I saw a reference once online using the year 1936 but this cannot be confirmed. Next, John Peel was for a long time thought to have been a shop but there is no evidence proving that. However, John Peel pipes were almost certainly made by Portland. What most of use want in a pipe of this type is a pipe made before 1962, when the barling family was let go by the new owners and the brand went into a downward spiral quality wise. Re Portland, a number of them have recently turned up as a result of a “garage find” of a batch of pipes from the Toronto Canada area and they were mixed in with other wood from the 50’s and that seems to indicate a 50’s date of manufacture. Note: in those days several of the larger pipe makers made pipes or just bowls for other brands and these were mostly Charatan, Comoy and other makers such as Orlick. What is almost certain is that never did barling make / sell any pipes that were not carved by barling carvers untill after 1970. So, Portland and Peel were never actually barling made, these pipes were either made by Portland in house or, in later years past 1962, by Charatan and others. Also, if one looks at the style of the bits it evident that Portland and Peel pipes were not made that long ago, probably 50’s and 60’s unless there is a BB&S stamp which indicates post 1970 age (the & symbol being the give away since B.B.S was used in the older pre 1962 era.) Just some info for you to keep in mind… “

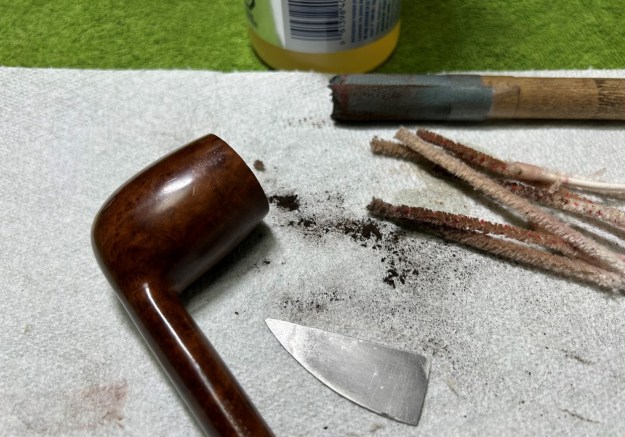
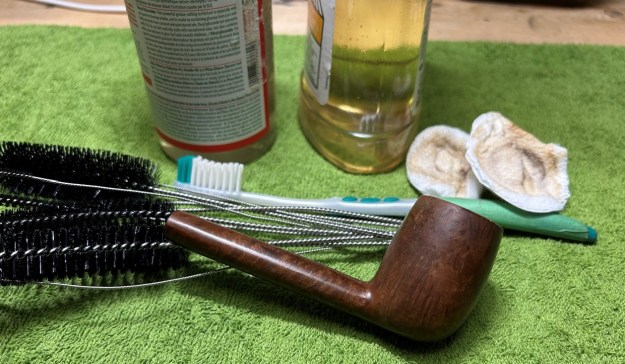
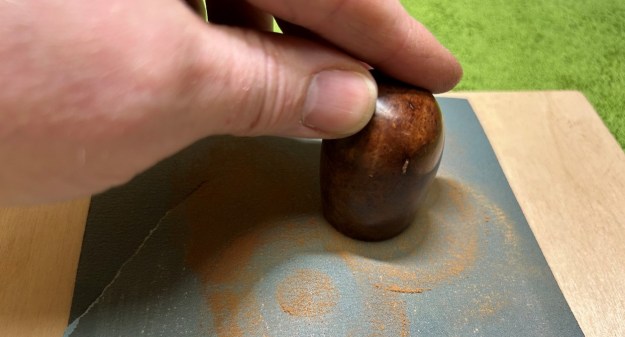
Let’s tie it all together. By inference (and some educated guesswork), this pipe of my grandfather’s was made in England, prior to 1962, and that the Portland Pipe Co. who made it was owned by Barling. As for the “69” shape number, I do not know what to say – this doesn’t correspond to Barling, so I suppose Portland had their own numbering system. It’s a nifty pipe – however, it was not without its issues. The stem had plenty of tooth chatter and was pretty oxidized. The stummel was actually in pretty good shape, except for the rim. I burned it pretty darn thoroughly. It had some minor wear, but nothing too tricky. The stem was first on my list. I wiped down the outside of the stem with Murphy’s Oil Soap on some cotton pads. Then, I cleaned out the insides with pipe cleaners and isopropyl alcohol. Then it went so soak in the deoxidizing fluid. After that, I wiped it down with some cleanser and removed the rest of the oxidation. Once clean, I built up the nicks and dents and scratches on the stem with black cyanoacrylate adhesive and let it fully cure.I then sanded the adhesive down with my grey pads to bring the repairs to the level of the stem. I ensured that the stem kept its shape and looked like it should. I then used all nine Micromesh pads (1,500 through 12,000 grit) to emphasize the beautiful black of the stem. I also used Obsidian Pipe Stem Oil in between each pad scrubbing, after 3,600. On to the stummel, and the usual cleaning procedures were in order for this pipe. I used the KleenReem to remove the built-up cake, and followed that with 220-grit sandpaper to remove as much as I could. I wanted to take the bowl down to bare briar to ensure there were no hidden flaws in the walls of the bowl. Fortunately, there were none. I then proceeded to clean out the insides of the shank with cotton swabs, pipe cleaners, and isopropyl alcohol. There was quite a bit of filth inside this stummel – it took many pipe cleaners et cetera to clean it out. I decided that a de-ghosting session would be a good idea. I thrust cotton balls into the bowl and the shank and saturated them with 99% isopropyl alcohol. I let the stummel sit overnight. This caused the oils, tars and smells to leach out into the cotton. The bowl was nice and clean after this.I followed that up by cleaning the insides with some dish soap and tube brushes. I then moved on to cleaning the outside of the stummel with Murphy’s Oil Soap and some cotton pads. Because of the extensive burning to the rim, I sanded away the damage on my topping board and it looked much improved. Now, it was time to sand down the stummel. I used all nine Micromesh pads (1,500 through 12,000 grit) to wet/dry sand everything smooth. After that, a light application of Before & After Restoration Balm brought out the best in the stummel’s grain. What a difference that made! There is some beautiful wood there! Then it was off for a trip to the buffer. A dose of White Diamond and a few coats of carnauba wax were just what this pipe needed. The lovely shine made the wood look absolutely beautiful.This is a beautiful pipe that has a very elegant feel to it. I hope the final product is worthy of my beloved grandfather’s memory. Obviously, this is one pipe that I am keeping for myself and adding to my collection. The approximate dimensions of the Portland First Call are as follows: length 6⅓ in. (160 mm); height 1¾ in. (44 mm); bowl diameter 1¼ in. (32 mm); chamber diameter ⅔ in. (17 mm). The weight of the pipe is 1 oz. (30 g). I hope you enjoyed reading the story of this pipe as much I as I did restoring it. If you are interested in more of my work, please follow me here on Steve’s website or email me directly at kenneth@knightsofthepipe.com. Thank you very much for reading and, as always, I welcome and encourage your comments.