Blog by Steve Laug
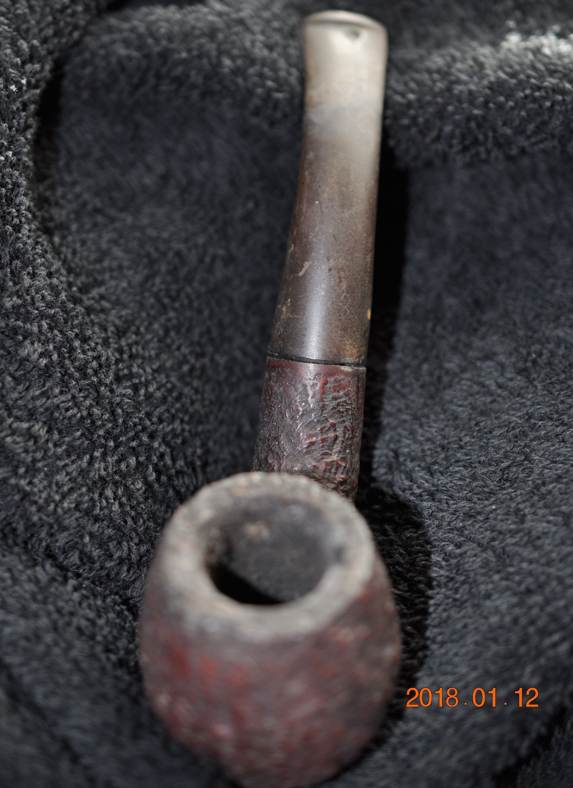
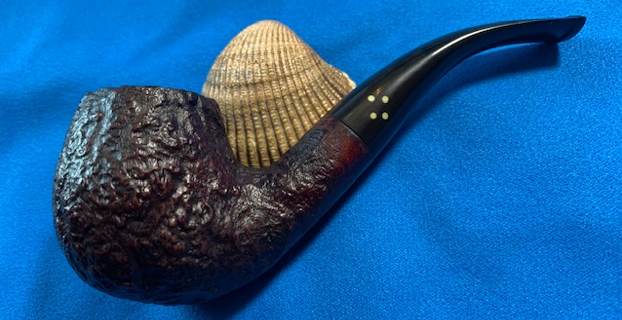
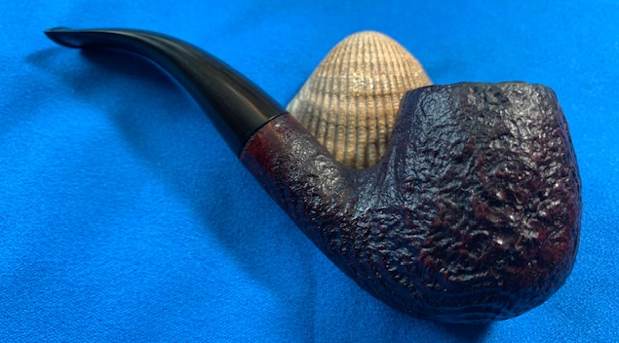
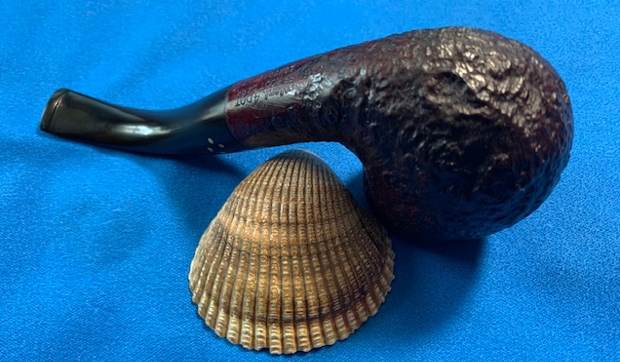
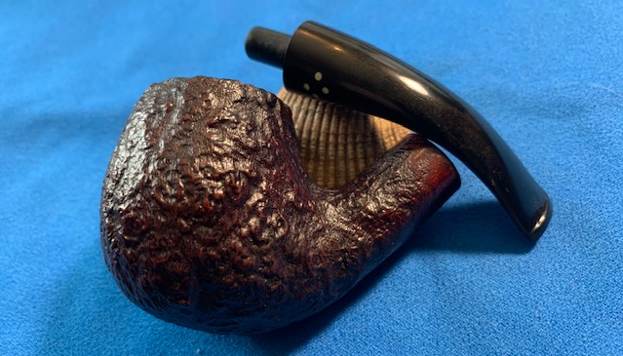
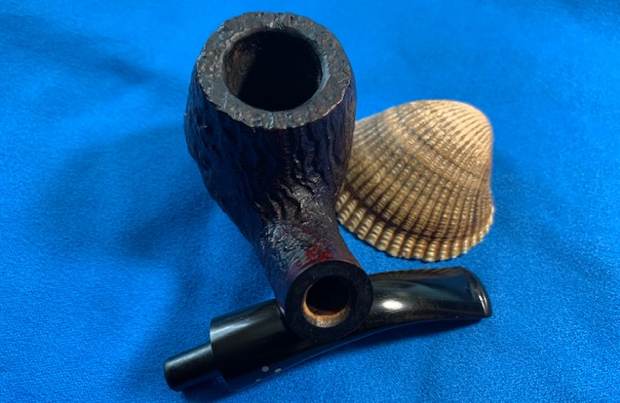
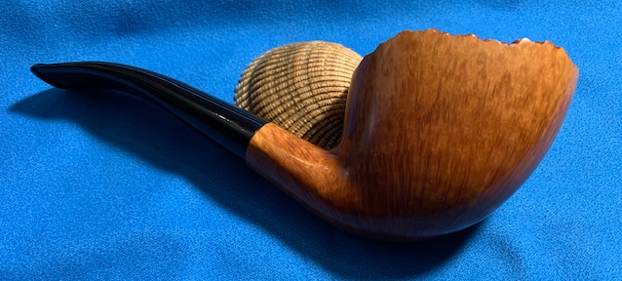
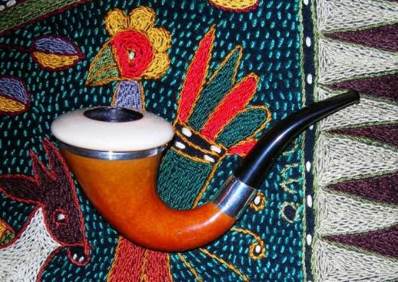
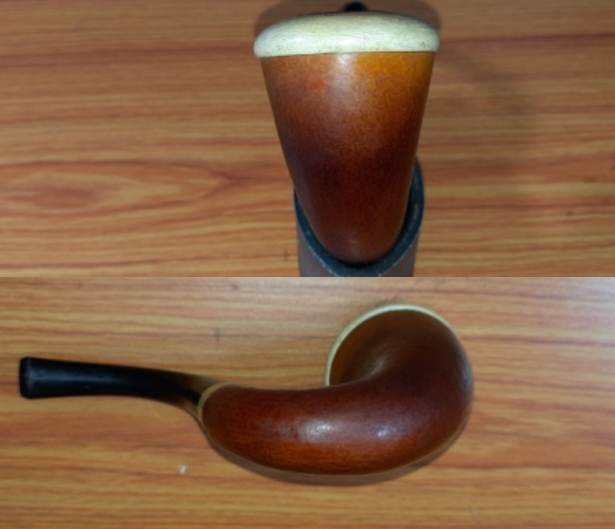
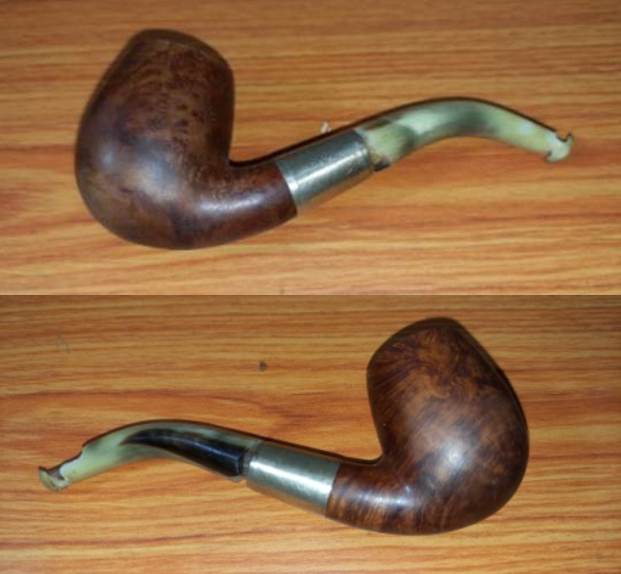
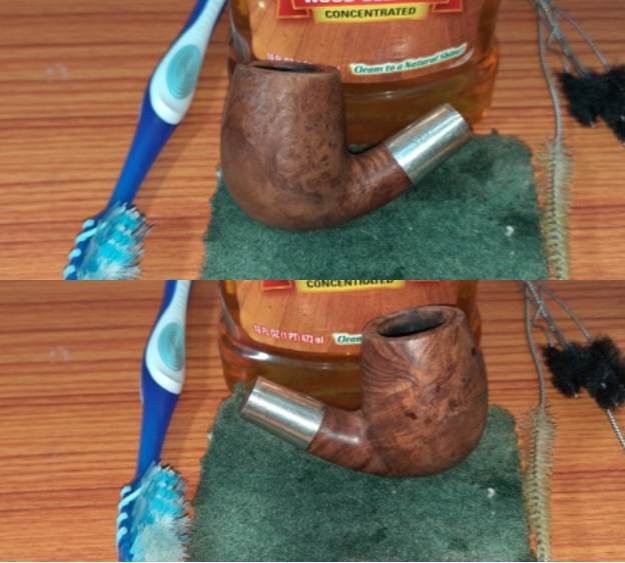
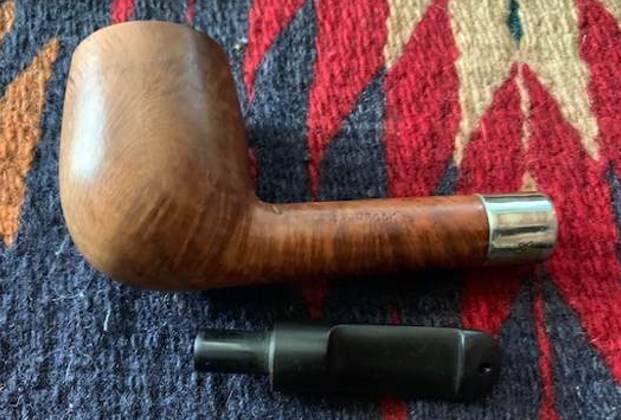
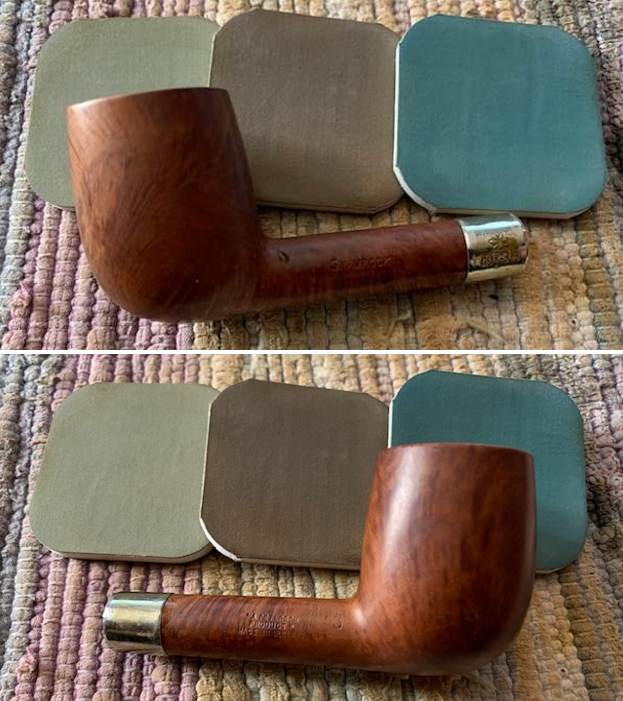
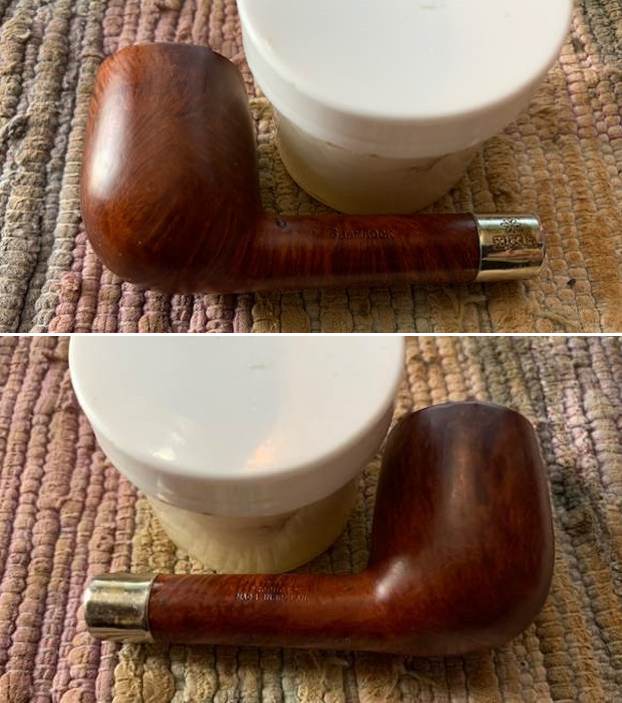
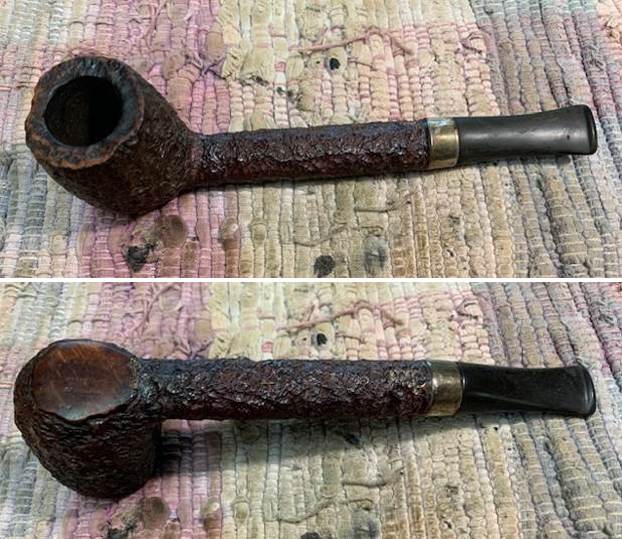
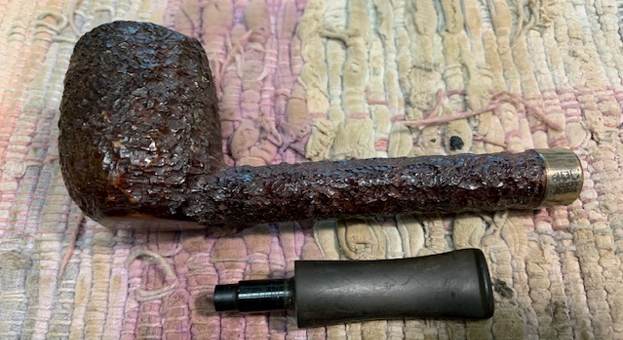
The next pipe on the work table has been here for over five years. Sad that there are some that have sat this long or longer before I got to them. But on the other hand I get to look through my boxes and pick out what turns my crank at the moment. This one was well grained Bullmoose – or Pot with a prominent chin jutting out the front. We picked it up back in October, 2017 from a seller on EBay from Stroudsburg, Pennsylvania, USA. It is stamped on the left side of the shank and reads WDC in a triangle followed by Seville [over] Genuine Briar. There was no shape number on the shank on either side. The poor pipe was another one that had obviously been someone’s favourite and must have been a grand smoker. The finish appears to have some nice straight grain around the bowl and shank that even stands out with the grime on the finish. The bowl is heavily caked with a thick lava overflow on the rim top – heavier on the back side. The stem is quite oxidized and had deep tooth marks on the top and underside near the button. The pipe showed a lot of promise but it was a mess. Jeff took pictures of the pipe before he did his clean up work.
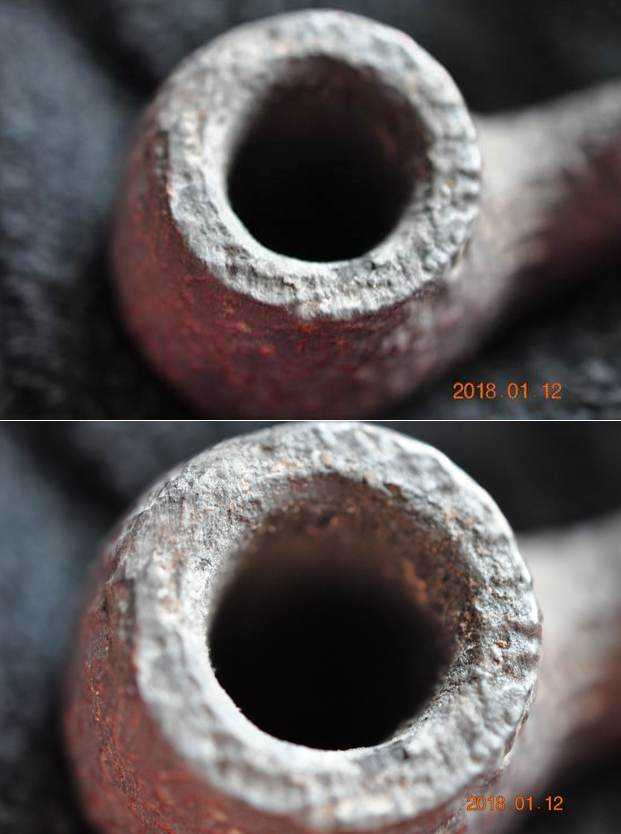
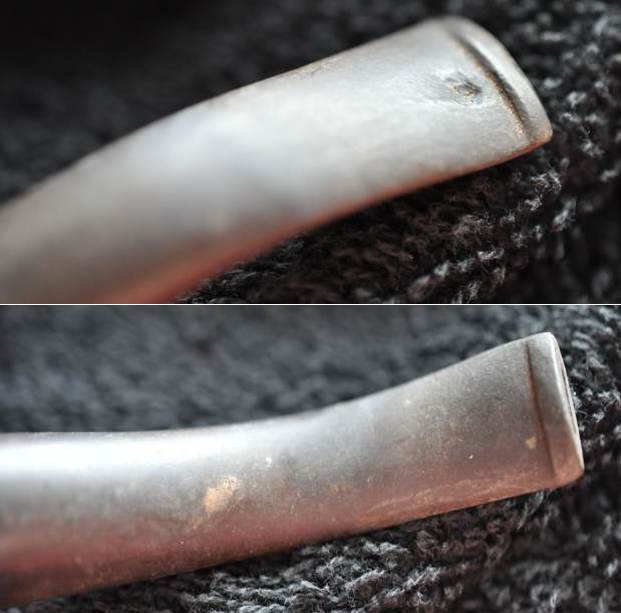
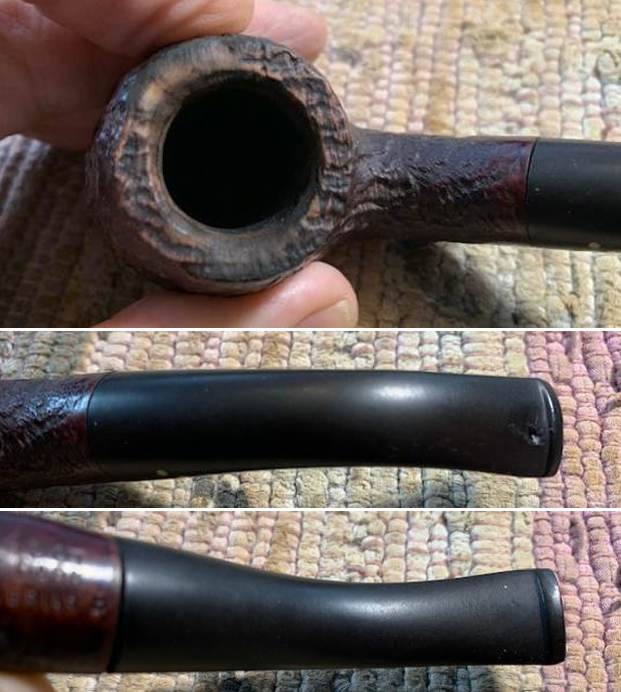
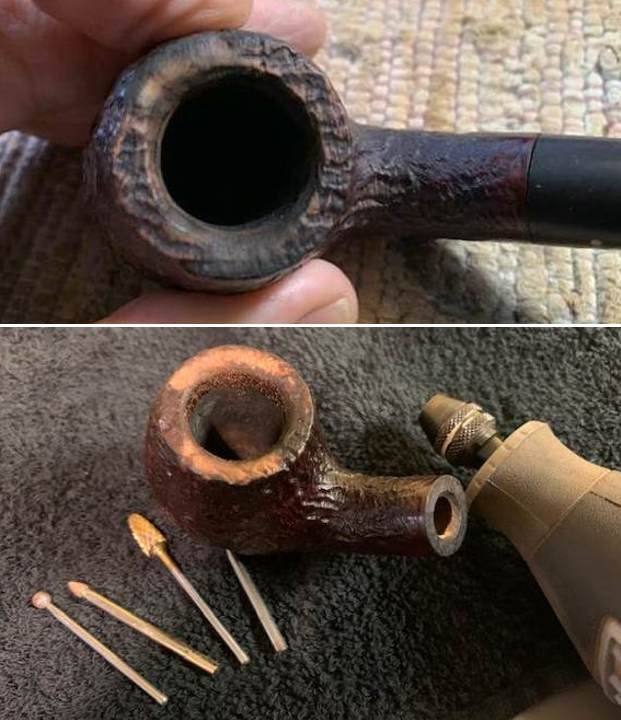
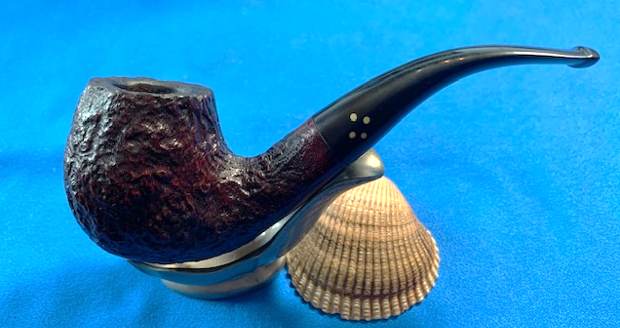
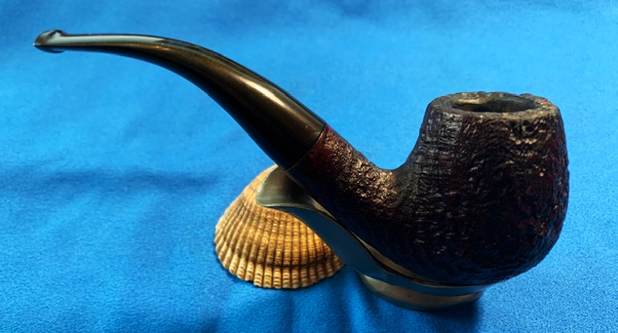
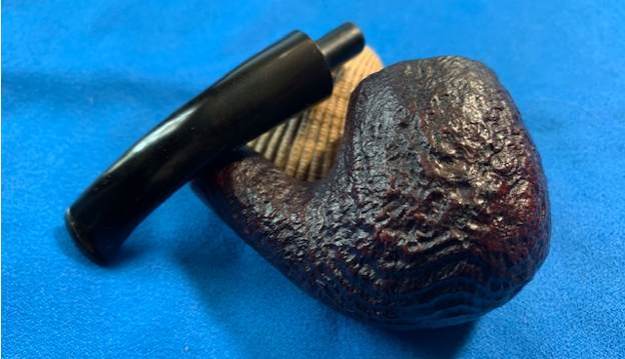
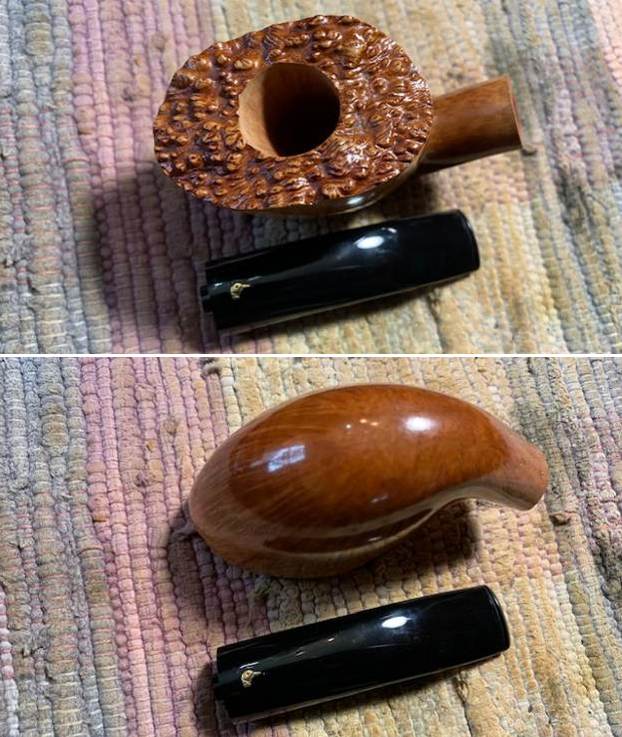
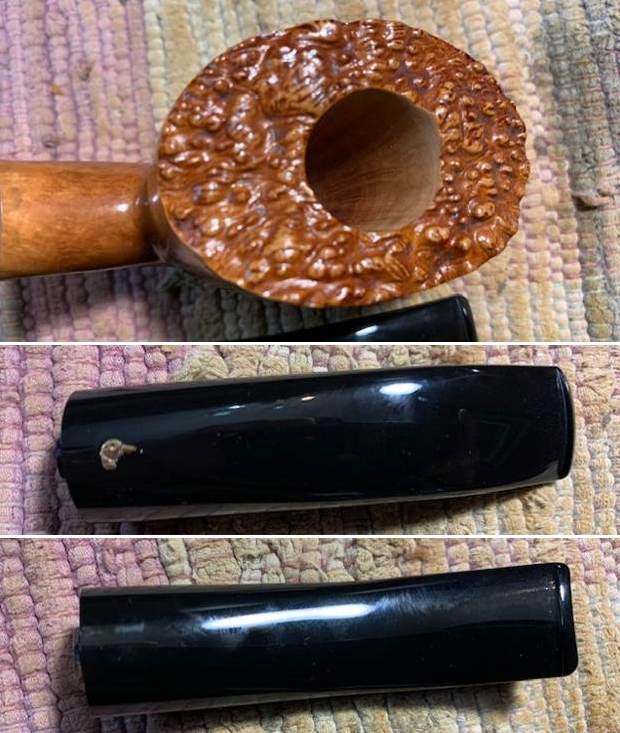
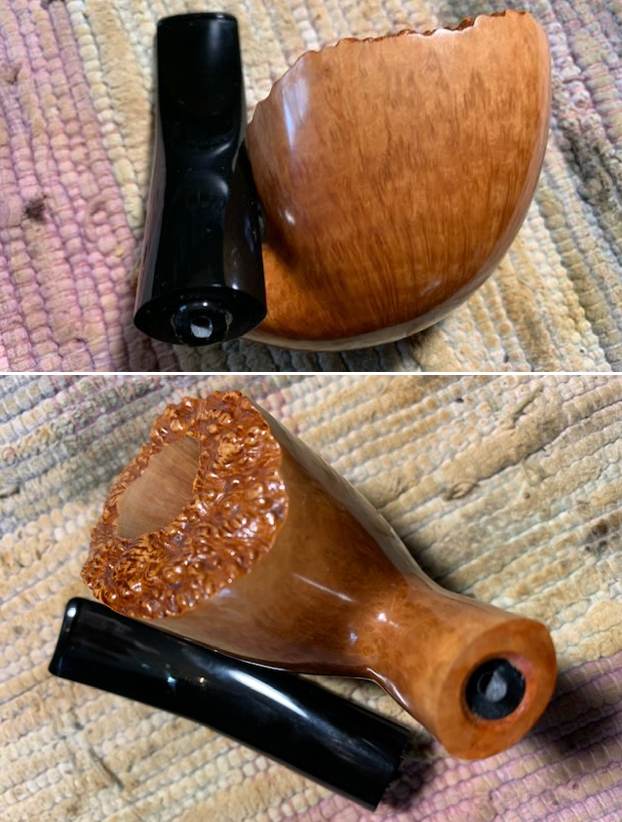
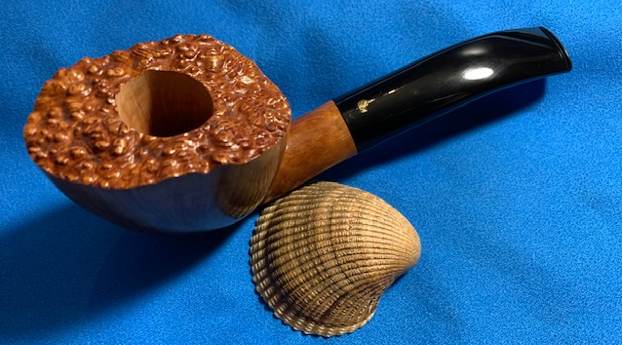
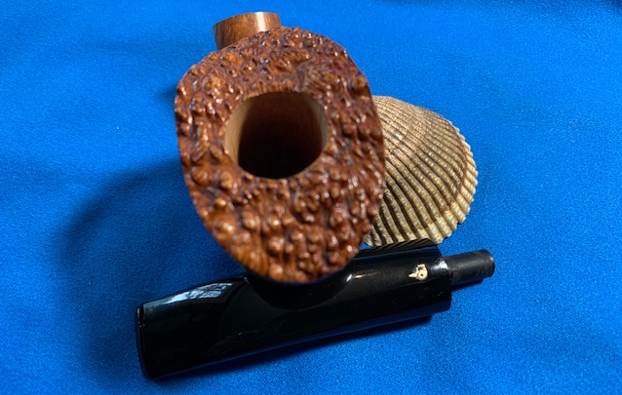
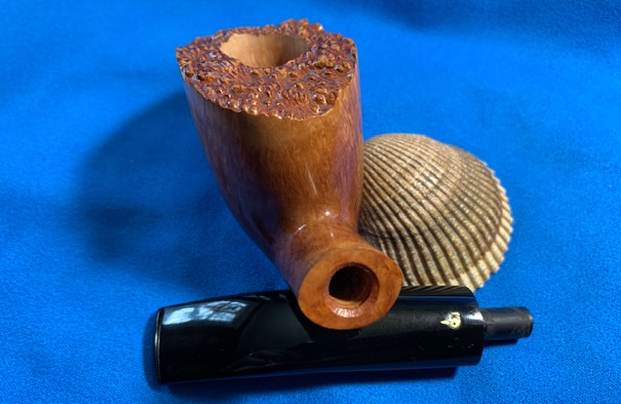
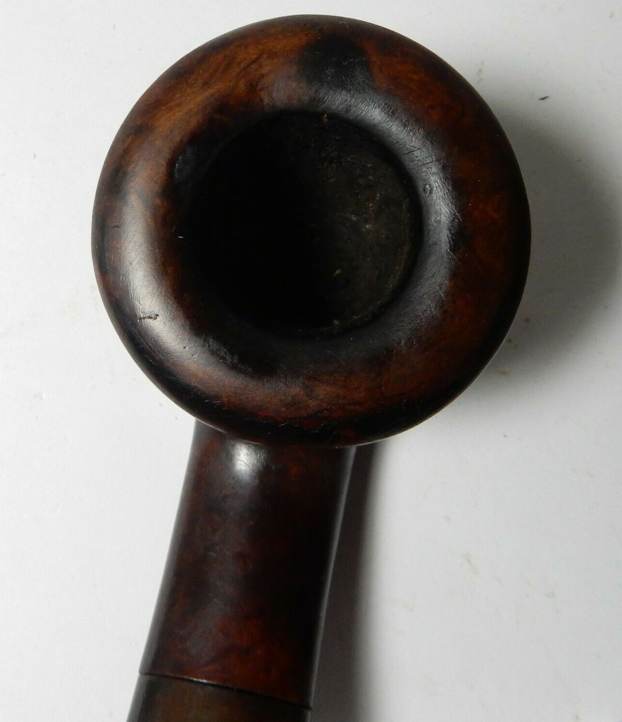
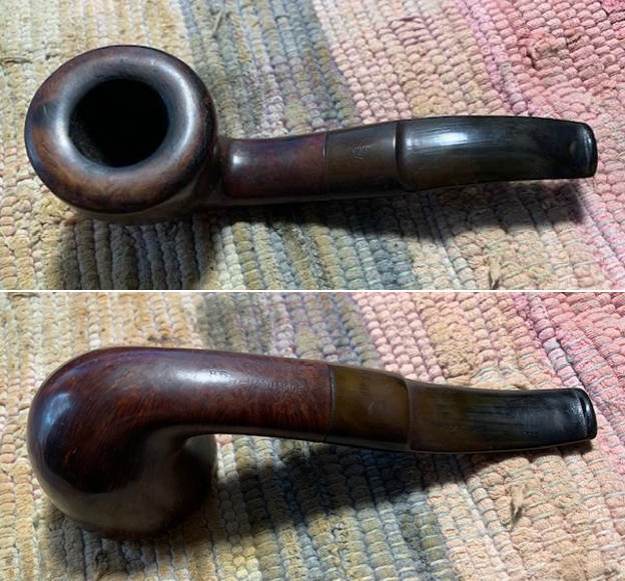
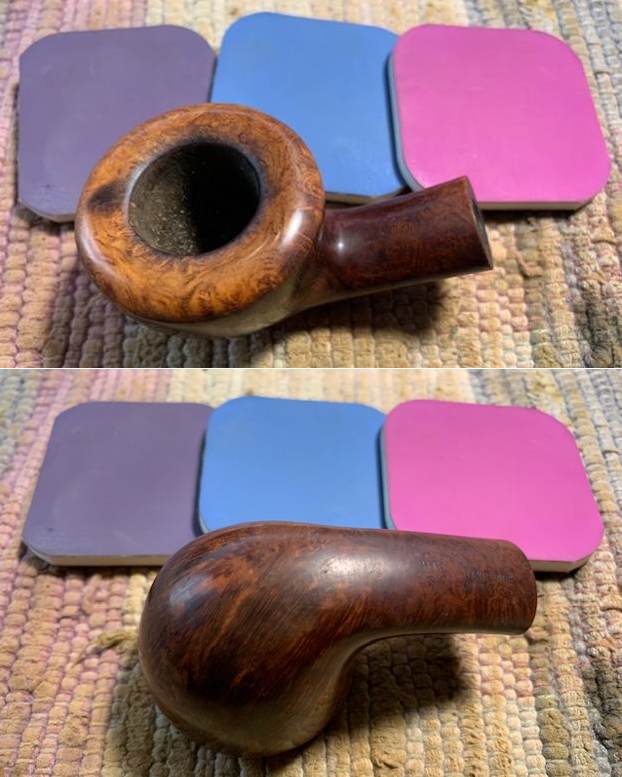
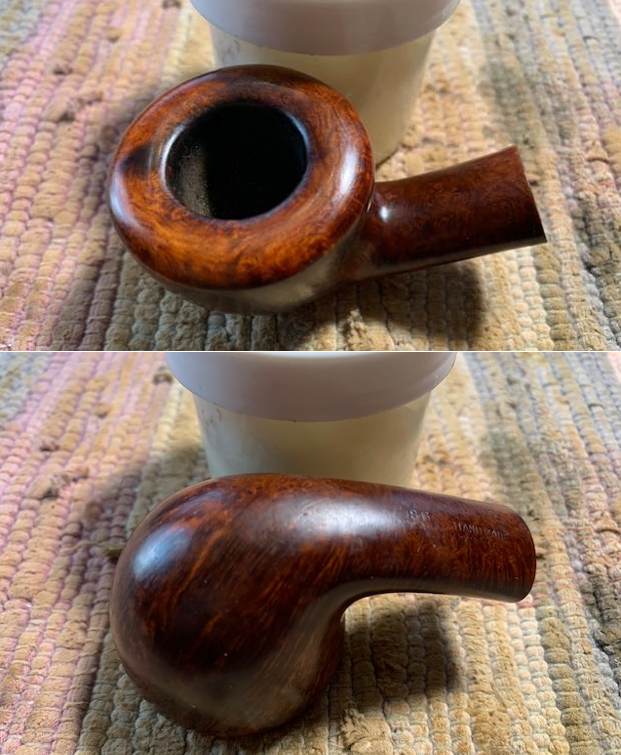
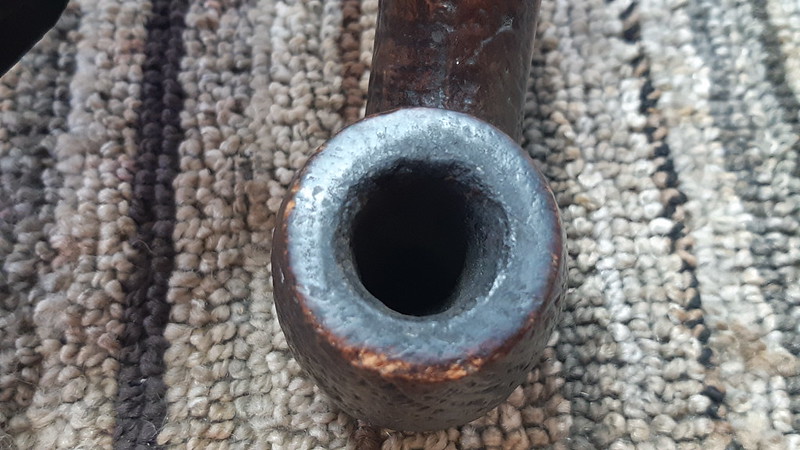
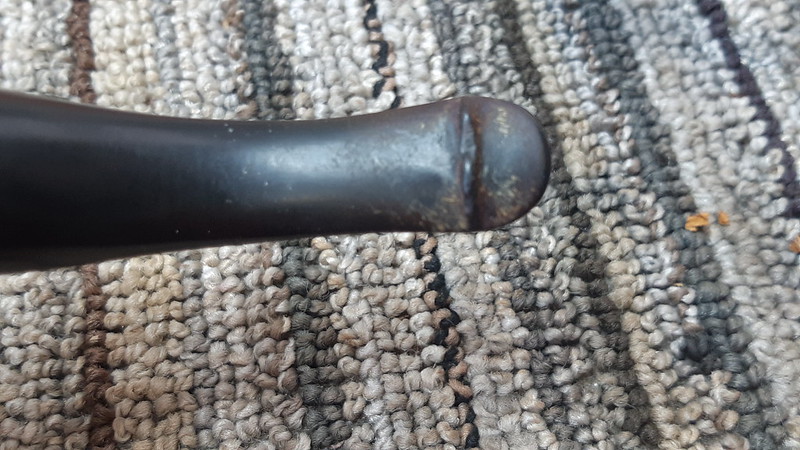
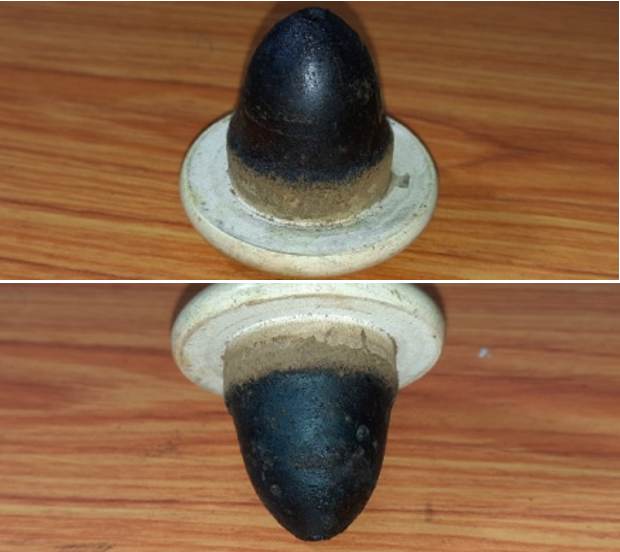
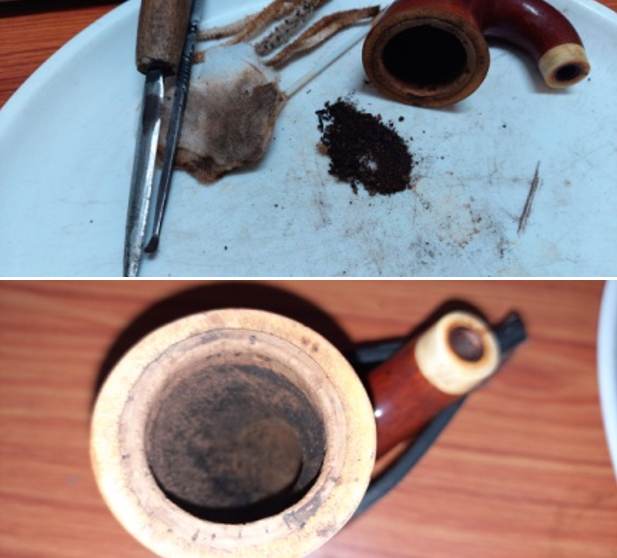
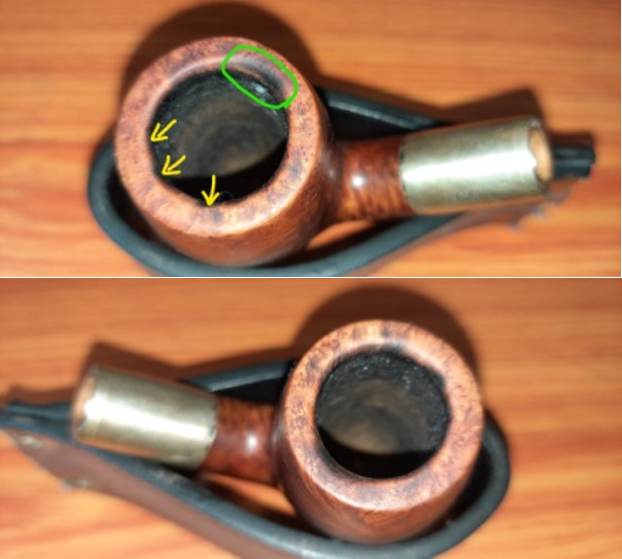
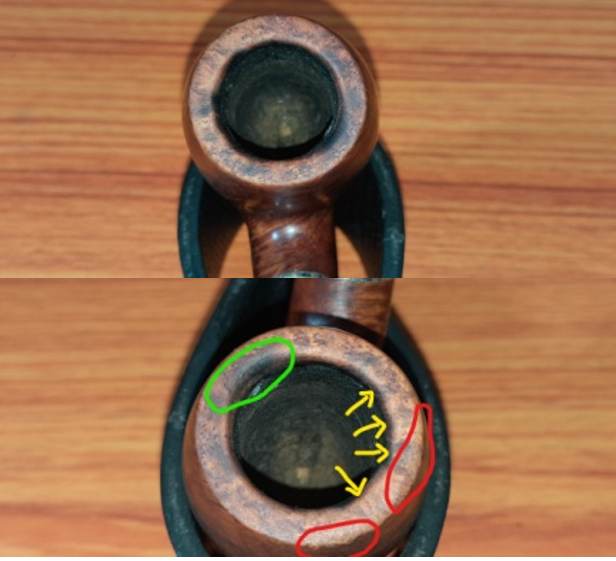
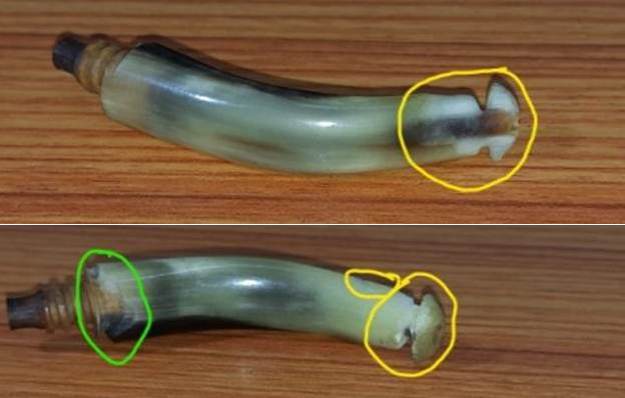
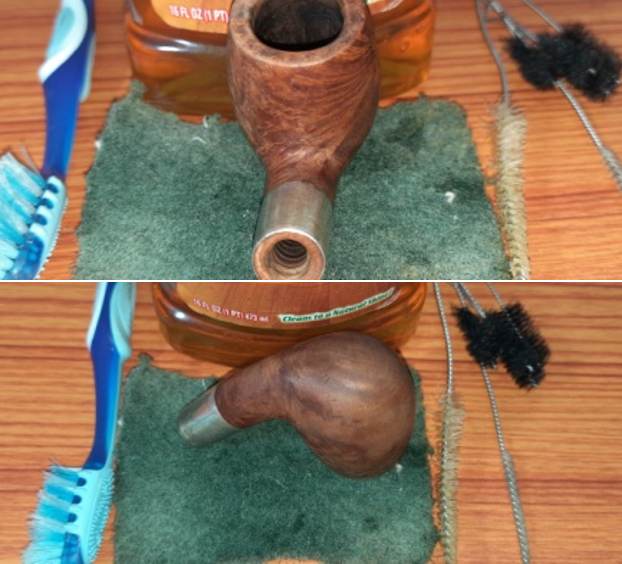
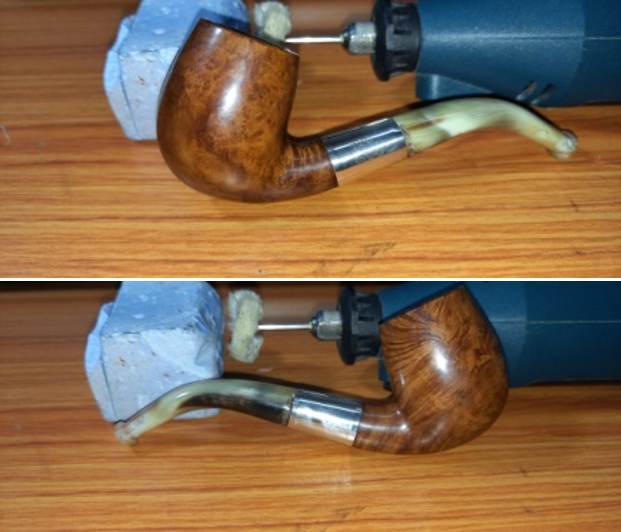
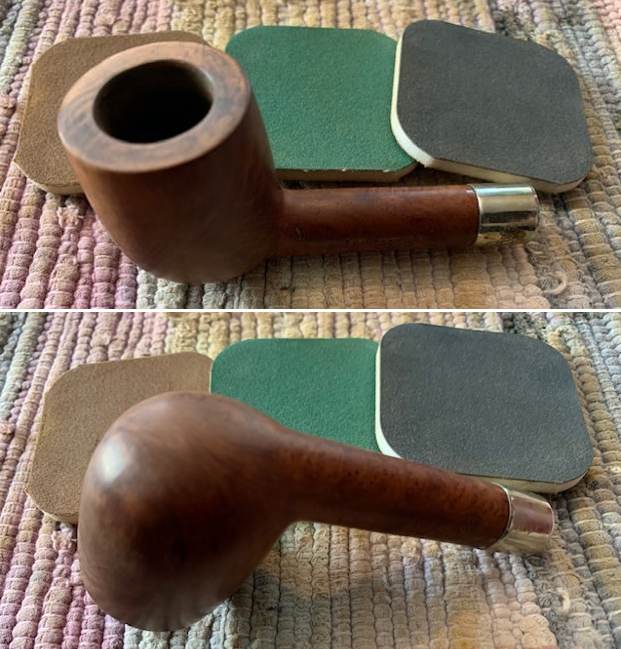
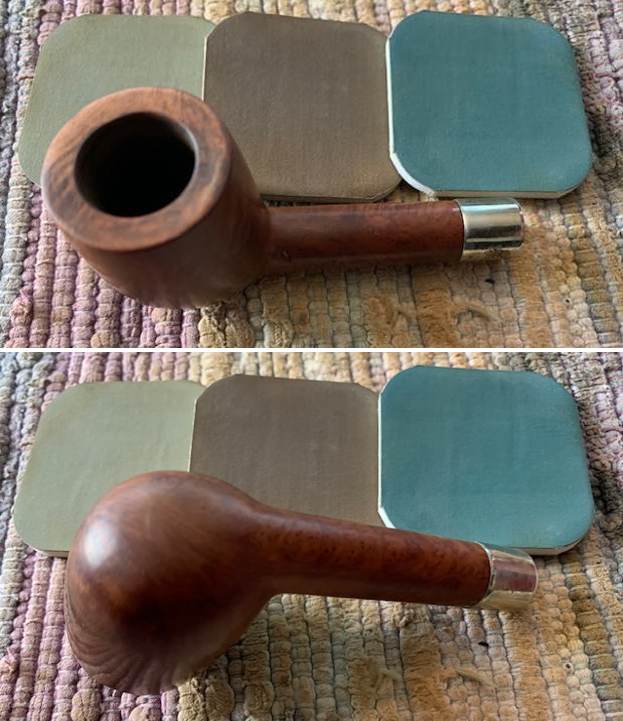
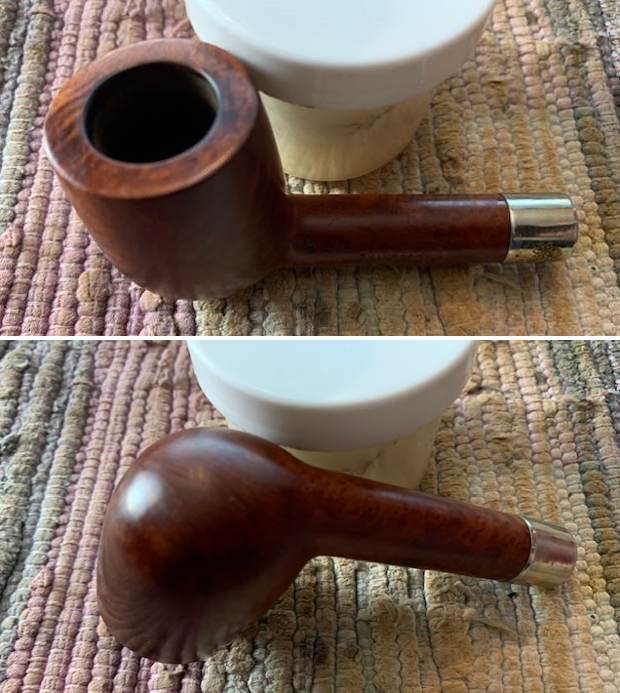
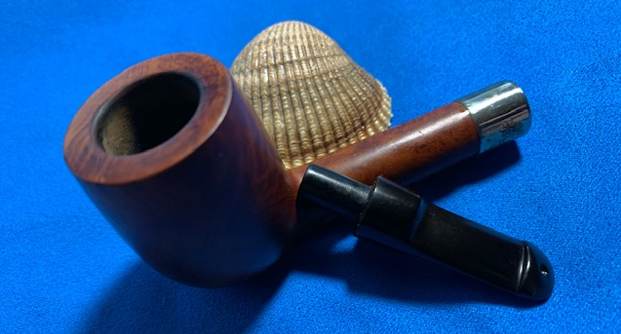
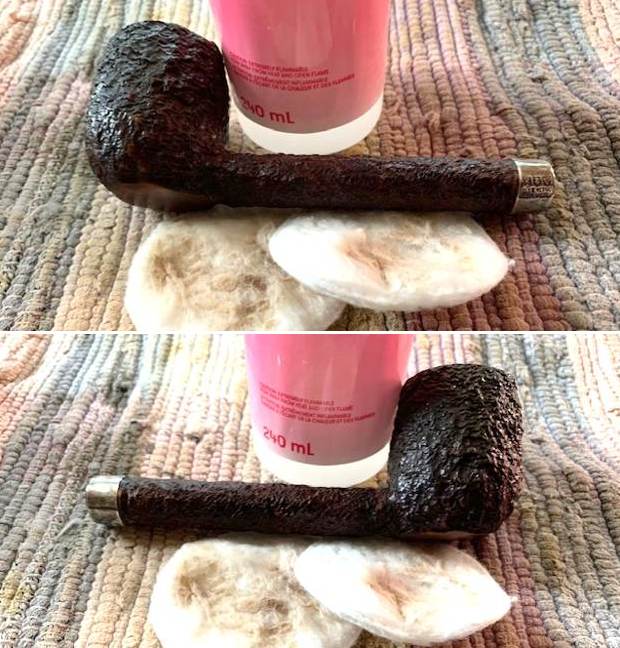
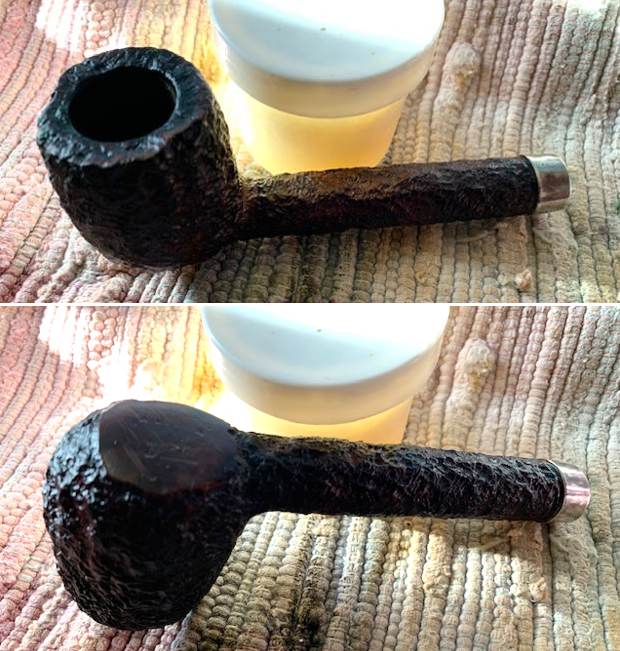
 He took photos of the rim top and bowl as well as the stem surfaces to show the condition of the well smoked pipe. You can see the thick cake in the bowl and the heavy lava on the inner edge and rim – particularly at the back of the bowl. The stem was oxidized and had tooth marks and chatter on both sides ahead of the button.
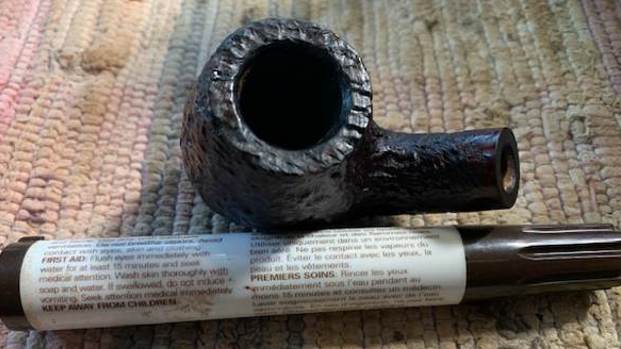
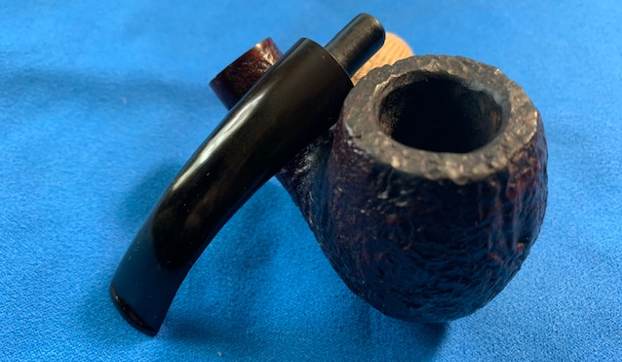
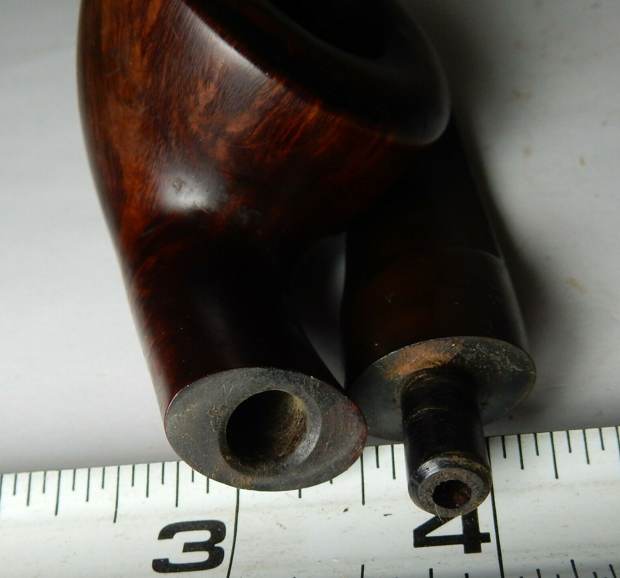
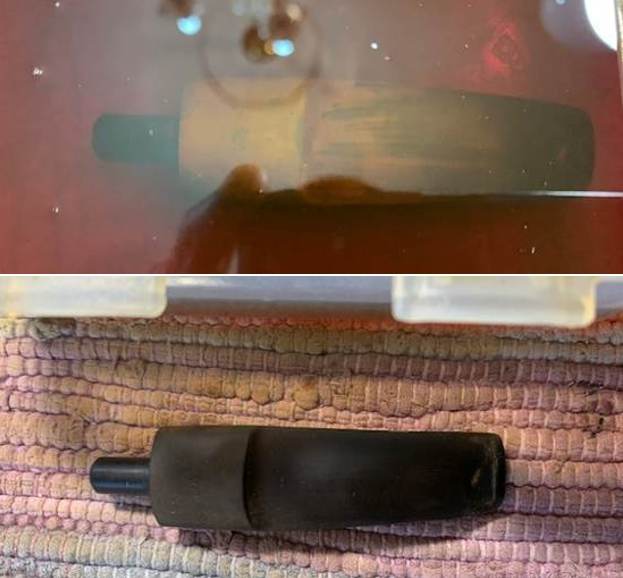
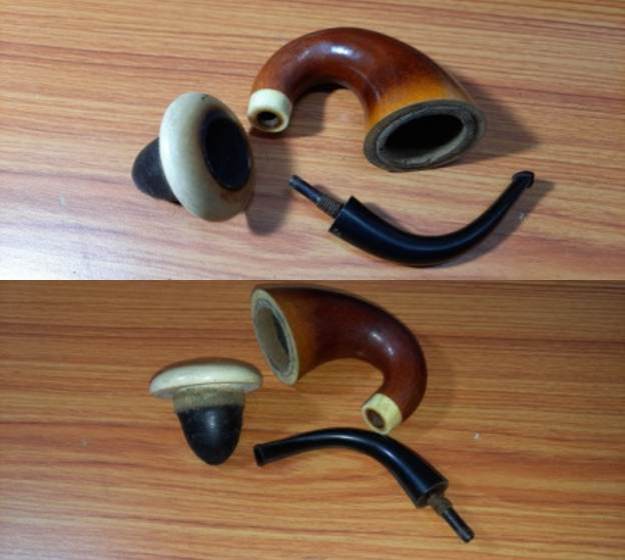
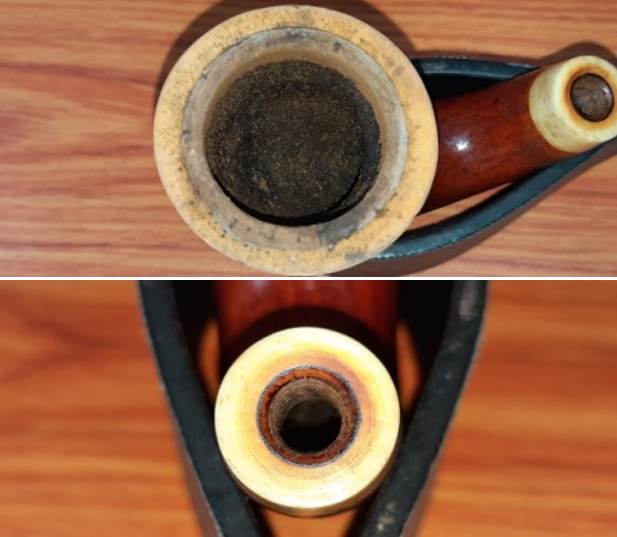
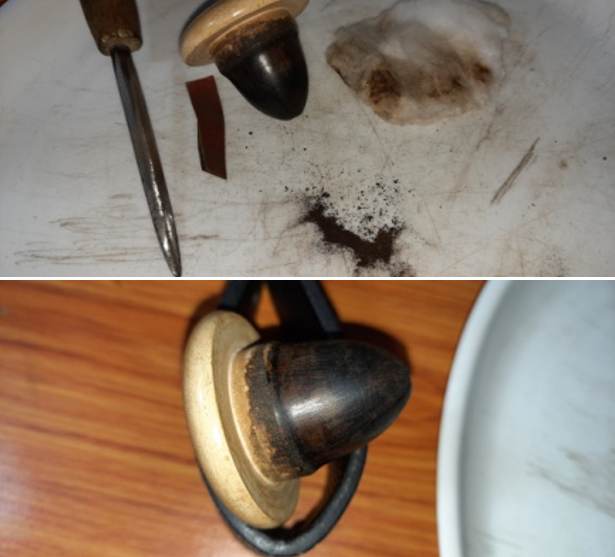
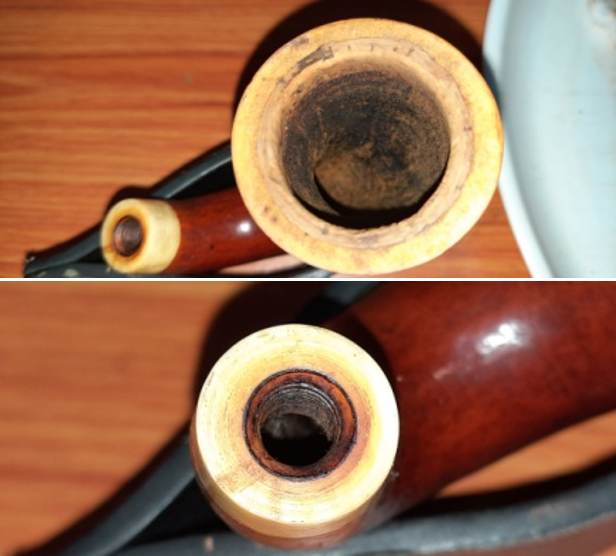
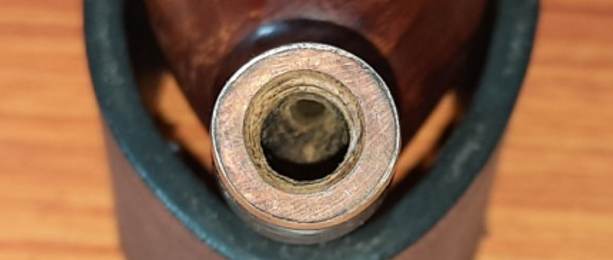
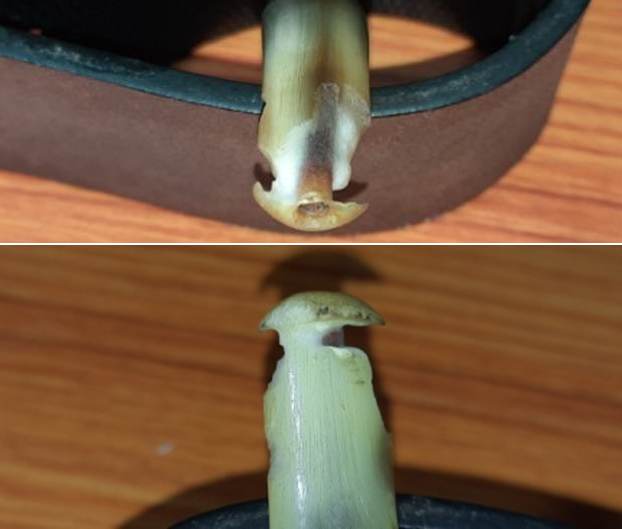
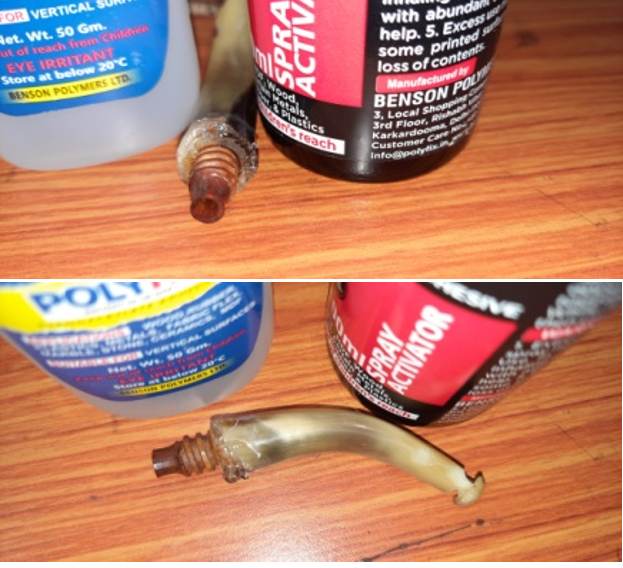
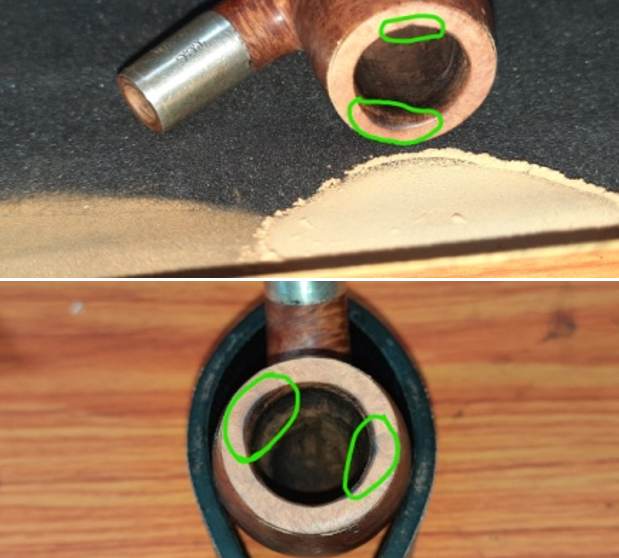
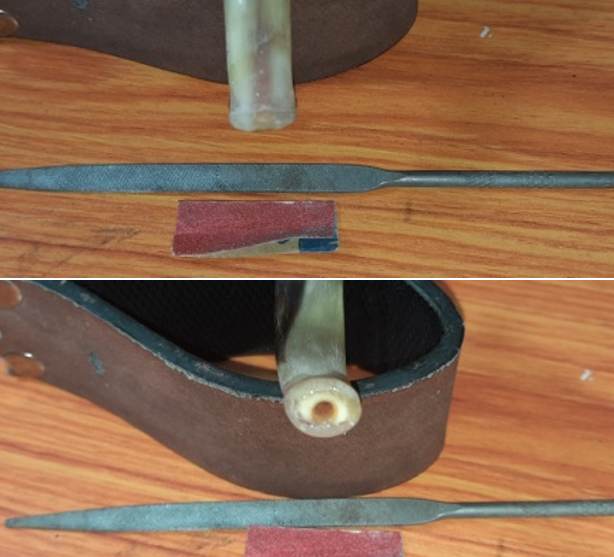
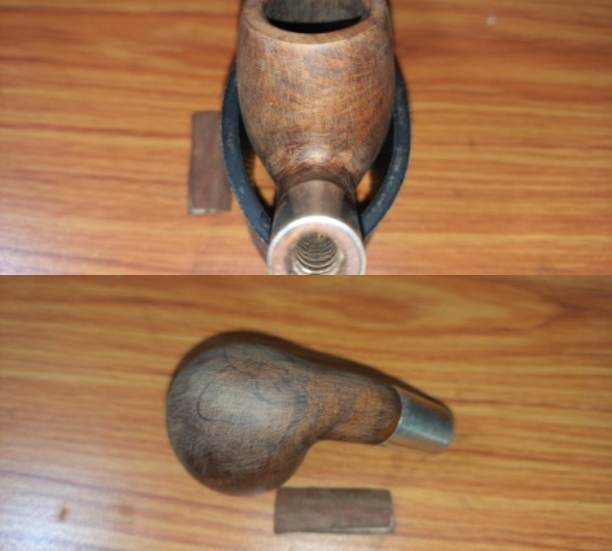
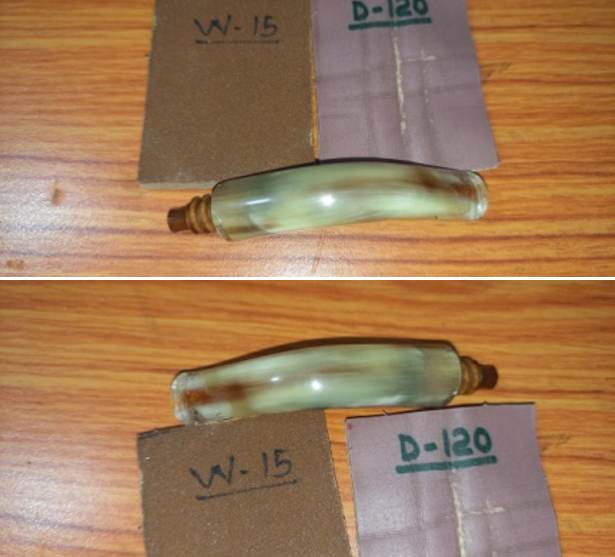
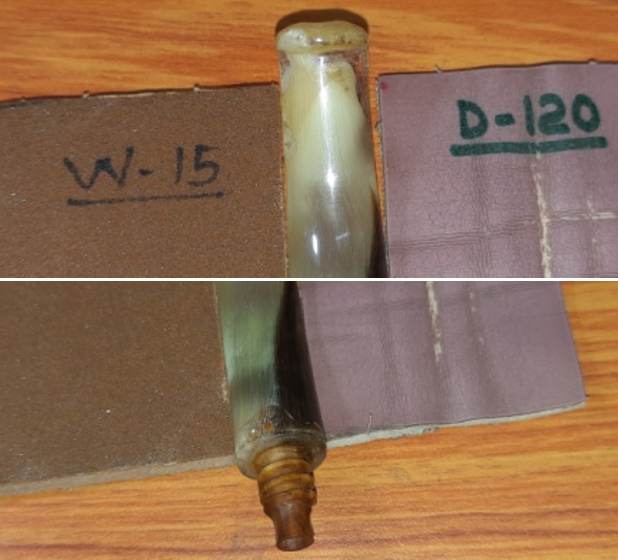
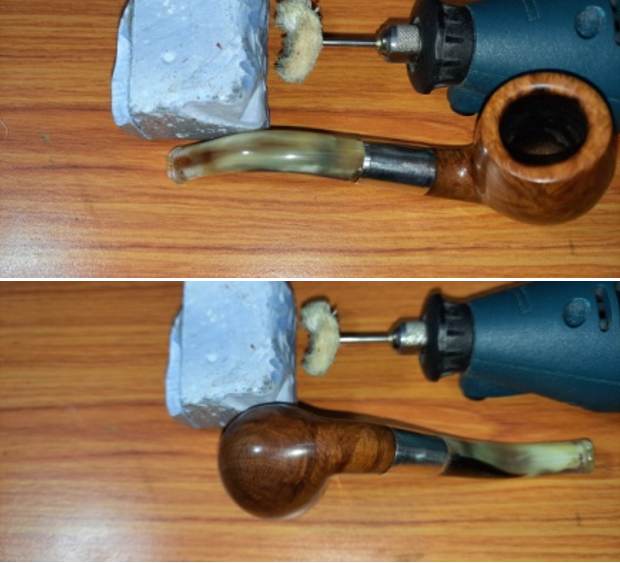
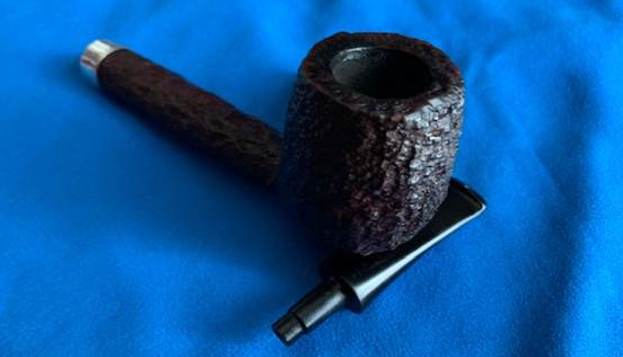
 Jeff took several pictures of the stinger apparatus in the tenon. It was heavily coated with tars and was stuck in the tenon.
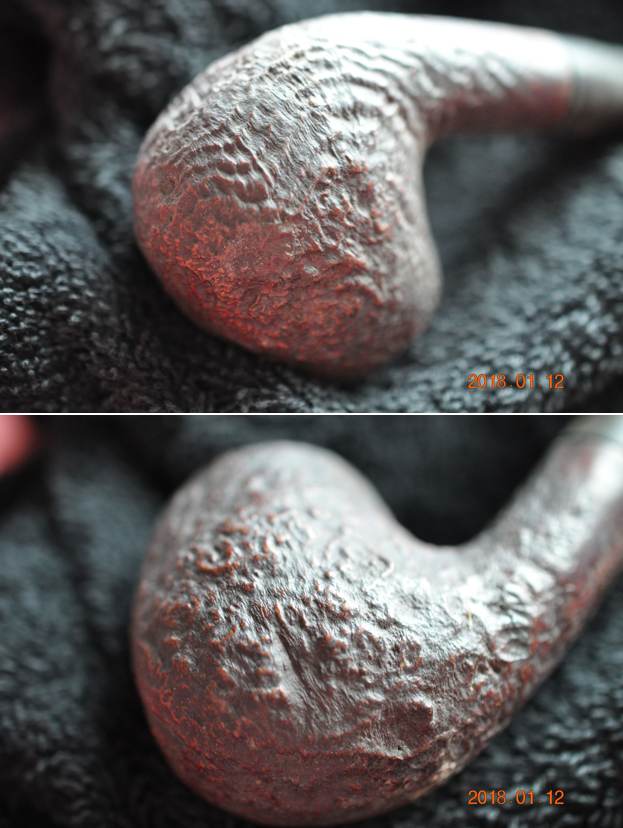
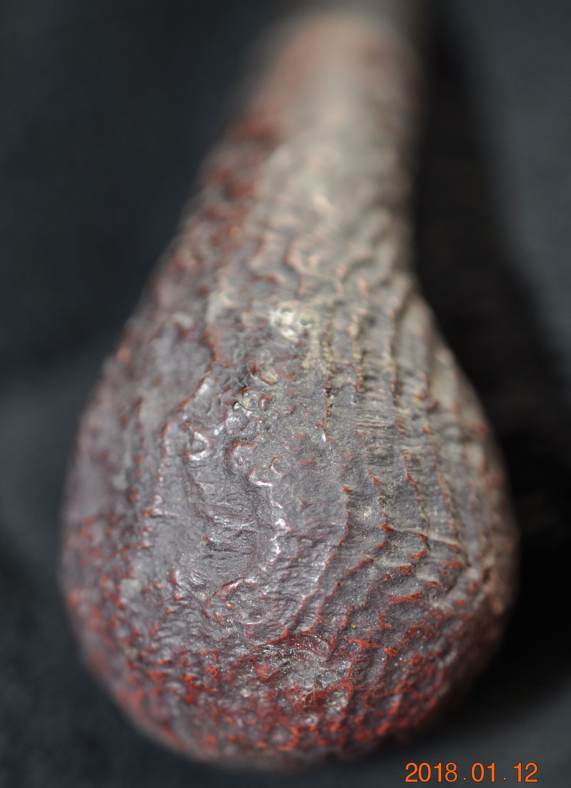
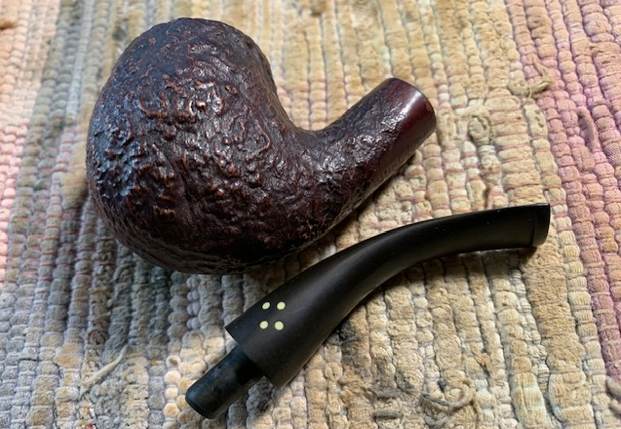
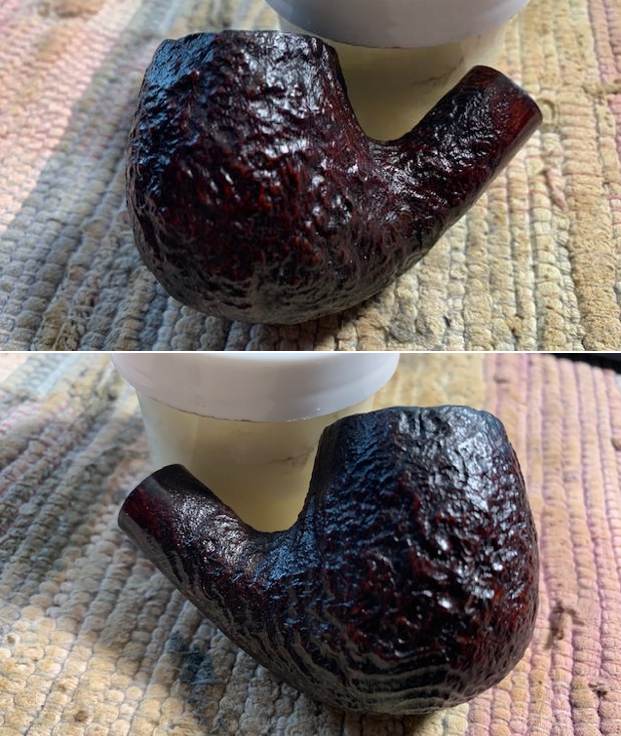
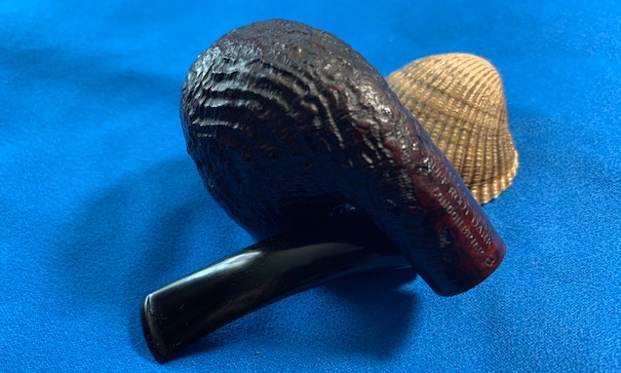
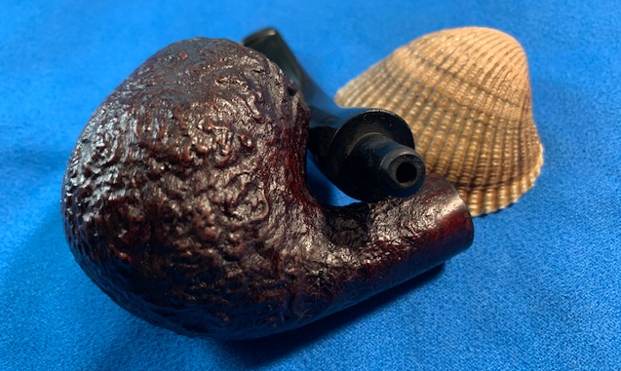
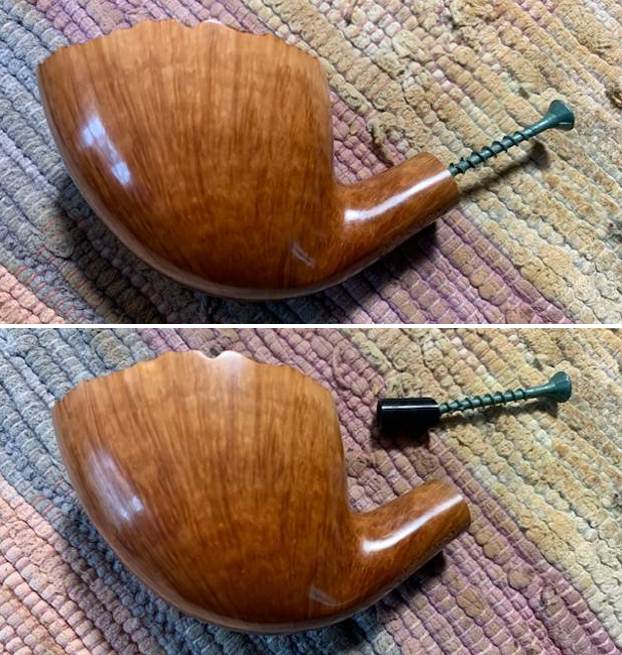
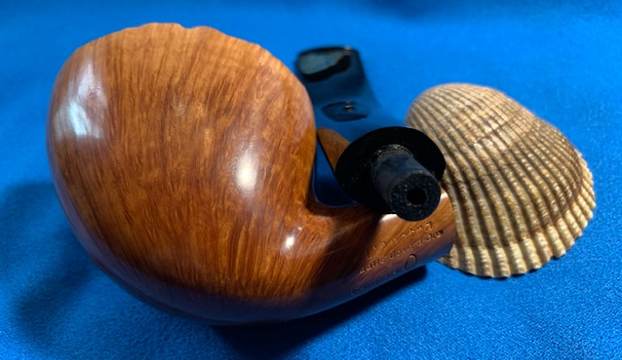
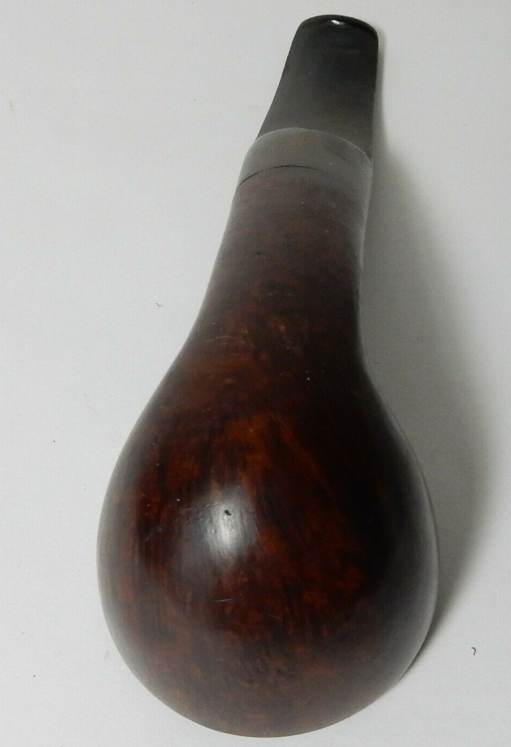
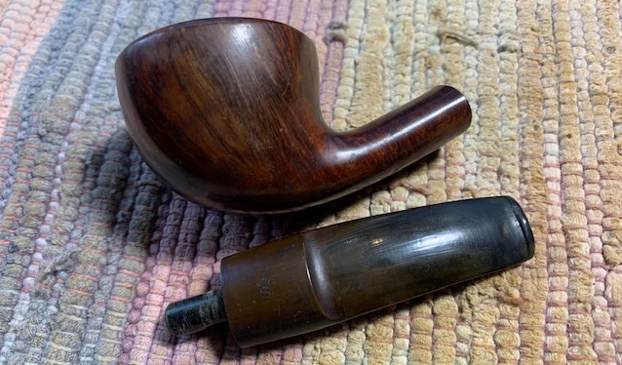
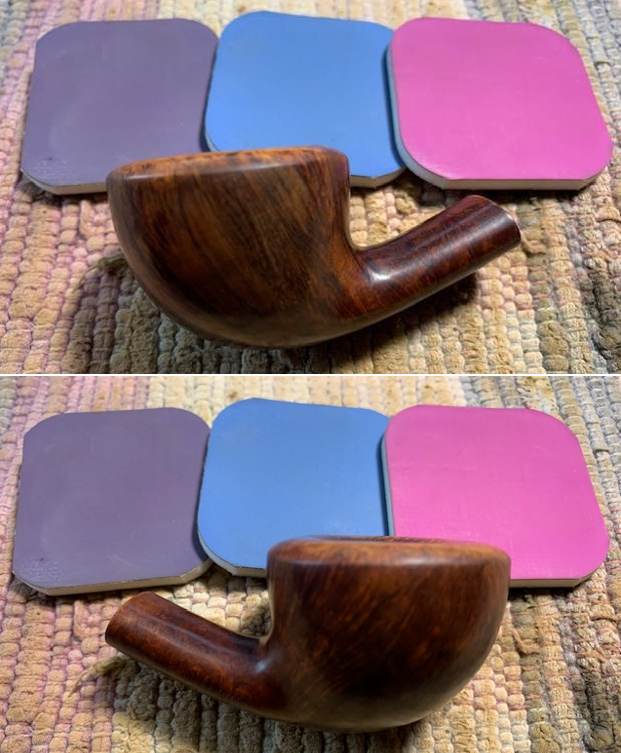
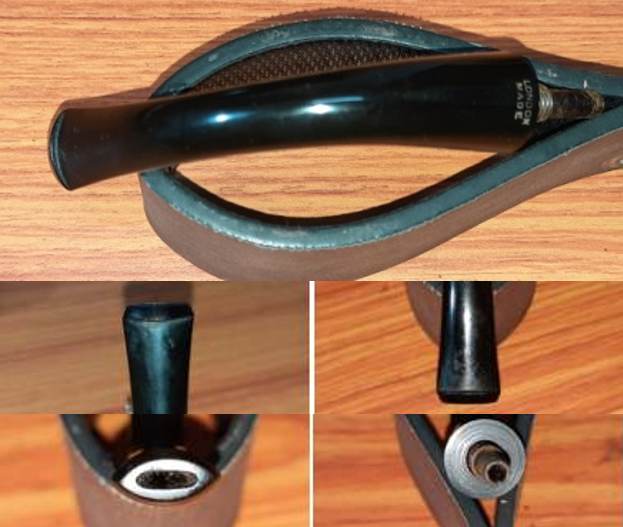
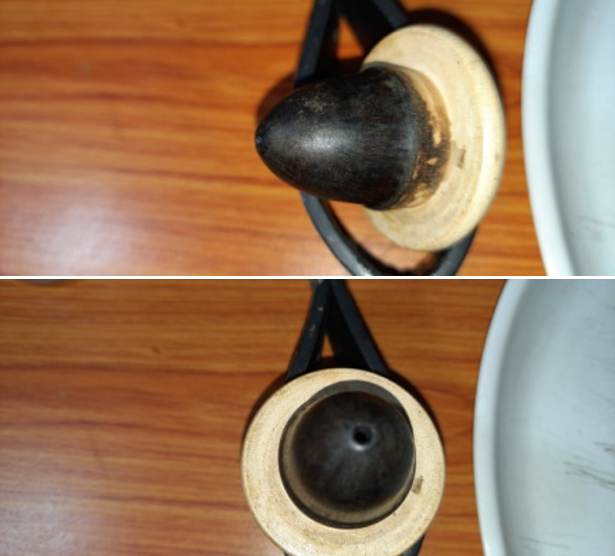
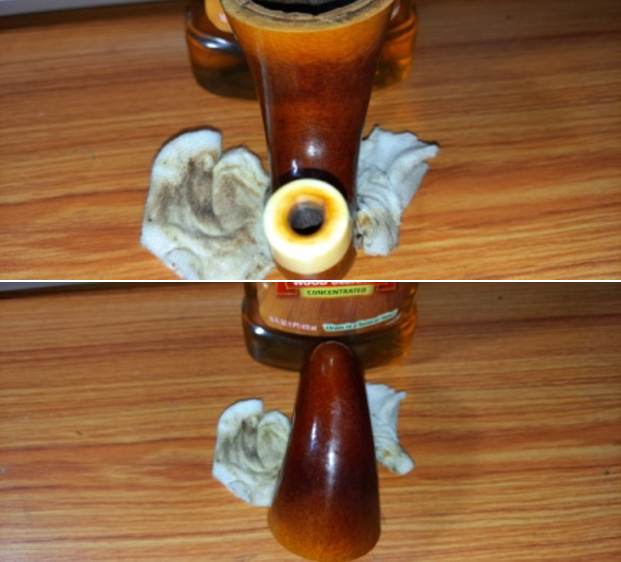
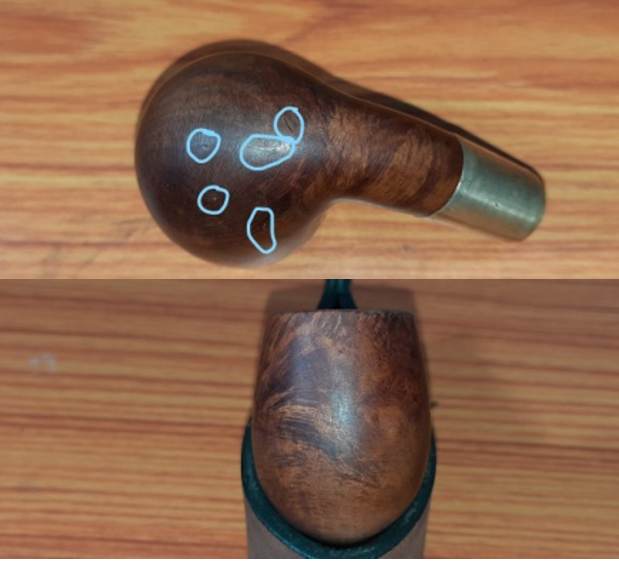
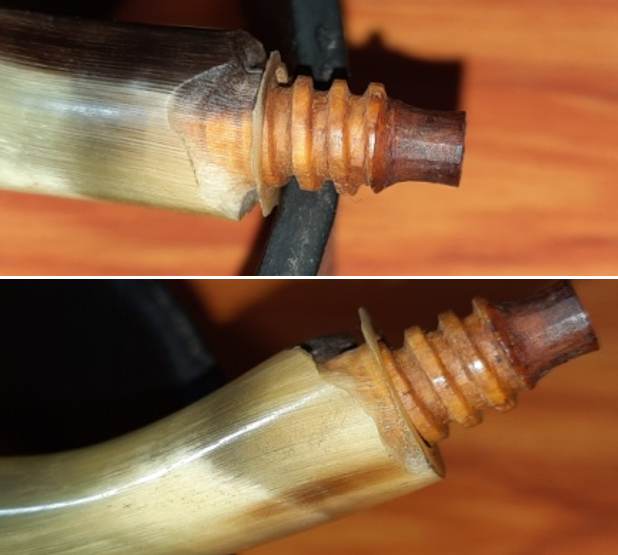
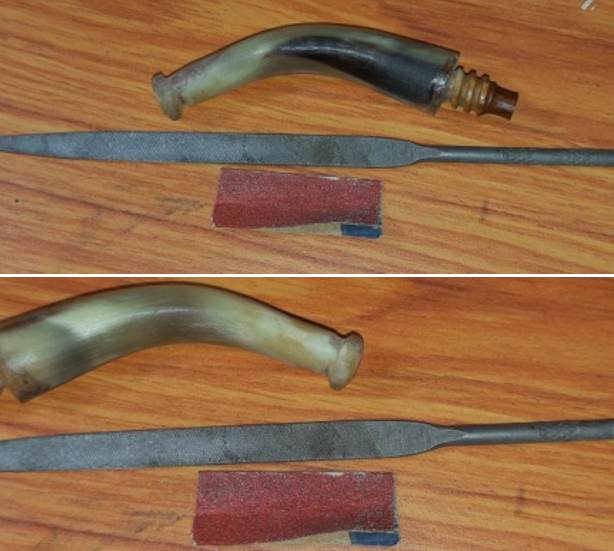
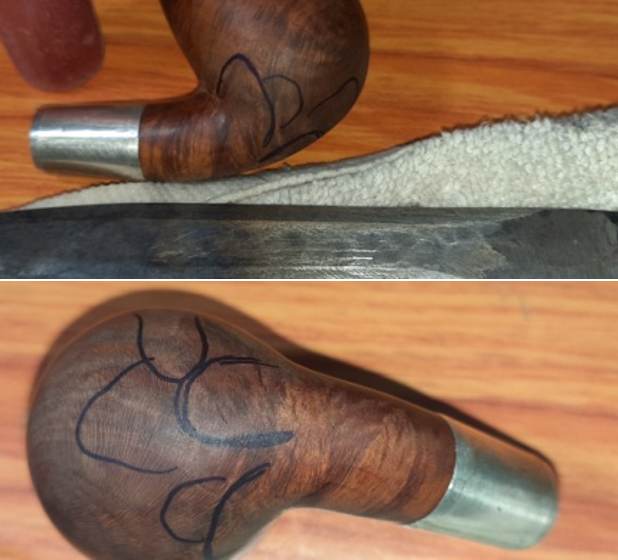
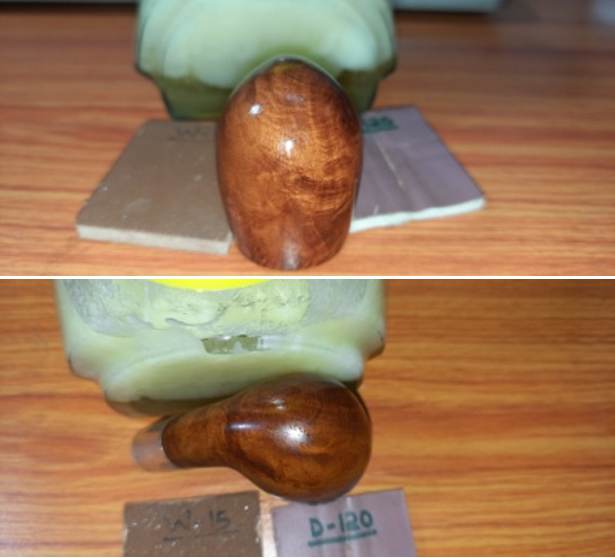
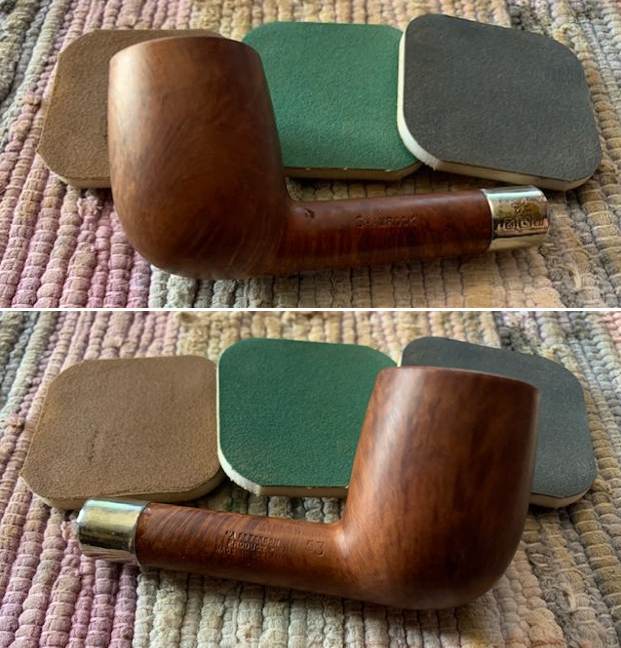
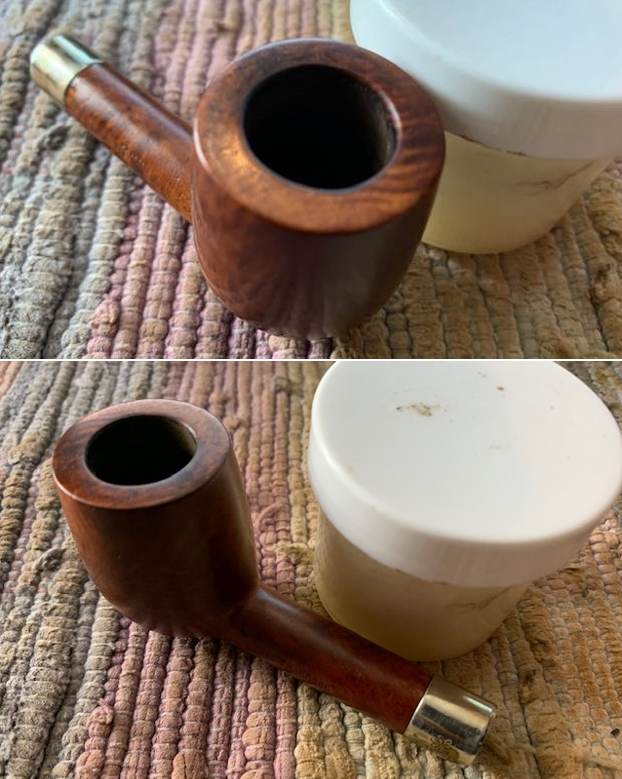
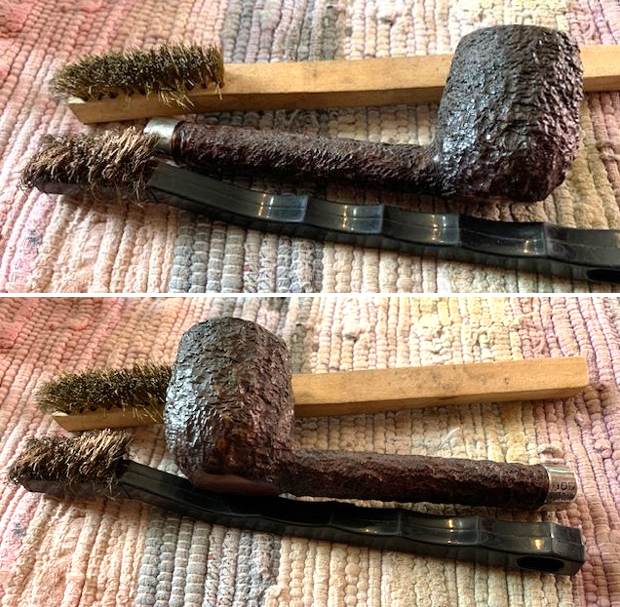
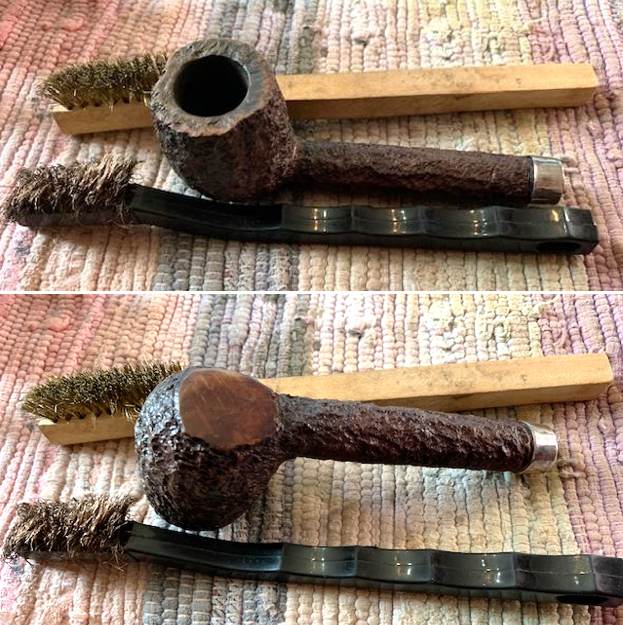
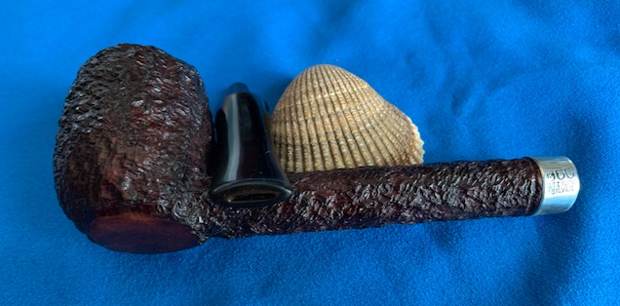
 Jeff took some photos o f the heel of the bowl and the side to give a sense of the beauty of the grain around this pipe.
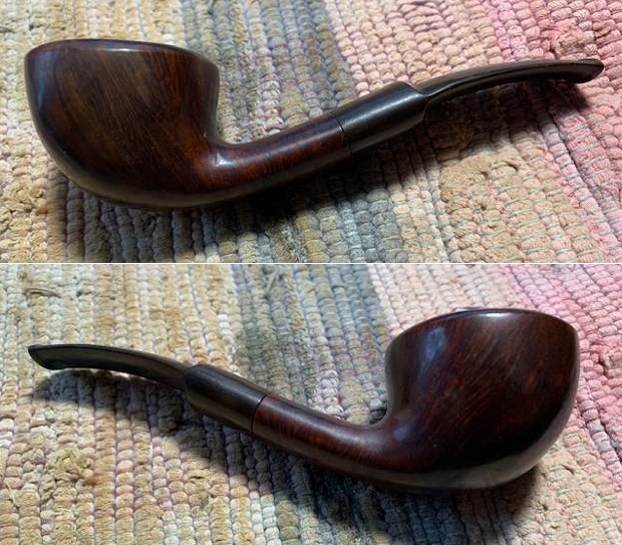
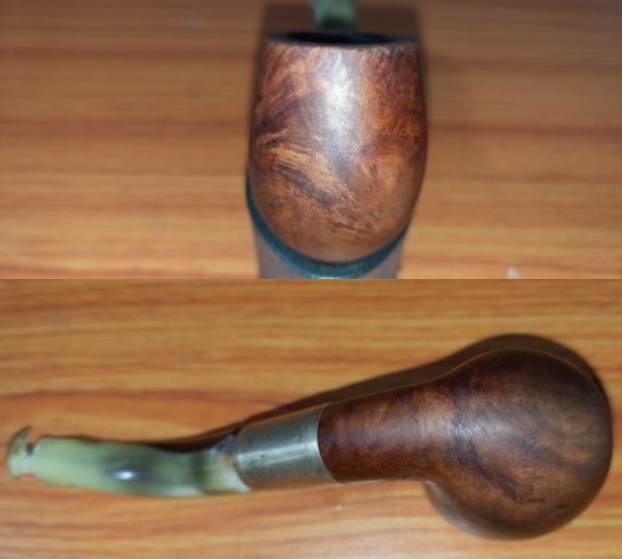
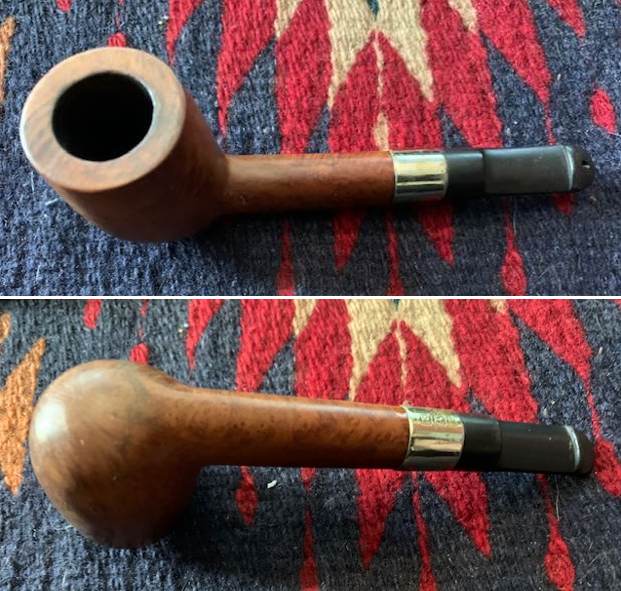
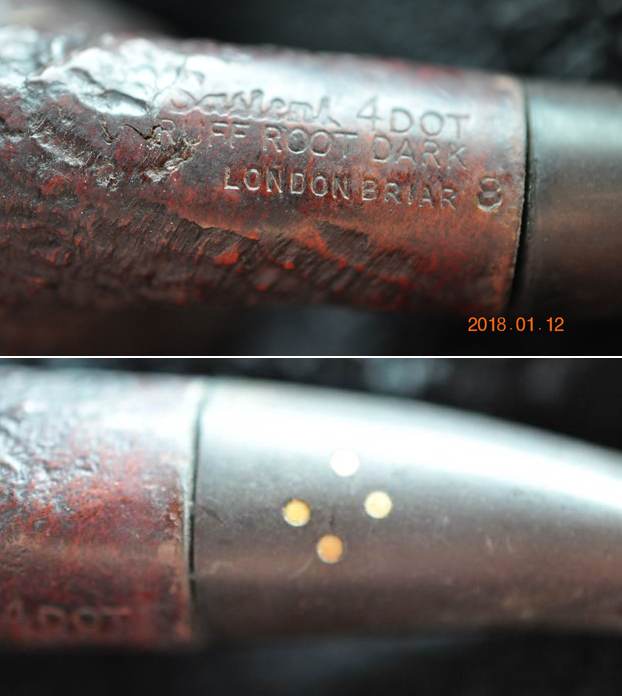
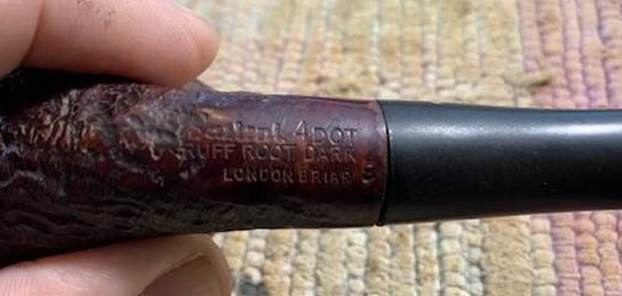
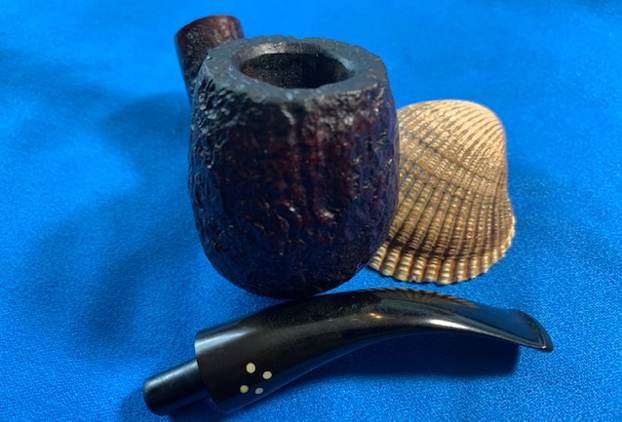
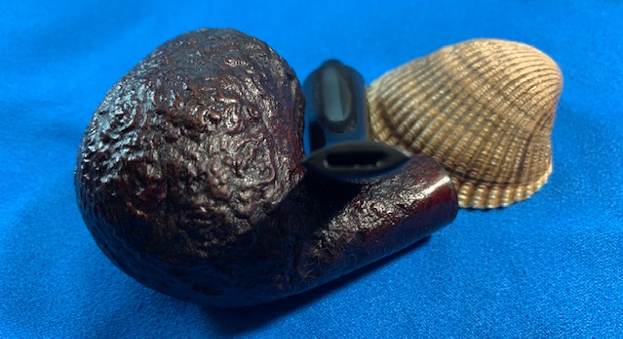
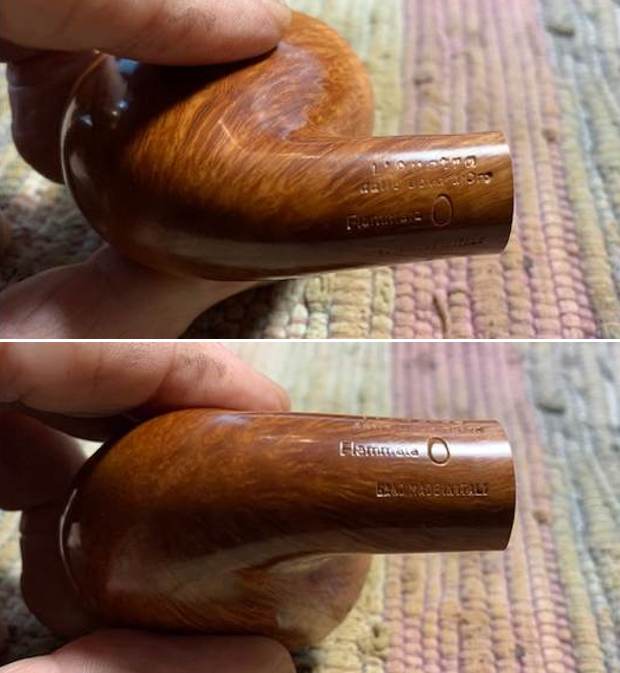
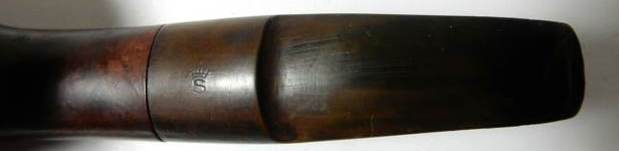
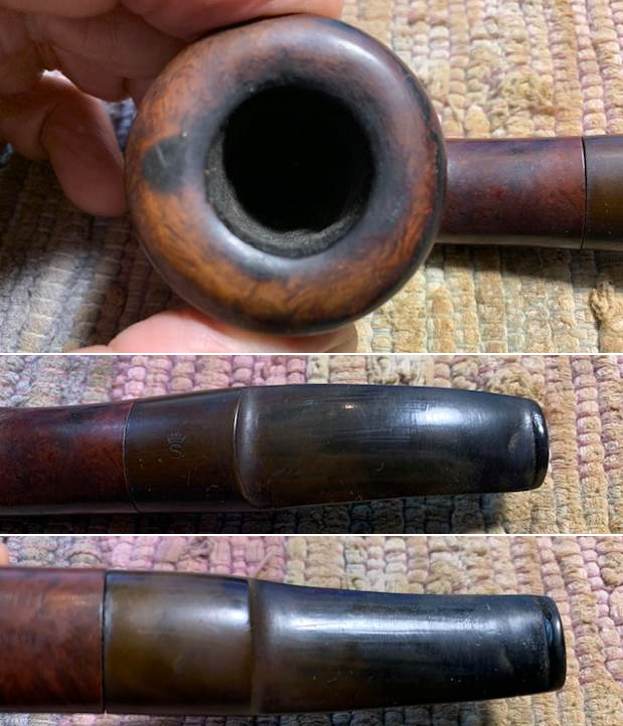
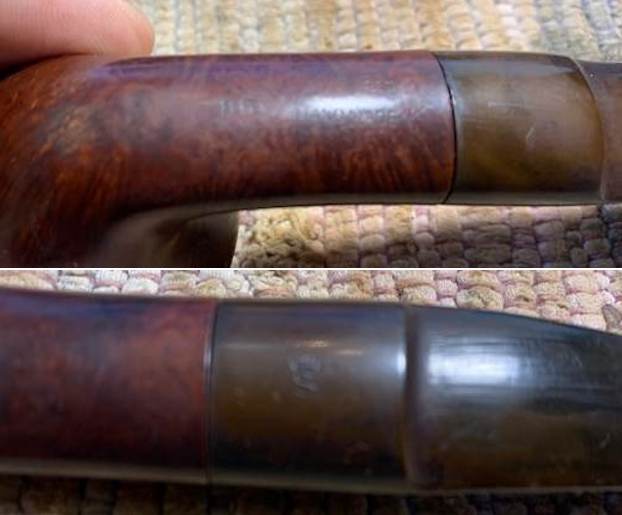
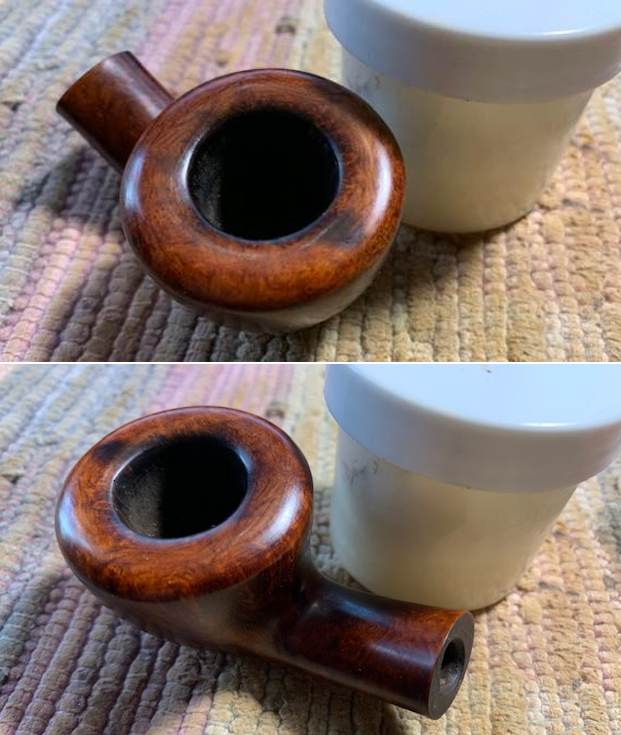
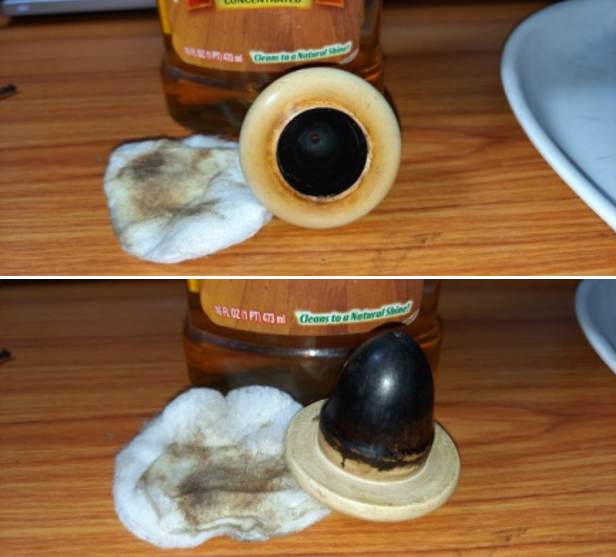
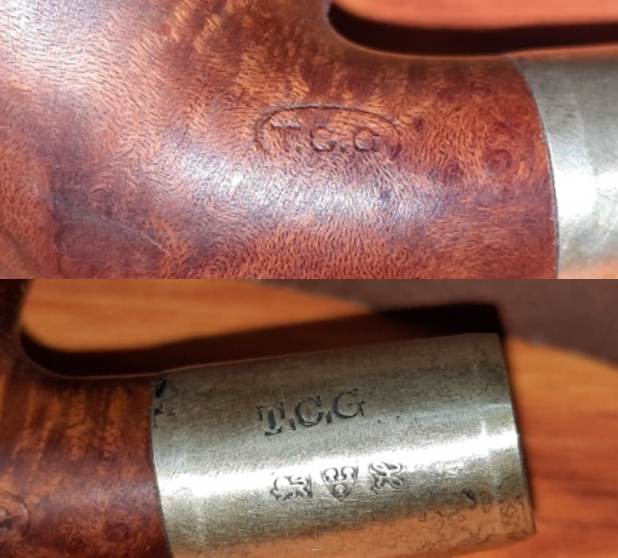
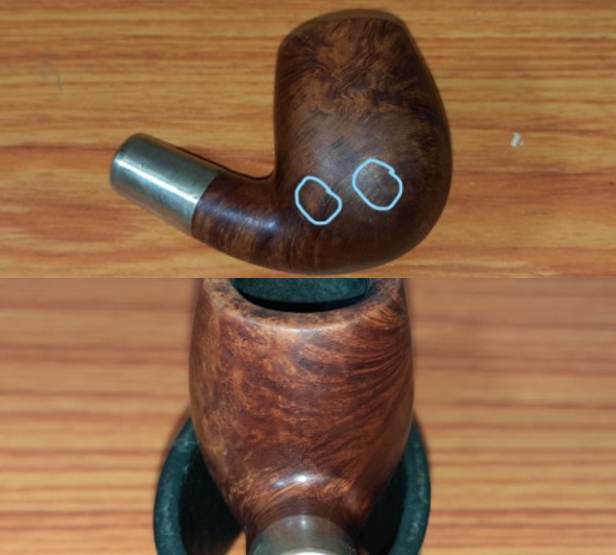
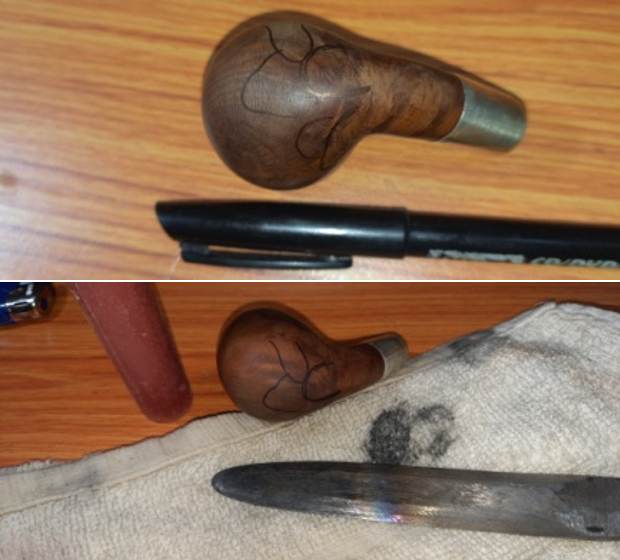
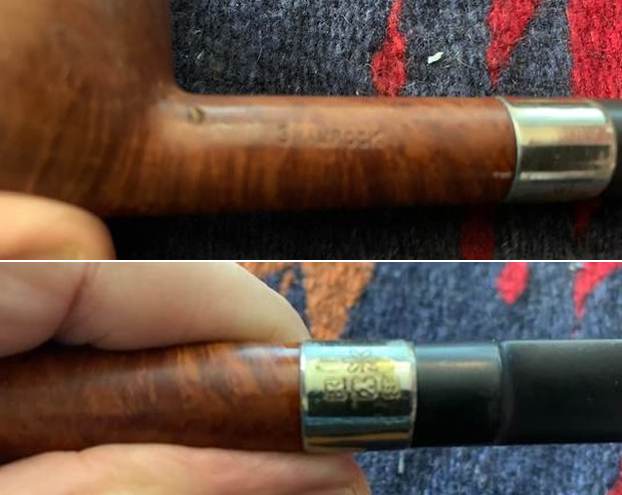
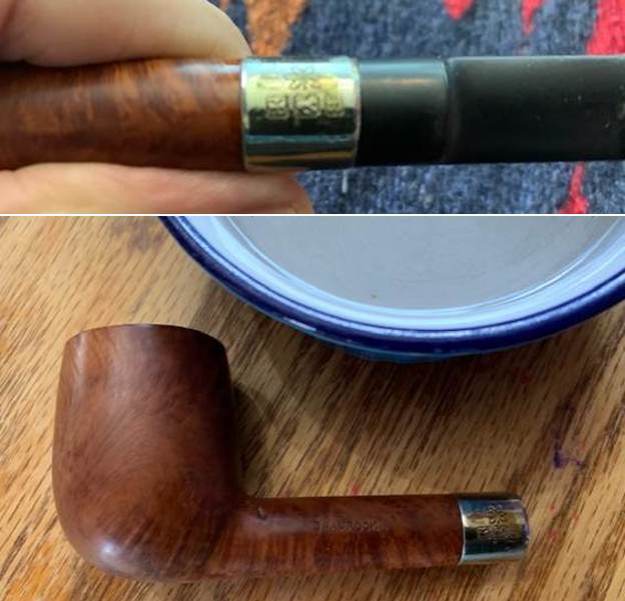
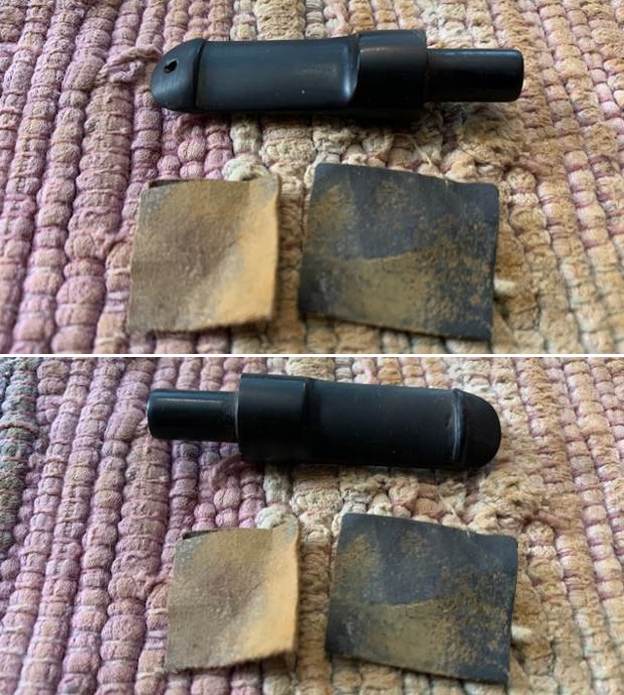
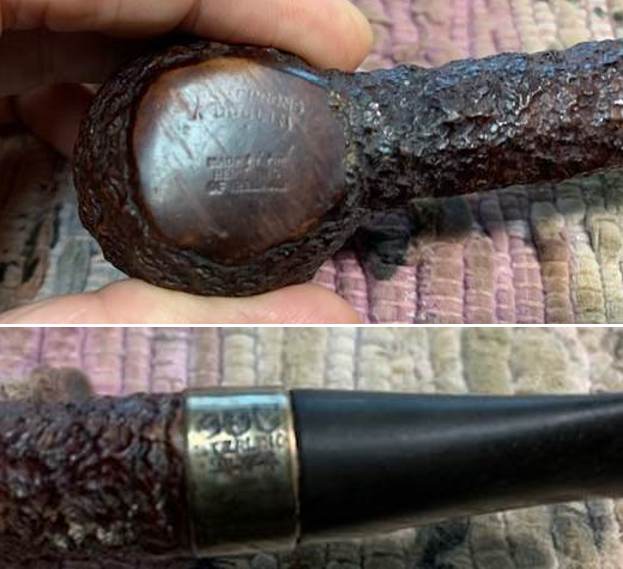
 He captured the stamping on the left side of the shank. It is faint in spots but is readable as noted above. There was originally a WDC triangle on the left side of the thick taper stem. Most of it was worn away and I don’t think it will survive the clean up.
 I turned to Pipedia for a quick review of the WDC Brand and was not disappointed in what I found (https://pipedia.org/wiki/William_Demuth_Company). I quote a pertinent part of the article below. There was no mention of the Seville line.
In 1897 Ferdinand Feuerbach joined the Demuth company and by 1903 had become the production manager. Feuerbach is credited with developing Demuth’s popular Royal Demuth and Hesson Guard Milano pipelines. He left in 1919, when Sam Frank Sr. needed an experienced pipe man to run his pipe factory, located at 168 Southern Blvd., in the Bronx. Feuerbach and Frank had been close friends since Frank started his own business in 1900 and was closely associated with the sales staff of WDC, selling their line of pipes.
In early 1937, the City of New York notified S.M. Frank & Co. of their intent to take by eminent domain, part of the land on which the companies pipe factory was located. This was being done to widen two of the adjacent streets. As a result of this, Frank entered into negotiations to purchase the Wm. Demuth Co.’s pipe factory in the Richmond Hill section of Queens. It was agreed upon that Demuth would become a subsidiary of S.M. Frank and all pipe production of the two companies would be moved to DeMuth factory. New Corporate offices were located at 133 Fifth Avenue, NYC.
Demuth pipes continued to be made at the Richmond Hill plant till December 31. 1972. Then the Wm. Demuth Company met its official end as a subsidiary company by liquidation. Demuth’s mainstay pipe, the Wellington continued to be offered in the S.M. Frank catalog until 1976. In the mid-80’s, the Wellington even made a brief return as a direct to the consumer offer.
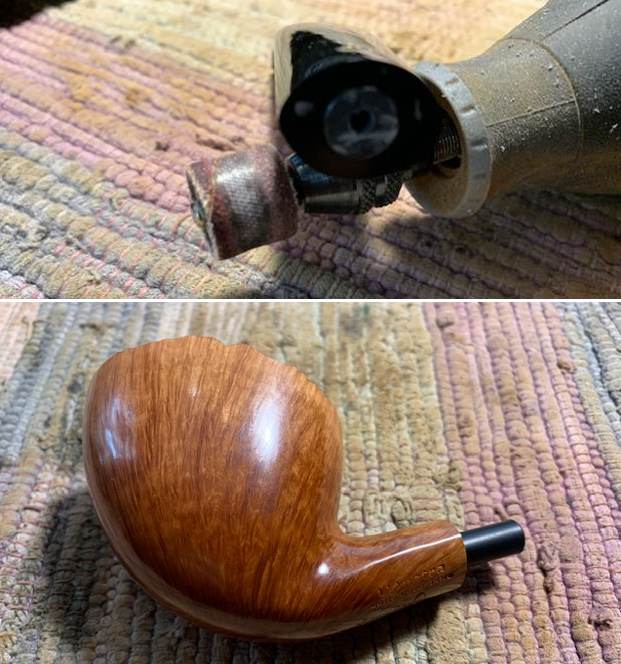
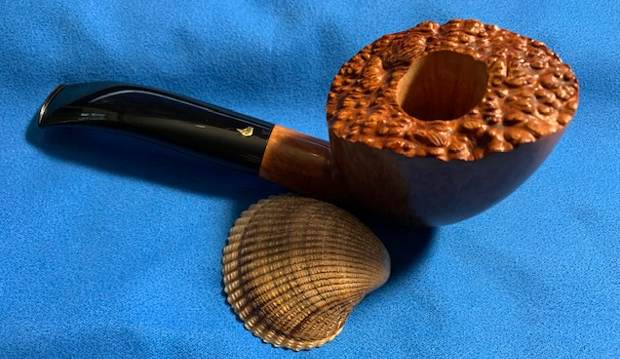
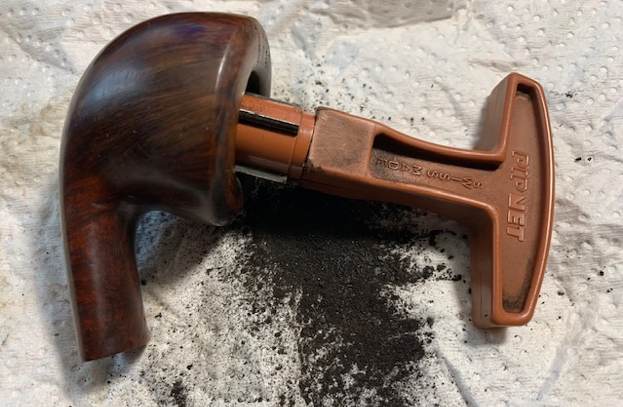
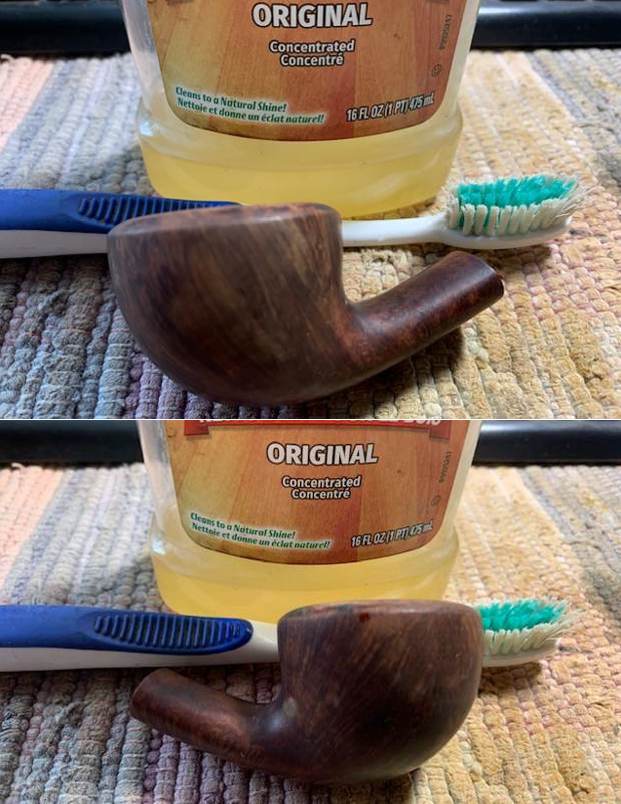
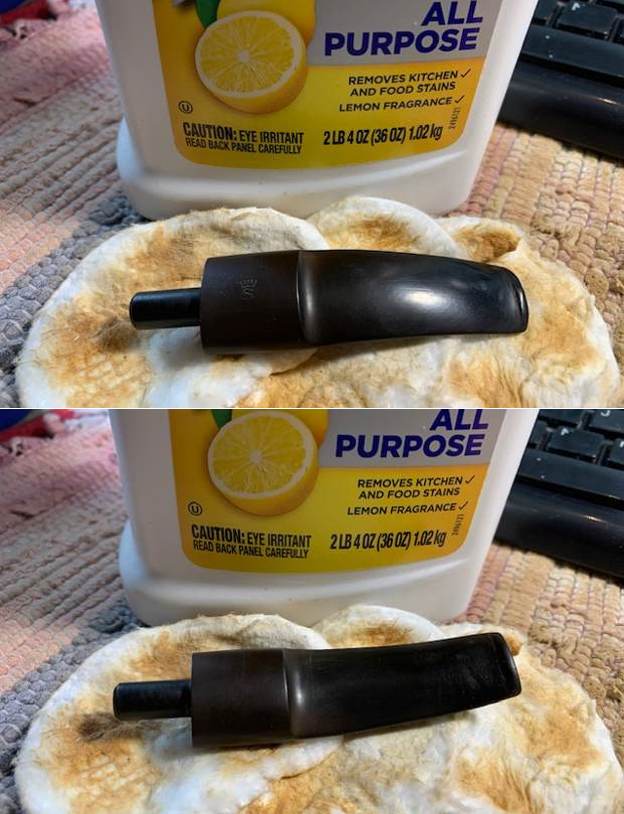
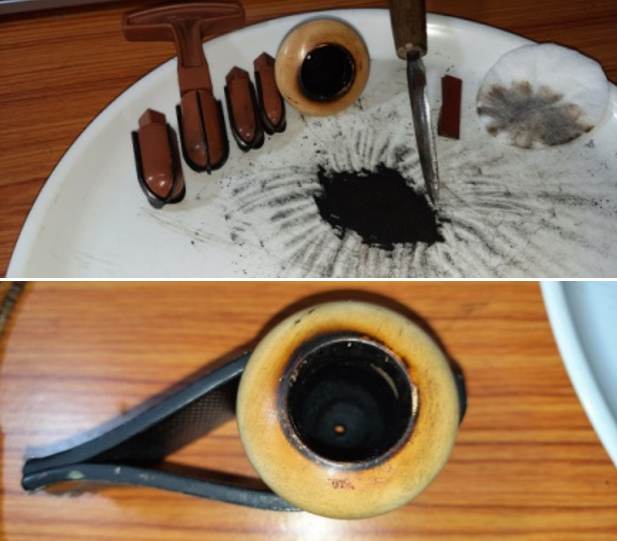
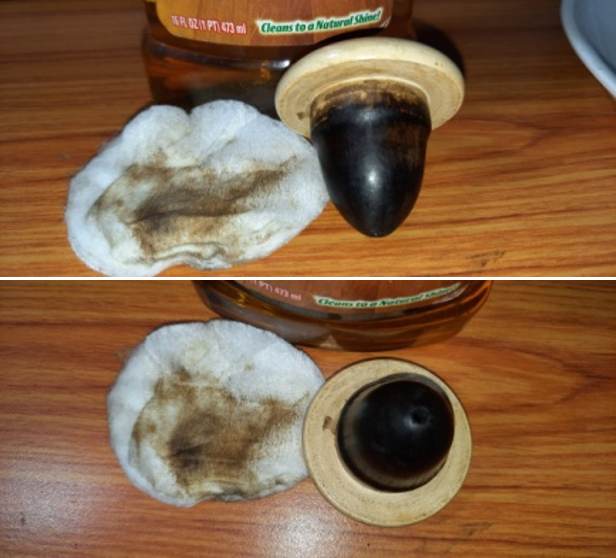
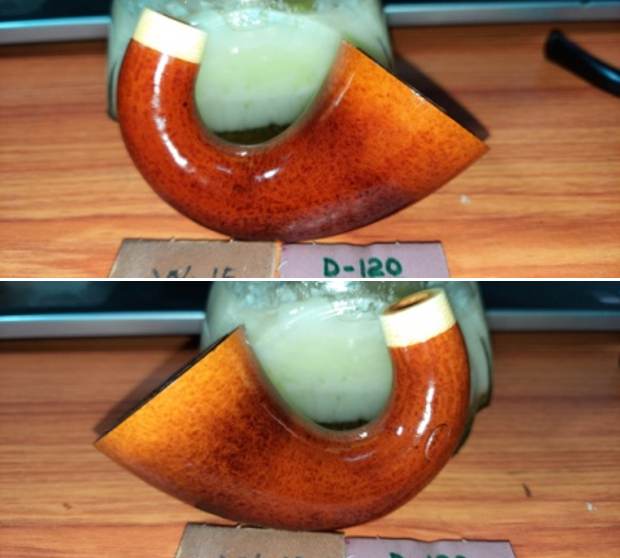
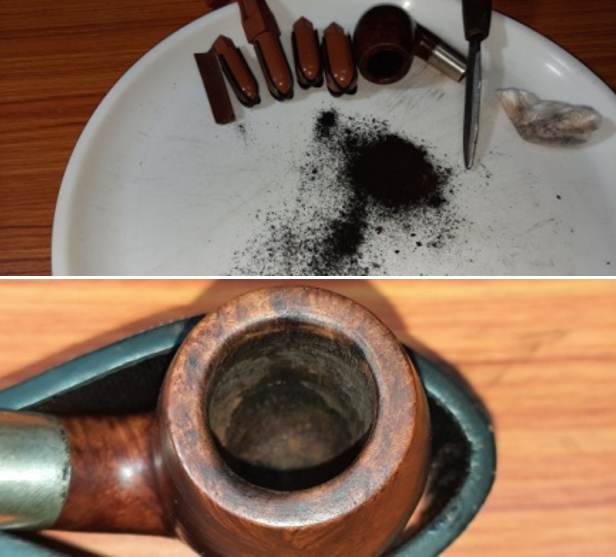
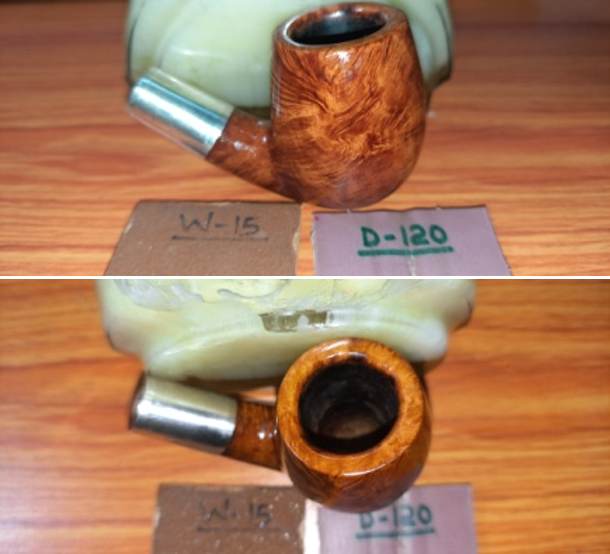
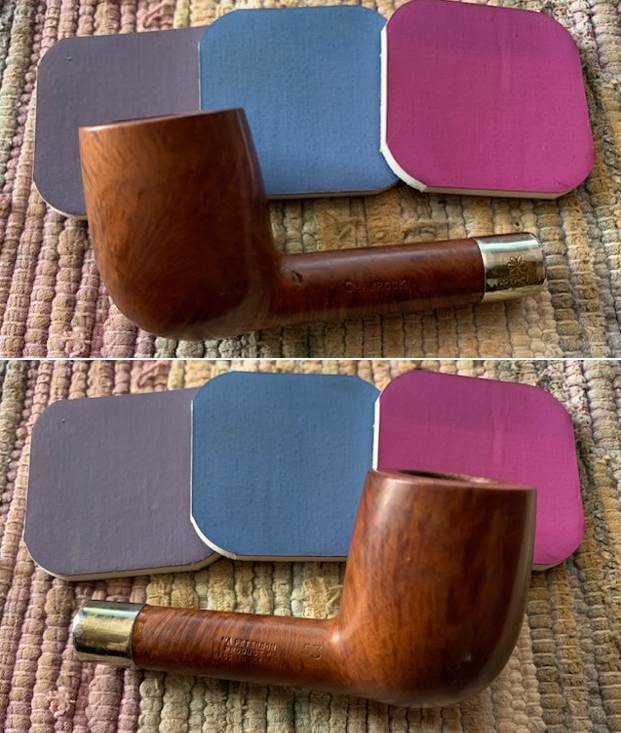
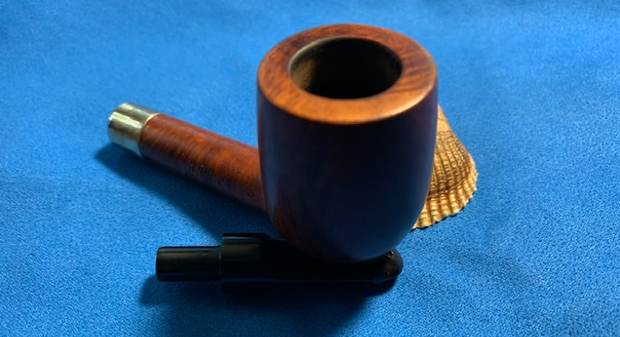
Now it was time to look at it up close and personal. Jeff had done an amazing job in removing all of the cake and the lava on the rim top. He had reamed the bowl with a PipNet Pipe Reamer and cleaned up the remnants with a Savinelli Fitsall Pipe Knife. He took the cake back to bare briar so we could check the walls for damage. He scrubbed the exterior of the bowl with Murphy’s Oil Soap and a tooth brush to remove the grime on the bowl and rim and was able to remove the lava and dirt. The varnish coat was peeling around the top half of the bowl. He cleaned out the interior of the bowl and shank with pipe cleaners, cotton swabs and alcohol until they came out clean. He cleaned the stem with Soft Scrub to remove the grime on the exterior. The pipe was cleaned before we started using Before & After Stem Deoxidizer so it was very oxidized. He cleaned out the airway with alcohol, cotton swabs and pipe cleaners. I took some photos of the pipe before I started my work on it today.
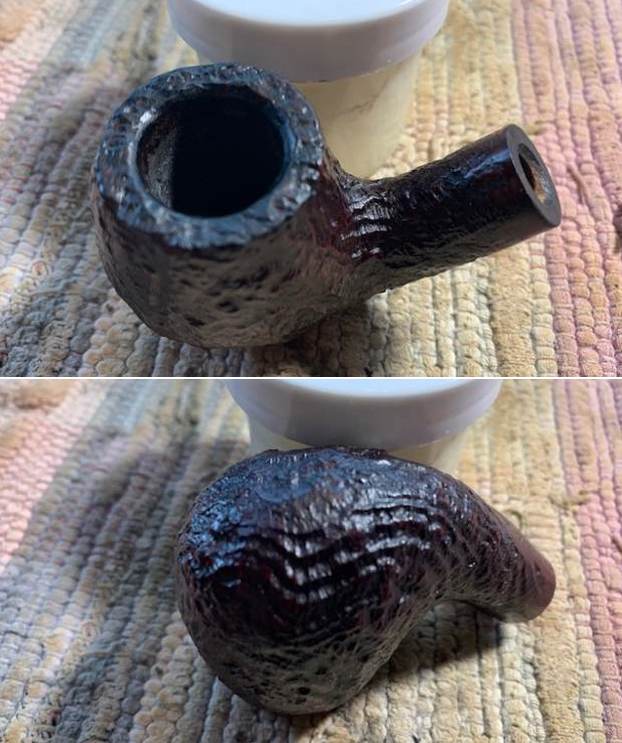
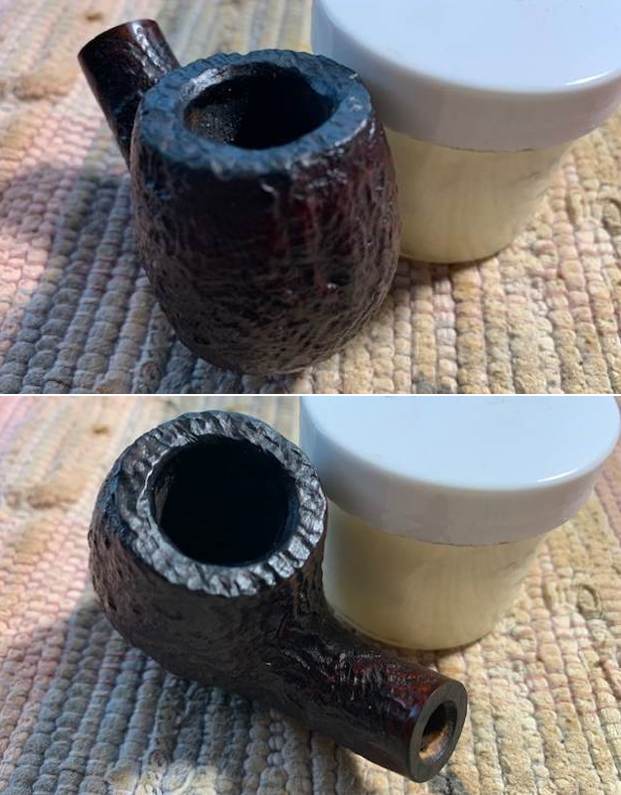
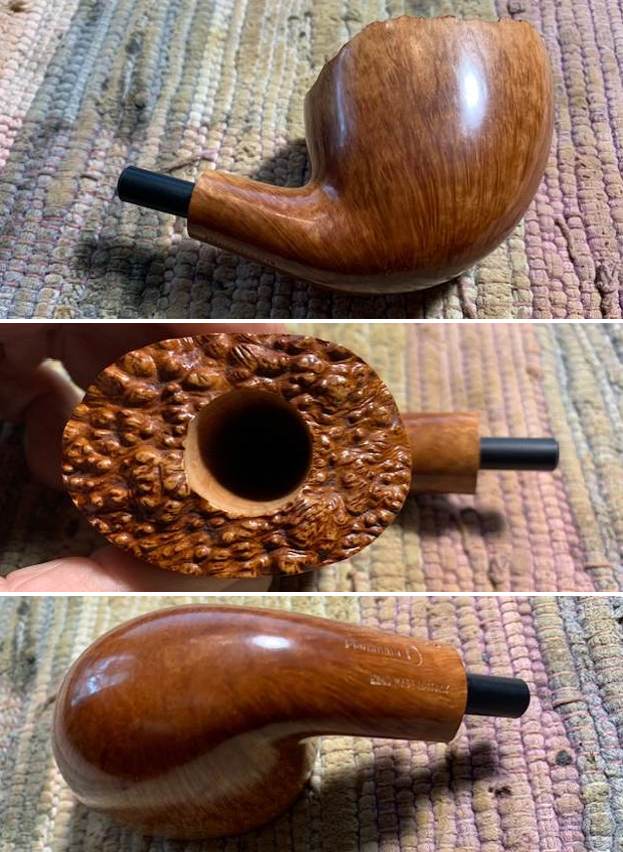
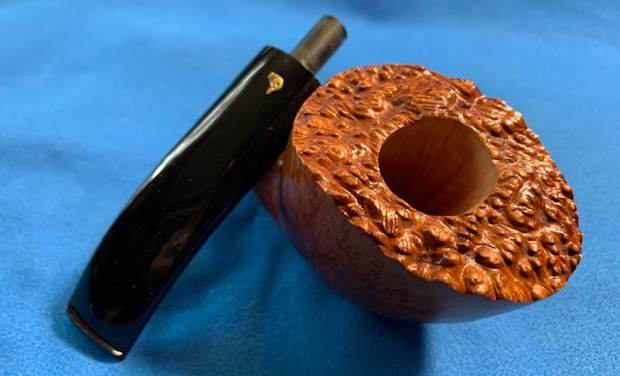
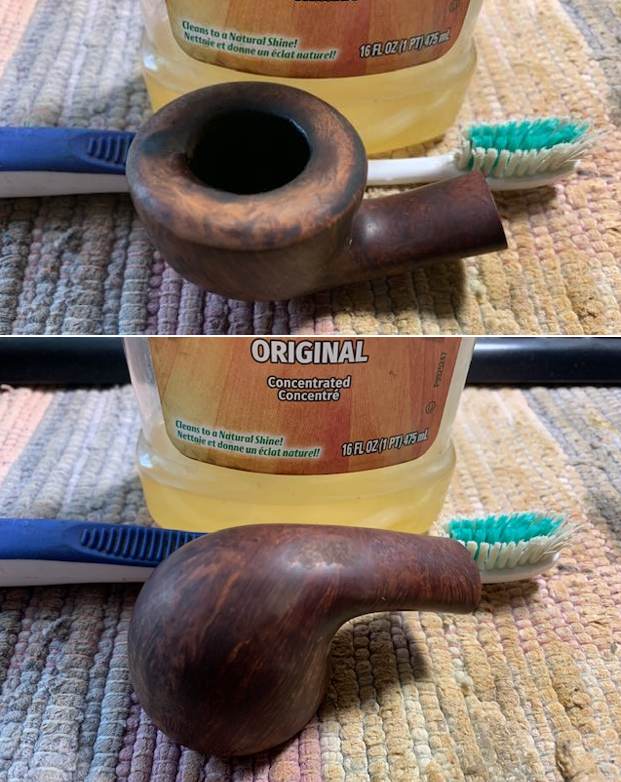
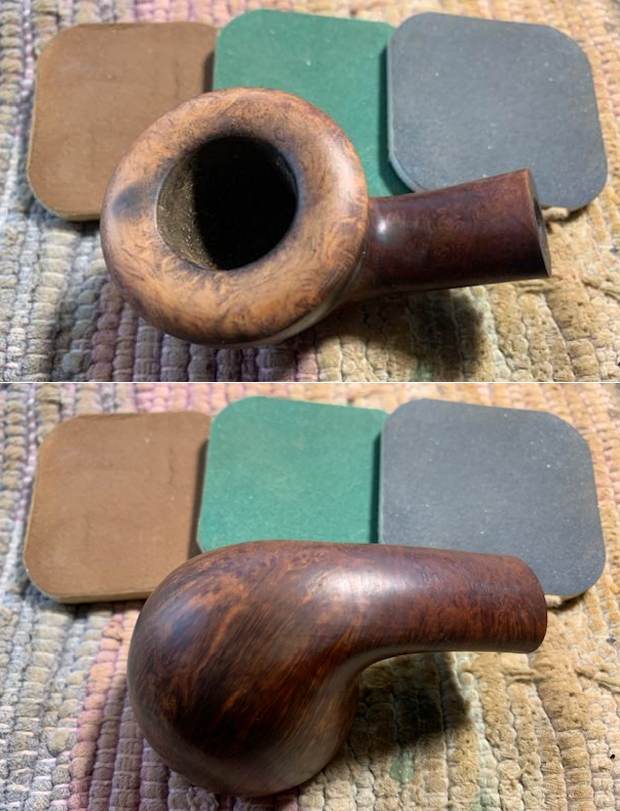
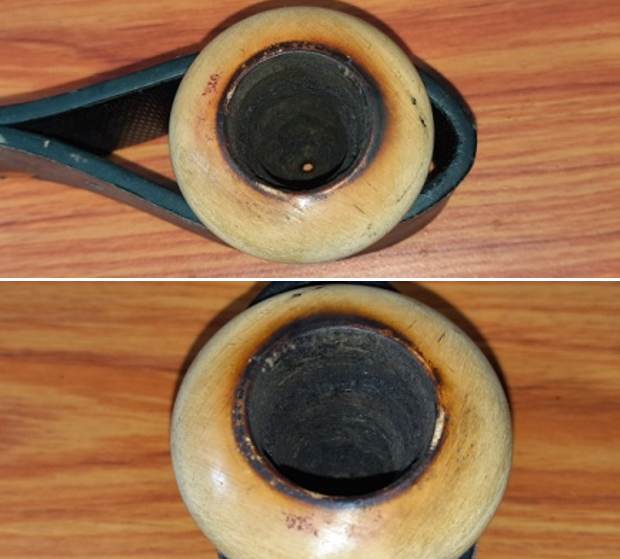
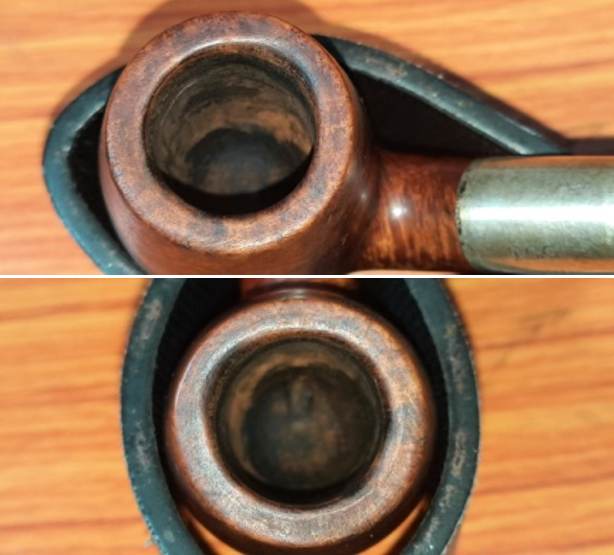
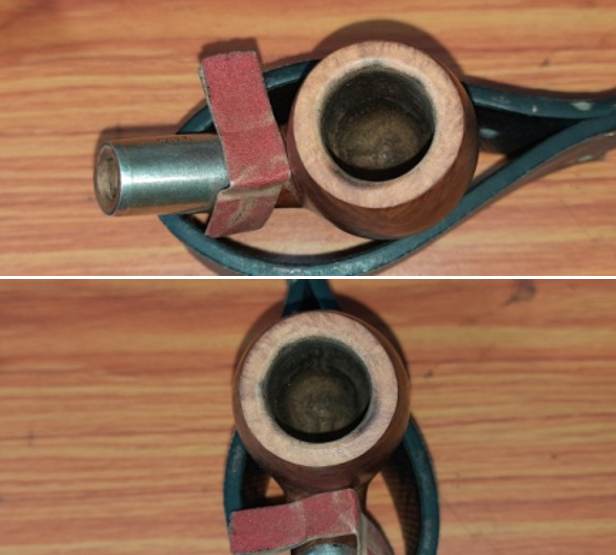
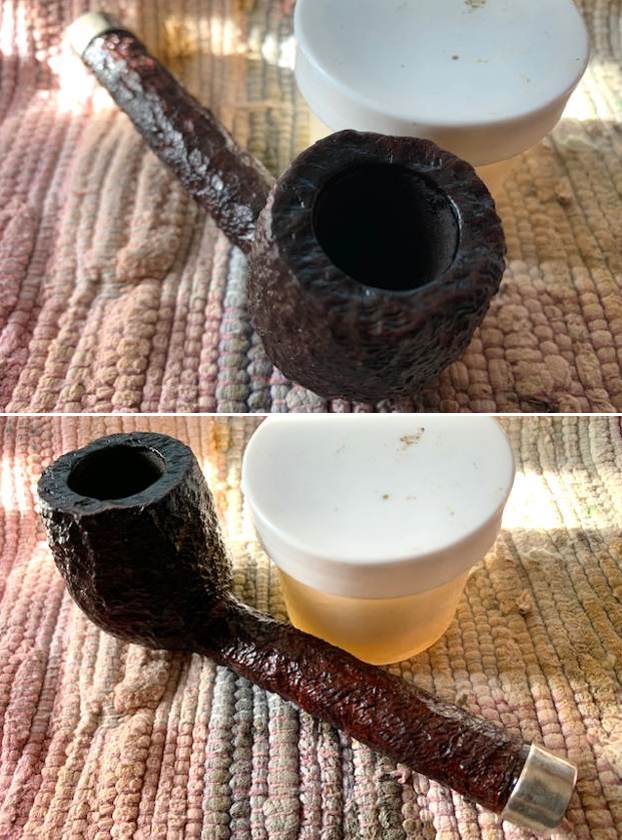
 I took a close up photo of the cleaned up rim top. The rim top is smooth and looks quite good. There are some damage spots along the outer edge of the rim as well as toward the back of the inner edge. The bowl is spotless. The stem is more heavily oxidized than when we started. That may be from sitting here for five plus years. Anyway it is what it is and you can see the tooth marks on both sides ahead of the button.
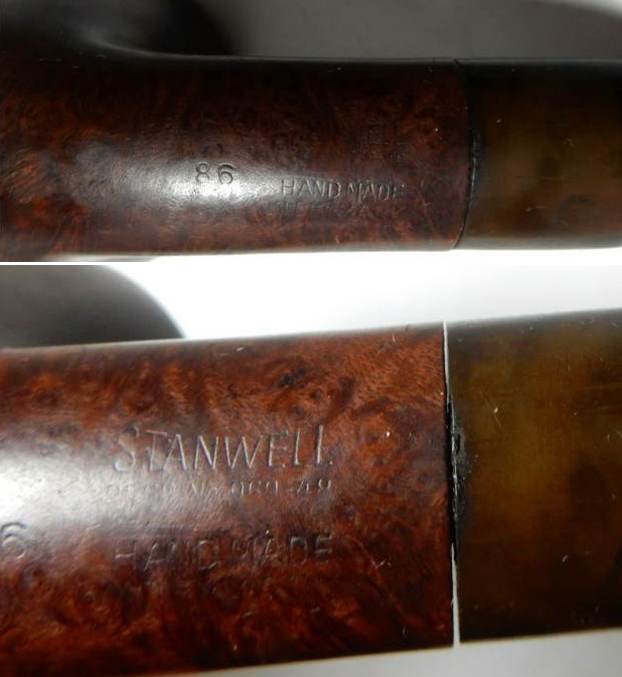
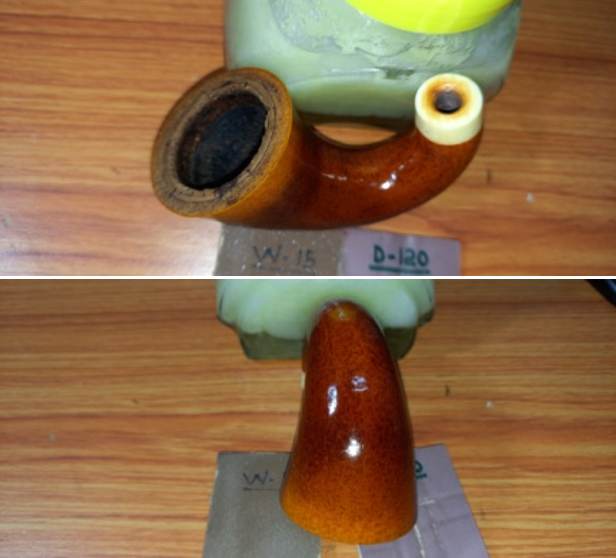
 I took a photo of the stamping on the side of the shank and the stem. You can see the shank stamp is readable. The stem stamp is all gone other than one thin line at the top of the original triangle logo.
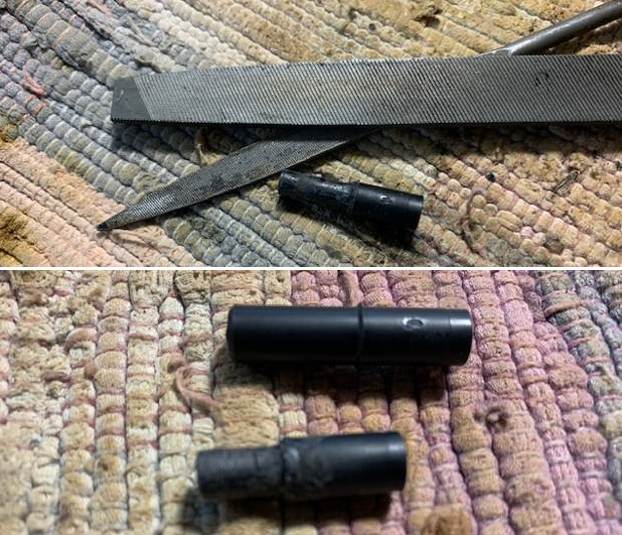
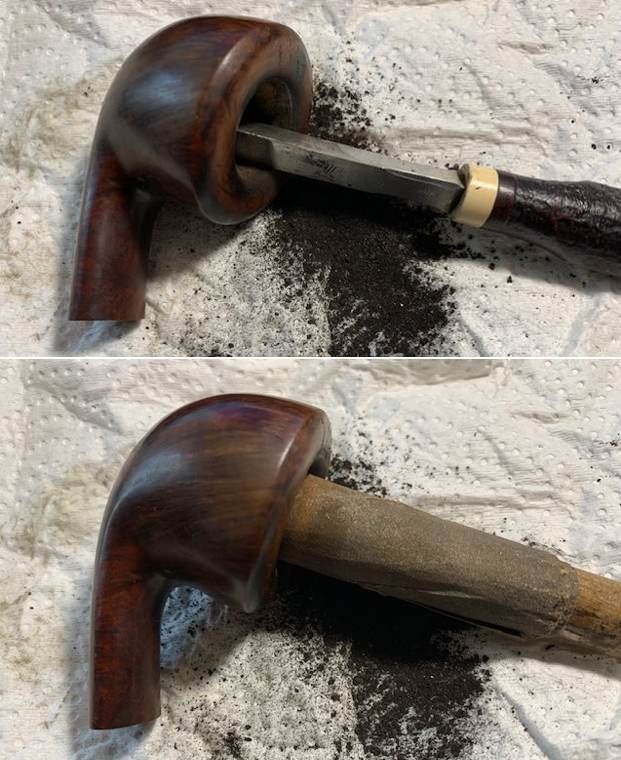
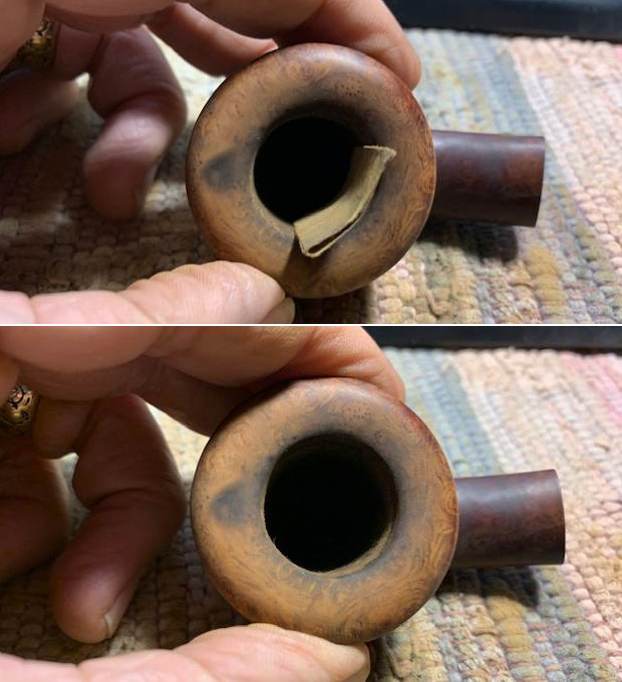
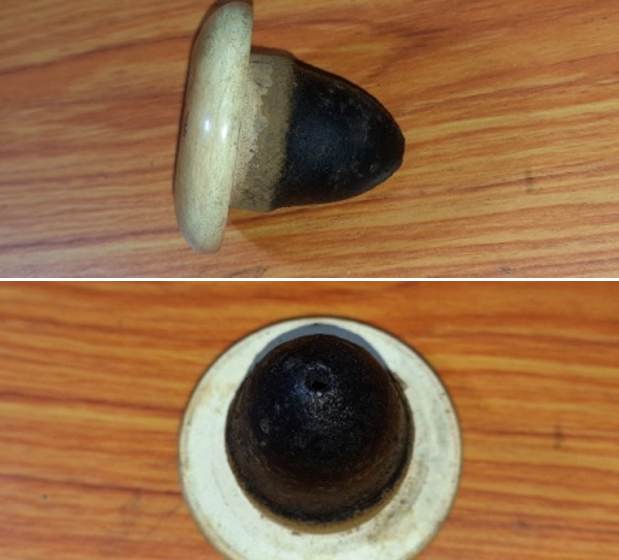
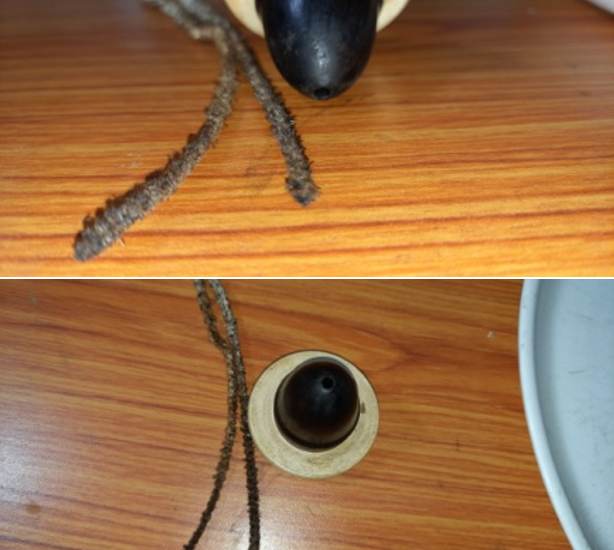
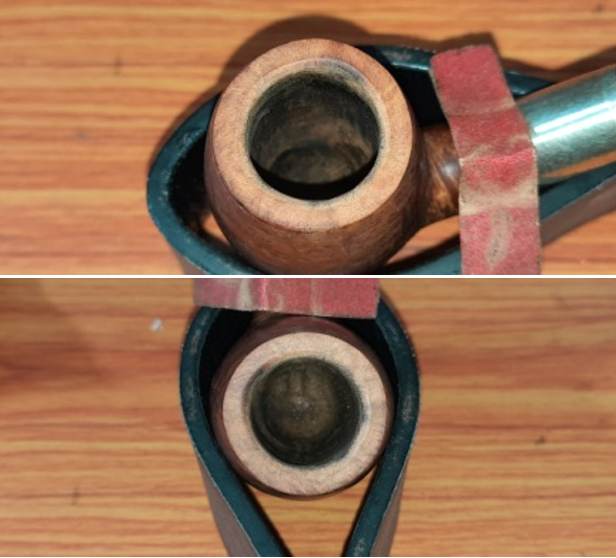
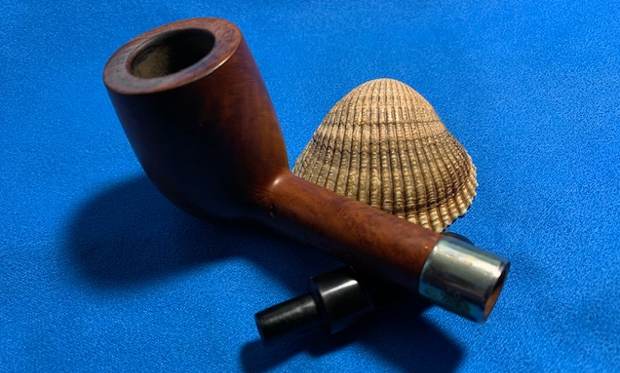
 I took the stem off the pipe and took a photo. You can see that the stinger is still in place and Jeff was able to clean the externals. It was still stuck and knew I had to remove it to thoroughly clean out the shank.
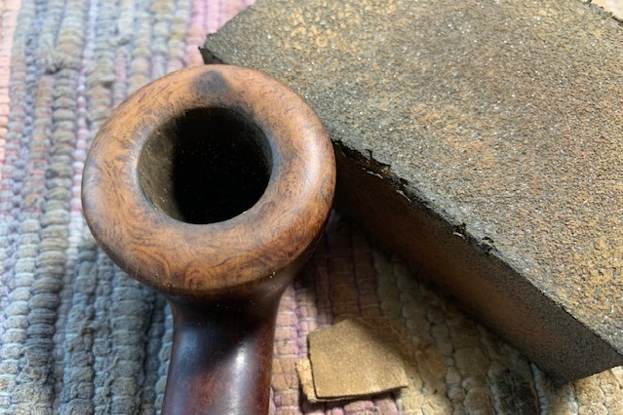
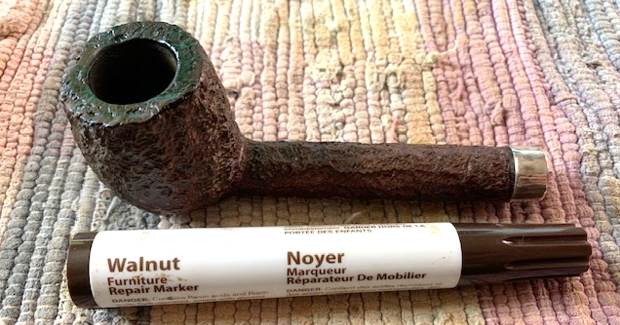
 I decided to start my work on the pipe by removing the remainder of the peeling varnish coat. I sanded it with a medium grit sanding sponge and wiped it down with acetone on a paper towel. I repeated the process until I was free of the obnoxious peeling varnish coat.
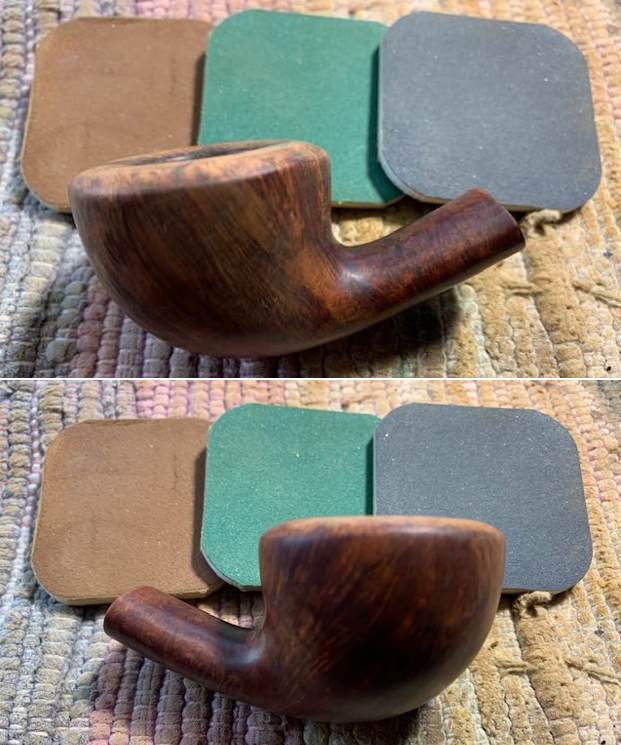
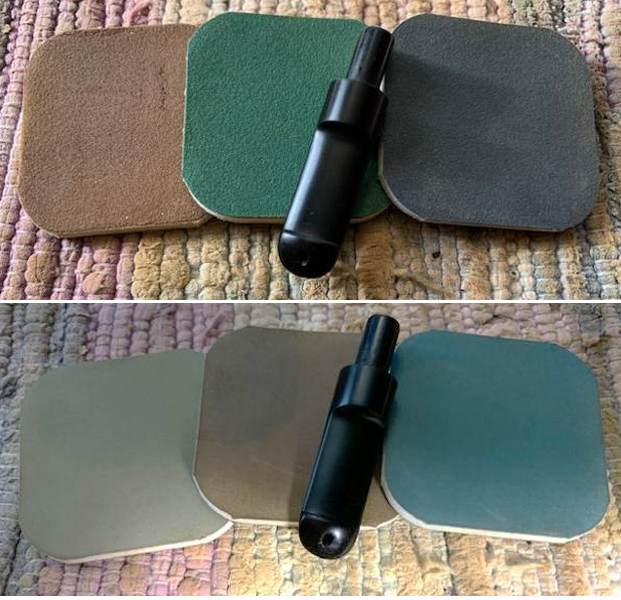
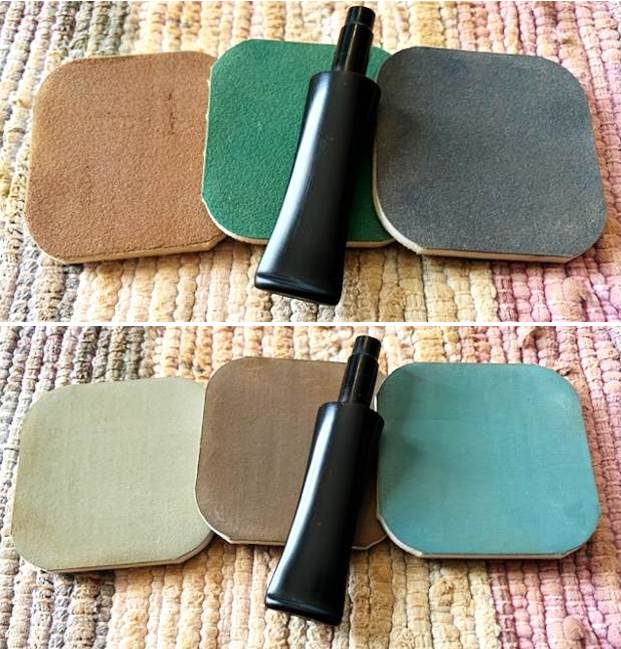
 I polished the briar with micromesh sanding pads – dry sanding with 1500-12000 grit pads. I worked over the inner and outer edge of the rim as well. After each pad I wiped the bowl down with a damp cloth to remove the sanding debris. It really took on a shine by the last three sanding pads.


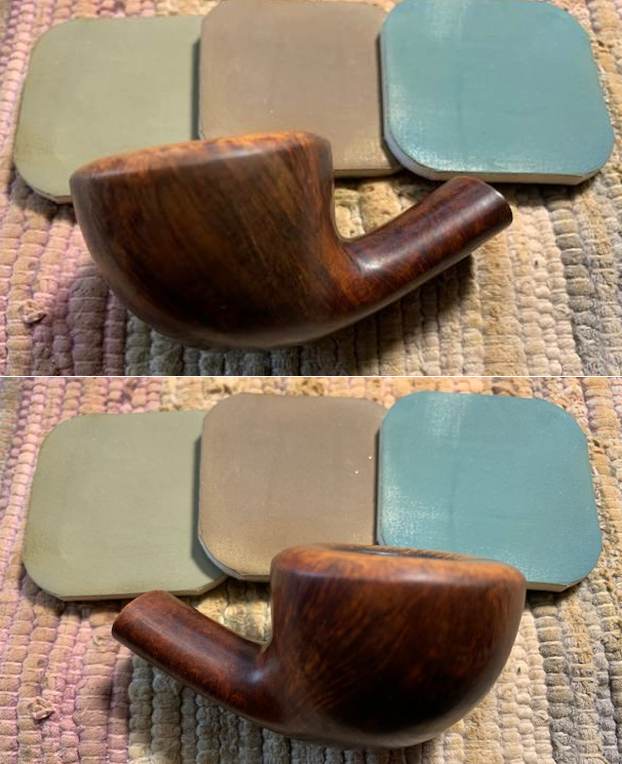
 I rubbed the bowl down with Before & After Restoration Balm. I worked it into the surface of the briar with my fingertips where it works to clean, restore and preserve the briar. I let it do its magic for 15 minutes then buffed it off with a cotton cloth. The pipe looks incredibly good at this point in the process.

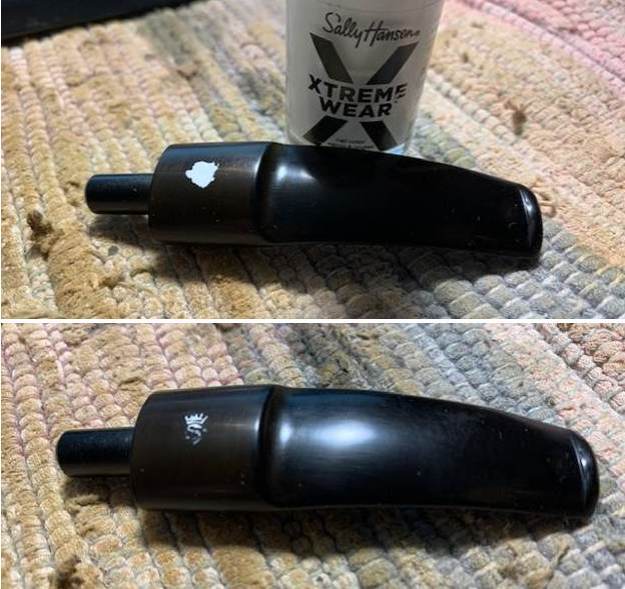
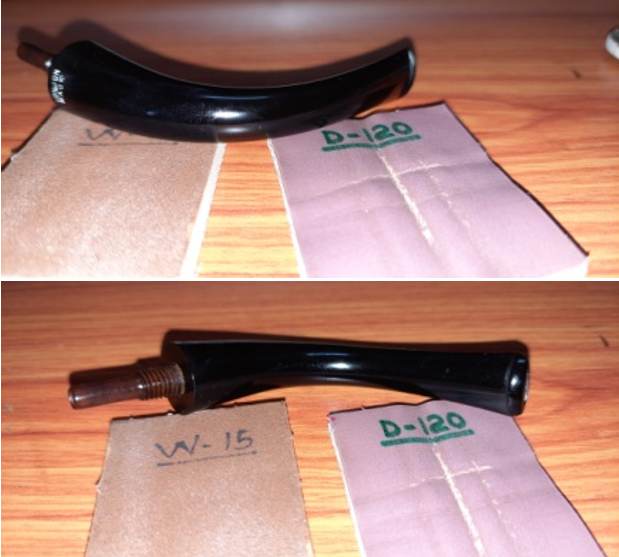
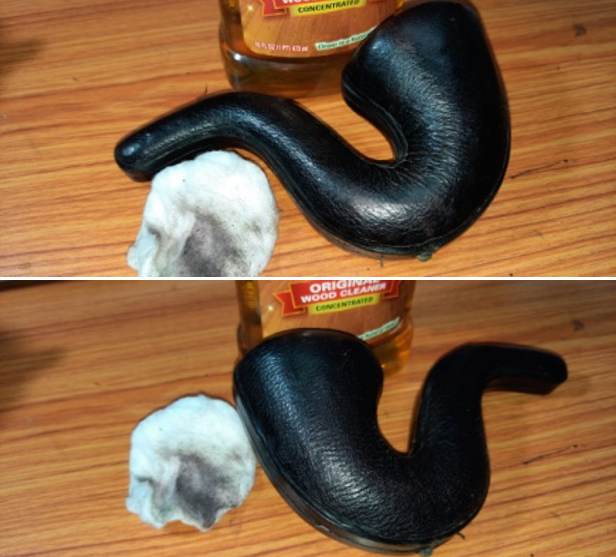
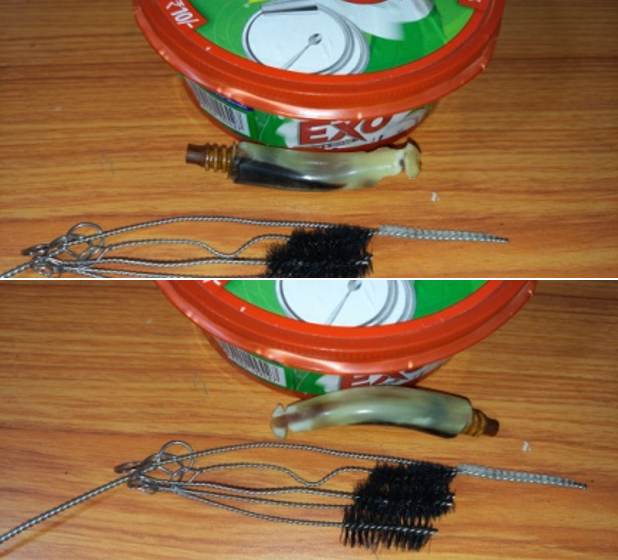
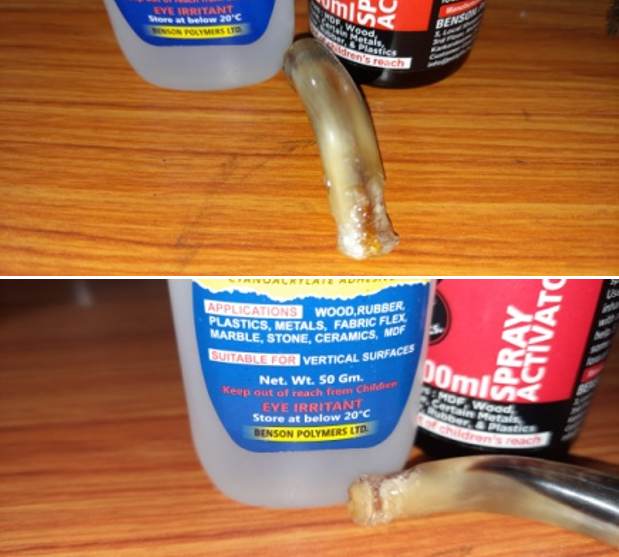
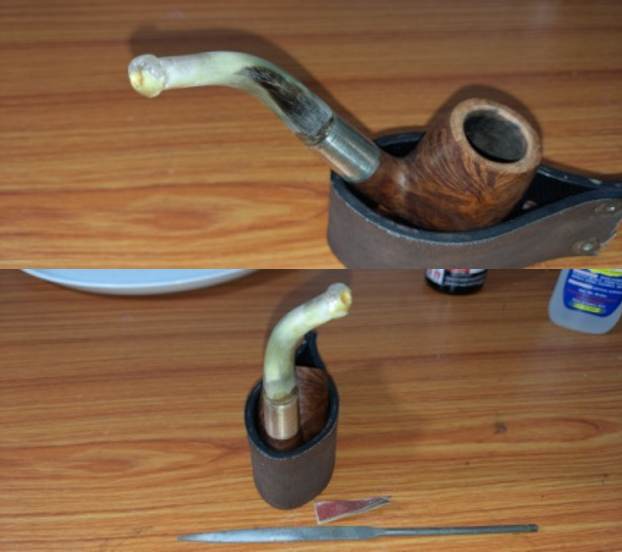
 I set the bowl aside and turned my attention to the stem. I heated the stinger with my lighter and was able to remove the stinger. It was badly oxidized and damaged so I will be throwing it away. I scrubbed the oxidation with Soft Scrub All Purpose Cleanser. I was able to remove most of the remaining oxidation. It is finally starting to look better. I can now see the tooth marks and chatter clearly.
  I cleaned out the inside of the stem with alcohol, cotton swabs and pipe cleaners. I was not surprised to see how dirty the stem was behind the stinger. It really inhibited the cleaning of the pipe. But it is clean now!
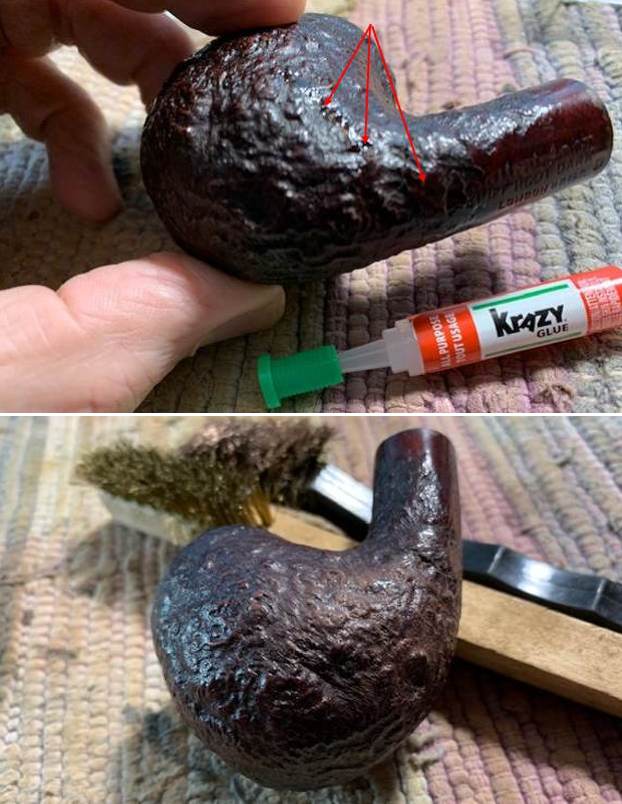
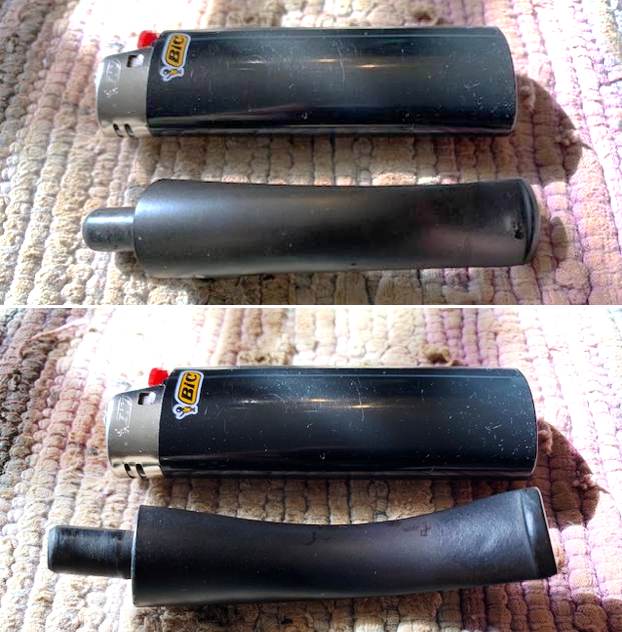
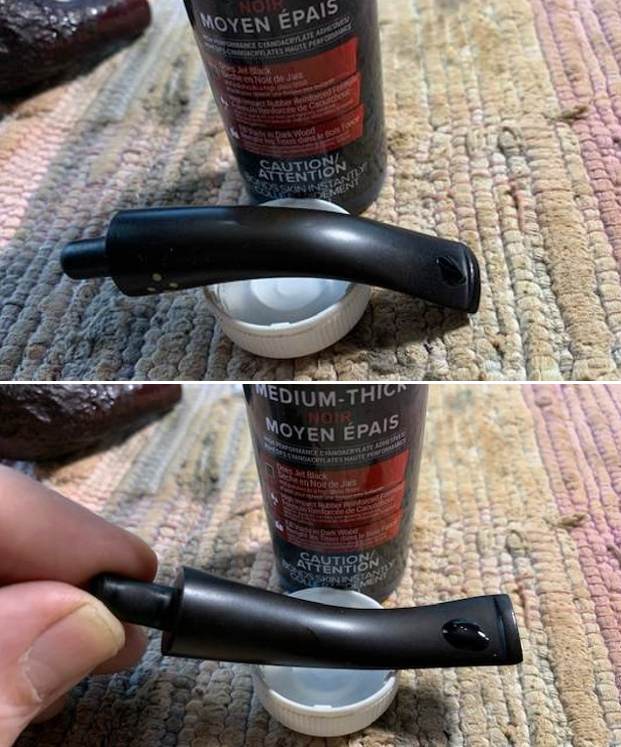
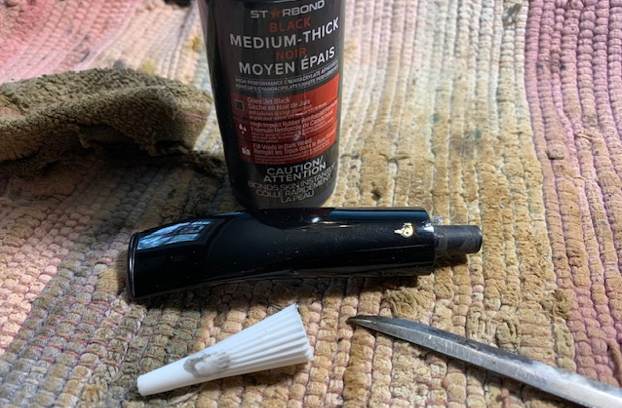
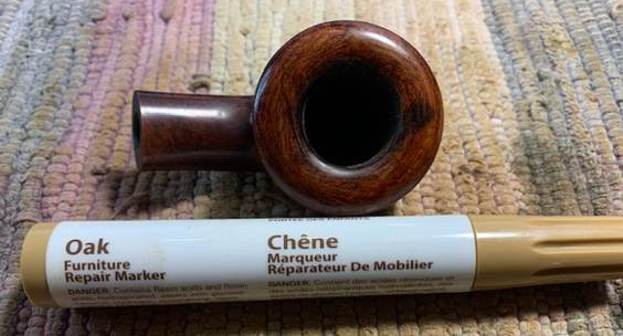
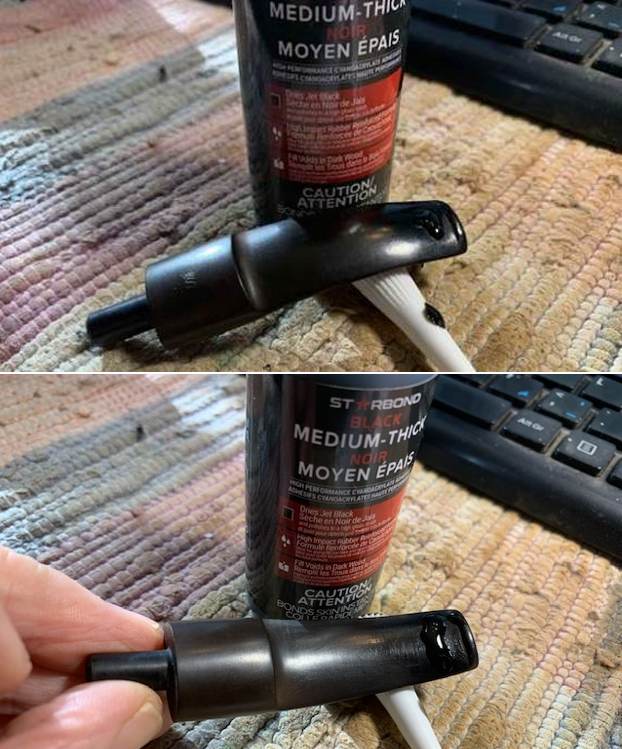
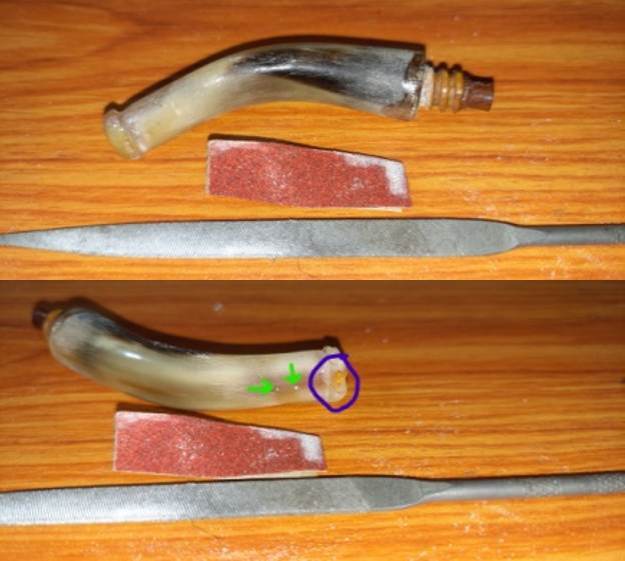
 I “painted” the newly cleaned surface of the stem with the flame of a Bic lighter to lift the tooth marks on both sides. I was able to lift them totally on the one side and significantly on the other. I filled in what remained with black superglue. Once the repair cured I flattened the repair with a small file to start the process of smoothing it out and blending it into the surrounding vulcanite.
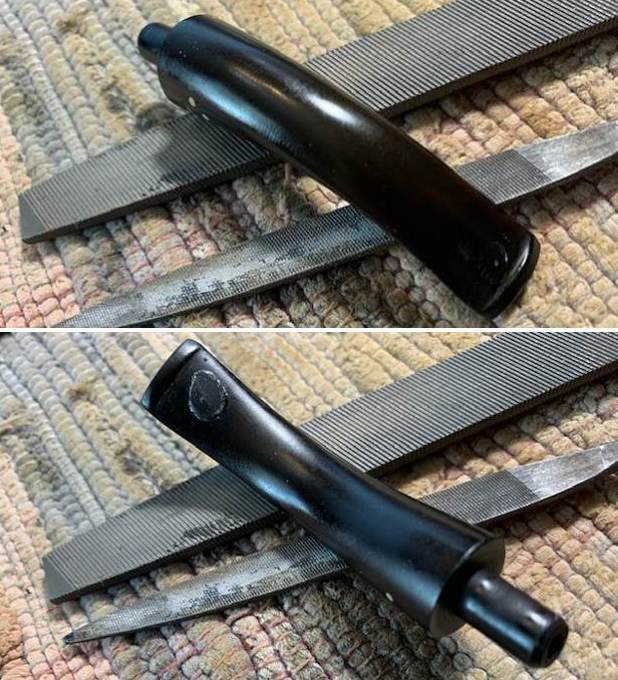
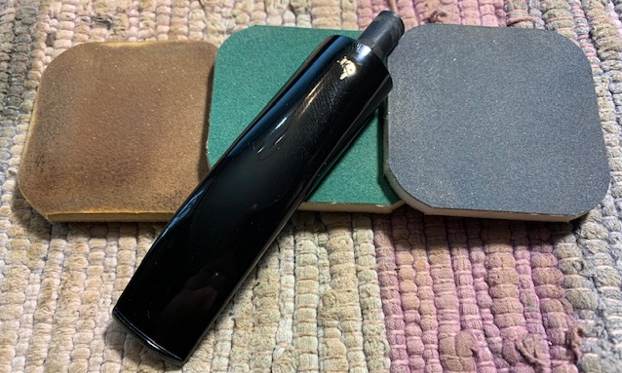
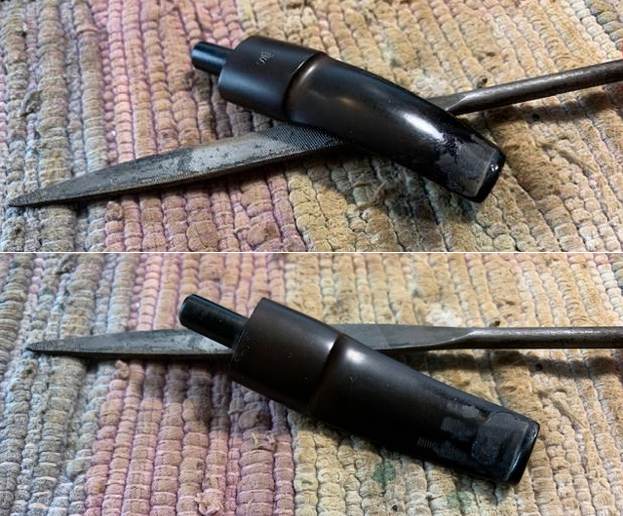
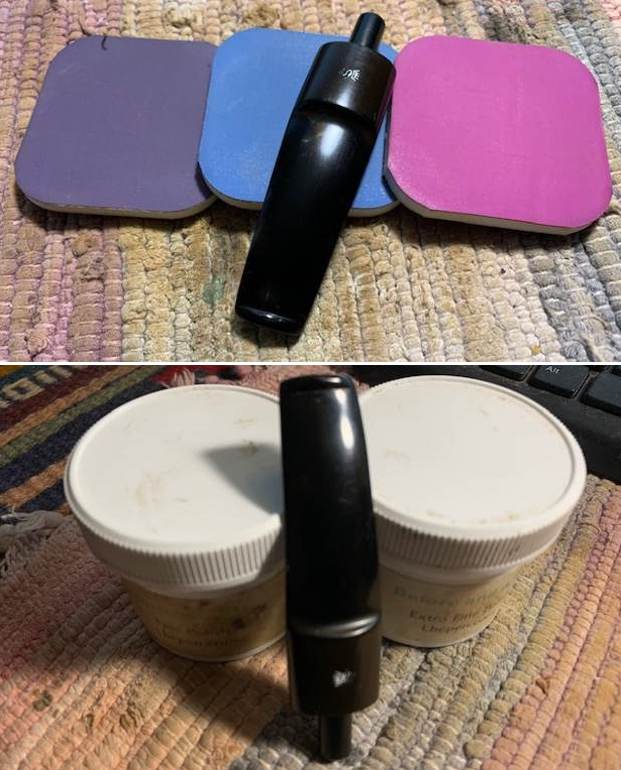
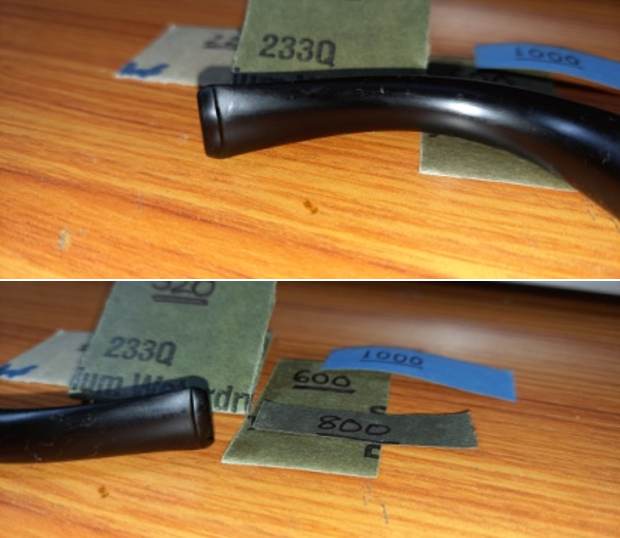
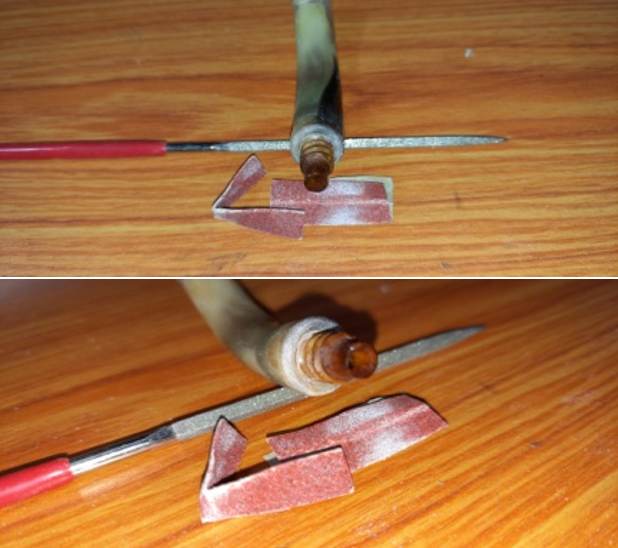
 I sanded the file marks and repairs with 220 grit sandpaper and started polishing the stem with 400 grit wet dry sandpaper. It is starting to look very good.
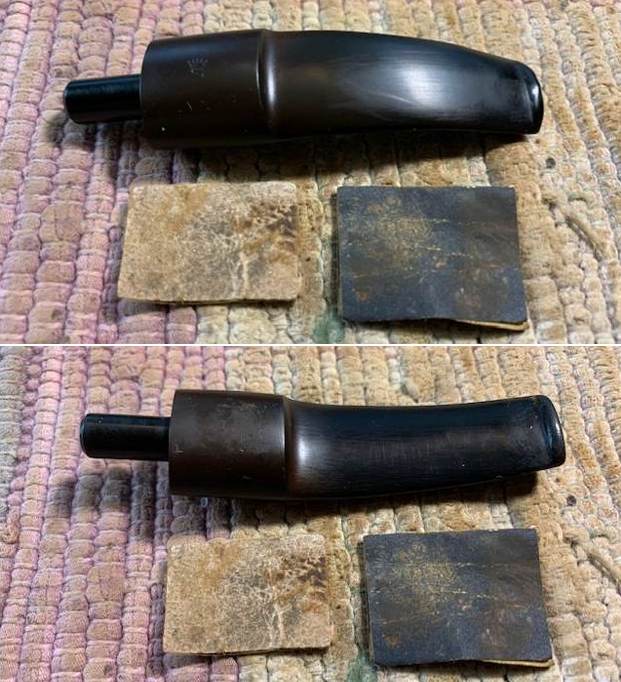
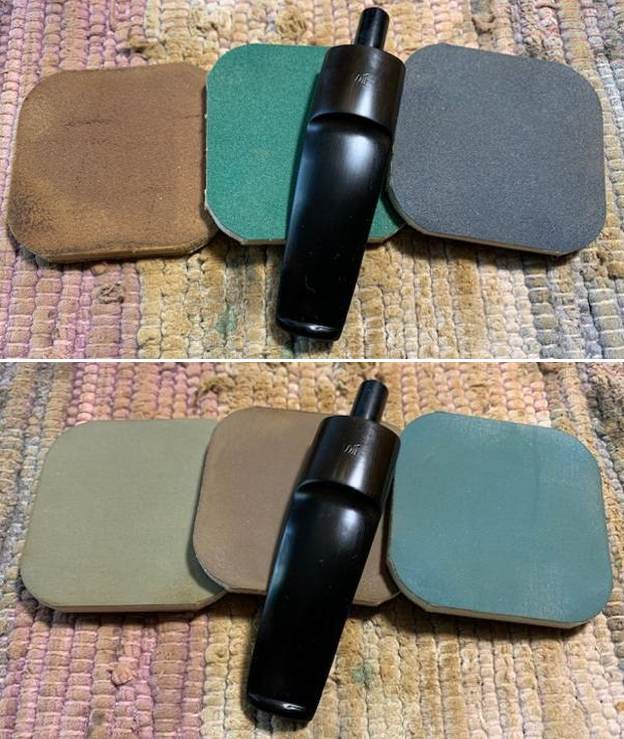
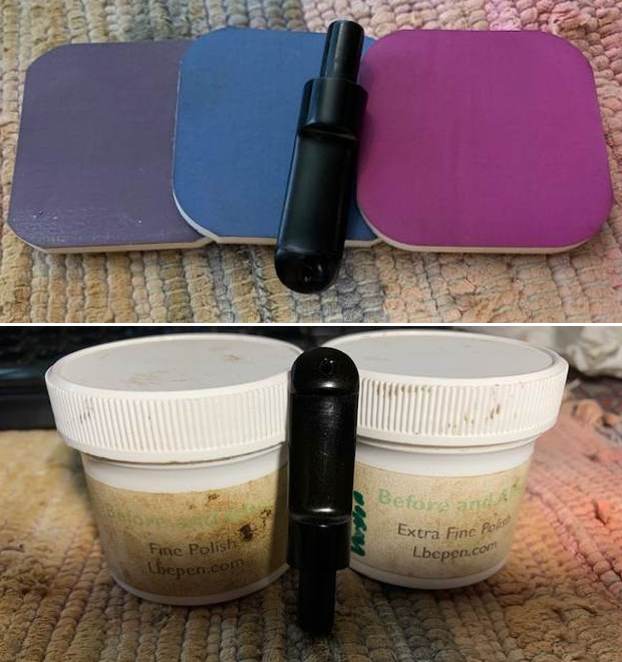
 I continued to polish the stem with micromesh sanding pads – wet sanding with 1500-12000 grit sanding pads. I wiped it down after each sanding pad with Obsidian Oil. I polished it further with Before & After Stem Polish – both Fine and Extra Fine. I gave it a final coat of Obsidian Oil and set it aside to cure.
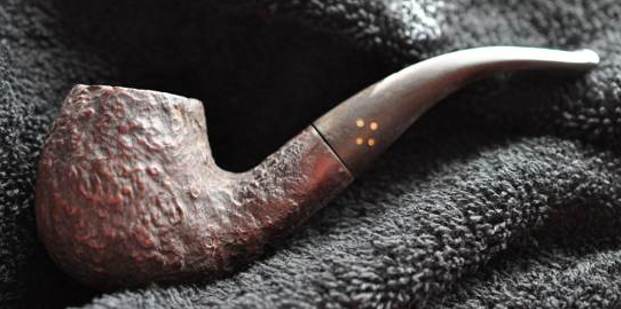
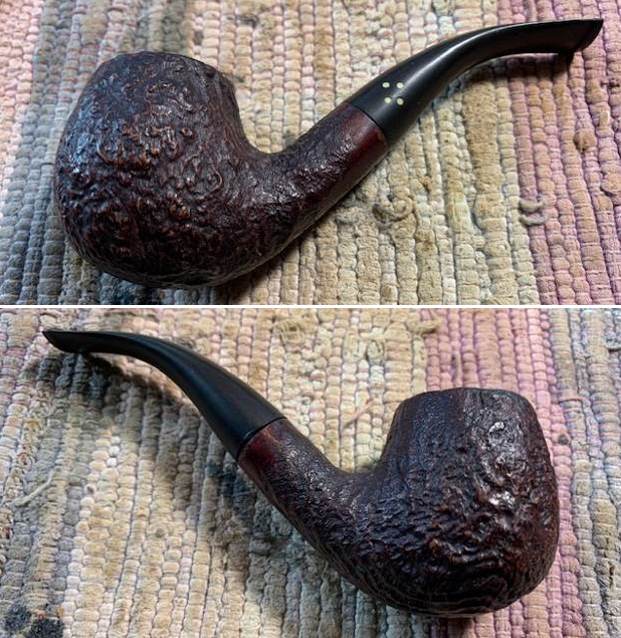
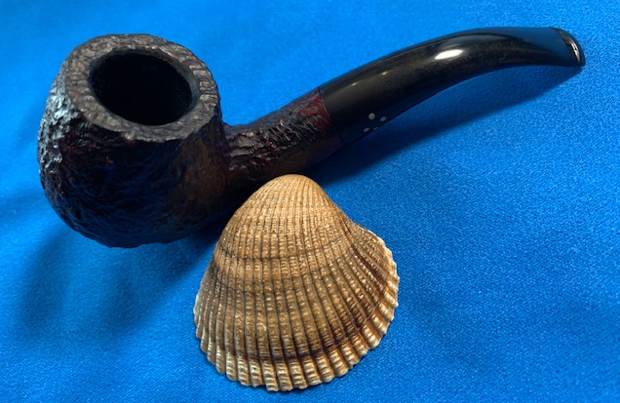
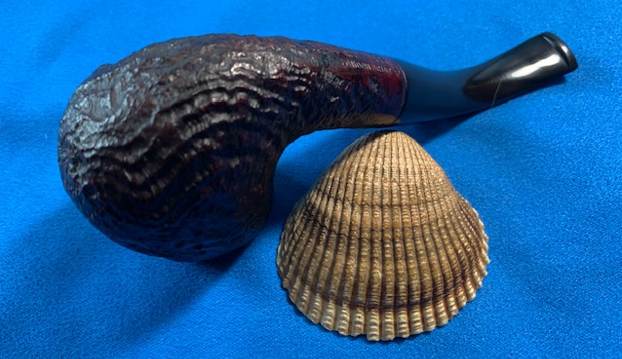
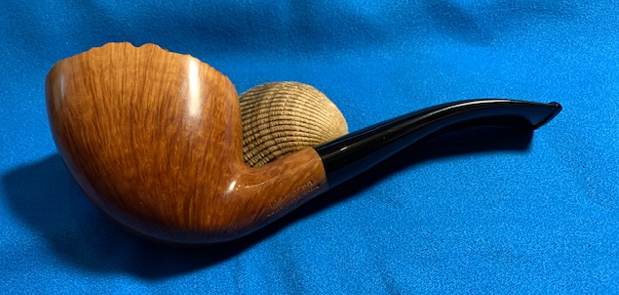
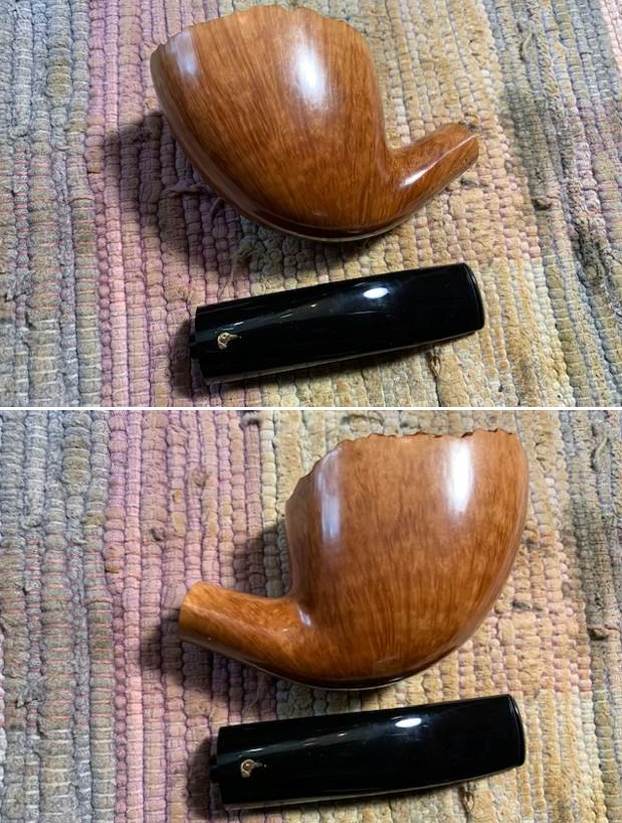
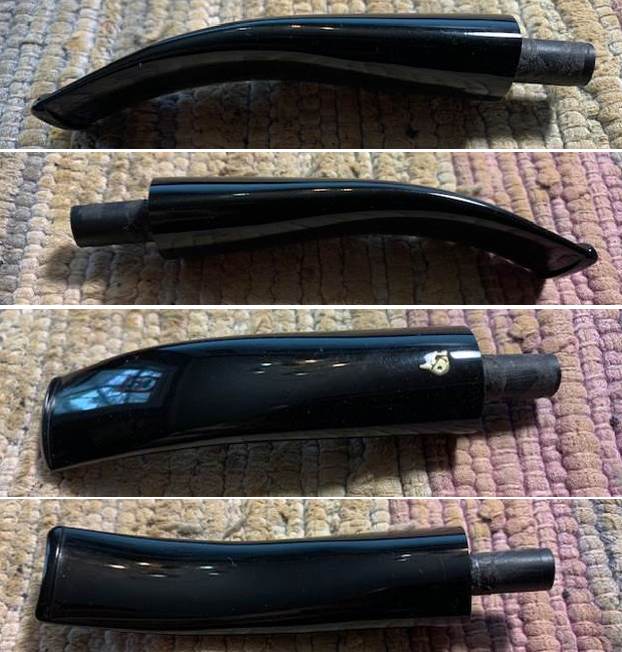
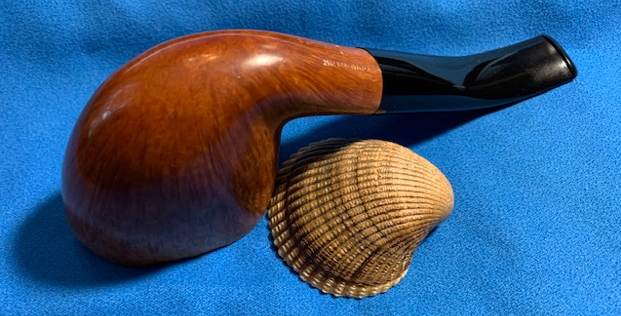
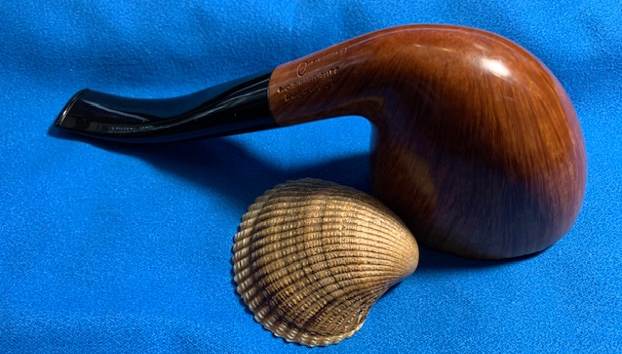
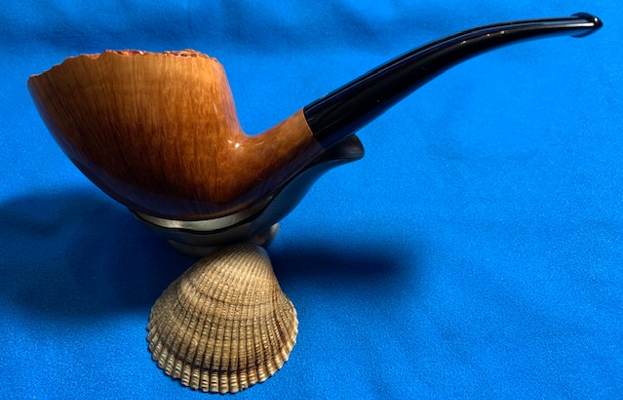
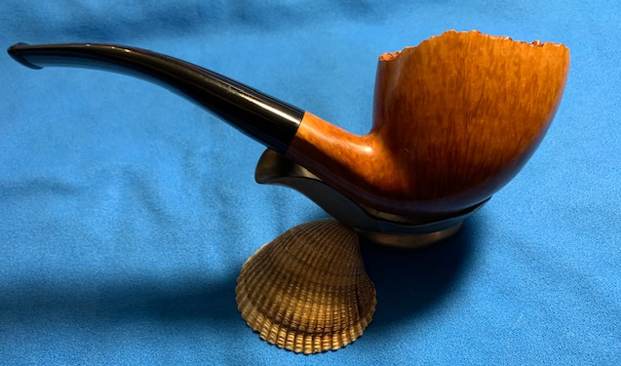
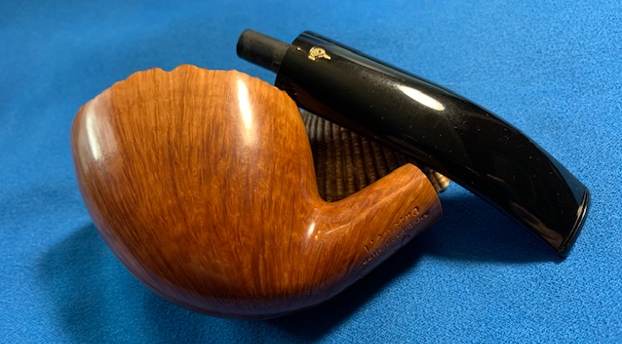
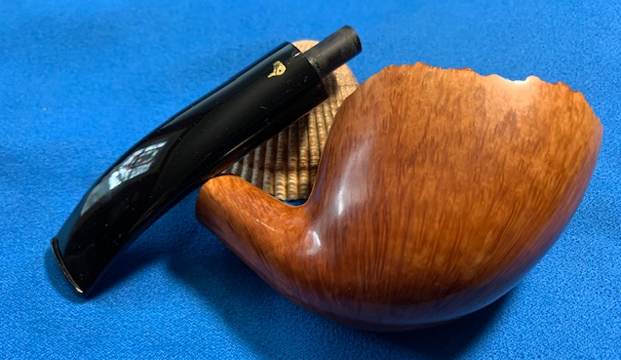
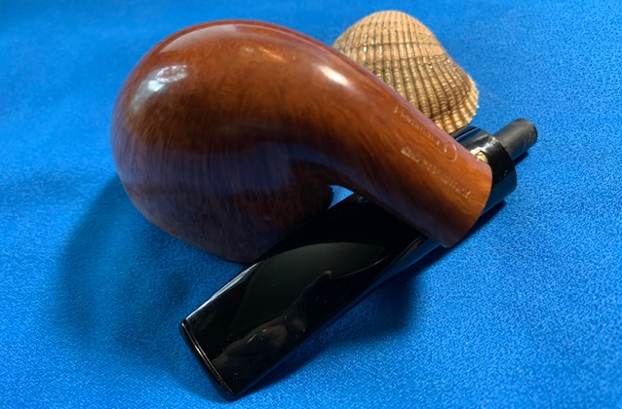
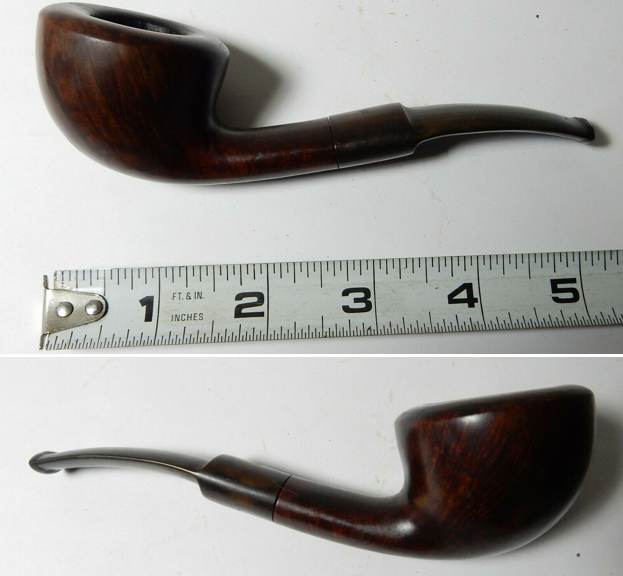
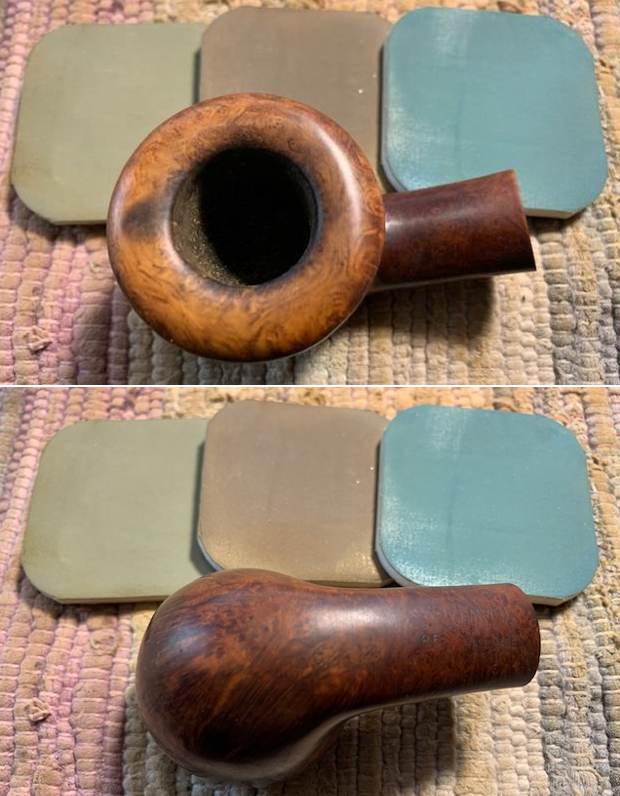
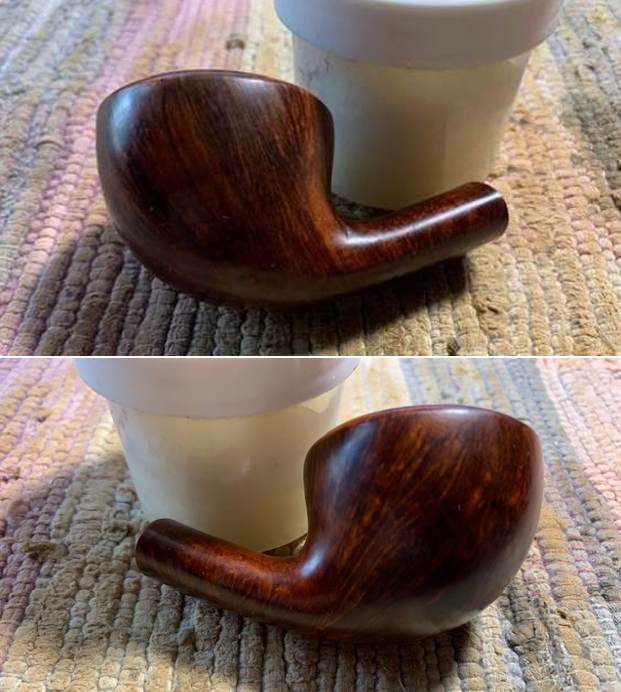
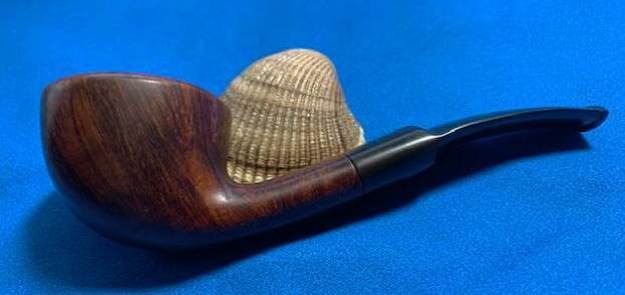
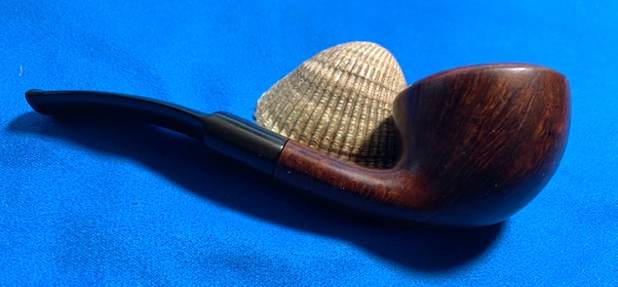
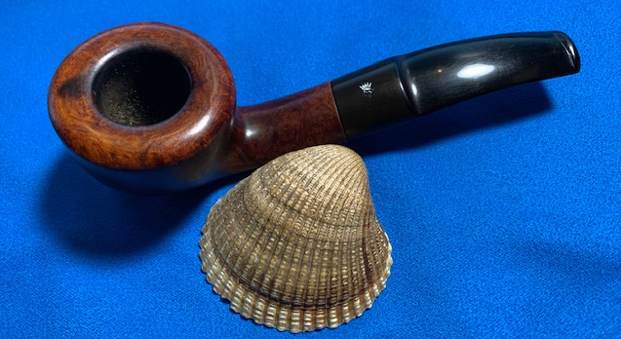
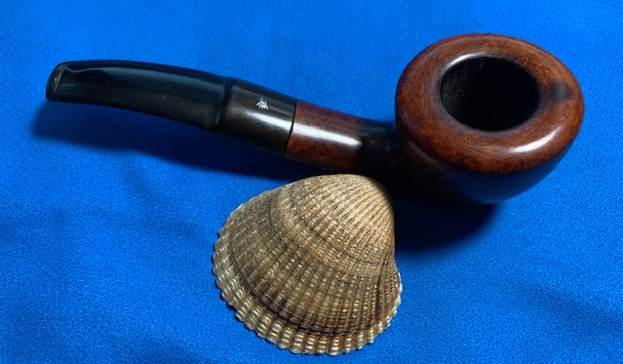
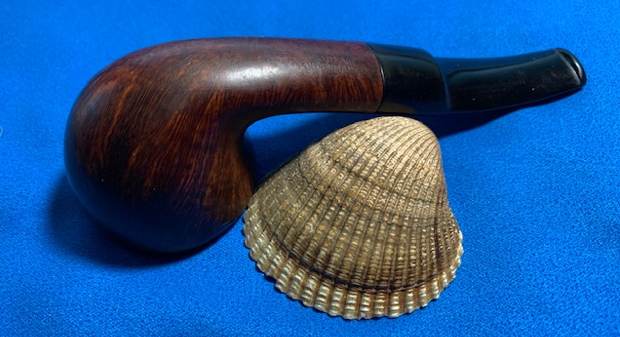
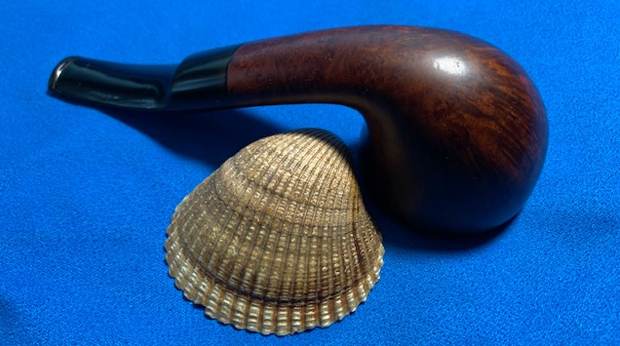
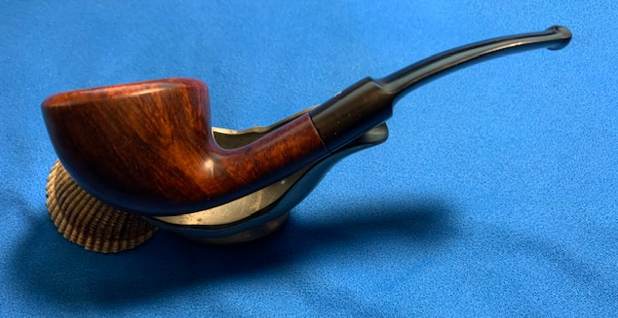
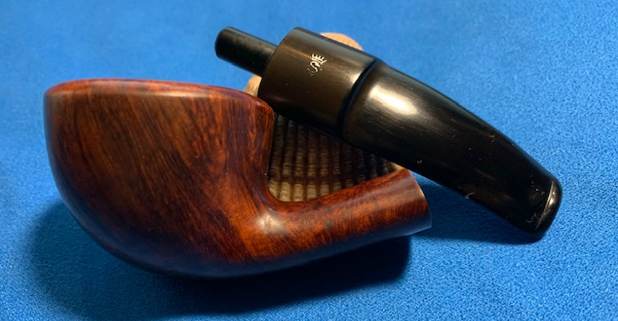
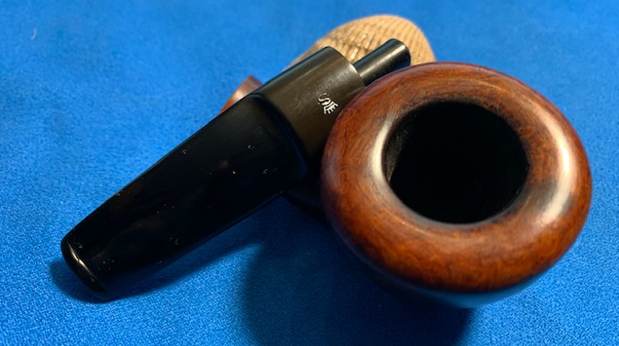
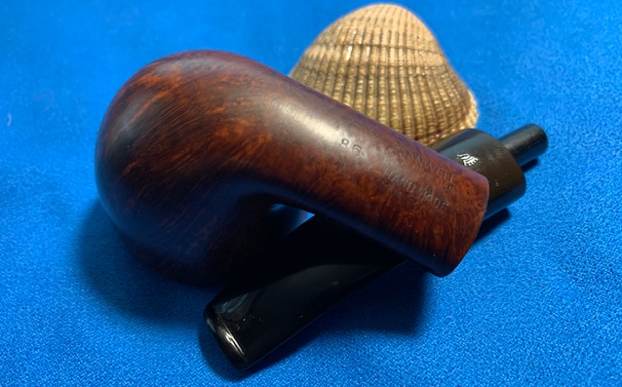
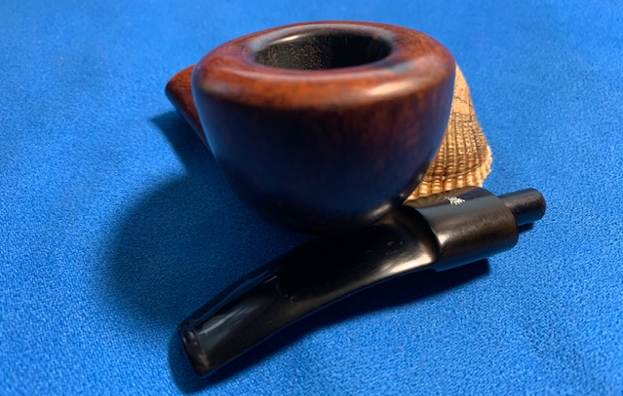
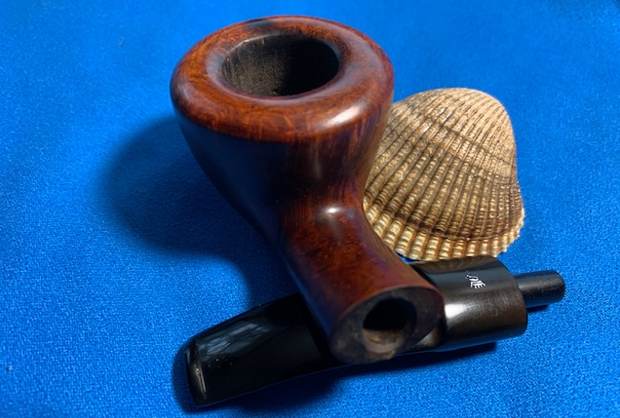
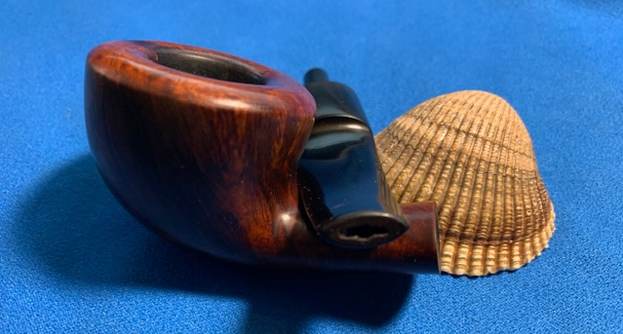
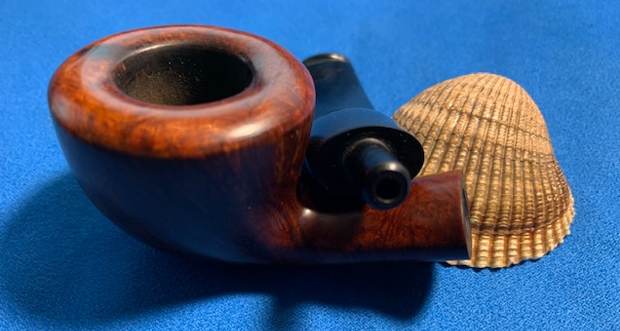
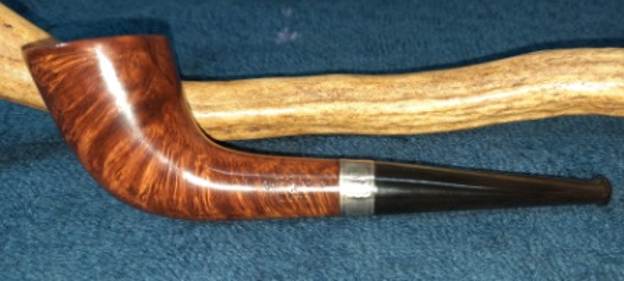
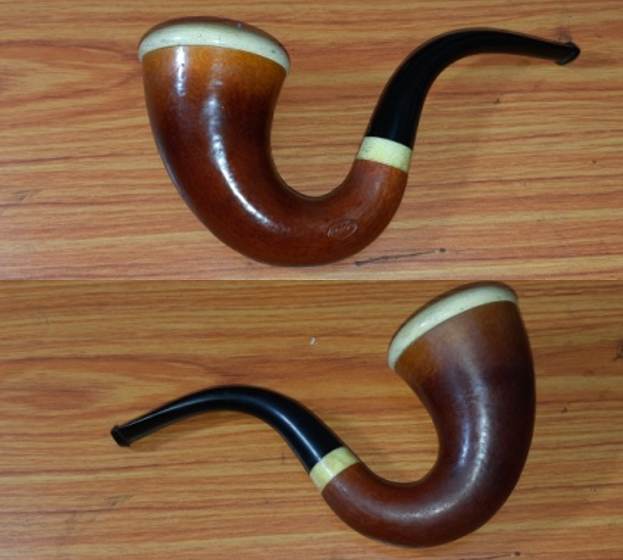
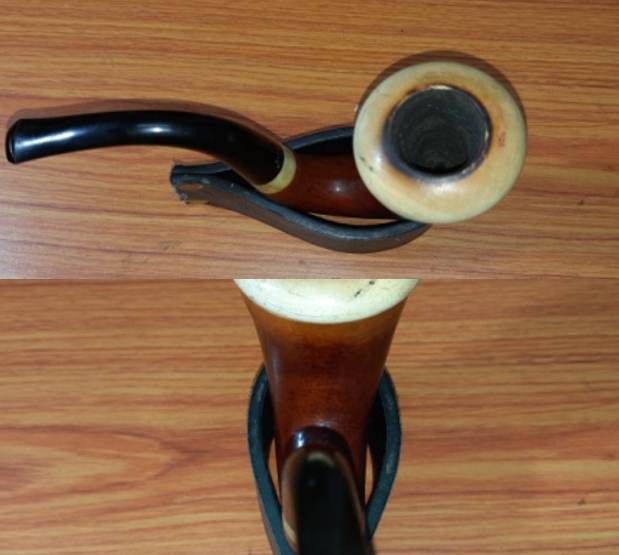
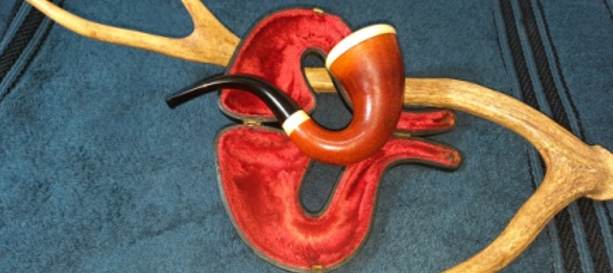
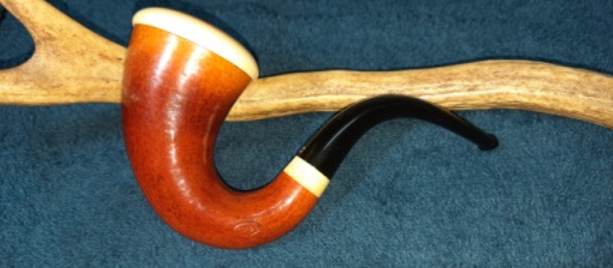
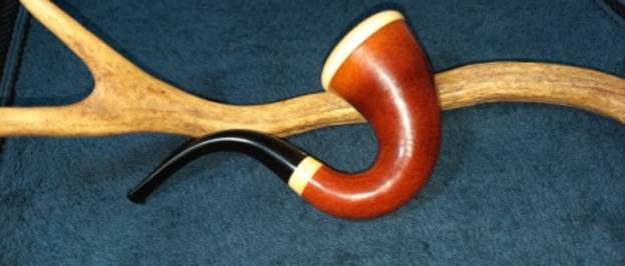
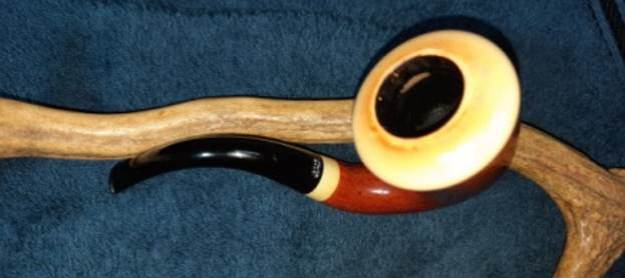
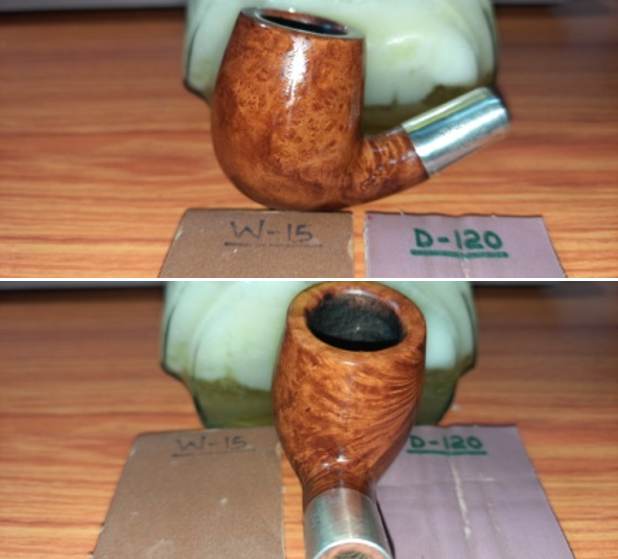
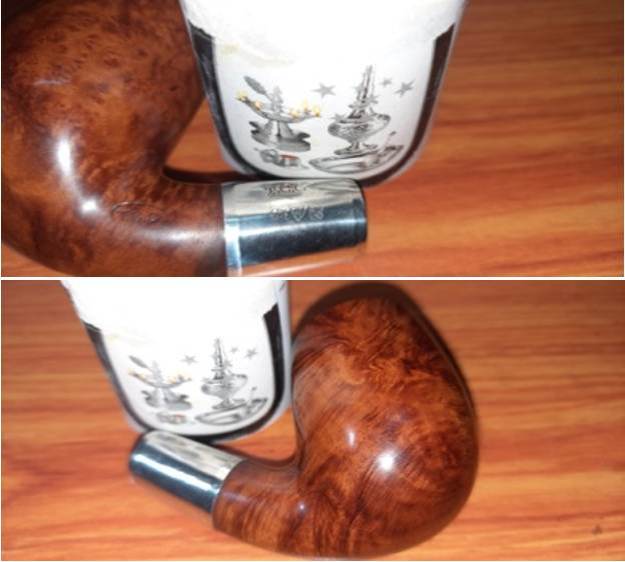
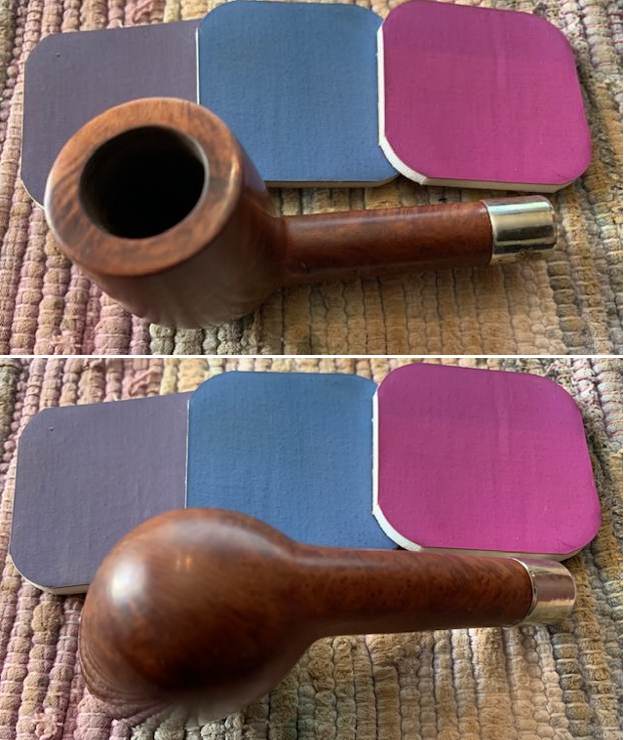
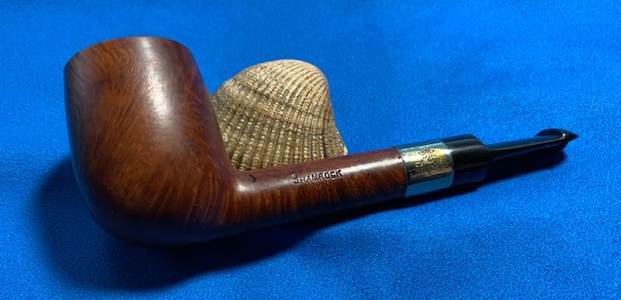
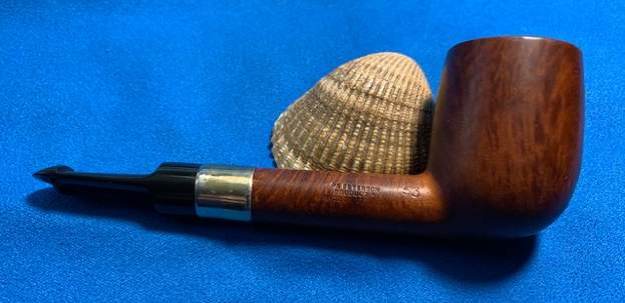
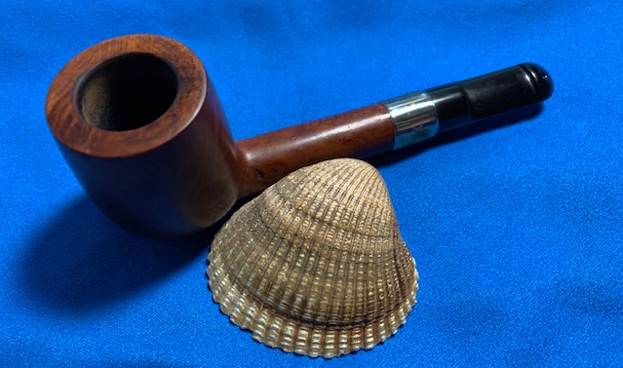
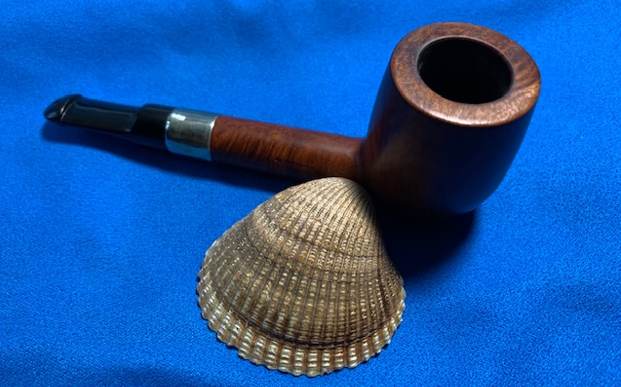
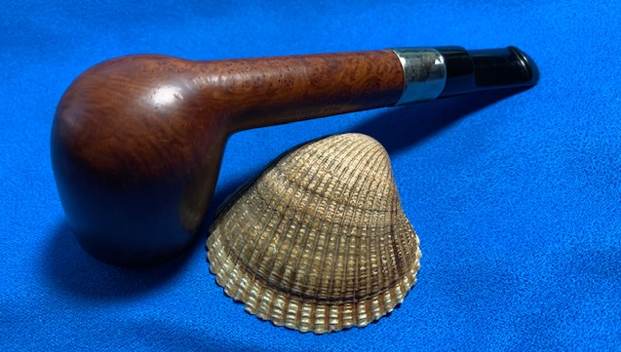
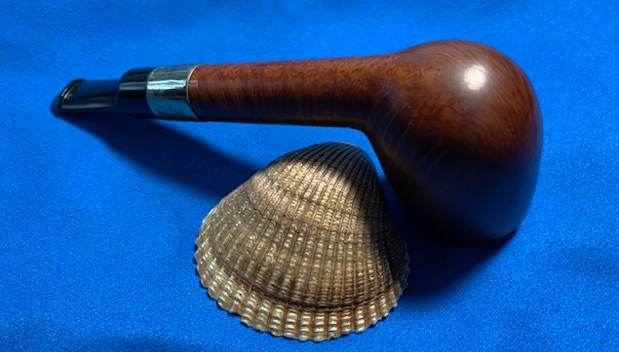
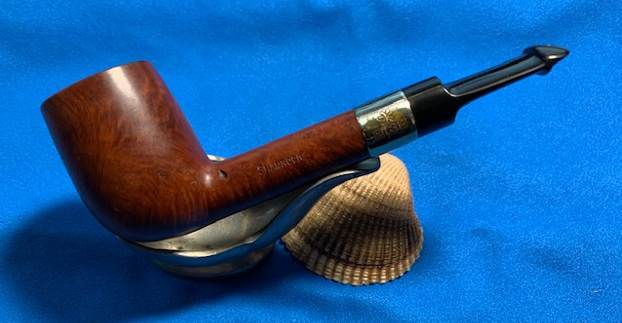
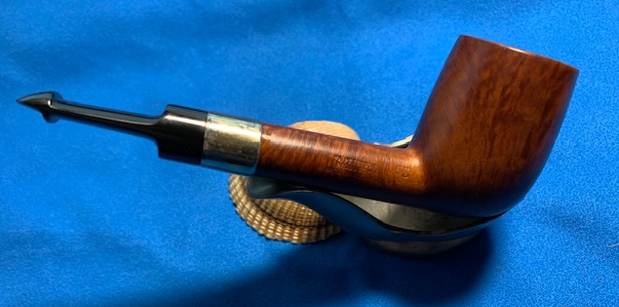
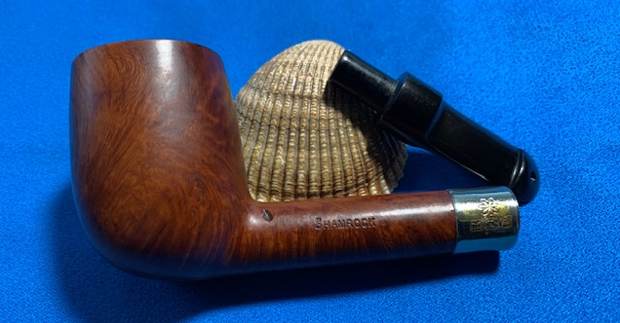
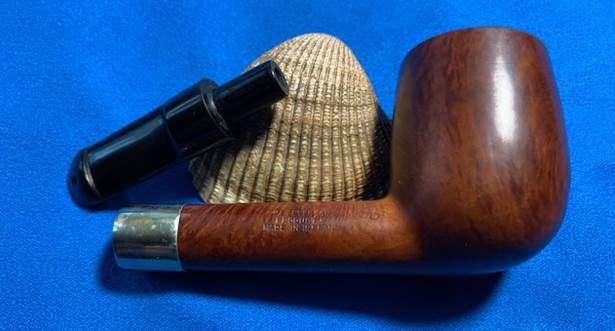
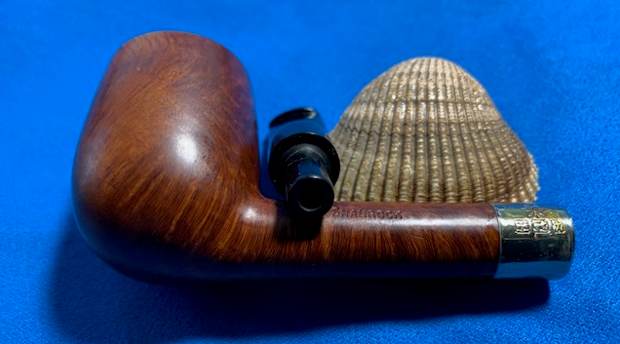
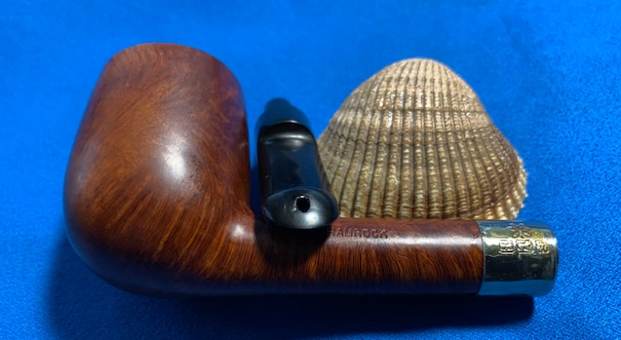
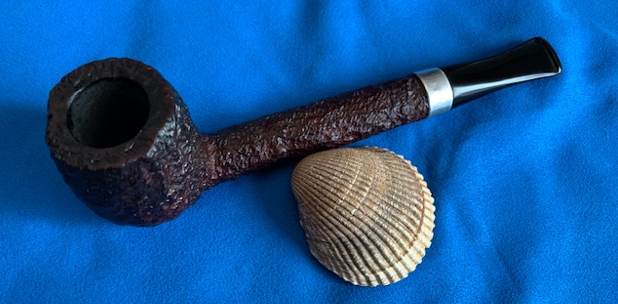
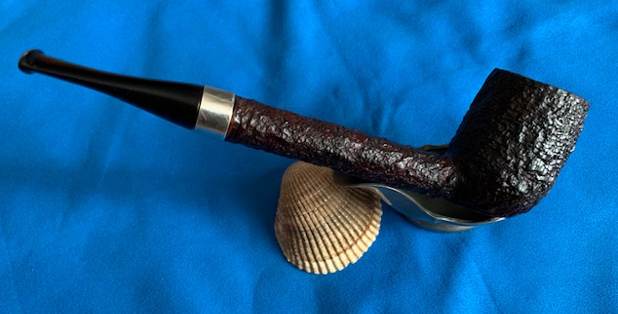
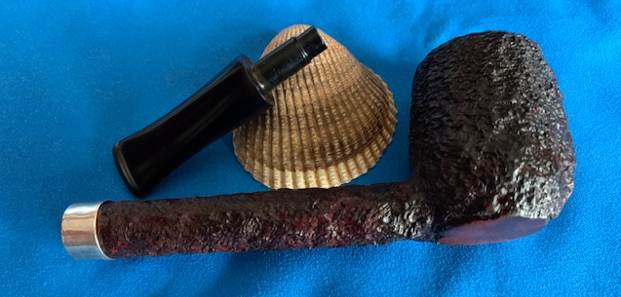
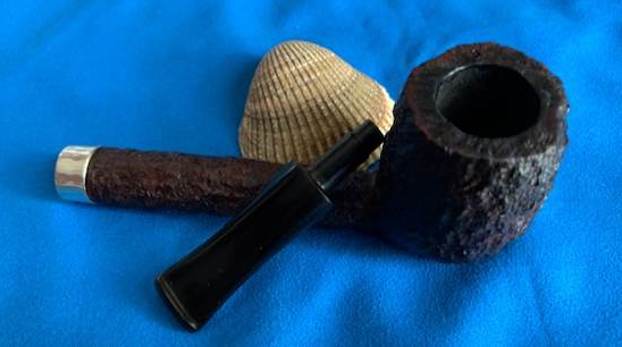
 I am excited to finish this Large bowled, beautifully grained WDC Seville Bullmoose. I put the pipe back together and buffed it with Blue Diamond on the buffing wheel. I gave the bowl and the stem multiple coats of carnauba wax. I hand buffed the pipe with a clean buffing pad to raise the shine. It is fun to see what the polished bowl looks like with beautiful straight grain all around it and the birdseye on the rim top. The polished grain on the pipe looks great with the black vulcanite stem. This smooth WDC Seville Bullmoose is great looking and the pipe feels great in my hand. It is light and well balanced. Have a look at it with the photos below. The dimensions are Length: 6 inches, Height: 1 ½ inches, Outside diameter of the bowl: 2 inches, Chamber diameter: ¾ of an inch. The weight of the pipe is 81 grams/2.86 ounces. It turned out to be a beautiful pipe. I will soon be putting it on the rebornpipes store in the American Pipemakers Section. If you are interested in adding it to your collection let me know. Remember we are the next in a long line of pipe men and women who will carry on the trust of our pipes until we pass them on to the next trustee. Thanks for your time reading this blog.