Blog by Steve Laug
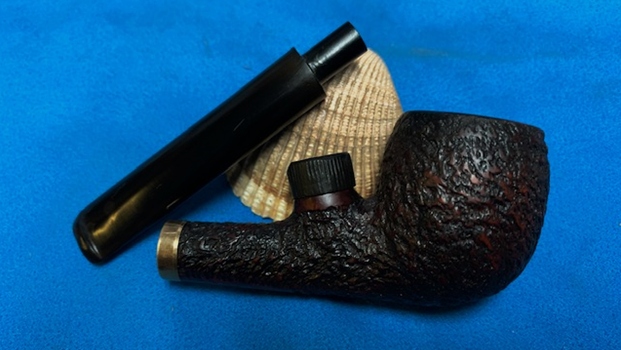
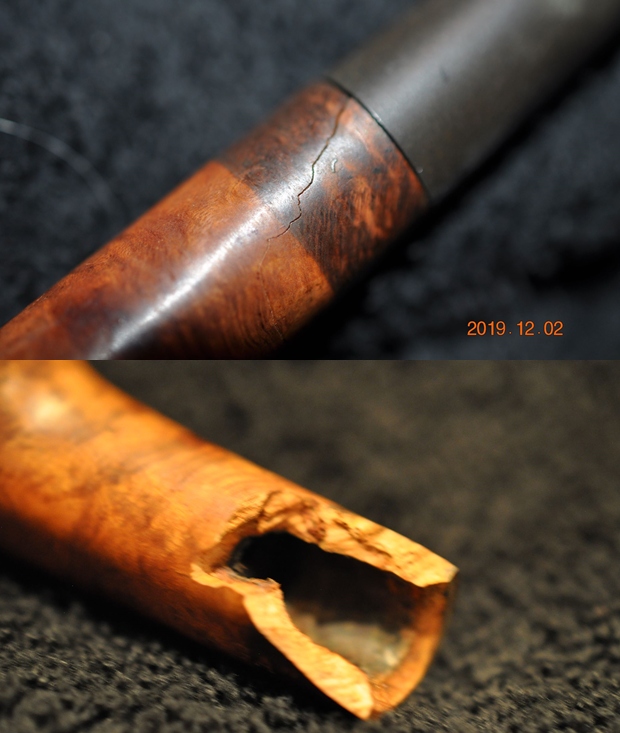
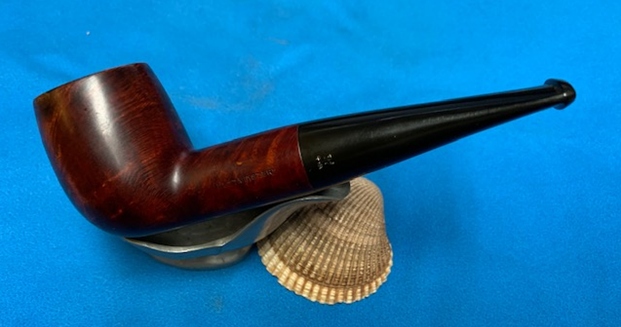
The next pipe on the work table is another one that is a bit of a mystery to me. It is obviously one that I picked up on one of my hunts or in a trade as it has not been cleaned at all. The mystery is that I have no recollection of finding the pipe so I have no way to connect it to a time period. I do know that it has been here for quite a while and I am just now getting to it. I try to eventually work the pipes we find into the restoration queue so that I can keep them moving. This one is a full bent apple shaped pipe. It has some nice mixed grain around the bowl and shank with a vulcanite shank extension. It was stamped on the underside of the shank and reads Svendborg [over] Danish Handmade. On the left side of the shank it is stamped Bark [over] Inka and on the right side is the shape number 21. The finish was dirty with dust and grime ground into finish. There was a cake in the bowl and some lava overflow on the rim top. The inner edge of the rim did not look too bad as far as I could tell. The vulcanite shank extension and stem were both oxidized. The stem was a mess of oxidation, calcification and grime with tooth marks and chatter ahead of the button on both sides. There was very faint Svenborg ∞ (infinity sign) logo on the left side of the fancy saddle stem.
Before I started working on it I did a bit of research on the brand to remind myself of what I knew of the maker. I turned to Pipephil’s site first (http://www.pipephil.eu/logos/en/logo-s14.html). I did a screen capture of the information on the site. I did a screen capture of the pertinent information and have included it below.  I copied and pasted the side bar information below:
Brand founded in 1970s by Henrik Jørgensen, Poul Ilsted and Tao Nielsen. They bought an old factory (Nordisc Pibefabriker) in Svendborg on Funen Island. Poul and Tao gradually bow out from machine manufactured pipes (1982) and Henrik Jørgensen manages the brand until its takeover by Design Berlin (D) in the late 90ies. Kaj C. Rasmussen jointed the firm for several years. 17 employees worked for this brand under Henrik Jørgensen direction.
I then turned to Pipedia and found that an article on the brand that was helpful and interesting to read (https://pipedia.org/wiki/Svendborg). I have included the first part of the article below.
Jens Tao Nielsen and Poul Ilsted Bech met each other when working together for Erik Nørding and soon became close friends. Both felt a bit tired to make nothing but bizarre fancy shapes and agreed they wanted to produce pipes of more style and more classicism. They decided to establish their own brand “Tao & Ilsted” – But how to do it?
A good fortune brought them in contact with Henrik Jørgensen, a passionate pipe lover and a wealthy Copenhagen banker who was willing to retire from bank business and change his career to become a pipemaker. The trio joined in 1969 and decided to start a new pipe brand together. Nielsen and Ilsted started to search for a suitable workshop while Jørgensen took care of the finances. In early 1970 the partners found an old, closed down pipe factory in Svendborg on Funen, and bought it shortly after for a mere 16.500 Danish Kroner. It was the earlier Nordic Pipe Factory – Nordisc Pibefabriker – maybe the oldest Danish pipe factory. And now it became the home of Svendborg Piber.
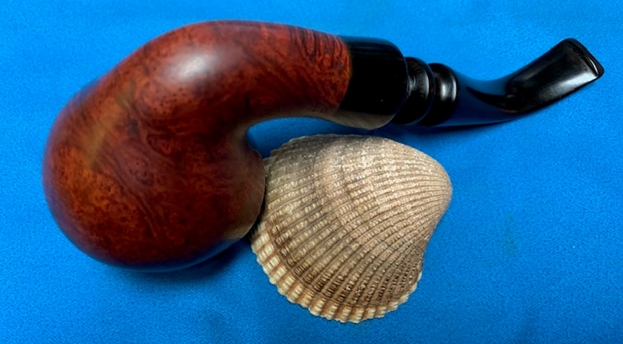
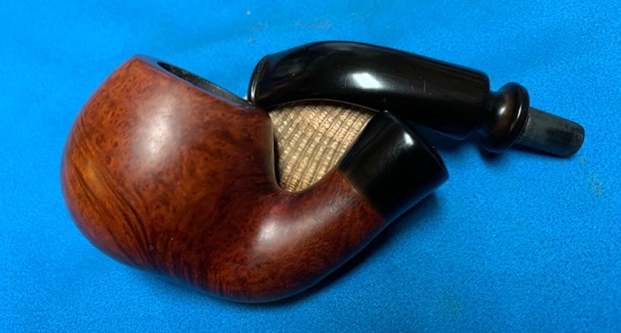
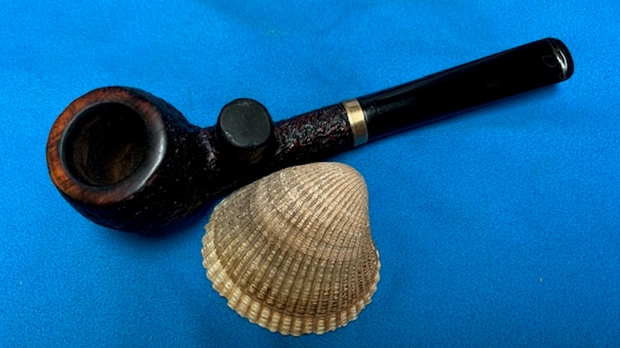
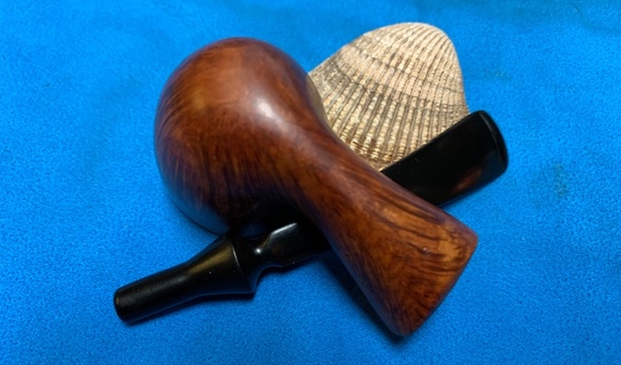
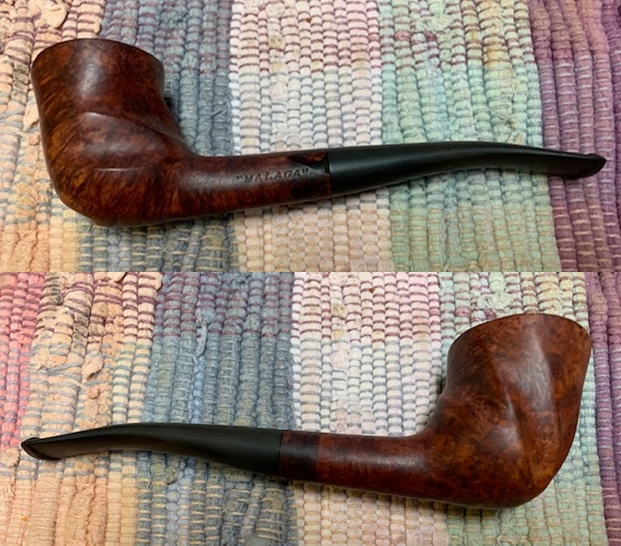
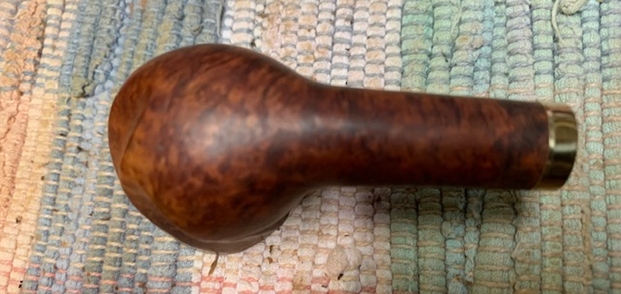
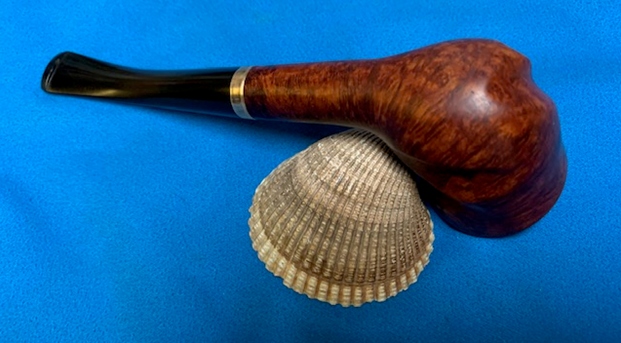
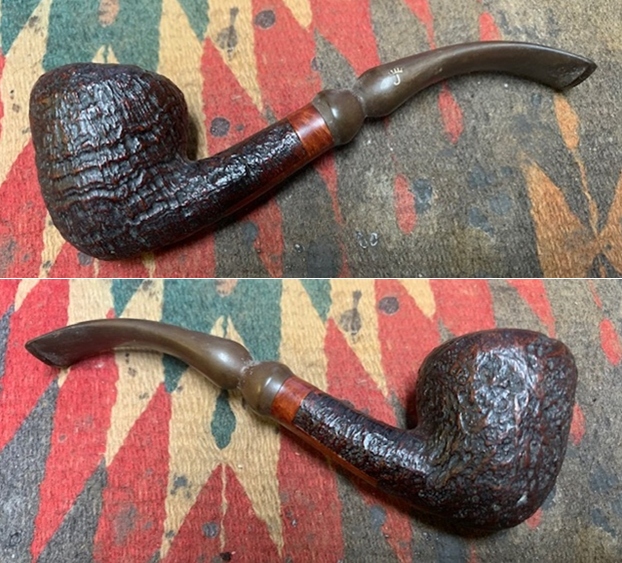
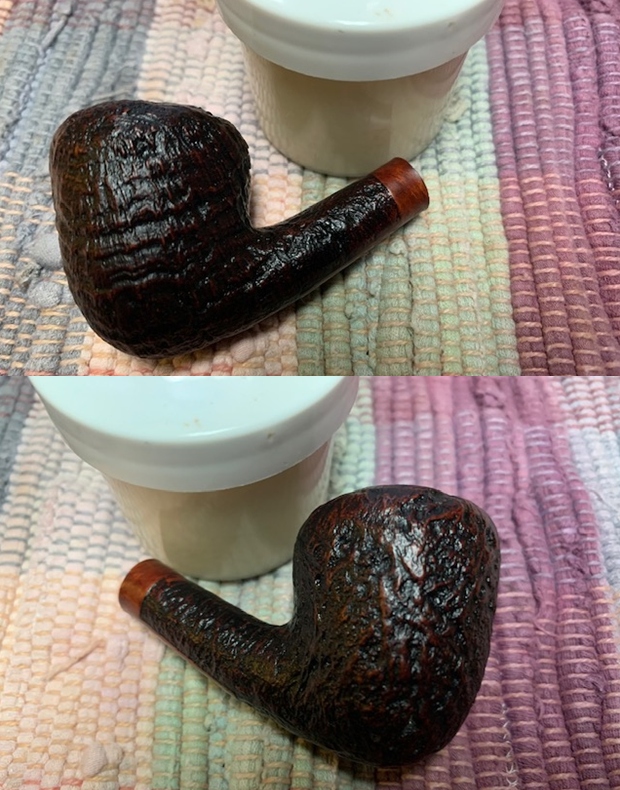
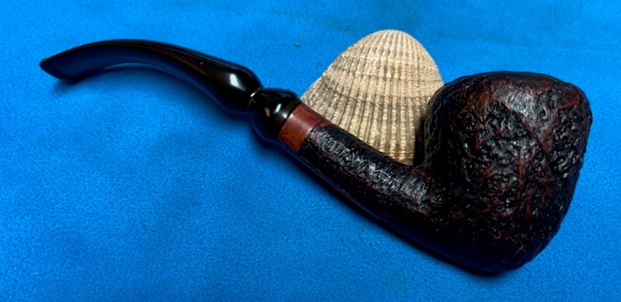
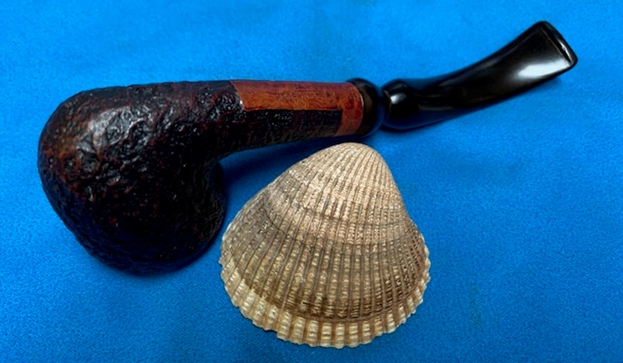
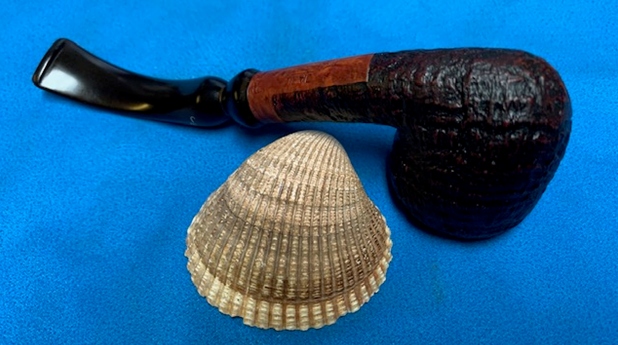
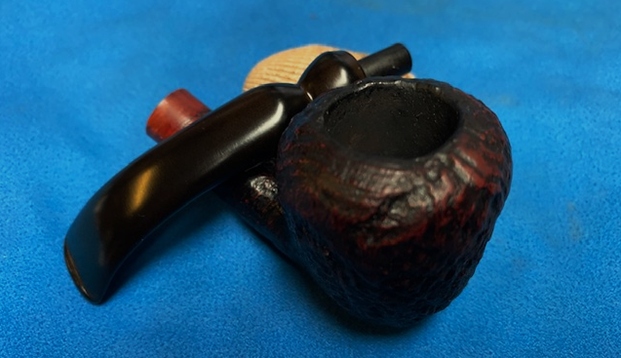
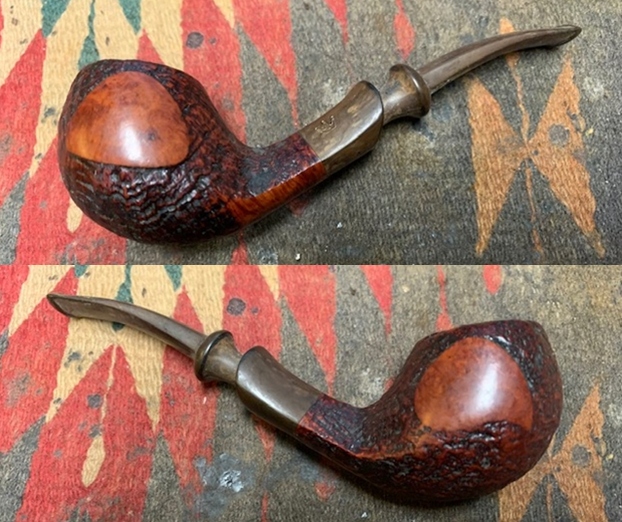
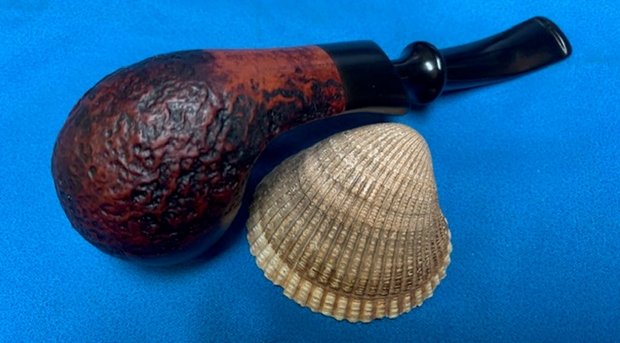
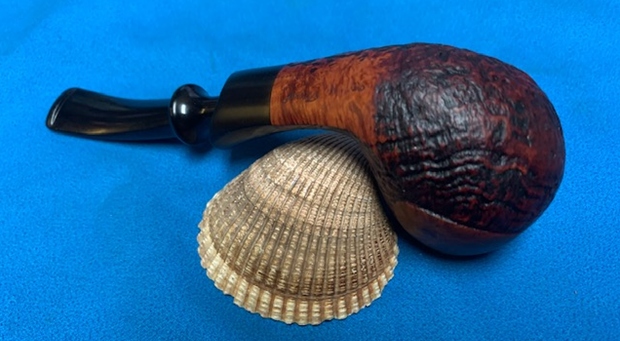
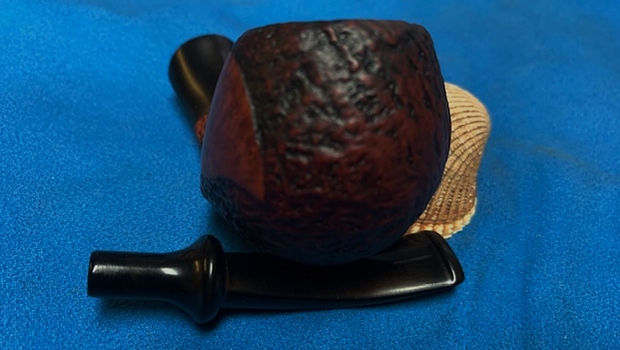
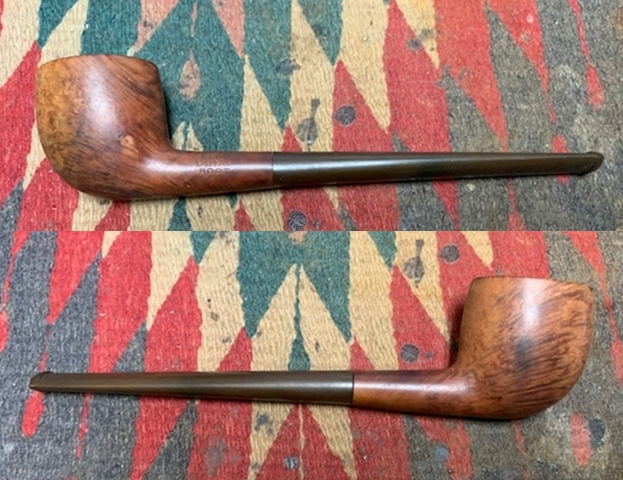
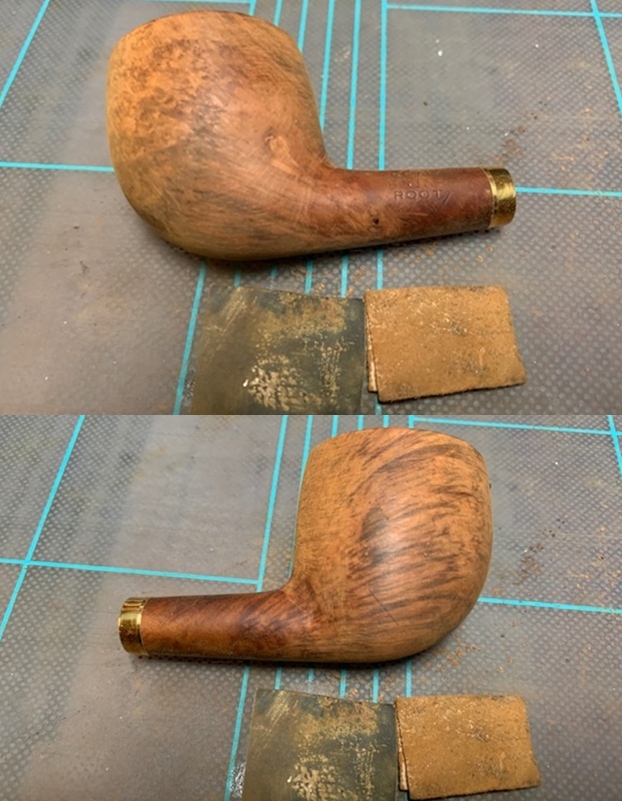
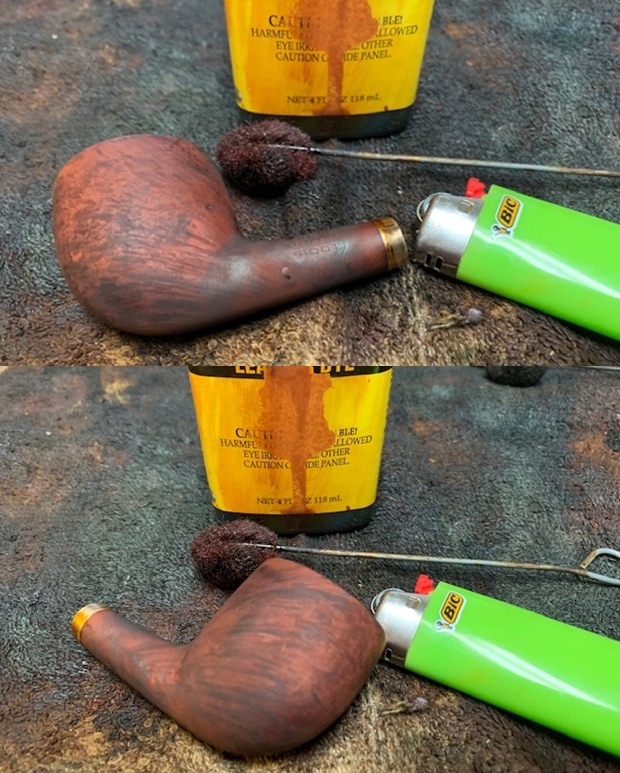
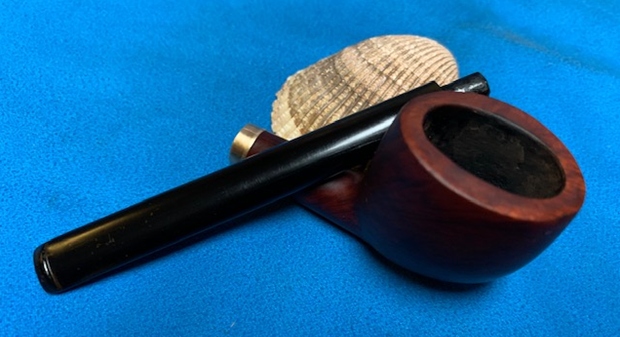
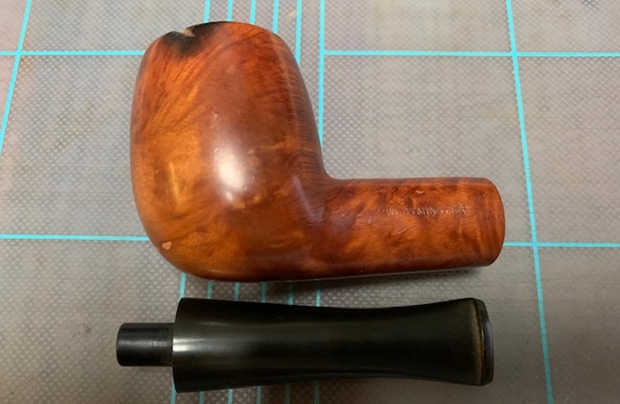
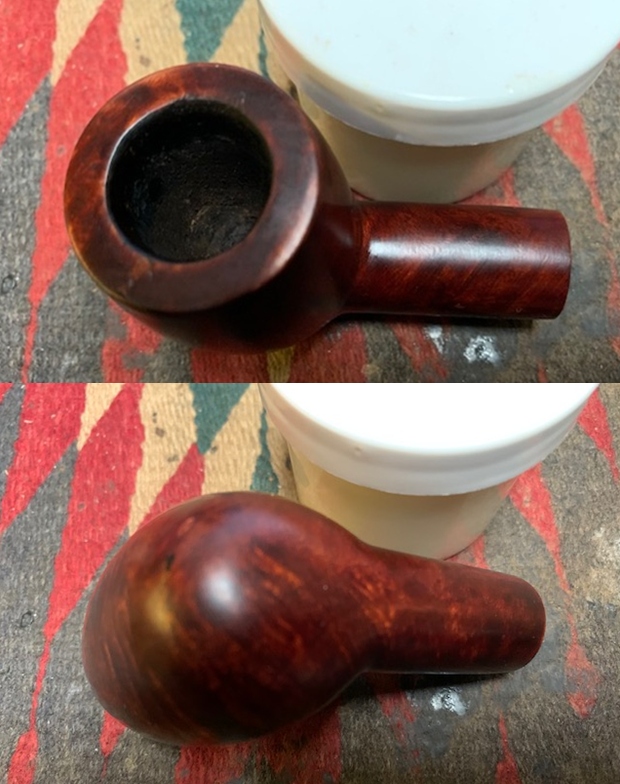
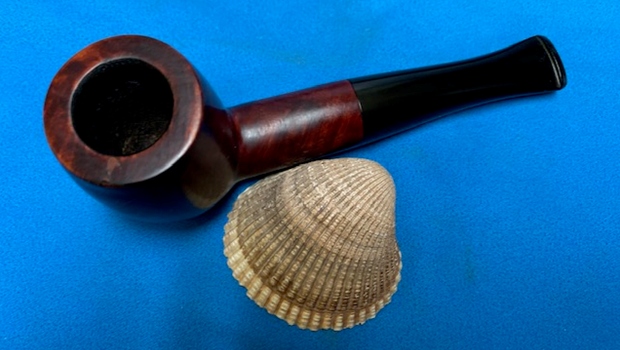
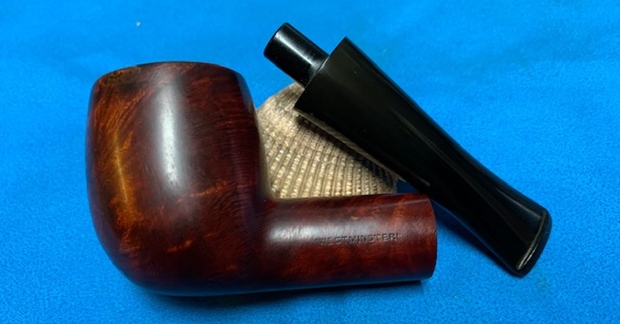
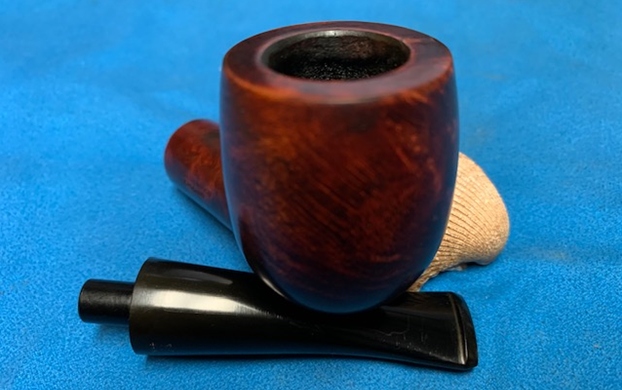
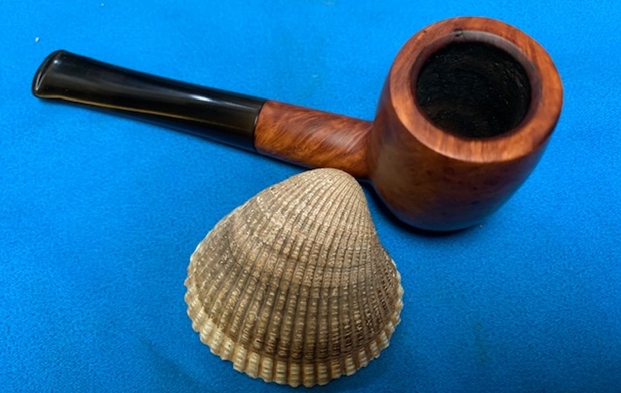
The article also included this set of pages from a catalogue that were interesting as they included the Bark line. The philosophy that drove the brand is also there to read. Now it was time to clean up this pipe and get it restored. I cleaned the pipe with the methodology that Jeff and I have developed. The pipe was a mess when I took it out of my box here so I was curious to see how well it would cleanup. I took some photos of the pipe before I started my work on it. You can see that it is filthy but has some great grain in the blast and on the smooth portions. It has a really nice sandblast that is deep and rugged.
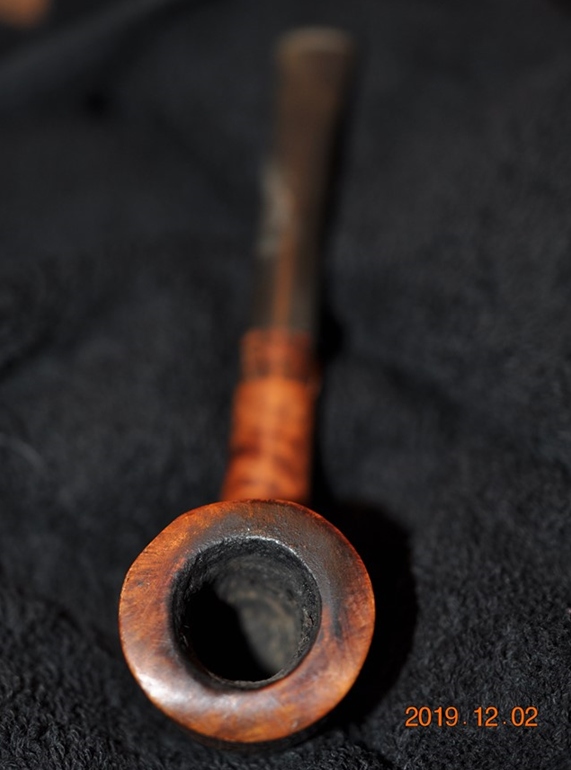
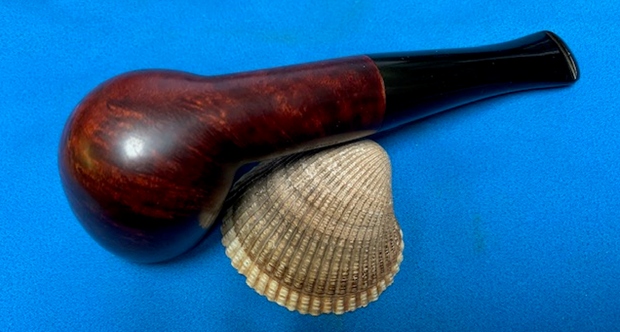
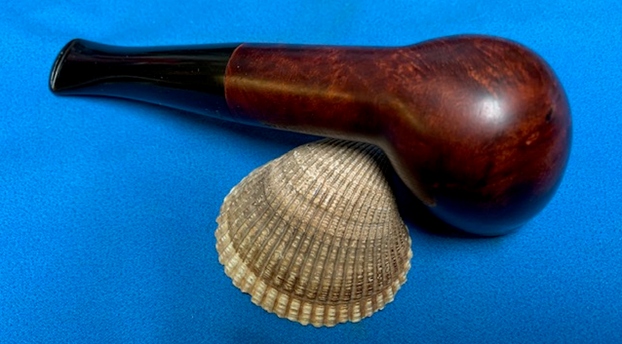
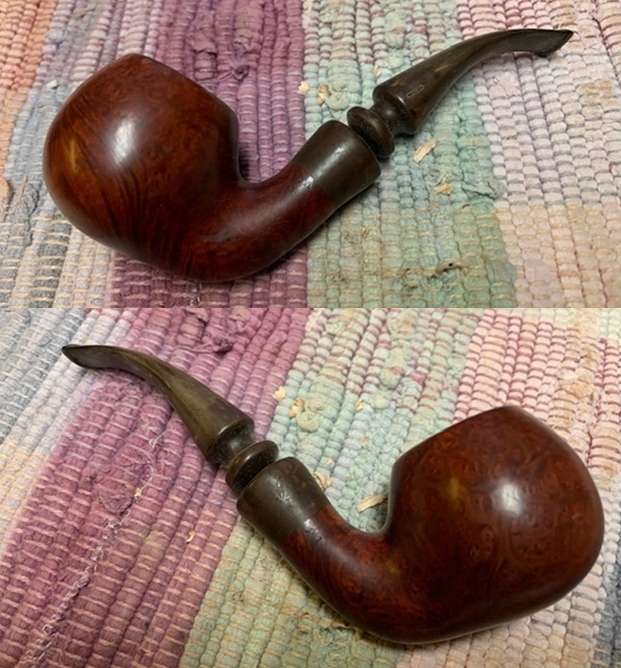
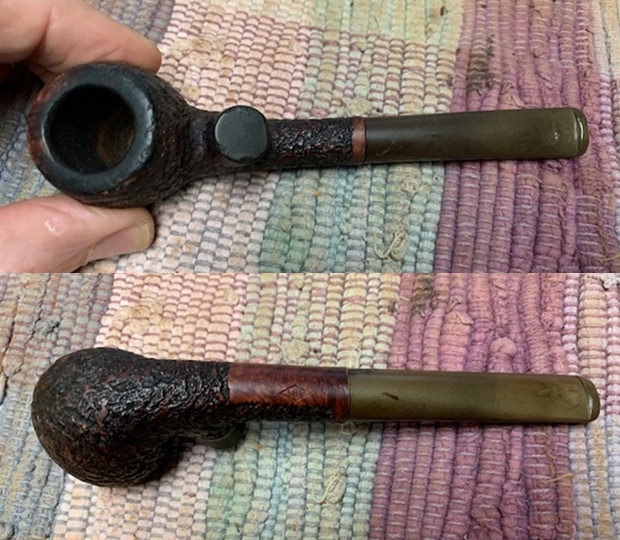
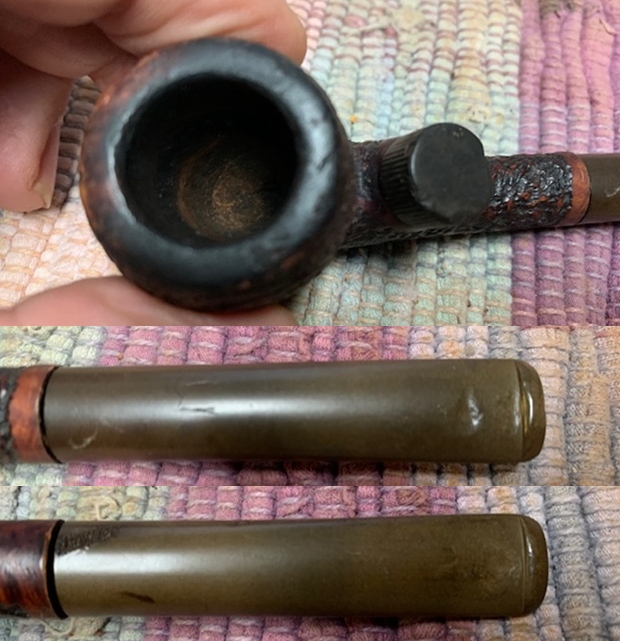
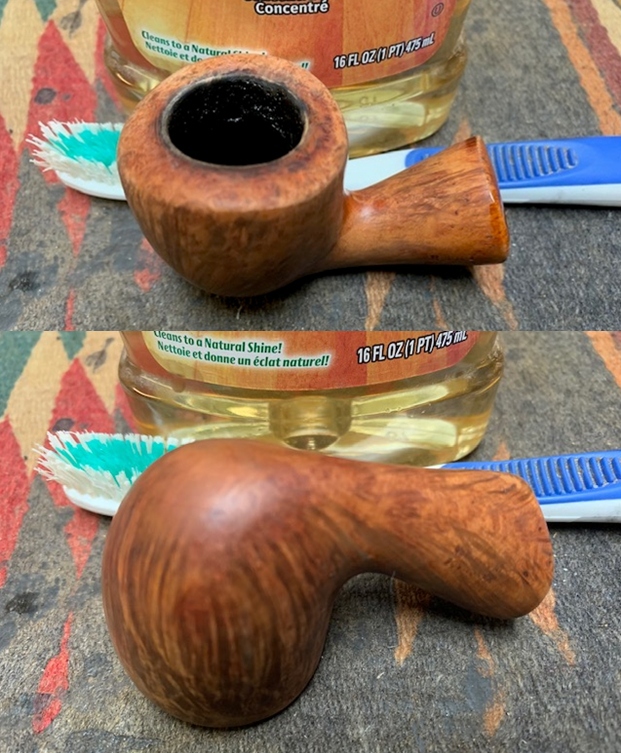
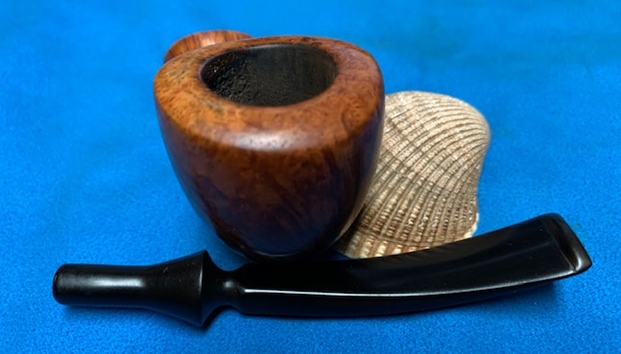
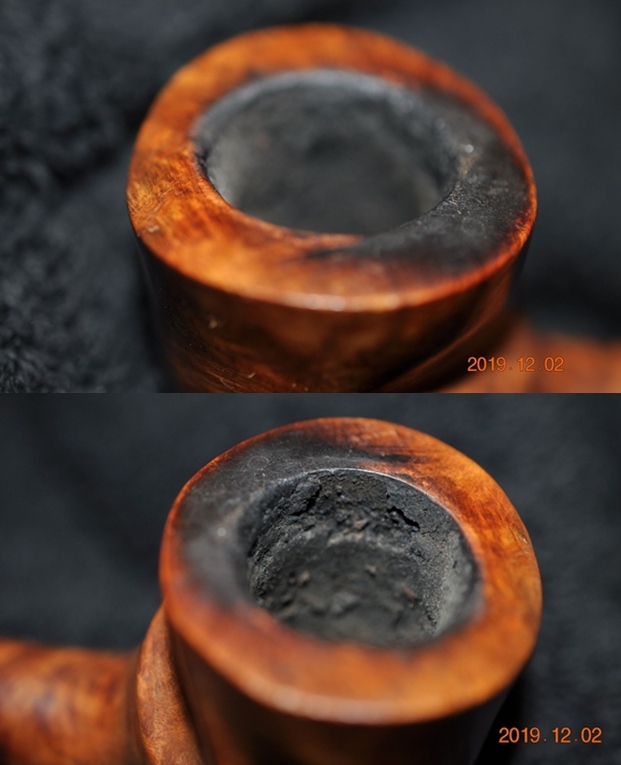
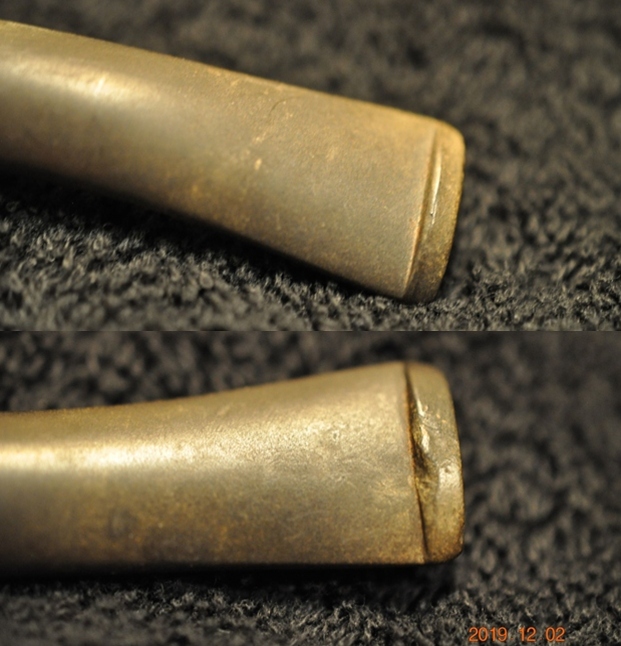
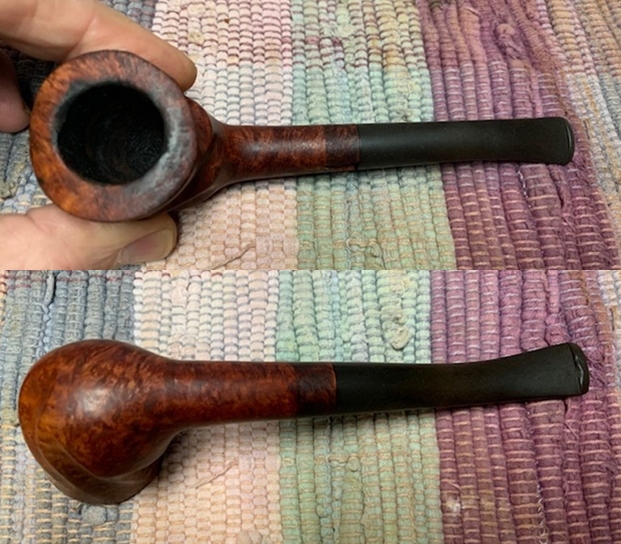
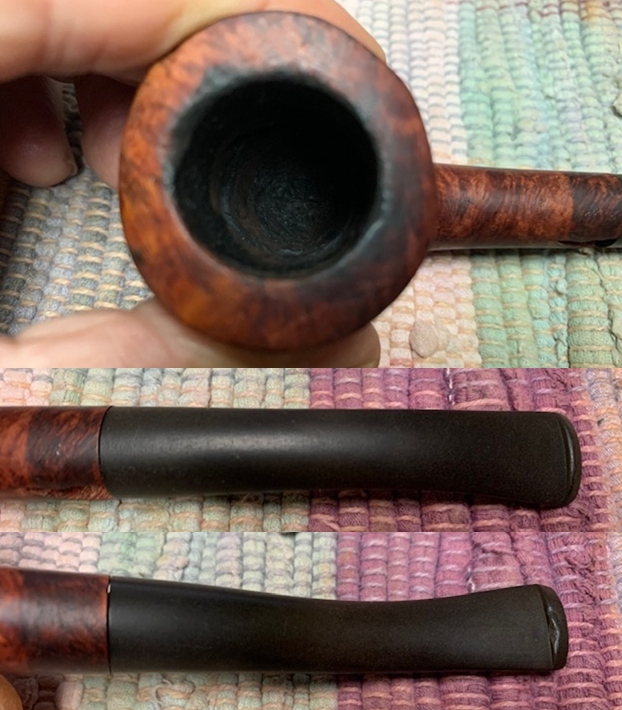
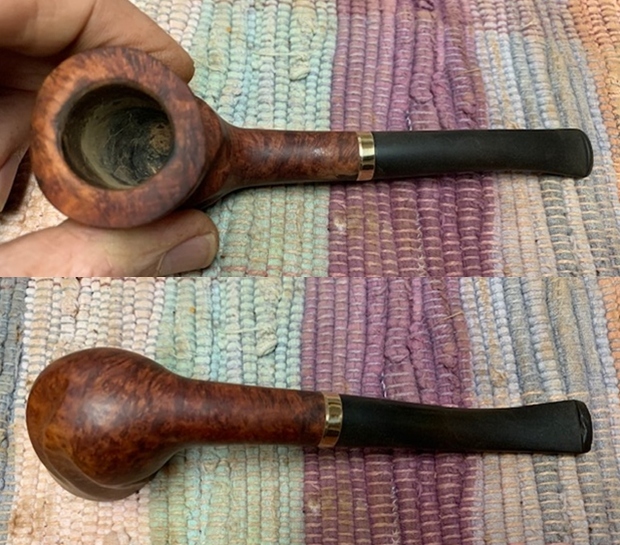
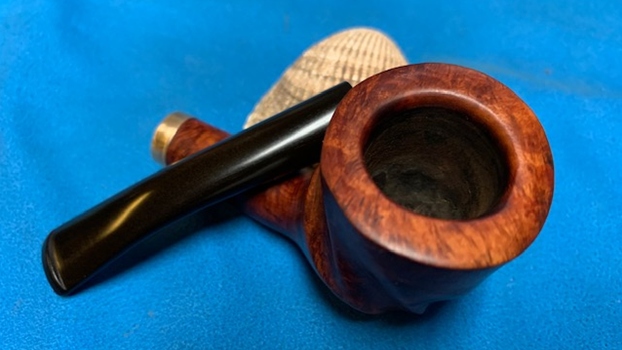
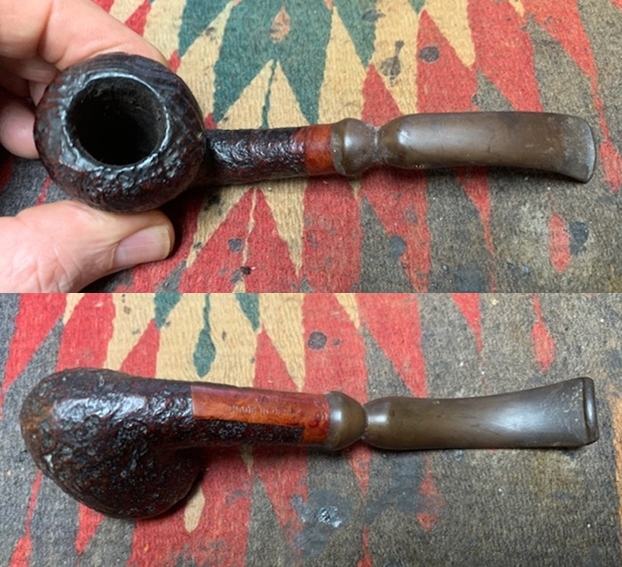
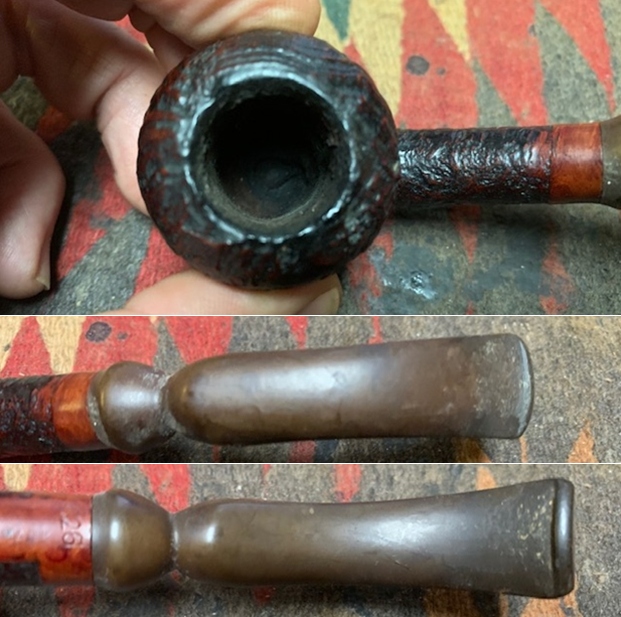
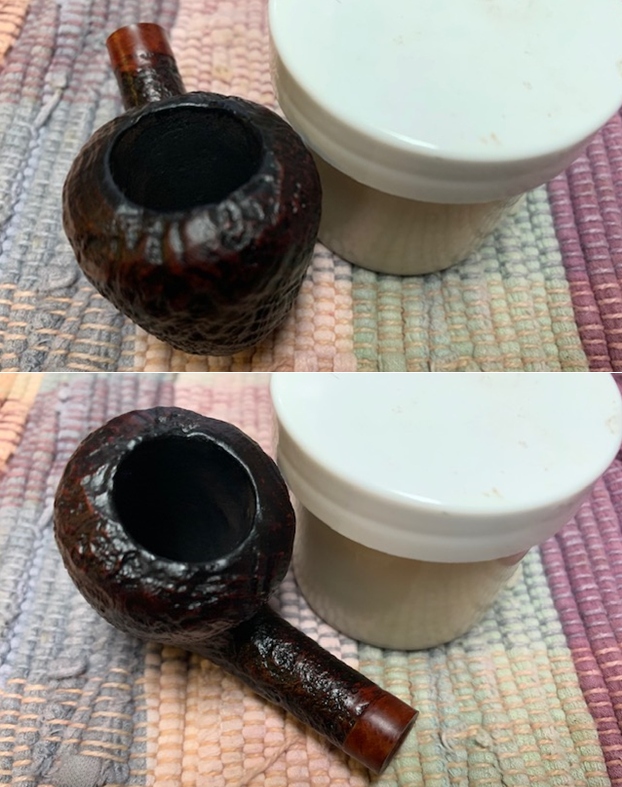
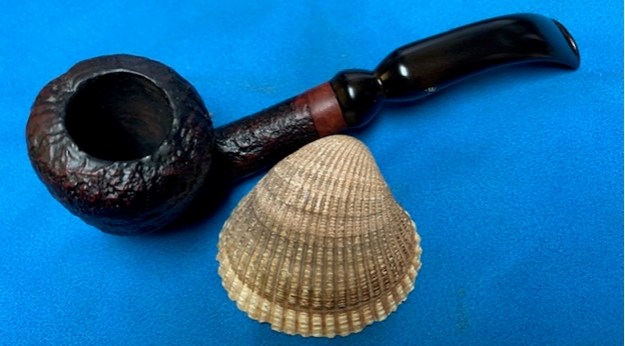
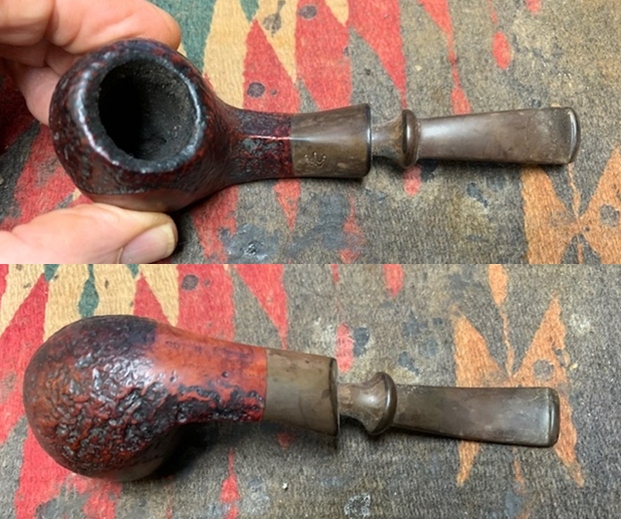
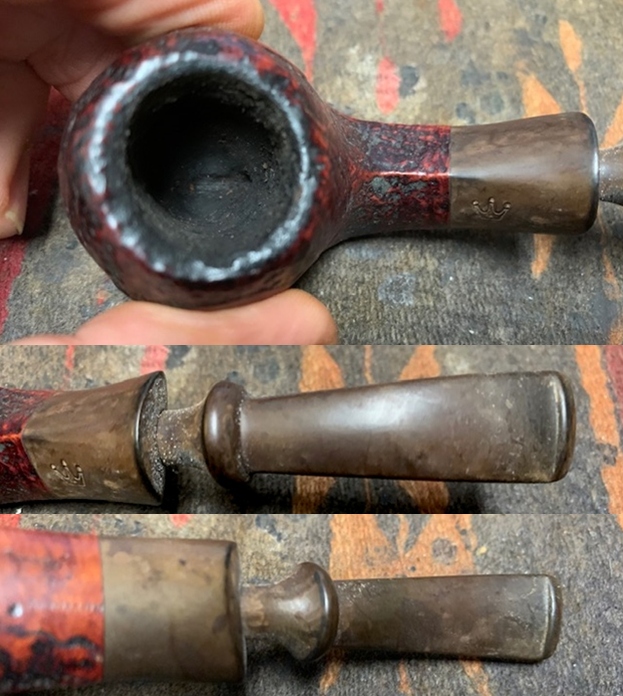
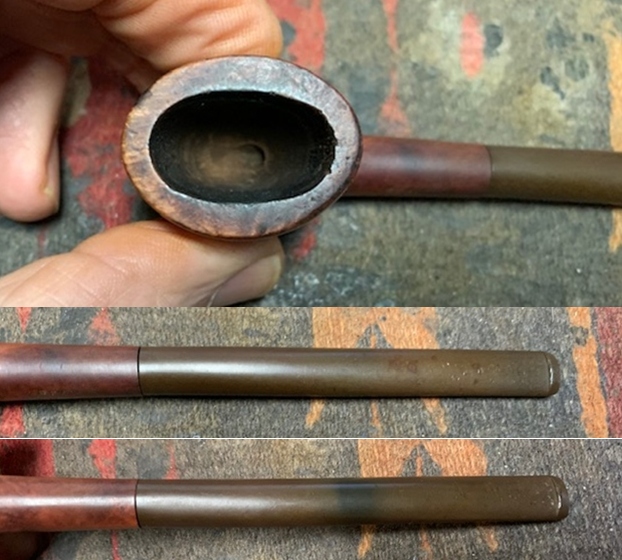
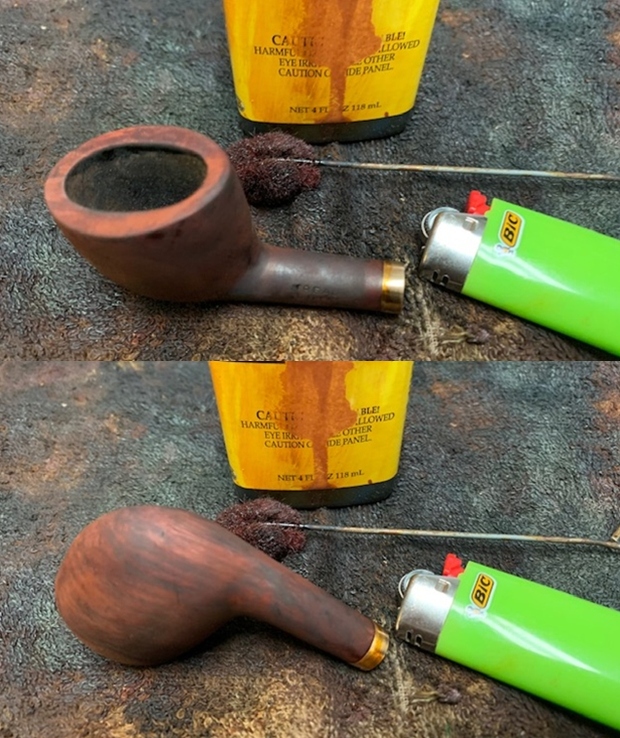
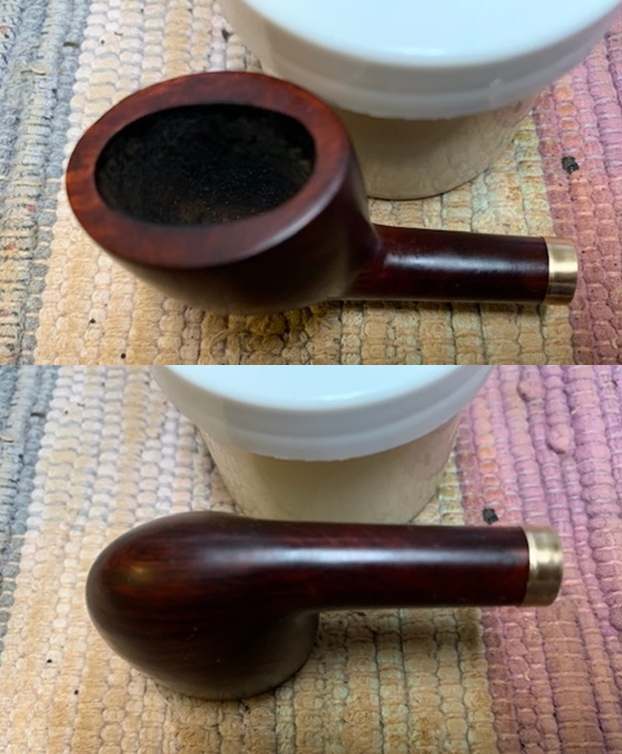
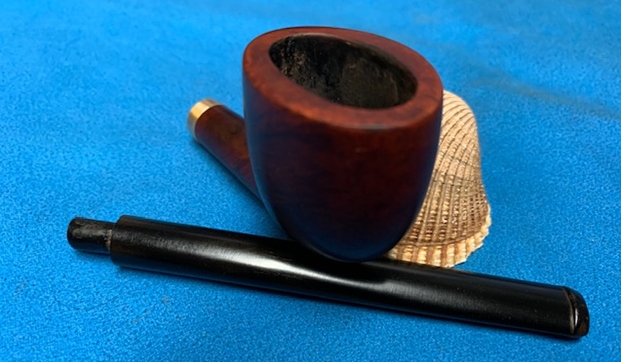
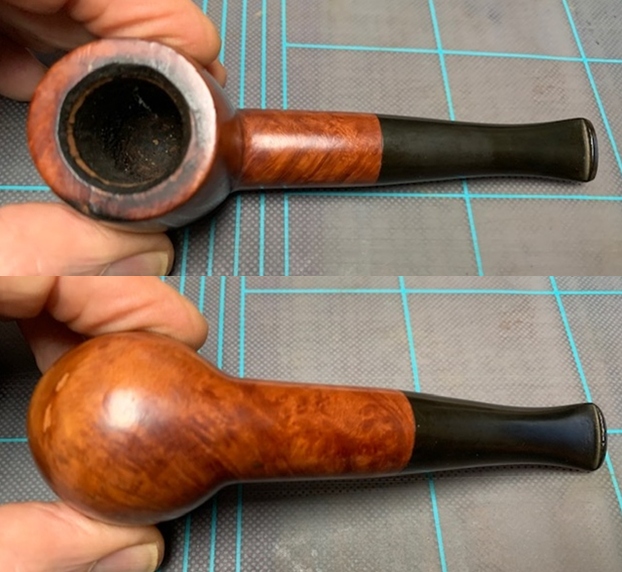
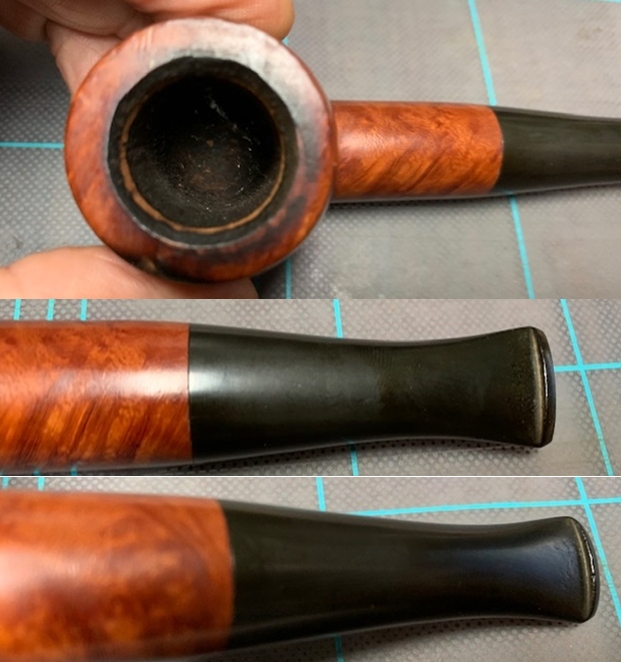
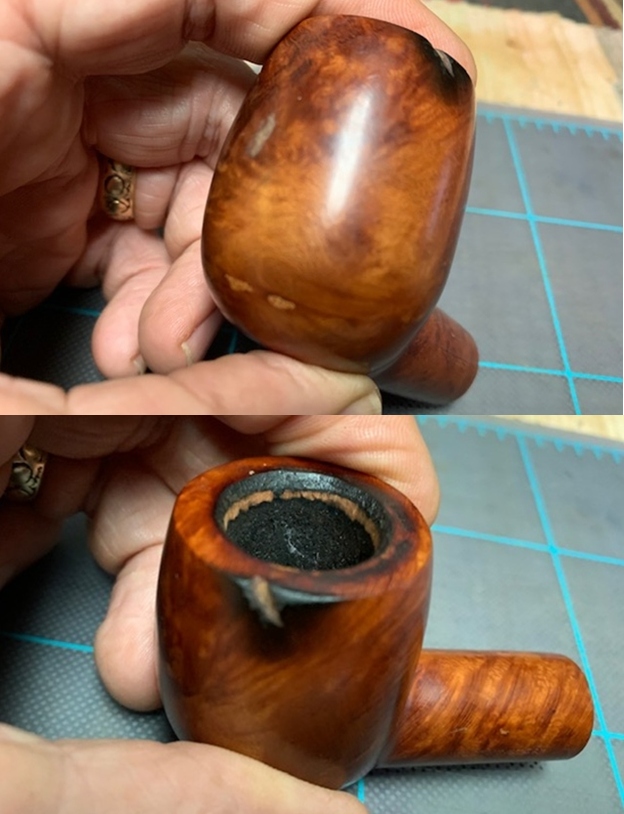
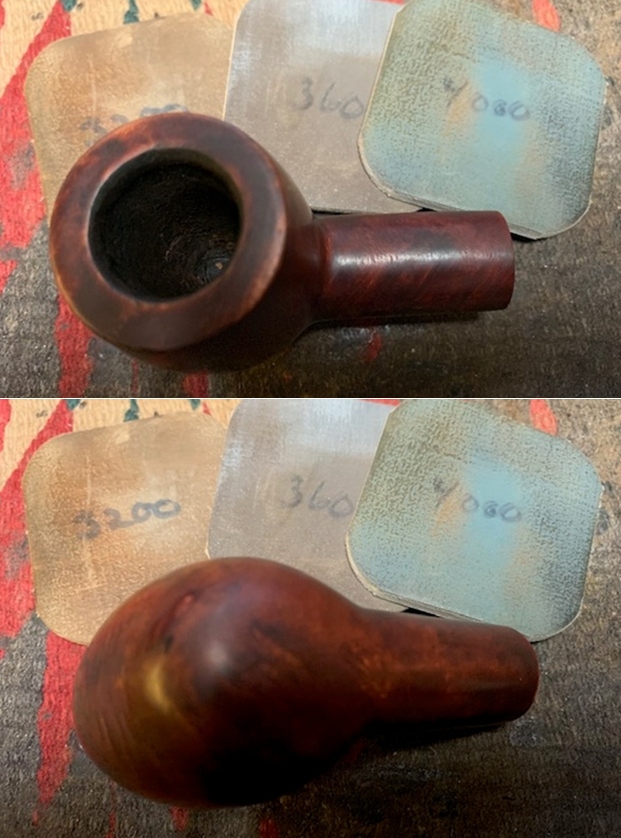
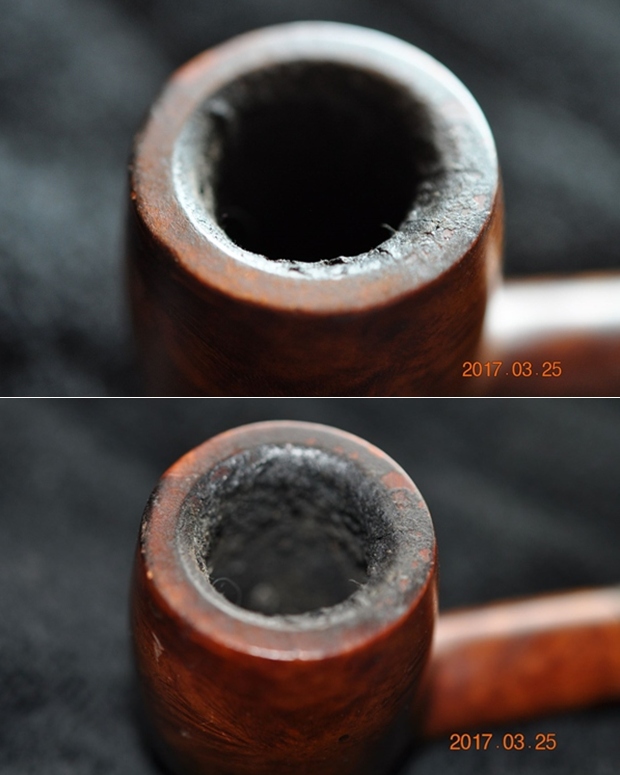
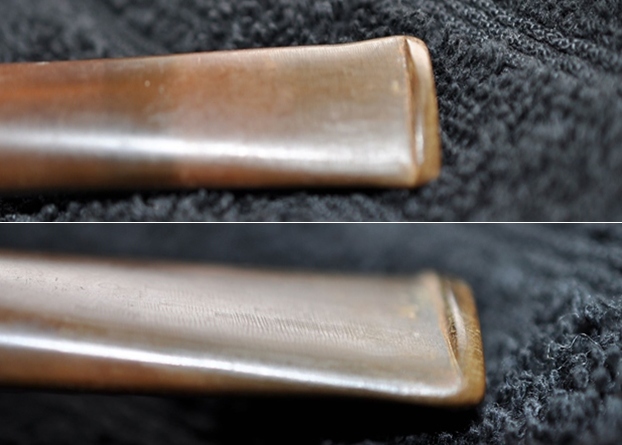
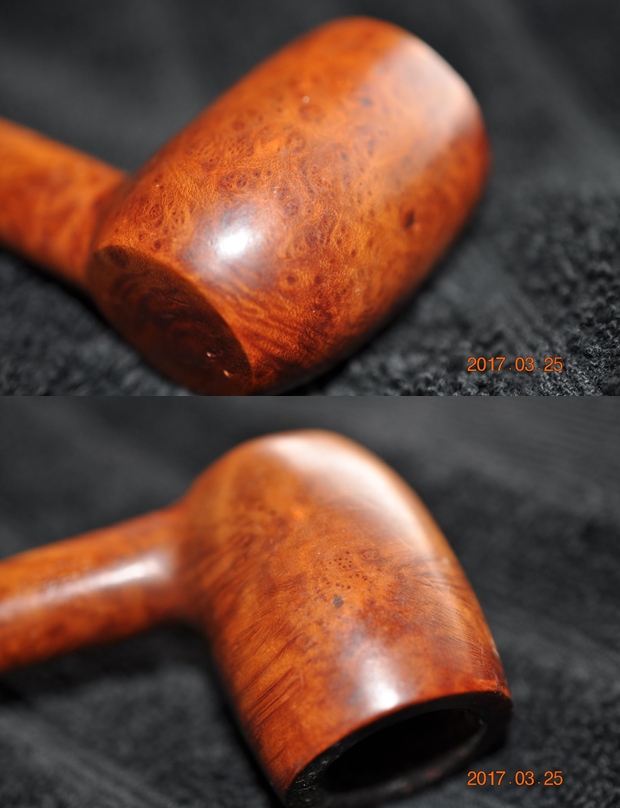
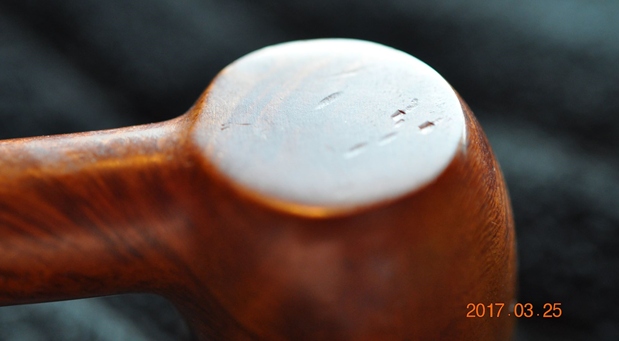
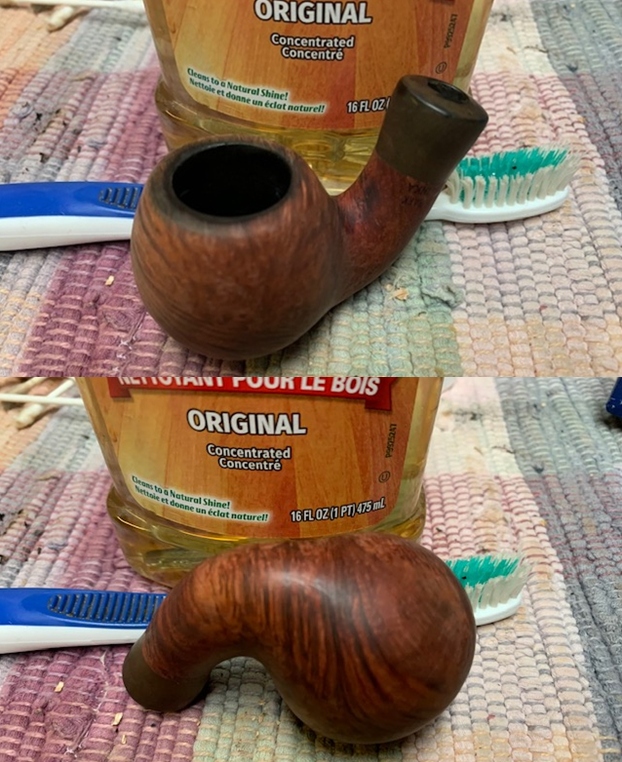
 I took some close up photos of the rim top and the stem surface. I wanted to show the condition of the cake in the bowl and look of the rim top and lava overflow. I also took close up photos of the stem to show the tooth marks and the calcification, oxidation and generally condition of the stem surface.
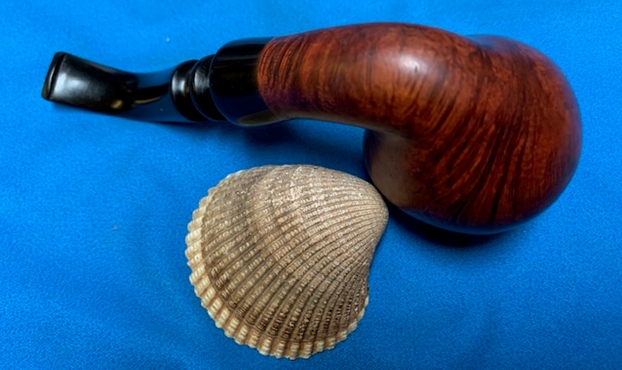
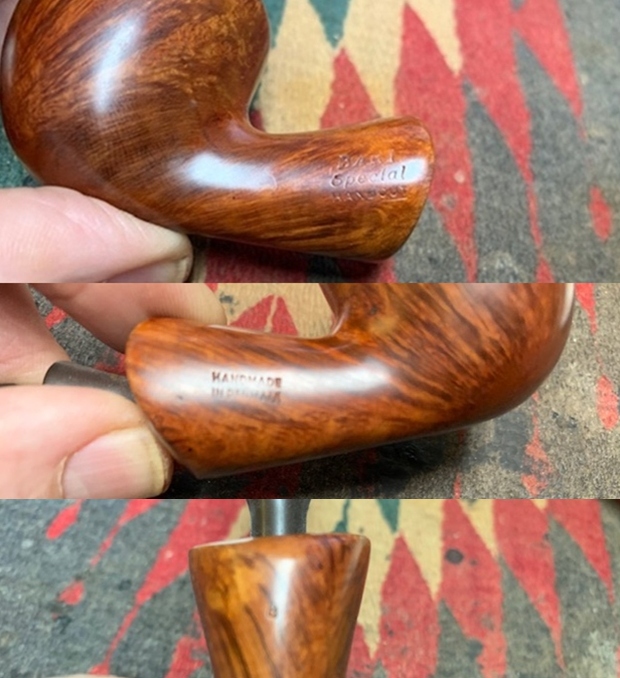
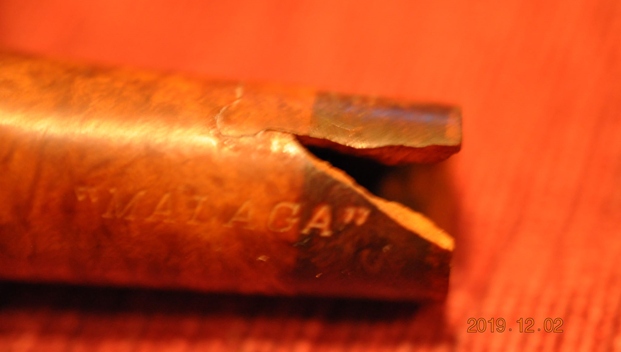
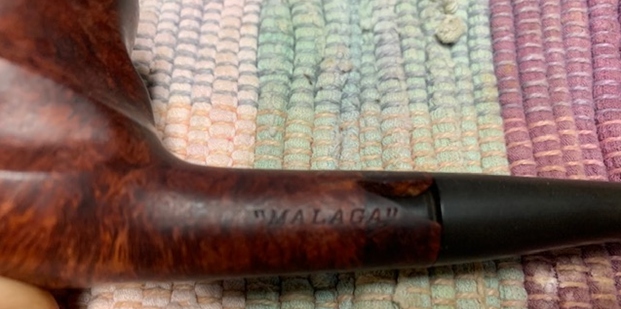
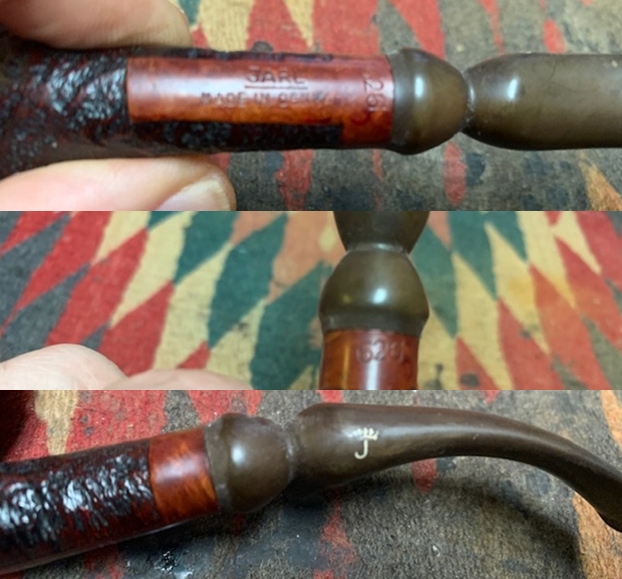
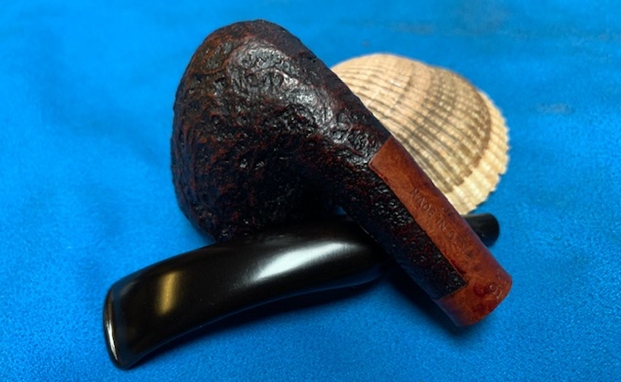
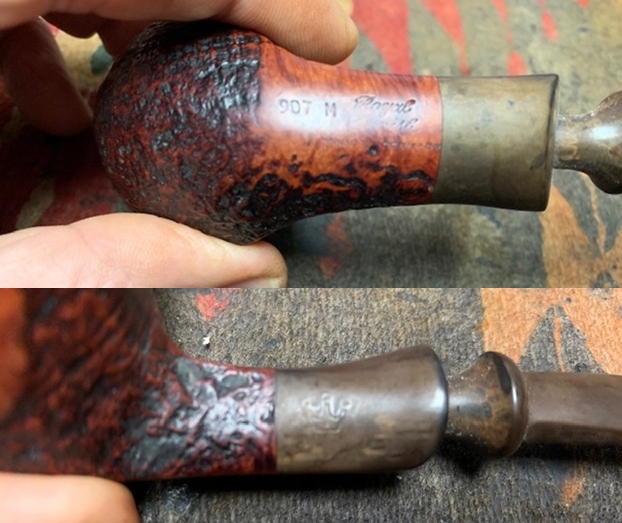
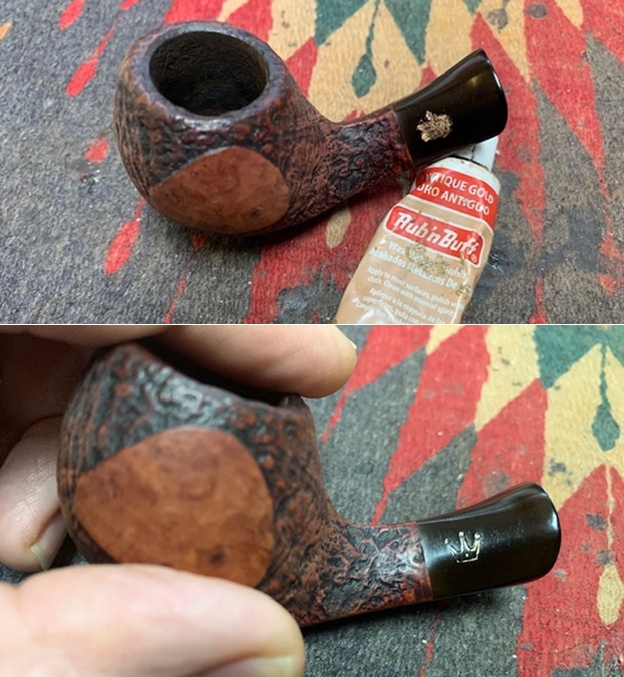
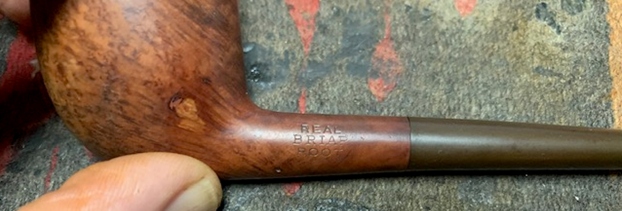
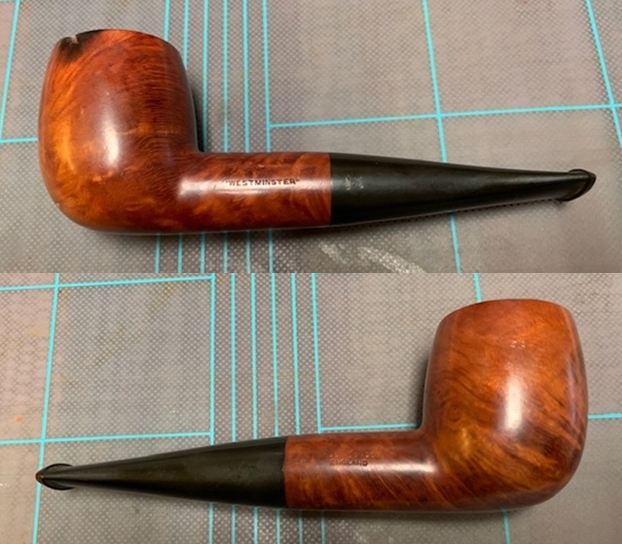
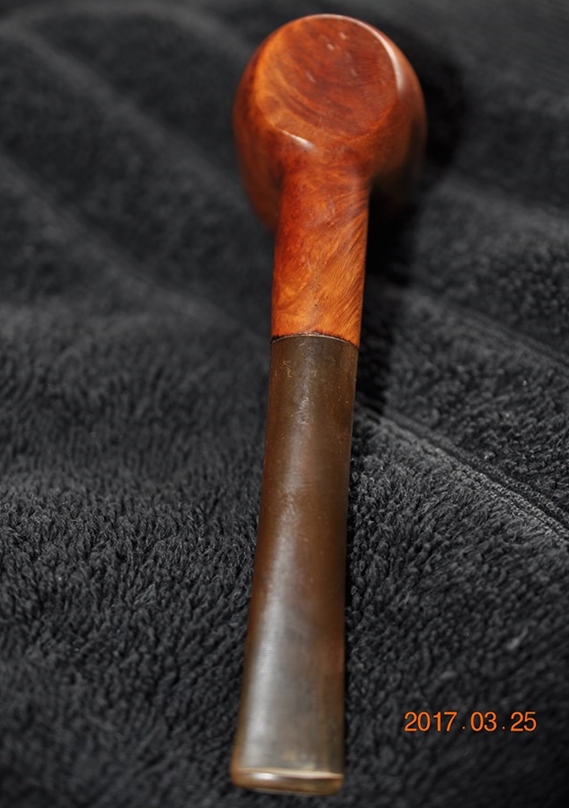
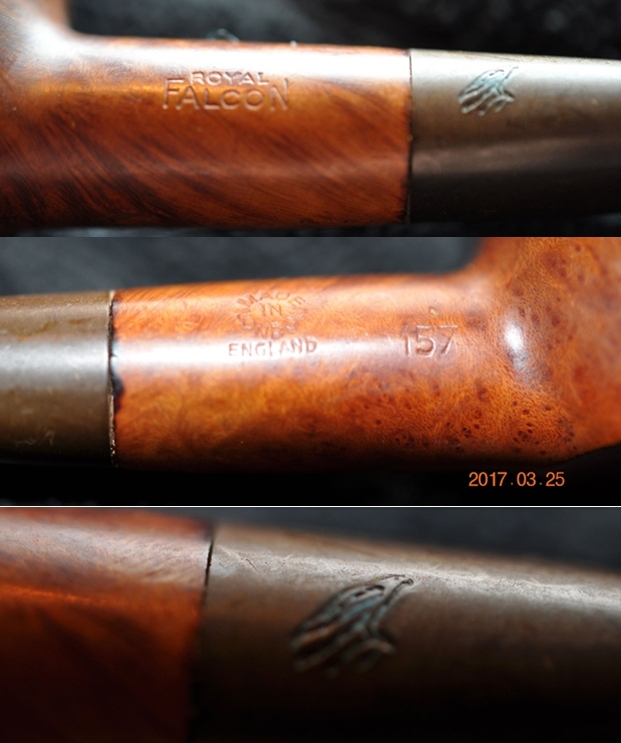
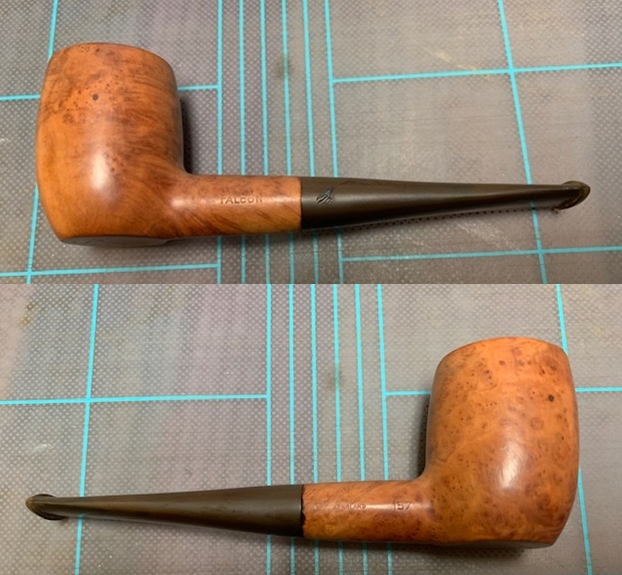
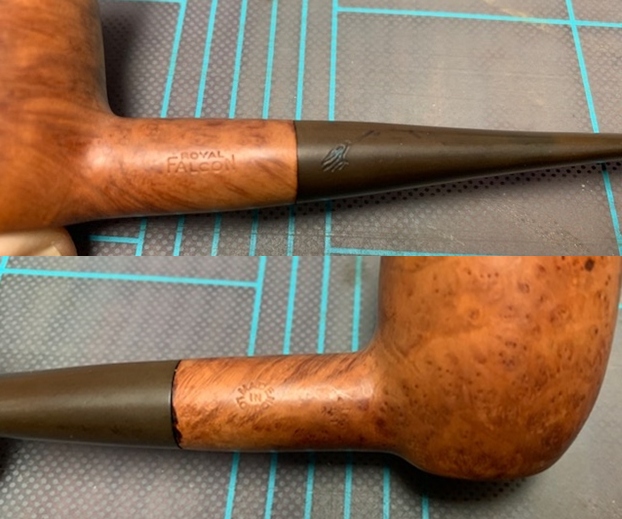
 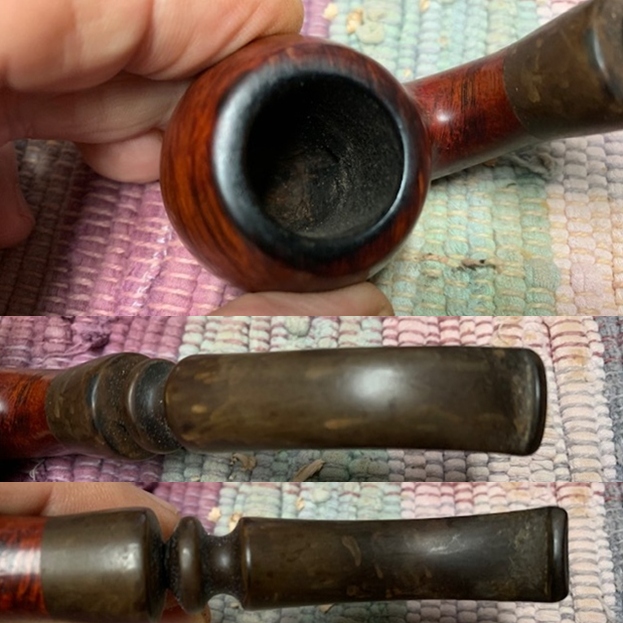 I took a photo of the stamping on the underside of the shank and it is faint but readable under the grime. It is stamped as noted above. It is also stamped on both sides of the shank.
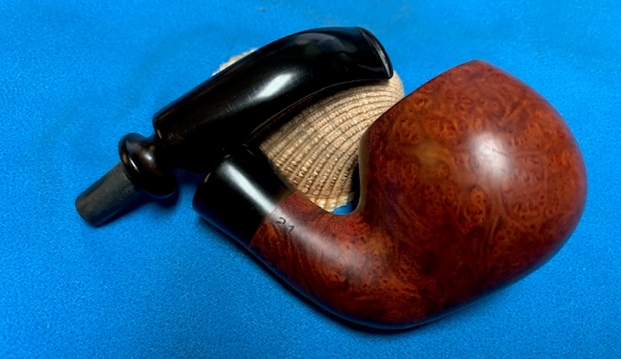
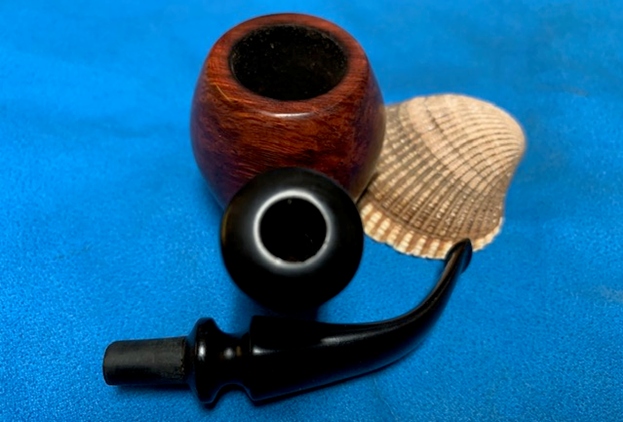
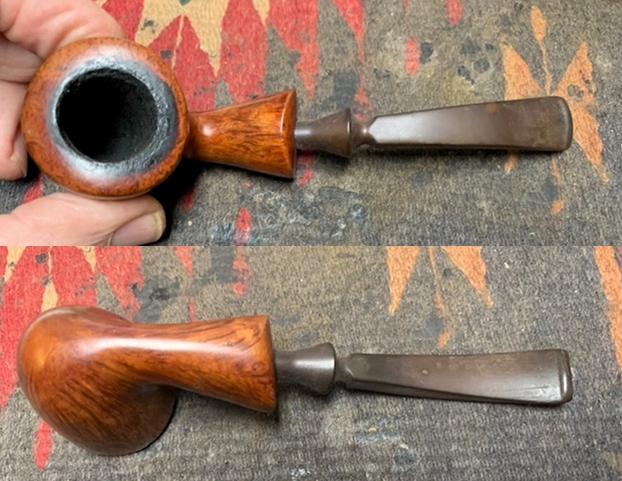
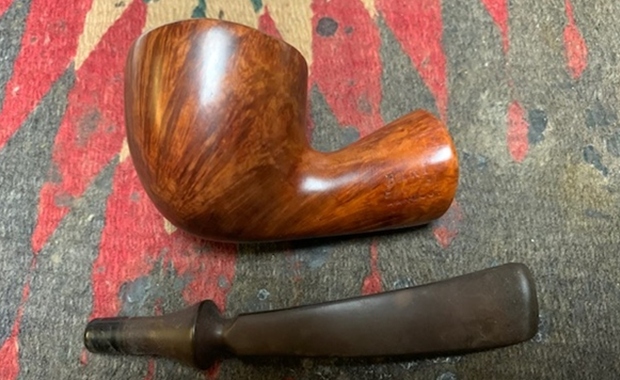
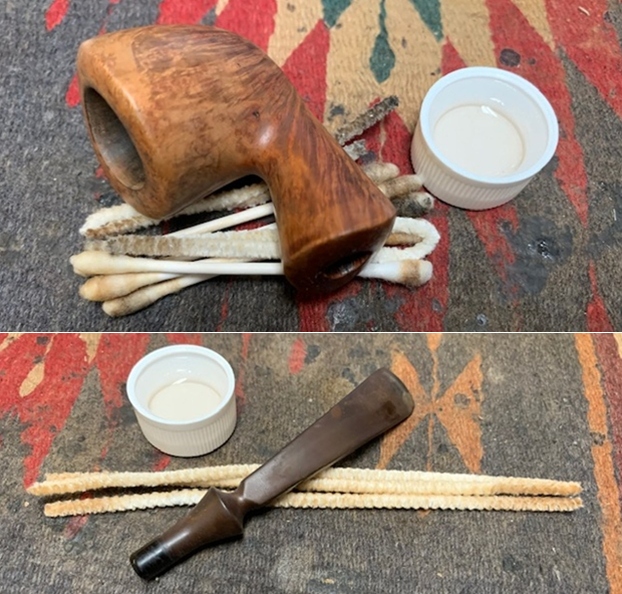
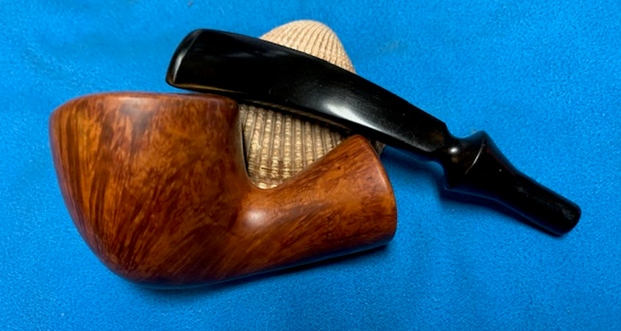
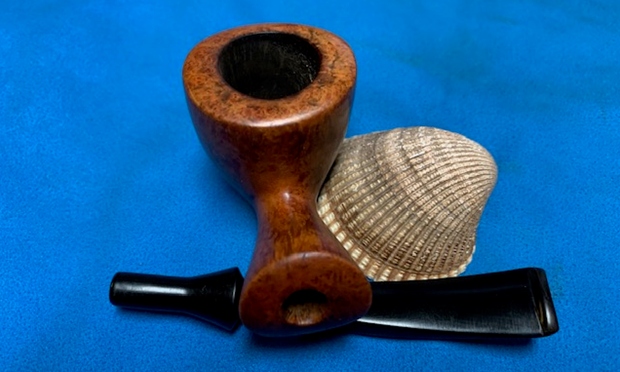
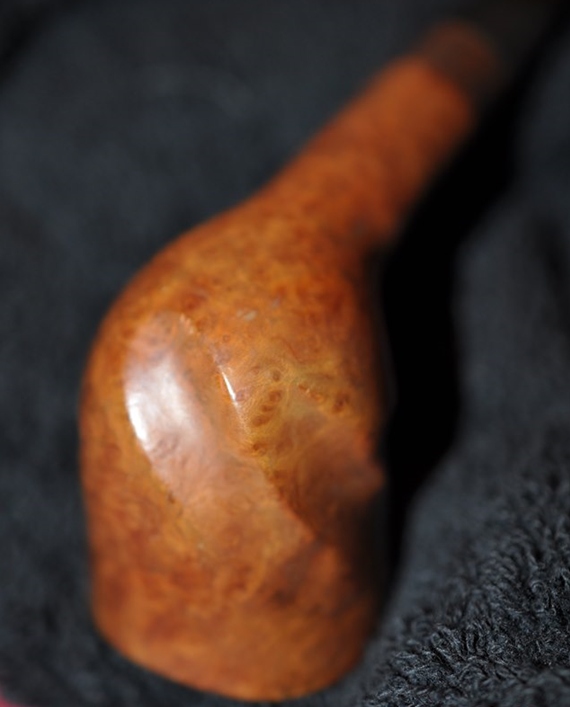
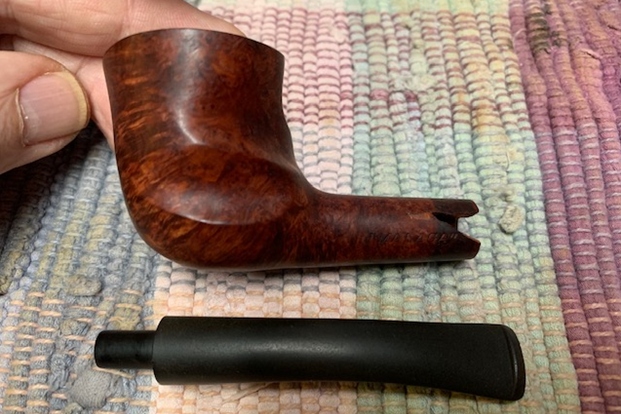
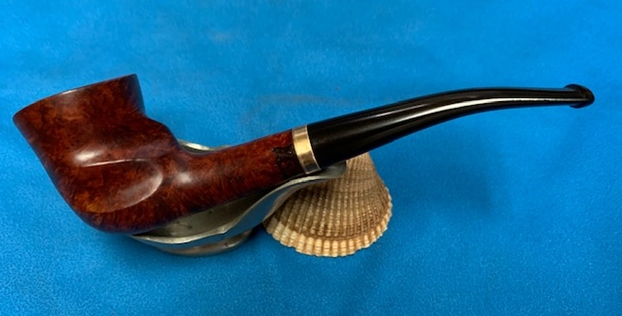
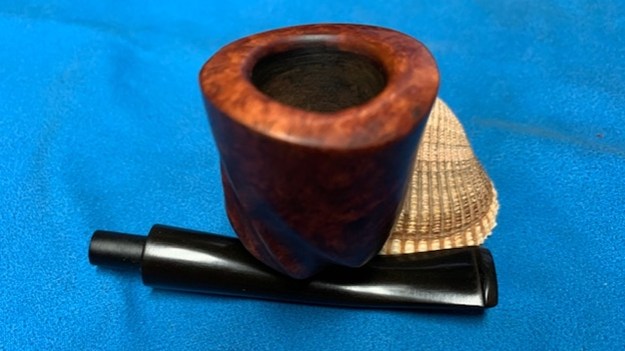
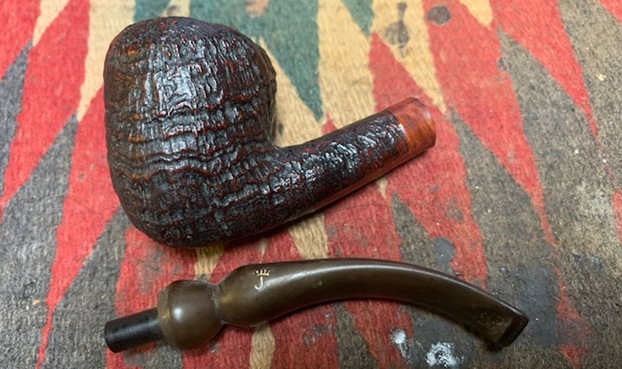
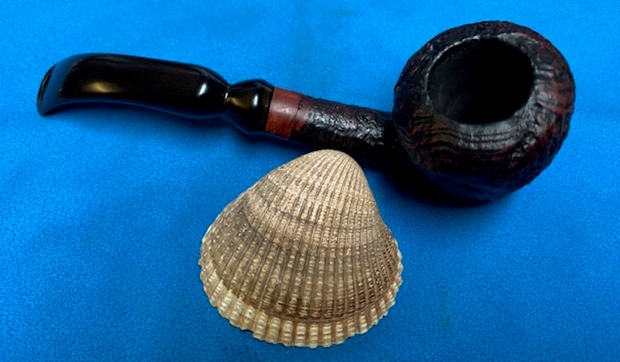
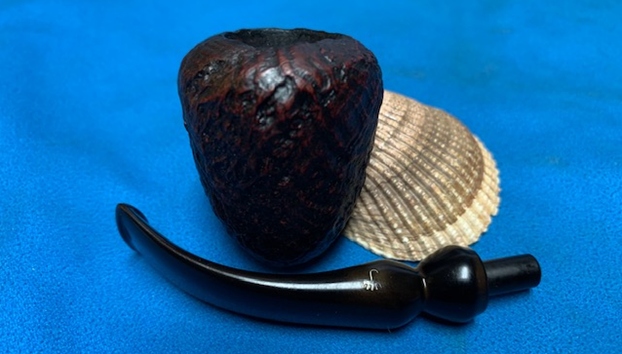
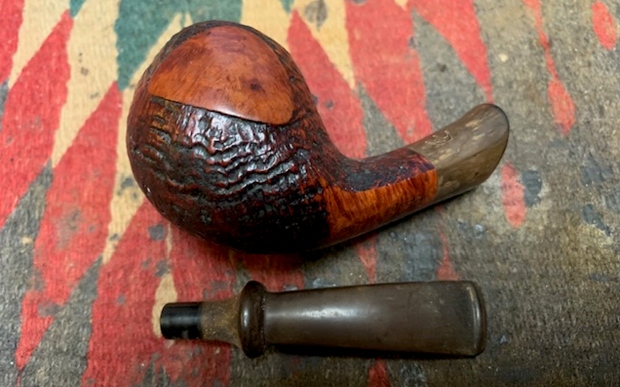
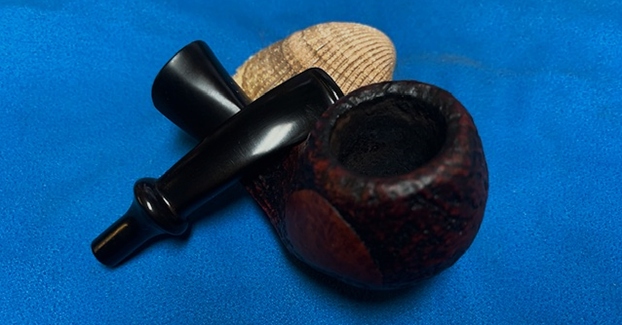
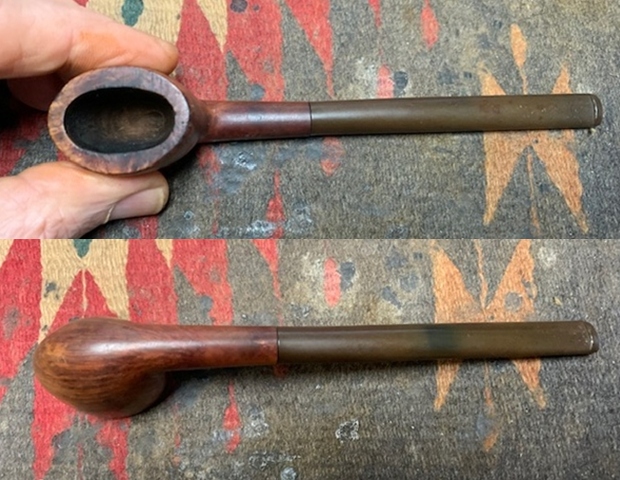
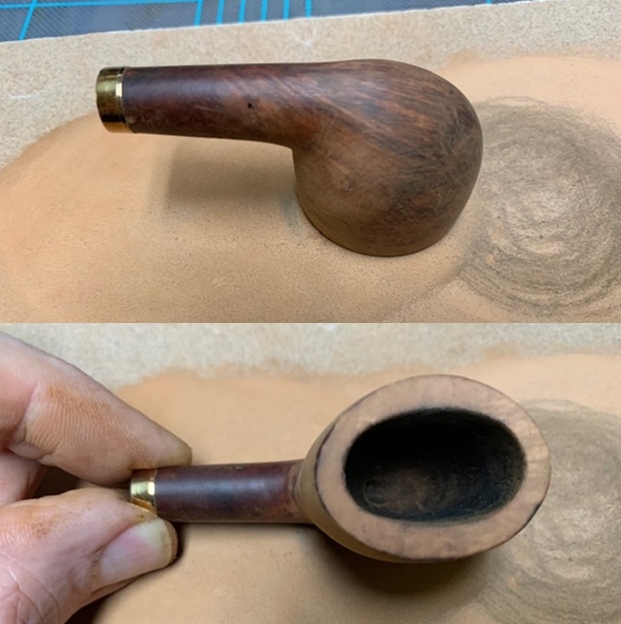
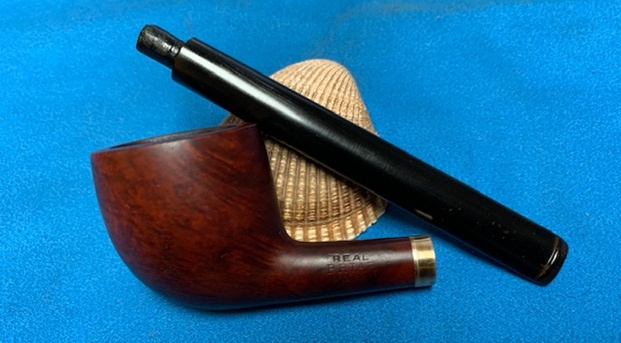
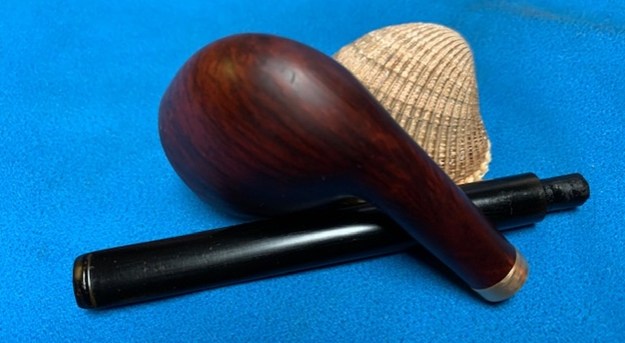
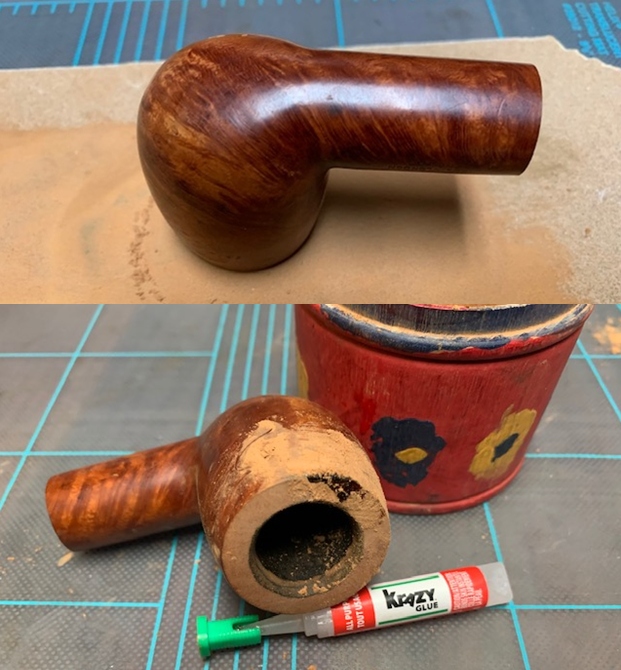
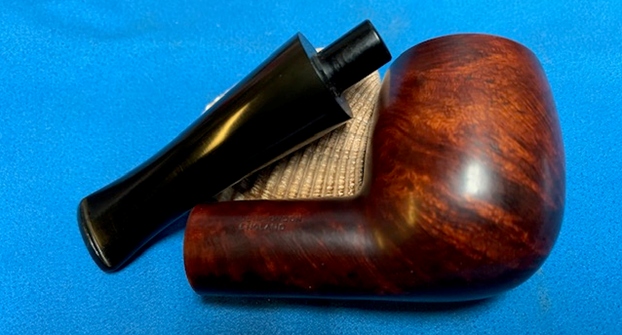
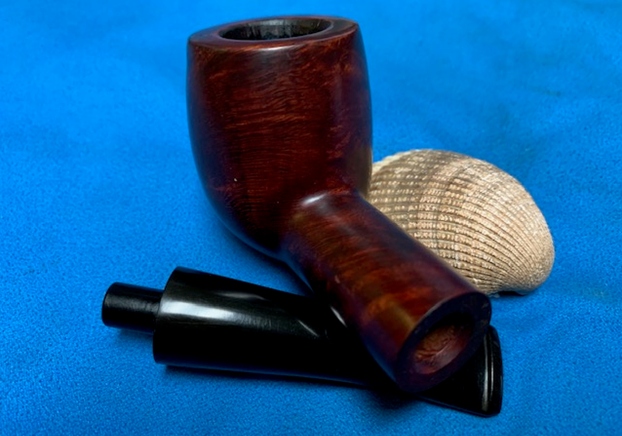
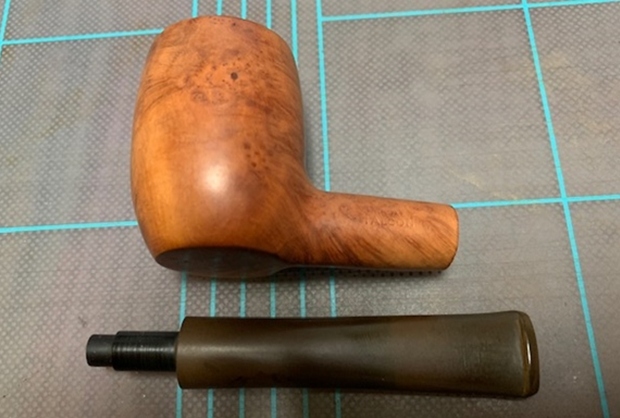
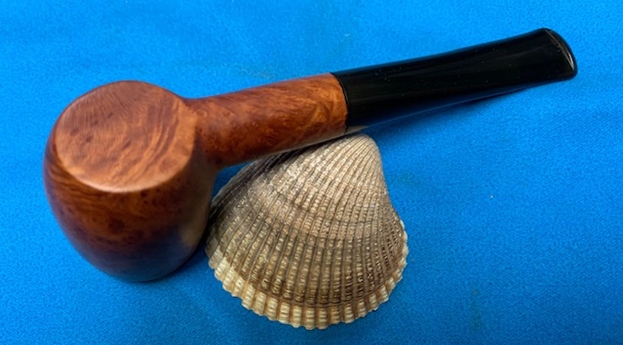
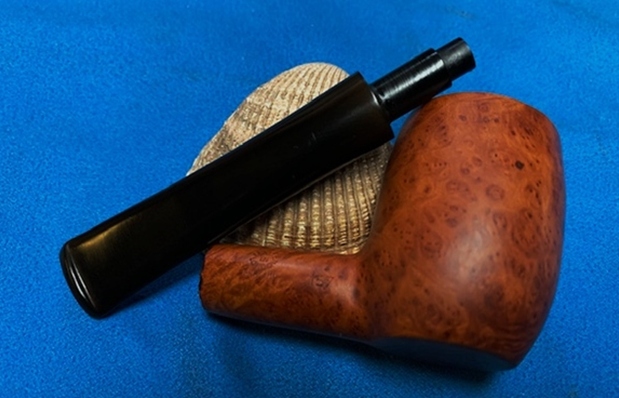
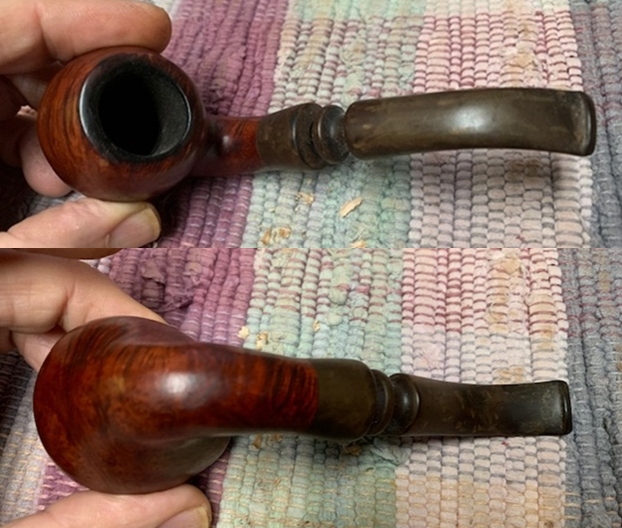
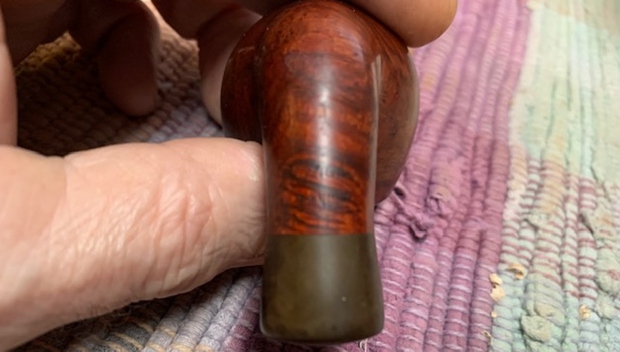 I removed the stem for the shank and took a photo of the bowl and stem to give a picture of what it looked like. It is a great looking pipe under the grime.
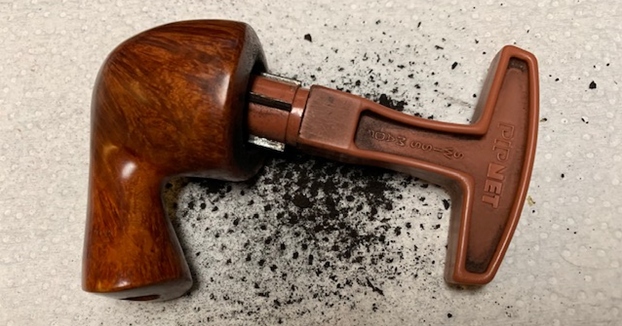
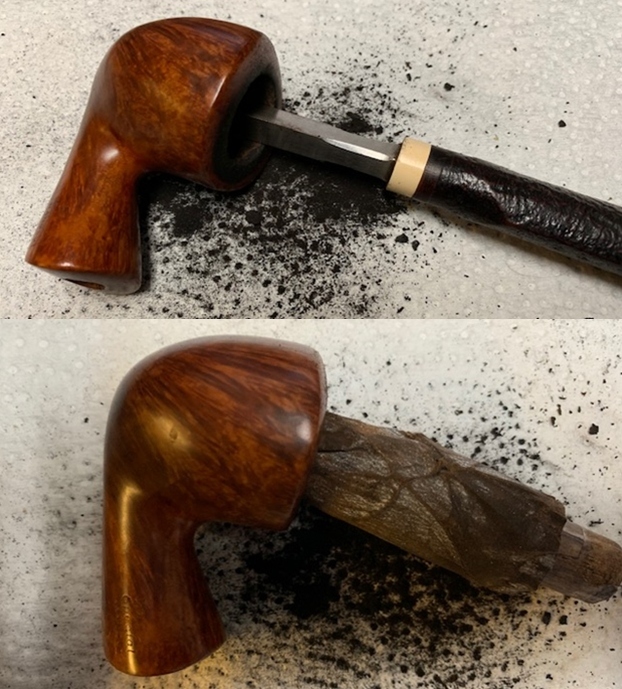
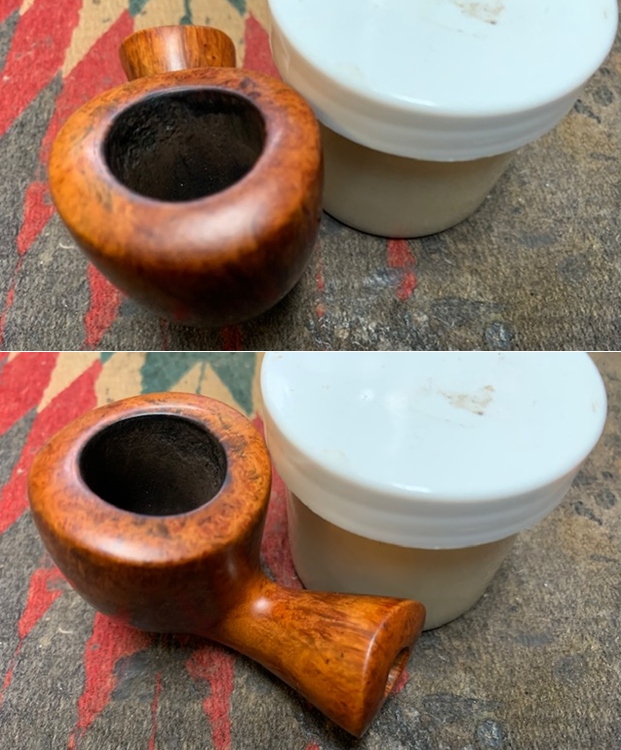
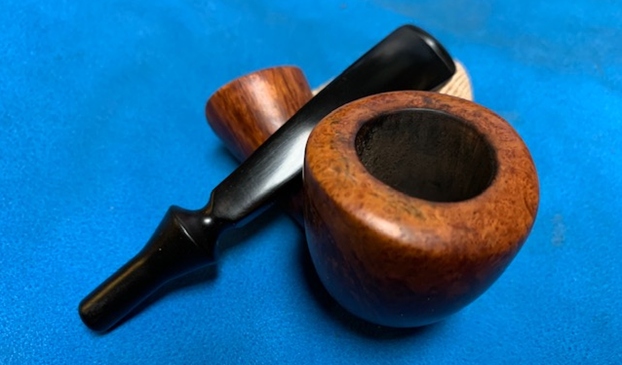
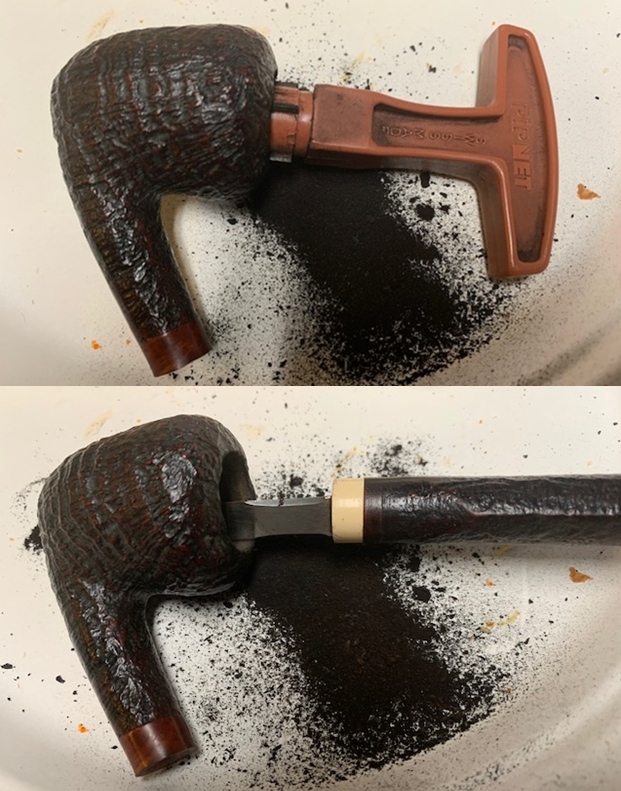
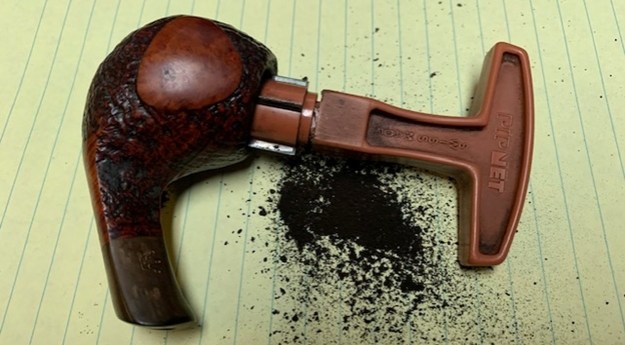
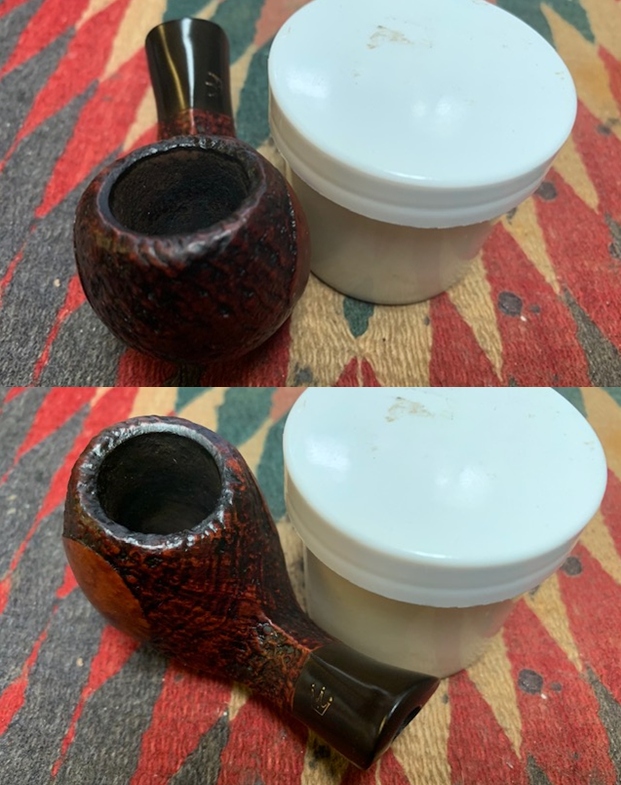
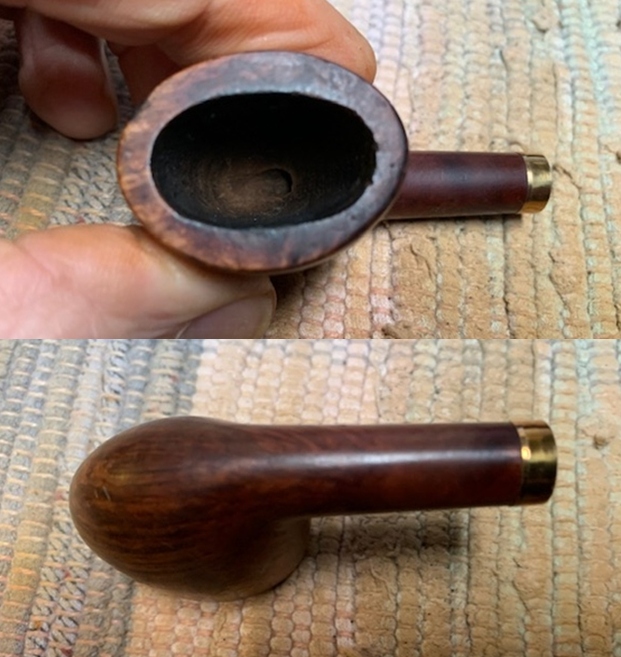
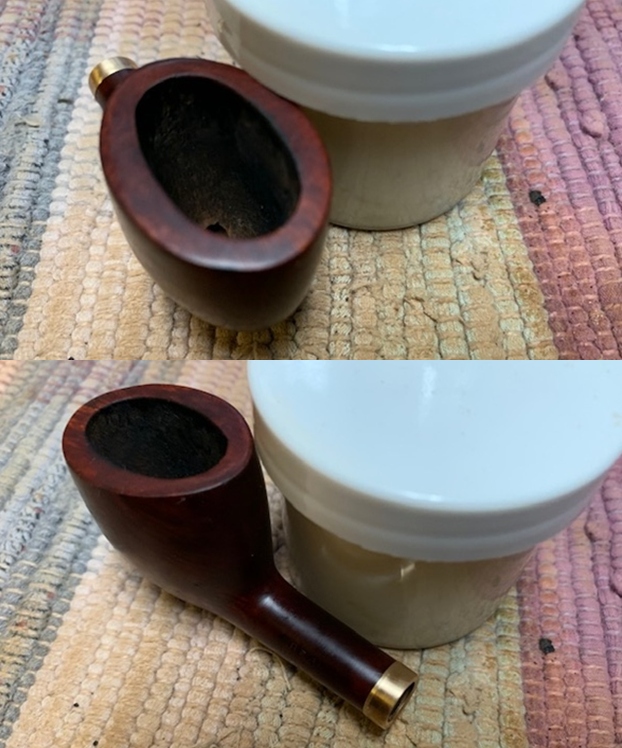
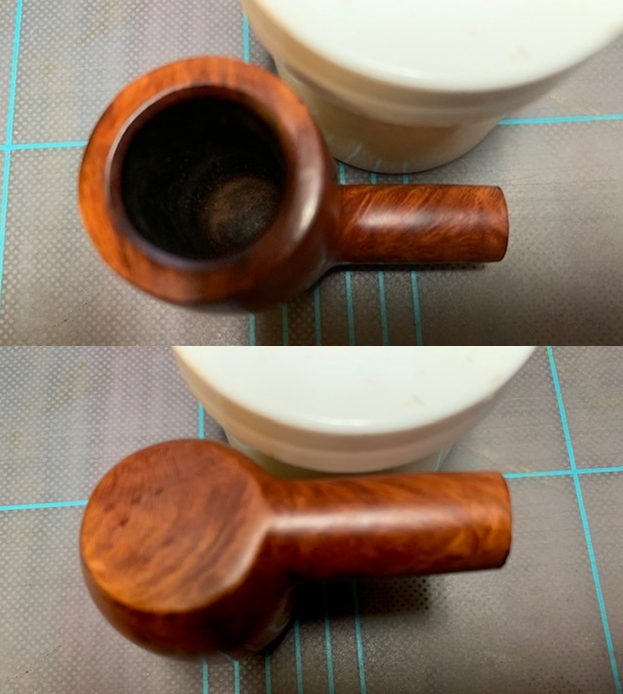
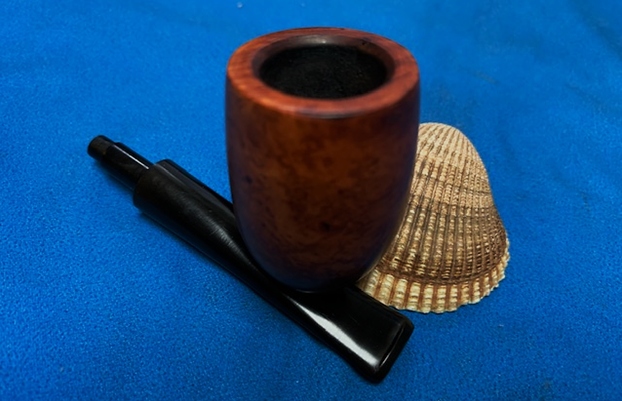
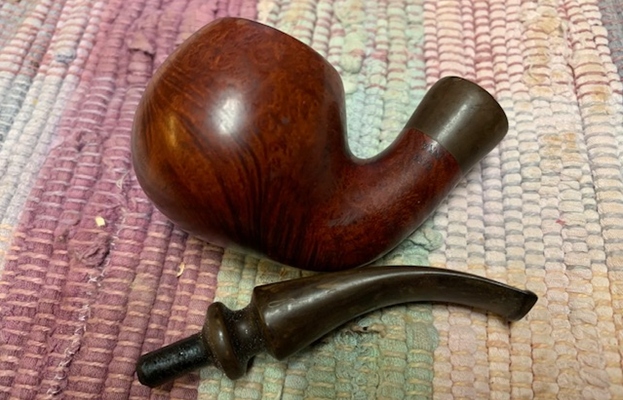 I decided to start my restoration by getting rid of the cake in the bowl and cleaning up the rim top. I reamed it with a Savinelli Fitsall Pipe Knife. I sanded the inside of the bowl with 220 grit sandpaper wrapped around a piece of dowel. Once I finished the bowl was smooth and clean. I was glad to see that there was no internal damage.
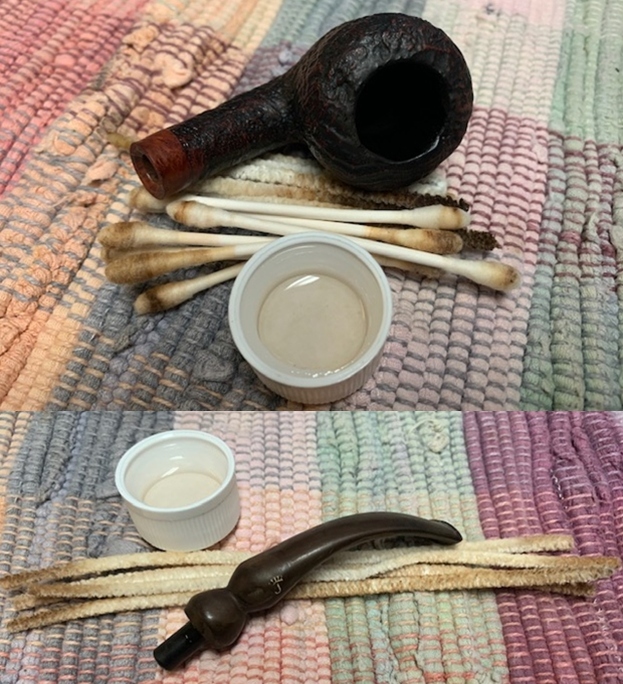
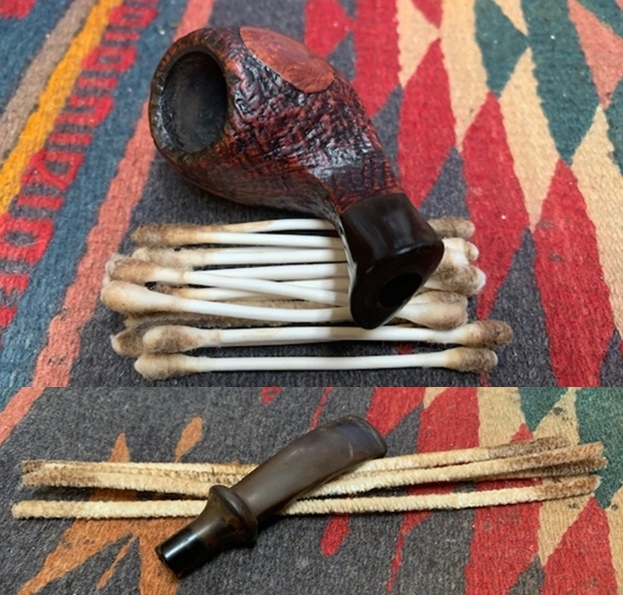
 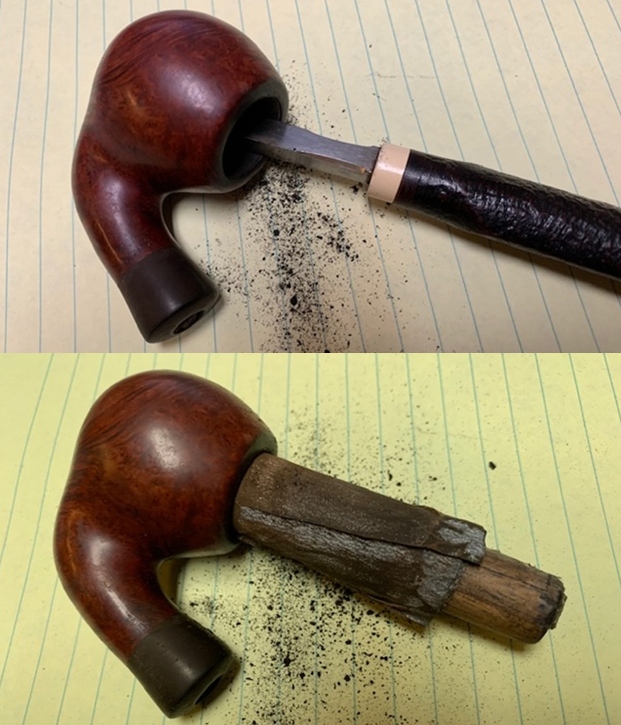 I scraped the inside of the tenon with a pen knife to remove the buildup of tars. I followed that by scrubbing out the internals of the shank and the airway in the stem with alcohol, pipe cleaners and cotton swabs until the pipe was clean. I was not able to push a pipe cleaner through the shank to the bowl. There was some obstruction in the way that impeded the airflow.
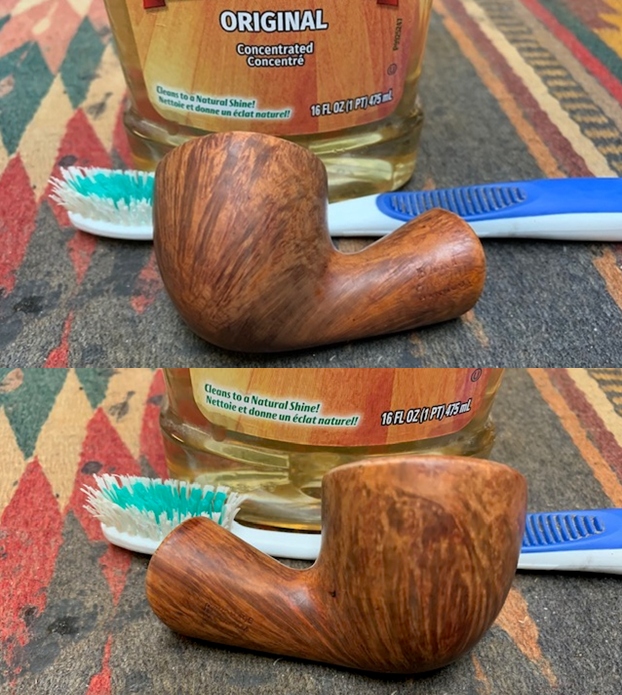
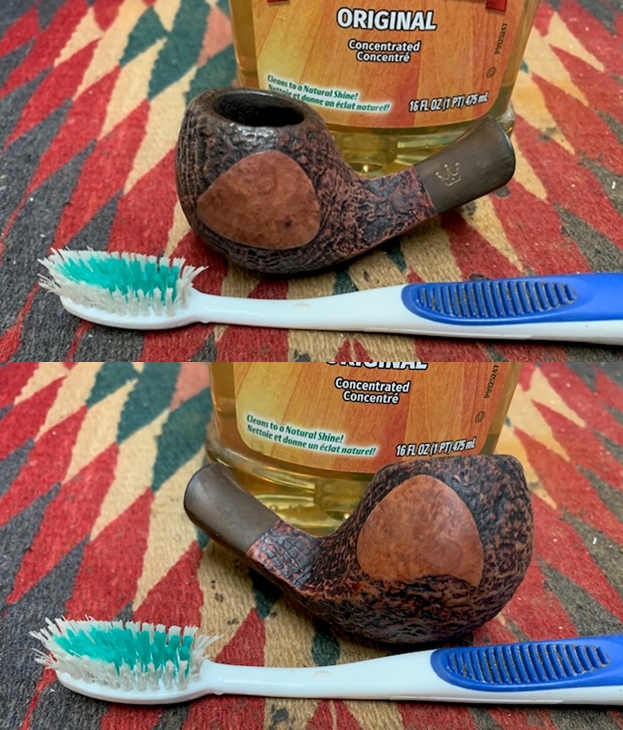
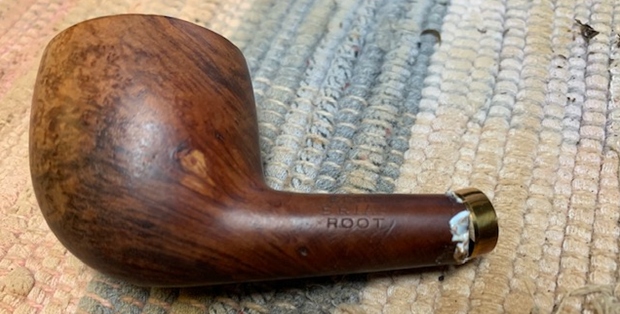
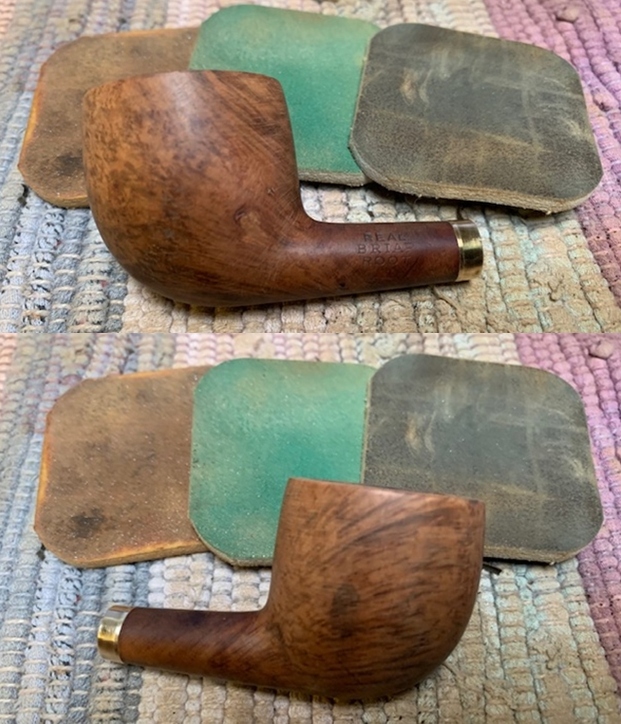
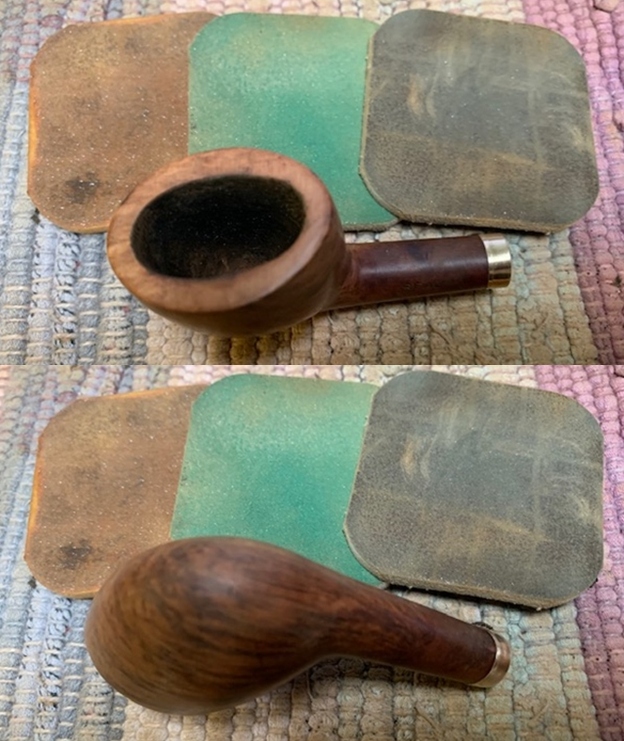
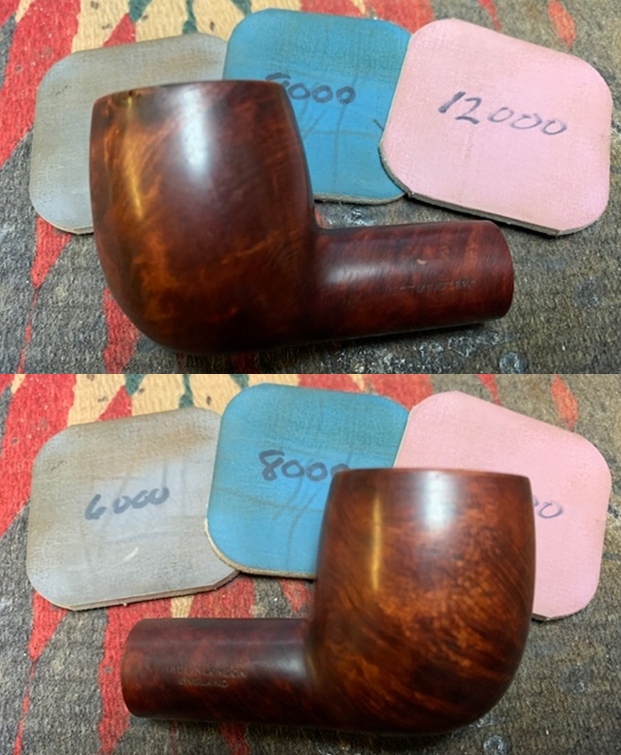
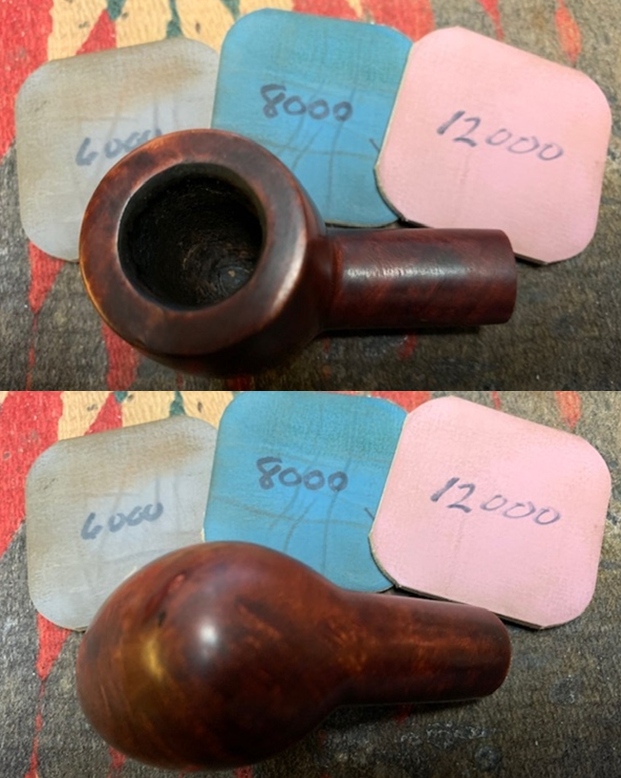
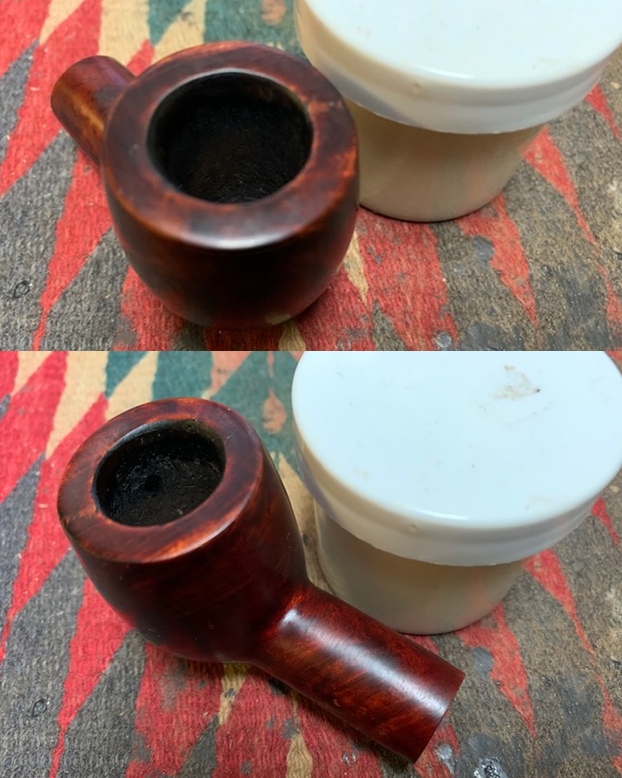
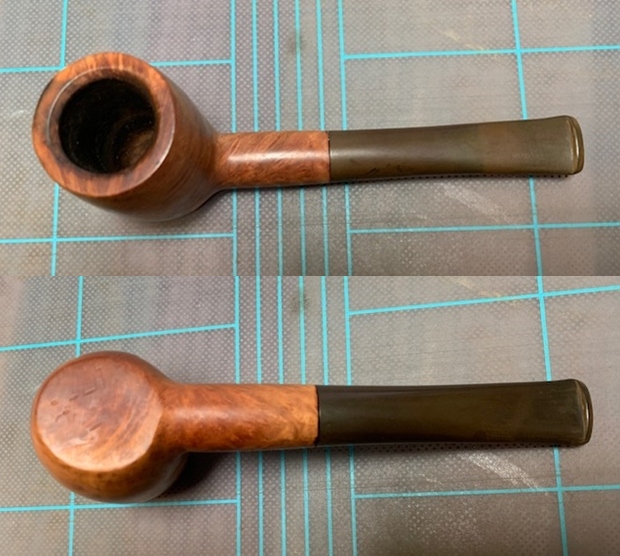
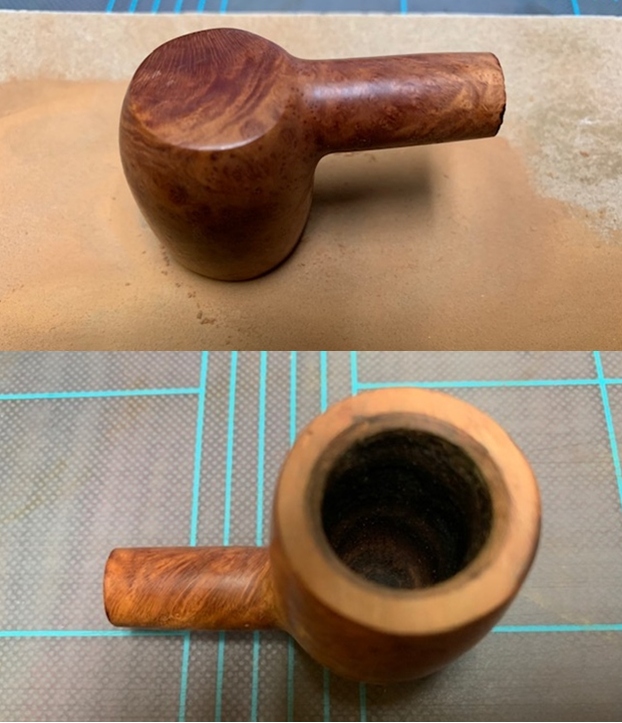
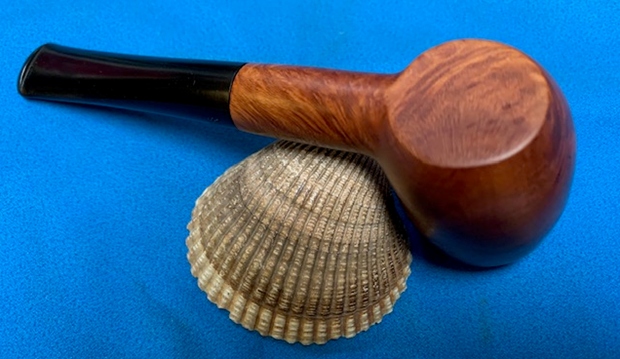
 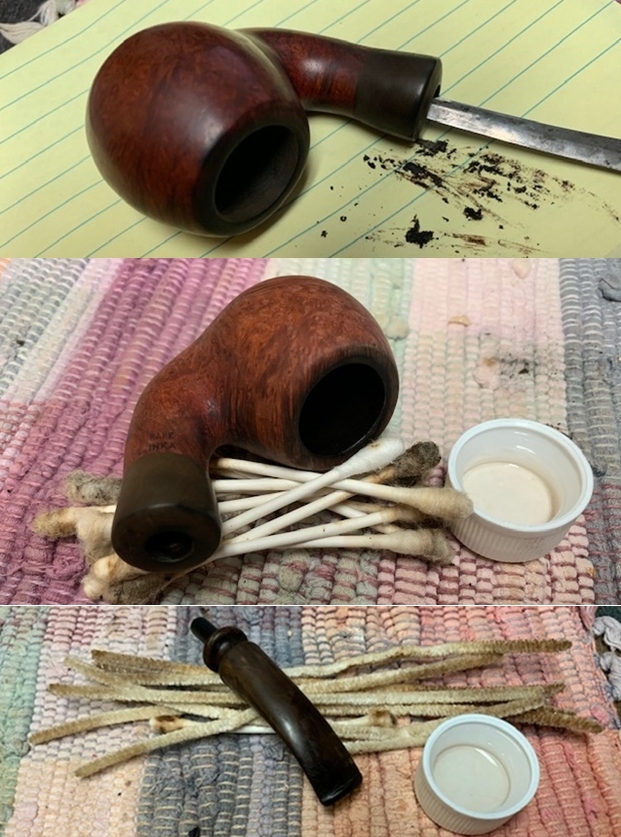 I scrubbed the exterior of the bowl with Murphy’s Oil Soap and a tooth brush to remove the grime and grit on the briar and the lava on the rim top. The finish looks very good with good looking grain around the bowl and shank. Once it is polished it will come to life.
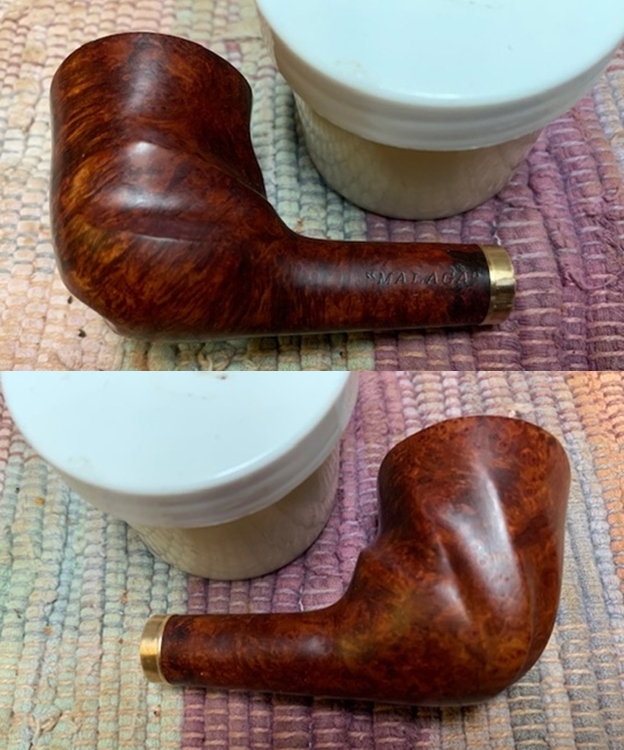
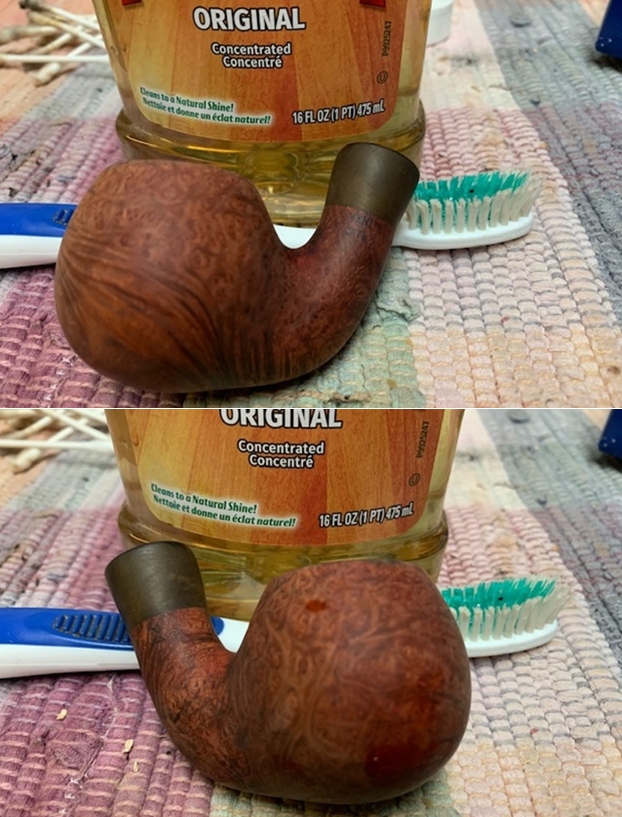
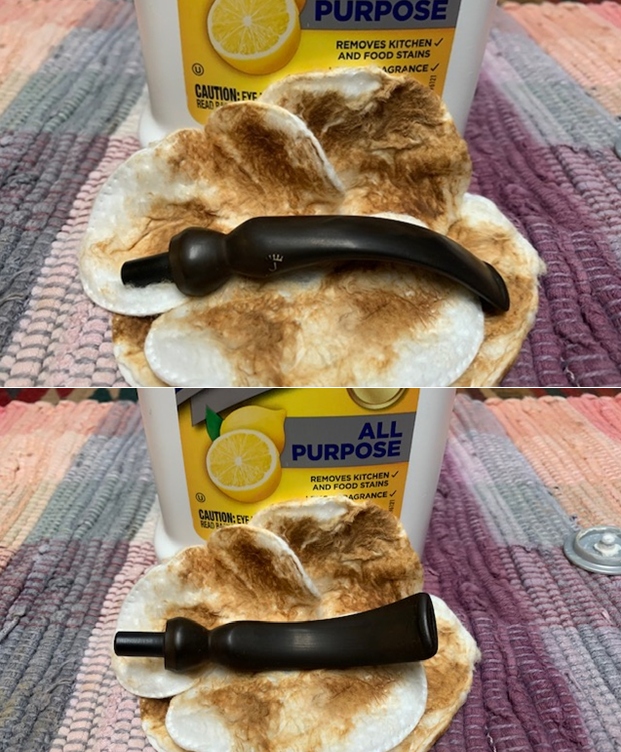
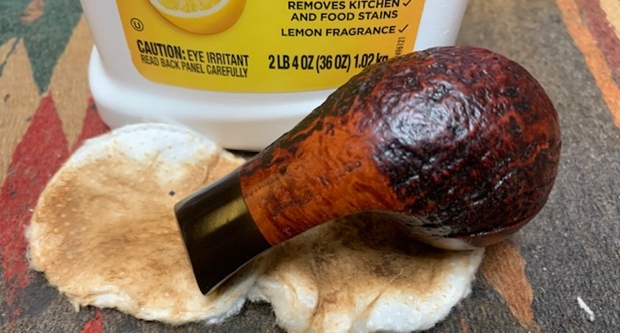
 I scrubbed the oxidized shank extension with Soft Scrub All Purpose scrub and cotton pads to remove the oxidization. It took a bit of elbow grease and hard scrubbing to remove the oxidation but it looked very good.
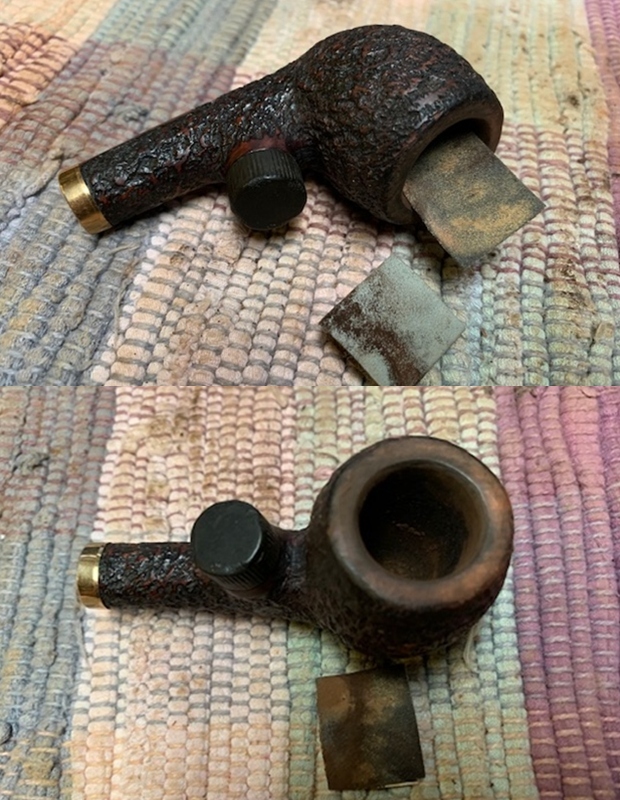
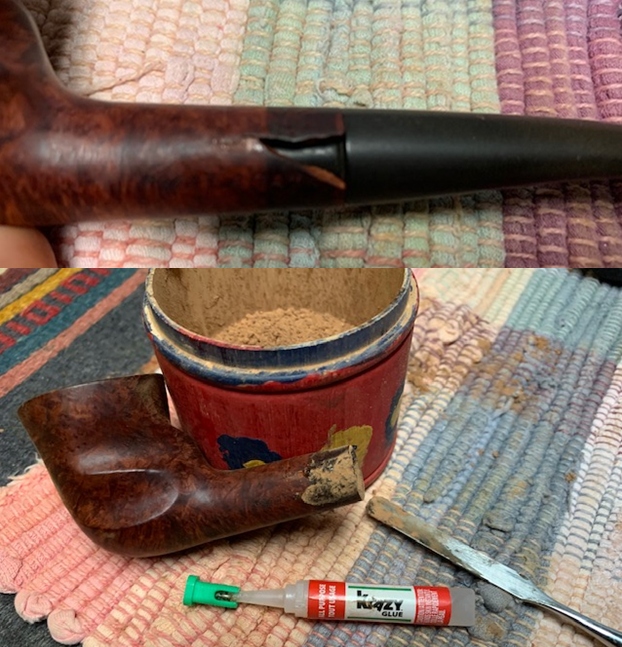
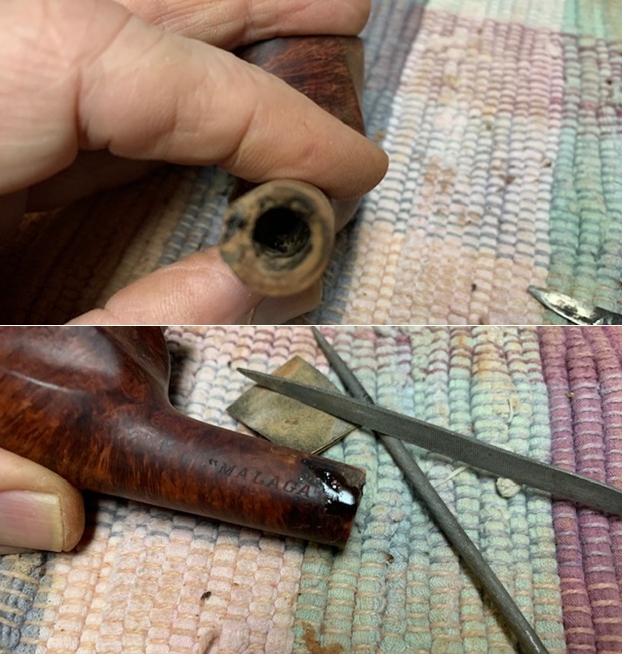
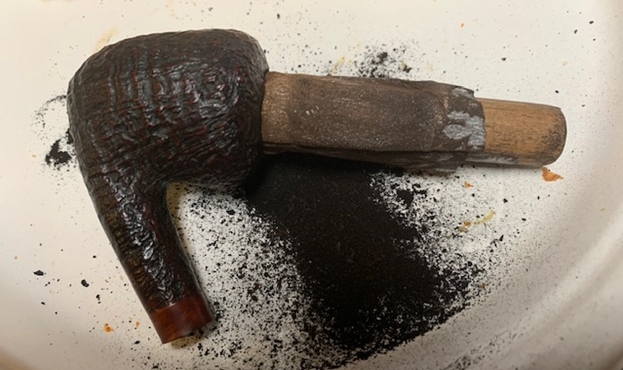
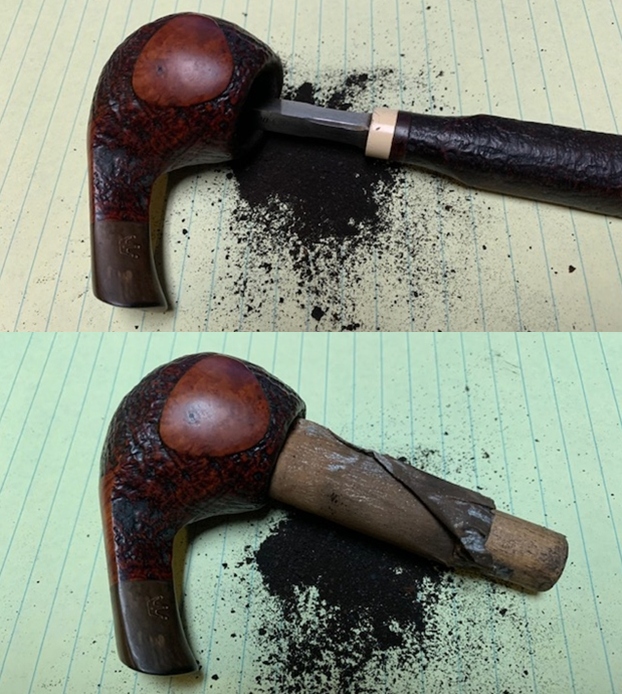
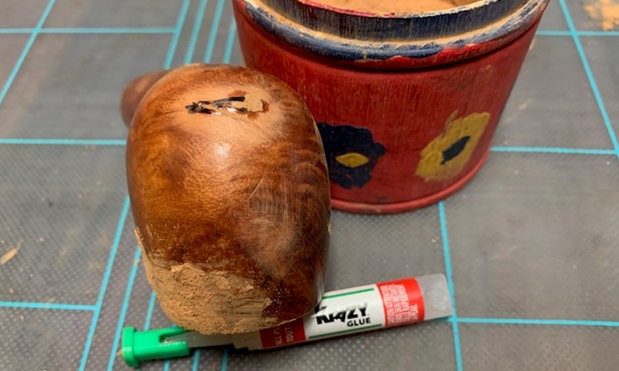
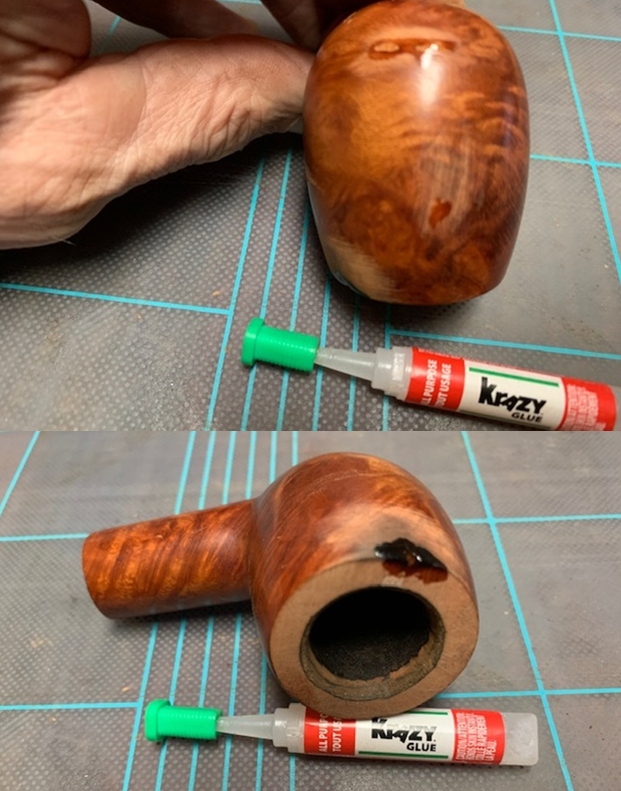
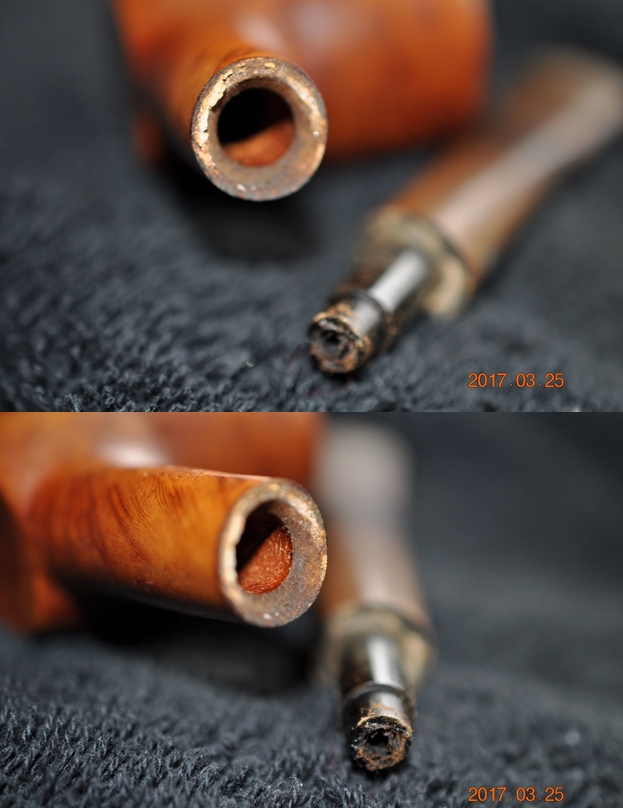
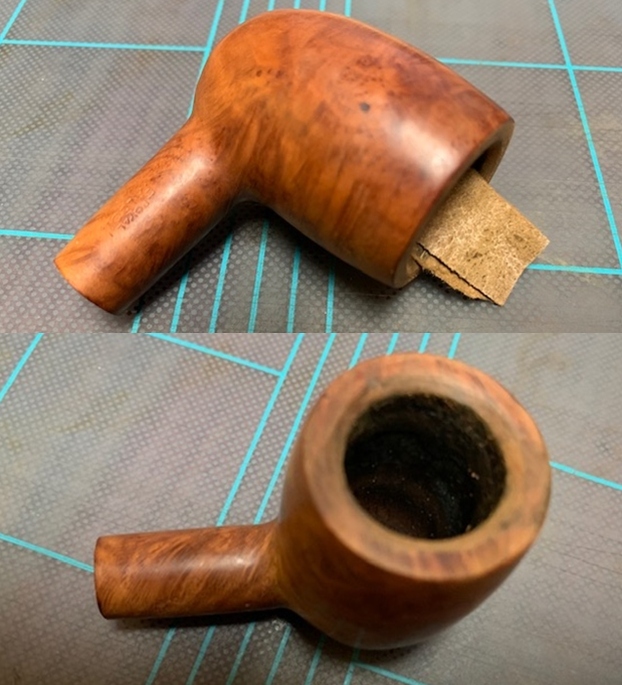
 I decided to pause and try to clean out the shank and try to remove what was clogging the airway in the shank. I could not push a pipe cleaner through the shank it was blocked and when I blew air through it and it was very constricted. I probed the shank with a dental pick and was surprised when this piece of plastic wrap came out of the shank. It explained the buildup I took off the tenon when I first clean it. It appeared that something had been glue to the tenon and now I knew what it was. Without it the airway and flow was unobstructed.
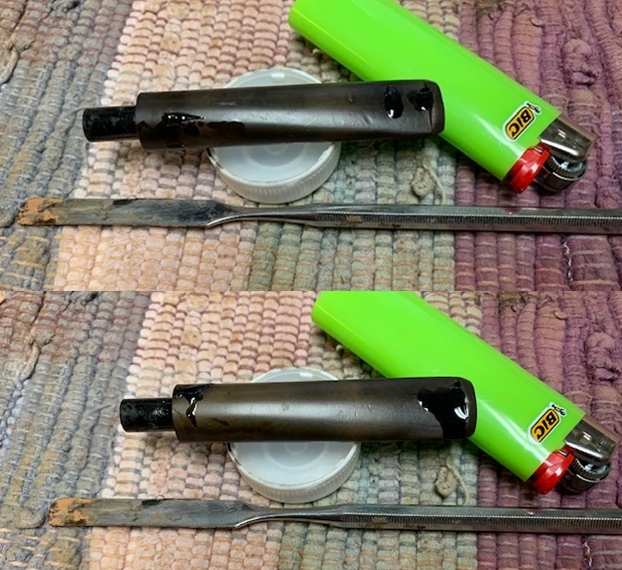
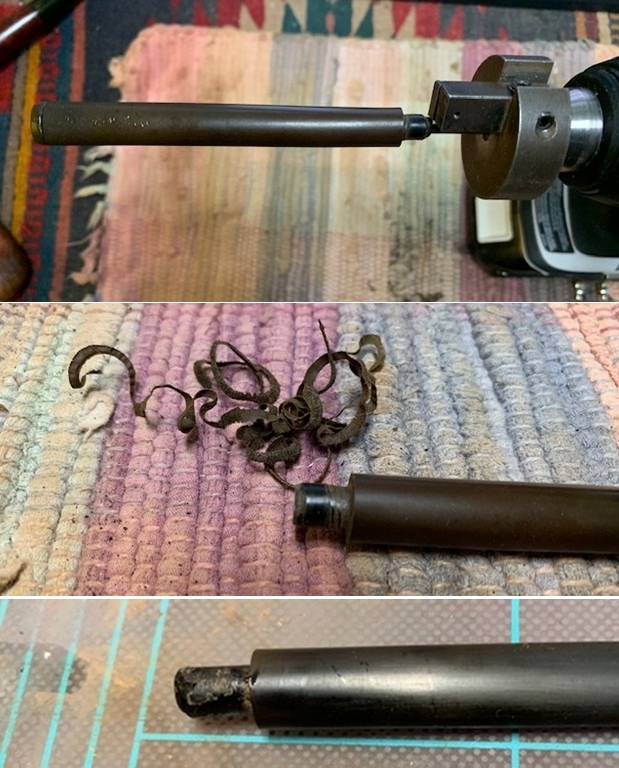
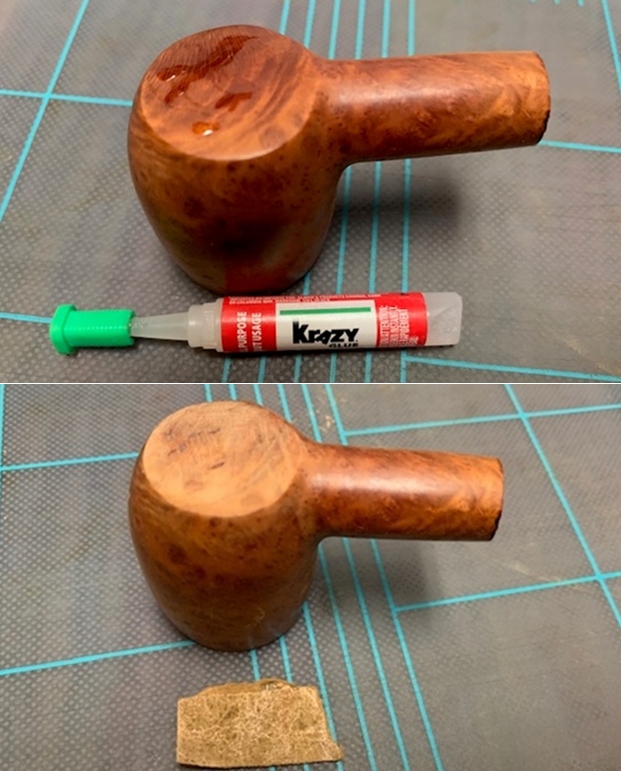
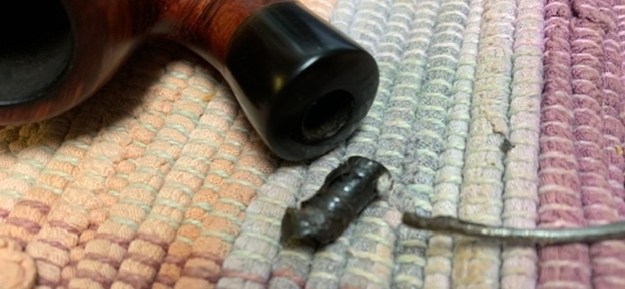 With the obstruction out of the airway the tenon was far too loose in the shank. Something would need to be done to make the tenon fit snug in the shank. I decided to make a Delrin sleeve for the tenon. I thought about making Delrin insert for the vulcanite shank extension but decided to do it this way. I drilled out a replacement tenon with a variety of drill bits. I held it in a set of vise grips and opened the tenon.
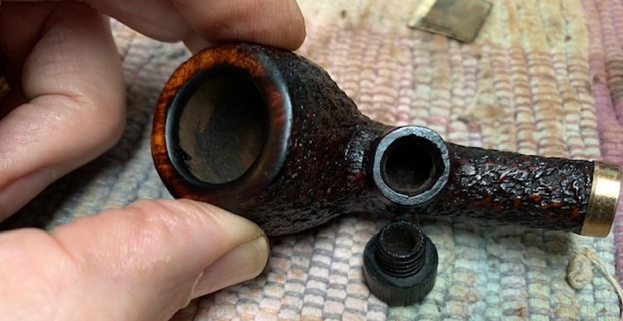
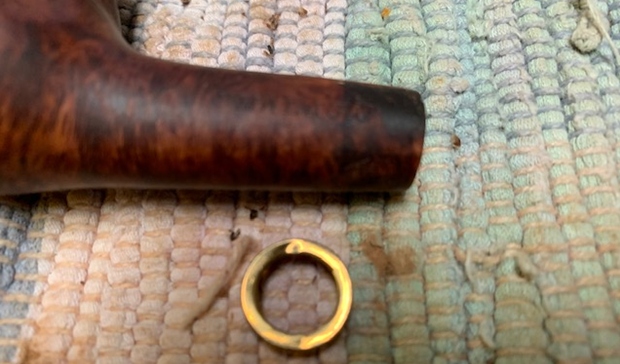
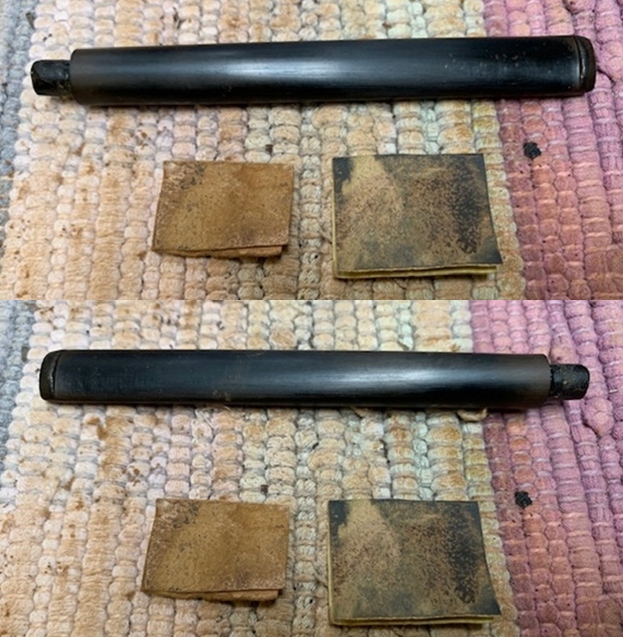
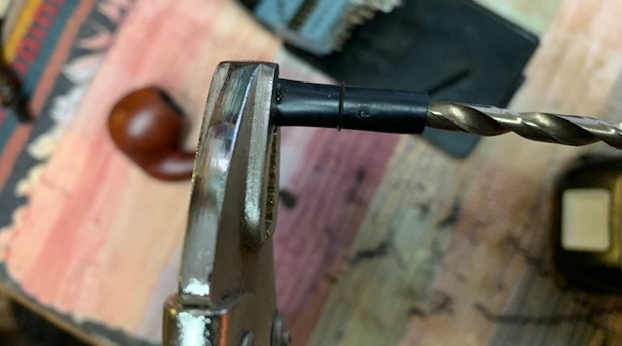 Once it was open I pressed it onto the existing tenon. The fit on the tenon was perfect and the fit in the shank was much better than originally. I would clean up the new tenon adapter so that the fit in the shank would be snug but smooth.
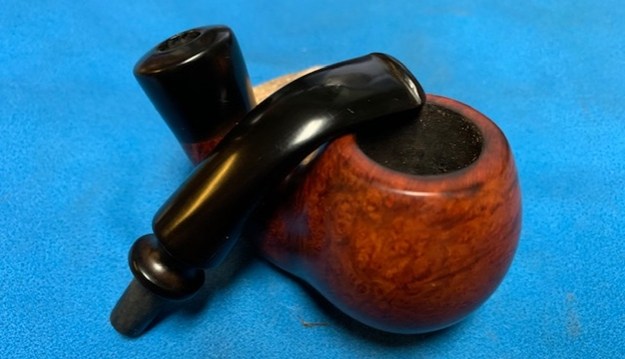
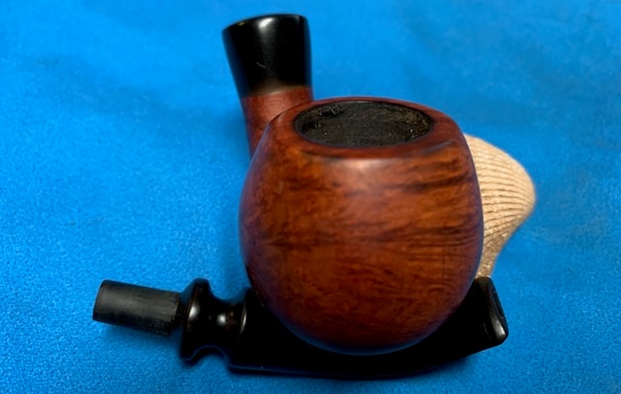
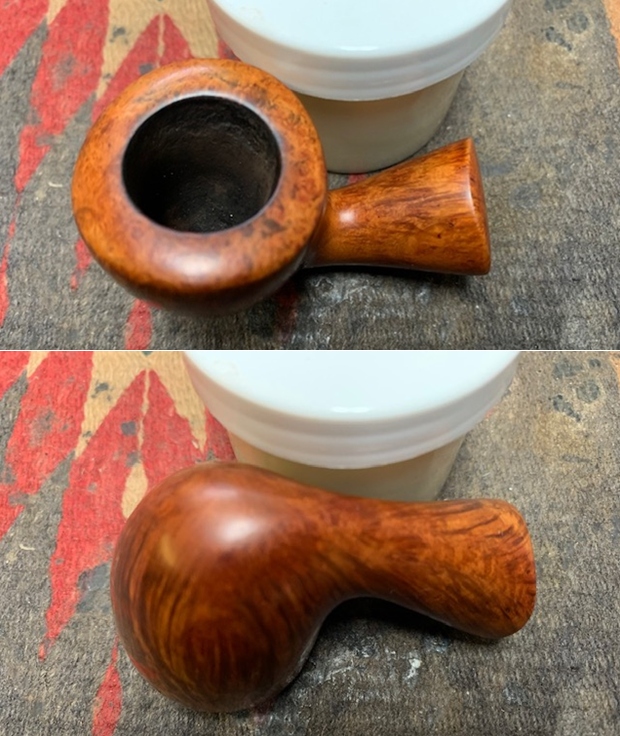
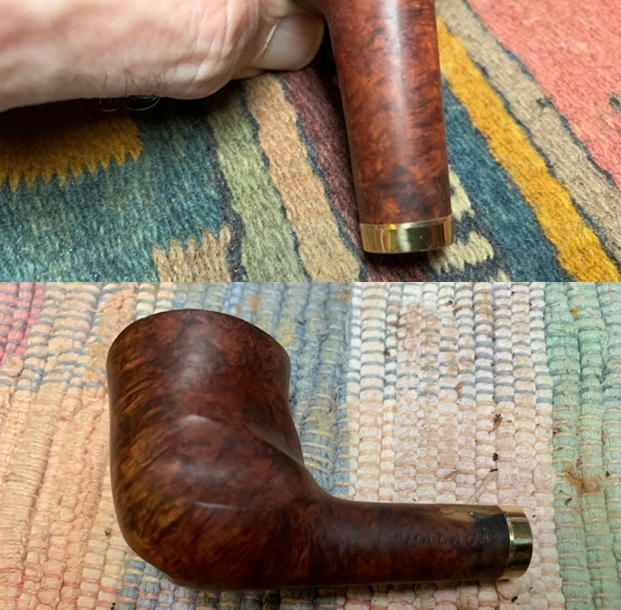
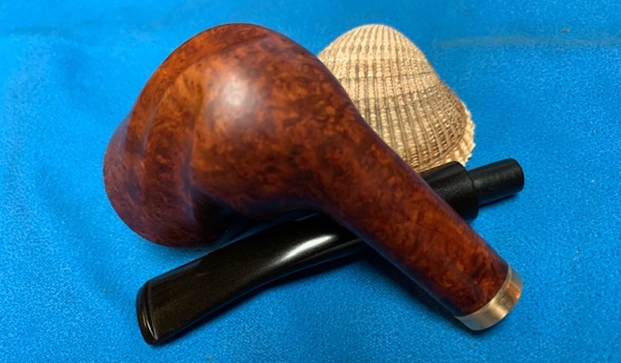
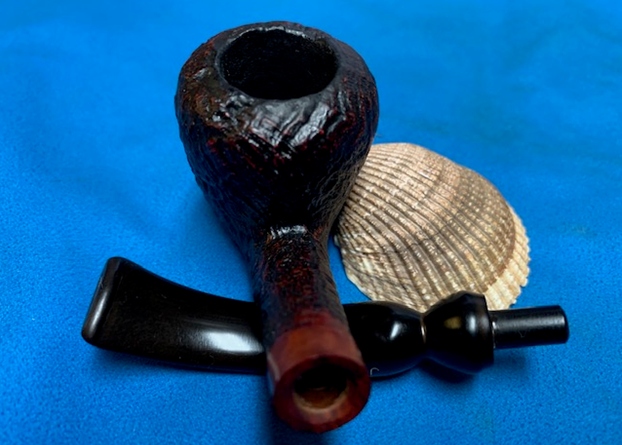
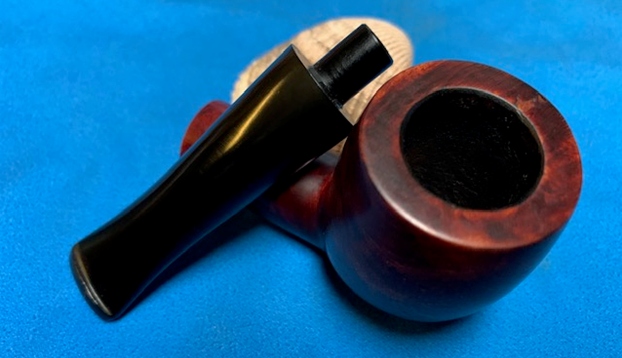
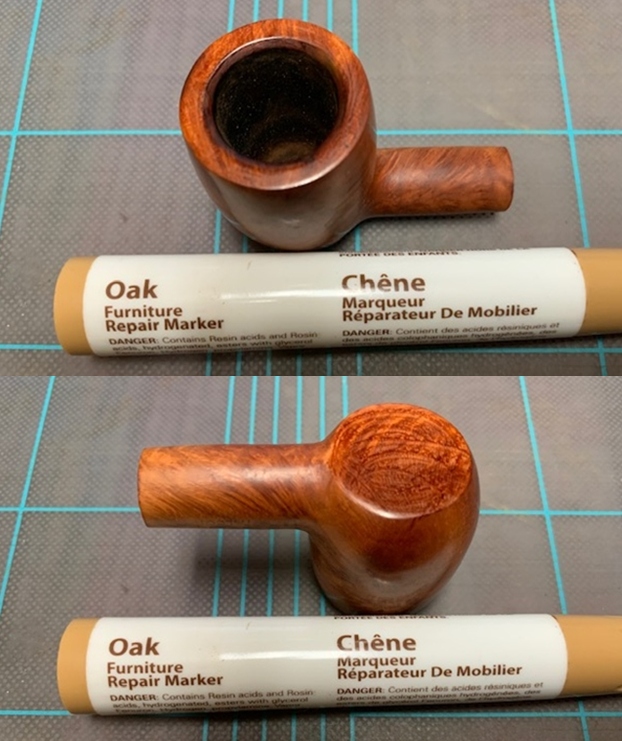
  The tenon was wide open and excellent airflow. I put the newly sleeved tenon in the shank and took a photo of the pipe at this point.
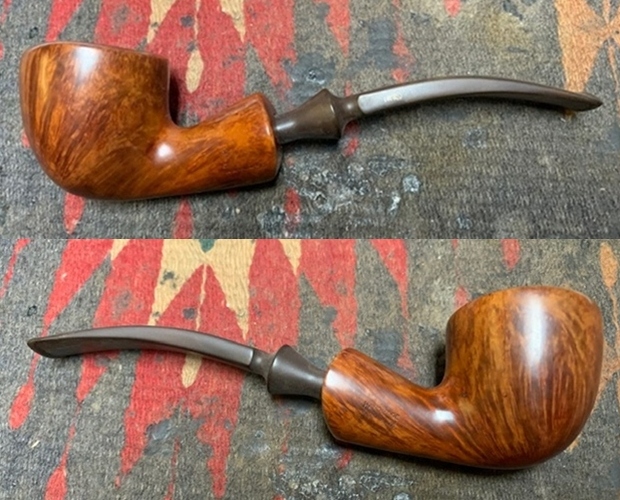
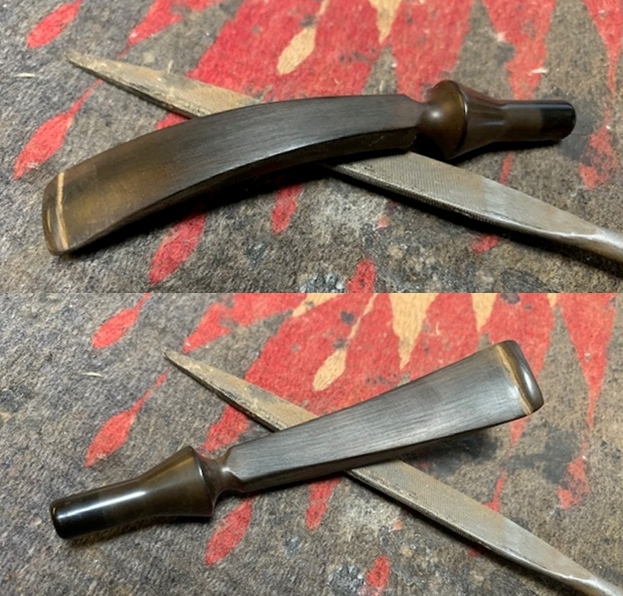
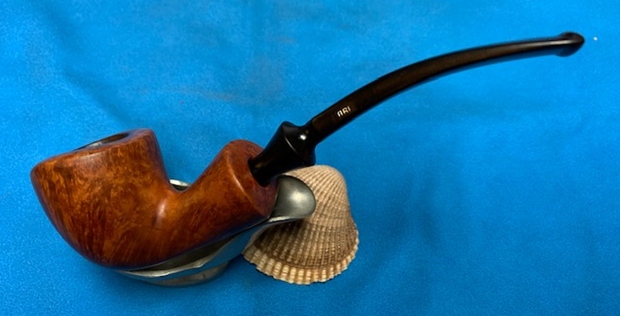
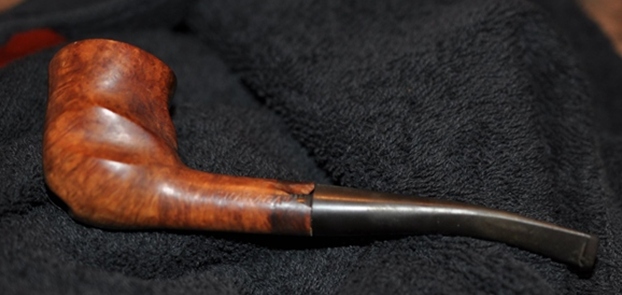
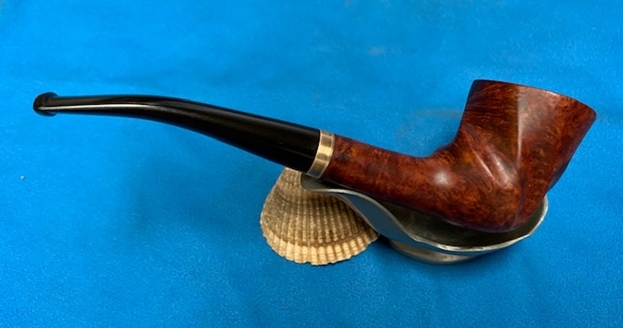
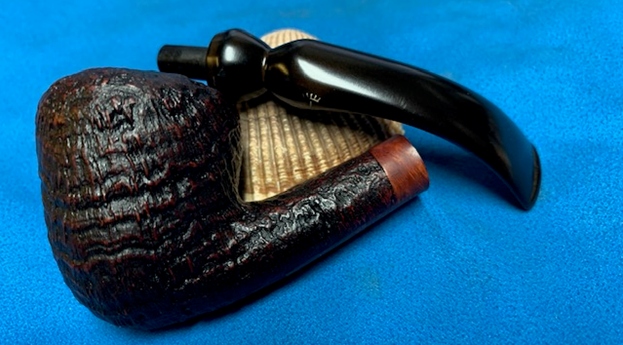
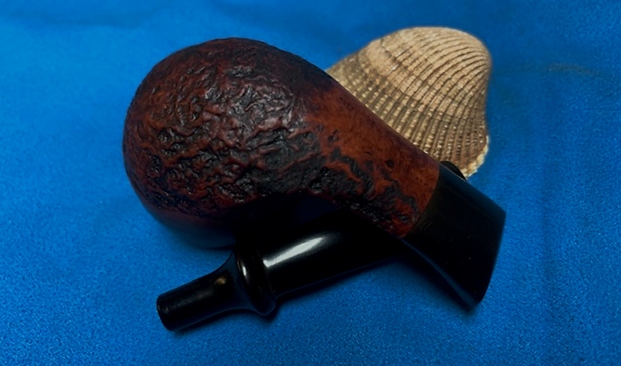
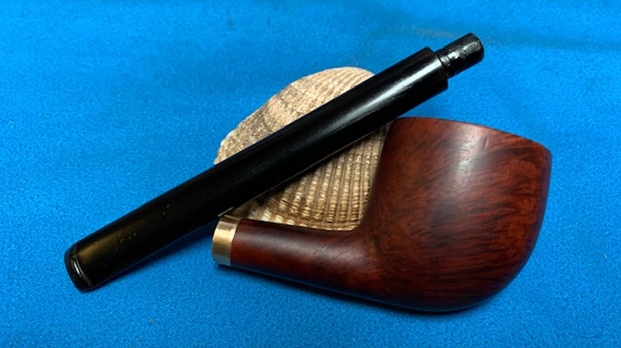
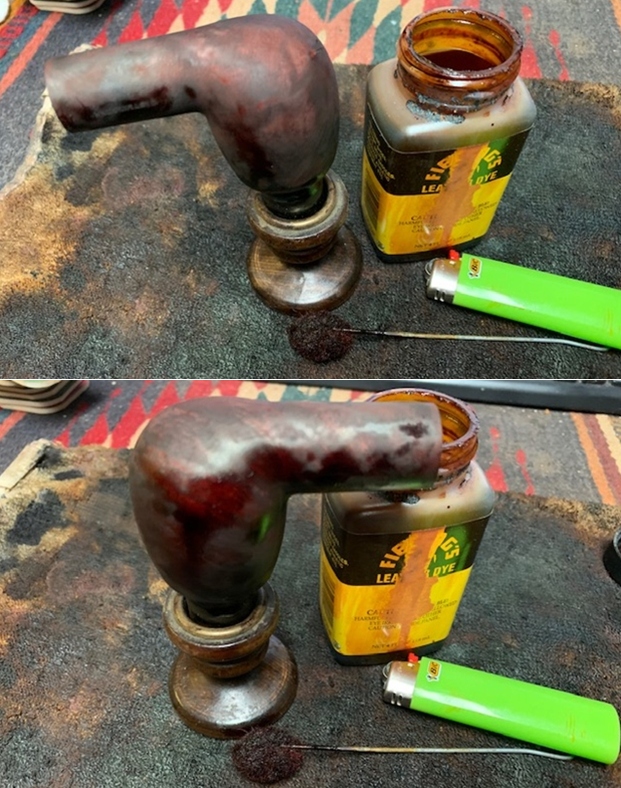
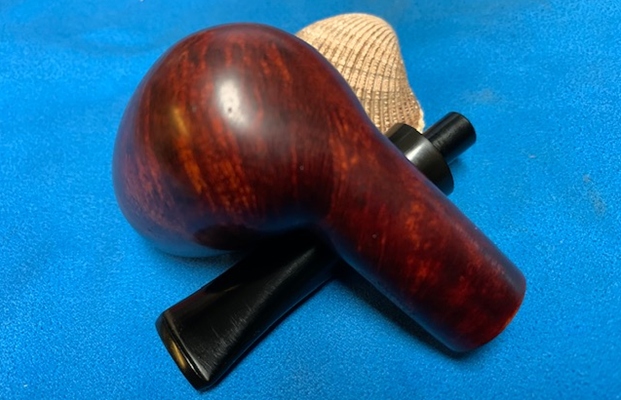
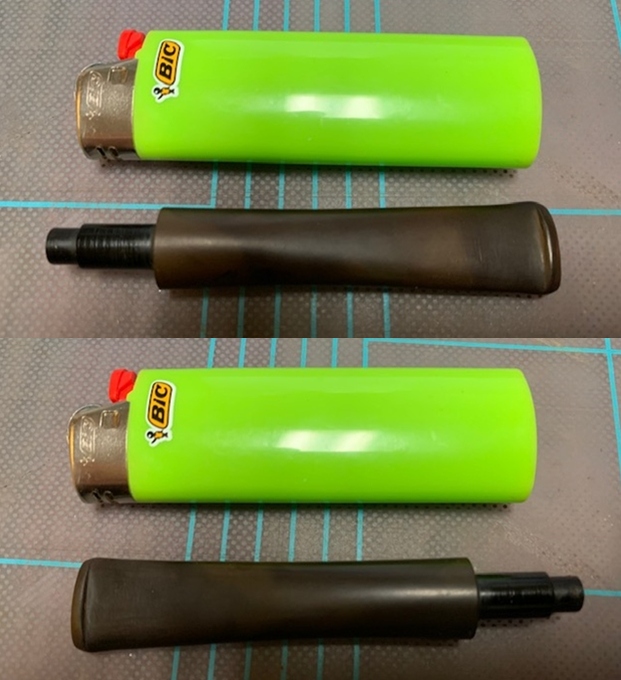
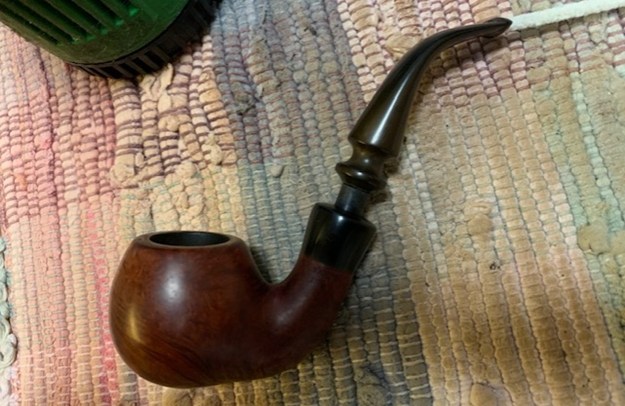
 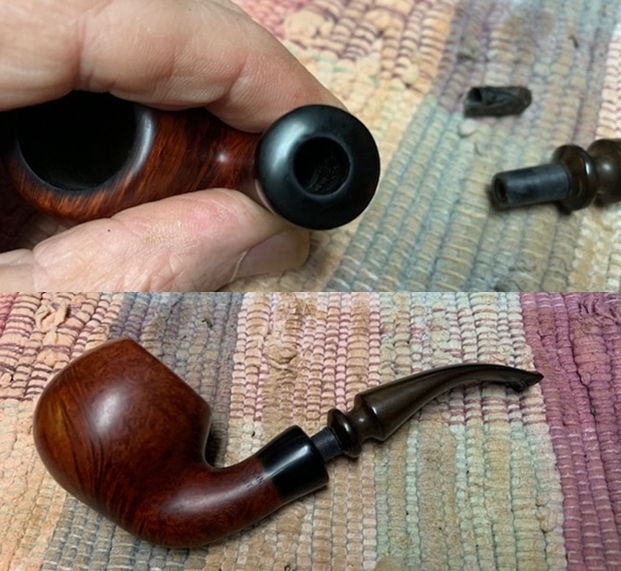 The stem needed to be bent to fit the profile of the bowl and to hang well in the mouth. I put a pipe cleaner in the stem and heated it with a heat gun until the vulcanite had softened. Once it had softened I bent it to the correct angle. I put the stem on the pipe and took a photo of the new bend.
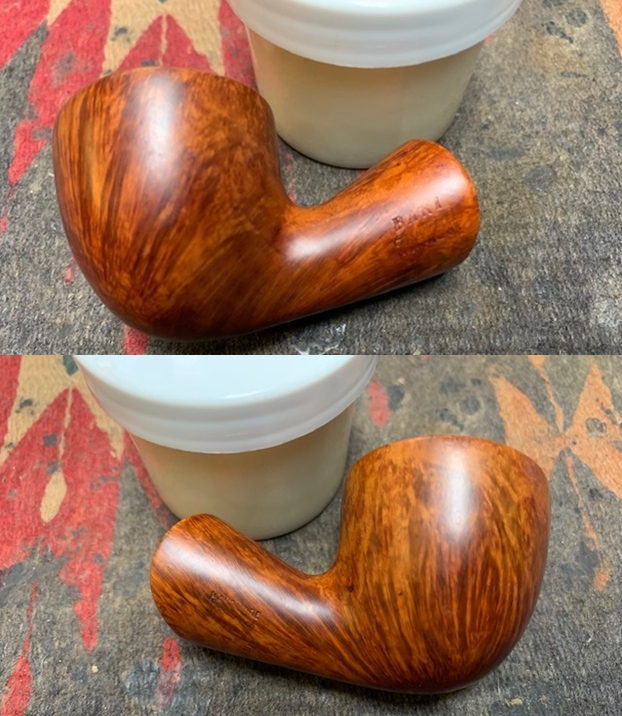
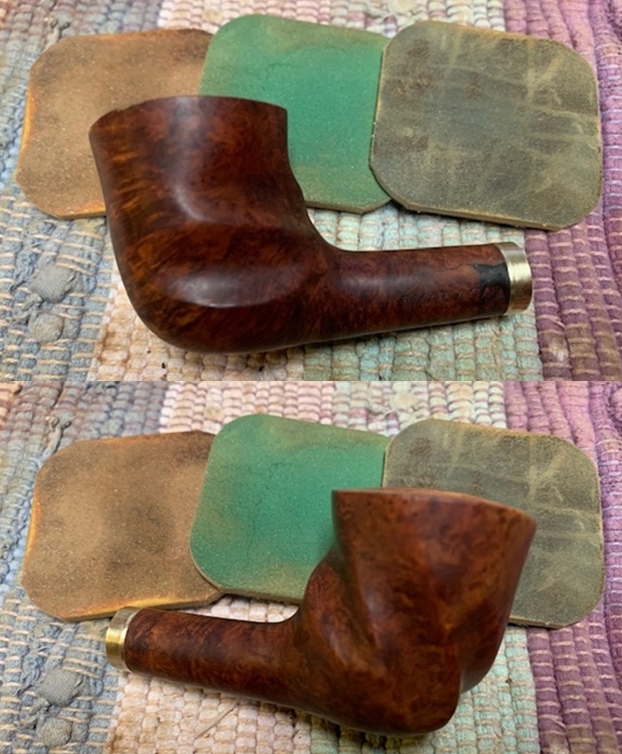
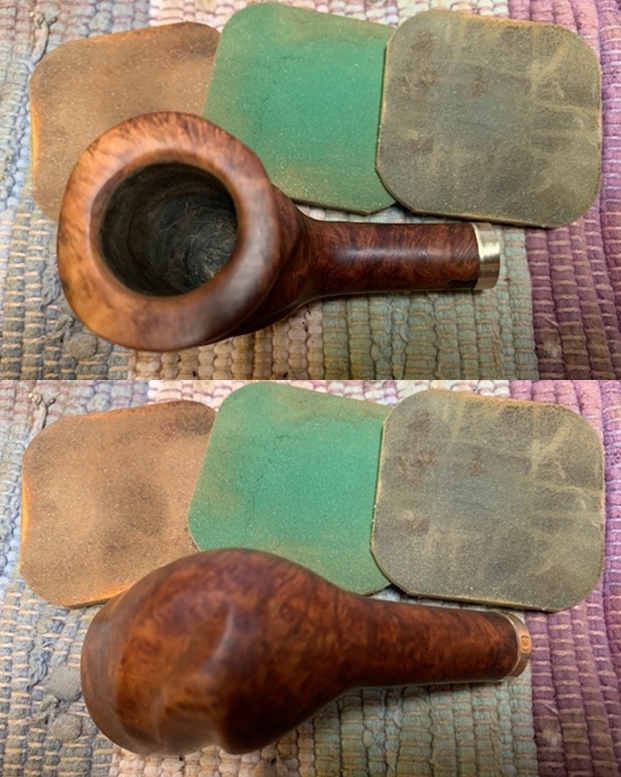
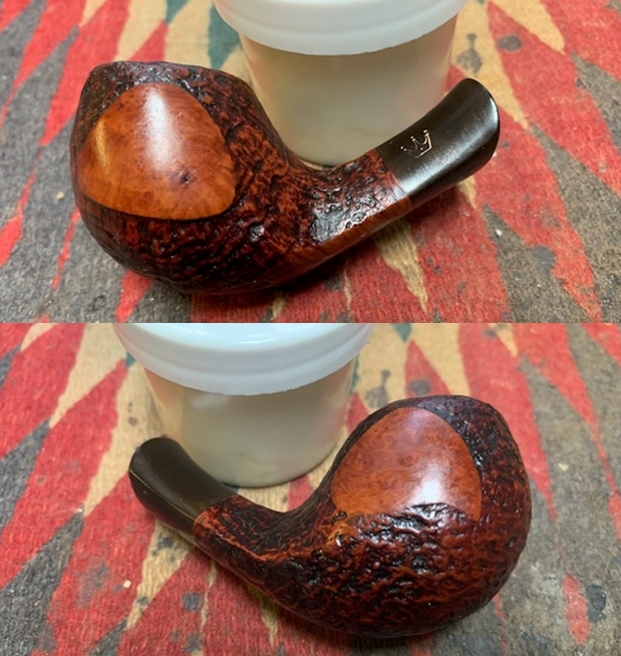
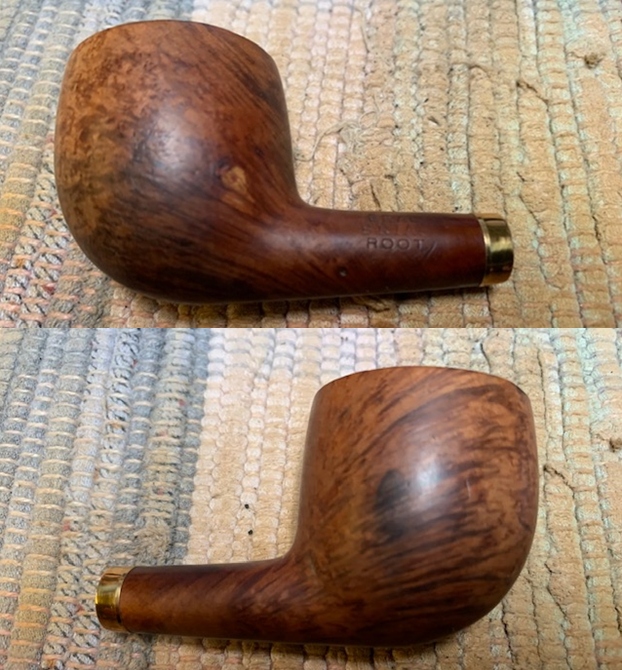
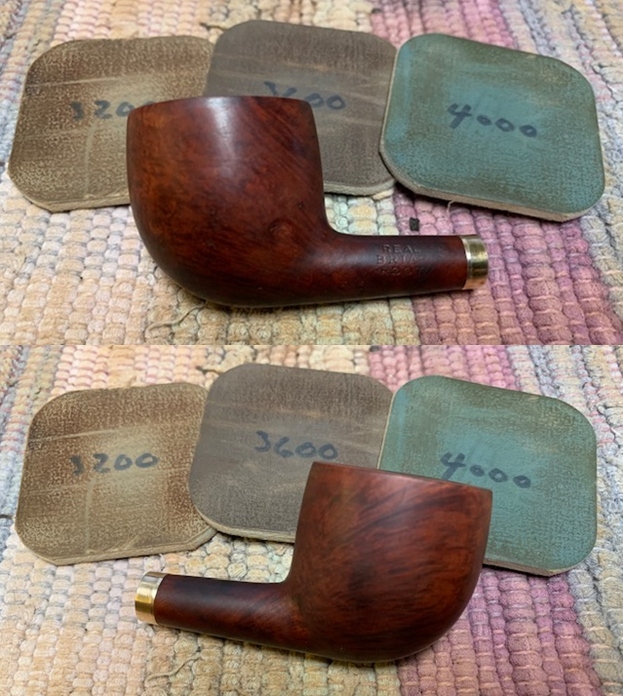
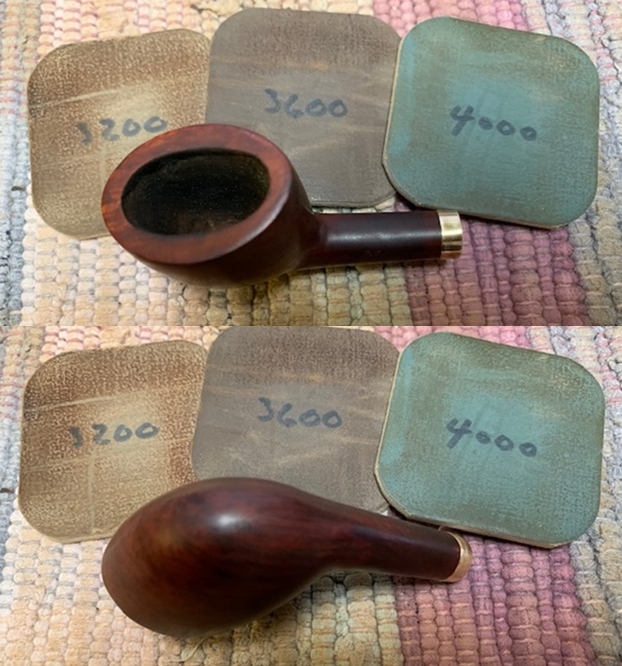
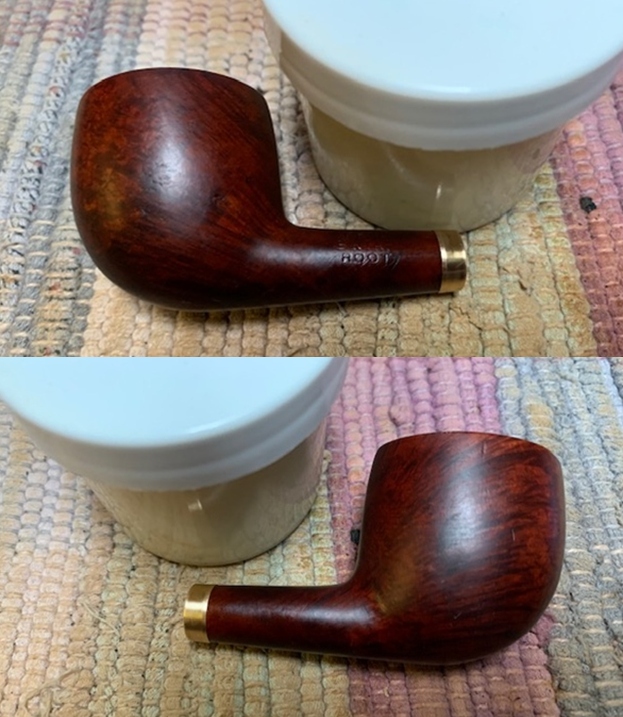
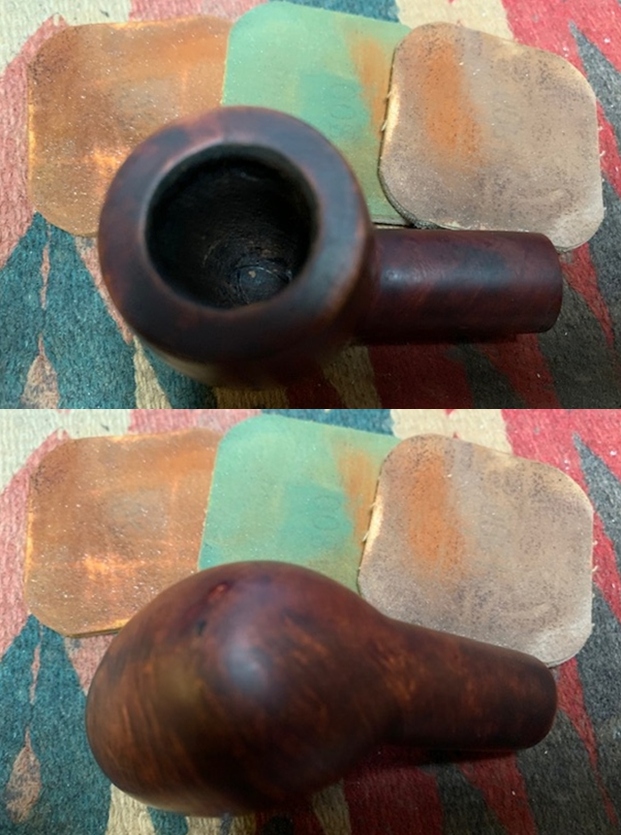
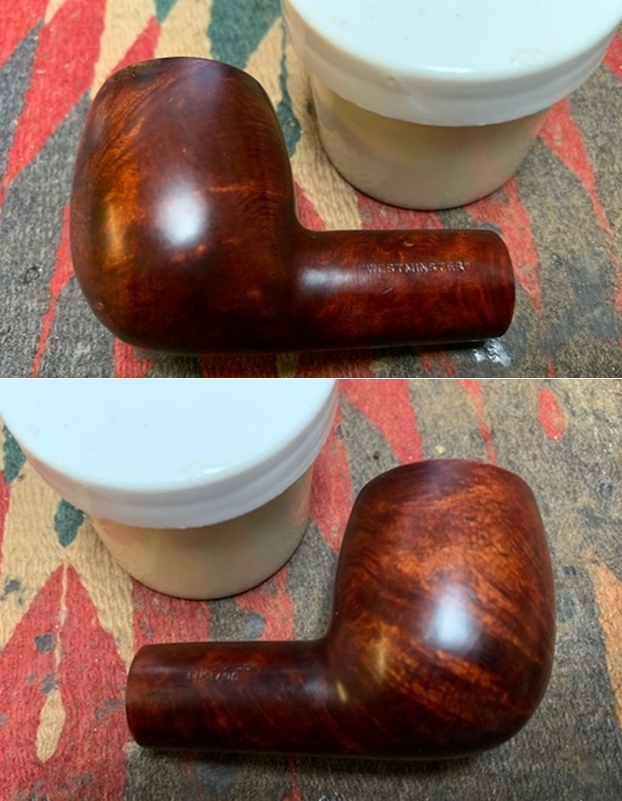
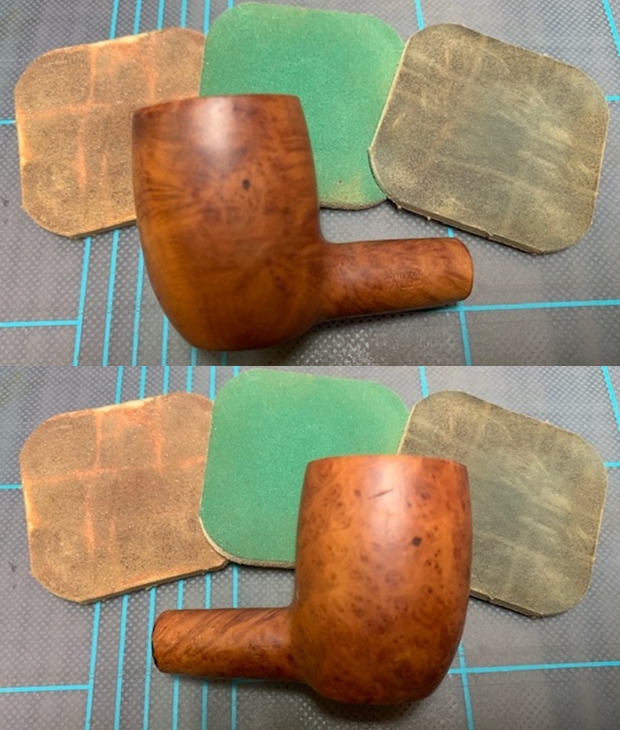
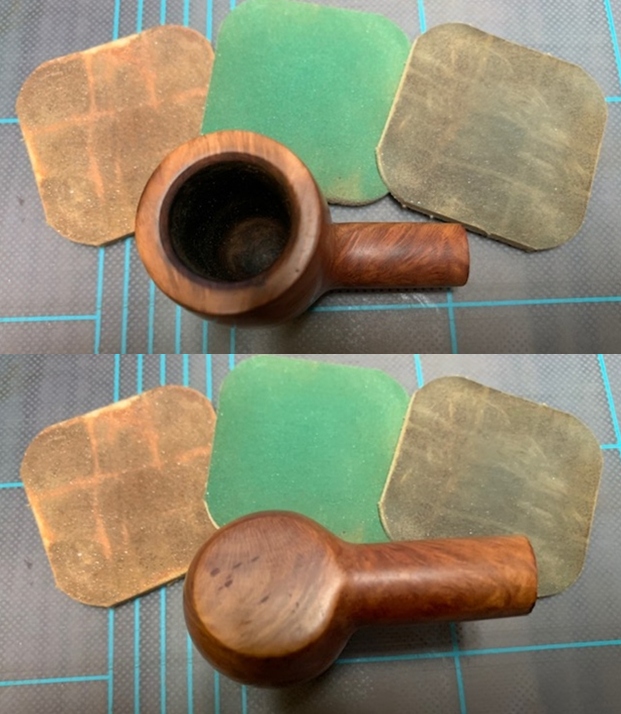
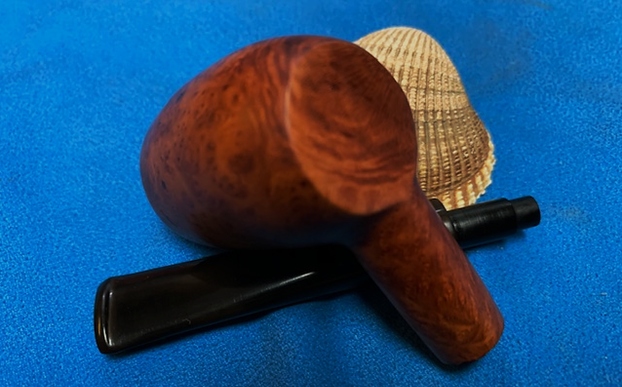
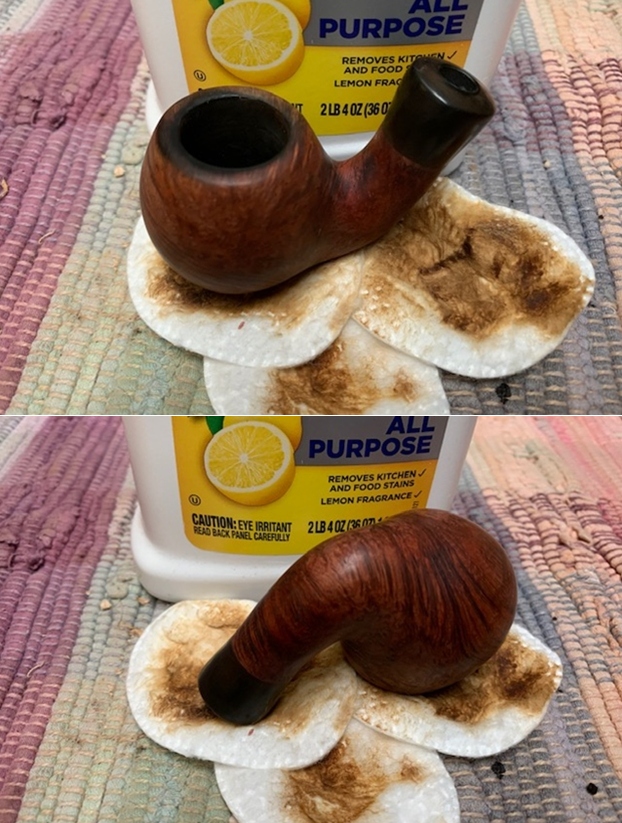
 I rubbed the bowl down with Before & After Restoration Balm. I worked it into the surface of the briar with my fingertips and a horsehair shoe brush to clean, enliven and protect it. I let the balm sit for a little while and then buffed with a cotton cloth and shoe brush to raise the shine.
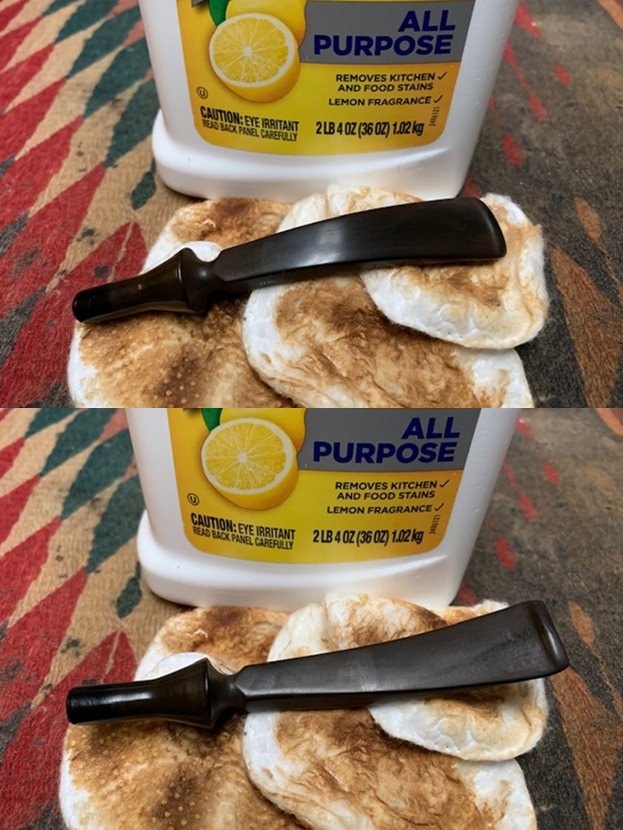
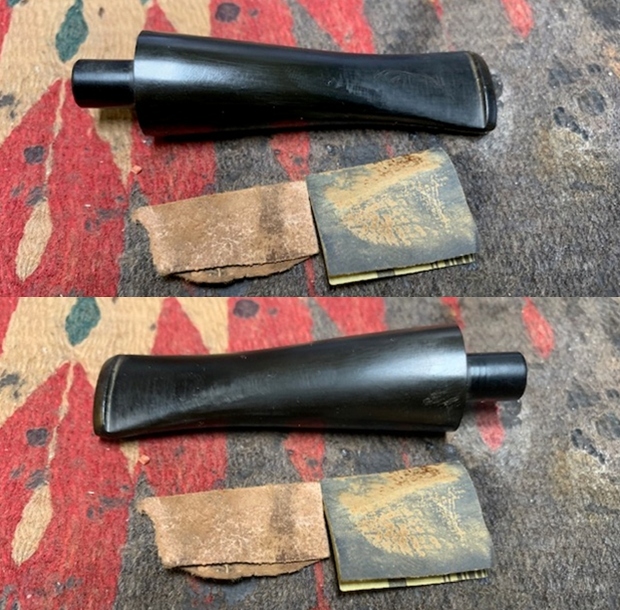
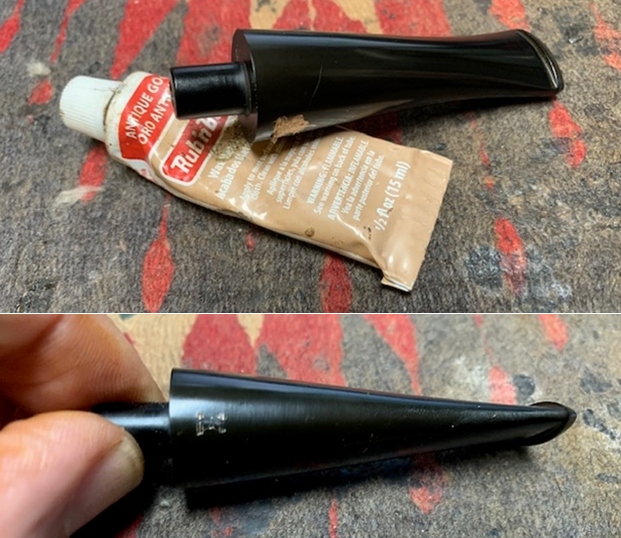
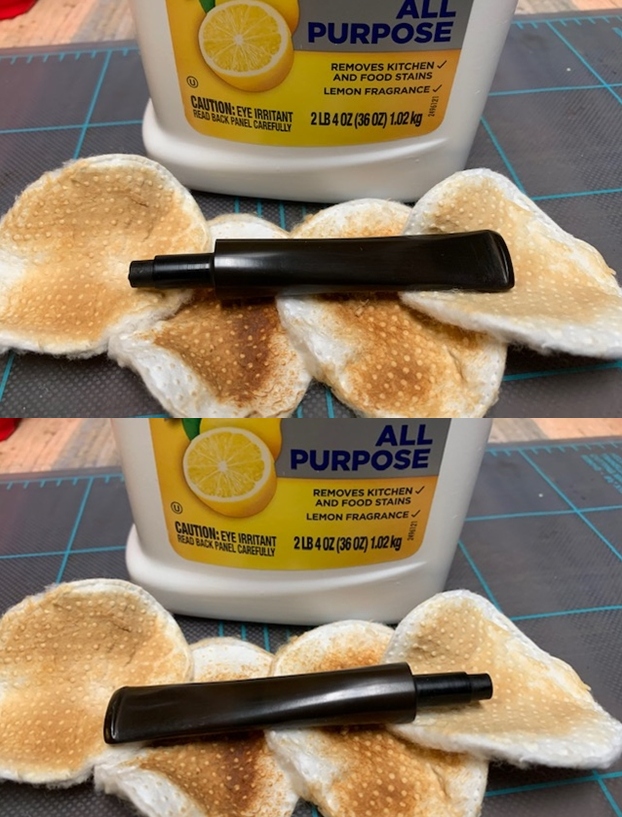
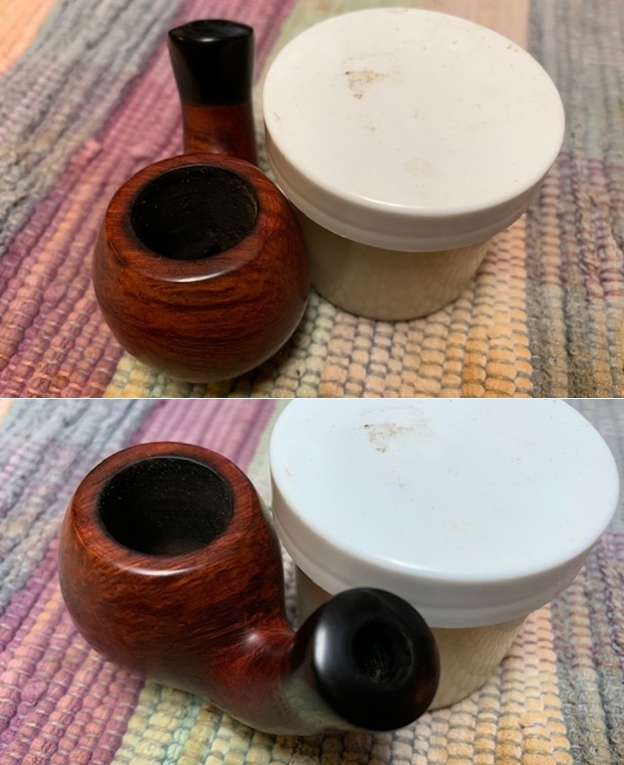 I set the bowl aside and turned my attention to the stem. I scrubbed the stem with Soft Scrub polish to remove the oxidation. While it did not take it all out it removed much of the oxidation.
  I filled in the small tooth dents next to the button with Black Super Glue and set the stem aside to let the glue cure. Once it cured I smoothed it out with a needle file and sharpened the edges of the button.
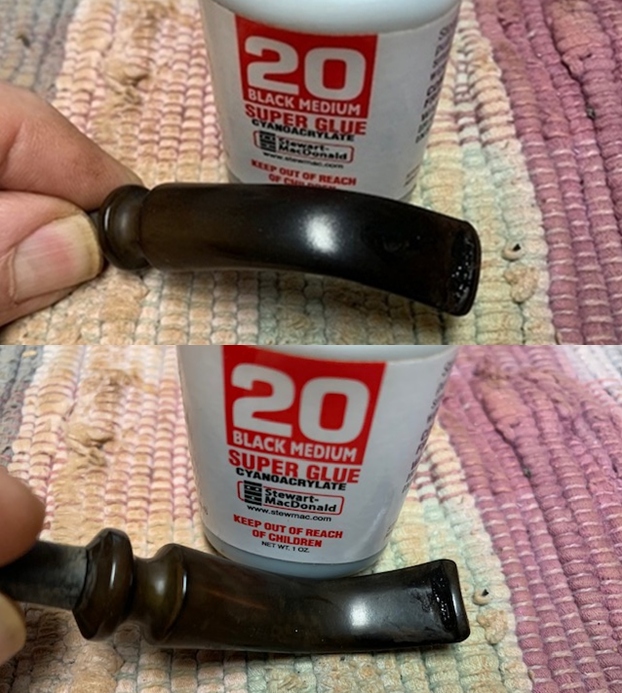
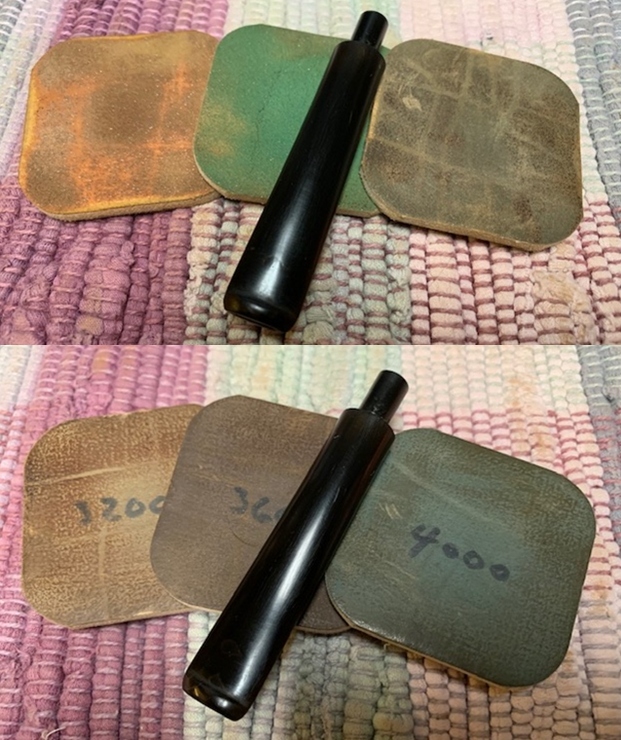
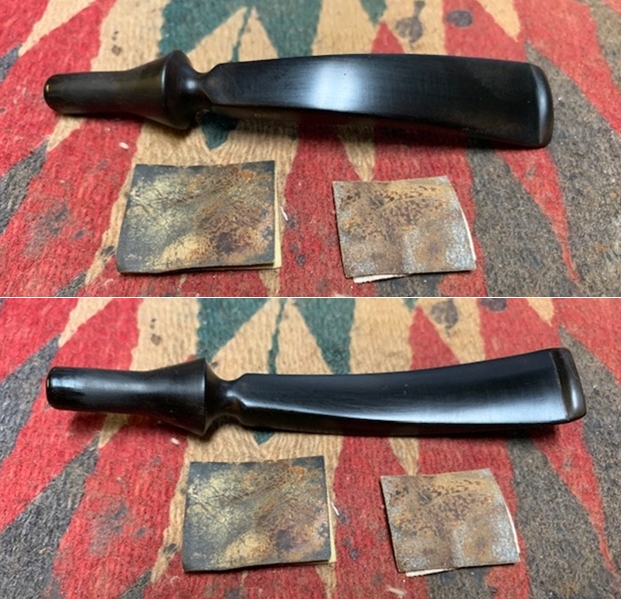
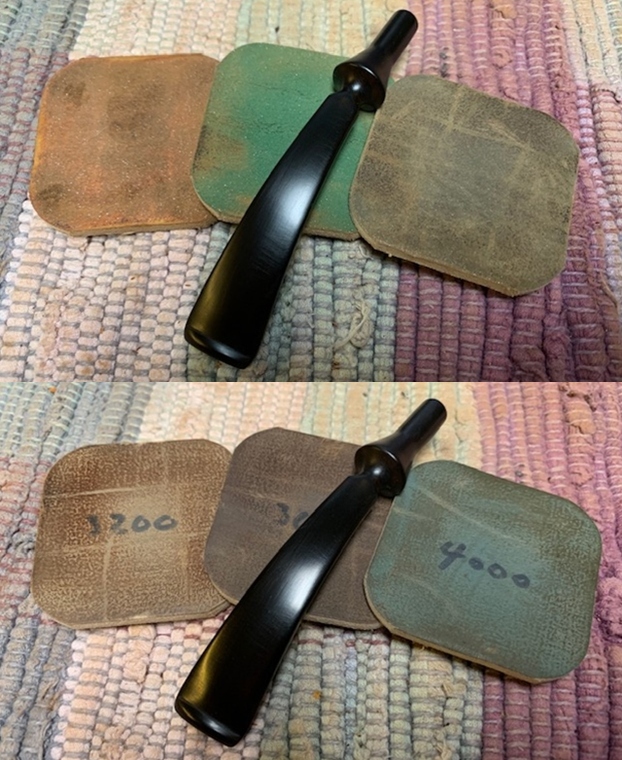
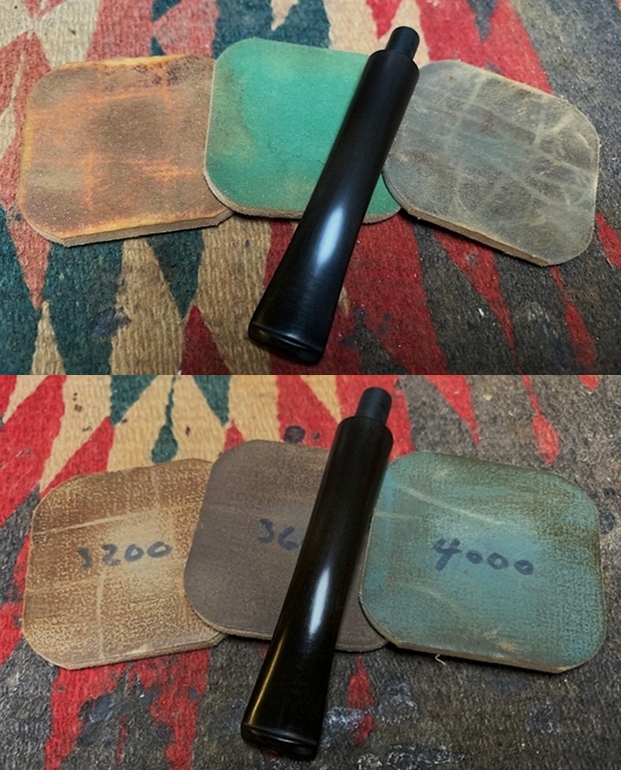
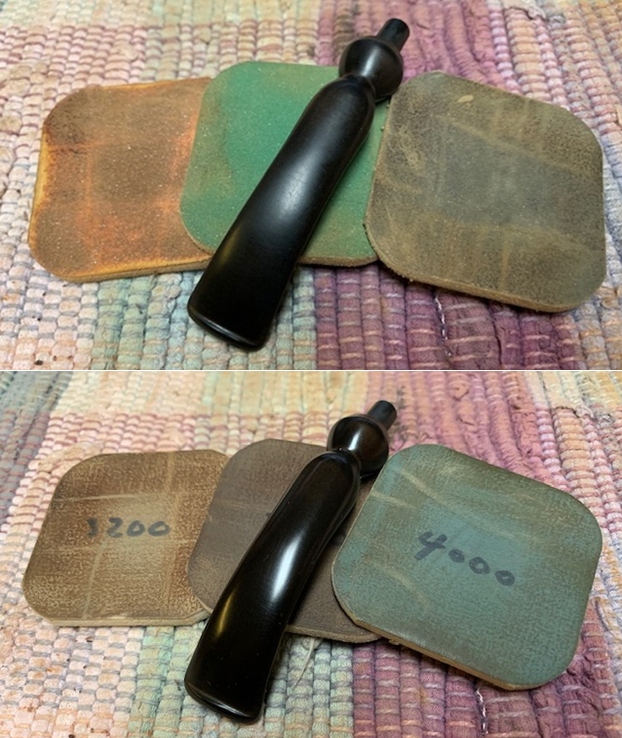
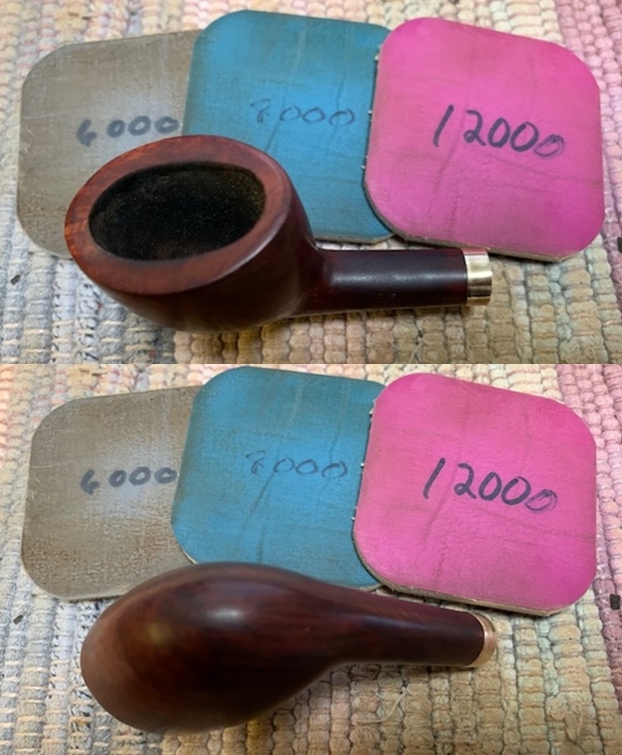
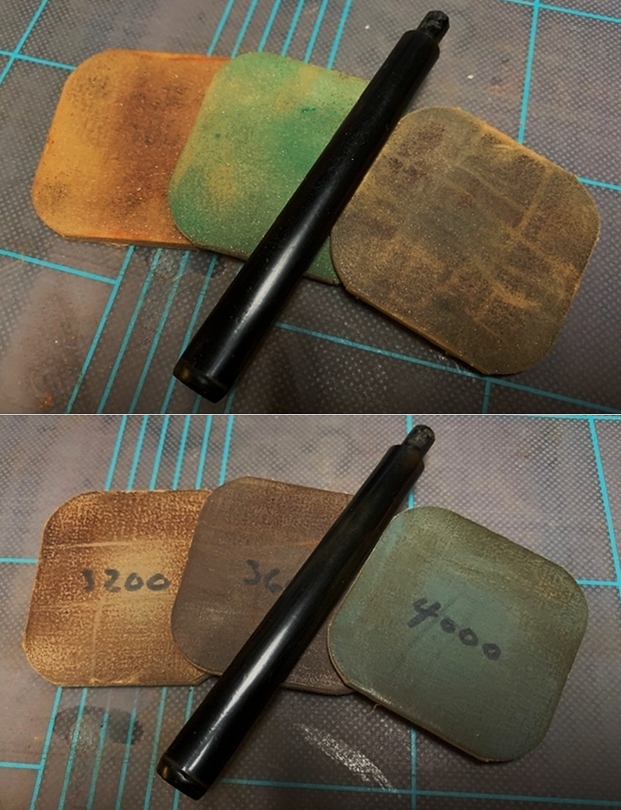
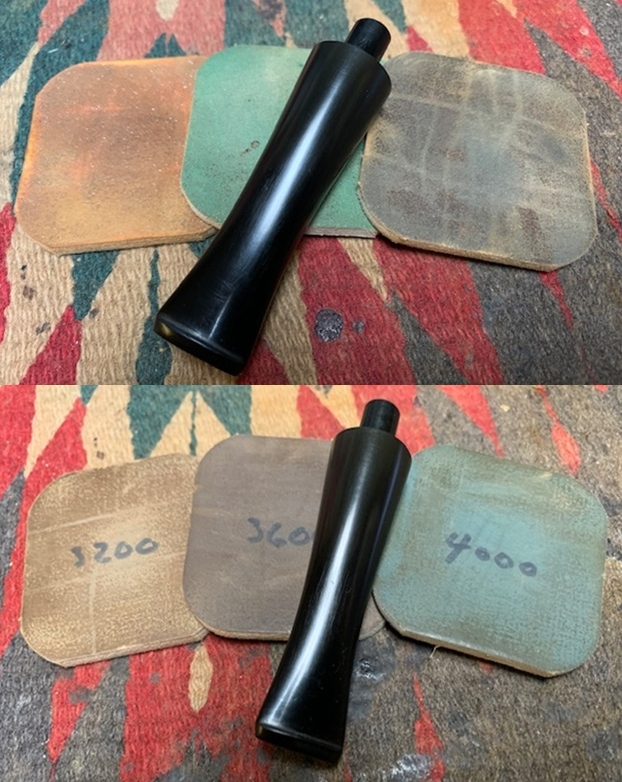
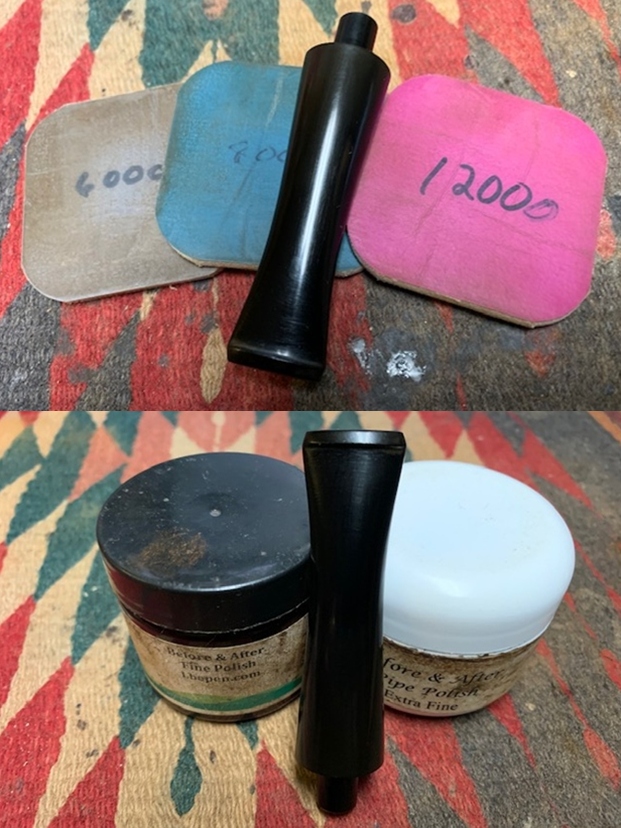
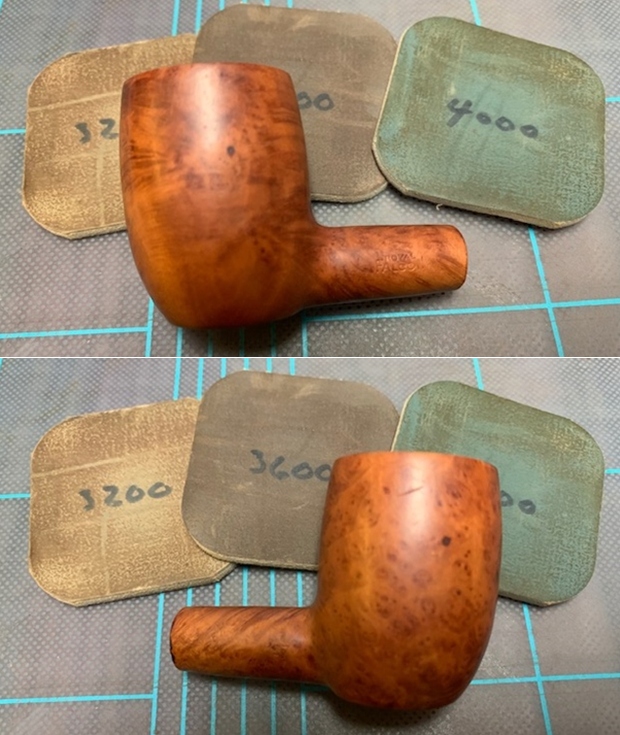
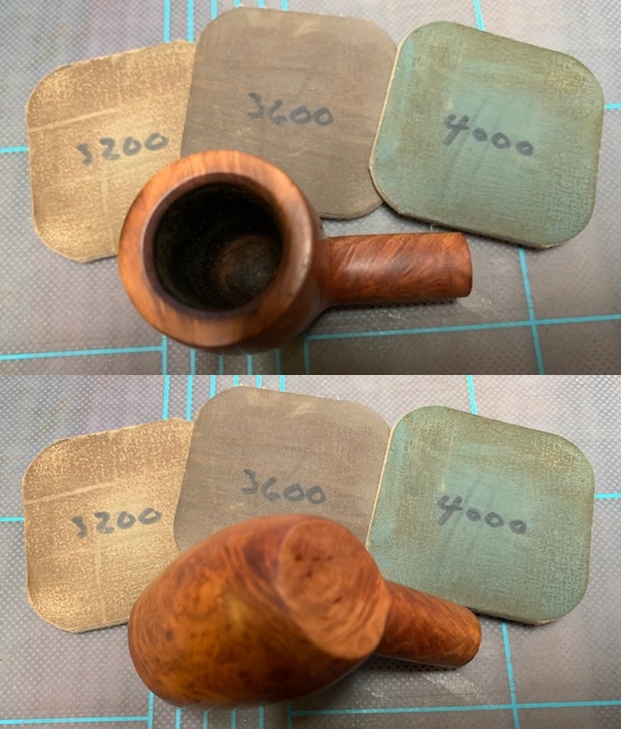
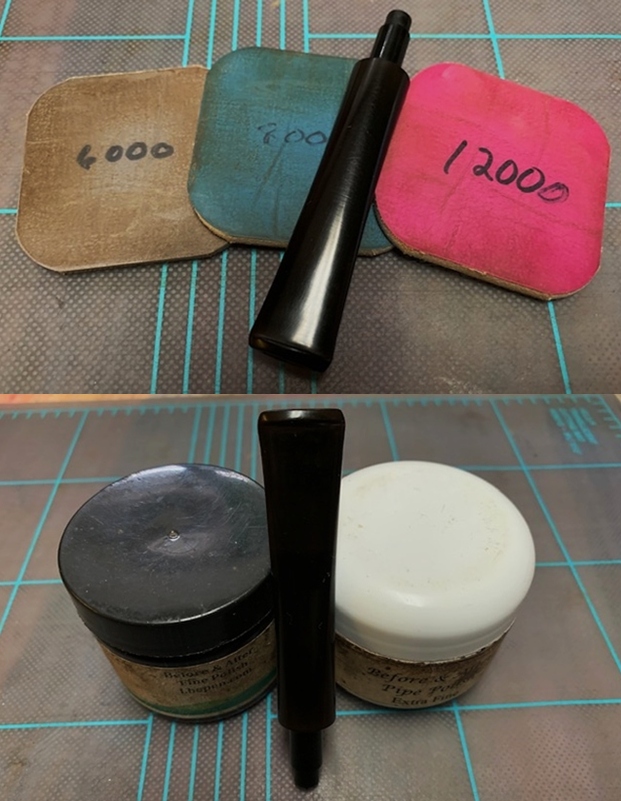
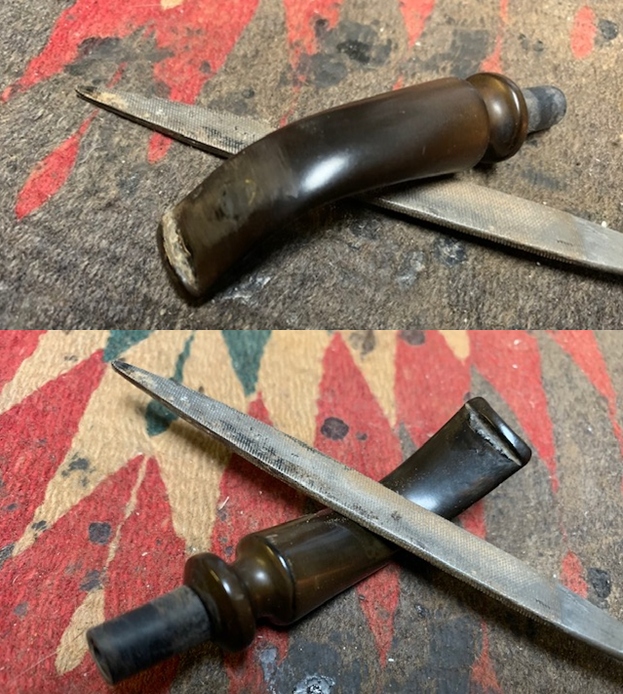 I sanded the stem surface with 220 grit sandpaper to remove the remaining oxidation and to blend the repairs into the surface of the stem. I started the polishing with 400 grit wet dry sandpaper.
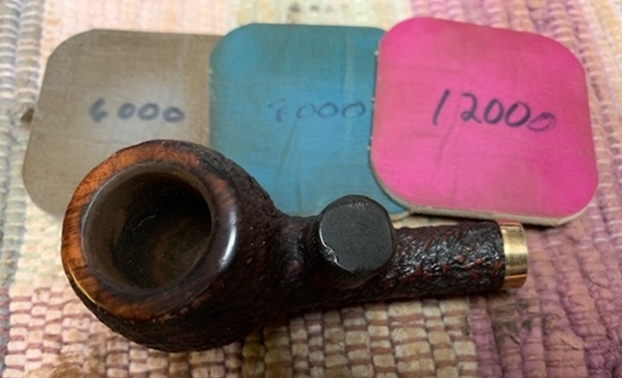
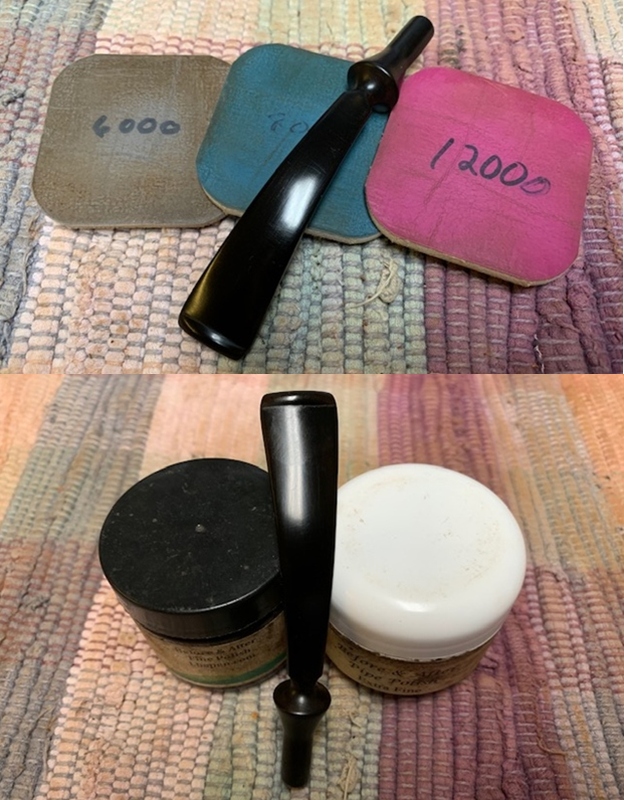
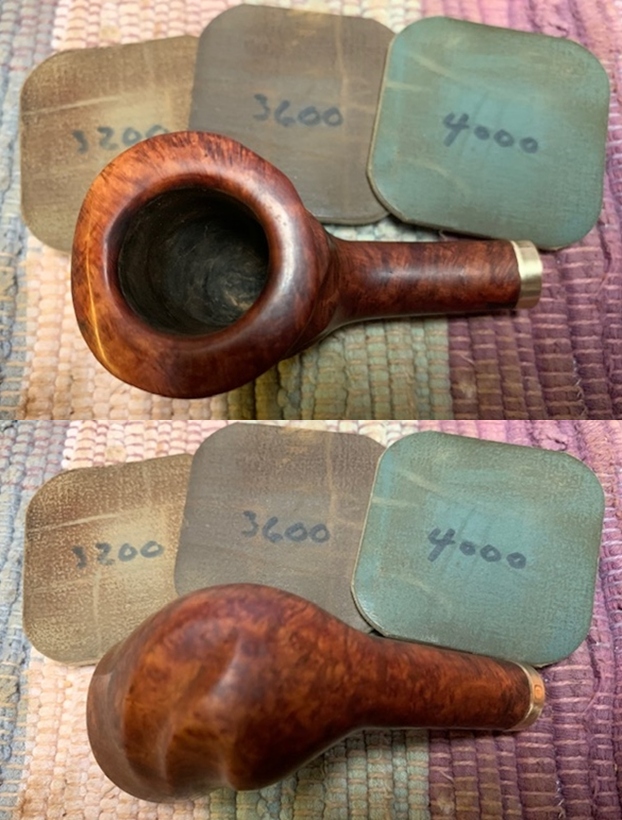
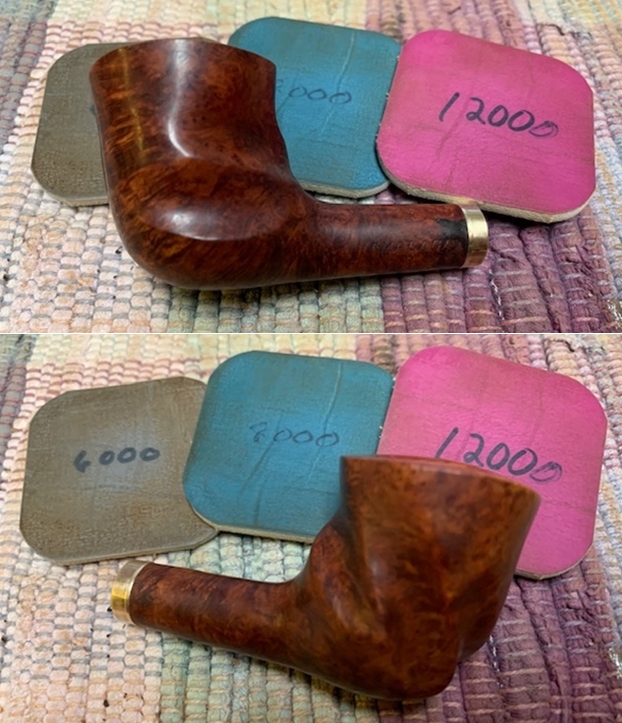
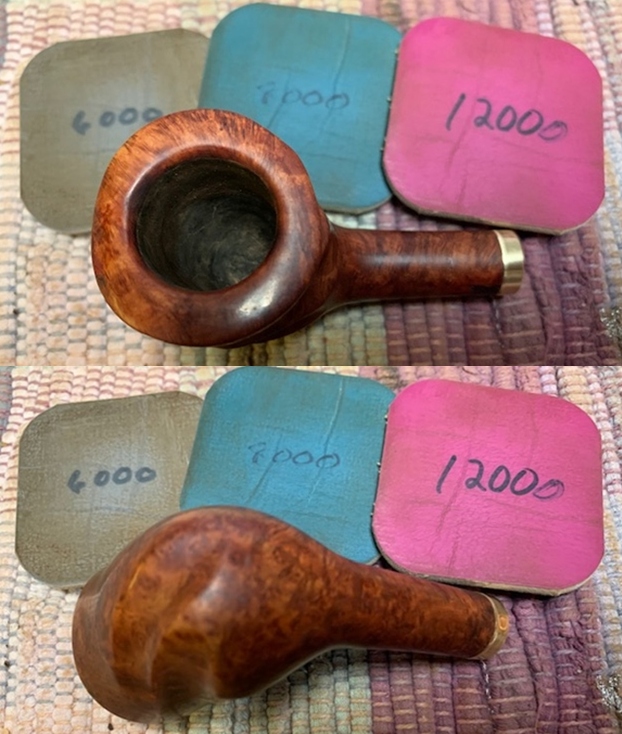
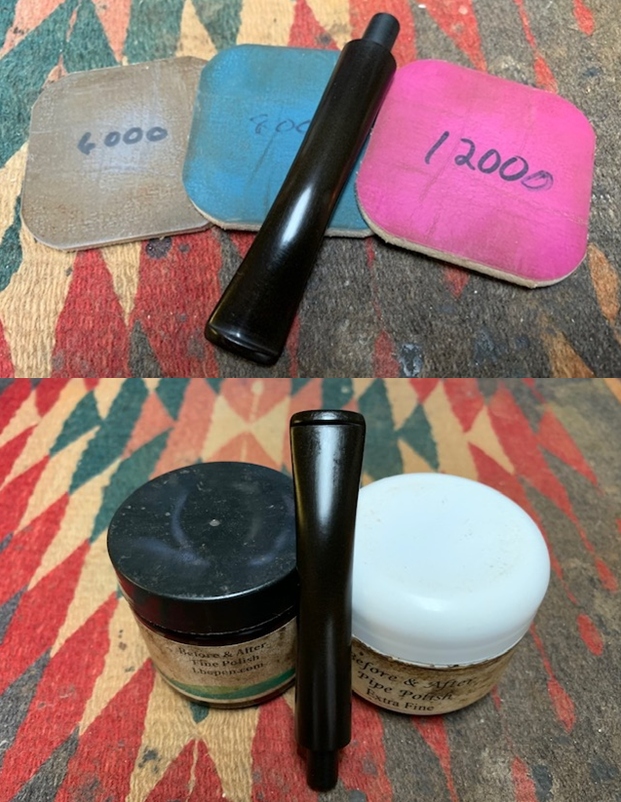
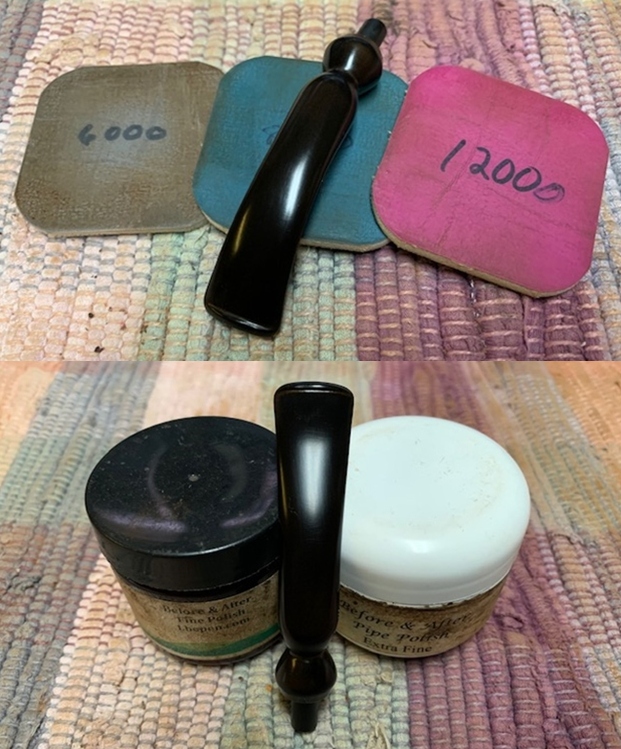
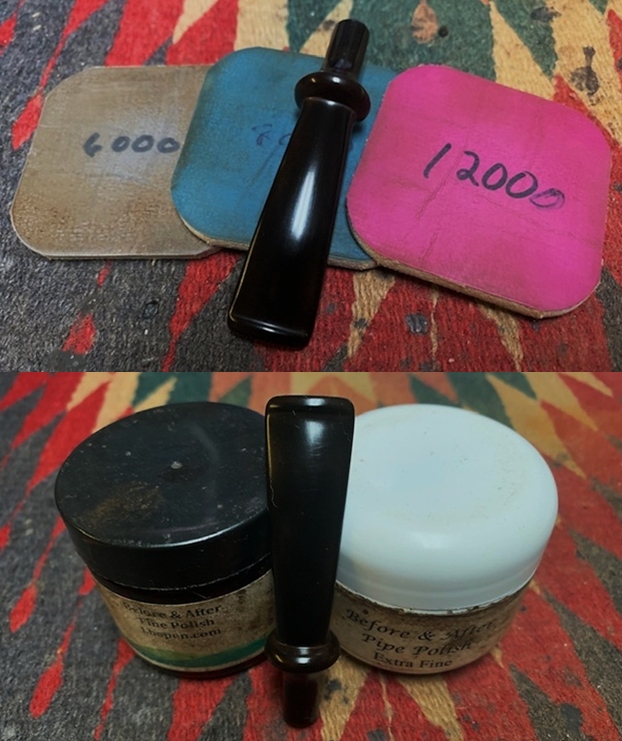
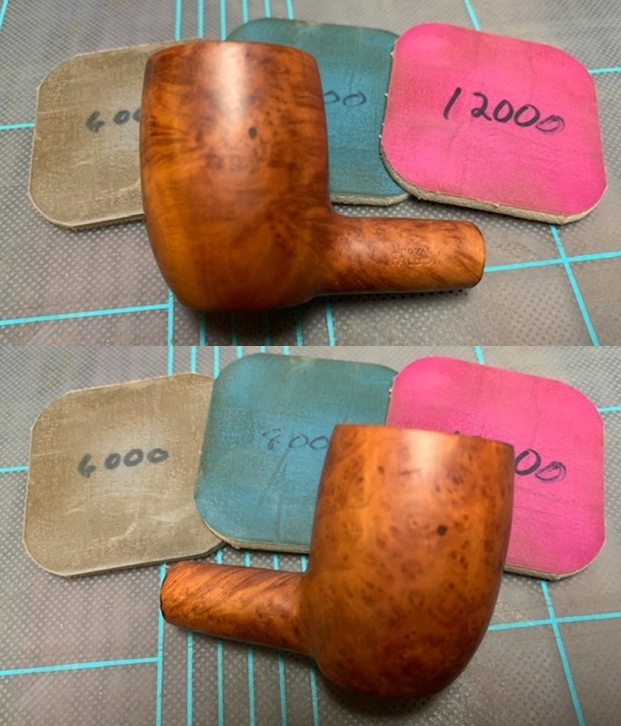
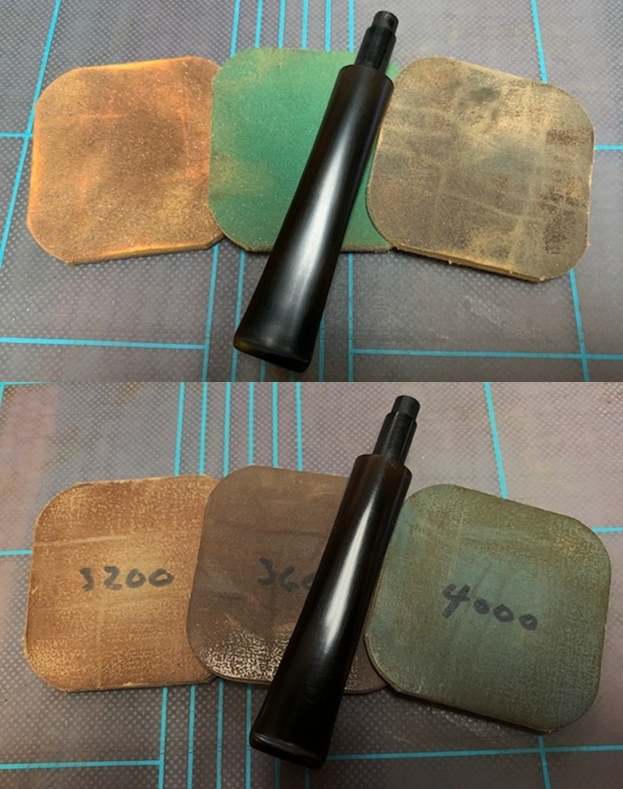
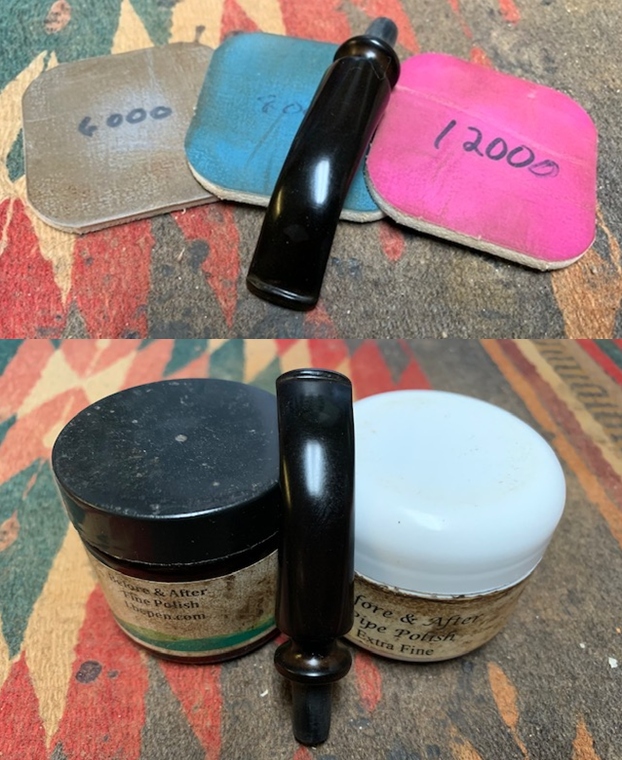
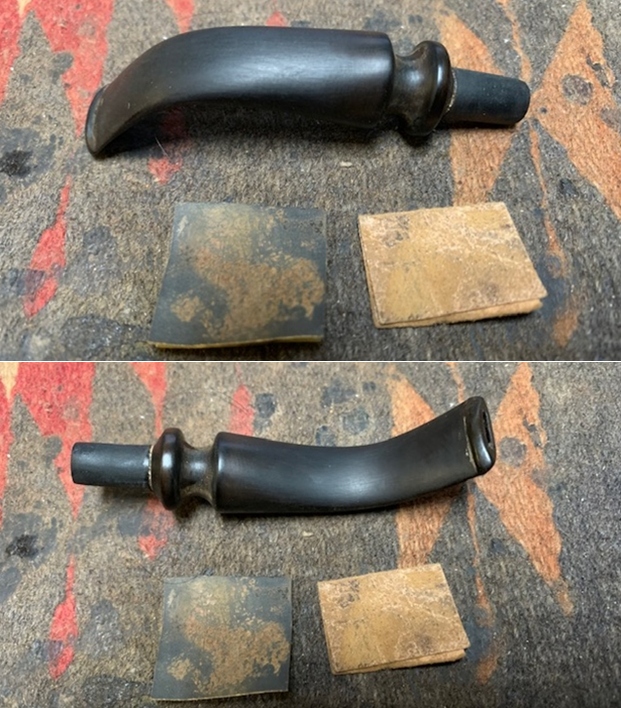 I polished the vulcanite with micromesh sanding pads – 1500-12000 grit pads. I wiped it down with a damp cloth after each sanding pad. I used Before & After Pipe Polish – both Fine and Extra Fine to further polish the stem. I left a little oxidation around the stamp so as not to damage it more.
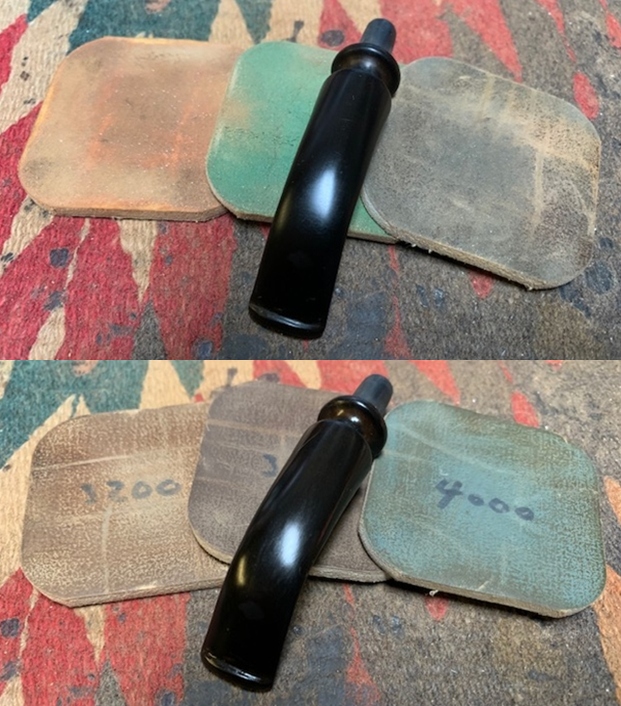
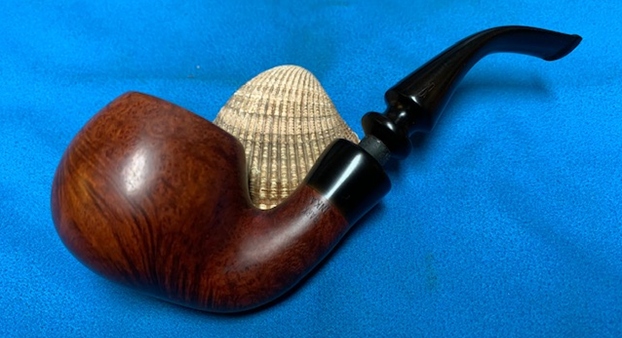
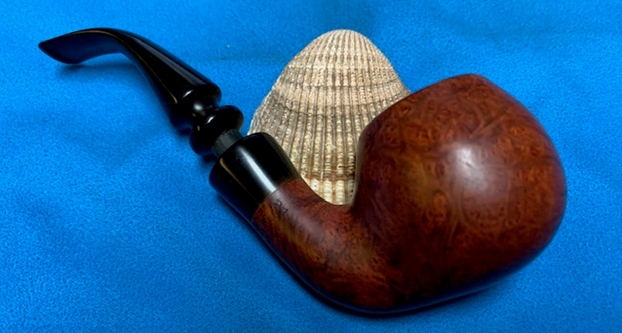
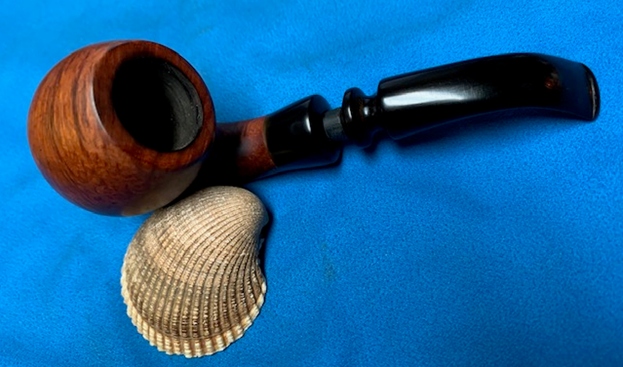
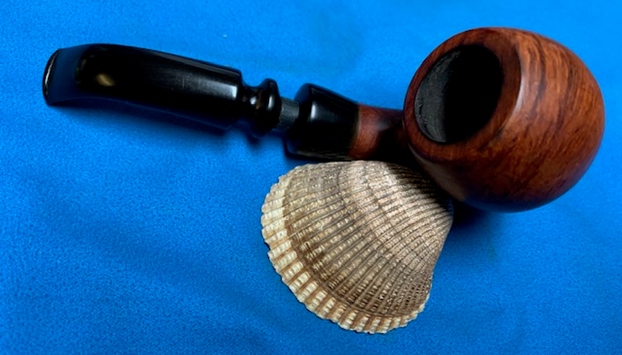
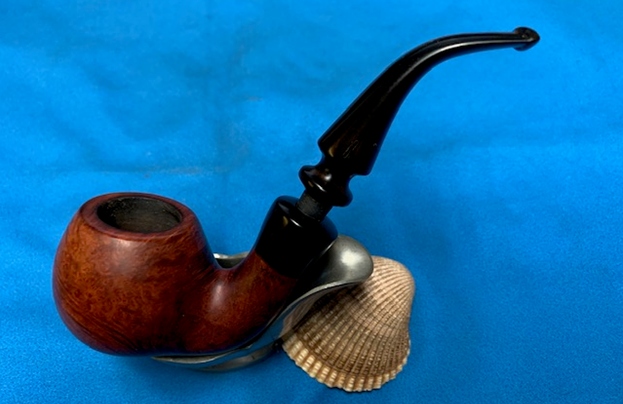
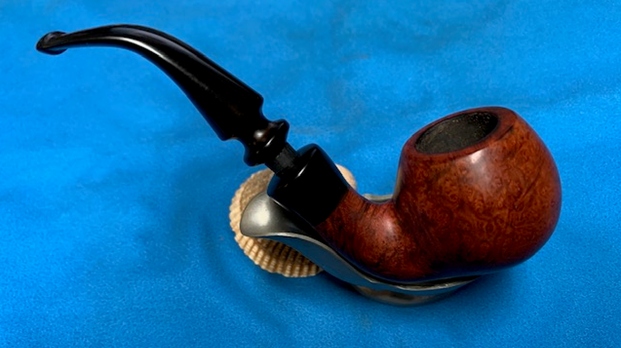
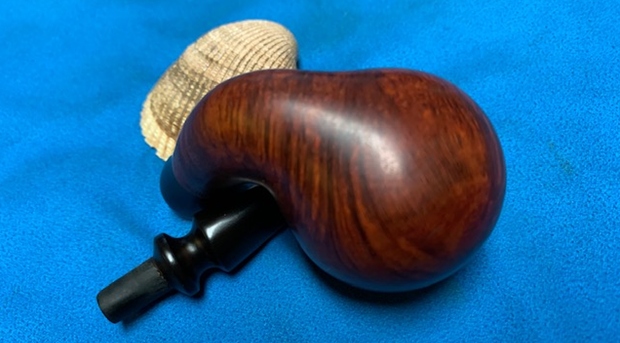
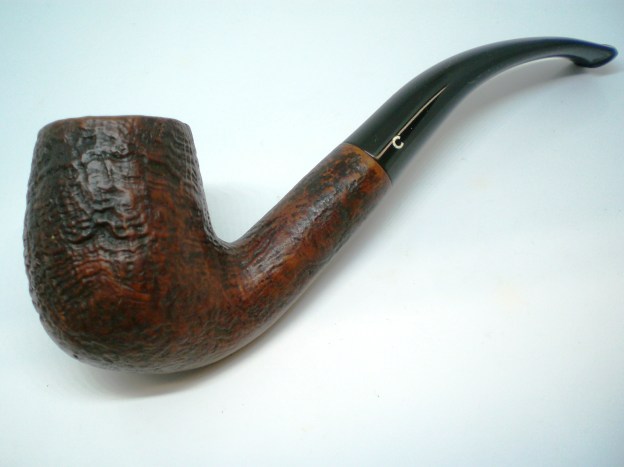
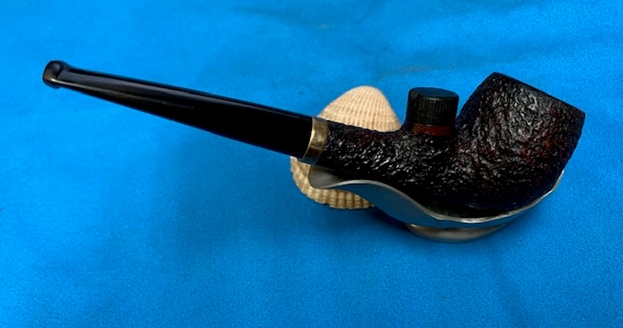
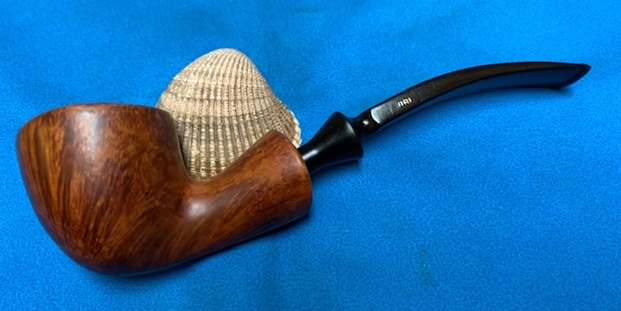
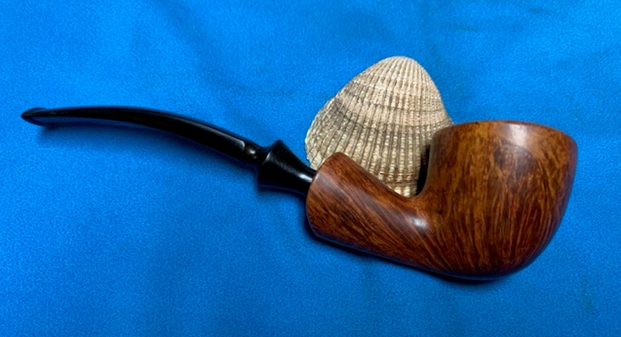
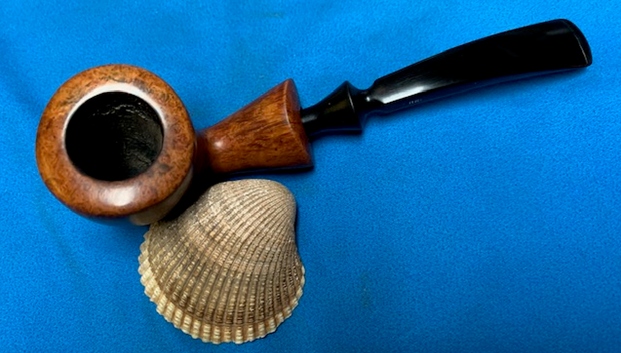
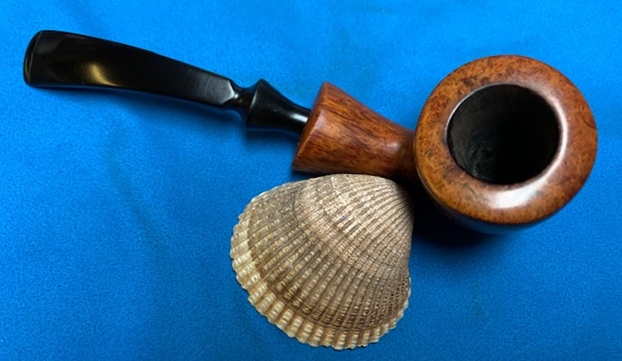
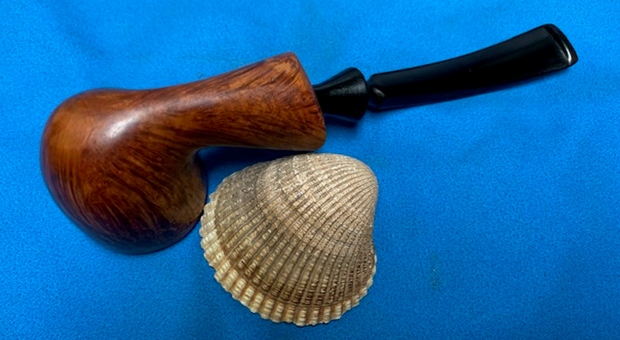
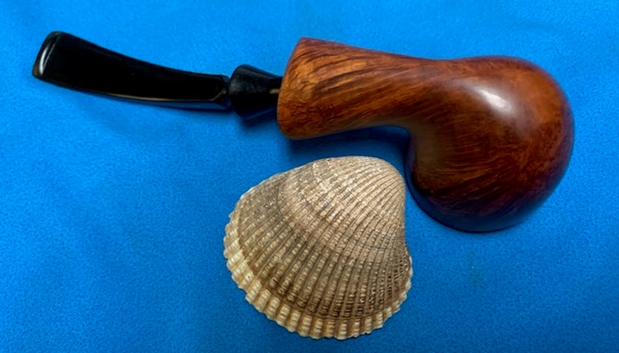
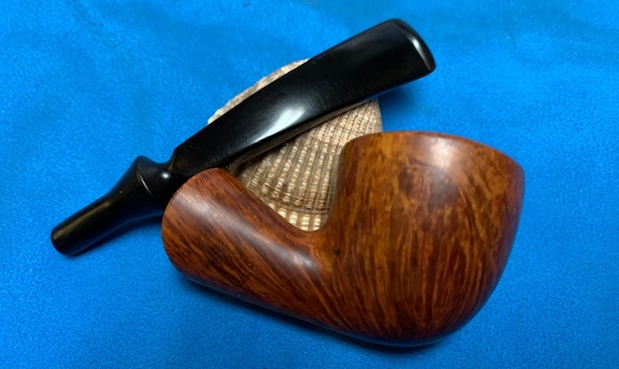
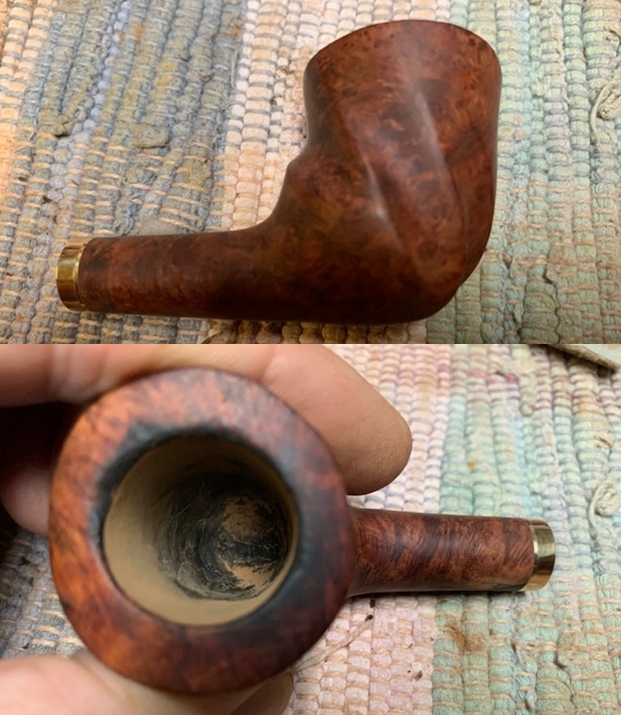
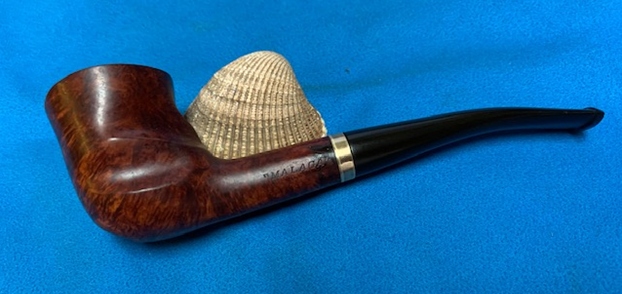
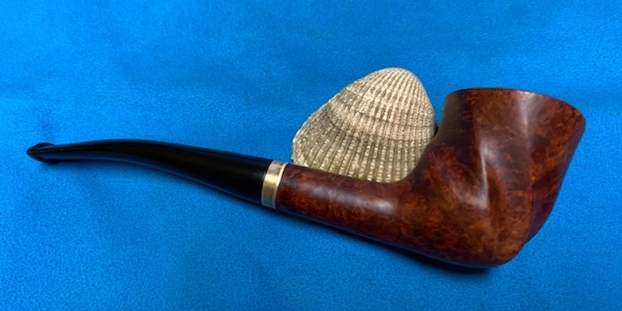
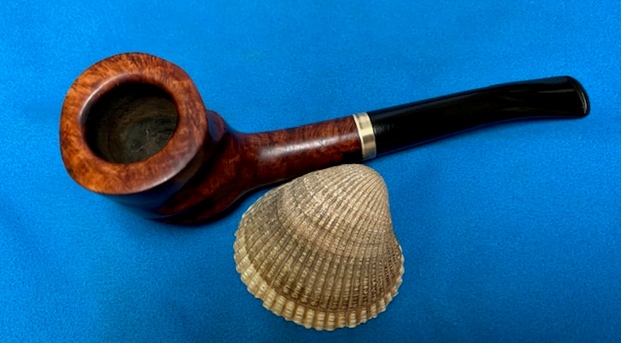
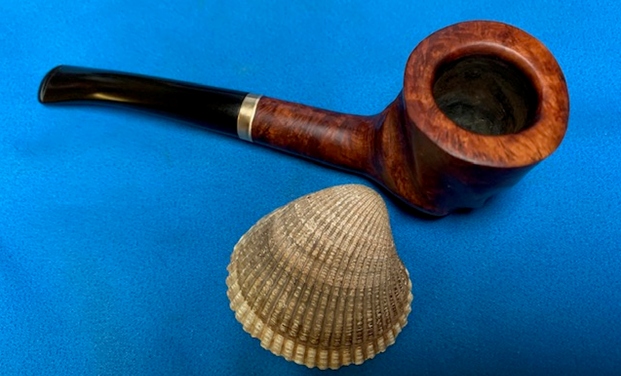
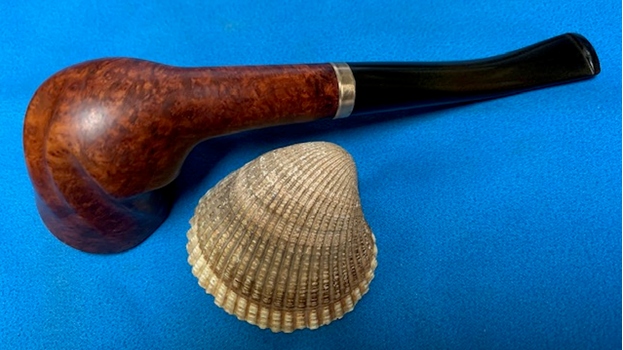
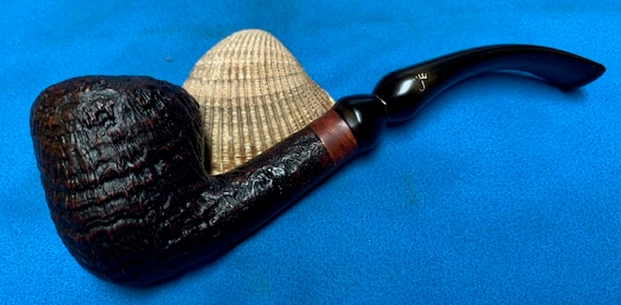
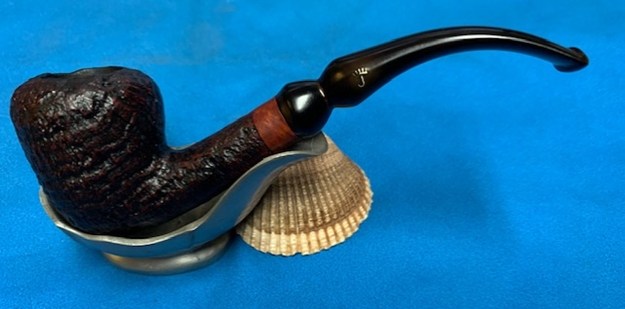
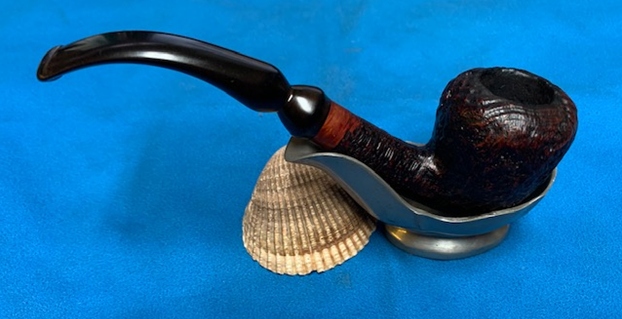
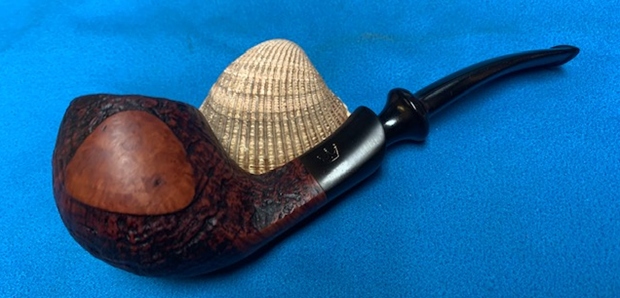
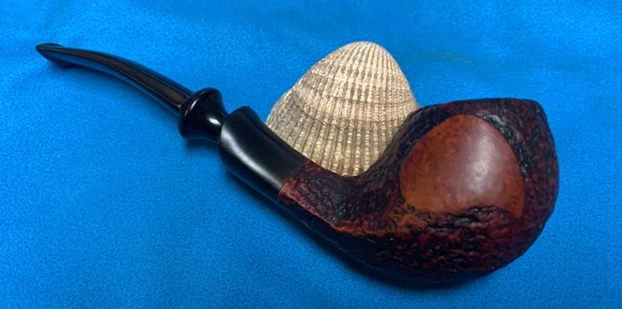
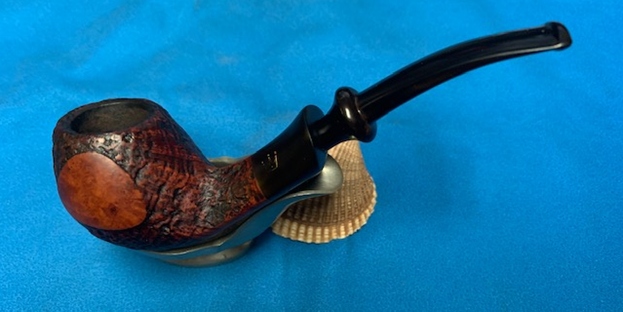
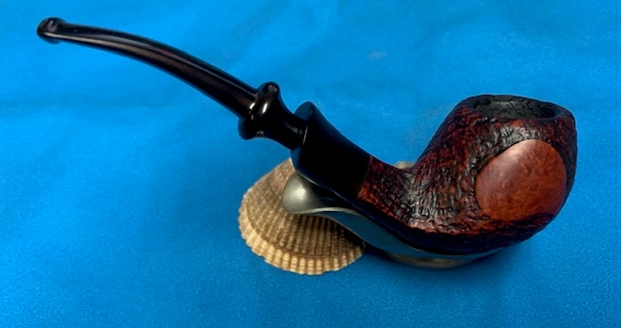
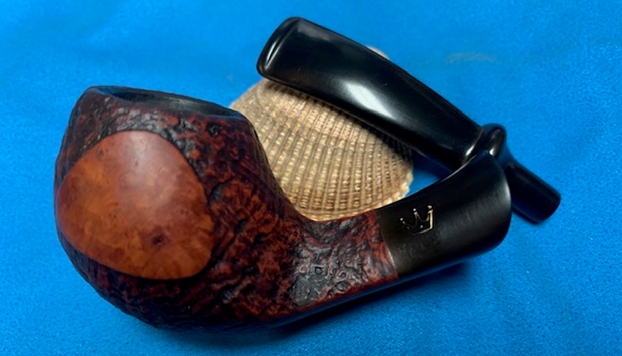
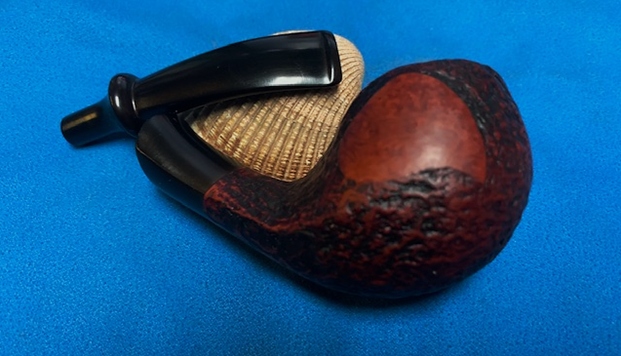
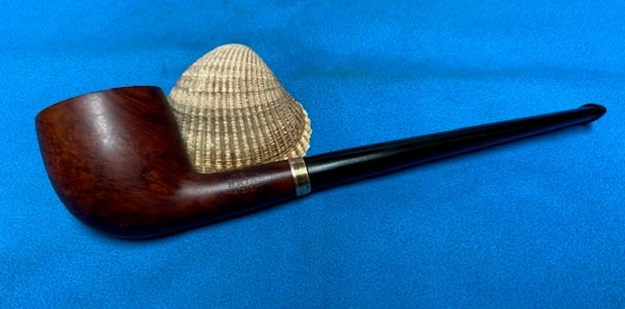
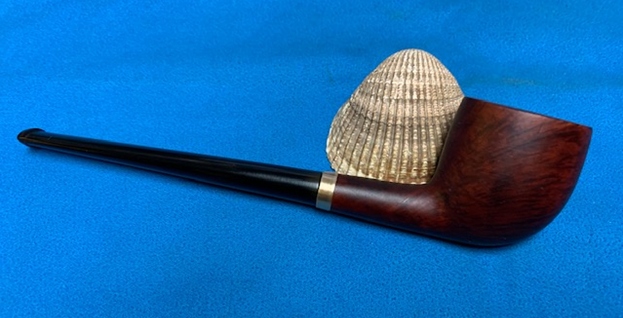
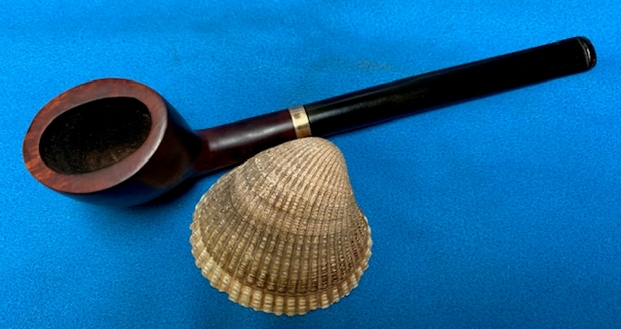
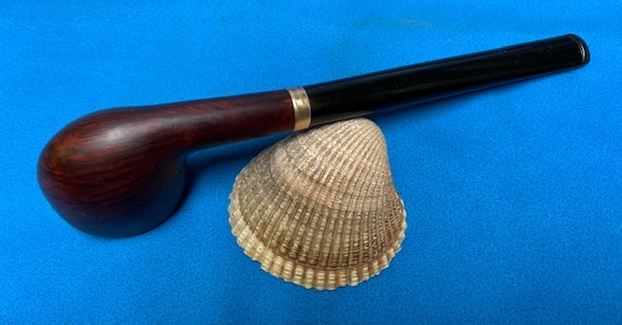
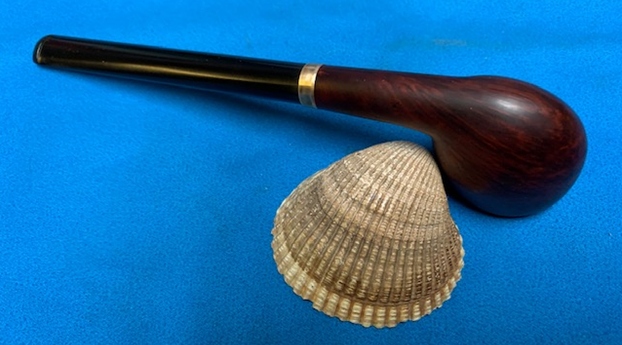
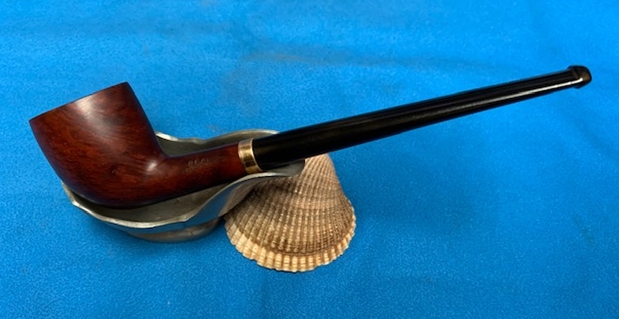
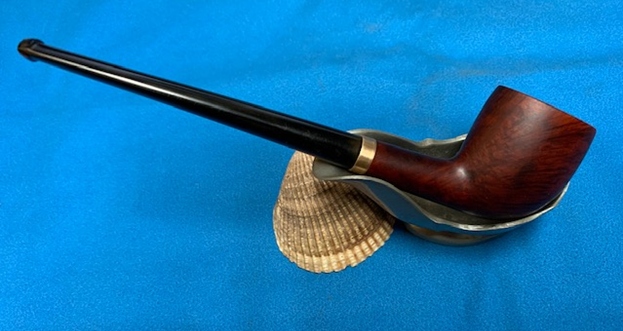
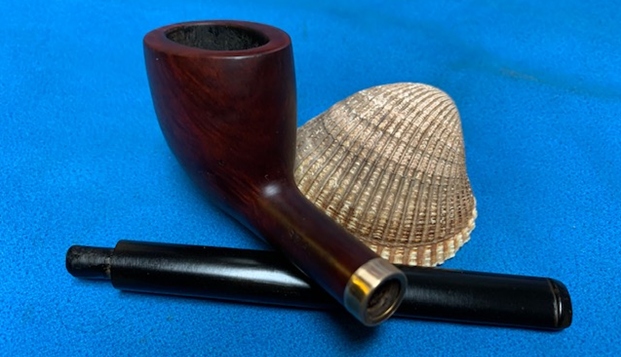
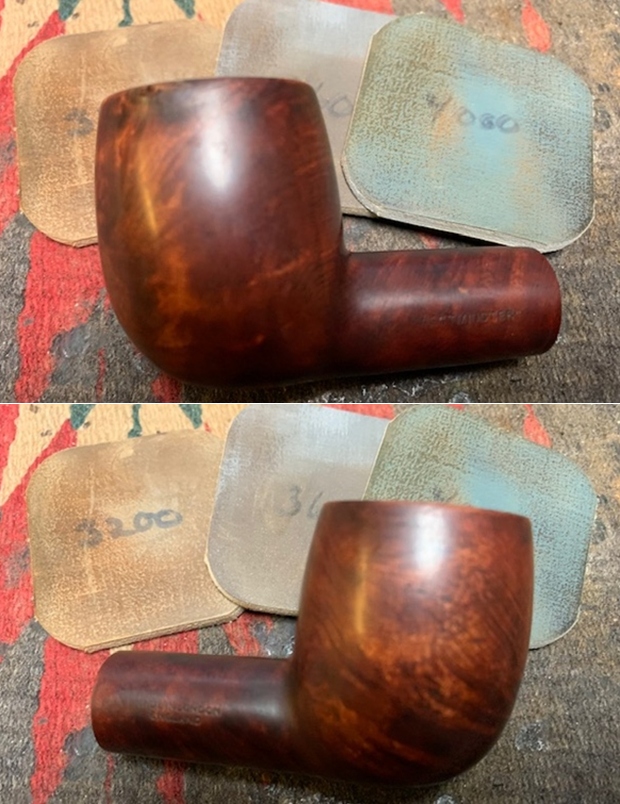
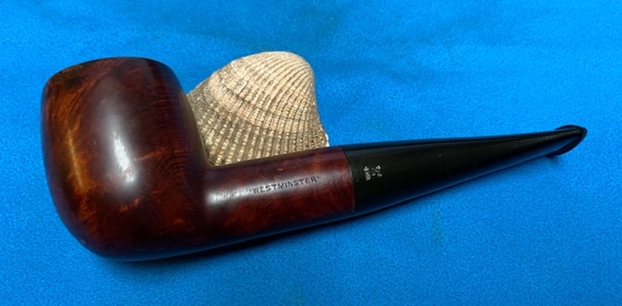
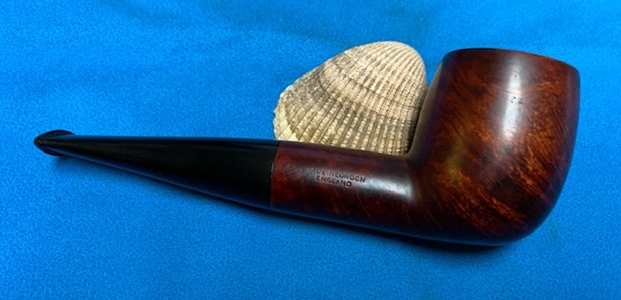
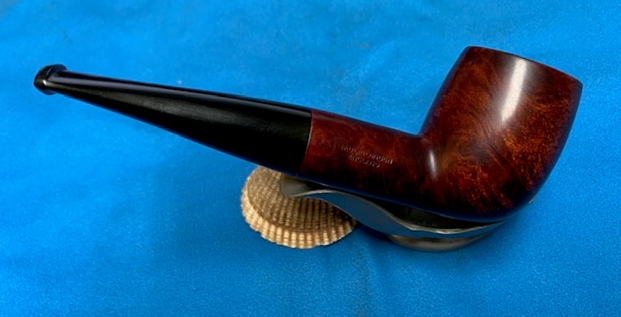
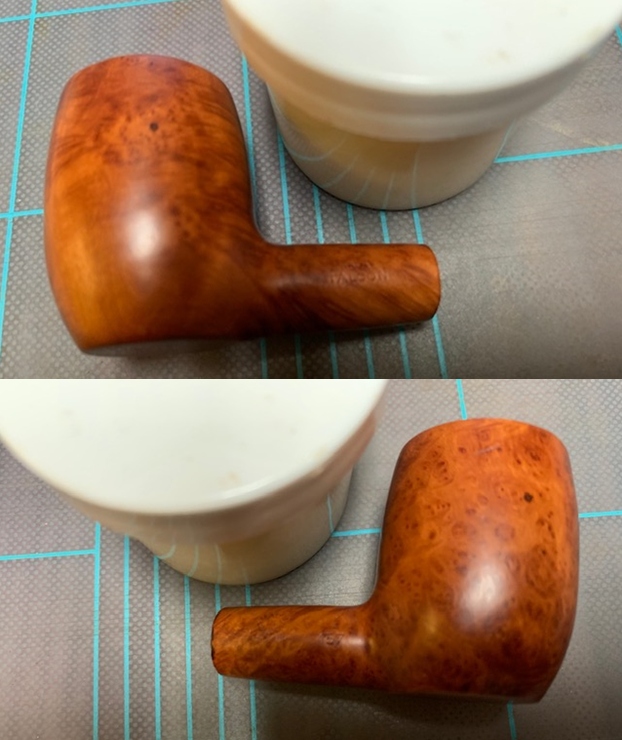
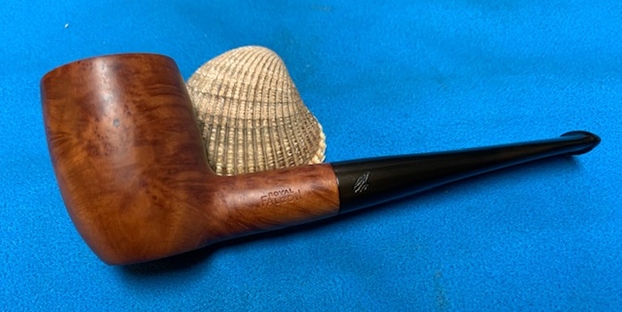
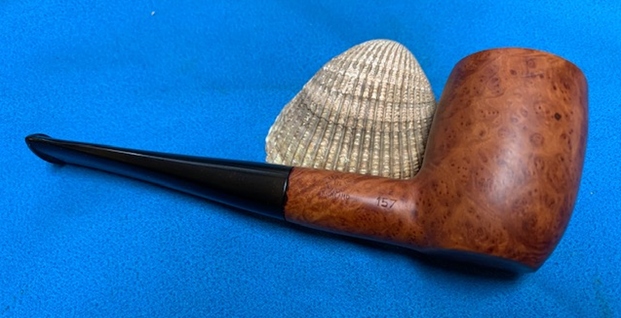
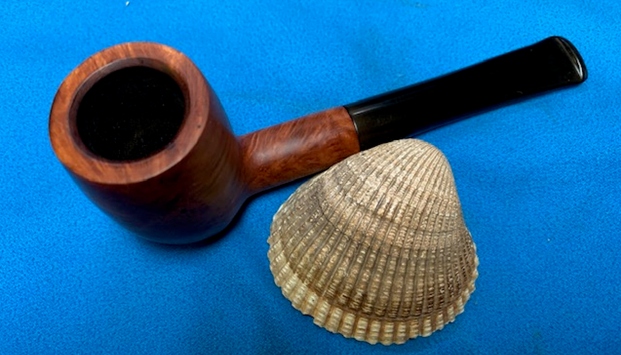
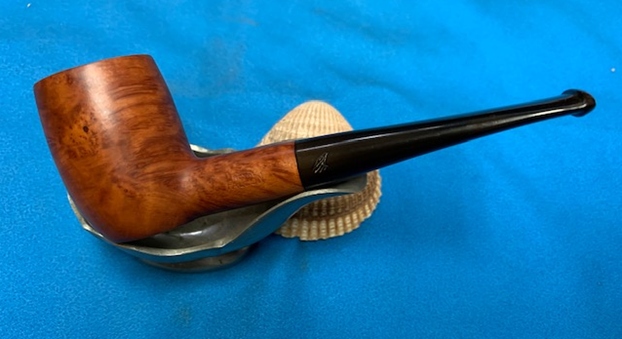
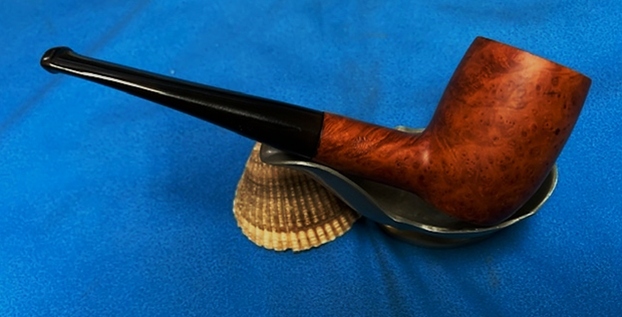
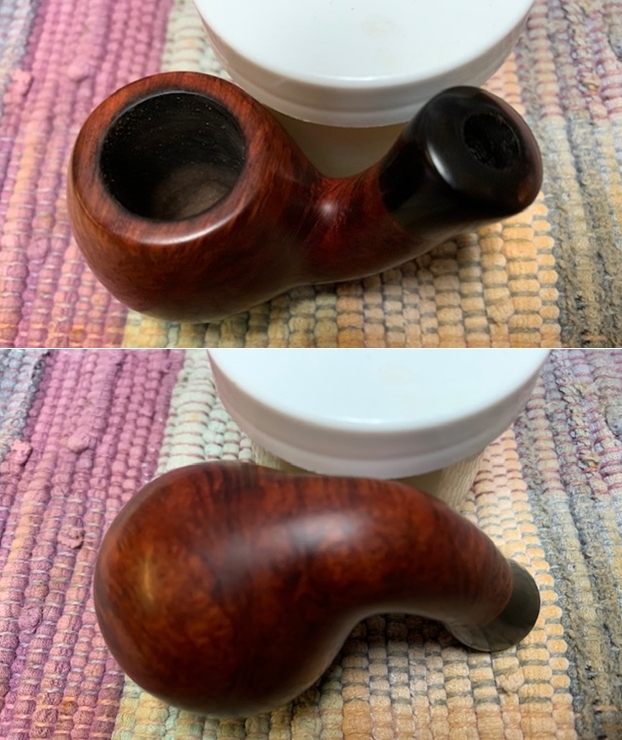
 This restored Svendborg Handmade Bark Inka 21 Bent Apple is a nice looking pipe. The contrasting brown stains on the pipe worked really well with the polished vulcanite shank extension and fancy turned vulcanite stem. I put the stem back on the bowl and carefully buffed the pipe with Blue Diamond on the buffing wheel. I gave the bowl and stem multiple coats of carnauba wax on the buffing wheel keeping a light touch on the buffing wheel for the bowl. I followed that by buffing the entire pipe with a clean buffing pad. I hand buffed the pipe with a microfiber cloth to deepen the shine. The finished Svendborg Bent Apple fits nicely in the hand and feels great. Give the finished pipe a look in the photos below. The dimensions of the pipe are Length: 5 ½ inches, Height: 1 ½ inches, Outside diameter of the bowl: 1 ¼ inches, Chamber diameter: ¾ of an inch. If you are interested in carrying on the previous pipe man’s legacy with this pipe send me a message or an email. I have more to work on of various brands. Perhaps one of those will catch your attention. Thanks for reading this blog and my reflections on the pipe while I worked on it.