Blog by Steve Laug
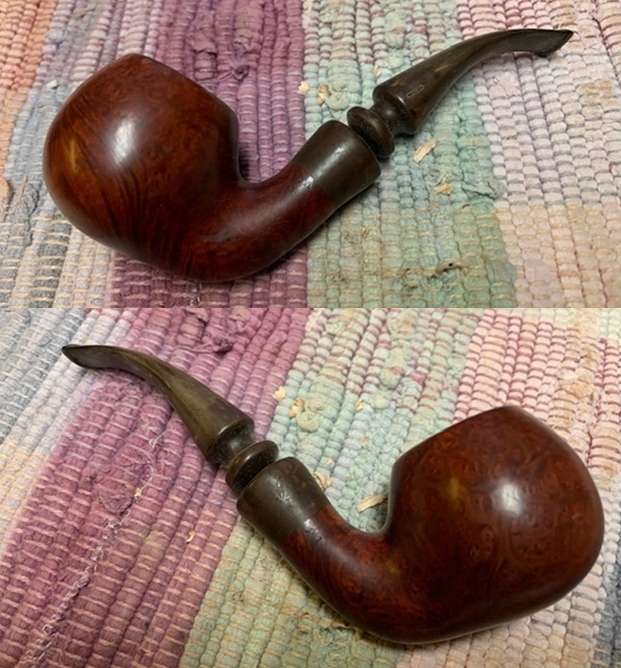
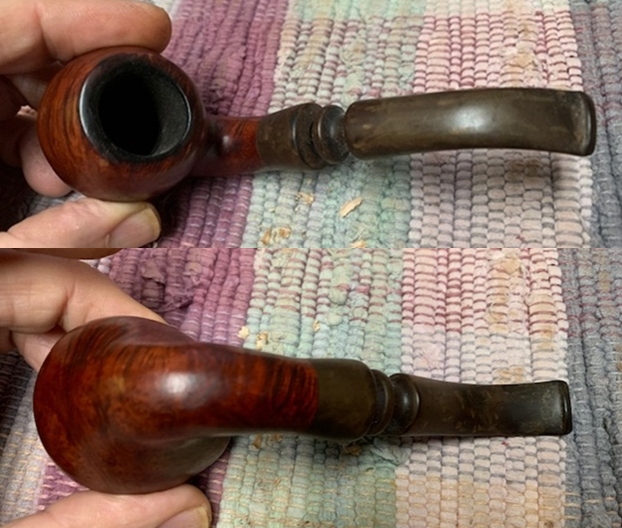
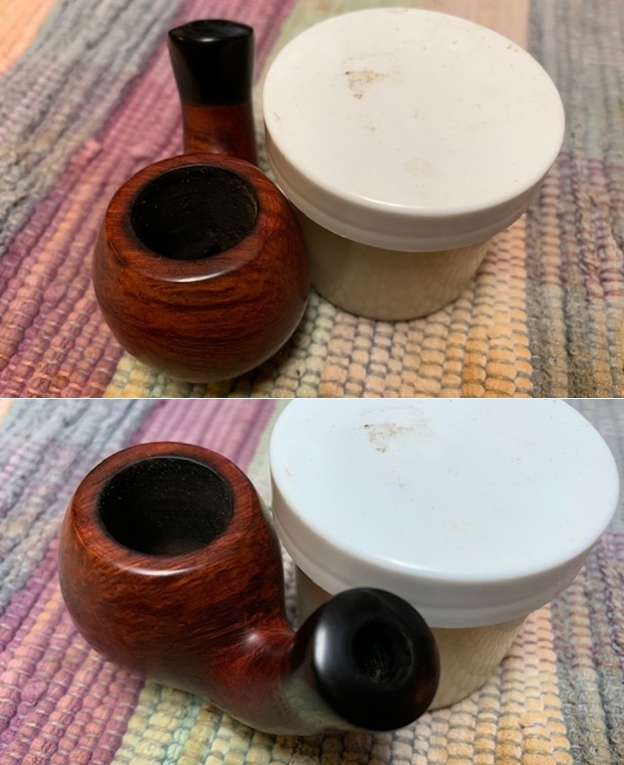
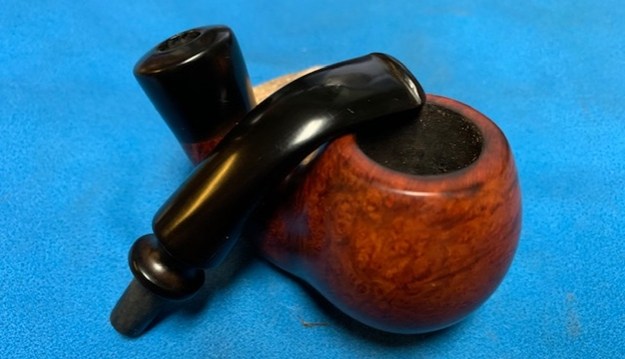
 The next pipe on the work table is another odd one that I have looked at several times over the years and then put back in the box of pipes to be restored. We picked it up on EBay in 2017 out of Illinois and it has been sitting here since then. To me it is another pipe that characterizes the perpetual hunt for the perfect flavourful and cool smoke. Today I decided to bring it to the table and work on it. This one is an oddity made by LHS. It has a briar bowl with the screw holding it to the top of the metal tube that forms the shank. The smooth finished bowl is either a bulldog or Rhodesian bowl with the twin rings around the cap. The shank piece is oxidized aluminum with cooling fins and a threaded end cap that is removable for cleaning. The stem is plastic (perhaps nylon or an early acrylic). It was stamped on the stem with the LHS in a Diamond logo. There is no other information on the shank in terms of a line of pipes or a shape number. The pipe was dirty with grime ground into the finish. There was a cake in the bowl and lava overflow and bubbling of the finish on the rim top. The inner edge of the rim appeared to be in okay condition but we would know once it was cleaned. The stem was dirty and deep tooth marks and chatter ahead of the button on both sides. Jeff took photos of the pipe as it was when he received it from the EBay seller.
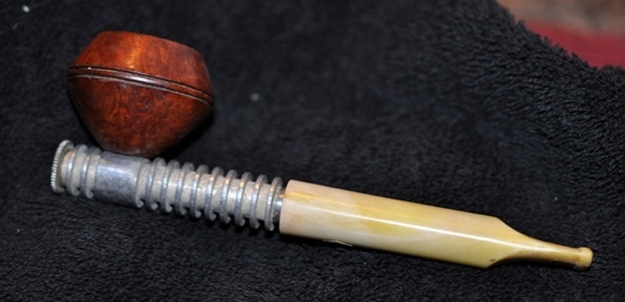
 Jeff took photos of the bowl and rim top to give an idea of the thickness of the cake in the bowl and the condition of the rim top. The pipe was a mess and it would take a lot of work. He also took photos of the condition of the stem to give a picture of the shank. He ends with photos of the stem surface. You can see the tooth marks in the stem material on both sides of the stem.
 He took a photo of the stamping on the topside of the stem. It is reads as noted above.
 Jeff took photos of the sides of the bowl and the condition of the exterior of the bowl and the aluminum shank that the bowl is screwed into. It really is an odd looking pipe. I am anxious to see it looks like when I take it apart. The shank end cap has knurled edges and I am wondering if it would be stuck in the shank and unmovable. There appears to be a shellac or varnish coat on the bowl to give it the shine that shows through the grime.
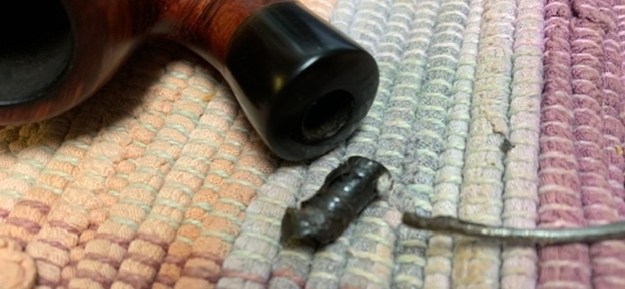
 You can see that Jeff was able to remove the cap. The threads appear to be in excellent condition. The stem also came of the metal shank quite easily. Inside was a disintegrating paper filter that was really just a pile of debris. It was a mess. He also included photos of the shank and stem.
 Before I started working on it I did a bit of research on the brand to see if I could find anything mentioned in the two sites I regularly check for background information. I turned first to Pipephil’s site (http://www.pipephil.eu/logos/en/logo-lhs.html). There was a great summary of the history of the brand but nothing on this particular unique pipe. I include that summary below:
The L&H Stern Inc. was established by Ludwig Stern (1877-1942) in 1911. His brother Hugo (1872-?) acted as vice-president & secretary. The firm moved to 56 Pearl St. Brooklyn in 1920. It closed down in the 1960s. LHS was one of the main pipe suppliers for US soldiers during WWII.
I did a quick look at Pipedia (https://pipedia.org/wiki/LHS) and there was a longer version of the same information as well as lot of photos of the wide range of LHS produced pipes. It is well worth a visit however there was no information on this particular odd pipe. The one thing that was included that proved a gold mine was an LHS Catalogue from 1946. I have included the link as well as a screen capture of the FILTREX pipe and information included from the catalogue (https://pipedia.org/images/b/b8/LHS_Catalog_1946.pdf).
The page contained this information: The Filtrex pipe is probably the coolest smoking pipe yet made. The aluminum cooling coils with highly absorbent filter keeps the pipe cool and dry at all times. A package of 20 Filtrex absorbent filters free with each pipe. The Filtrex pipe can be had with solid rubber bits or “easy grip” plastic bits.
From there I turned to the Smoking metal collectors website to check out the possible information that it would provide (http://www.smokingmetal.co.uk/pipe.php?page=224). It included two listing for the LHS Filtrex pipe stating that it came in two different sizes. I have included that information and photos below.
The diameter of this pipe is smaller than the normal Stern. Carries the LHS in a diamond logo on the plastic mouthpiece.  The larger of the two L H Stern pipes, identical except for size.
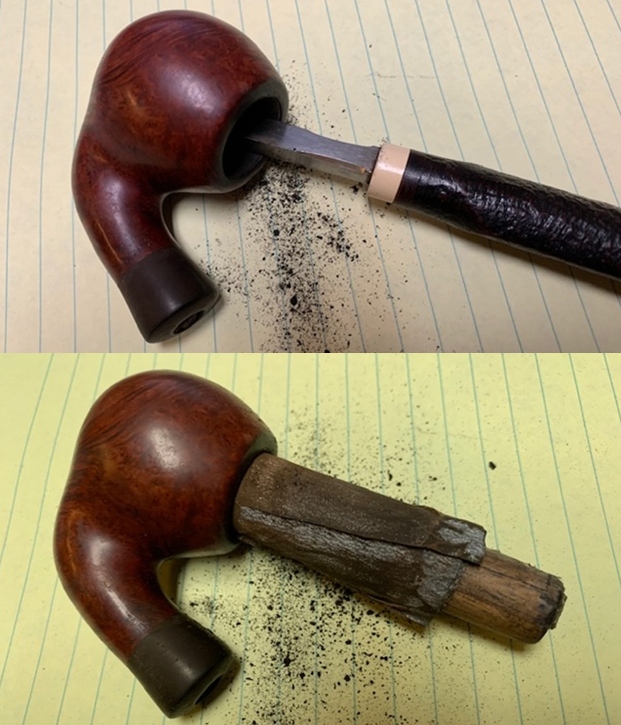
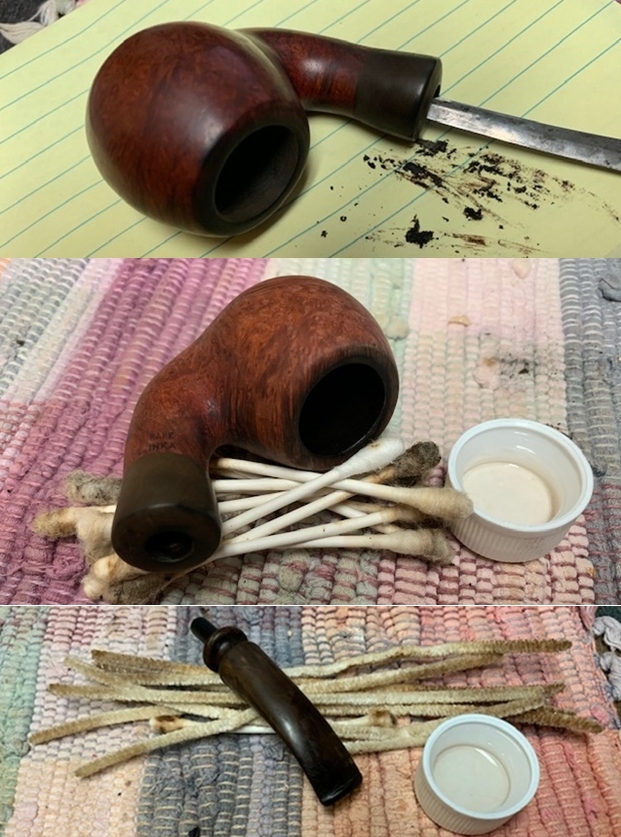
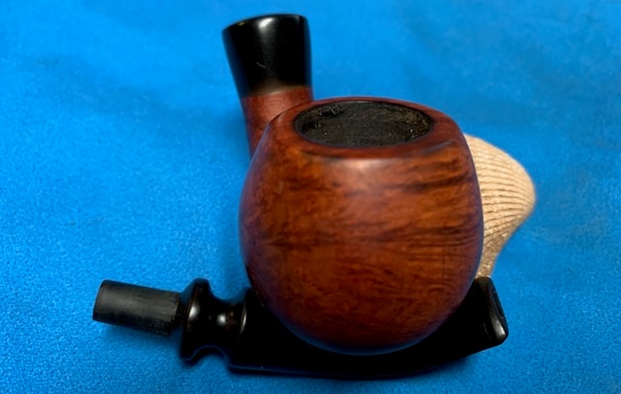
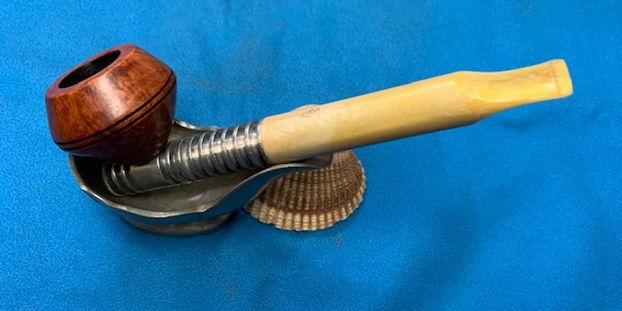
  Now it was time to work on the pipe. Given the horrible condition of the pipe shown above I was wondering what it would look like after the cleanup. Jeff did an amazing job on this one. With odd design combining briar, aluminum and plastic it was a lot of detail work to get it clean. The pipe is similar in design Kirstens. He reamed the bowl with a PipNet Reamer and cleaned it up with a Savinelli Fitsall pipe knife. He cleaned out the internals of the shank and airway in the stem with alcohol, cotton swabs and pipe cleaners. He scrubbed the externals of the pipe with undiluted Murphy’s Oil Soap and rinsed with running water. The pipe looked a lot better than when he started. Internally it was spotless and smelled clean. I took some photos of the pipe before I started my work on it.
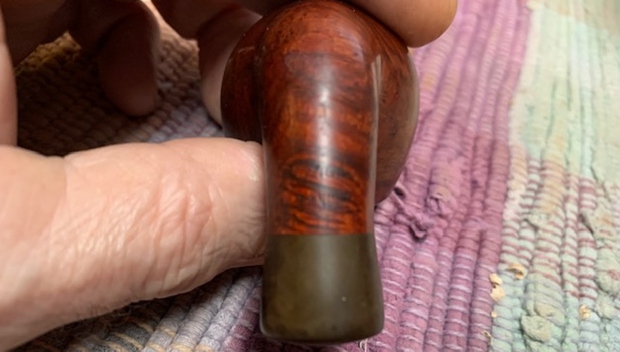
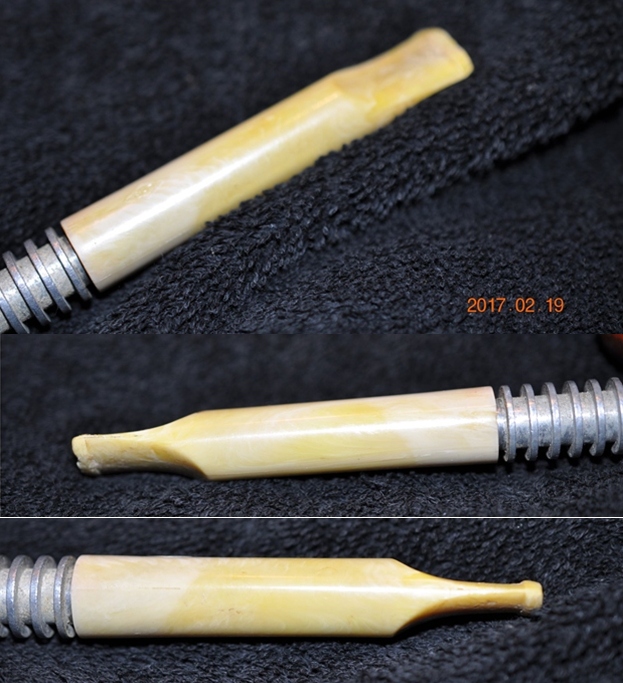
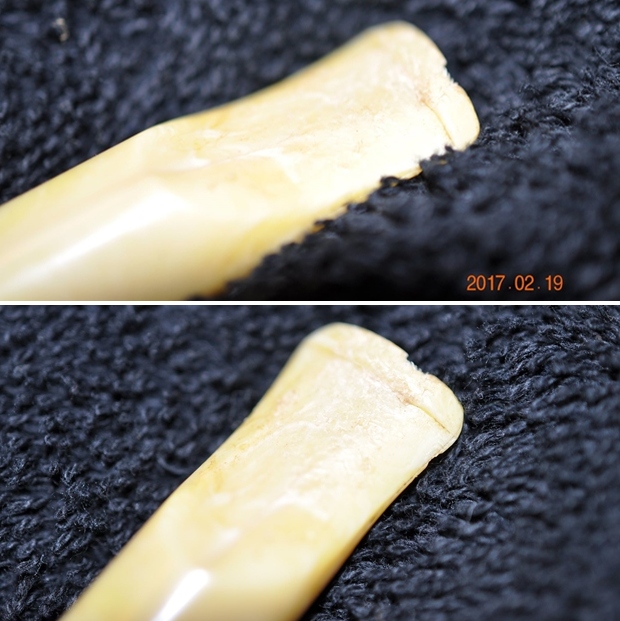
 I took some close up photos of the rim top and the stem surface. I wanted to show the condition of the rim top and edges of the bowl. The outer edges were in okay condition. The inner edges had nick toward the front of the bowl. There was still some peeling varnish on the rim top. There were nicks and gouges in the top of the rim toward the front. I also took close up photos of the stem to show the deep tooth marks and chatter on the top and underside near the button.
  I took photos of the stamping on the top of the stem. It is faint but readable. It is stamped as noted above.
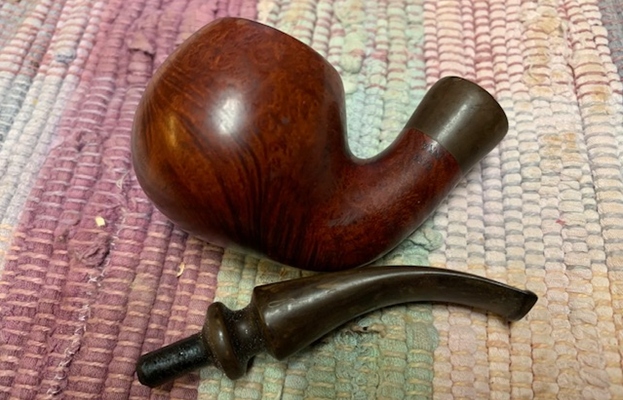
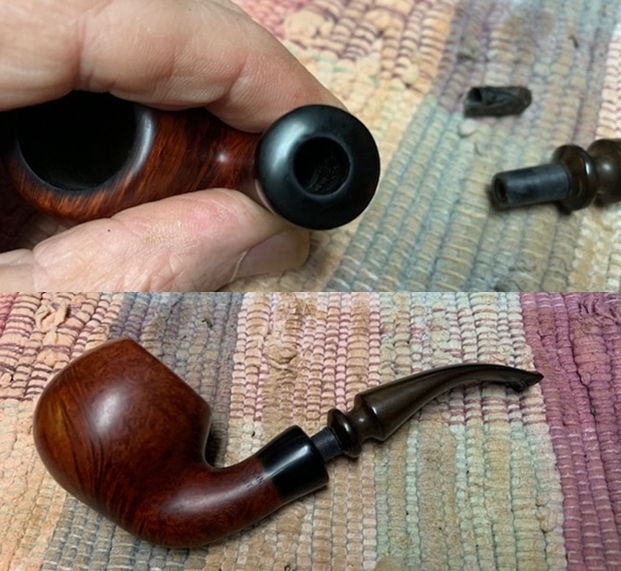
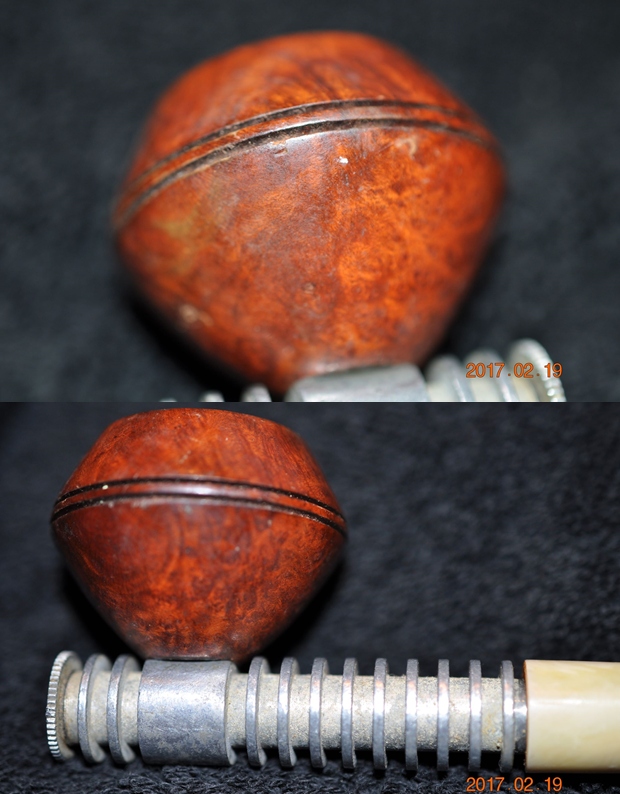
  I took a photo of the pipe with the stem removed to give and idea of the proportions of the bowl and shank unit and the stem.
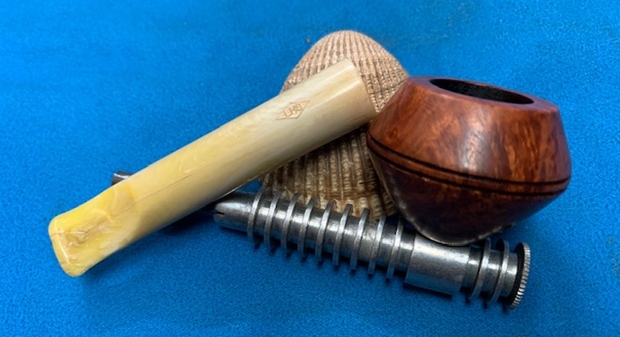
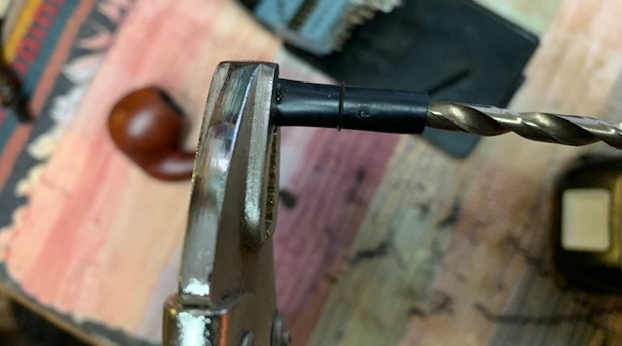
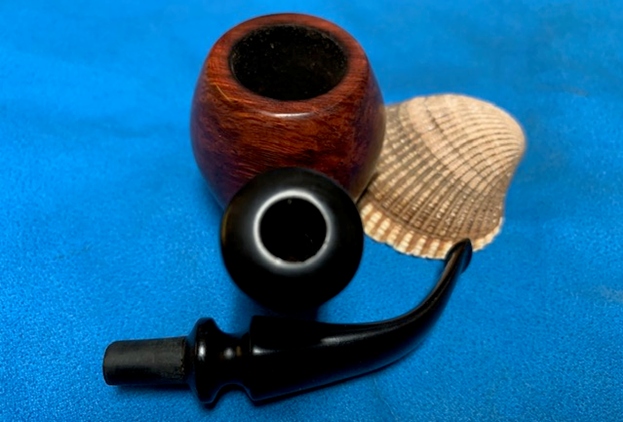
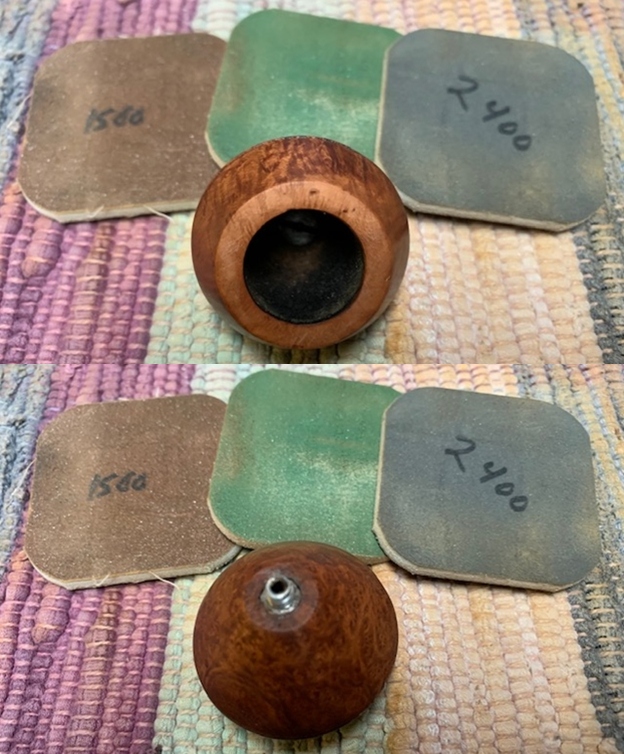
 I took the pipe apart and took photos of the parts.
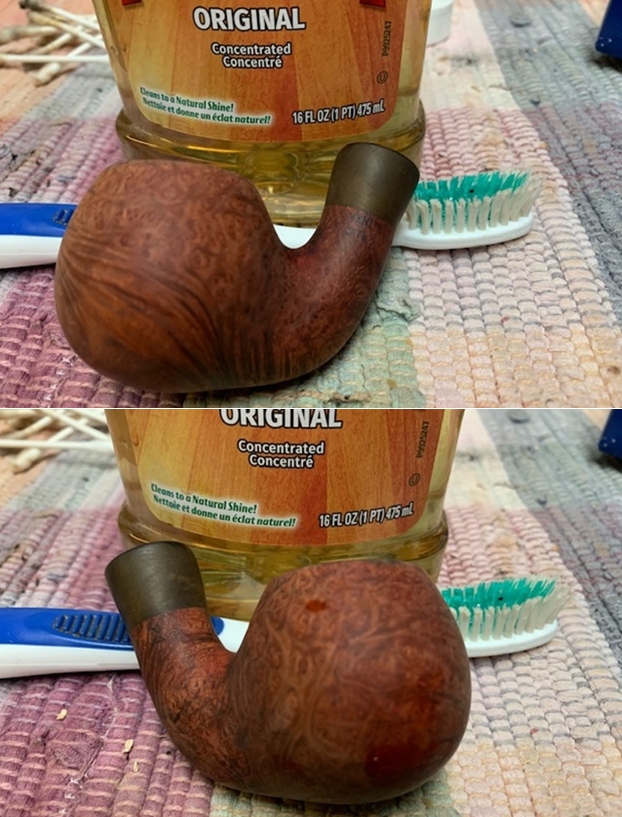
  I decided to start my restoration on this old timer by addressing the varnish or shellac on the bowl by wiping it down with acetone to remove it. Once the finish was gone the briar looked very good.
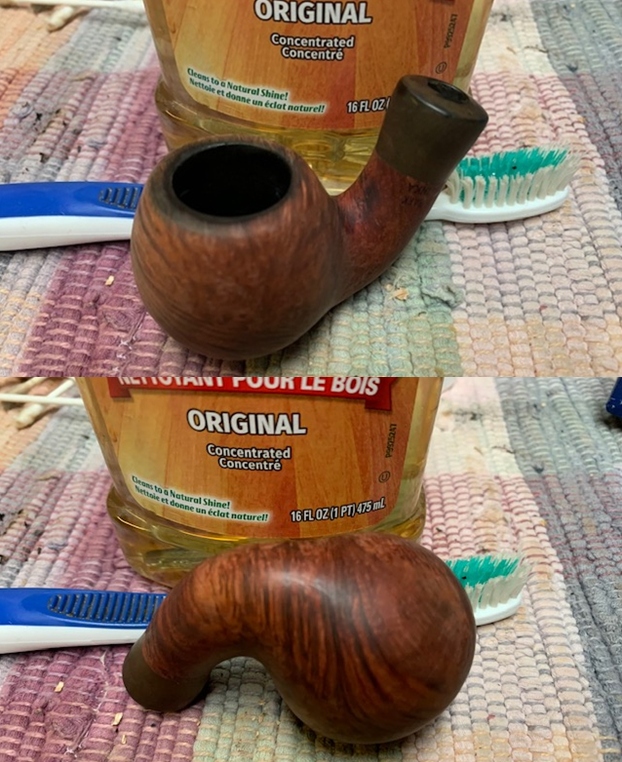
 I moved on to deal with the damage to the inner edge and the rim top. I sanded the inner edge with a folded piece of 220 sandpaper to bring it back into round.
  I filled in the flaws on the rim top with clear super glue. I let it cure and sanded them smooth with a folded piece of 220 grit sandpaper.
  I topped the bowl on a topping board with 220 grit sandpaper to remove the repair and blend it into the surface of the rim.
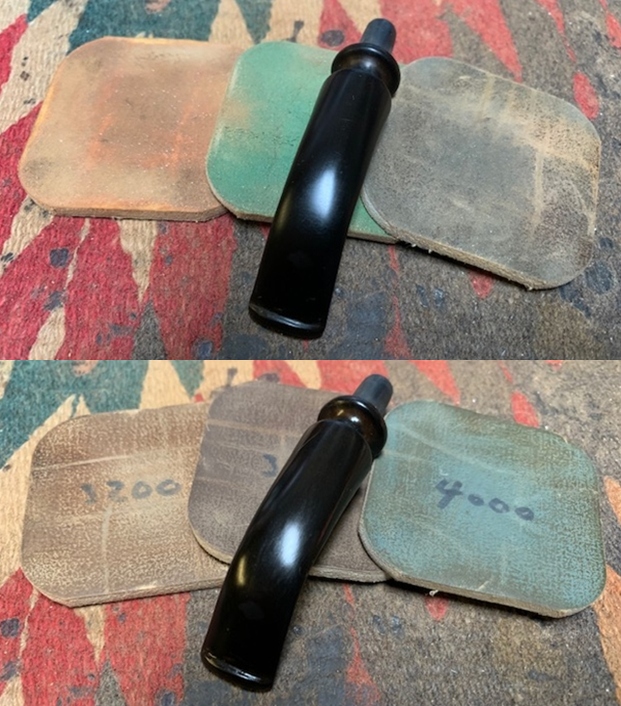
 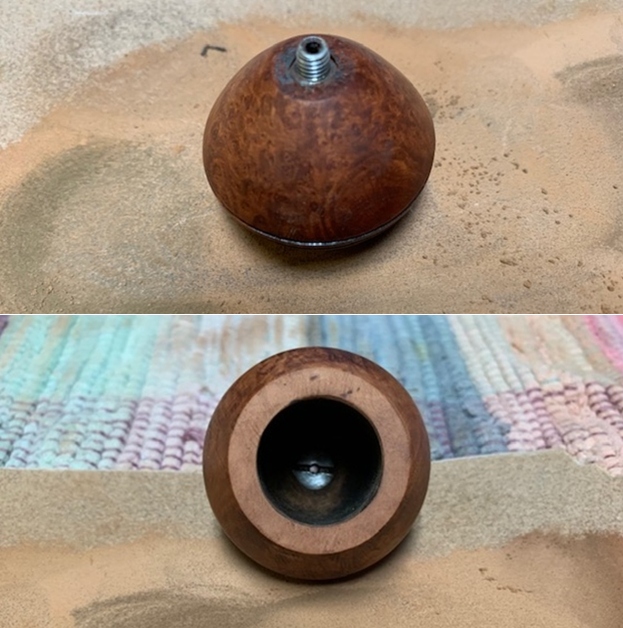 I polished the bowl with micromesh sanding pads. I wet sanded with 1500-12000 grit pads and wiped the rim top off after each pad with a damp cloth. The shine began to look very good.
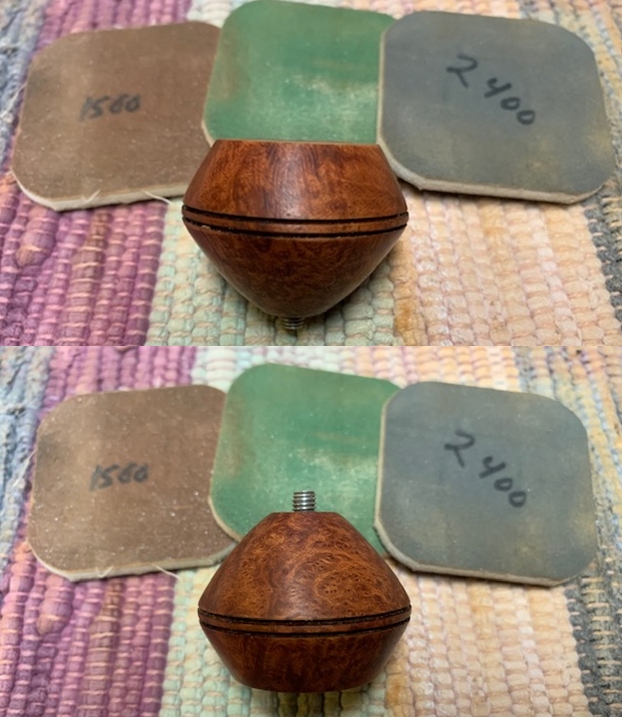


 I rubbed the bowl down with Before & After Restoration Balm. I worked it into the surface of the rusticated briar with my fingertips and a horsehair shoe brush to clean, enliven and protect it. I let the balm sit for a little while and then buffed with a cotton cloth and shoe brush to raise the shine.

 I set the bowl aside and turned my attention to the aluminum shank. I buffed it with Blue Diamond polish on the buffing wheel to raise a shine. I put a Dr. Grabow Charcoal Filter in the shank. The second half of the filter extends into the stem attachment once I have it done.
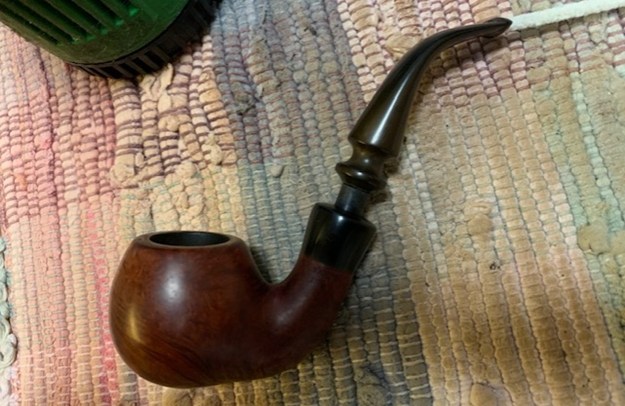
  I screwed the bowl back on to the shank and took photos of what the pipe look like so far. It is looking pretty good at this point in the process. All that is left is the stem to clean up and polish.
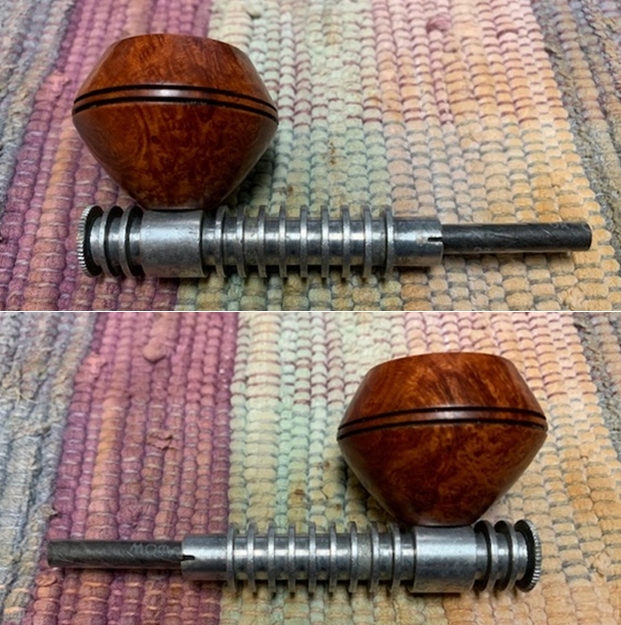
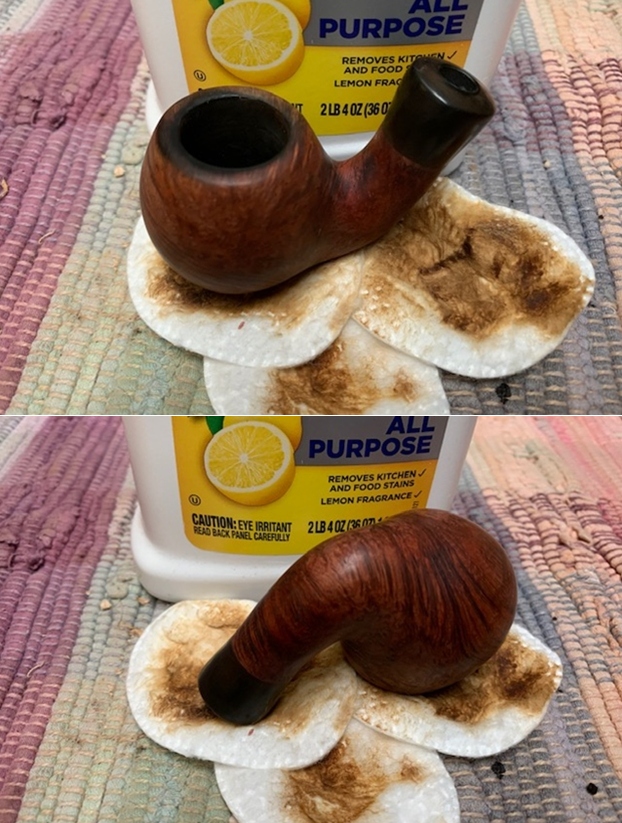
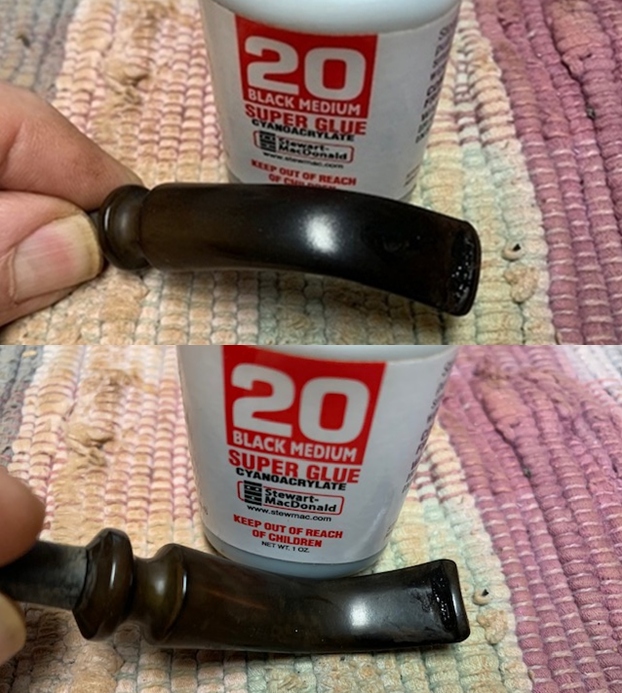
 Now it was time to work on the stem. There was a chip out of the outer edge of the button. I filled it in with clear super glue. Once the repair cured I sanded it smooth with 220 grit sandpaper and topped the edge on the topping board to flatten out the outer edge of the button.
  I sanded the tooth marks and chatter on the stem surface with 220 grit sandpaper to blend them into the surface of the surrounding vulcanite. I started polishing process with 400 grit wet dry sandpaper.
  I used some Rub’n Buff Antique Gold to touch up the LHS Diamond on the top of the stem.
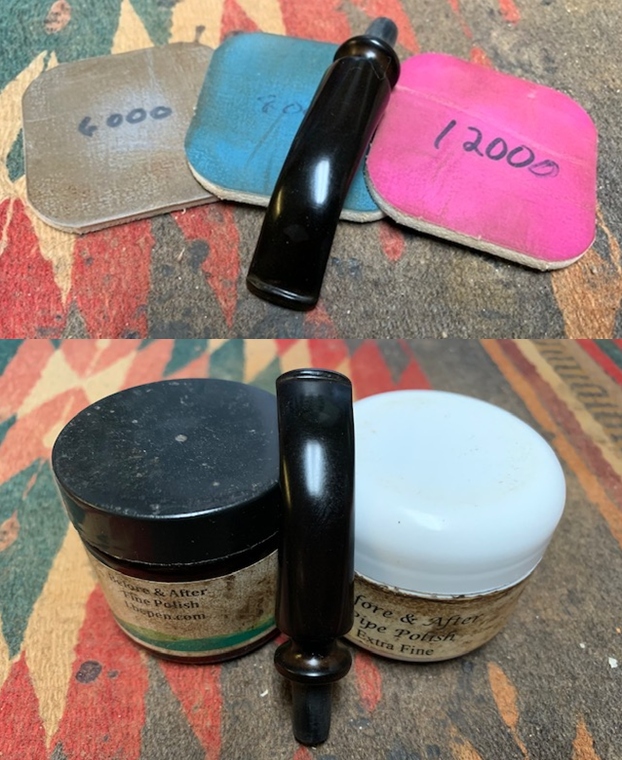
  I polished the stem with micromesh sanding pads – 1500-12000 grit pads. I wiped it down with a damp cloth after each sanding pad.
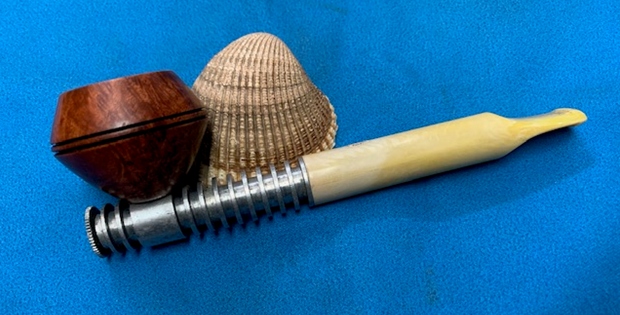
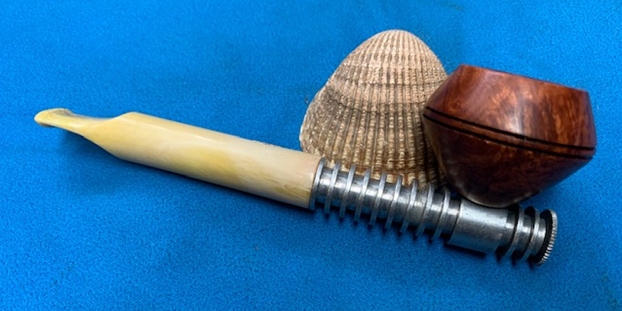
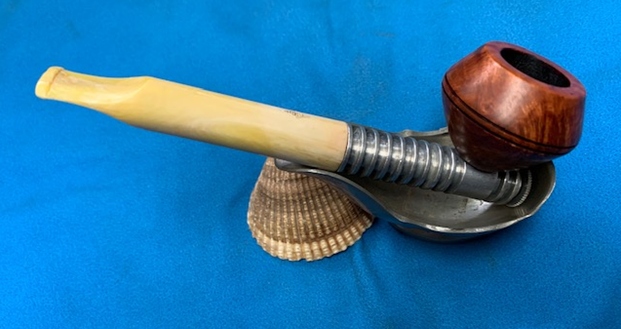
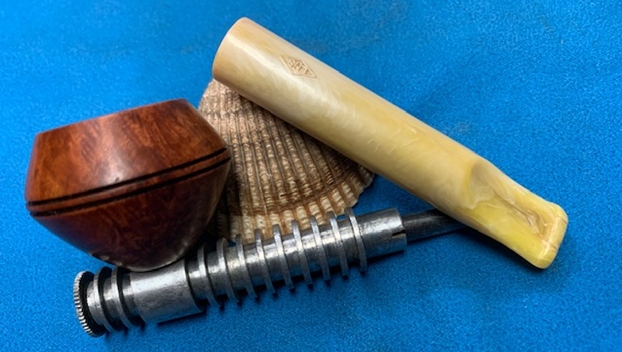
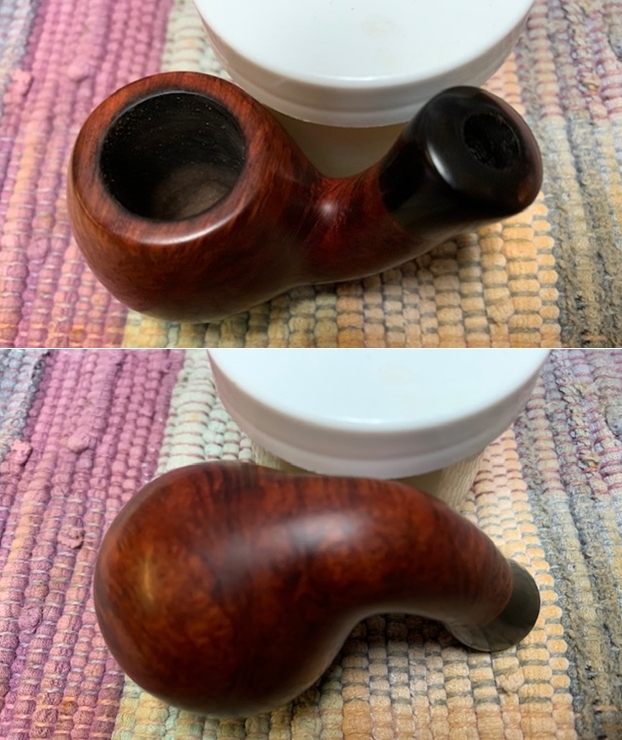
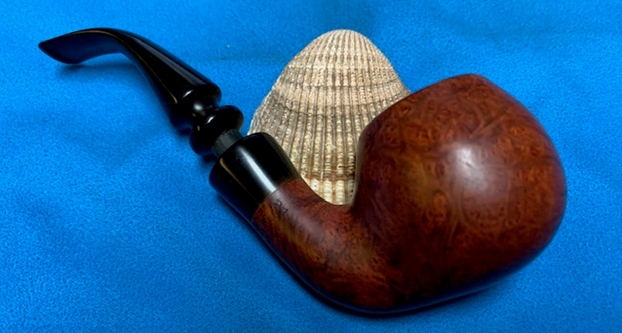
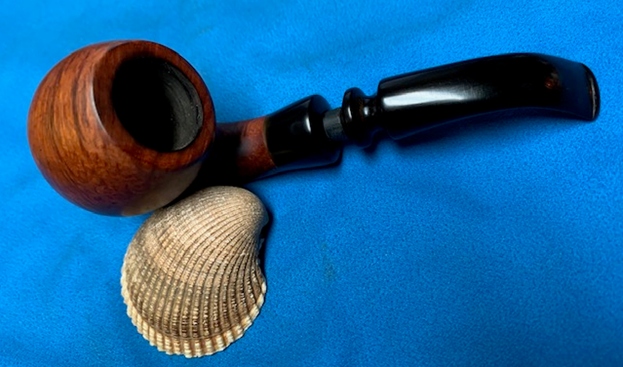
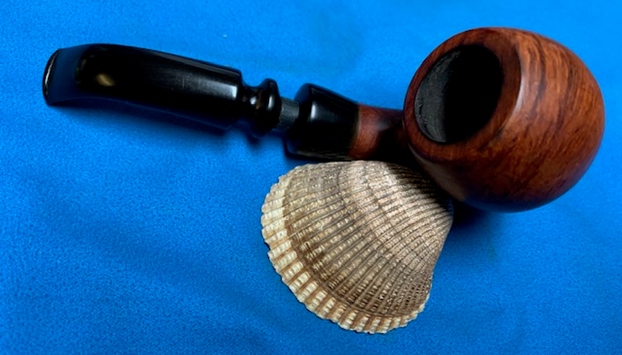
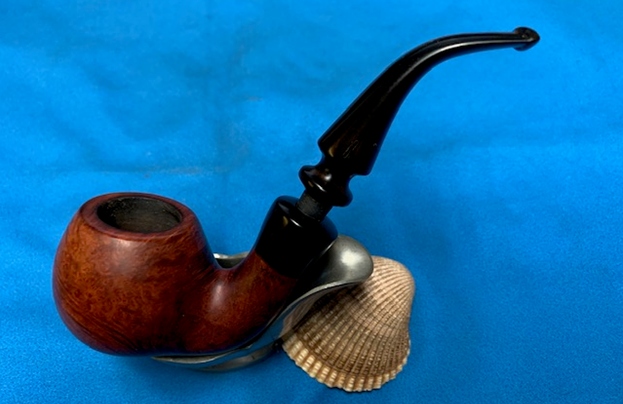
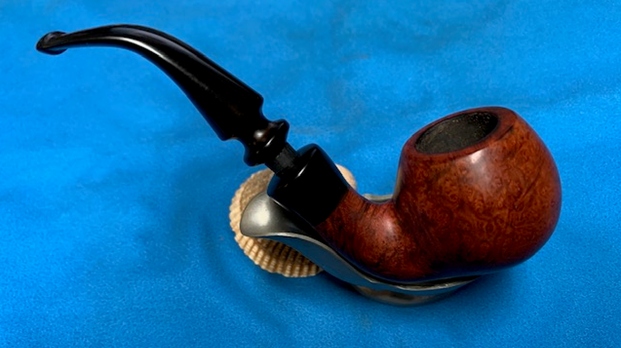
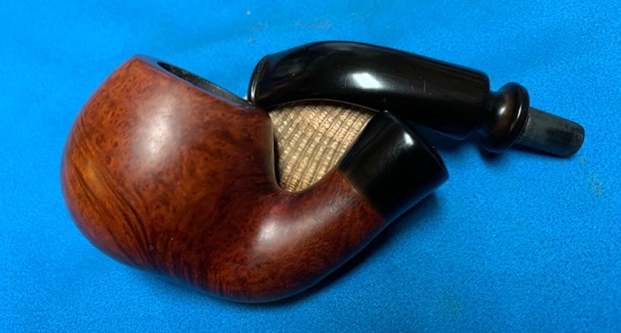
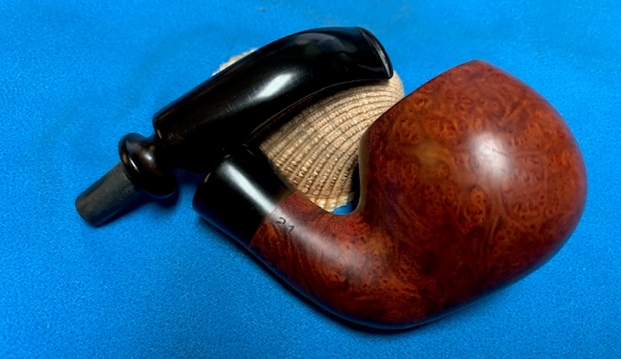
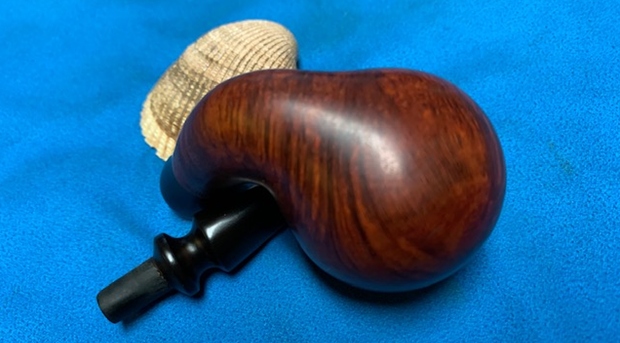
 This restored LHS (LH Stern) Filtrex Air Cooled Filter pipe turned out to be a good looking pipe (I think I can call this oddity good looking). The unique set up of the pipe is still a part of the hunt for the dry, cool smoke. That is what makes it interesting to me. The contrasting brown stains on the bowl worked really well with the polished aluminum shank and polished yellow plastic stem. I put the stem back on the bowl and carefully buffed the pipe without the stem with Blue Diamond on the buffing wheel. I gave the bowl multiple coats of Carnauba Wax. I gave the stem multiple coats of Conservator’s Wax. I followed that by buffing the entire pipe with a clean buffing pad. I hand buffed the pipe with a microfiber cloth to deepen the shine. The finished LHS Filtrex Air Cooled Filter Pipe sits well in the hand and feels great. Give the finished pipe a look in the photos below. The dimensions of the pipe are Length: 5 ½ inches, Height: 1 ¾ inches, Outside diameter of the bowl: 1 ¼ inches, Chamber diameter: ¾ of an inch. This unique piece of American pipe history will be joining my collection of oddities that all were a part of the search for the perfect smoke. Thanks for reading this blog and my reflections on the pipe while I worked on it.