Blog by Steve Laug
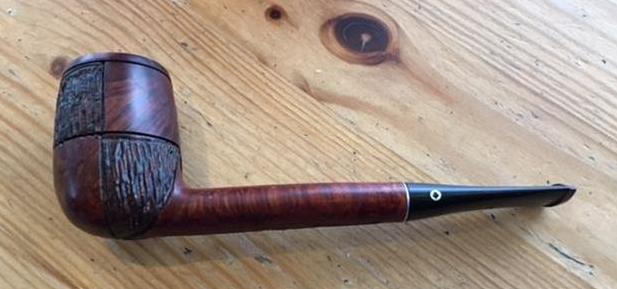
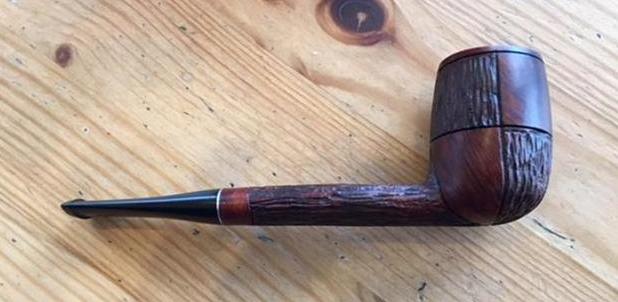
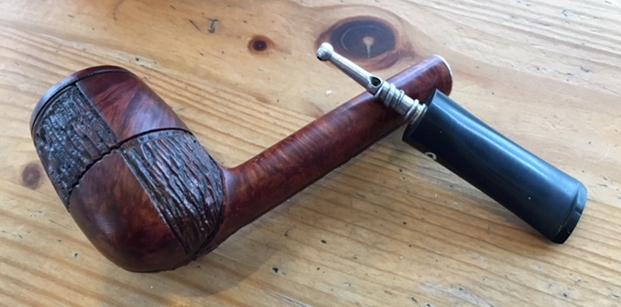
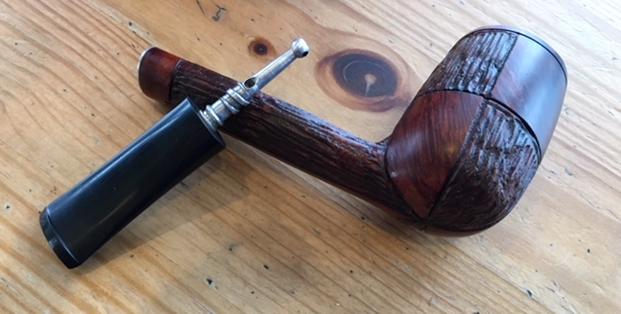
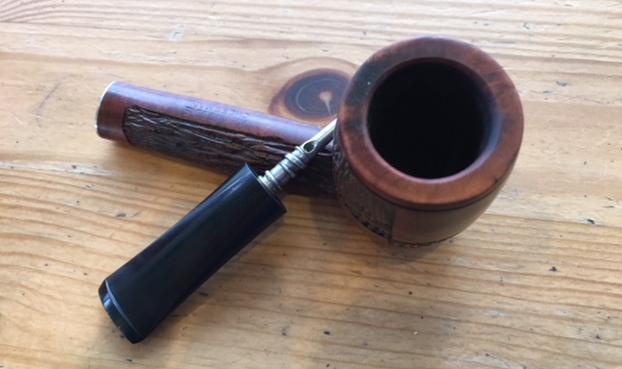
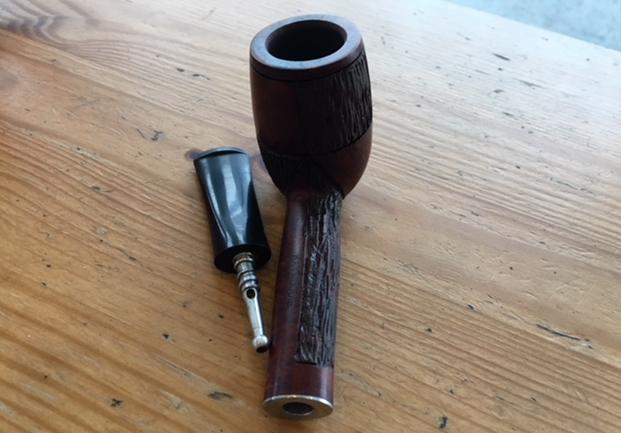
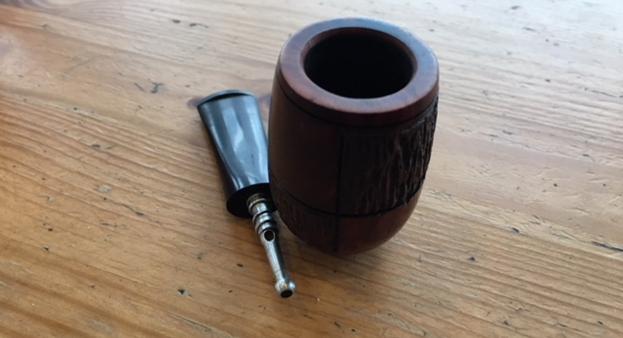
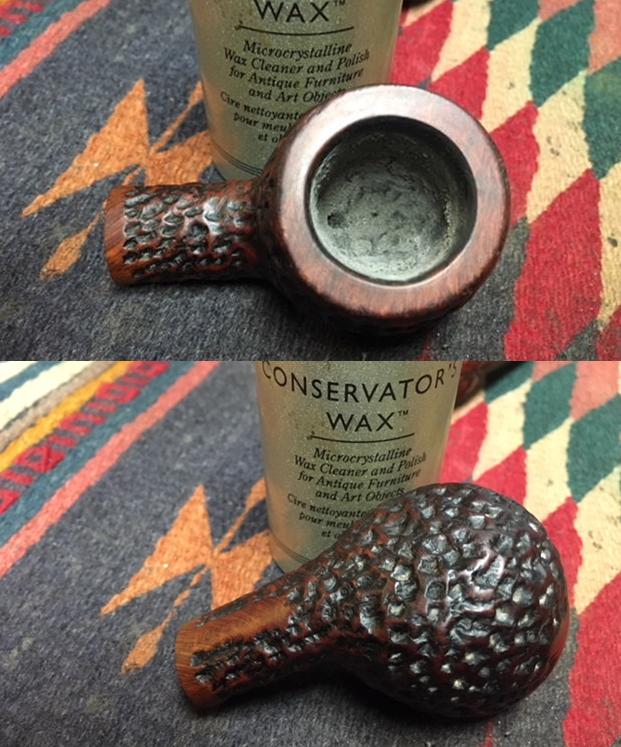
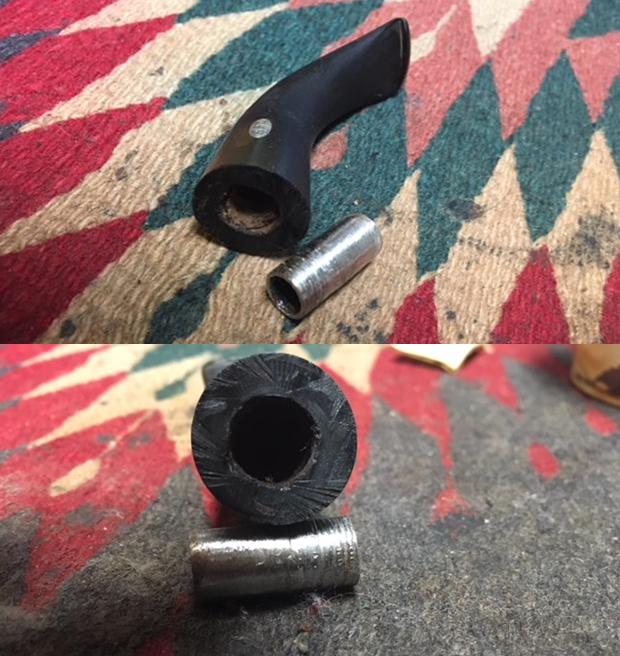
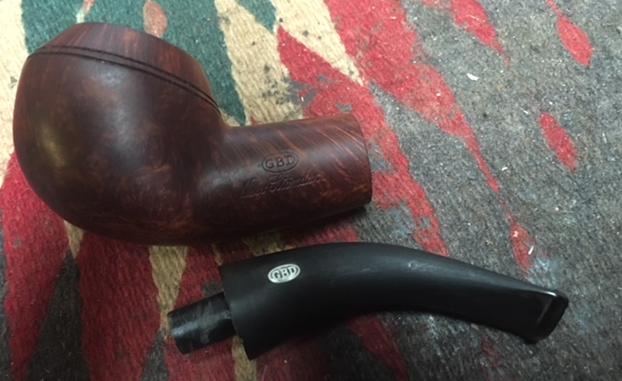
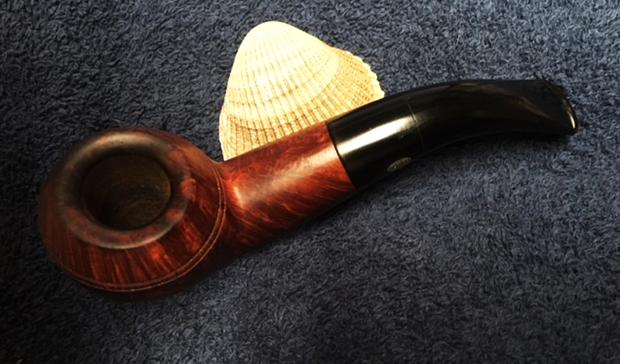
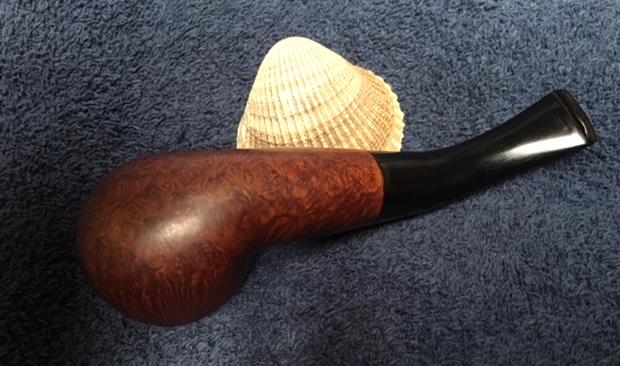
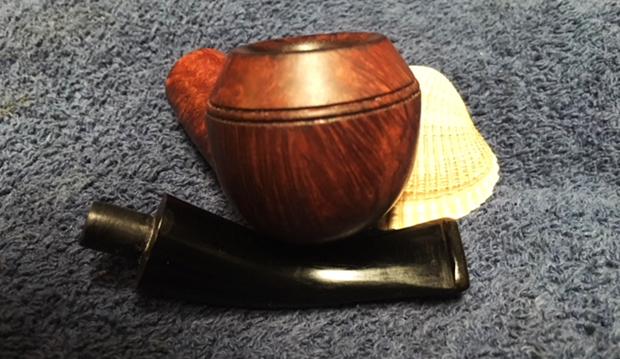
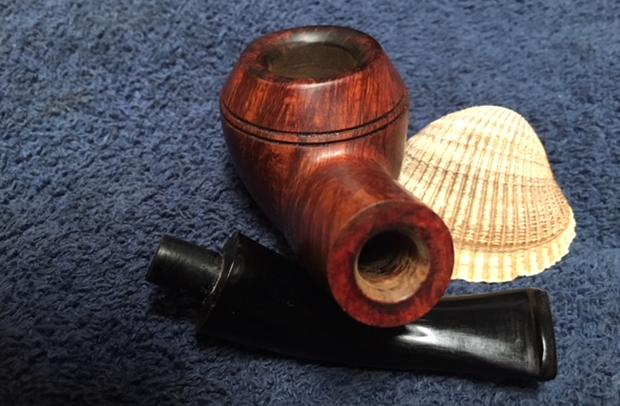
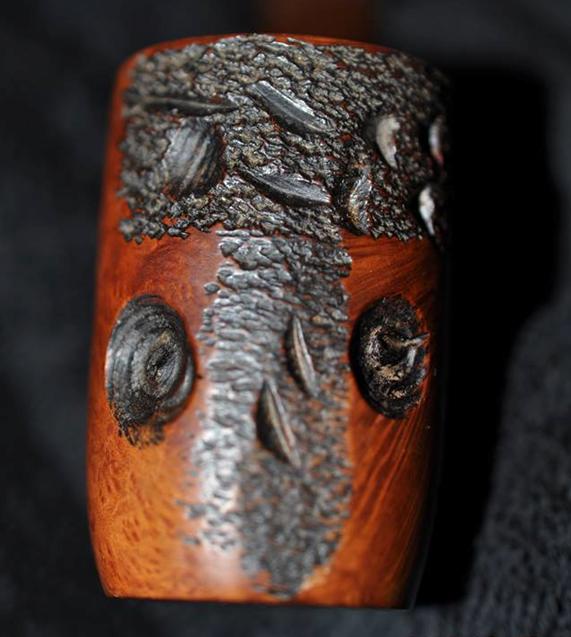
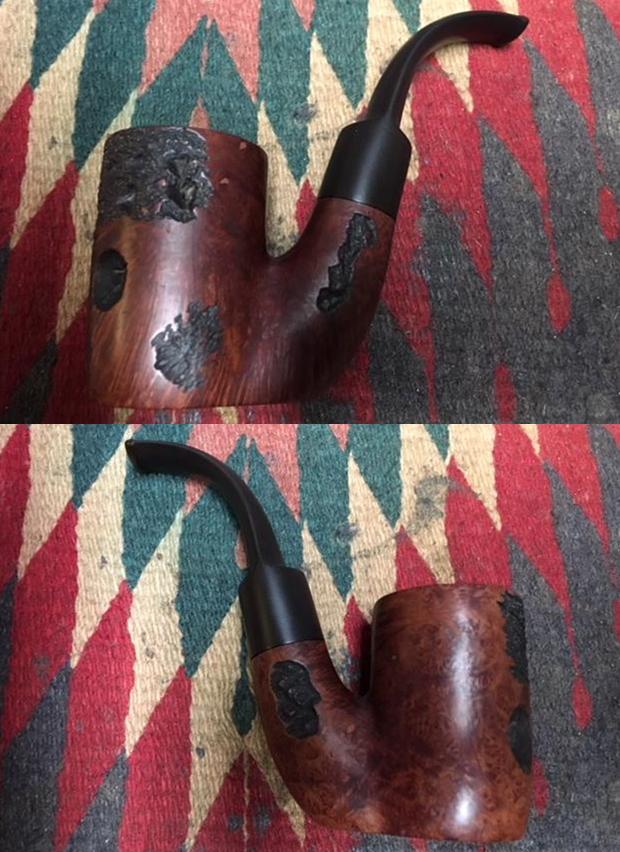
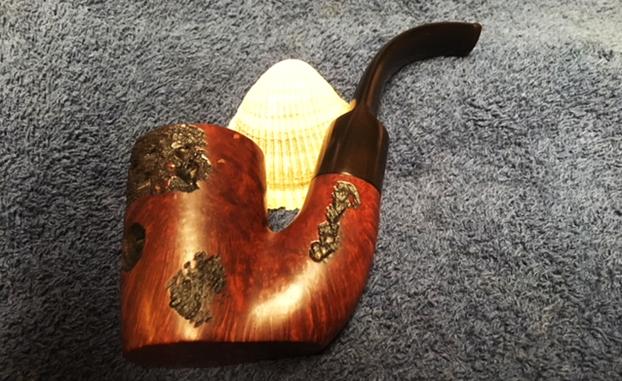
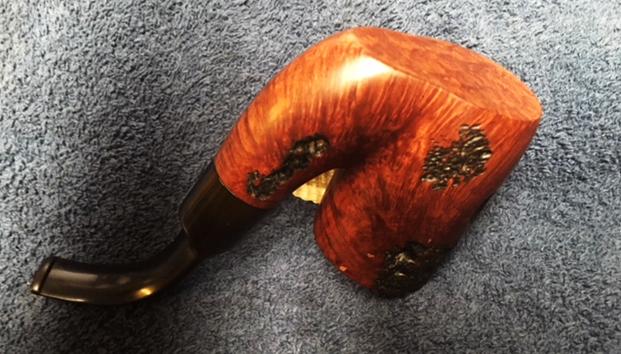
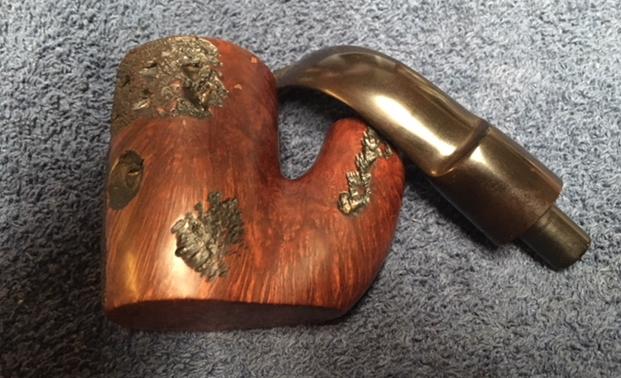
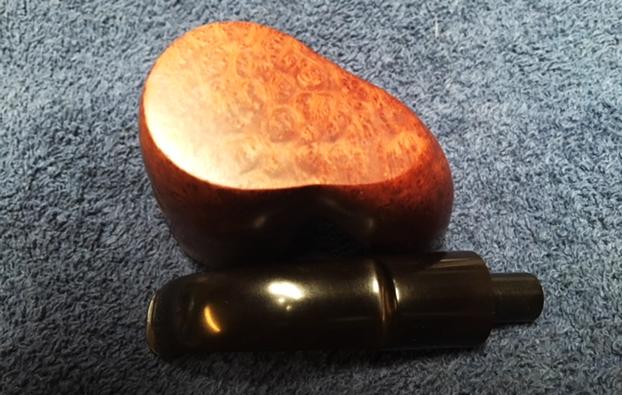
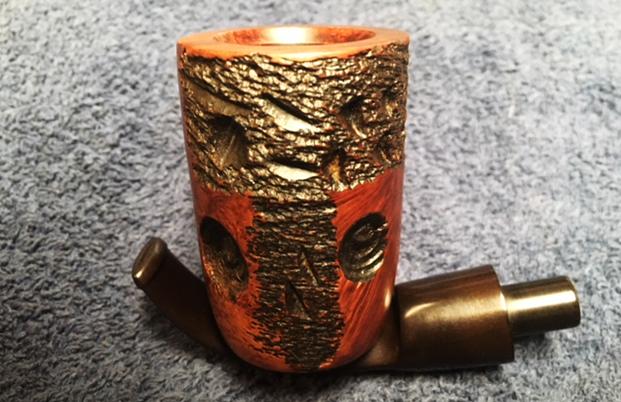
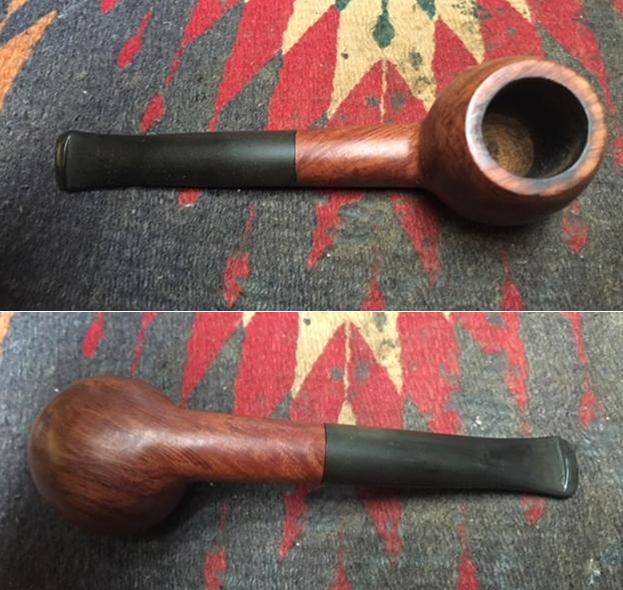
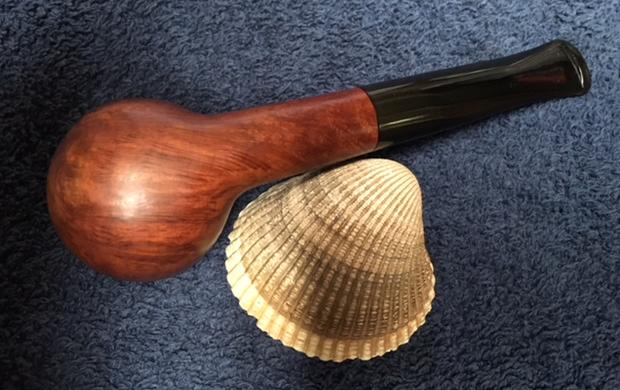
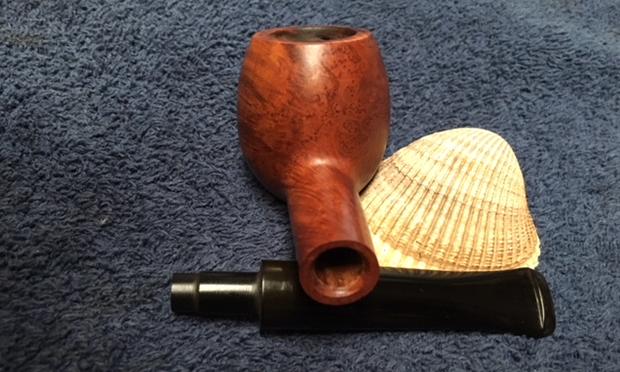
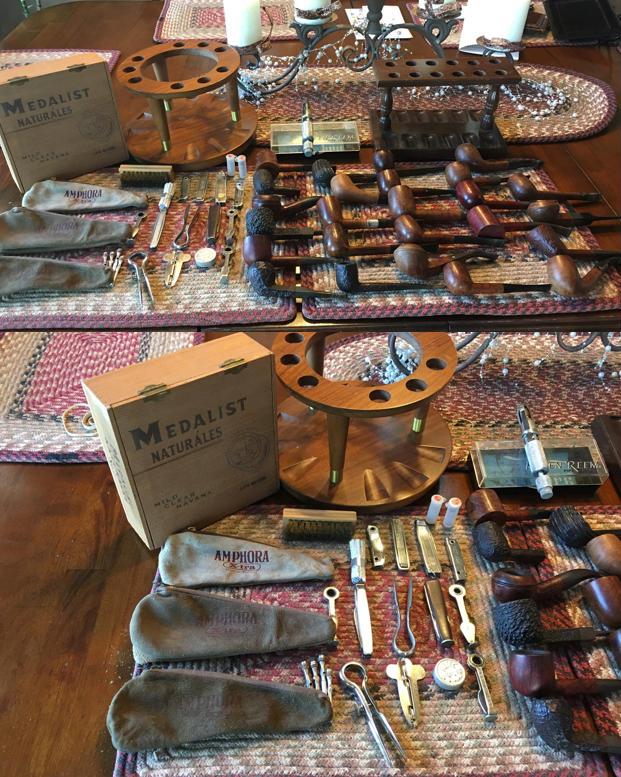
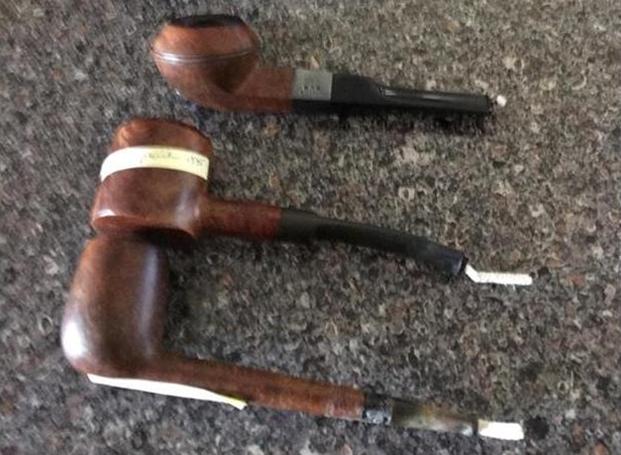
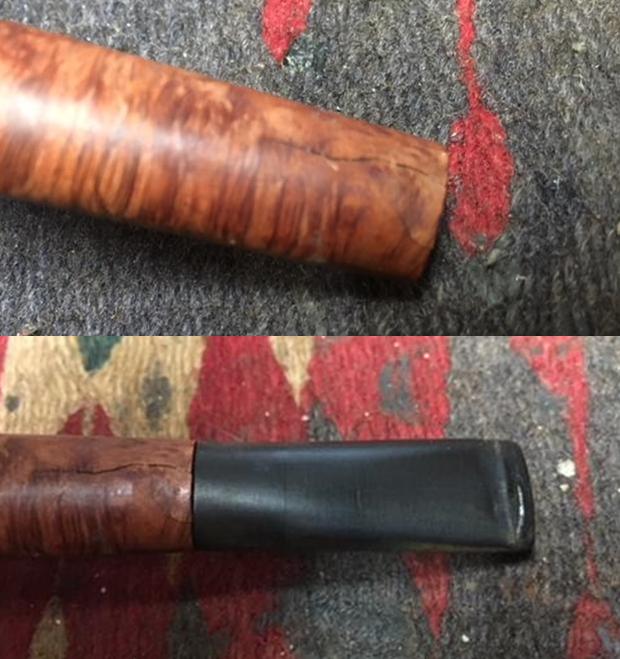
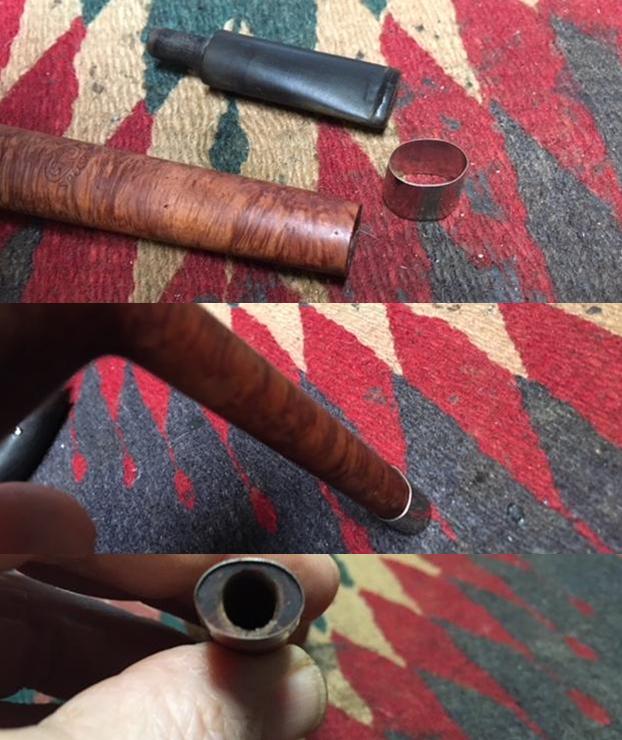
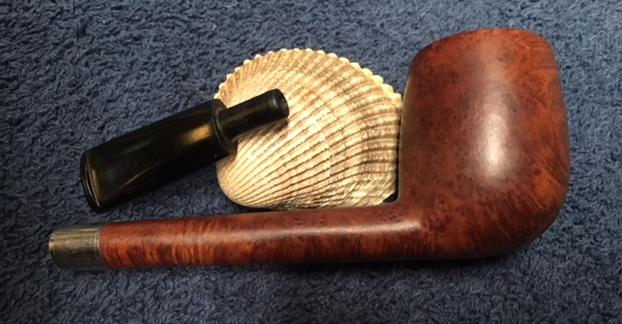
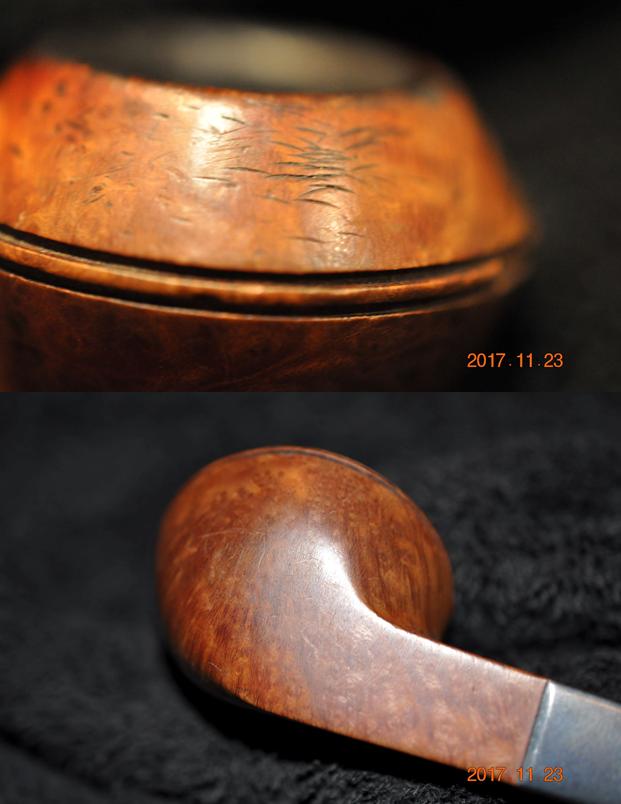
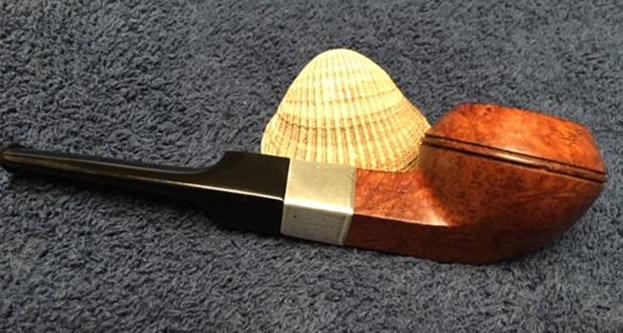
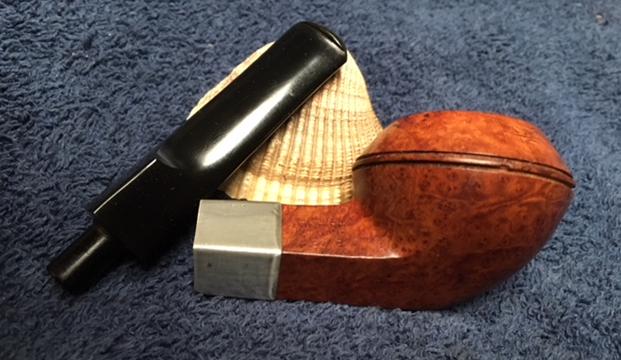
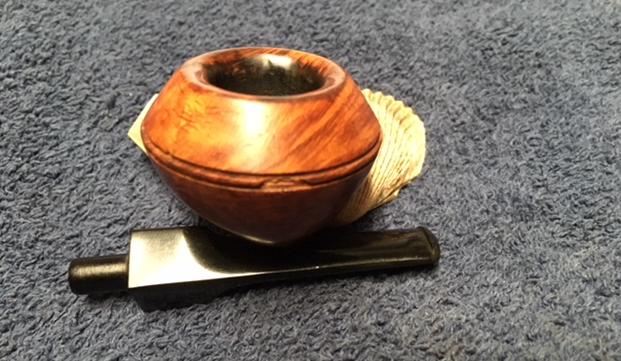
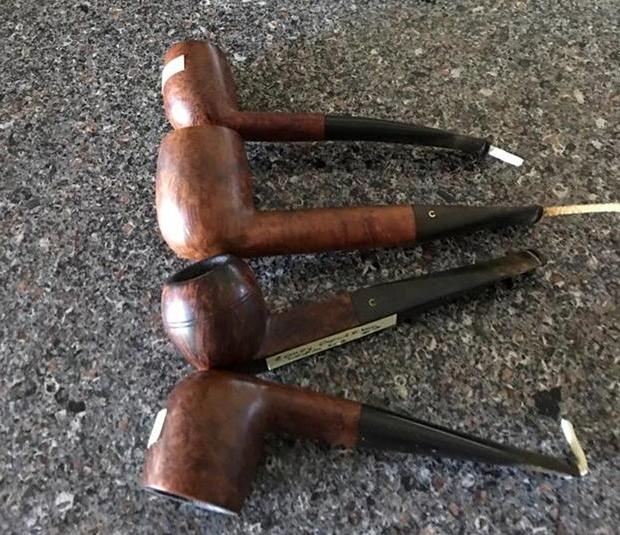
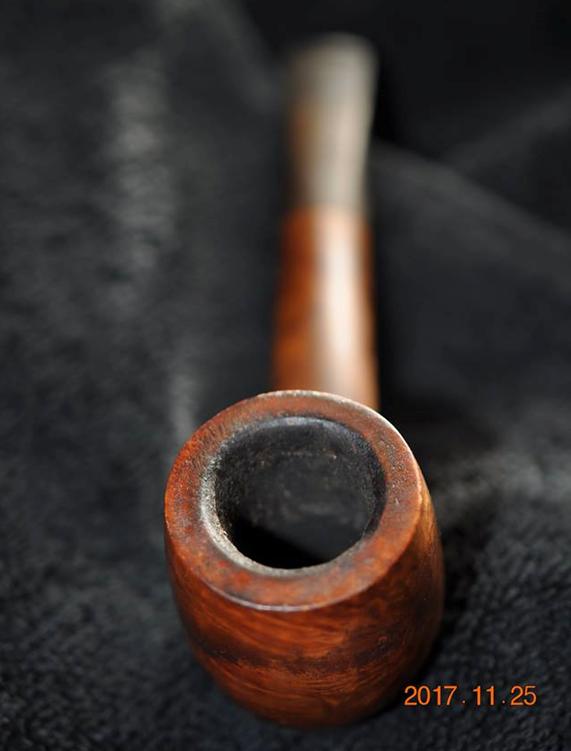
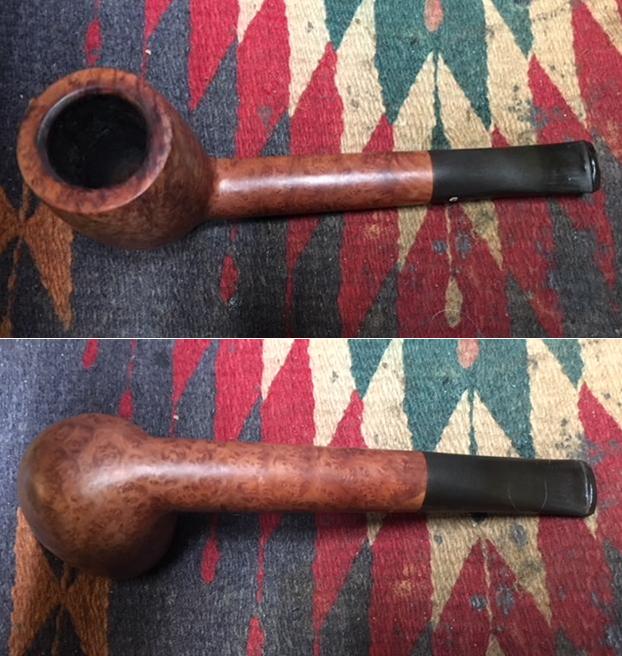
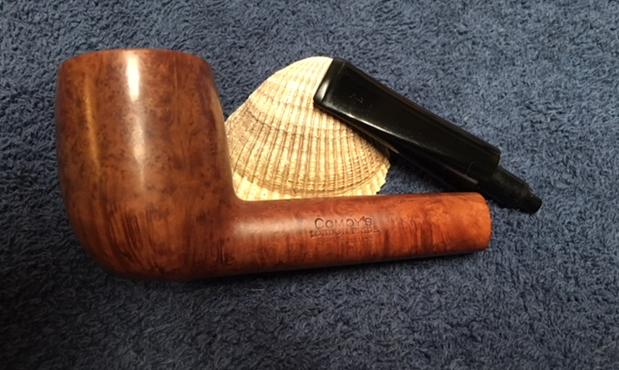
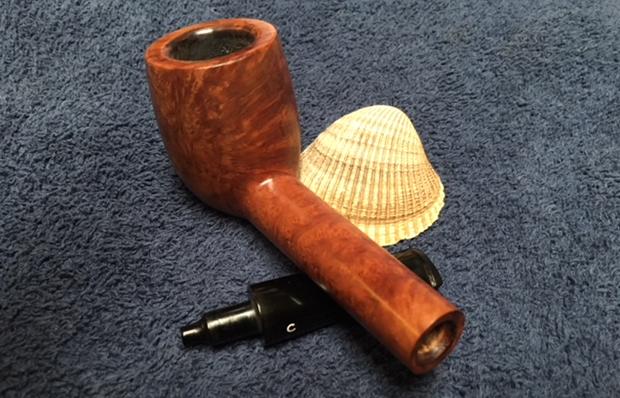
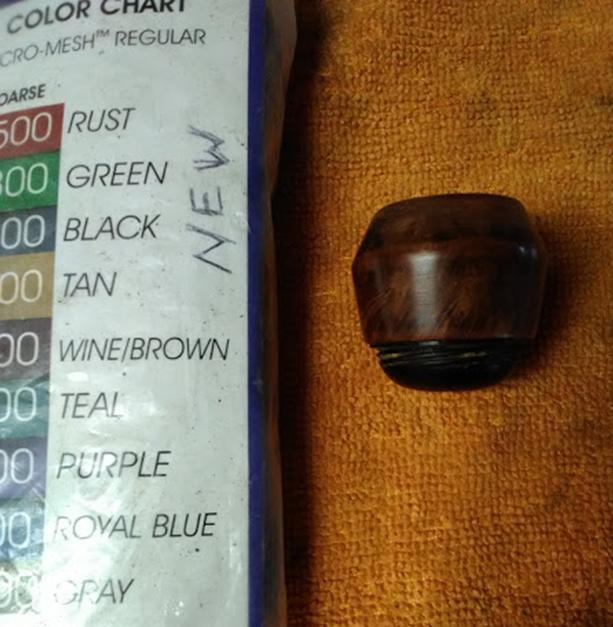
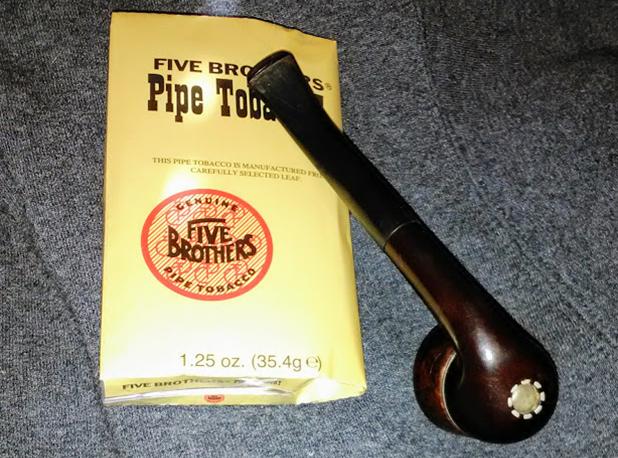
The next pipe on the work table came to me from the estate of a Vancouver pipe smoker whose widow left them with RJ Clarke’s Pipe Shop after he died. I was asked to clean them up and sell them for the shop as it has since closed. The photos below show both pipes as they were when I brought them to my work table. It is an interesting looking piece – kind of a checkerboard pattern of rustication and smooth around the bowl. Nice grain on the smooth portions and on the left side of the shank. The right side and half the top and bottom sides of the shank are rusticated. The bowl was heavily caked with a lava coat on the top of the rim. It was hard to tell how the inner and outer edge of the rim actually looked until the bowl was reamed. The rusticated portions were filled in with dust and debris. The stem was under-clocked and had tooth chatter and marks on the top and underside near the button. The tenon was threaded and had a three hole stinger that was intact. It had promise but it was very dirty.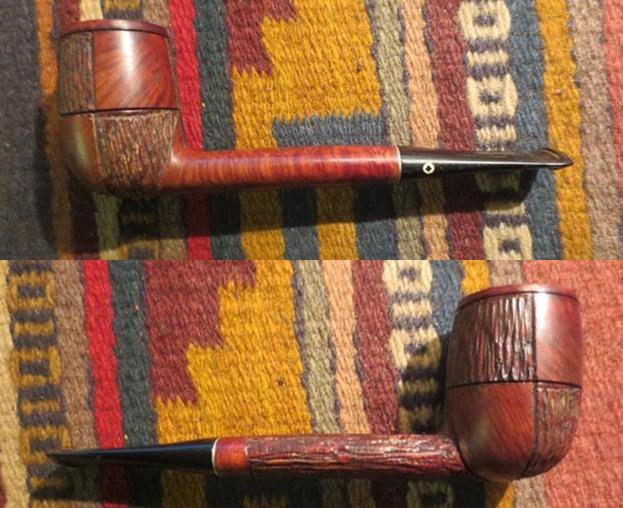
 Since it was an English made Kaywoodie I did a bit of research to refresh my memory regarding the English branch of Kaywoodie. On Pipedia I found just a short line in the Kaywoodie write up that referenced the London office. It read; “By 1938 Kaywoodie had opened an office in London to meet worldwide demand. Kaywoodie of London was jointly owned with another famous pipemaker, Comoy’s of London.”
On Dad’s Pipes (https://dadspipes.com/2016/01/24/smartening-up-an-english-kaywoodie-standard/) I found that Charles Lemon had done some research as well: There’s not much information out there about English-made Kaywoodies. Production started in about 1938 as a joint venture between Kaywoodie USA and Comoy’s of London. This relationship lasted until the early 1970’s when Comoy bought out its partner. According to Pipedia, Comoy continues to produce a few pipes marked as Kaywoodie. My guess is that this particular English Kaywoodie dates from the 1960’s.
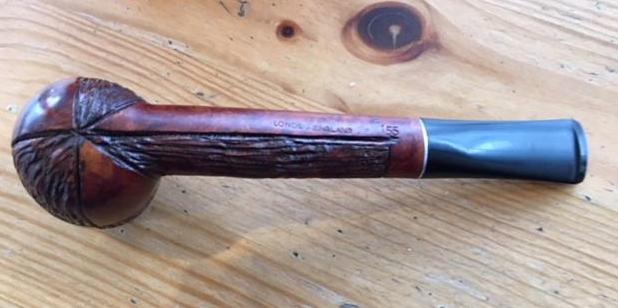
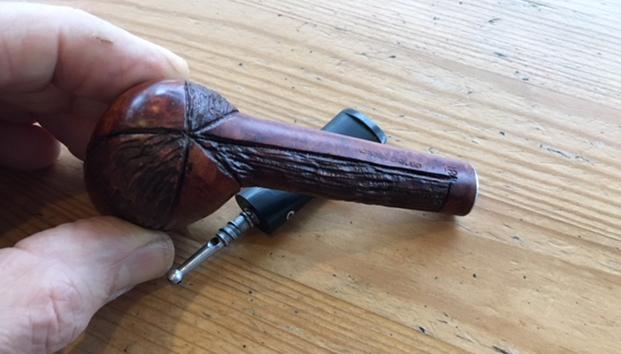
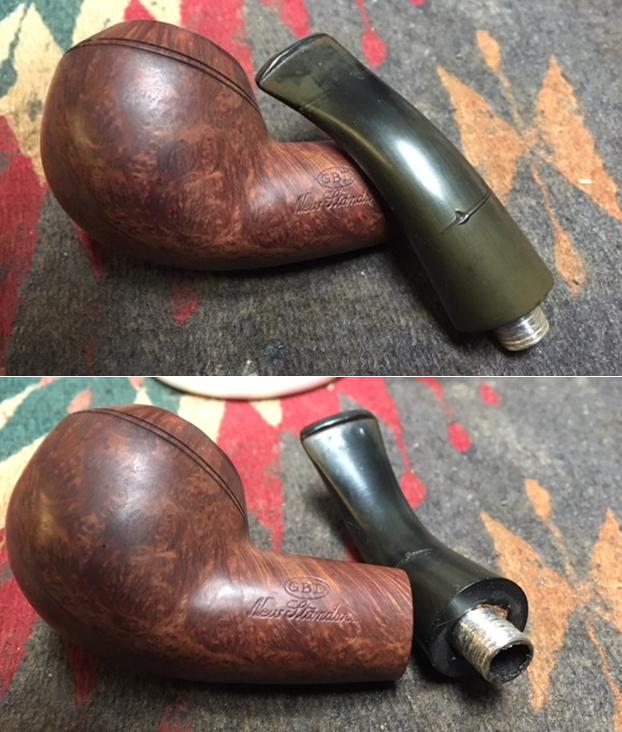
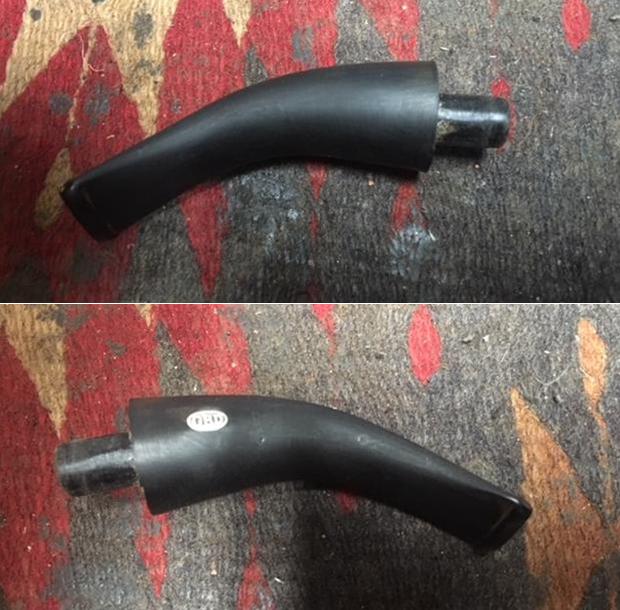
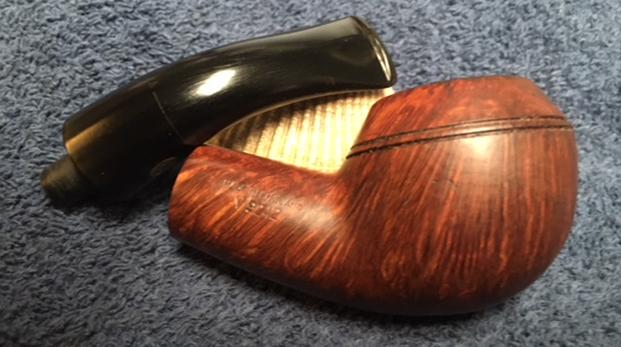
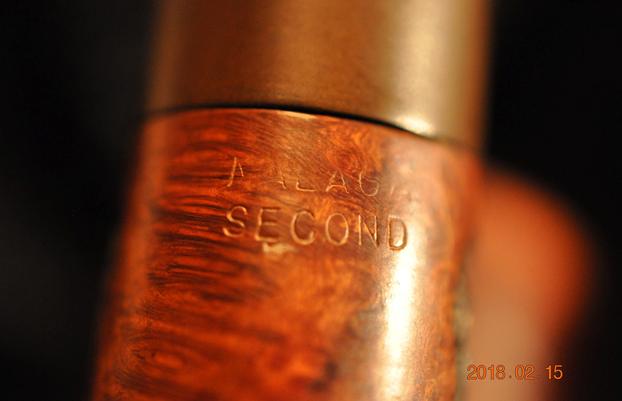
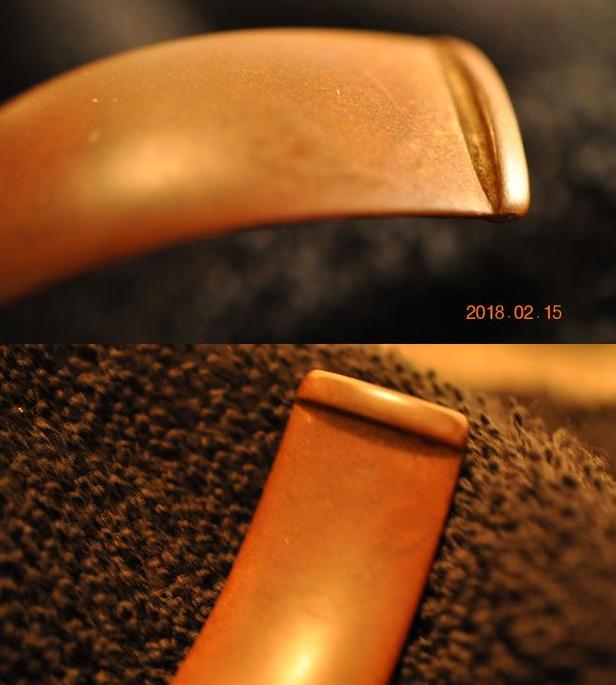
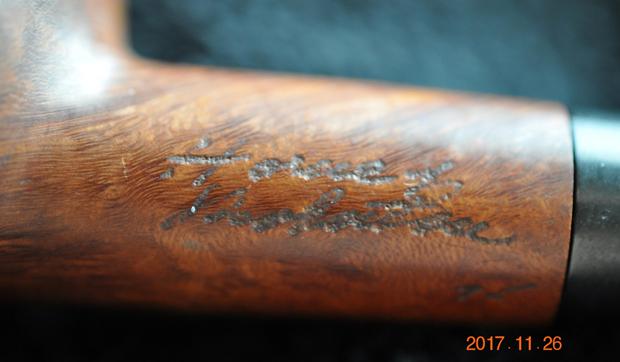
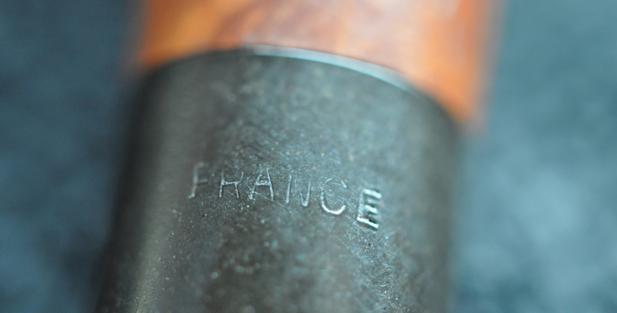
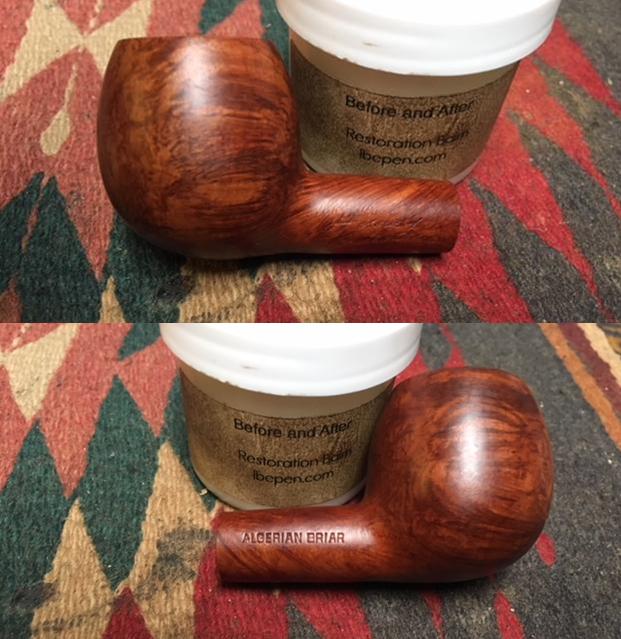
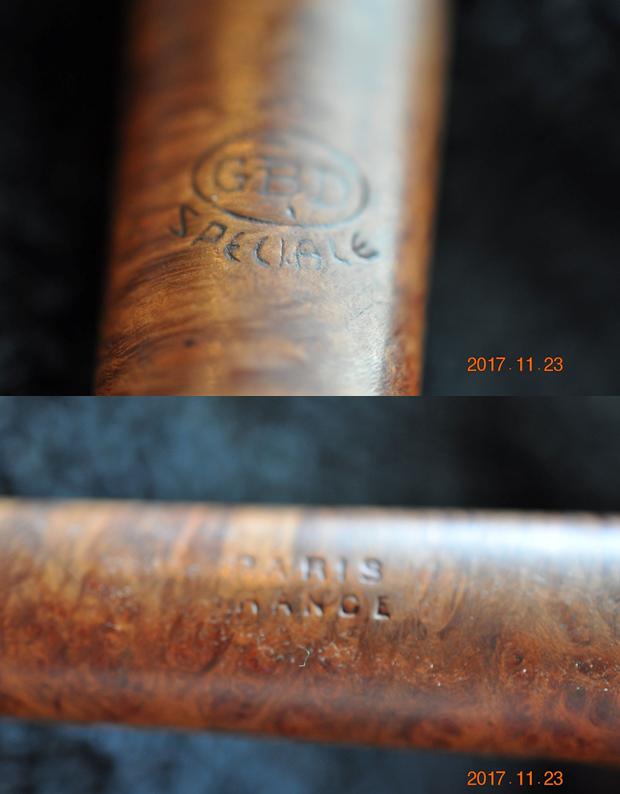
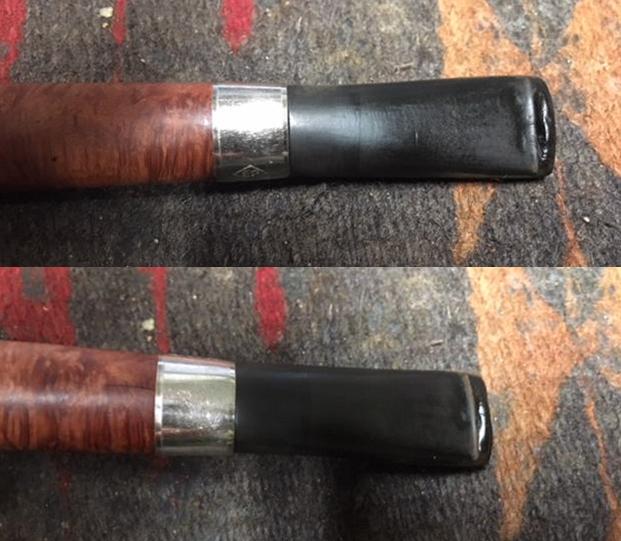
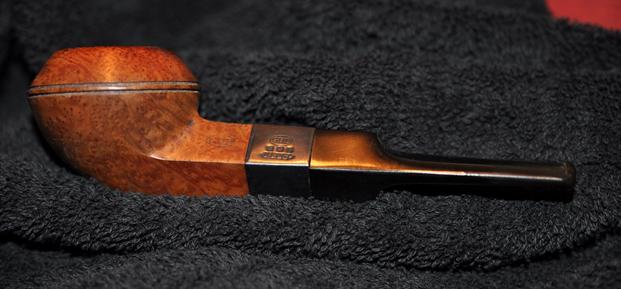
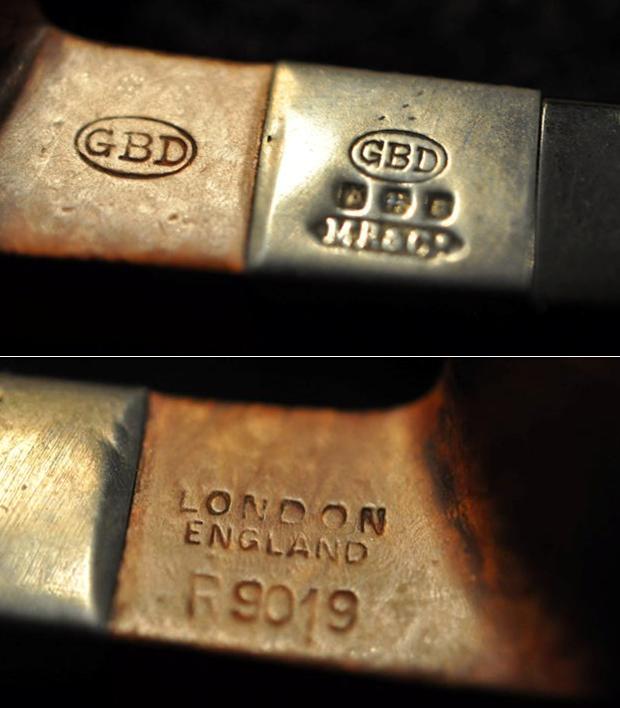
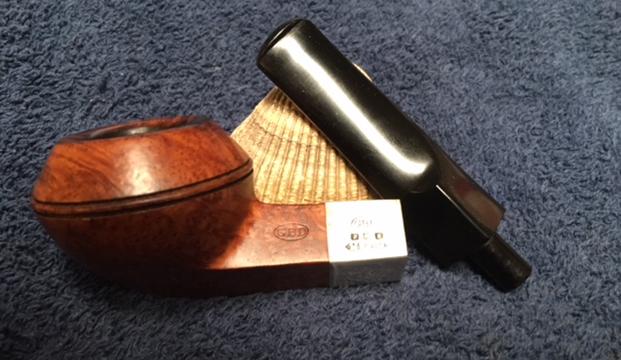
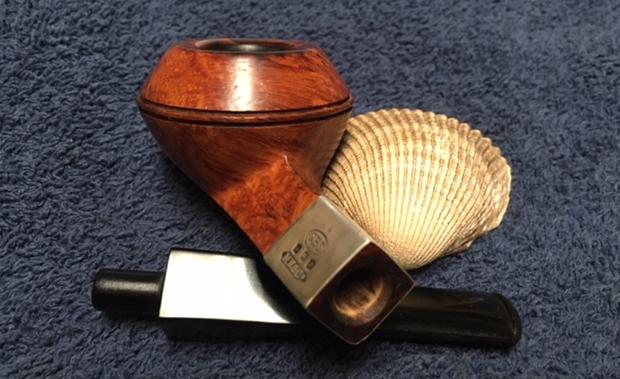
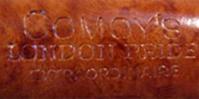
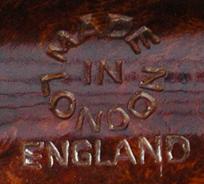
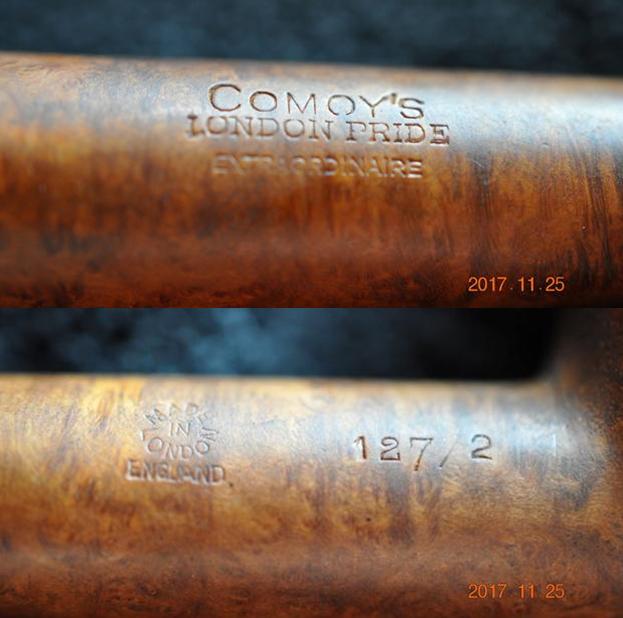
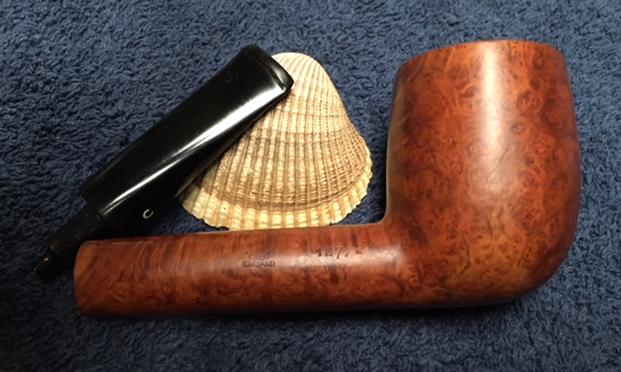
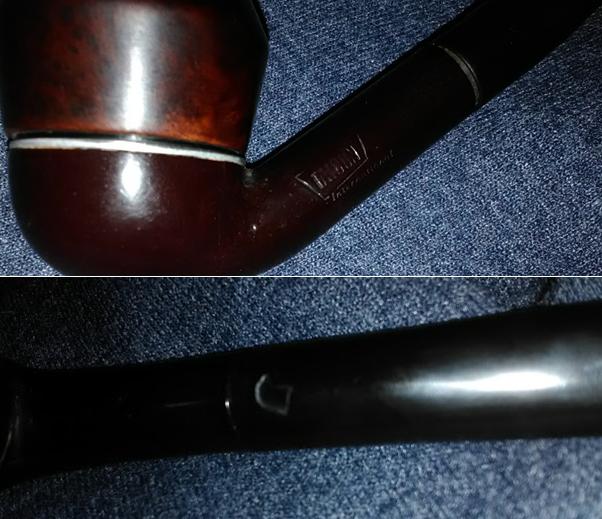
On Pipephil’s site (http://www.pipephil.eu/logos/en/logo-kaywoodie-notus.html) I found a photo and listing for the same pipe as the one that I was working on. The following screen capture shows the stamping that is the same as the one I am working on.  I took photos of the stamping on the shank to show how it matched the stamping in the screen capture above. The top photo shows the topside of the shank and the second the underside of the shank. The pipe is a shape 155.
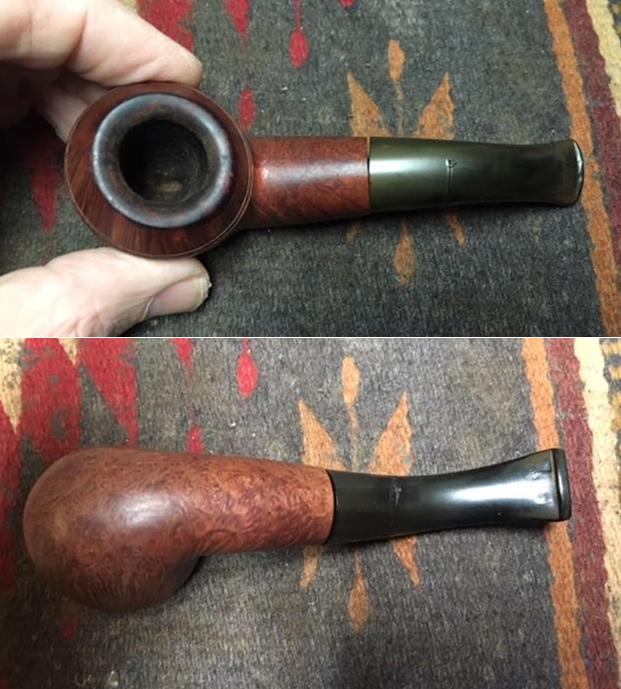
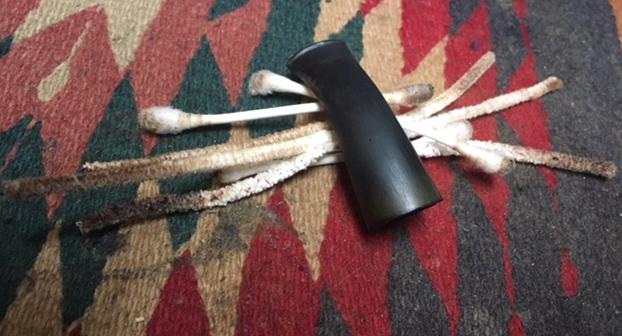
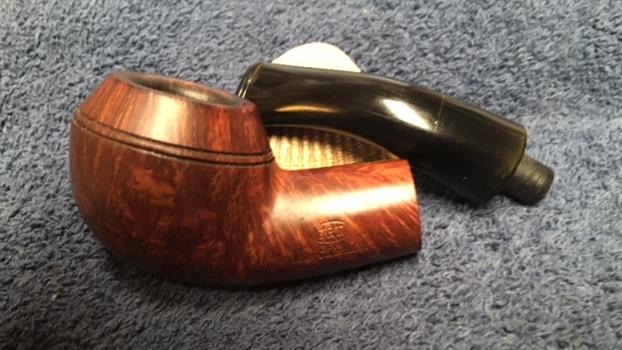
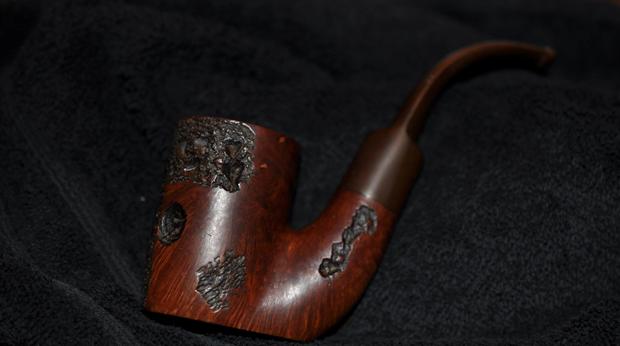
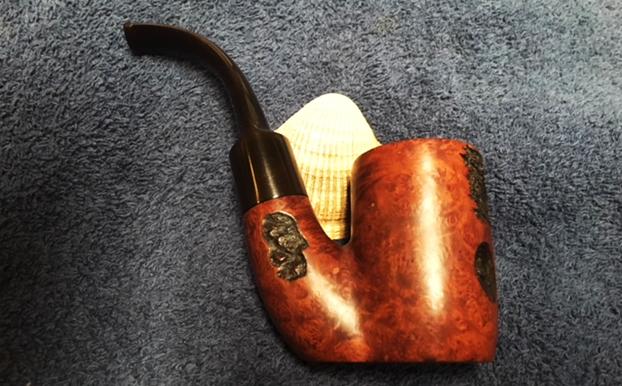
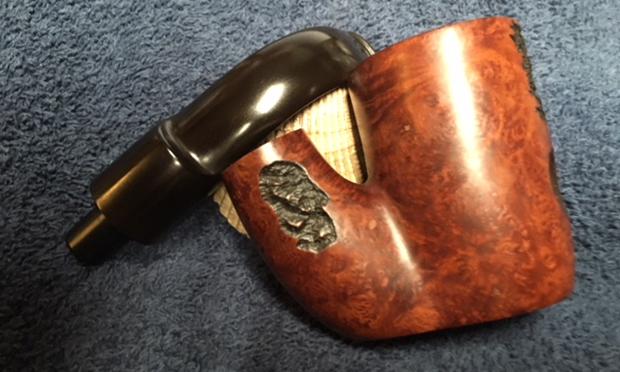
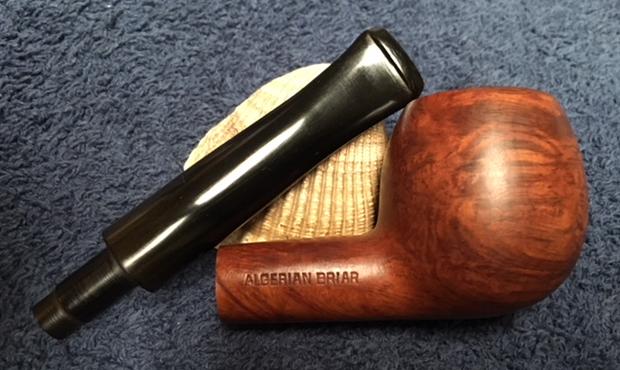
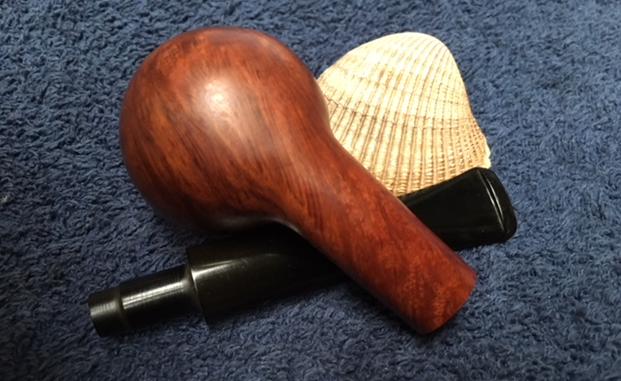
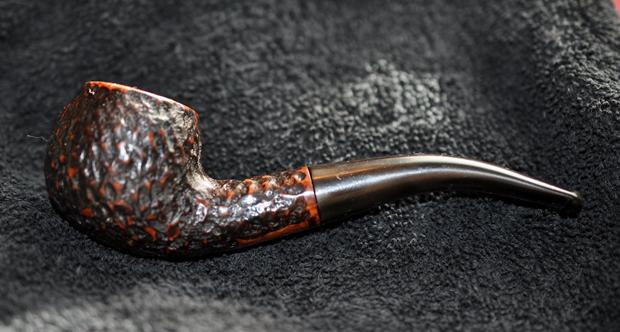
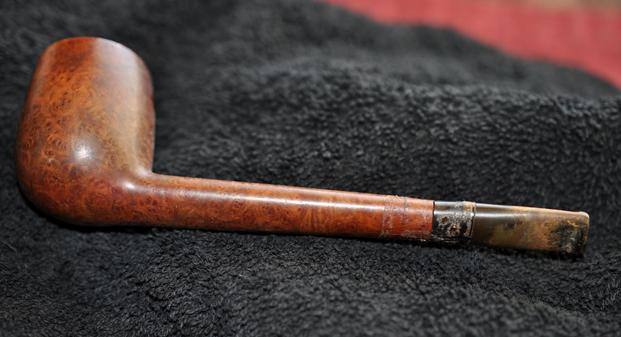
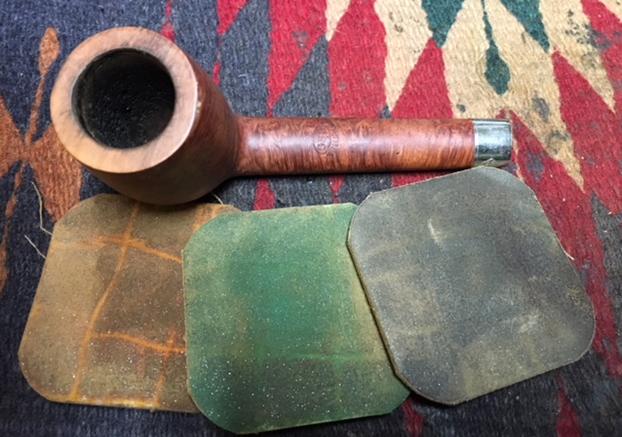
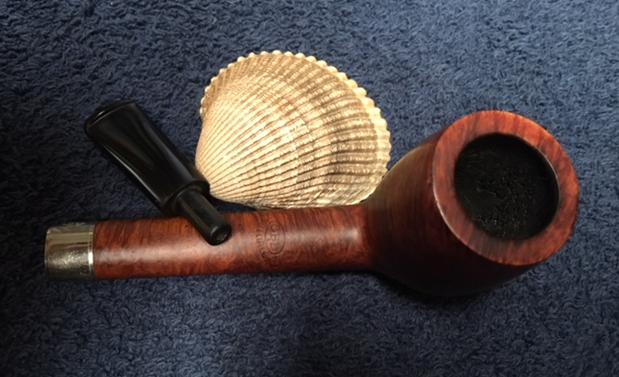
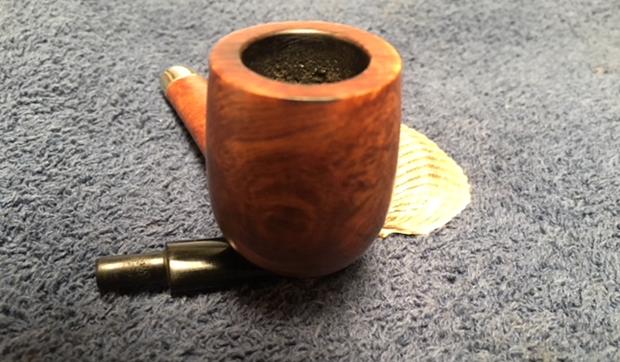
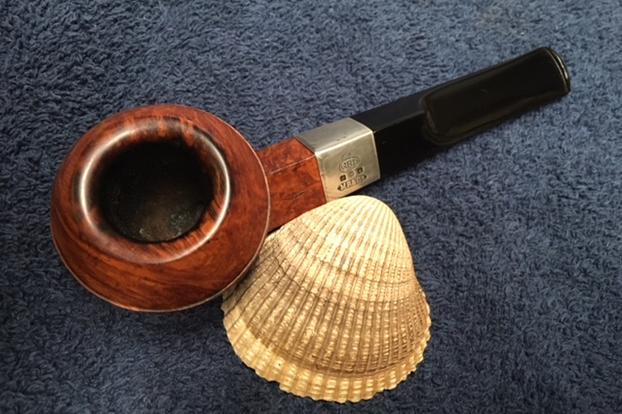
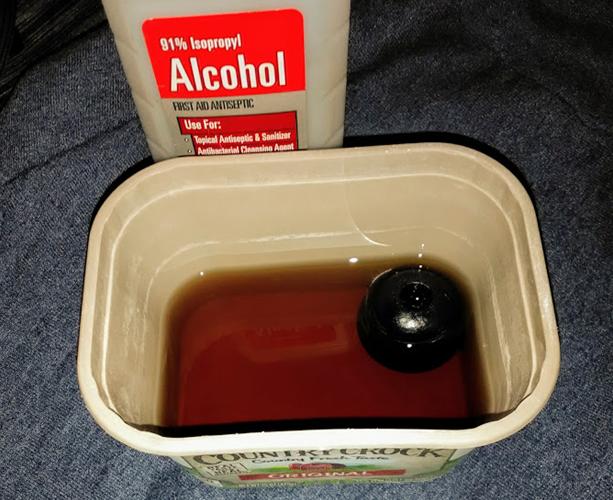
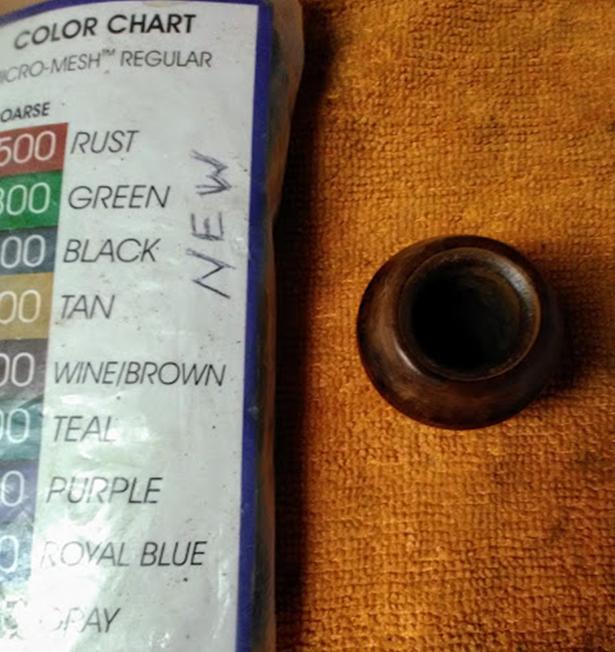
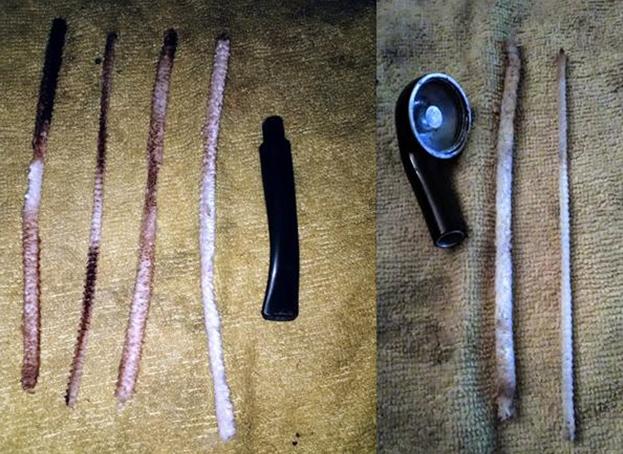
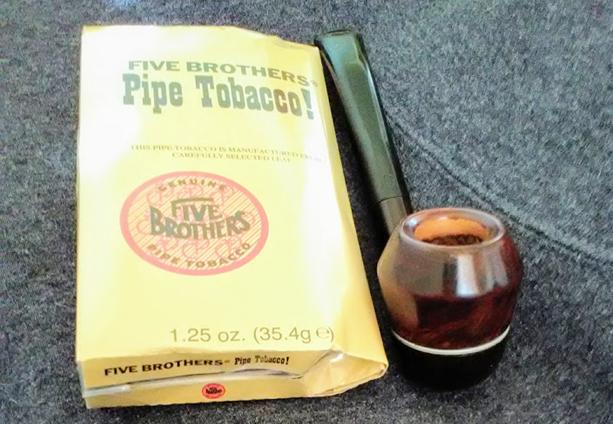
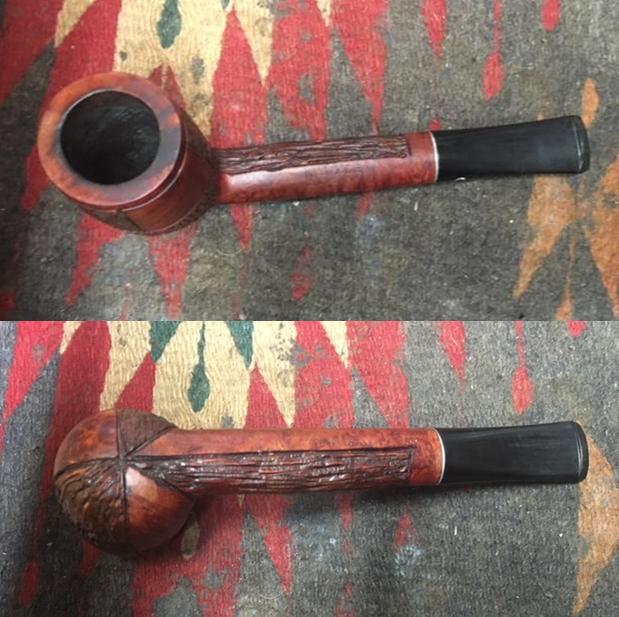
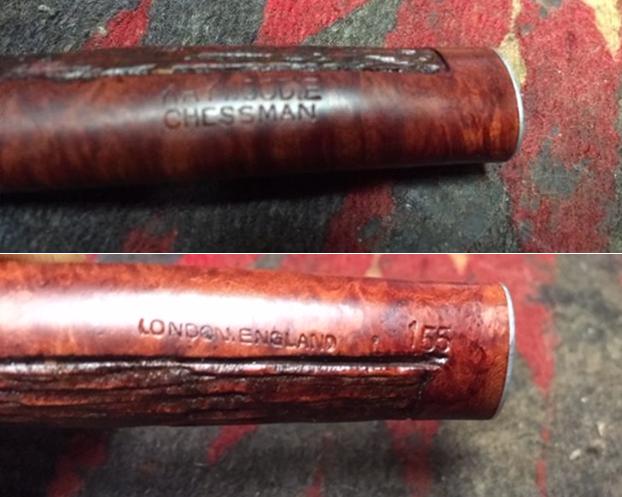 When I went back to the States after Christmas to visit my parents and brothers I took a box of these pipes to Jeff to clean up for me. He reamed this old Chessman with a PipNet pipe reamer and cleaned it up with a Savinelli Fitsall Pipe Knife. He scrubbed the exterior with Murphy’s Oil Soap and a tooth brush to clean off the grime in the rustication and the heavy overflow of lava on the rim top. He cleaned up the internals of the shank, mortise and stem with pipe cleaners, cotton swabs and alcohol to remove all of the oils and tars in the pipe. When it came back to Vancouver it was a quite different pipe. I took photos of it before I started the restoration.
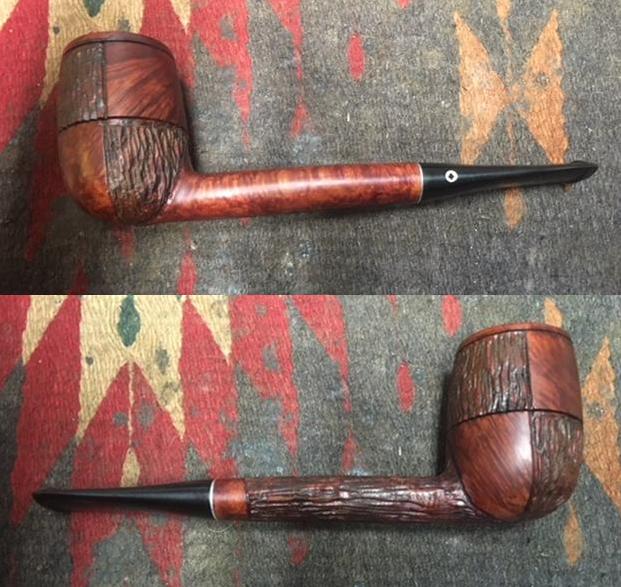
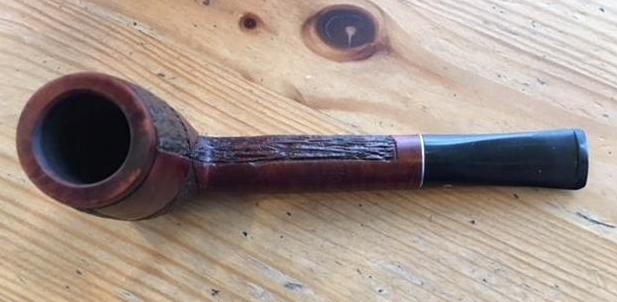
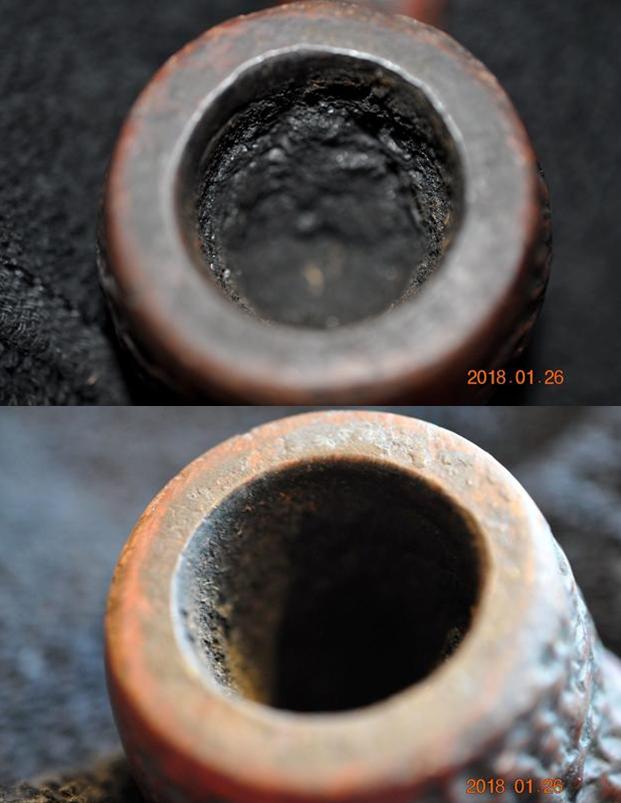
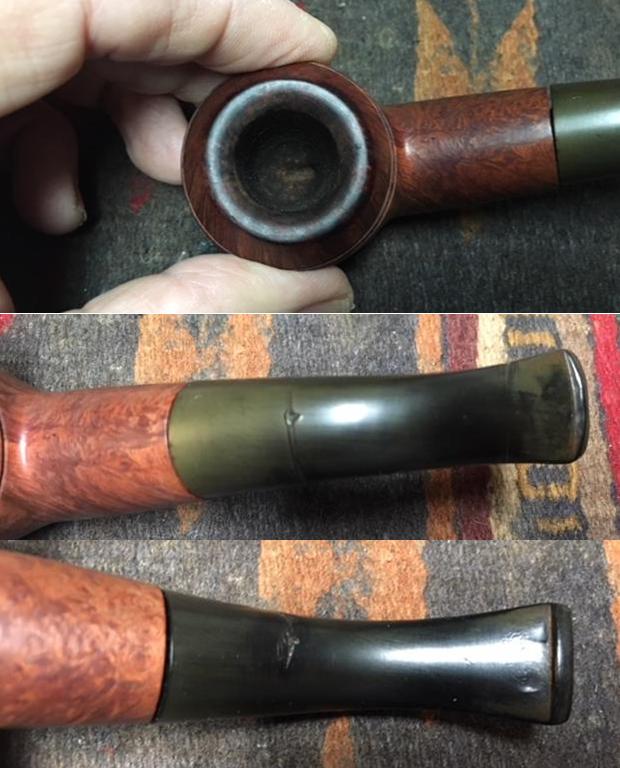
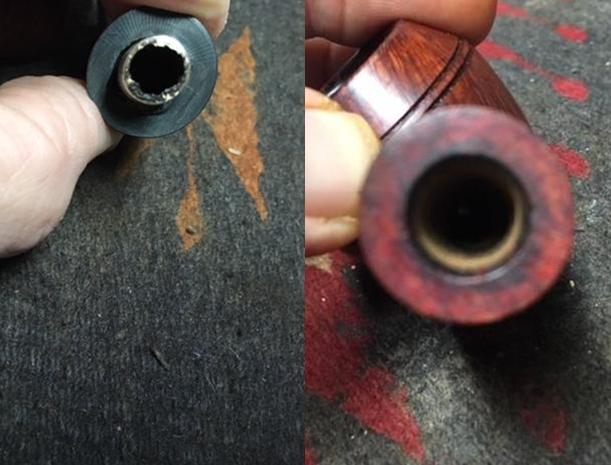
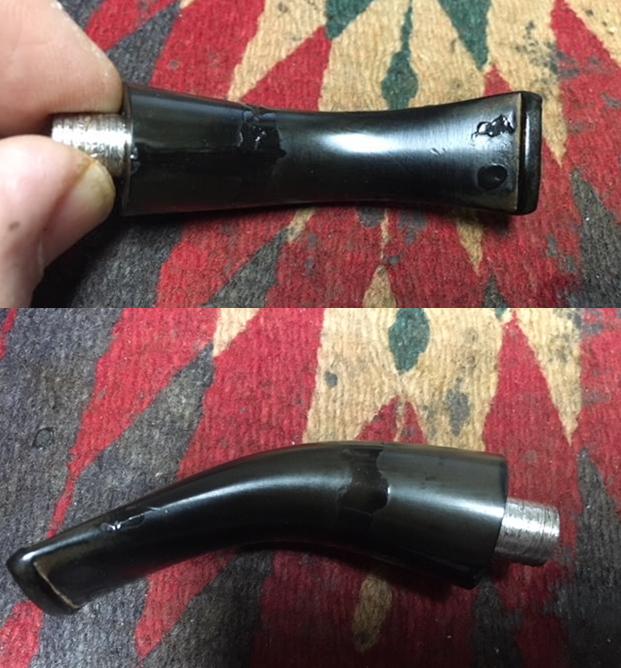
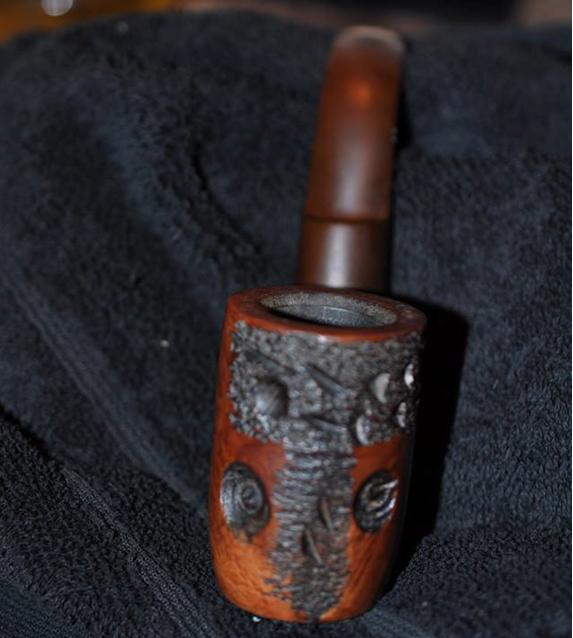
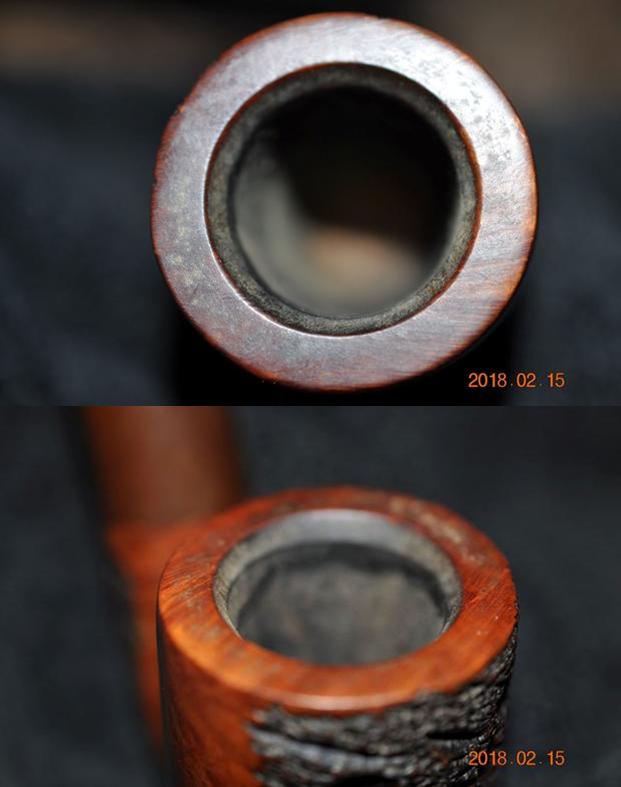
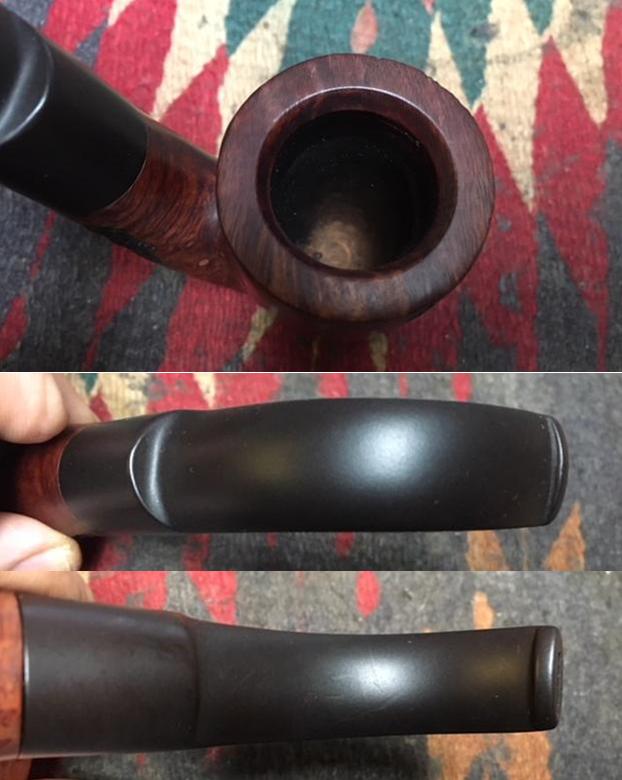
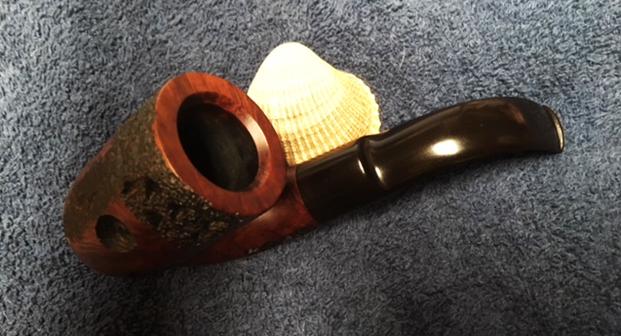
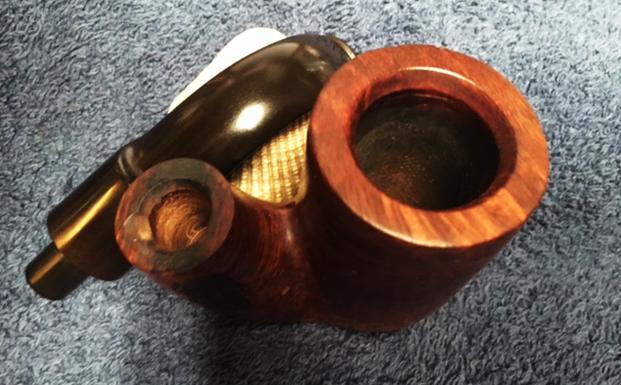
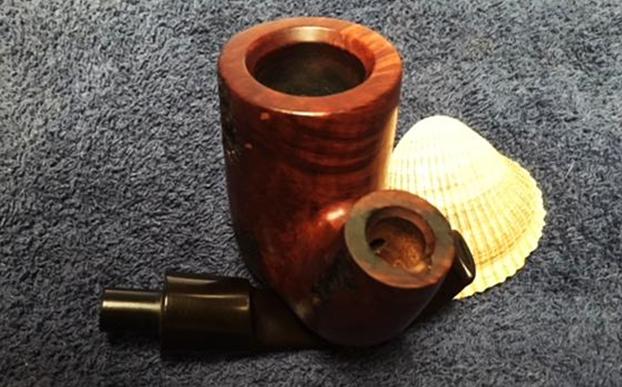
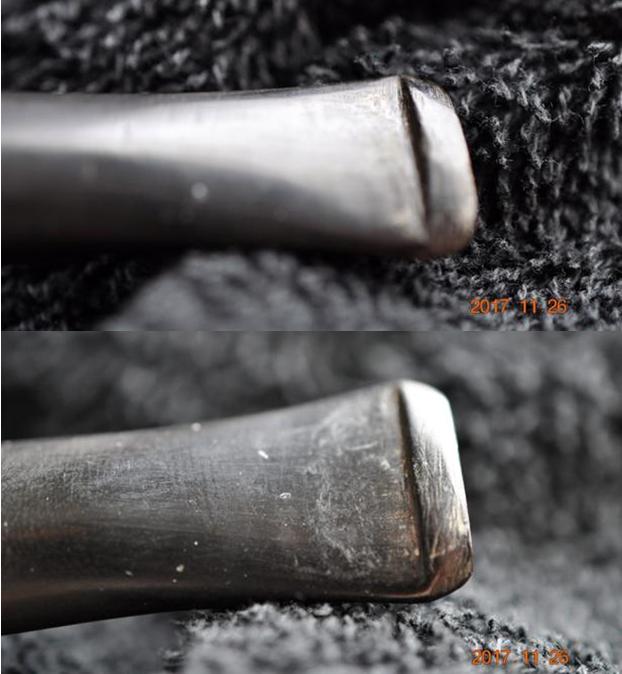
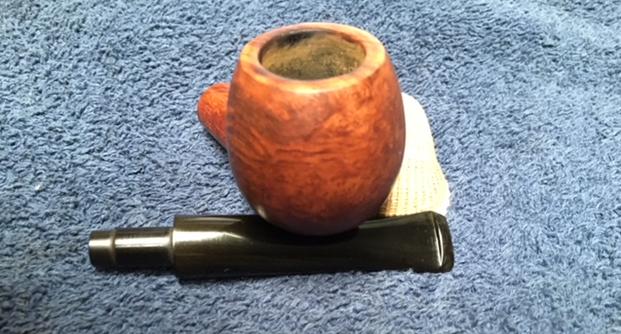
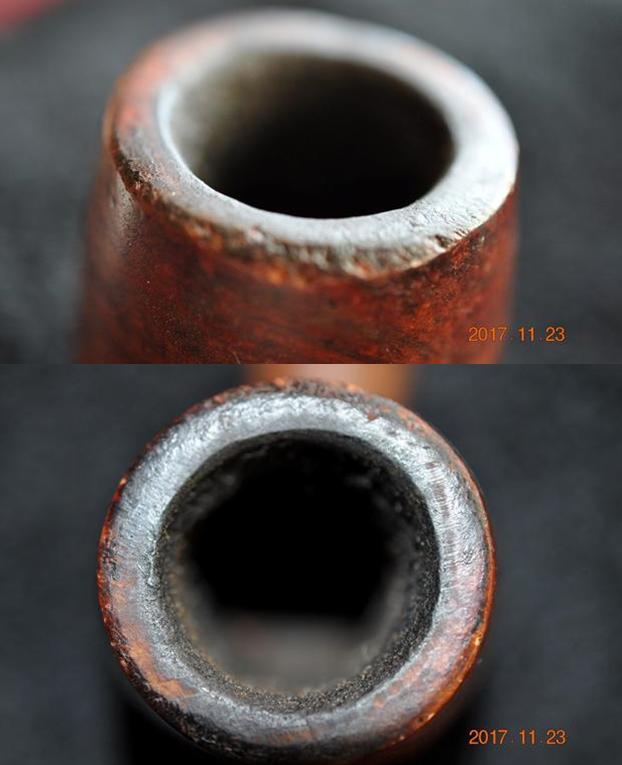
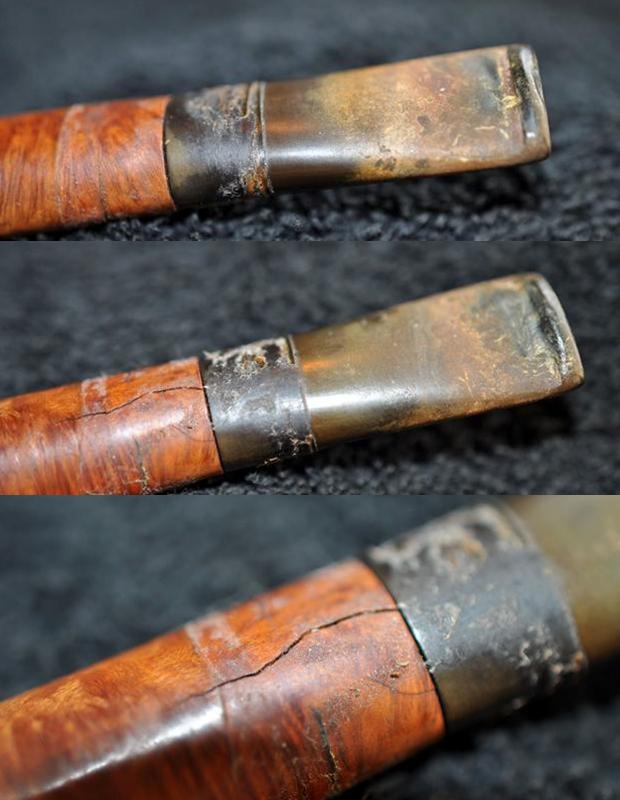
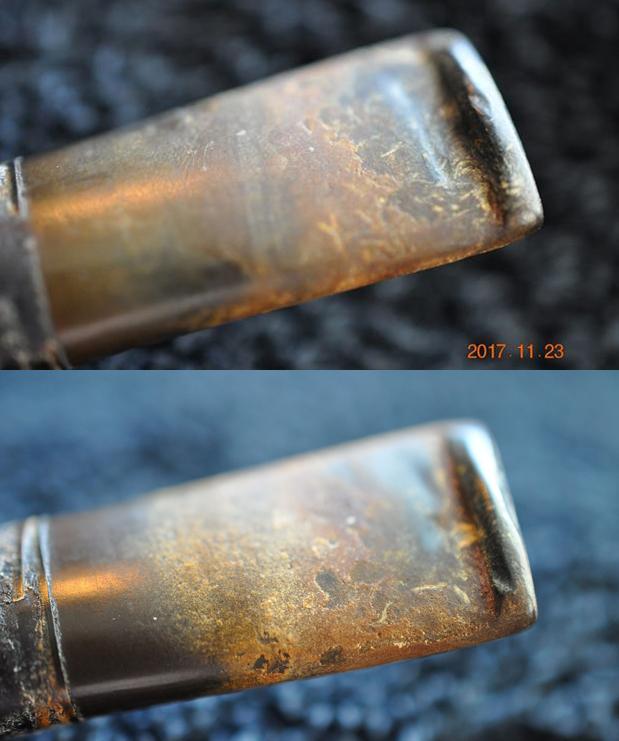
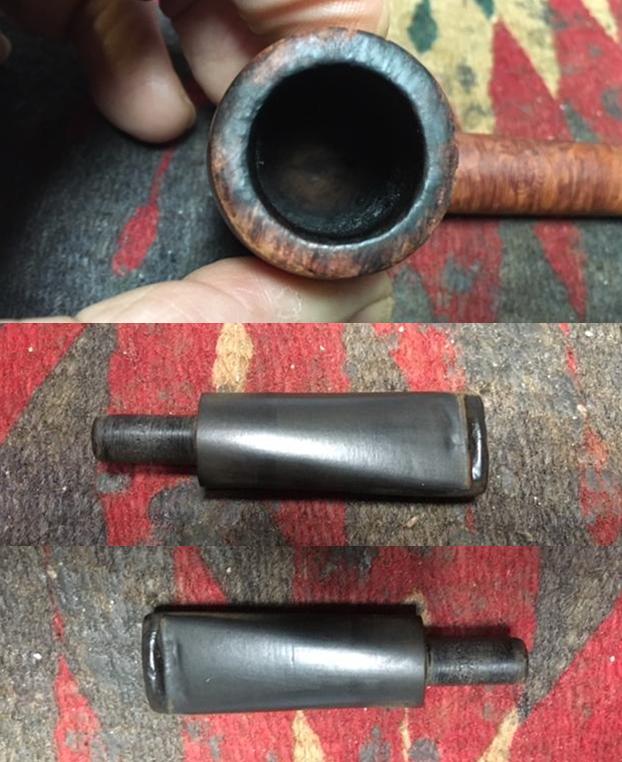
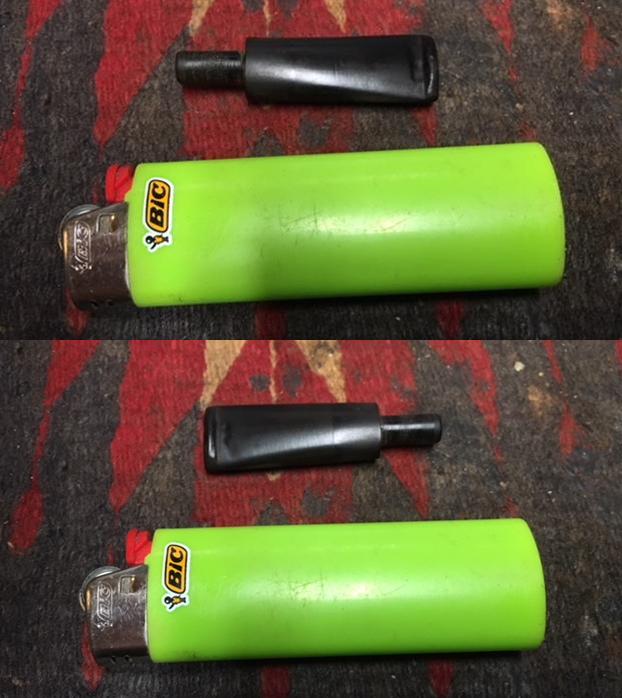
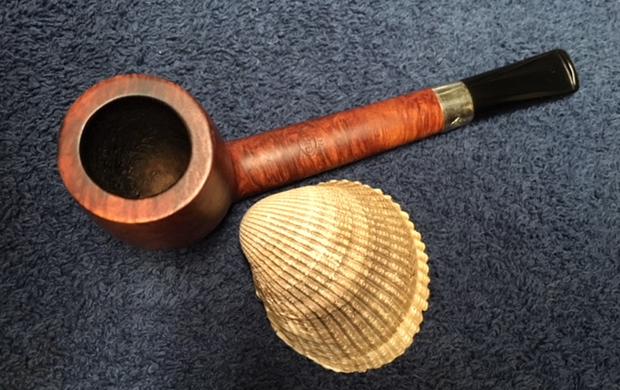
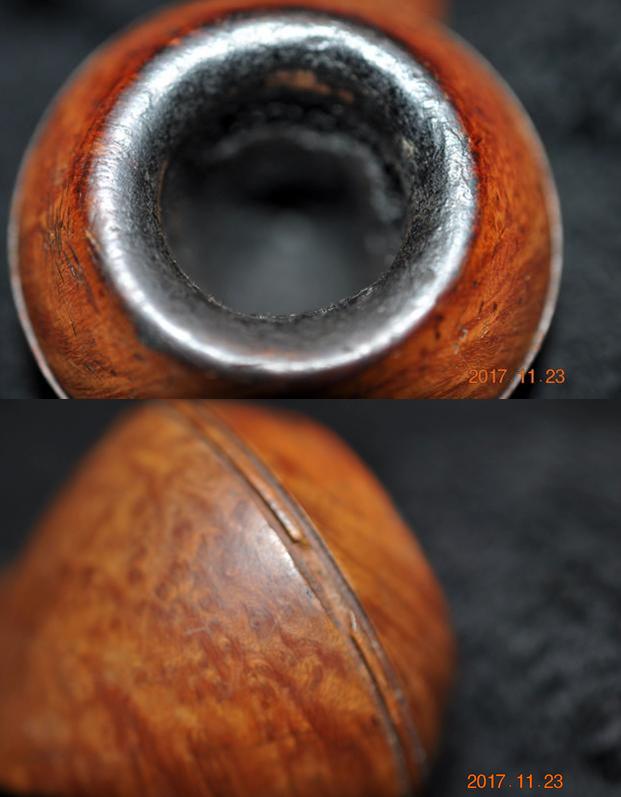
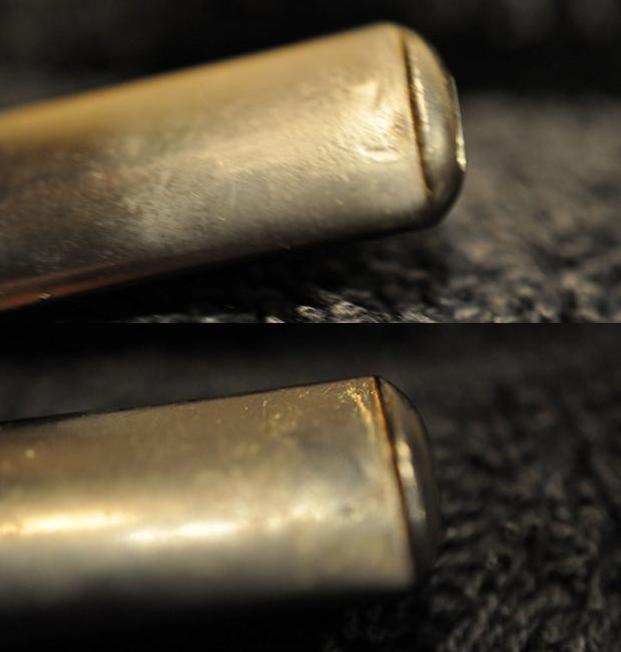
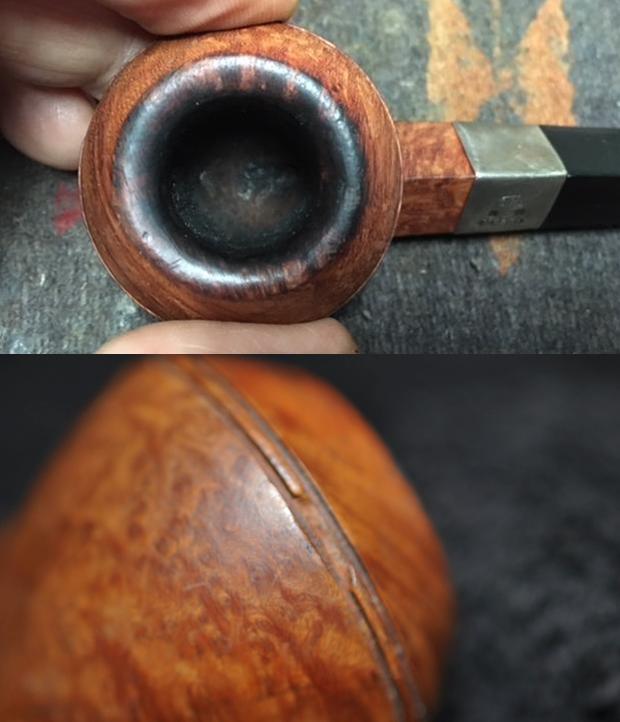
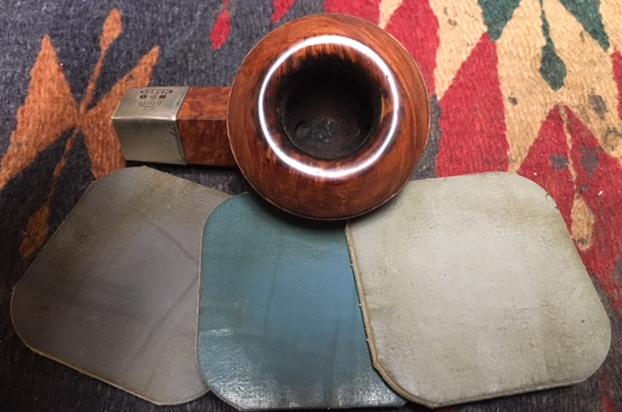
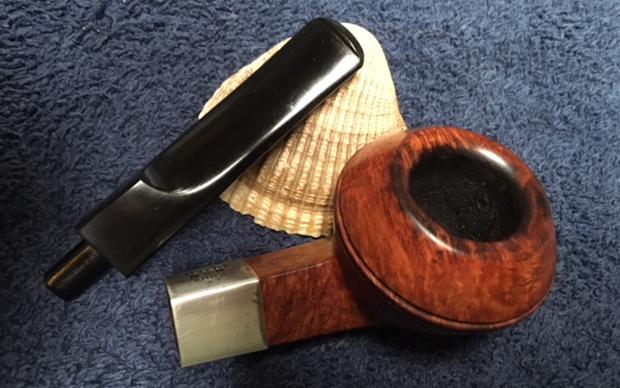
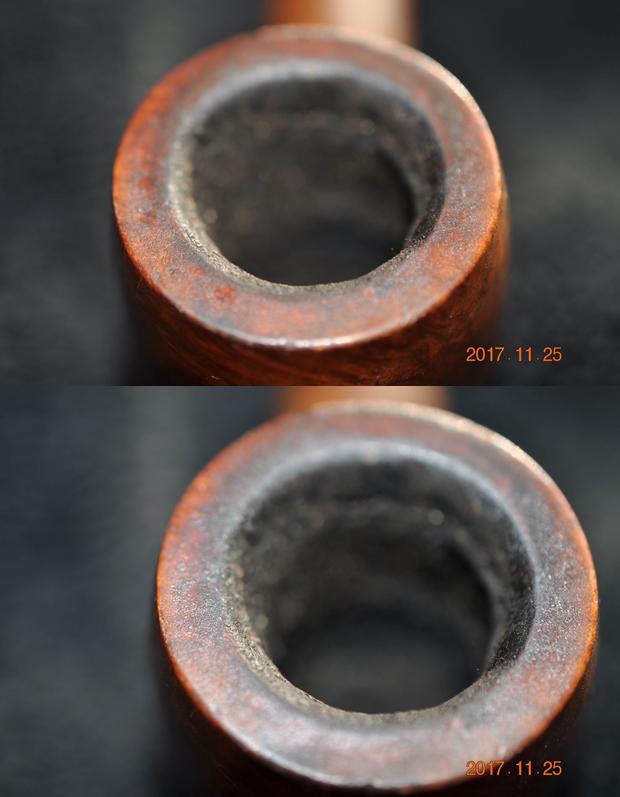
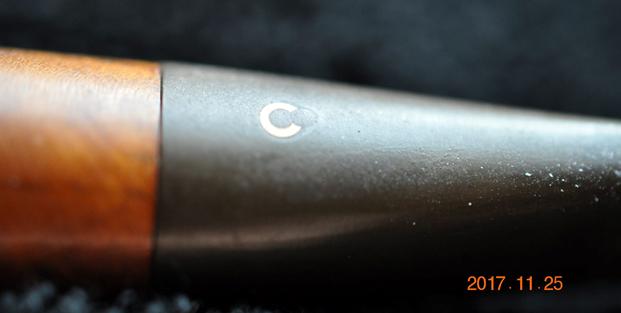
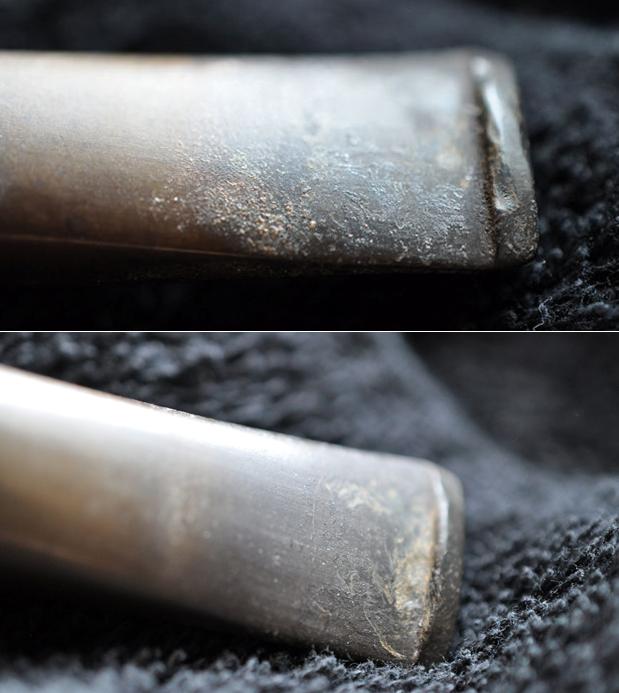
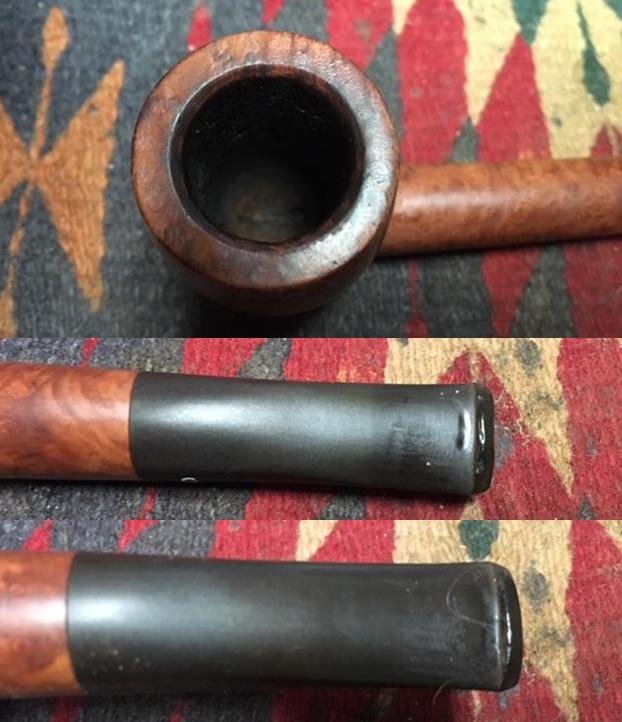
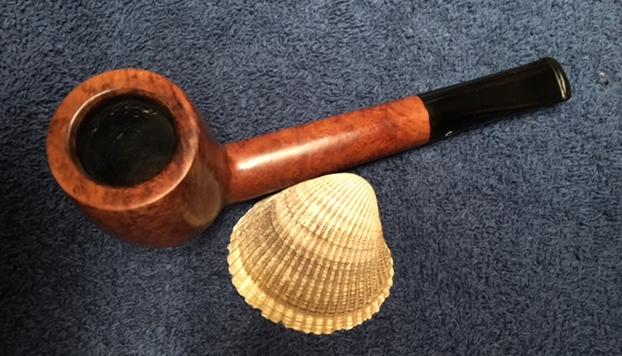
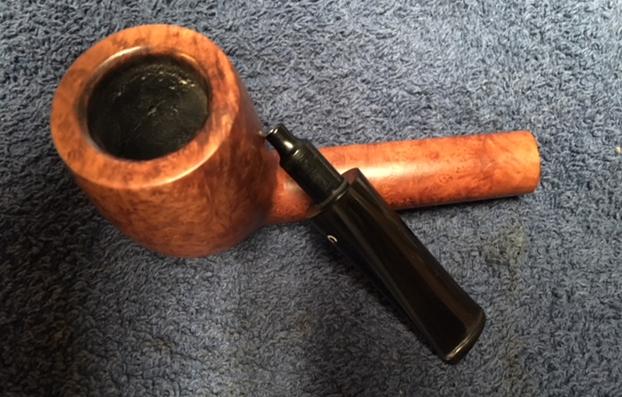
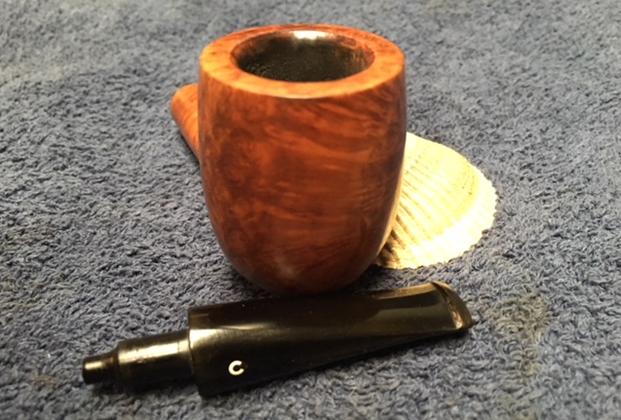
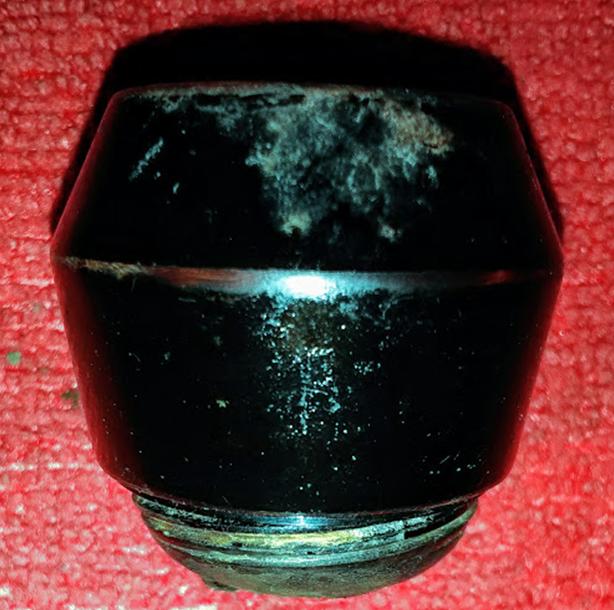
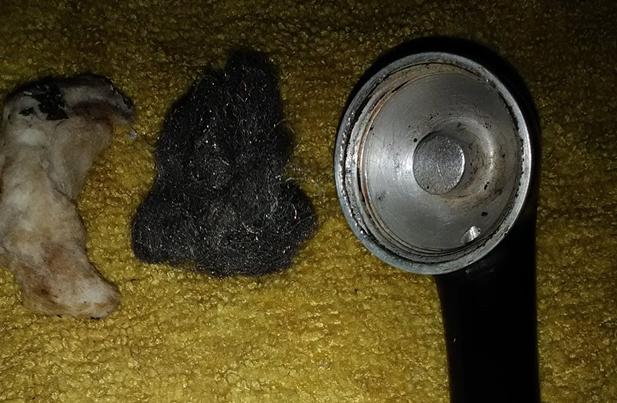
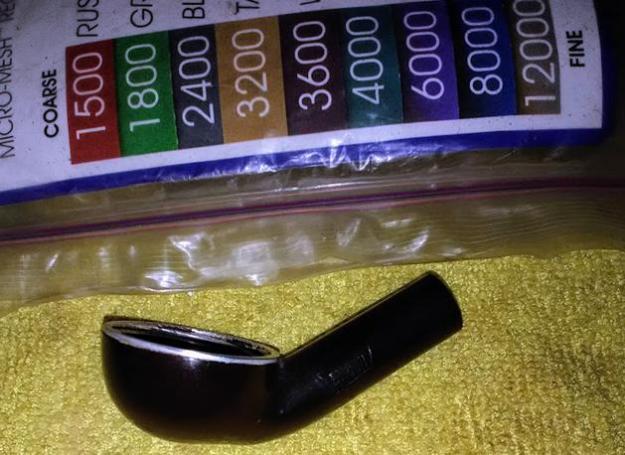
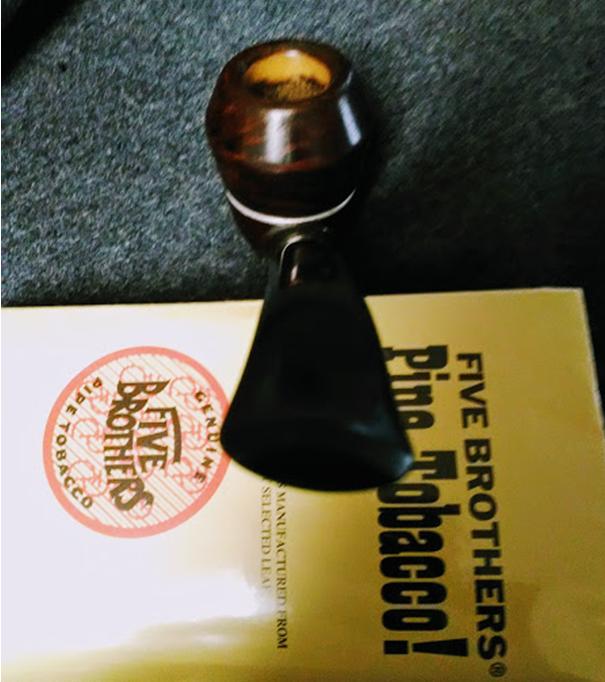
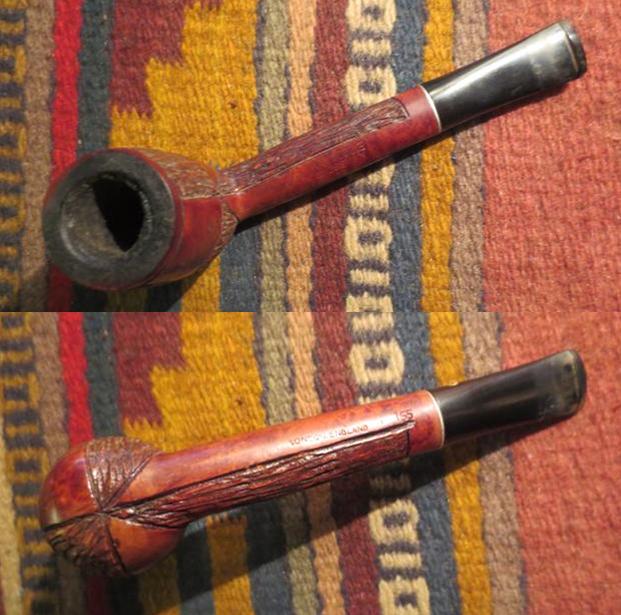
 I took photos of the rim top and the stem to show their condition. Jeff was able to clean out the bowl completely and the rim top. He removed the tars and lava to reveal a little darkening on the top toward the back of the bowl and the damage to the inner edge of the bowl. The stem scratches and light tooth chatter on both sides near the button. It was also slightly under clocked.
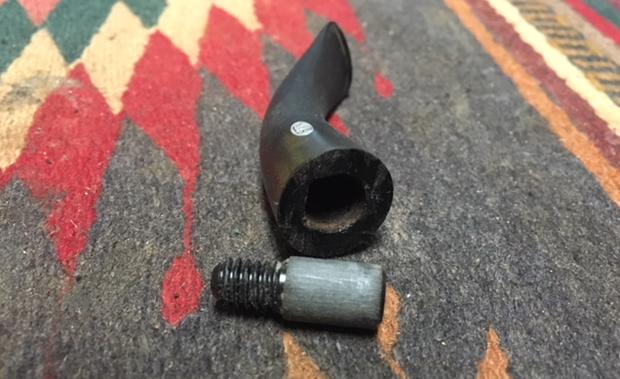
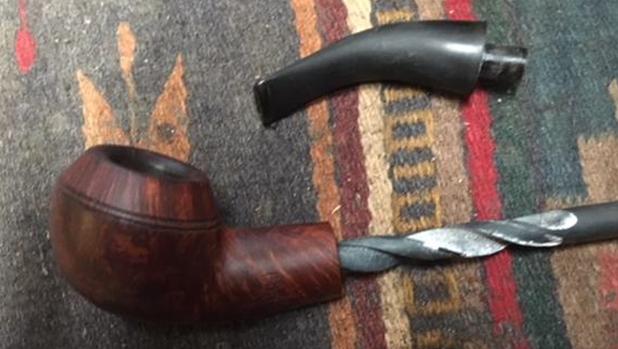
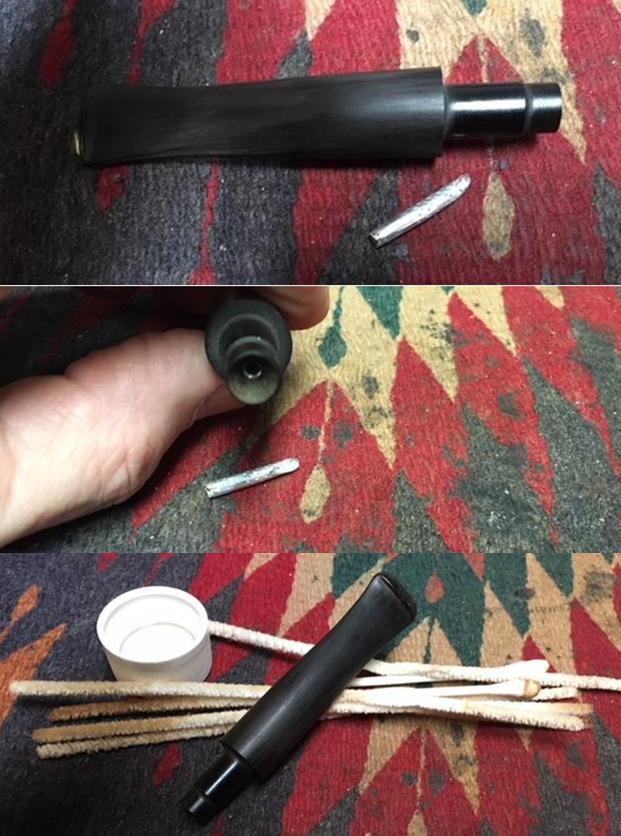
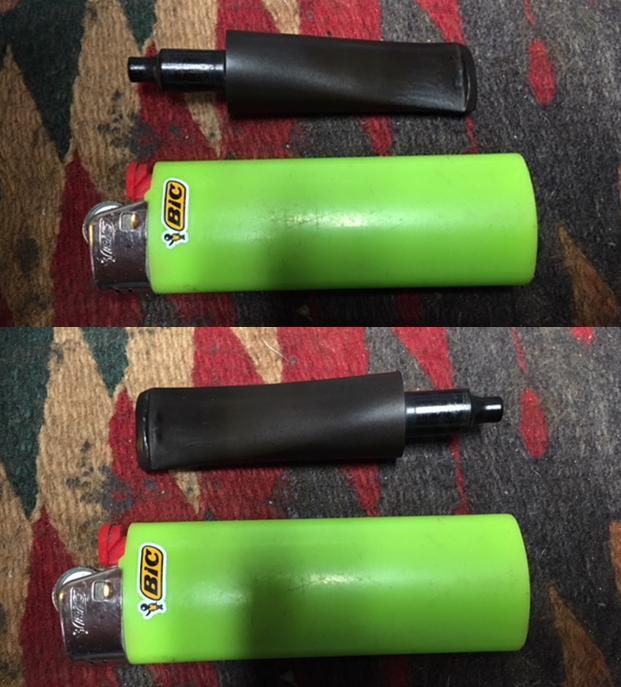
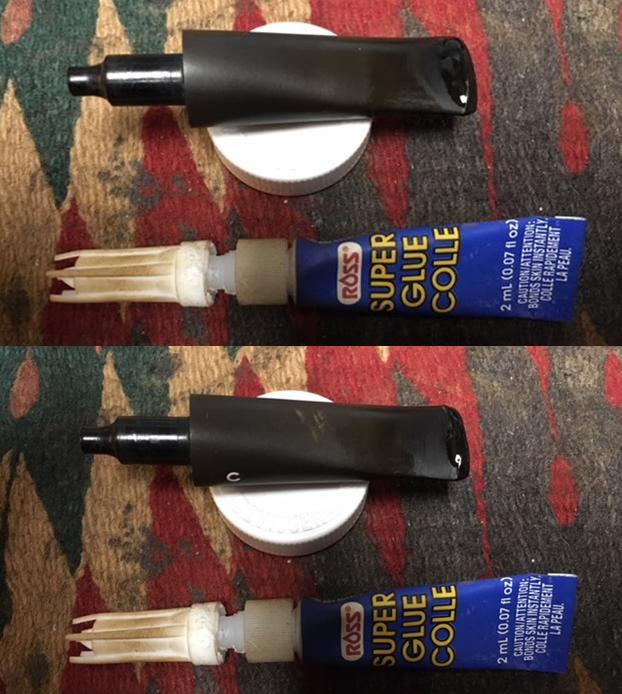
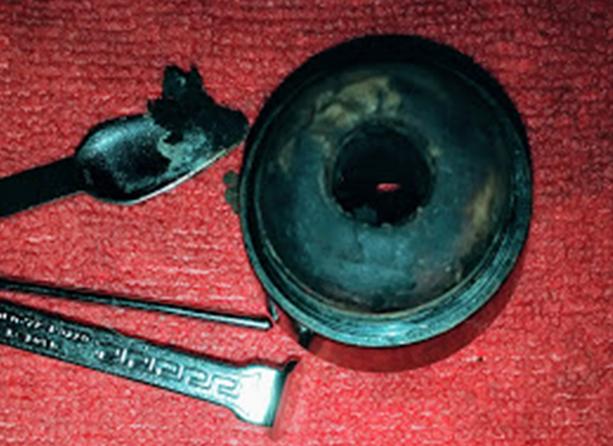
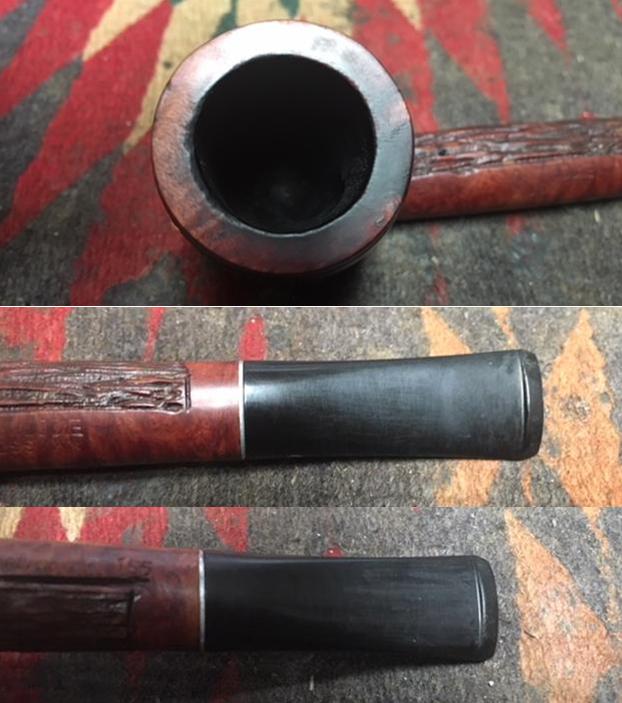 I heated the stinger with a lighter to soften the glue and realigned the stem properly. That took care of the under clocking problem.
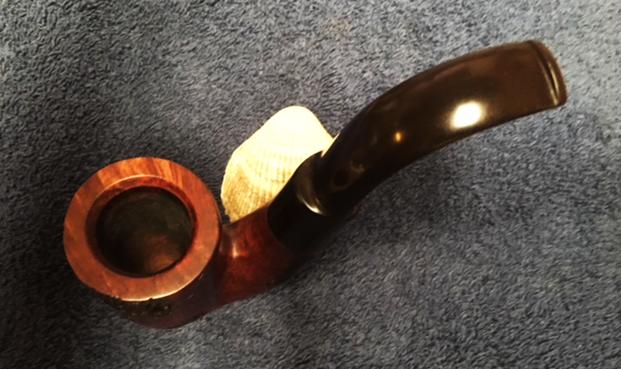
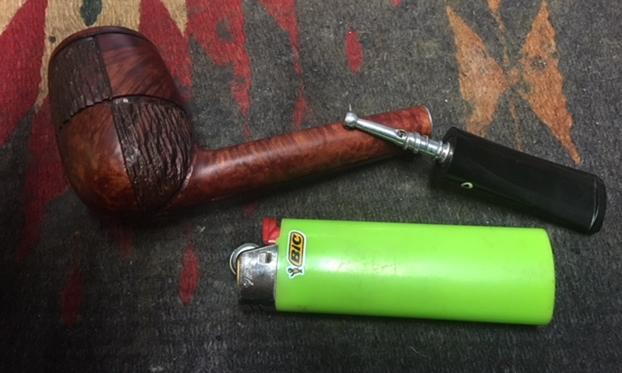 I worked over the edge of the rim with a folded piece of 220 grit sandpaper to remove the damaged portions of the inside edge of the rim. It took a little work to remove the damage.
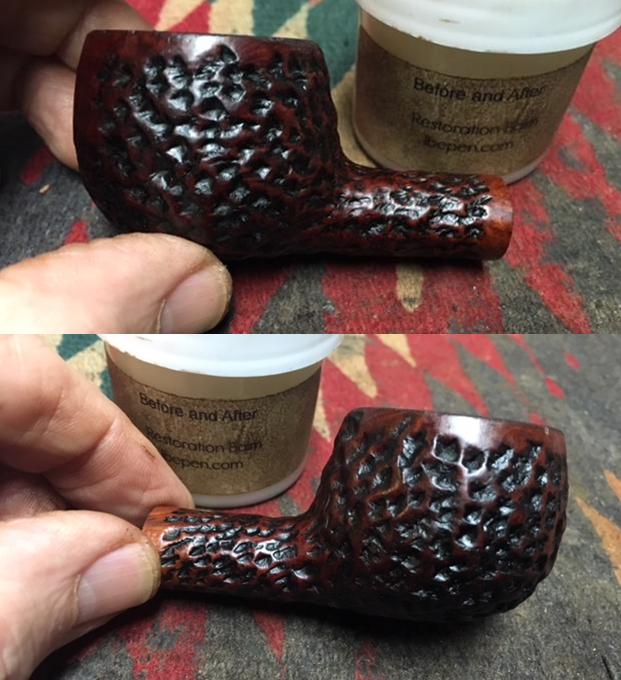
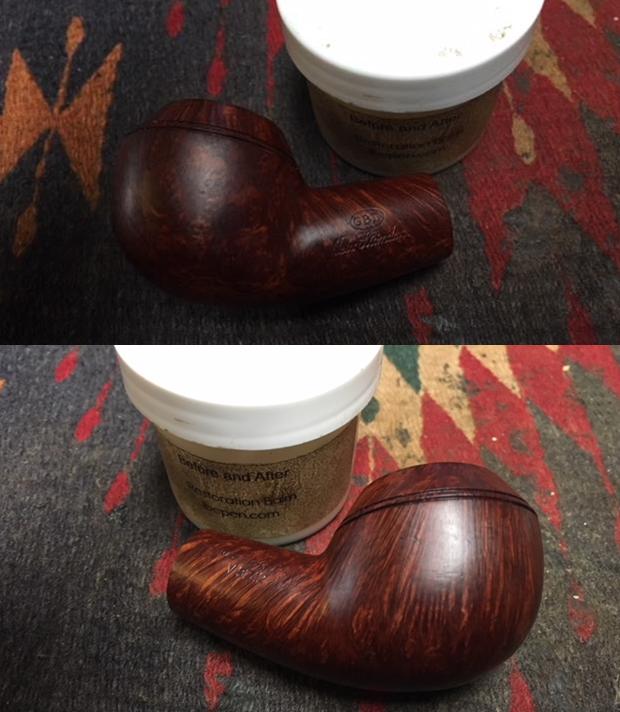
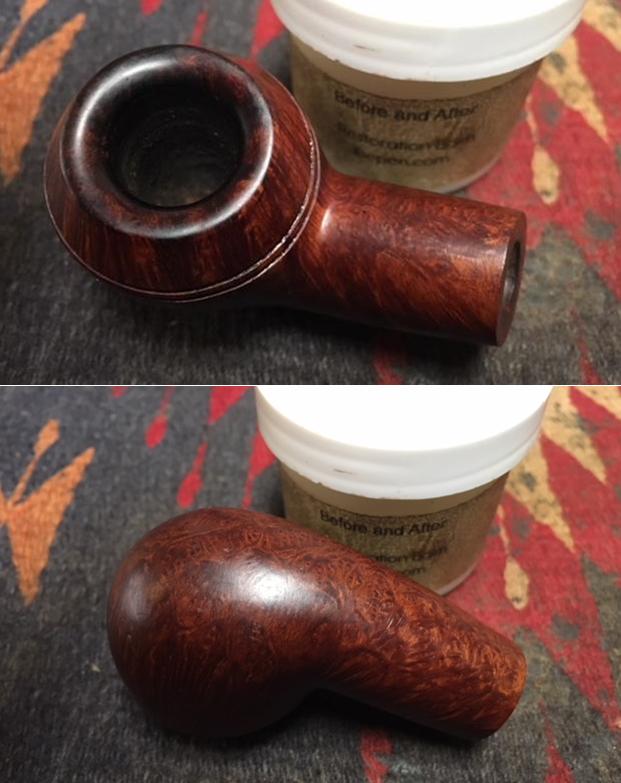
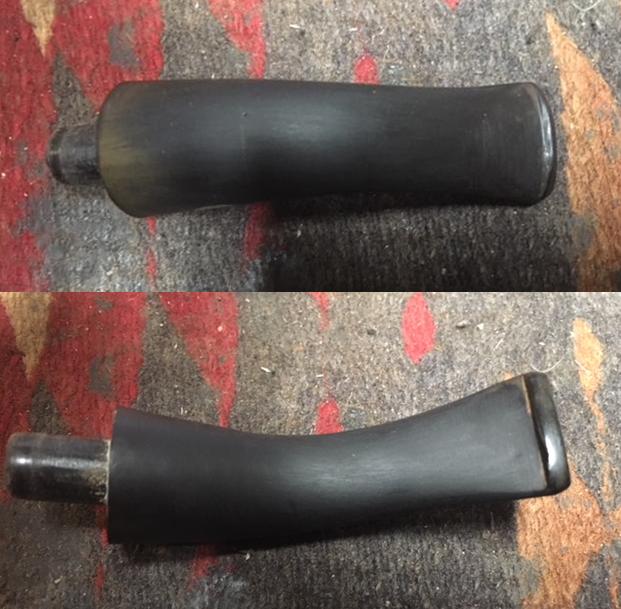
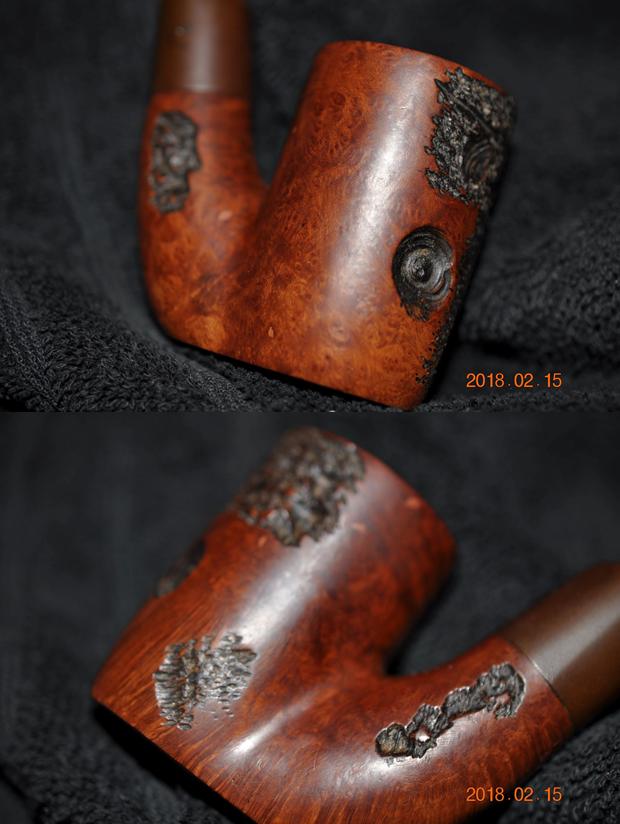
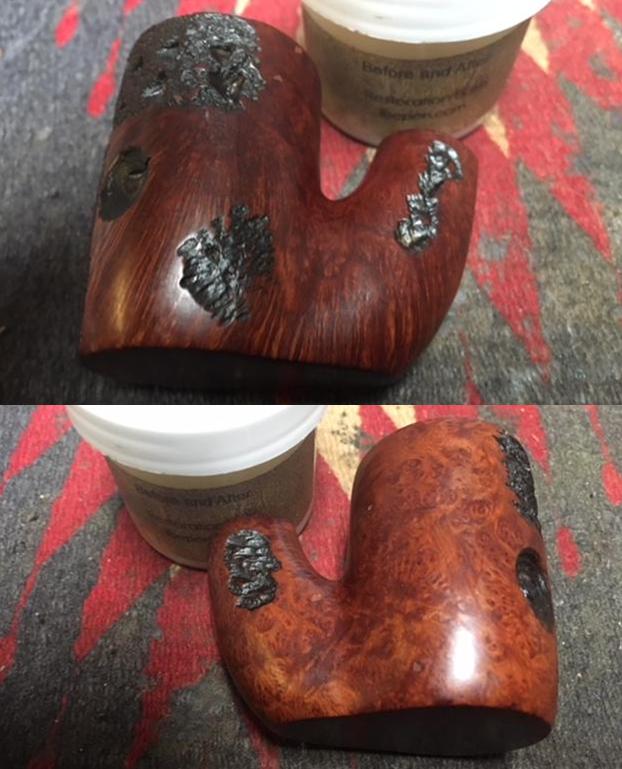
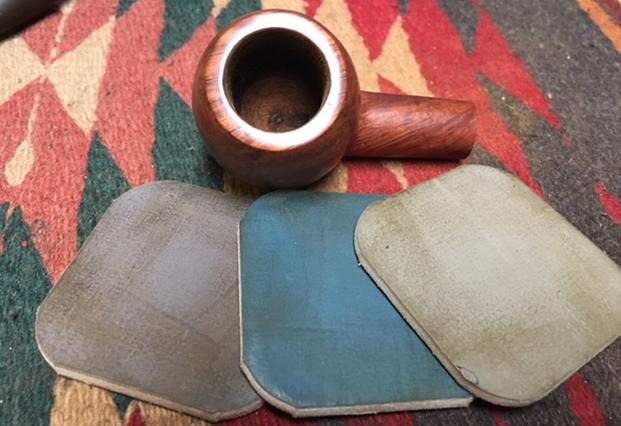
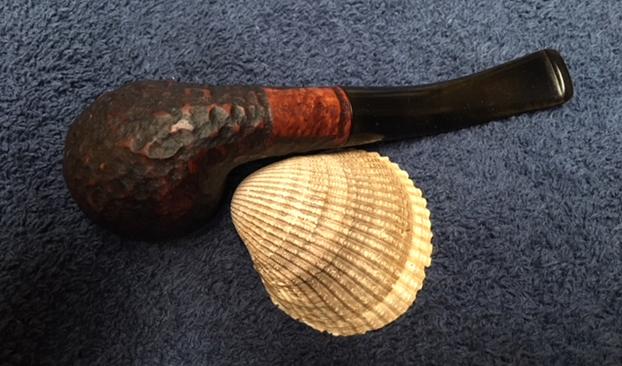
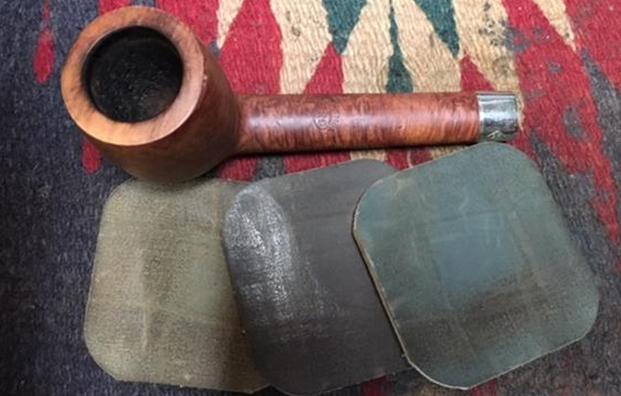
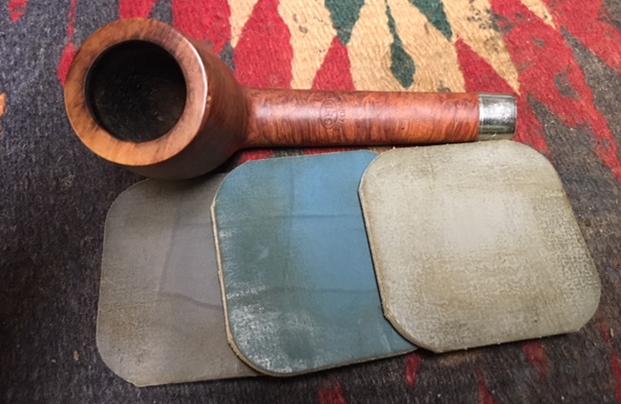
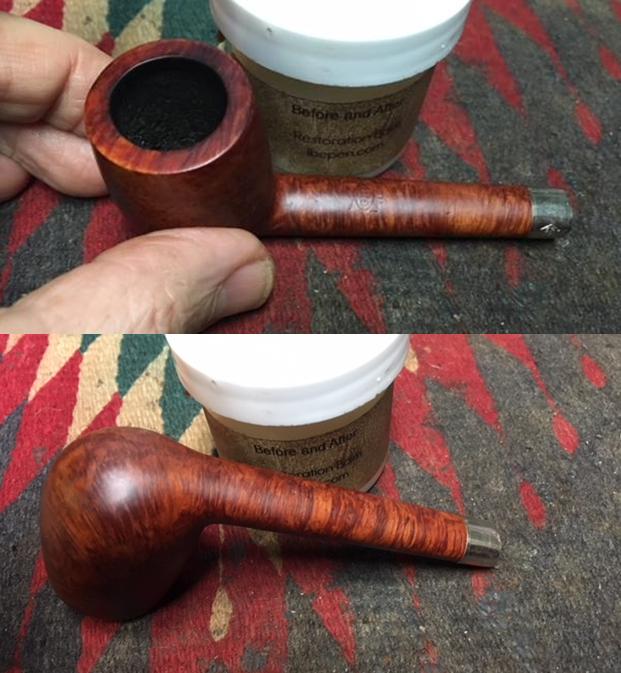
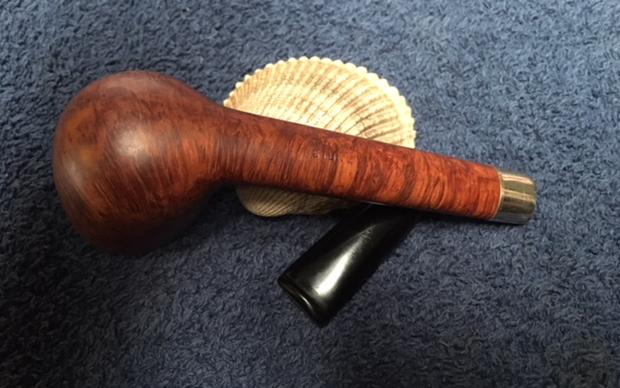
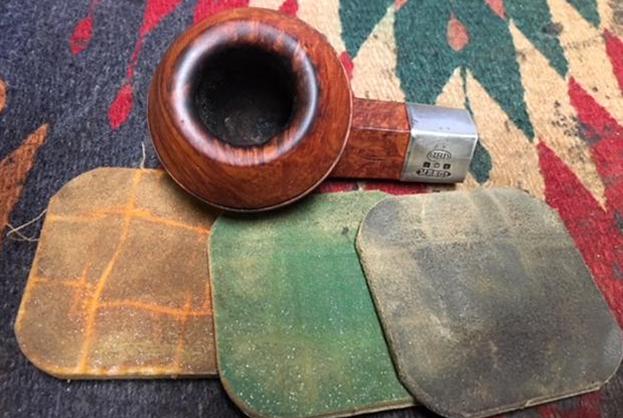
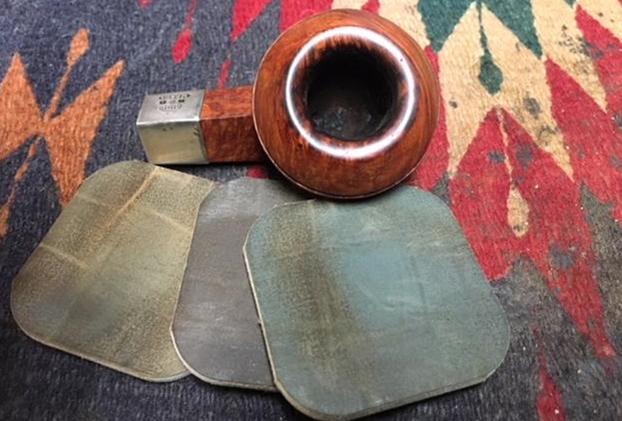
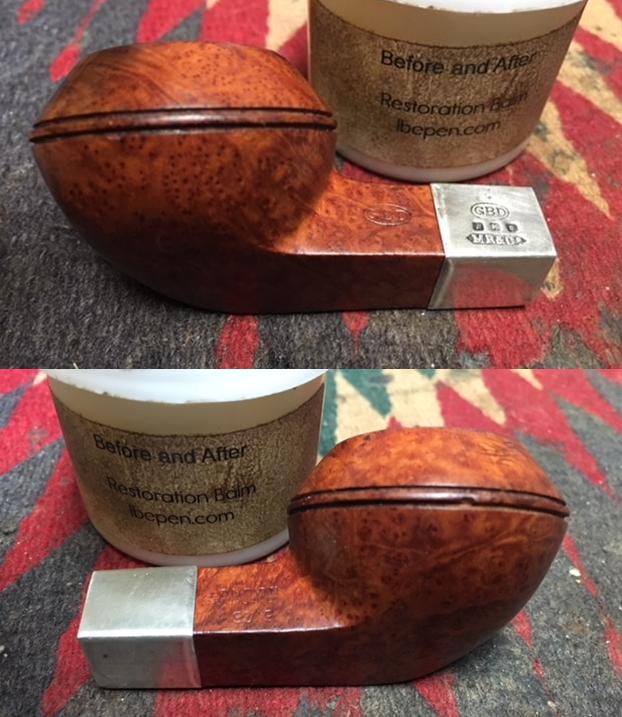
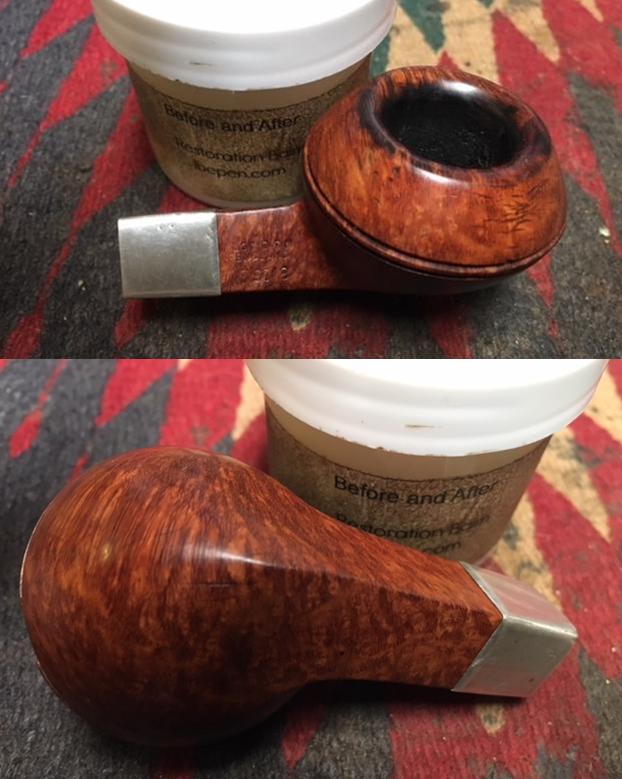
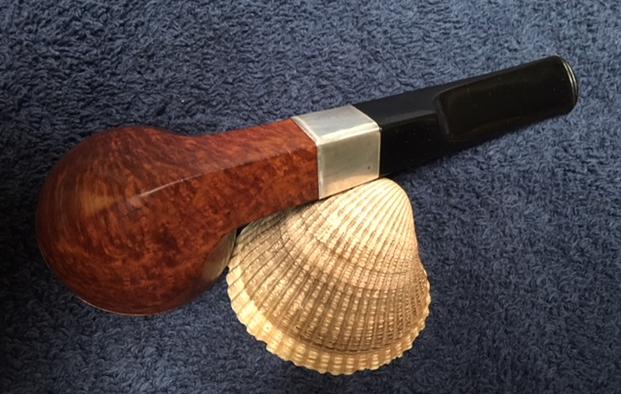
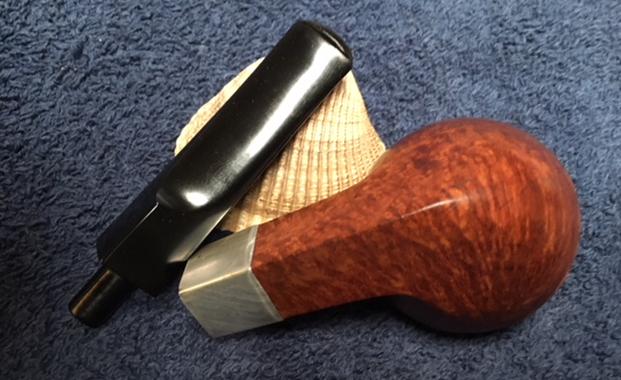
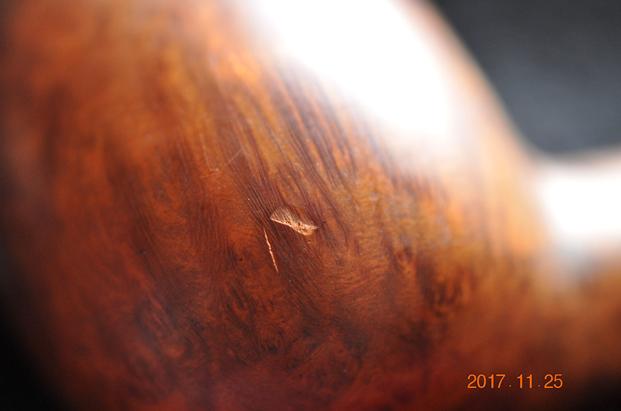
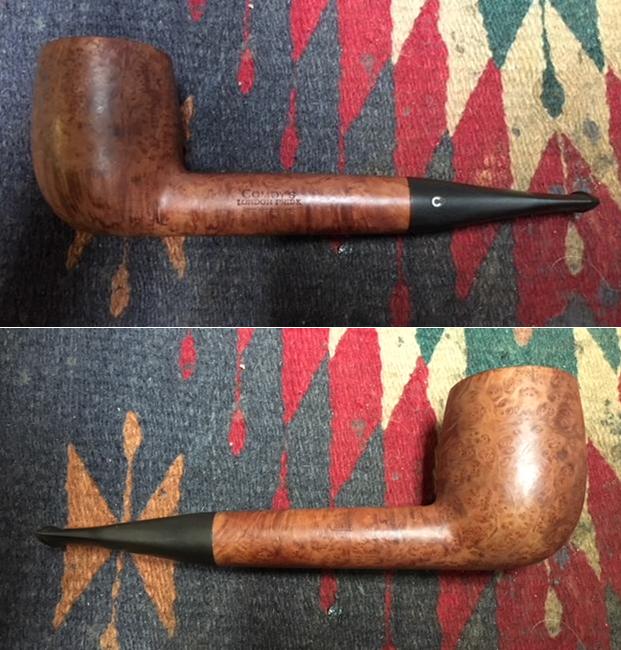
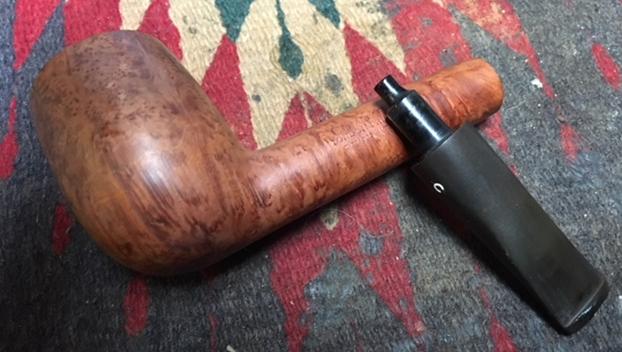
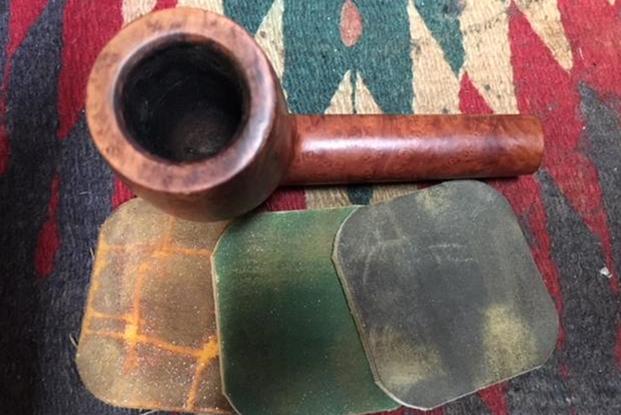
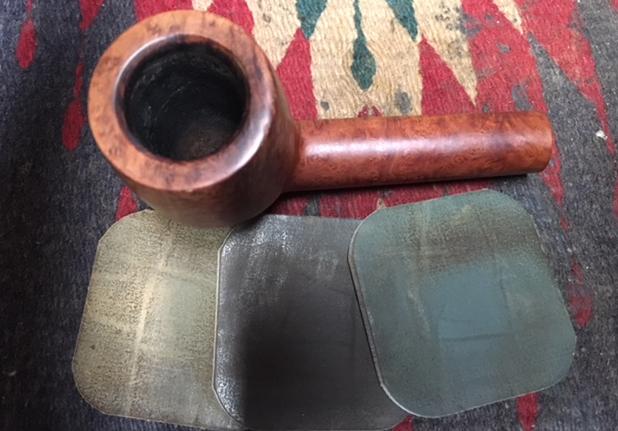
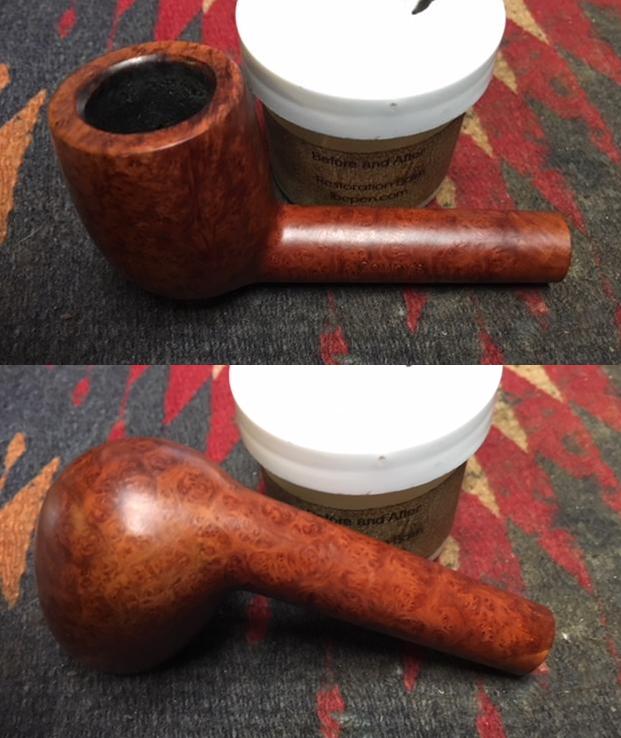
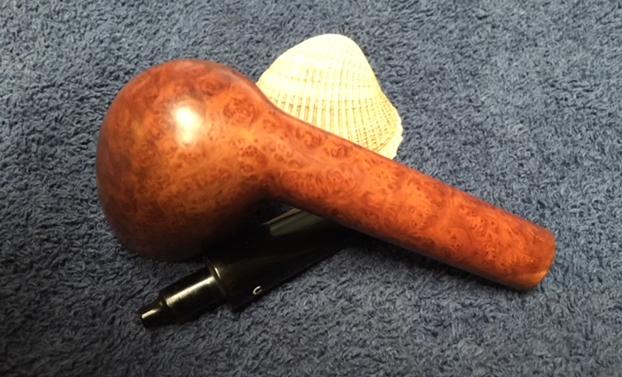
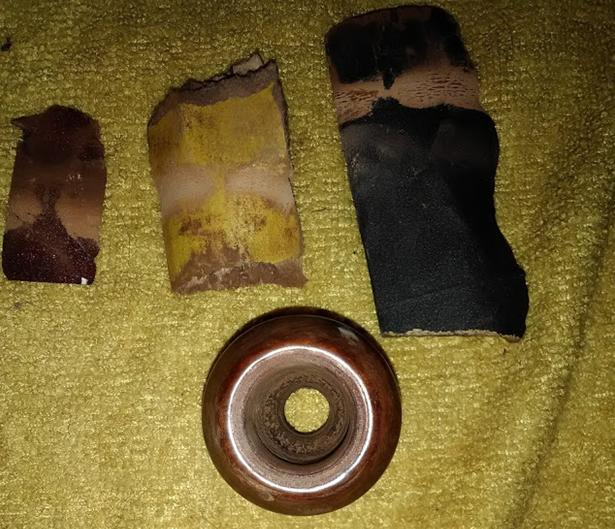
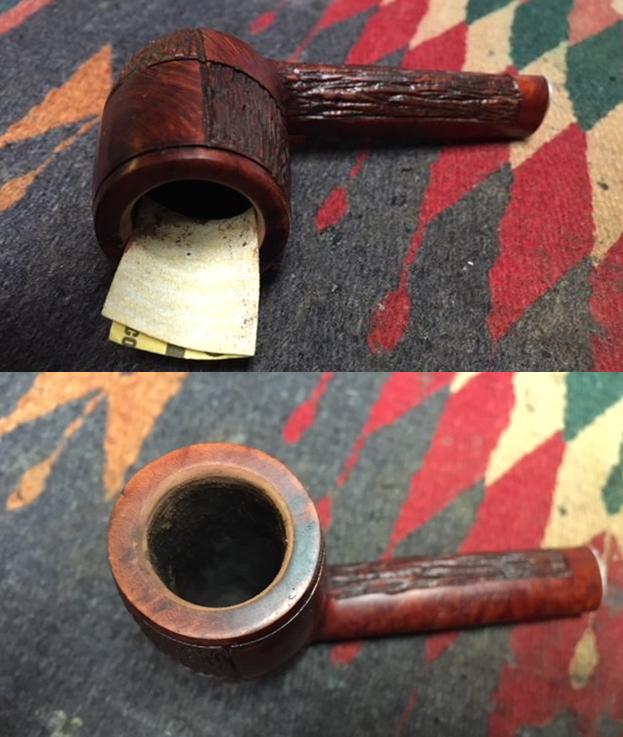 I rubbed the bowl down with Before & After Restoration Balm to deep clean the rusticated briar patches in the Chessboard squares, half the shank and the smooth briar squares, rim and half the shank. The product works to clean, enliven and protect the briar. I hand rubbed it with my fingers and worked it into the rustication with cotton swabs. I wiped it off with a soft cloth. I buffed the bowl with a horsehair shoe brush to polish it. The briar really began to have a rich shine. I took some photos of the bowl at this point to mark the progress in the restoration.
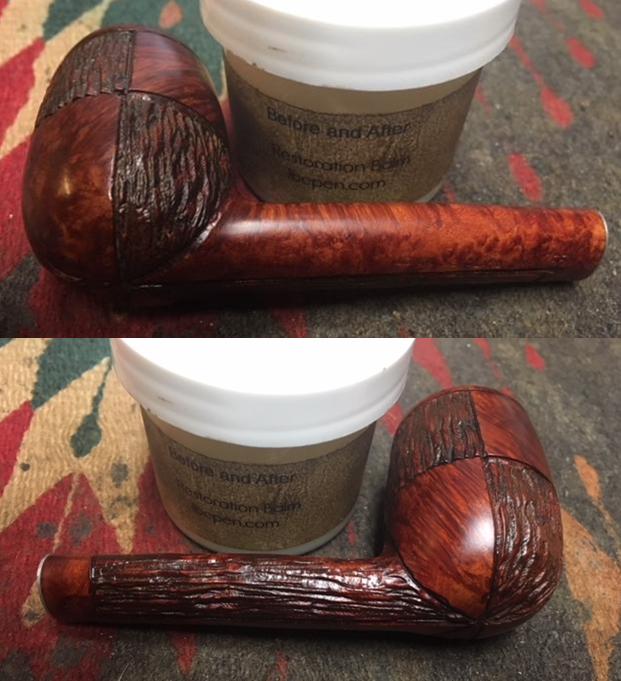
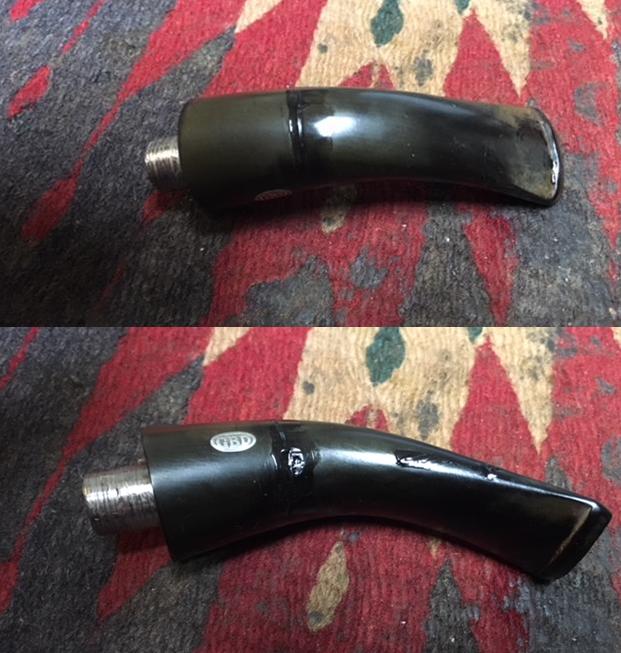
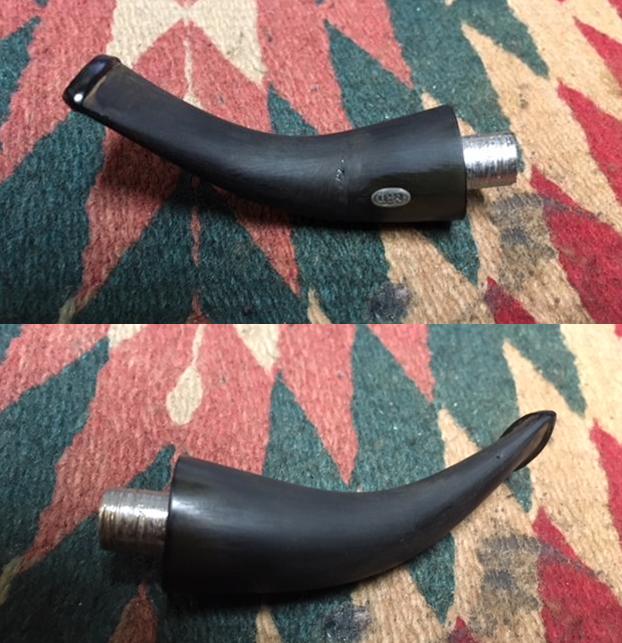
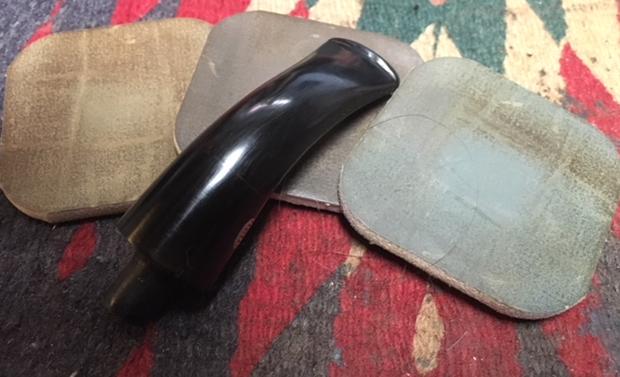
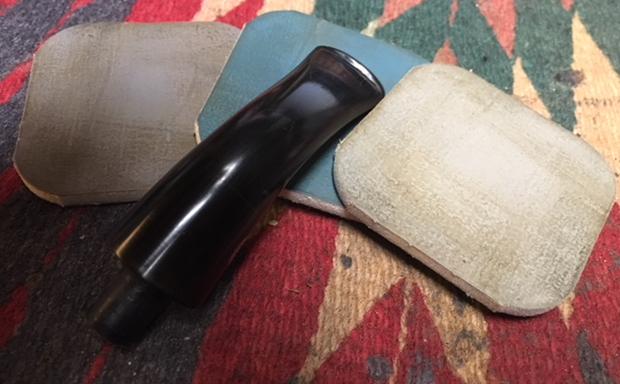
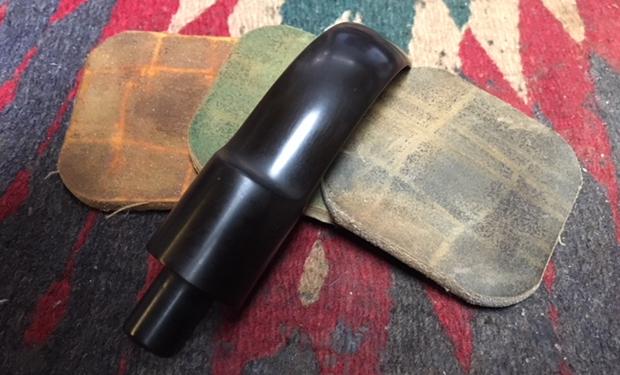
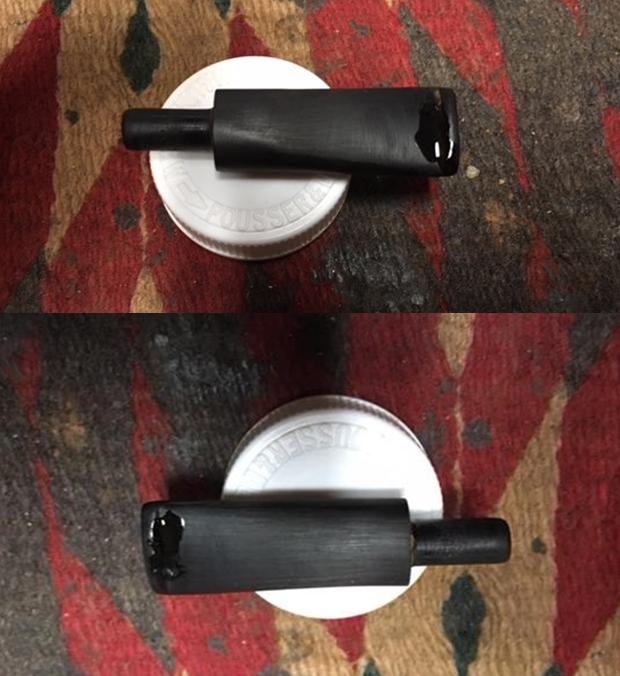
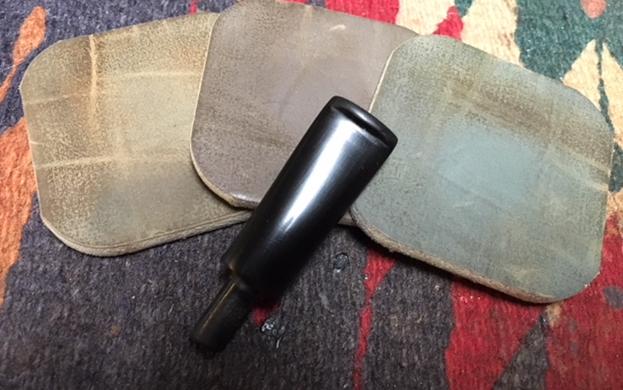
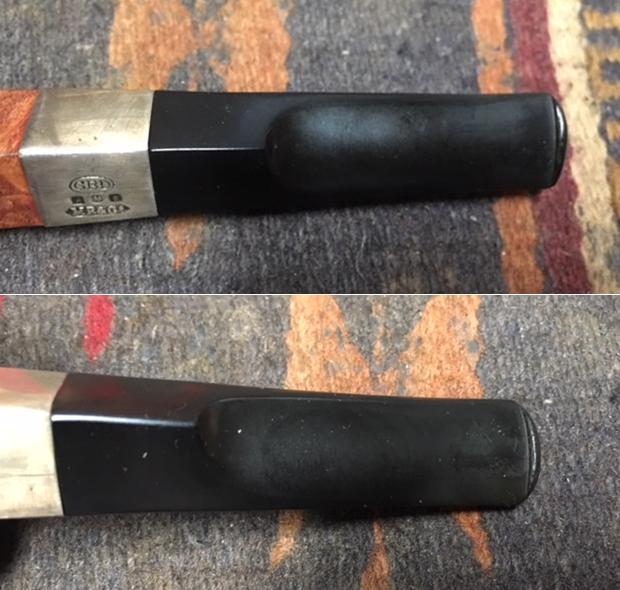
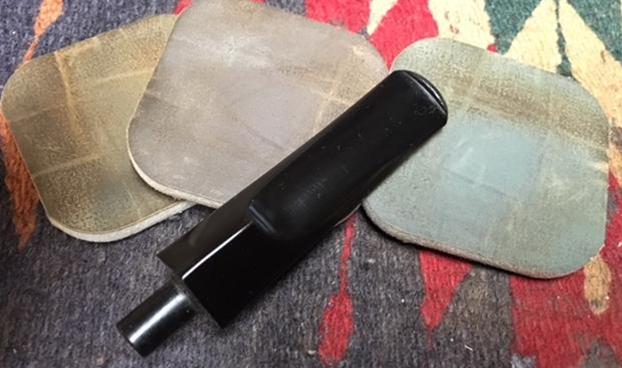
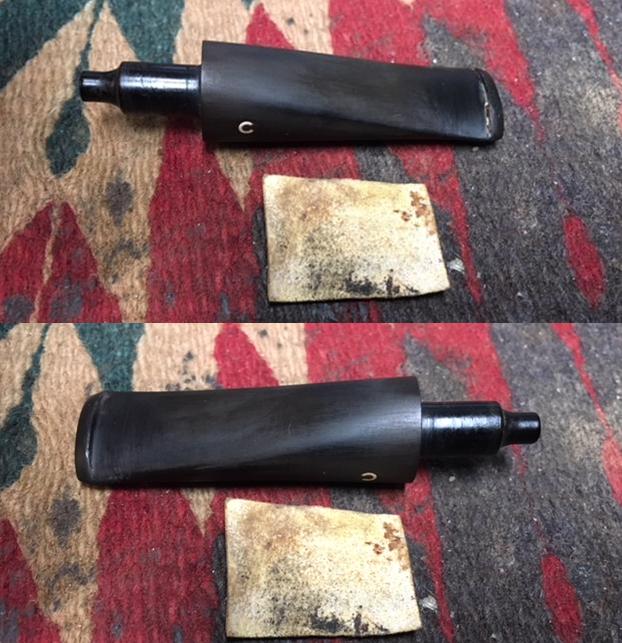
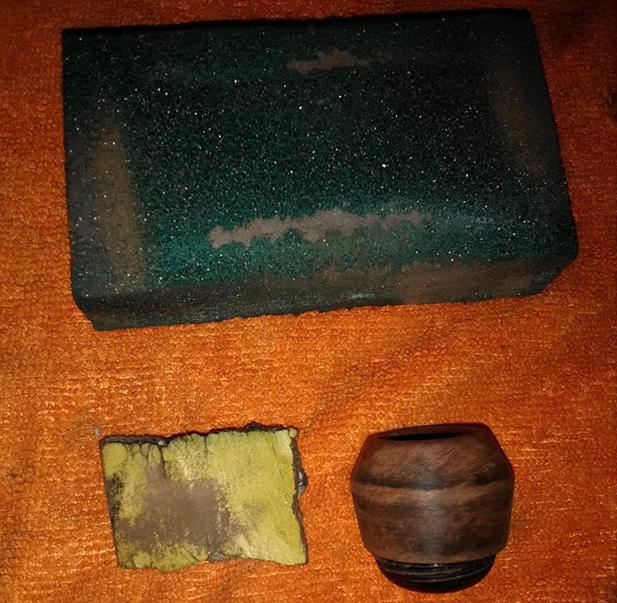
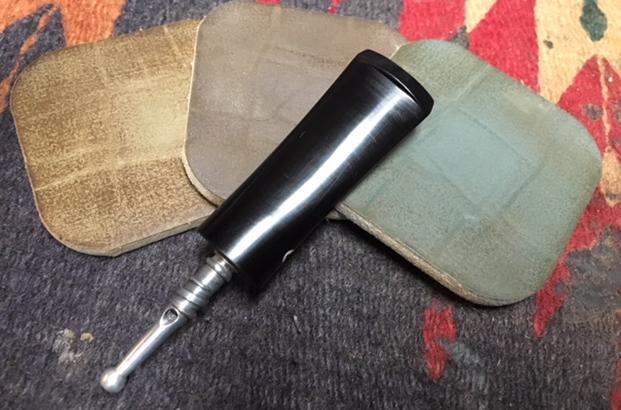
 I set the bowl aside and worked on the stem. I sanded out the tooth marks and chatter with 220 grit sandpaper until both sides were smooth at the button.
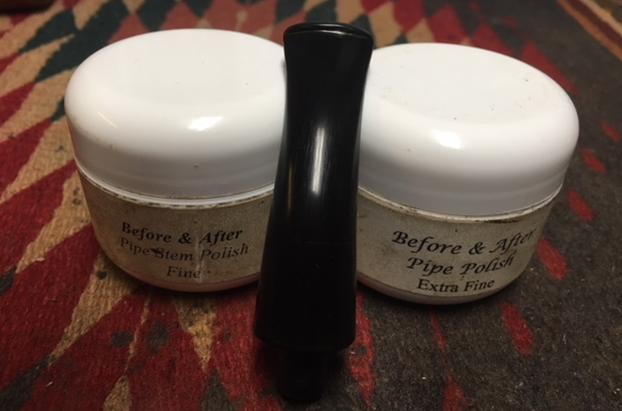
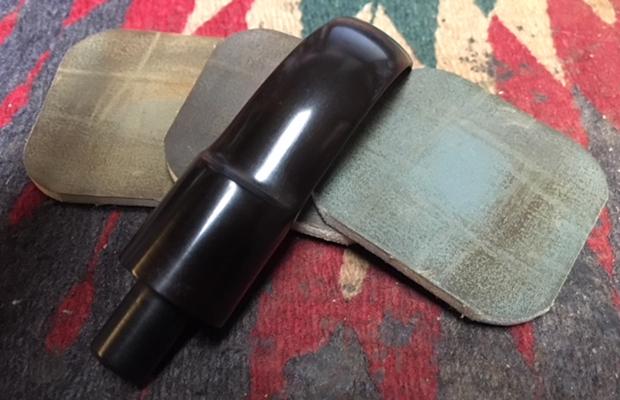
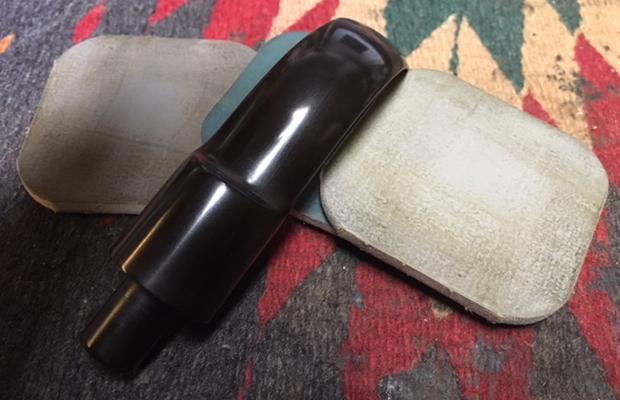
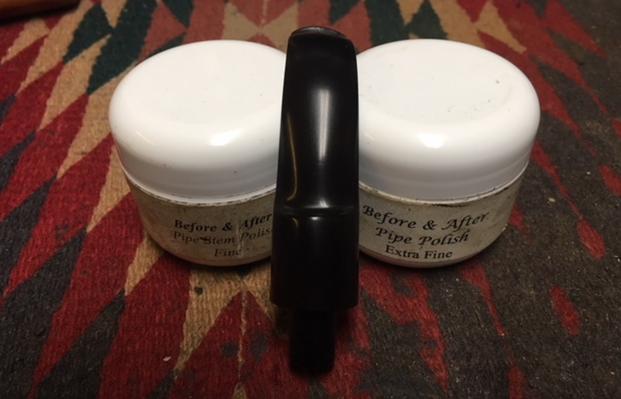
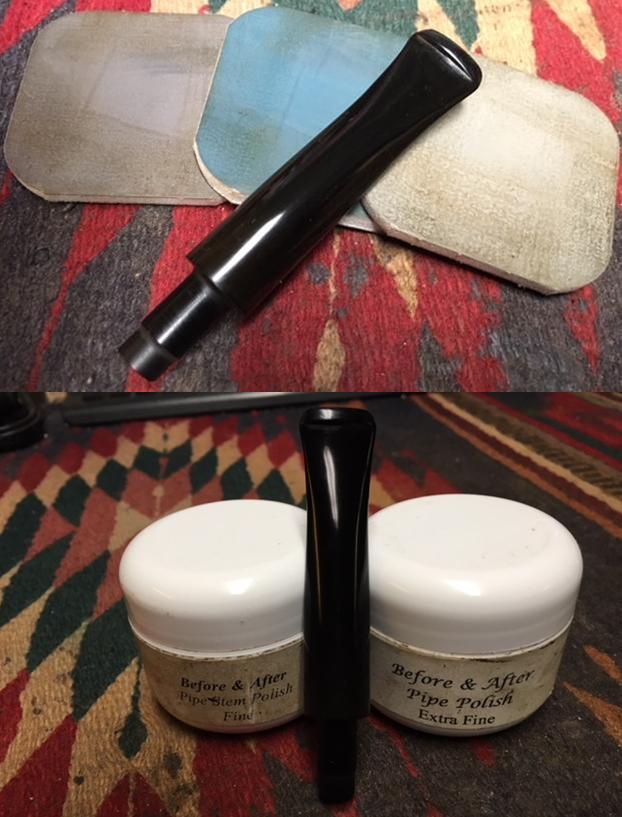
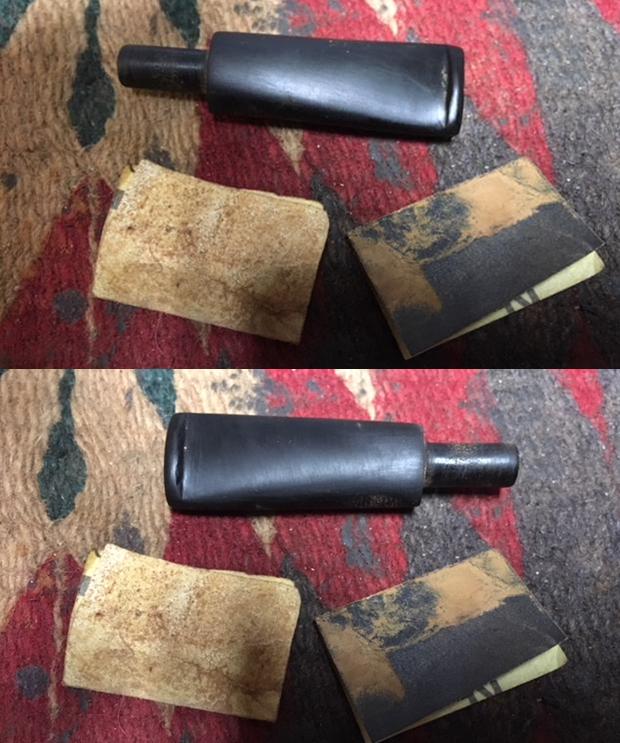
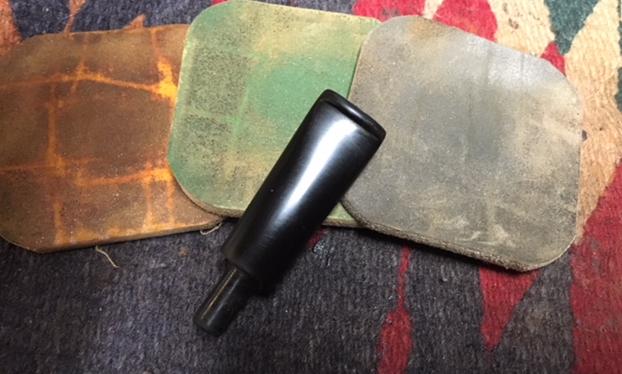
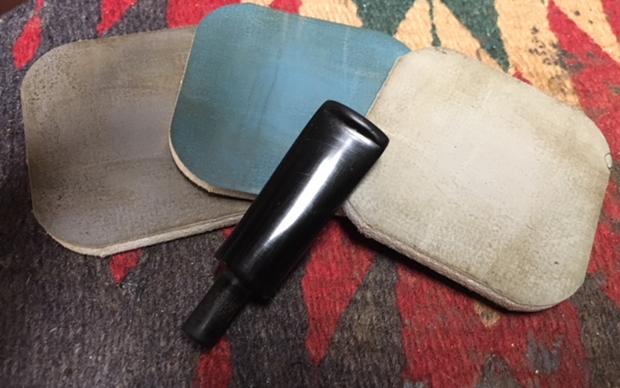
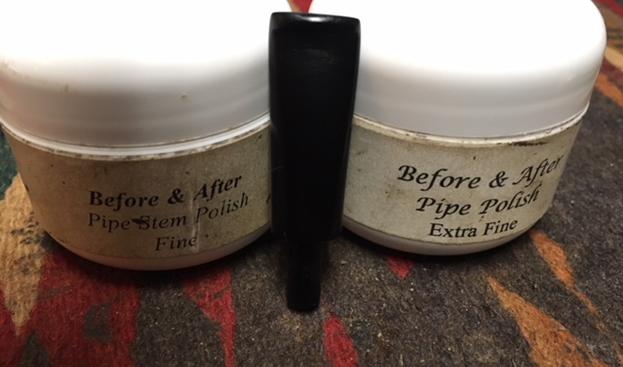
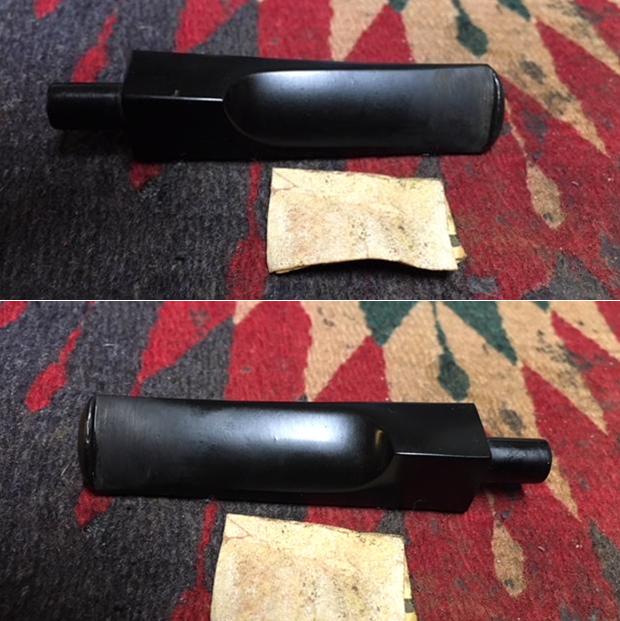
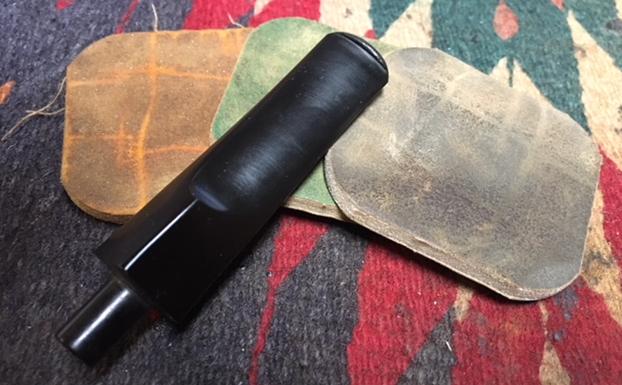
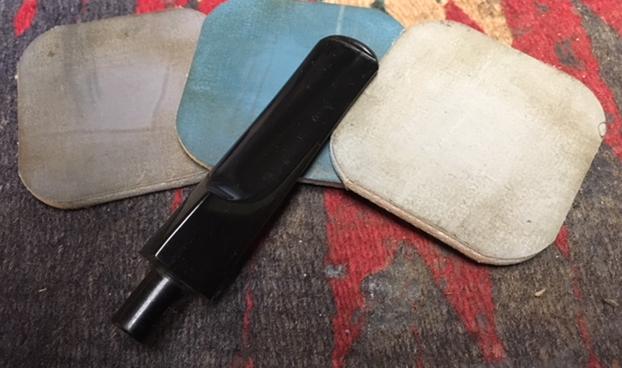
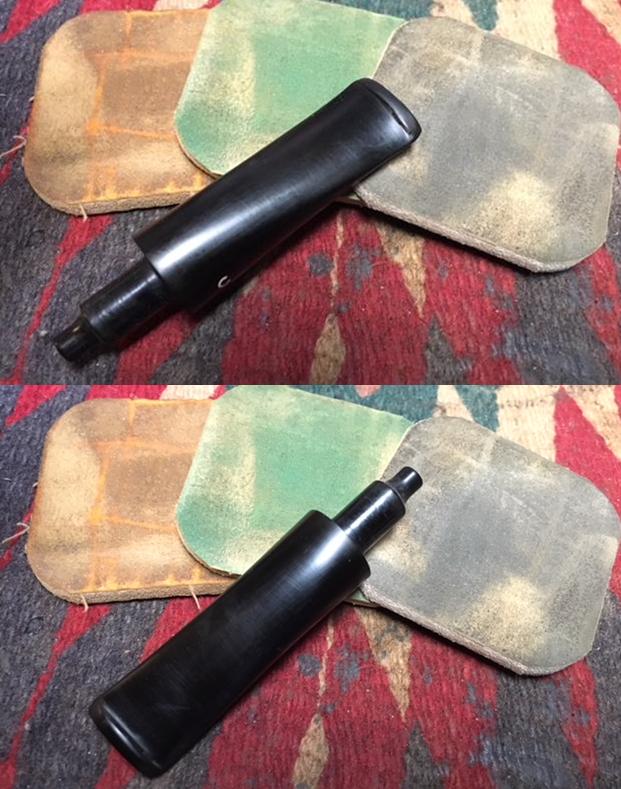
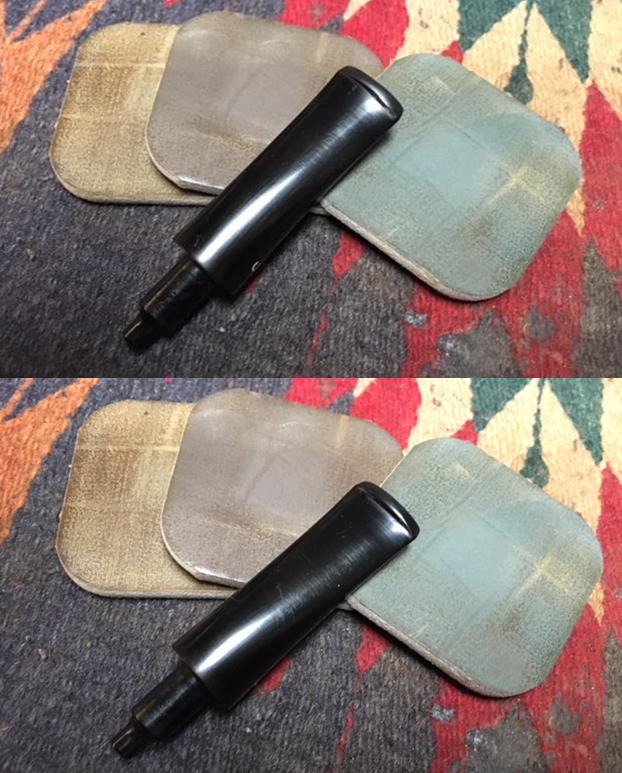
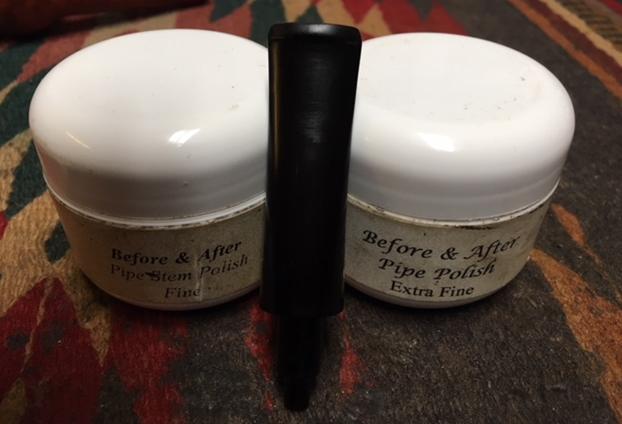
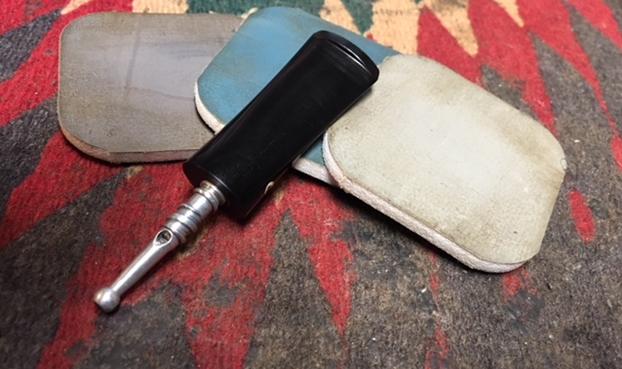
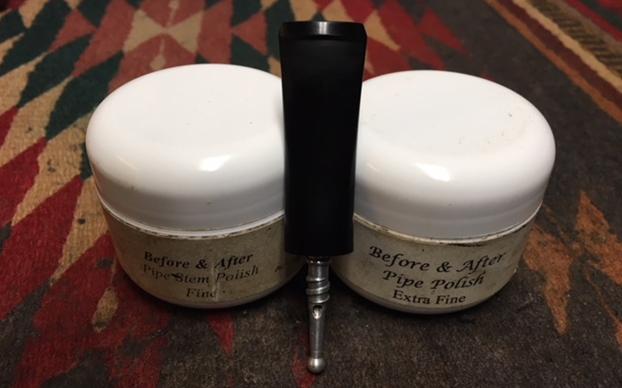
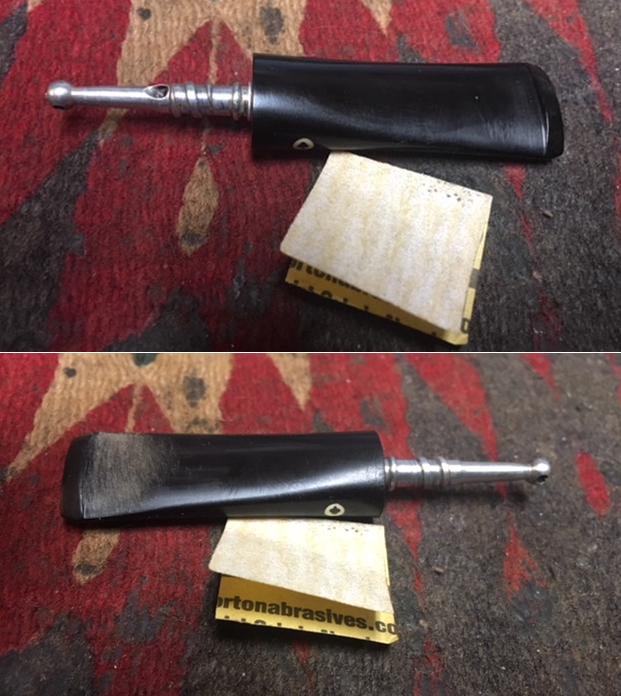 I polished the stem with micromesh sanding pads – wet sanding with 1500-2400 grit pads and dry sanding with 3200-12000 grit pads. I wiped the stem down after each pad with a damp cloth to remove the sanding dust. I used the Before & After Pipe Polish to remove the small minute scratches left in the vulcanite. I finished by wiping the stem down with a final coat of Obsidian Oil and set it aside to dry.
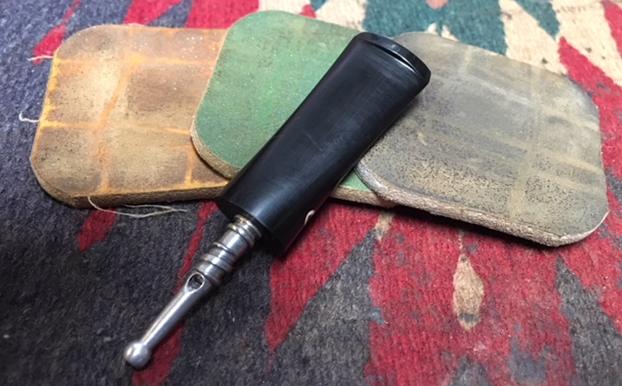
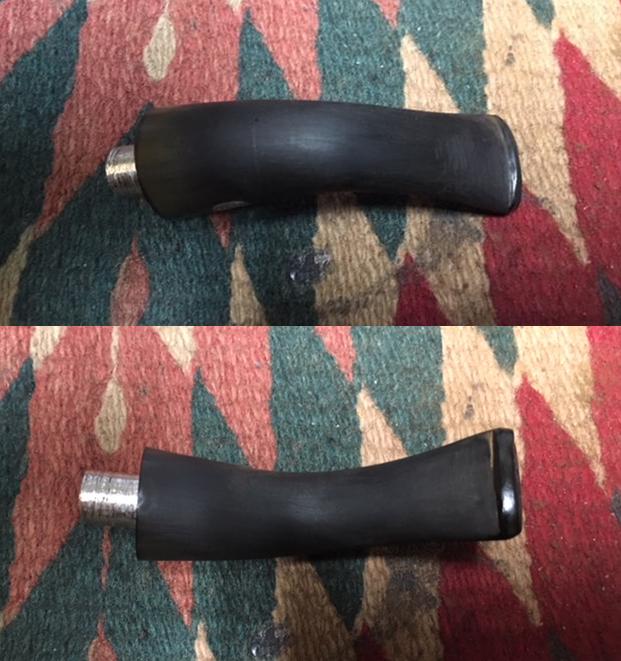
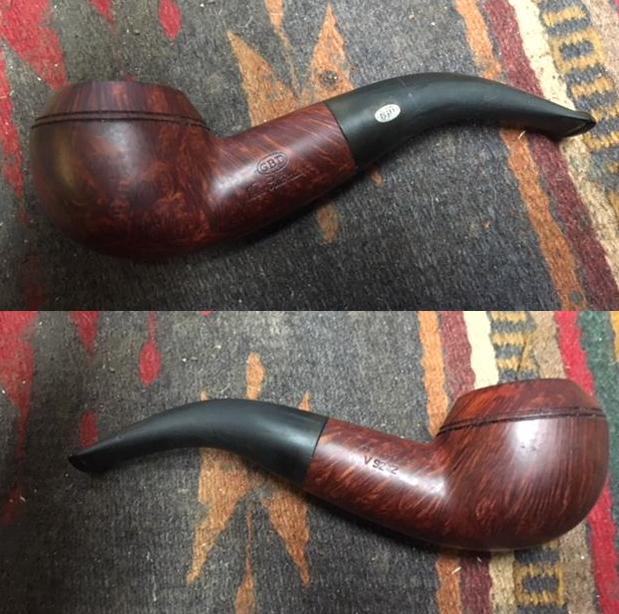
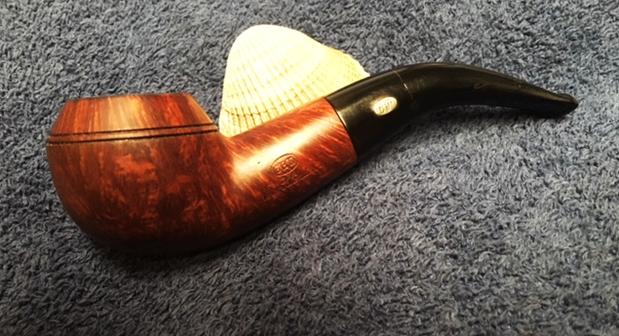
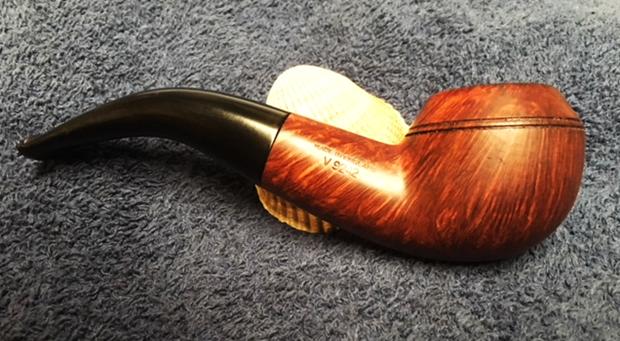
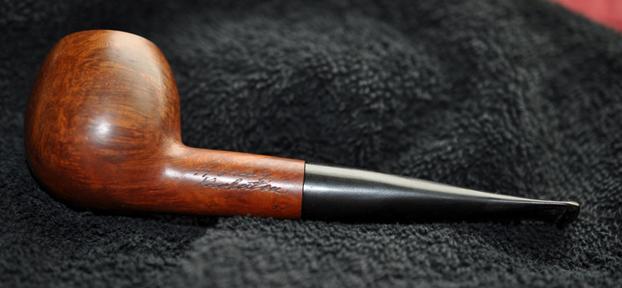
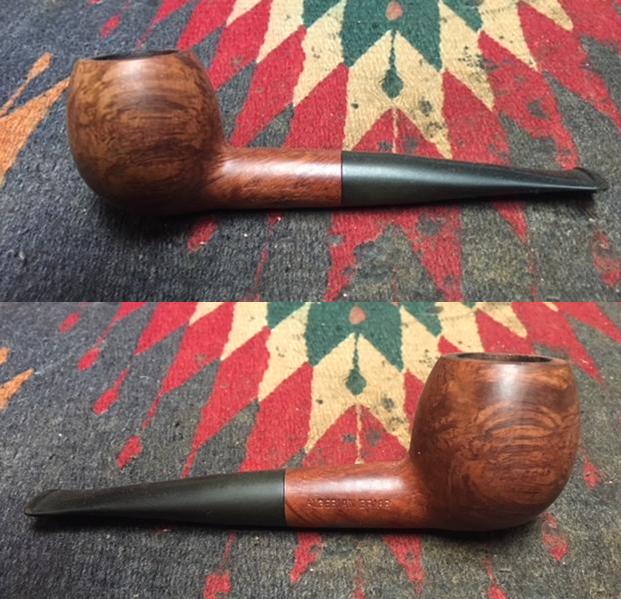
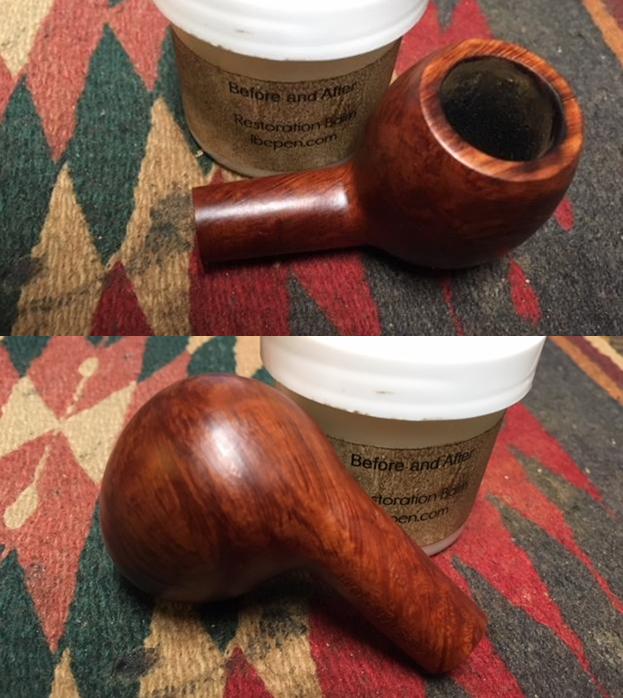
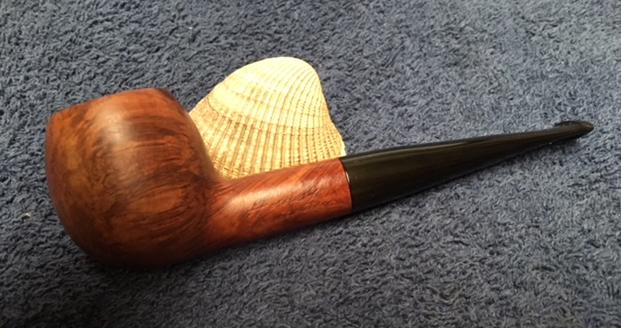
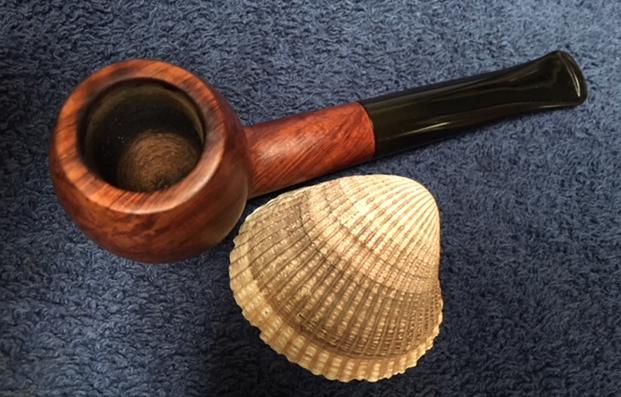
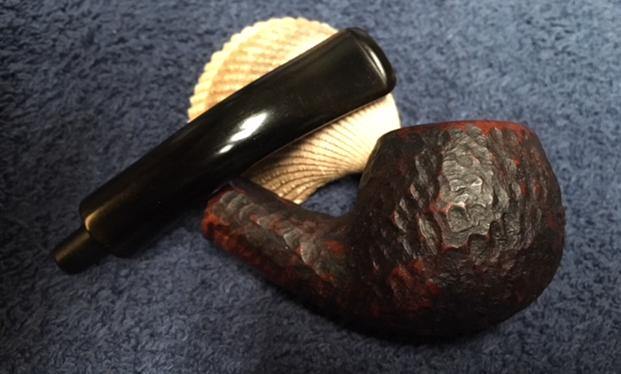
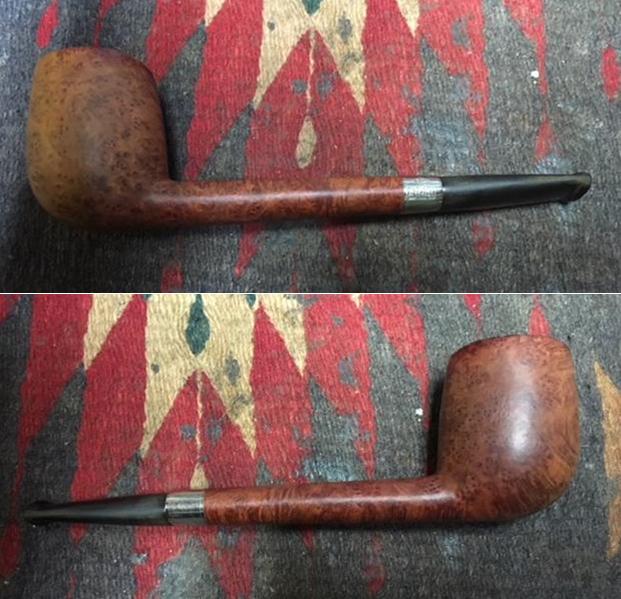
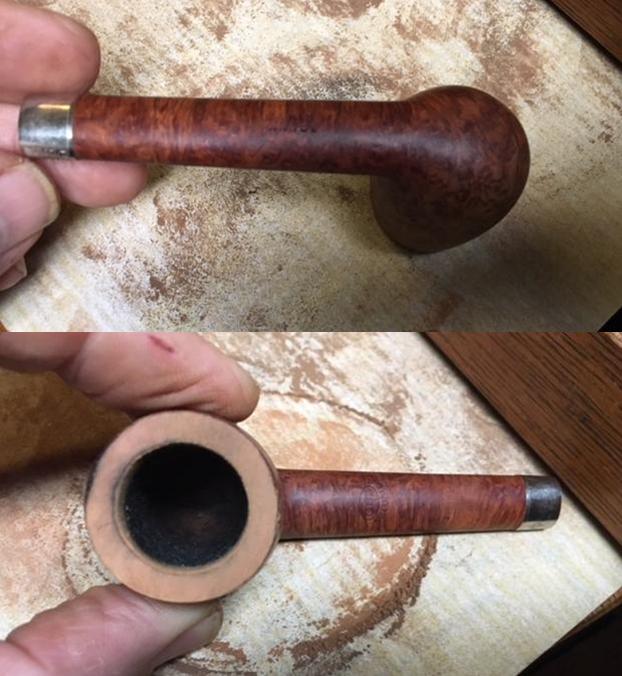
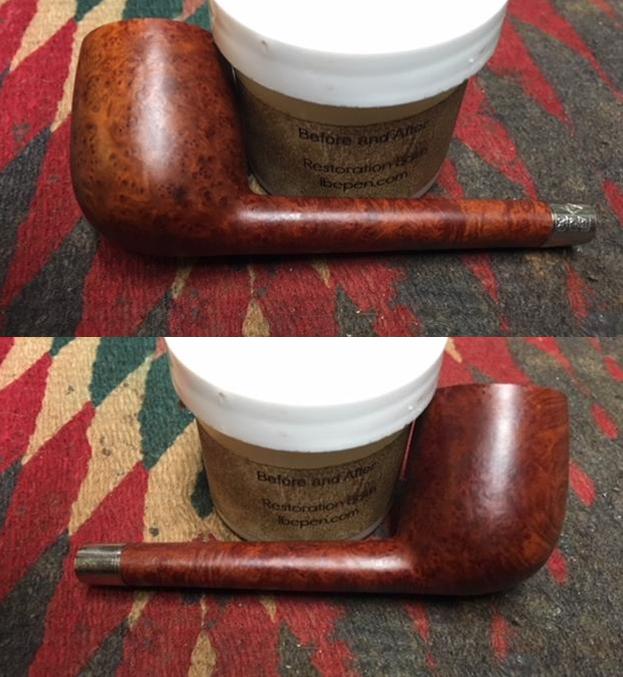
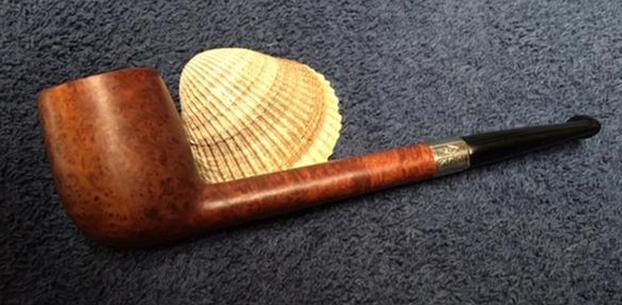
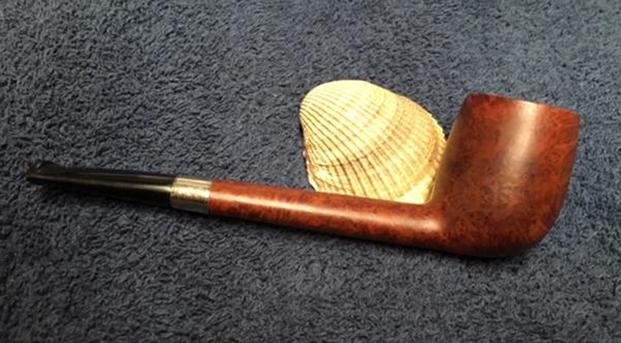
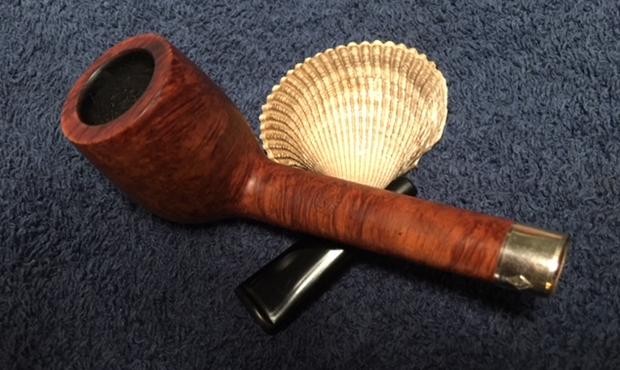
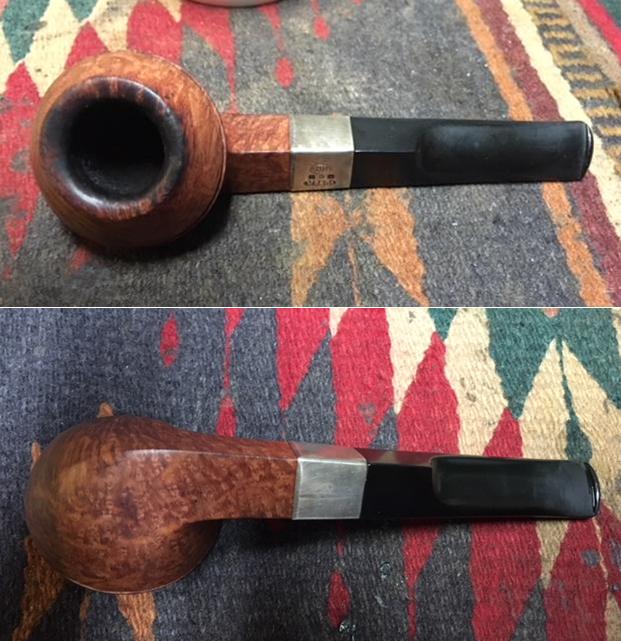
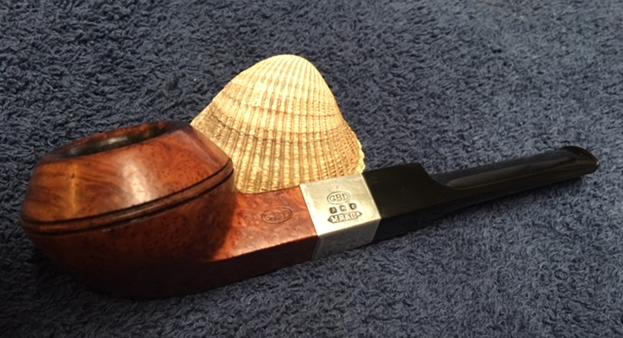
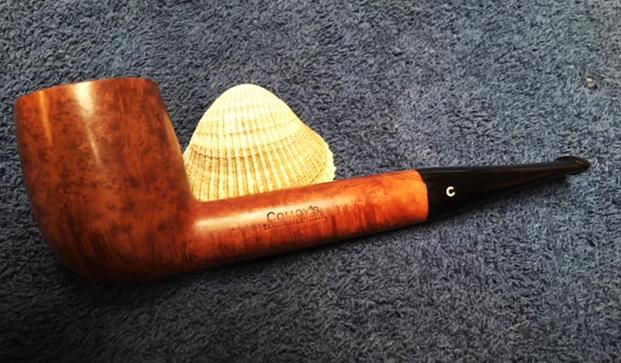
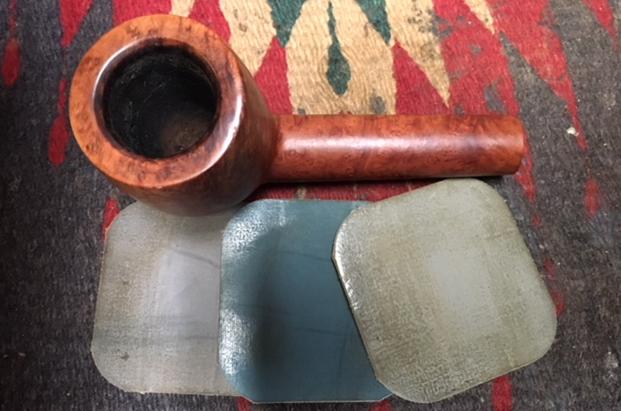
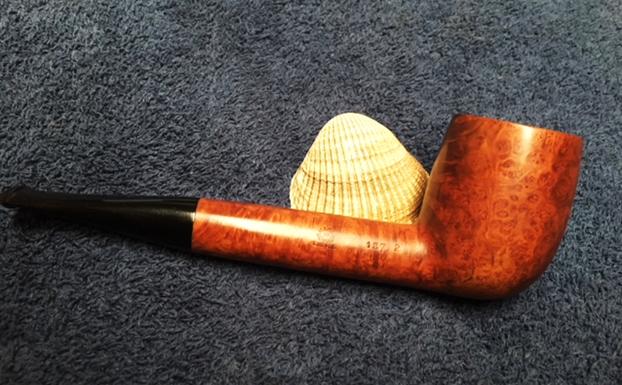
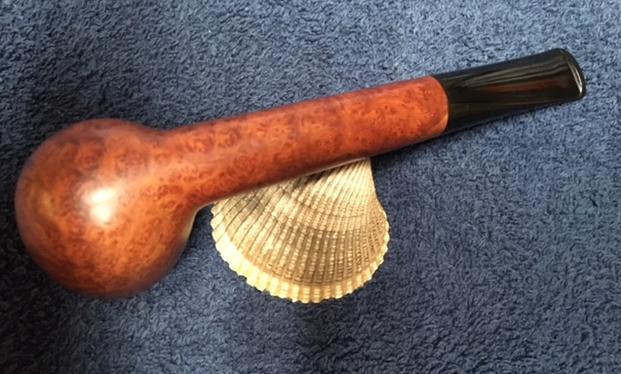
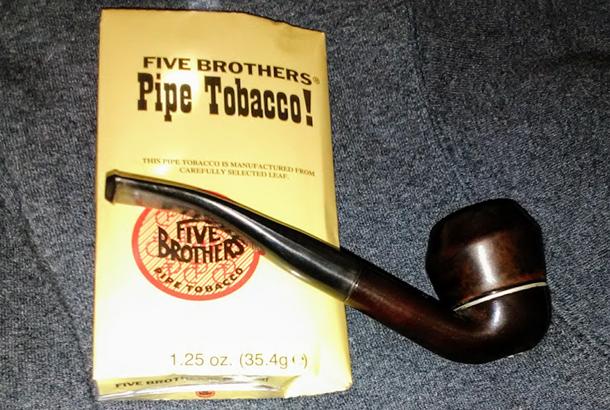
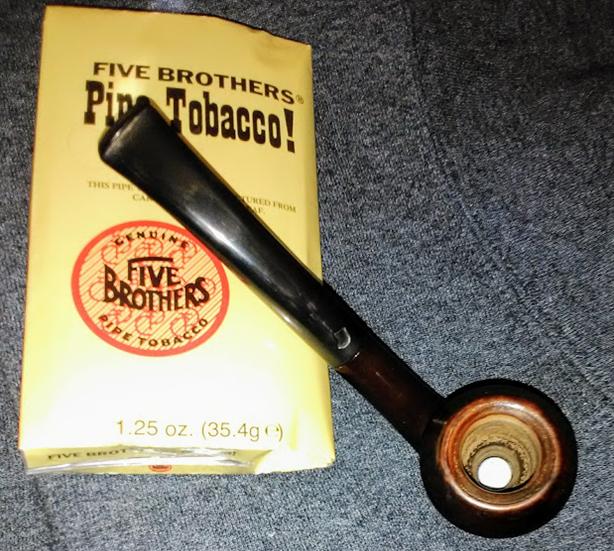
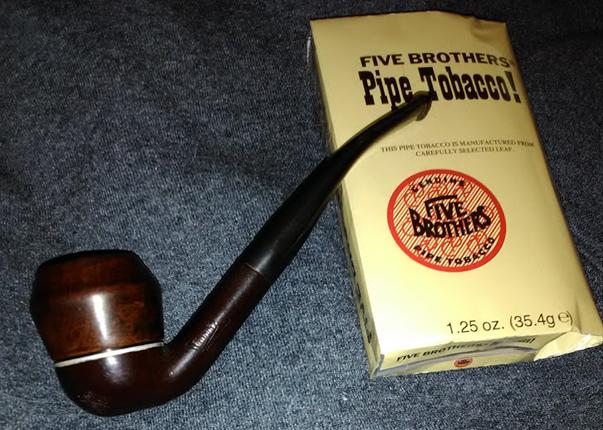
 I put the stem back on the pipe and worked it over with Blue Diamond to polish out the remaining small scratches. I gave the bowl several more coats of Conservator’s Wax and the stem several coats of carnauba wax and buffed the pipe with a clean buffing pad to raise the shine. I hand buffed it with a microfiber cloth to deepen the shine. The pipe polished up pretty nicely. The finished pipe is shown in the photos below. This uniquely finished Kaywoodie has the shape and look of an English made pipe and with the restoration has been brought back to life. This one is going to a friend to keep the memory of the pipeman from whose estate it came. The dimensions of the pipe are Length: 6 inches, Height: 1 1/2 inches, Outside diameter of the bowl: 1 3/4 inches, Chamber diameter: 3/4 inch. Thanks for walking through the restoration with me as I worked over this English made Kaywoodie. It was a pleasure to work on this one.