Blog by Steve Laug
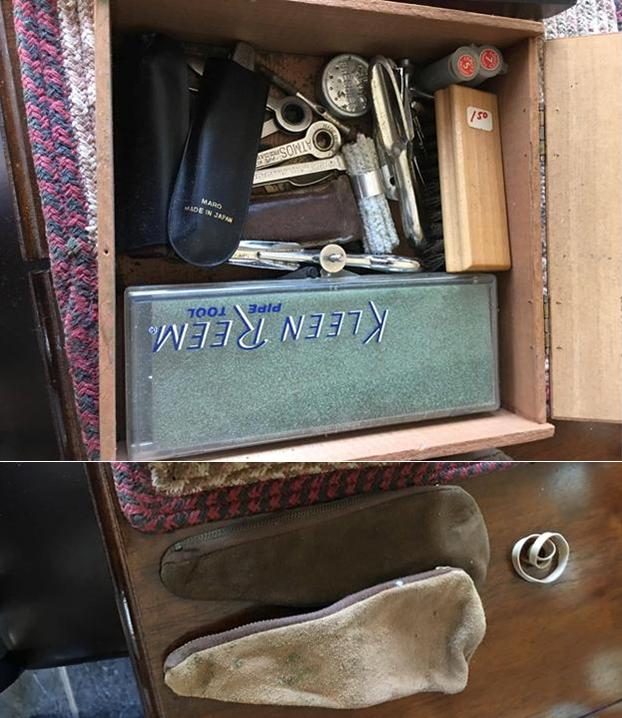
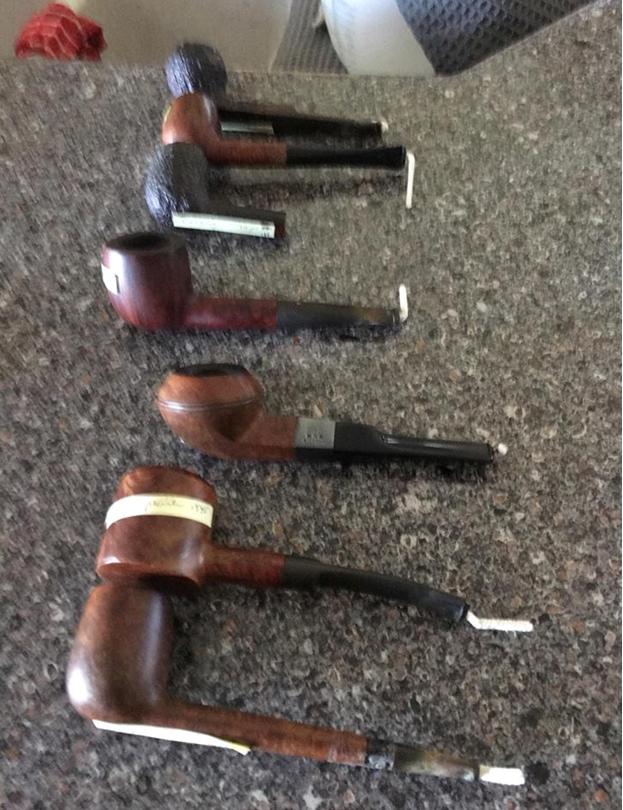
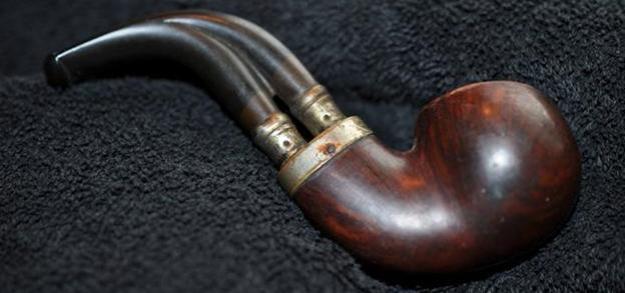
The next pipe that I brought to my work table came from the virtual pipe hunt that my brother and I did in Montana. I have written a few blogs about that hunt as it contained a lot of late 1890s and early 1900 era pipes. These included C.P.F., W.D.C. and some no name pipes from the same era. If you are interested in reading any of them, a quick search on the blog for “Virtual Pipe Hunt” will give you the links to a blog about the hunt and to other pipes that were included. This particular pipe was a Zulu shaped pipe with some interesting grain (birdseye, swirled and cross grain) on the bowl and a red Bakelite/Redmanol stem. The finish was very worn and there was some hard glue like residue stuck on the left side of the bowl that looked like the pipe had been glued to a display board of some kind. The top of the shank was stamped Frank in script over BAKELITE. There was a silver band on the shank stamped with the same Frank script over E.P. Silver (Electro Plated Silver).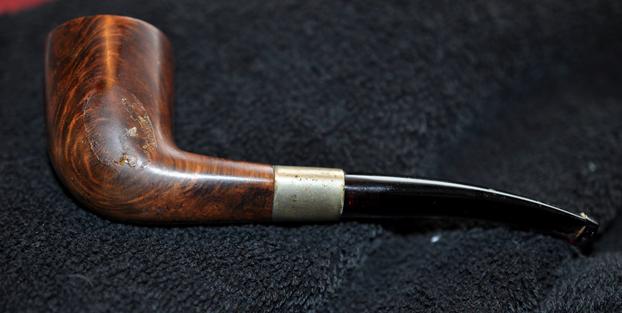 I was interested in differentiating the history of the S. M. Frank & Co. from Wally Frank. I knew that they were different companies and that eventually S.M. Frank became the owners of such brands as Kaywoodie, Yello-Bole, Reiss Premier, W.D.C. (William Demuth Company), Medico and Heritage brands. They also made the Frank brand of pipes of which the one I have in hand is one. This US based company has been around almost a century and a half and has been called the “oldest pipe house in America.” Wally Frank on the other hand was a company that existed alongside of S.M. Frank but was a totally different kind of company. They imported pipes from England, France, and Italy and even purchased American made pipes and stamped them with their brand name.
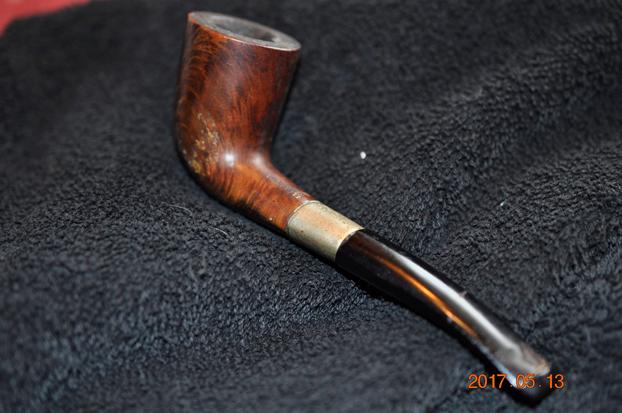 I turned to Pipedia to get some background history on S.M. Frank & Co. I wanted to get a quick read on the brand. The link is https://pipedia.org/wiki/S.M._Frank. There was a section of the article called the Early History of S. M. Frank & Co. I quote from that now.
In the year 1900 Sam Frank Sr. started his own business, selling pipes and other tobacco items. His original office was located at 20 W. 17th Street, NYC. He was also closely associated with the sales staff of Wm. DeMuth & Co., selling their line of pipes. It was at this time that Mr. Frank first met Ferdinand Feuerbach and formed what would be a lifelong friendship. Mr. Feuerbach started working for the DeMuth Company in 1897 and by 1903 had become the production manager. In 1919, when Mr. Frank needed an experienced pipe man to run his pipe factory, located at 168 Southern Blvd., in the Bronx, he persuaded his old friend Ferdinand to join him. Mr. Feuerbach is credited with developing DeMuth’s popular Royal DeMuth and Hesson Guard Milano pipelines. In 1922, when S. M. Frank purchased the Manhattan Briar Pipe Co. the company incorporated…
In early 1937, the City of New York notified S. M. Frank of their intent to take by eminent domain, part of the land on which the company’s pipe factory was located. This was being done to widen two of the adjacent streets. As a result of this, S. M. Frank entered into negotiations to purchase the Wm. DeMuth & Co.’s pipe factory in the Richmond Hill section of Queens. It was agreed upon that DeMuth would become a subsidiary of S. M. Frank and all pipe production of the two companies would be moved to DeMuth factory. New Corporate offices were located at 133 Fifth Avenue, NYC.
In October 1943, Sam Frank Sr.’s passing marked a change of leadership of the company. Herbert Schloss, long-time friend and fellow salesman was named President, Ferdinand Feuerbach was Vice President and Treasurer, Charles Dietsch (Sam Frank’s nephew) was Vice President of Sales. William Feuerbach Sr., who joined the company in 1937, was named Assistant Treasurer. Sam Frank Jr. joined the company in 1948, after serving in the U.S. Marine Corps during the war. He worked in factory operations until 1950 when he was transferred to sales, covering various territories.
That gave me the history of the brand up until they started buying up other American Brands that later became company bywords. It gave me some sense of date for the pipe – it was made between 1900 when the company opened and 1922 when they took over the Manhattan Briar Pipe Company. The shape is very similar to pipes that came out from the Manhattan Briar Pipe Company during their pipemaking.
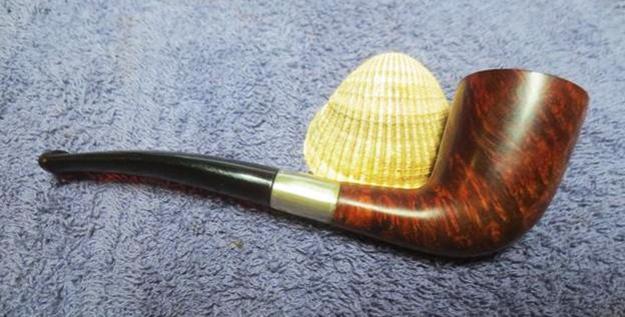
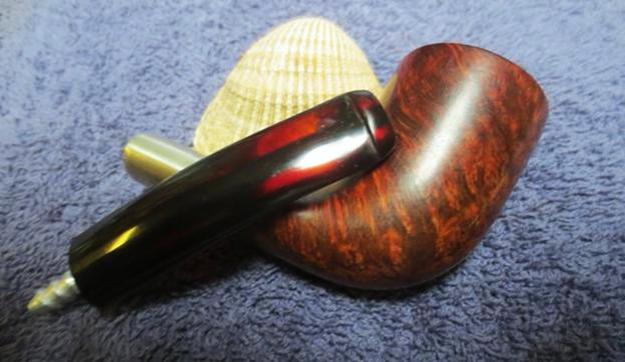
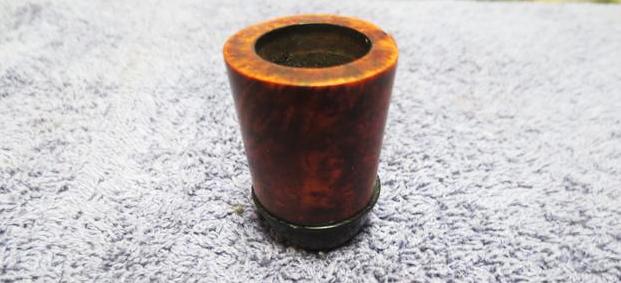
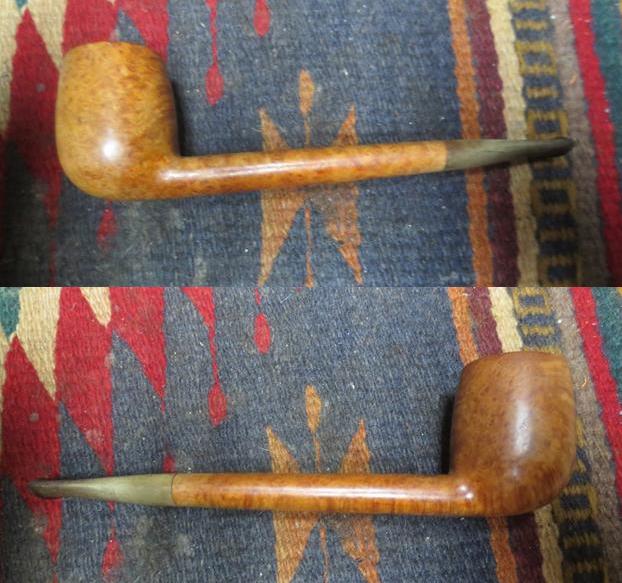
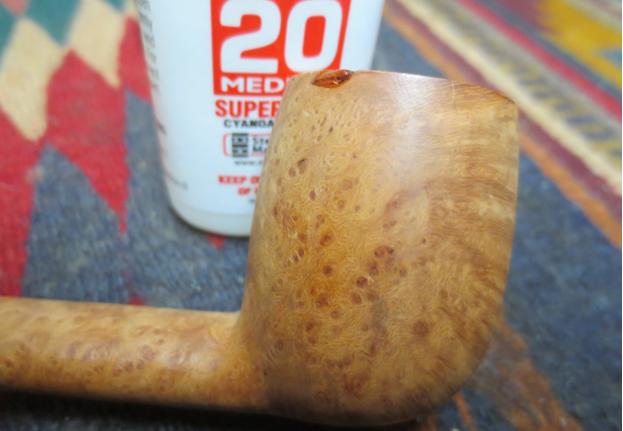
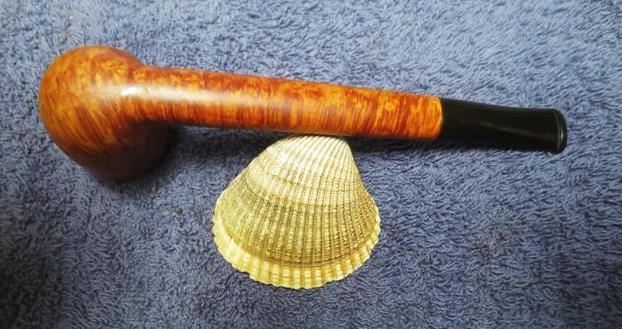
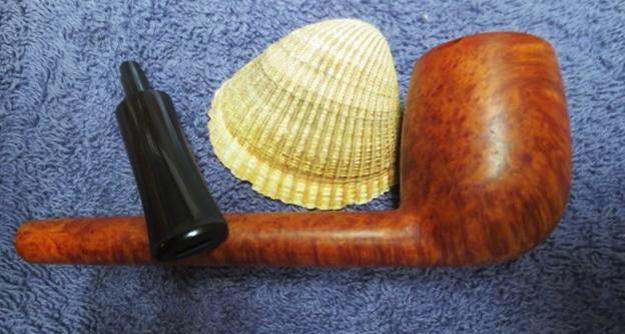
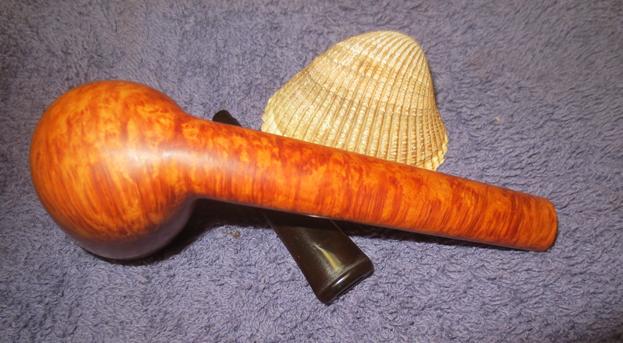
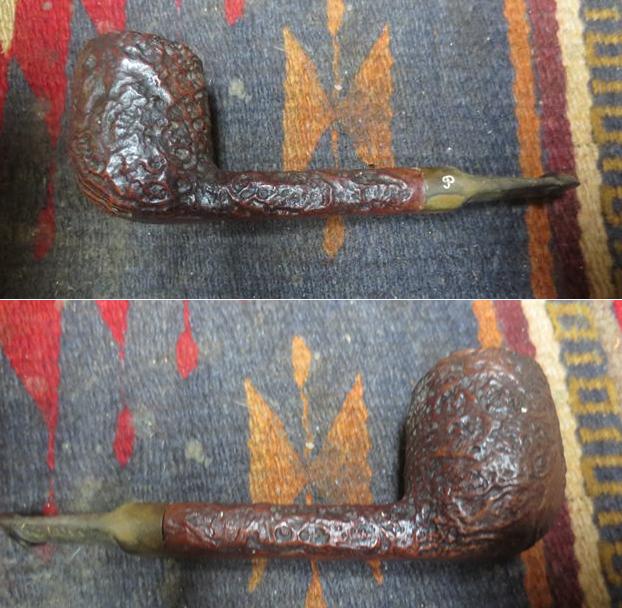
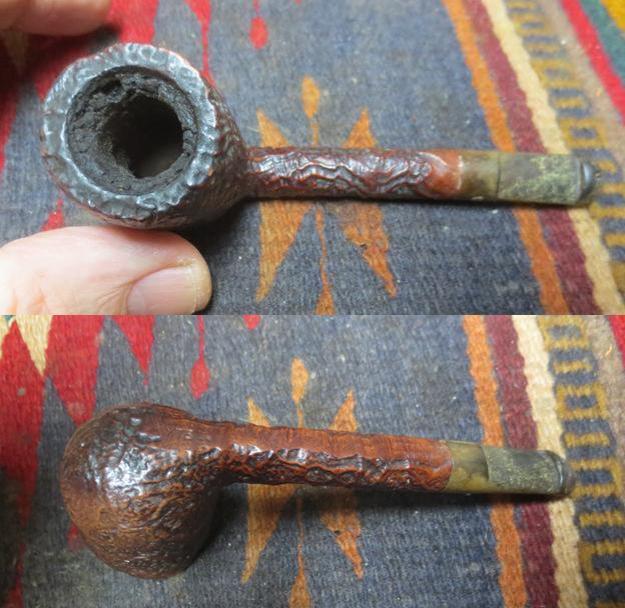
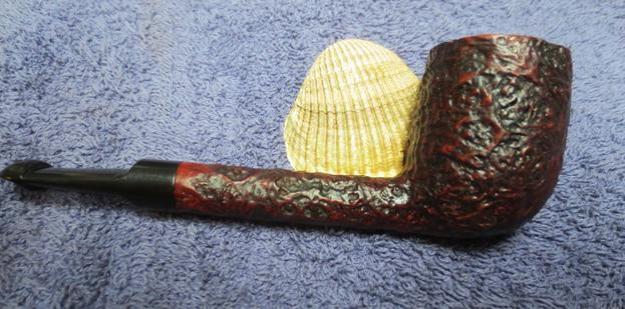
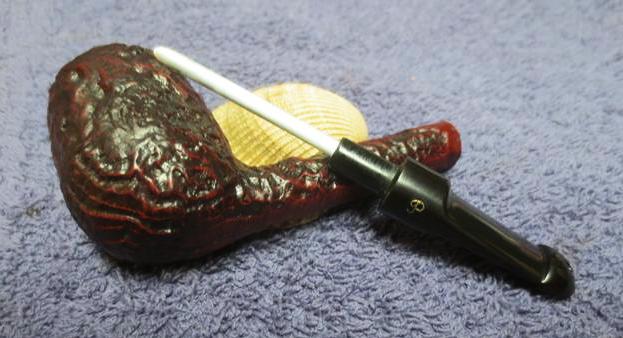
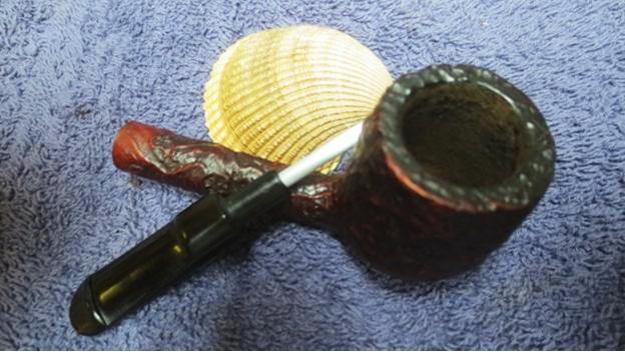
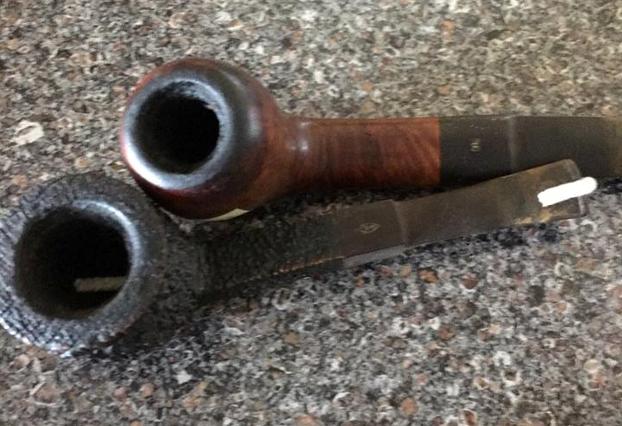
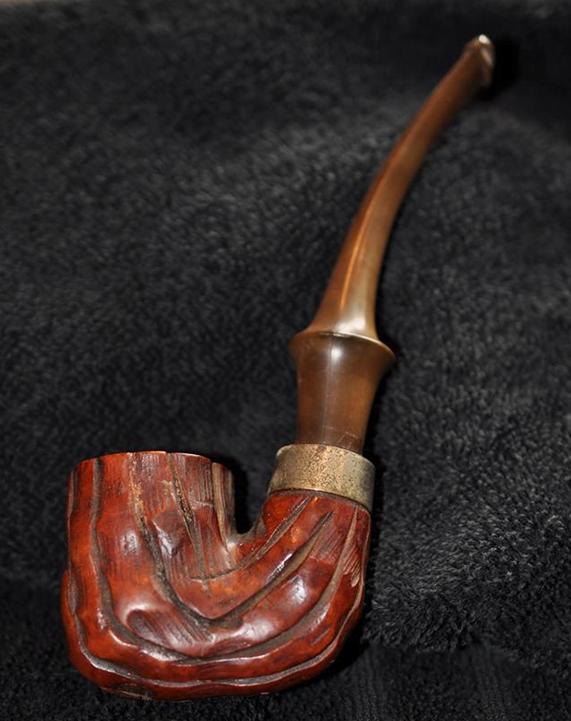
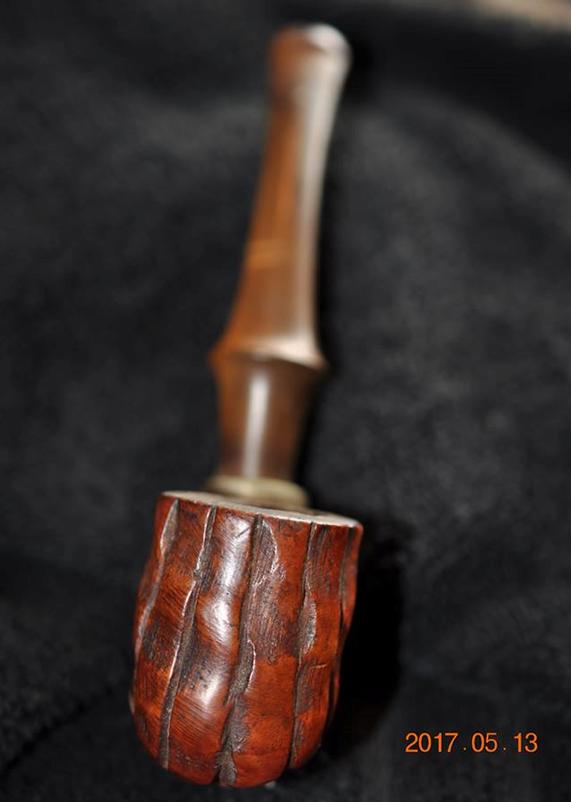
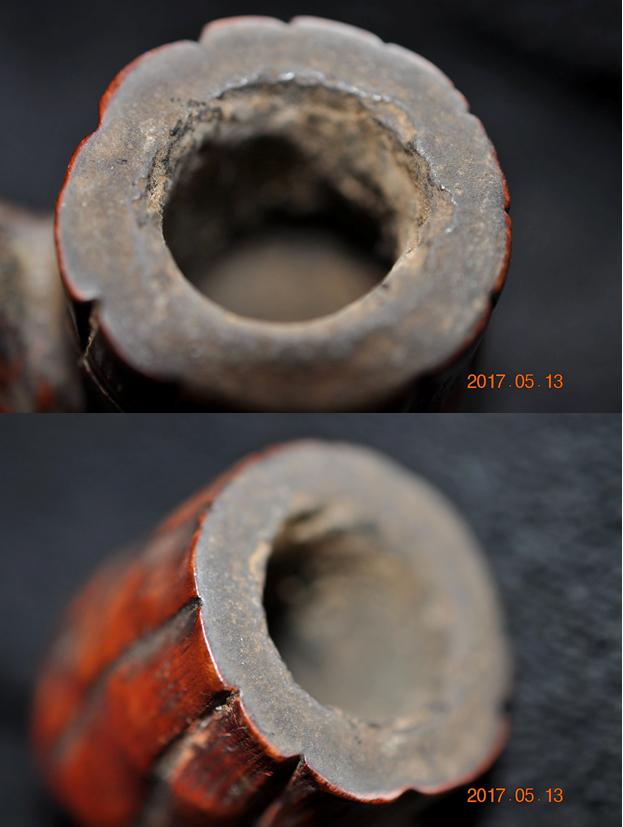
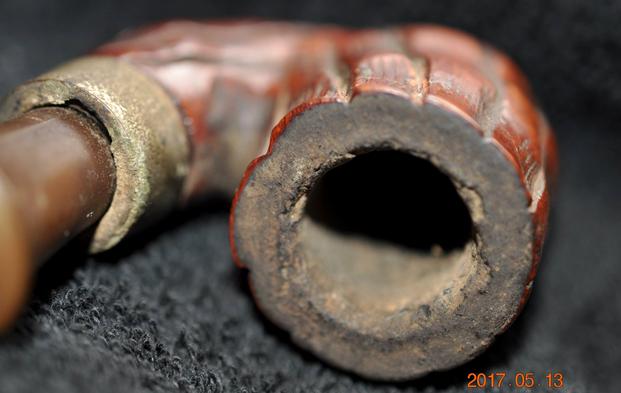
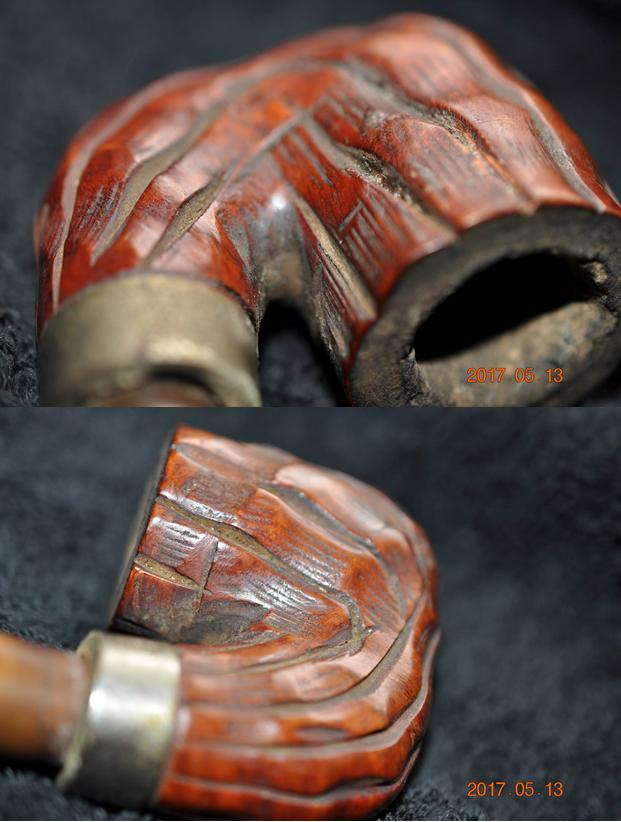
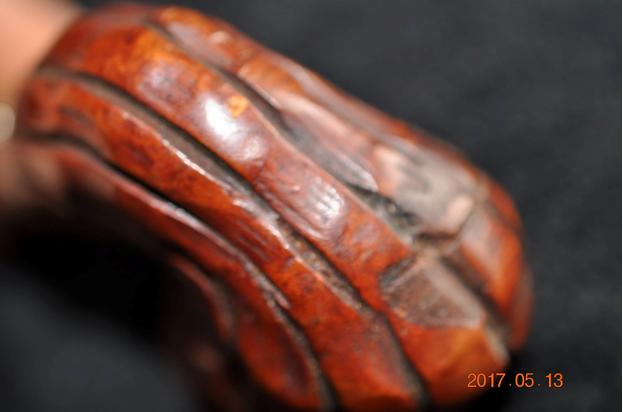
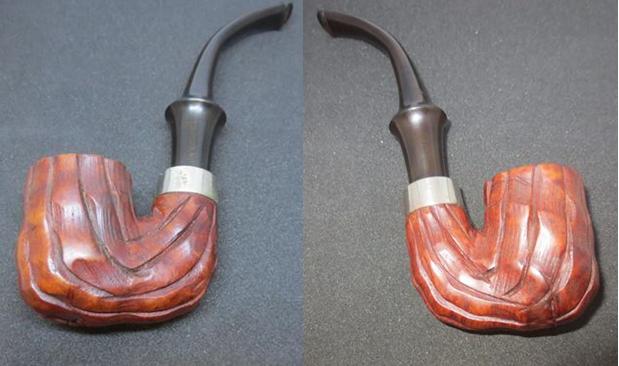
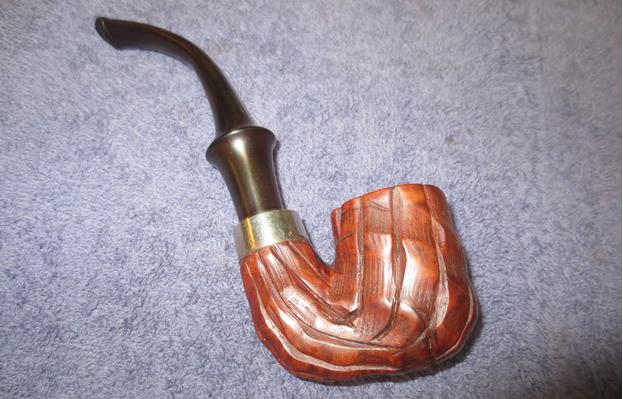
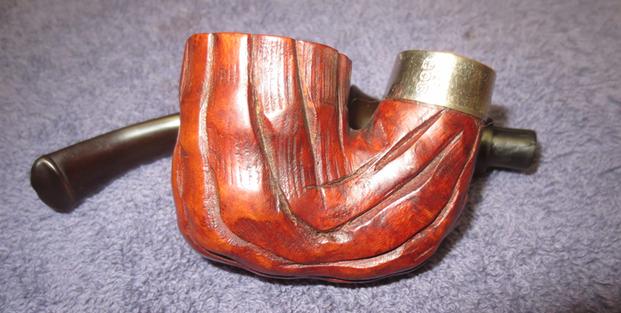
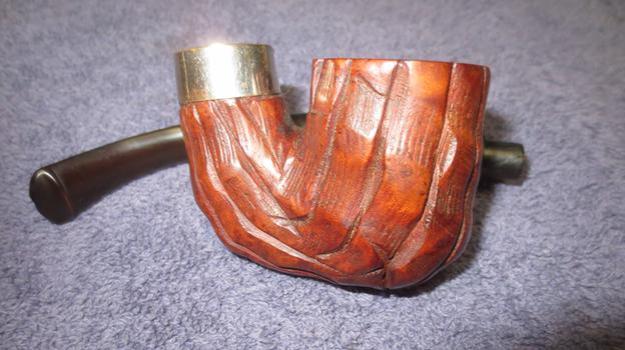
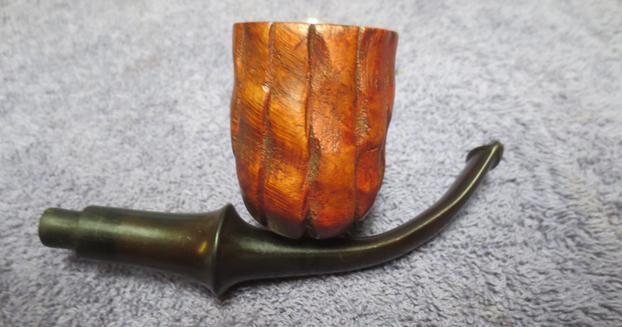
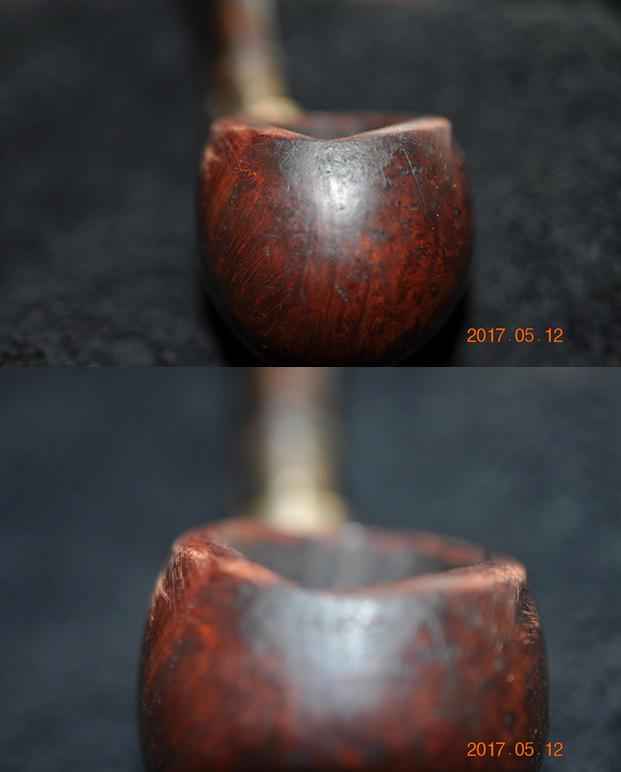
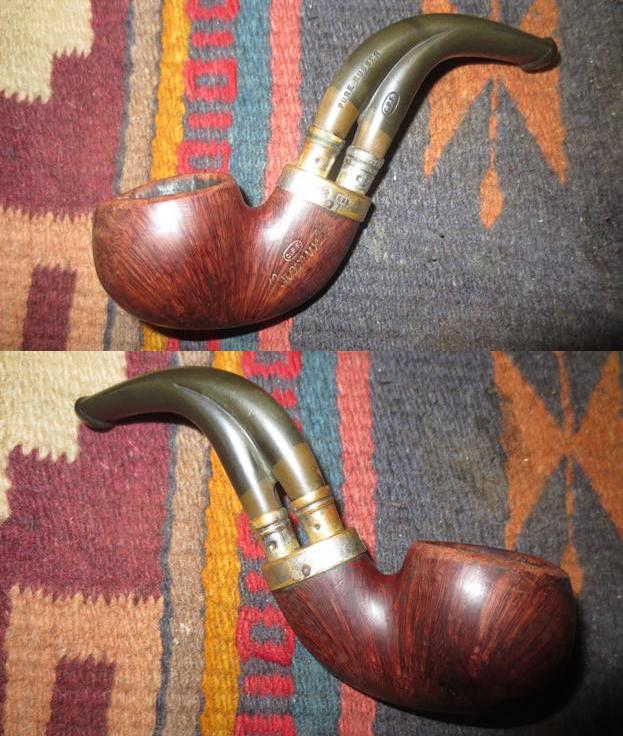
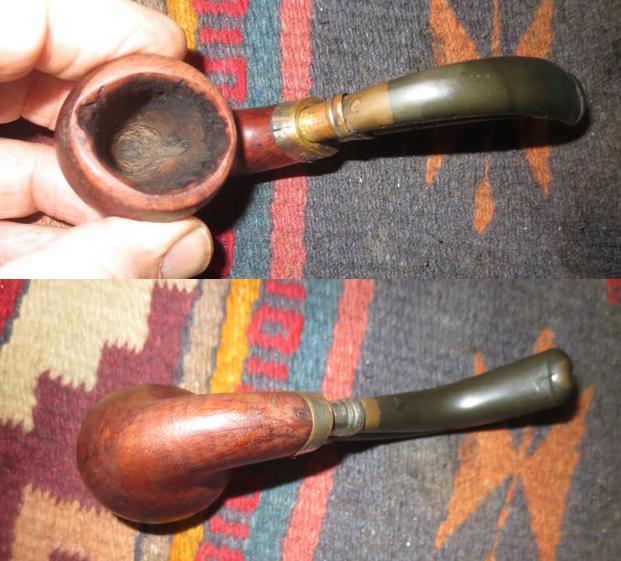
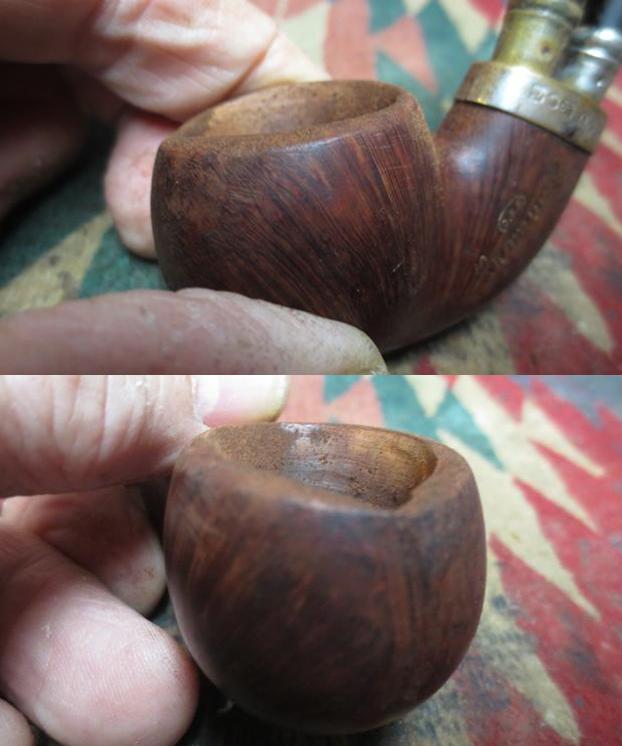
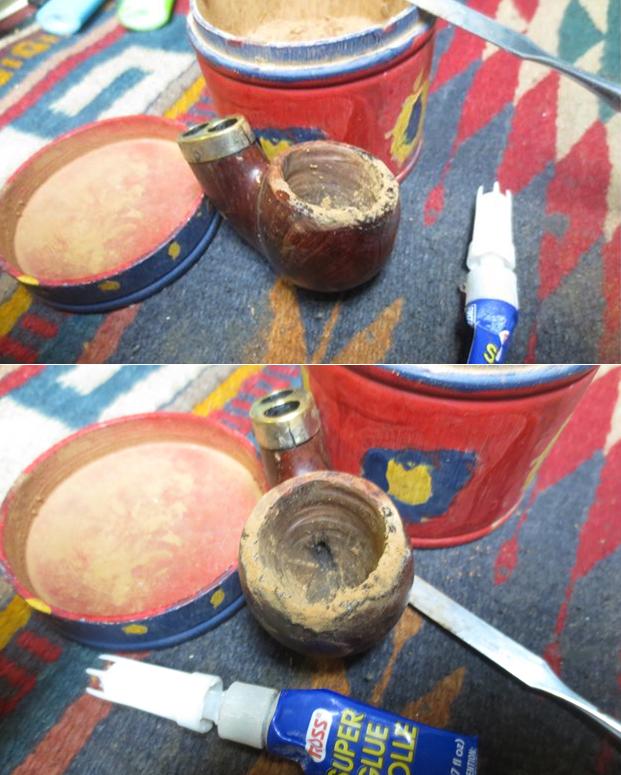
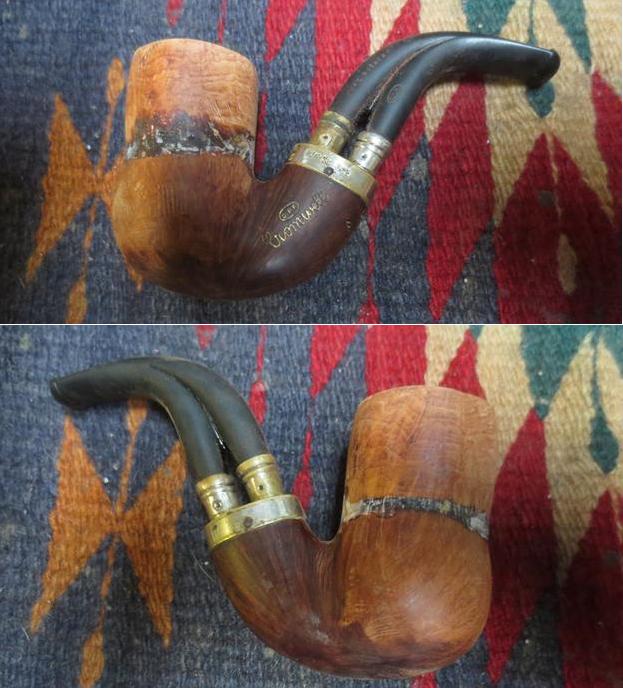
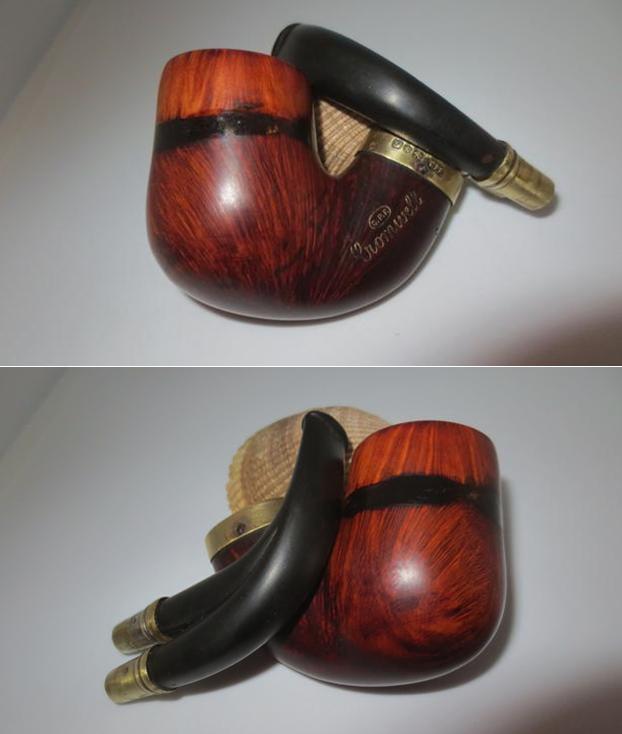
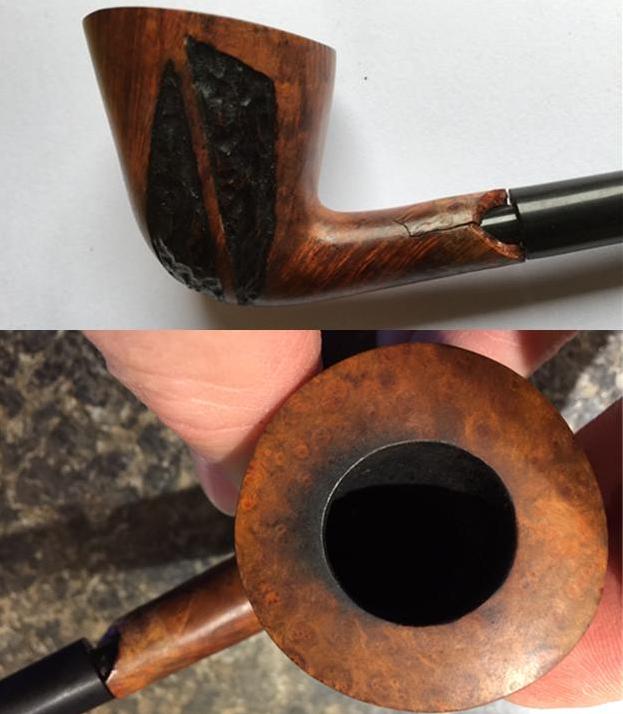
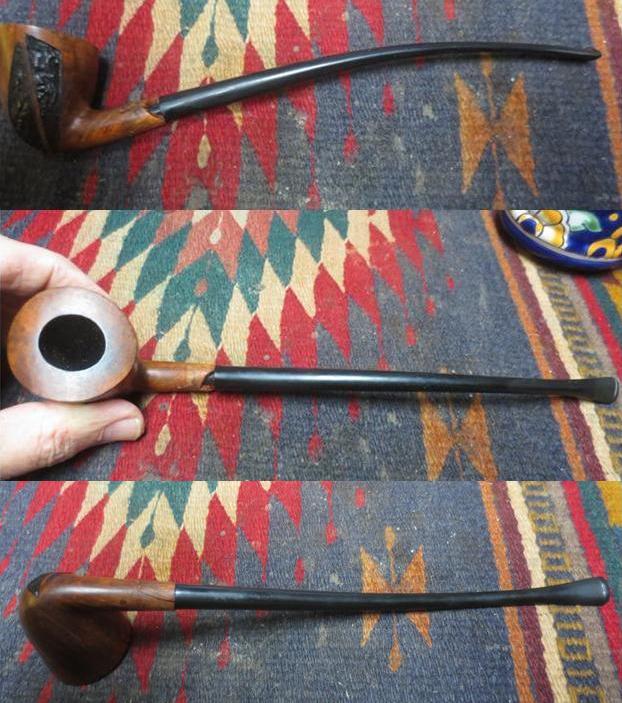
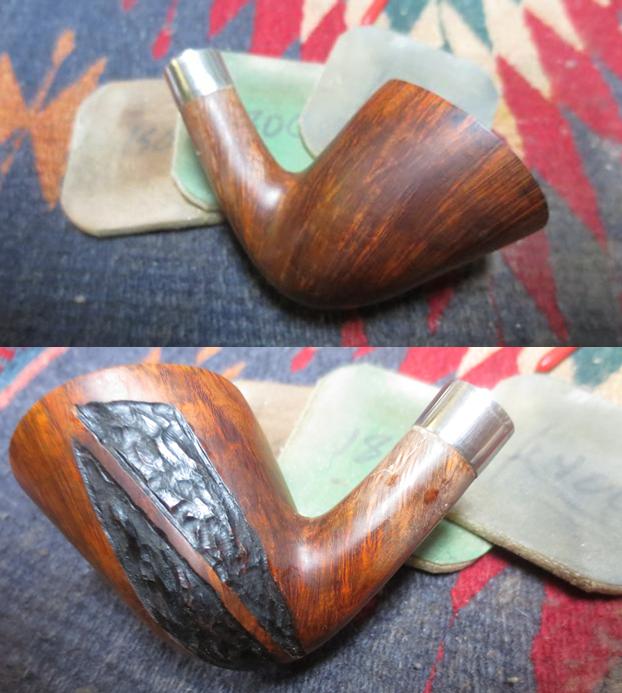
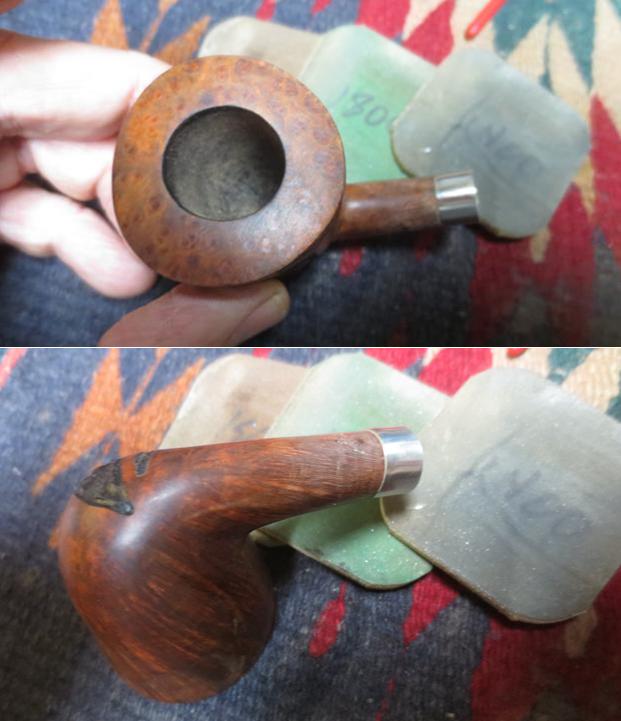
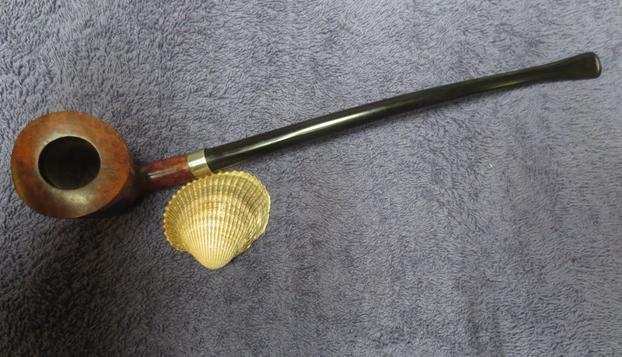
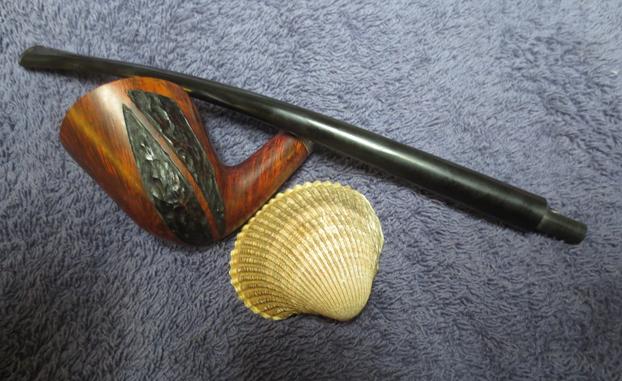
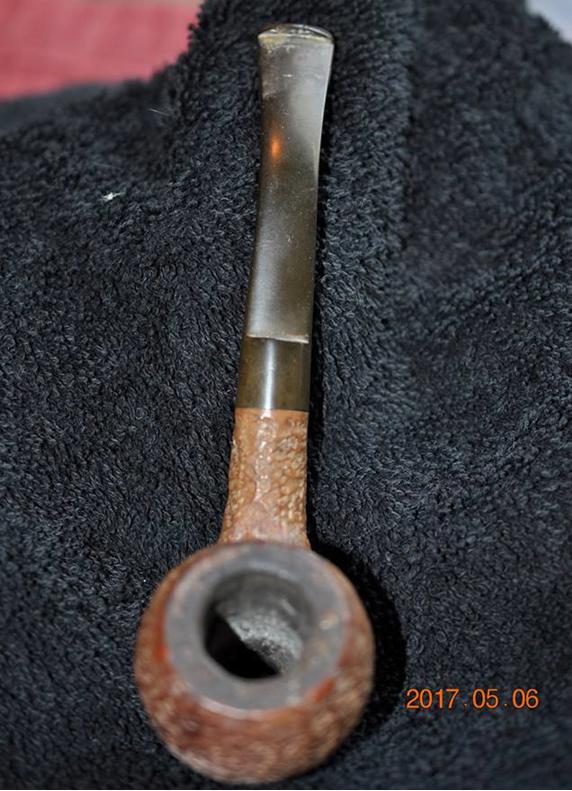
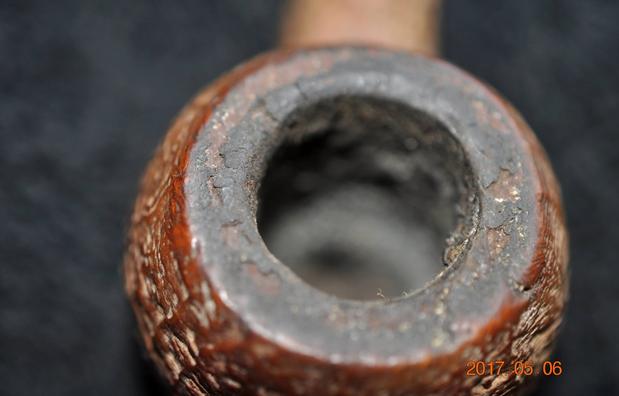
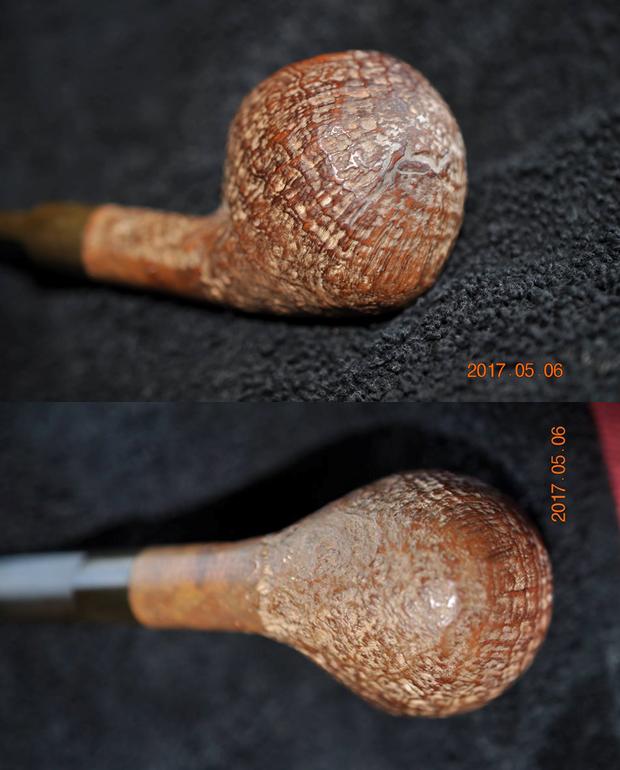
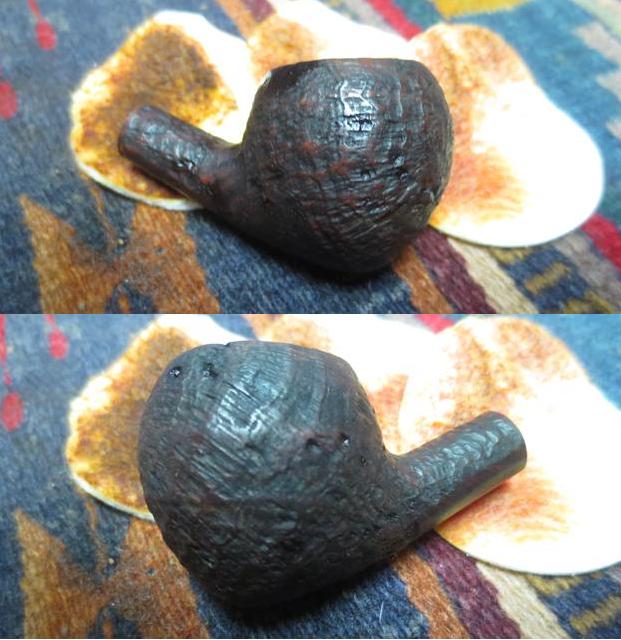
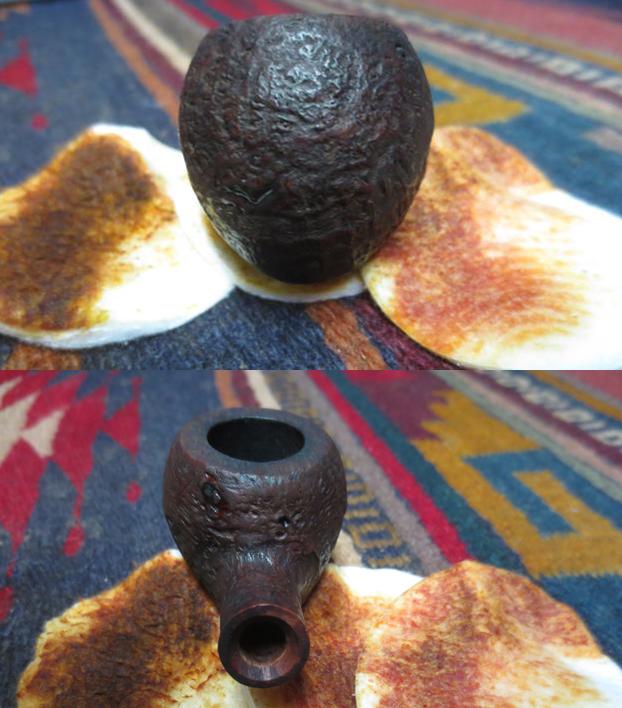
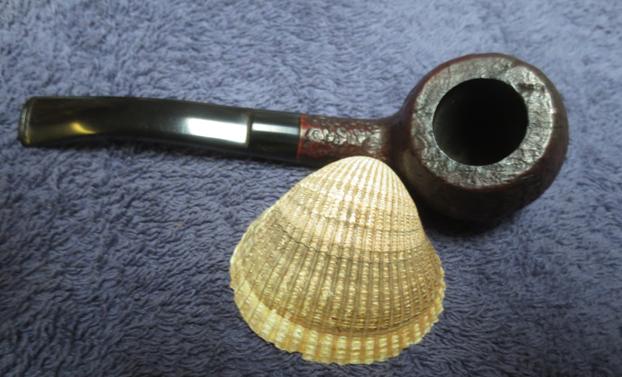
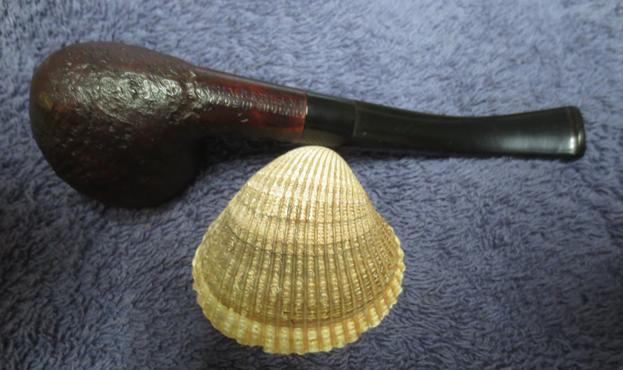
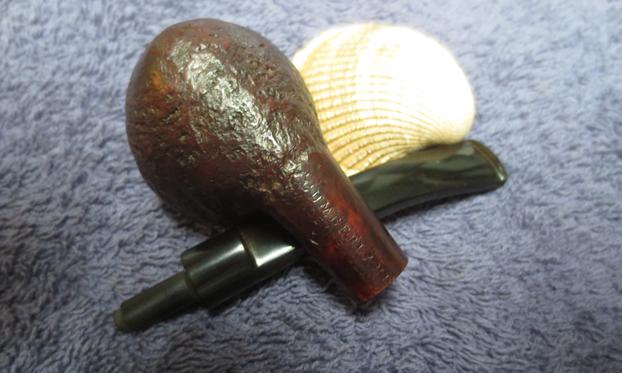
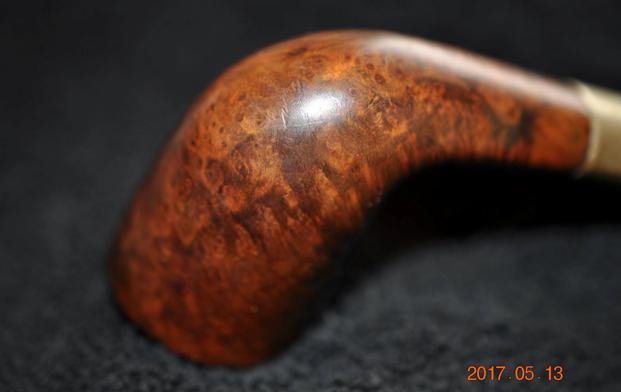
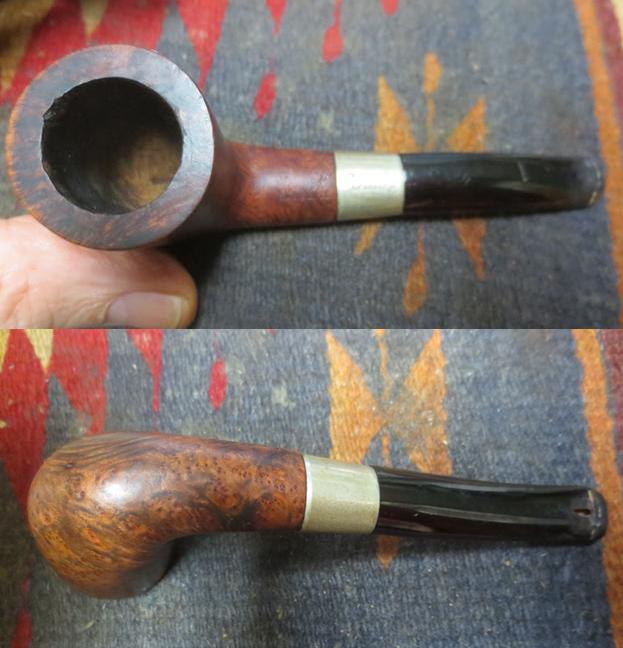
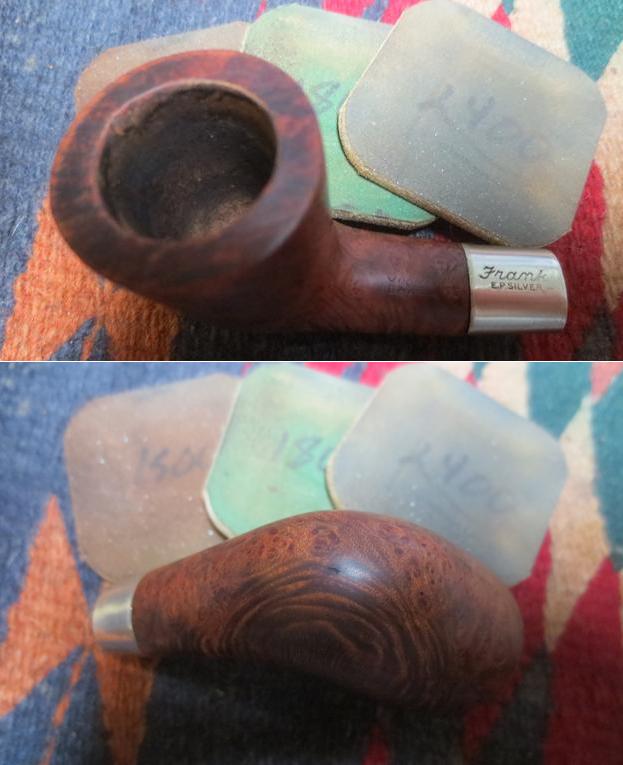
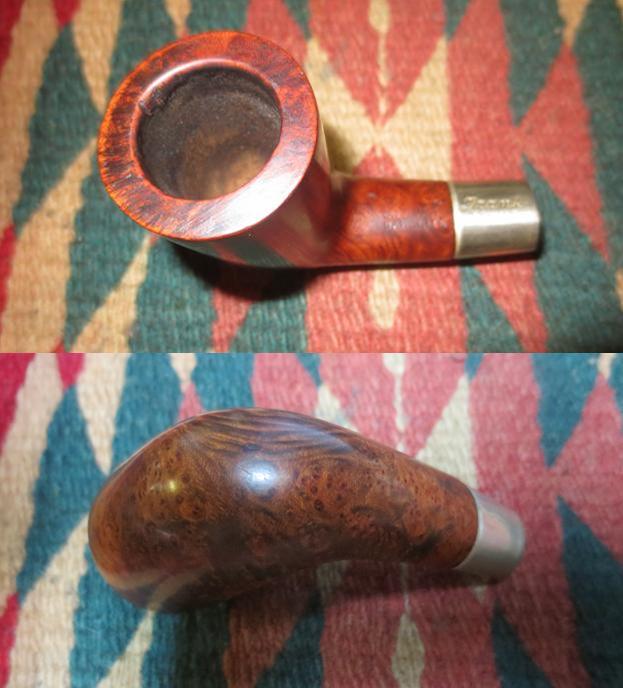
Jeff took some photos of the bowl and rim top to show the condition of the pipe. There was a very thick cake in the bowl which was heavier at the back of the bowl (that was interesting to me as it is very obvious in the photo below). The lava overflow on the rim top was also quite thick and flaky. 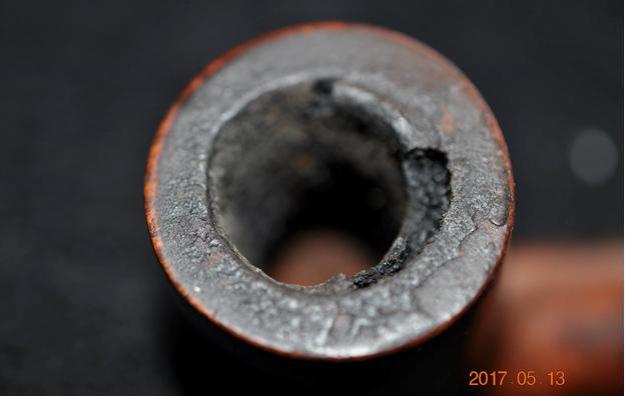 The next three photos show the grain on the bowl sides and bottom. There is some stunning grain on this old pipe. The second photo shows the hard glue residue on the left side of the bowl that seems to have come from the time when the pipe may have graced a display box.
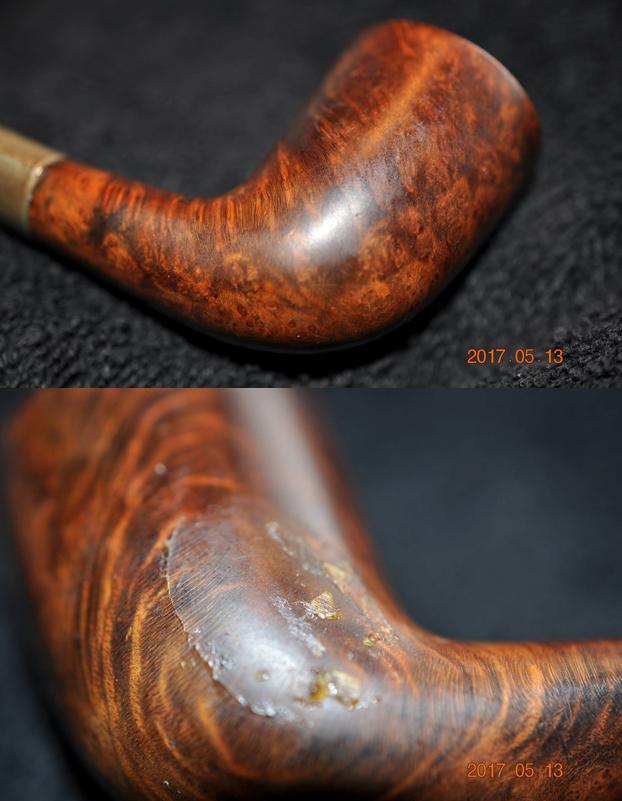
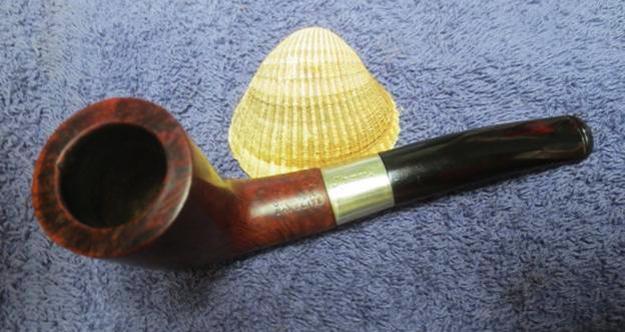
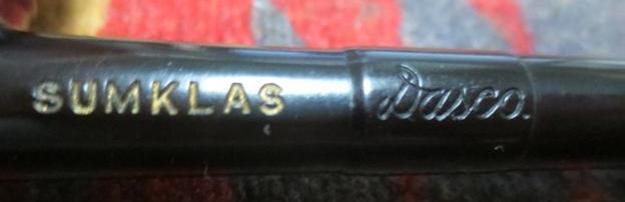
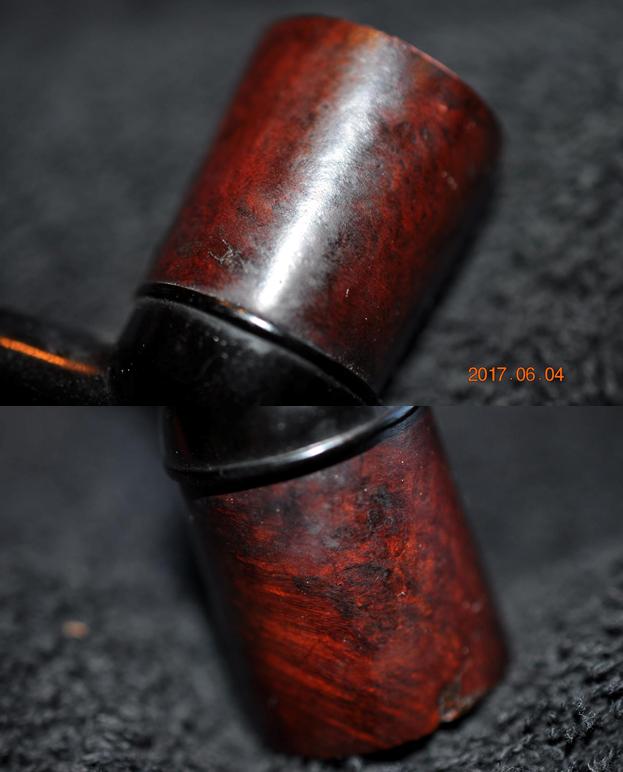
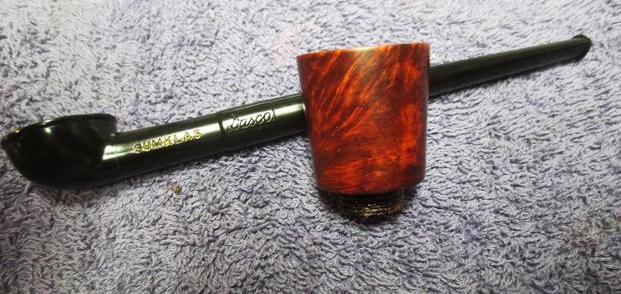
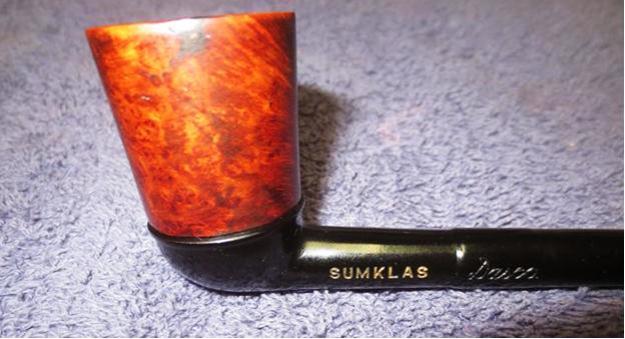
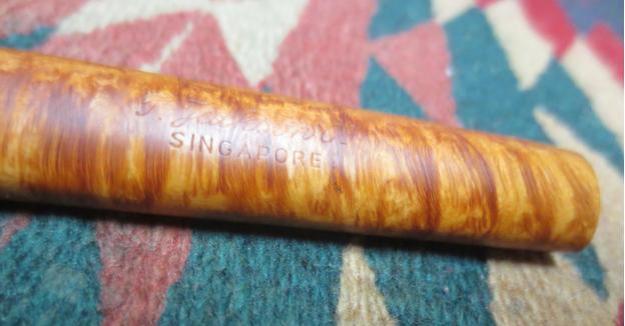
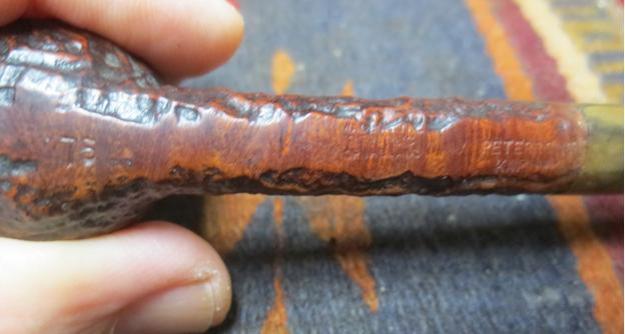
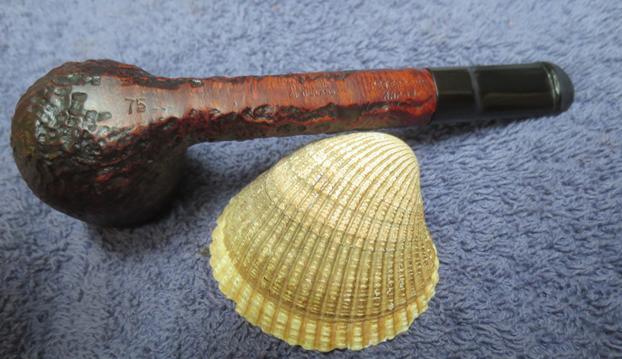
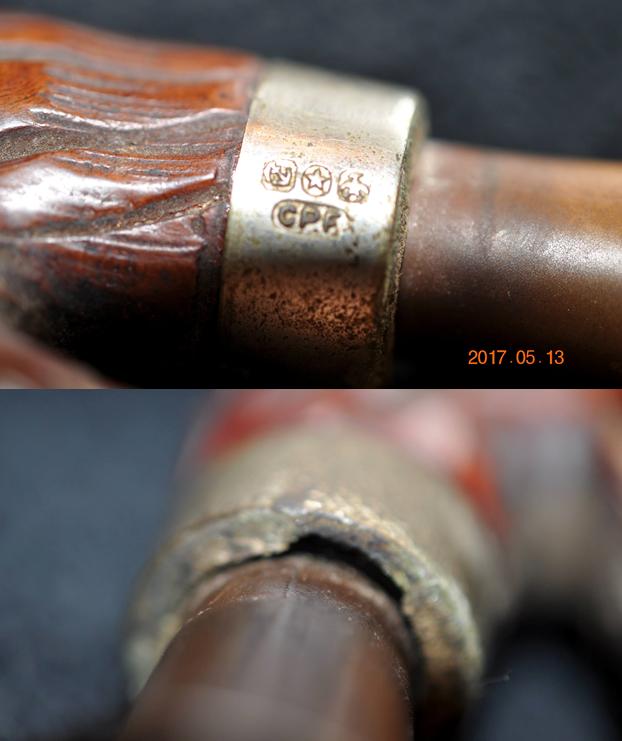
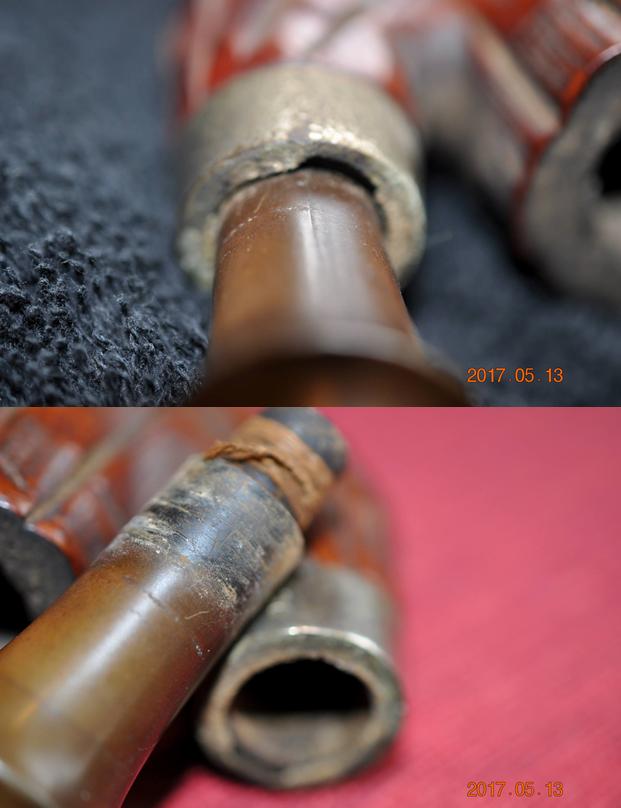
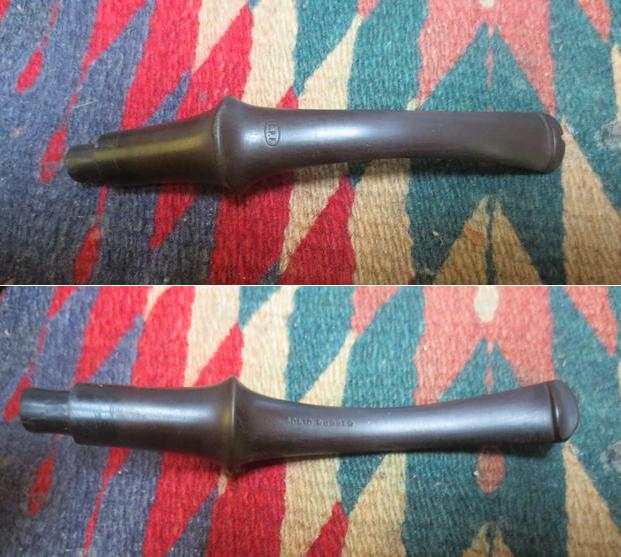
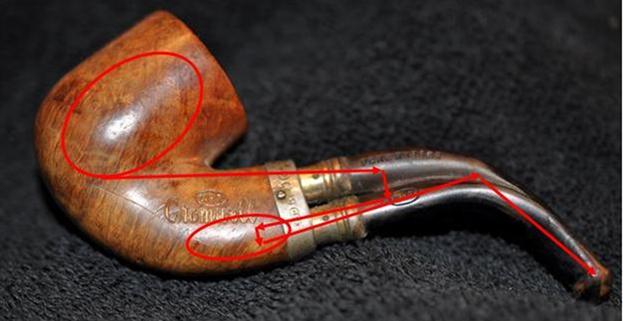
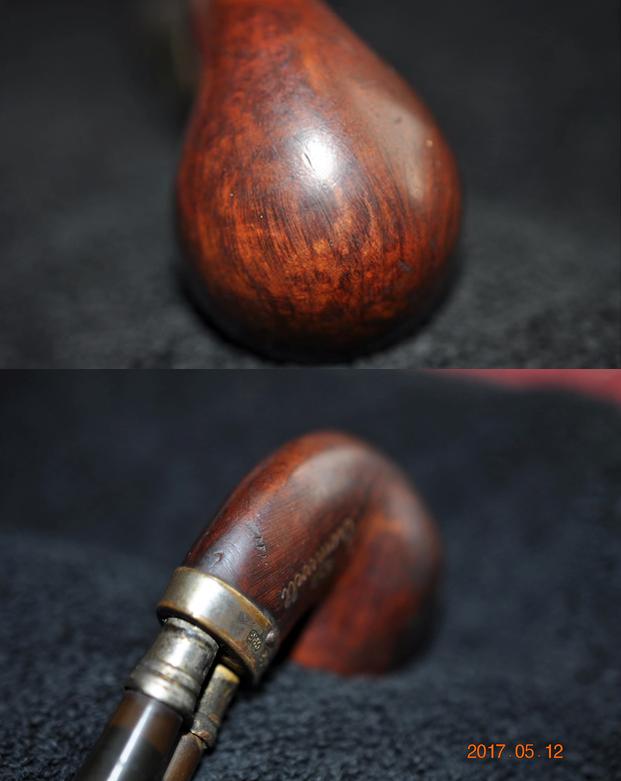
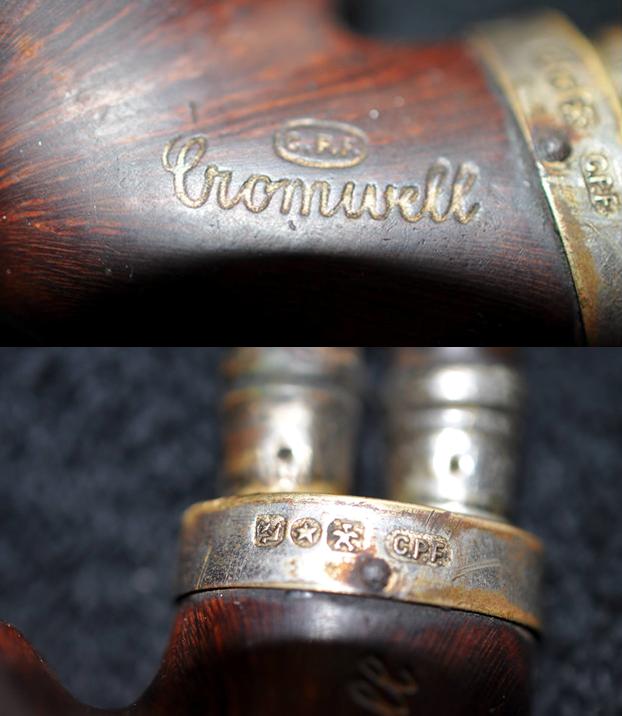
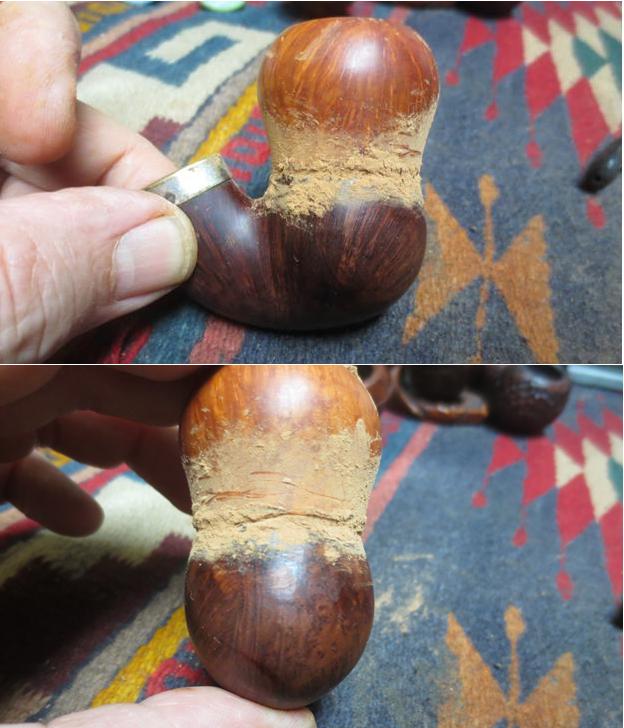
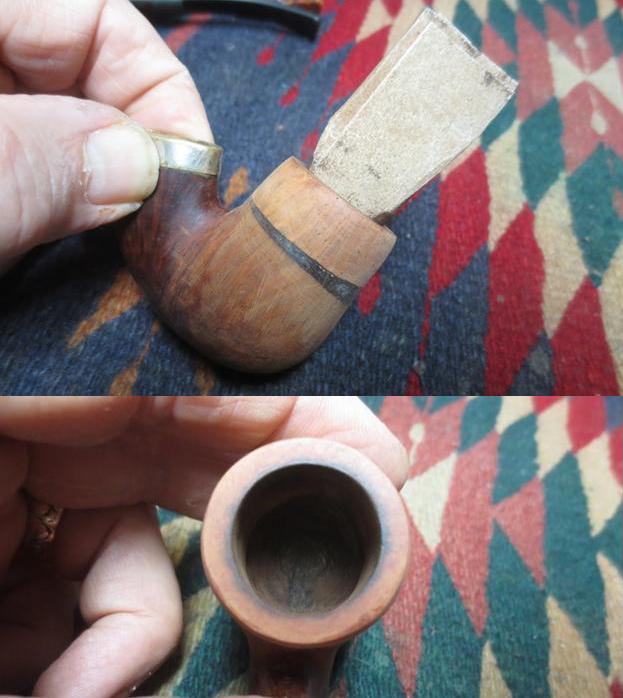
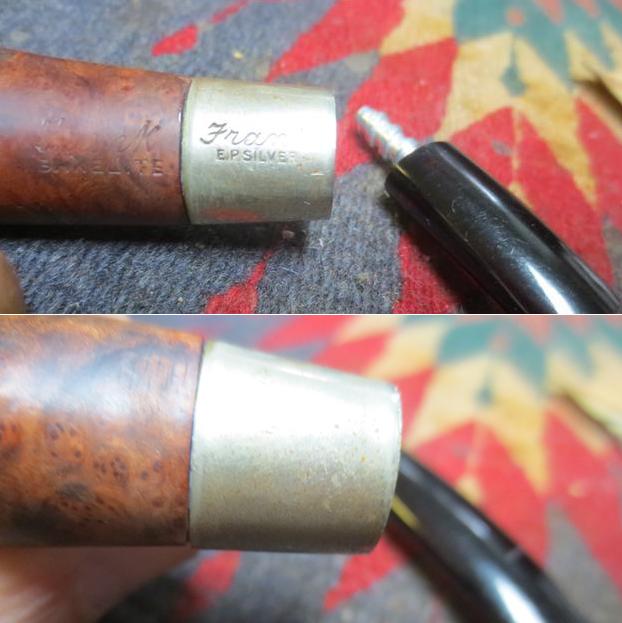
 The stamping on the top of the shank is readable. The script Frank is fainter than the BAKELITE stamp but both are readable. The stamping on the silver is also clearly stamped on the top side of the band. When I received the pipe the band was loose and it was upside down on the shank. When the stem was unscrewed off the shank the metal tenon was visible. The band fell off and it is clear that the shank was sanded more on the left side than the right which made the fit on the shank quite crooked. More of the band extended past the right side of the briar than the left side.
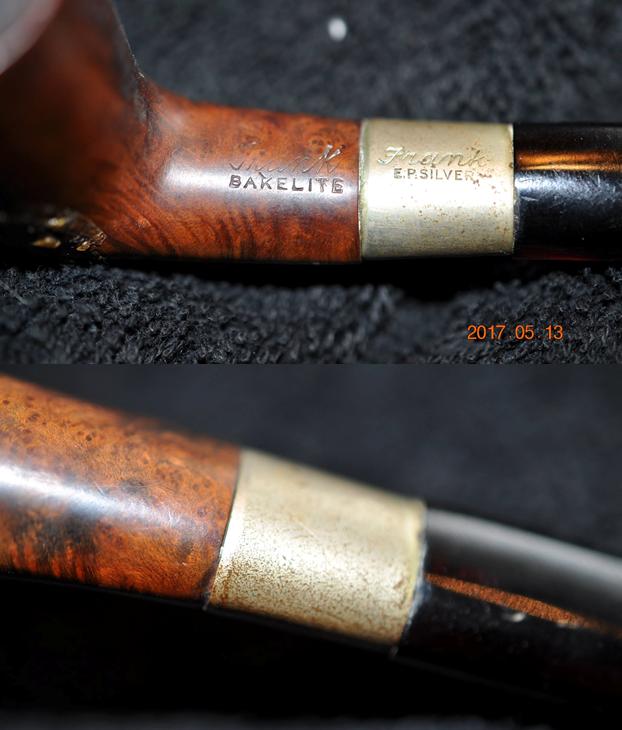
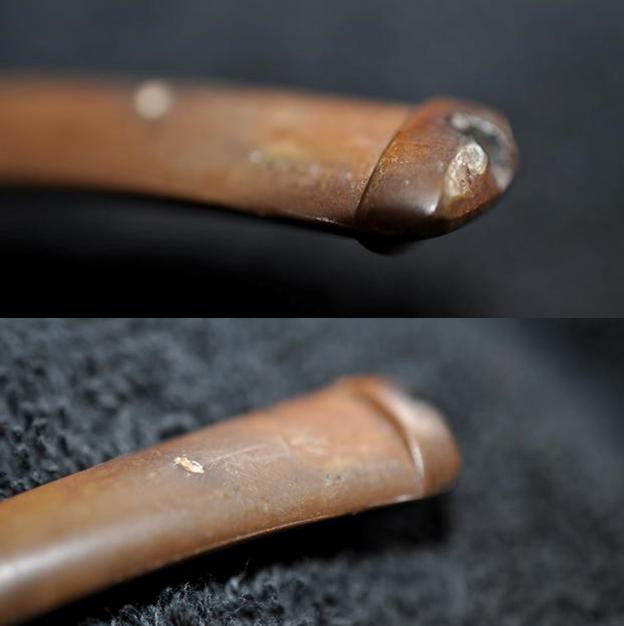
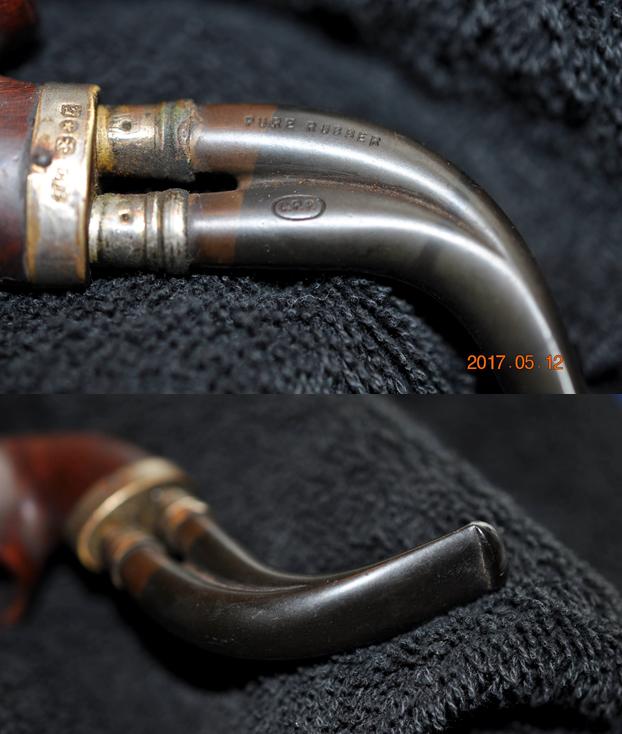
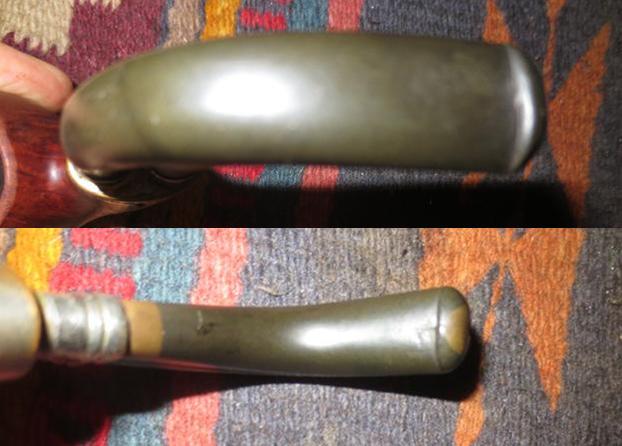
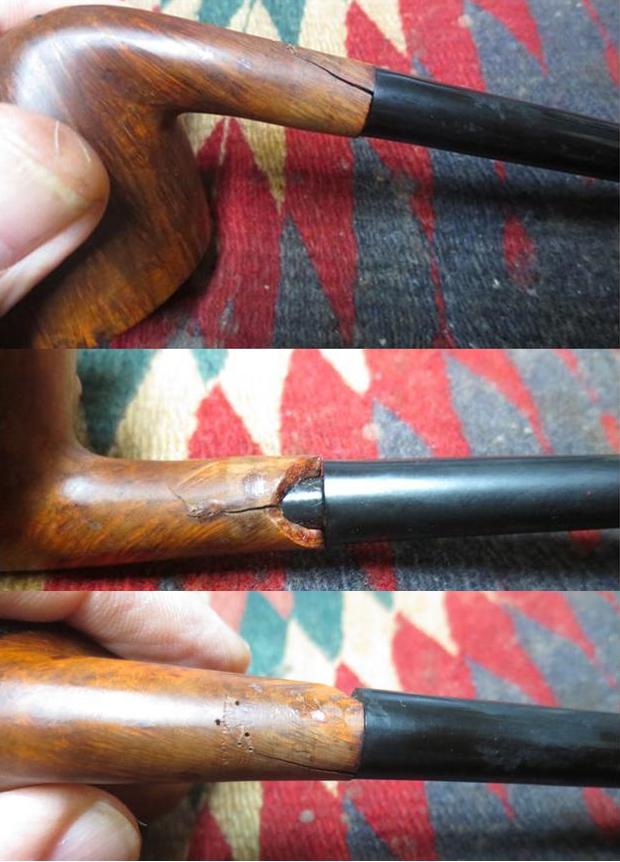
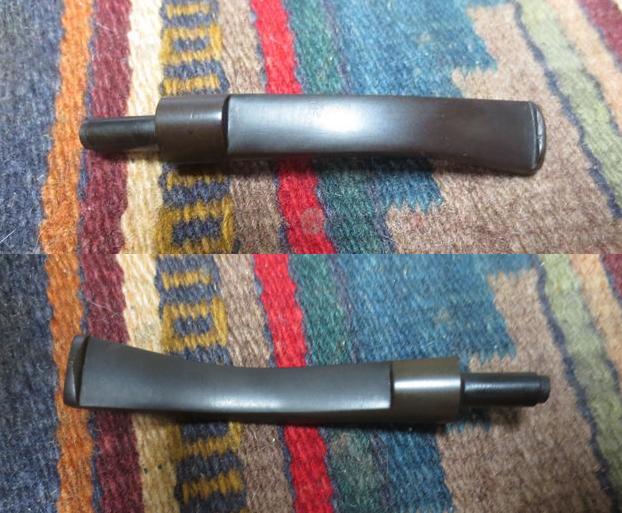
 The red Bakelite stem had a deep scar on the top side mid stem. There were a lot of deep tooth marks and indentations on the top of the stem and the button showed tooth marks.
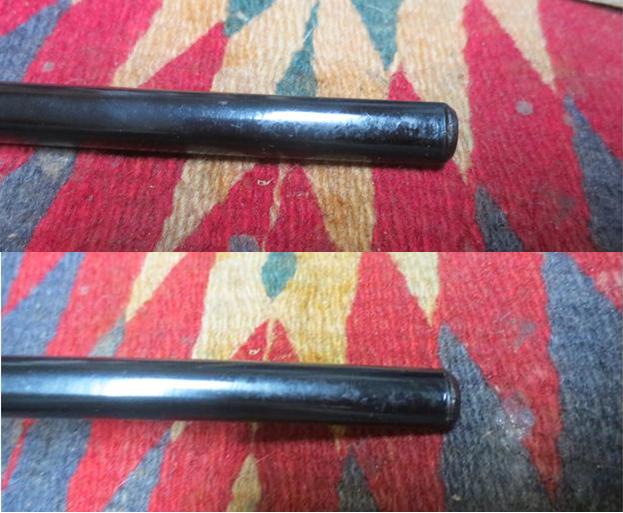
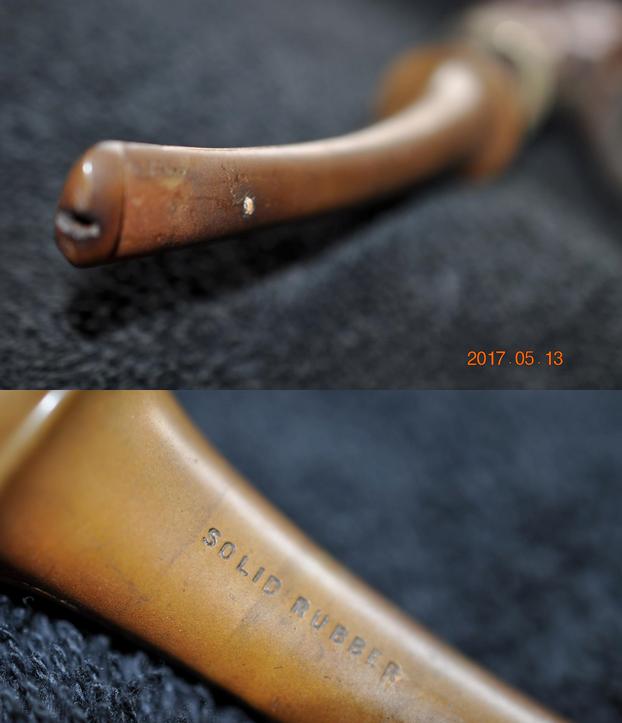
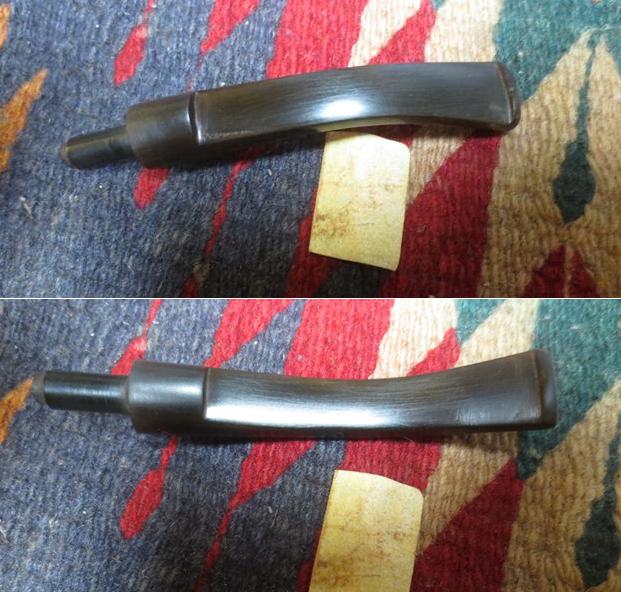
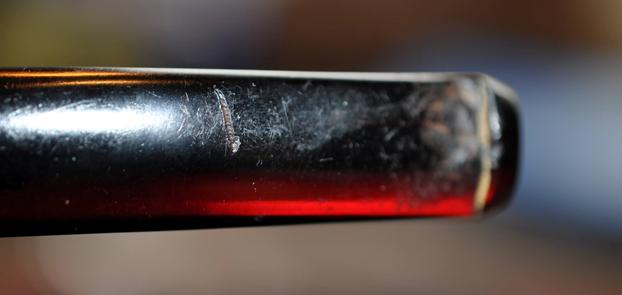 The next two photos of the stem show the deep tooth marks on the top of the stem, the wear on the button and the hole in the underside of the stem in front of the button. Both sharp surfaces of the button were worn down from tooth marks.
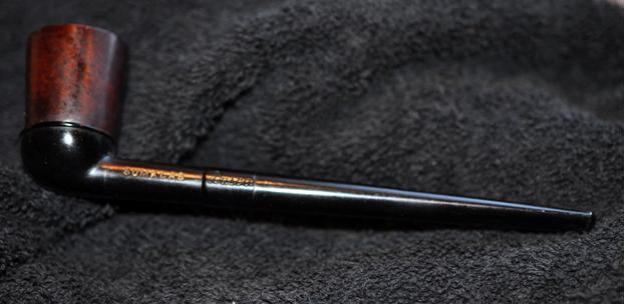
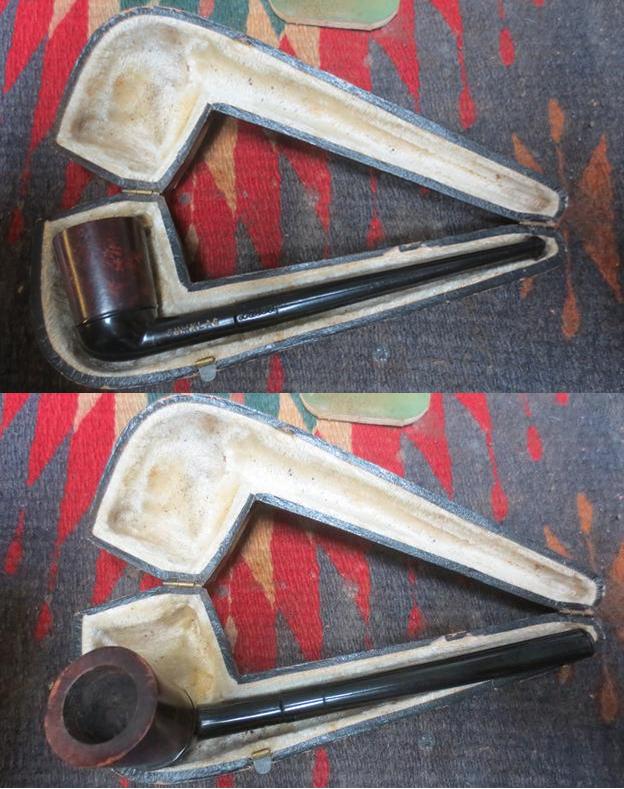
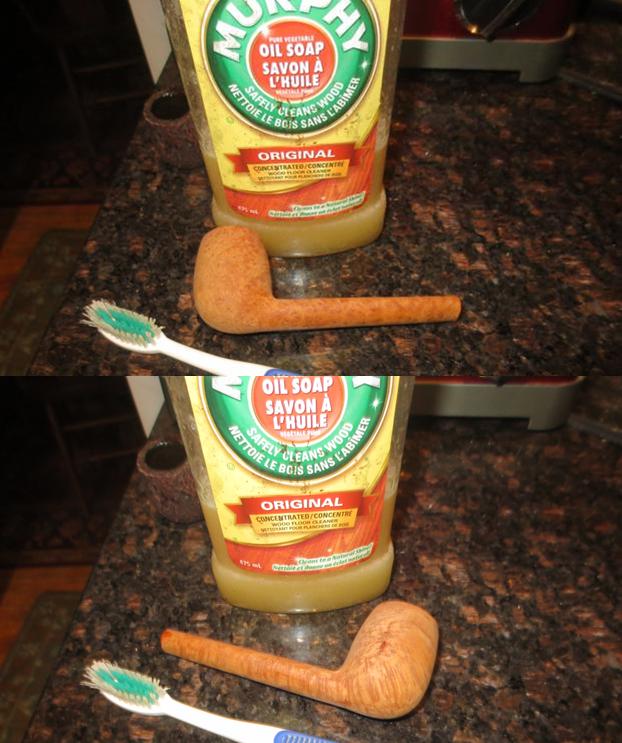
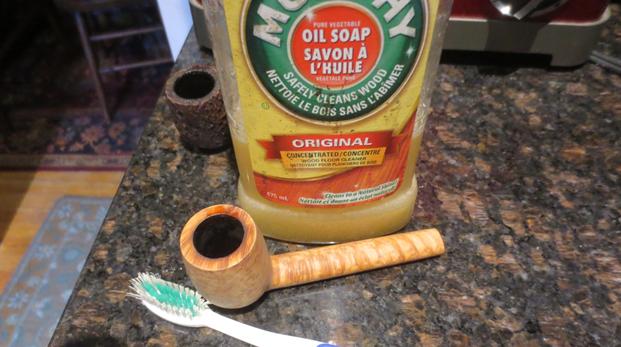
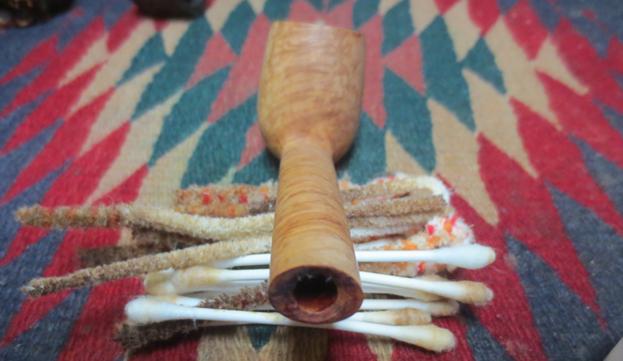
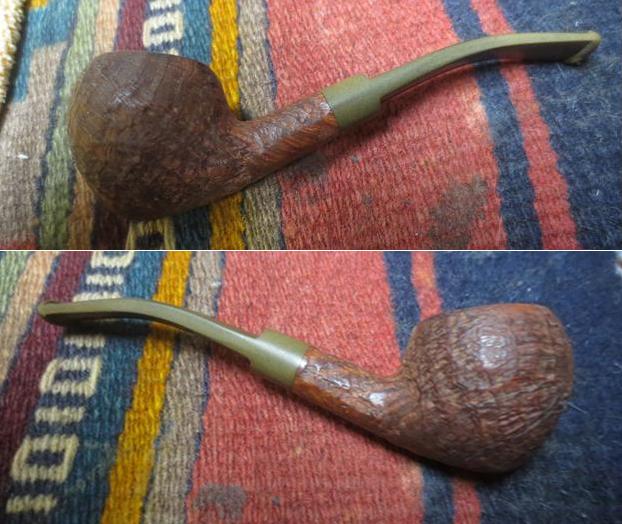
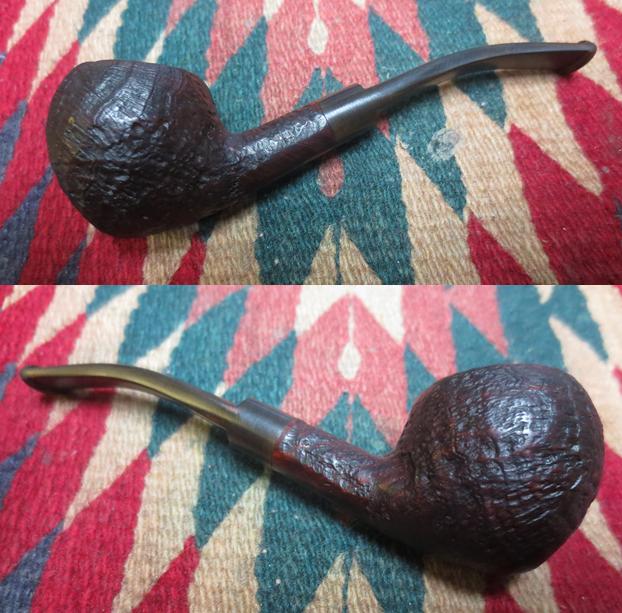
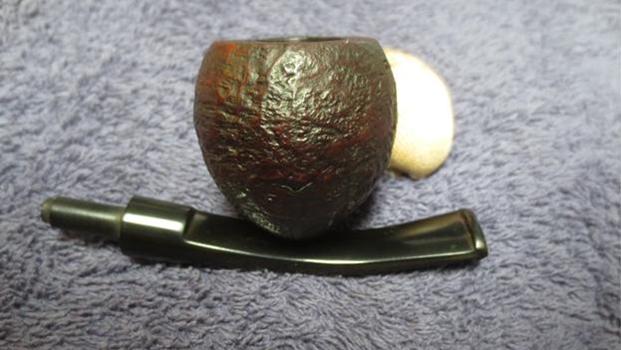
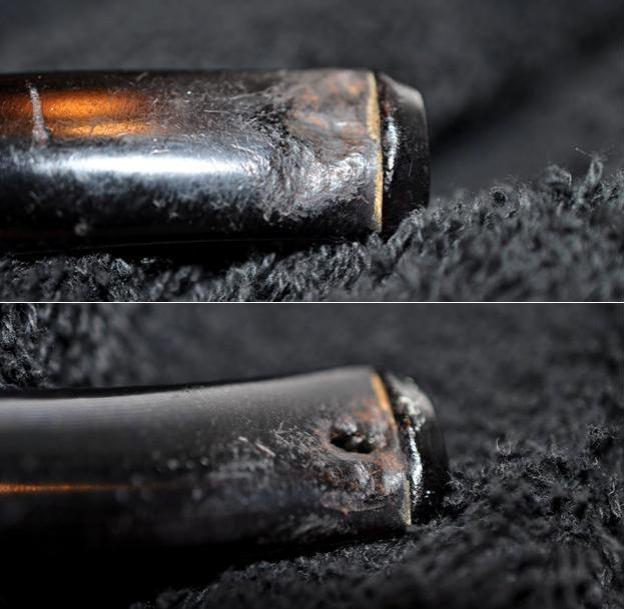 Jeff did his usual thorough cleanup of the pipe. He reamed the bowl with a PipNet reamer, scraped the rim top with a Savinelli Fitsall Pipe Knife to clear off the lava build up. He cleaned out the internals – mortise, airway in the shank and stem with alcohol, cotton swabs and pipe cleaners. He scrubbed the exterior of the briar with Murphy’s Oil Soap and a tooth brush to remove all of the grime and hardened glue on the finish of the left side of the bowl. He rinsed the briar under running water and dried it with a soft cloth. He soaked the stem in OxyClean to clean off the Bakelite and cleaned out the airway in the stem with pipe cleaners, cotton swabs and alcohol. When the pipe arrived in Vancouver it certainly looked different than it did when we picked it up off the table in Montana. I took photos of the pipe before I started working on it to show the difference after Jeff’s amazing cleanup.
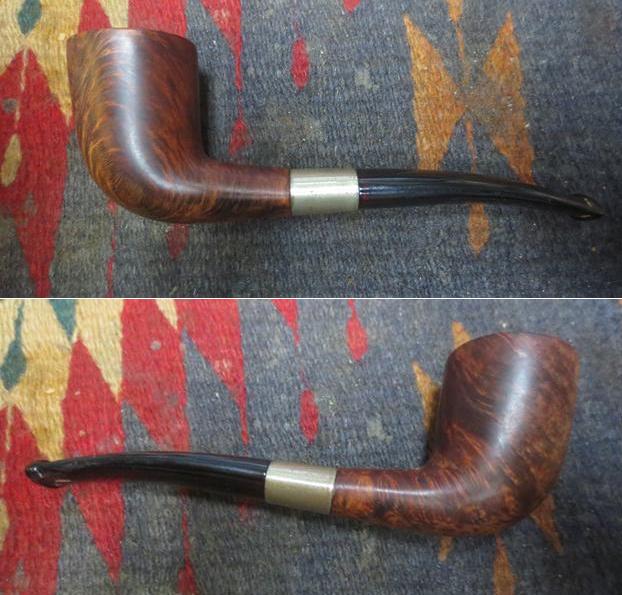
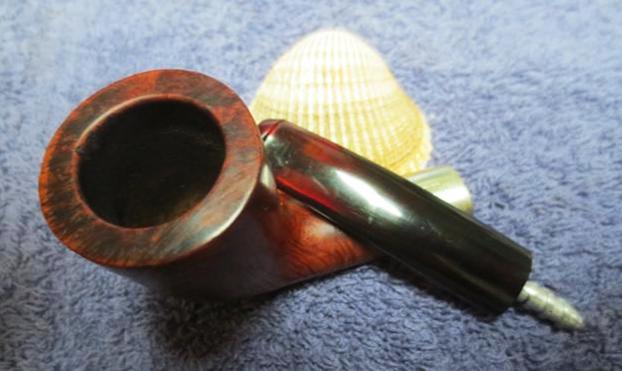
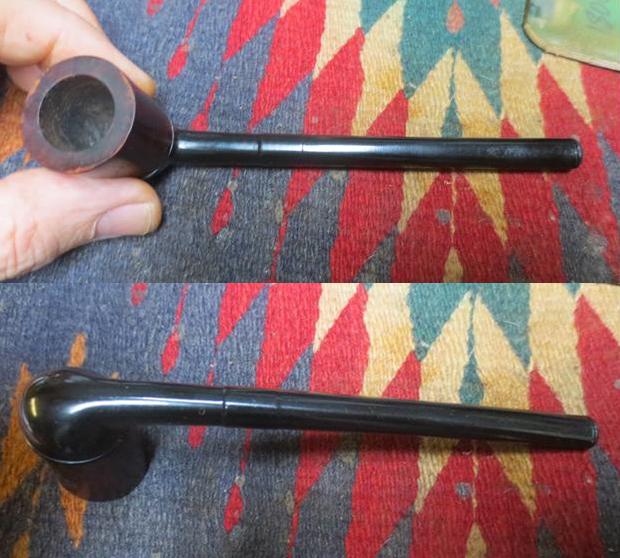
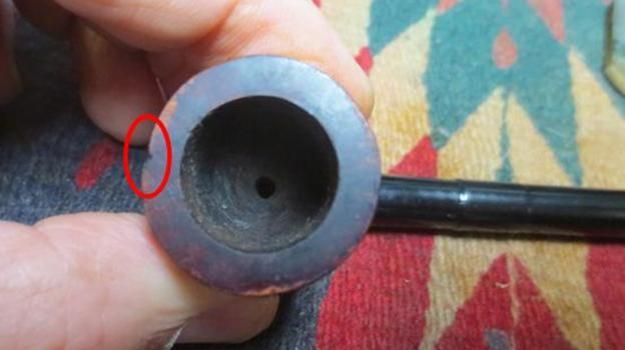
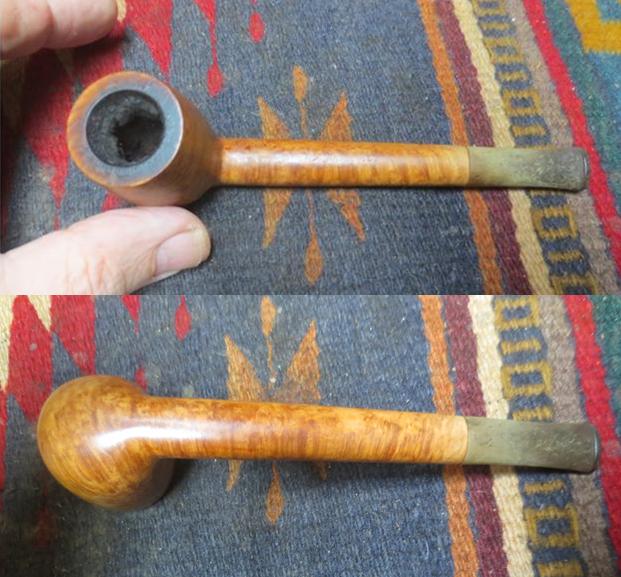
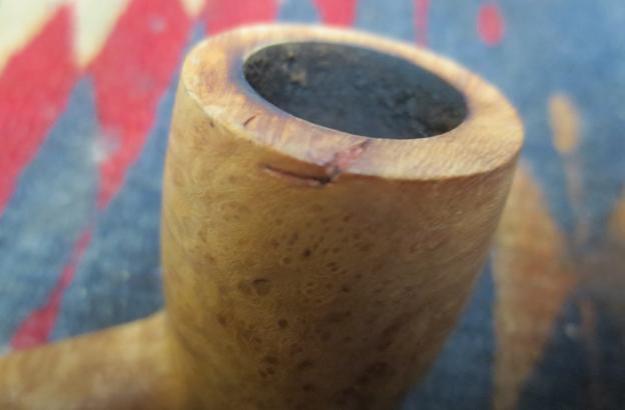
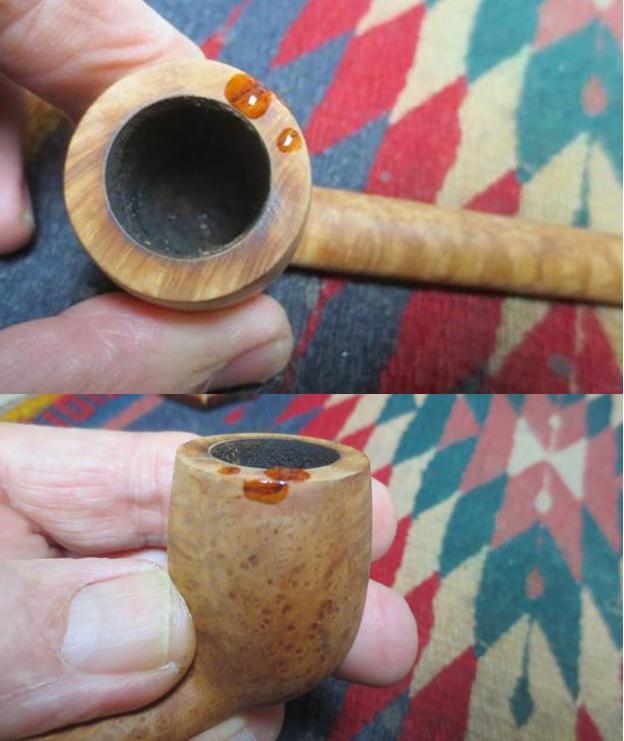
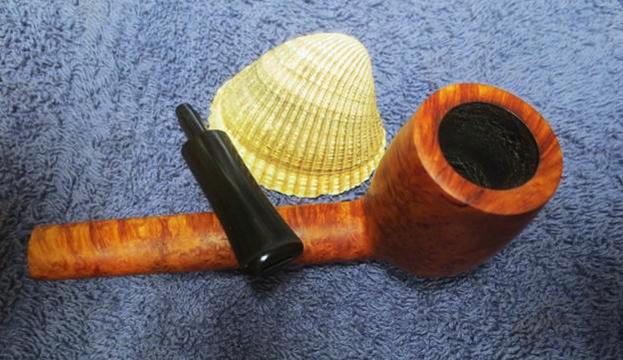
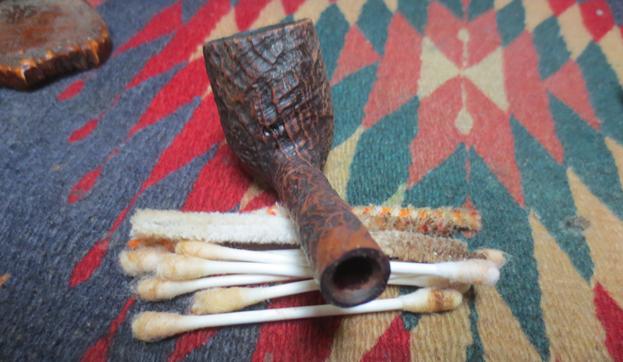
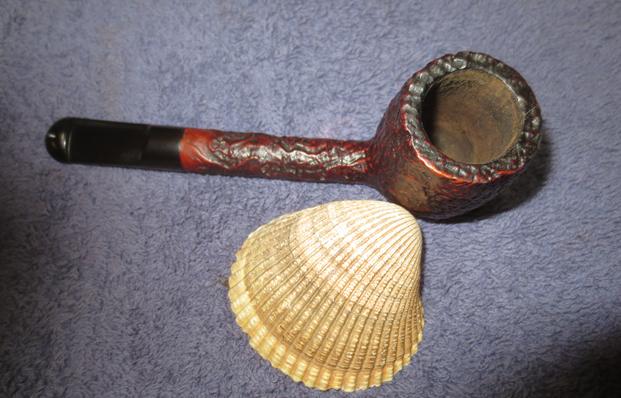
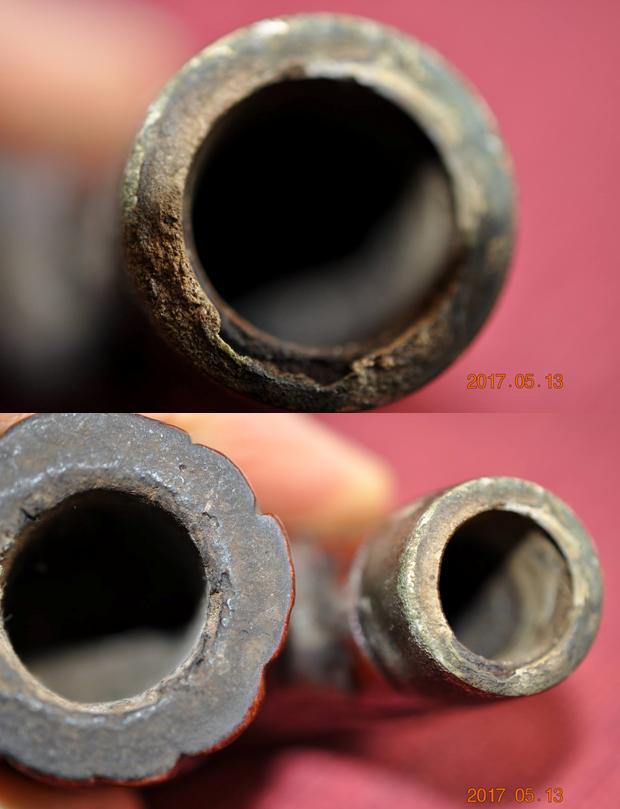
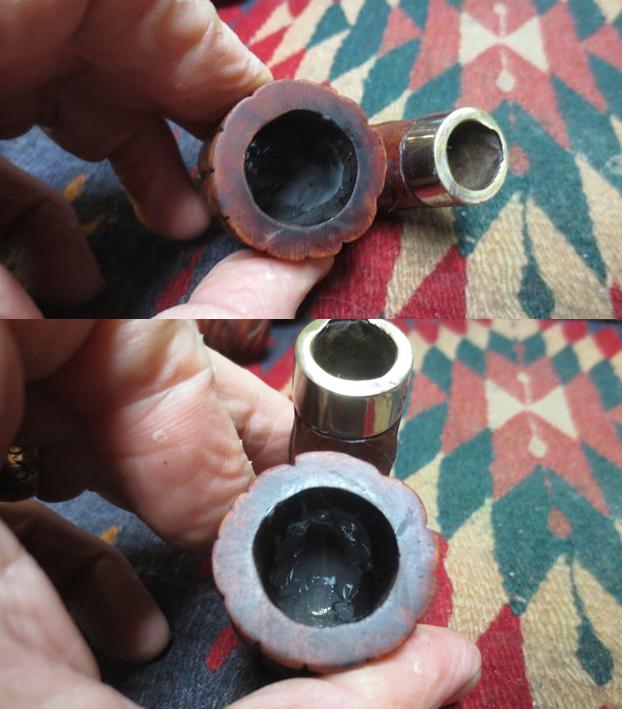
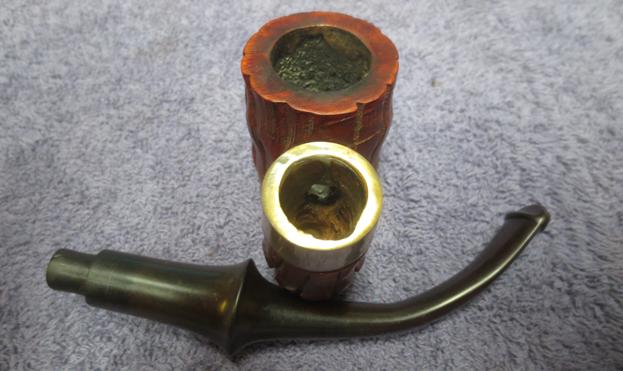
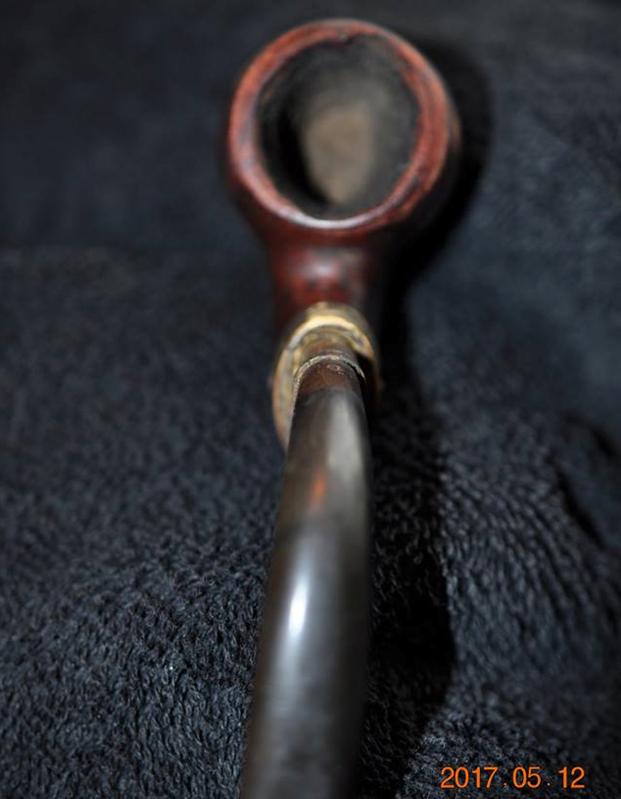
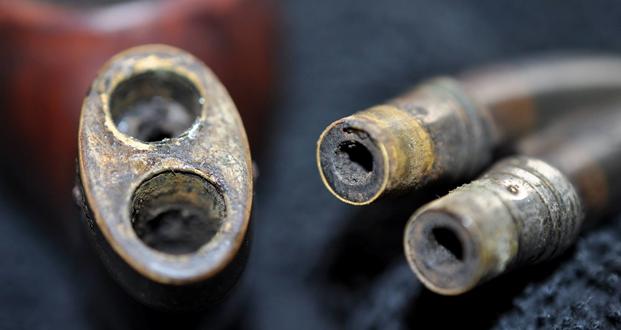
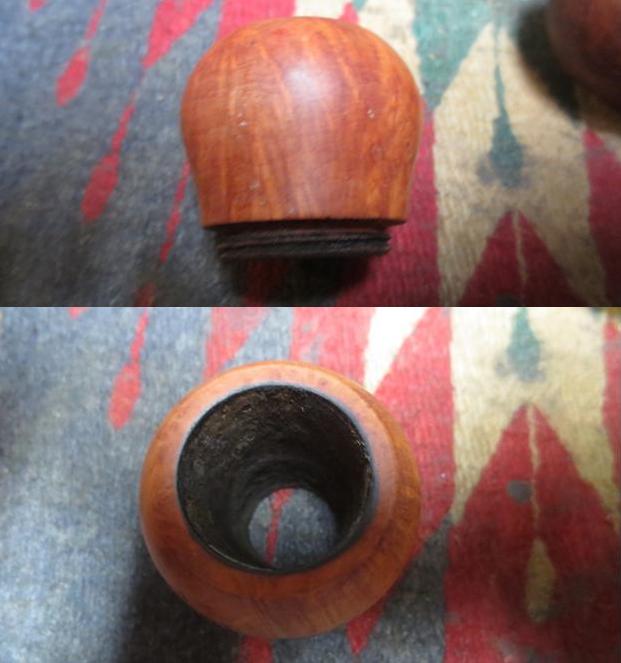
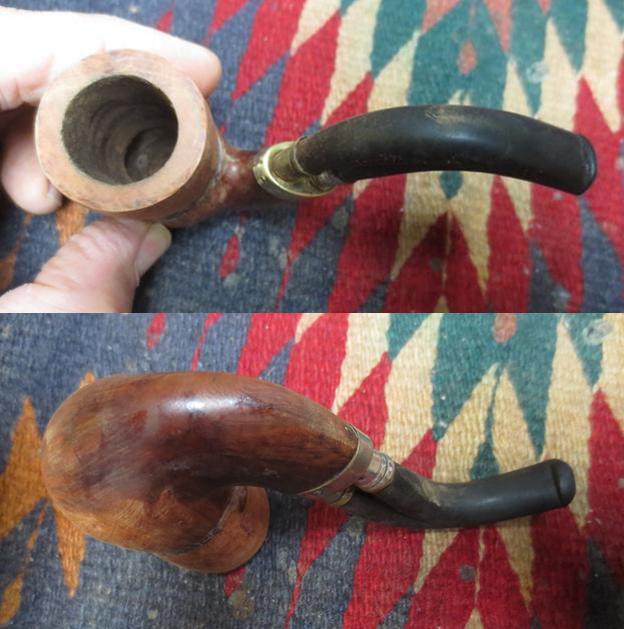
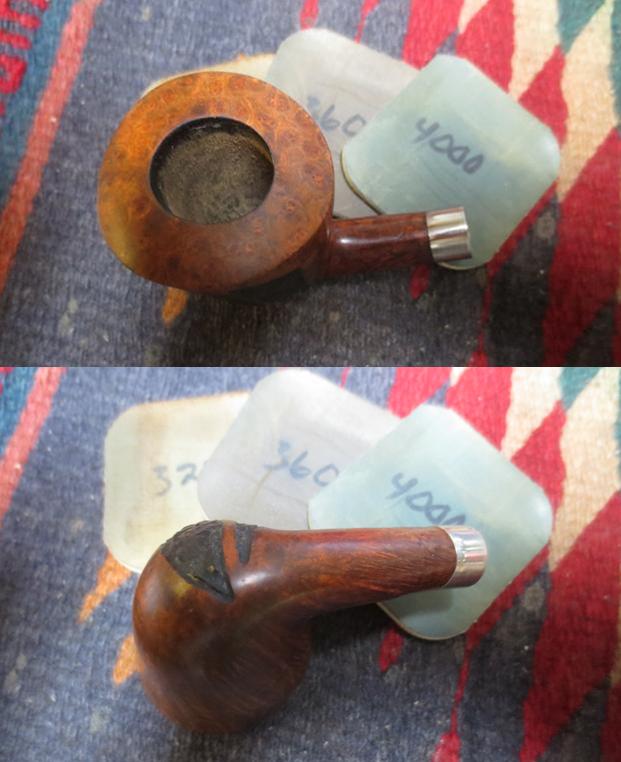
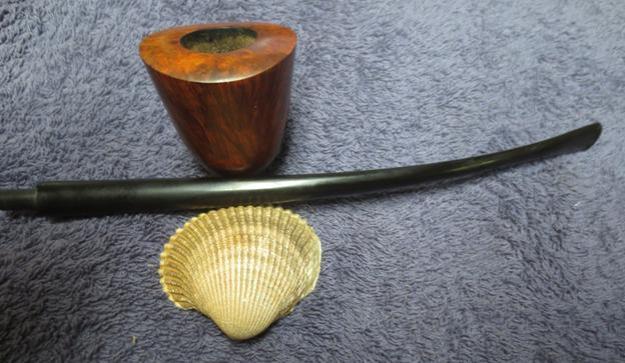
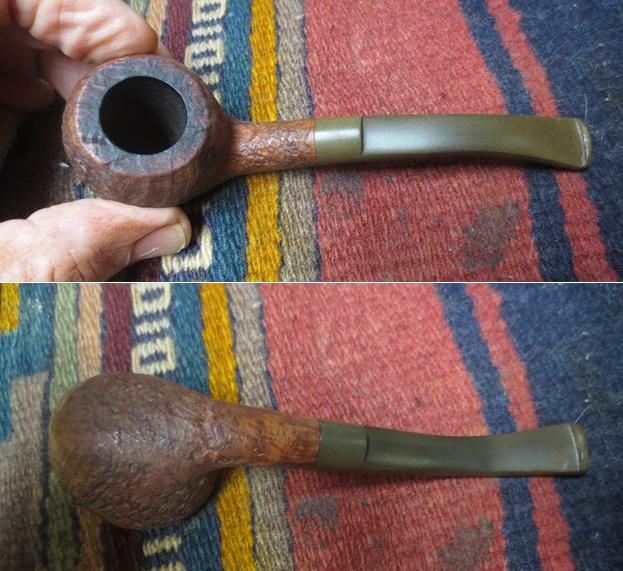
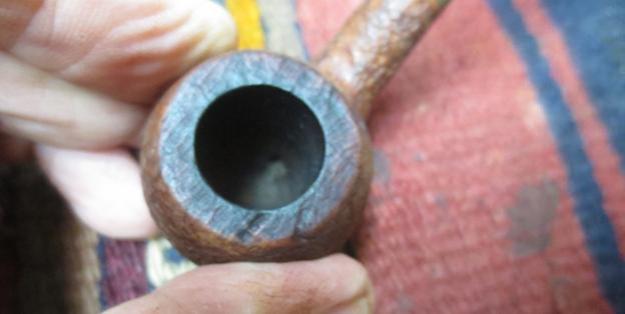
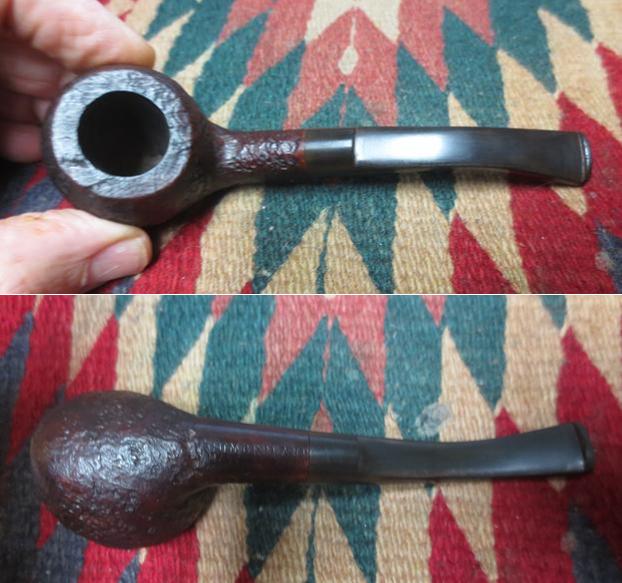
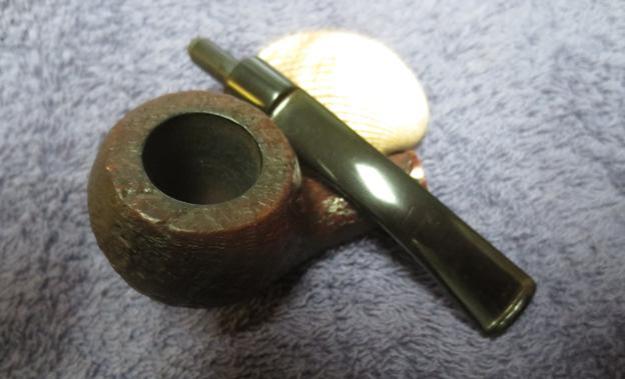
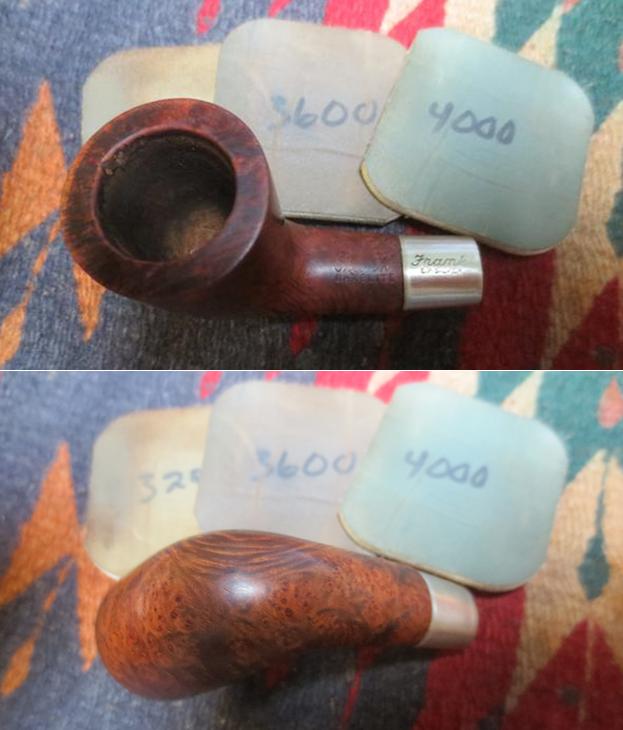
 Jeff got the thick cake out of the bowl and scraped off the lava on the rim top. The inner edge of the bowl had some damage and was no longer perfectly round. The bowl was clean and looked very good. The rim top was lava free and was in decent condition.
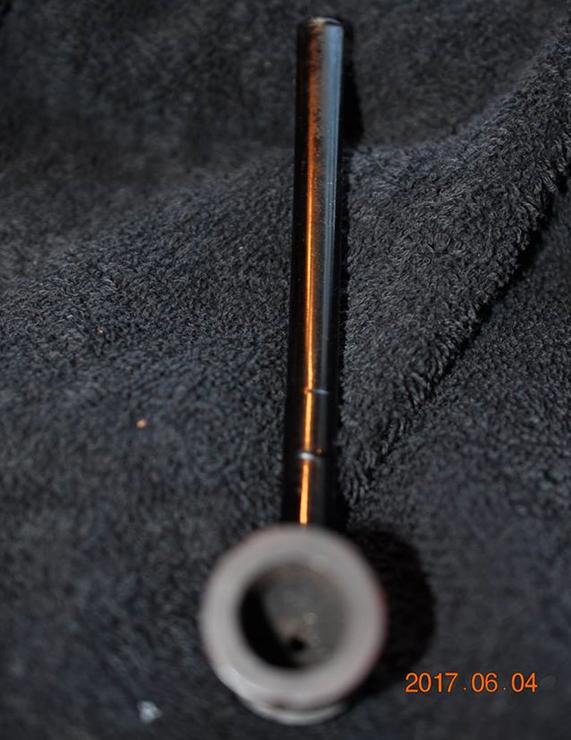
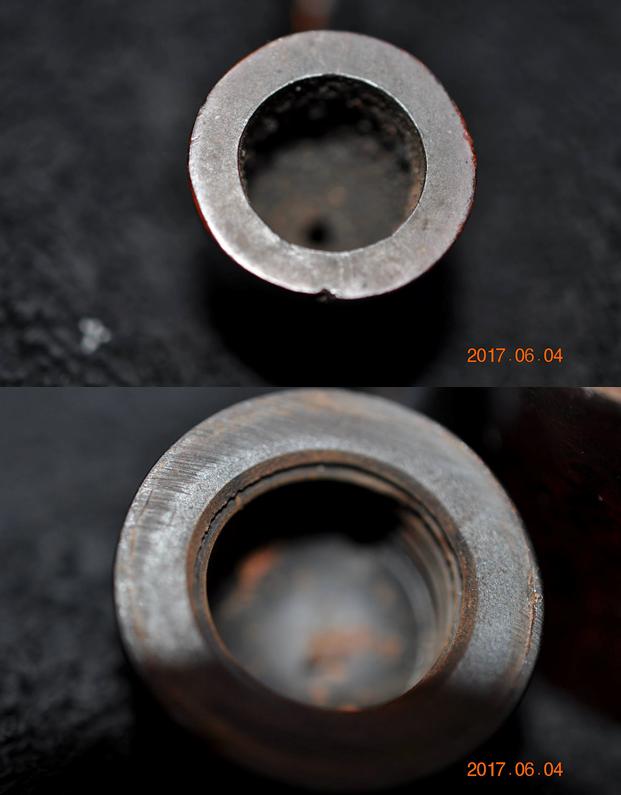
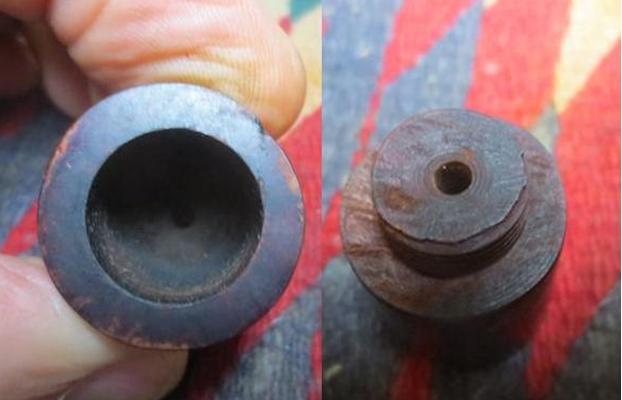
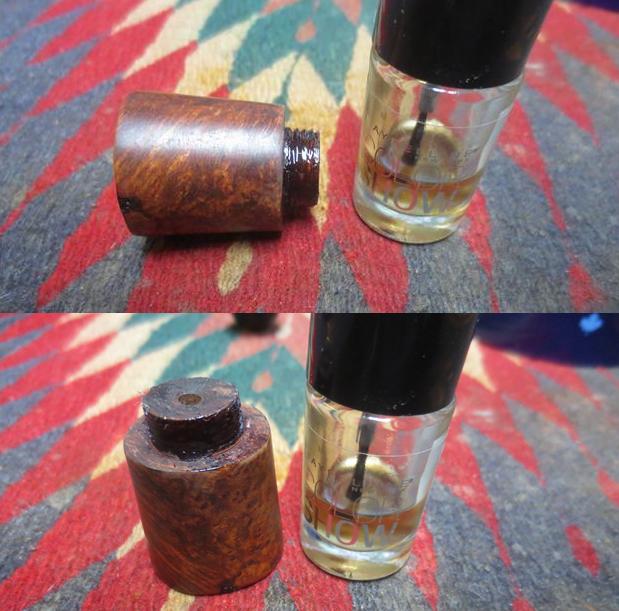
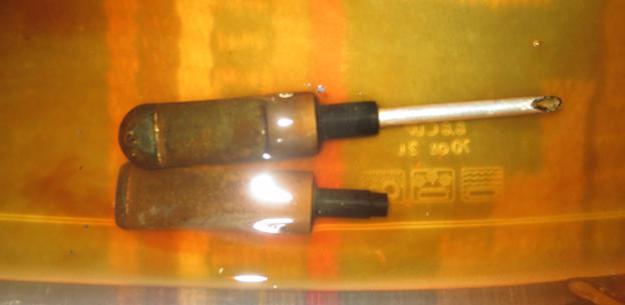
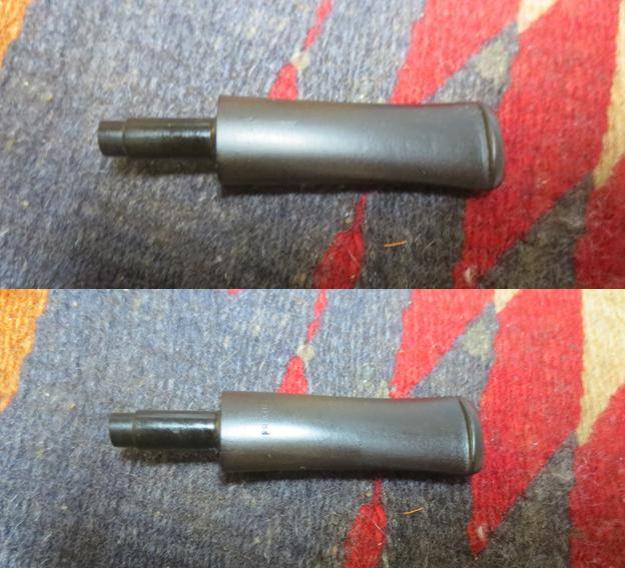
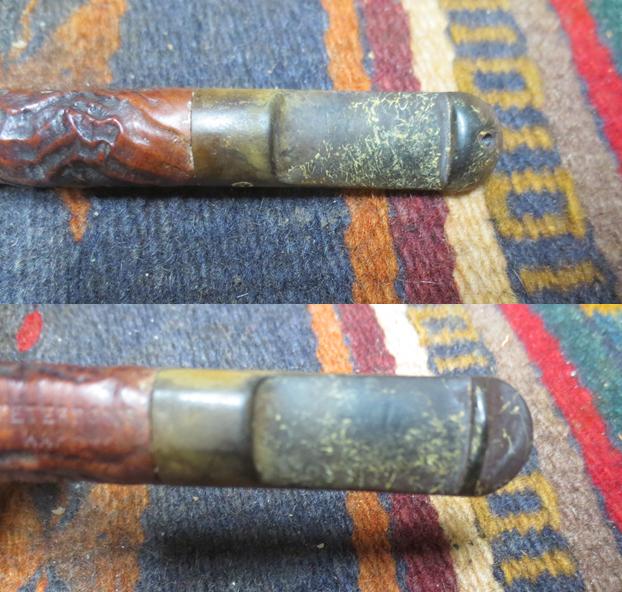
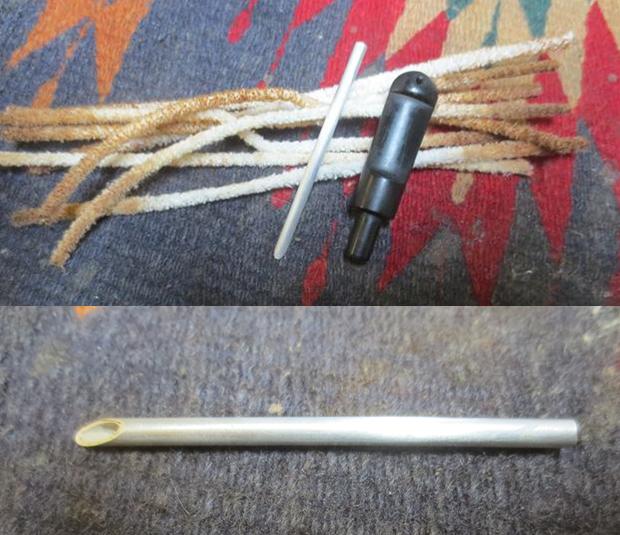
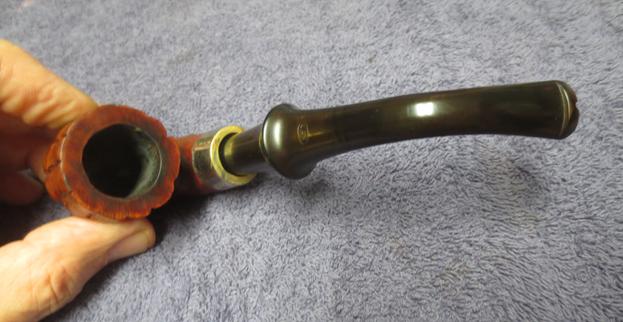
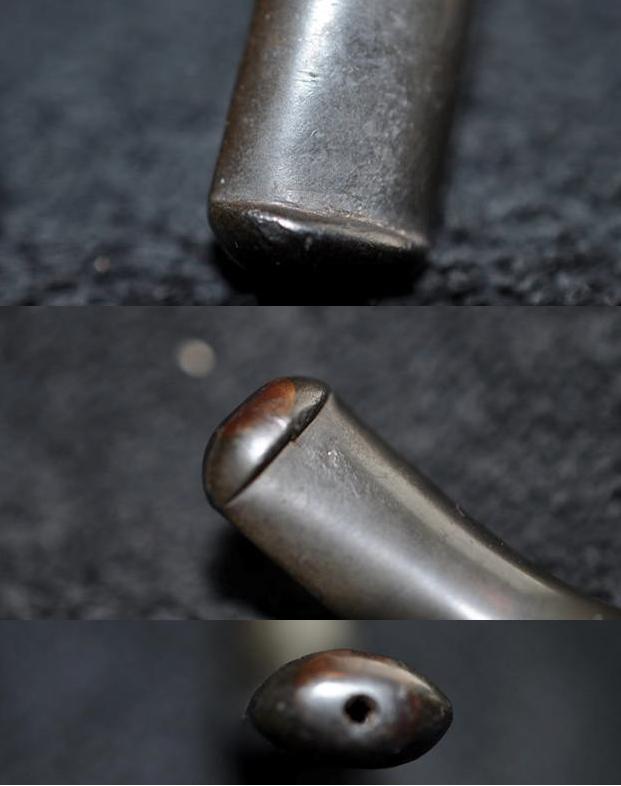
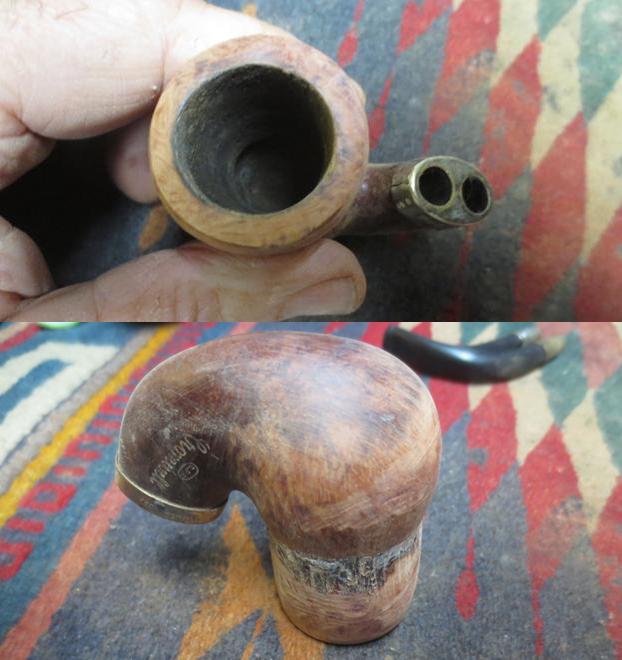
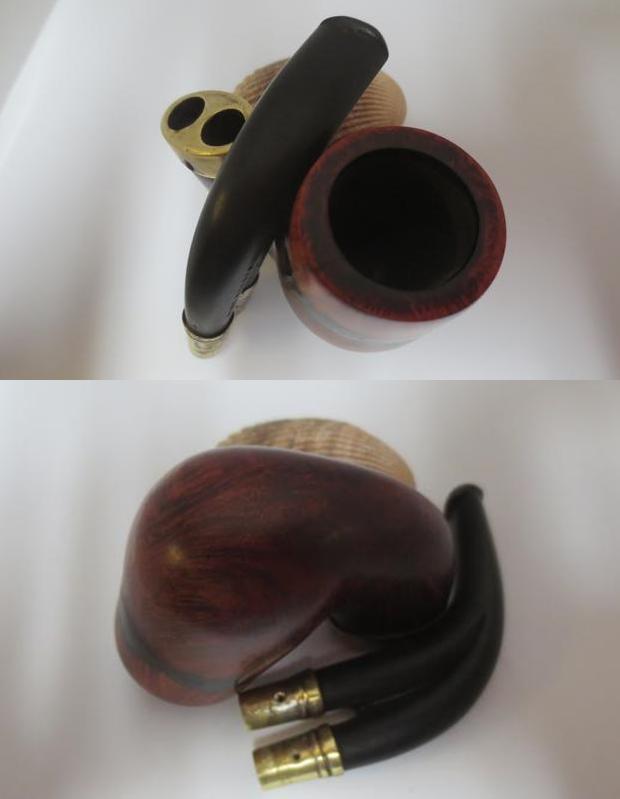
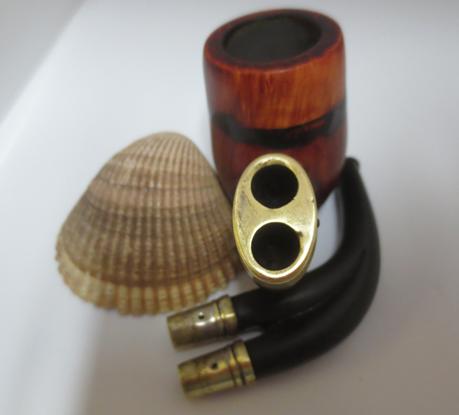
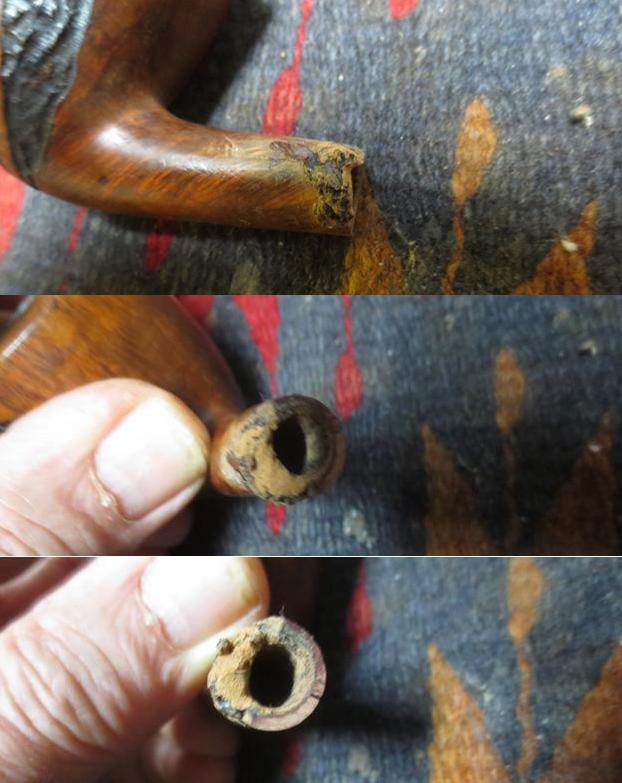
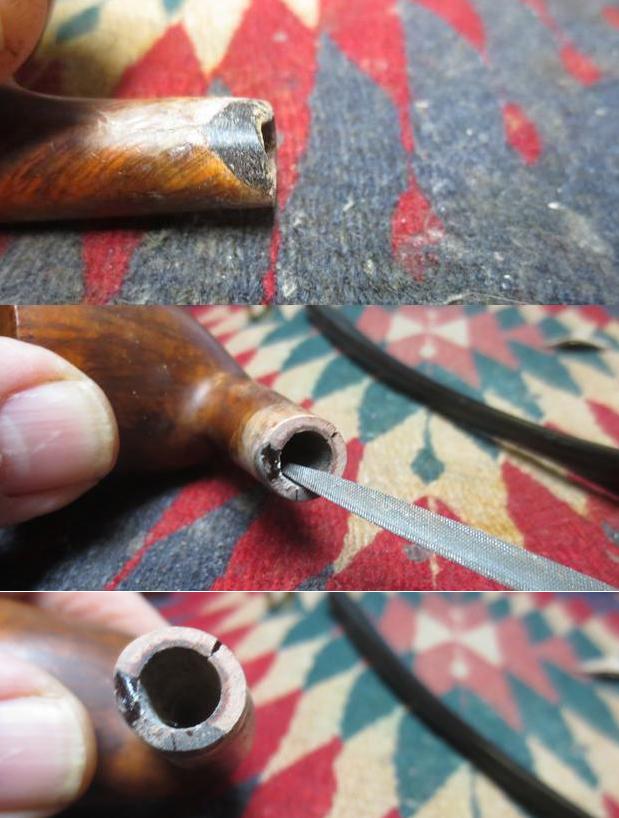
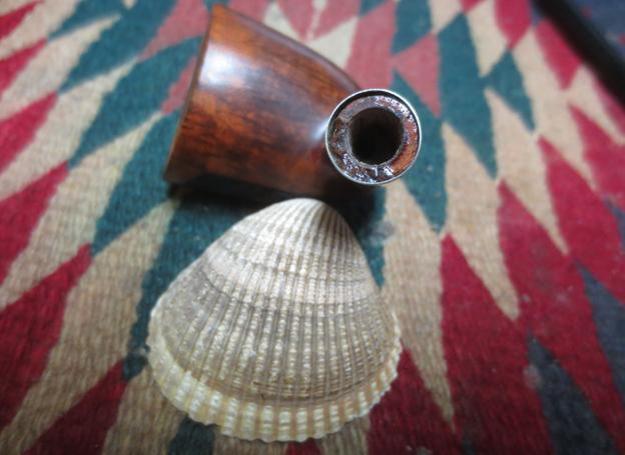
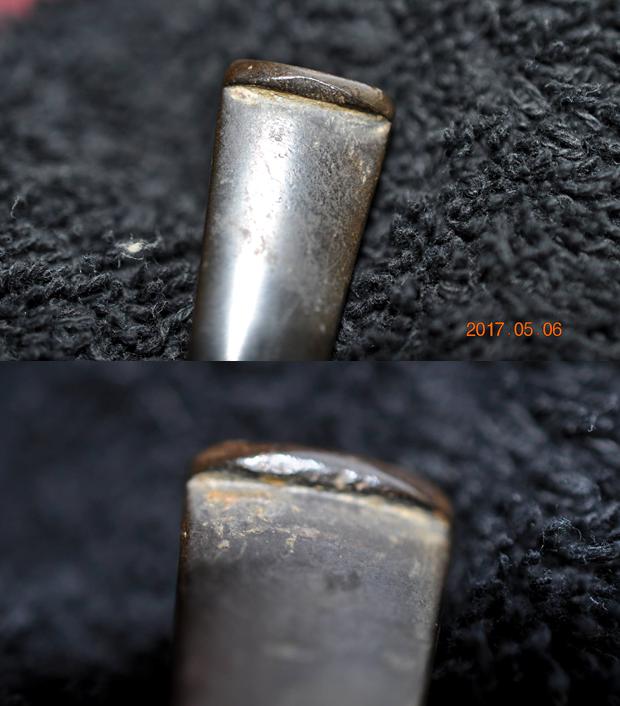
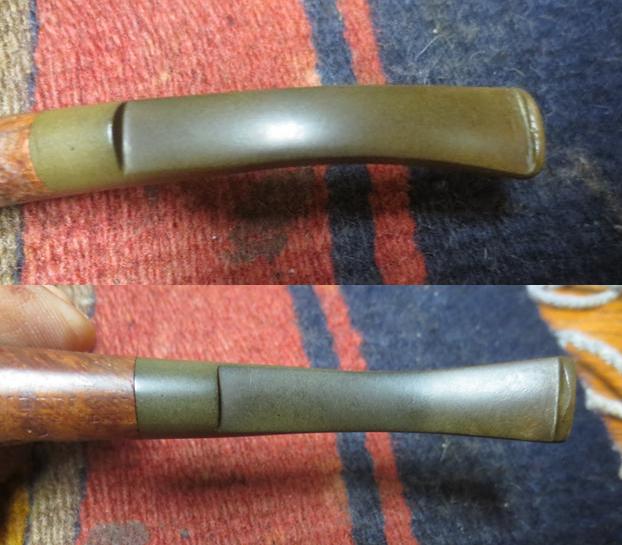
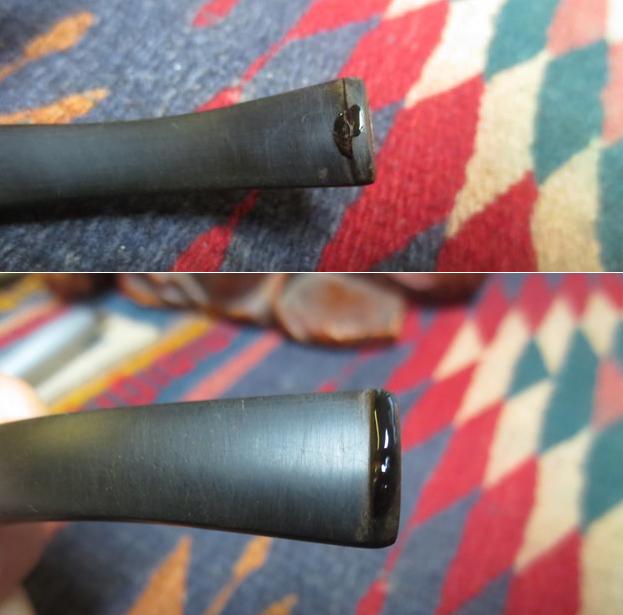
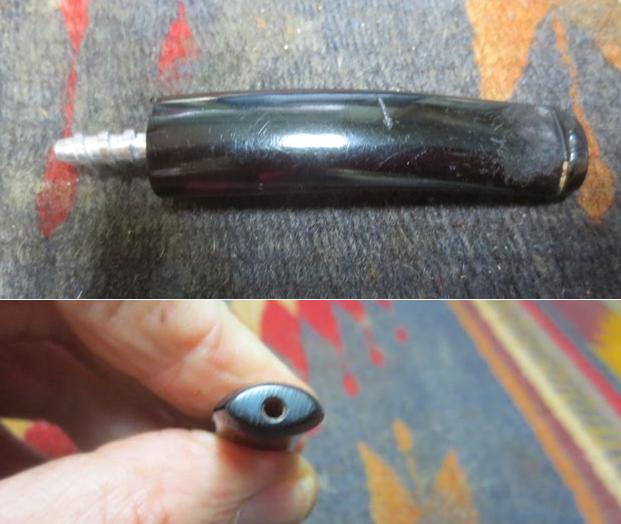
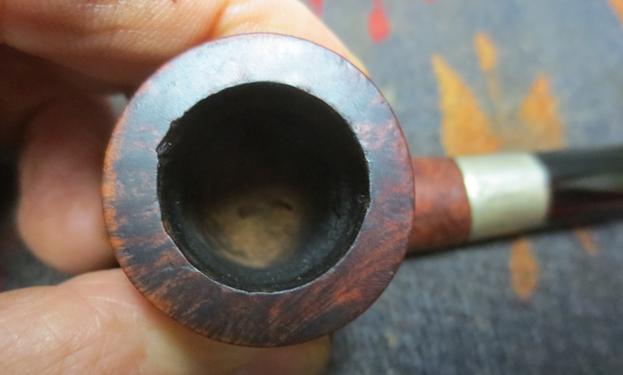 I took close up photos of the stem to show its general condition and the tooth chatter, marks and scratches on the top of the stem and the hole in the underside of the stem that was a bite-through. I also took photos of the metal tenon and the orific hole in the button end of the stem.
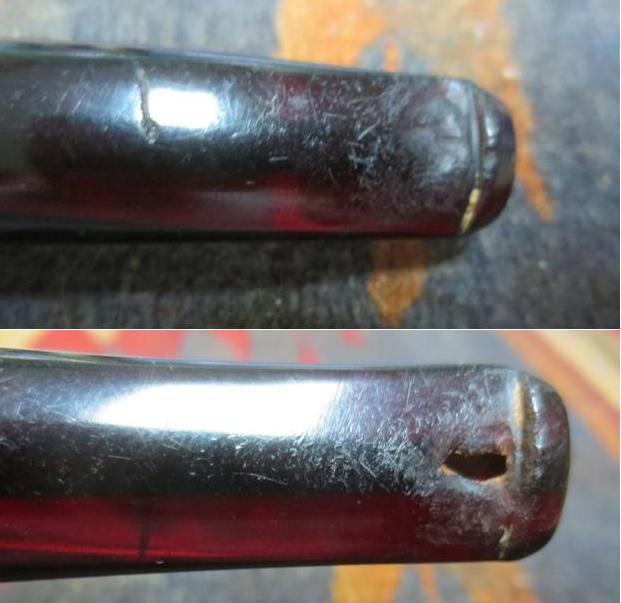
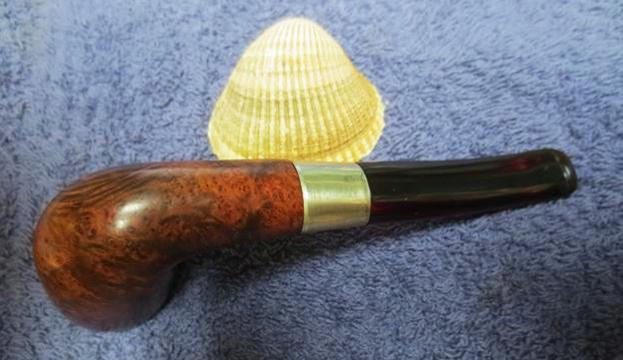
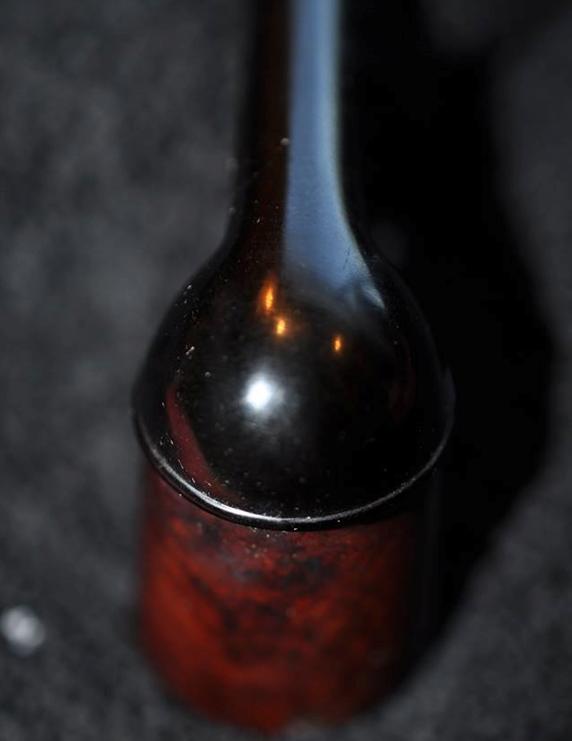
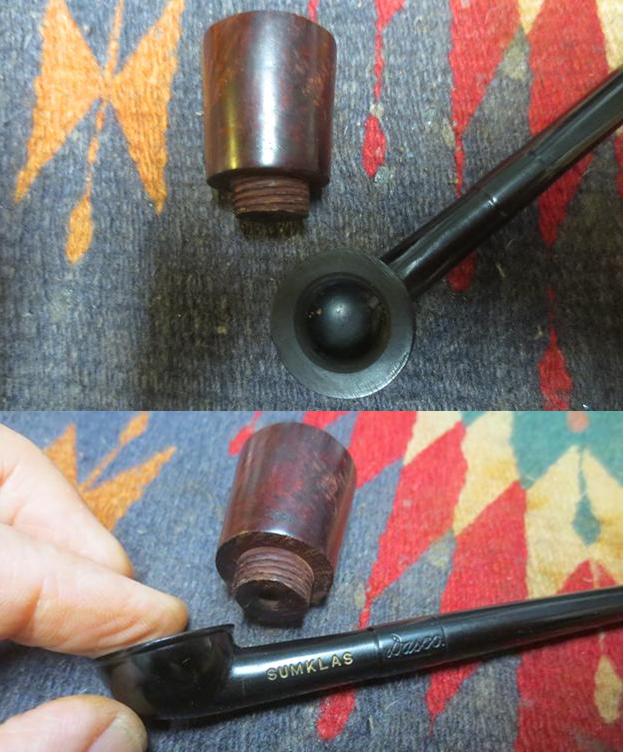
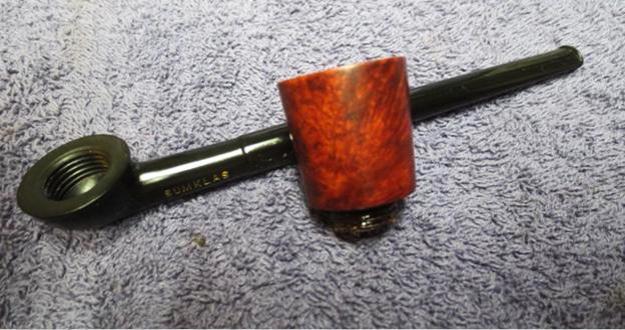
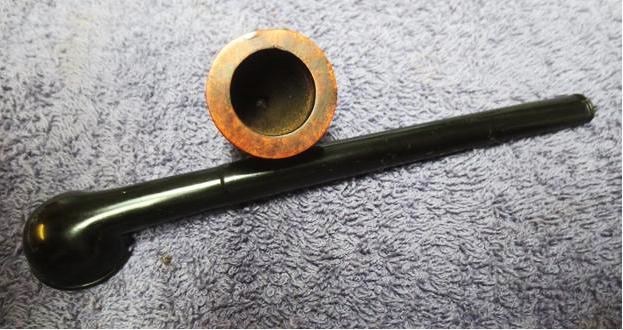
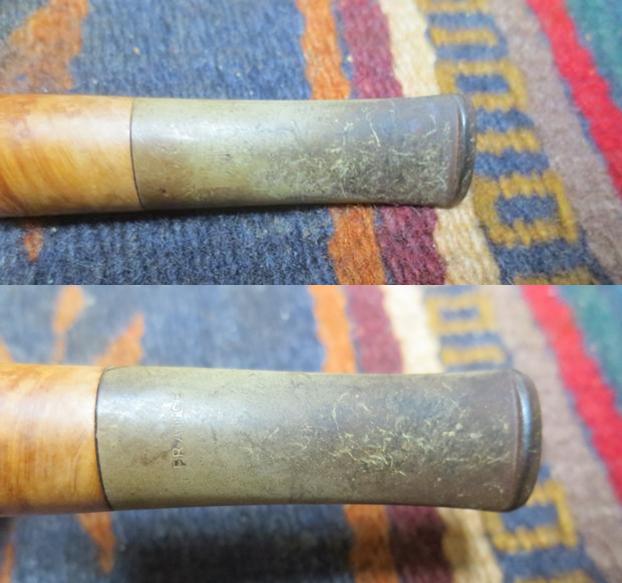
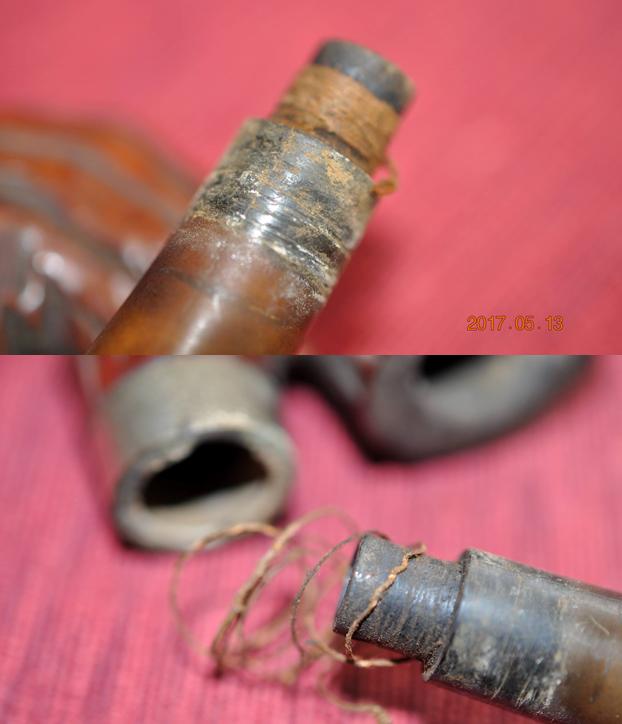
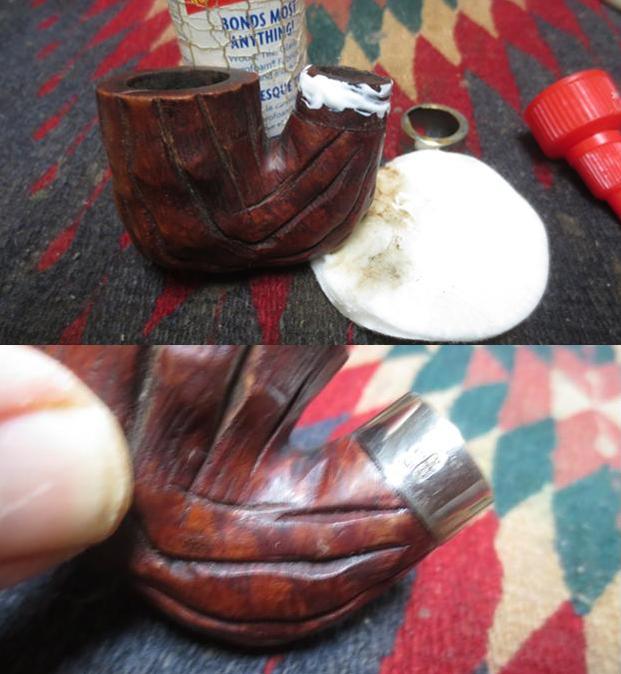
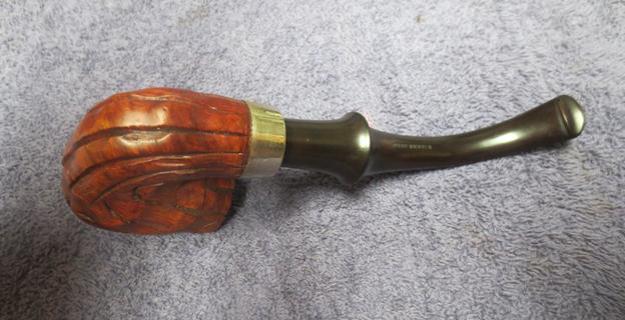
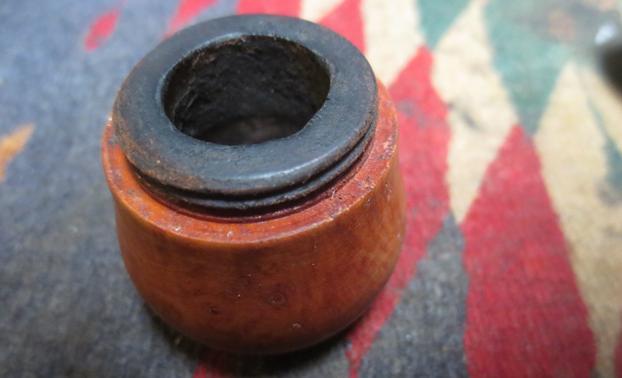
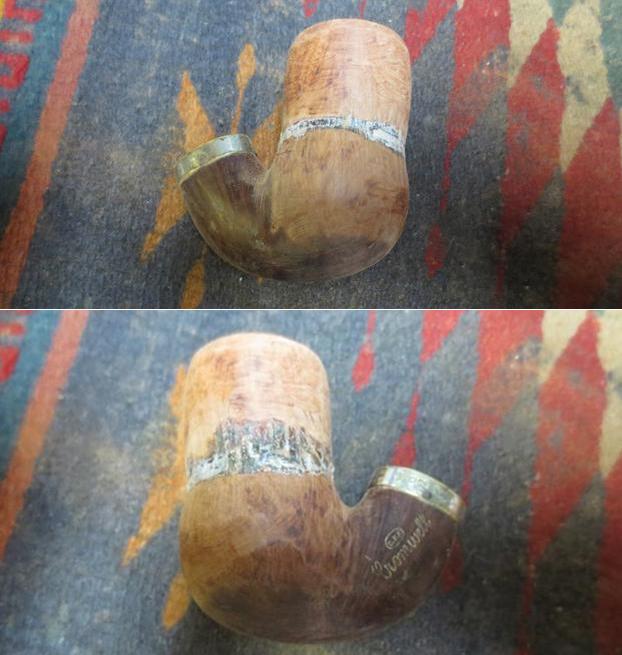
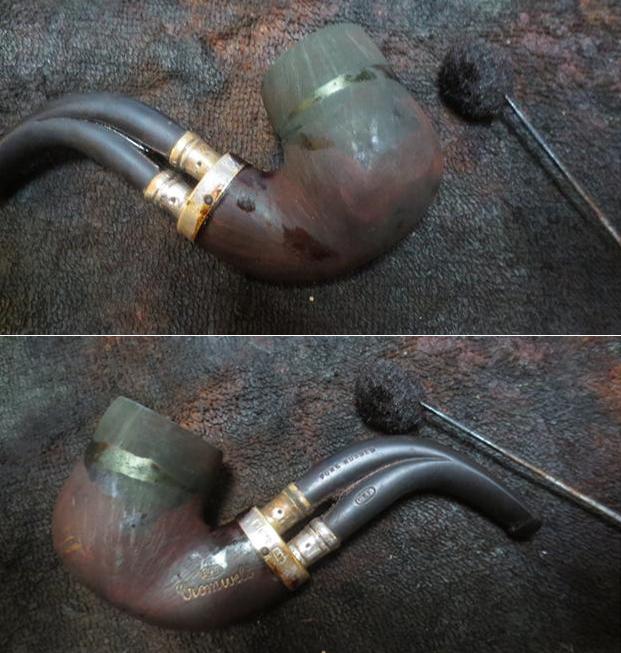
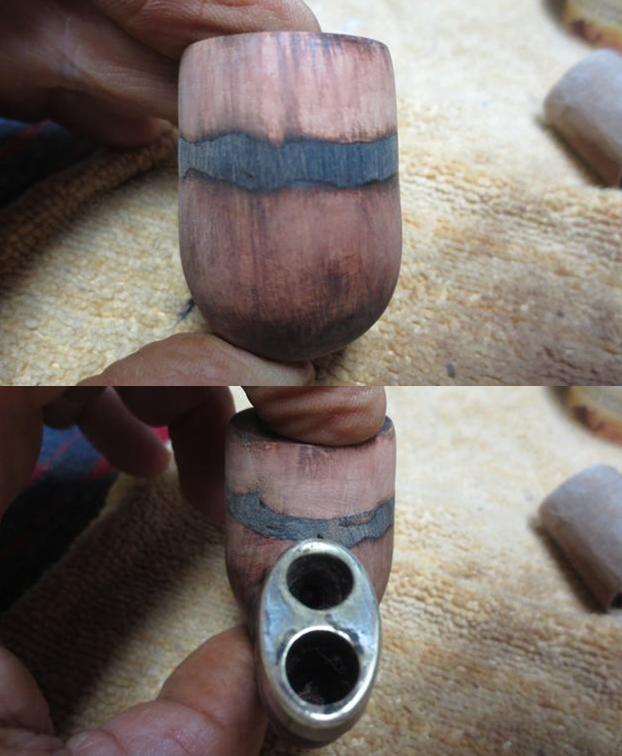
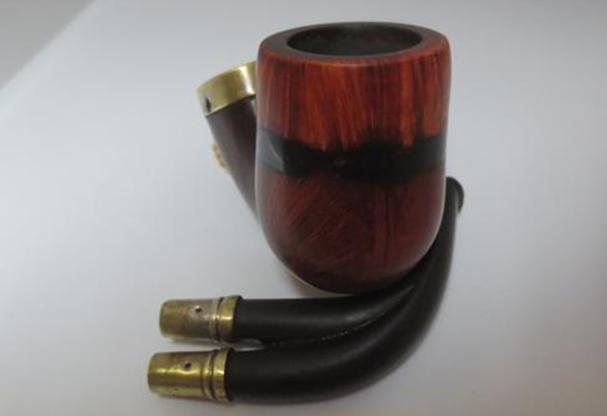
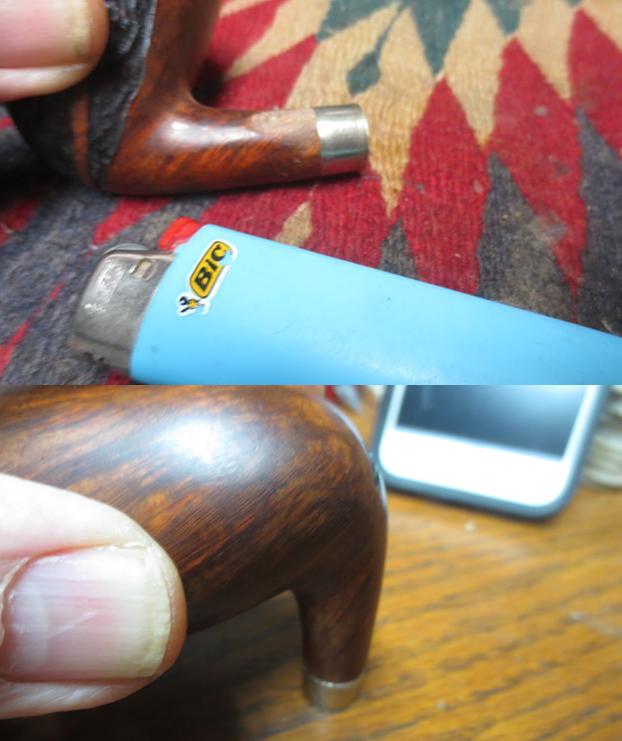
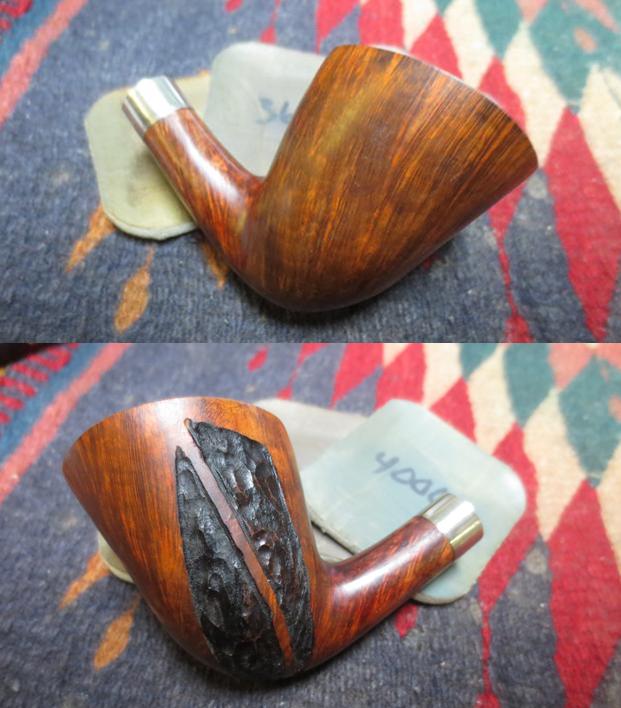
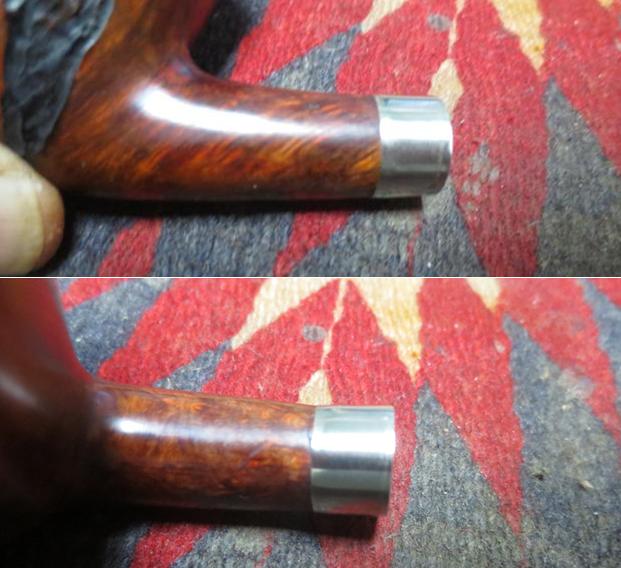
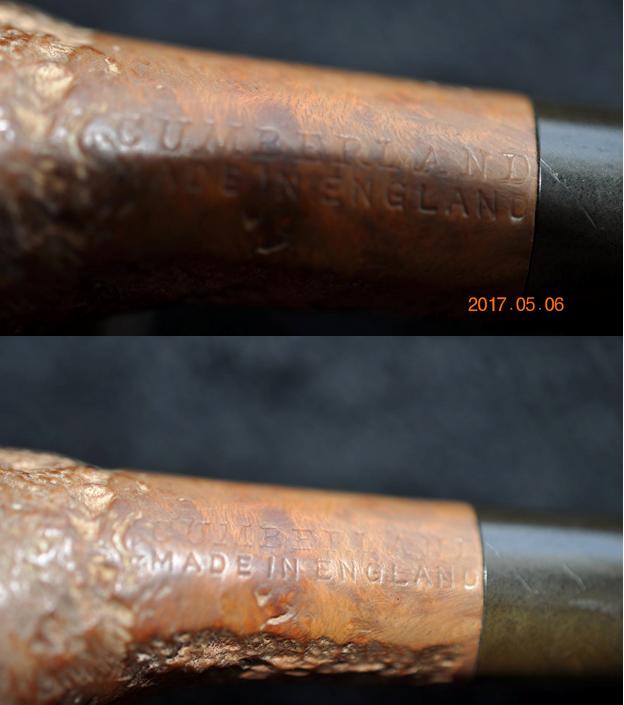
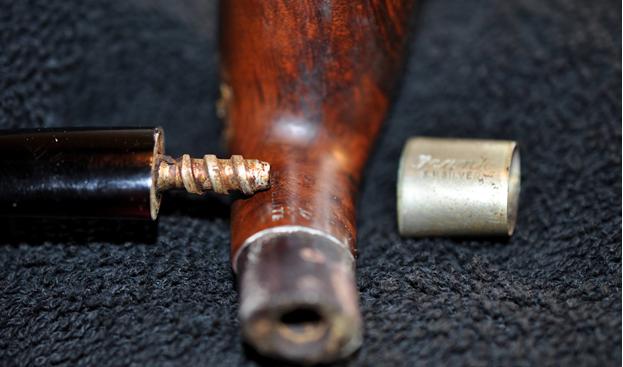
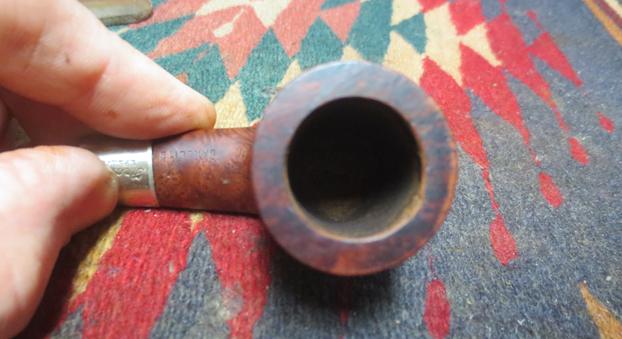
 I took a close up photo of the shank and band to show the stamping and the oxidation on the band. The band is slightly turned to the right and will need to be aligned.
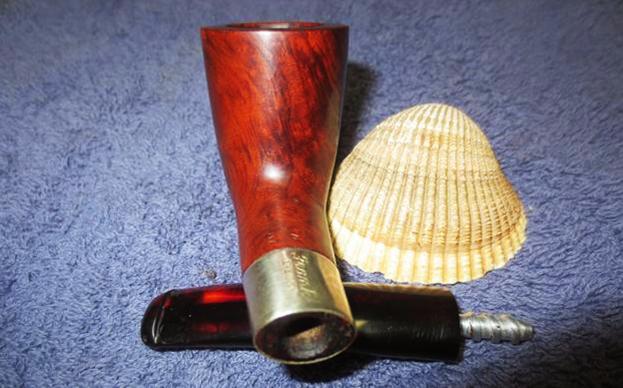
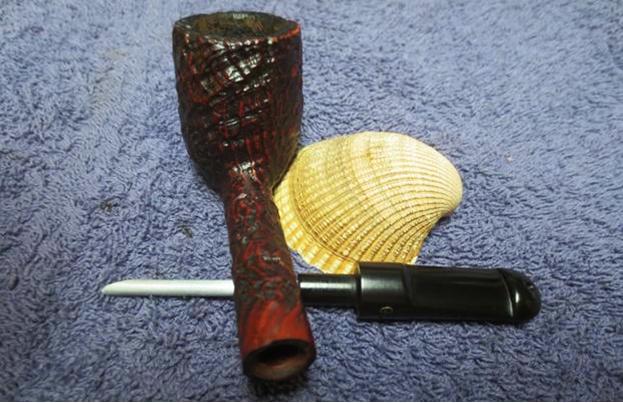
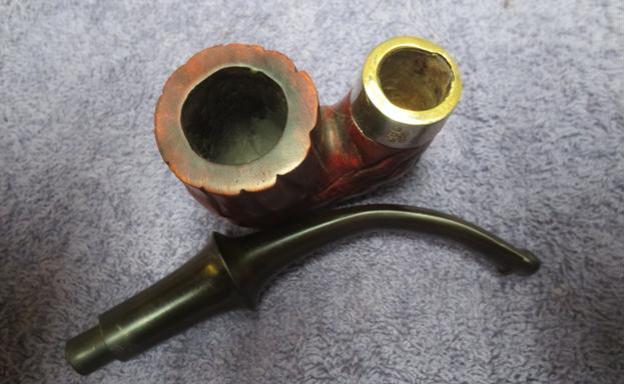
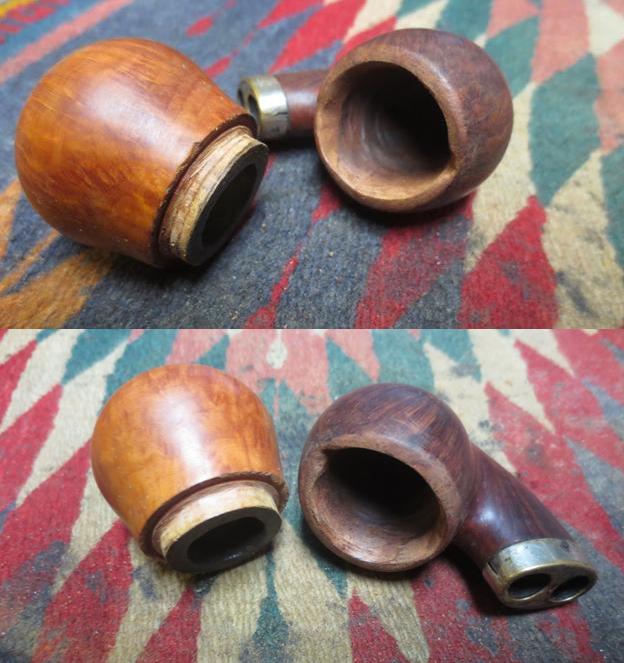
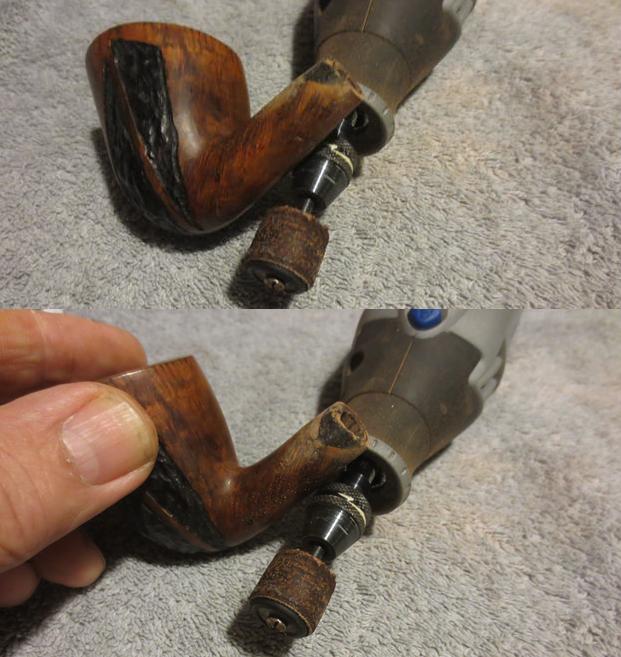
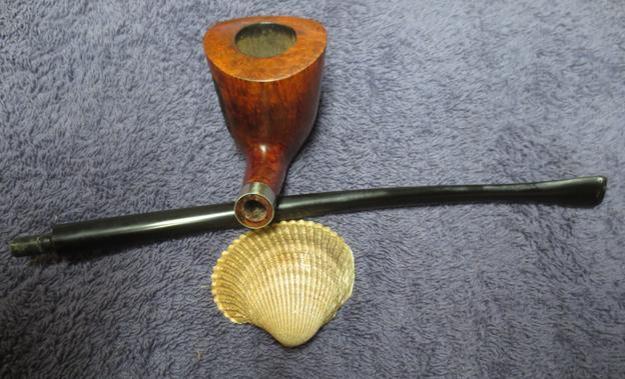
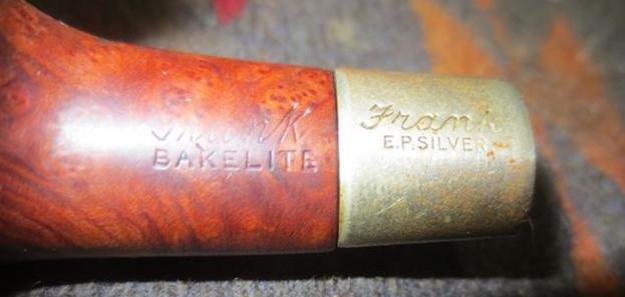 I took a picture of the pipe taken apart to show all of its parts. You can see the discolouration of the left side of the shank. If you look closely you can see that the left side and the underside have been filed down slightly which made the band fit poorly. The right side was unfiled and would need to be filed so that I could move the band toward the left.
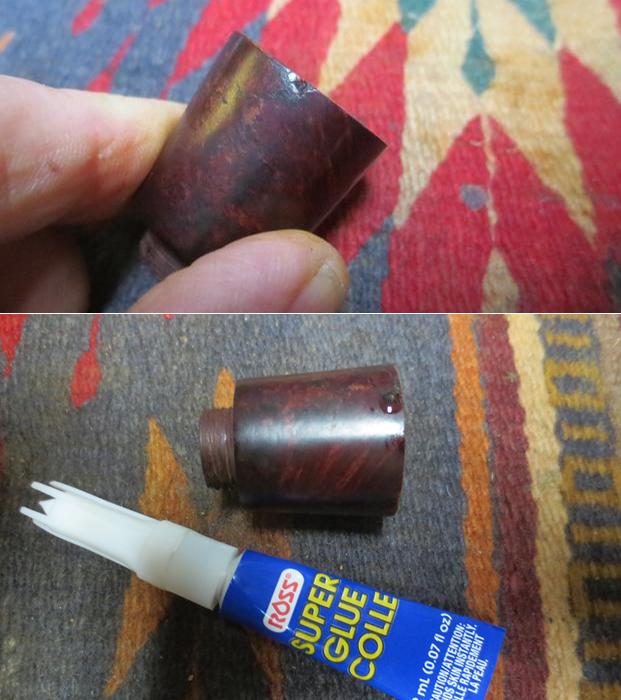
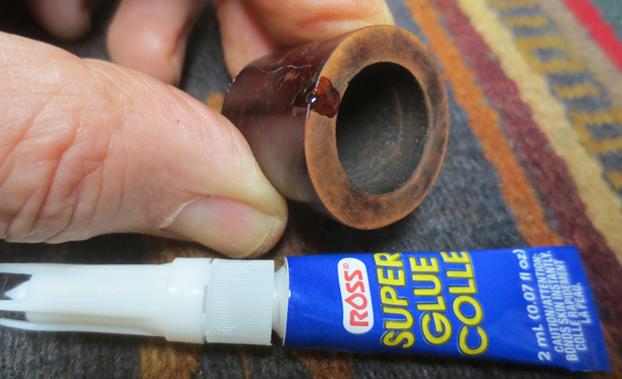
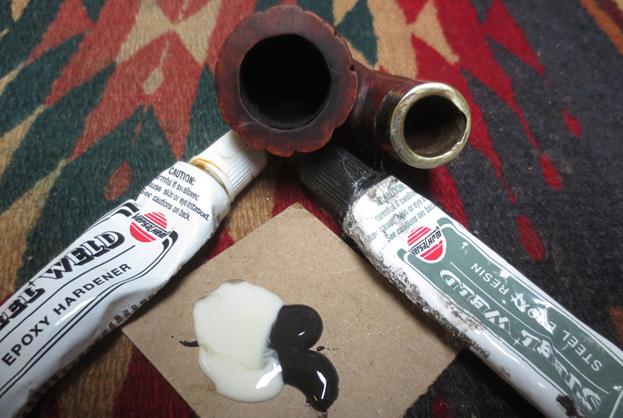
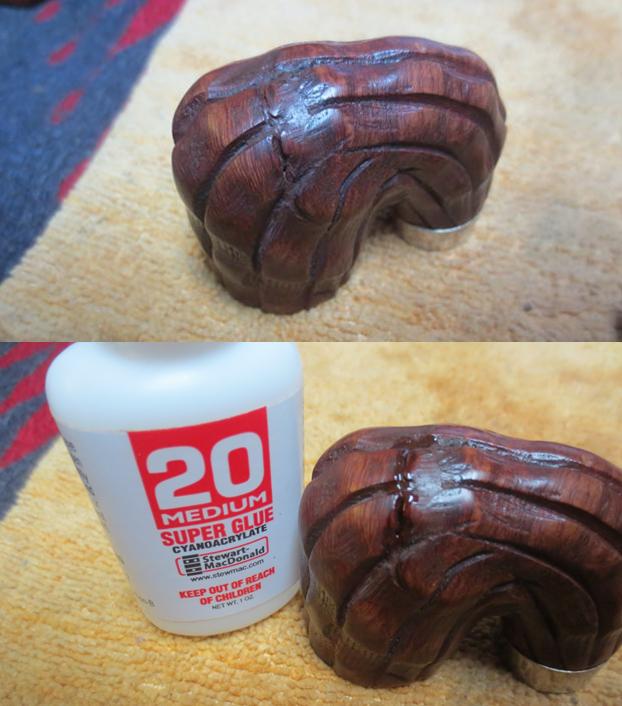
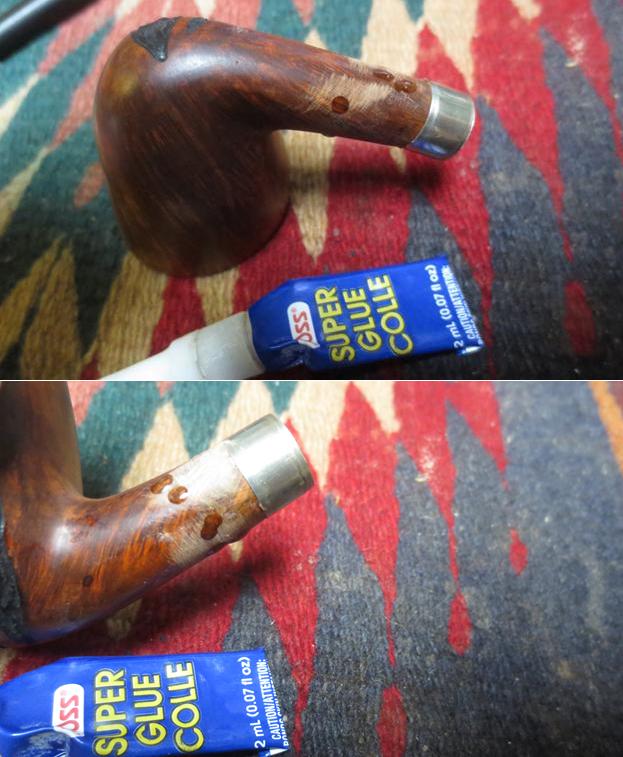
  I built up the left side and the bottom of the shank with clear super glue. Once that dried I used a needle file to cut down the right side and top of the shank. I checked the fit of the band on the shank repeatedly through the process and when it fit correctly I glued it in place with an all-purpose glue. I set the bowl aside so that the glue could harden.
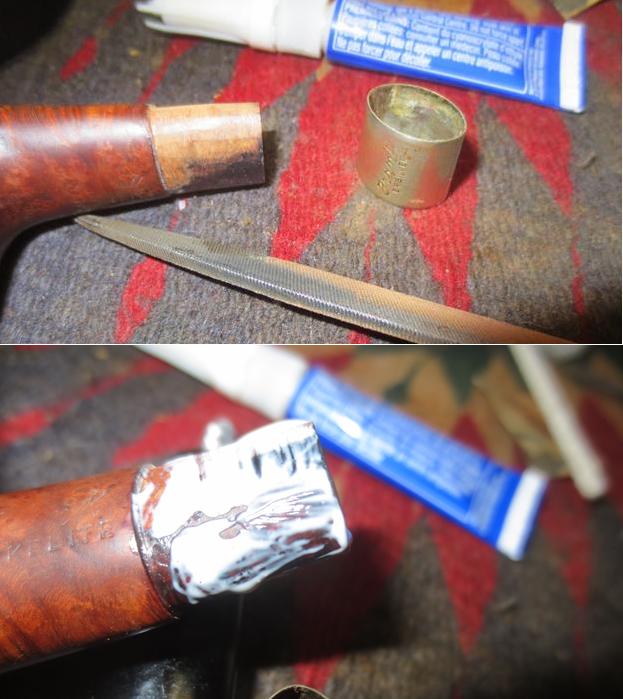
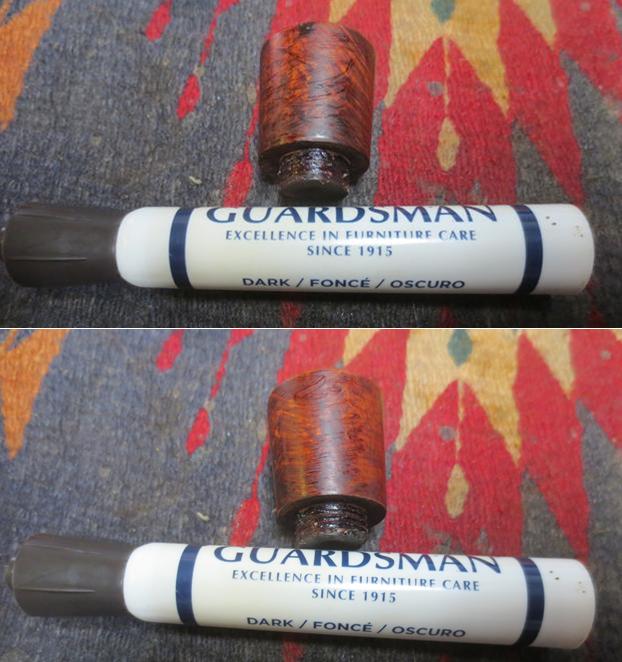
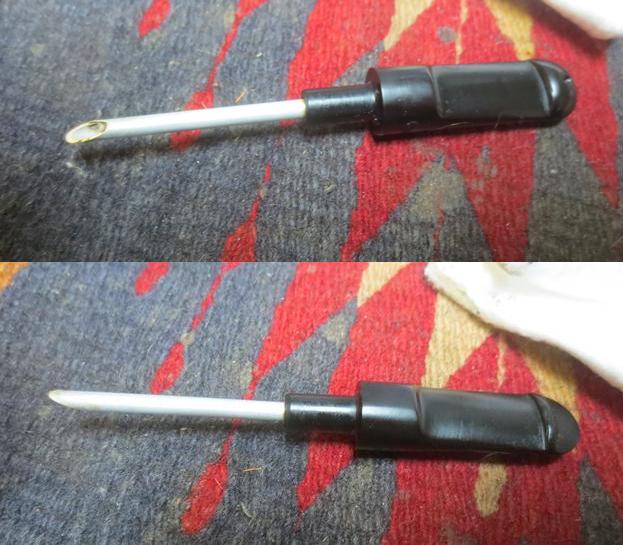
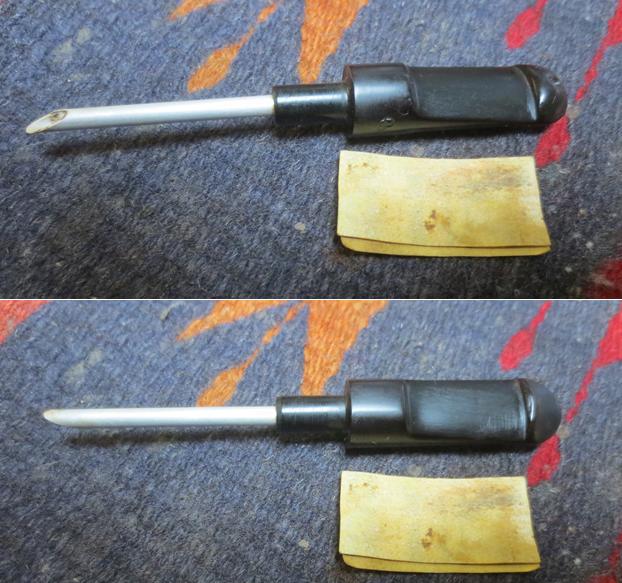
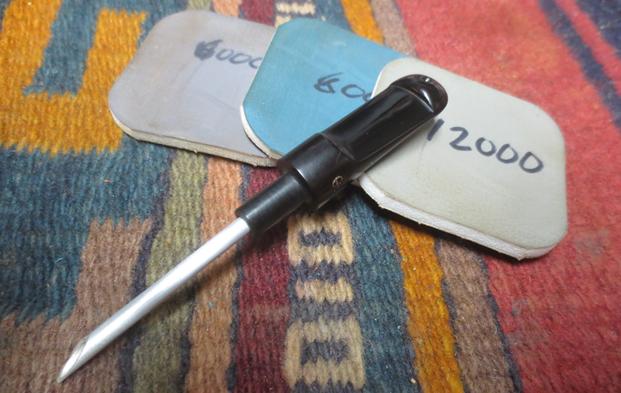
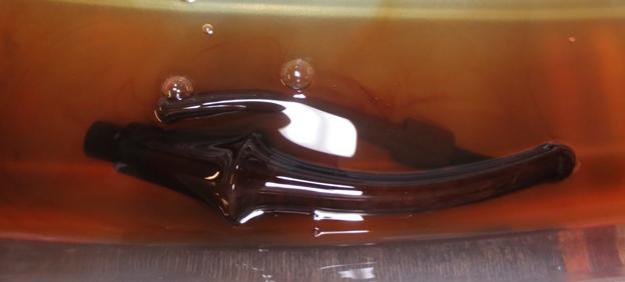
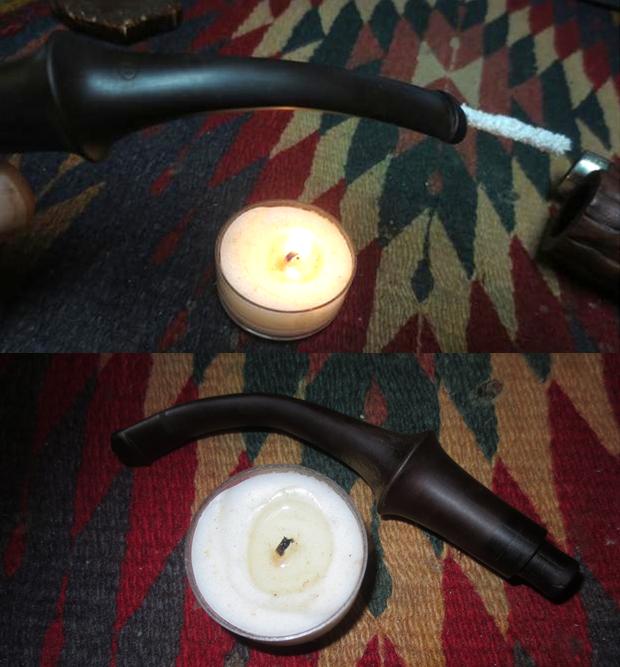
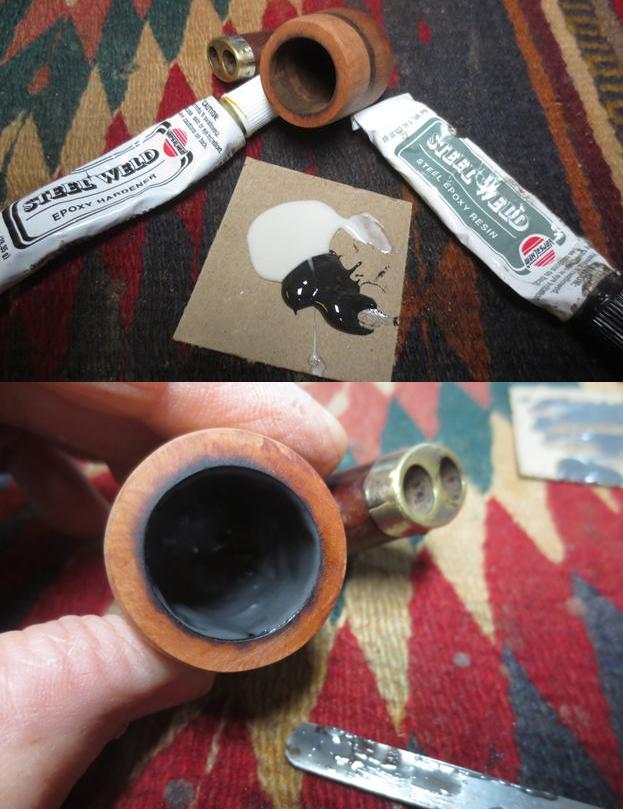
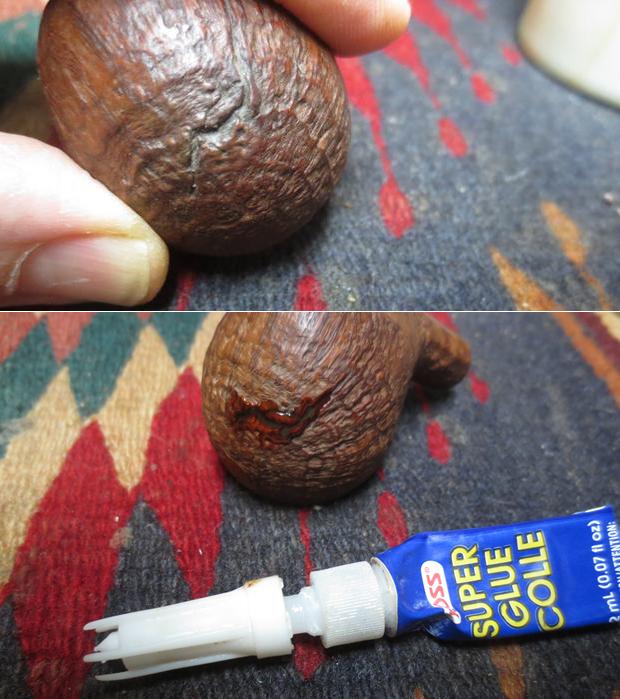
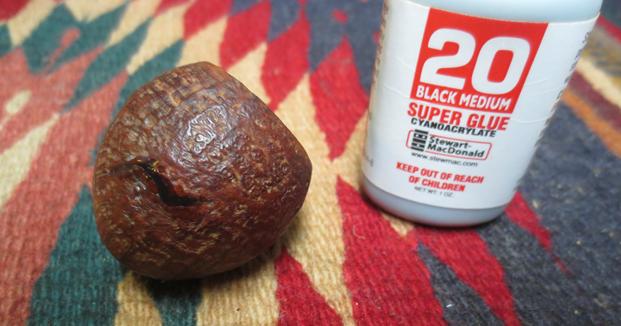
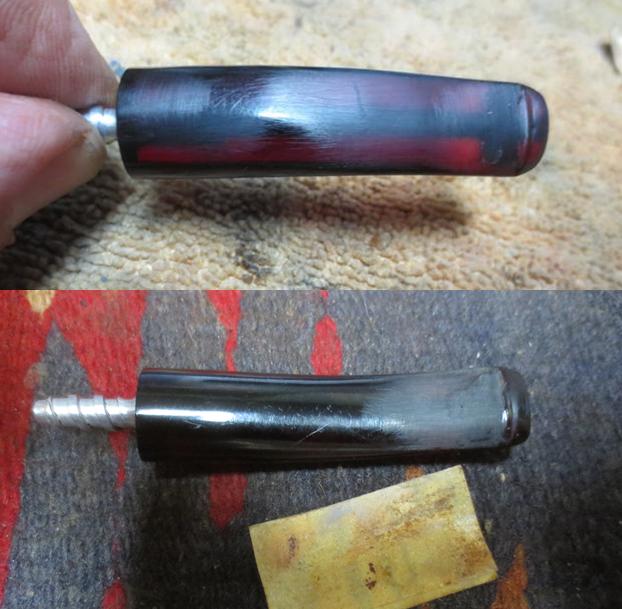
 While the glue set on the shank I set it aside and worked on the stem. I decided to repair the tooth marks on the top and bite-through on the underside of the stem. I put a pipe cleaner greased with Vaseline in the orific airway in the button and slide it under the bite-through. I mixed some Black and Amber super glue together and filled in the hole on the stem. I filled in the tooth marks on the top of the stem with clear super glue. I sprayed the stem surfaces with accelerator to speed up the hardening of the repair. I pulled the pipe cleaner out of the stem so that it would not stick in the airway.
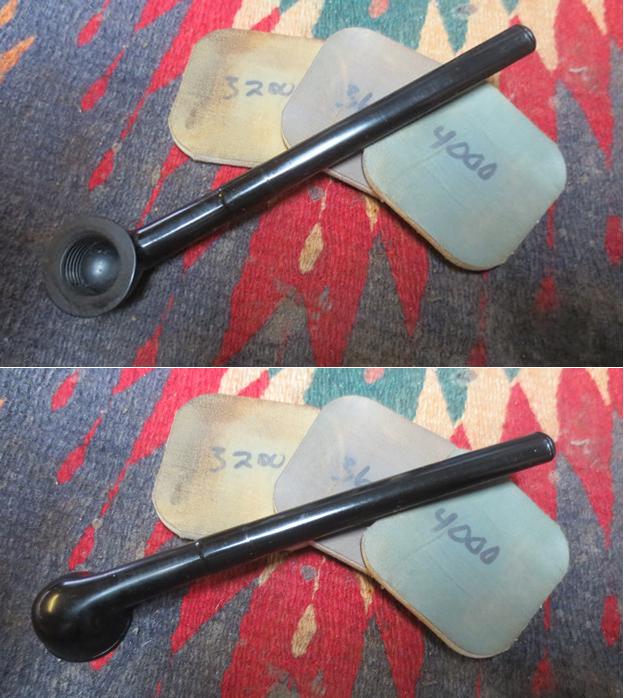
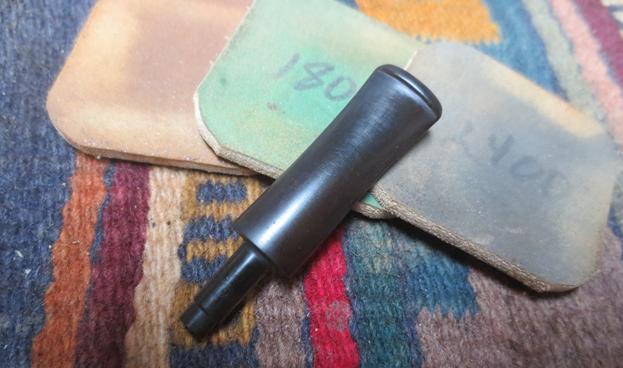
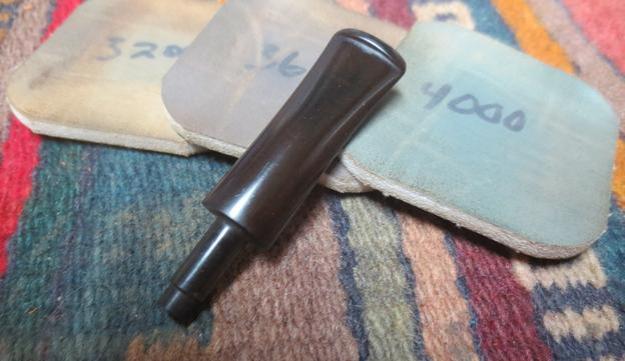
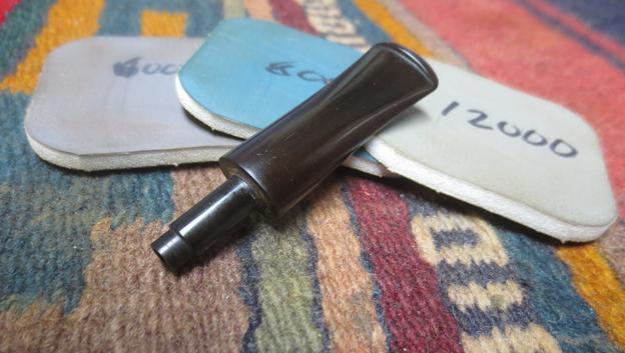
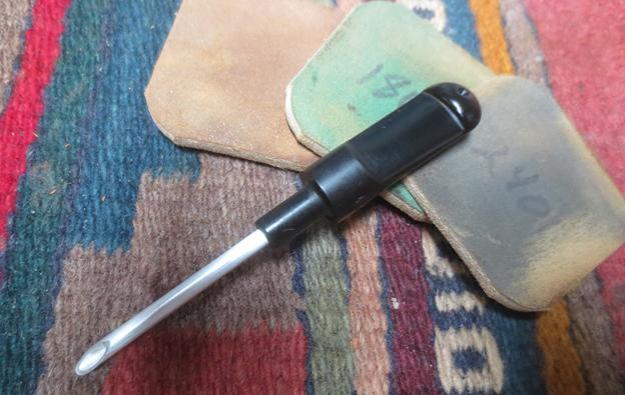
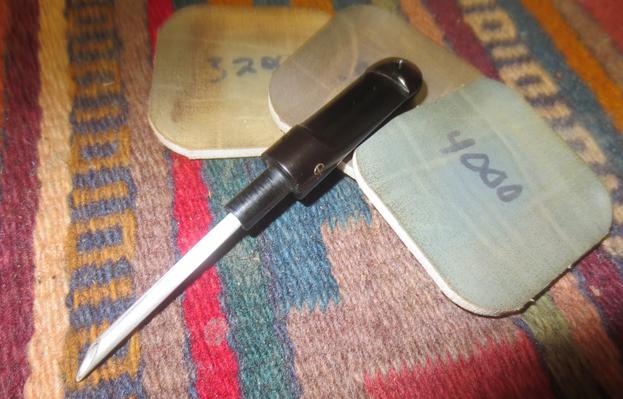
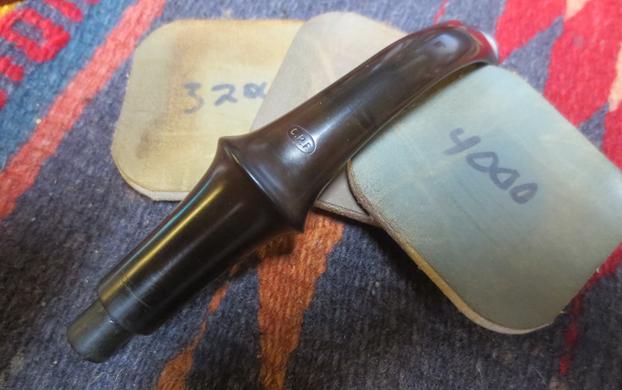
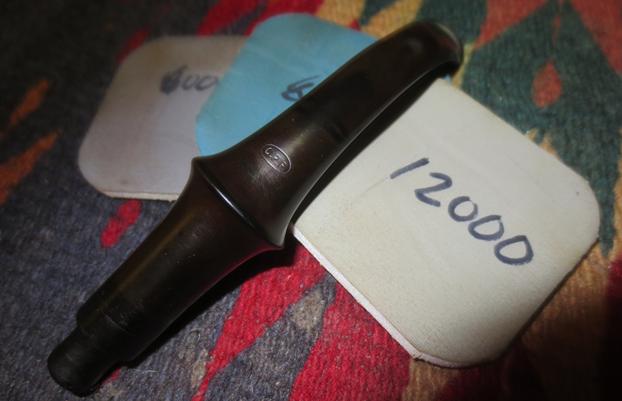
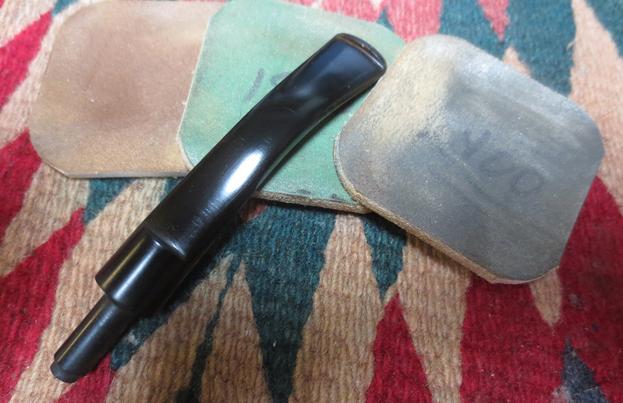
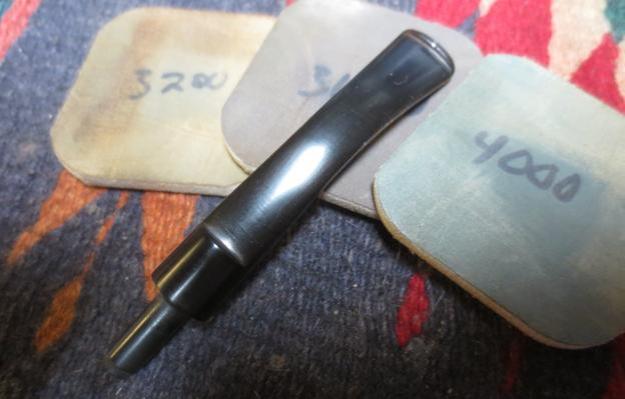
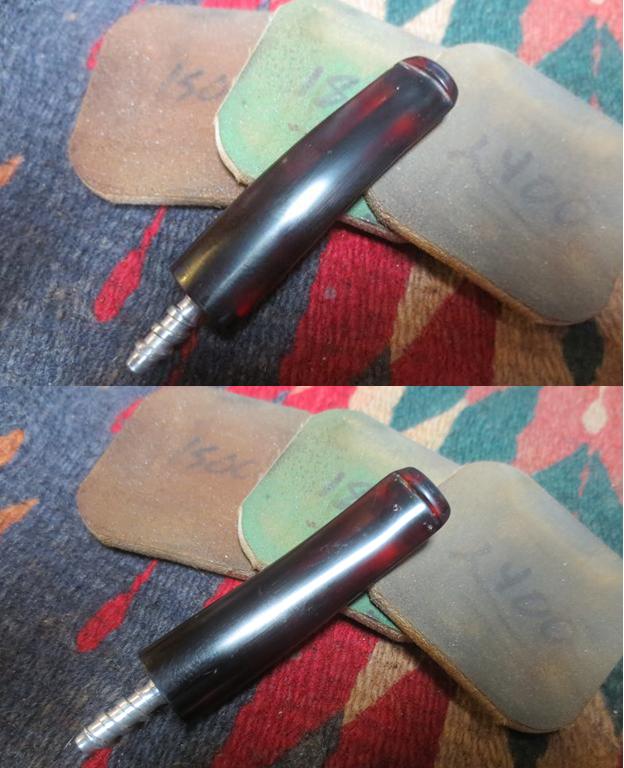
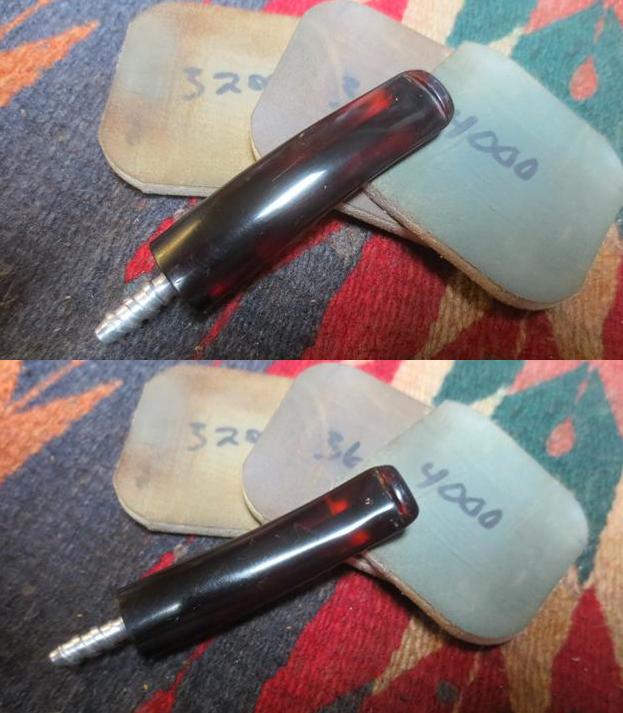
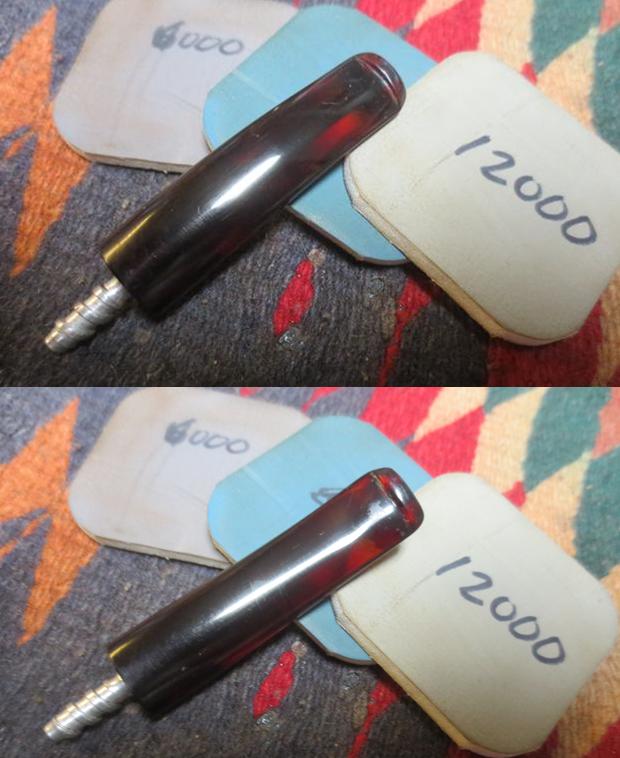
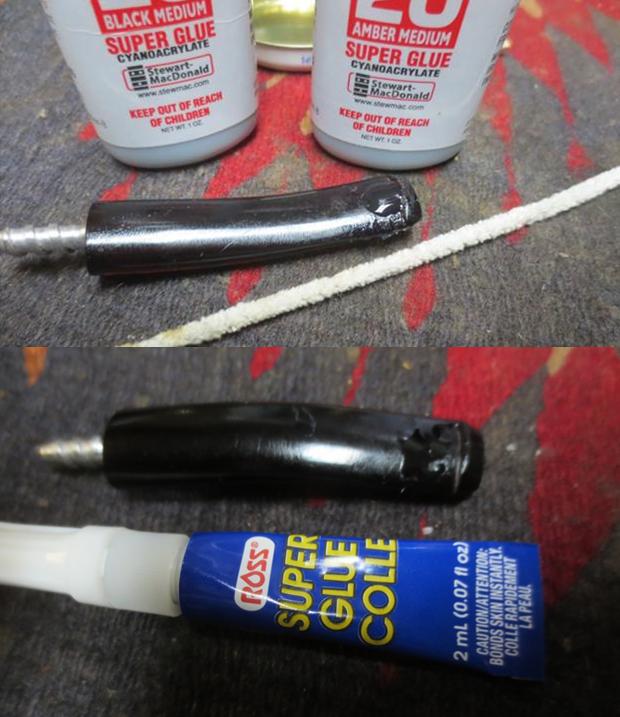 Once the repair hardened I used a needle file to reshape the sharp edge of the button and flatten out the surface of the stem on both sides. I sanded the cut on the top of the stem with 220 grit sandpaper until it was smooth. I sanded the rest of the stem and the repaired areas with the sandpaper until the repairs were blended into the surface of the stem sides. The mixture of super glue colours worked well with the reds of the Bakelite stem. I polished the repaired stem with micromesh sanding pads – wet sanding with 1500-2400 grit pads and dry sanding with 3200-12000 grit pads. I wiped the stem down with Obsidian Oil after each pad. I have found that it works well on the old Bakelite stems.
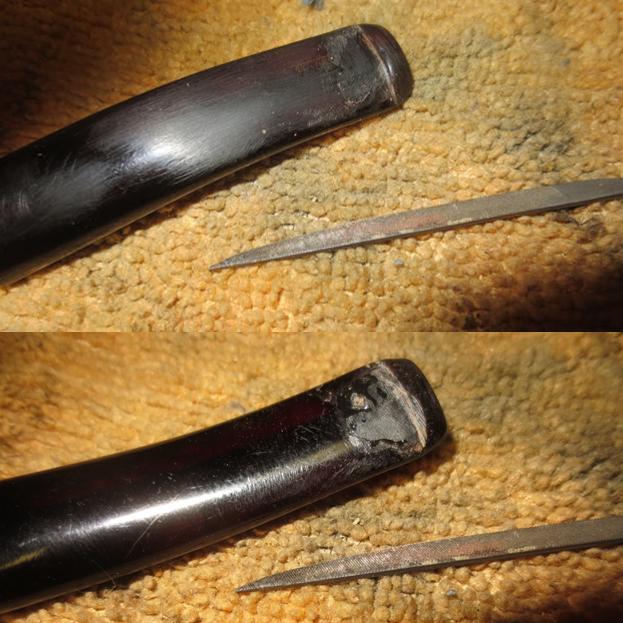
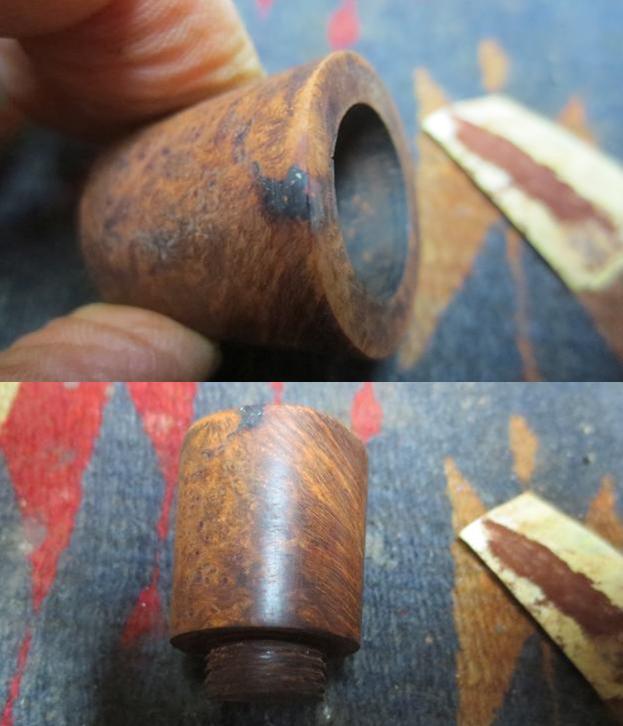
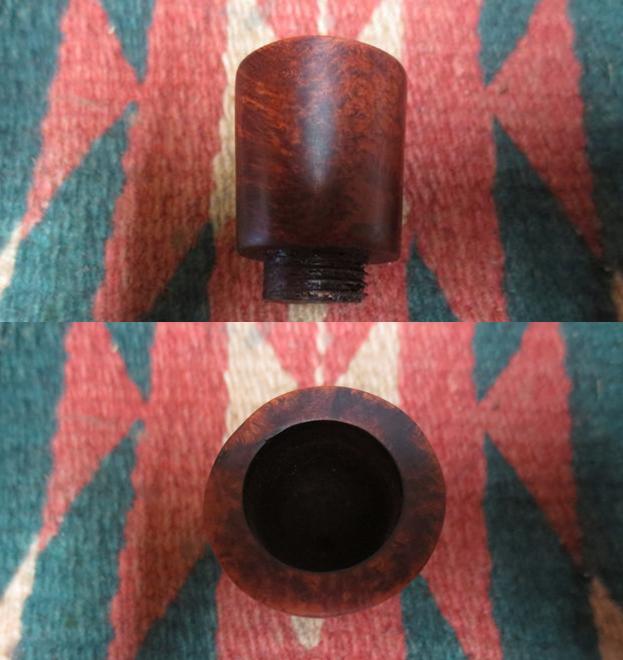
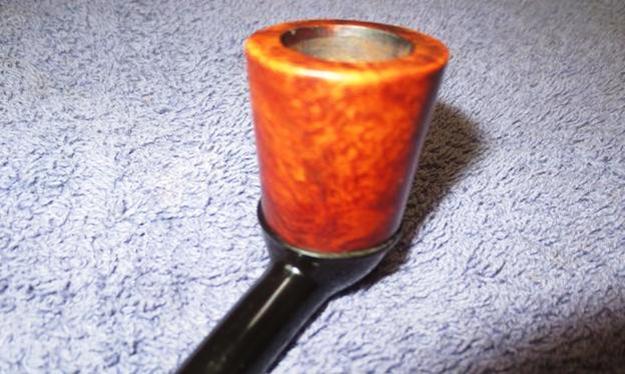
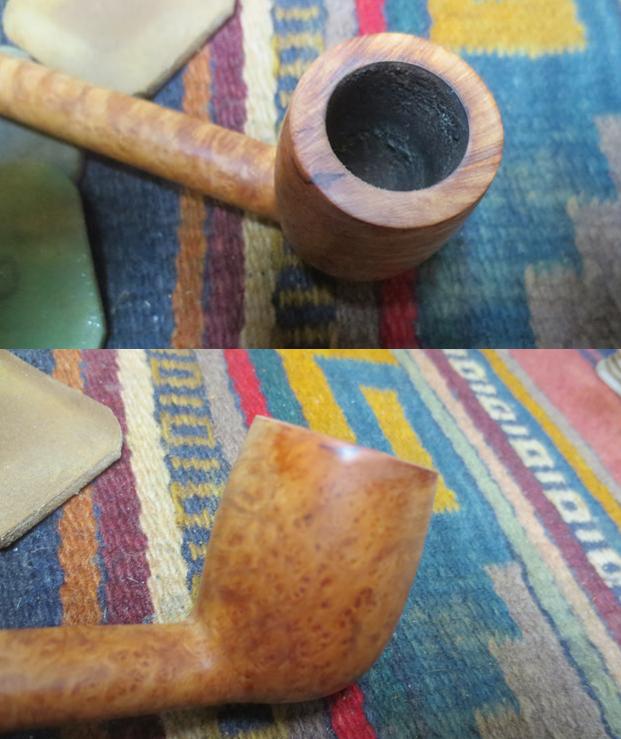
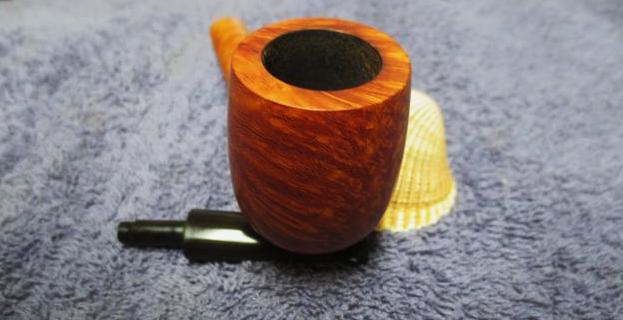
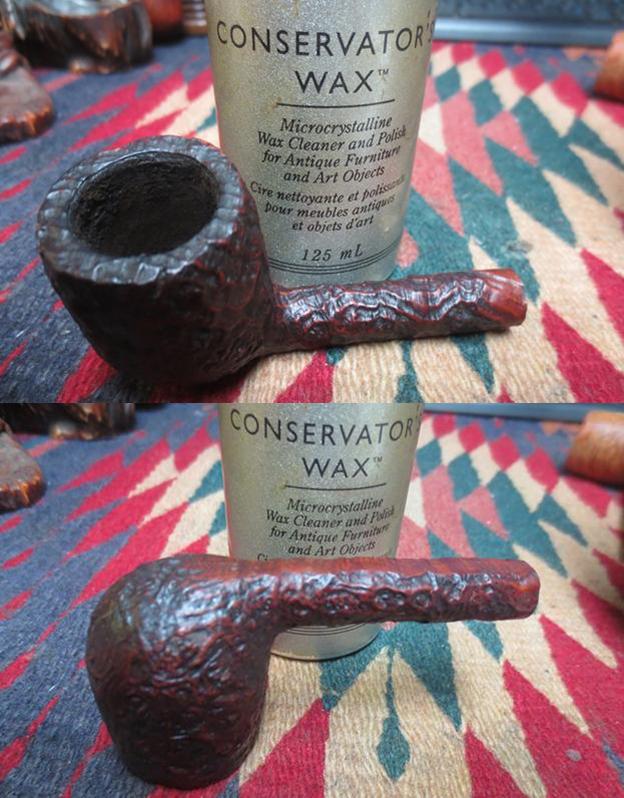
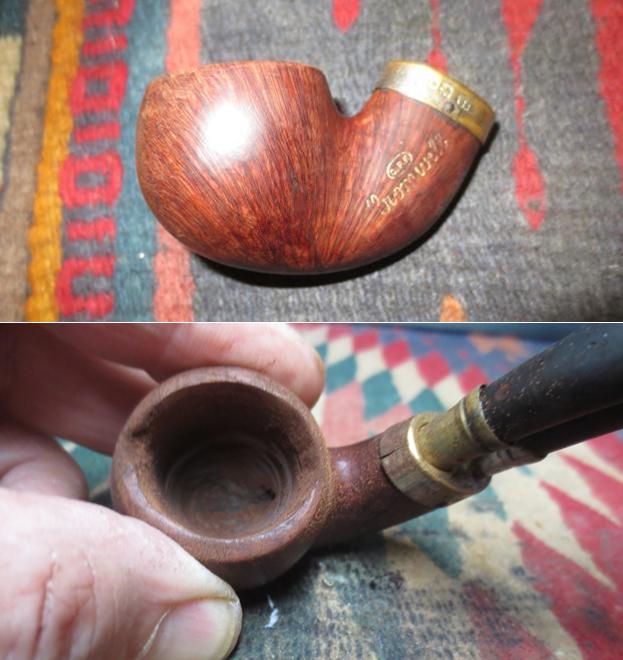
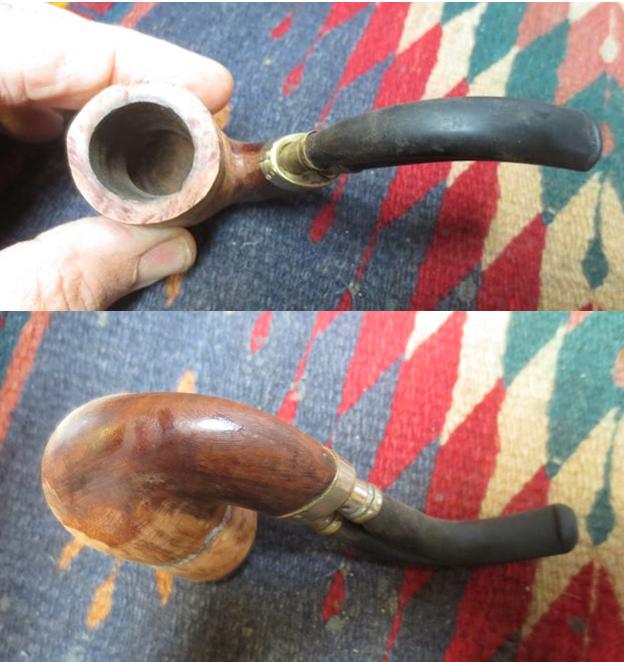
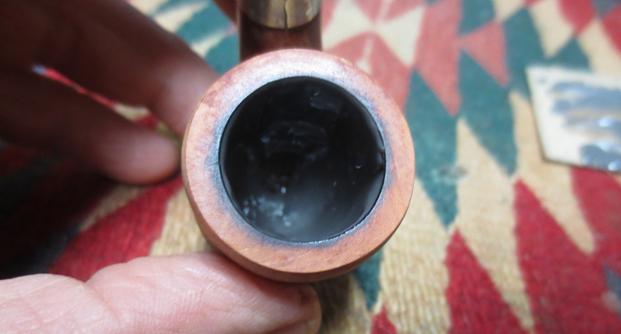
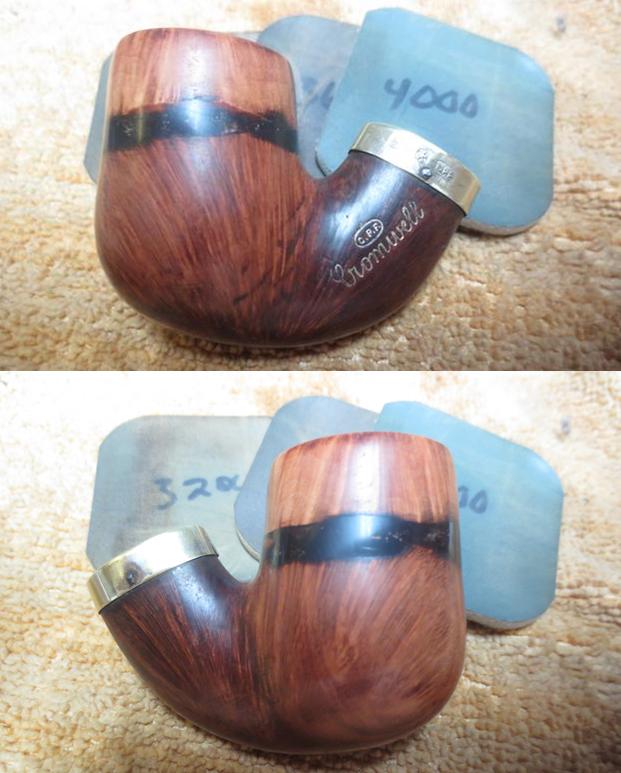
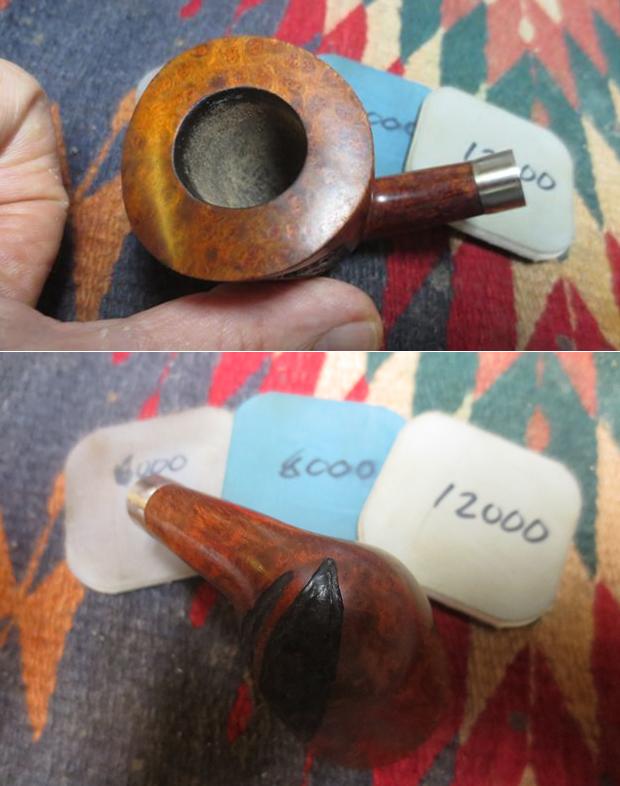
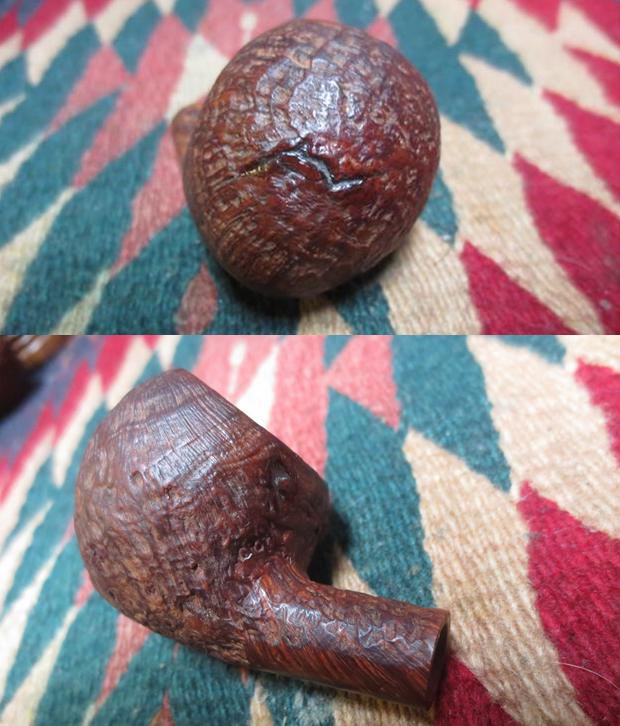
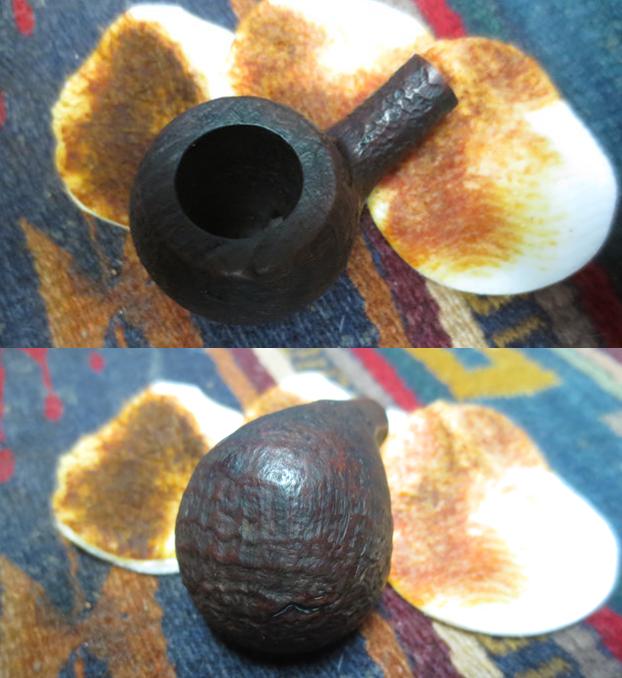
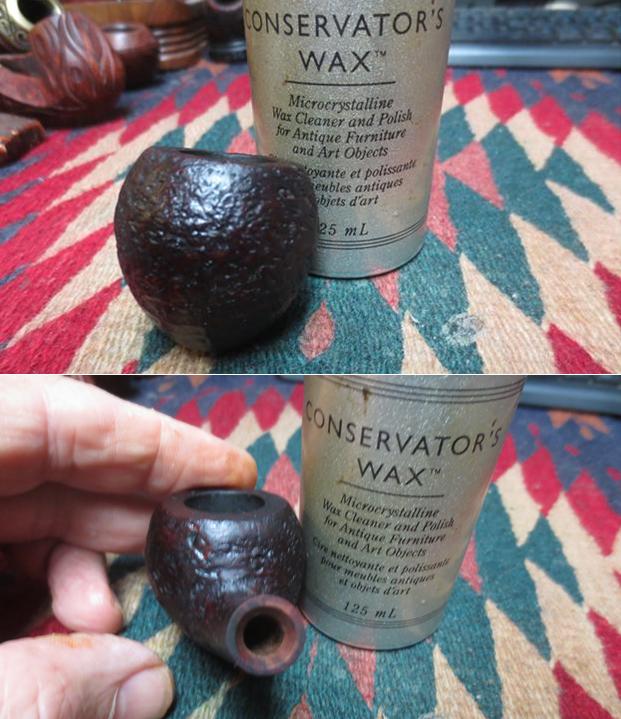
 With the stem finished and the glue set on the band I turned to work on the bowl. I used a folded piece of 220 grit sandpaper to rework the inner edge of the bowl. I sanded out the damaged edge of the bowl and reshaped it to make it round once again. I did not bevel it, but kept it smooth to match the original bowl. I used the Savinelli Fitsall Pipe Knife to clean up the reaming of the bowl and remove the remnants of cake that were left. I used a 1500 grit micromesh sanding pad to smooth out the sanded edge of the bowl. The last photo of the bowl shows the repaired inner edge of the bowl.
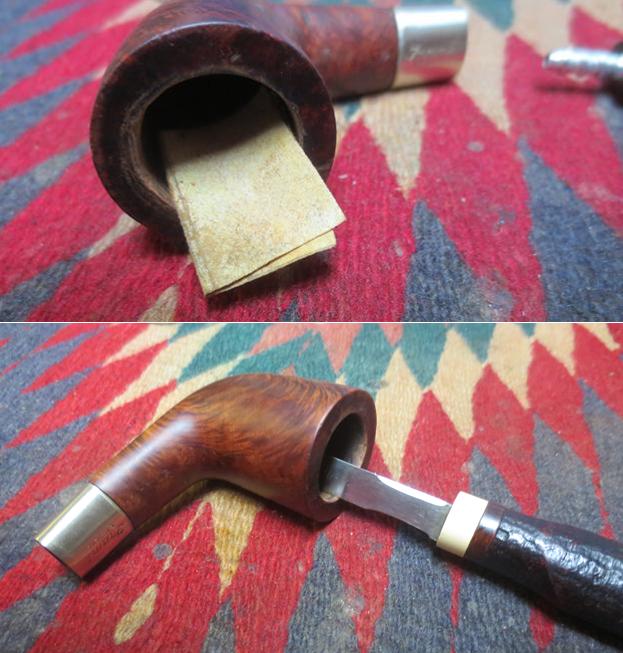
 I polished the bowl and rim with micromesh sanding pads – wet sanding with 1500-2400 grit pads and dry sanding with 3200-12000 grit pads. I wiped the bowl down with a soft cloth after each sanding pad.
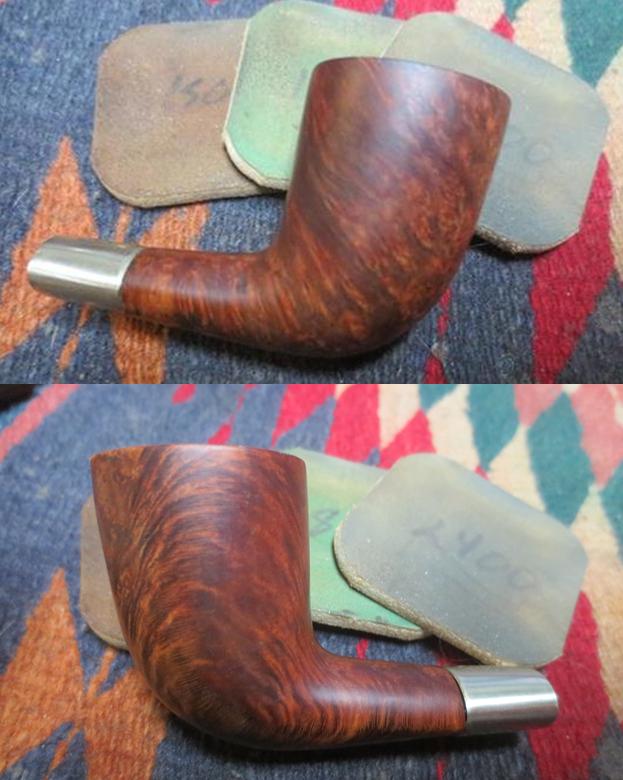
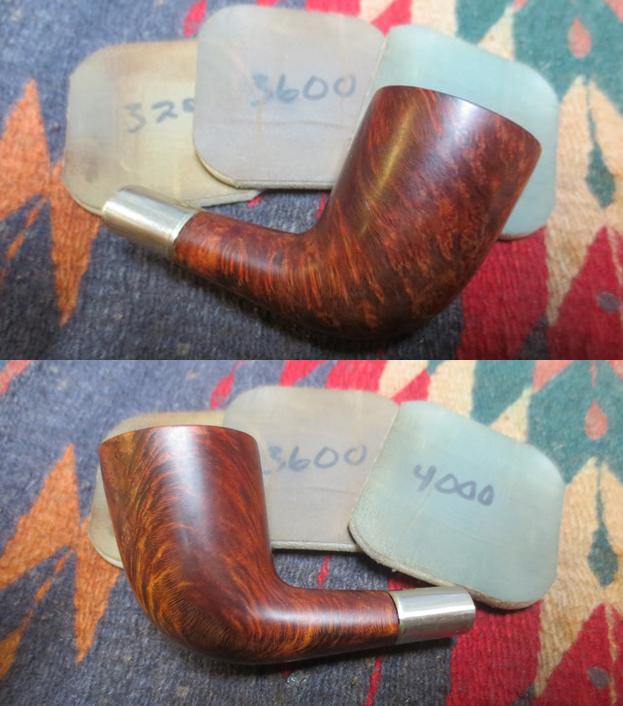
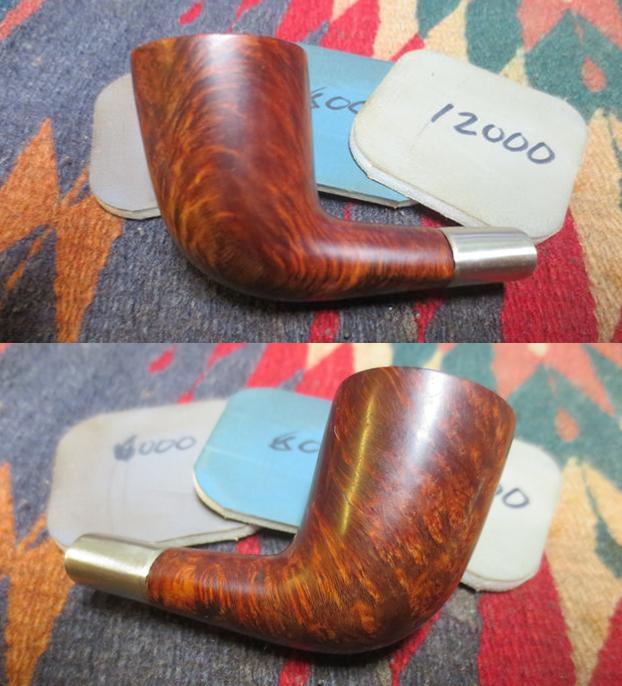
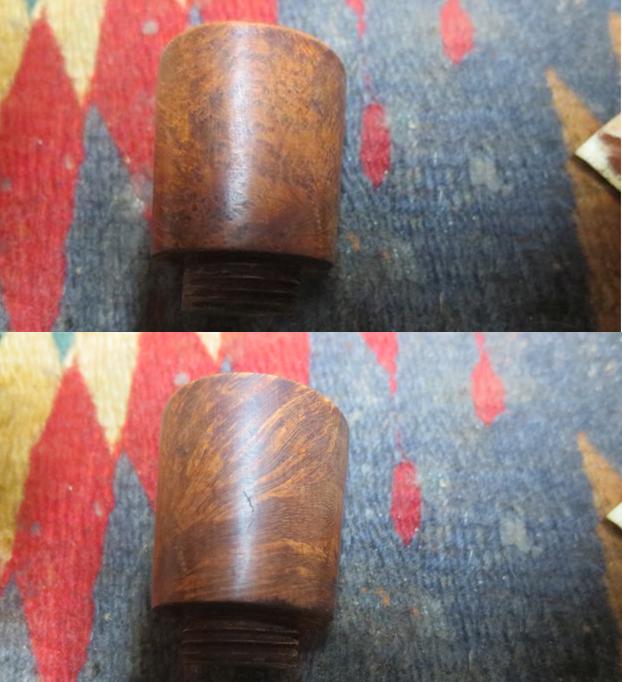
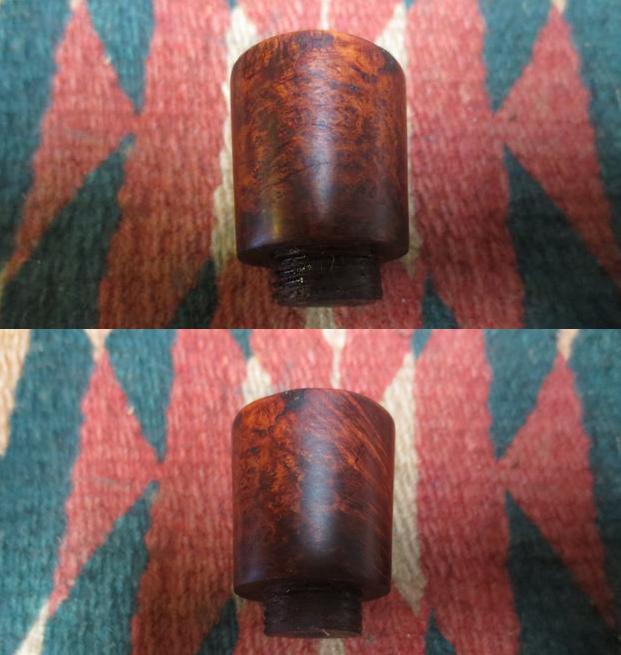
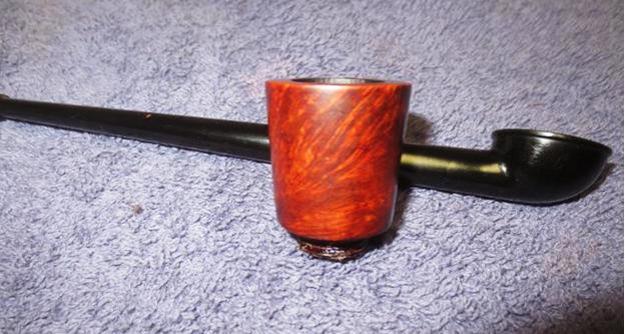
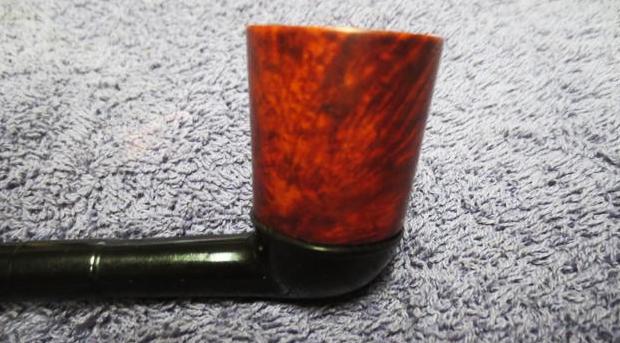
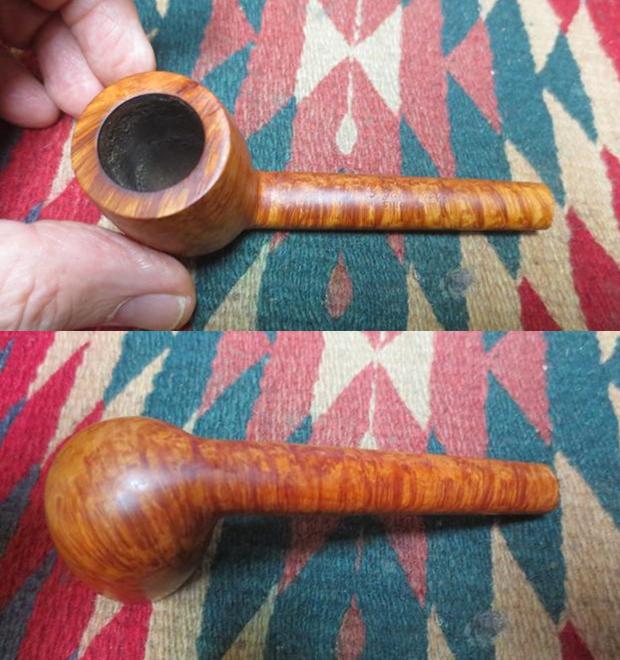
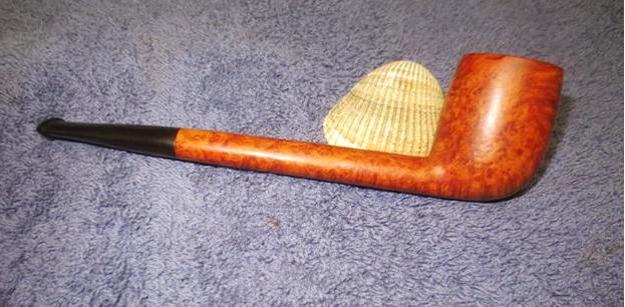
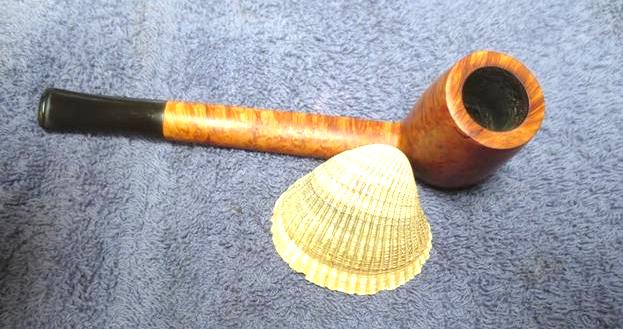
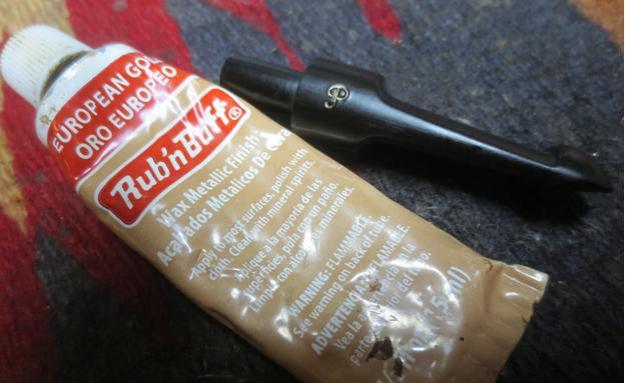
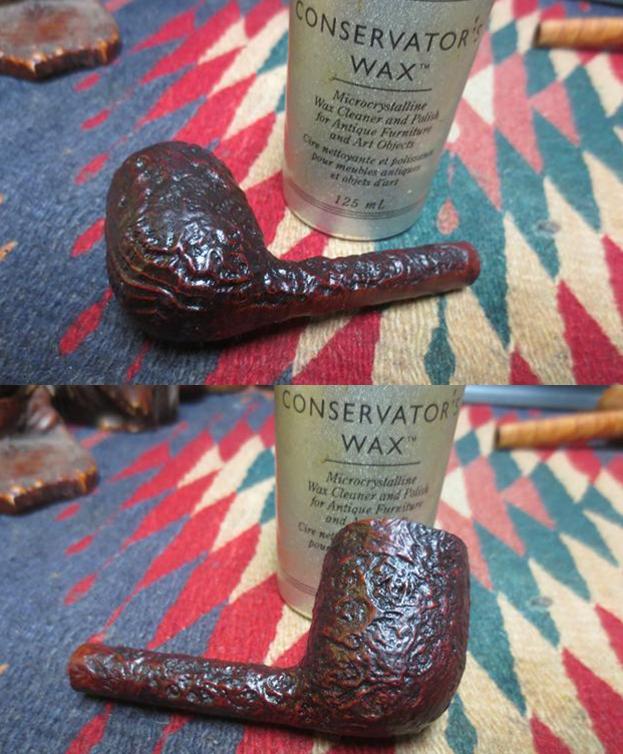
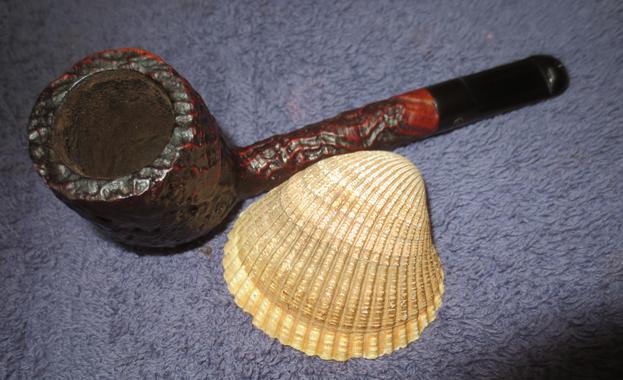
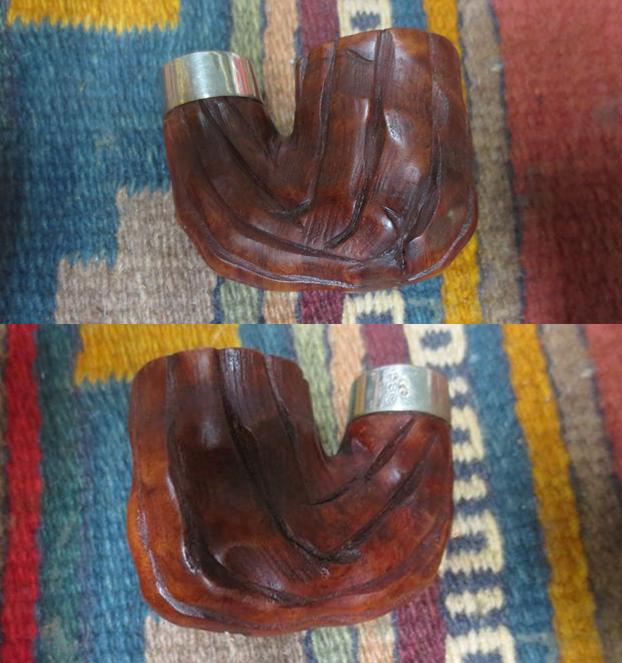
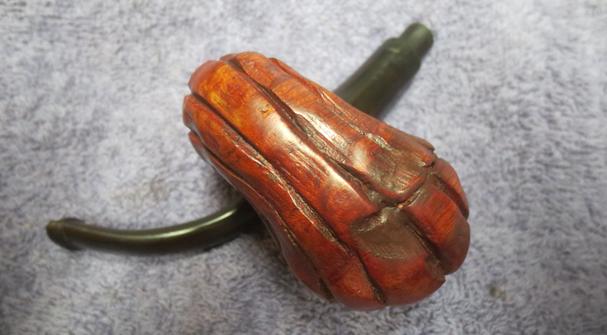
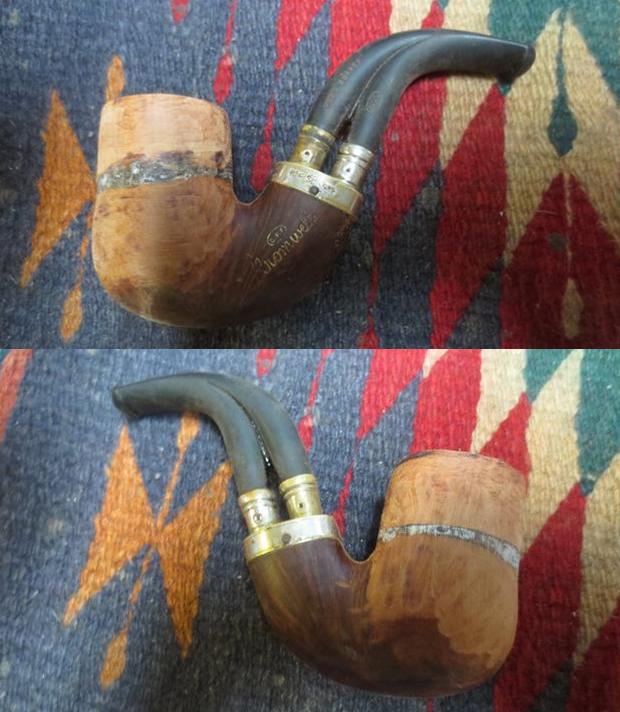
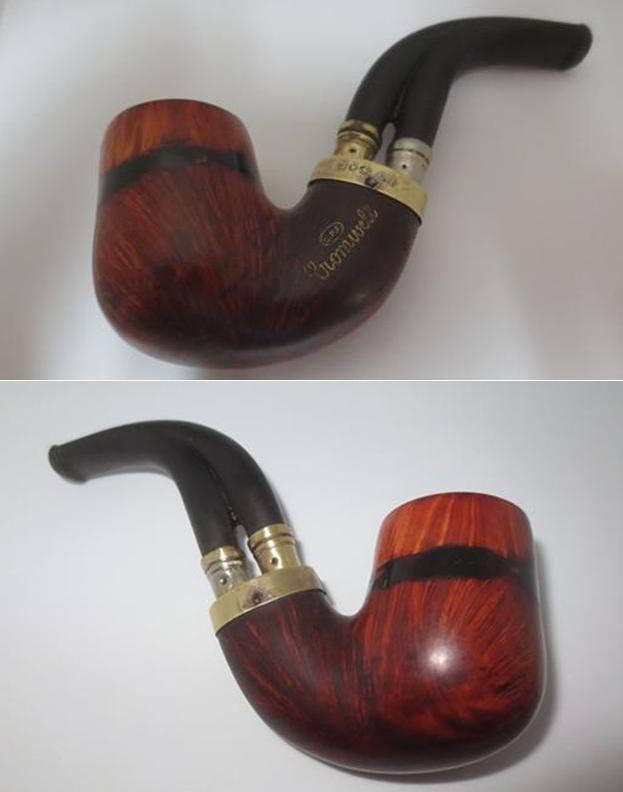
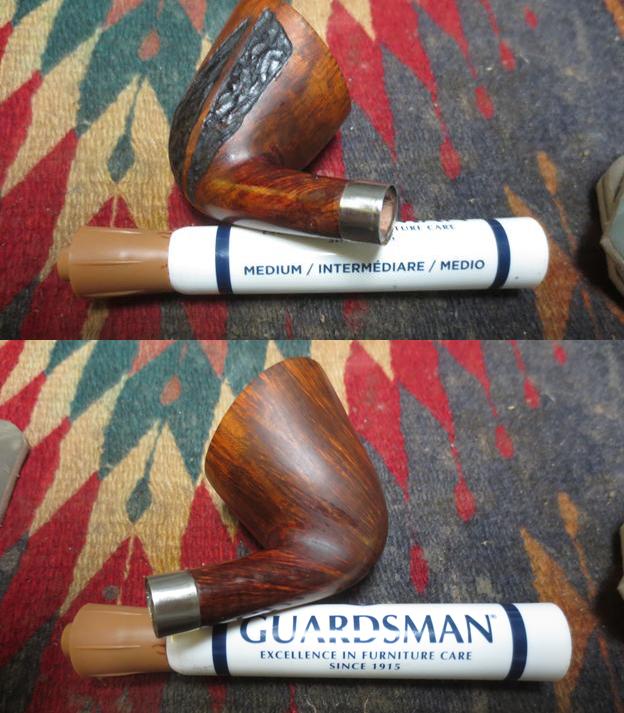
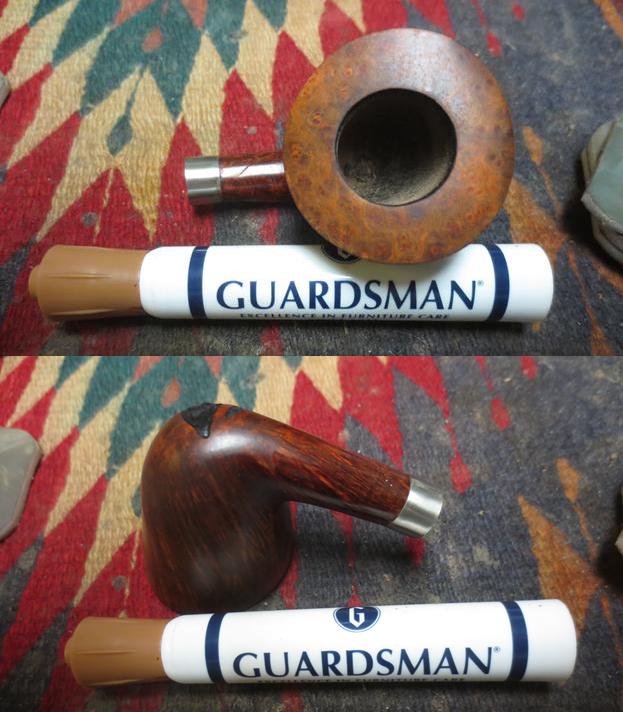
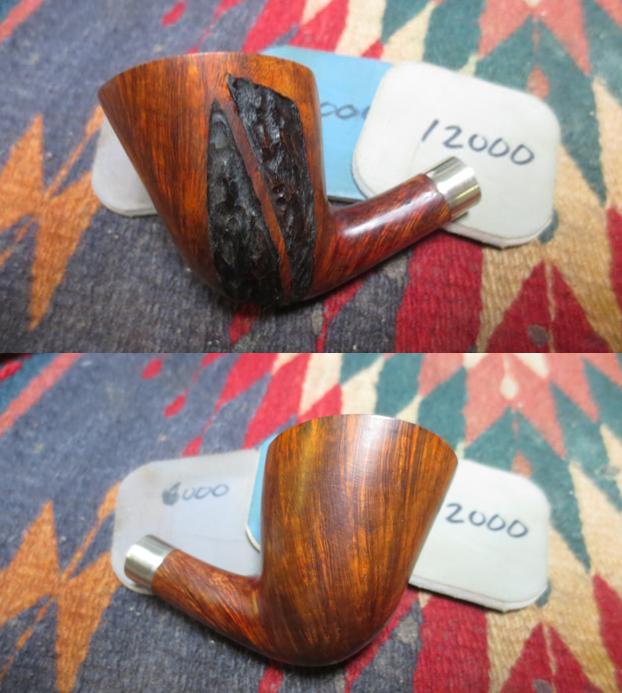
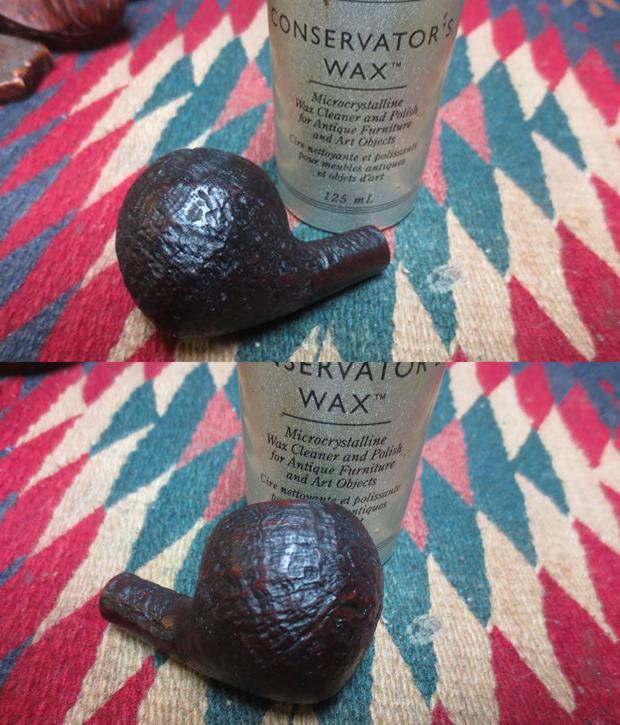
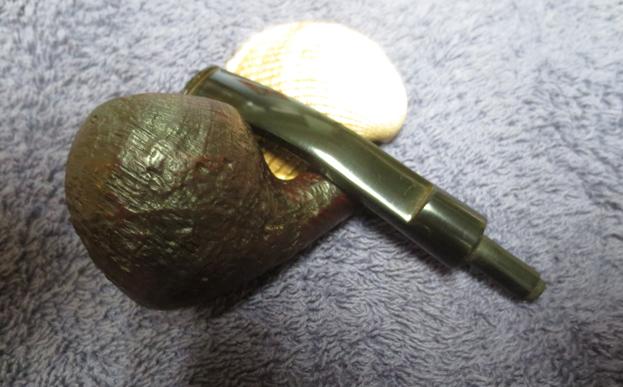
 I buffed the bowl with Blue Diamond on the buffing wheel and gave it multiple coats of carnauba wax. I buffed it with a clean buffing pad to raise the shine. I hand buffed it with a microfibre cloth to deepen the shine. I took photos of the bowl once I buffed it.
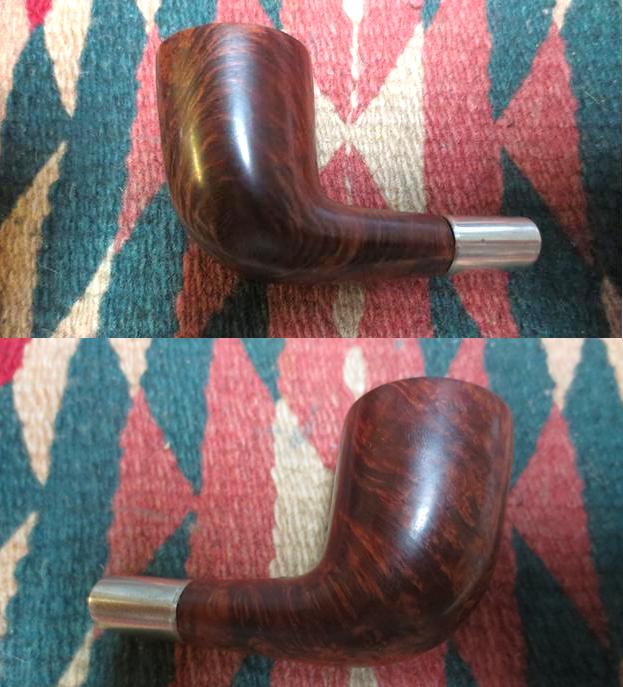
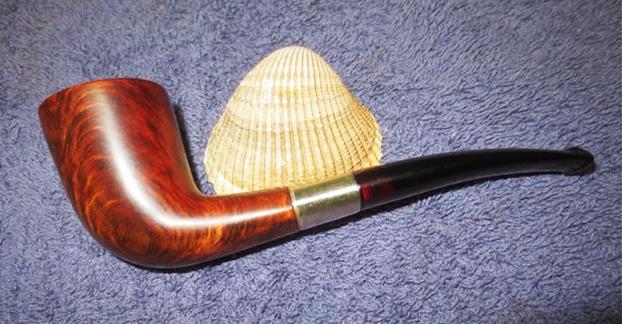
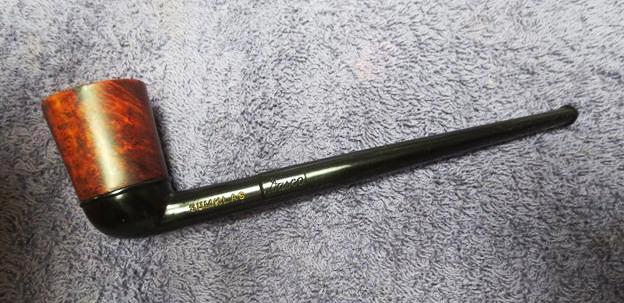
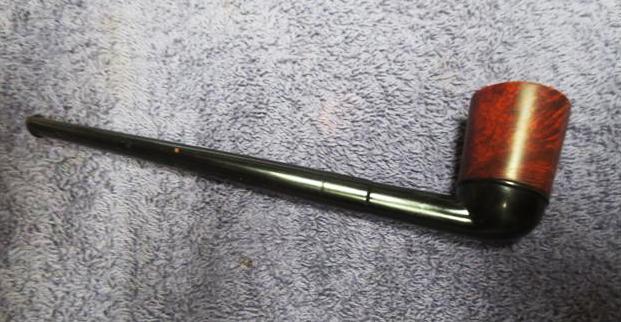
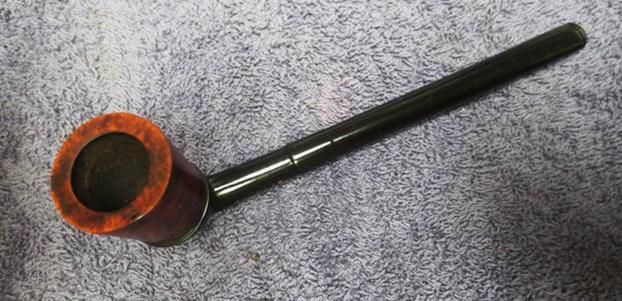
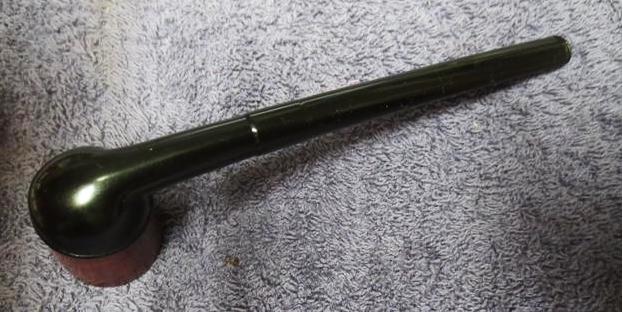
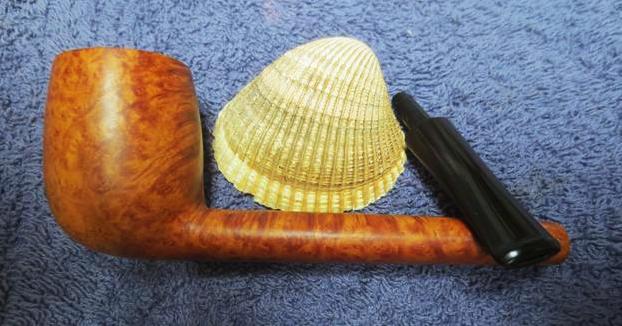
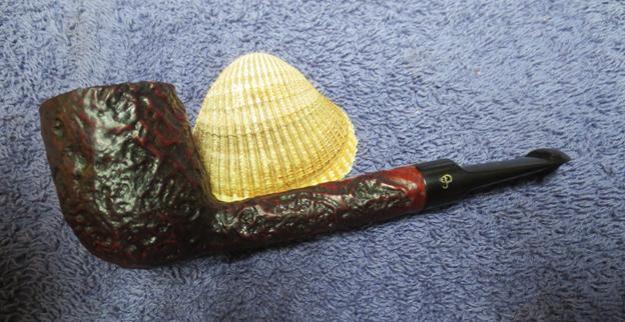
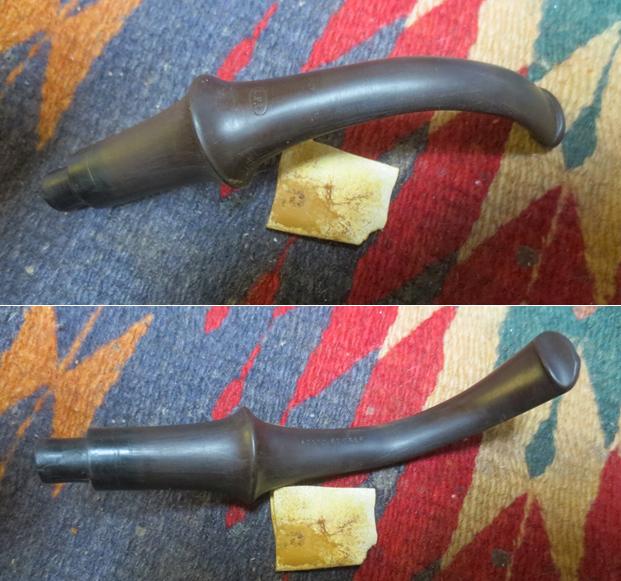
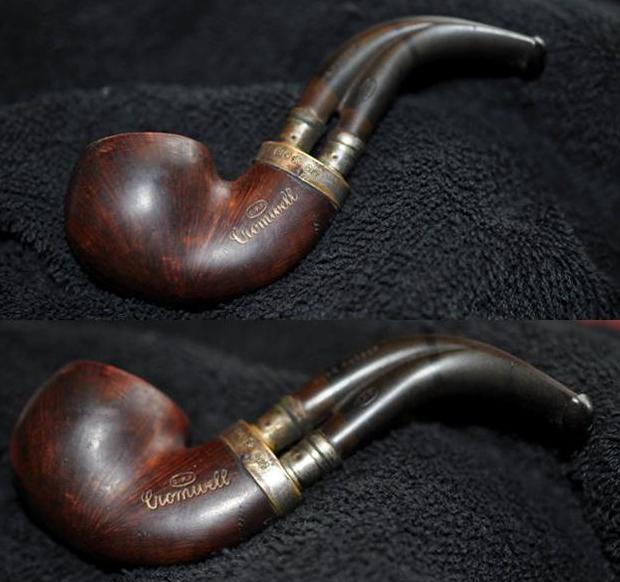
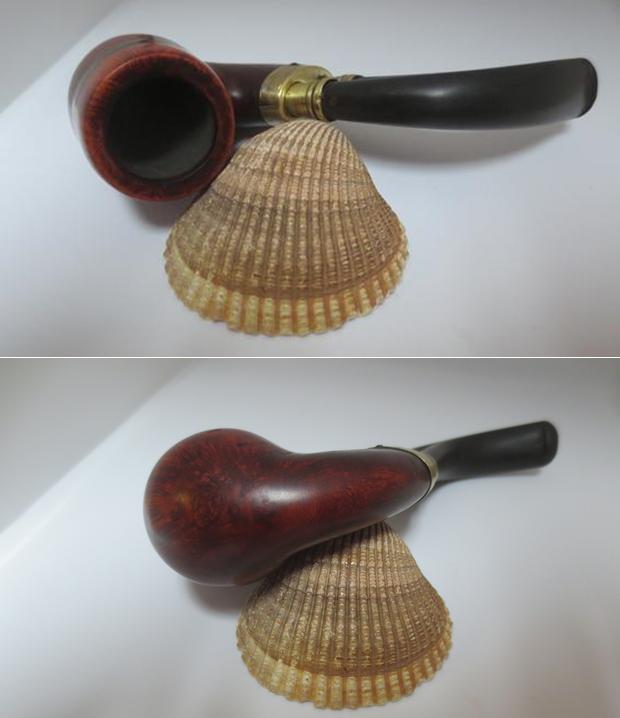
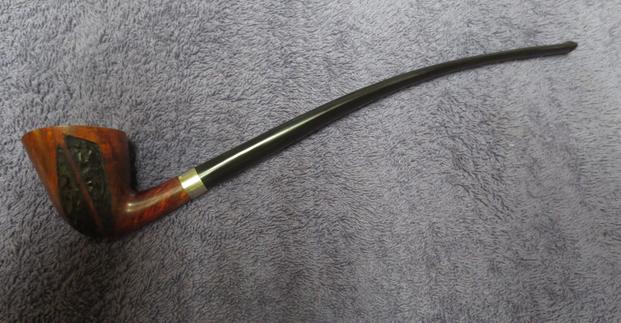
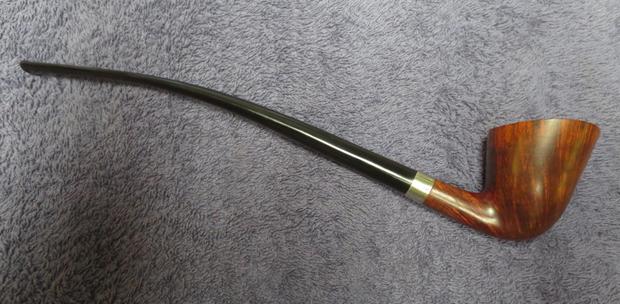
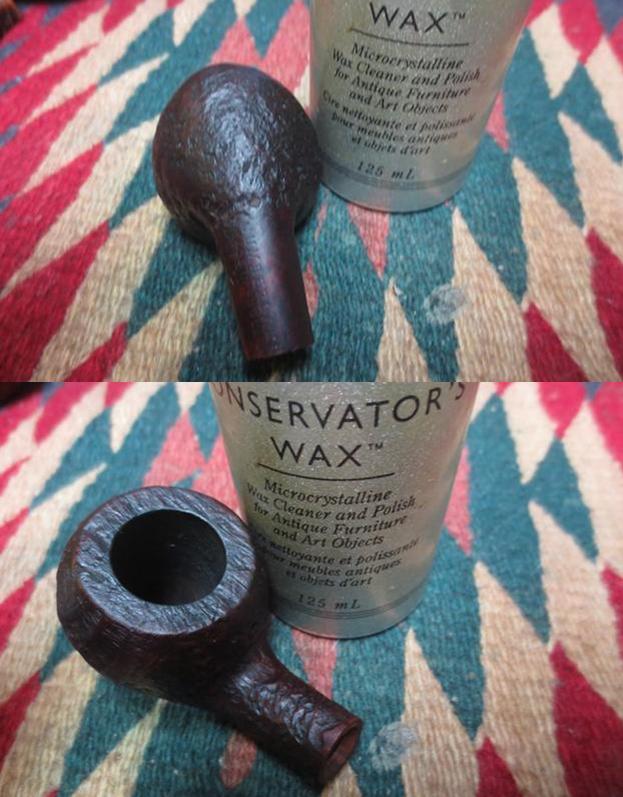
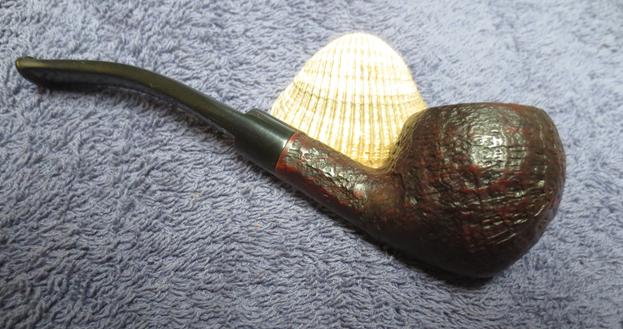
 I put the stem back on the bowl and buffed it with a carnauba wax buffing pad. I gave the stem and bowl several coats of wax. I was very careful to not push the stem to hard against the buffing wheel so that the Bakelite would not melt and cause more problems. I buffed it with a clean buffing pad to raise the shine. I hand buffed the pipe with a microfibre cloth to polish it deeper. The finished pipe is shown in the photos below. It turned out to be a pretty pipe. The Bakelite red stem and the grain and finish on the bowl went really well together. Thanks for following along with me on this refurbishing journey.