Blog by Steve Laug
The next pipe on the work table is a striking Stanwell Calabash pipe with sandblasted body and smooth capped rim. The sandblast has exposed some wonderful ring grain around the bowl. The smooth wide rim typical of the calabash shape is wonderful birds-eye grain. The brass collar ring contrasts nicely with the dark stain of the sandblast shank. The gold crown S logo on the left side of the saddle stem combines with the other parts of the pipe to give this one a classic look. My brother Jeff found this Stanwell in an antique shop in Astoria, Oregon. It was on consignment by a widow who was selling her pipe collector husband’s collection. He bought a few of the pipes from her consignment and this is the second one that I have worked on. The first one was also a Stanwell – it was a shape 180 that was designed by Tom Eltang that I wrote about in an earlier blog (https://rebornpipes.com/2016/12/14/a-shape-you-gotta-love-a-stanwell-majestic-180/).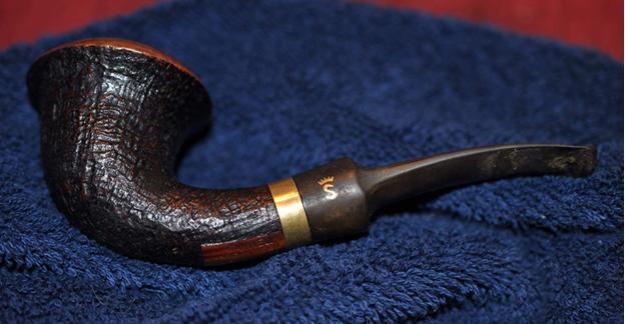 The finish on the sandblast portion was in great shape – just dirty with grit and grime. The rim cap however was another story. It had the overflow onto the top of the thick cake that was in the bowl. There was also some darkening of the inner edge of the rim. The brass band and the brass crown S logo on the stem were also dull and lifeless due to tarnishing. The stem was oxidized and had a buildup of calcification on both sides near the button. There were tooth marks and chatter on both sides of the stem and on the button. The slot in the button was nearly closed off with a thick tar.
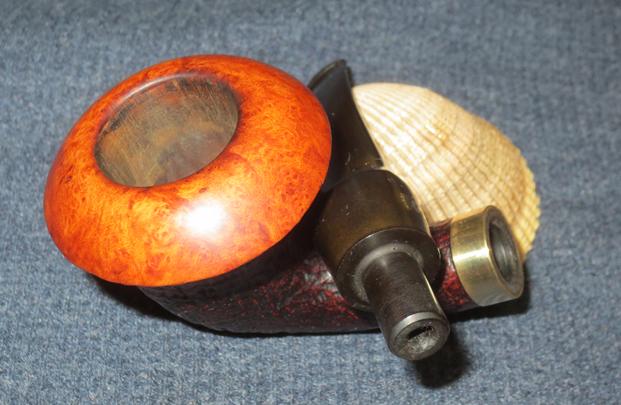
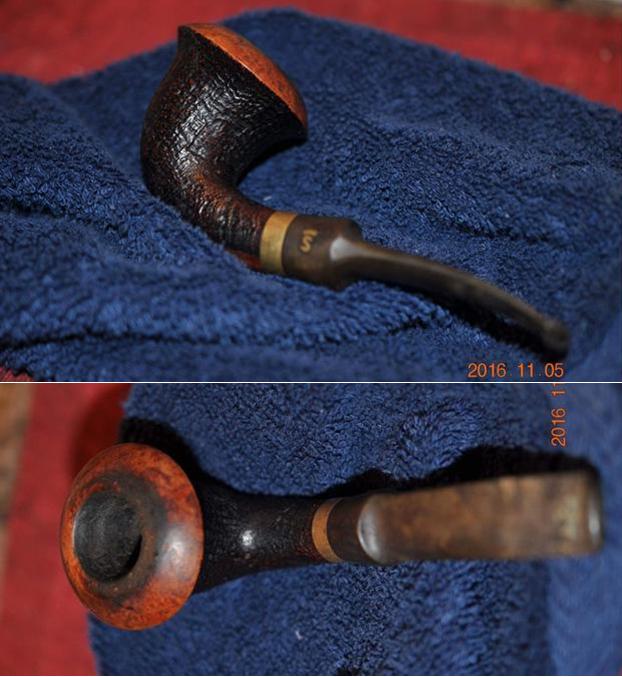 My brother took two close up photos of the rim cap to show the condition of the inside of the bowl and the cap itself. There was a thick coat of tars and oils that is visible flowing over the back side of the cap. There were also several dings and dents in the cape itself though there was some nice birds-eye grain showing through the grime.
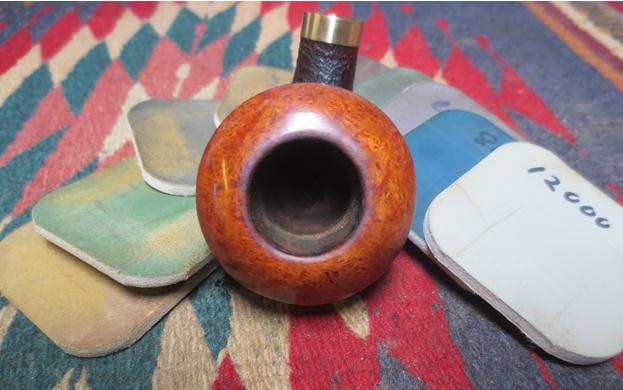
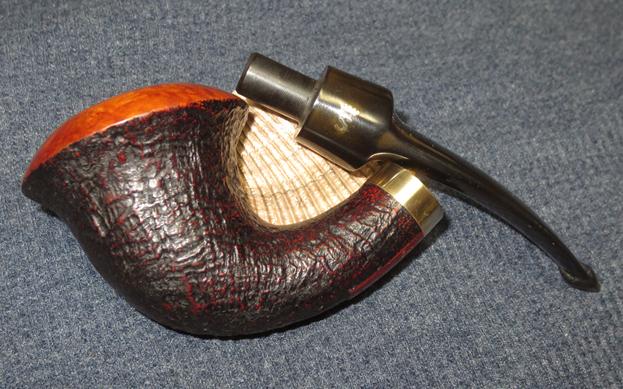
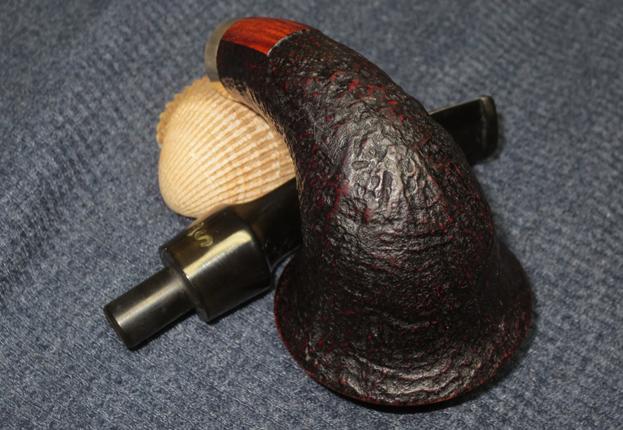
 He also took a photo of the bowl bottom side up. The lovely bell shape of the pipe is visible from this view from the front.
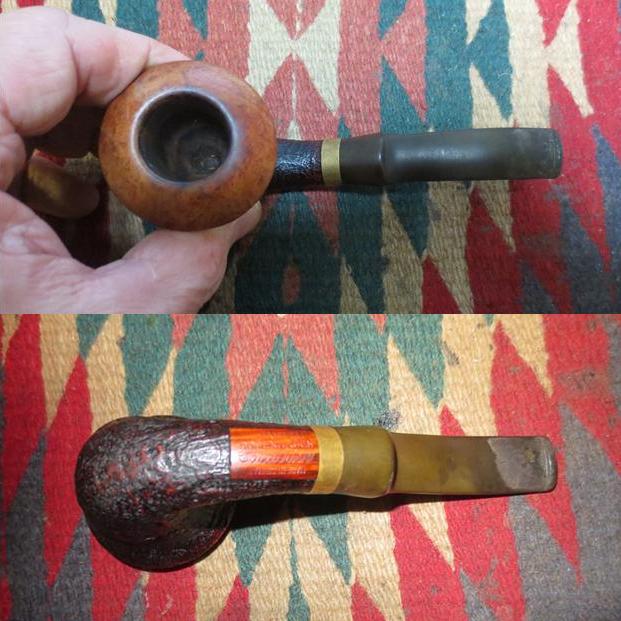
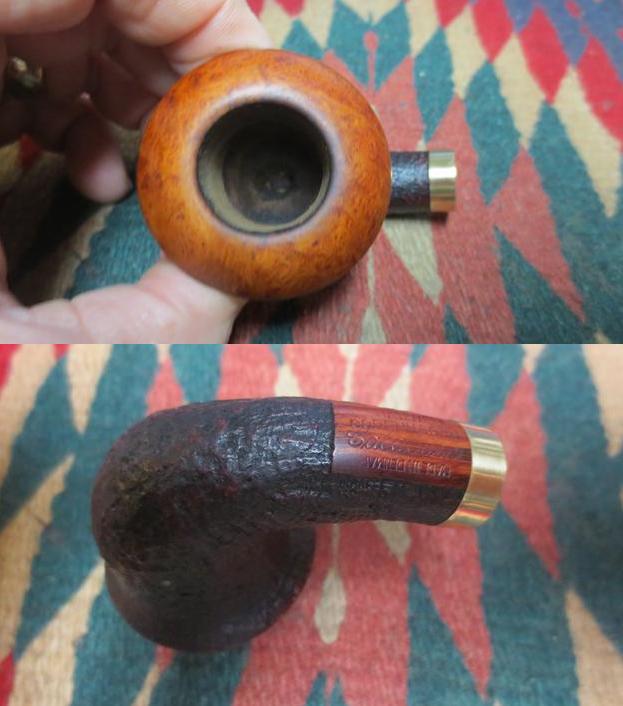
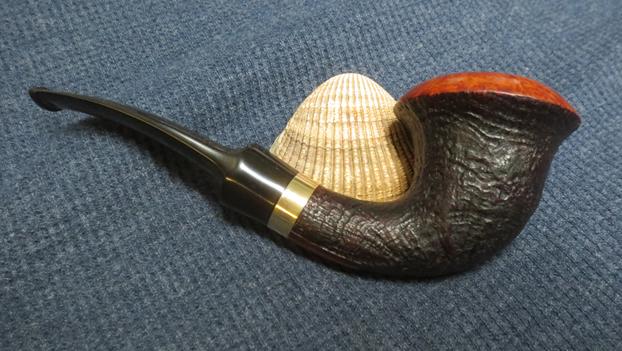
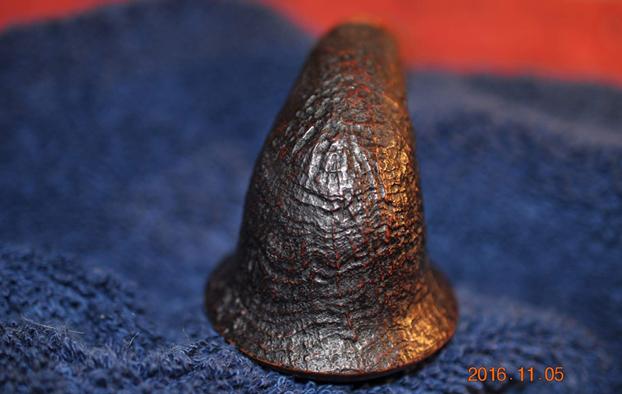 The side view of the band and the shank/stem union shows that the connection is tight and clean. There is nothing wrong that a little polishing on the band and some elbow grease to remove the oxidation on the stem won’t take care of. The second photo below shows the stamping on the underside of the shank. It is very sharp and readable. It has the Stanwell stamp over Copenhagen over Calabash in script (it appears to have been double stamped). Beneath that it reads Made in Denmark (it is upside down in orientation to the rest of the stamping).
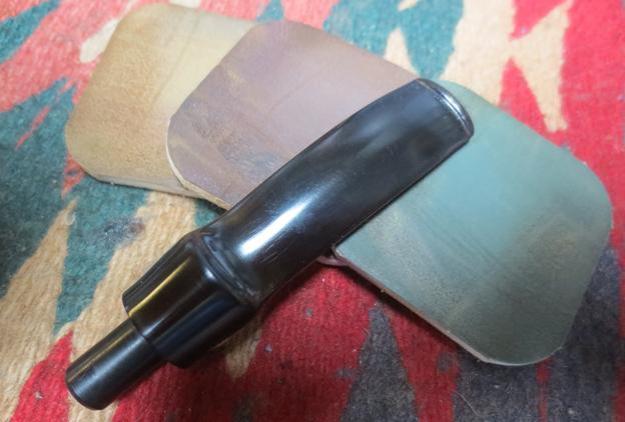
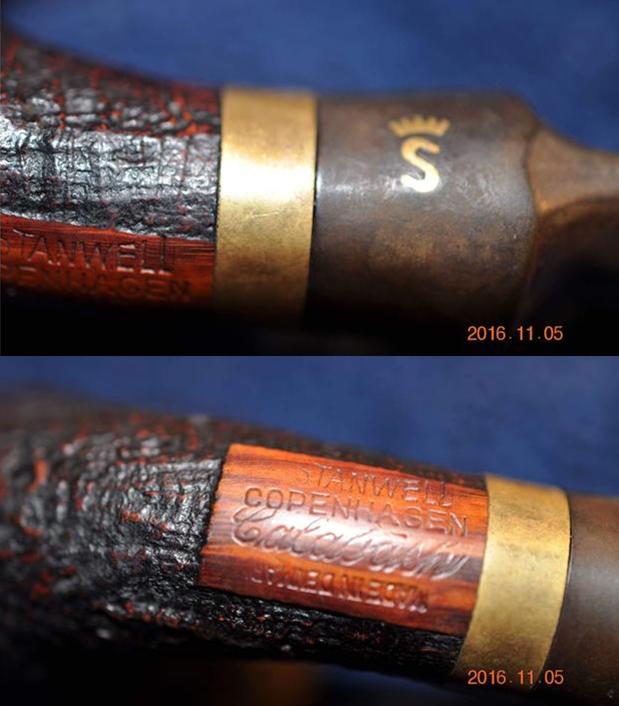 The next photos show the condition of the stem. You can see the tooth marks on the stem itself and the damage marks against the button on both sides. The calcification on the stem may have come for a Softee bit that the original owner had on the stem to protect it from more bite marks.
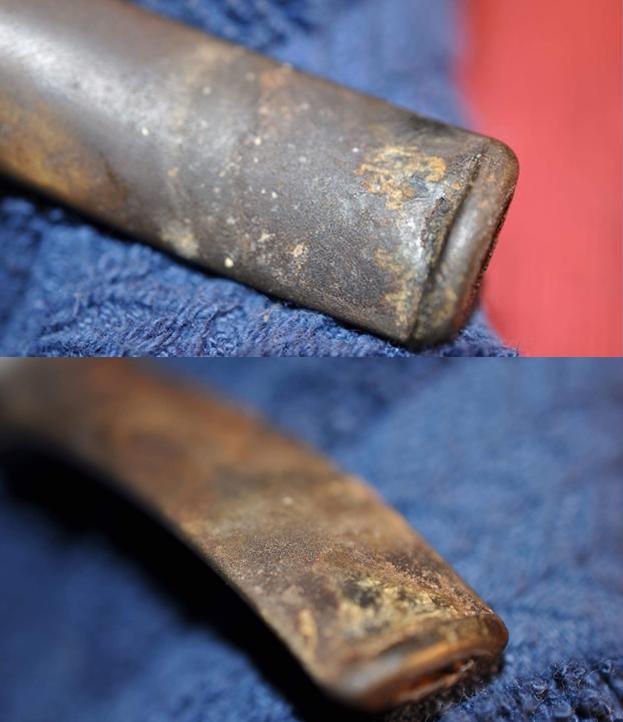 My brother Jeff again did a magnificent job cleaning up the pipe. He was able to get the grim out of the grooves and the majority of the buildup off the rim. He reamed and cleaned the interior of the pipe and stem with alcohol, cotton swabs and pipe cleaners. I took the following photos to show the condition of the pipe when I received. It was on its way to being clean.
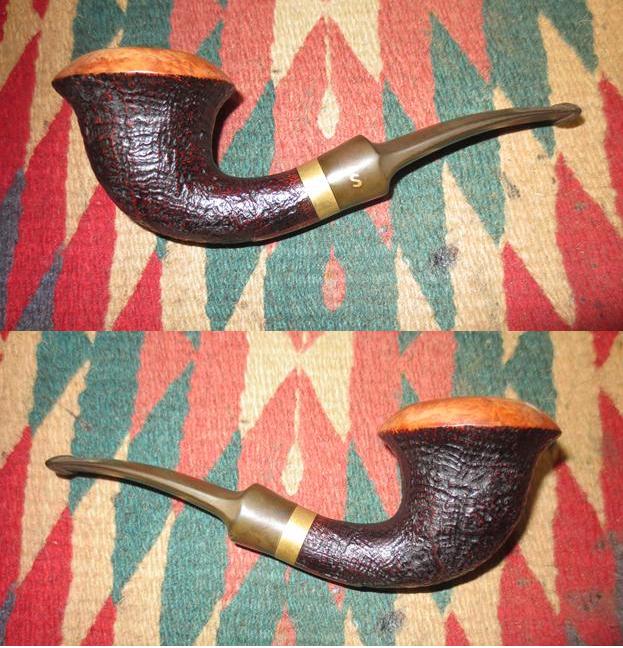
 I took a close up photo of the rim to show how much of the tars and oils he removed. It is pretty clean. There was some darkening on the inner edge of the rim on the back side that would need to be dealt with.
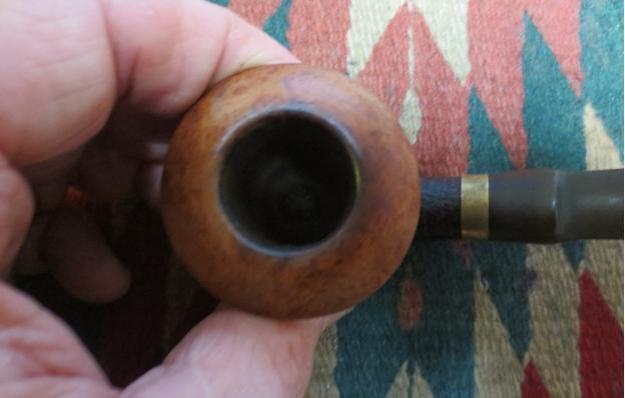 He also removed much of the calcification on the stem and some of the debris on the surface of both sides. The photos also show the tooth marks and chatter that was on the stem.
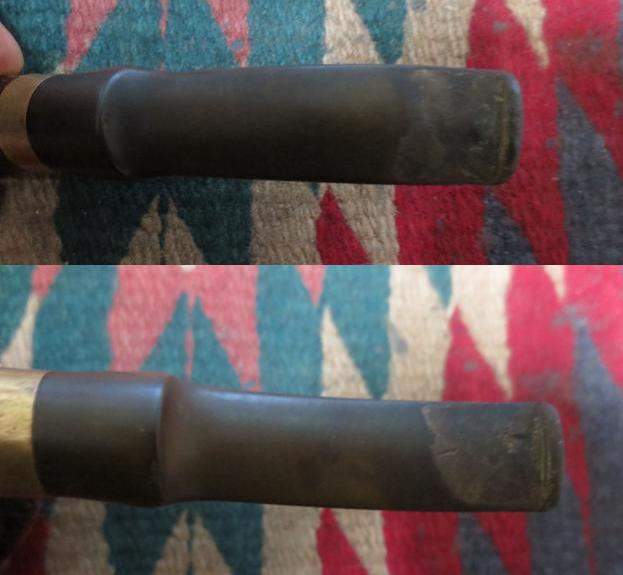 I sanded the stem to remove the rest of the debris and calcification and then wiped the stem down with alcohol on a cotton pad. I cleaned out the tooth marks with cotton swabs and alcohol and then filled them in with black super glue. I set the stem aside to let the repairs dry.
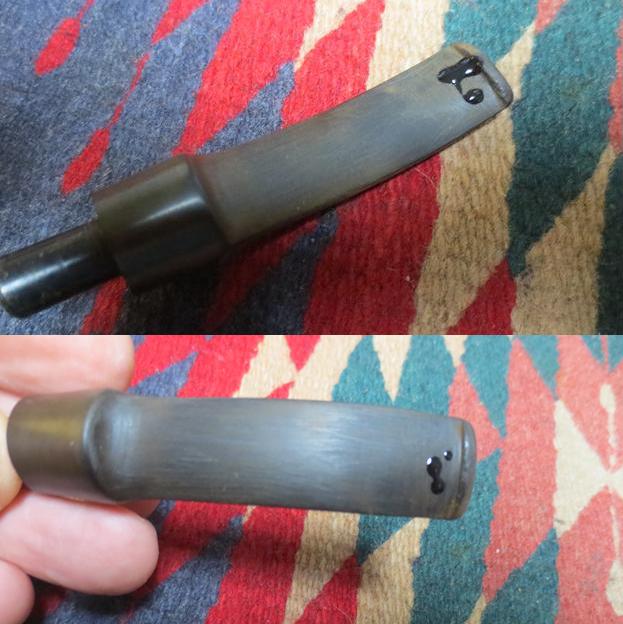 I sanded the inner edge of the bowl with 220 grit sandpaper to remove the darkening and then worked over the rim with 1500-1800 micromesh sanding pads to clean up the inner edge and begin polishing the rim cap. You can see the grain on the cap begin to pop and reveal the beautiful birds-eye grain.
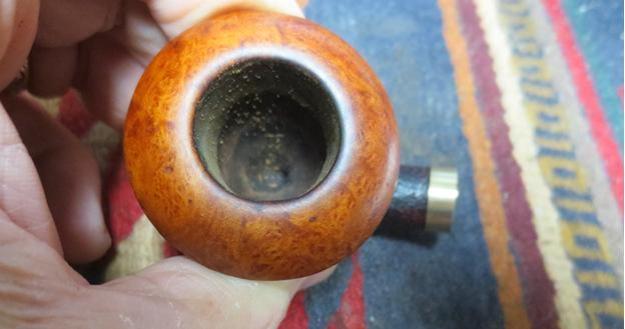 When the glue had cured I sanded the patches smooth, blending them in with the surface of the stem using 220 grit sandpaper. I sanded the entire stem to work on more of the oxidation that was present on the surface. The photos below tell the story of the repairs and sanding to this point in the process.
 I polished the bowl rim with 3200-12000 grit micromesh sanding pads and gave the sandblast bowl several coats of Conservator’s Wax. I buffed it with the shoe brush to raise the shine. The photos below show the bowl at this point.
 I touched up the stain on the rim with a dark brown stain pen. I buffed it with a microfibre cloth and then polished it with micromesh sanding pads using 1500-12000 grit pads to polish and raise a shine.
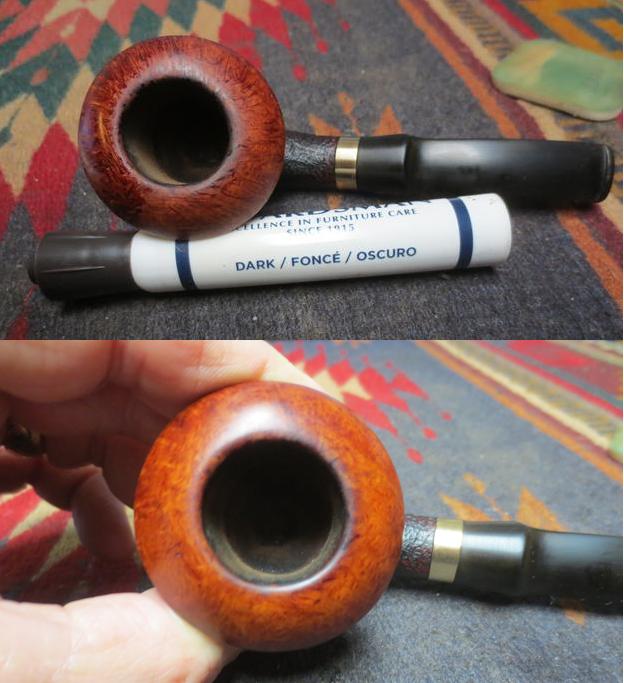
 I probably should have done this earlier in the process but my brother has been doing such a good job in his cleaning that I honestly forgot. I decided to give the internals of the stem and the mortise and shank a quick cleanup with pipe cleaners, cotton swabs and alcohol.
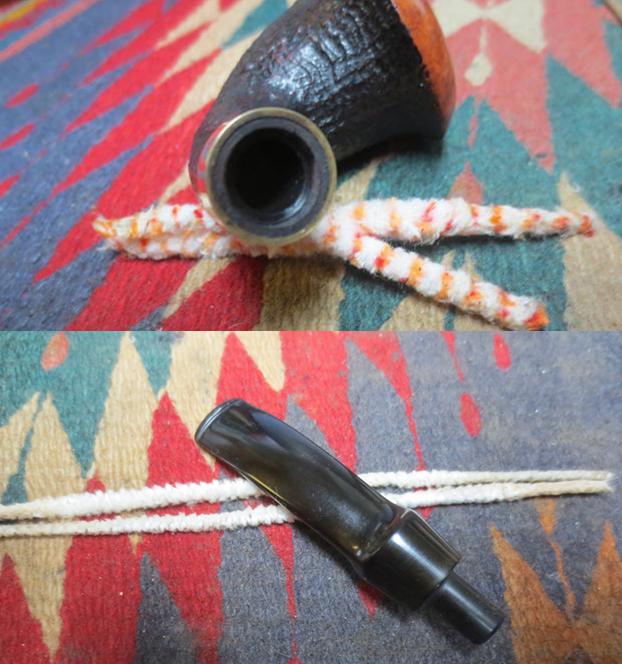 I polished the stem with micromesh sanding pads – wet sanding it with 1500-2400 grit pads and dry sanding it with 3200-15000 grit pads. I rubbed the stem down with Obsidian Oil after each set of three pads. I gave it the last coat of oil and set it aside to dry.
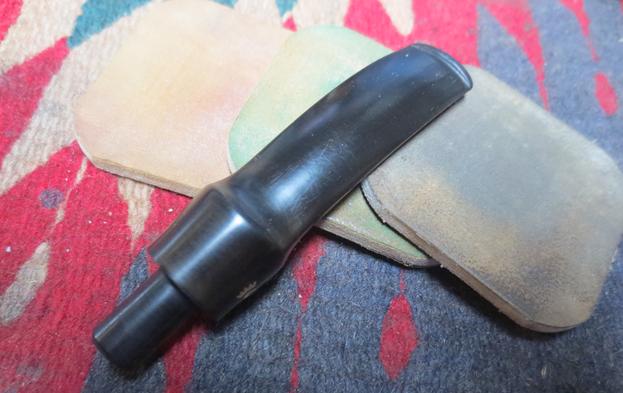
 I polished the pipe and stem with Blue Diamond on the buffing wheel avoiding the sandblast portions of the bowl. I did not want to get the polishing compound in the grooves of the sandblast. It would be hard to get out of the grooves. I gave the sandblast portion several coats of Conservator’s Wax and buffed it with a shoe brush. I gave the stem and rim several coats of carnauba wax and buffed the entire pipe a clean buffing pad to raise the shine. I hand buffed it with a microfiber cloth. The finished pipe is shown in the photos below. It has come a long way from the pipe I started on in the first photos above. It is a classic looking calabash pipe with a great contrast between the smooth briar, the sandblast briar, the gold band and the vulcanite stem. (The brass is so shiny now that it is hard to get the vulcanite not to reflect the brass colour. In person the oxidation is gone and the stem is shiny black.) Thanks for walking through the process with me.
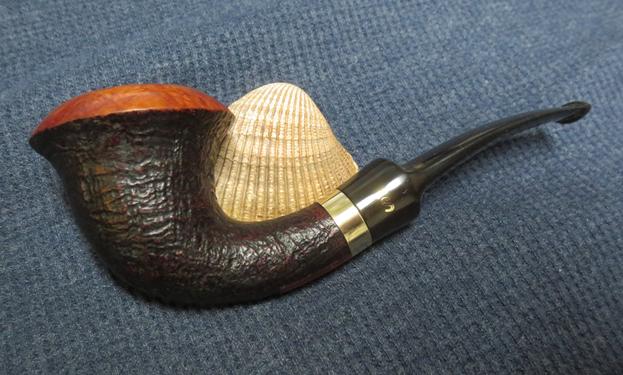


Beautiful restoration on a gorgeous pipe, Steve.
LikeLike
Pingback: An Unsullied (once the paint was removed) Dunhill 5113 Bent Apple | rebornpipes
Now this is a beautiful pipe! I sense a feeling of envy welling up inside of me, which is unusual. How does she smoke?
LikeLike
Jeez that’s a beautiful pipe! The contrast between sandblast and smooth; and the dark stain and light rim! Even the smooth section for stamping fits so well with the rest of the pipe.
Your brother is the real MVP of pipe finders.
LikeLike
Beautiful! This one would look great in my rack if there’s no more room in yours, Steve! 🙂
LikeLike
Charles, I had thought the same thing! I haven’t seen one like it.
LikeLiked by 1 person
That is one beautiful briar calabash. Great job restoring it, Steve. The contrast between the and the sandblast is very nice. Definitely a keeper.
LikeLike