by Steve Laug
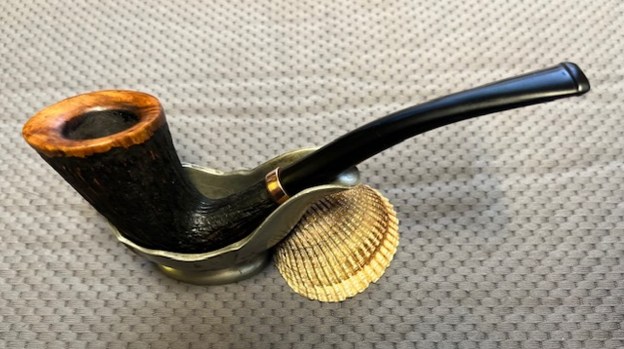
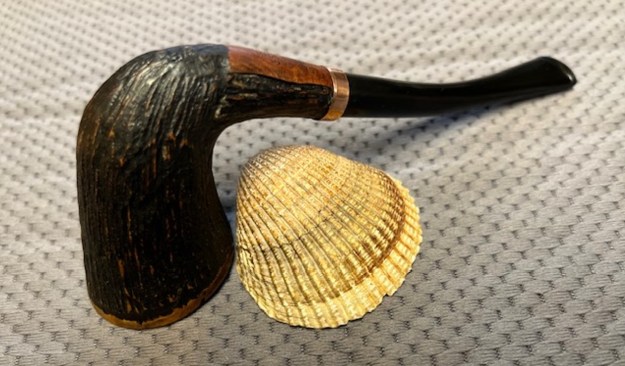
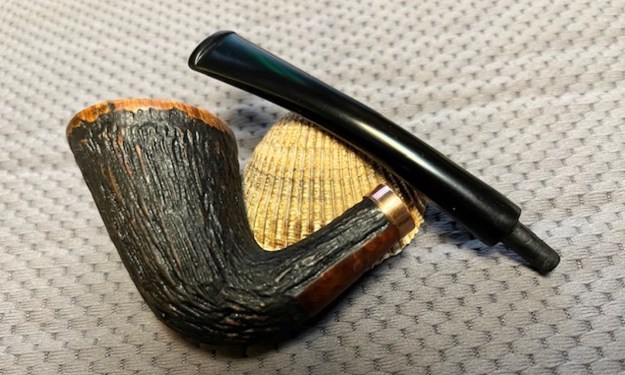
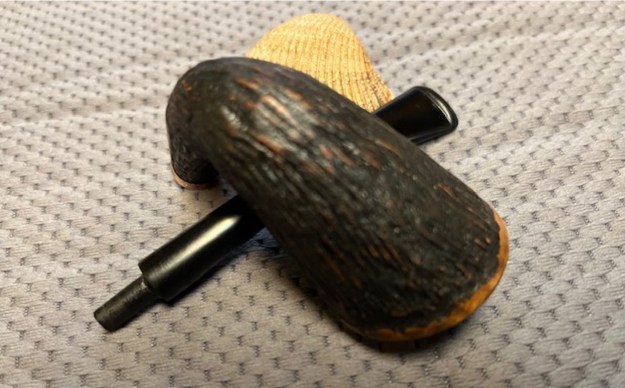
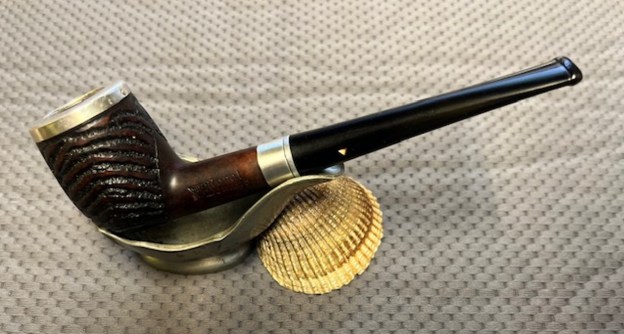
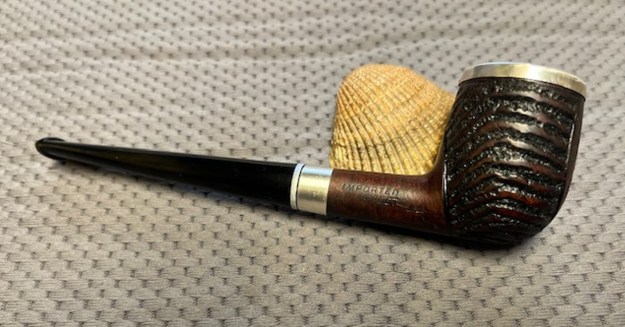
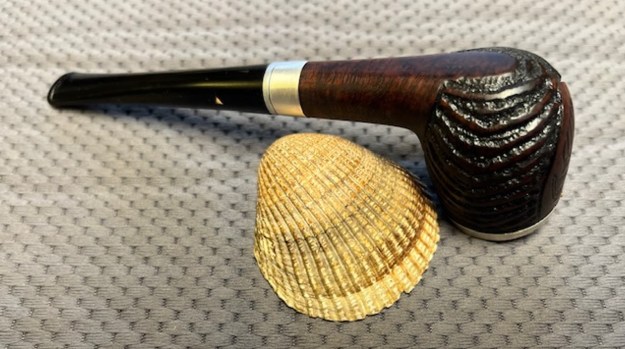
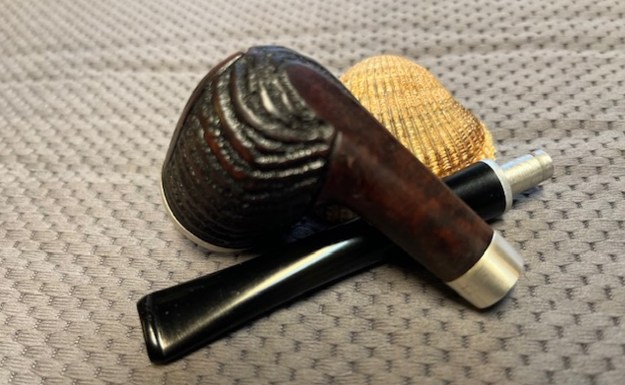
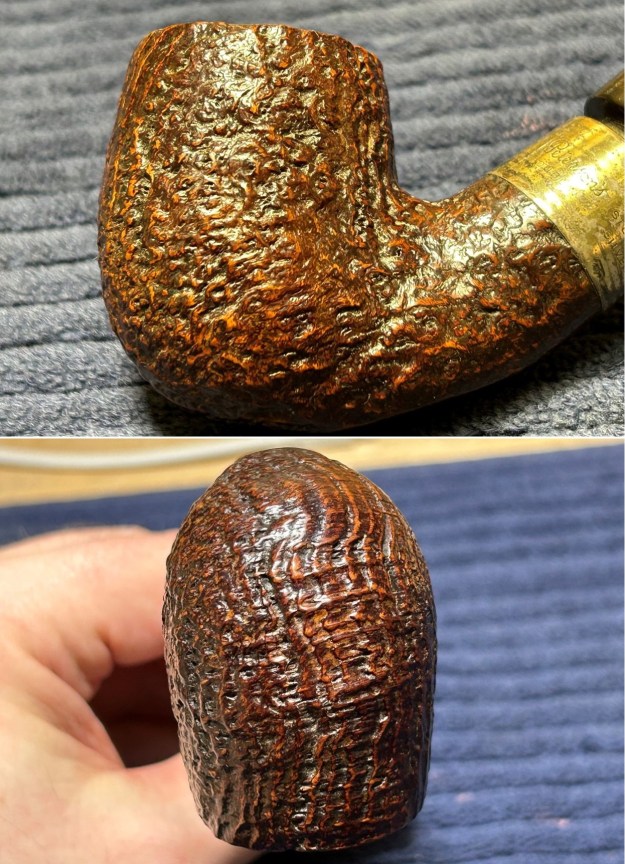
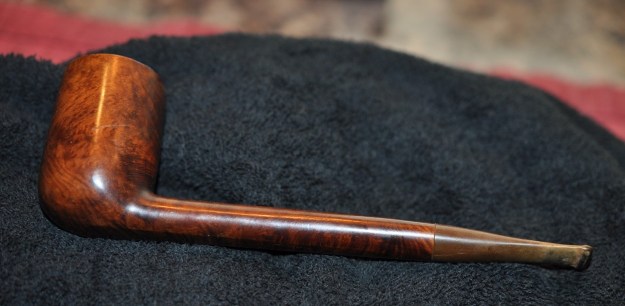
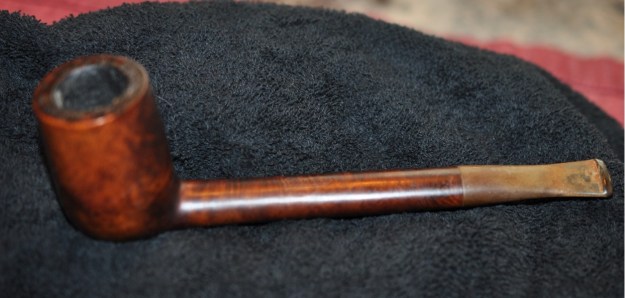
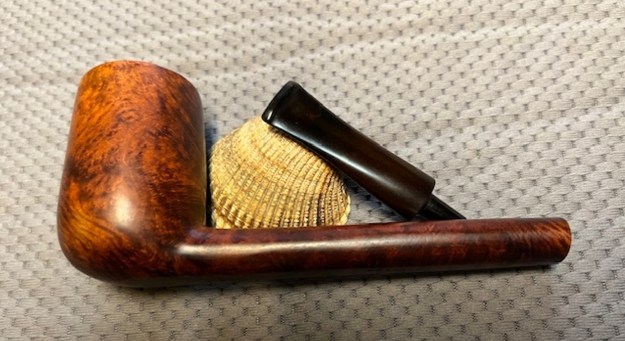
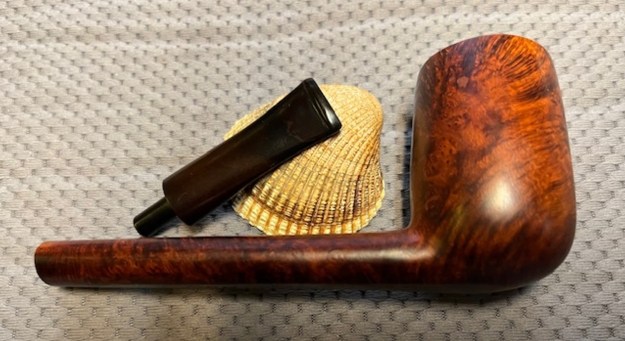
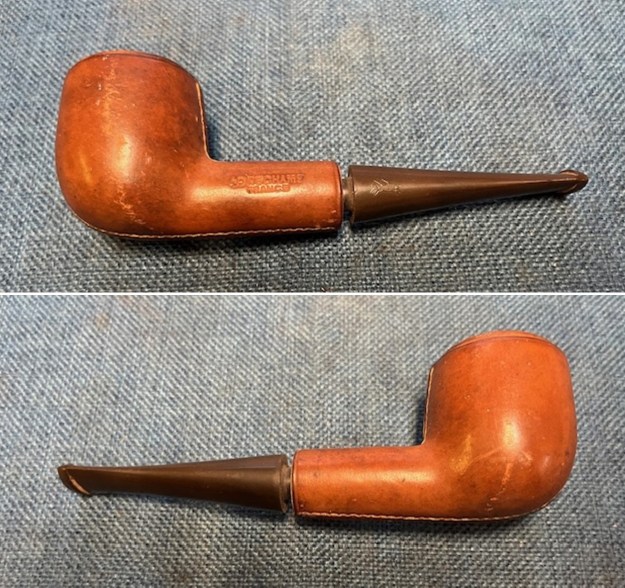
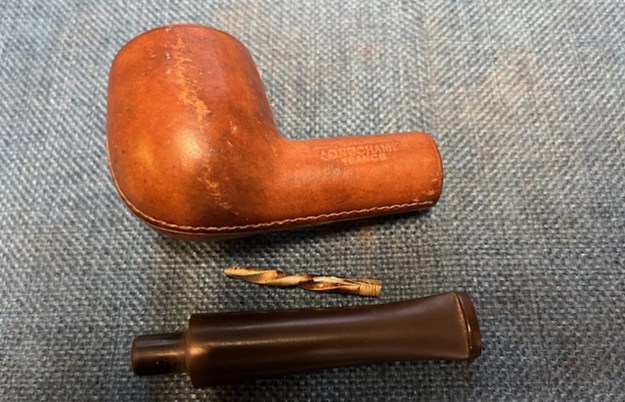
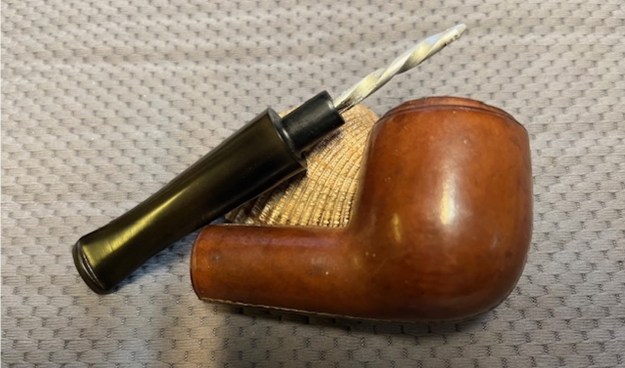
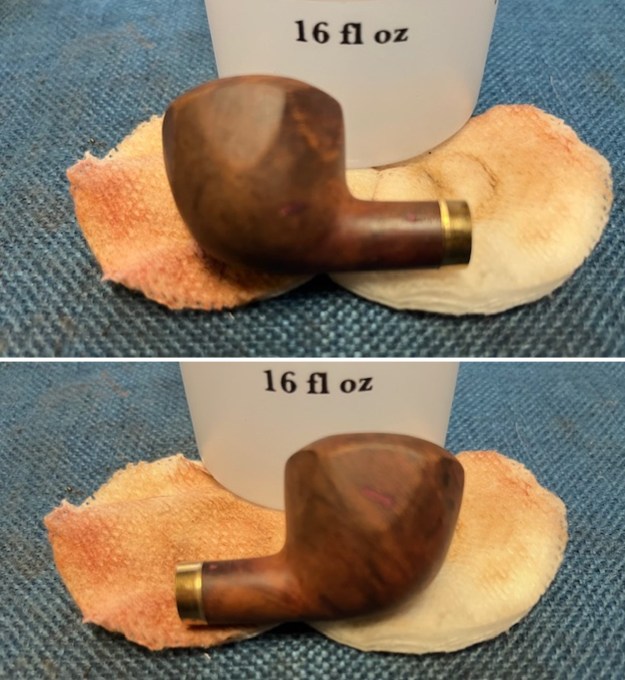
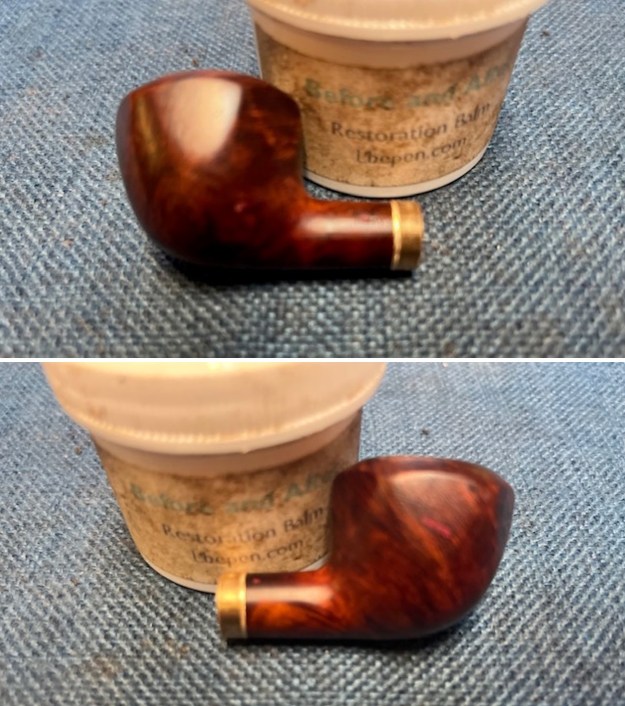
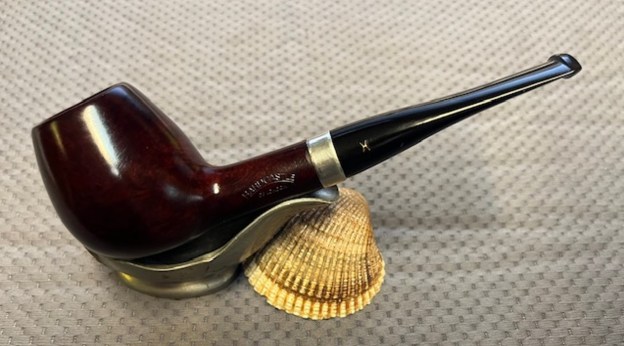
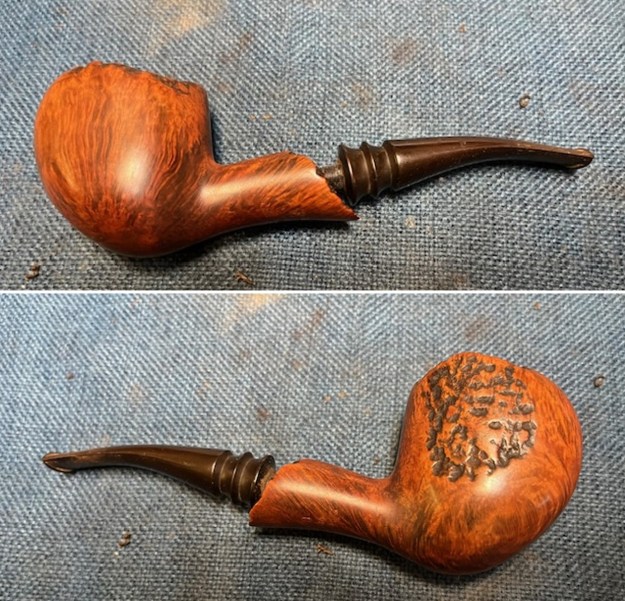
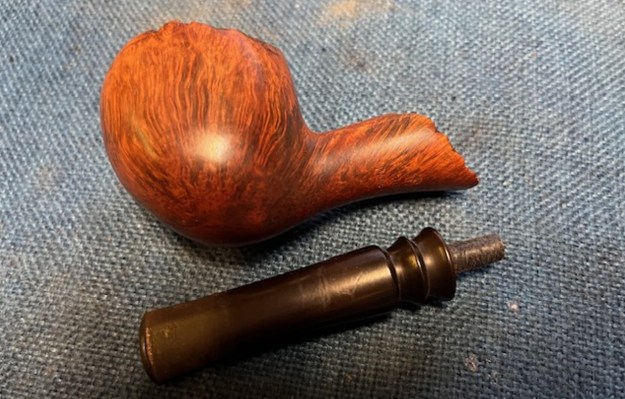
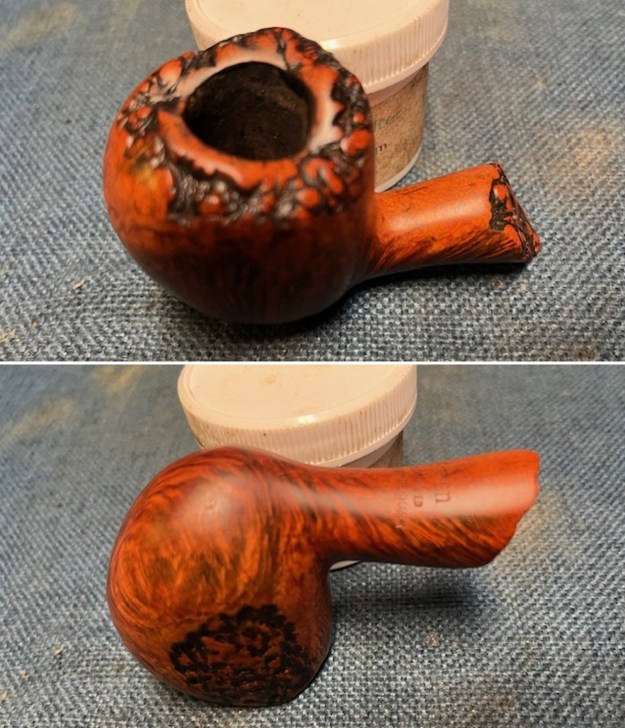
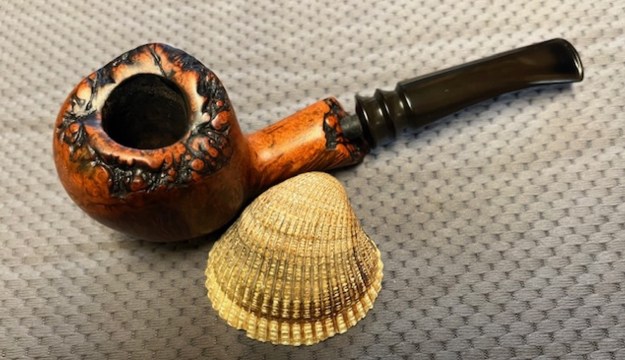
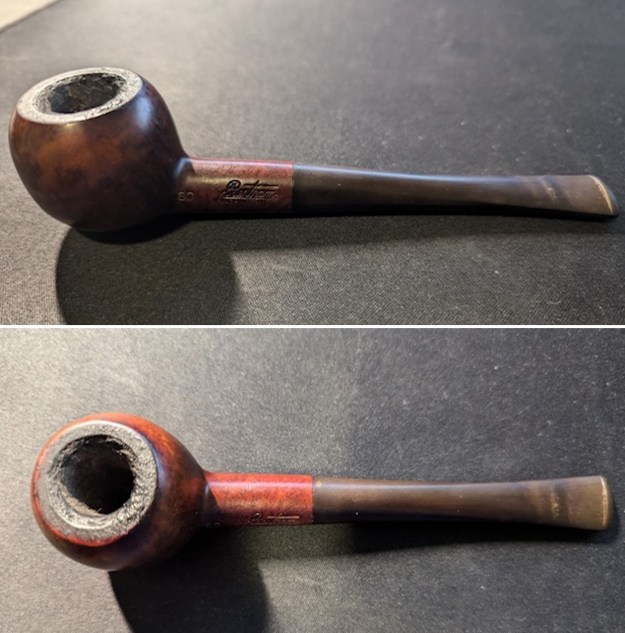
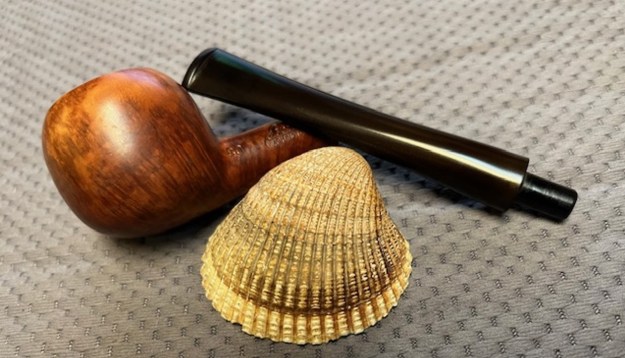
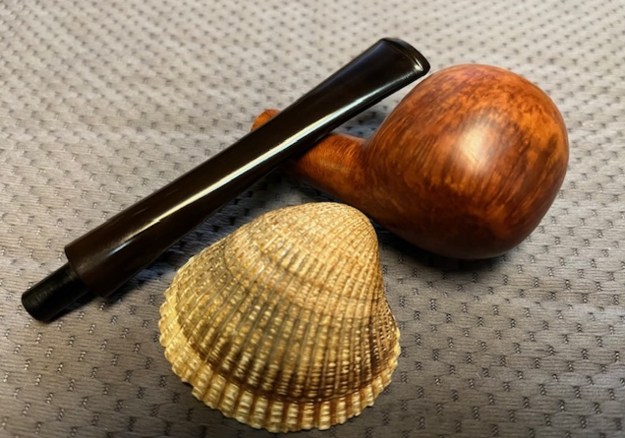
For the next pipe to work on I chose to clean up and match a stem with a uniquely rusticated calabash bowl that I have here in my box. This one was more complicated than some of the other quick cleanup and restores but it is interesting enough work to give me a break from normal restoration. This bowl has a wire rustication or bark rustication on the sides and shank. There is a smooth band on the shank end and around the rim top. The rim top itself is also smooth and bevelled inward. The finish was worn and quite lifeless looking. Nonetheless to me it showed promise under the grit and grime of the years. On the underside of the shank on a smooth panel it was clearly stamped Prince Amled [over] Made in Denmark [over] Hand Made. The conical bowl had a thick cake and an overflow of lava covering the inwardly bevelled rim top. The wire rustication was a filthy mess with lots of dirt and a bit of paint in the crevices. The shank end had some damage and was no longer smooth. There was also a small tenon snapped off in the shank that would need to be pulled before I could fit a stem to it. I took some photos of the bowl before I started my work on it.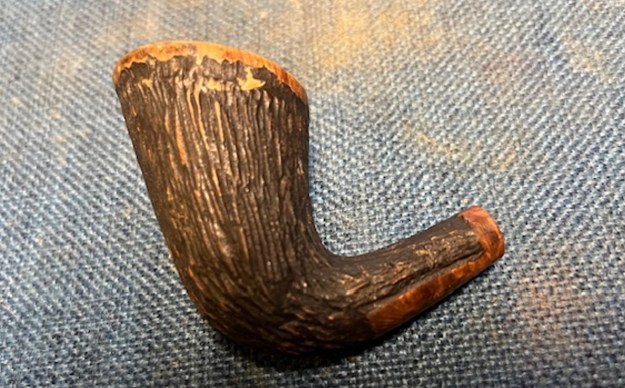
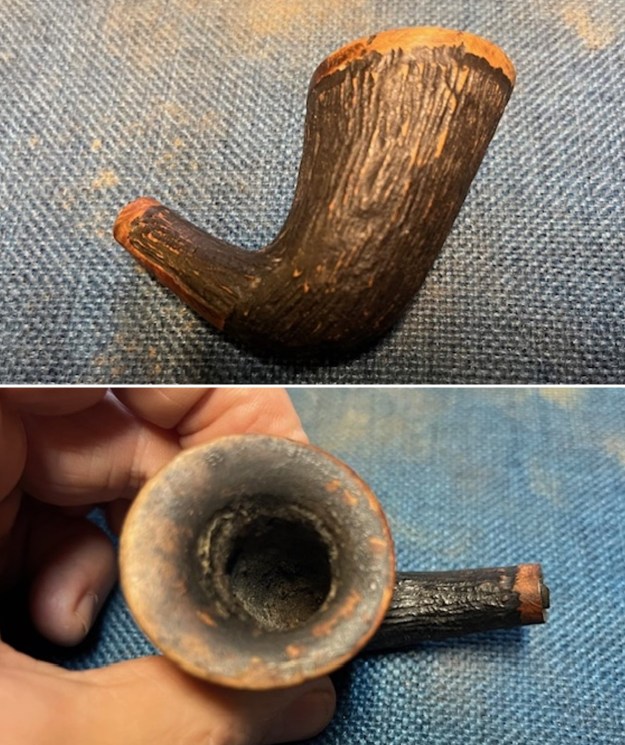
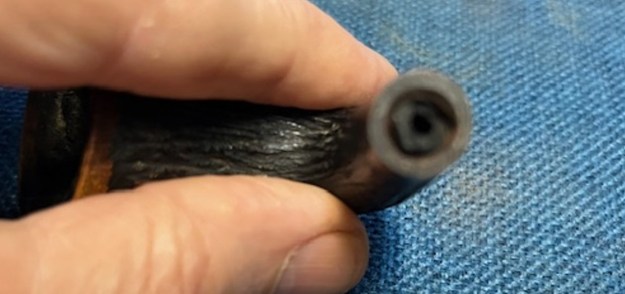
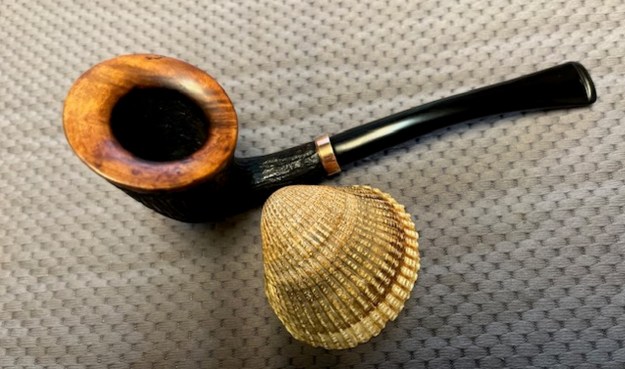
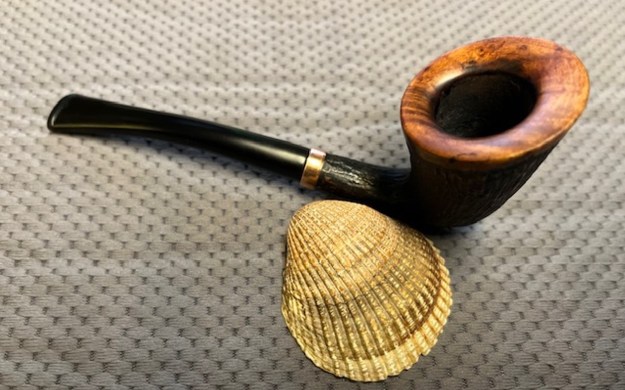
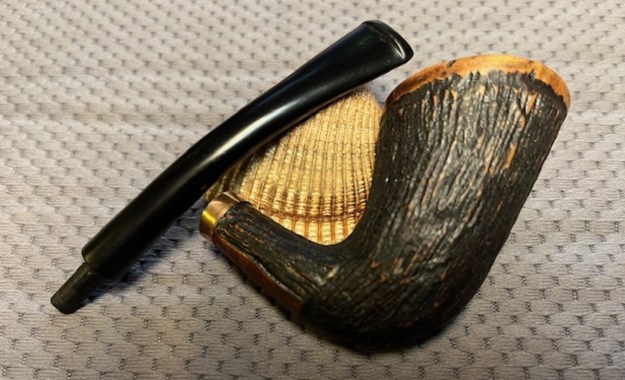
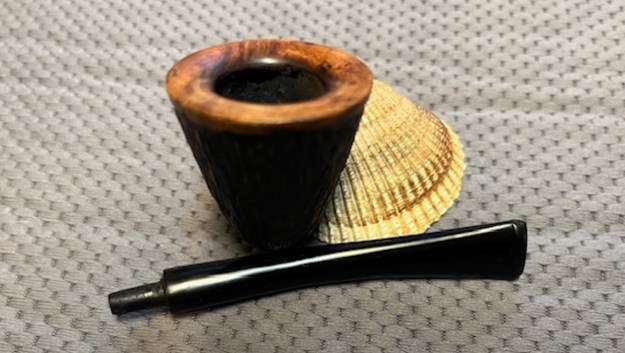
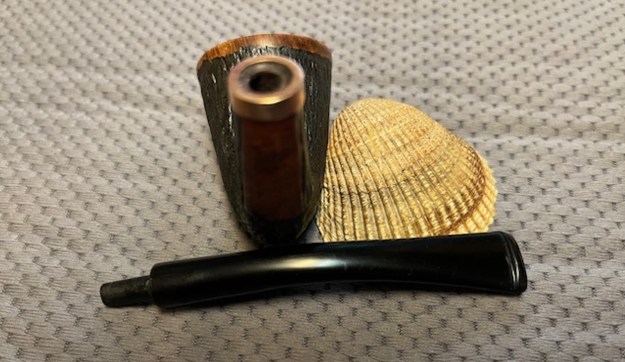
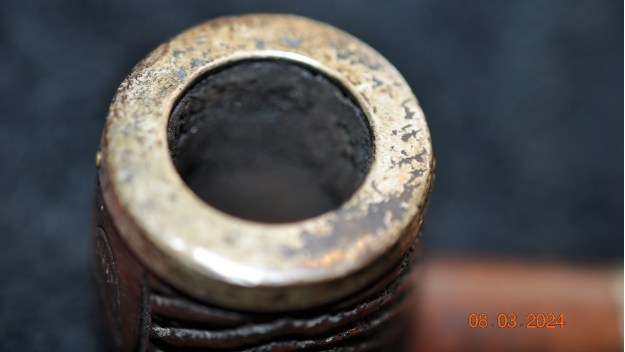
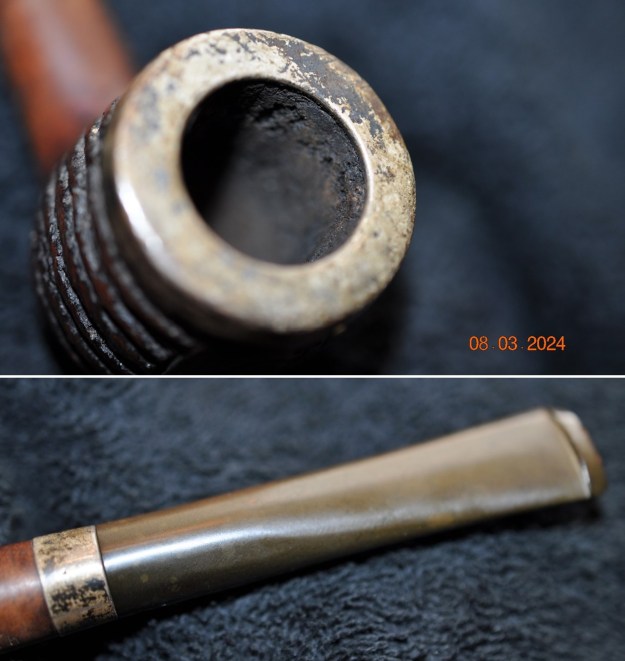
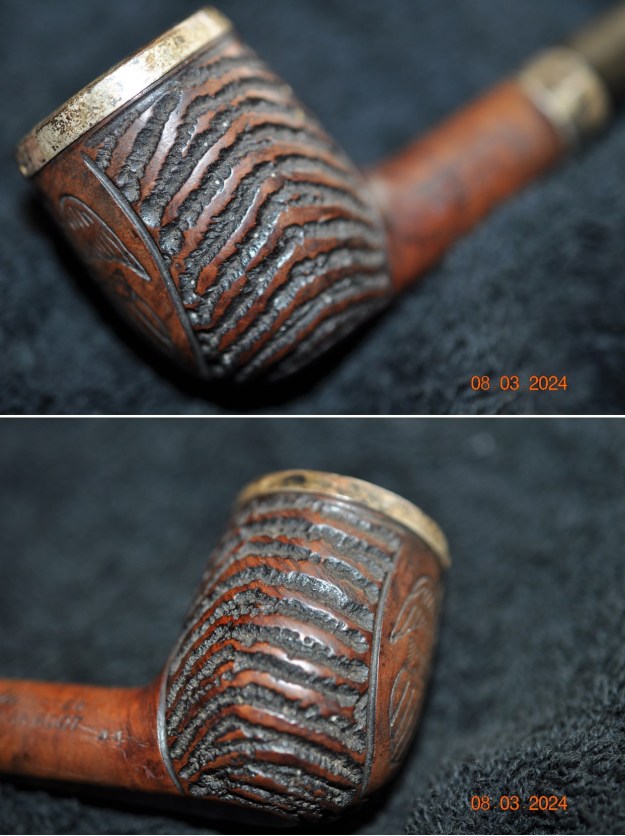
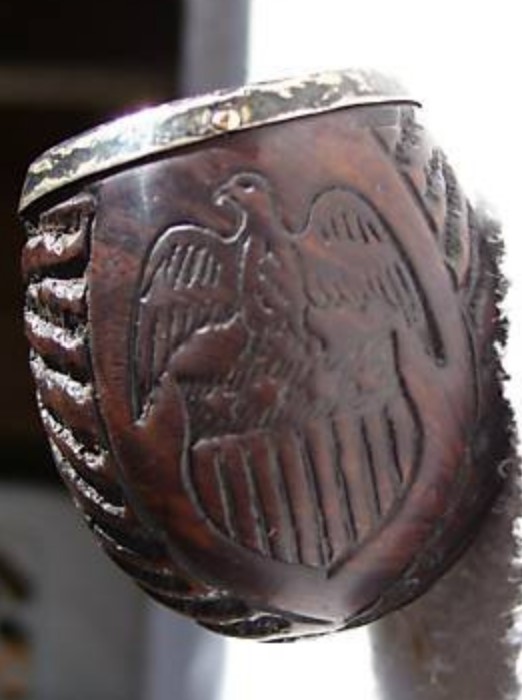
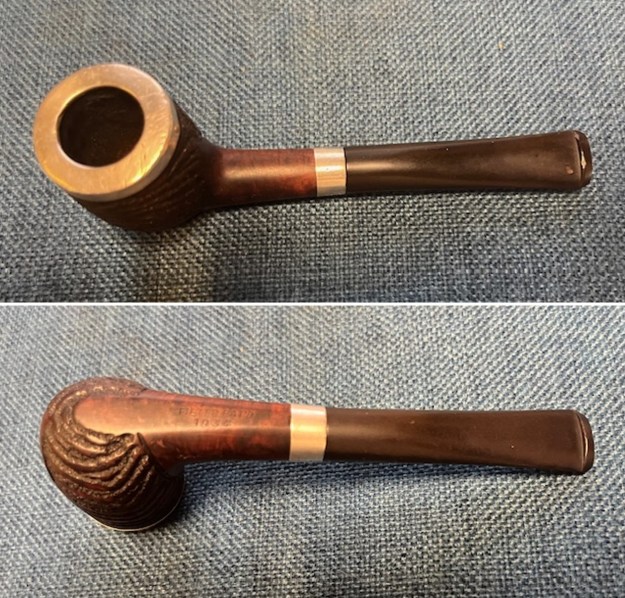
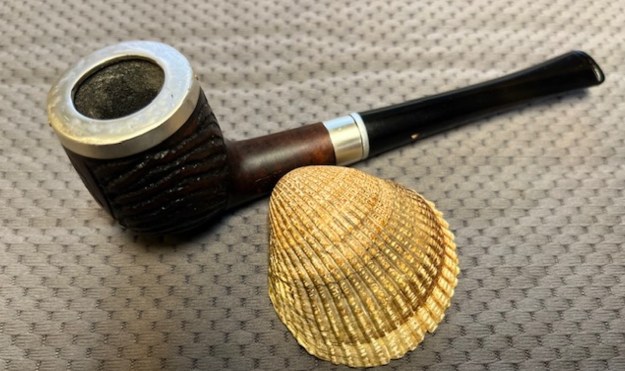
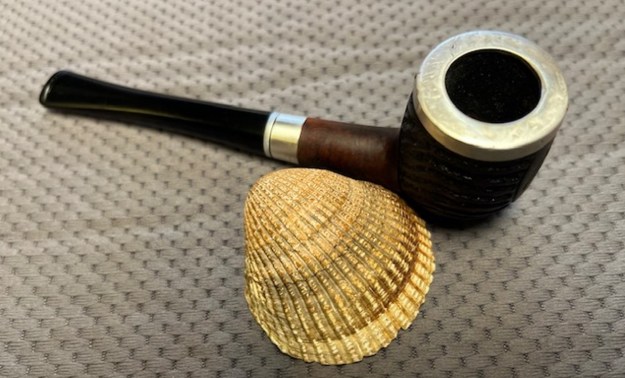
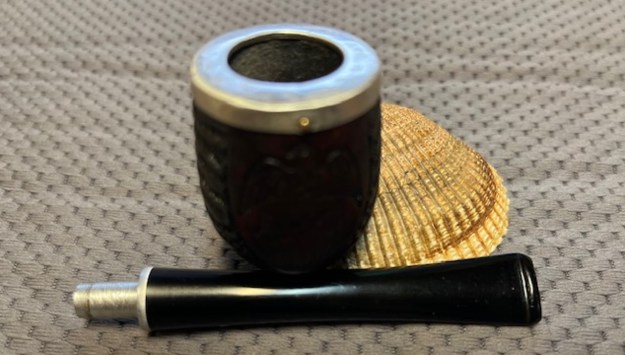
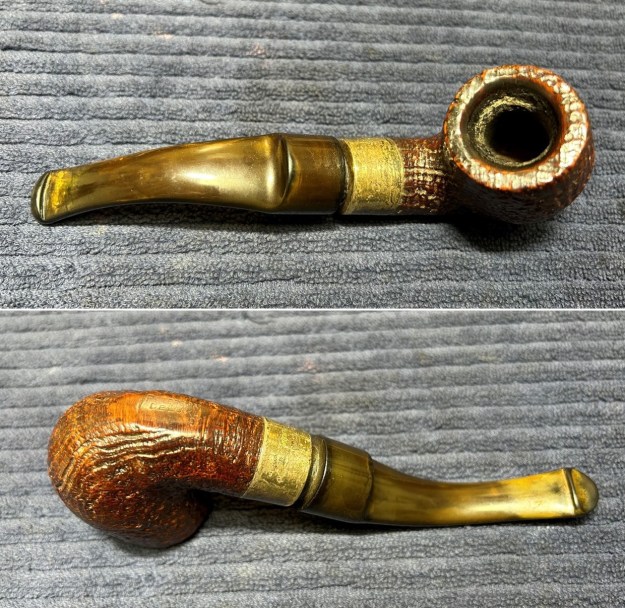
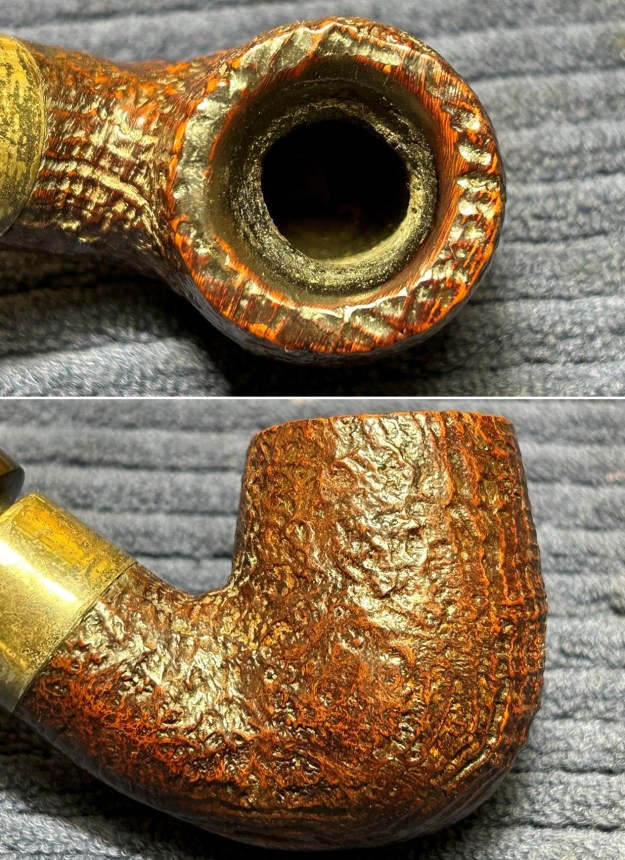
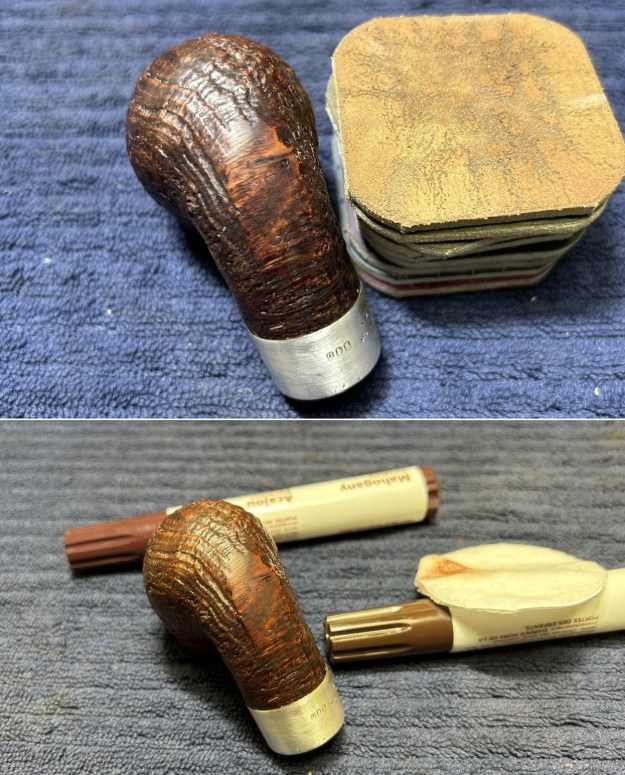
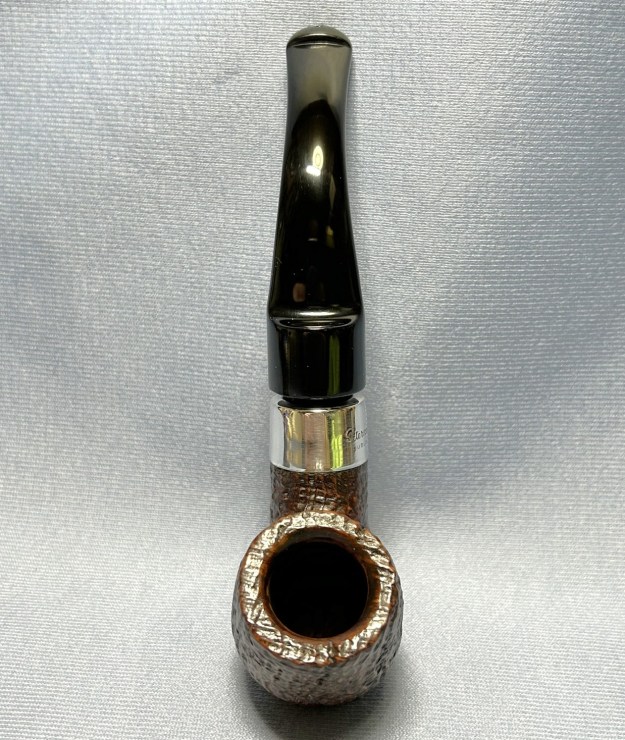
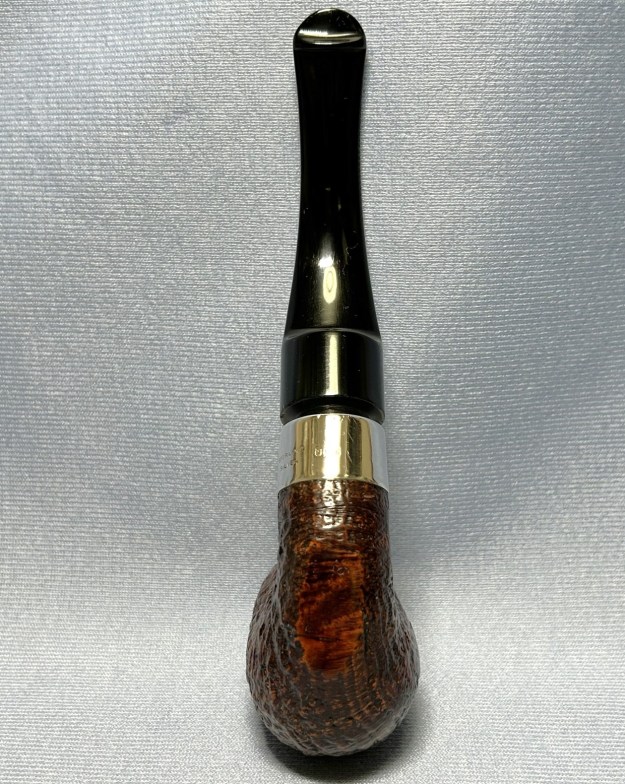
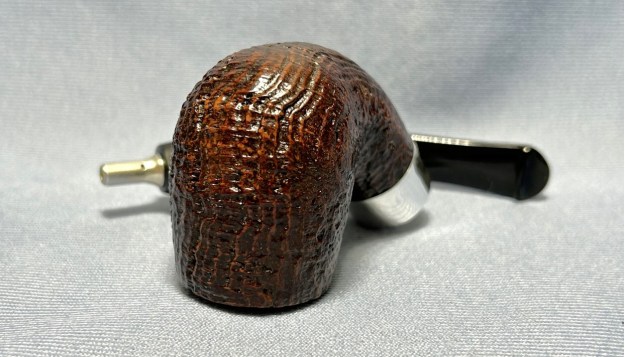
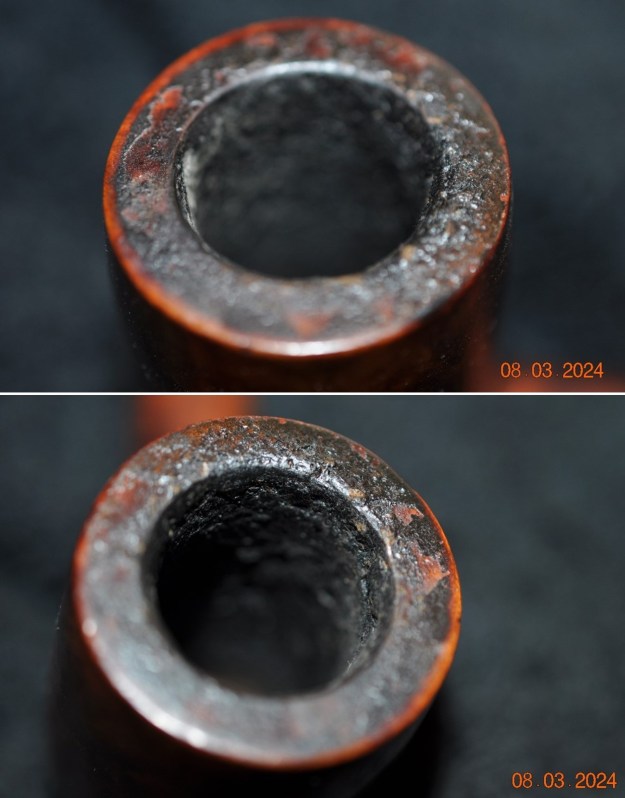
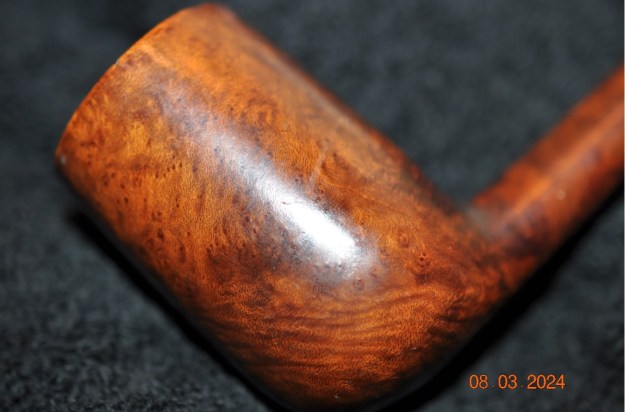
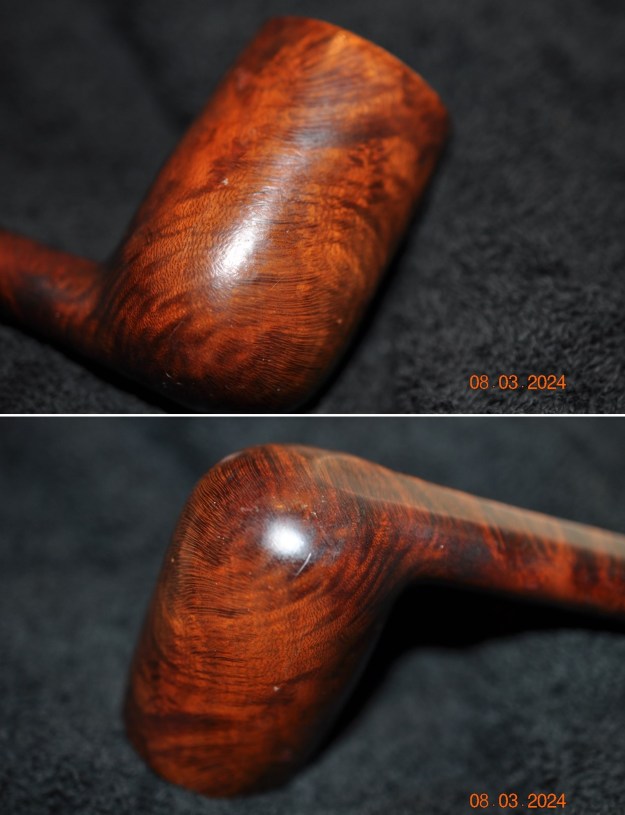
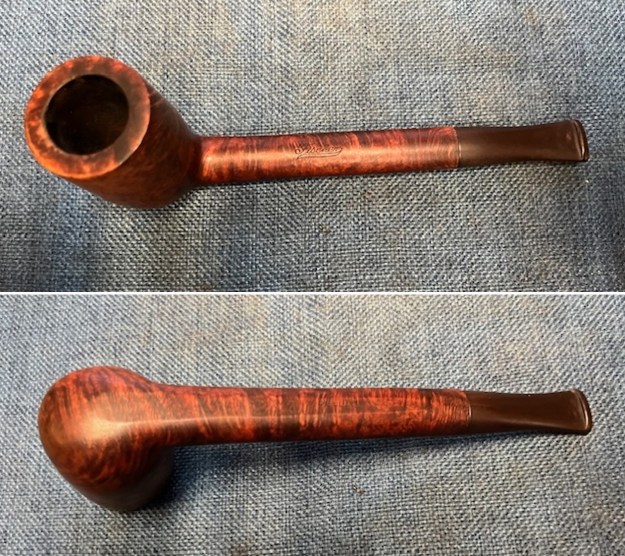
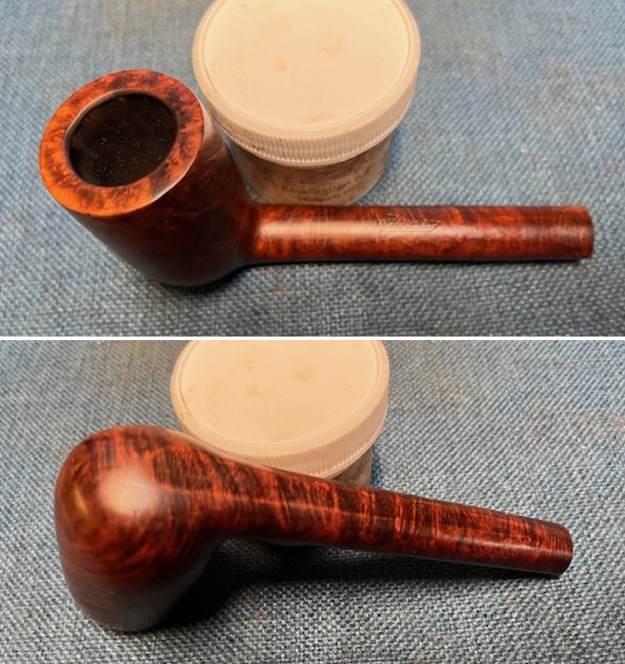
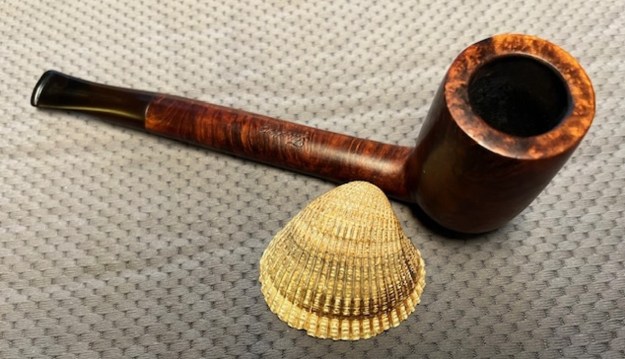
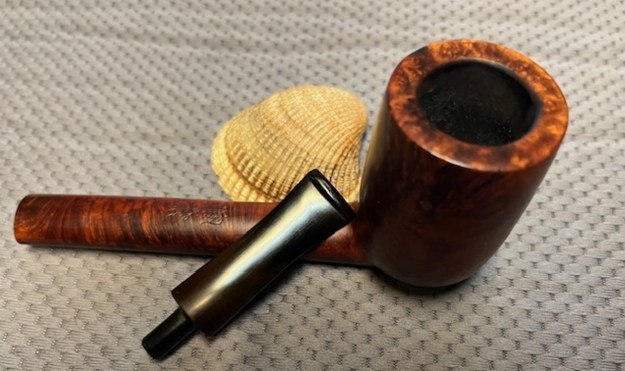
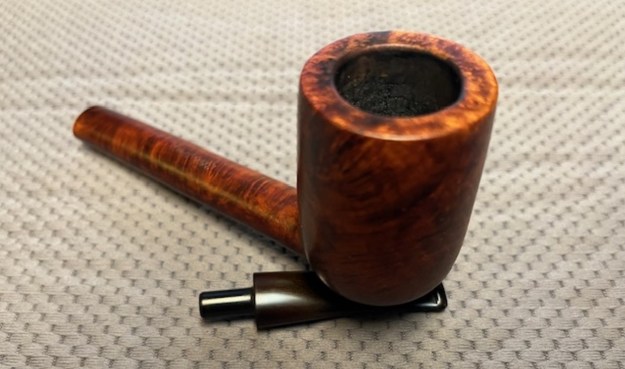
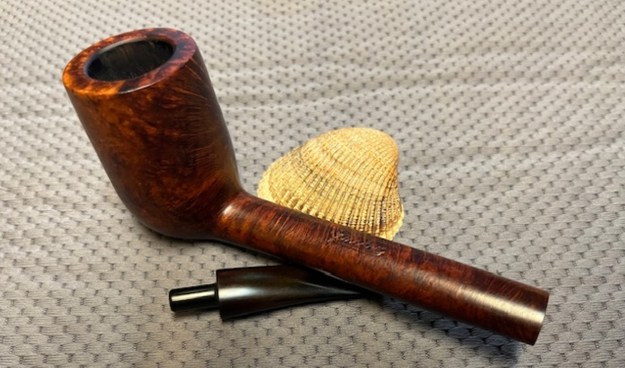
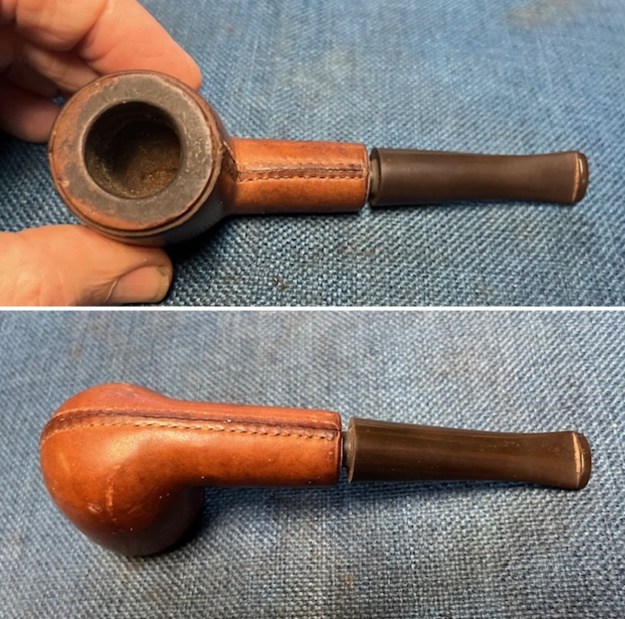
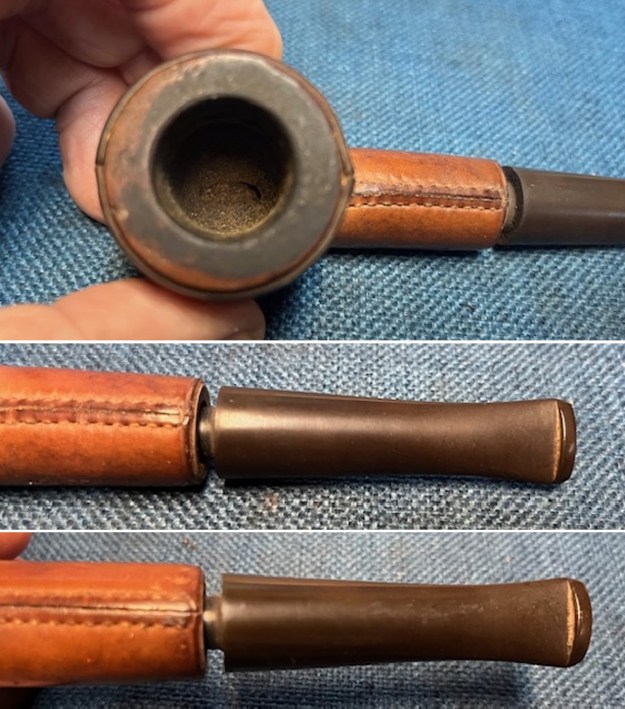
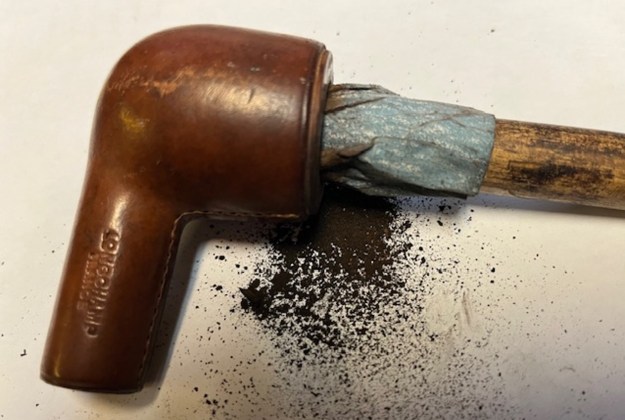
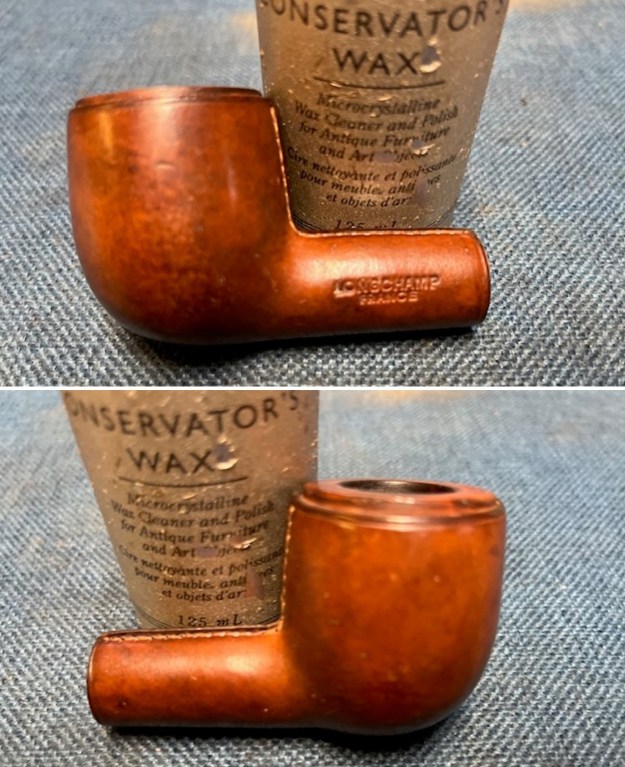
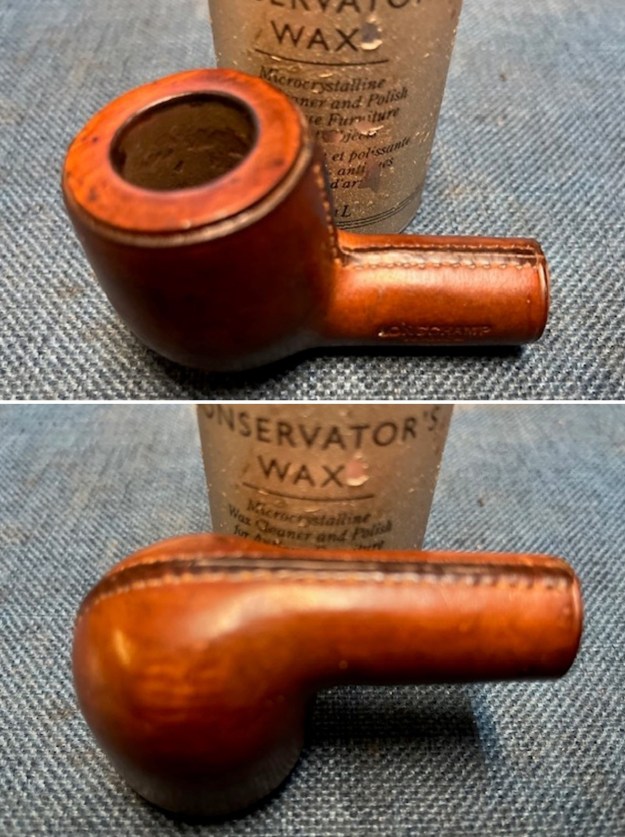
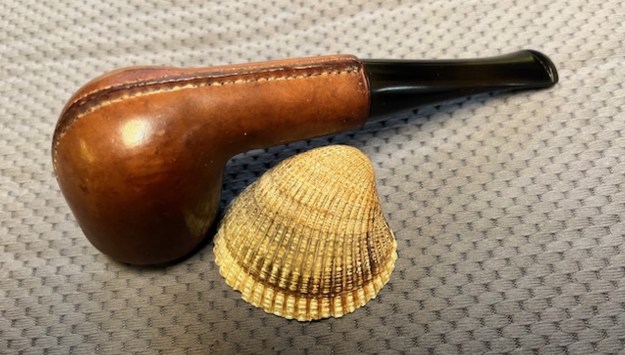
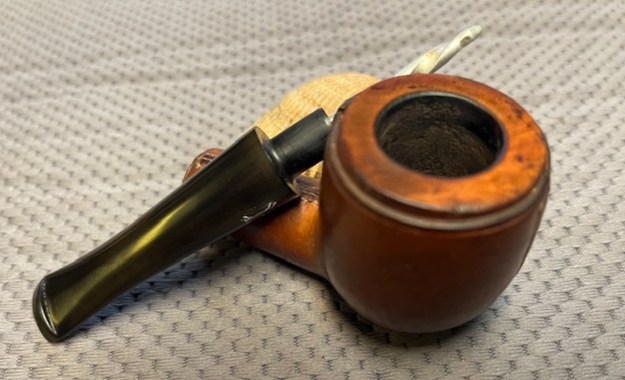
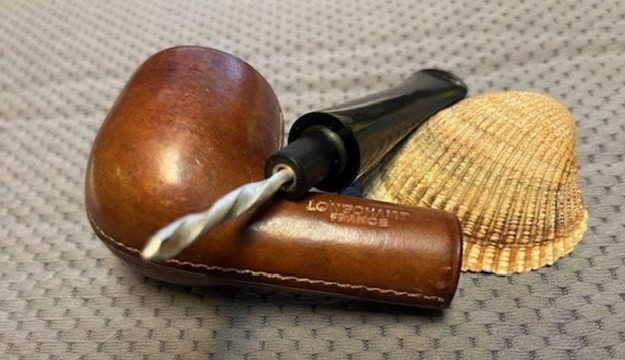
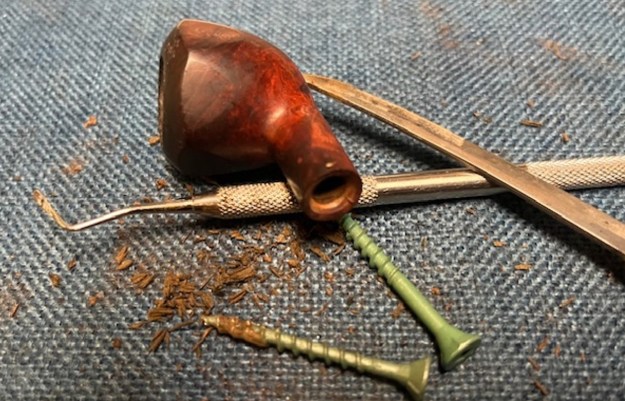
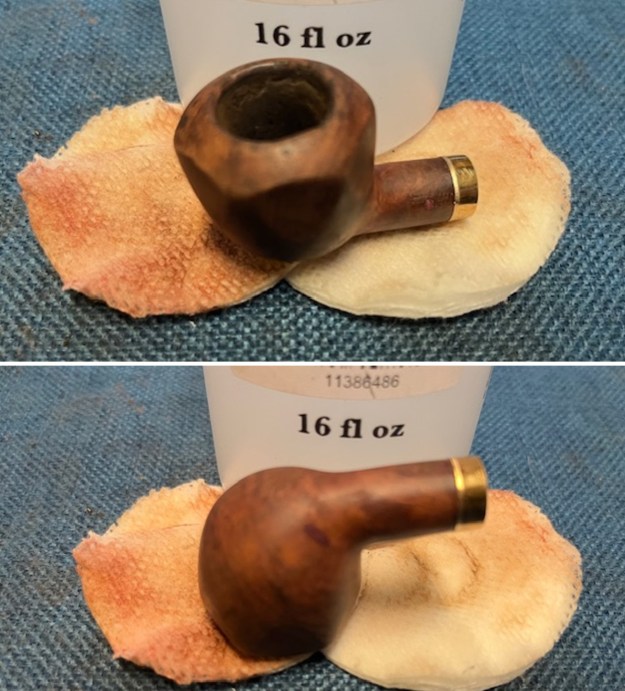
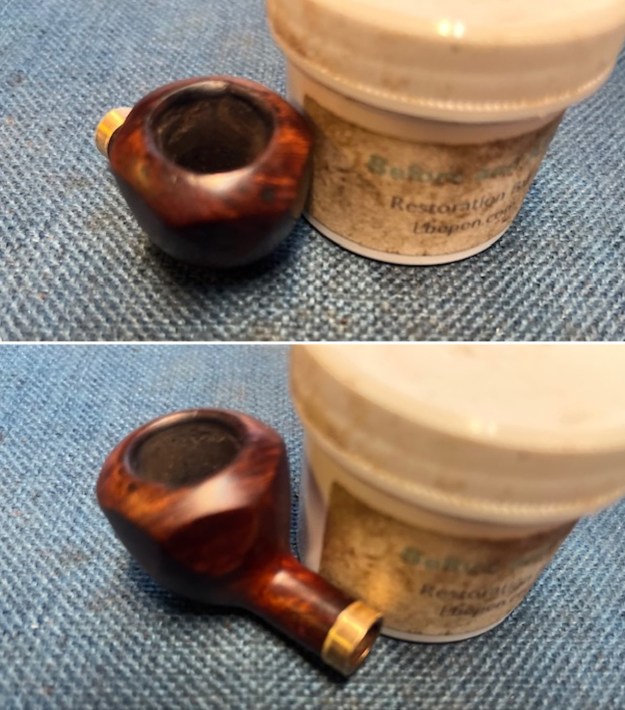
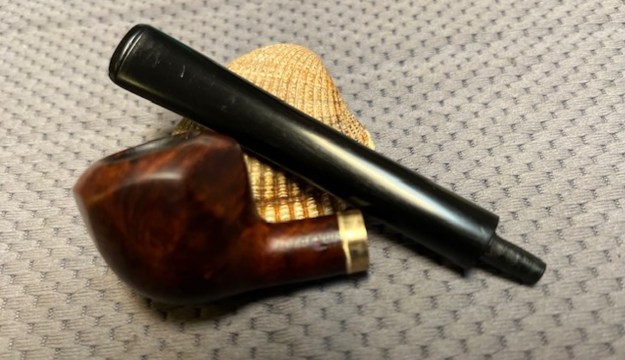
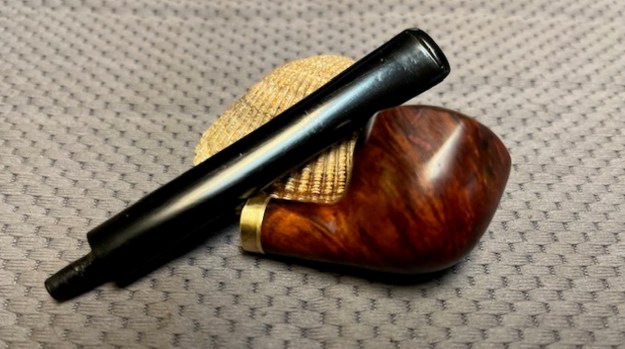
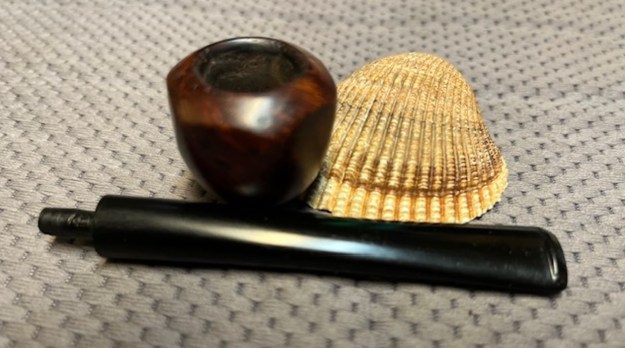
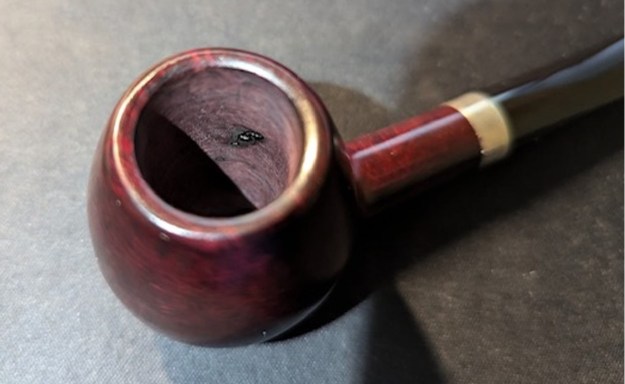
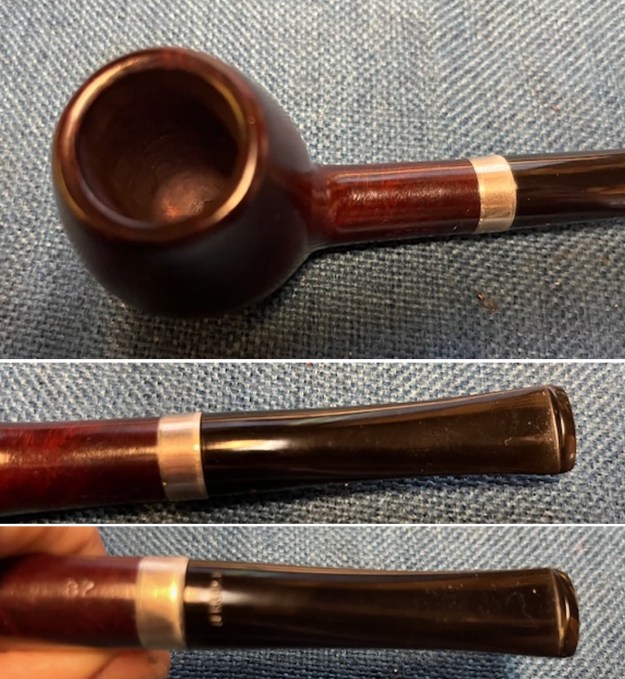
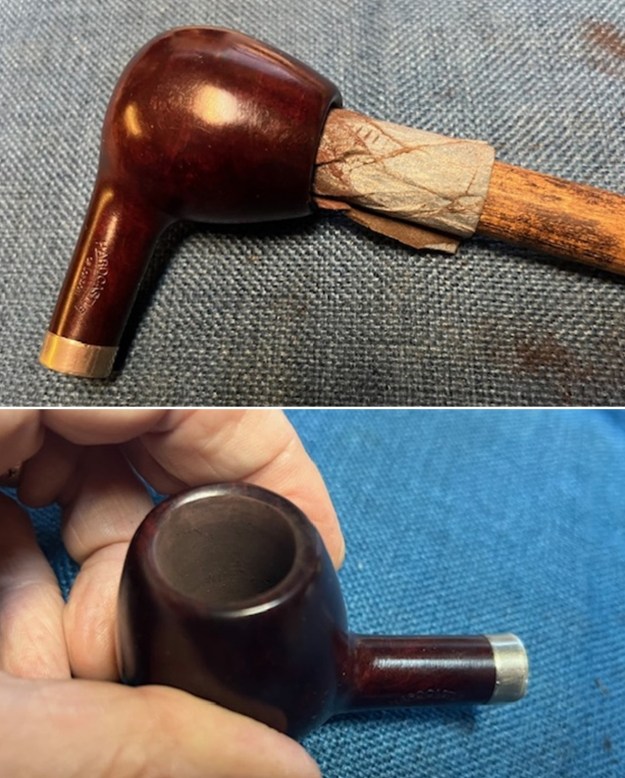
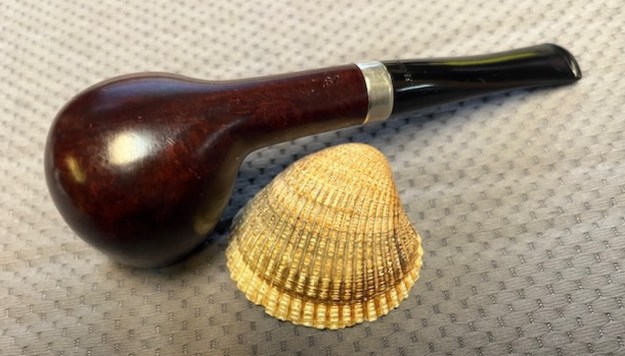
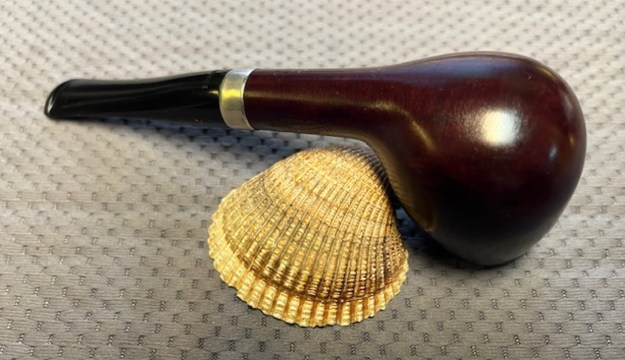
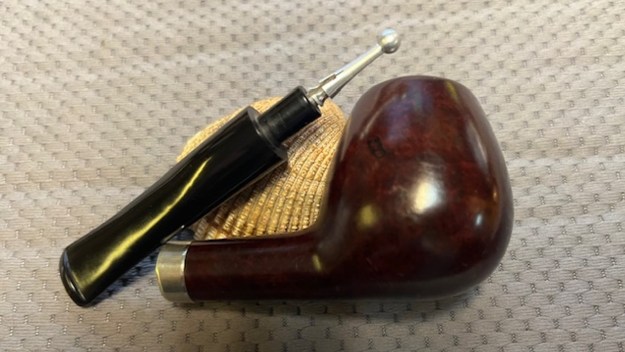
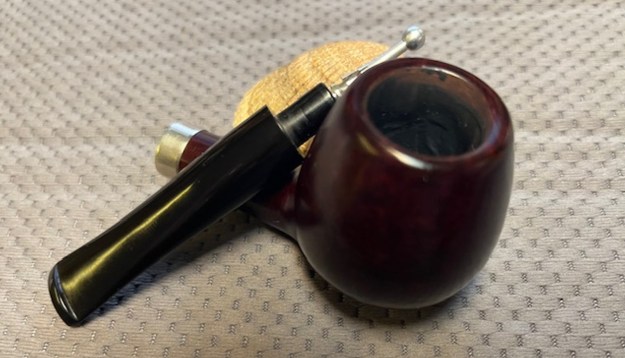
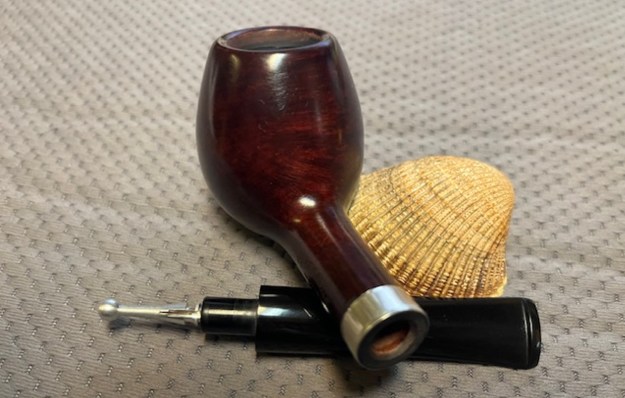
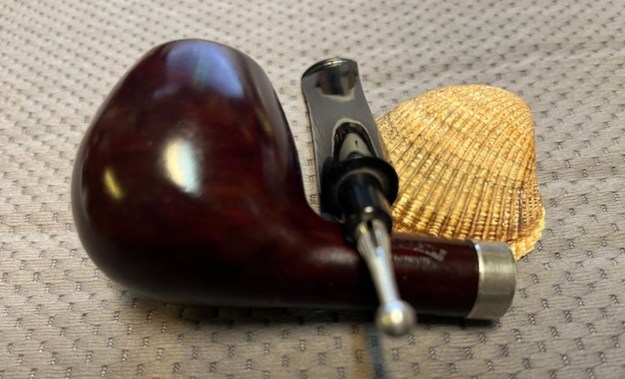
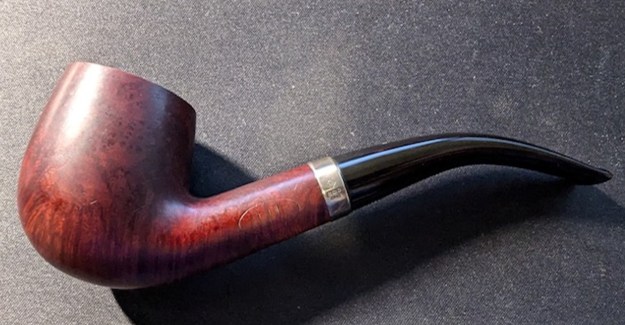
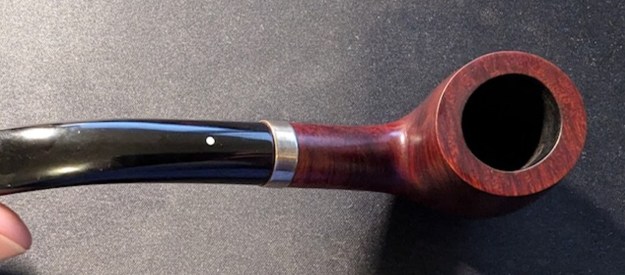
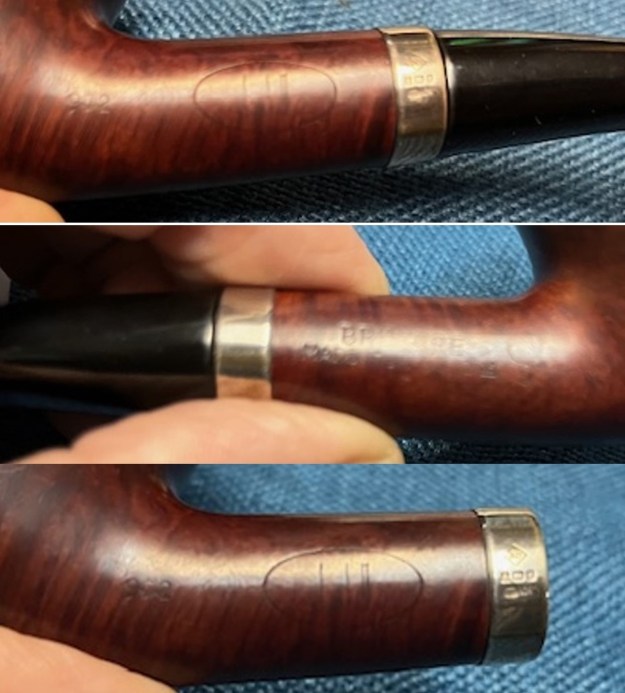
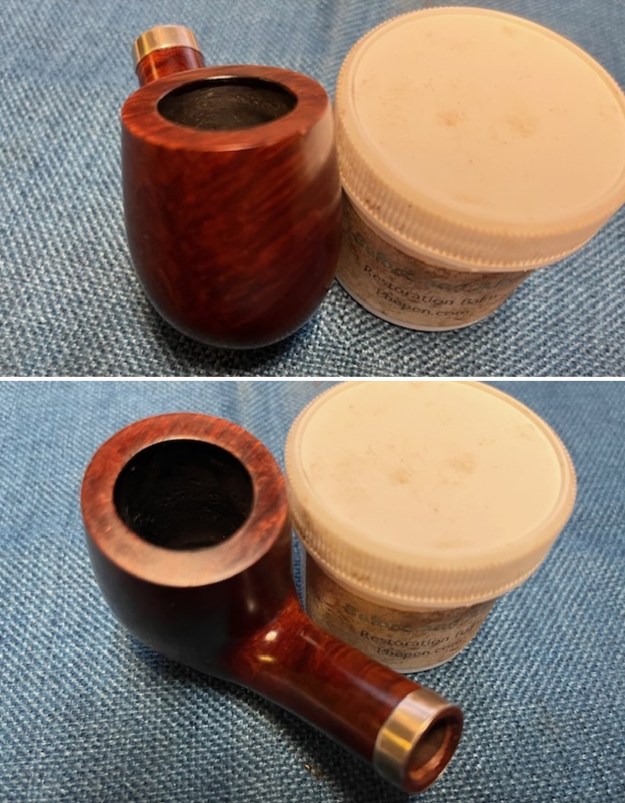
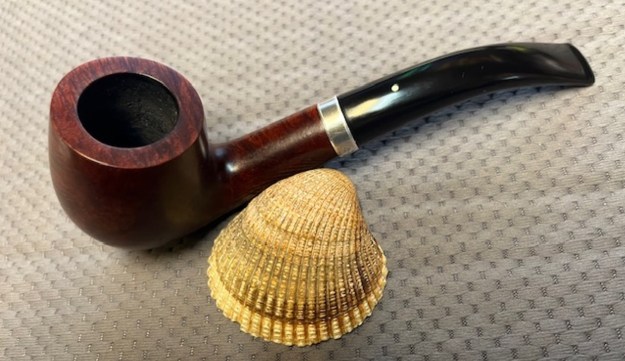
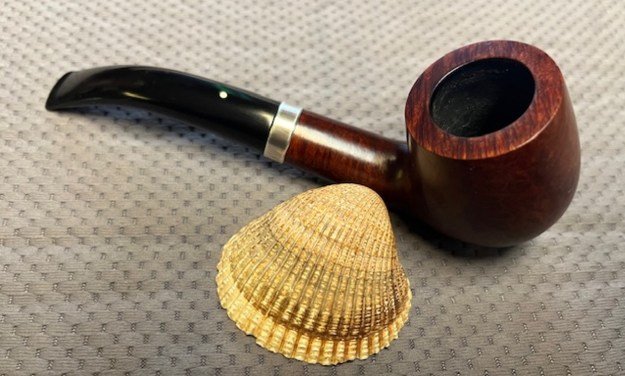
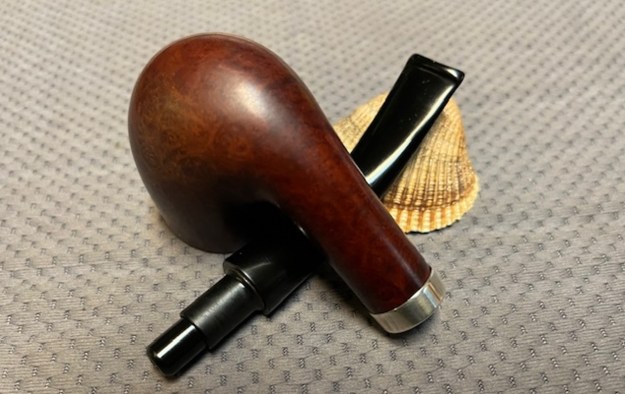
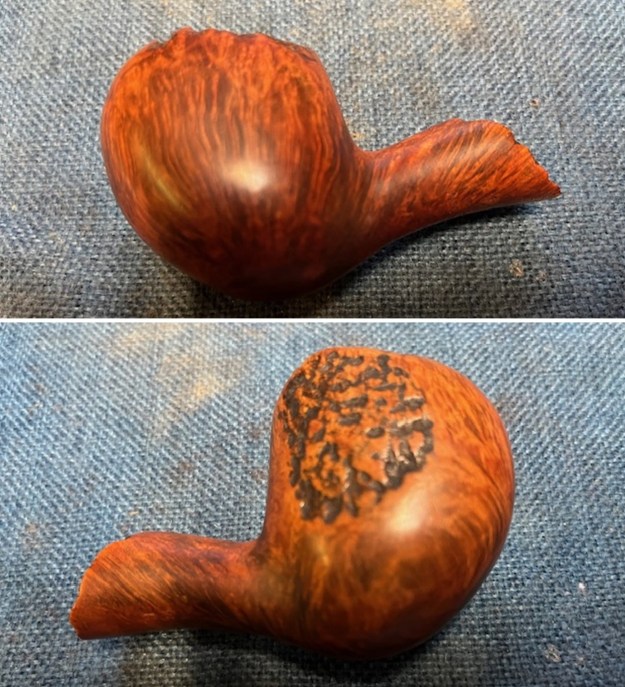
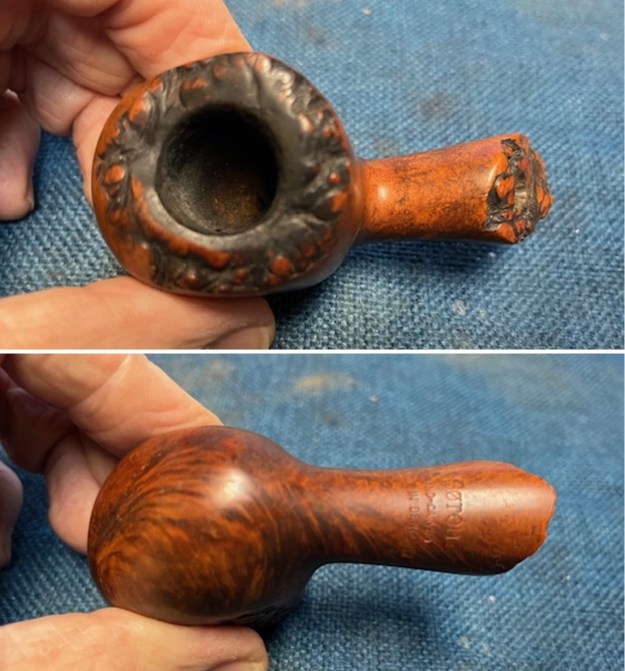
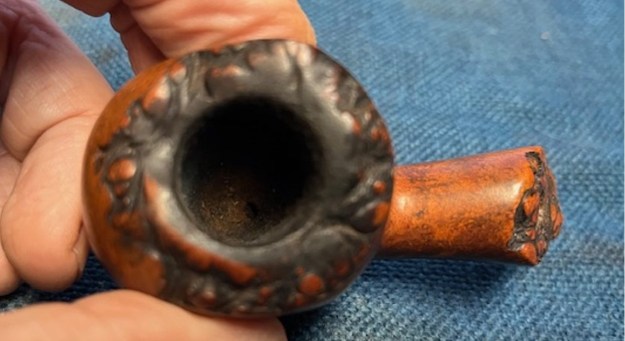
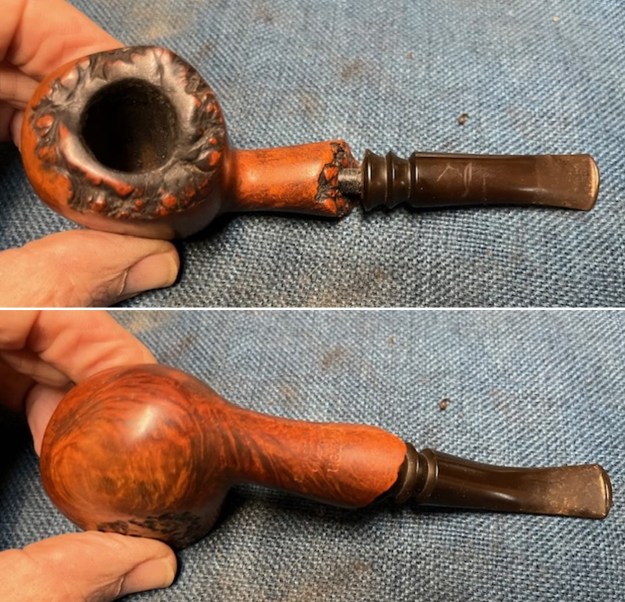
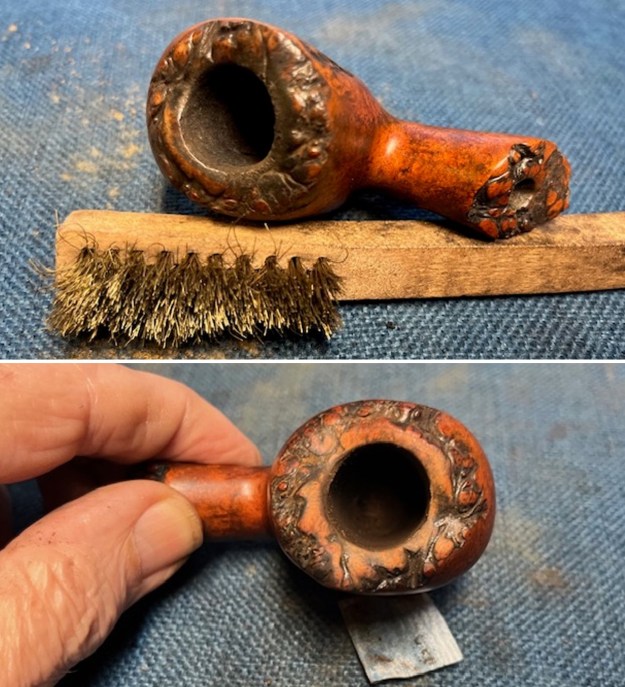
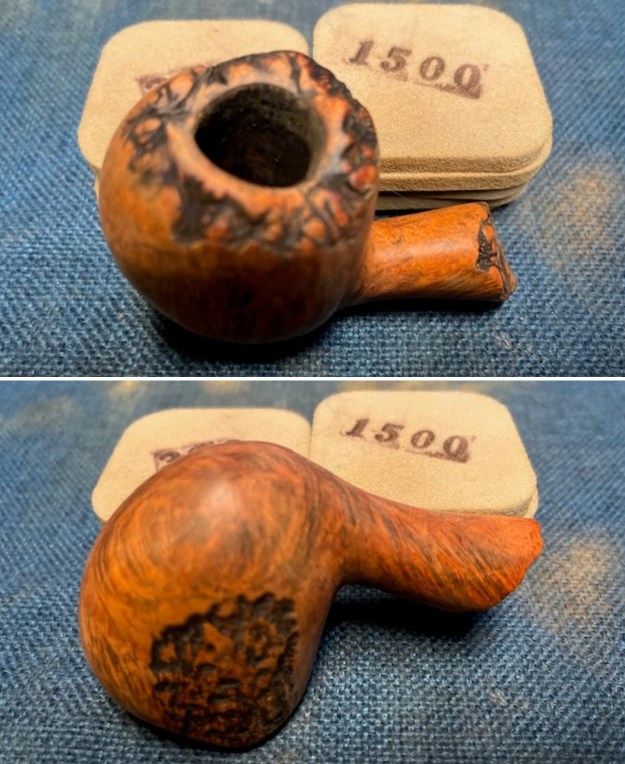
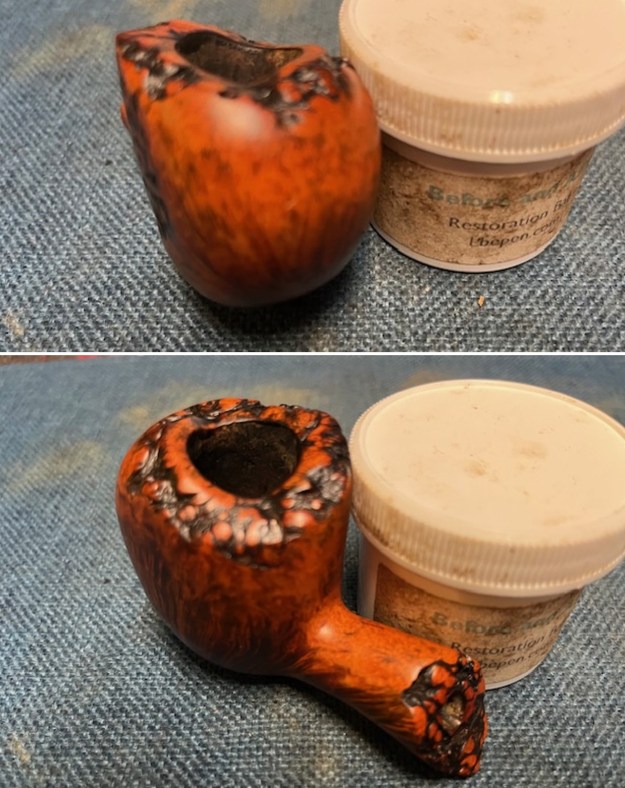
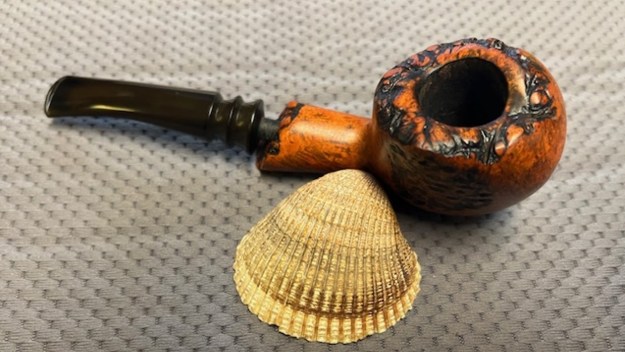
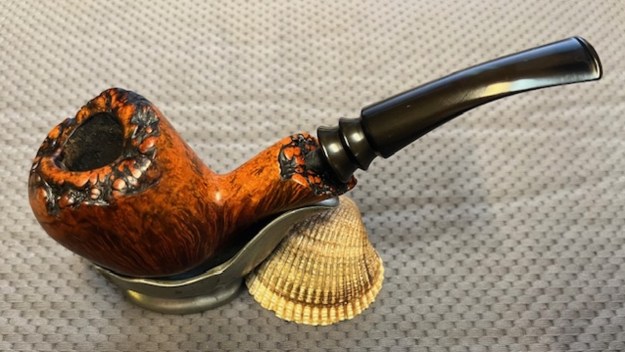
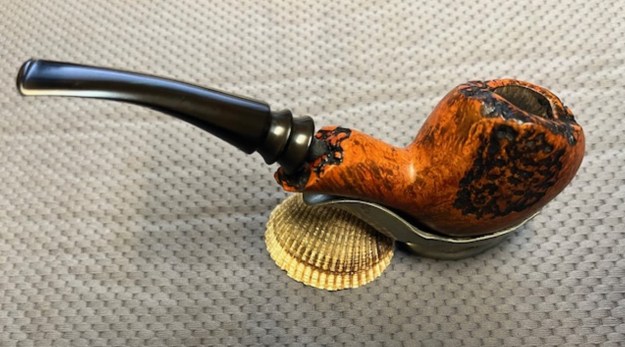
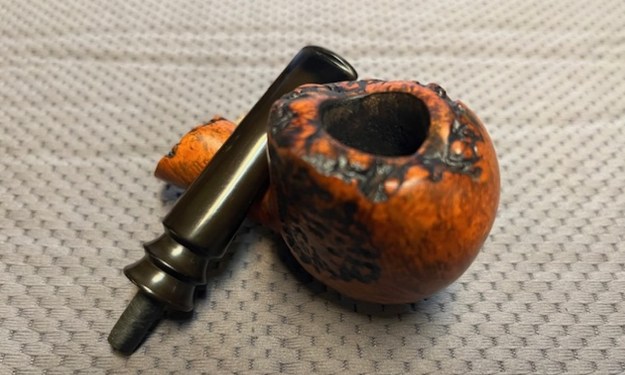
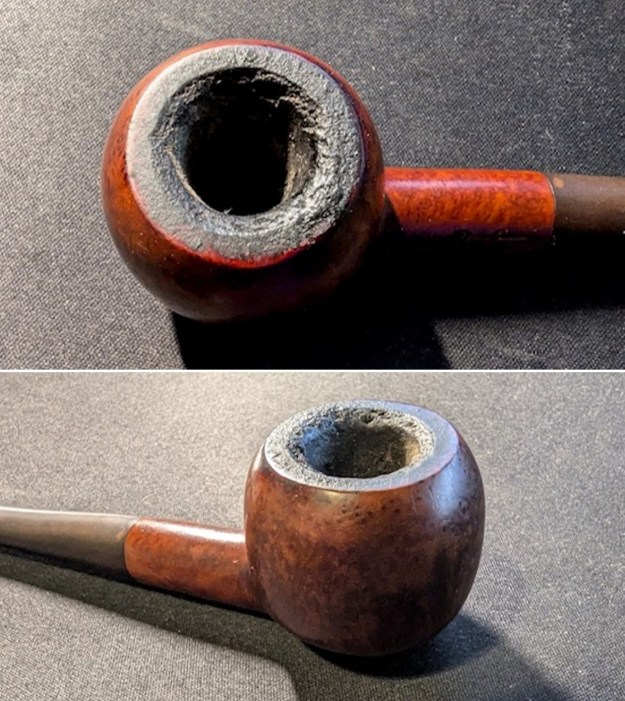
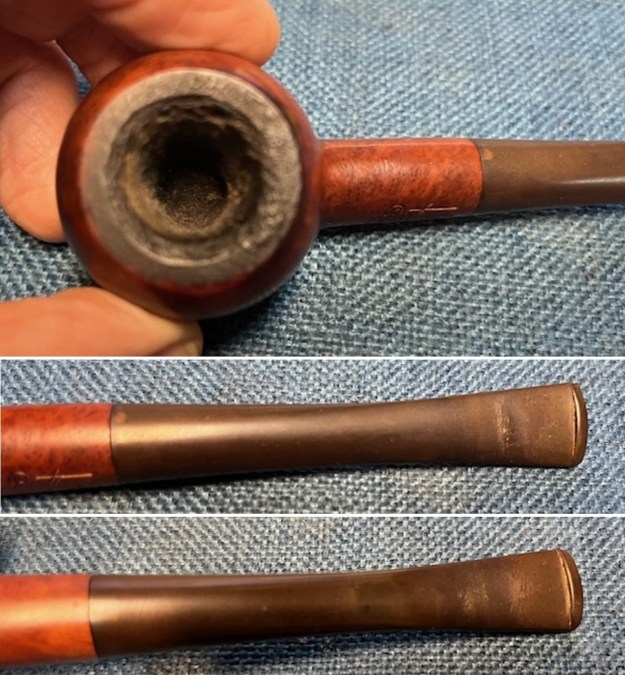
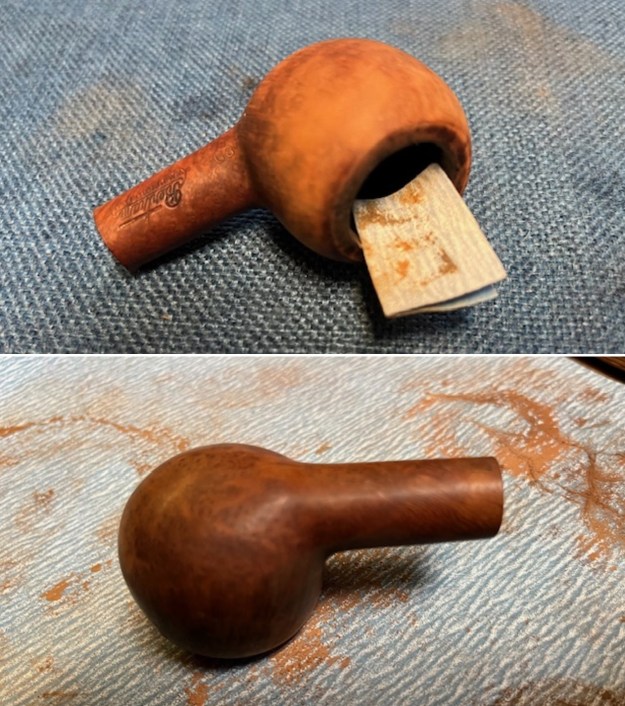
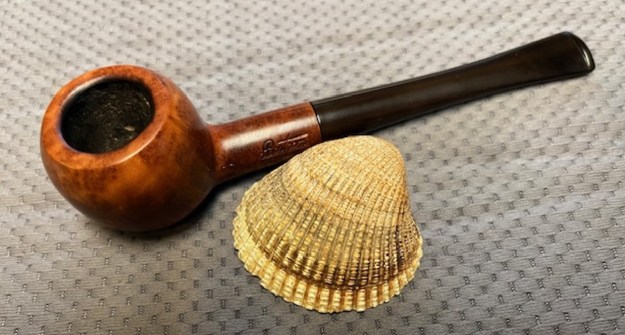
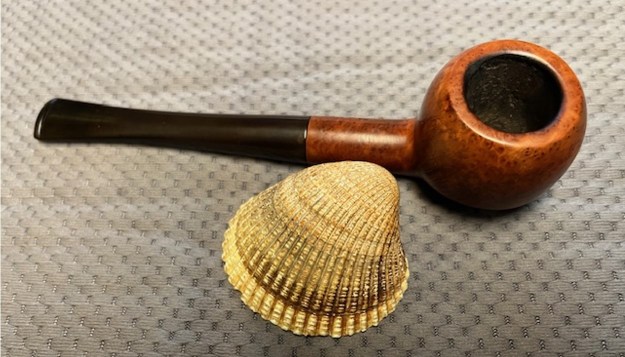
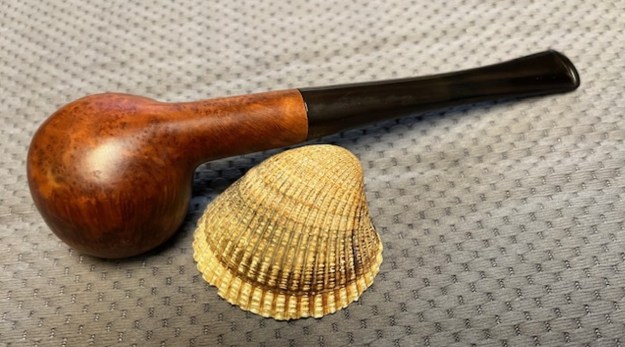
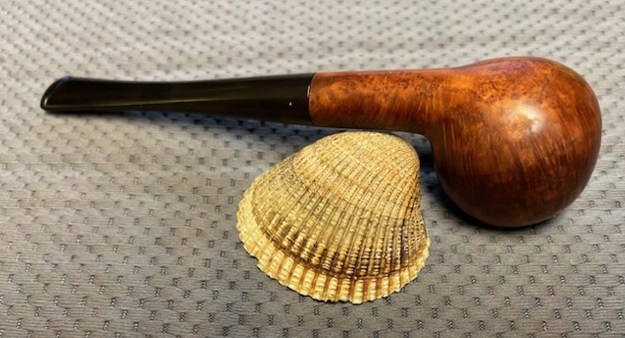
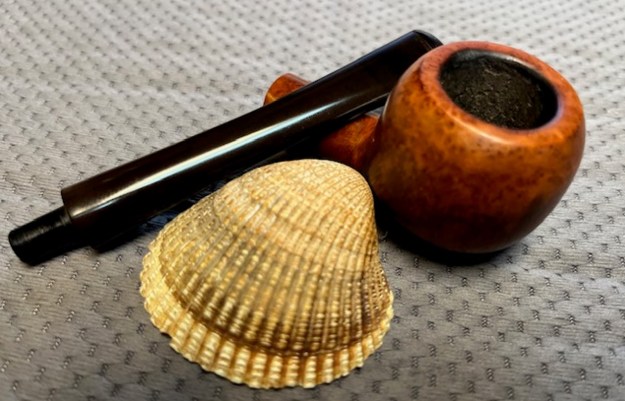
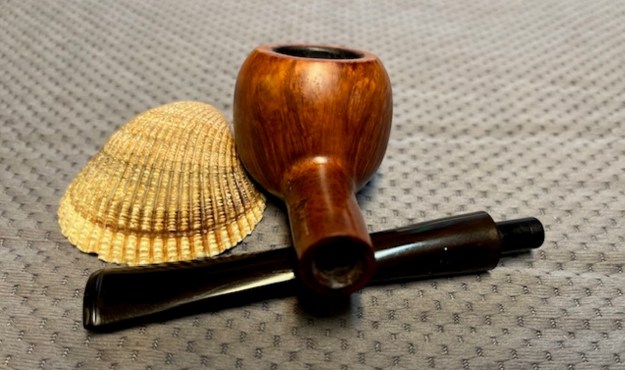
 I took a close up photo of the bowl to give an idea of what I had to work with. The bowl was very dirty and had a thick cake. The rim top had a thick and hard lava that was obscuring whether there was damage to the smooth rim. Perhaps it had protected it from burn damage but only cleaning will reveal that. I also captured the broken tenon in the shank in the second photo.
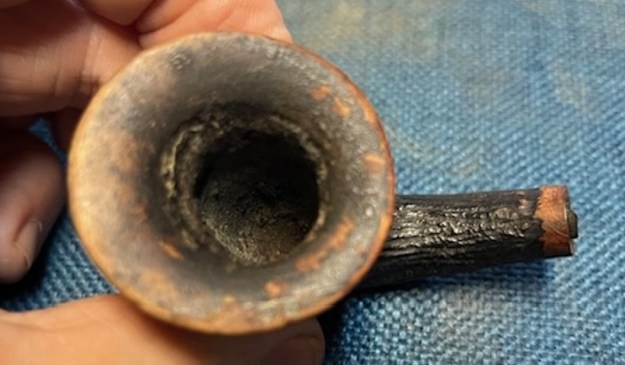
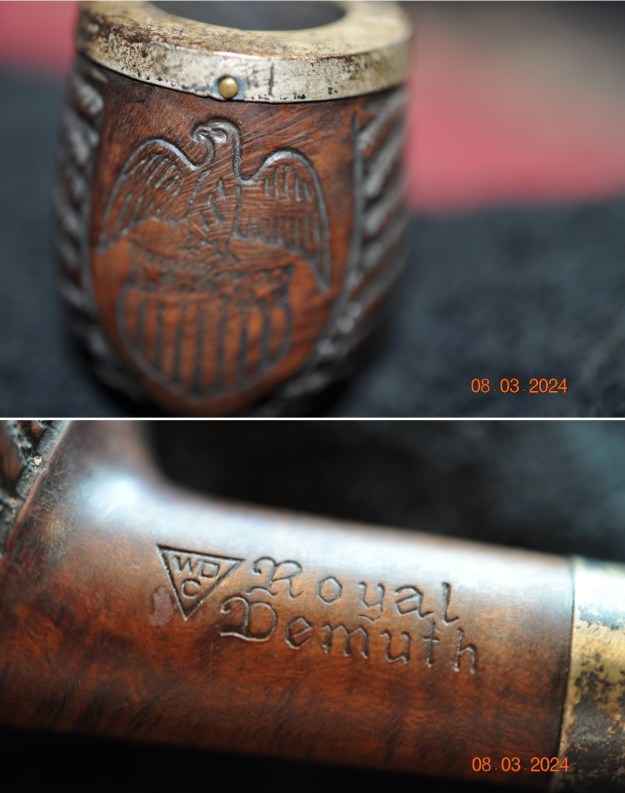
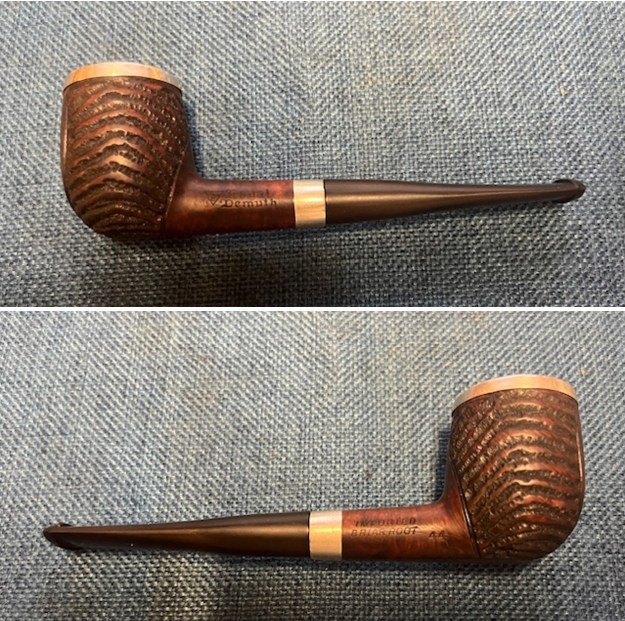
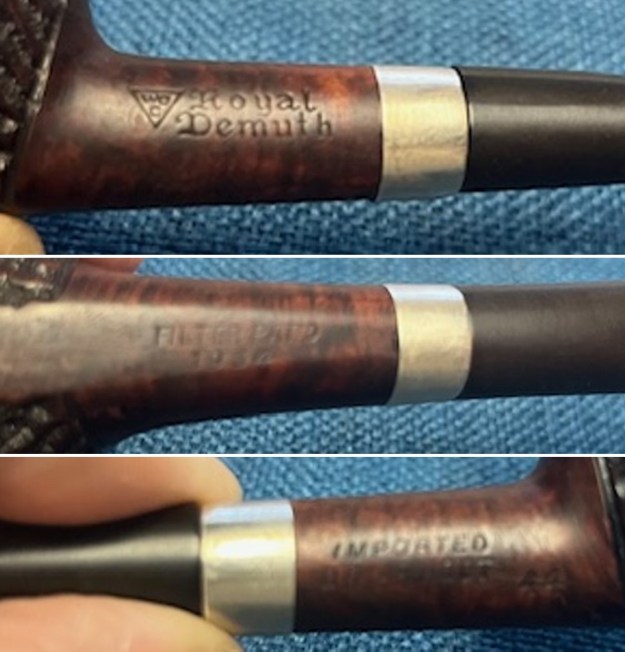
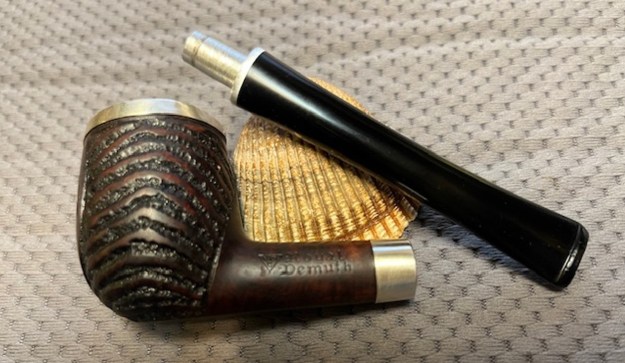
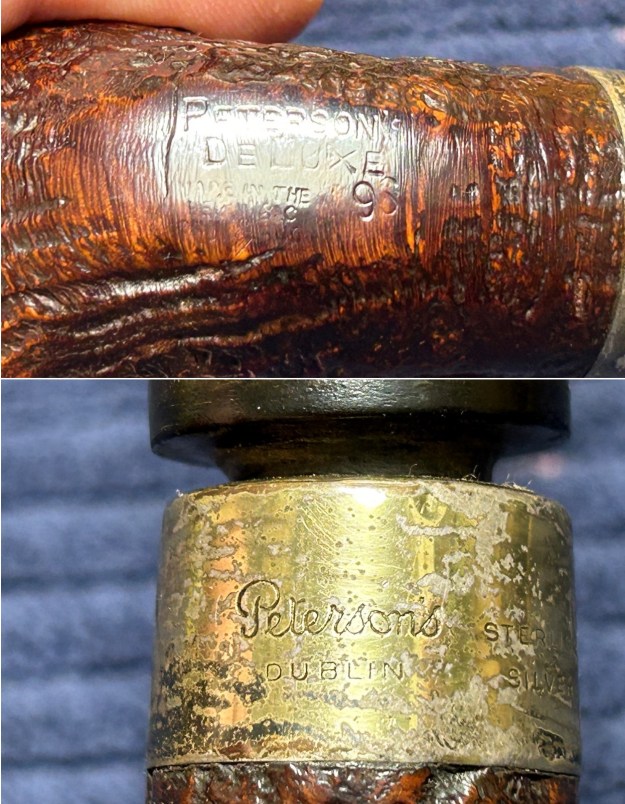
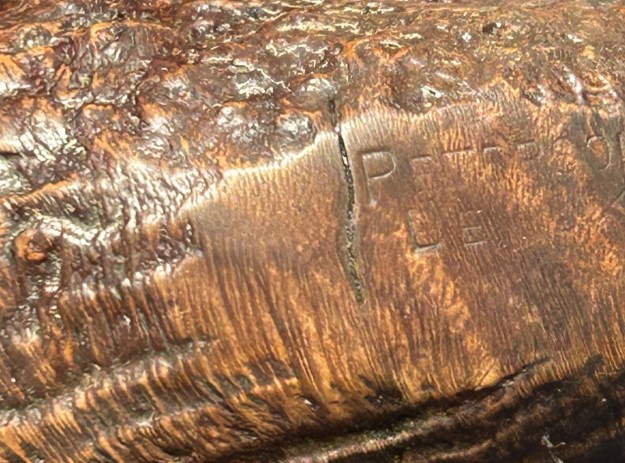
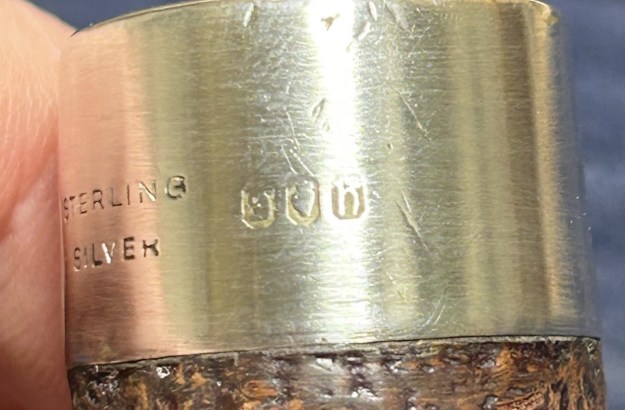
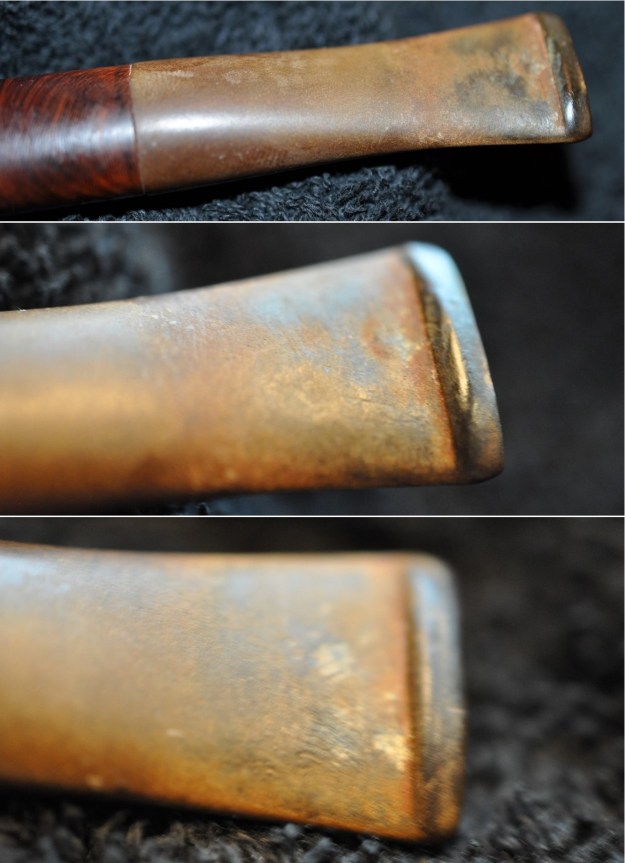
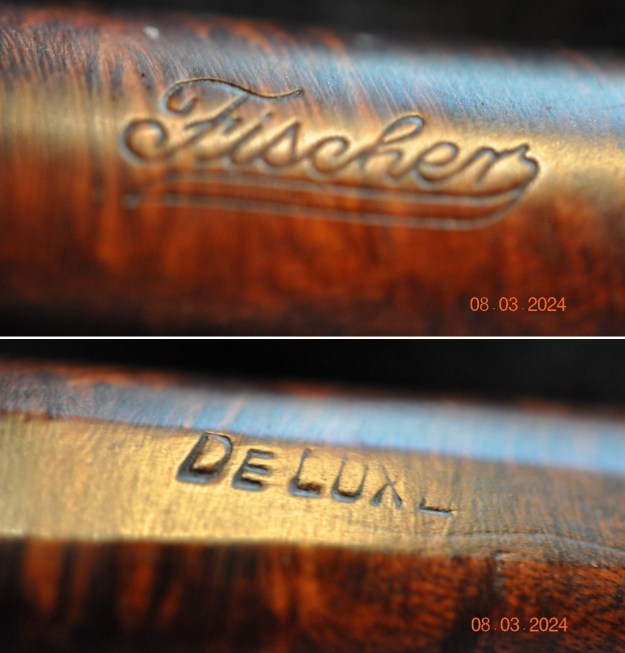
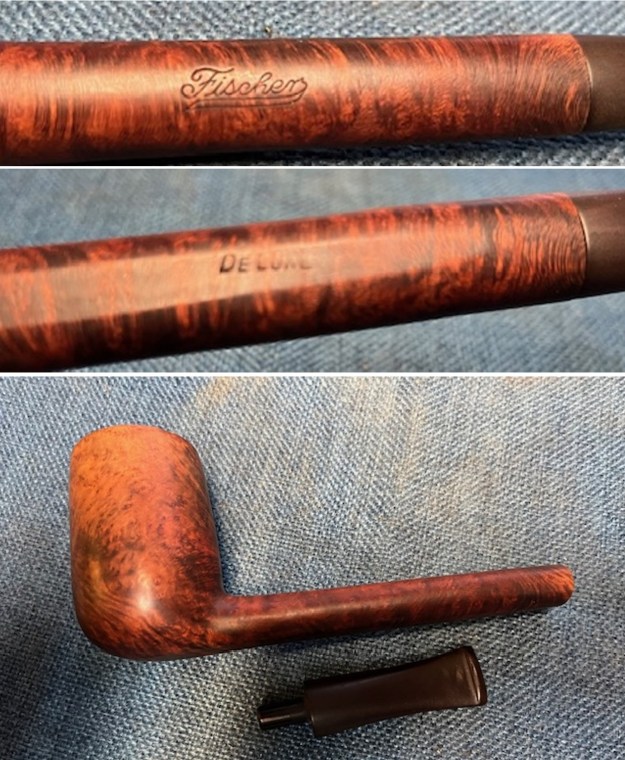
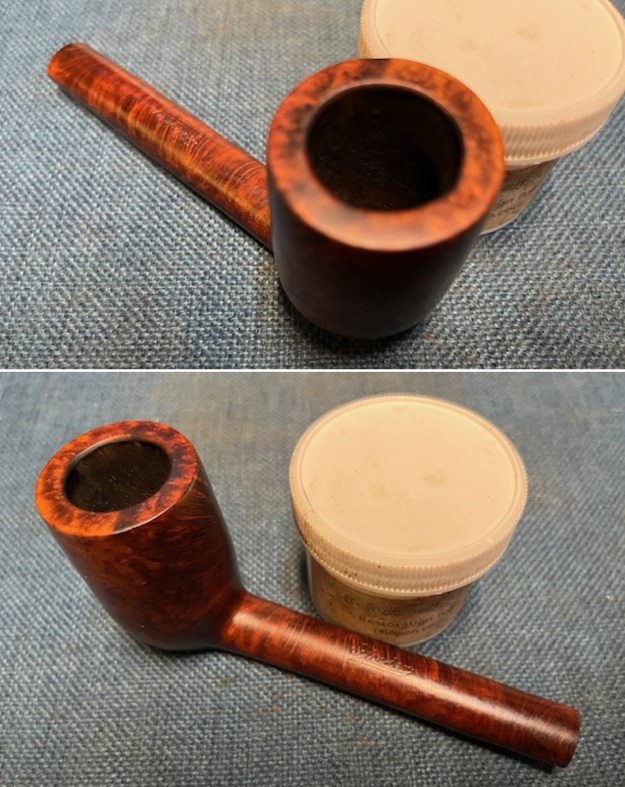
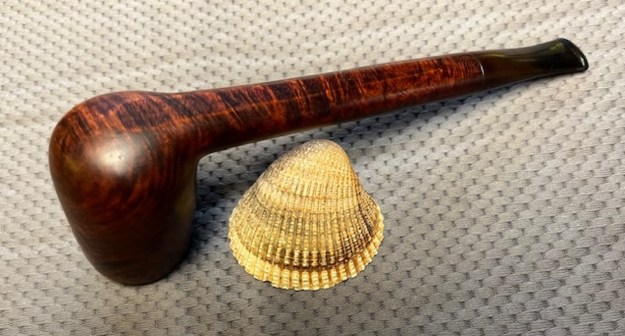
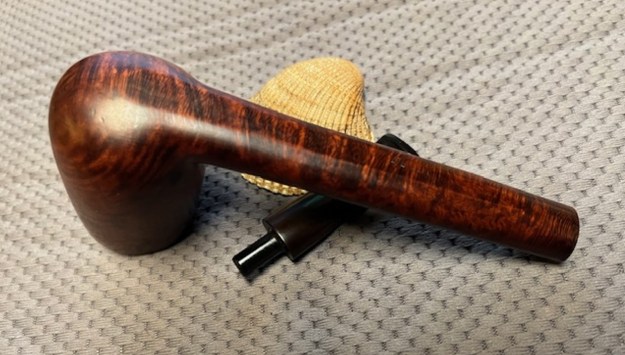
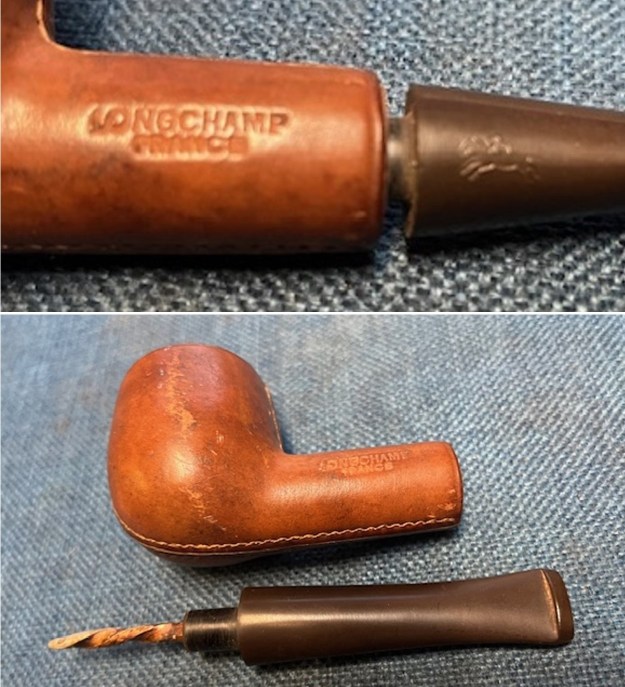
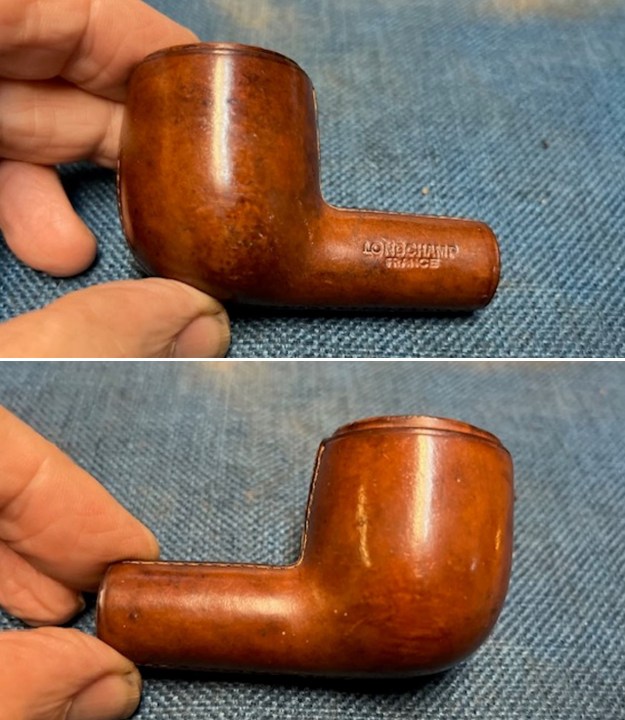
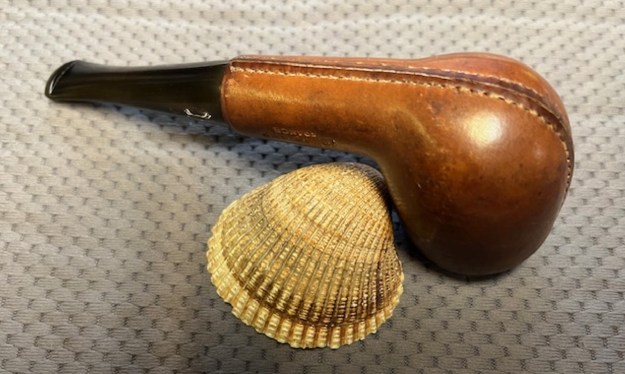
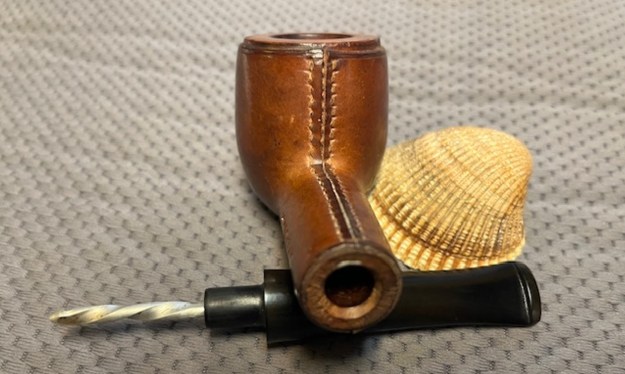
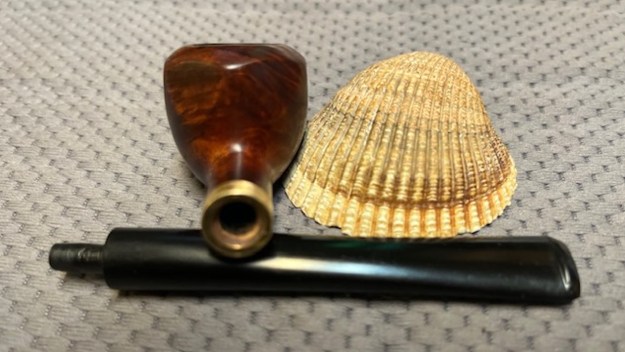
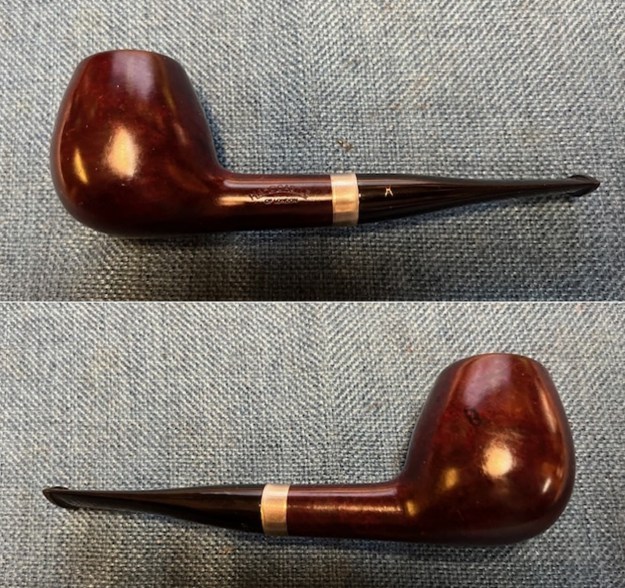
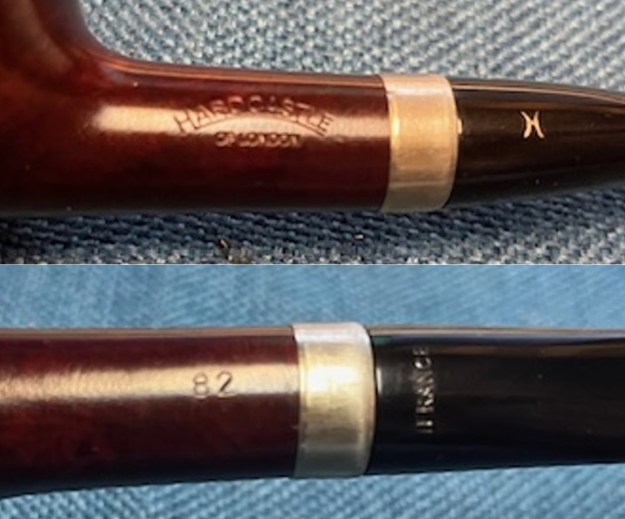
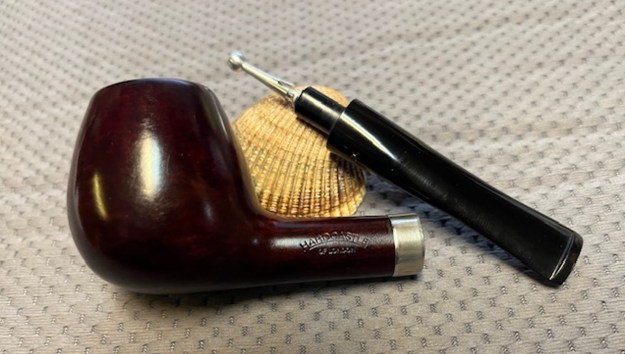
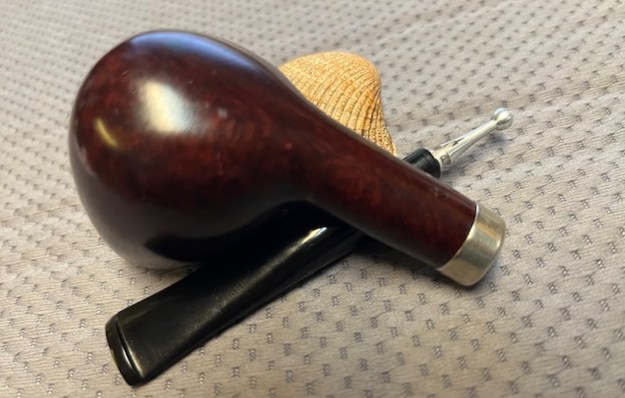
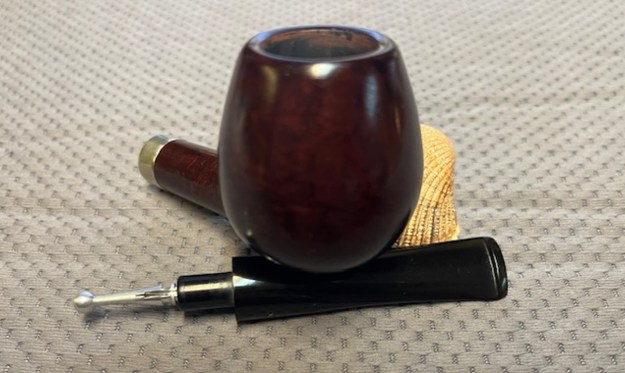
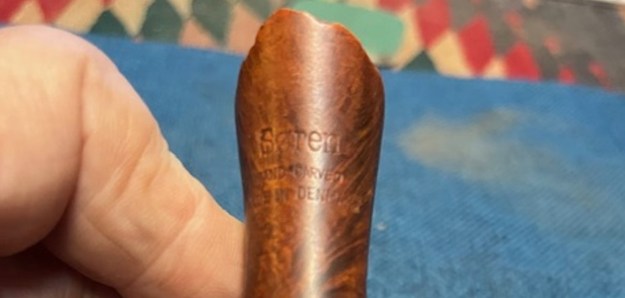
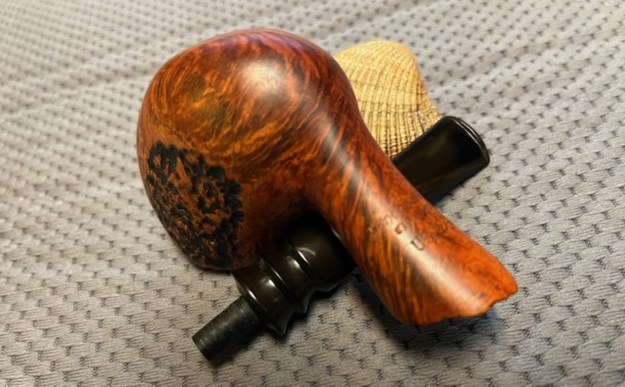
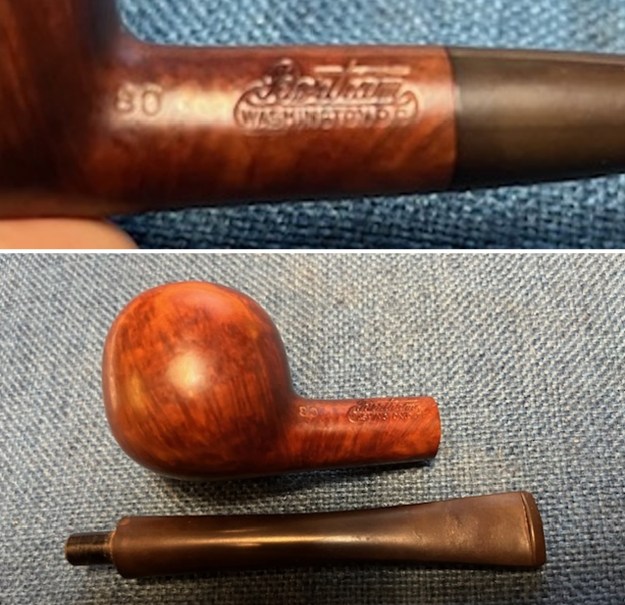
 I took a photo to try and capture the stamping on the underside of the shank. It is present and is readable in person far more than the photos show. It is stamped as noted above.
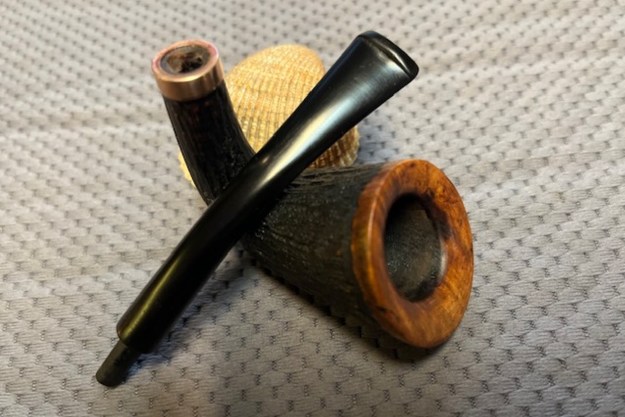
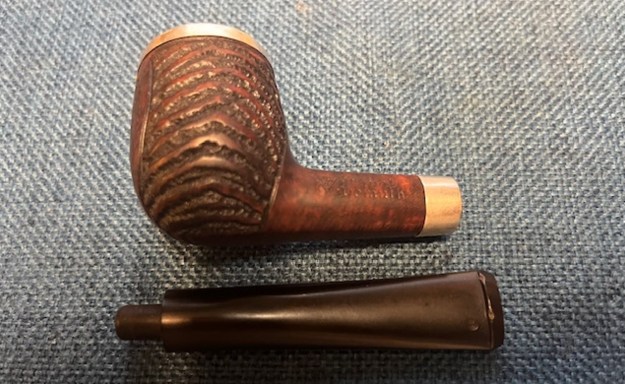
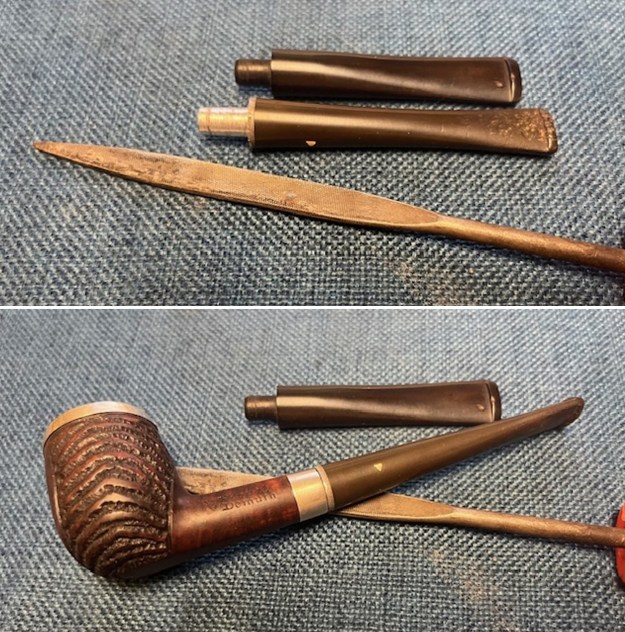
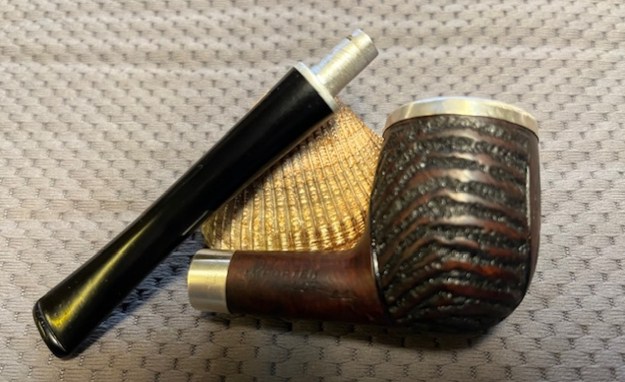
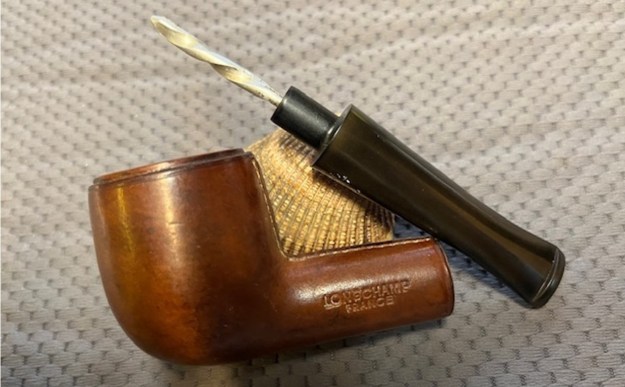
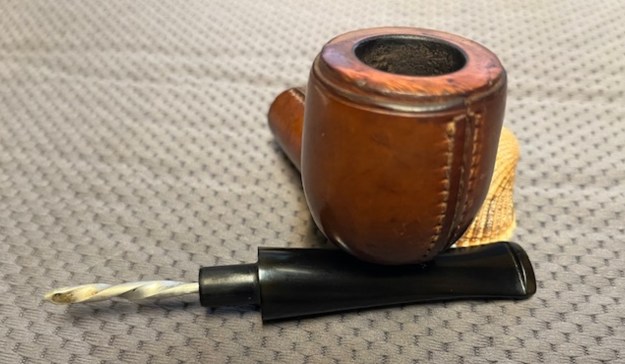
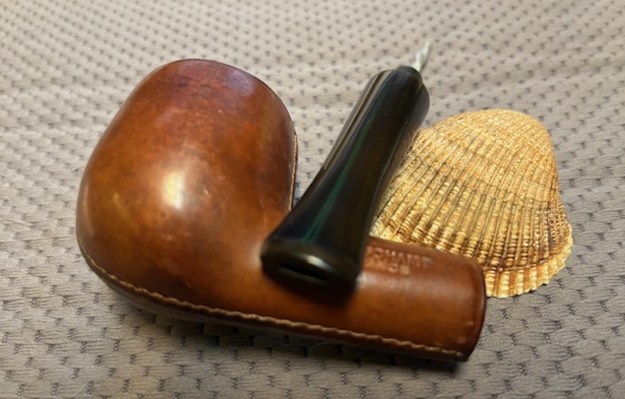
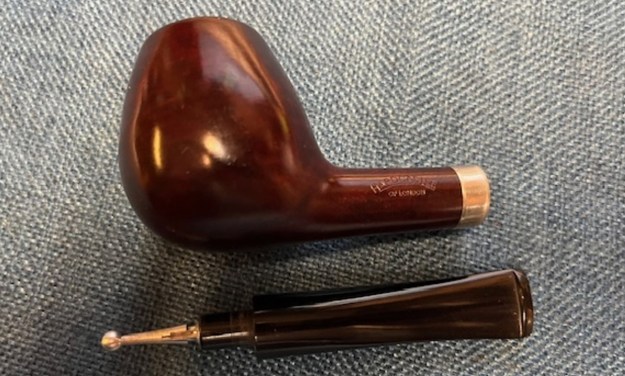
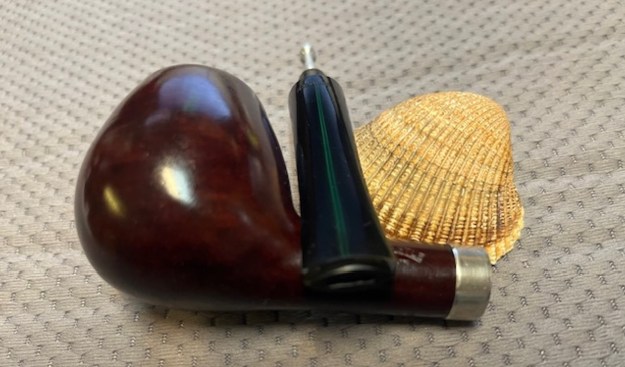
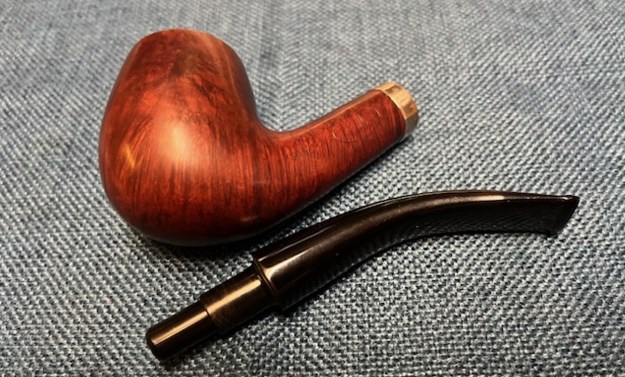
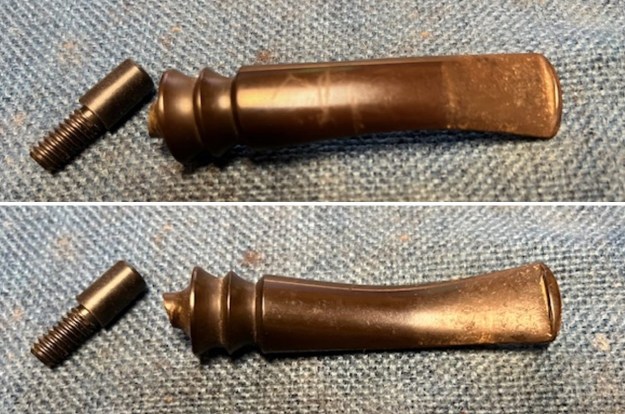
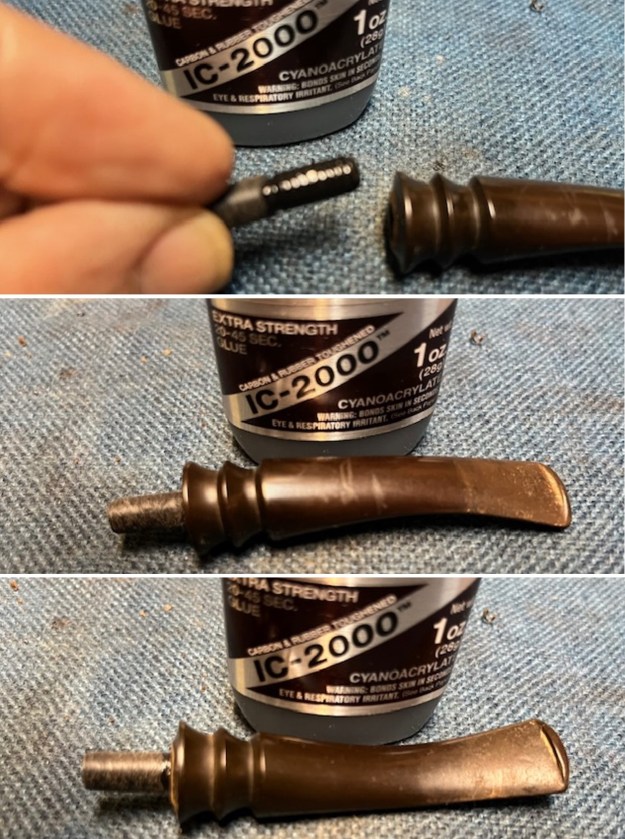
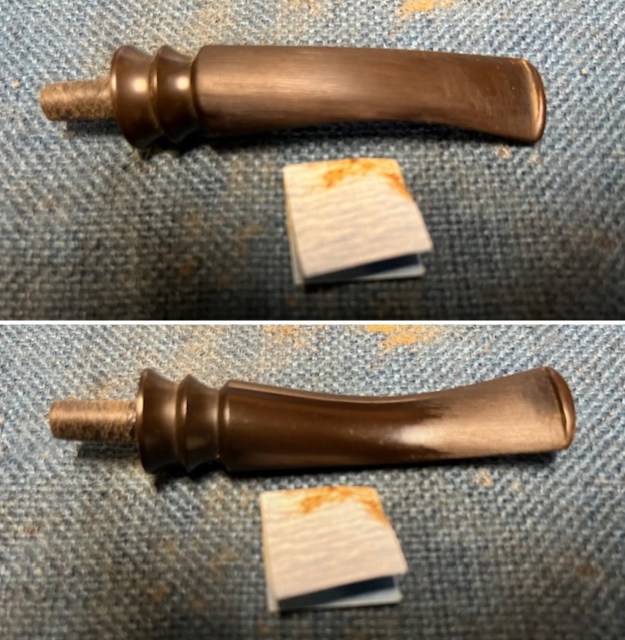
 I went through my cans of stems here and found a thin taper stem that would fit quite well once the tenon was shaped and the diameter of the stem was fitted at the shank. It was dirty and needed a thorough cleaning but I think it will look good.
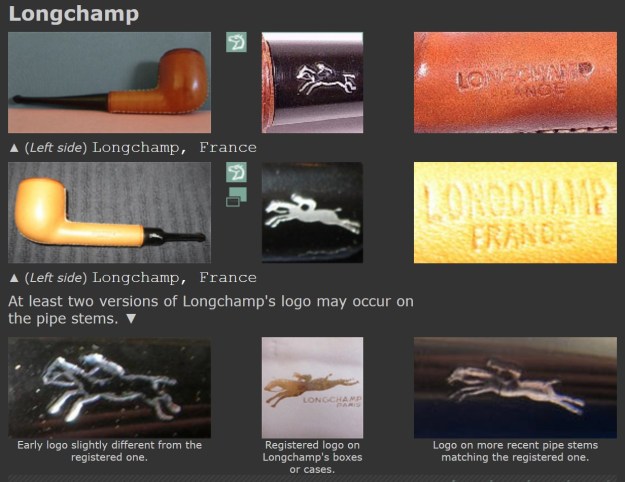
 Before I started to work on the pipe I wanted to refresh my memory about the brand. I turned first to Pipephils site to see if there was any information about the Danish Made Prince Amled brand (http://www.pipephil.eu/logos/en/logo-p5.html). I did a screen capture of what was on the site and I include that below. It was another of those pipes with little information included.
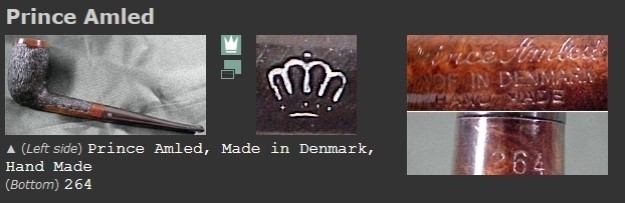 I turned to Pipedia (https://pipedia.org/wiki/Prince_Amled) to see if there was any further information to help me with hunt for this pipe manufacturer. The listing for that pipe company had some great photos but also an appeal for information on the brand. It looked like I had as much information as I could find online.
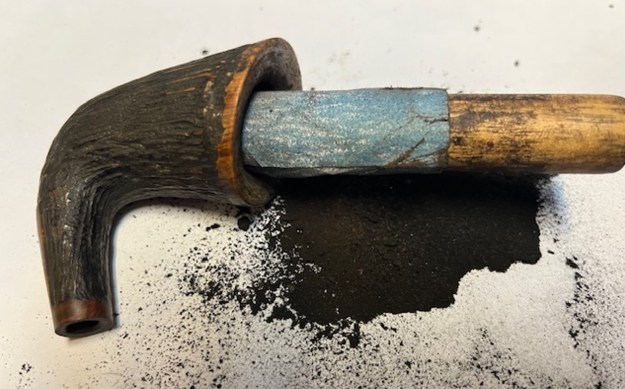
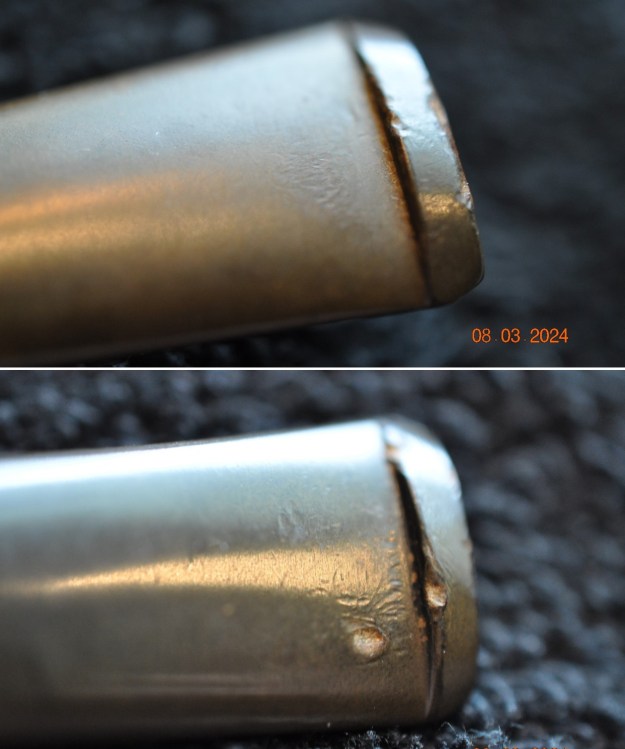
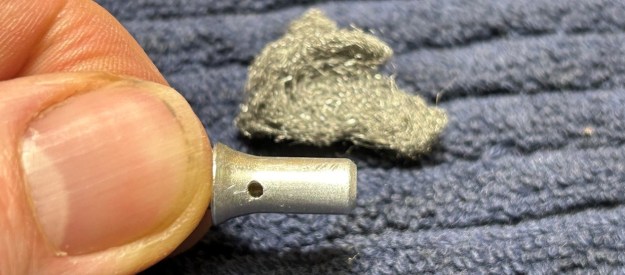
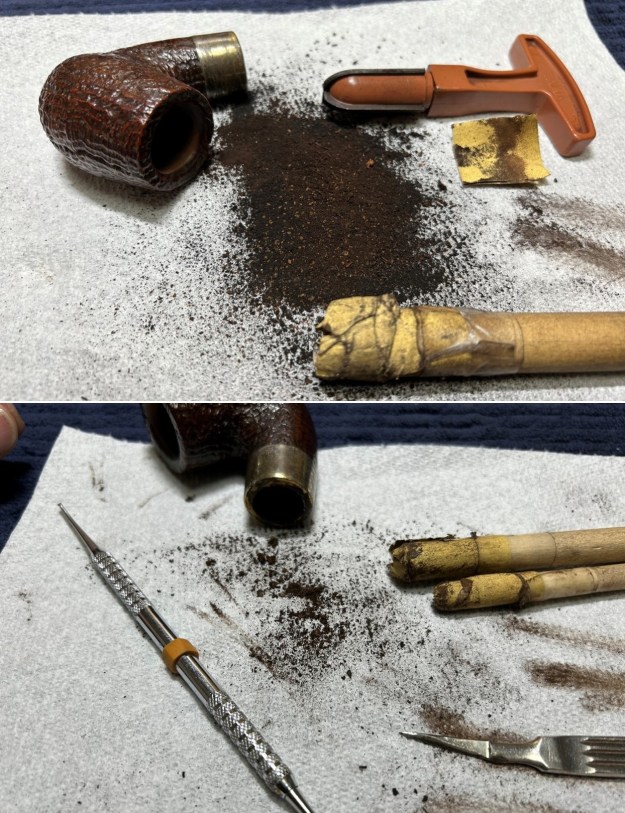
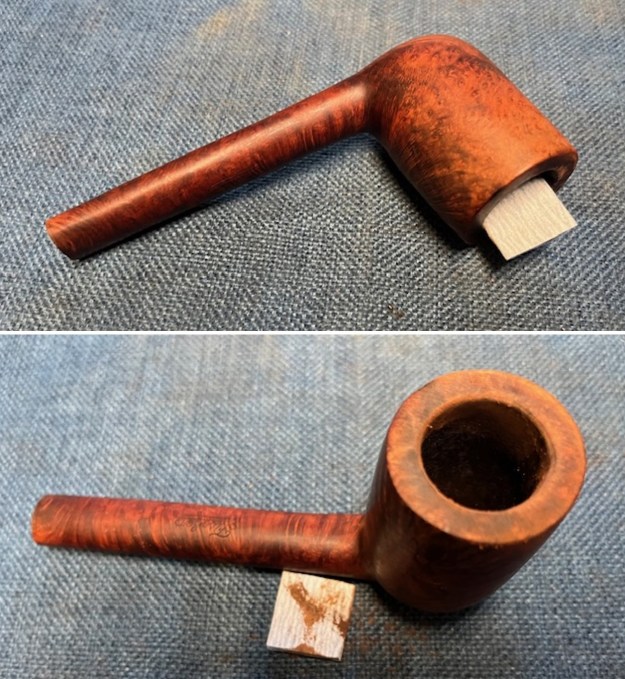
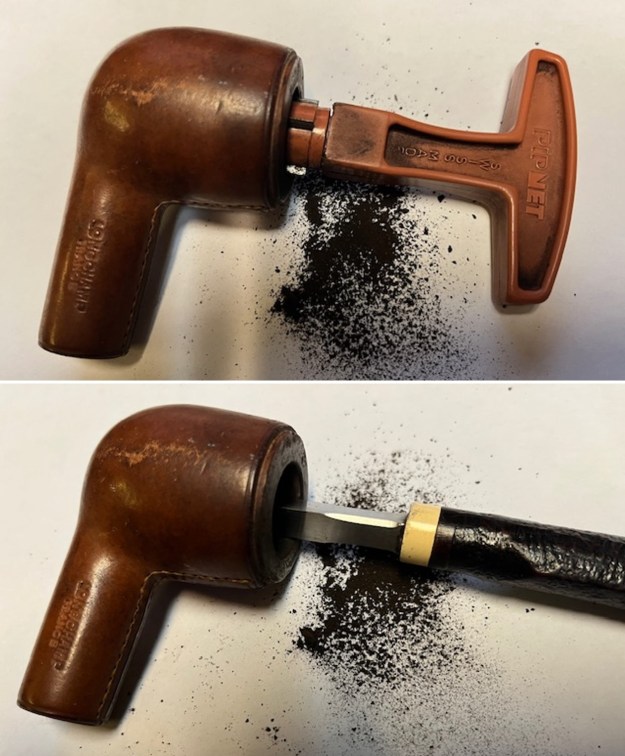
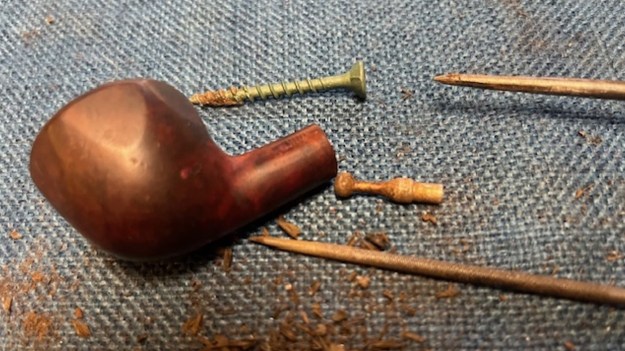
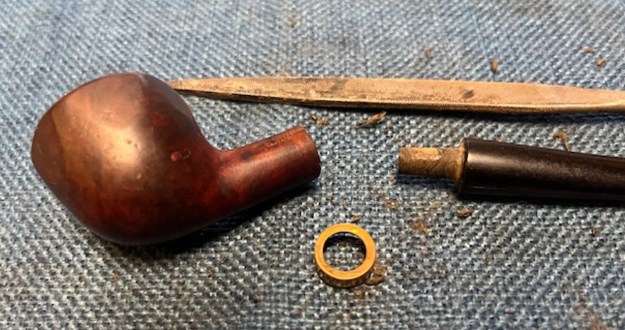
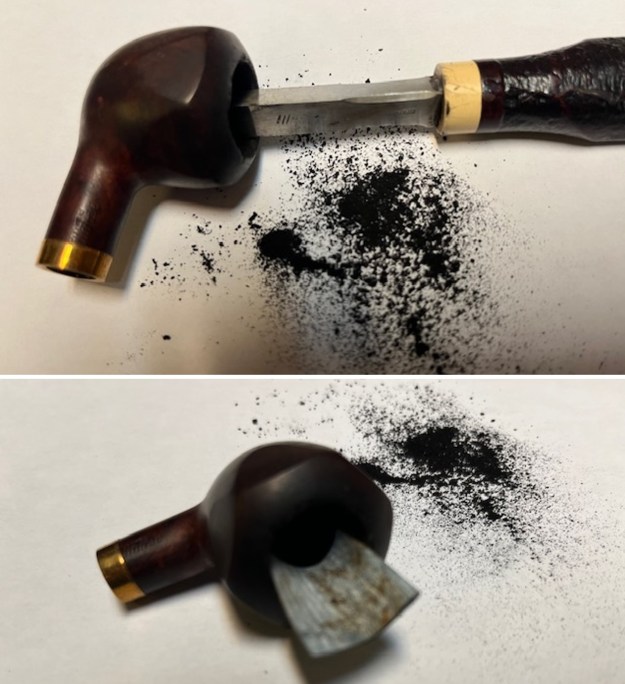
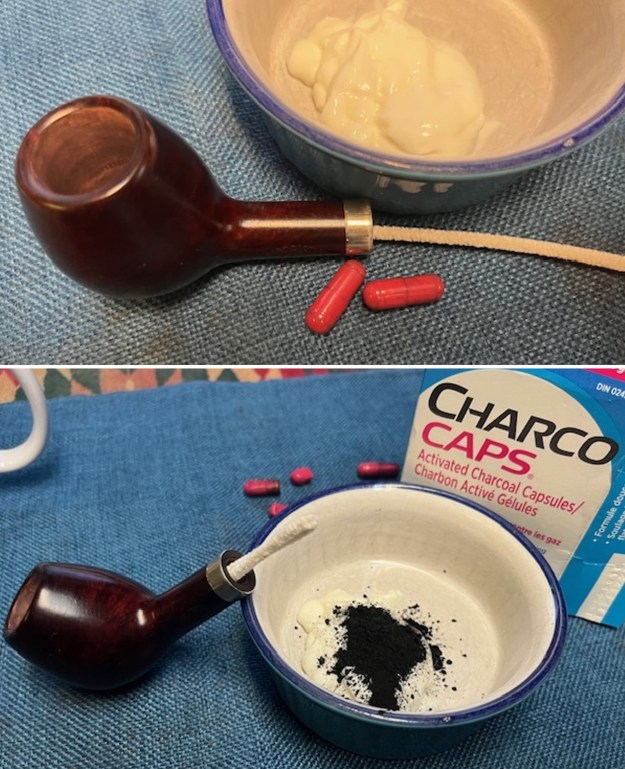
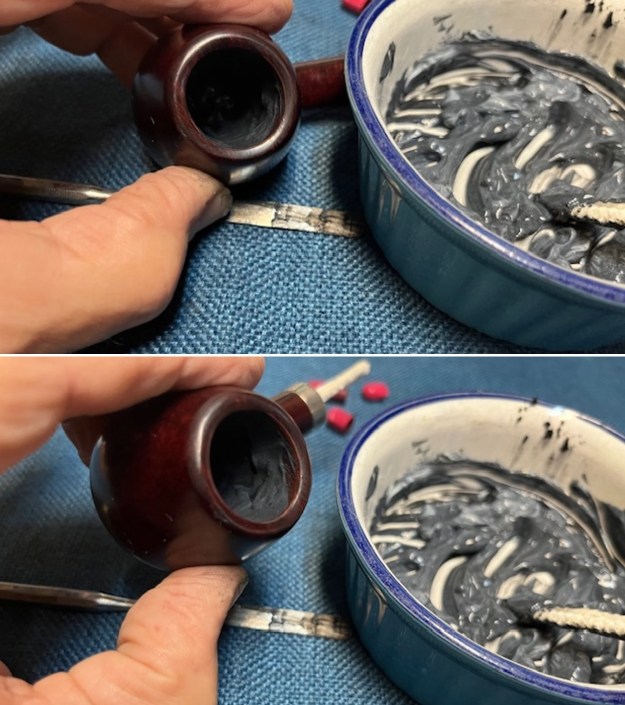
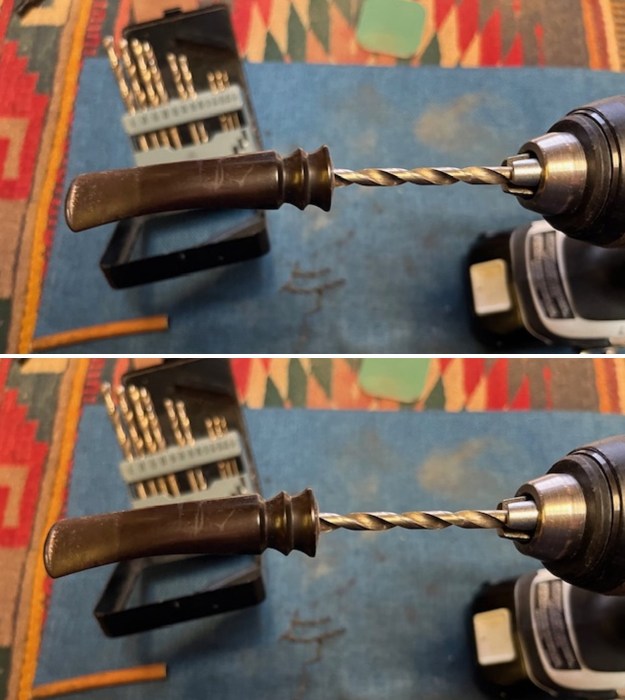
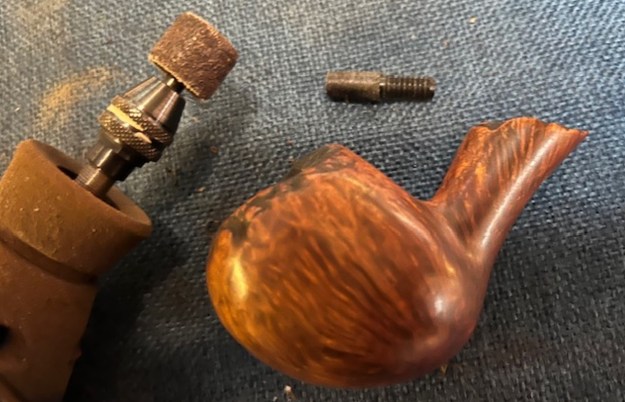
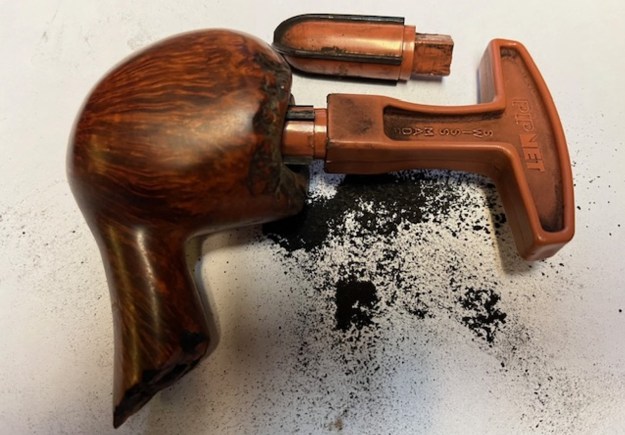
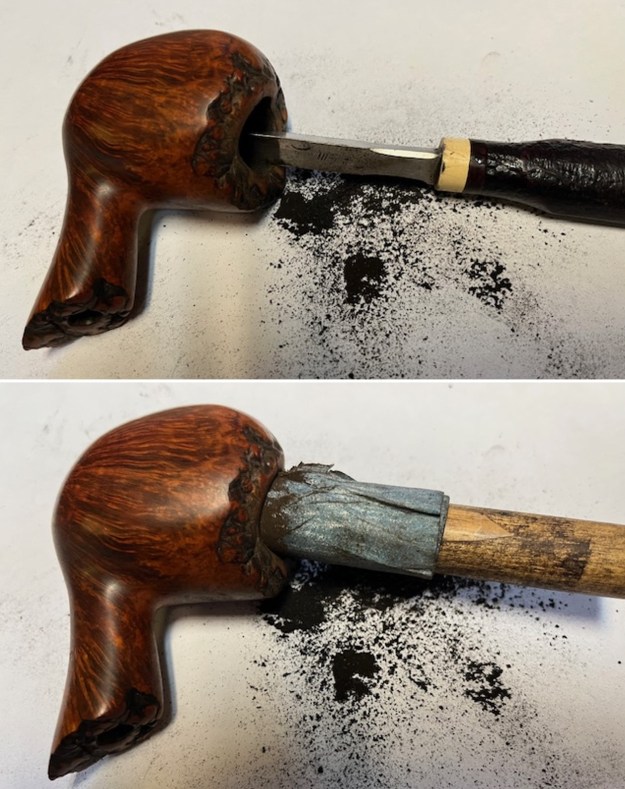
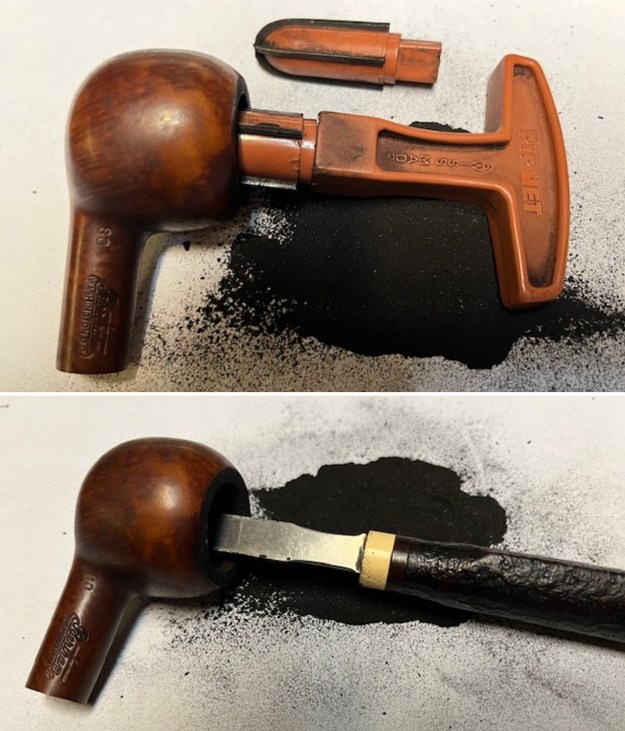
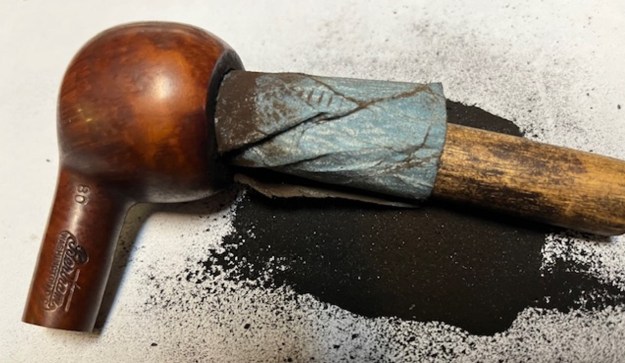
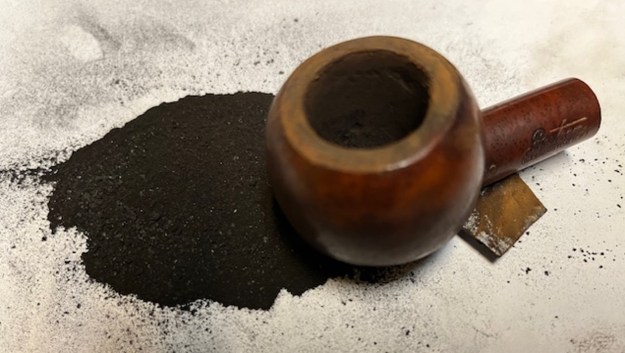
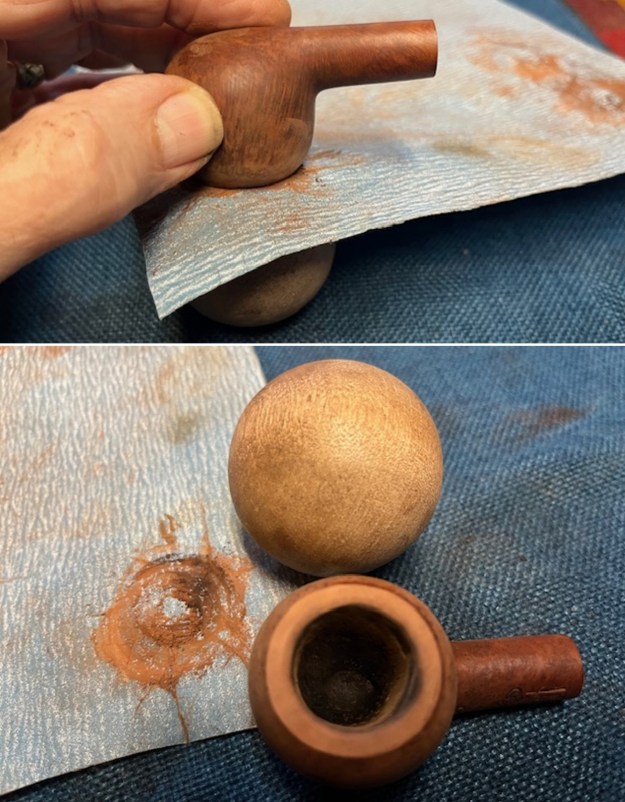
It was time to work on the pipe! I decided to start by pulling the broken tenon in the shank. I screwed a coarse thread drywall screw into the airway and gently wiggled the tenon piece free. The shank was dirty but otherwise undamaged. There was some nicking on the shank end and edge that would need to be dealt with but otherwise it was good. Now the pipe was ready to be cleaned. I reamed it with a PipNet Pipe Reamer using the 1st and 2nd cutting heads to remove the cake. I cleaned up the remnants with a Savinelli Fitsall Pipe Knife. I finished the bowl by sanding the walls with a piece of 220 grit sandpaper wrapped around a piece of dowel. The bowl walls looked very good.
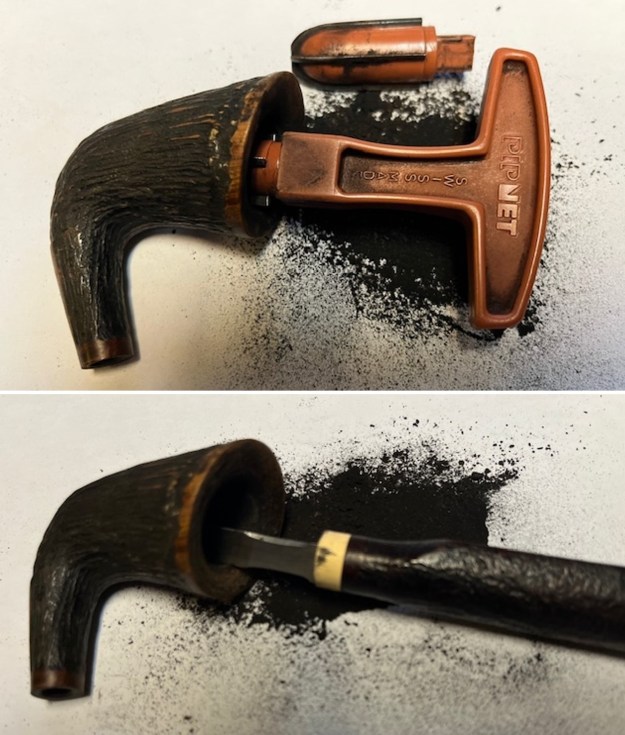
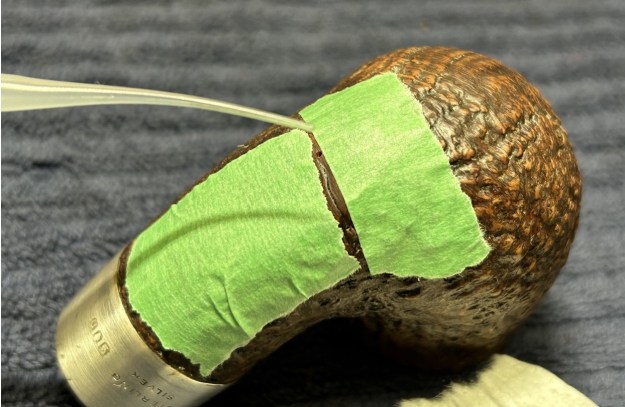
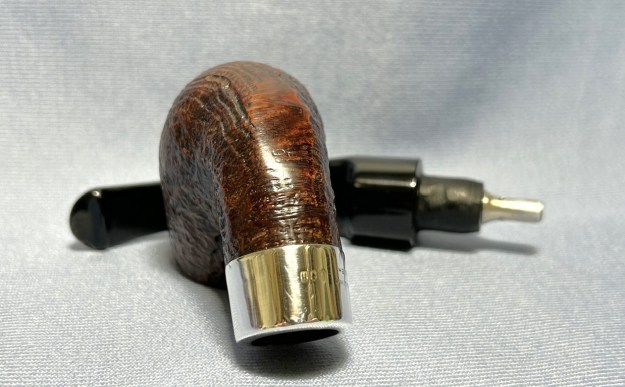
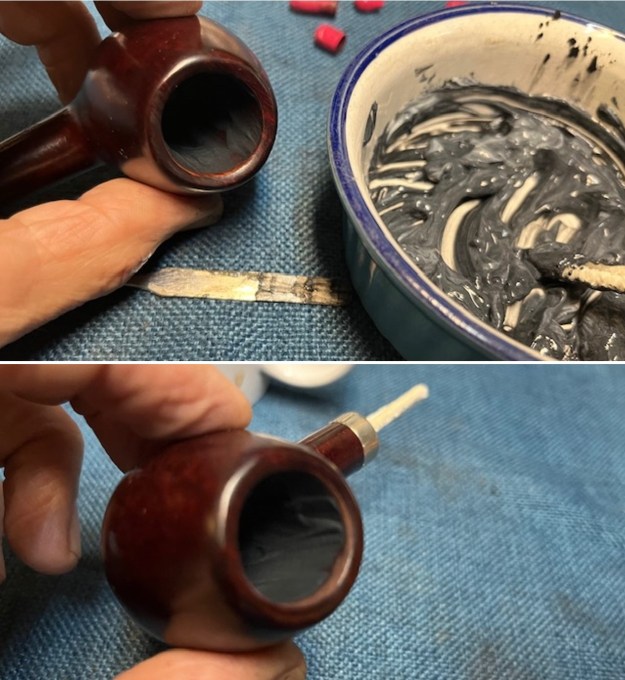
 I went through my thin brass bands to find one that would work to clean up the damage on the shank end. I use these to give a smooth surface to face the new stem. It adds a bit of bling but also does a great job making the shank face smooth to match the stem. I wiped the shank end down with alcohol to clean it off and gave the shank end a coat of glue. I pressed the band in place over the all-purpose glue and cleaned off the excess with a wet cloth.
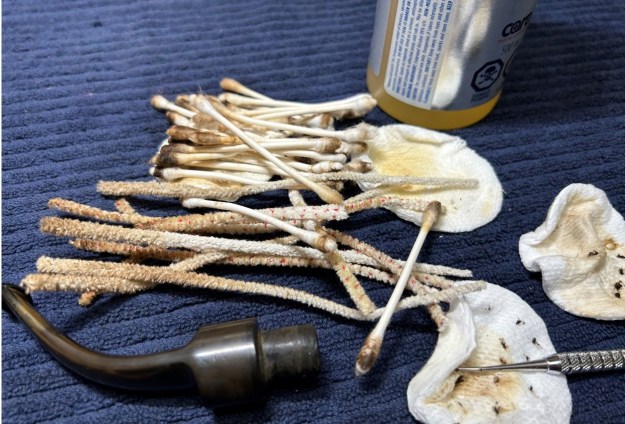
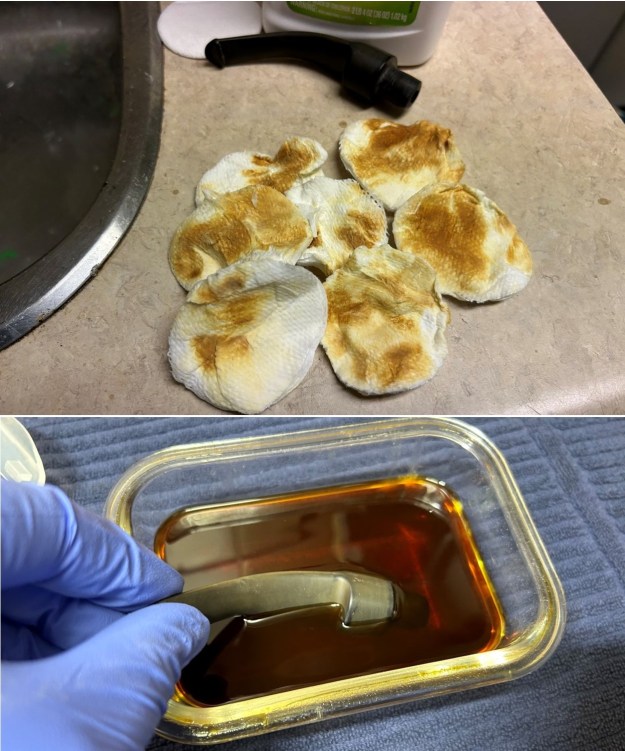
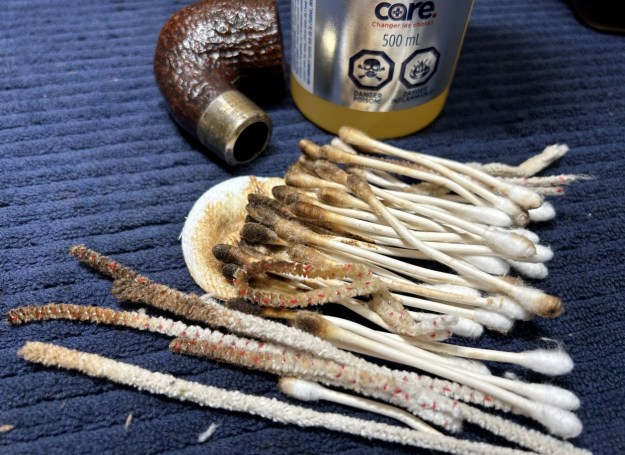
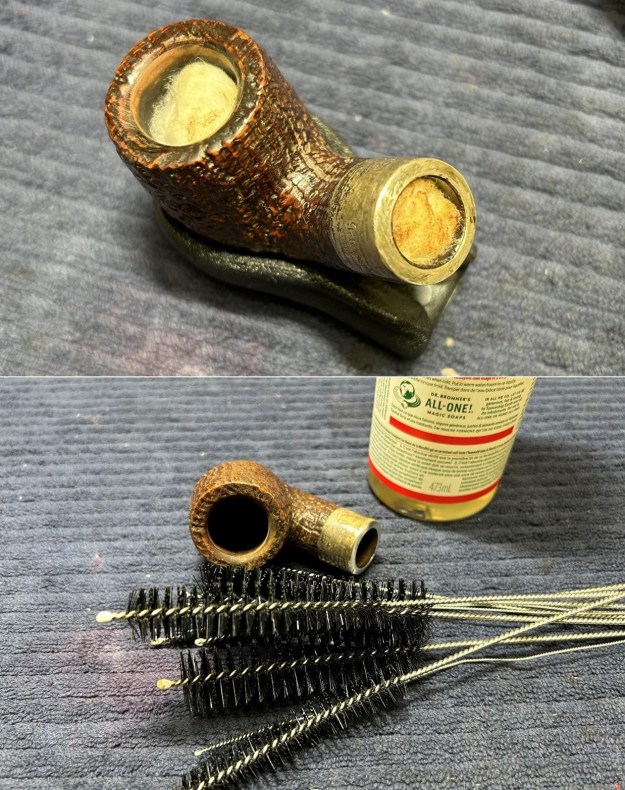
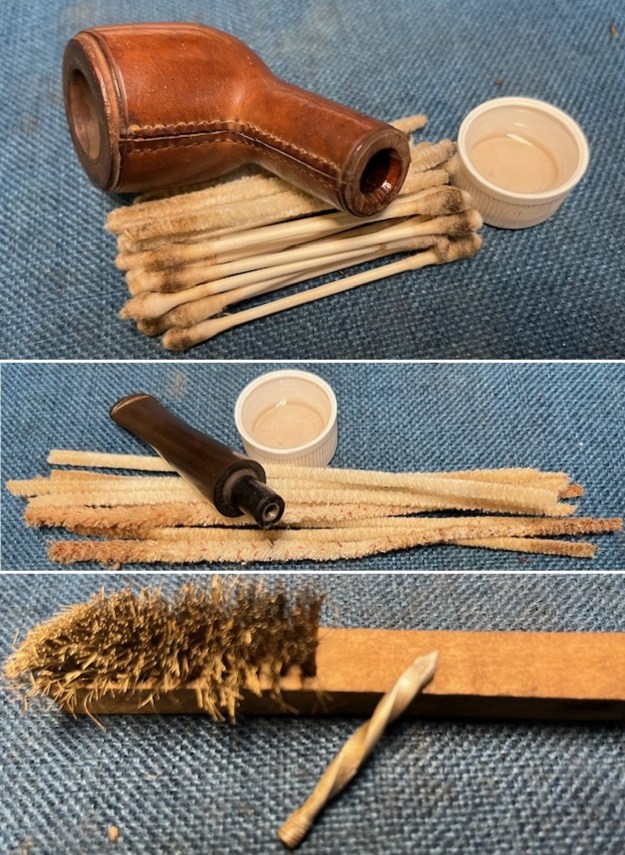
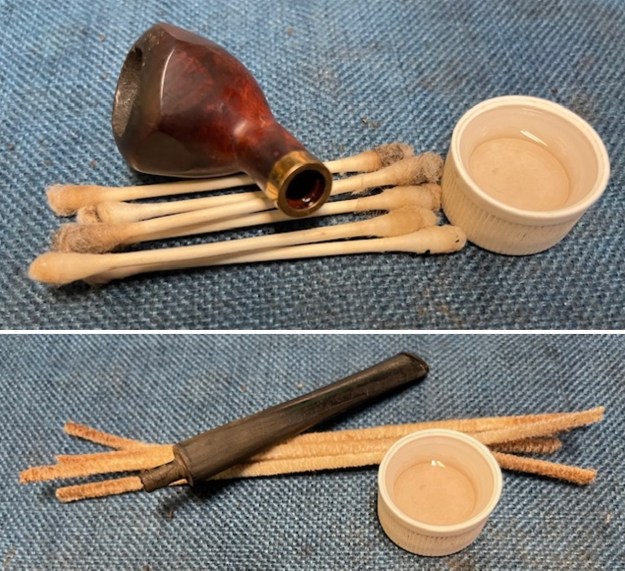
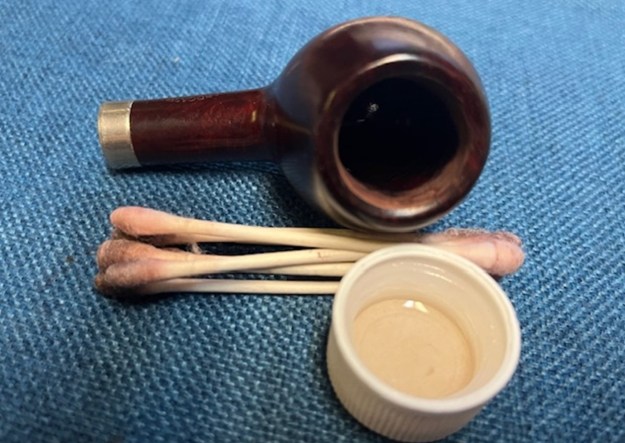
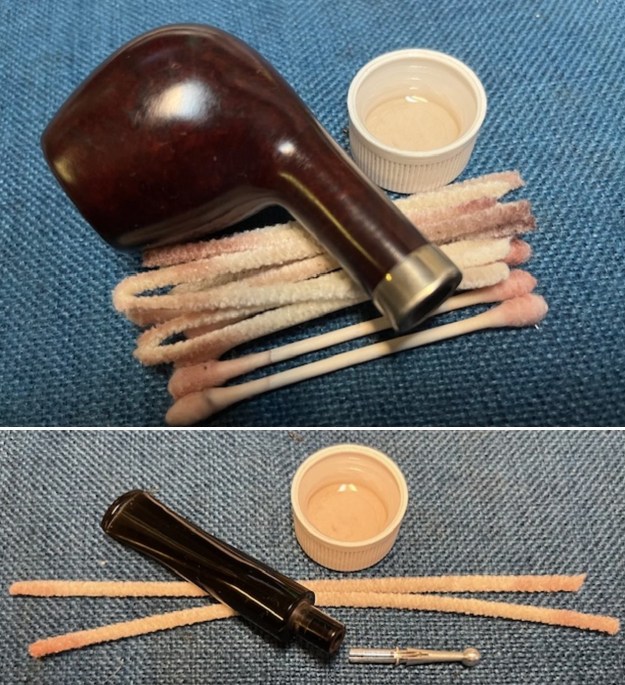
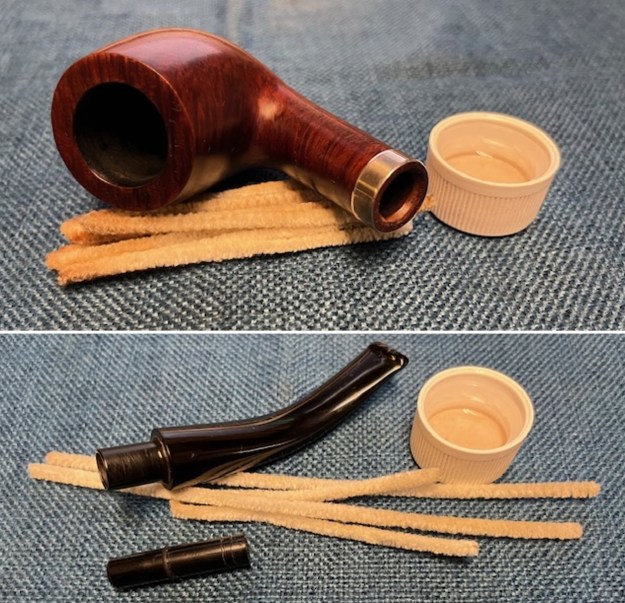
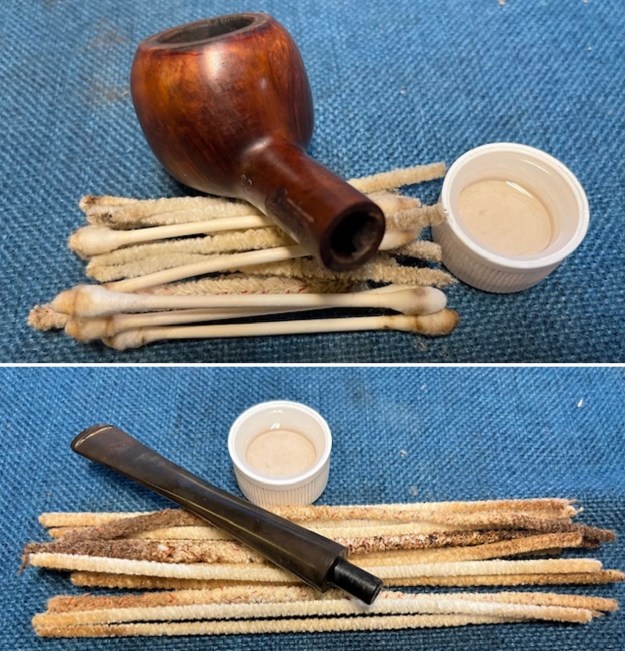
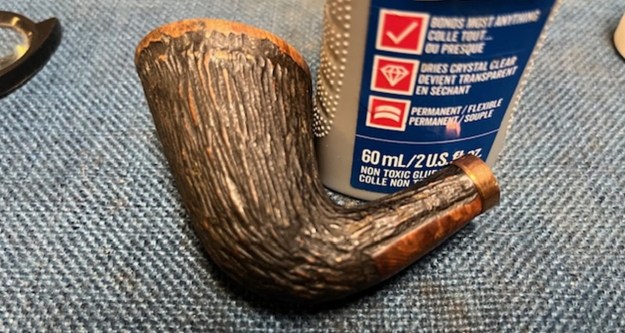 Once the glue had dried I scrubbed out the internals with pipe cleaners (normal & bristle), cotton swabs and alcohol to remove the tars and oils in the shank between the mortise and the entrance of the airway into the bowl. It was quite dirty. I cleaned out the internals on the stem at the same time.
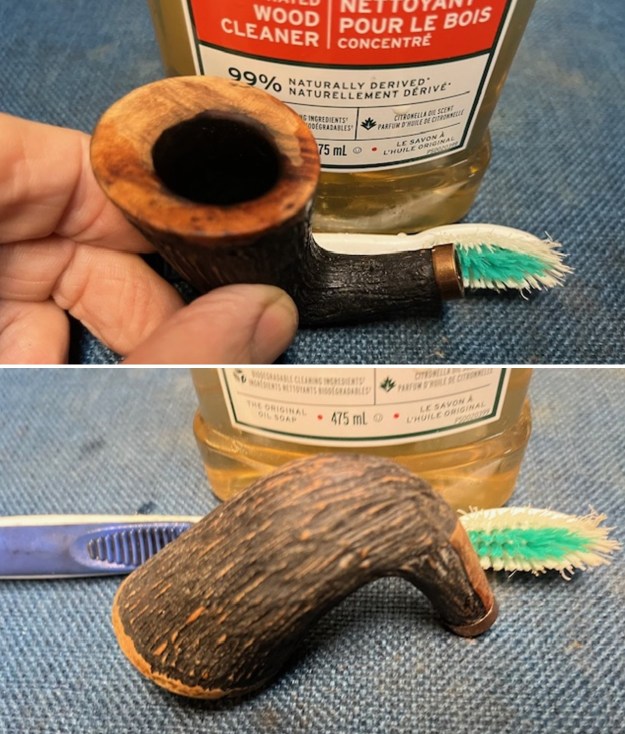
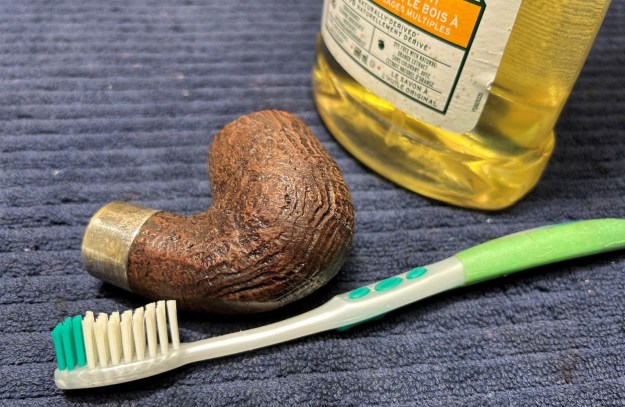
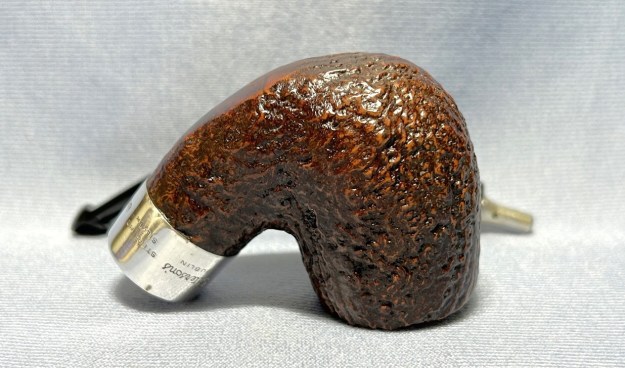
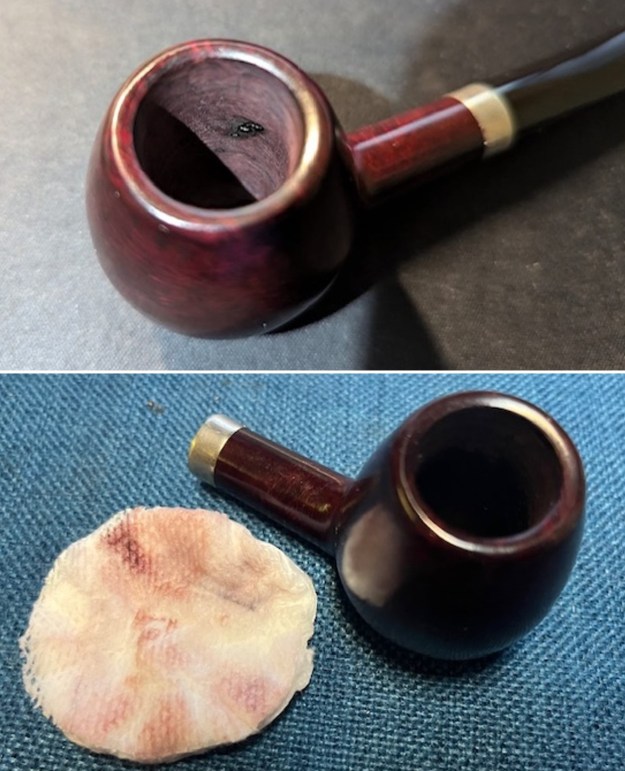
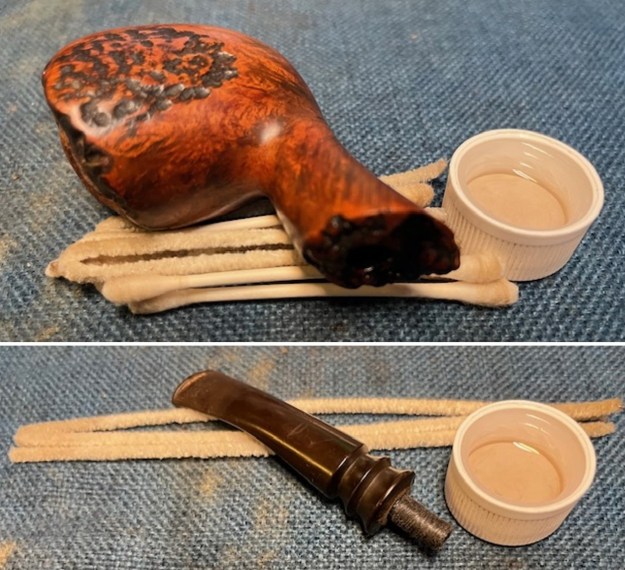
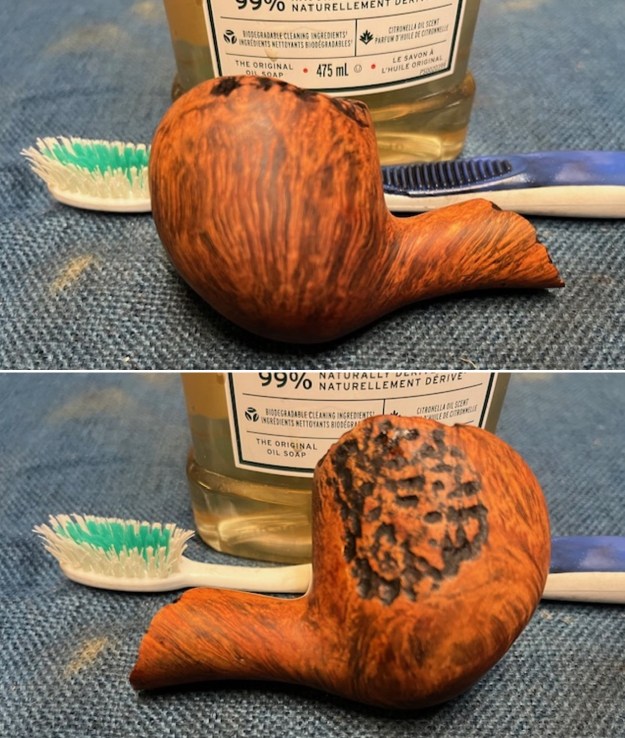
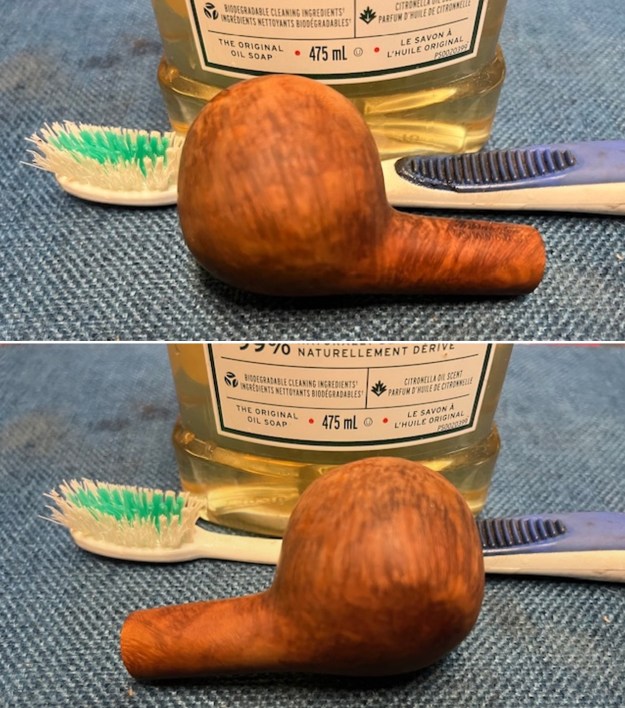
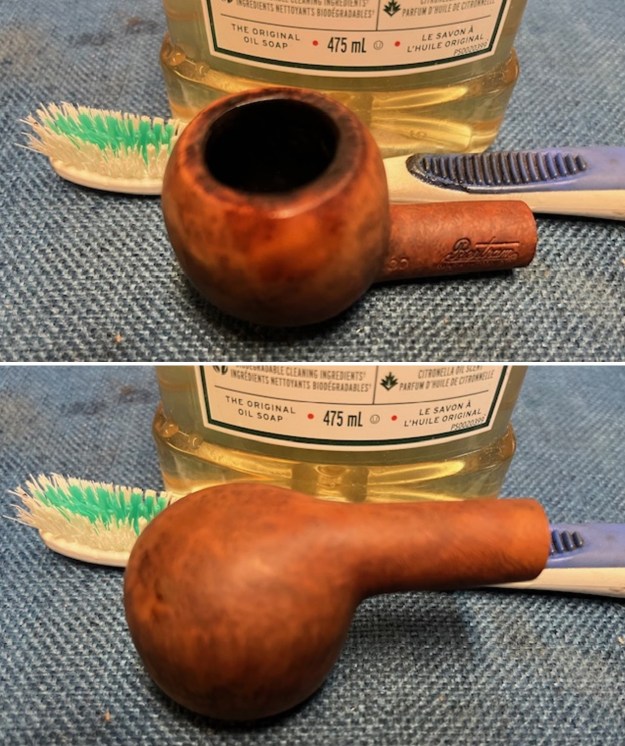
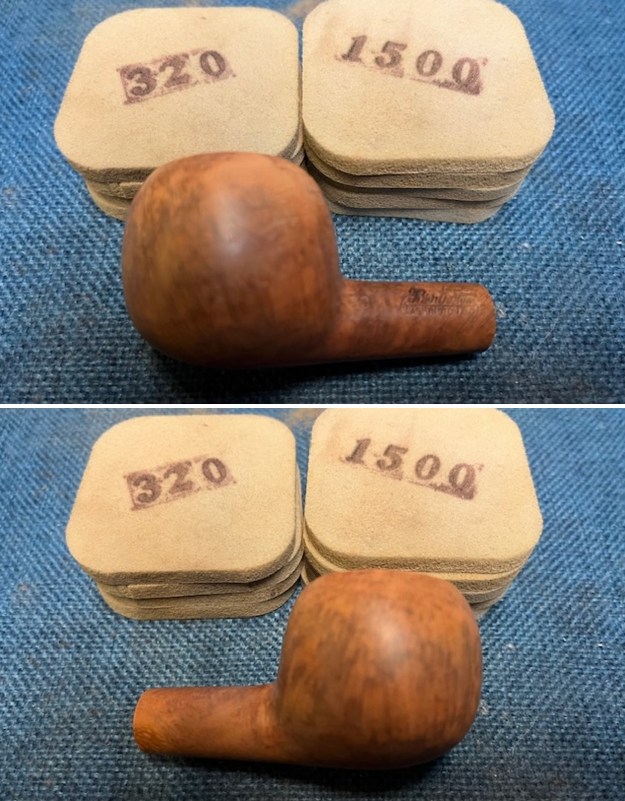
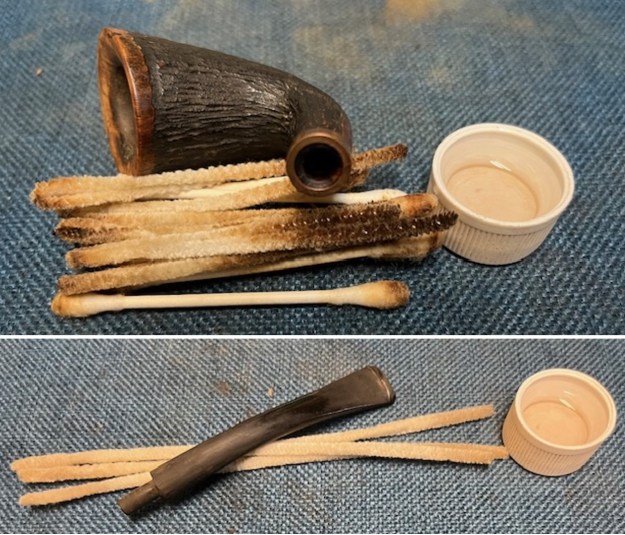 I scrubbed the exterior of the bowl and shank with a tooth brush and undiluted Murphy’s Oil Soap. I worked it into rustication on the bowl and shank and the dirty rim top with a tooth brush. I rinsed the soap and grime off with warm water and repeated the process until the pipe was clean. I dried it off with a soft towel. It looked much better at this point.
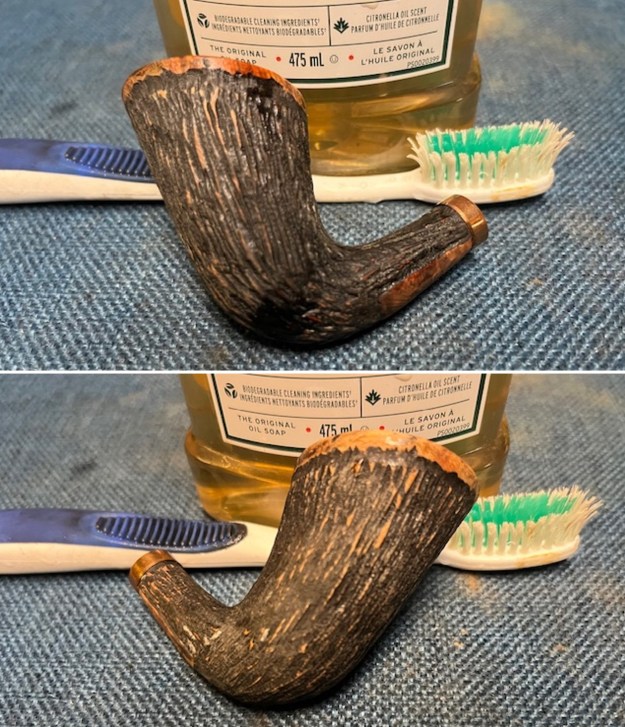
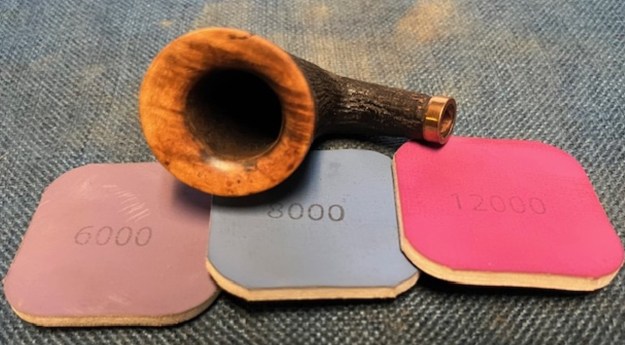
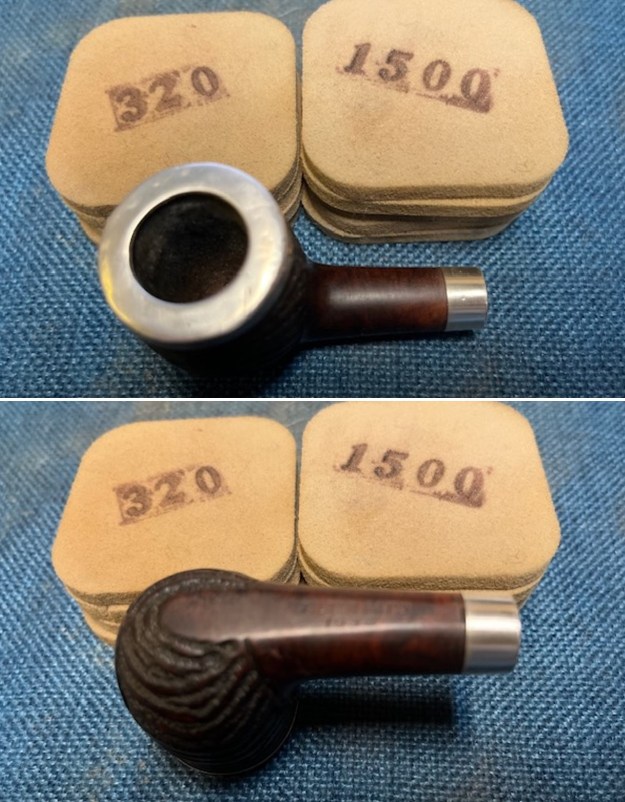
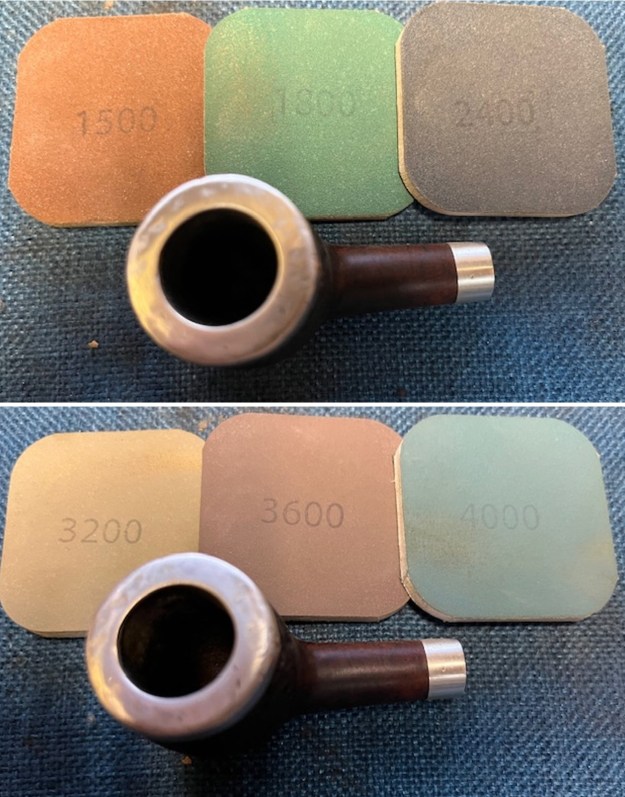
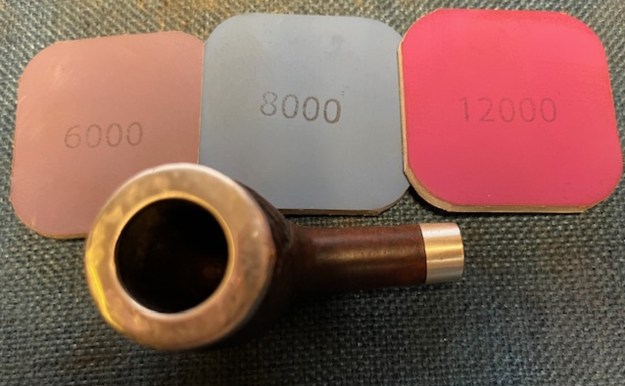
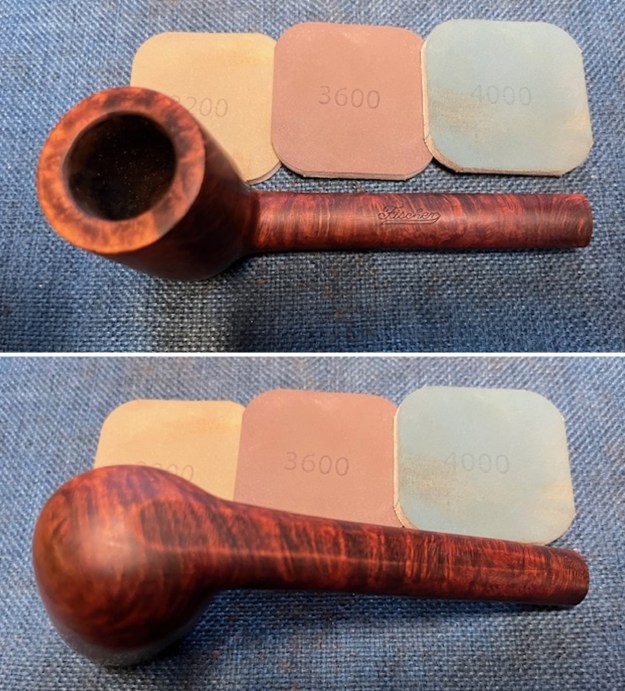
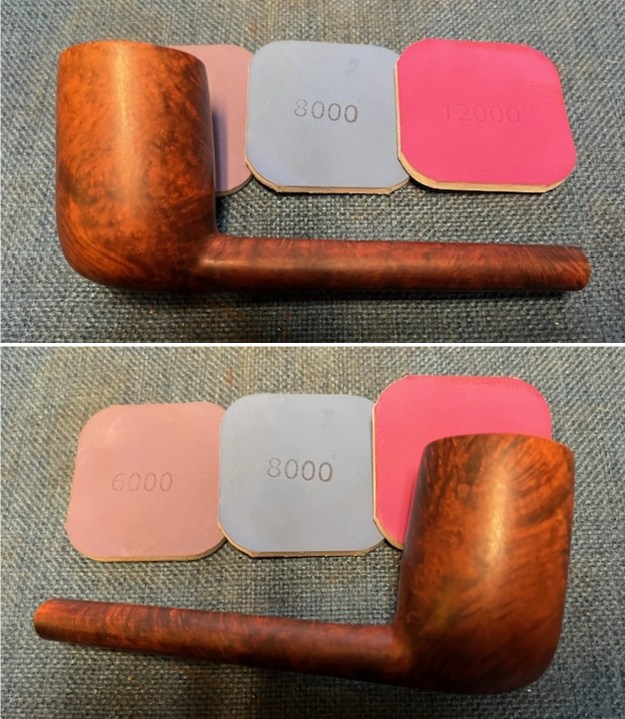
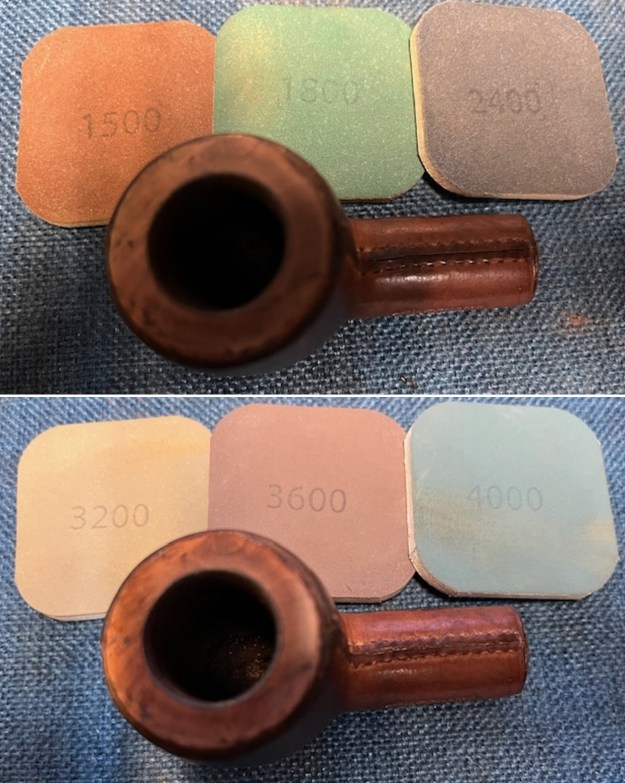
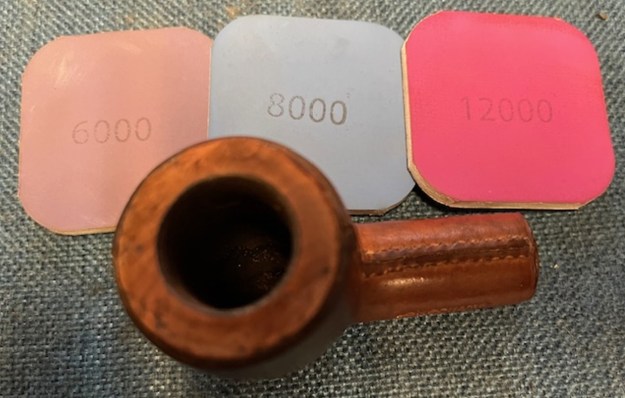
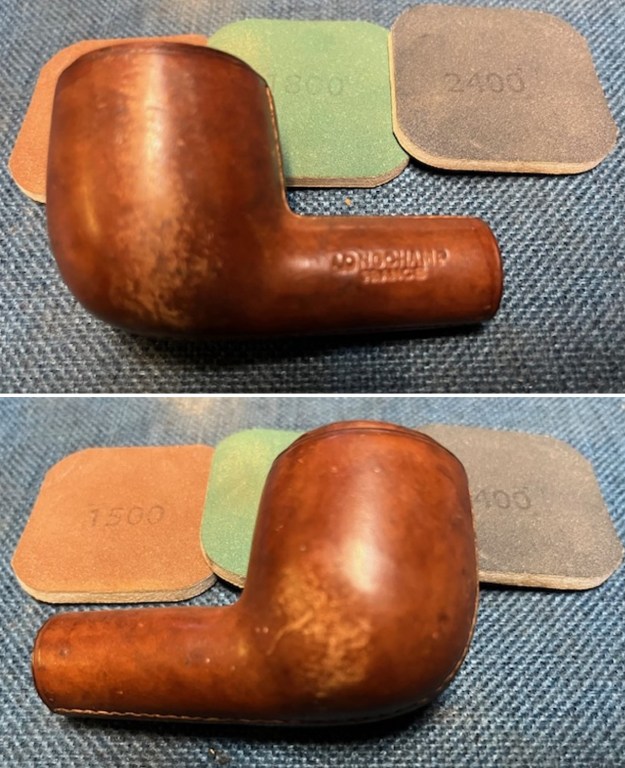
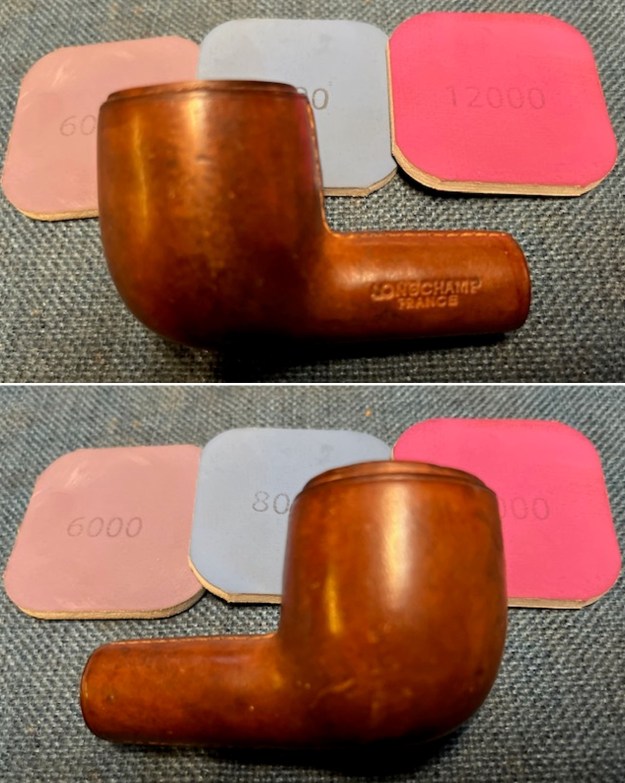
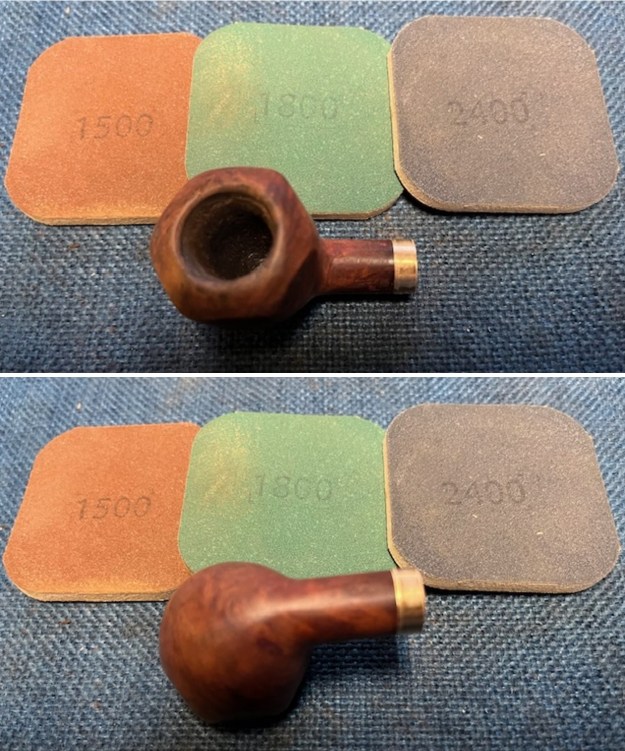
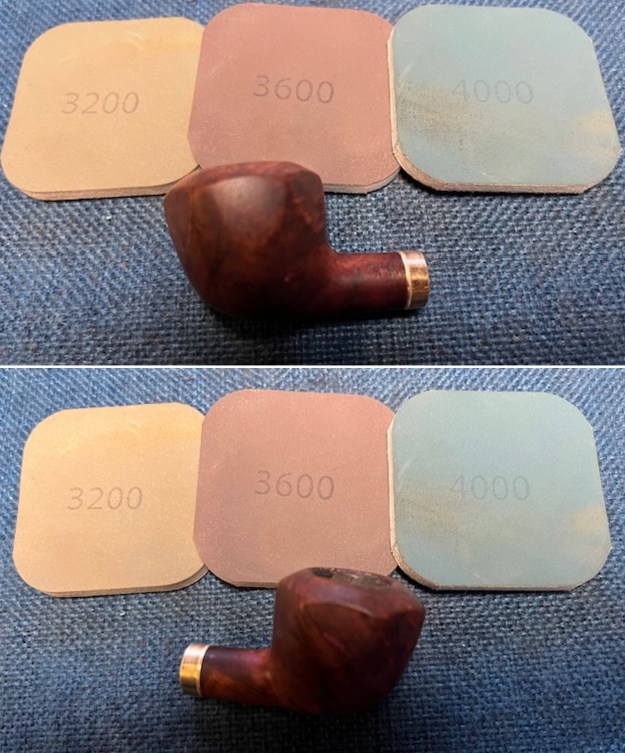
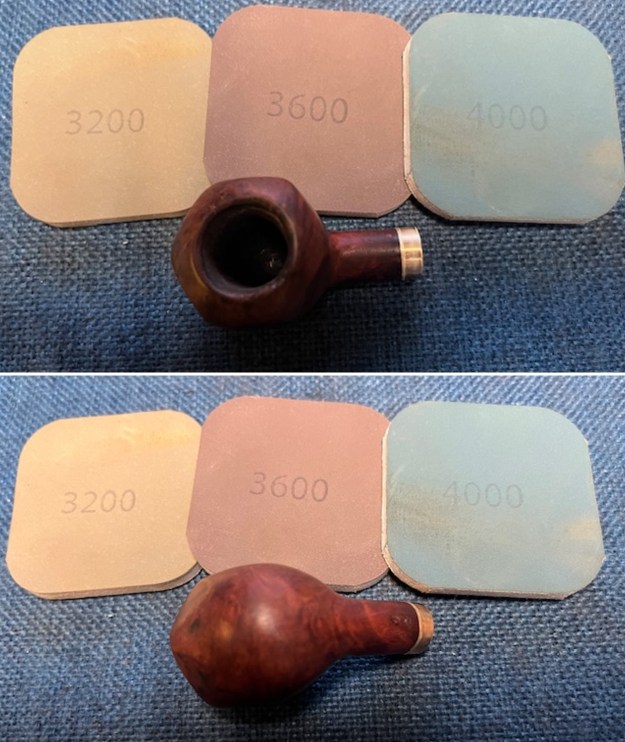
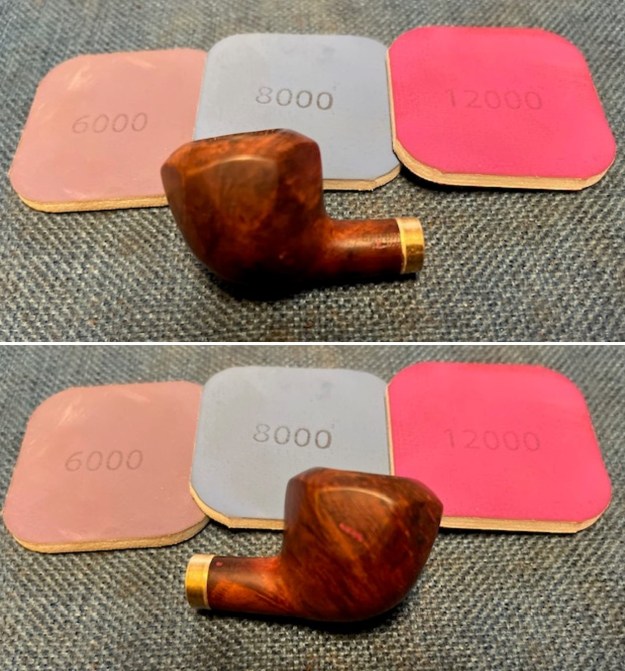
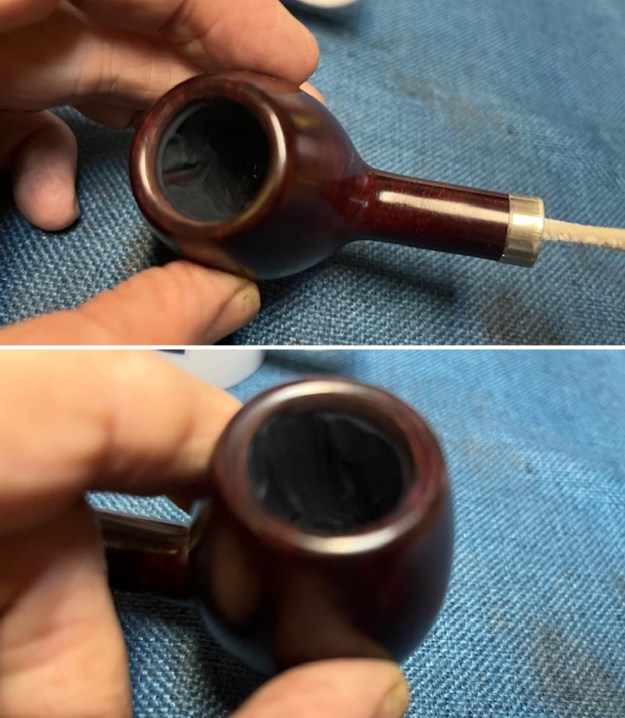
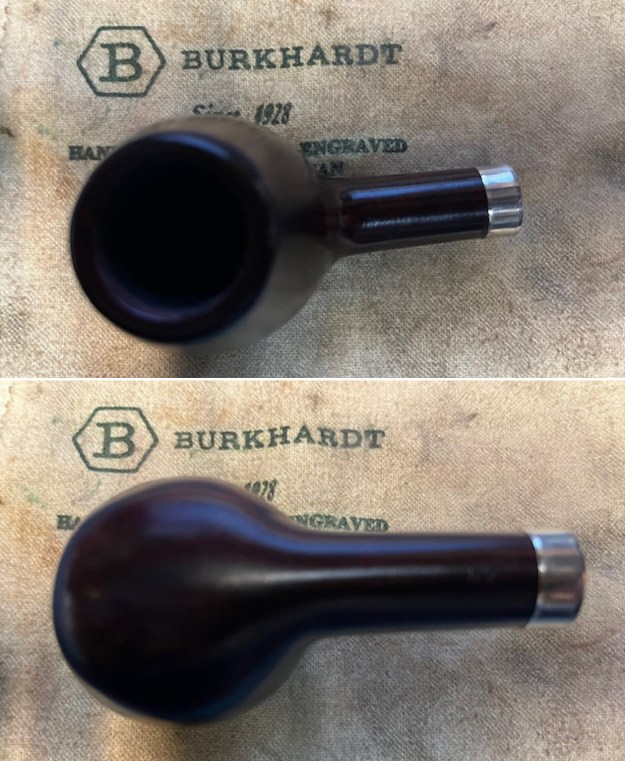
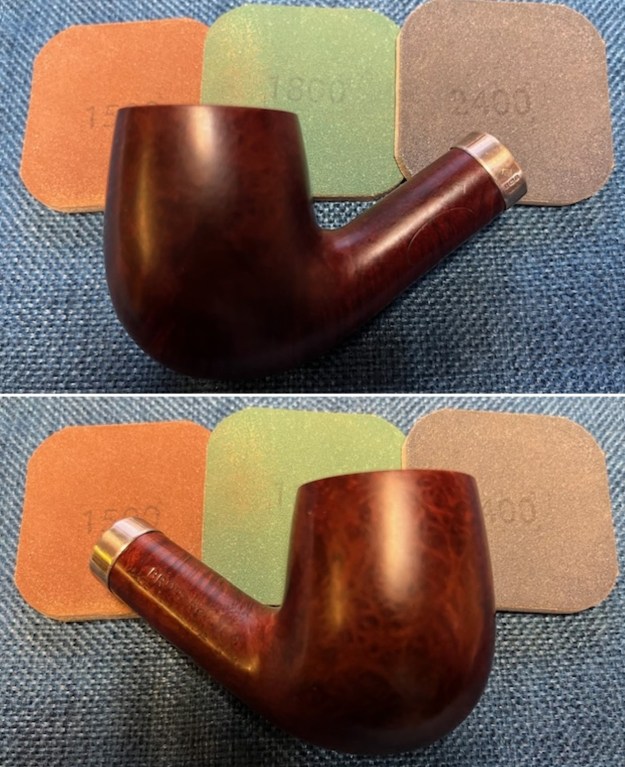
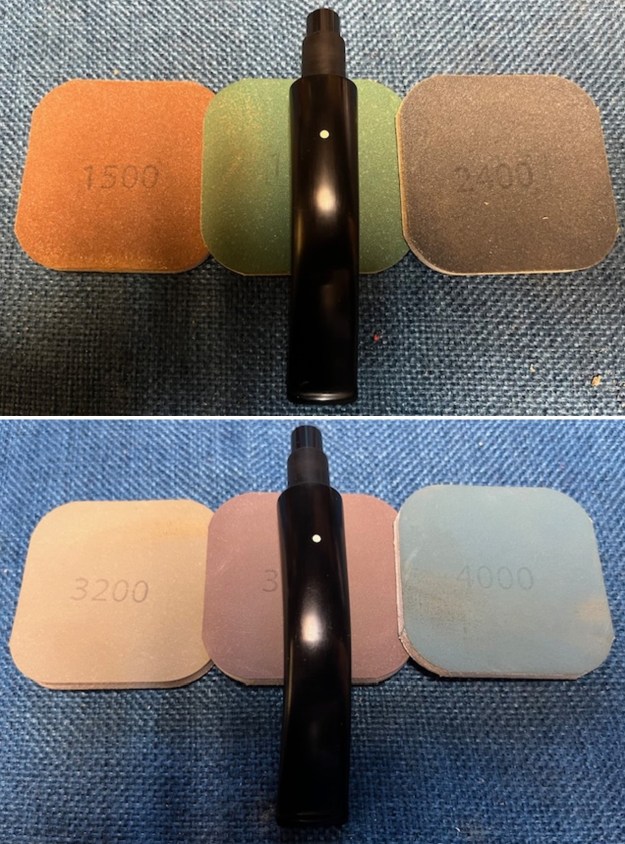
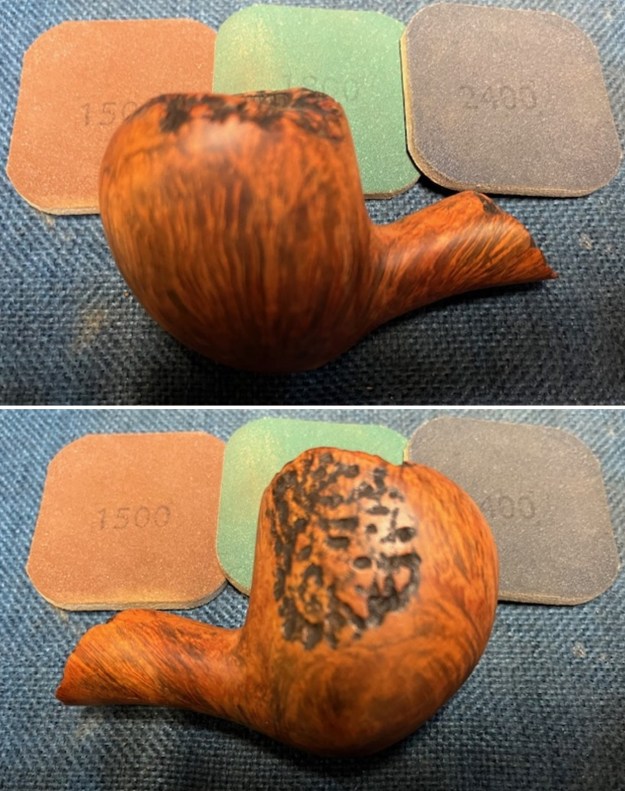
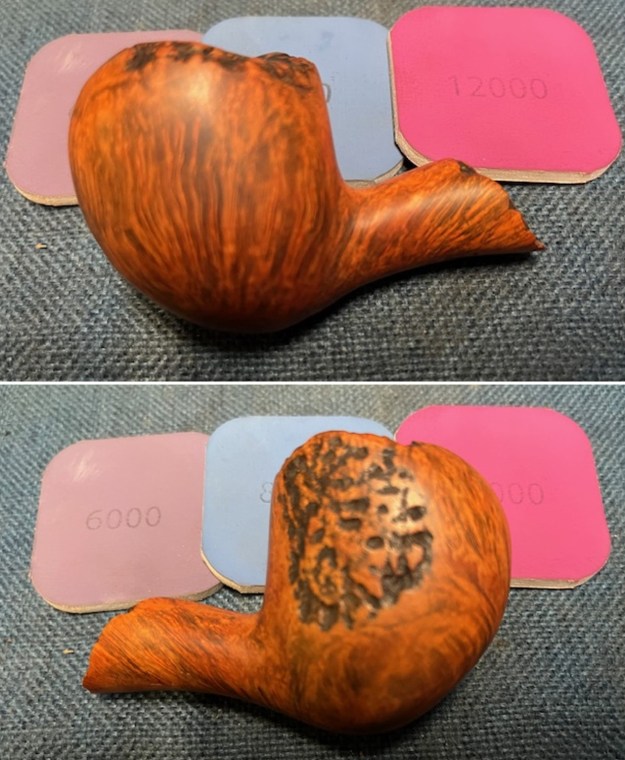
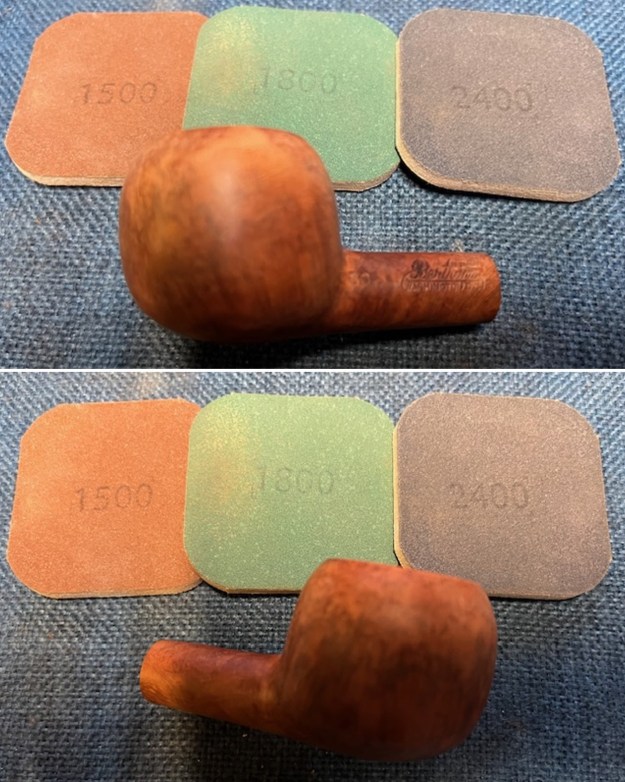
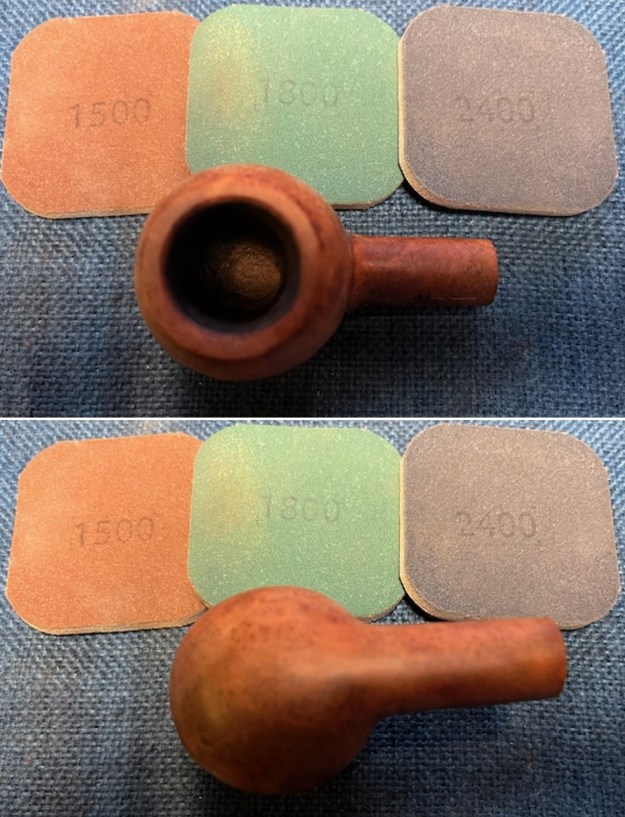
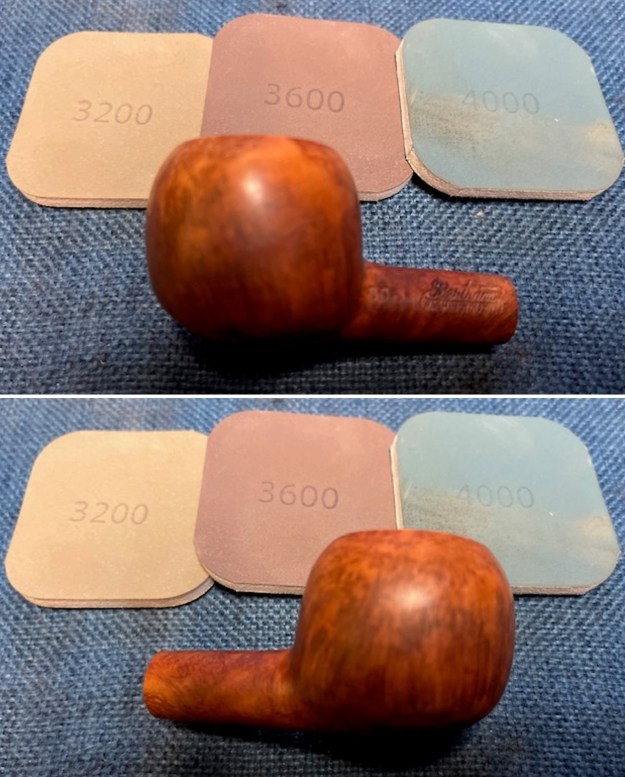
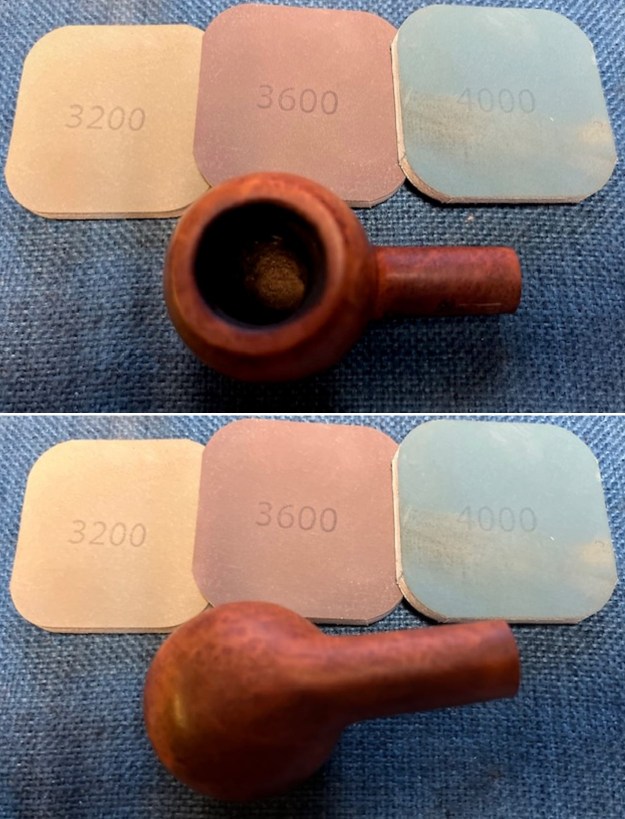
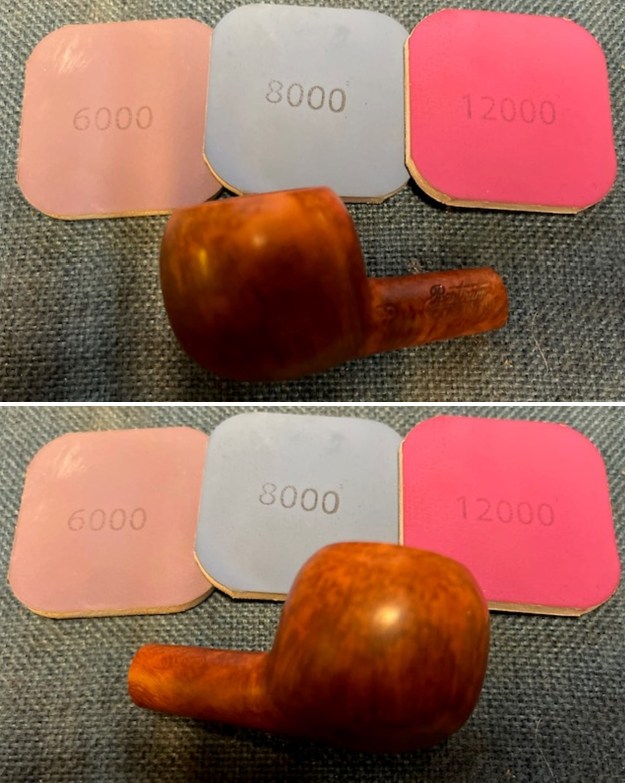
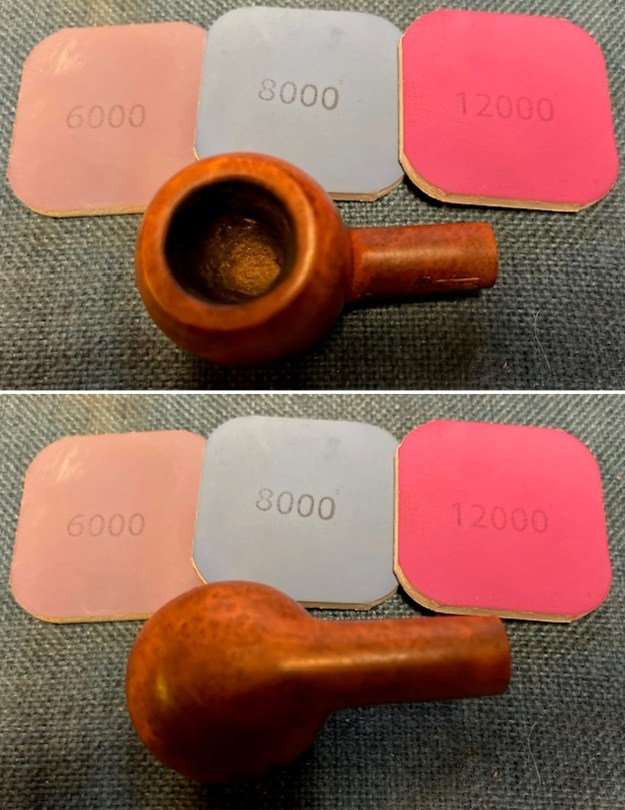
 I polished the rim top and the smooth portions of the band around the rim edge and underside of the shank with micromesh sanding pads – dry sanding with 1500 – 12000 grit pads. I wiped the briar down after each sanding pad to remove the debris. The smooth rim and edge began to take on a shine.
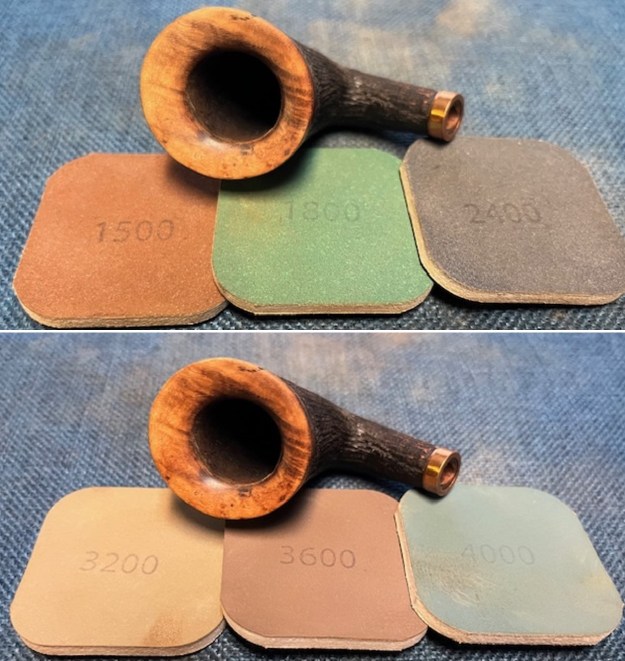
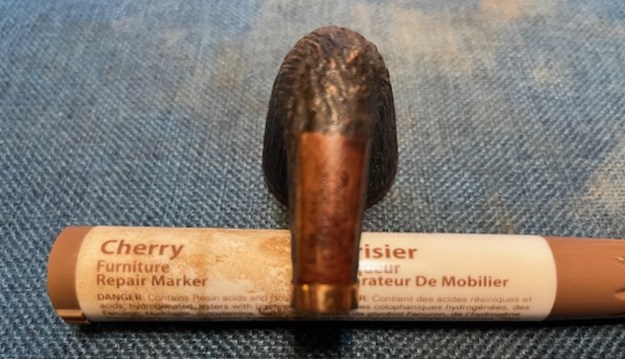
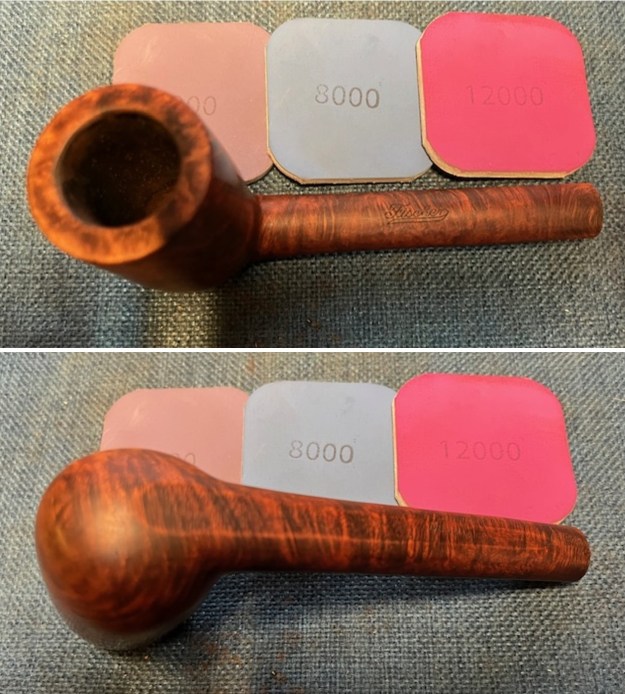
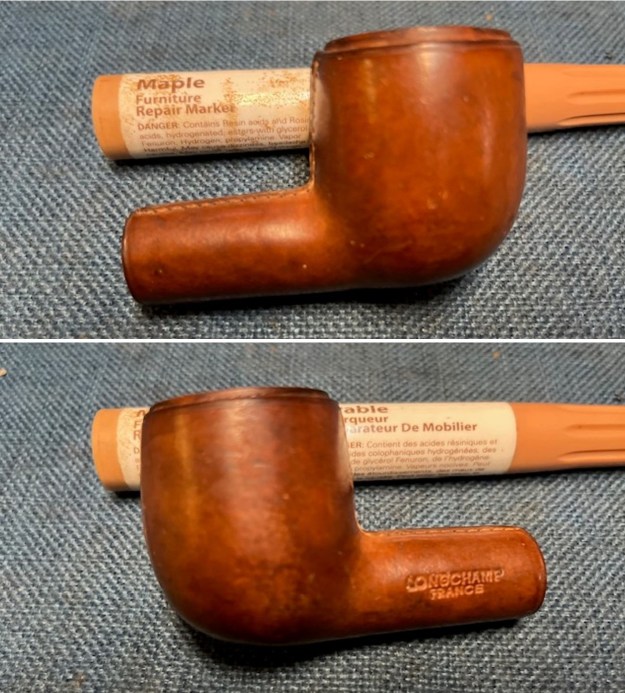
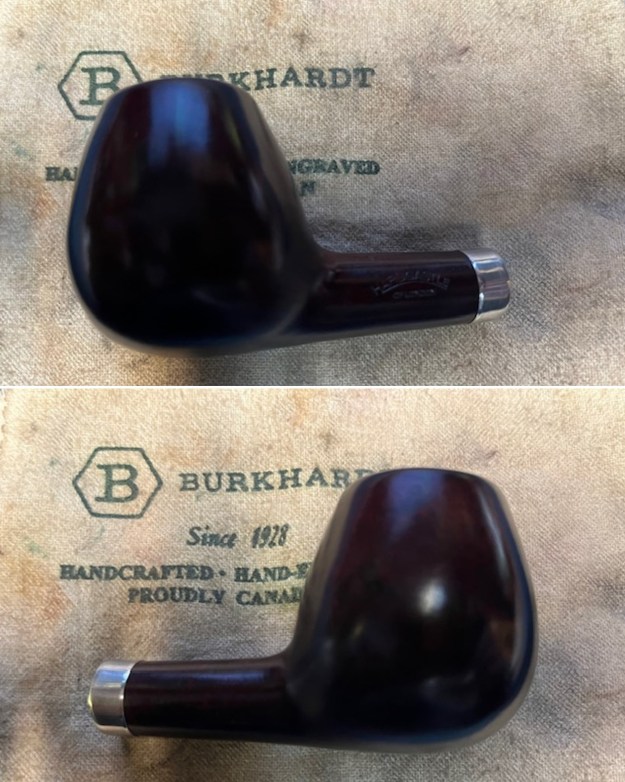
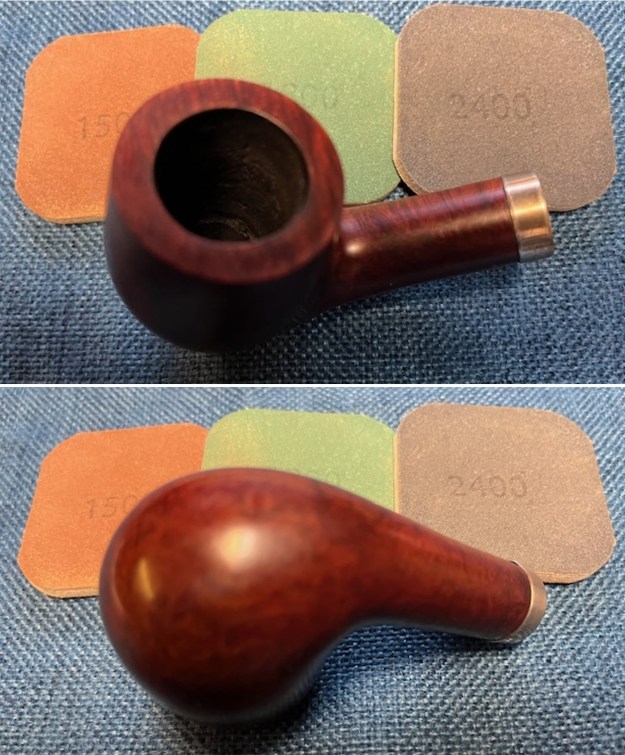
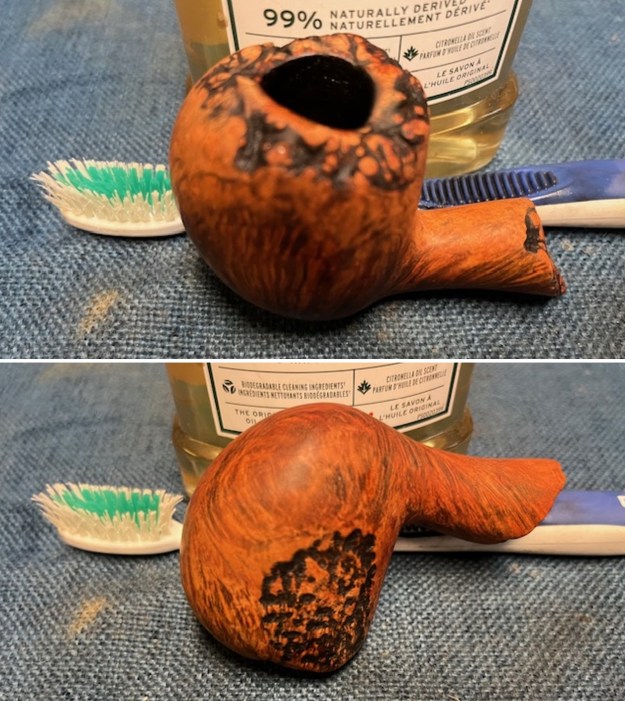
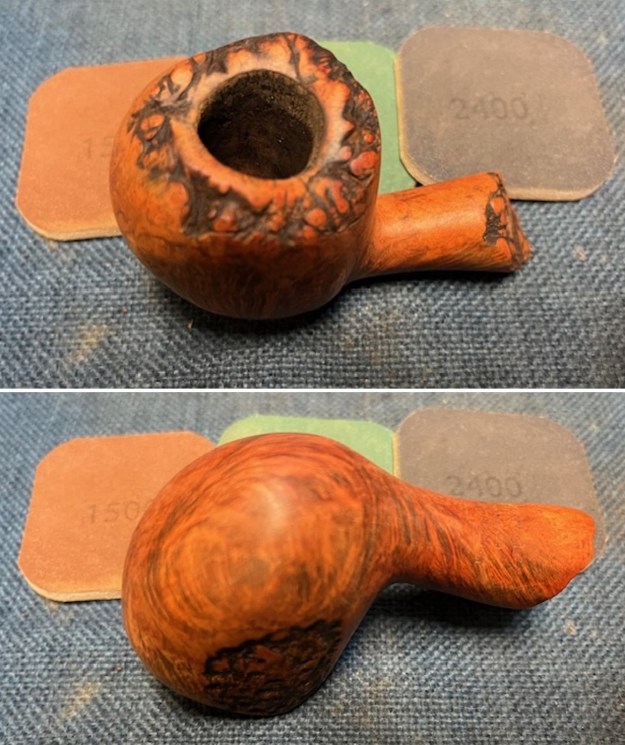
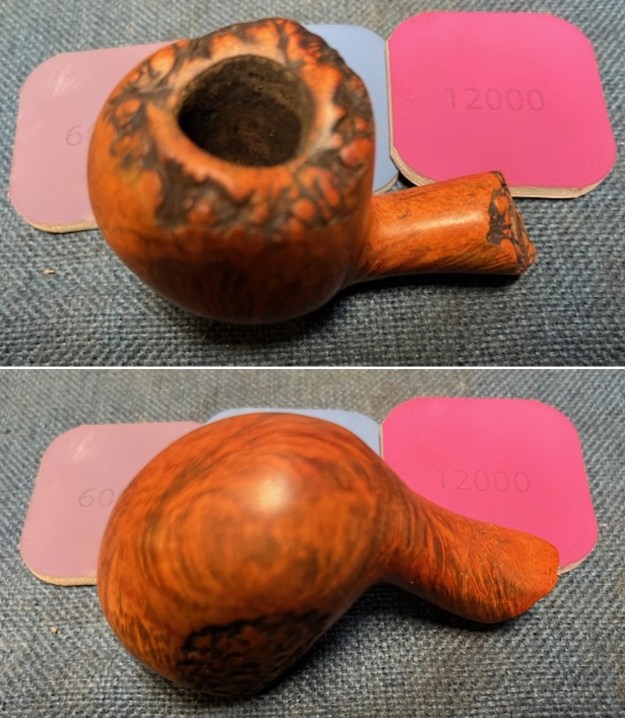
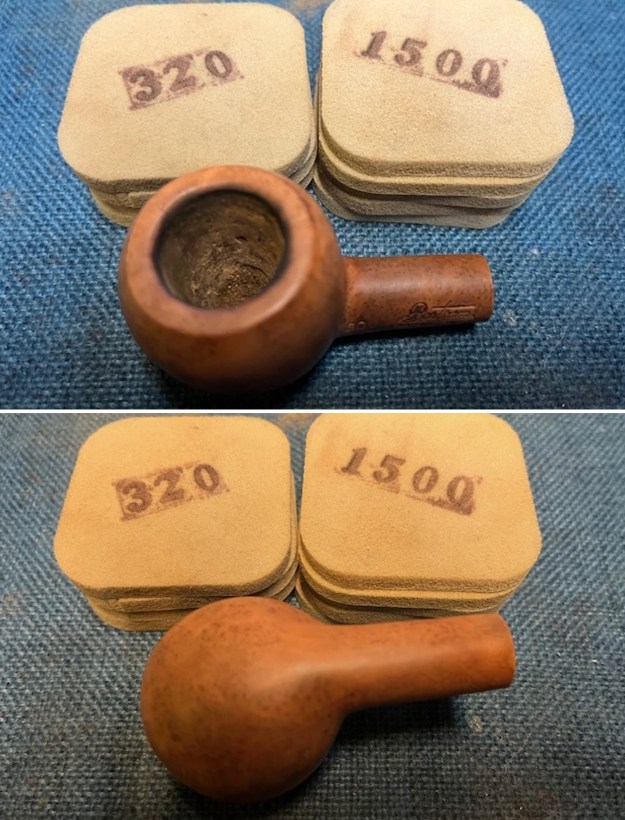
 I stained the rim top and the smooth portions of the rim edge, bowl and shank with a Cherry stain pen. It looks good but will look even better once it is buffed and polished.
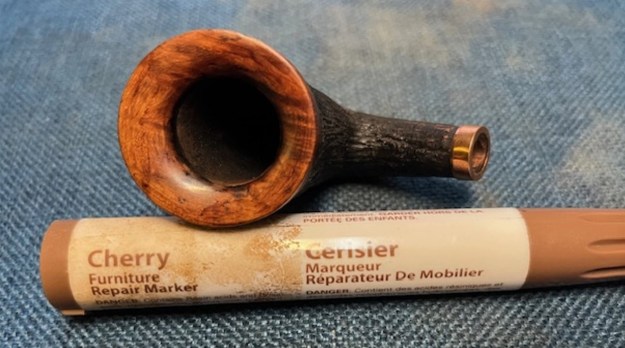

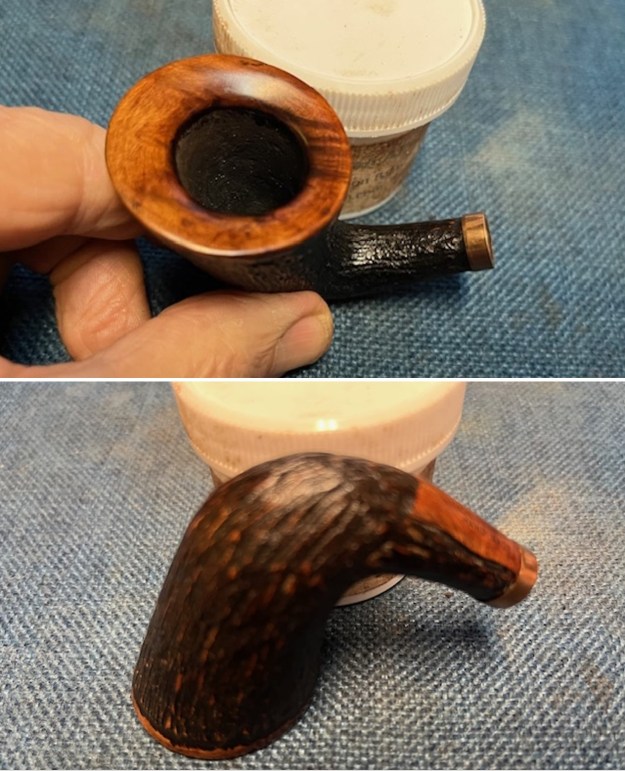
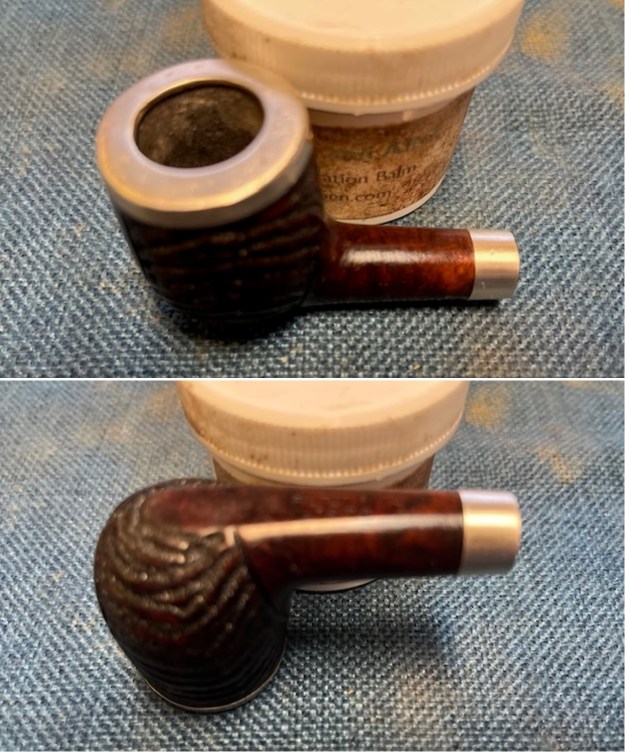
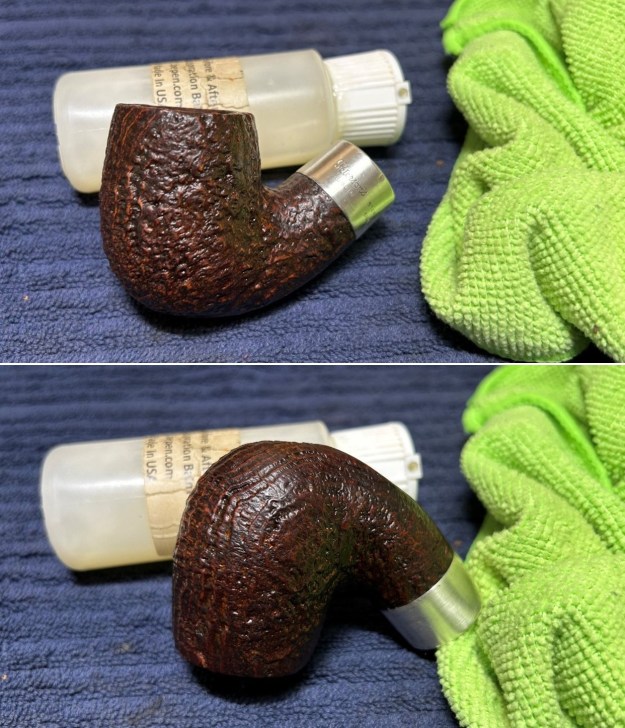
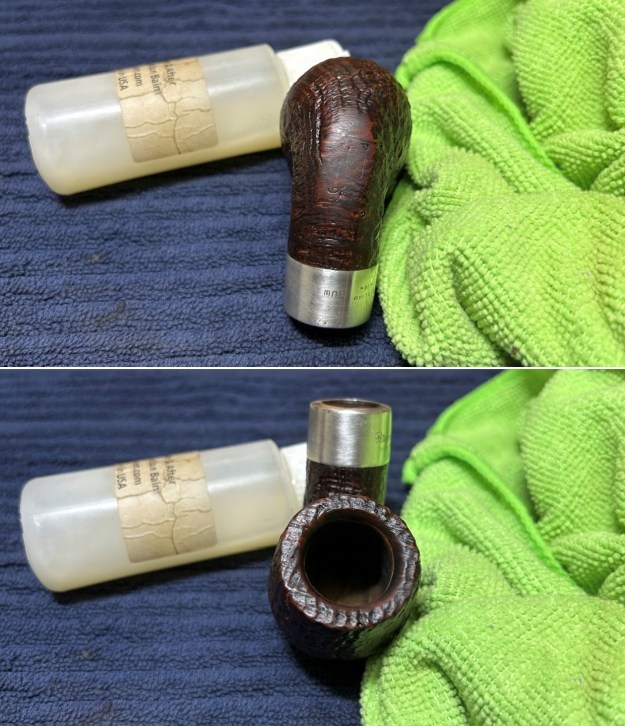
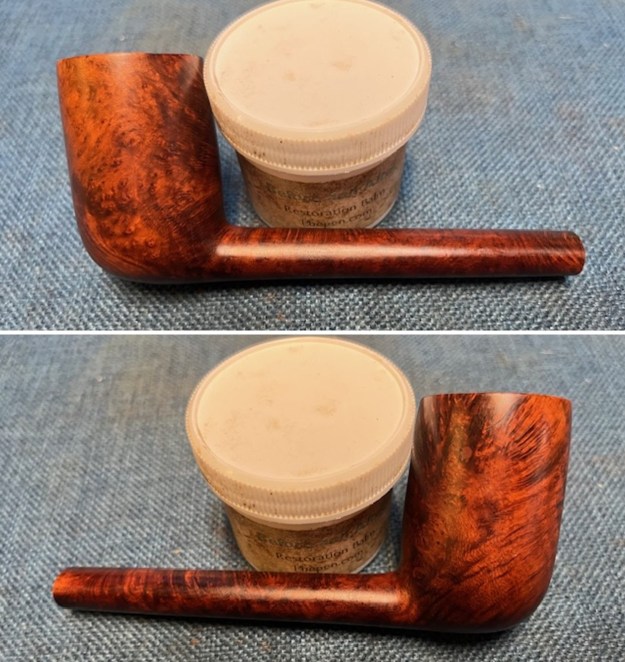
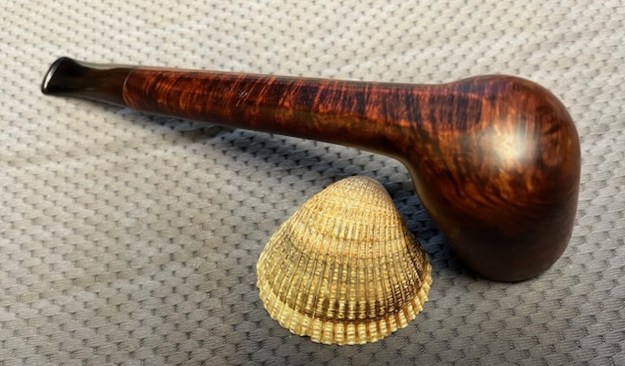
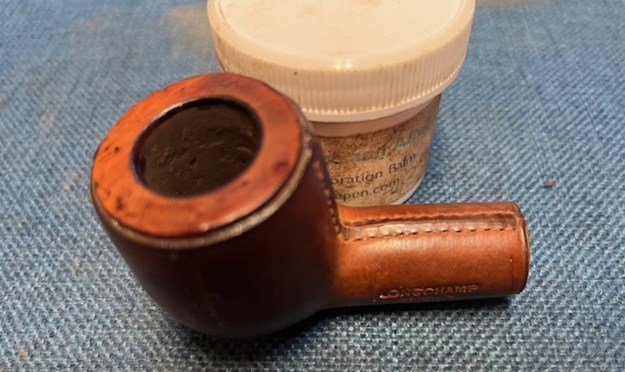
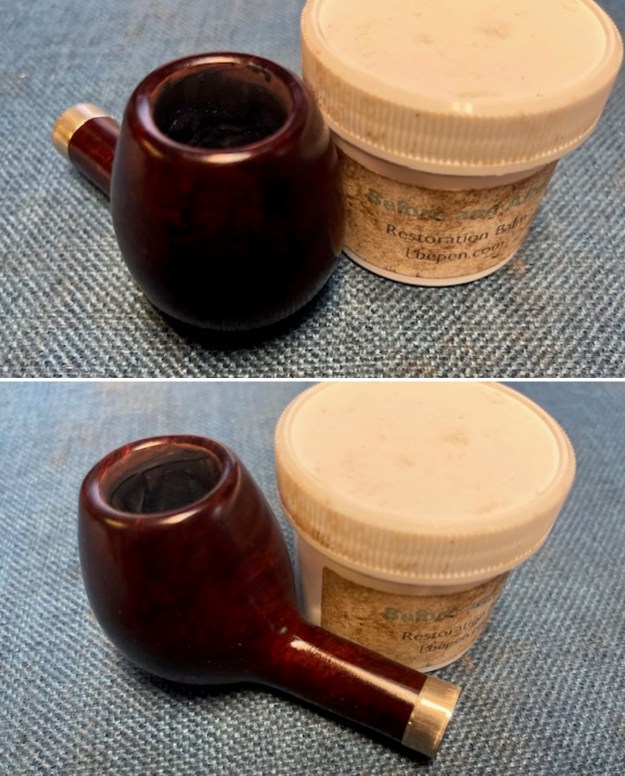
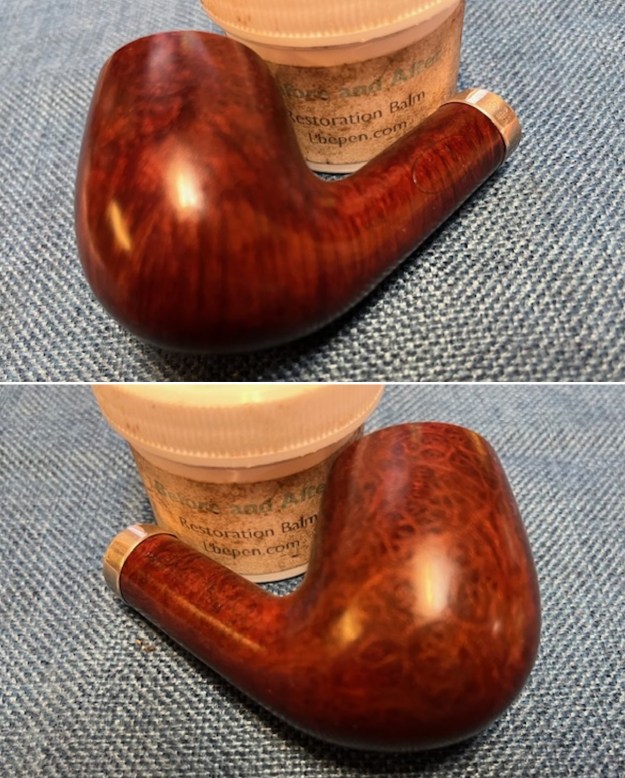
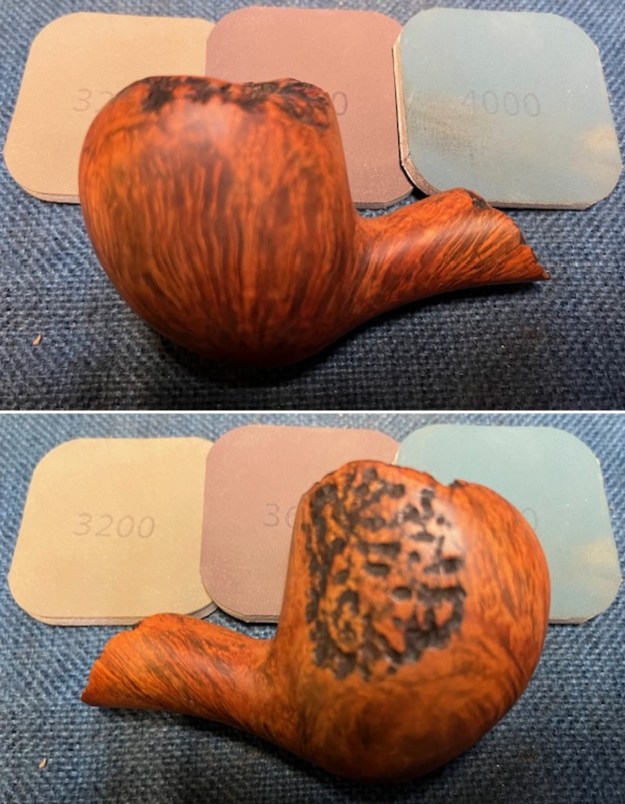
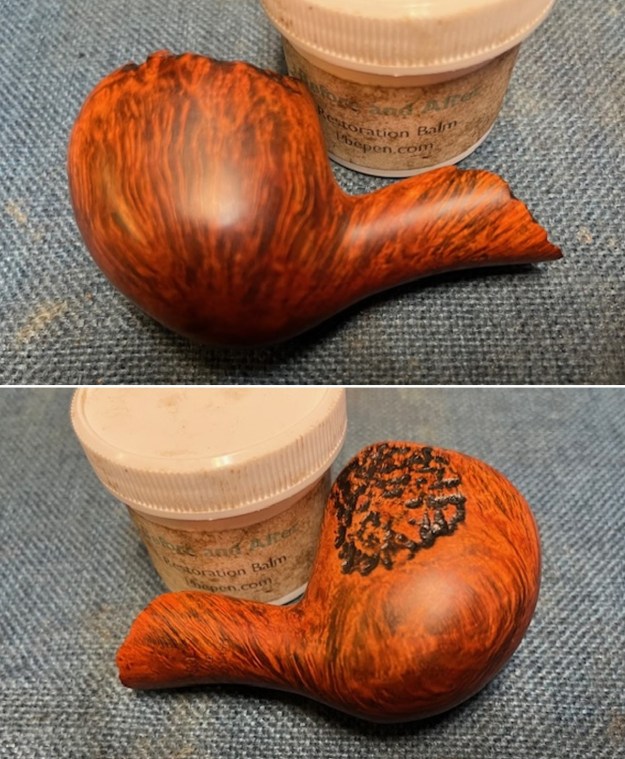
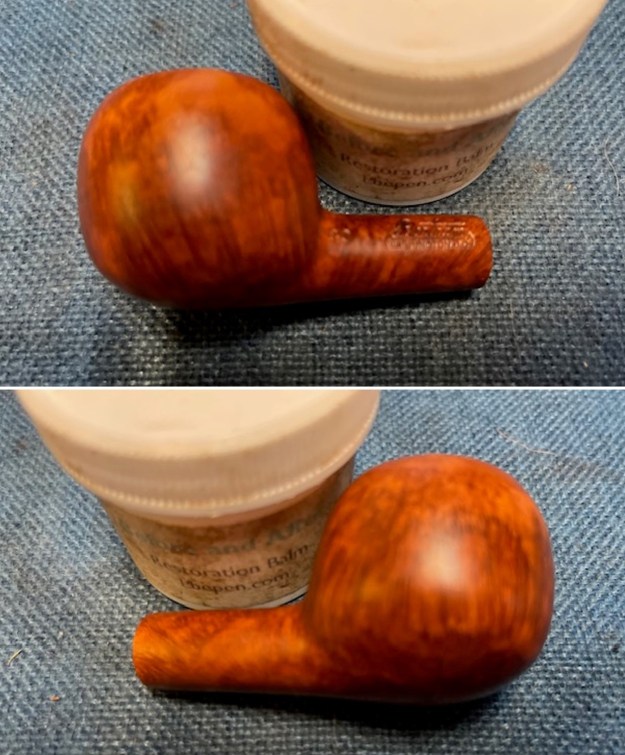
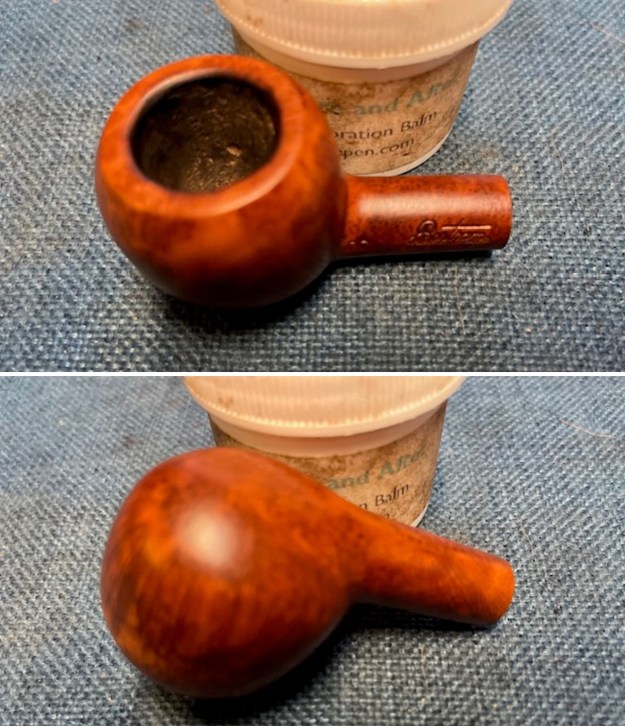
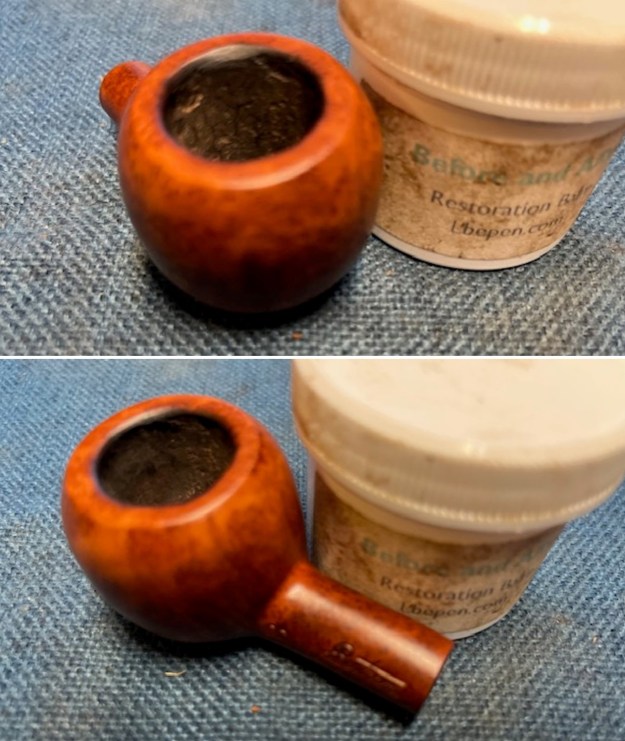
 I rubbed the bowl down with Before & After Restoration Balm. I worked it into the surface of the briar with my fingertips and a horse hair shoe brush to clean, enliven and protect it. I let the balm sit for 10 minutes and then buffed with a cotton cloth to raise the shine. Mark Hoover’s Balm is a product that I have come to appreciate and one I use on every pipe I have been working on.
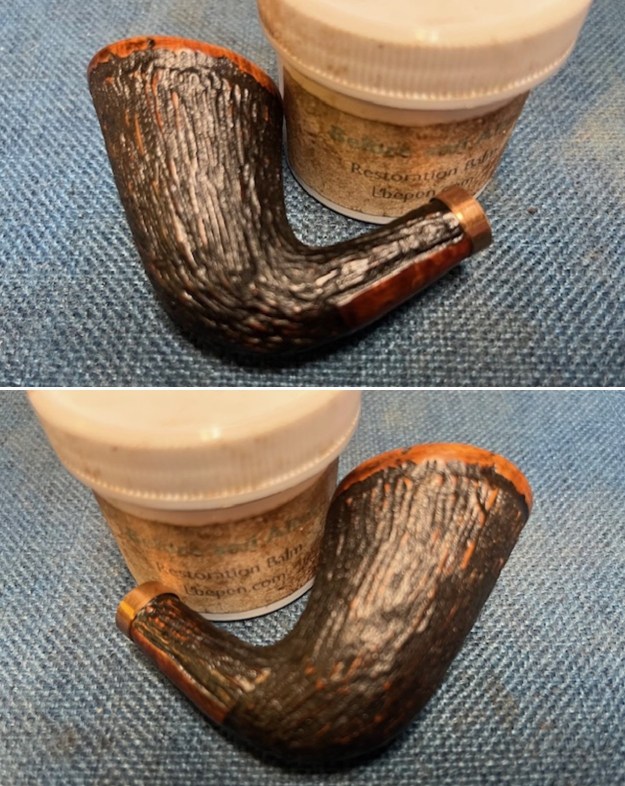
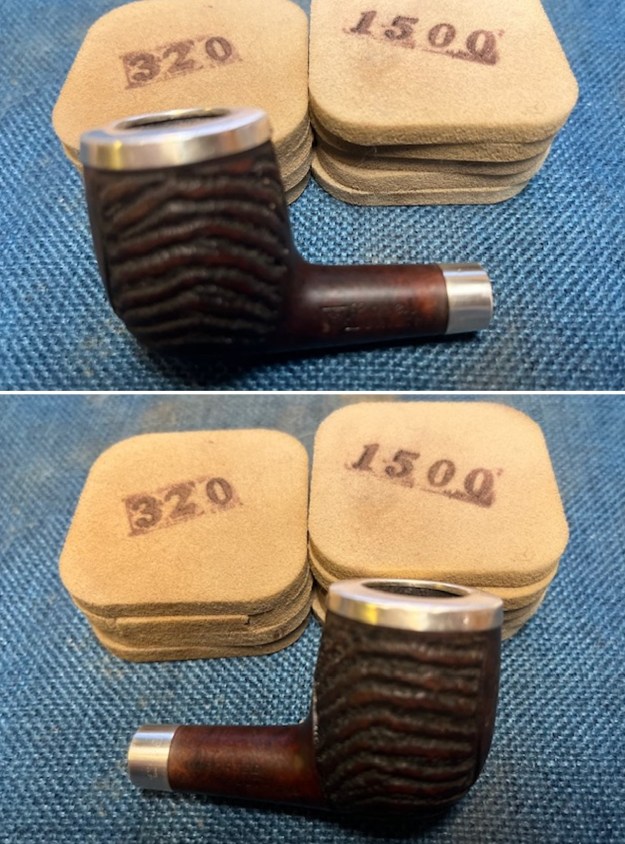
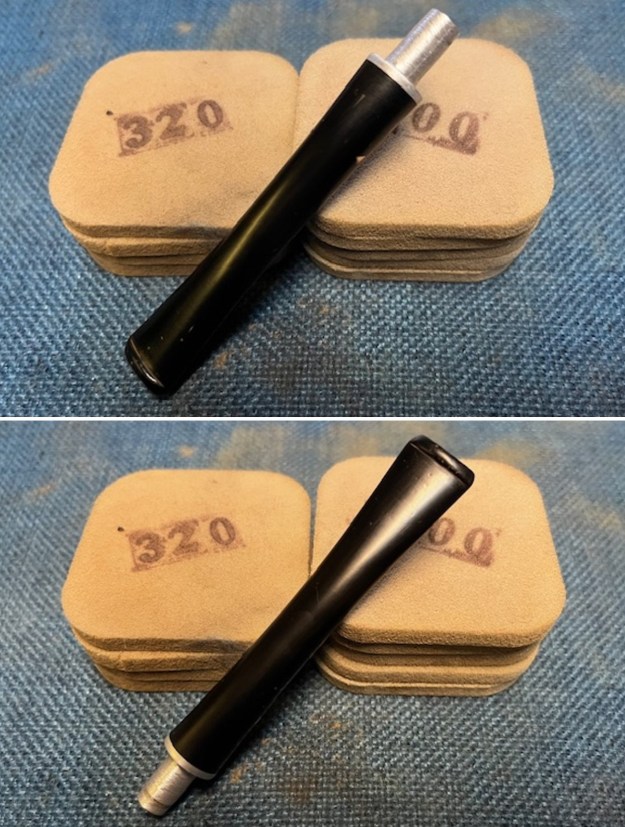
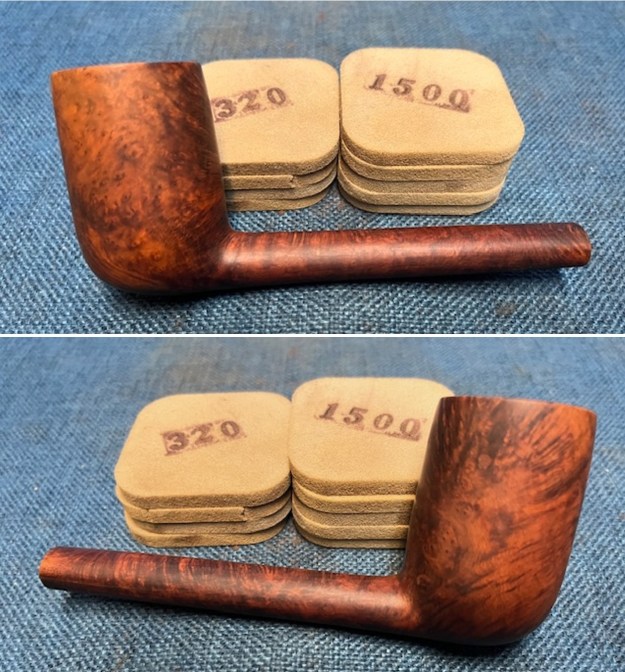
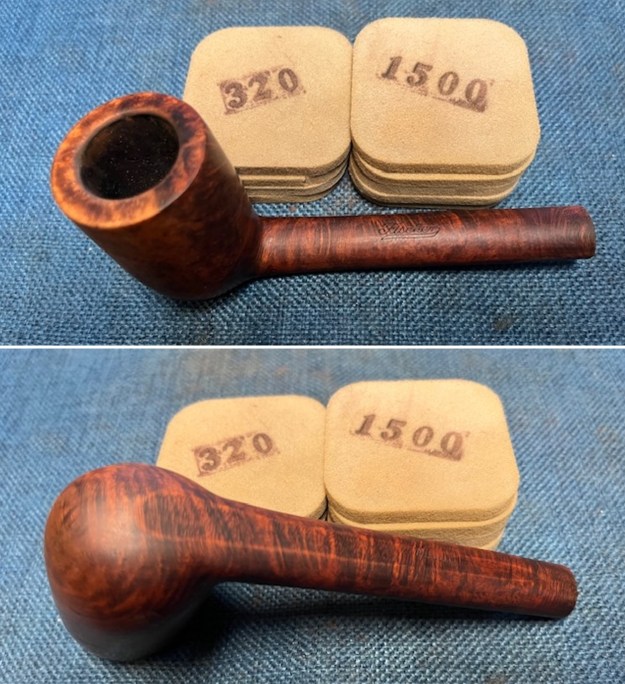
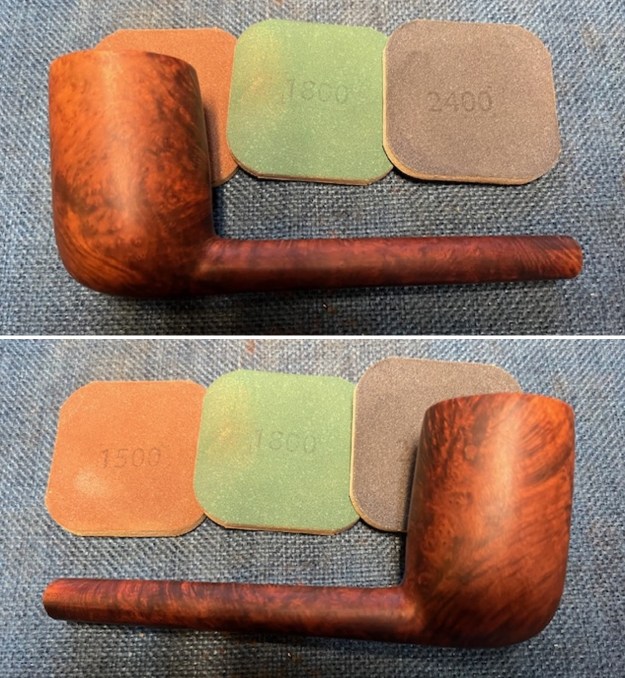
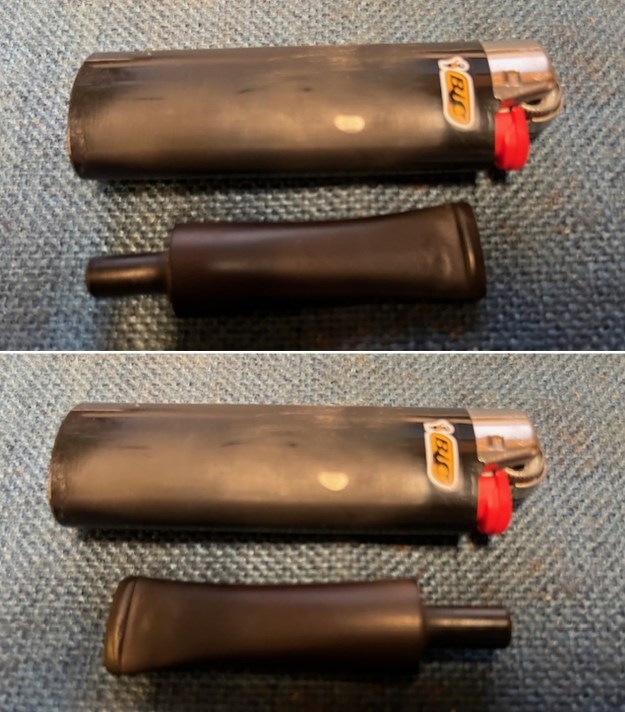
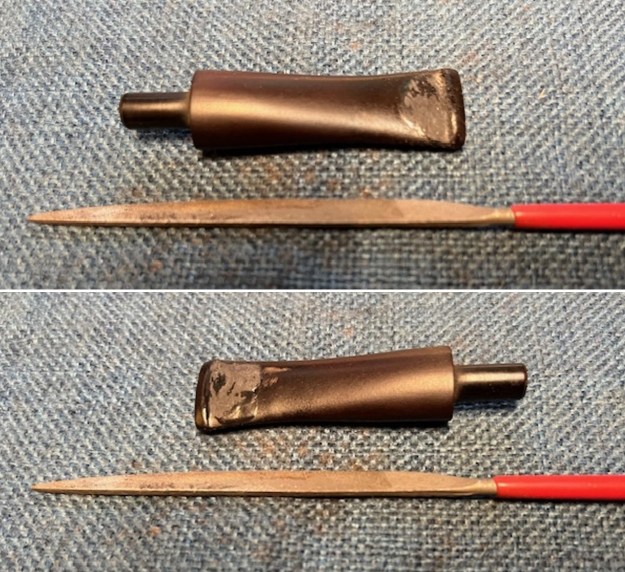
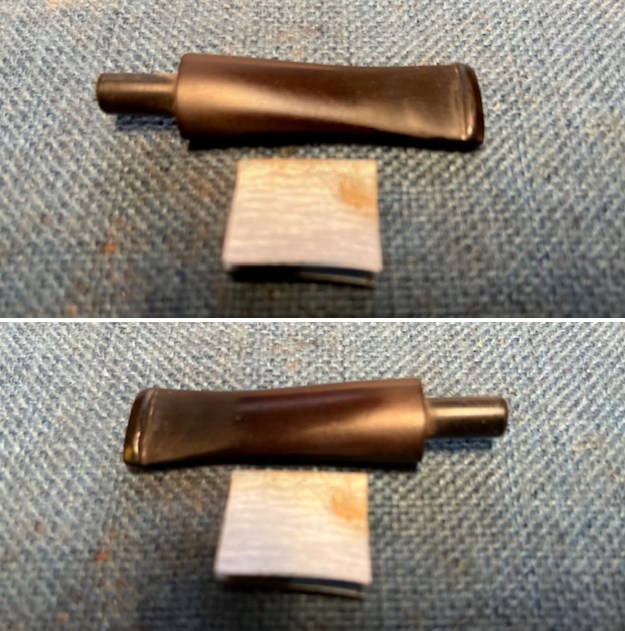
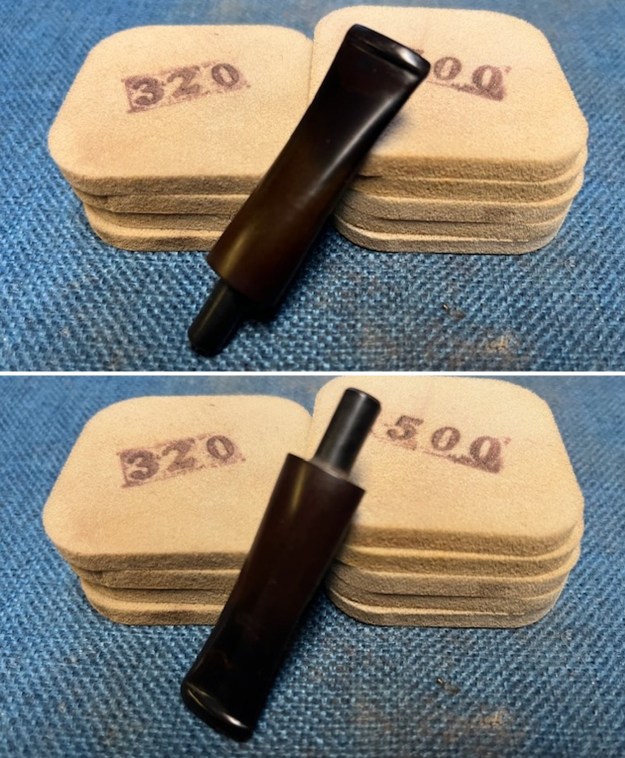
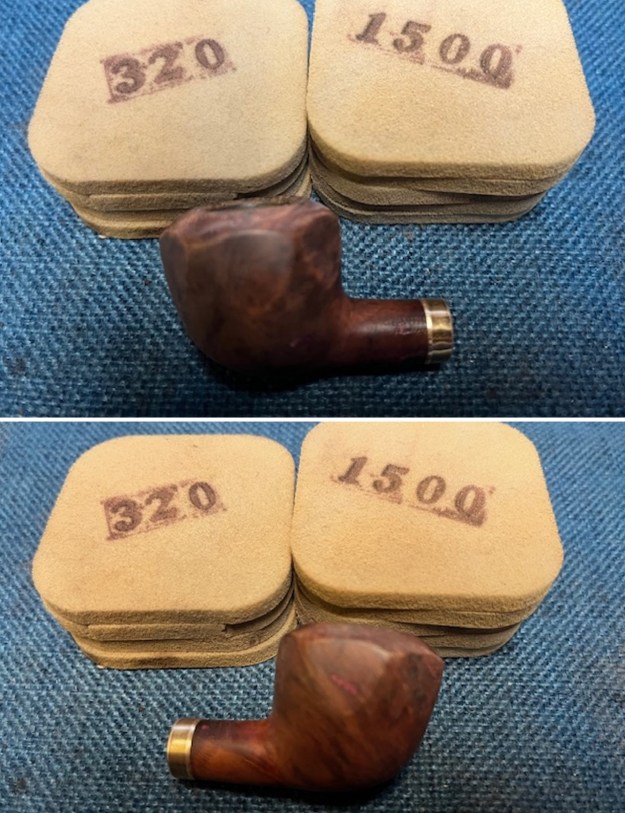
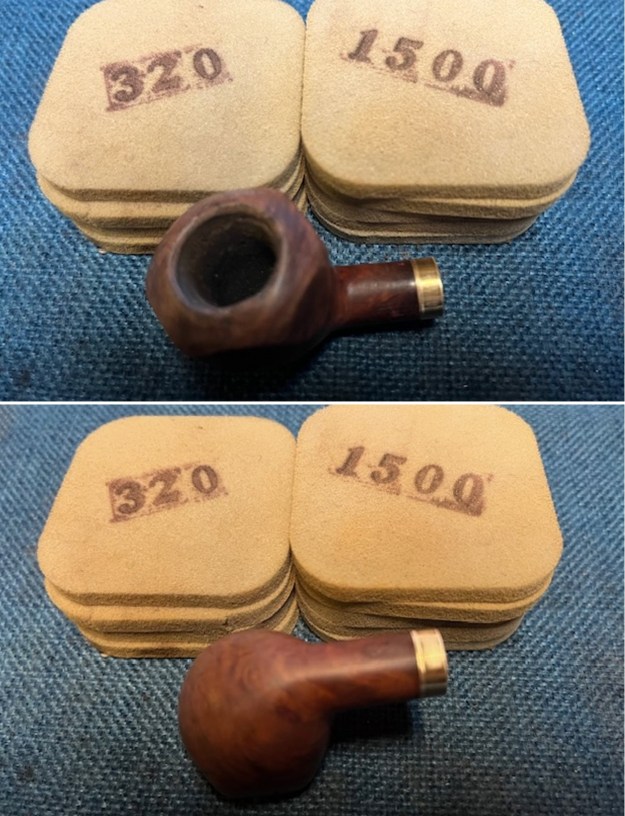
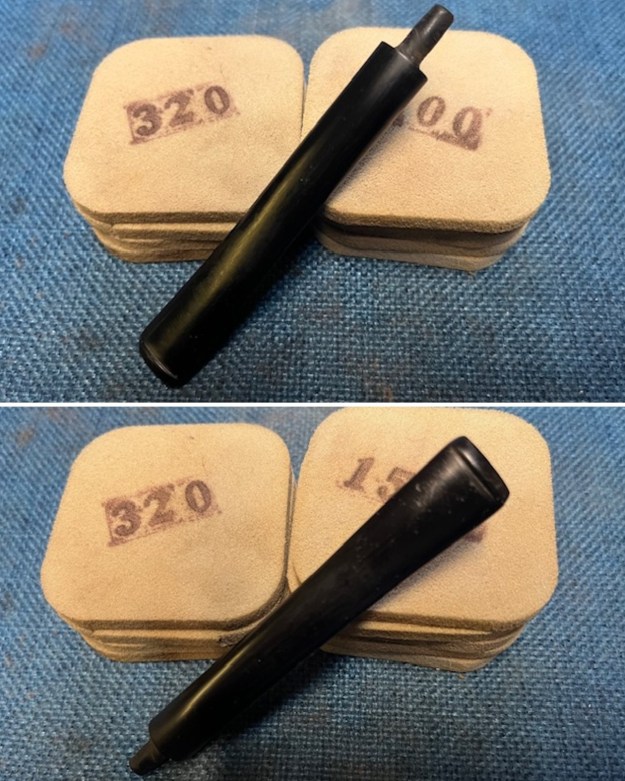
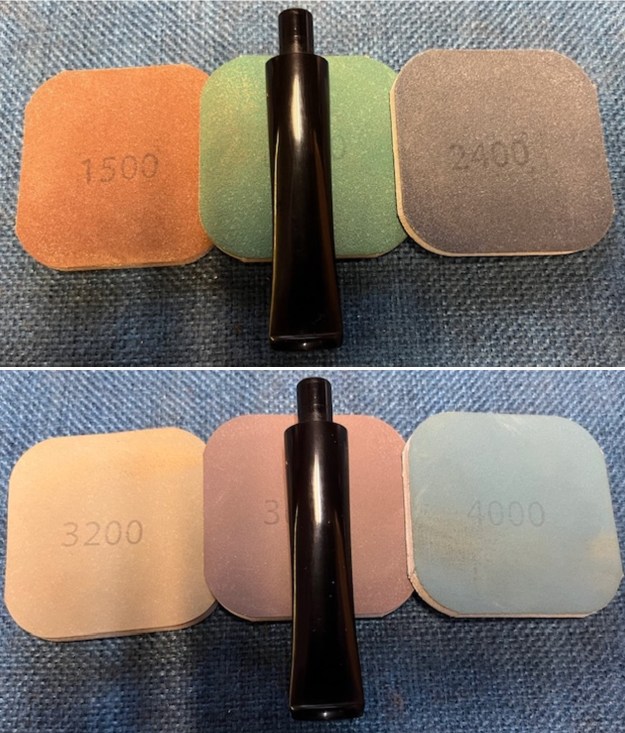
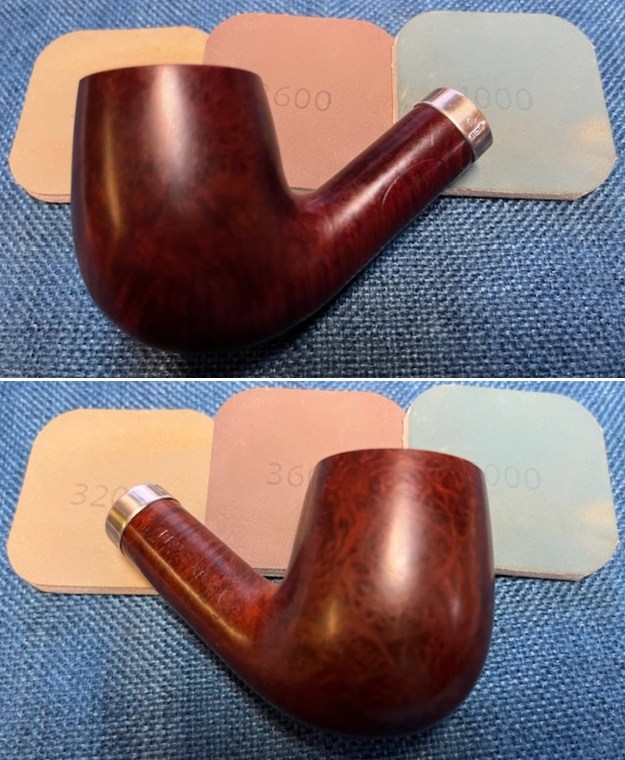
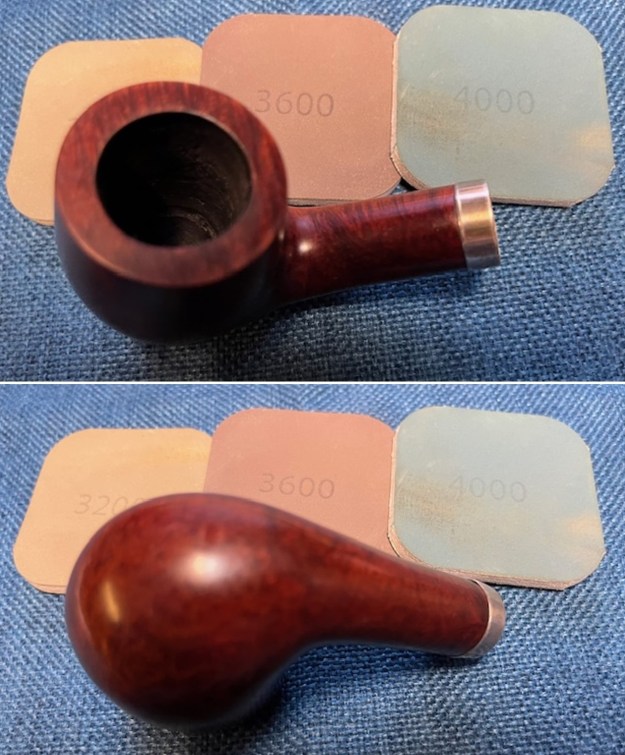
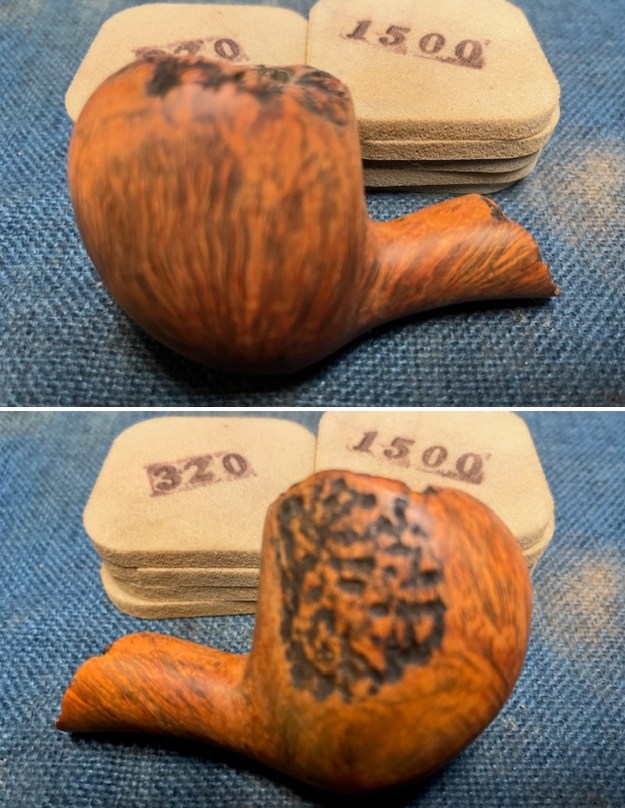
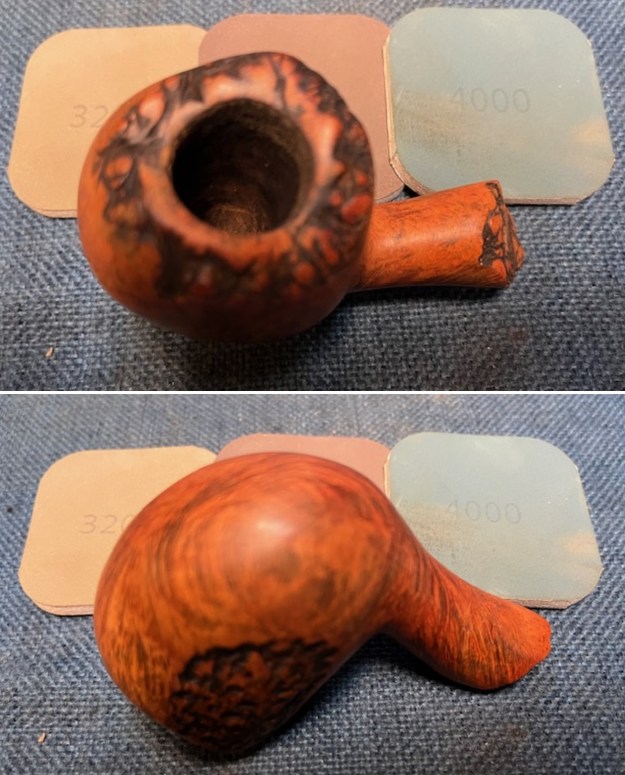
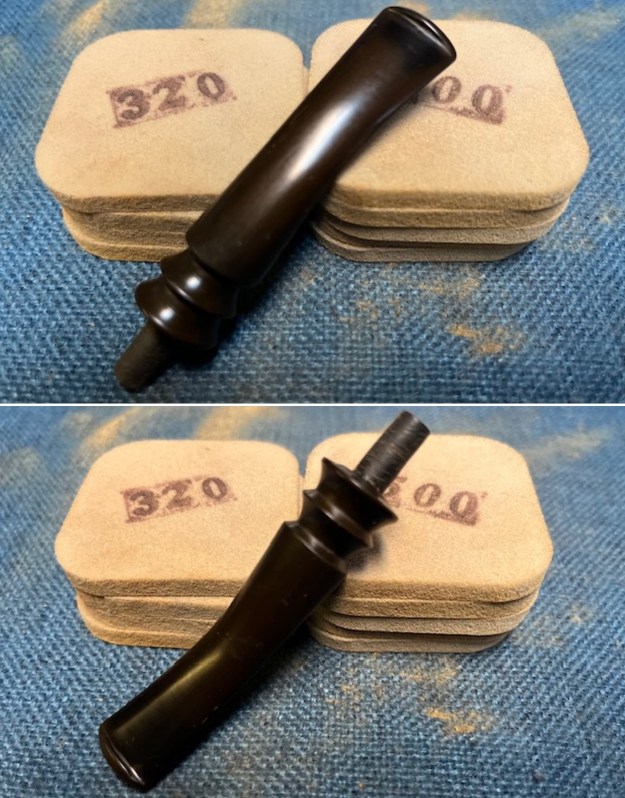
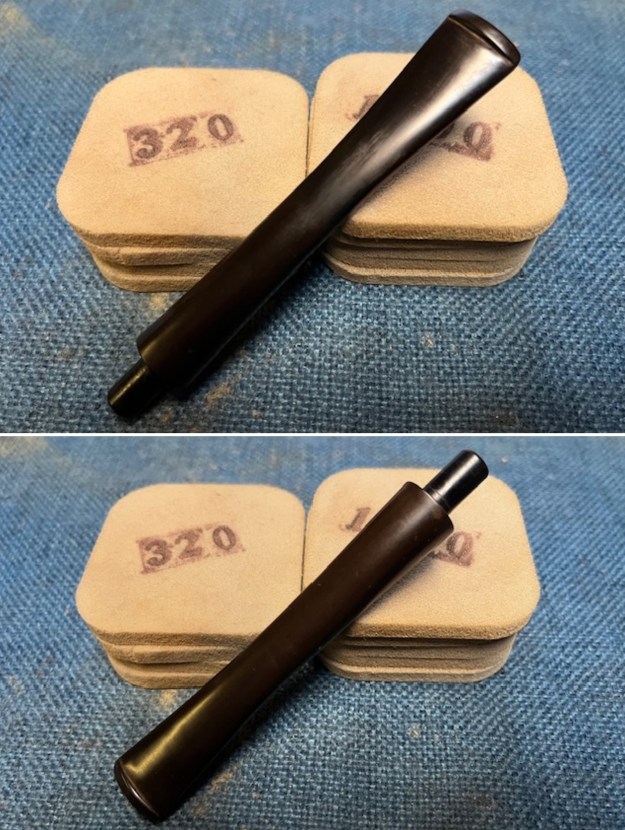
 I set the bowl aside and turned my attention to the stem. I sanded the stem surface with 320-3500 grit sanding pads to further blend them in and smooth out the surface of the stem.
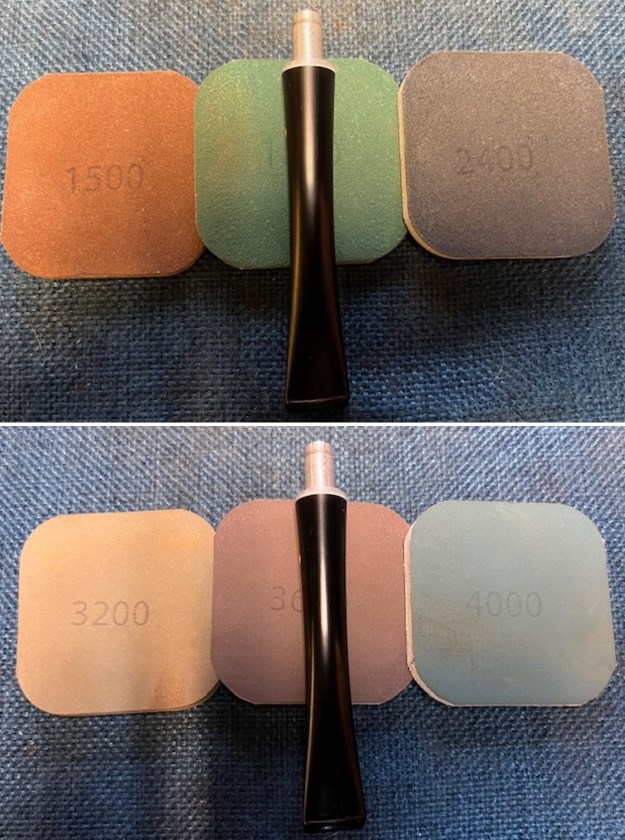
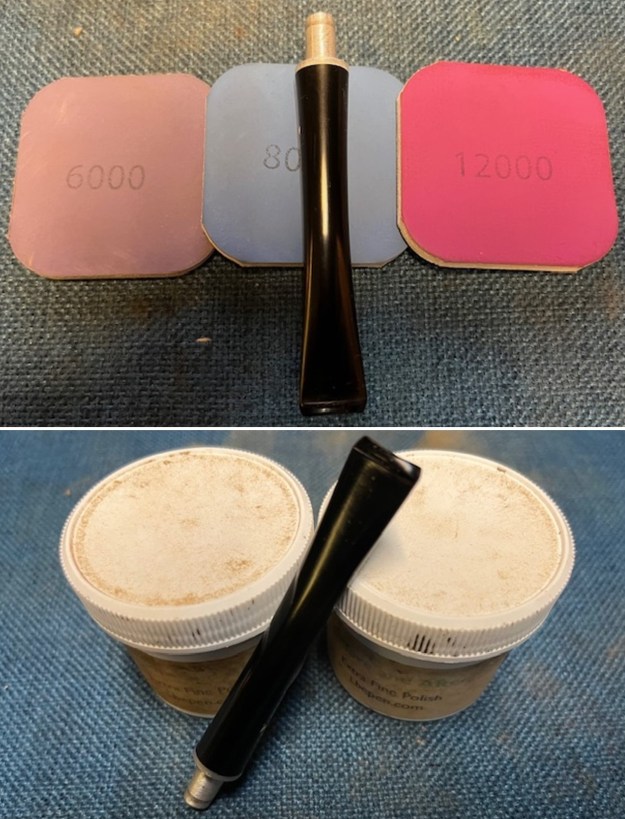
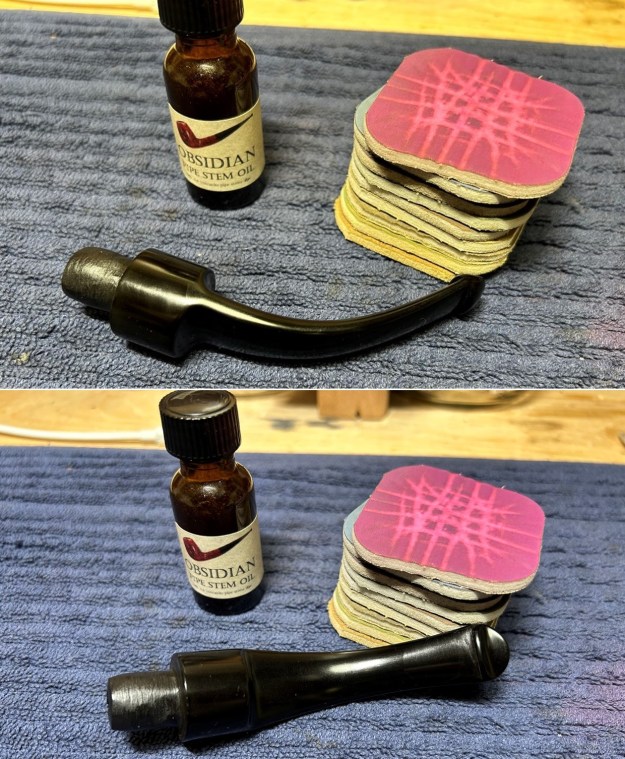
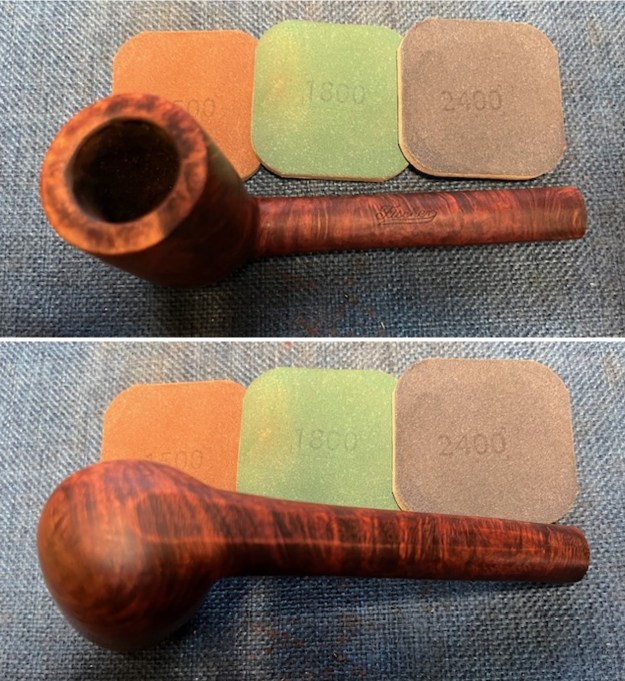
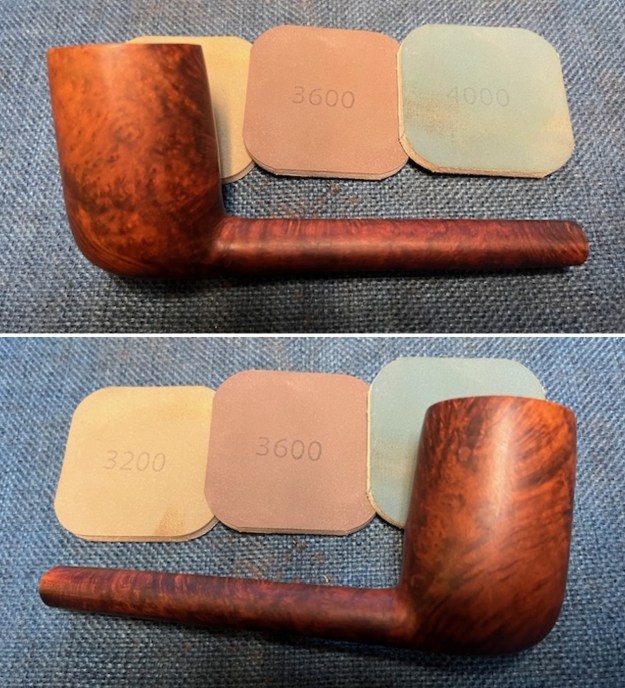
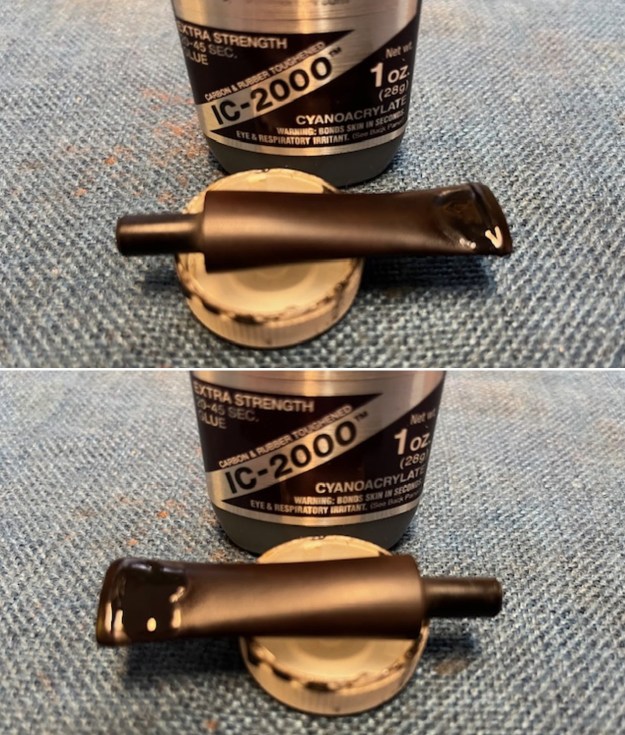
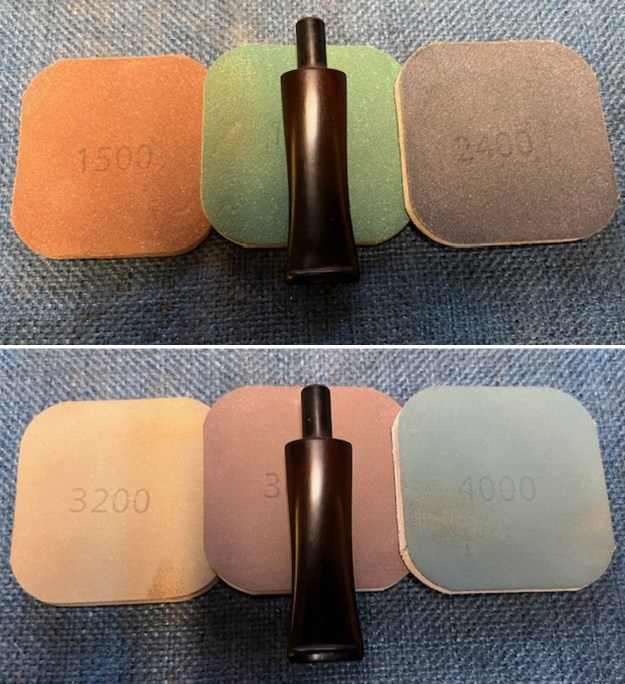
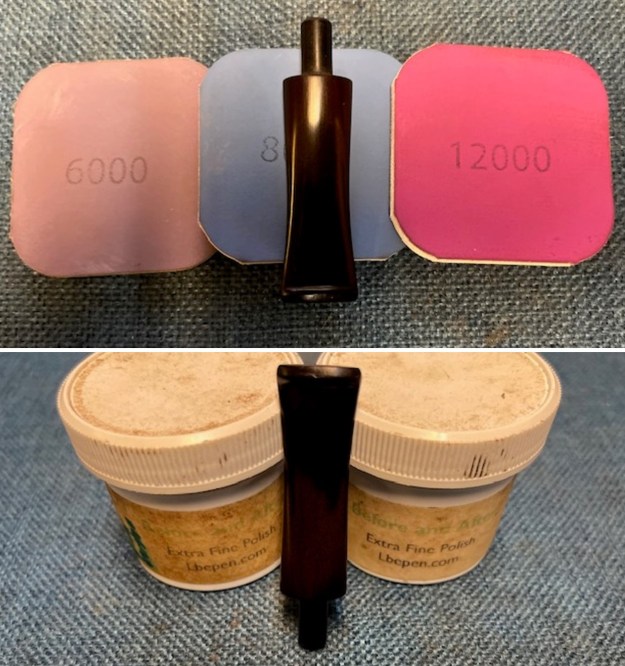
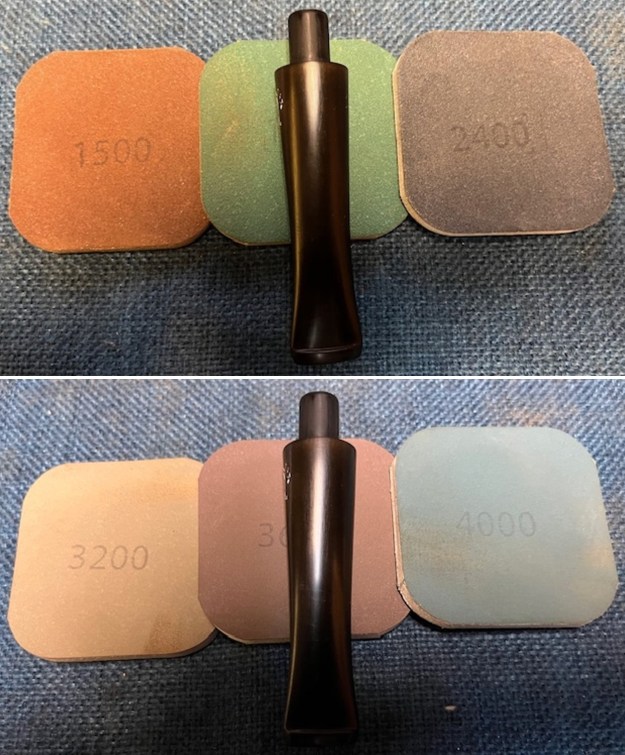
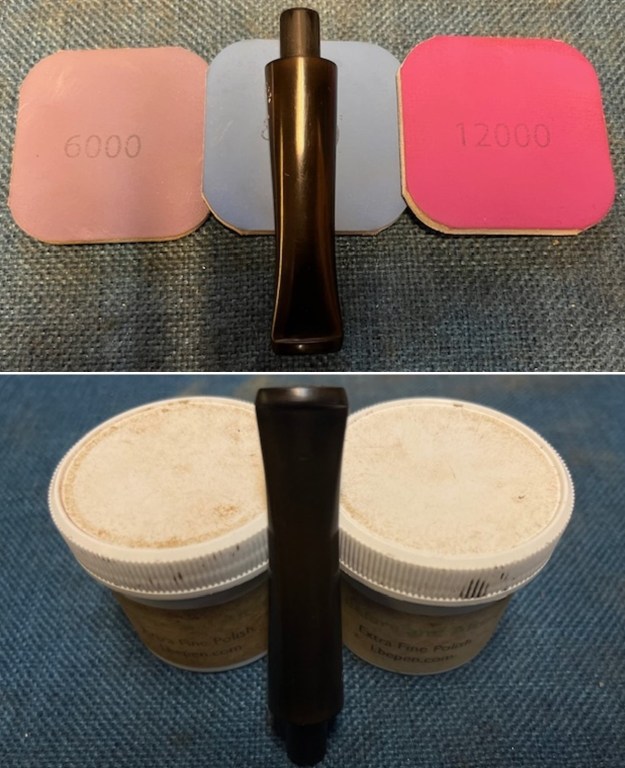
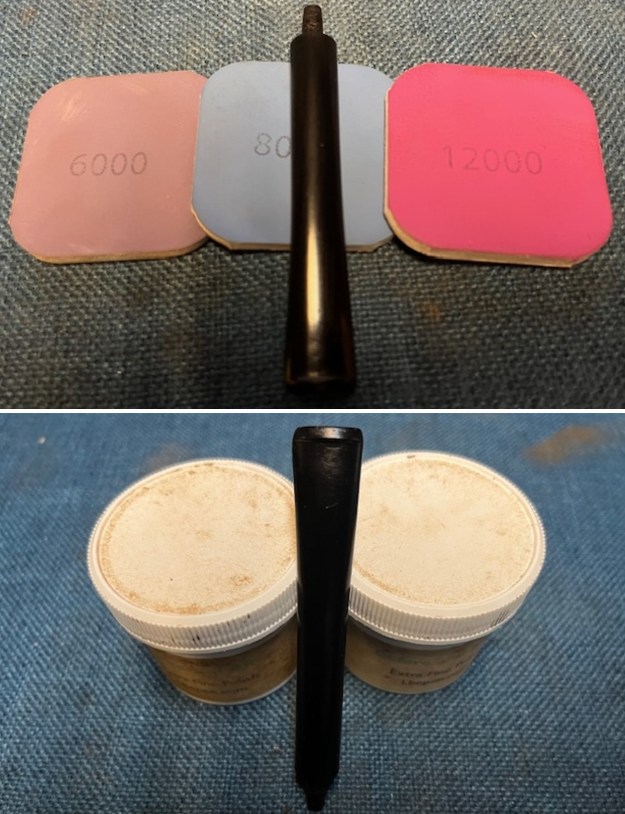
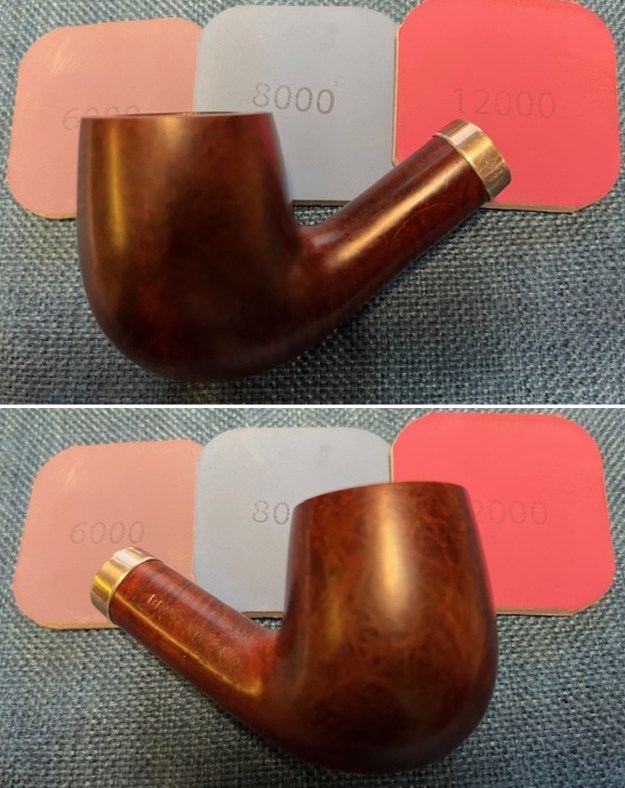
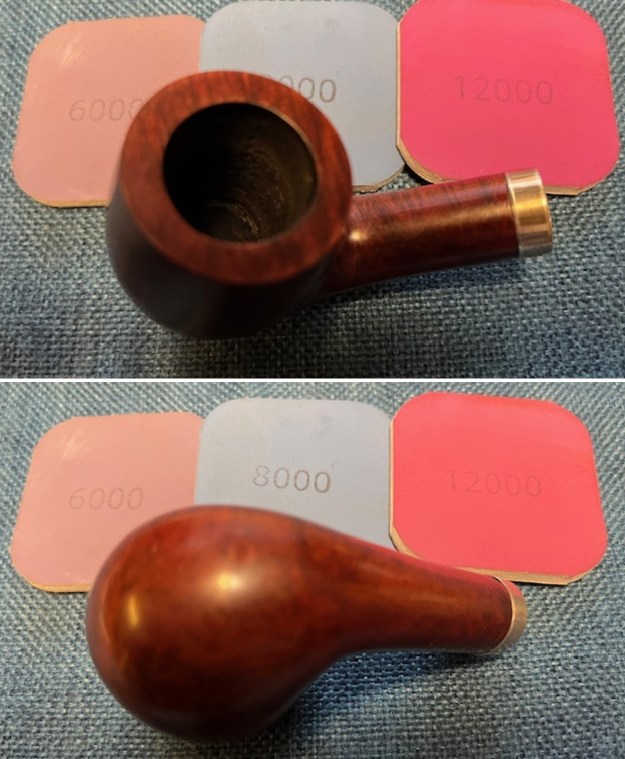
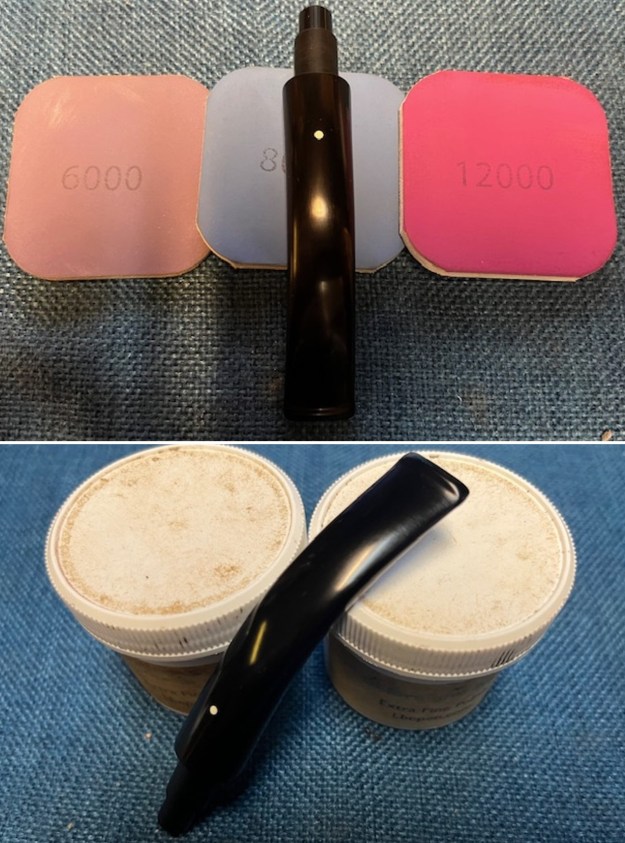
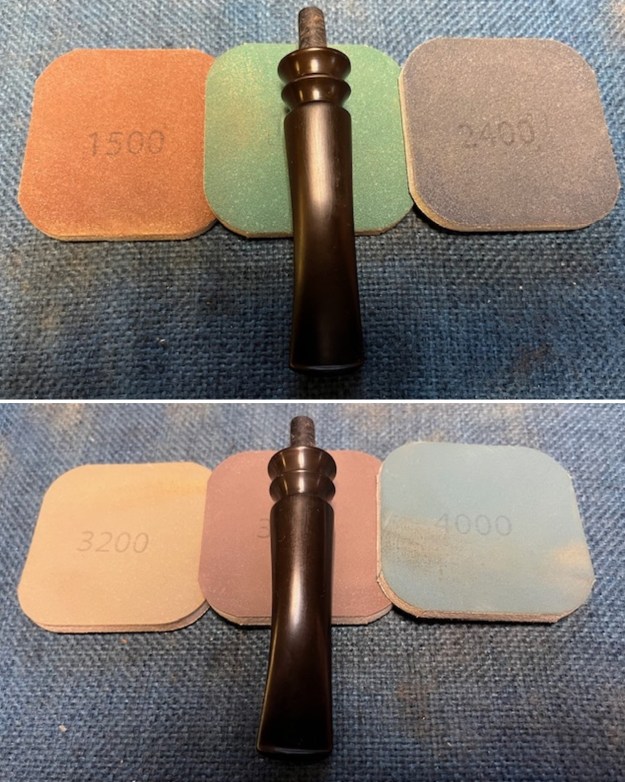
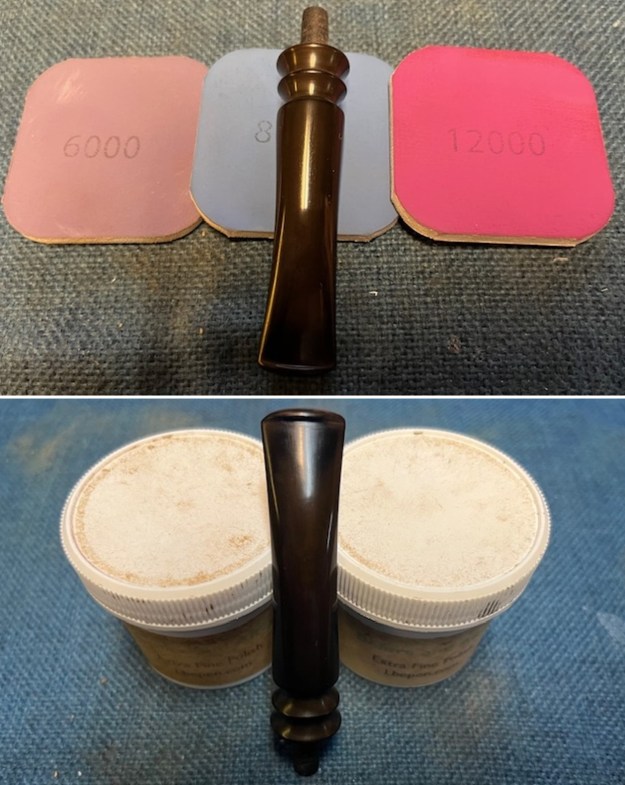
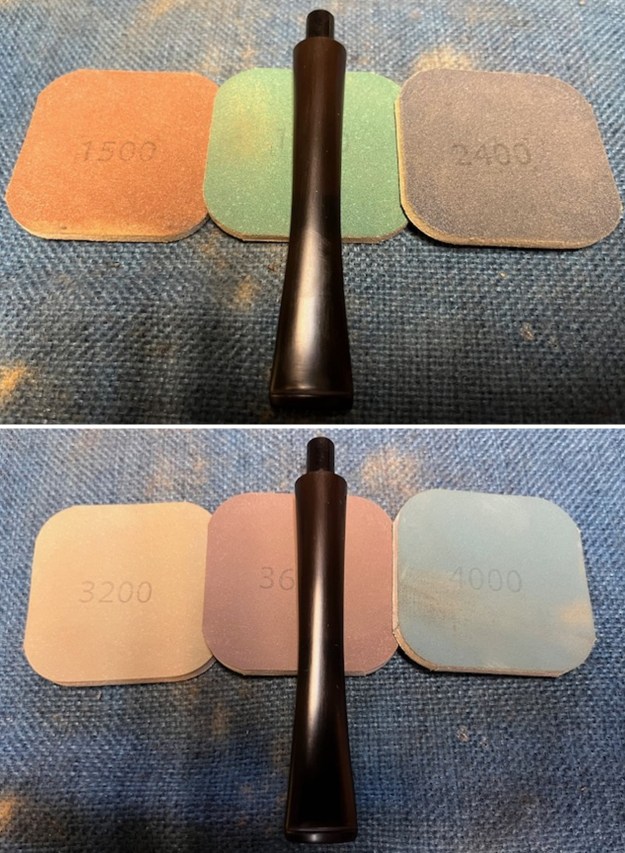
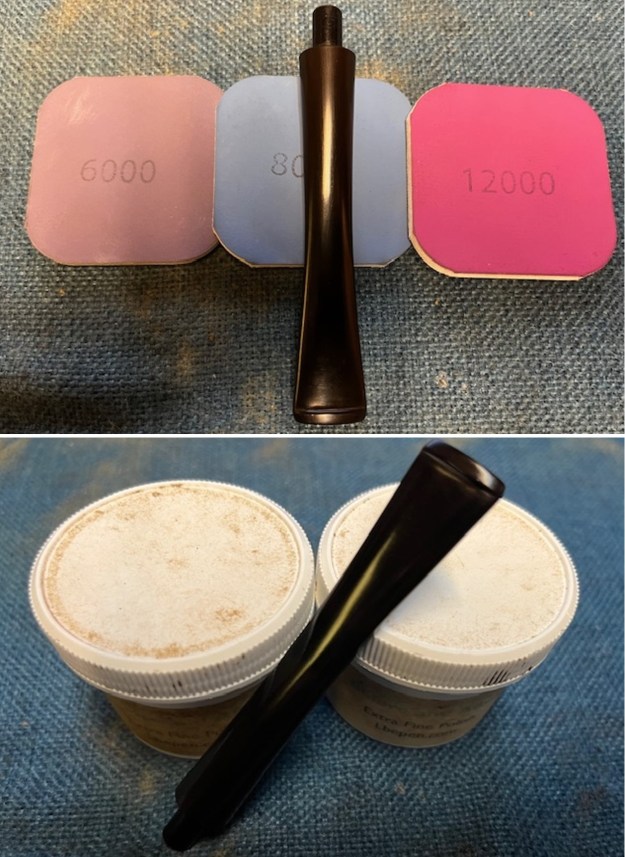
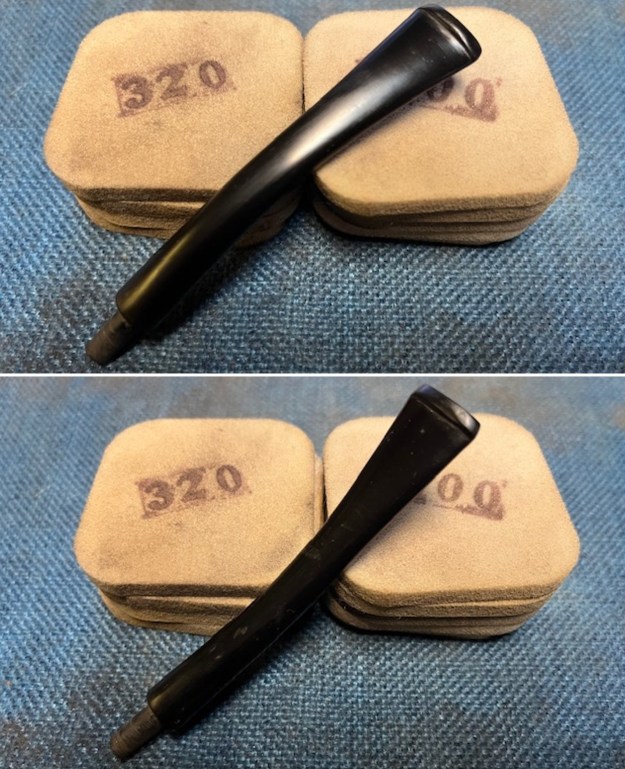 I polished the stem with micromesh sanding pads – dry sanding with 1500-12000 grit pads. I wiped the stem down after each pad with some Obsidian Oil. I finished hand polishing it with Before & After Pipe Stem Polish – Fine and Extra Fine. I rubbed it down with another coat of Obsidian Oil and let it dry. The stem really looked very good.
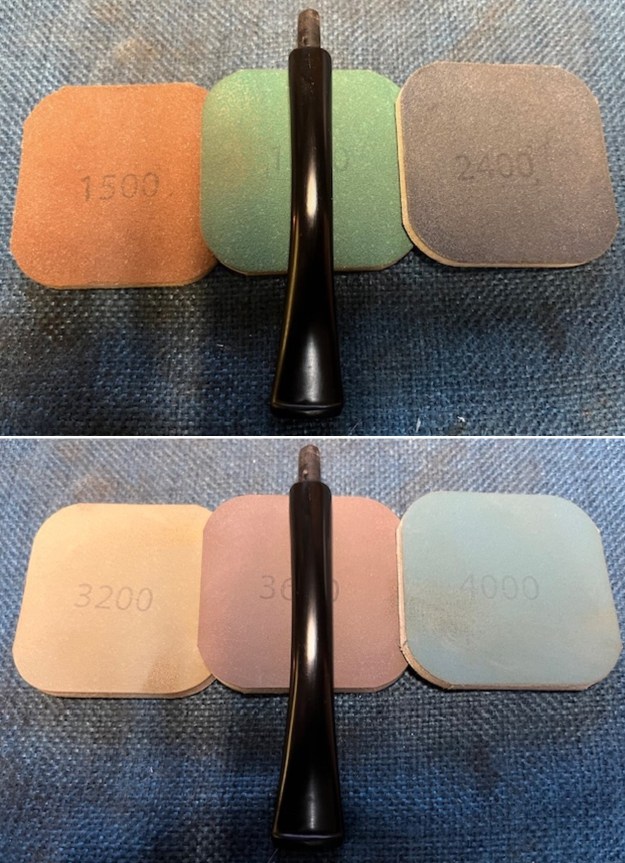
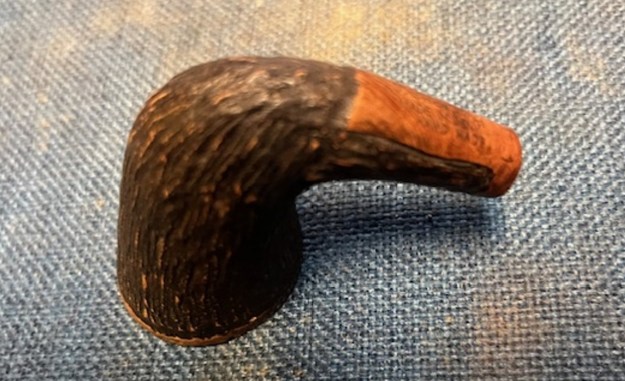
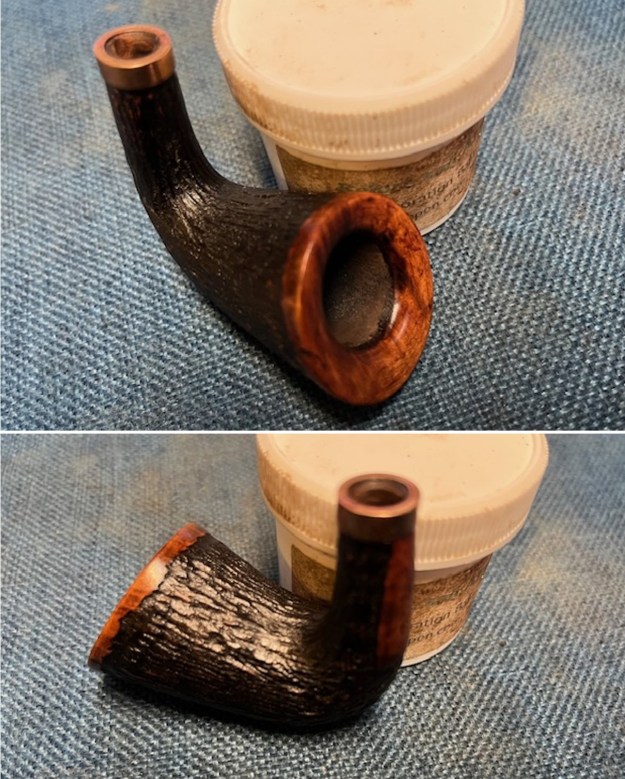
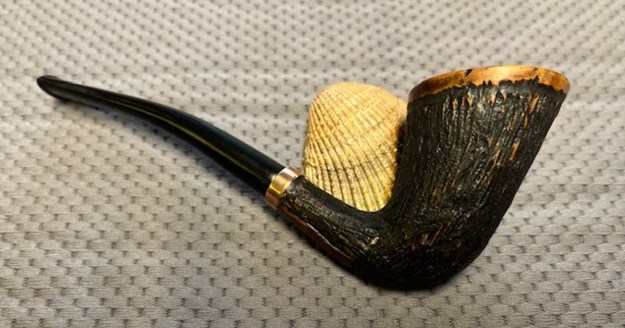
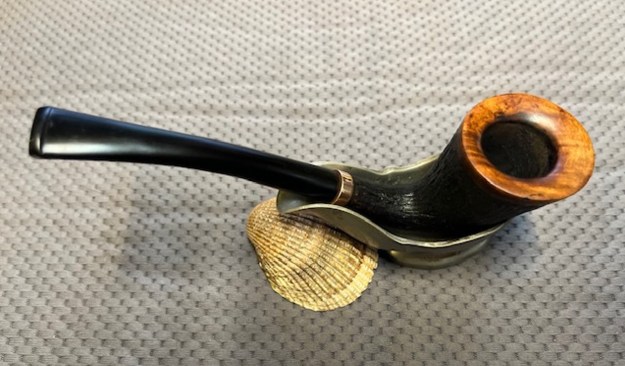
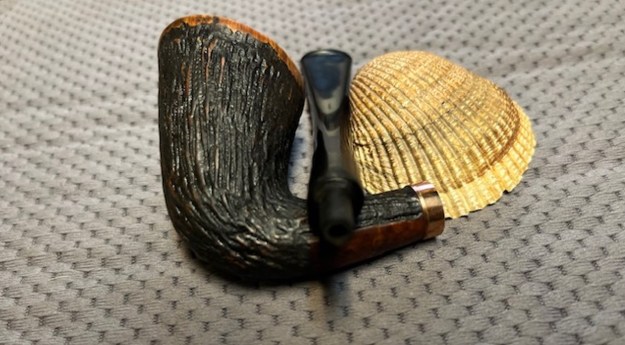
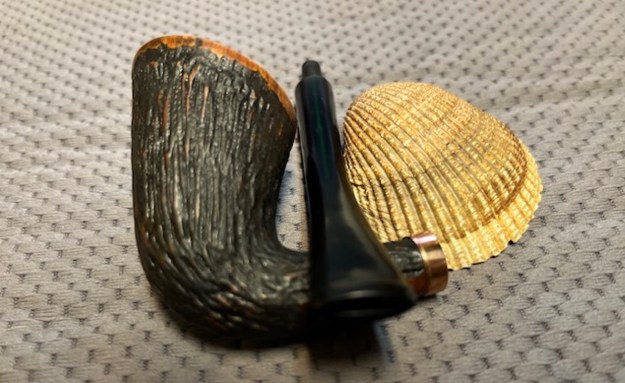
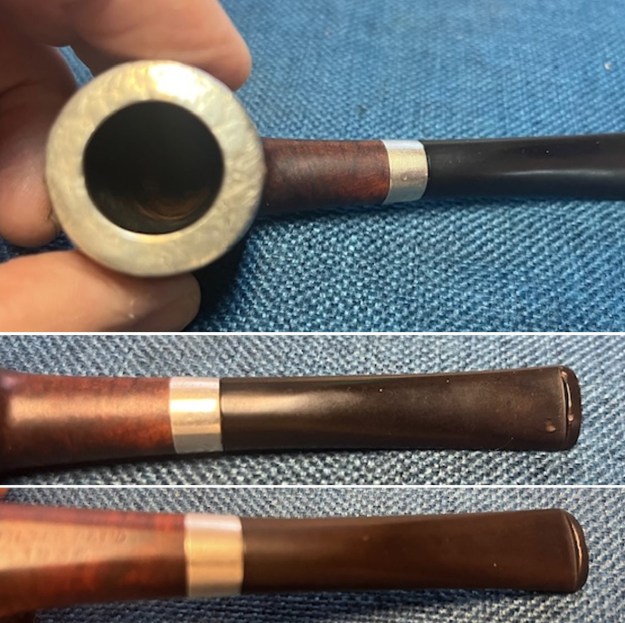
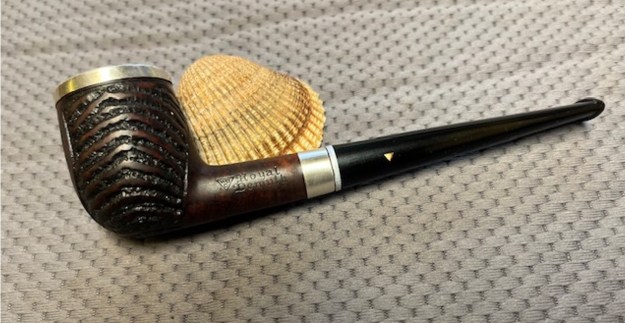
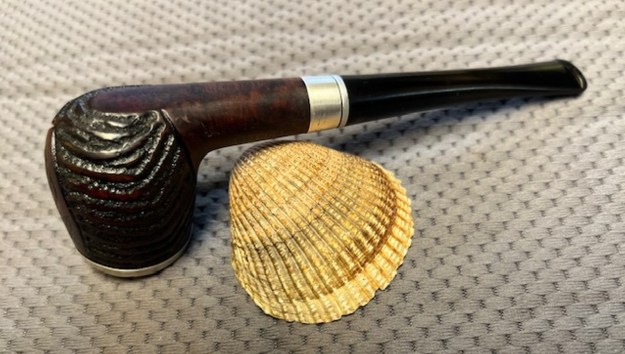
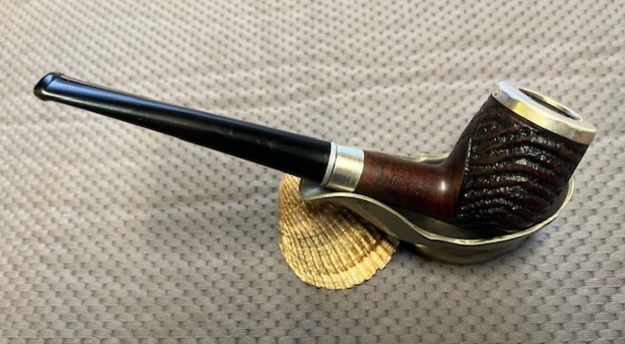
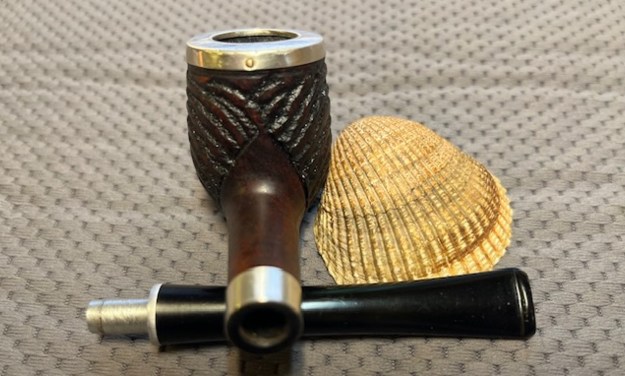
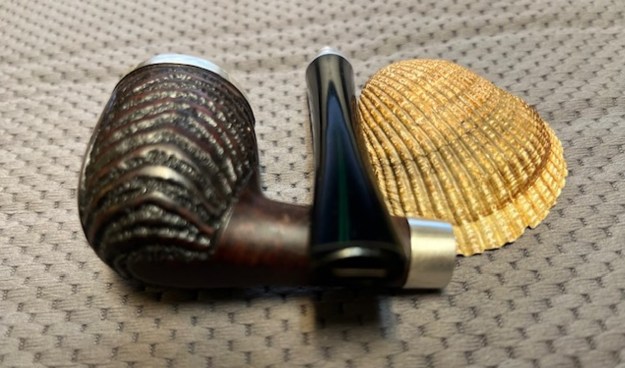
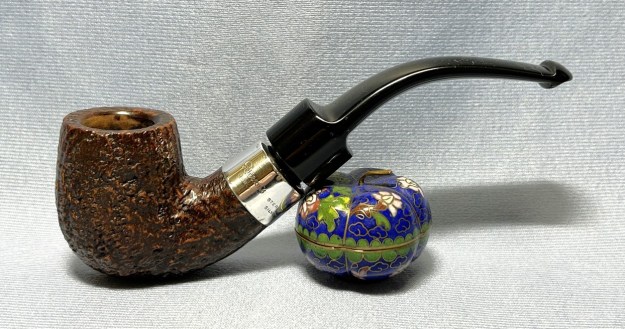
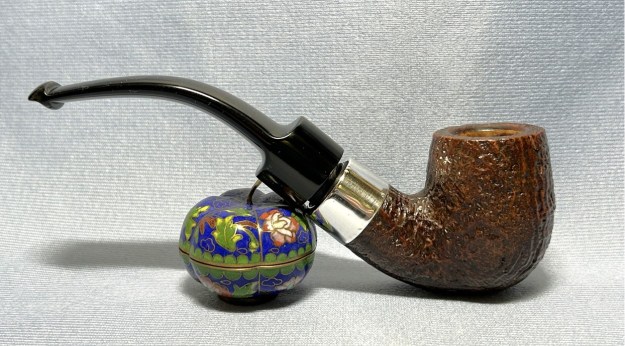
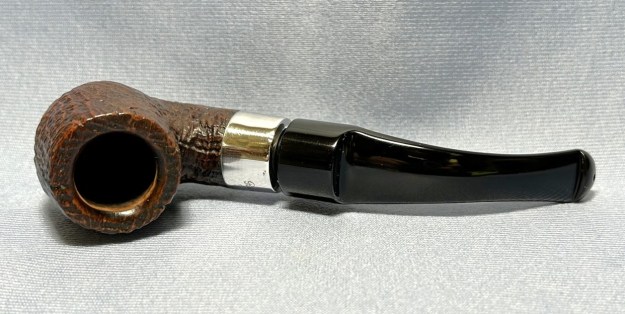
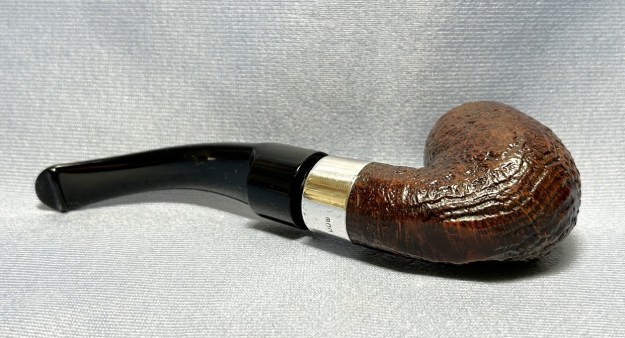
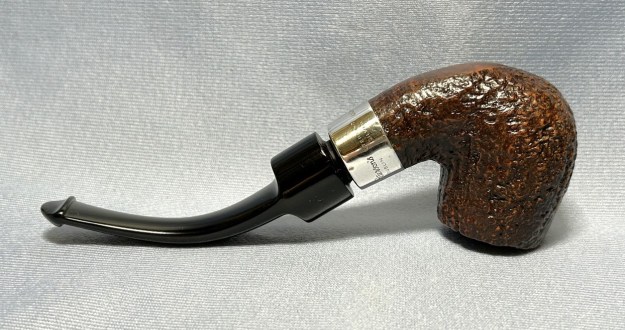
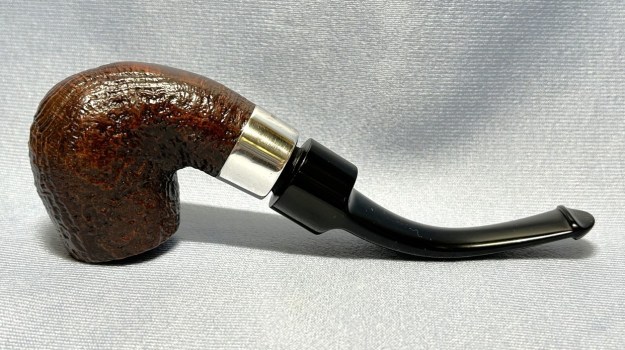
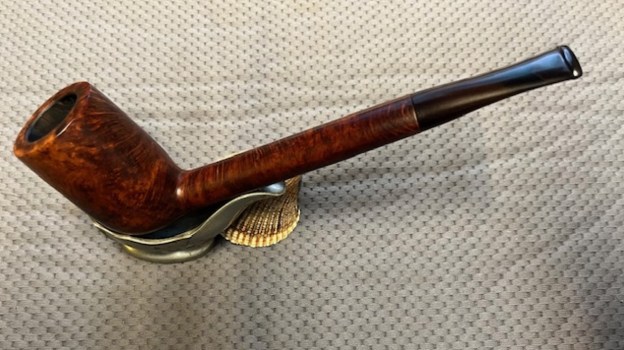
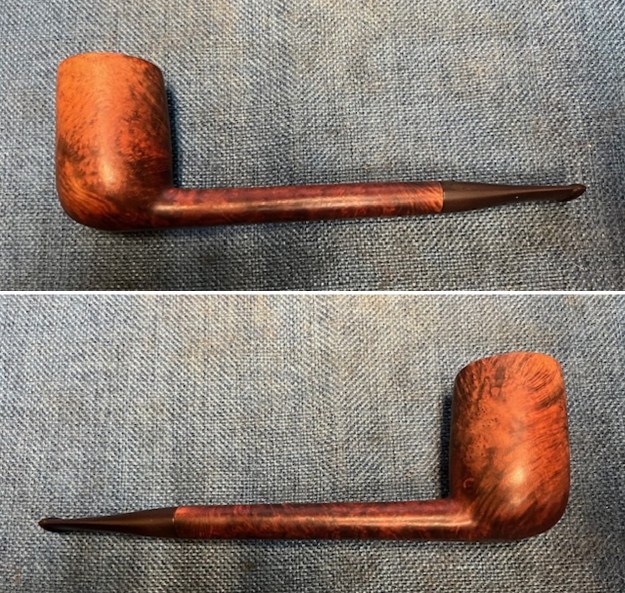
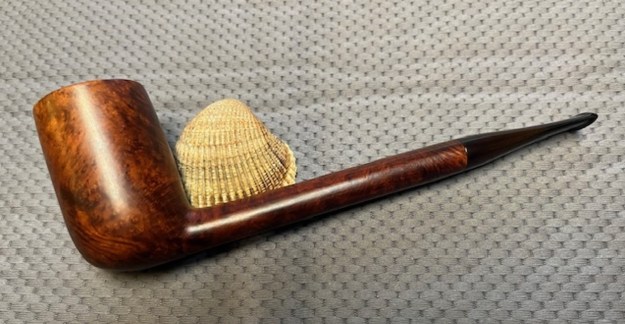
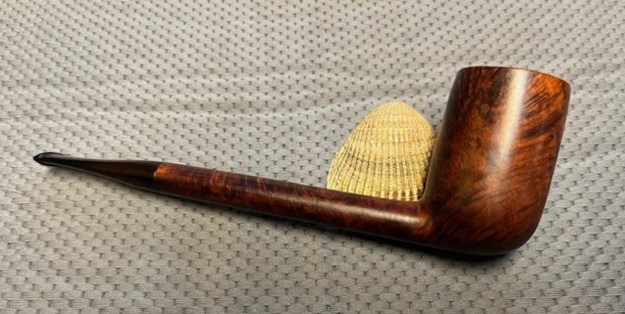
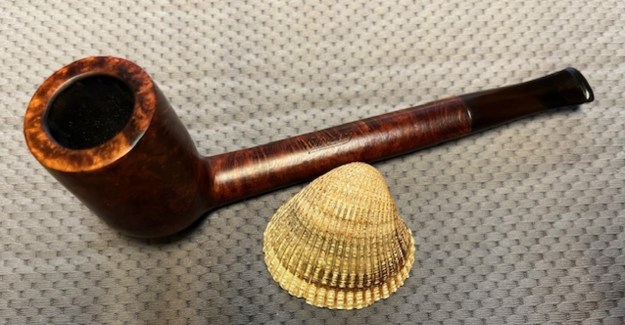
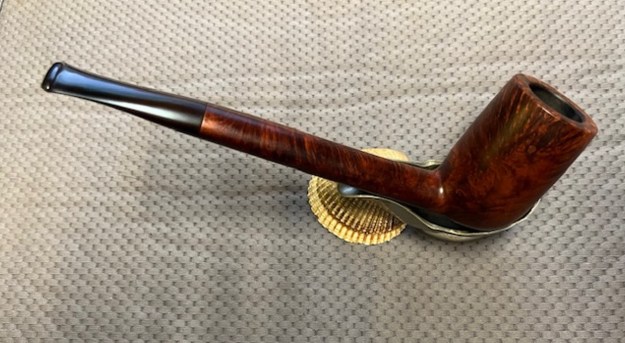
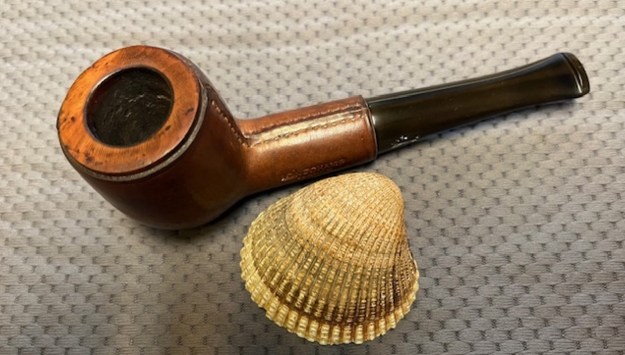
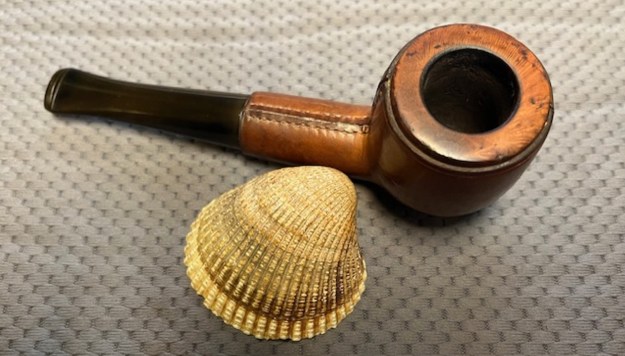
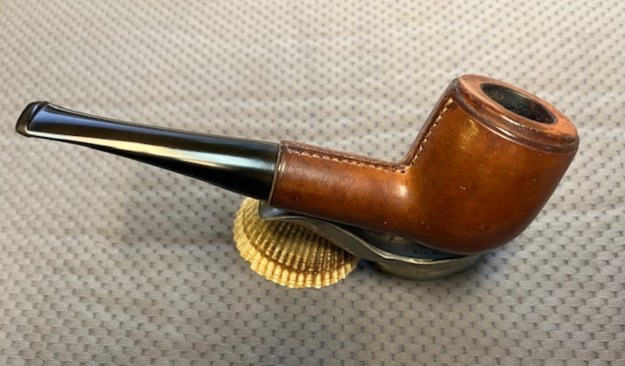
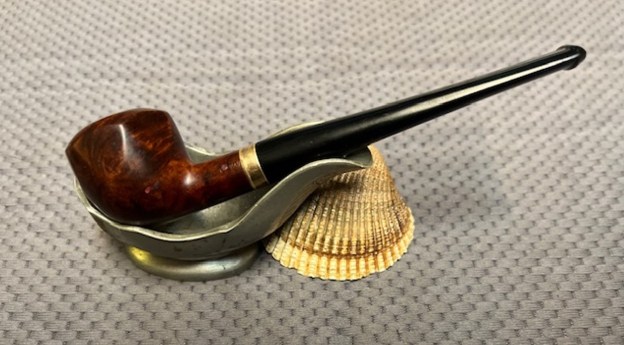
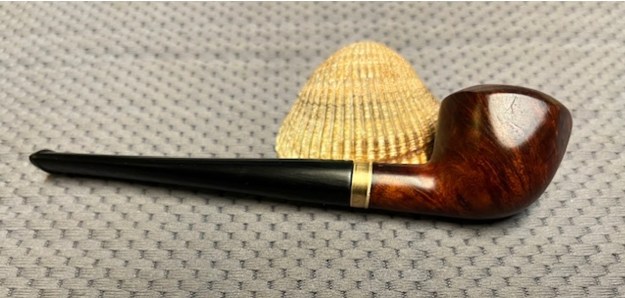
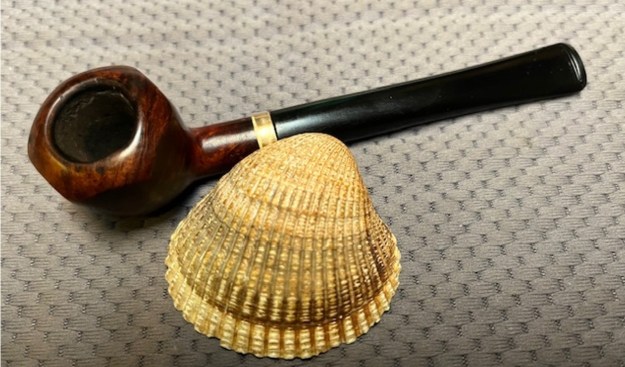
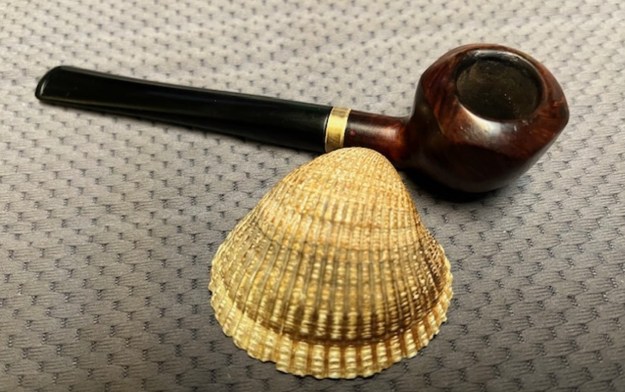
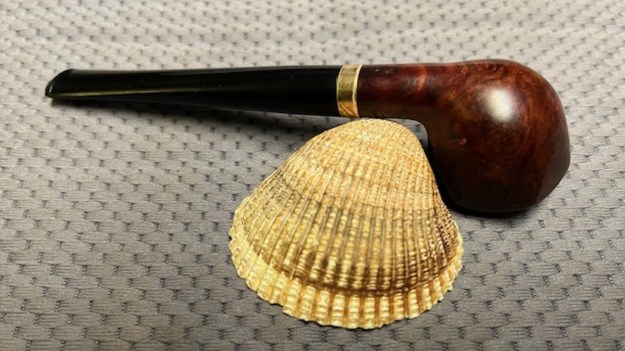
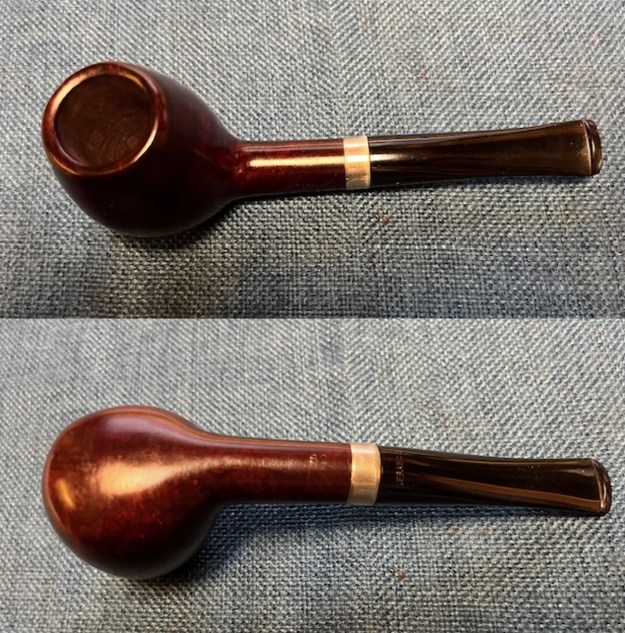
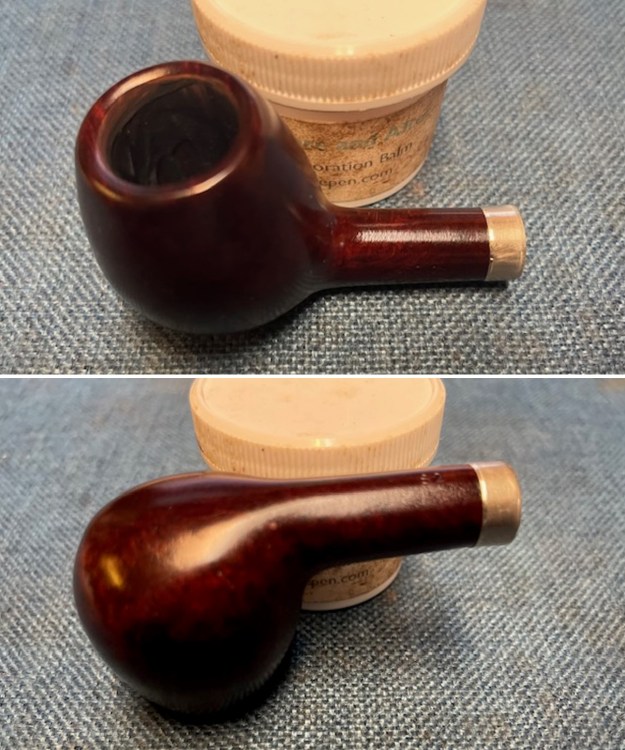
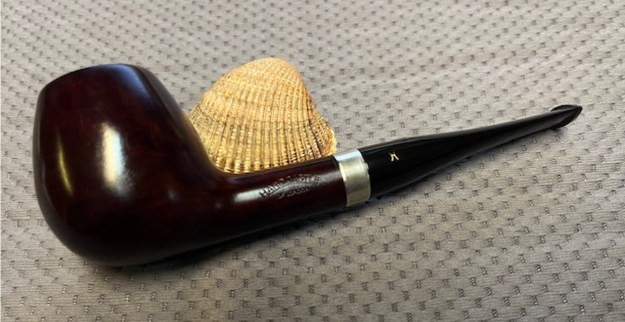
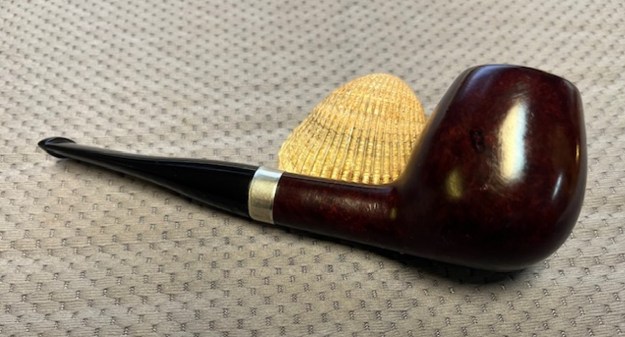
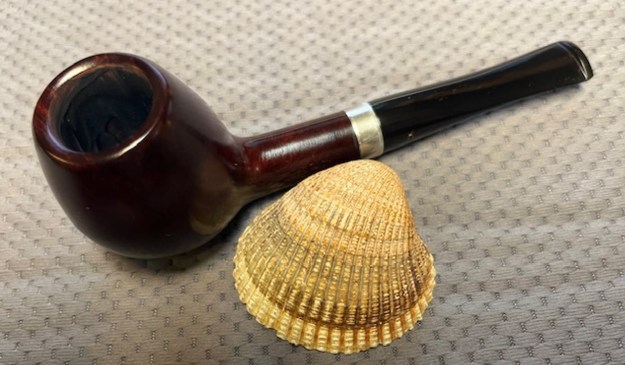
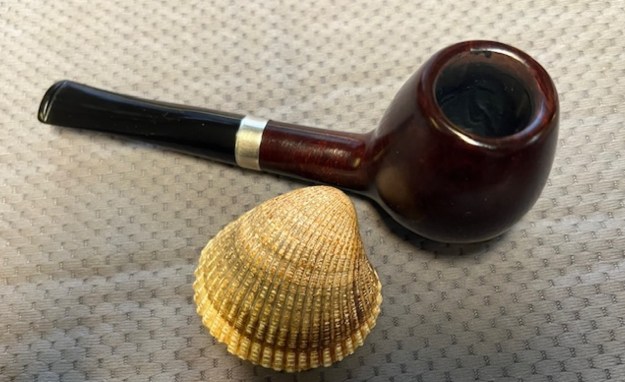
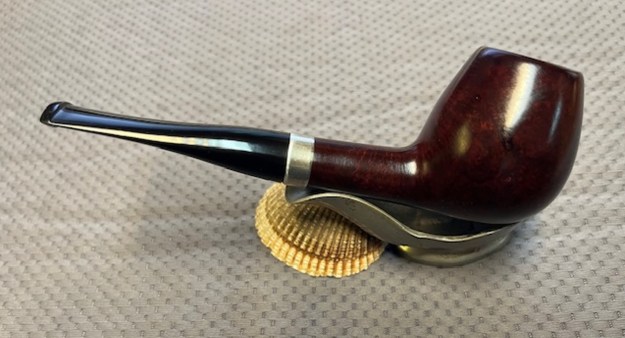
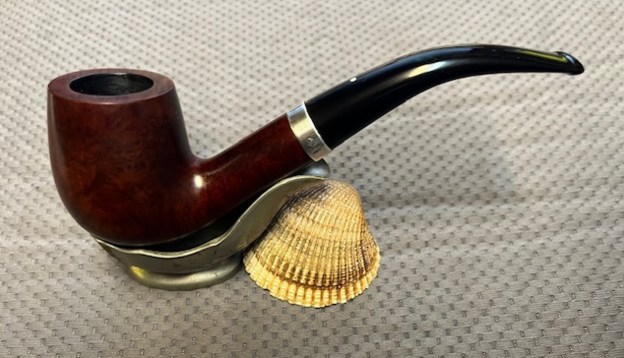
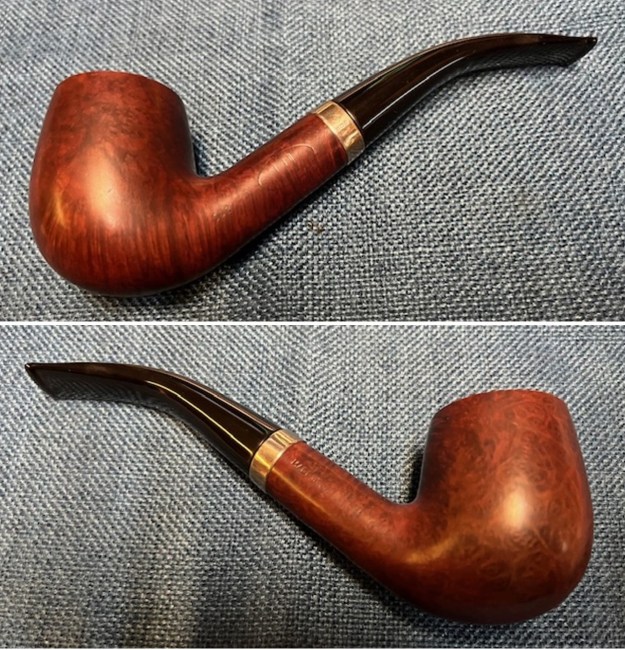
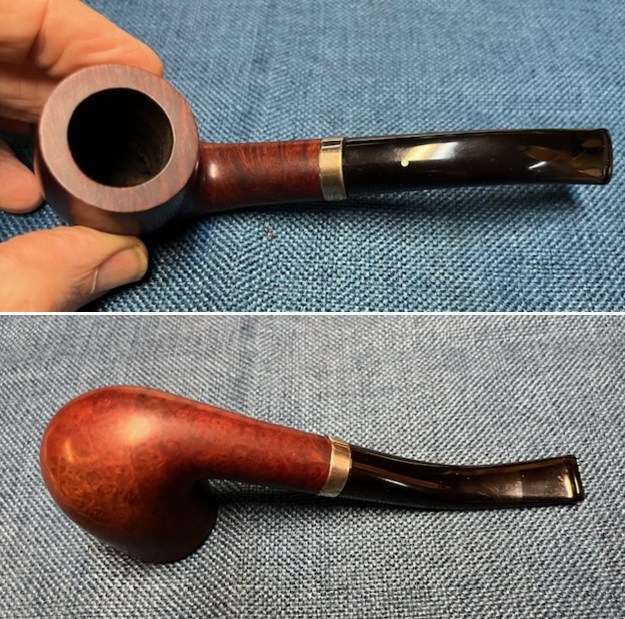
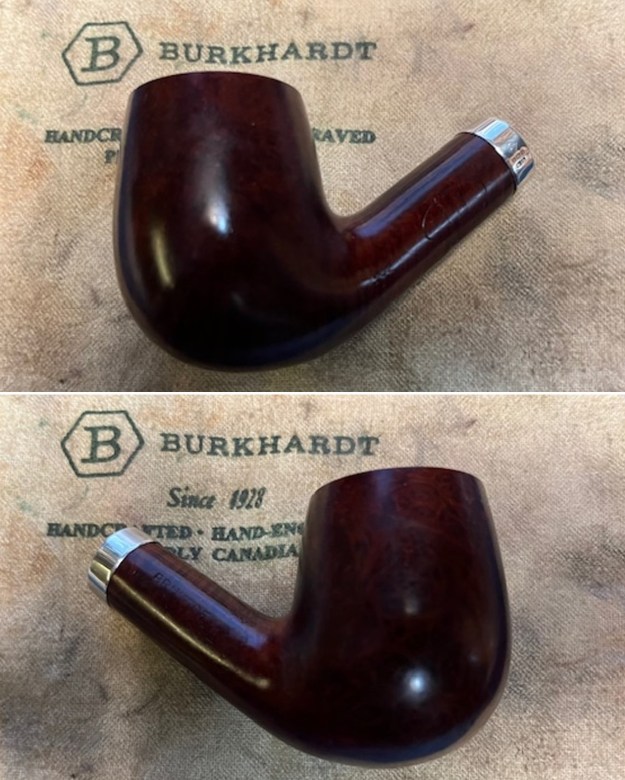
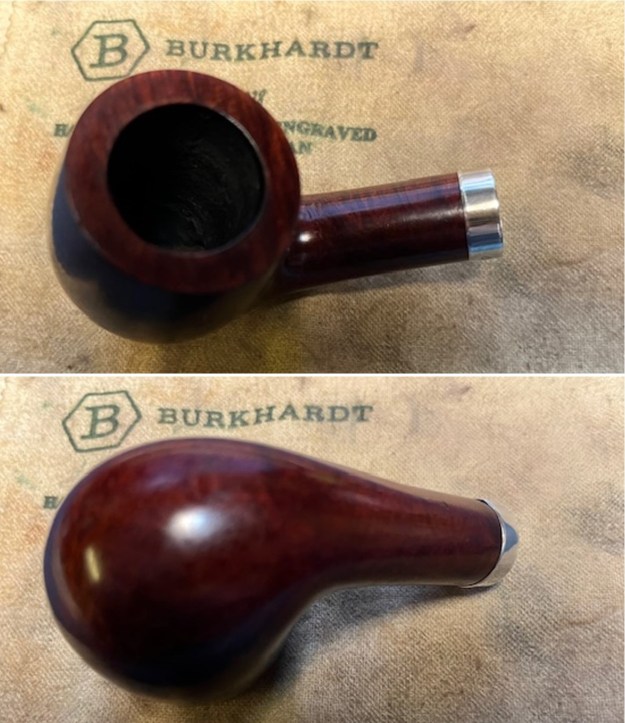
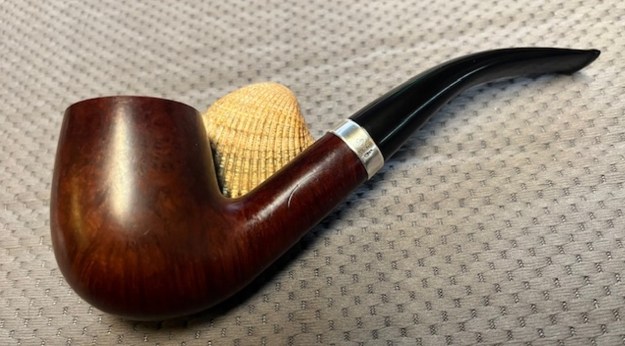
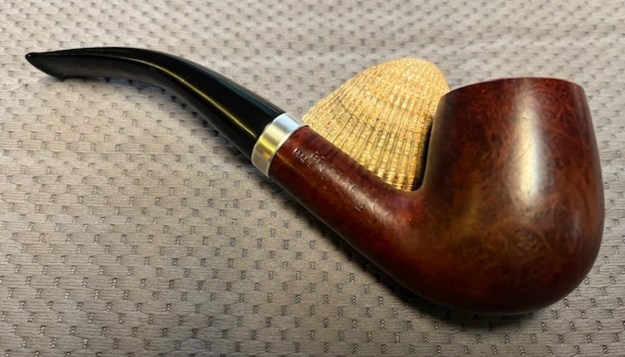
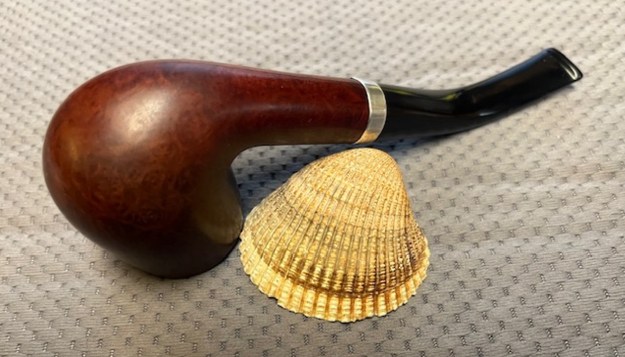
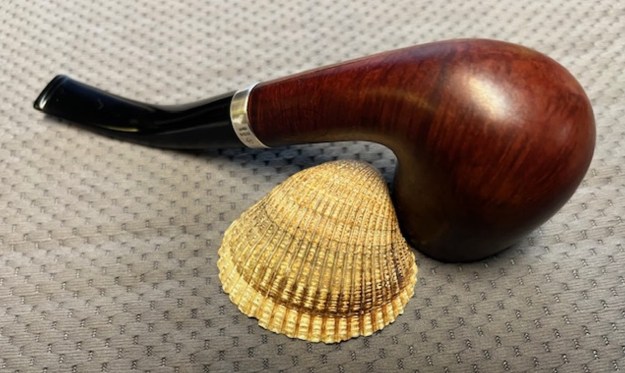
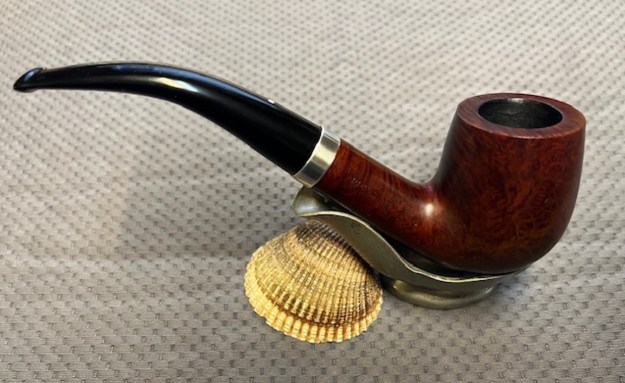
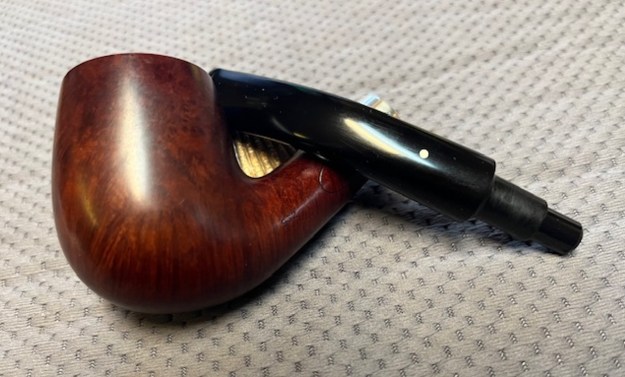
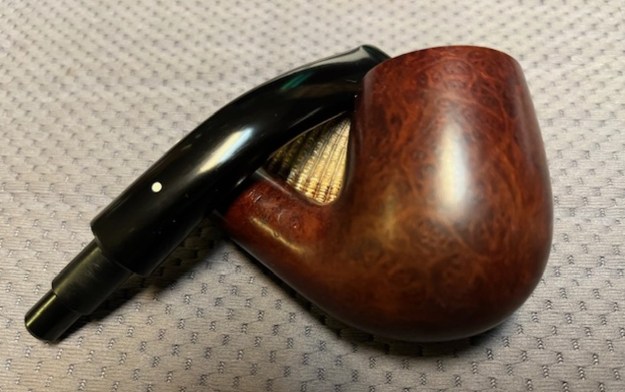
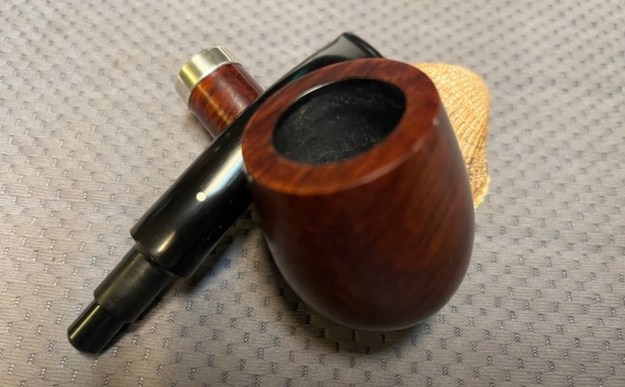
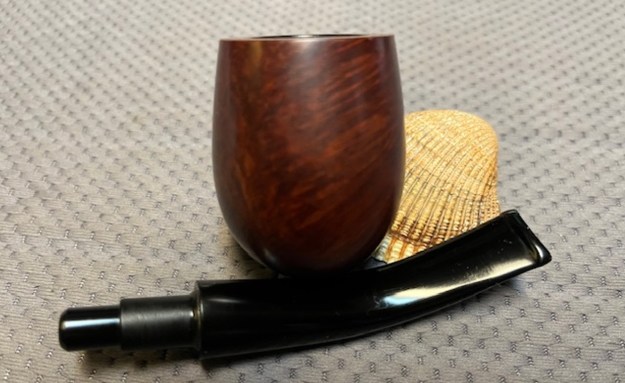
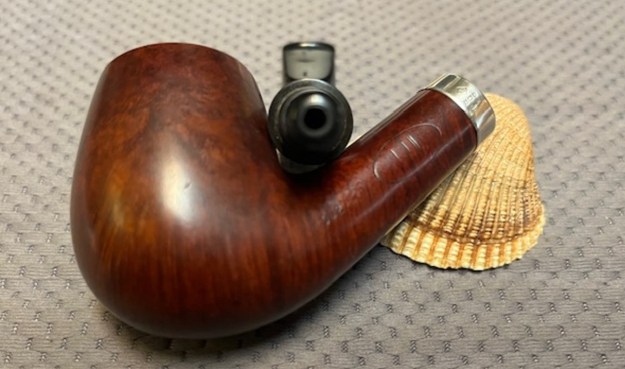
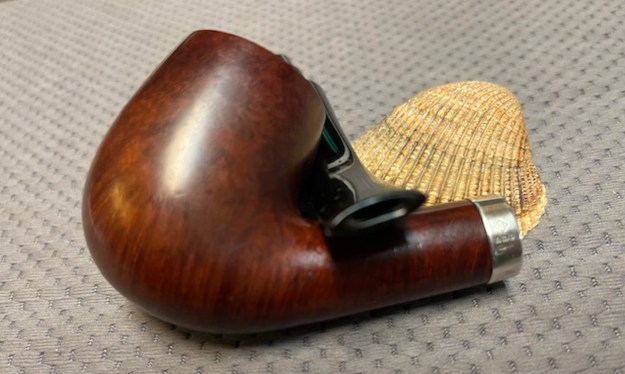
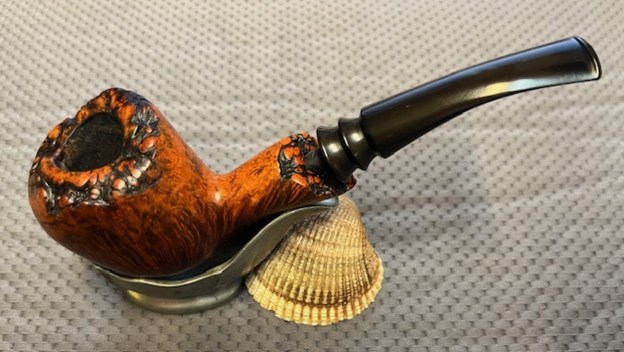
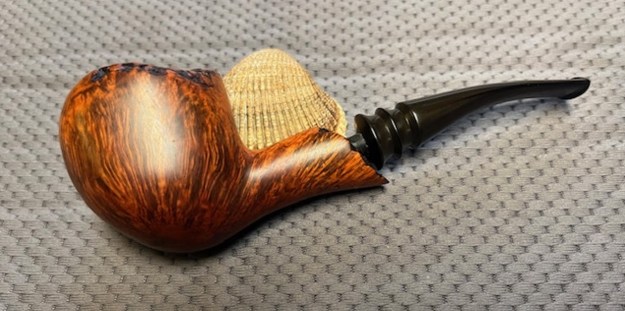
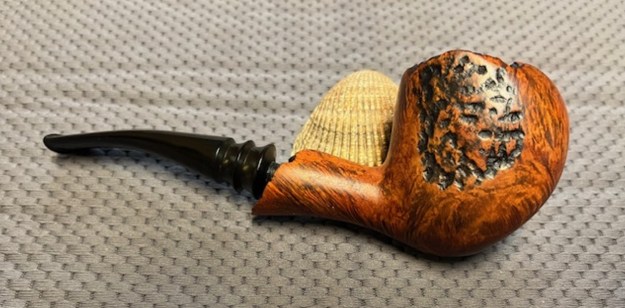
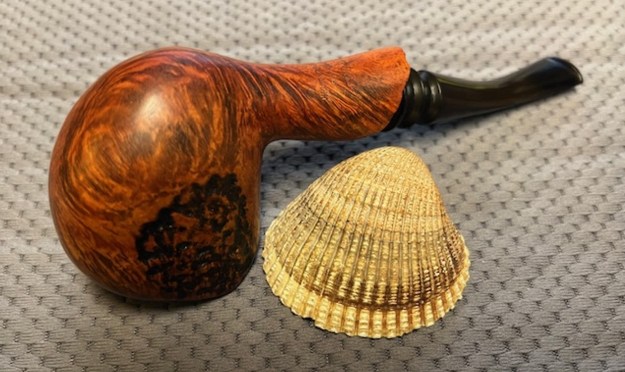
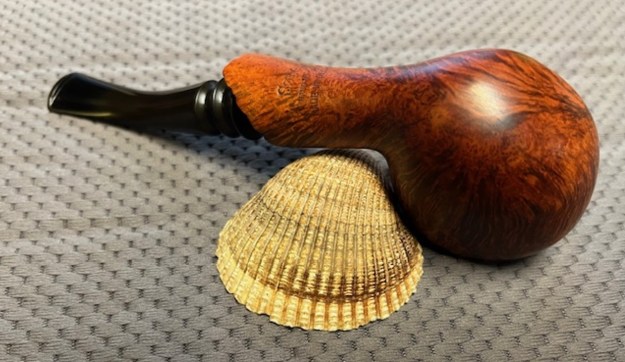
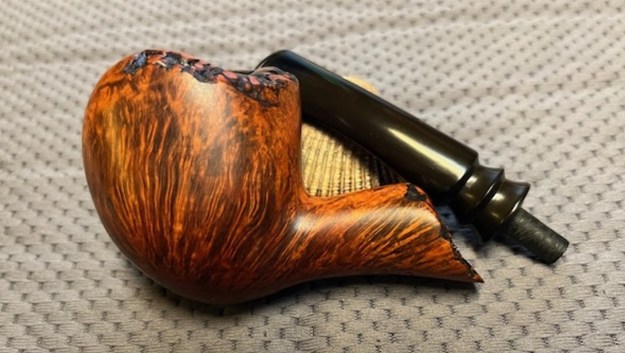
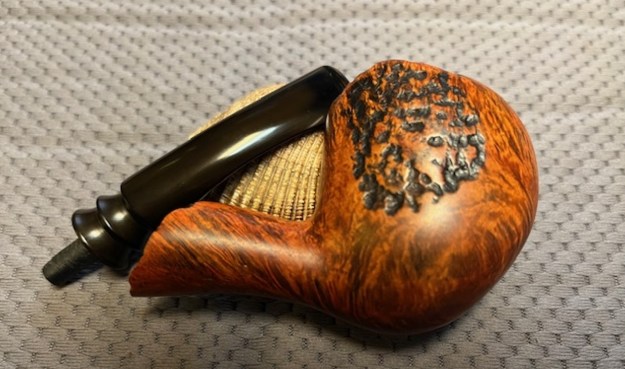
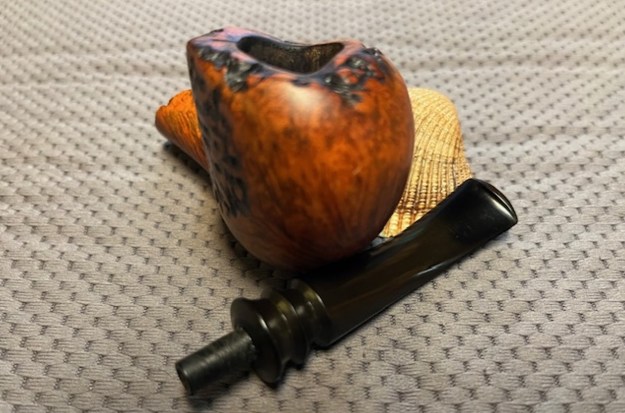
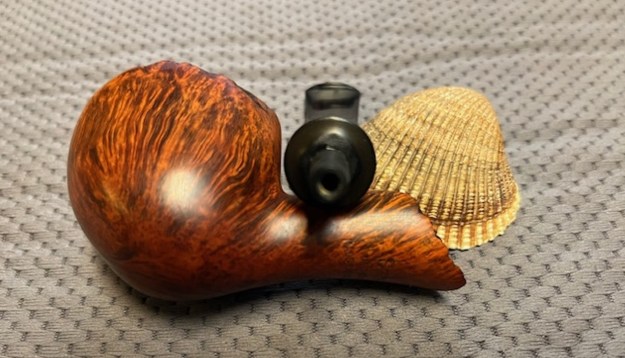
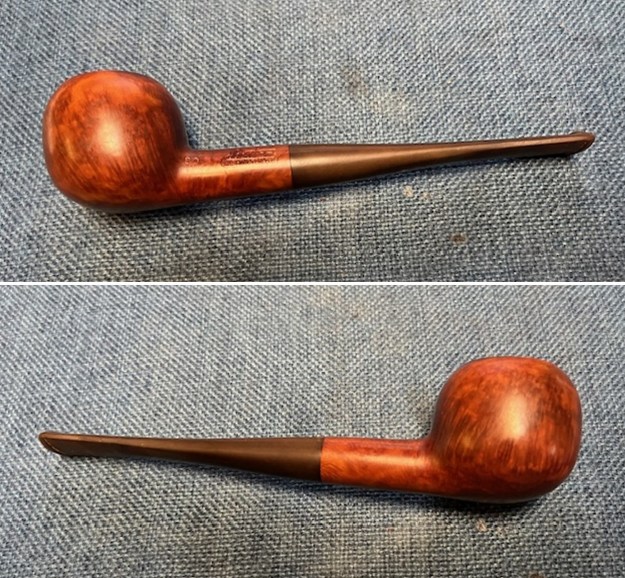
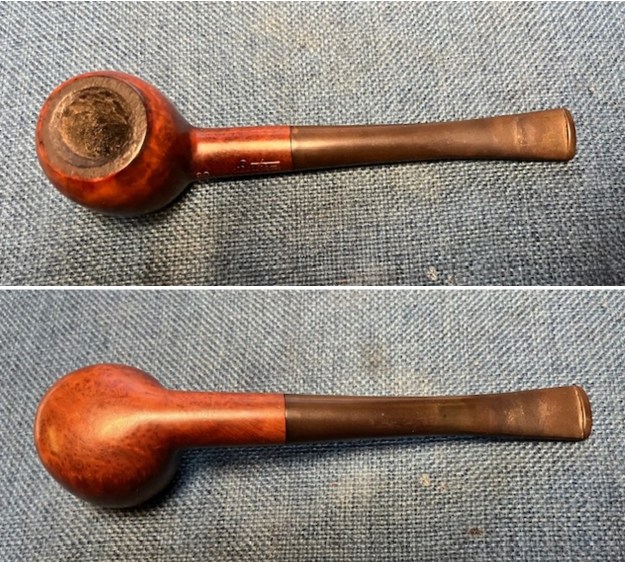
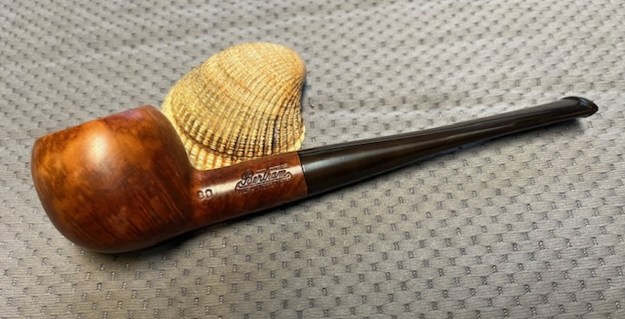
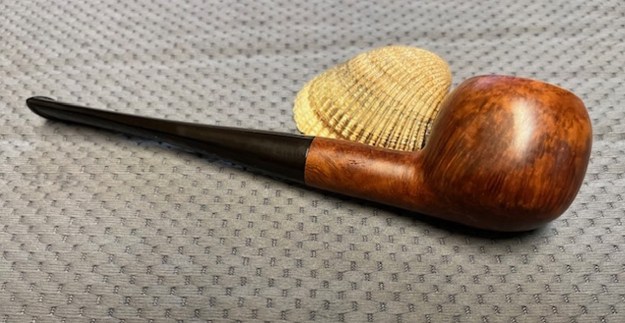
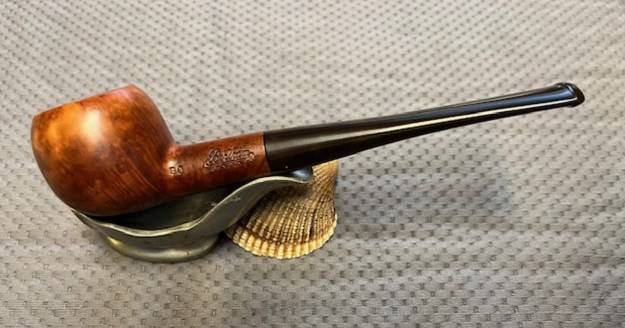
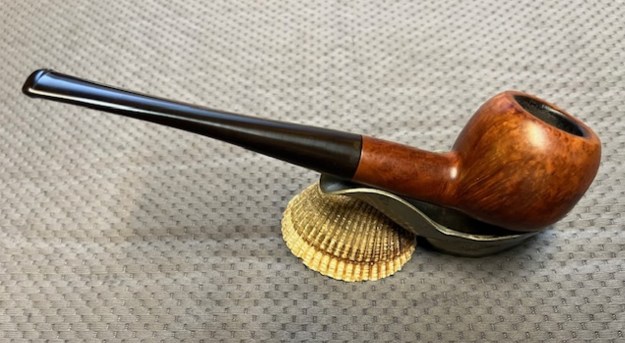
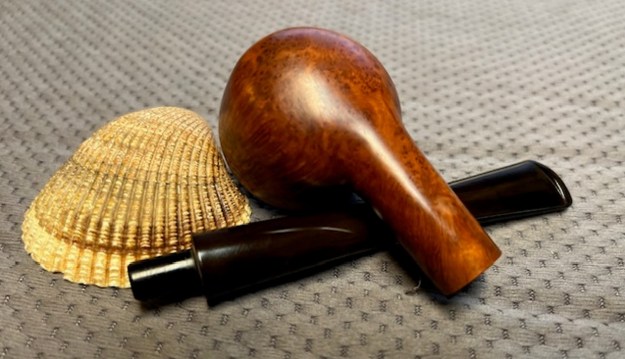
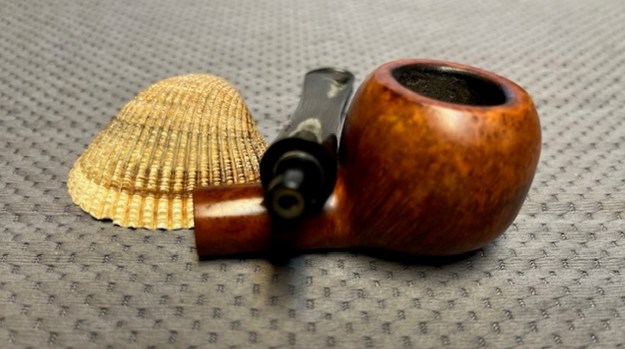
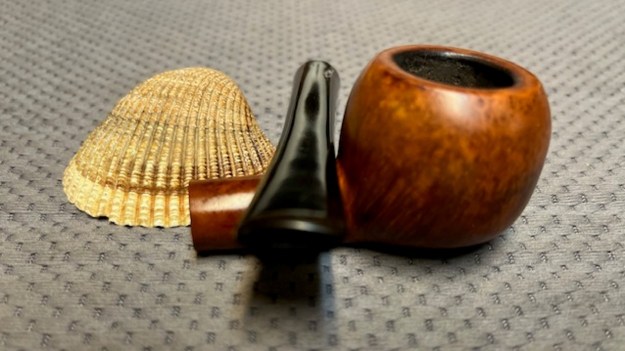
 This delicate and petite Prince Amled Hand Made Calabash Pipe is a real beauty. I know it is hand made in Denmark but that is the extent of the information available on the brand. The carving looks like tree bark on the sides and a great smooth rim and trim. The finish on the pipe is in excellent condition and the contrasting stains work well to highlight the stunning finish on the pipe. The thin vulcanite pencil stem adds to the mix. With the grime and debris gone from the finish and the bowl it was a beauty and the finish shows depth at this point. The rim top looks really good now. I put the stem back on the bowl and buffed the pipe with Blue Diamond on the buffing wheel. I gave the bowl multiple coats of Conservator’s Wax and the stem multiple coats of carnauba wax on the buffing wheel. I buffed it with a clean buffing pad on the buffer and hand buffed the pipe with a microfiber cloth to deepen the shine. The finished Prince Amled Calabash is quite nice and feels great in the hand. The dimensions of the pipe are Length: 5 inches, Height: 2 ¼ inches, Outside diameter of the bowl: 1 ¼ inches, Chamber diameter: 5/8 of an inch. The weight of the pipe is .92 ounces/25 grams. Thanks for walking through the restoration with me as I worked over another interesting pipe. This pipe will be added to the Danish Pipe Makers section of the rebornpipes store soon. If you want to add it to your collection send me an email or a message! Thanks for your time.
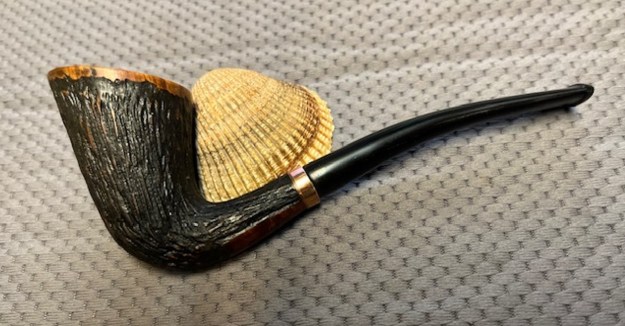


