Blog by Steve Laug
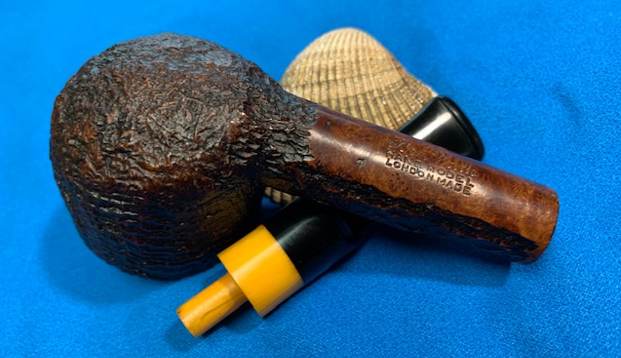
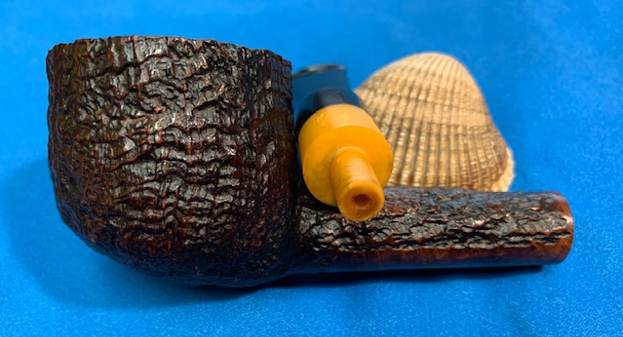
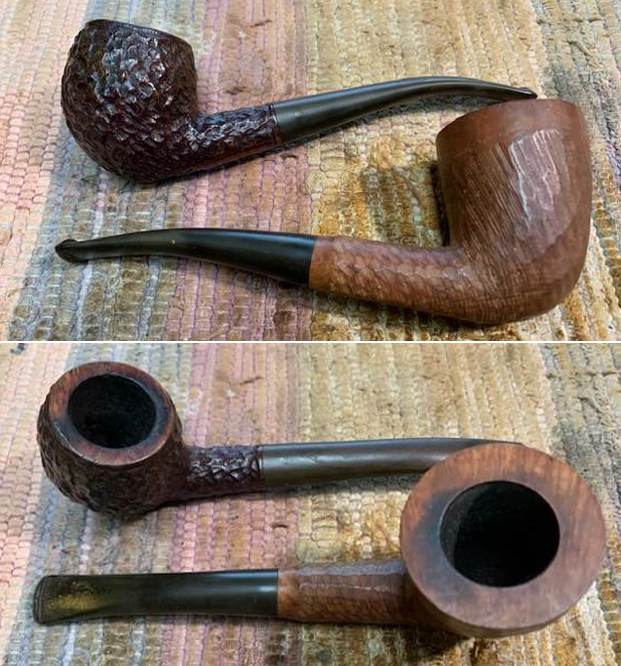
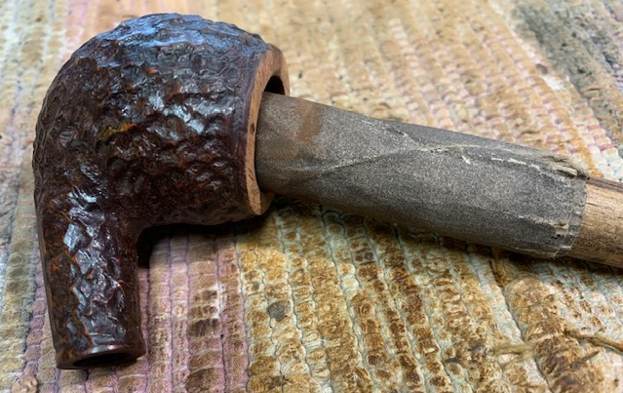
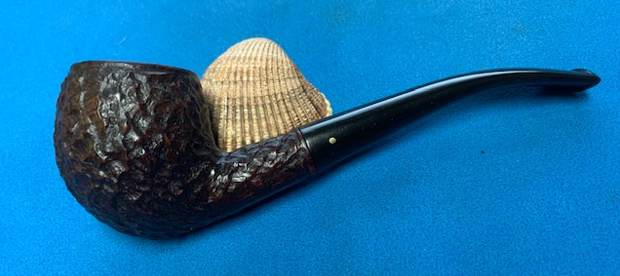
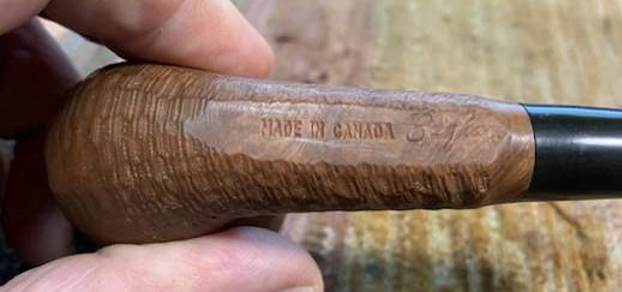
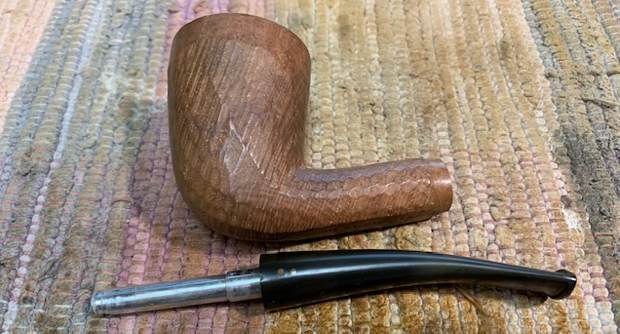
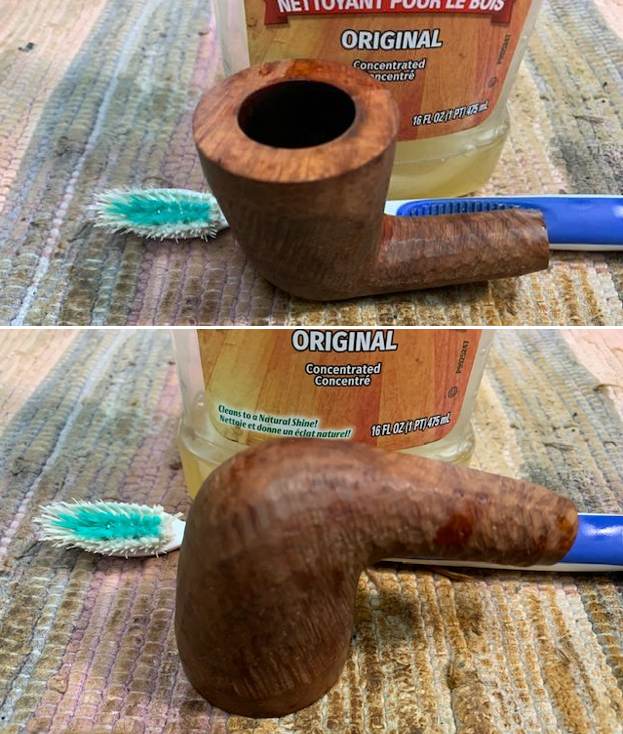
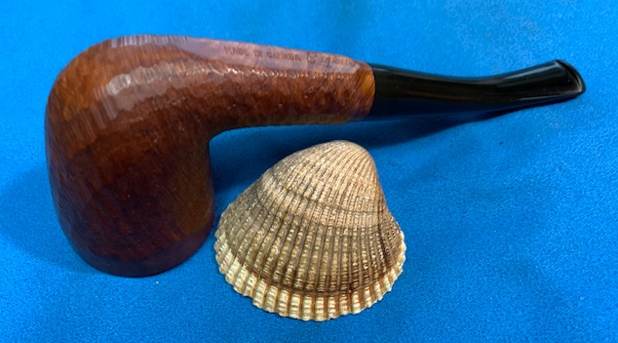
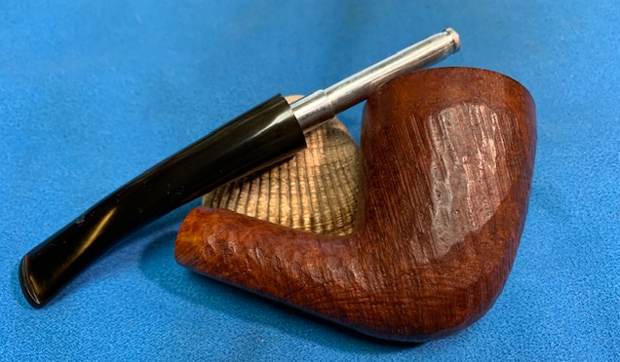
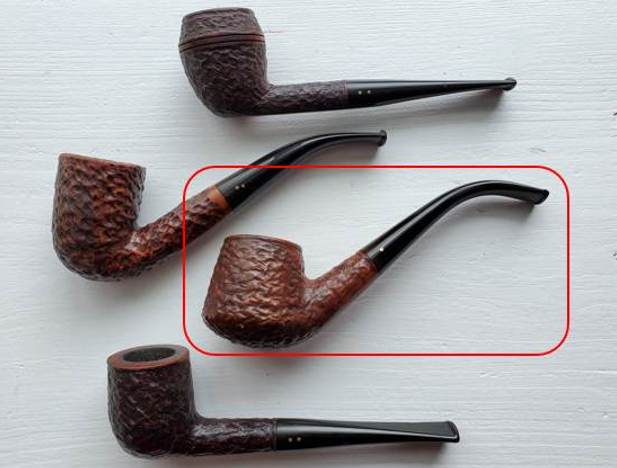
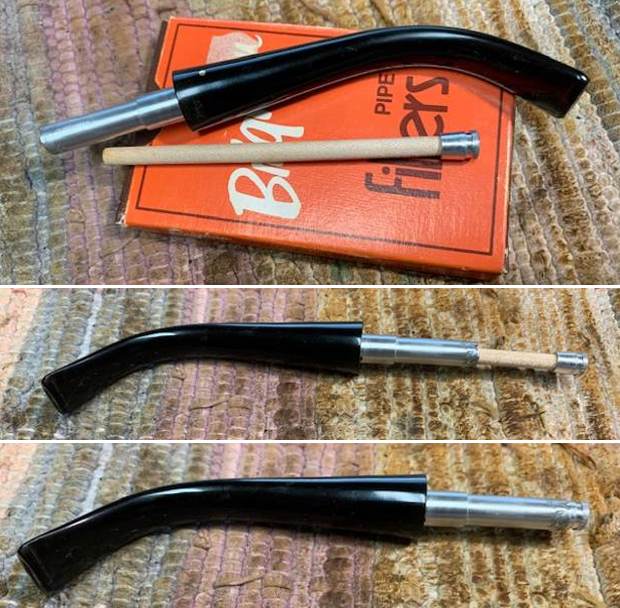
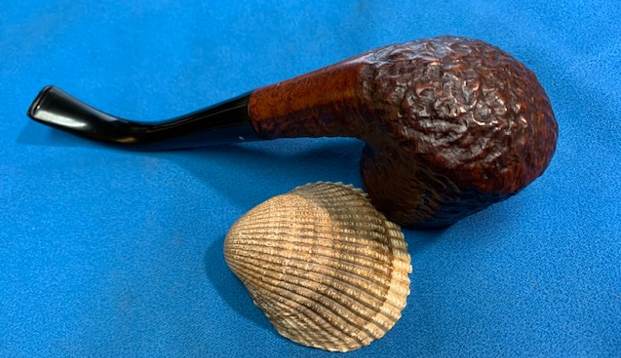
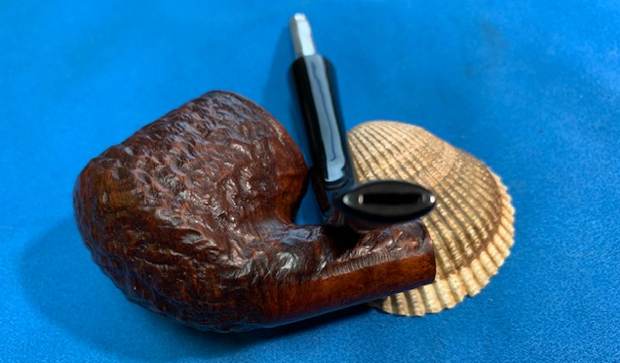
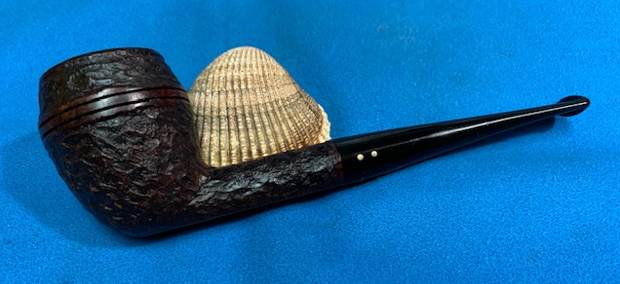
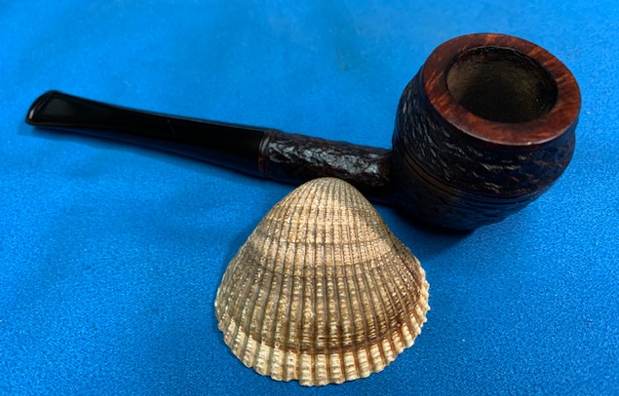
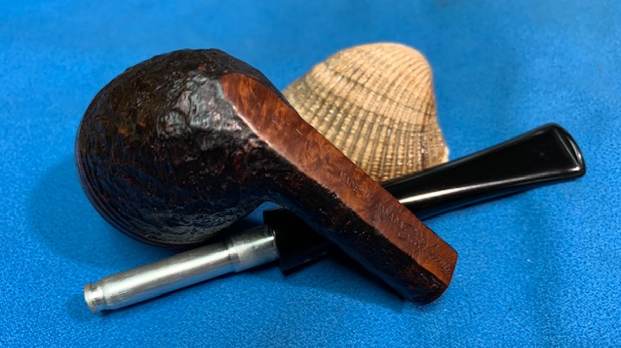
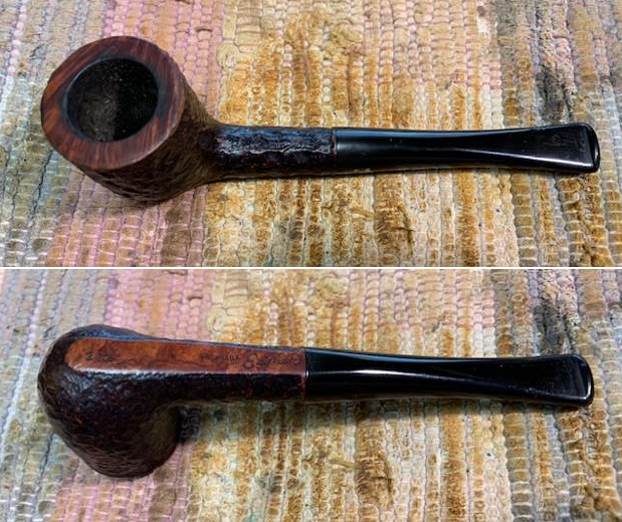
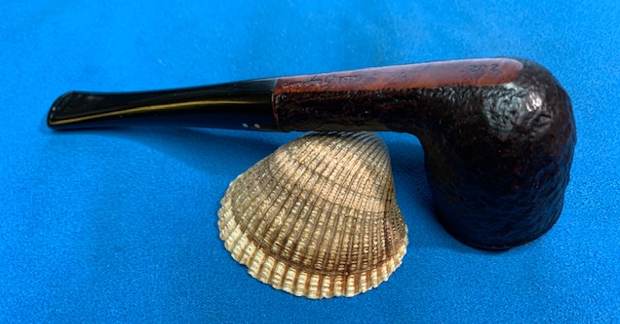
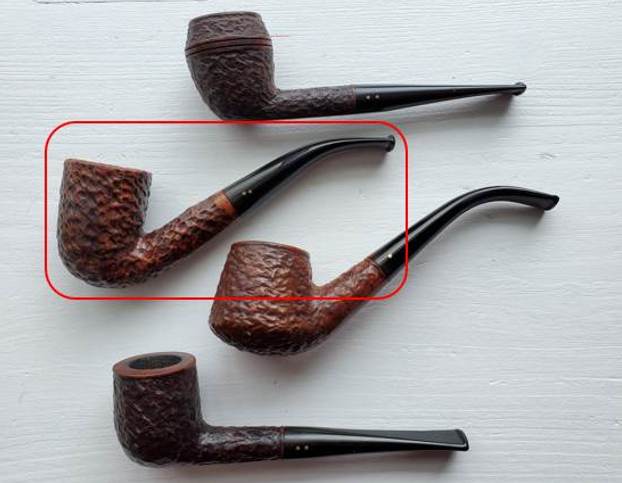
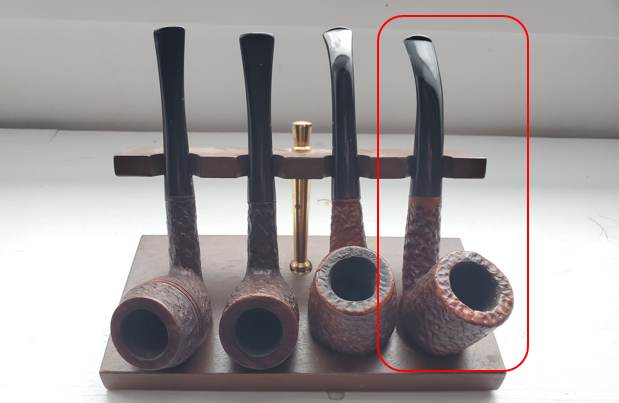
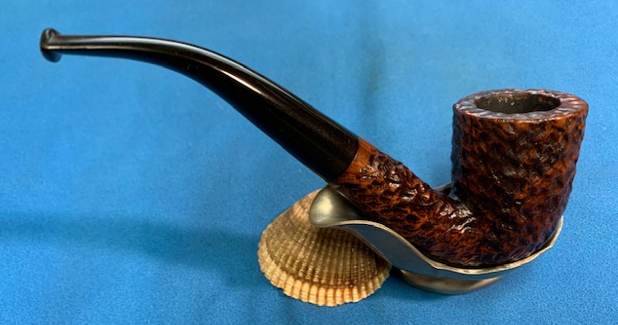
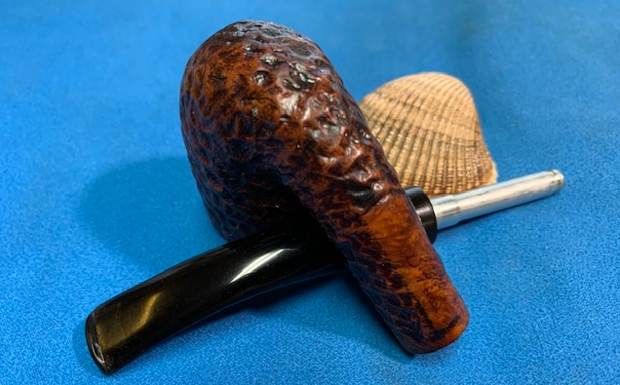
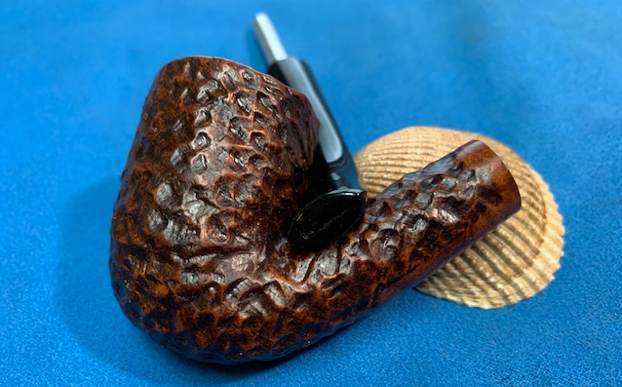
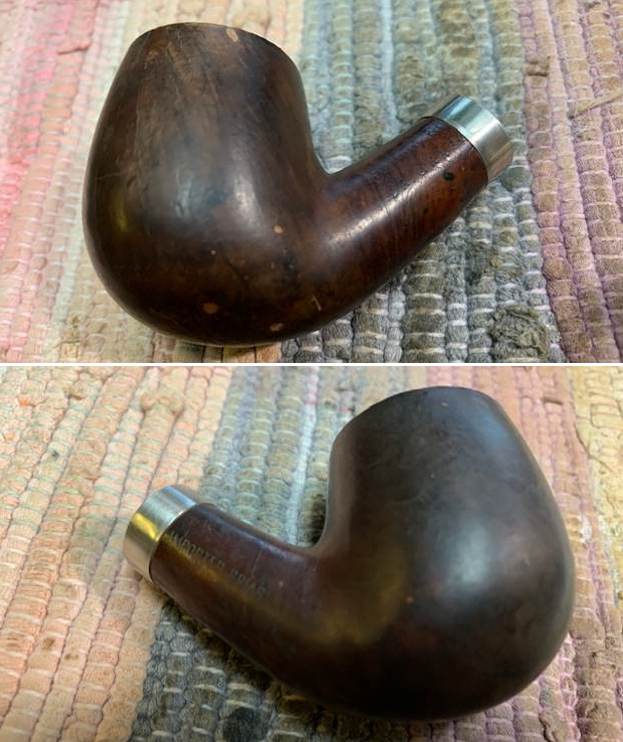
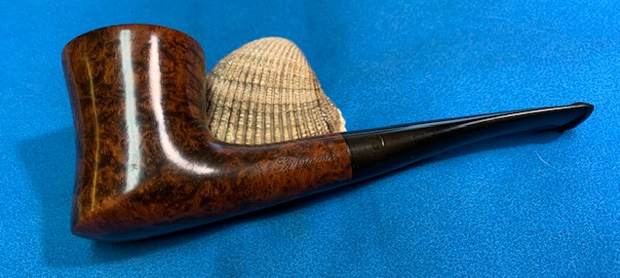
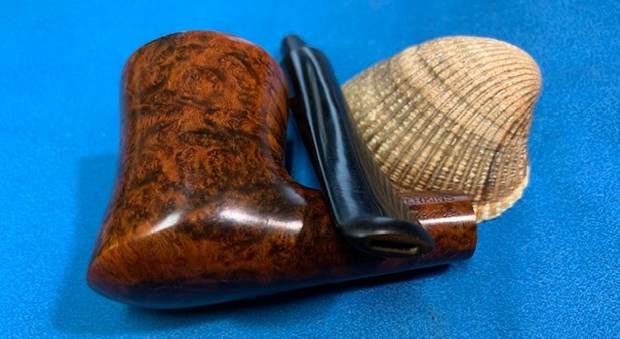
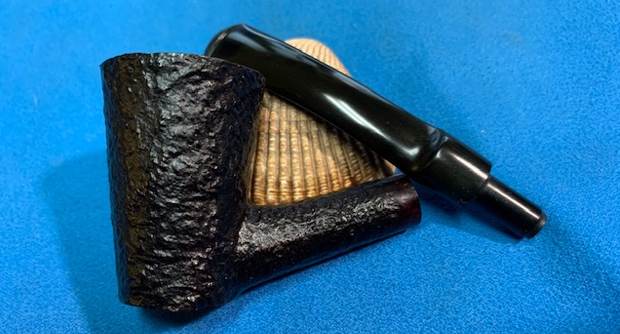
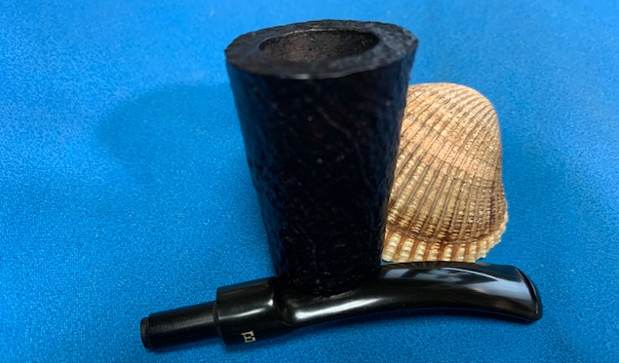
After a long week of dealing with insurance issues on flood damage to my basement office and now waiting for a plumber to come and give his report on Monday I decided it was time to take a break and just work on a pipe that interested me. I chose a unique looking pipe that we picked up off EBay back in December of 2016 from a seller in Marlboro, New Jersey, USA. It is a long shank Pot with a craggy and deep sandblast and an unusual shape to the bottom of the bowl. The yellow spacer on the pipe is a part of the stem. The pipe is stamped on the underside and reads Ben Wade in script [over] Hand Model [over] London Made. There are no shape numbers on the pipe. I have worked on quite a few English made Ben Wade pipes but never one that was stamped like this. It would be interesting to learn more about it. The pipe was dirty with a moderate cake in the bowl and some lava overflow in the sandblast on the rim. The edges of the bowl were in good condition. The saddle stem (vulcanite with a yellow acrylic spacer attached) was shiny but had tooth damage to the button on the underside. Jeff took photos of the pipe before he started his clean up.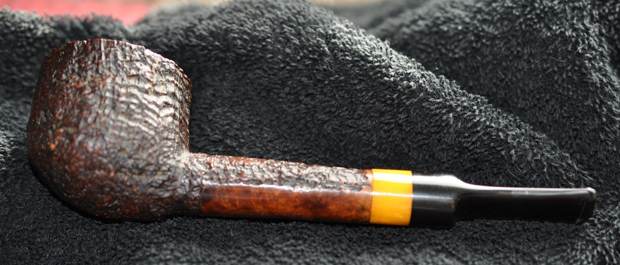
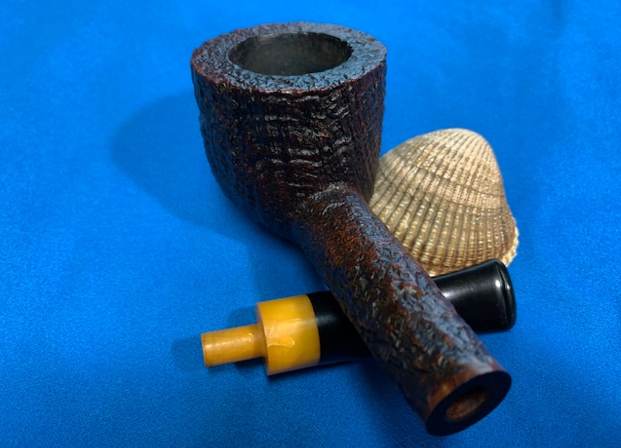
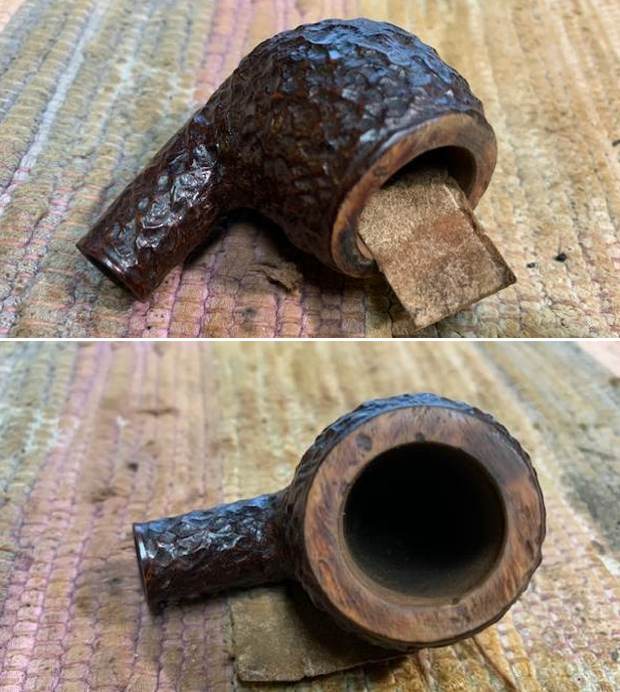
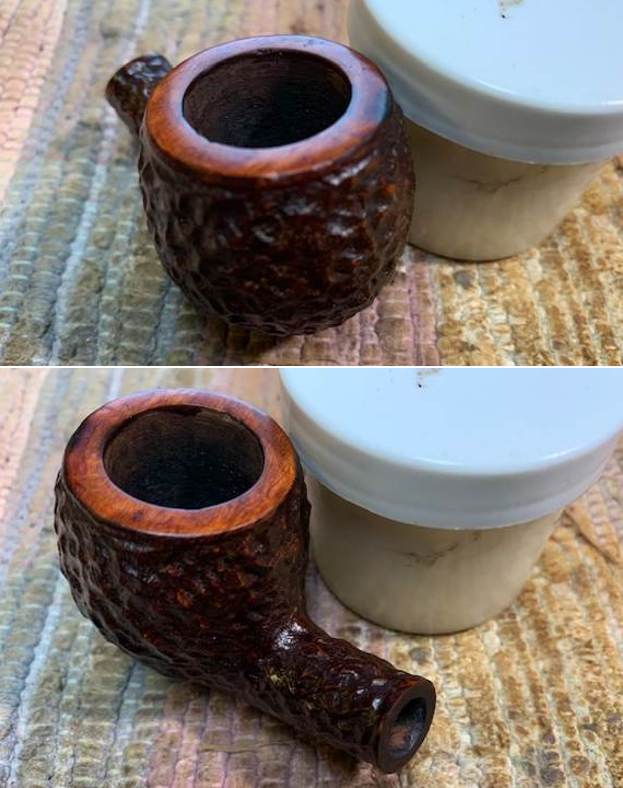
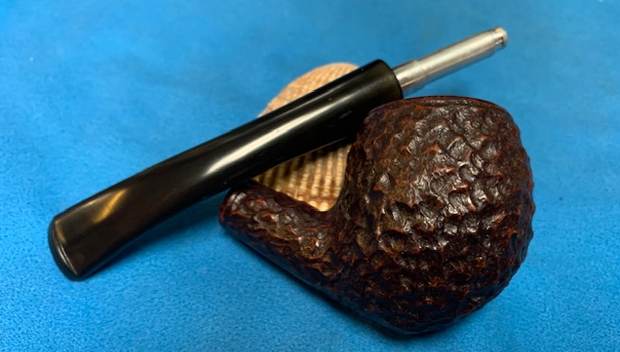
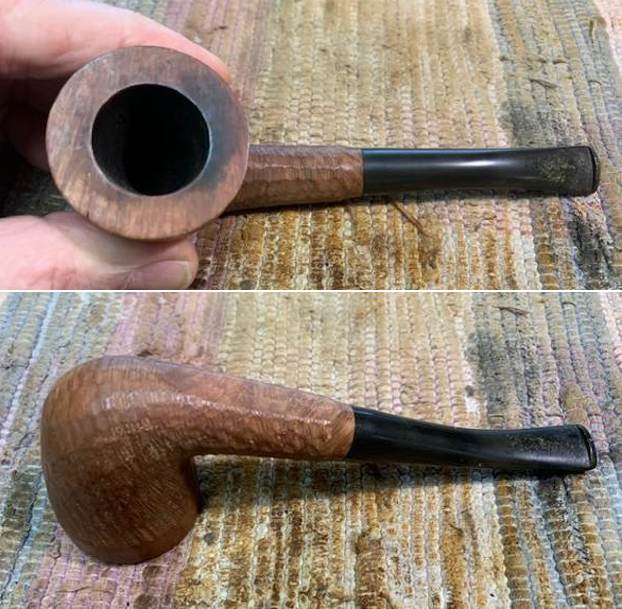
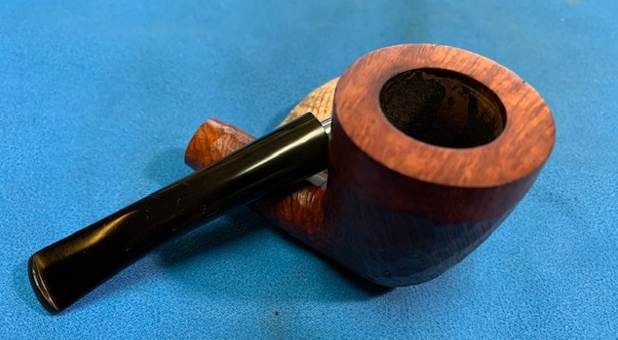
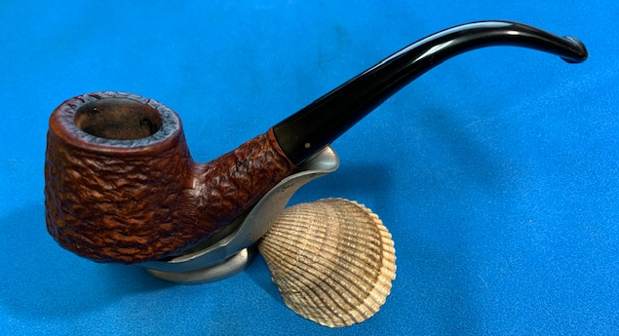
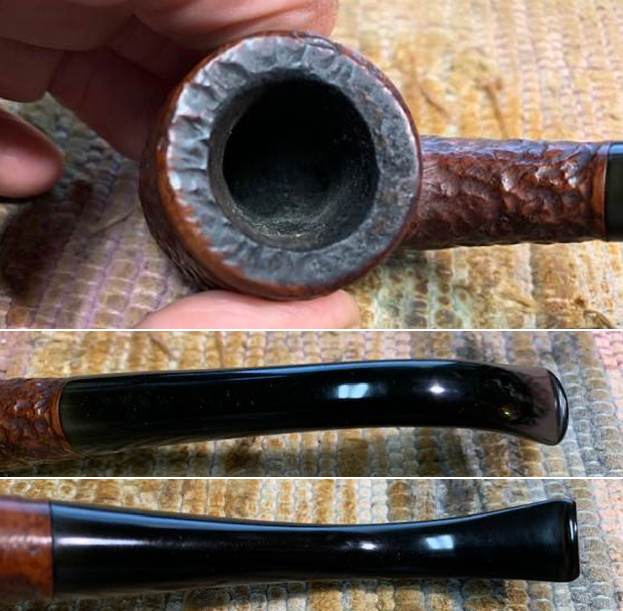
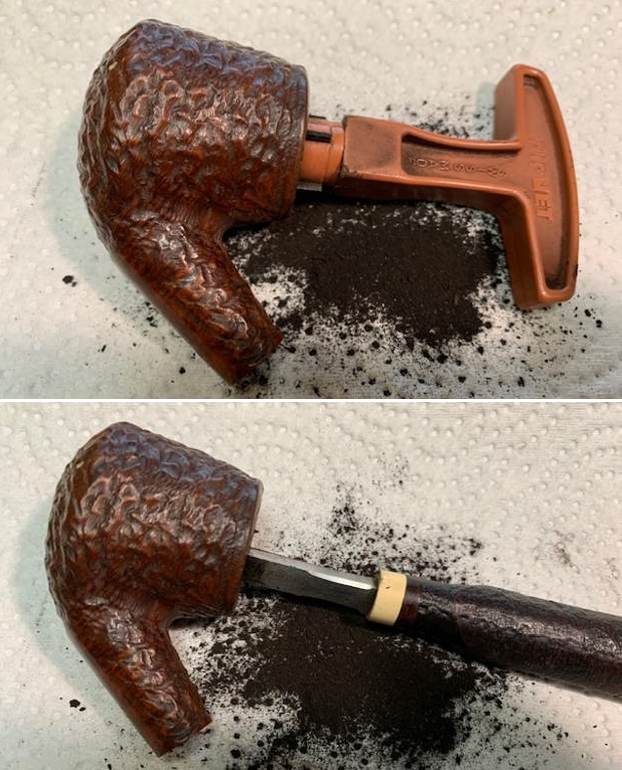
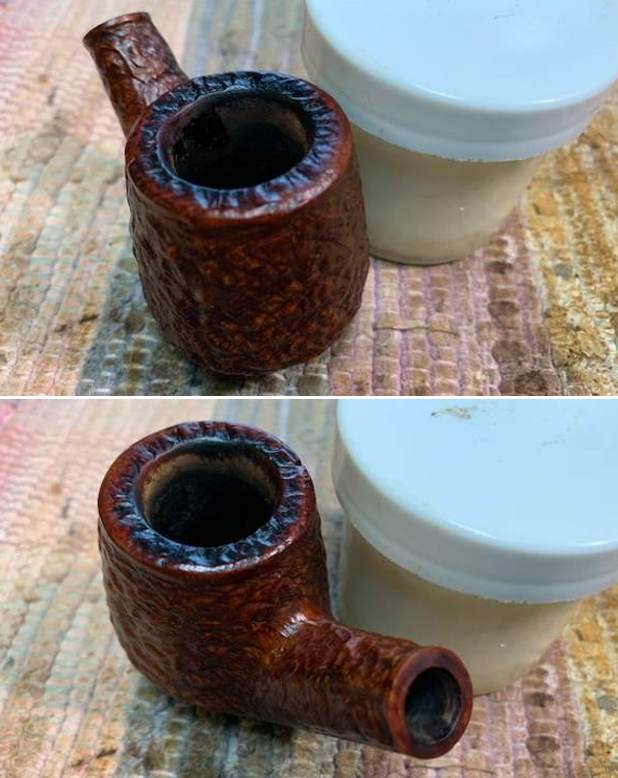
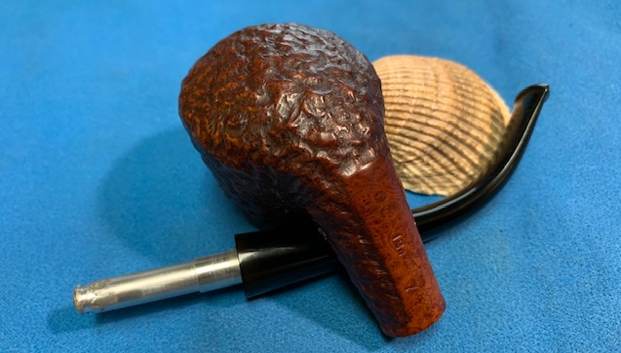
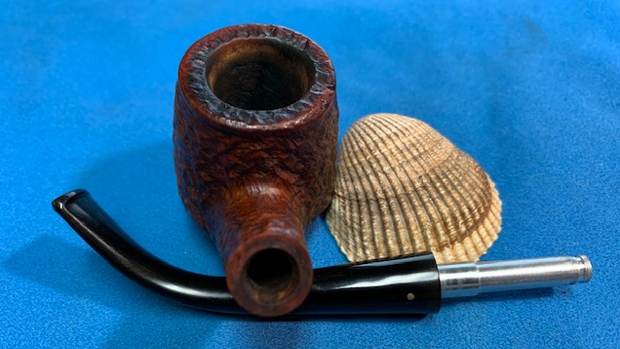
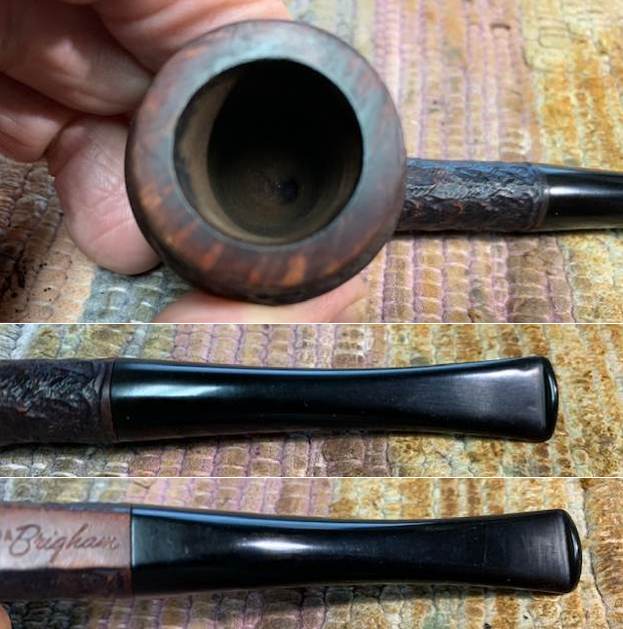
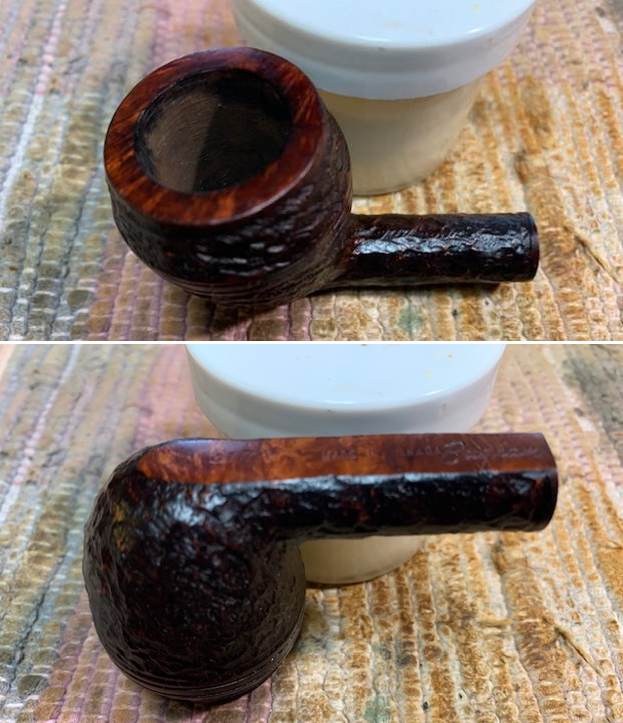
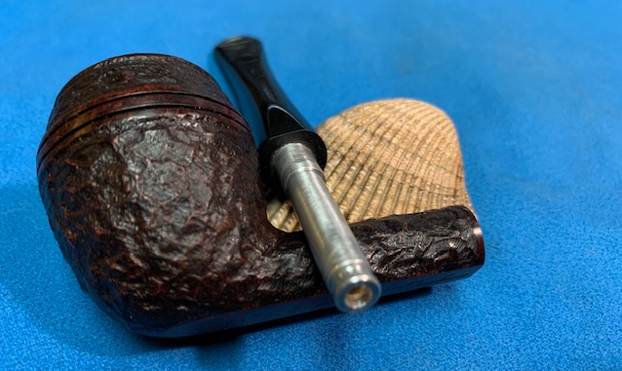
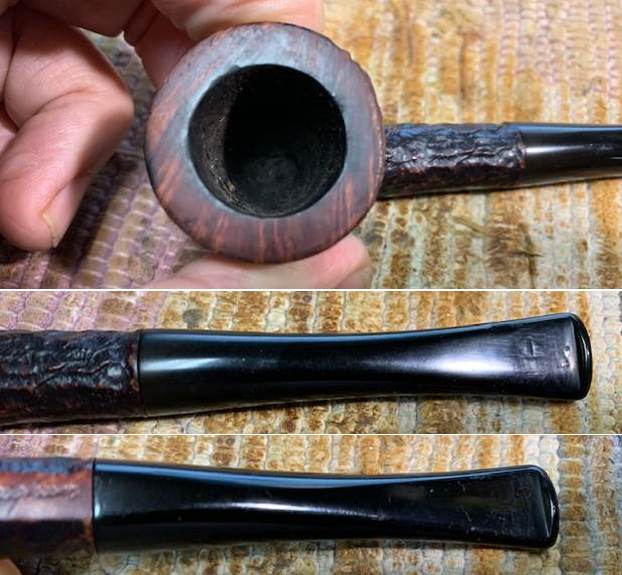
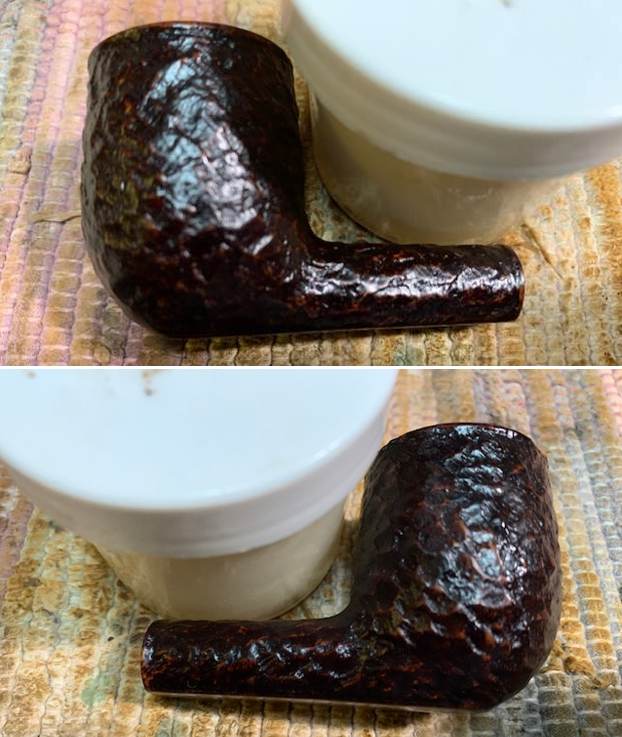
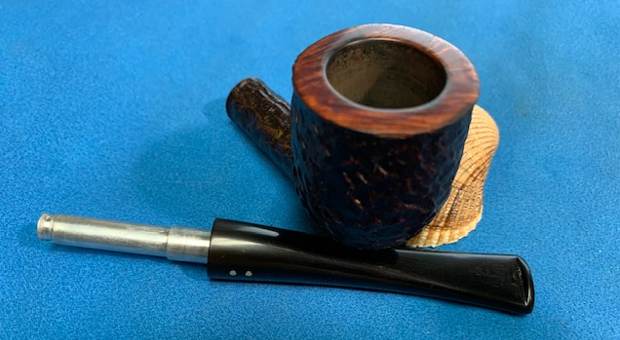
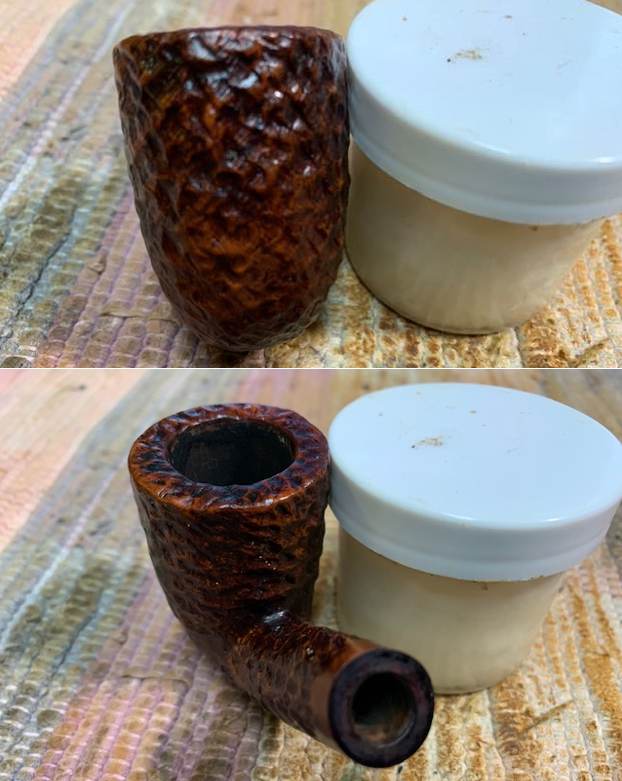
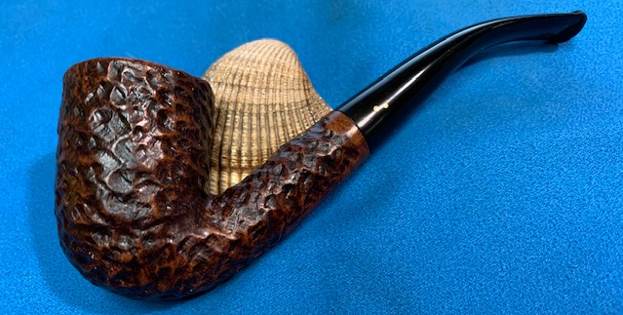
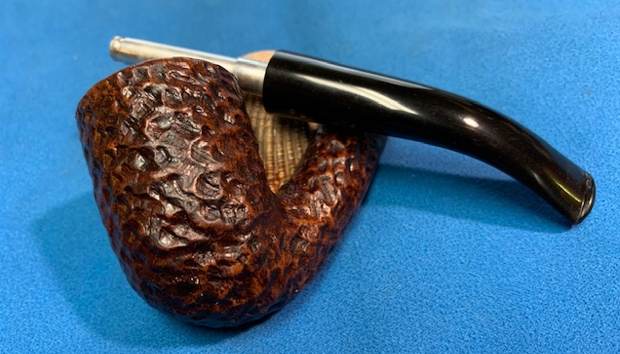
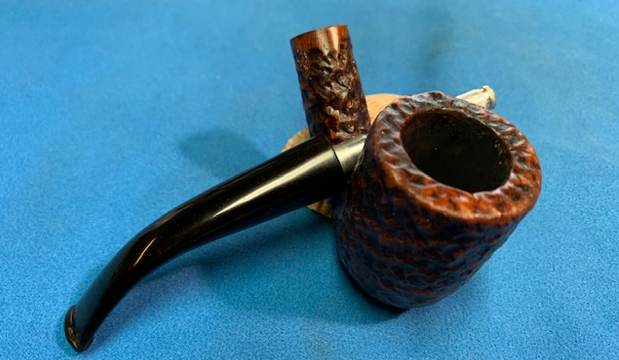
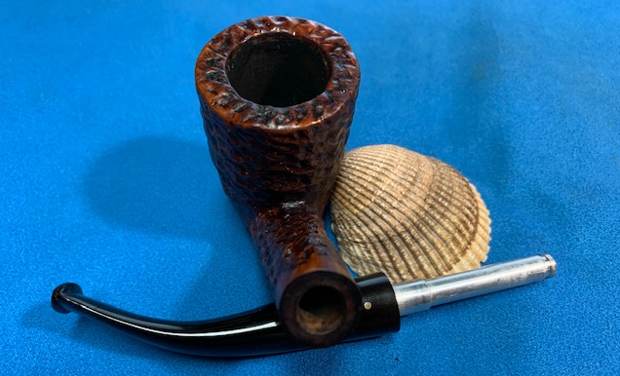
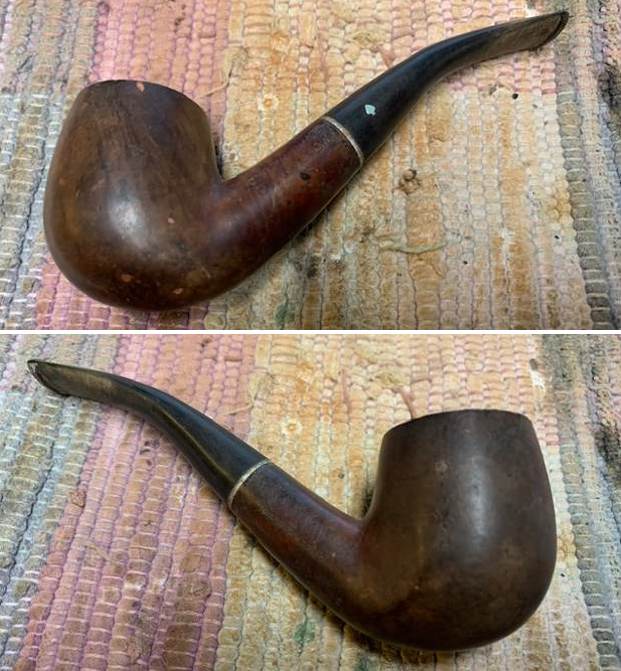
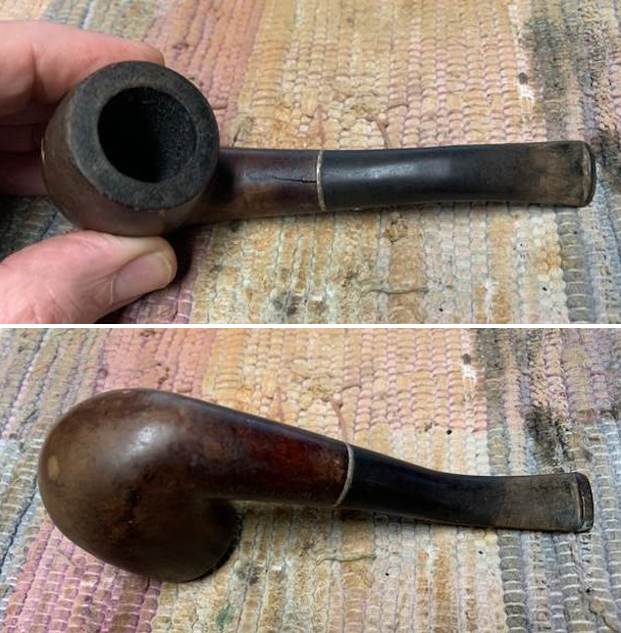
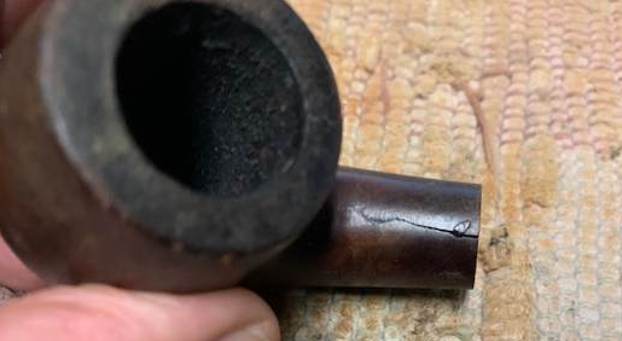
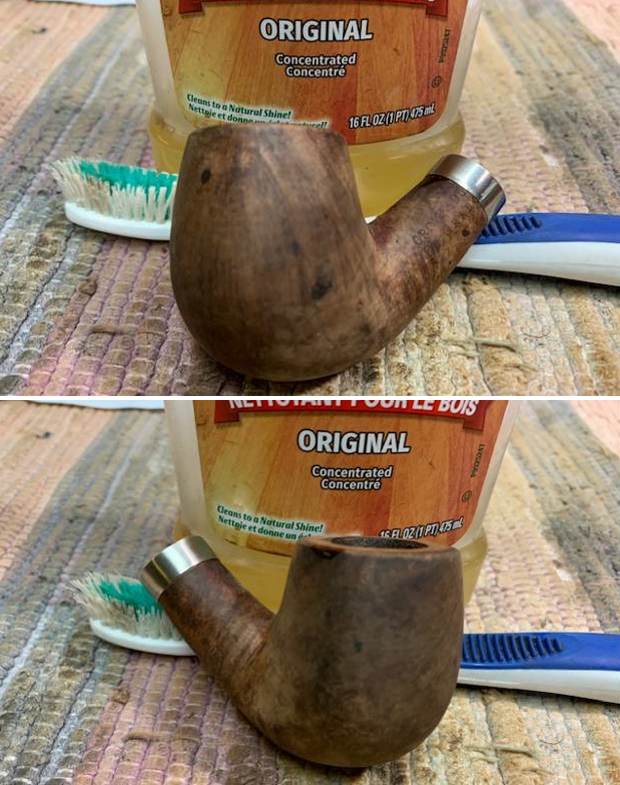
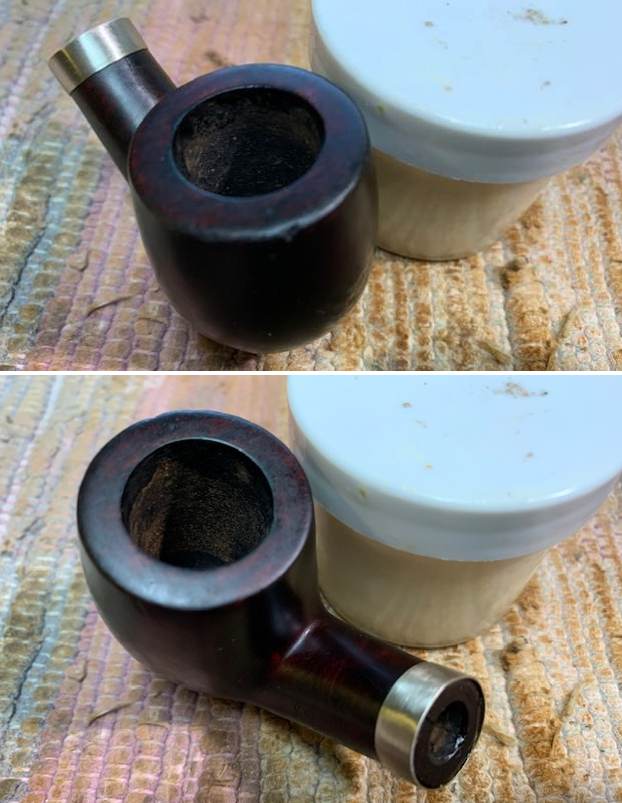
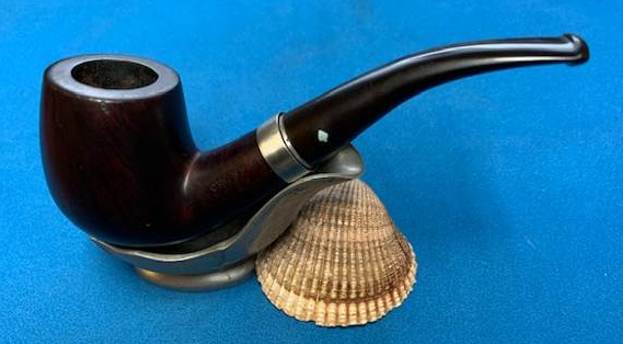
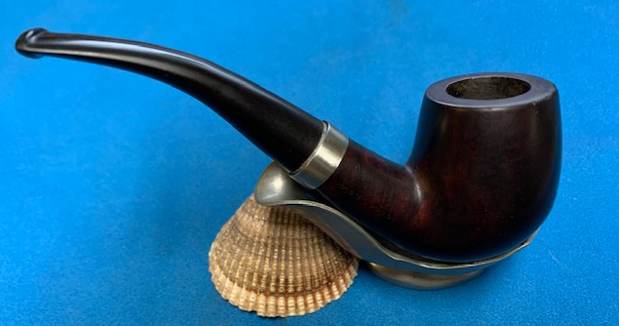
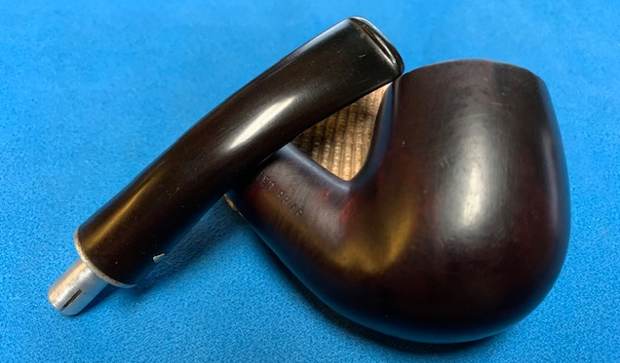
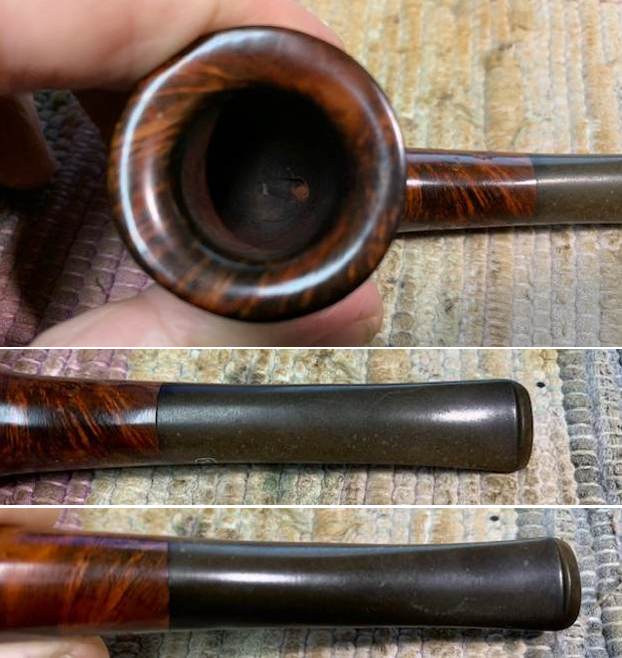
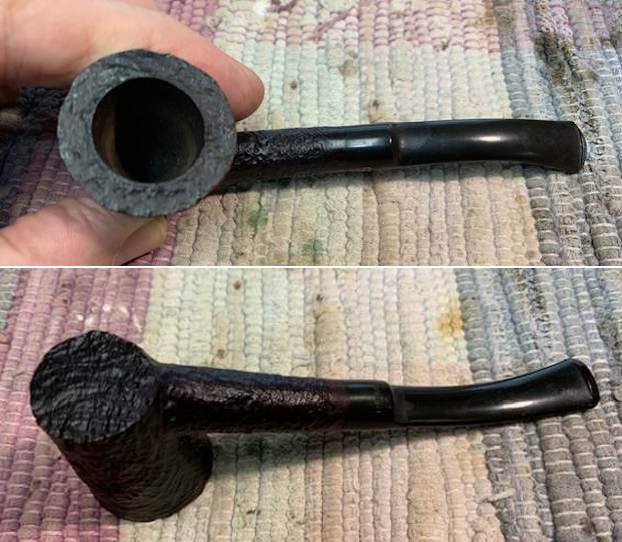
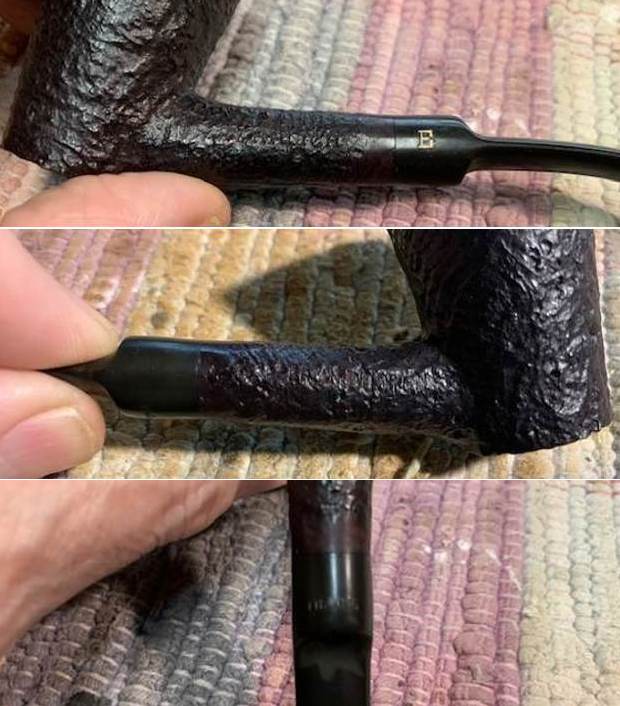
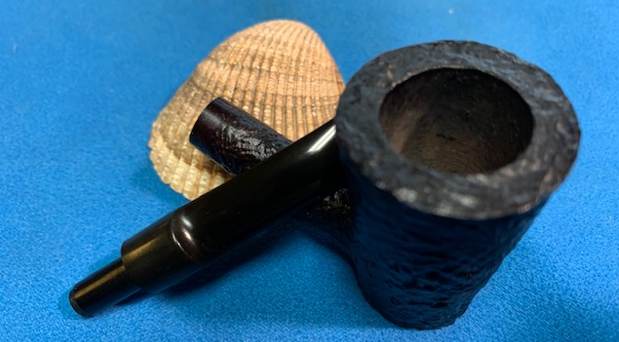
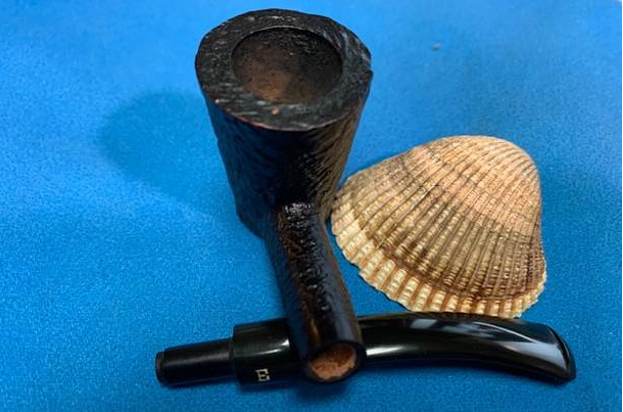
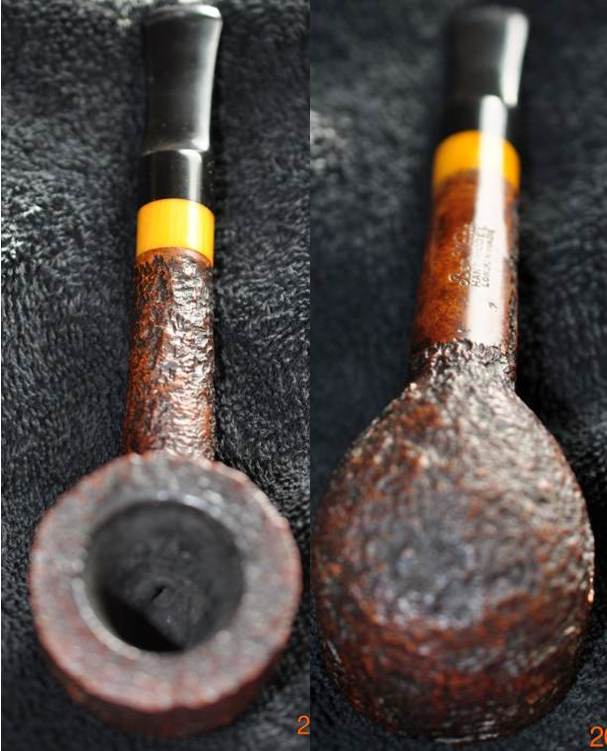
 He took photos of the bowl, rim top and stem to show the condition of the pipe. The bowl is moderately caked and you can see the lava in the sandblast of the rim top toward the back of the bowl. The stem looks good other than the tooth mark on the underside of the button.
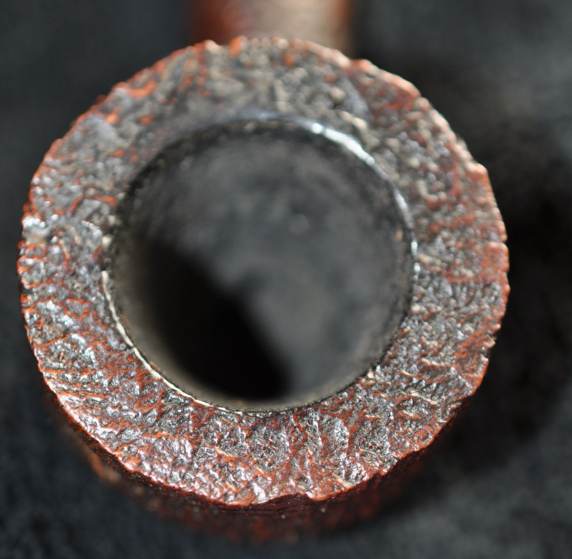
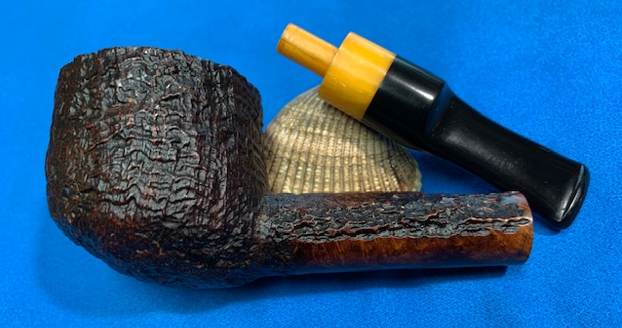
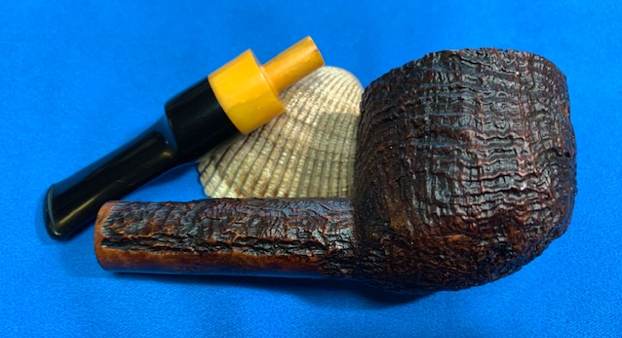
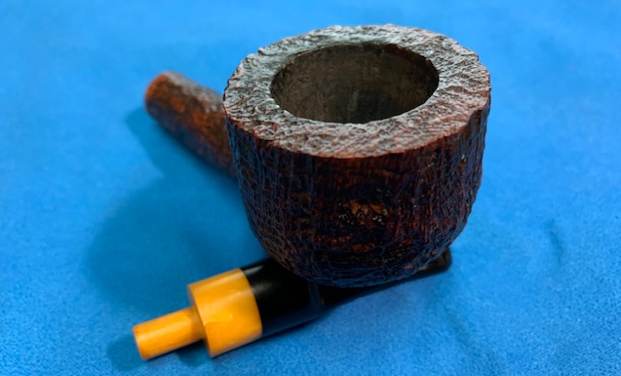
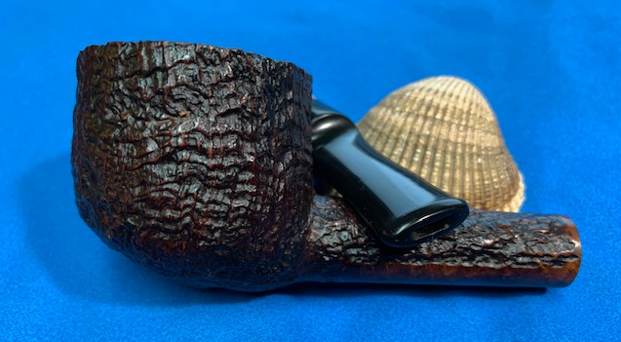
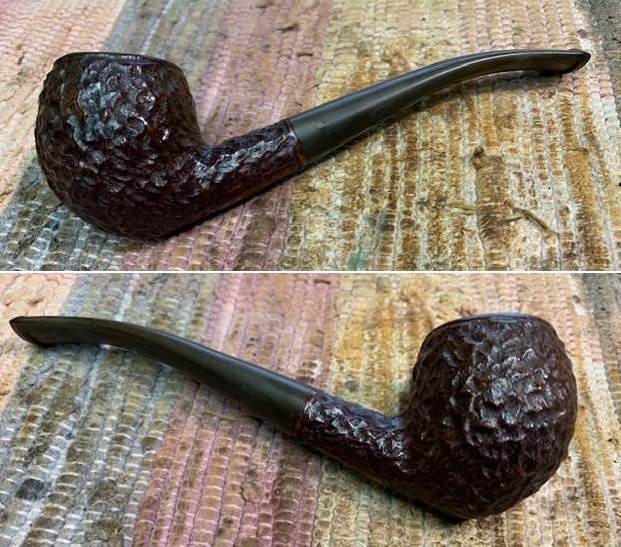
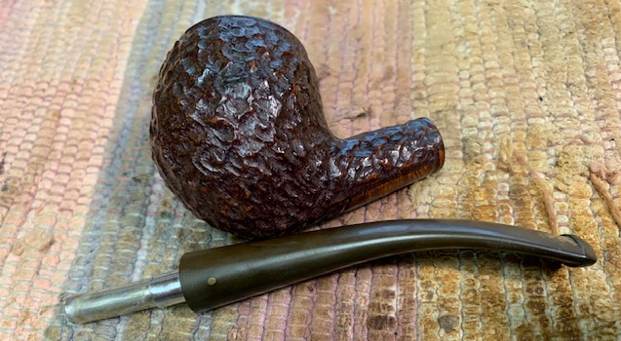
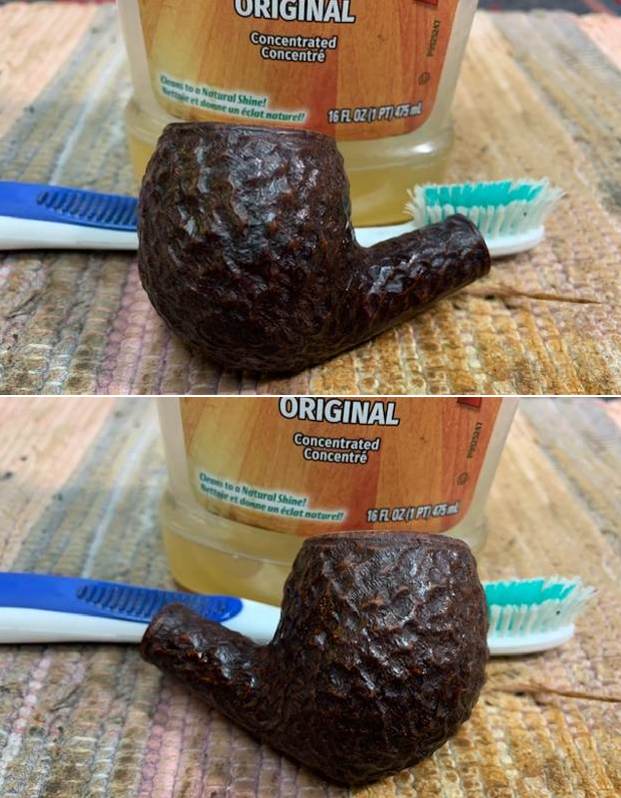
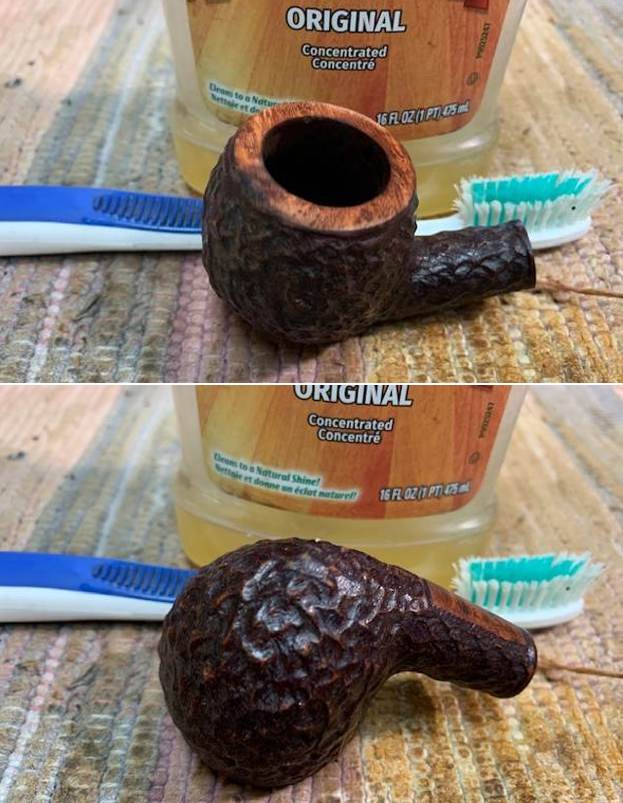
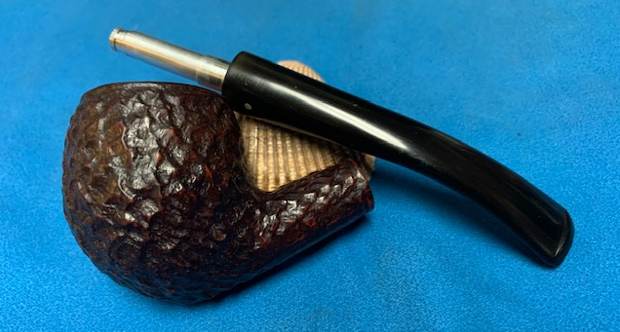
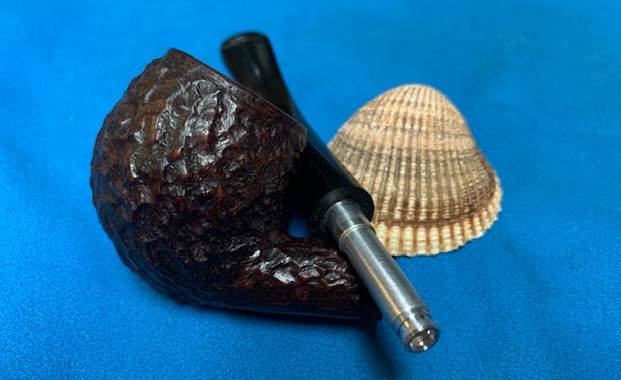
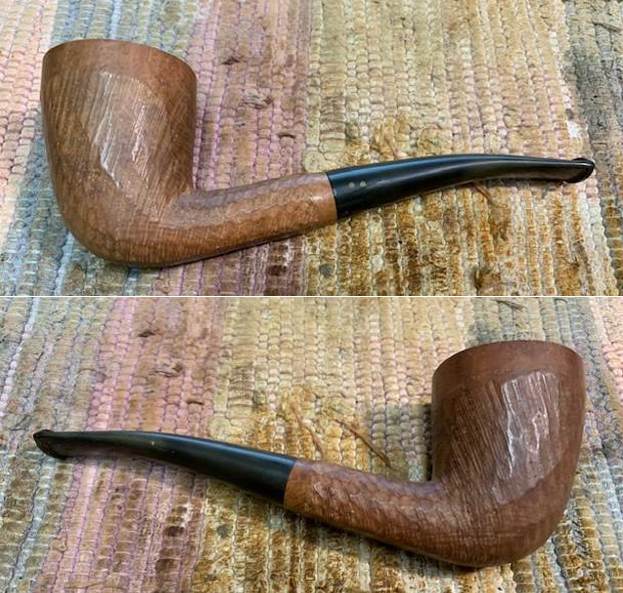
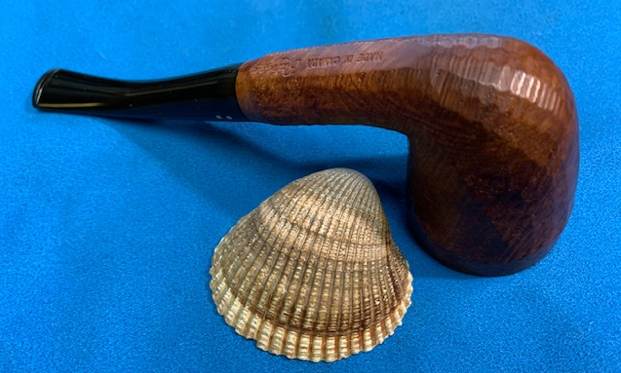
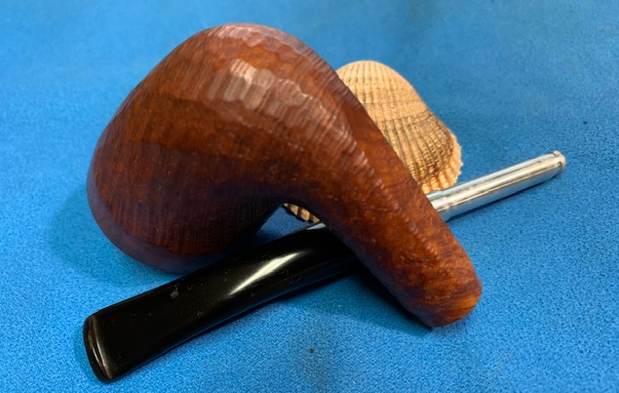
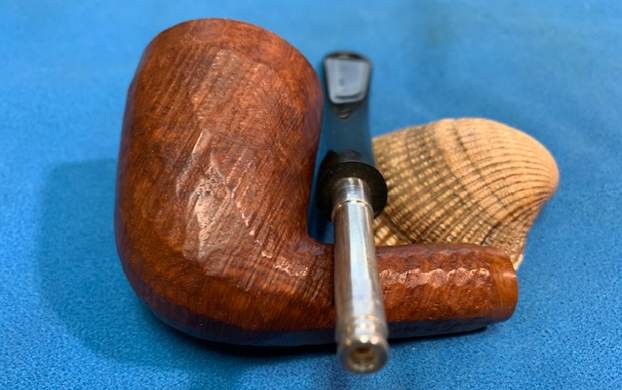
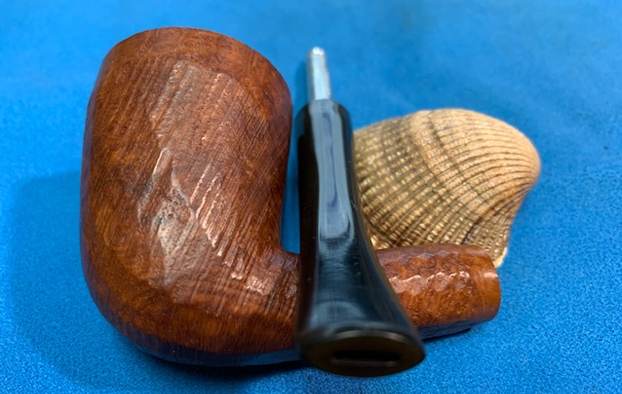
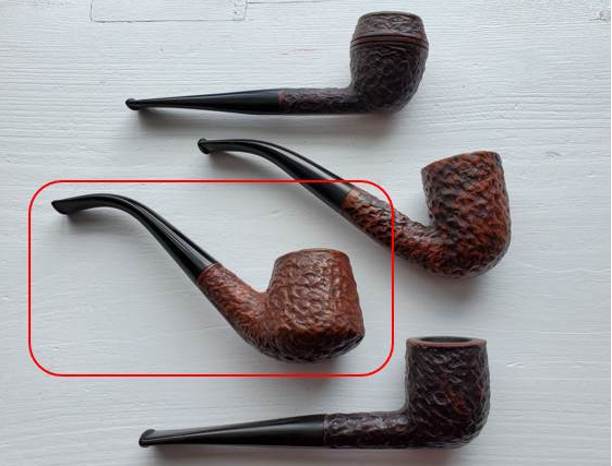
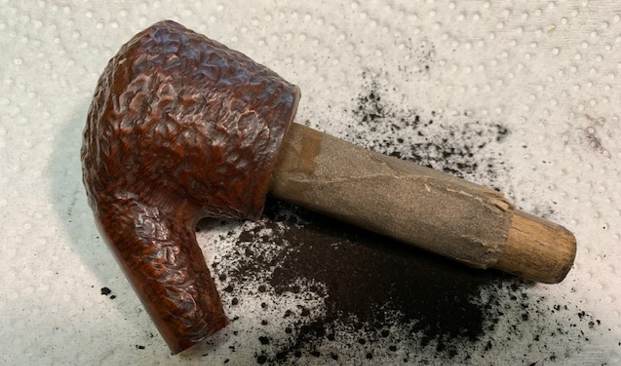
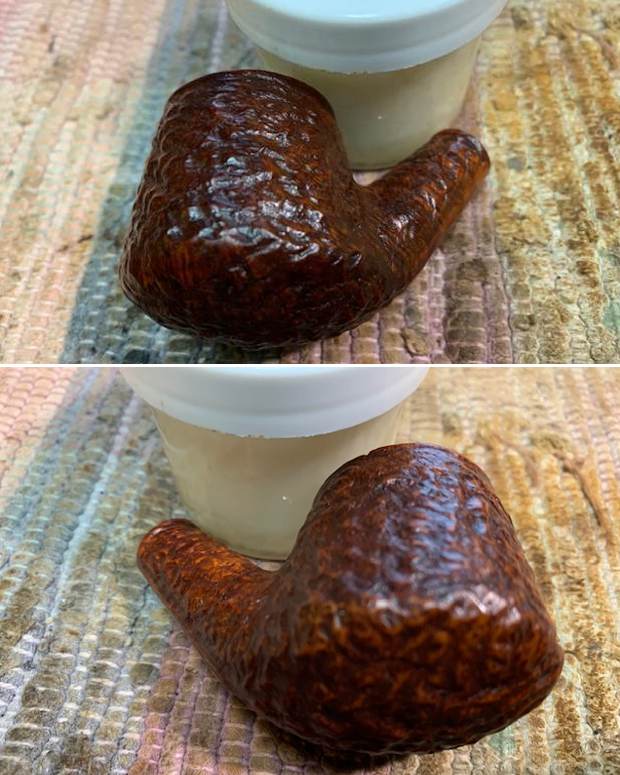
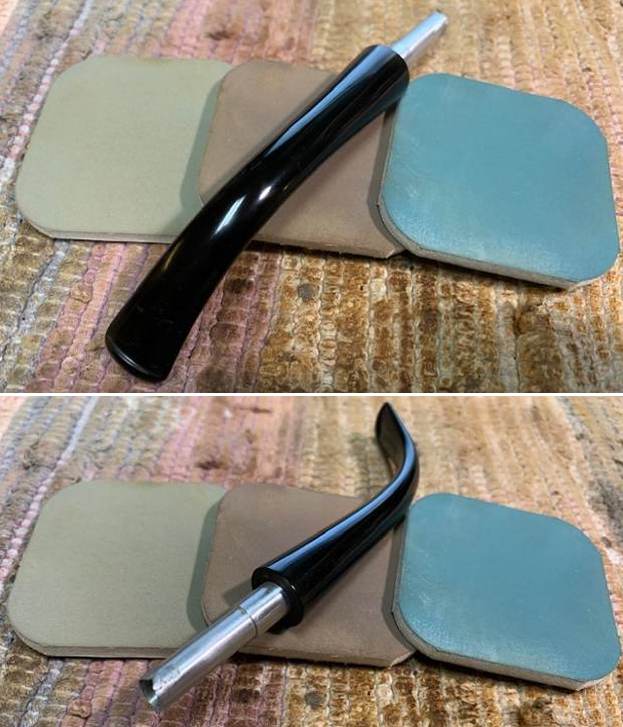
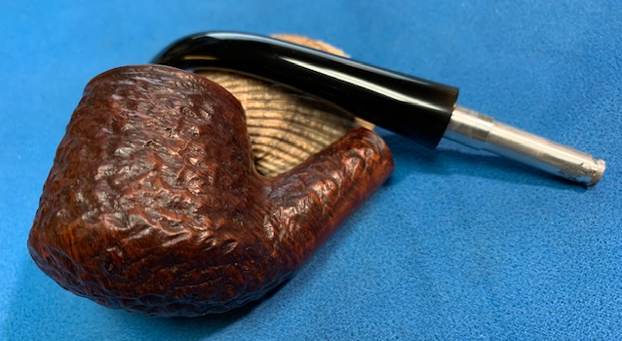
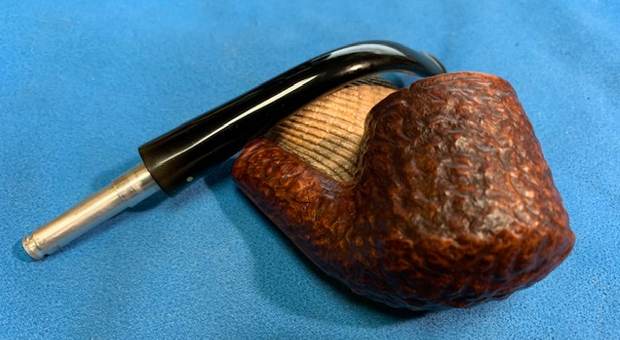
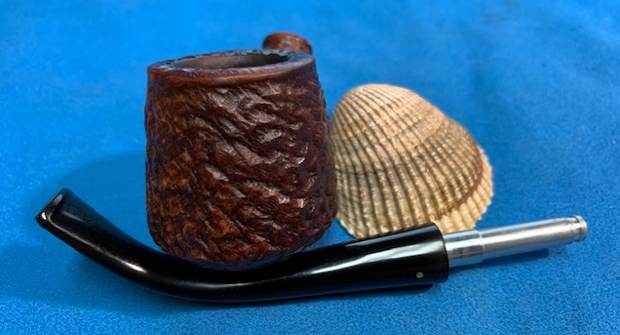
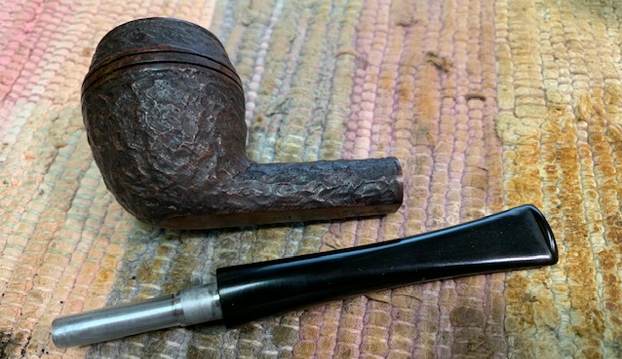
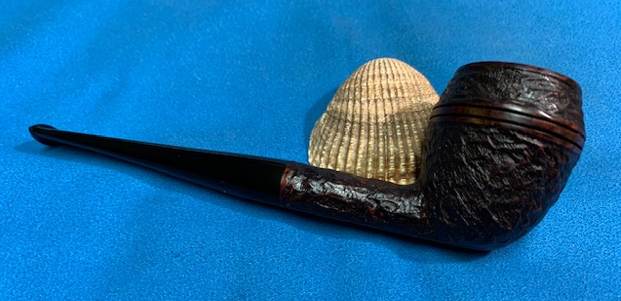
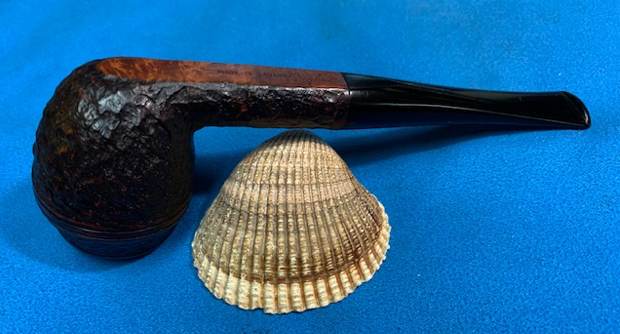
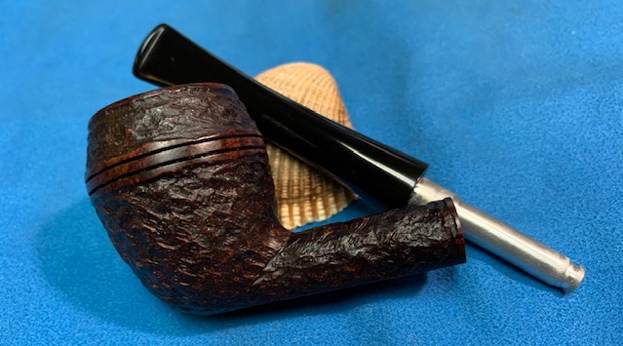
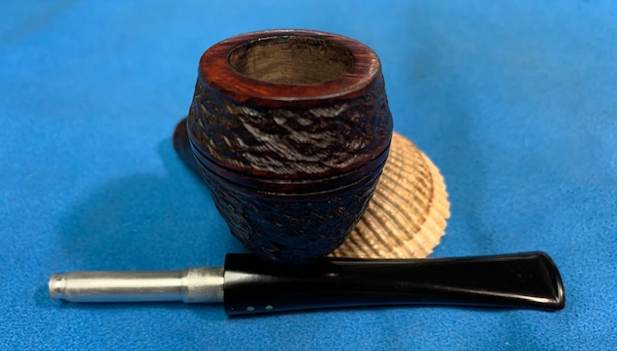
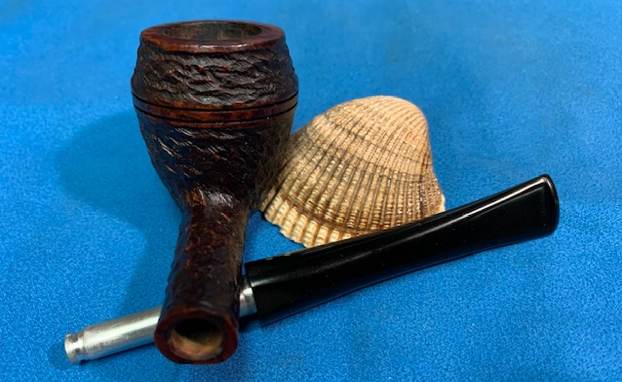
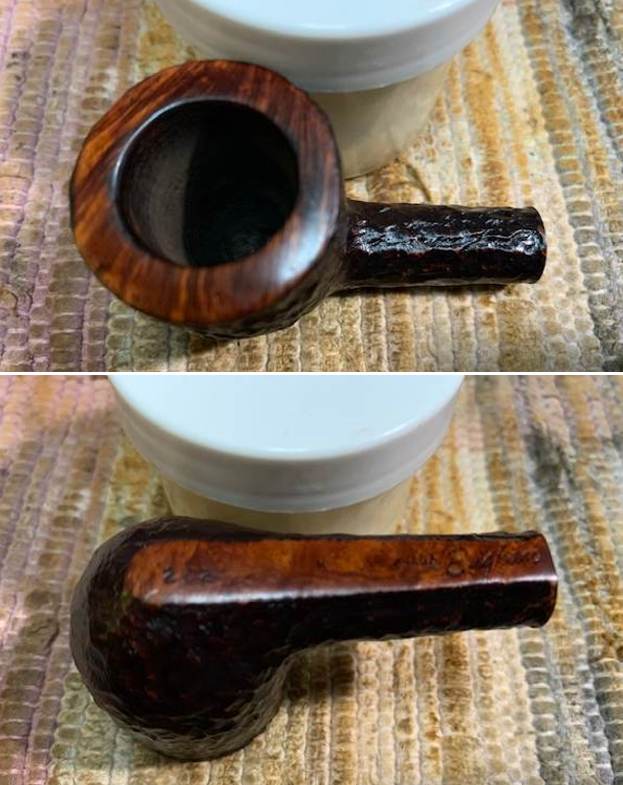
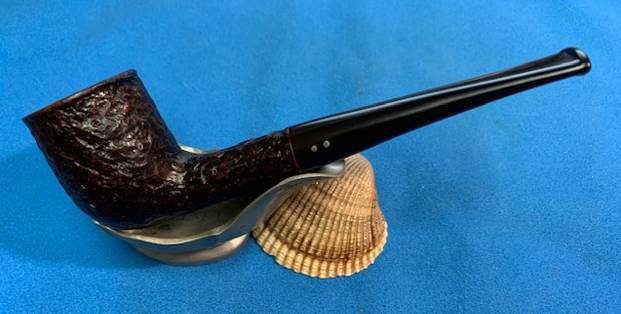
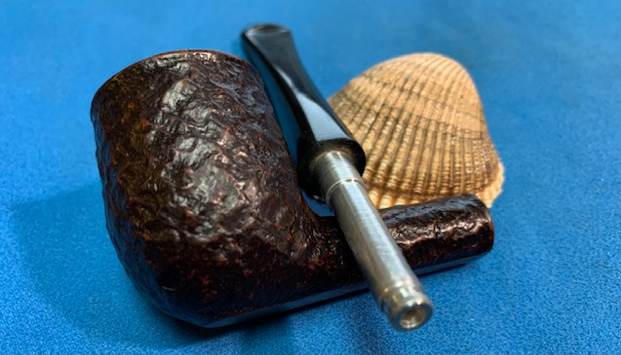
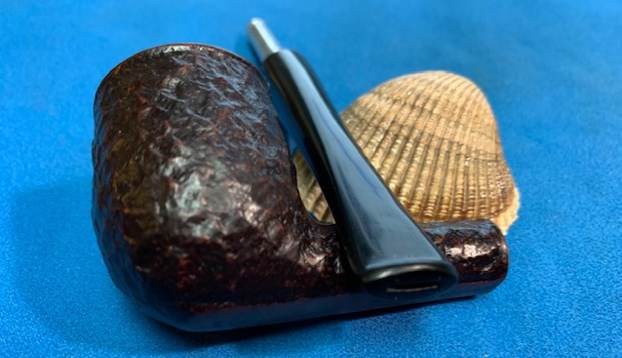
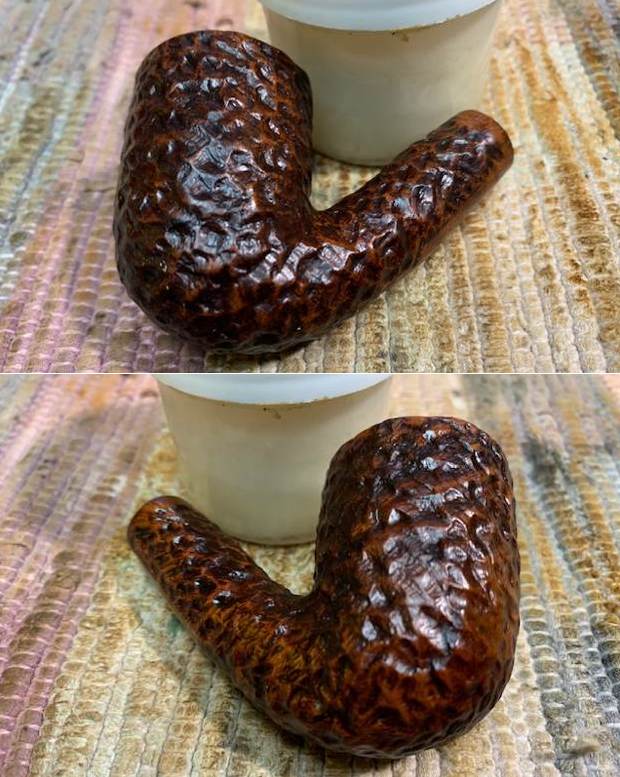
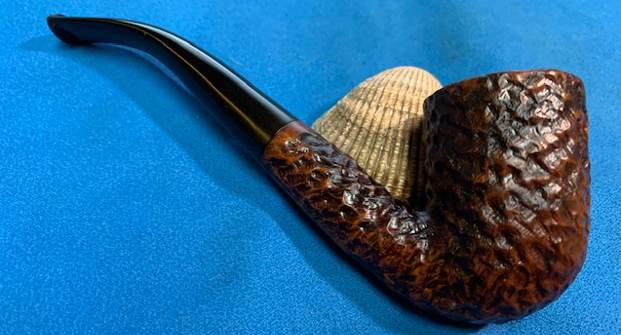
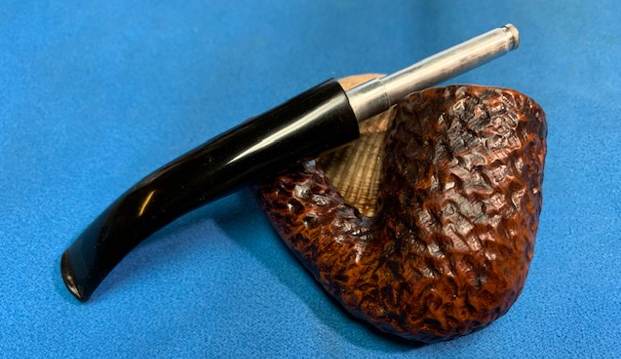
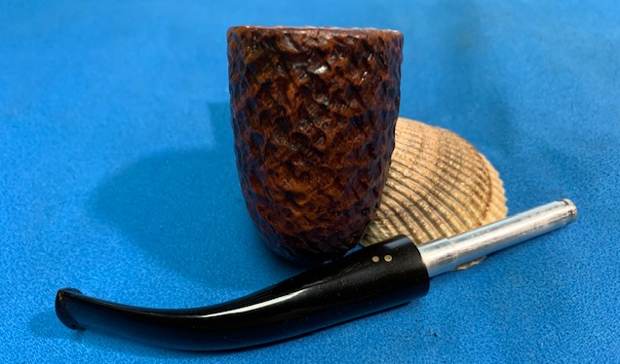
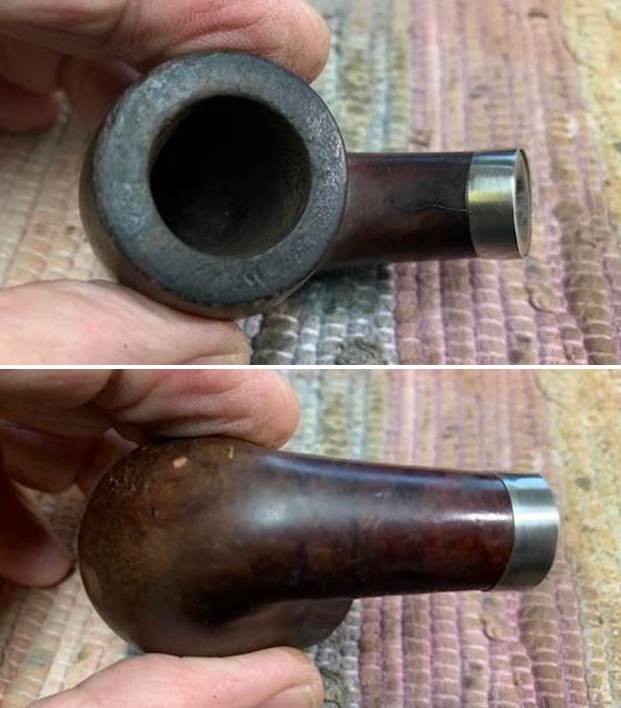
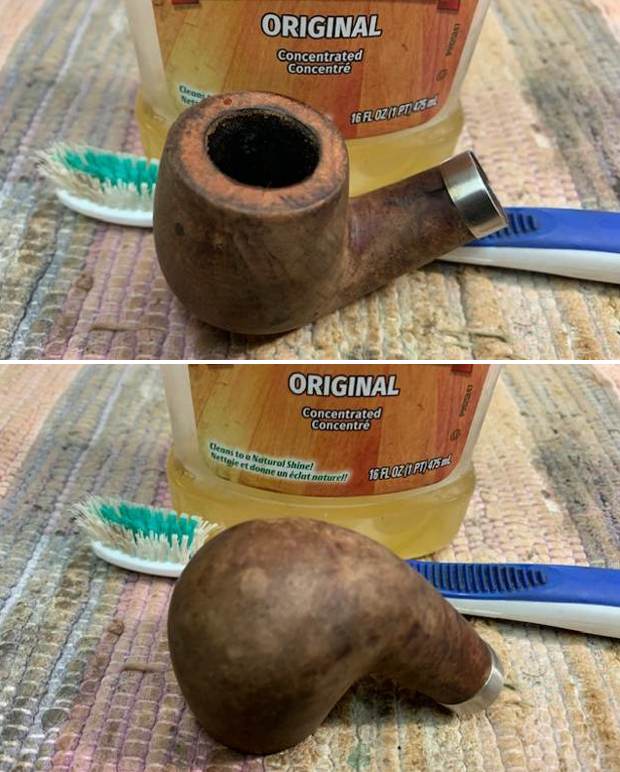
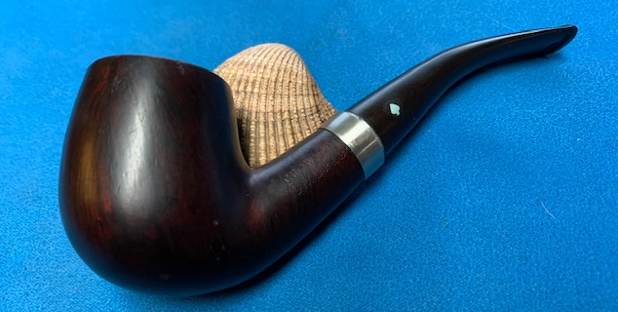
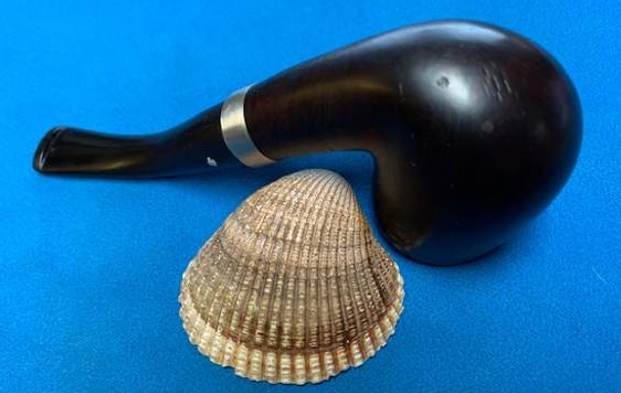
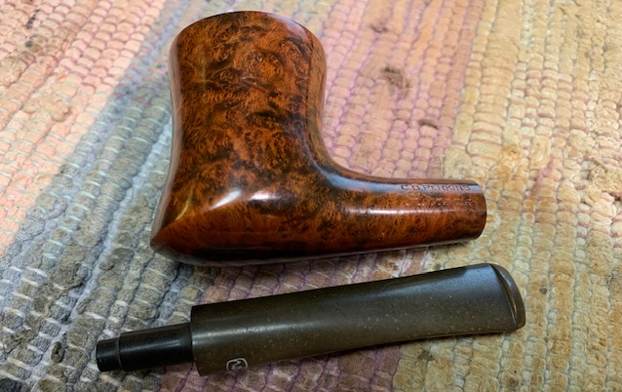
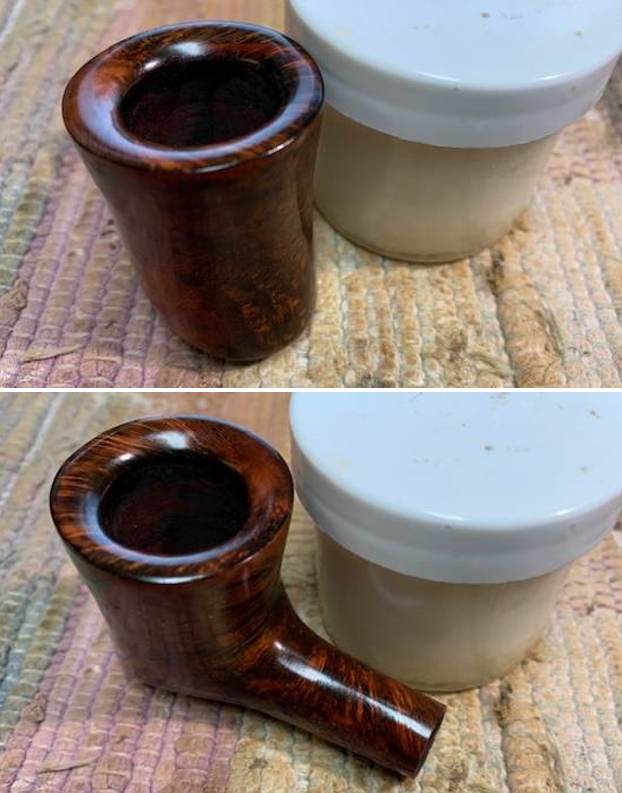
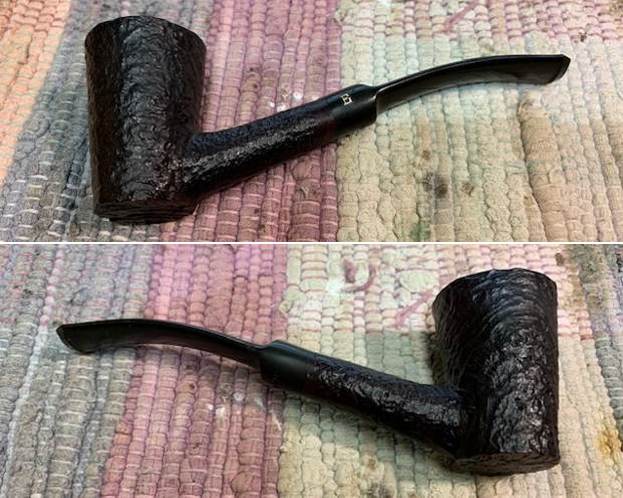
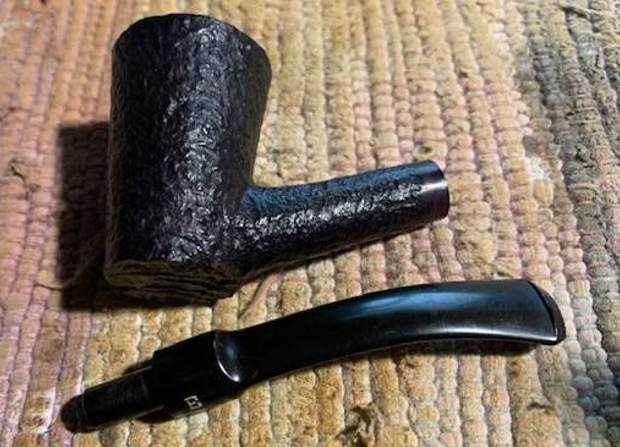
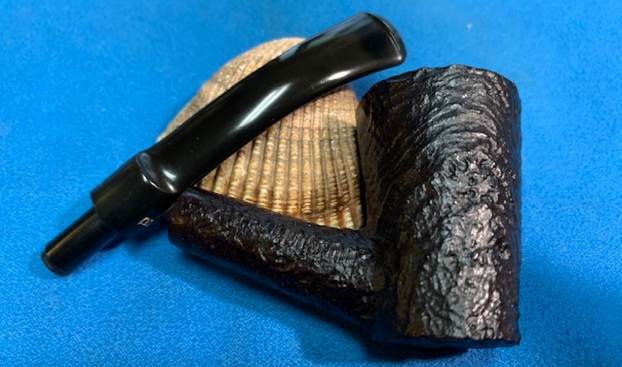
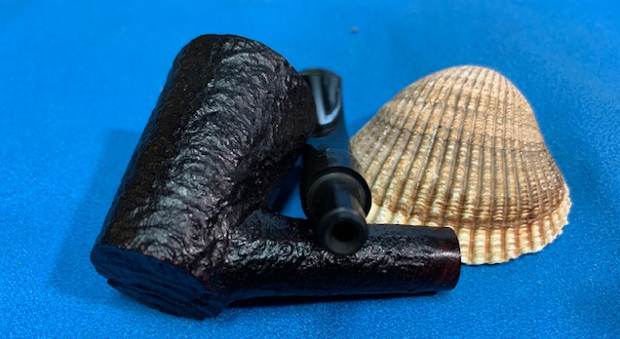
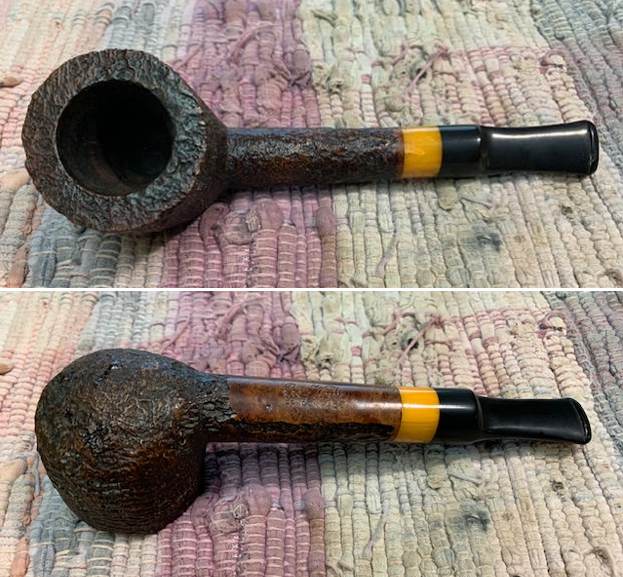
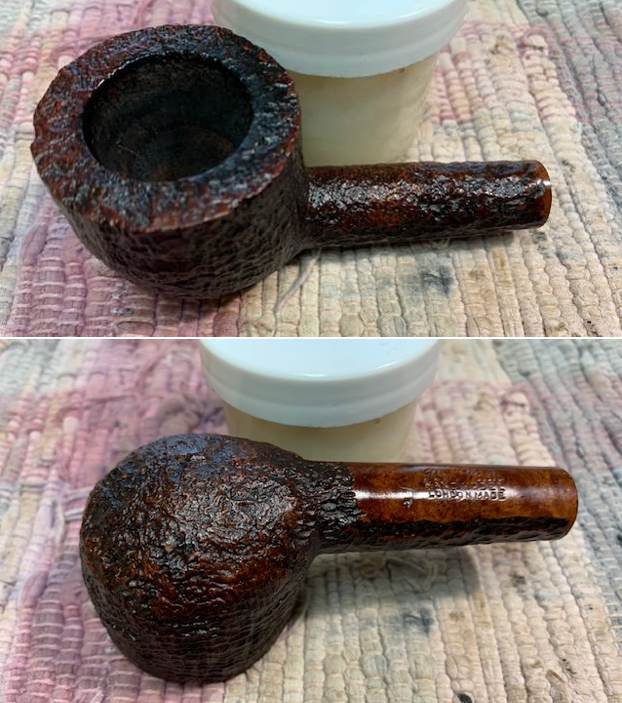
 Jeff took photos of the bowl and sides to give a sense of the sandblast and the depth of that finish. It is really a beautifully blasted pipe and well executed. You can also see the slight slope to the bottom of the bowl on the front.
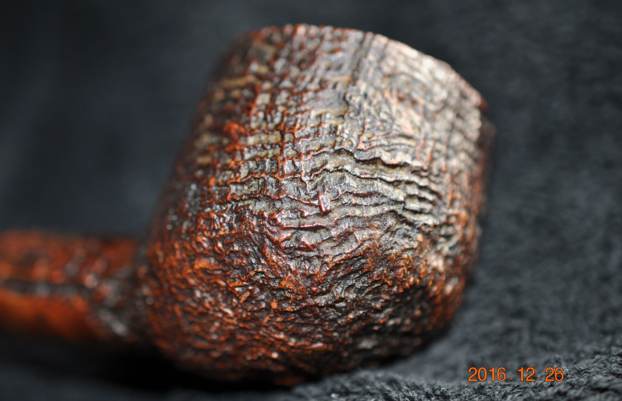
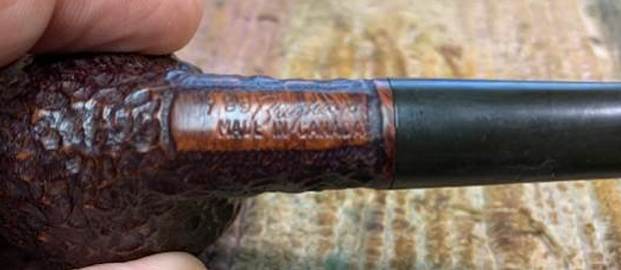
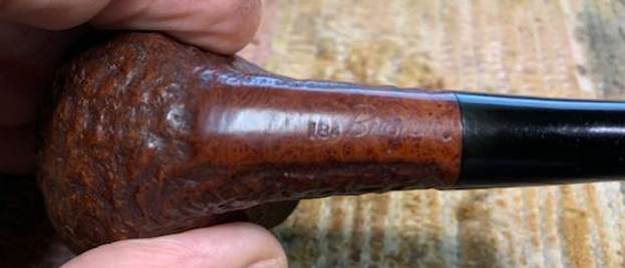
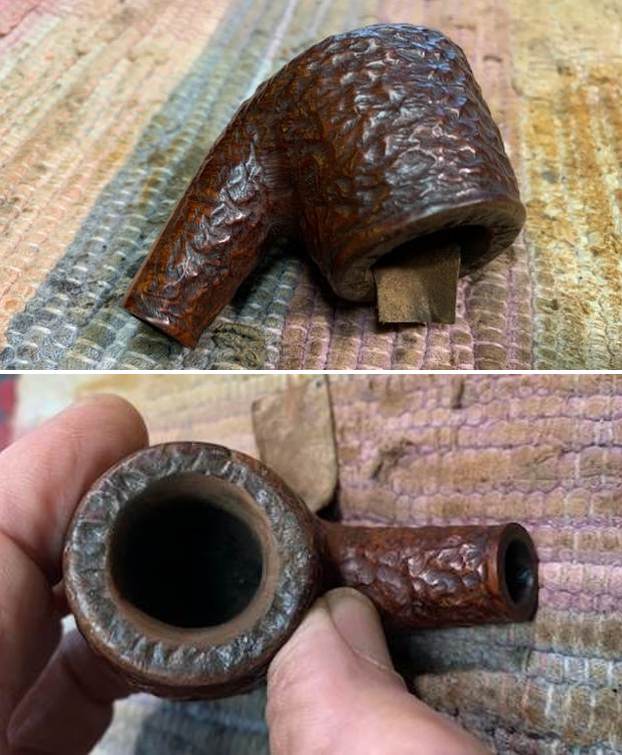
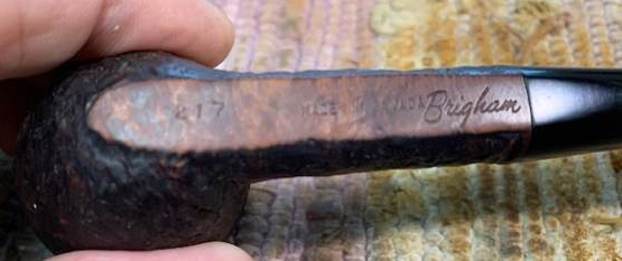
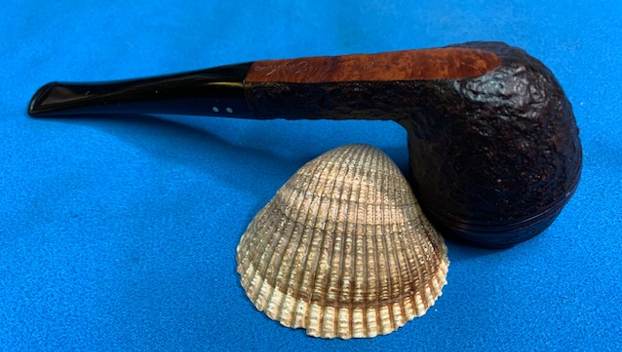
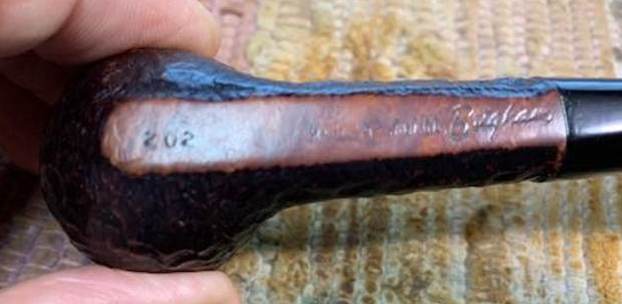
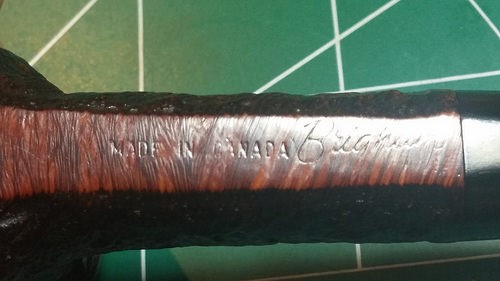
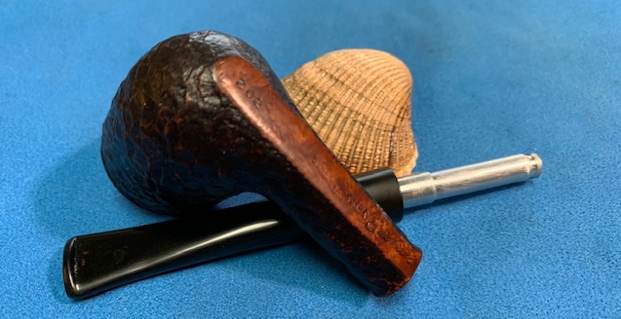
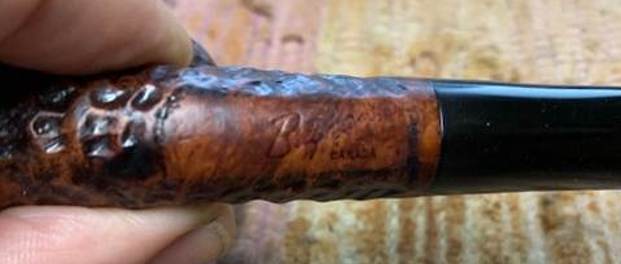
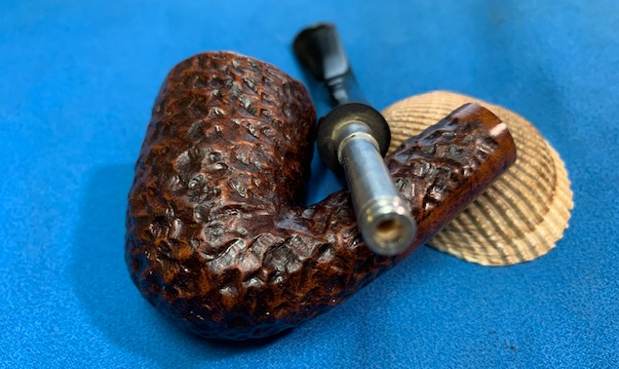
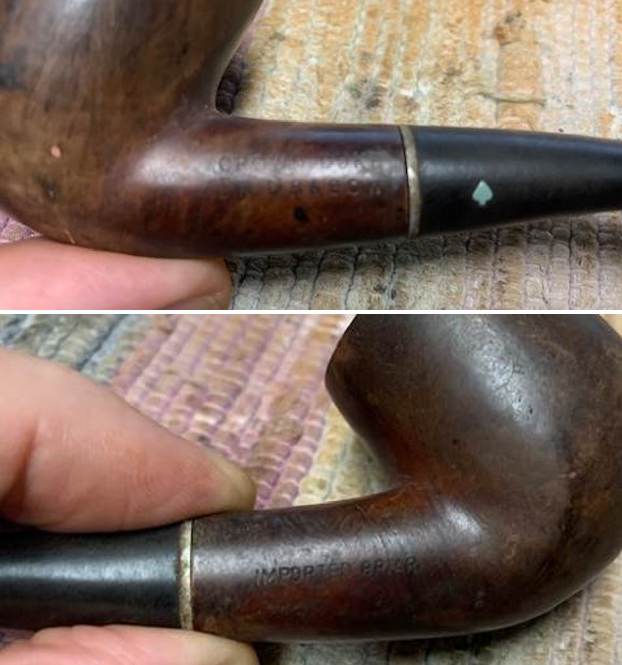
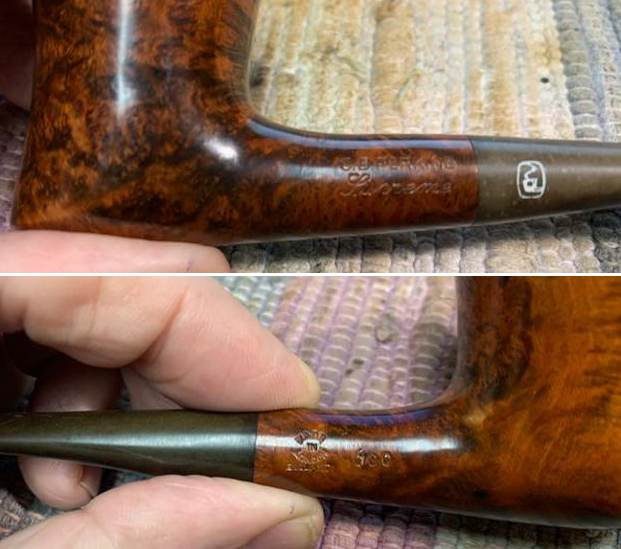
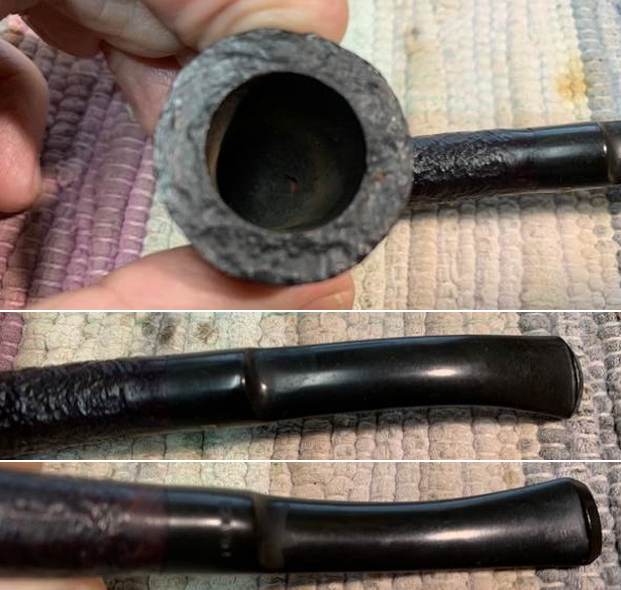
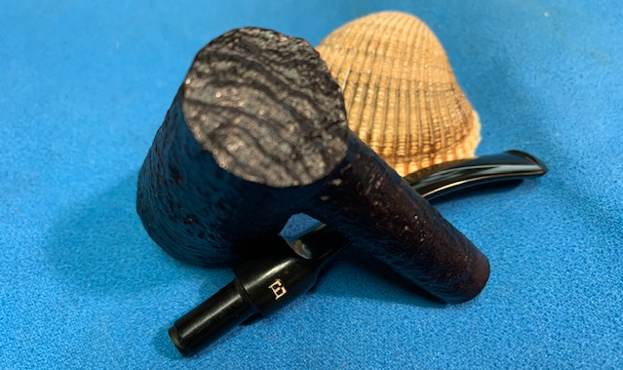
 He took a photo of the stamping on the underside of the shank which was clear and readable as noted above. It is the source of the mystery for me – what and when was the Hand Model made.
 Now it was time to try and figure out the stamping on this pipe. I remembered chatting with Dal Stanton, the Pipe Steward about a pipe he was working on that had this stamping. At least I thought I had. I knew it was a while ago so I did a quick search on the blog for Ben Wade Hand Model London Made pipes and found what I was looking for. Here is the link to the blog Dal wrote and his research on it (https://rebornpipes.com/2019/02/13/rejuvenating-a-ben-wade-hand-model-london-made-billiard/). I am quoting extensively from what he wrote as there is no need to go back through the same sources he did.
I’ve discovered through the reading I’ve done about the name ‘Ben Wade’ that it has an up and down history. The Pipedia article is helpful in simplifying the history in four helpful ‘eras’ which I’ve summarized from the Pipedia:
The Family era (1860 to 1962) – the heydays of the English name when the pipes were stamped Made in Leeds, England.
Charatan / Lane second (1962 to 1988) – When Herman G. Lane purchased the name, the transition from a higher quality pipe during the long Family Era transitioned exclusively to the fabrication of machine-made pipes. Lane moved the production from the Leeds factory (closed in 1965) to Charatan’s Prescott Street factory. Ben Wade became essentially lower quality series pipes produced in standard shapes. The pipes during this period were stamped, “Made in London, England” or dropping the “London” and stamped with “England” alone. After Lane died, in 1978 his heirs sold the Charatan and Ben Wade names to Dunhill, which left the production of Charatan/Ben wade at the Prescott Street factor. In 1988 production came to an end for Ben Wade when the Charatan’s Prescott Street factory closed.
Ben Wade turns Danish (1971-1989) – During this era Preben Holm, from Denmark, was in financial difficulties and Herman Lane and he went into partnership producing the Handmade and fancy pipes. These pipes were marked “Ben Wade Made in Denmark”. These pipes gained great popularity, especially as the were marketed in the US. After Lane’s death, Preben Holm, not the businessman, was in financial difficulties and reduced his workforce and production, but at his death in 1989, production of the Danish Preben Holm pipes came to an end.
Resurrection – (1998 to present) – Duncan Briars bought the Ben Wade name from Dunhill in 1998 and production of Ben Wade pipes restarted at the Walthamstow plant, sharing the same space where Dunhill pipes are produced and reportedly benefiting from the same quality of production. During this present era, the stamping on the pipes is: “Ben Wade, Made in London, England”
The reason I went through this summary of Ben Wade’s morphing history is because in nothing I’ve read about Ben Wade (and I’m sure there’s more out there), I found no reference to a Ben Wade Hand Model with the COM, London Made. The stamping on the pipe before me is ‘Ben Wade’ [over] HAND MODEL [over] LONDON MADE. The saddle stem has the Ben Wade stamped on the upper side of the stem saddle. My first glance at the blasted finish made me wonder whether this Ben Wade came out during the ‘mystery’ Resurrection period in the Pipedia article. Here is the full text that made me wonder:
As said before Preben Holm’s death marked the third end of Ben Wade and for long years there were no Ben Wade pipes in the shops anymore. But then, all of a sudden they were back in the USA some years ago! Who made these pipes? A concrete manufacturer was not known at first.
The rumors spreading were considerable. Especially because these Ben Wades – originally all blasted and in deep black color – featured so perfect straight and / or ring-grain that they were almost suspicious in view of the prices. The supposition that “Mother Nature” had been given a leg up by means of rustication combined with subsequent blasting was evident as different sources confirmed.
Dal also posted the following with some anecdotal information that linked the pipe he was working to Charatan. I quote:
I sent out pictures of some pictures and the nomenclature to various pipe Facebook groups and the responses I did get, though they were anecdotal, pointed to an earlier period. Paul, from Pipe Smoker of America FB Group, said that he believed it was a Pre-78 and made in Charatan factory. He also said that these were some of his best smokers are London BWs. It sounds good to me!
Following Dal’s lead I posted pictures of the stamping and the pipe on Facebook groups I am part of and hope to learn some more. Tom Myron, a good friend replied on the Gentlemen’s Pipe Smoking Society and wrote as follows:
Yeah, Steve, that’s absolutely a Charatan shape in their ‘After Hours’ style – 60s / 70s.
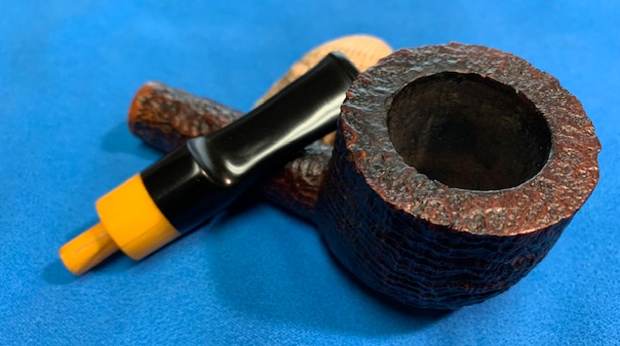
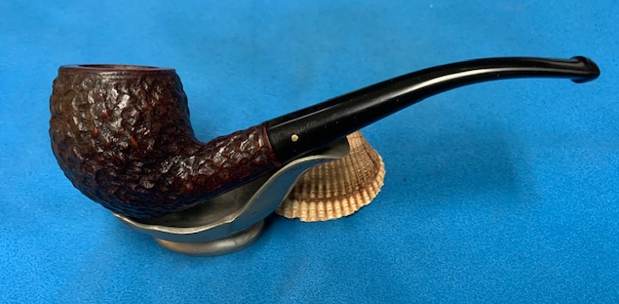
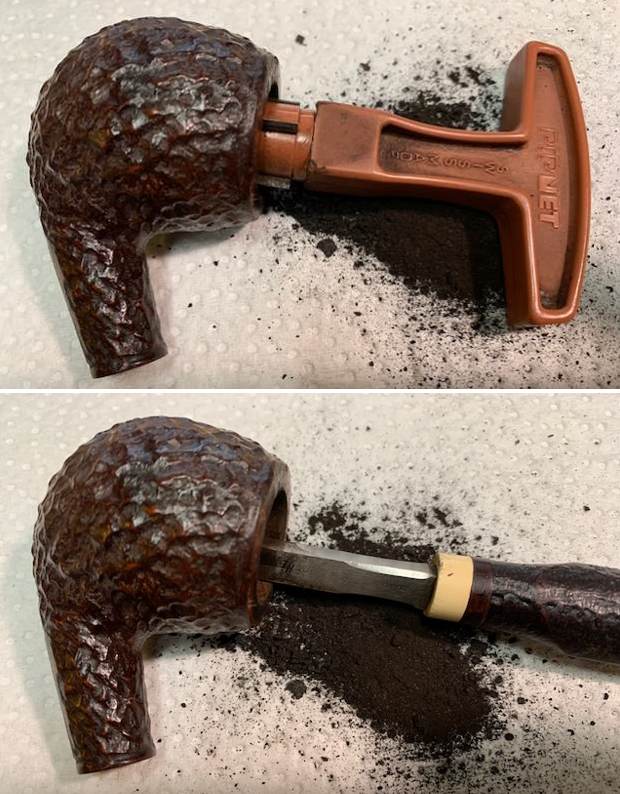
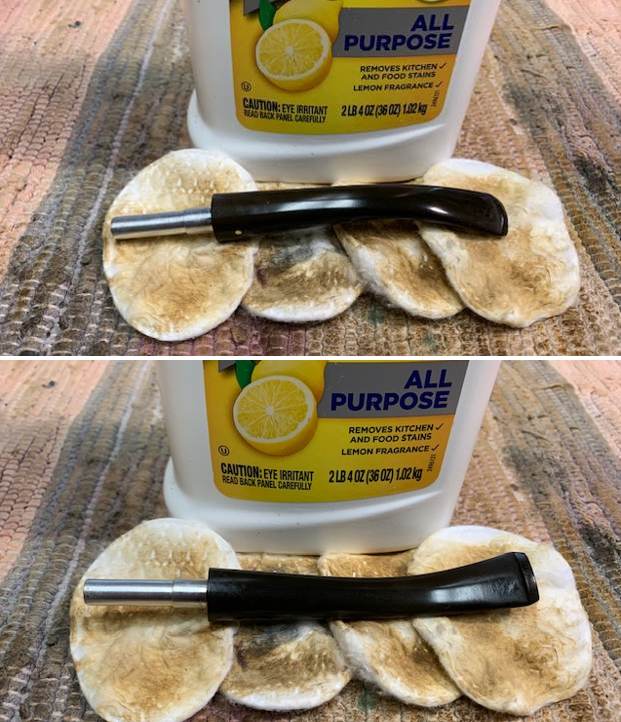
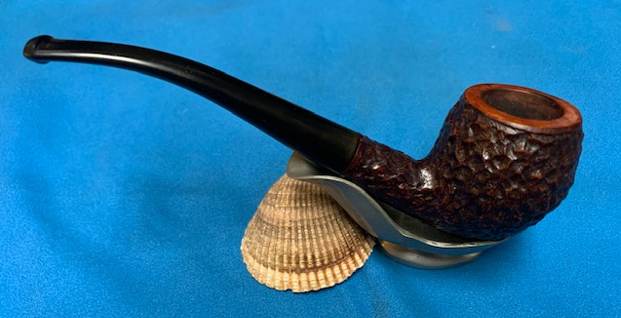
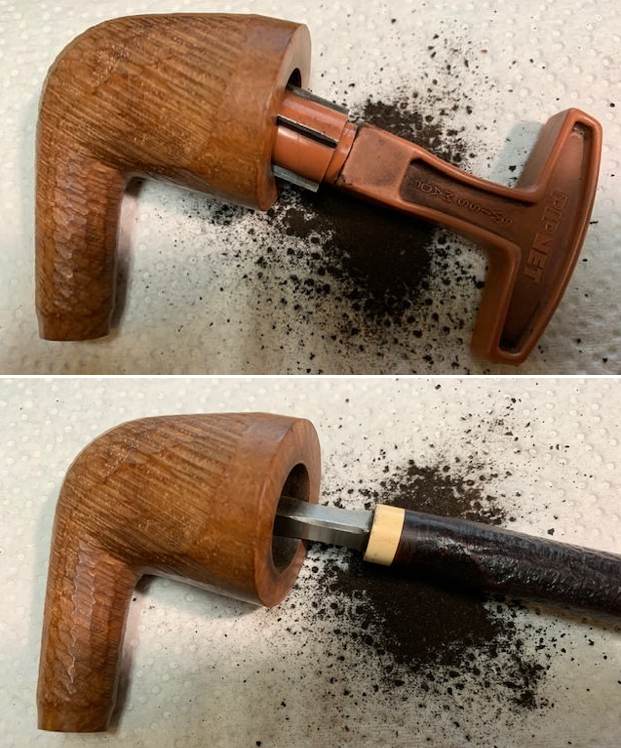
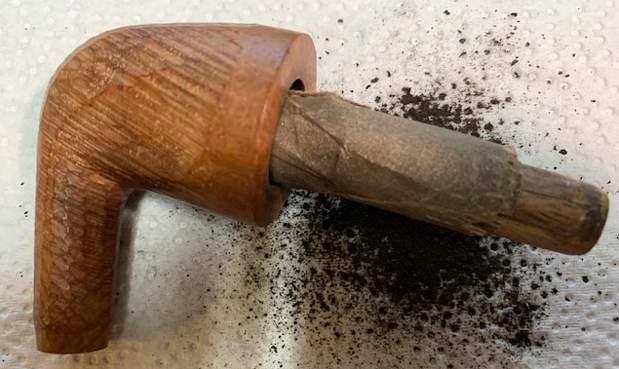
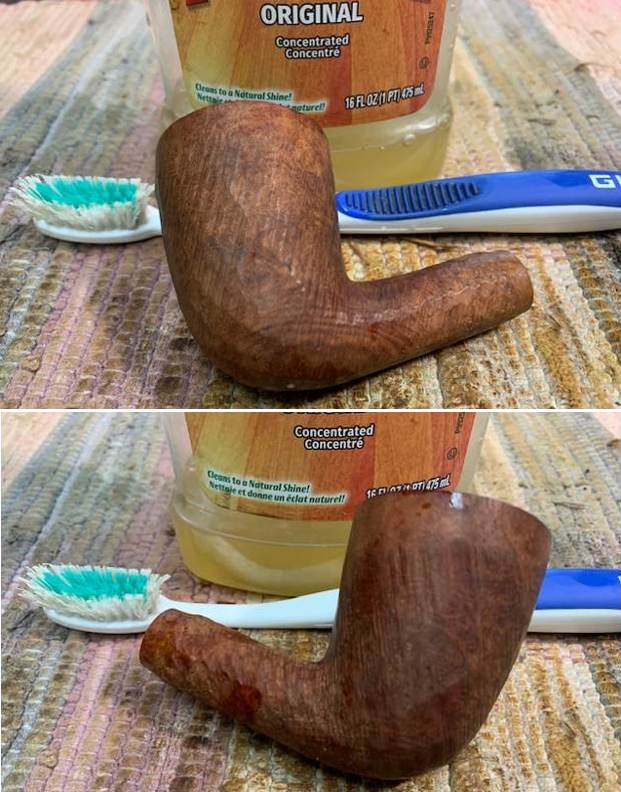
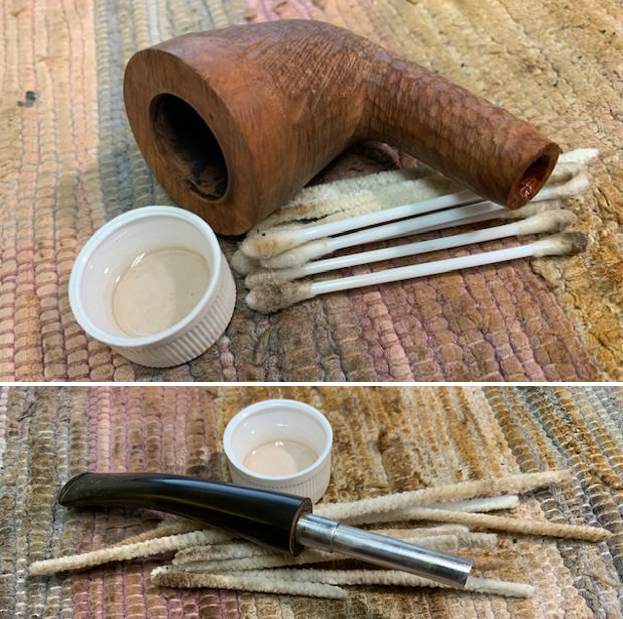
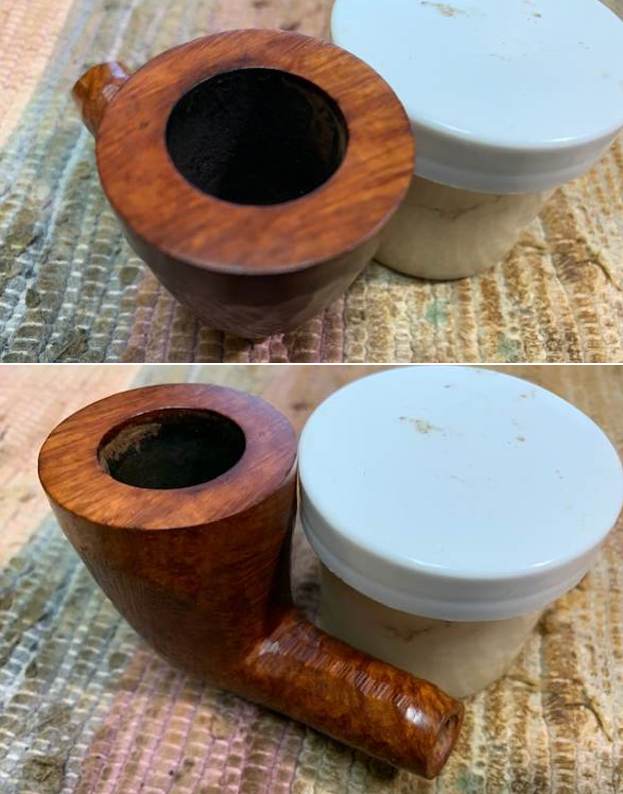
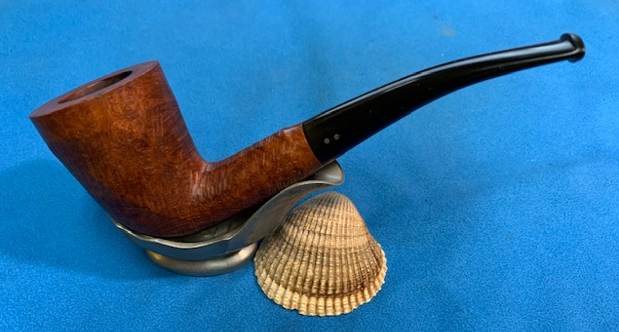
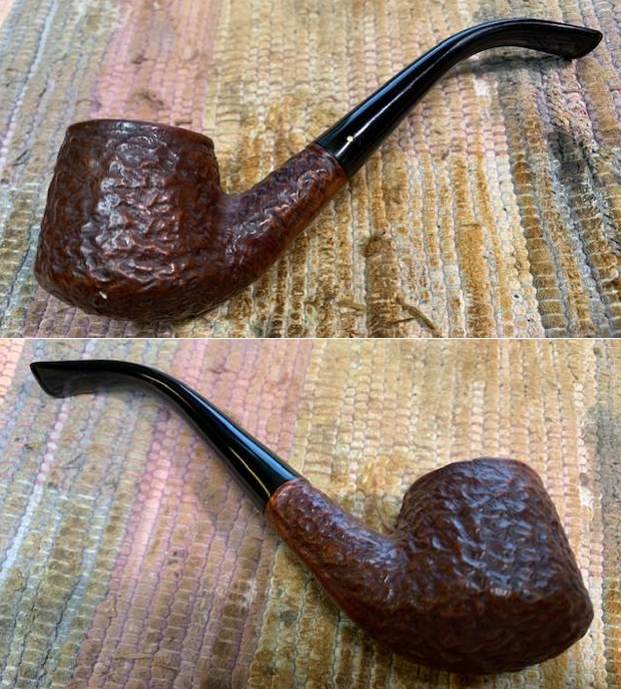
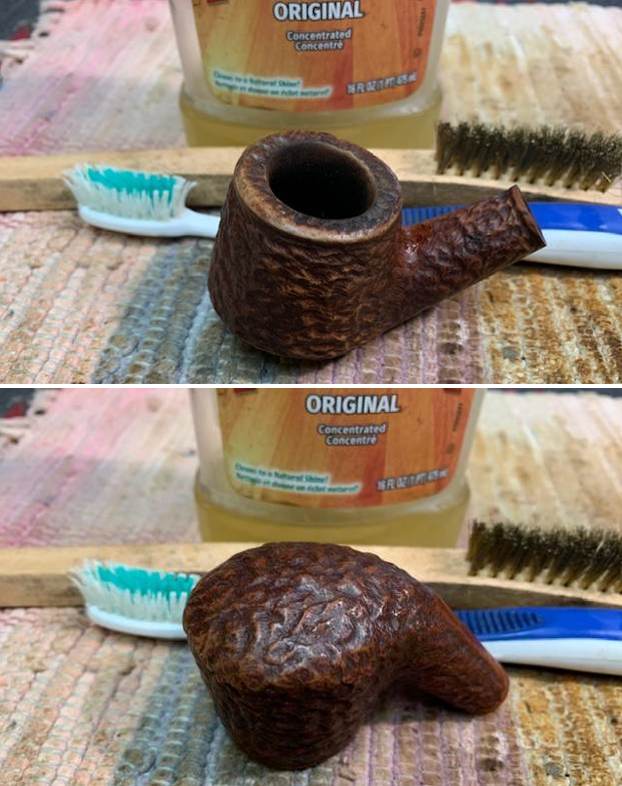
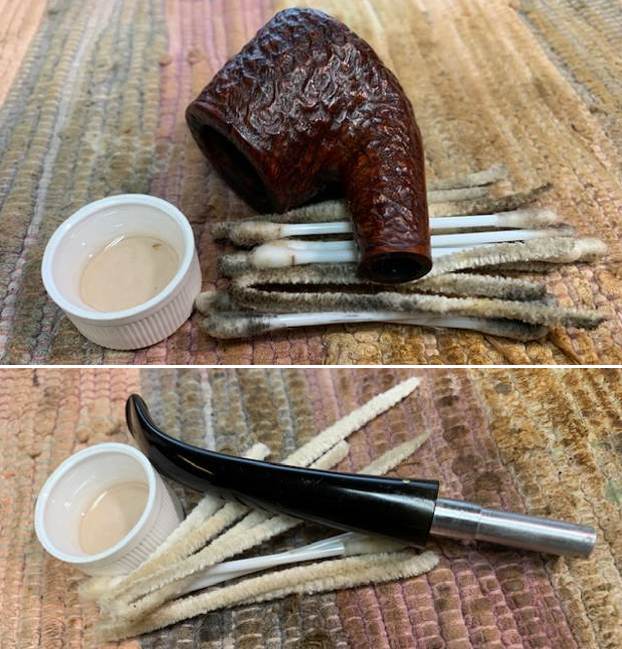
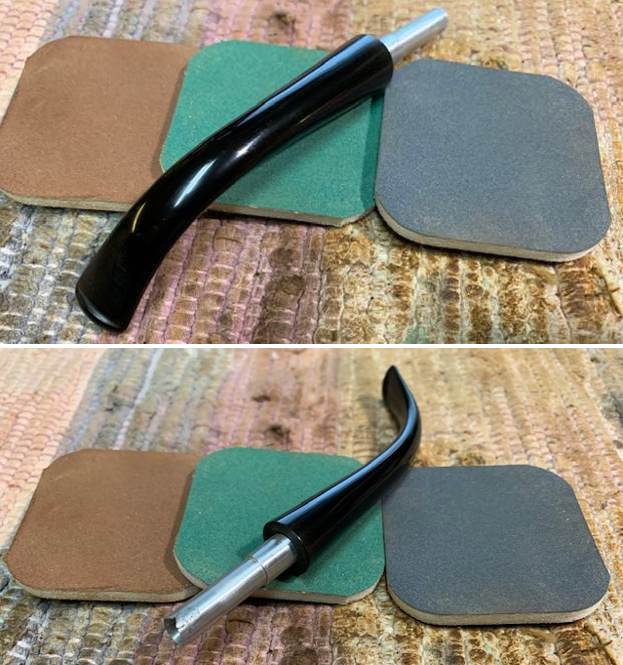
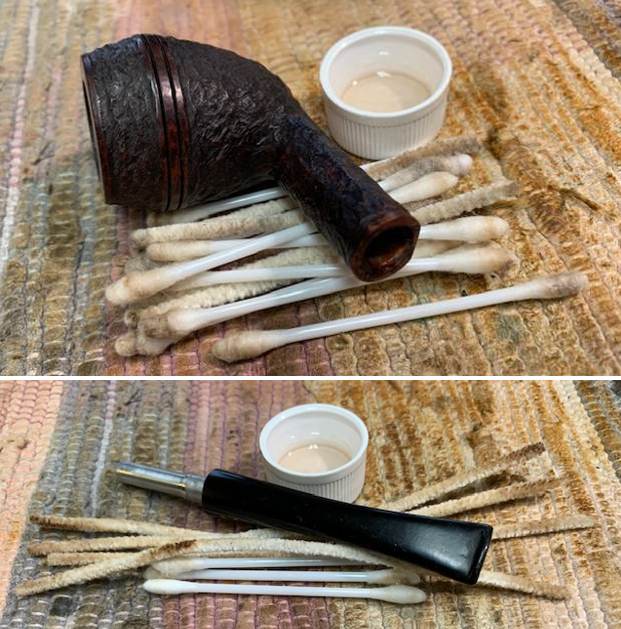
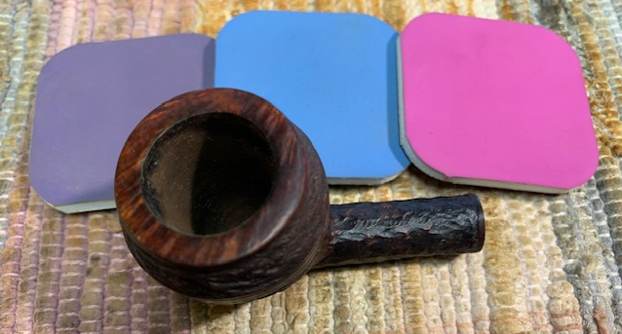
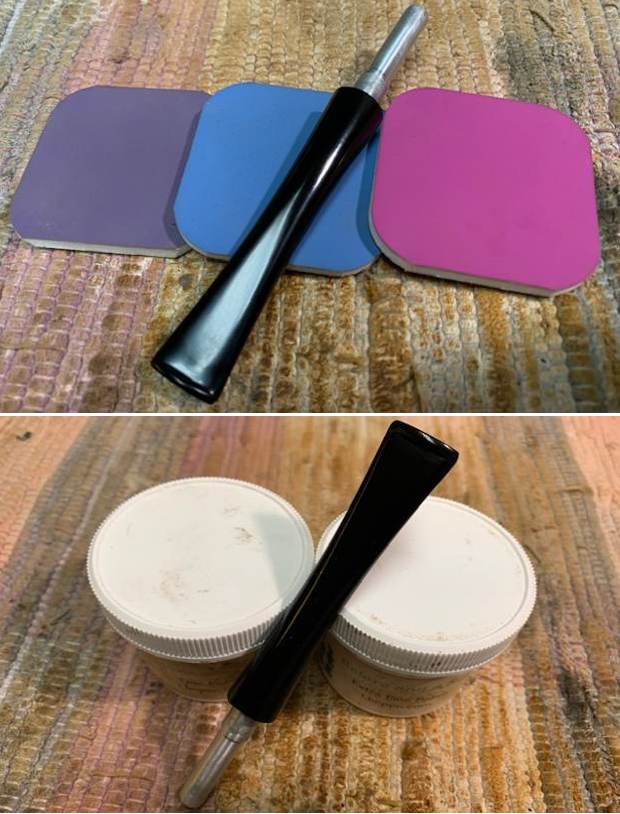
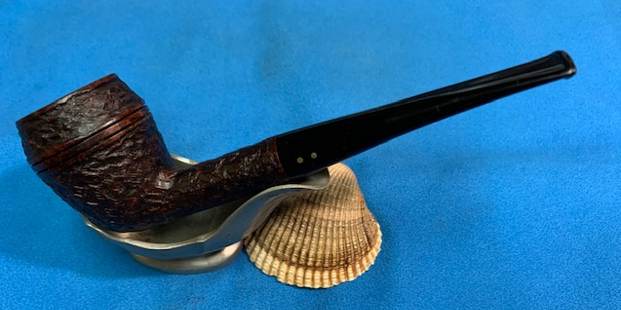
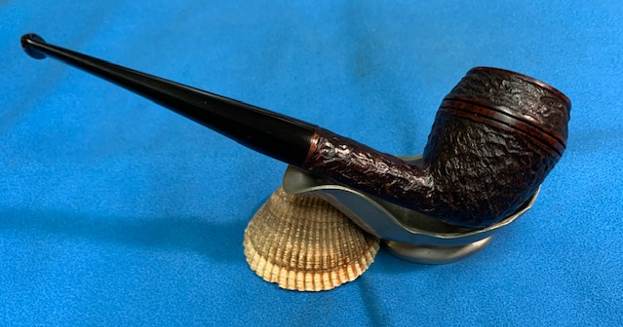
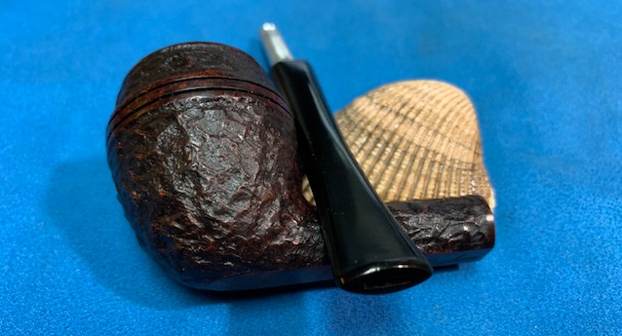
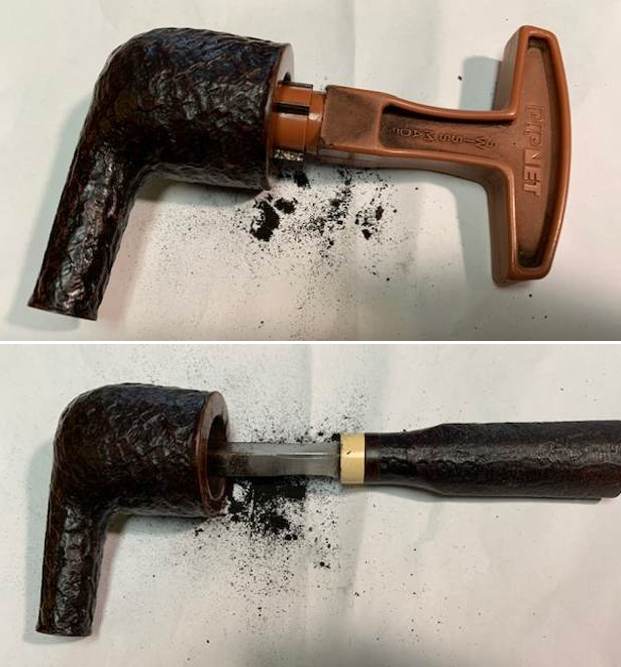
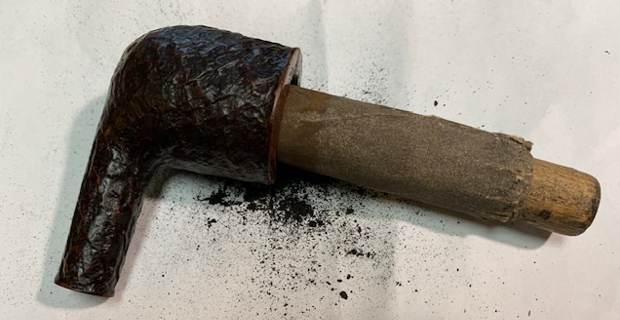
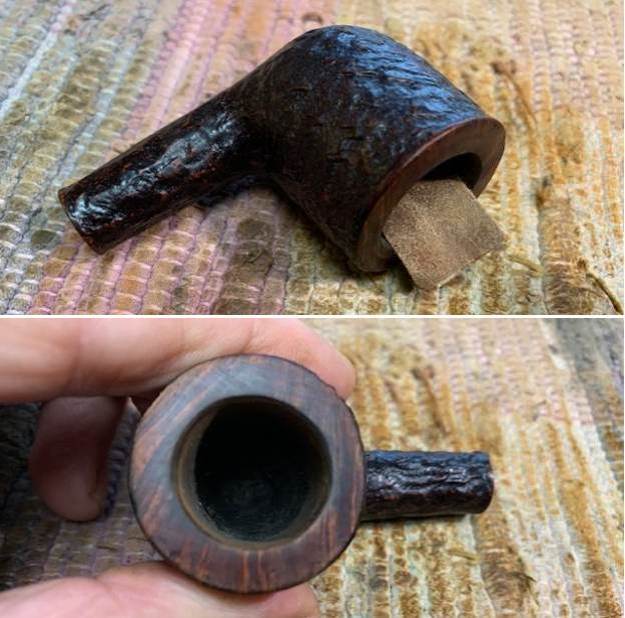
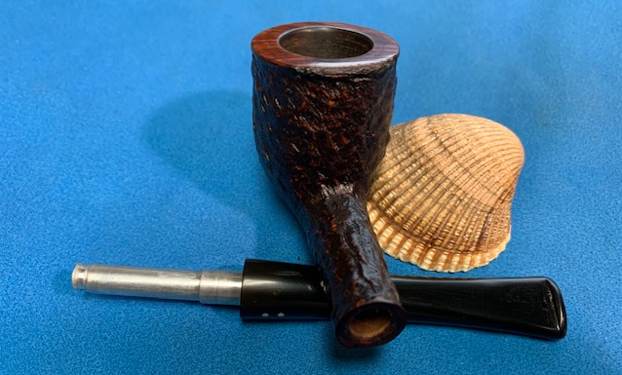
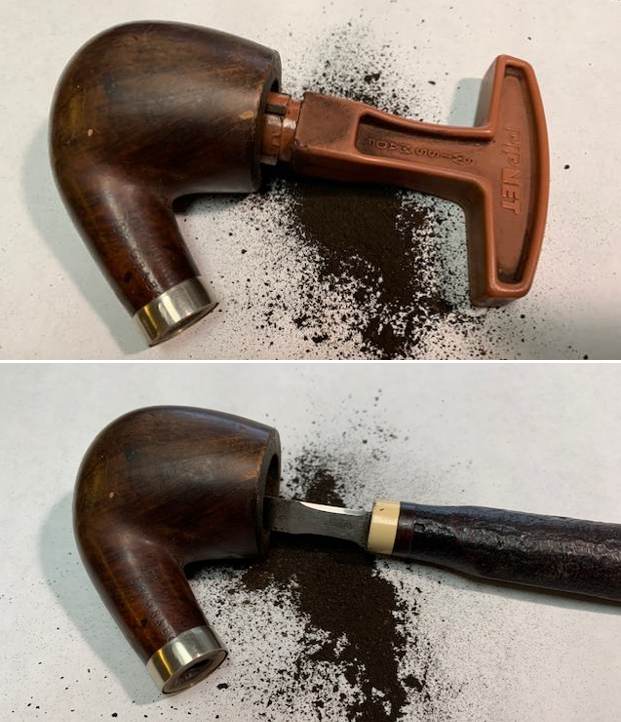
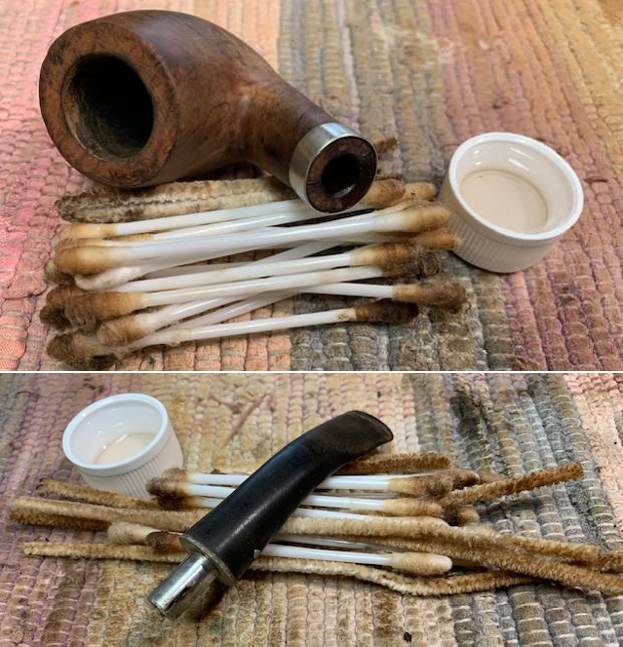
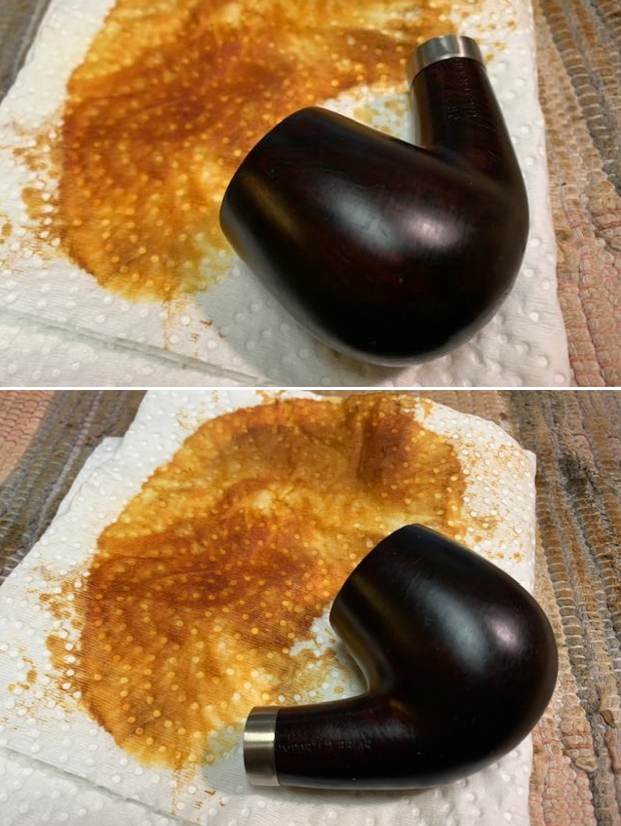
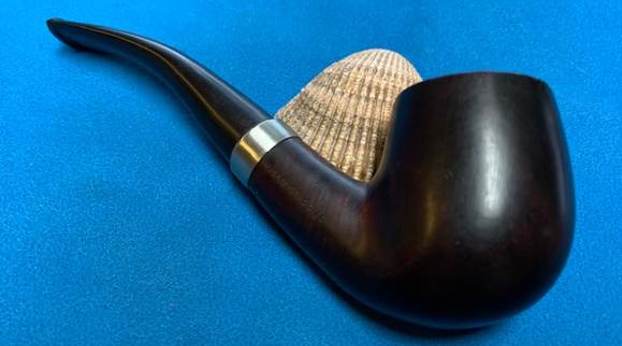
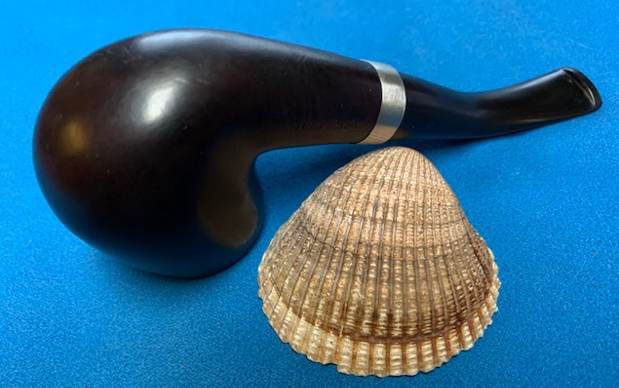
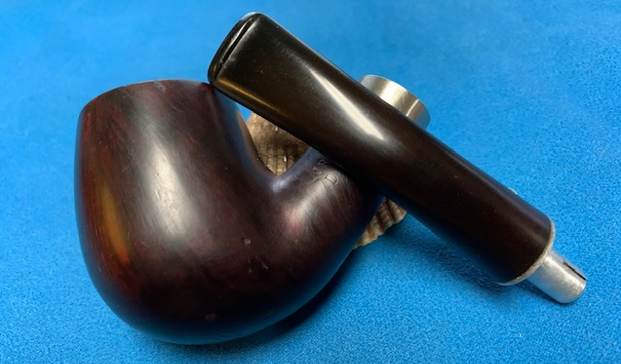
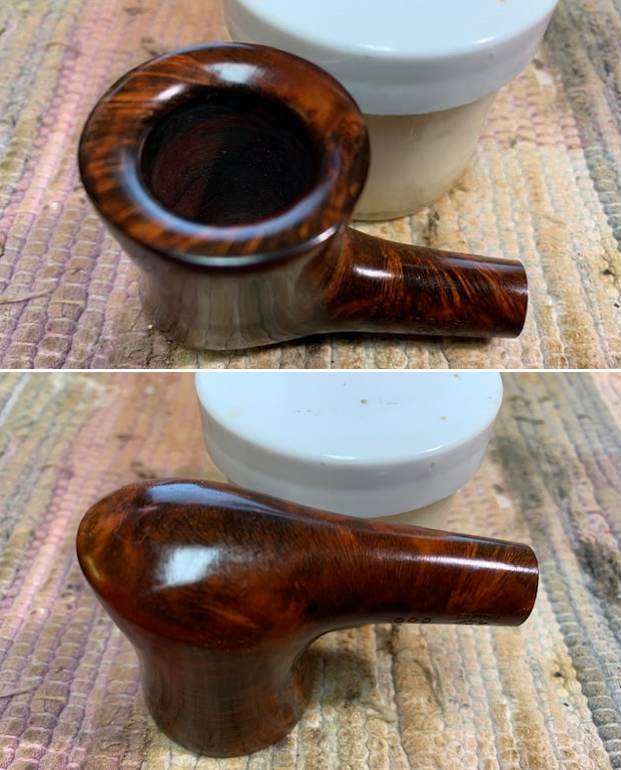
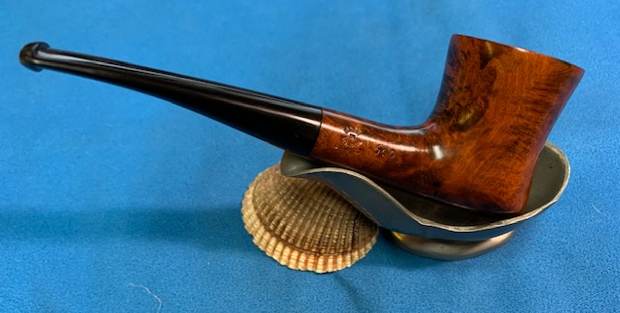
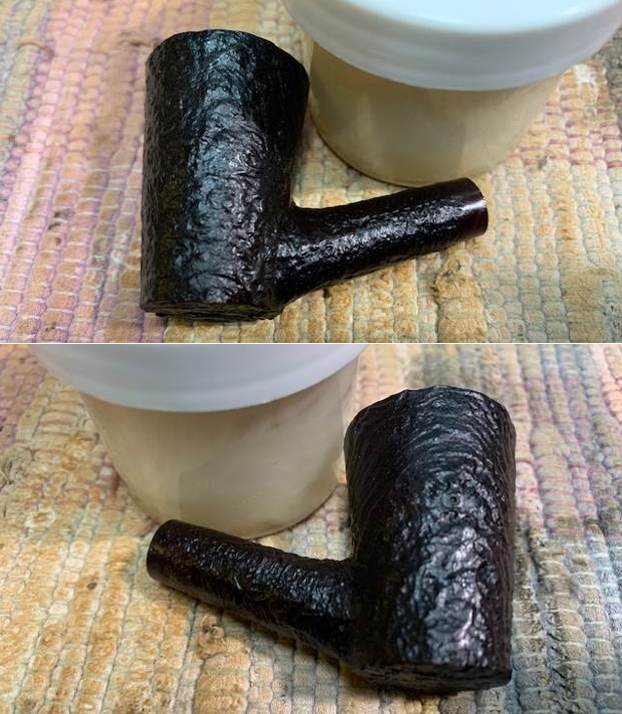
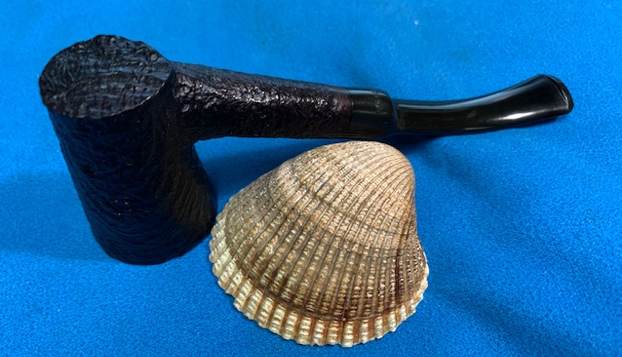
Jeff had done a great clean up of the pipe. He had reamed it with a PipNet reamer and took the cake back to bare briar. He cleaned up the remnants with a Savinelli Fitsall Pipe Knife. He scrubbed internals of the shank and stem with alcohol, cotton swabs and pipe cleaners. He cleaned the exterior of the pipe with undiluted Murphy’s Oil Soap and a tooth brush to remove the grime and the lava on the rim top. He scrubbed the stem with Soft Scrub to remove the debris that had accumulated on it. The pipe looked clean and ready for the next step in the process. Here are some photos of it when I finally got around to working on it 5 years later. Look at the craggy sandblast on this pipe! Wow.
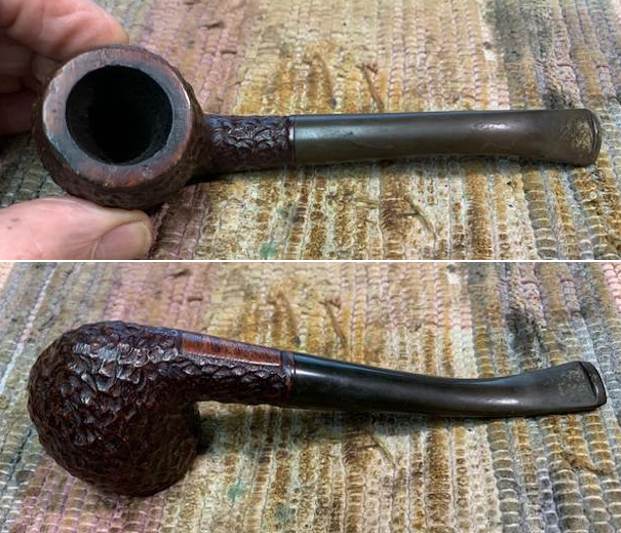
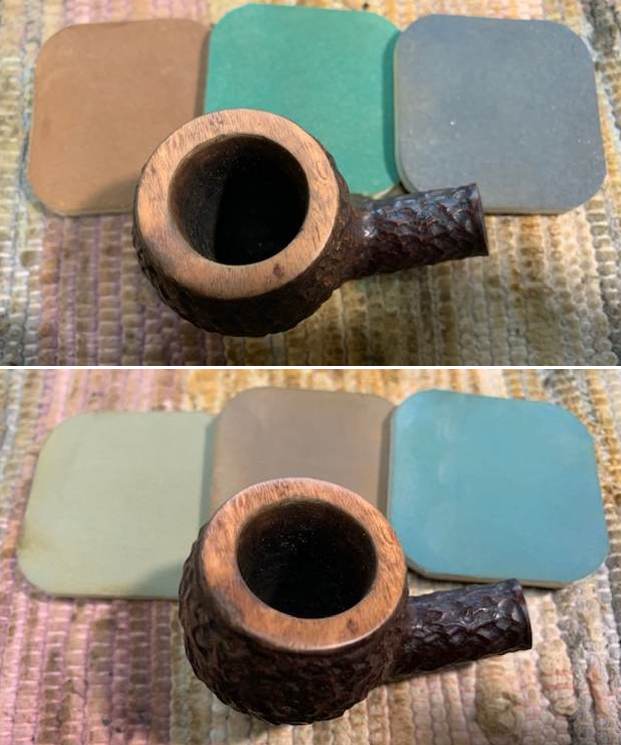
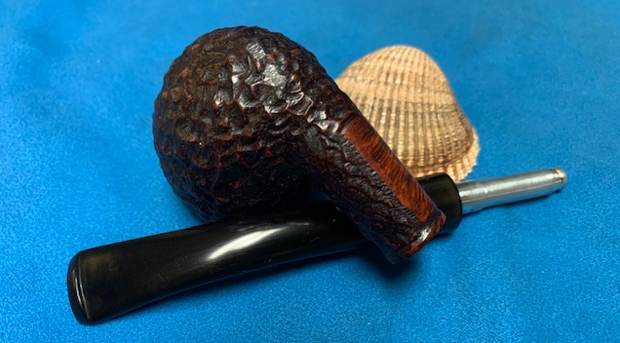
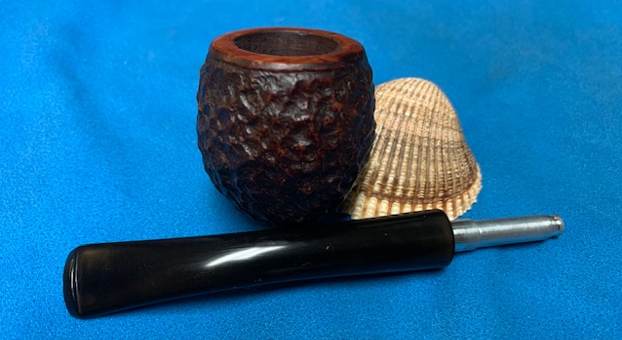
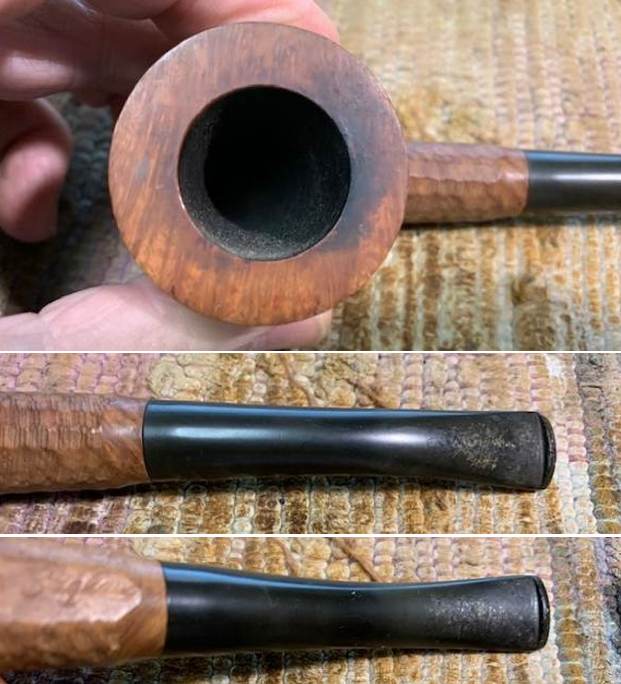
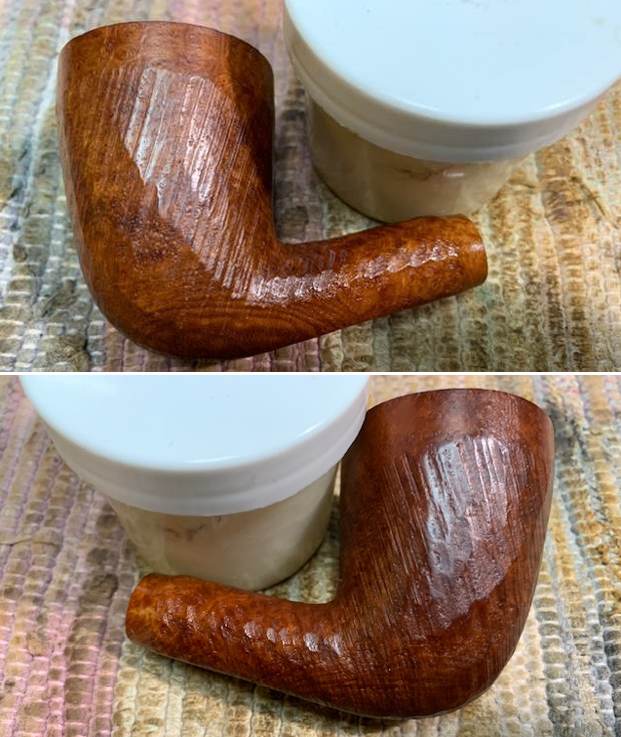
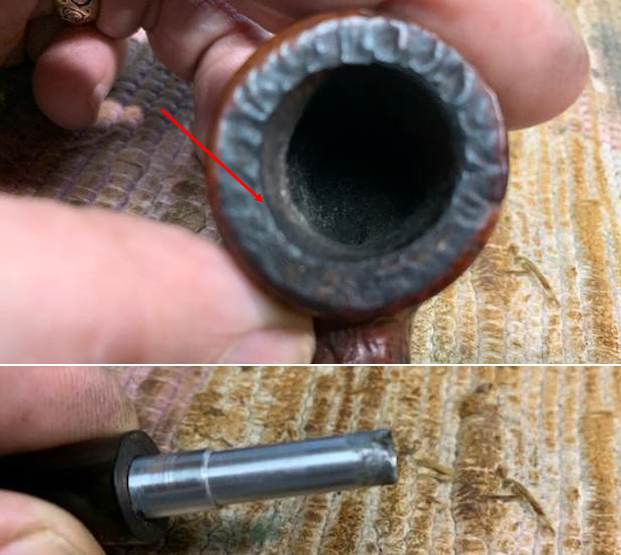
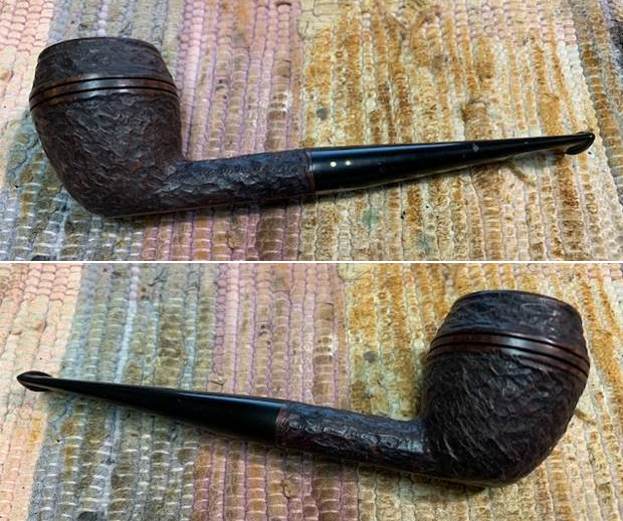
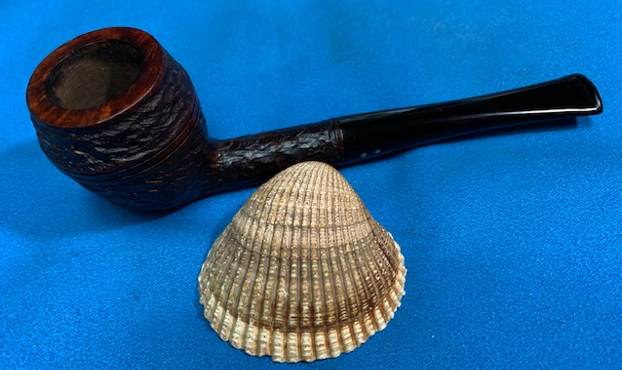
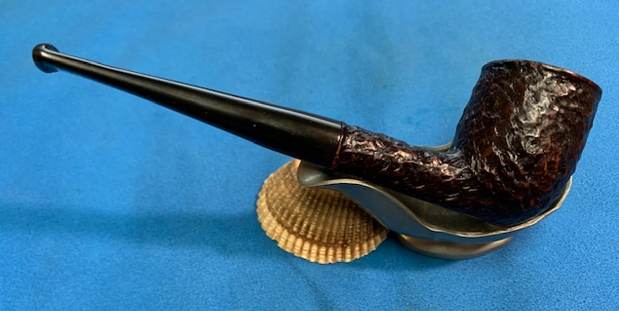
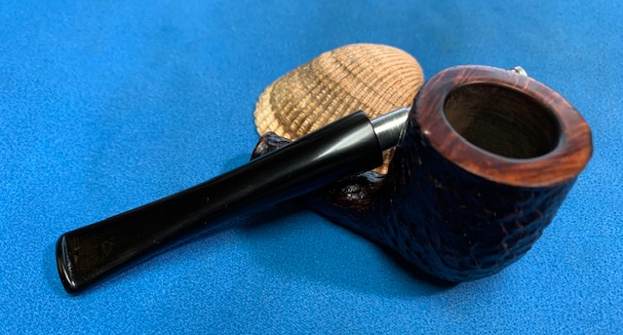
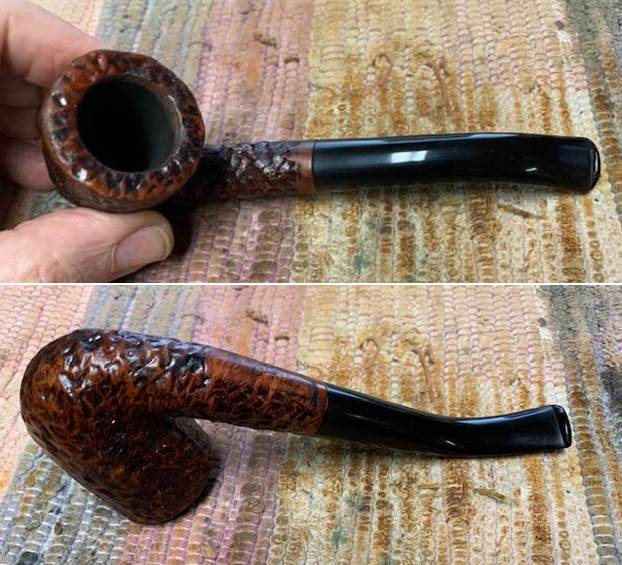
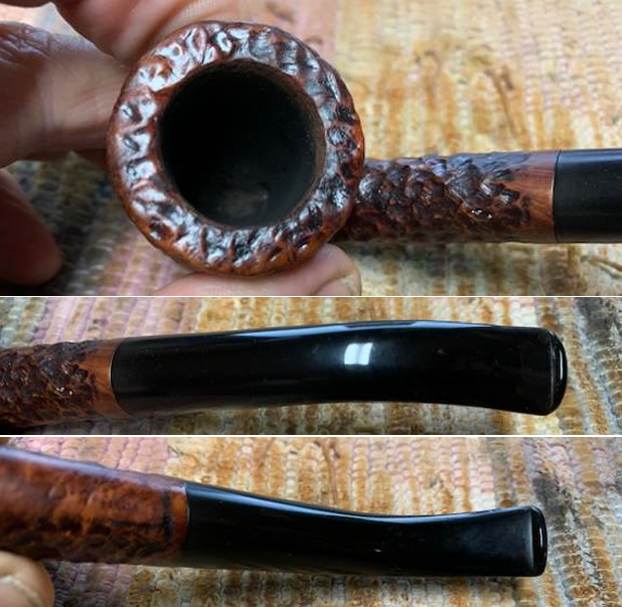
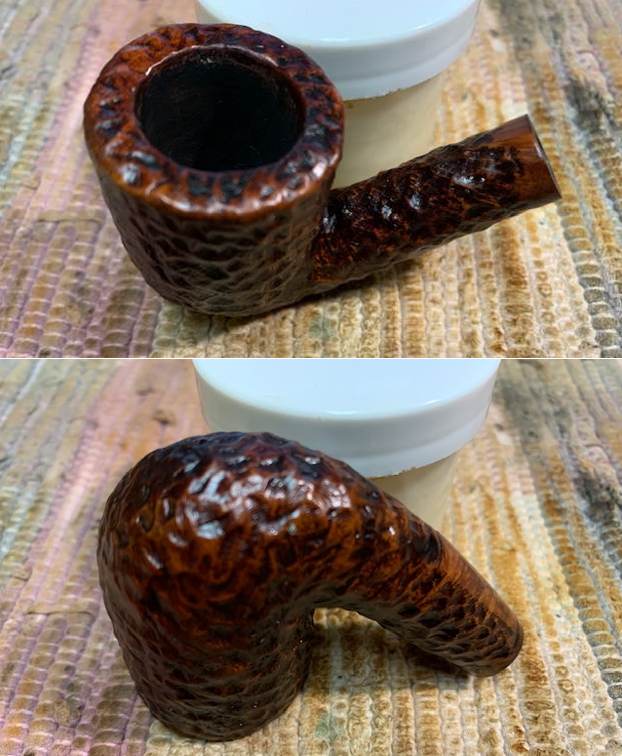
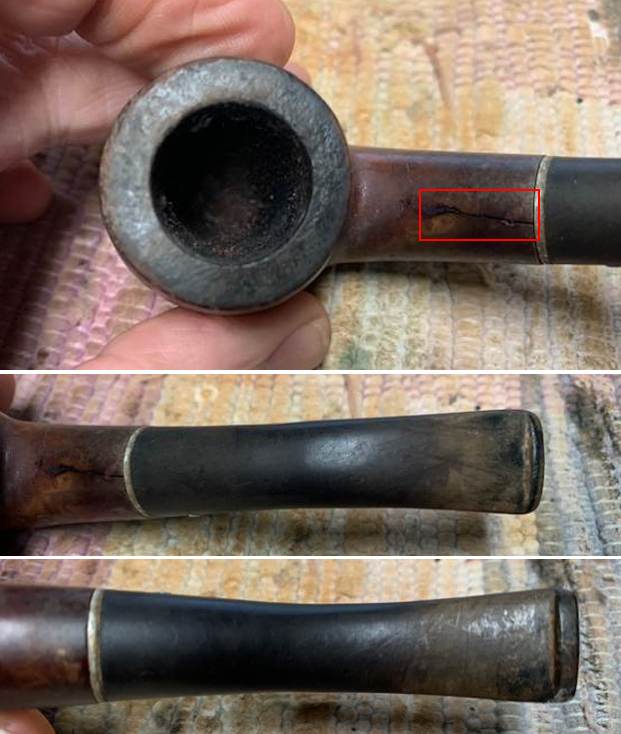
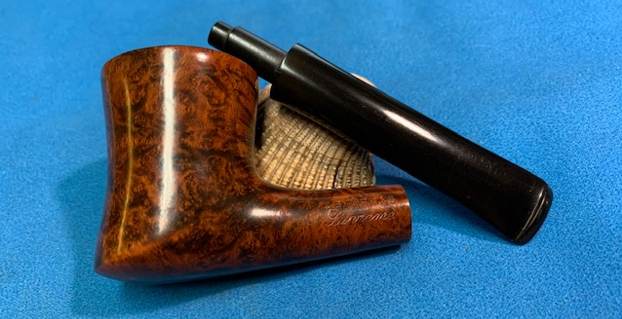
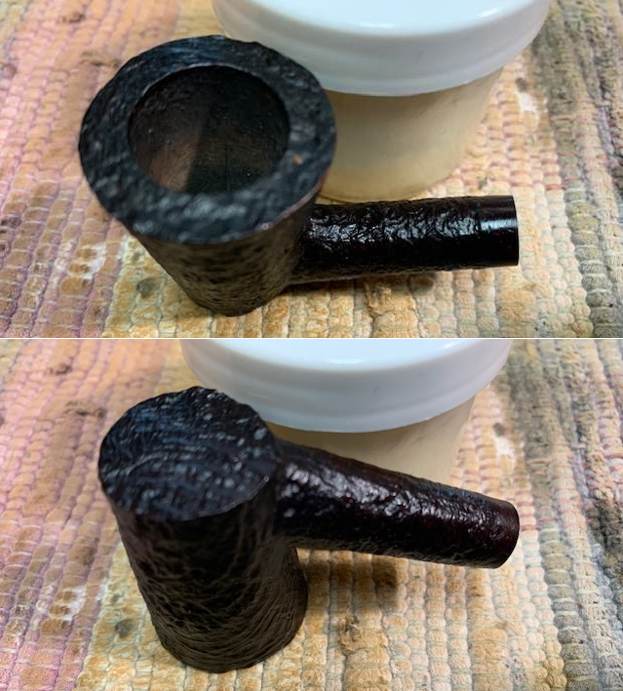
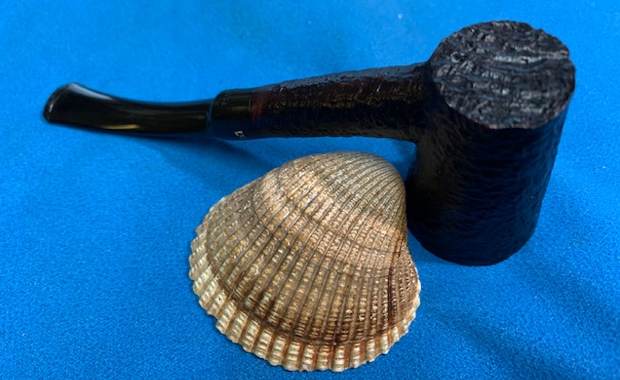
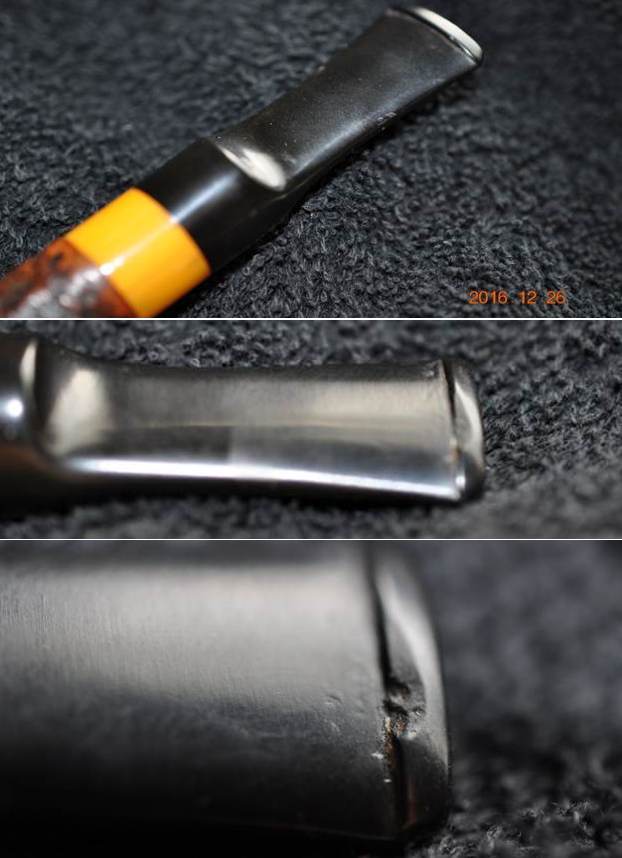
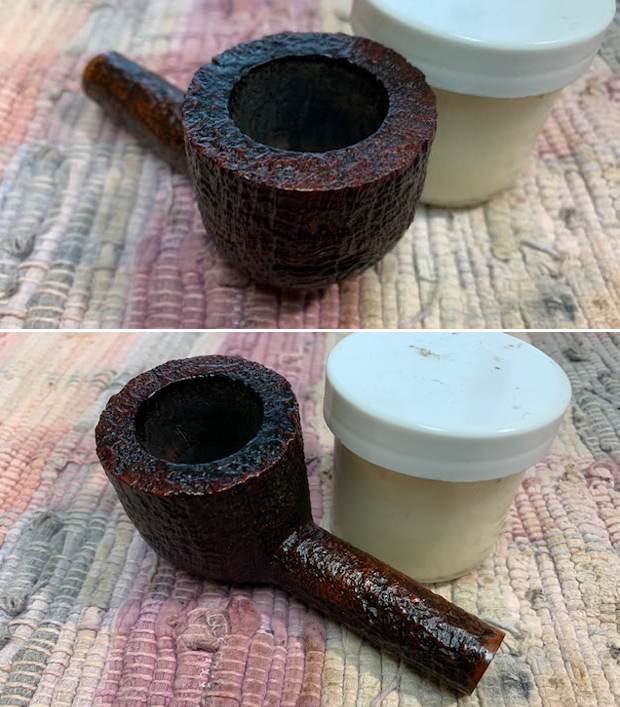
 I took some close up photos of the bowl, rim top and the stem surface. It looked amazingly good. The damage on the underside of the stem button is not as bad as I expected.
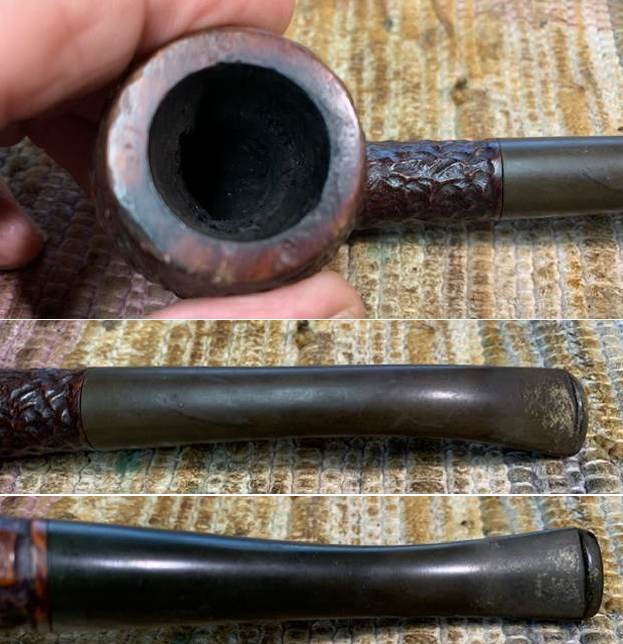
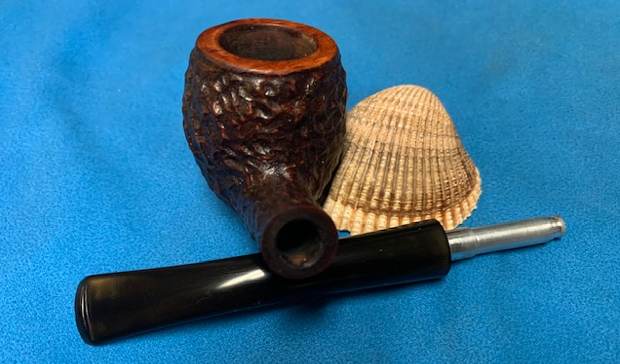
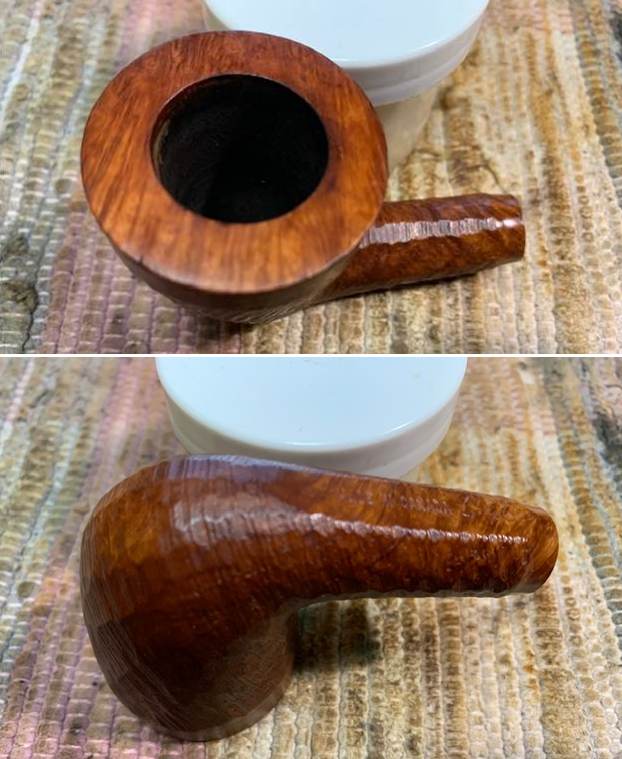
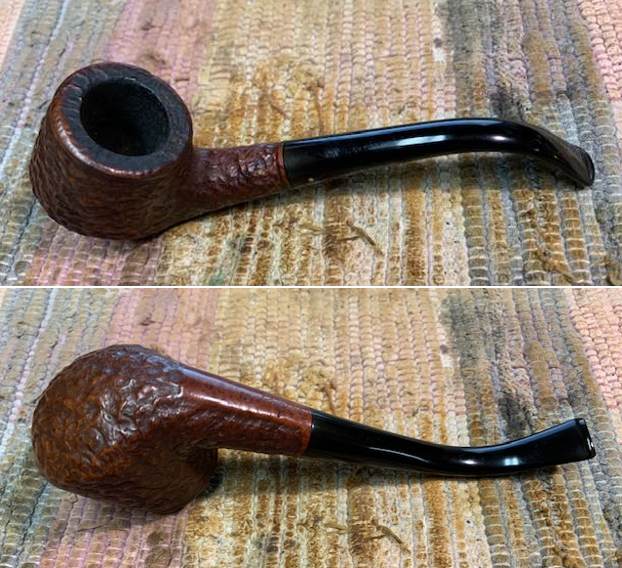
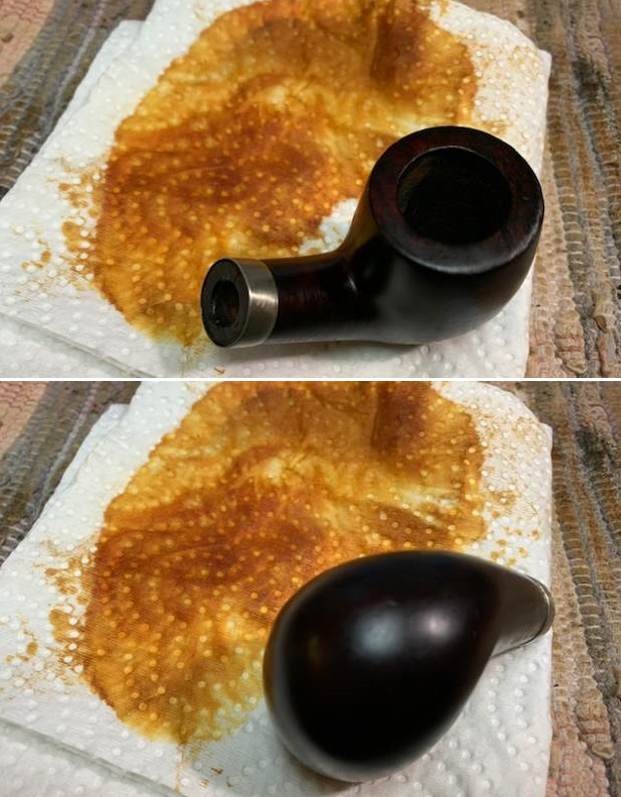
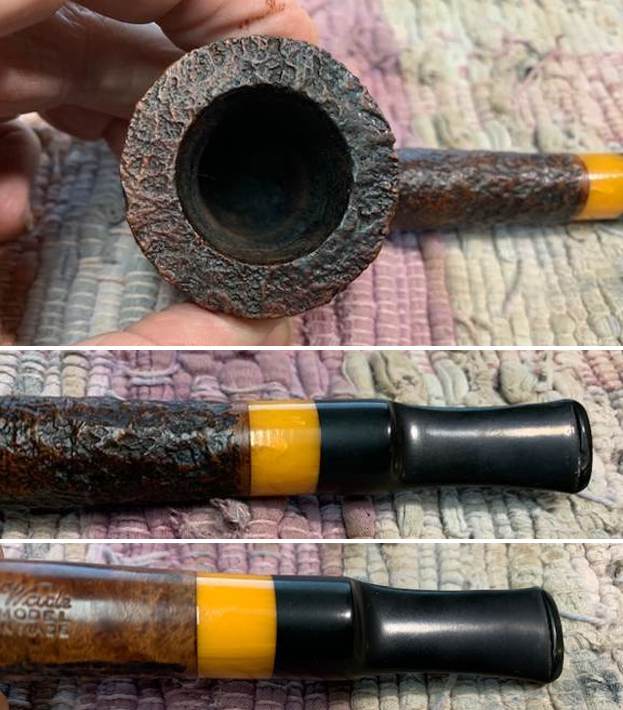 I took a photo of the stamping on the underside of the shank. It is clear and readable as noted above.
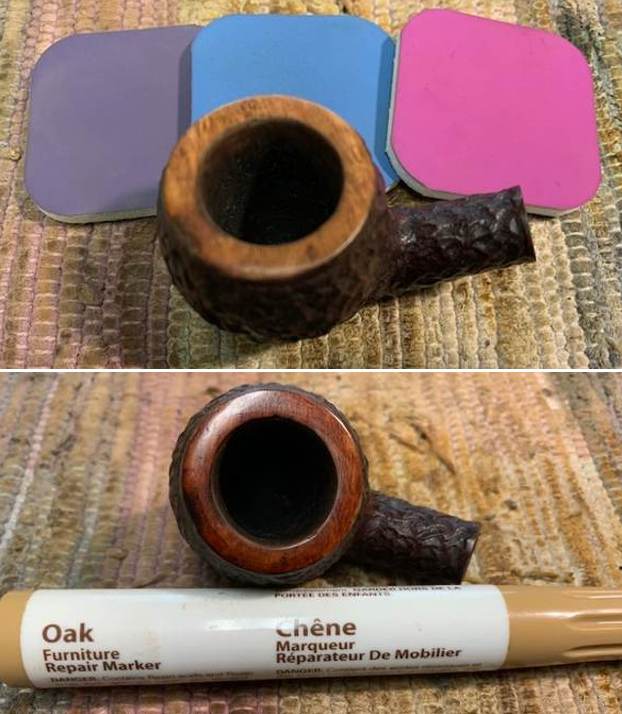
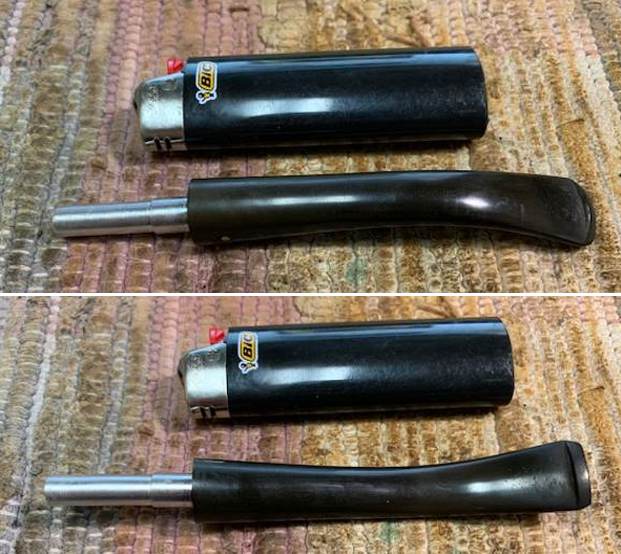
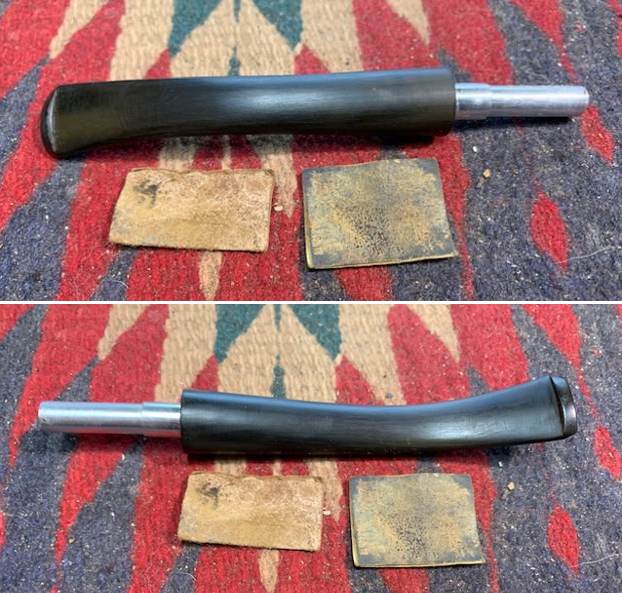
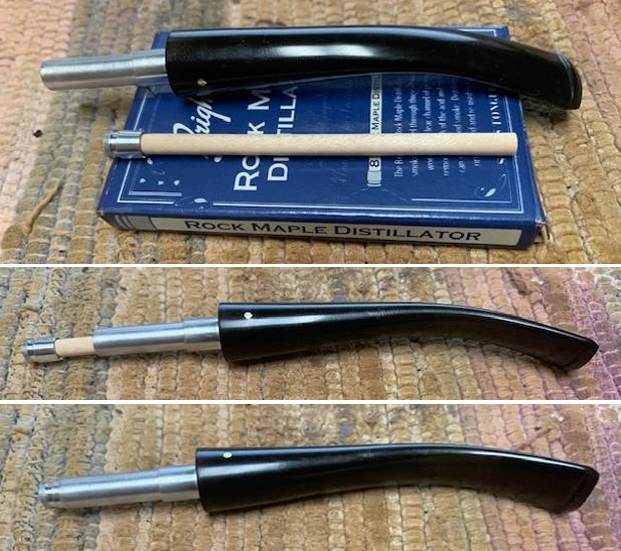
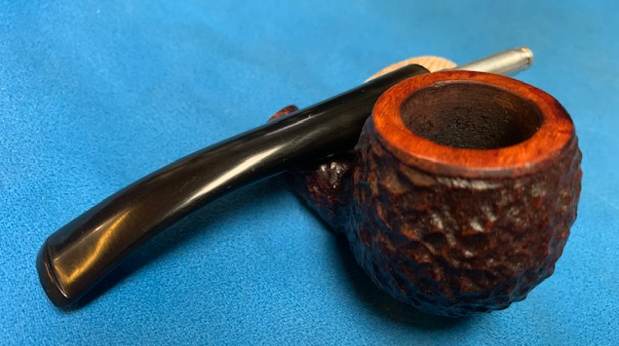
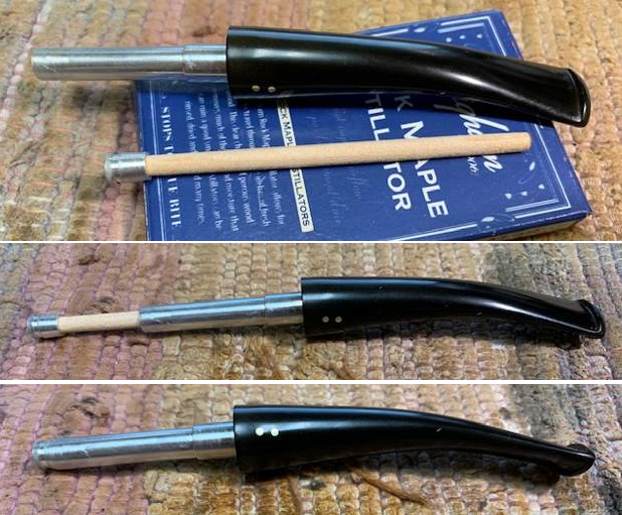
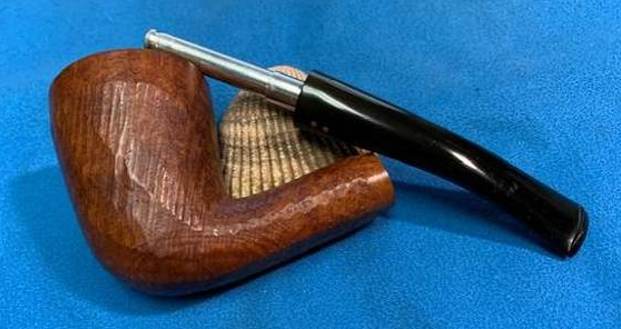
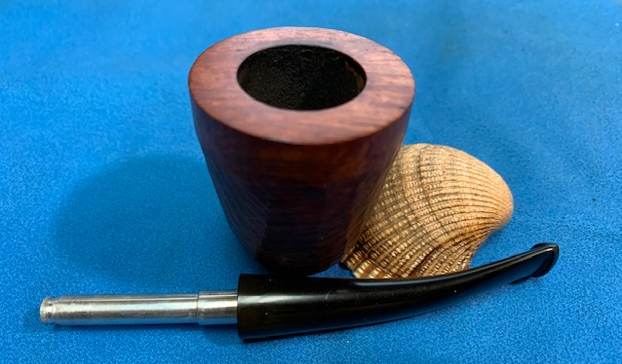
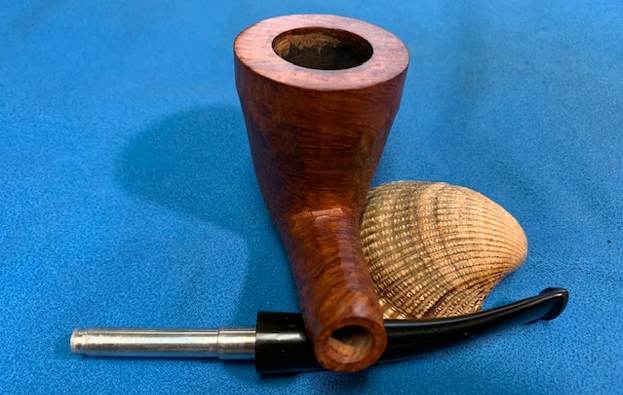
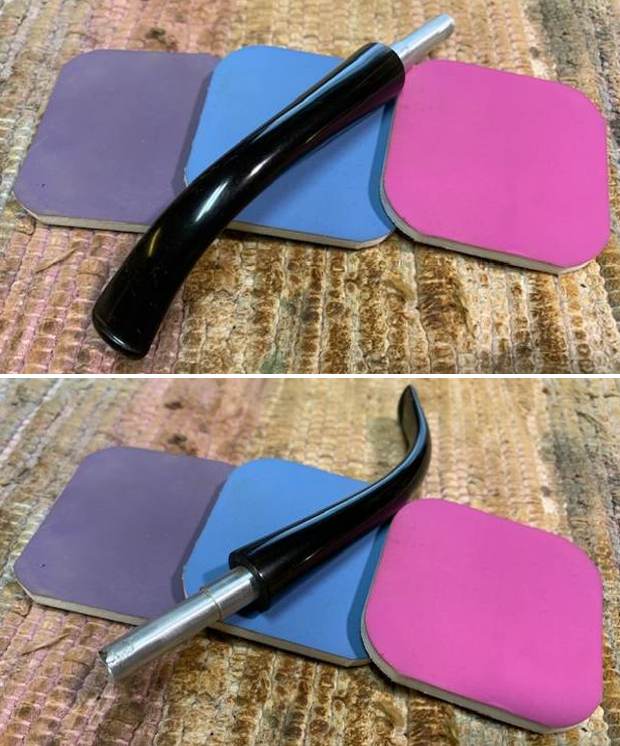
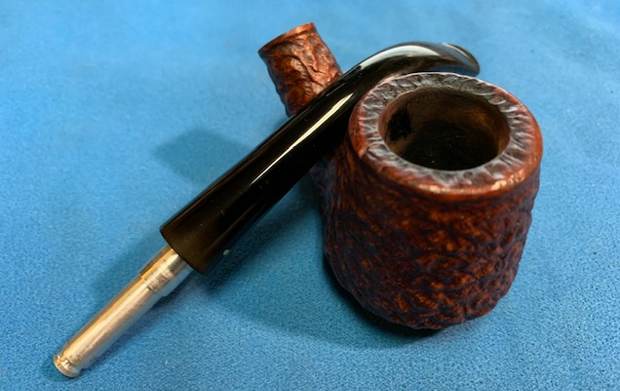
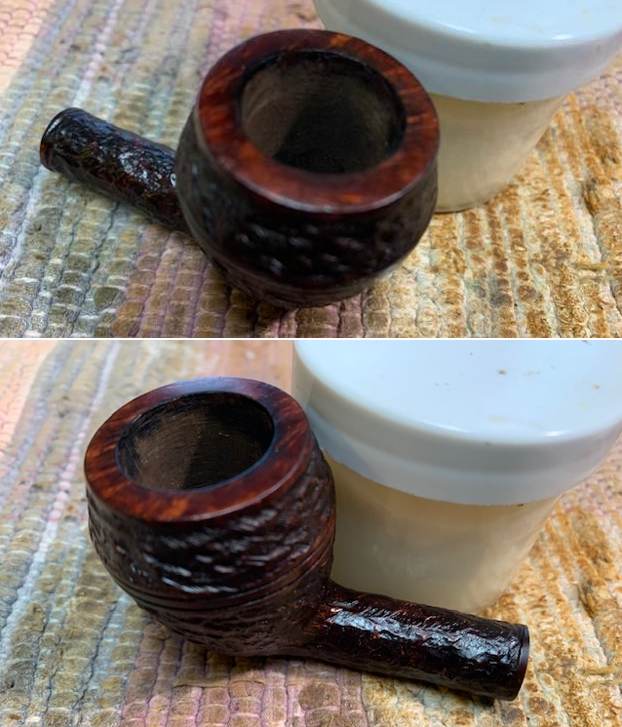
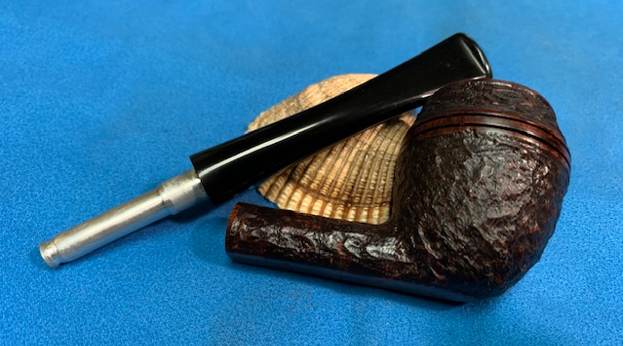
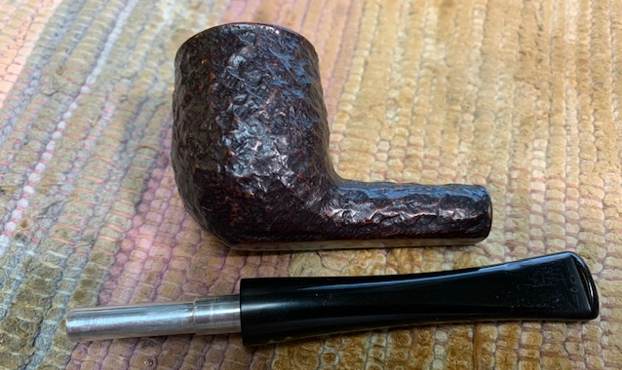
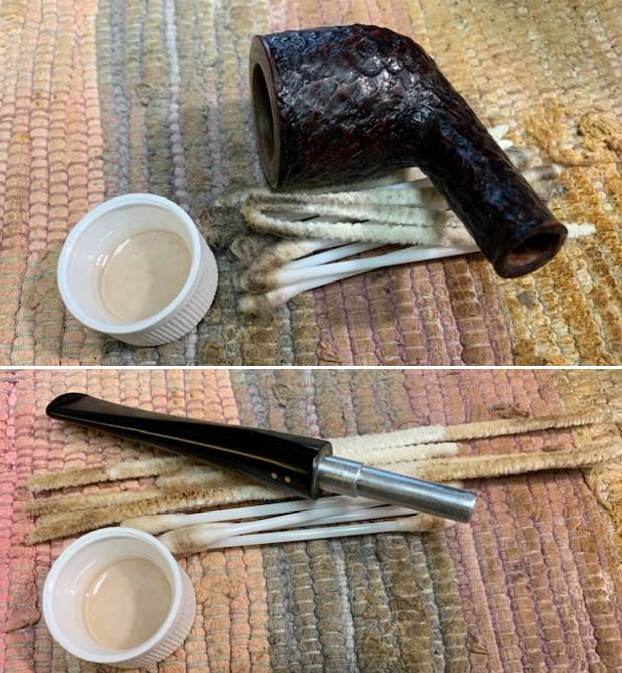
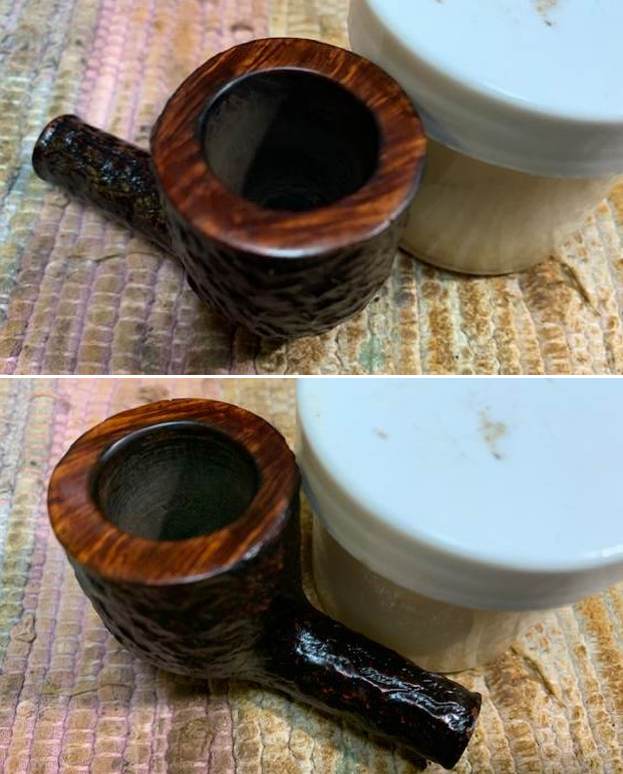
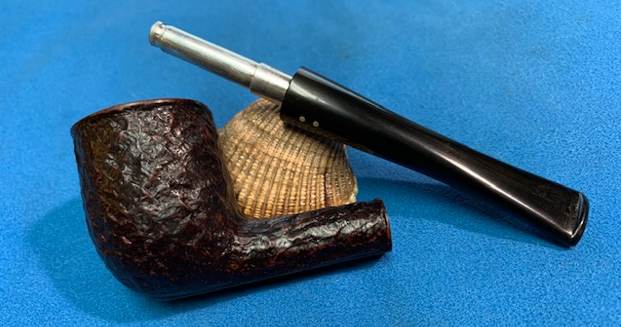
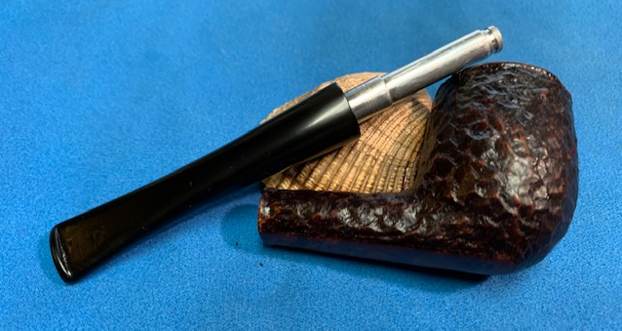
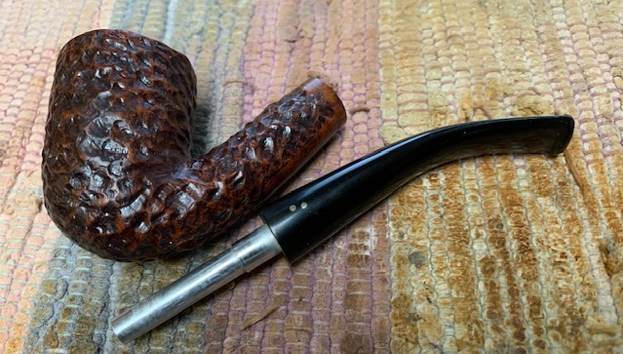
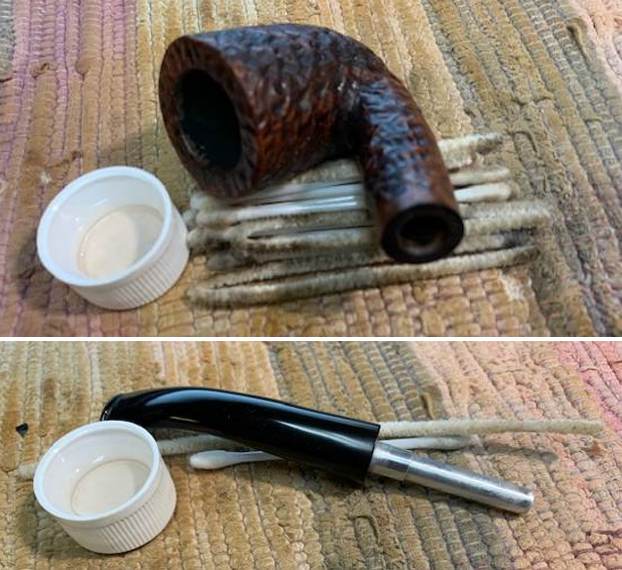
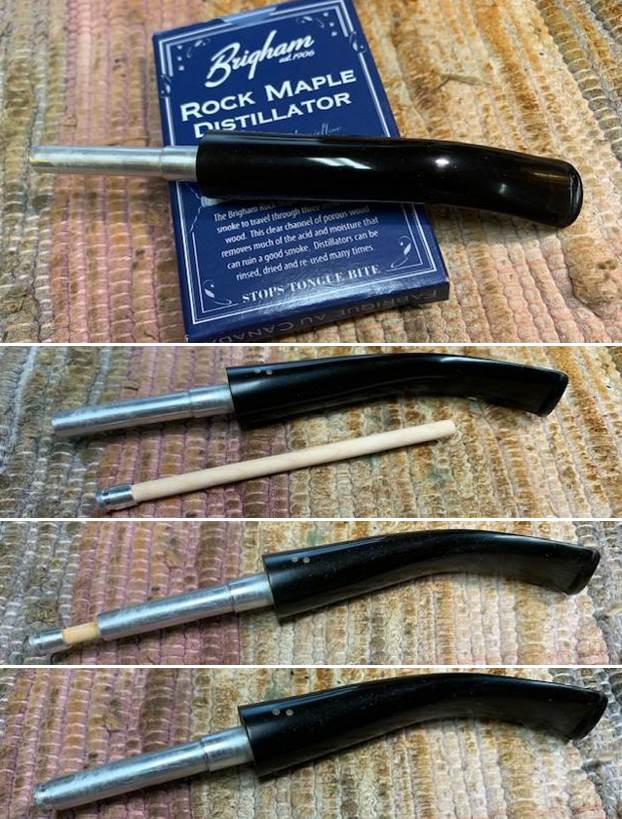
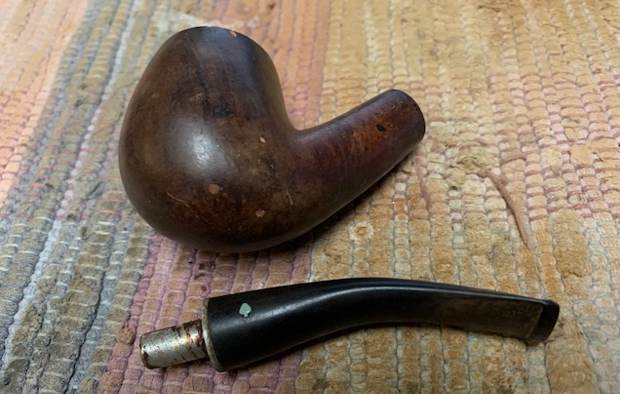
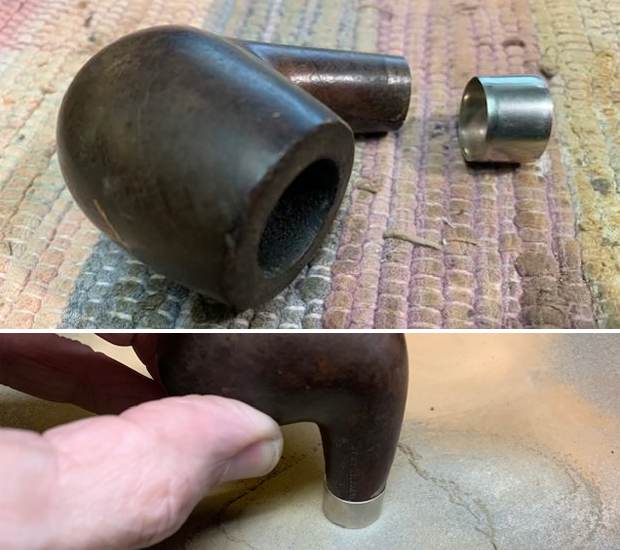
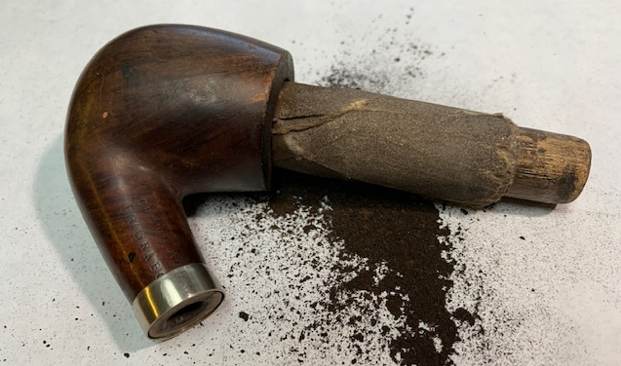
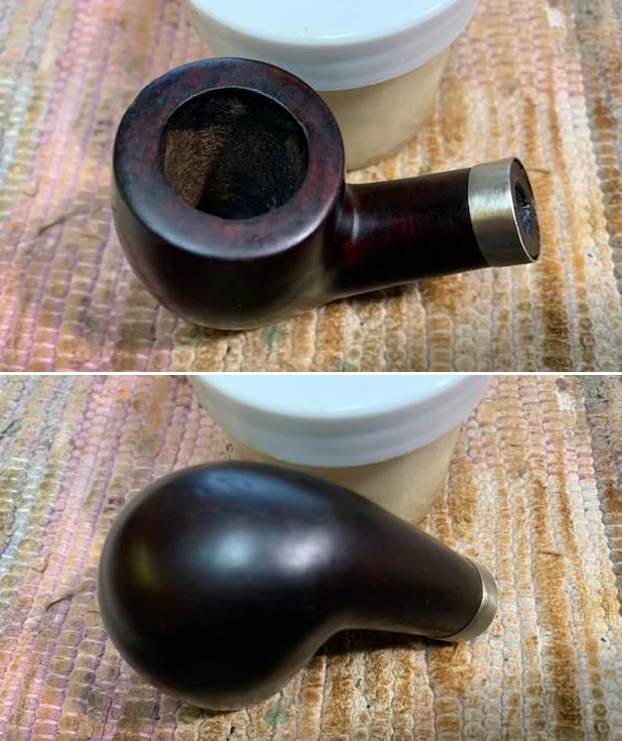
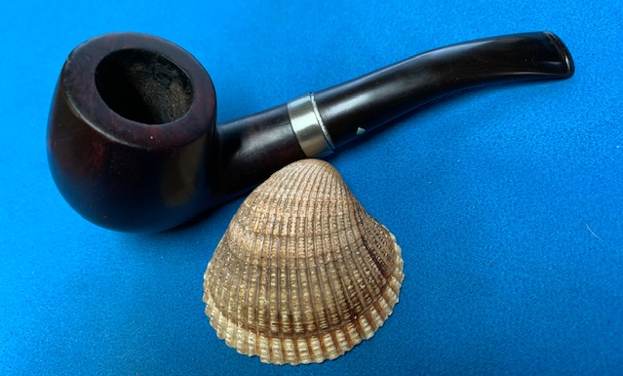
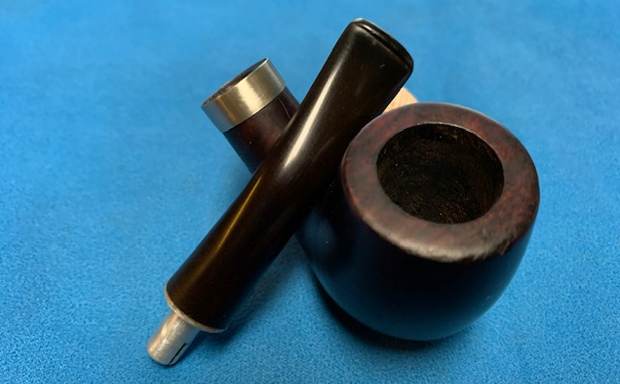
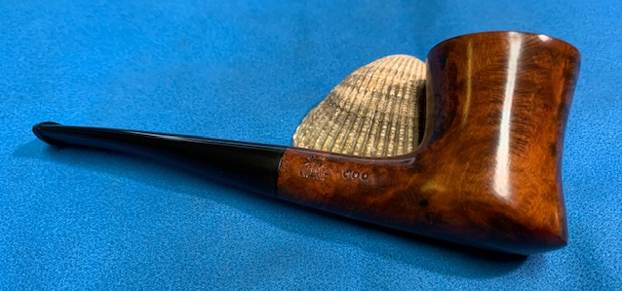
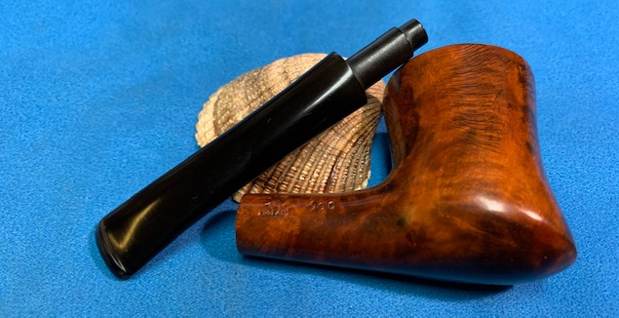
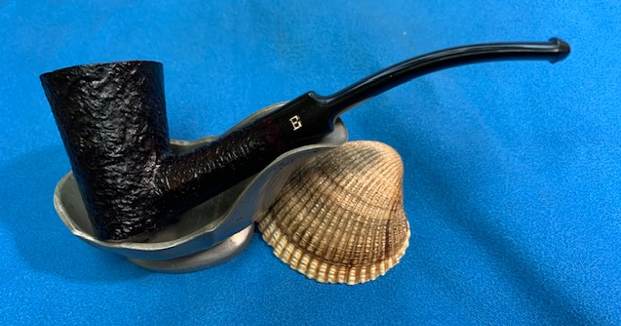
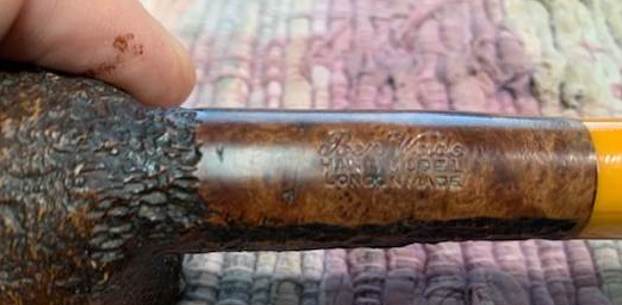 I removed the stem from the shank to show the spacer and tenon on the pipe as it is quite unique. I also wanted to get a clear picture of the components of the pipe. It is a beauty.
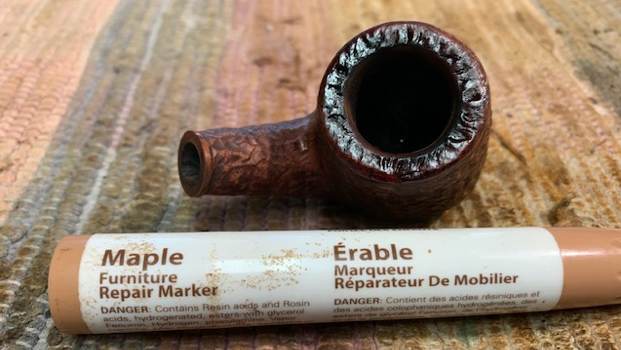
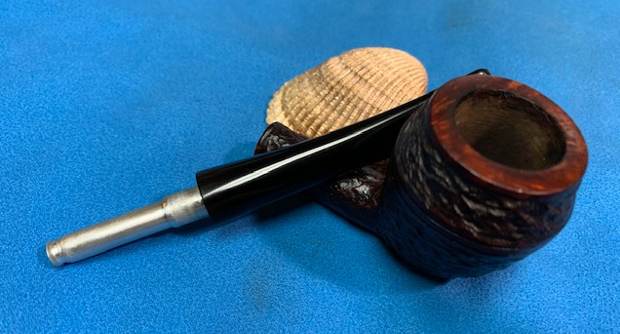
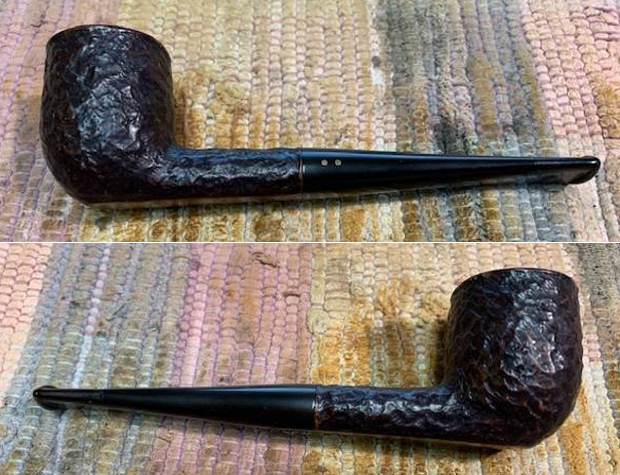
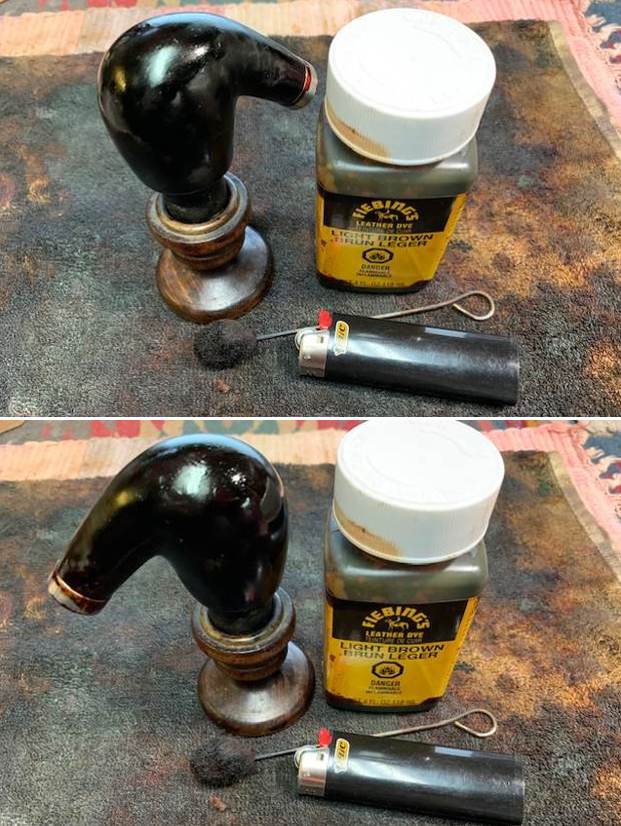
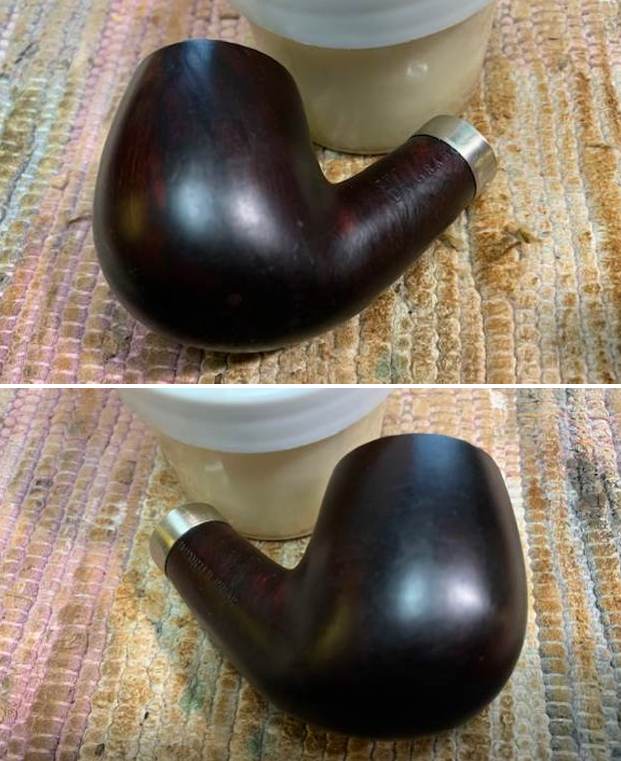
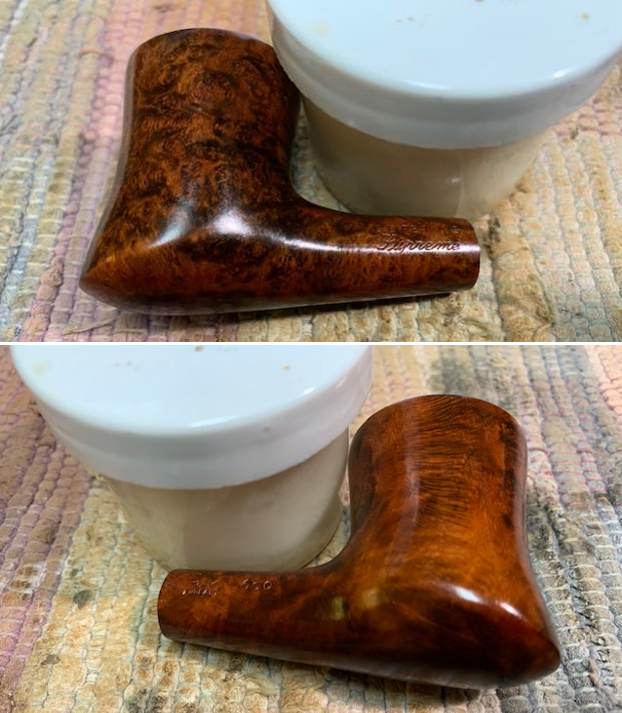
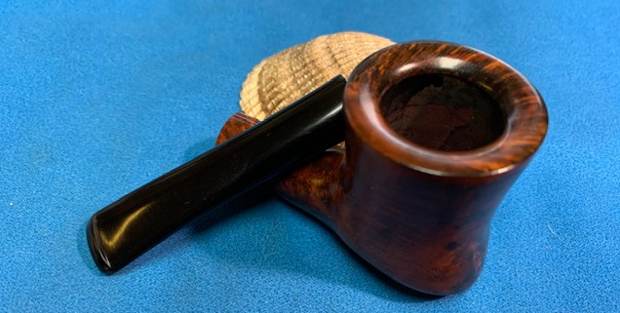
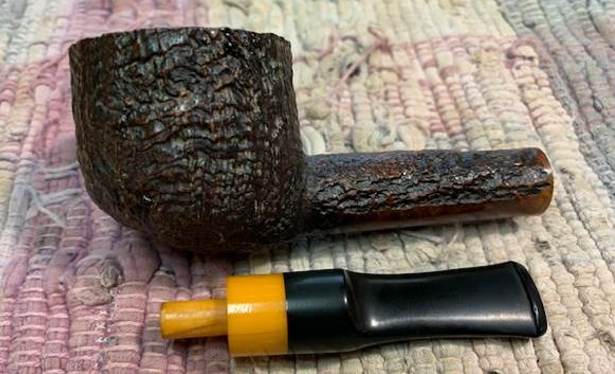 The pipe bowl was in such great condition that I did not need to do a lot of work on it. I rubbed the bowl down with some Before & After Restoration Balm. I worked it into the briar with my fingertips and a horse hair shoe brush. The product works to clean, renew and protect briar. I let it do its work for 15 minutes then buffed it off with a soft cloth. The pipe is really quite a beauty. The depth of the blast is quite stunning.
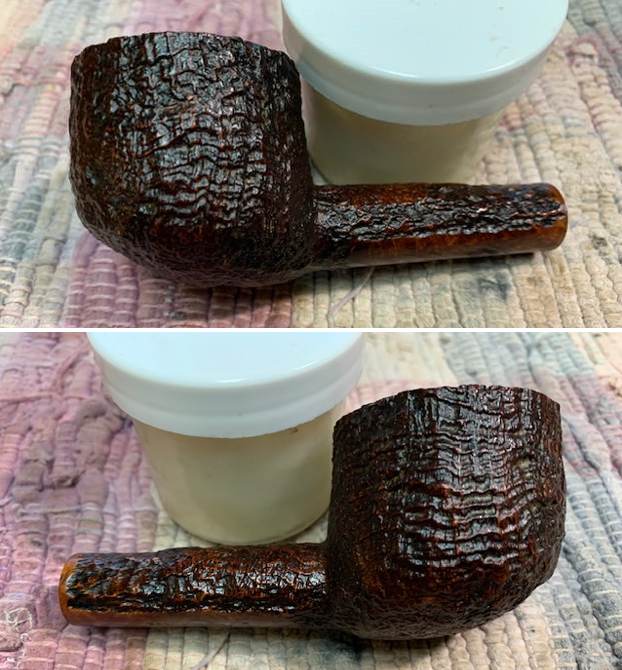
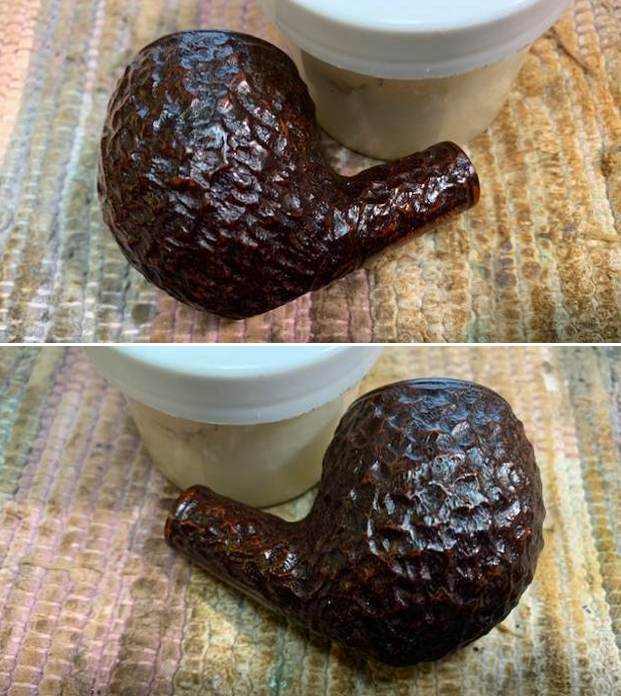
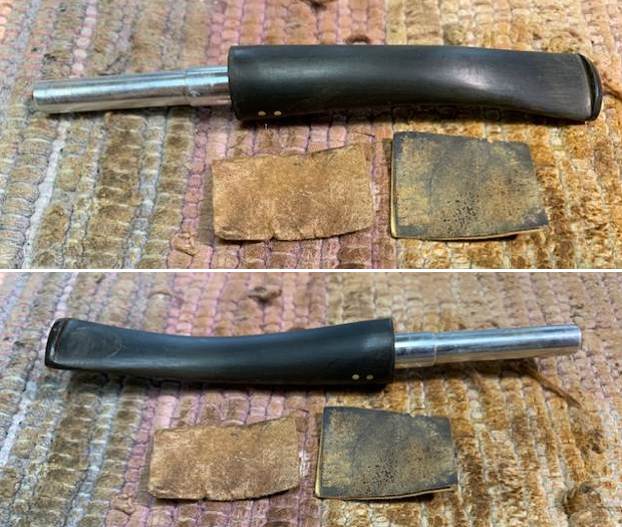
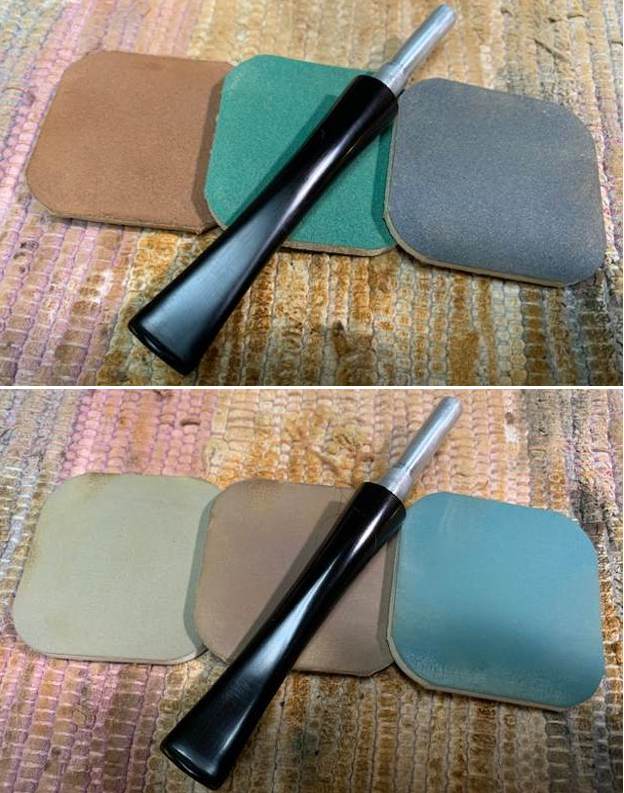
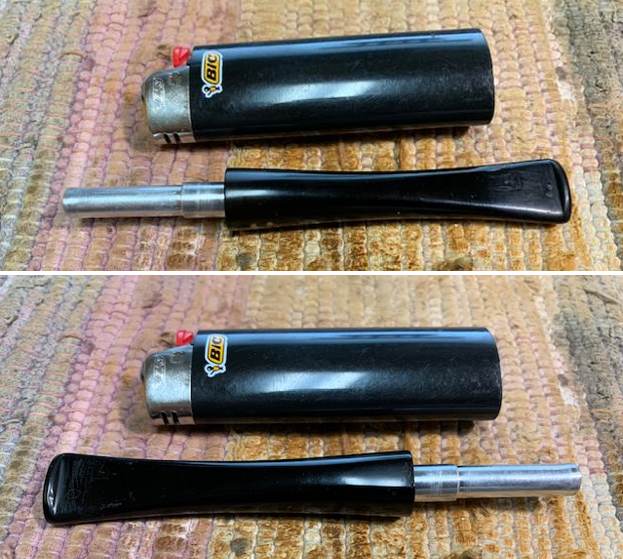
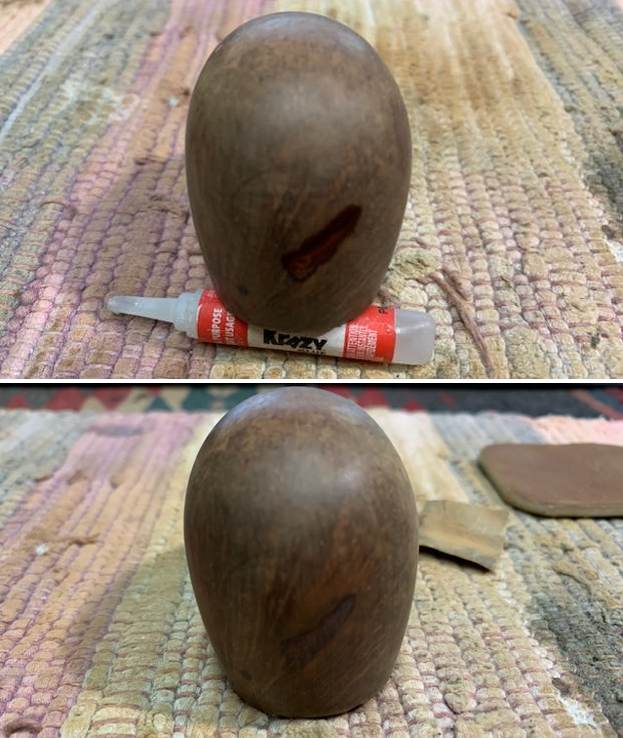
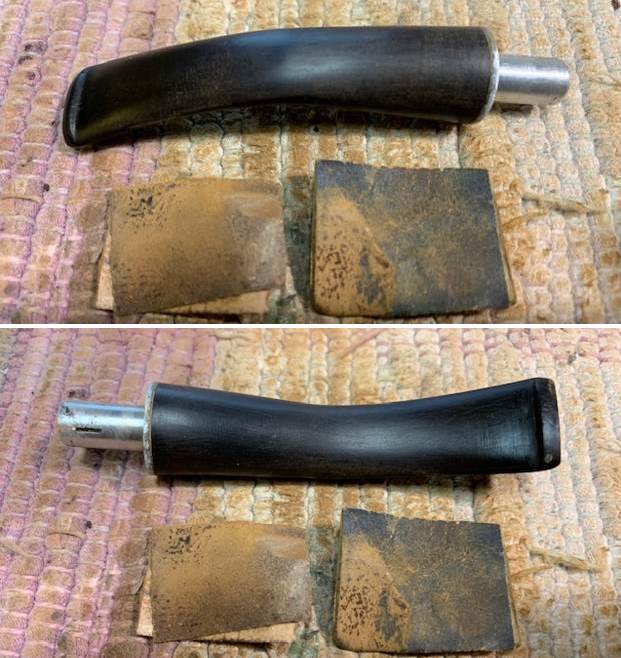
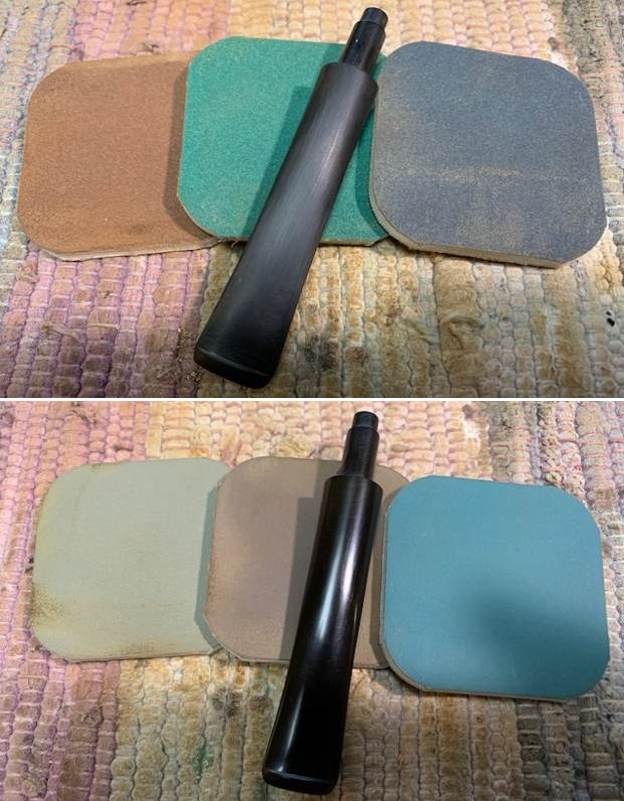
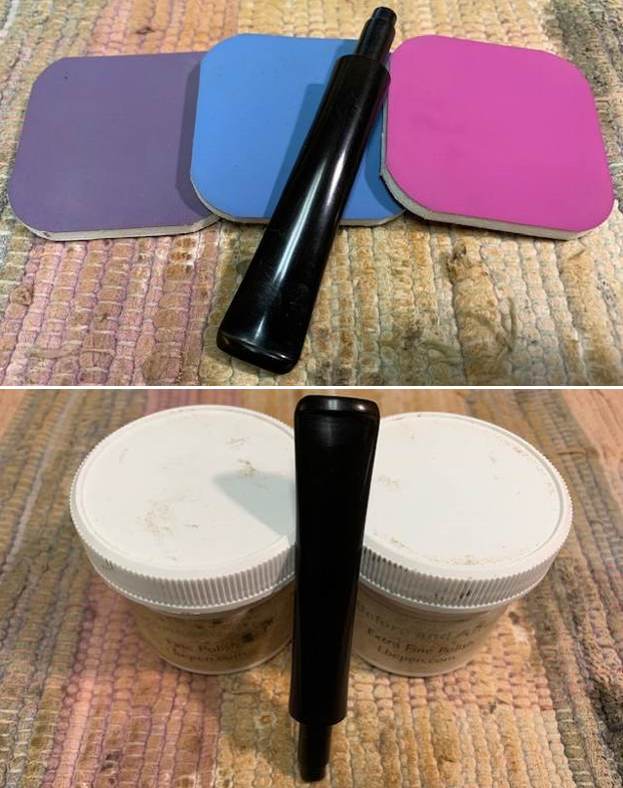
 I set the bowl aside and turned my attention to the stem. I built up the tooth mark in the button surface with Medium Thick Black Super Glue. I sprayed it with a shot of accelerator to harden the surface and set the stem aside to cure overnight. In the morning I reshaped the button edge and surface with a small file.
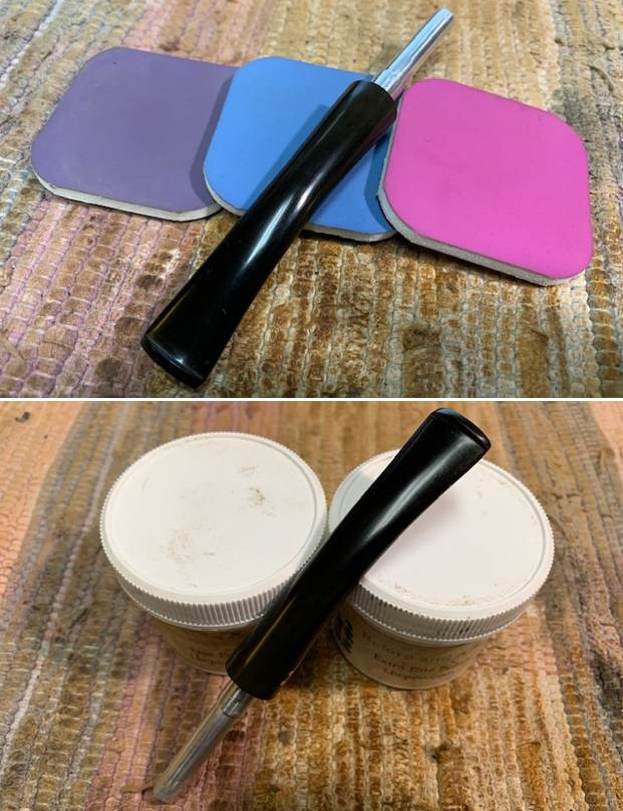
 I sanded and reshaped the repaired area on the underside of the stem and the tooth chatter on the top side with 220 grit sandpaper. I started polishing it with 400 grit wet dry sandpaper.
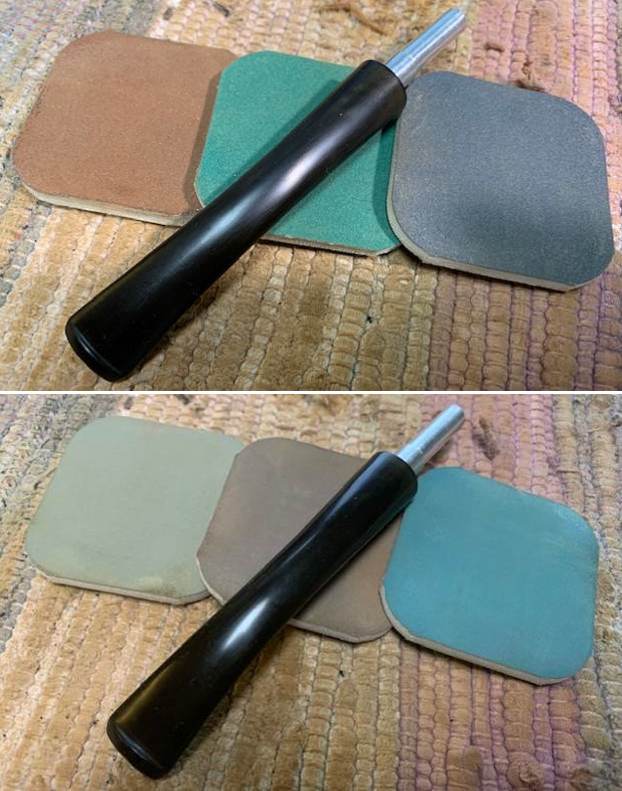
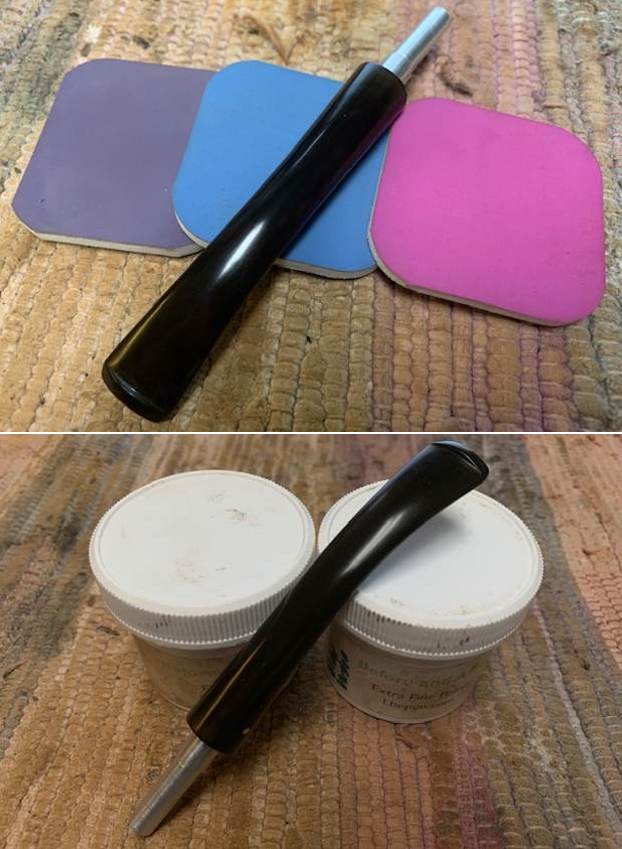
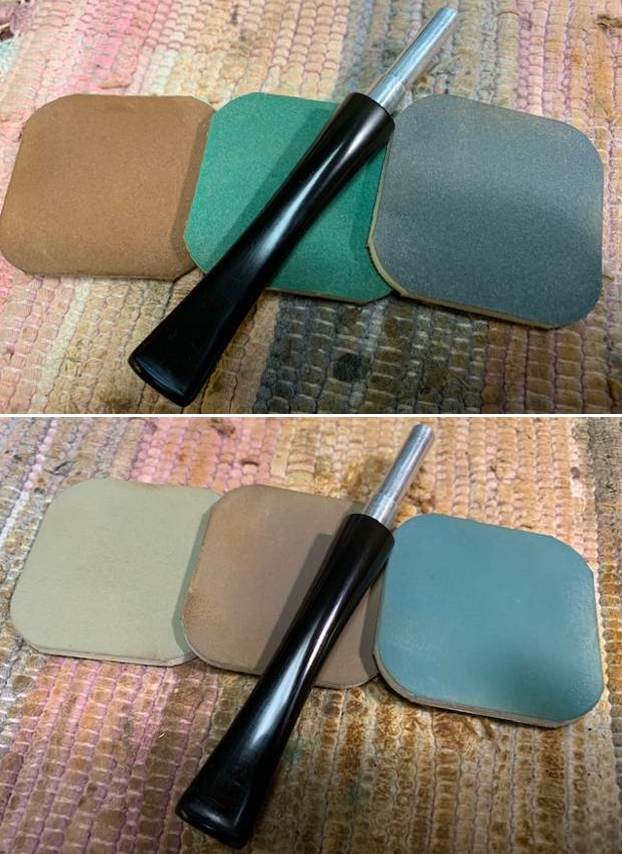
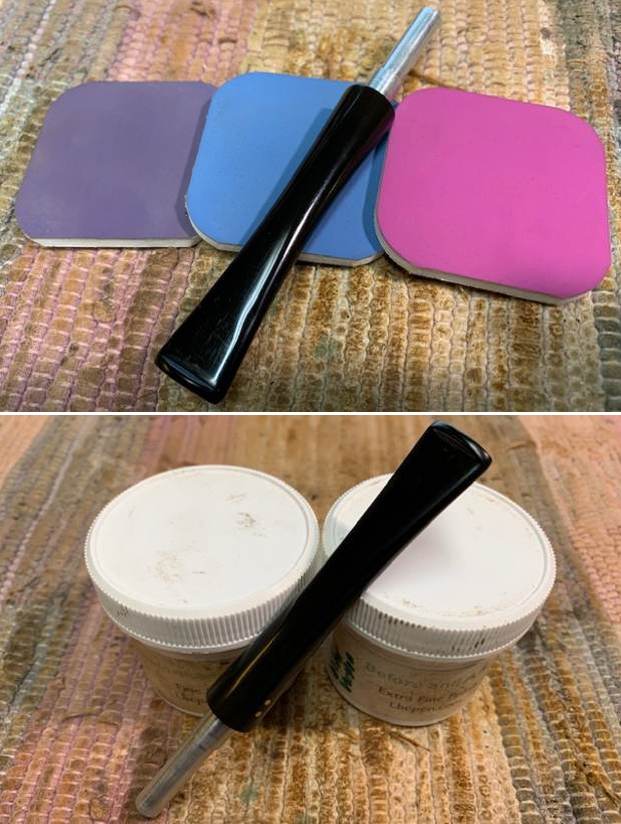
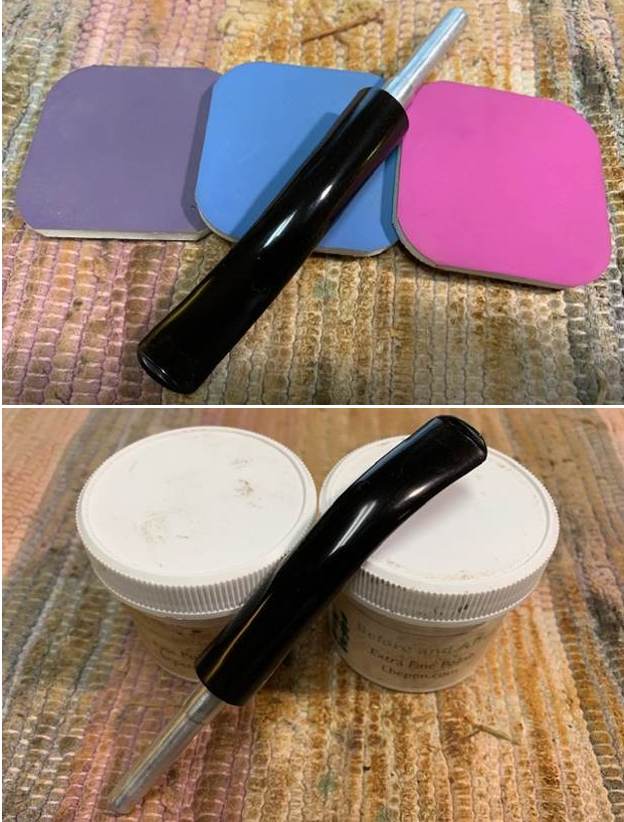
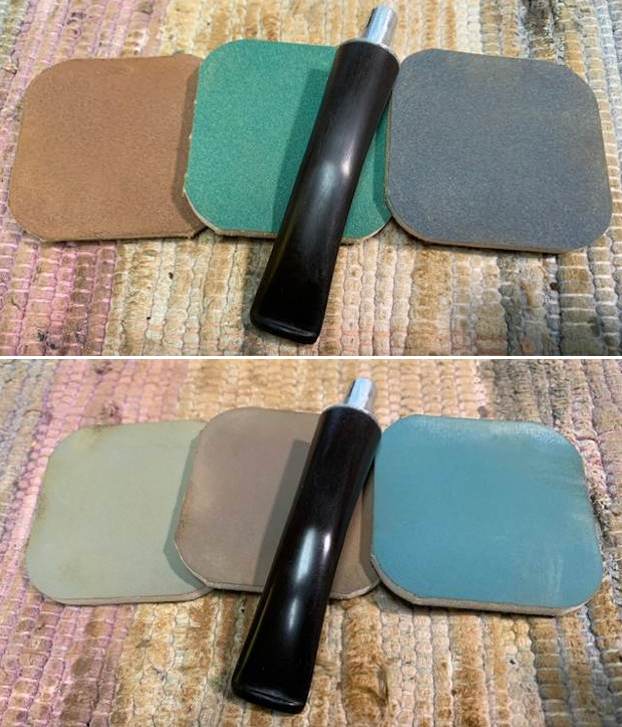
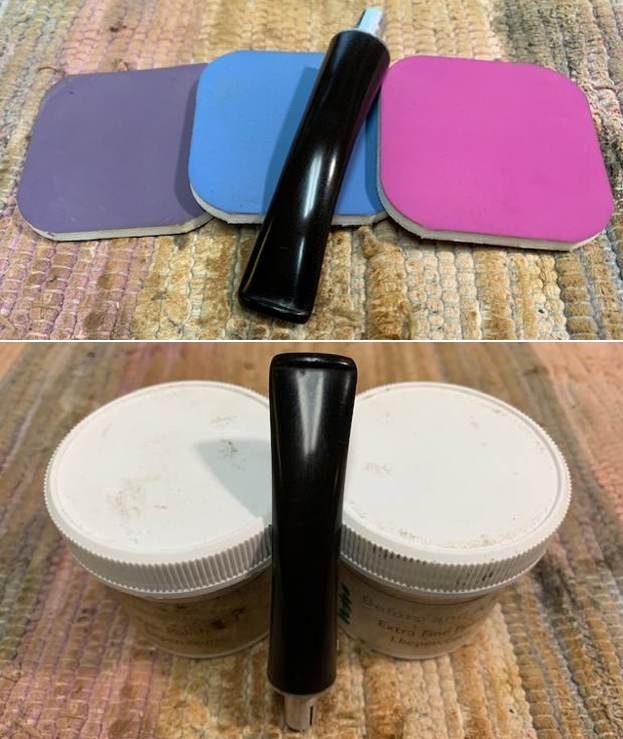
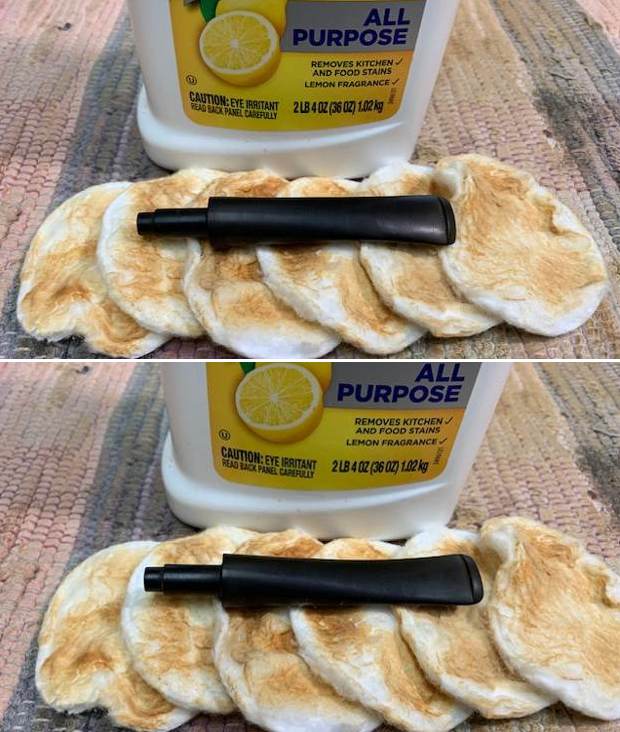
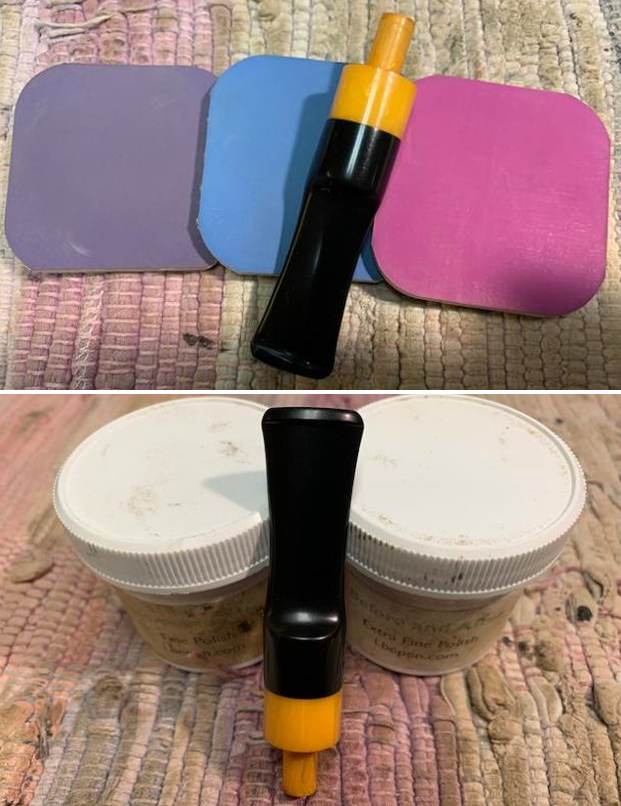
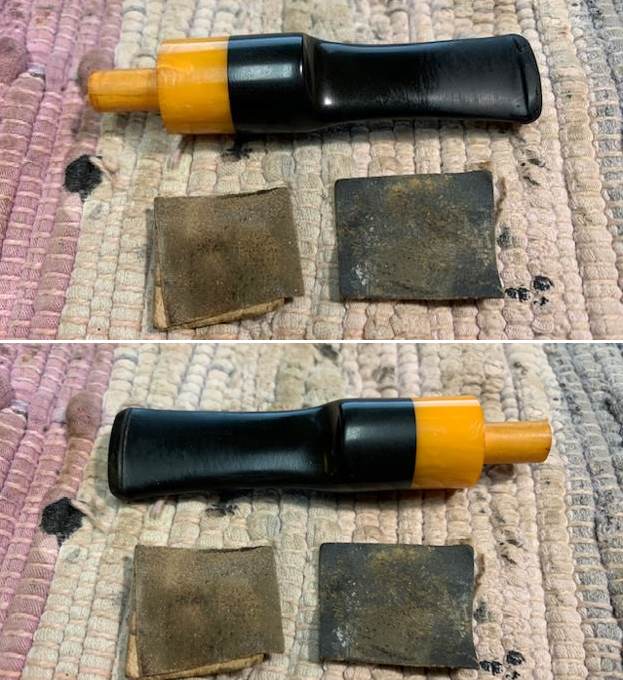 I polished the stem on both sides using micromesh sanding pads. I dry sanded the stem with the 1500-12000 grit pads, then wiped it down with a cloth impregnated with Obsidian Oil. I finished polishing it with Before & After stem polish – both Fine and Extra Fine. I gave it a final coat of Obsidian Oil and set it aside to dry.
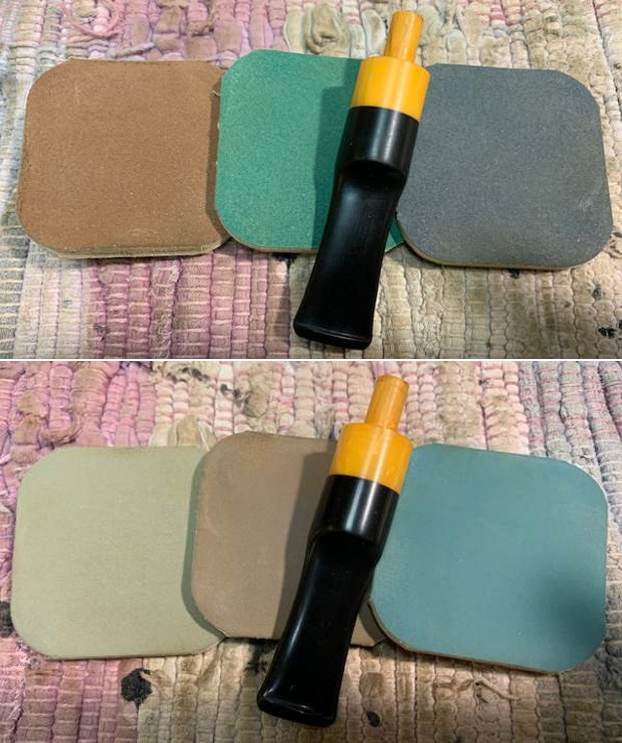
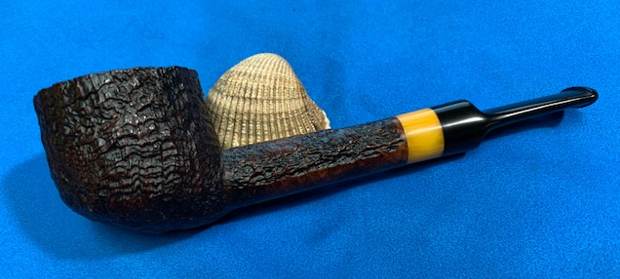
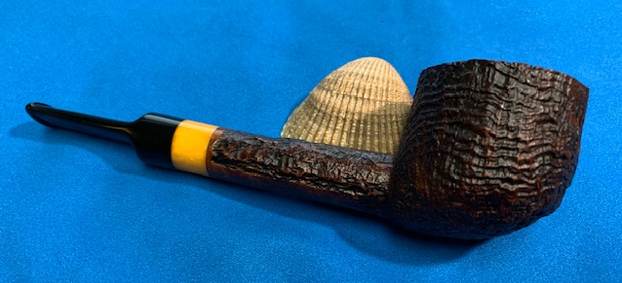
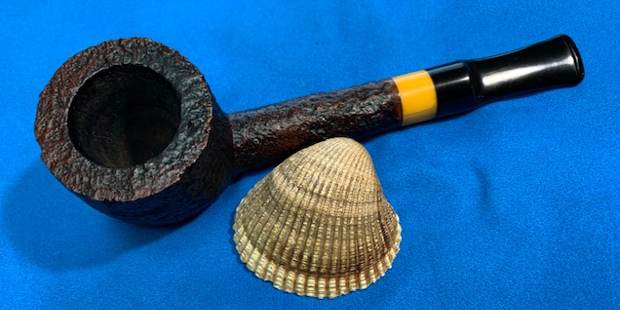
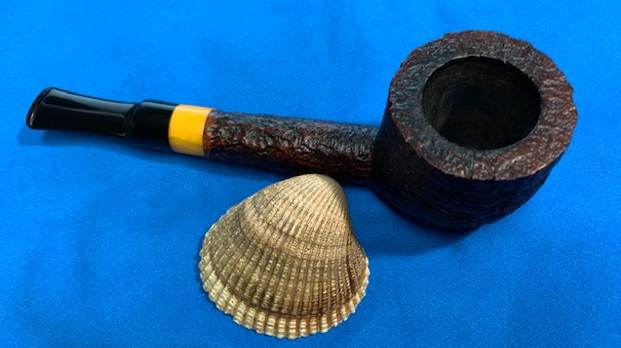
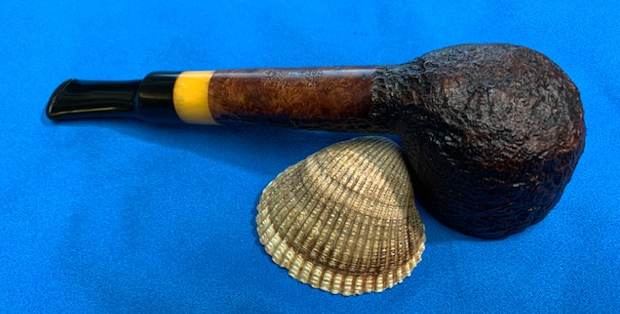
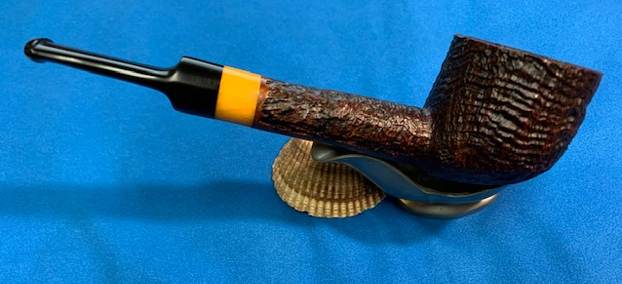
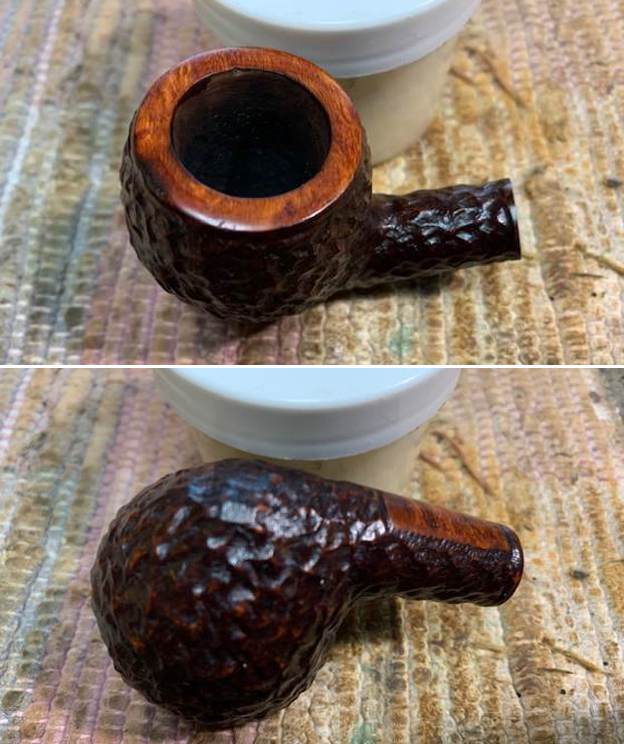
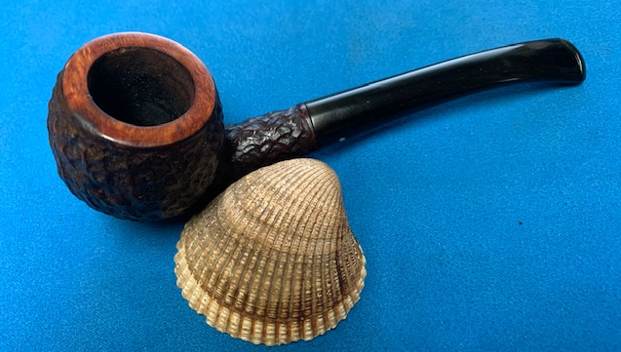
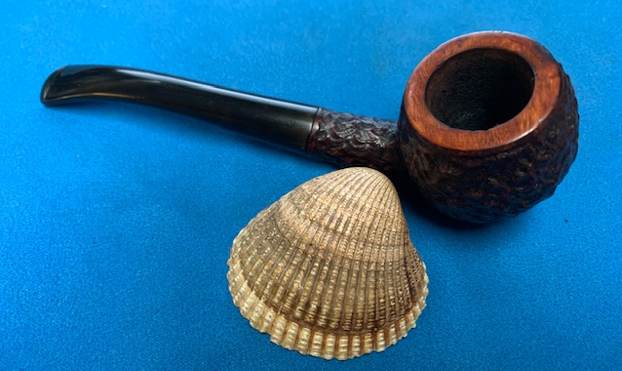
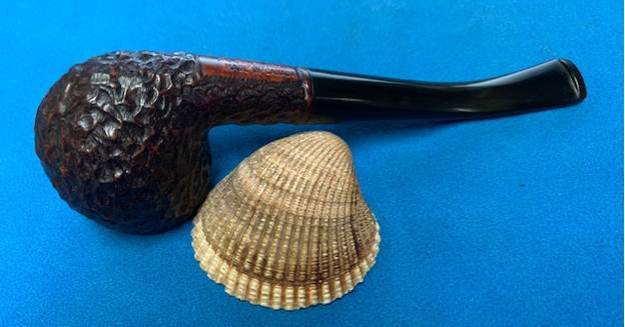
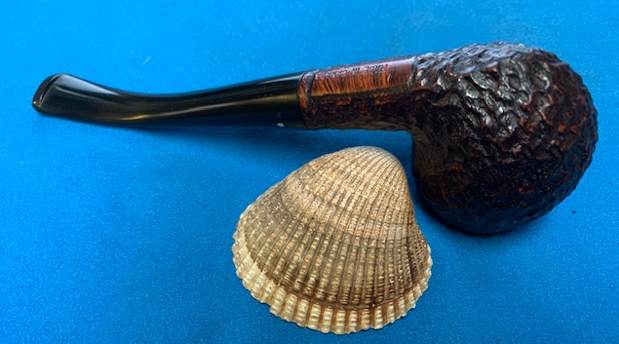
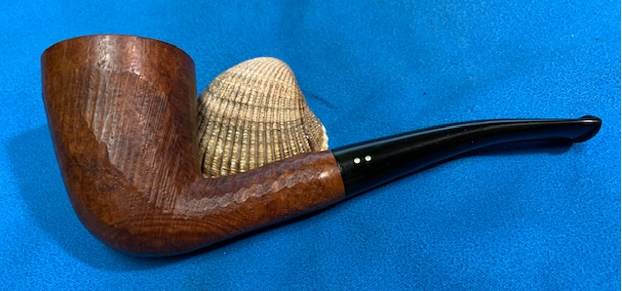
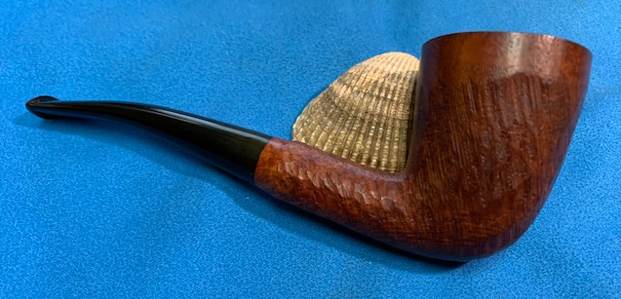
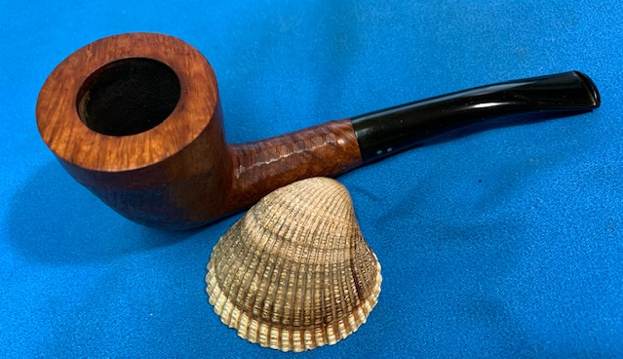
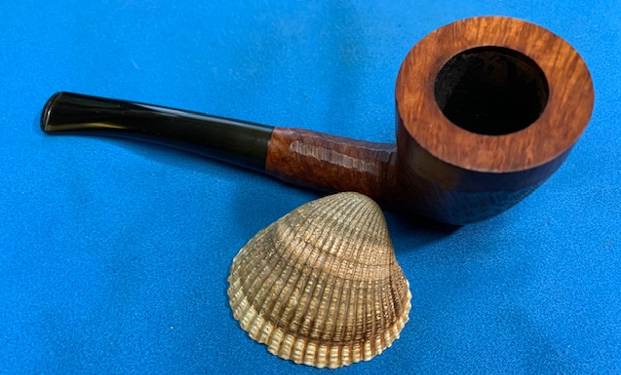
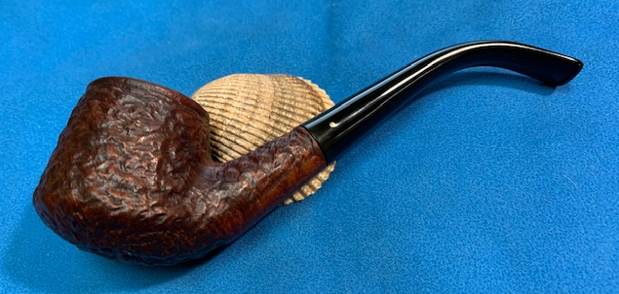
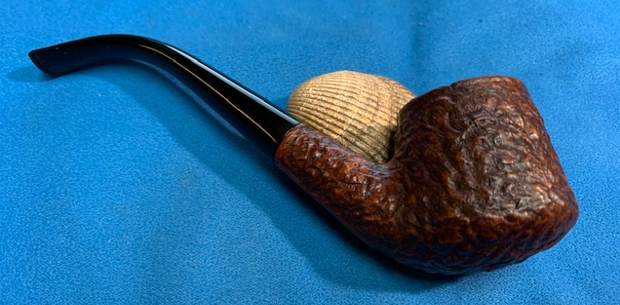
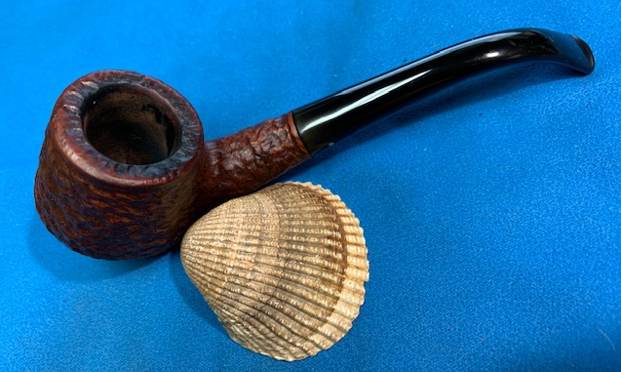
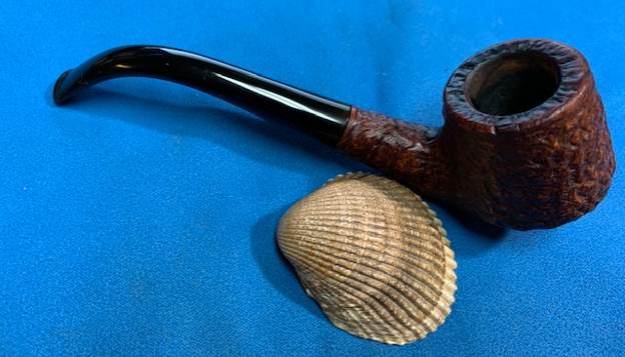
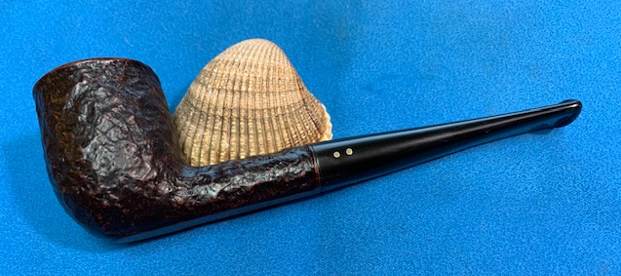
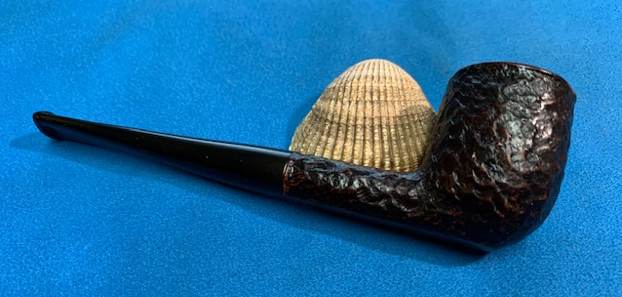
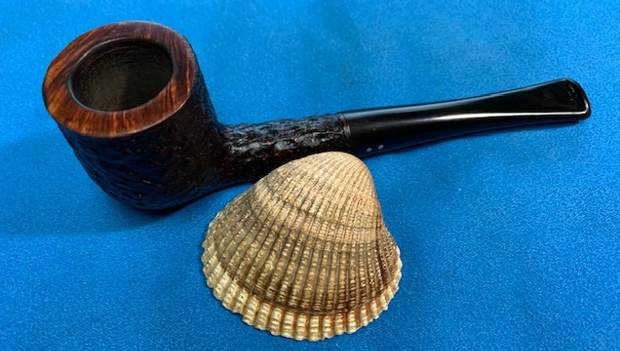
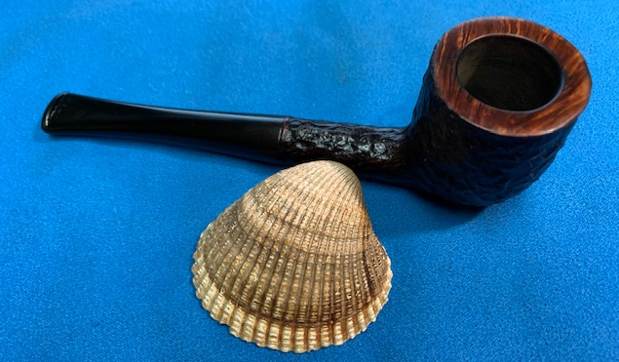
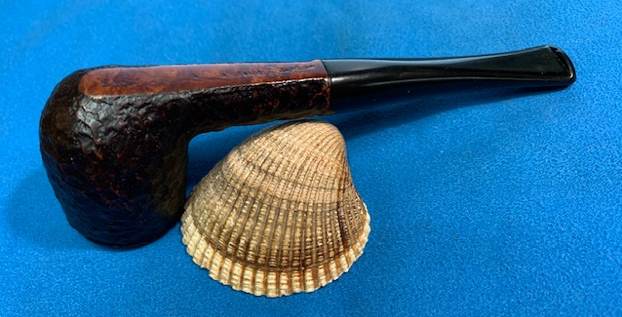
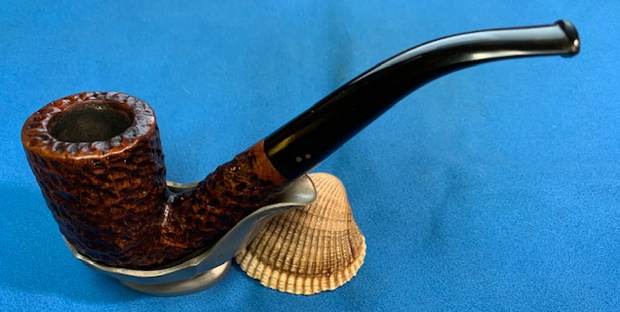
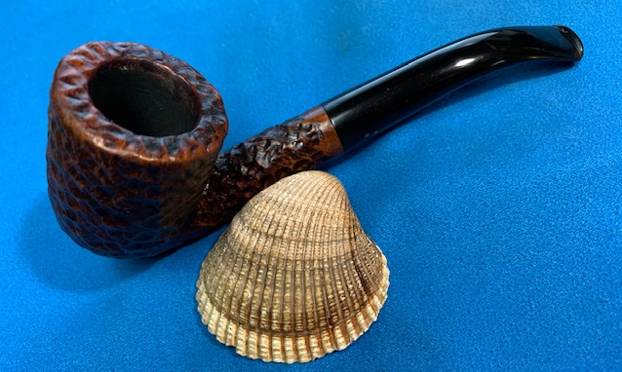
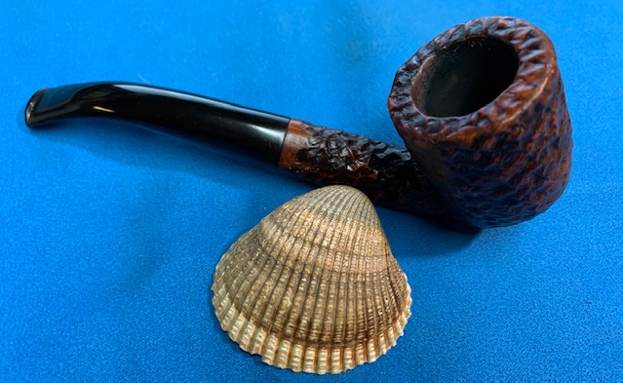
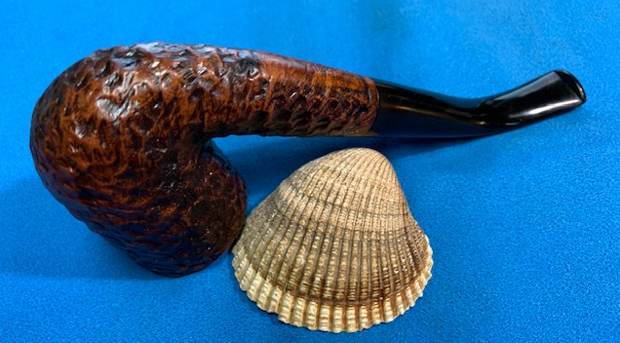
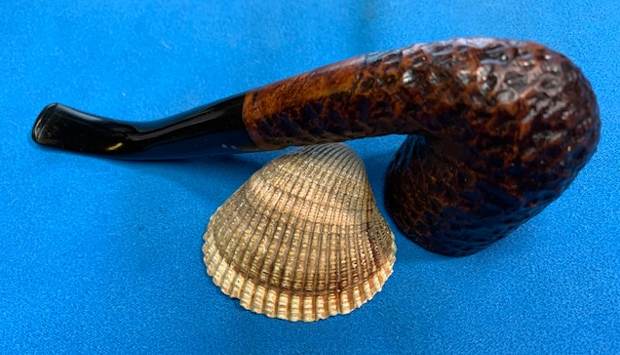
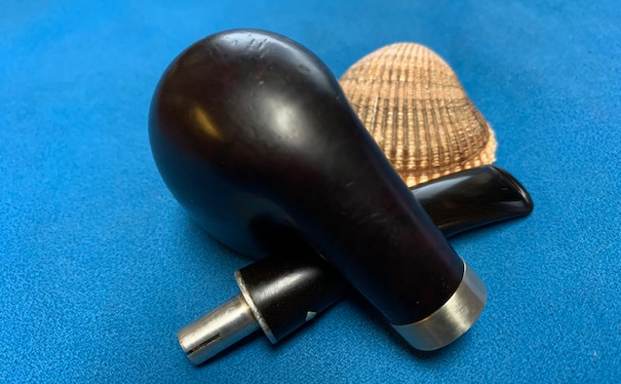
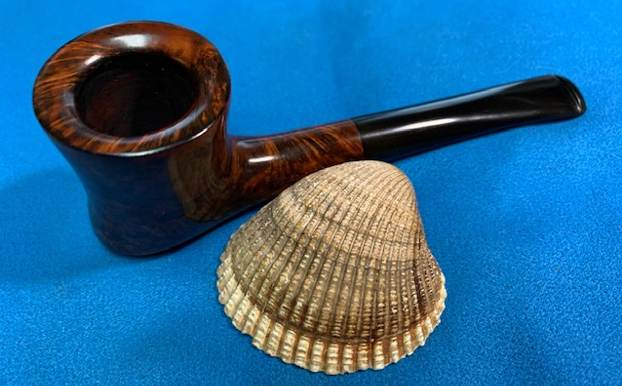
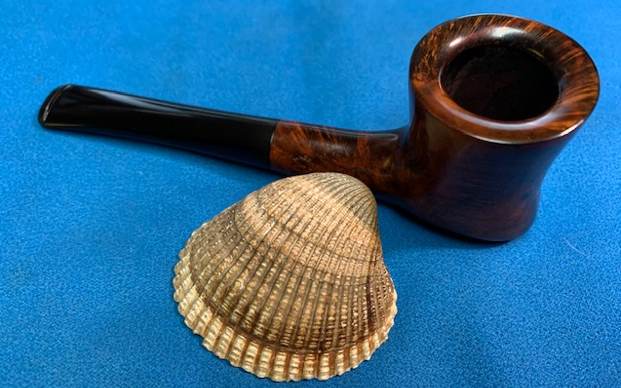
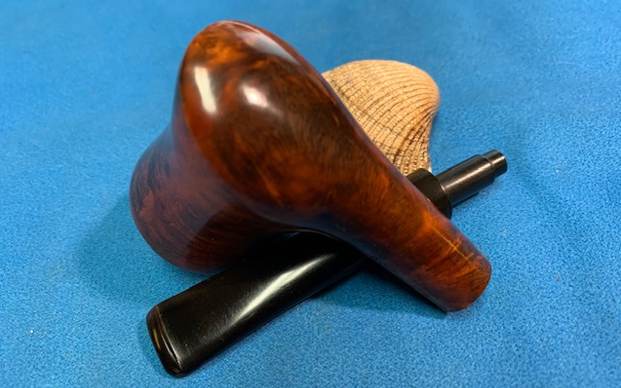
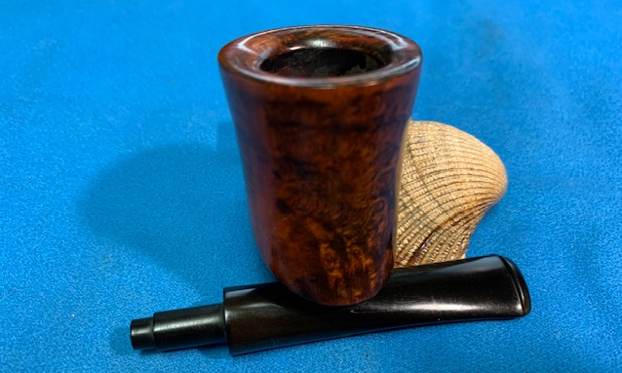
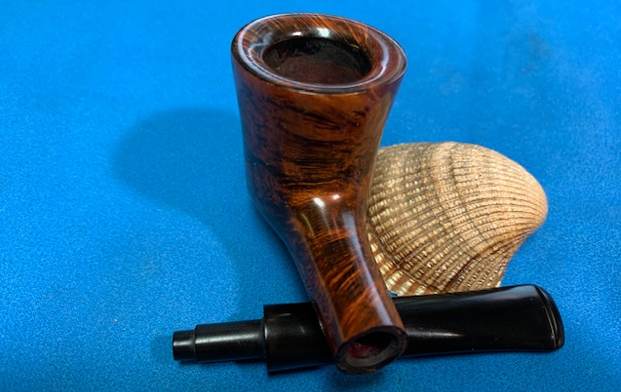
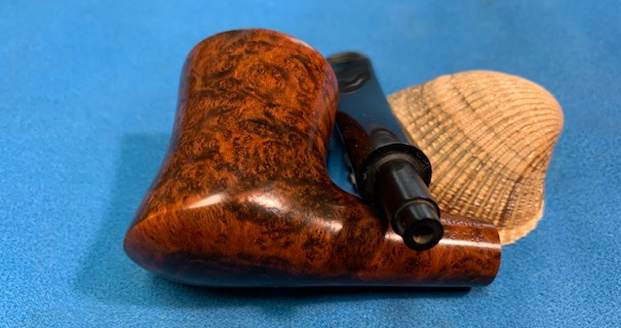
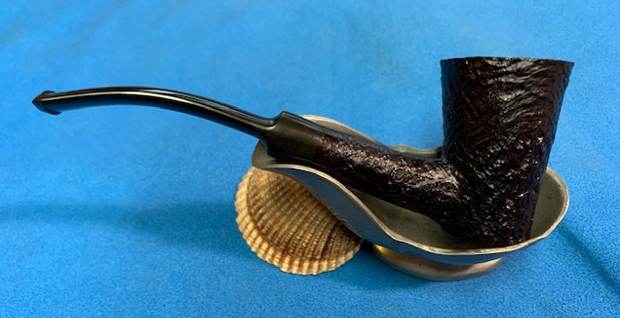
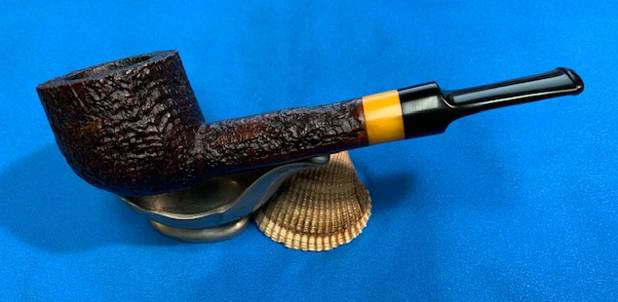
 This is another pipe I am excited to finish. It is a Ben Wade Hand Model London Made Long Pot. I put the pipe back together and buffed it lightly with Blue Diamond on the buffing wheel. I gave the bowl multiple coats of Conservator’s Wax and the stem multiple coats of carnauba wax. I buffed the pipe with a clean buffing pad to raise the shine and hand buffed it with microfiber cloth to deepen the shine. It is fun to see what the polished bowl looks like with the polished stem with the golden acrylic spacer. It really was a beautiful pipe. The sandblasted grain shining through the rich browns/black stain on this Ben Wade Hand Model is nice looking and the pipe feels great in my hand. It is light and well balanced. Have a look at it with the photos below. The dimensions are Length: 6 ½ inches, Height: 1 ¾ inches, Outside diameter of the bowl: 1 ¾ inches, Chamber diameter: 1 of an inch. The weight of the pipe is 2.08 ounces/59 grams. It is a beautiful pipe and one that will be on the rebornpipes store in the British Pipe Makers Section soon. If you are interested in adding it to your collection let me know. Thanks for walking through the cleanup with me as I worked over this pipe. Thanks to each of you who are reading this blog. Remember we are not pipe owners; we are pipemen and women who hold our pipes in trust until they pass on into the trust of those who follow us.