Blog by Steve Laug
When I finished the restoration work on a pair of Comoy’s Blue Riband Billiard pipes and sent them back to the owner, Scott in California I received another email in return saying that he had sent me a pair of Family Era Barling’s Make pot shaped pipes. Here is the link to the work on the Comoy’s Blue Ribands (https://rebornpipes.com/2018/09/29/restoring-a-pair-of-comoys-blue-riband-billiards/).
While my Dad was visiting recently I received a package in the mail from Scott in California, US containing the two Barling’s Make pipes. There was a note in the box regarding what he wanted done with the pipes. He wrote:
Here are those two Barling Family Era pipes as promised. As you can see, the larger pipe (1752) should be pretty easy. I’d like to keep the original finish on this one and eve out the colour on the rim to match the rest of the pipe. The smaller pipe (1533) is another story. Looks like a full restoration job here. The stem is seized in the shank, layers of lava over rim char, spot of finish loss on the outside etc. I’ll leave it to you to bring this little beauty back to life.
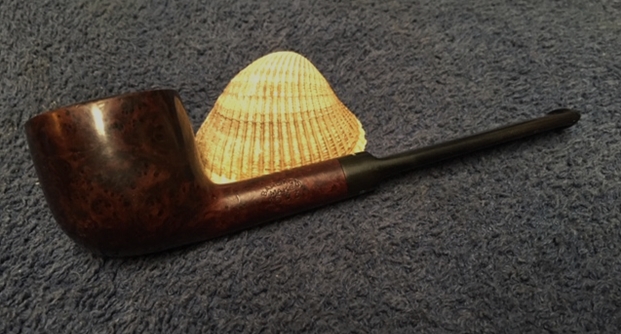
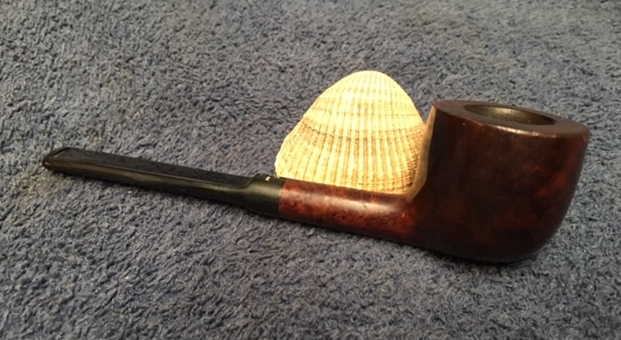
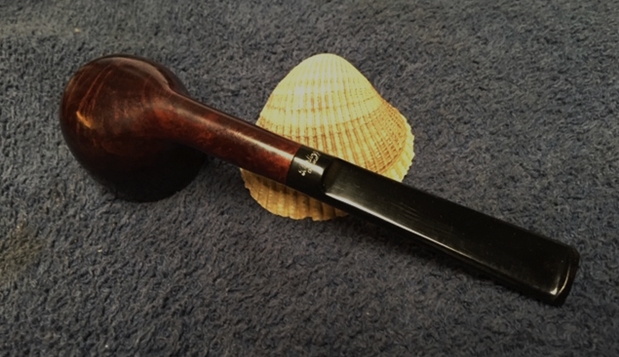
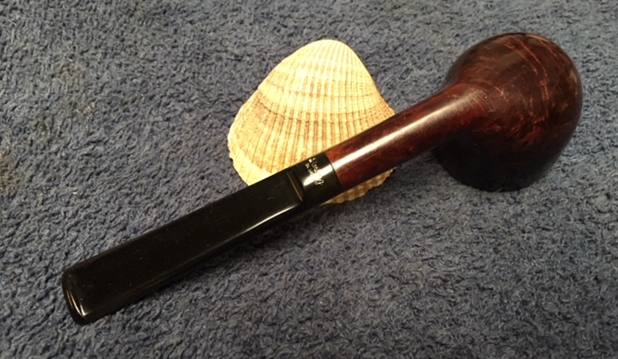
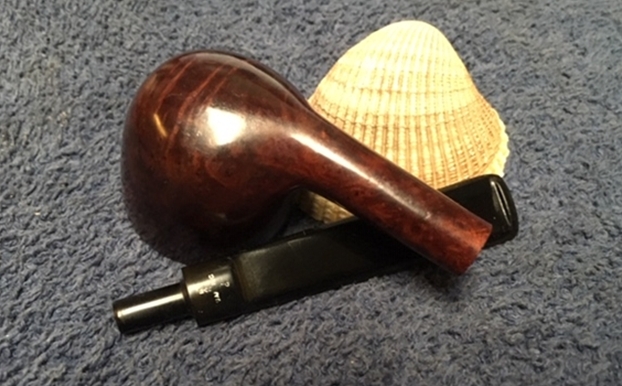
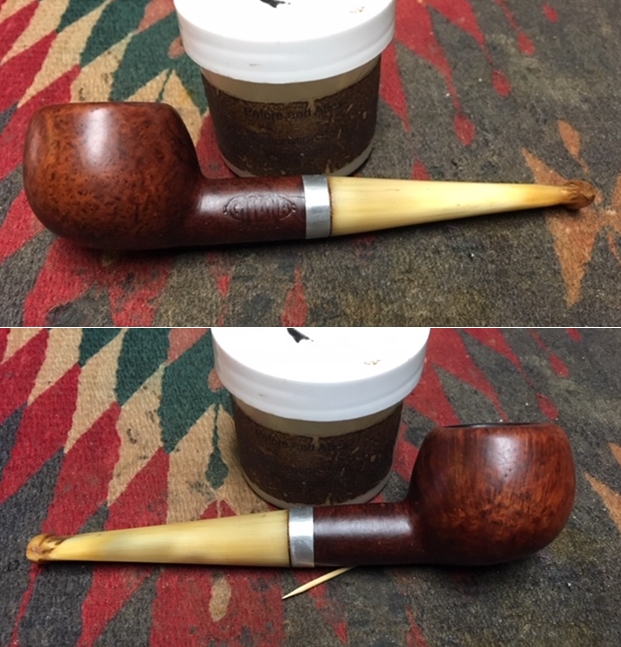
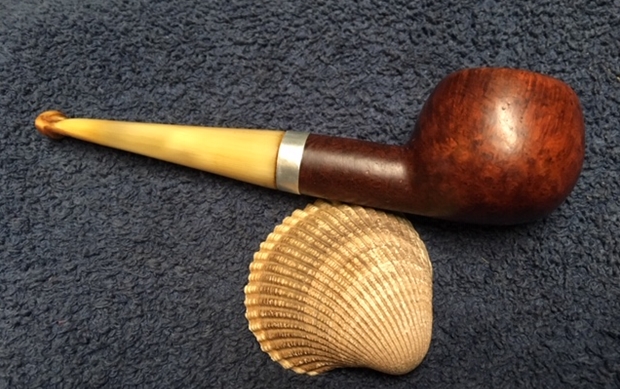
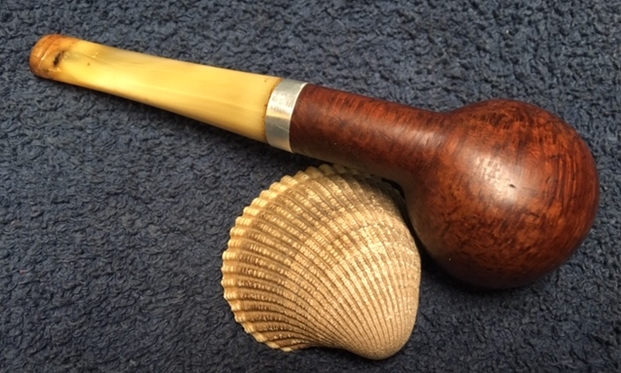
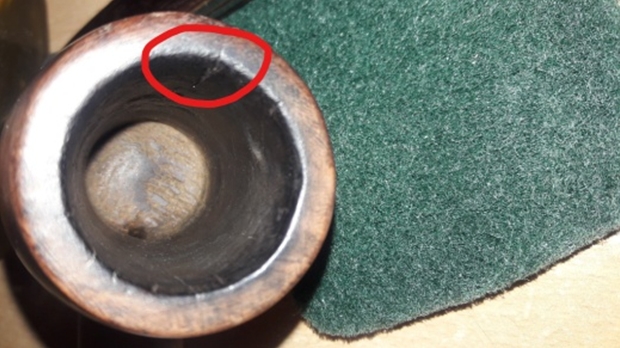
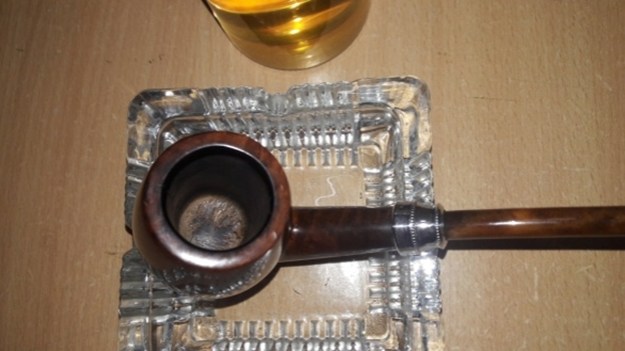
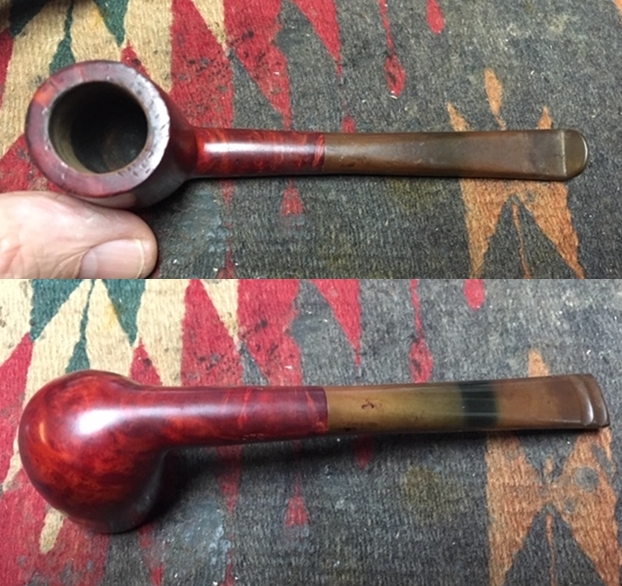
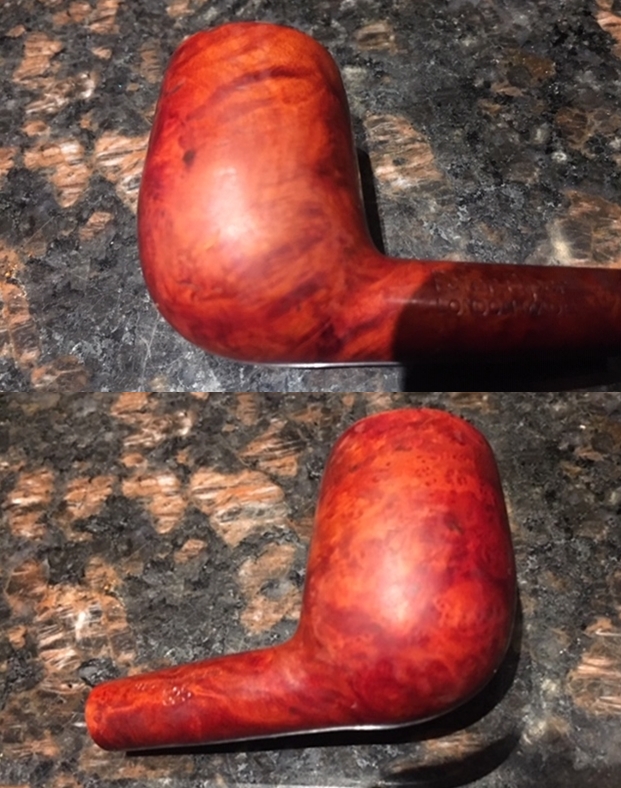
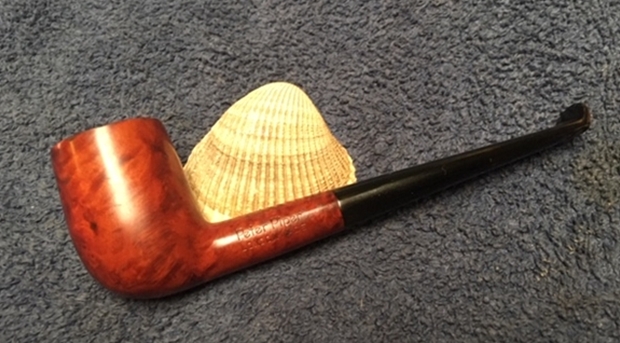
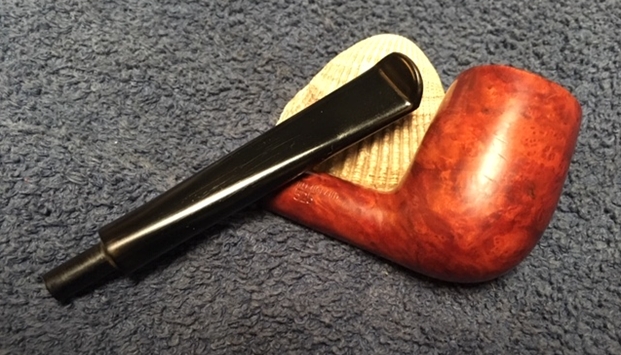
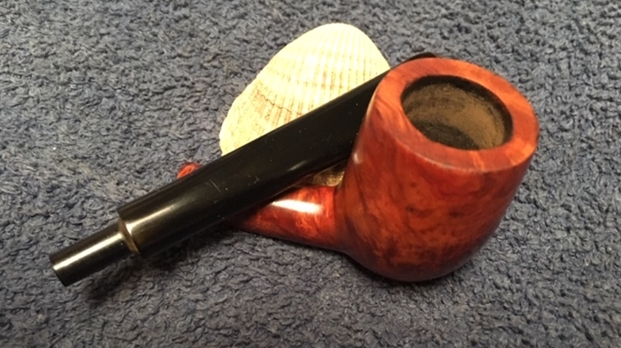
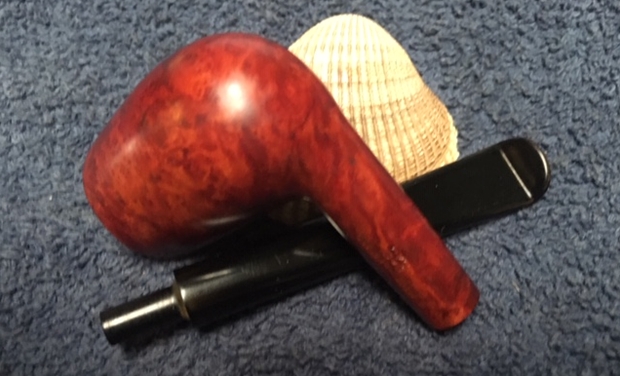
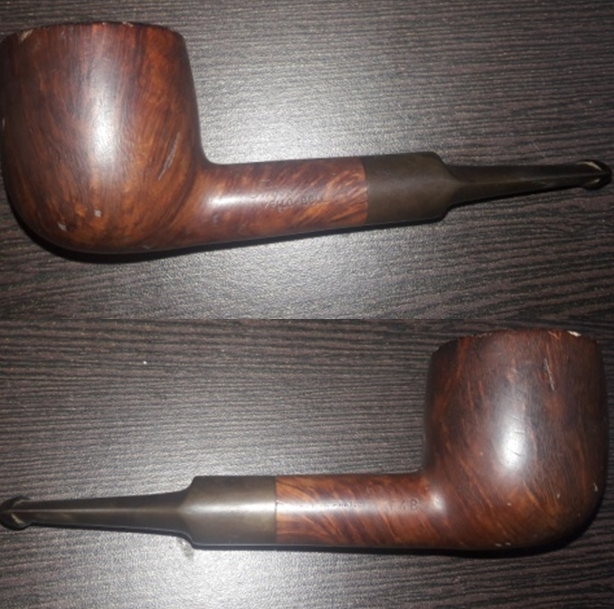
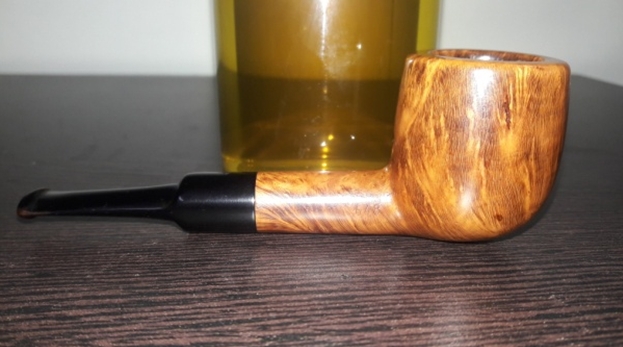
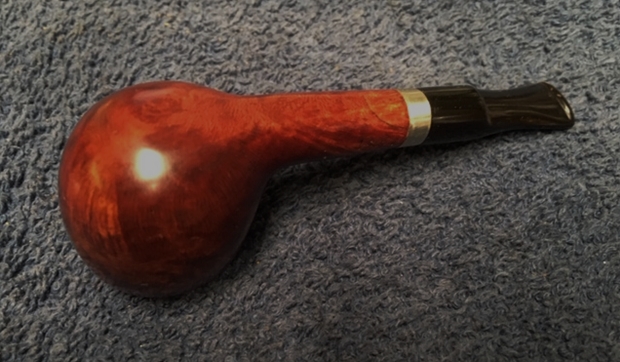
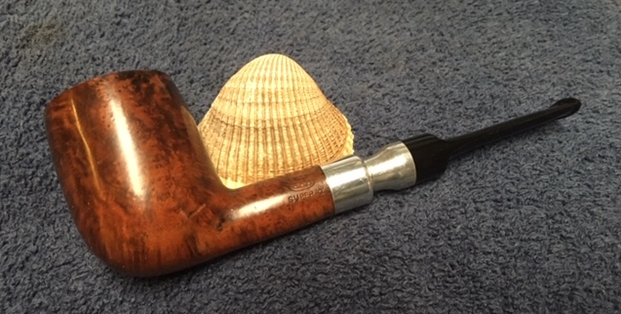
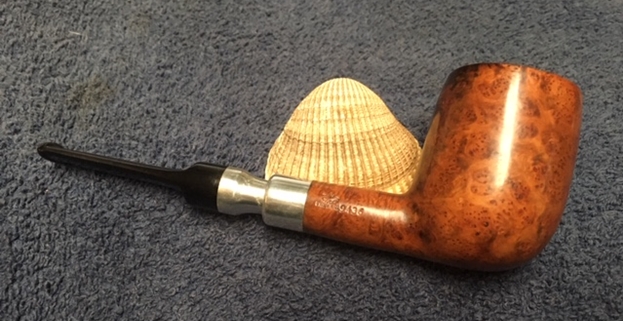
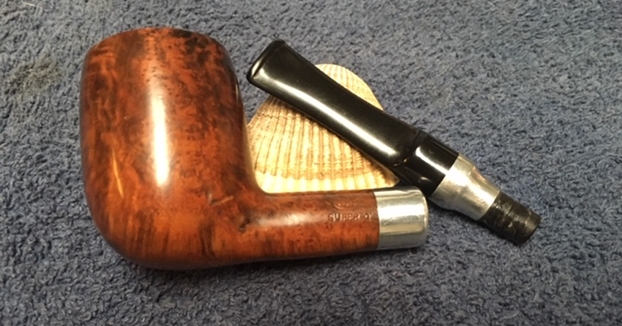
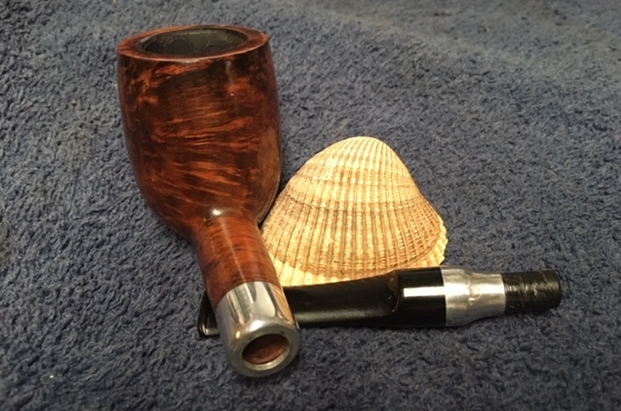
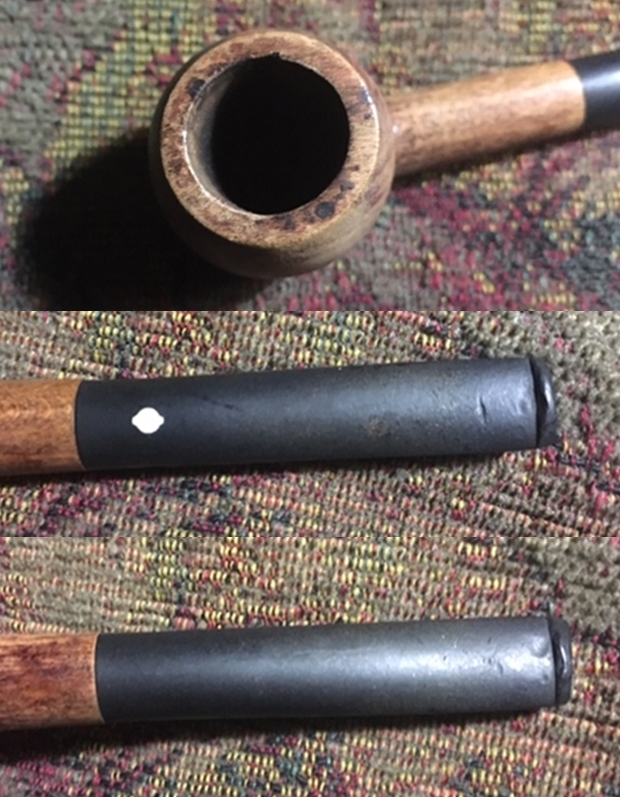
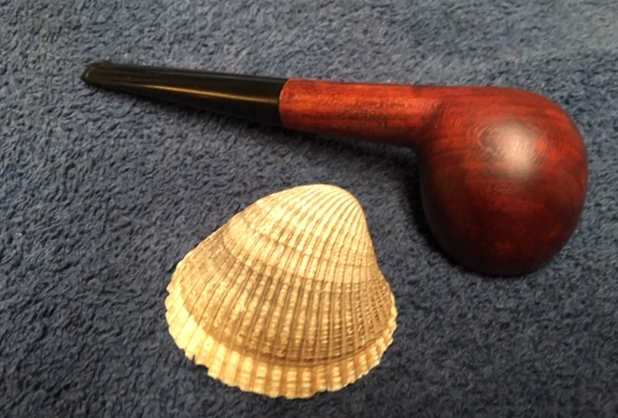
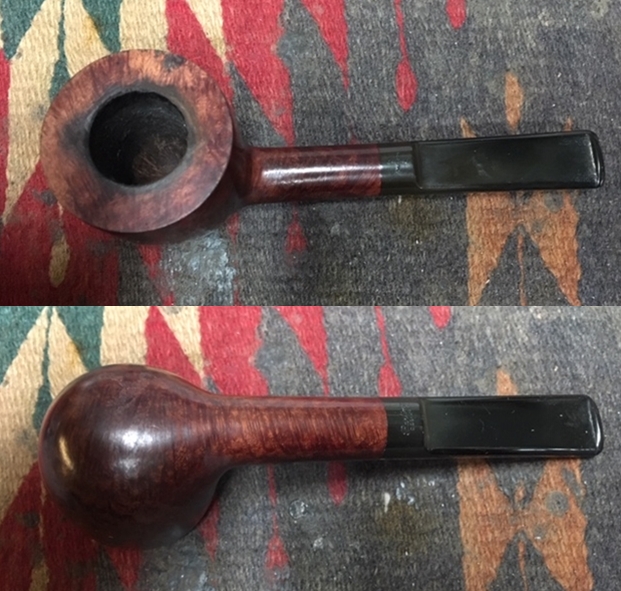
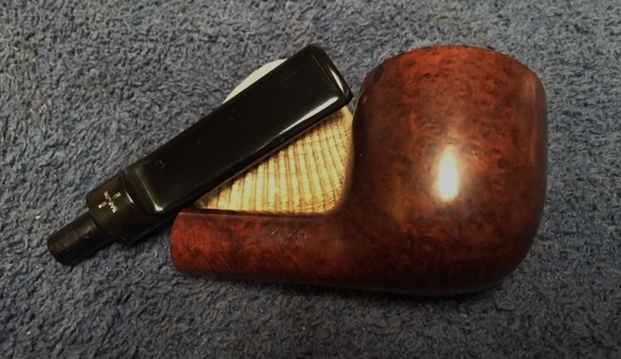
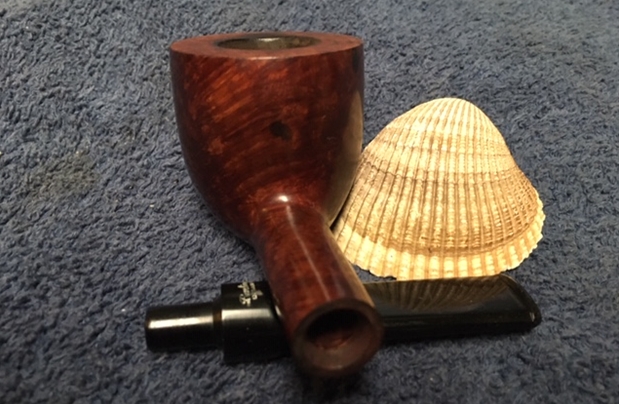
After opening the wrappings in the well packed box I found the two pipes. I took pictures of both pipes to capture their condition when they arrived. The first set of photos shows the larger 1752 pipe that he said “should be pretty easy”. The finish still had a shine on the bowl and shank. There were some paint flecks on the right side of the bowl. The rim top was in the issue as he had noted. The finish was spotty and there was significant burn damage around the inner edge and some darkening. There was a light cake in the bowl but no overflow on the rim top. The stem fit well in the shank though the shank was very dirty. The stem was oxidized and had light tooth marks and chatter on both sides near the button.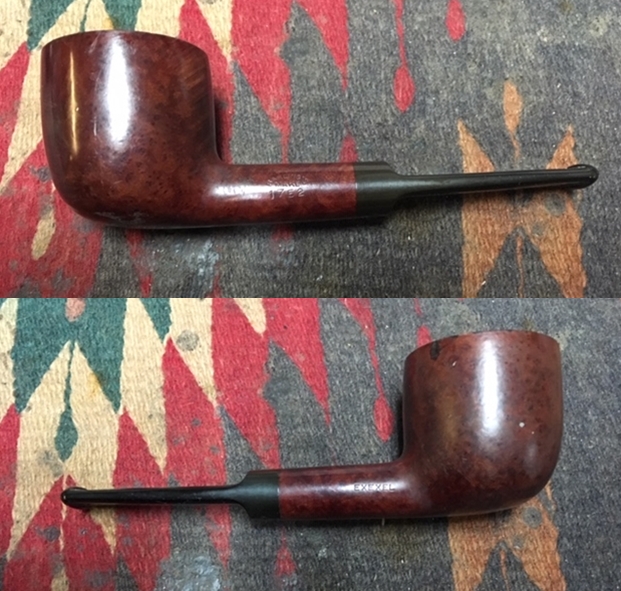
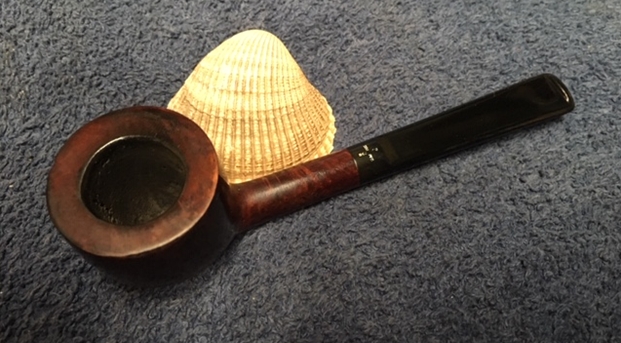
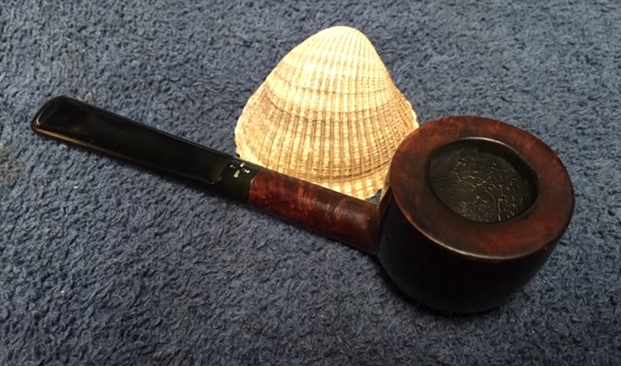
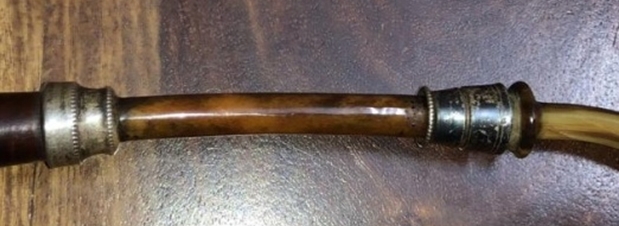
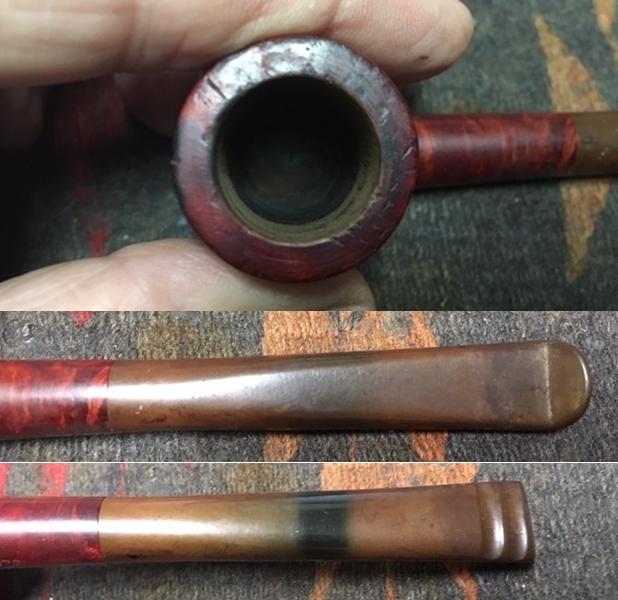
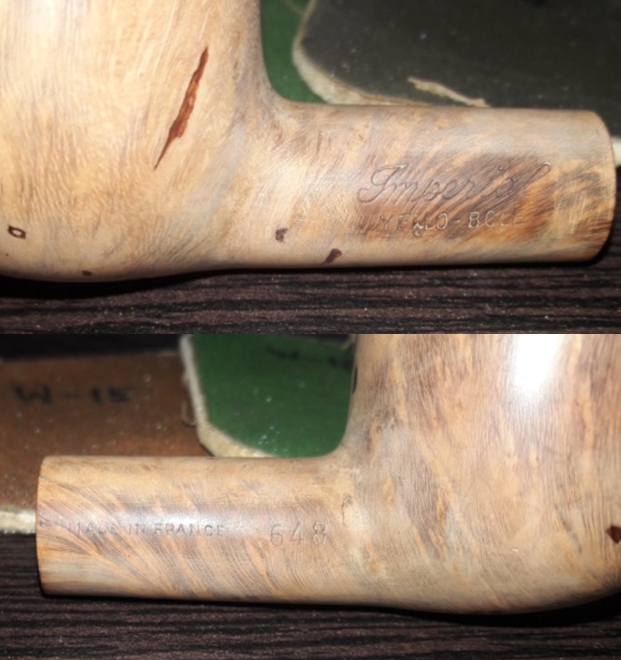
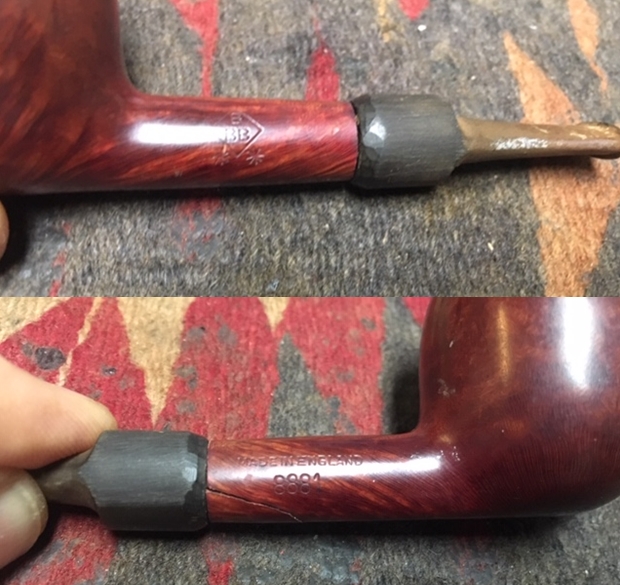
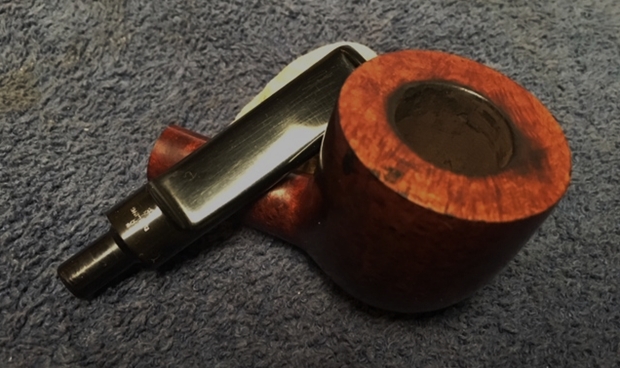
 I took some close up photos of the rim top and the stem to give a clearer picture of the condition of the pipe. The stem is stamped with the Barling cross on the top of the saddle and with the words Barling over Design. The stamping is legible but the white in the stamping is gone.
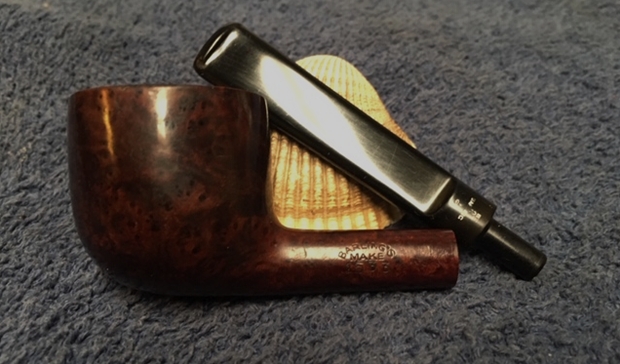
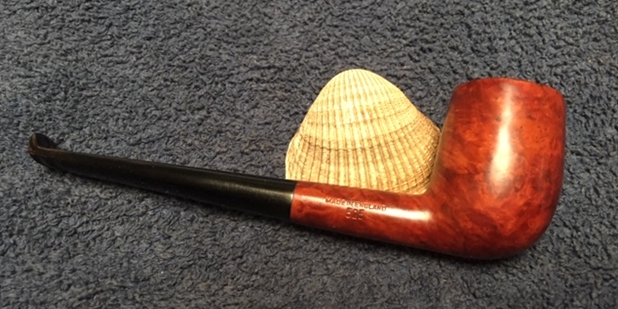
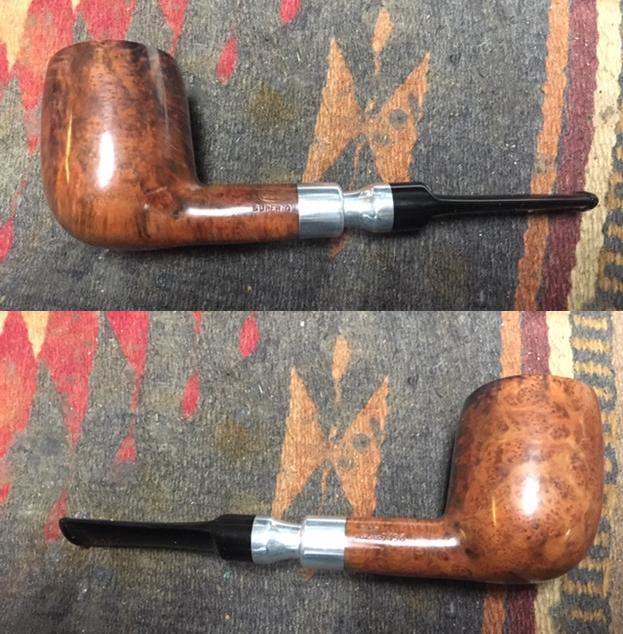
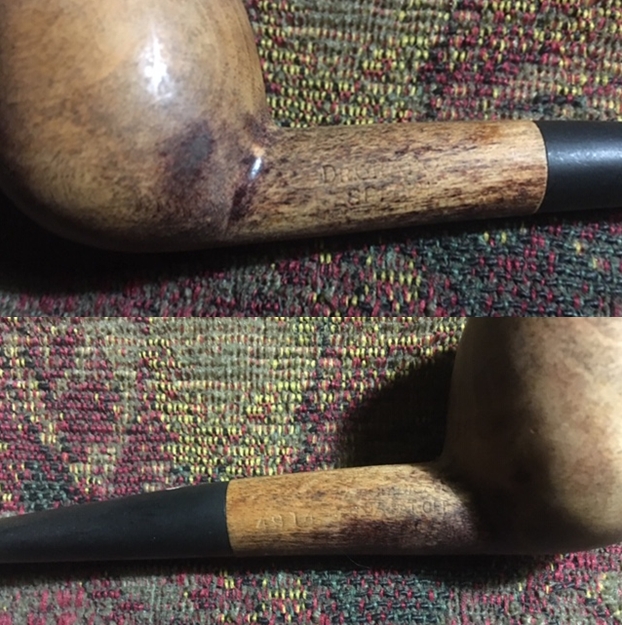
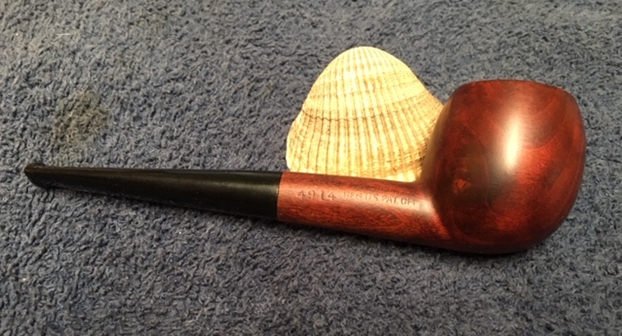
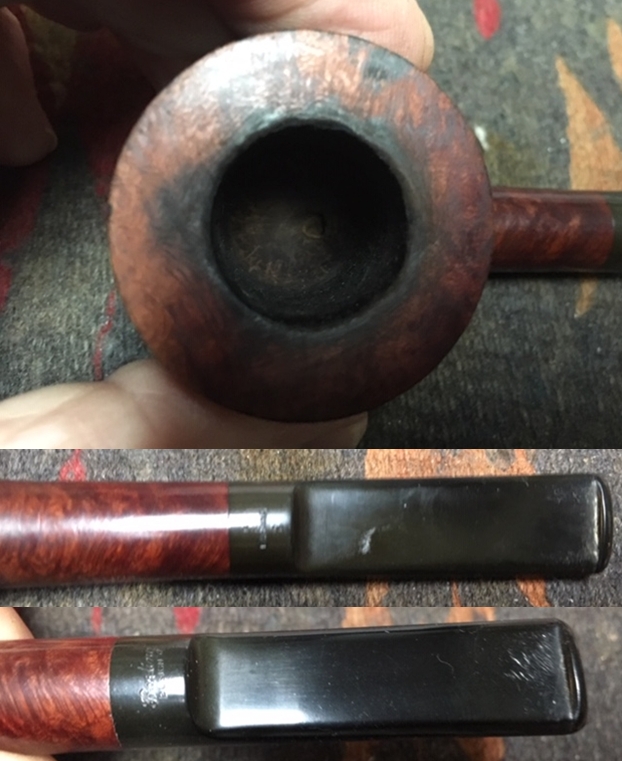 I took photos of both sides of the shank to show the stamping on the pipe. The left side read BARLING’S arched over MAKE with the shape number 1752 underneath. The right side was stamped EXEXEL. The stamping is indeed Family Era vintage.
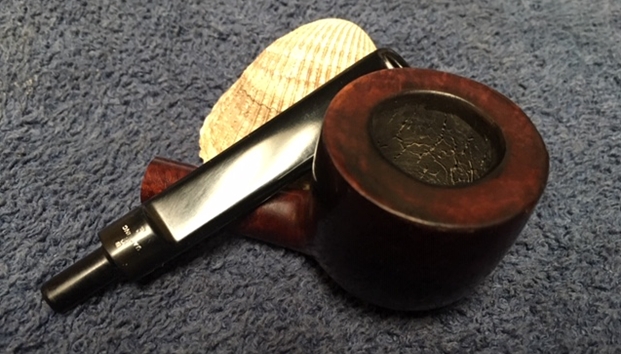
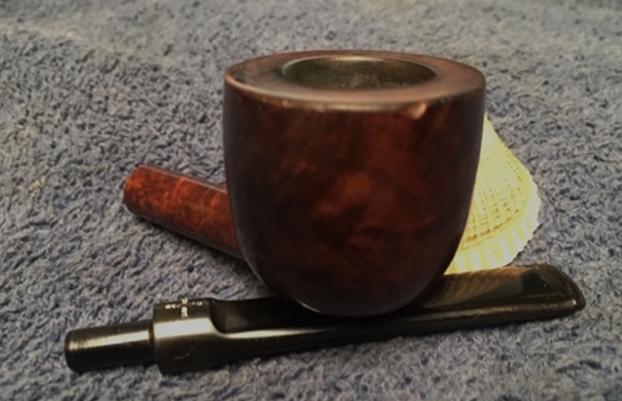
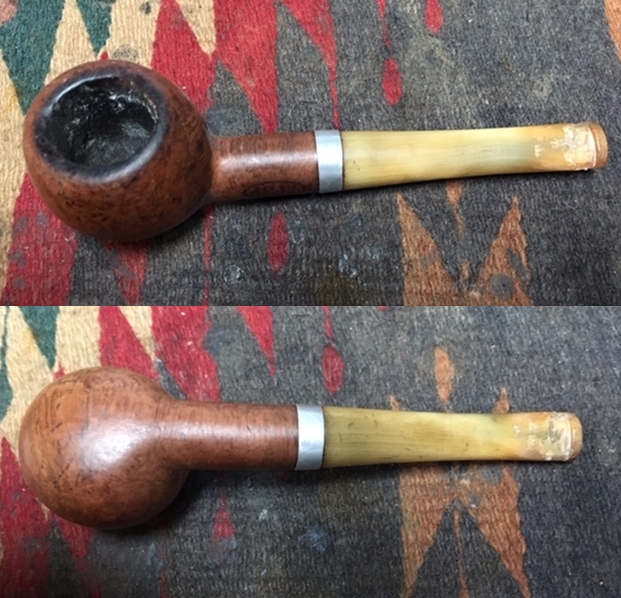
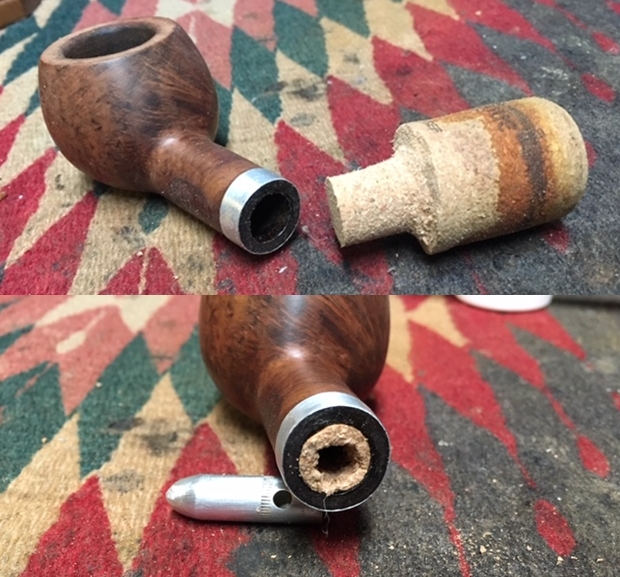
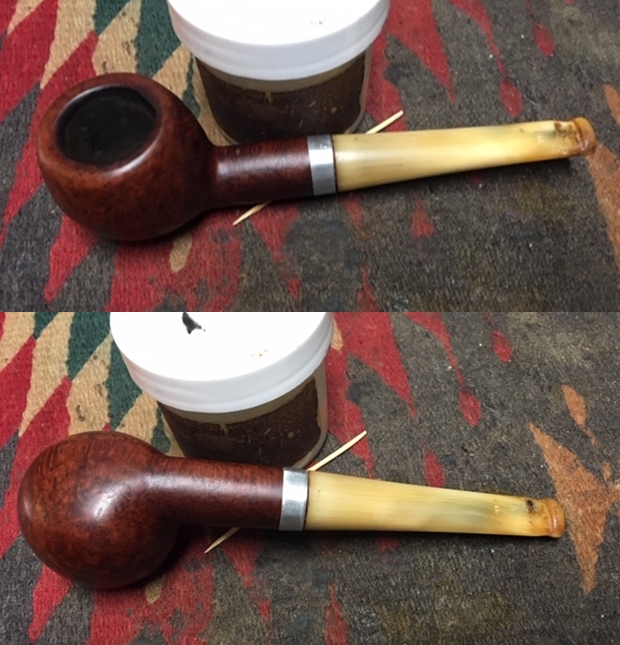
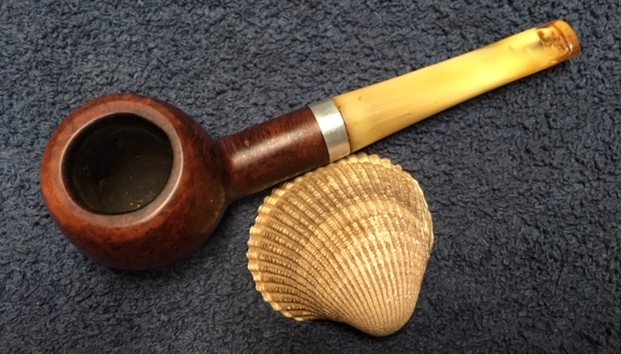
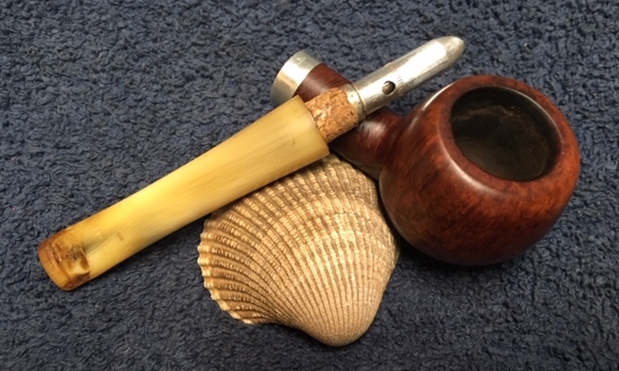
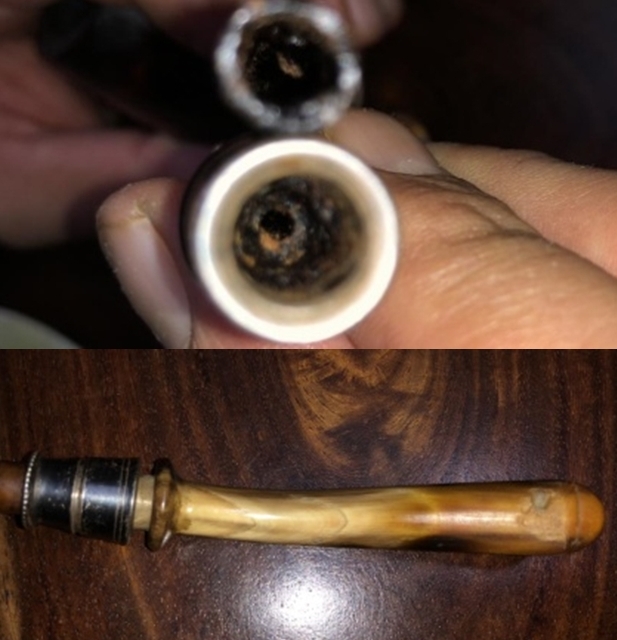
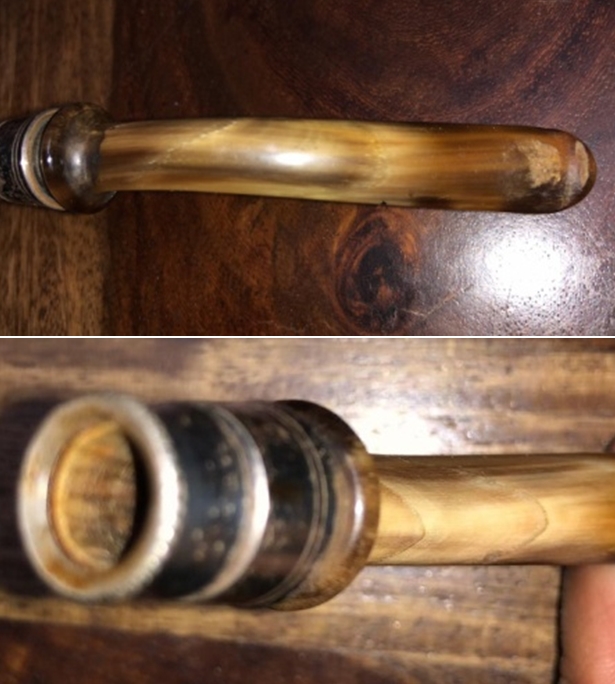
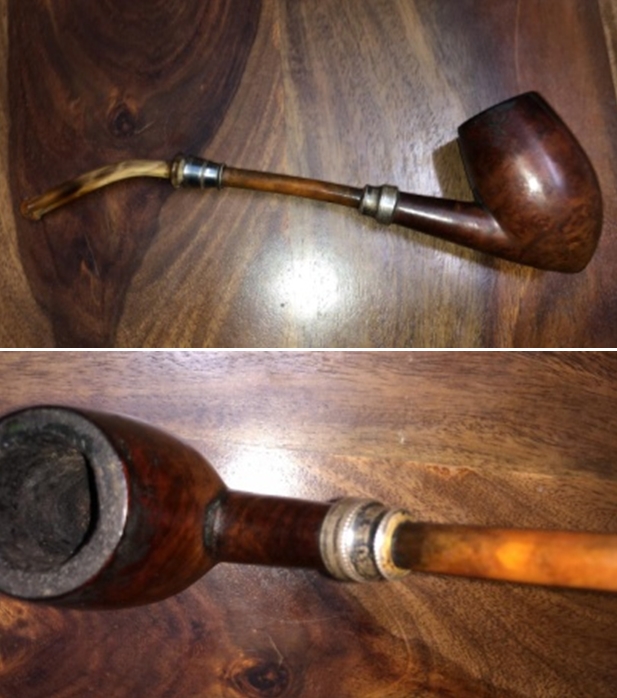
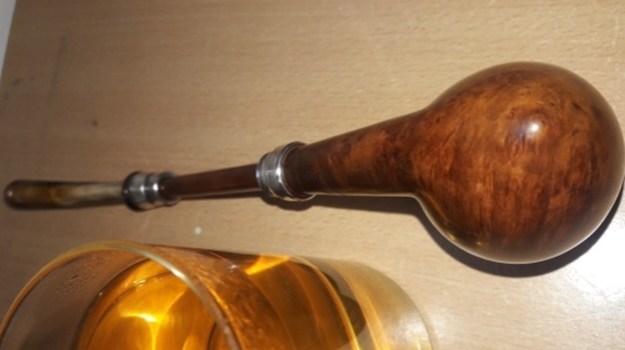
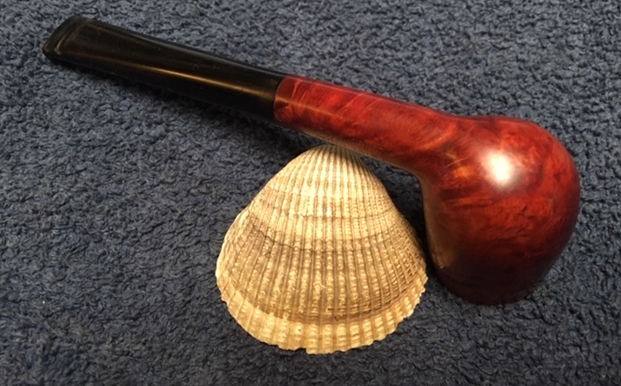
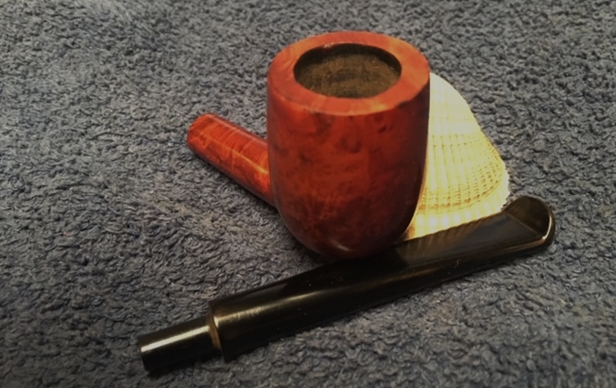
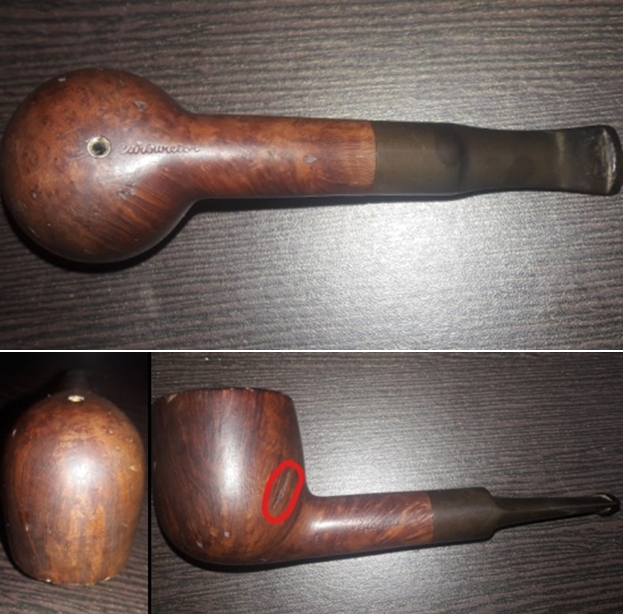
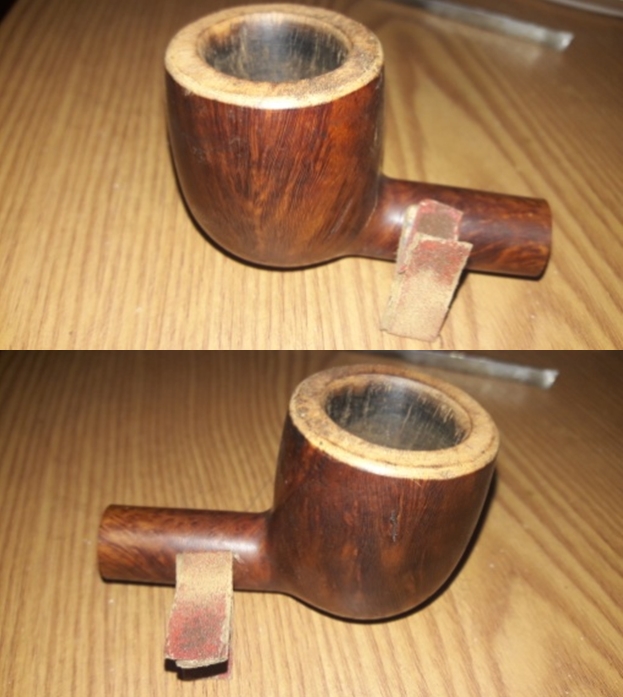
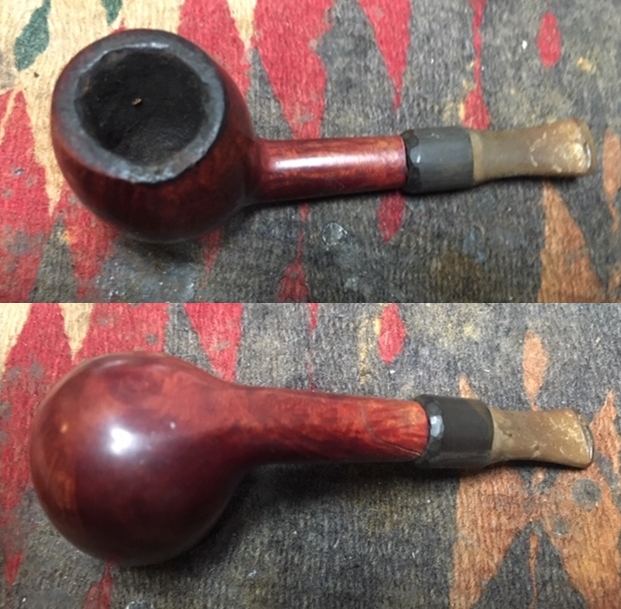
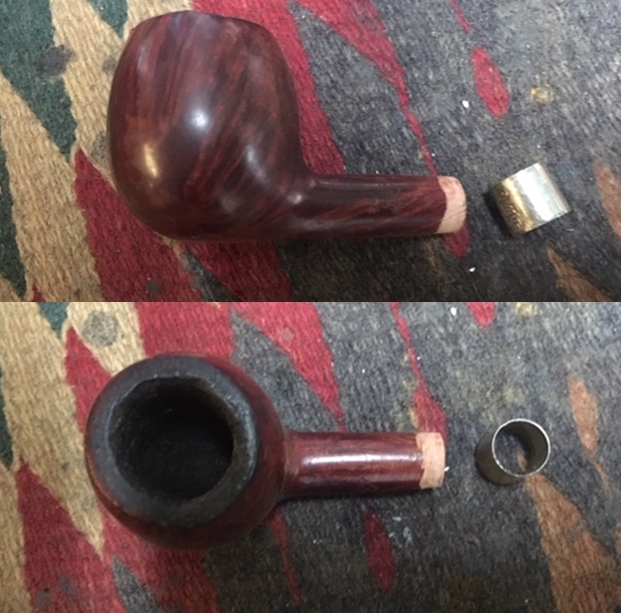
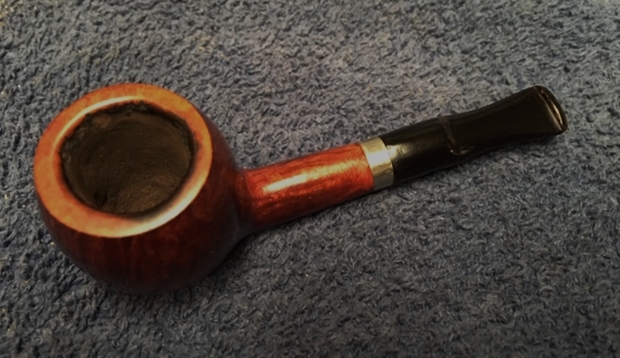
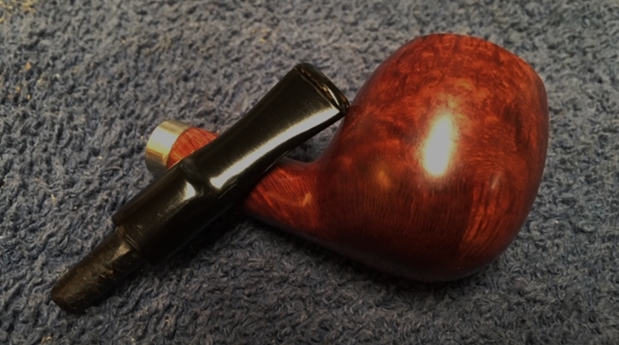
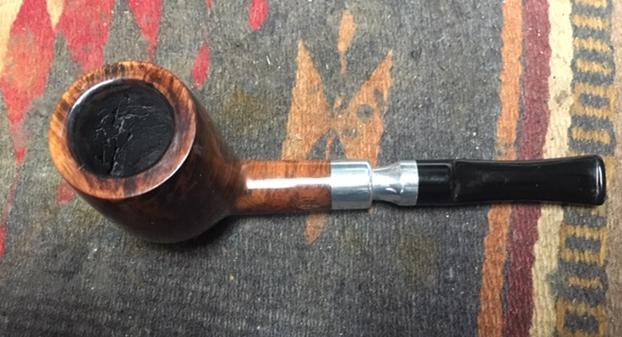
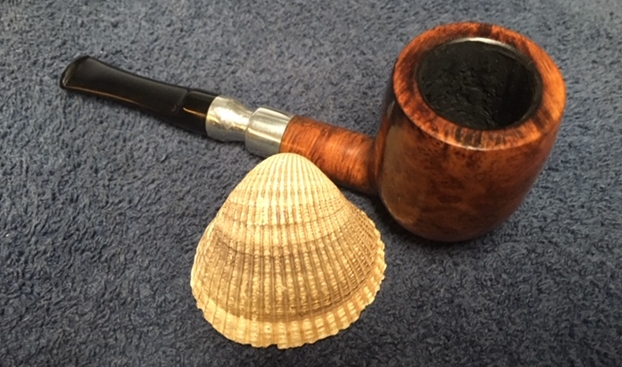
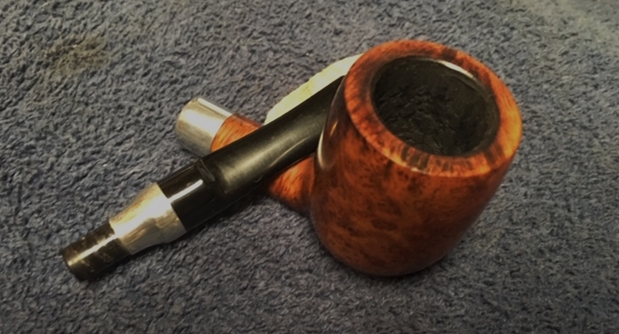
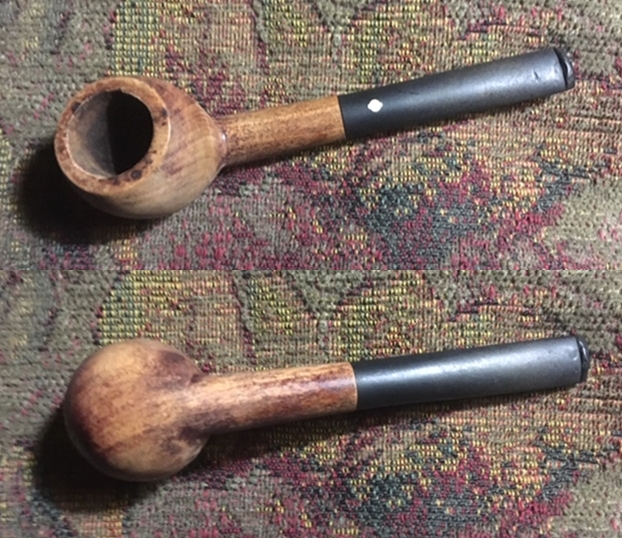
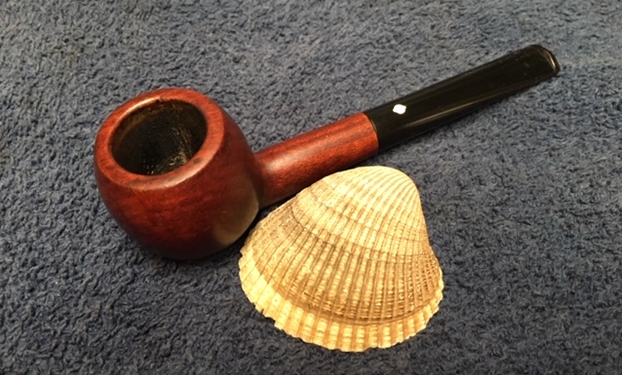
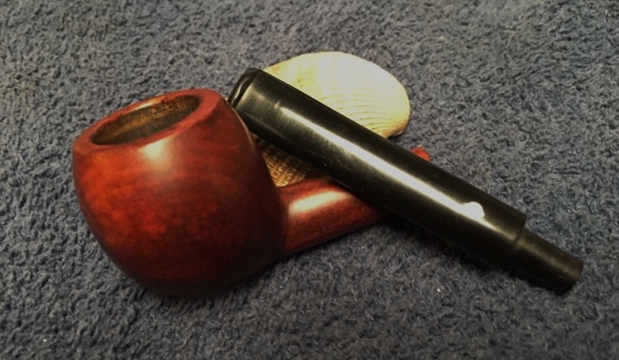
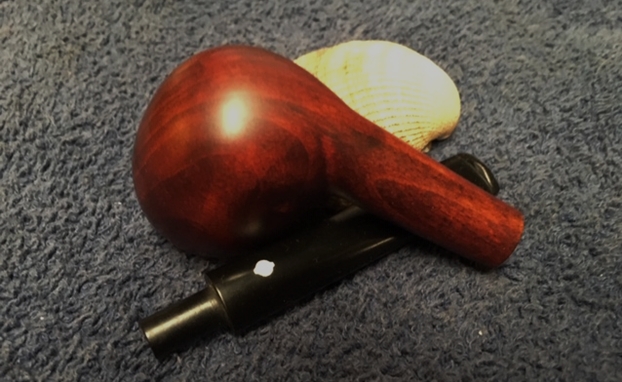
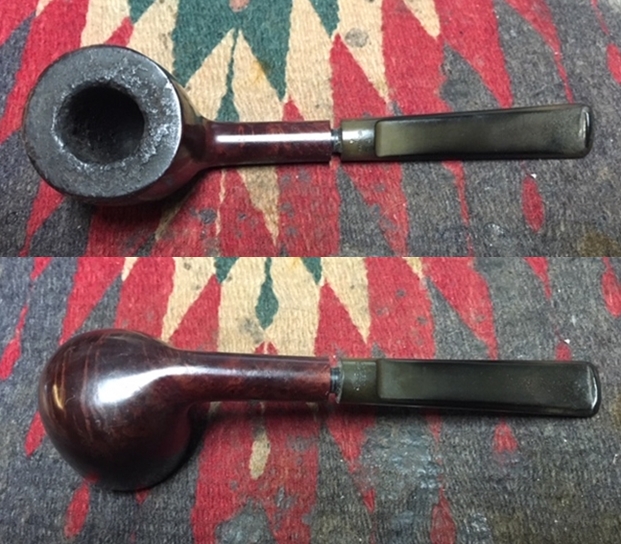
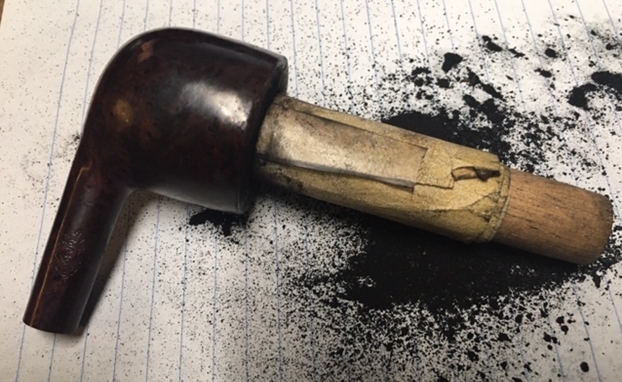
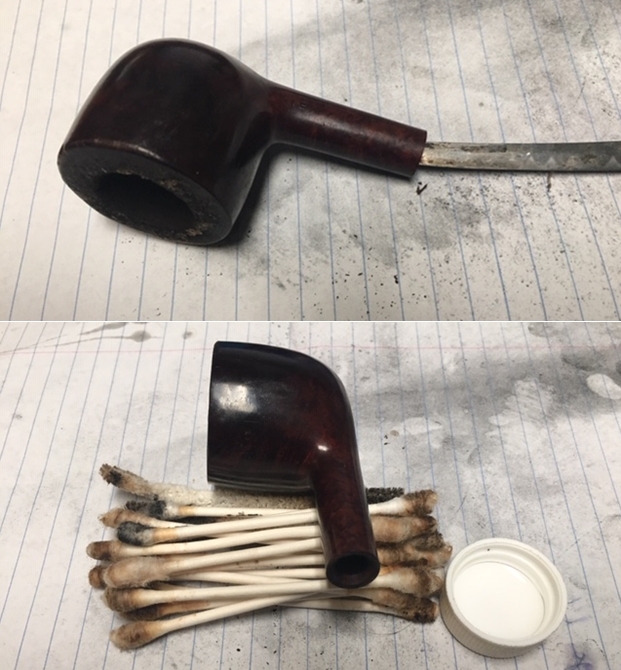
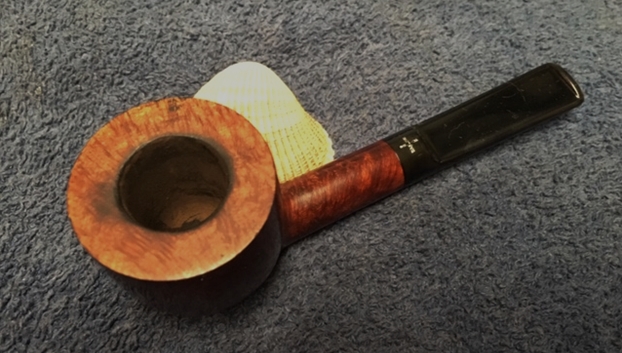
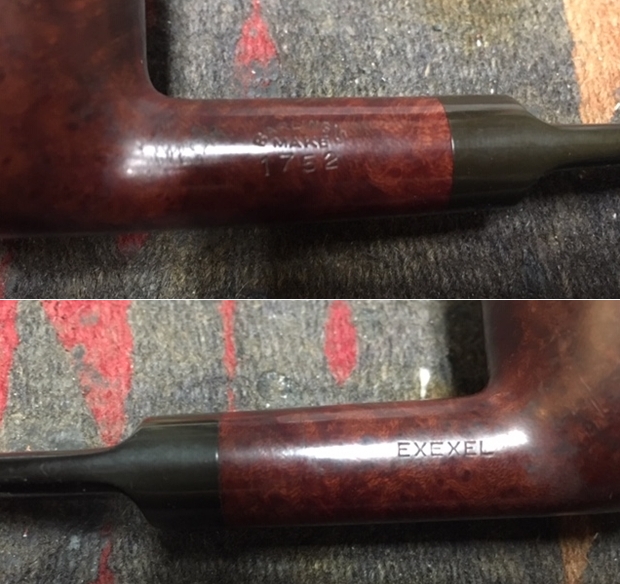 The next set of photos shows the second Barling’s Make which was far more worn and dirty. The finish dirty and did not have the glow of the other pipe. There was a spot on the left side of the bowl where the finish was chipped. The rim top had a thick coat of lava overflowing from the bowl. It was hard to know if there was further damage to the top surface. There were some nicks in the outer edge of the rim top. The cake in the bowl on this one was thick and rock hard. The stem did not seat in the shank completely and when I looked the shank was very dirty and caked with tars. The stem was more oxidized than the other pipe and had tooth marks and chatter on both sides near the button.
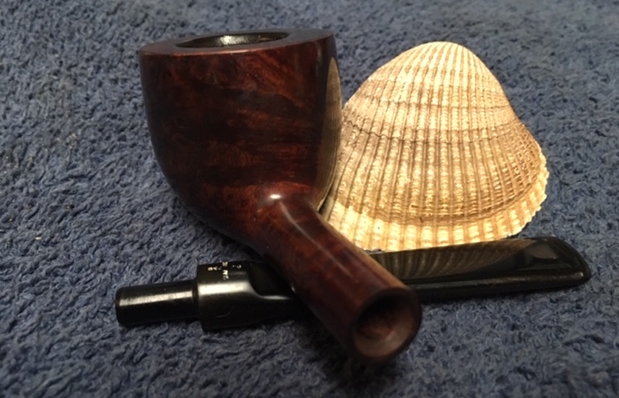
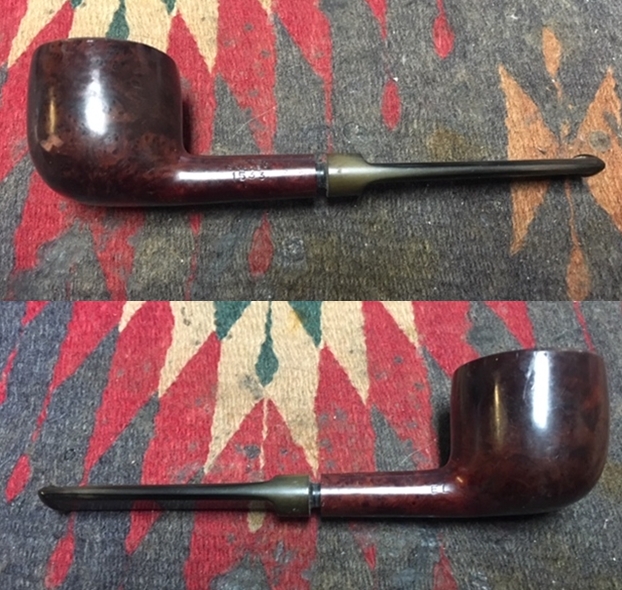
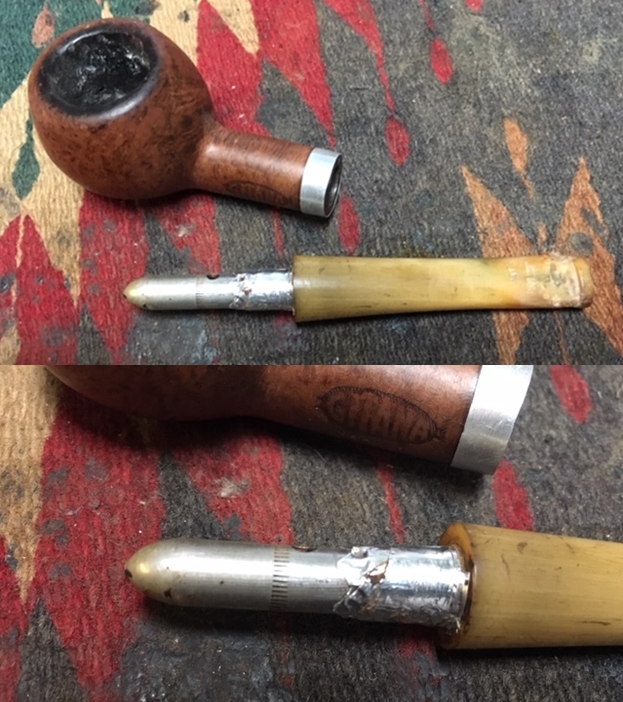
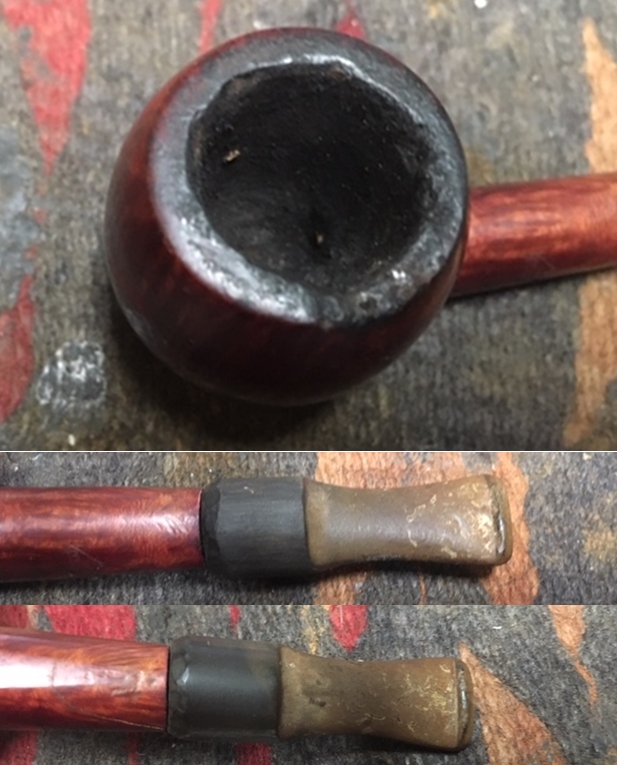
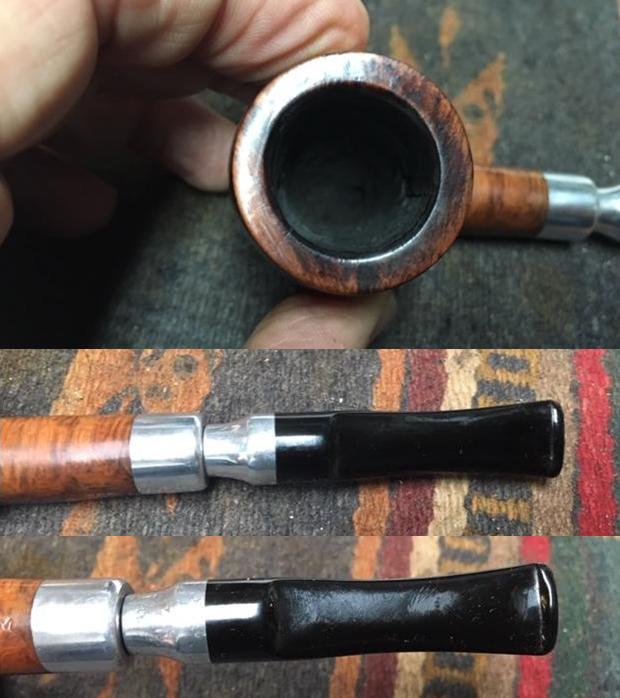
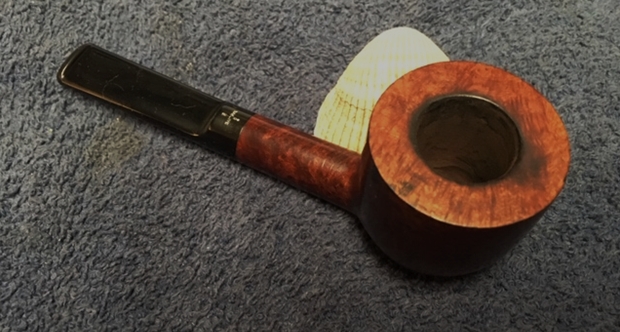
 I took some close up photos of the rim top and the stem to give a clearer picture of the condition of the pipe. The stem is stamped with the Barling Cross on the top of the saddle and with the words Barling over Design. The stamping is legible but the white in the stamping is gone.
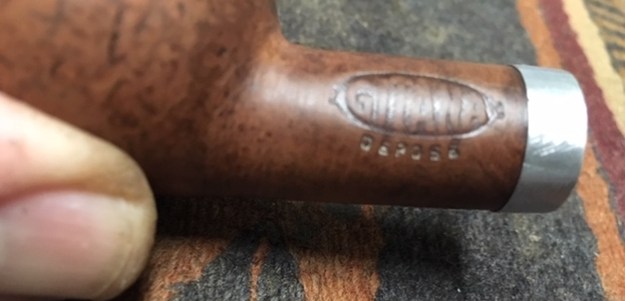
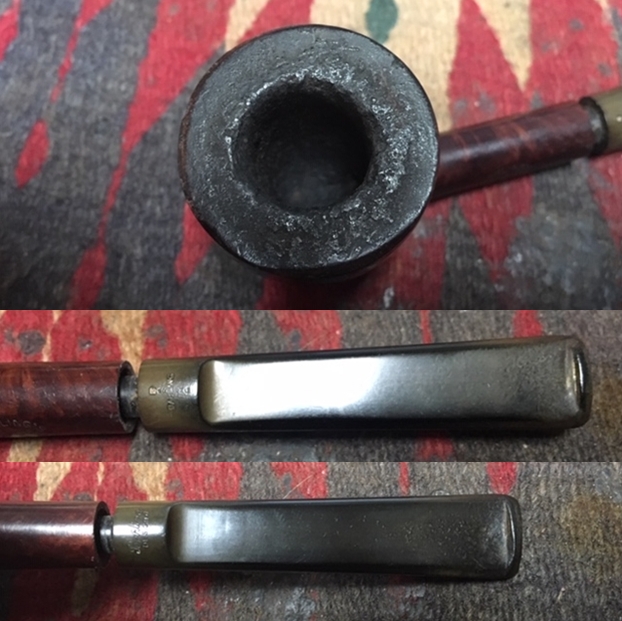 I took photos of both sides of the shank to show the stamping on the pipe. The left side read BARLING’S arched over MAKE with the shape number 1533 underneath. The right side was stamped EL. The stamping is indeed Family Era vintage.
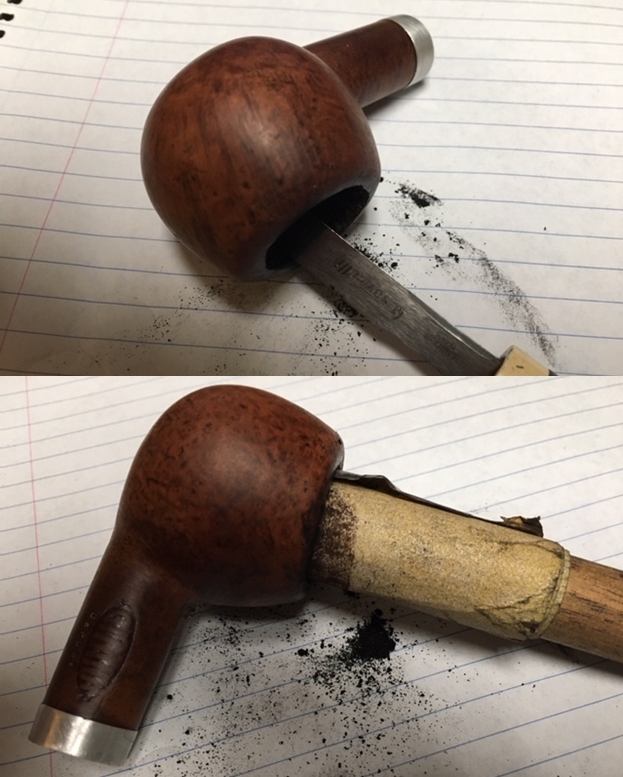
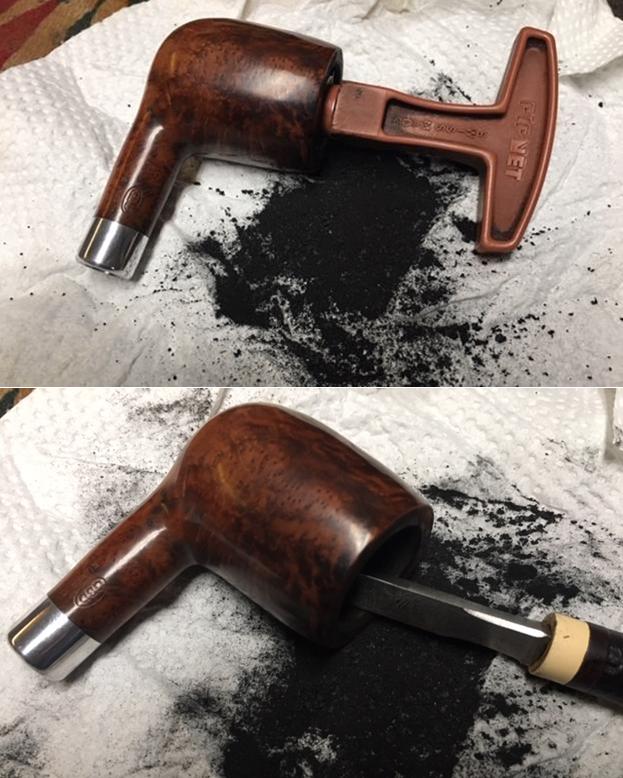
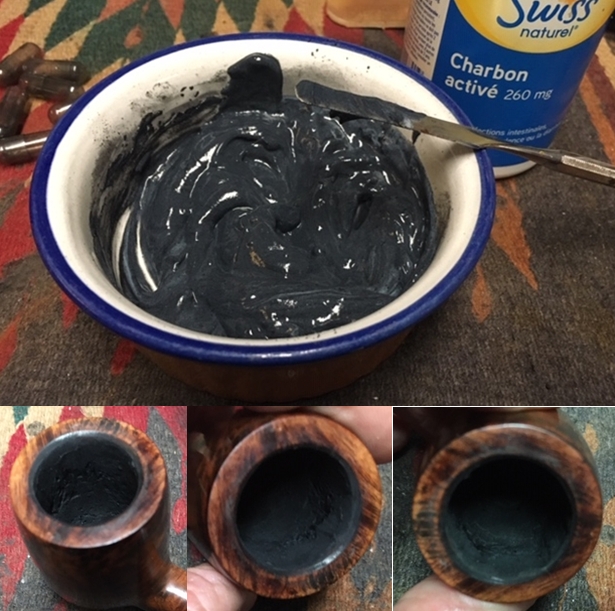
 I reamed both bowls with a PipNet pipe reamer working through the cutting heads to take the cake back to the bare briar so I could check for damage to the interior walls of the pipe. I cleaned up the reaming with a Savinelli Fitsall Pipe Knife and finished with a piece of dowel wrapped in 220 grit sandpaper to smooth out the walls. The first pipe was definitely cleaner than the second. The cake came out easily.
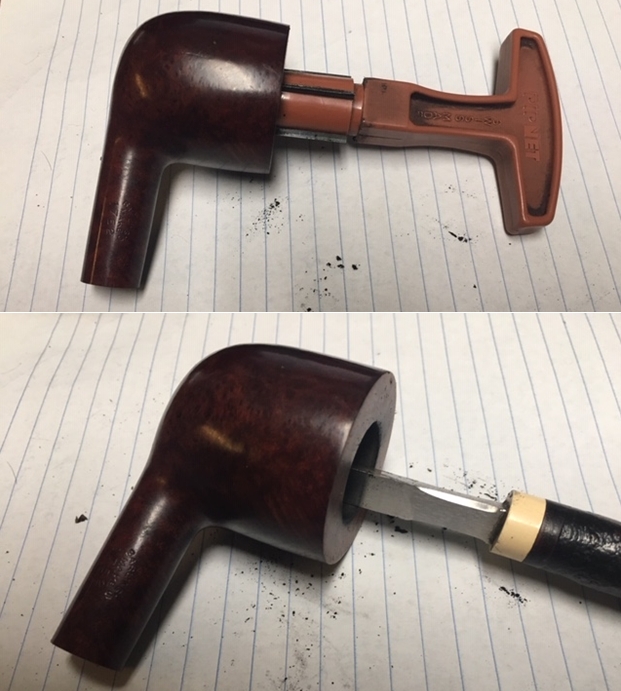
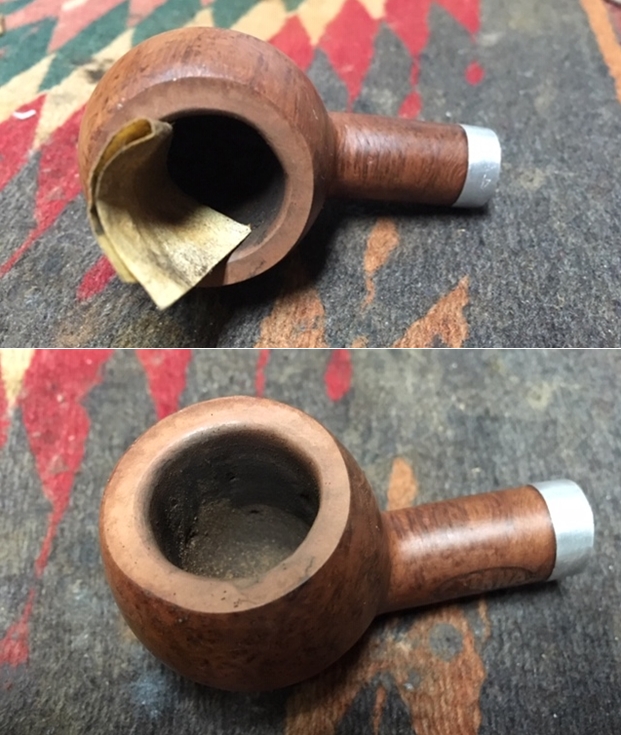
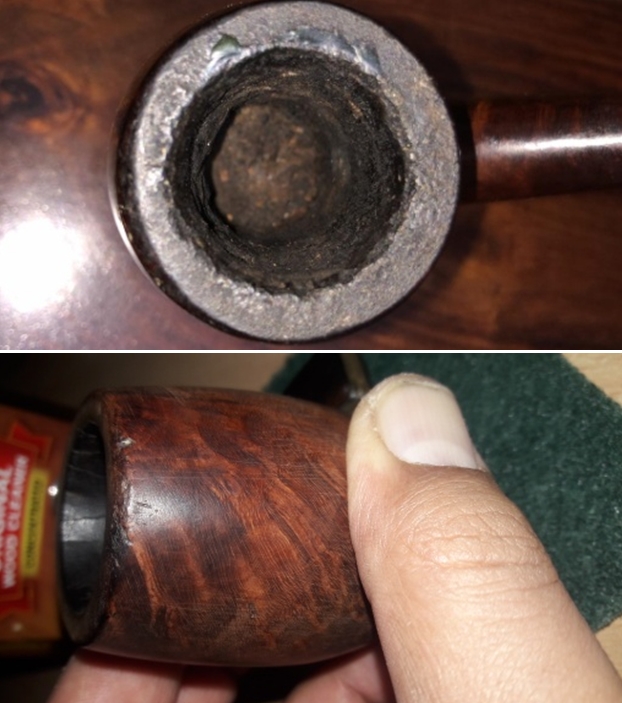
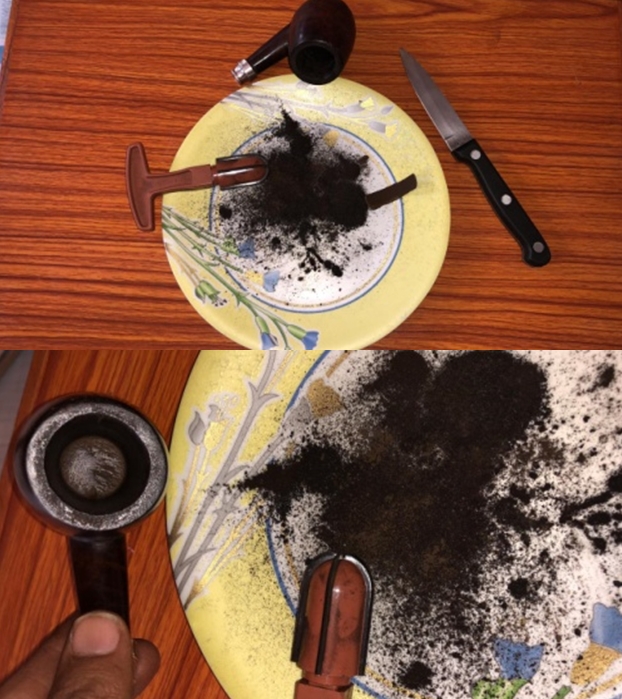
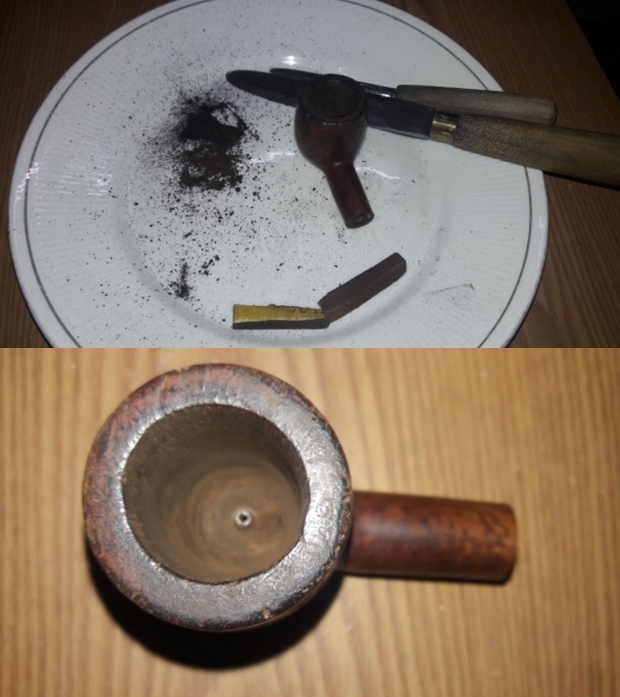
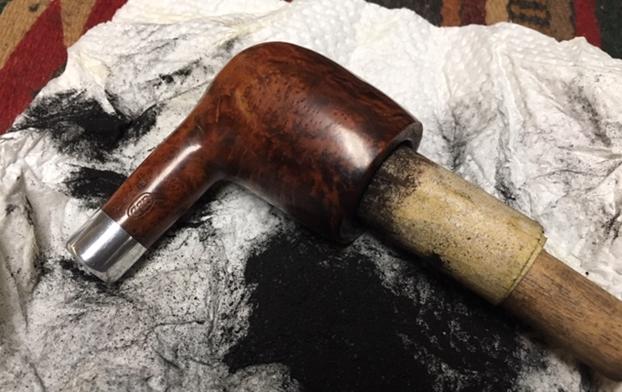
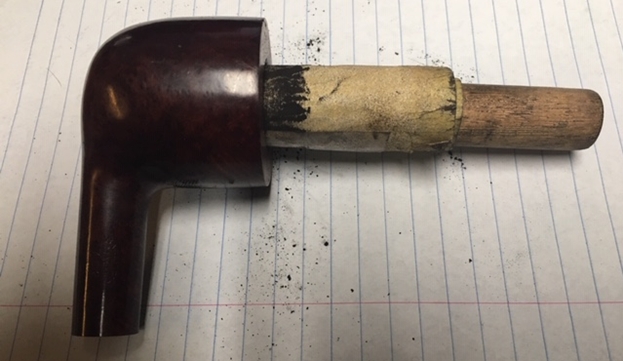 The second pipe had a cake that was rock hard and I had to switch between the smallest cutting head on the PipNet and the Fitsall Knife to break through the cake. I worked my way alternating between the two until the bowl was reamed and then sanded it smooth.
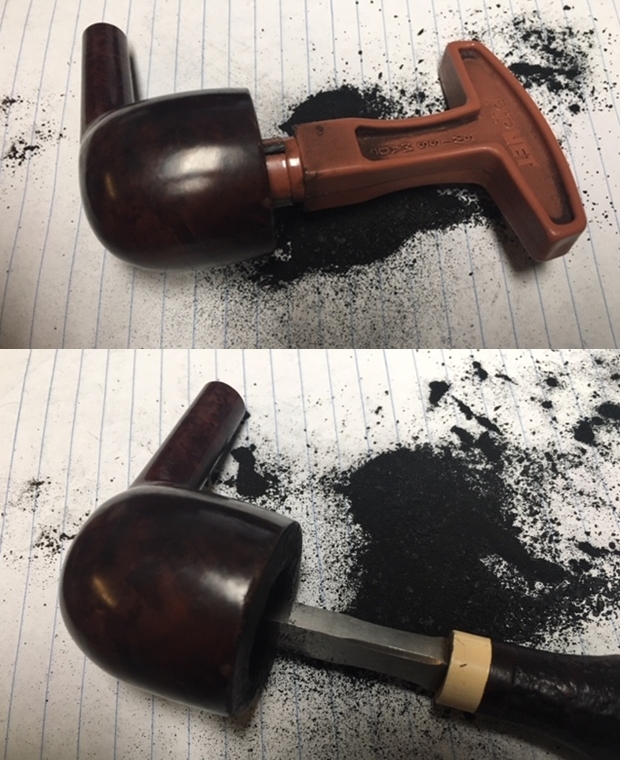
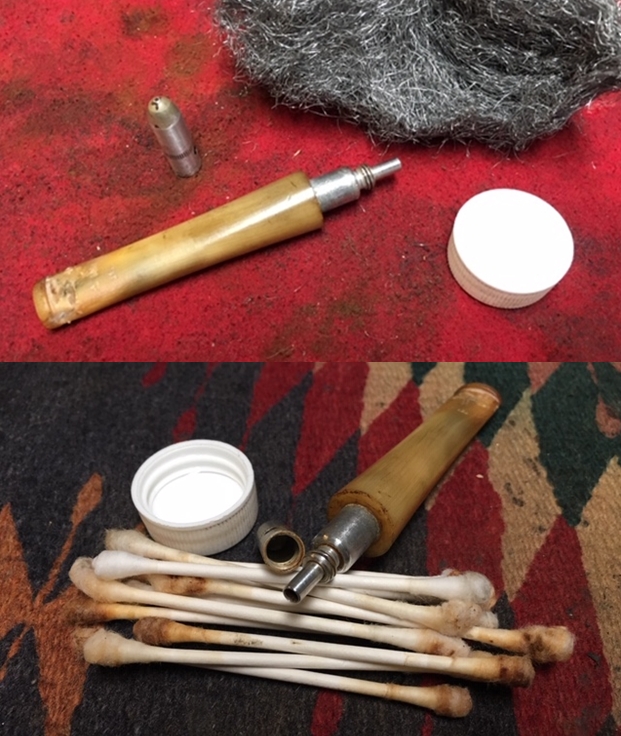
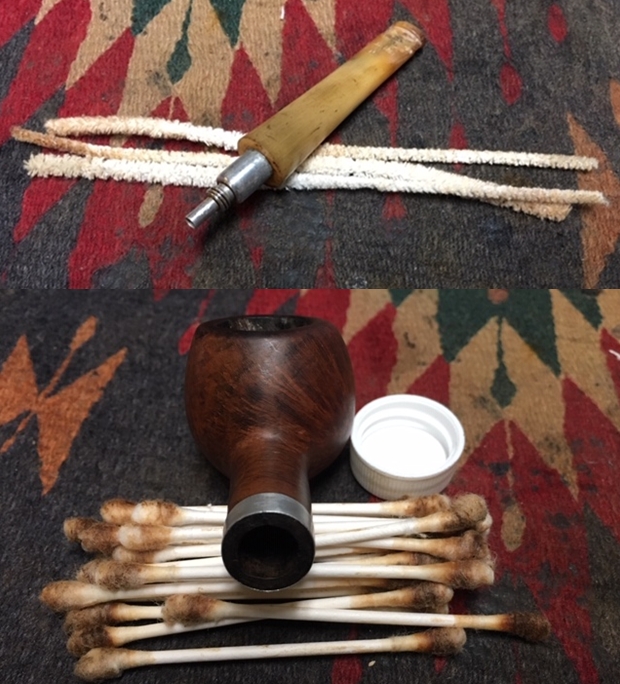
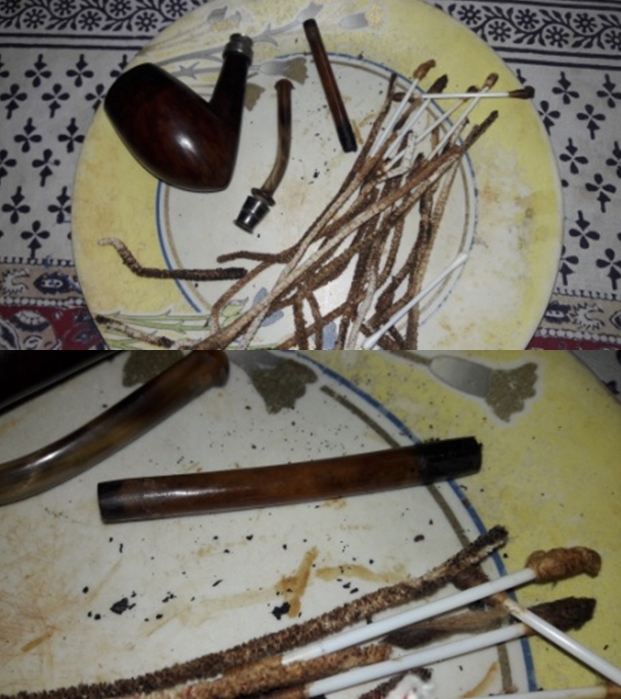
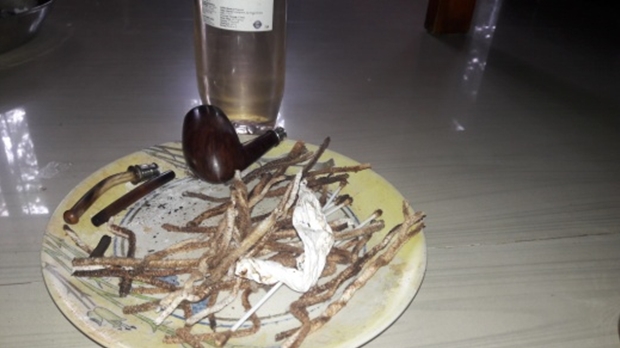
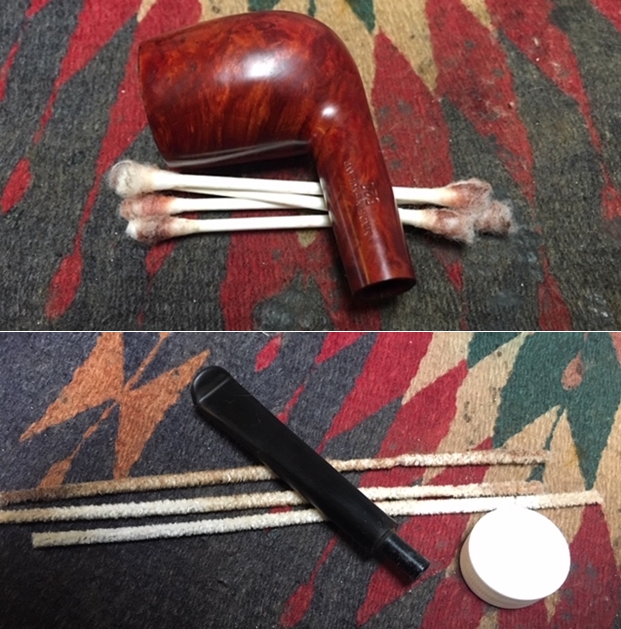
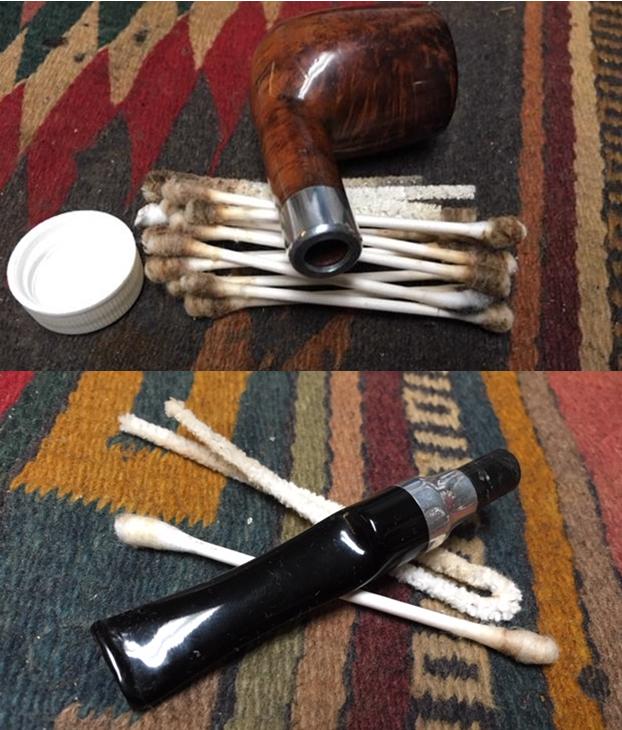
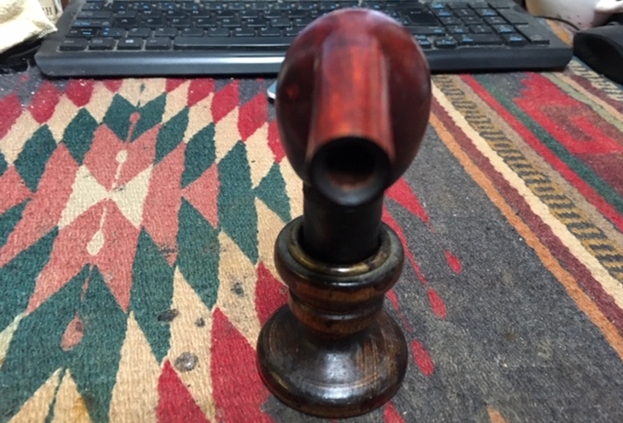
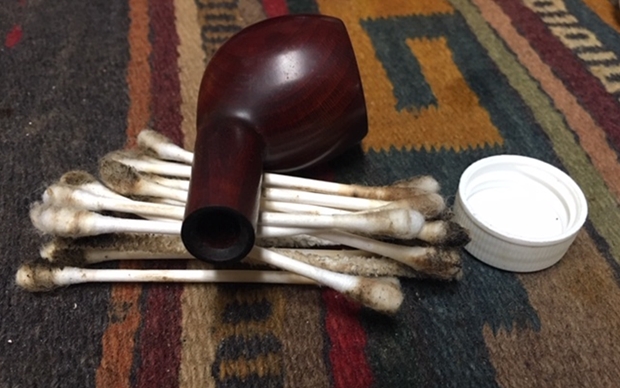
 I scraped the mortise walls of both pipes with a pen knife to remove the buildup of hardened tars and oils. I cleaned out the mortise and the airway into the bowls as well as the airway in the stems of both pipes with alcohol, cotton swabs and pipe cleaners. I have to say that the second pipe was far dirtier than the first.
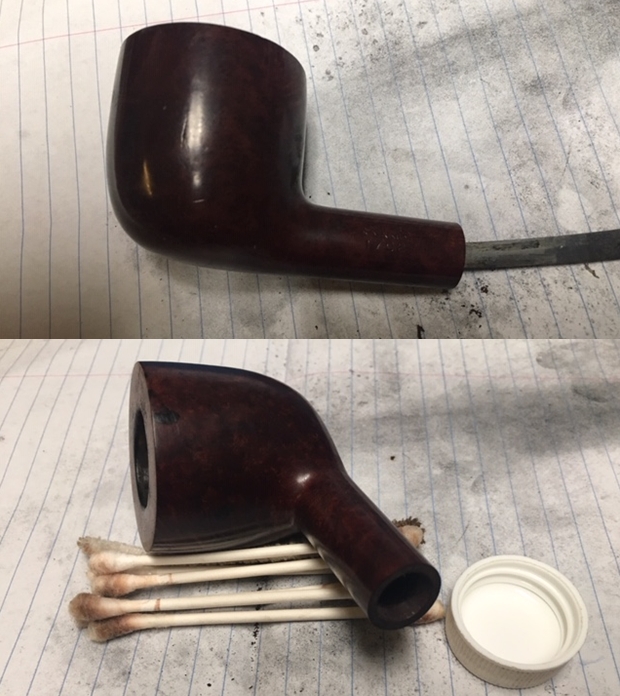
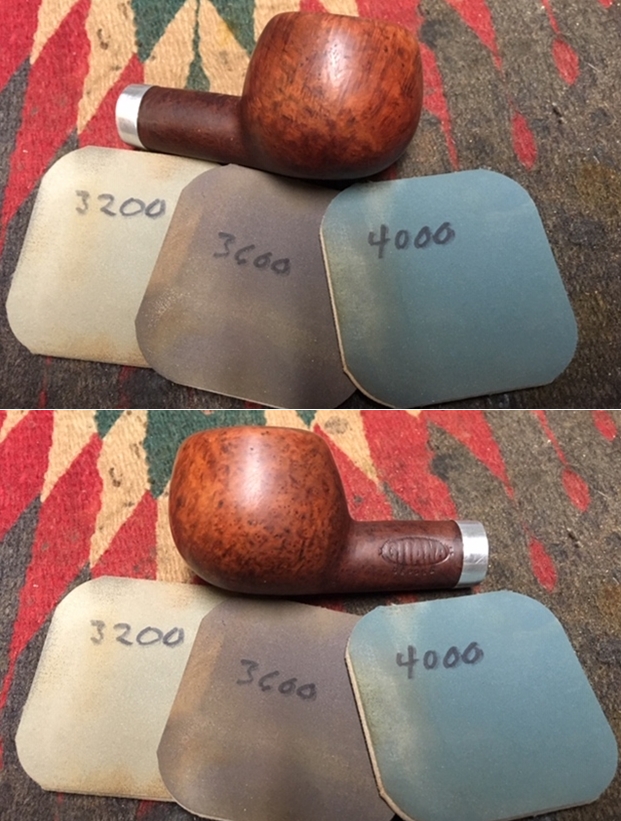
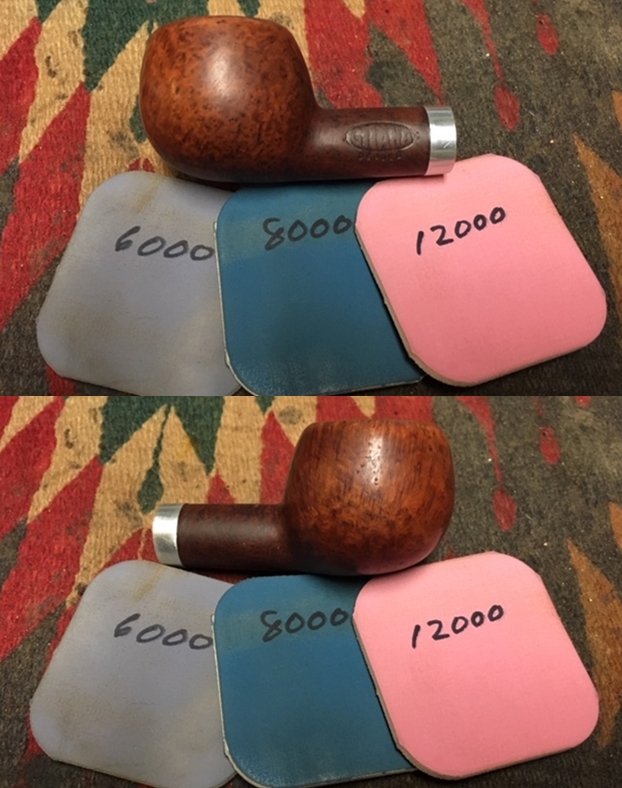
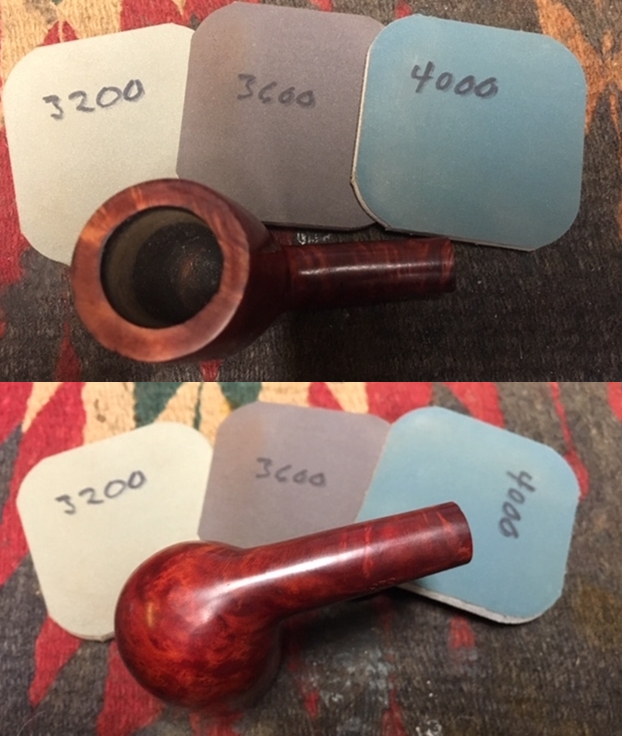
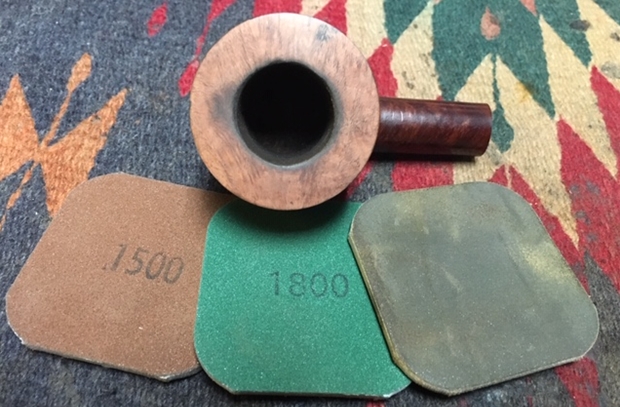
 I worked on the rim on the first pipe to clean up the damage. I worked on the inner edge of the bowl with a folded piece of 220 grit sandpaper. I lightly sanded the top of the rim with 220 grit sandpaper. I was able to remove the damage to the rim top and edges. I polished it with 1500-2400 grit micromesh sanding pads. I continued polishing it with 3200-12000 grit pads.
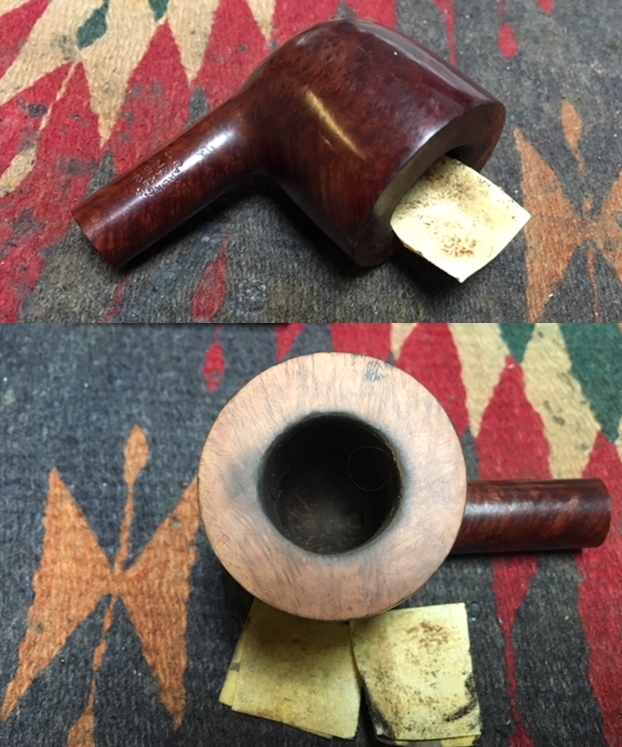
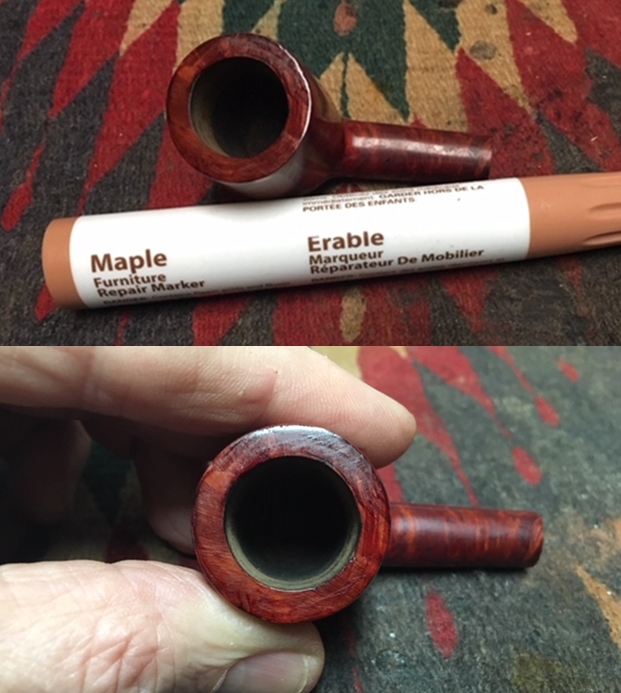
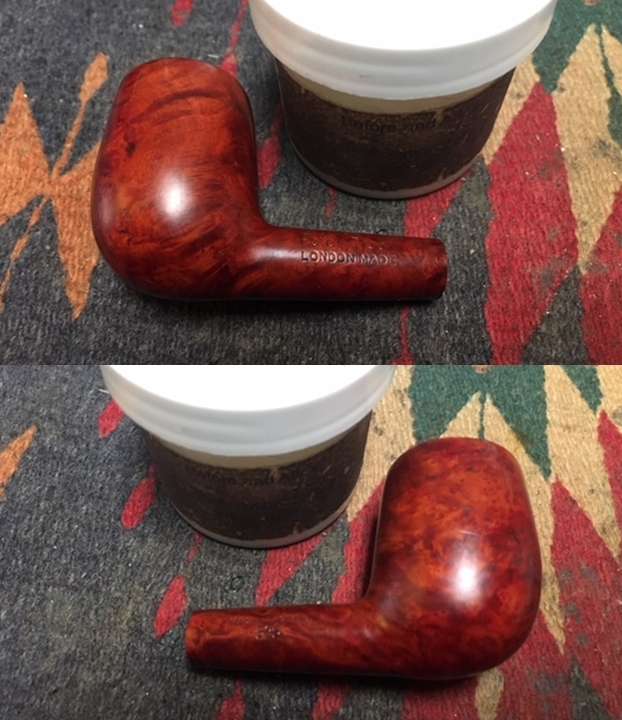
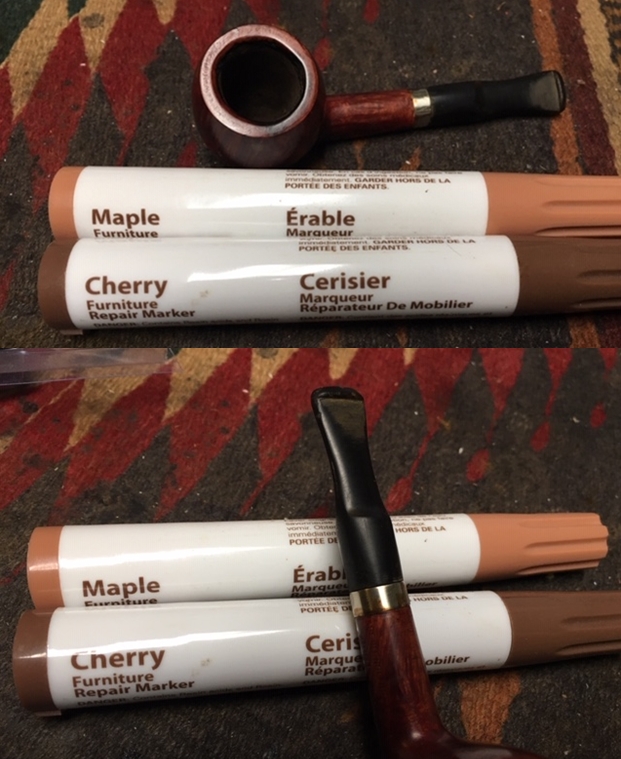
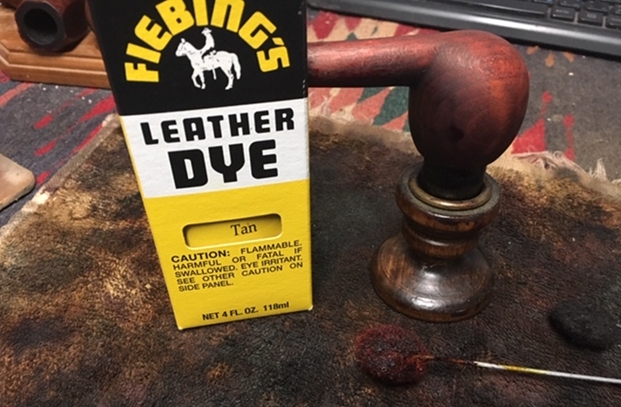
 I stained the rim top of the first bowl with Maple and Cherry stain pens to match the colour of the rest of the finish on the pipe. It still needs to be polished at this point but it matches the colour of the pipe.
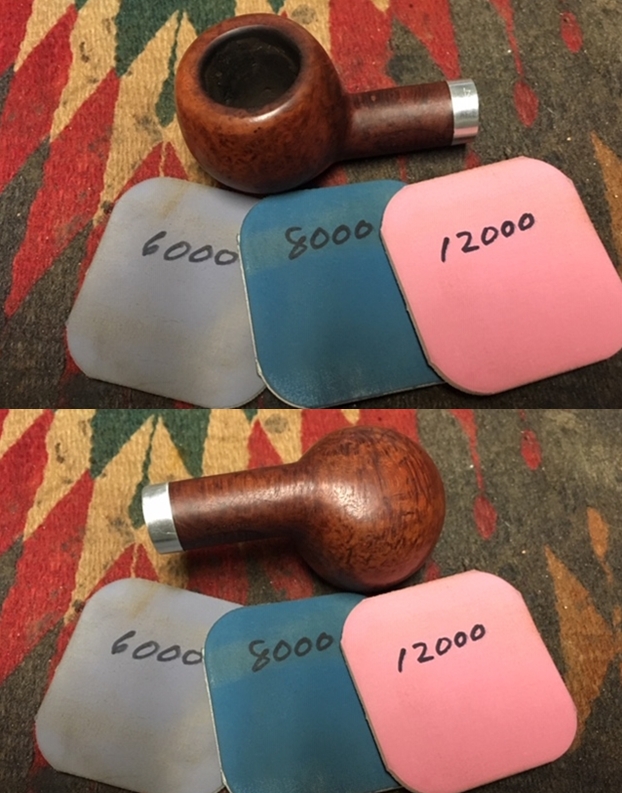
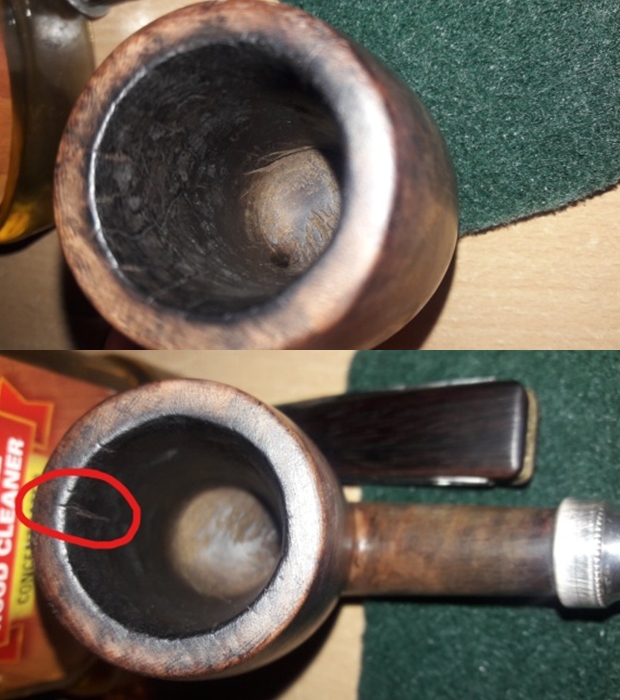
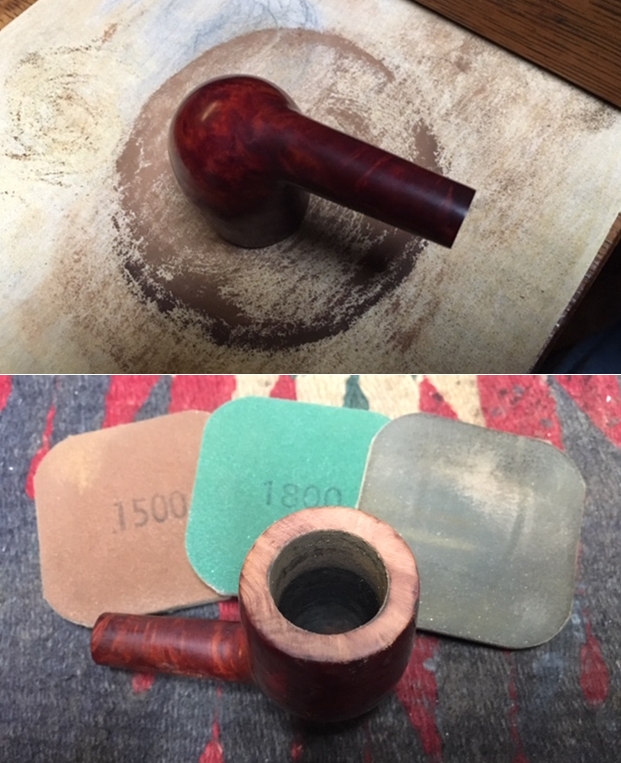
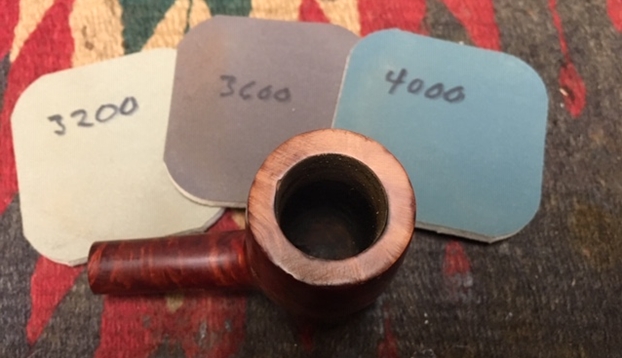
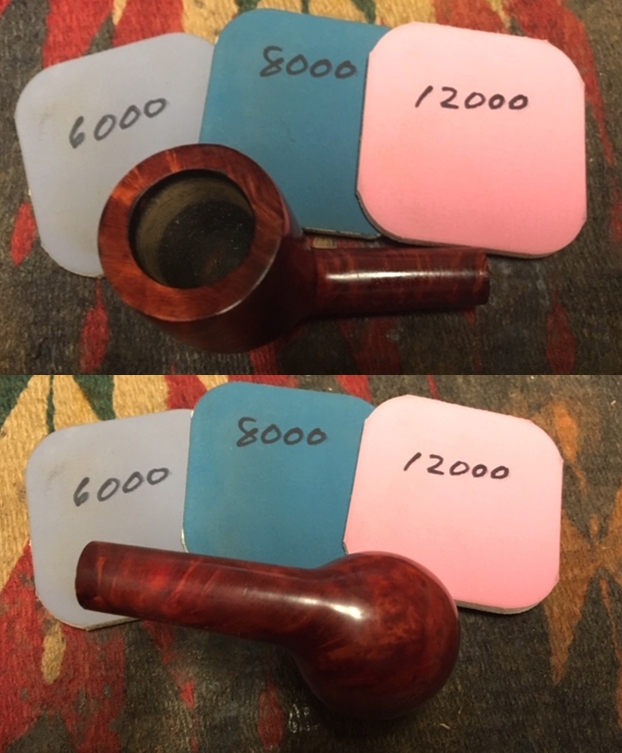
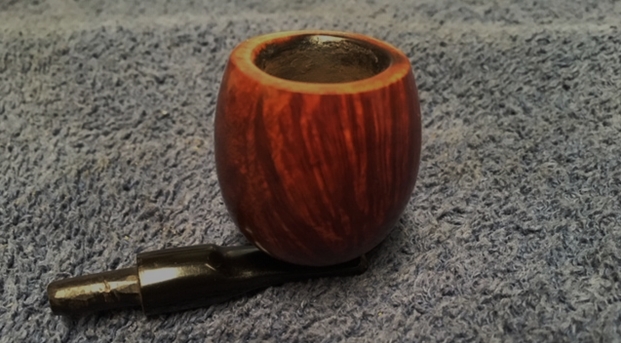
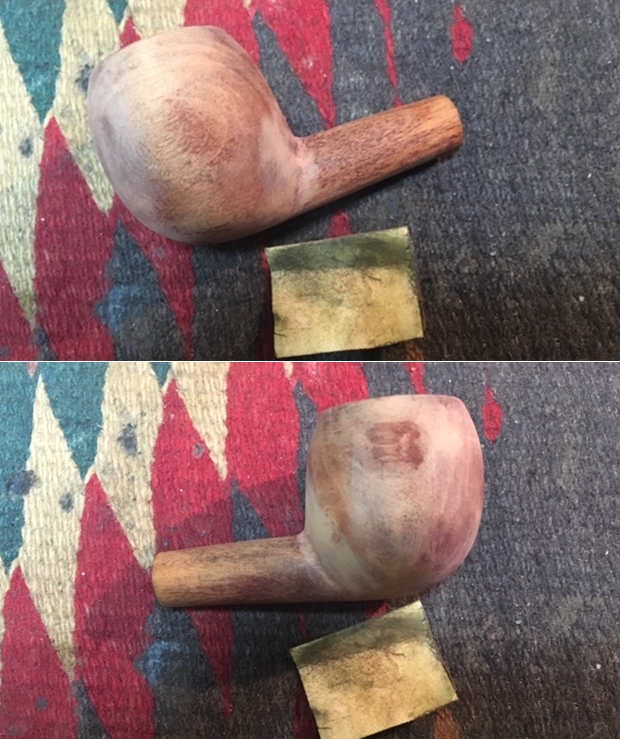
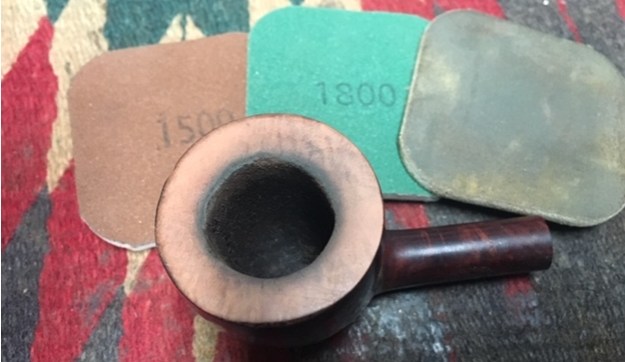
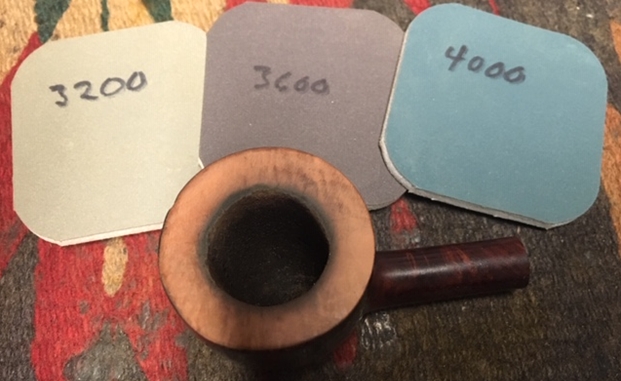
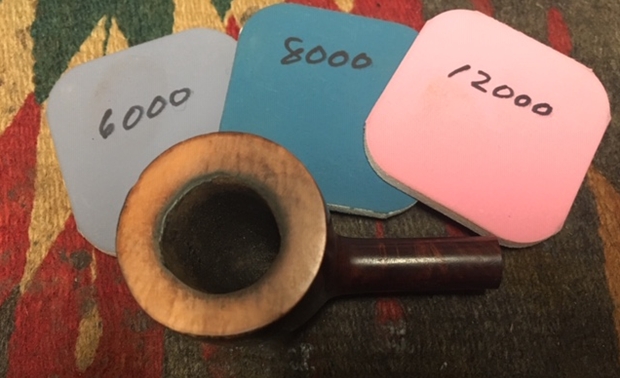
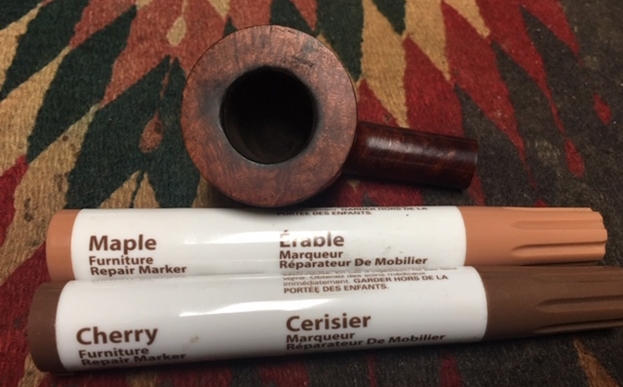 I worked on the rim top of the second pipe. I topped the bowl on a topping board with 220 grit sandpaper to remove the thick buildup and the nicks and damage on the surface of the rim. I sanded with micromesh sanding pads – wet sanding it with 1500-2400 grit pads and dry sanding it with 3200-12000 grit pads. I was able to remove the damaged areas and leave the rim top clean. There was still some damage and darkening around the inner edge but I have chosen to leave that for now.
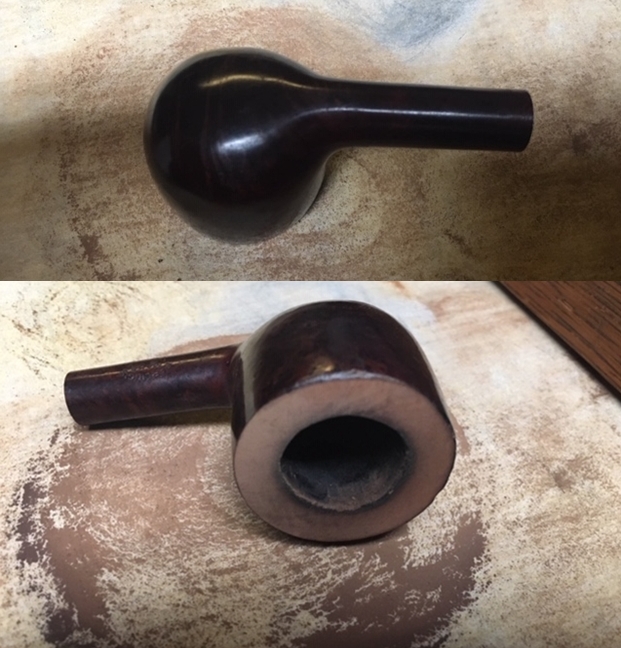
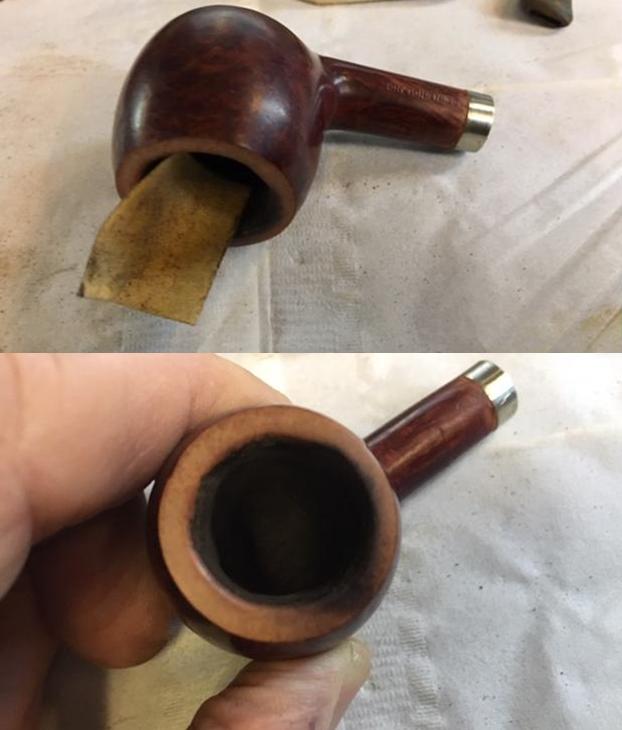
 I stained the rim top of the second bowl with a Walnut stain pen to match the colour of the rest of the finish on the pipe. It still needs to be polished at this point but it matches the colour of the pipe.
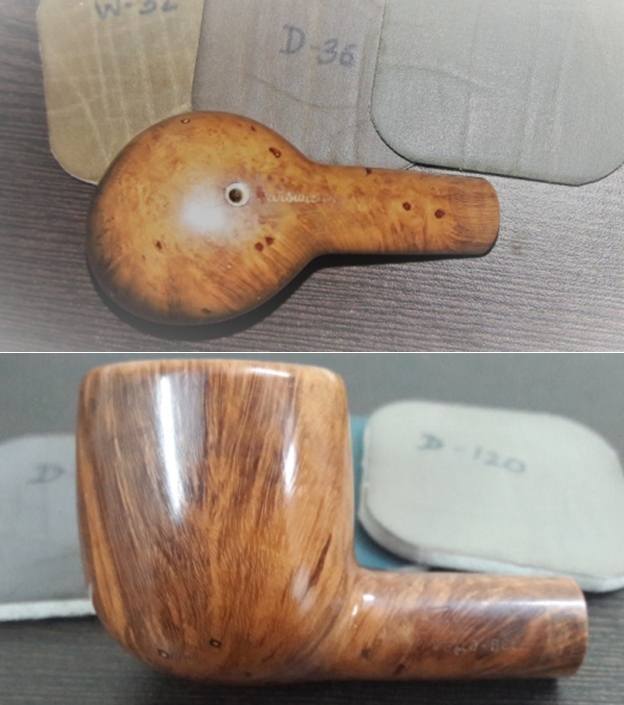
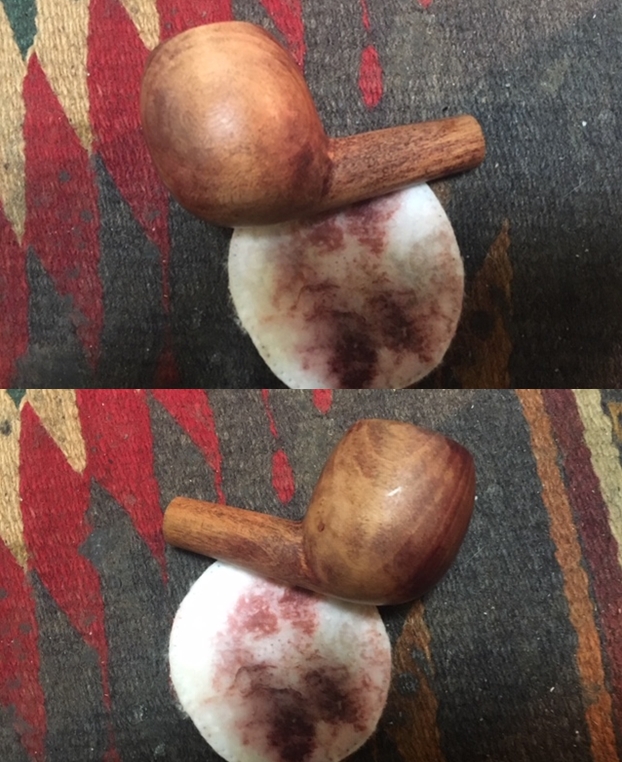
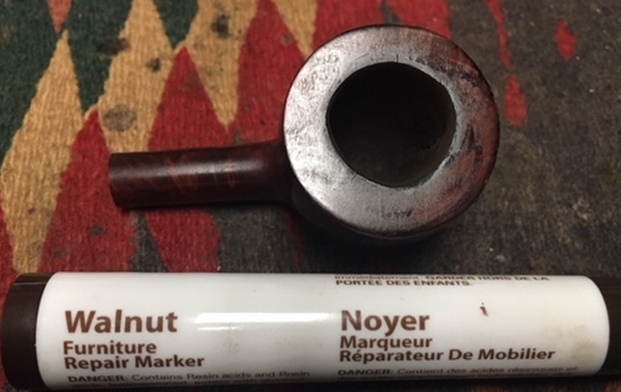 I took a photo of both pipes together at this point to show the clean bowls and the condition of the rim tops. The colour of each matches the respective bowl. Both still have damage to the inner edge of the bowl. I had not decided how to address that issue. Scott did not want the inner edge beveled at all.
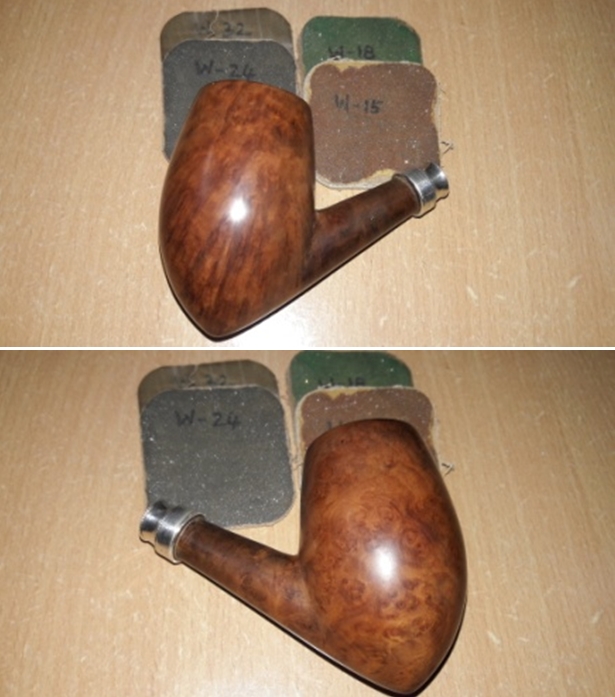
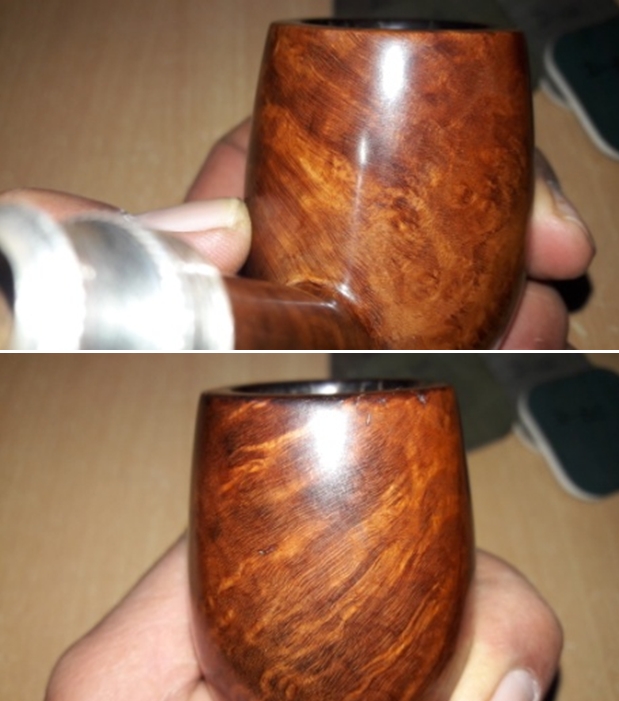
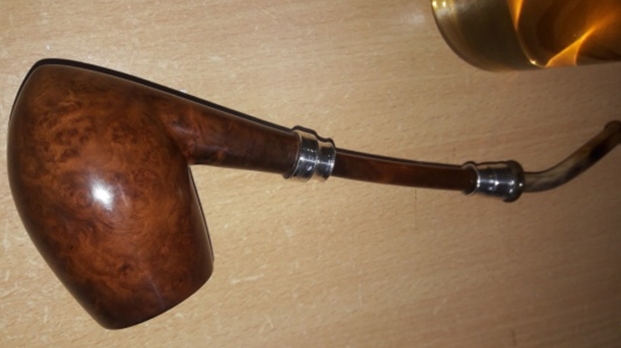
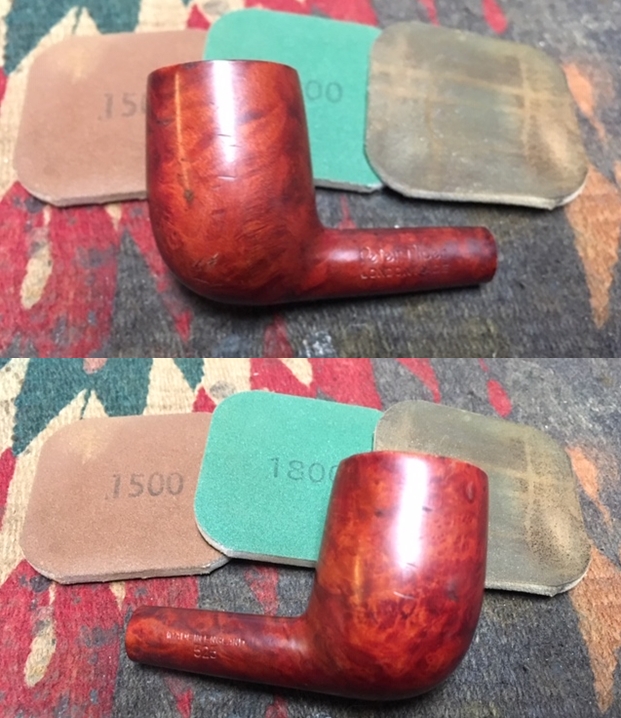
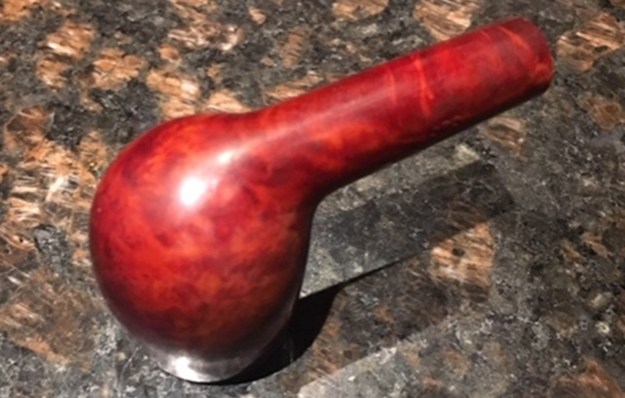
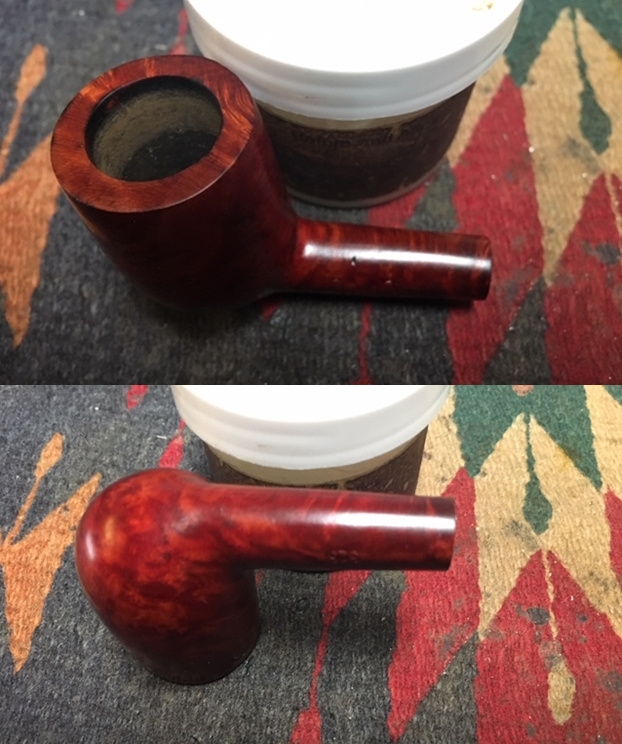
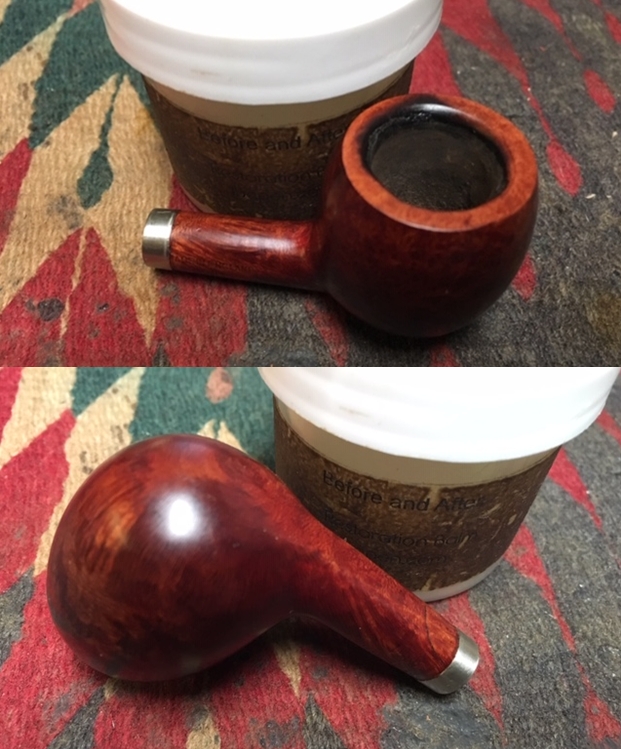
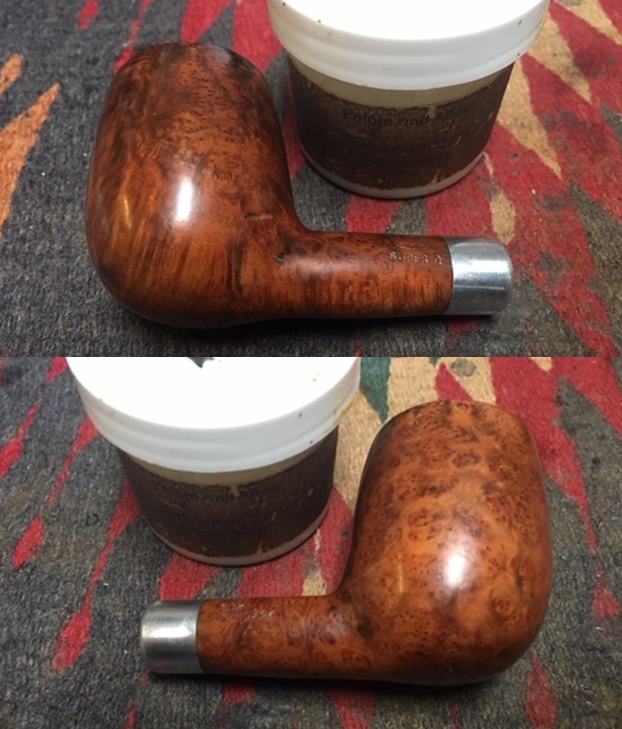
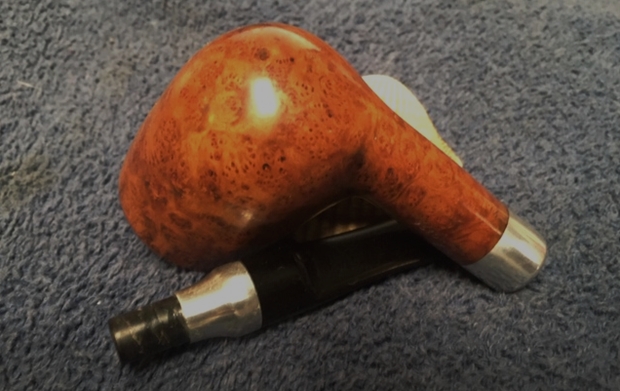
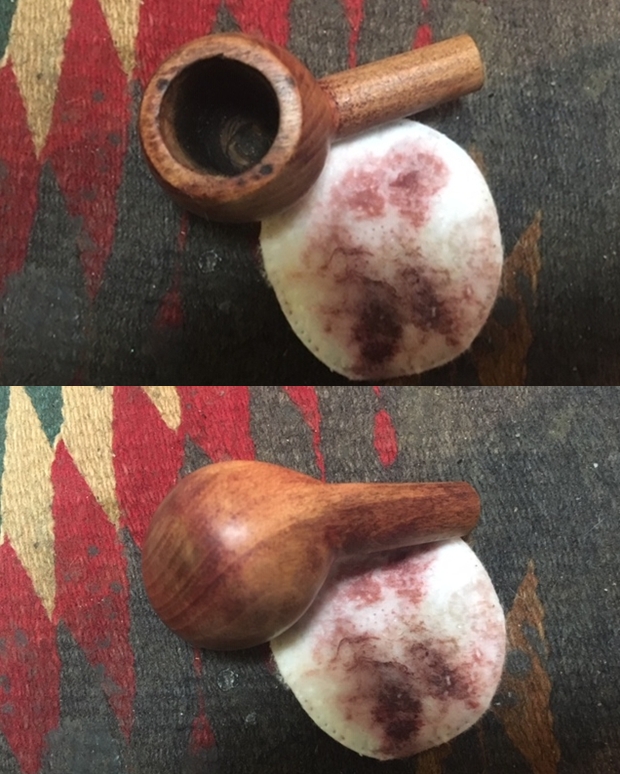
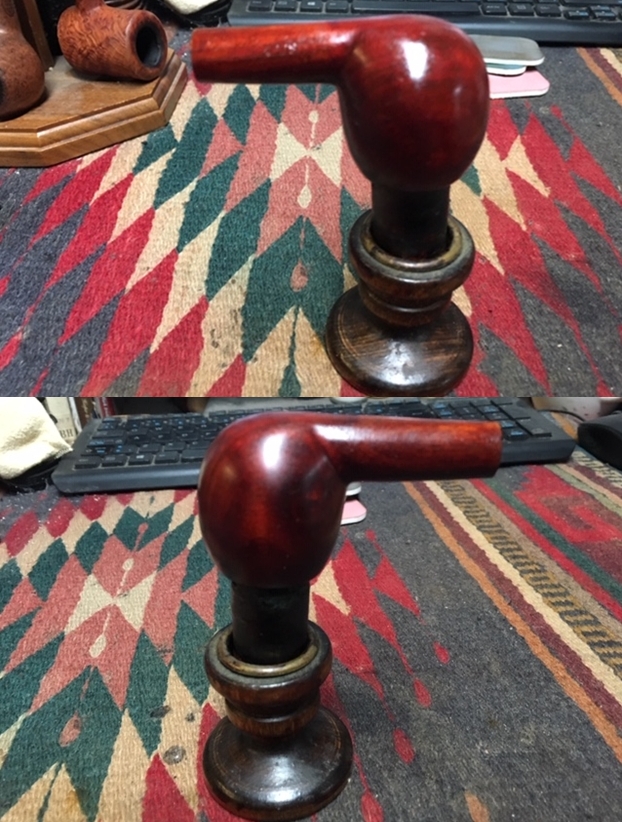
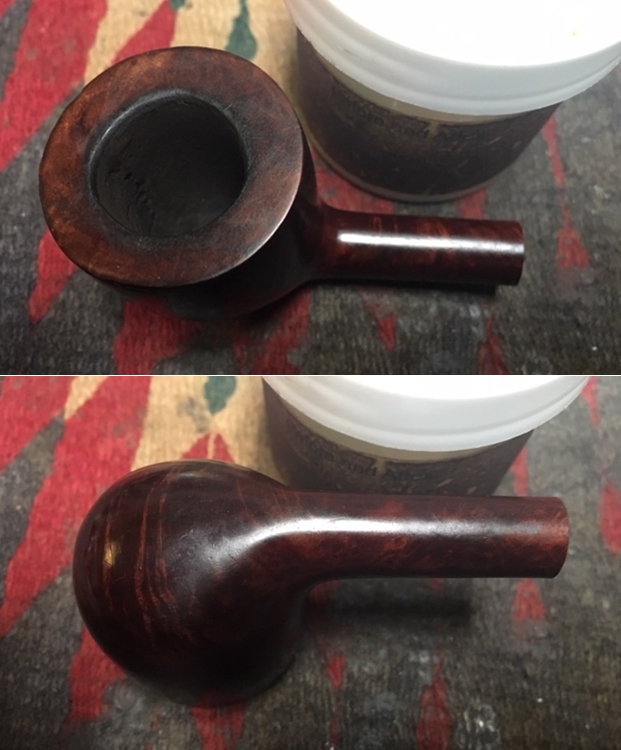
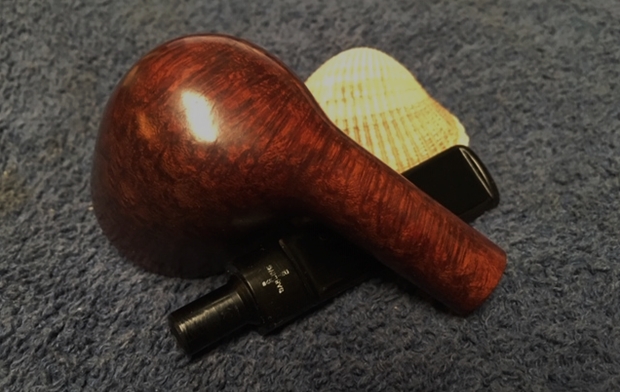
 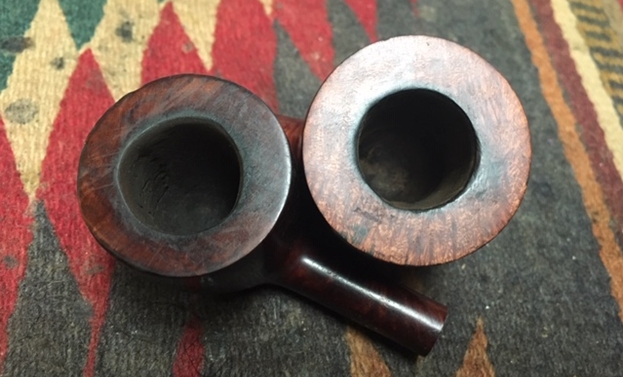 I worked Before & After Restoration Balm into the briar of the first bowl with my fingertips to clean, enliven and protect the wood. I let the balm sit for about 20 minutes and buffed it off with a soft cotton cloth. I took photos of the pipe at this point in the process to show what the bowl and rim looked like. I am happy with the stain match on the rim top. The next four photos show the larger and better conditioned 1752 bowl. It looks really good after the balm and buffing.
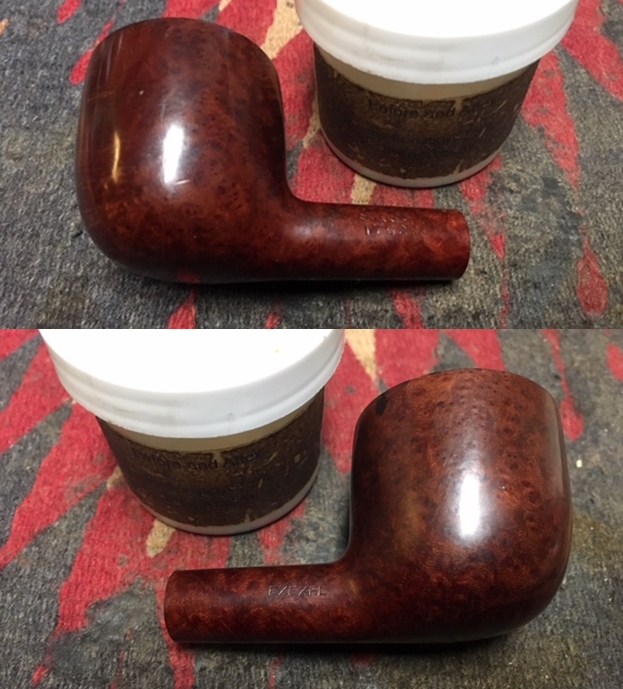
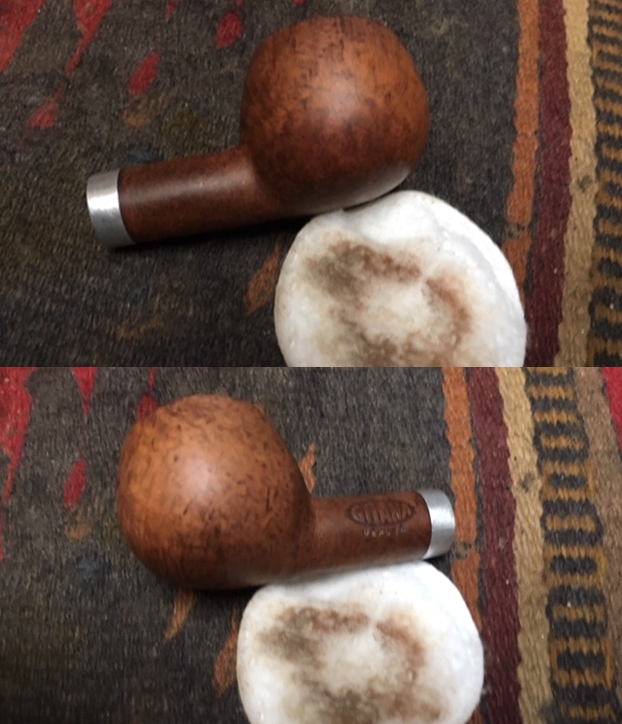
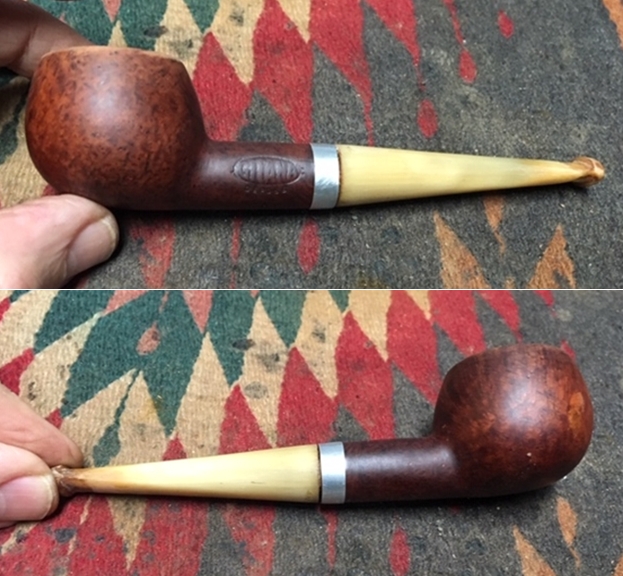
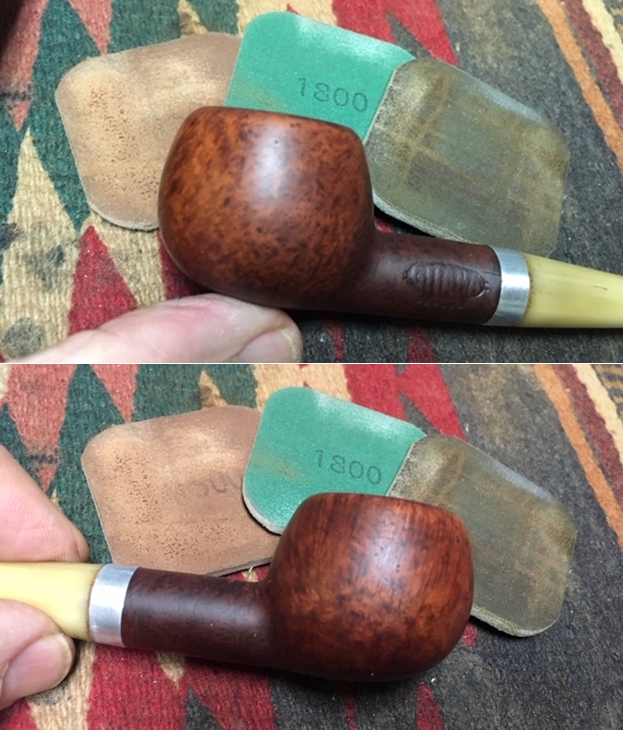
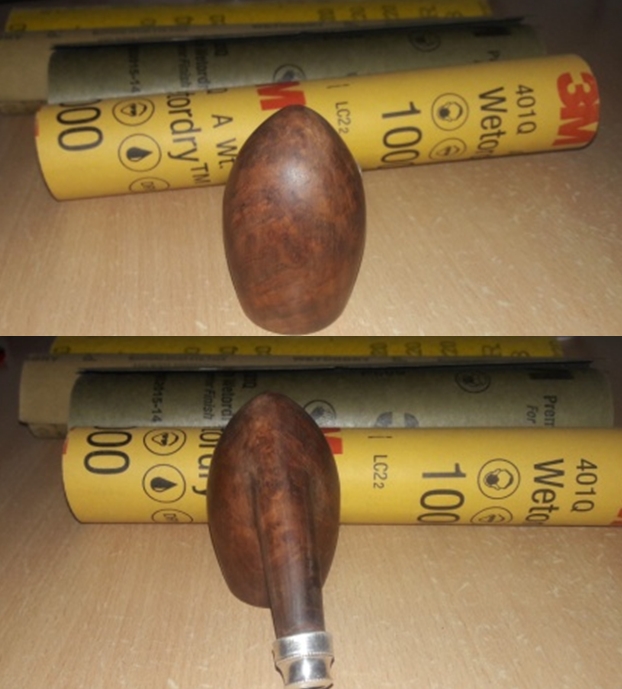
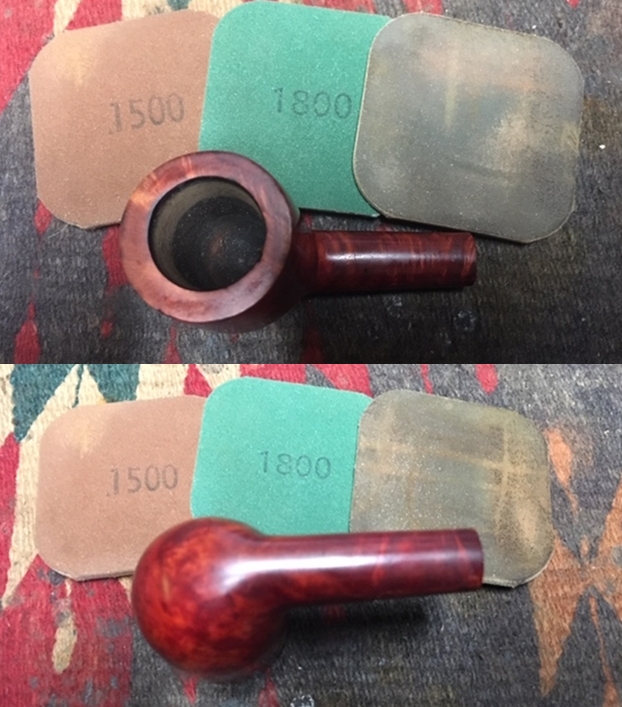
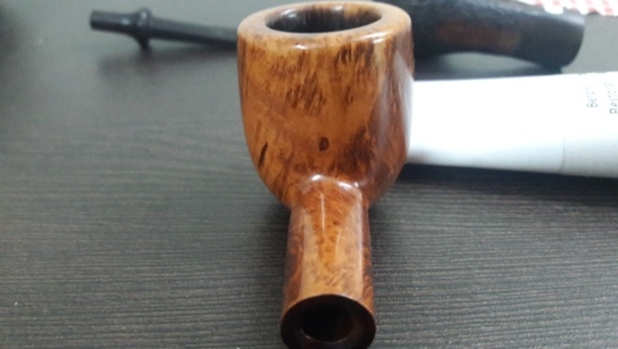
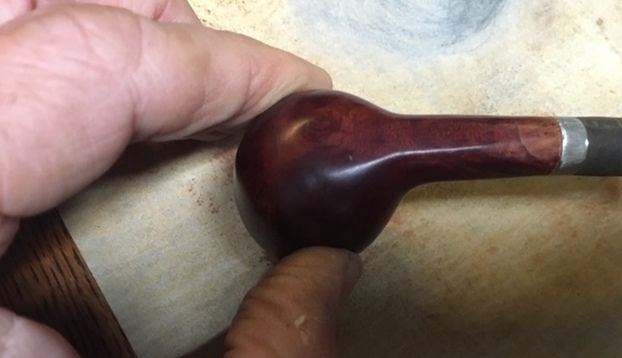
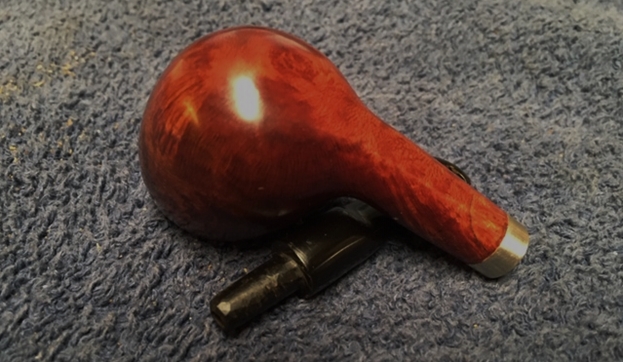
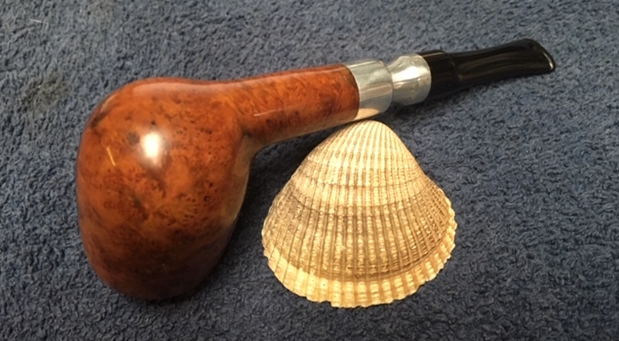
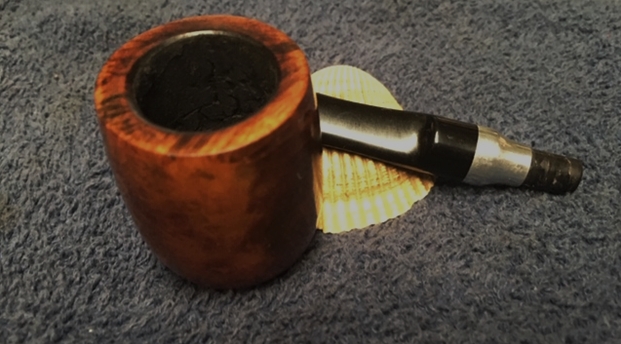
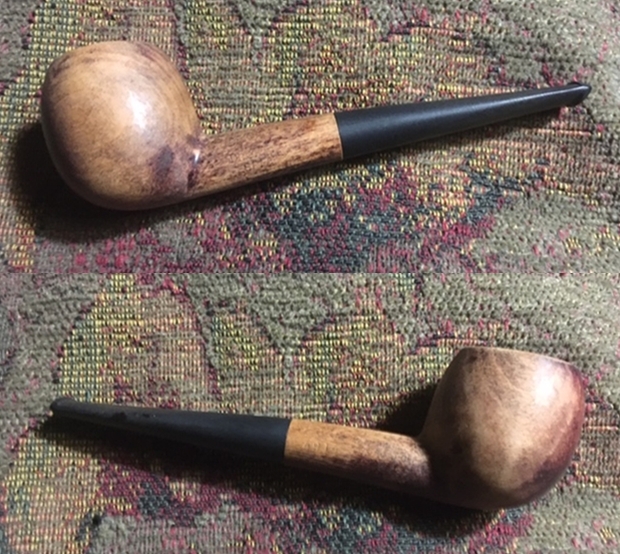
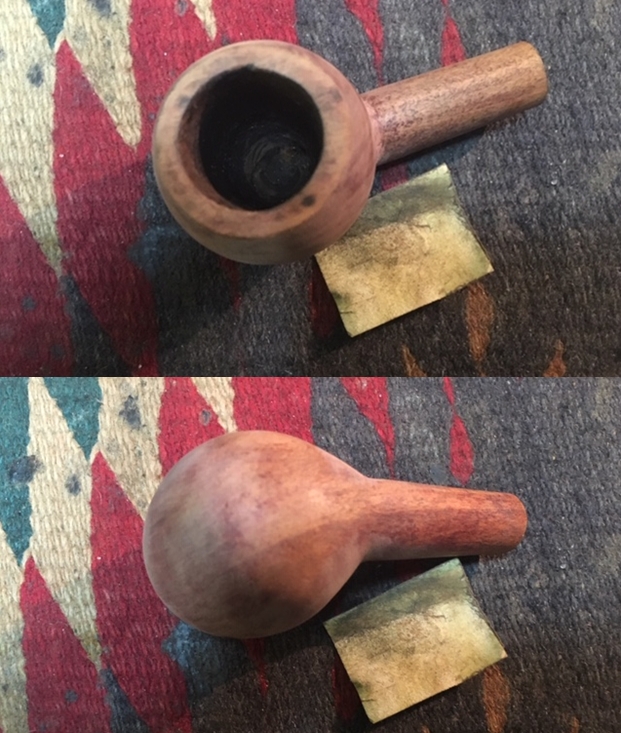
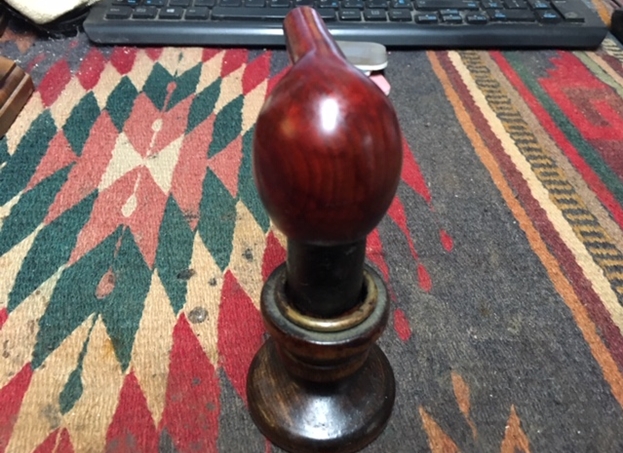
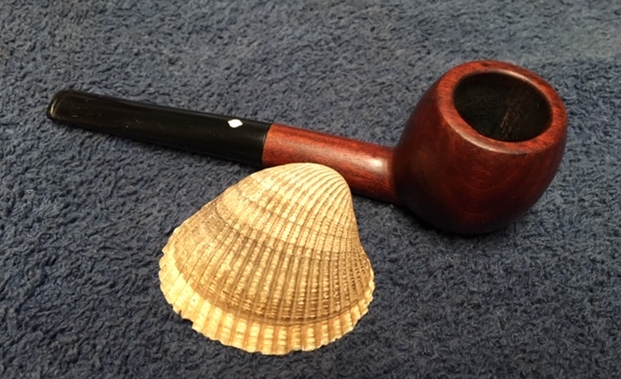
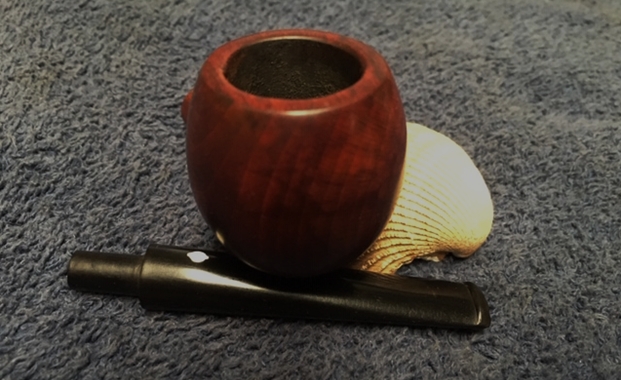
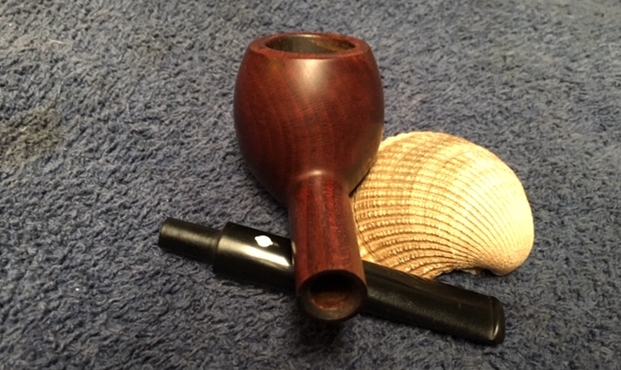
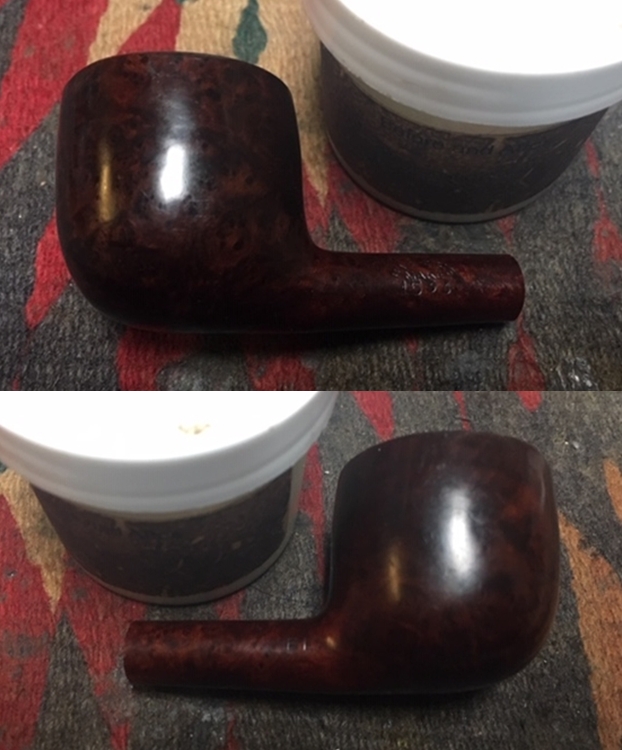
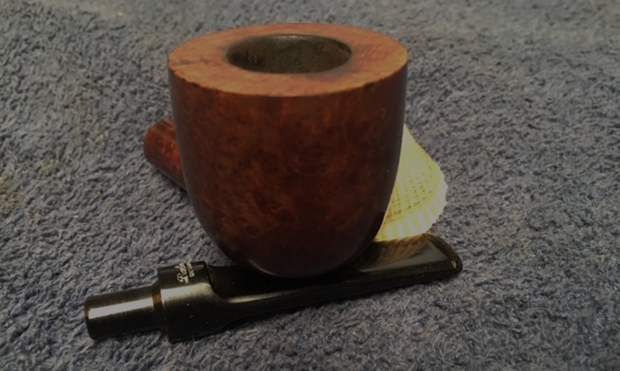
 I smoothed out the damaged spot on the finish on the left side of the bowl and restained it to match the rest of the stain. I worked Before & After Restoration Balm into the briar of the second bowl with my fingertips to clean, enliven and protect the wood. I let the balm sit for about 20 minutes and buffed it off with a soft cotton cloth. I took photos of the pipe at this point in the process to show what the bowl and rim looked like. I am happy with the stain match on the rim top. The next four photos show the smaller bowl, the 1533, that was in worse condition than the first. It looks really good after the balm and buffing.
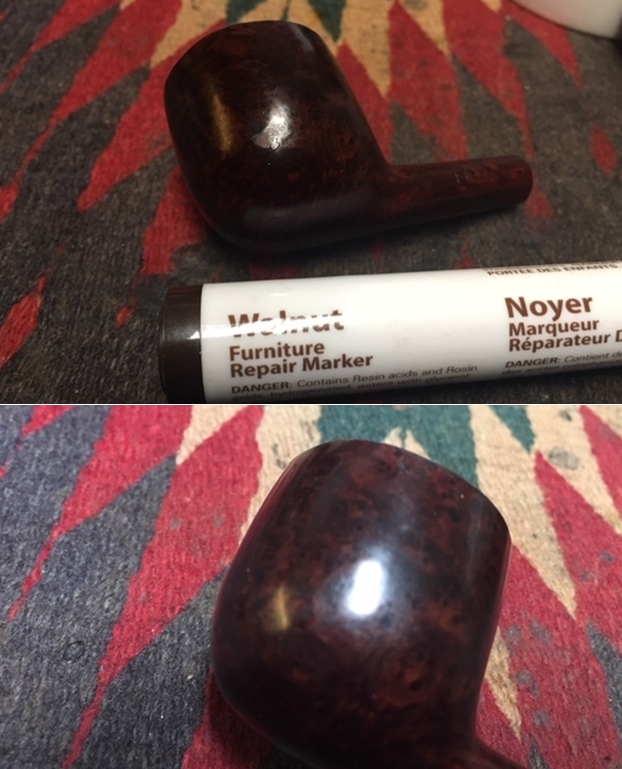
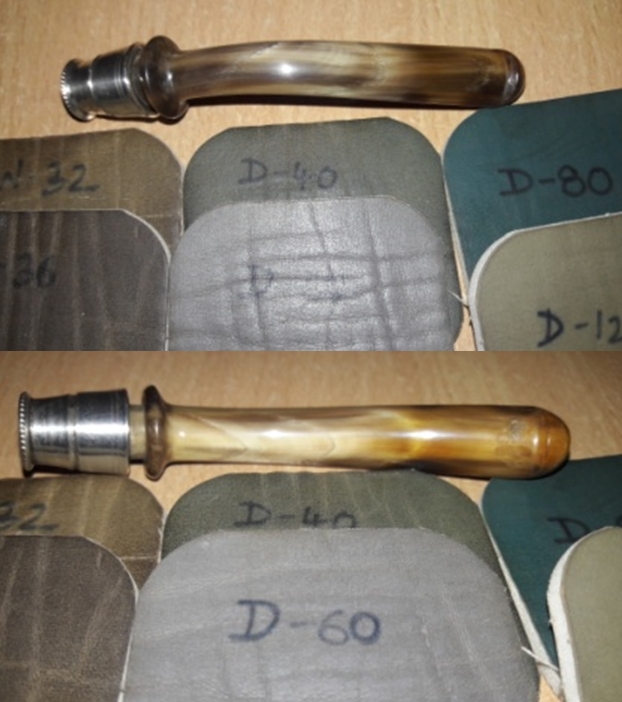
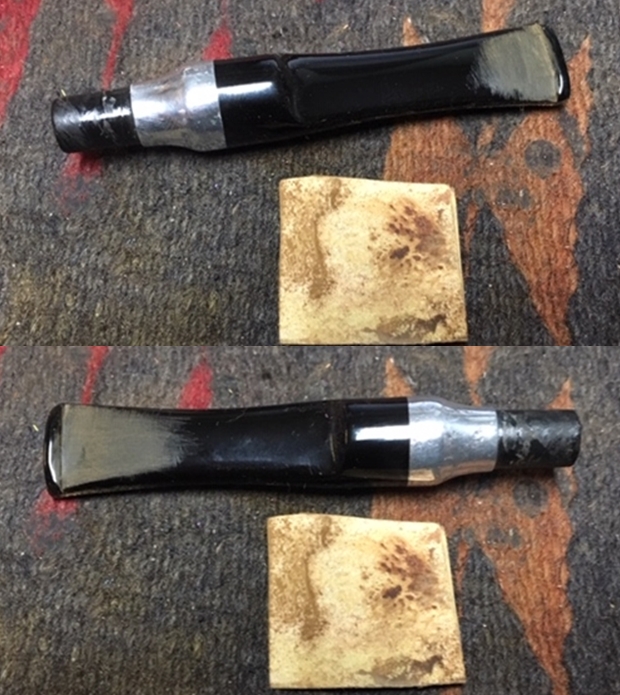
 I sanded out the tooth marks and chatter on the stem on larger 1752 pipe with a folded piece of 220 grit sandpaper. I forgot to take photos of the stem at this point in the process. I rubbed the stem down with Denicare Mouthpiece Polish to remove as much of the oxidation as possible without damaging the stamping.
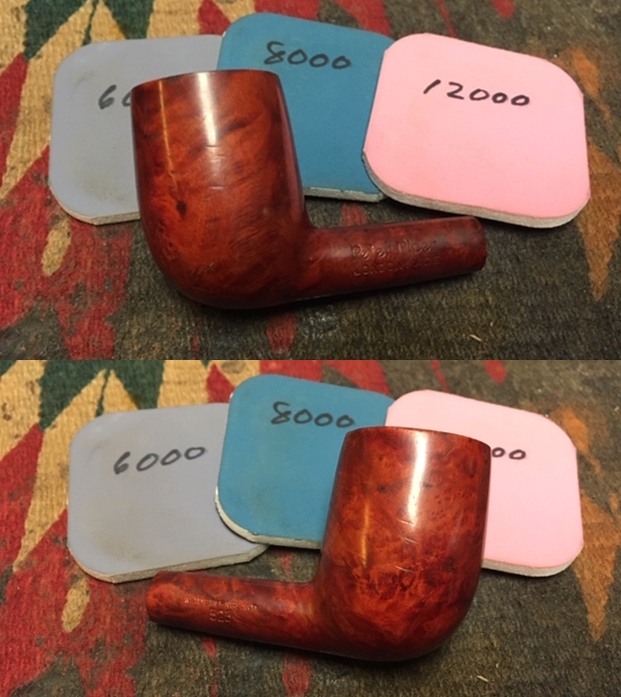
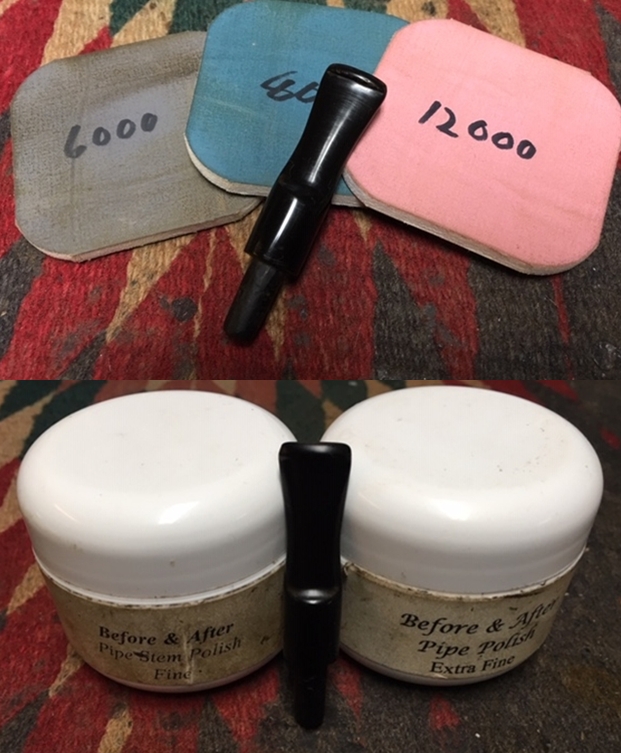
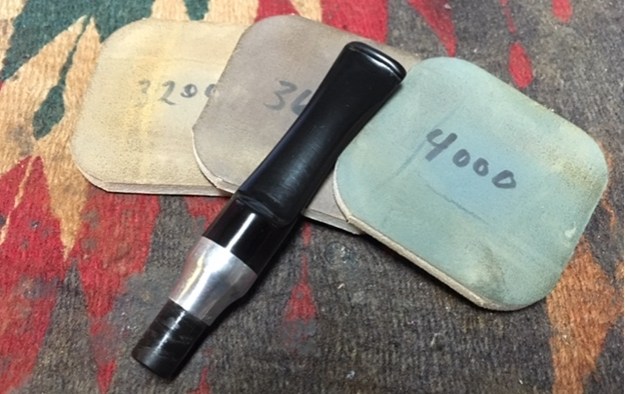
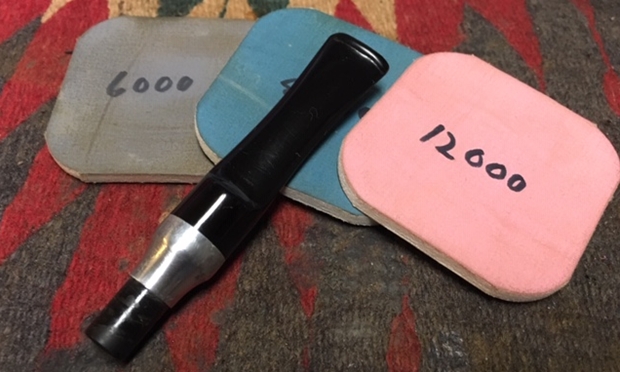
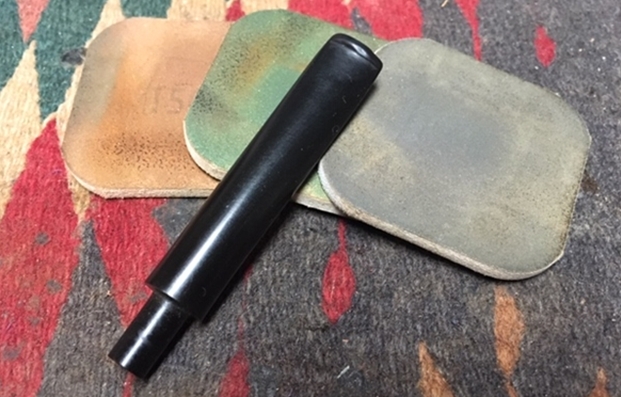
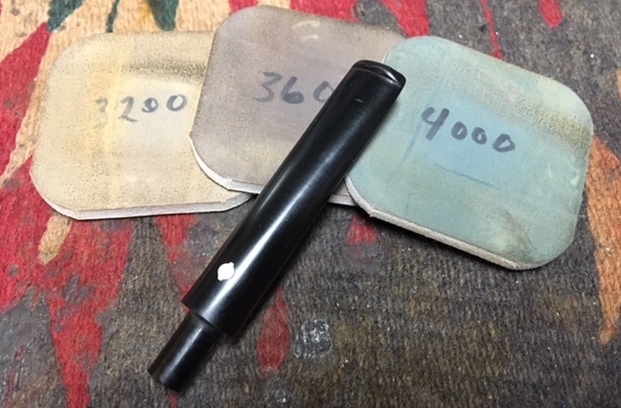
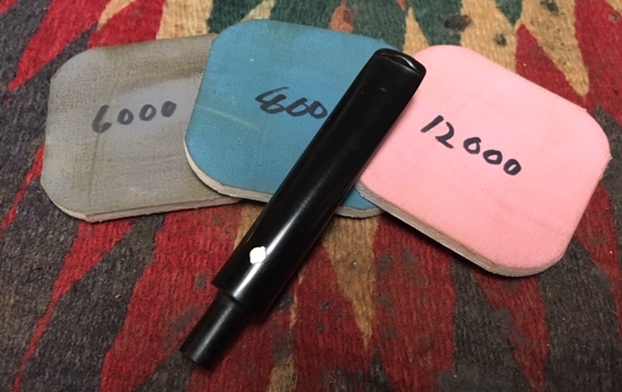
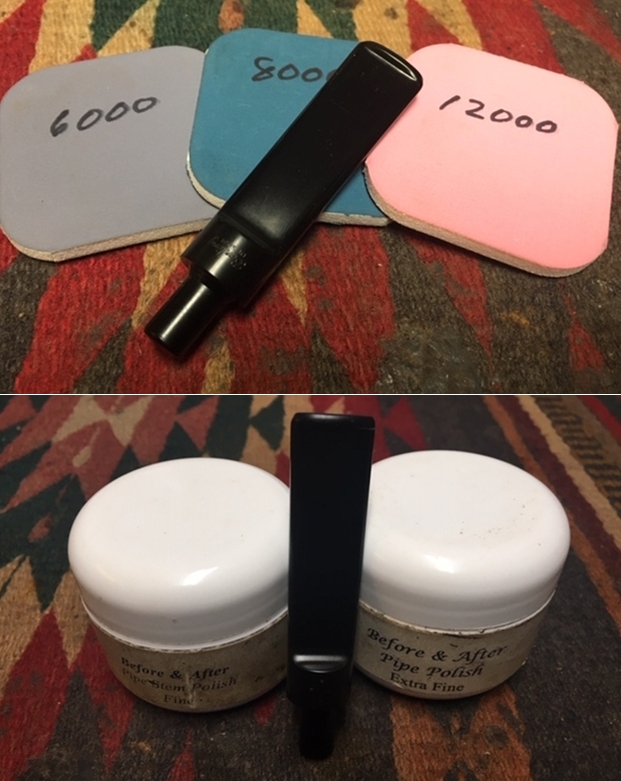
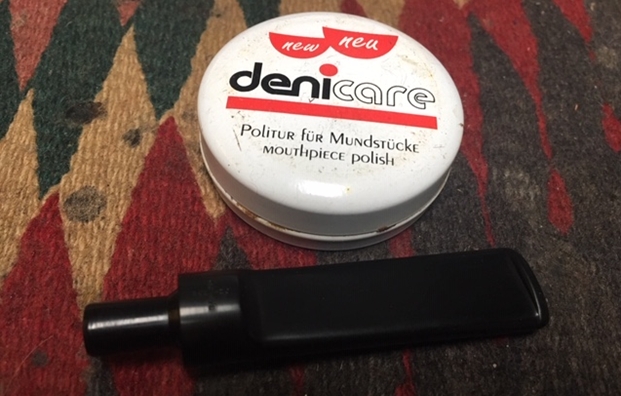 I polished it with the micromesh sanding pads – wet sanding it with 1500-2400 grit pads and dry sanding with 3200-12000 grit pads. I rubbed it down with Obsidian Oil between each pad. I polished it further with Before & After Pipe Polish – both Fine and Extra Fine. I gave it a final coat of Obsidian Oil and set it aside.
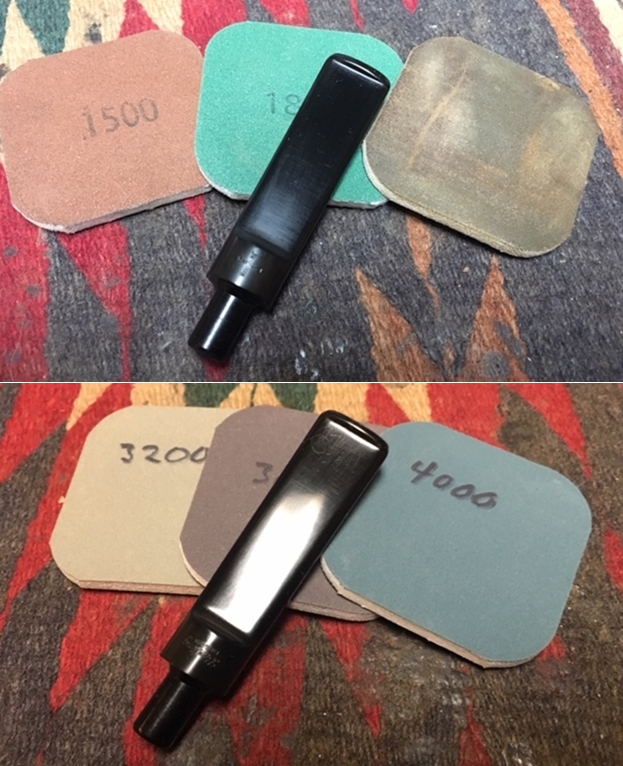
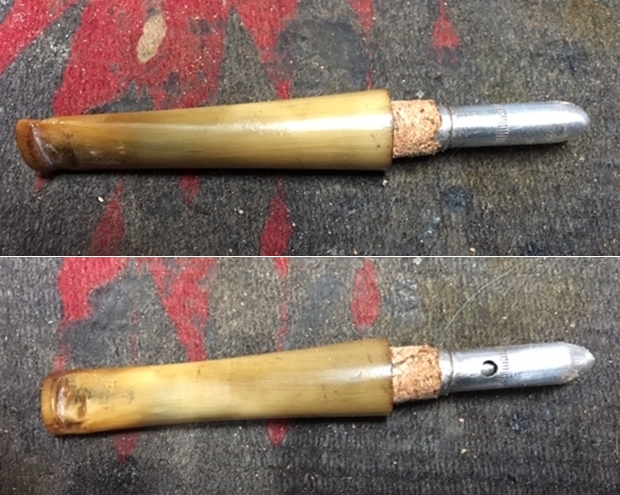
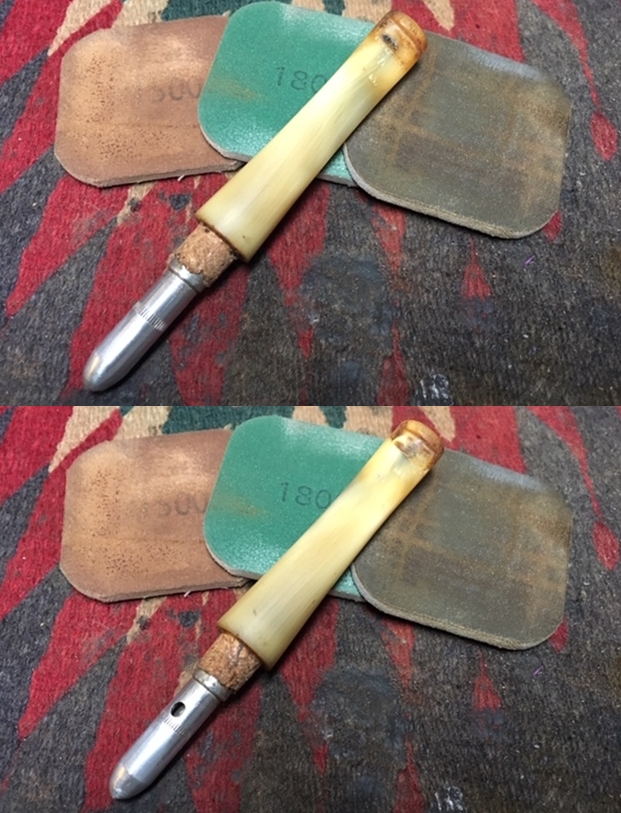
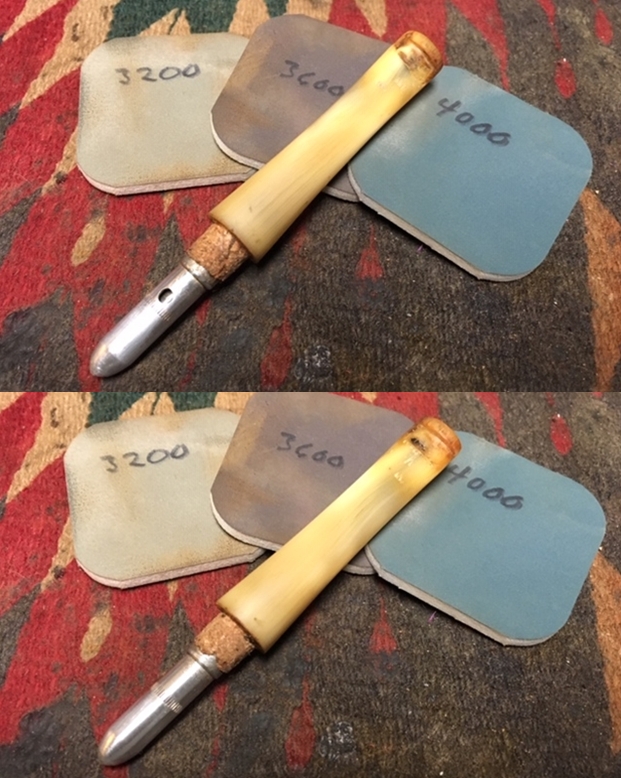
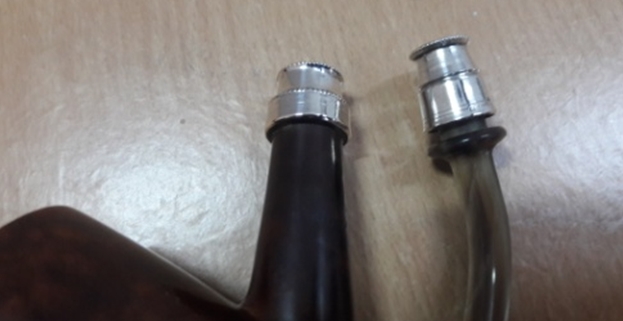
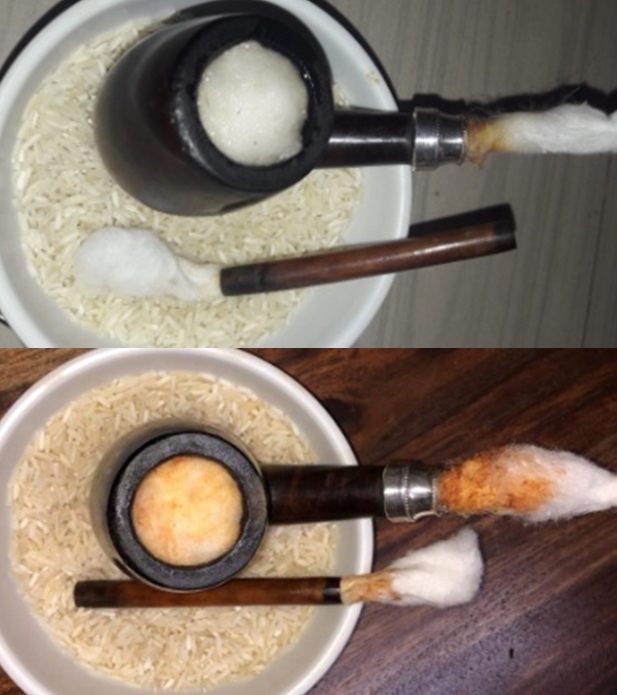
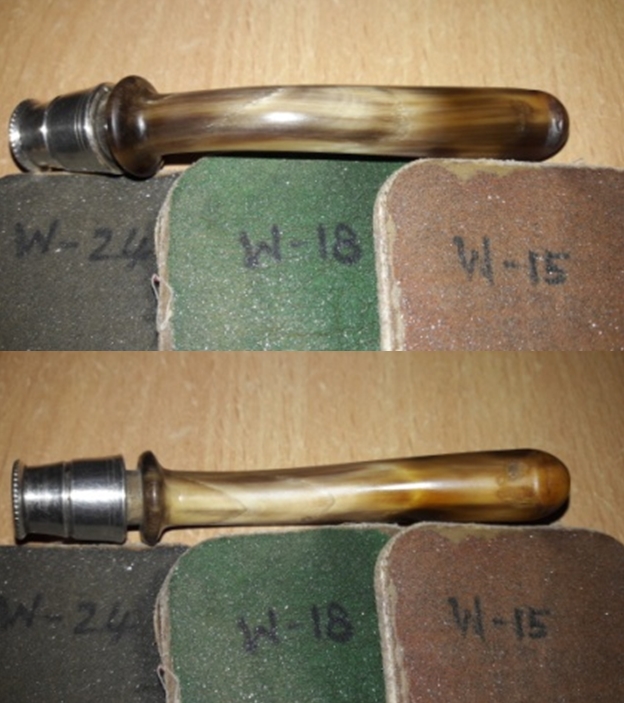
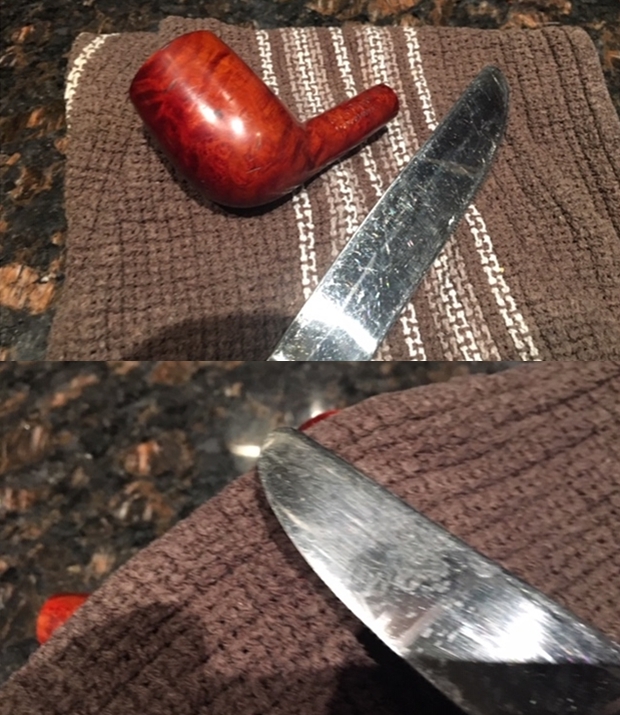
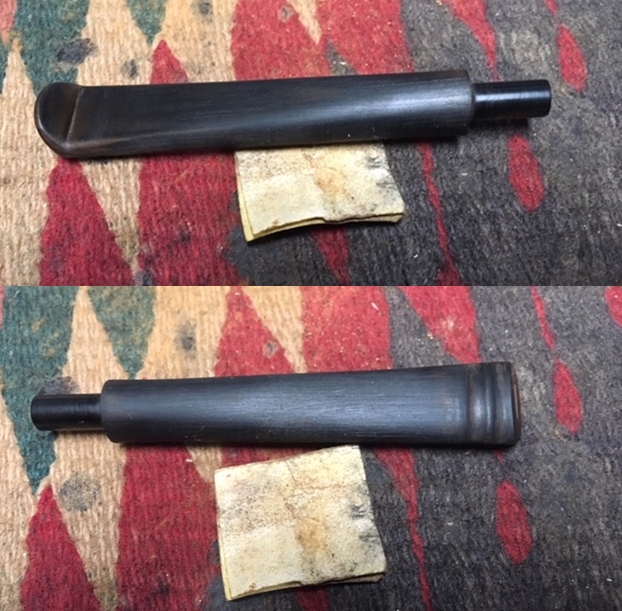
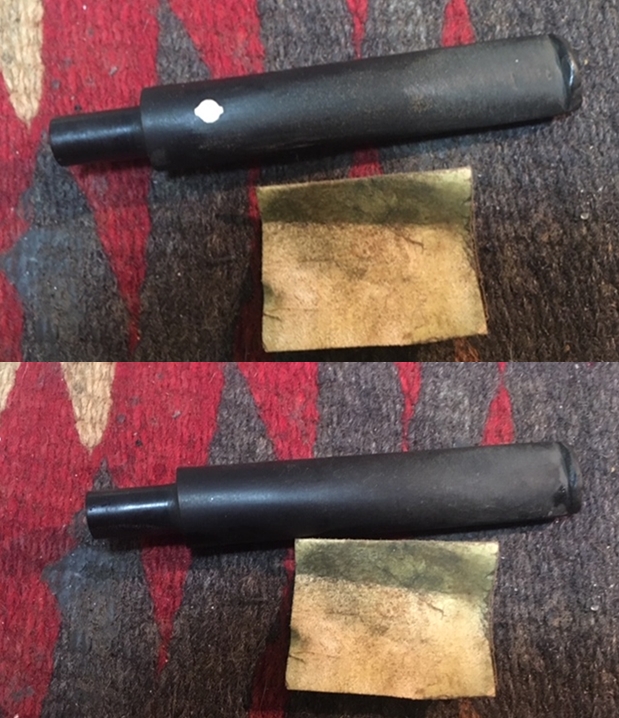
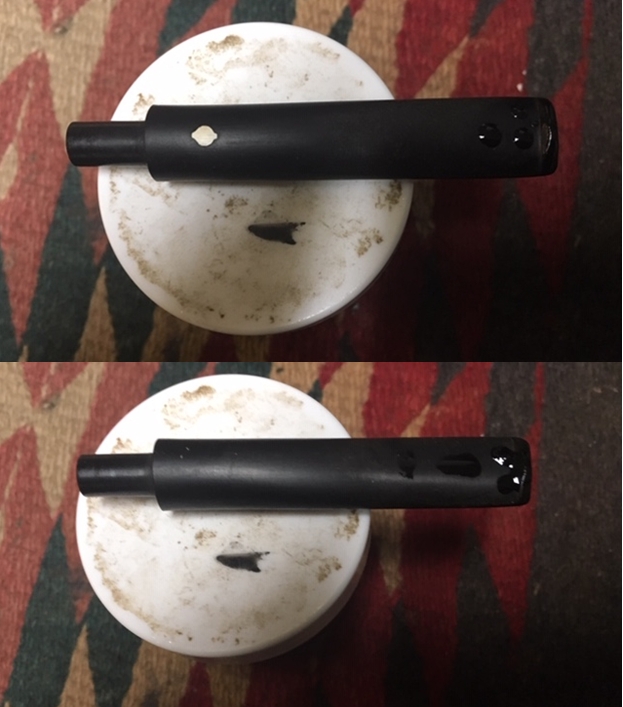
 With that stem completed I turned to the second stem, the one on the 1533 the dirtier pipe. Upon examination I found that the stem was a twin bore bit. It had the classic “Biteproof” stem on it. And even that feature had not kept it safe from tooth dents and mark. I “painted” the surface of the stem with the flame of a Bic lighter to lift the tooth marks. Once that was finished I sanded out the tooth marks and chatter with 220 grit sandpaper.
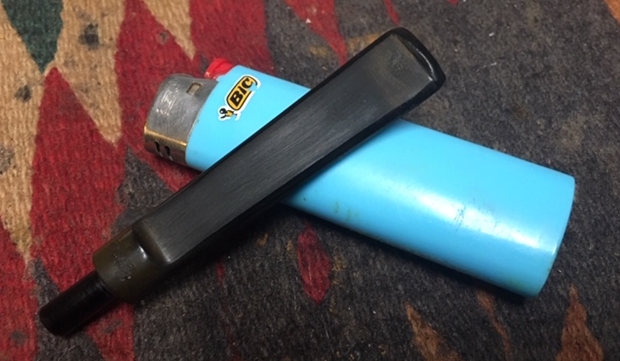
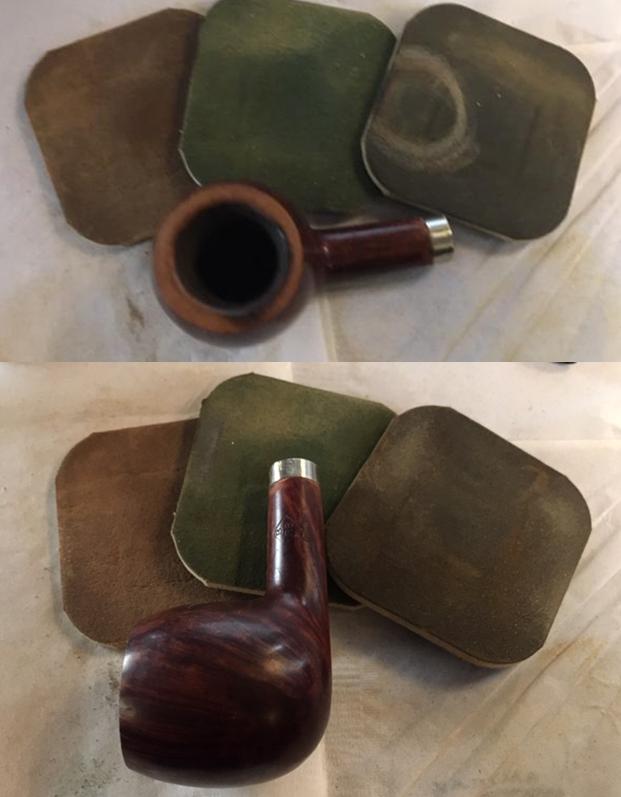
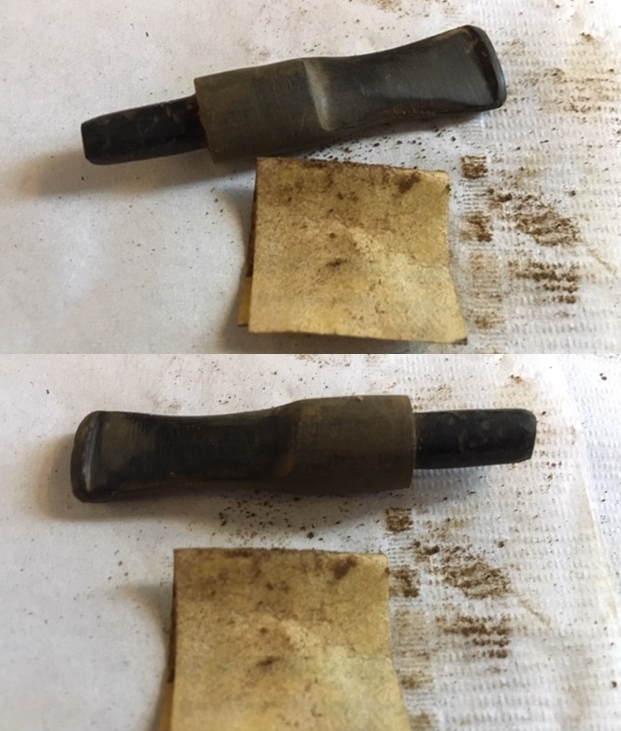
 After I sanded out the tooth marks and chatter on the stem on 1533 pipe I rubbed the stem down with Denicare Mouthpiece Polish to remove as much of the oxidation as possible without damaging the stamping.
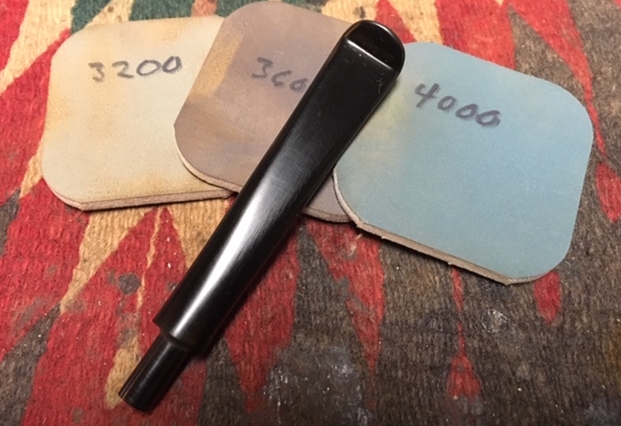
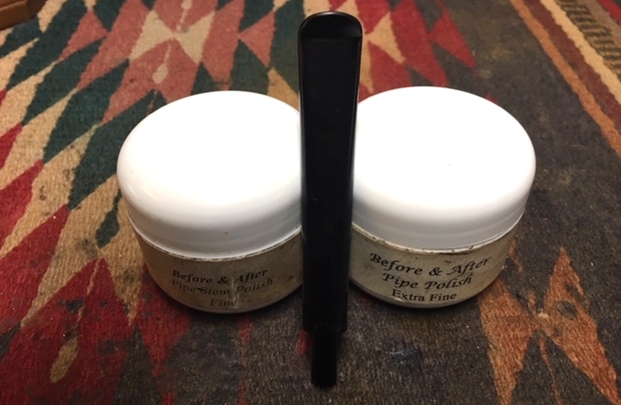
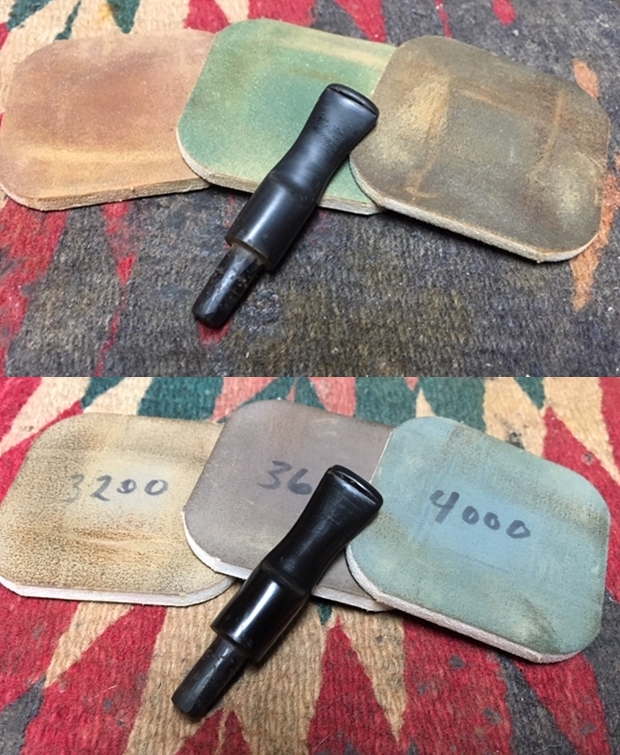
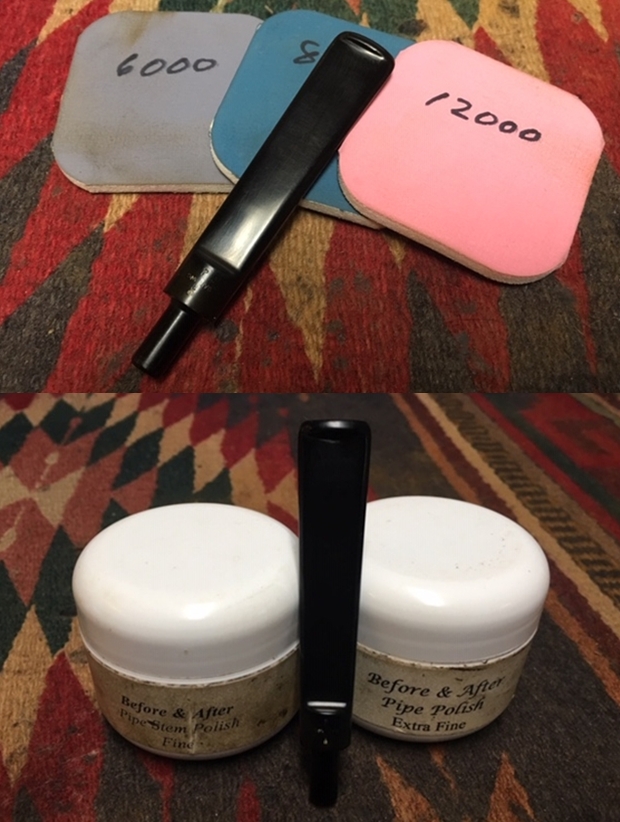
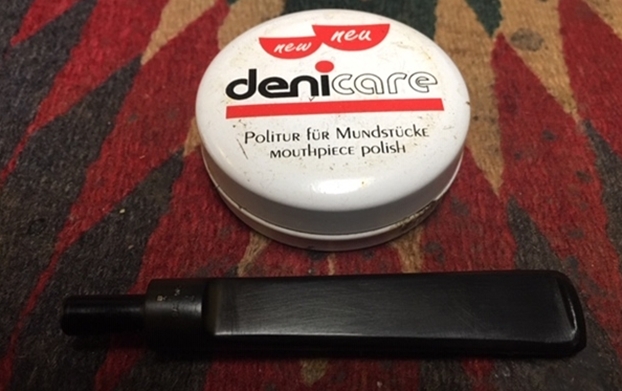 I polished it with micromesh sanding pads – wet sanding it with 1500-2400 grit pads and dry sanding with 3200-12000 grit pads. I rubbed it down with Obsidian Oil between each pad. I polished it further with Before & After Pipe Polish – both Fine and Extra Fine. I gave it a final coat of Obsidian Oil and set it aside.
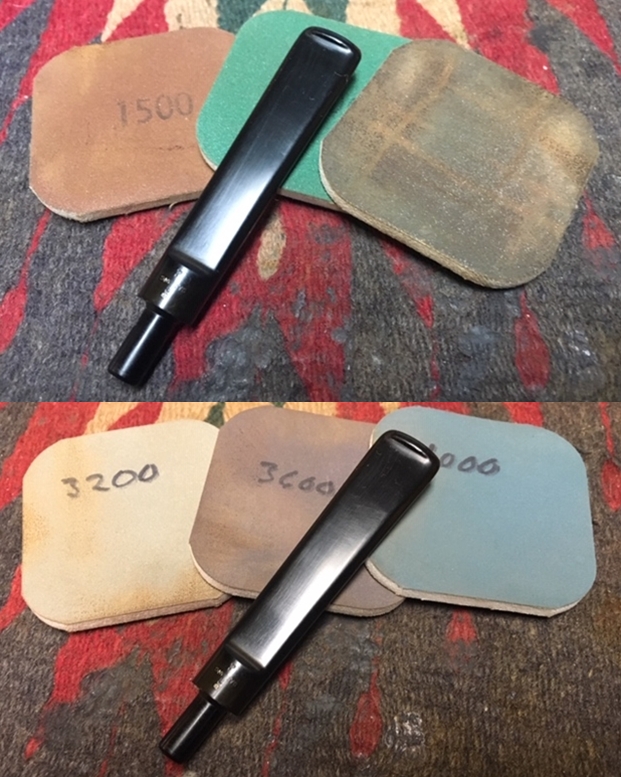
 I filled in the letters on the top and underside of the Barling’s Make stems with a white out pen. The tip of the pen was frozen so I slit a hole in the side of the pen and used the white out to fill the stamping on the stems. I let it cure and harden. Once it had hardened I scraped it off with my fingernail and left the remainder behind in the letters.
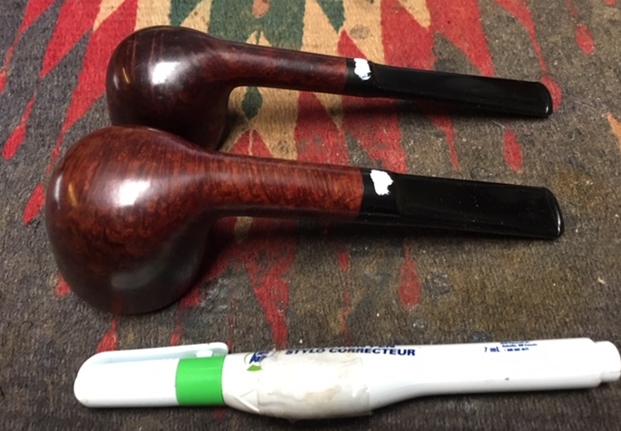
 I still needed to polish the stem and bowl on the wheel with Blue Diamond to remove the small scratches that showed up with the flash. Once that is done the pipe will be ready to send back to Scott in California.
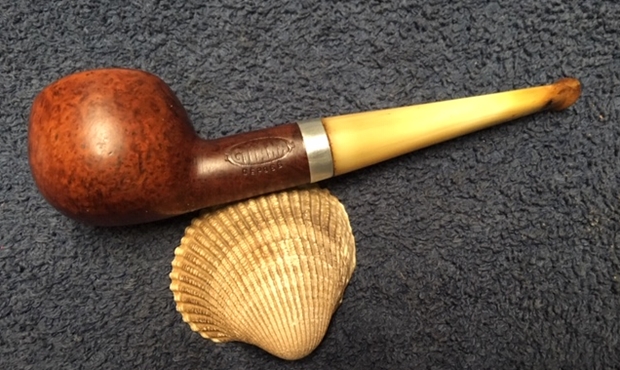
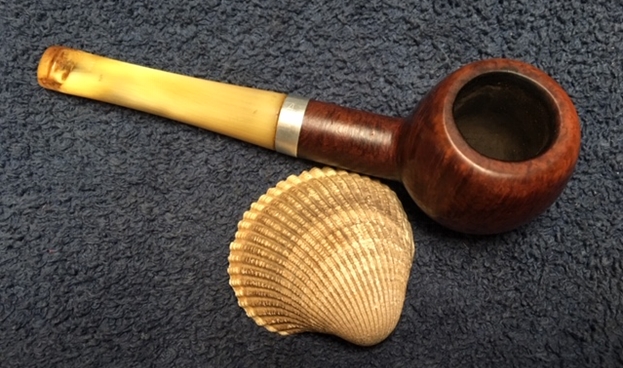
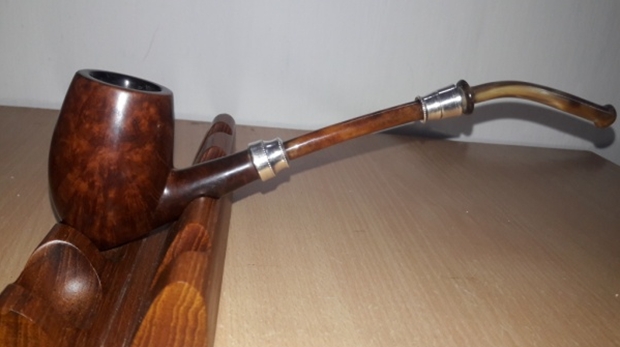
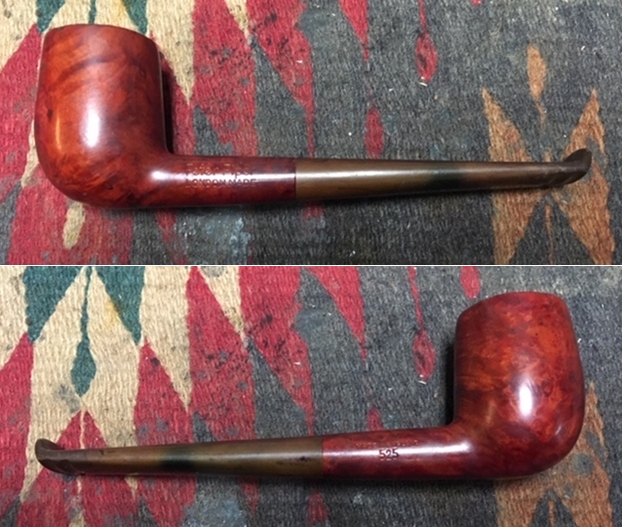
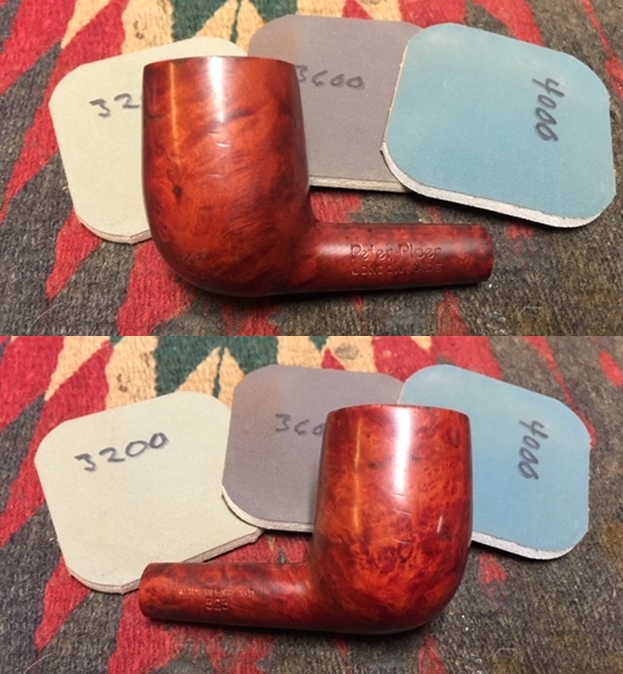
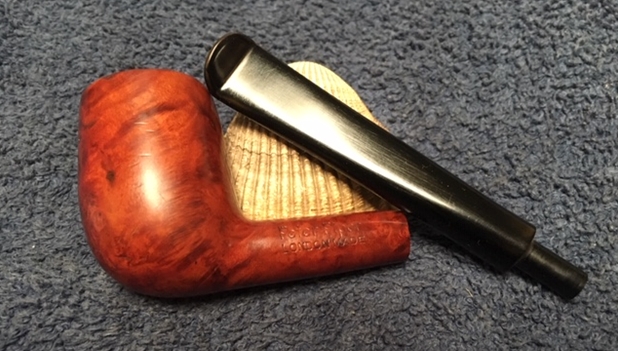
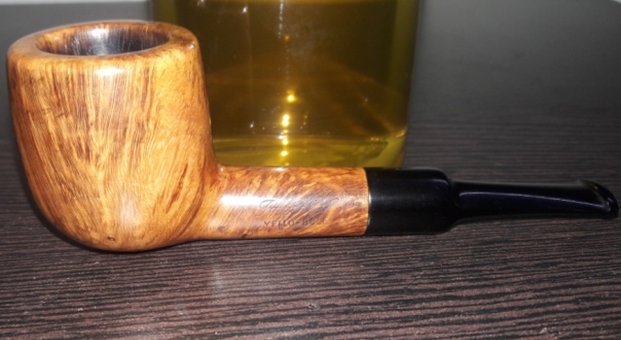
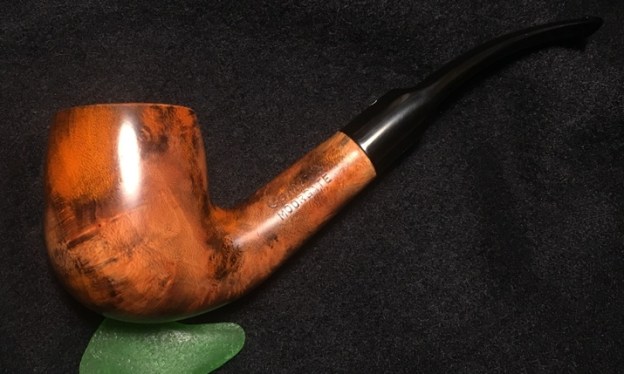
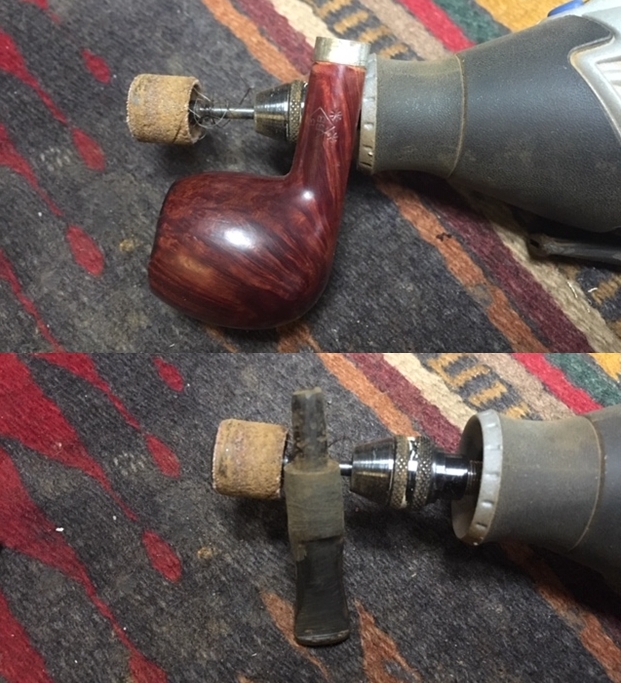
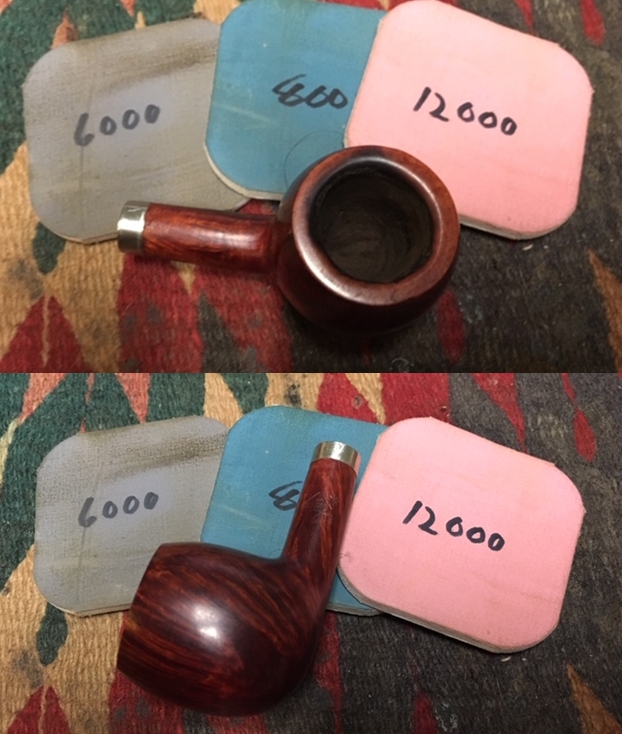
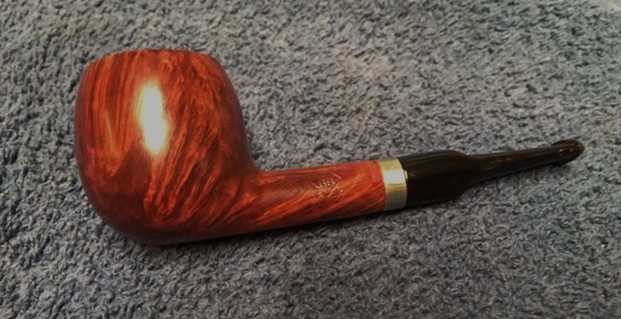
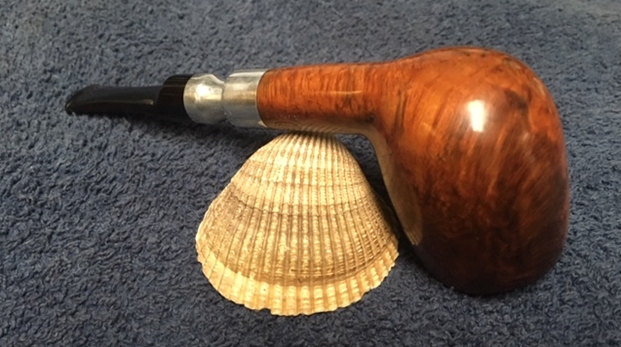
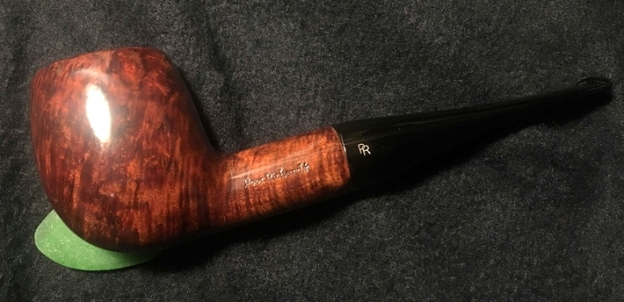
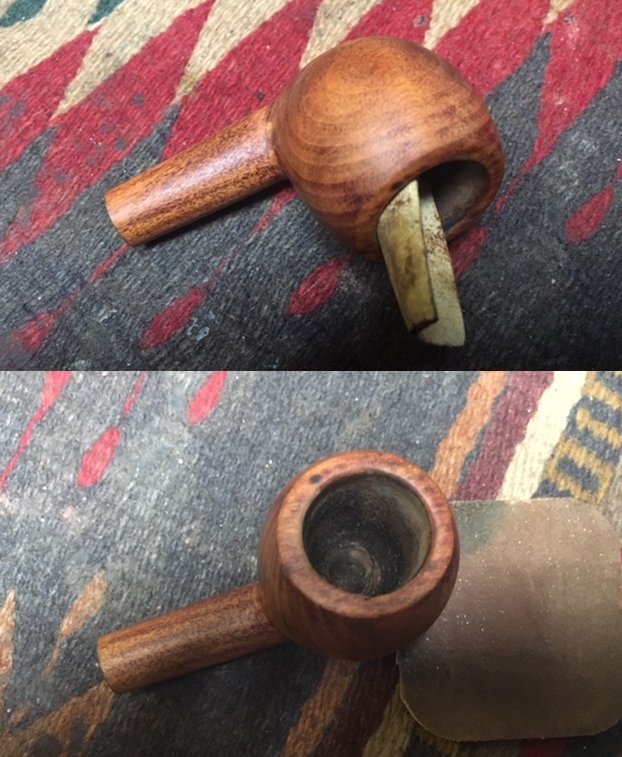
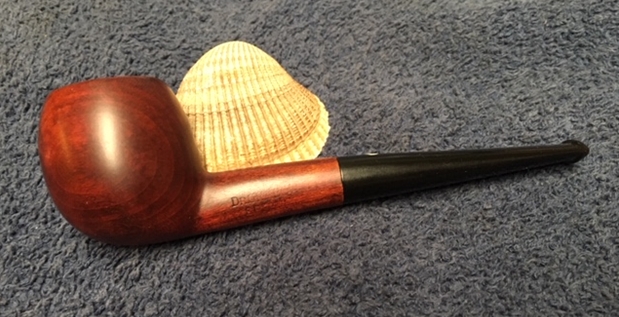
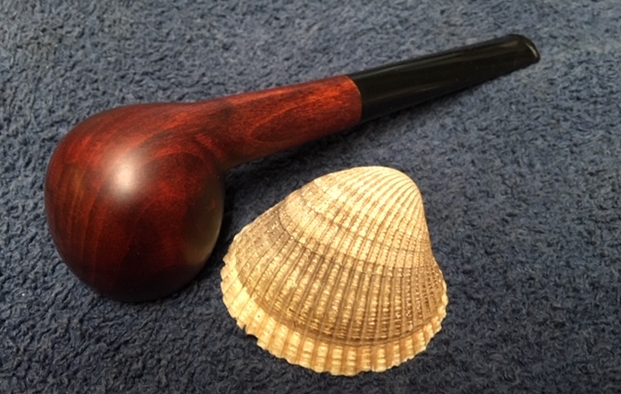
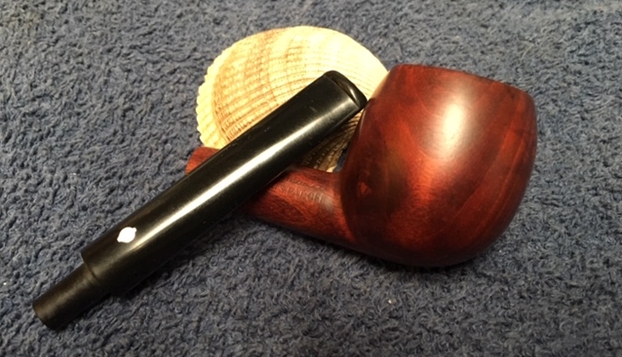
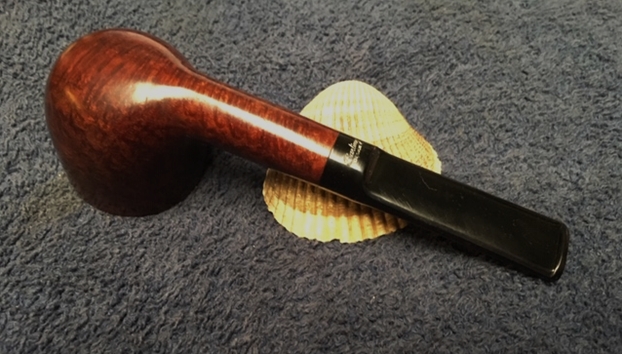
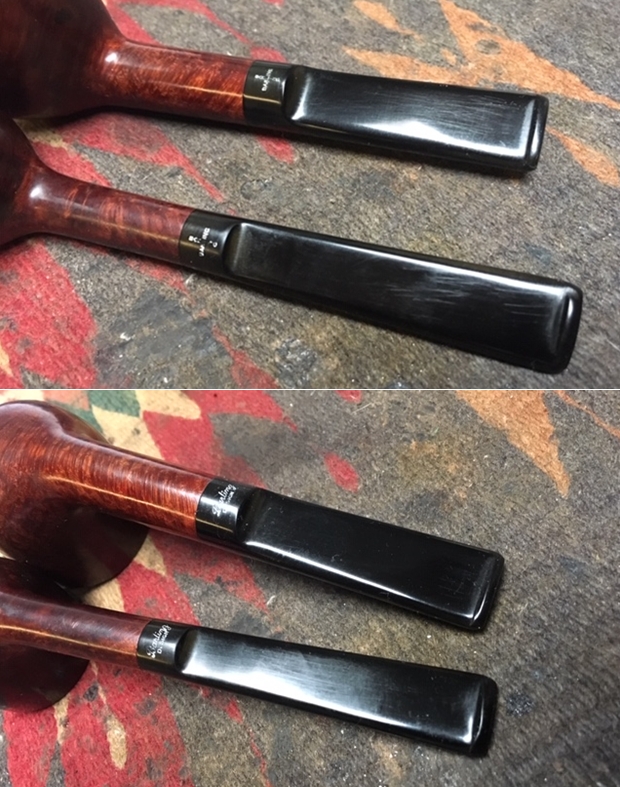 I polished the bowls and stems with Blue Diamond to polish out the scratches in the briar and rubber. I gave the bowls and the stems multiple coats of carnauba wax. I buffed the pipes with a clean buffing pad to raise the shine. I hand buffed them with a microfiber cloth to deepen the shine. Both pipes polished up pretty nicely. The original patina on both bowls came alive with the buffing and worked well with the polished black vulcanite stems. Both pipes have a rich look. The finished pipes are shown in the photos below. The first pipe is the one that was in “better condition” when it arrived. I think it is a bit newer than the second one. The shape, finish and flow of the pipe and stem speak well of the Family Era Barling’s Make pipes. The dimensions of the first pipe, shape 1752 are Length: 5 1/2 inches, Height: 1 3/4 inches, Outside diameter of the bowl: 1 3/4 inches, Chamber diameter: 3/4 of an inch.
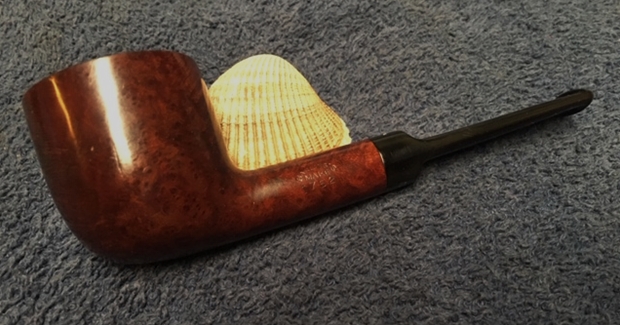
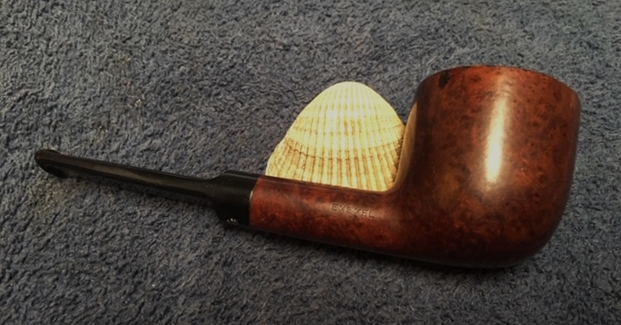
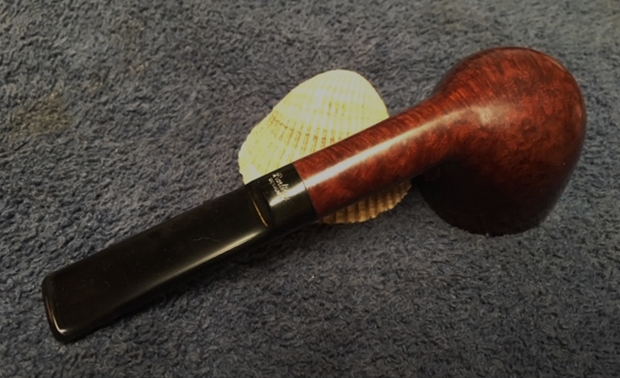

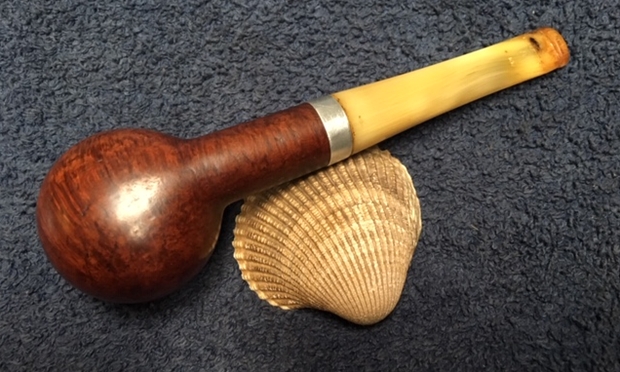
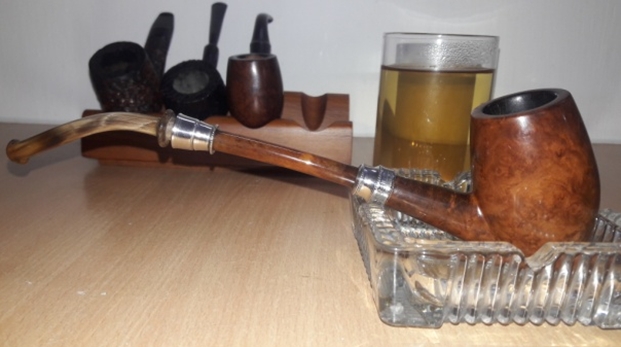
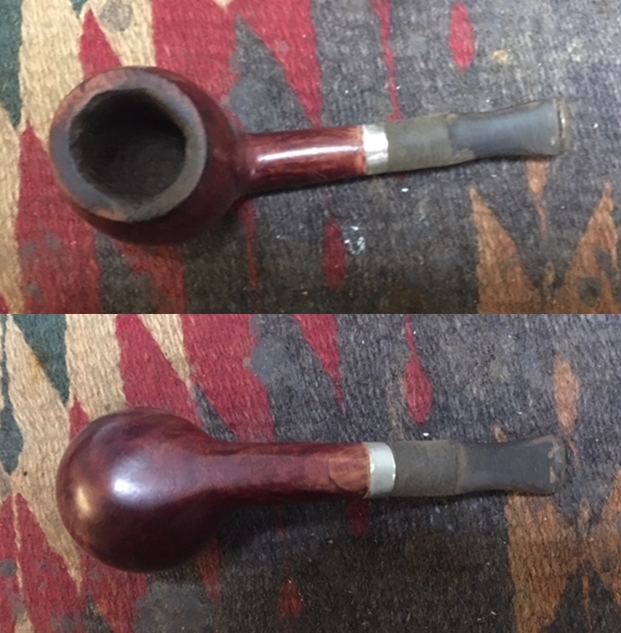
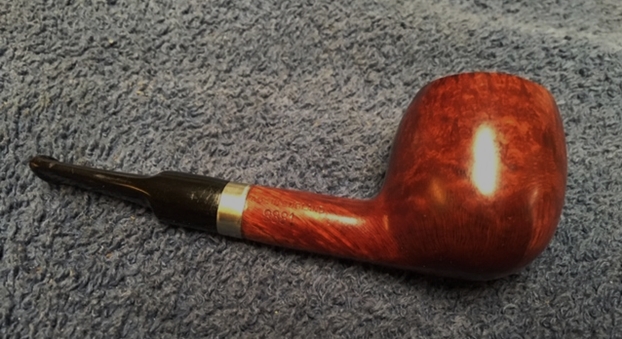
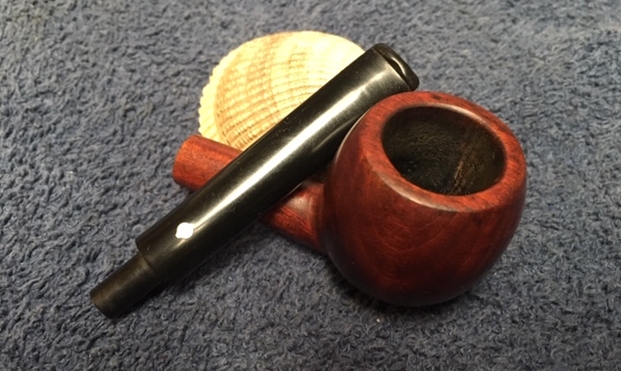
 The dimensions of the second pipe, shape 1533 are Length: 5 1/4 inches, Height: 1 1/2 inches, Outside diameter of the bowl: 1 1/2 inches, Chamber diameter: ¾ of an inch. This pair will soon head back to California so that Scott can enjoy them. Thanks for walking through the restoration with me as I worked over this beautiful pair of Family Era Barling’s Make Pipes… now I need get these packed up and back to Scott!