by Steve Laug
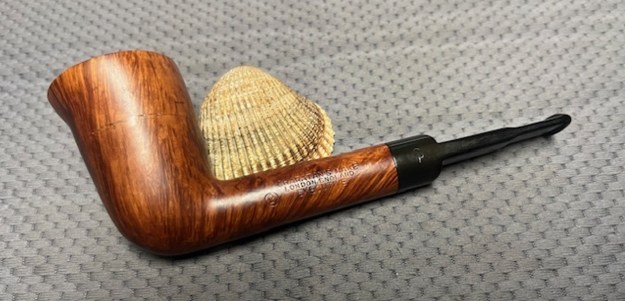
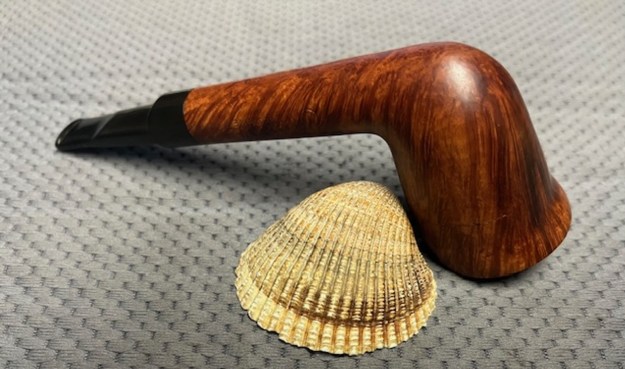
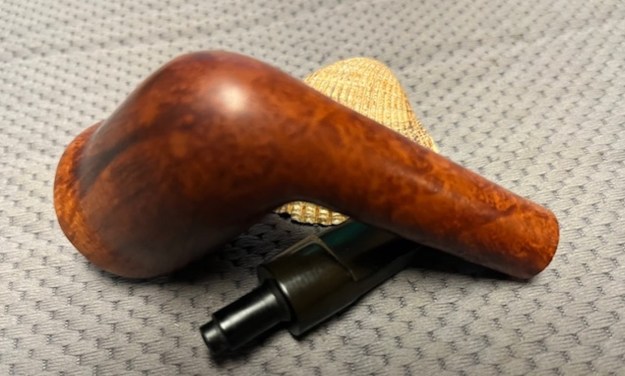
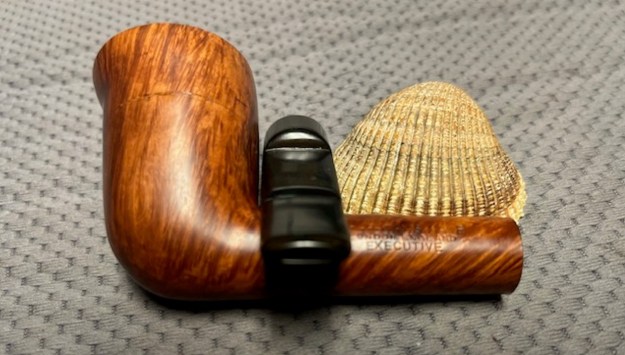
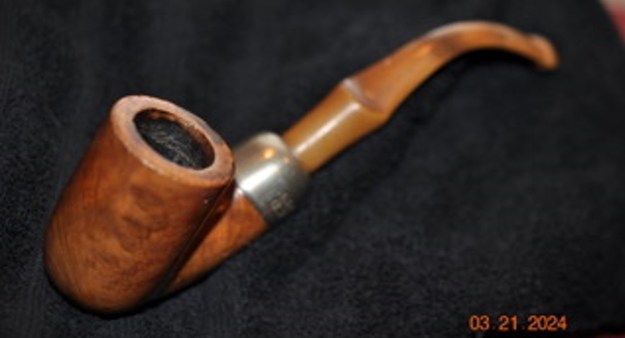
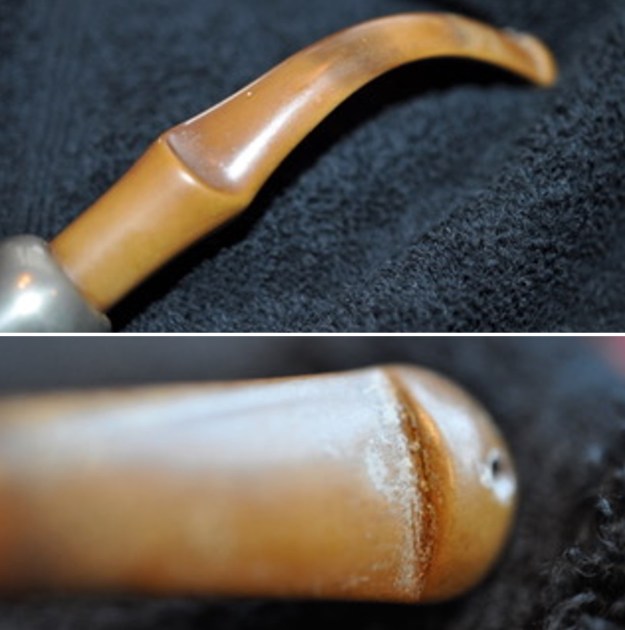
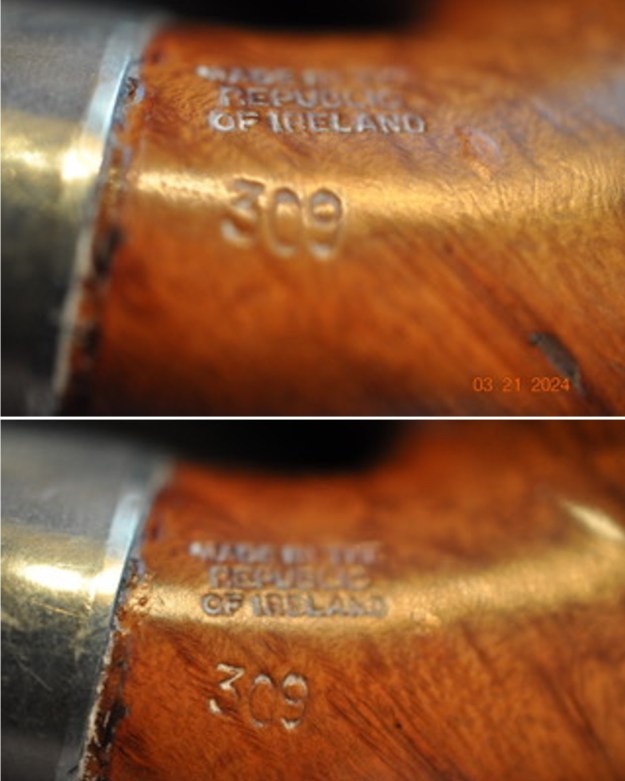
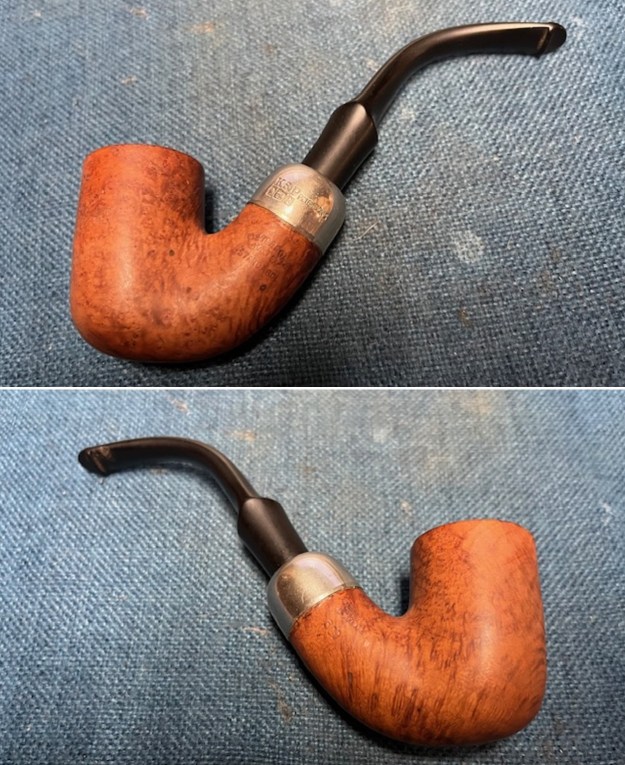
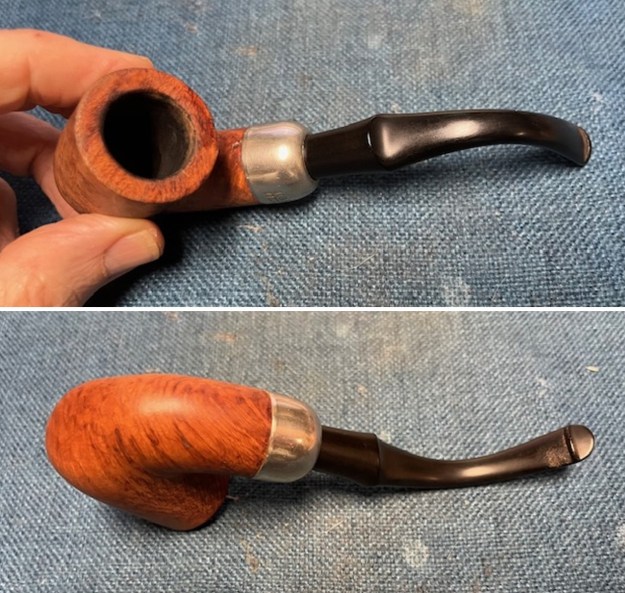
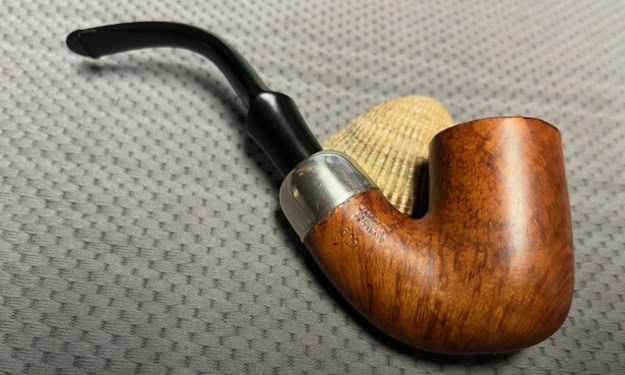
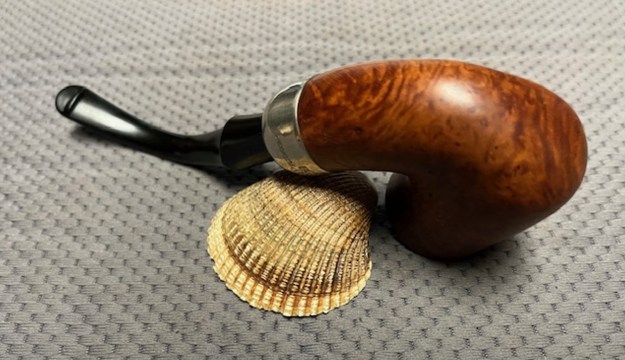
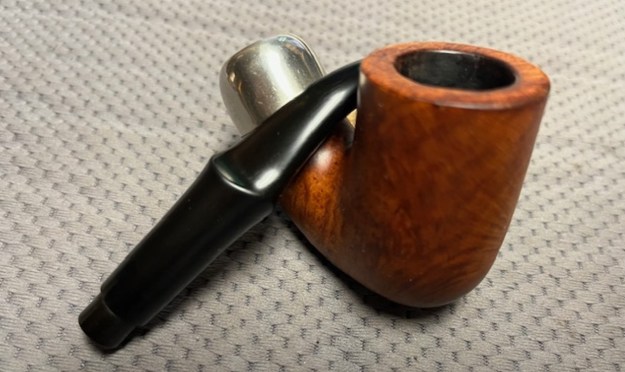
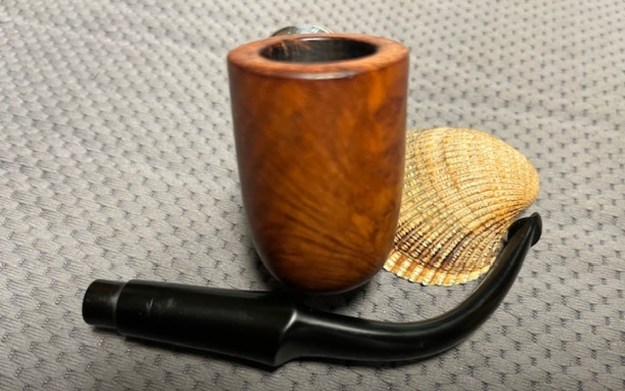
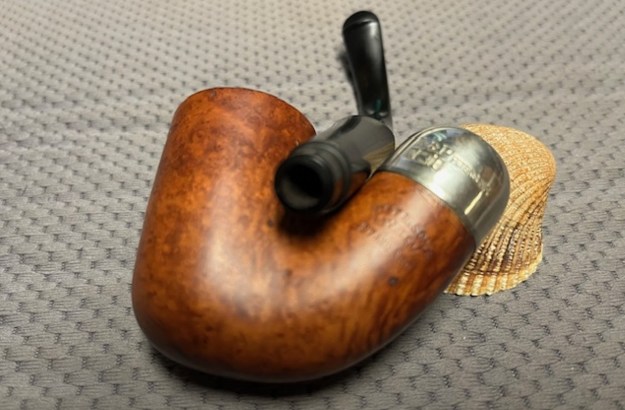
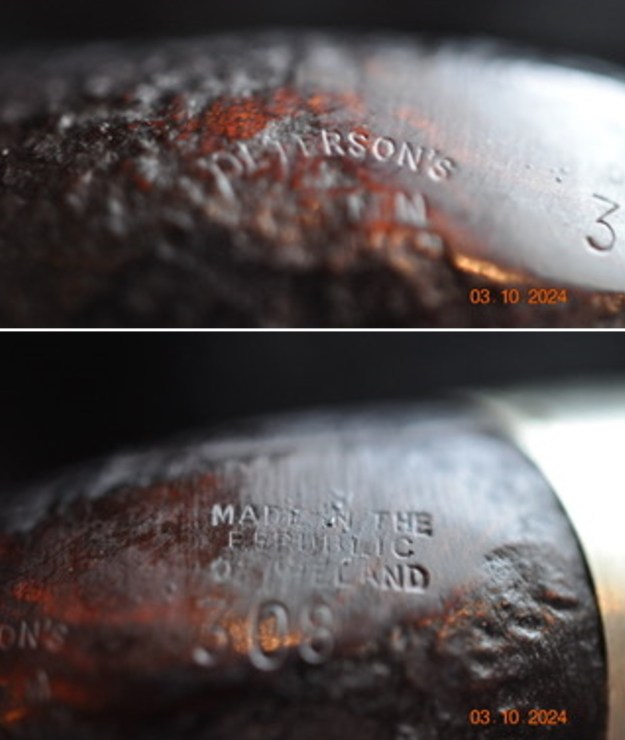
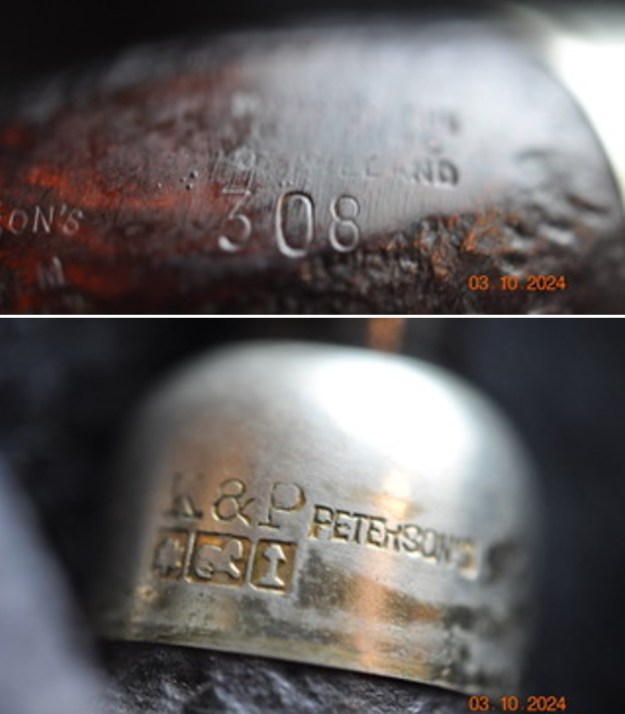
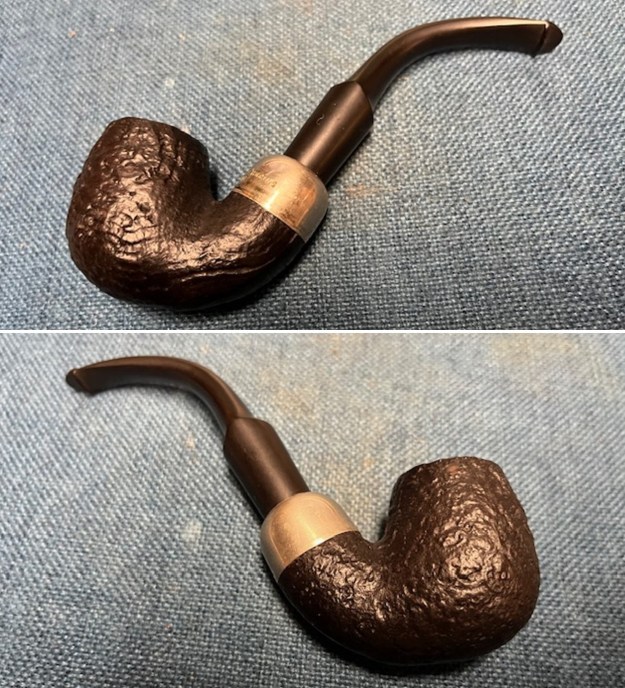
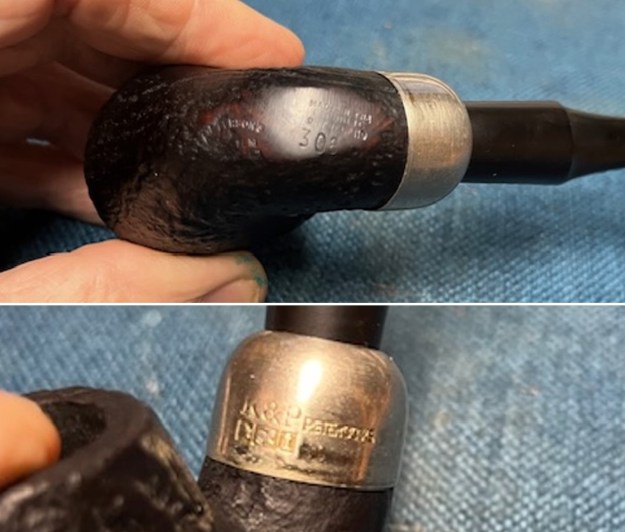
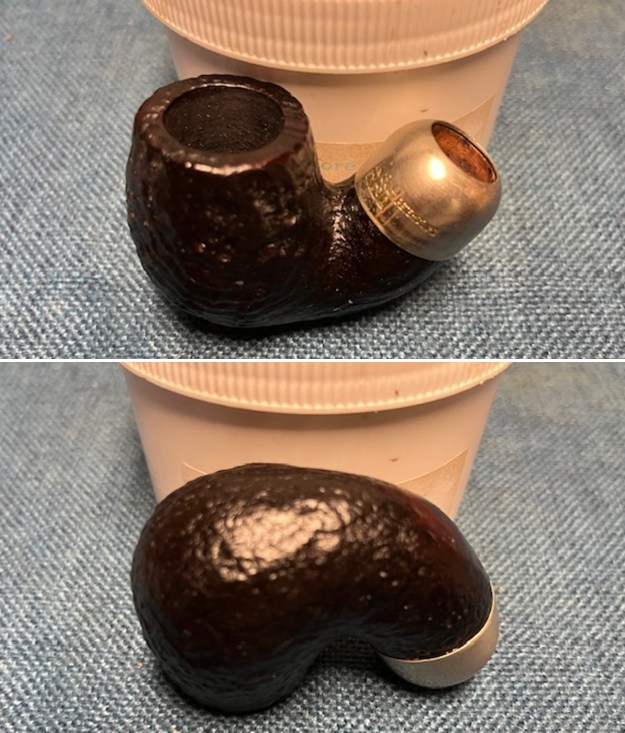
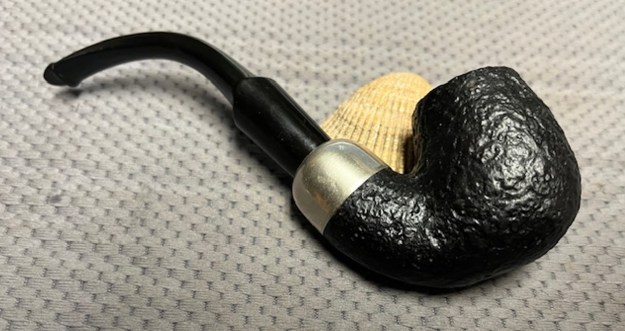
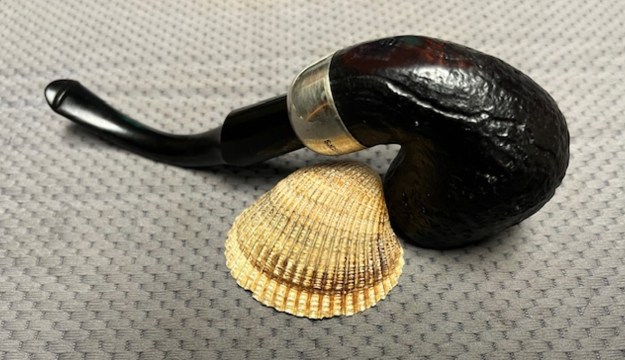
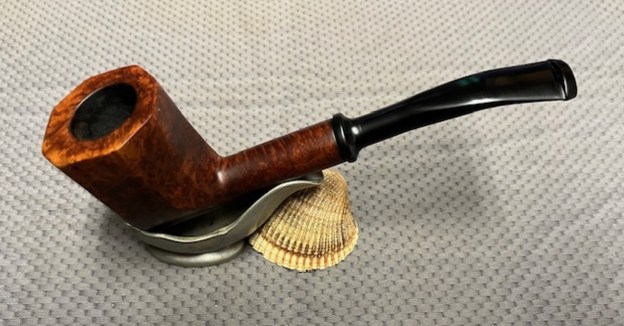
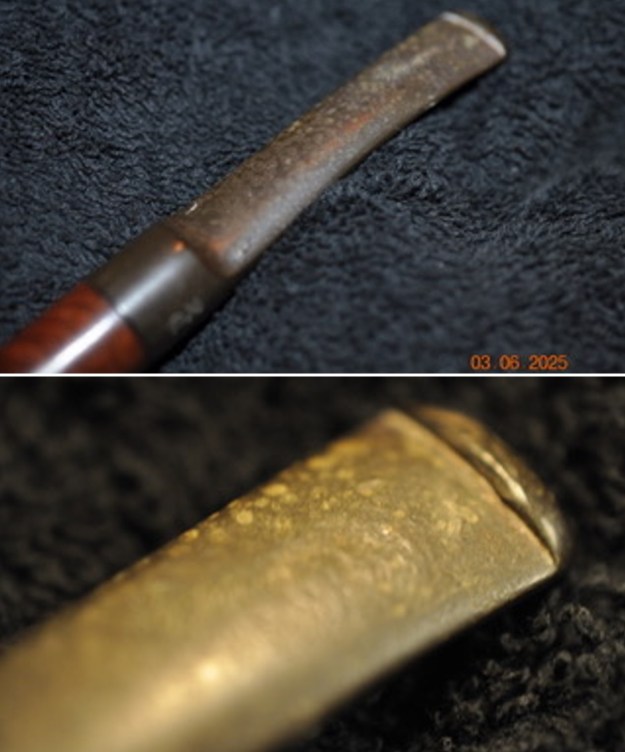
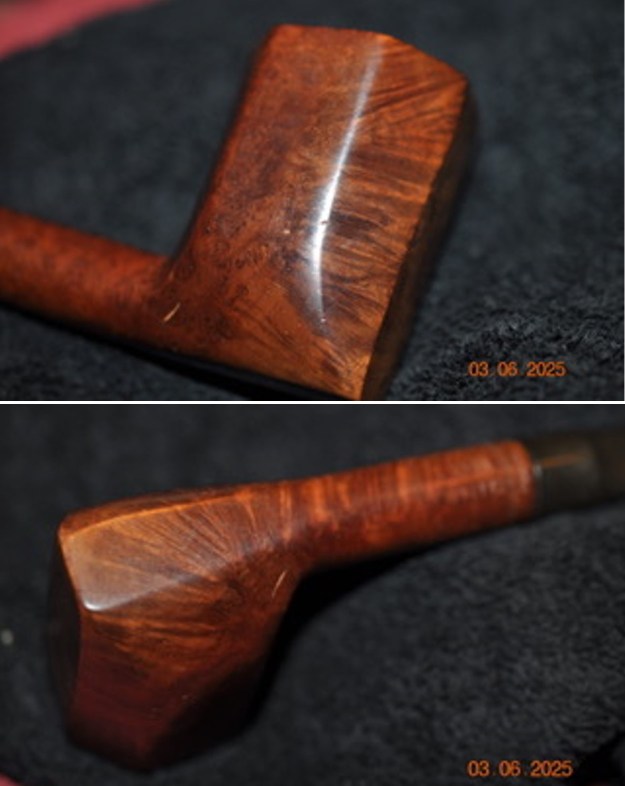
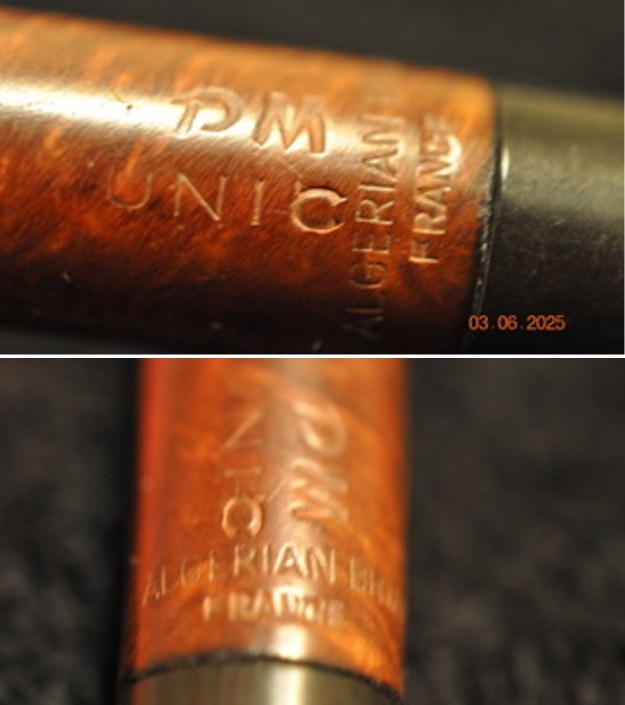
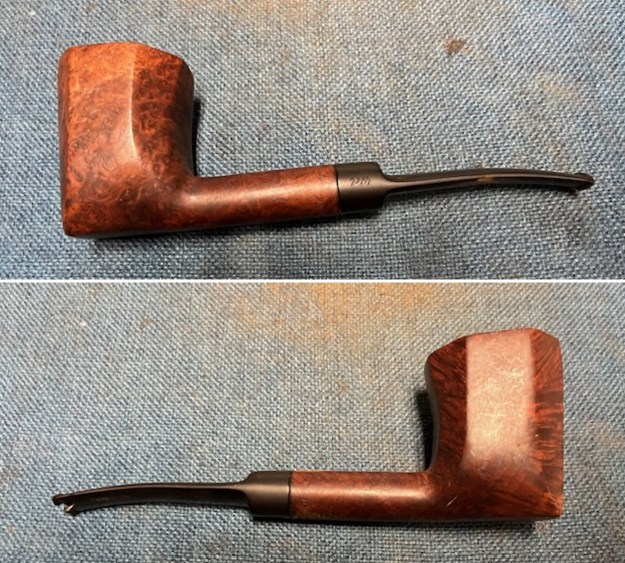
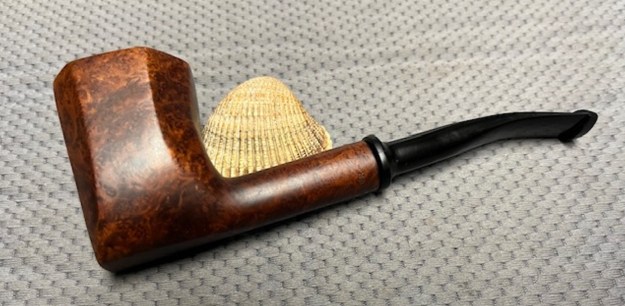
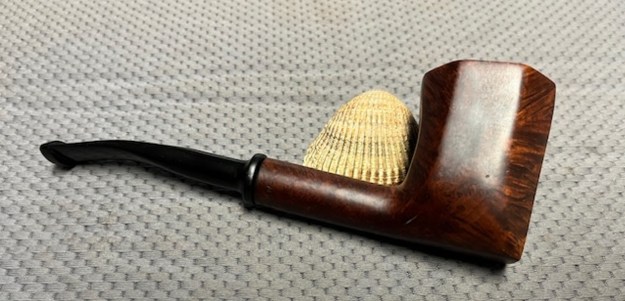
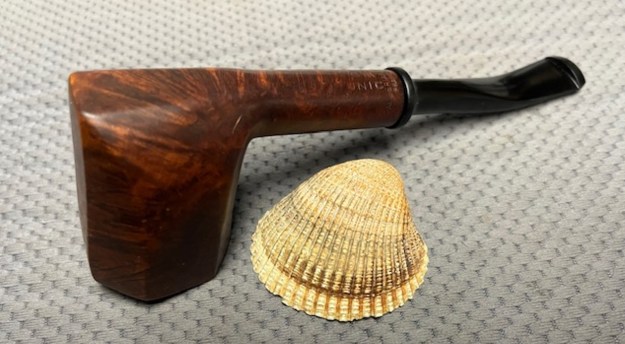
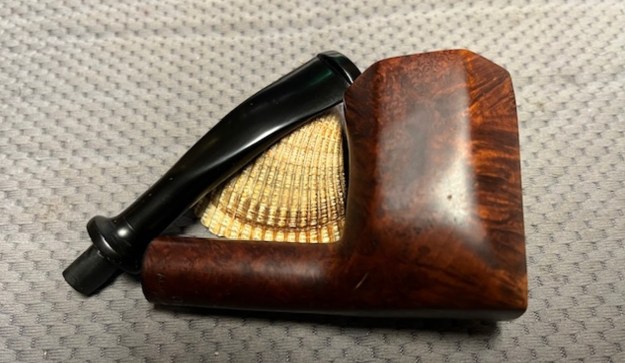
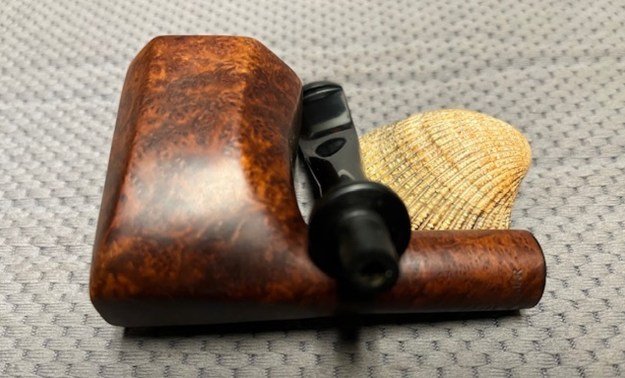
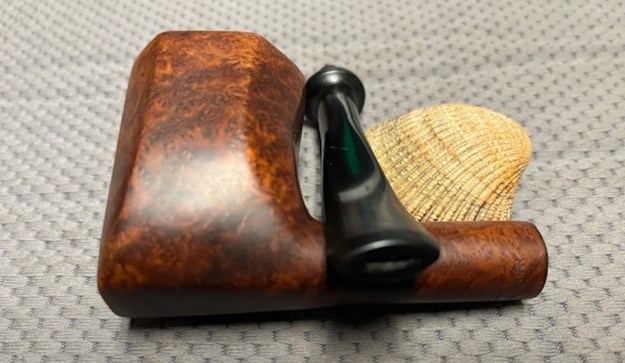
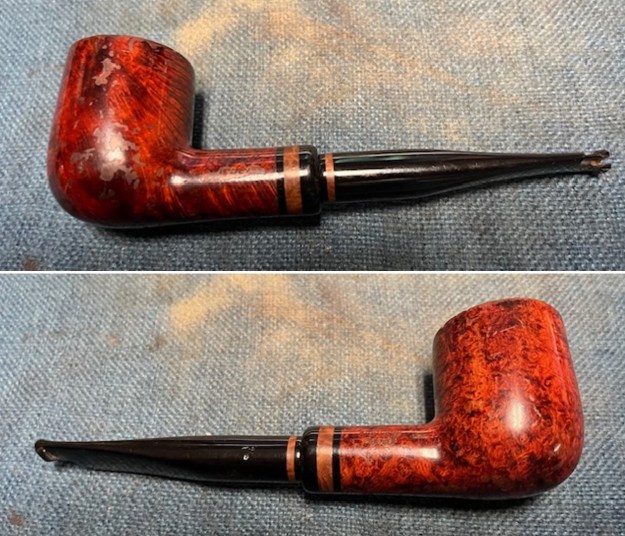
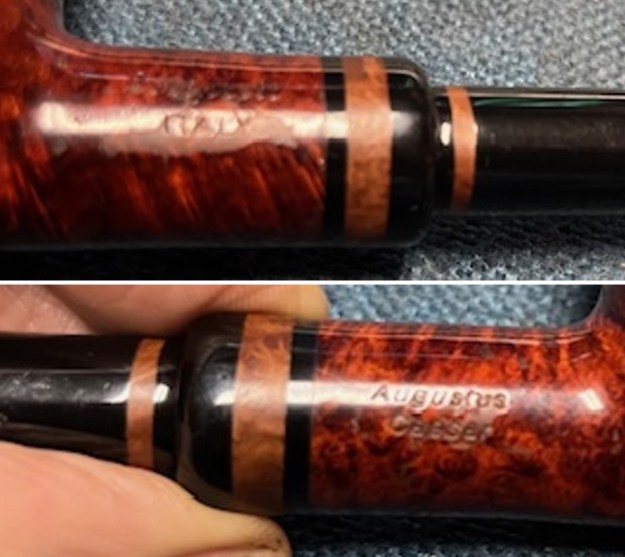
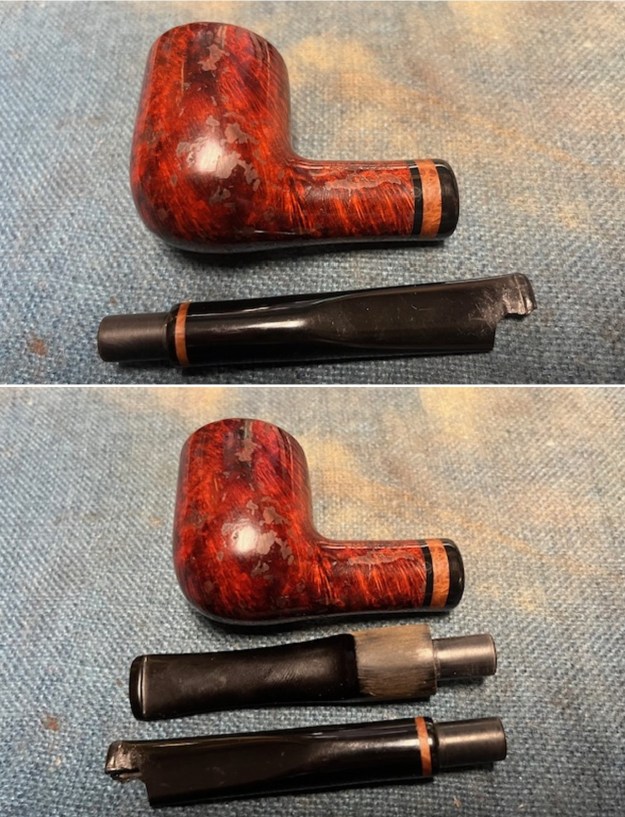
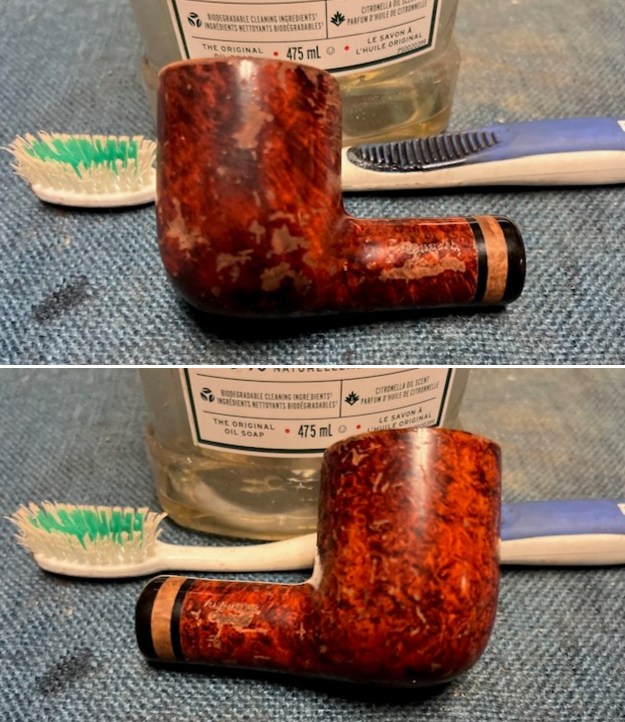
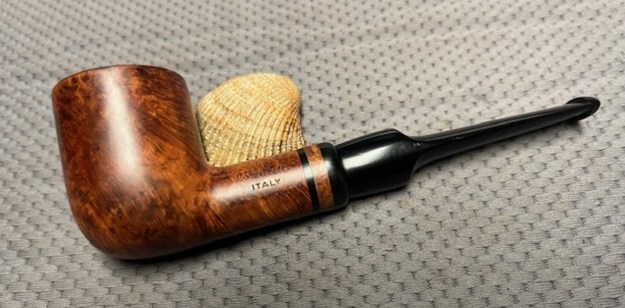
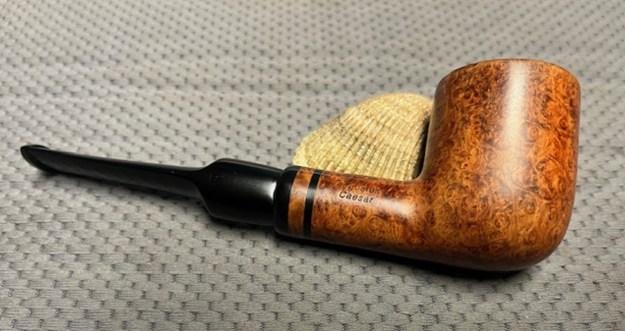
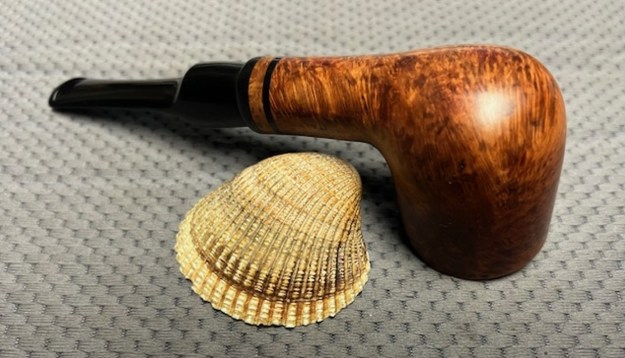
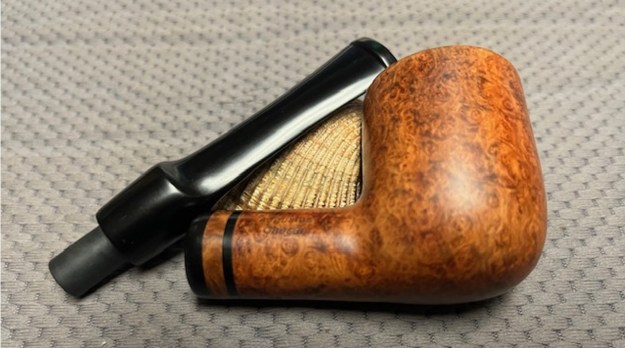
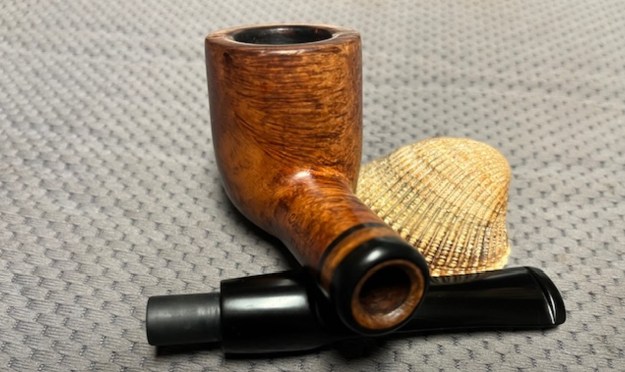
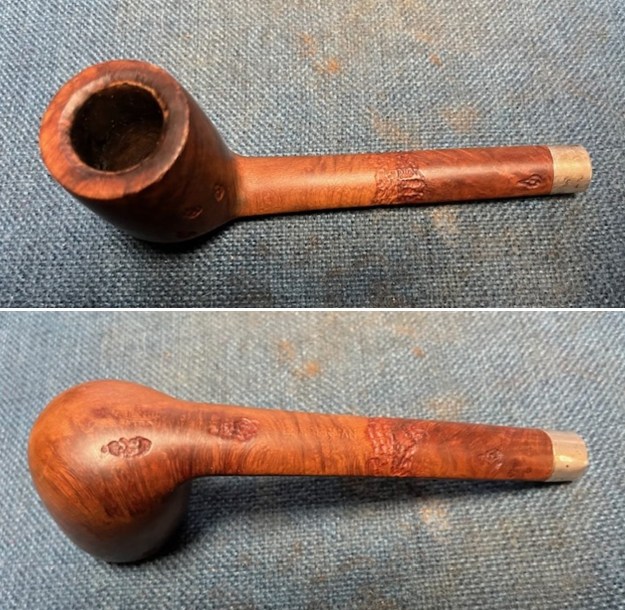
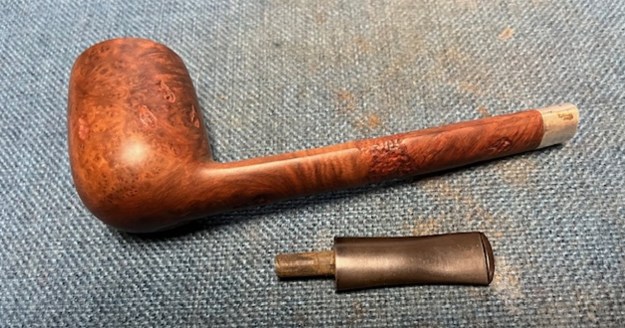
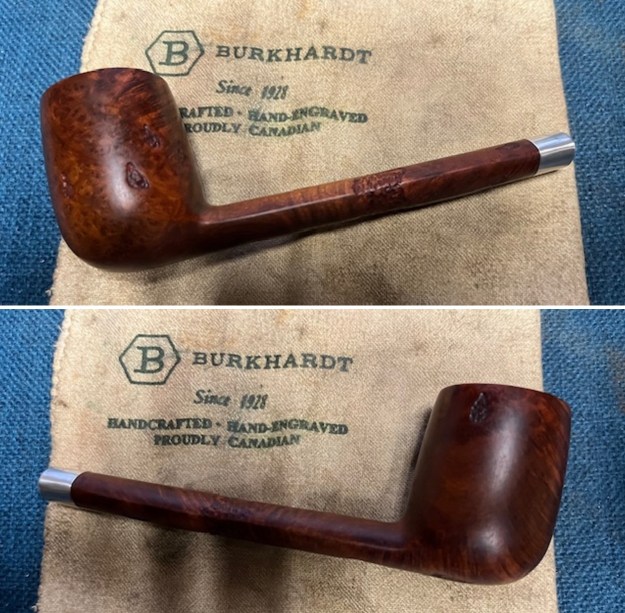
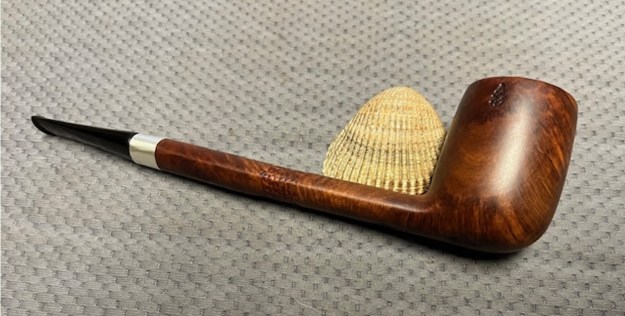
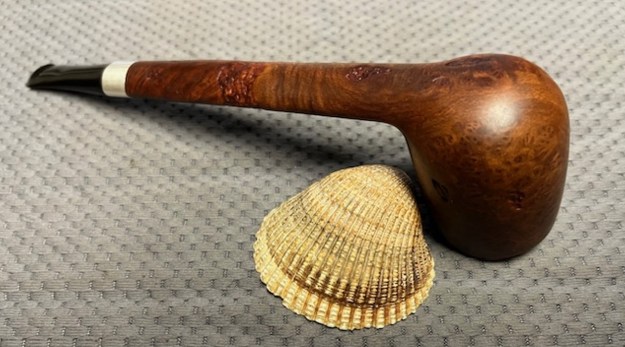
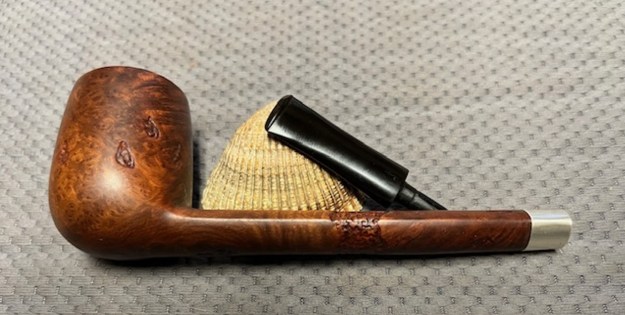
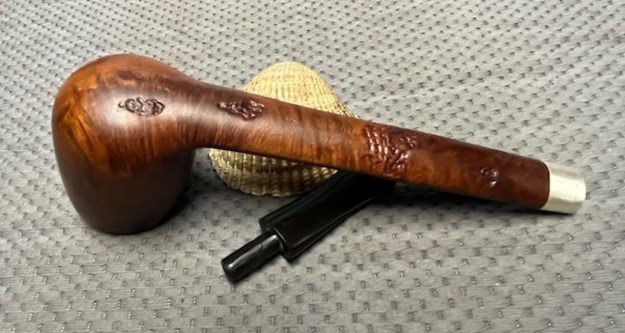
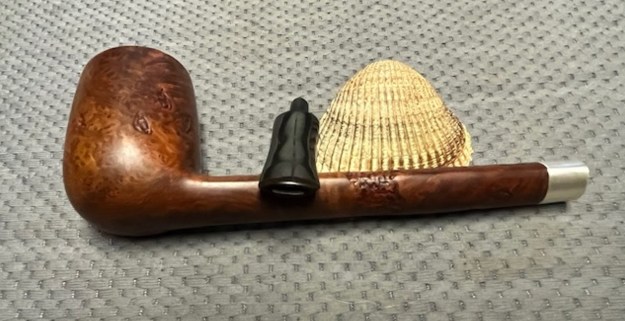
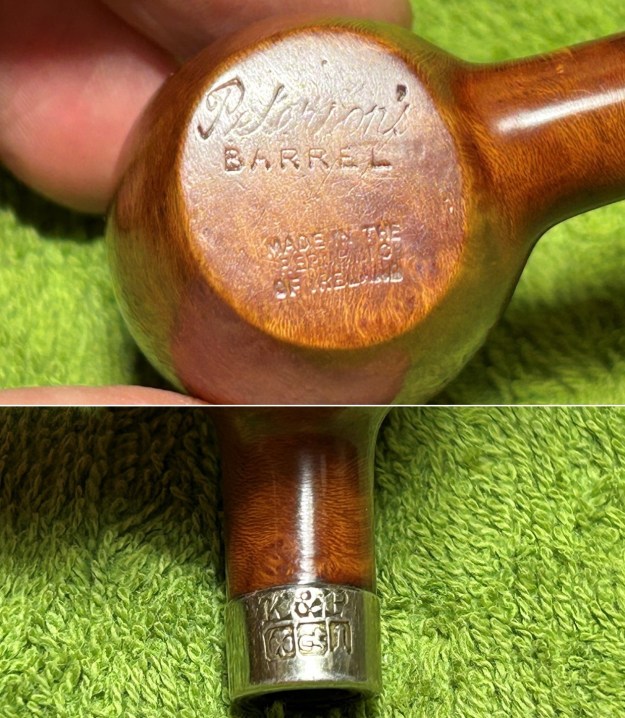
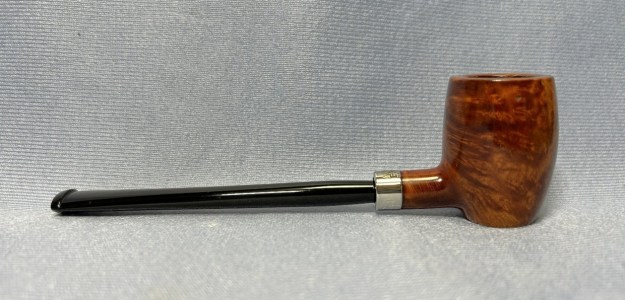
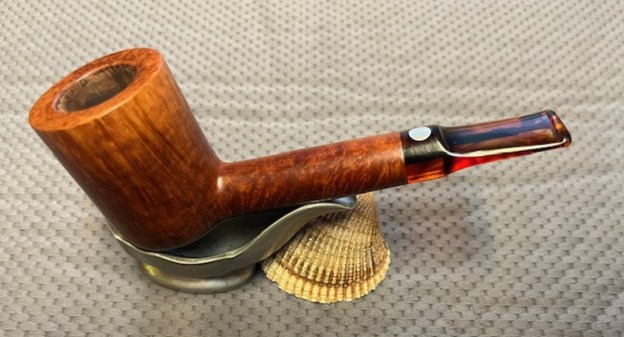
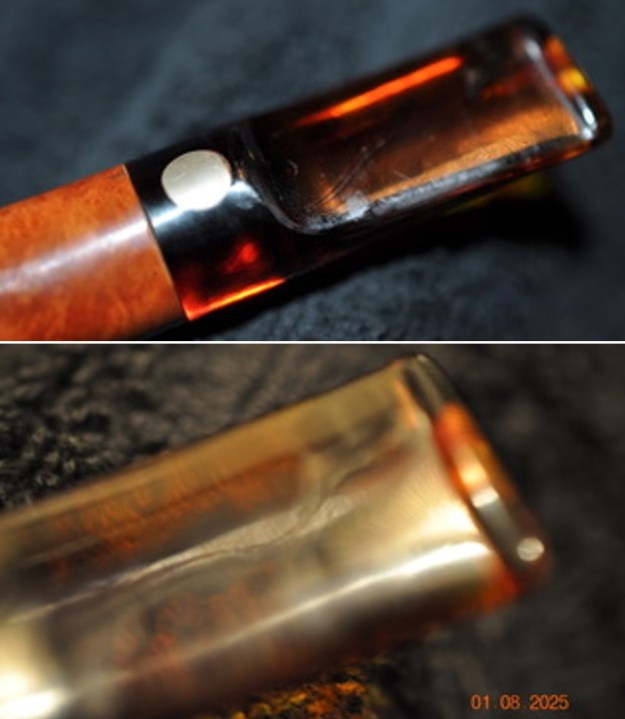
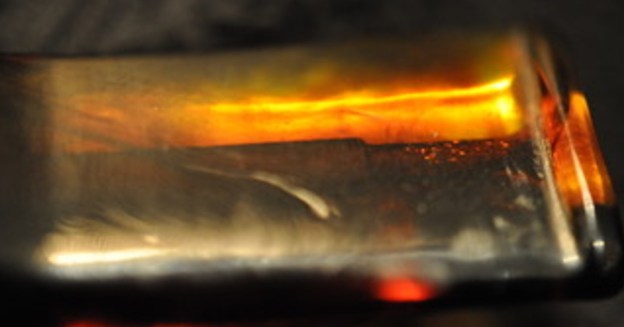
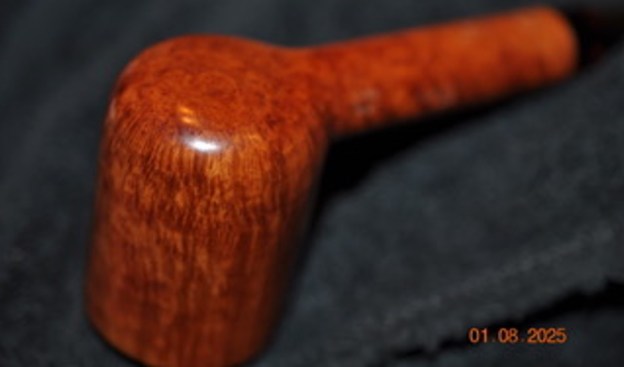
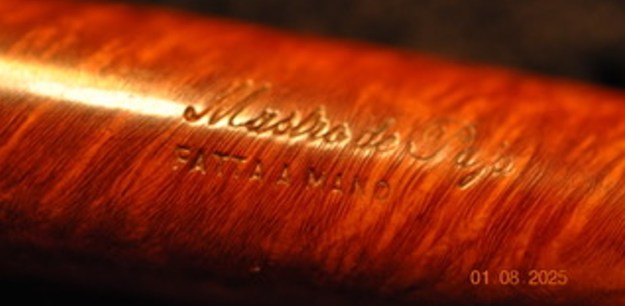
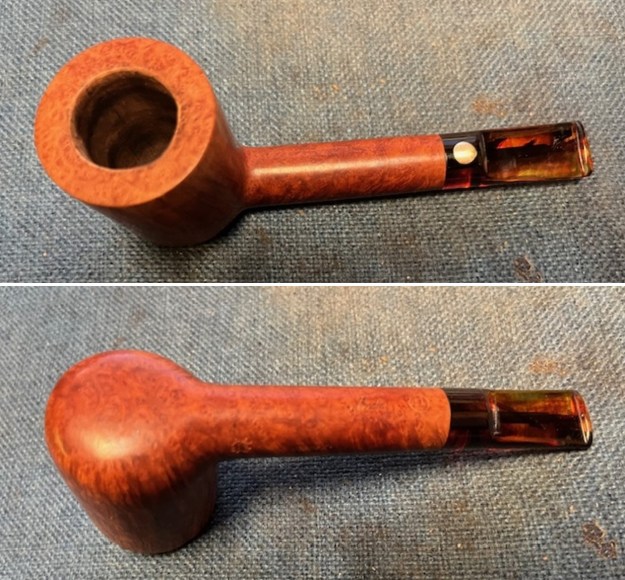
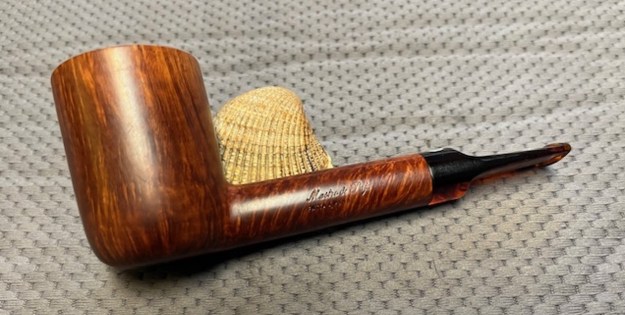
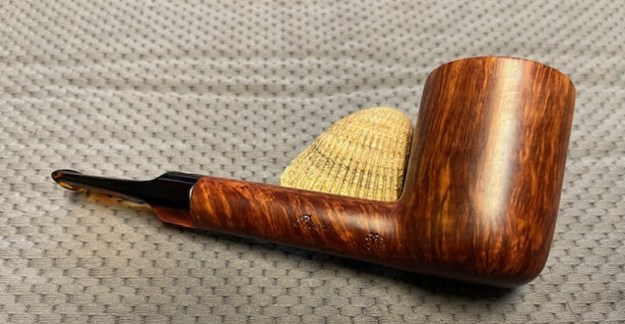
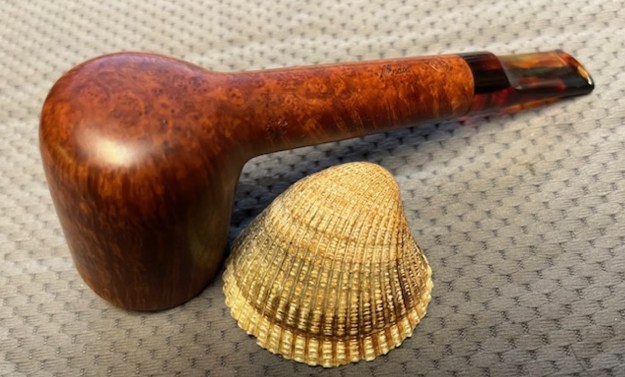
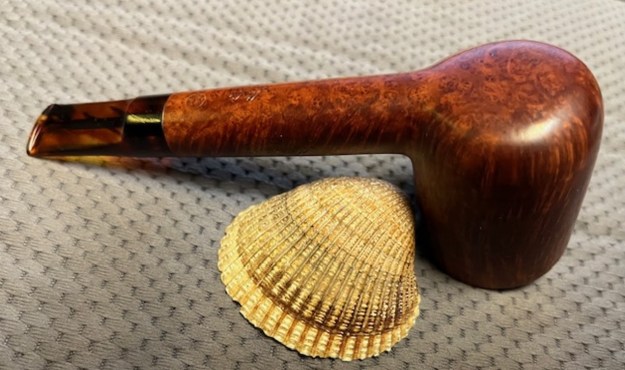
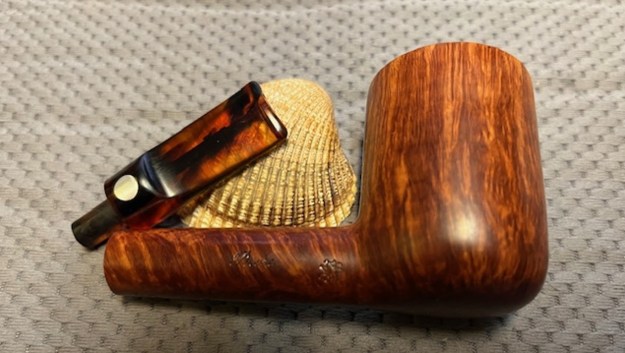
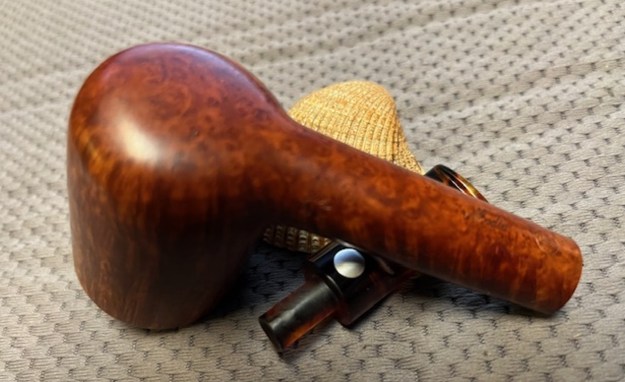
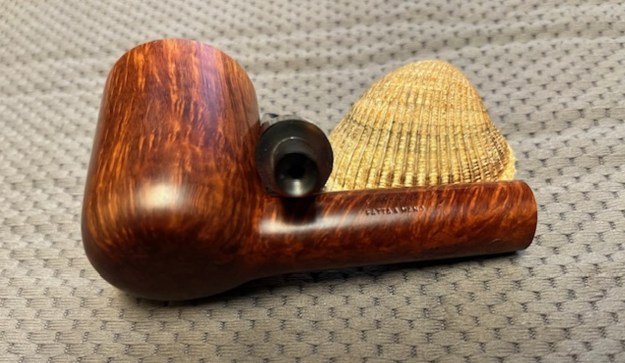
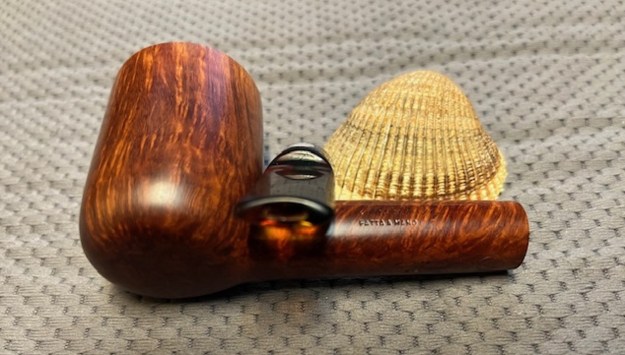
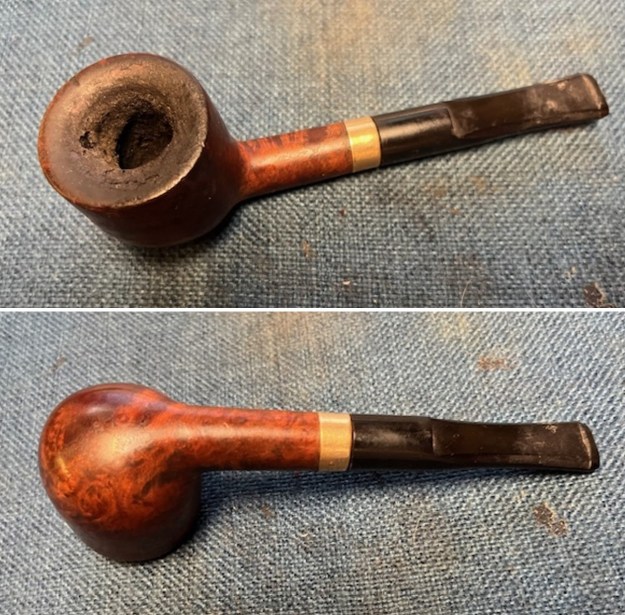
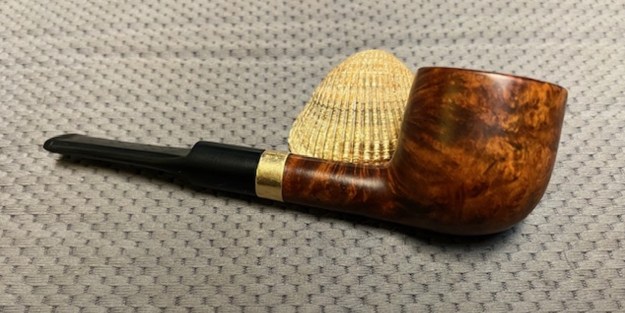
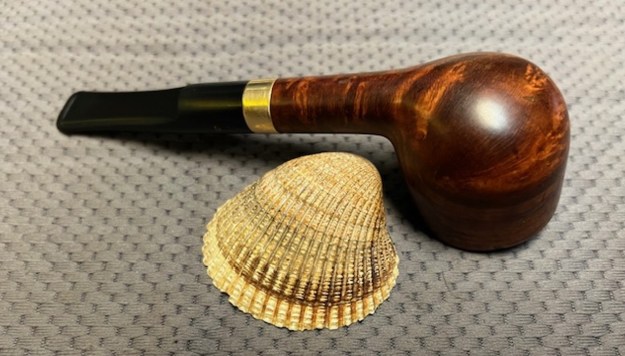
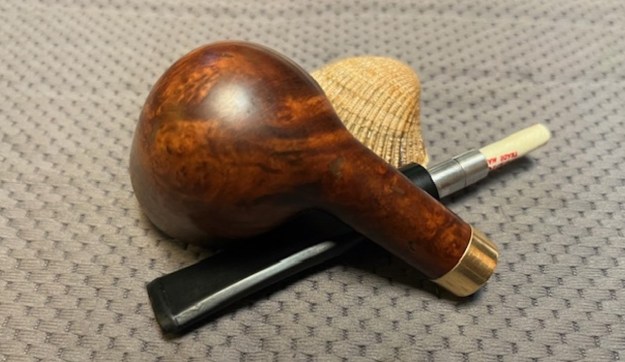
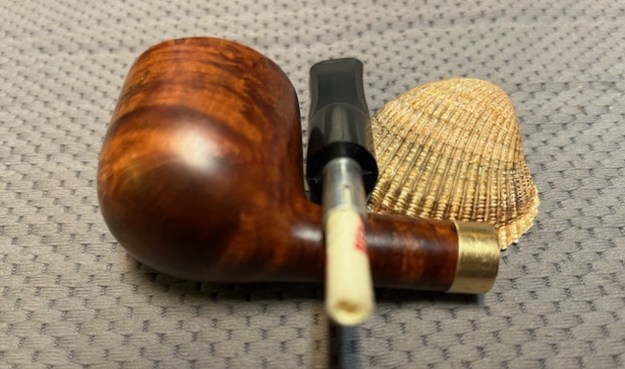
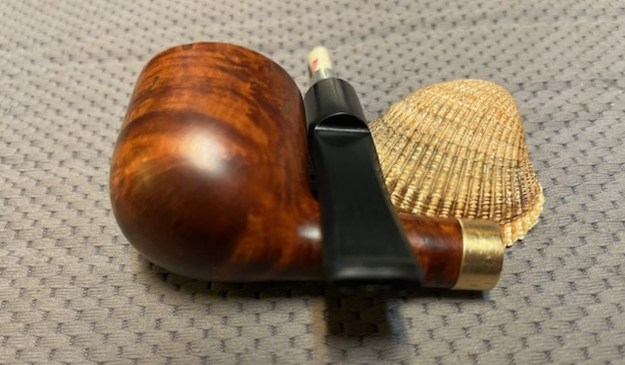
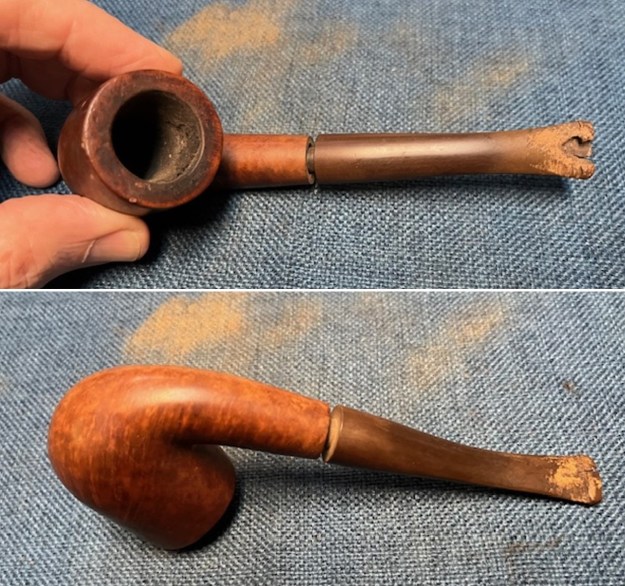
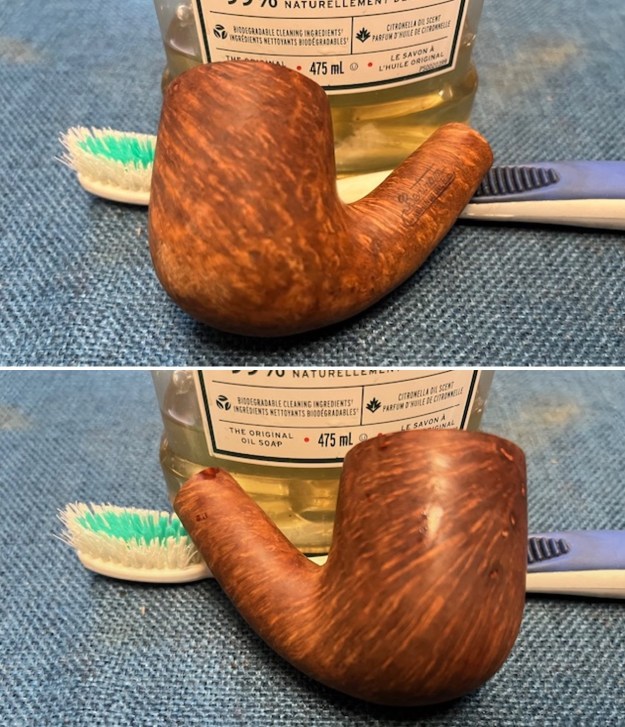
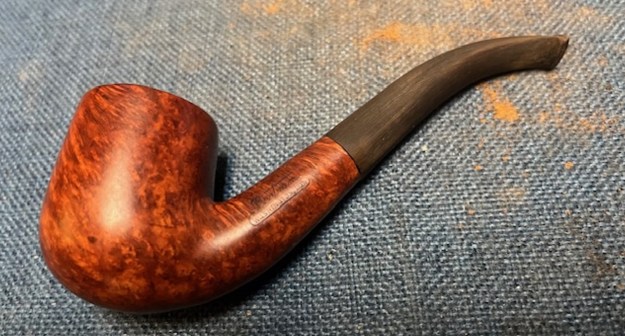
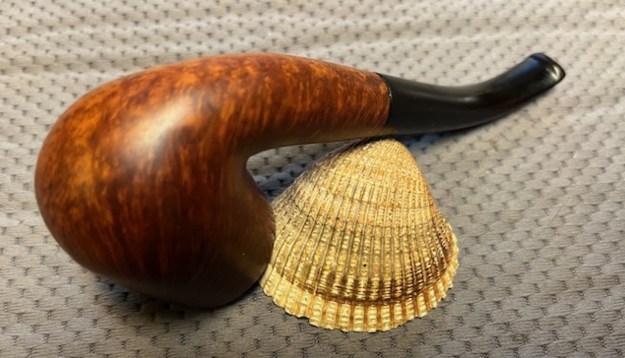
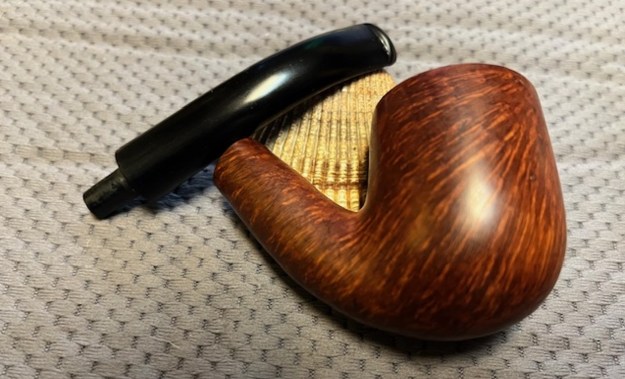
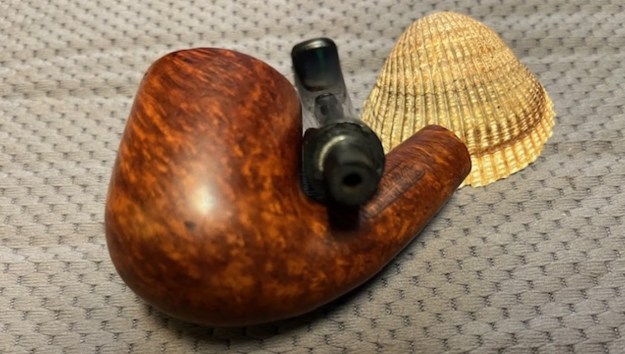
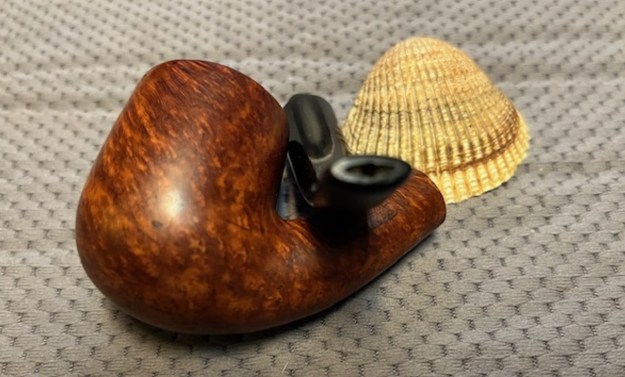
The next pipe on the table is another one that came to us from the seller in Caldwell, Idaho, USA on 07/12/2025. It is a large Dublin bowl with a lip on the front. There is a large scar on the left side of the bowl. I would need to examine it and see the details of the problem. It is in dirty but in good condition other than that as can be seen in the photos below. The sides of the shank are clearly stamped and readable. The left side is stamped Charatan’s Make [over] London.England [over] Executive. To the left of the stamping it had a cursive L in a circle that tells me that the pipe is a Lane era pipe. On the right side it is stamped Extra Large in script [over] Made by Hand. That helps to date this to the time after the patent was filed in 1970.The stamping is clear and readable. It has rugged rusticated finish that is very tactile on both the shank and the bowl. The shape works very well with the grain. The finish was dusty and dirty with grime deep in the finish but grain really stands out. The bowl had a moderate cake and there was tobacco debris in the bowl. The rim top had a lava coat on the rim top and edges. The Double Comfort vulcanite stem is lightly oxidized and has tooth marks and dents on the top and underside of the stem. There is a faint CP stamping on the left side of the stem and on the right is stamped REG.NO. 203573. I took photos of the pipe to show what it looked like before I started working on it.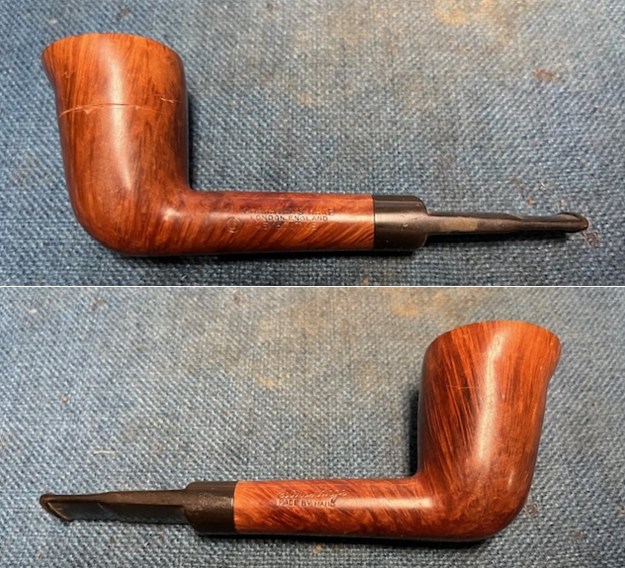
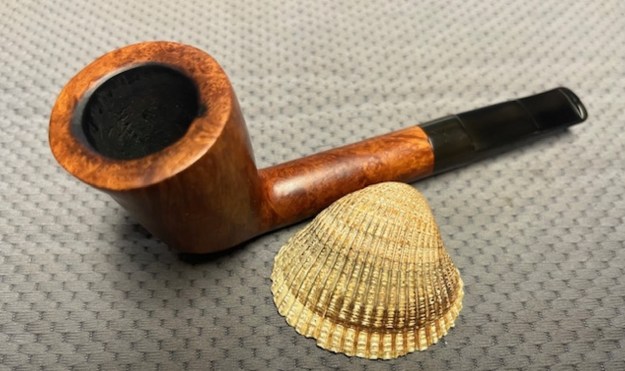
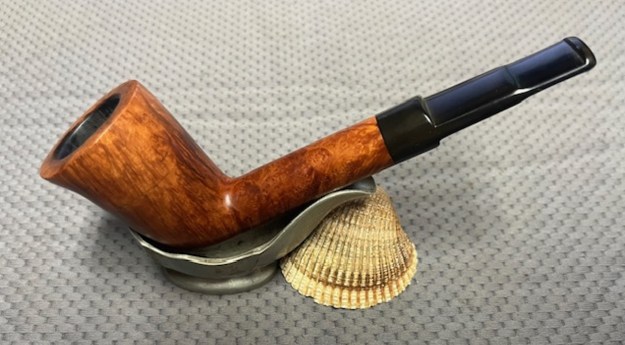
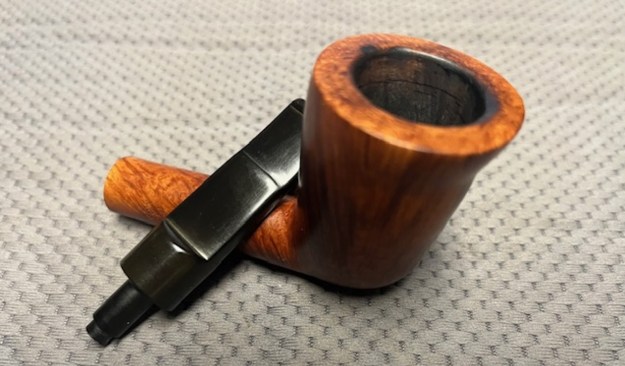
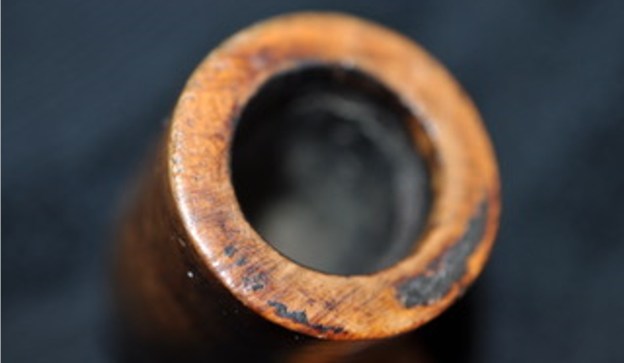
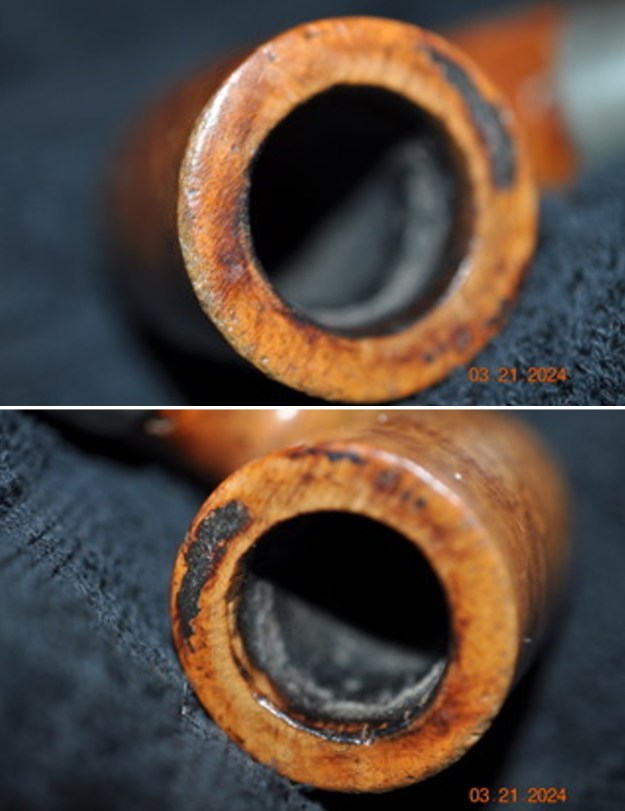
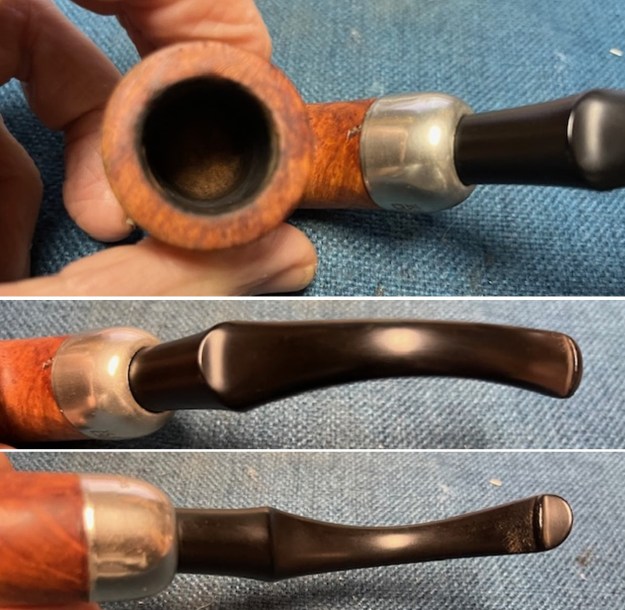
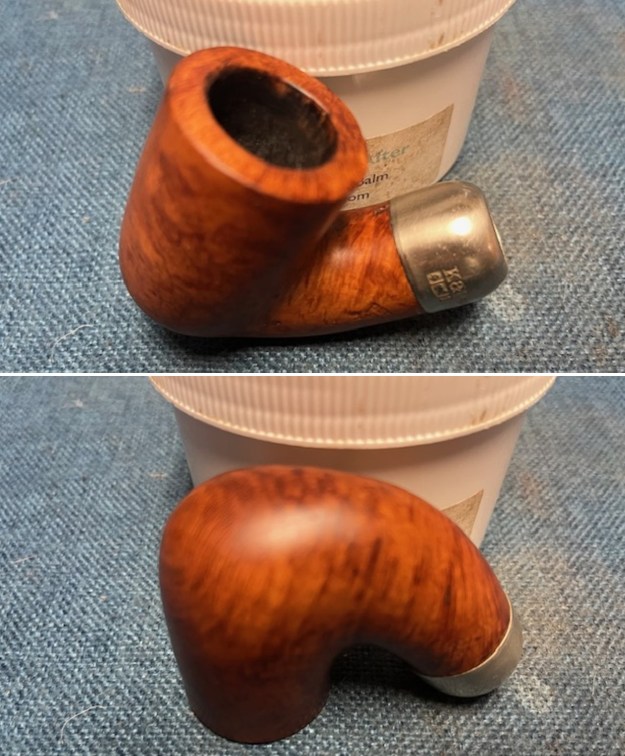
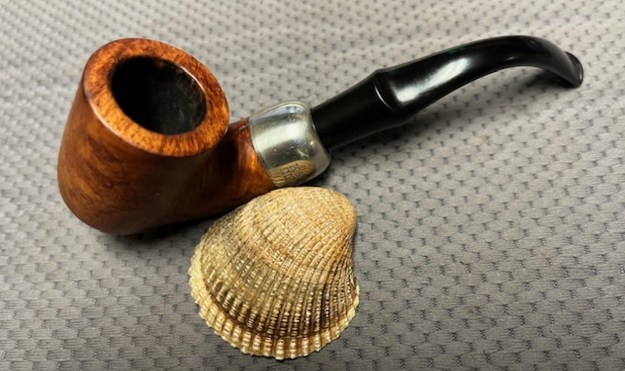
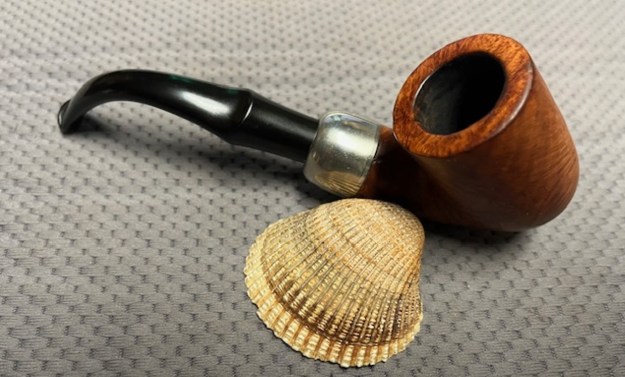
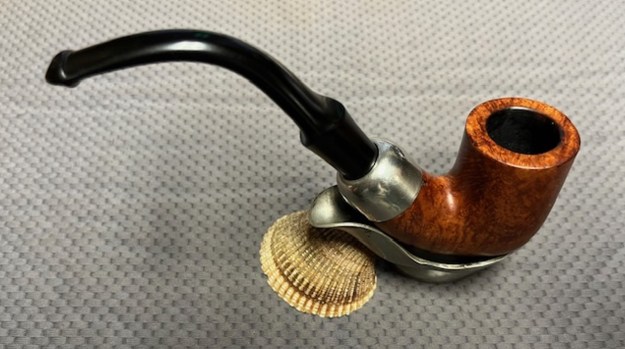
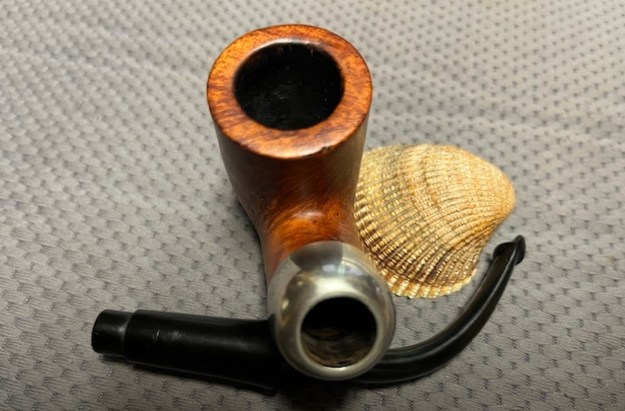
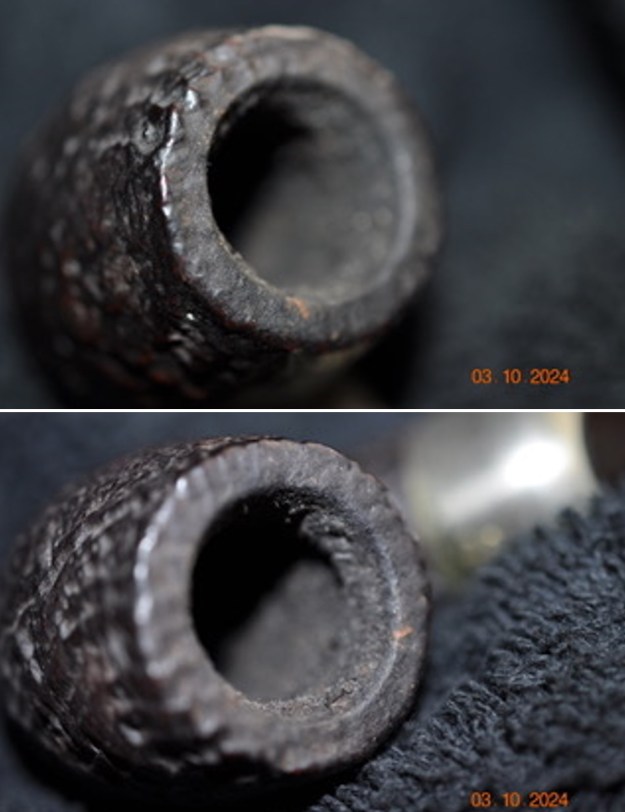
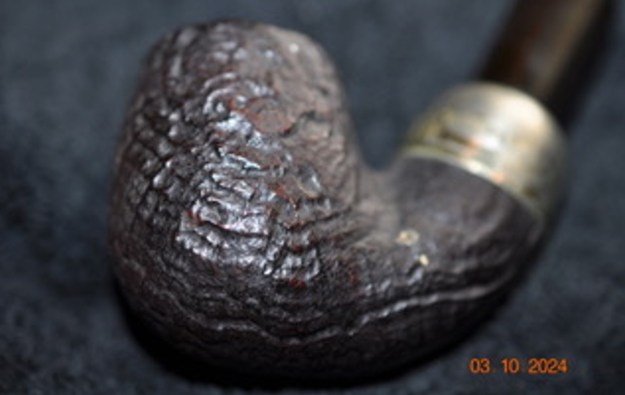
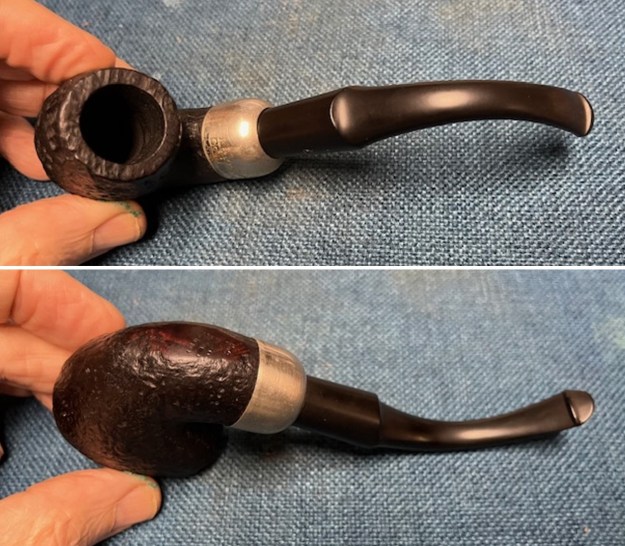
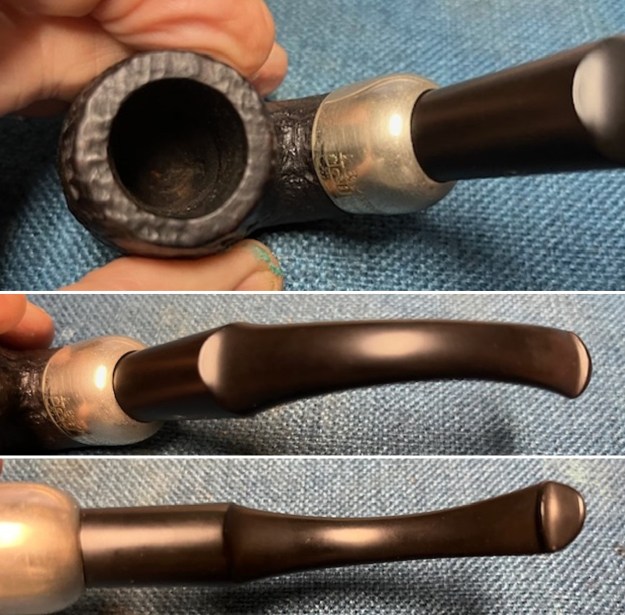
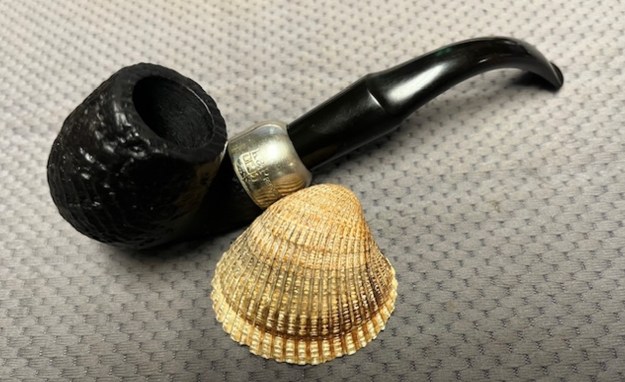
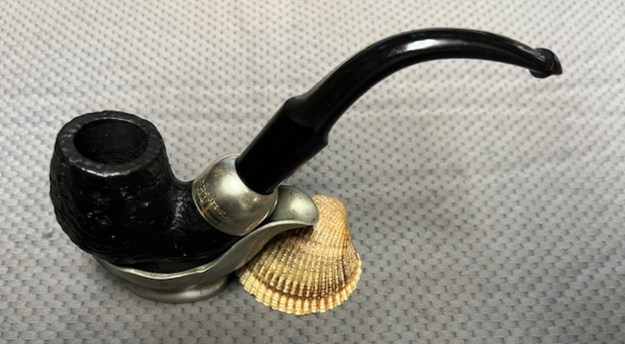
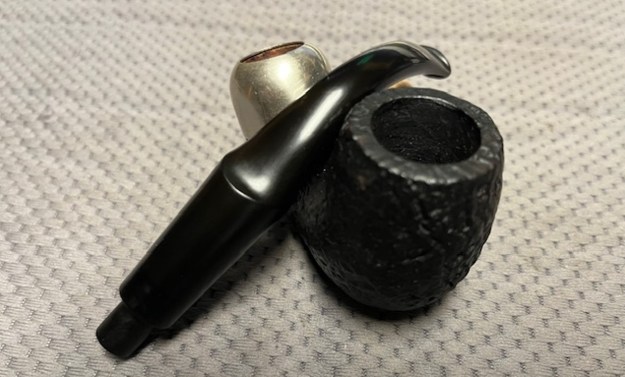
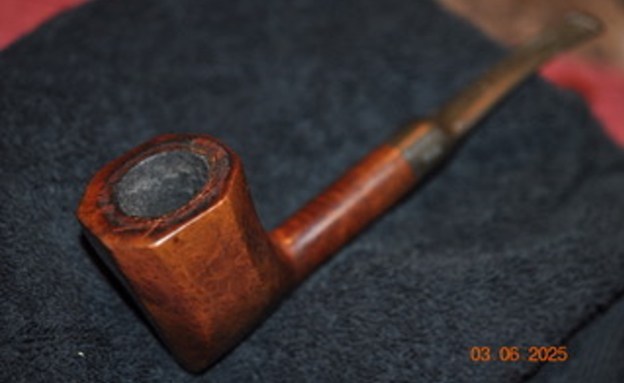
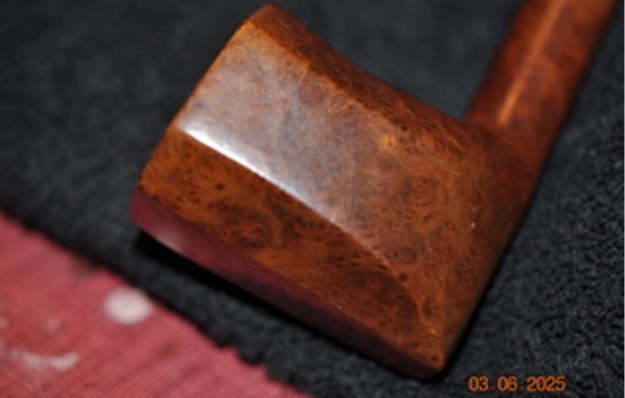
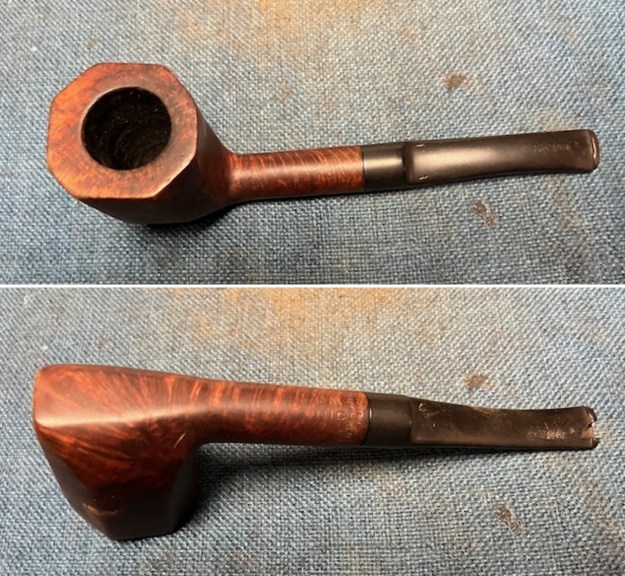
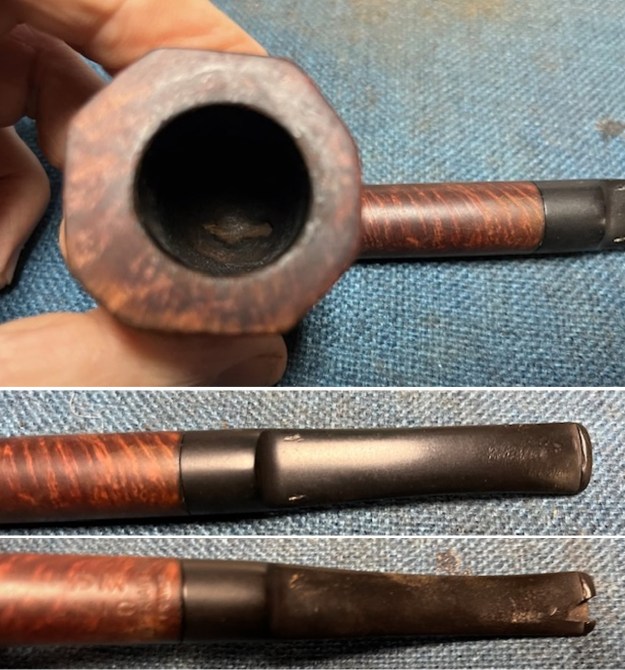
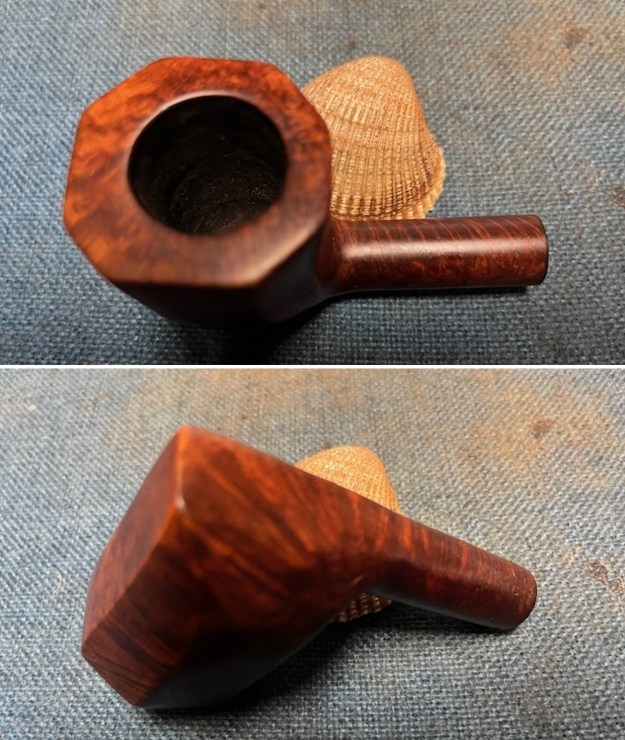
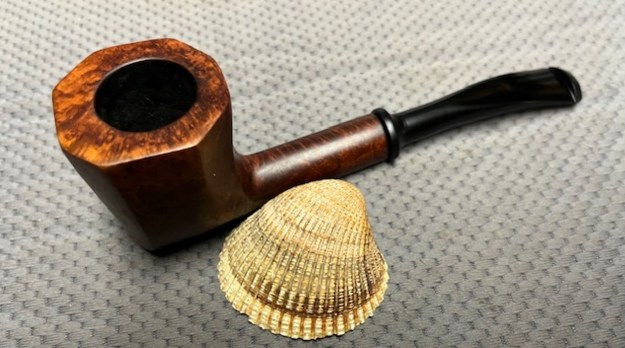
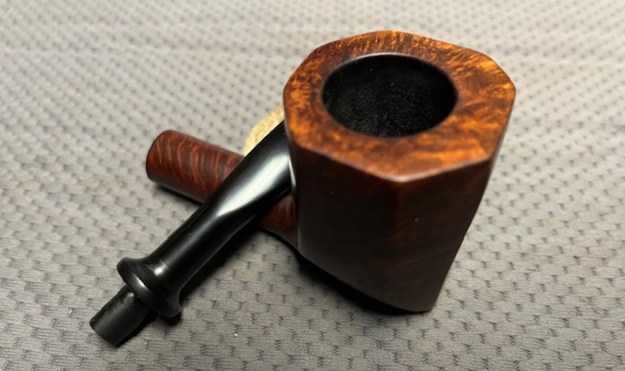
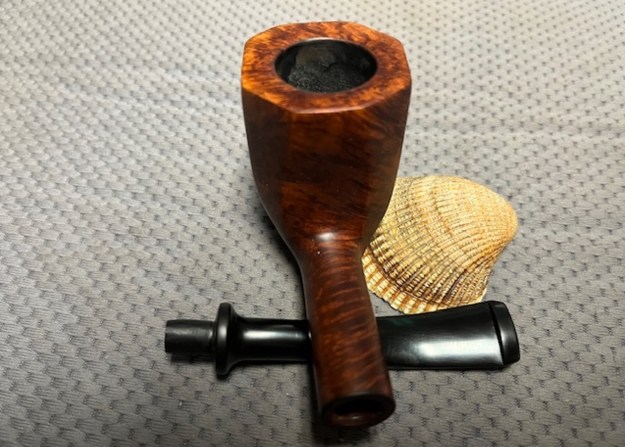
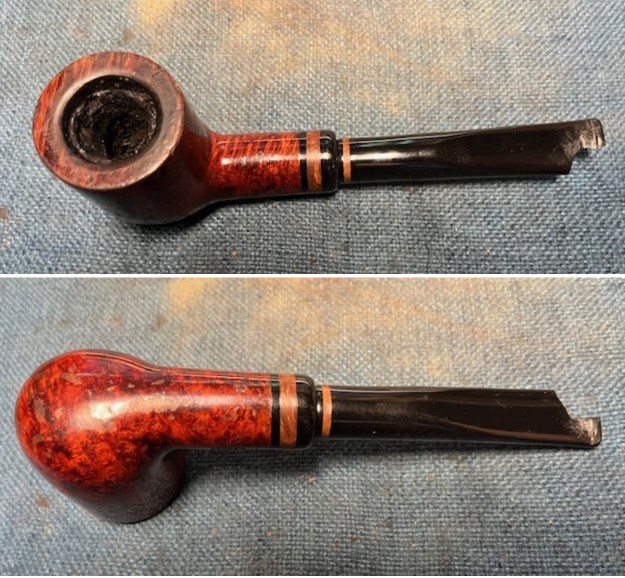
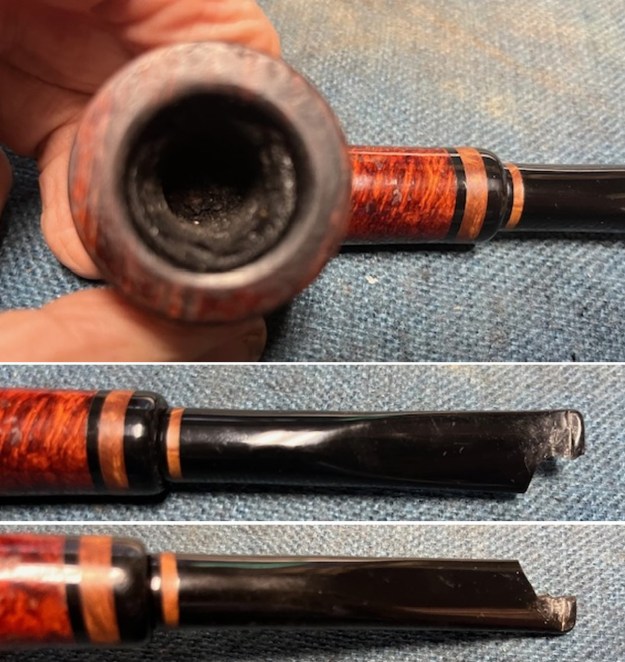
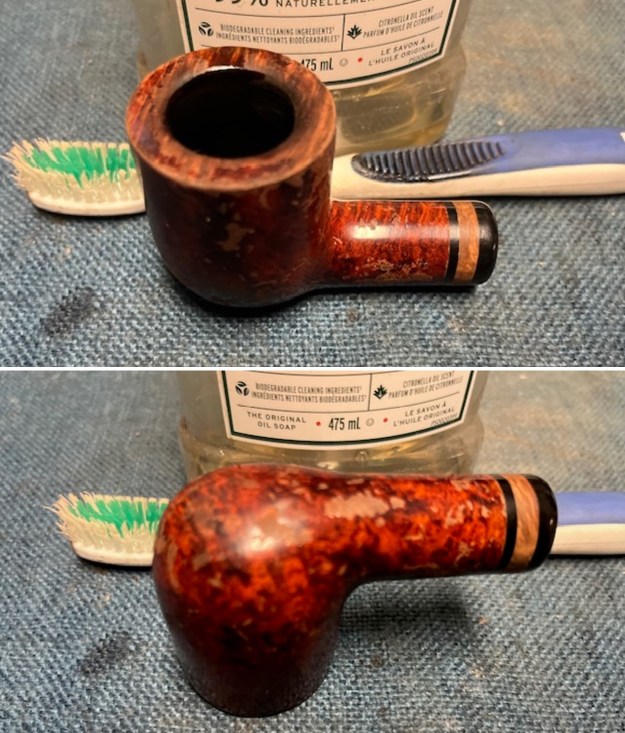
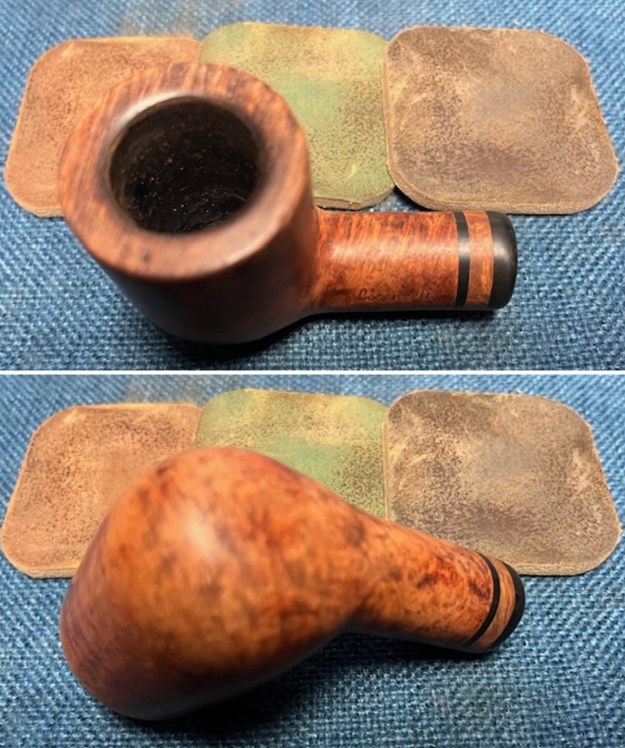
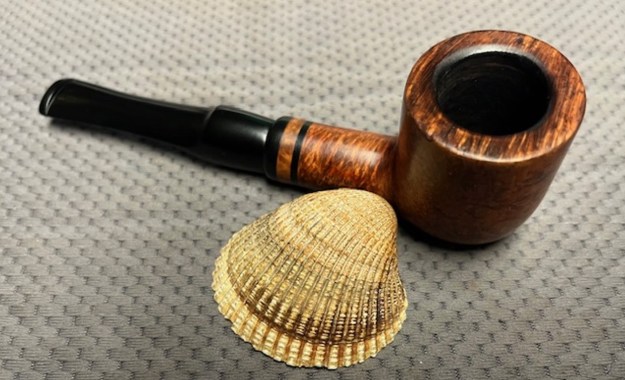
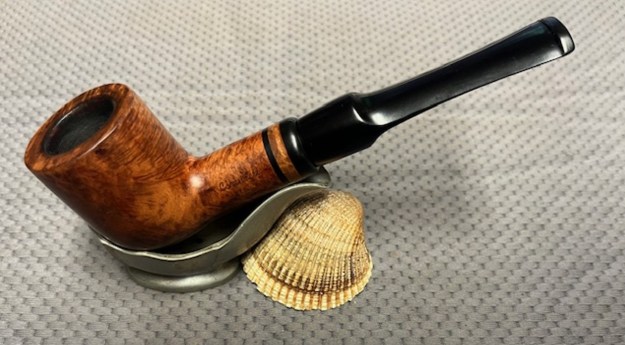
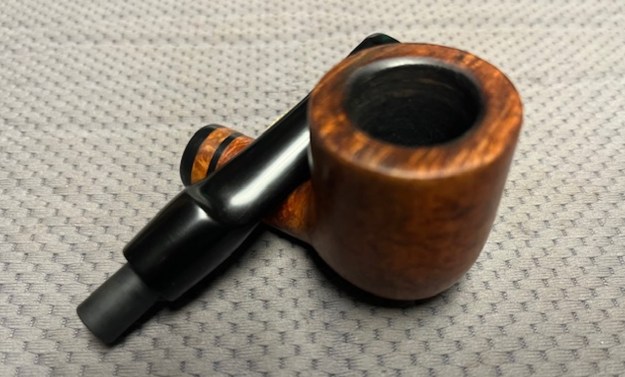
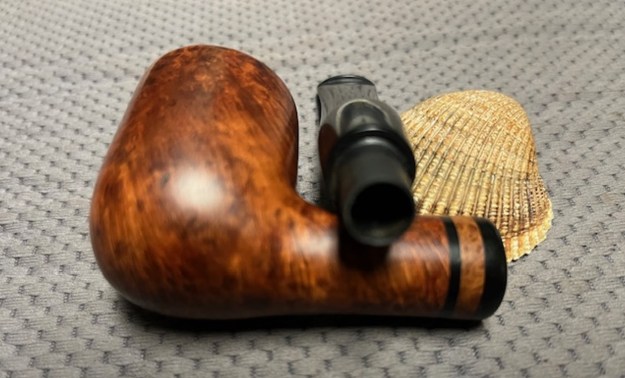
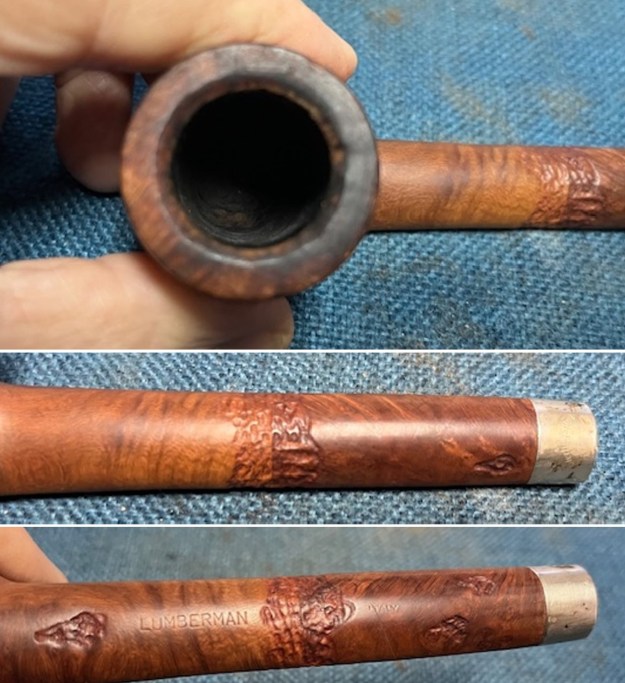
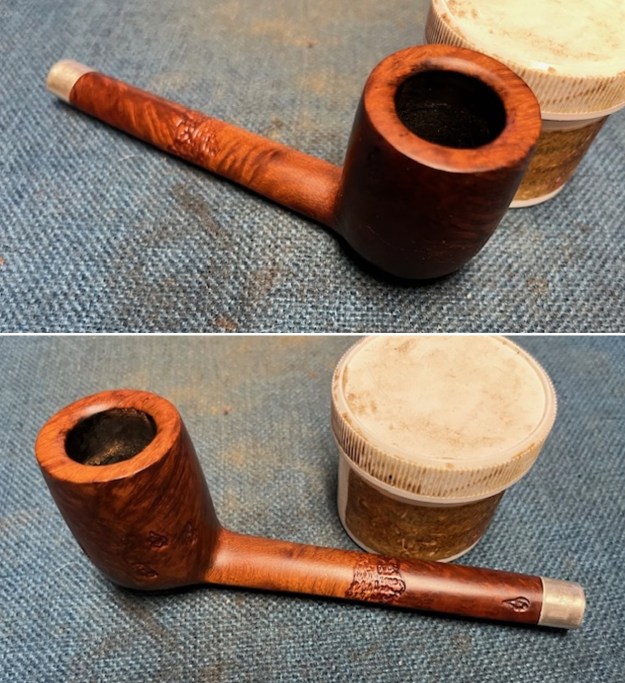
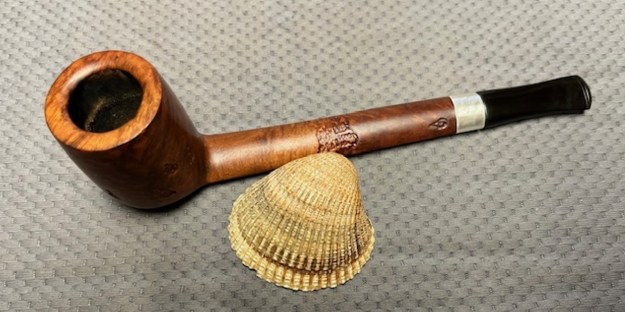
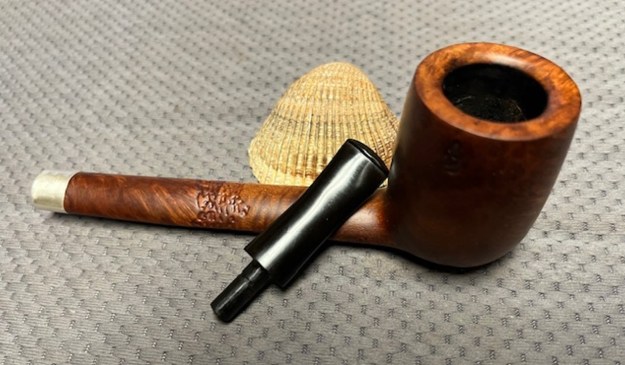
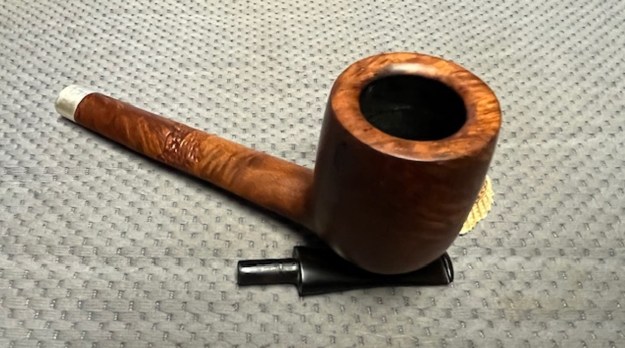
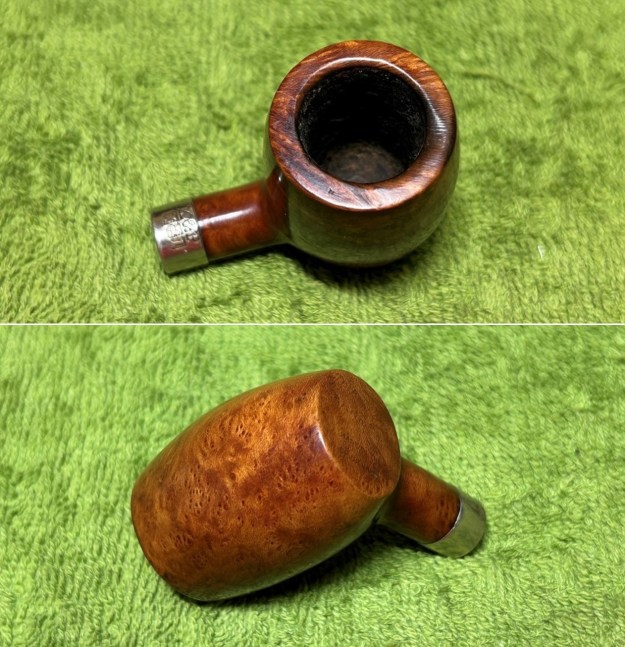
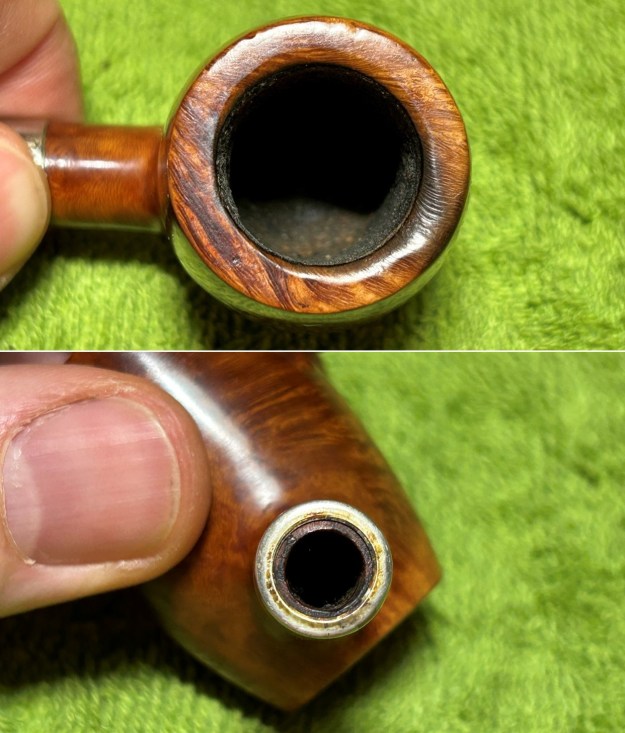
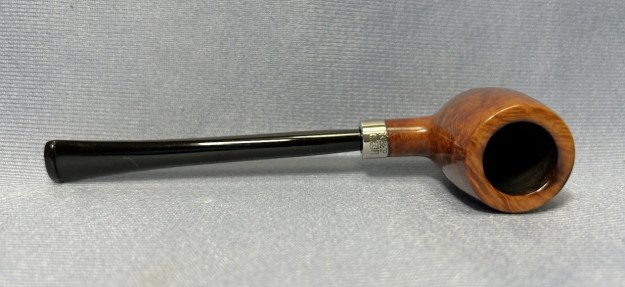
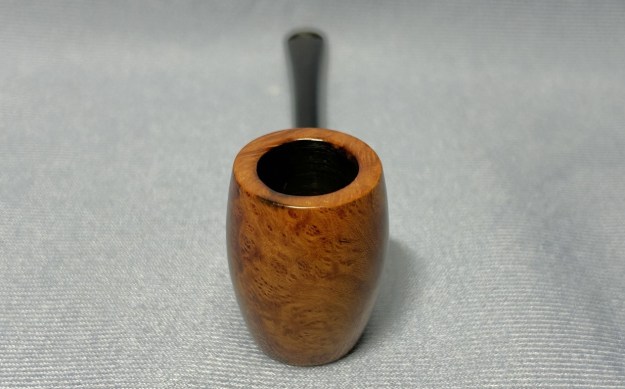
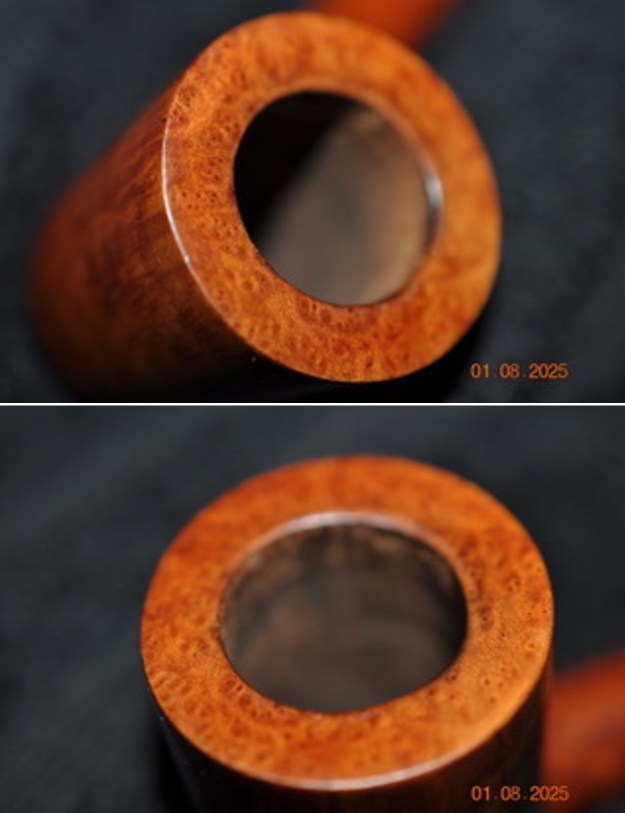
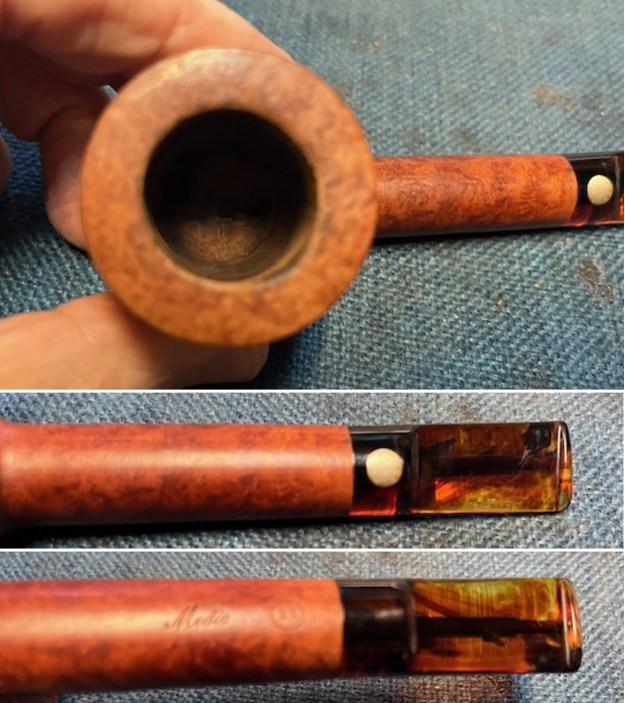
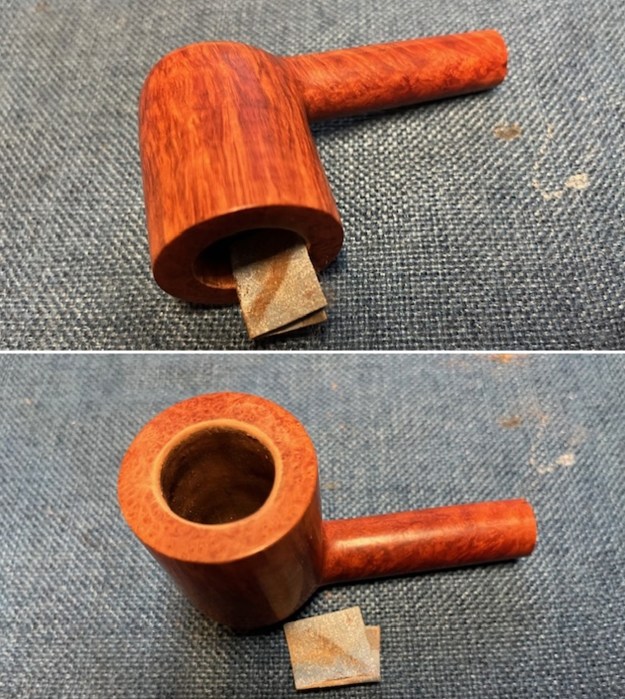
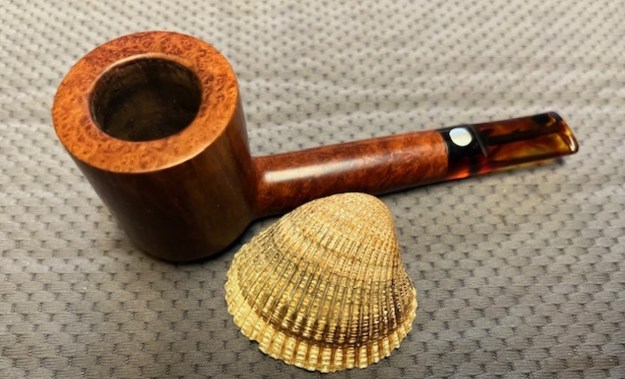
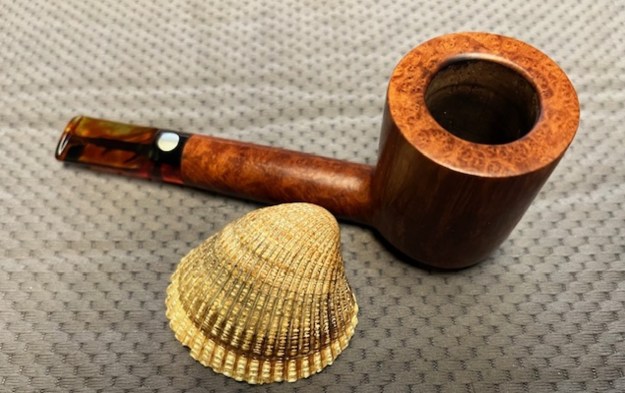
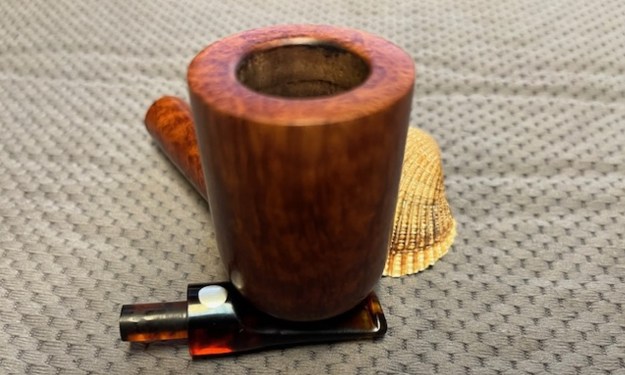
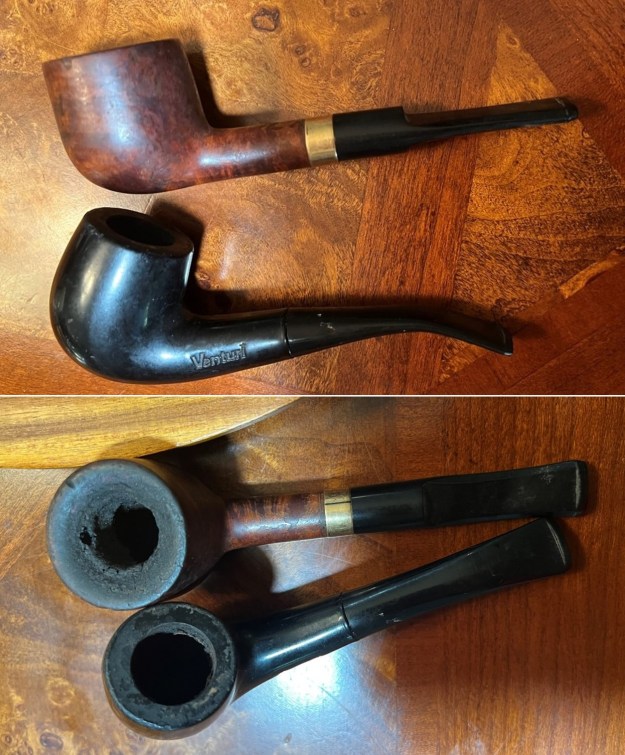
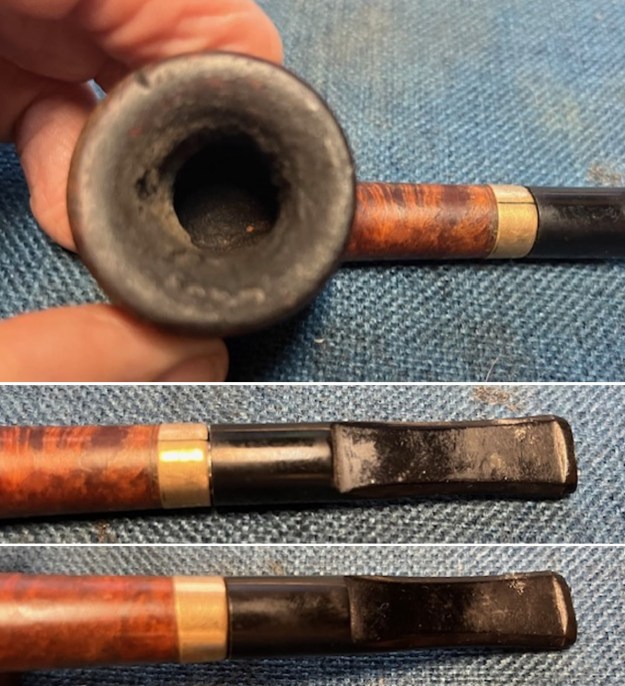
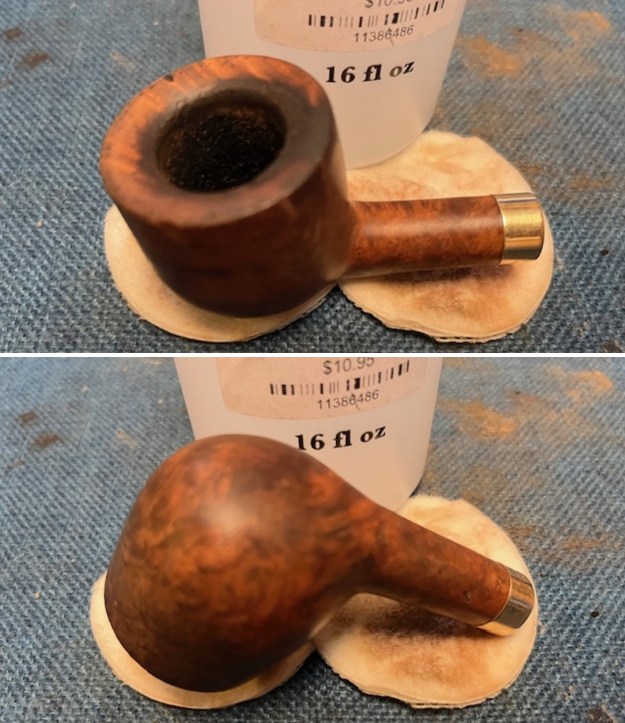
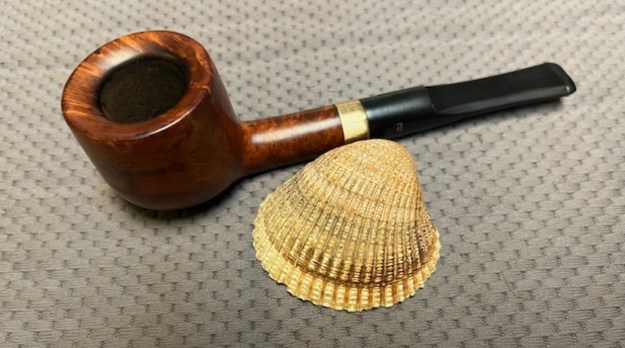
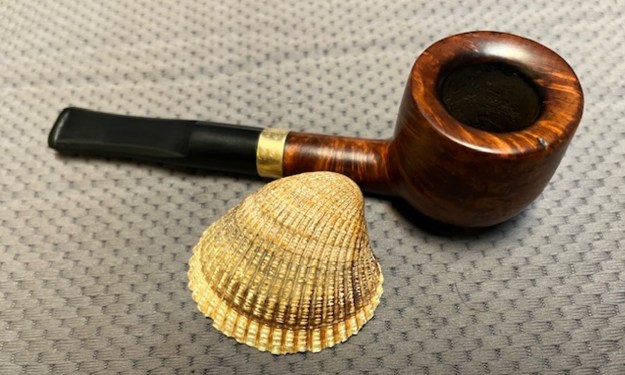
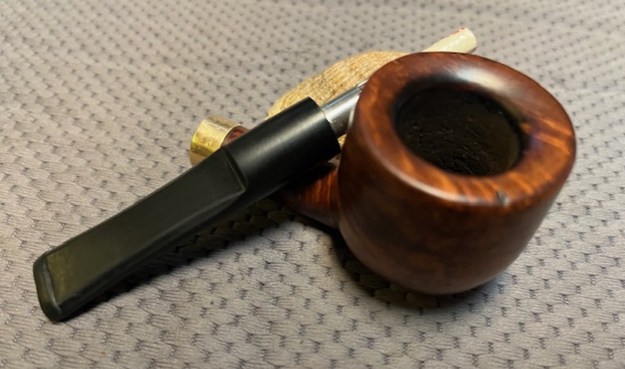
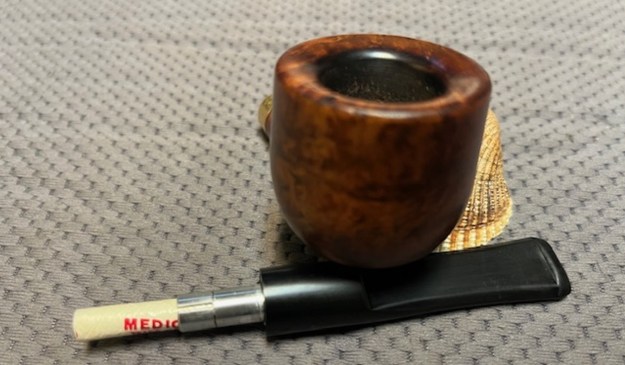
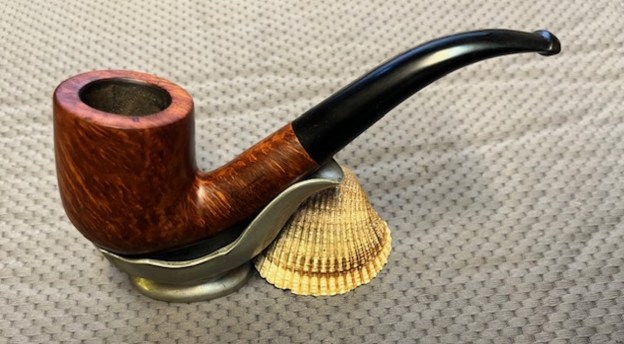
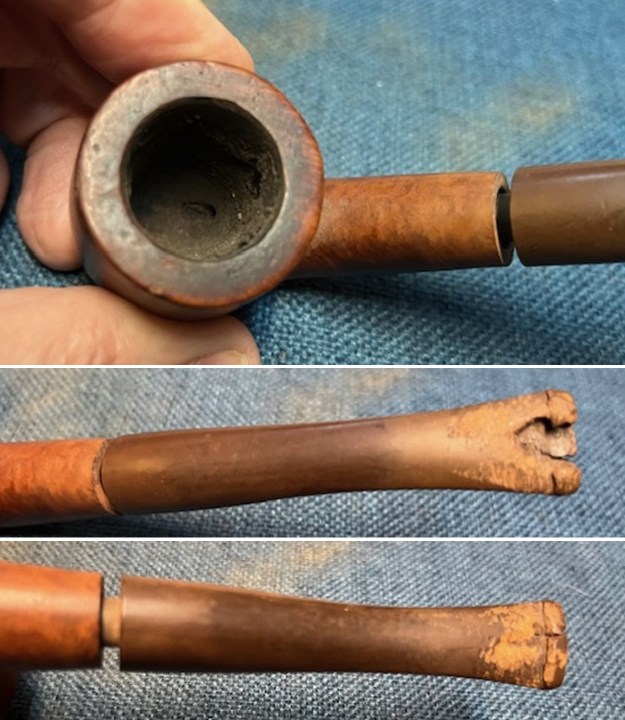
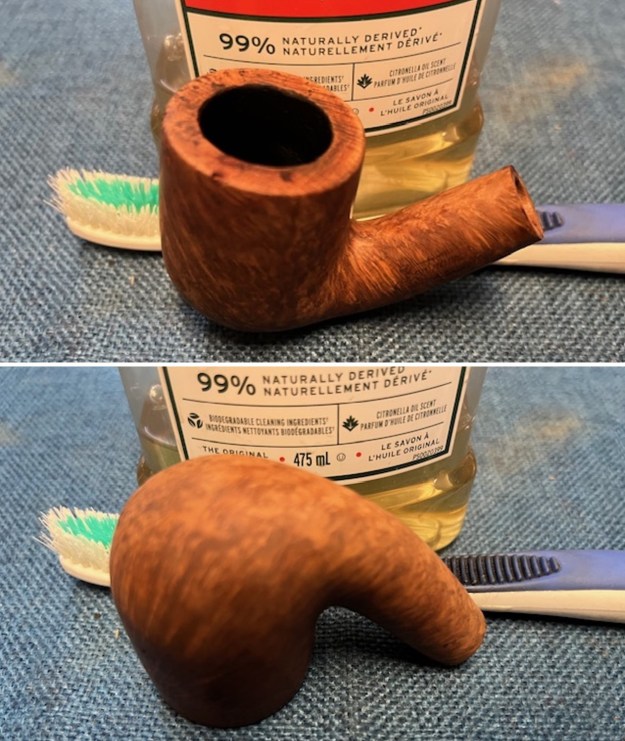
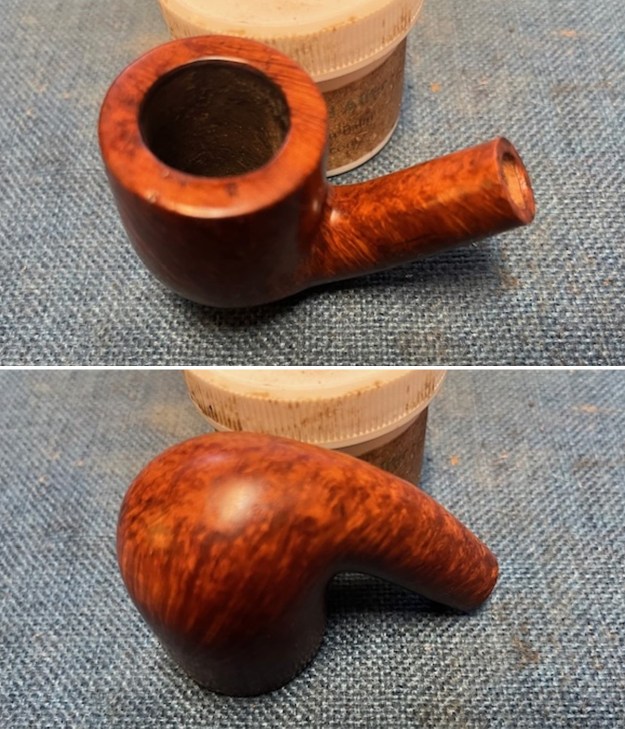
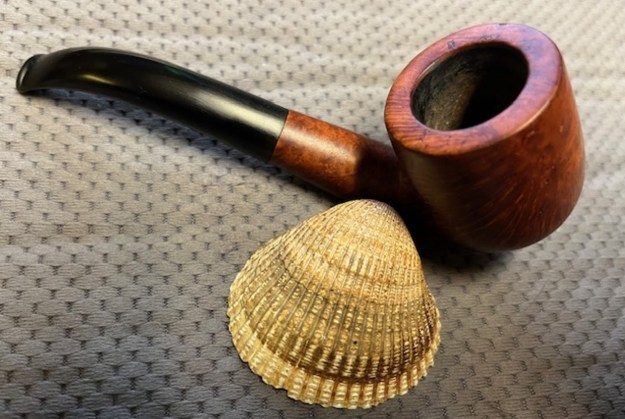
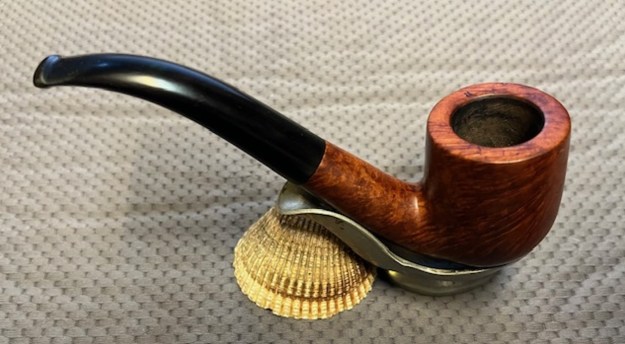
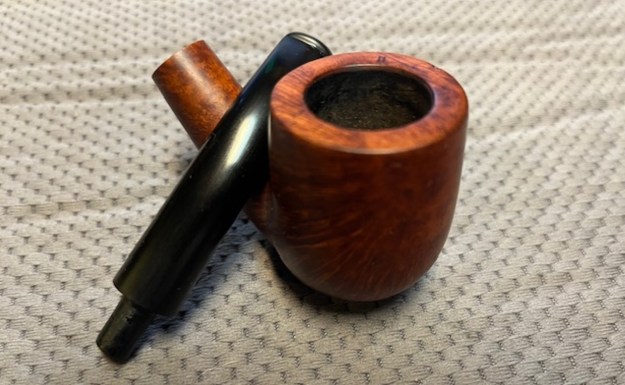
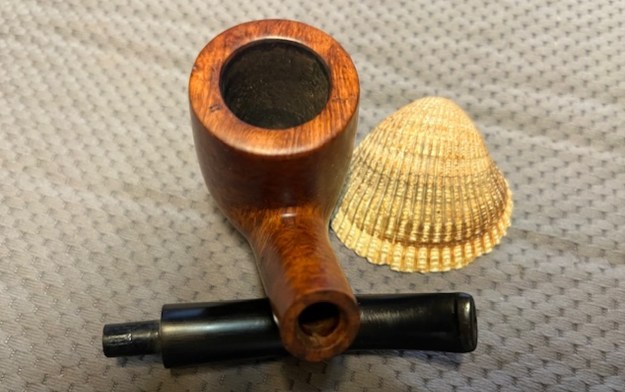
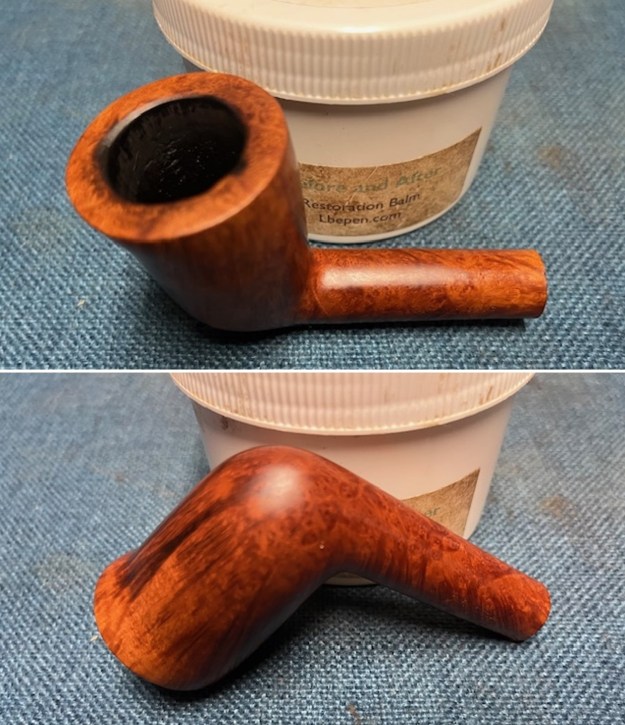
 I took a closer photo of the rim top and bowl to show the condition of the bowl and rim. You can see the light cake in the bowl and the darkening and lava on the top and damage to the inner edge.
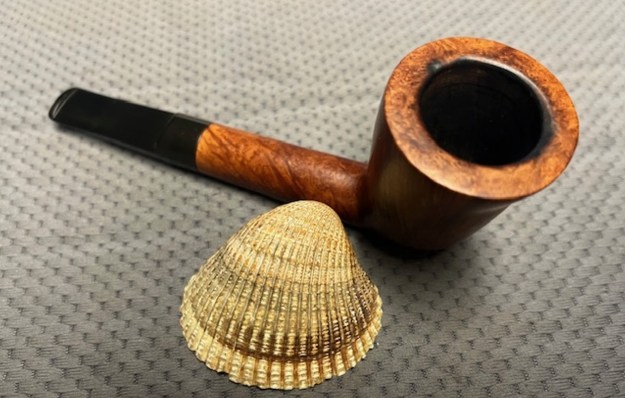
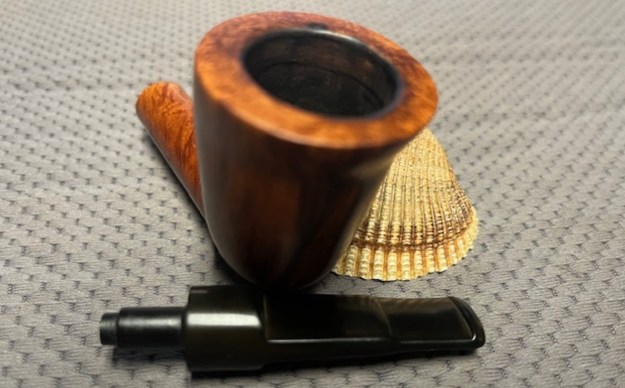
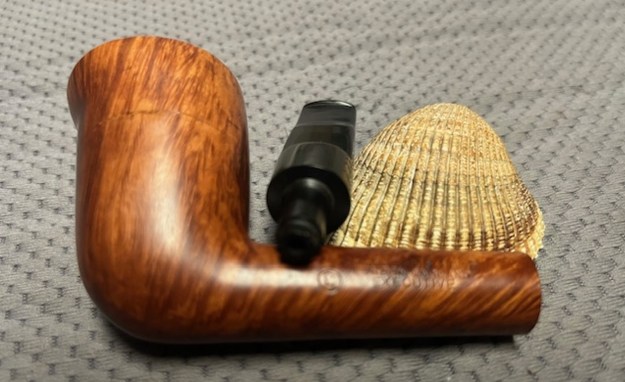
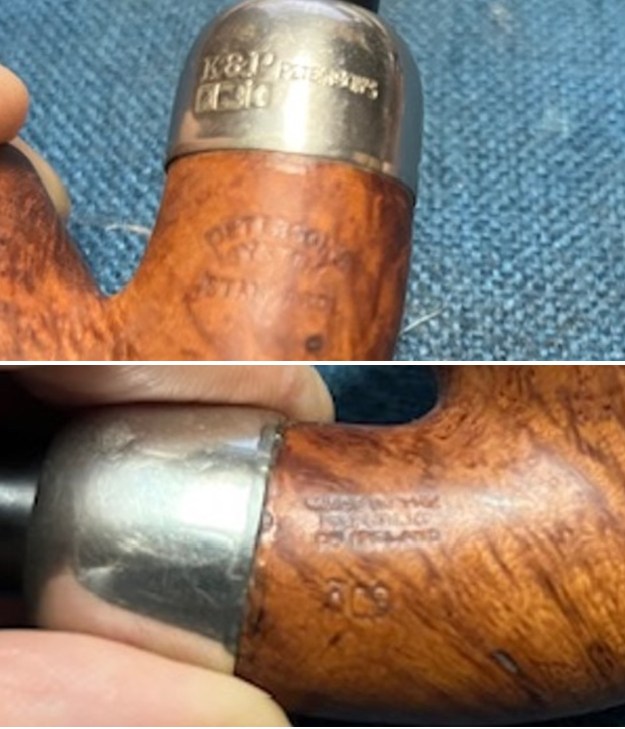
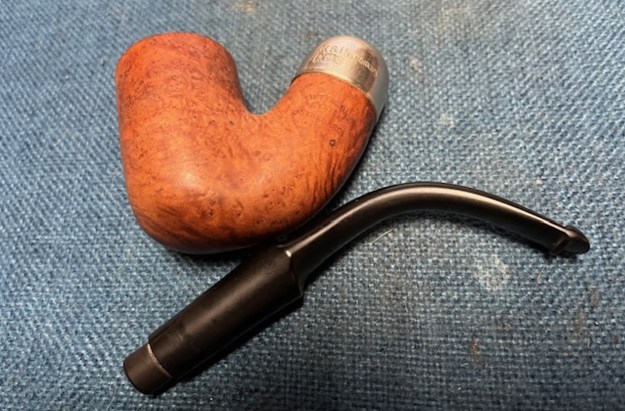
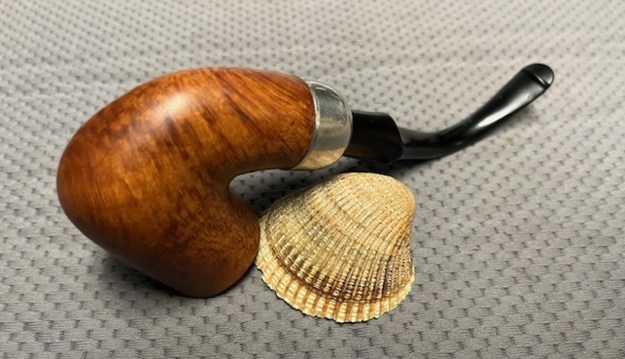
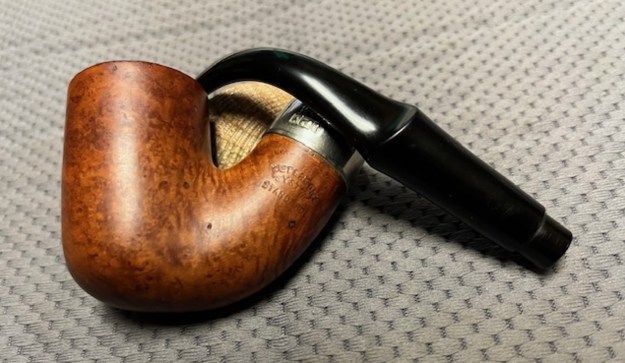
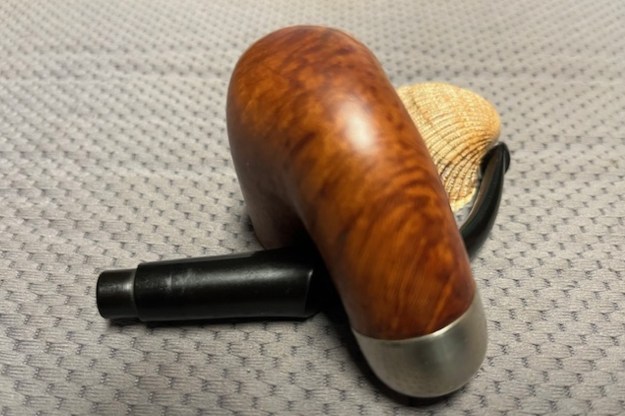
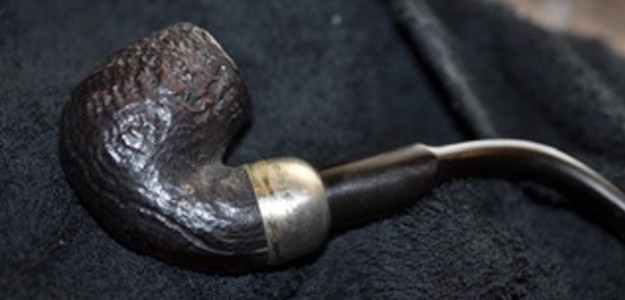
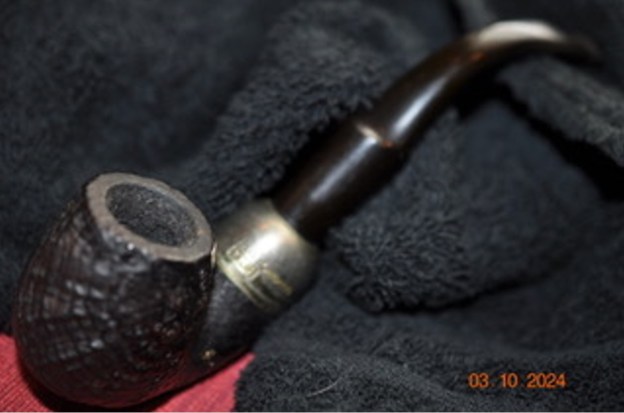
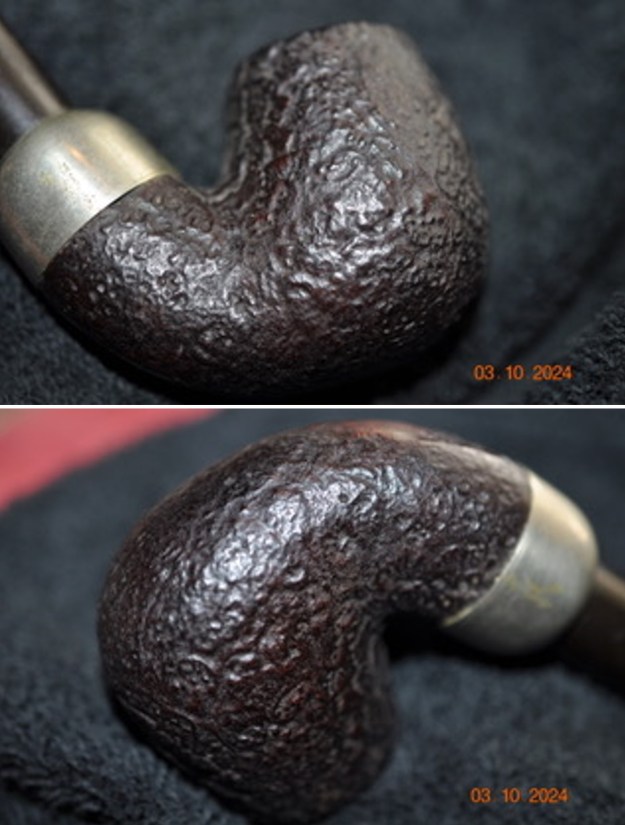
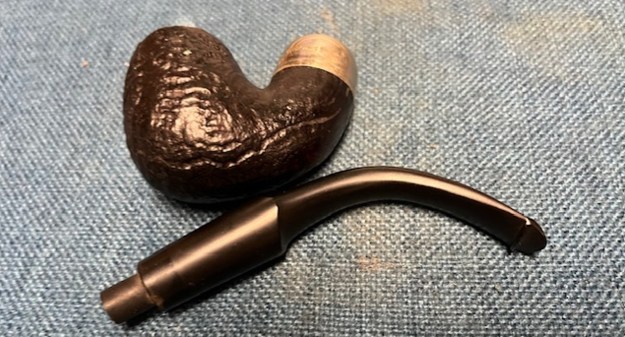
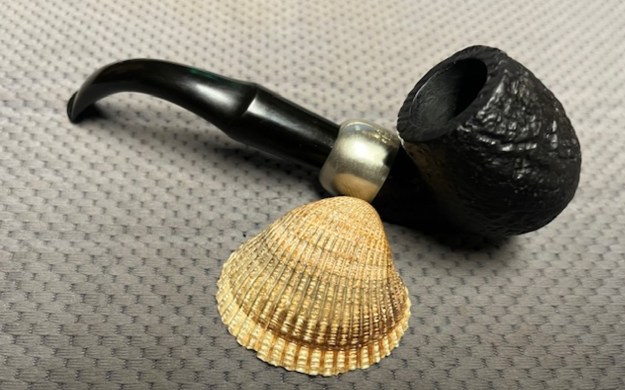
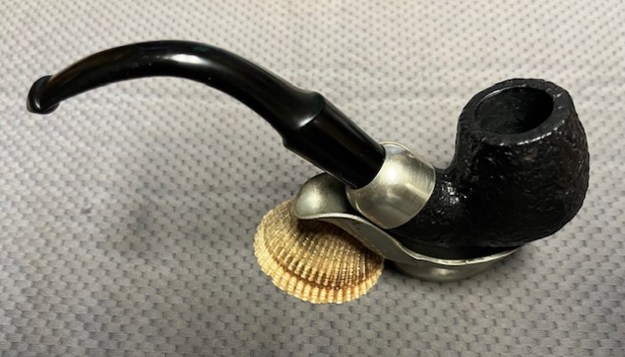
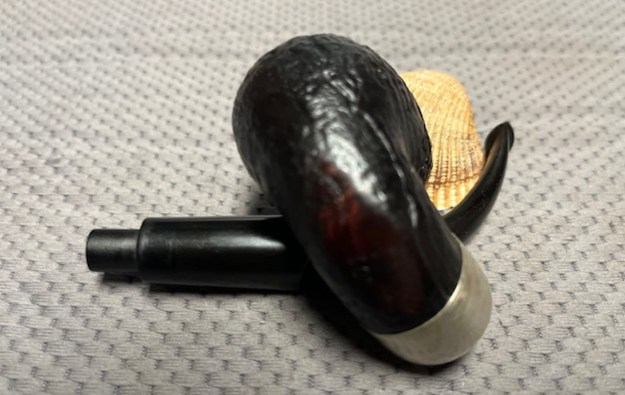
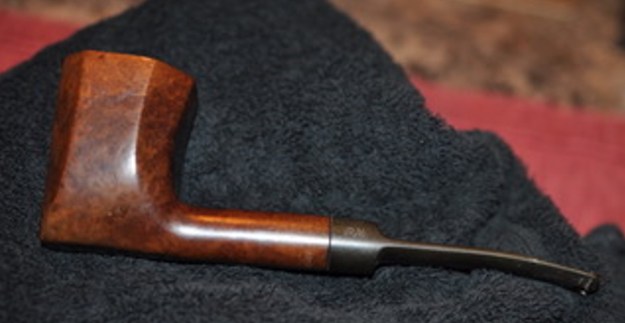
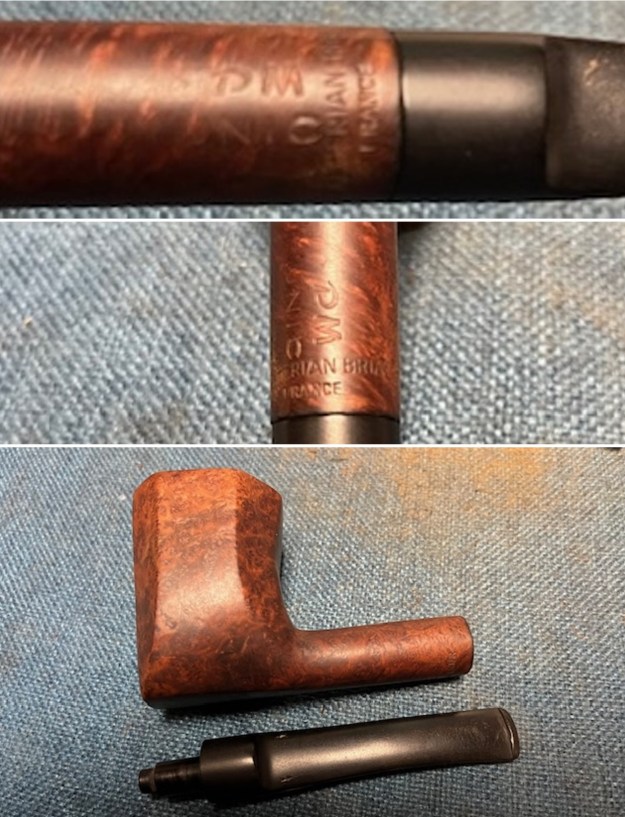
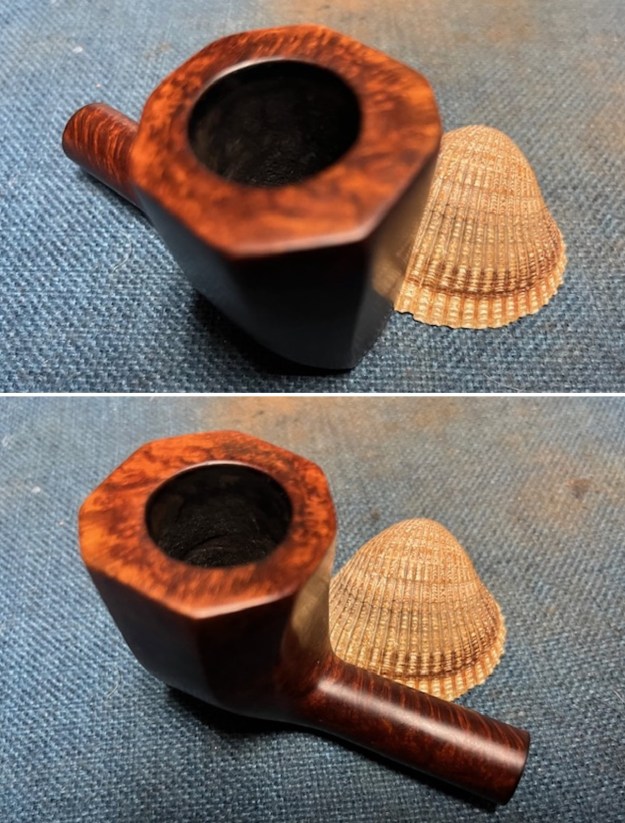
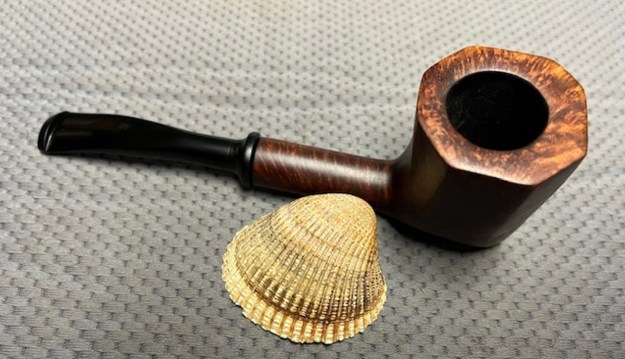
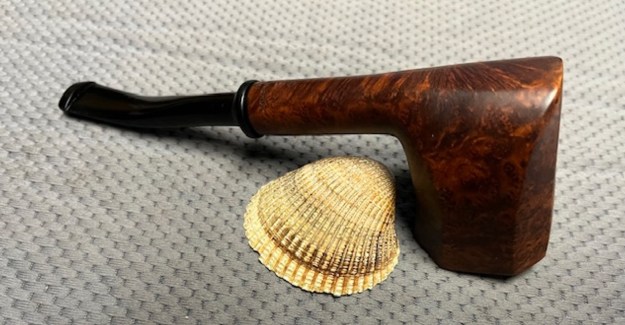
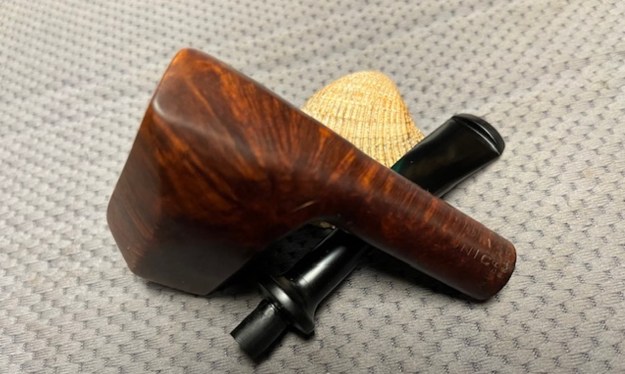
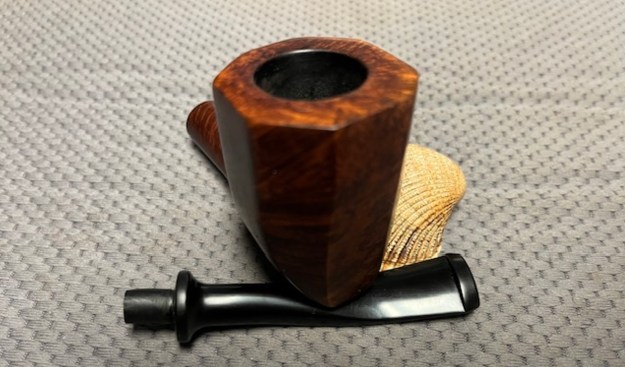
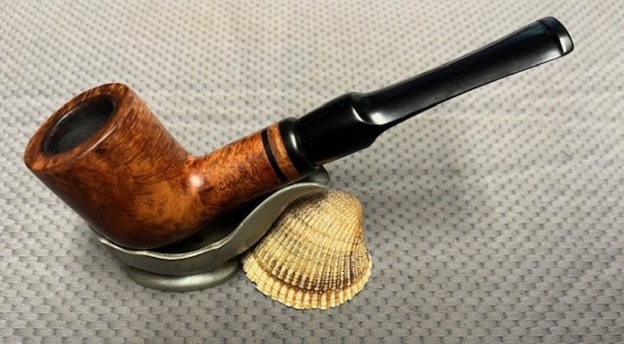
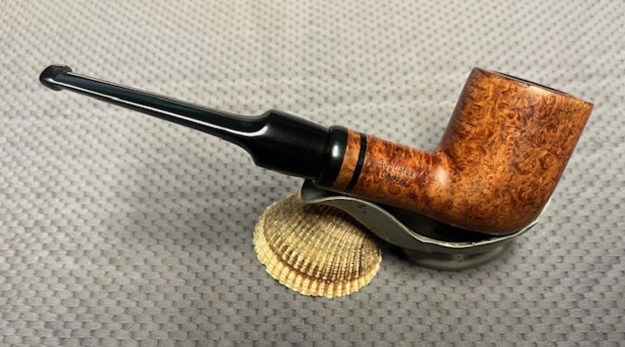
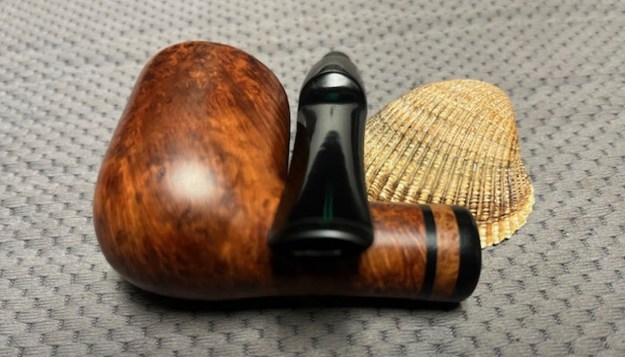
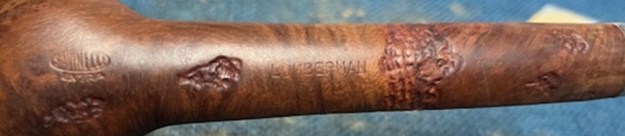
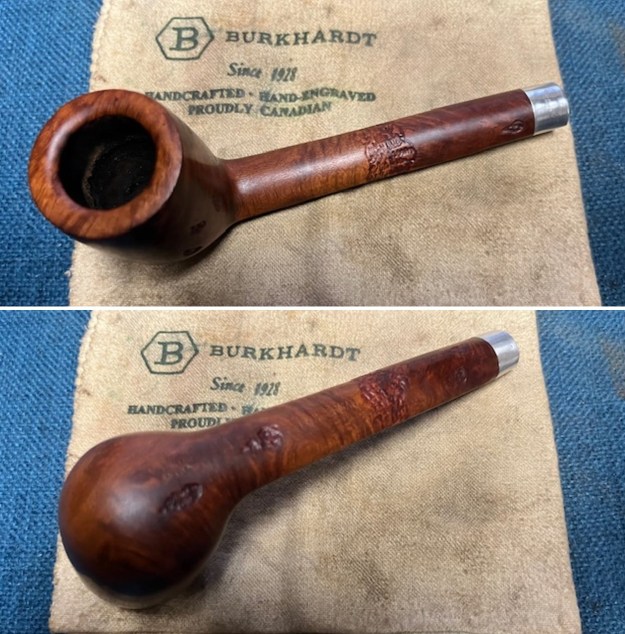
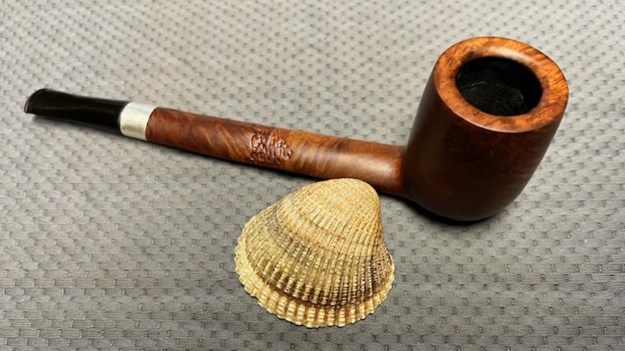
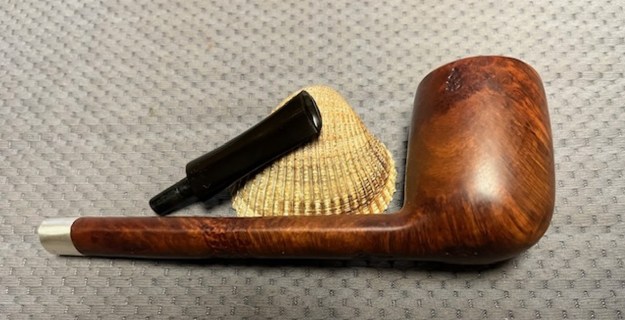
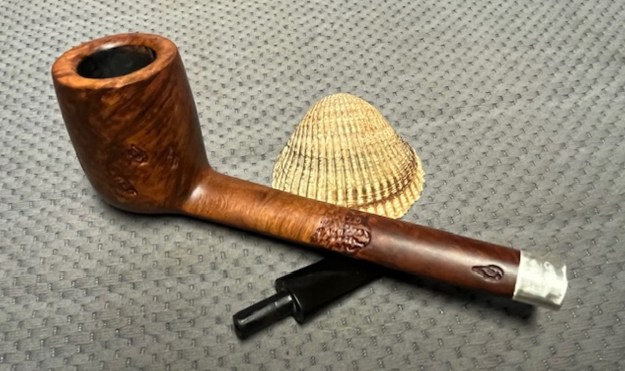
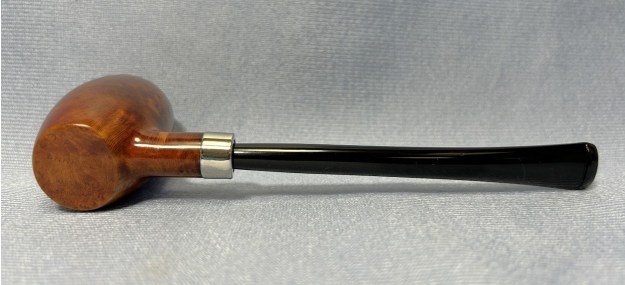
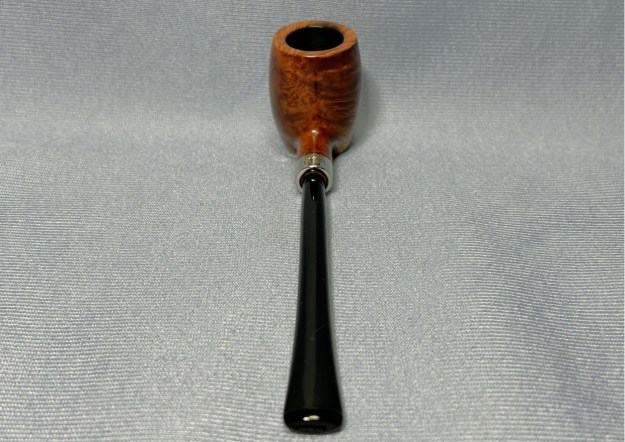
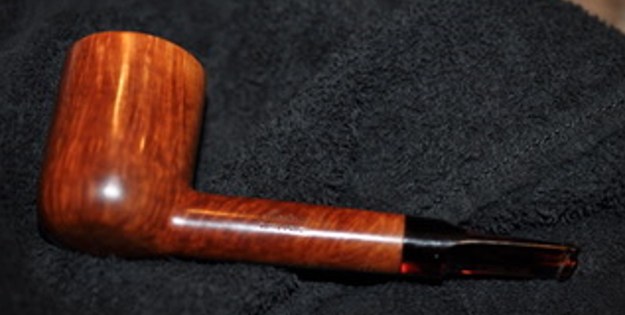
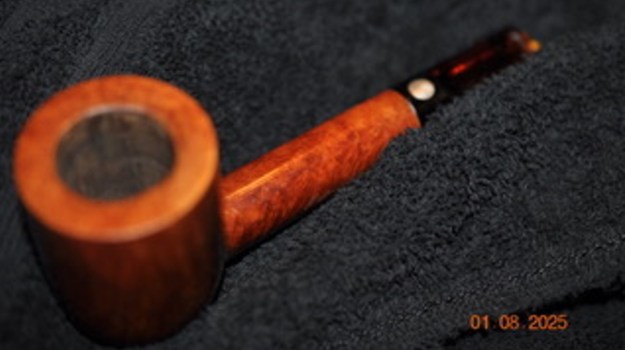
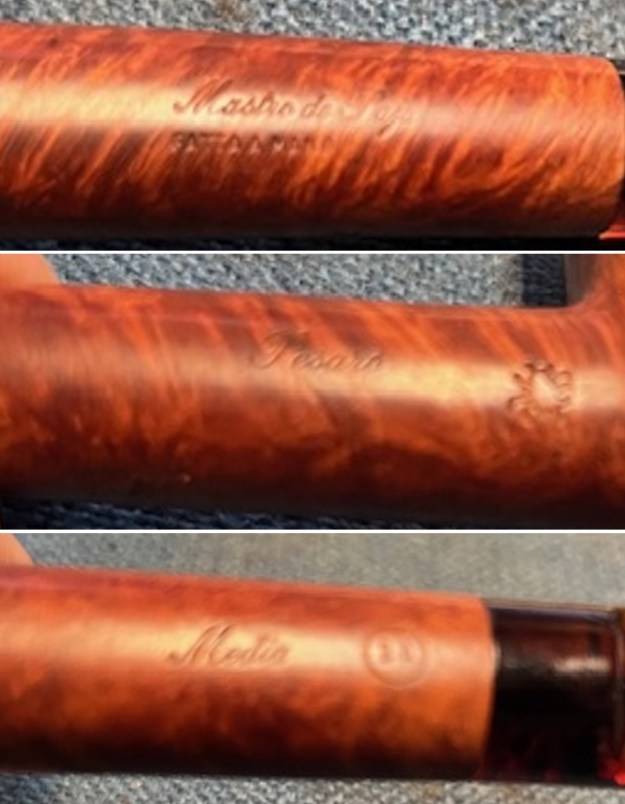
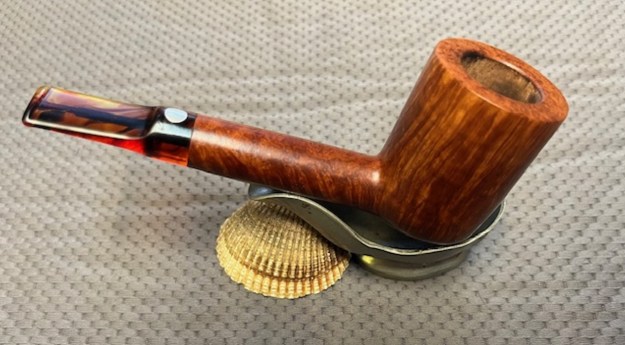
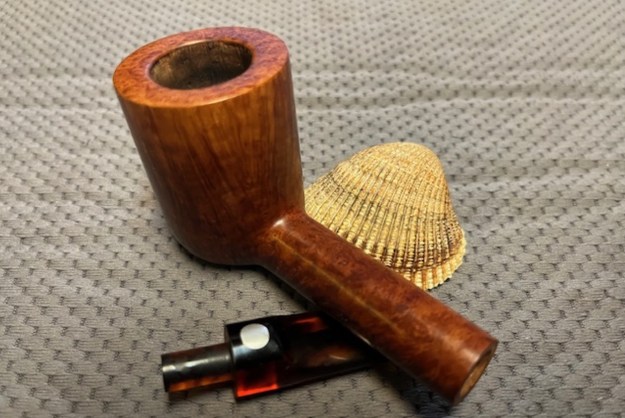
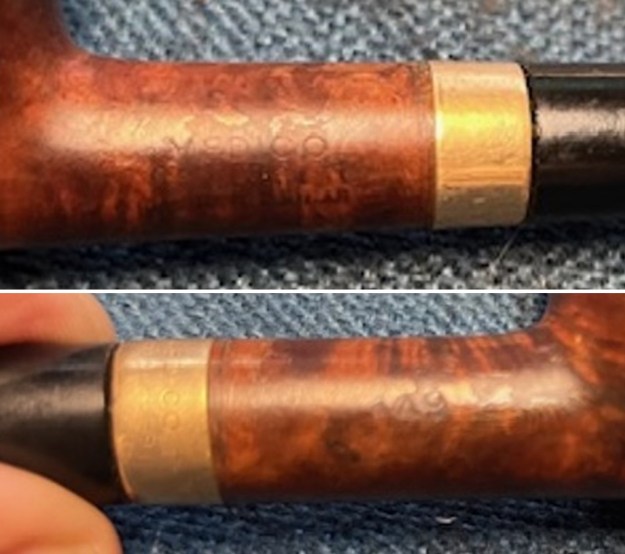
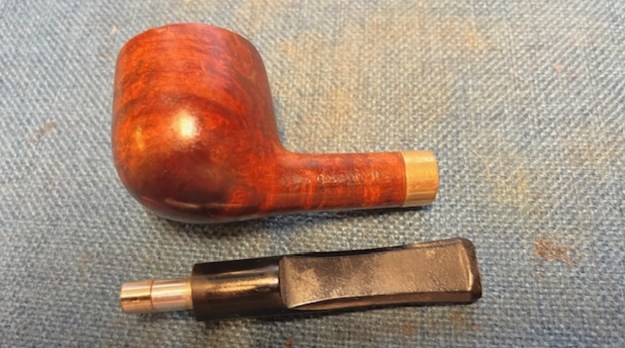
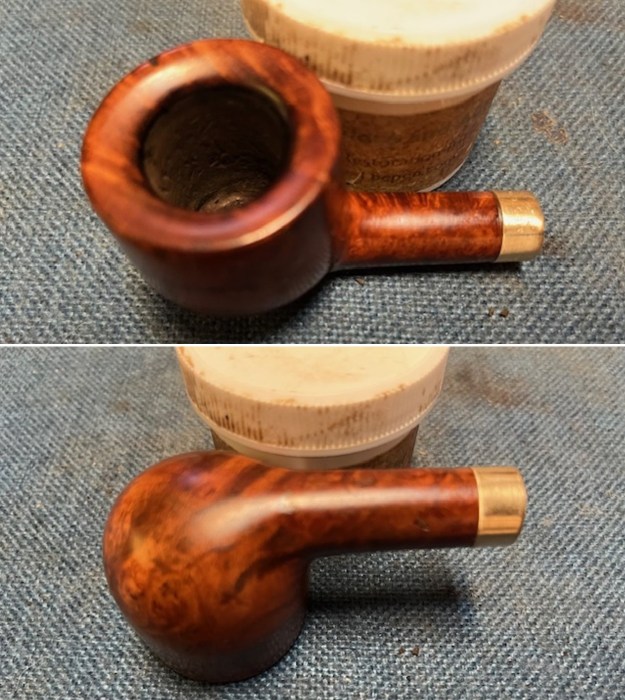
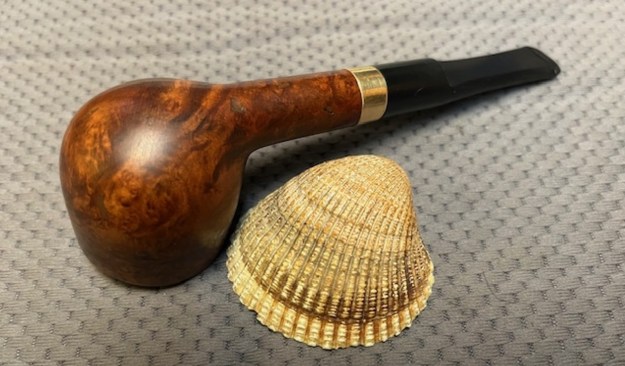
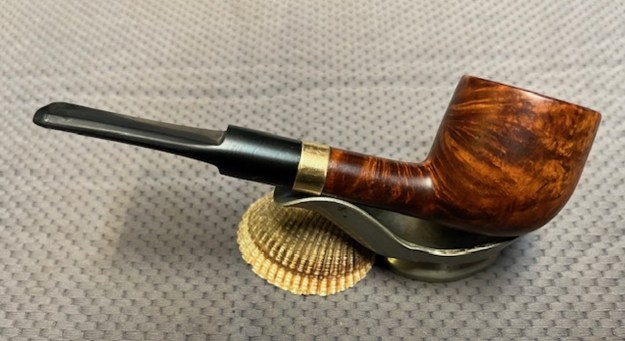
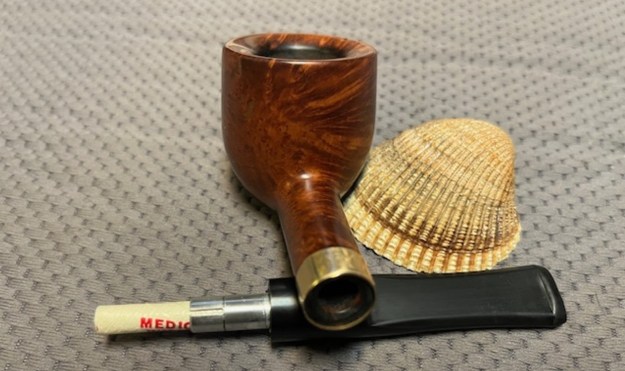
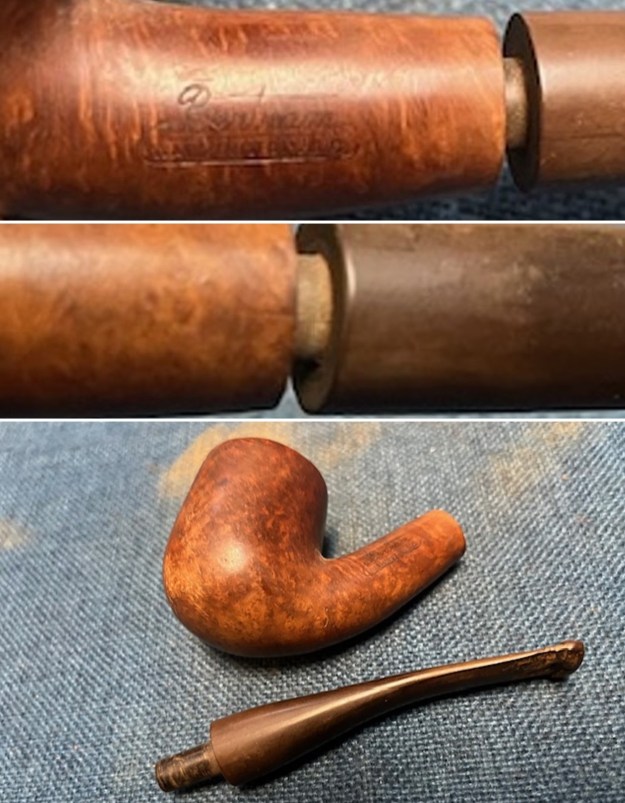
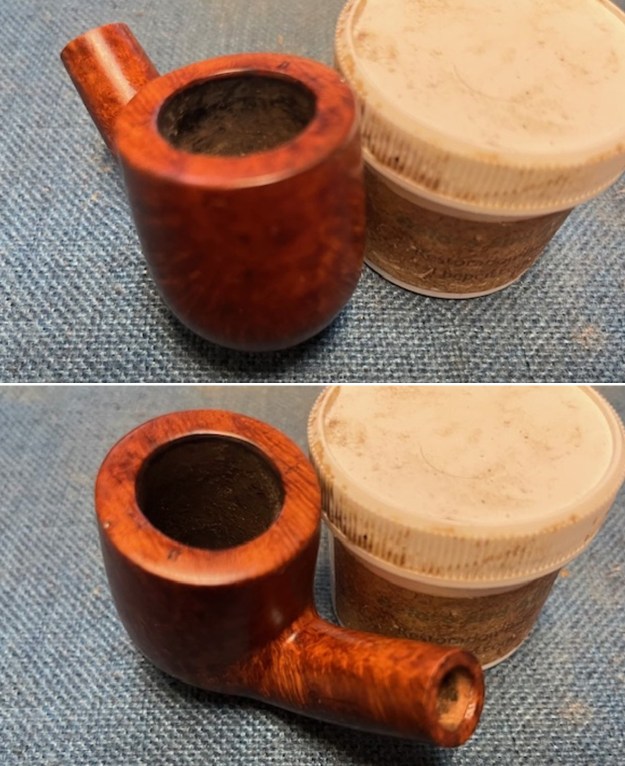
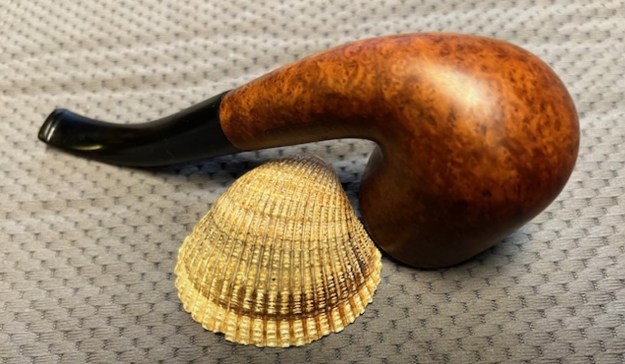
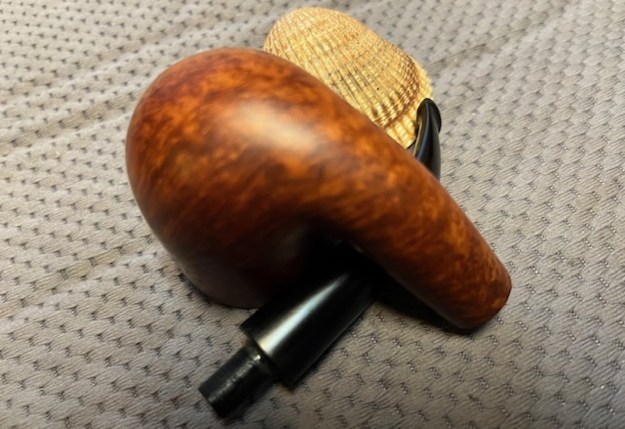
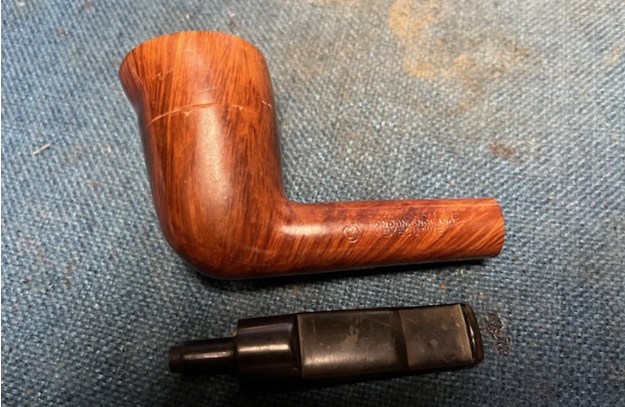
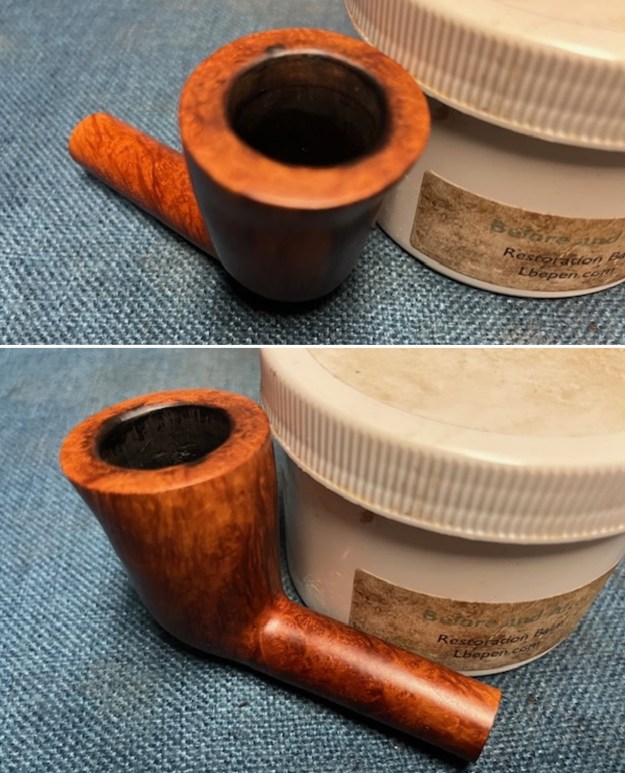
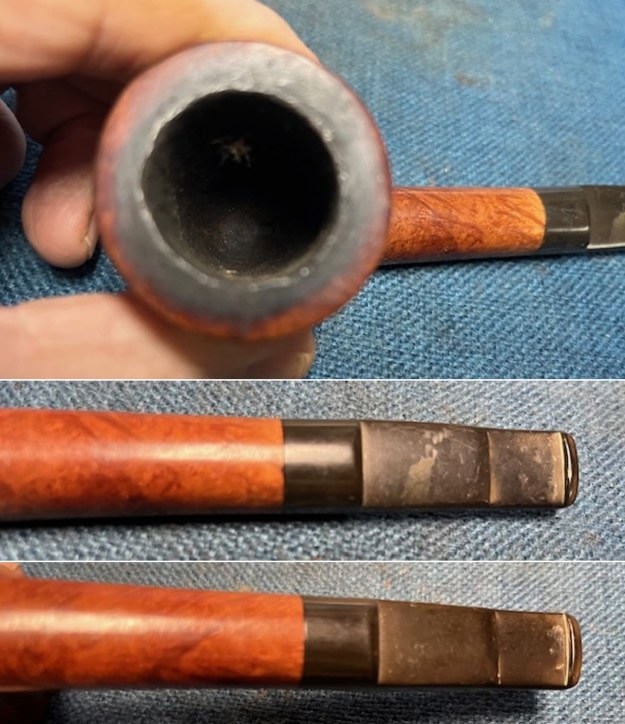 The stamping on the sides of the shank is clear and readable as noted above. I took a photo of the pipe with the stem removed to give a sense of the proportions of the pipe. Even with the deep gouge in the left side of the bowl it is a real beauty.
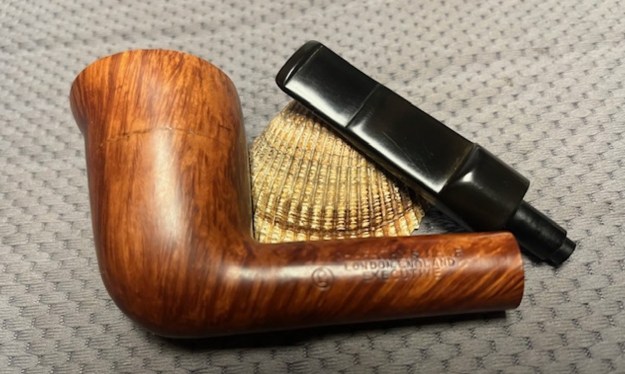
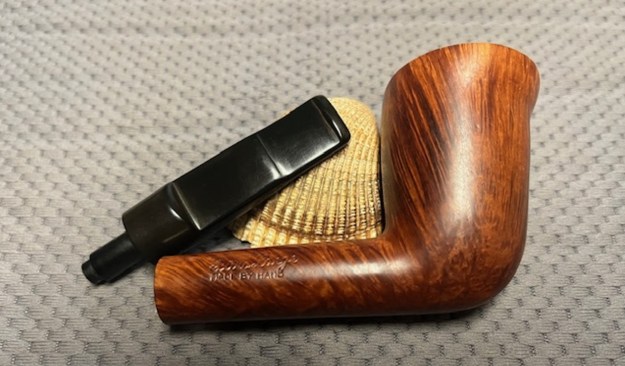
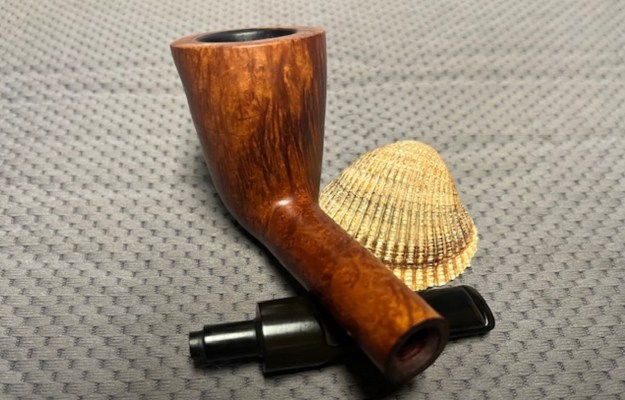
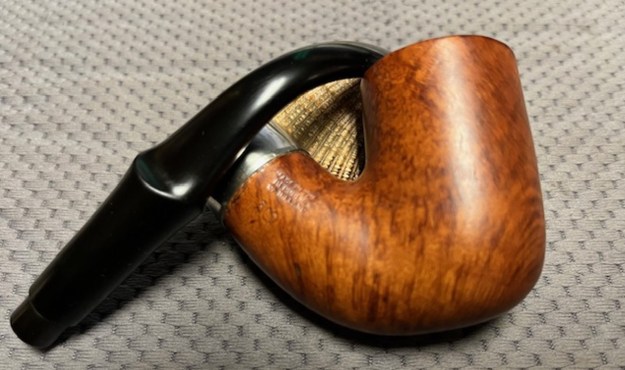
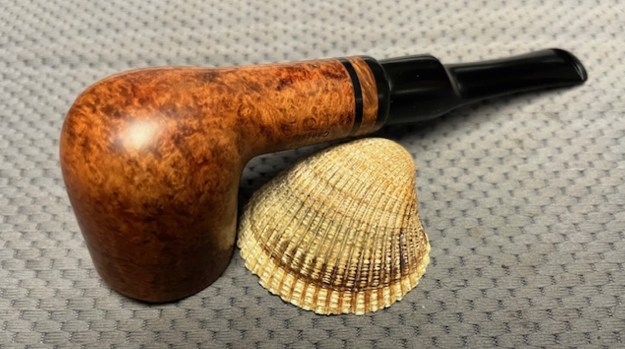
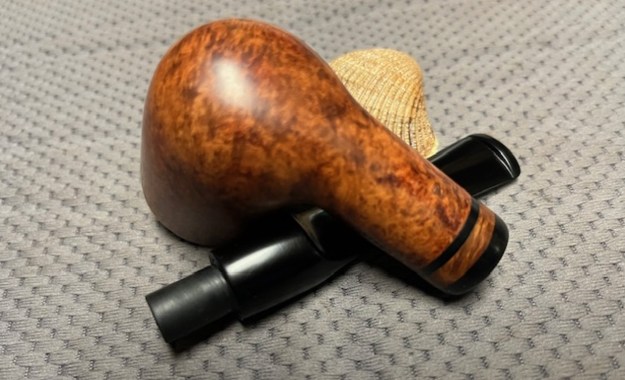
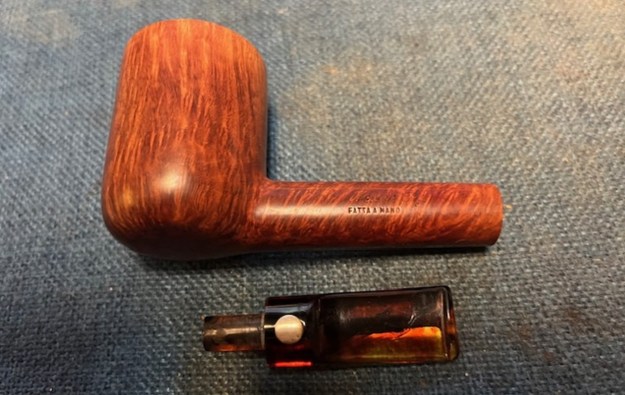
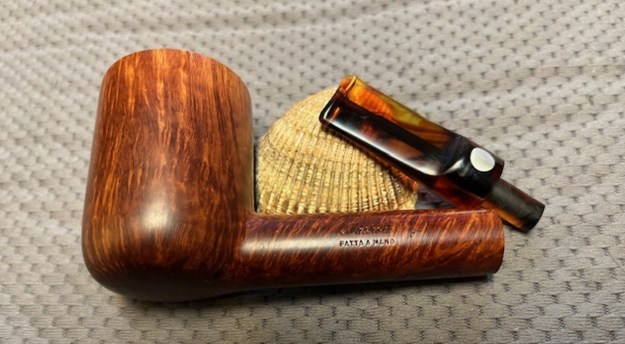
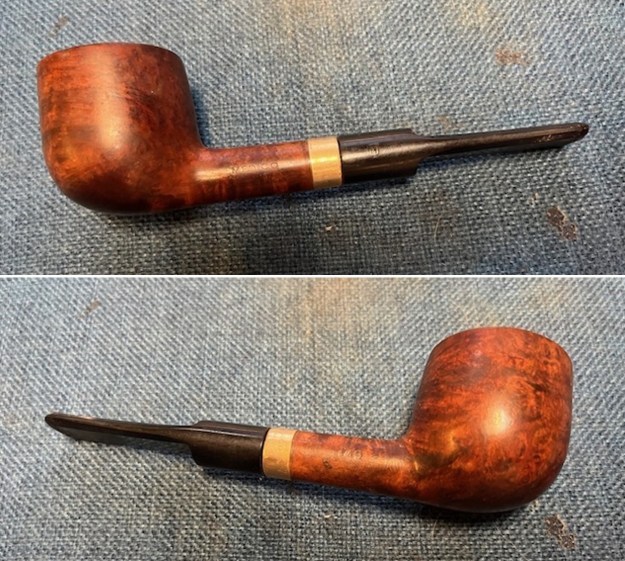
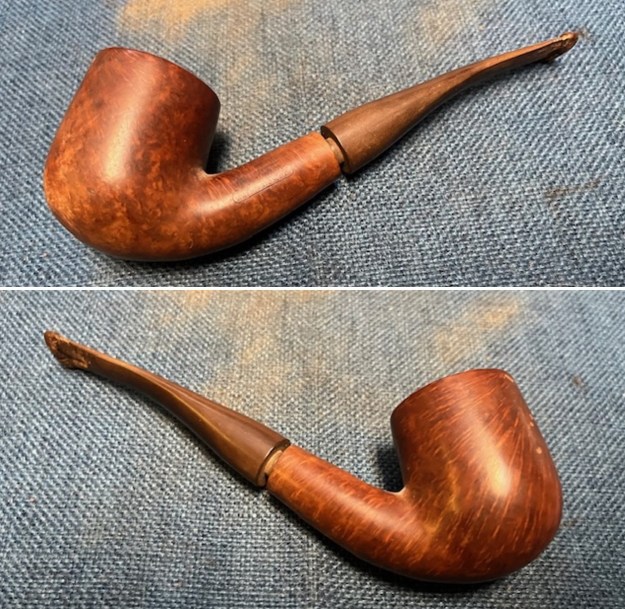
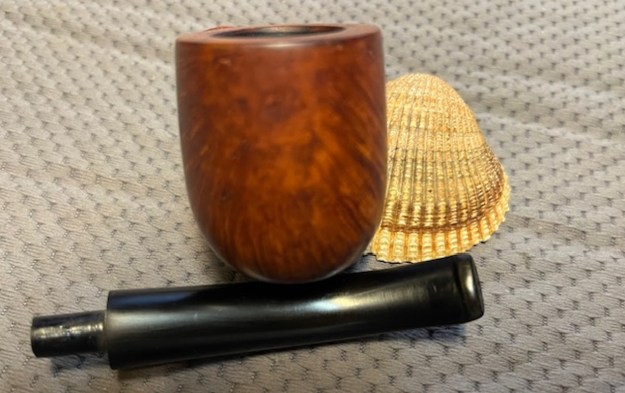
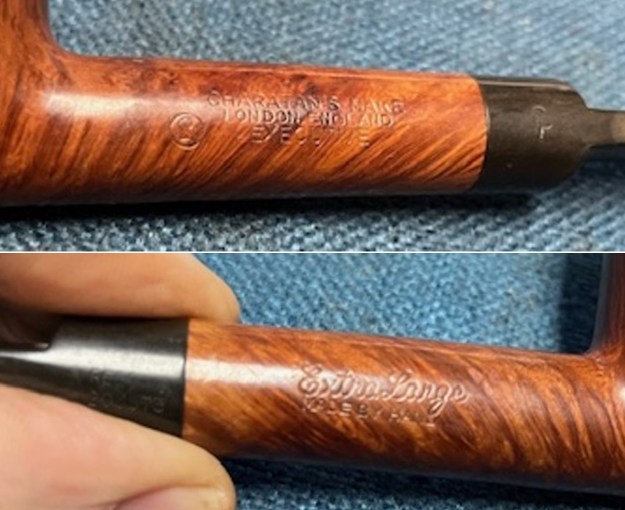
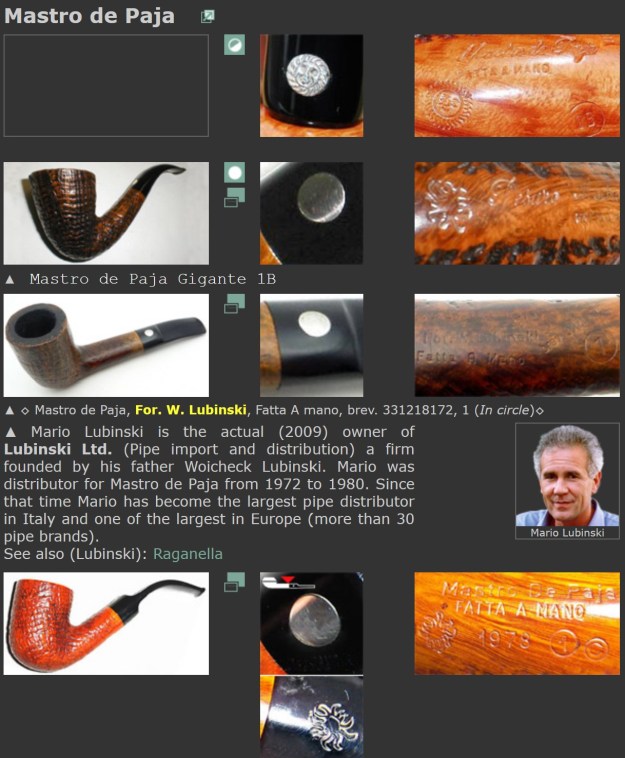
 To try and figure out the era of the Charatan’s pipe I was working on I turned to the pipephil website on Logos and Stampings. There is some really helpful information on each of the lines of Charatan’s Make pipes that entered the market. Here is the link to the section of the site that I turned to, http://www.pipephil.eu/logos/en/logo-charatan.html. There is an alphabetical listing of the lines including the Executive. The site did give a short history of the brand. I quote the portion that is most pertinent.
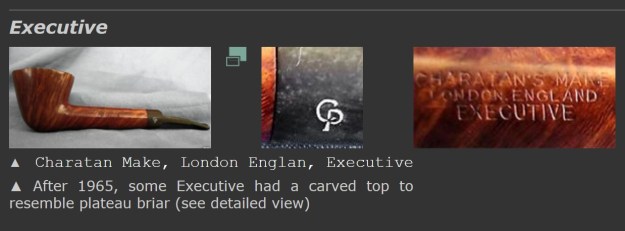 The brand was founded in 1863 by Frederik Charatan. When his father retired in 1910, Reuben Charatan took over the family business. All the pipes were handmade until 1973. The brand name has been overtaken by Dunhill in 1978 and sold in 1988 to James B. Russell Inc. (NJ, USA). During the period 1988-2002 Charatans were crafted by Butz Choquin in St Claude (France). Dunhill re-purchased Charatan brand name in 2002 and Colin Fromm (Invicta Briars, Castleford) followed up on freehand production.
I turned to Pipedia to see if I could find more information on the brand and possibly a link to the Executive line (https://pipedia.org/wiki/Charatan) but once again in the general article it was not listed. It did give a little more historical information and is worth reading. I am including a few sections from the site.
In 1863 Frederick Charatan, a Russian/Jewish immigrant, opened a shop in Mansell Street, located in the borough of Tower Hamlets, London E1, where he began to carve Meerschaum pipes. These pipes got very popular soon, and thus Charatan moved to a bigger workshop in Prescot Street, just around the corner. Here he began to make briar pipes which should make the name famous the world over. Charatan was the first brand to make entirely hand-made briars from the rough block to the finished pipe including the stems. The nomenclature “Charatan’s Make” refers to this method of production and was meant to differ Charatan from other brands who “assembled” pipes from pre-drilled bowls and delivered mouthpieces.
Being the undisputed No. 1 in English pipemaking, Charatan was approached by Alfred Dunhill who was unsatisfied with the quality of the pipes he imported from France. During 1908 – 1910 Dunhill bought pipes from Charatan paying exorbitant prices to ensure he had some of the very best pipes for sale in England. In 1910 he lured away Joel Sasieni, one of Charatan’s best carvers, and opened his own small pipe workshop on 28 Duke Street. On the retirement of his father in 1910 Reuben Charatan took over the family business…
…The pre-Lane period (prior to 1955) and the Lane era pipes (1955 to until sometime between 1979 – 1984) are of primary interest the collector. The Lane era is often quoted as beginning about 1950… Charatan records are almost non-existent before Lane due to a factory fire, making it difficult to date pre-Lane pipes. Charatan used 4 basic grades prior to 1950: Supreme, Selected, Executive, and Belvedere. After 1950 Herman Lane’s influence began, and the grades started to expand. In 1955 Lane took over sole distributorship of Charatan in the US. In 1957 he introduced the Supreme S. Most of his other introductions were from the 60’s and early 70’s…
The section called Miscellaneous Notes had some interesting information.
Charatan records indicate the DC (Double Comfort) bit was introduced in the 50’s, but some report seeing them in earlier production. Still others indicate they were introduced by Lane in 1960. Regardless, the DC bit is not an accurate way to date a pipe because many Charatan’s were made with regular and saddle type bits throughout the “Lane Era”…
…The Lane Trademark serif and circled L indicates the pipe is from the “Lane Era” (approx. 1955 to 1979 -1984?), however it appears that both the English factory or Lane themselves sometimes, or perhaps even often forget to stamp the L on a pipe. The Charatan factory was known for inconsistencies, especially in stampings. Therefore, although an L on the pipe definitely defines it as a Lane Era pipe, the lack of it could simply mean the pipe missed receiving the stamp from the factory. The lack of the trademark could also mean the pipe was destined for the European market.
…Generally, when the pipe is stamped with the BLOCK letters “MADE BY HAND” it means the pipe was probably made between 1958 and 1965”
…Generally, block letters “MADE BY HAND” and some of the other nomenclature in script (i.e. City of London or Extra Large next to the MADE BY HAND) means the pipe was made sometime between 1965 and the mid 1970’s. The total script nomenclature “Made by Hand in City of London” evolved over this period of time, so many pipes had variants, such as Made By Hand in block letters and City of London in script, or some other variation of the terms or stampings. The Charatan Logo (CP) on the pipe bit was changed over the years.
From all of the historical data I could work through this Charatan’s Make Executive was one of the higher grade pipe from the mid 1970’s Lane era. I continued digging further into the dating of the pipe, but what I had found was a good start for me. If some of you would like to try your hand at dating it more accurately as to the time period it came out you might want to check out the article on Pipedia on Dating Charatans (https://pipedia.org/wiki/Dating_of_Charatans). I had enough for me to start working on the pipe itself and see what lay beneath the heavy tars and oils.
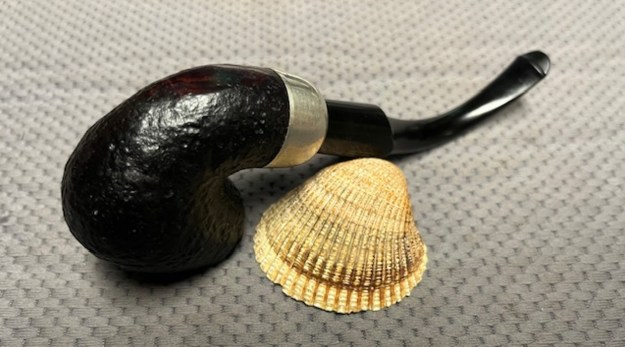
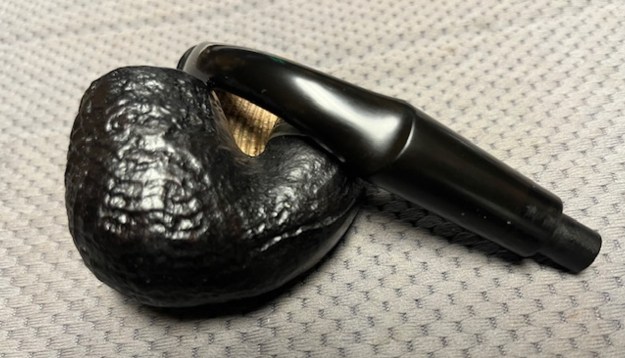
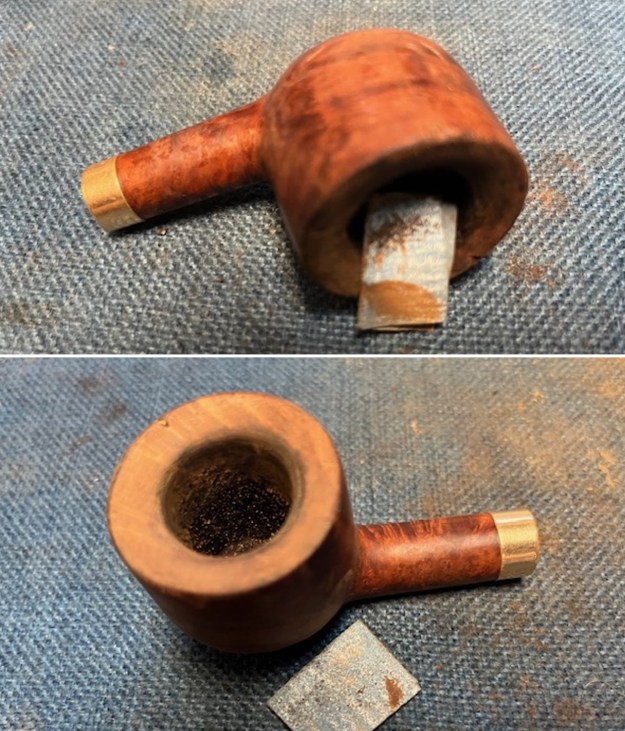
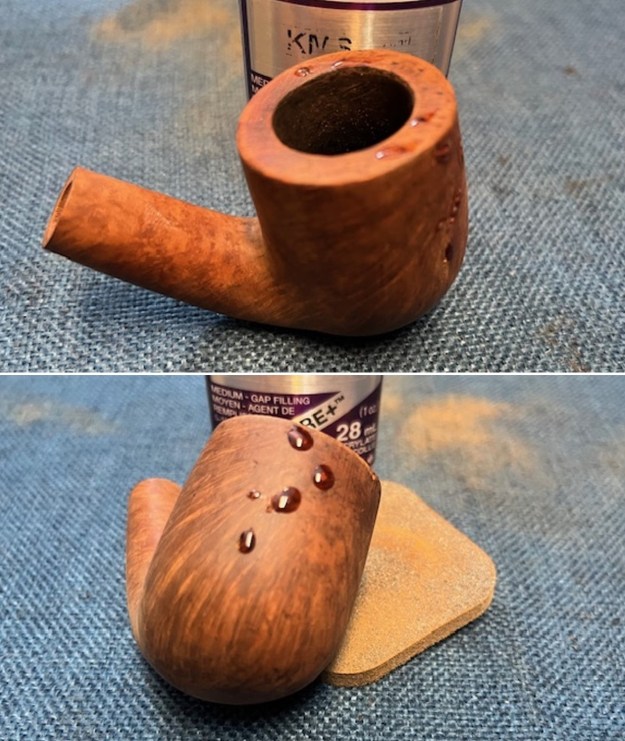
I began working on the pipe by addressing the deep gouge in the left side of the bowl. The first picture shows the gouge in the bowl side. It is quite deep and could easily be hiding a crack in the bowl side. I wiped the damaged area down with alcohol on a cotton pad. I filled in the gouge with clear CA glue. I pressed briar dust into the super glue and let it dry. 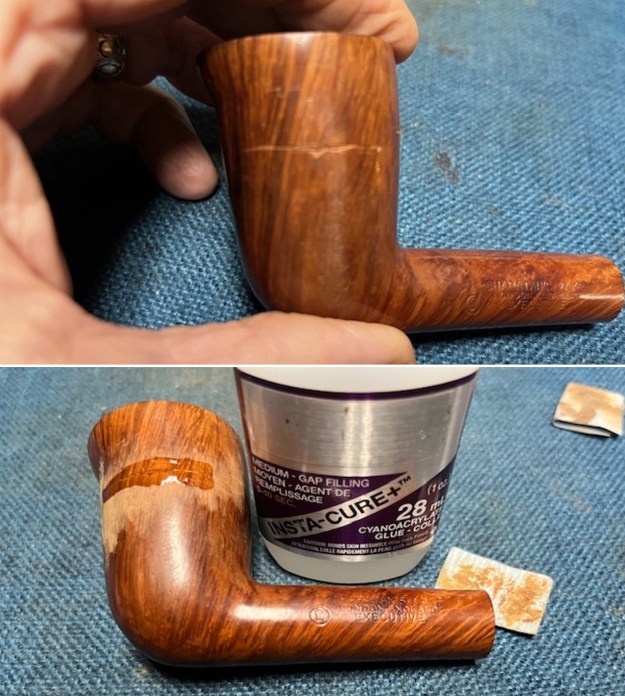
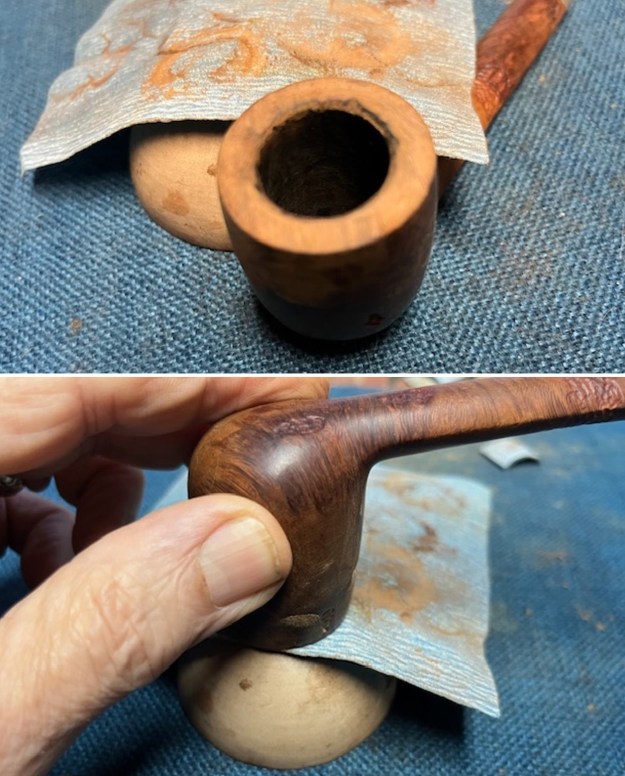
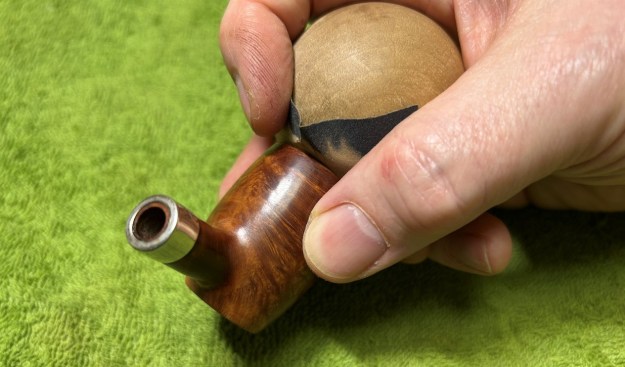
 I used a wooden sphere and 220 grit sandpaper to clean up the inner edge of the bowl and the rim top. I used a folded piece of 220 grit sandpaper to remove the darkening on the inner edge of the bowl. I sanded the repaired side of the bowl with 220 grit sandpaper to smooth out the repair. I used a Cherry Stain Pen to restain the sanded area of the bowl side.
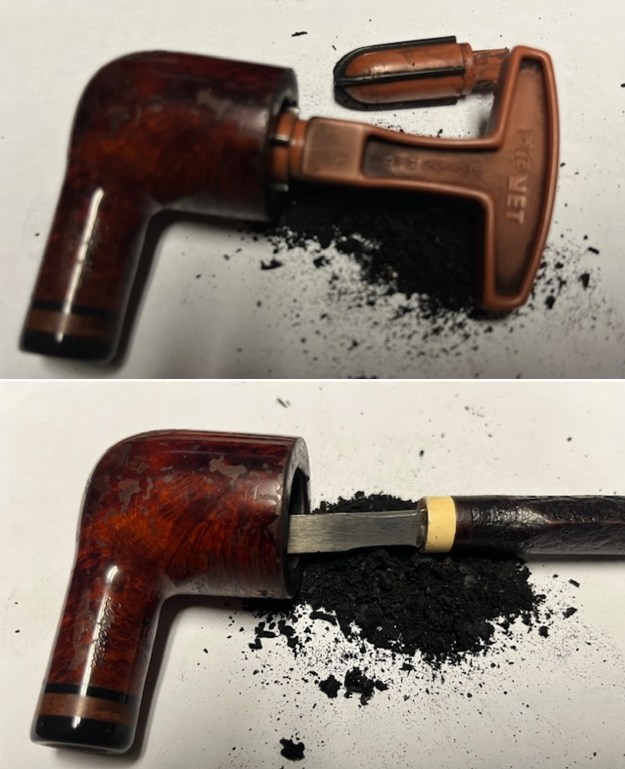
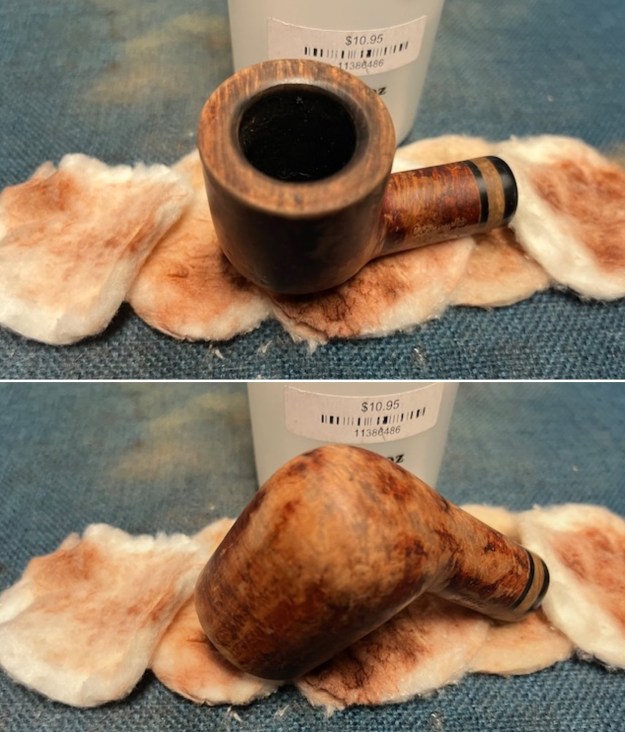
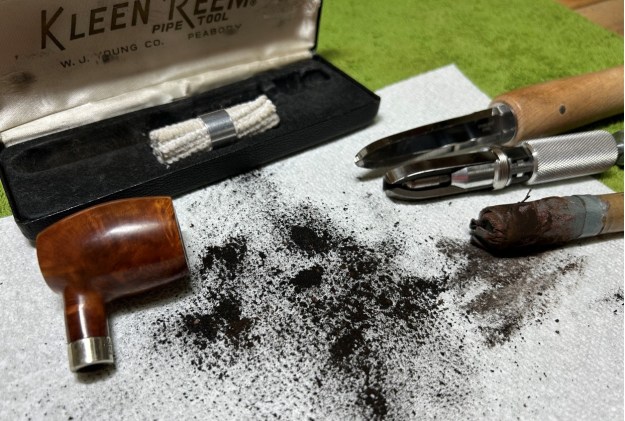
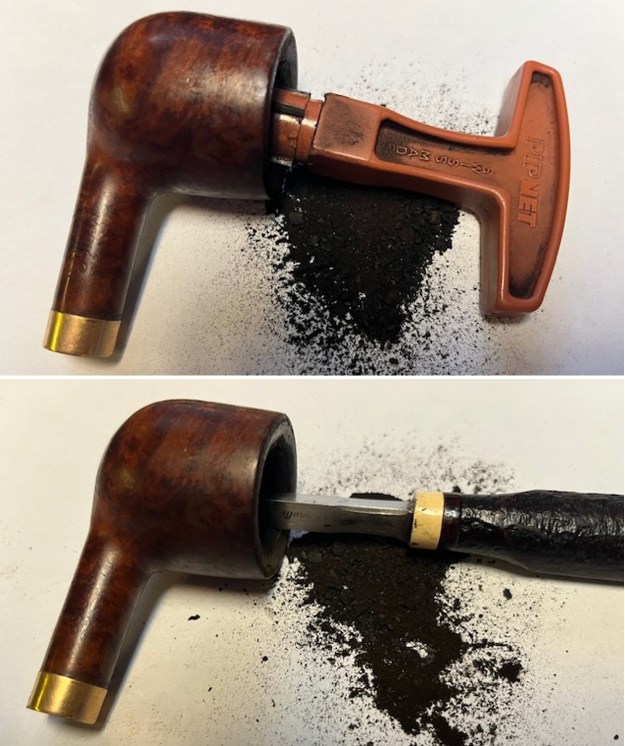
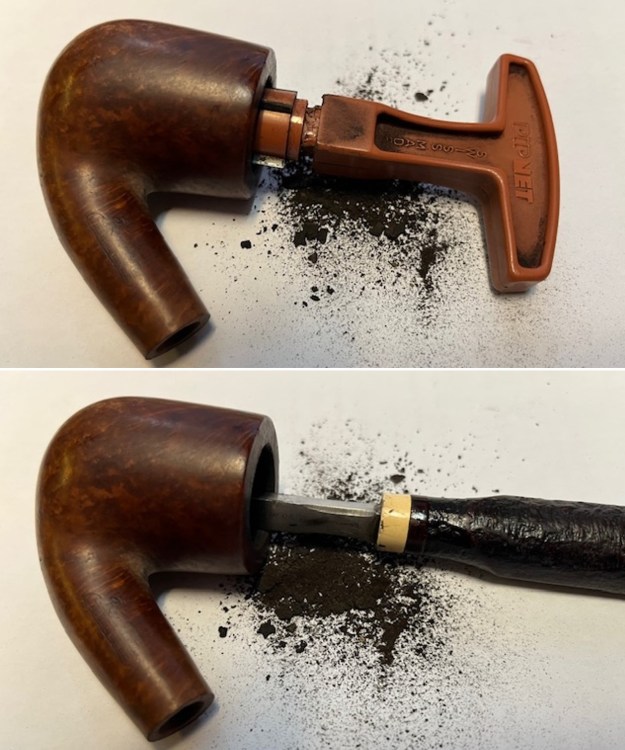
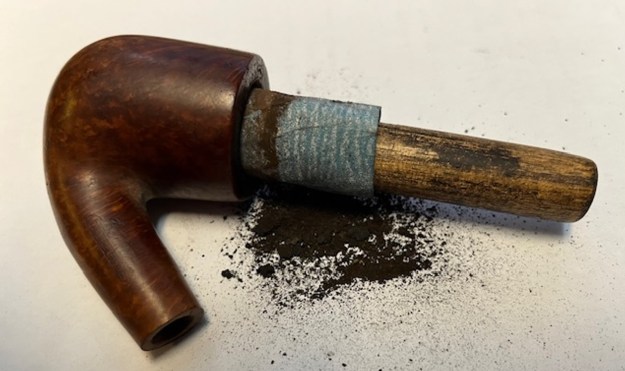
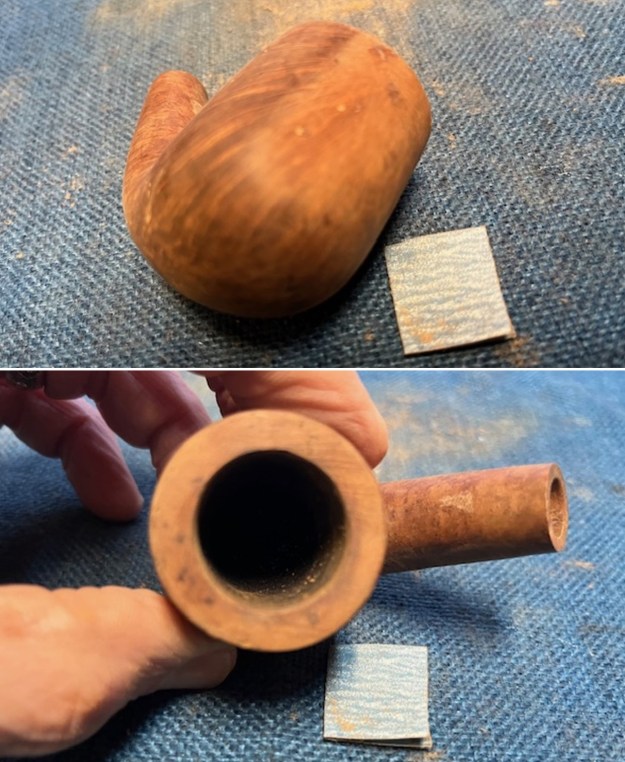
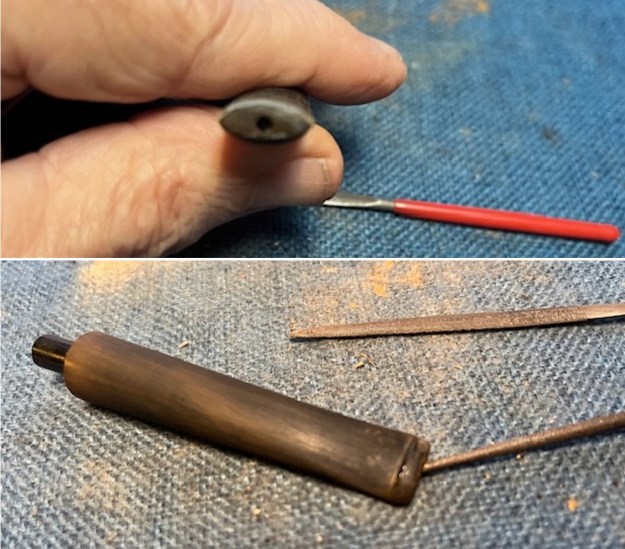
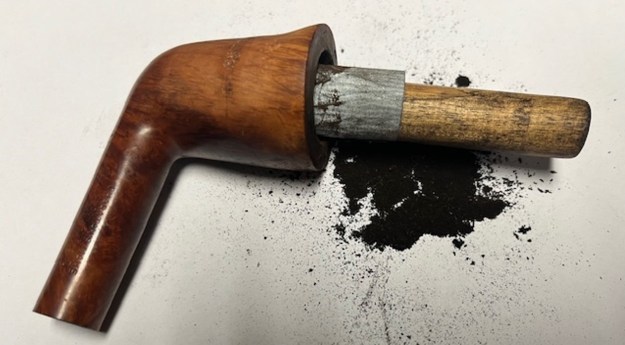
 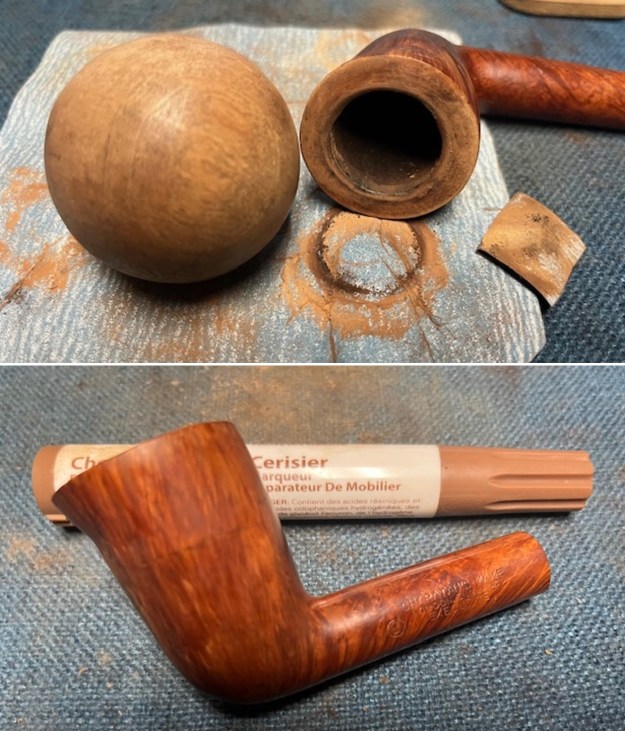 I reamed the bowl with a PipNet reamer. I used the third and fourth cutting heads to clean out the cake. I cleaned up what remained in the bowl with a Savinelli Fitsall Pipe Knife and scraped it back to bare briar. I finished by sanding the inside of the bowl with a dowel wrapped in sandpaper. The inside walls are free of burn damage or checking so the gouge does not go all the way through.
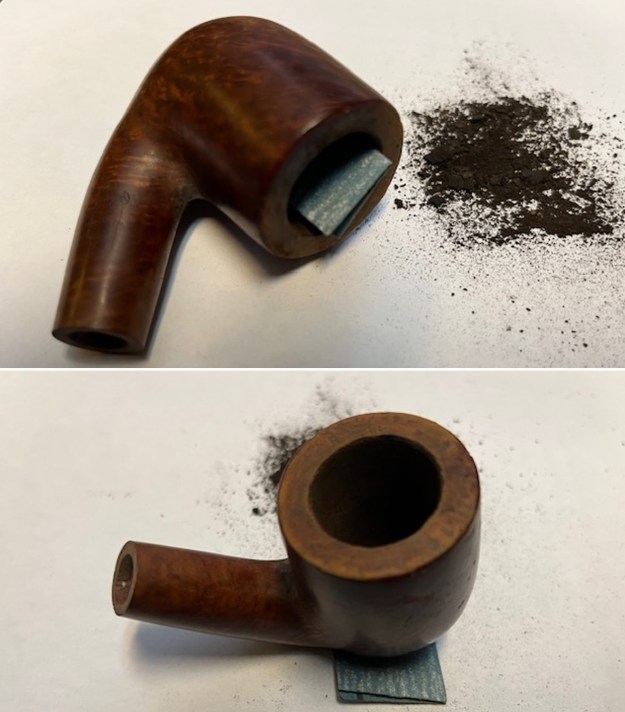
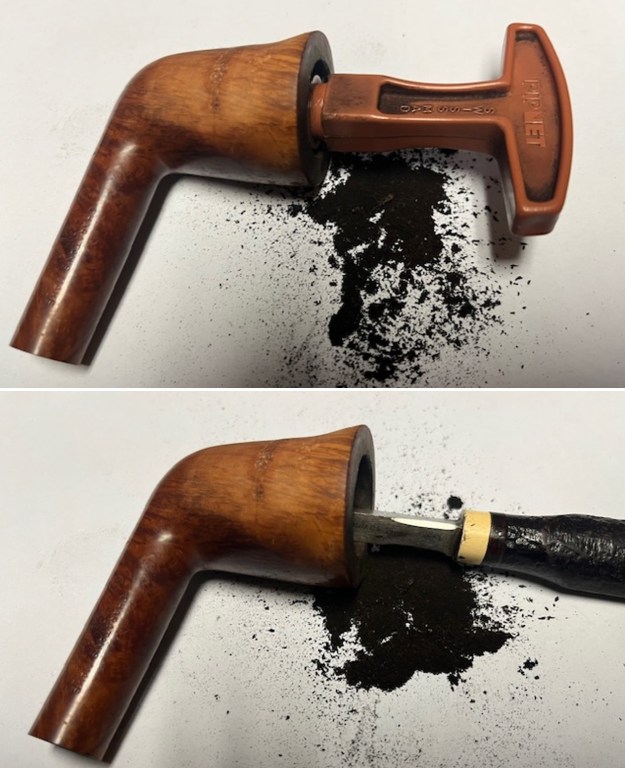
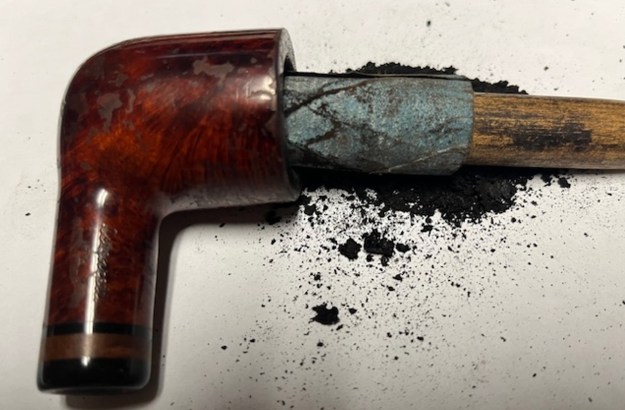
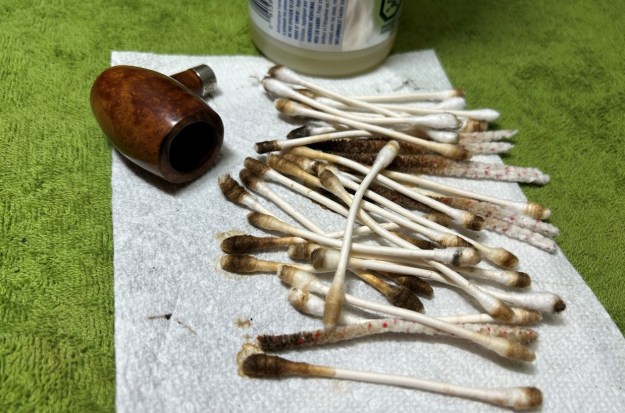
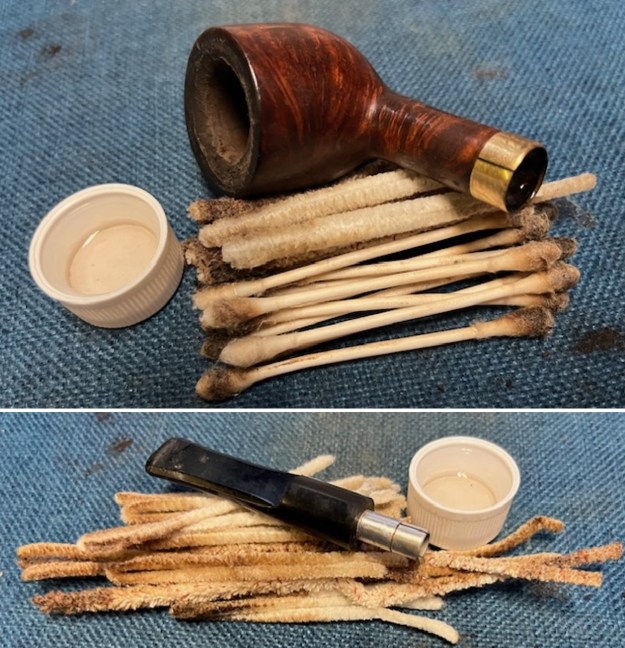
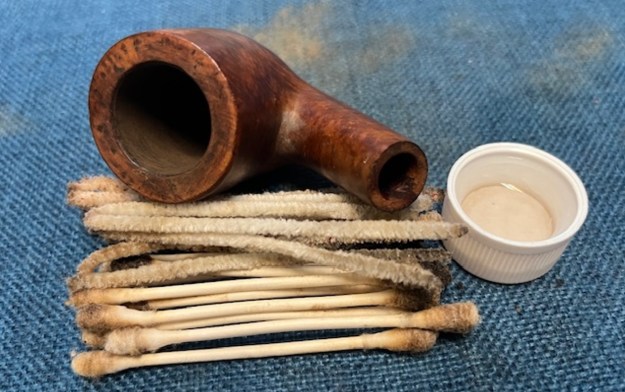
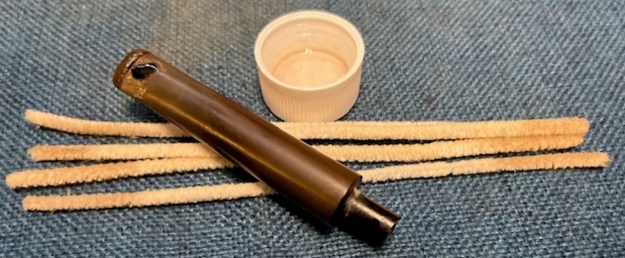
 I cleaned out the inside of the shank and the airway in the stem with alcohol, cotton swabs and both bristle and regular pipe cleaners.
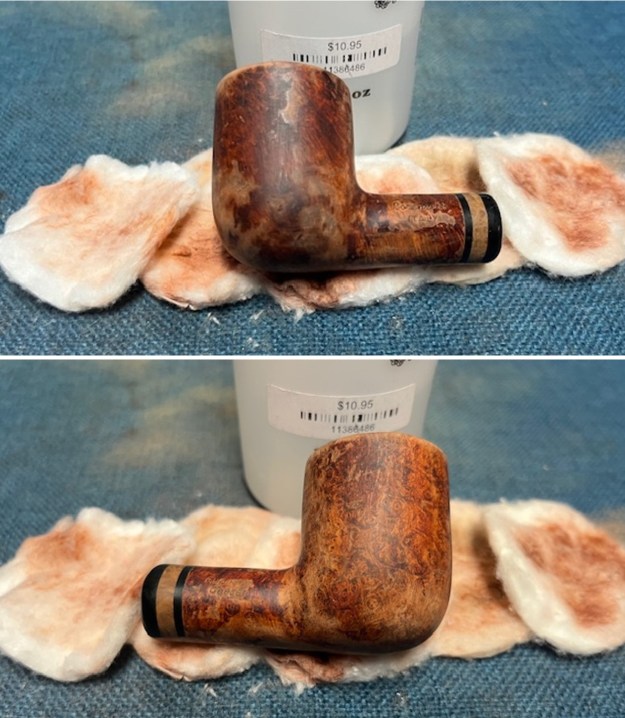
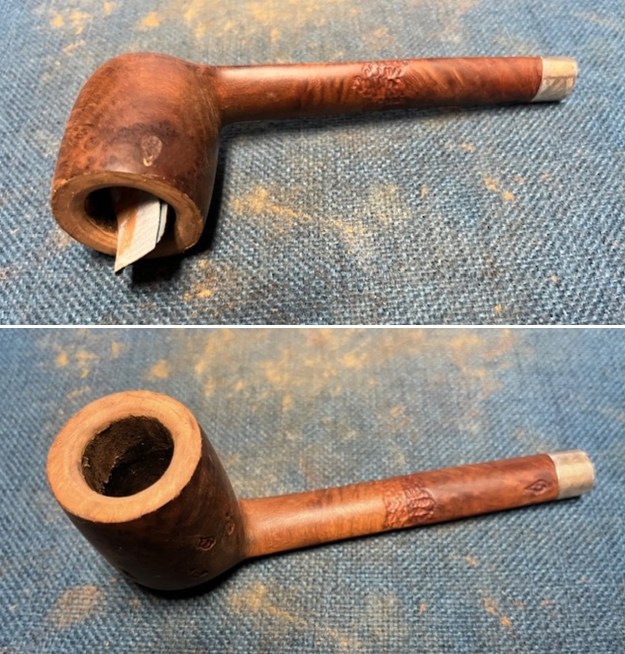
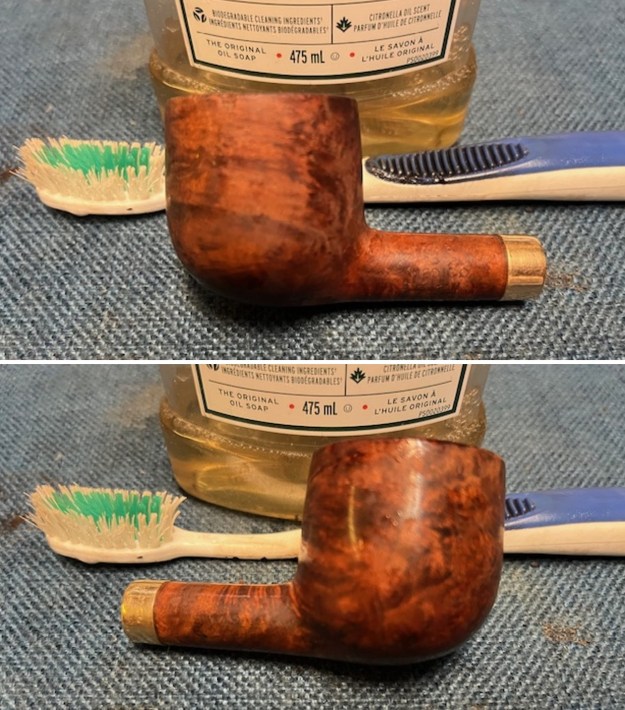
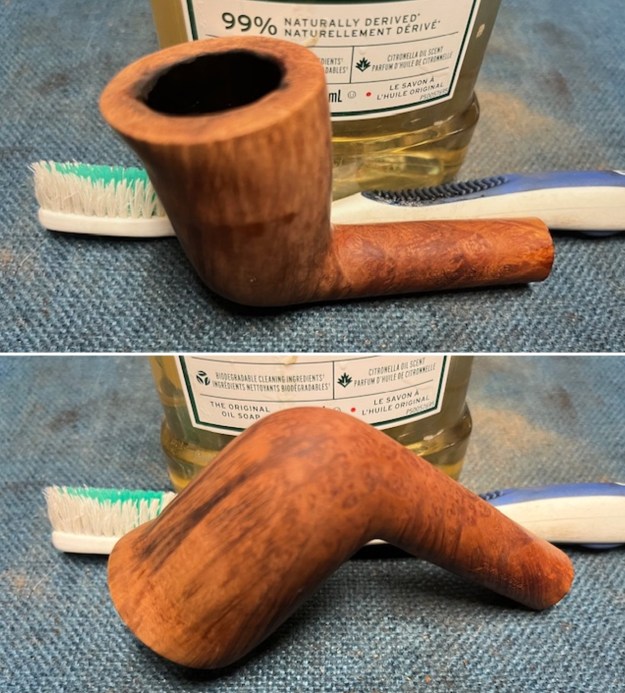
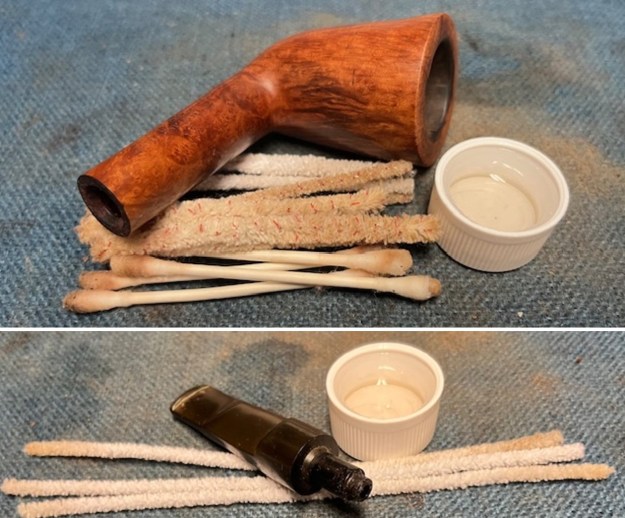 I scrubbed the bowl and shank with a tooth brush and some undiluted Murphy’s Oil Soap. I rinsed it off with warm water to remove the dust and soap from the finish. I dried it off with a soft cloth and it looked much better.
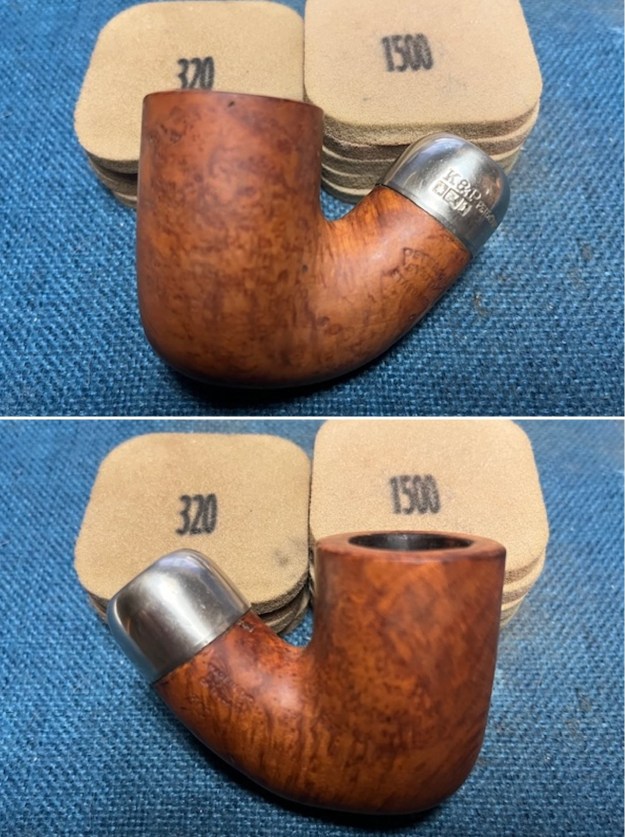
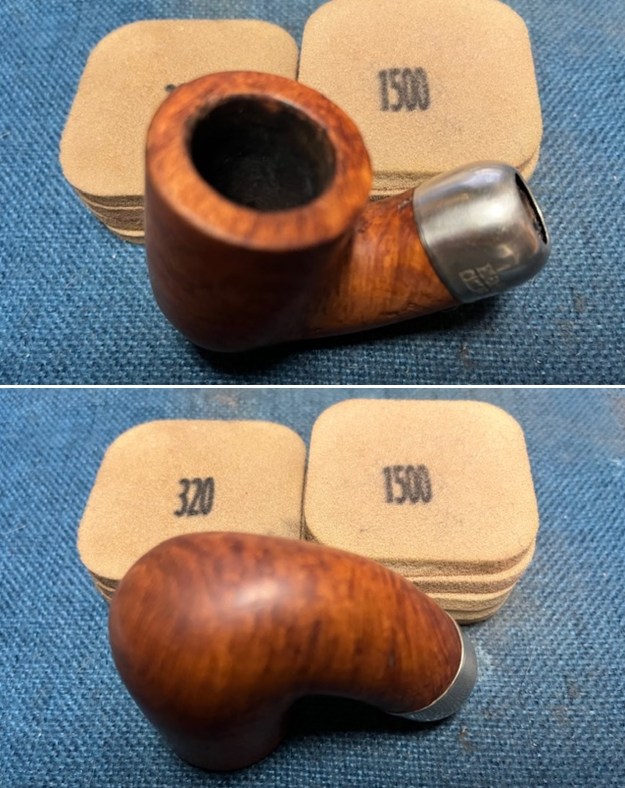
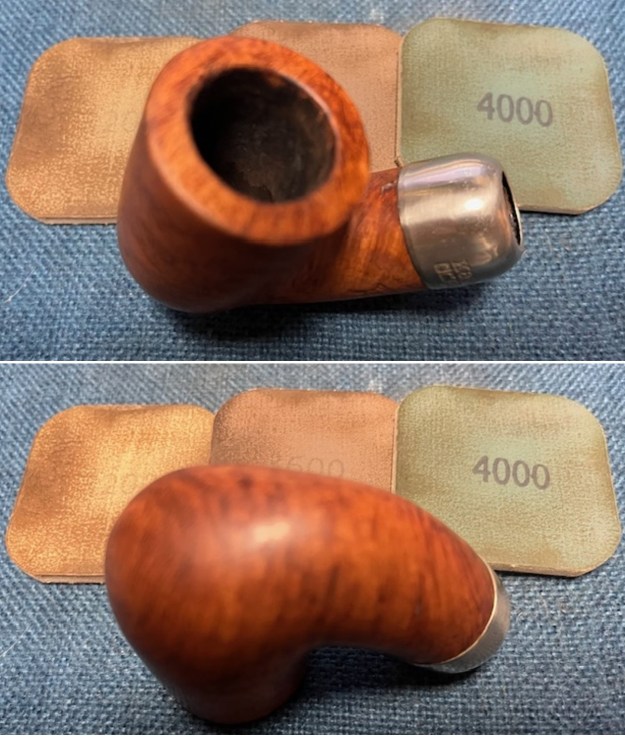
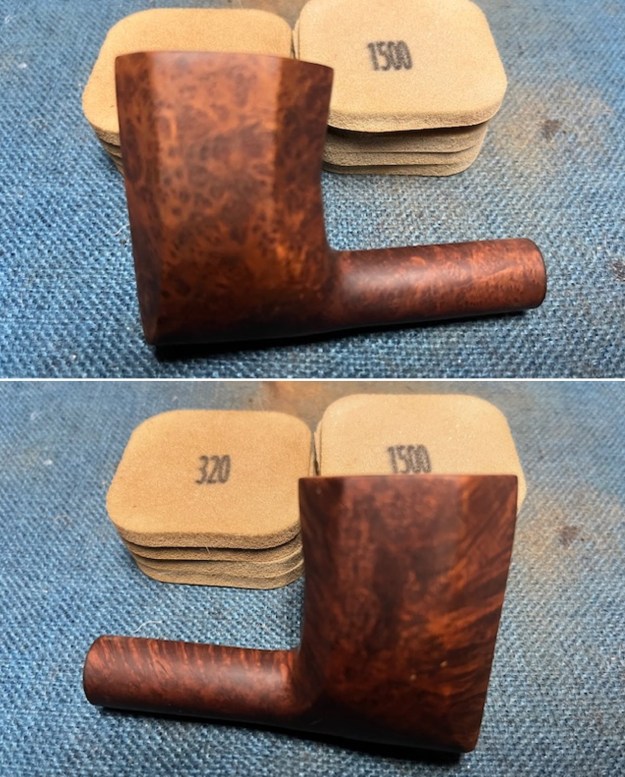
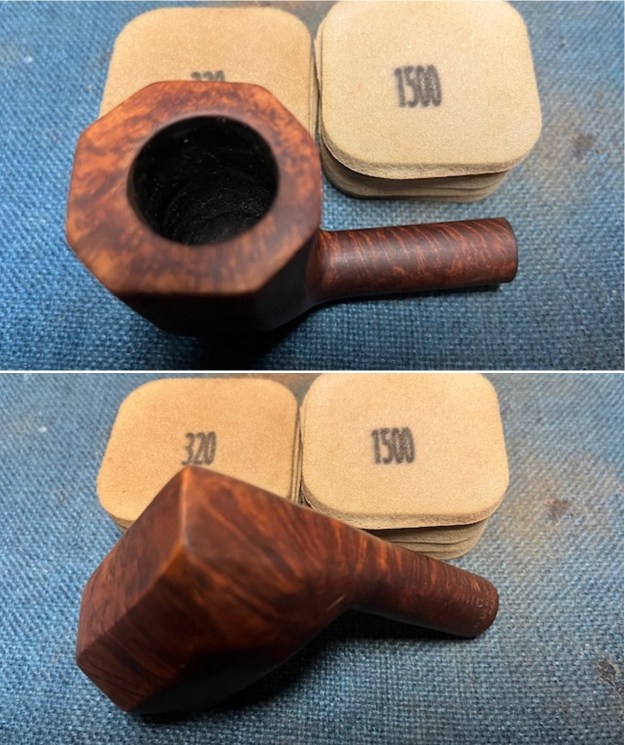
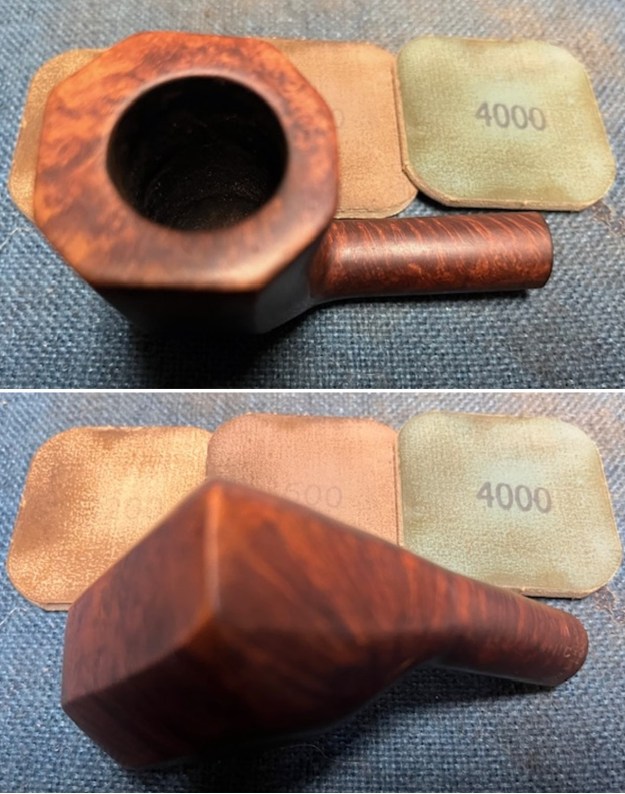
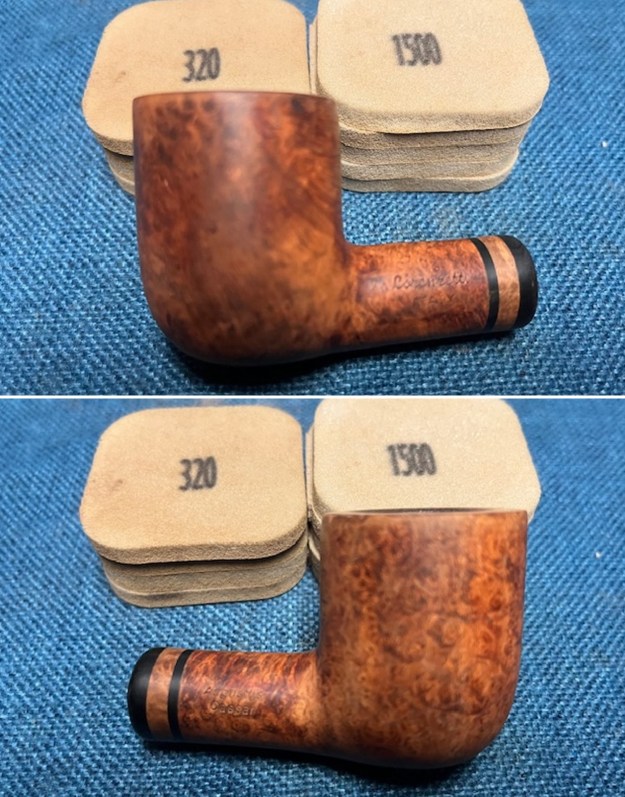
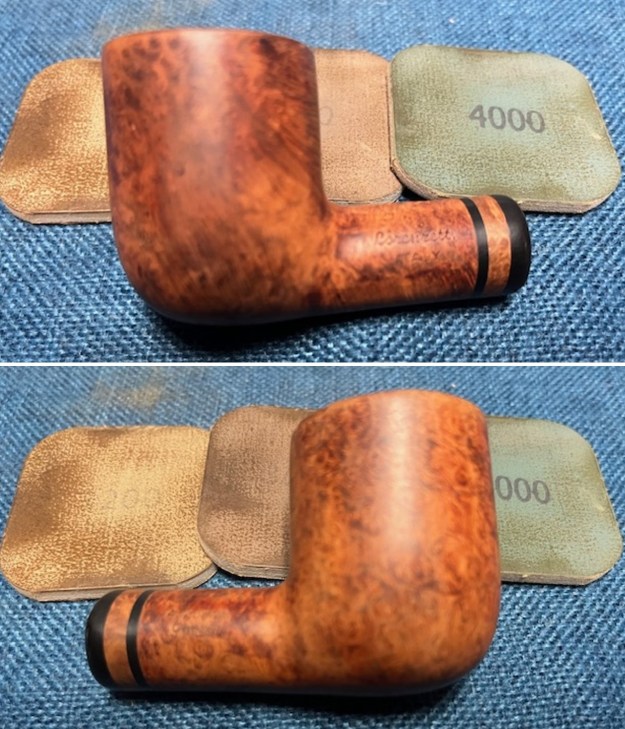
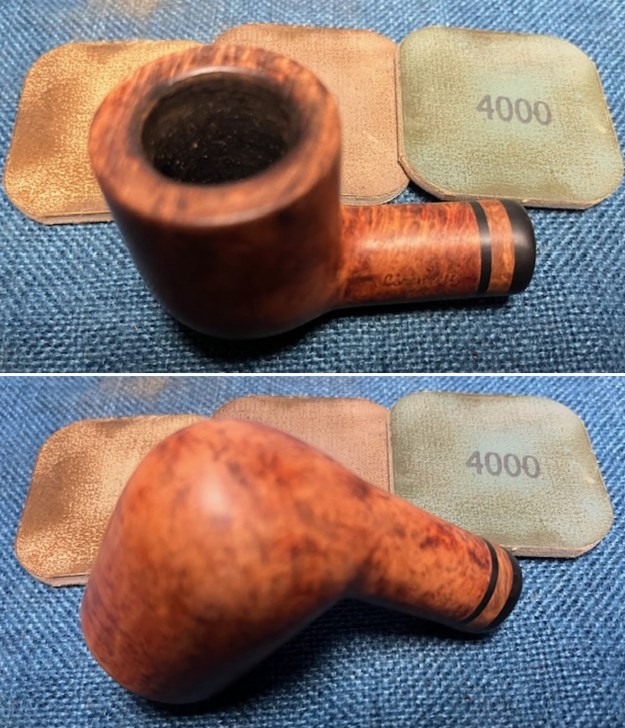
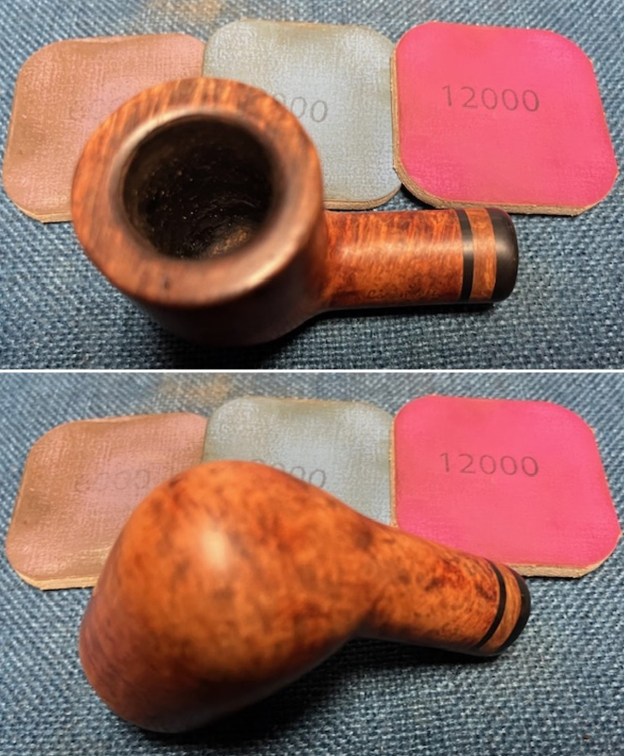
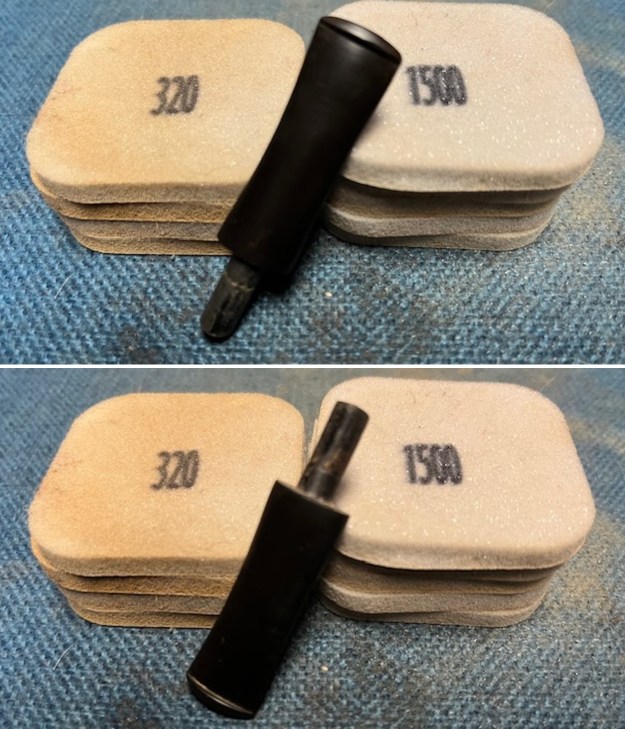
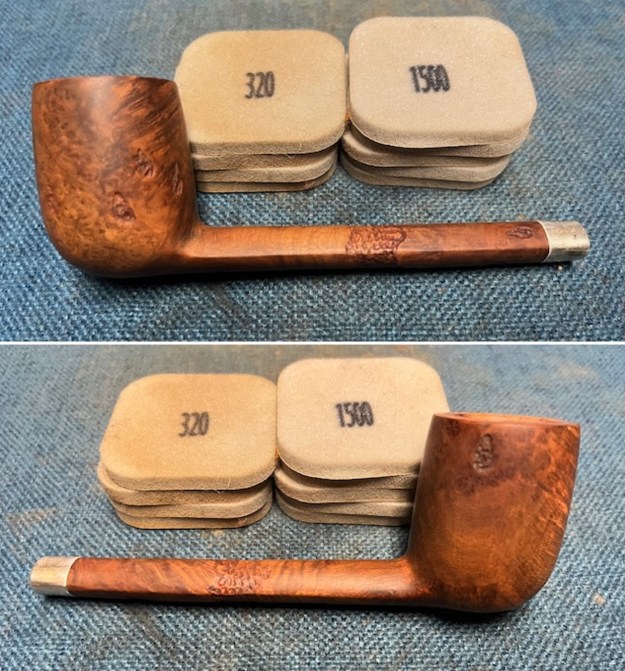
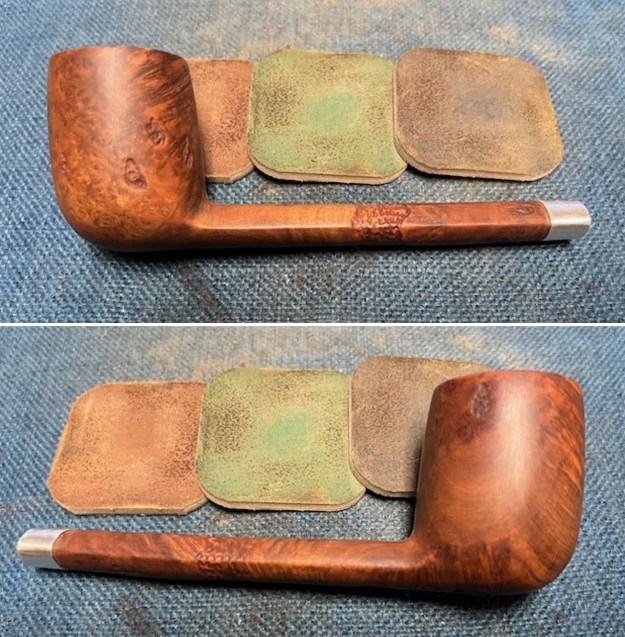
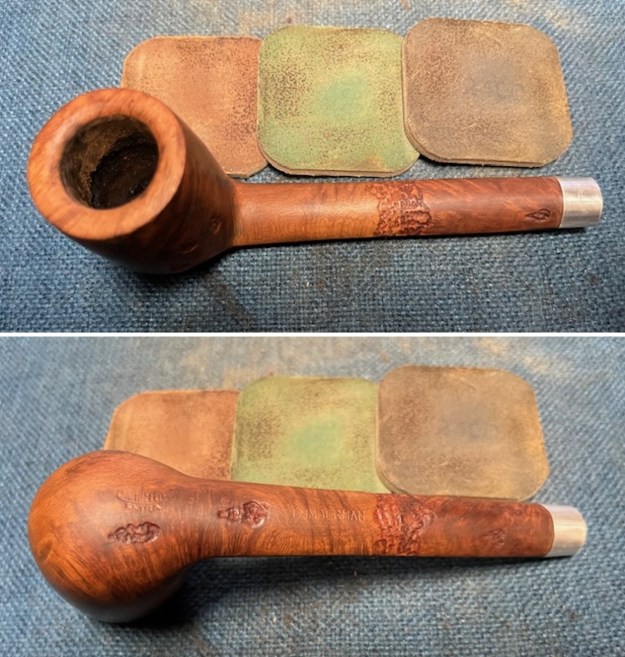
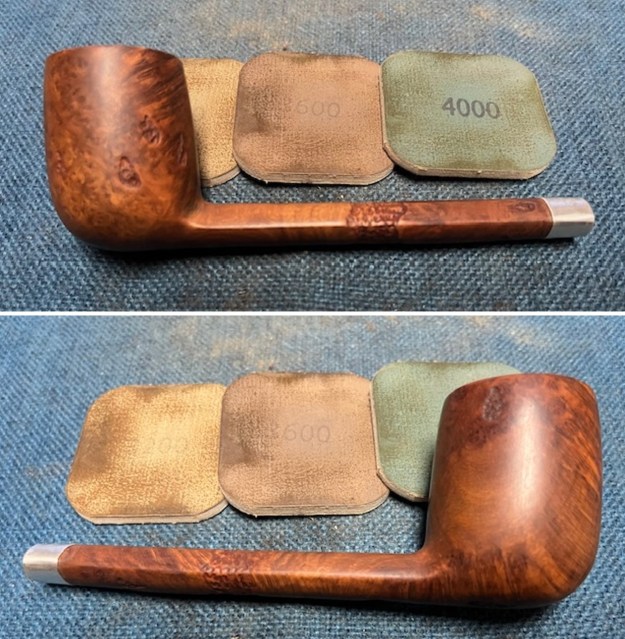
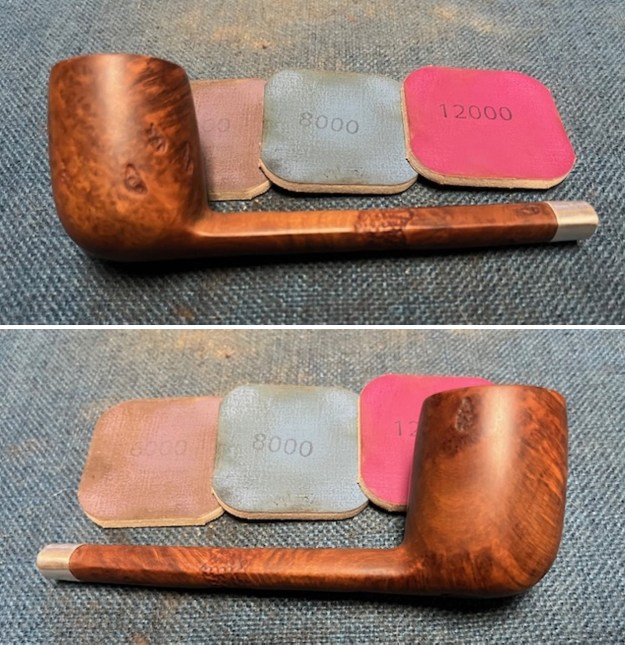
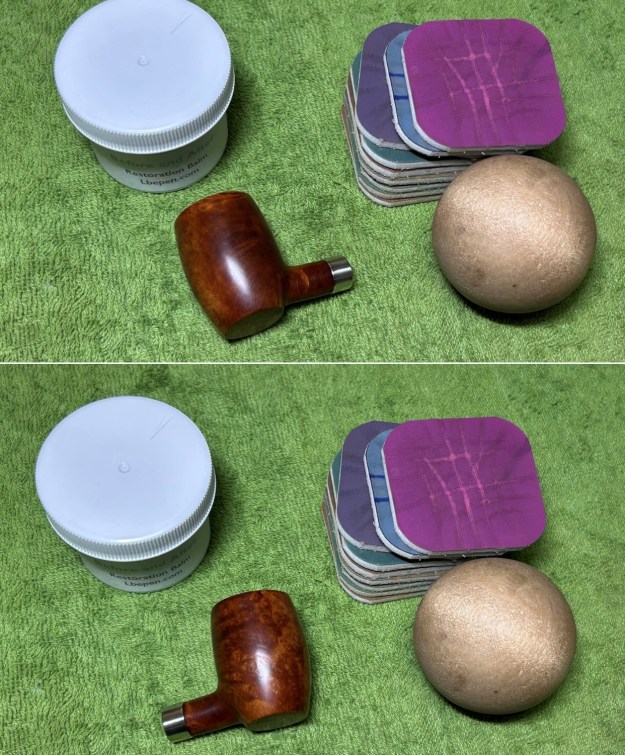
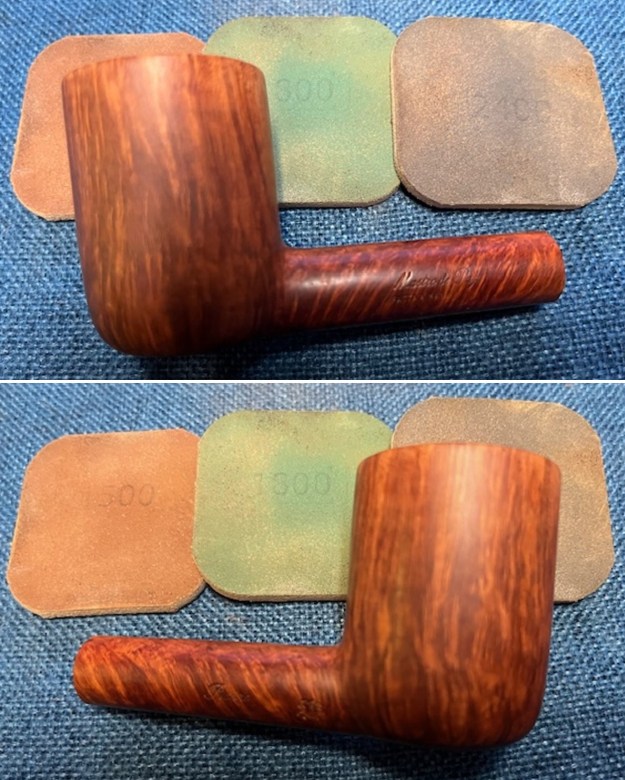
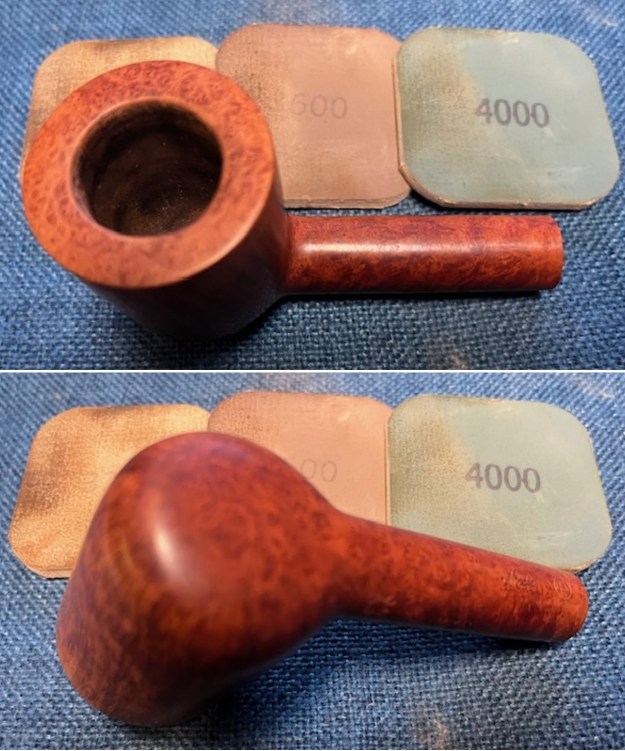
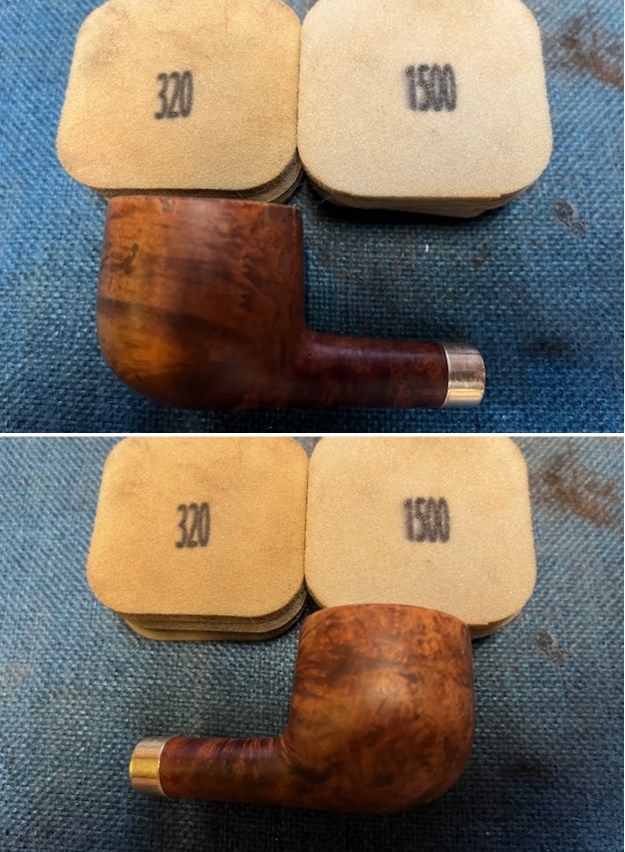
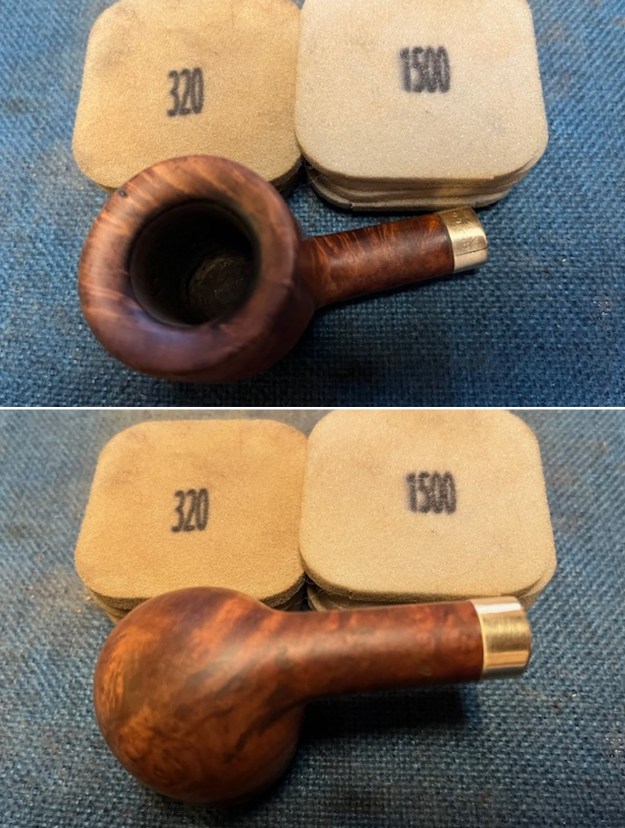
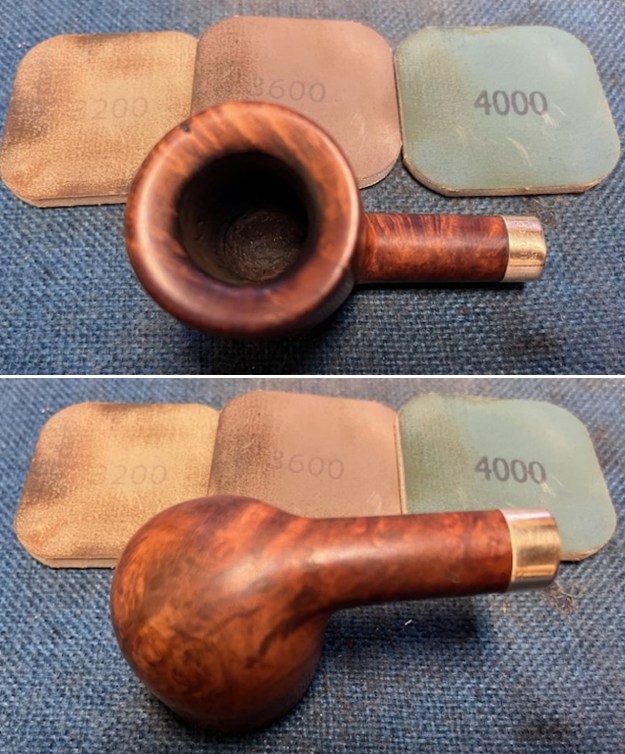
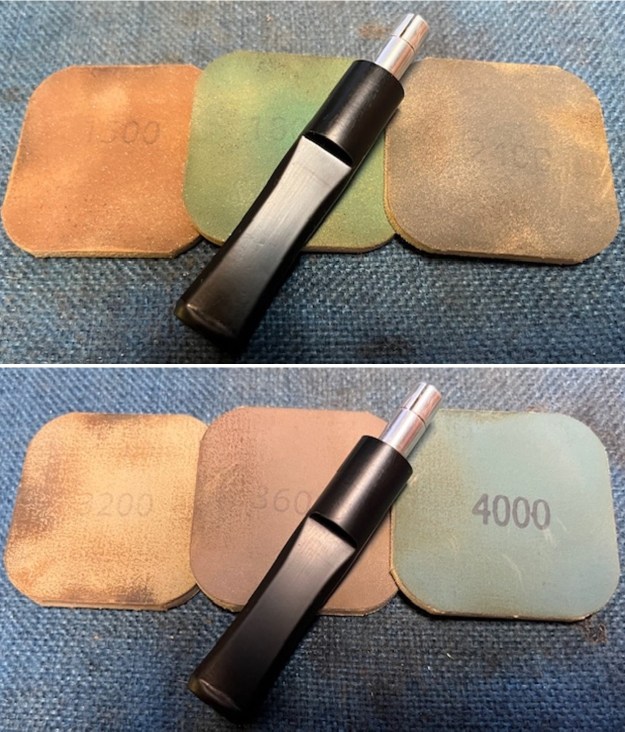
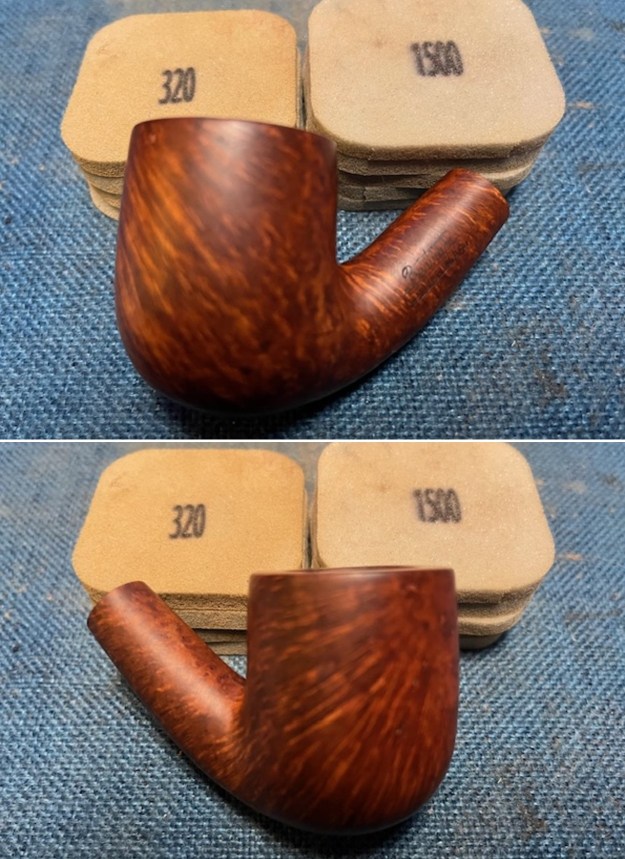
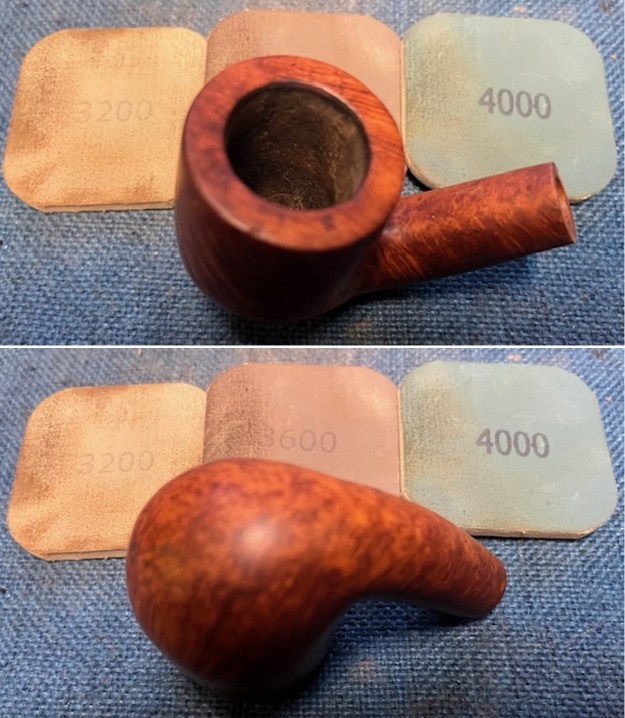
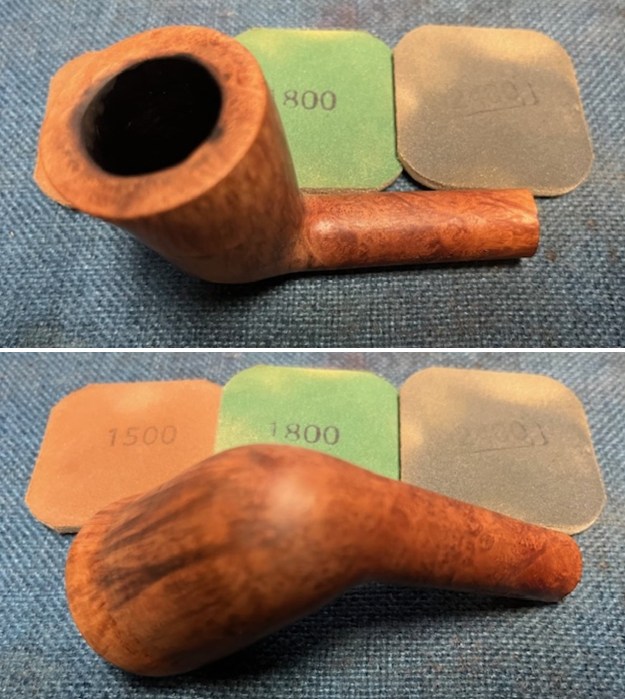
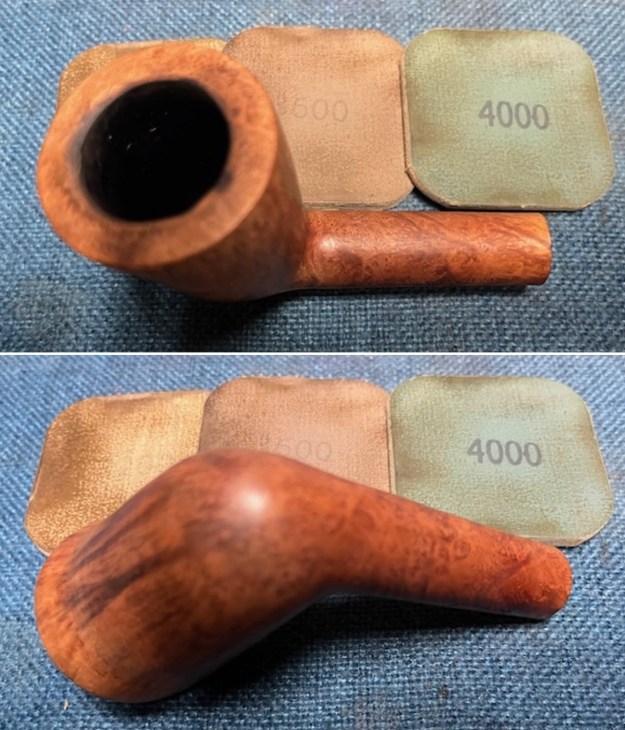
 I sanded the bowl with 320 – 3500 grit 2×2 inch sanding pads and wiped it down after each sanding pad with a damp cloth to remove the sanding debris.
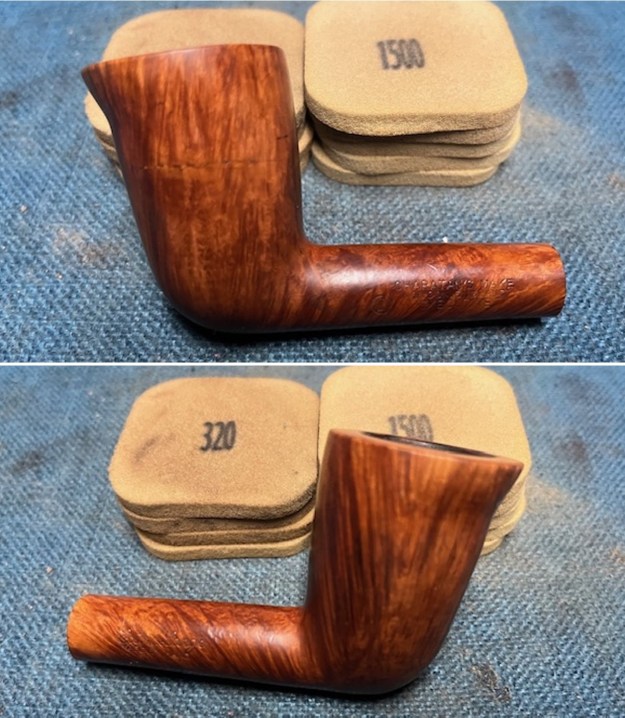
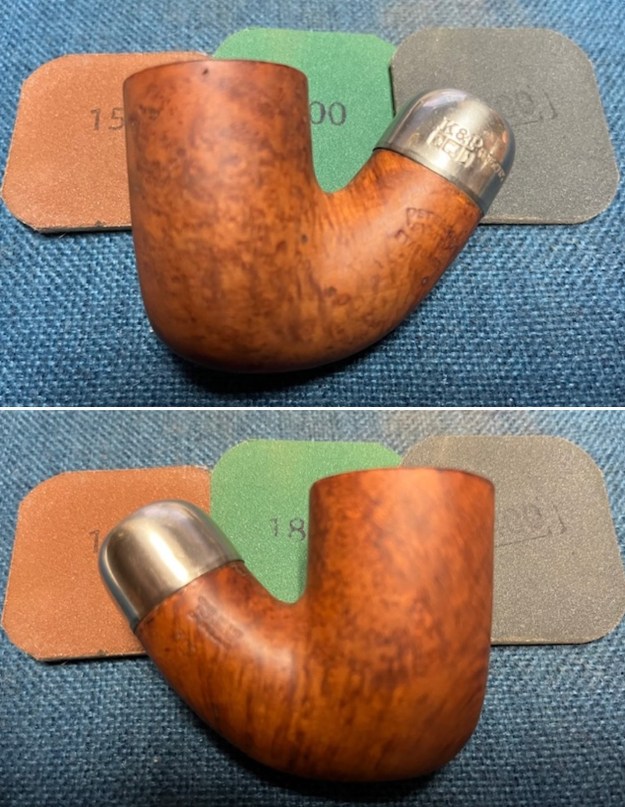
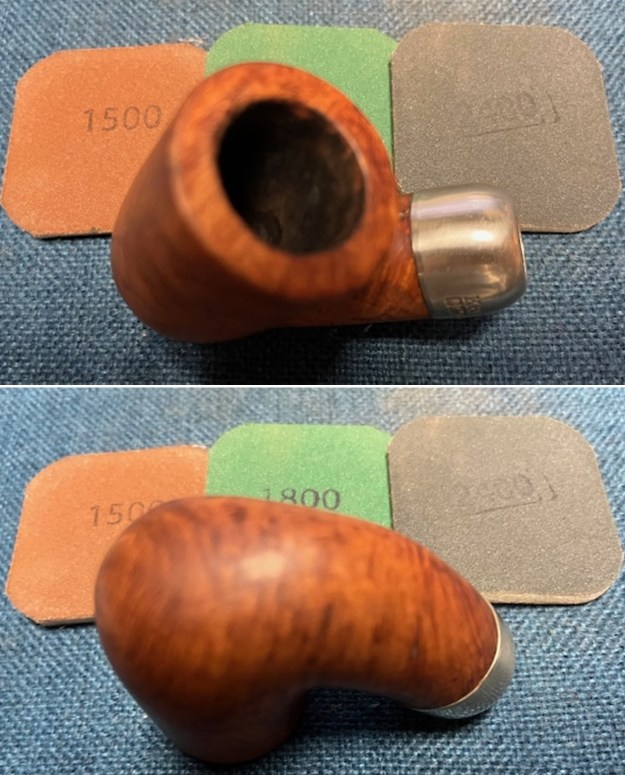
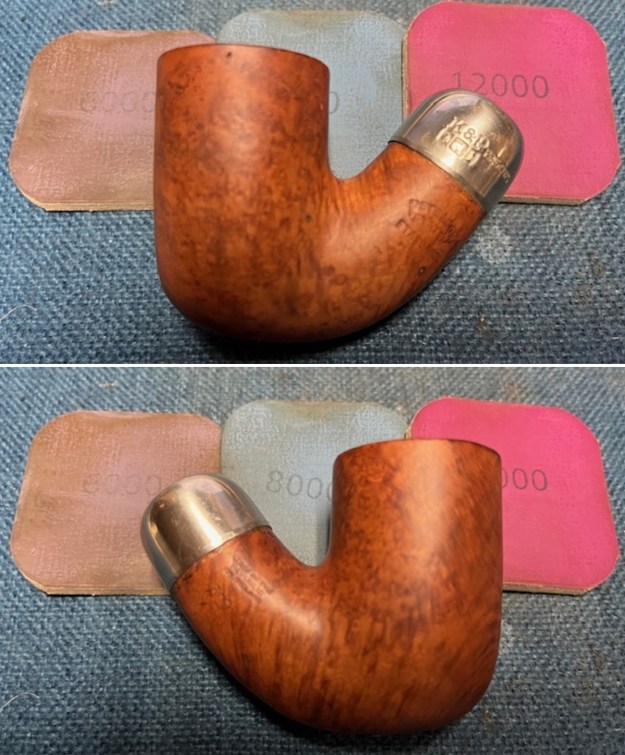
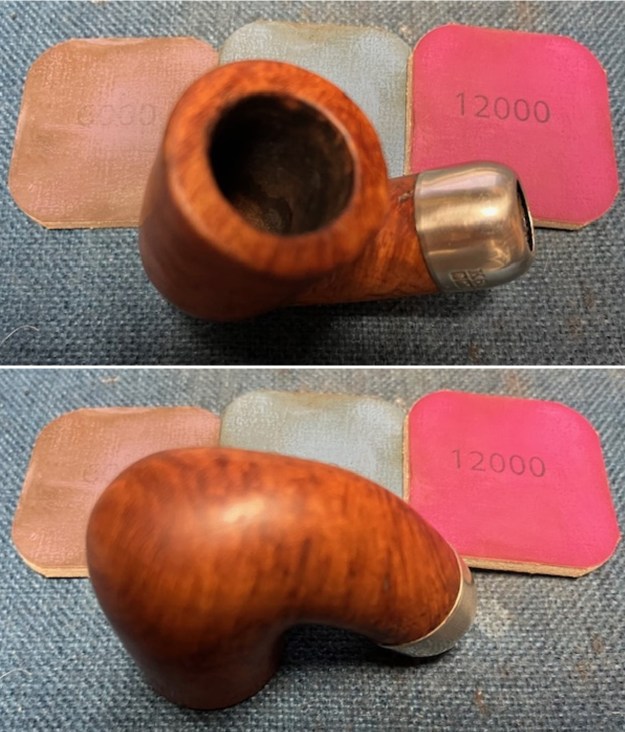
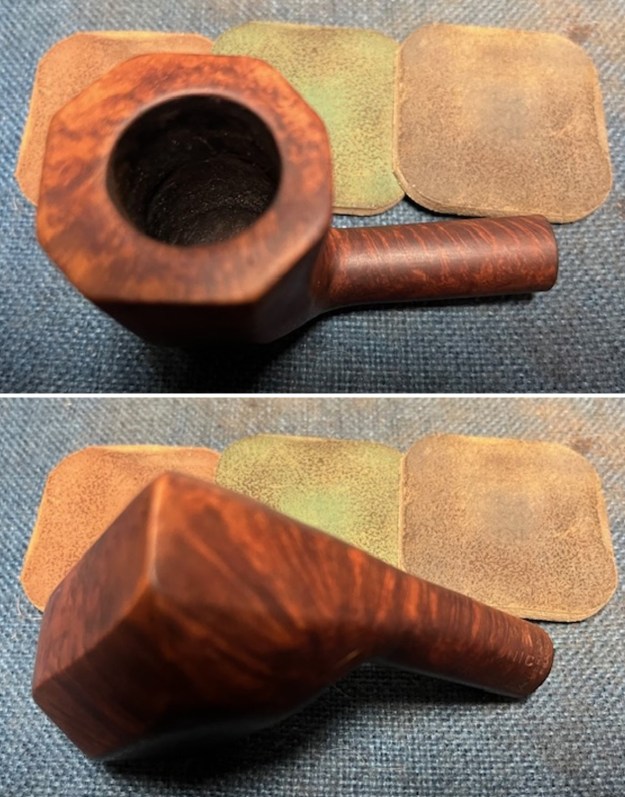
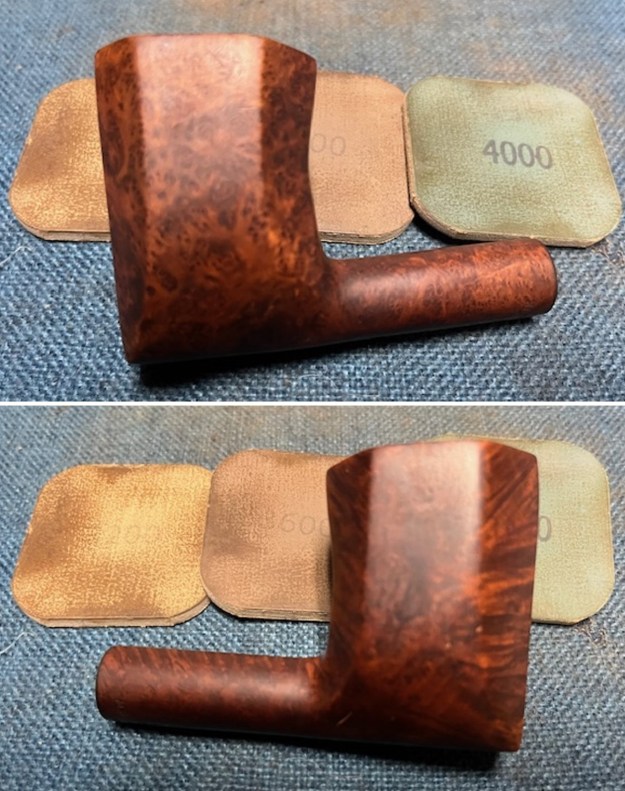
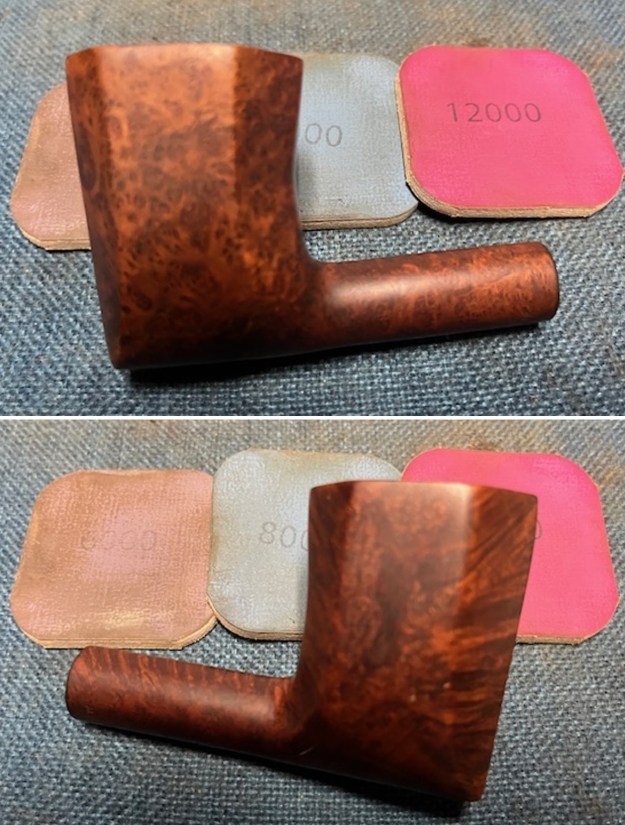
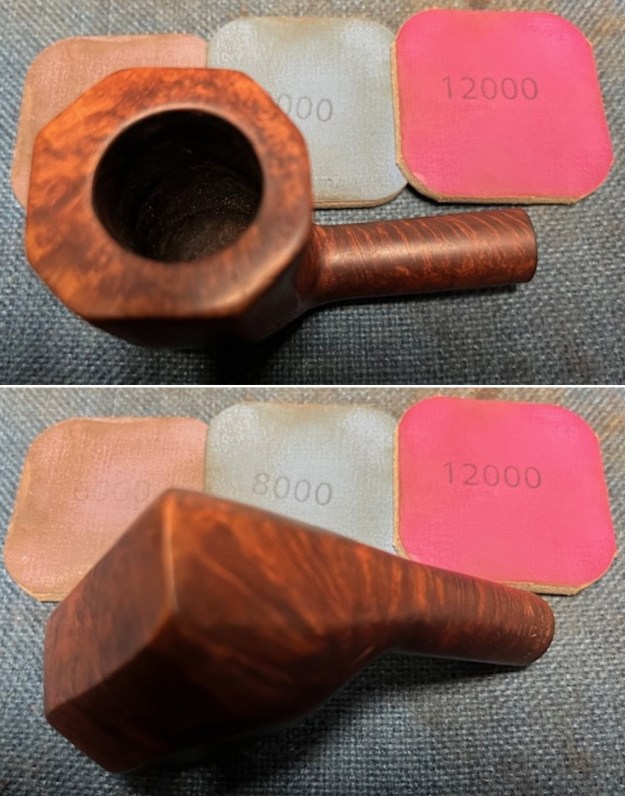
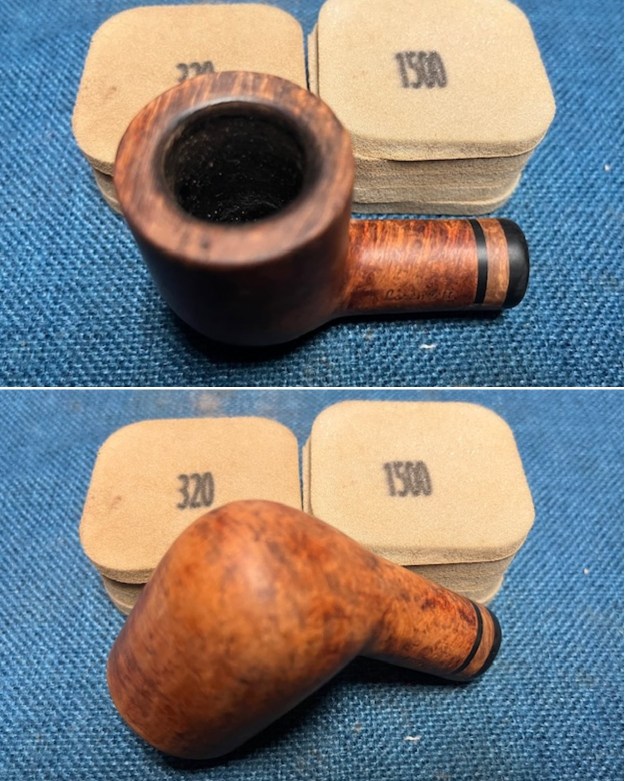
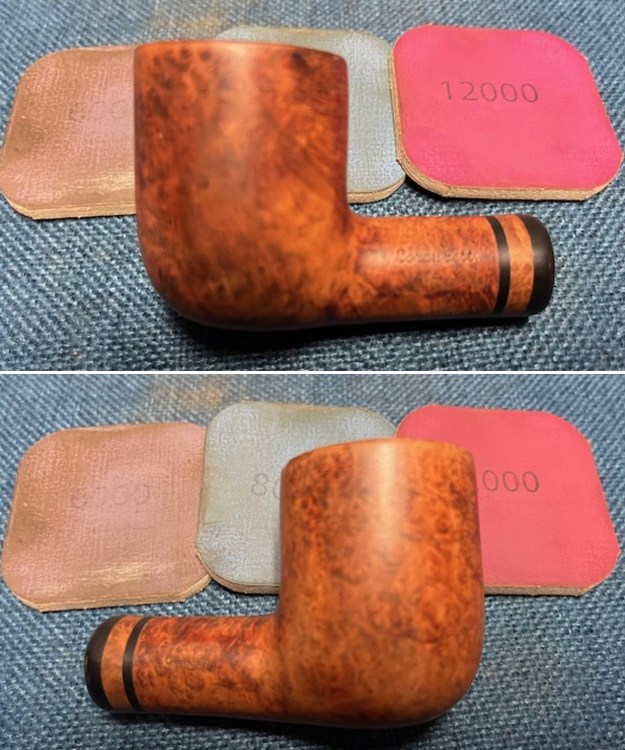
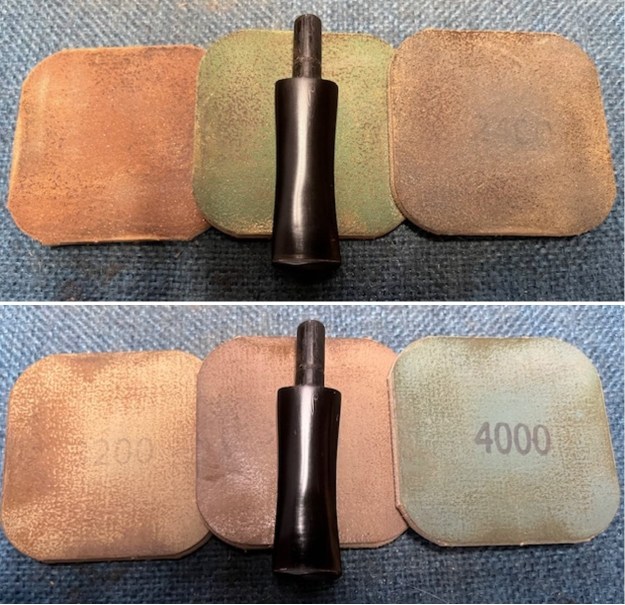
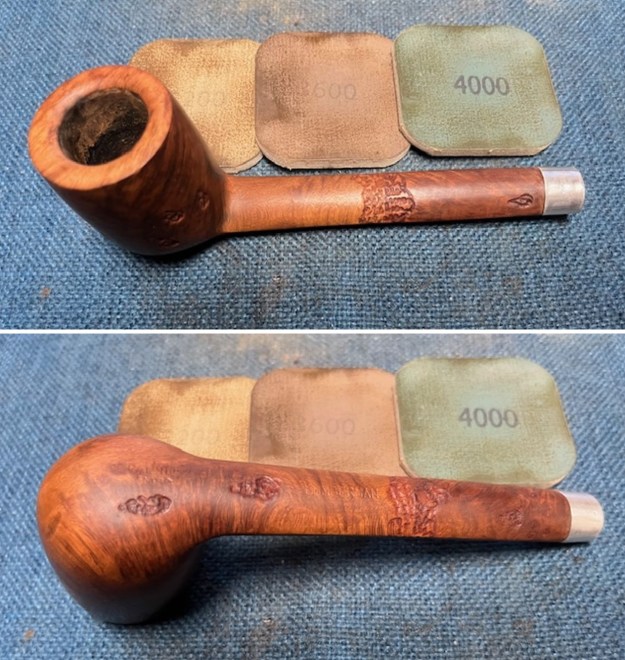
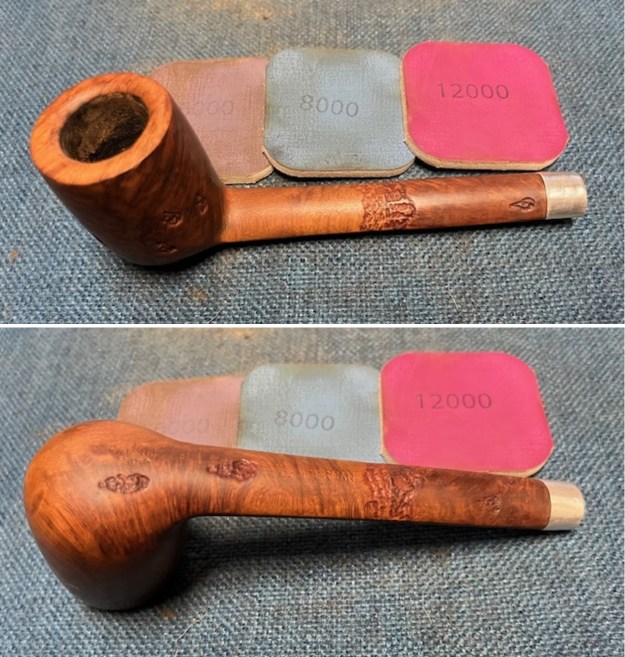
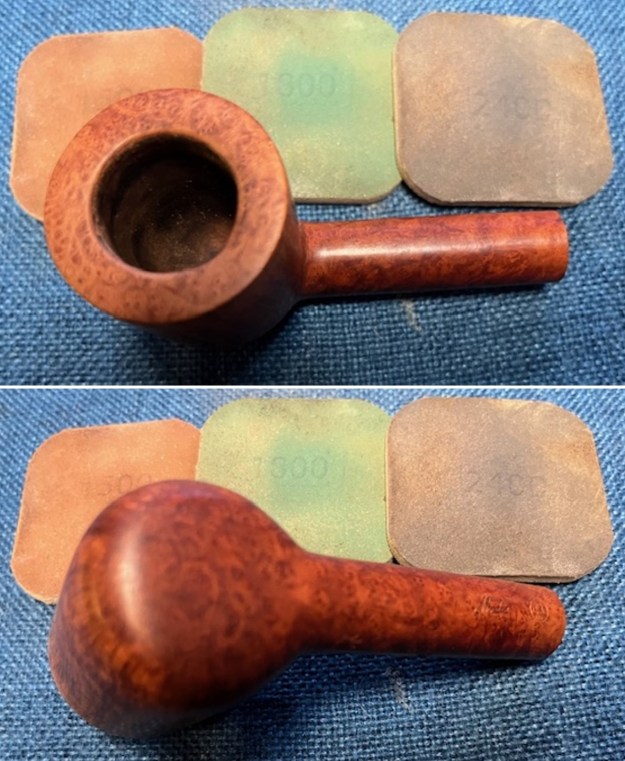
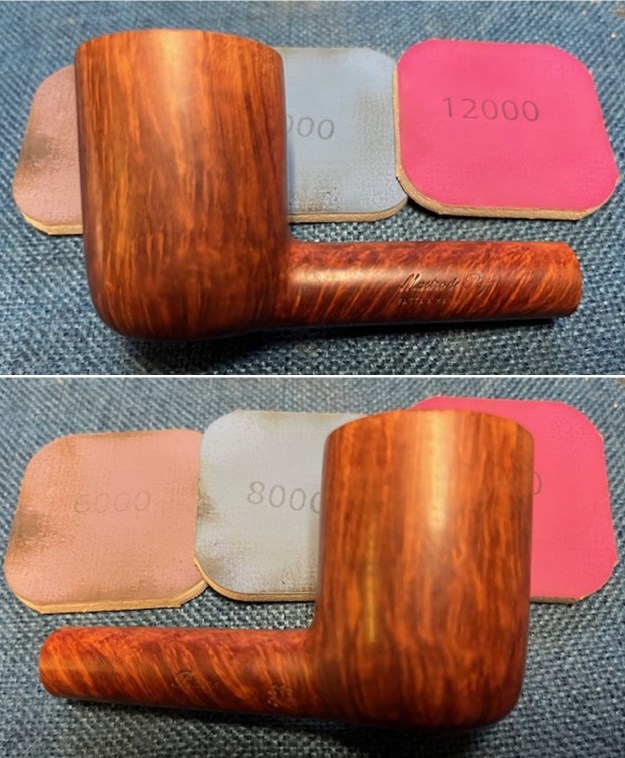
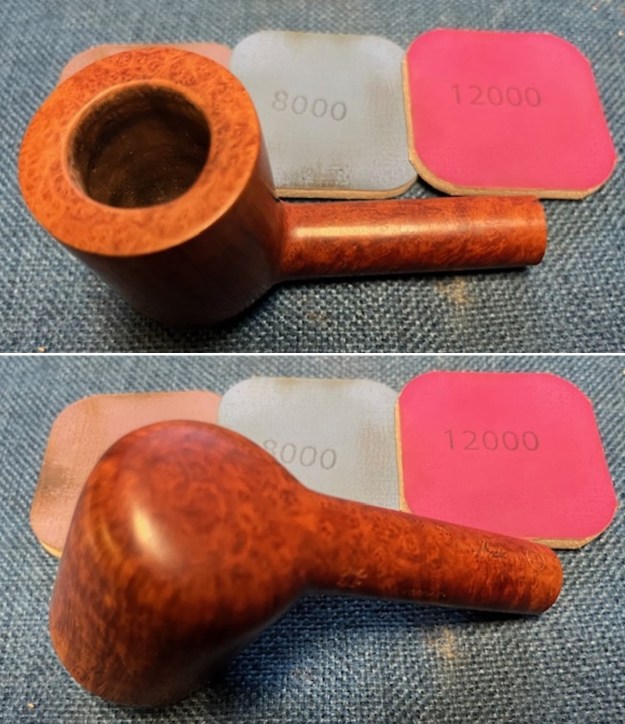
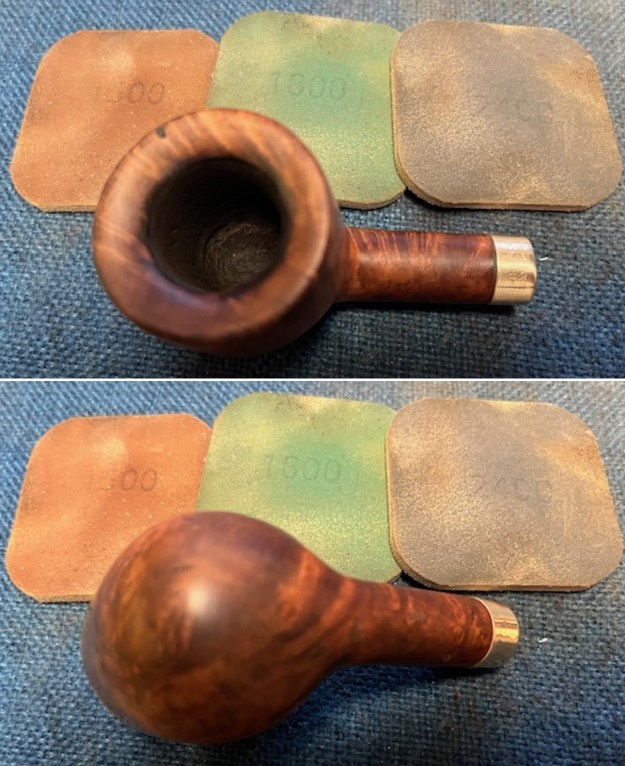
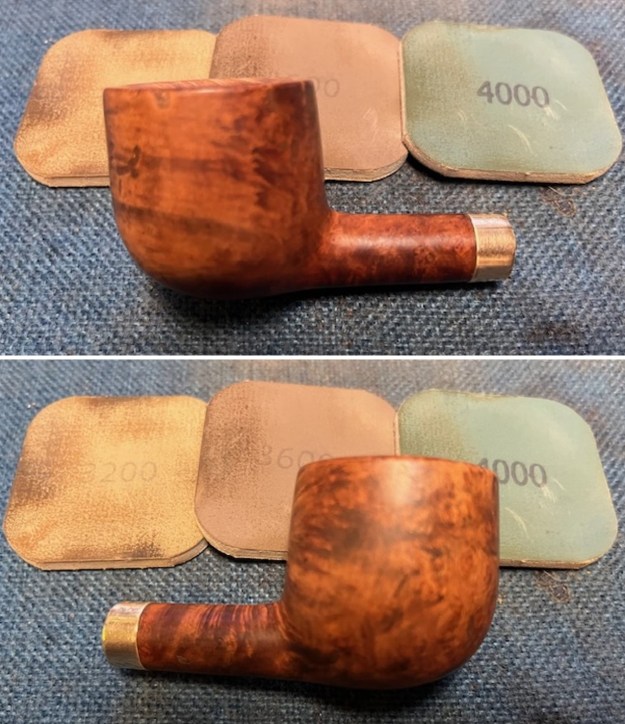
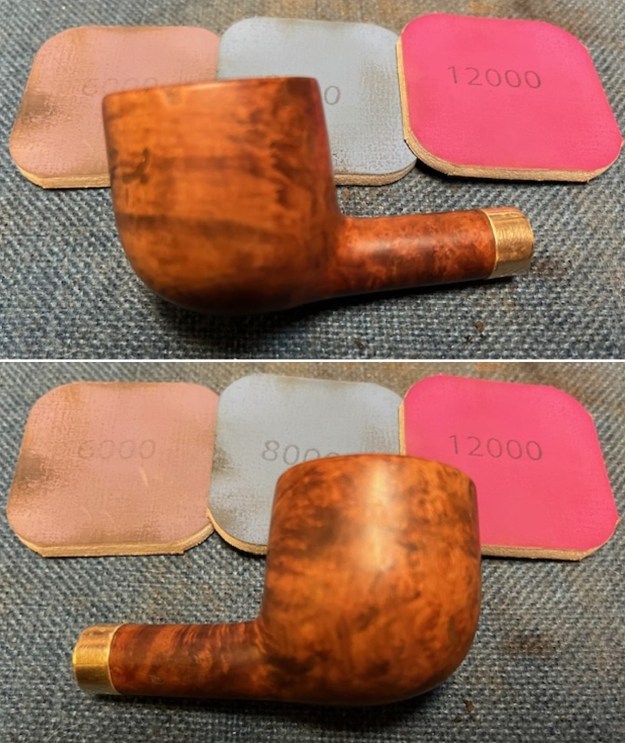
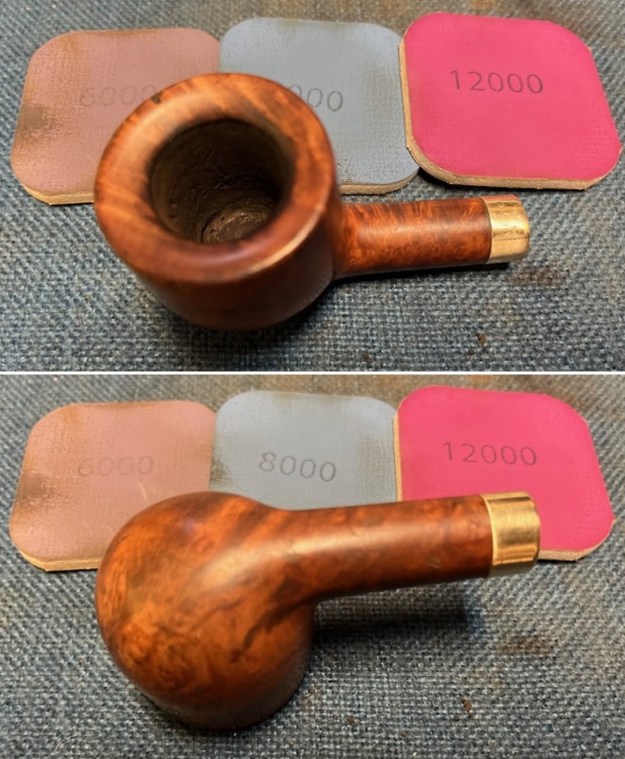
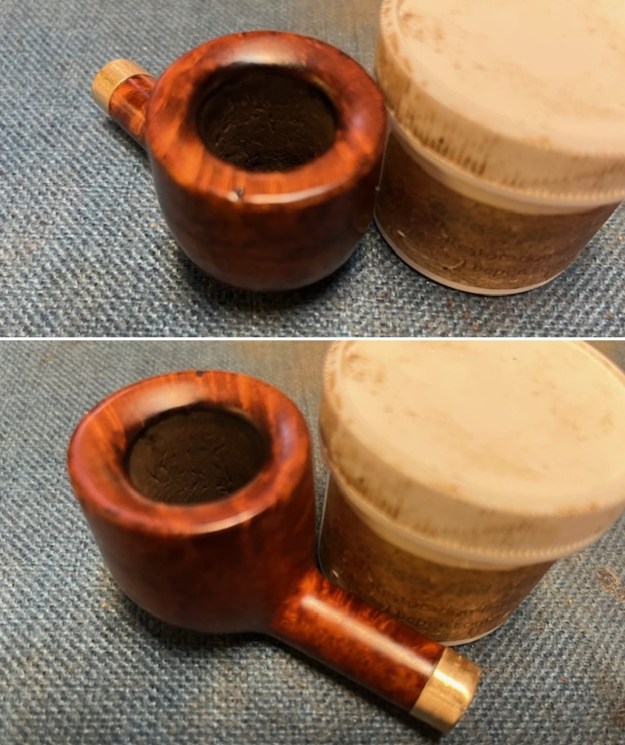
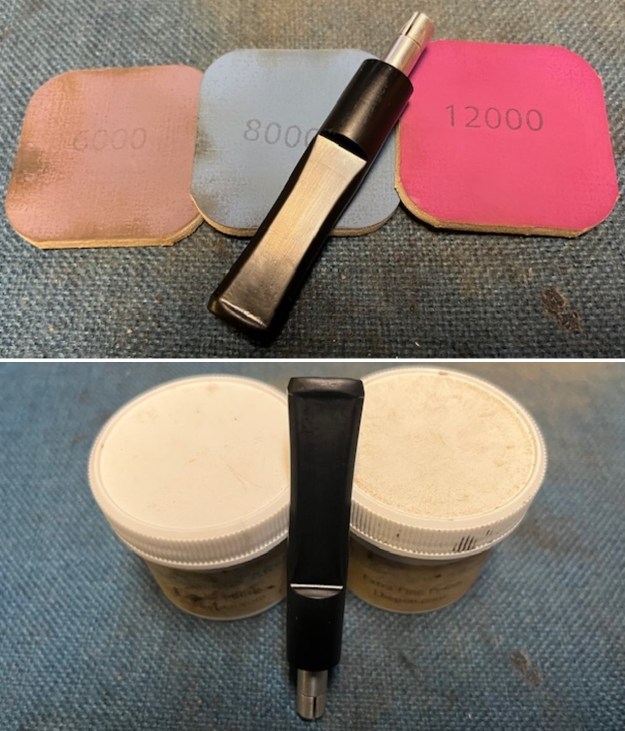
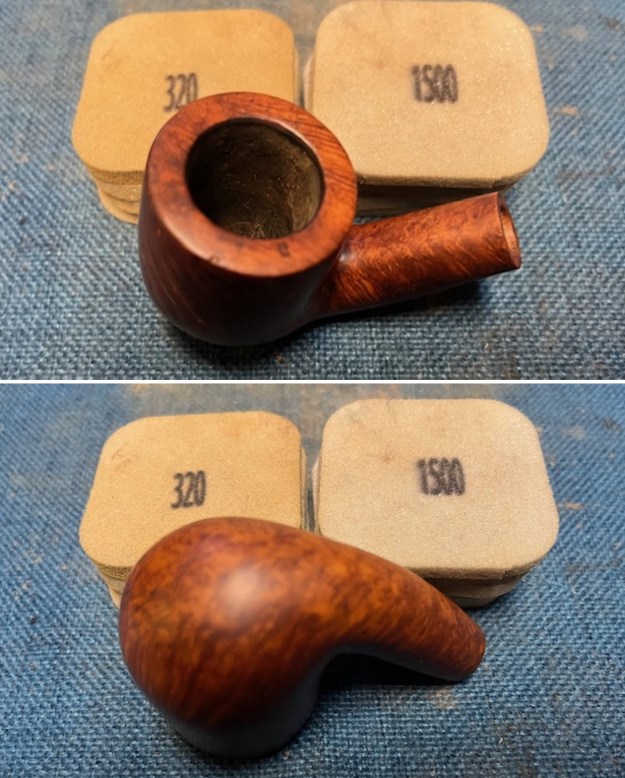
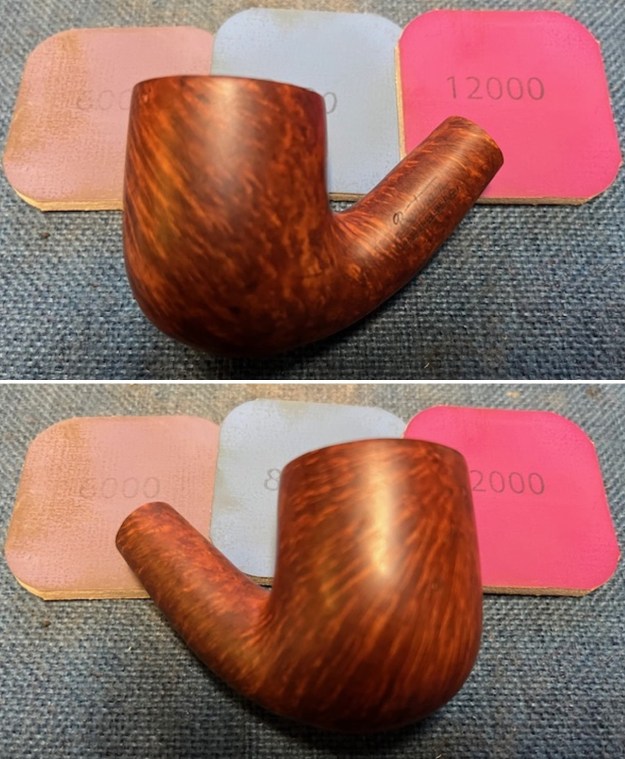
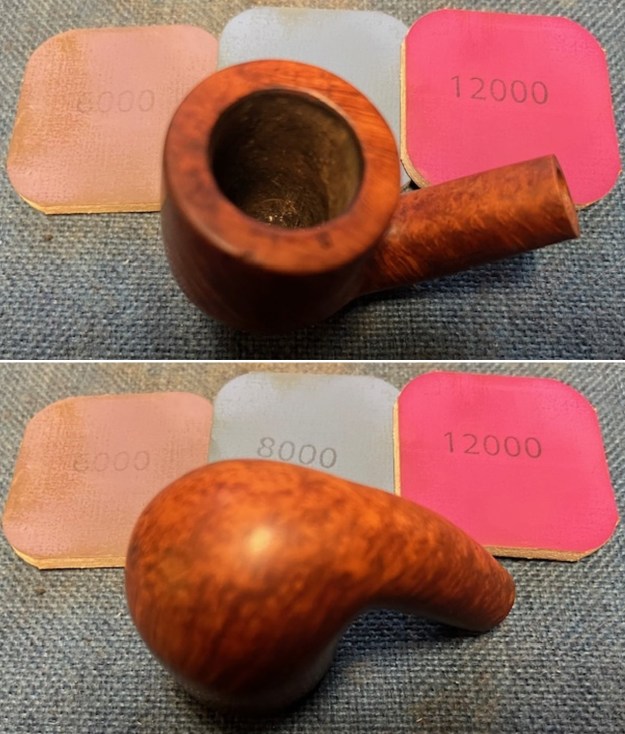
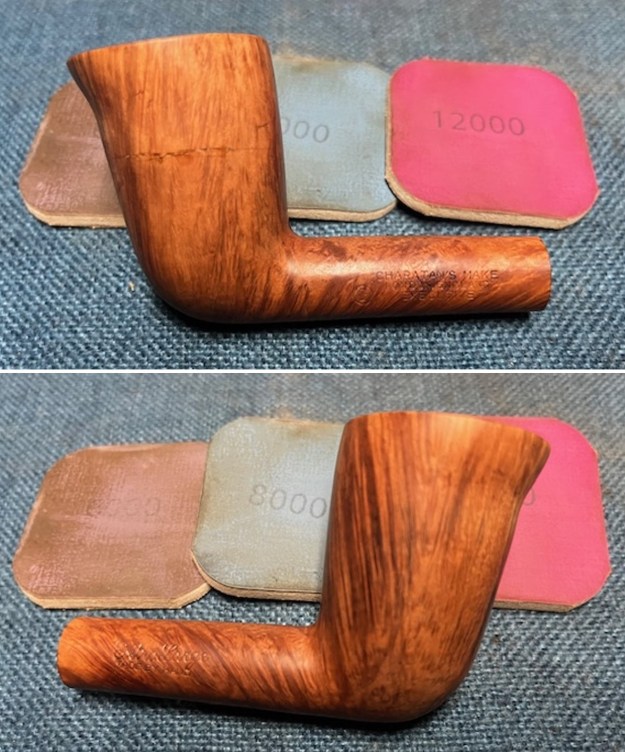
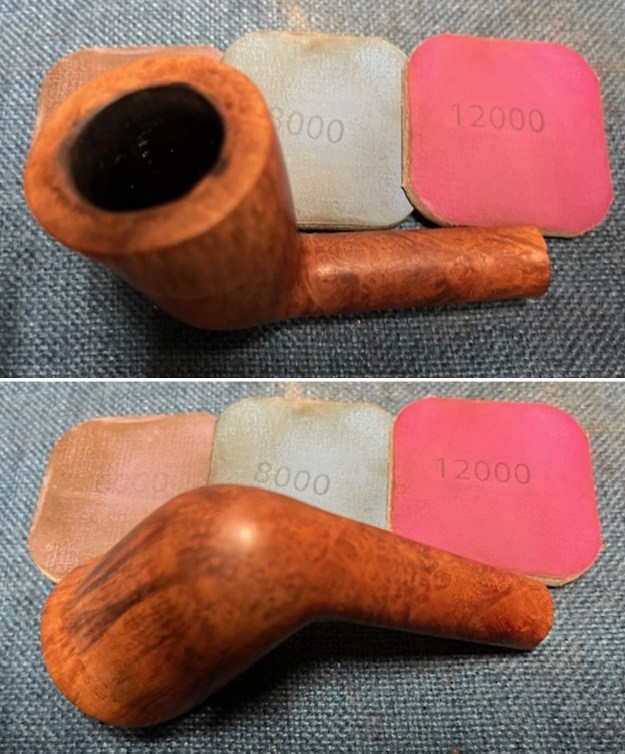
 I polished the bowl with 1500-12000 grit micromesh sanding pads. I wiped the bowl down with a damp cloth to remove the dust and debris. The pipe began to look very good. The gouge in the bowl was repaired and looked better.
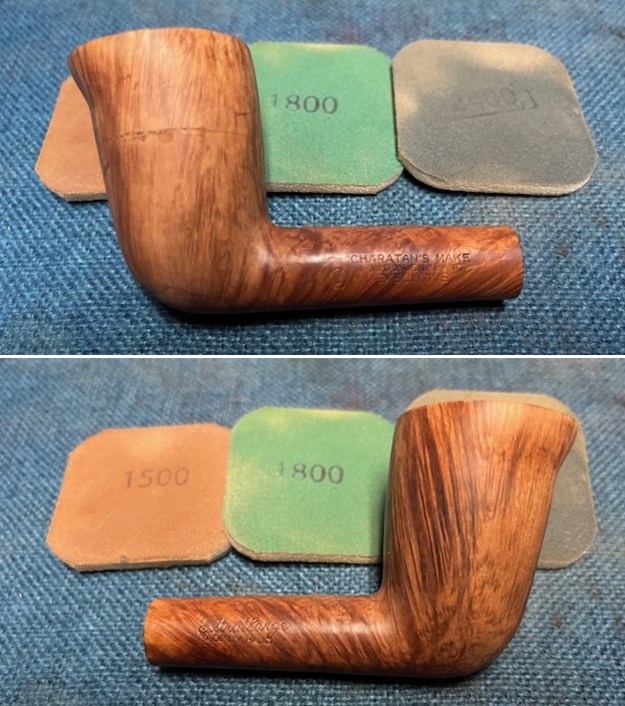

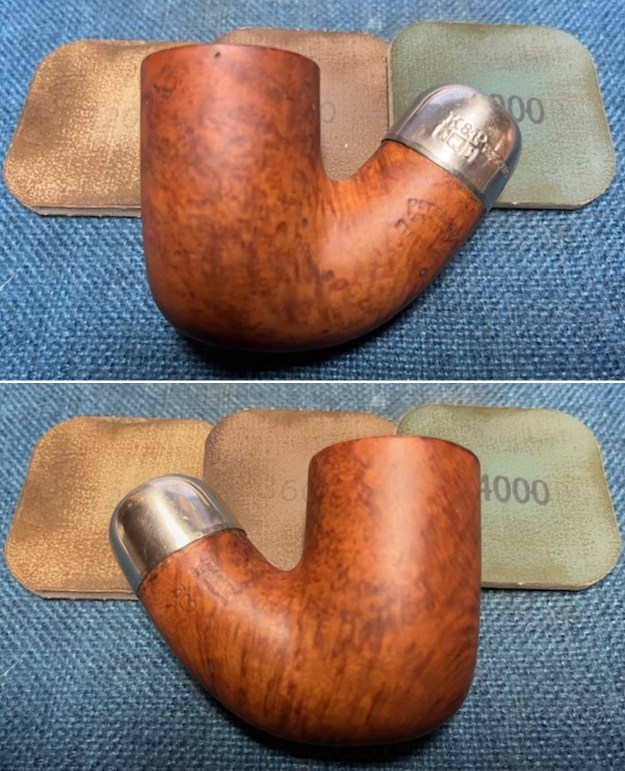
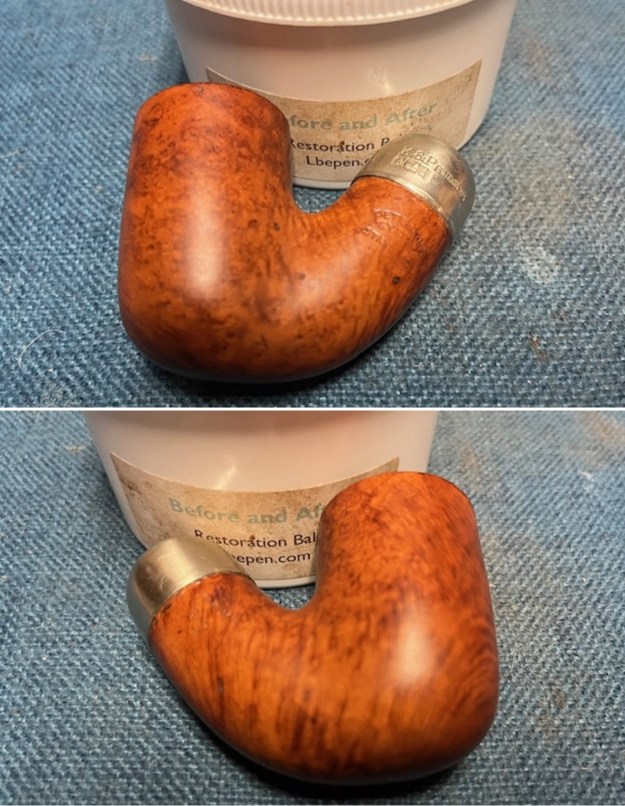
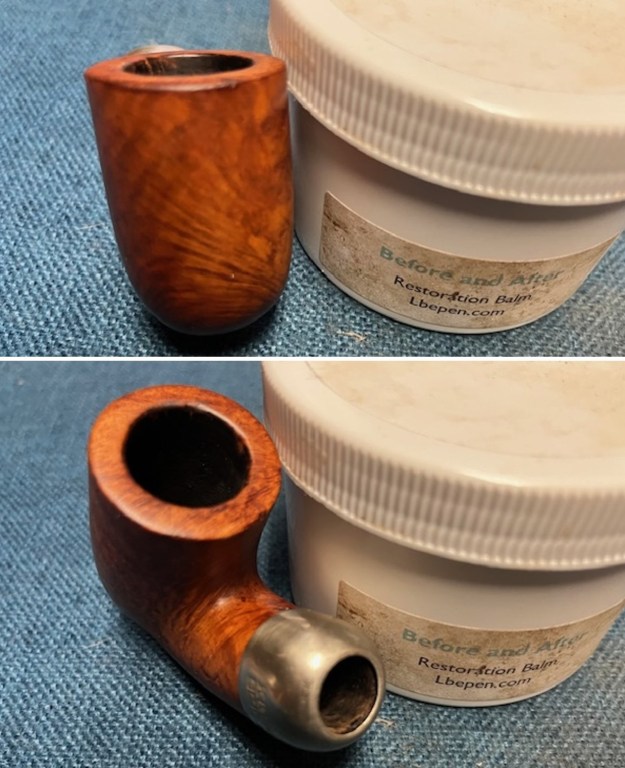
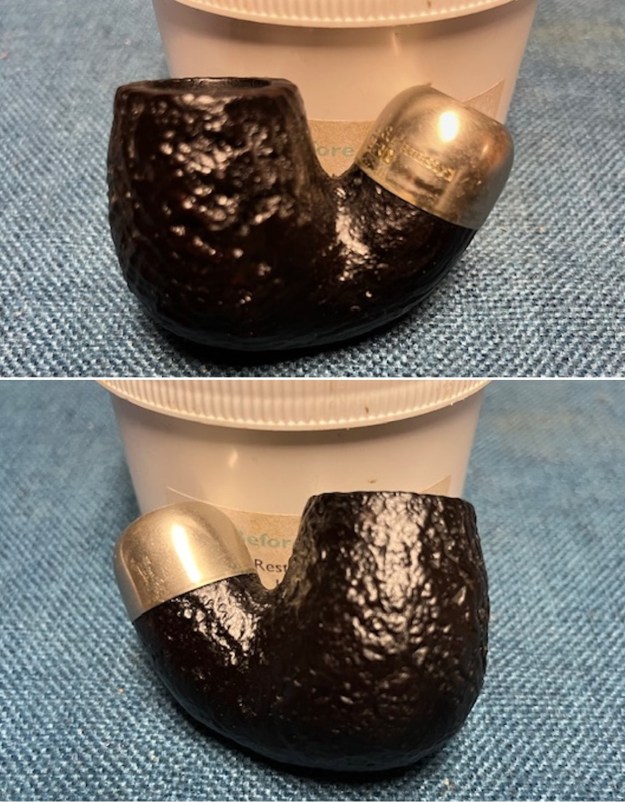
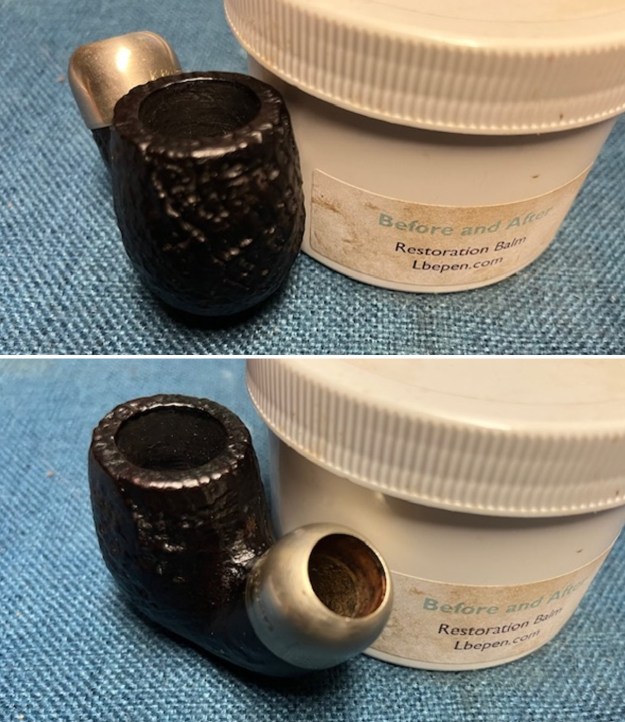
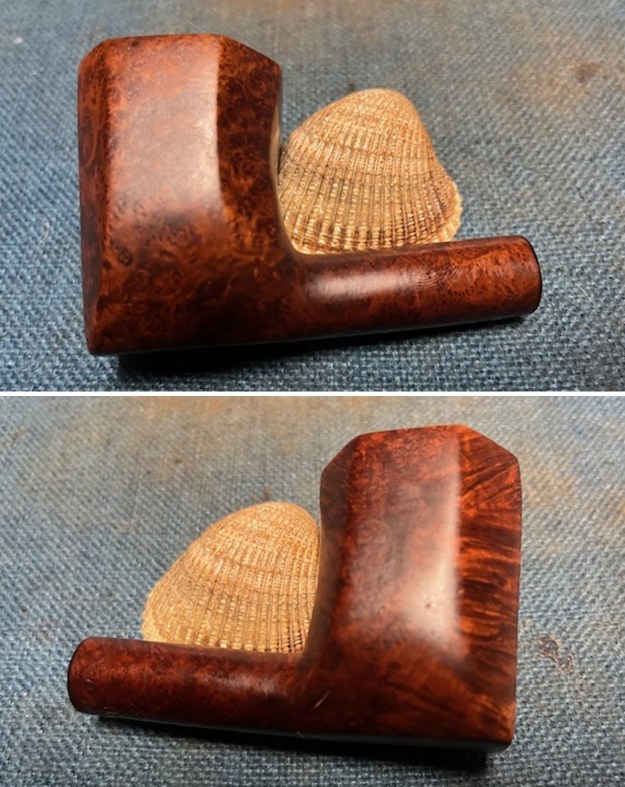
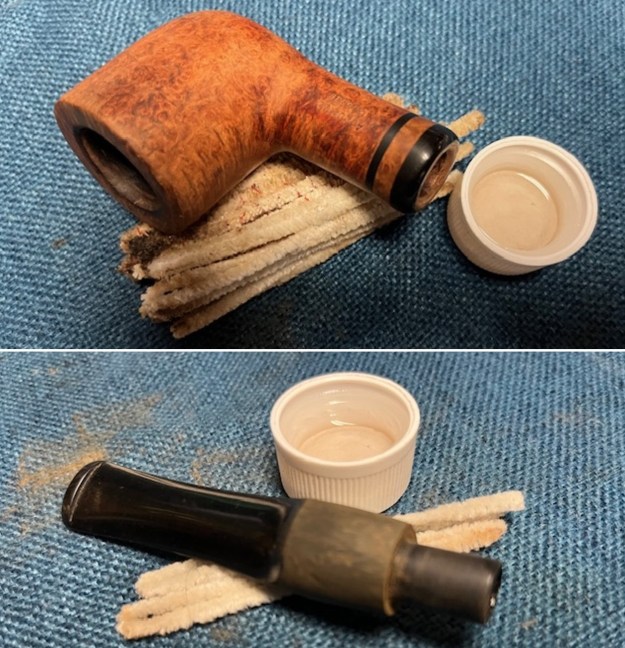
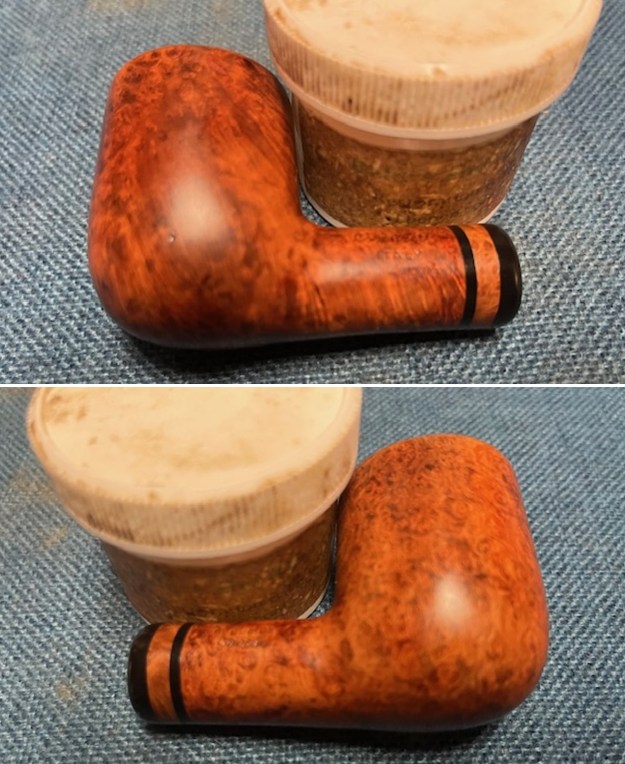
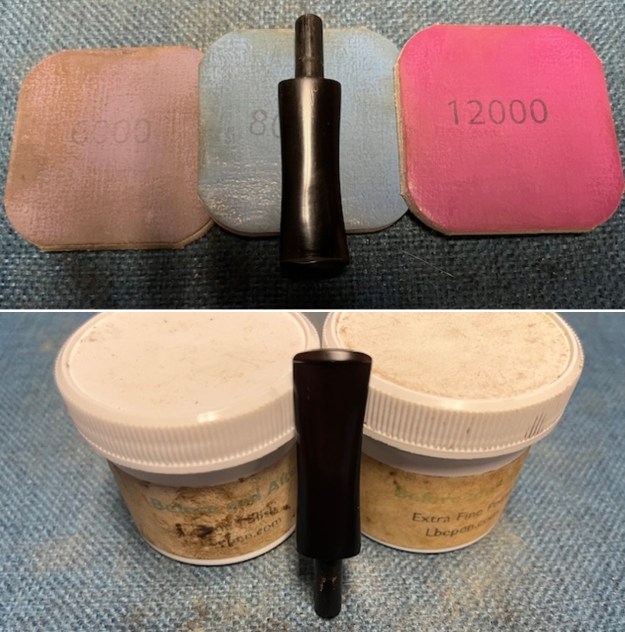
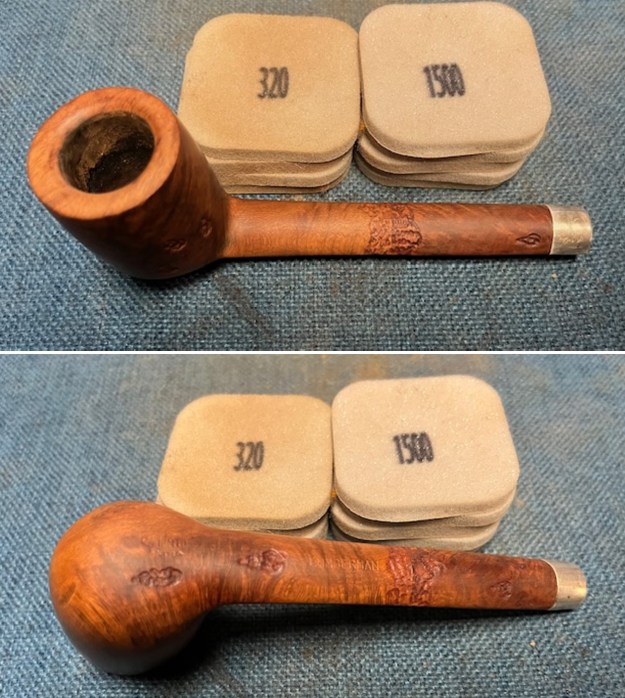
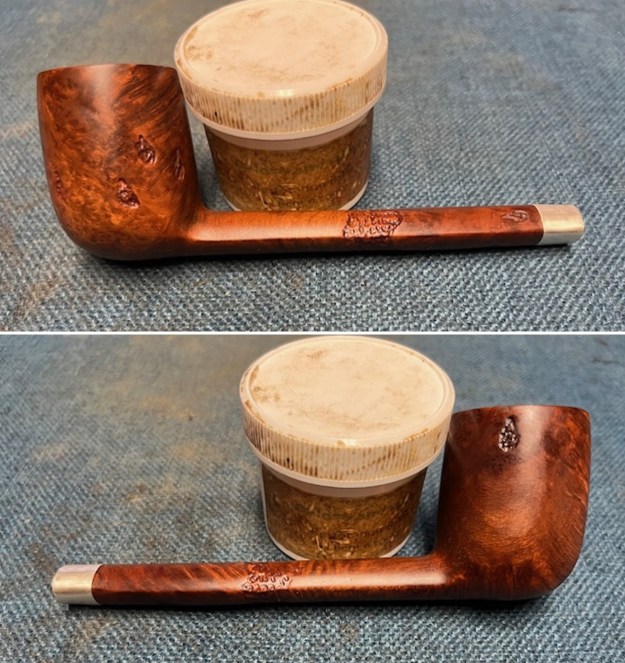
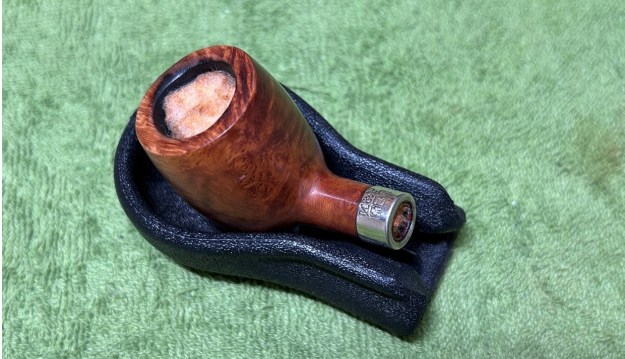
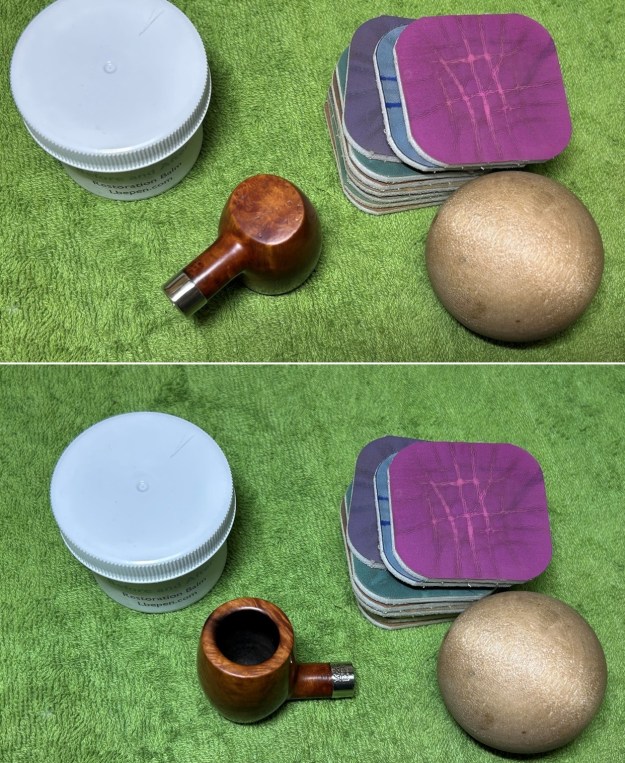
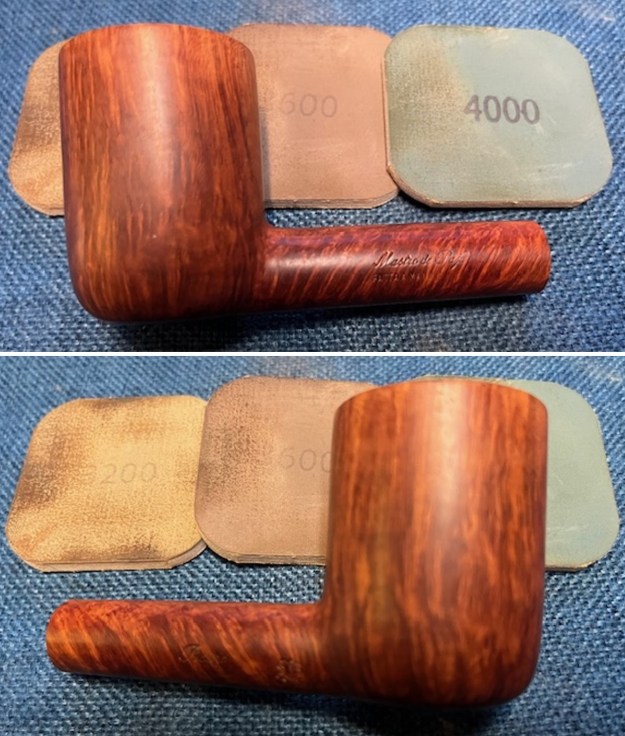
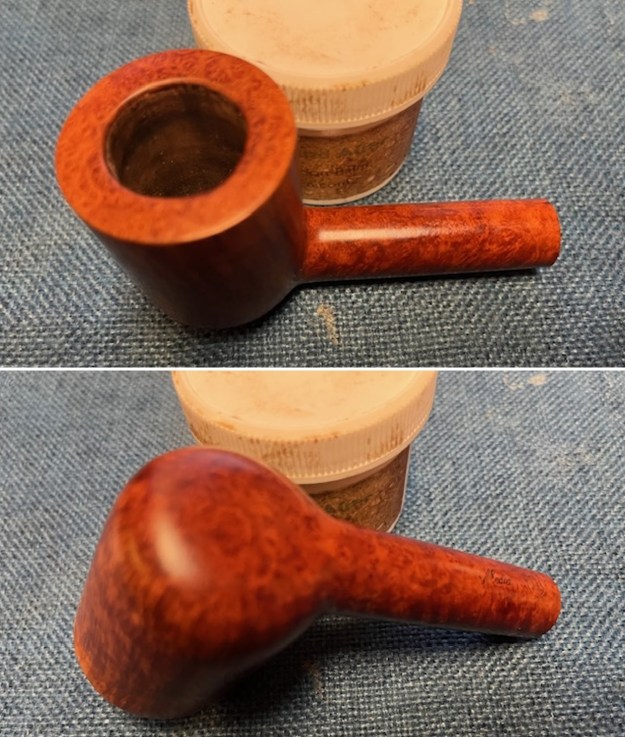
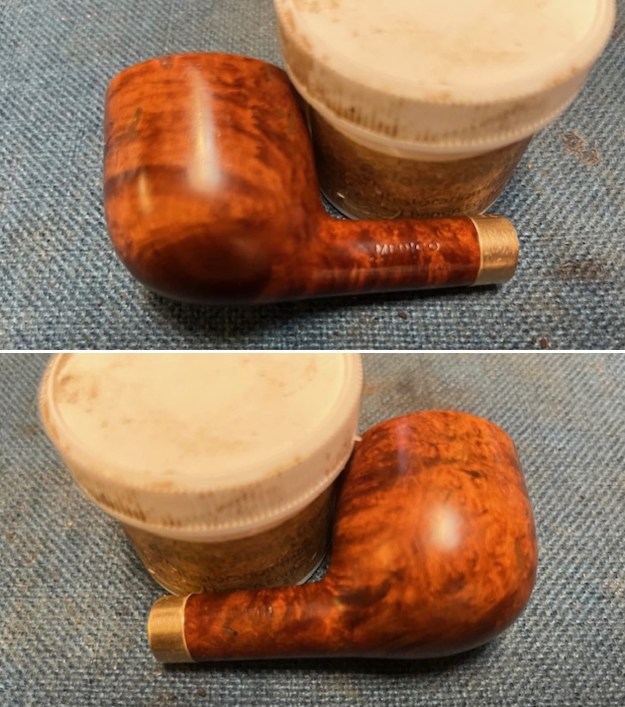
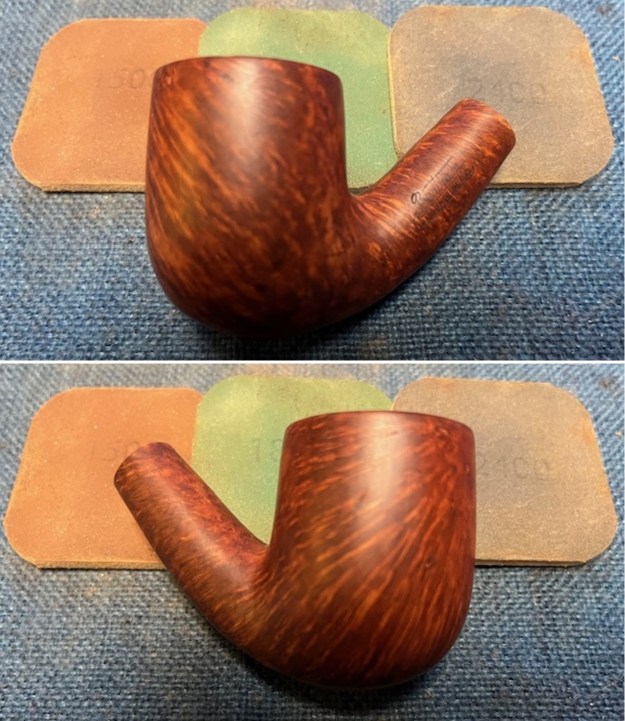
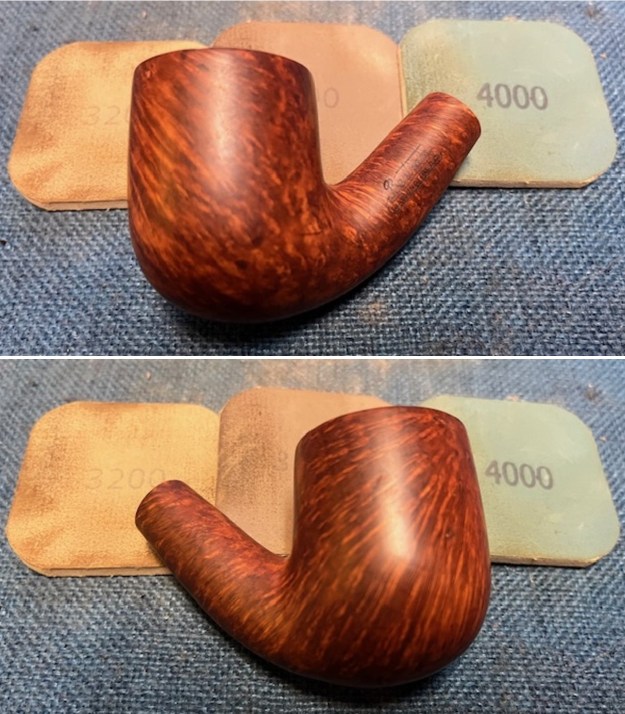
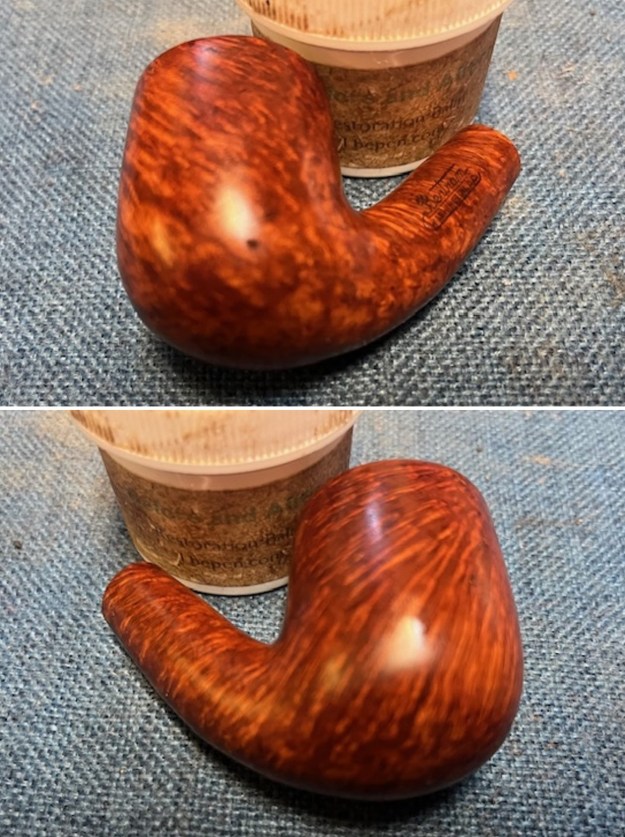
 I rubbed the briar down with Before & After Restoration Balm. I worked it into the briar with my fingertips to work it into the finish. The product works to clean, enliven and preserve the briar. I let it sit for 10 minutes then I buffed it with a cotton cloth to deepen the shine. The briar really comes alive with the balm.
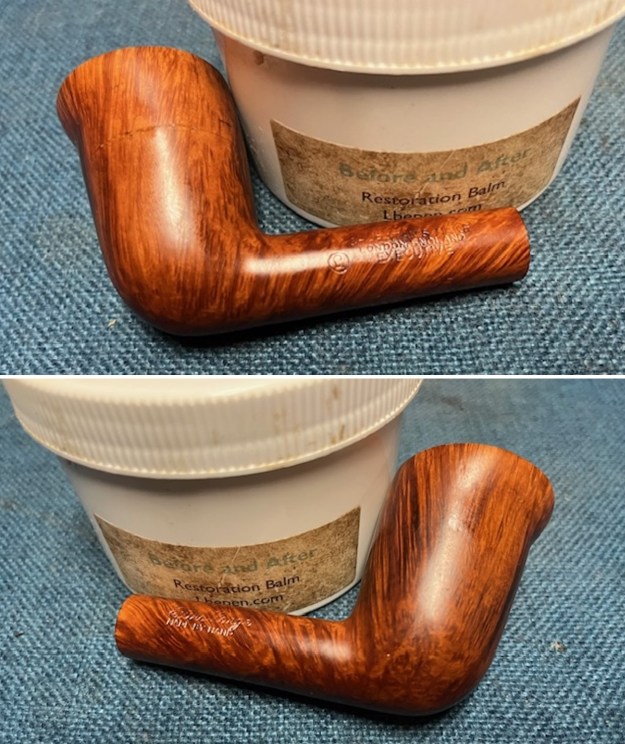
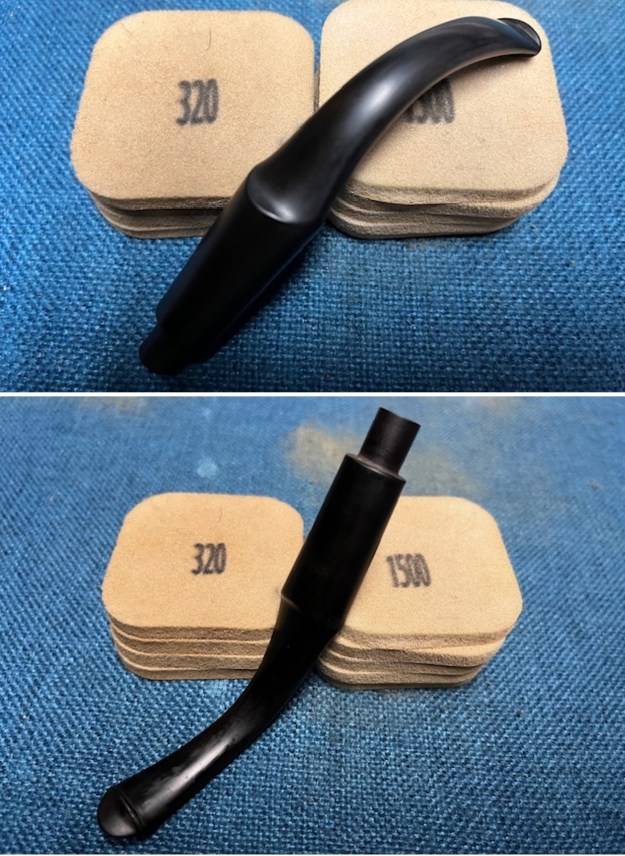
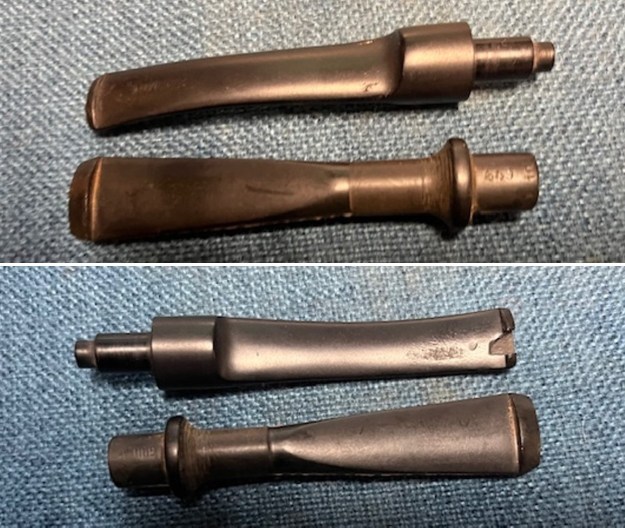
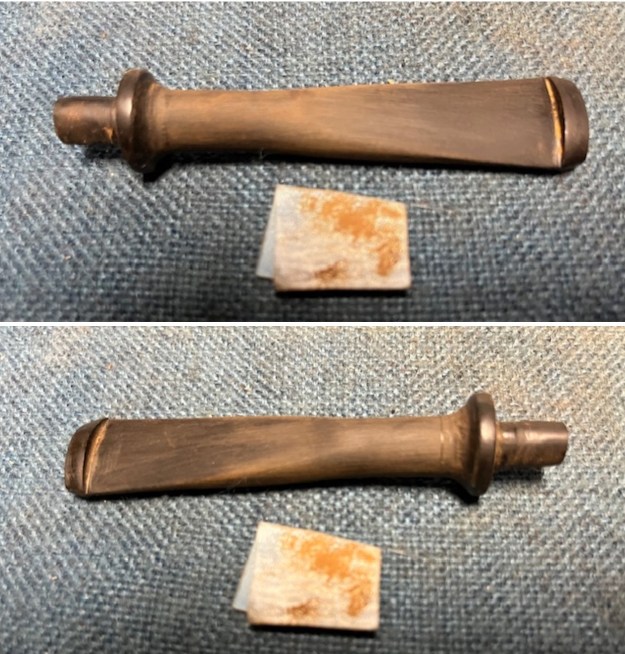
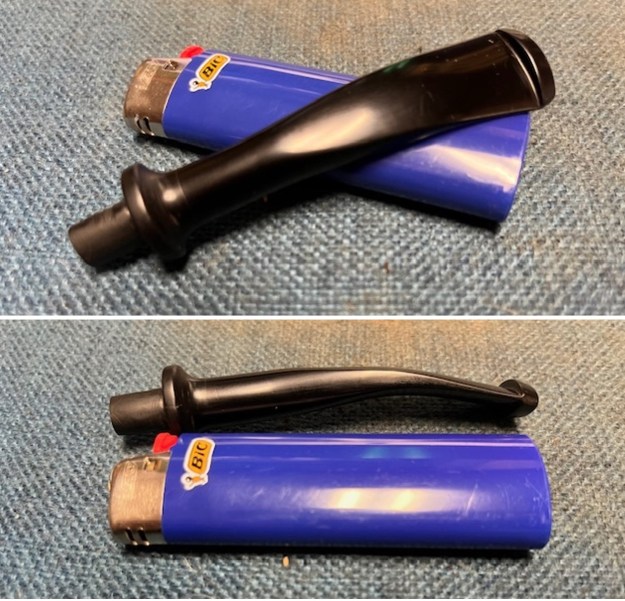
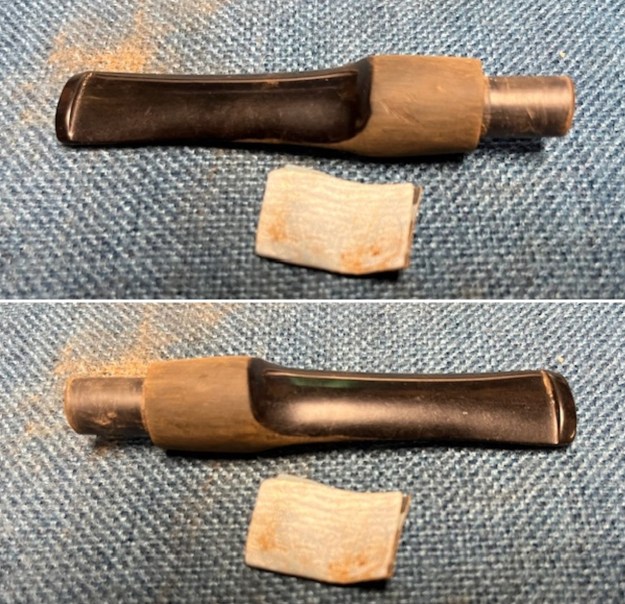
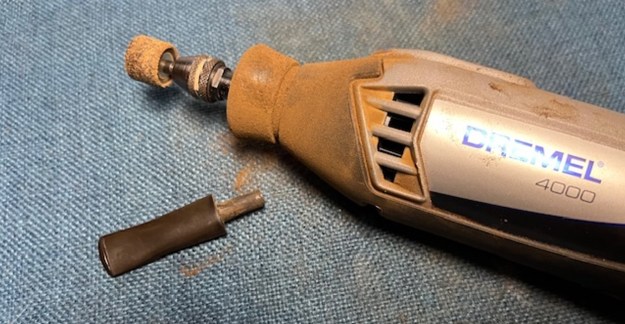
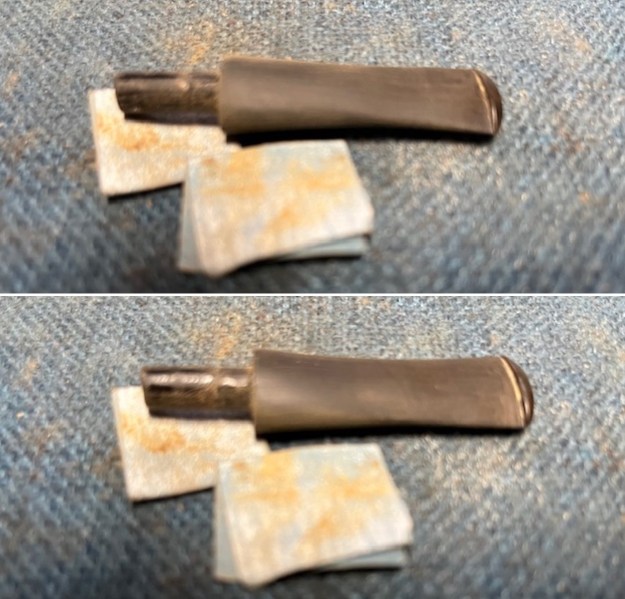
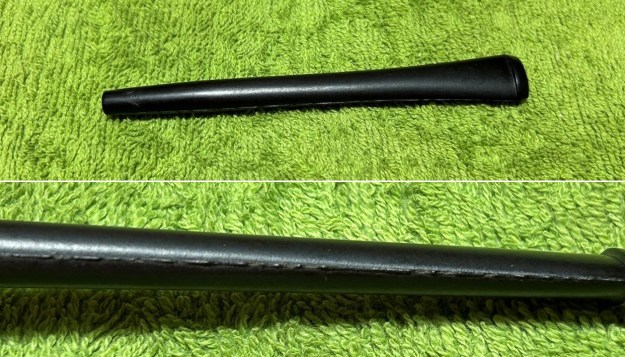
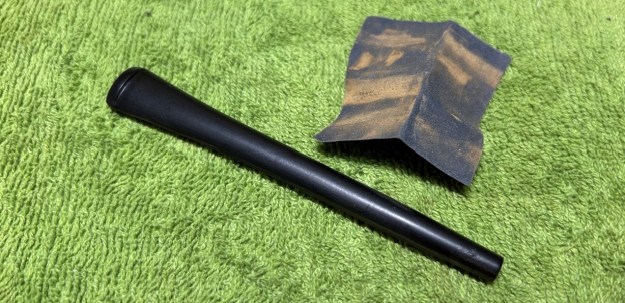
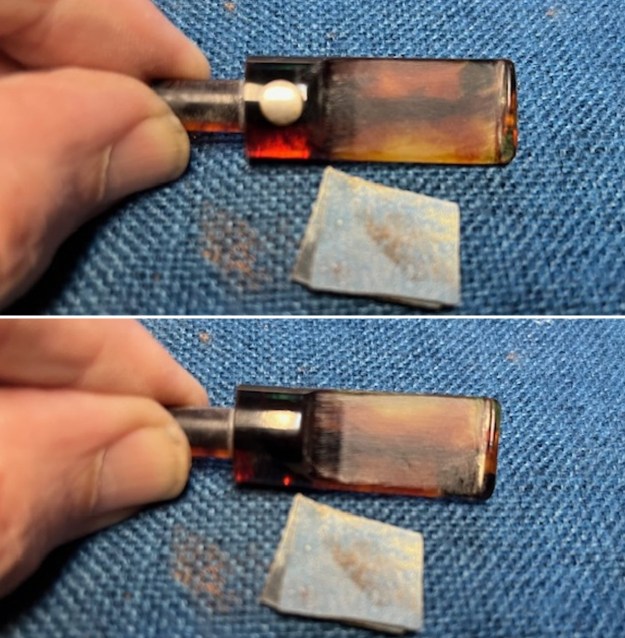
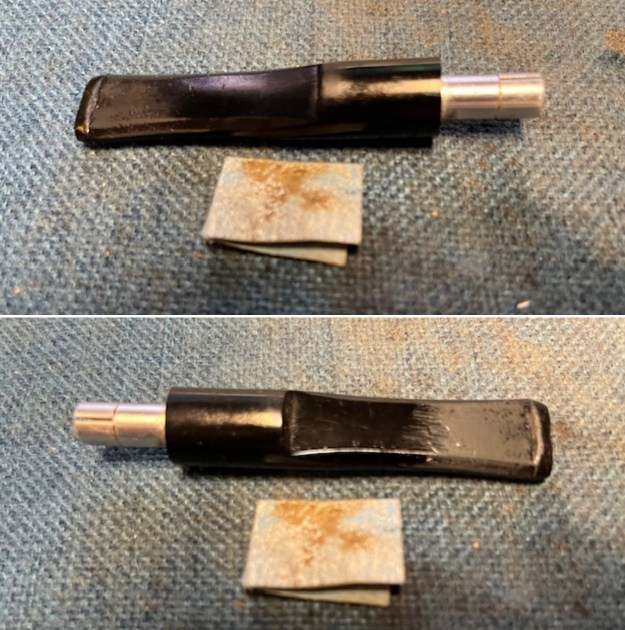
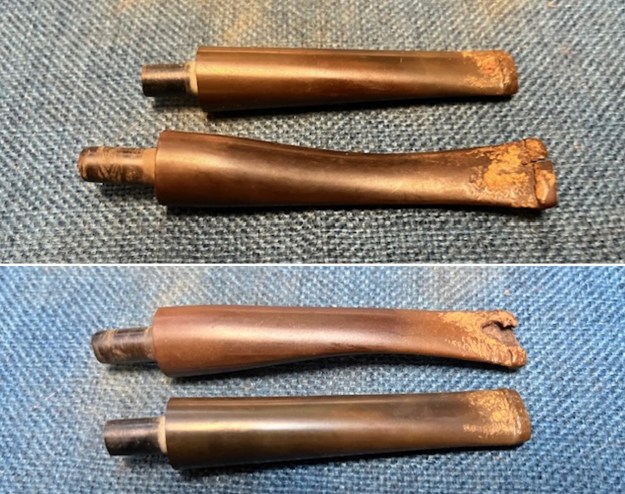
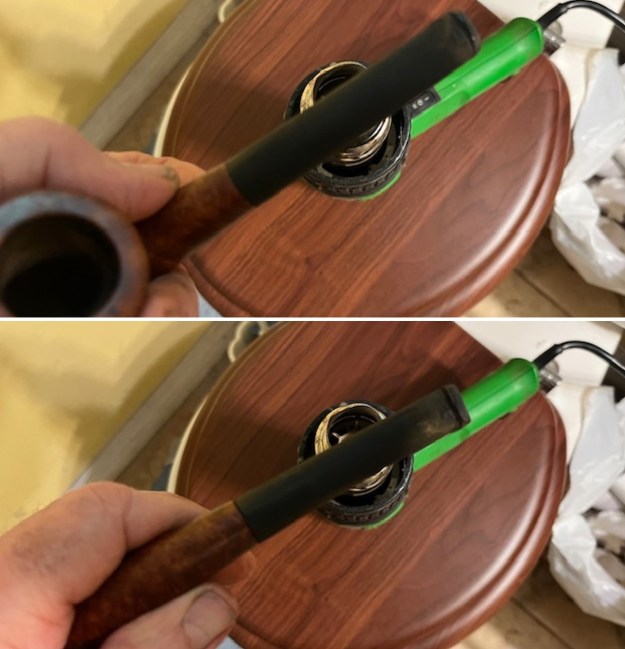
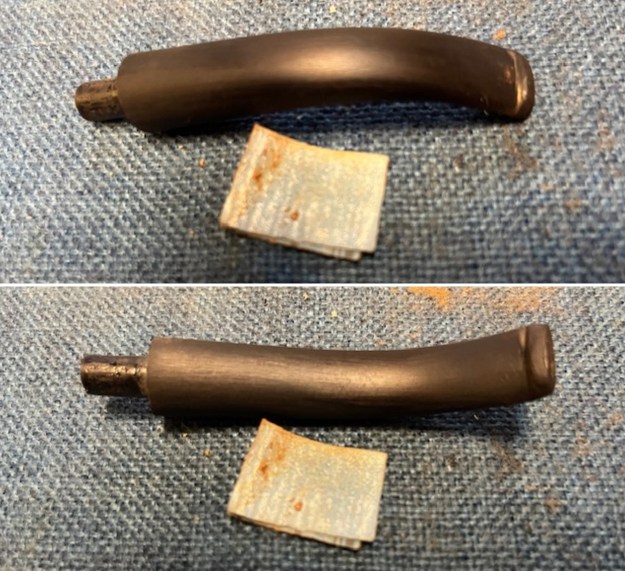
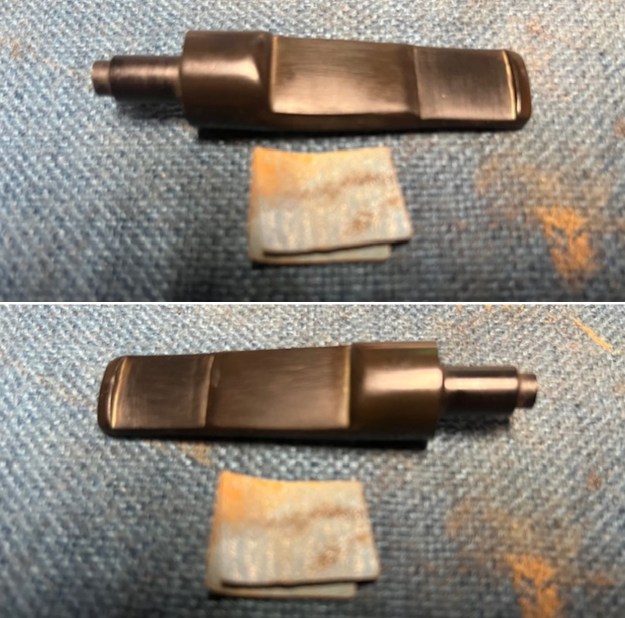
 I set the bowl aside and turned my attention to the stem. I ‘painted’ the surface of the stem with the flame of a lighter to lift the tooth marks. I was able to lift almost all of them. I sanded the surface of the stem with a folded piece of 220 grit sandpaper to clean up the oxidation and tooth chatter on both sides.
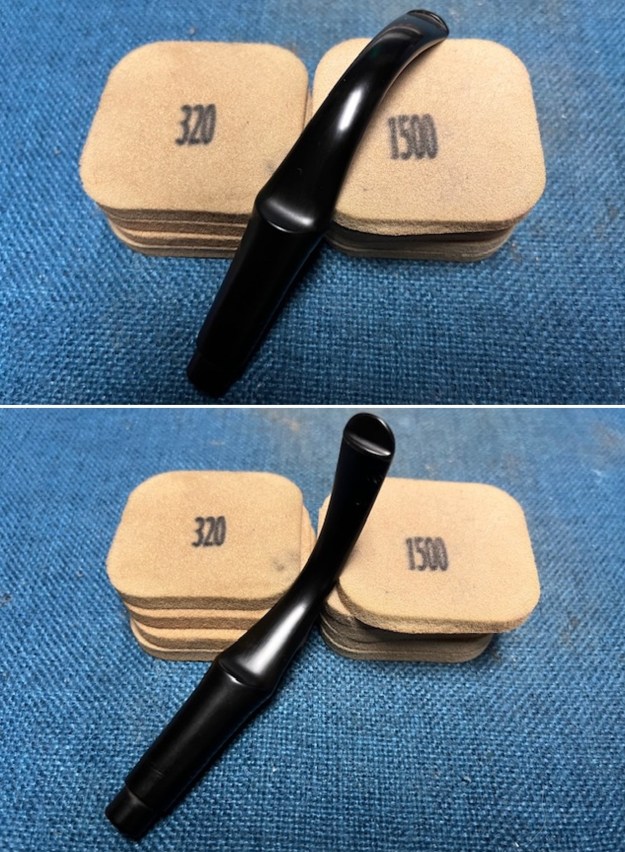
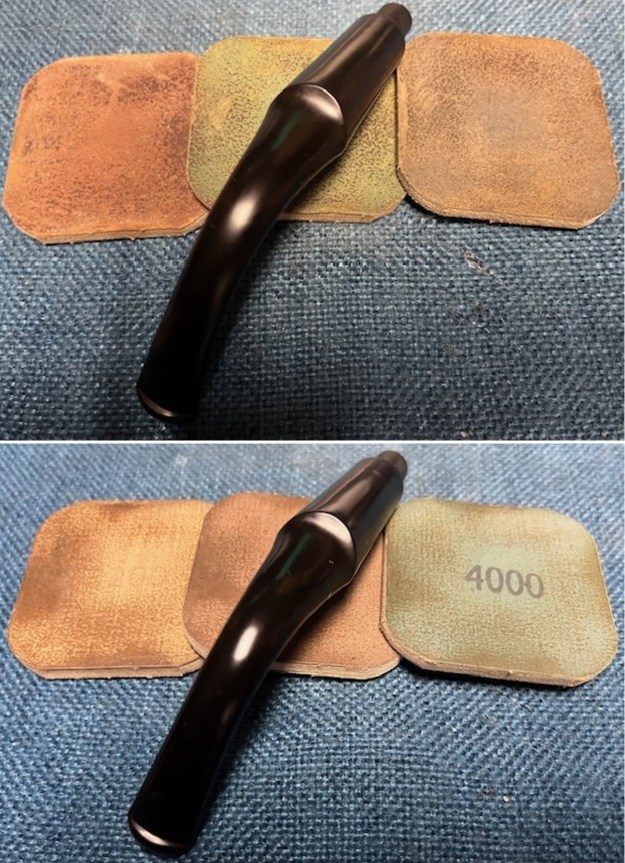
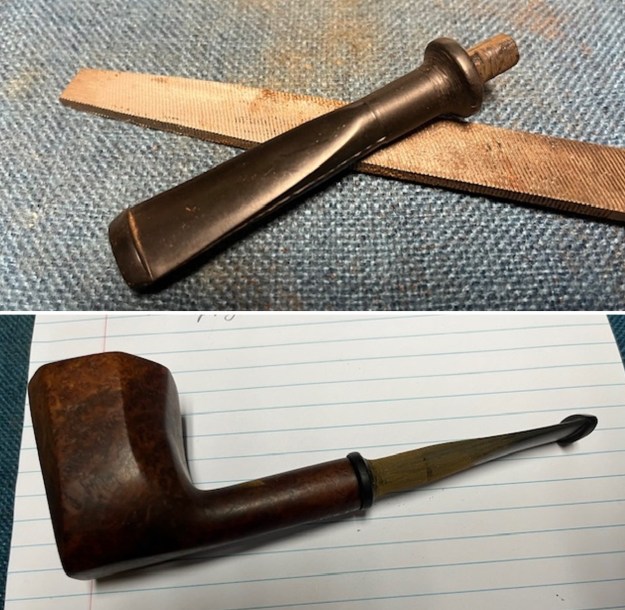
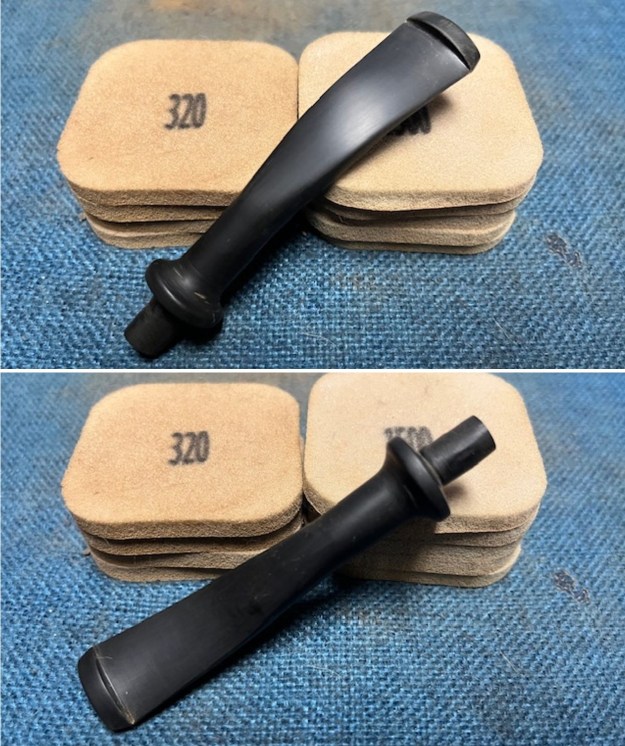
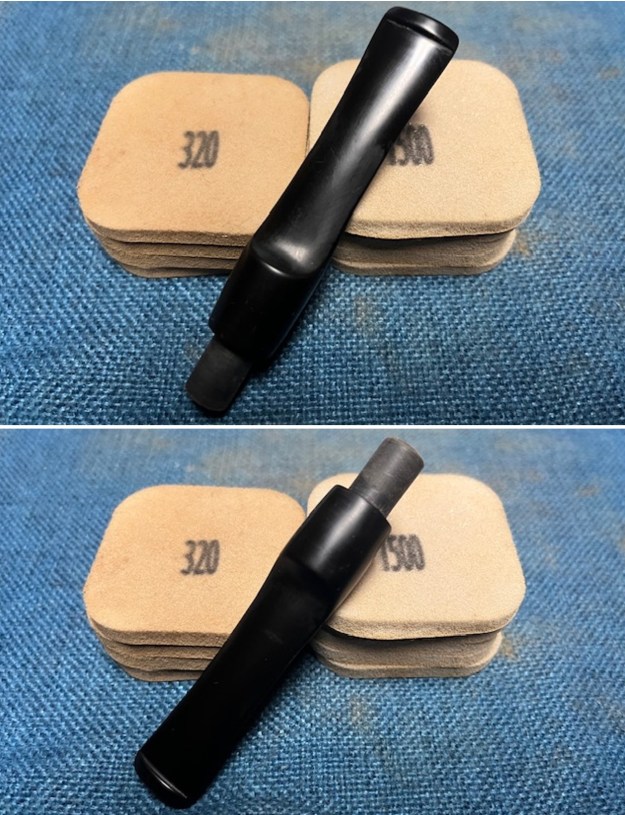
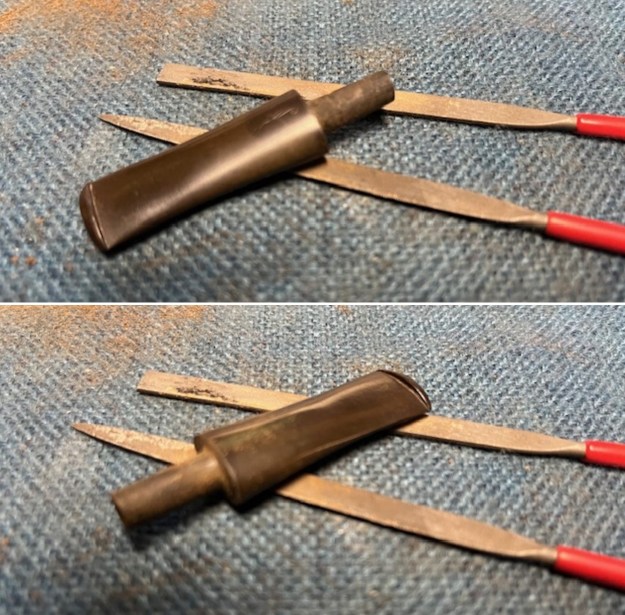
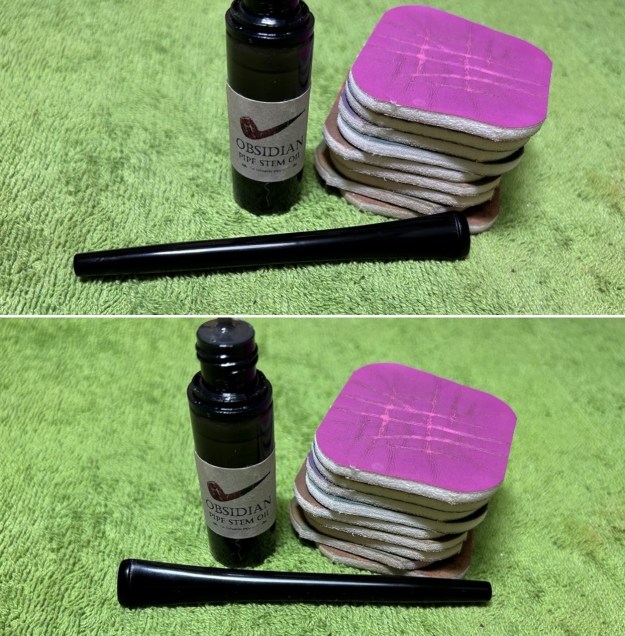
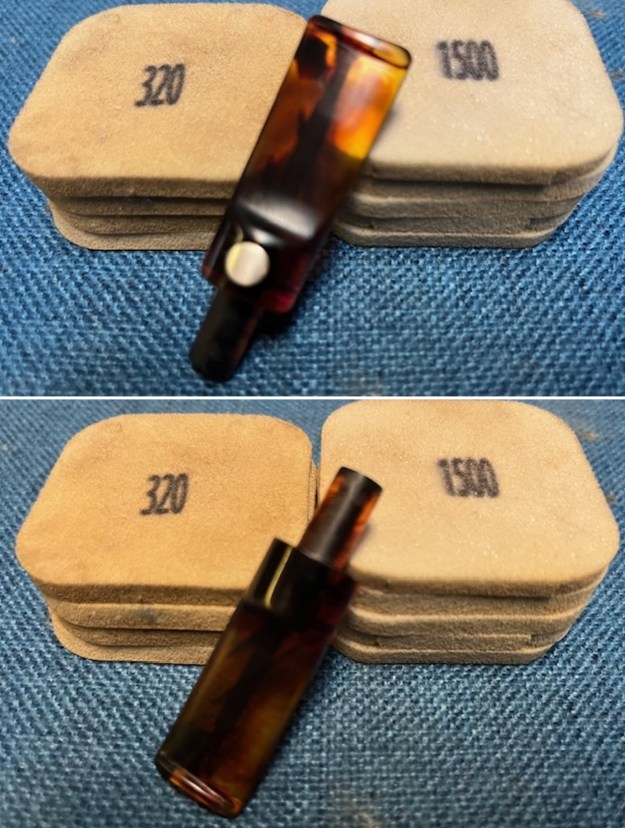
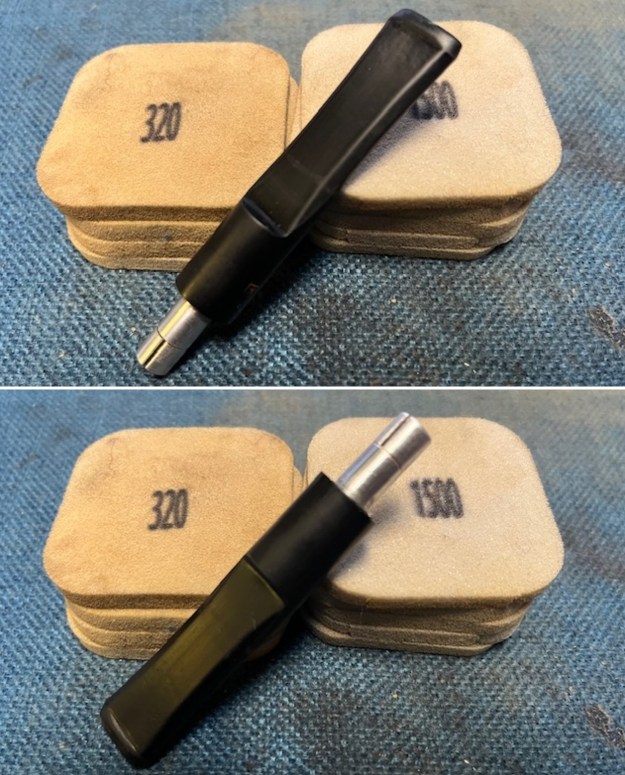
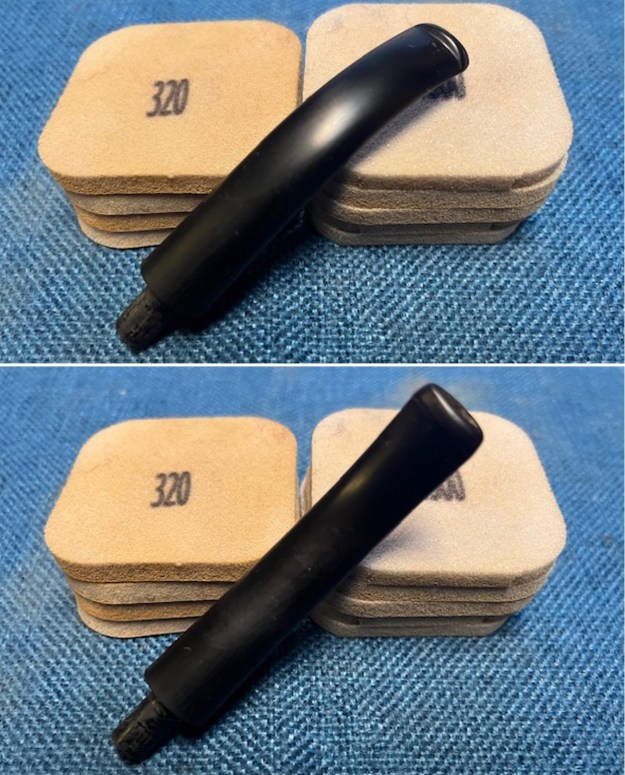
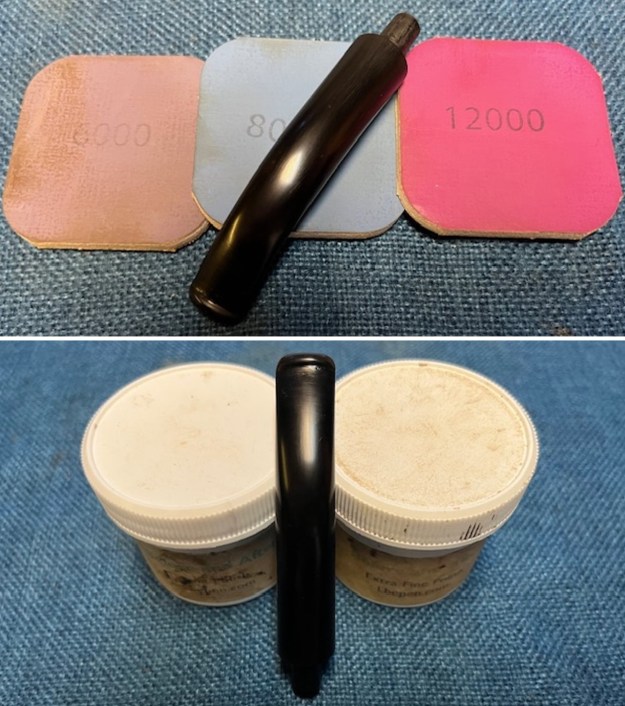
 I sanded the stem with 320-3500 grit 2×2 inch pads to further adjust the fit of the stem to the shank. I wiped the stem down with an Obsidian Oil cloth after each sanding pad.
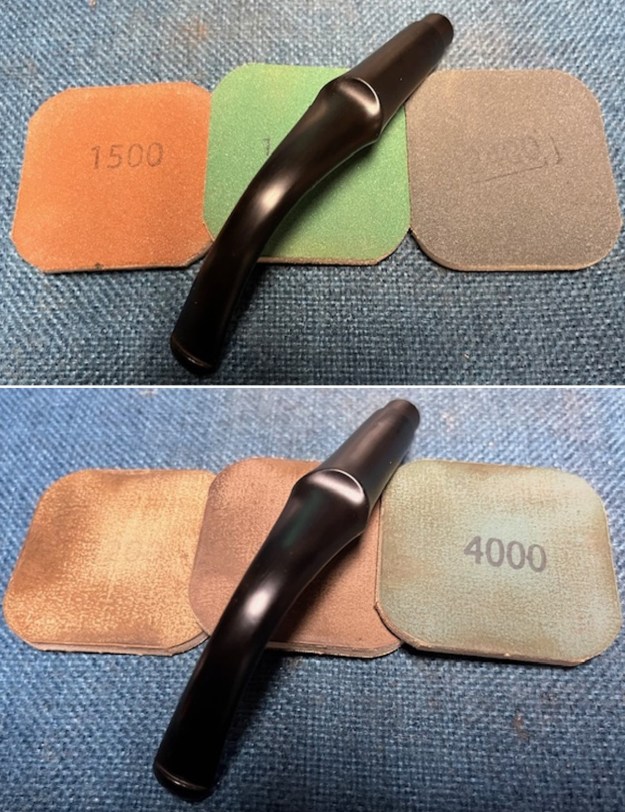
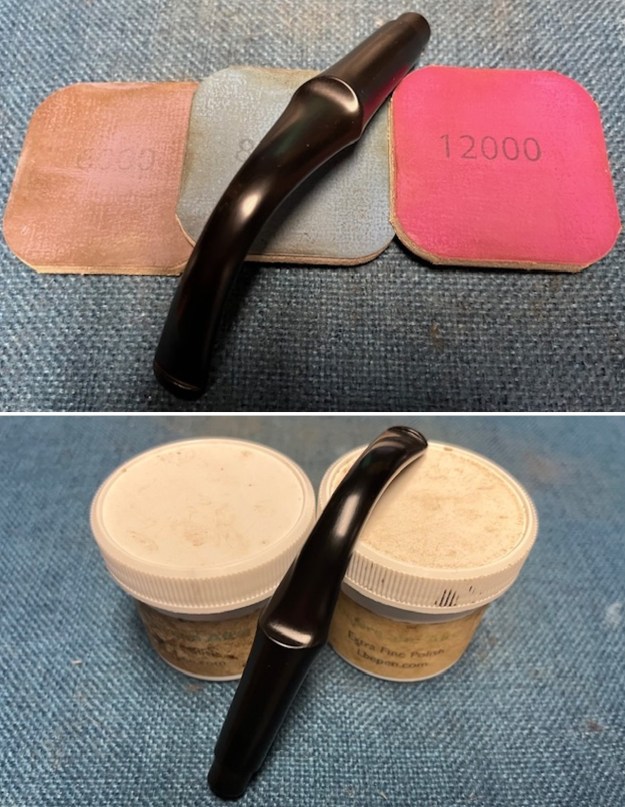
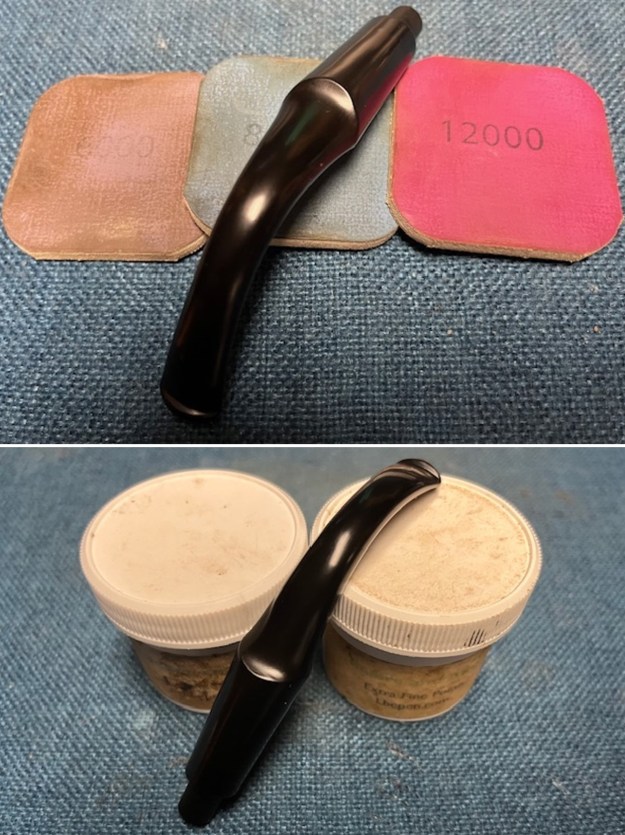
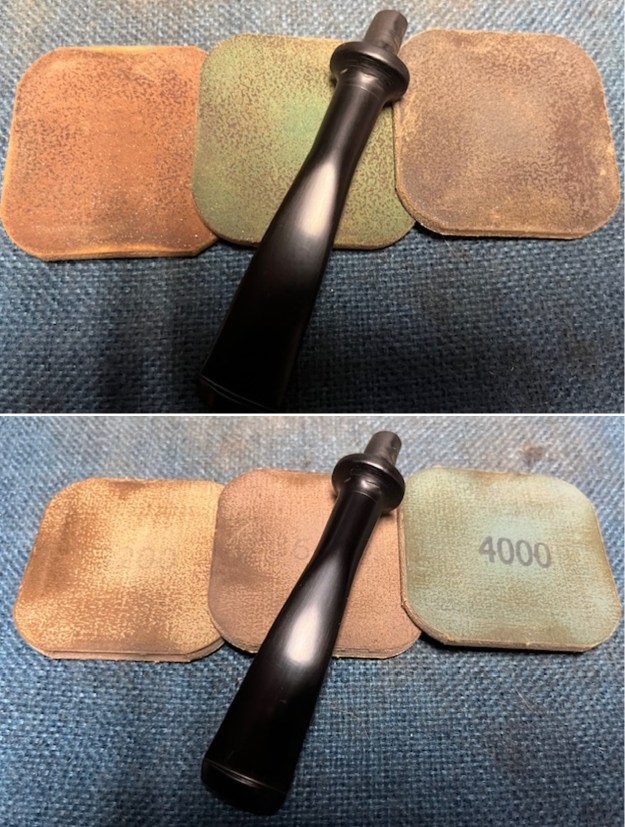
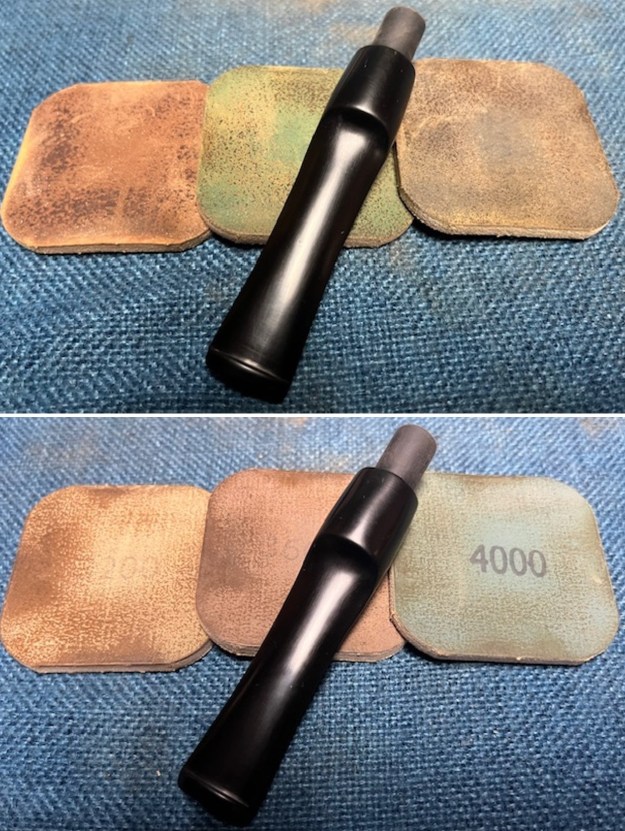
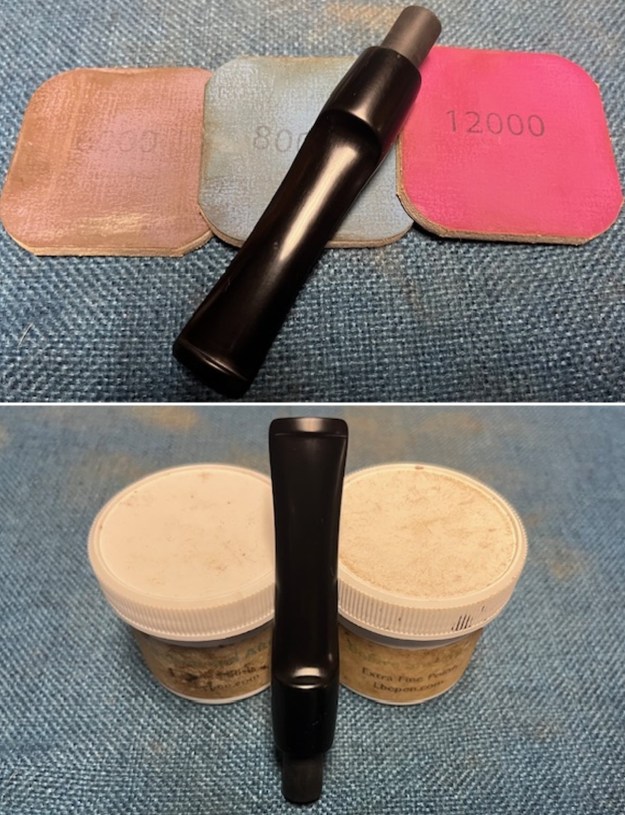
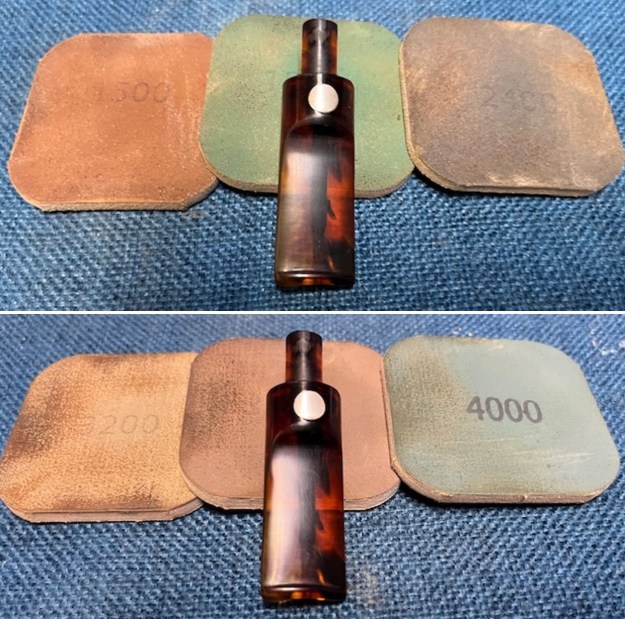
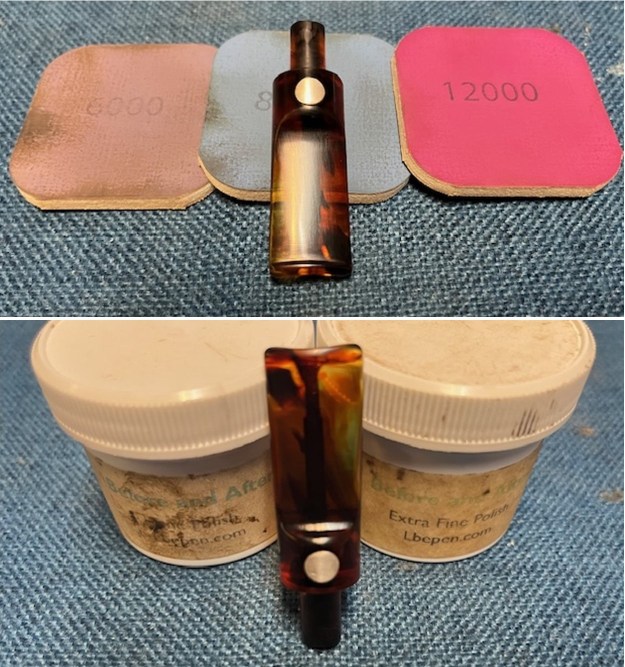
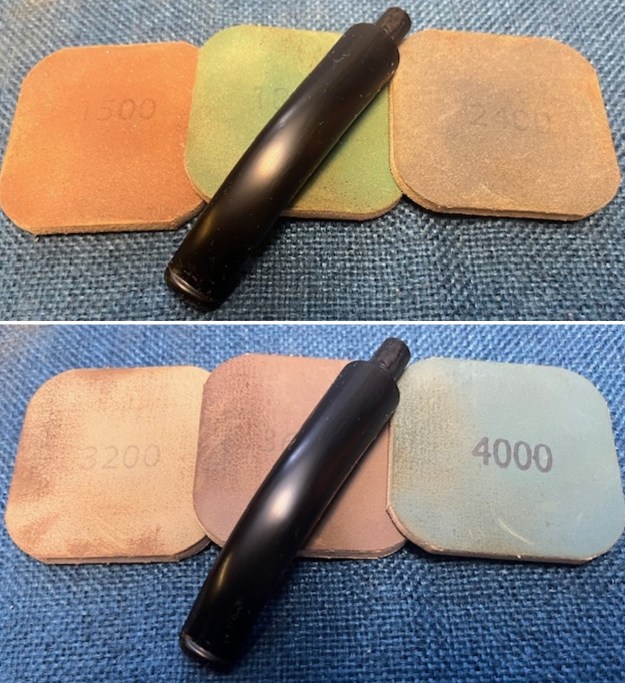
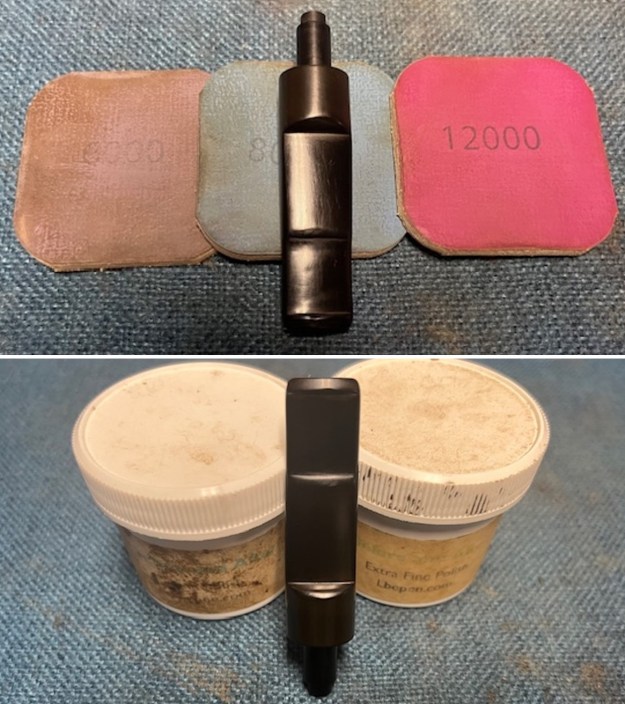
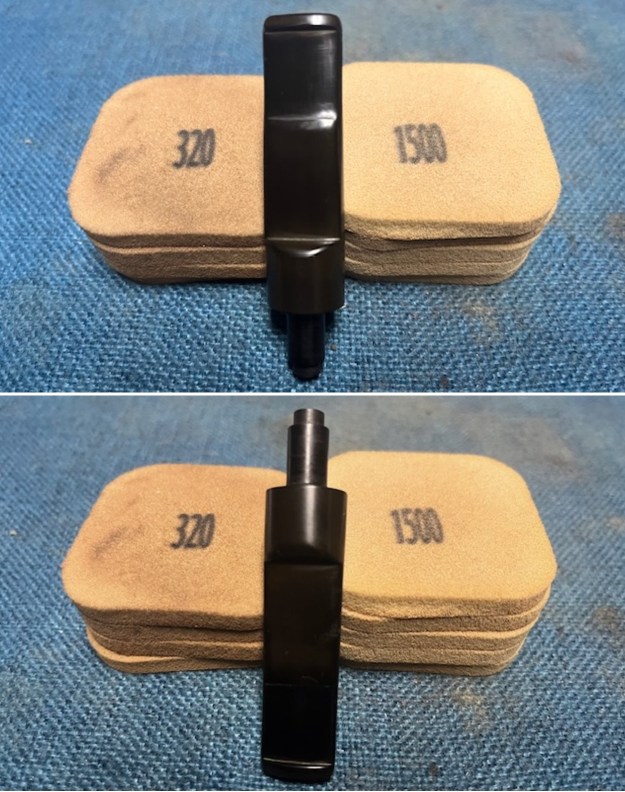 I polished the vulcanite with micromesh sanding pads – 1500-12000 grit pads. I wiped it down with Obsidian Oil after each sanding pad. I used Before & After Pipe Polish – both Fine and Extra Fine to further polish the stem.
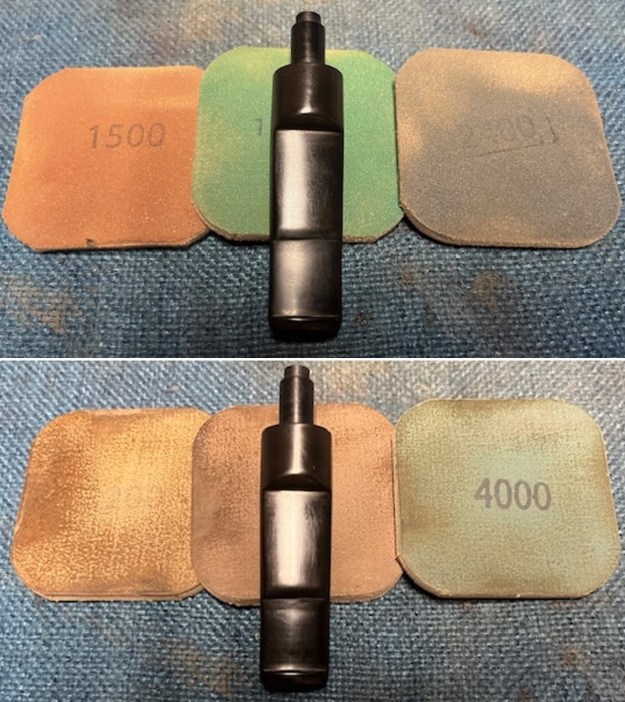
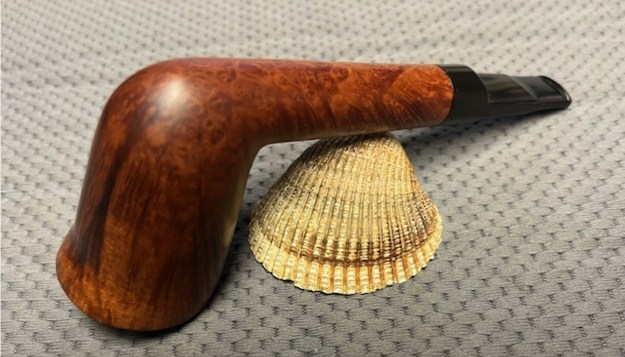
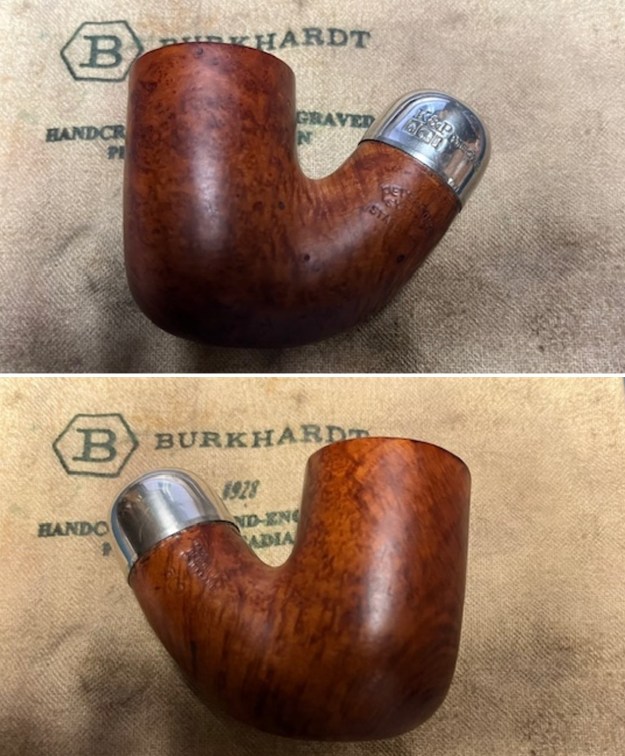
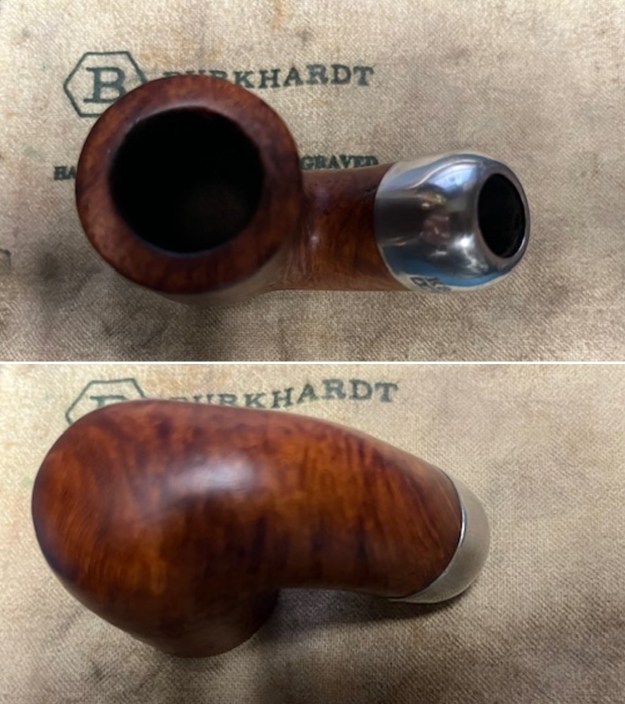
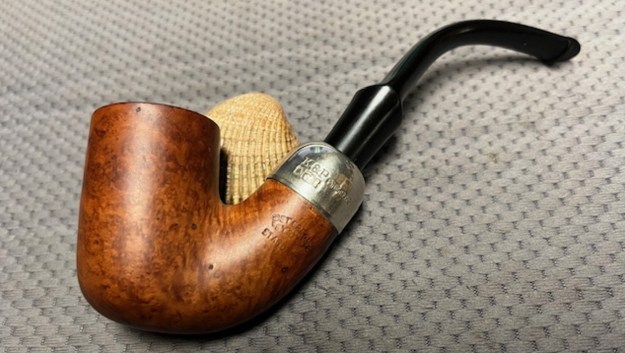
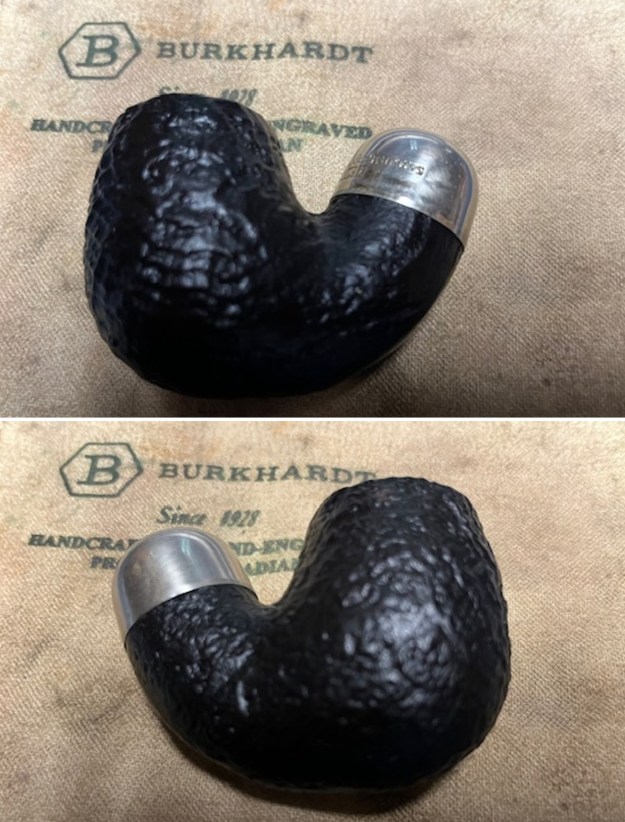
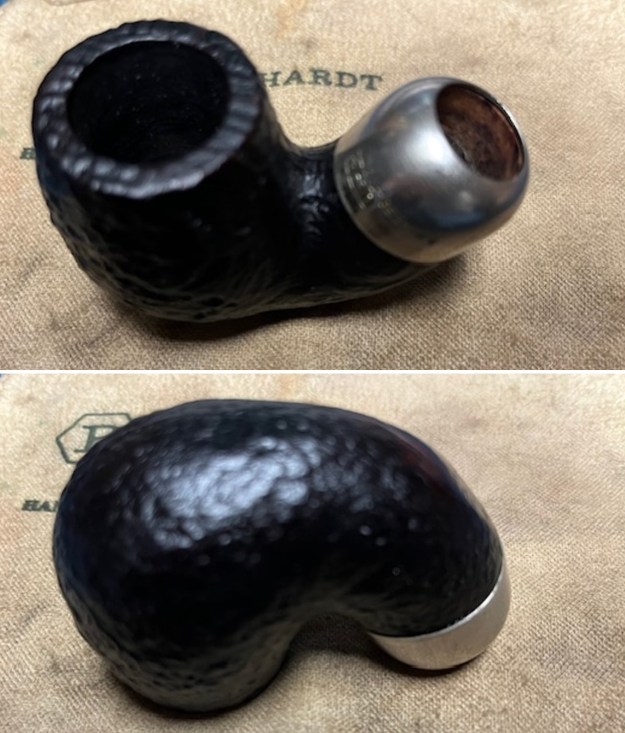
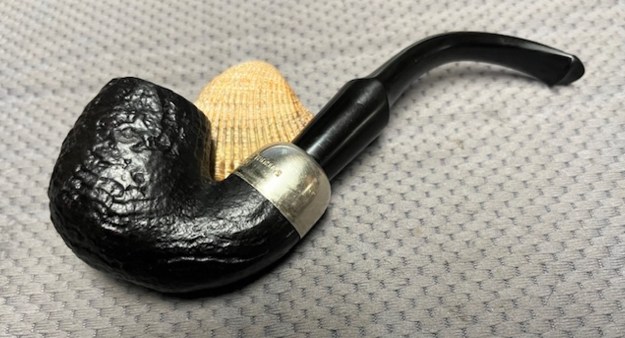
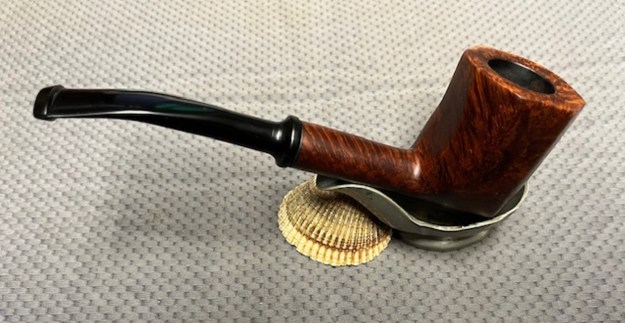
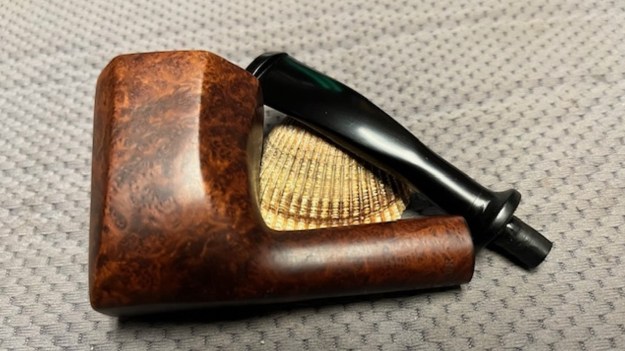
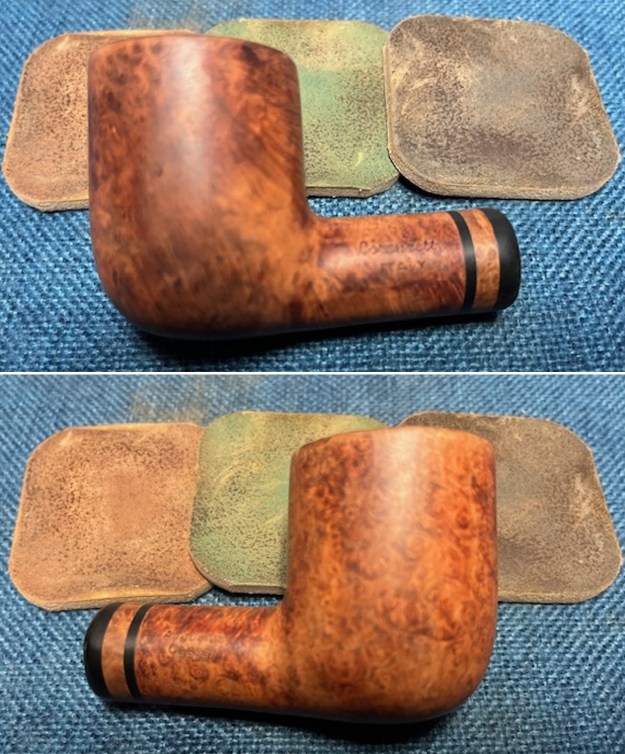
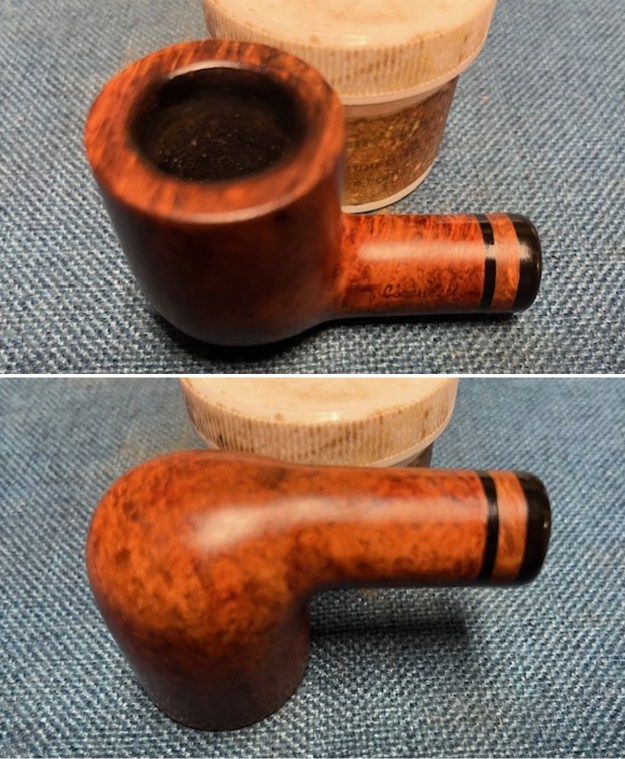
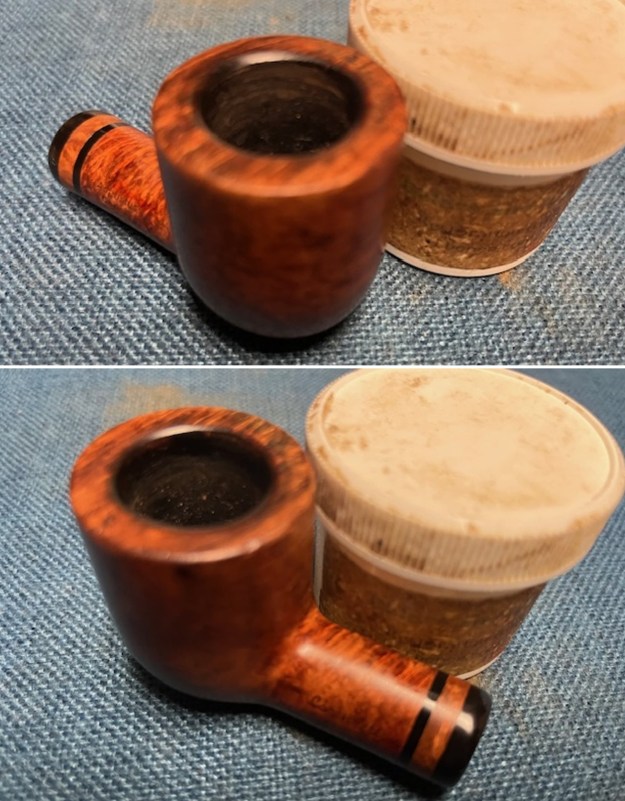
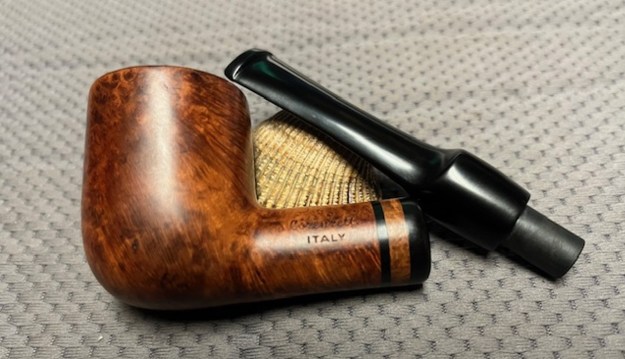
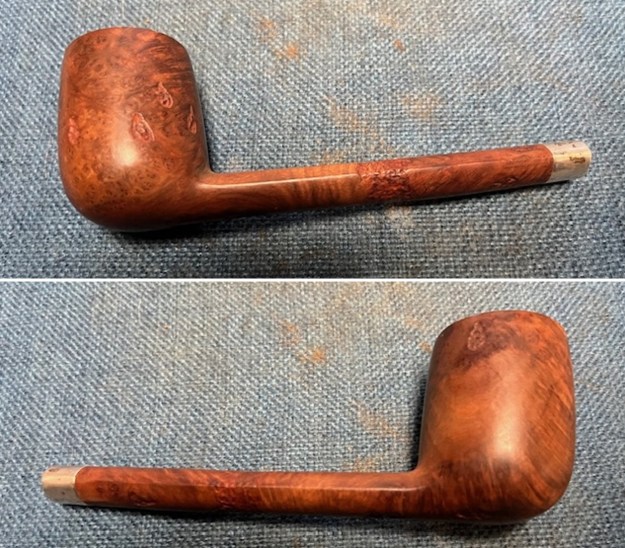
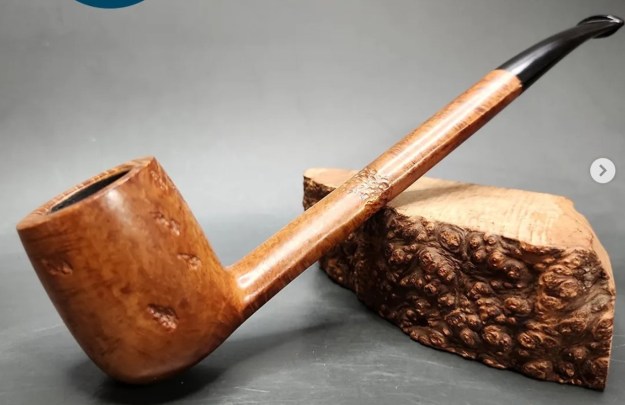
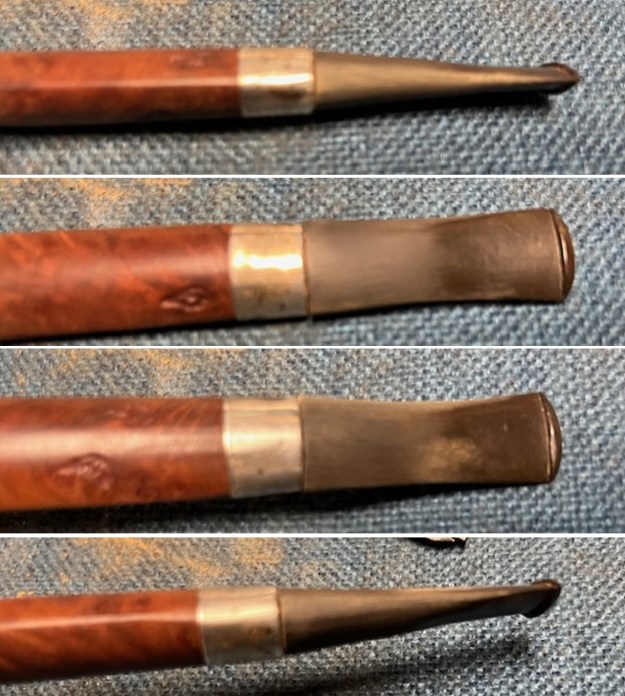
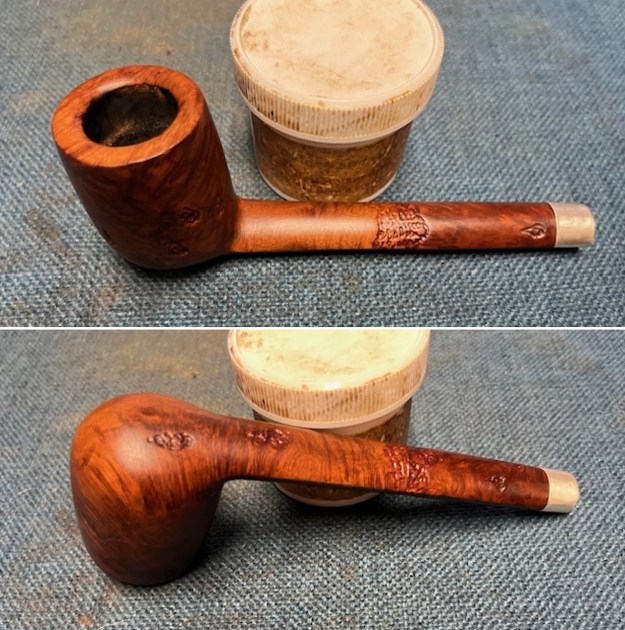
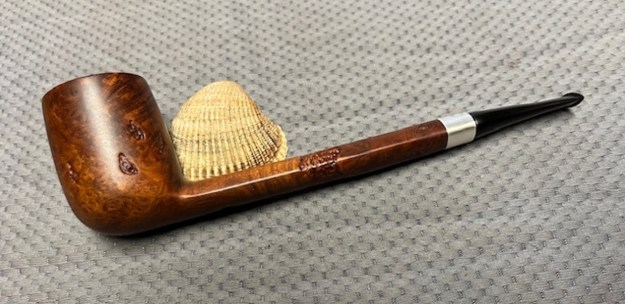
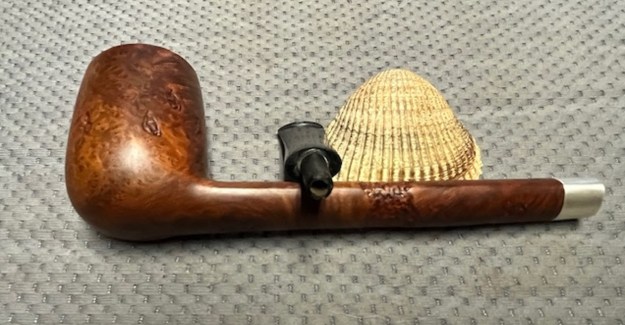
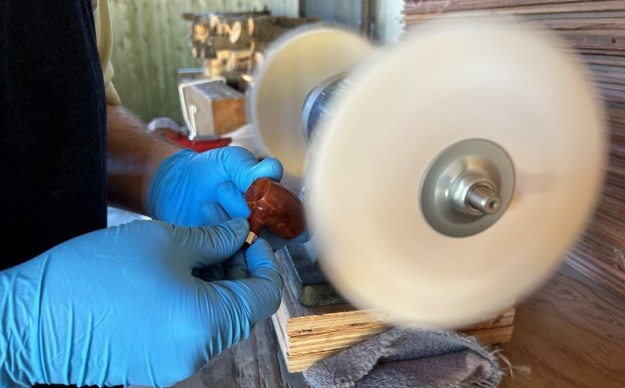
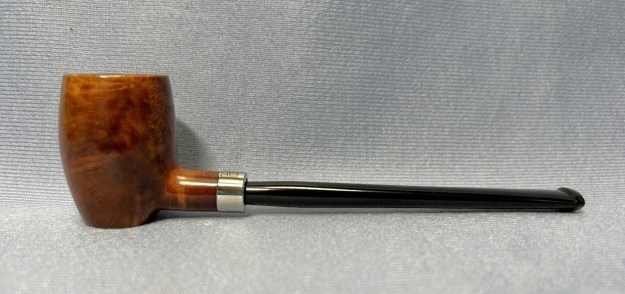
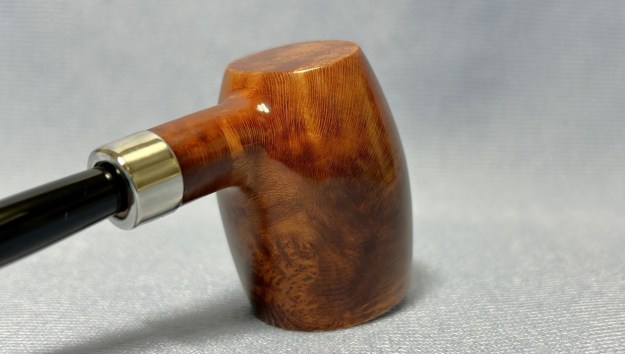
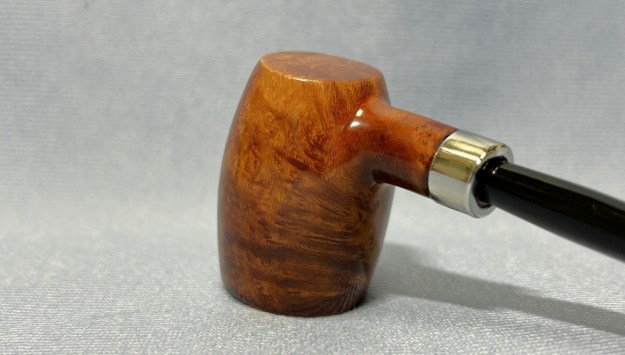
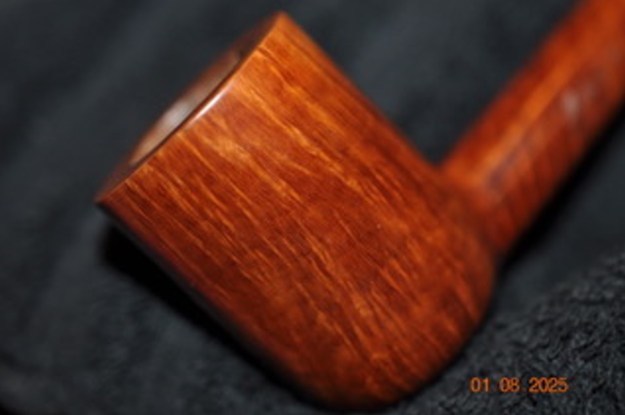
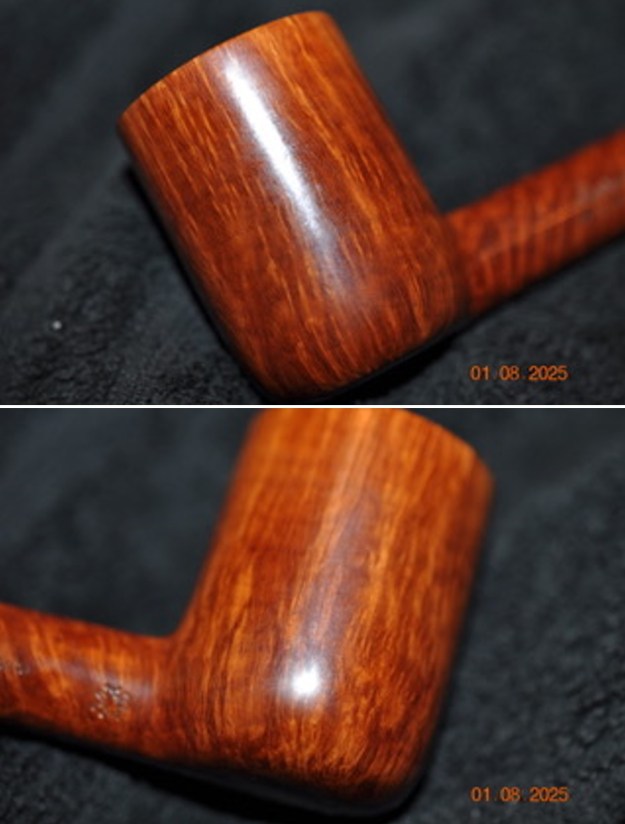
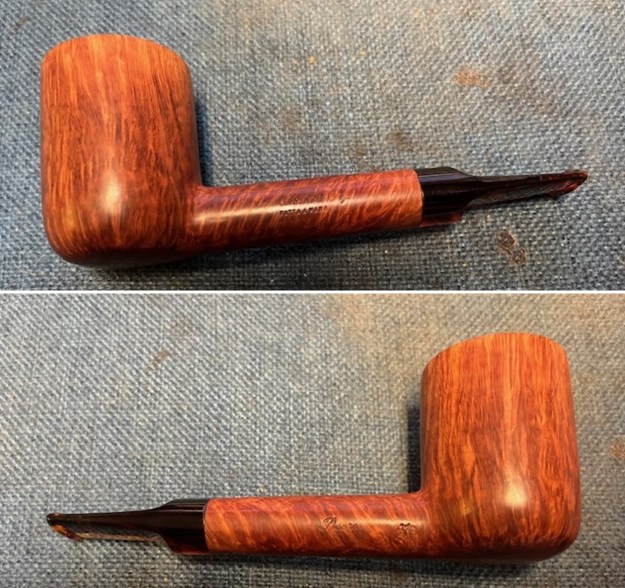
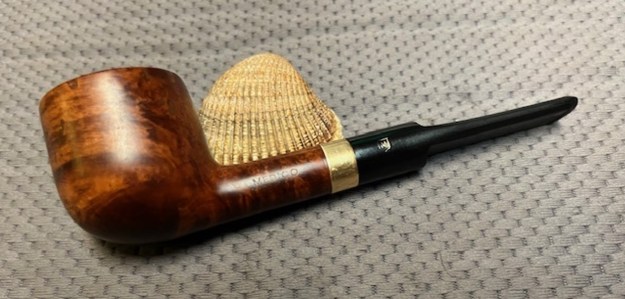
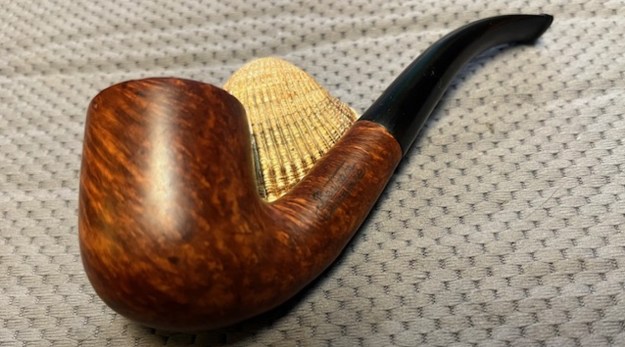
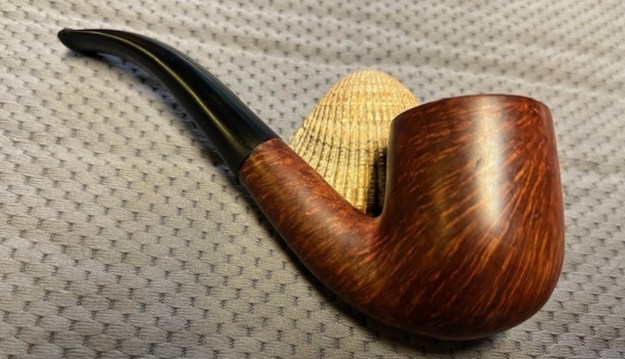
 With the stem polished I put it back on the Charatan’s Make Executive Extra Large Made by Hand Lane Era Dublin and lightly buffed the bowl with Blue Diamond. I buffed the stem with a more aggressive buff of Blue Diamond. I gave the bowl several coats of Conservator’s Wax and the stem several coats of carnauba wax and buffed the pipe with a clean buffing pad to raise the shine. I hand buffed it with a microfiber cloth to deepen the shine. The repaired gouge looked better but now looks like a fine line across the bowl side. The pipe polished up pretty nicely. The finished pipe is shown in the photos below. This Charatan’s Make Executive Extra Large Dublin will soon be on the rebornpipes store in the British Pipe Makers Section if you want to add it to your rack. The dimensions are Length: 6 inches, Height: 2 inches, Outside diameter of the bowl: 1 ½ inches, Chamber diameter: 1 inch. Thanks for walking through the restoration with me as I worked over this Charatan’s Make.