Blog by Steve Laug
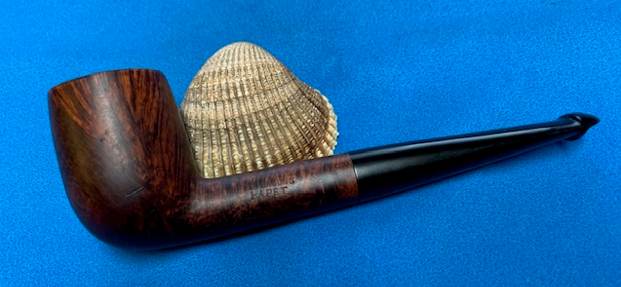
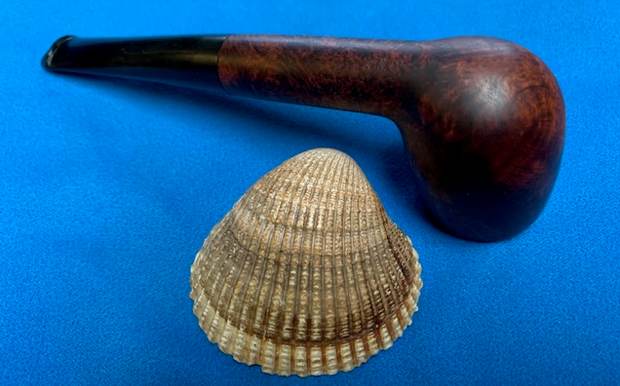
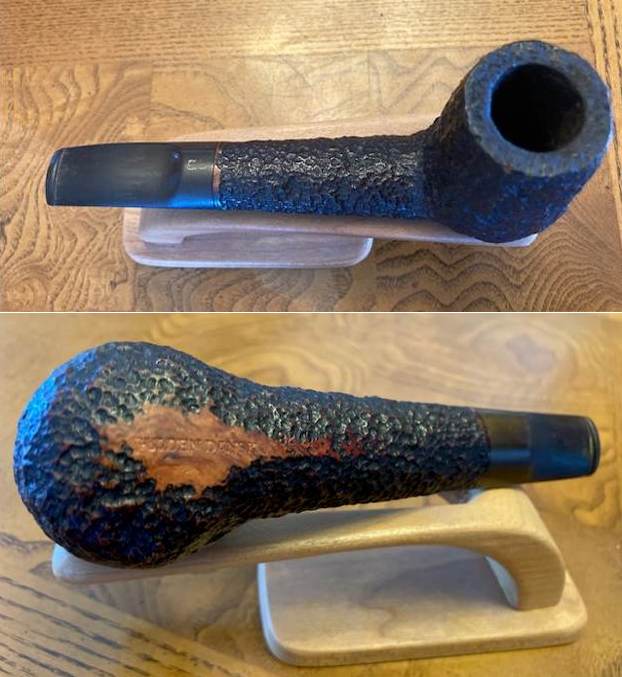
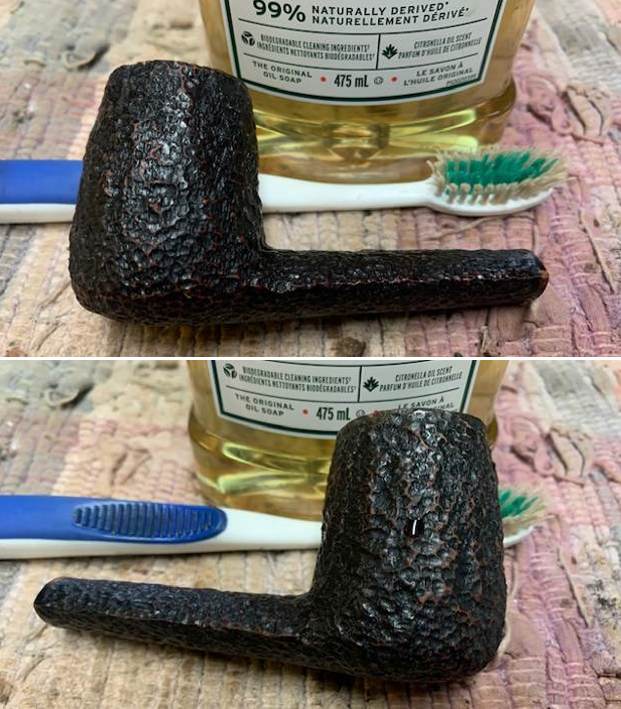
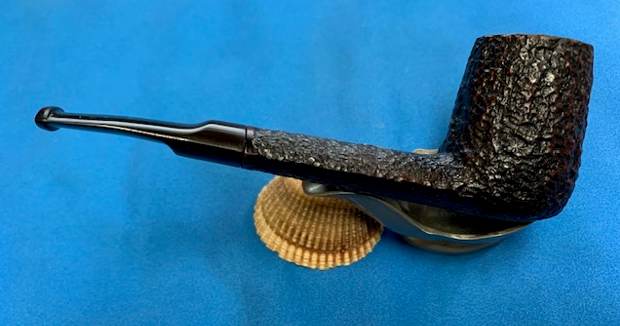
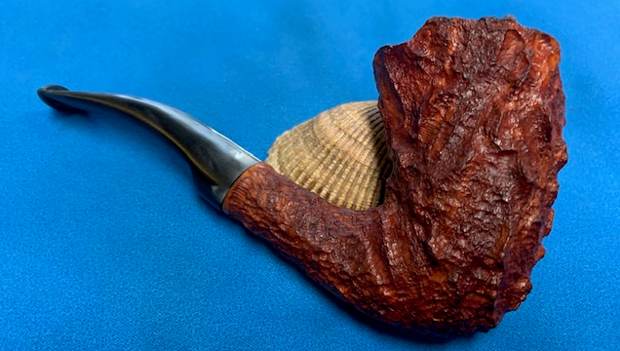
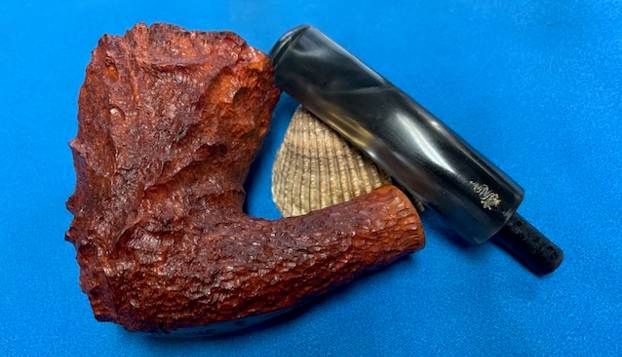
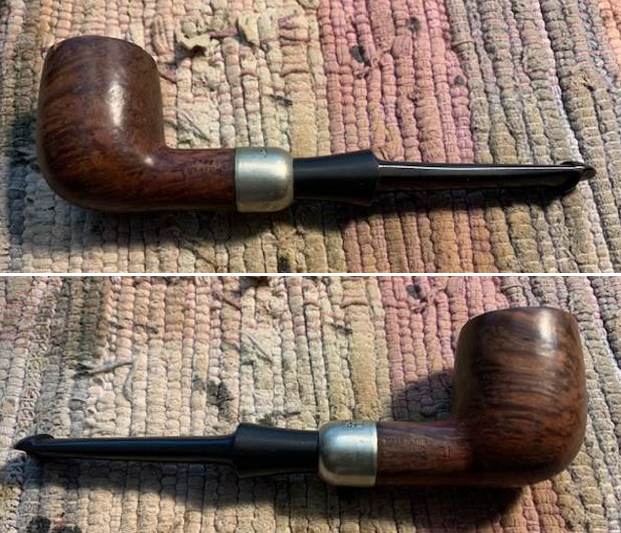
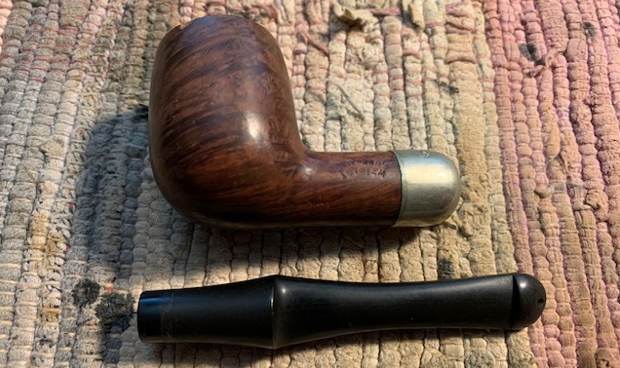
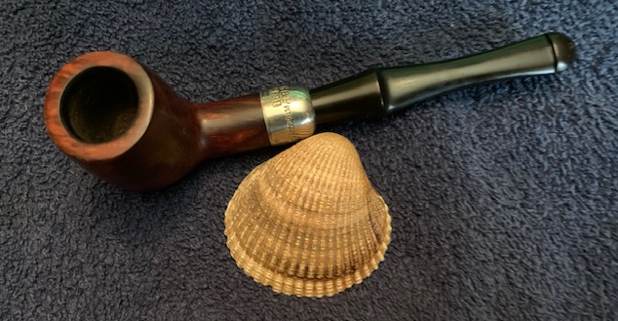
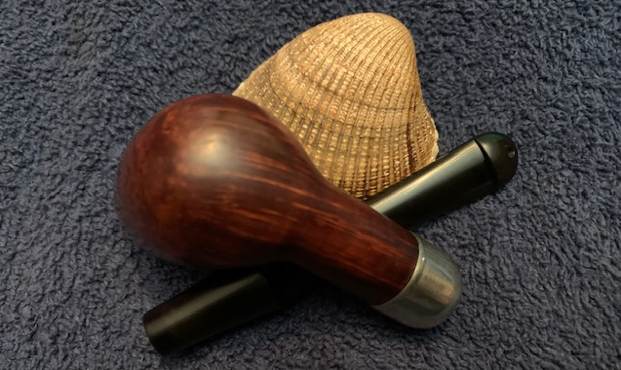
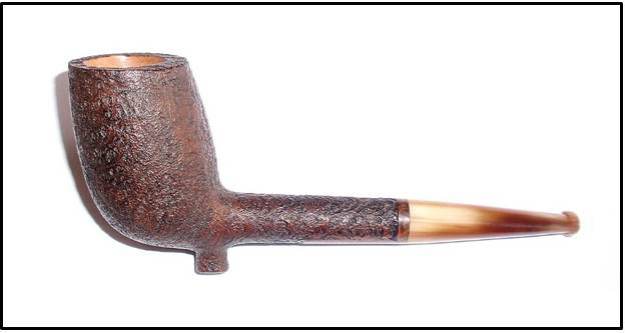
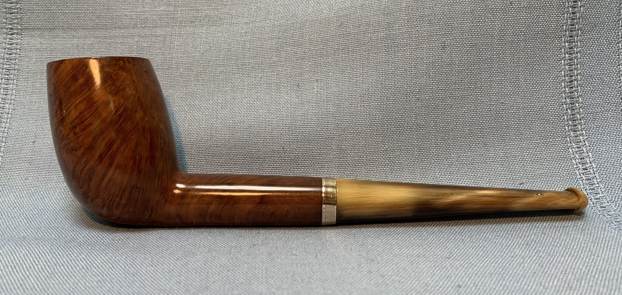
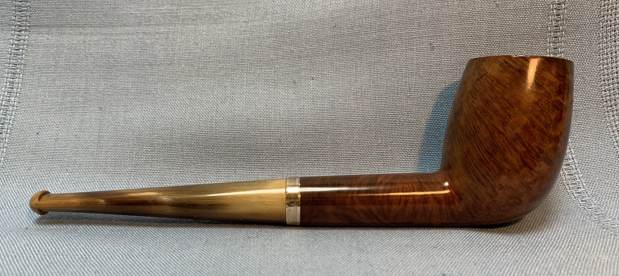
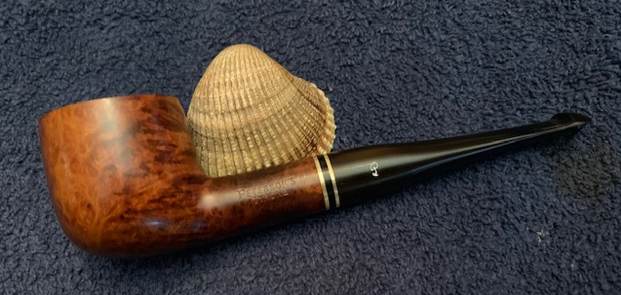
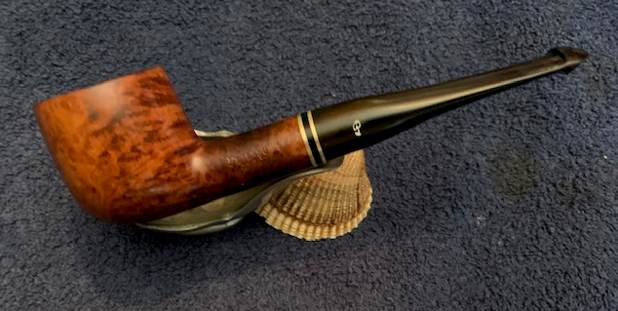
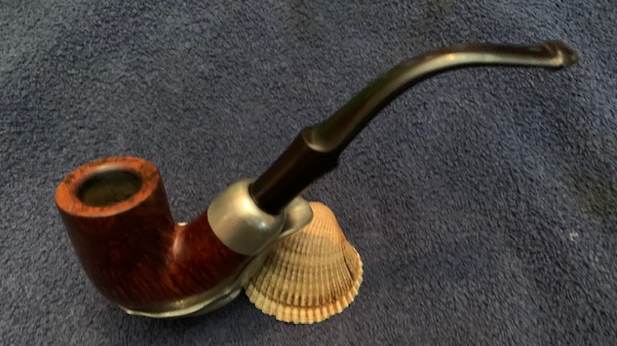
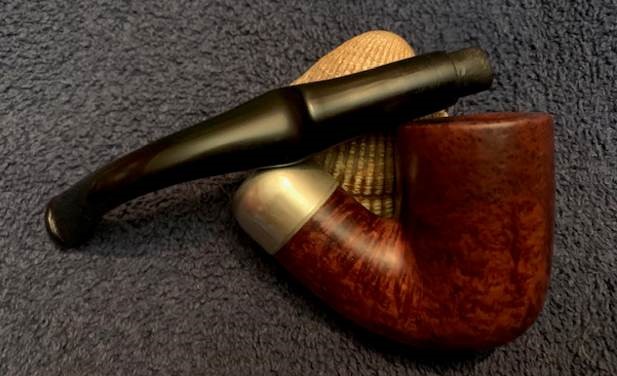
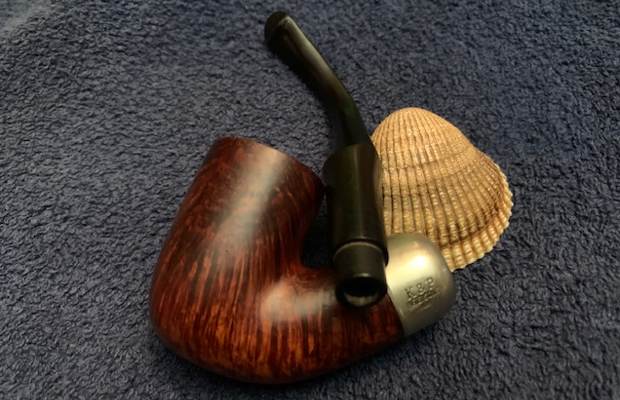
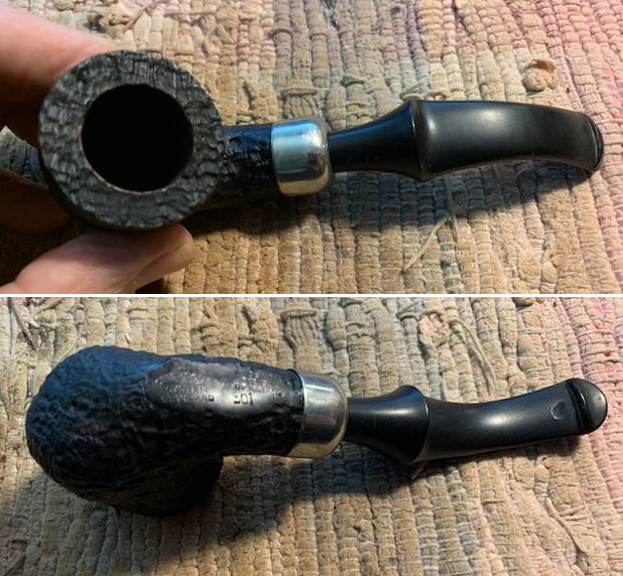
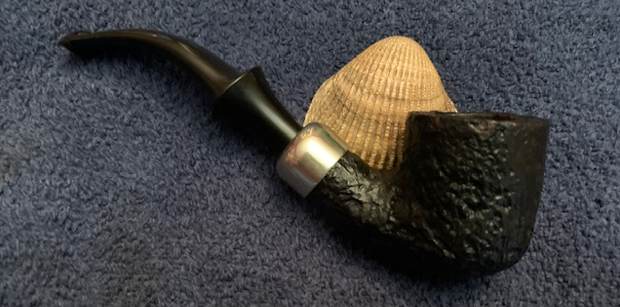
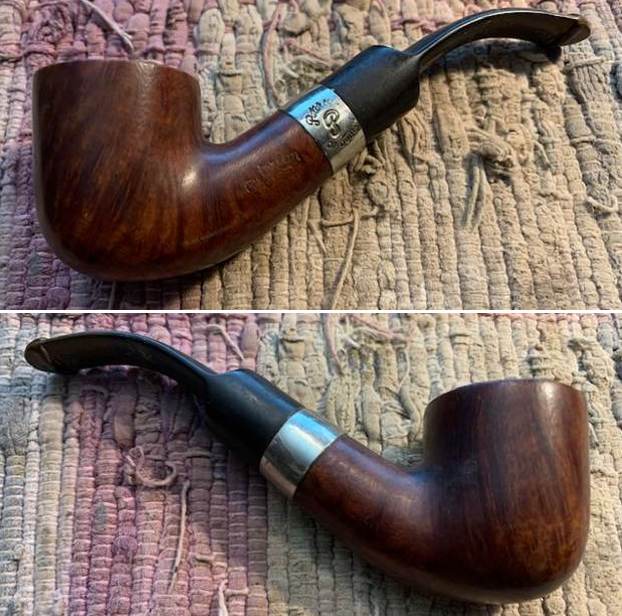
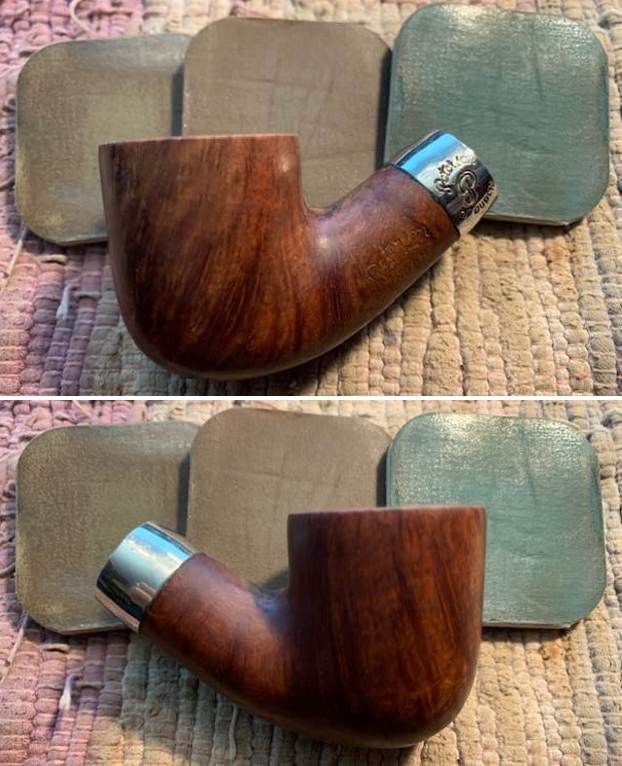
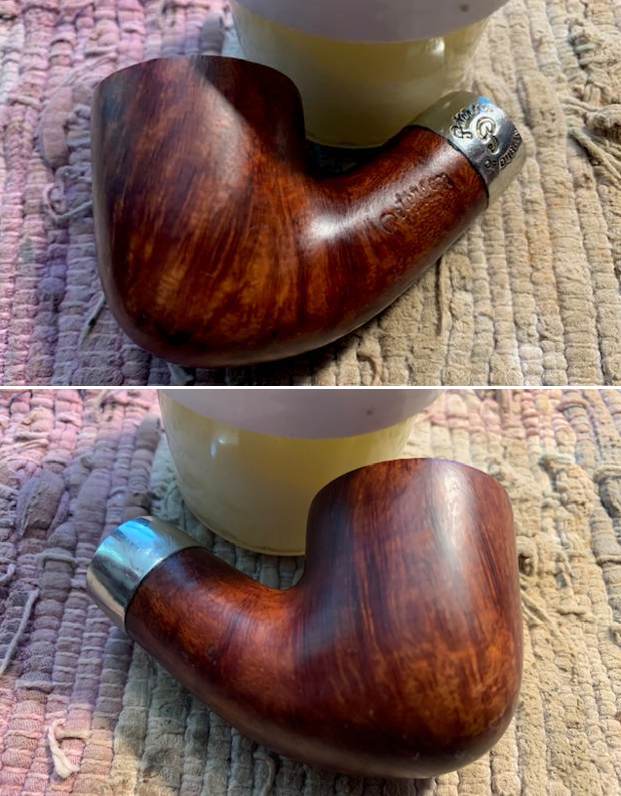
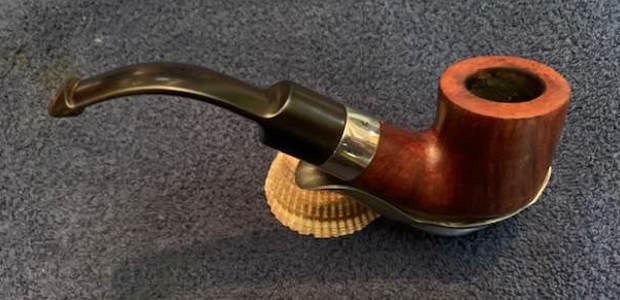
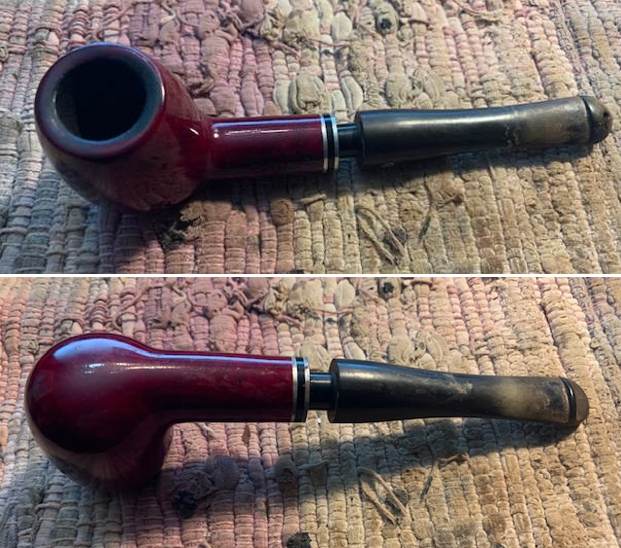
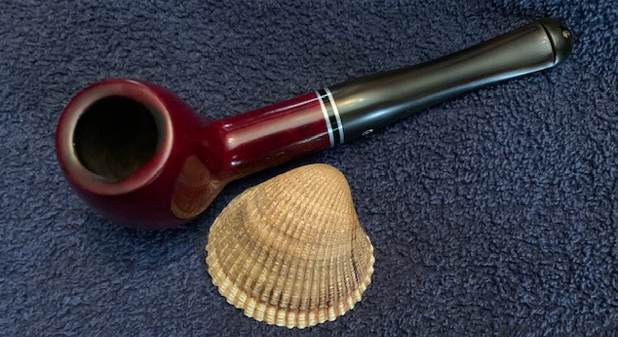
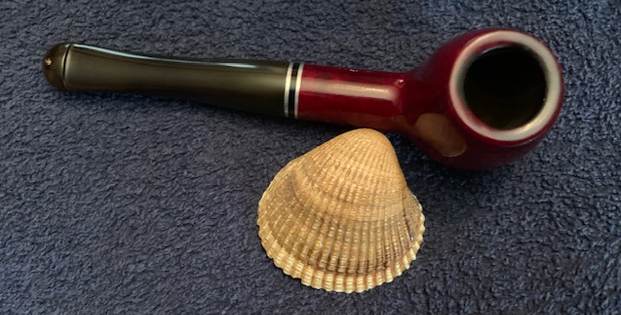
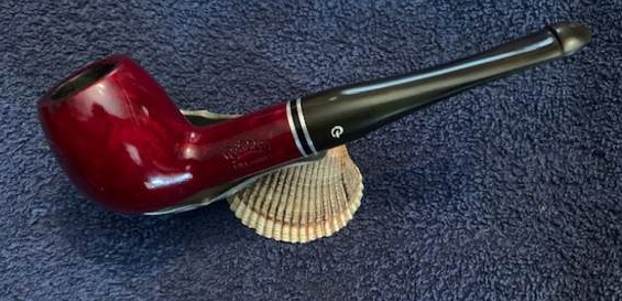
This is the second pipe on the table for restoration in 2023. It is another rainy, chilly day in Vancouver. I know in comparison to where many of you live it is not cold but to us it is. The next pipe I have chosen to work on is another Peterson’s Billiard. It is a smooth nicely grained pipe that is a bit of a mystery to Jeff and me as to its provenance. There was grime ground into the finish on the bowl sides. I love the way the contrast of the brown stains gives the finish a sense of depth. The stain is almost tiger striped. It was stamped on the sides of the shank. On the left side and it read Peterson’s [over] KAPET. On the right side it read MADE IN [over] IRELAND. This pipe must have been someone’s favourite as it had been well smoked. Somewhere on its journey the bowl had been reamed and the pipe cleaned. The inner edge of the bowl had some nicks and marks that made the bowl slightly out of round. The stem was lightly oxidized from sitting around here for a long time. It had tooth marks and chatter on the top and underside on and near the button. I took photos of the pipe before my cleanup work.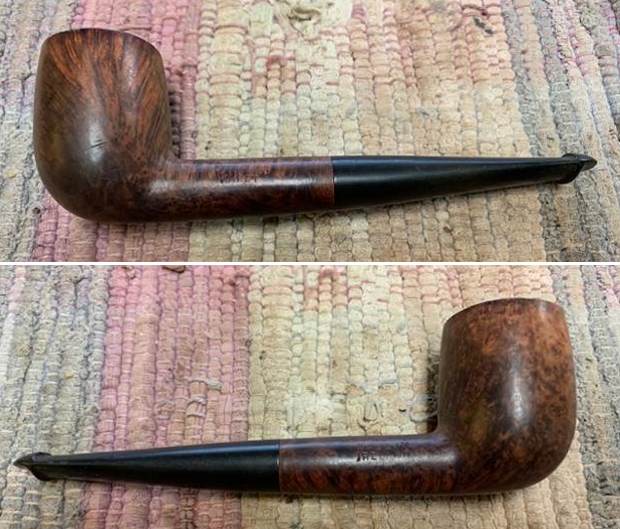
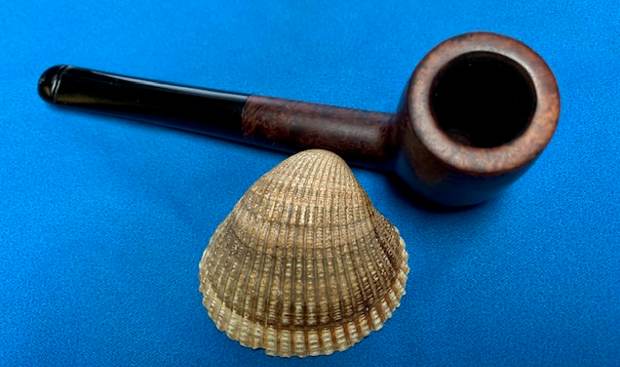
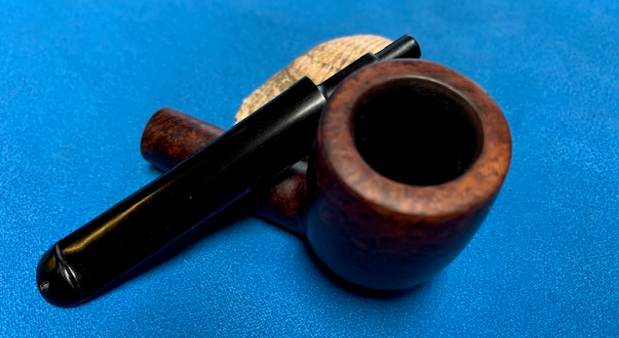
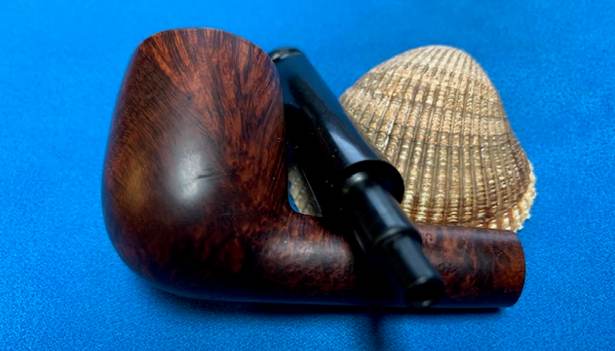
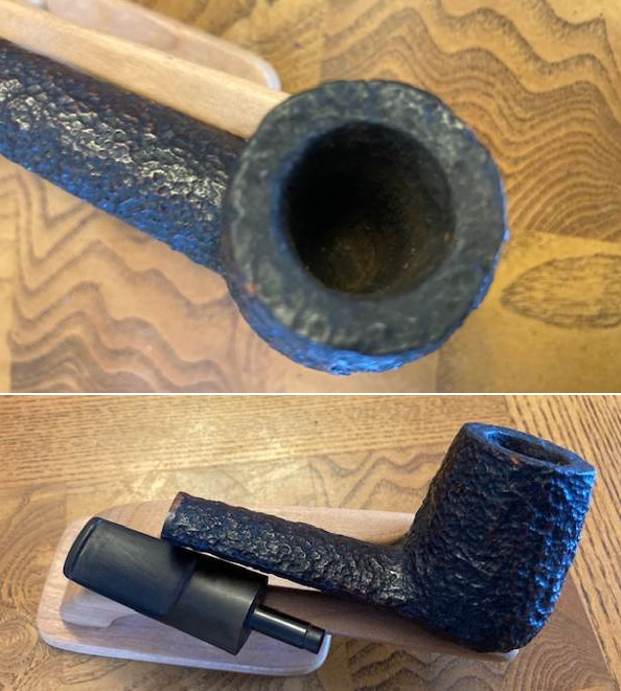
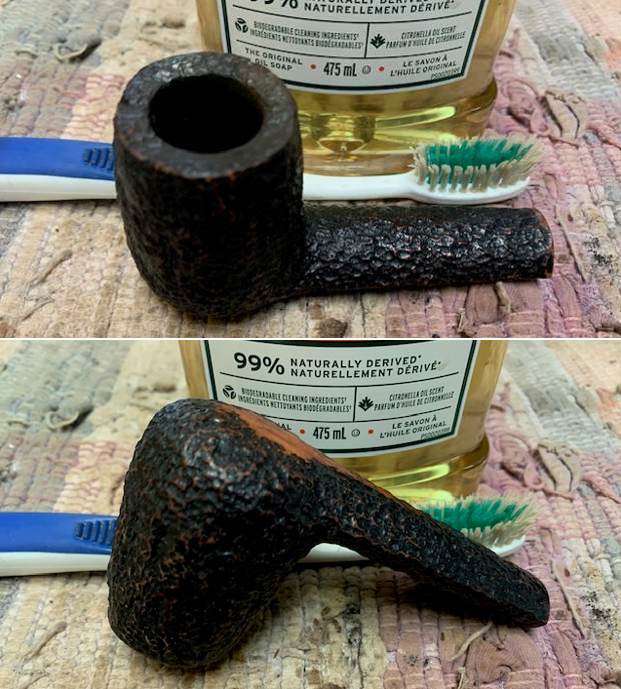
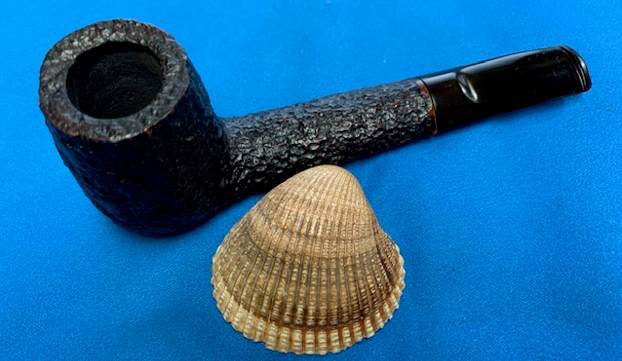
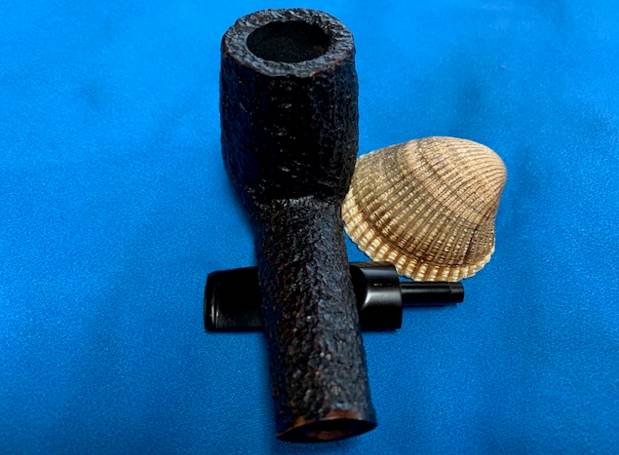
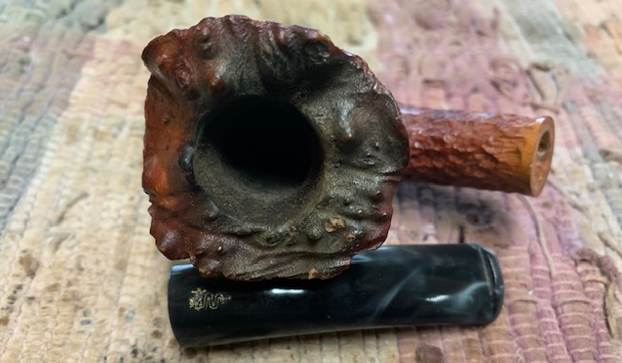
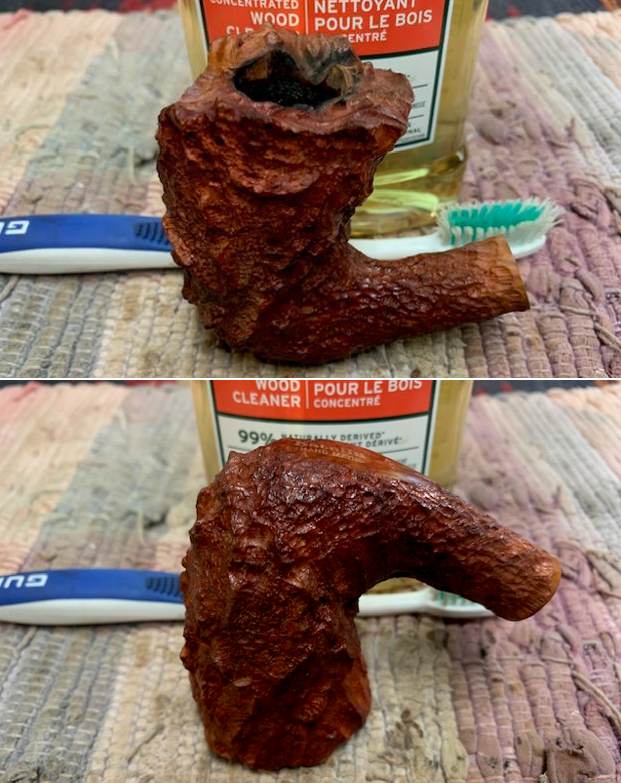
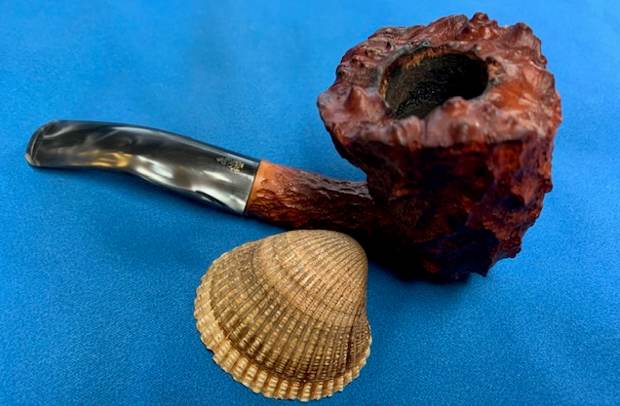
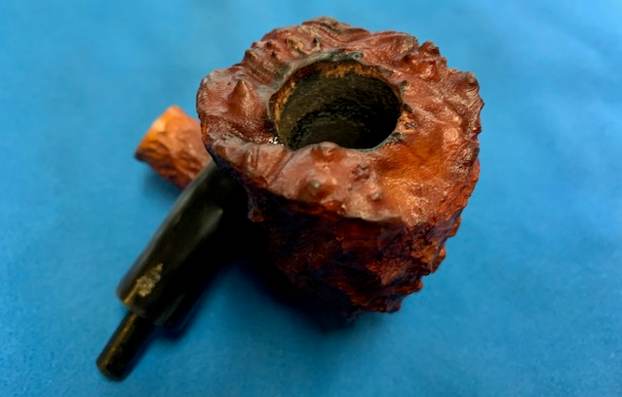
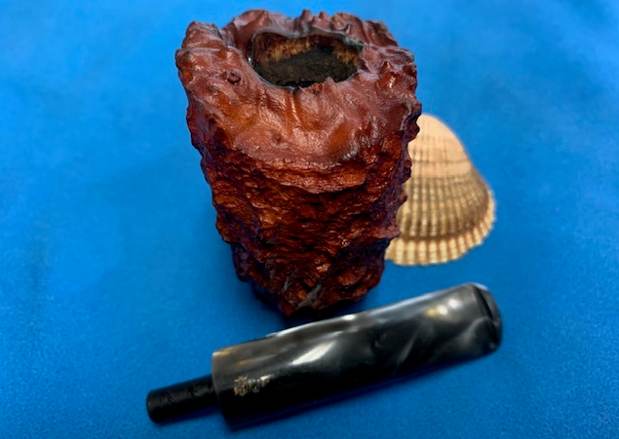
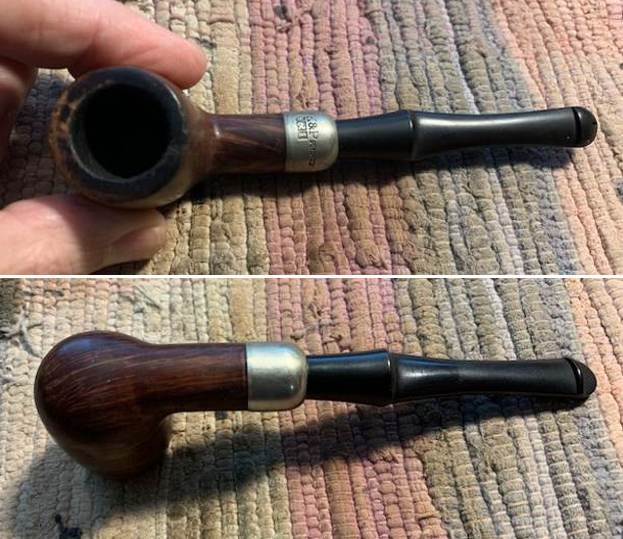
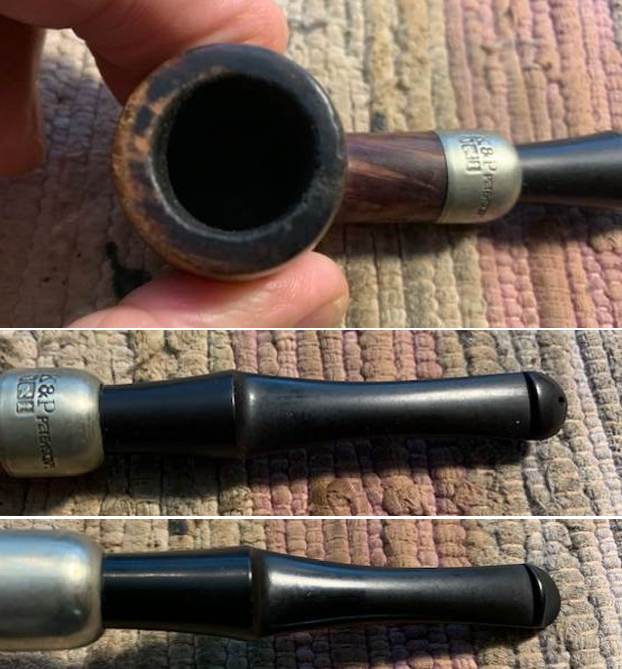
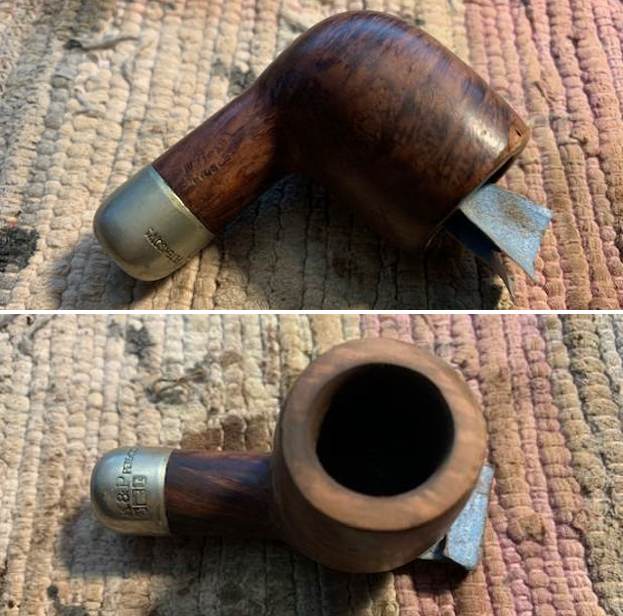
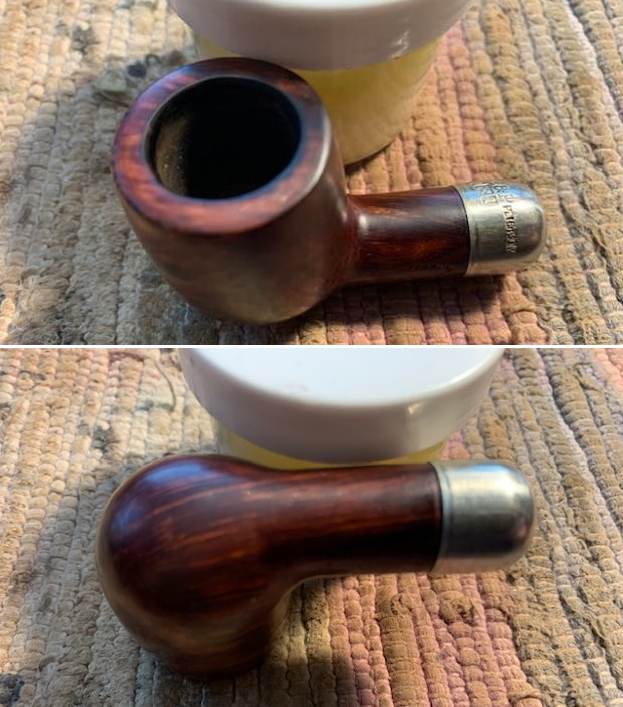
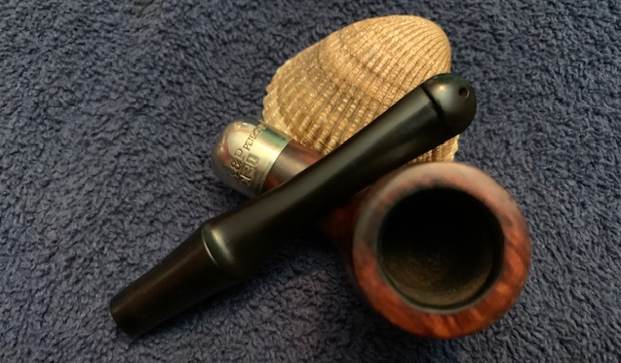
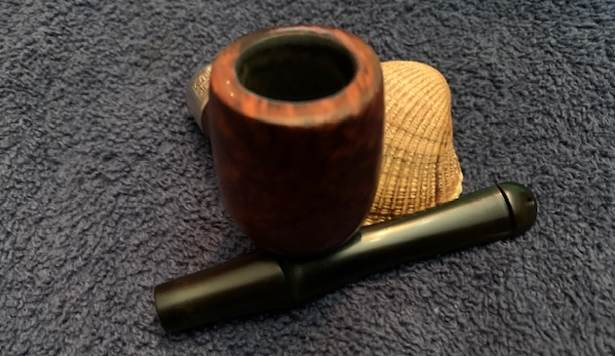
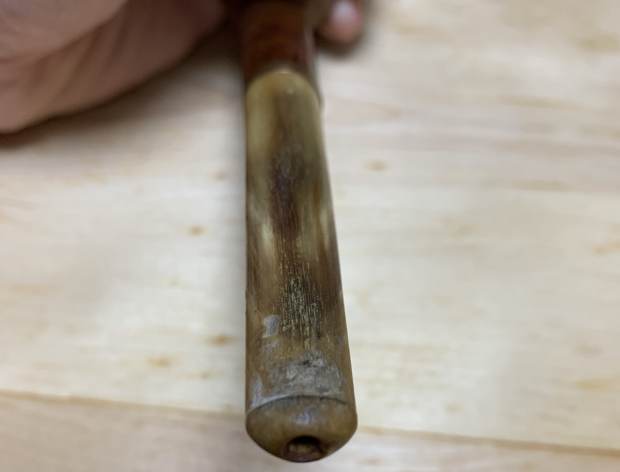
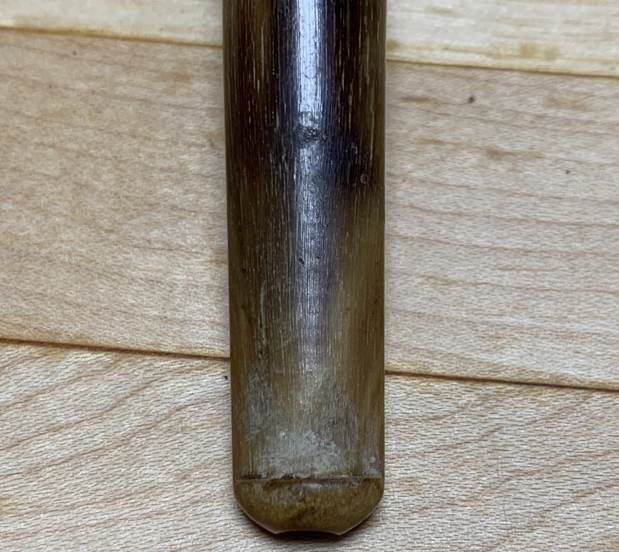
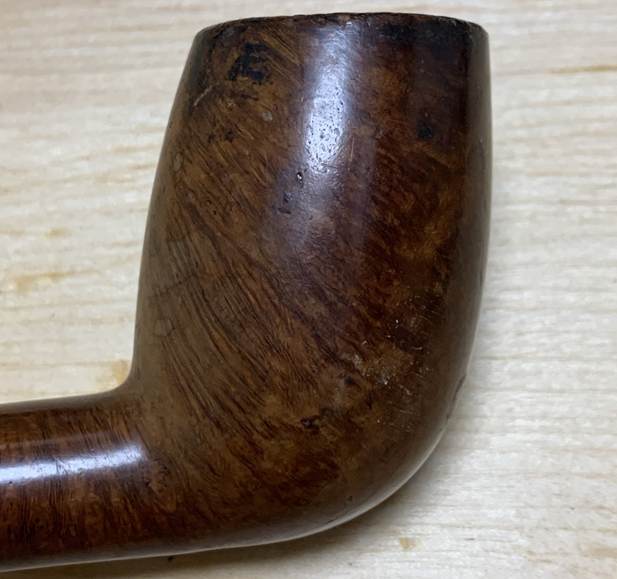
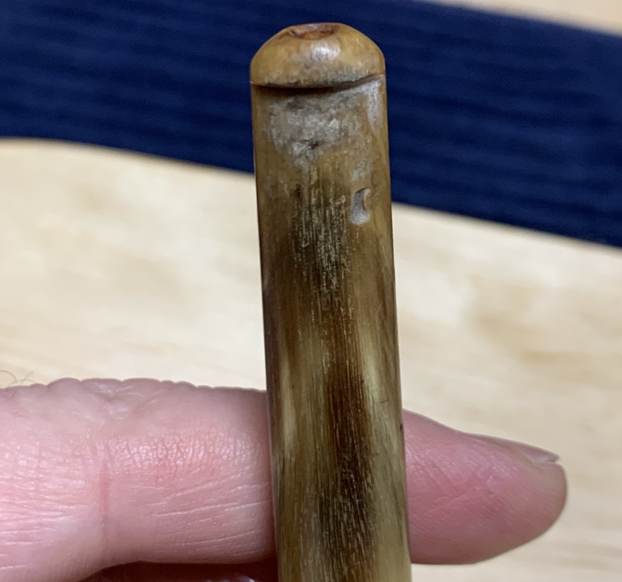
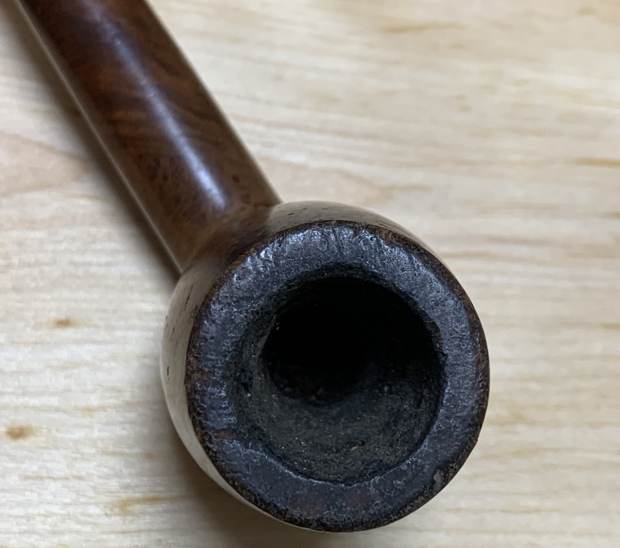
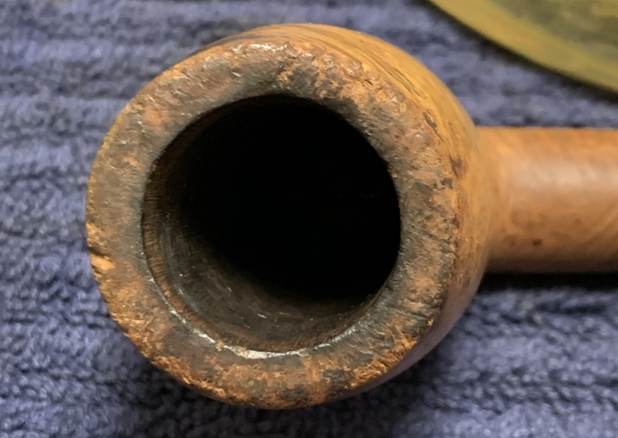
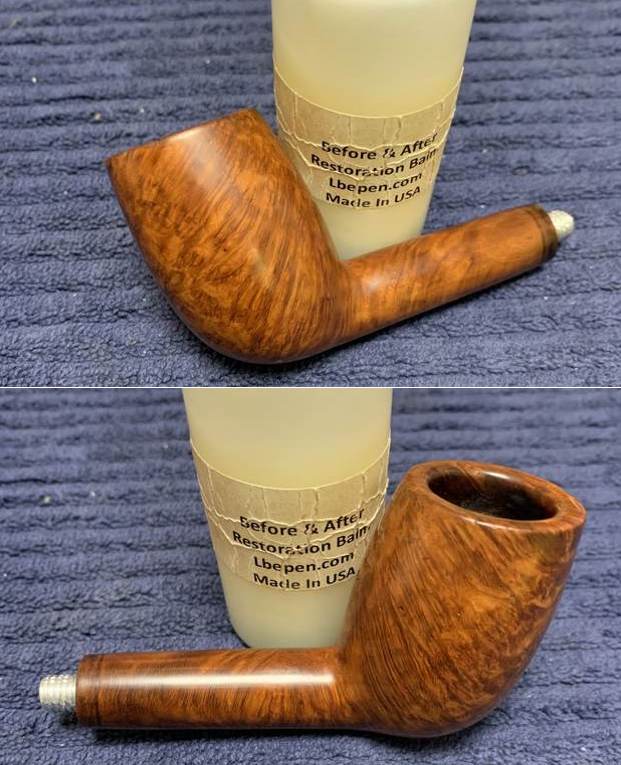
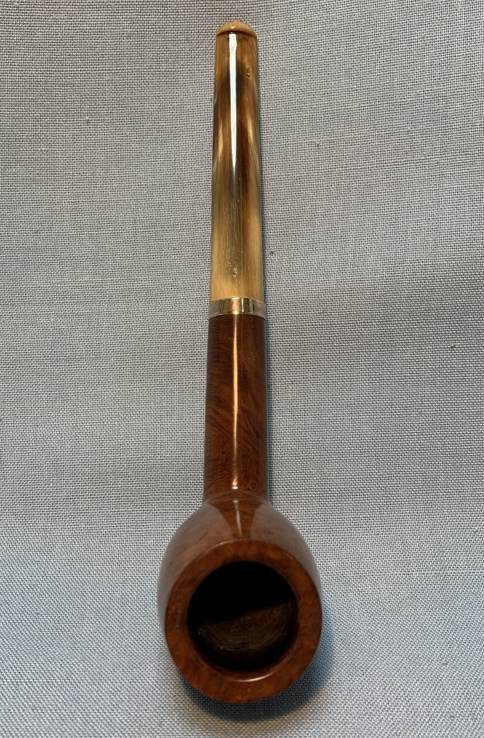
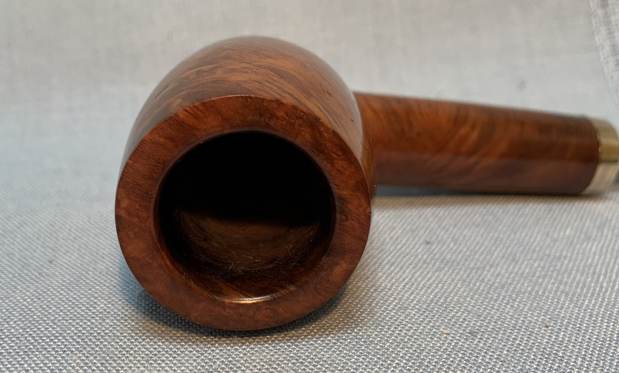
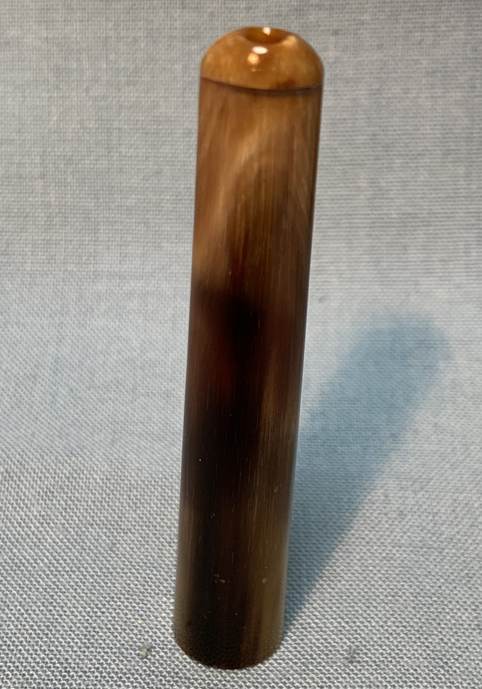
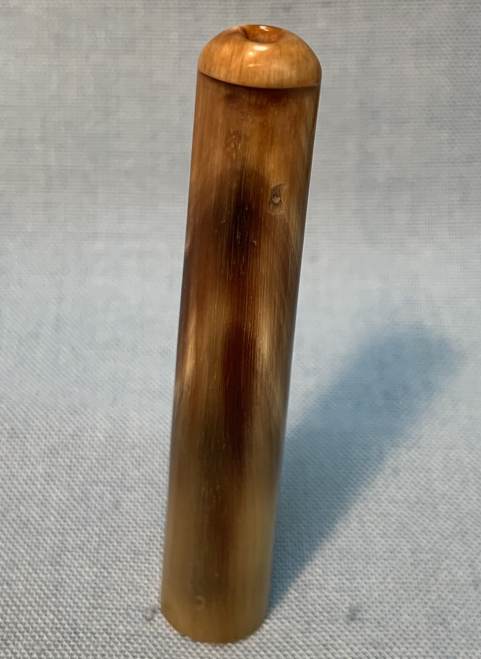
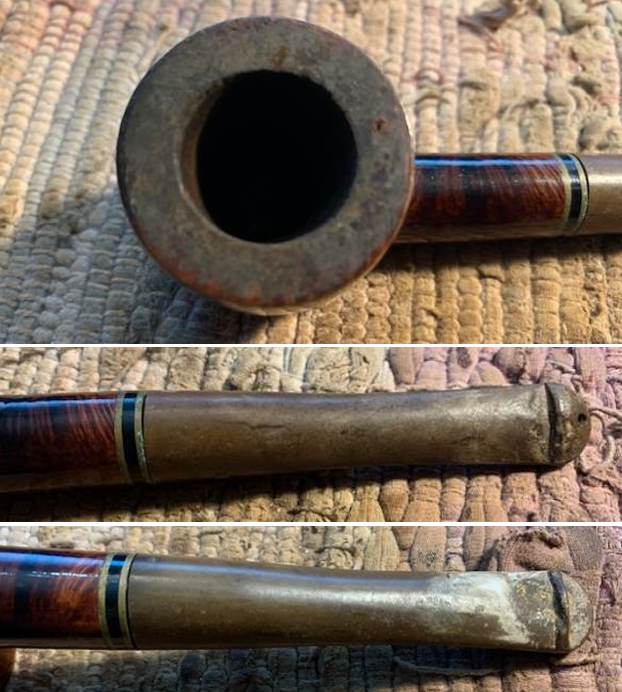
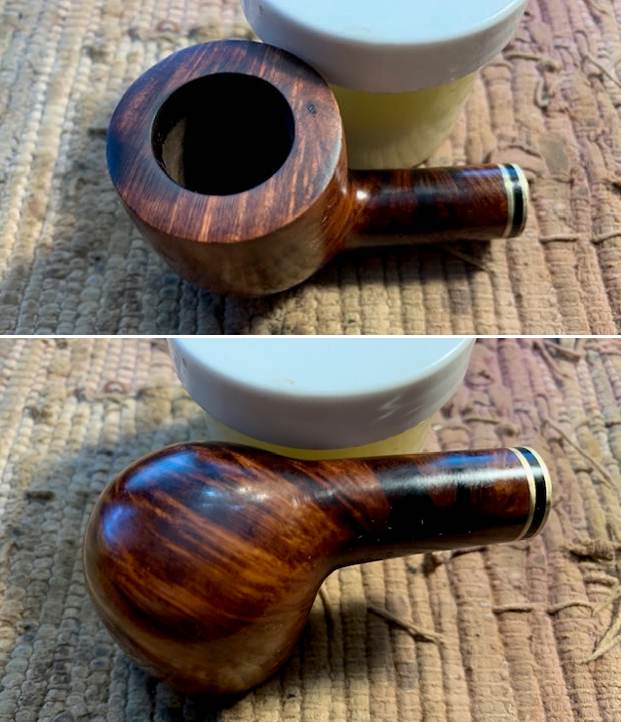
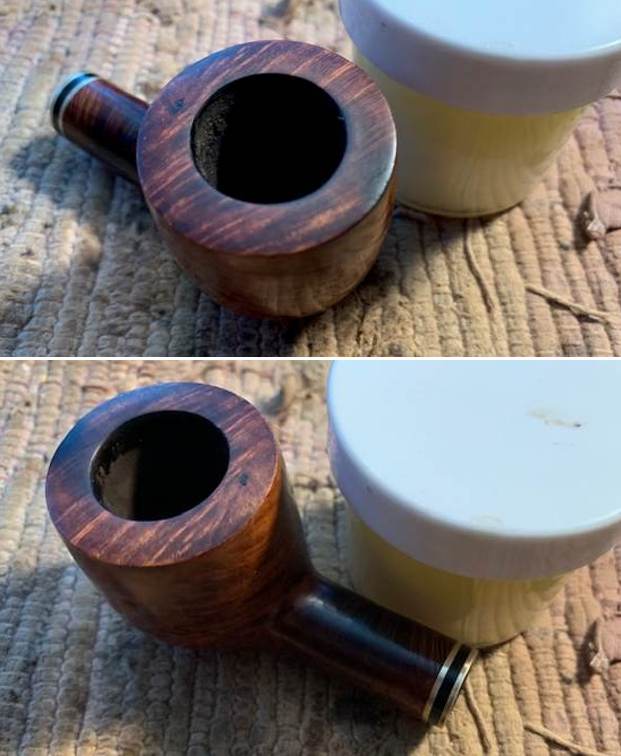
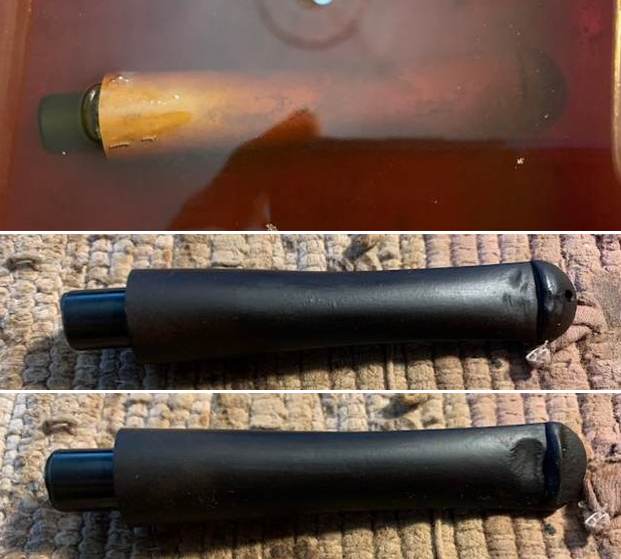
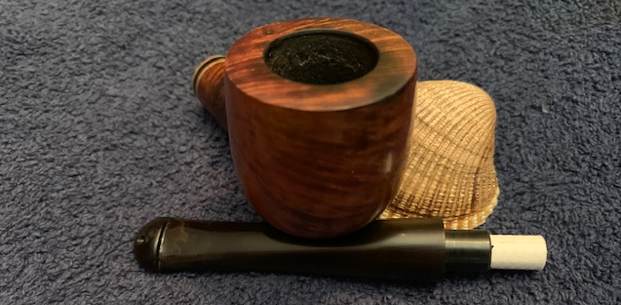
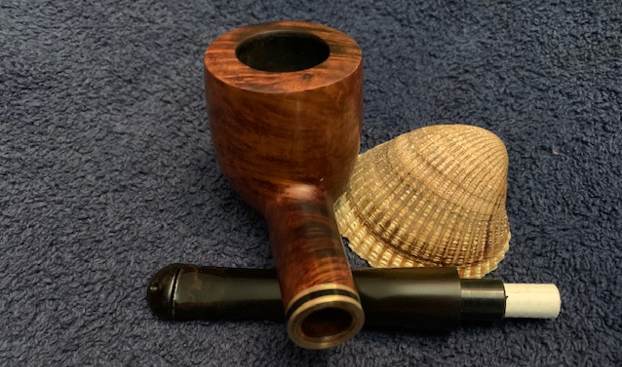
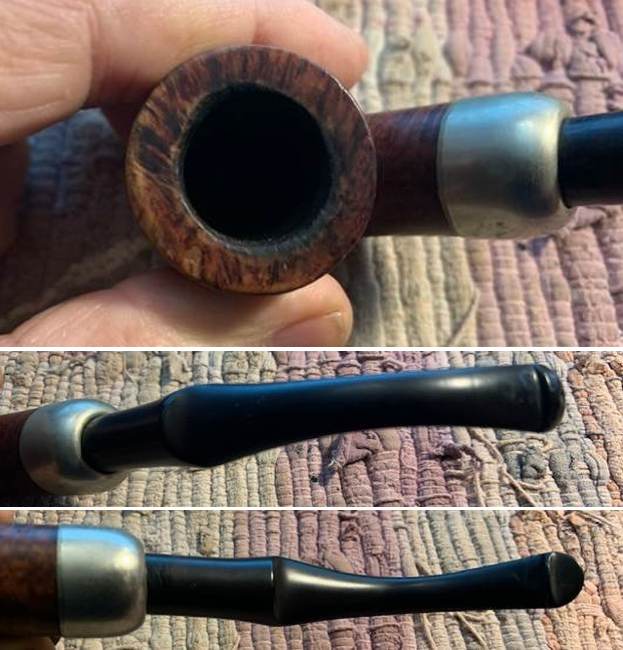
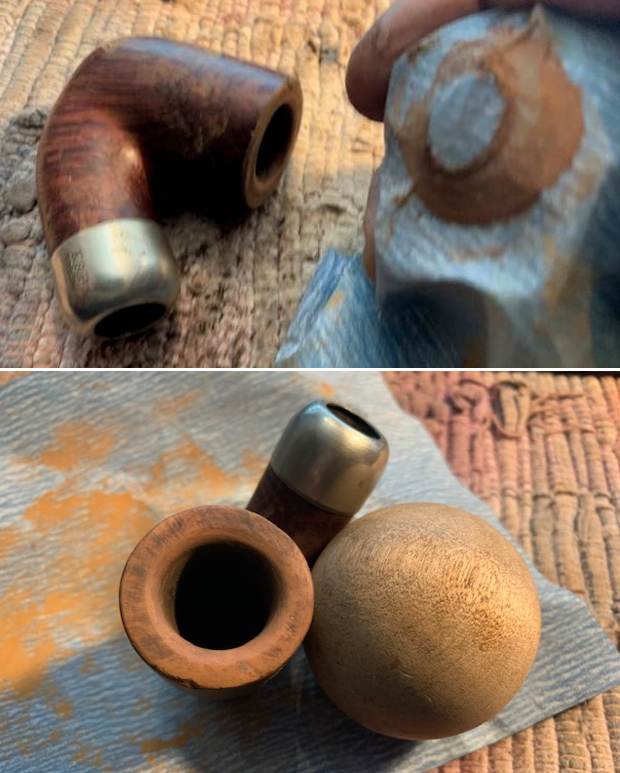
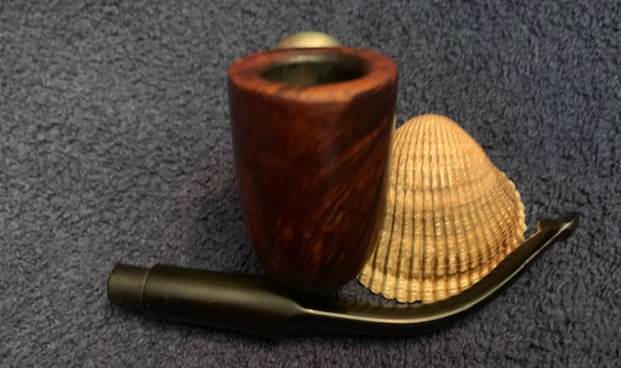
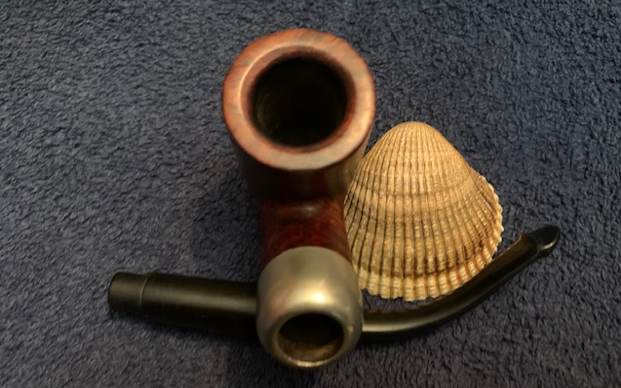
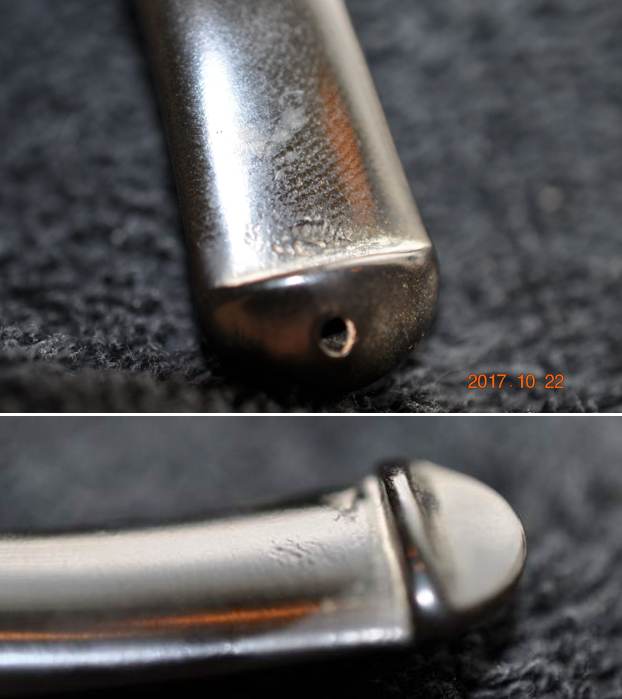
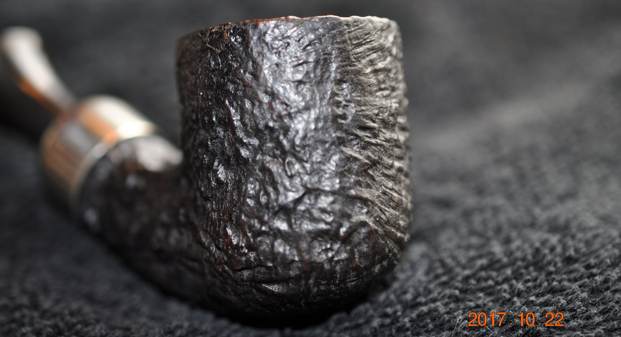
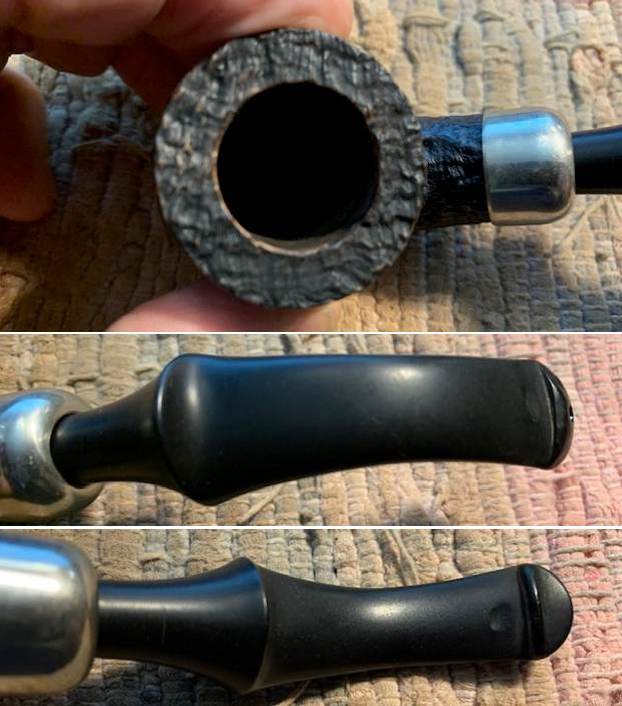
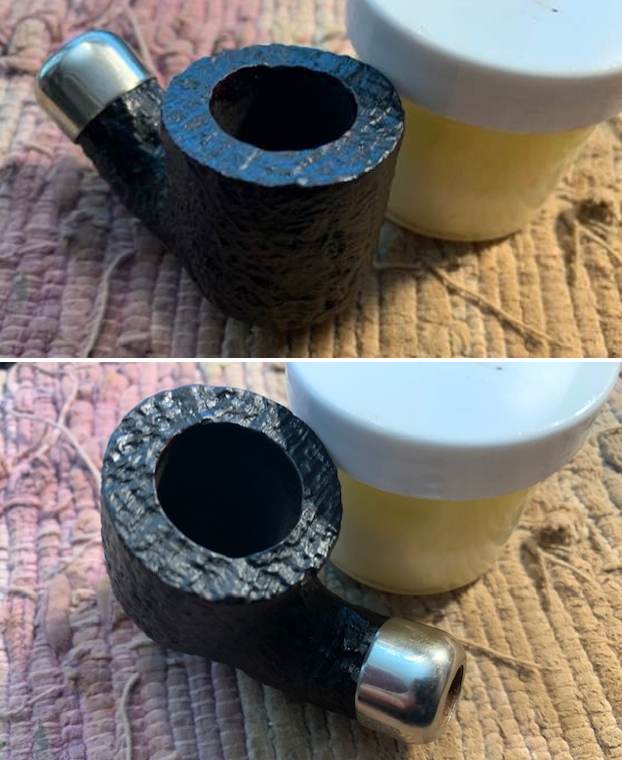
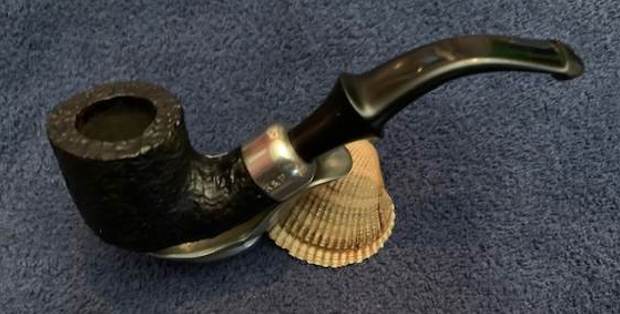
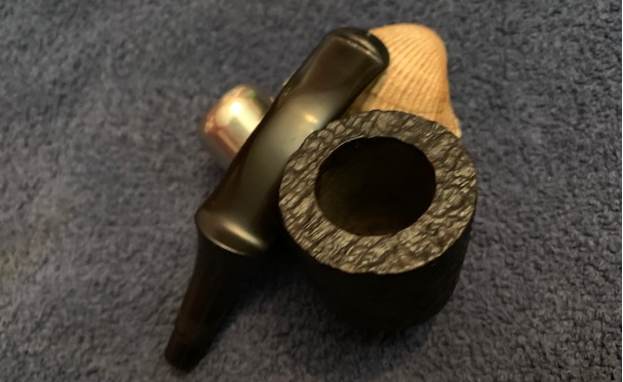
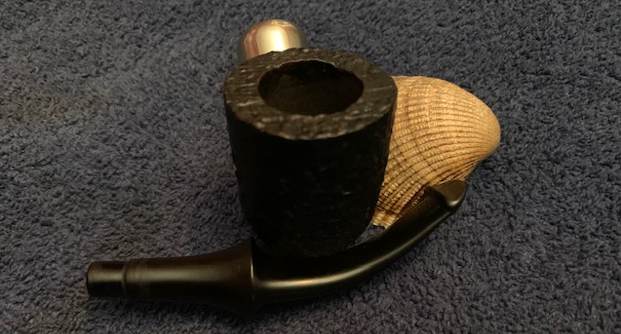
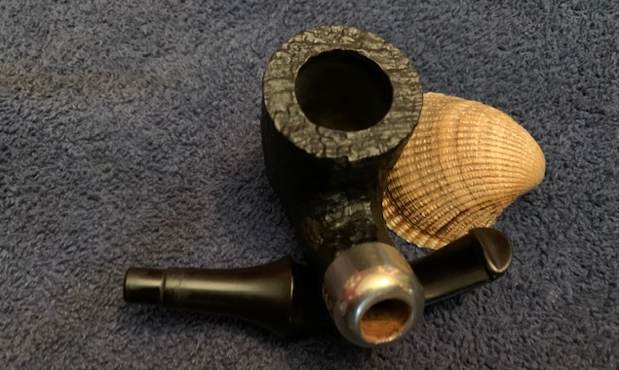
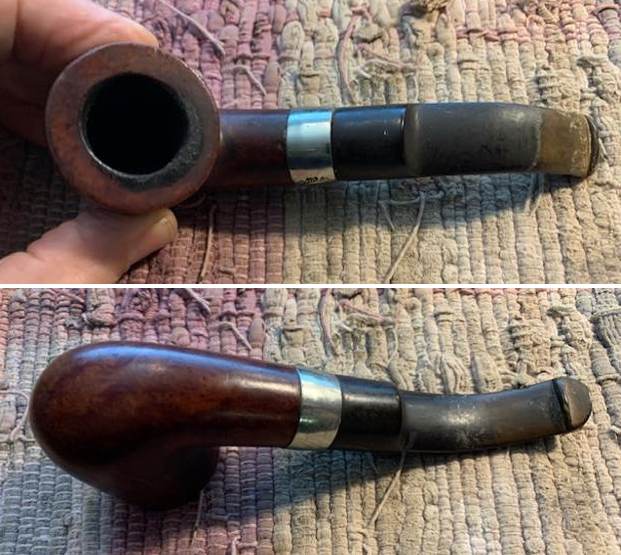
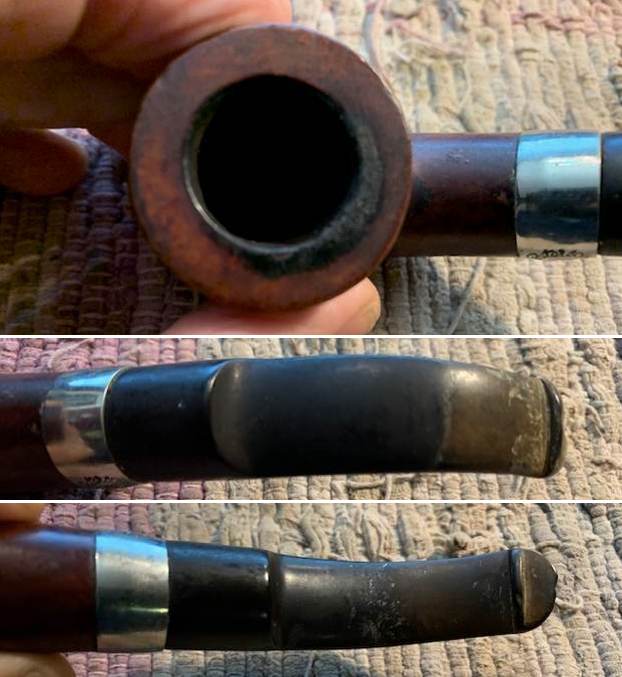
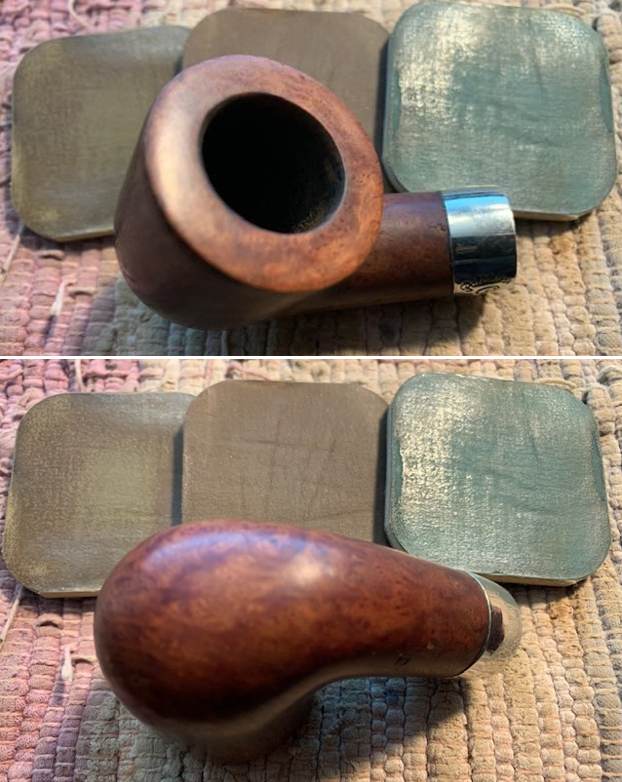
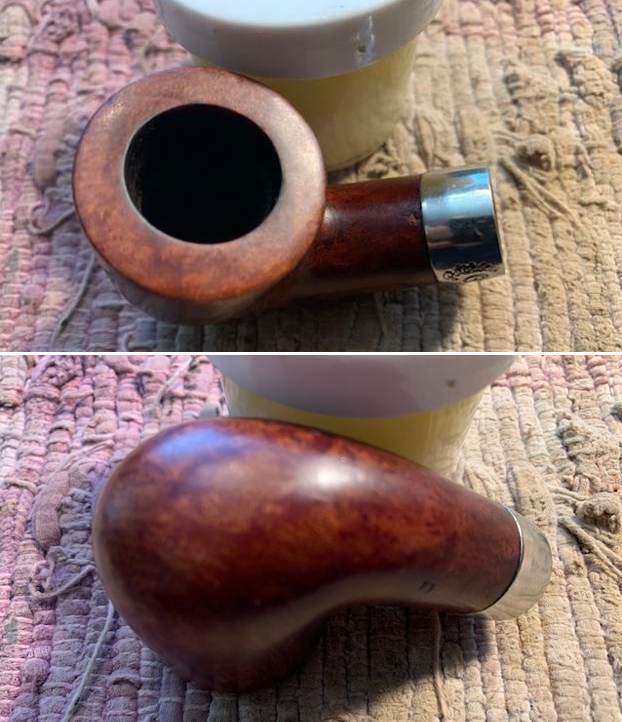
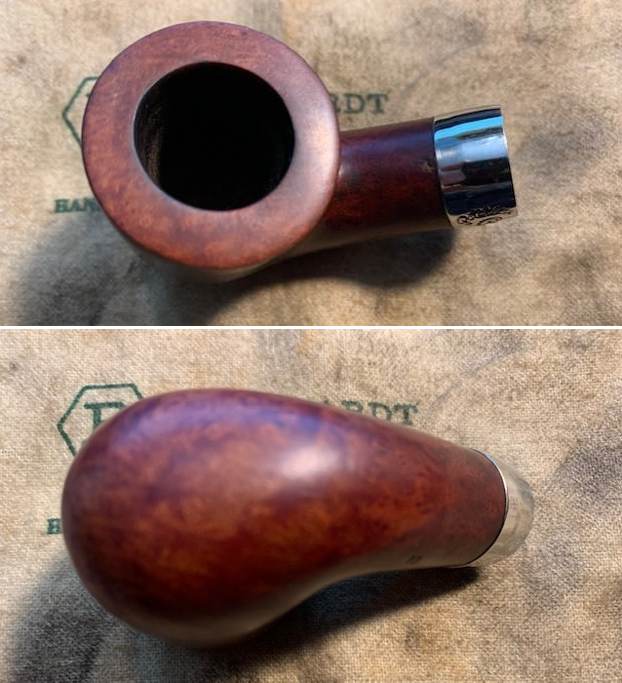
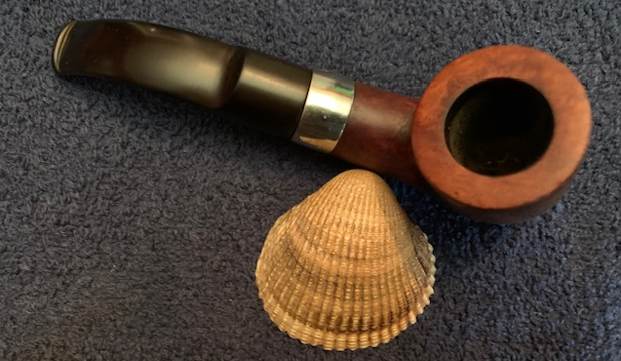
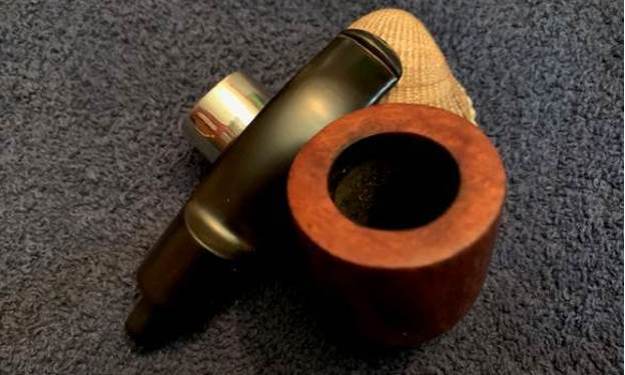
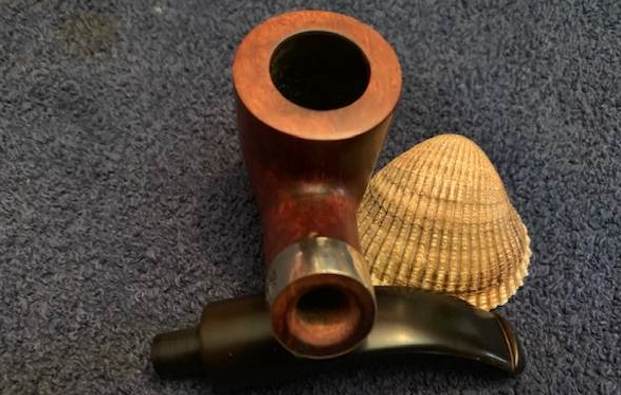
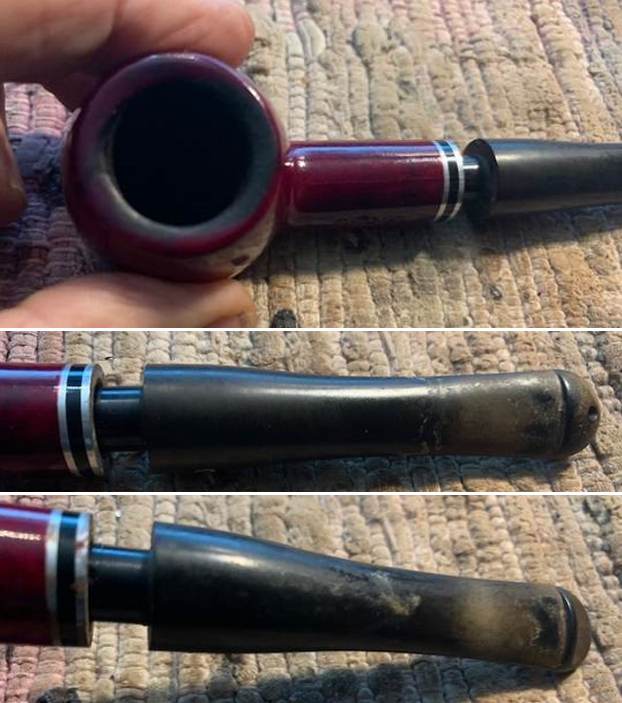
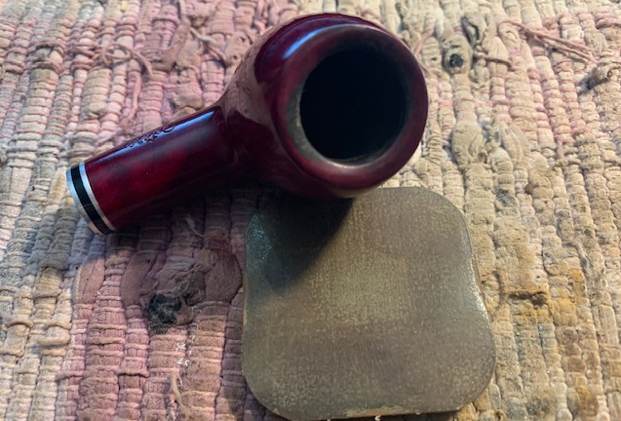
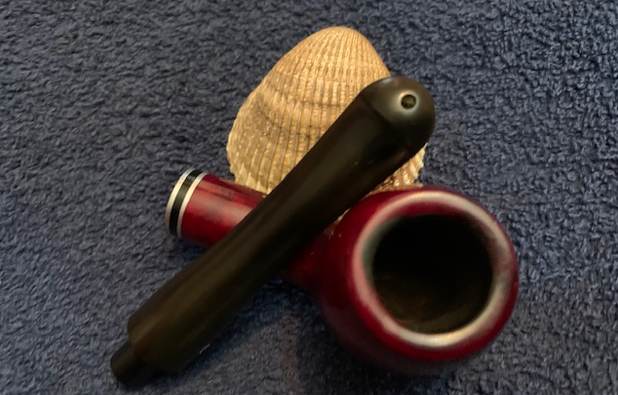
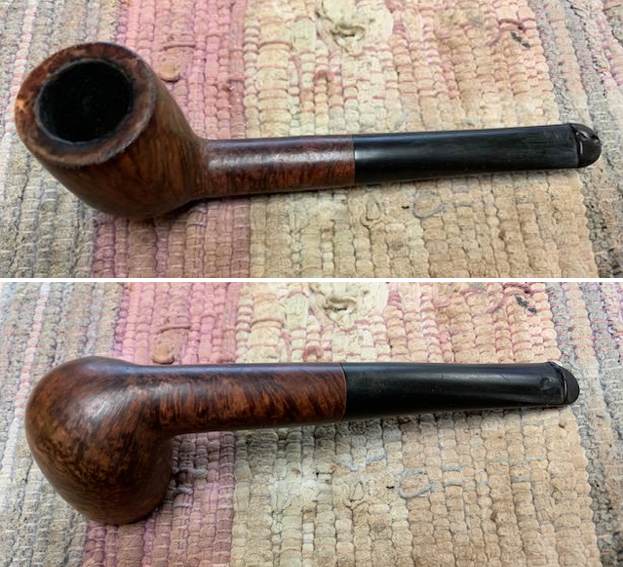 I took photos of the rim top and stem to show the general condition of the pipe. The bowl is clean and has been recently reamed. The rim top and edges had some darkening and there was some lava in the sandblast of the finish on the back side. The photos of the stem show that it was lightly oxidized and has tooth marks on the top and underside near the button.
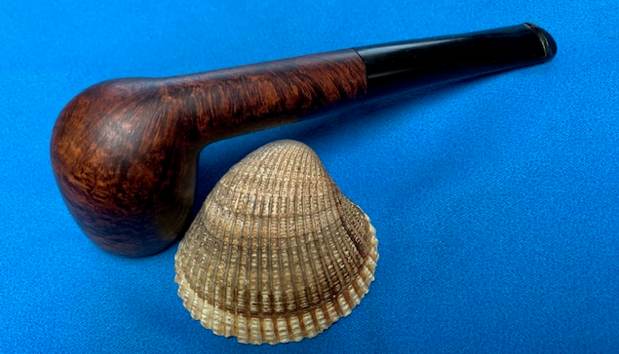
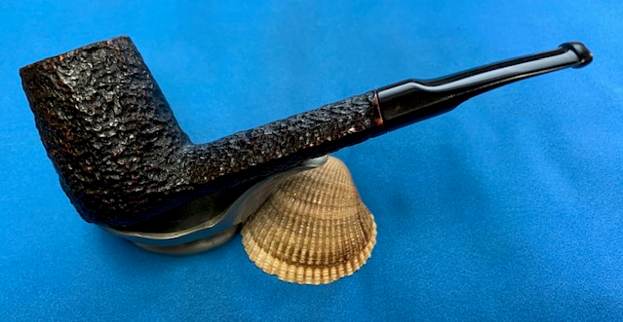
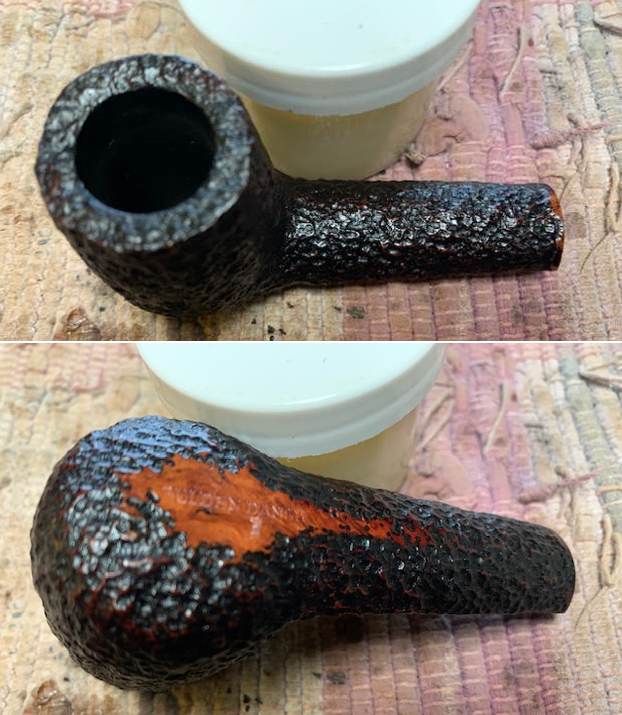
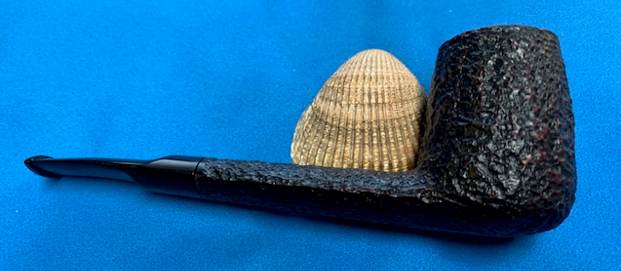
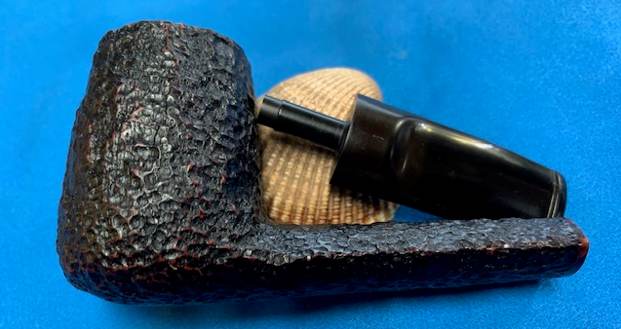
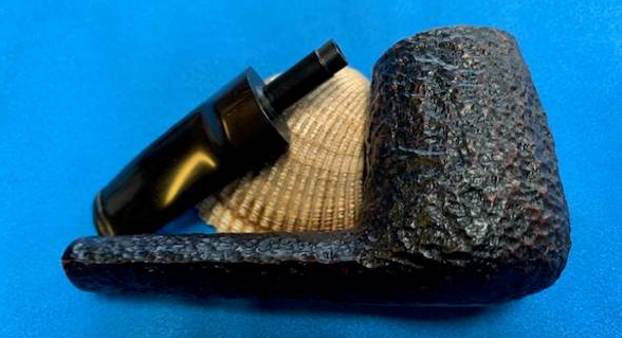
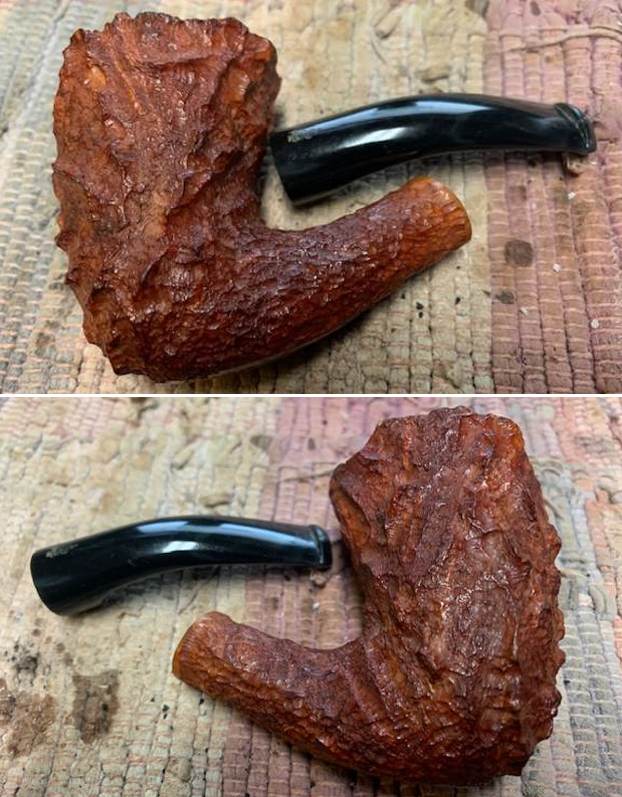
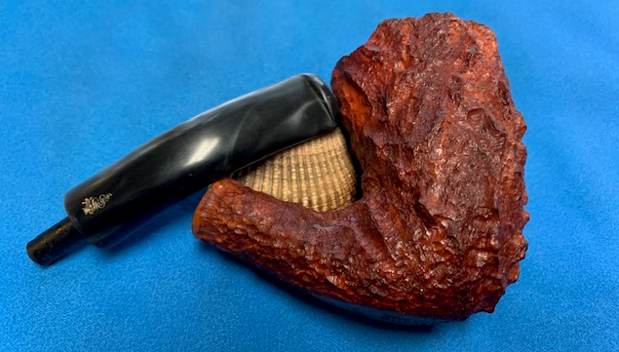
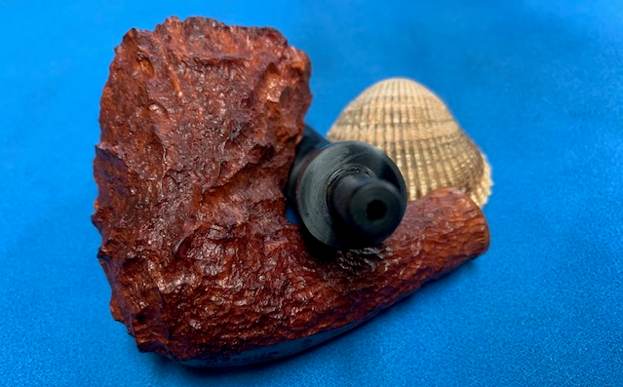
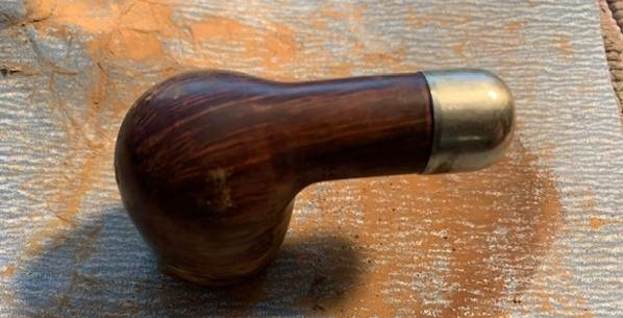
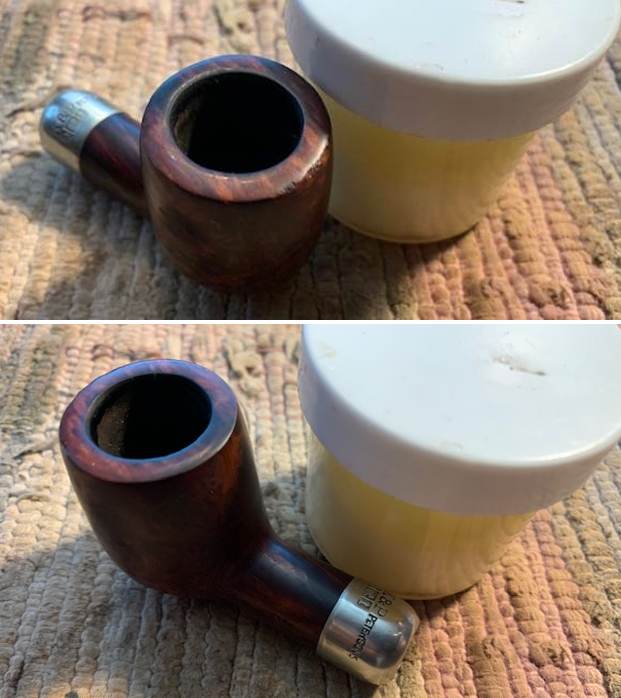
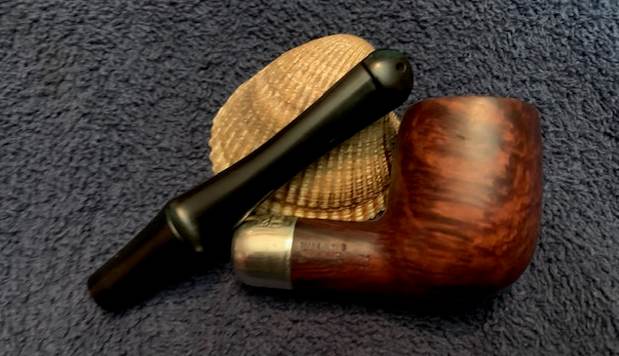
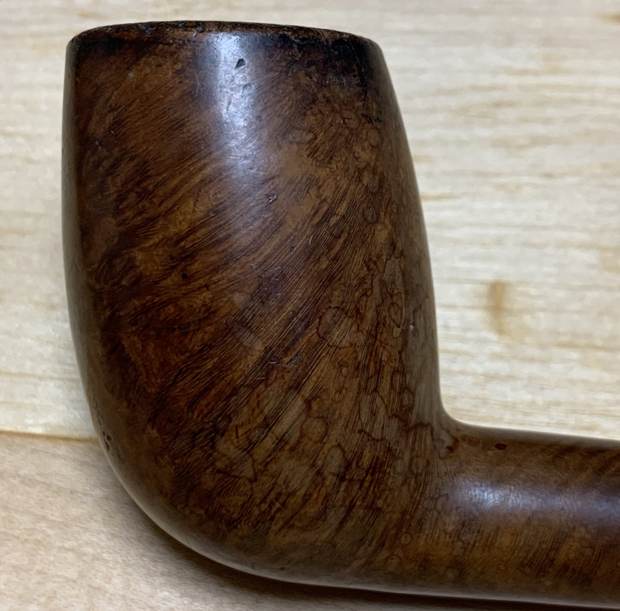
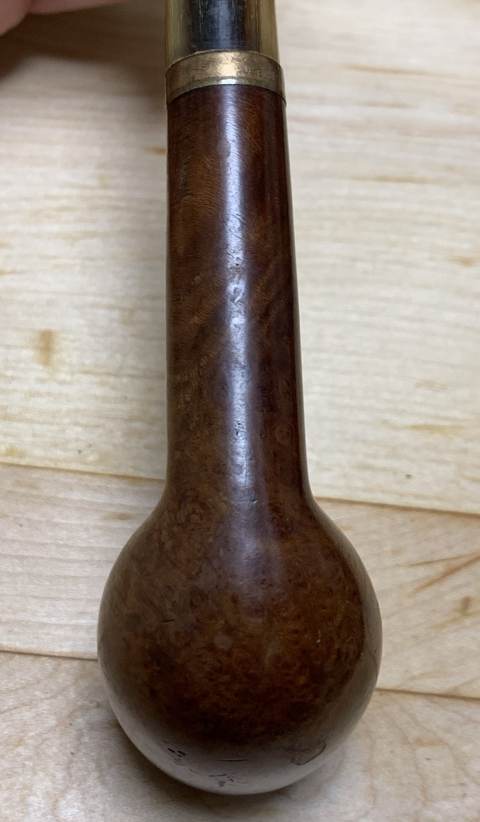
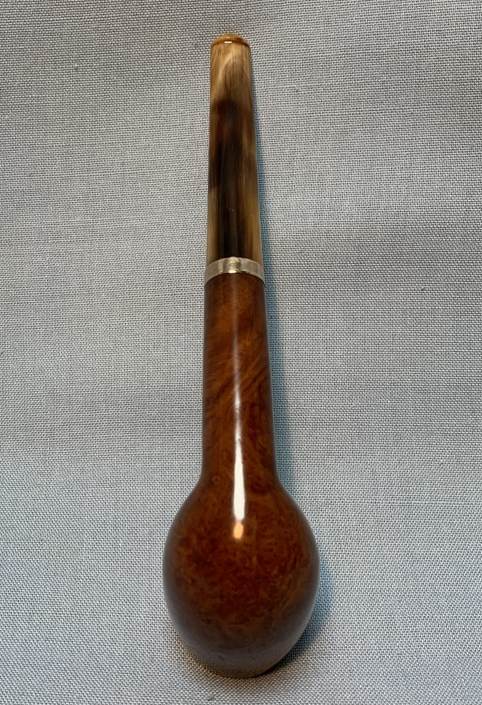
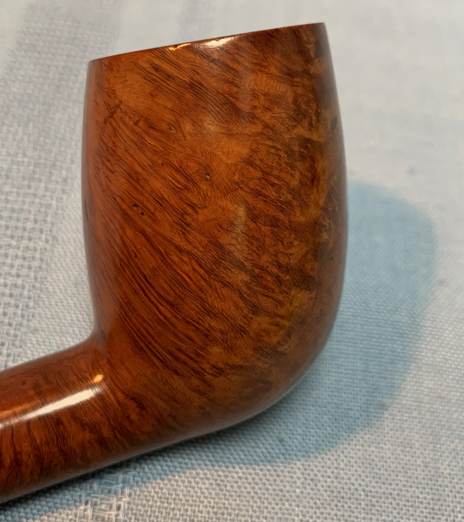
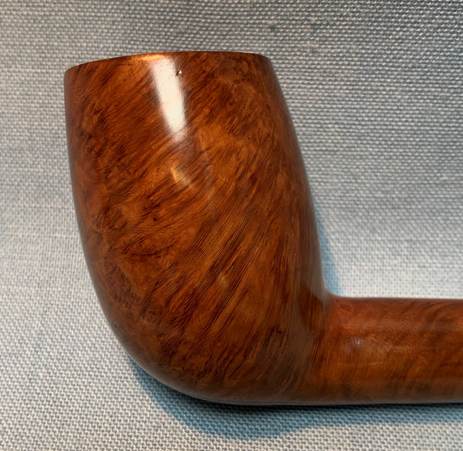
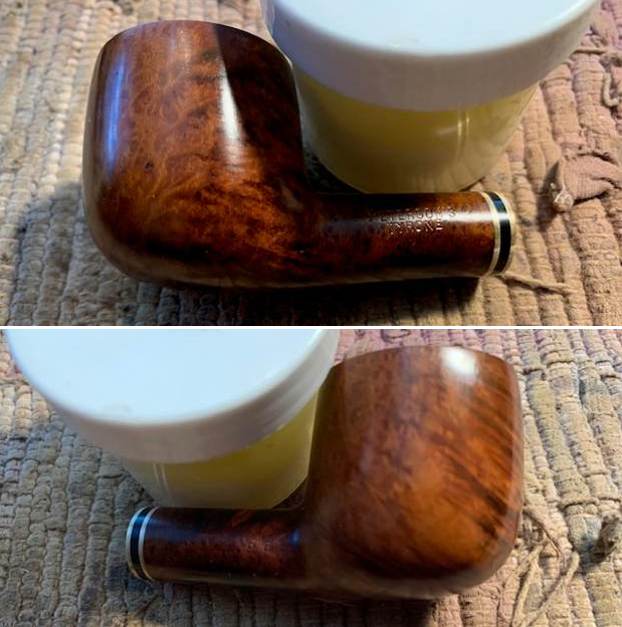
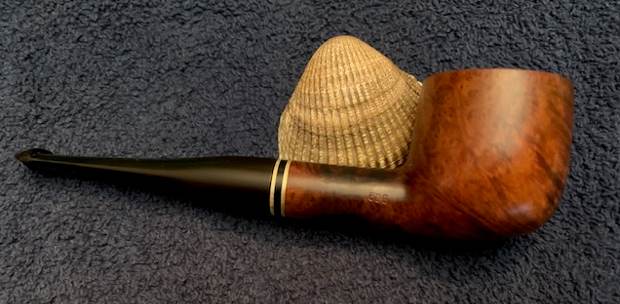
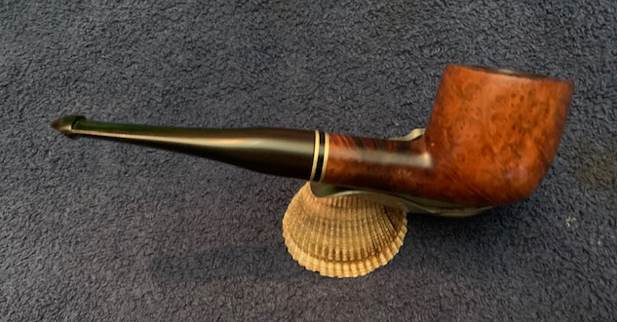
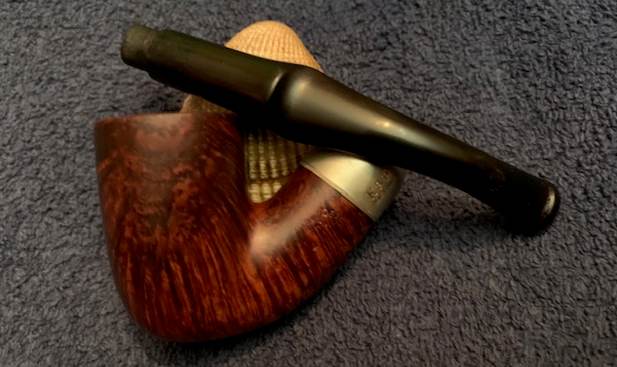
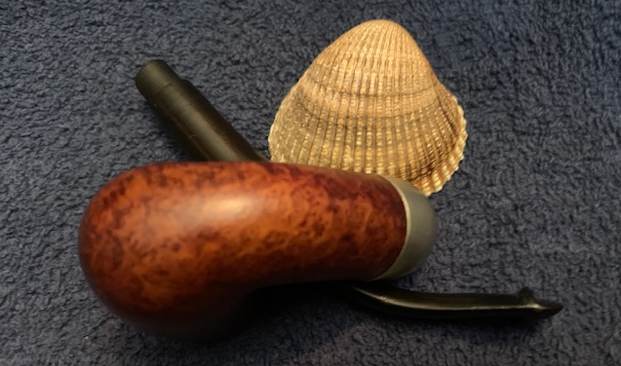
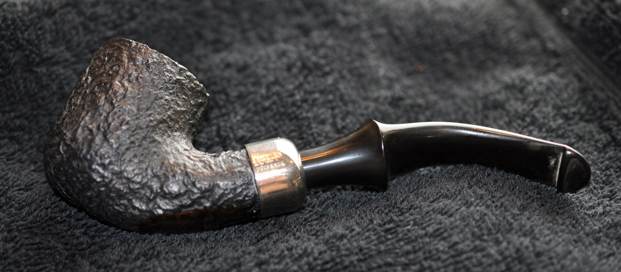
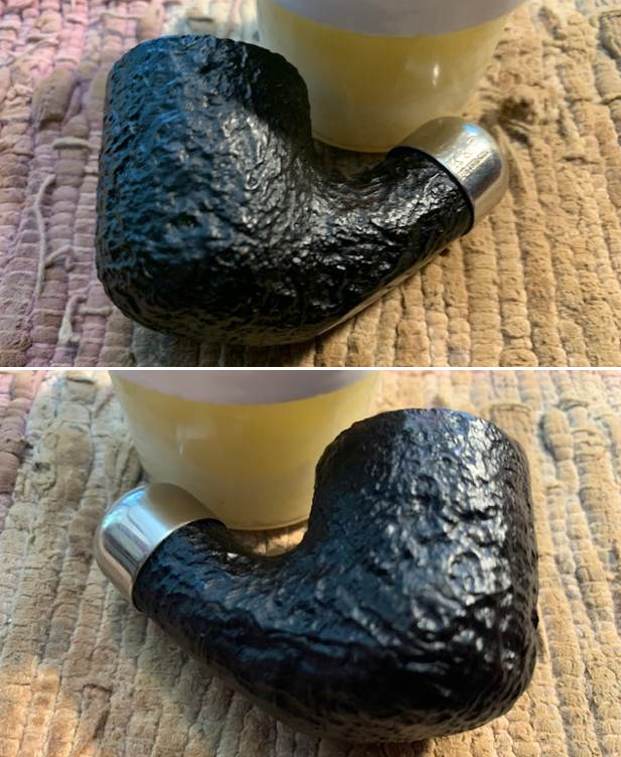
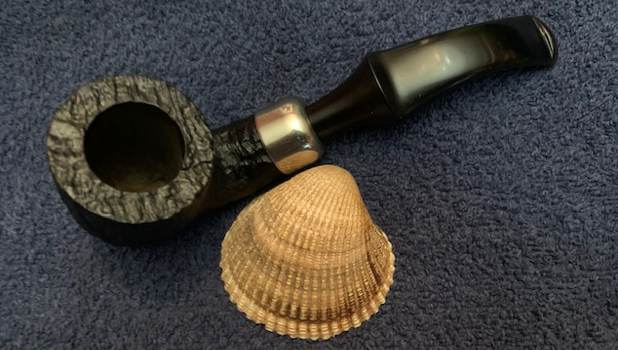
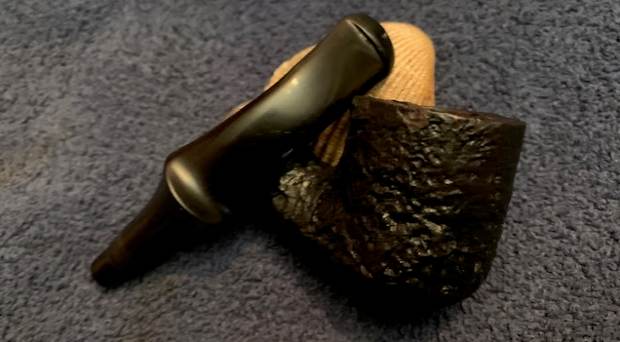
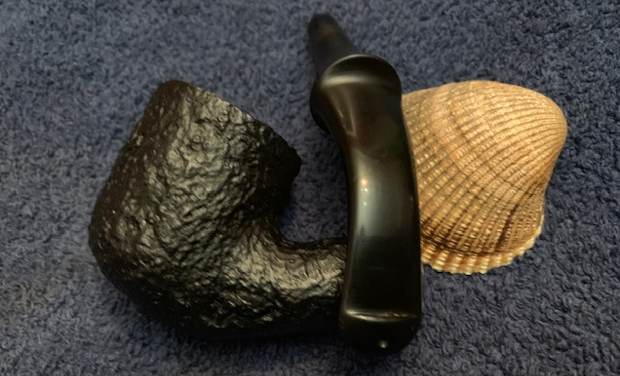
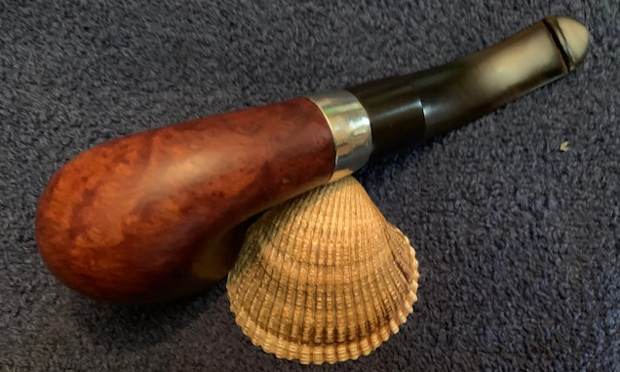
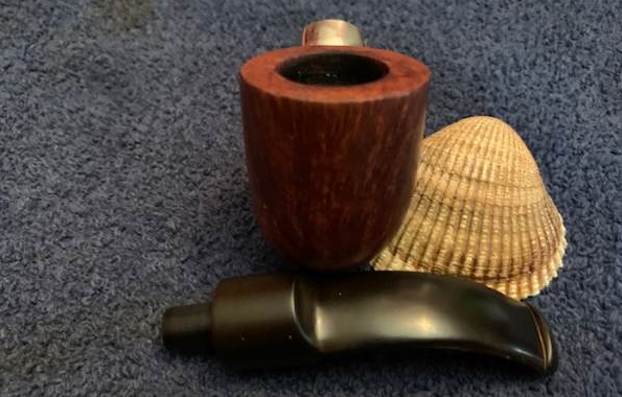
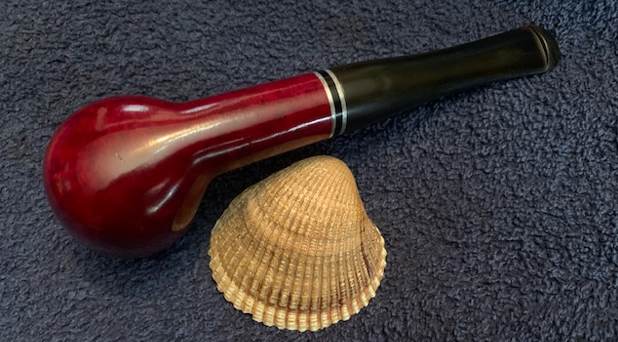
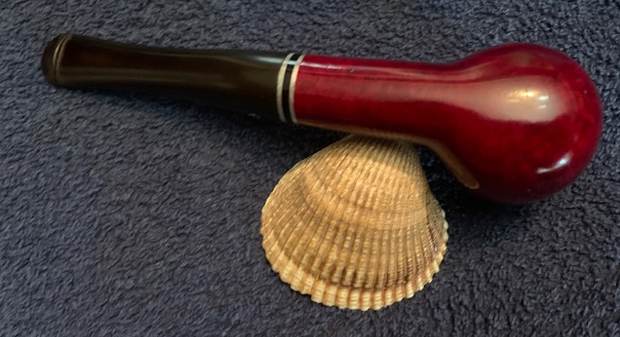
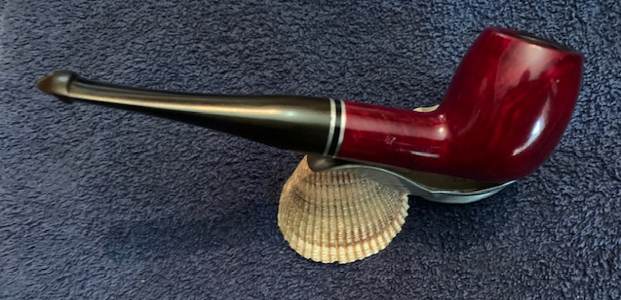
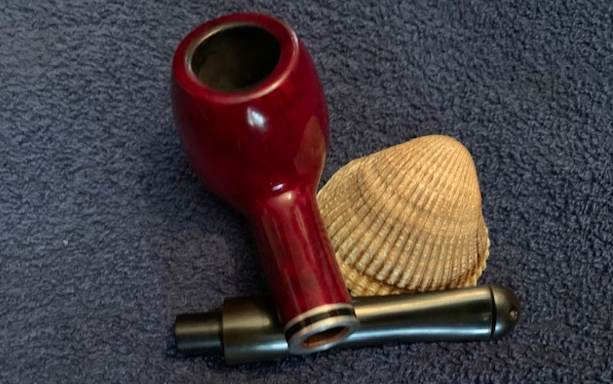
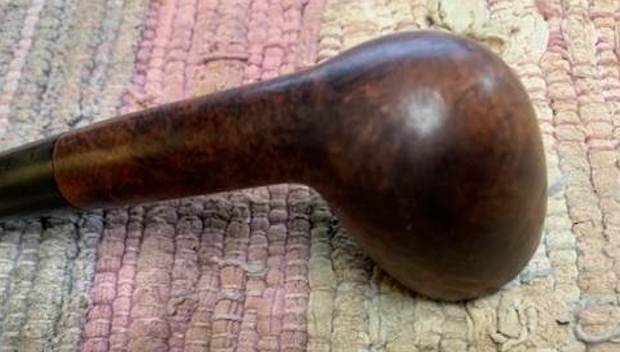
 I took photos of the bowl sides and heel to show the blast that was around this bowl. It is a great sandblast and the choice of stain adds depth to the appearance of the bowl.
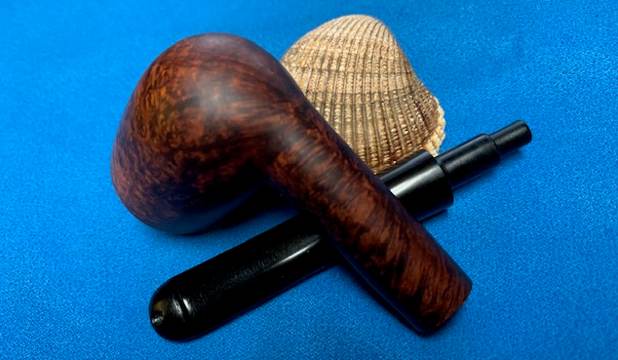
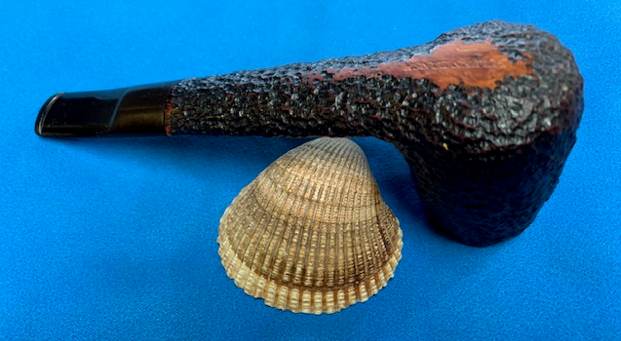
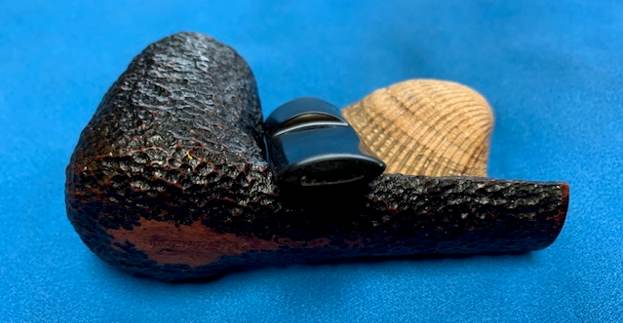
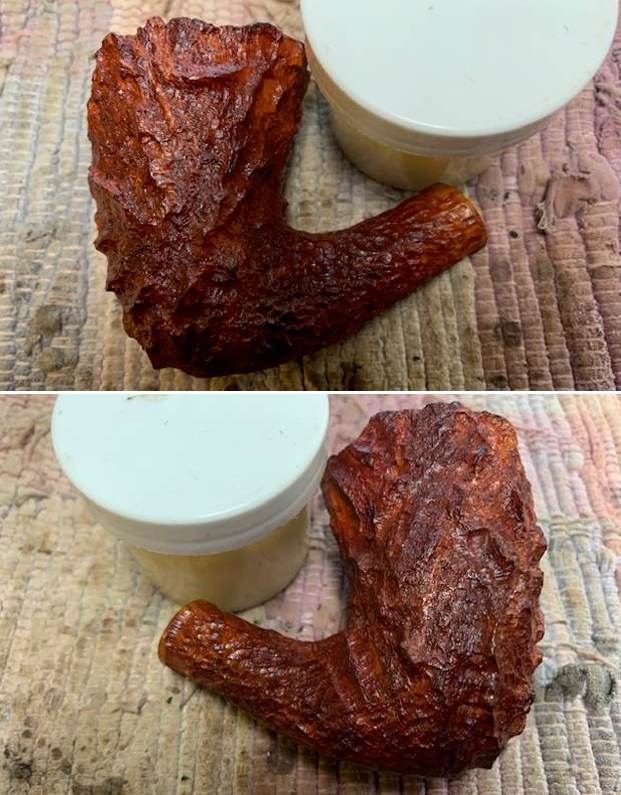
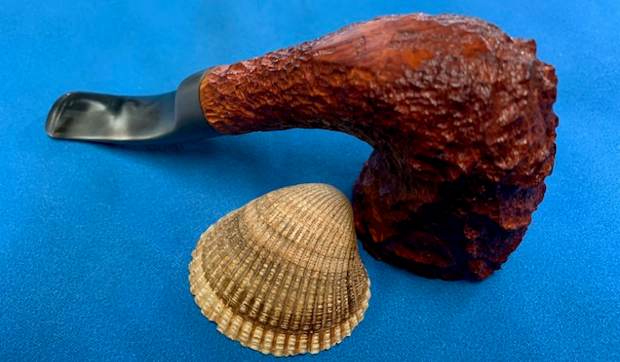
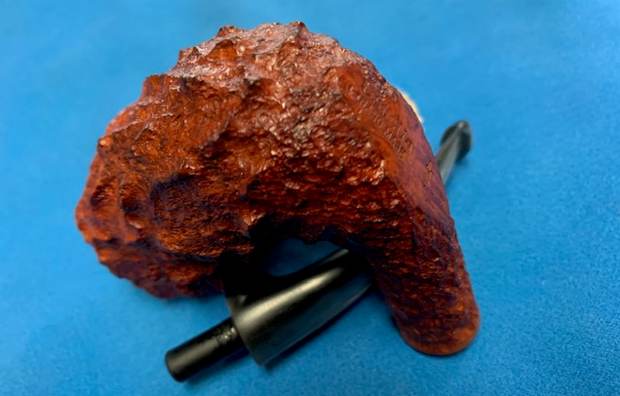
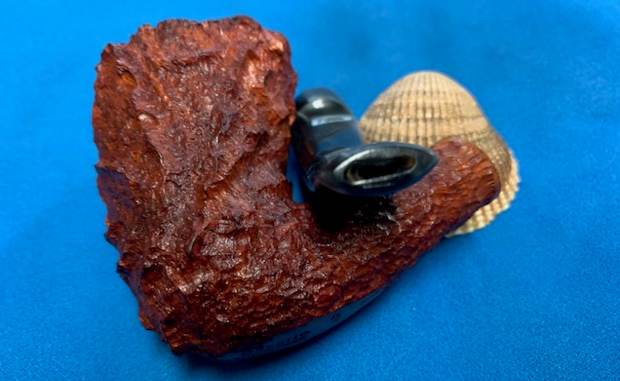
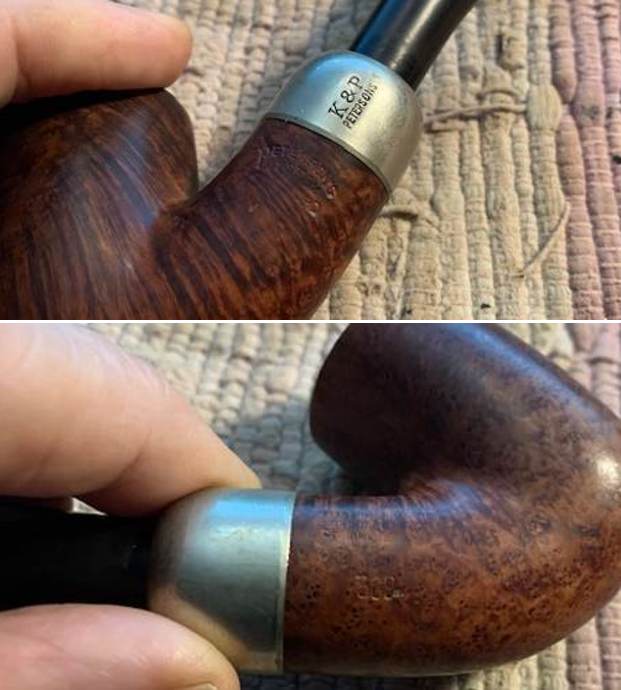
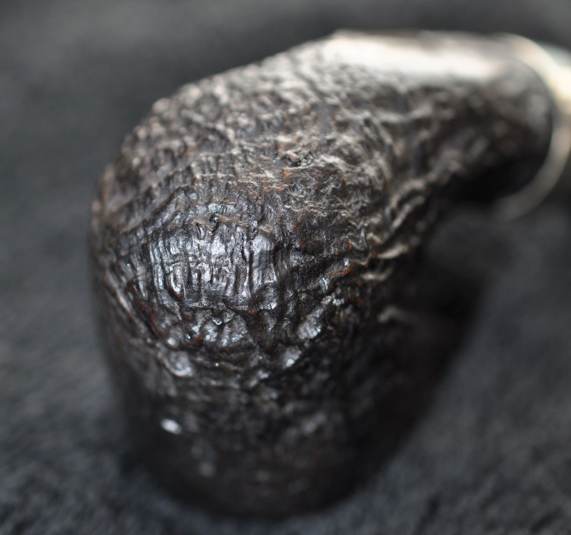
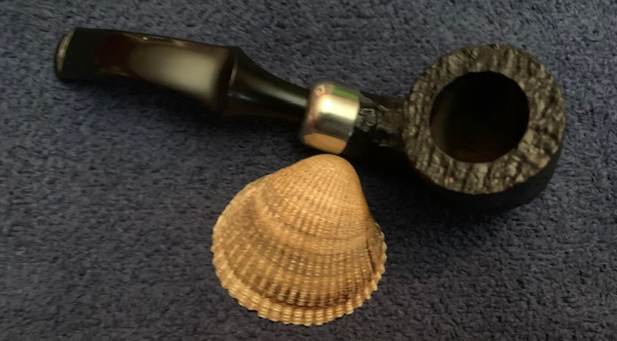
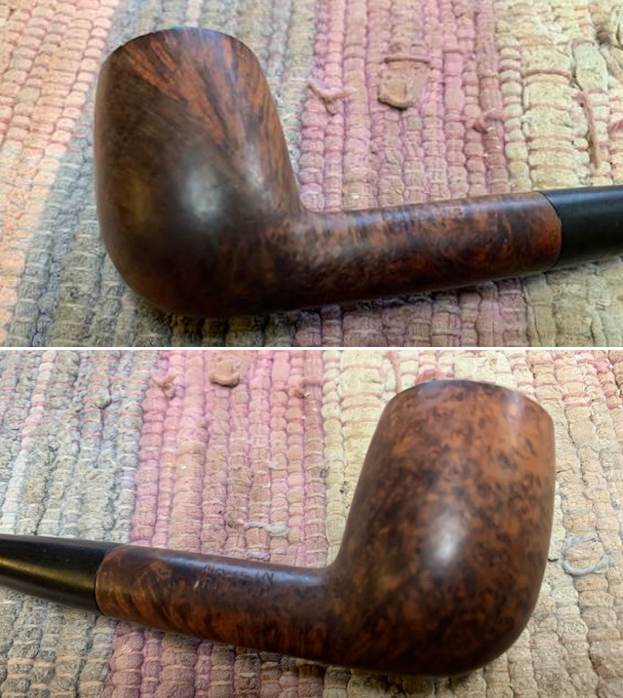
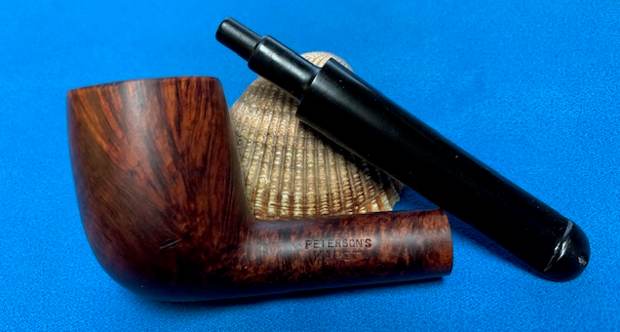
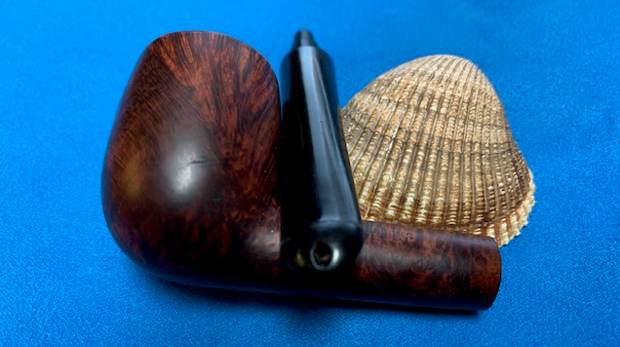
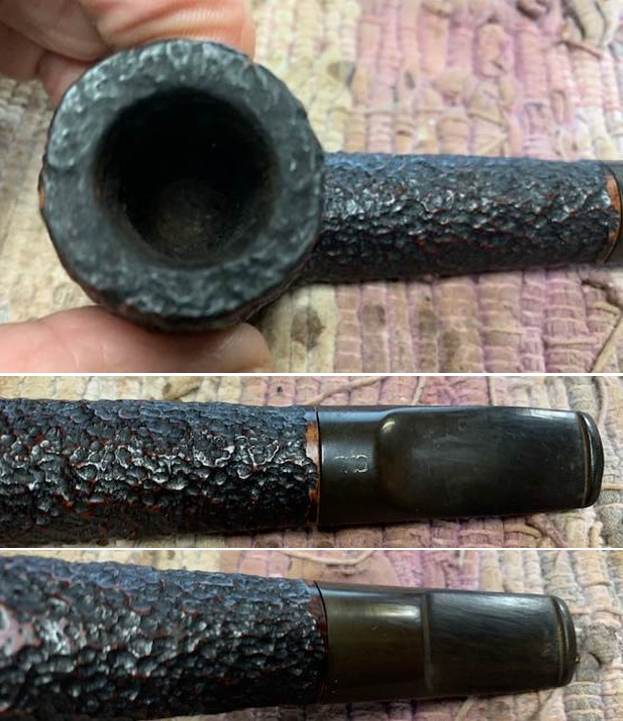
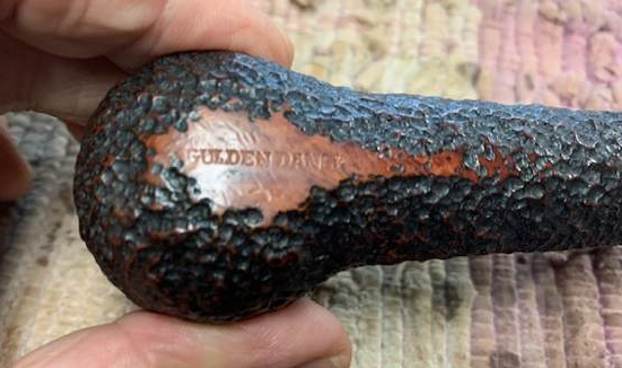
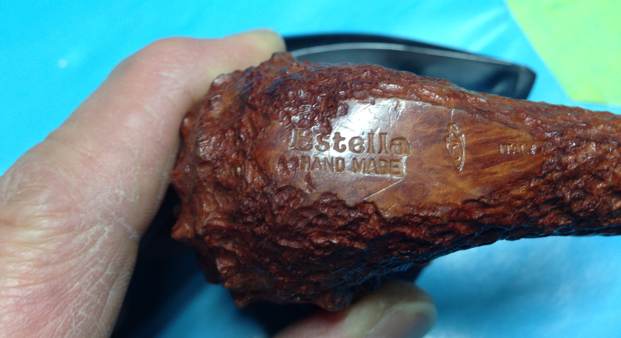
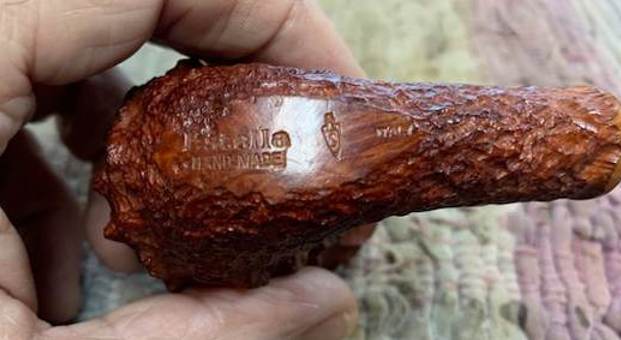
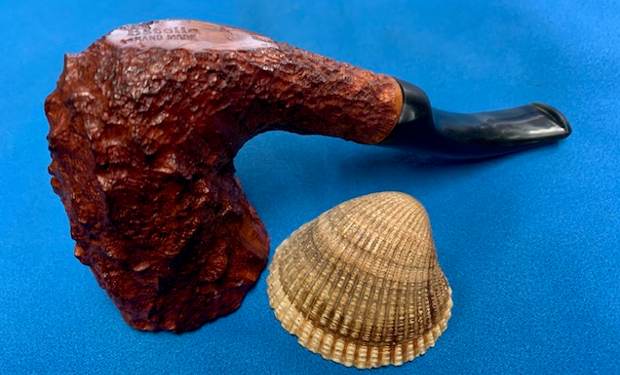
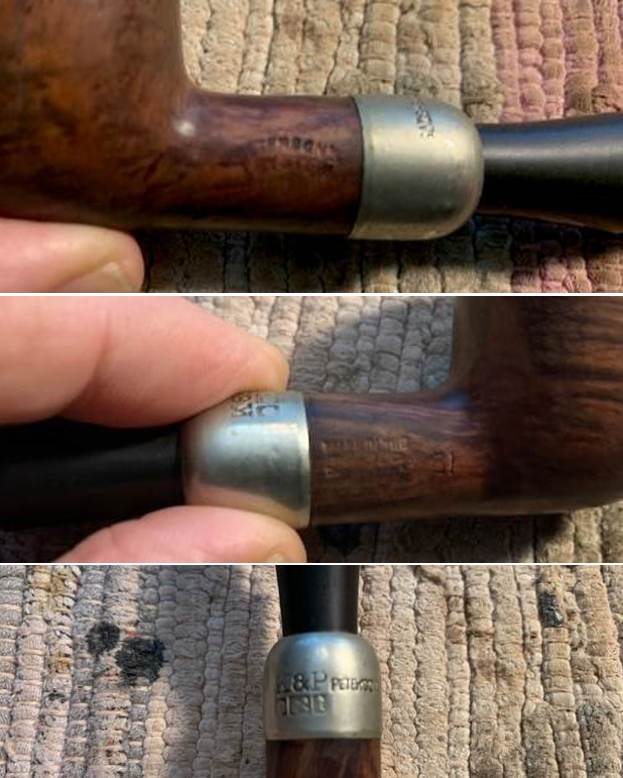
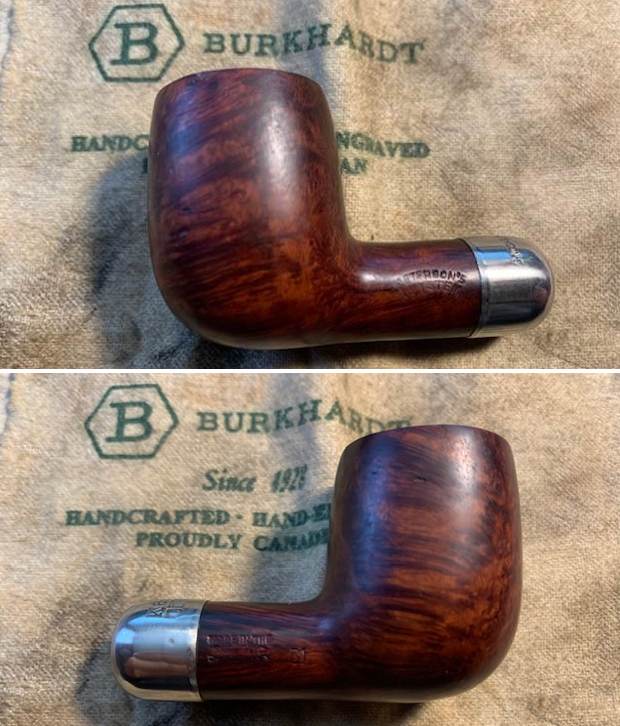
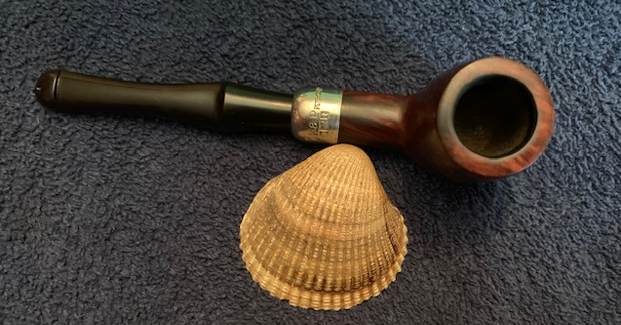
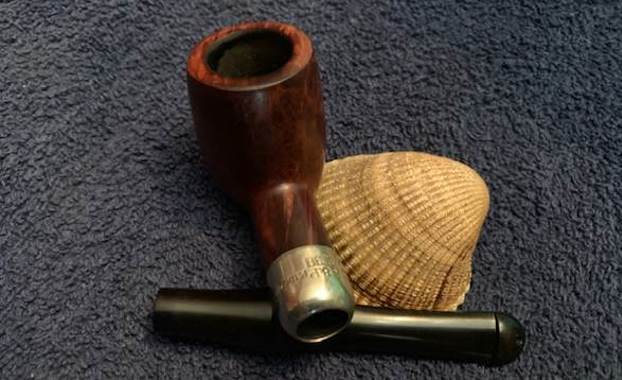
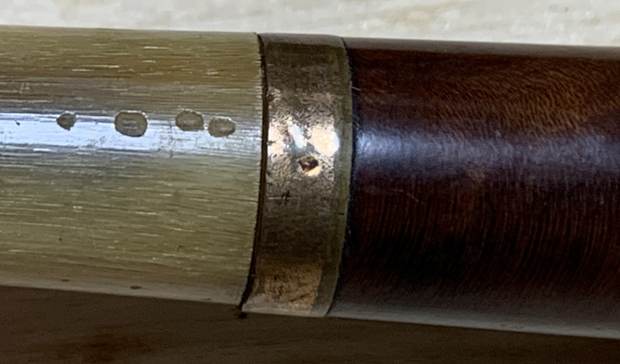
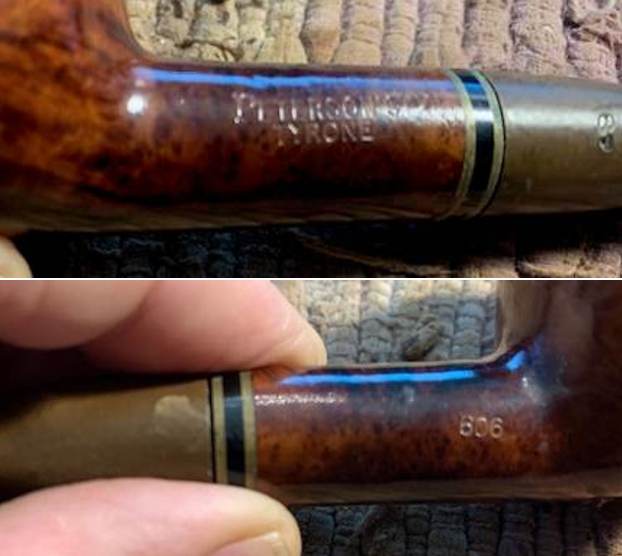
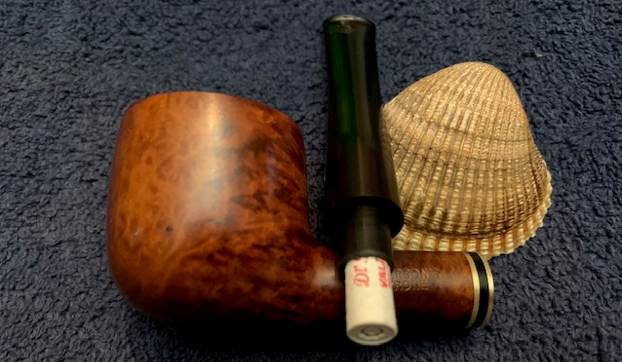
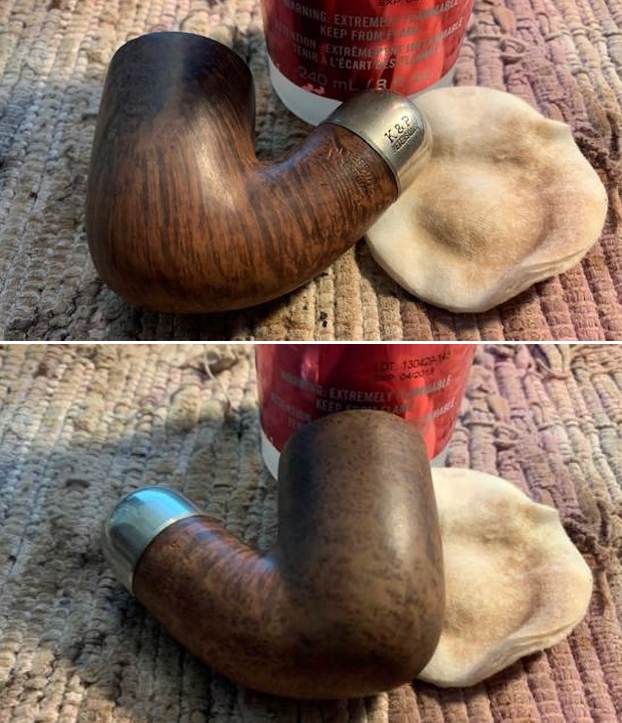
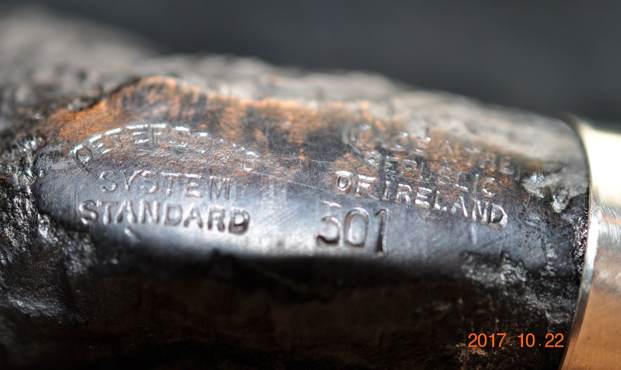
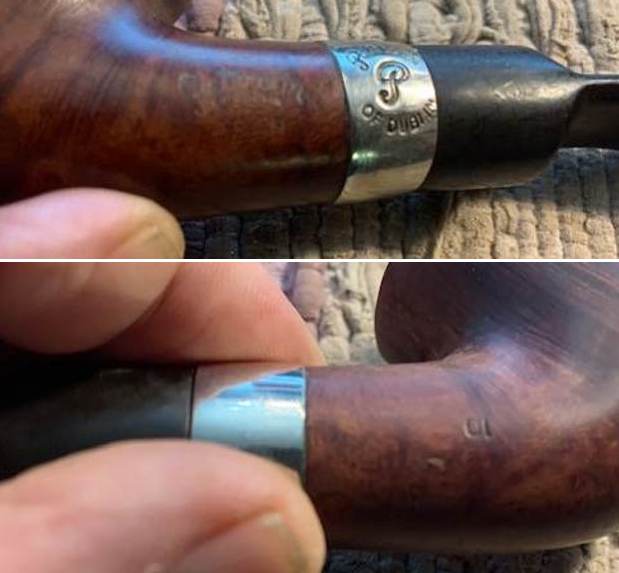
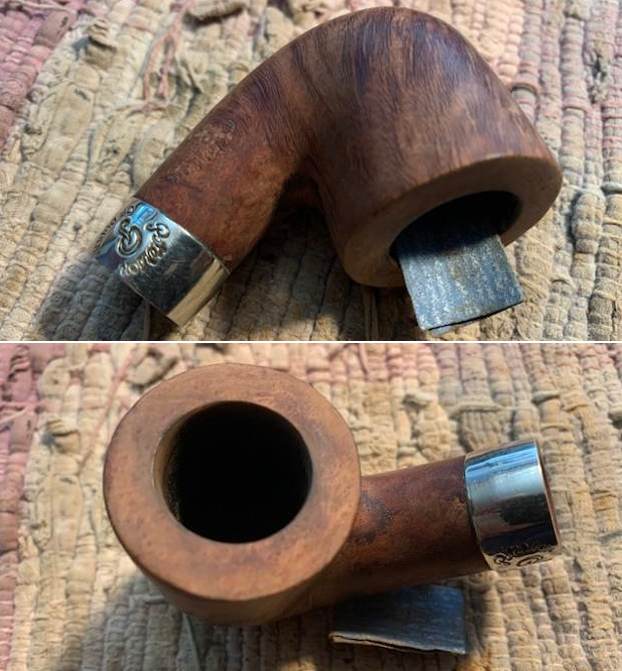
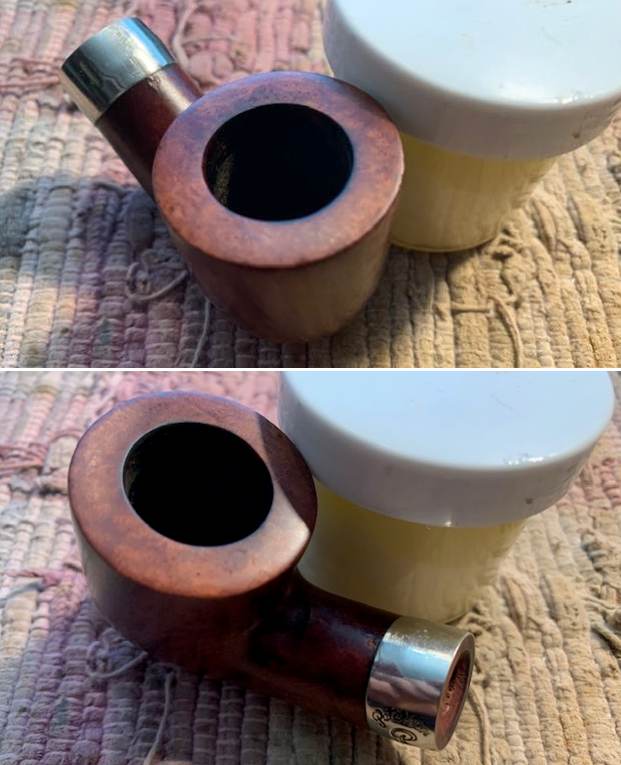
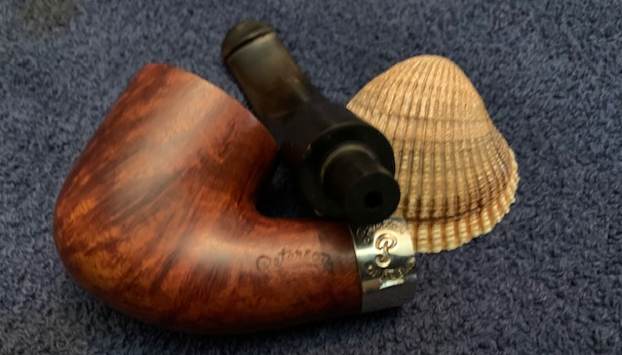
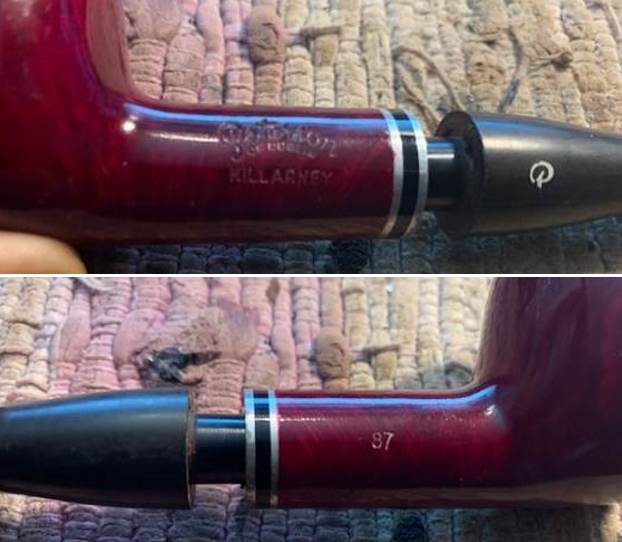
 I took a photo of the stamping on the sides of the shank. It is clear and readable and reads as noted above.
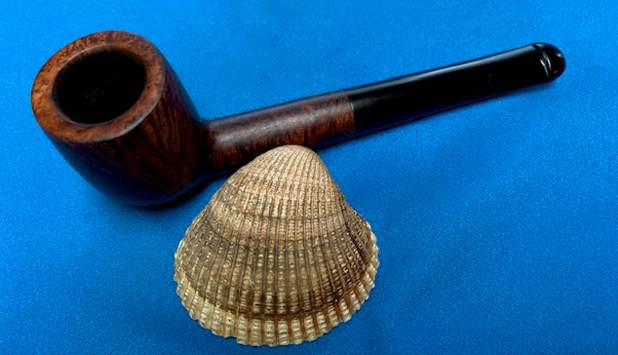
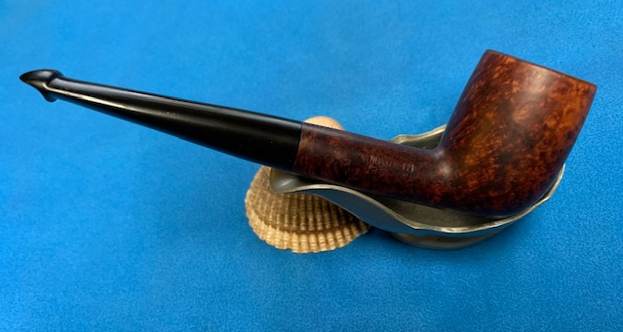
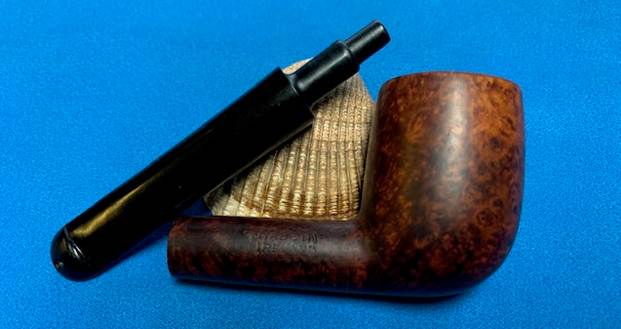
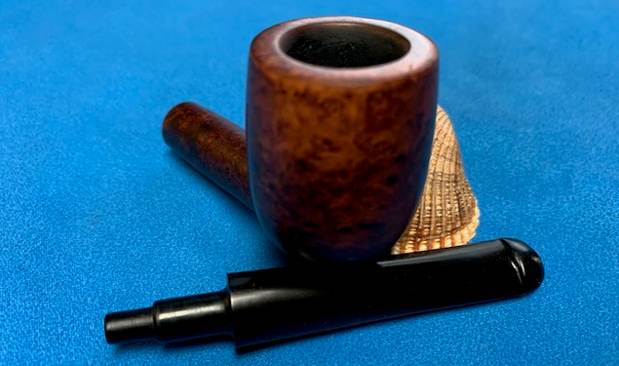
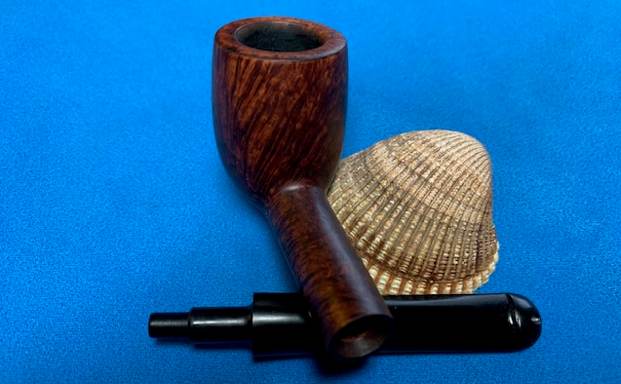
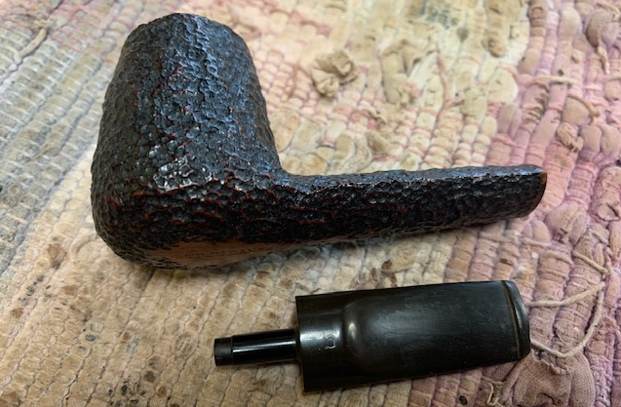
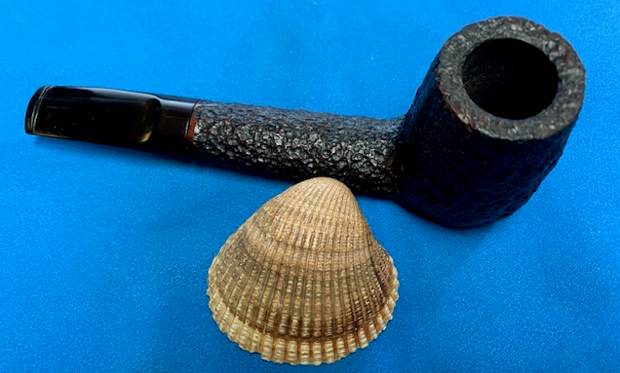
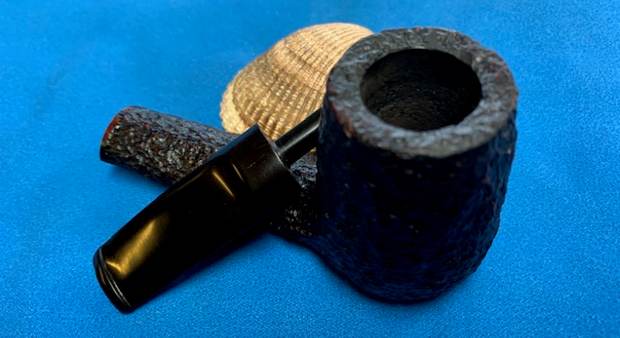
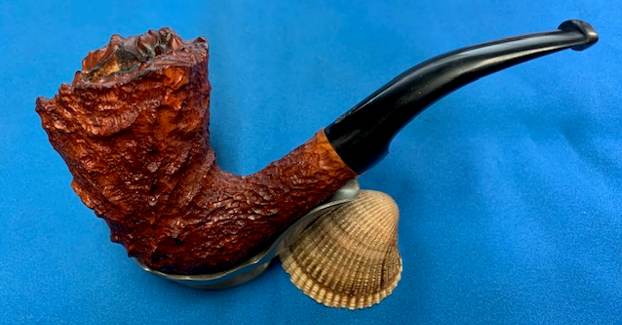
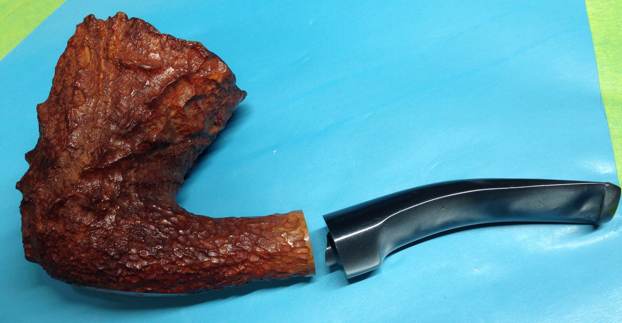
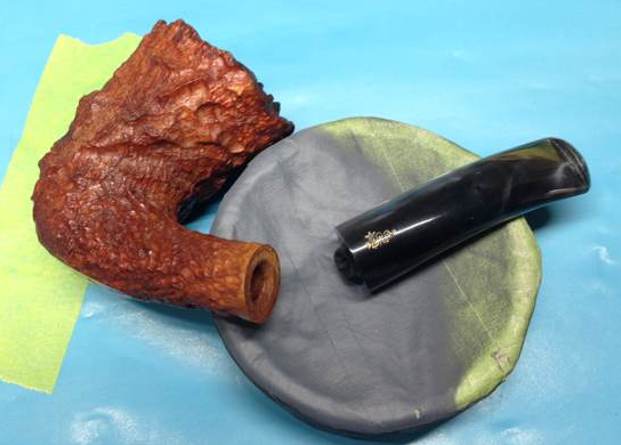
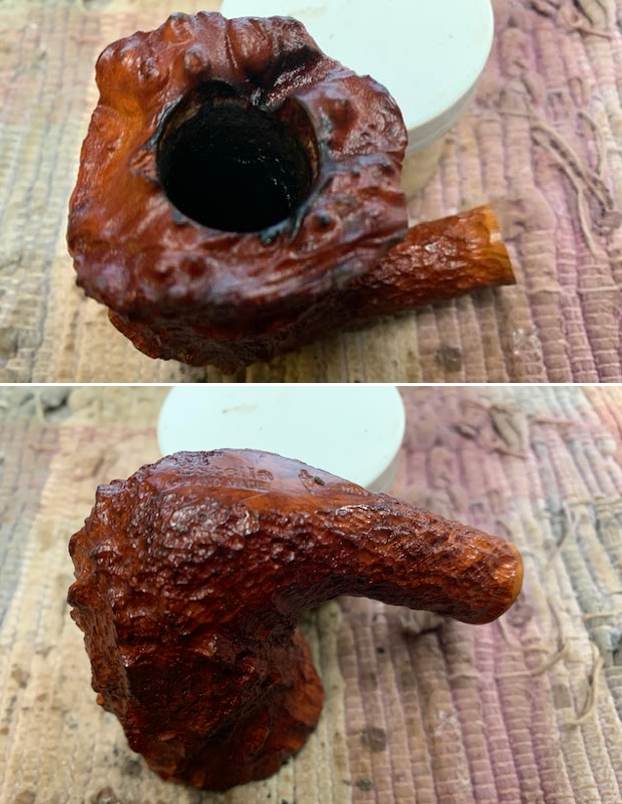
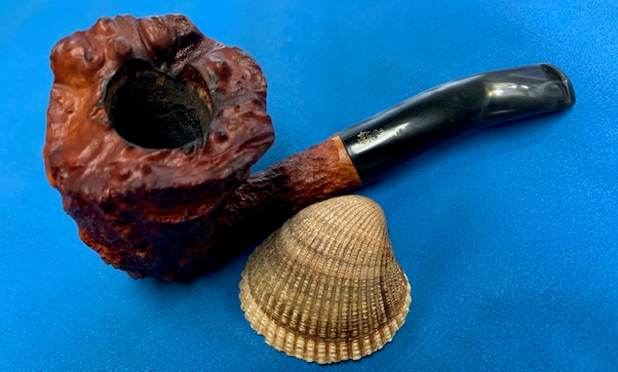
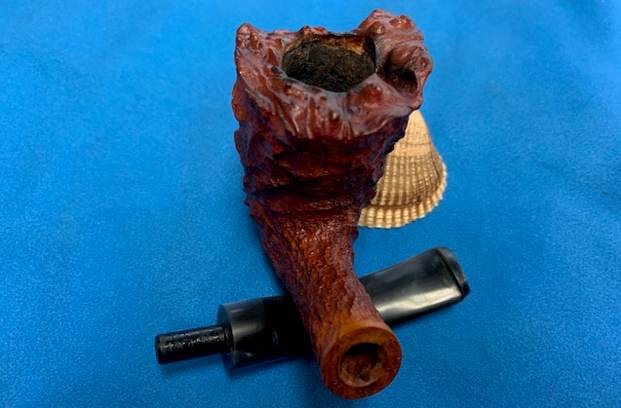
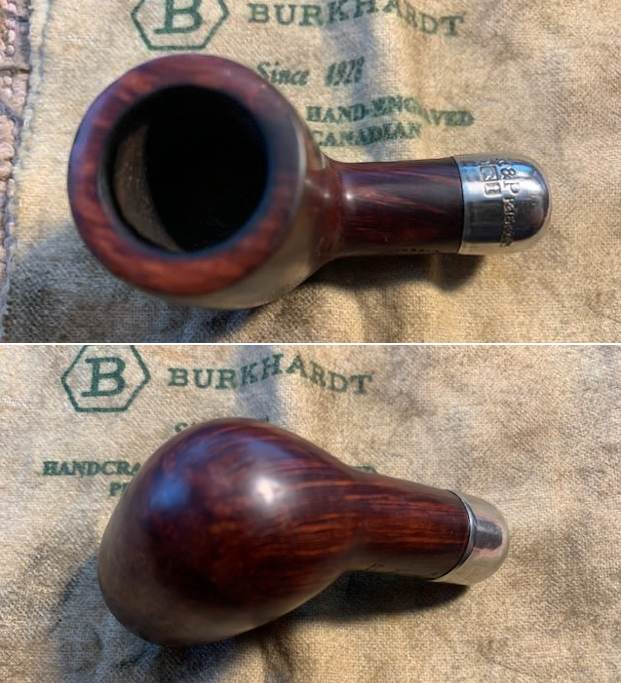
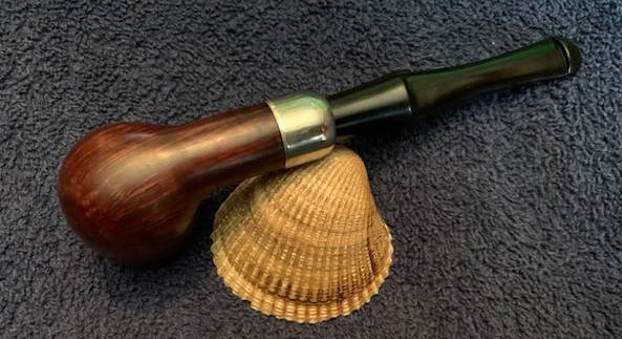
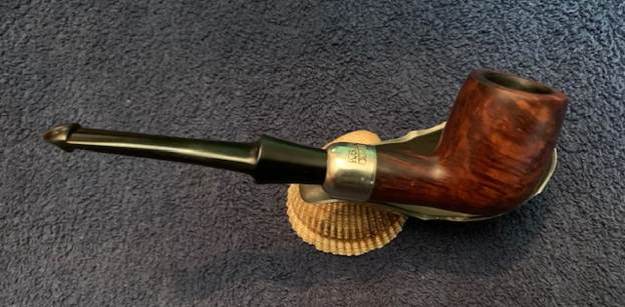
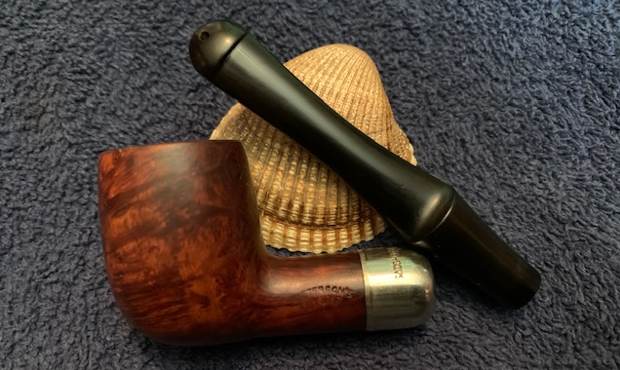
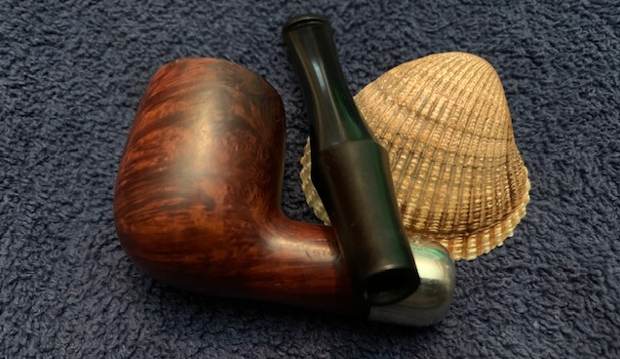
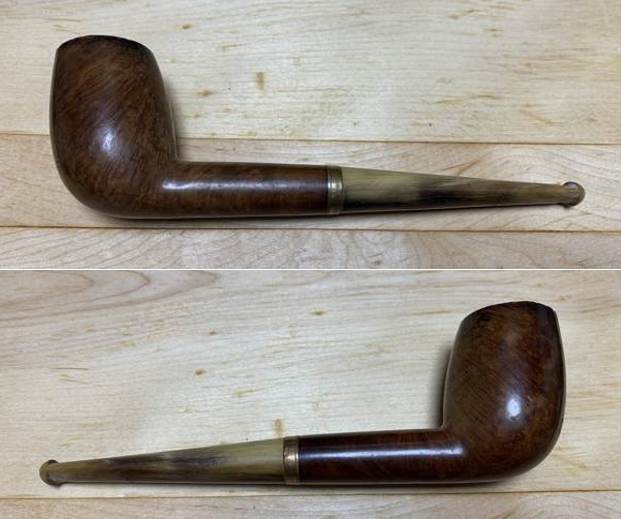
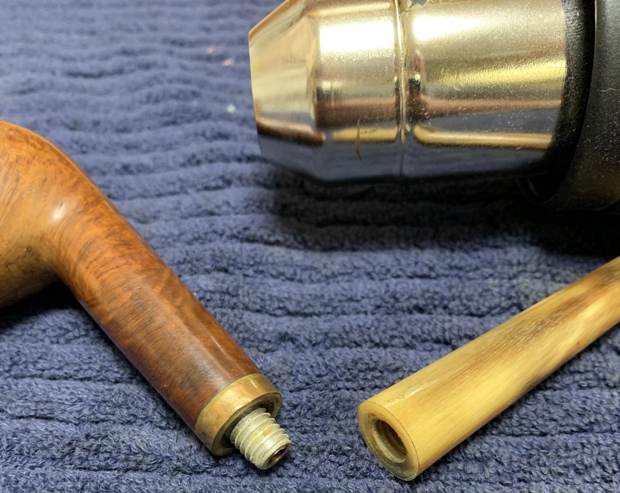
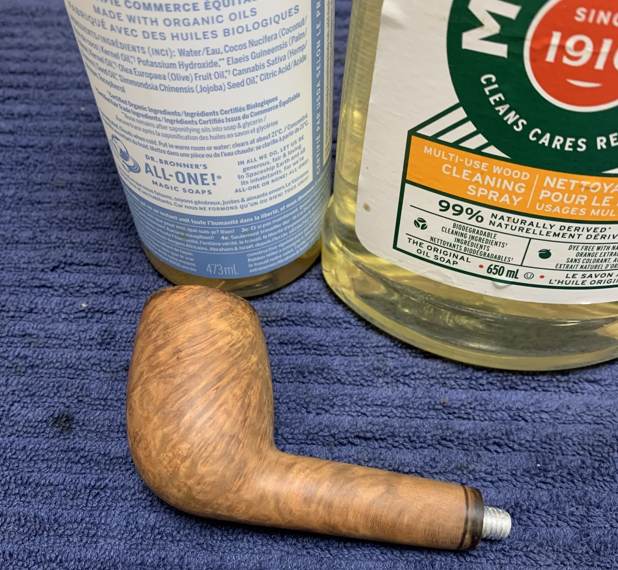
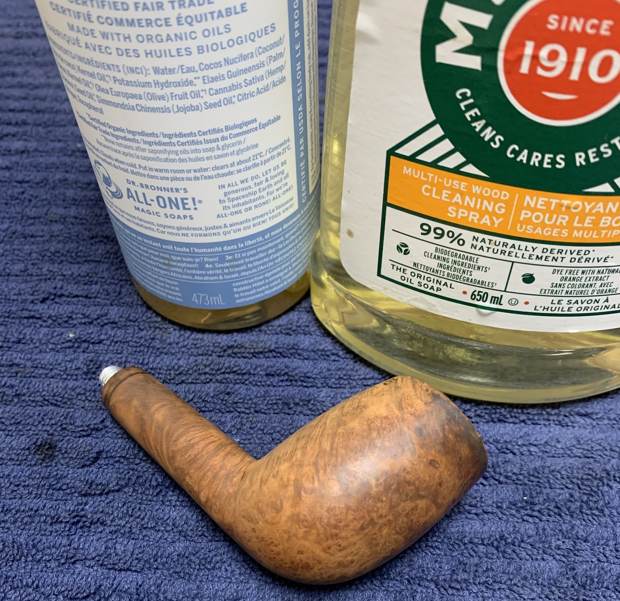
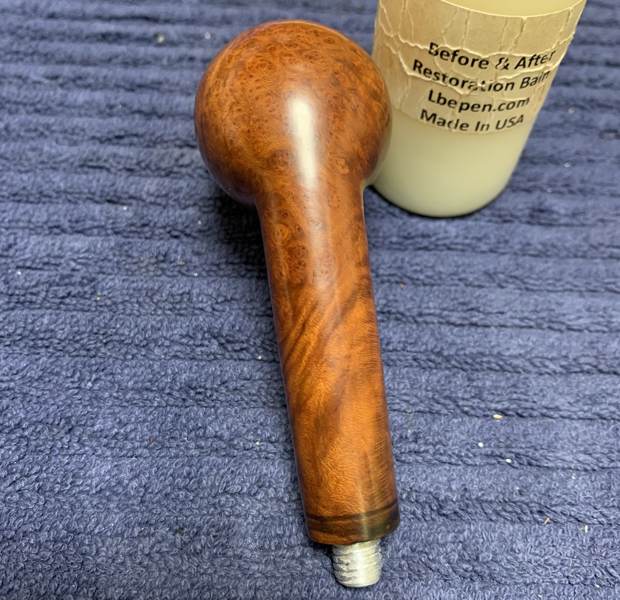
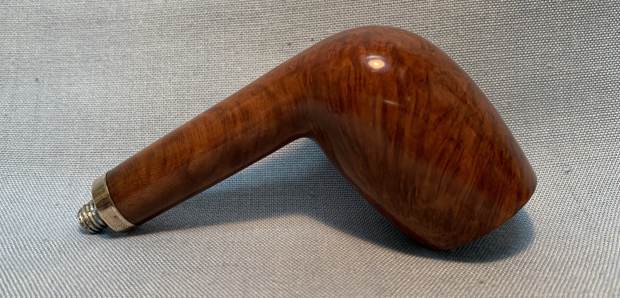
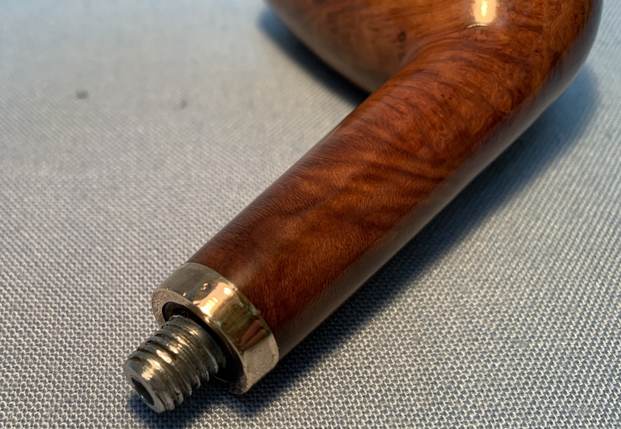
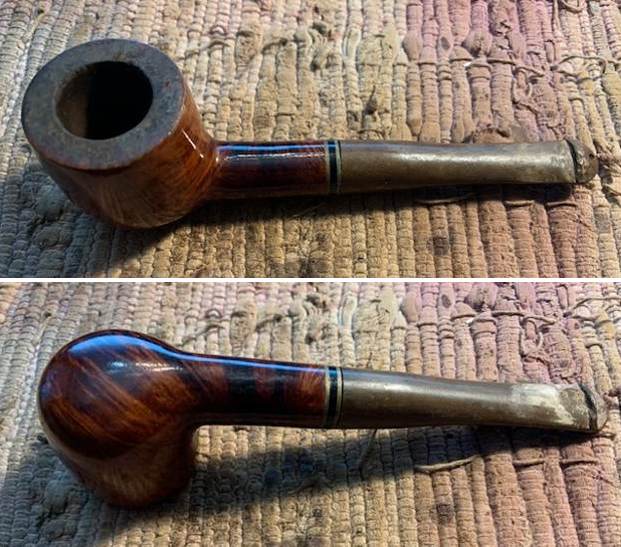
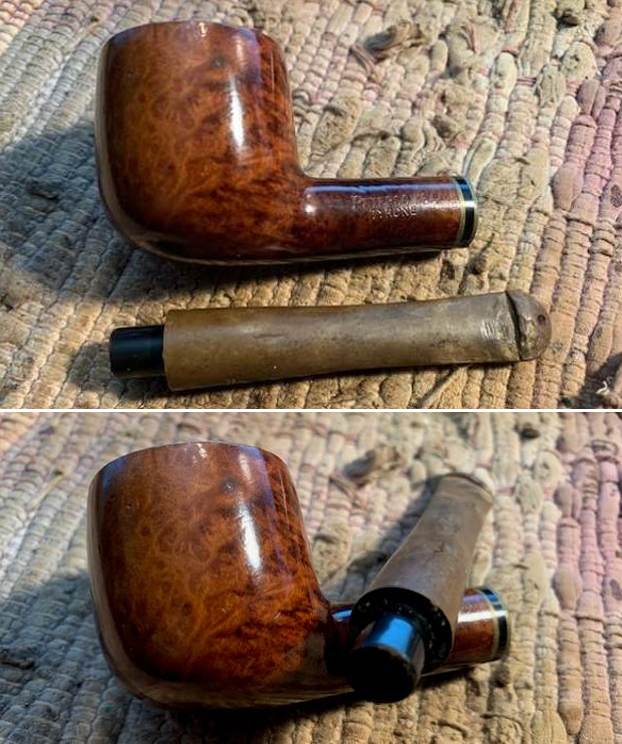
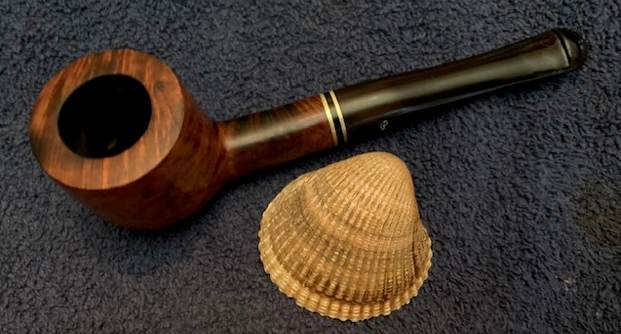
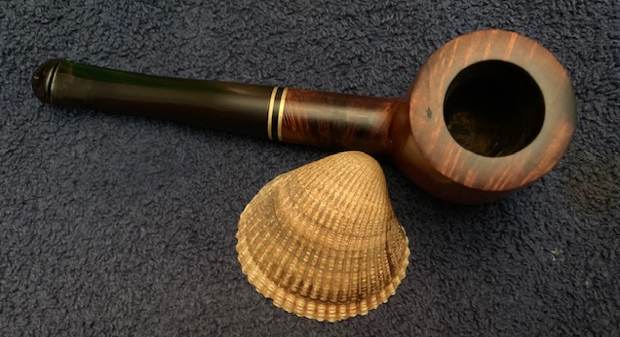
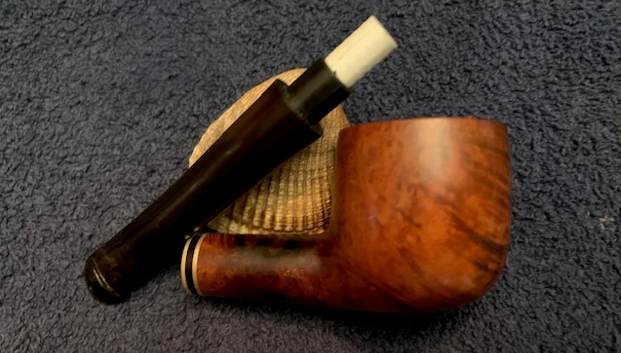
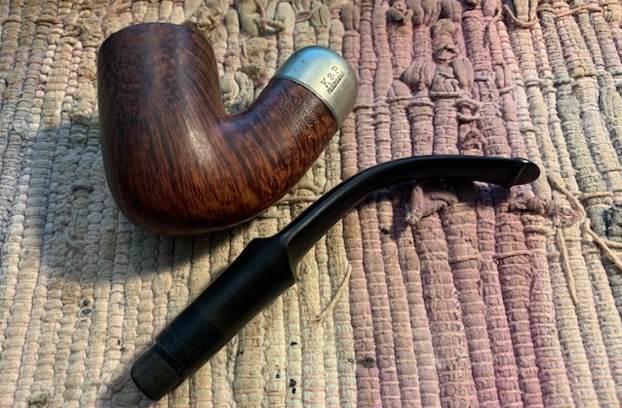
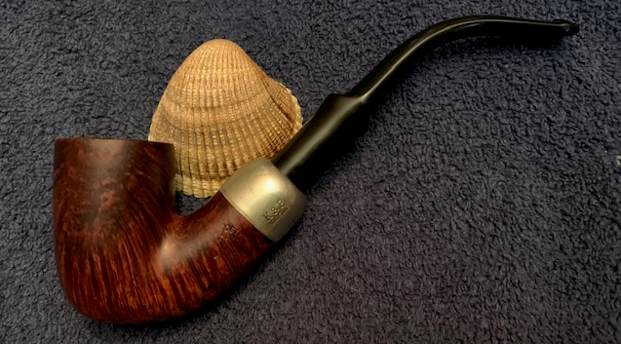
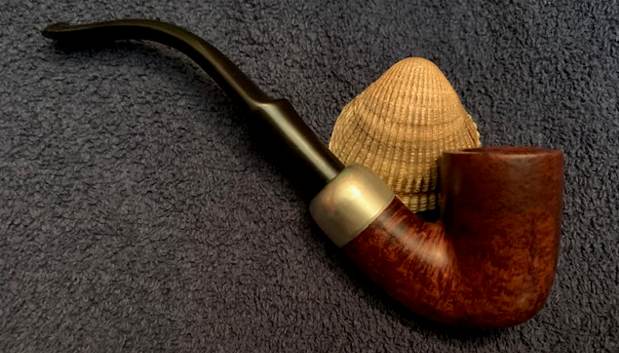
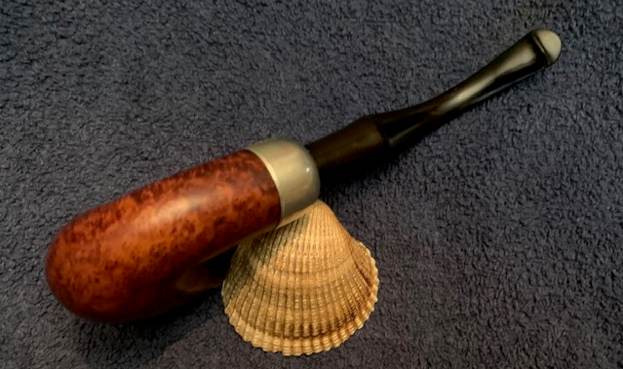
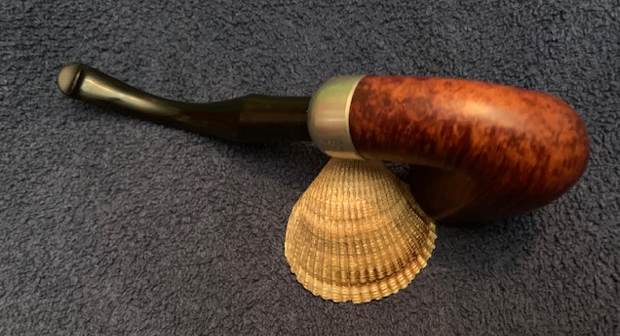
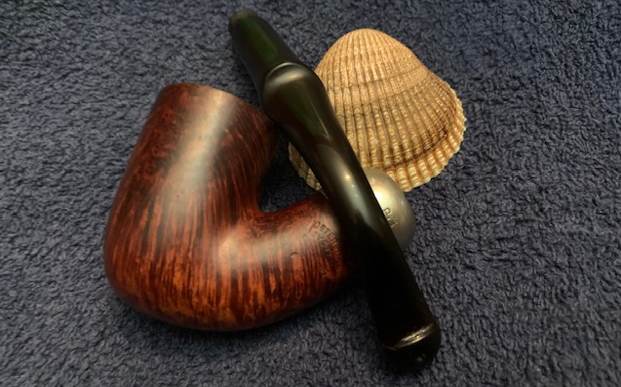
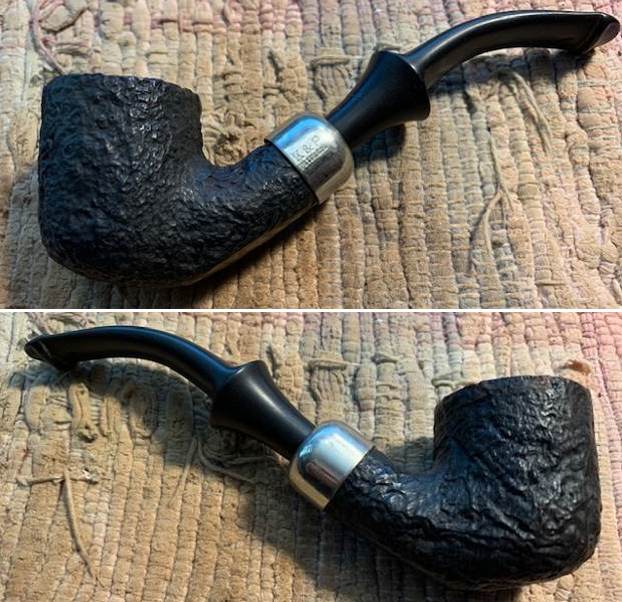
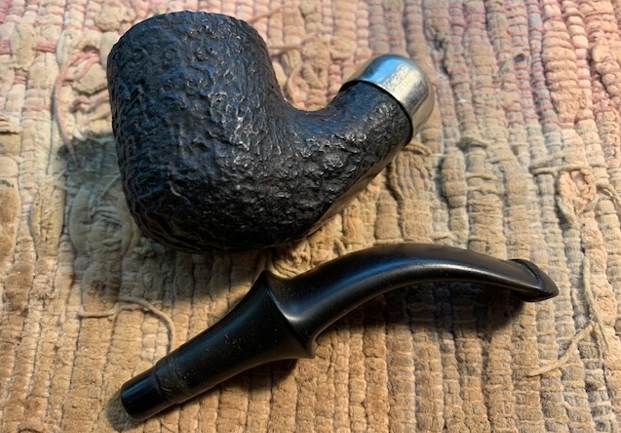
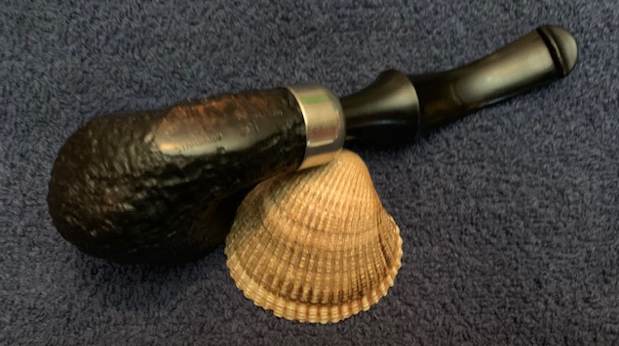
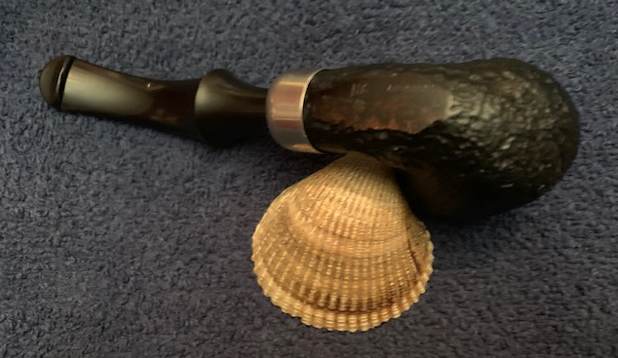
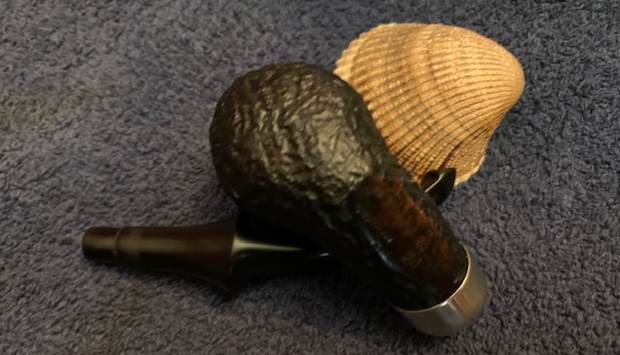
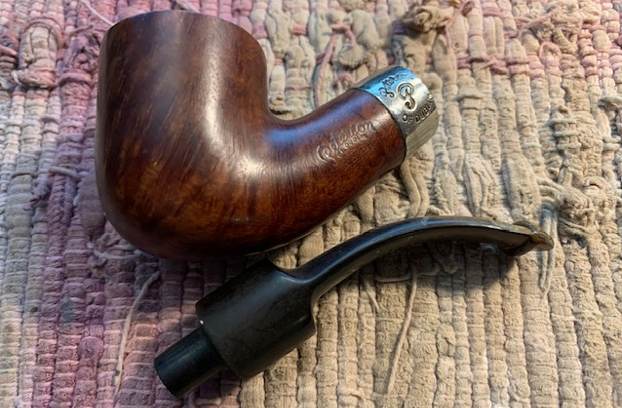
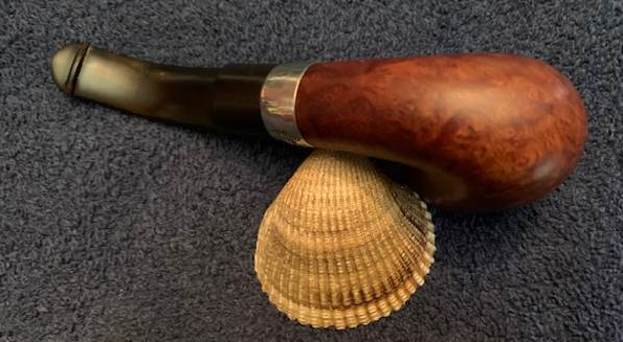
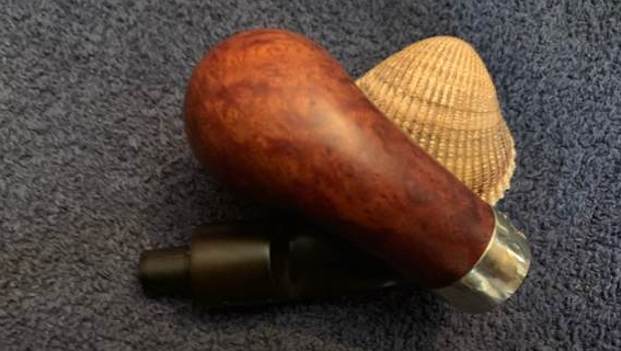
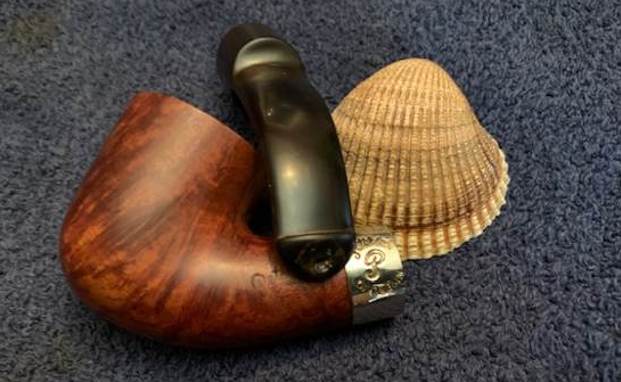
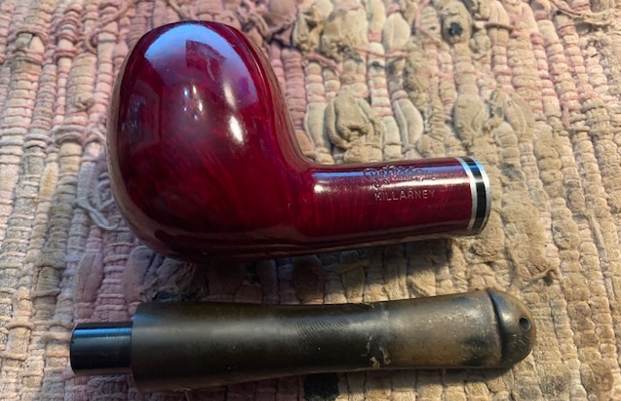
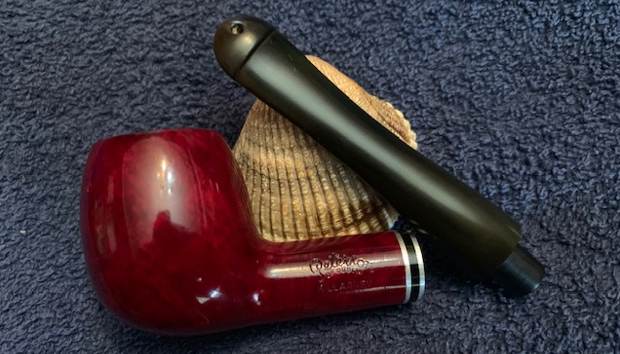
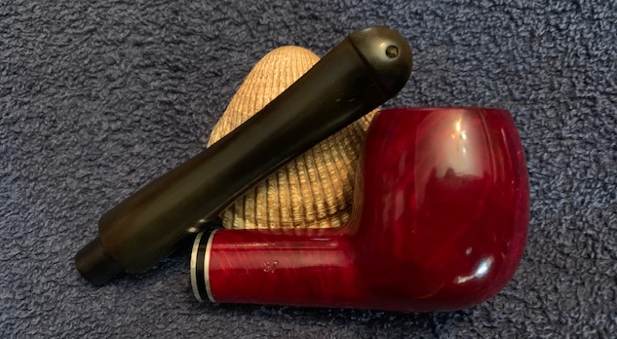
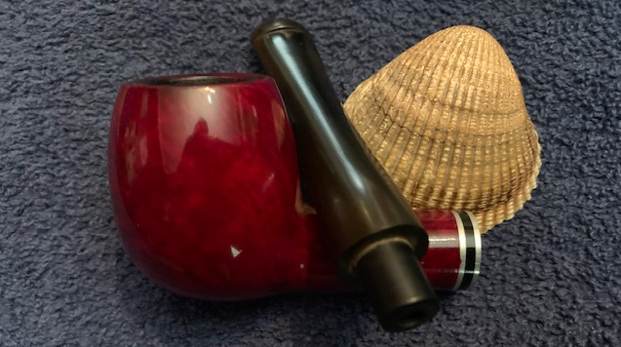
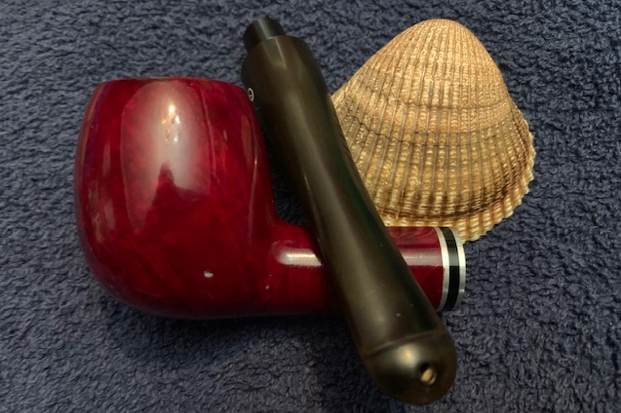
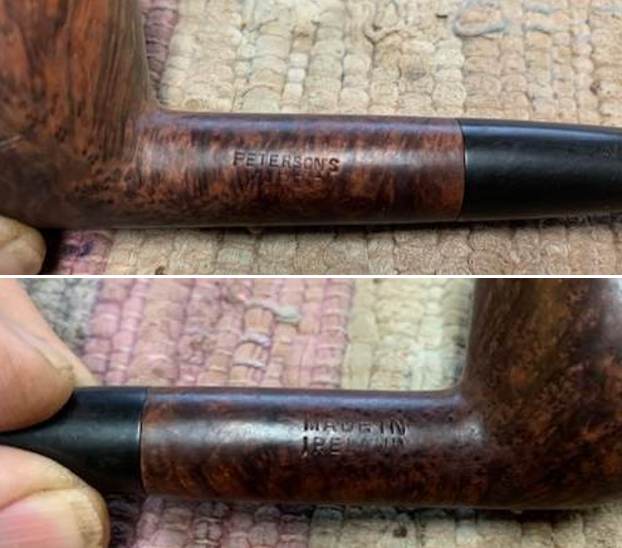 I took the pipe apart and took a photo of the pipe. It is a good looking pipe and has an interesting shallow sandblast on the bowl.
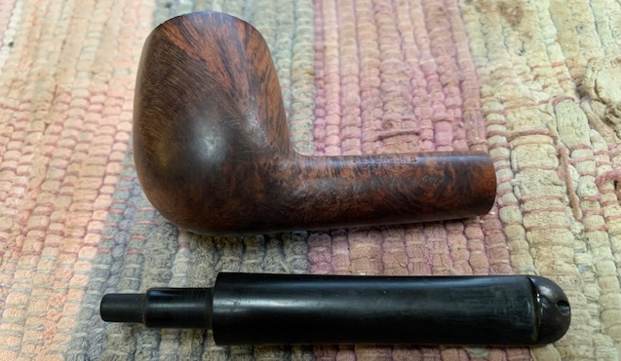 I am including the link to the Pipedia’s article on Peterson pipes. It is a great read in terms of the history of the brand (https://pipedia.org/wiki/Peterson). There was a short note toward the bottom of the page about the series. It is definitely referring to the newer line that came out later. I quote:
I turned to Pipedia (https://pipedia.org/wiki/Peterson) to first pin down a date that the pipe was made. I knew that the Made in Ireland stamp would give me that. I quote:
As usual when trying to get accurate facts in regard to Peterson history, something will jump up and get in the way. They are missing many of their records. The following is the best that we can do for a guide to the myriad markings during the period 1922 – 1949. Prior to 1920 it was rare for a country of origin to be stamped on the pipe, just Peterson’s Dublin on the band. After 1921/22, if it is stamped “MADE IN IRELAND” and the “Made in” is stacked over “Ireland” or “MADE IN EIRE” or several other forms, it was made between 1922 and 1938. A considerable number of Peterson pipes were stamped “Irish Free State”. From about 1930 to 1949, most of the pipes (those which were stamped) were stamped “Made in Ireland”.” If the stamp reads “MADE IN IRELAND” in a circle, the pipe was made between 1939 and 1948. These are all “Pre-Republic” pipes. I can tell you that the mark “Irish Free State” was adopted in 1922; and replaced by “Eire” in 1937 and then by “Republic of Ireland” in 1949.
That gave me a date for the pipe – it was made between 1922 and 1938 as can be proved by the Made in Ireland stamp on the right side of the shank.
I turned to “The Peterson Pipe” by Mark Irwin and Gary Malmberg to get some background on the Peterson’s Kapet Line. On page 305 it had the following information.
Kapet (1925-87) Line first described in 1925 brochure and featured in occasional catalogs through 1987. Early specimens will be stamped IRISH over FREE STATE. Described in 1937 catalog as available in dark plum or natural finish. Featured an aluminum “inner tube” or stinger until 1945. Mid-century specimens may be stamped Made In over Ireland. Specimens from 1970 on may have mounts with hallmarks.
Judging from the Made in Ireland stamp, the pipe I am working on is probably made between 1922-1938. Those dates work also for the Kapet information above. The stem does not have the P emblem on the stem side or the inner tube.
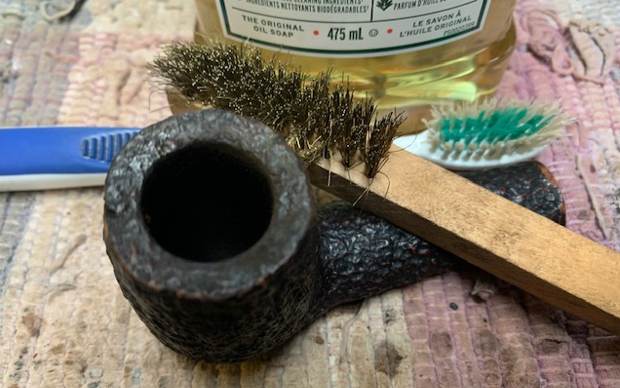
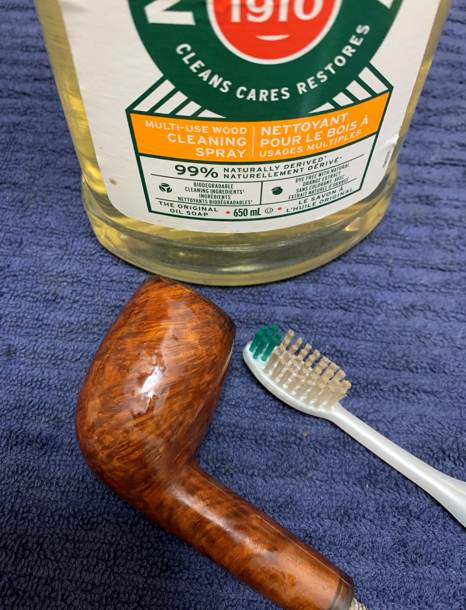
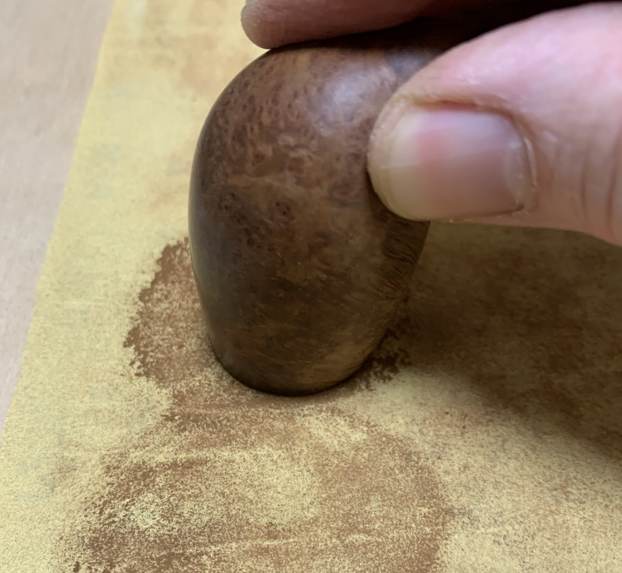
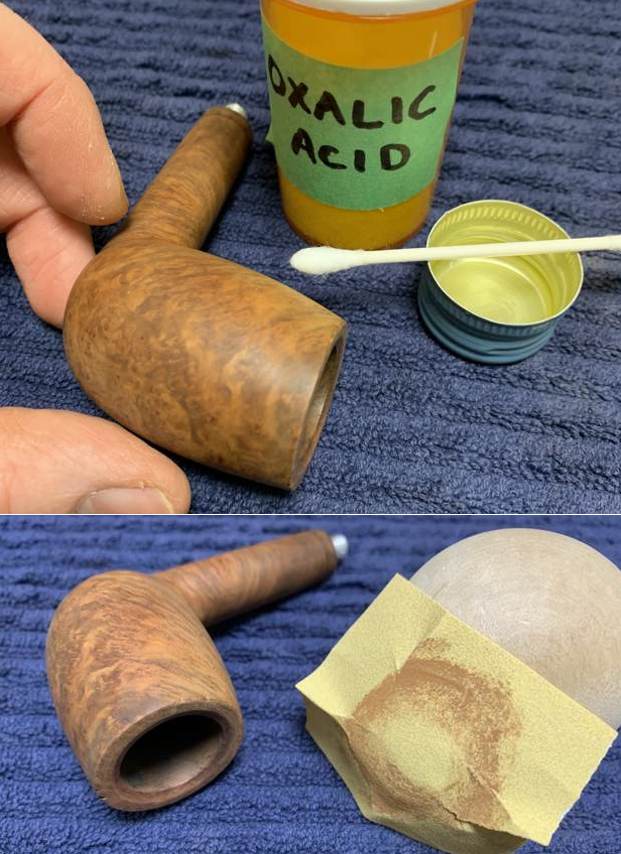
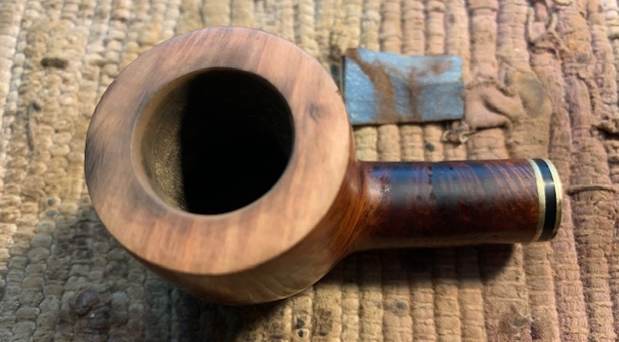
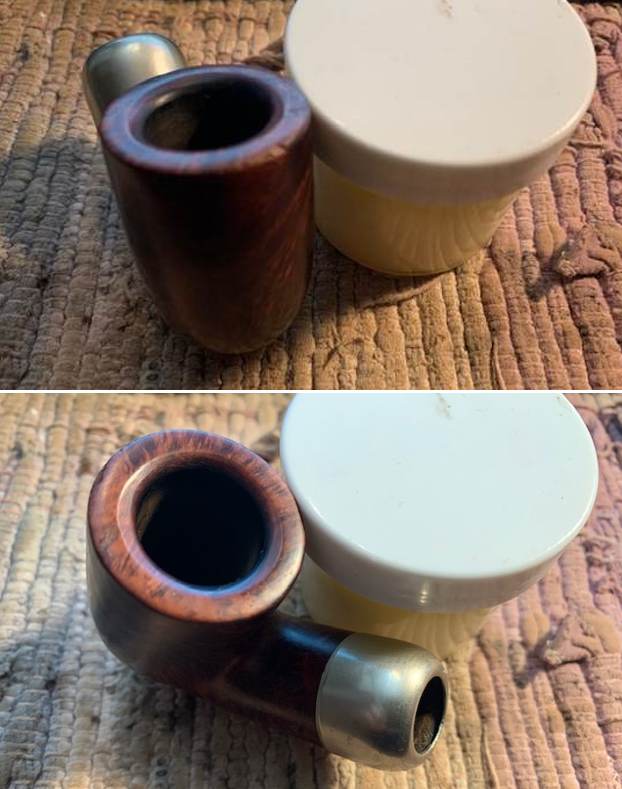
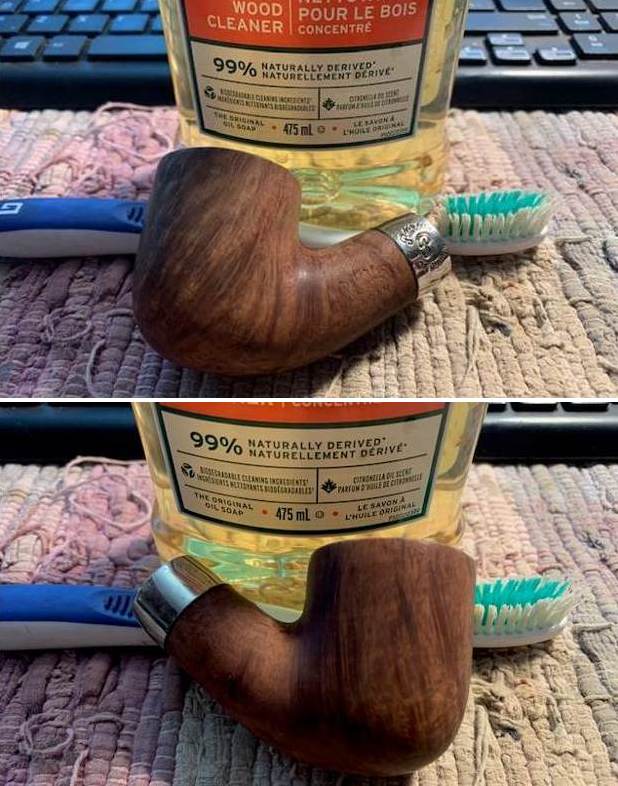
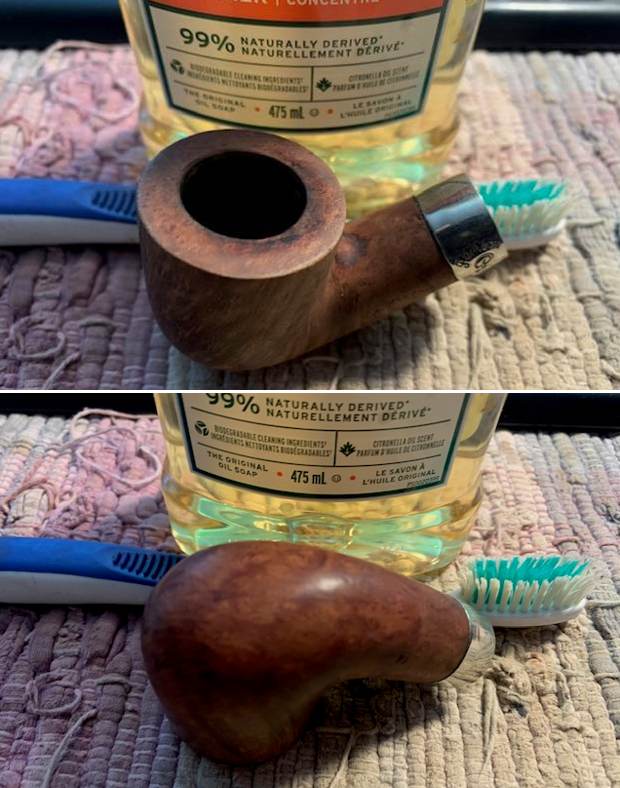
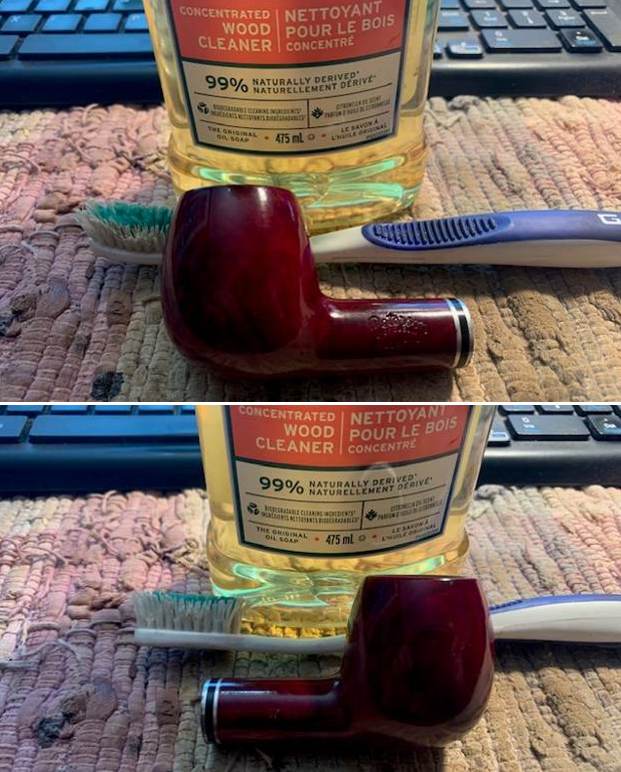
I started my work on the pipe by working on the rim top and the inner edge. I cleaned them up with a with a folded piece of 220 grit sandpaper. I was able to remove almost all of the darkening with the sandpaper and reshape the damaged inner edge of the bowl. 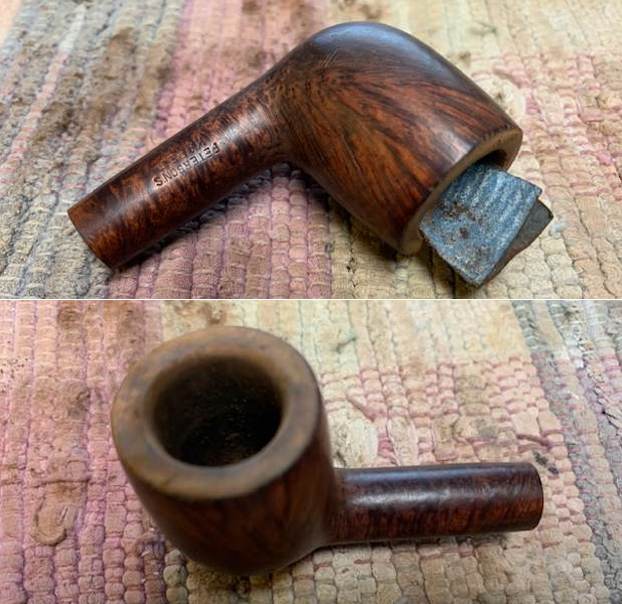 I scrubbed the externals of the pipe with undiluted Murphy’s Oil Soap with a tooth brush. I rinsed it under running warm water to remove the soap and grime. The bowl and rim top cleaned up really well with the lava coat removed. The inner edge of the rim was in good condition.
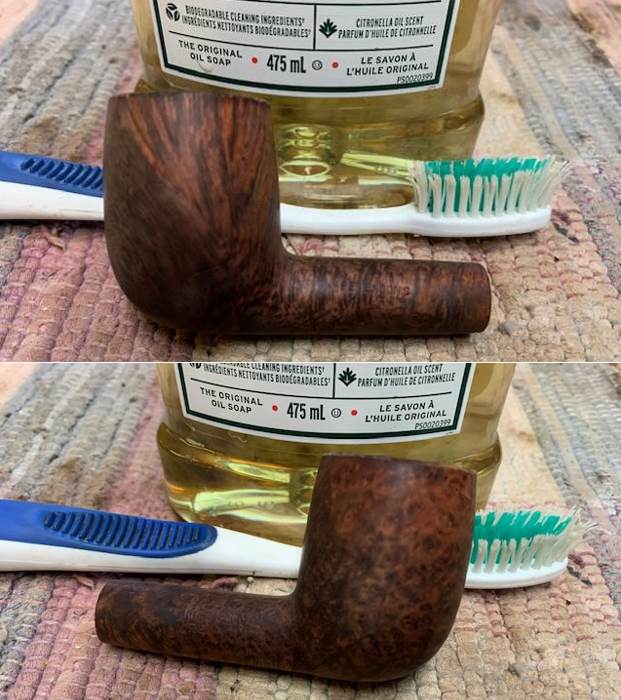
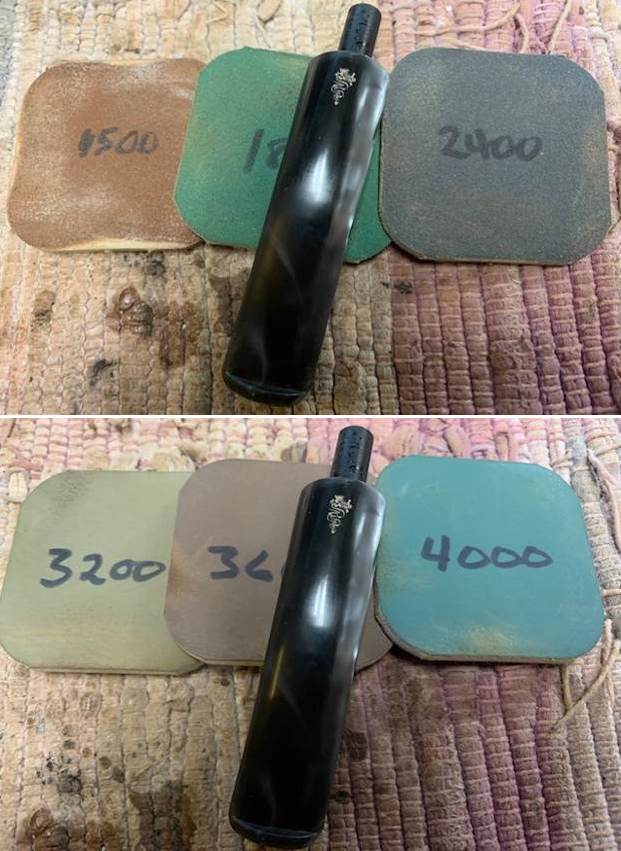
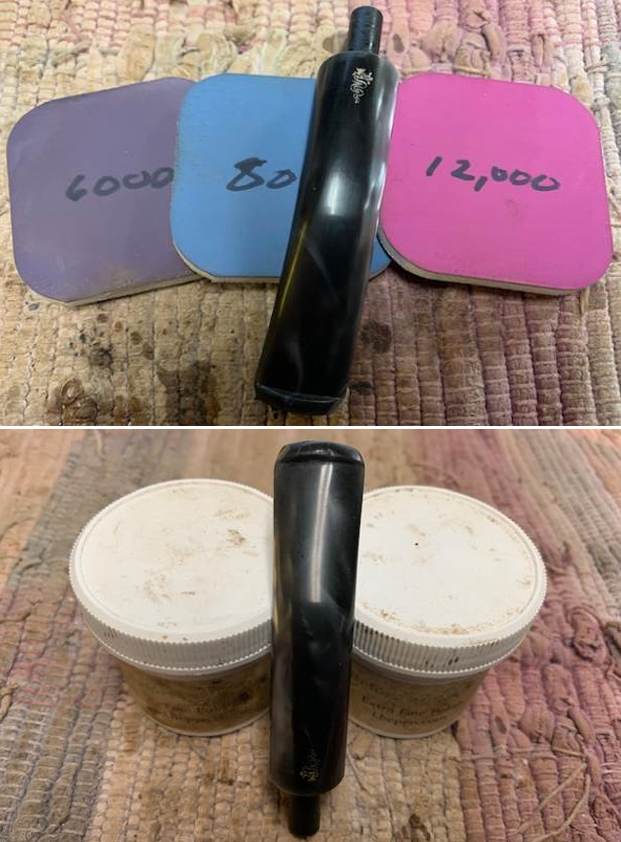
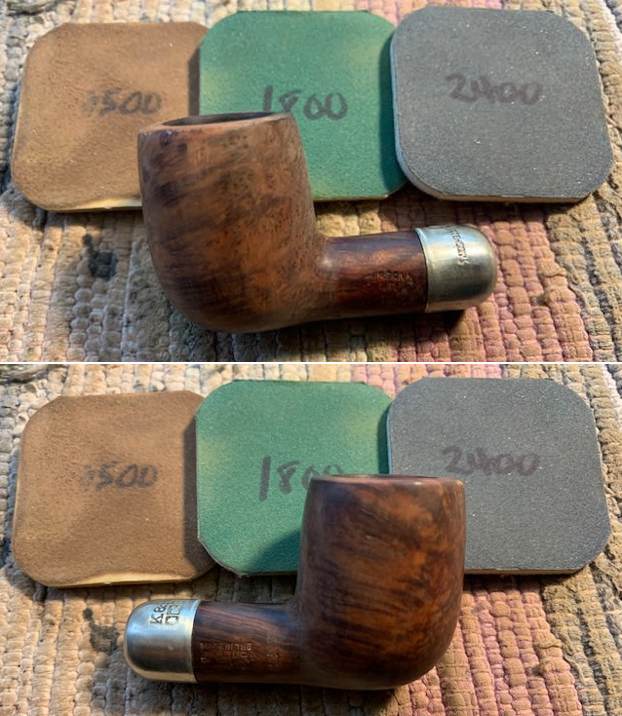
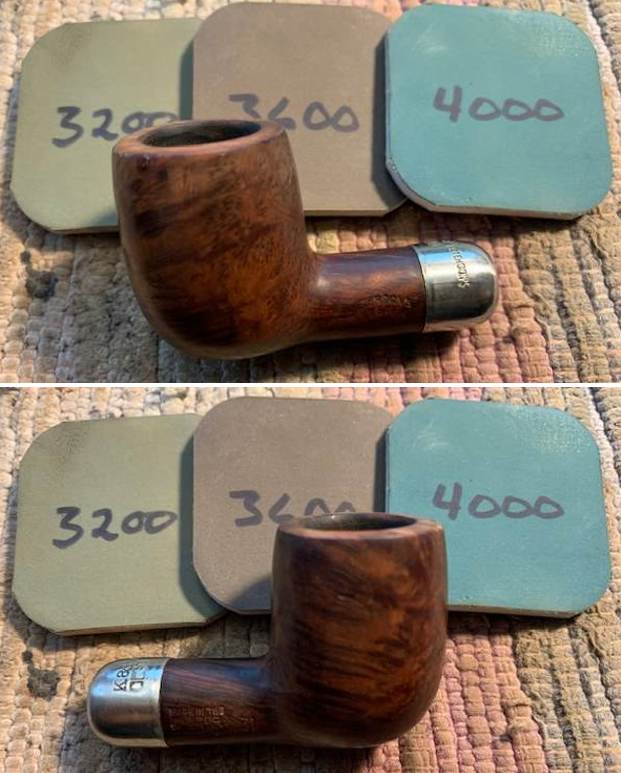
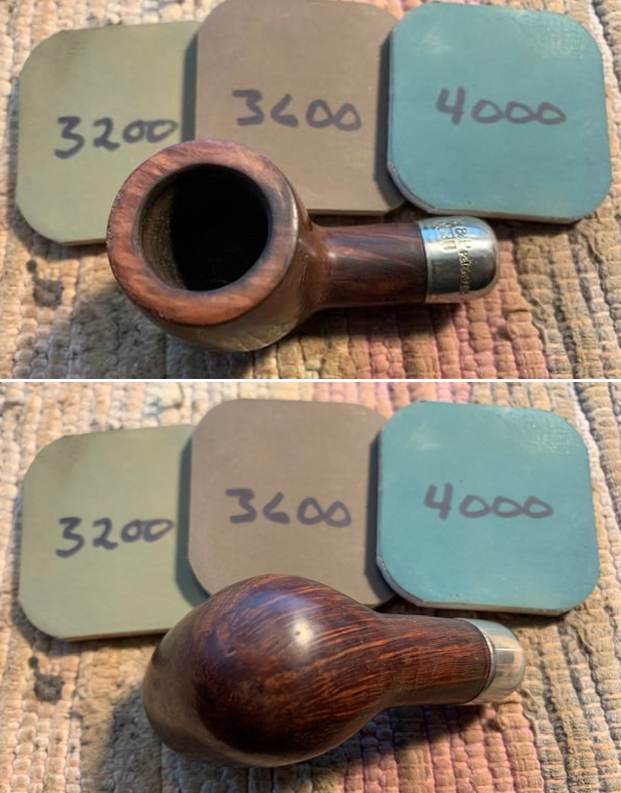
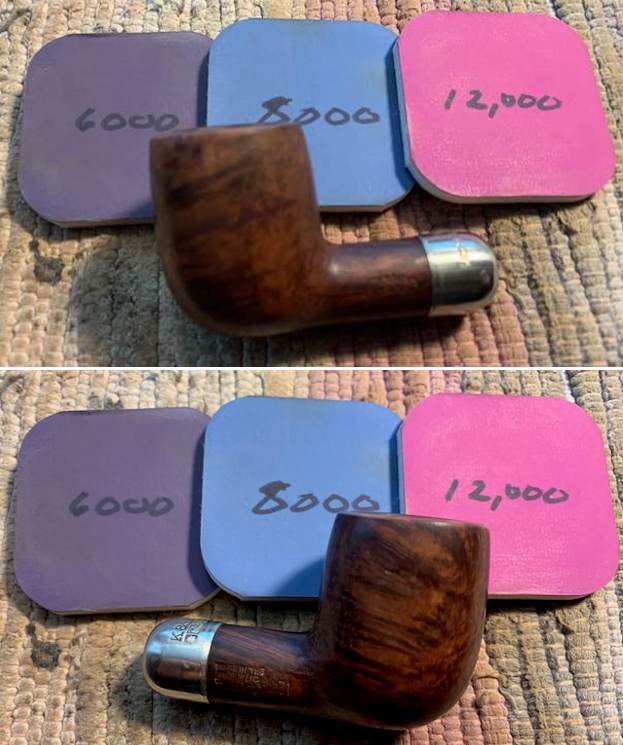
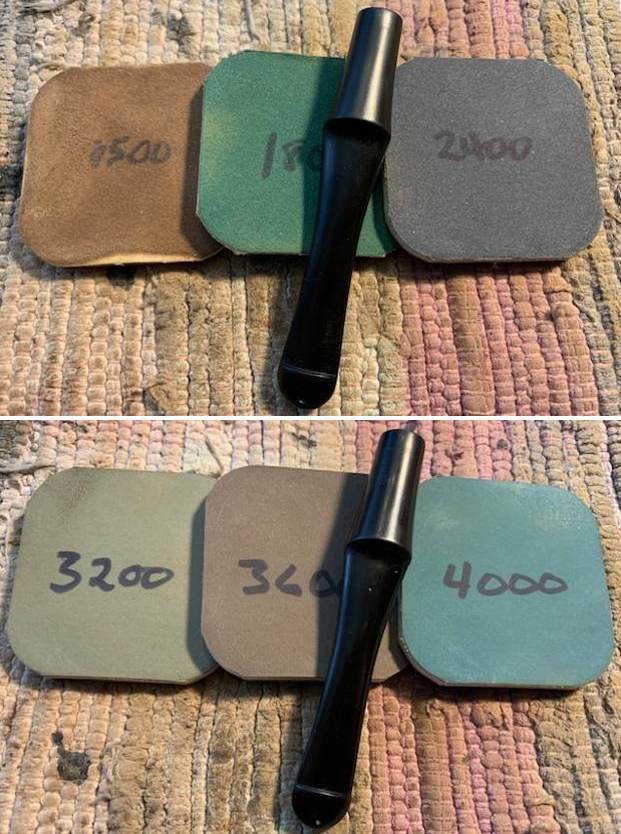
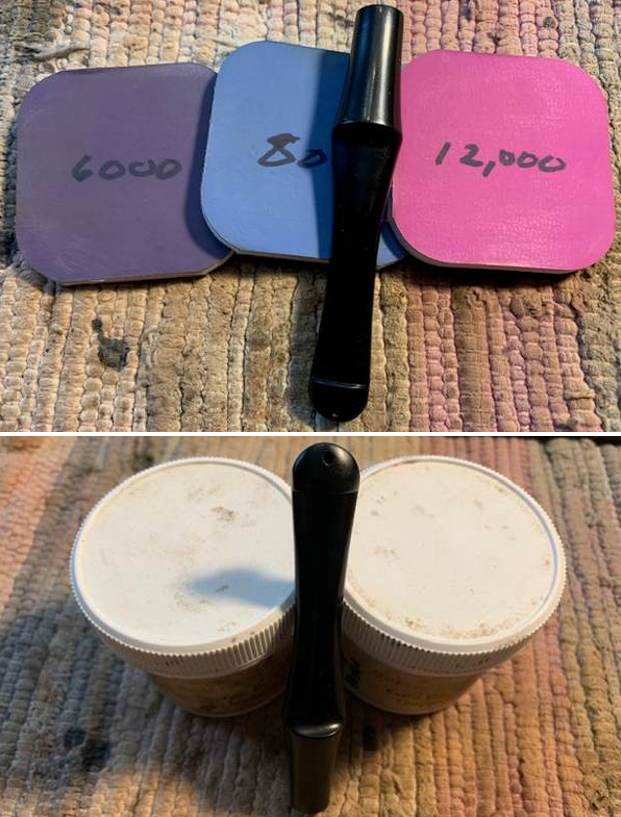
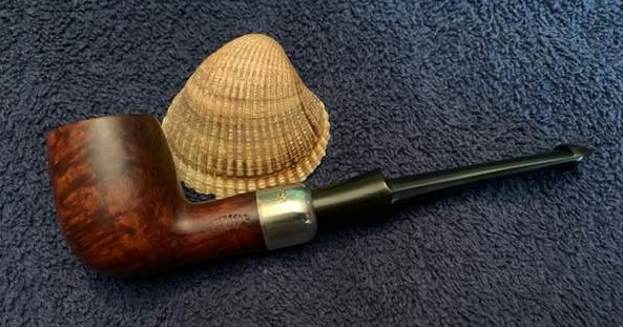
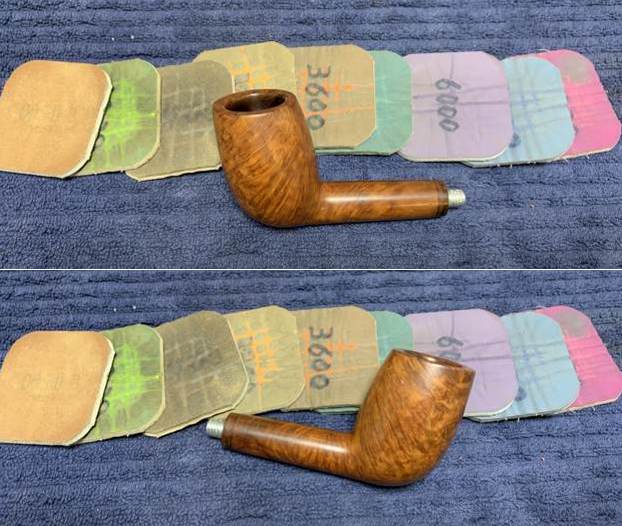
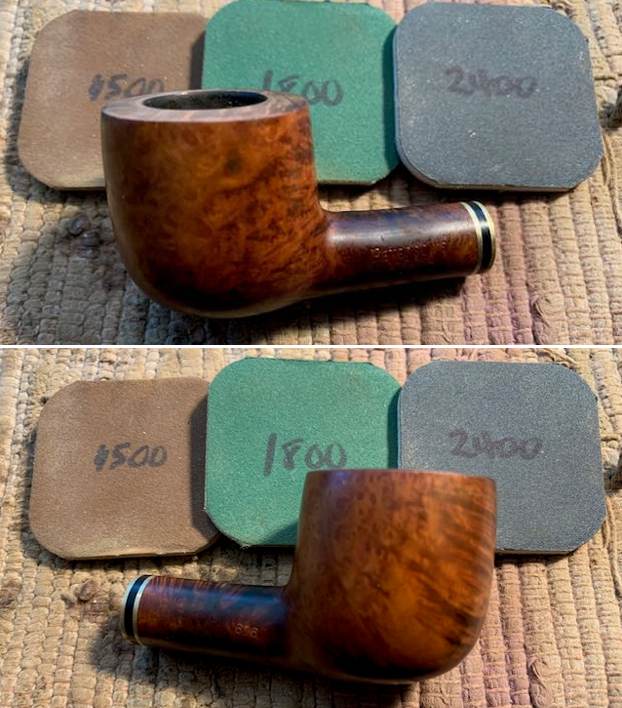
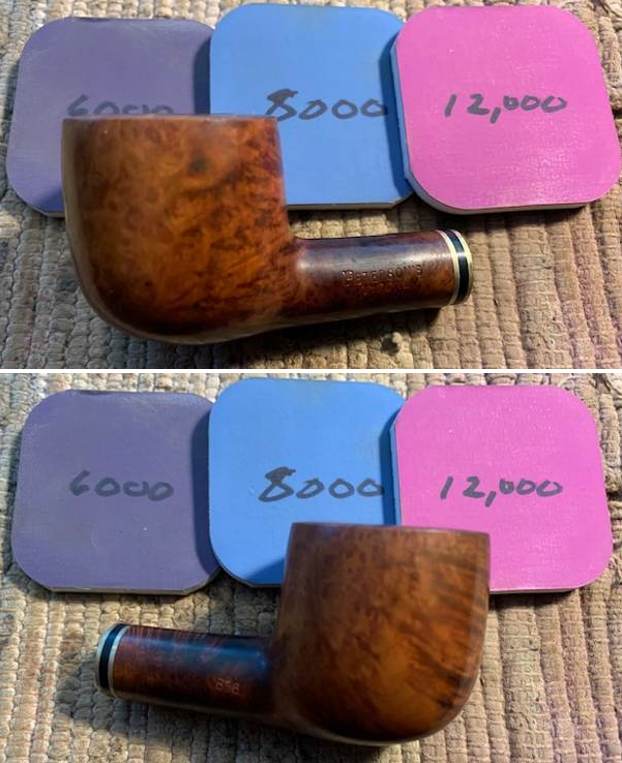
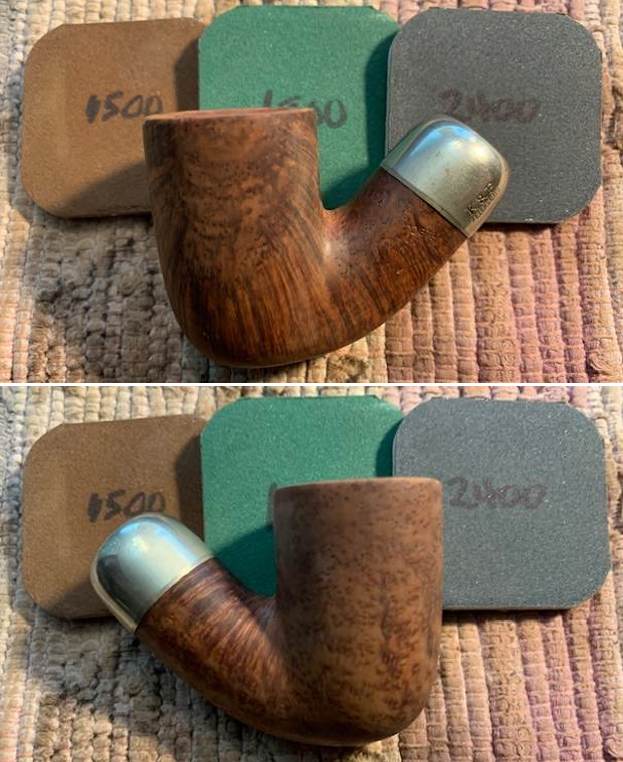
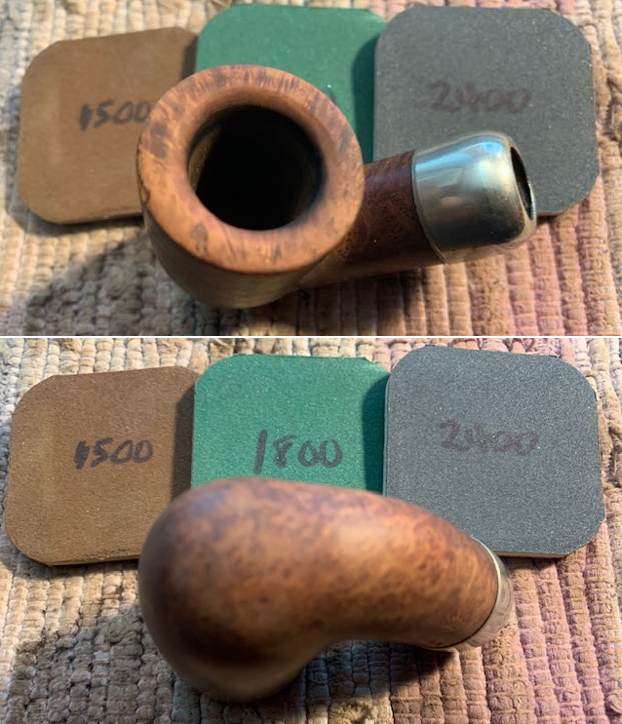
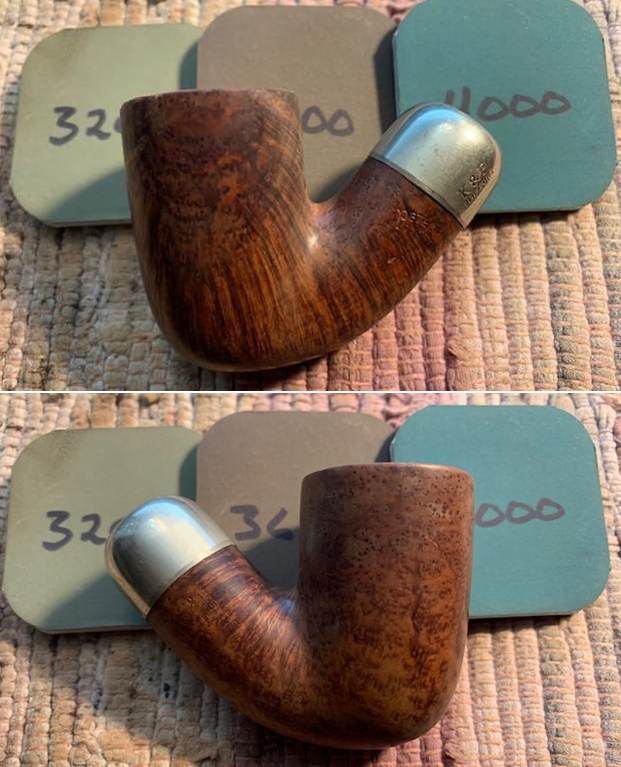
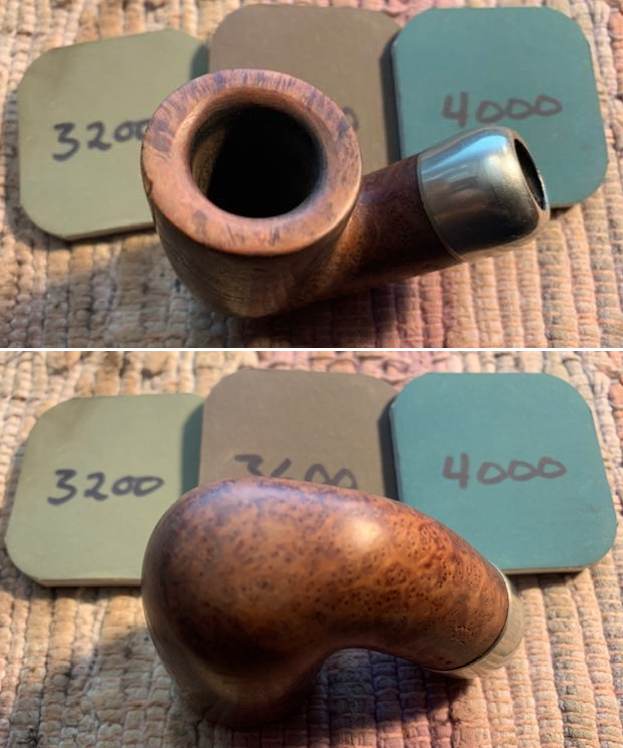
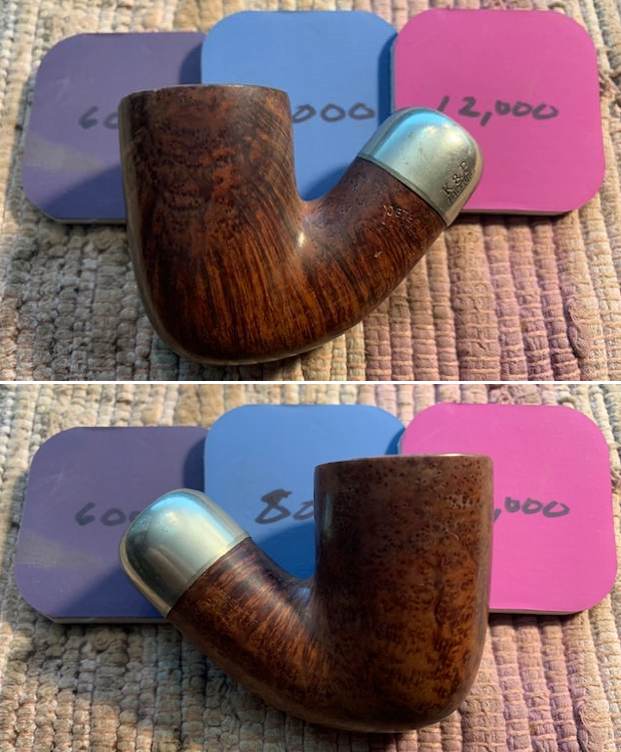
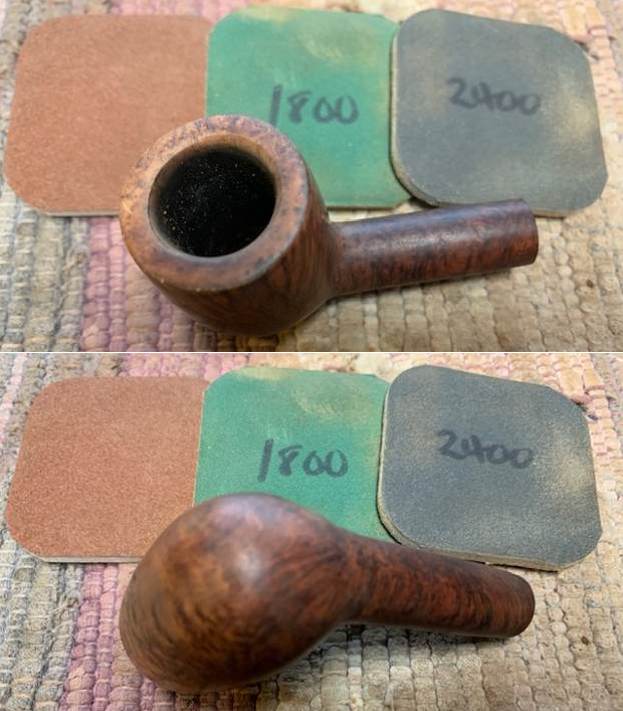
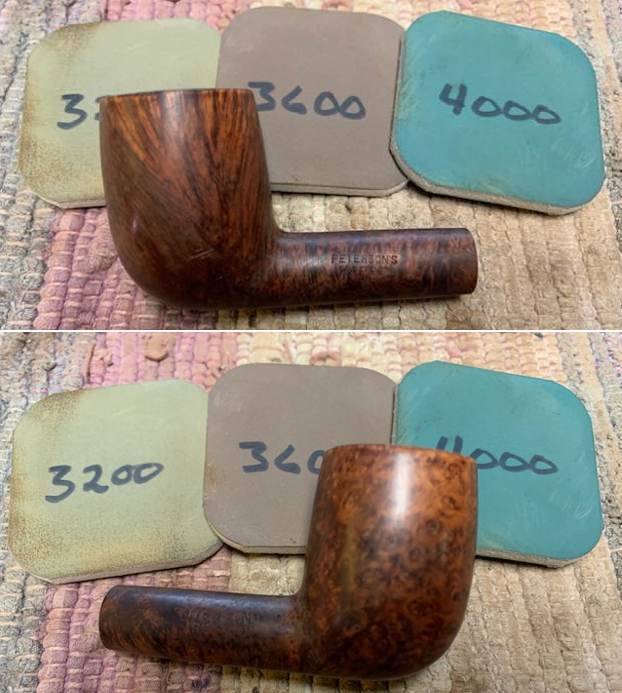
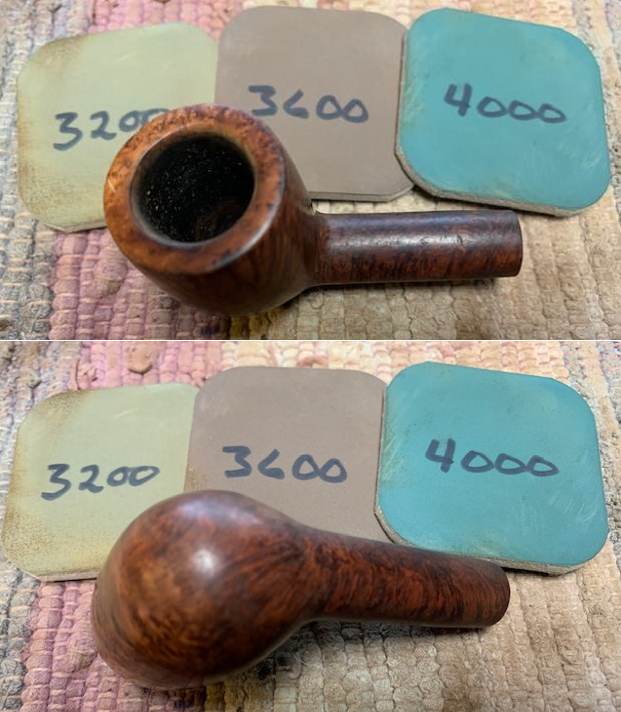
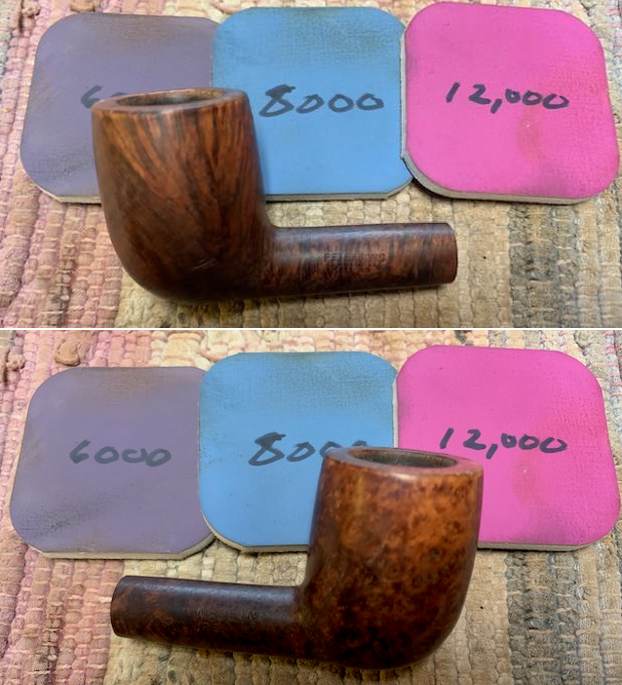
 I polished the briar with micromesh sanding pads – dry sanding with 1500-12000 grit pads. I wiped the briar down after each sanding pad with a damp cloth to remove the sanding debris.
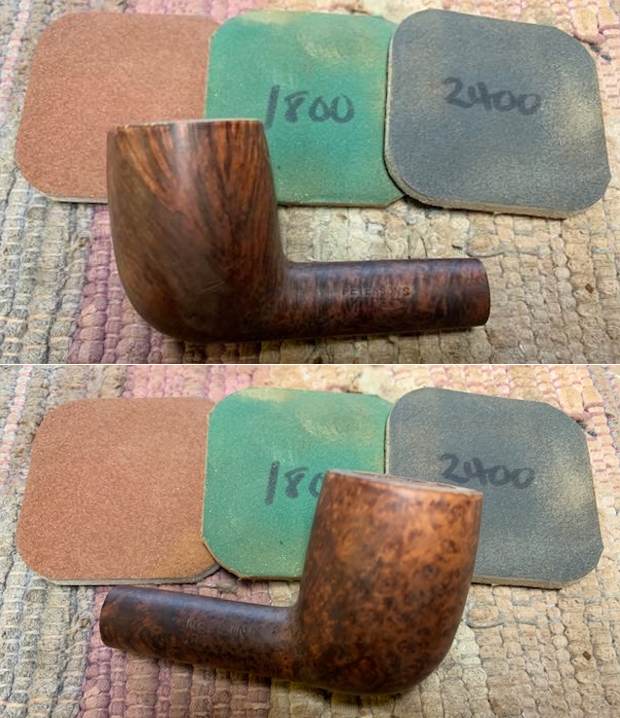
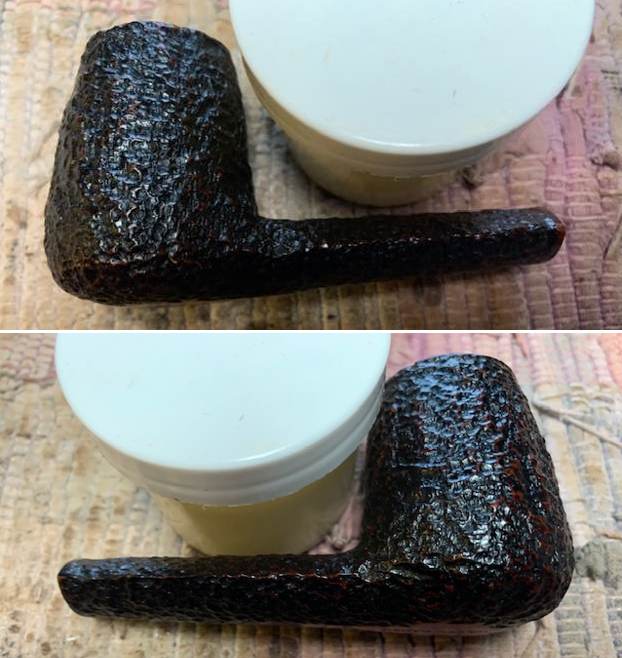
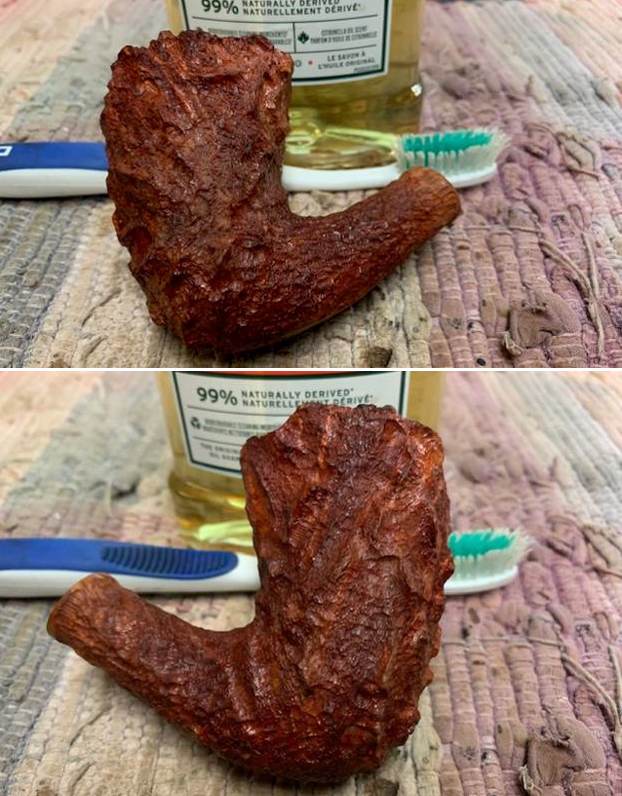
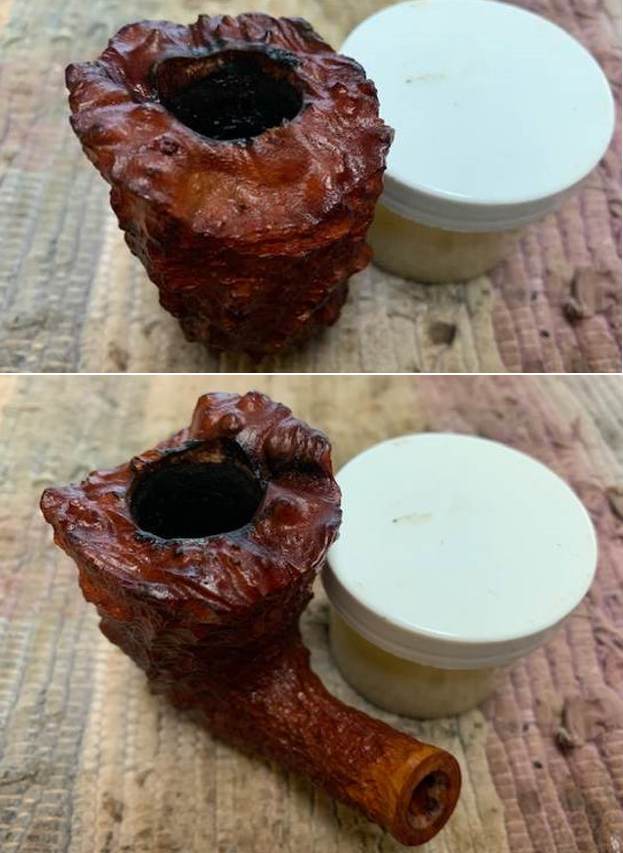
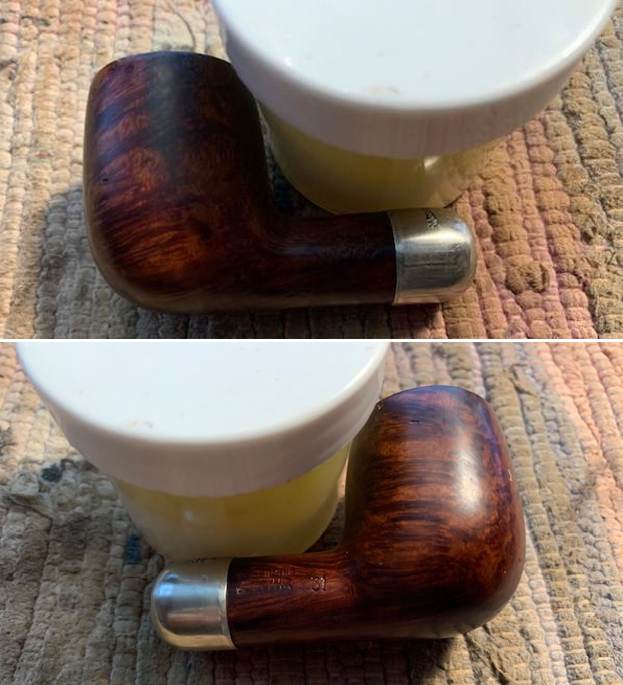
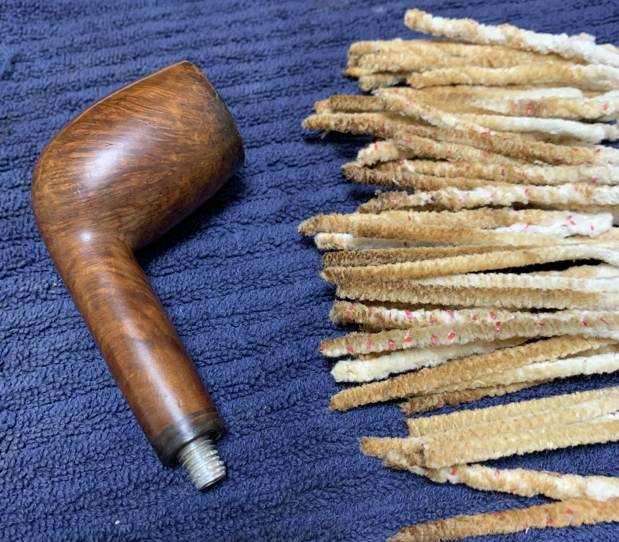
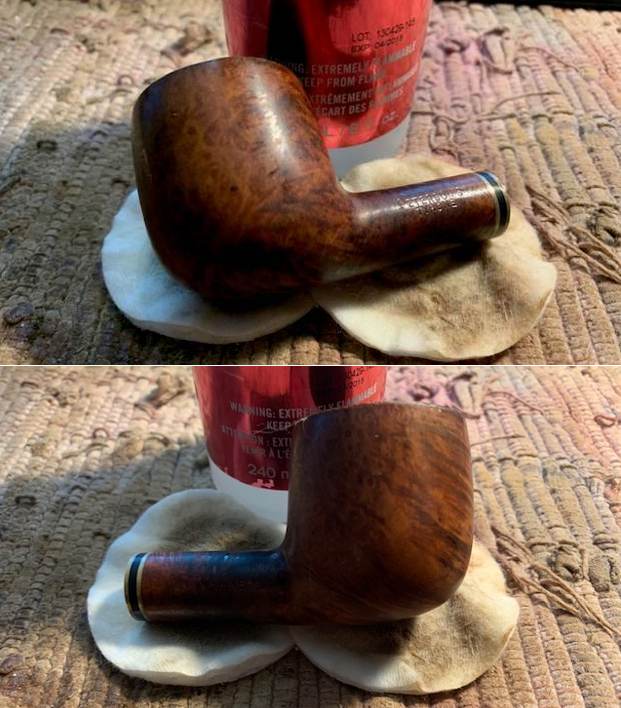
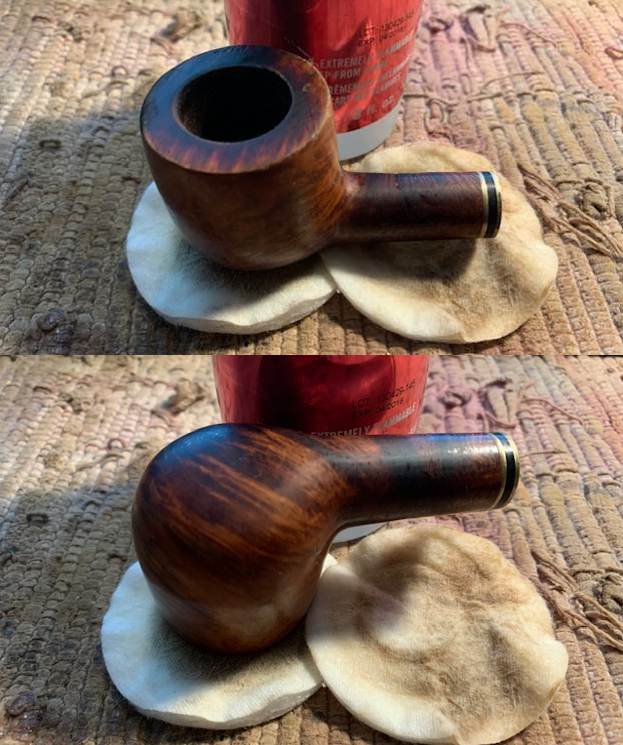
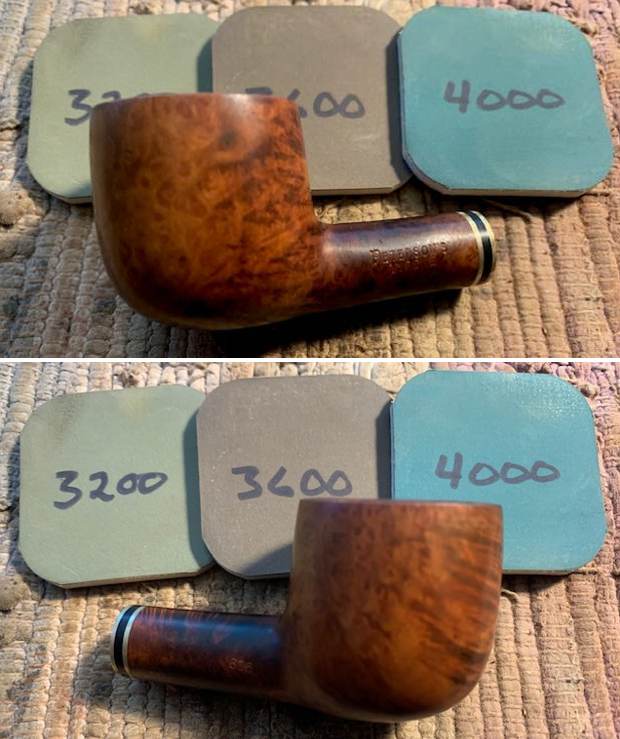
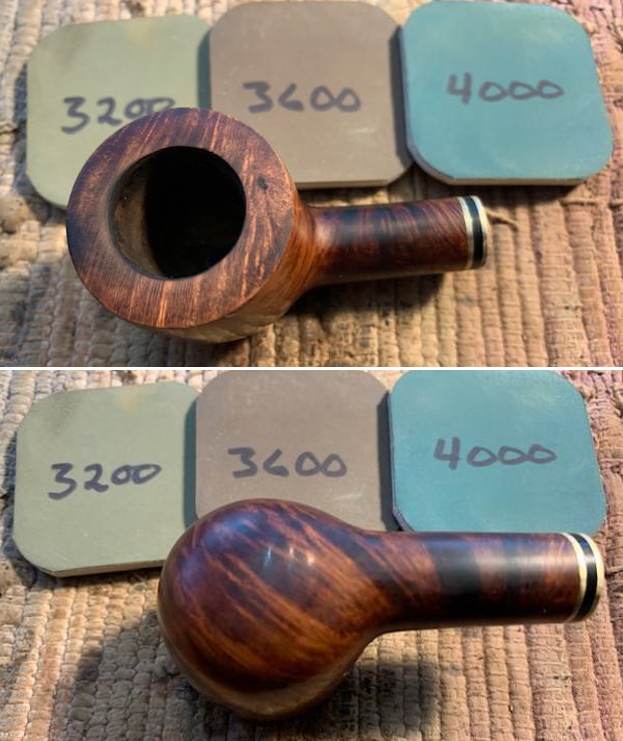
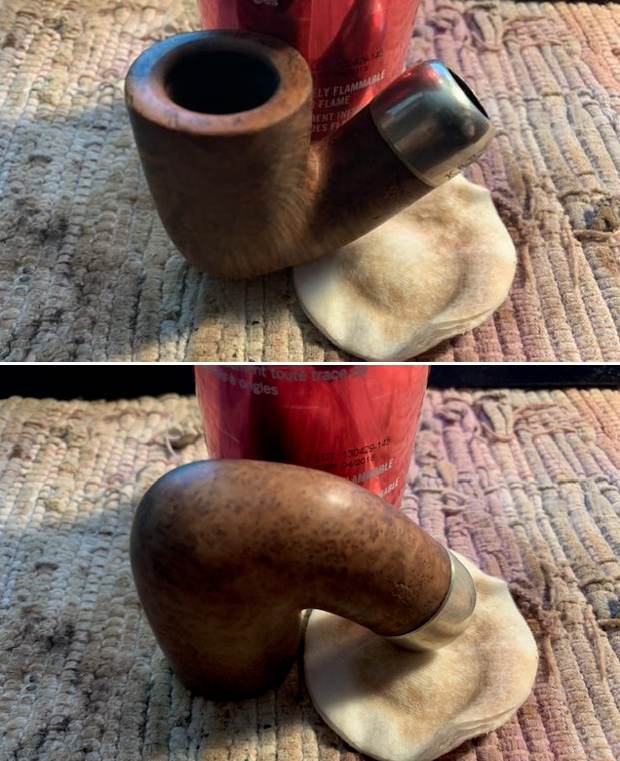
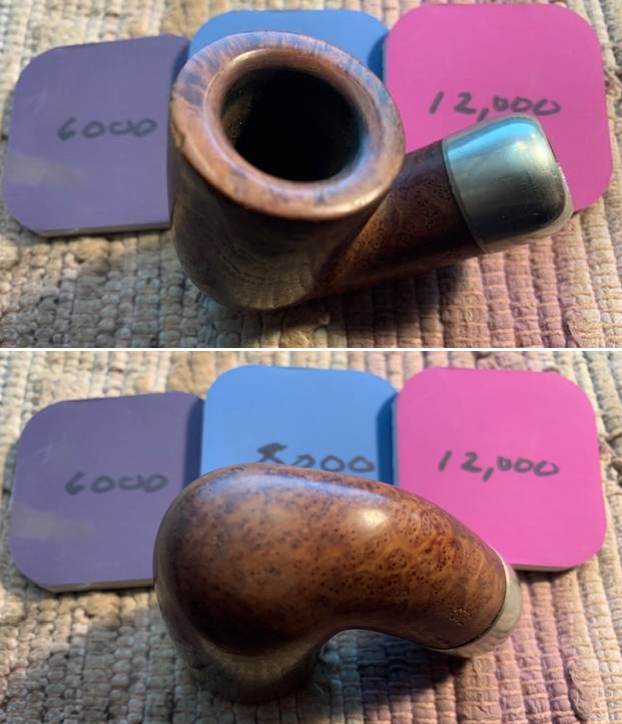
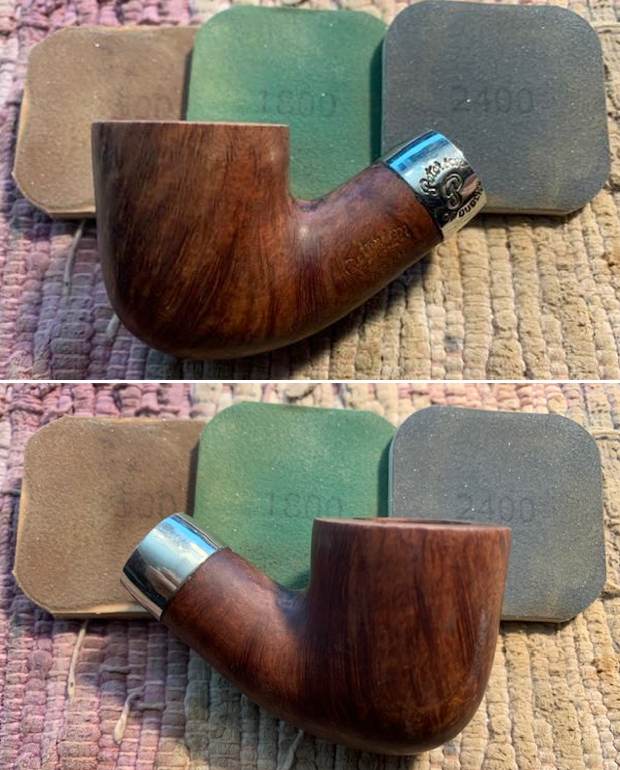
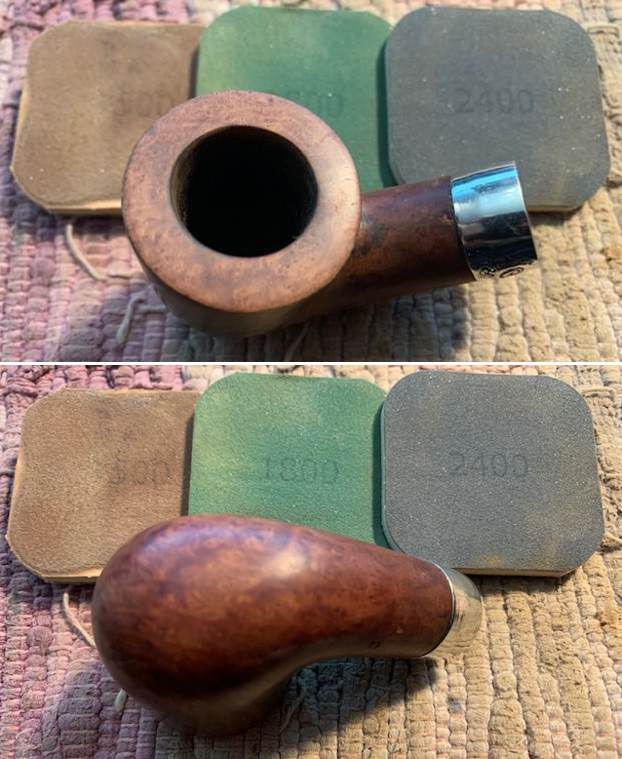
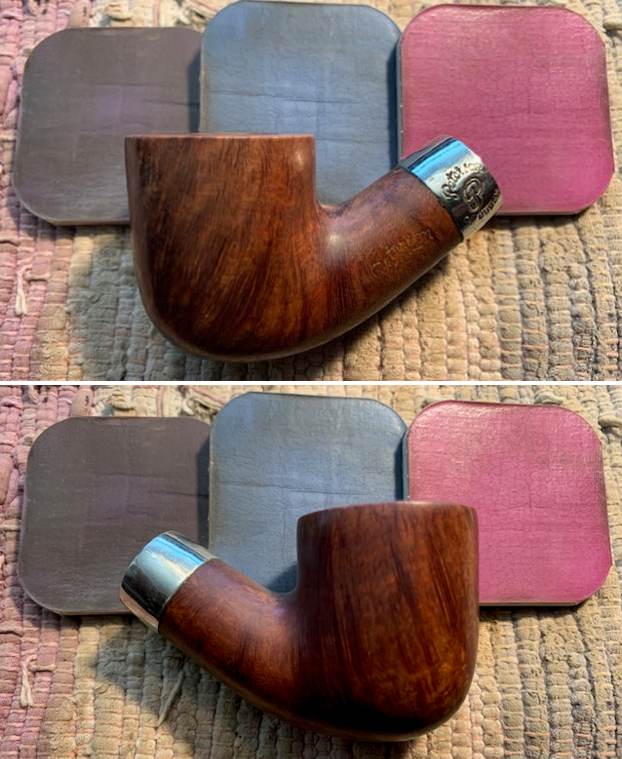
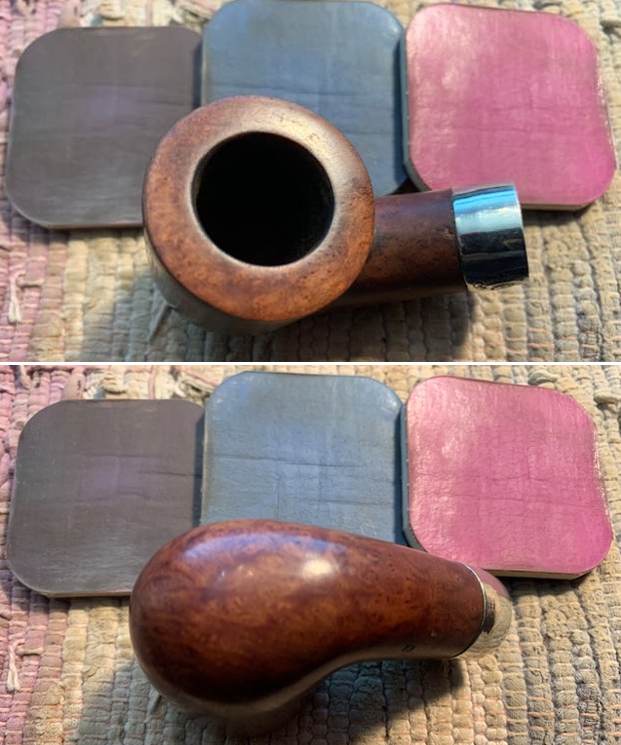
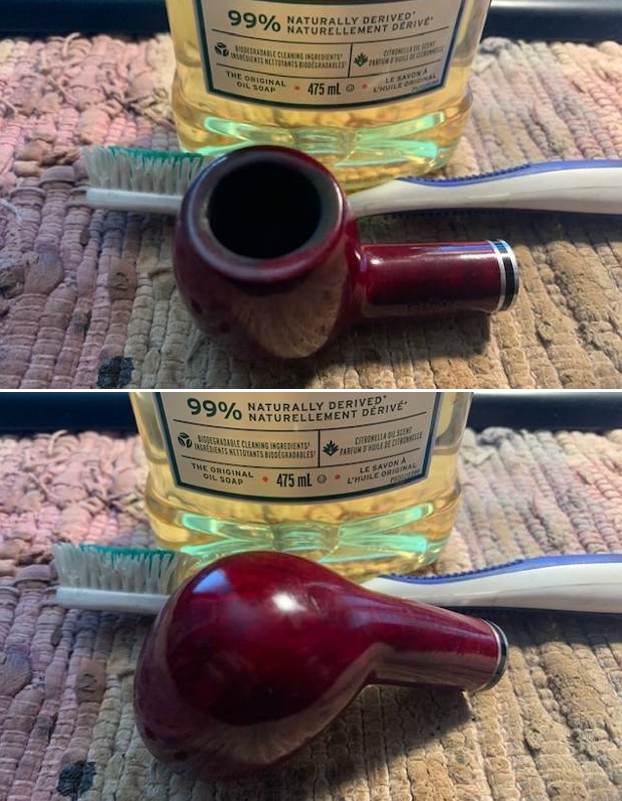
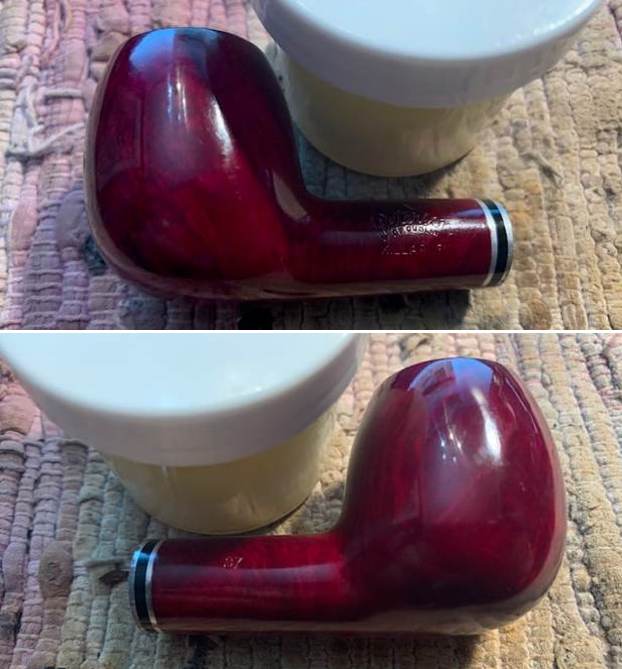
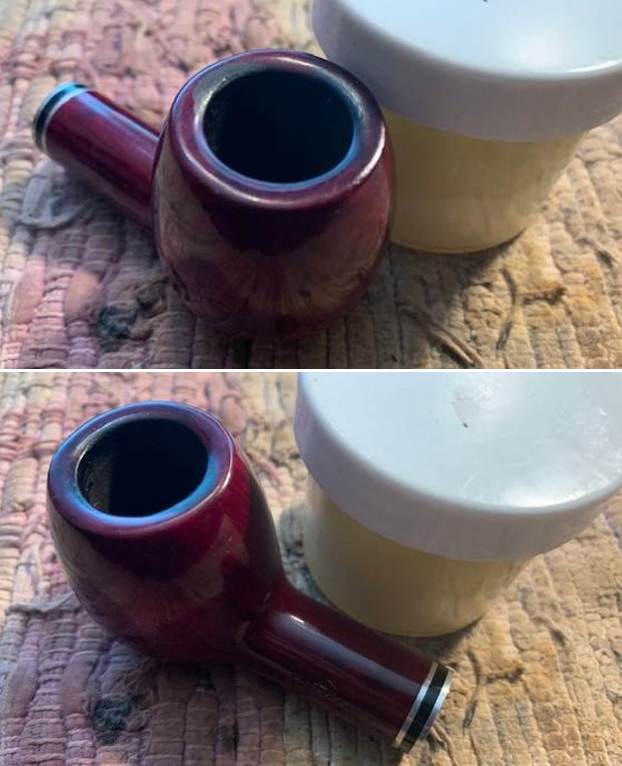
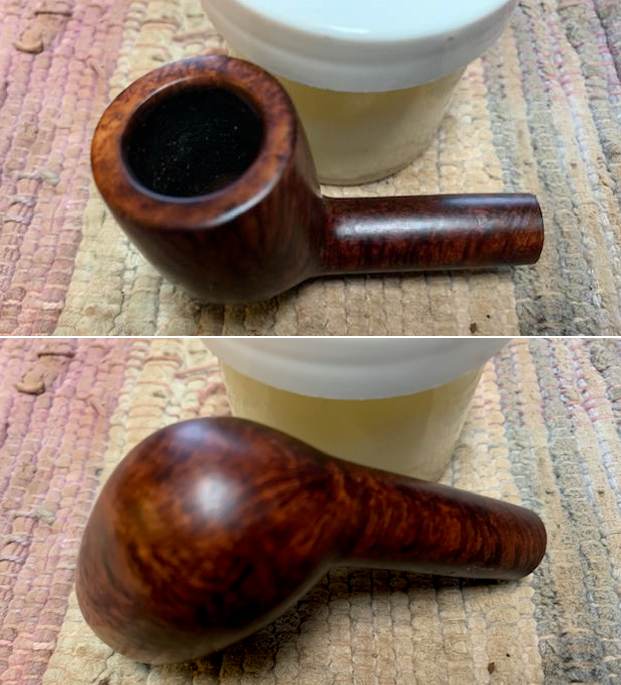
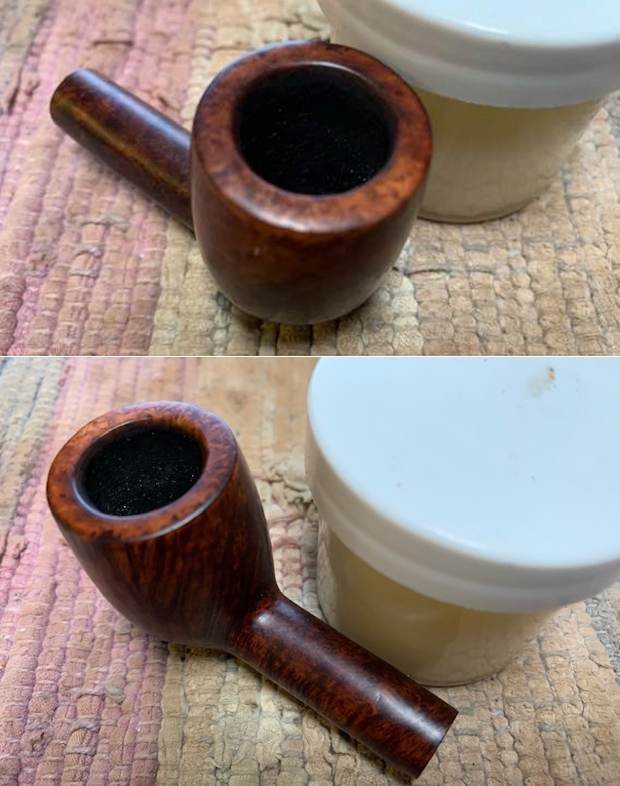
 I worked some Before & After Restoration Balm into the surface of the briar with my fingertips to clean, enliven and protect the briar. I let the balm sit for 15 minutes and then buffed with a cotton cloth to raise the shine. The photos show the bowl at this point in the restoration process.
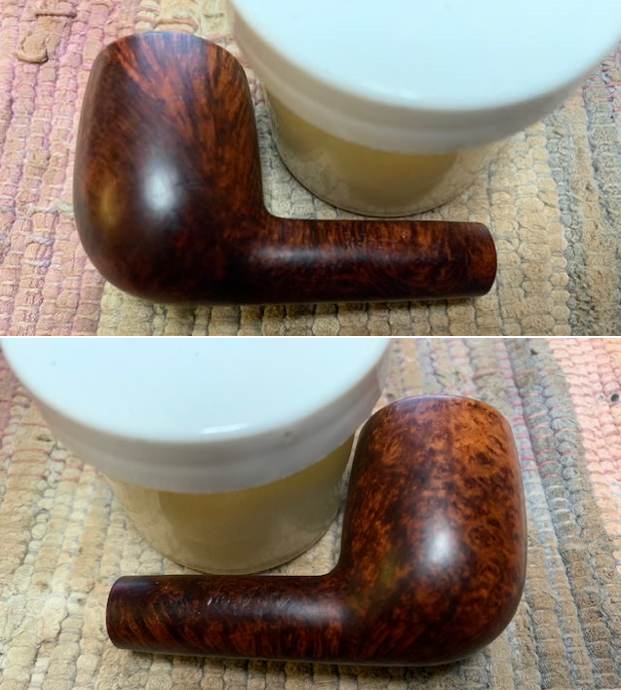
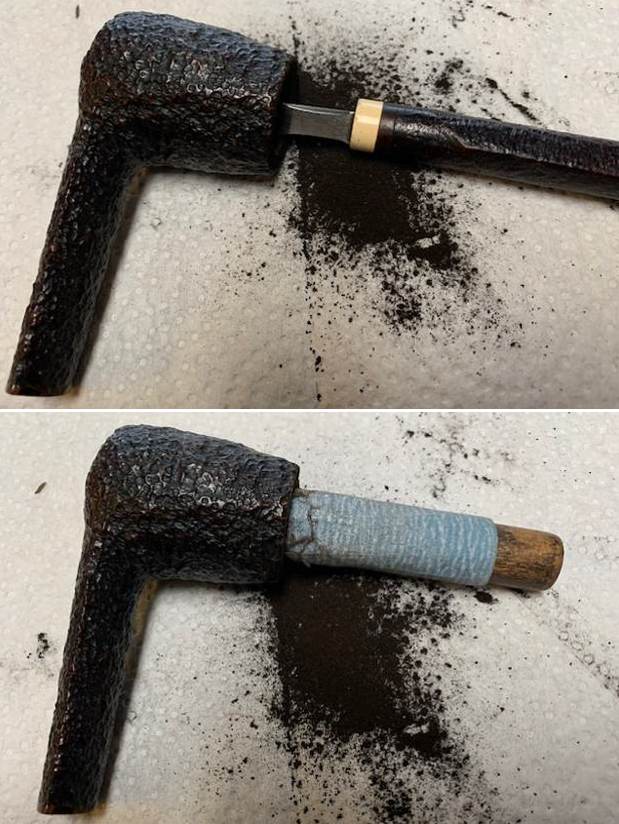
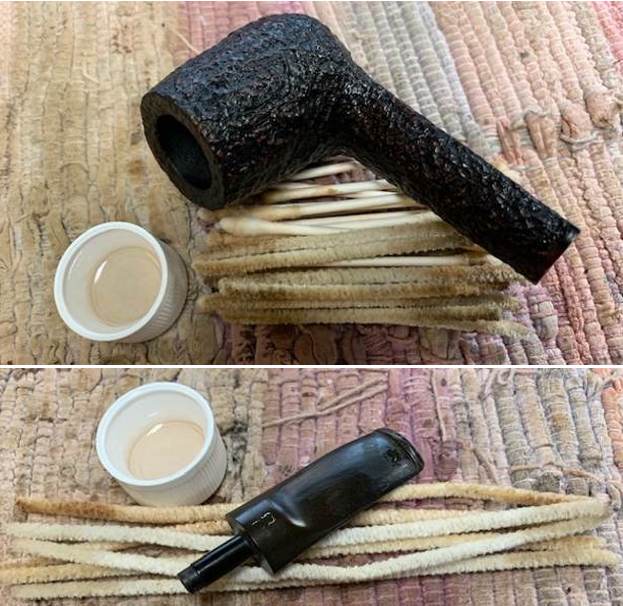
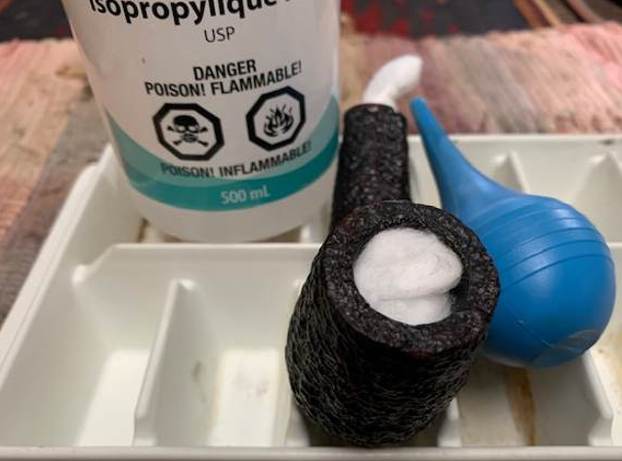
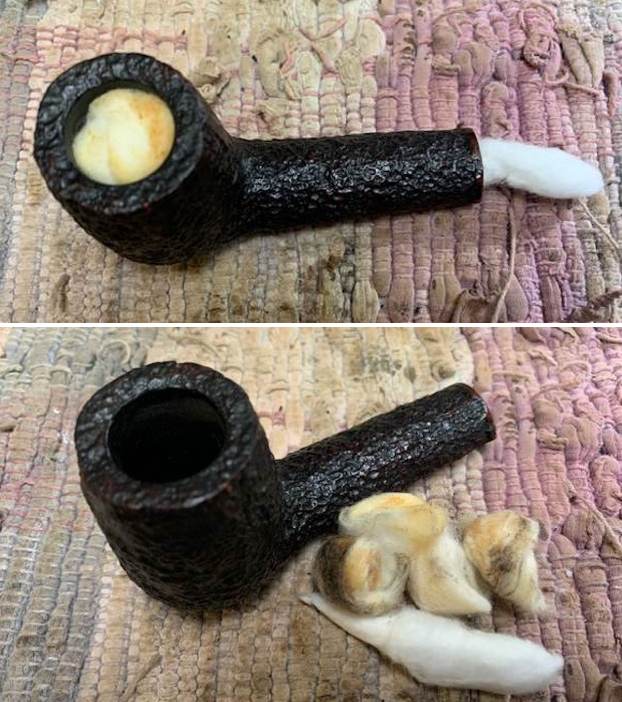
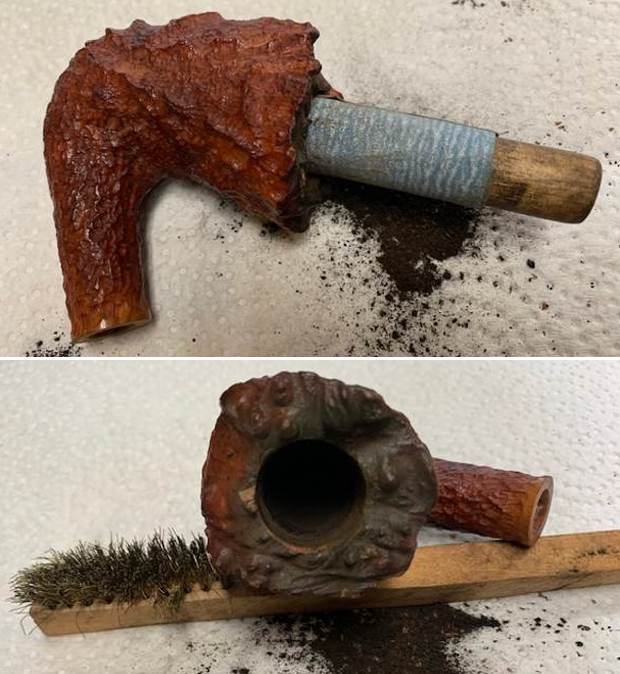
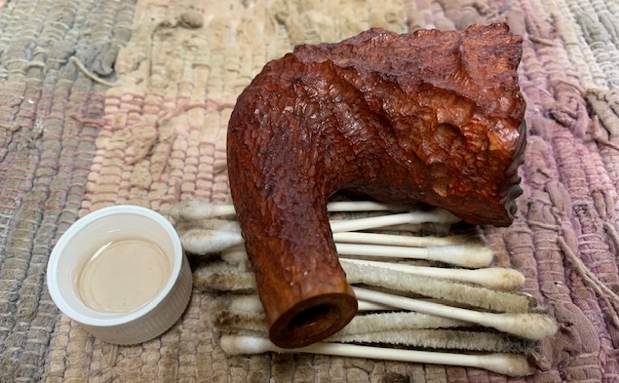
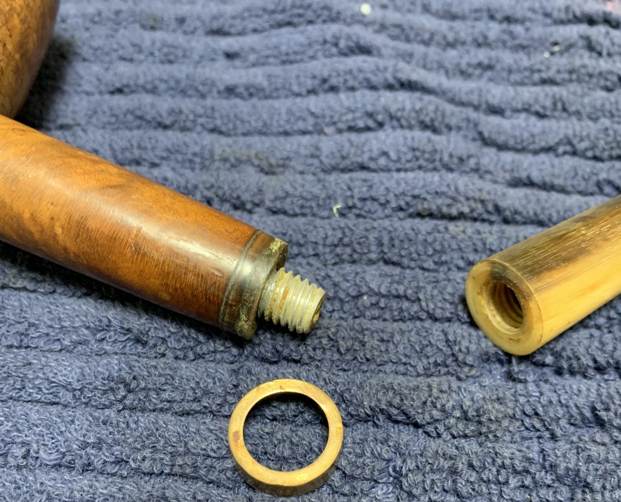
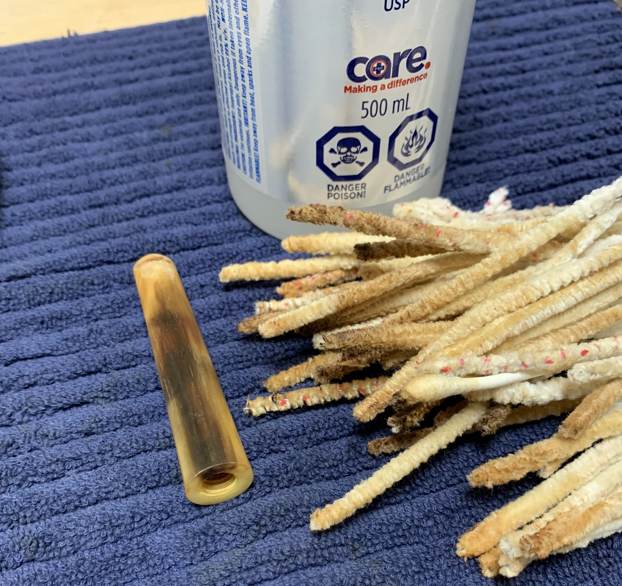
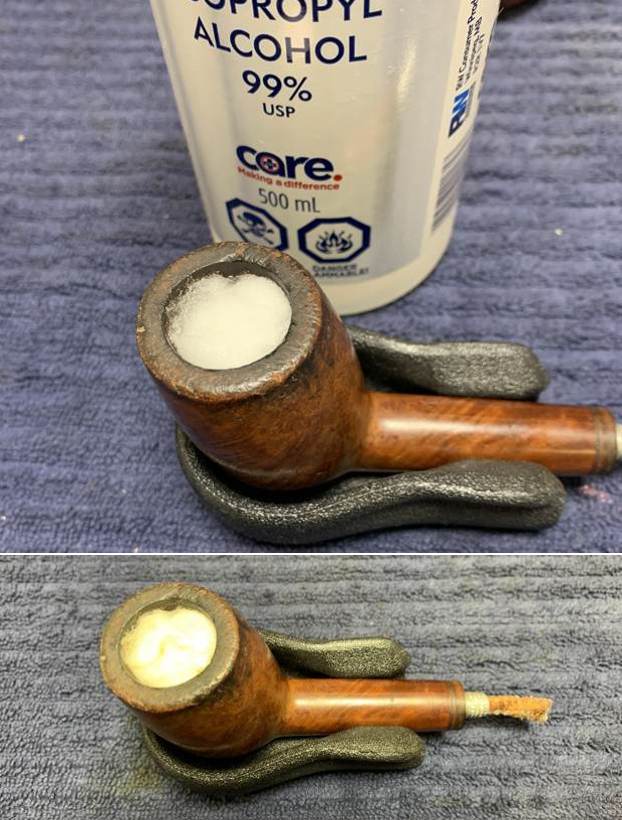
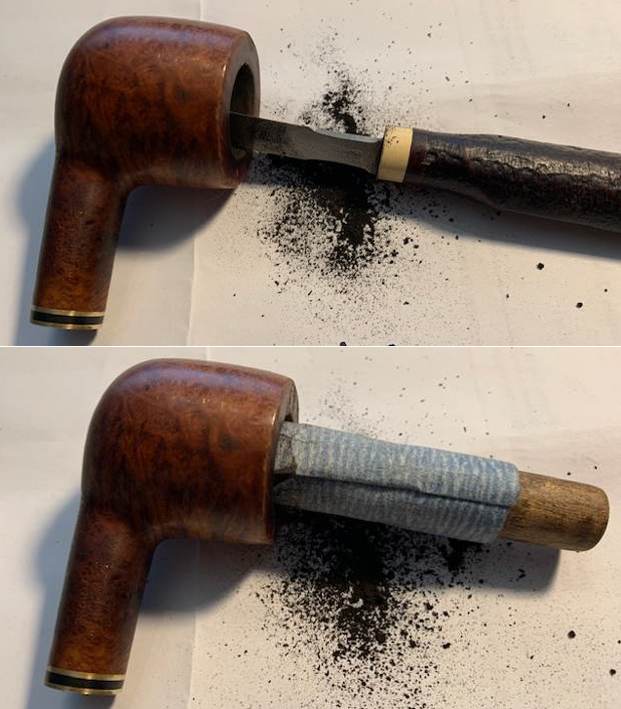
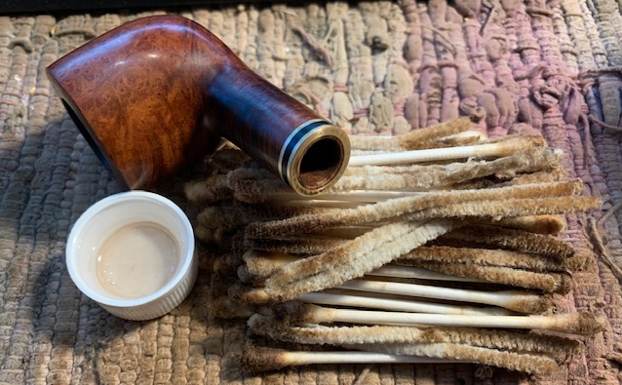
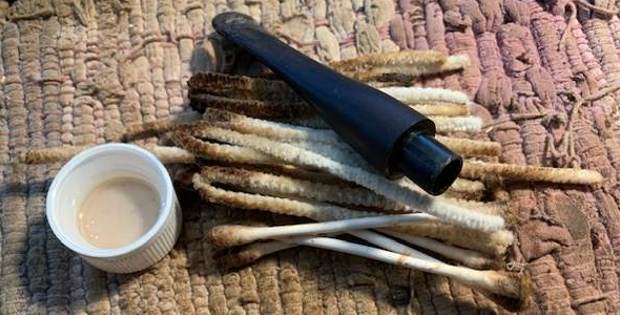
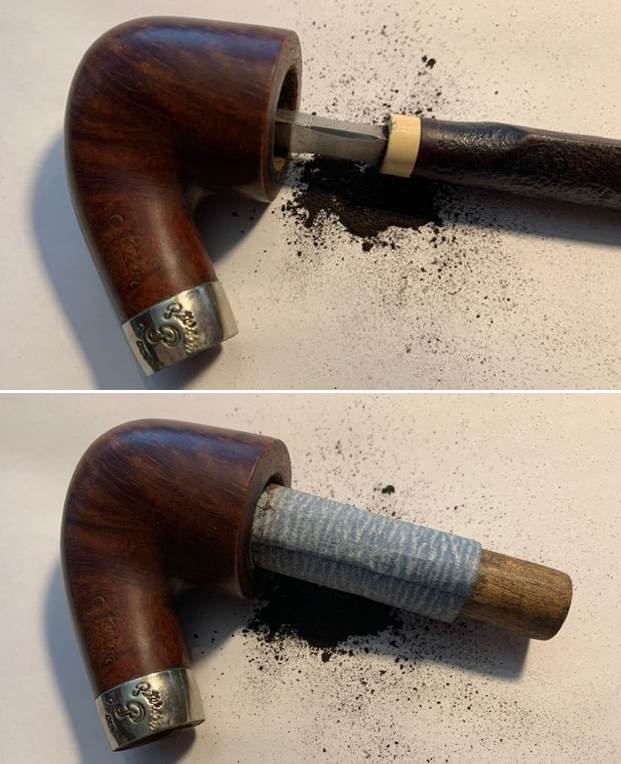
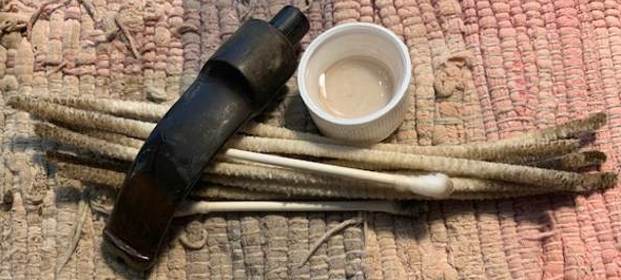
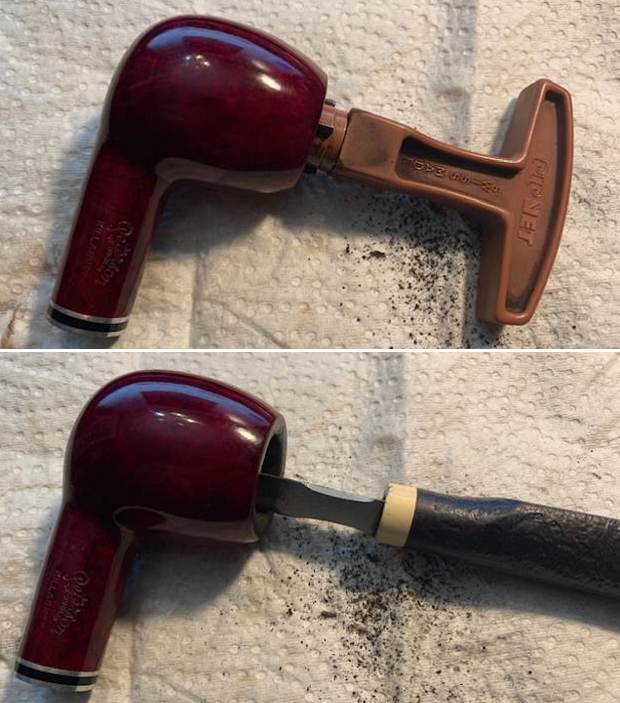
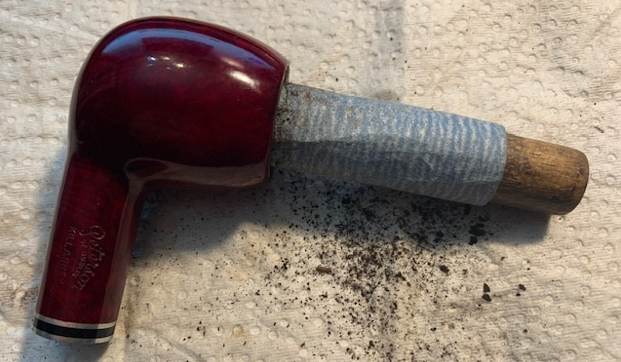
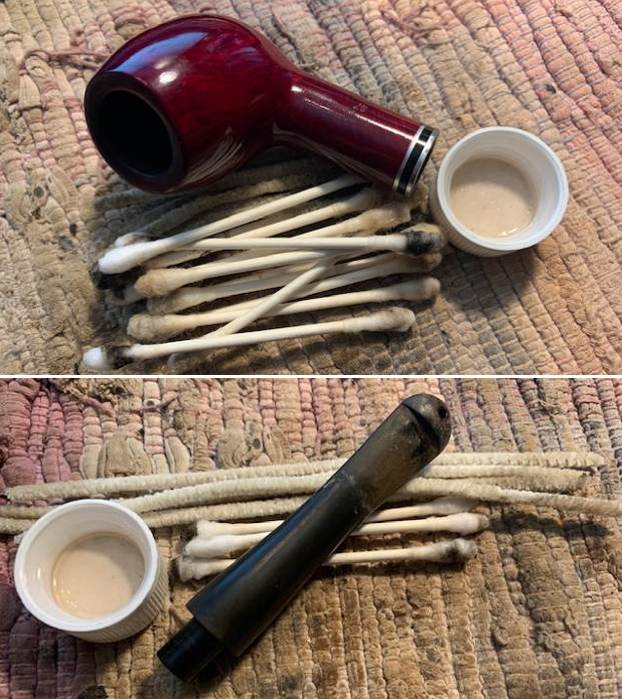
 I scraped out some thick tar on the mortise walls with a pen knife. Afterwards, I cleaned out the inside of the mortise, shank and airway in the stem with alcohol, cotton swabs and pipe cleaners.
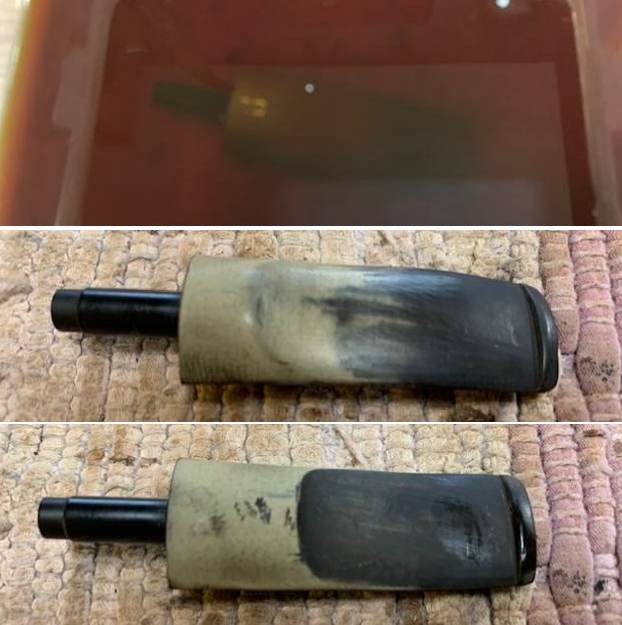
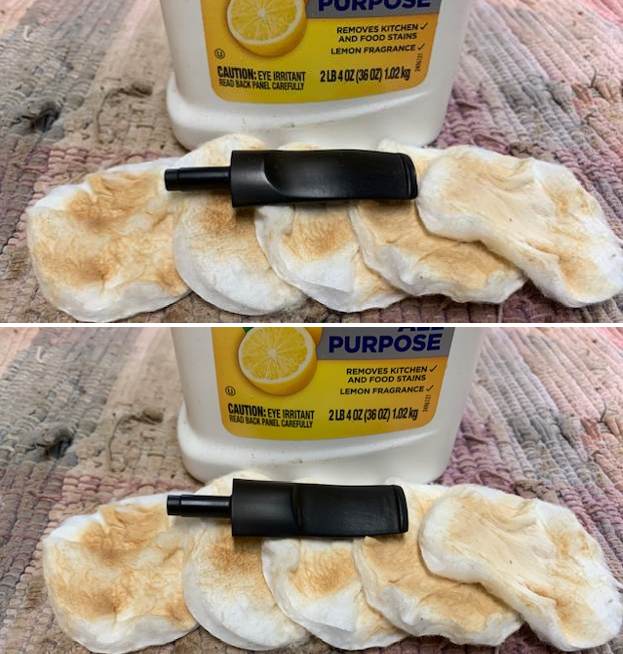
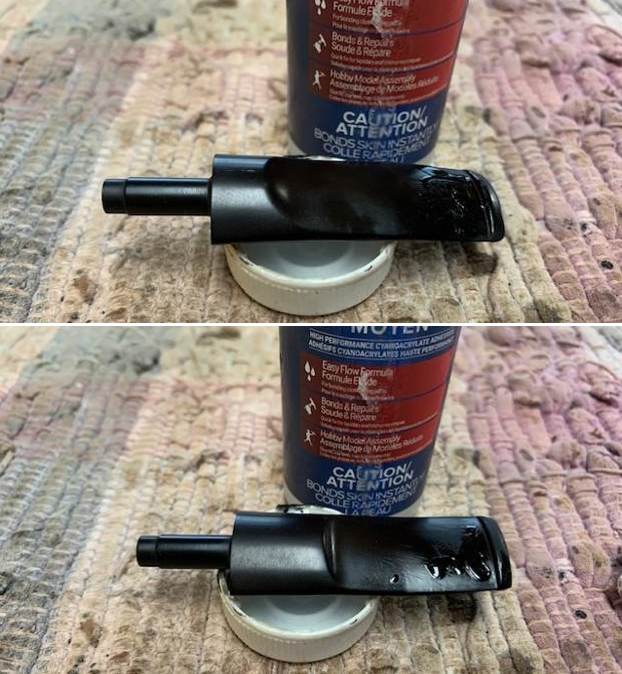
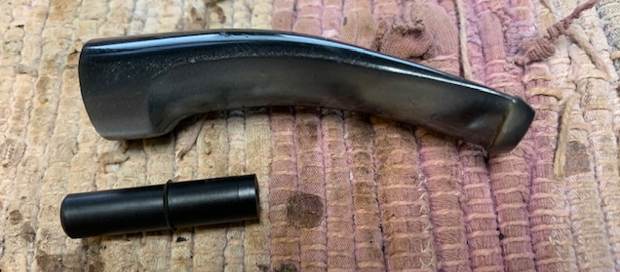
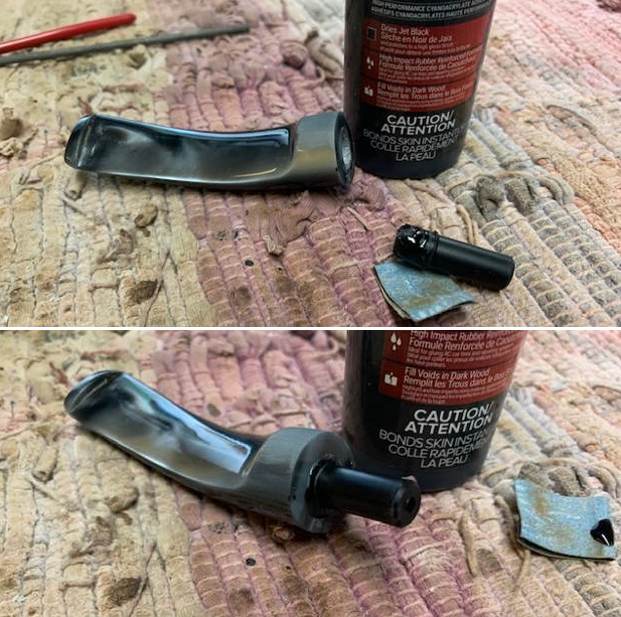
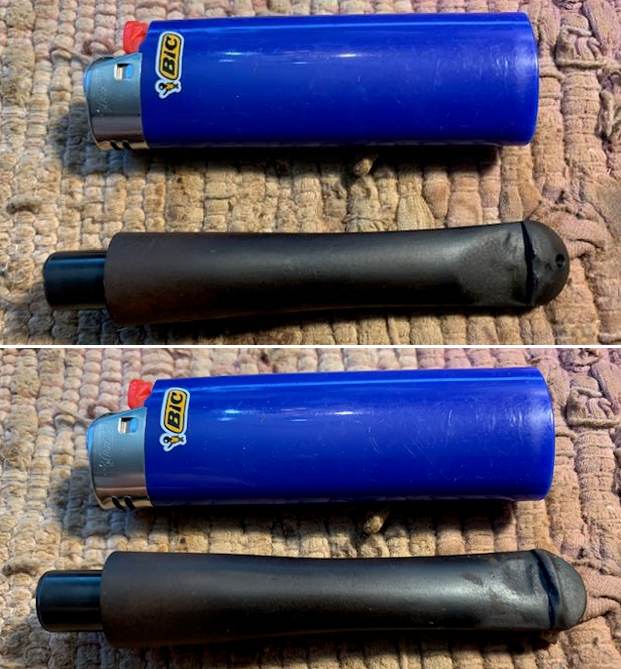
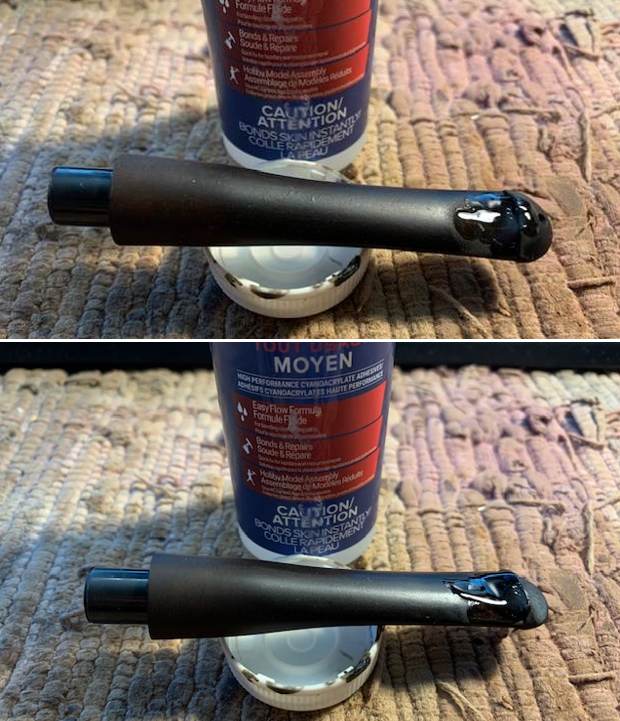
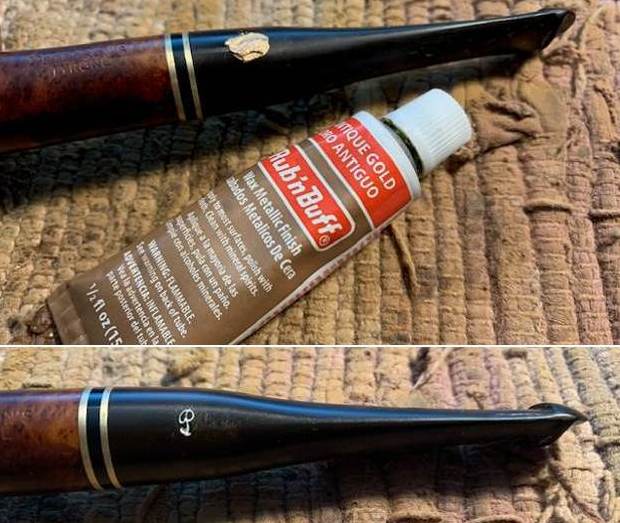
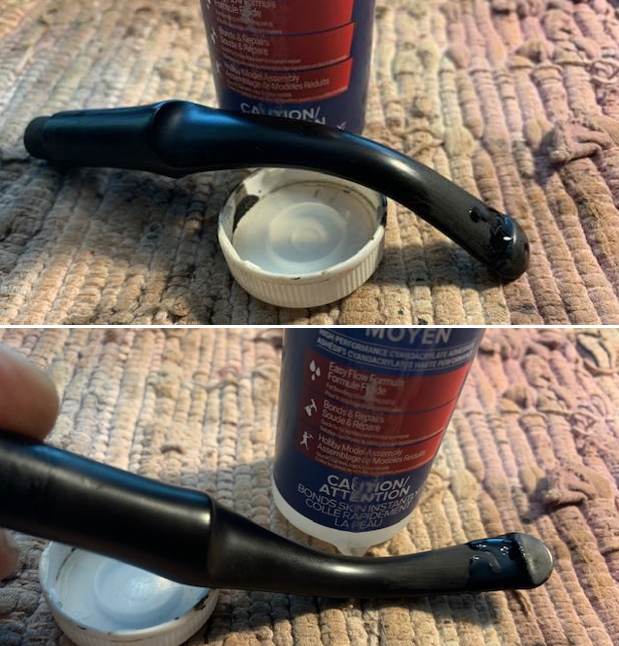
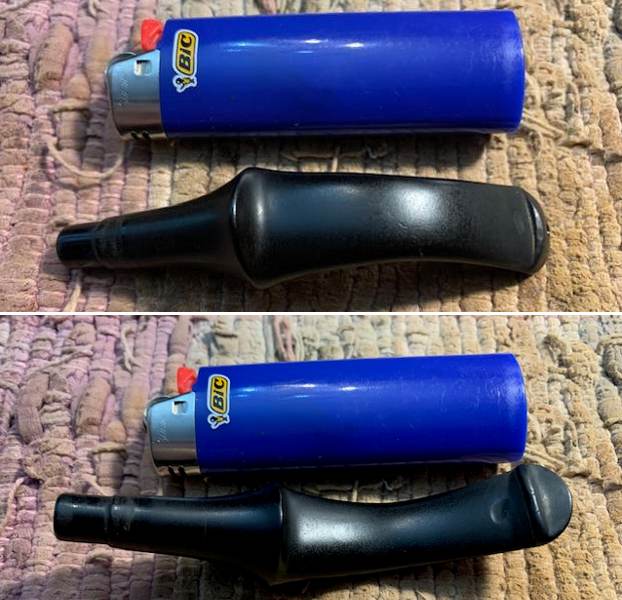
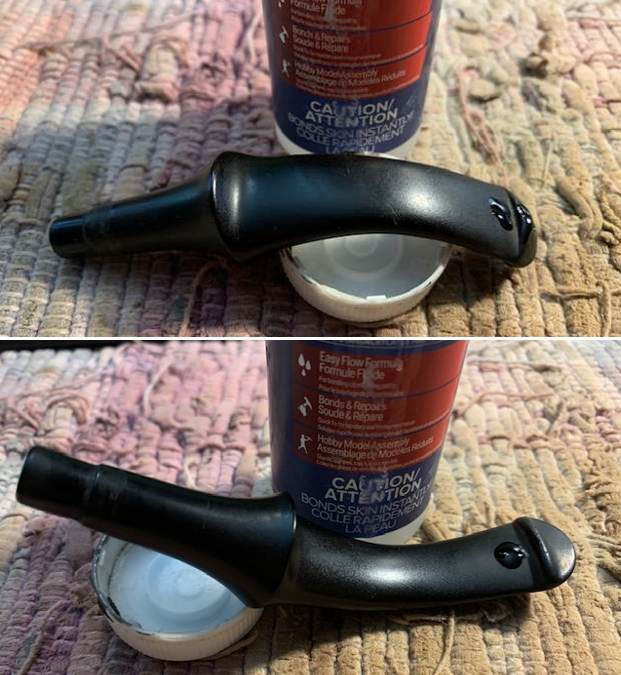
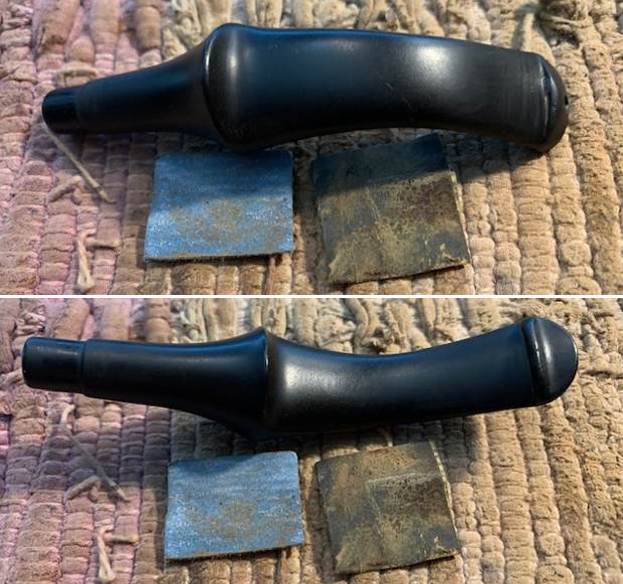
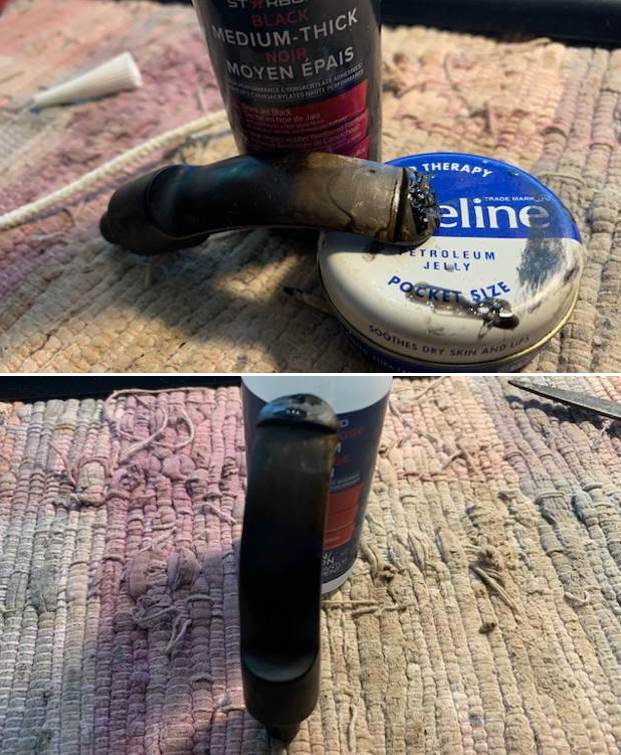
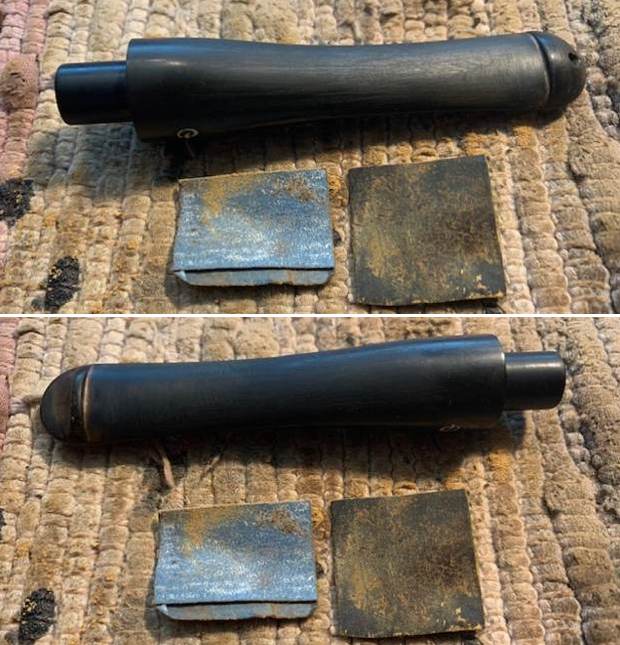
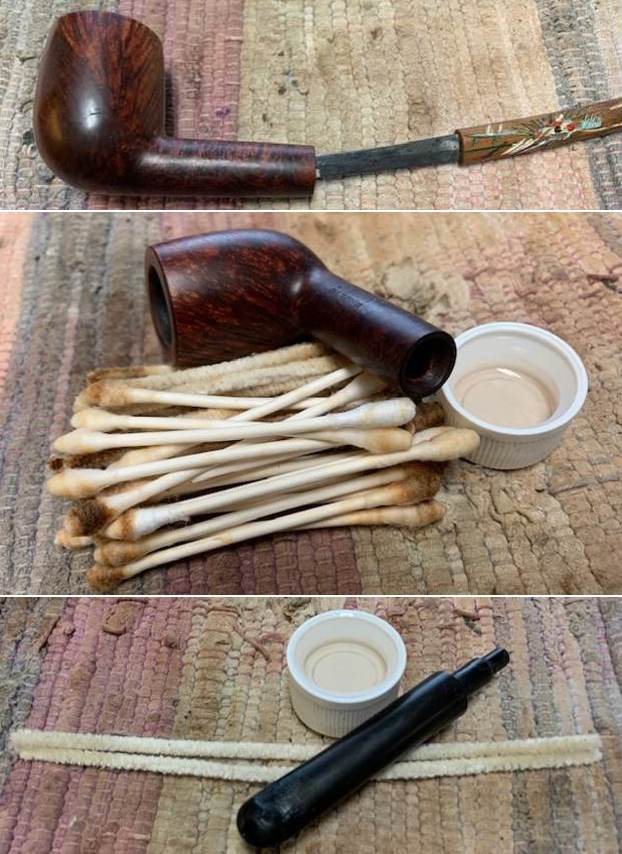 I set the bowl aside and turned my attention to the stem. I “painted” the stem surface on both sides with the flame of the lighter to try and lift the deep tooth marks. I was able to lift them significantly but some deep spots remained. I filled those in with black CA glue and set the stem aside to let the repairs harden.
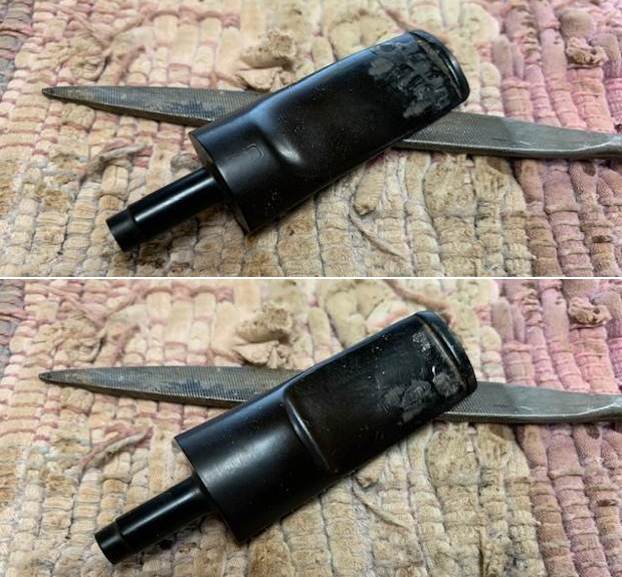
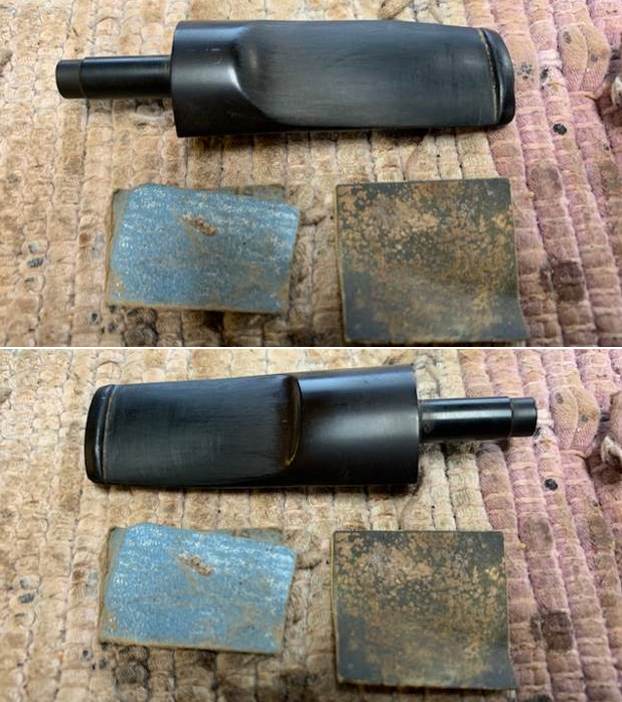
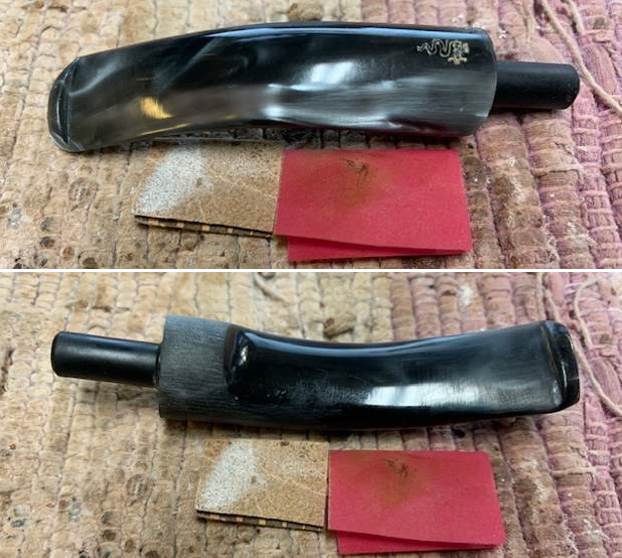
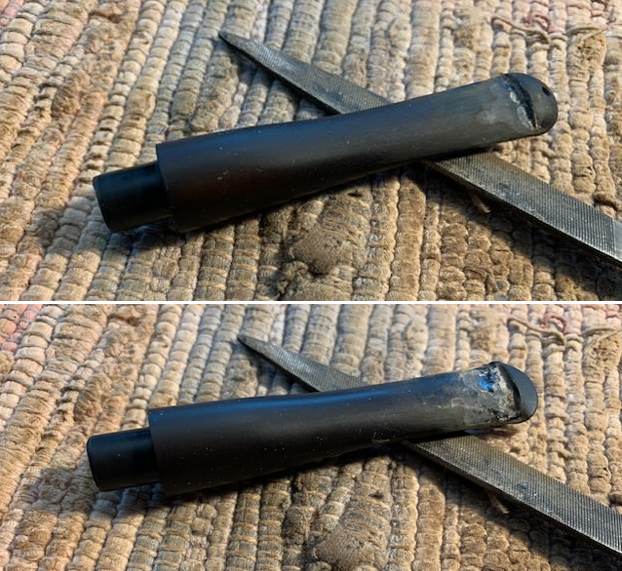
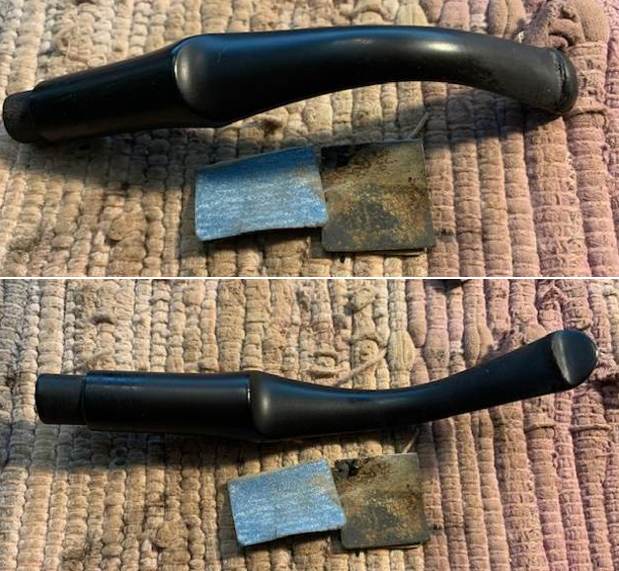
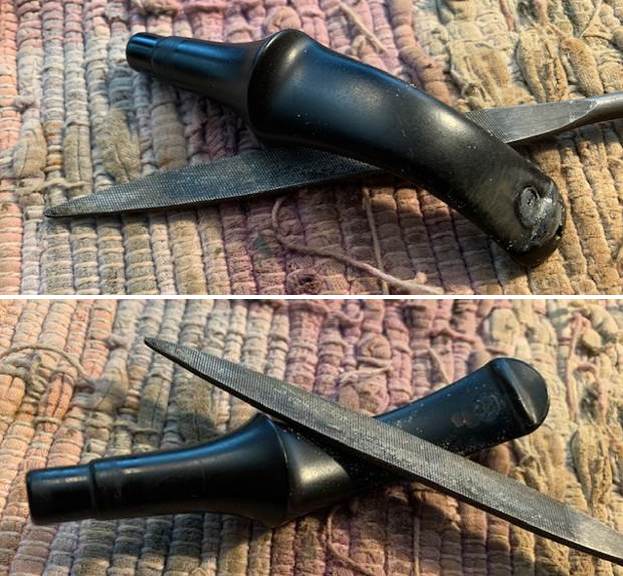
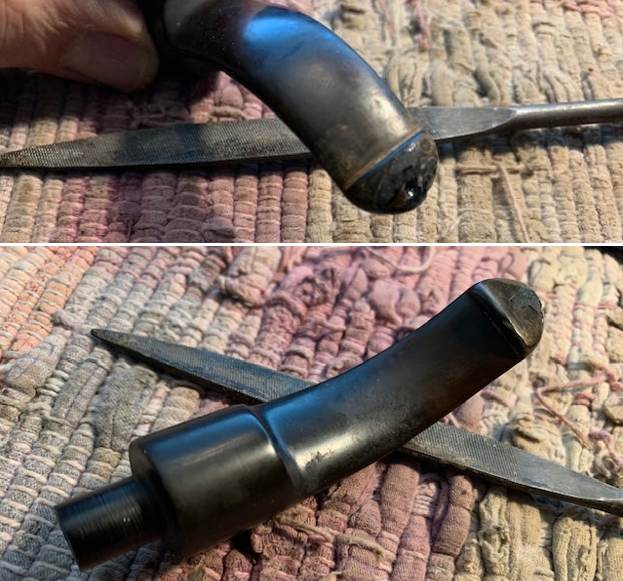
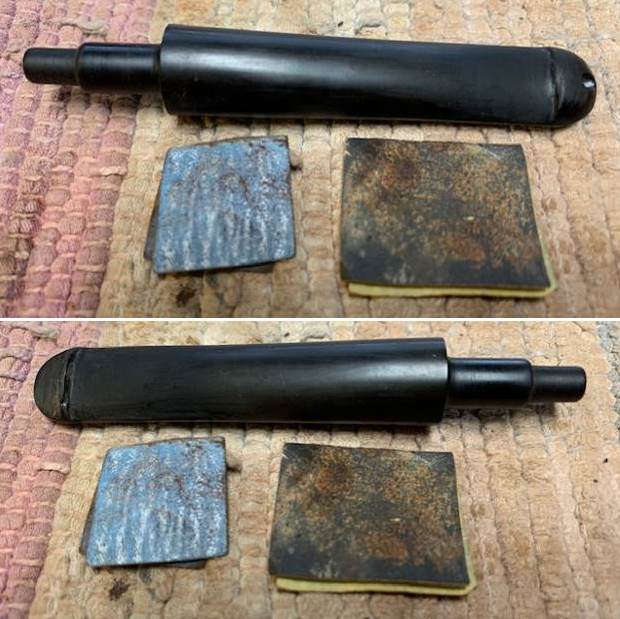
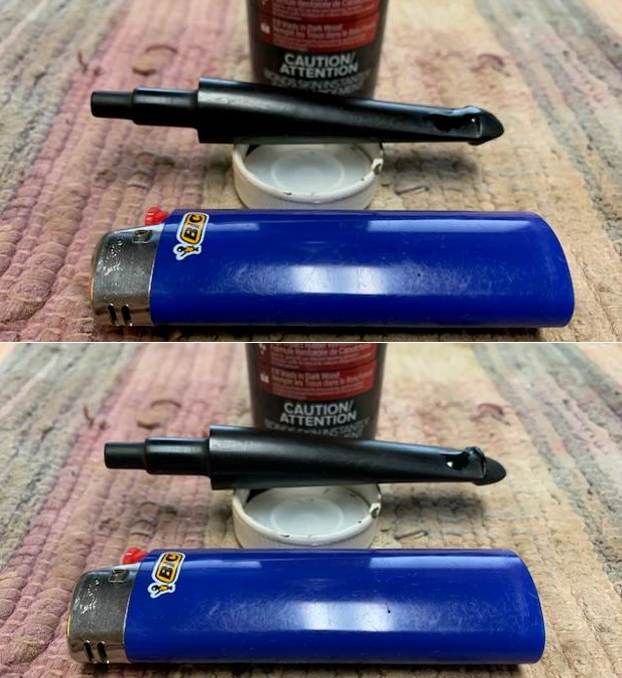 I flattened the cured repairs with a small file and then sanded them with 220 grit sandpaper to blend them into the stem surface. I started polishing the stem with 400 grit wet dry sandpaper.
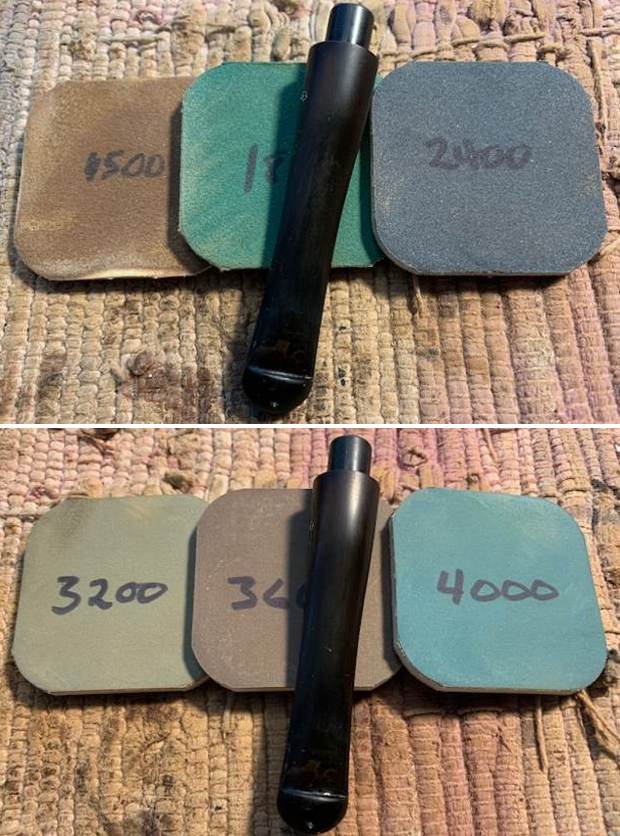
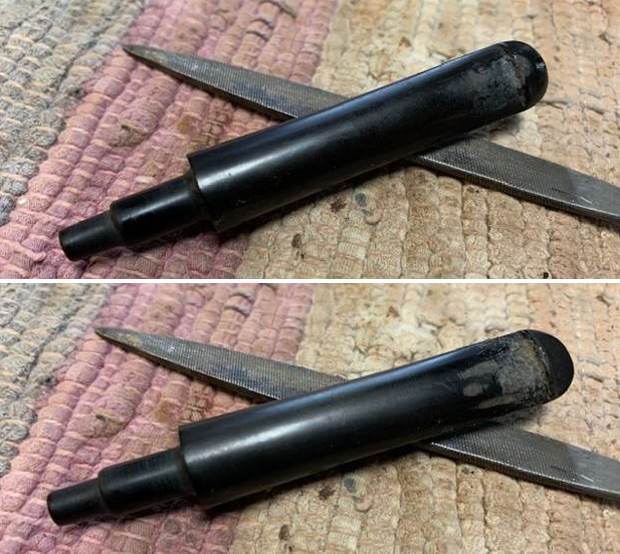
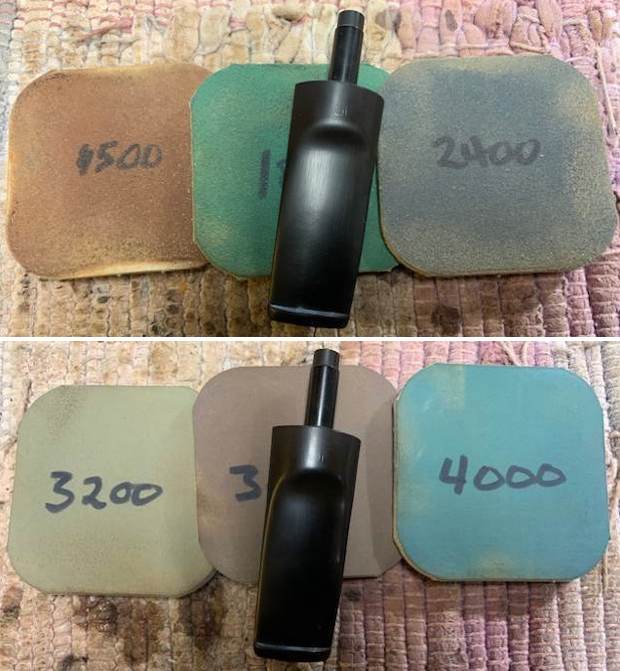
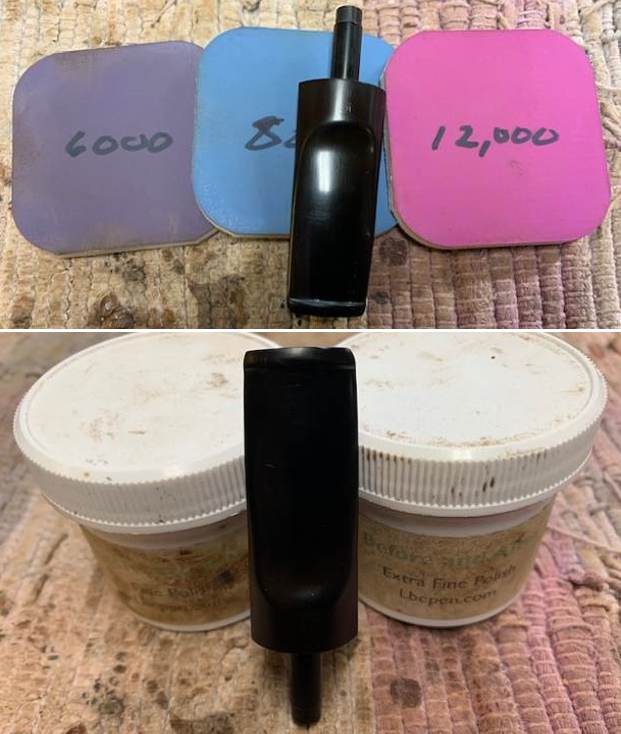
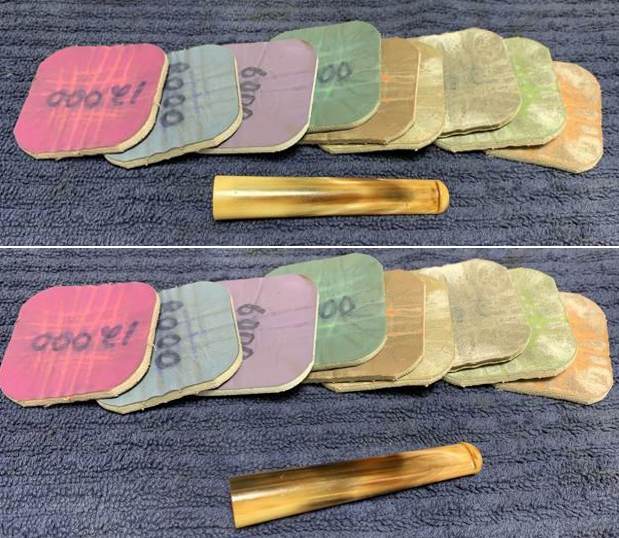
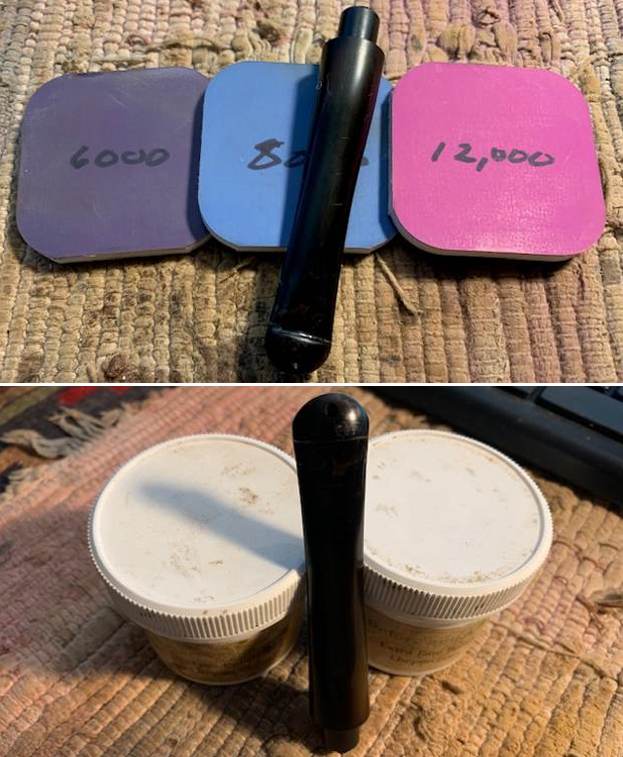
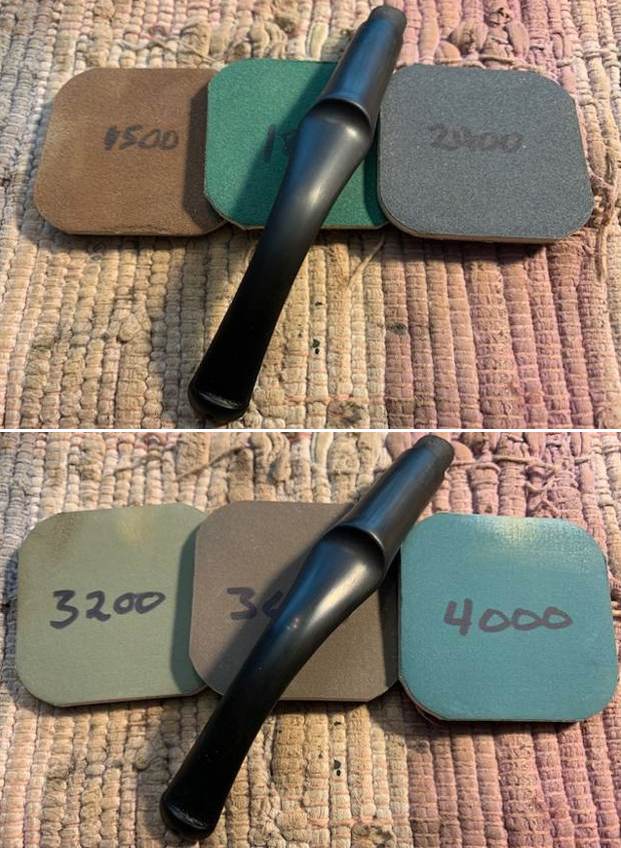
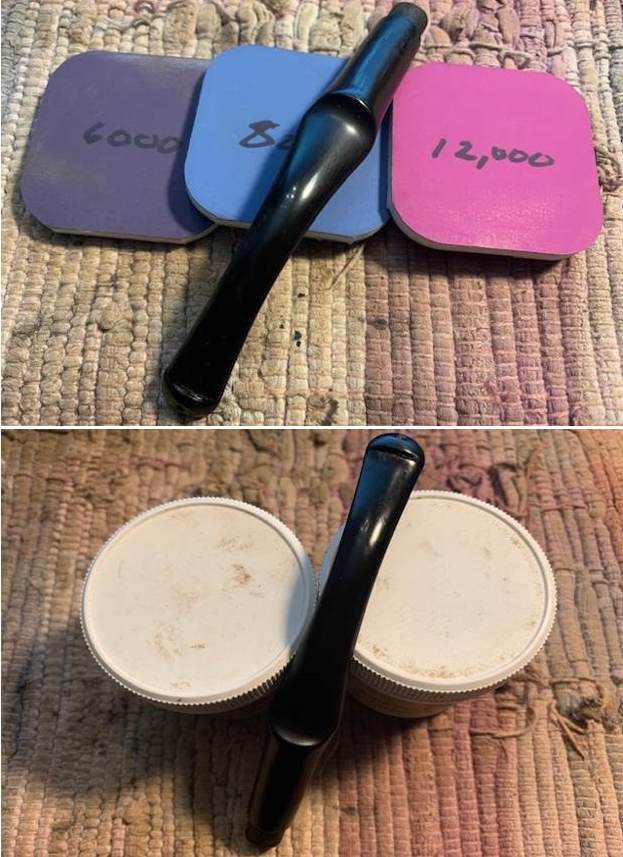
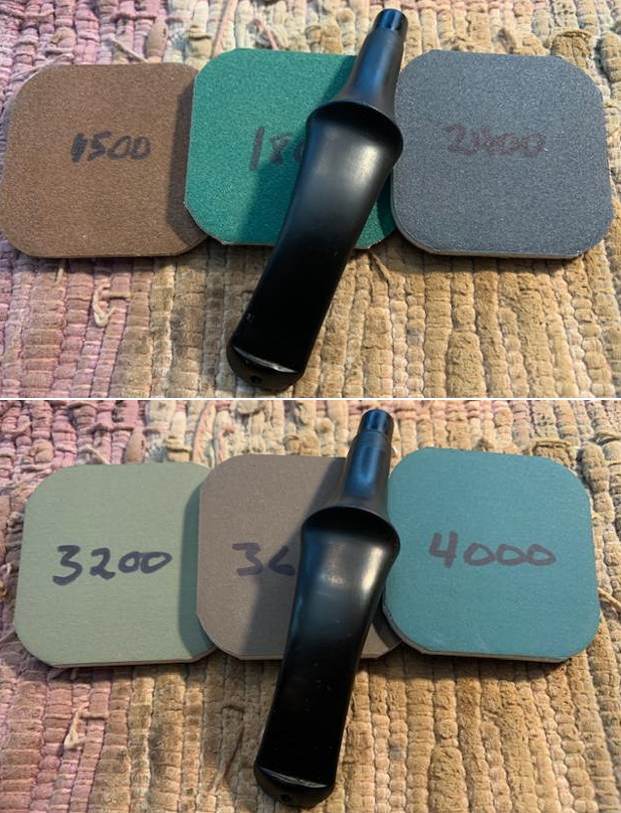
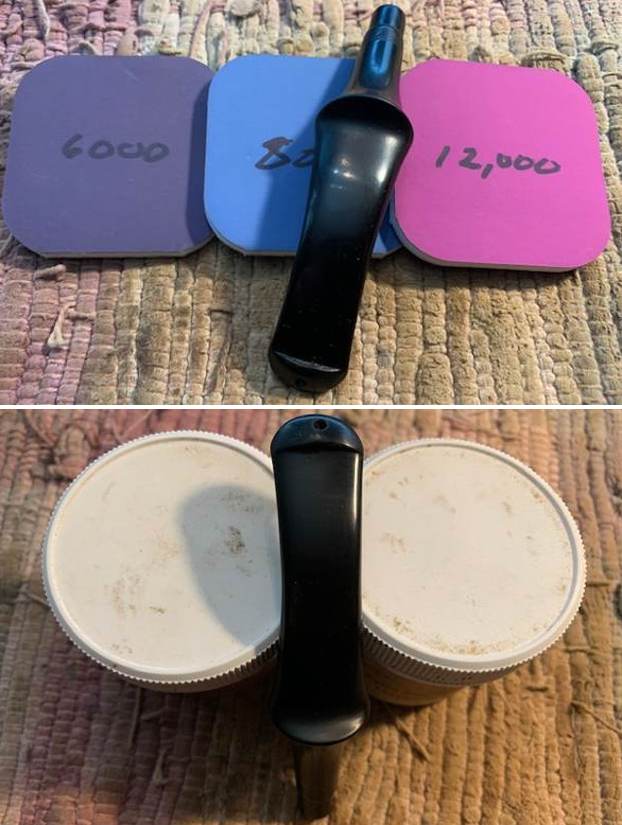
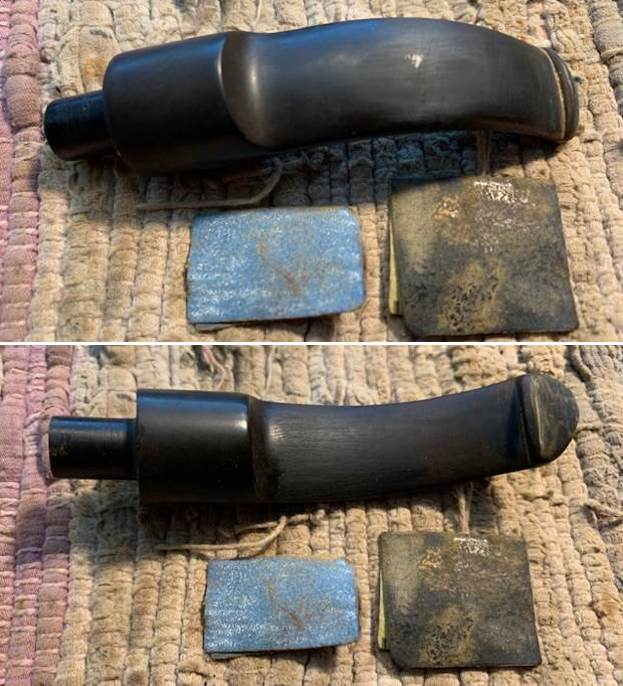
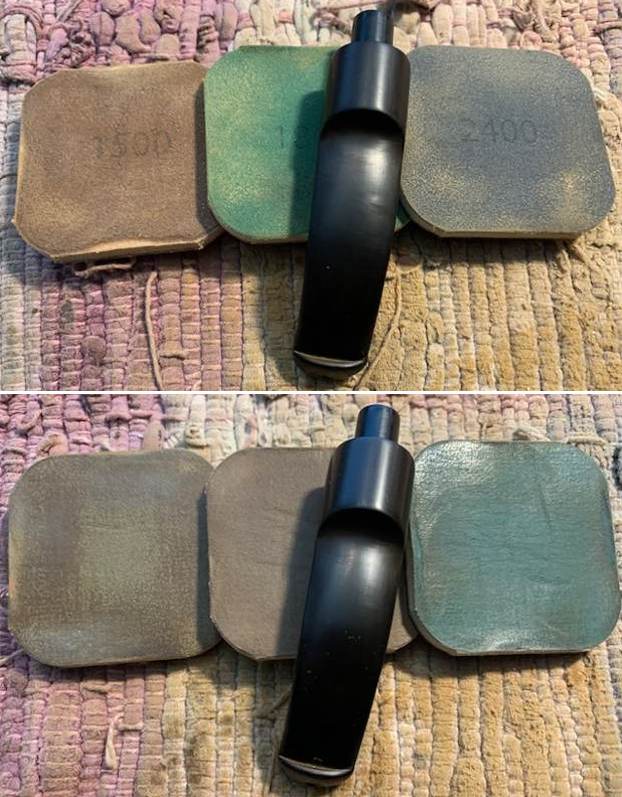
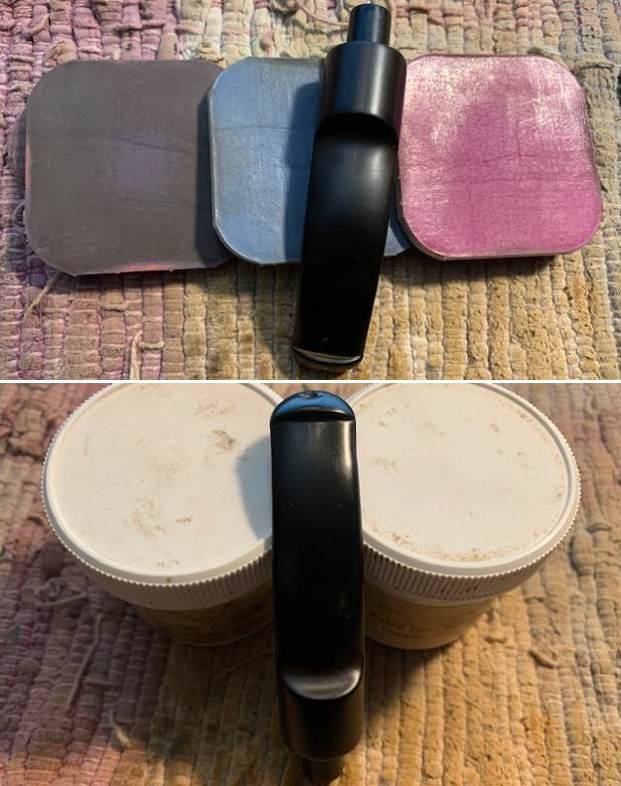
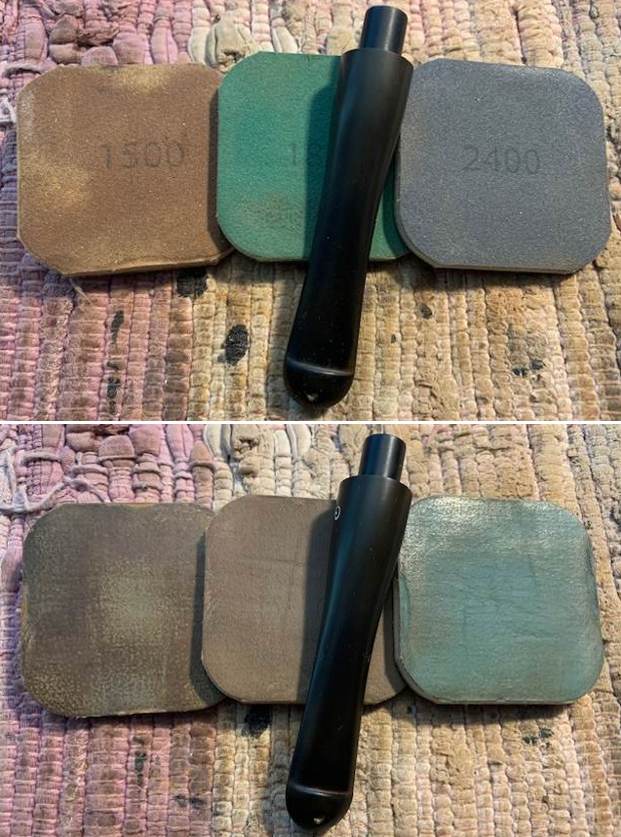
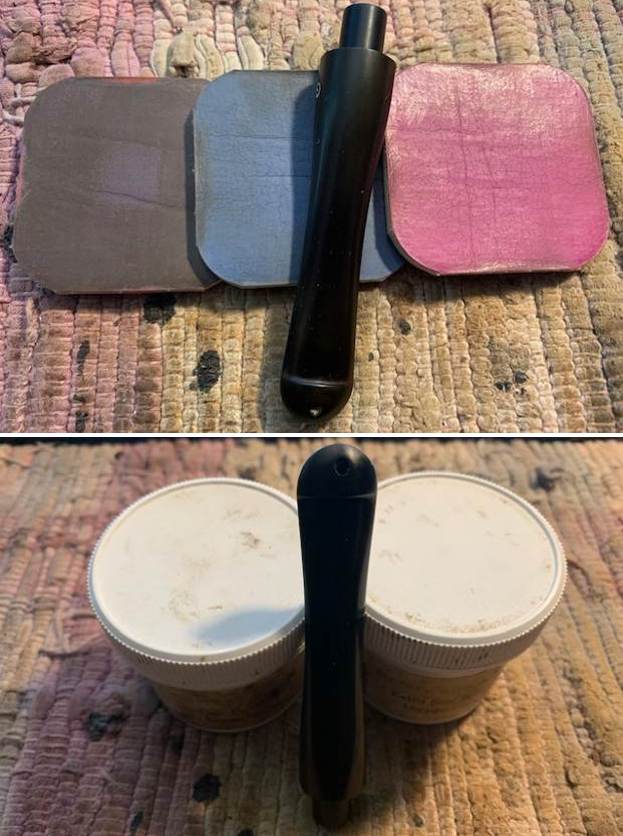
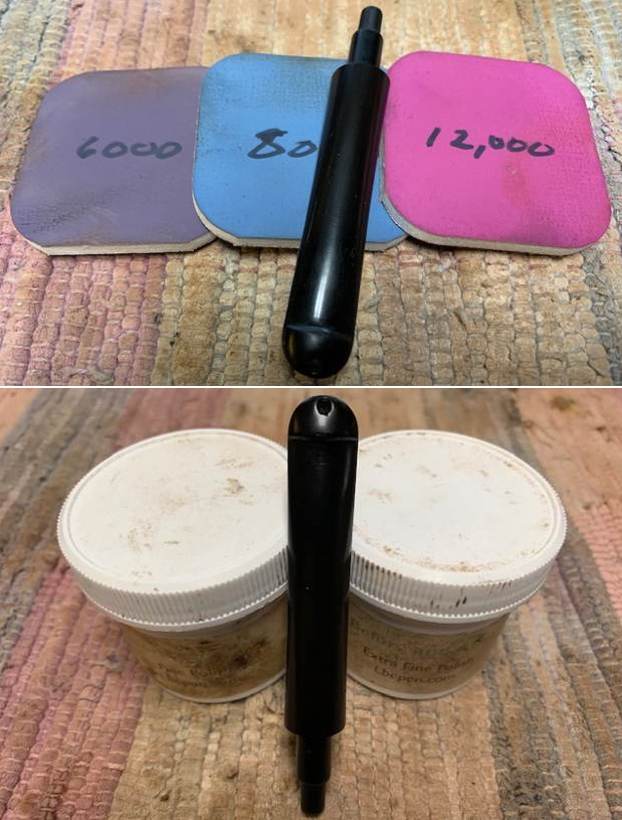
 I polished the stem with micromesh sanding pads – wet sanding with 1500-12000 grit sanding pads. I wiped it down after each sanding pad with Obsidian Oil. I polished it with Before & After Pipe Stem Polish – both Fine and Extra Fine.
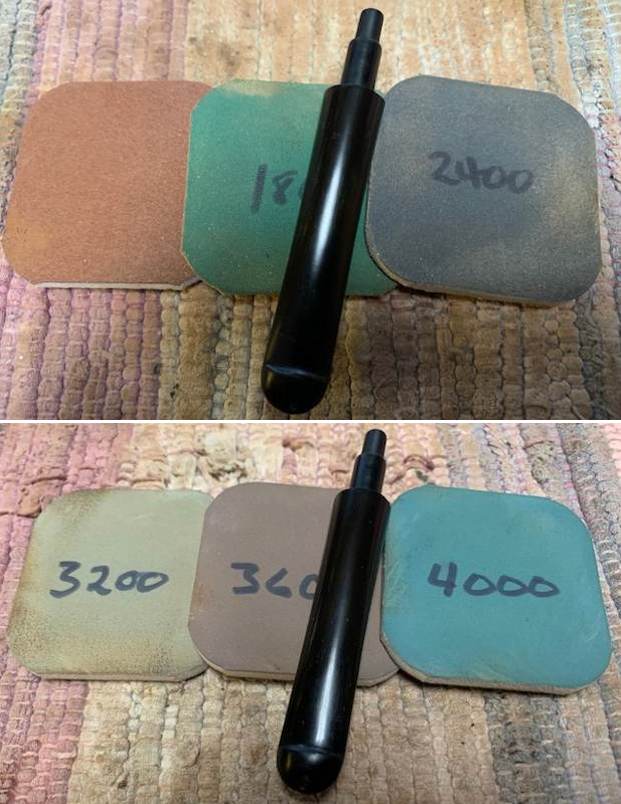
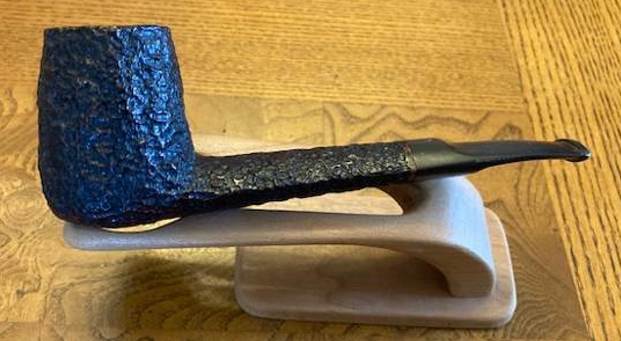
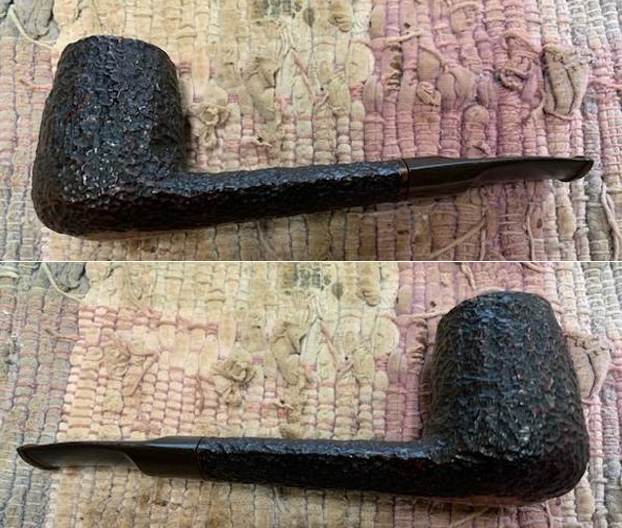
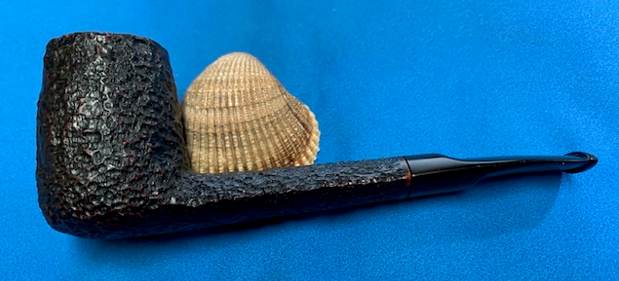
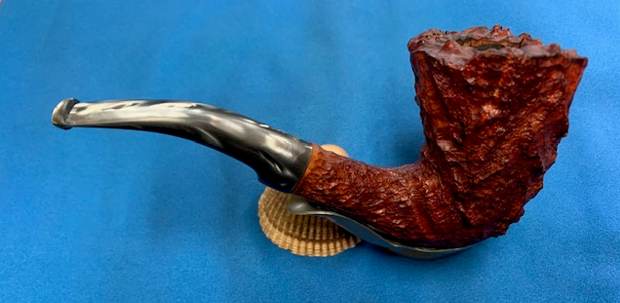
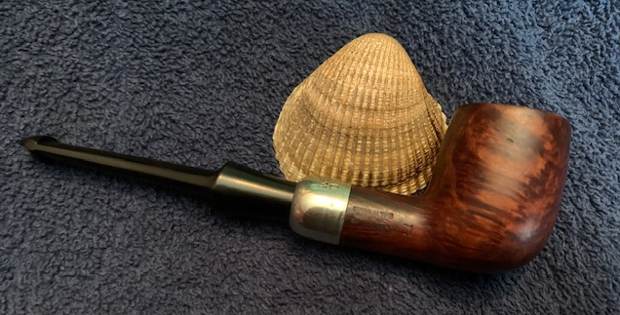
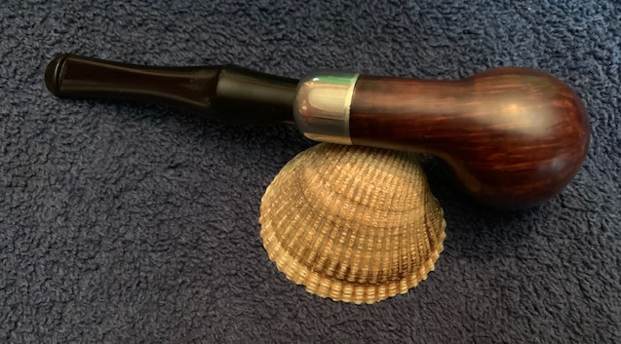
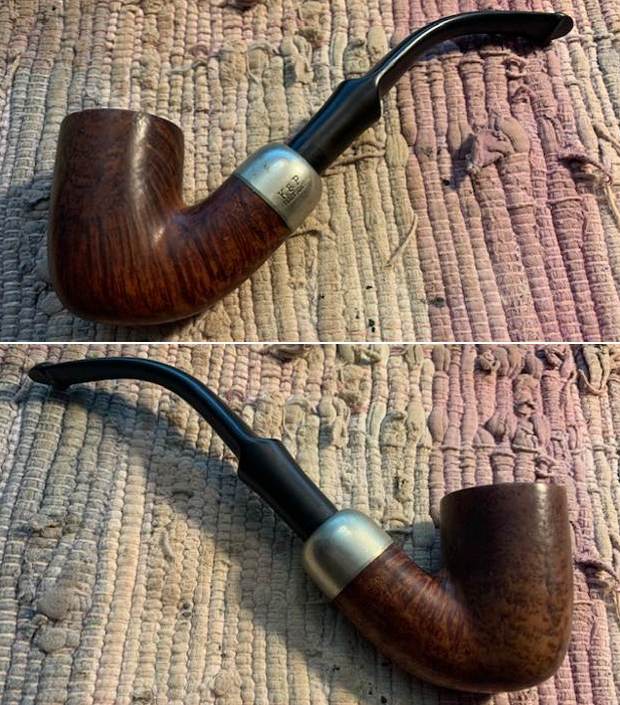
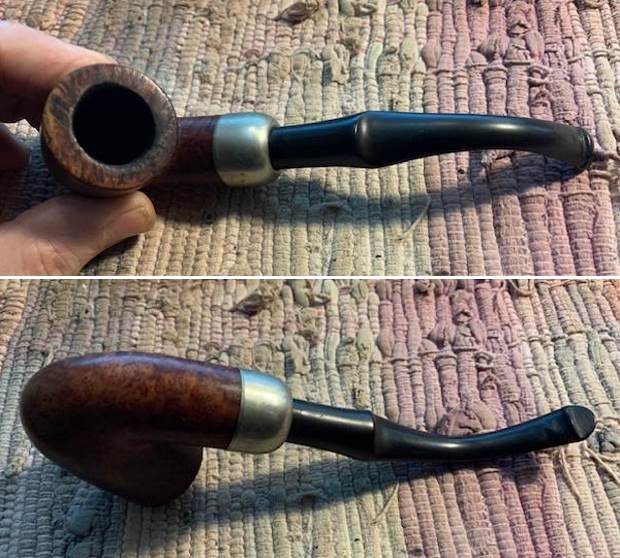
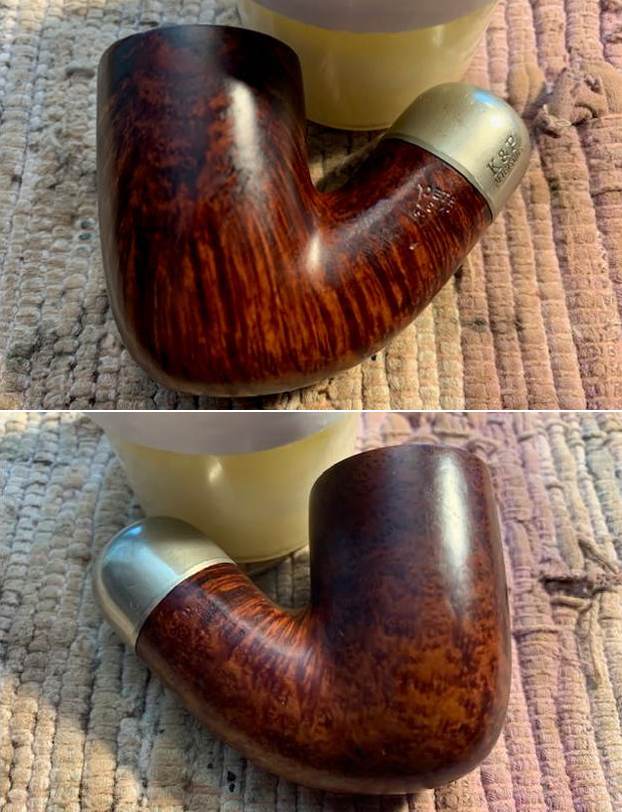
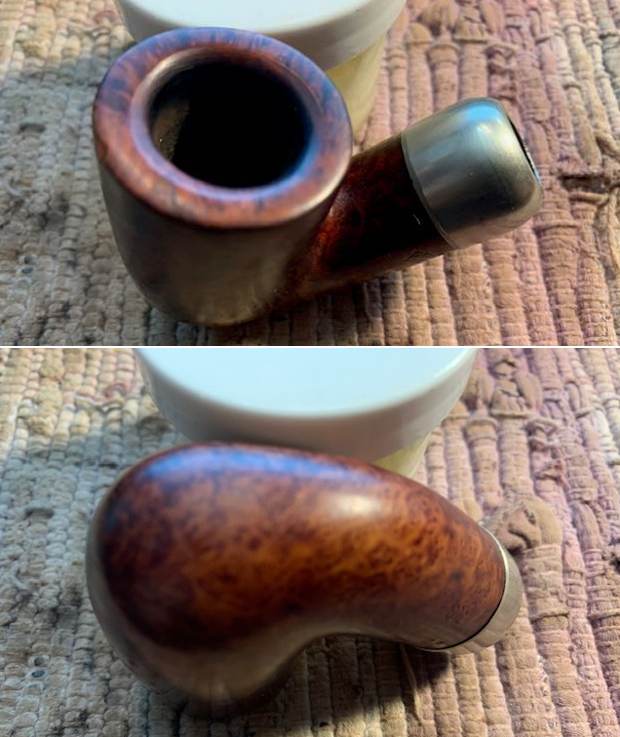
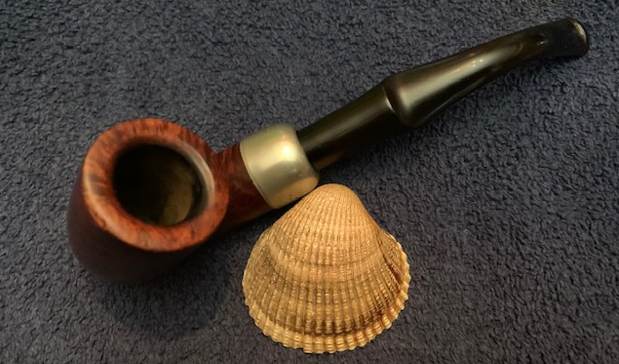
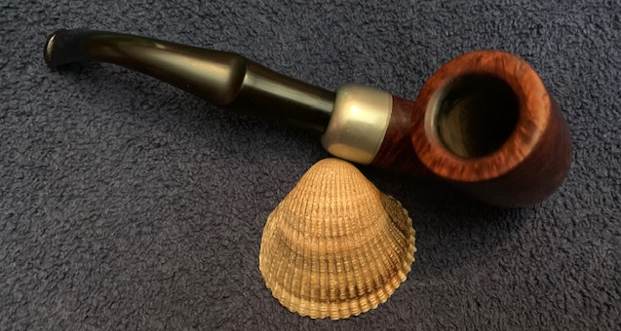
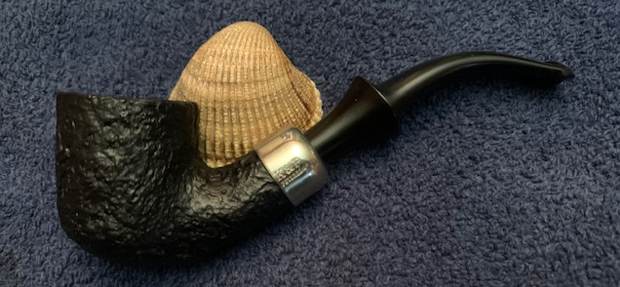
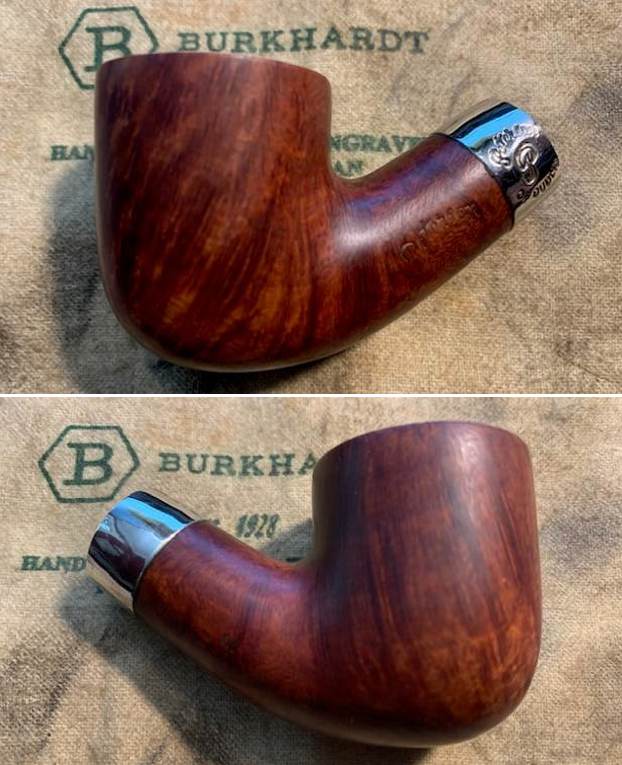
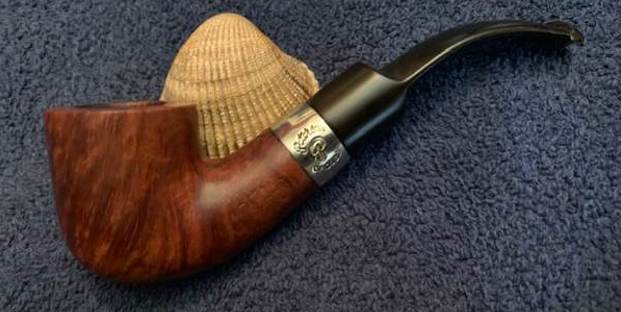
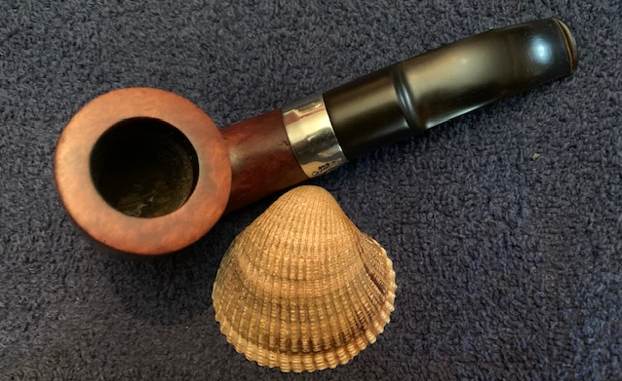
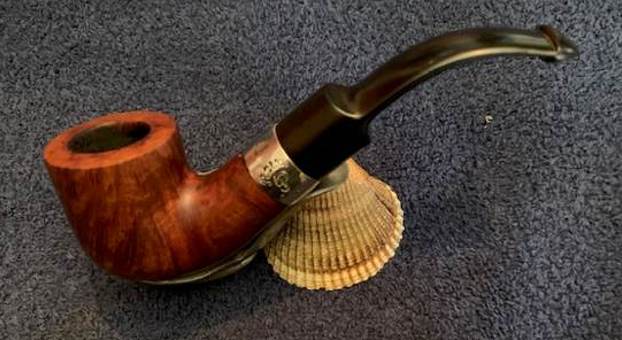
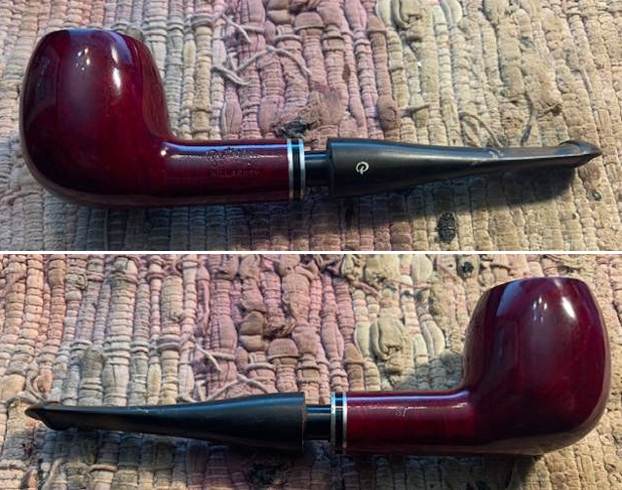
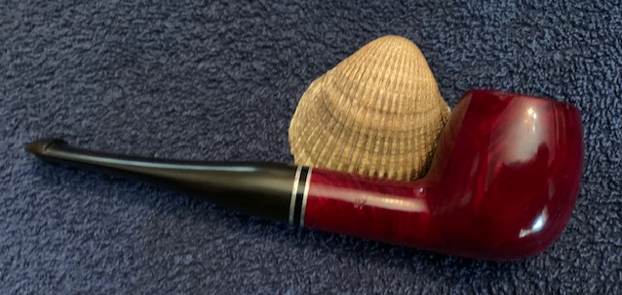
 I always am excited to finish working on a pipe. This Made in Ireland Peterson’s Kapet Billiard is no exception. I put the pipe back together and buffed it with Blue Diamond on the buffing wheel. I gave the bowl and the stem multiple coats of carnauba wax. I buffed the pipe with a clean buffing pad to raise the shine and hand buffed it with a microfibre cloth to deepen the shine. It is fun to see what the bowl looks like with the black vulcanite taper stem. This Classic looking Peterson’s Kapet Smooth Billiard feels great in my hand. It is light and well balanced. Have a look at it with the photos below. The dimensions are Length: 5 ½ inches, Height: 1 ½ inches, Outside diameter of the bowl: 1 1/8 inches, Chamber diameter: ¾ of an inch. The weight of the pipe is 30 grams/1.06 of an ounce. I will be putting it on the rebornpipes store shortly in the Irish Pipe Makers section if you are interested in it. Thanks for walking through the restoration with me as I worked over this pipe. Thanks to each of you who are reading this blog.