by Steve Laug
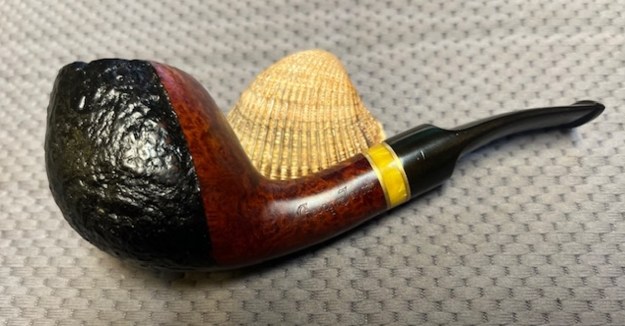
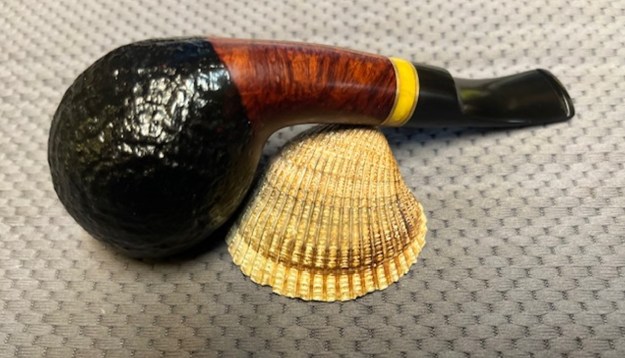
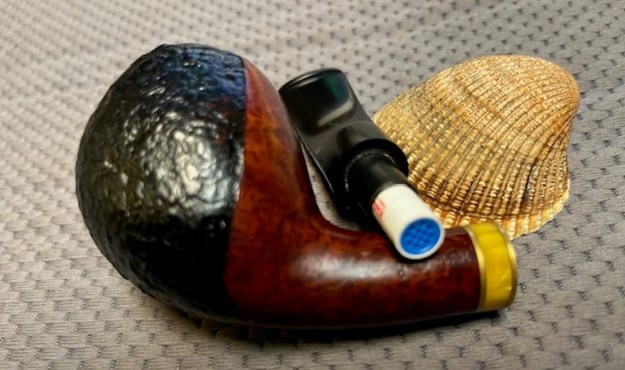
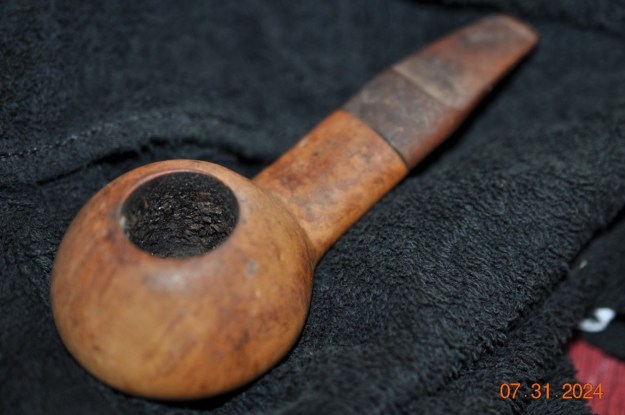
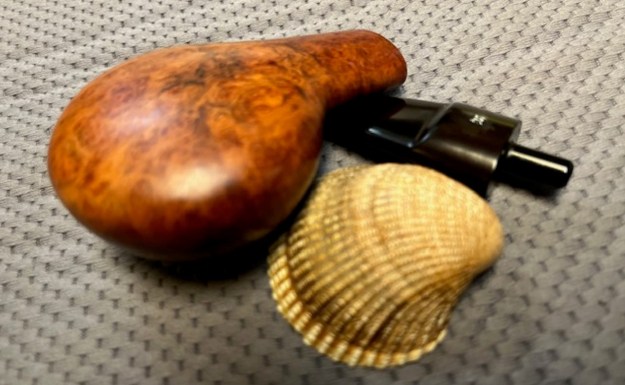
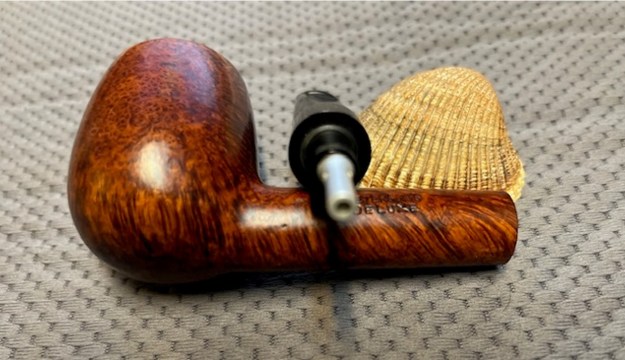
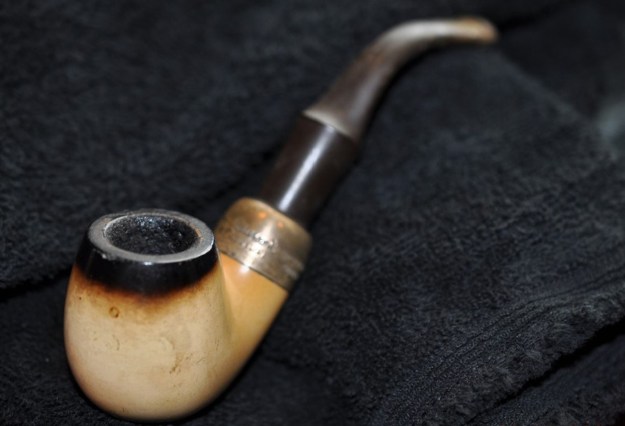
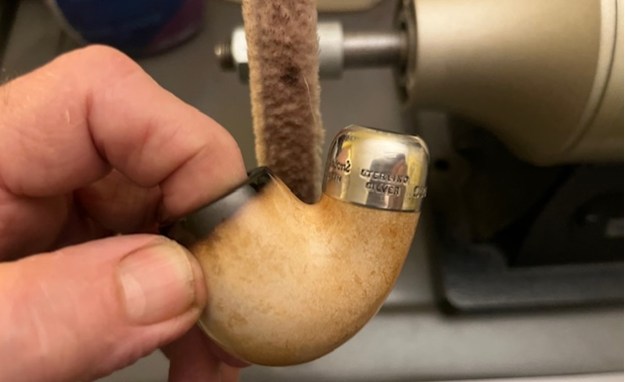
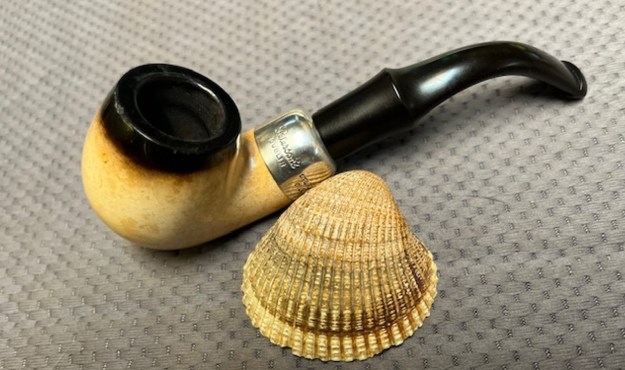
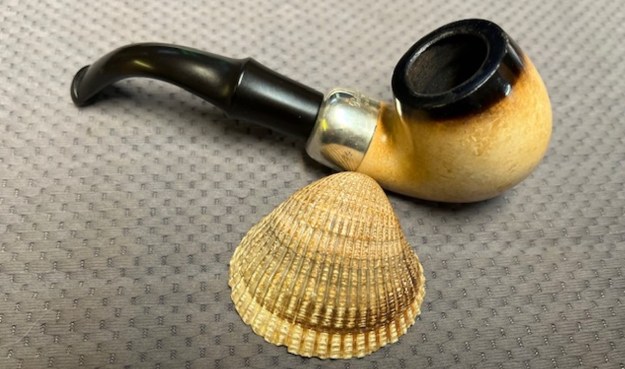
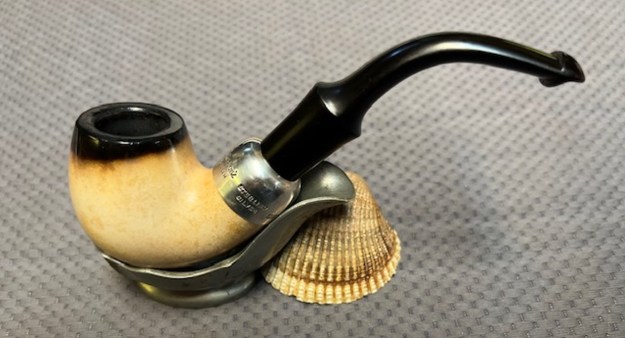
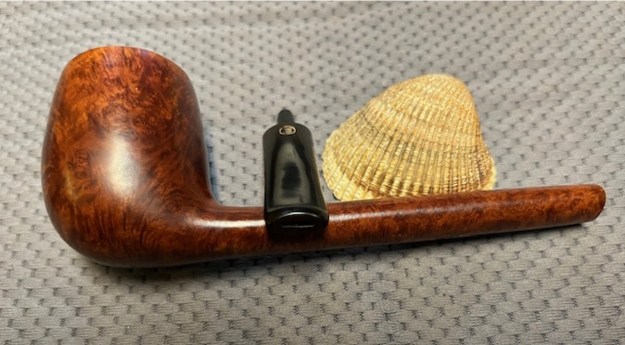
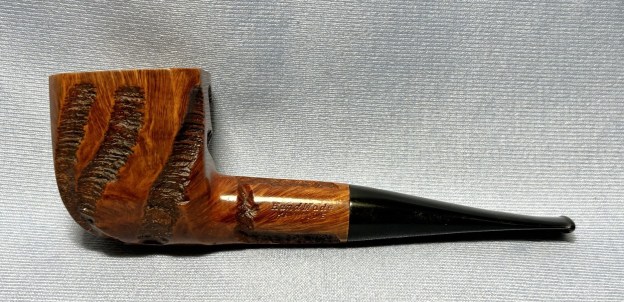
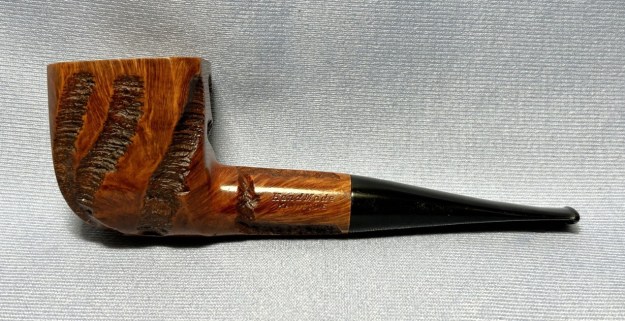
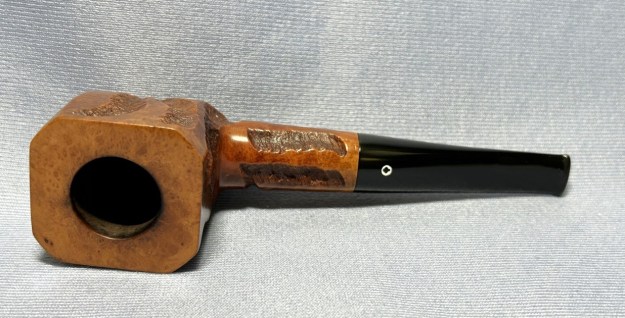
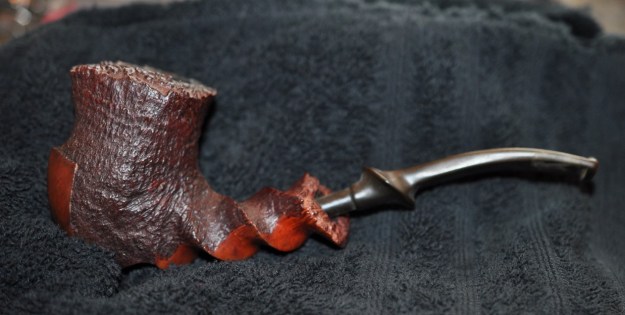
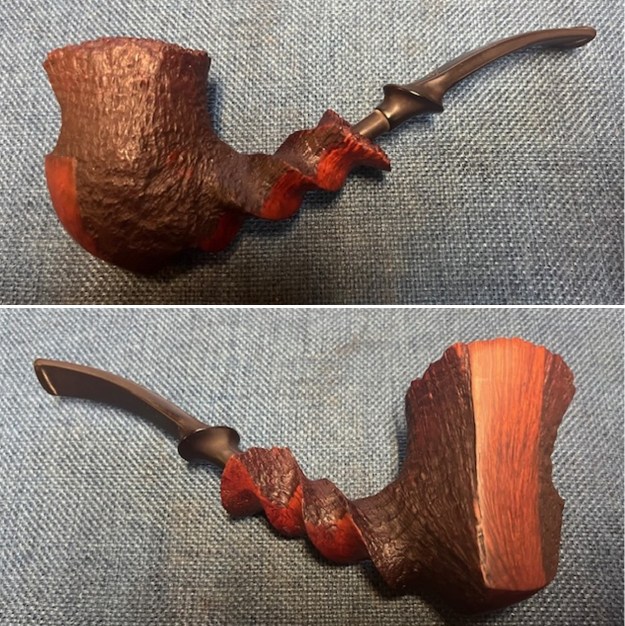
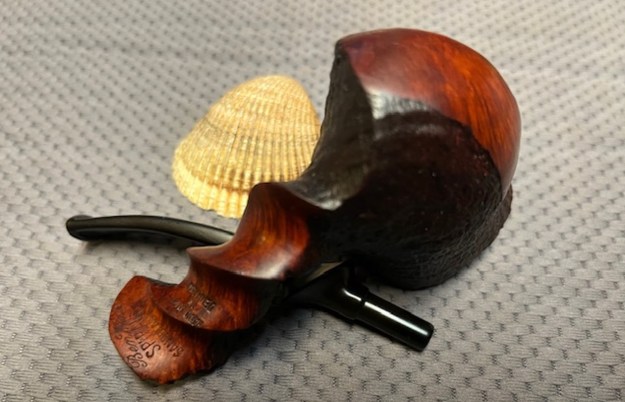
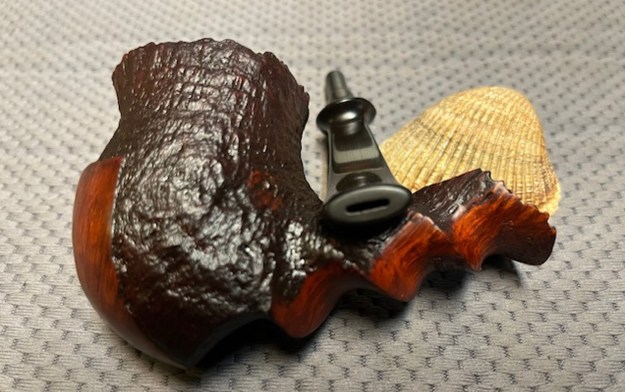
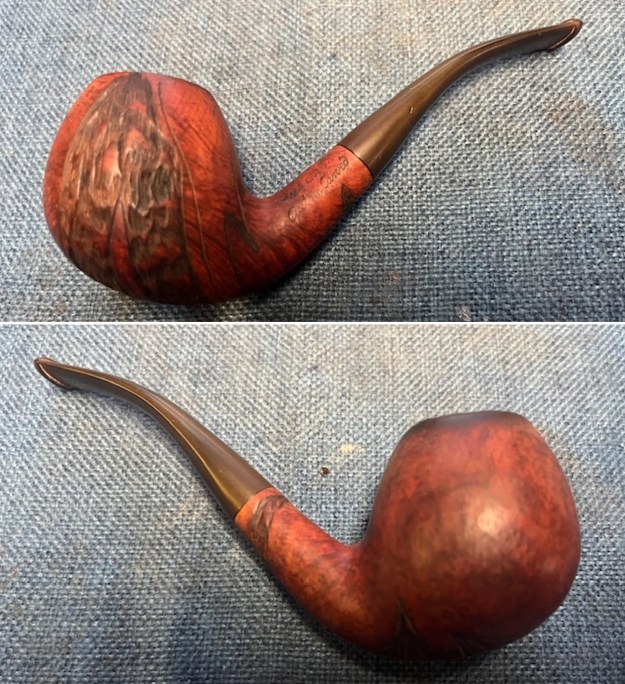
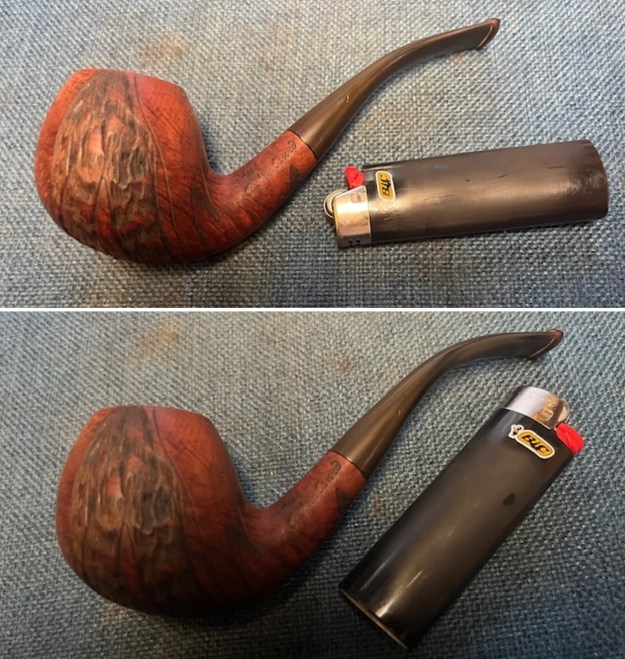
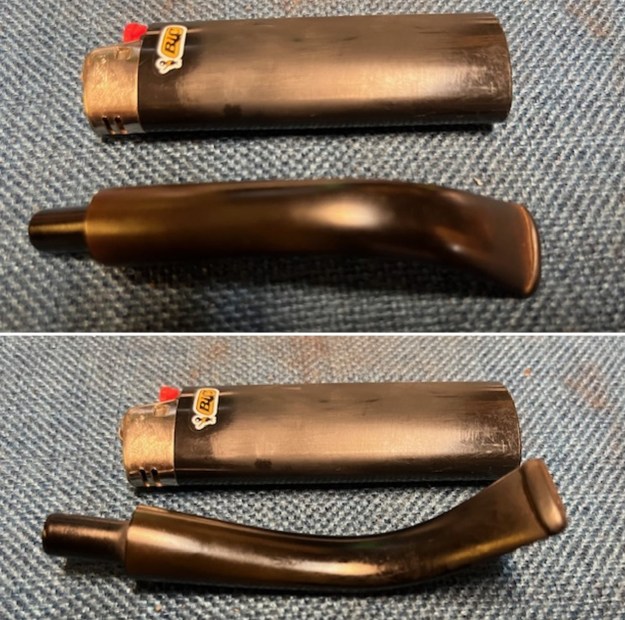
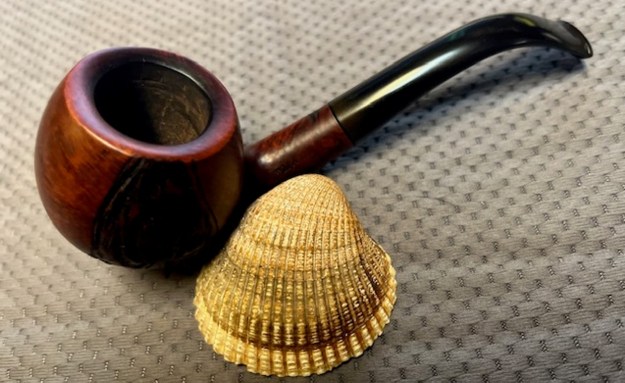
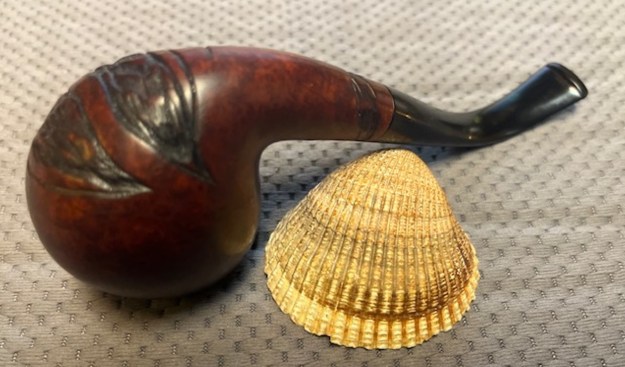
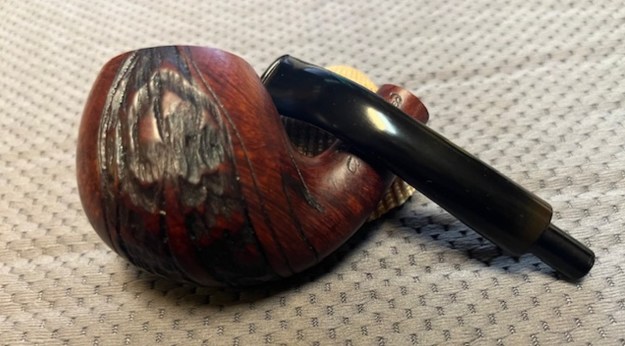
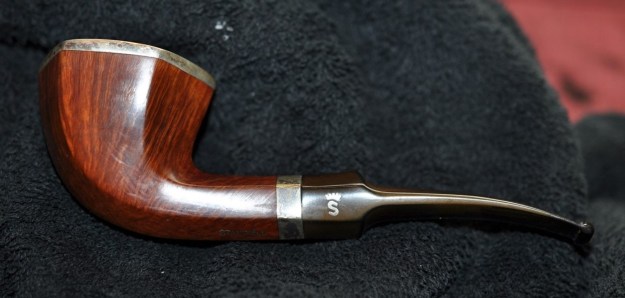
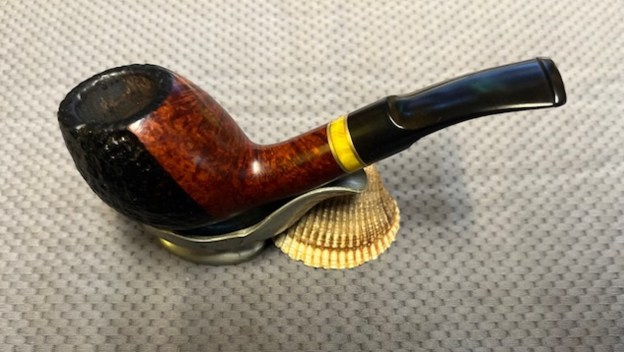
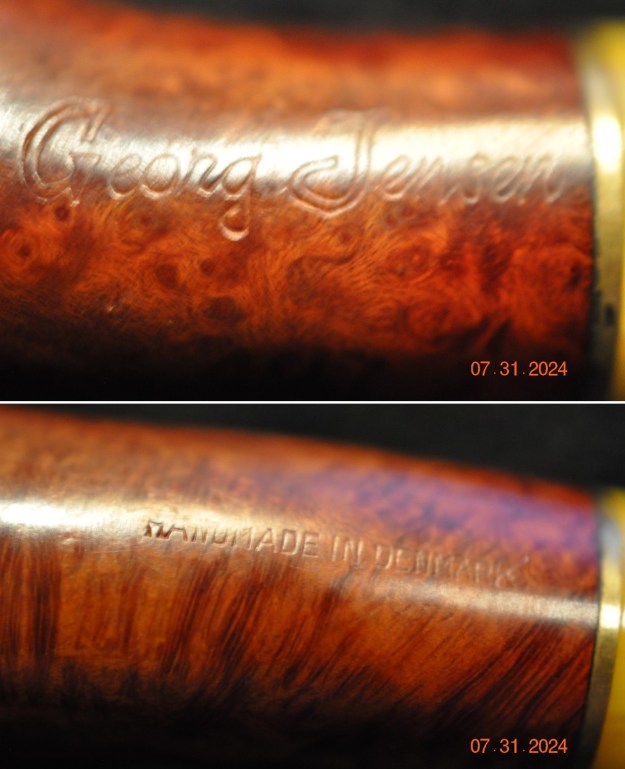
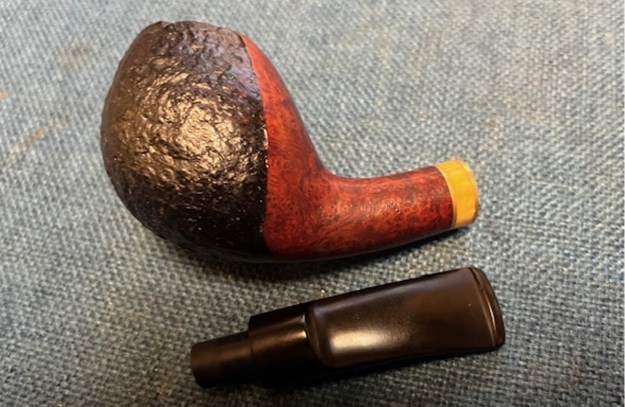
The next pipe on the work table is one that I took in on a trade from a fellow in the Nampa, Idaho, USA. It is a great looking smooth quarter bent mixed grain egg. The front ¾ of the bowl and the rim top is sandblast and stained black. The back of the bowl is smooth briar and stained a reddish brown. It is stamped on the left side of the shank and read Georg Jensen with the G and the J outlined and hollow. On the underside it is stamped Handmade in Denmark. The pipe is shaped to highlight the grain around the bowl. The finish is quite clean with just a bit of grime and oil ground into the sandblast portion and the smooth portion of the bowl sides. The rim top is in good condition with some light lava near the inner edge. The inner edge is clean and sharp. The bowl has a moderate cake that I will ream out but otherwise looks very good. The vulcanite saddle stem was made for a 9mm filter. There is faint GJ logo on the left side of stem showing only the J. The yellow acrylic band sandwiched between two brass bands has some great contrast. There is light oxidation on the stem surface and there are light tooth marks and chatter on both sides ahead of the button. Jeff took photos of the pipe before he started cleaning up the pipe.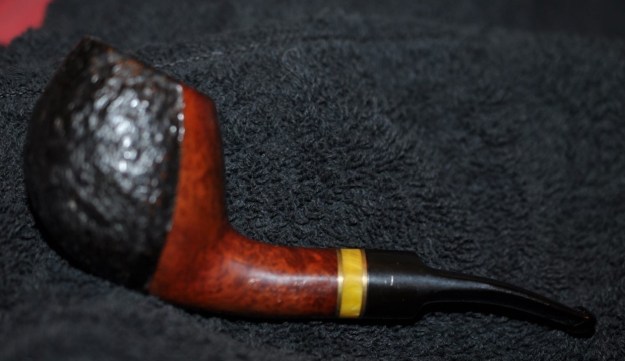
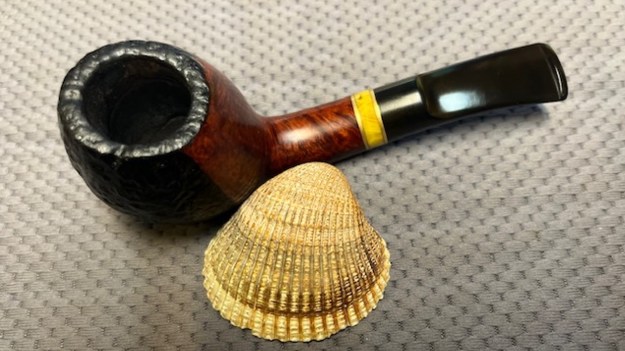
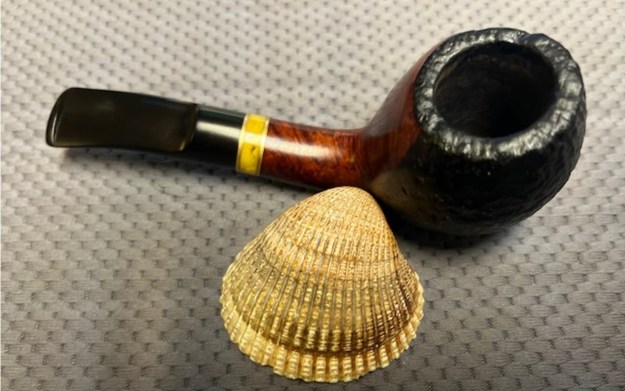
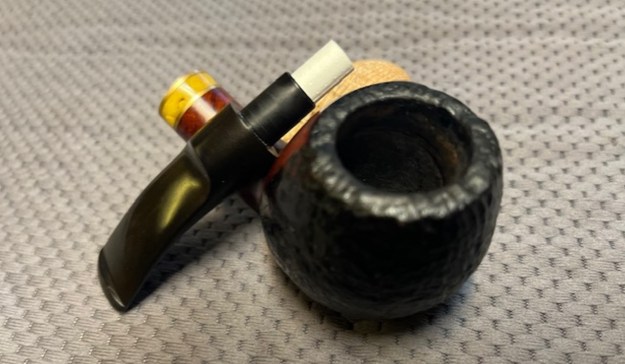
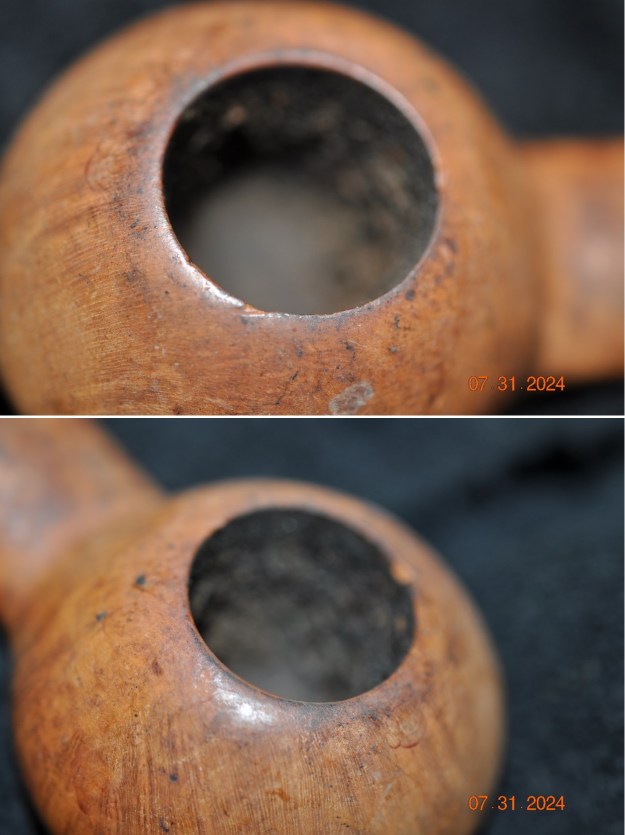
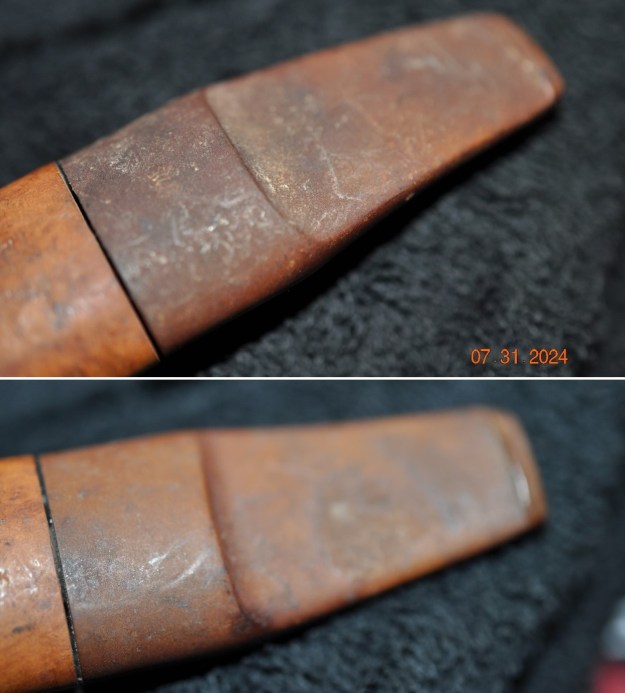
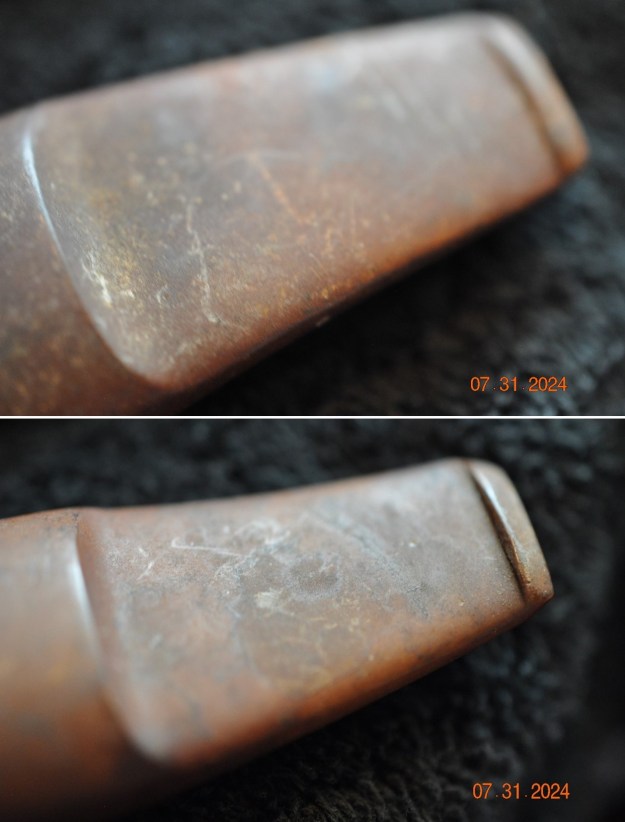
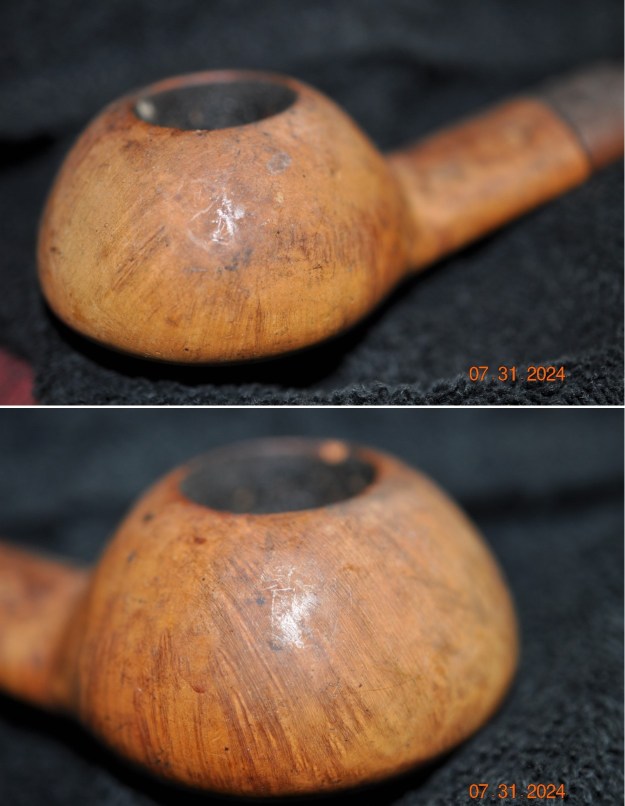
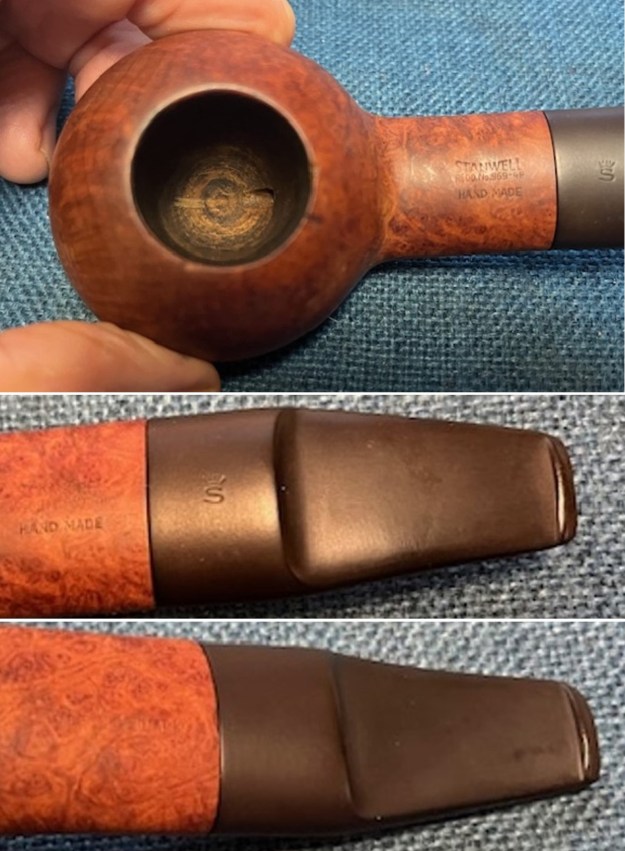
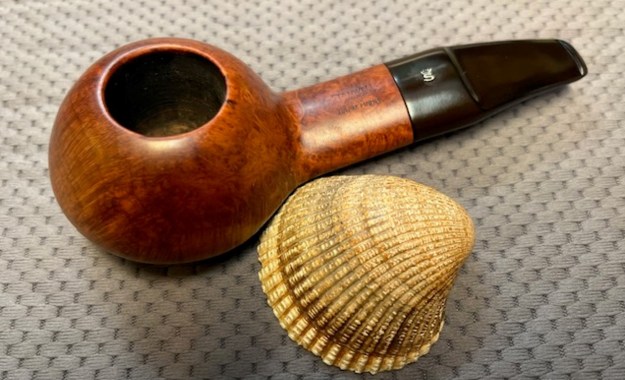
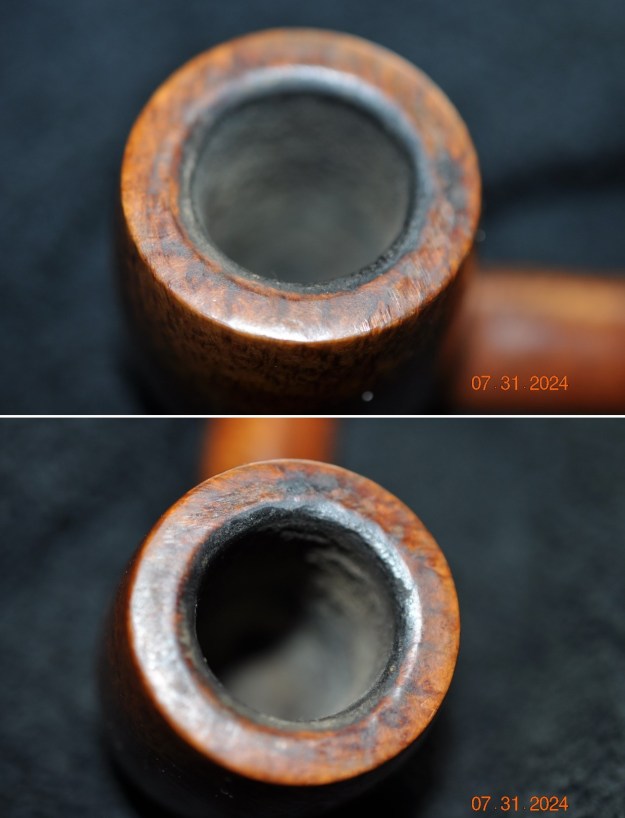
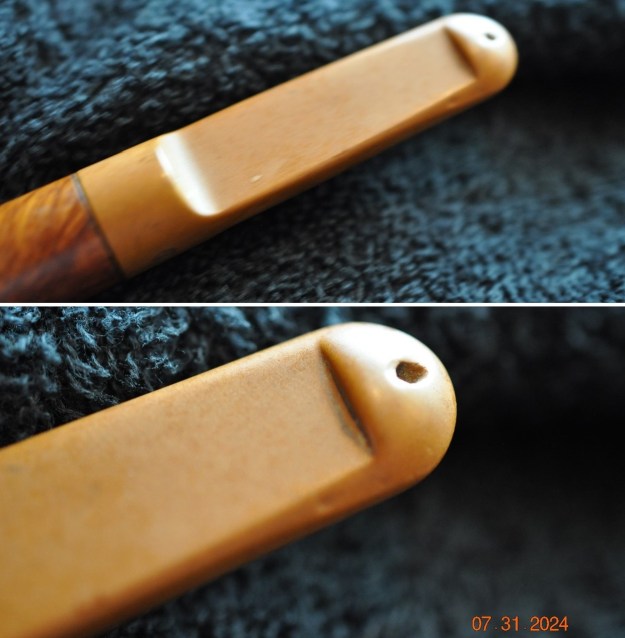
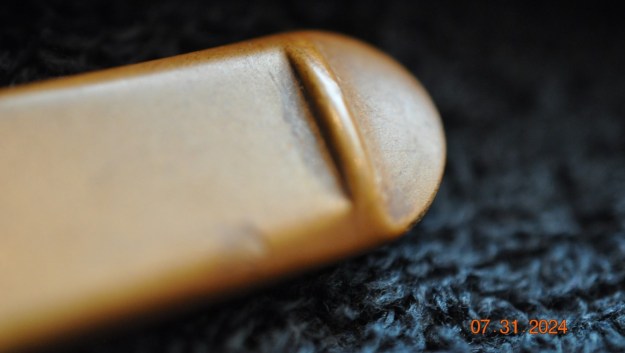
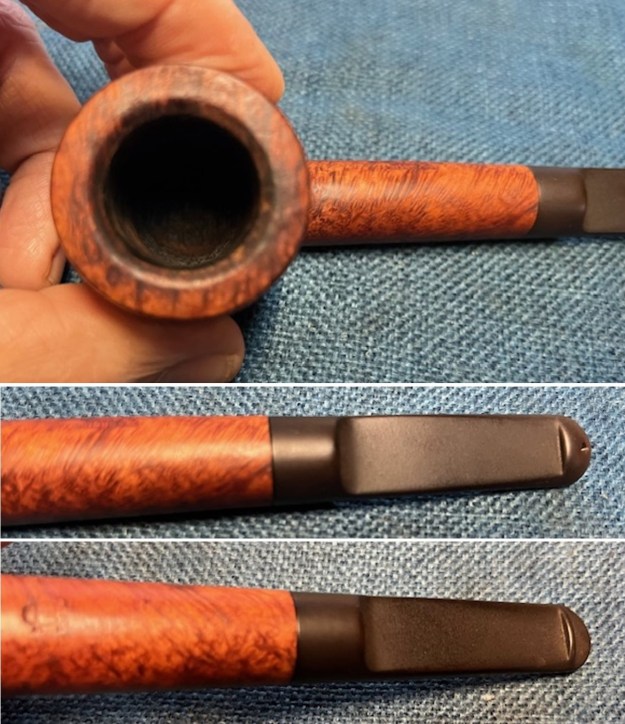
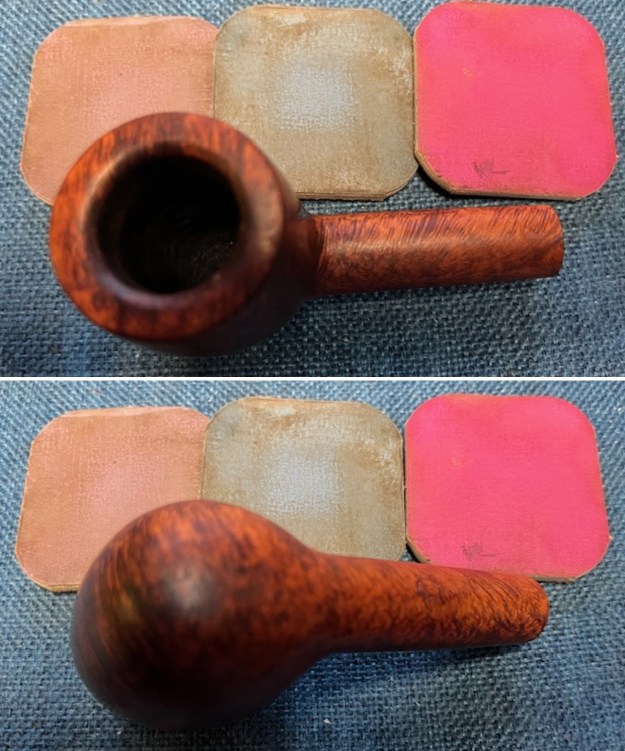
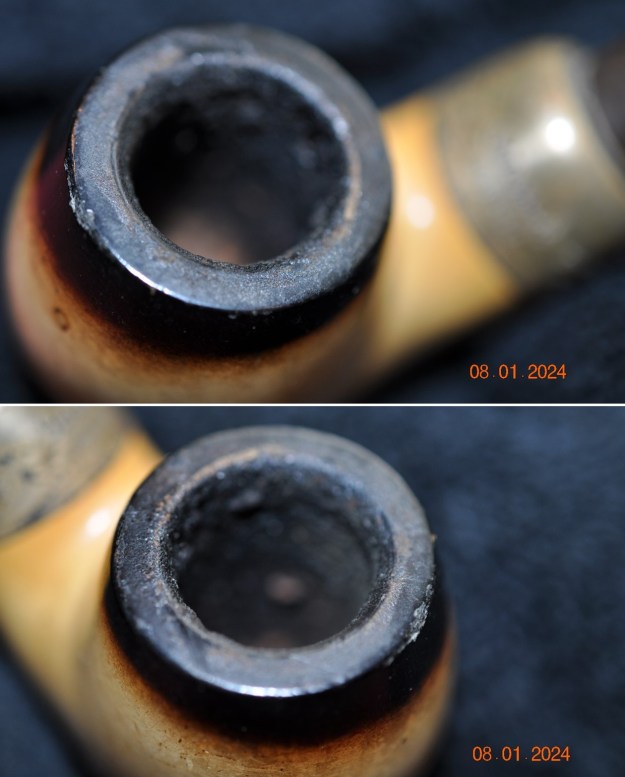
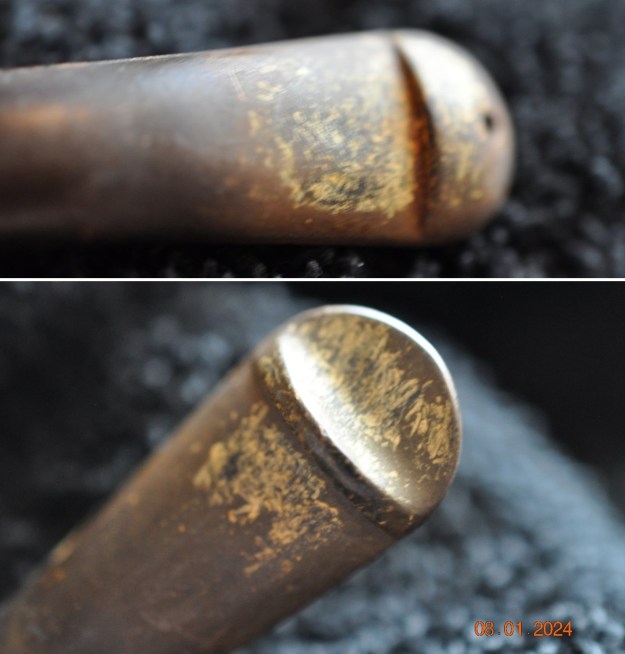
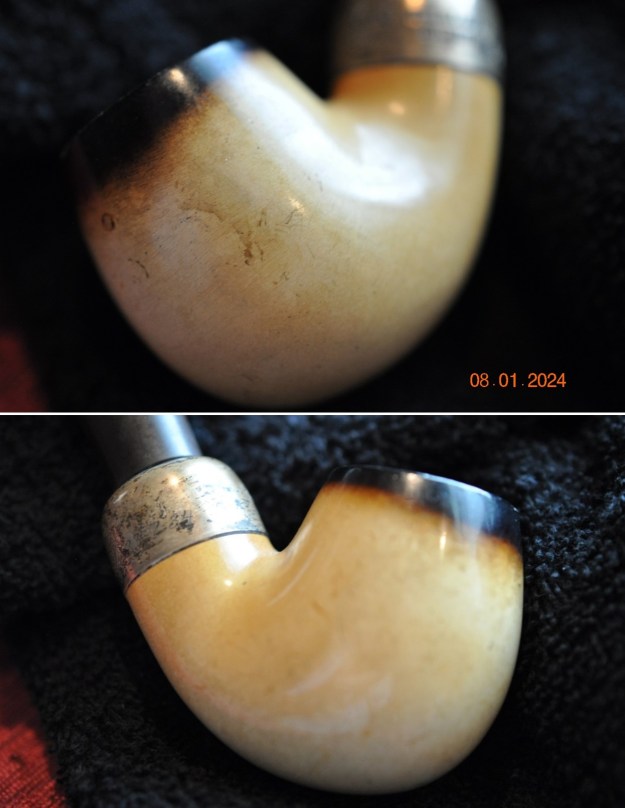
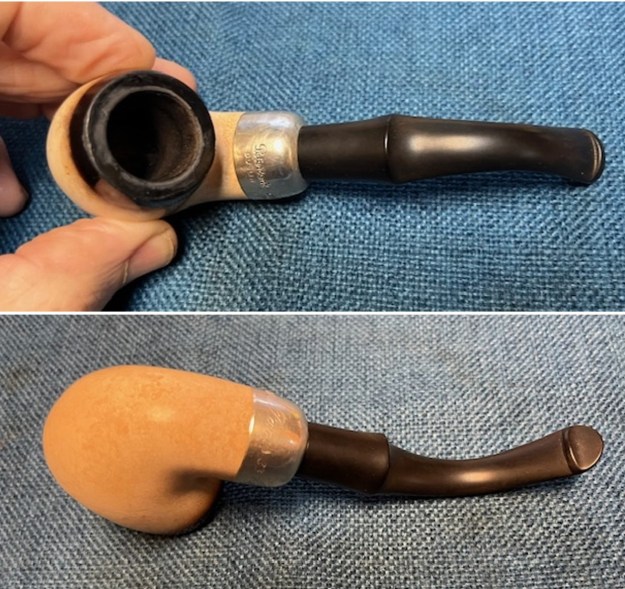
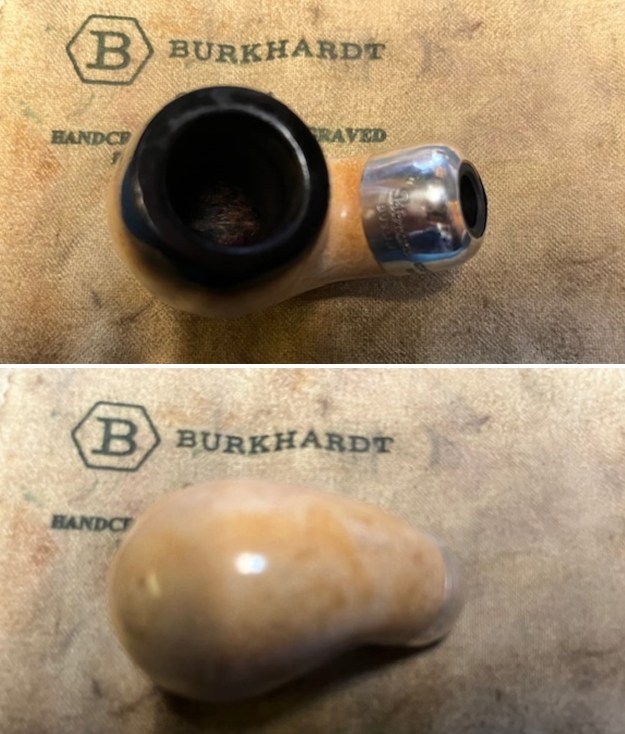
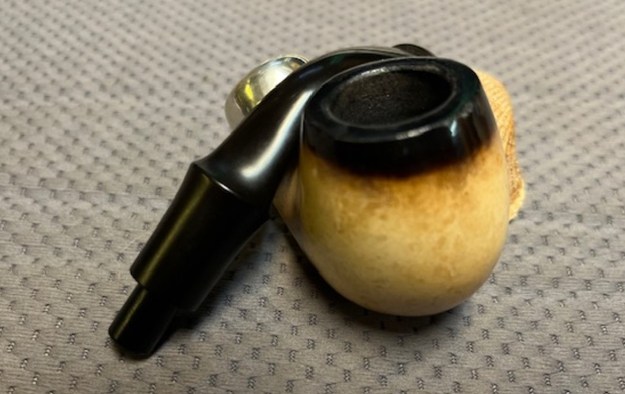
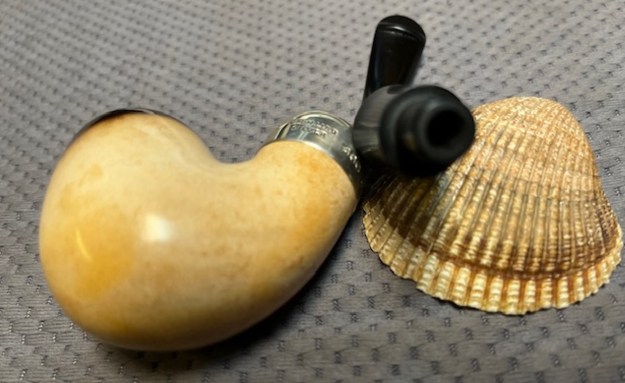
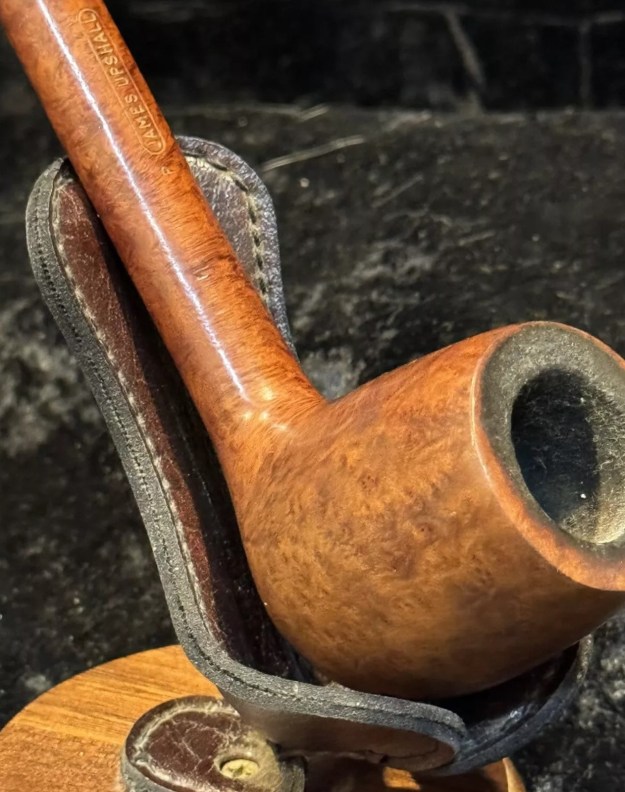
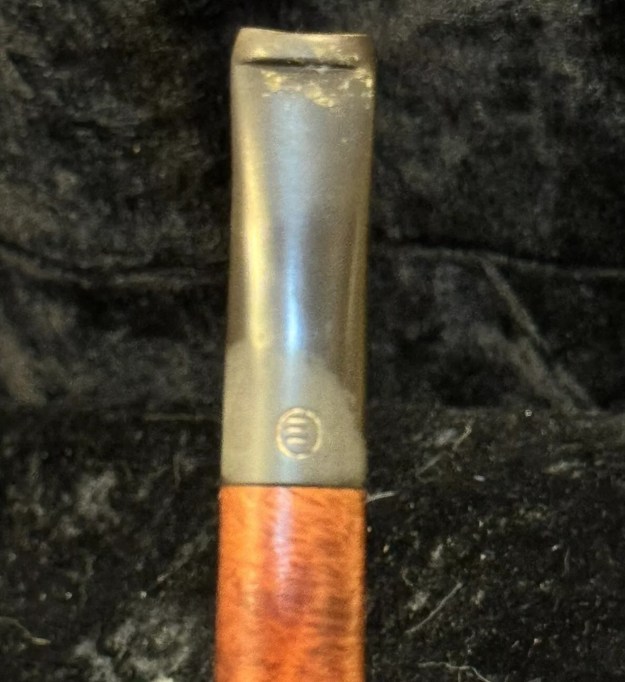
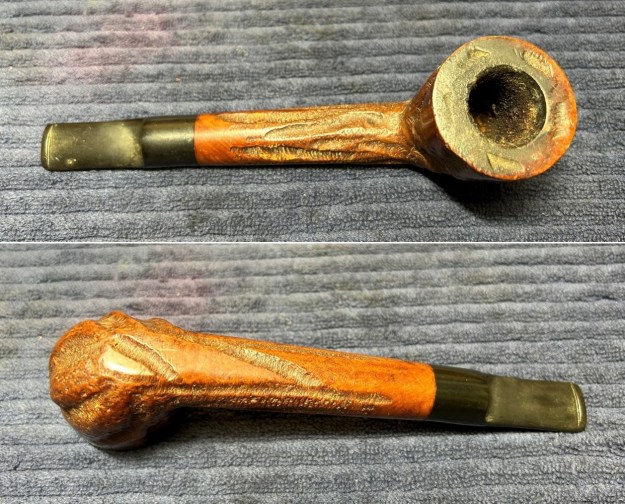
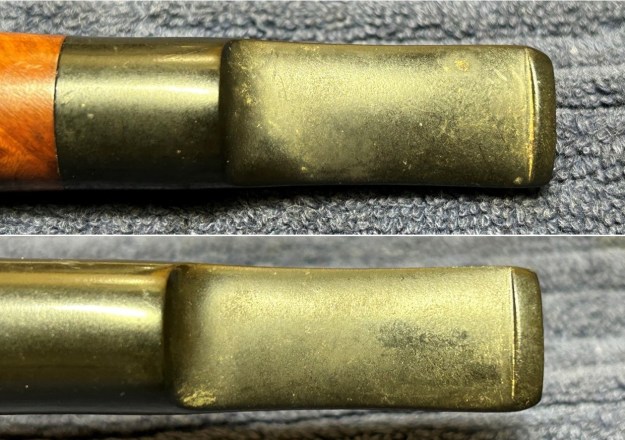
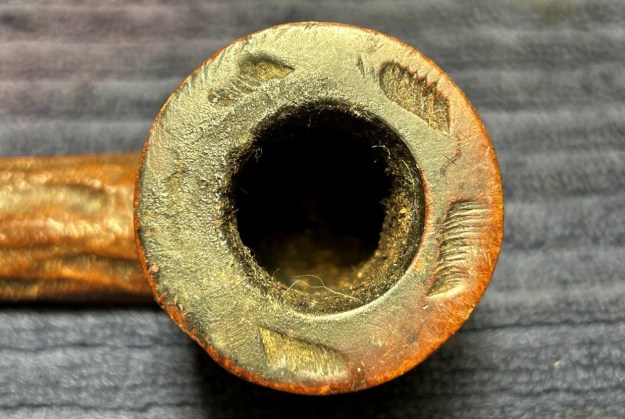
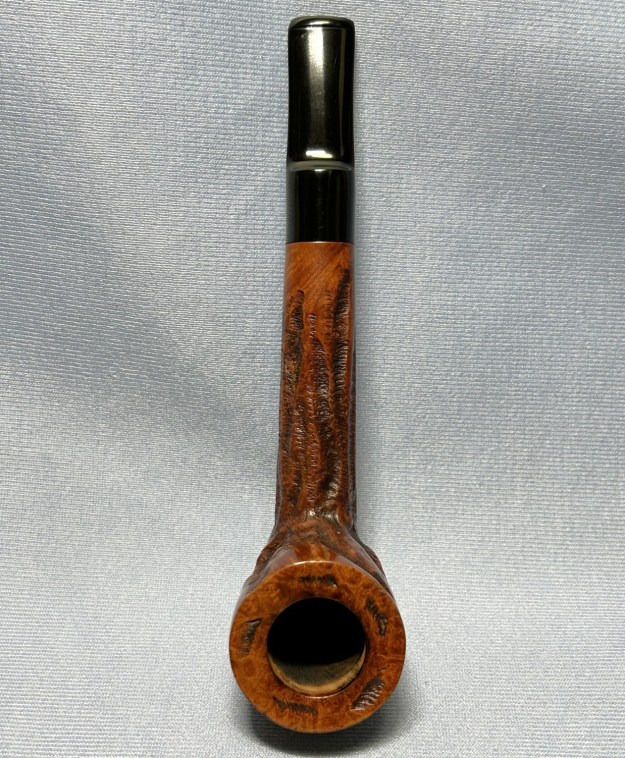
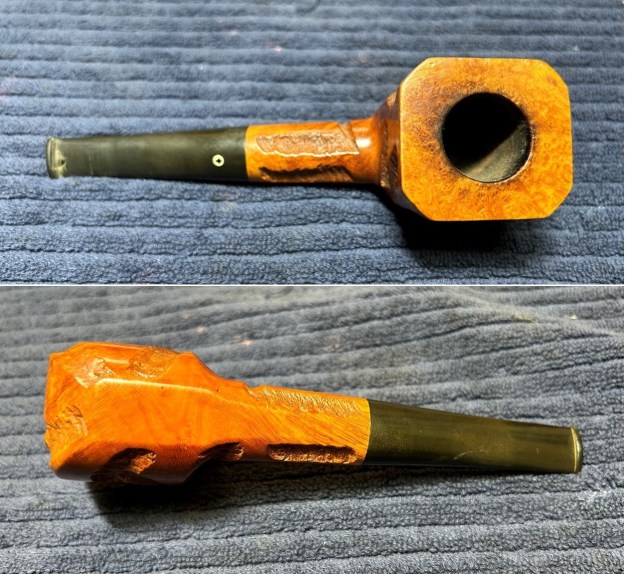
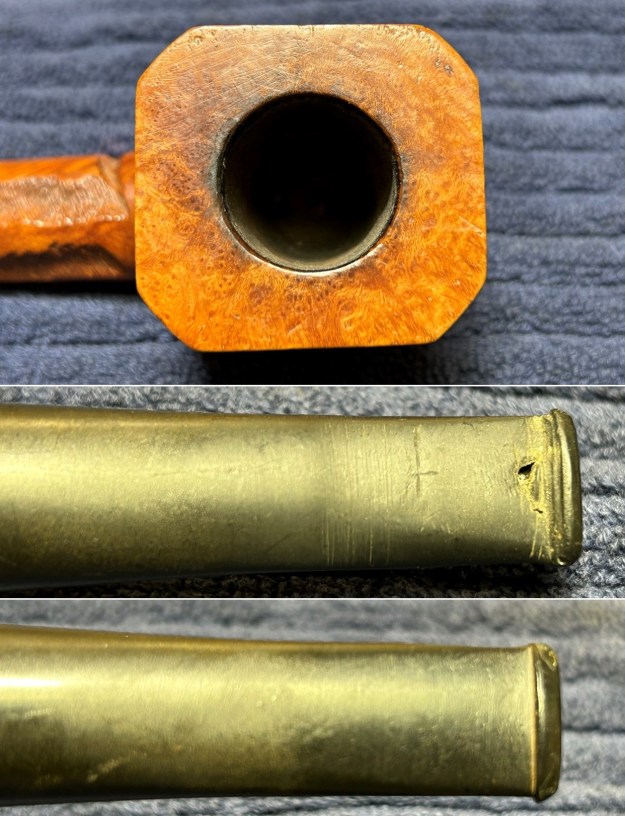
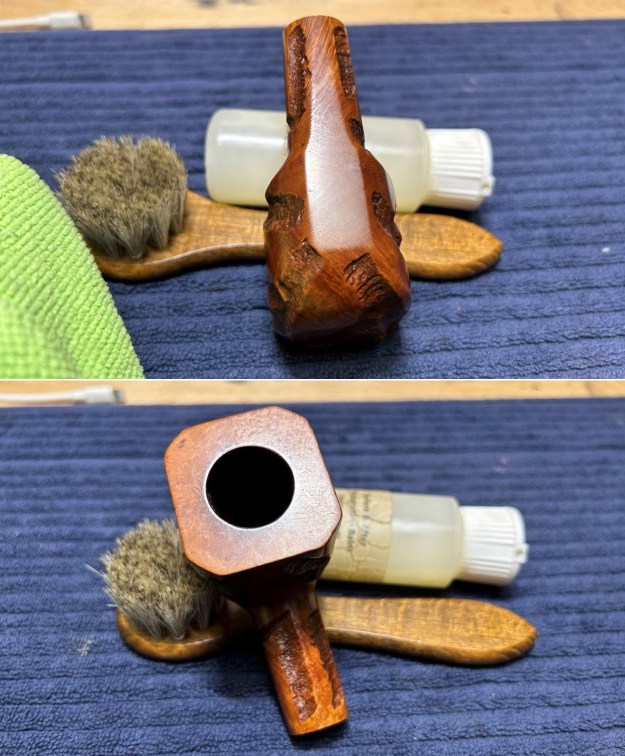
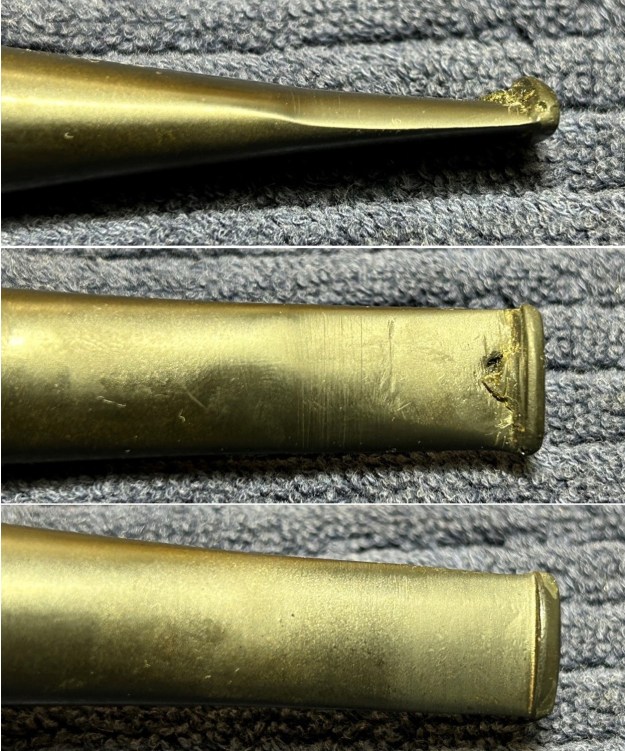
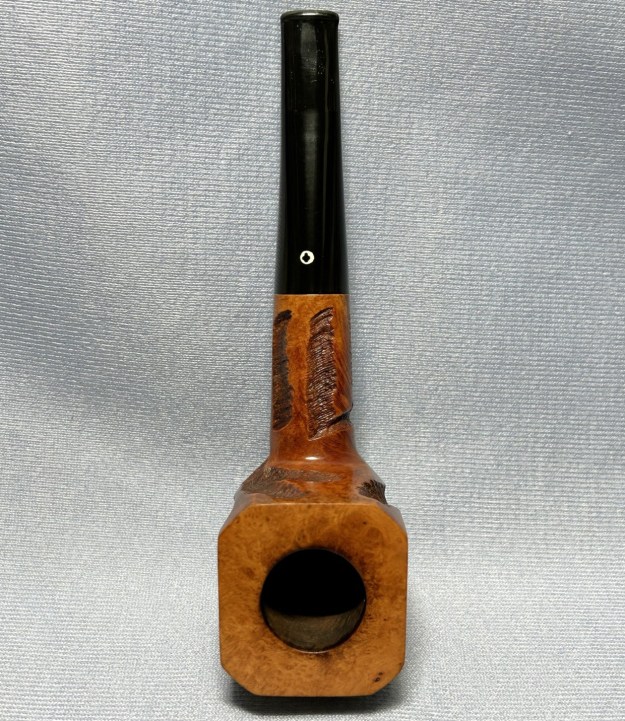
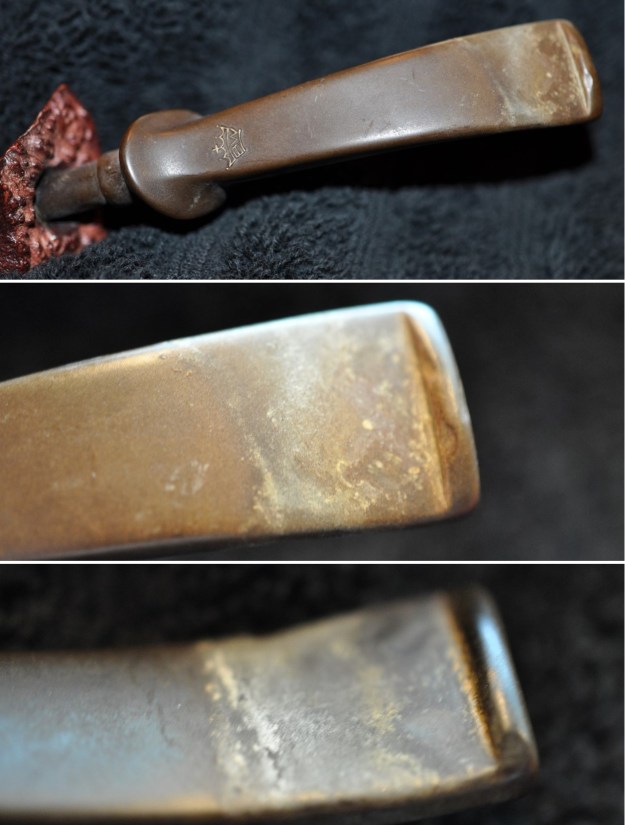
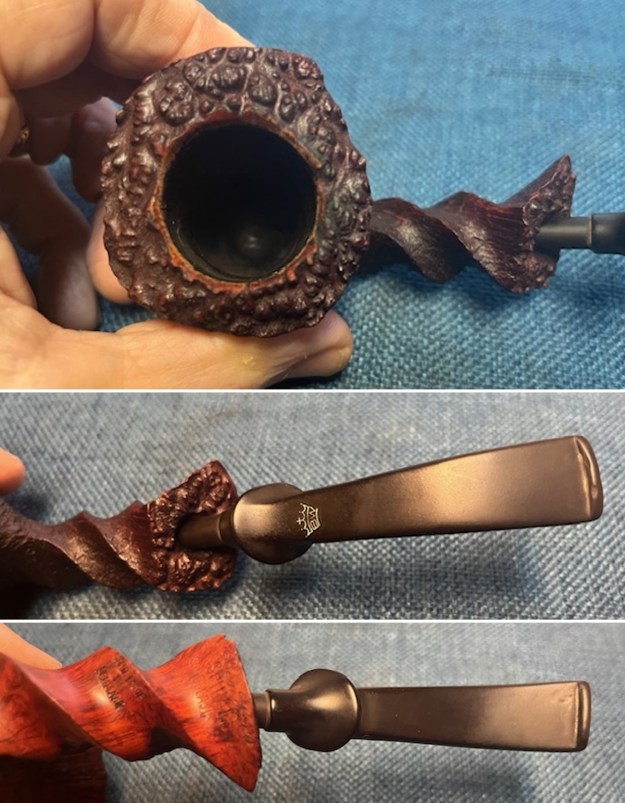
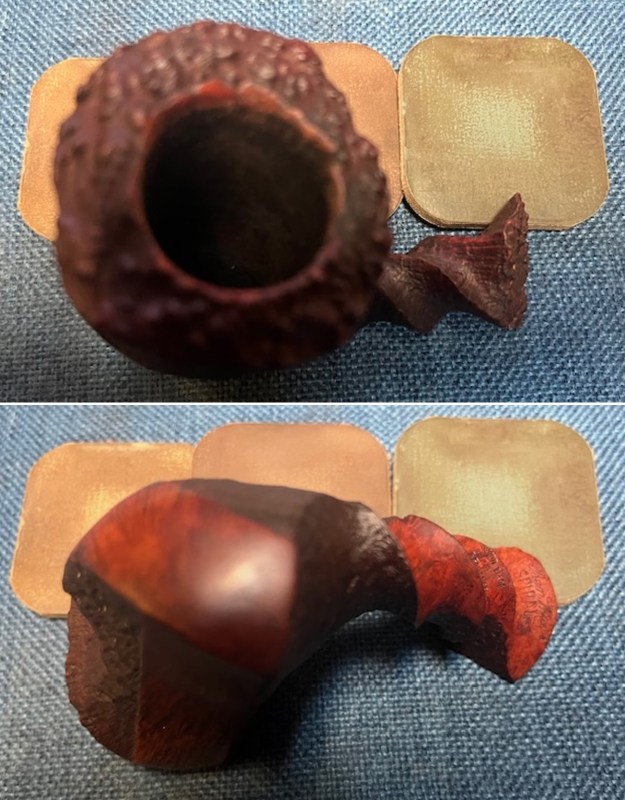
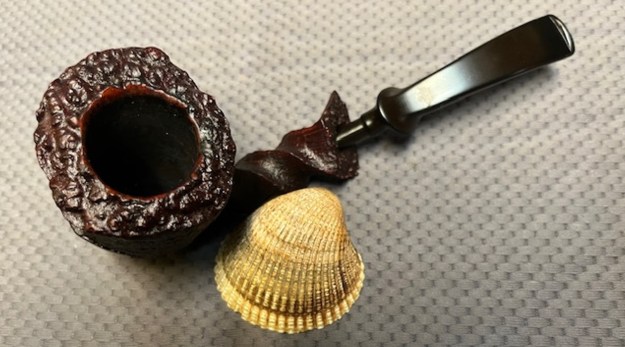
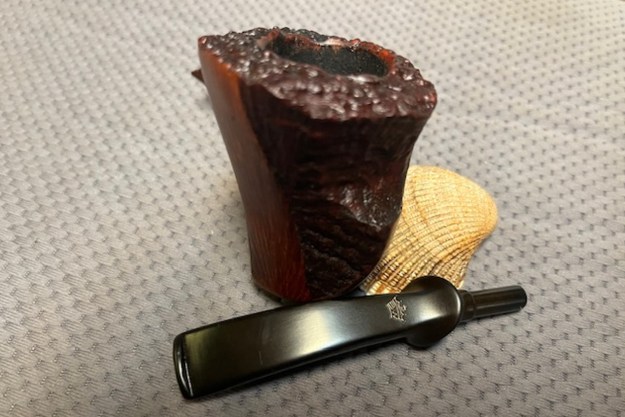
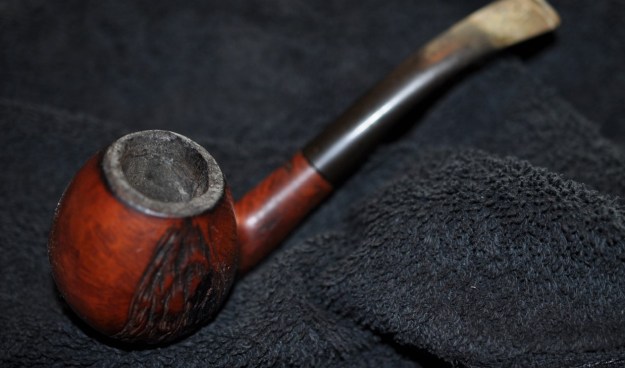
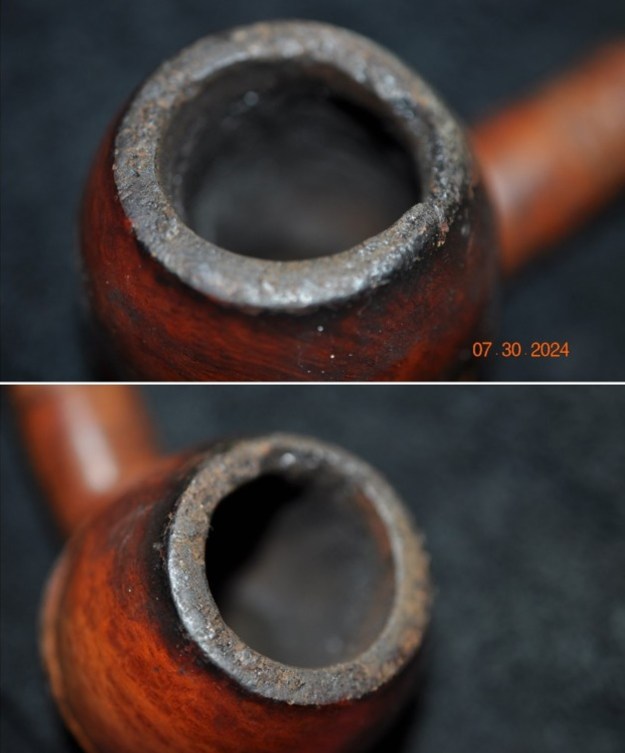
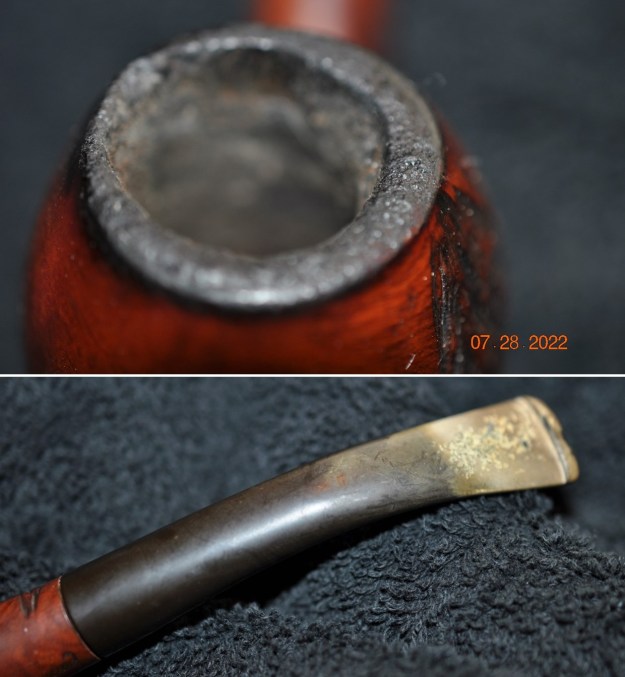
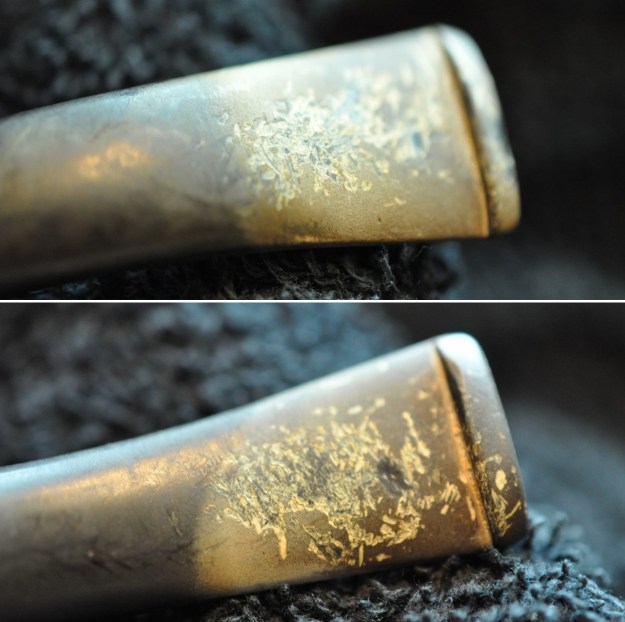
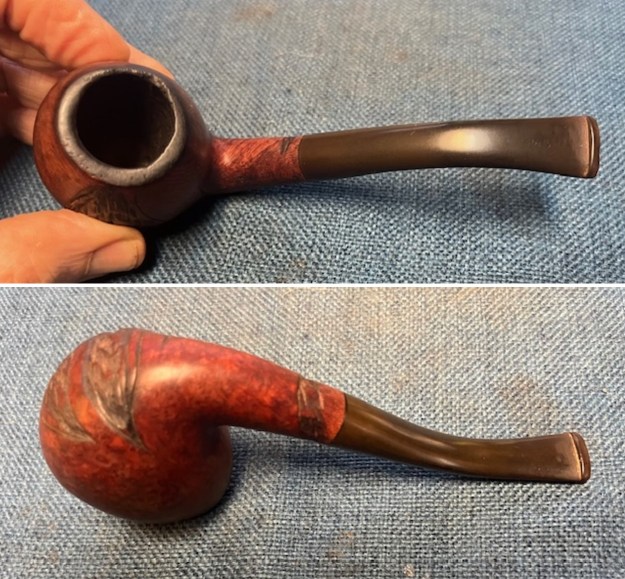
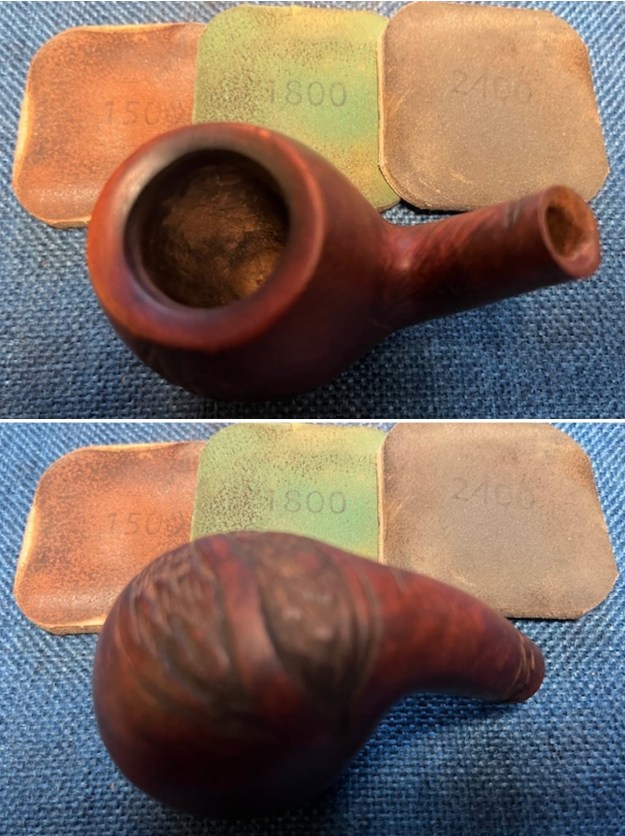
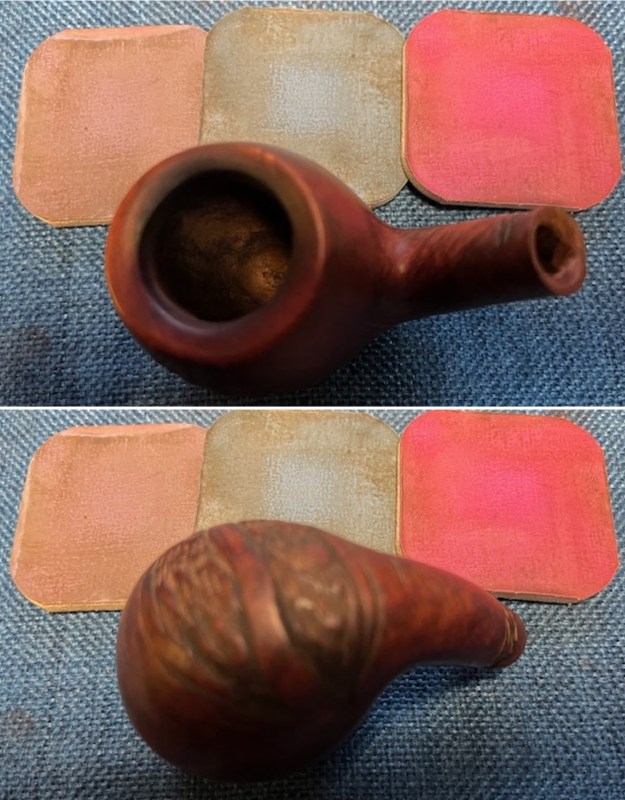
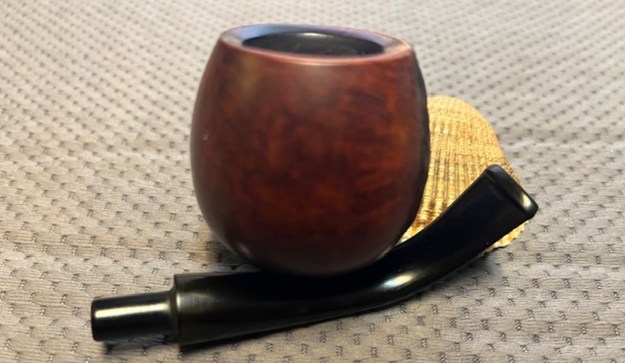
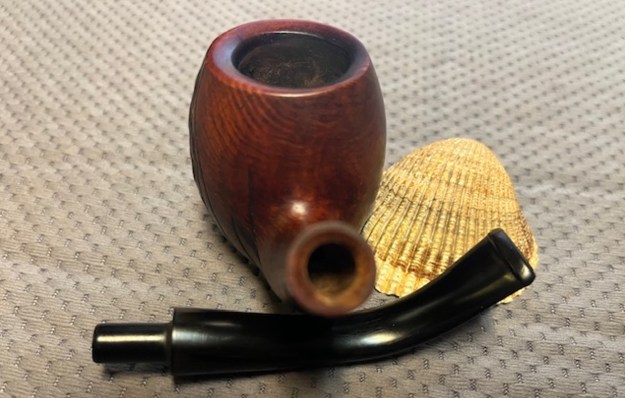
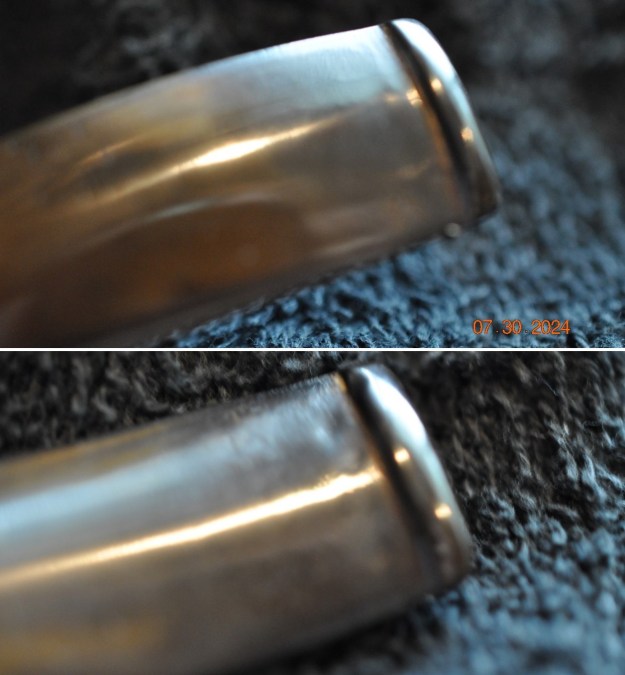
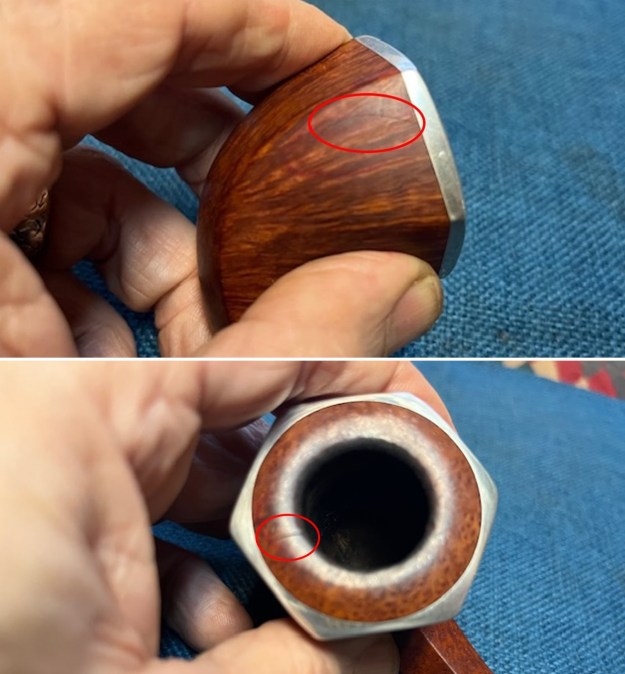
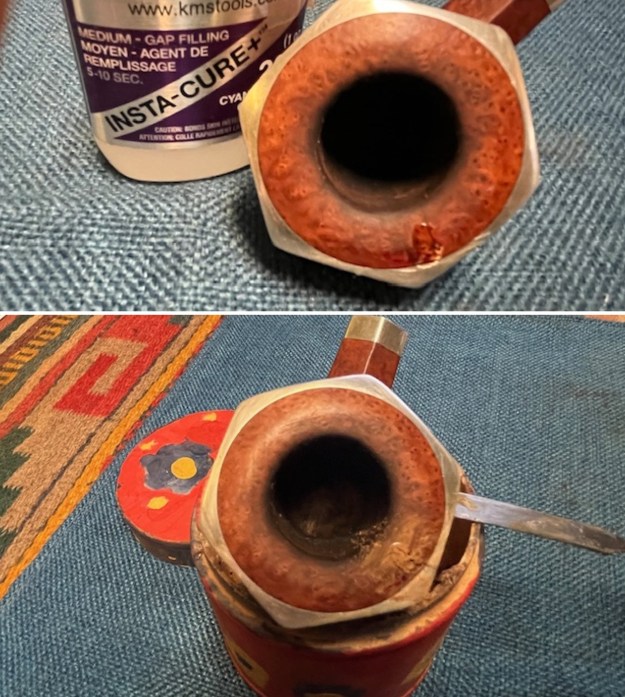
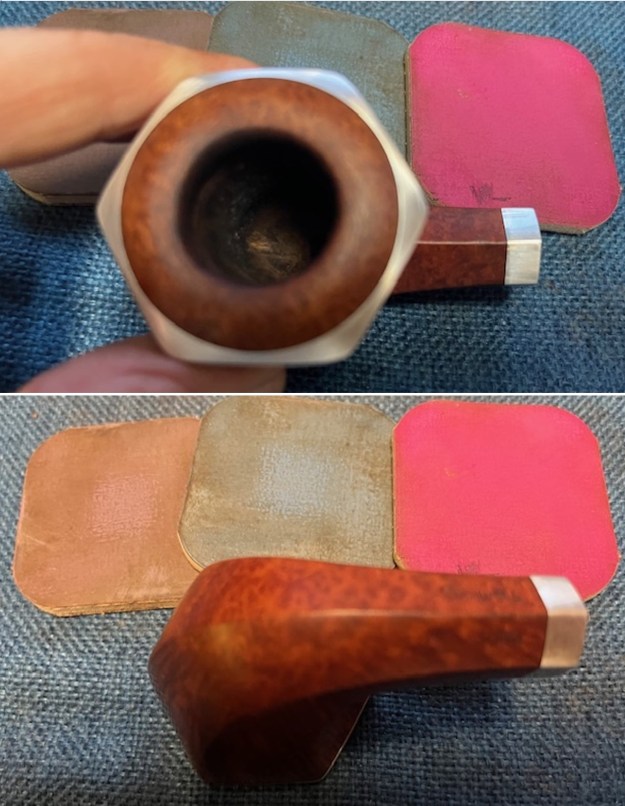
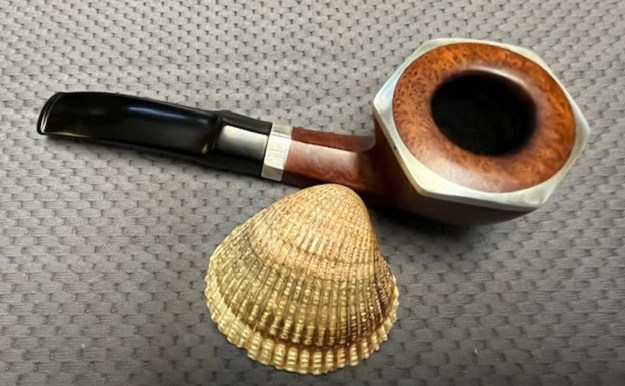
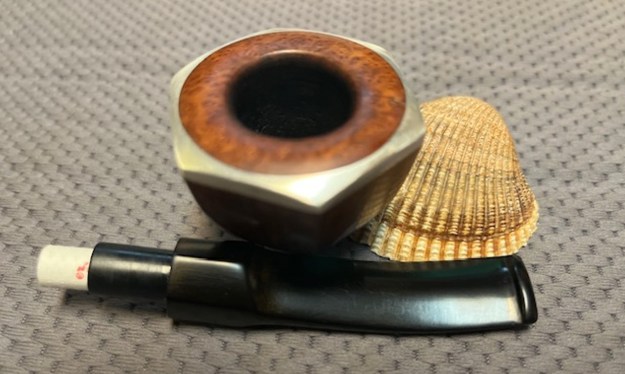
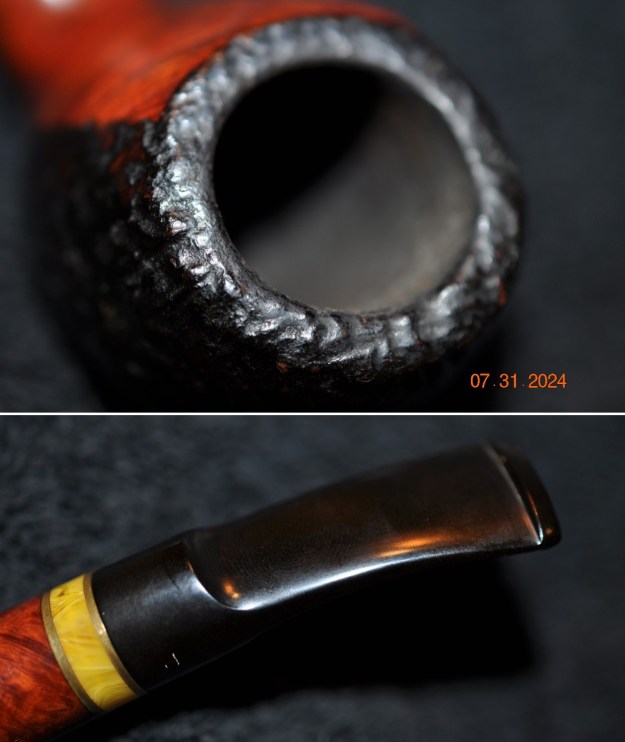
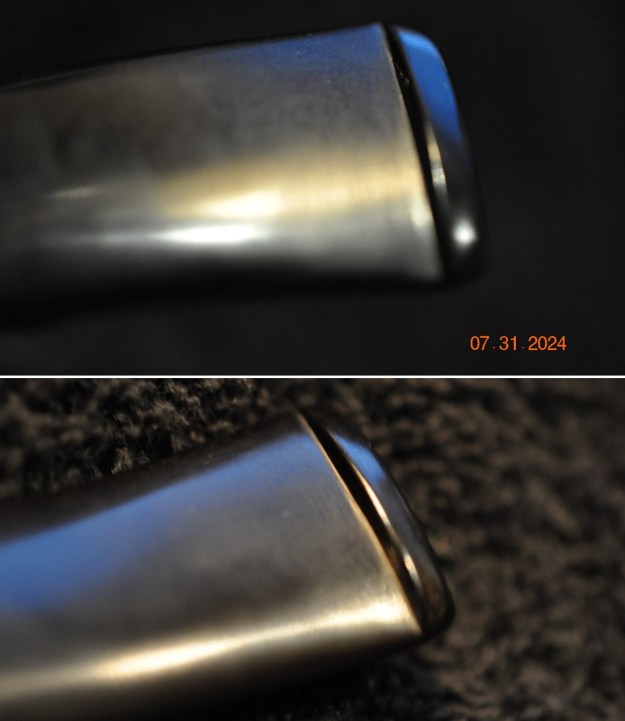
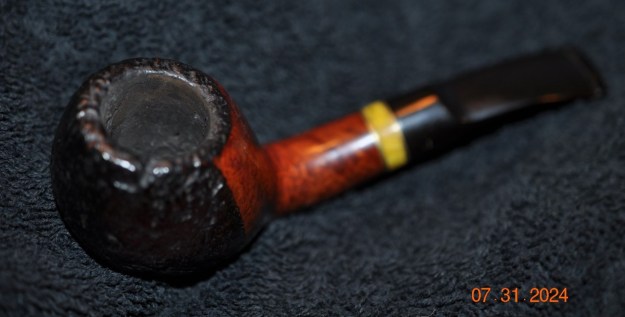 Jeff took photos of the rim top and the stem surfaces to give a sense of the condition of the pipe. You can see the light lava on the rim top and other than that top is in good condition. There is a moderate cake in the bowl. The edges of the rim look quite good. The stem photos show the light oxidation, light tooth marks and chatter on both sides ahead of the button.
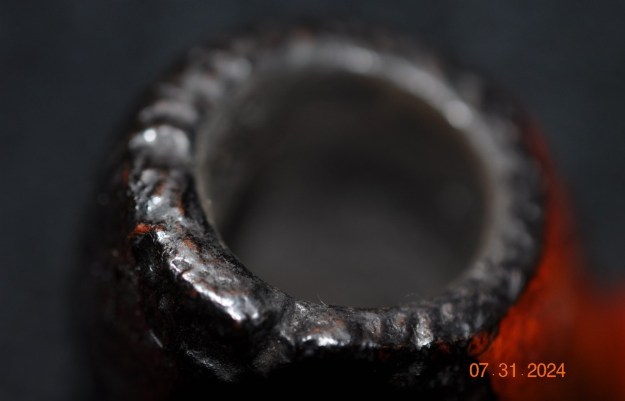
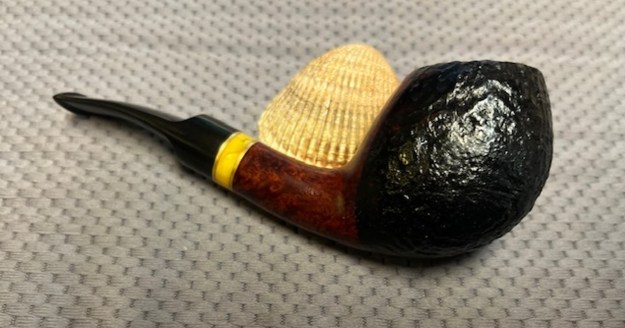
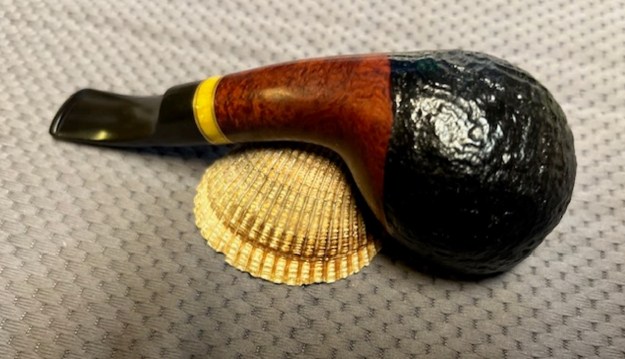
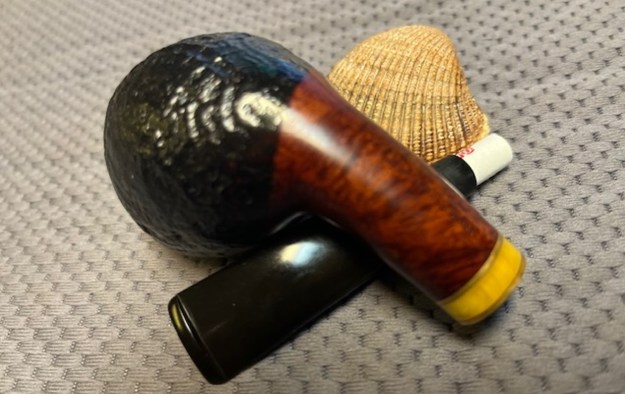
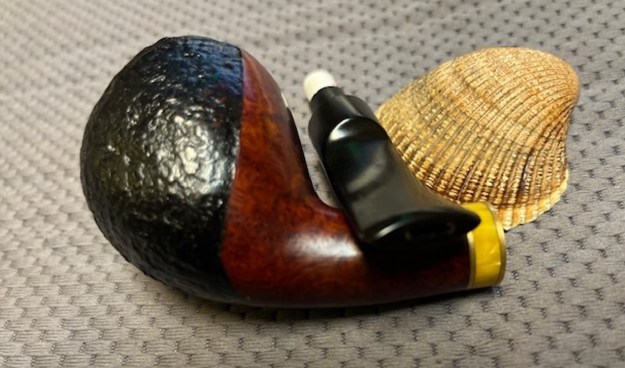
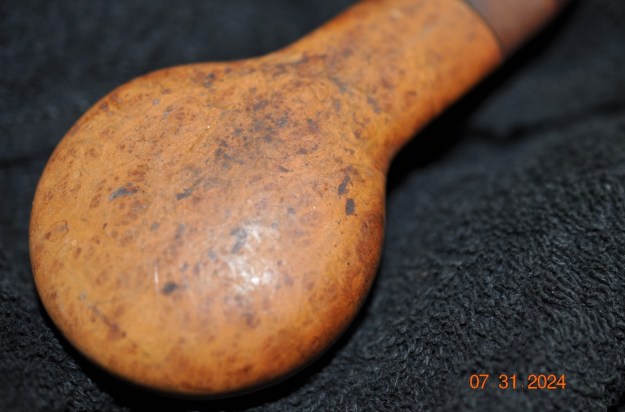
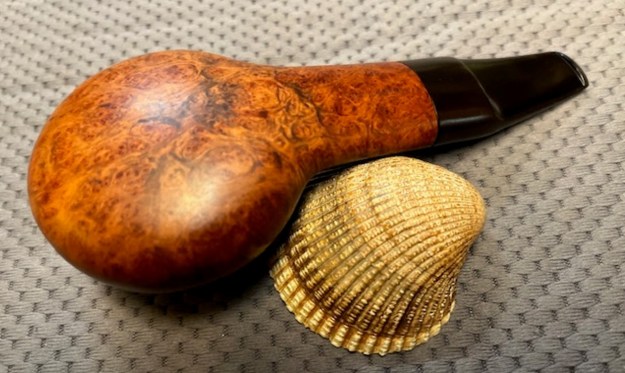
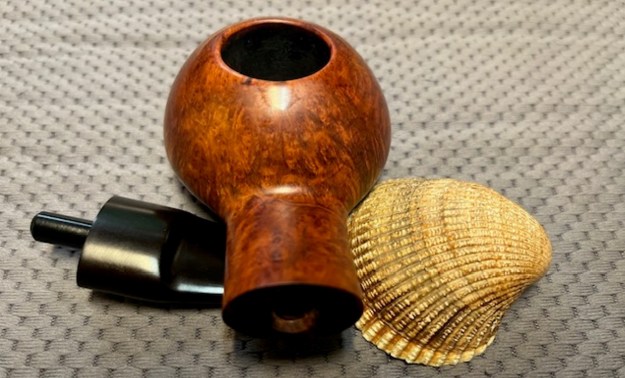
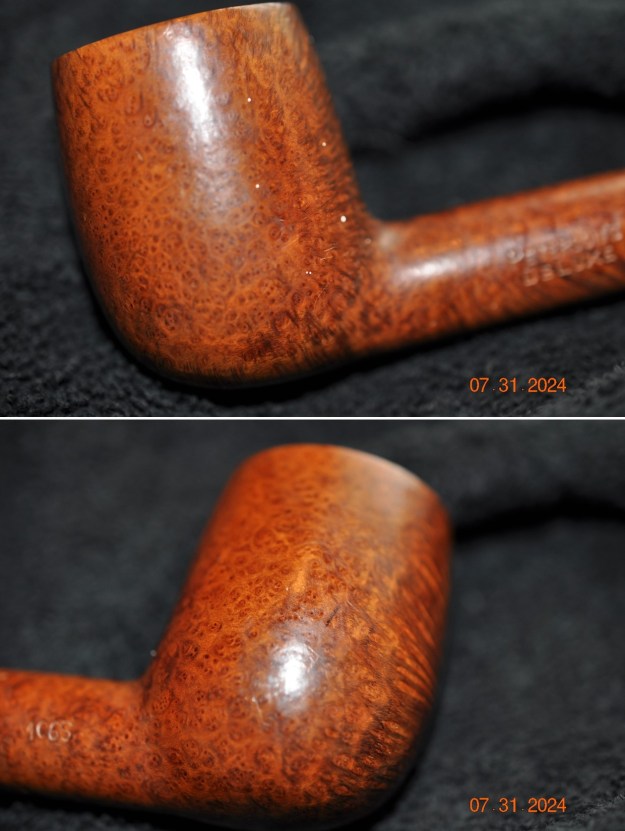
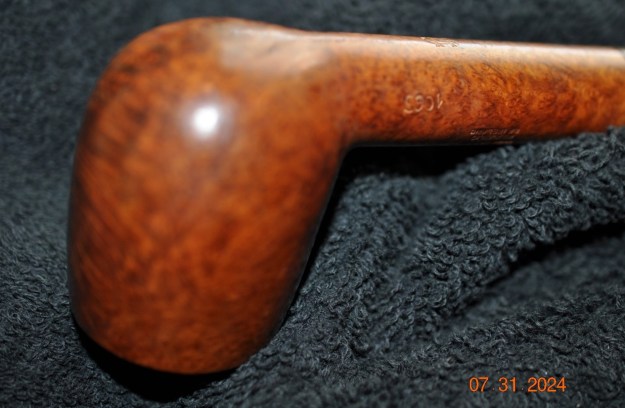
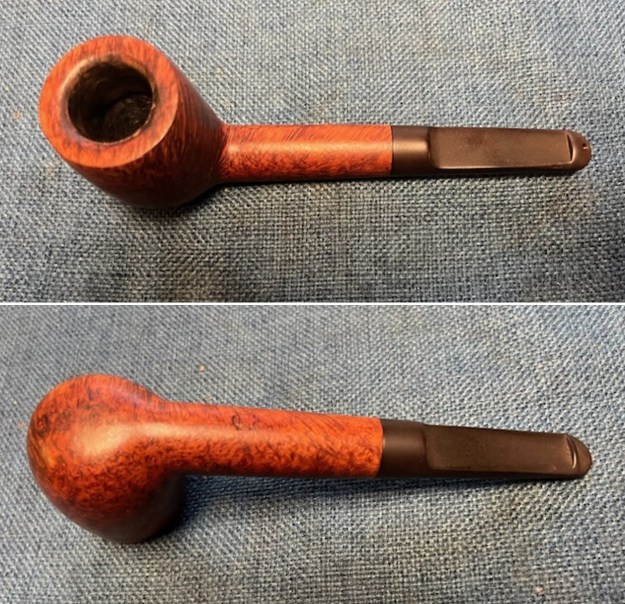
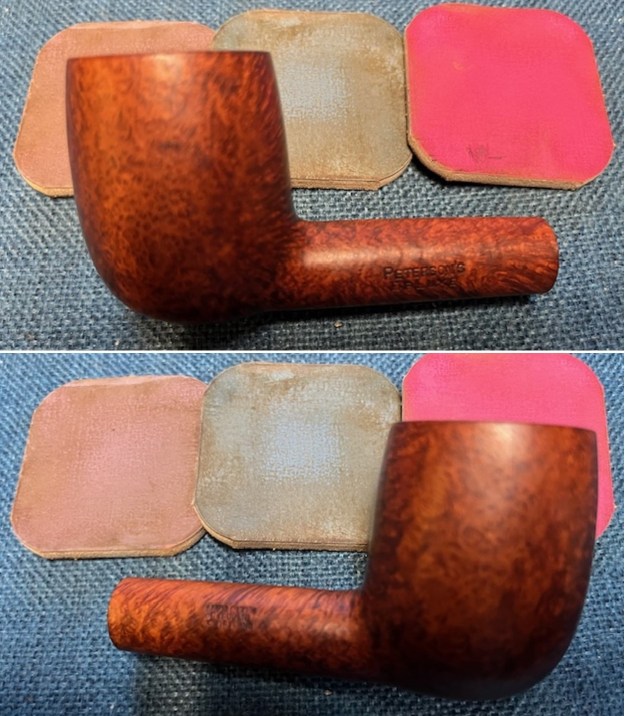
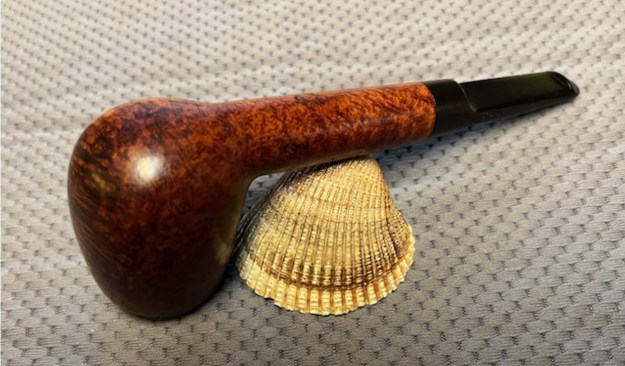
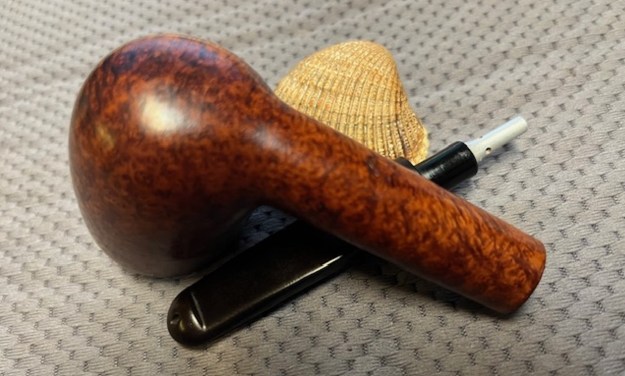
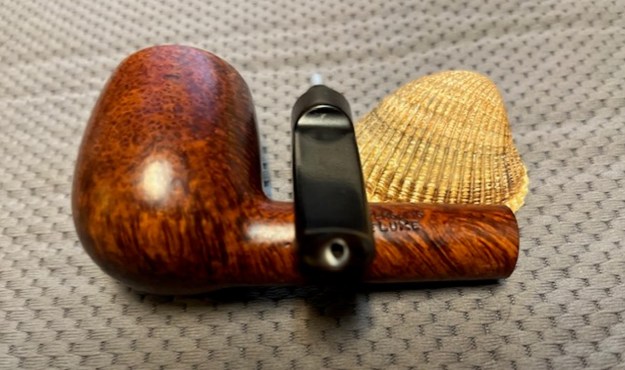
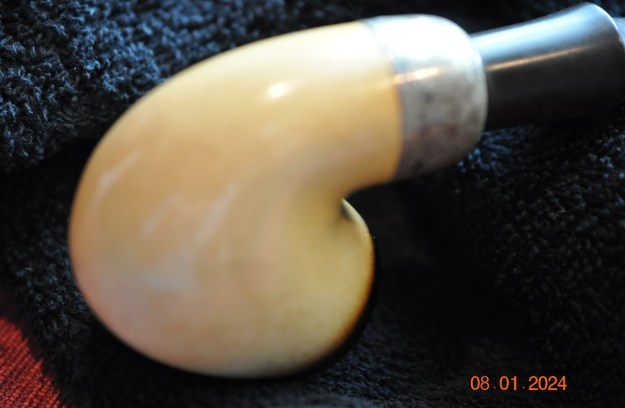
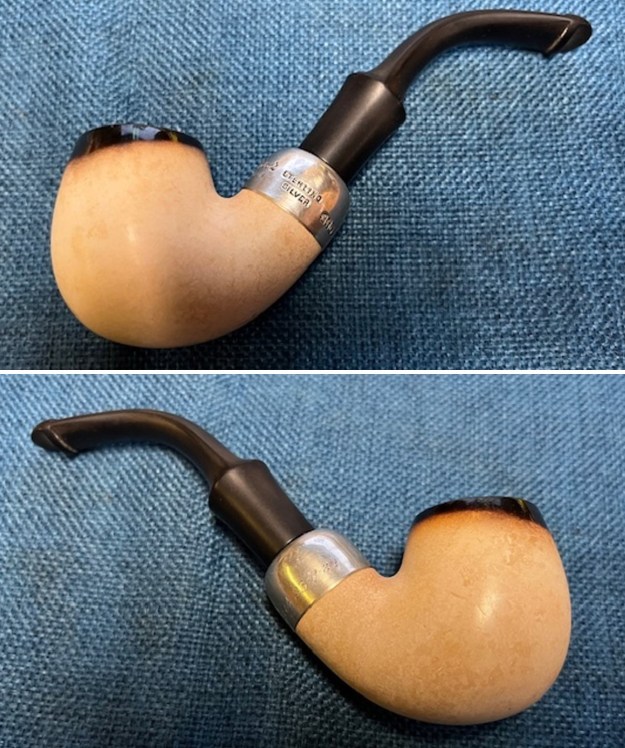
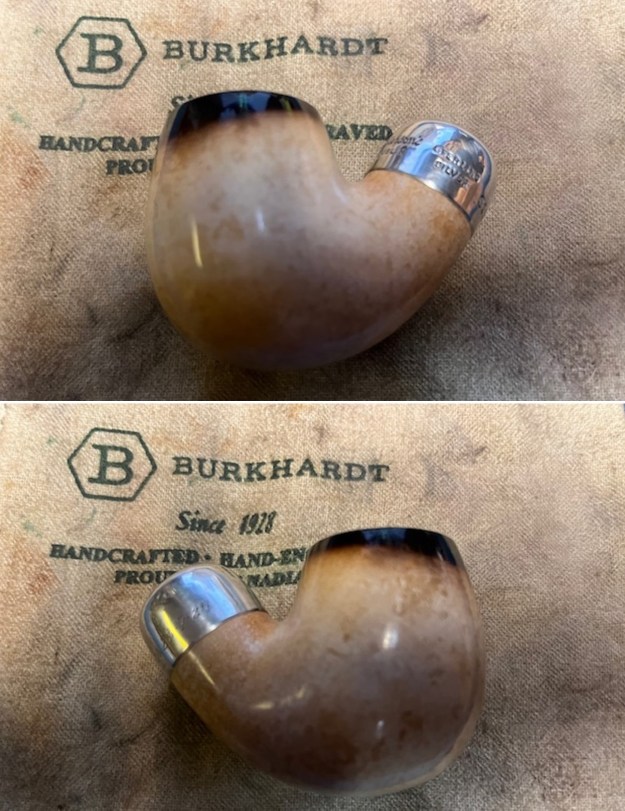
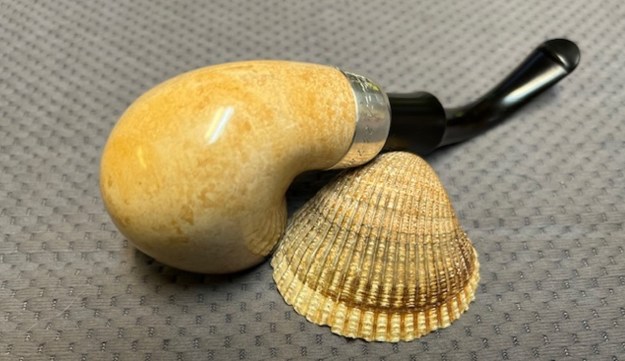
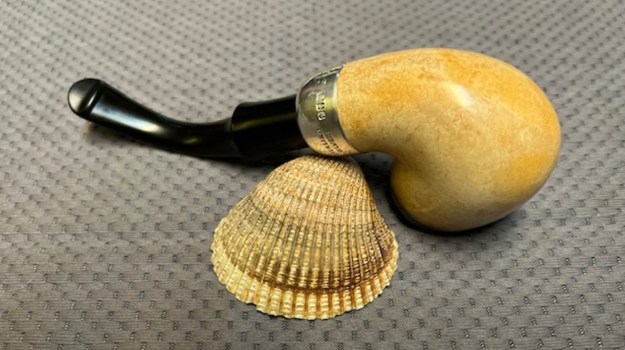
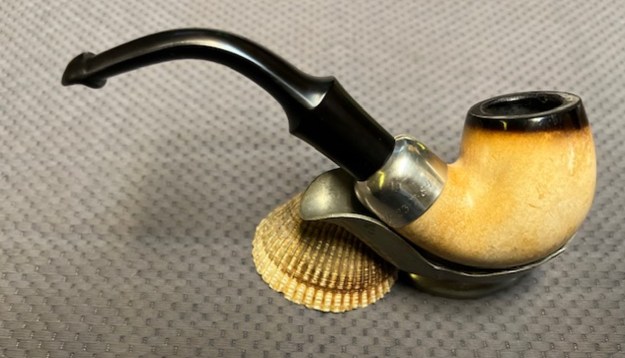
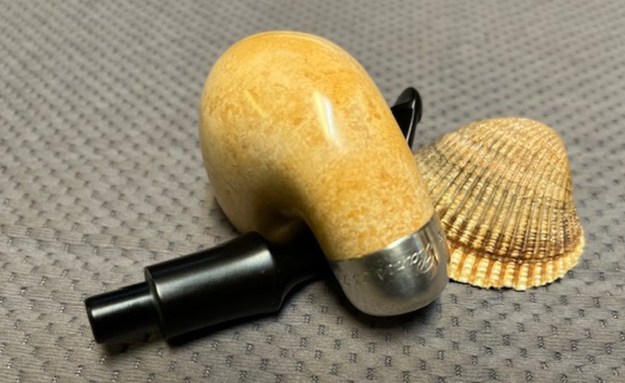
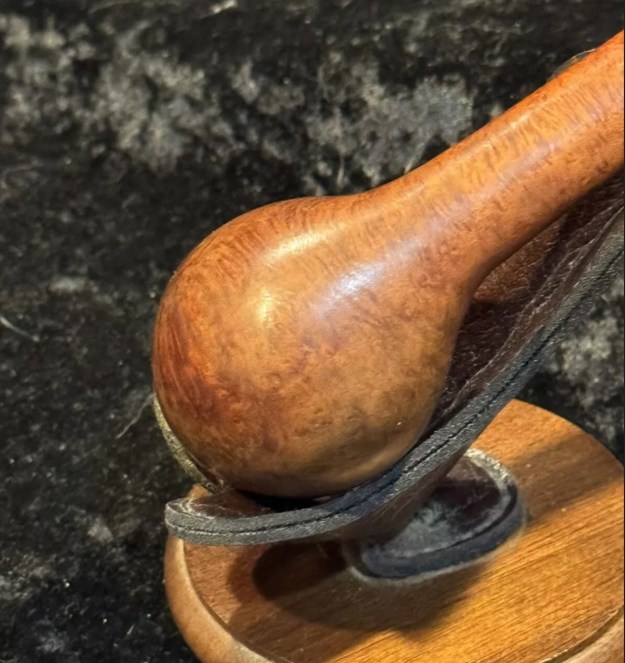
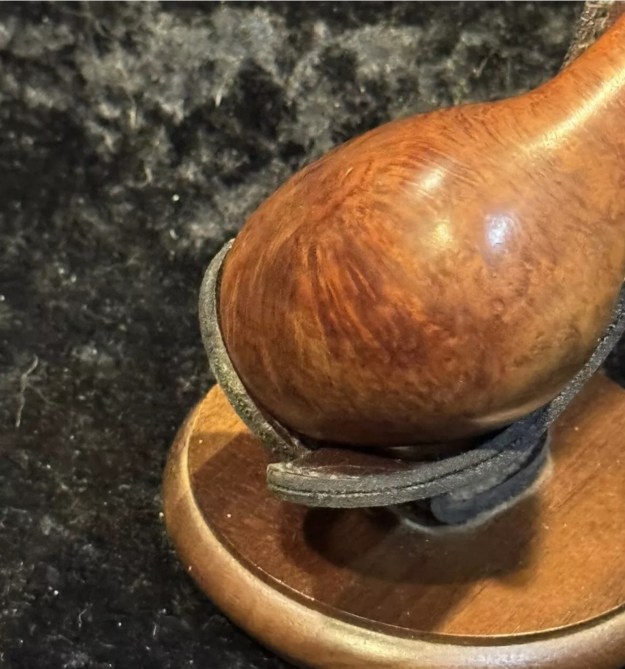
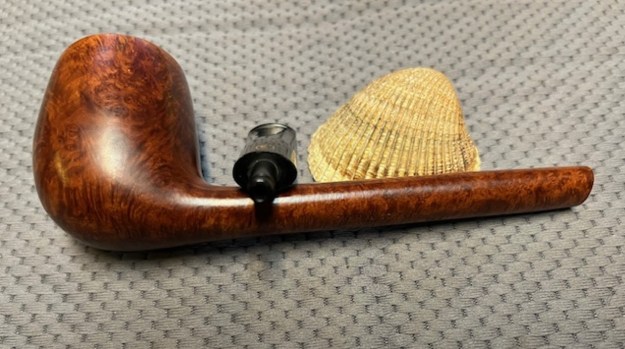
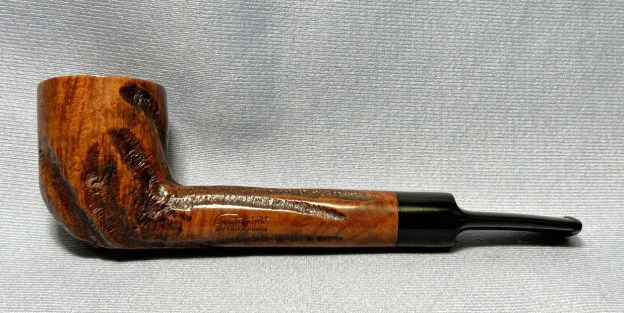
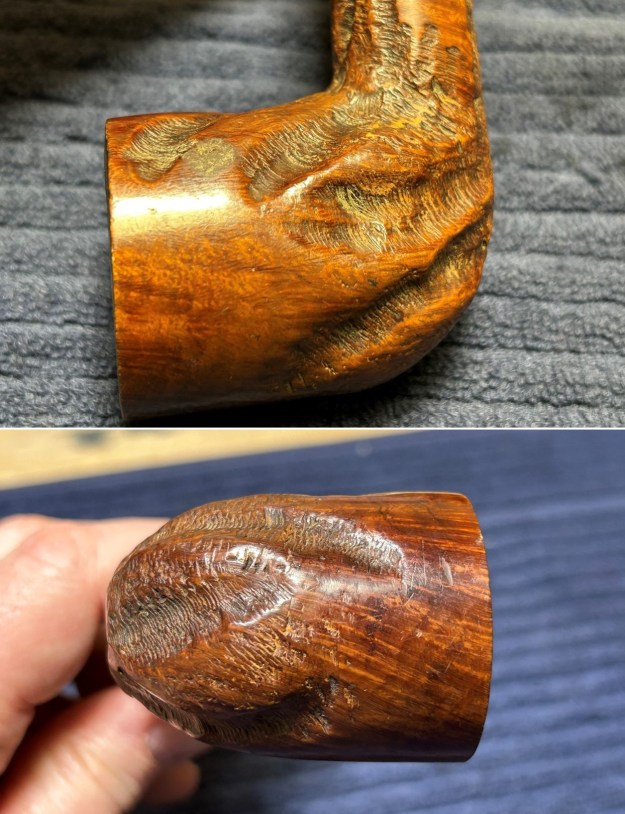
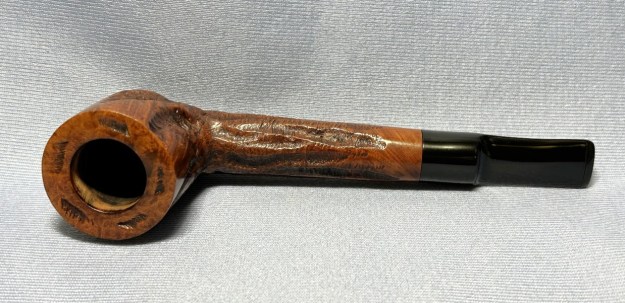
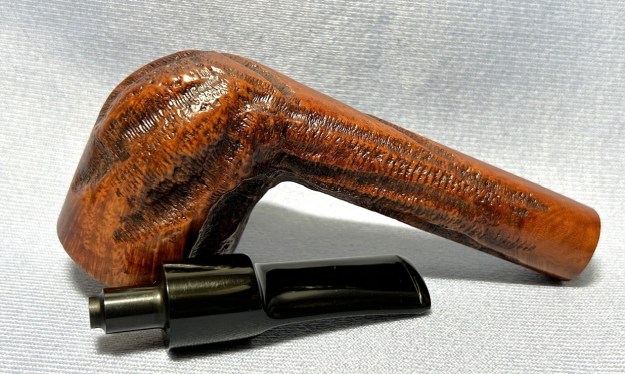
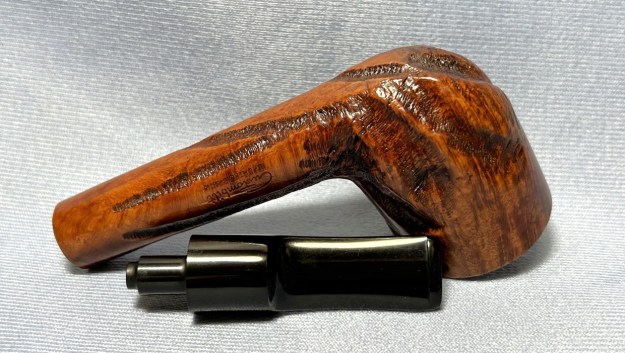
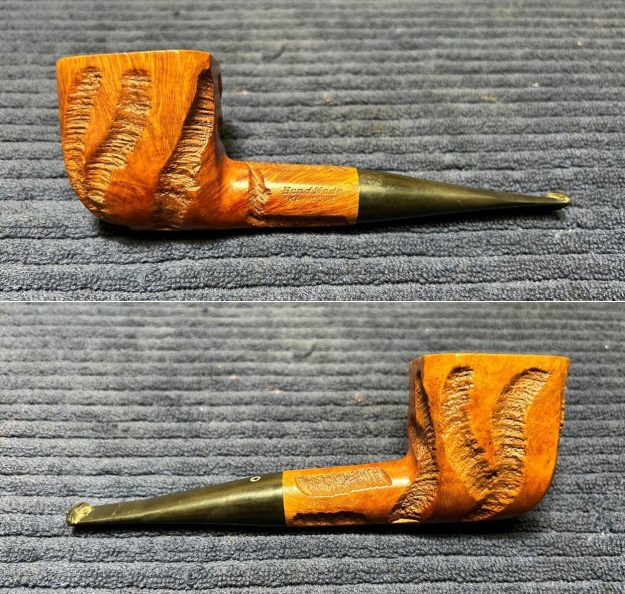
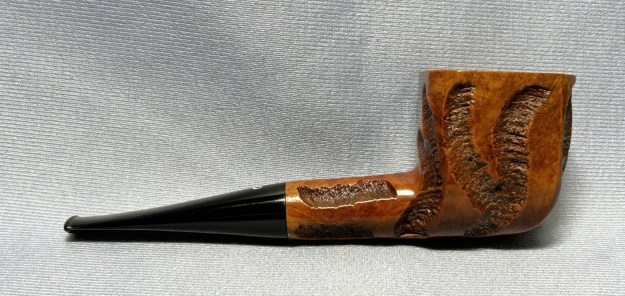
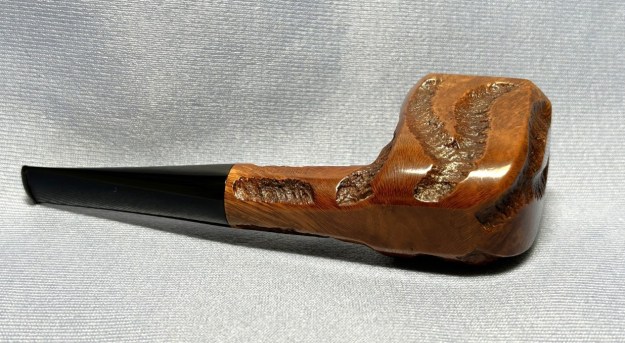
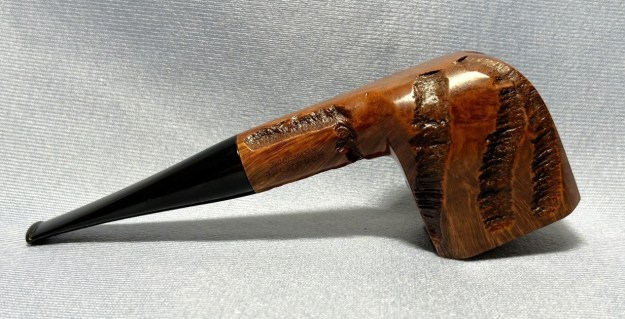
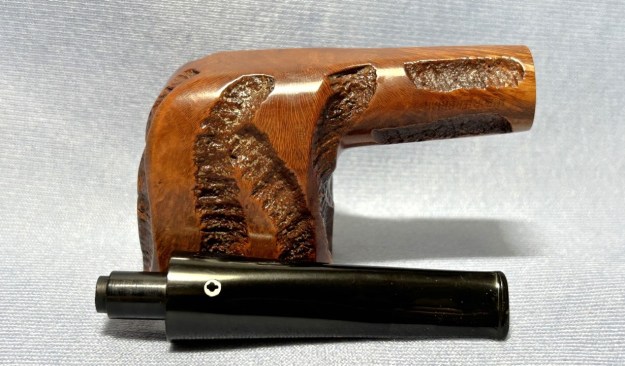
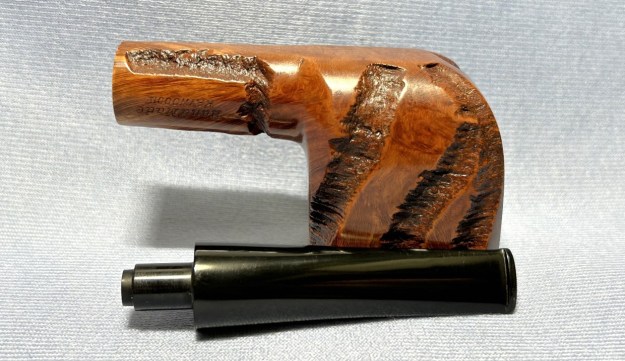
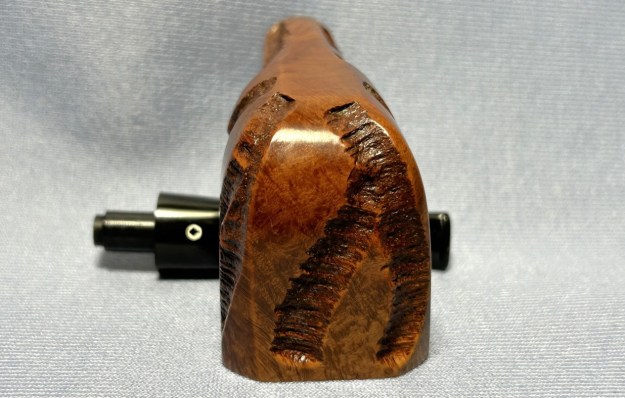
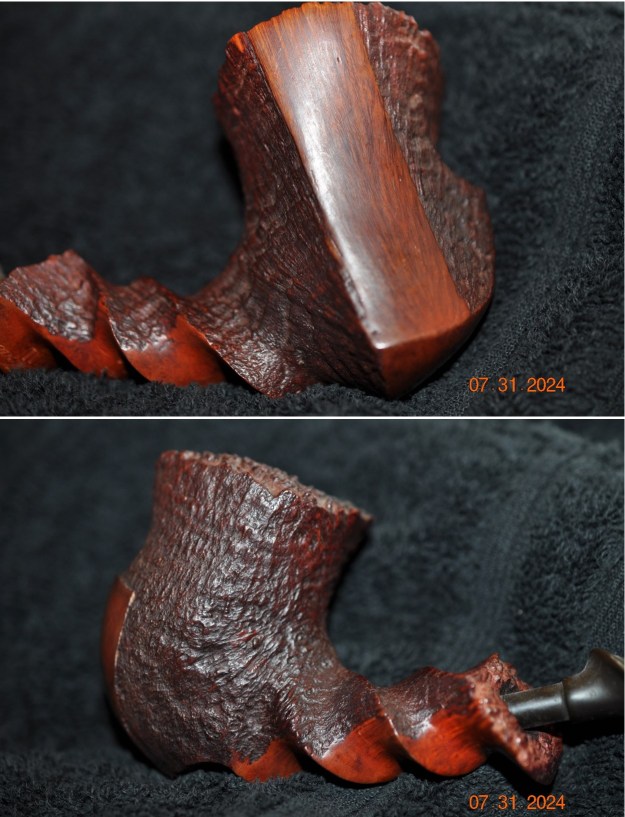
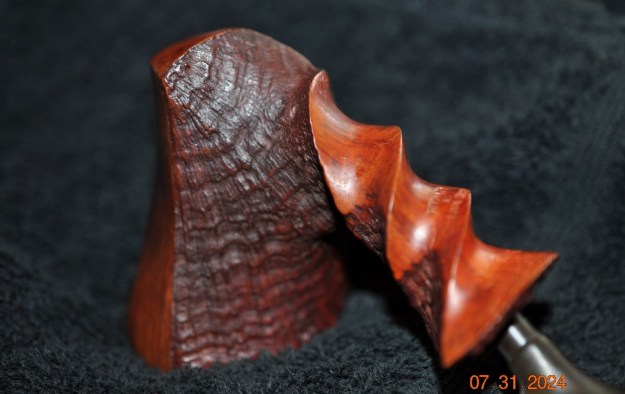
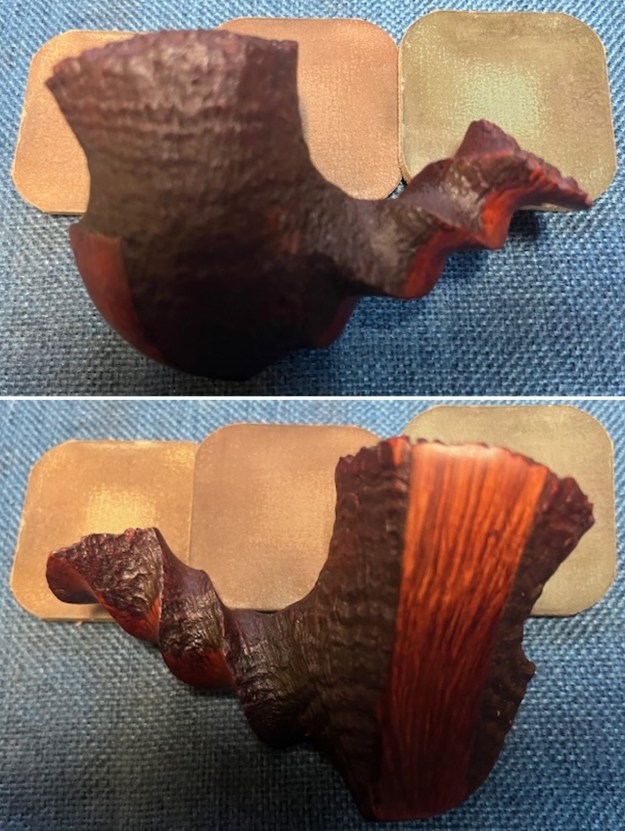
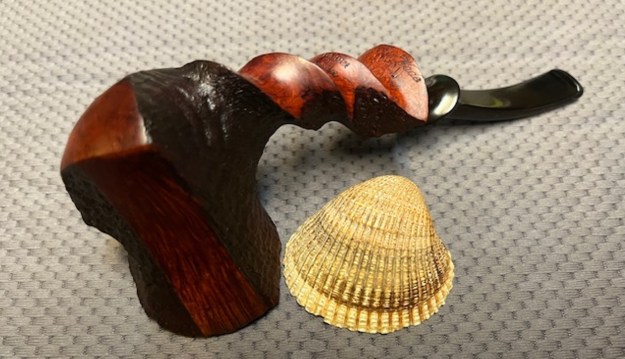
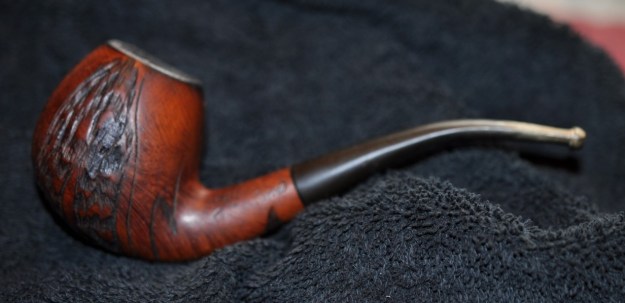
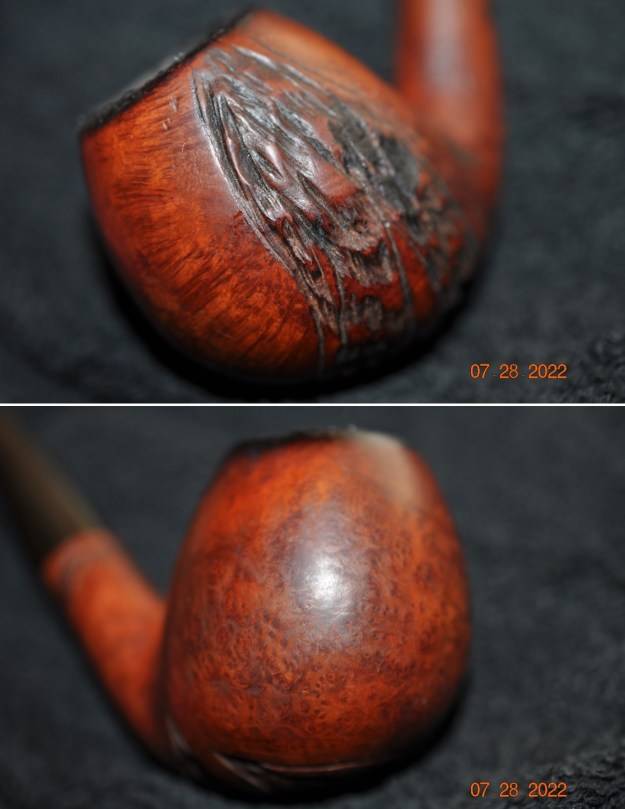
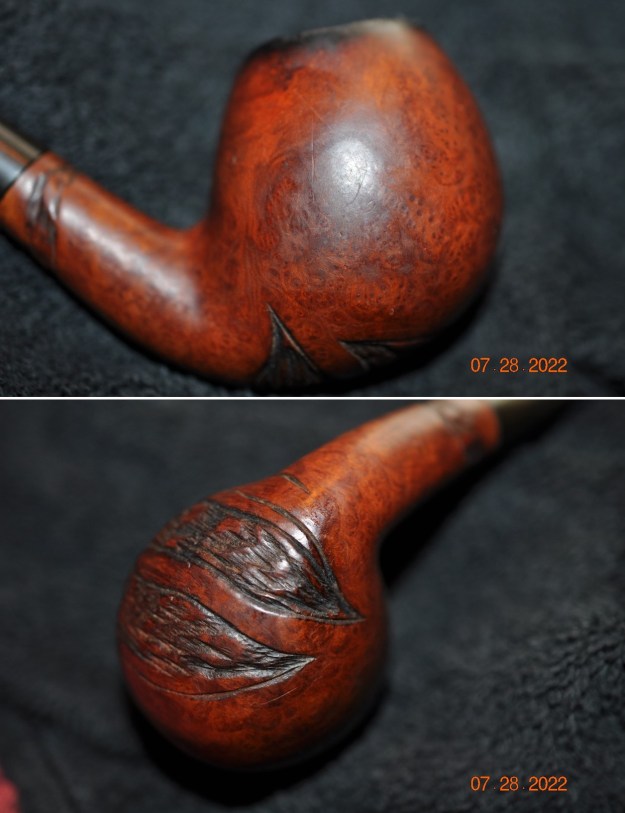
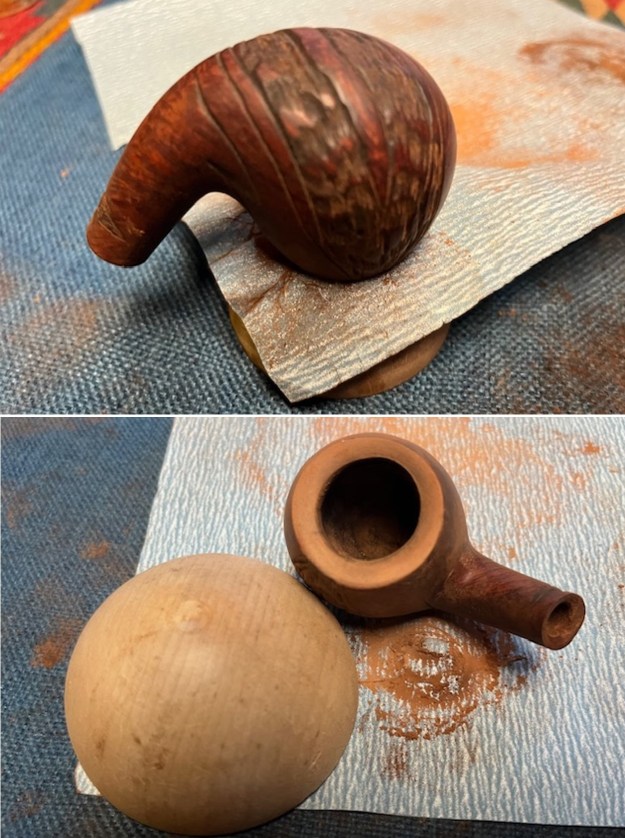
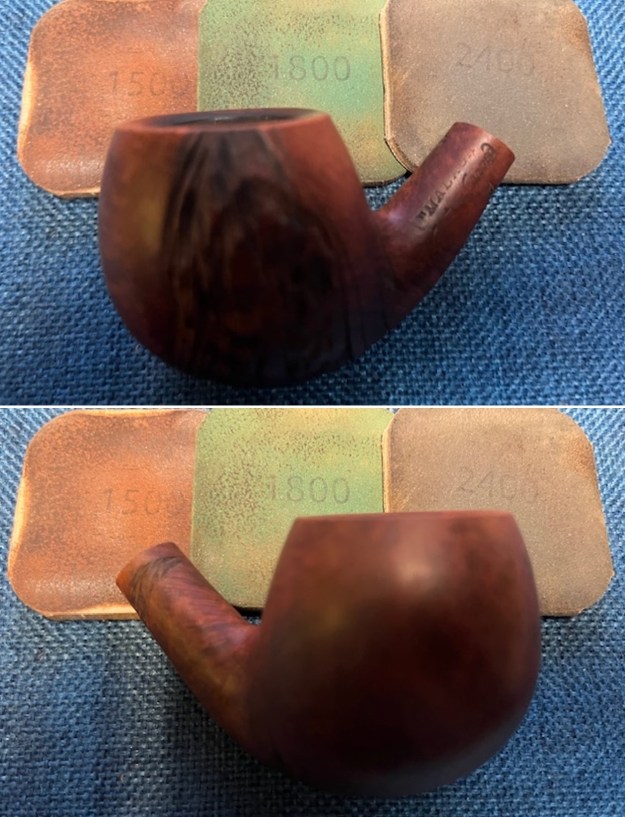
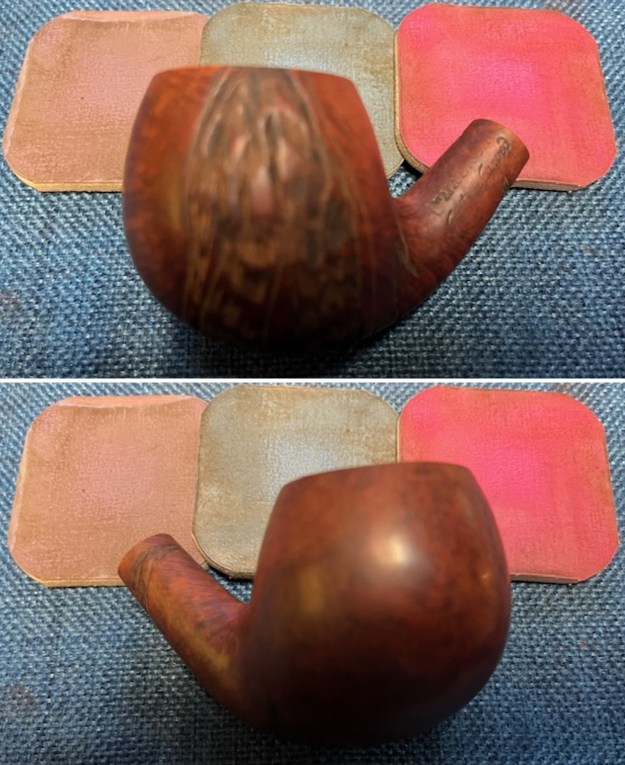
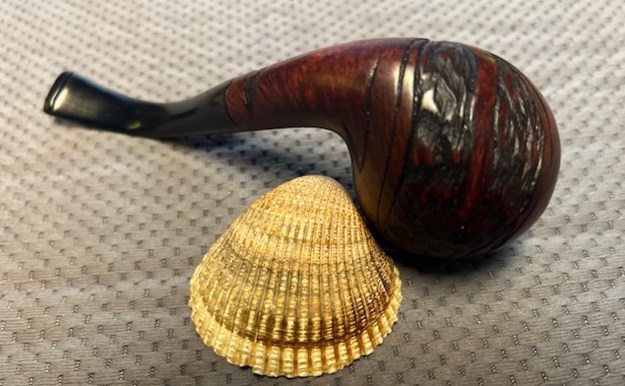
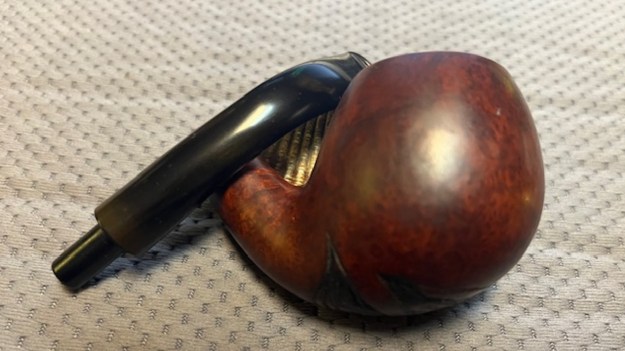
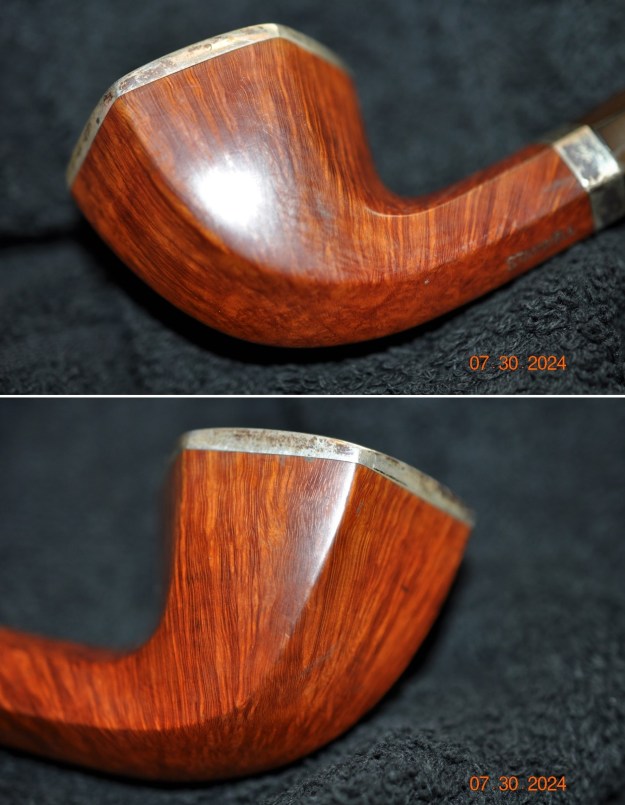
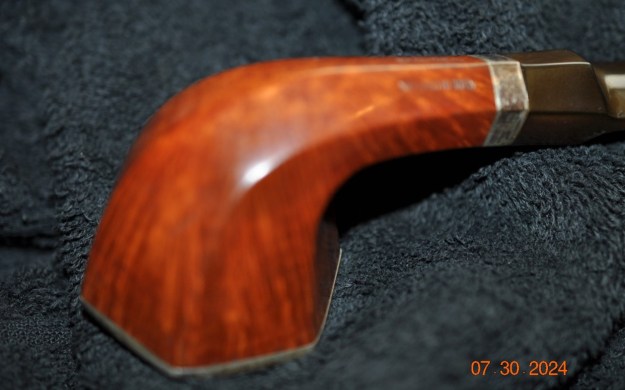
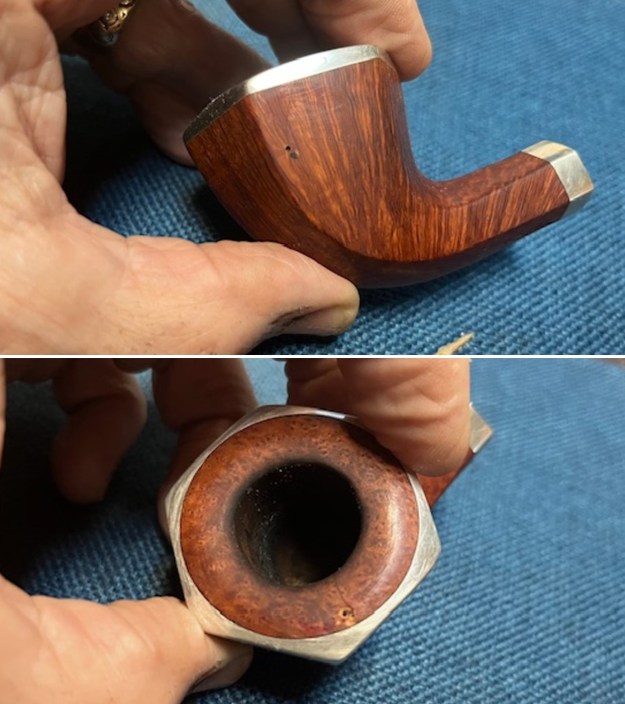
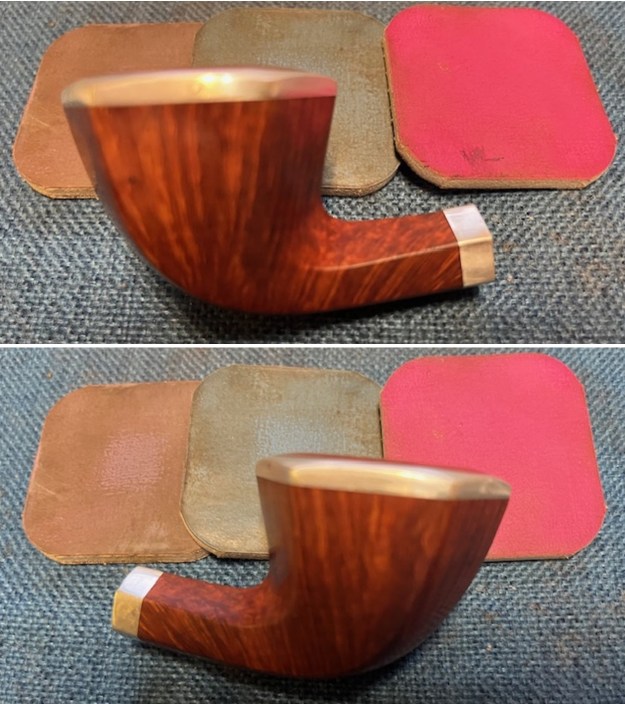
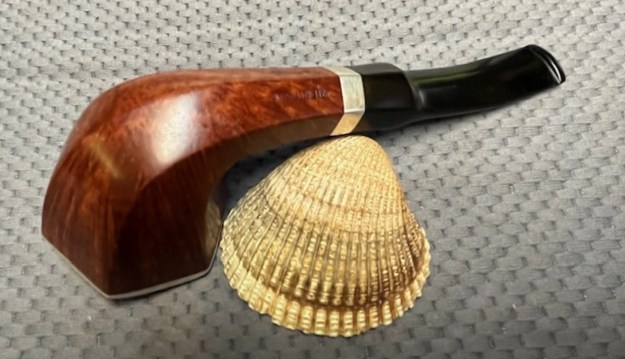
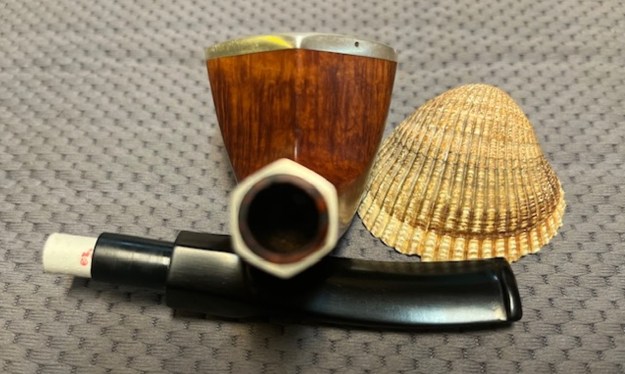
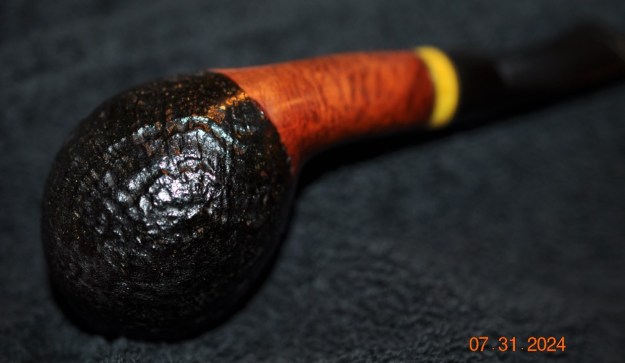
 The photos of the sides and heel of the bowl show the mixed sandblast and smooth finish around the bowl and shank. The grime hides the grain in many ways. The finish on the pipe is shows a lot of promise in the contrasts.
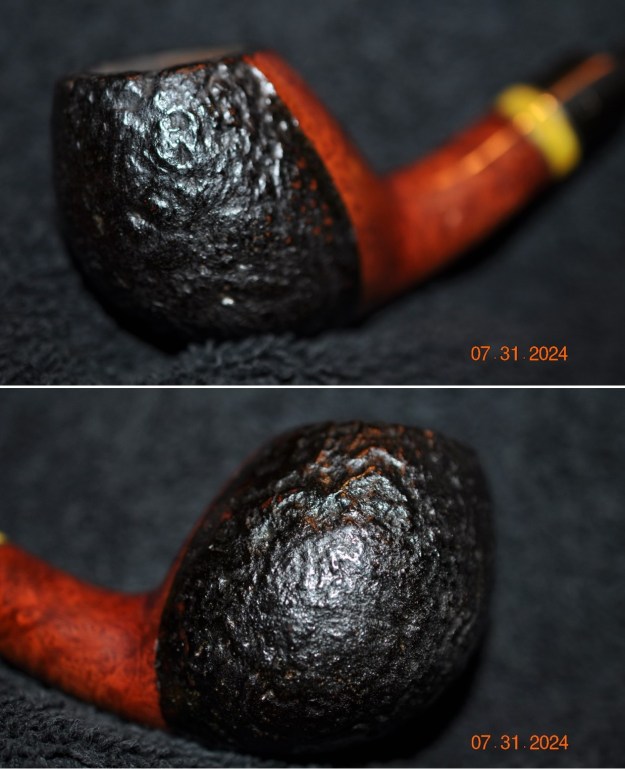
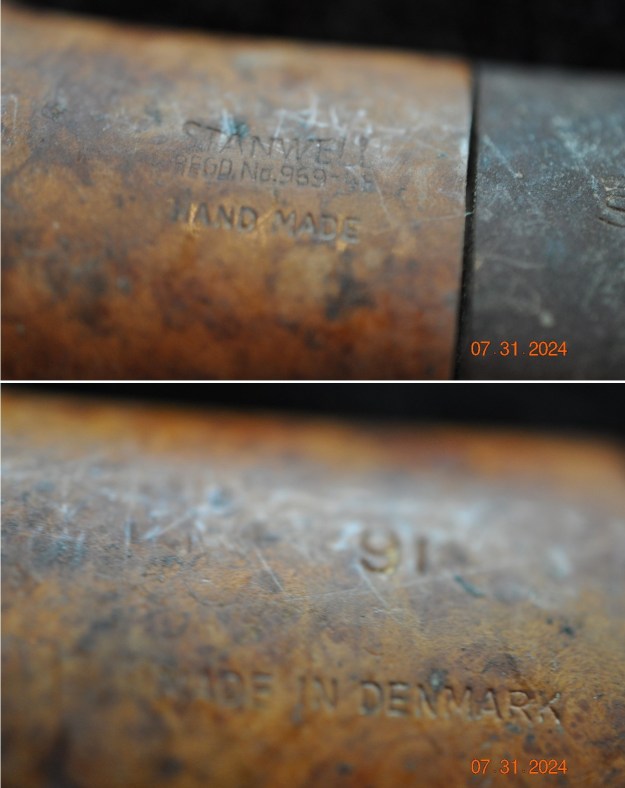
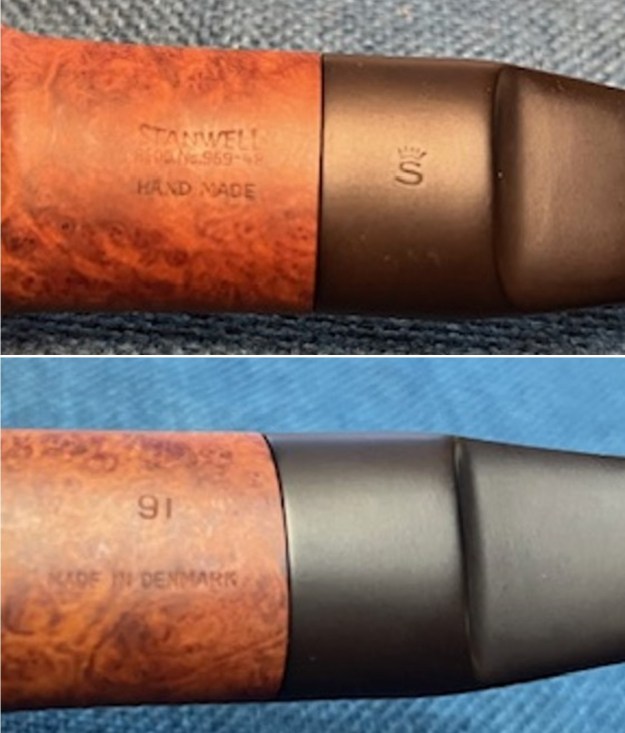
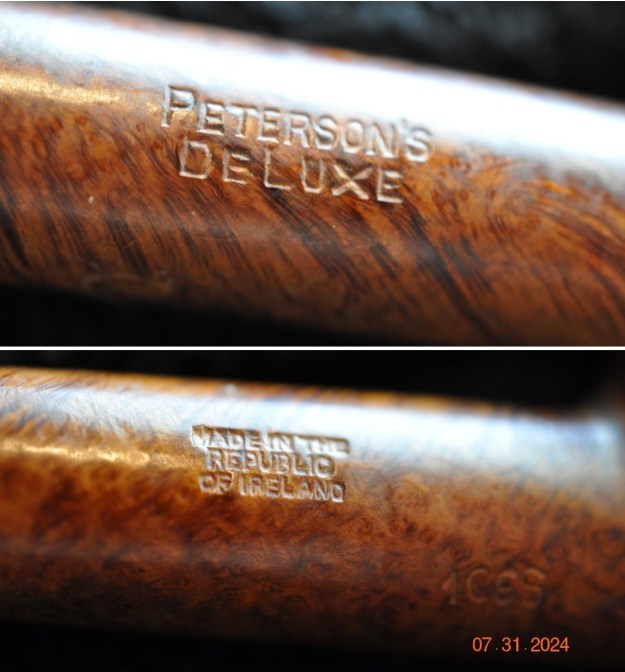
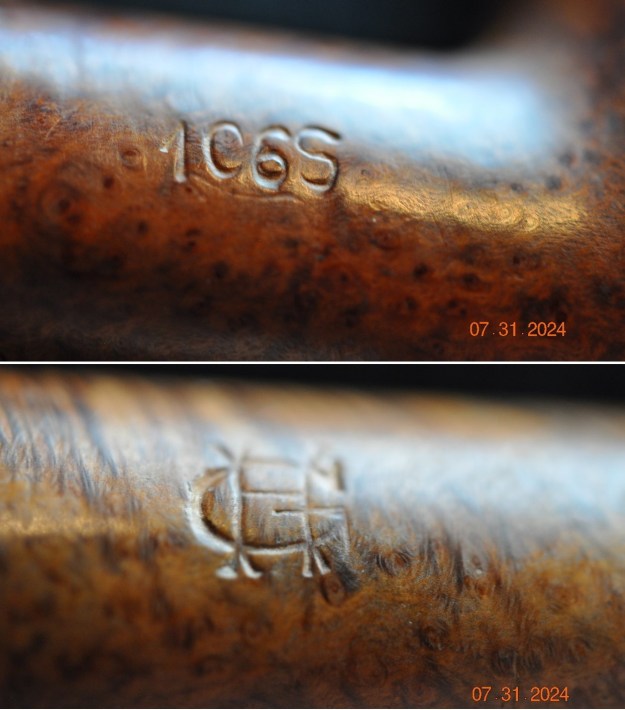
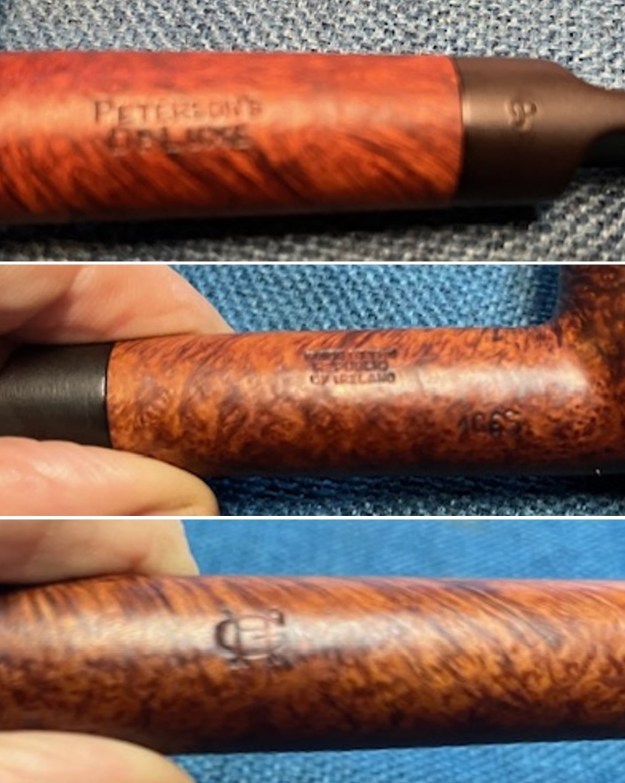
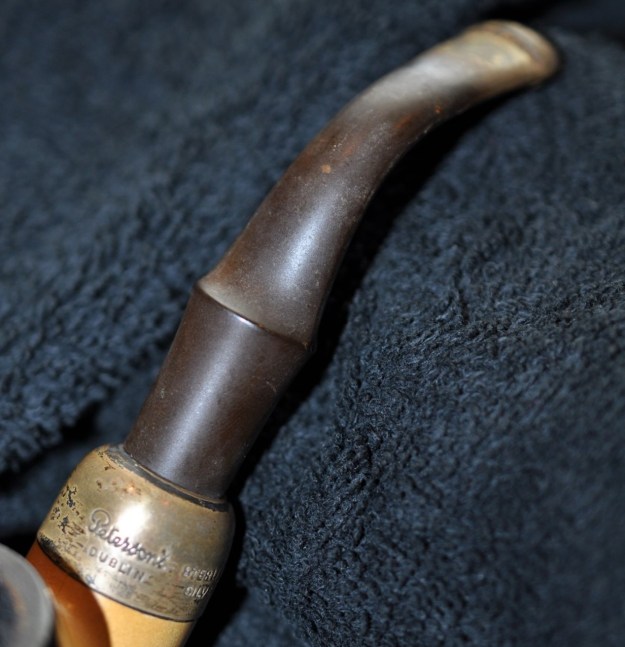
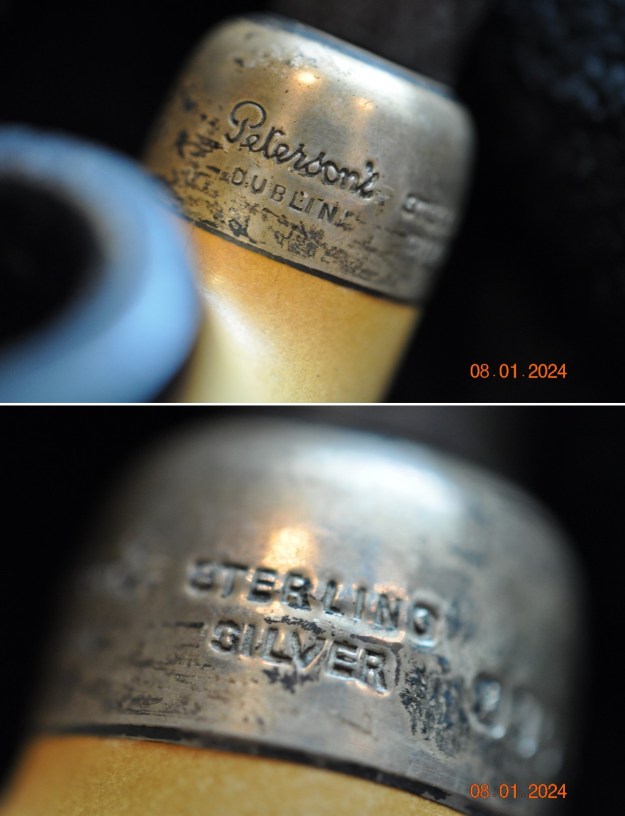
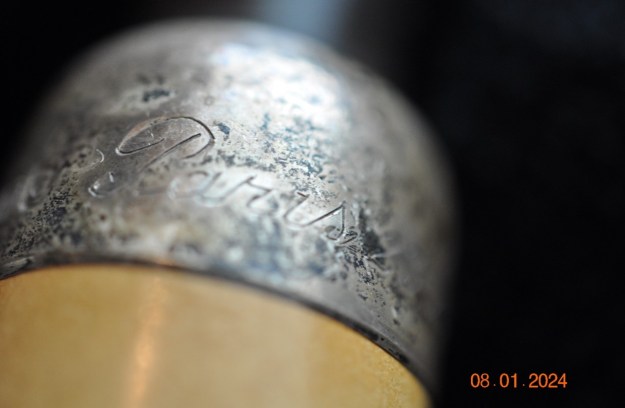
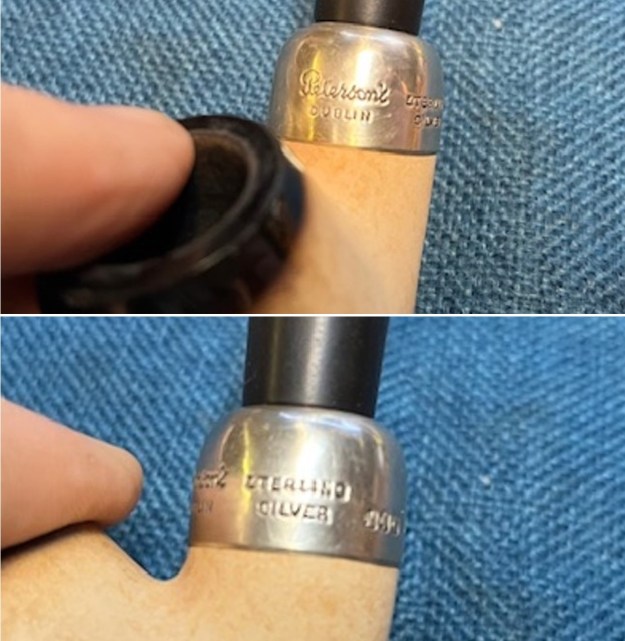
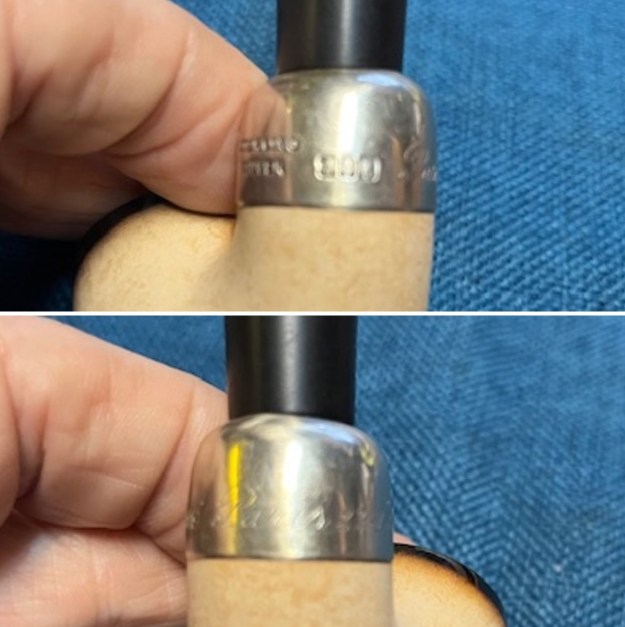
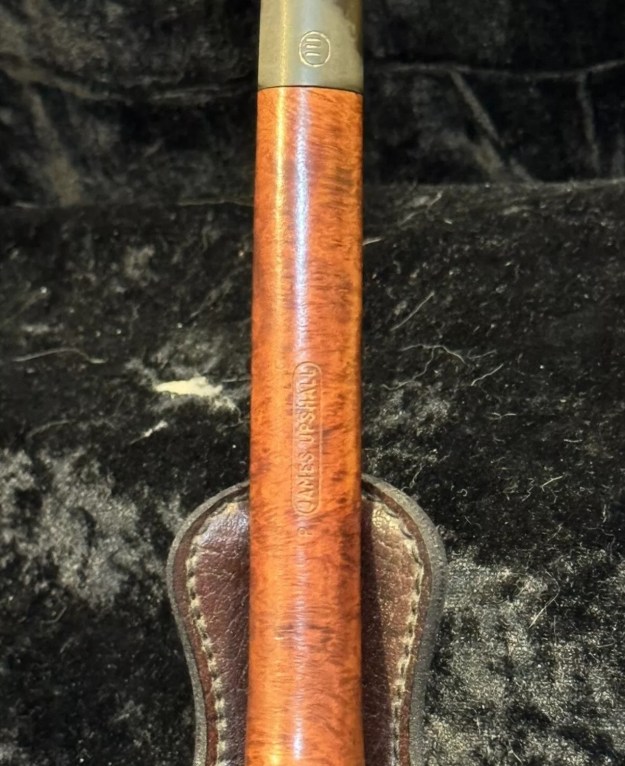
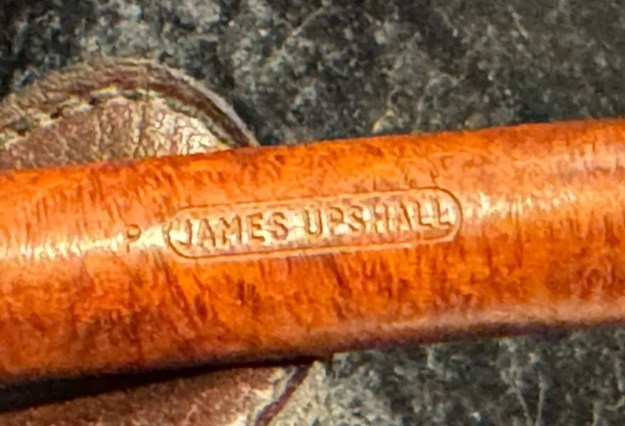
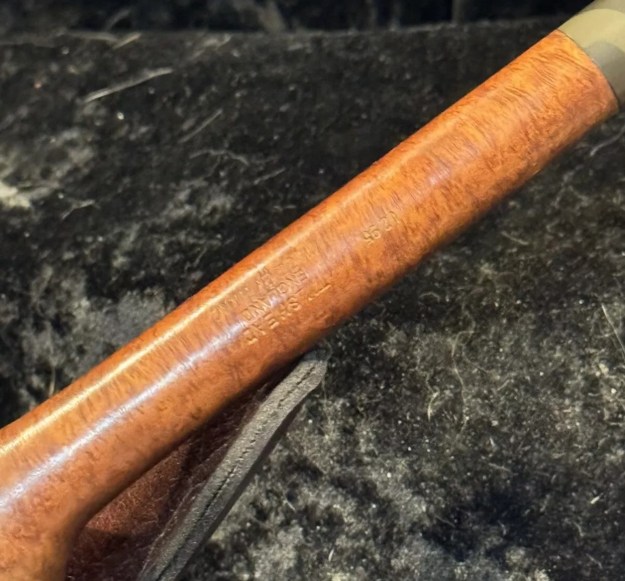
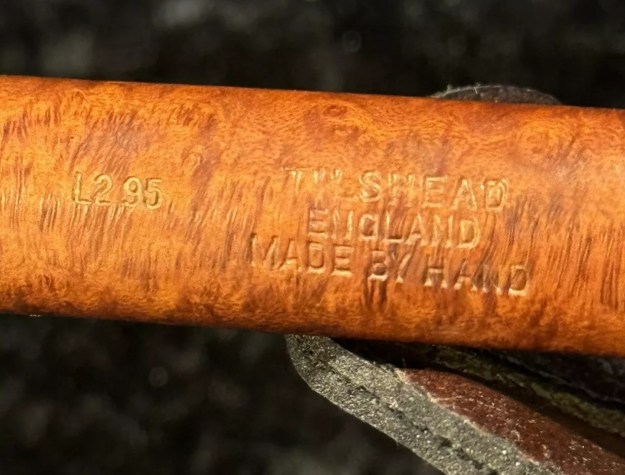
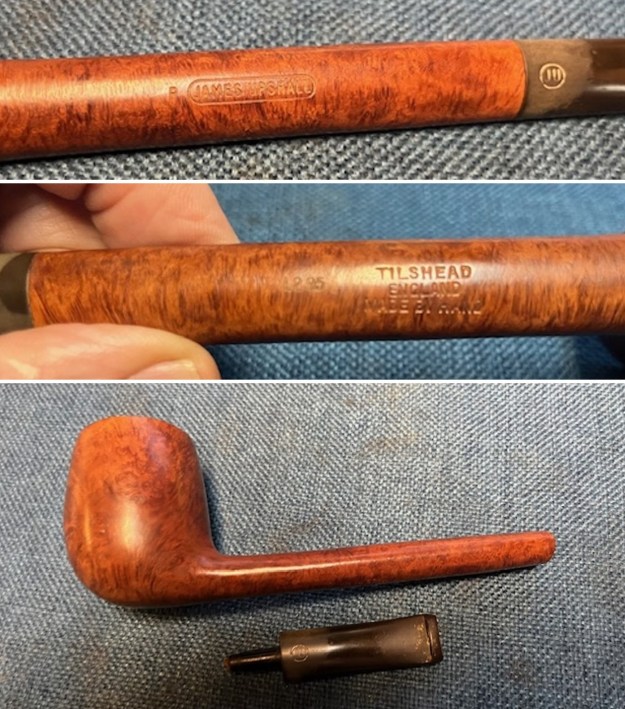
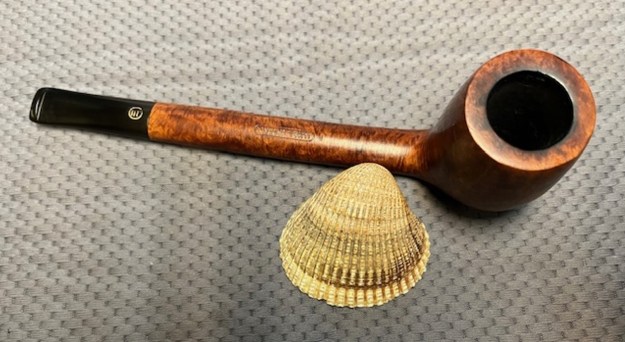
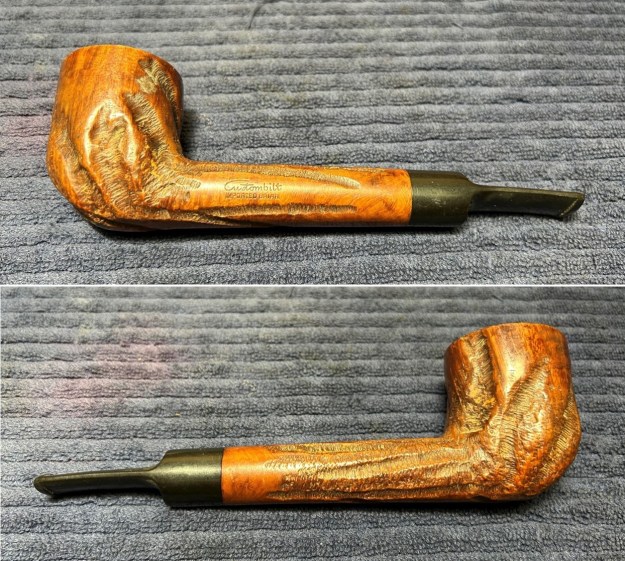
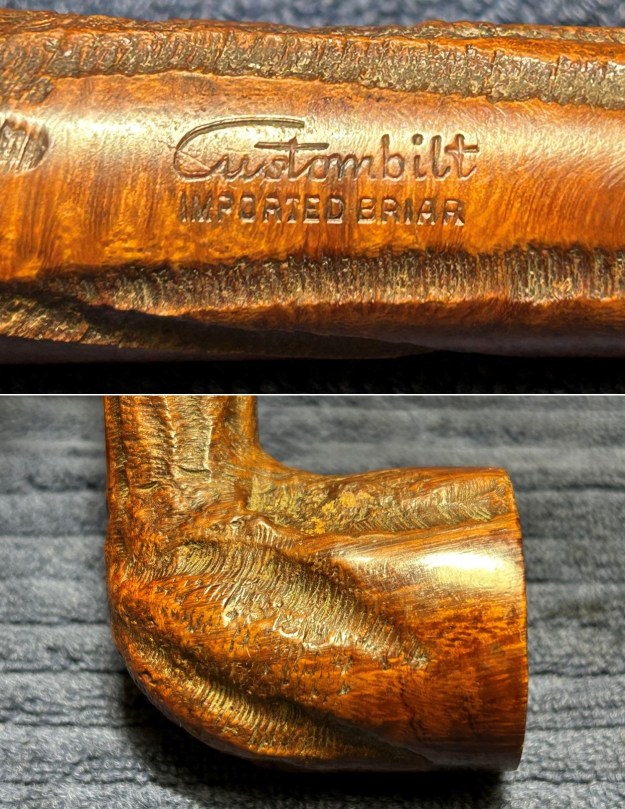
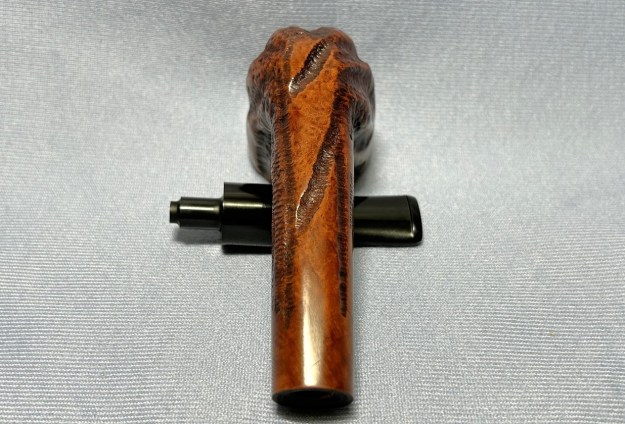
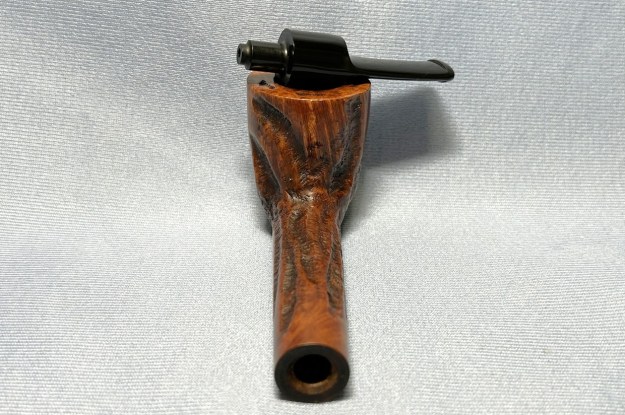
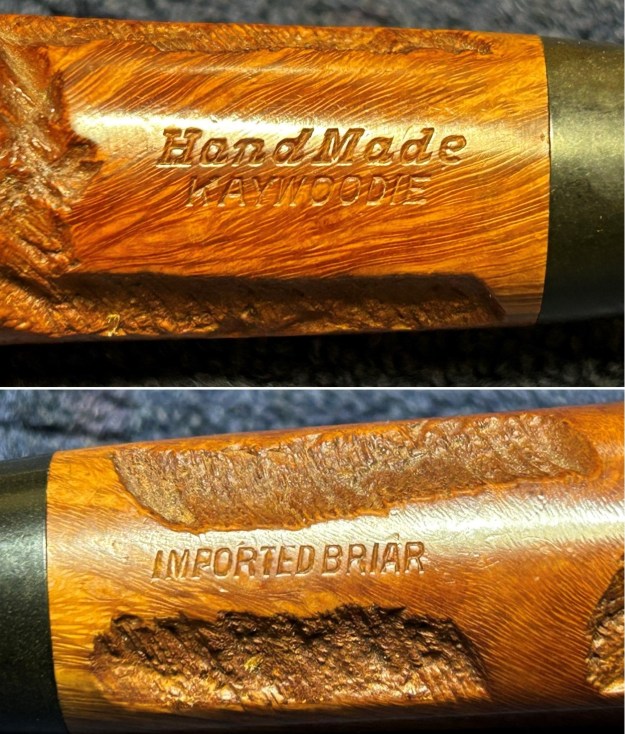
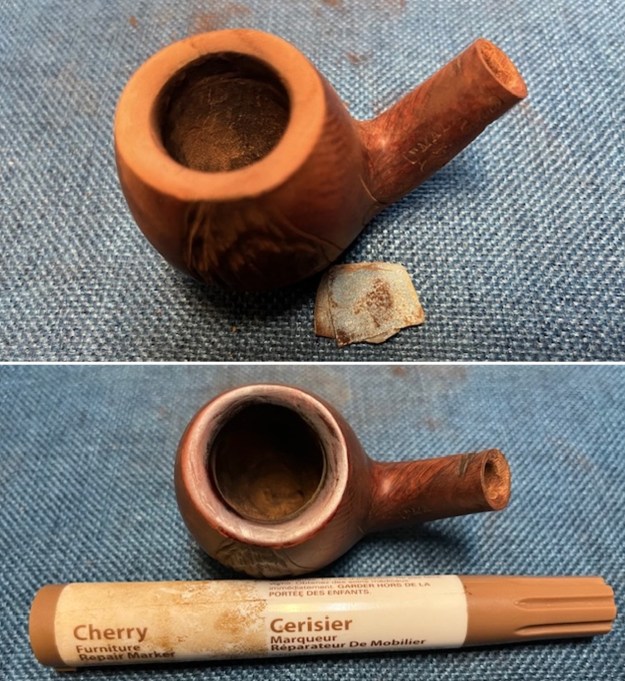
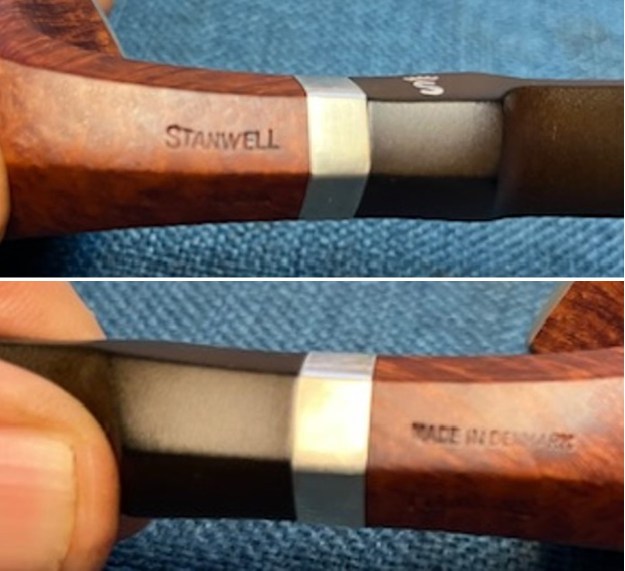
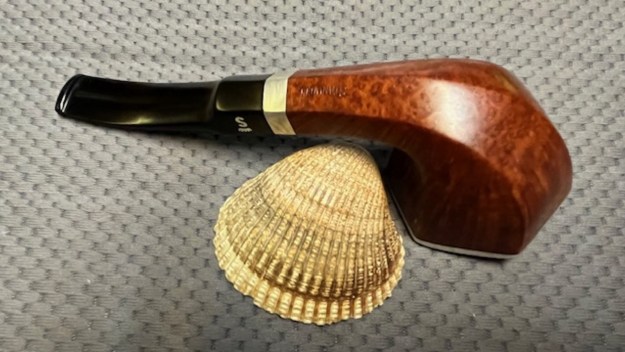
 The stamping was on the top and underside of the shank as noted above. It is clear and readable as noted above.
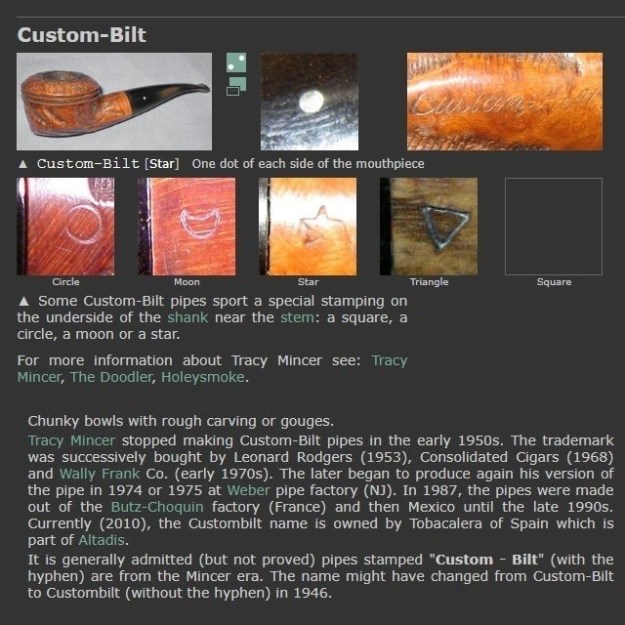
 An added part of pipe restoration for me is the opportunity to gather background information on a brand and maker to add depth to the restoration. I almost always turn to Pipephil’s site first for a summary. In this case it did not let me down (http://www.pipephil.eu/logos/en/logo-g2.html#georgjensen). It has a longer listing for the Georg Jensen Brand. The stamping and logo on the one in hand is like the second pipe down in the photo below. I have included a screen capture of the section below. I have also included a copy of the side bar information that gives a brief glimpse of the brand.
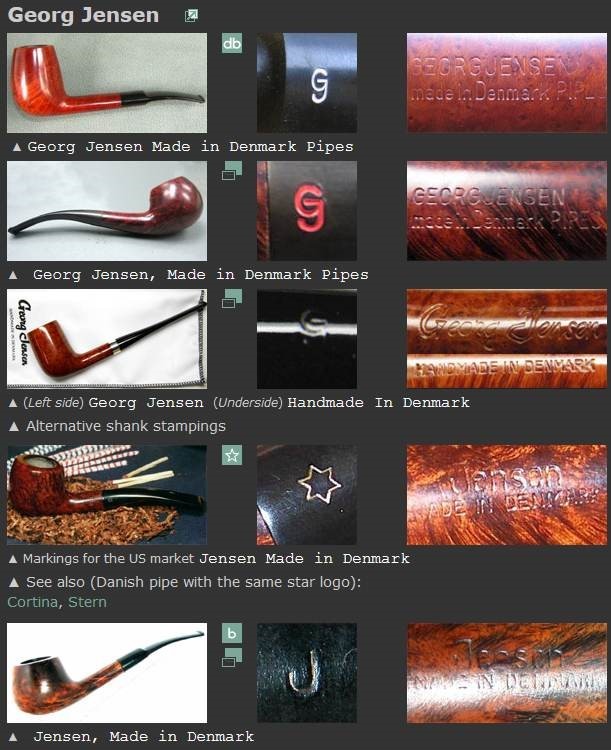 Per Georg Jensen managed the Georg Jensen Pipe brand during 23 years and is currently (2011) active as “Tobacco Professor” at Mac Baren Tobacco Company. See also: Danets, North Dane Pipes, White Star, Goodwill
I turned then to Pipedia (https://pipedia.org/wiki/Georg_Jensen) and found a short listing on Georg Jensen. I have included it below.
The Georg Jensen pipe factory was founded by Per Georg Jensen and his wife in 1954, in Kopenhagen, Denmark. Since the 80s the company is under the management of his daughter Lis, and his son with the same name, Per Georg Jensen. The company manufactured around 2,000 factory pipes per year. Among the top of the line pipes are hand carved special editions and free hands.
Top of the Line models of Georg Jensen have vulcanite or ebonite stems, factory pipes usually have acrylic stems.
Factory pipes (in increasing quality) were marked:
Danish Sand Achat / Amber Red Flame / Red Skin Sunrise / Orange extra / Starline Contrast / Bicolour / Harmon Excellent / Masterpiece
Pipes were commonly marked (in increasing quality) with: MODEL + MODEL NUMBER + “Made in Denmark”, GJ stamp in red on the stem. MODEL NUMBER + “Georg Jensen” in italic or fancy font.
Extremely rare and collectible freehands were marked with: “Straight Grain” and a number that discerns the grading from 1 (lowest) to 13 (highest).
Special edition pipes were marked with: MODEL + MODEL NUMBER + “Handmade in Denmark” + GJ stamp in white on the stem.
The factory closed down in 2001 when Per Georg Jensen (Jr) became “Tobacco Professor” for MacBaren Tobacco house.
Now it was time to work on the pipe.
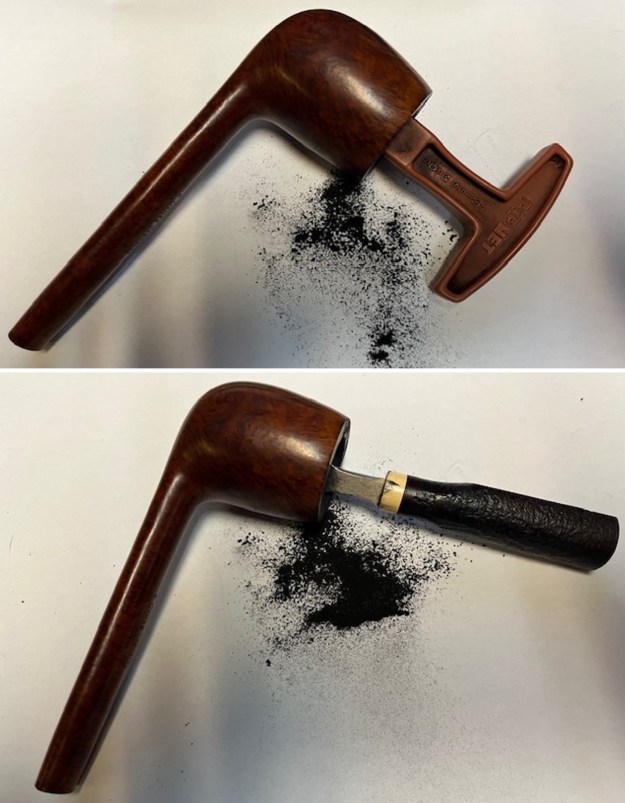
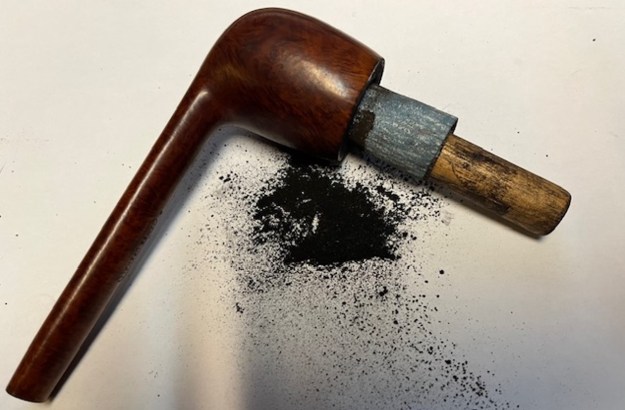
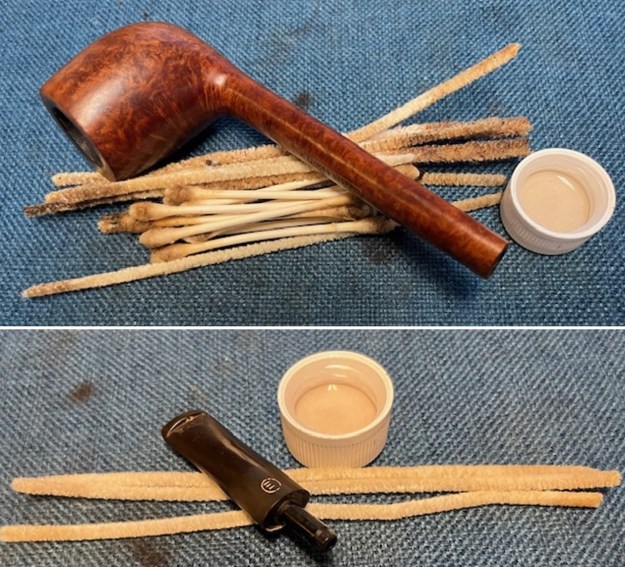
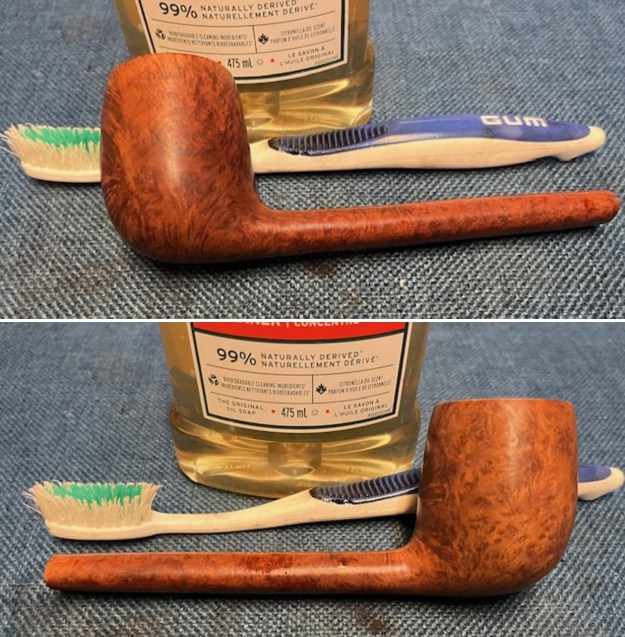
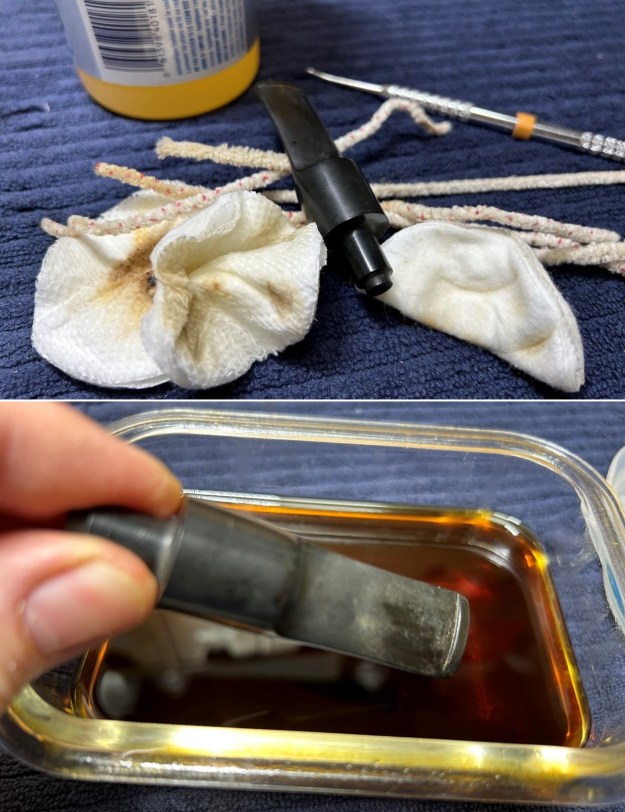
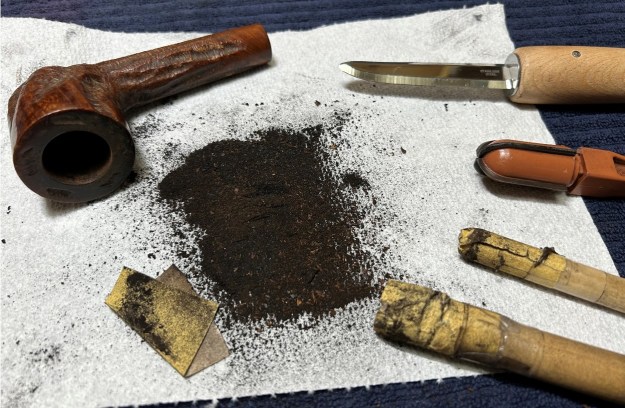
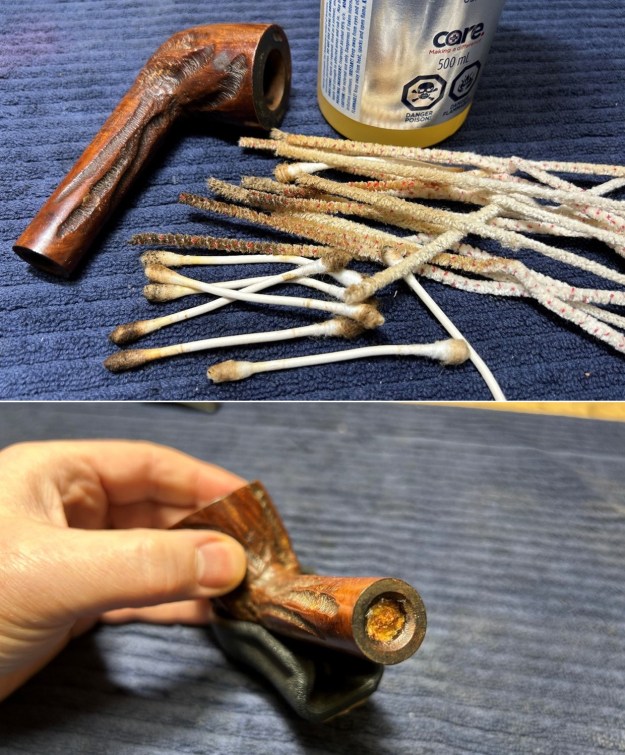
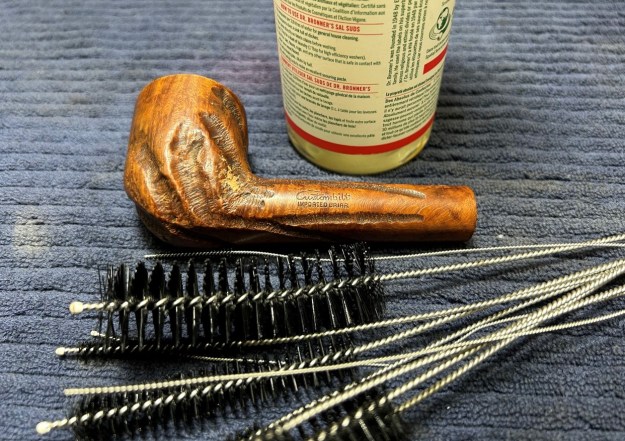
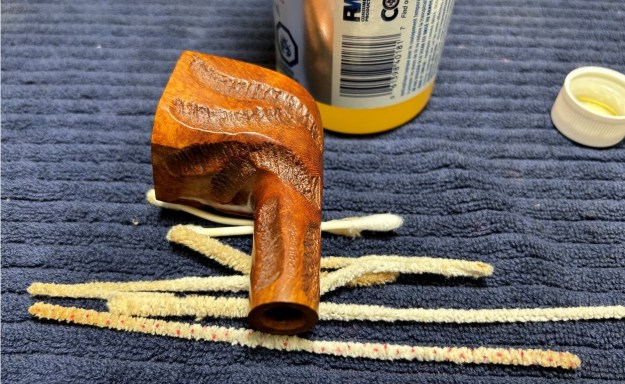
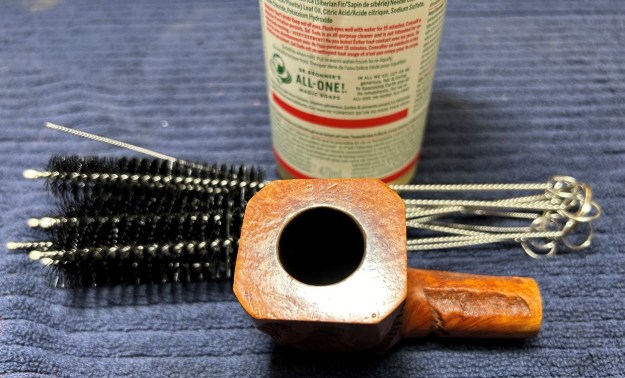
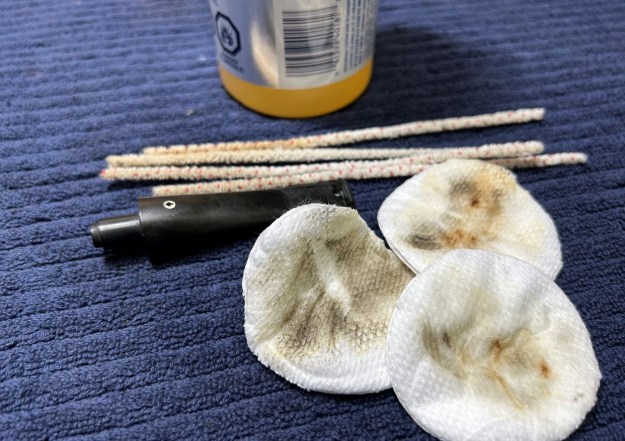
Jeff had thoroughly cleaned up the pipe. He reamed the pipe with a PipNet Pipe Reamer and cleaned up the remnants with a Savinelli Fitsall Pipe Knife. He scrubbed the bowl with undiluted Murphy’s Oil Soap with a tooth brush. He rinsed it under running warm water to remove the soap and grime. He cleaned out the inside of the shank and the airway in the stem with alcohol, cotton swabs, pipe cleaners and shank brushes. He scrubbed the exterior of the stem with Soft Scrub to remove the grime and calcification. He soaked the stem in Before & After Deoxidizer and rinsed it off with warm water. The pipe looked very good when it arrived here. 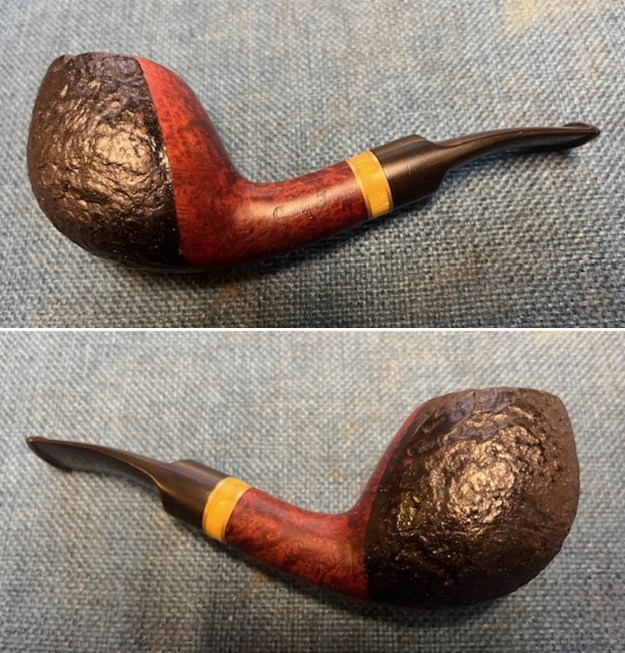
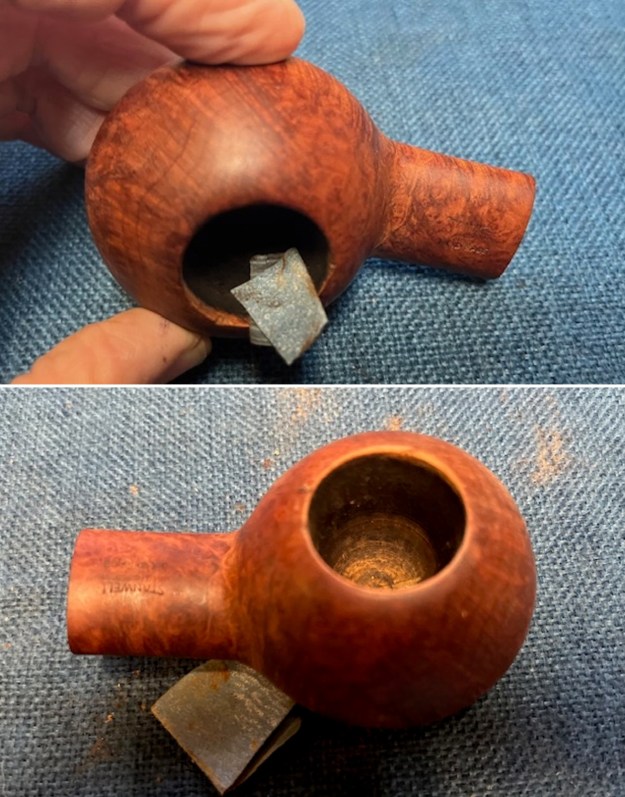
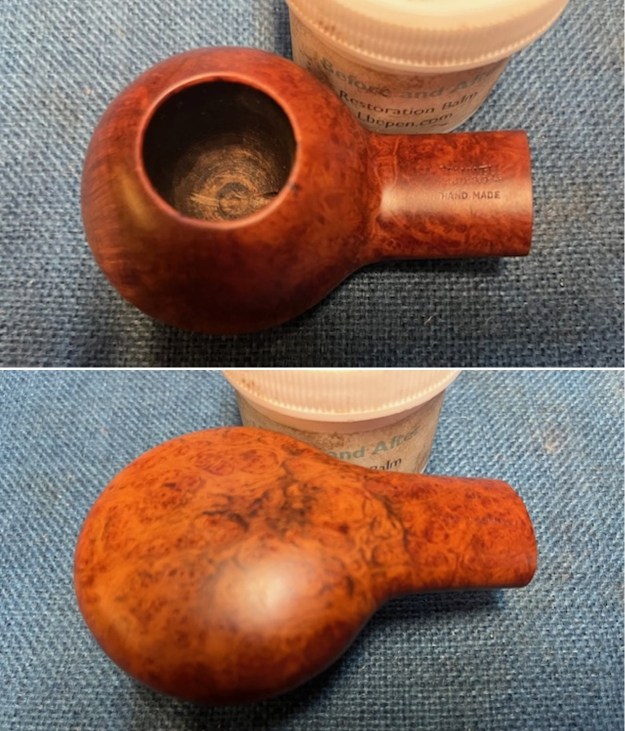
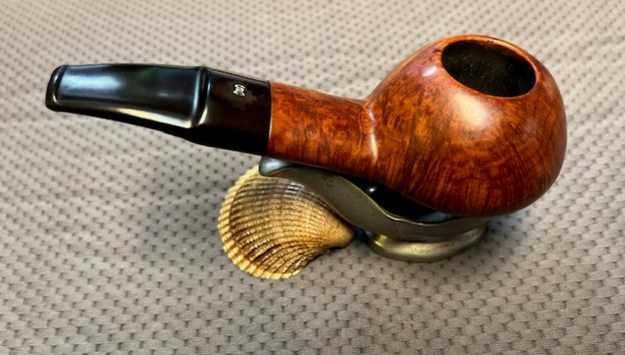
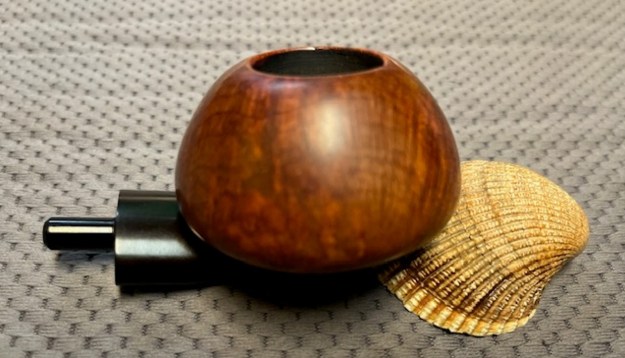
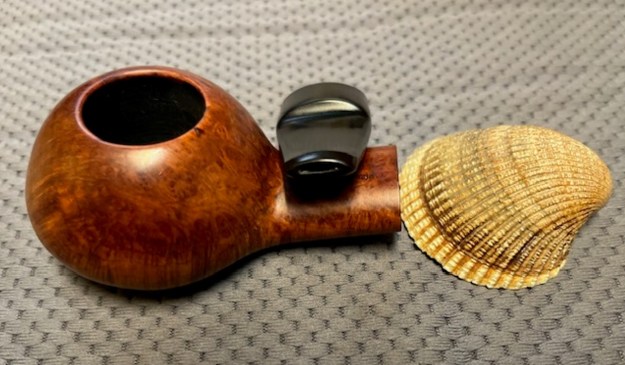
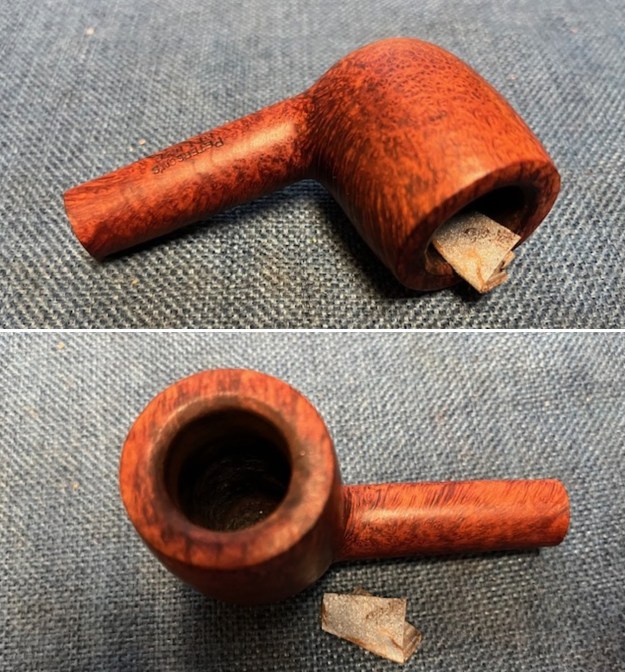
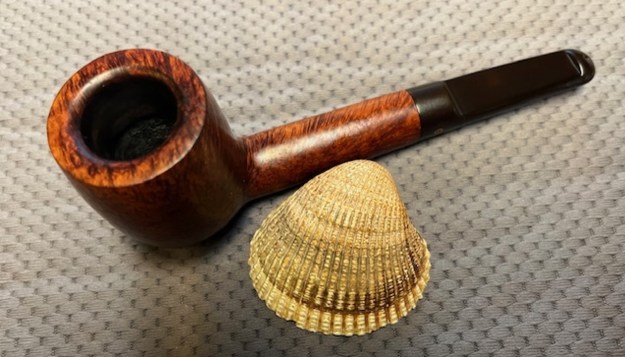
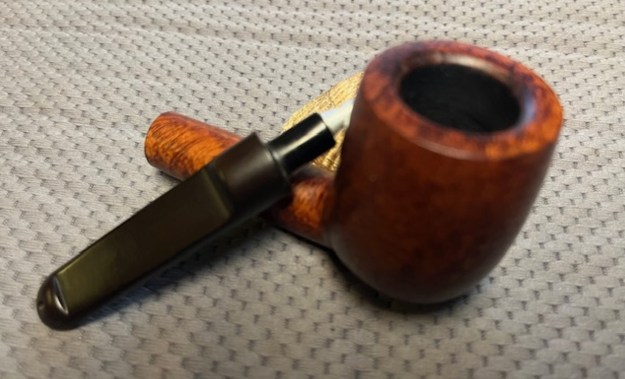
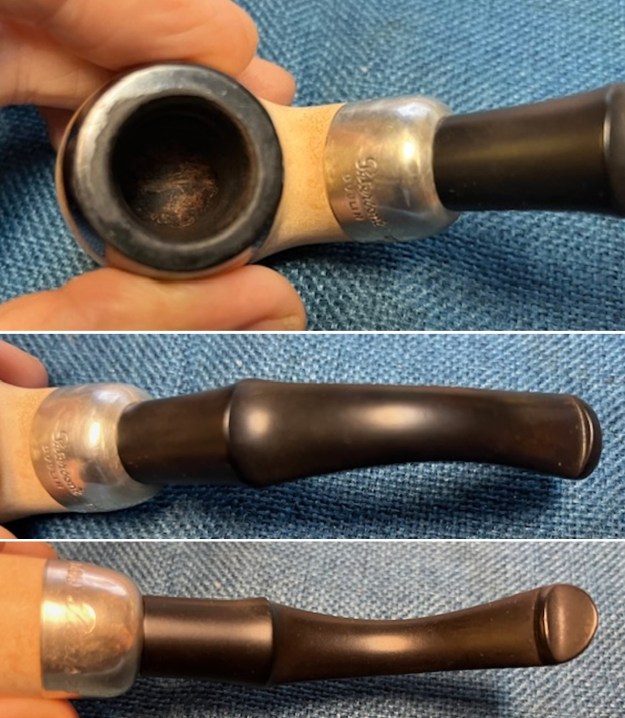
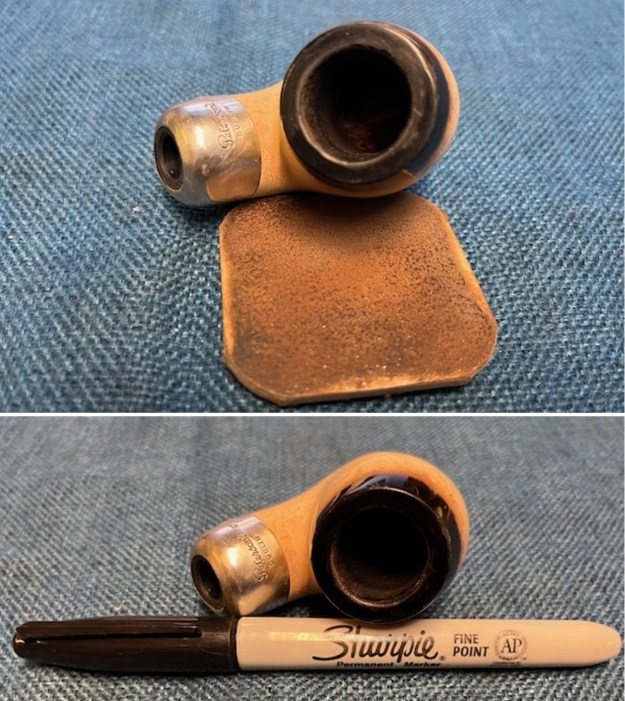
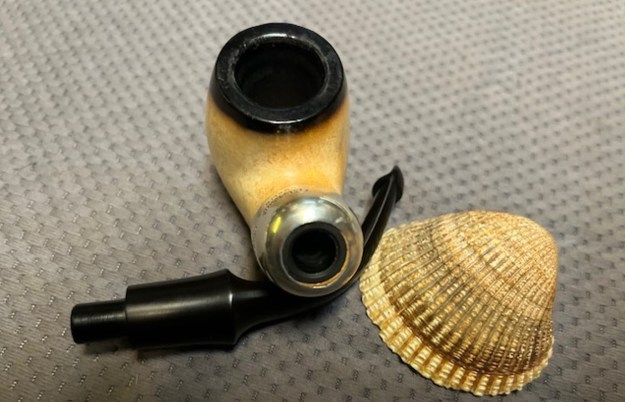
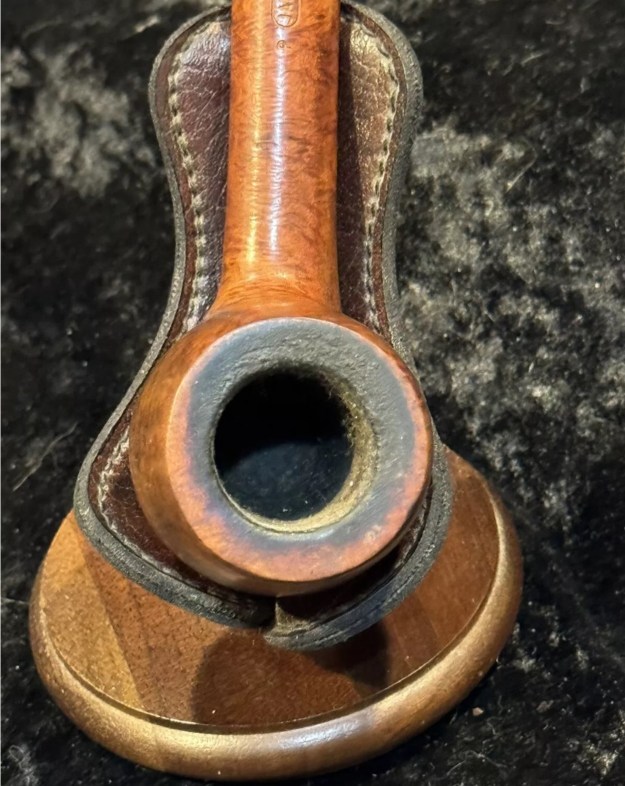
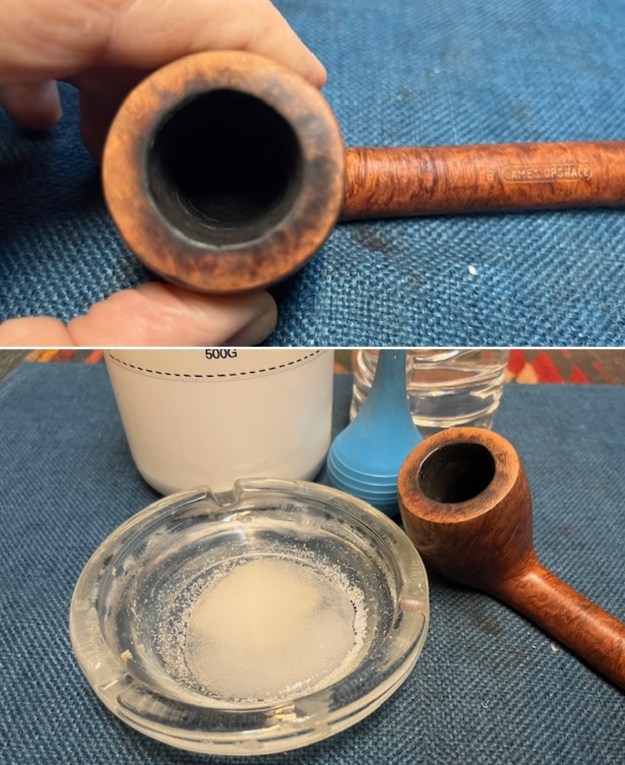
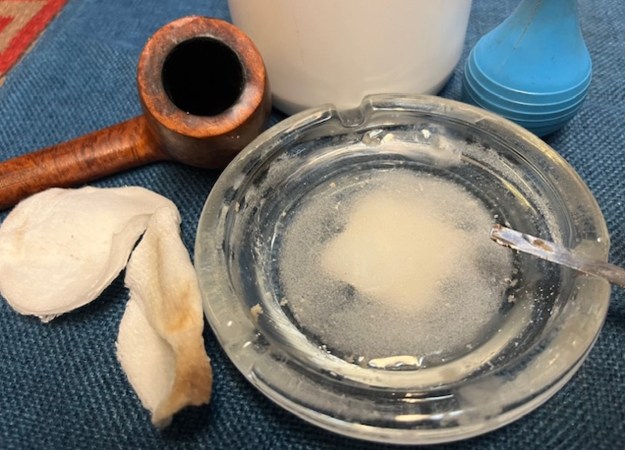
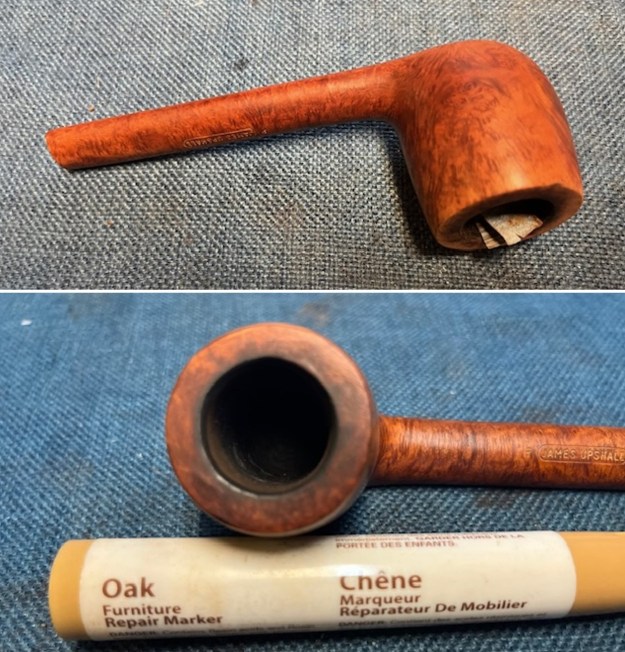
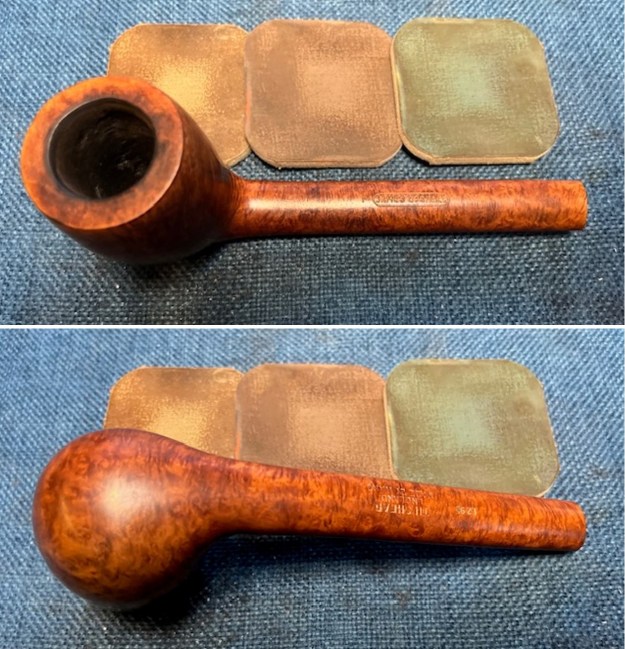
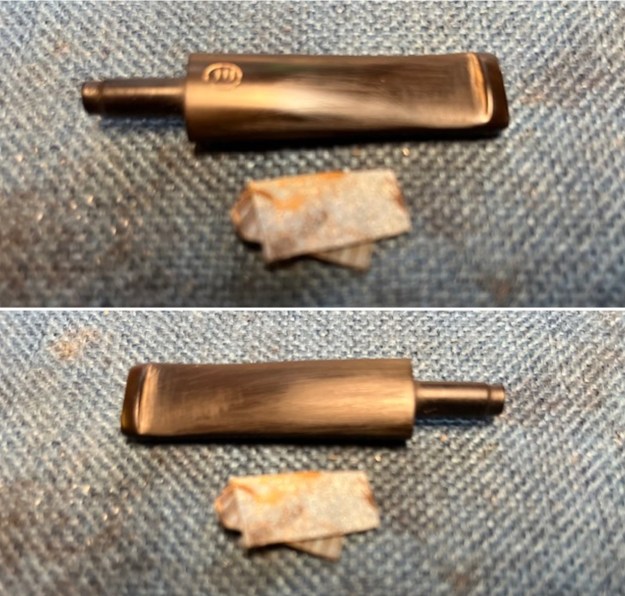
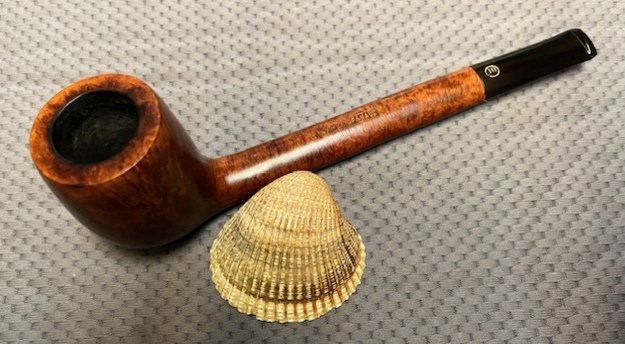
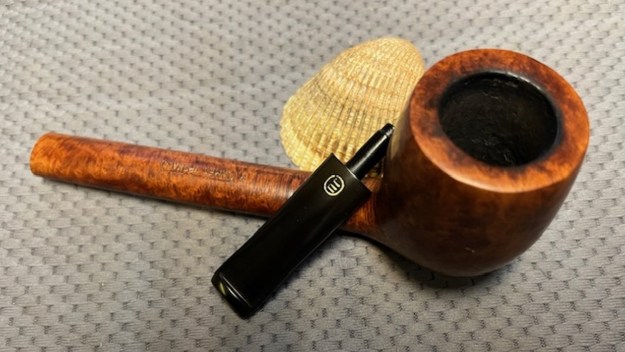
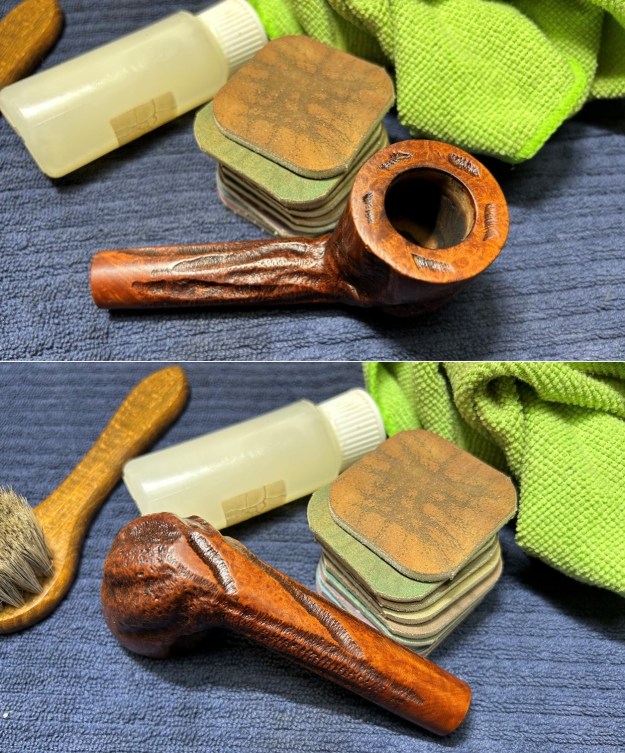
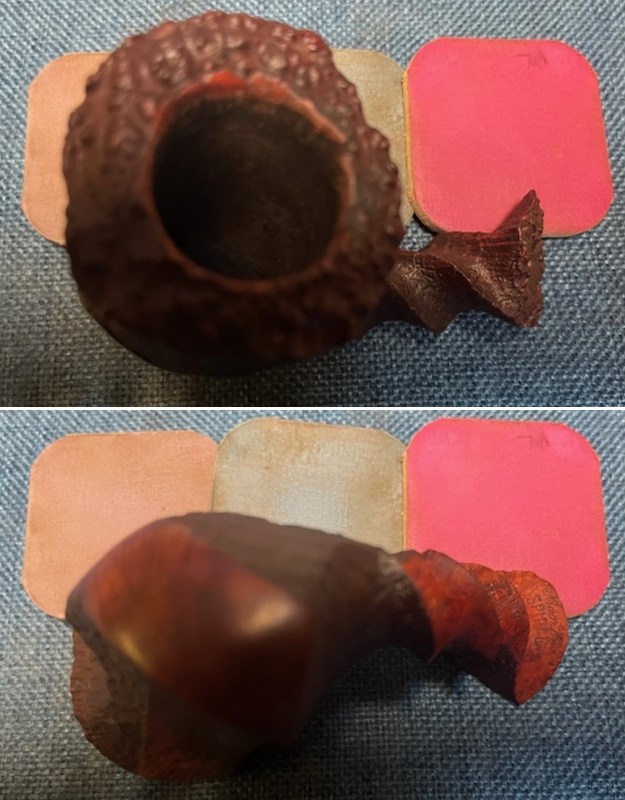
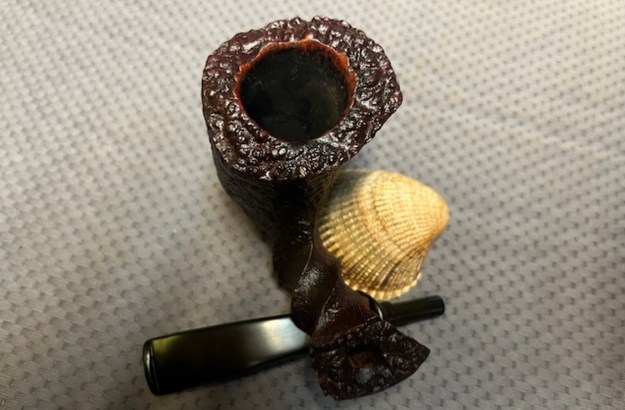
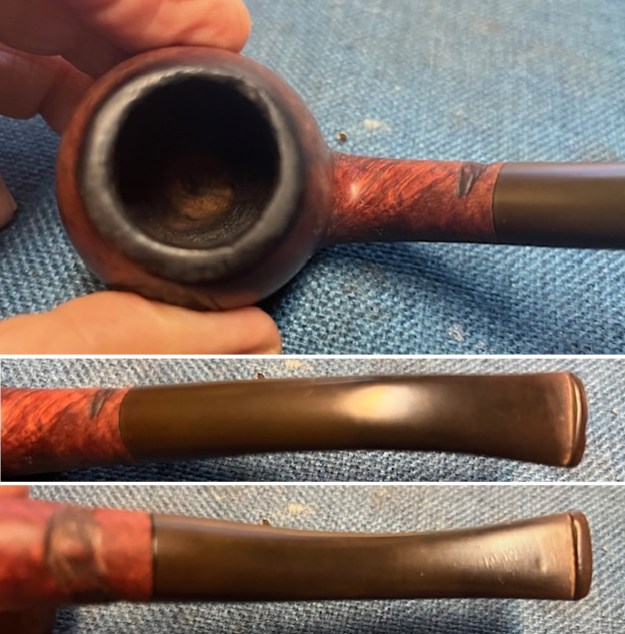
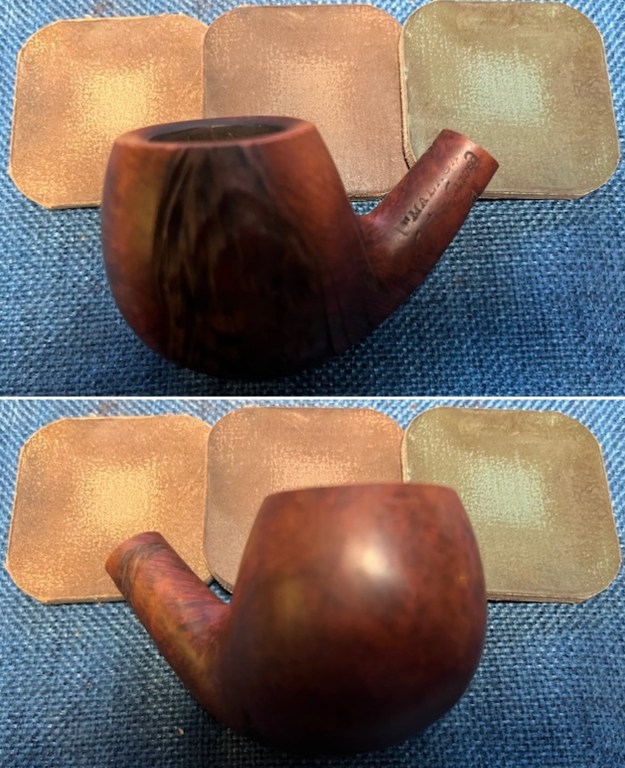
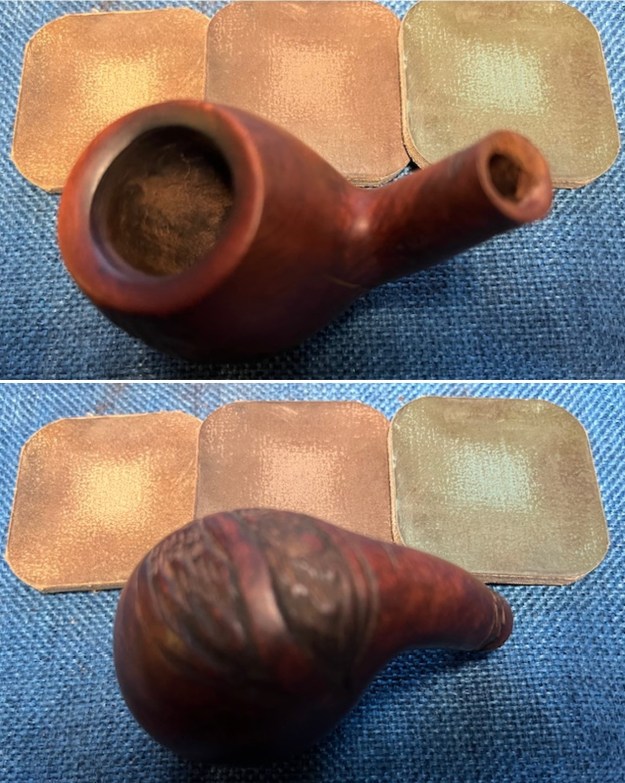
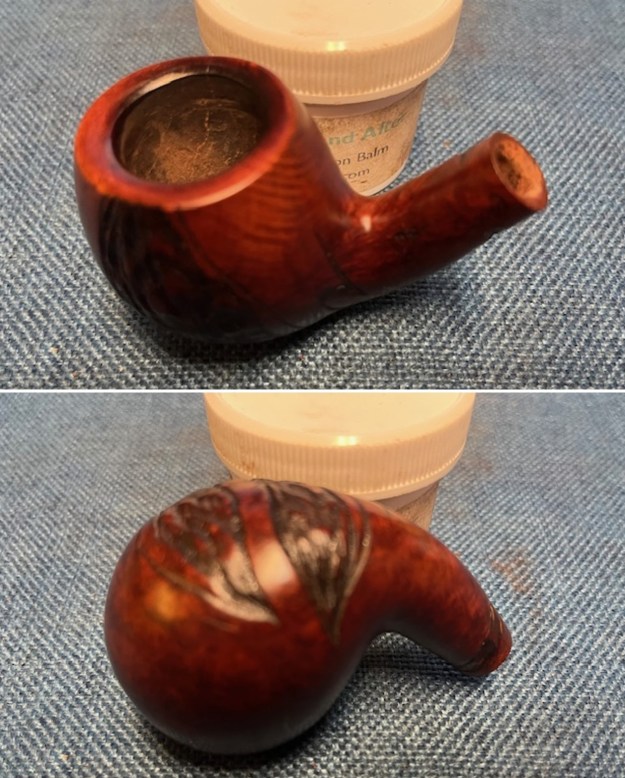
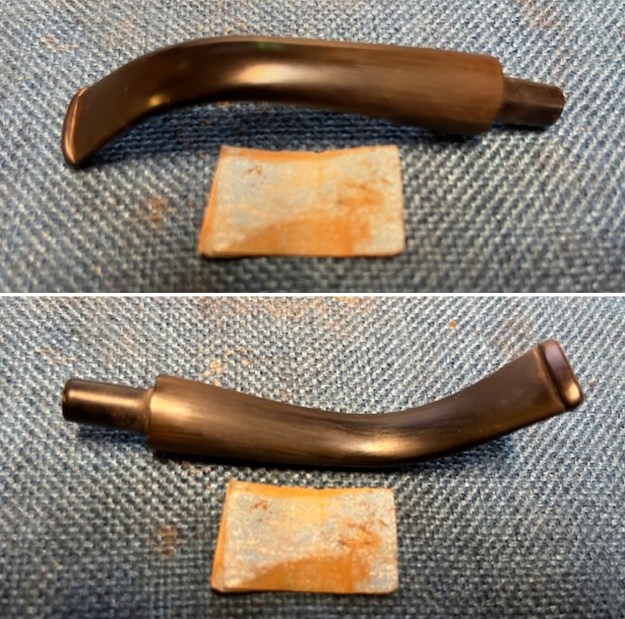
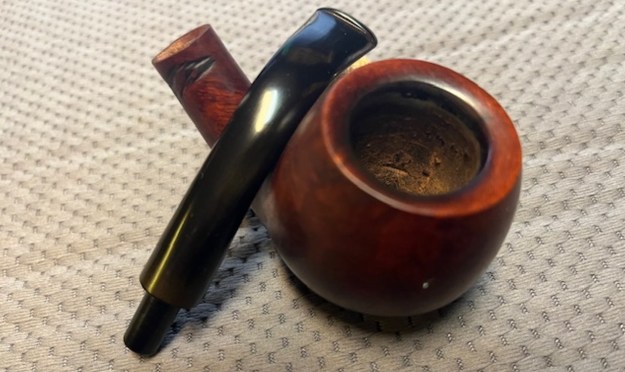
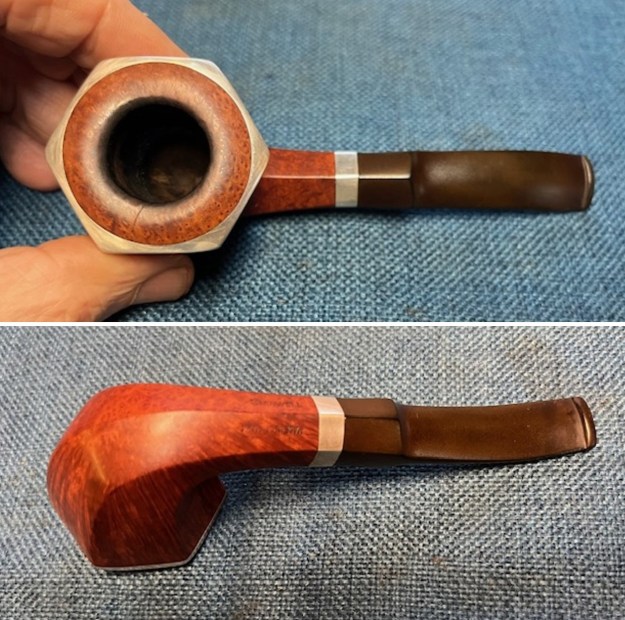
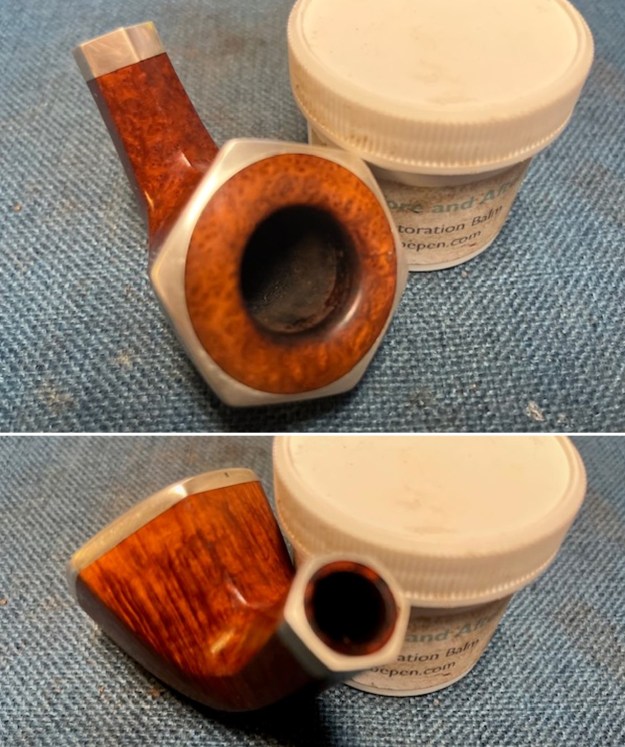
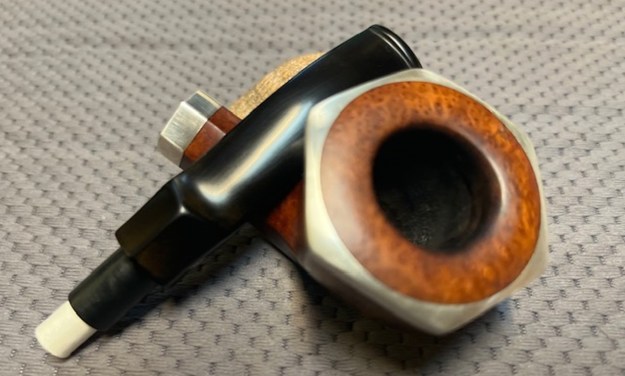
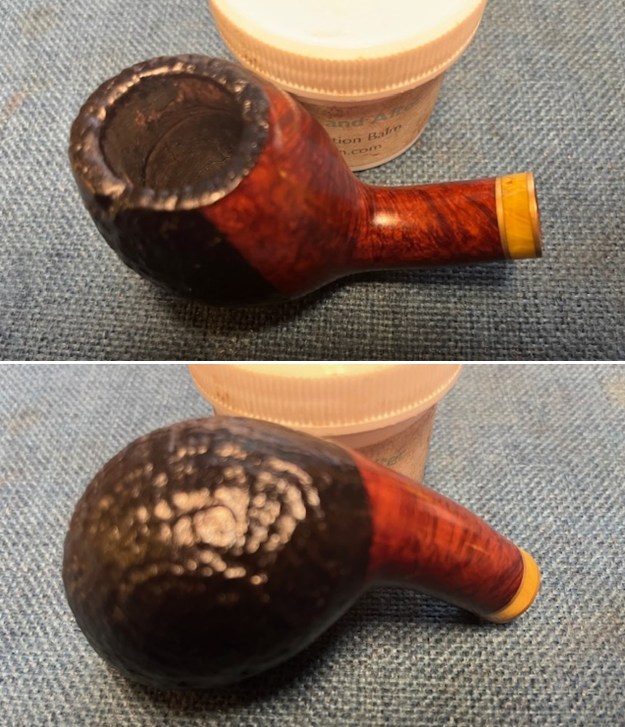
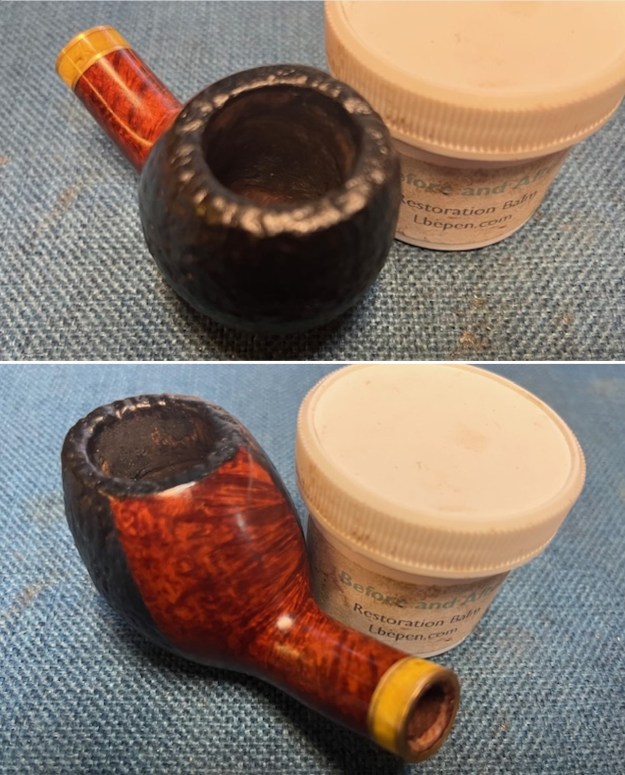
 I took close up photos of the bowl, rim and the stem. You see the clean bowl and the inner edge. The rim top is sandblast and looks good. The vulcanite saddle stem is in good condition with light tooth marks and some chatter as noted above.
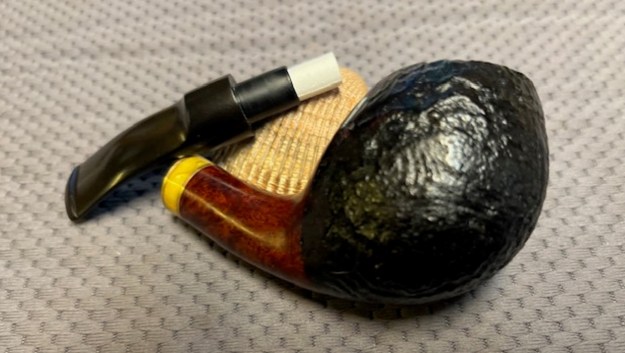
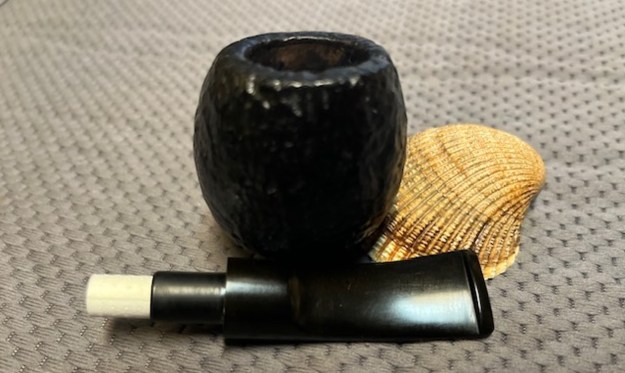
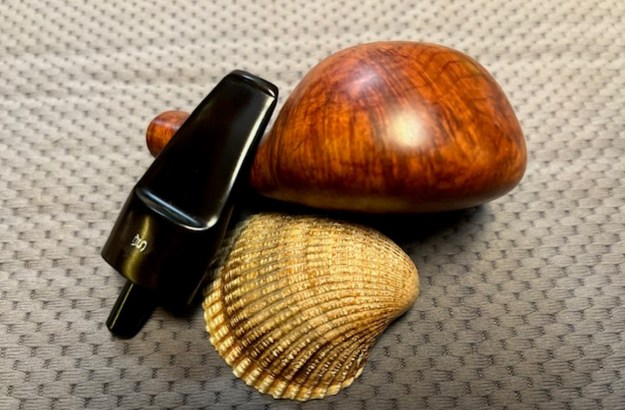
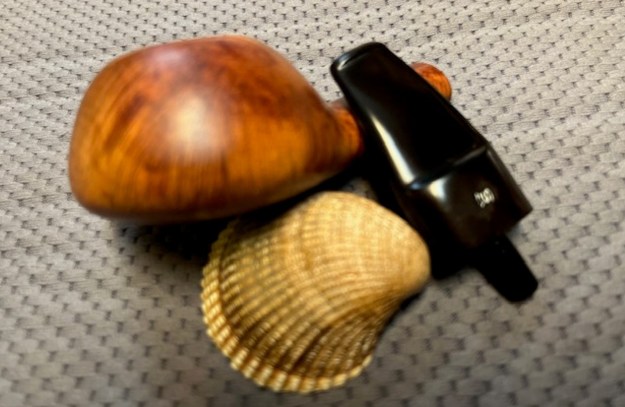
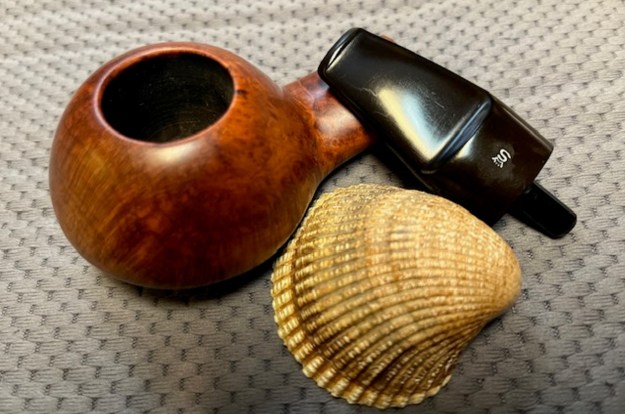
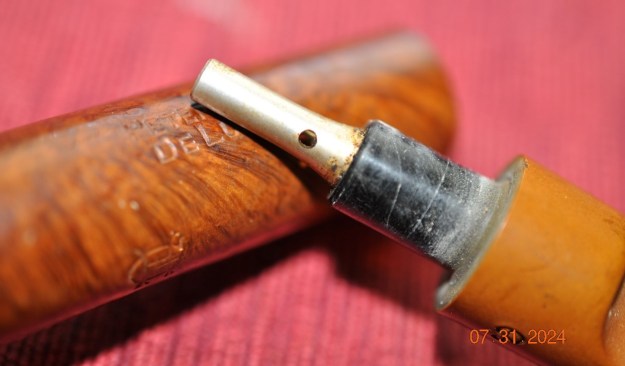
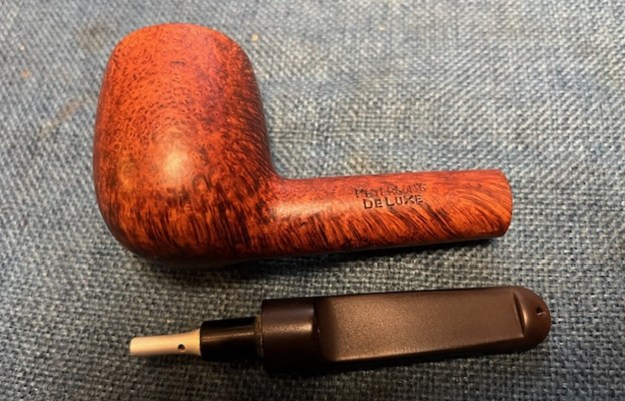
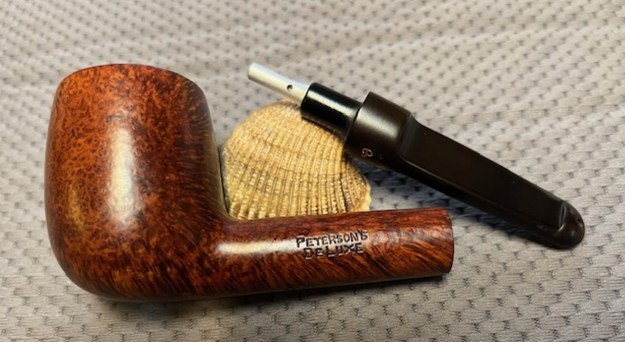
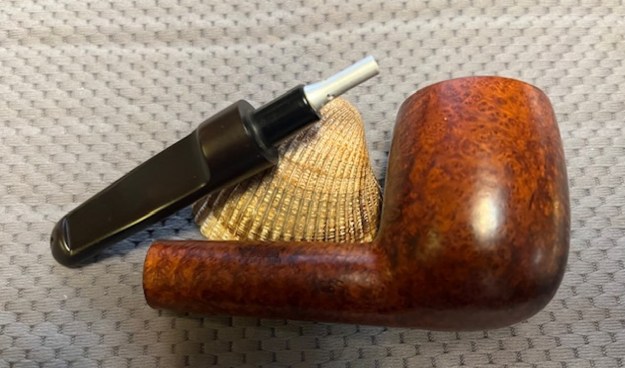
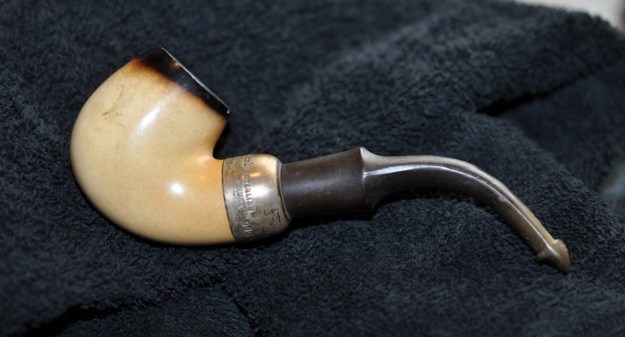
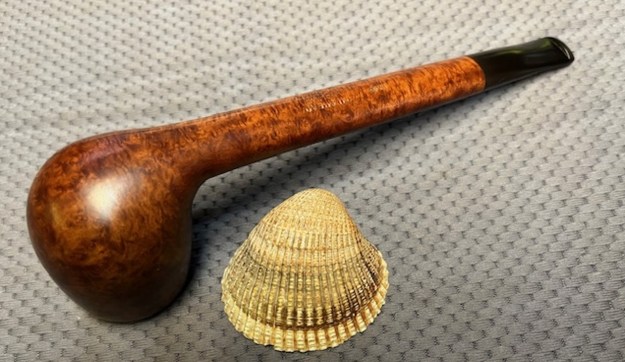
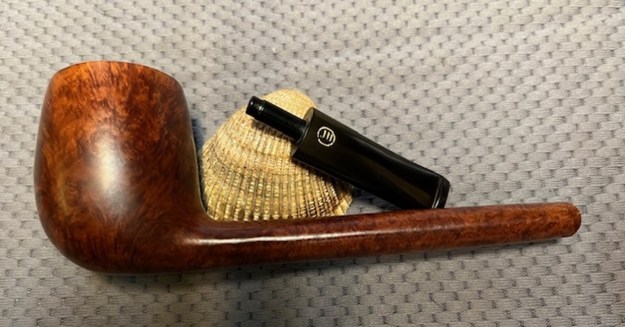
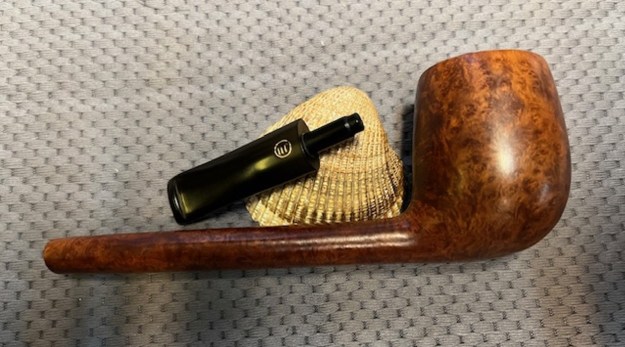
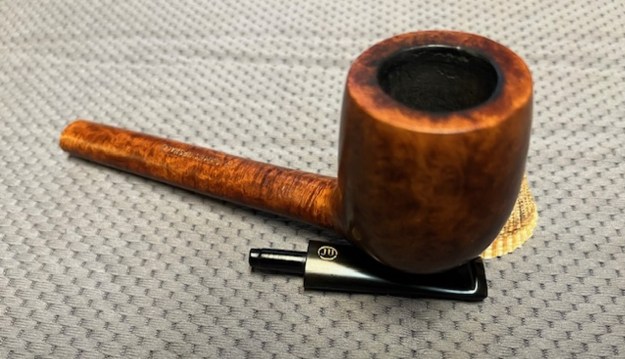
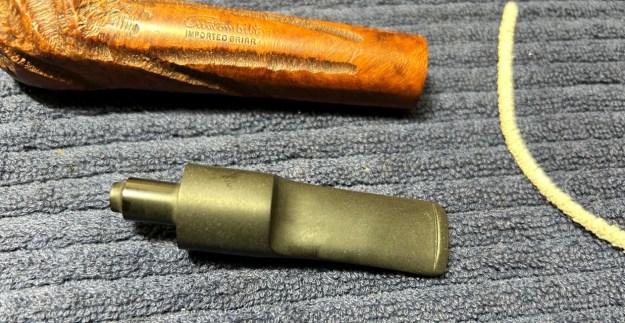
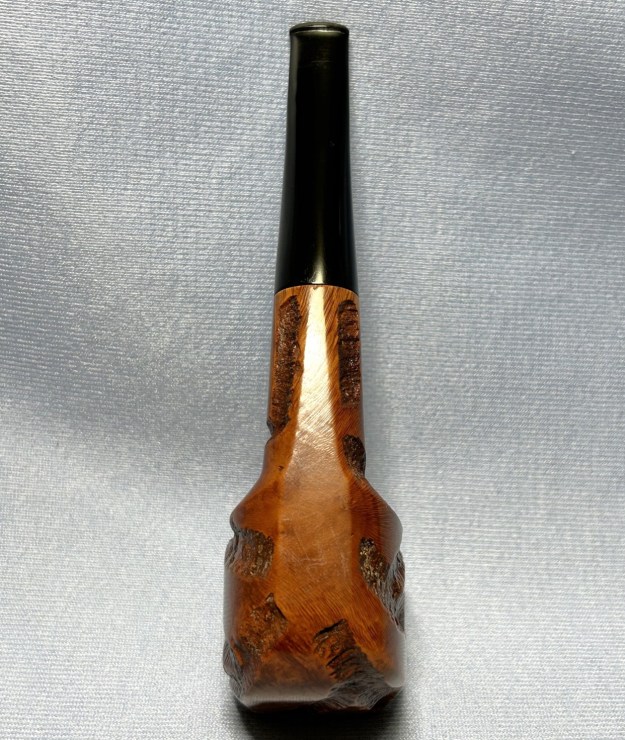
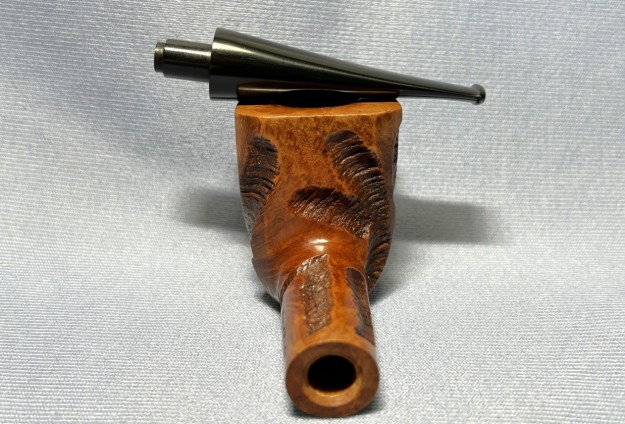
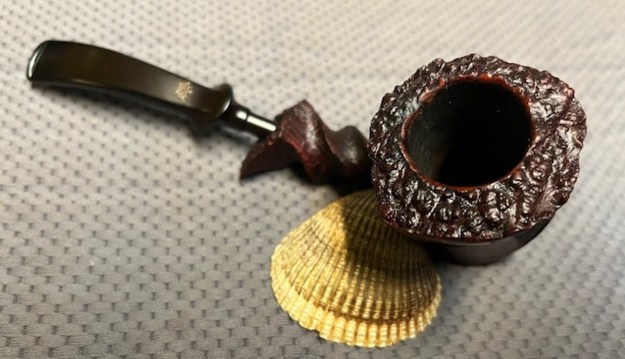
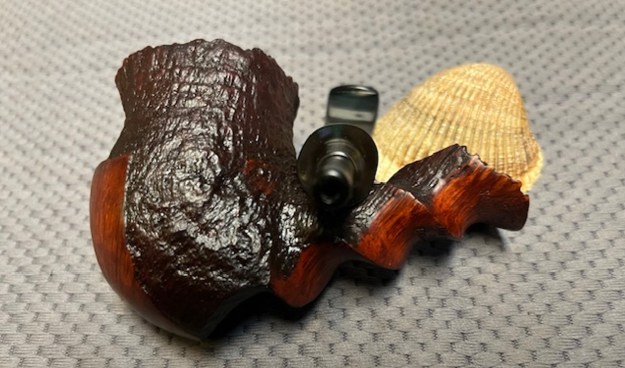
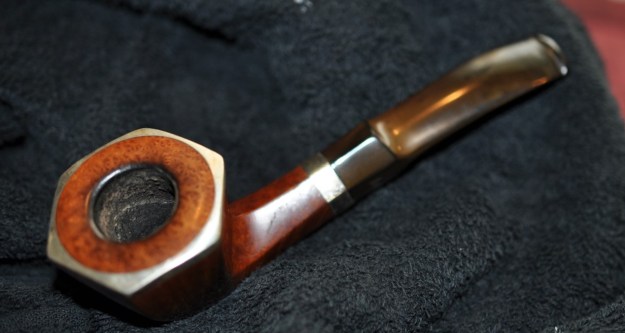
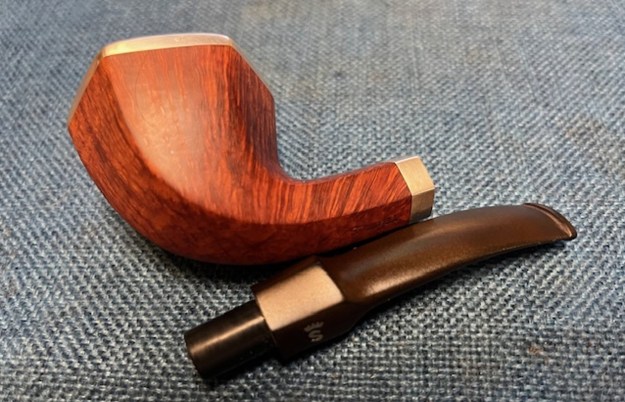
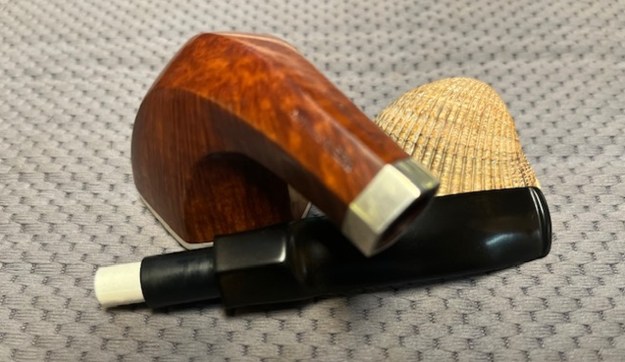
 I took photos of the stamping on the top and underside of the shank. It is readable as noted above. I removed the stem from the shank and took a photo to give a sense of the proportions of the pipe. The briar is quite beautiful and I think that polishing it will make the grain stand out.
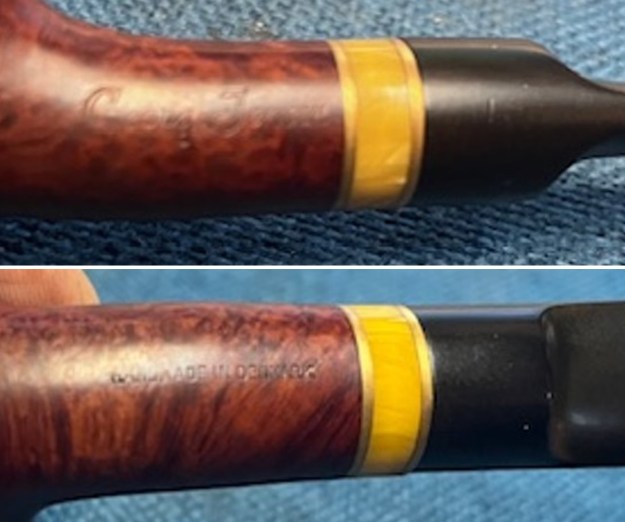
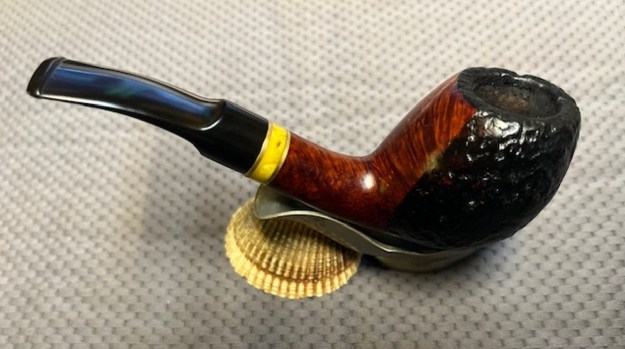
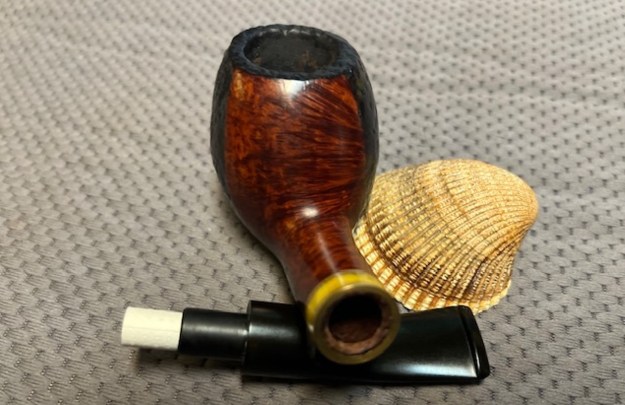
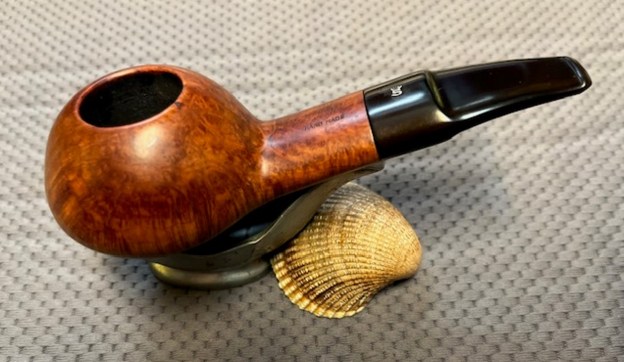
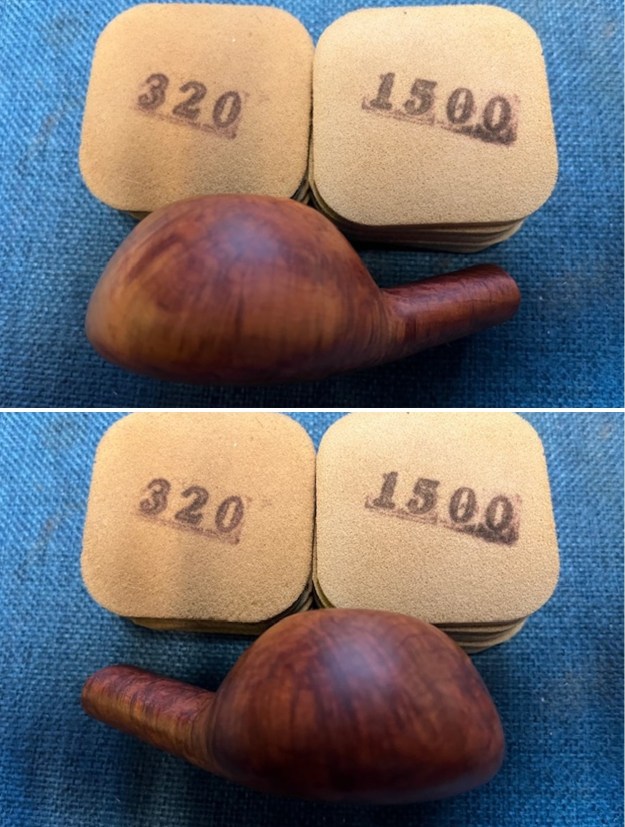
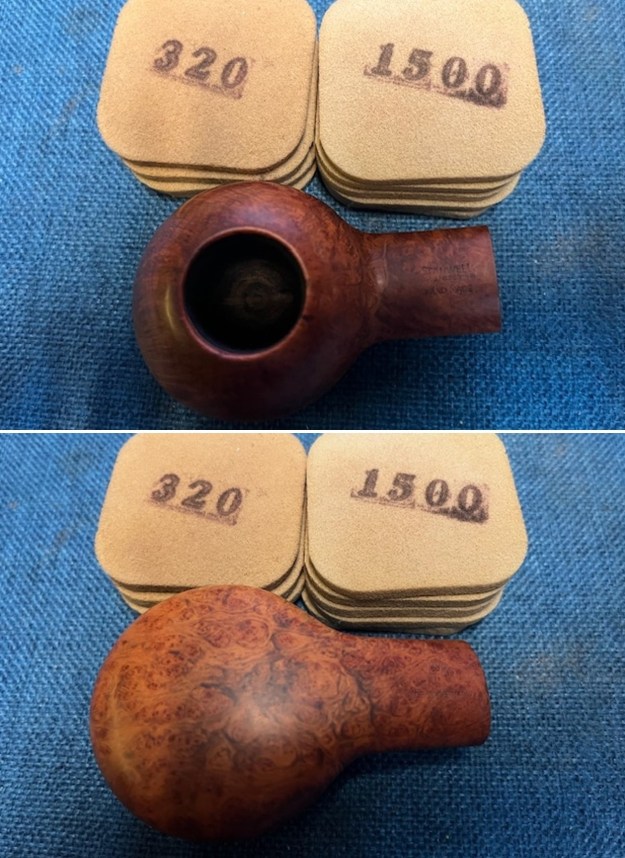
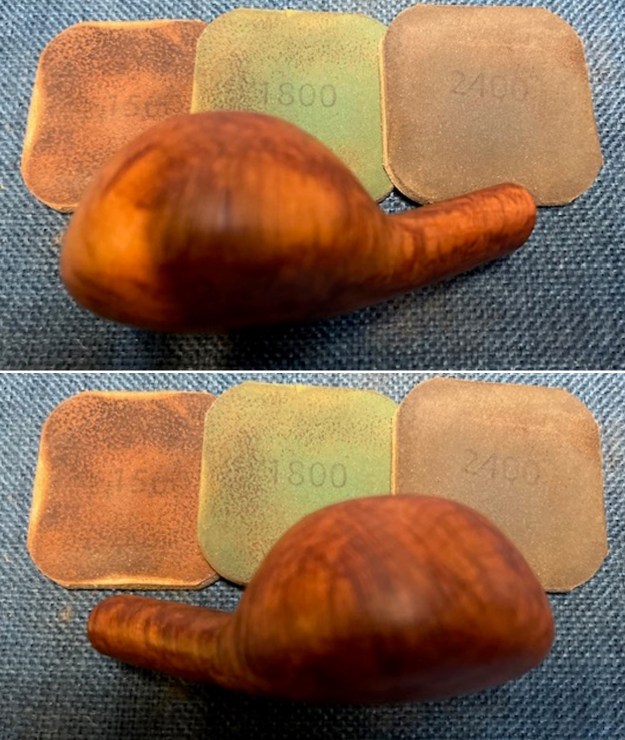
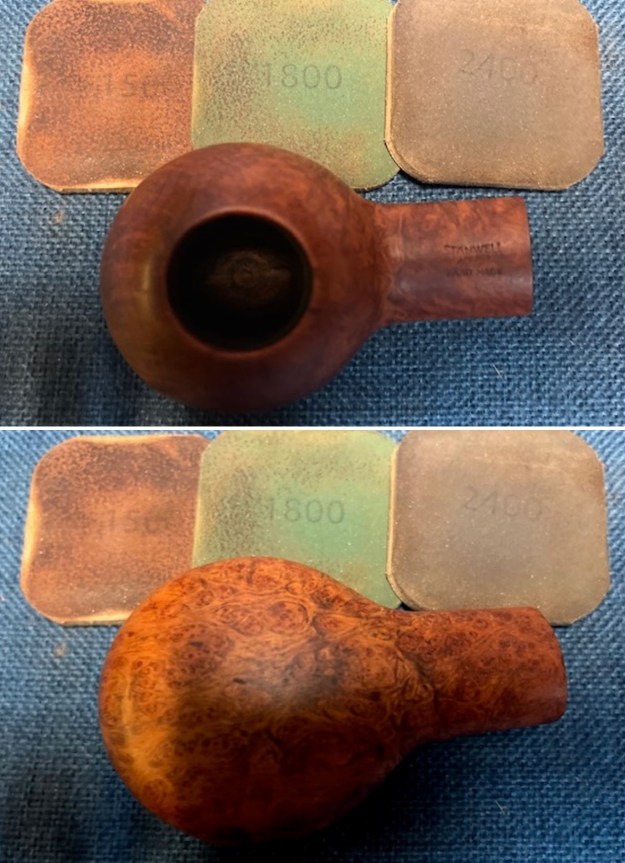
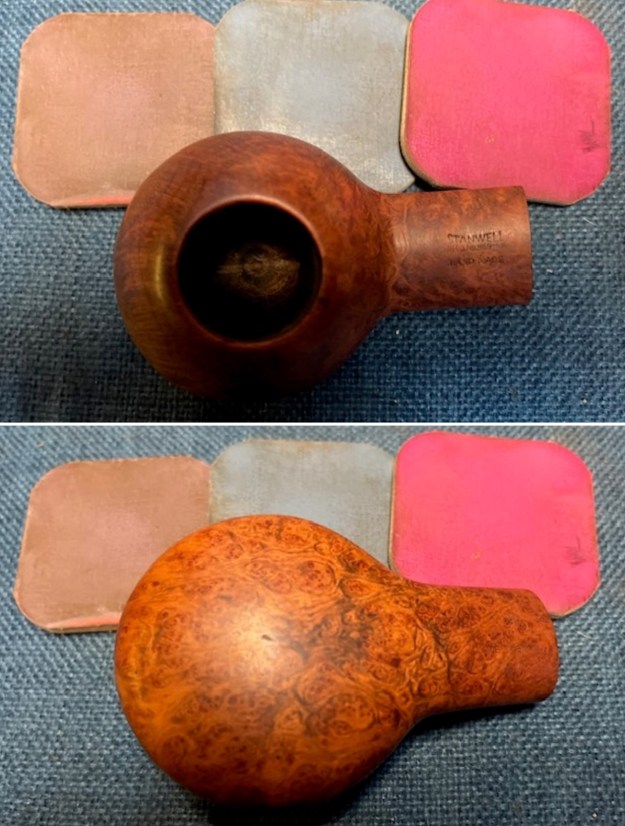
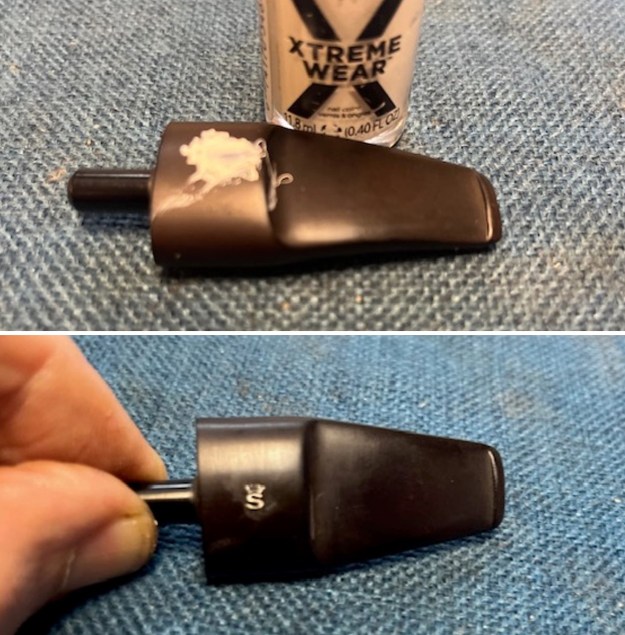
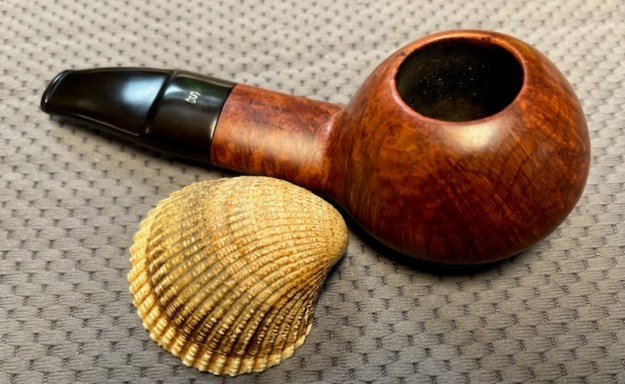
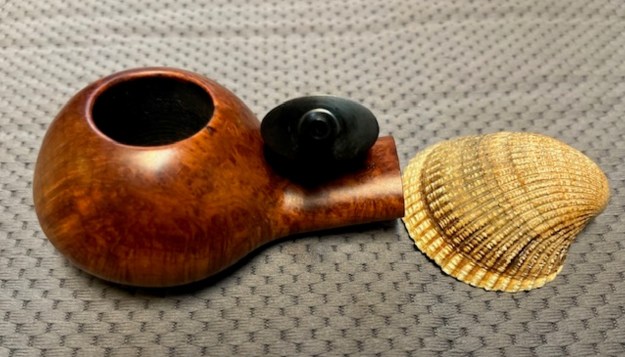
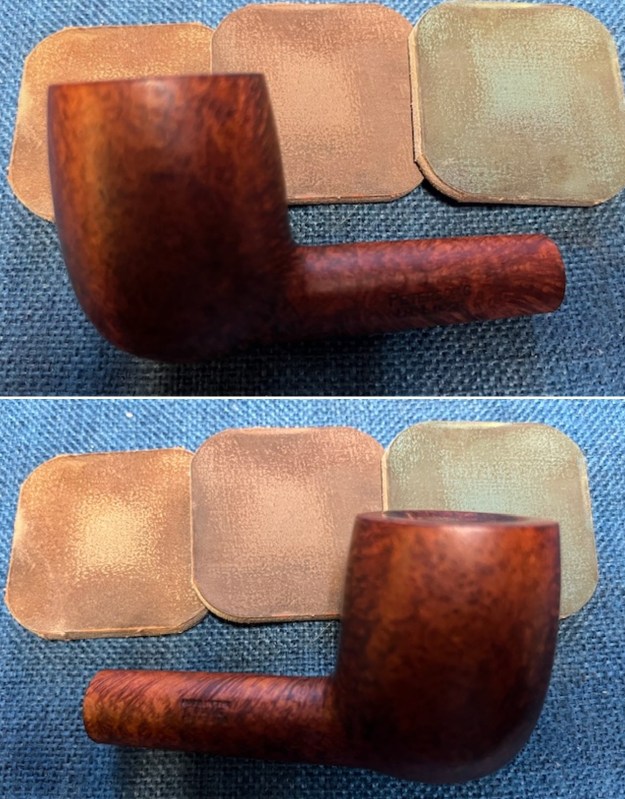
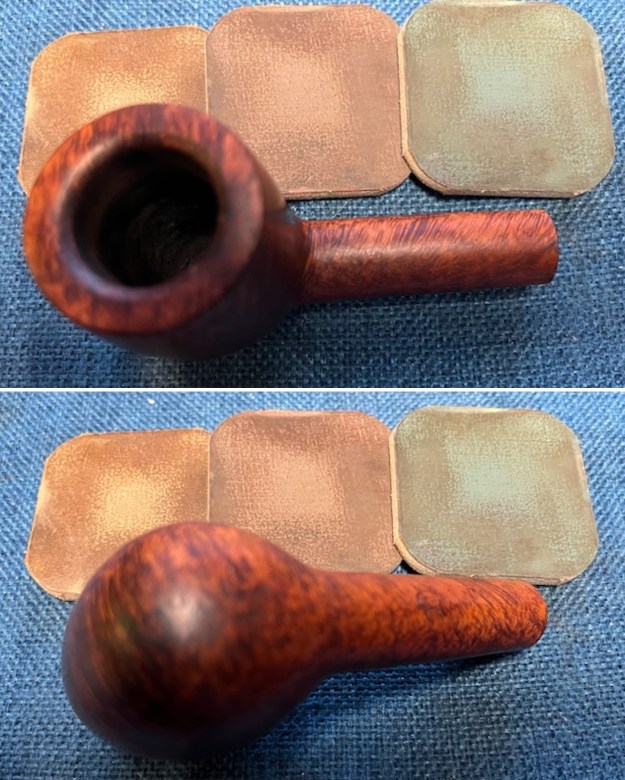
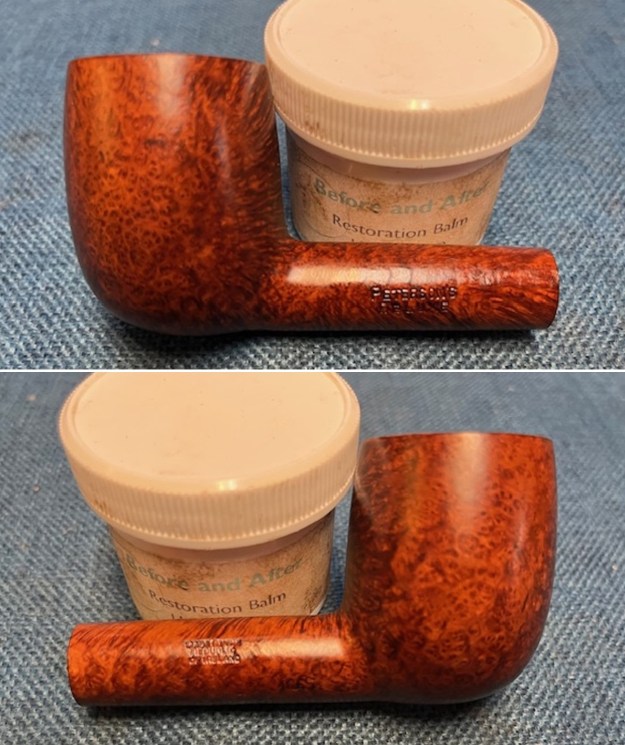
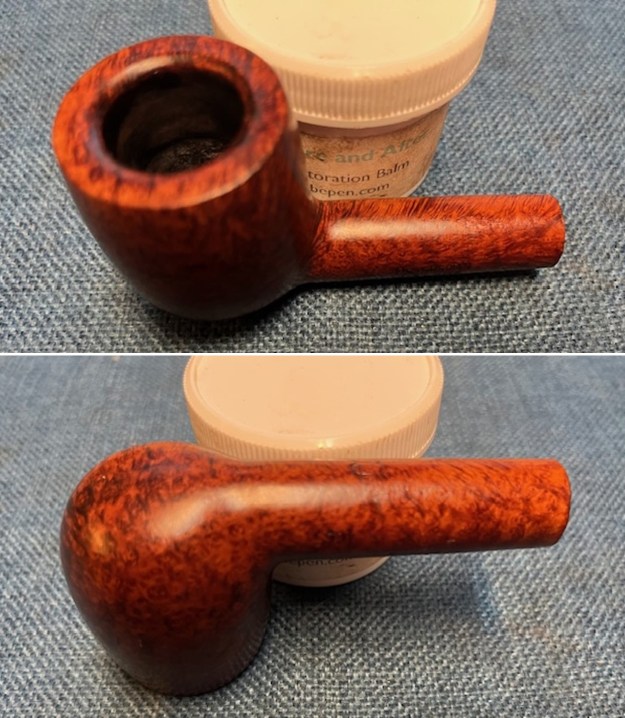
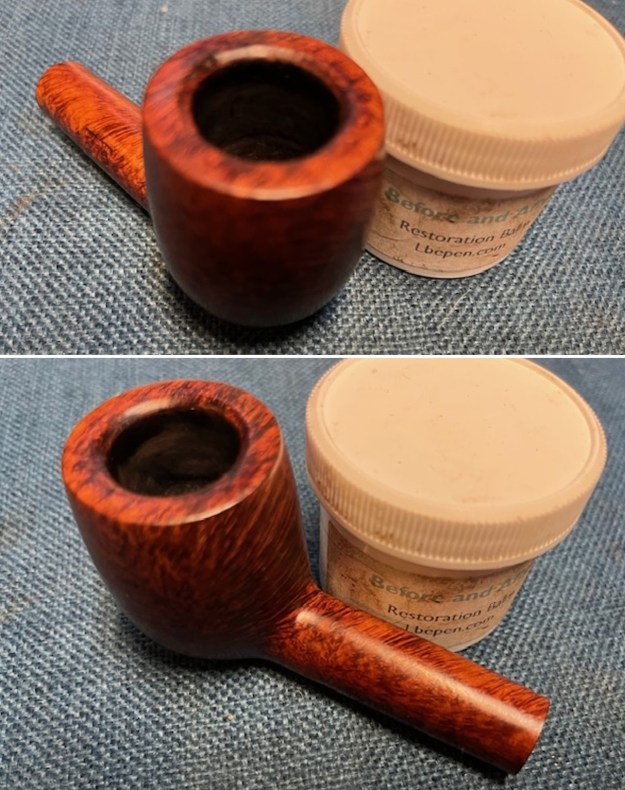
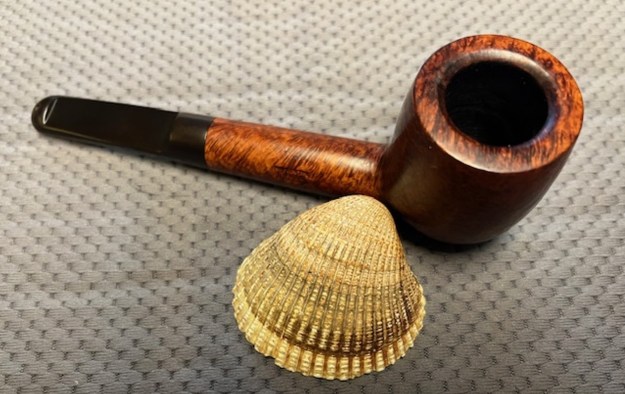
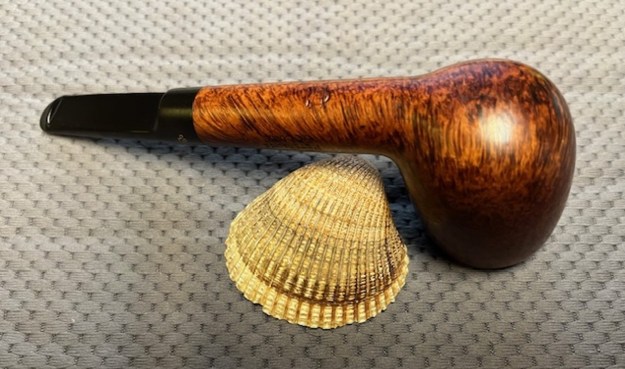
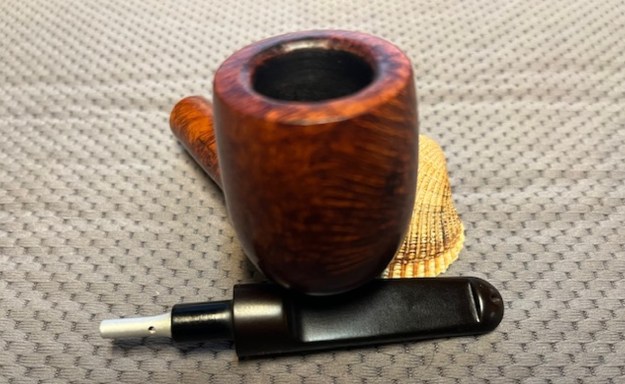
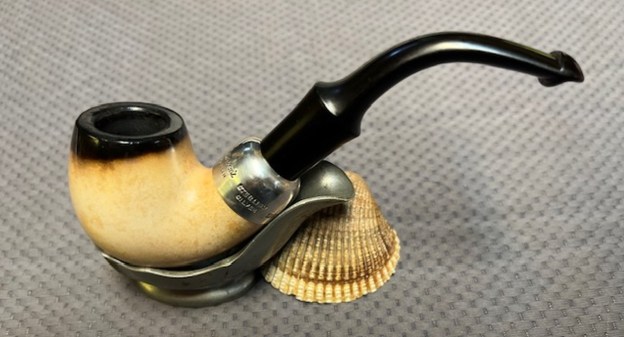
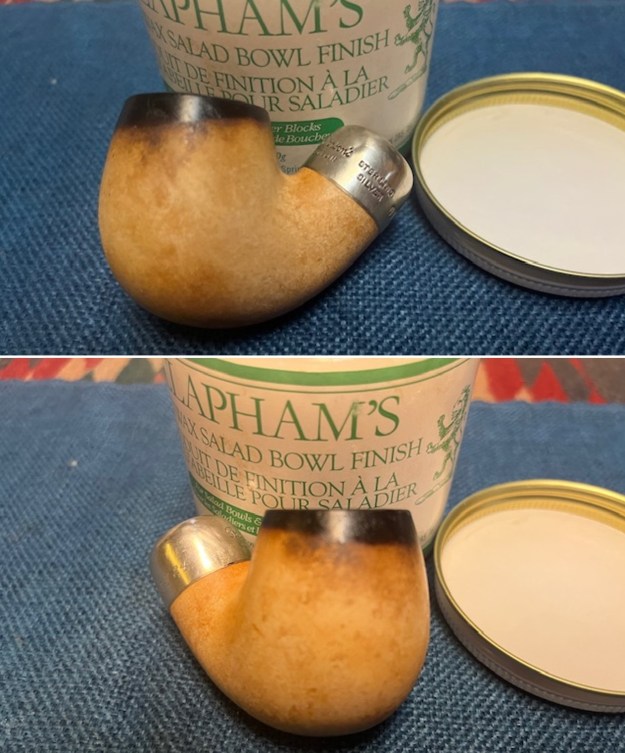
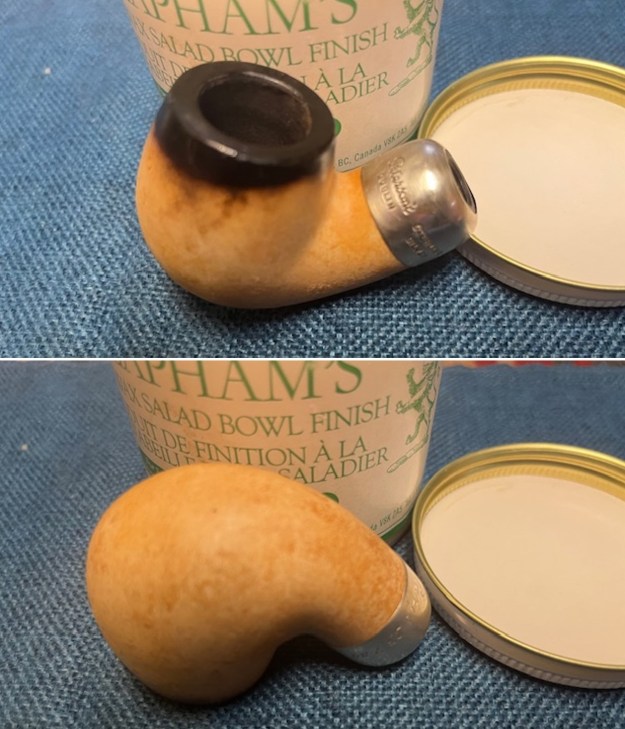
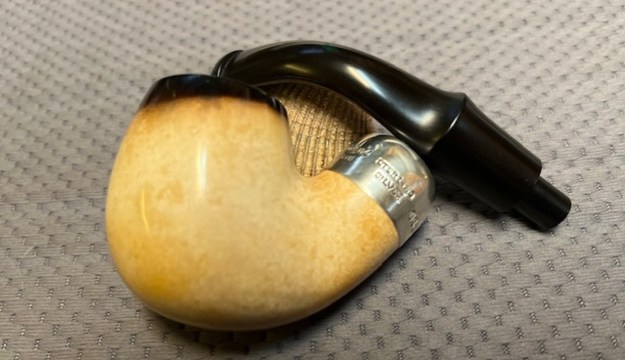
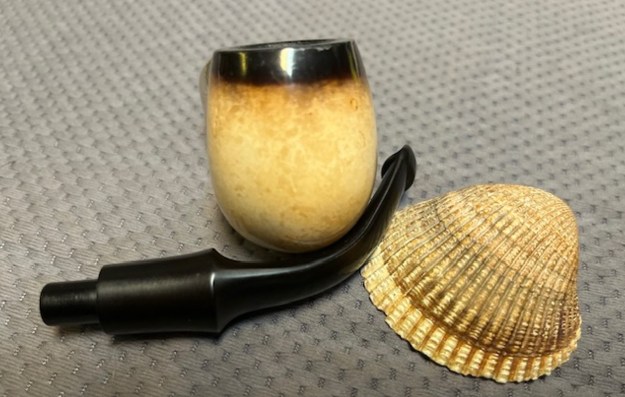
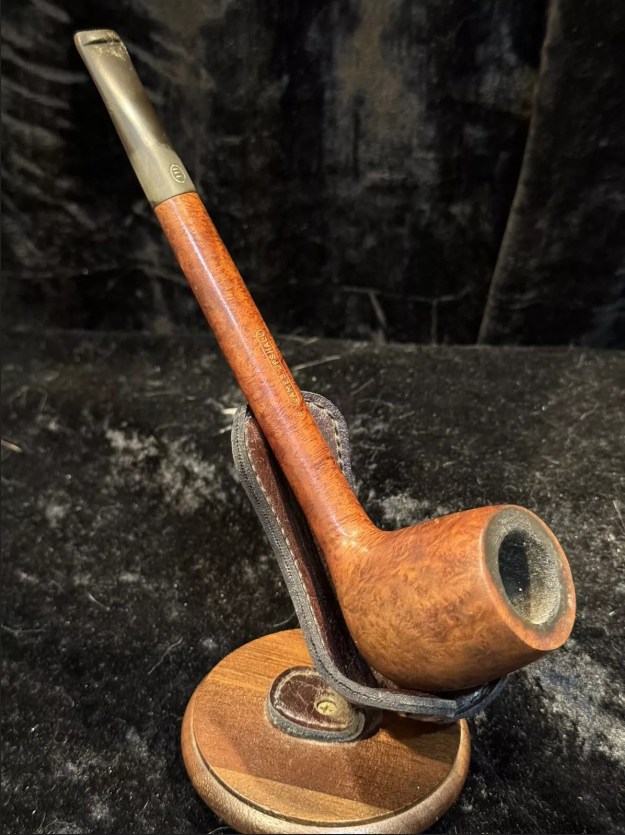
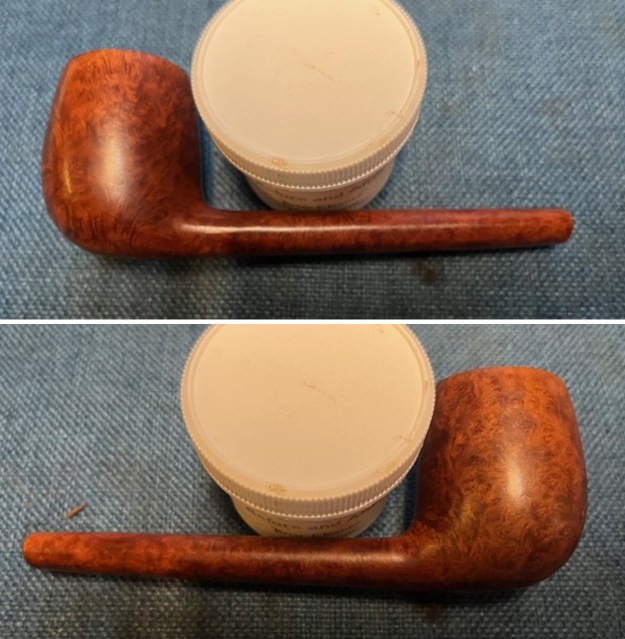
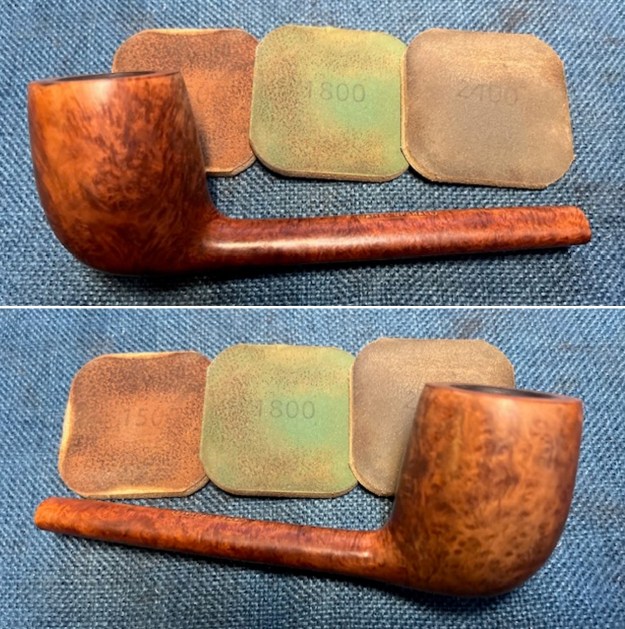
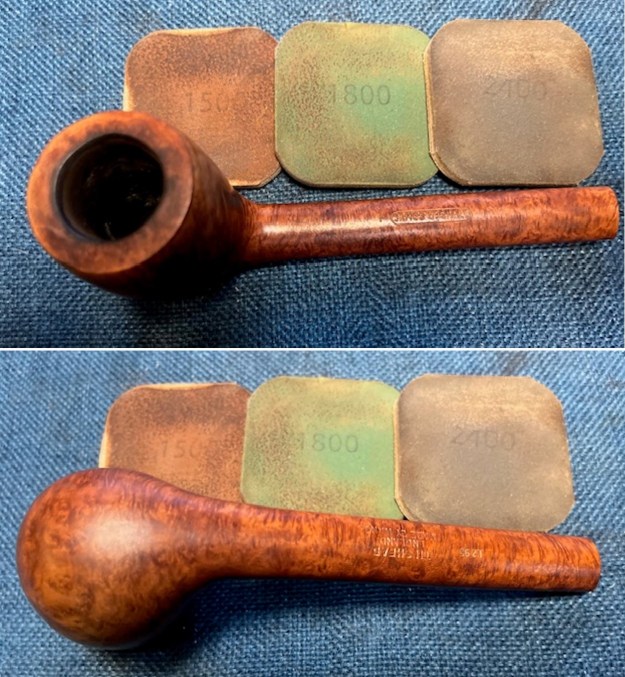
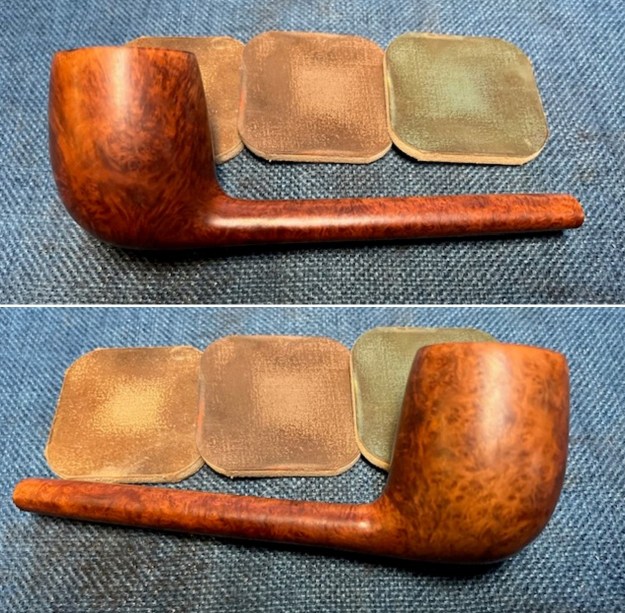
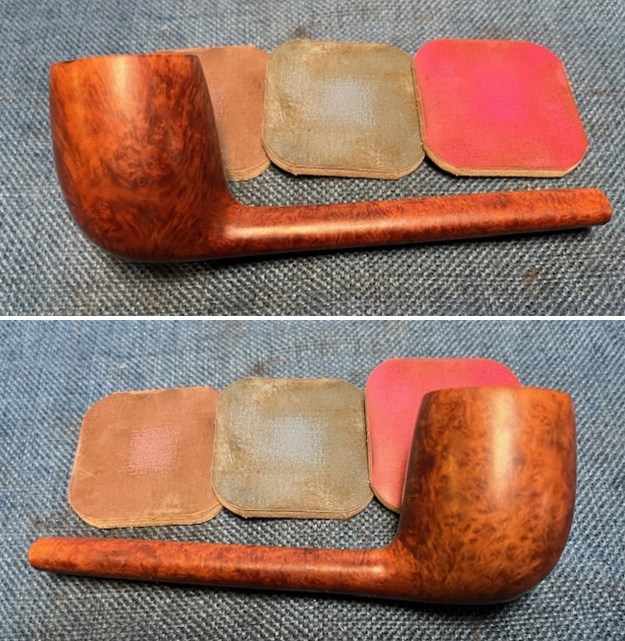
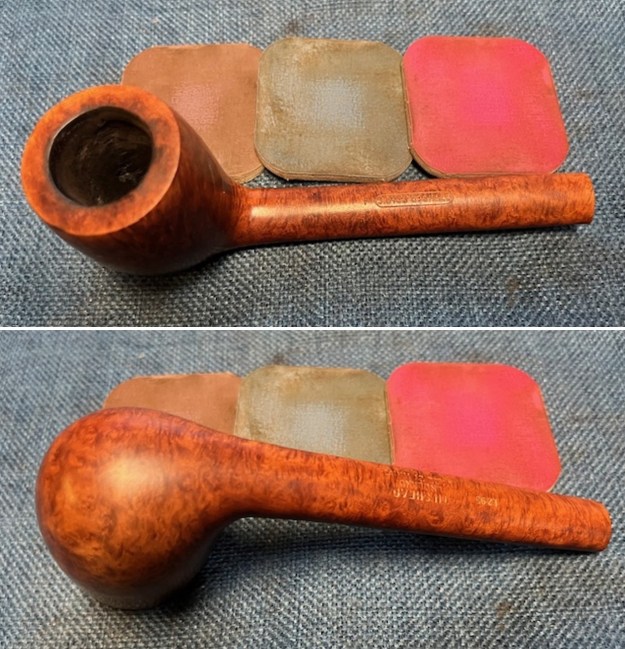
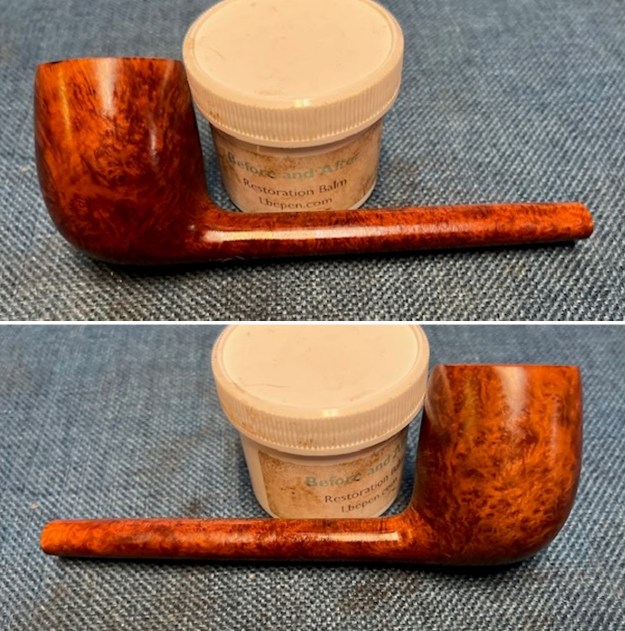
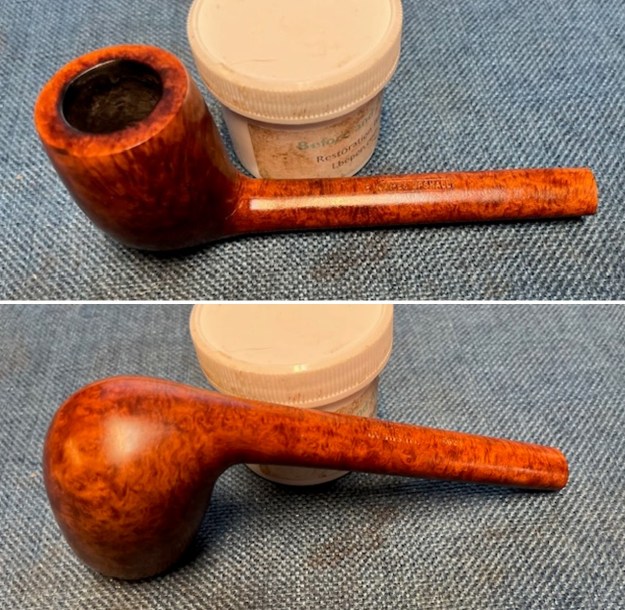
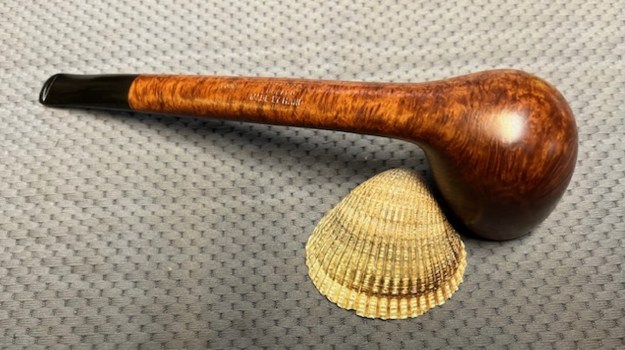
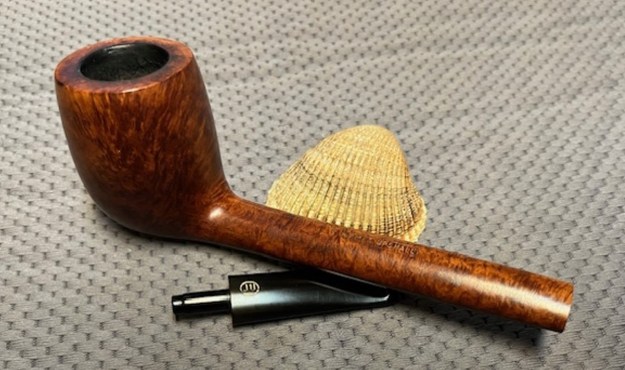
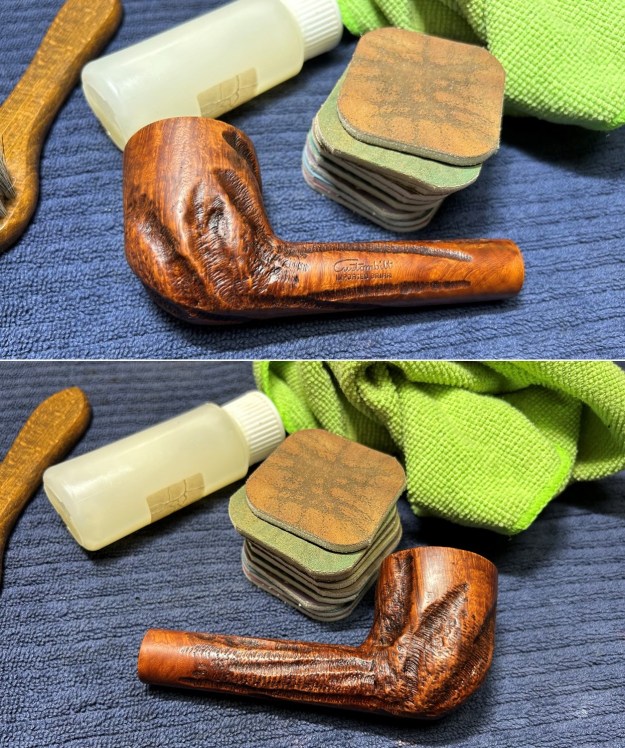
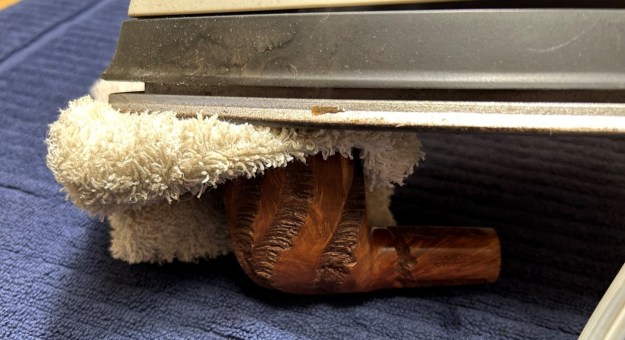
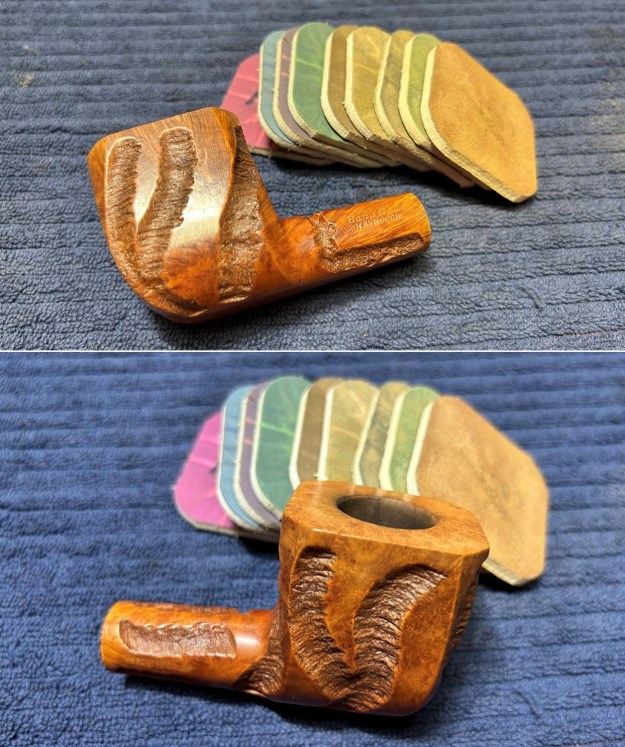
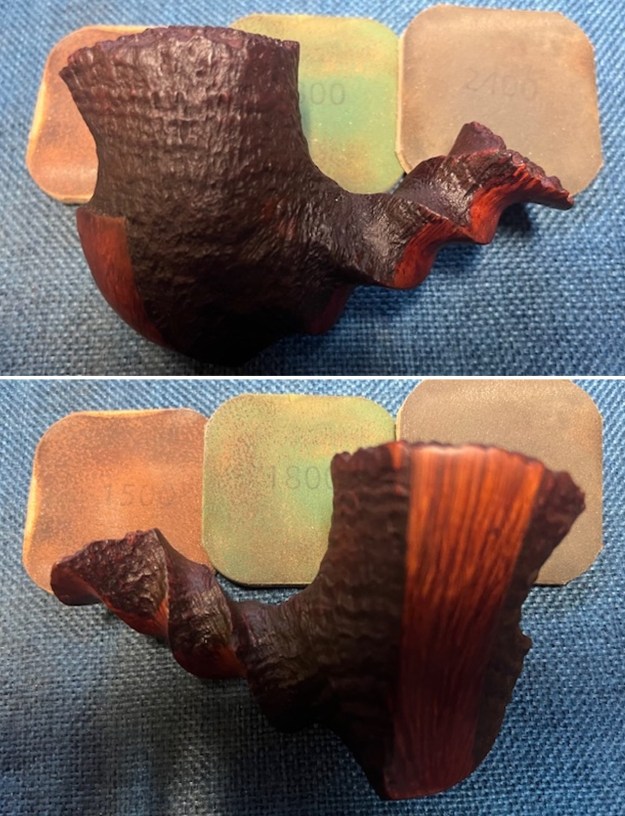
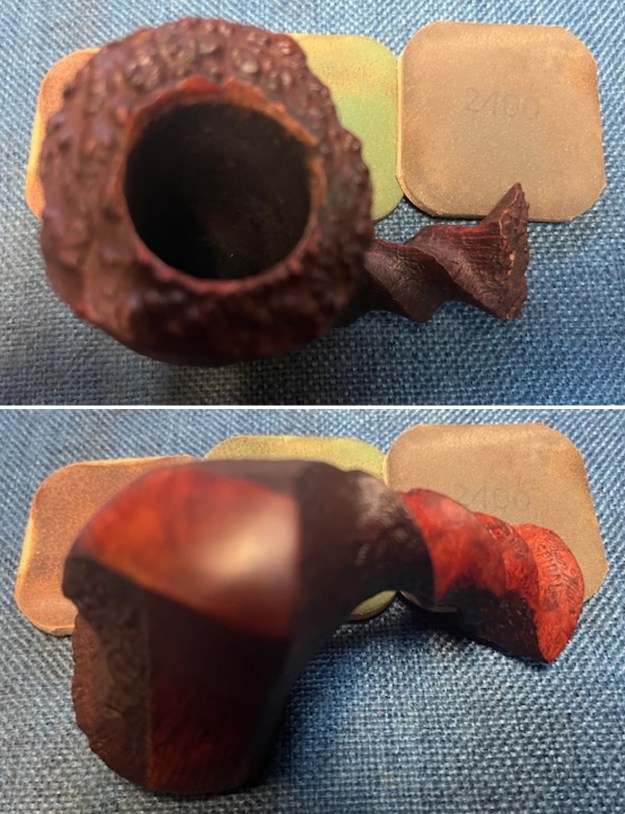
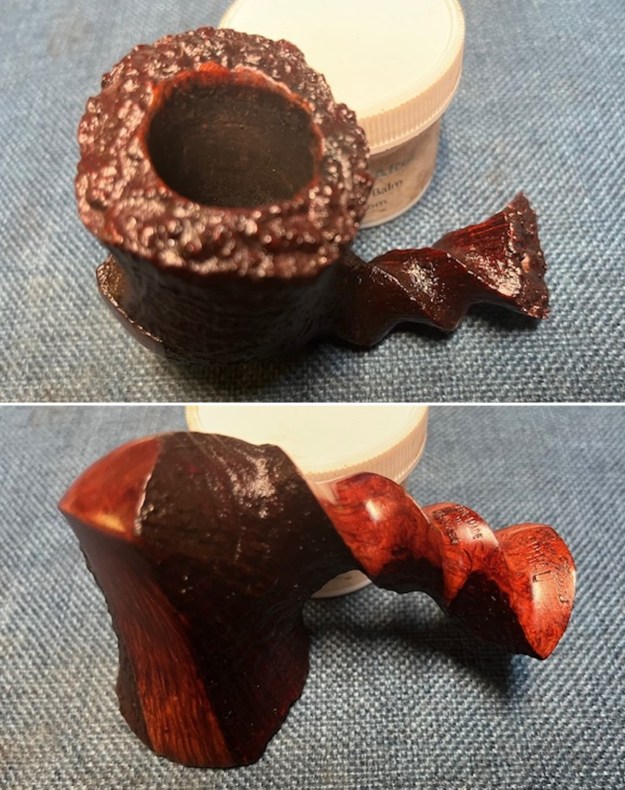
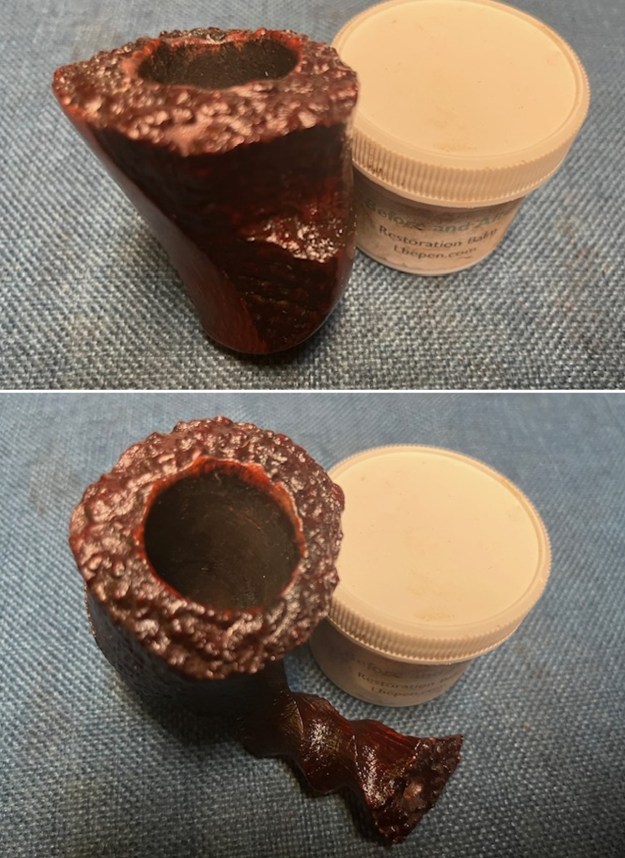
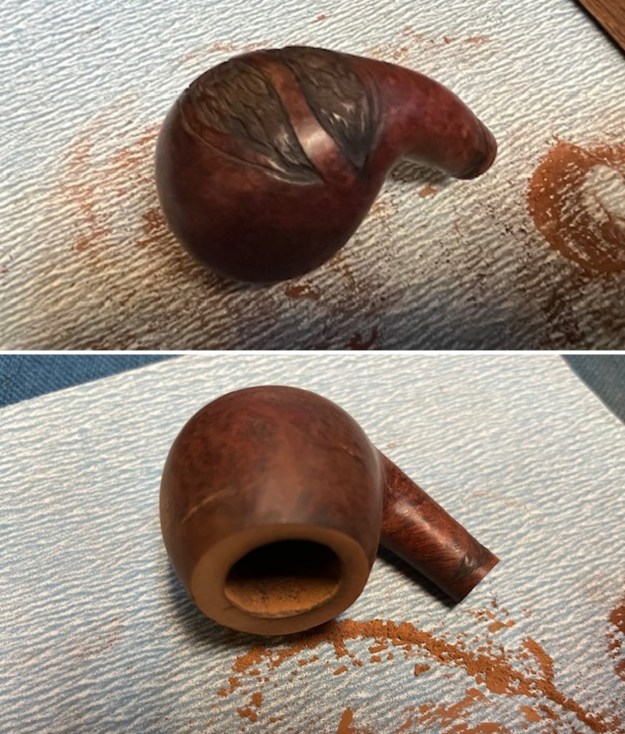
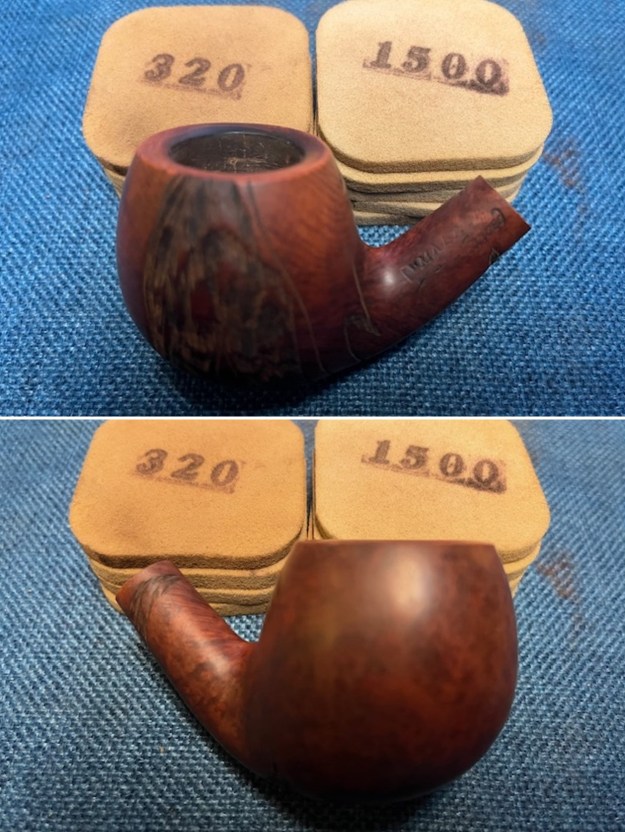
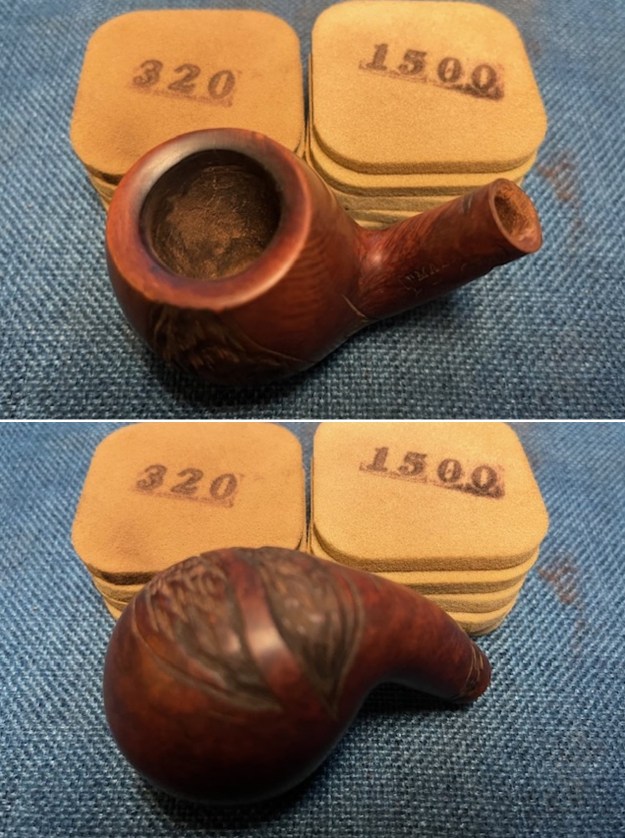
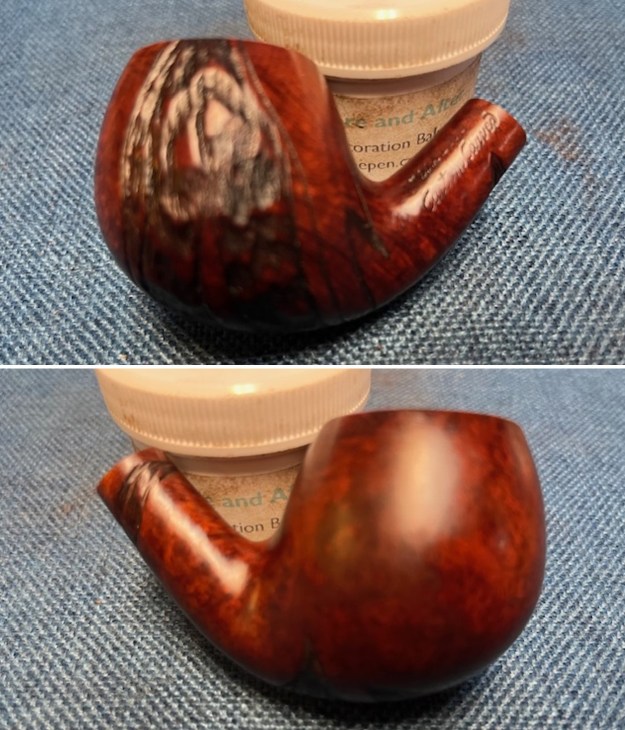
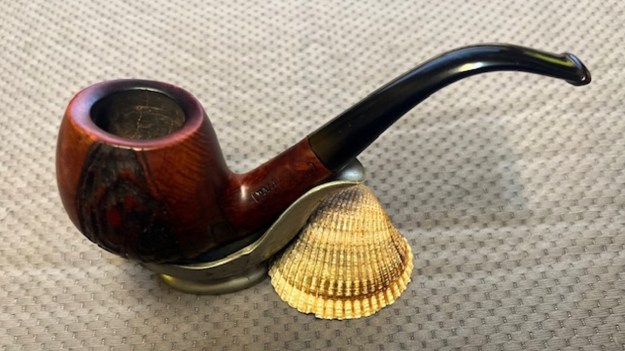
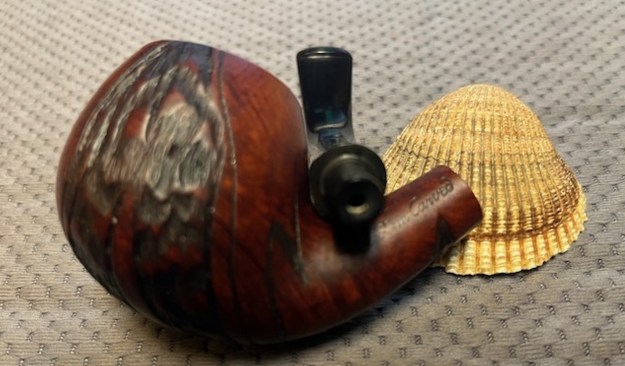
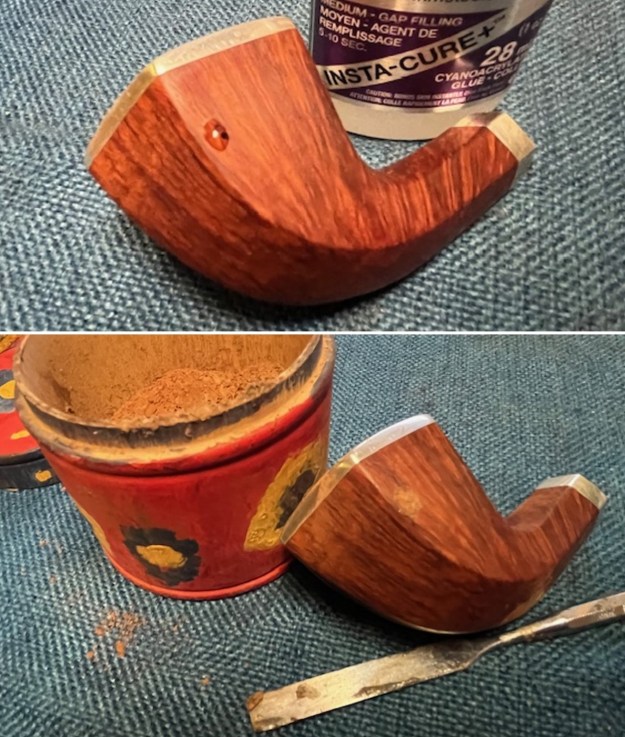
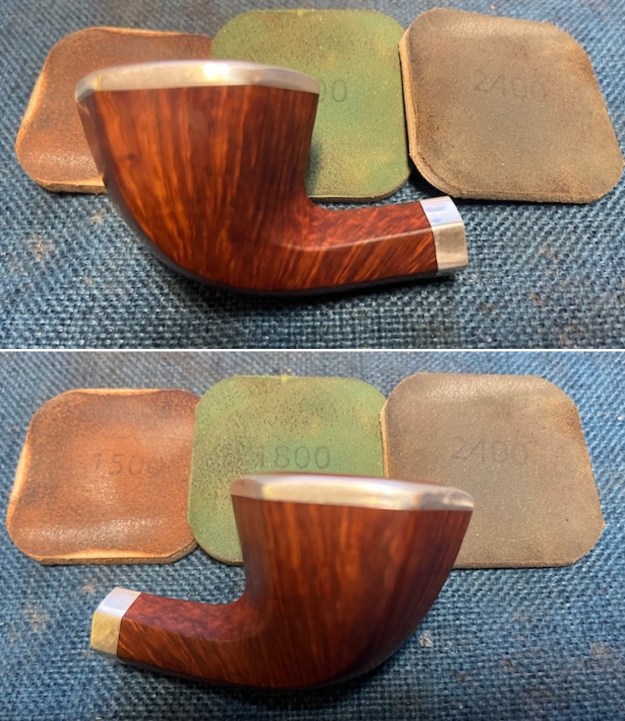
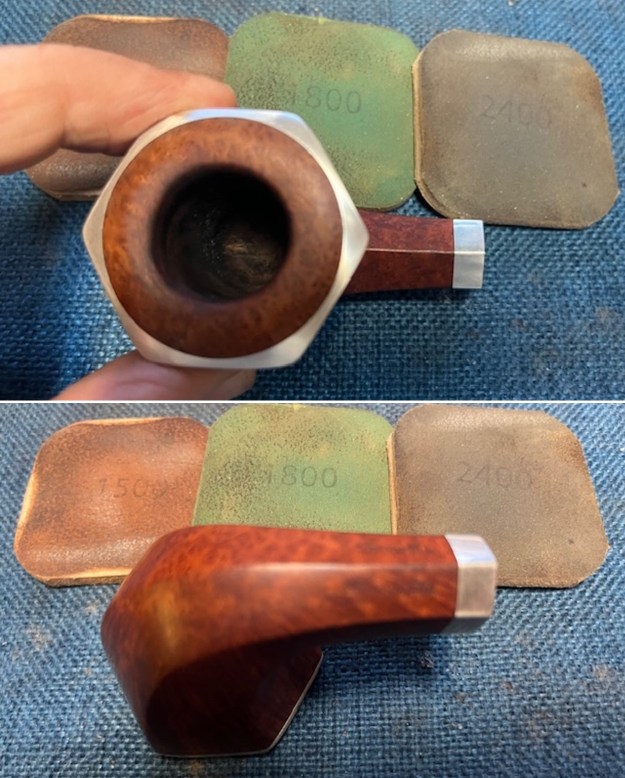
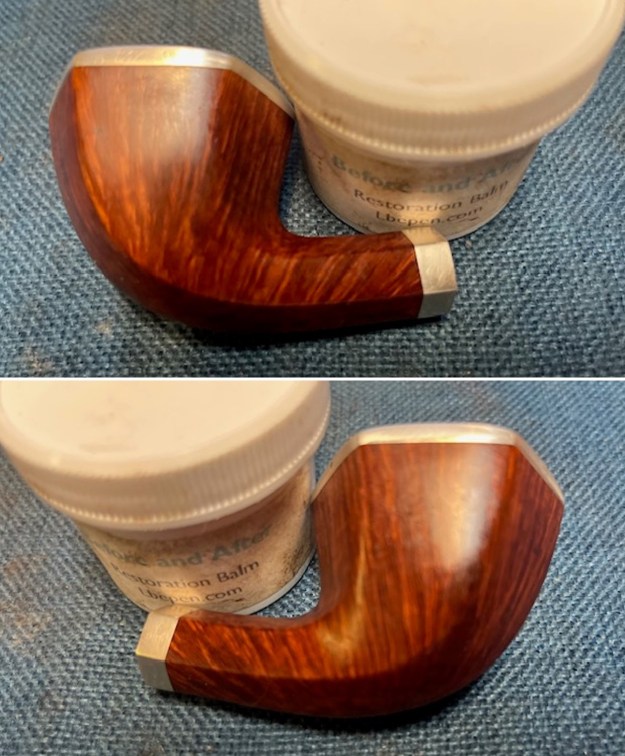
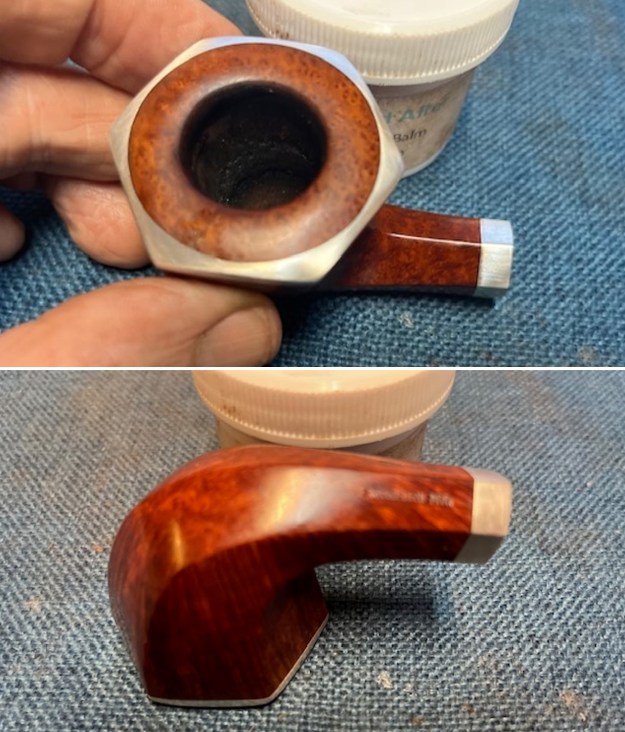
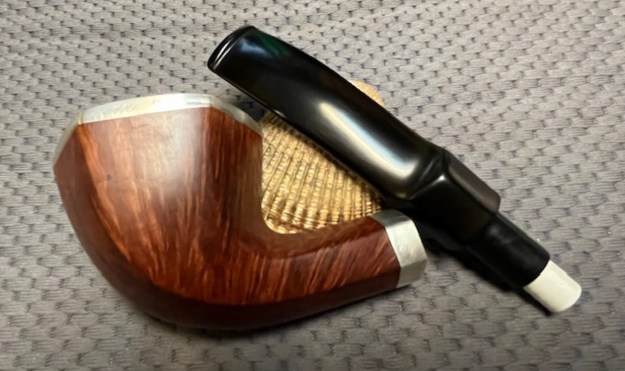
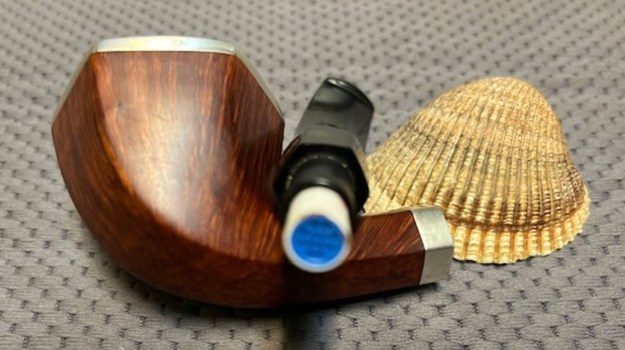
 The bowl was in very good condition so I started with polishing the bowl. I rubbed the bowl down with Before & After Restoration Balm. I worked it into the briar with my finger tips. I let it sit for 10 minutes and the Balm did its magic. It enlivens, cleans and preserves the briar. It certainly brought this bowl back to life. I buffed it off with a clean cloth and took the following photos.
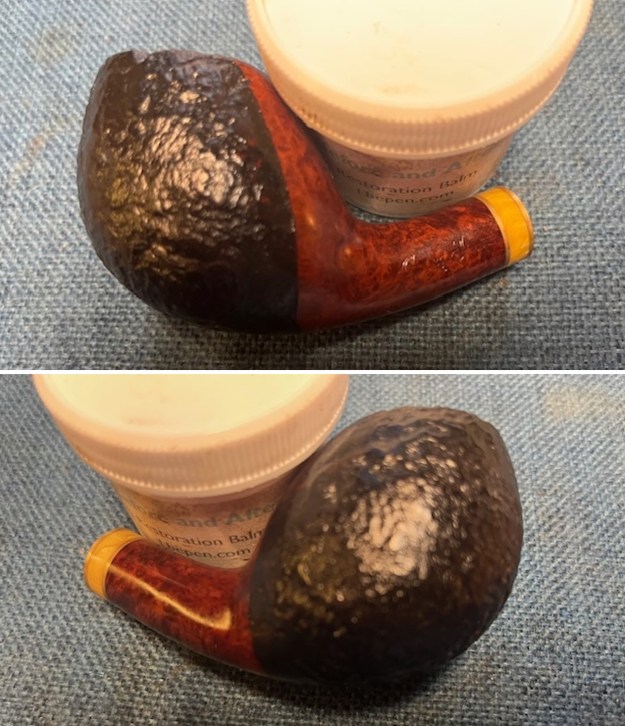
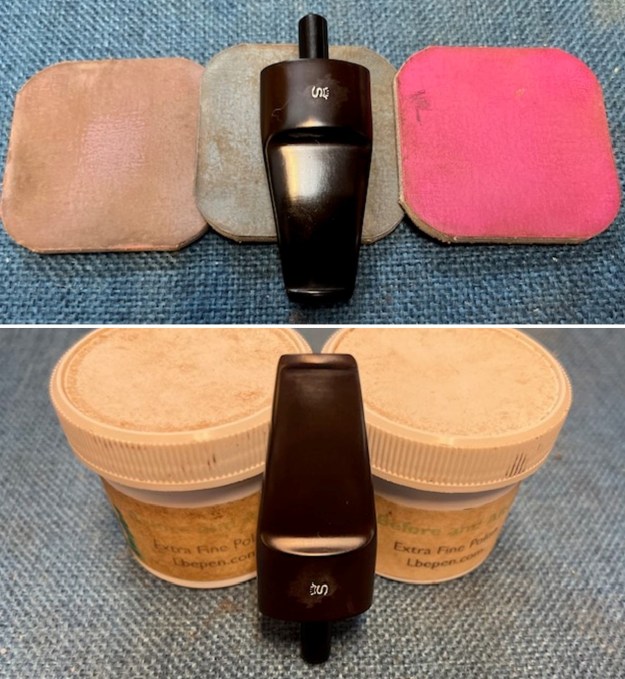
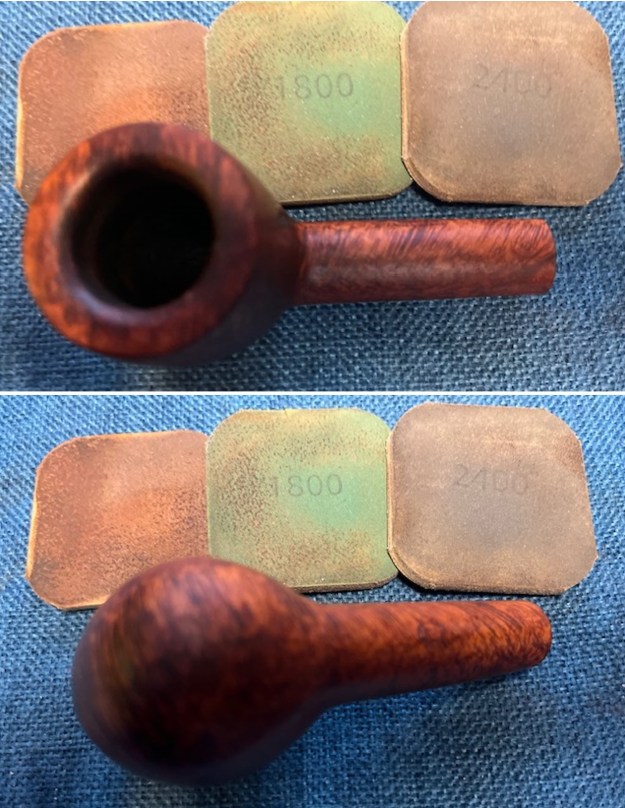
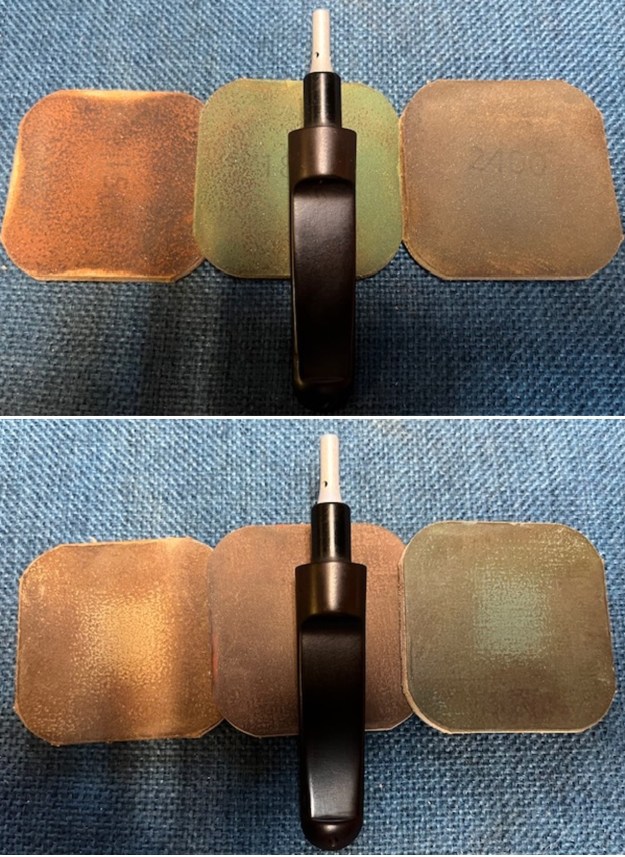
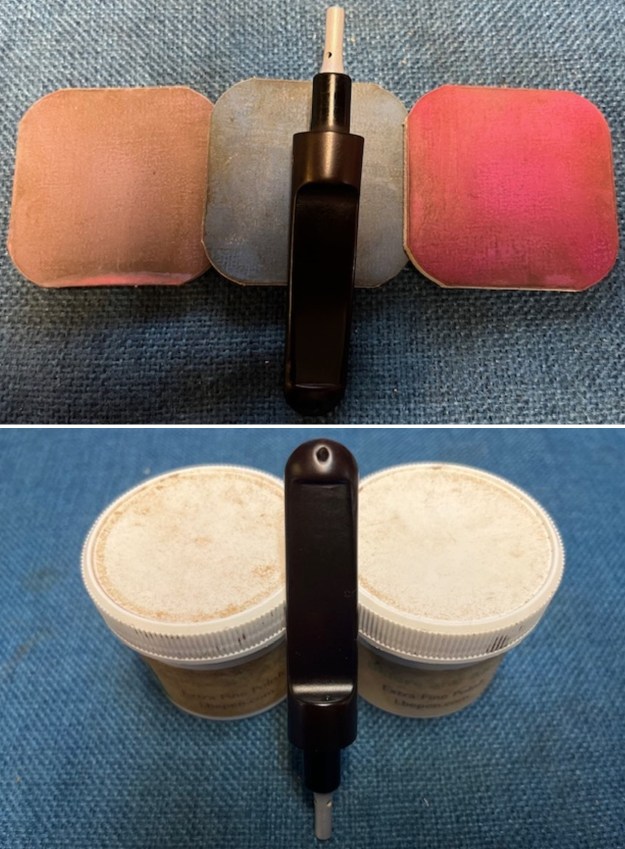
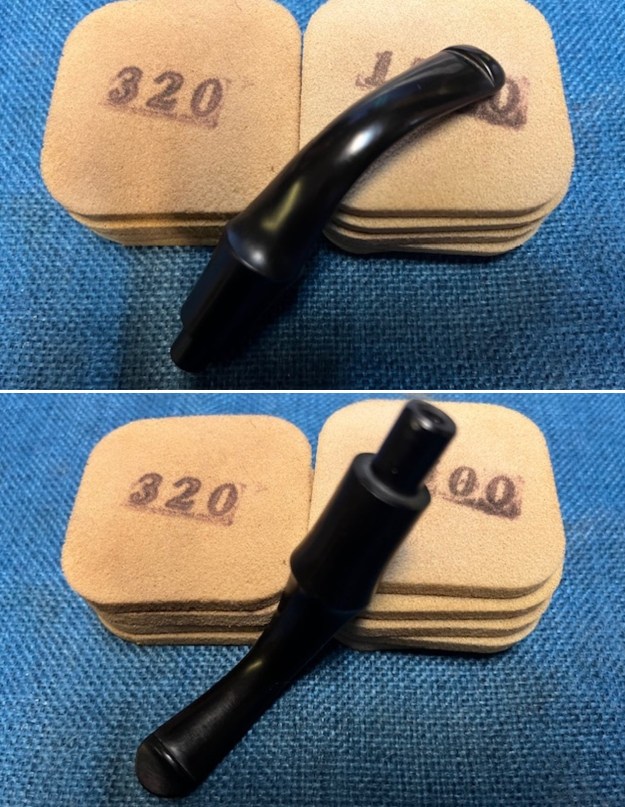
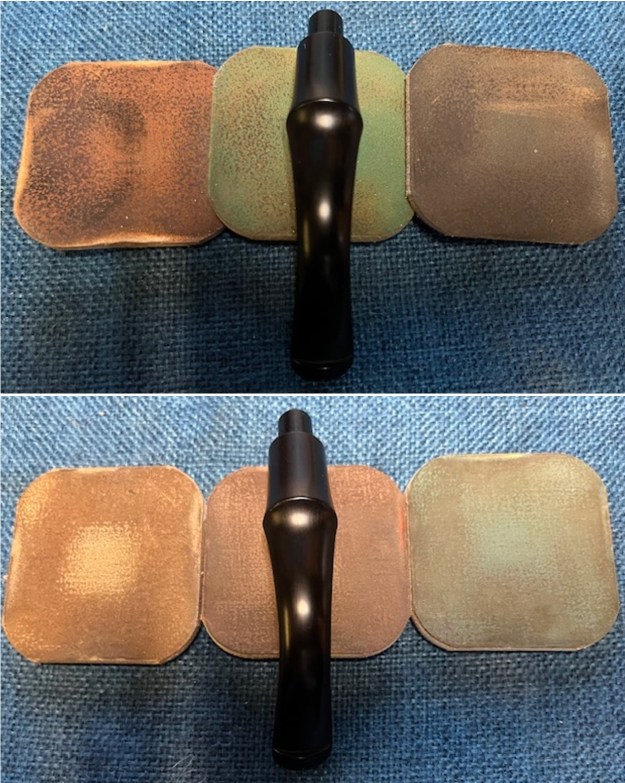
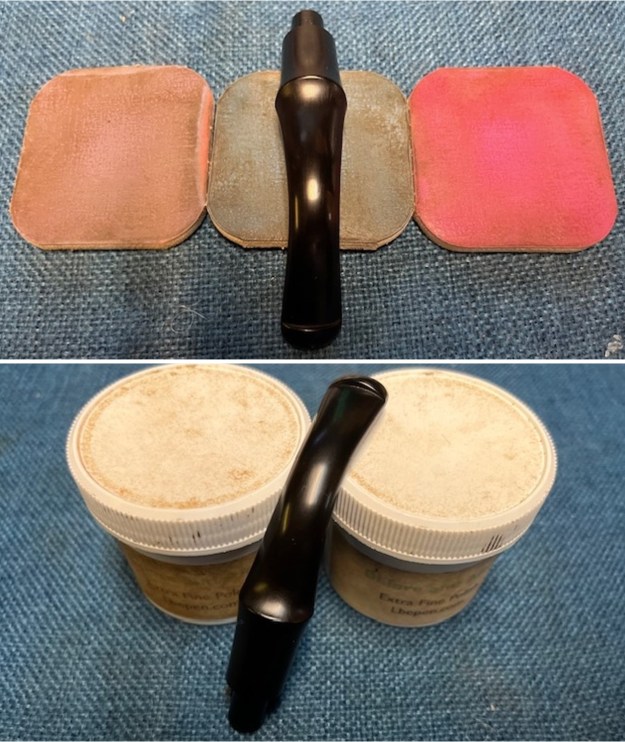
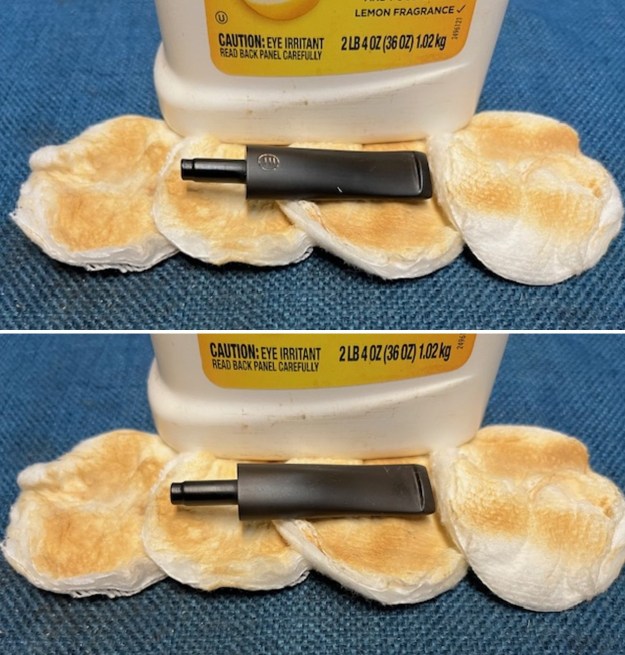
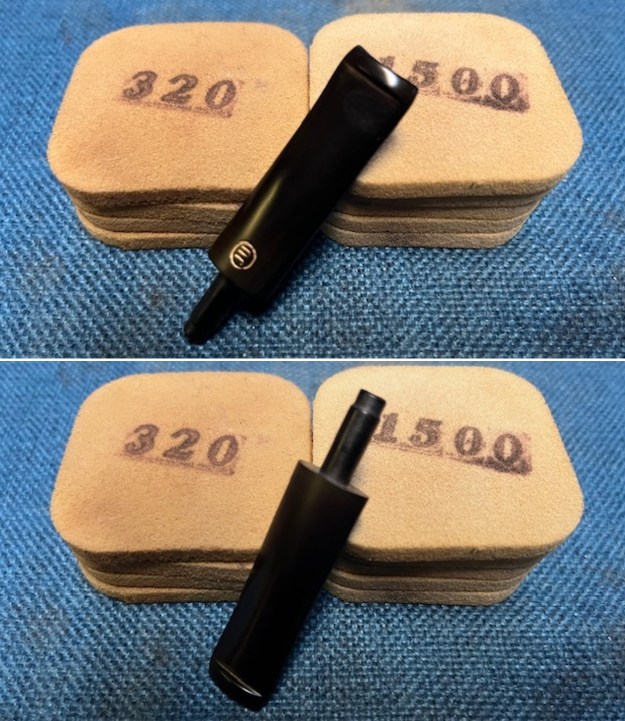
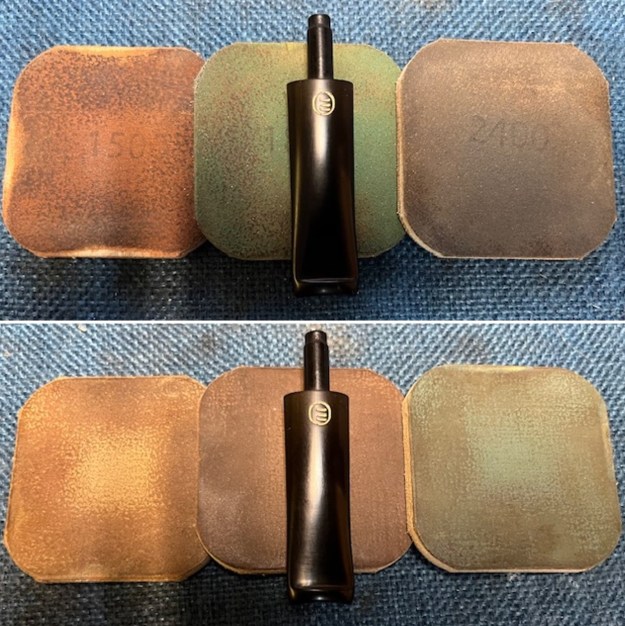
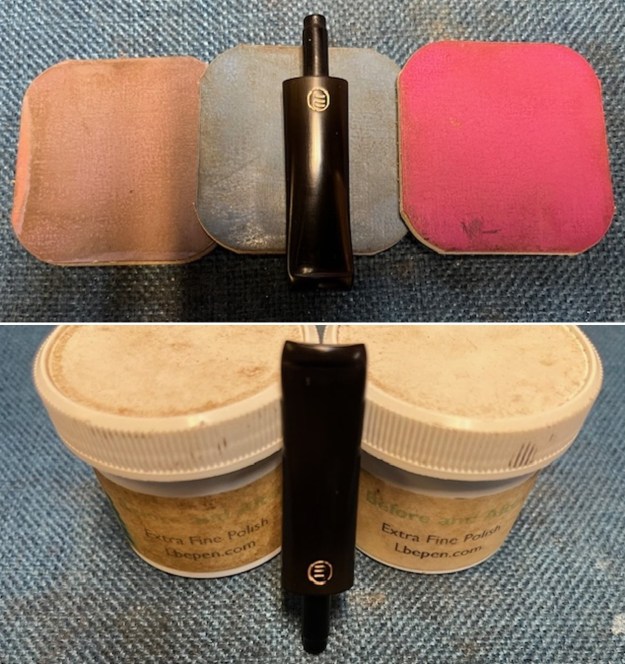
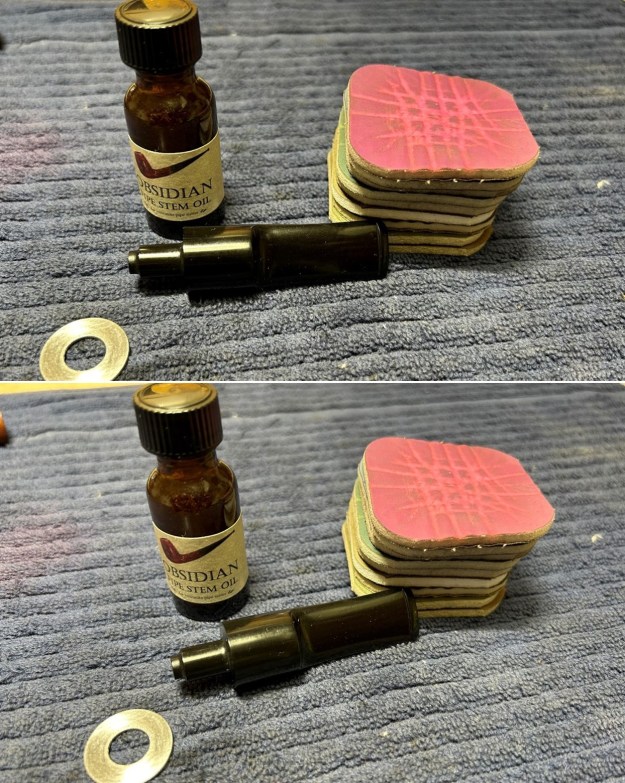
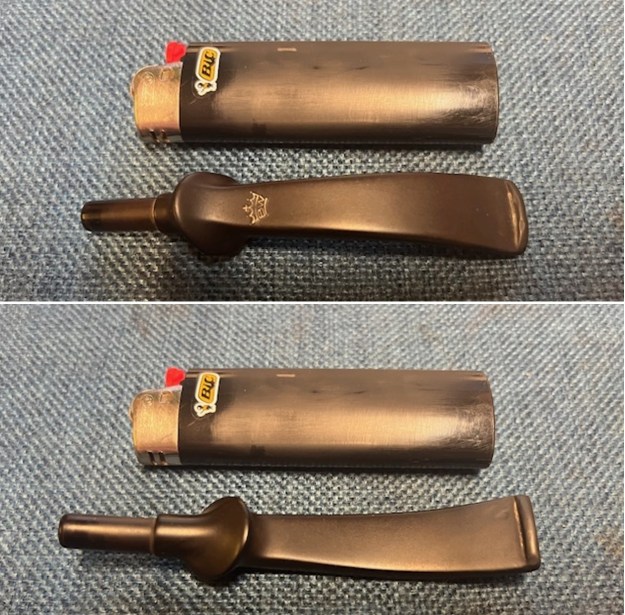
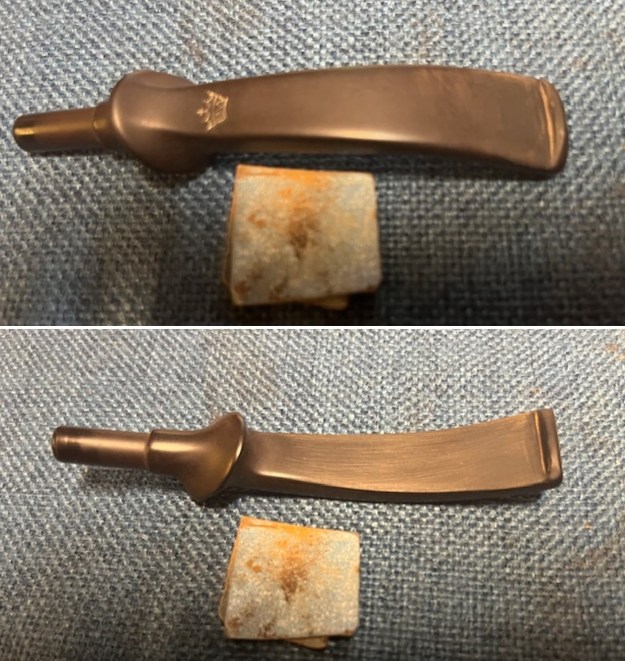
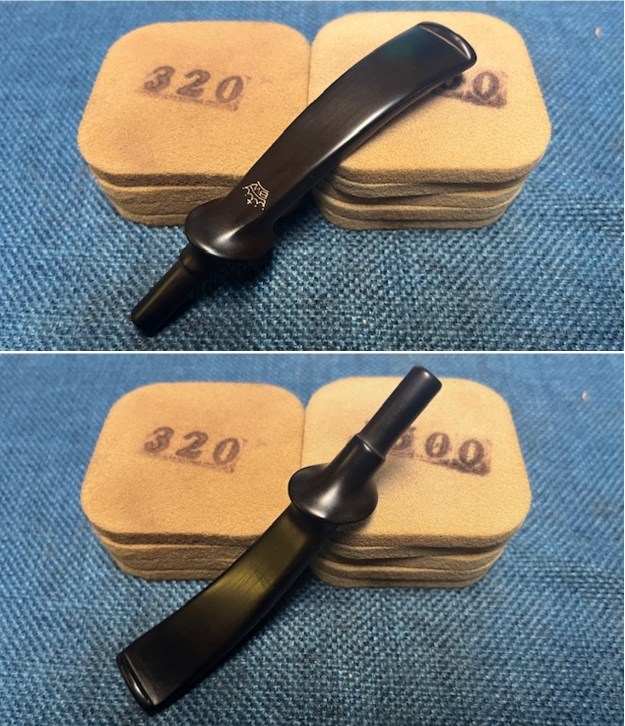
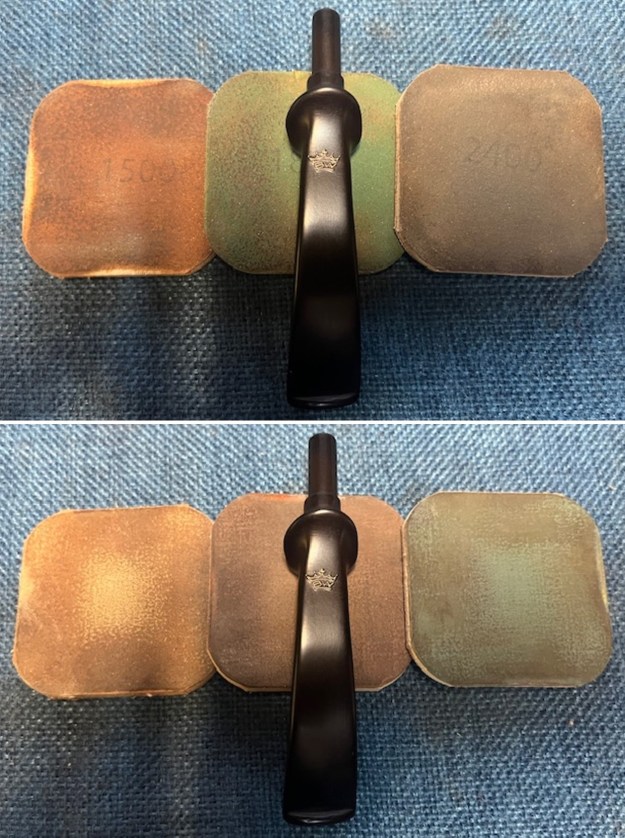
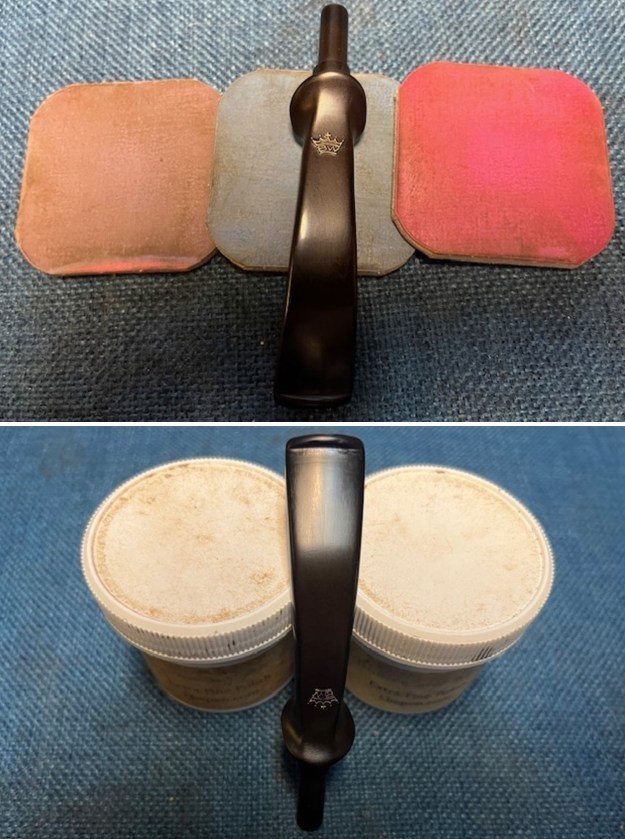
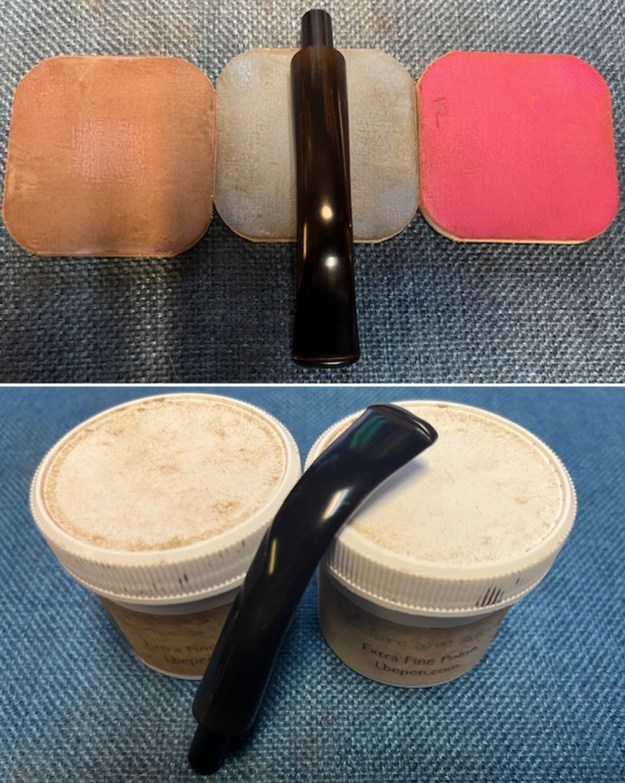
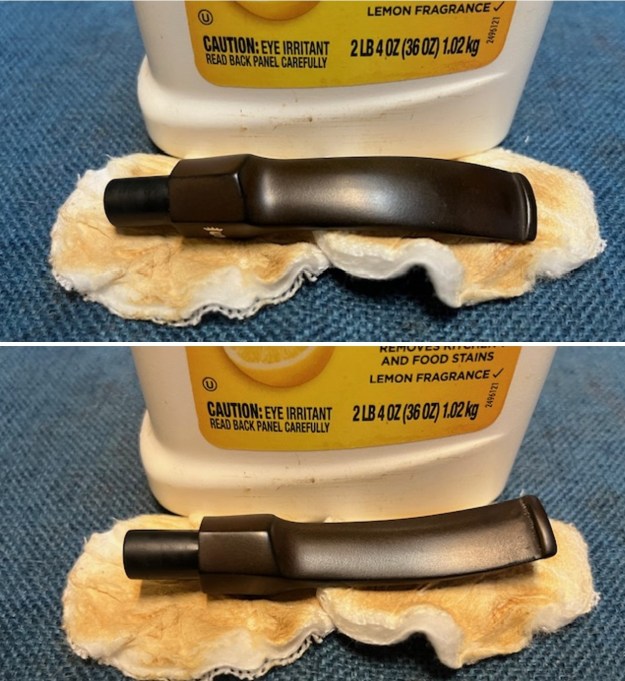
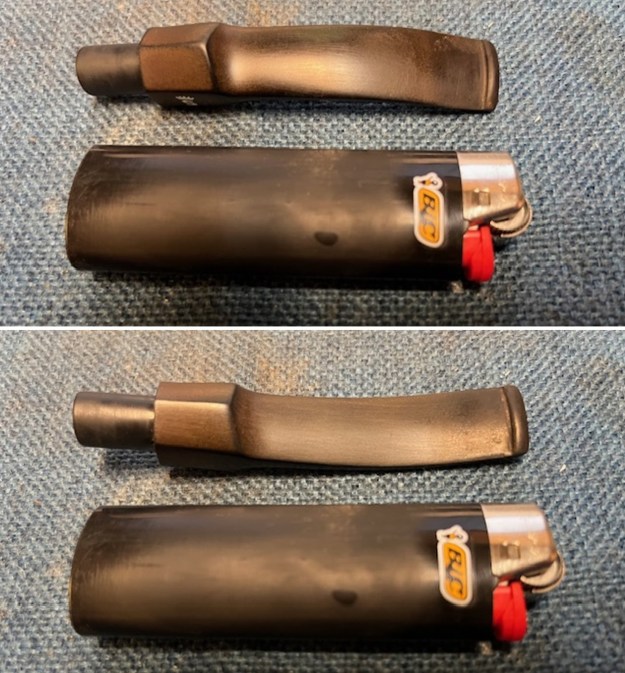
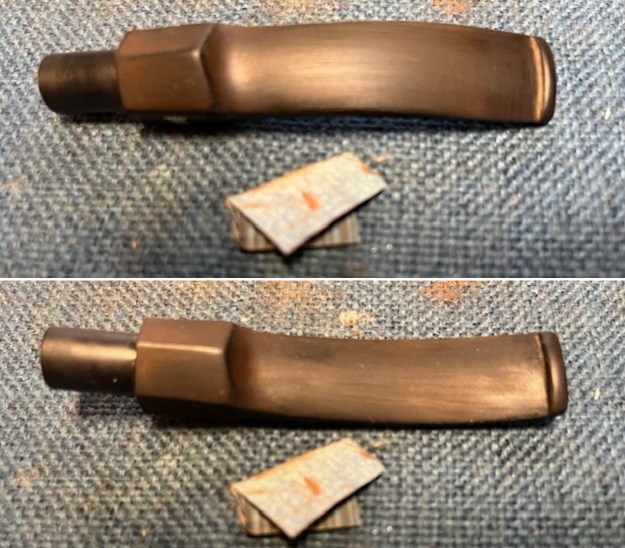
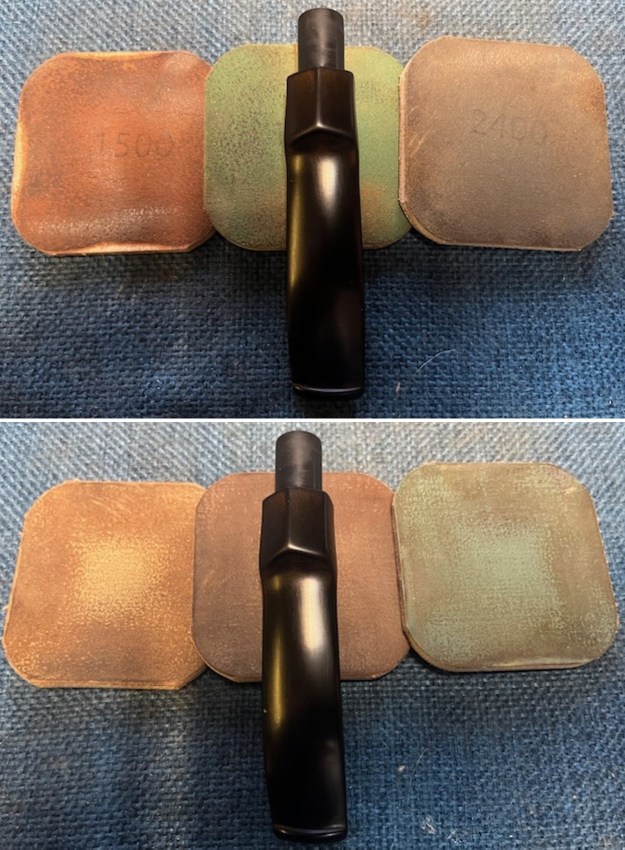
 I set the bowl aside and I polished the stem with micromesh sanding pads – wet sanding with 1500-12000 grit pads. I wiped the stem down after each sanding pad with Obsidian Oil. I finished polishing it with Before & After Pipe Stem Polish – both Fine and Extra Fine. Once I had finished the polishing I gave it final coat of oil and set it aside to dry.
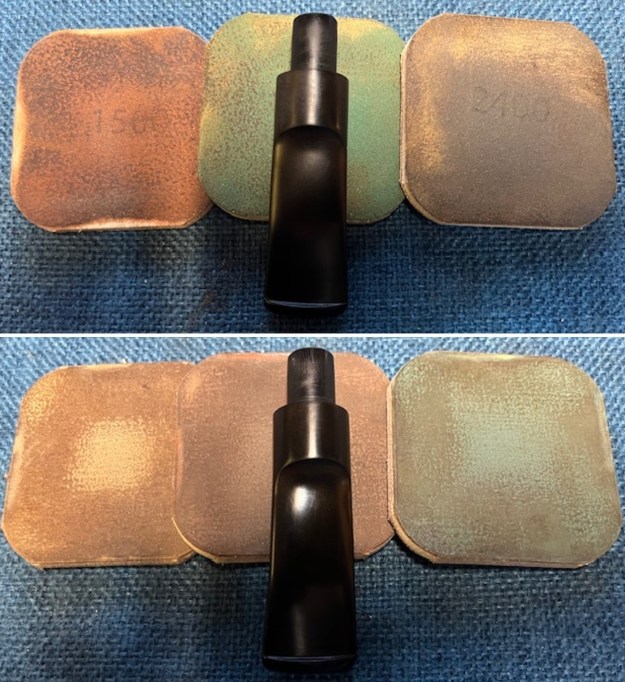
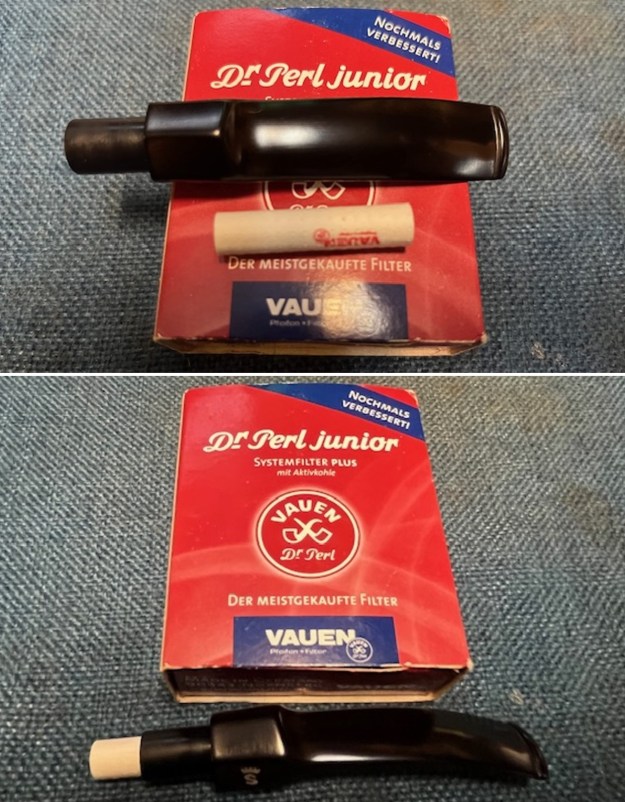
 I fit the filter stem with a new 9mm filter. The fit was perfect and the pipe was ready to be smoked by the next trustee.
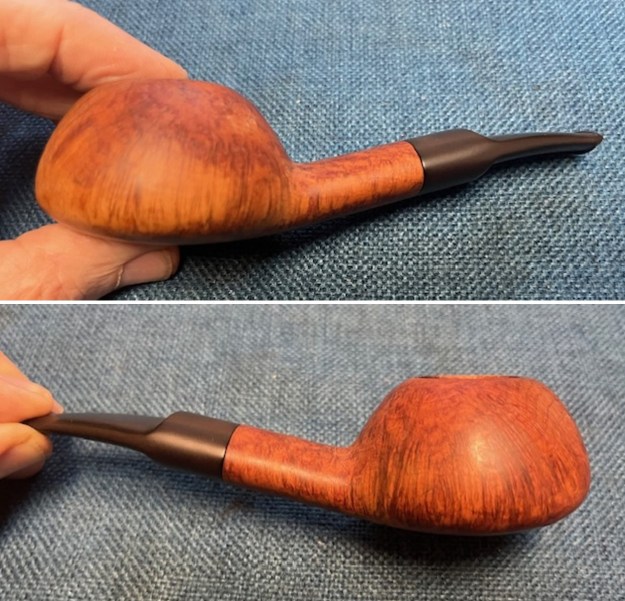
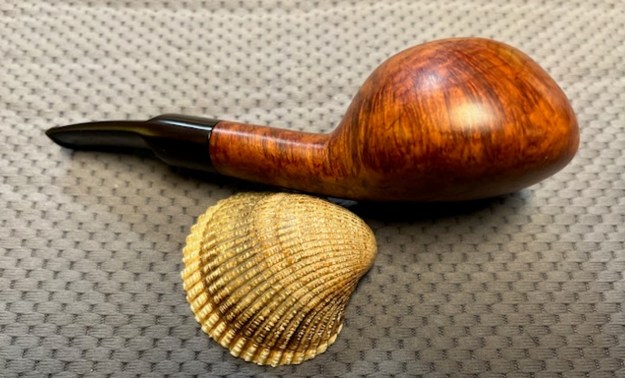
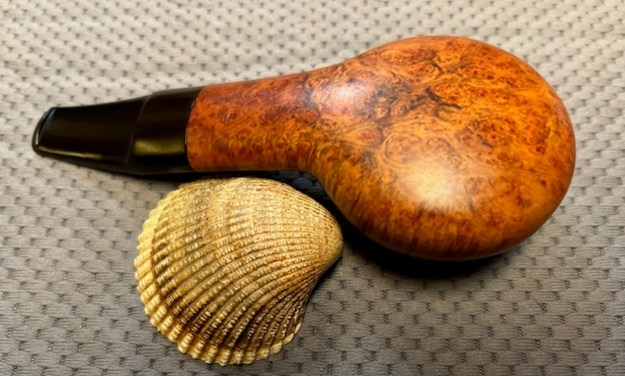
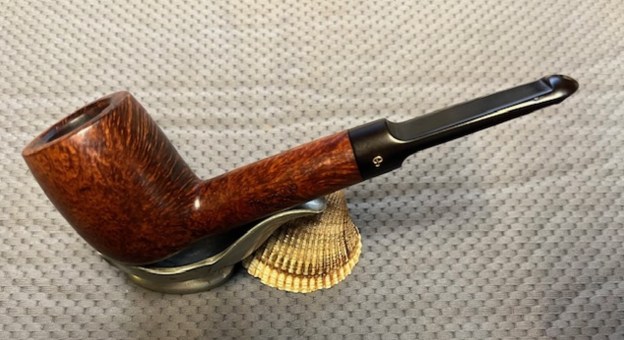
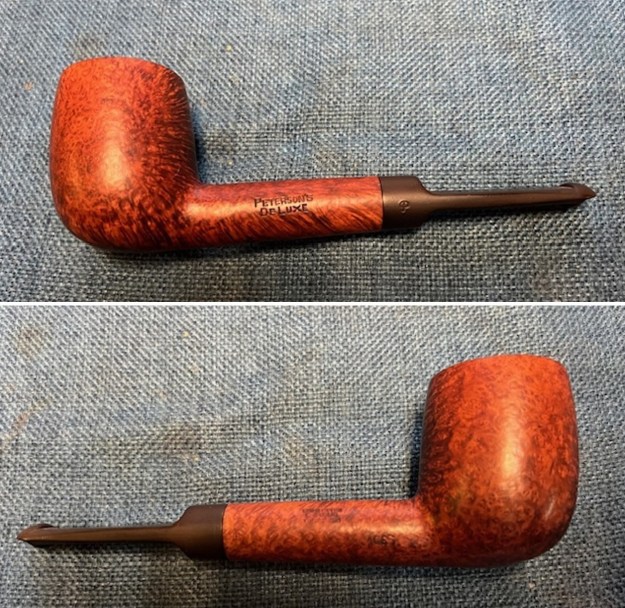
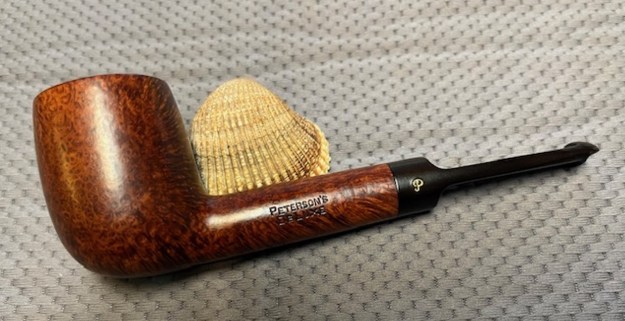
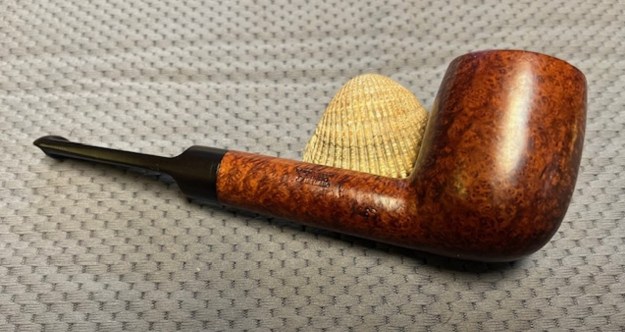
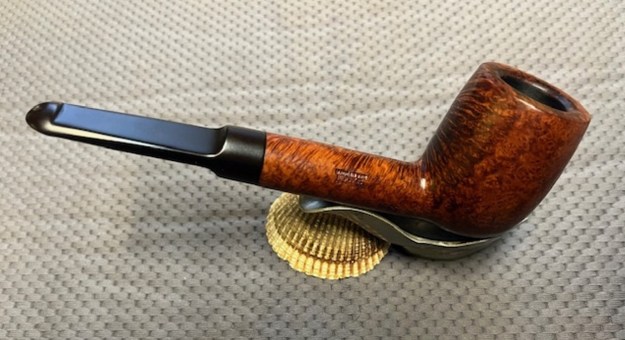
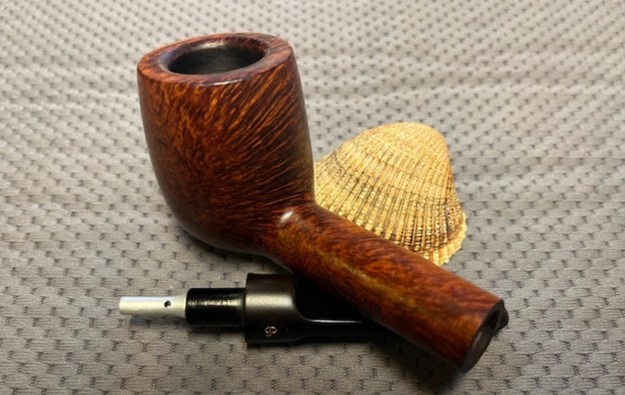
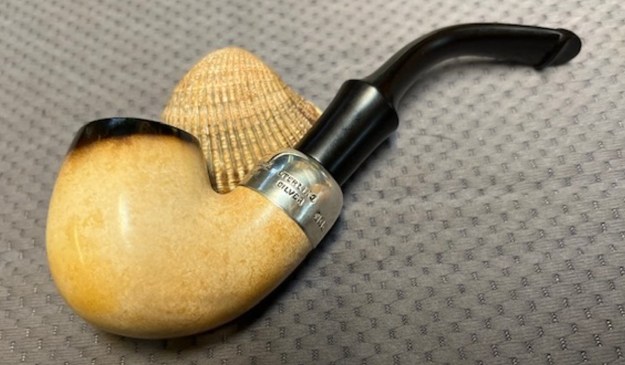
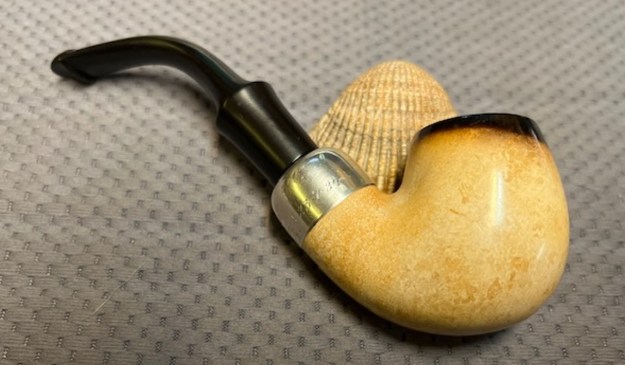
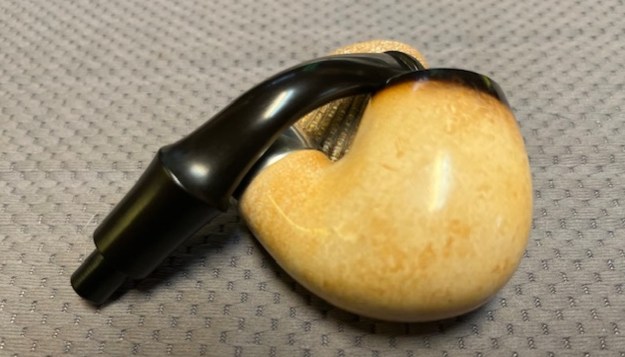
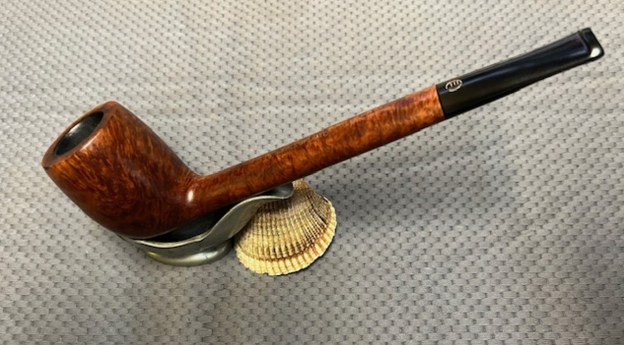
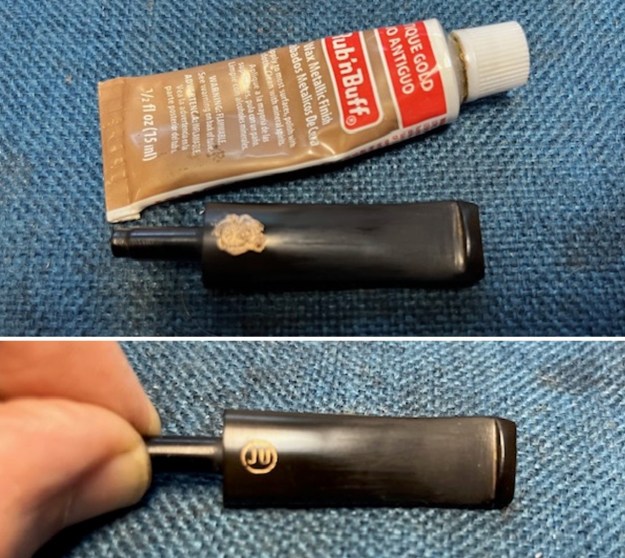
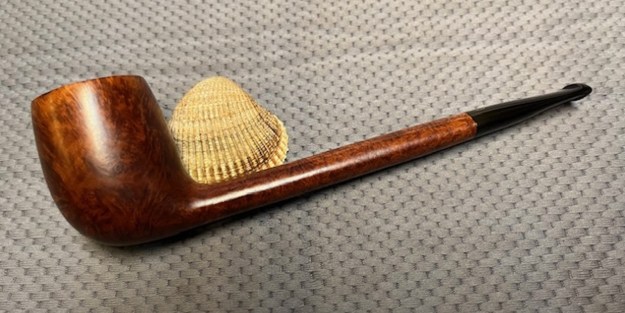
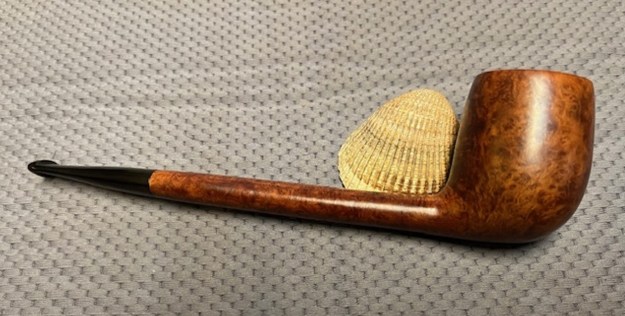
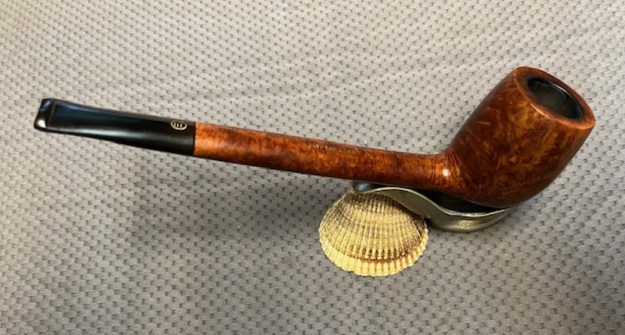
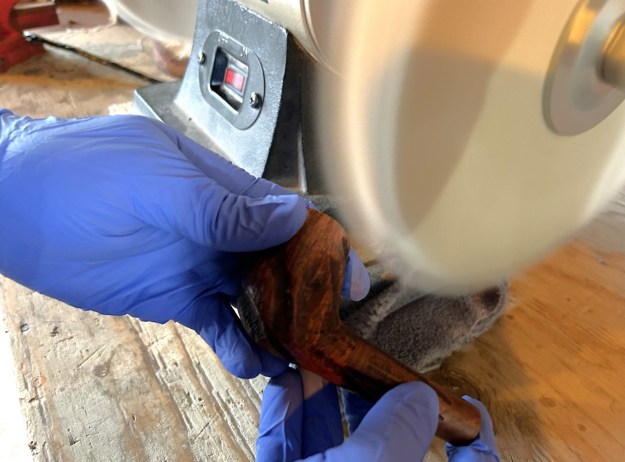
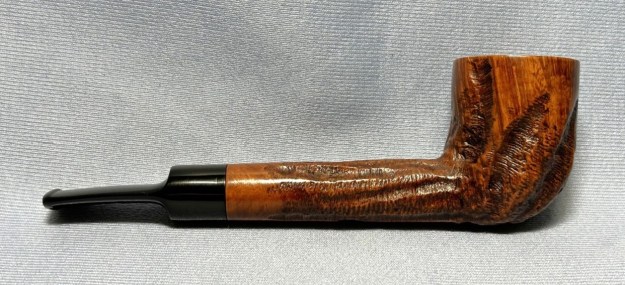
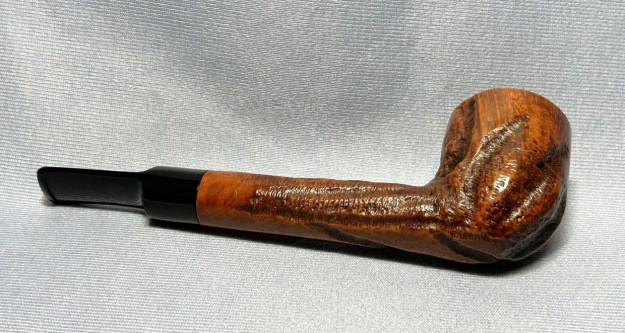
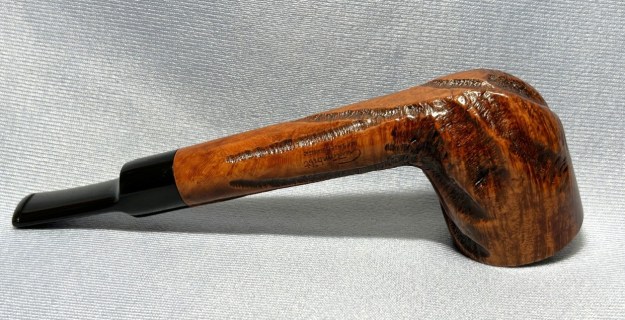
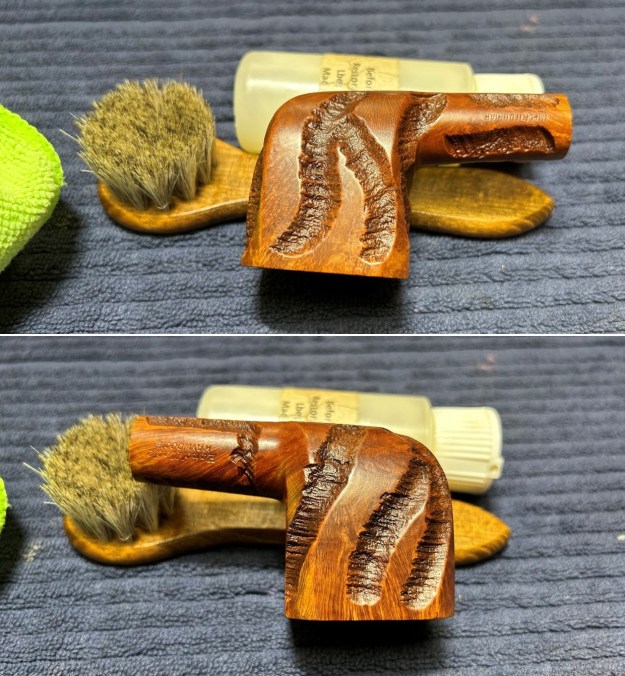
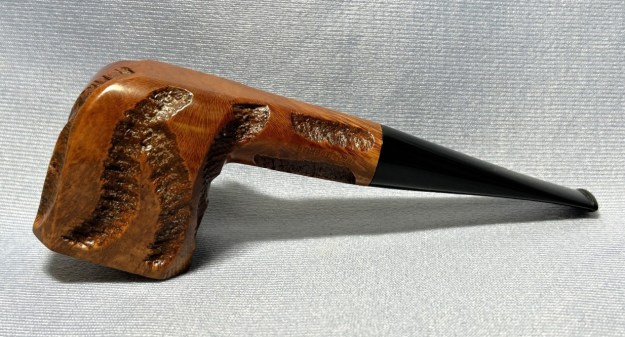
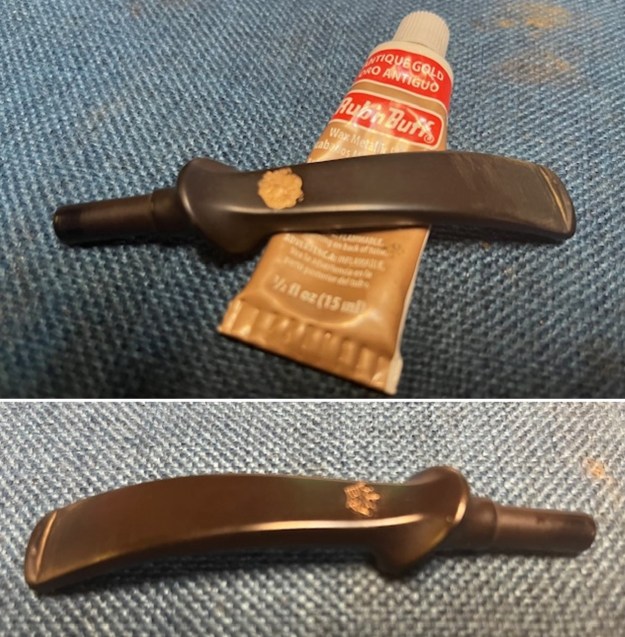
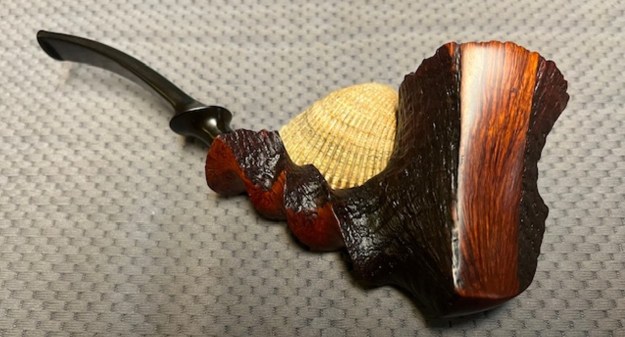
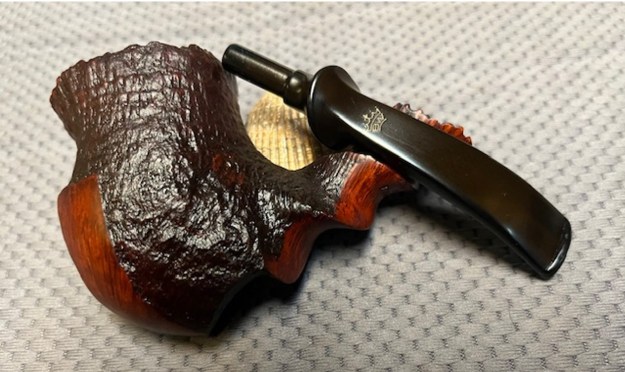
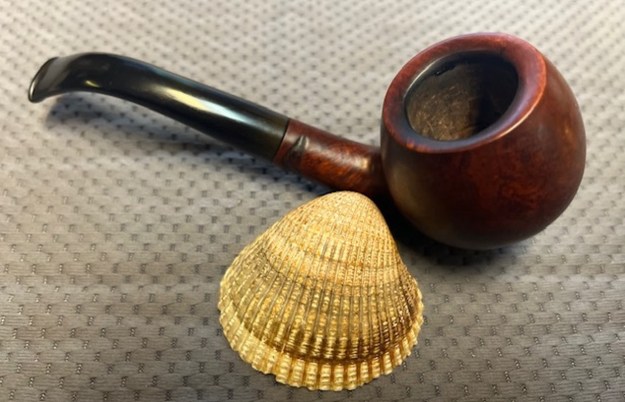
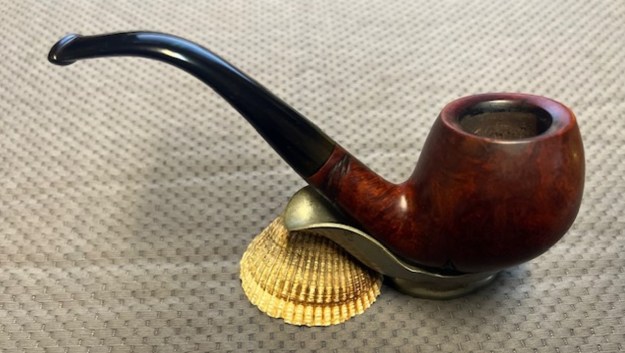
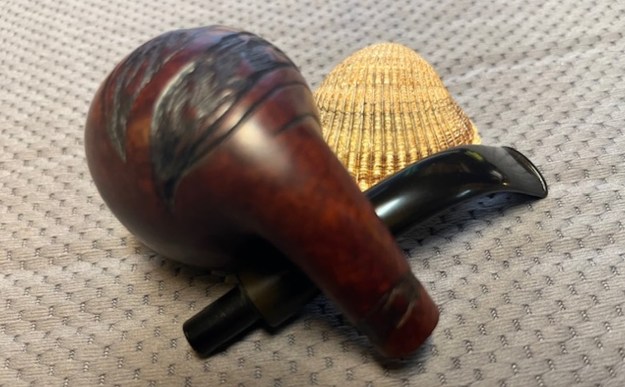
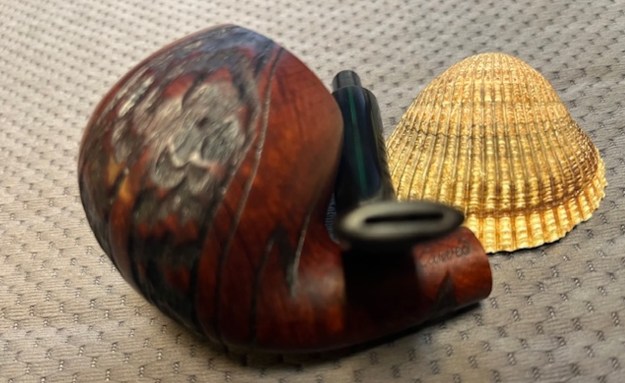
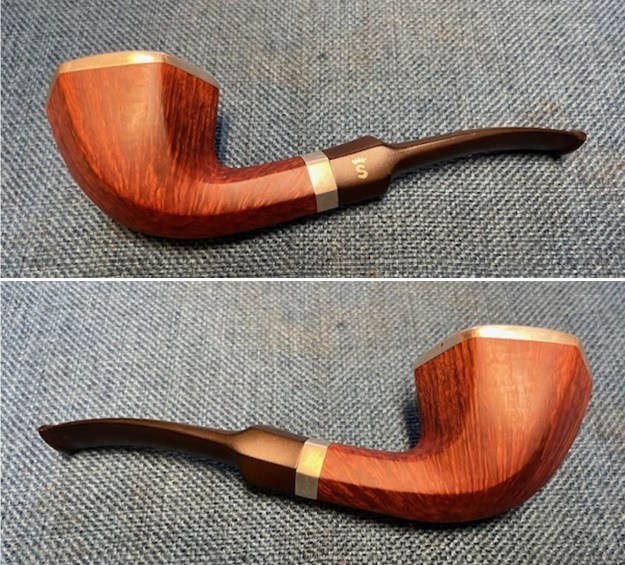
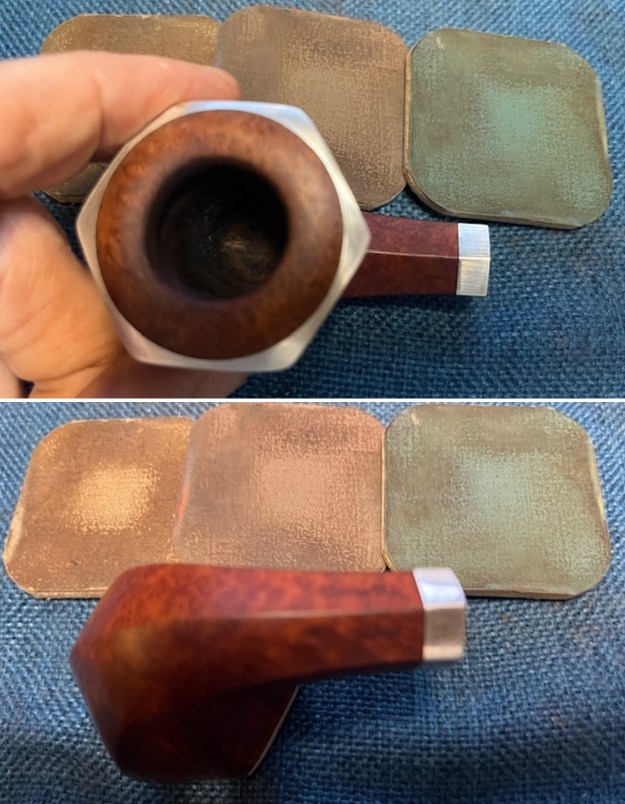
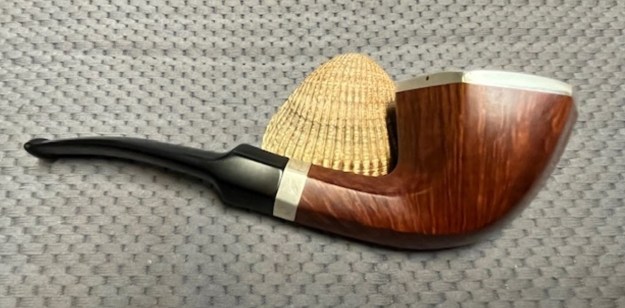
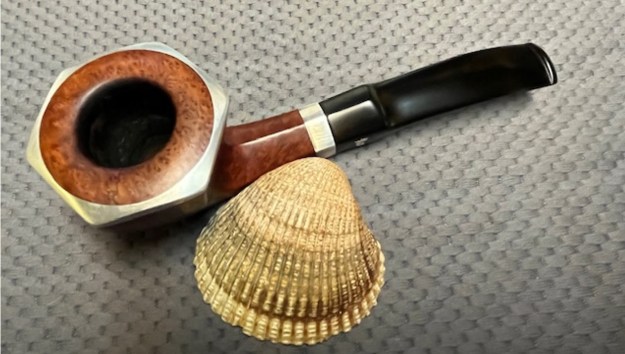
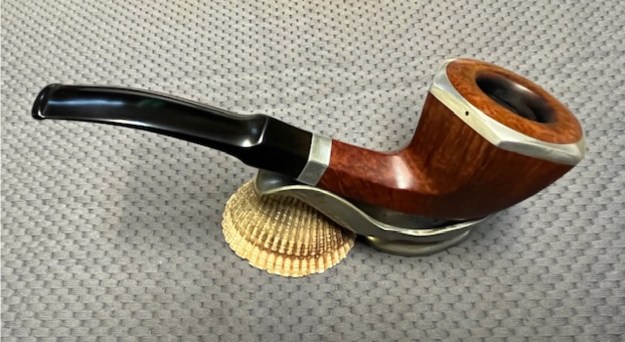
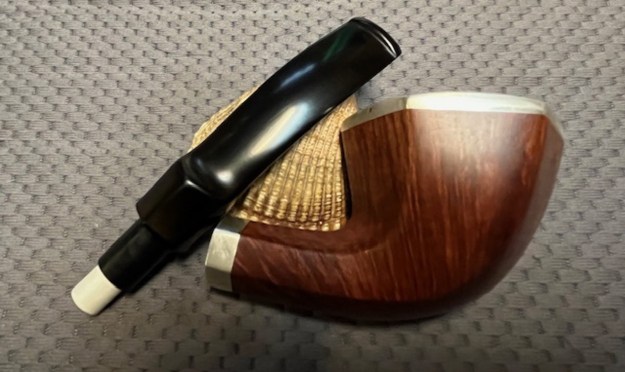
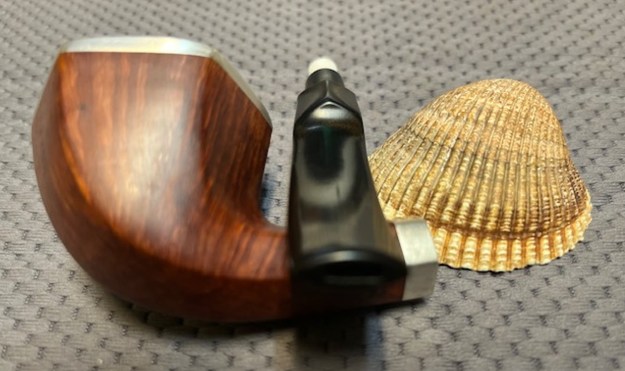
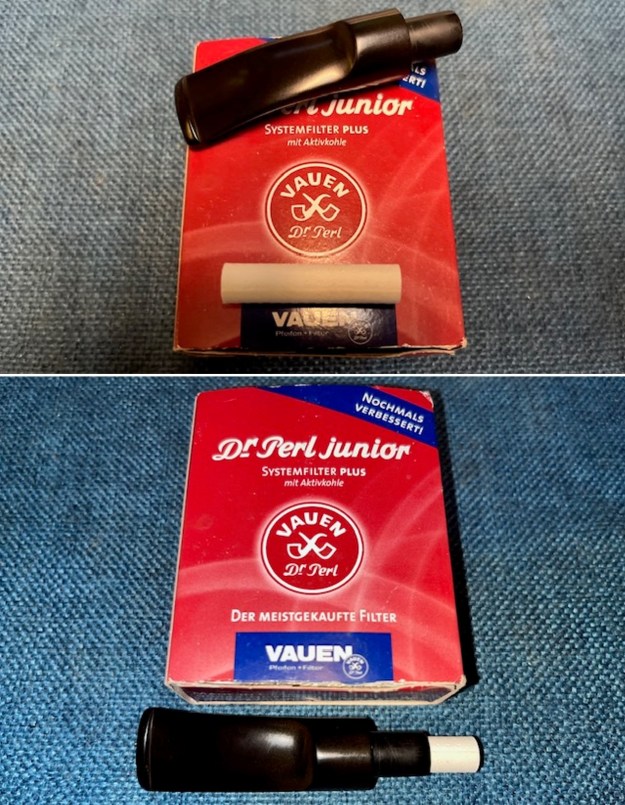 As usual at this point in the restoration process I am excited to be on the homestretch. I look forward to the final look when it is put back together, polished and waxed. I put the Georg Jensen Handmade ¼ Bent Egg with a 9mm filter stem back together. I polished the bowl and stem with Blue Diamond to polish out the scratches in the briar and the vulcanite. I gave the bowl and the stem multiple coats of carnauba wax. I buffed the pipe with a clean buffing pad to raise the shine. I hand buffed it with a microfiber cloth to deepen the shine. The pipe polished up pretty nicely. The sandblast shows depth and on the smooth portion the grain really pops with the wax and polish. The shiny black vulcanite 9mm filter stem is a beautiful contrast to the reddish browns and blacks of the bowl. This Georg Jensen Handmade was a great pipe to spruce up. It is a very comfortable pipe to hold in the hand. The finished pipe is shown in the photos below. The dimensions of the pipe are Length: 5 ½ inches, Height: 2 inches, Outside diameter of the bowl: 1 ¼ inches, Chamber diameter: 7/8 of an inch. The weight of the pipe is 53 grams/1.83 ounces. This pipe will be going on the Danish Pipe Maker section of the rebornpipes store if you are interested in adding it to your collection. Thanks for reading this blog and my reflections on the pipe while I worked on it. This is an interesting estate to bring back to life.