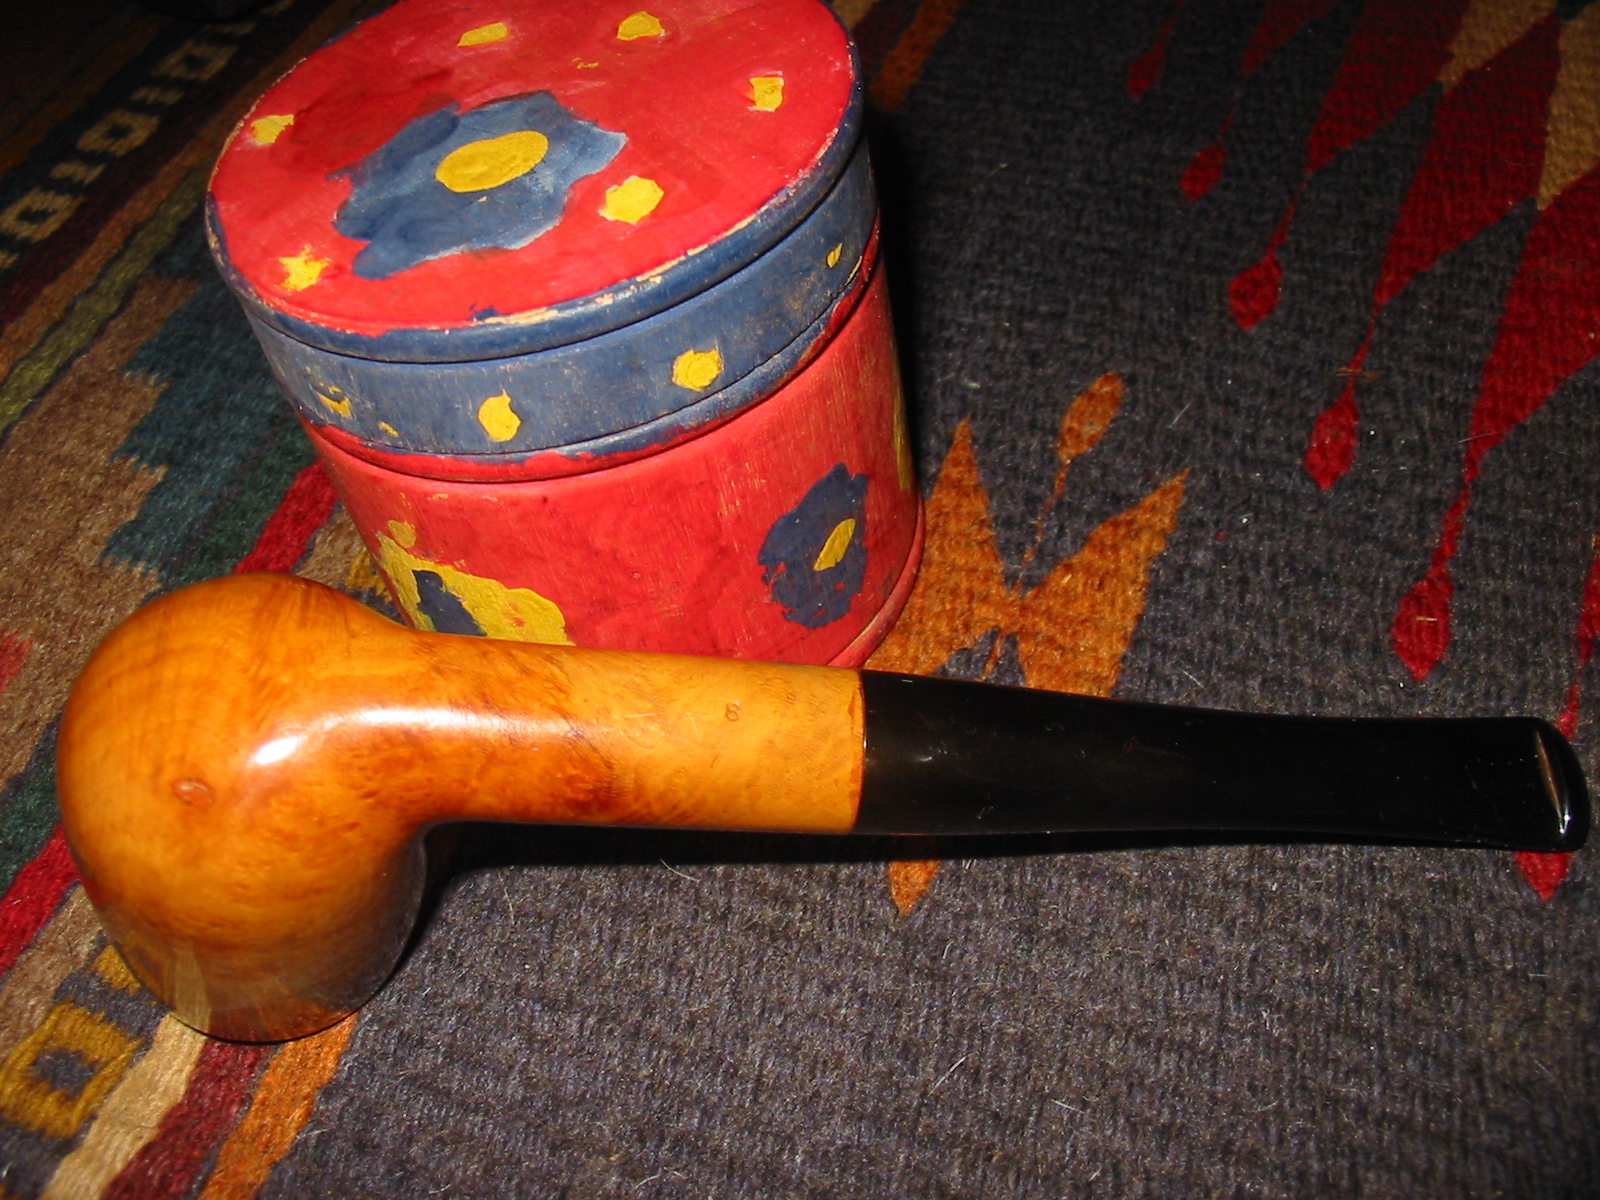
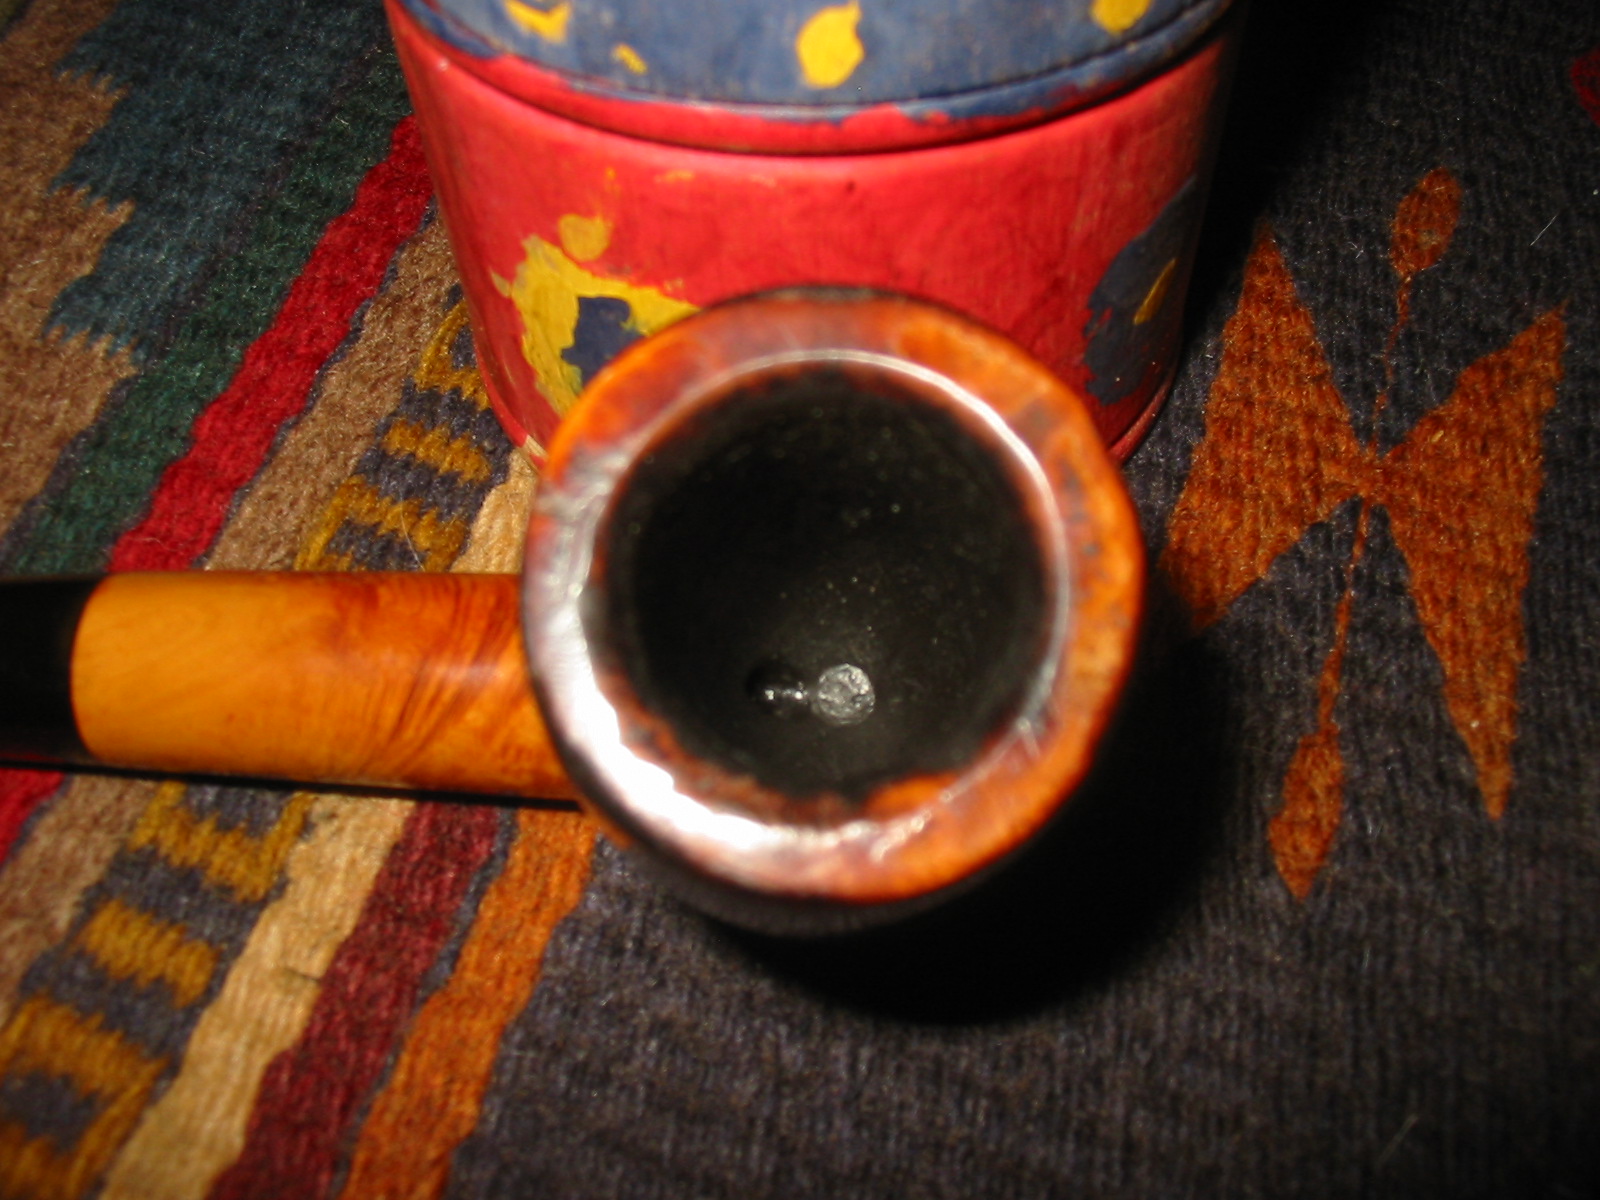
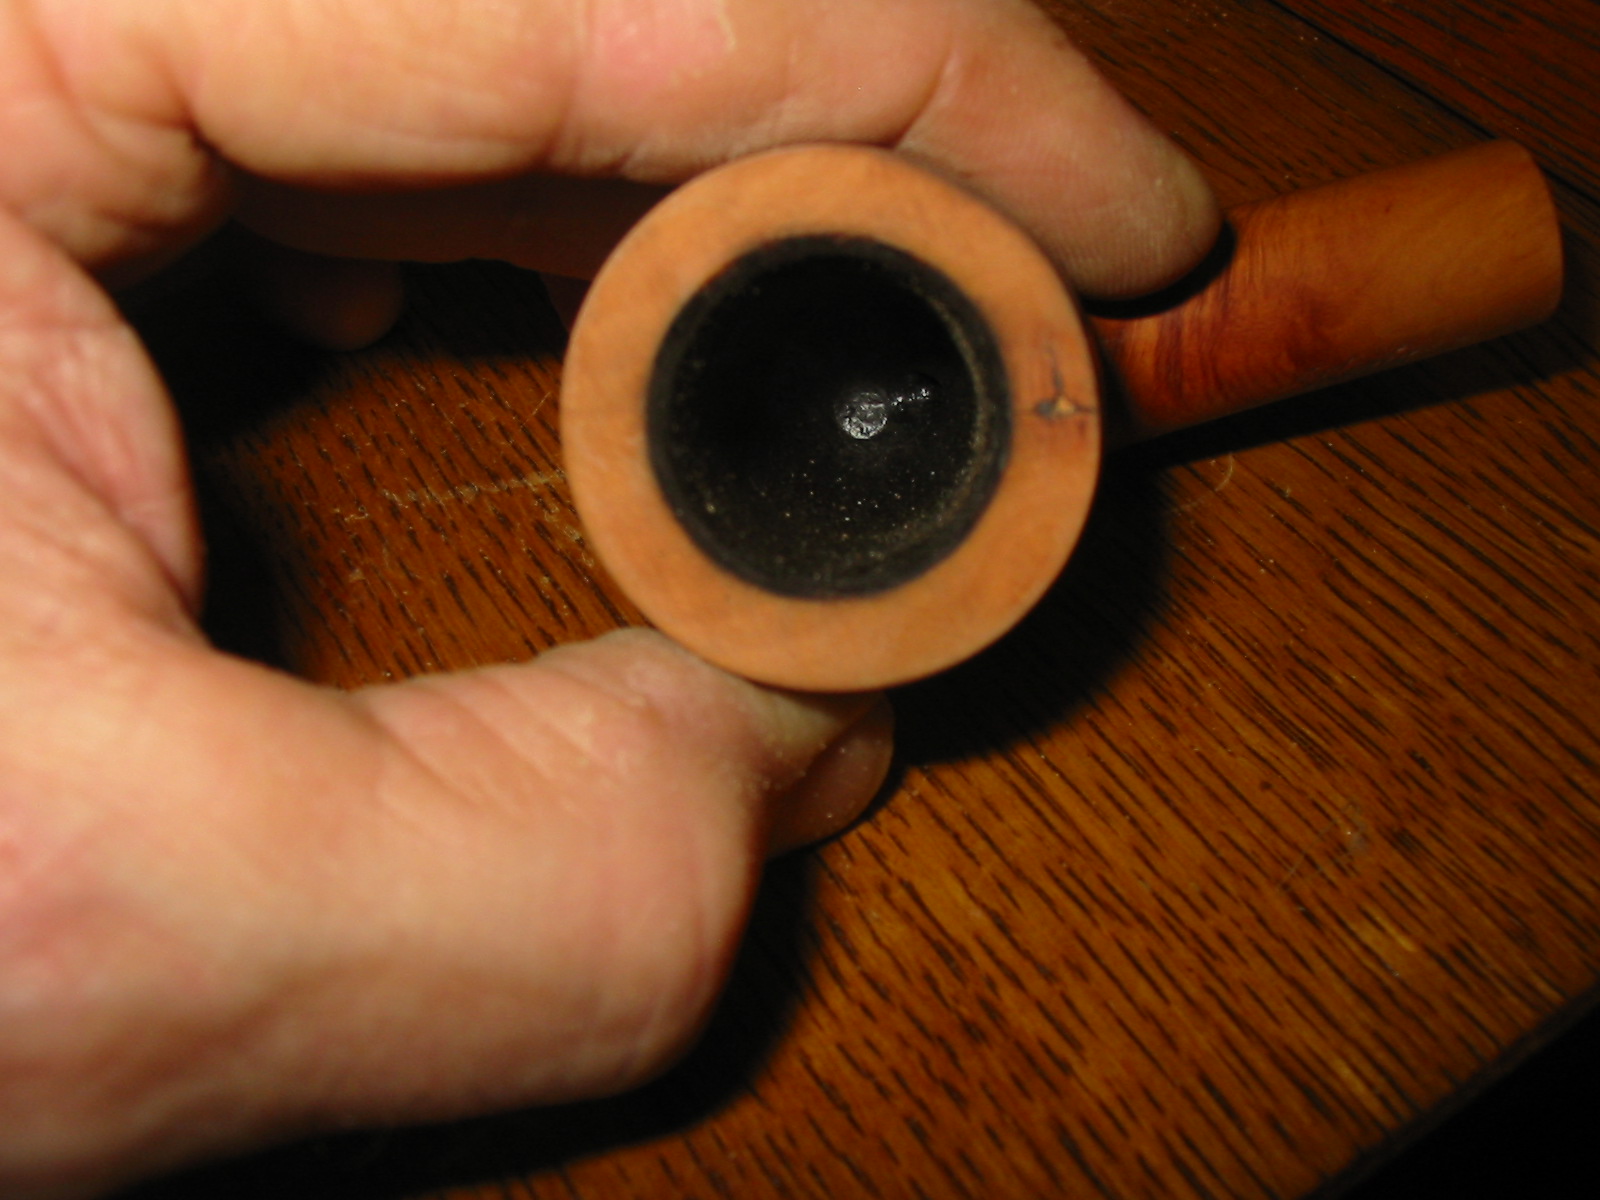
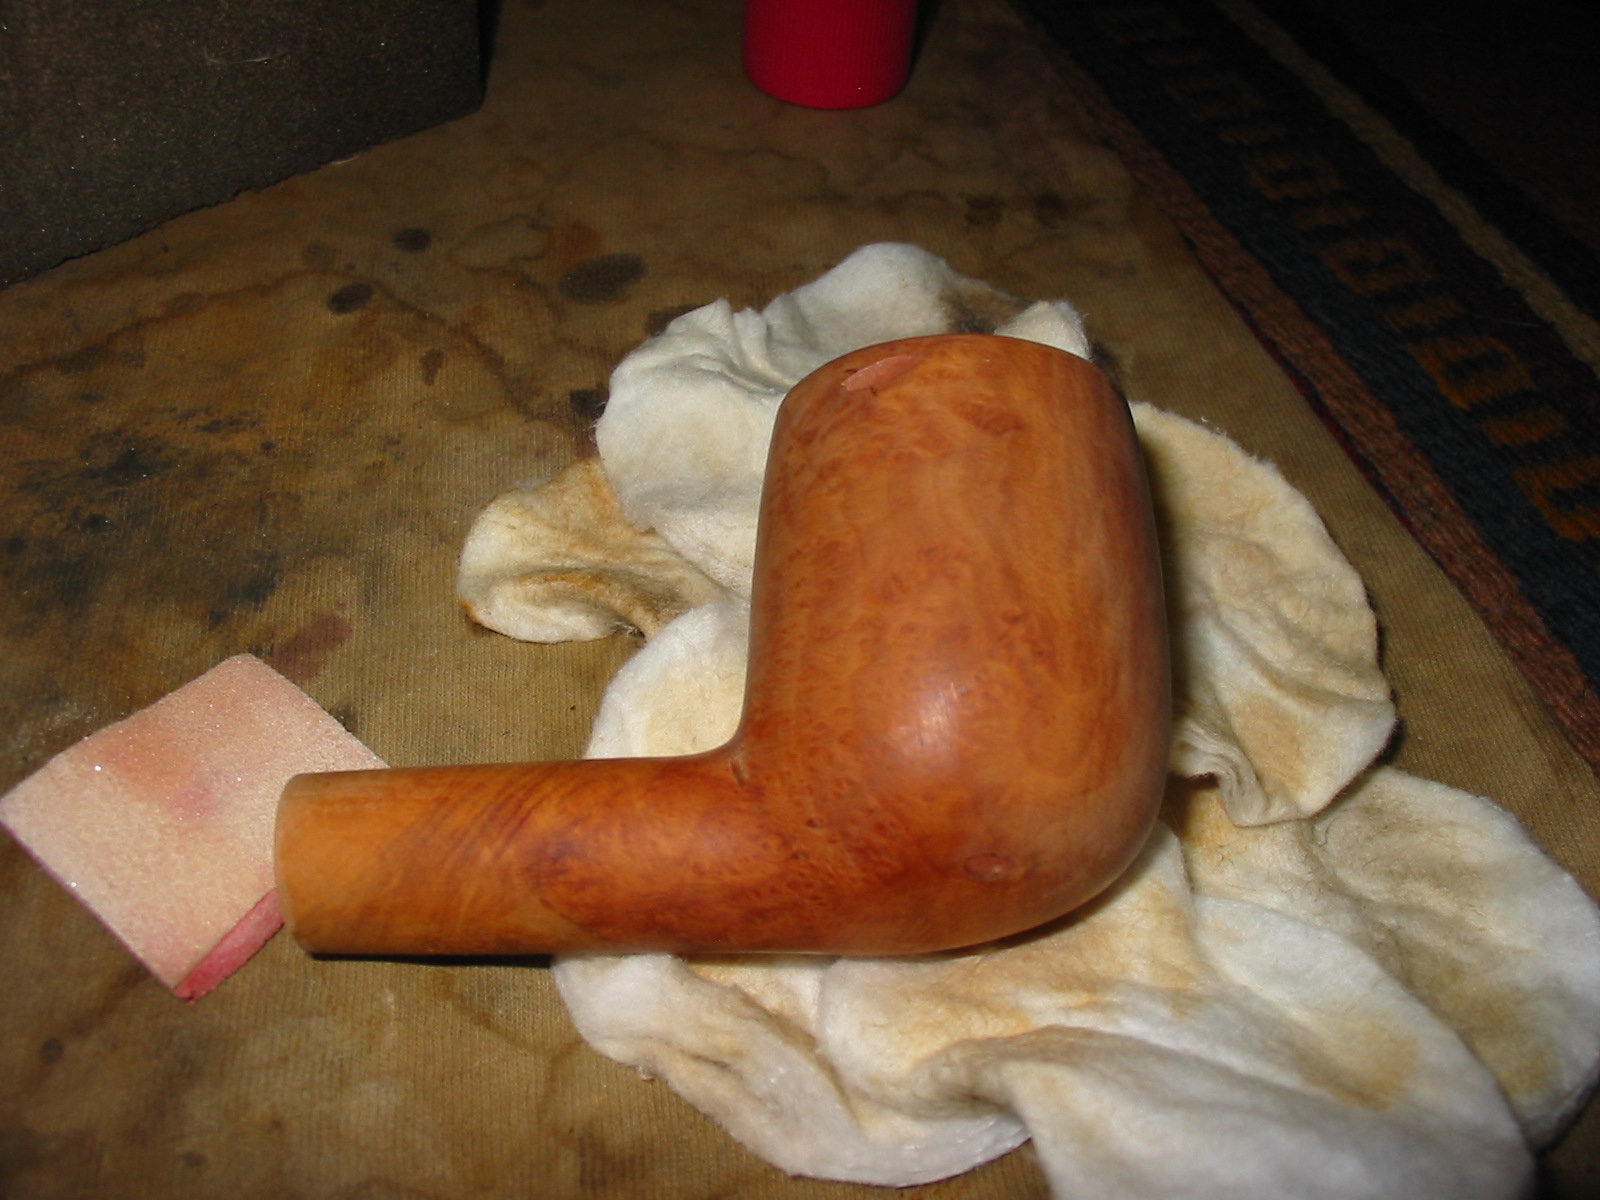
Tag Archives: stem work

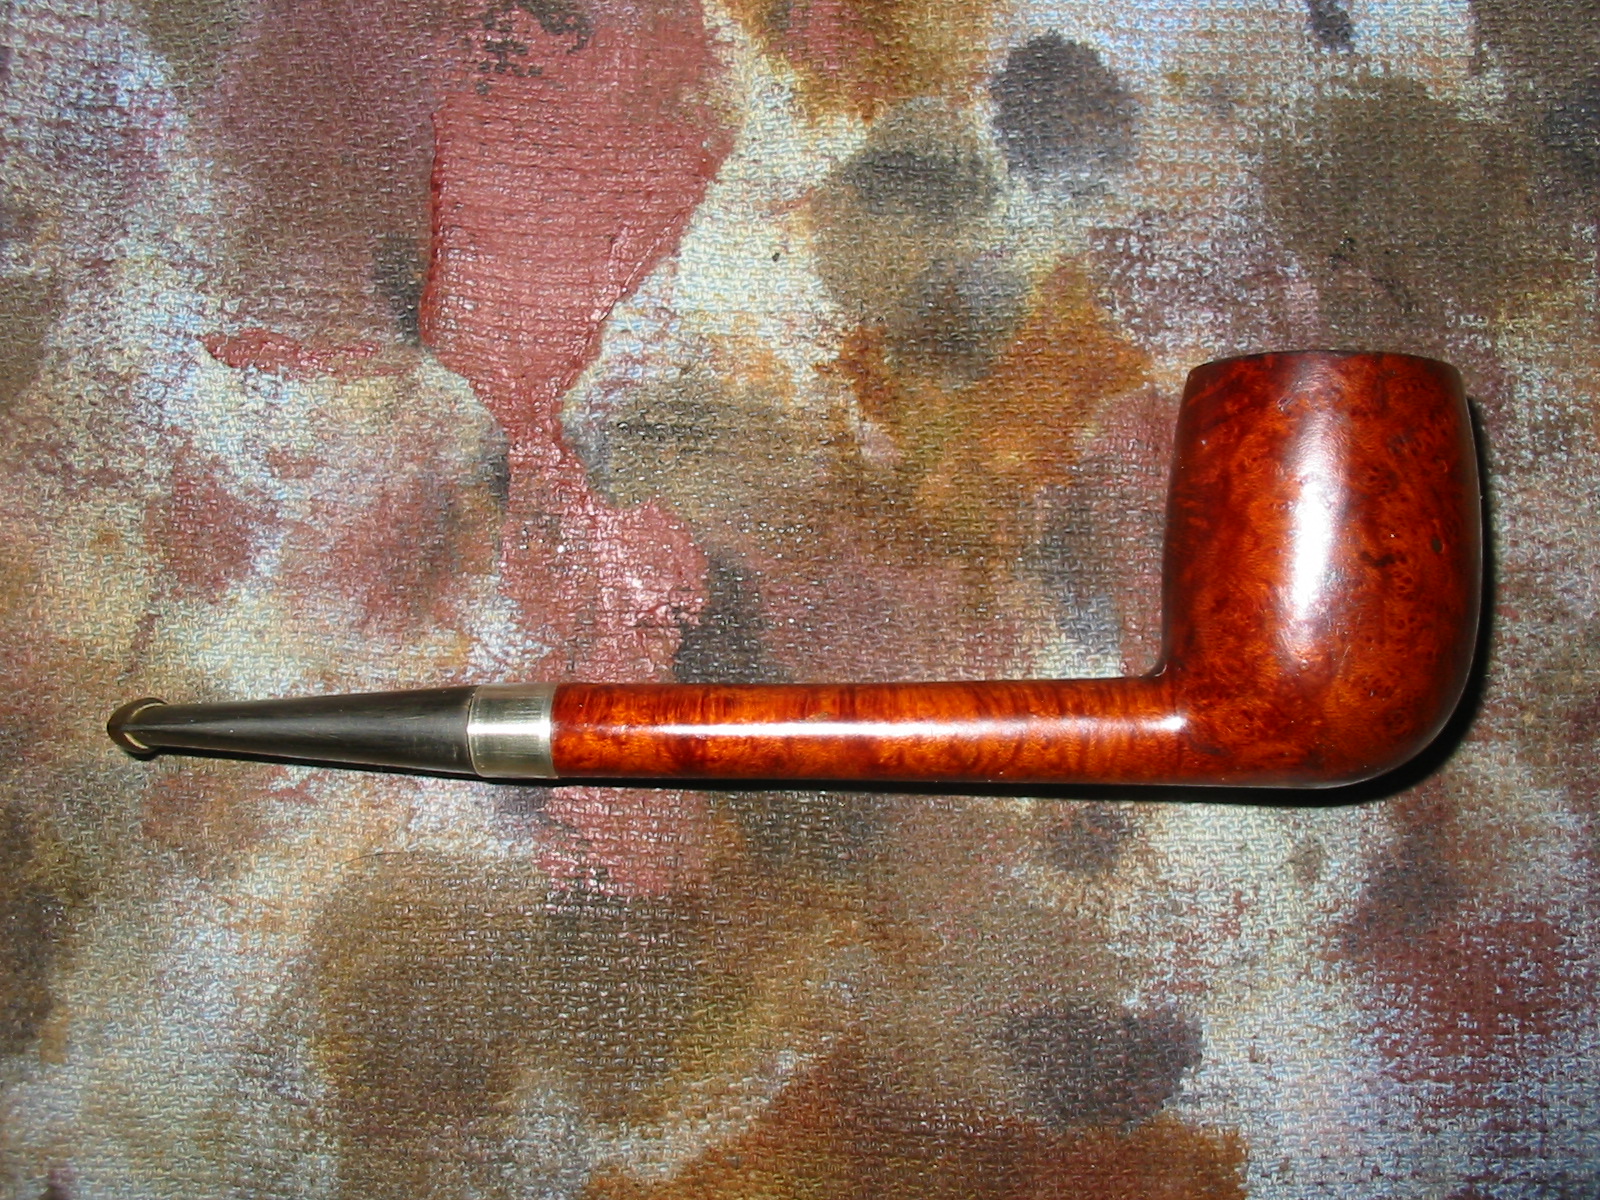
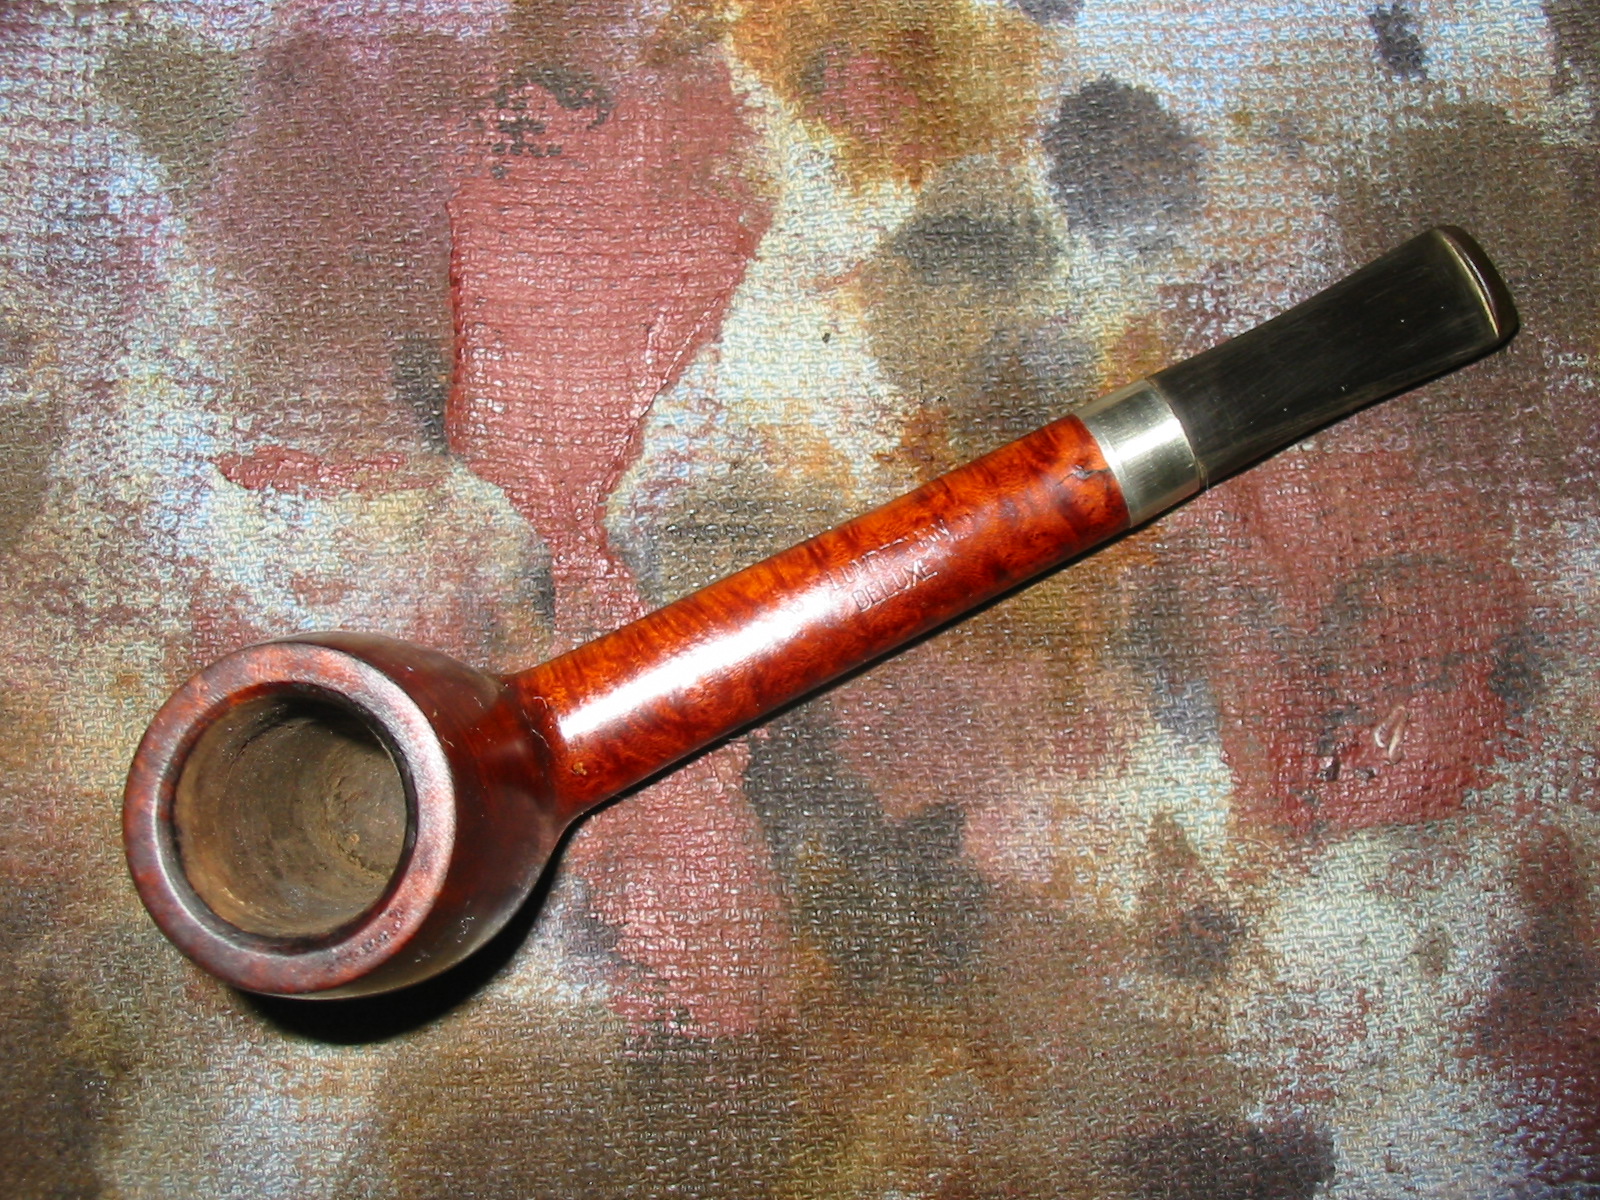
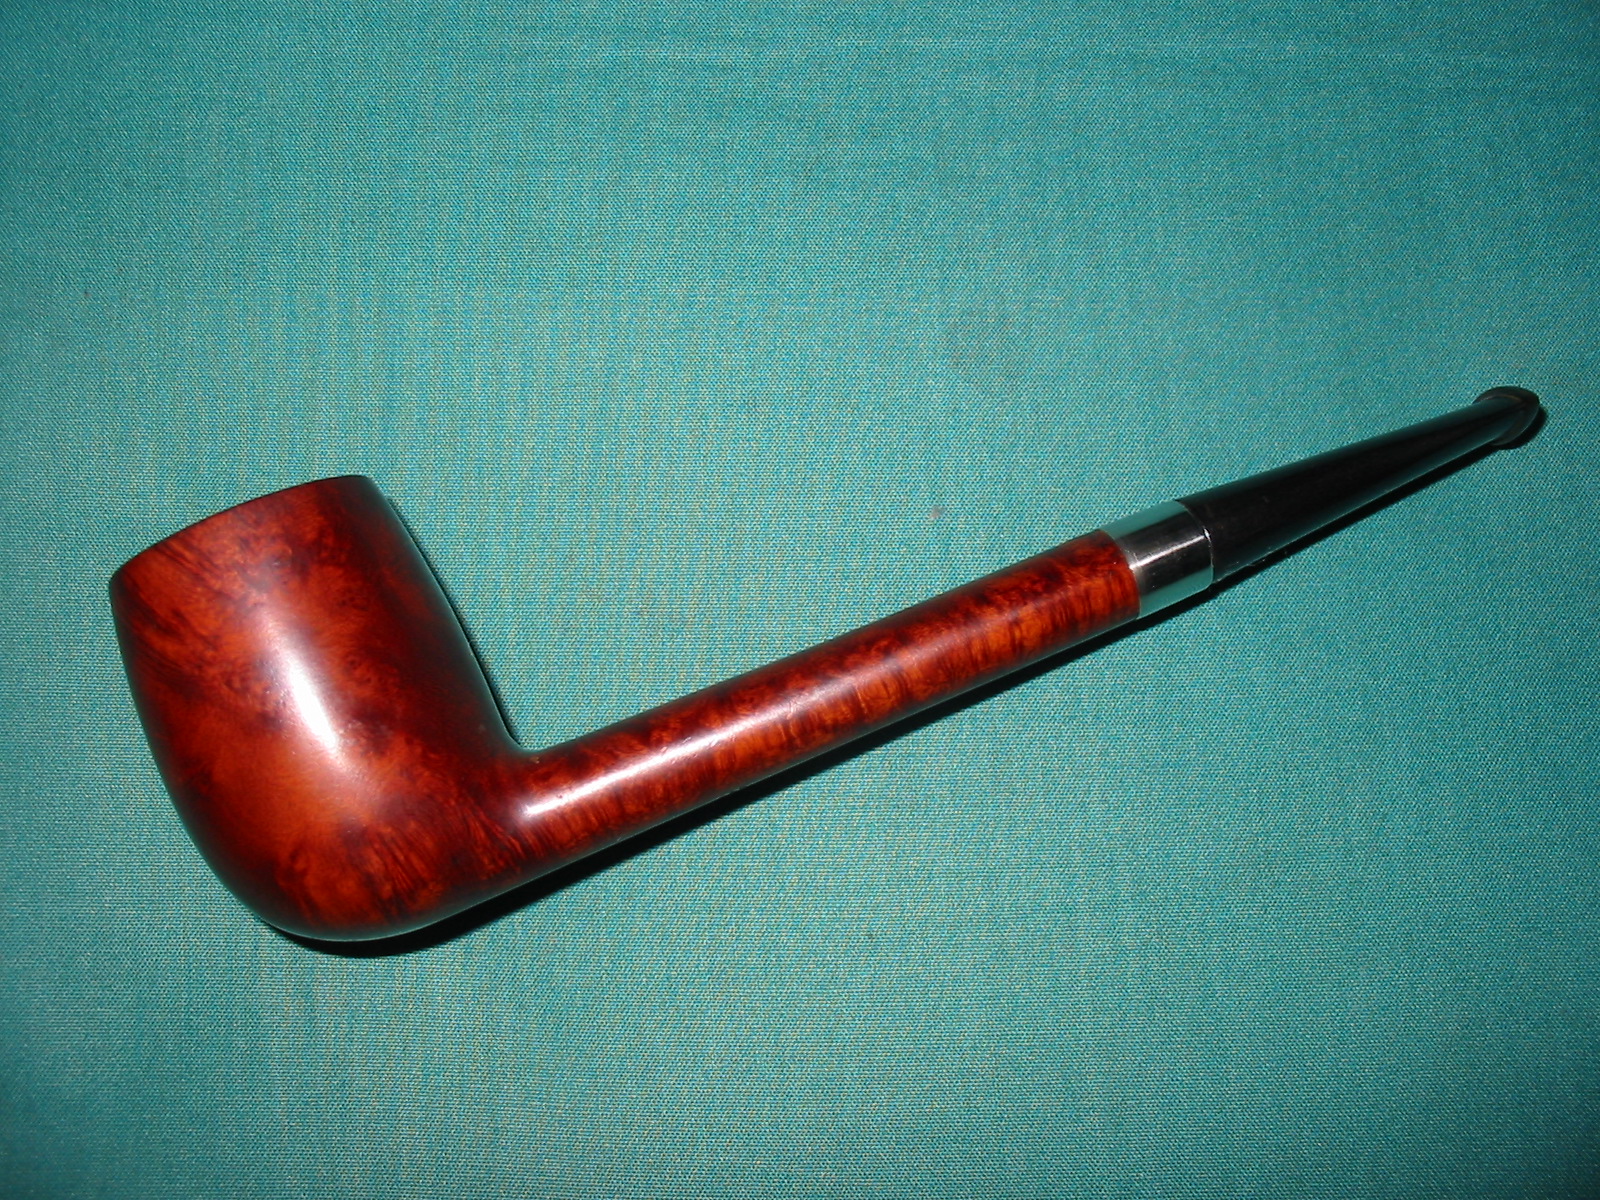
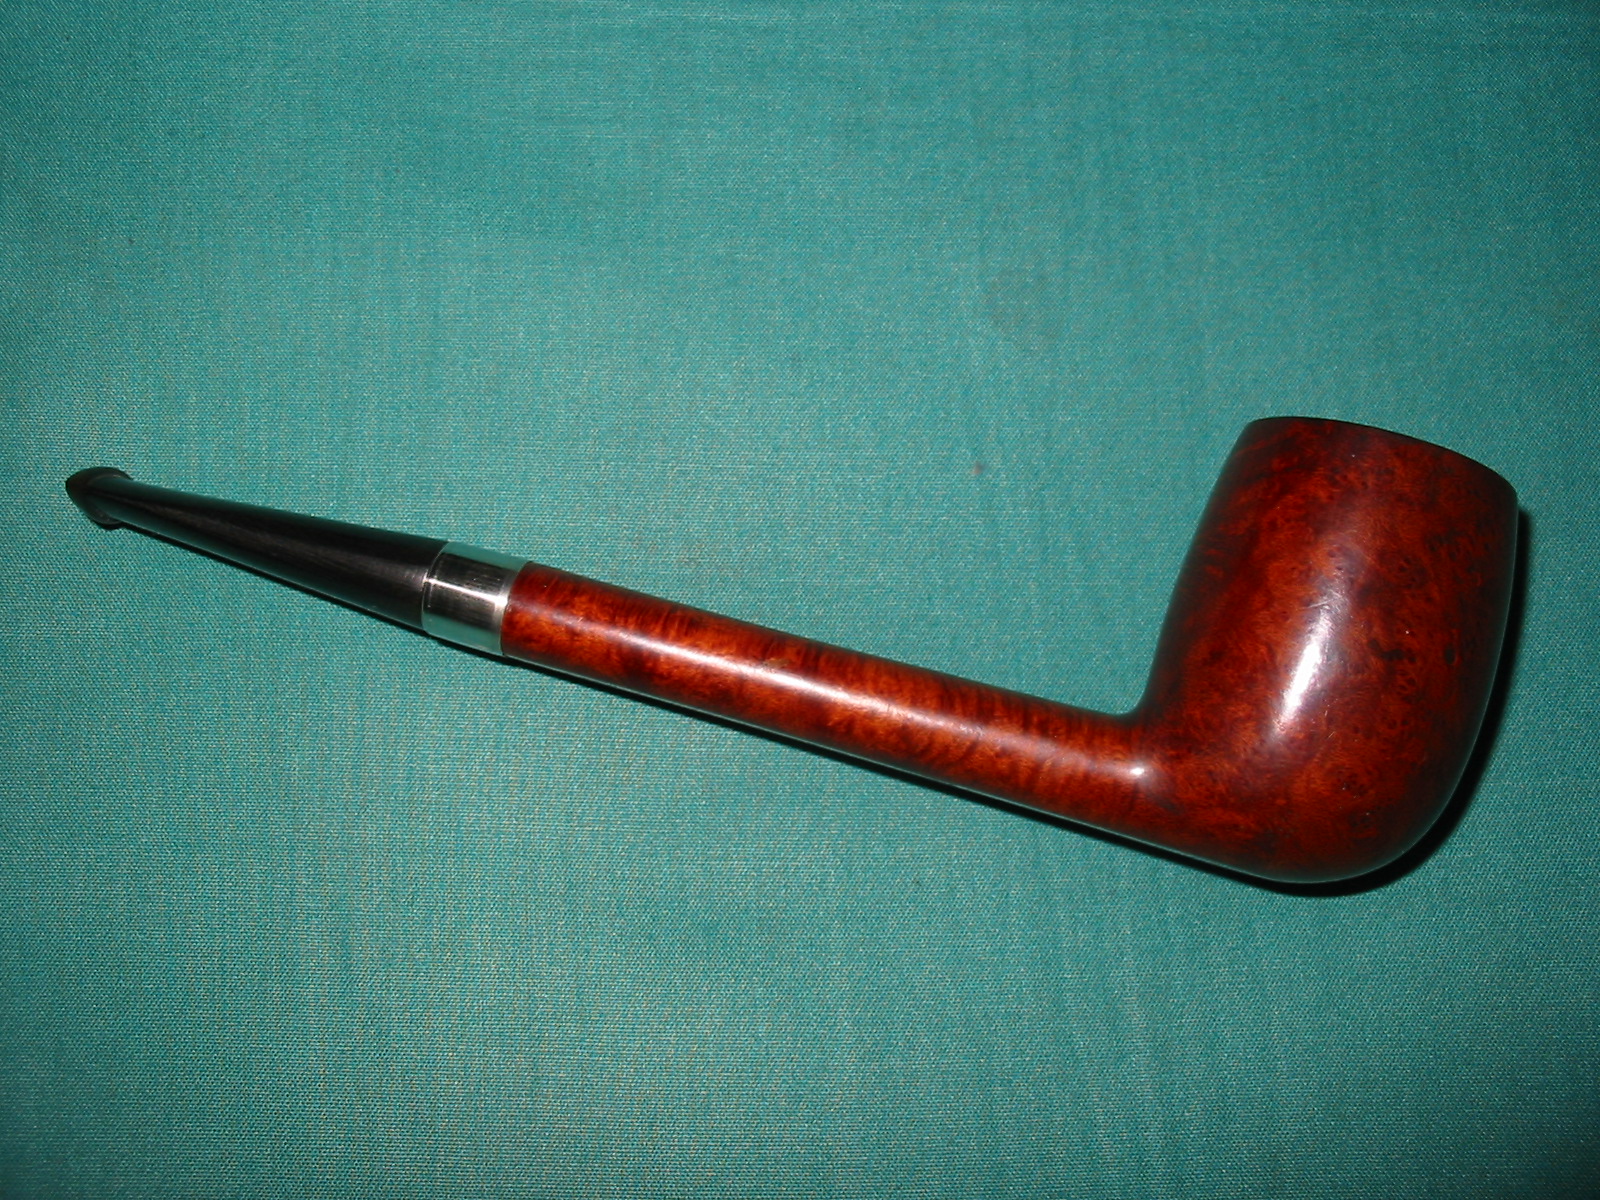
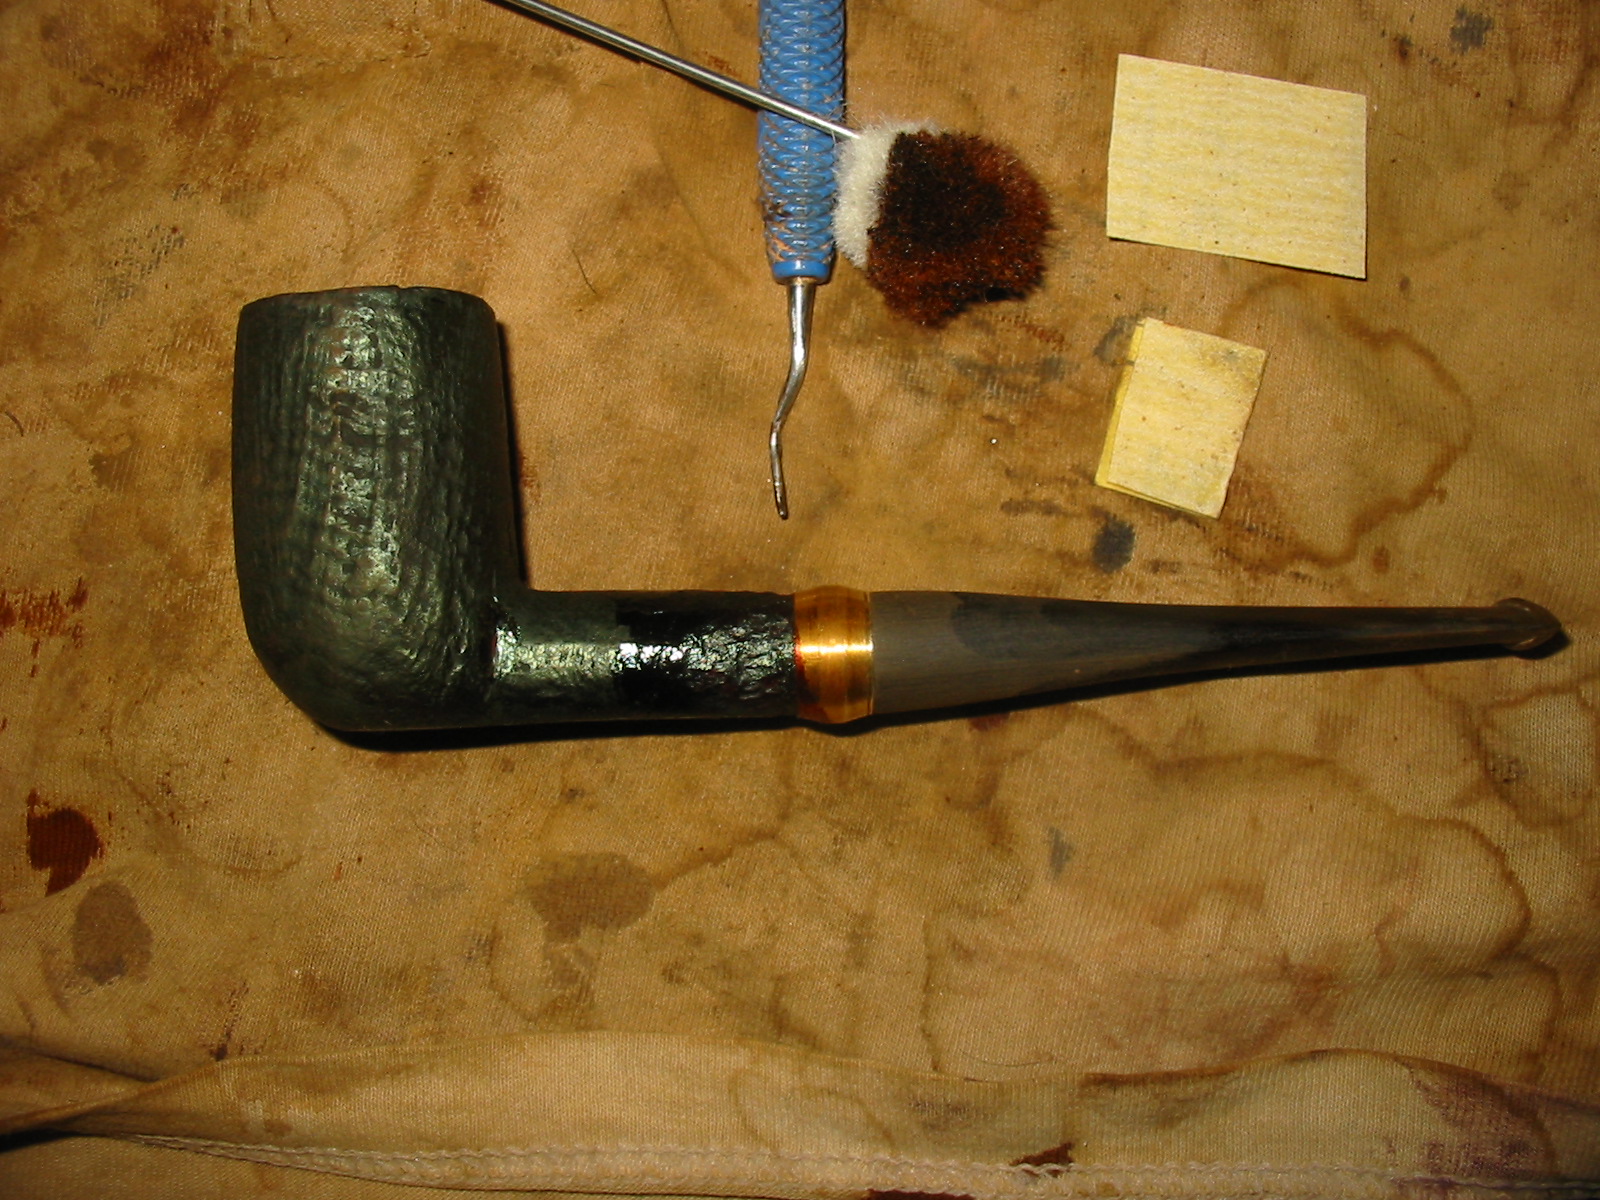
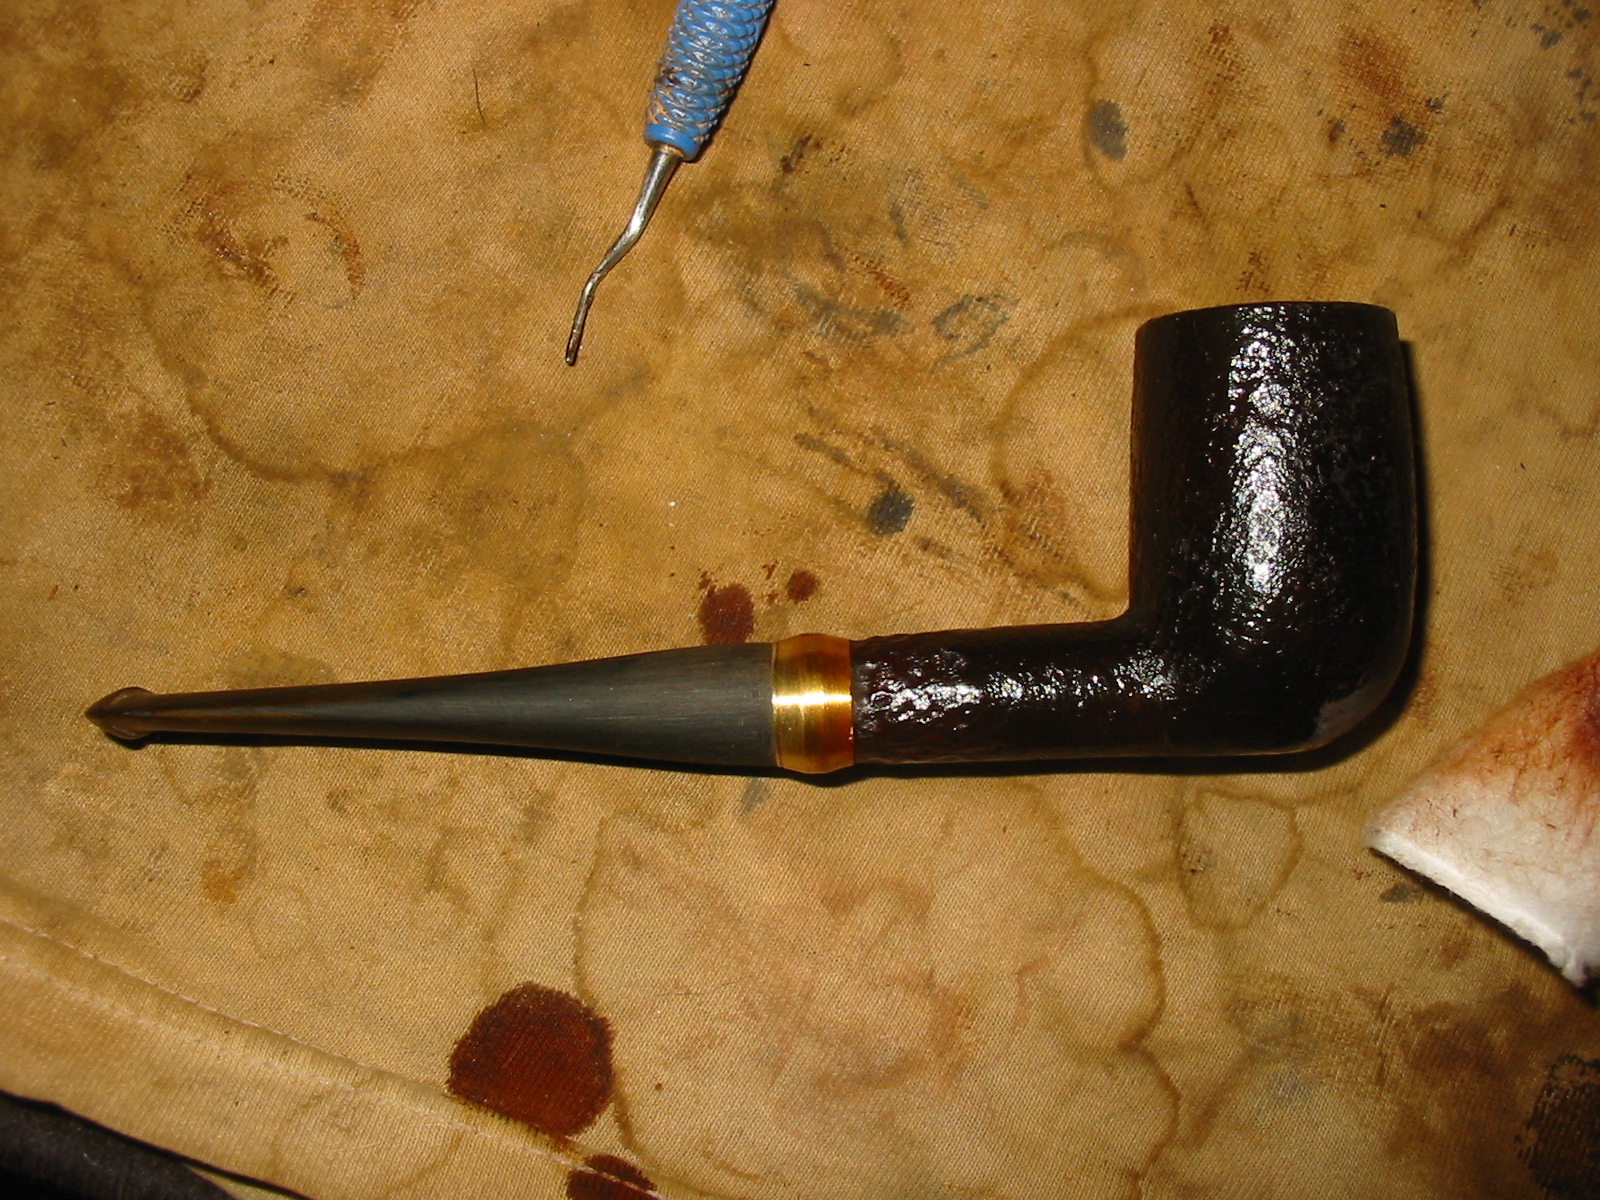
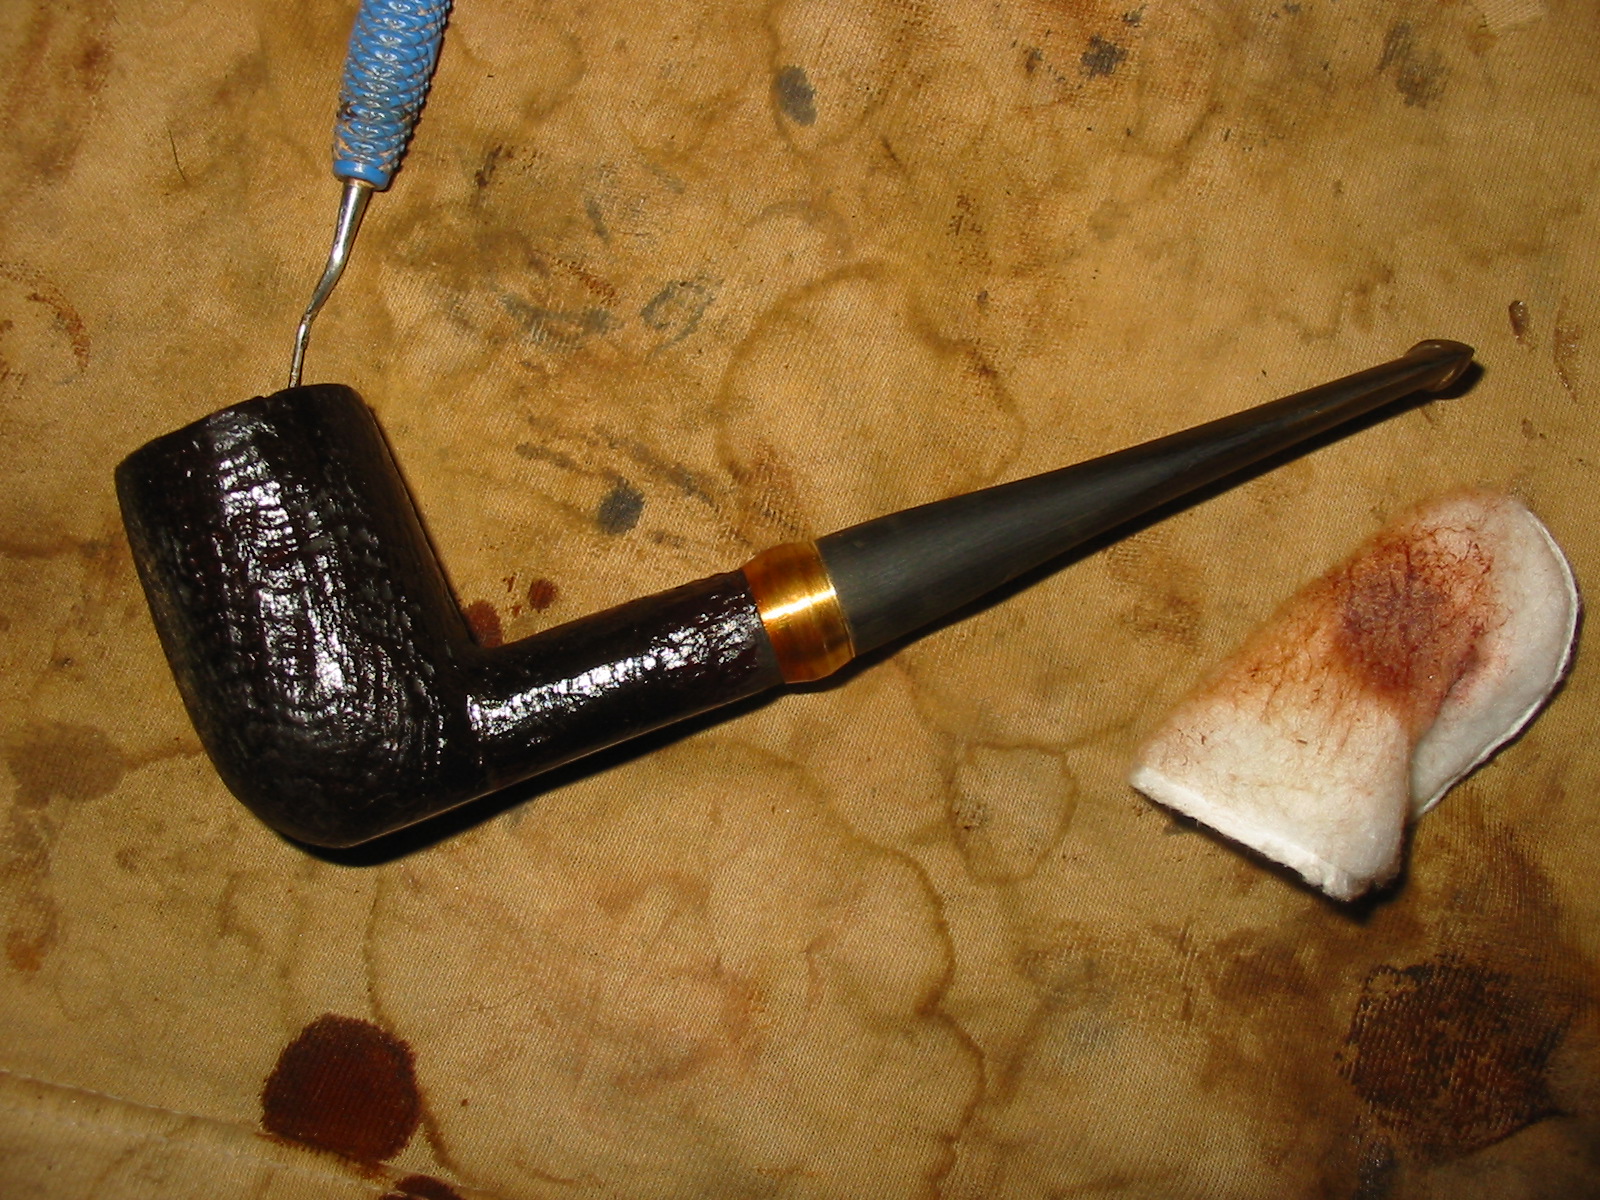
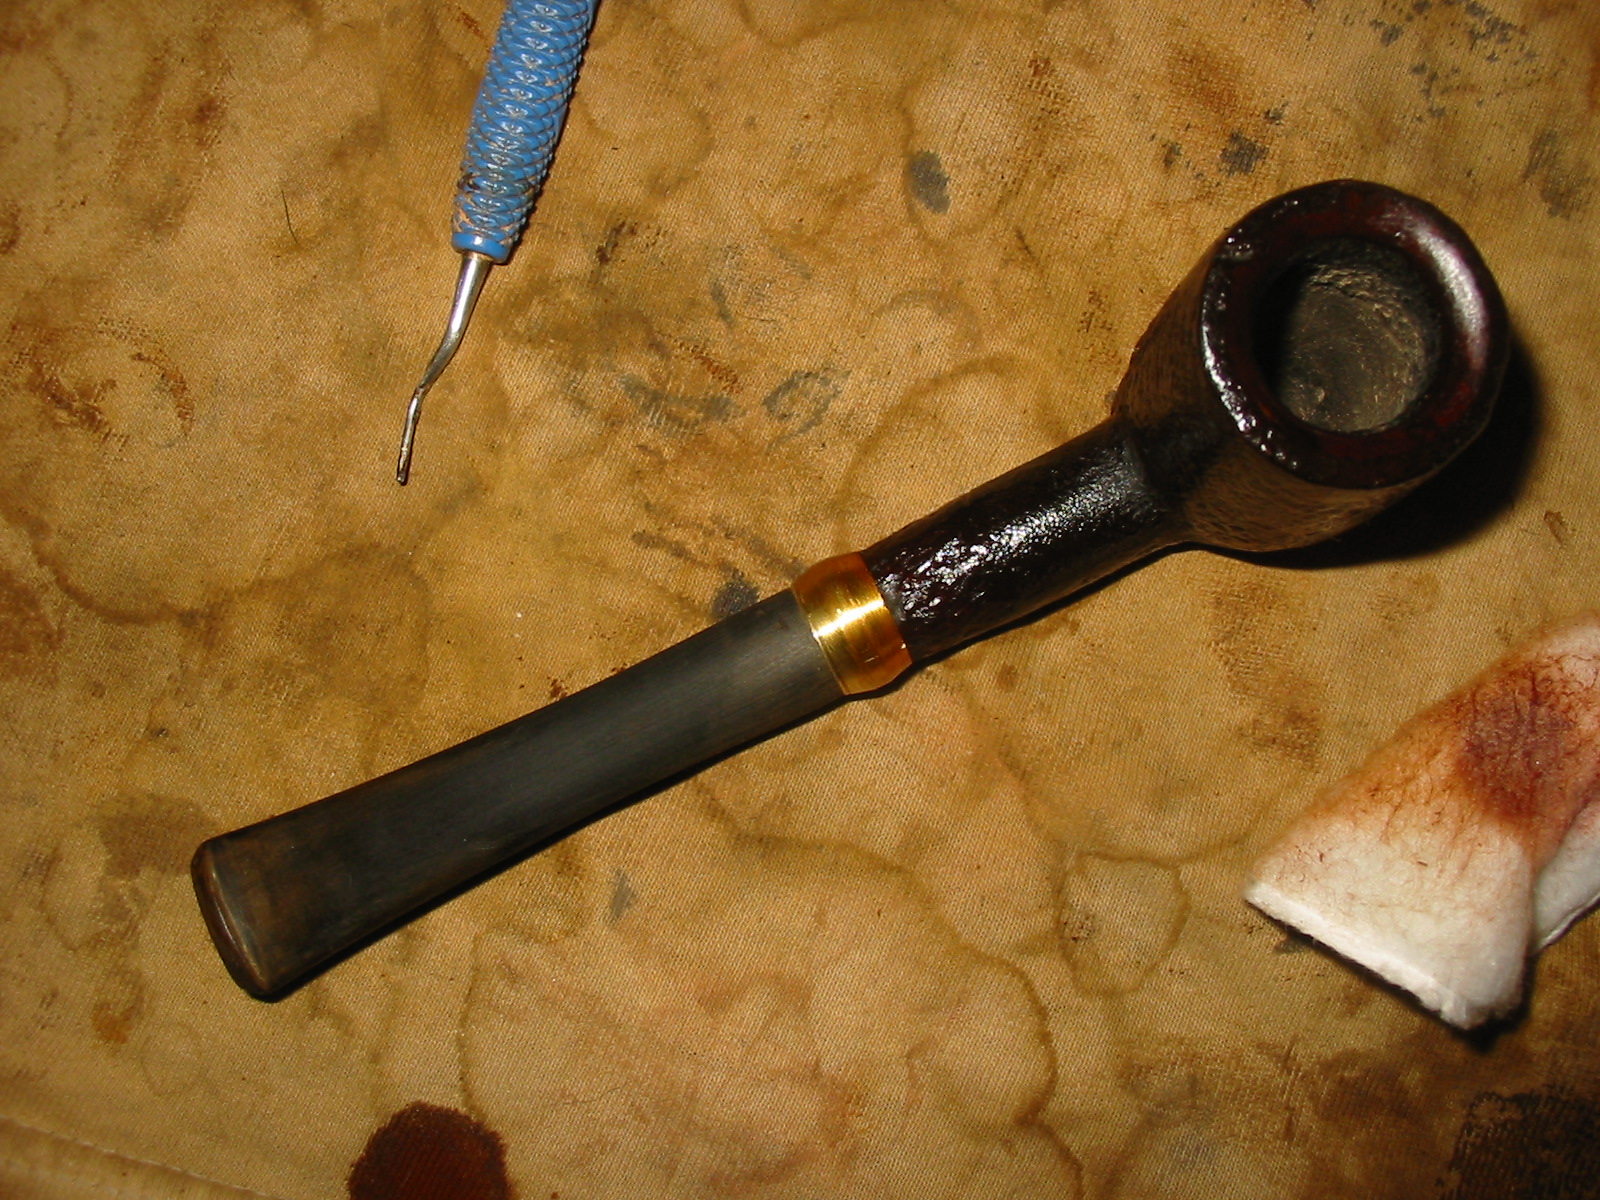
Repairing and Restoring a Lumberman Deluxe Canadian by Comoy’s


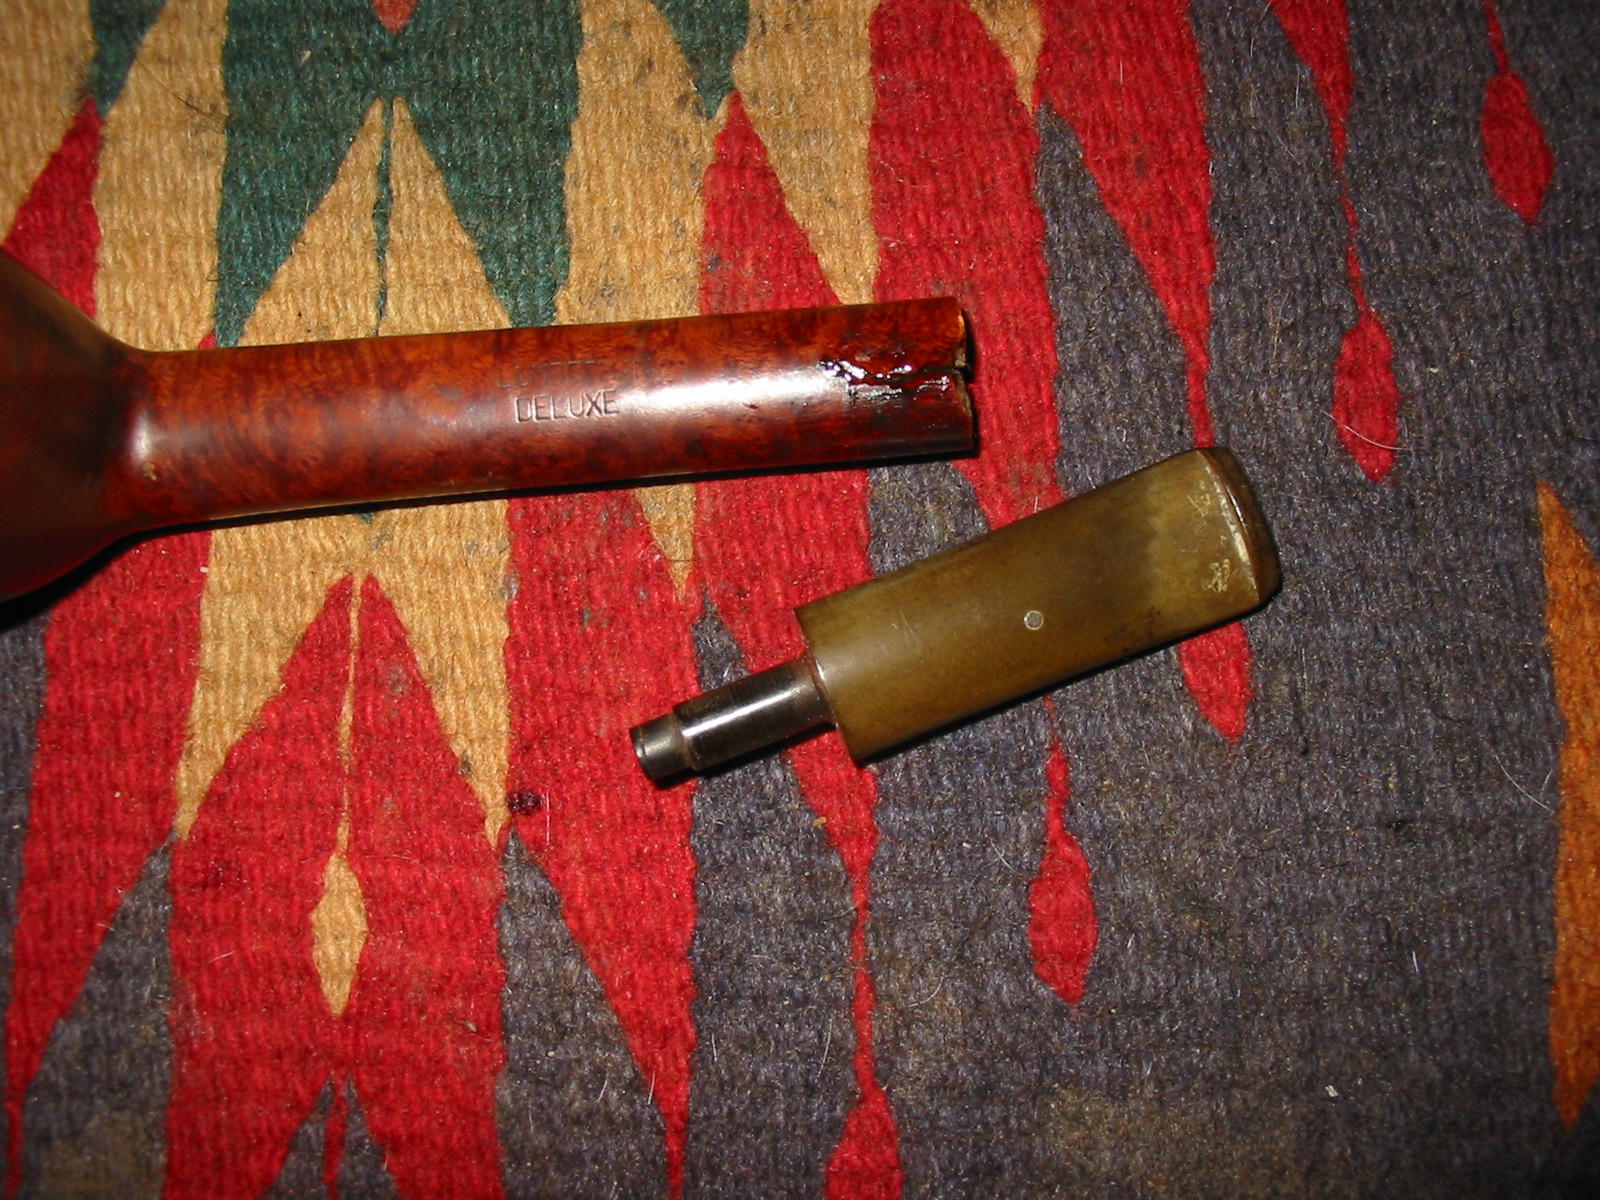
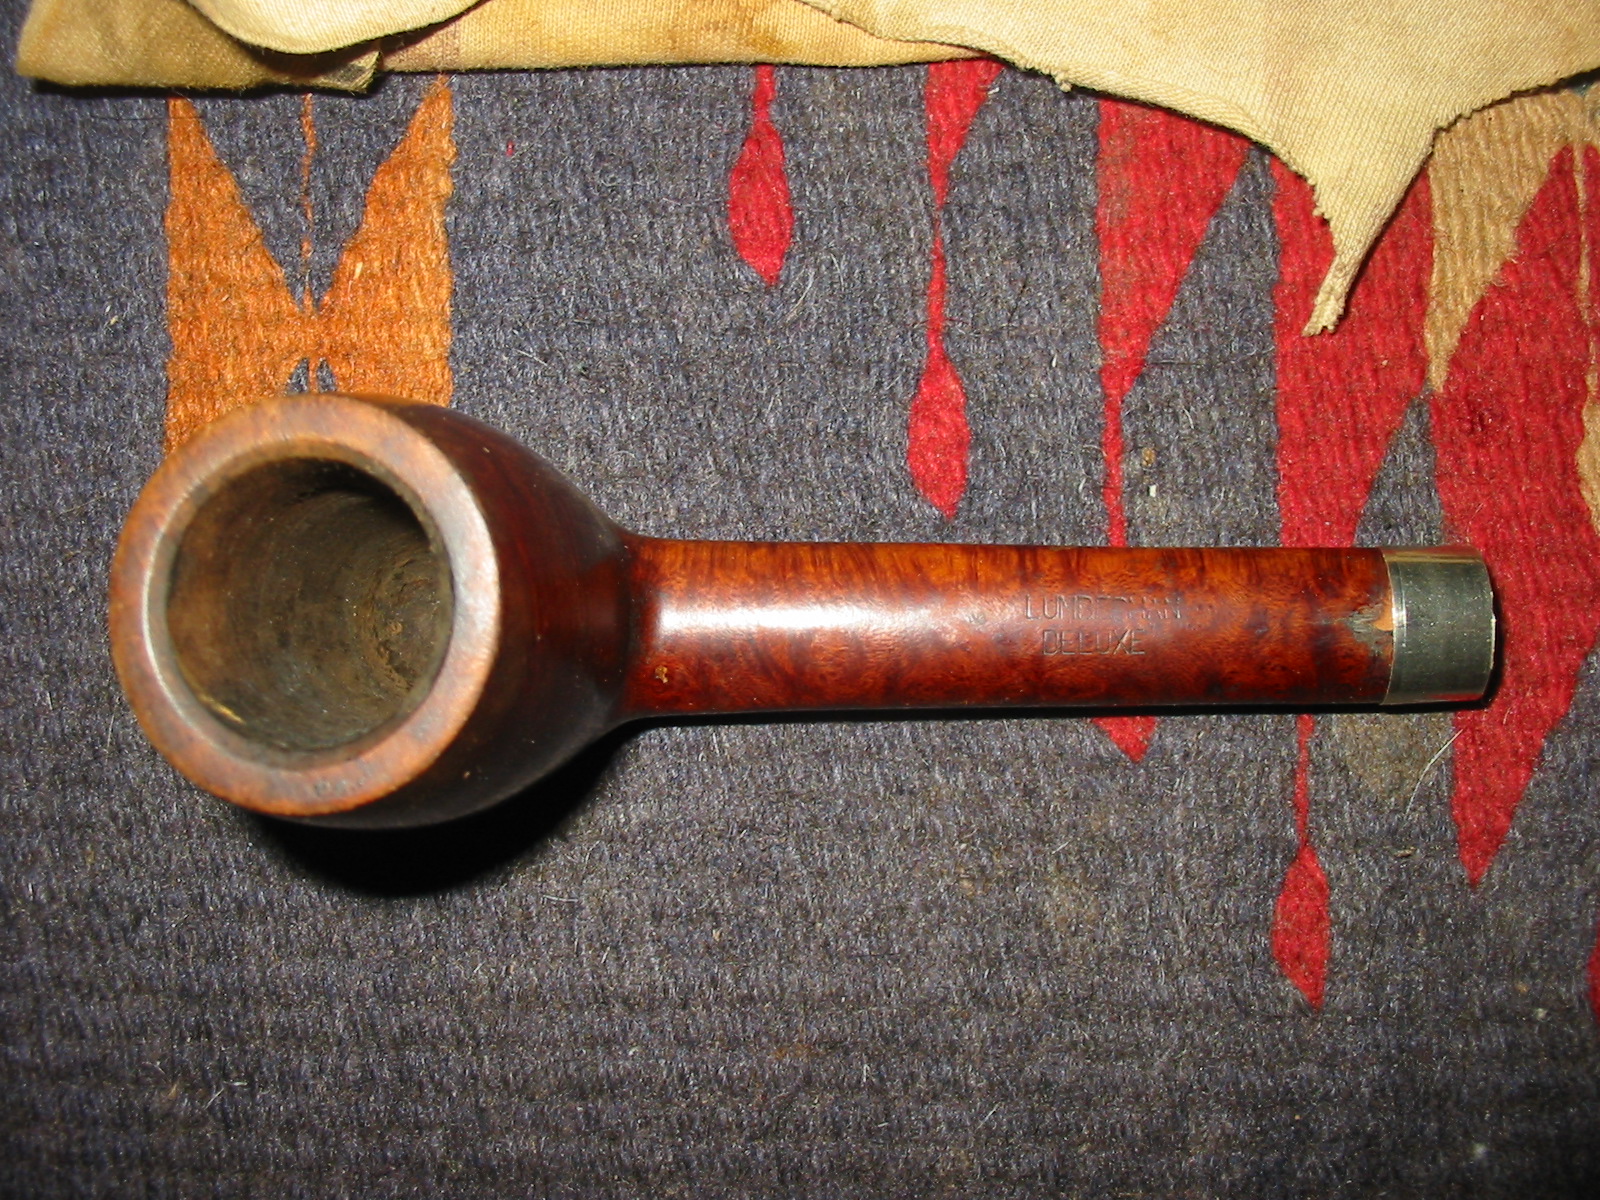
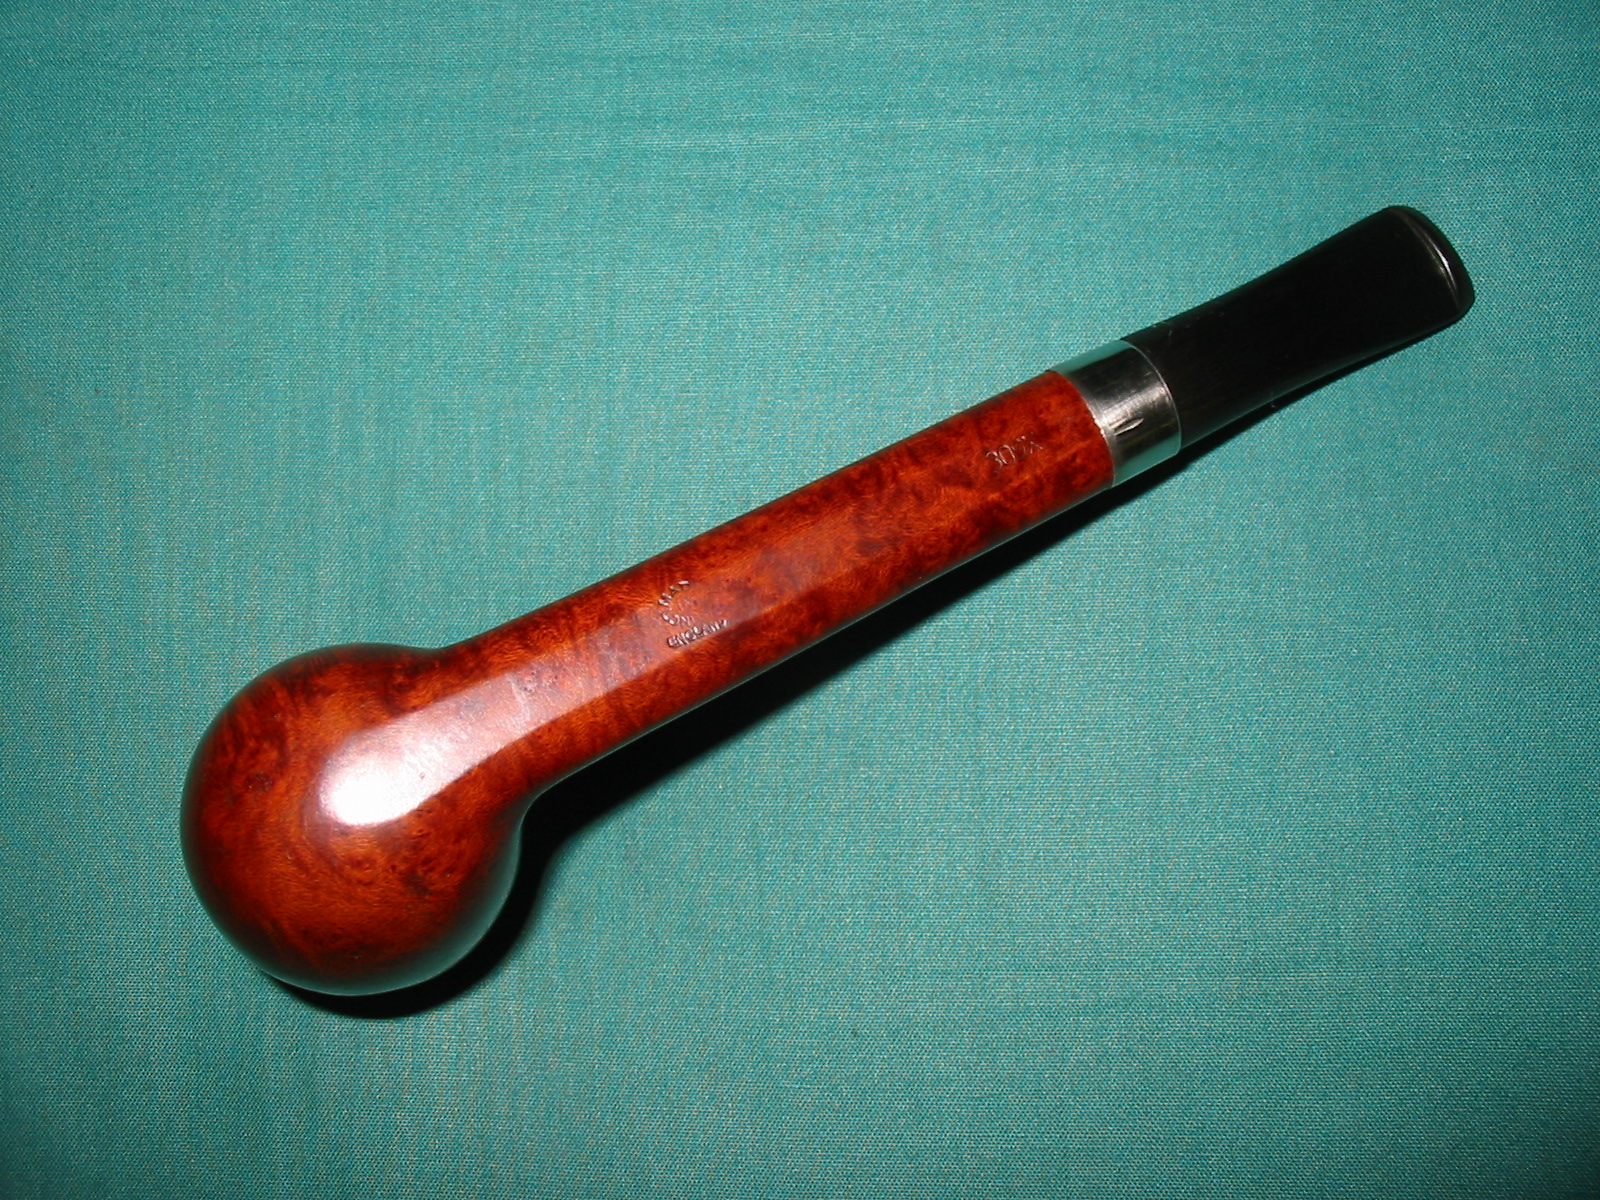
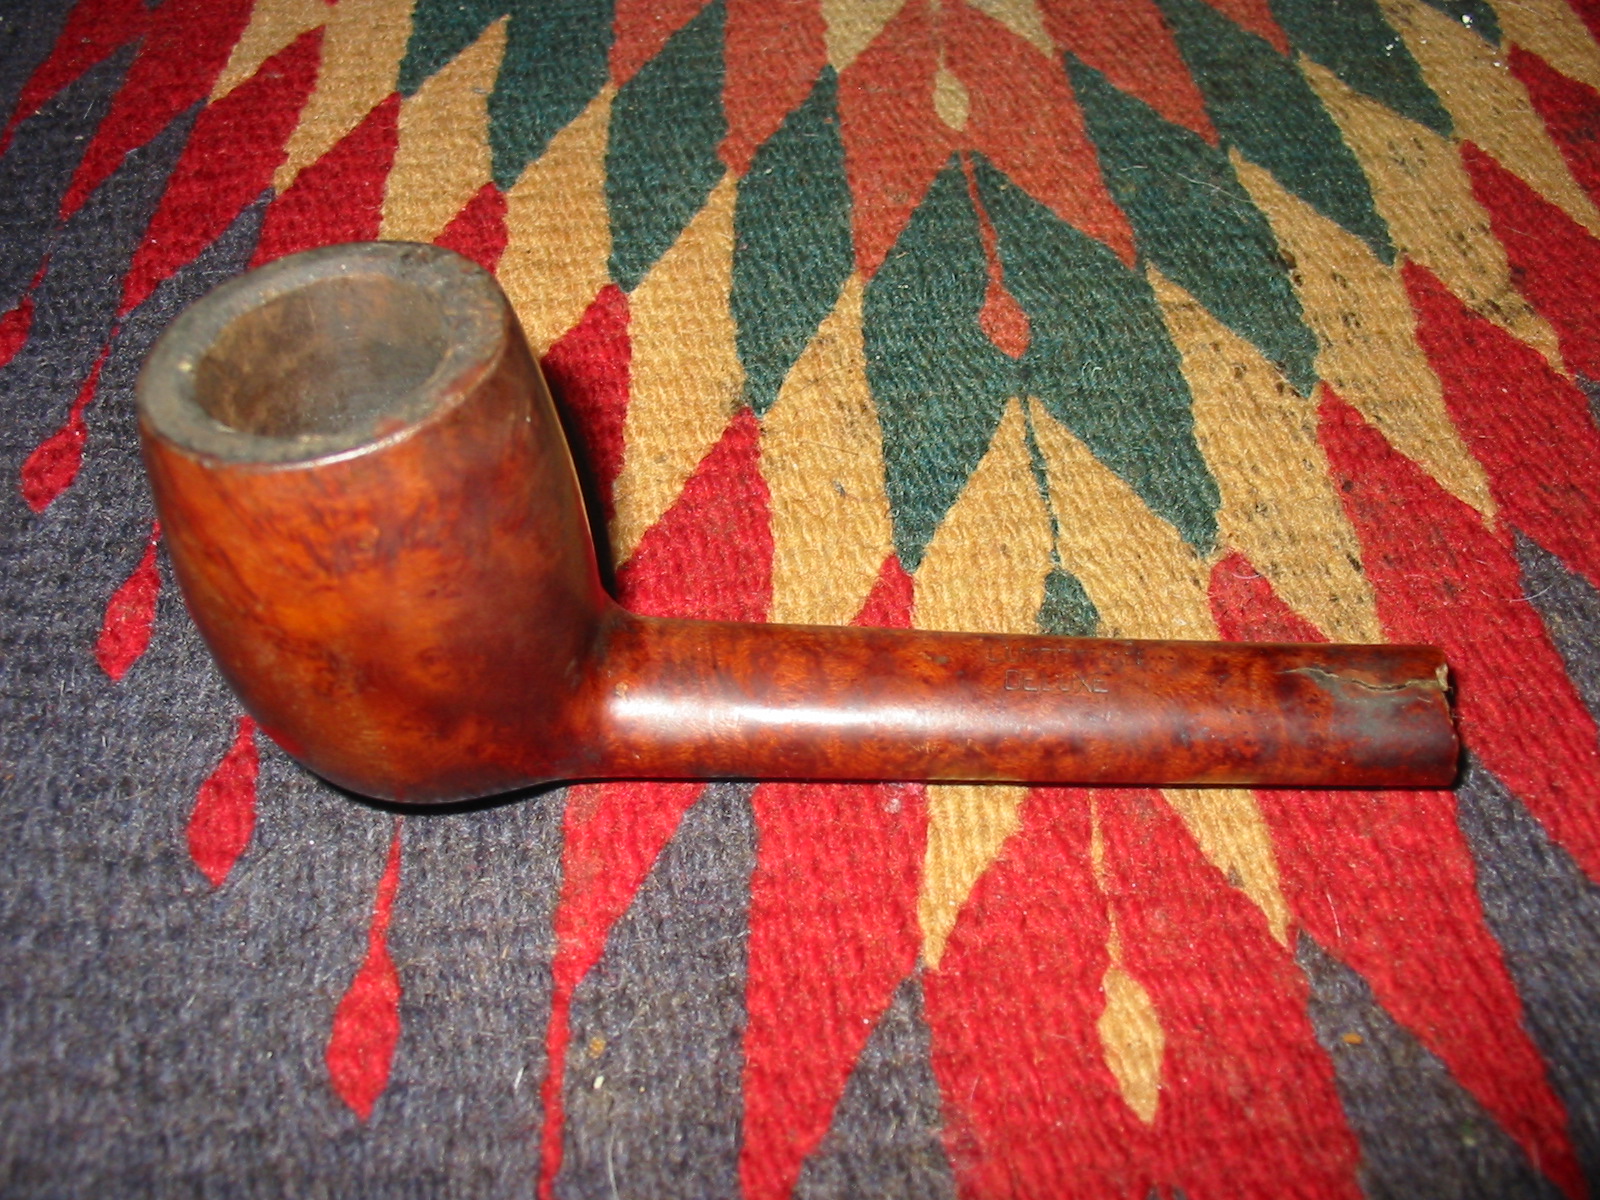
In a batch of pipes I was gifted by Andrew there was a pipe to repair. It is pictured below. The stamping on it was new to me. It is stamped LUMBERMAN over DELUXE on top of the shank and on the underside it is stamped Made and London arced in a circle with “in” at the center of the circle. It is also stamped 309X. I do not see an L after the X in the stamping of the shape number. The shank was cracked and looked like it had been taped from the sticky substance left around the shank and crack. It also was without a stem. Looking it over it appeared that the shank had also been cut off slightly and the cut was crooked. There was a chipped out portion at the end of the crack. All of that would need to be evened out in the repair. The bowl was caked toward the bottom and dirty with a buildup of carbon on the rim and the inner bevel of the rim. The finish was dirty and there were remnants of sticky tape that had been used to repair the shank on both the bowl and the end of the shank. It needed some TLC and work if it was going to be brought back to life.
IMG_4521

IMG_4522
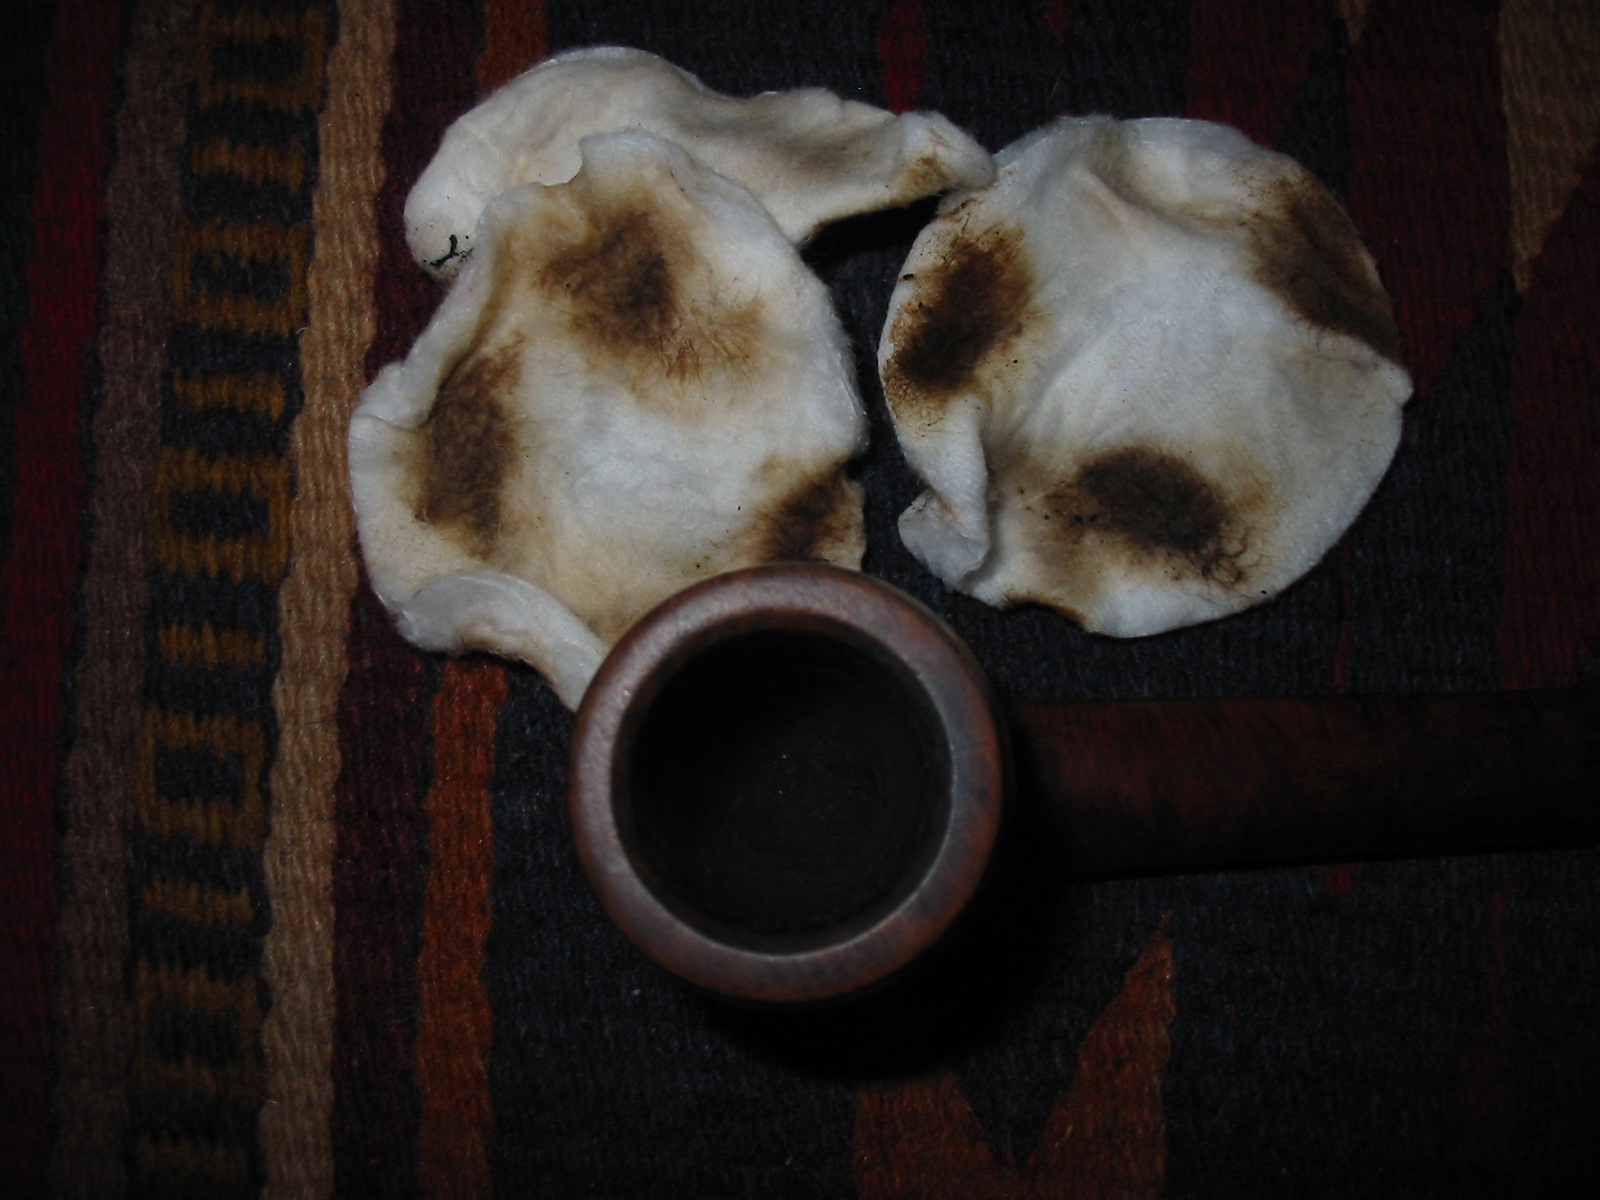
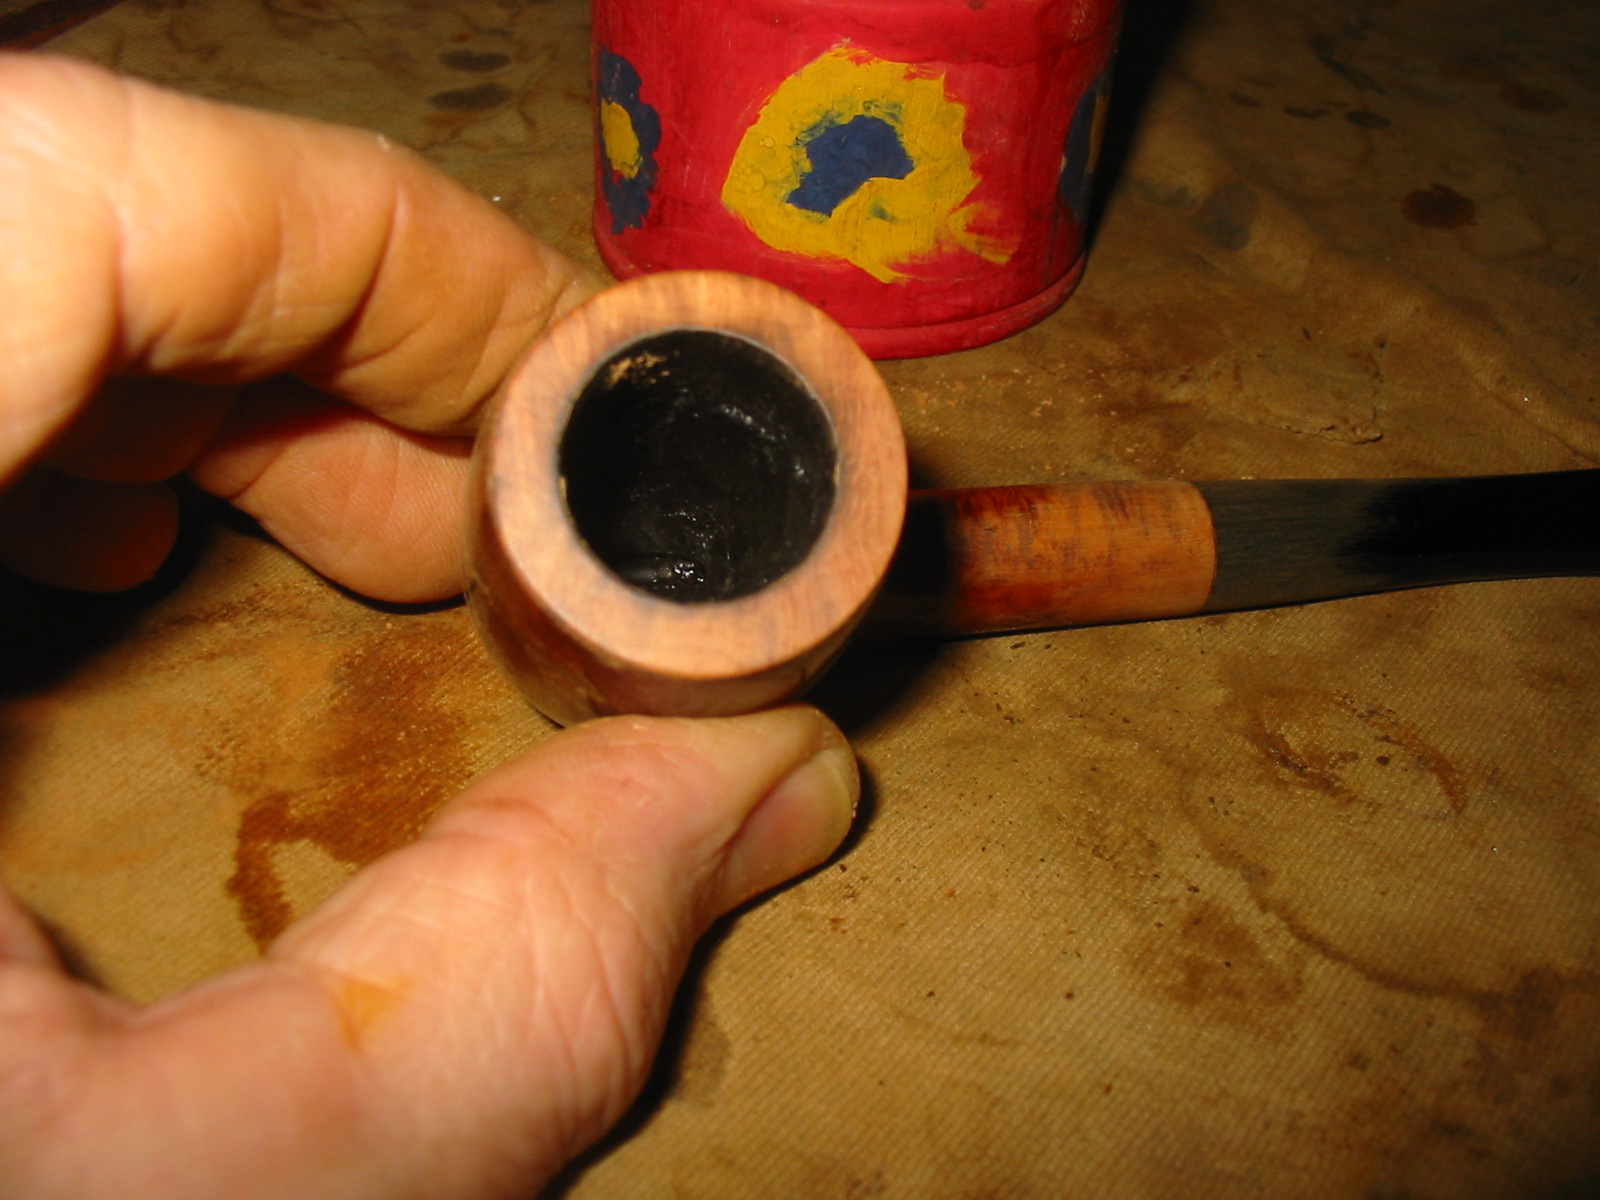
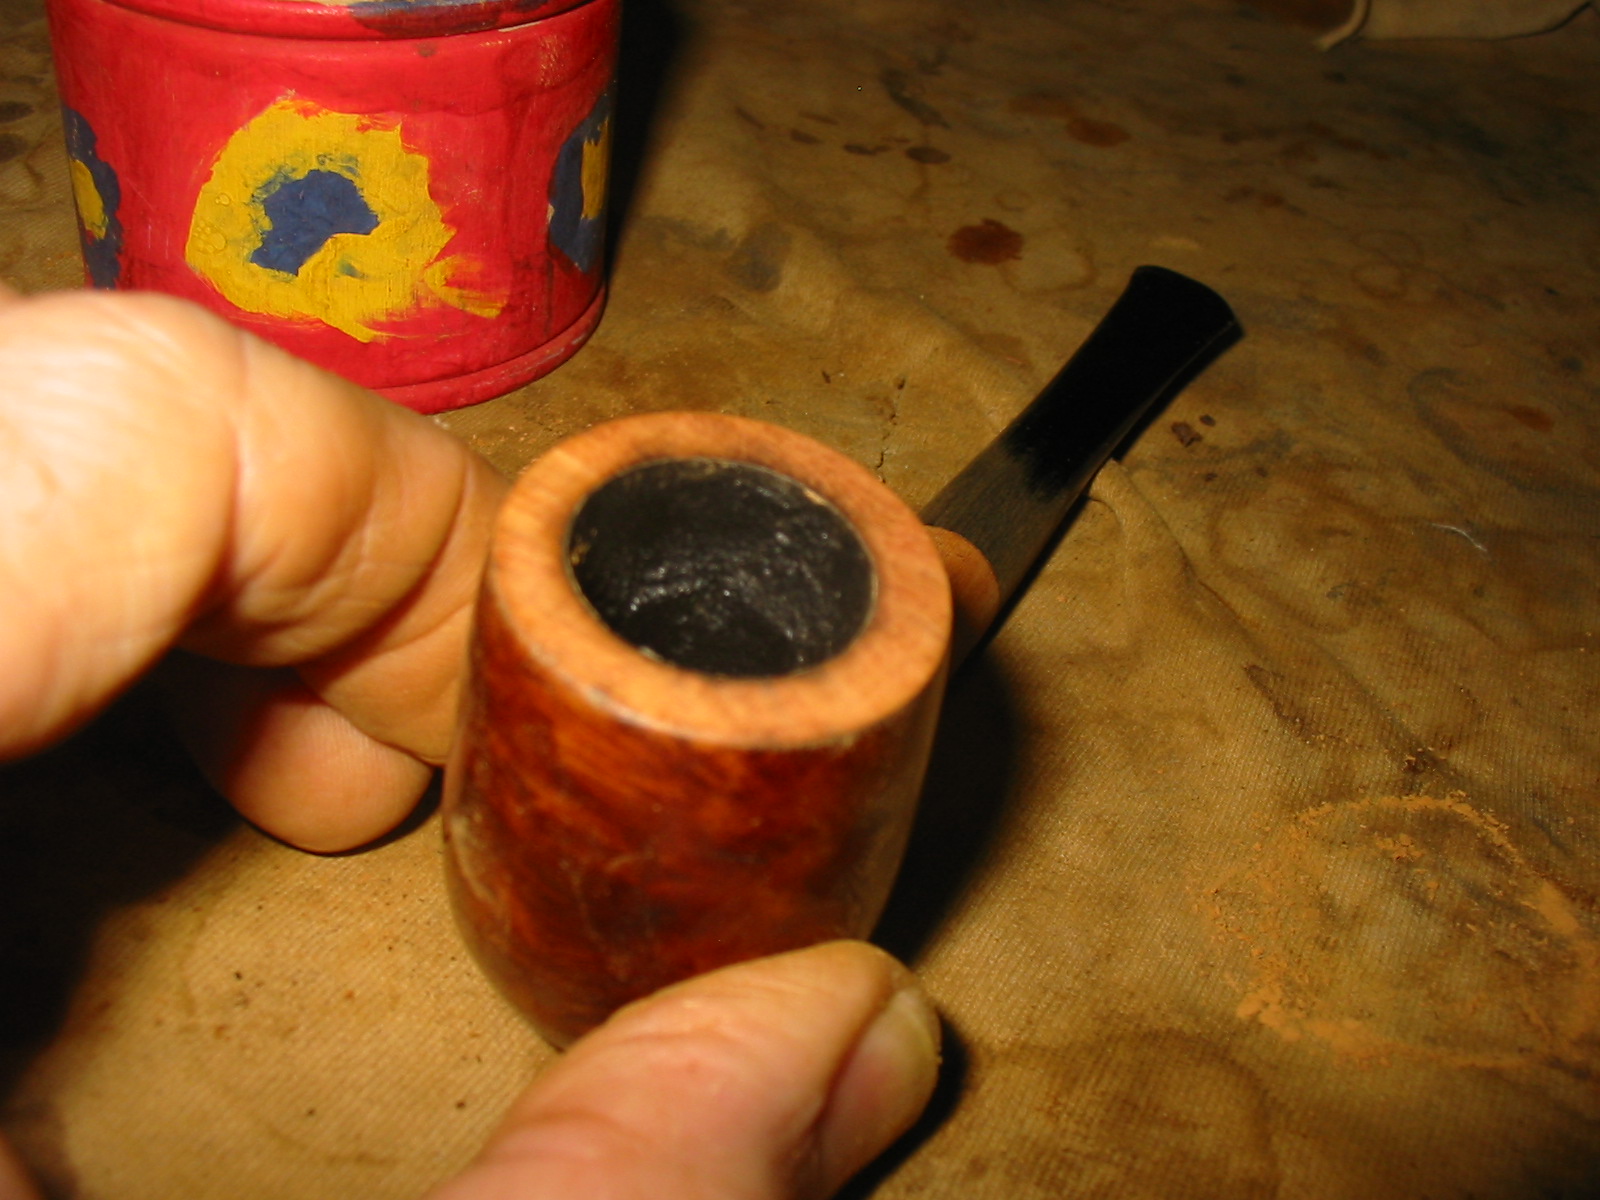
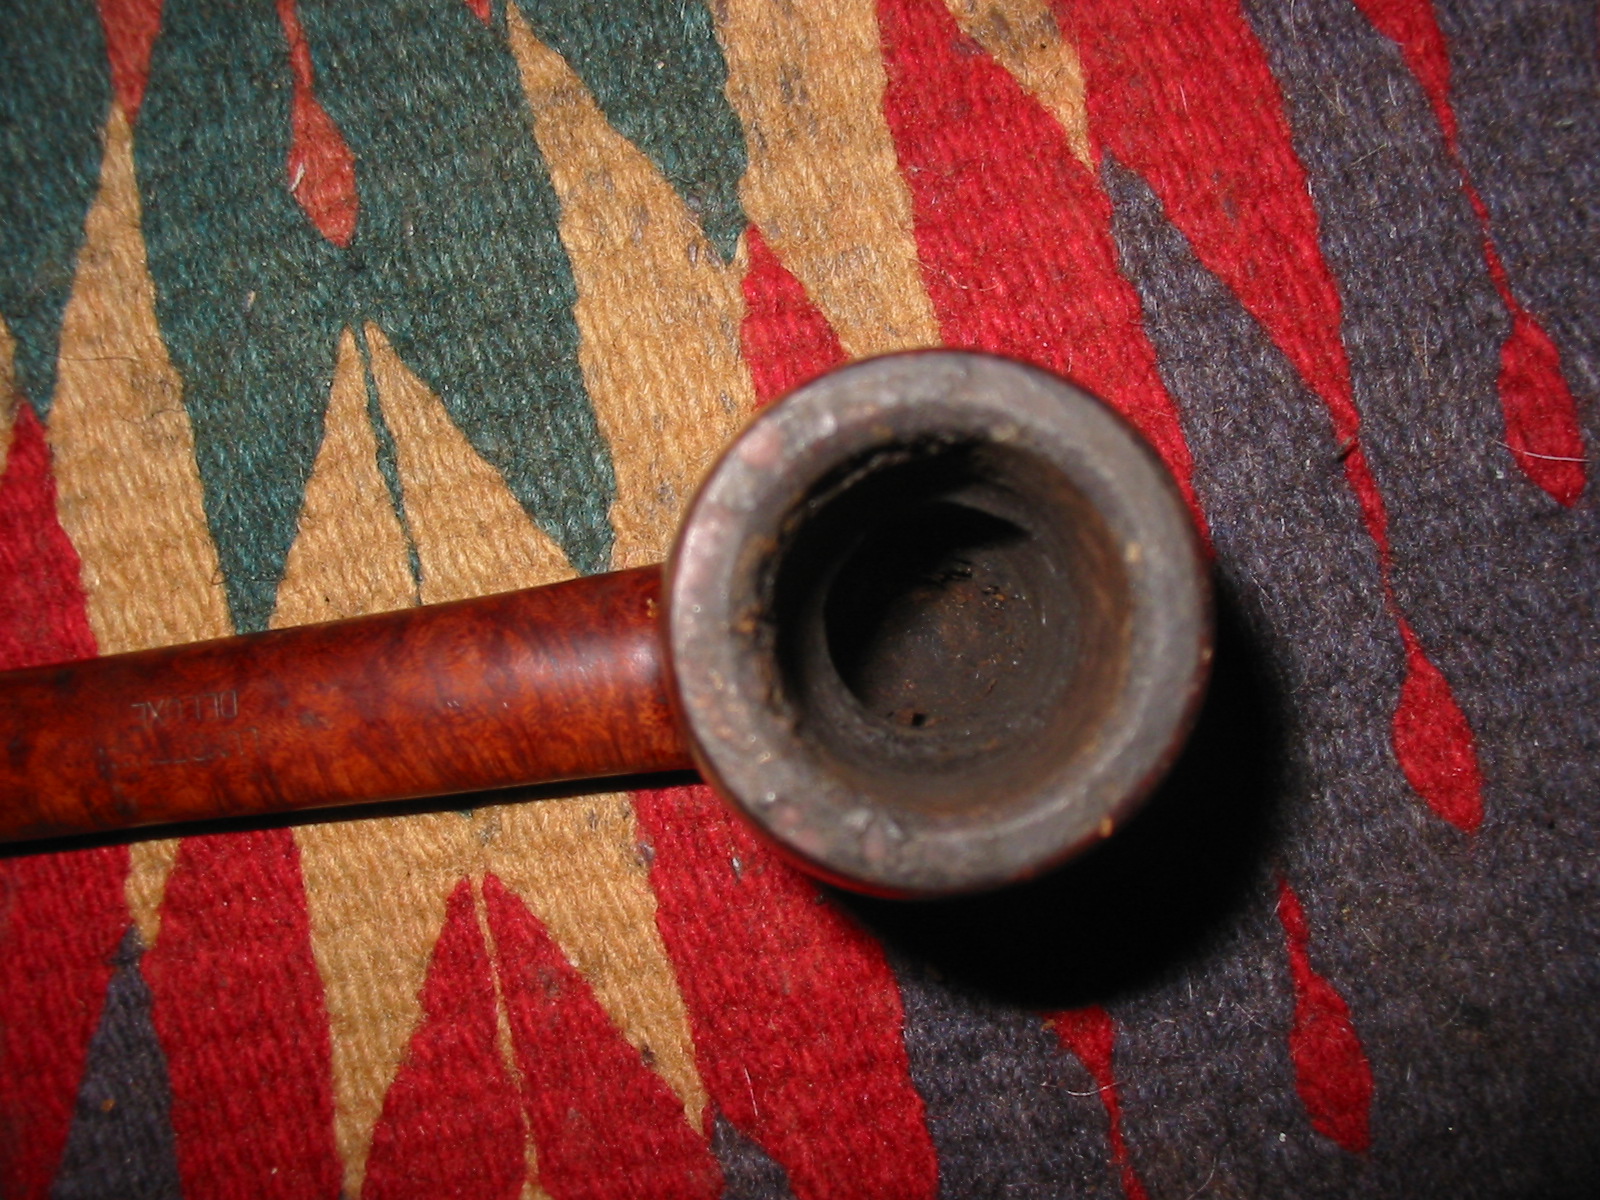
The close up photo below shows the extent of the caking and the buildup on the rim. Note that the inner bevel was intact and the rim itself was undamaged – no nicks or dings on the outer edge and no burn marks. This one would clean up nicely.
IMG_4528

The Lumberman stamping was new to me. I had not heard of it before but it looked interesting in the photos that Andrew sent along. I asked him about the brand so he included some interesting information on the stamping that he had gleaned from a Mr. Can EBay listing. It certainly sheds some light on the brand. Here is how the listing read:

“This Collectible Briar pipe is unique, extremely rare Comoy’s 309XL – a classic Canadian Shape. It has the arched Comoy’s nomenclature stamped over Deluxe (just as it appeared in the early 1930’s) both of which were stamped over Lumberman. For anyone already familiar with the stamping of Comoy Canadians that is enough to recognize that this is a rare and collectible Comoy.”

It appeared that the pipe was made by Comoy’s and well worth the effort to restore it. Andrew also sent along three pages of background information that he had found on the brand. I believe that Mr. Can was also the source of this information. I have included some of it here as it is interesting to those of us who are curious regarding the history of the pipes we collect:

“During its history, Comoy’s has had three distinct sets of nomenclature, though they became somewhat blended in later years. The earliest Comoy nomenclature either had no Comoy stamping or a scripted, signature like forward leaning Comoy’s beneath which were featured names instead of shape numbers. Few of those names (Like Leman, Naval, Adelaide, and so on) are recognized even by the most ardent collectors. Then after World War I when Comoy began introducing what is sometimes called their Old Nomenclature (featuring the Prima, as the Top of the line with other lines like the Old Bruyere, Grand Slam, Lions Head, Lumberman, Lumberman Special and so forth) and arched Comoy’s stamping was used. In the 1930’s the Prima gave way to the Deluxe as the top of the line Comoy. Then just before World War II newer nomenclature started to appear (like Blue Riband, Specimen Straight Grain, and so on) and the Deluxe was replaced by the Royal Comoy. That New Nomenclature expanded dramatically after the War and blended with the modern nomenclature today.”

“The use of the arched Comoy’s ended with World War II and was replaced after the War with a straight line Comoy’s (along with the now famous country of origin stamping of a circular “Made In London” over a straight line “England”.”

“Prior to World War II with manufacturing facilities in both France and England, Comoy had pipes made in both locations. Most were easily identifiable by their country of origin stamping. There were several versions of Comoy’s Lumberman made in France and/or England. (They might have been the dame pipe but with different nomenclature.) “The Lumberman” and “The Lumberman Special were made in both factories. But none had the arched Comoy’s stamping.”

“After WWII Comoy’s reintroduced the Deluxe, discontinued the arched Comoy’s and continued various versions of the Lumberman. Perhaps Comoy’s best graded Lumberman was stamped Lumberman Deluxe – but it had no Comoy stamping. Lumber was always stamped over Deluxe.”

“Normally Comoy offered to Canadian sizes designated by shape numbers 296 and 309. The difference was in the length of the Canadians. The 309 shape was Comoy’s longest Canadian and the 296 was shorter. However, the extra long Canadians were upgraded with the additional stamping of XL and the very longest were sometimes stamped XXL. Either upgrade was rare.” – the above was taken from correspondence Andrew included when he sent the pipe to me.

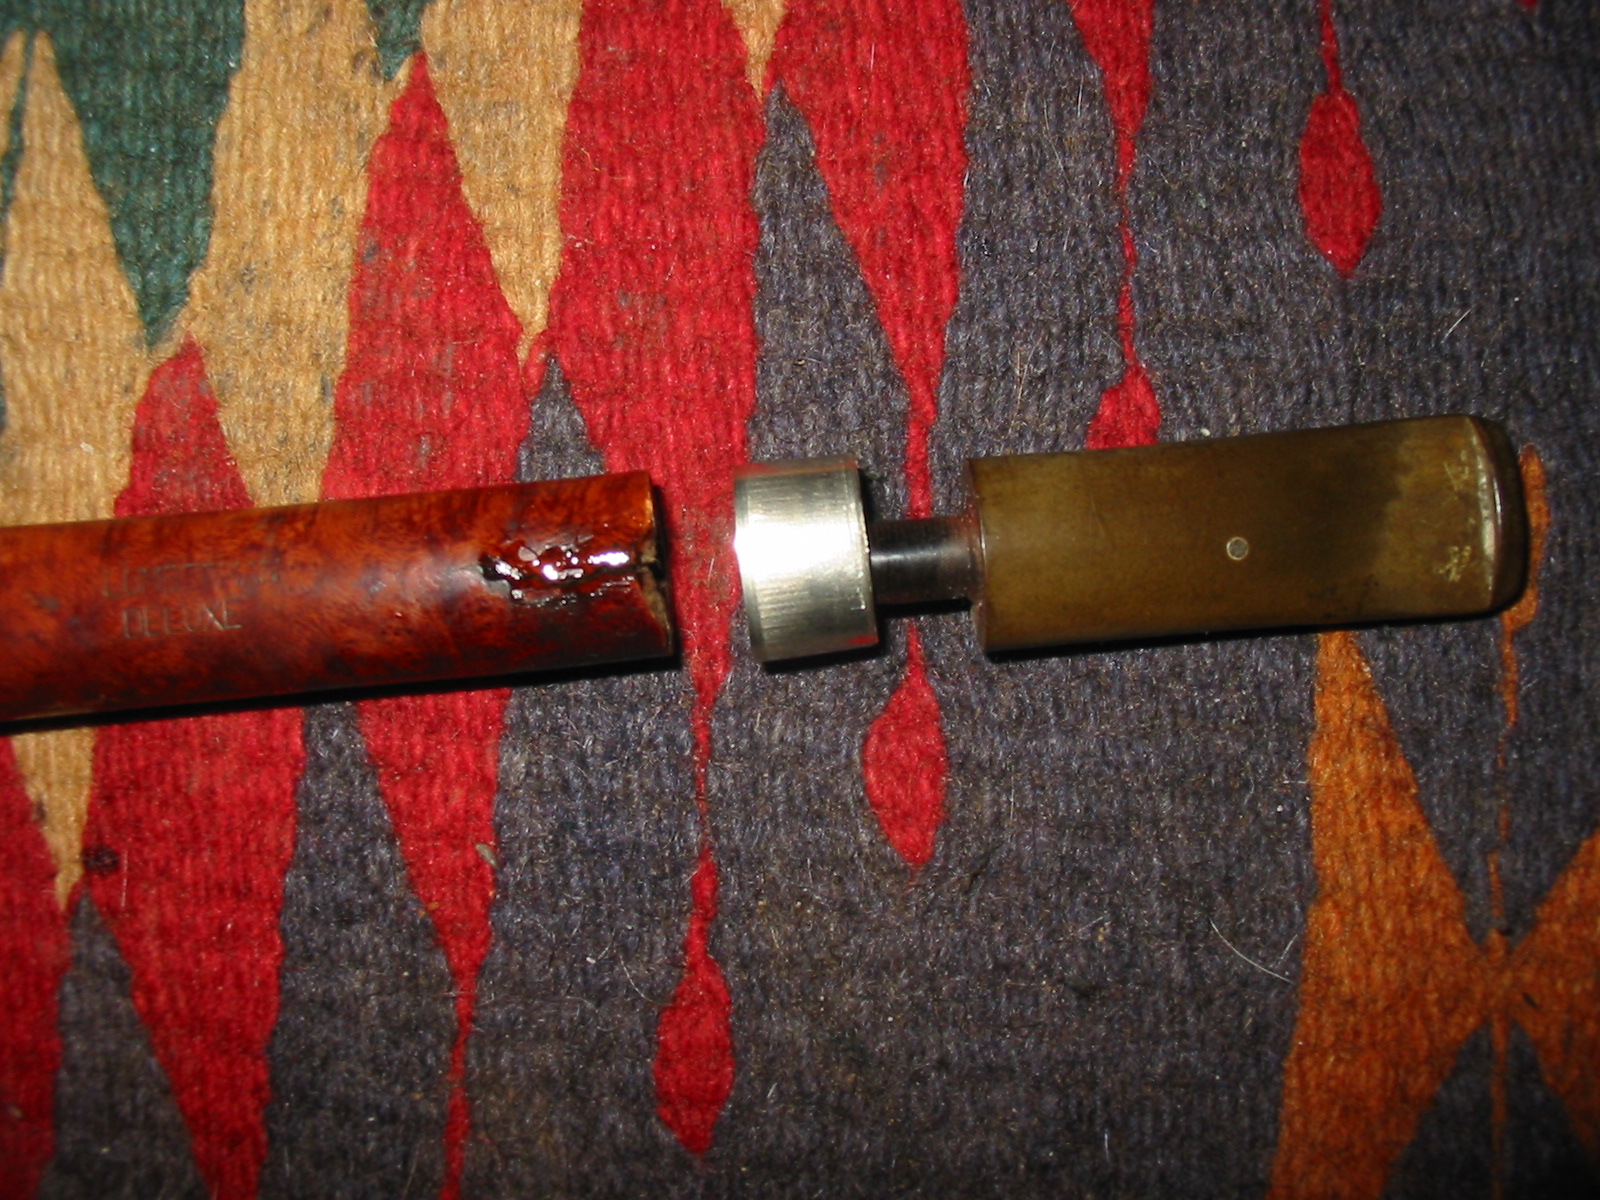
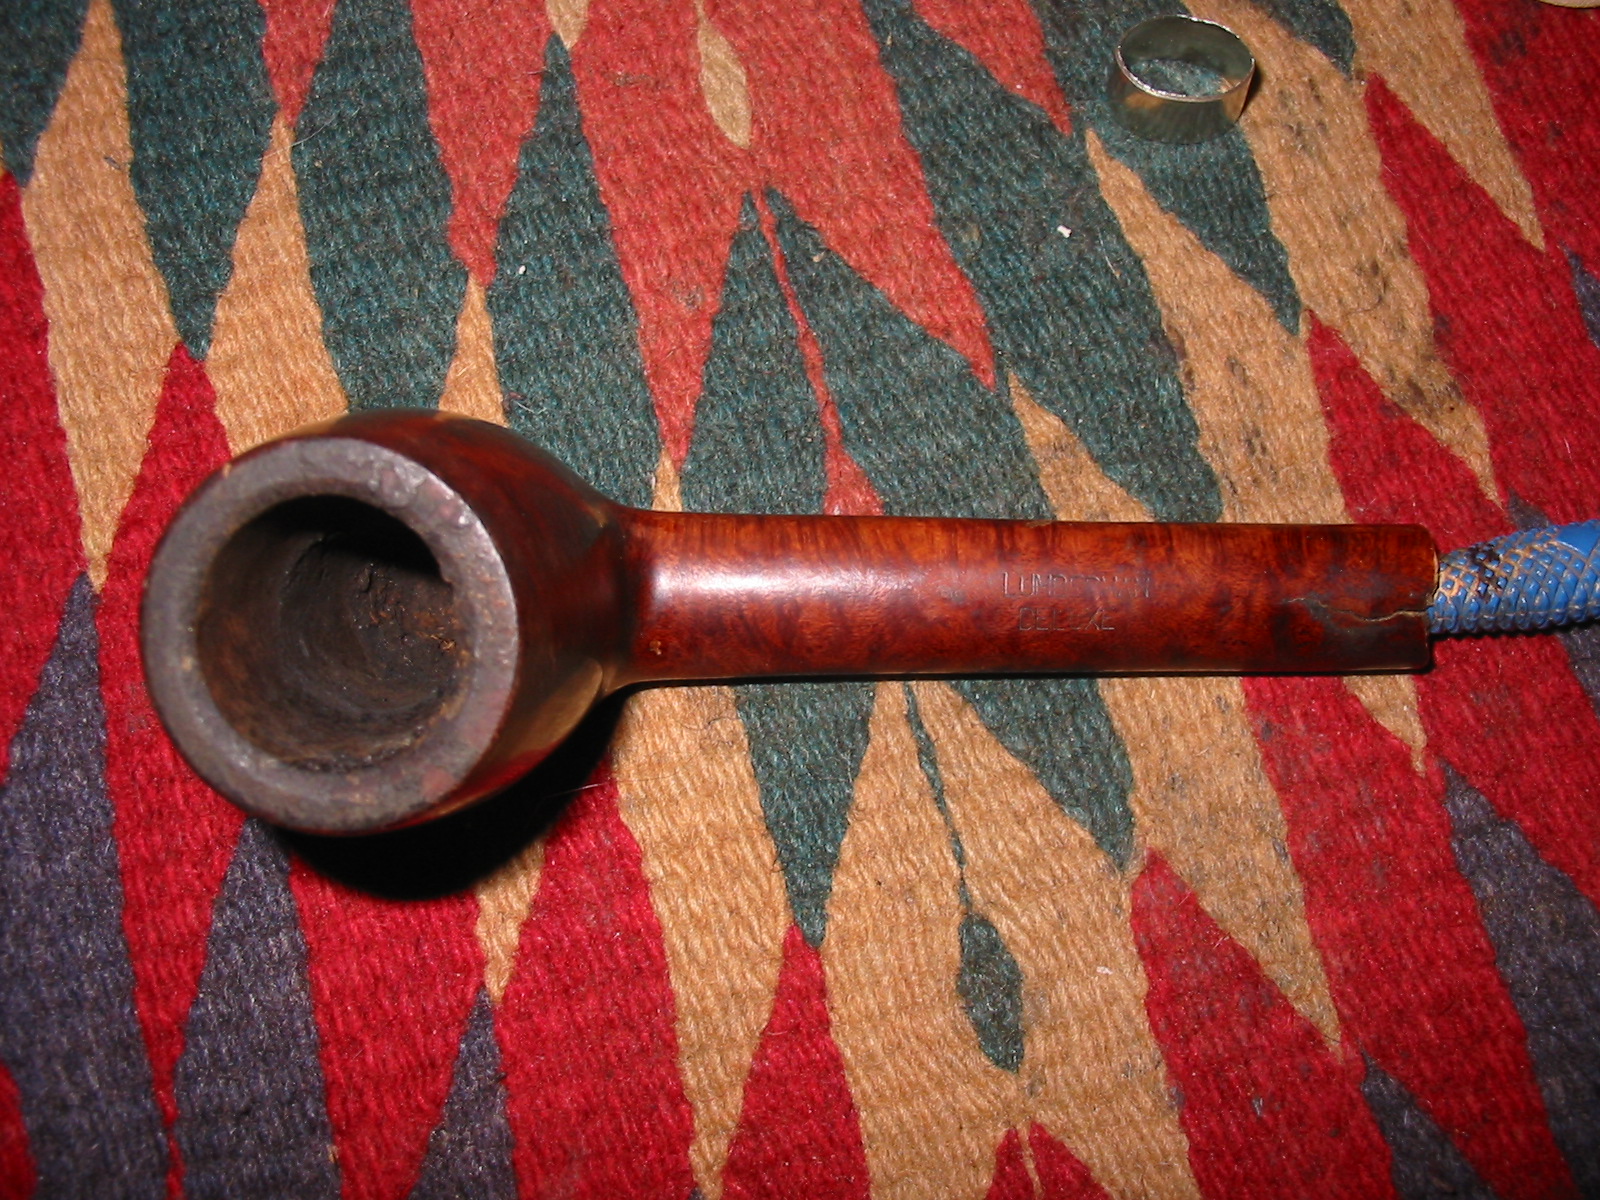
Armed with that information I was ready to work on the pipe. I have included a series of photos below to show the cracked shank and the repair I did to it. In the first photo I inserted a dental pick in the shank to open the crack so that I could clean it out. Also included in that photo is the band that I would use to band the cracked shank.
IMG_4523

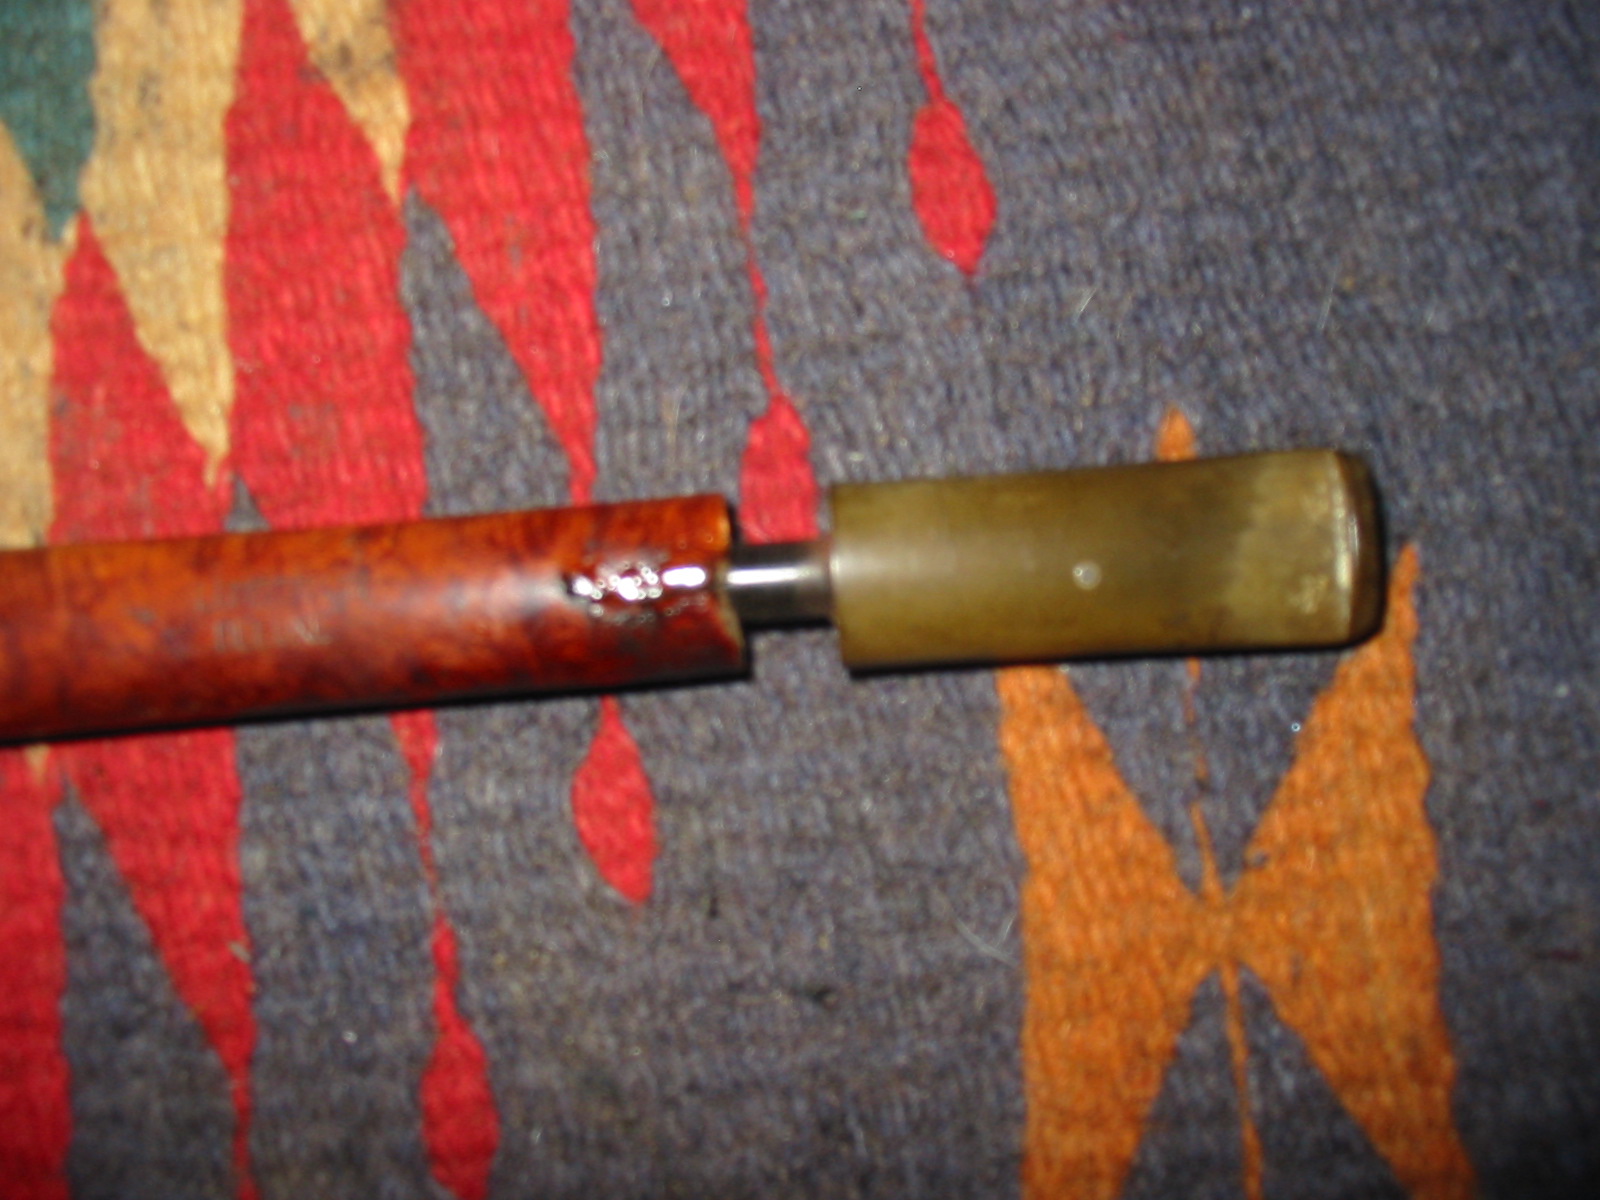
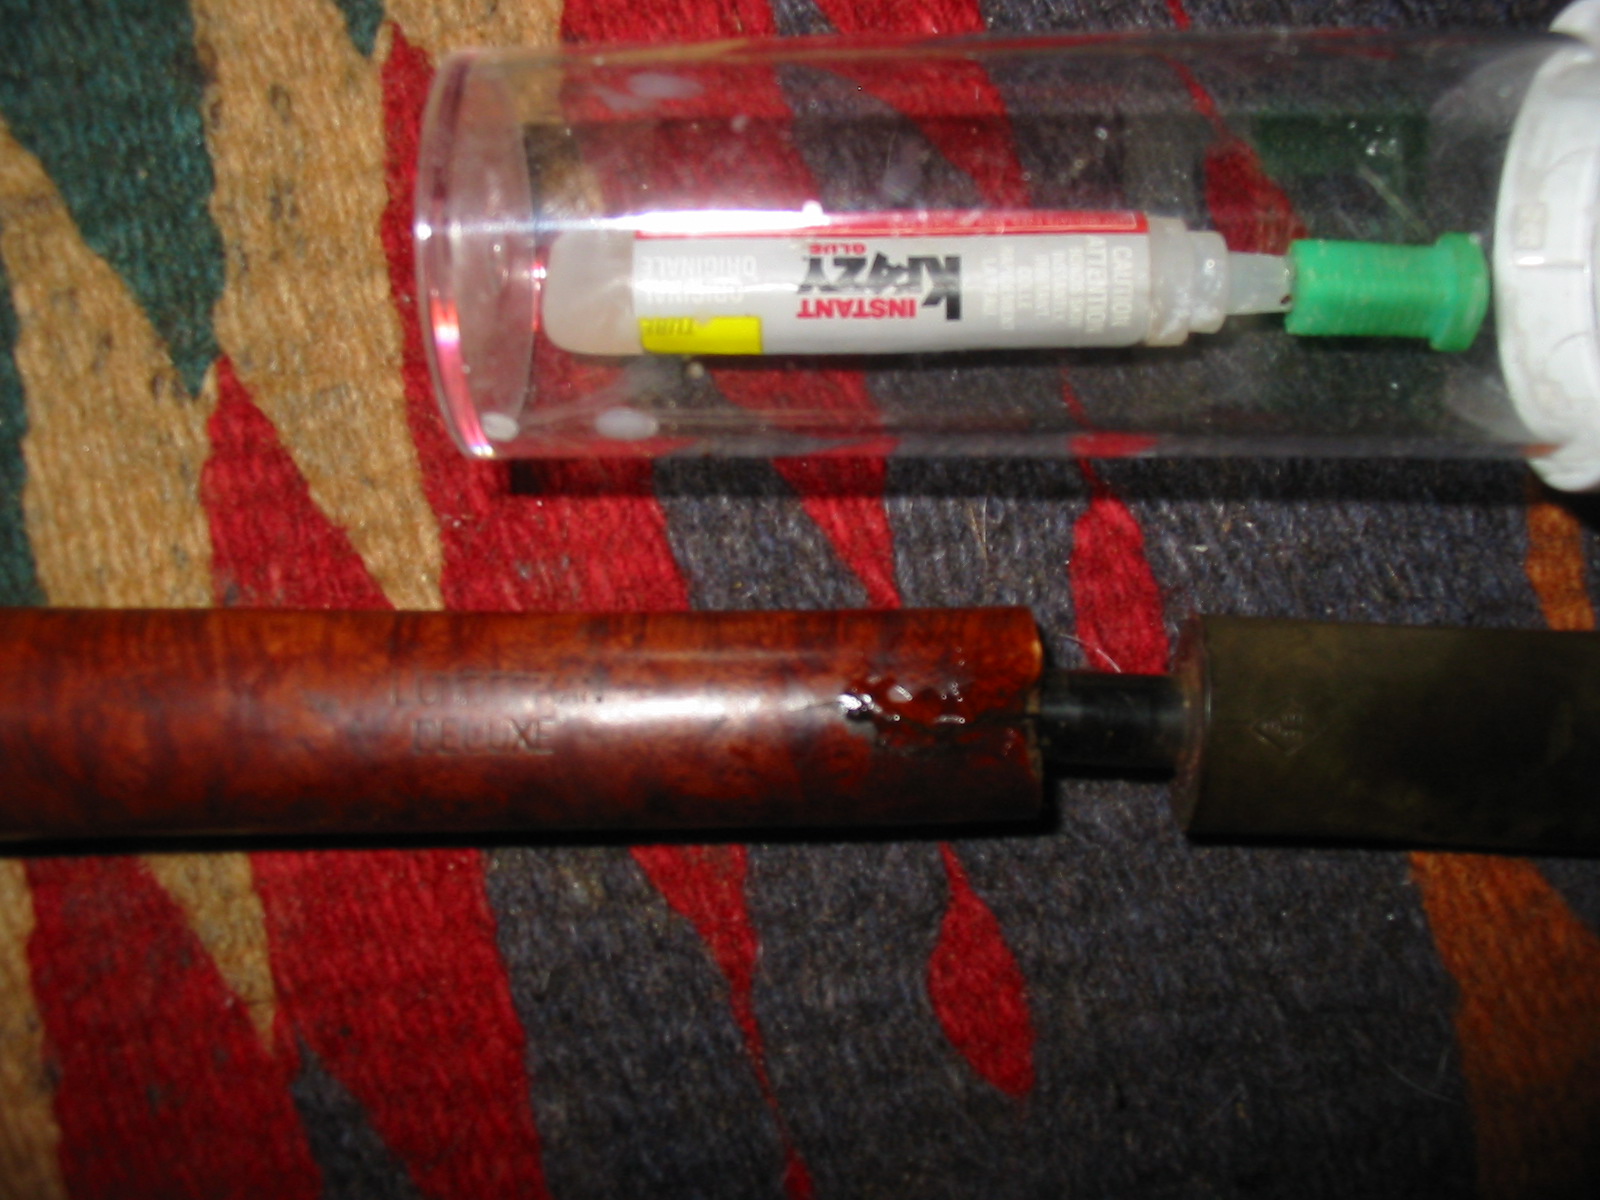
I wiped down the shank with acetone on a cotton pad to clean off the grime and build up of material left behind by the tape that had been used to repair the shank. Once it was clean I dripped some superglue into the crack of the shank and held it tightly together until the glue had dried. Once it had dried I inserted the end of the tenon of the stem I was going to fit to the shank of the pipe for the photos.
IMG_4532

IMG_4533

IMG_4534

IMG_4535

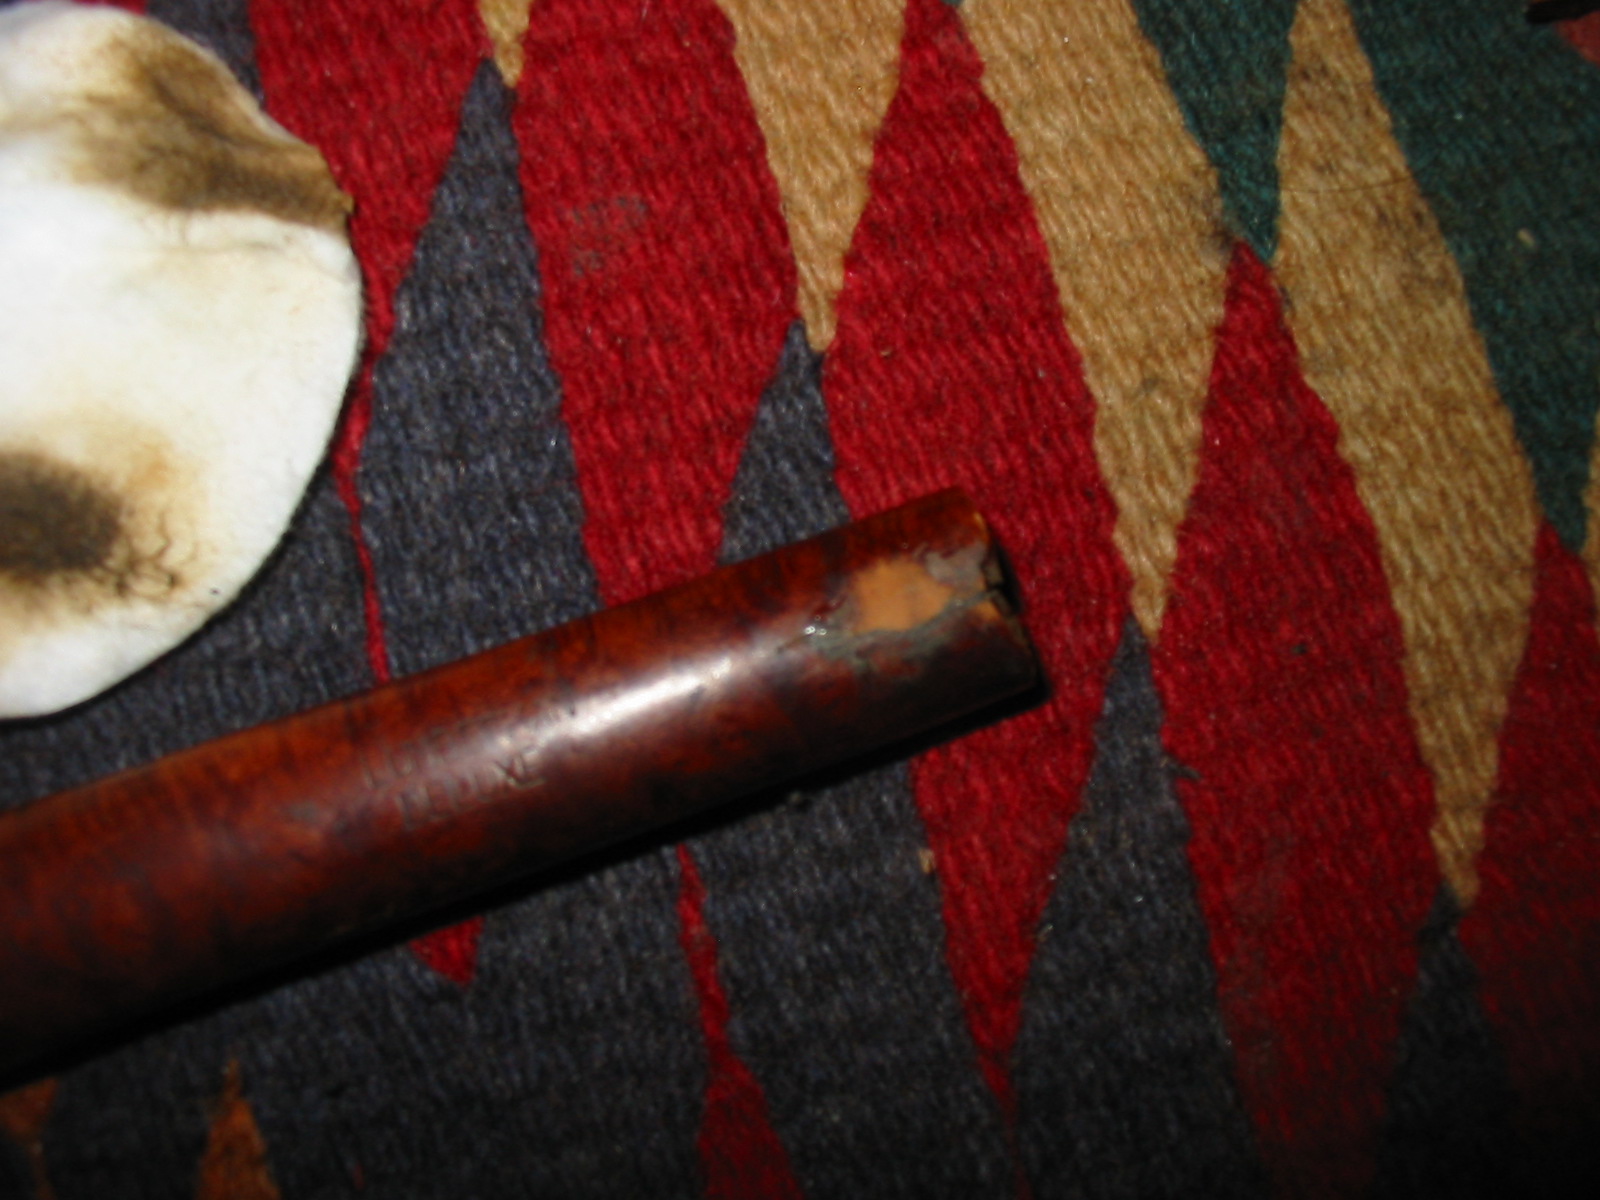
I sanded the repair and removed the excess glue from the surface of the top of the shank and wiped the area down with Everclear on cotton pads to clean up after sanding.
IMG_4539

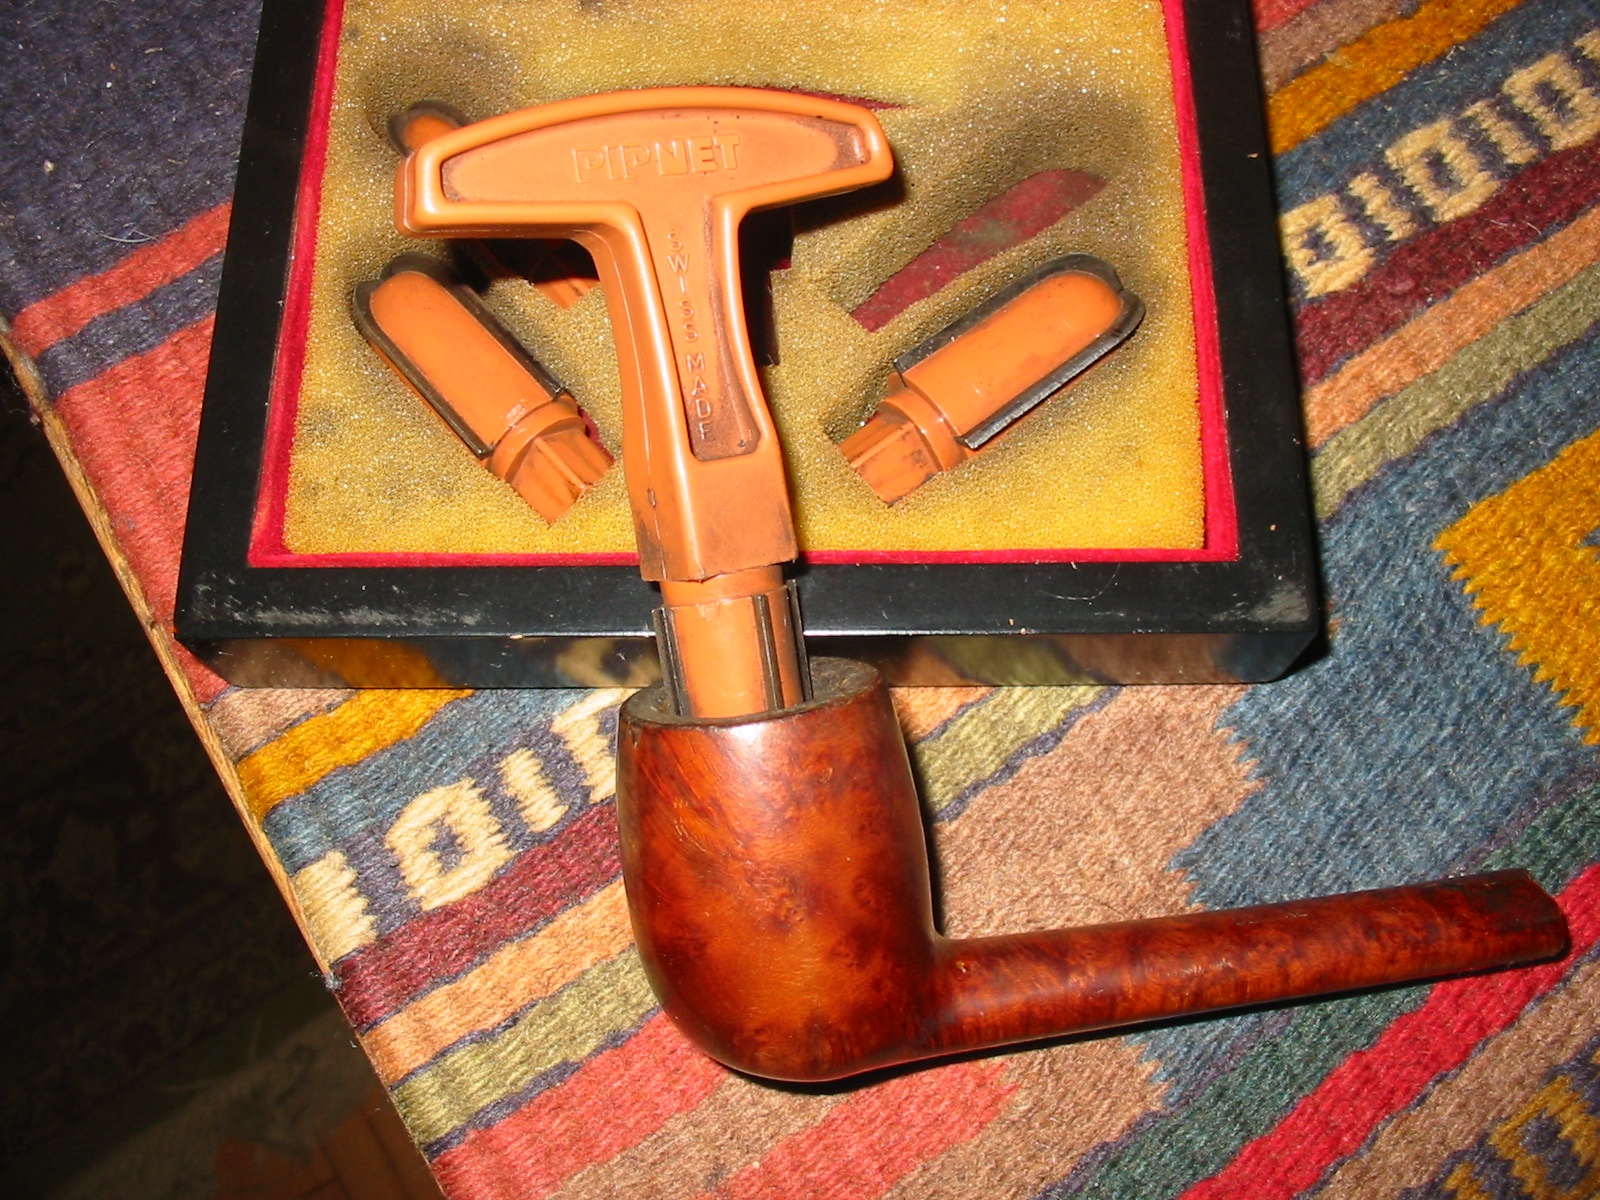
I decided to ream the bowl and clean the rim before I went on to band the pipe. I cleaned the inside of the shank as well as I did not want the grime and build up to run when I heated the shank and the band for the pressure fit. I reamed it with a PipNet reamer and scrubbed the rim with saliva on a cotton pad and good old fashioned elbow grease.
IMG_4537

IMG_4538

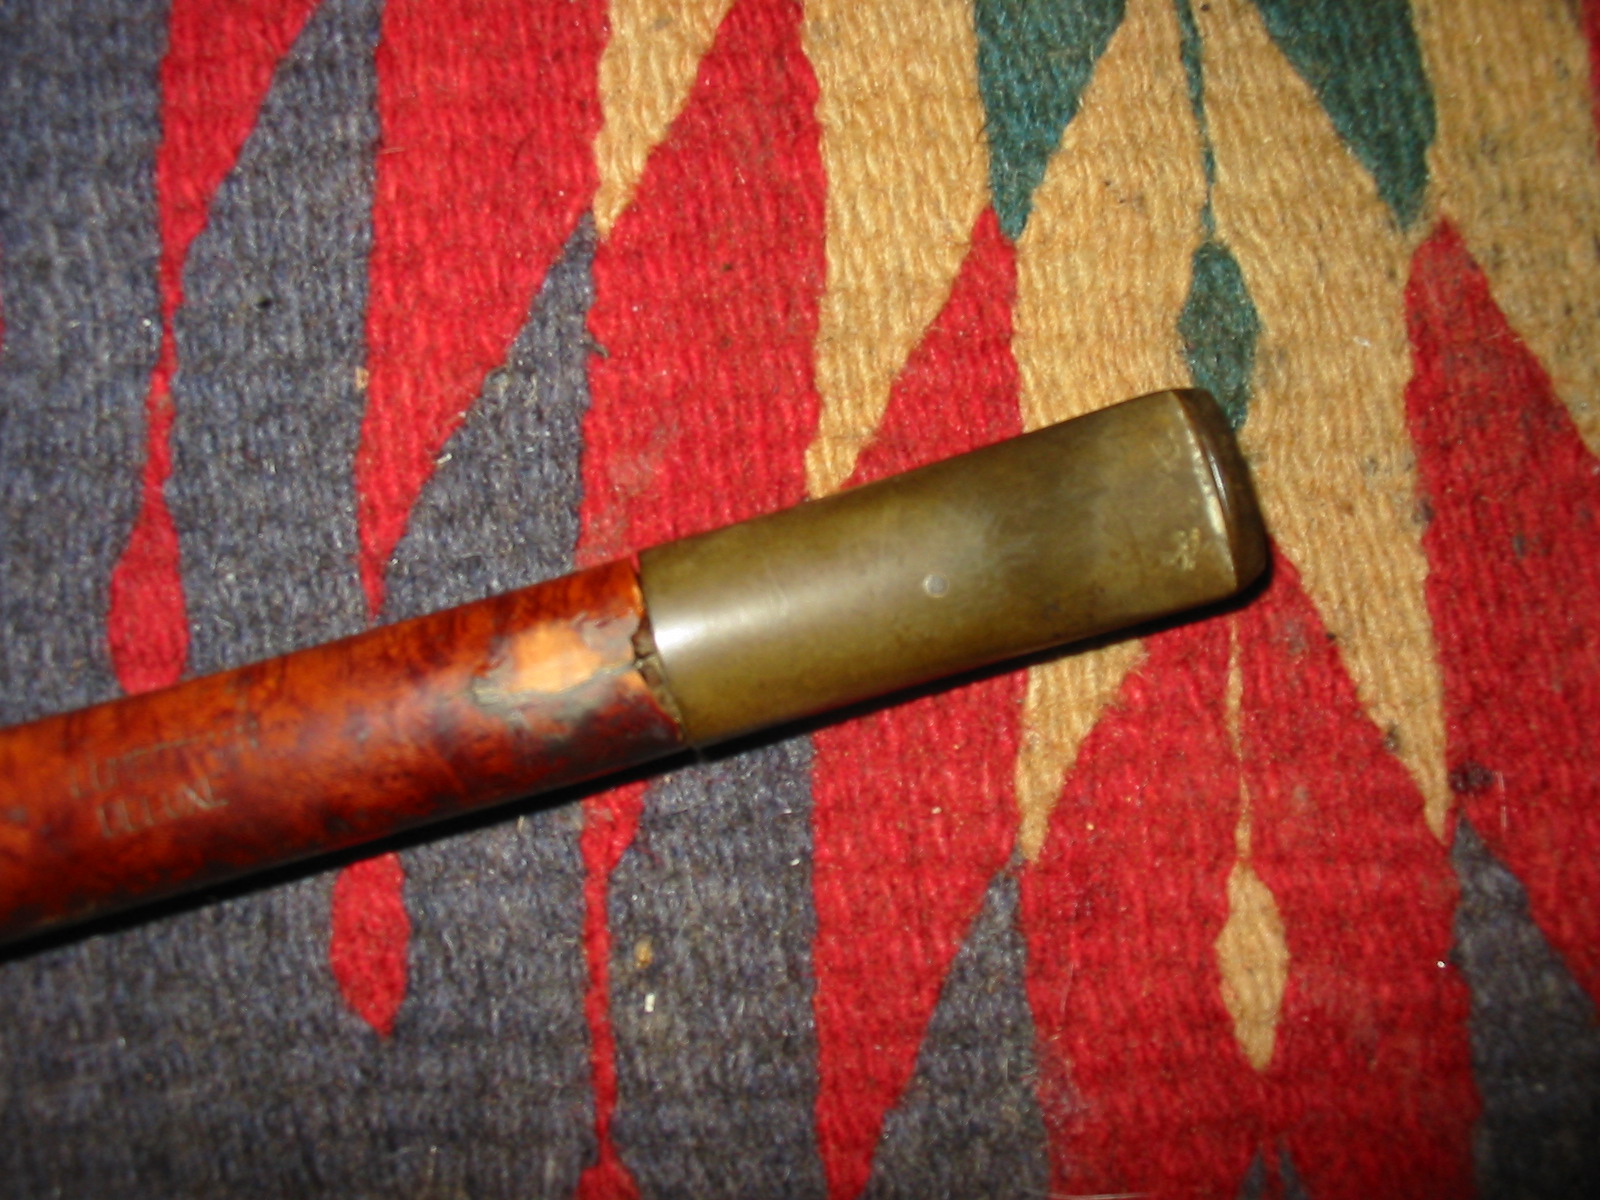
I turned the tenon down to get a good fit in the mortise and against the end of the shank. I wanted to see what I was working with in terms of the cut off shank. I knew that it was not straight but I wanted to see how far off it was. I also wanted to see the damage to the shank from the crack. The next series of four photos shows the damage to the shank. I was able to smooth out some of the damage but the band would certainly help in making the end of the shank smooth. I did not want to cut off any of the length after reading the information that Andrew provided. From photos I looked at on the net the stem was the right shape, taper and angles to fit this age of pipe. The old stem I chose was one that had the BBB diamond stamped on the top of it. The stamping was faint so it was a good one to sacrifice for this Lumberman.
IMG_4540

IMG_4541

IMG_4542

IMG_4544

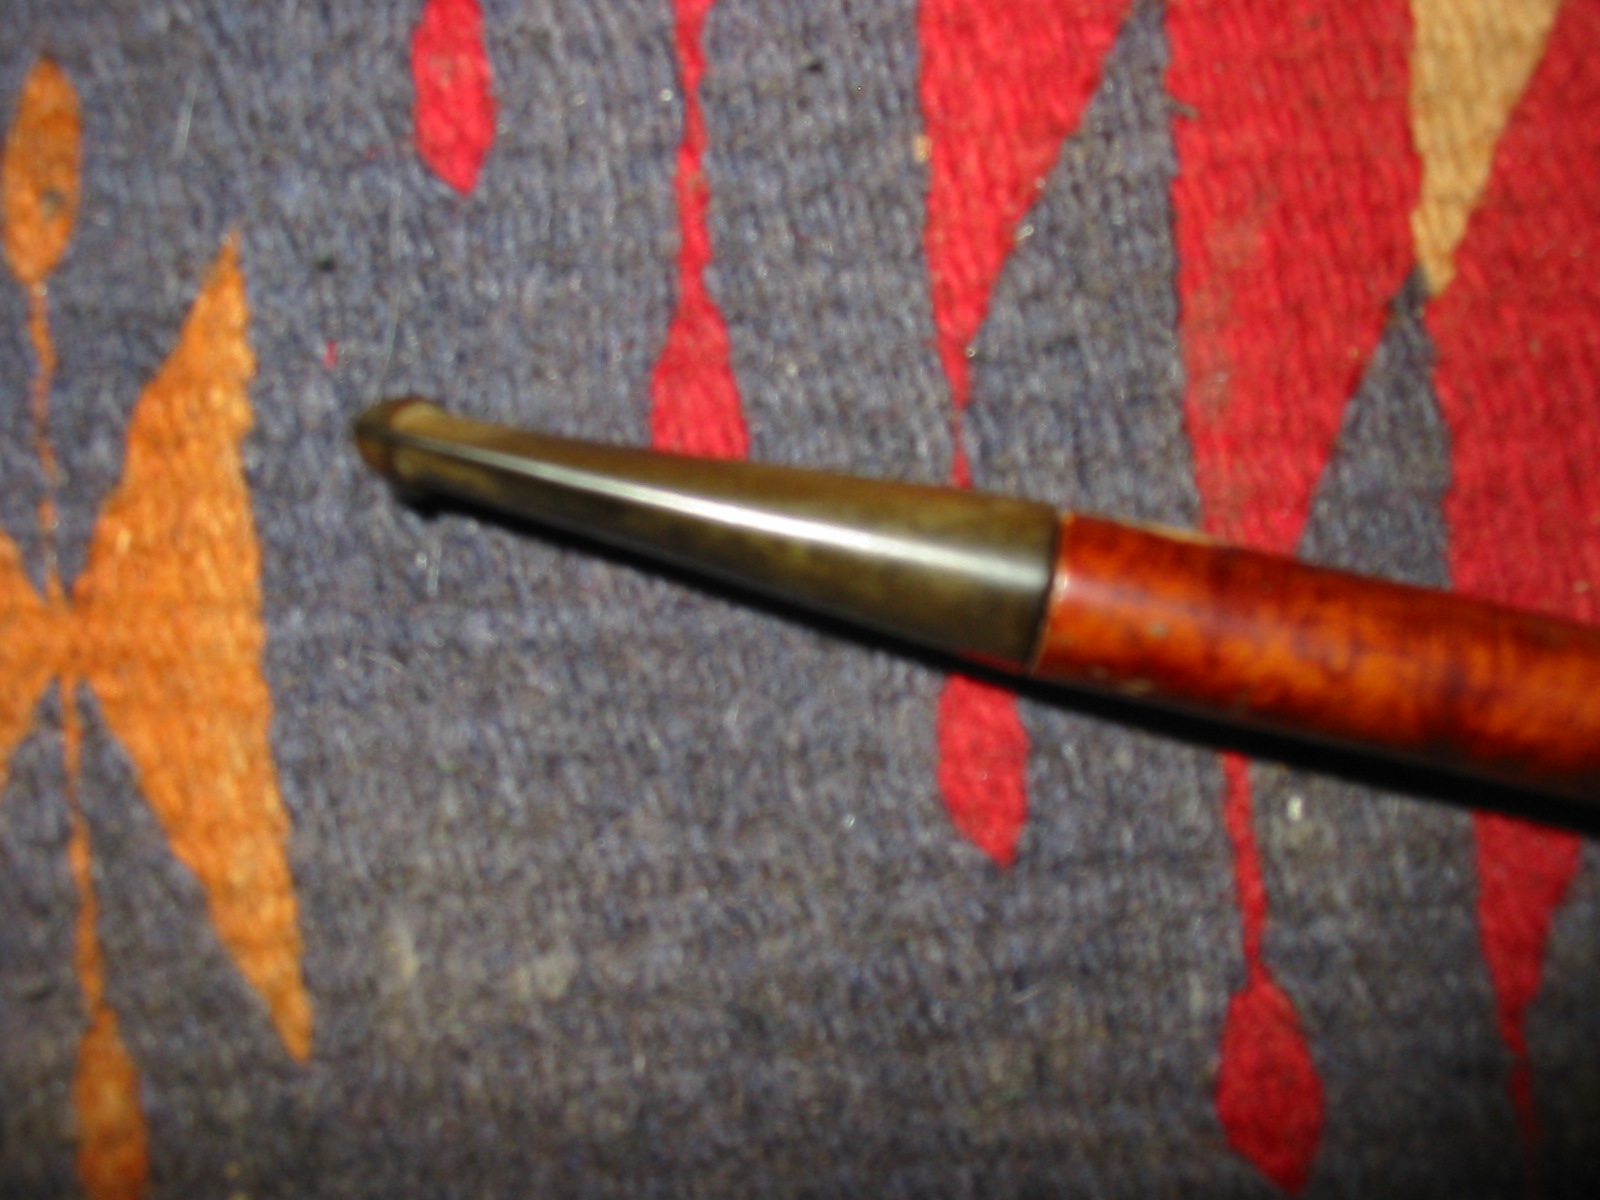
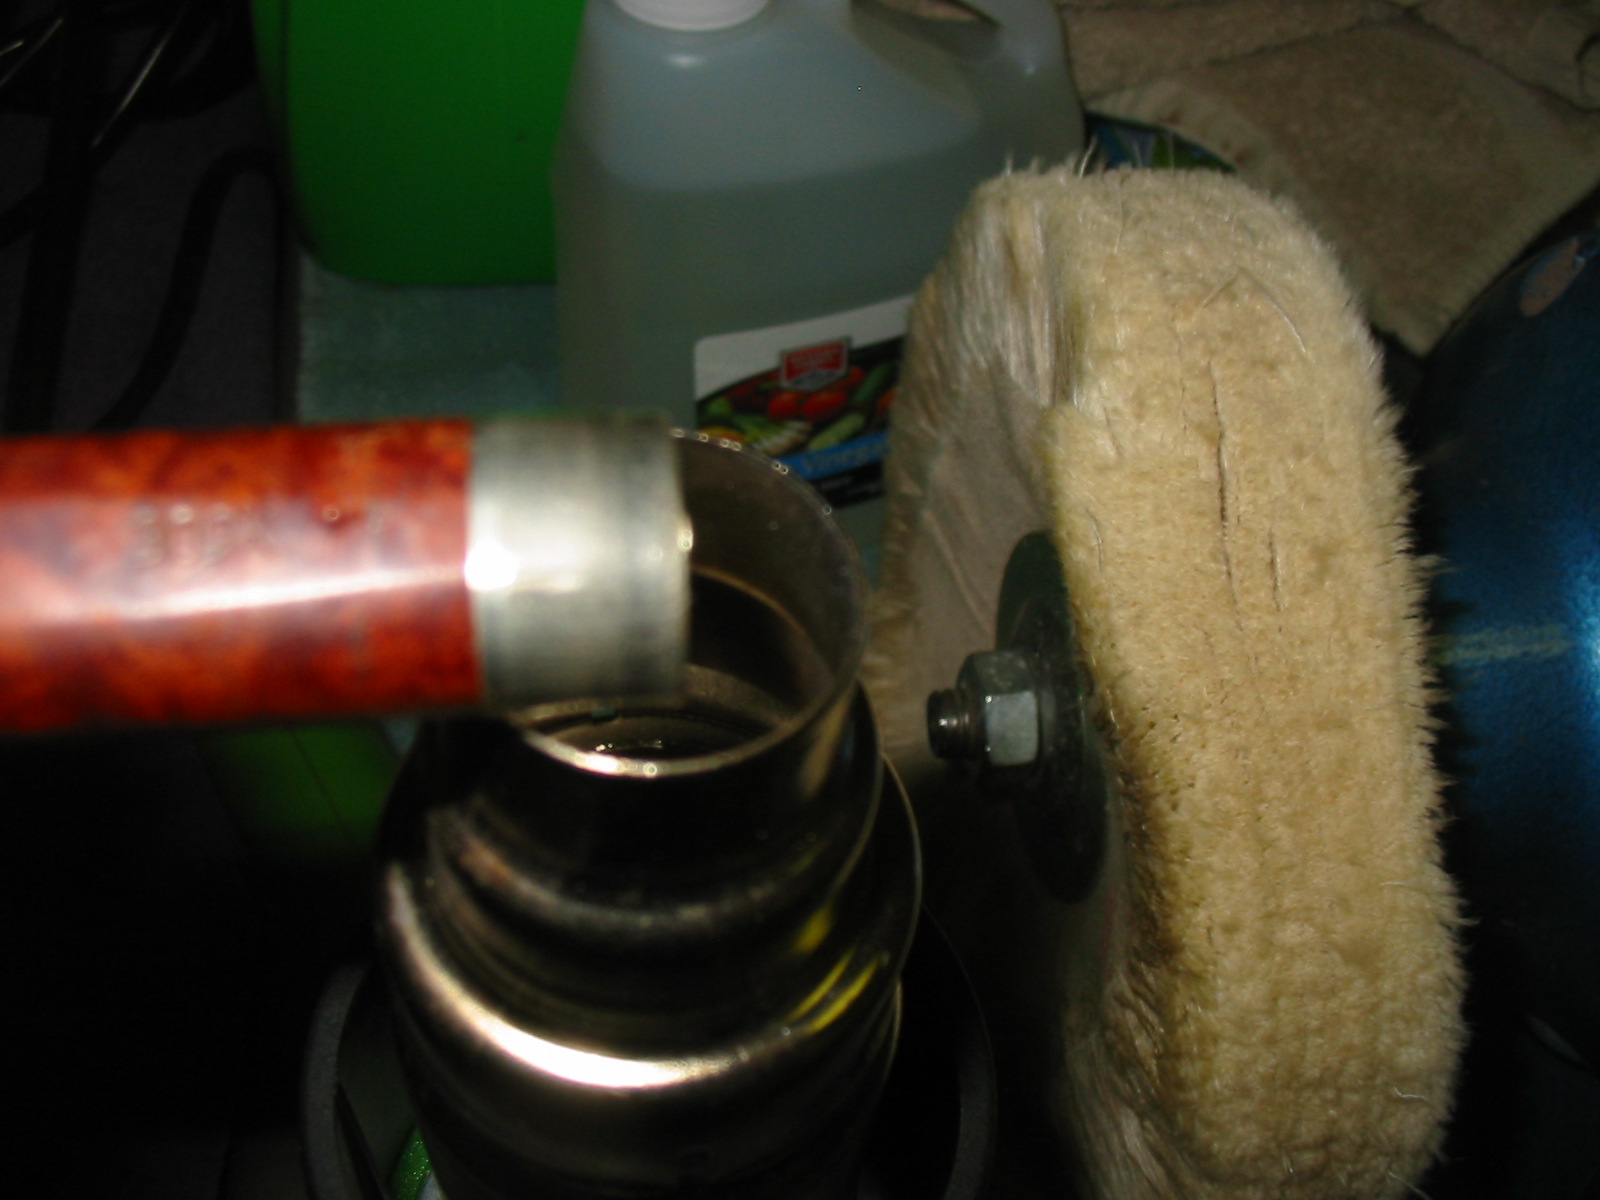
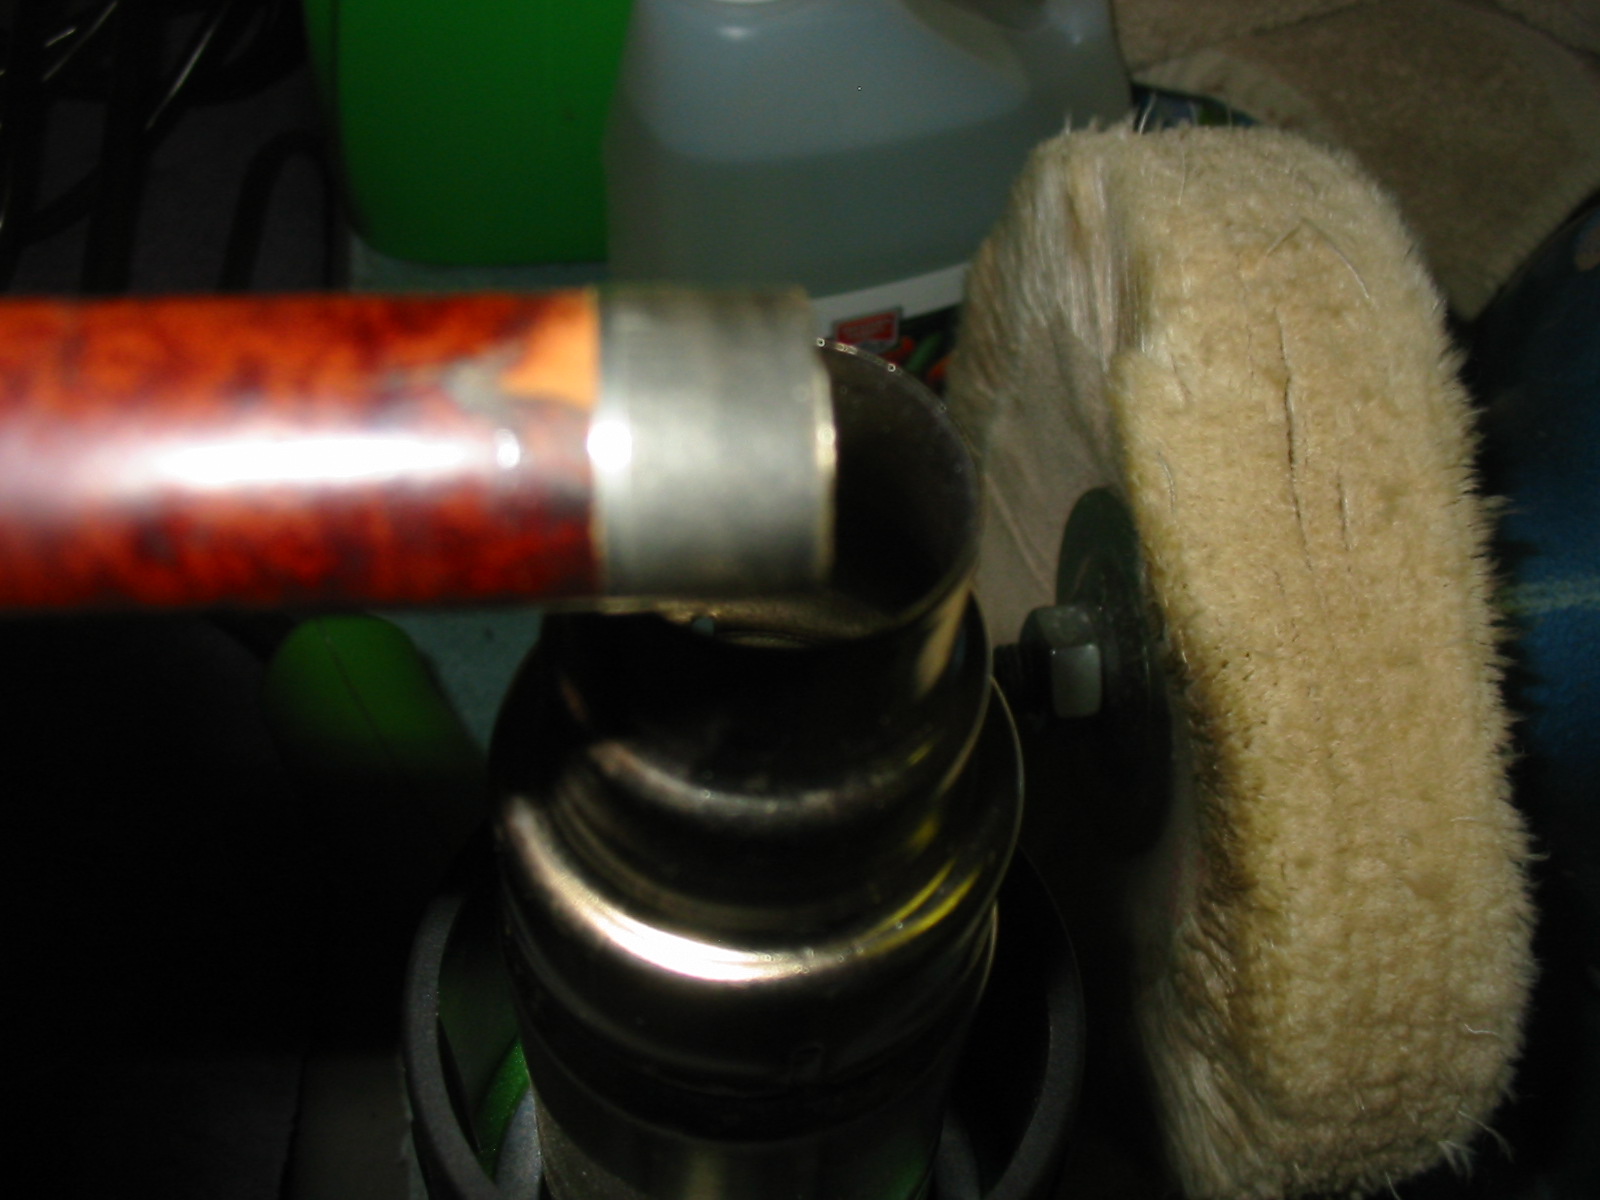
I removed the stem once it fit well and pressed the band onto the shank. I then heated it with a heat gun rotating the shank to evenly heat the band and keep the heat from burning the briar.
IMG_4546

IMG_4547

I pressed the band in place while it was still hot. I use a flat board and press down evenly until the band slides into place. This takes repeated heating until the fit is tight and straight against the end of the shank. In the case of this pipe after I pressed it in place I sanded the damaged end of the shank until it was even and then used a knife to cut a slight bevel on the inside edge of the mortise so that the stem would fit properly.
IMG_4548

IMG_4549

IMG_4550

IMG_4551

Once the band was in place I needed to sand down the tenon so that it would fit in the newly constricted airway. I used a folded piece of 220 grit sandpaper to sand down the excess vulcanite on the tenon so that the fit would be snug. The next three photos show the new stem in place with the band. The stem had been sanded with 220 grit sandpaper to match the lines of the shank and give a proper taper to the stem from the band to the button. I also sanded it with a medium grit sanding sponge.
IMG_4553

IMG_4555

IMG_4557

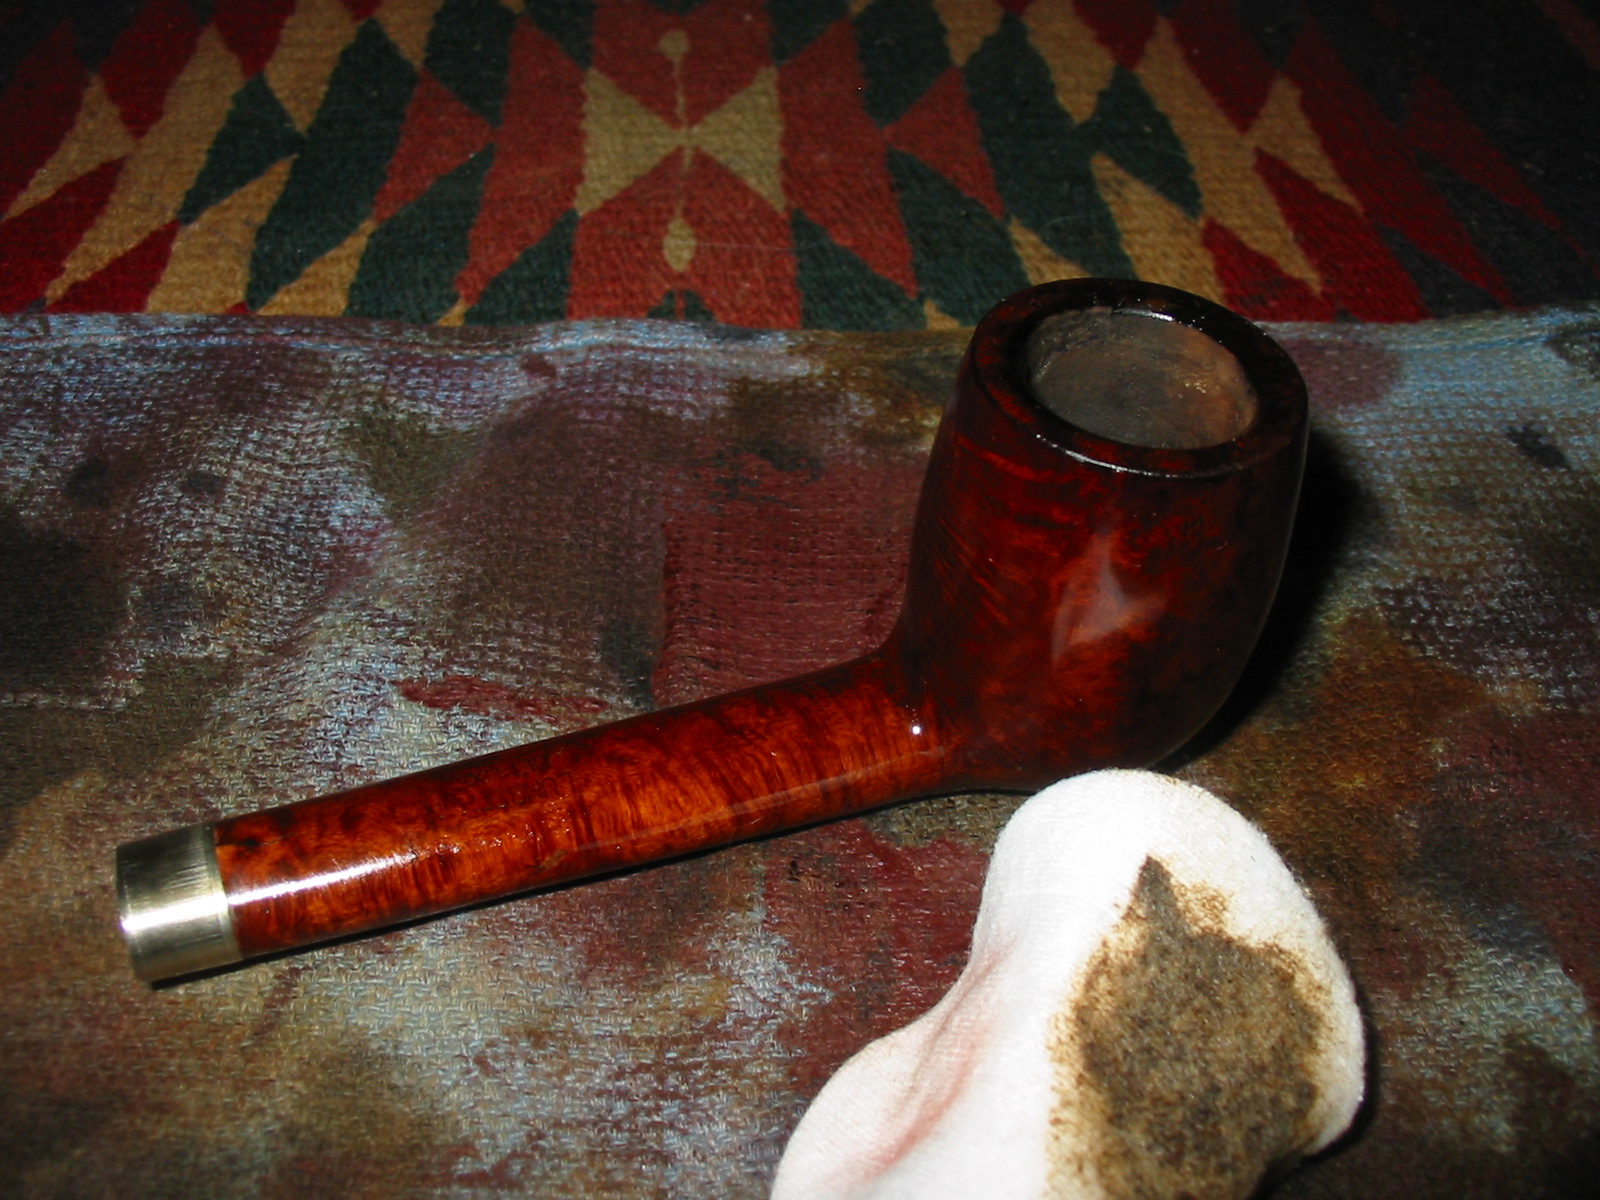
I sanded the area on the top of the shank where the repair extended slightly ahead of the band with 220 grit sandpaper and a medium grit sanding sponge. I followed that by sanding with micromesh sanding pads to smooth out the spot. I wiped down the bowl with acetone on a cotton pad until the surface was clean and free of debris and dust. I stained it with medium brown aniline stain that was thinned 2:1 with Isopropyl alcohol. I wanted the colour to match the tones that were present on the other Comoy’s that I had from this era and the photos I had seen on line. I applied the stain and flamed it. In the photos below the shine is from hand buffing the pipe with a soft cotton cloth.
IMG_4558

IMG_4559

IMG_4562

IMG_4563

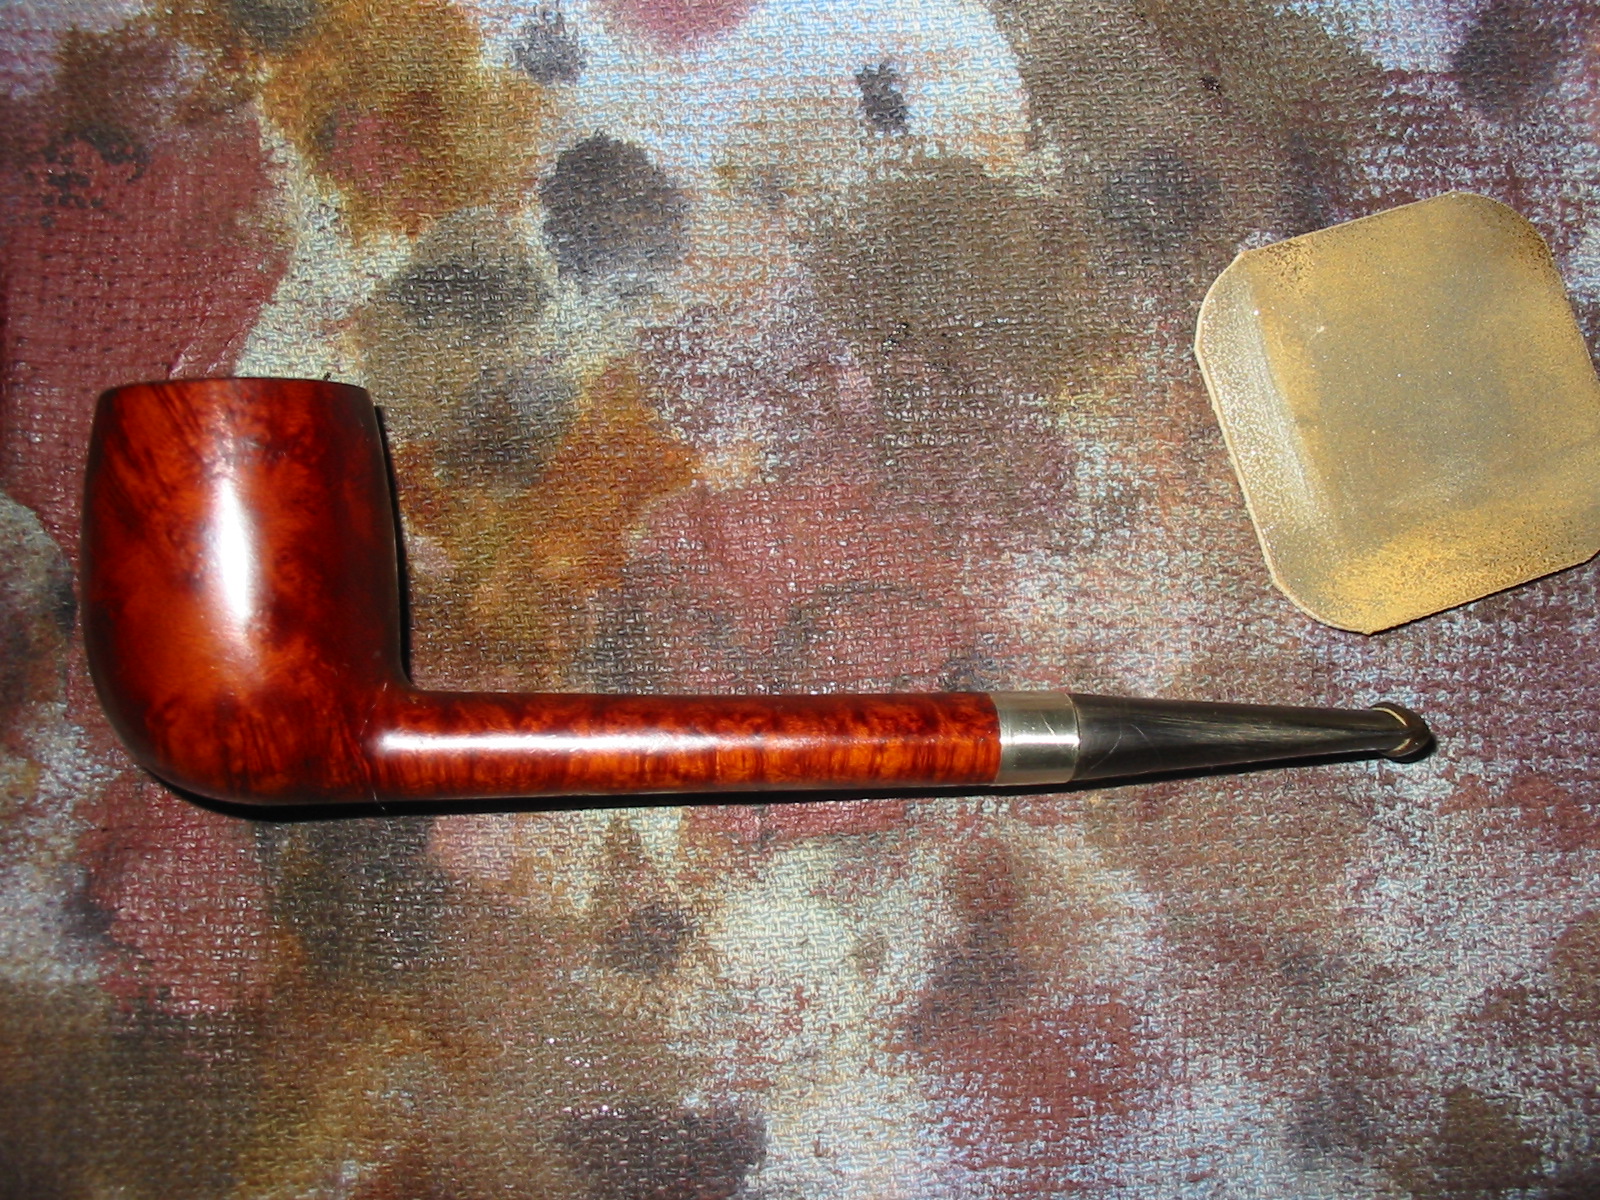
I reinserted the stem and worked on the band and the stem with 1500 grit micromesh to begin the process of removing scratches and polishing. I took the pipe to the buffer and gave it a quick buff with red Tripoli and White Diamond.
IMG_4566

IMG_4567

IMG_4568

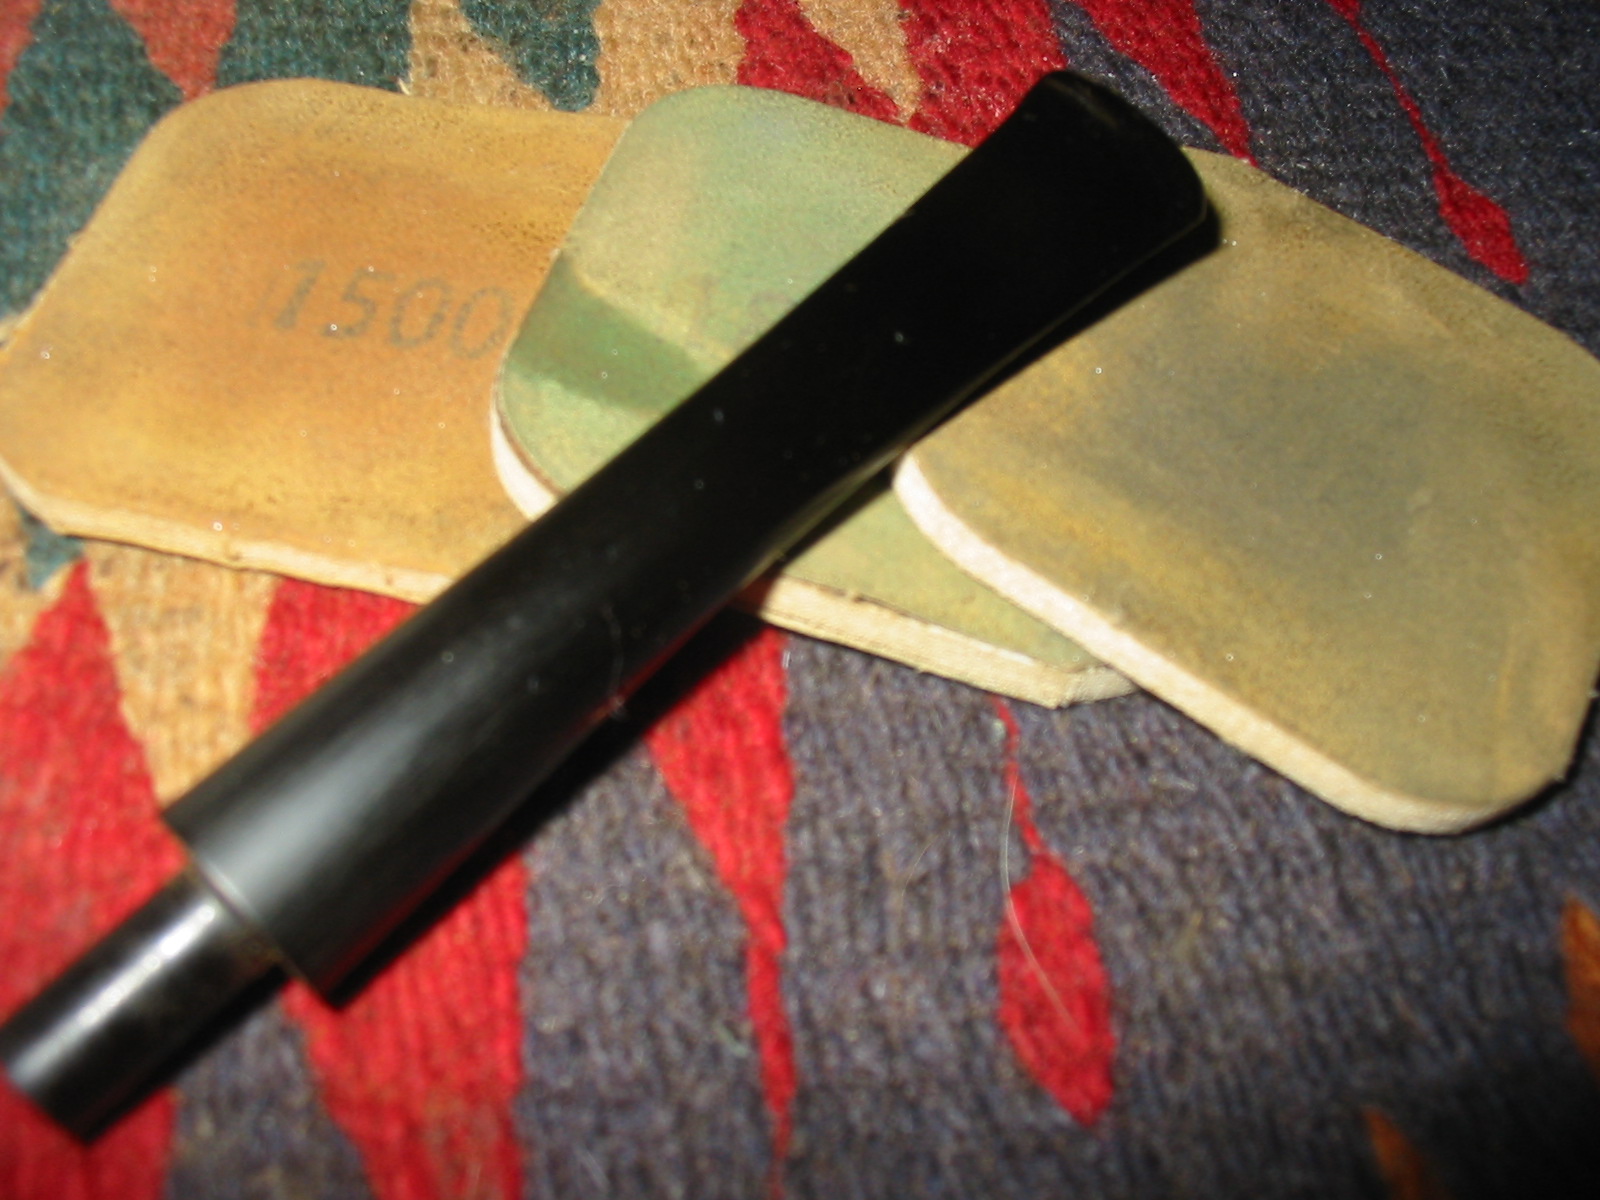
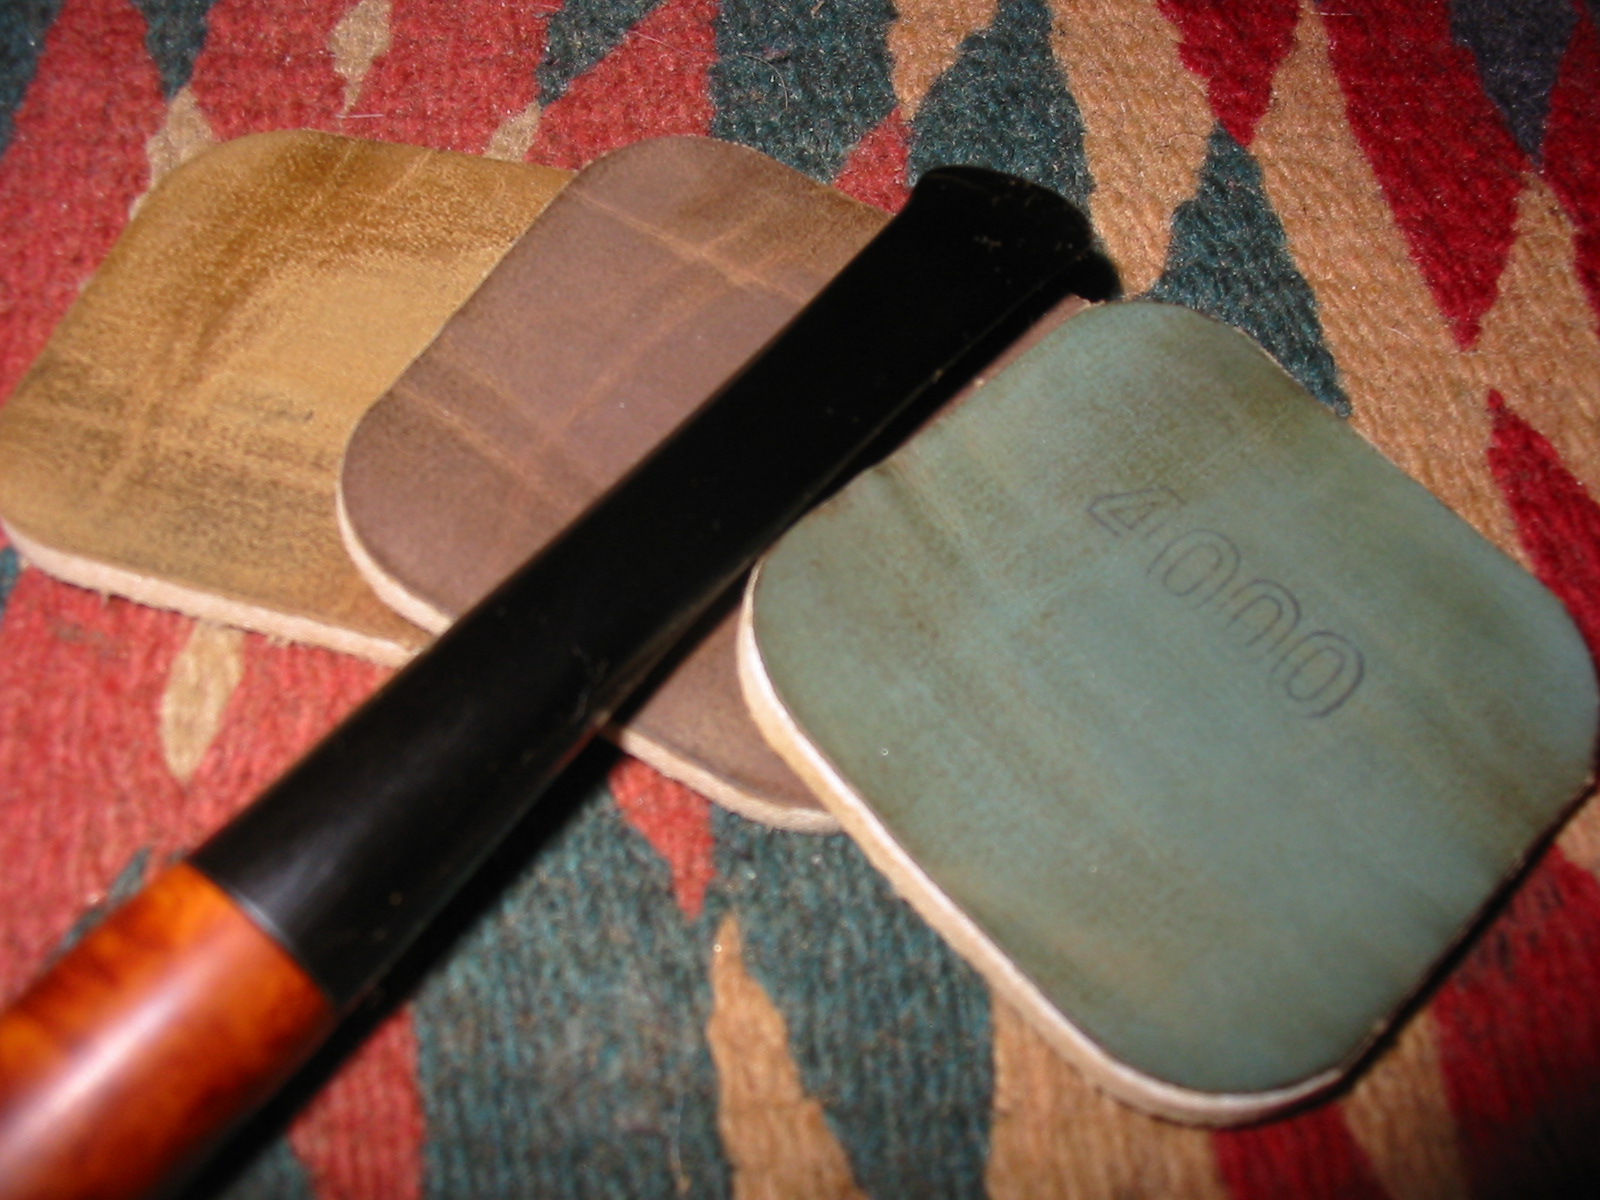
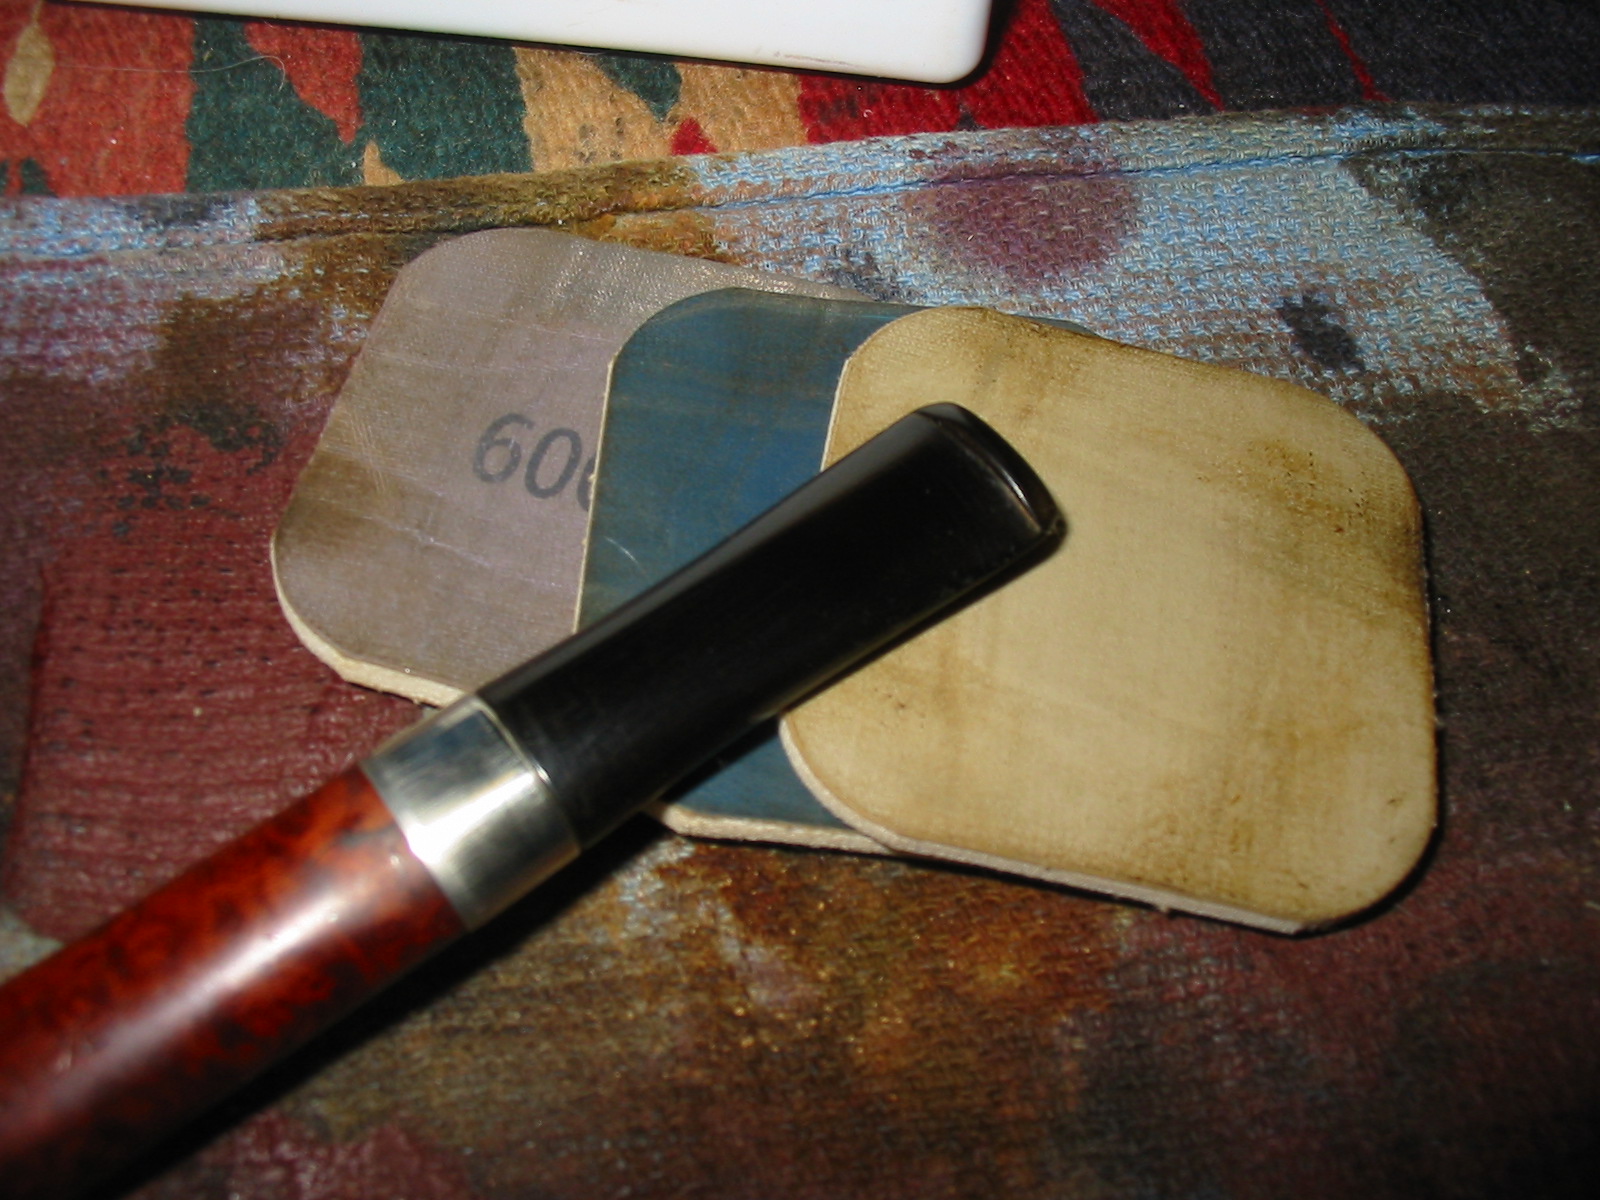
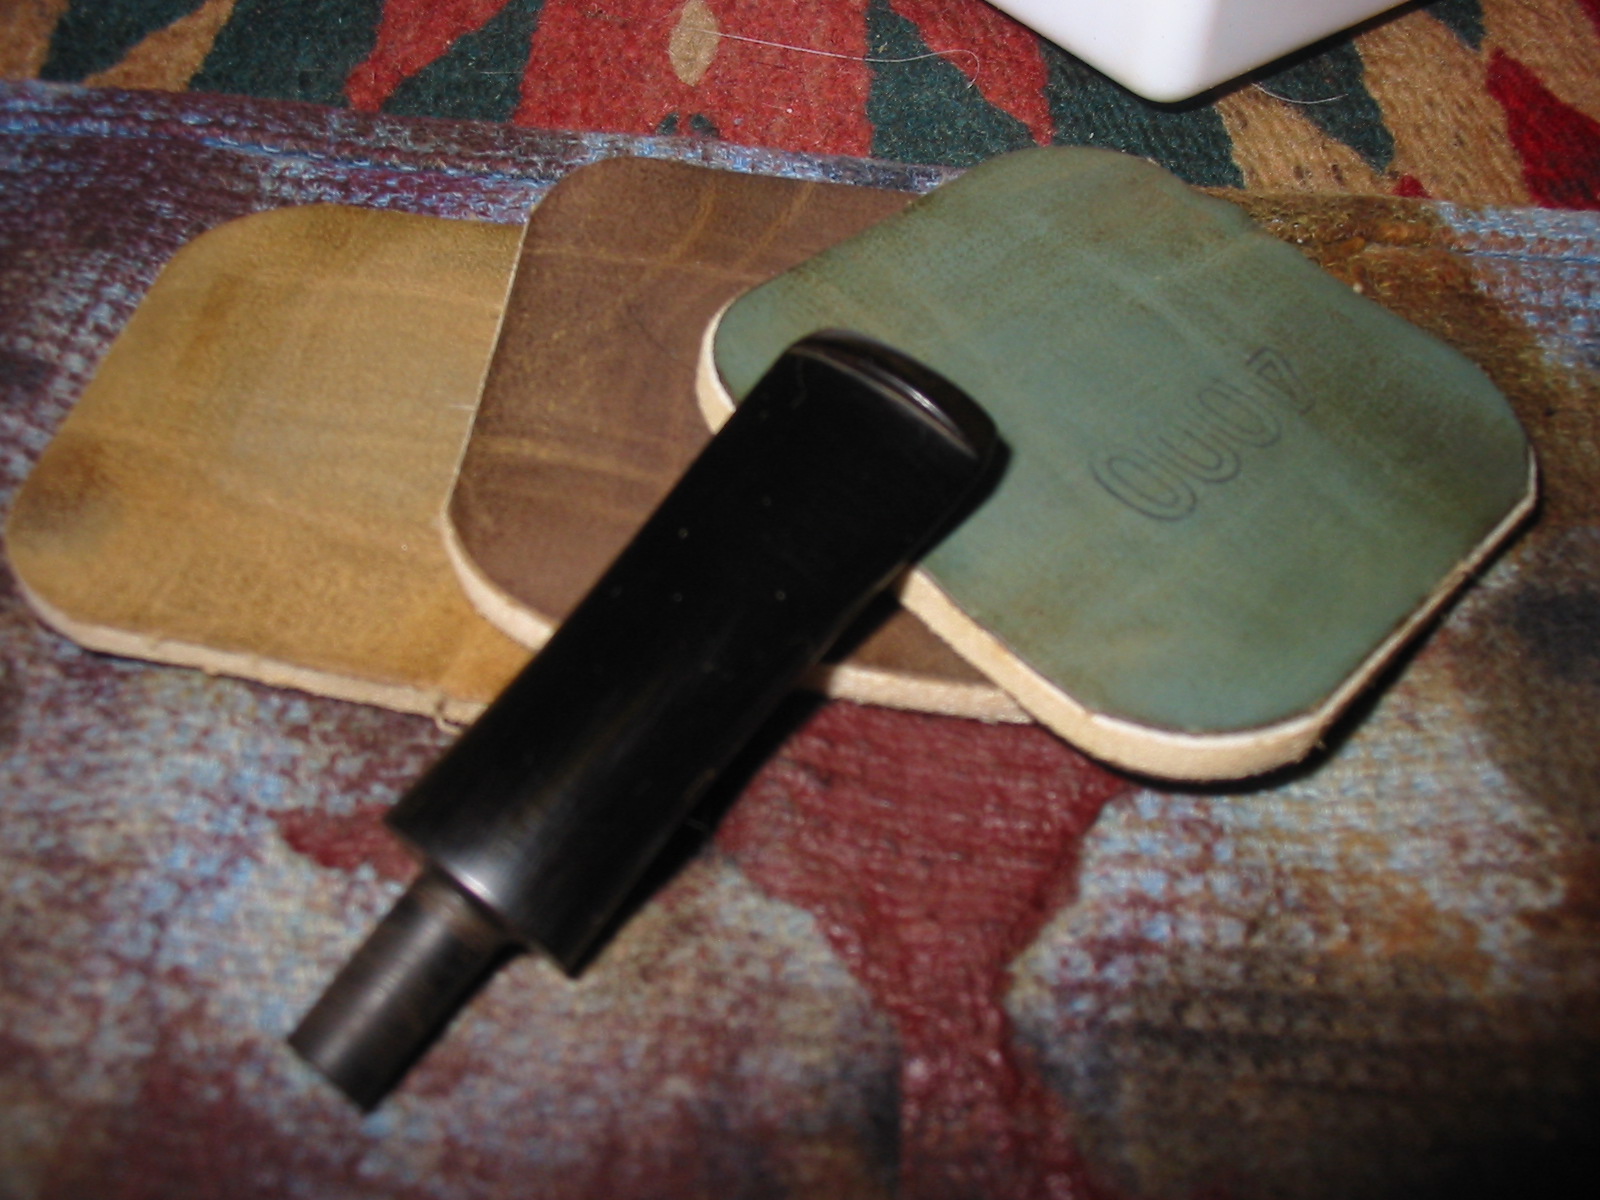
I worked on the stem with my usual array of micromesh sanding pads – wet sanding with 1500-2400 grit pads and dry sanding with 3200-12,000 grit pads.
IMG_4571

IMG_4570

IMG_4569

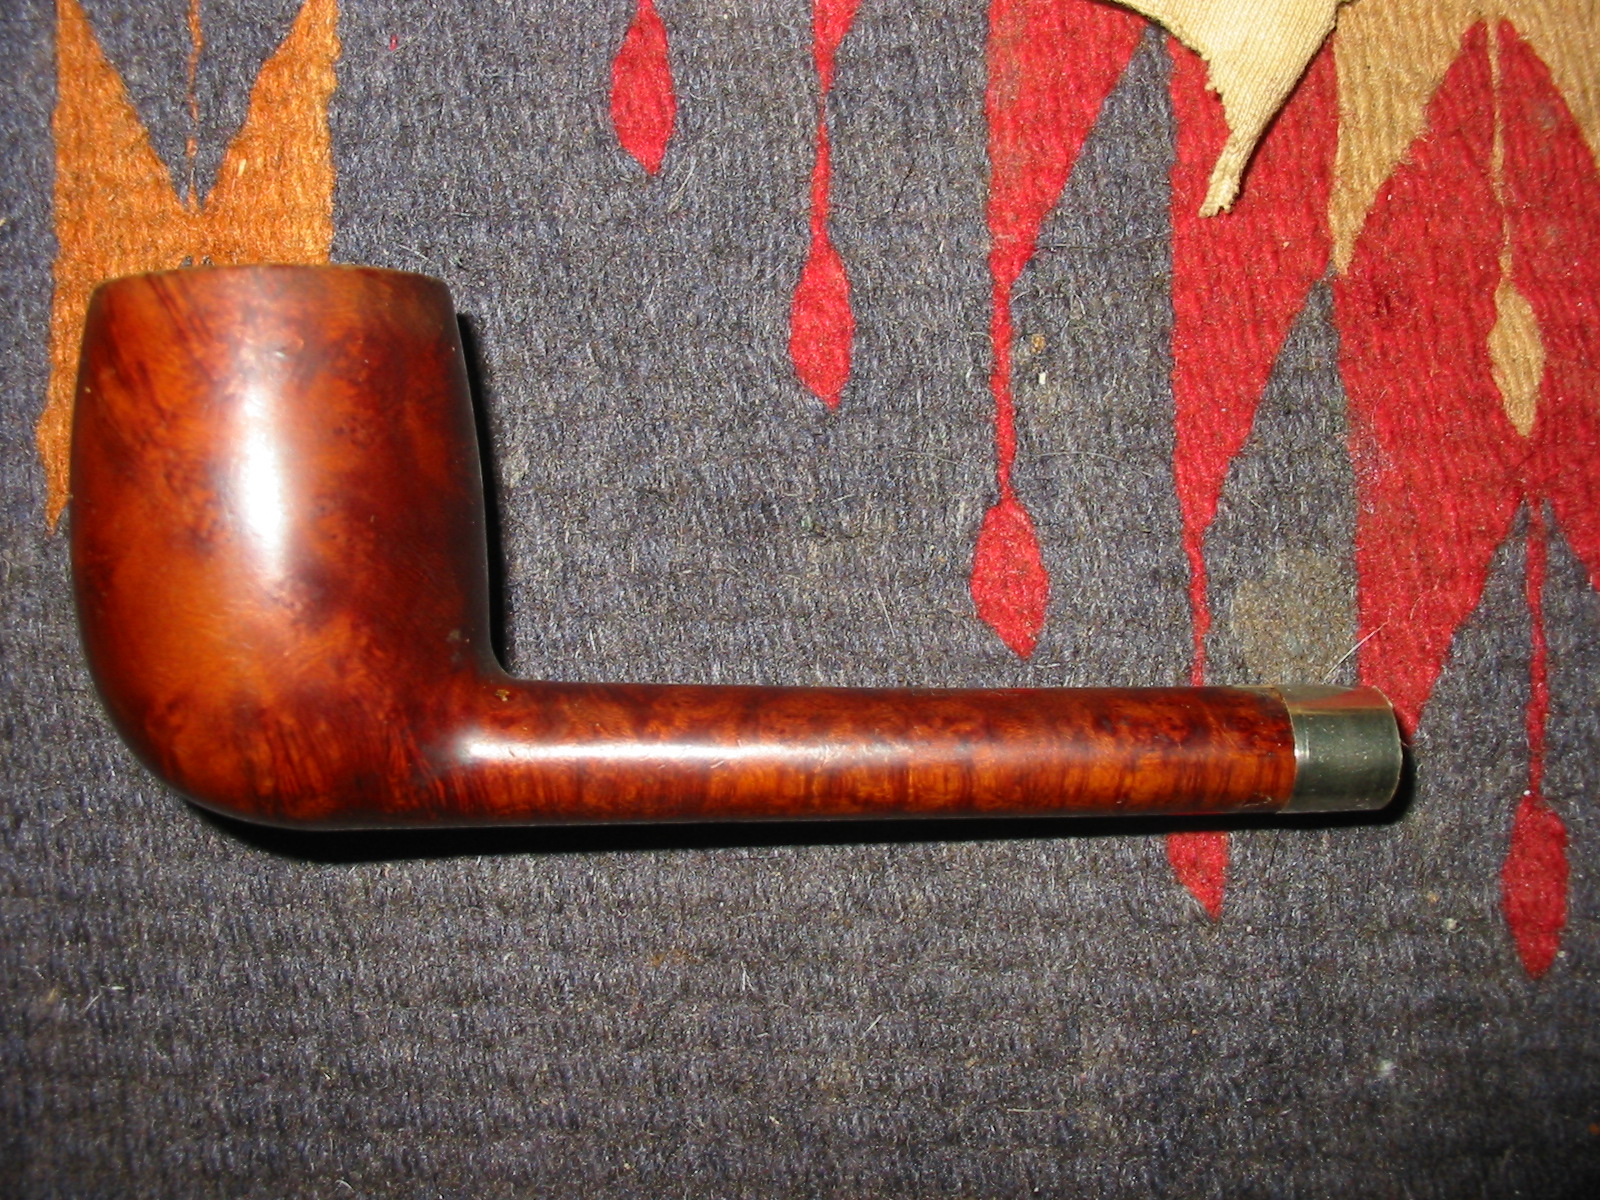
I rubbed the stem down with Obsidian Oil to protect it and when it had dried took the pipe to the buffer. I buffed the stem with White Diamond and gave the bowl and shank a light buff as well. I gave it multiple coats of carnauba wax and finished by buffing it with a clean flannel buff. The finished pipe is picture below.
IMG_4572

IMG_4573

IMG_4574

IMG_4575

Giving an Ugly, Worn Billiard a Makeover


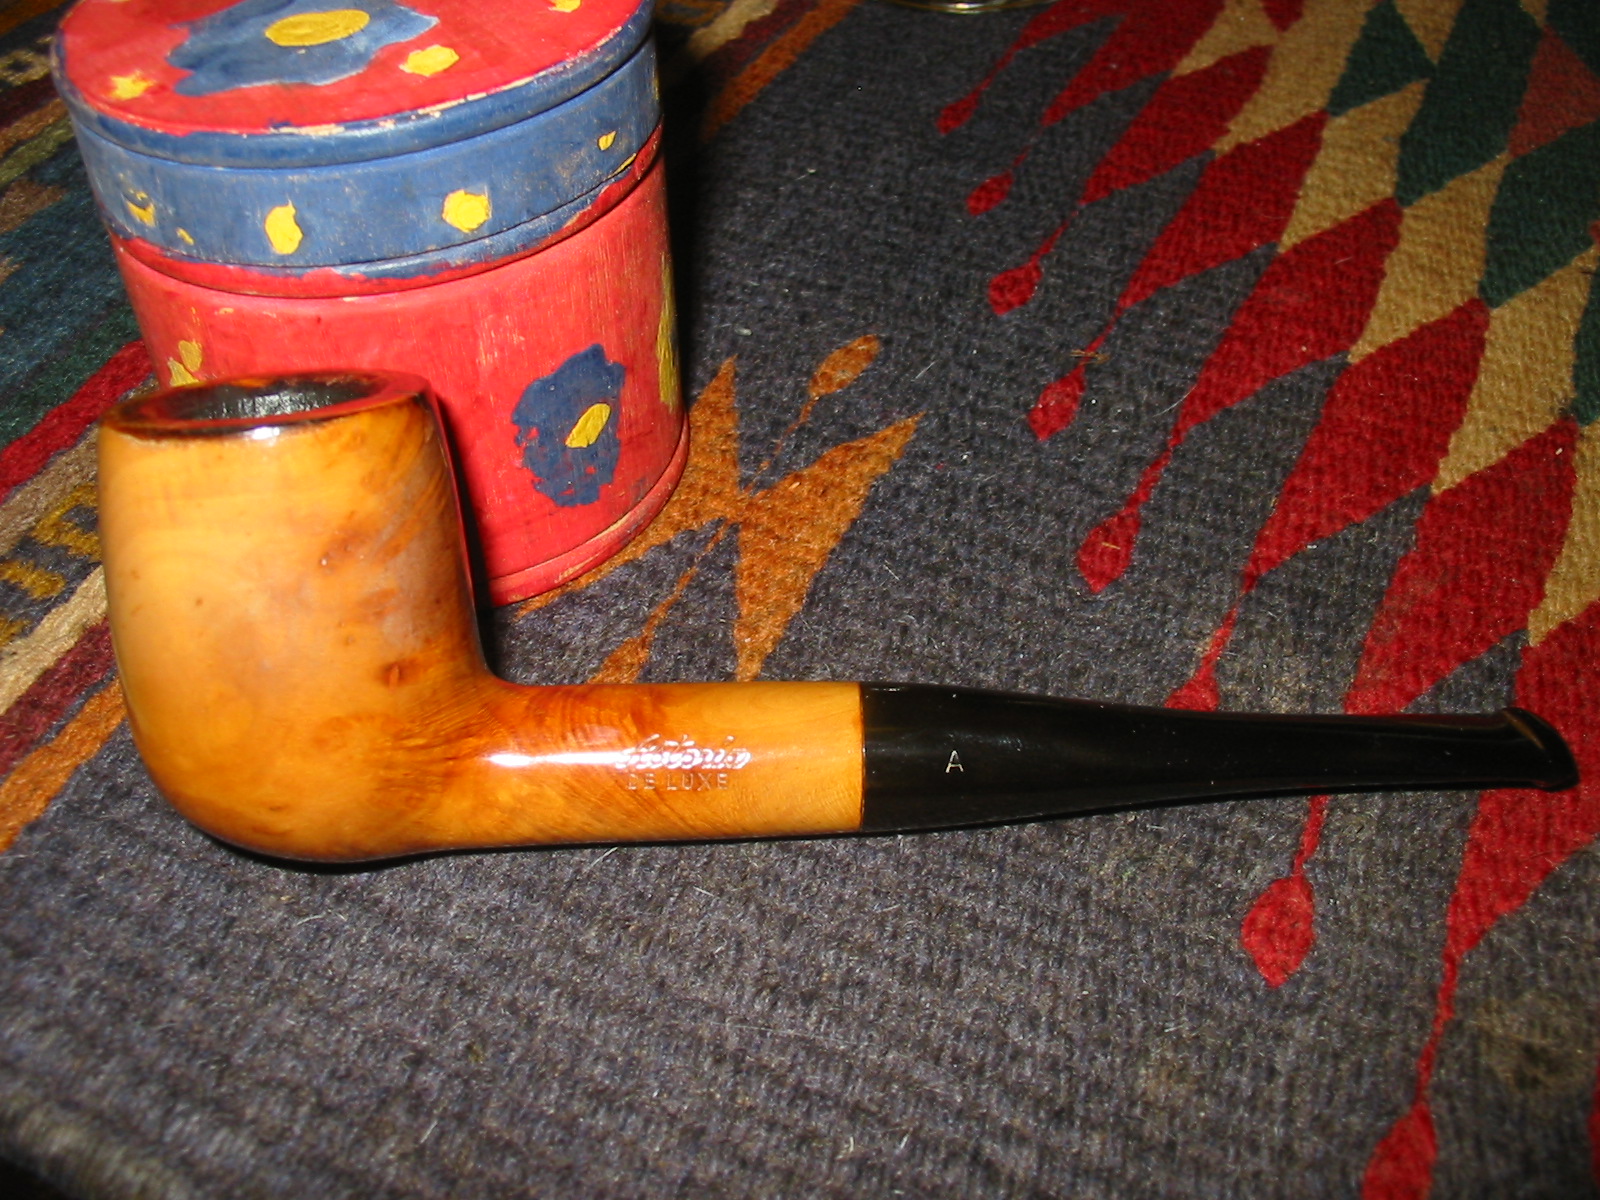
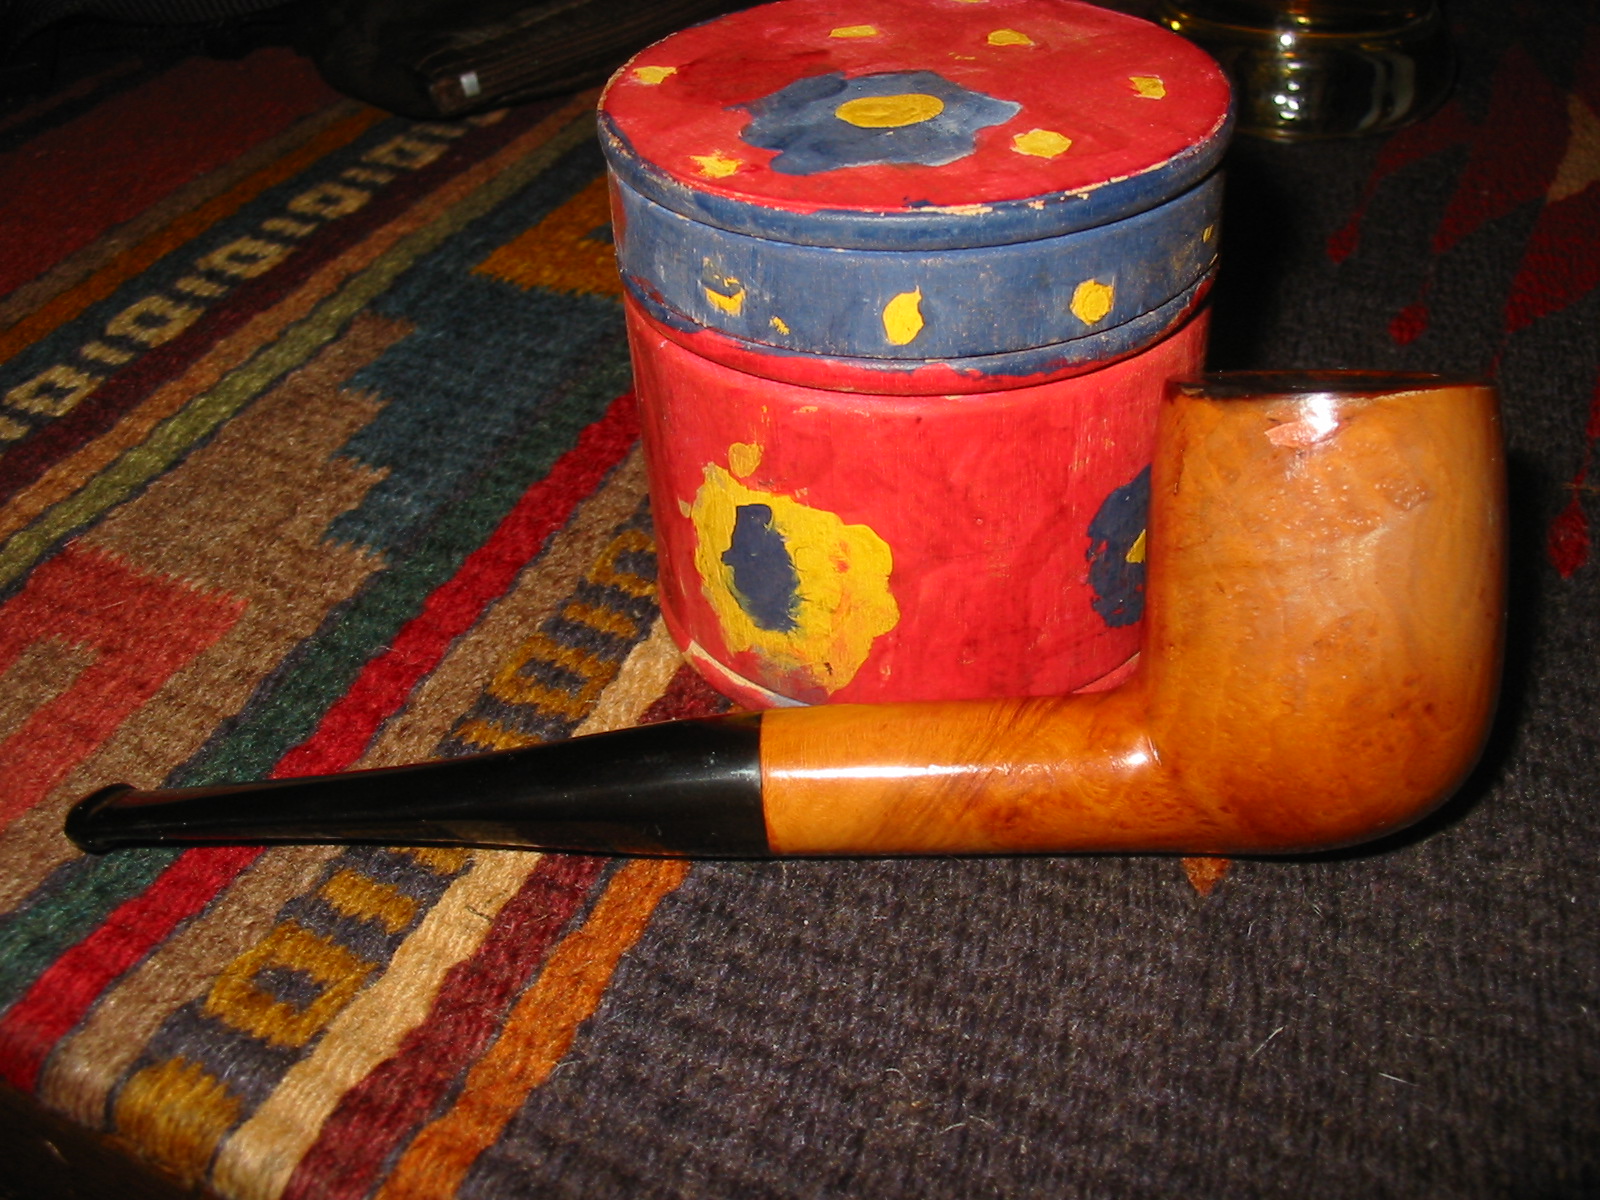
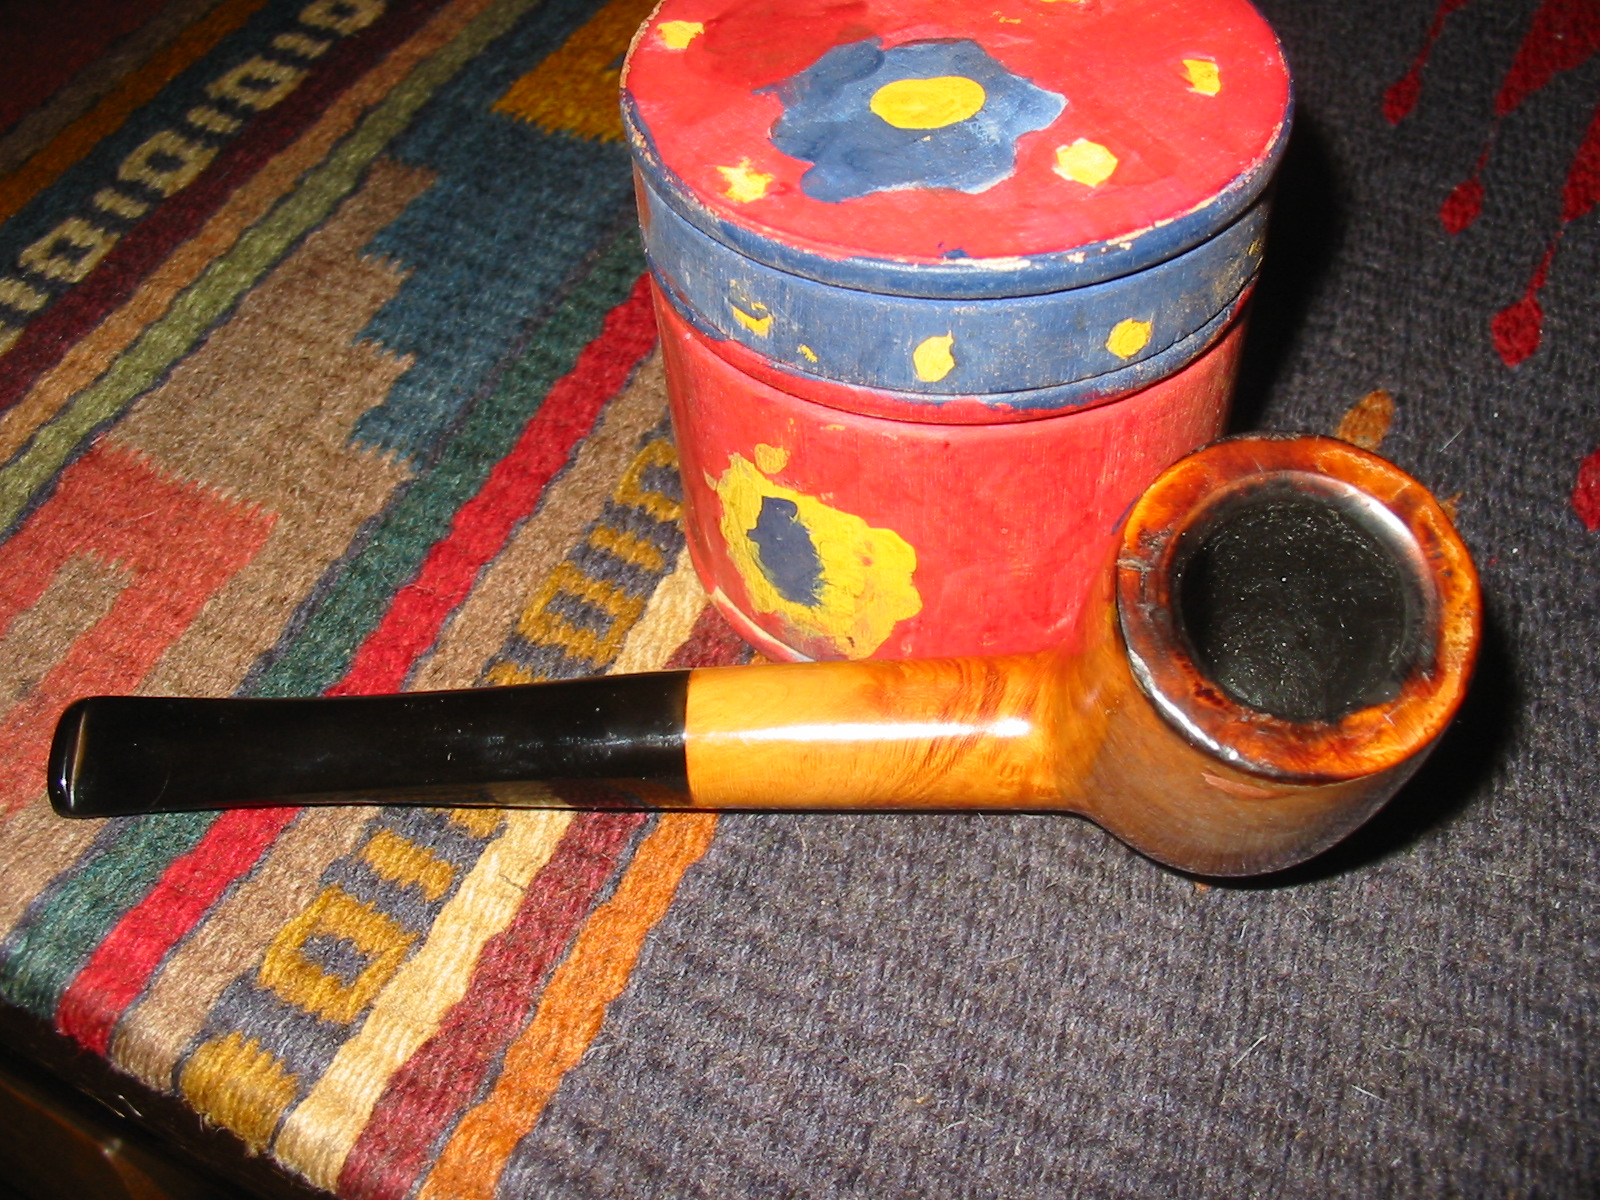
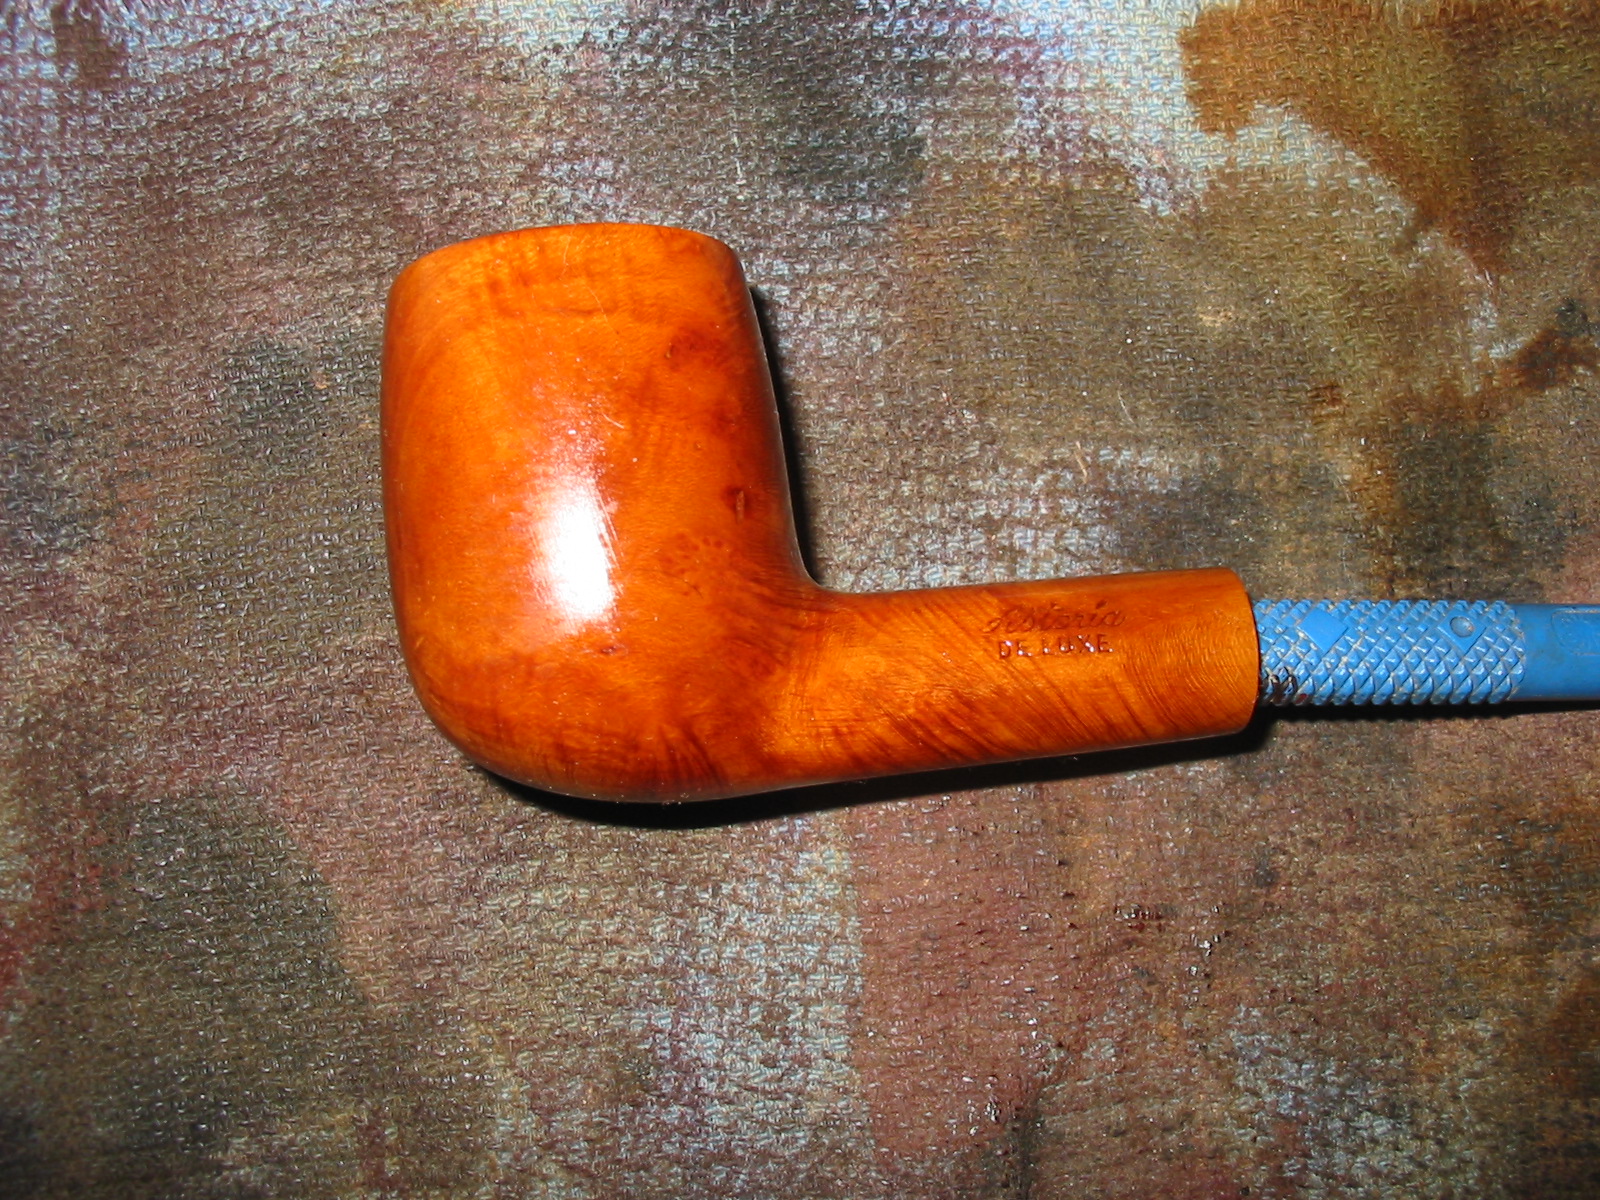
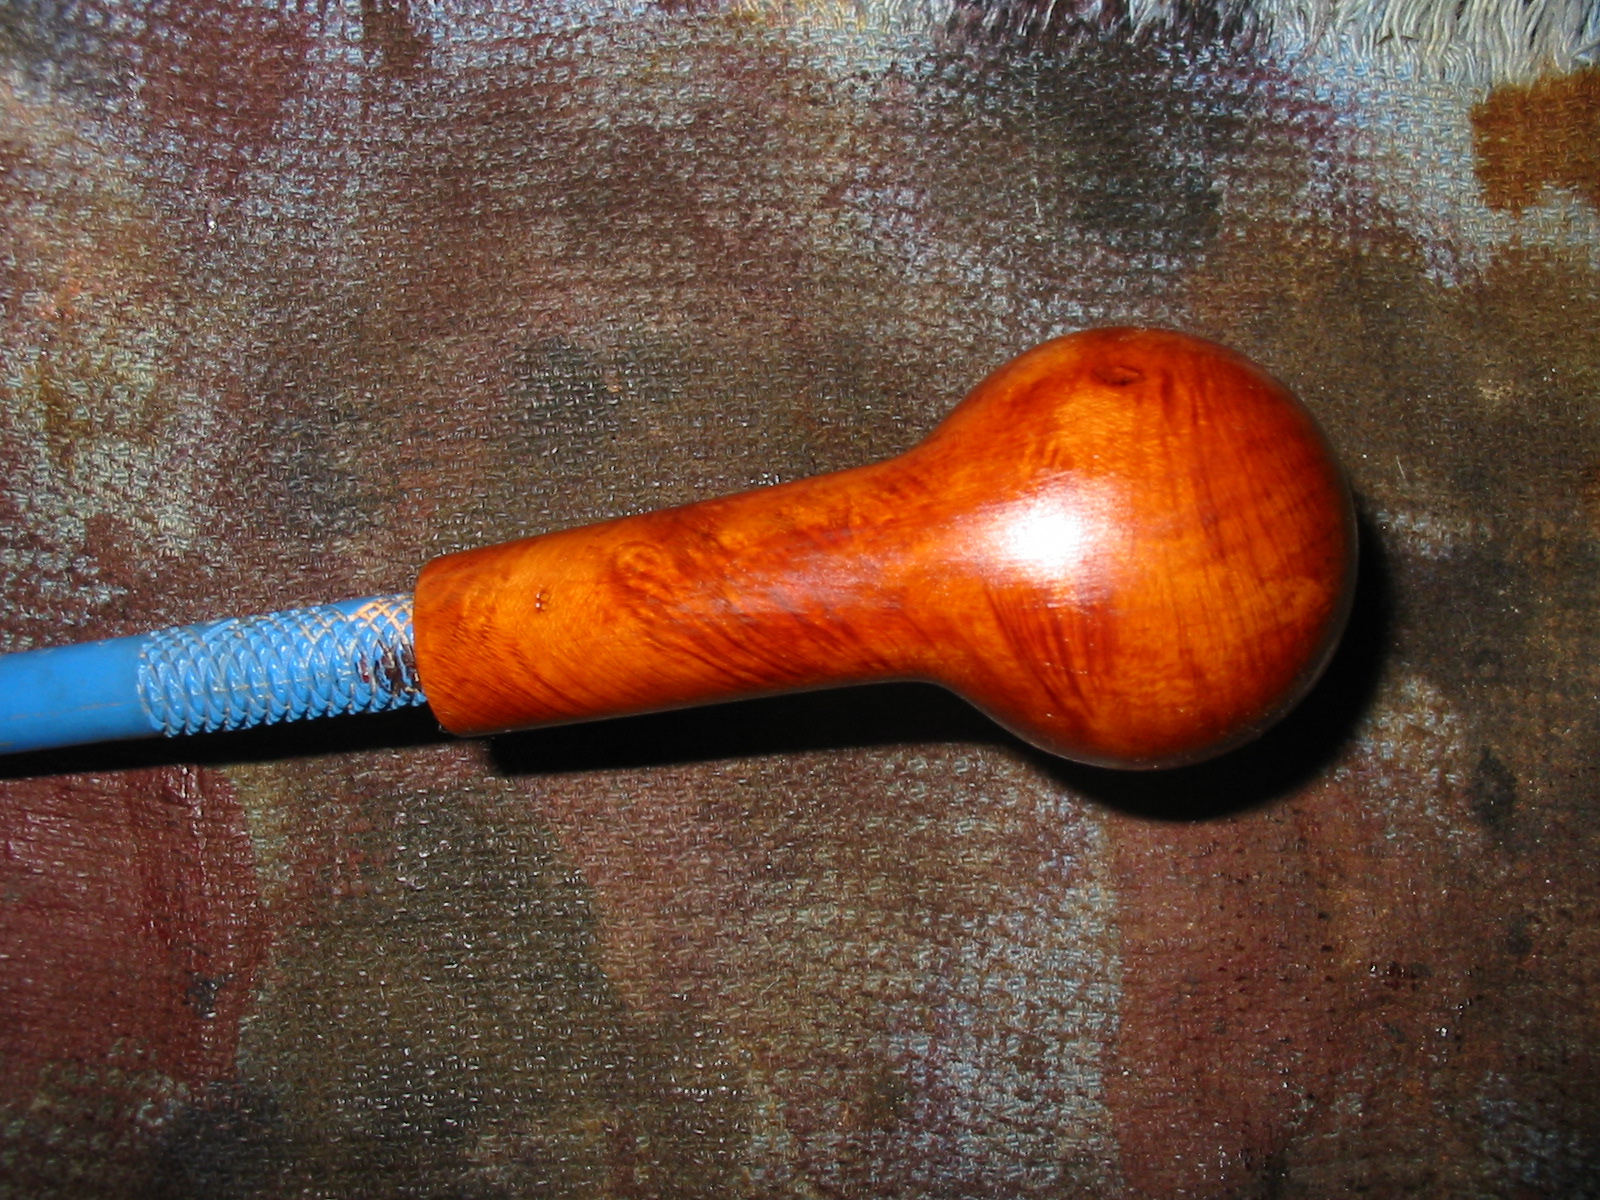
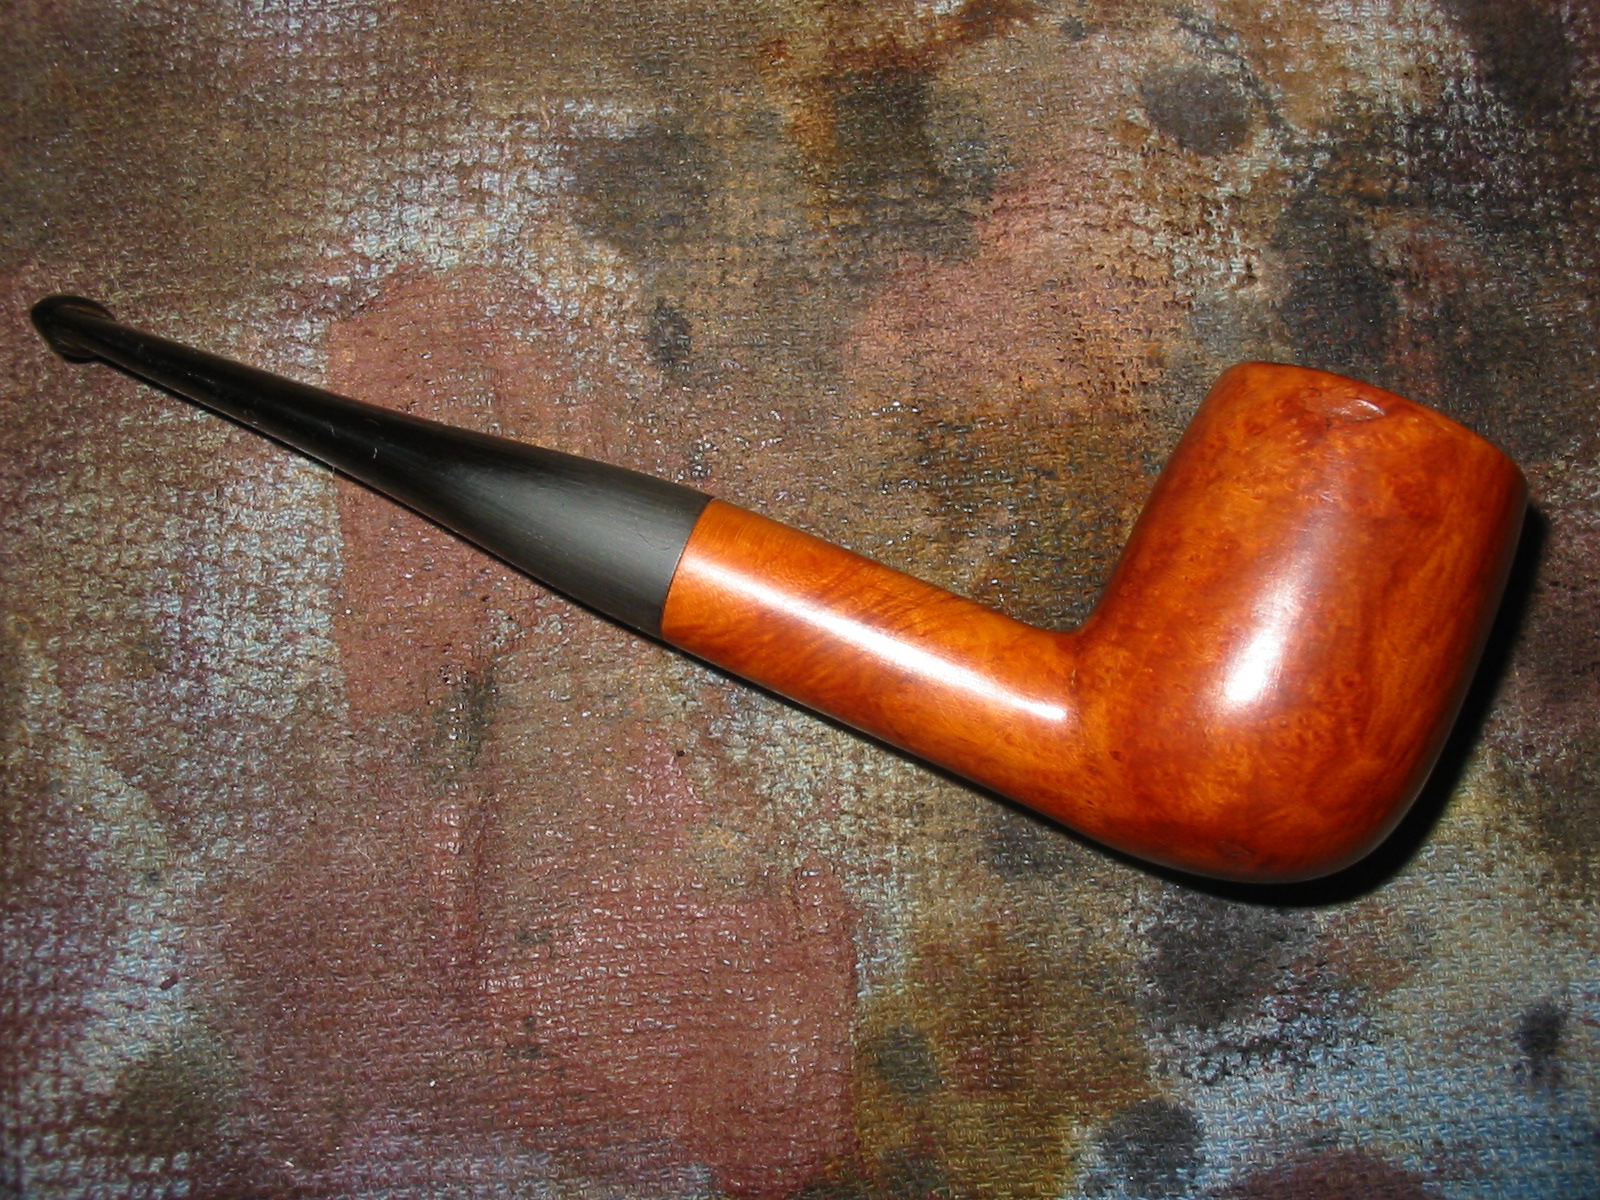
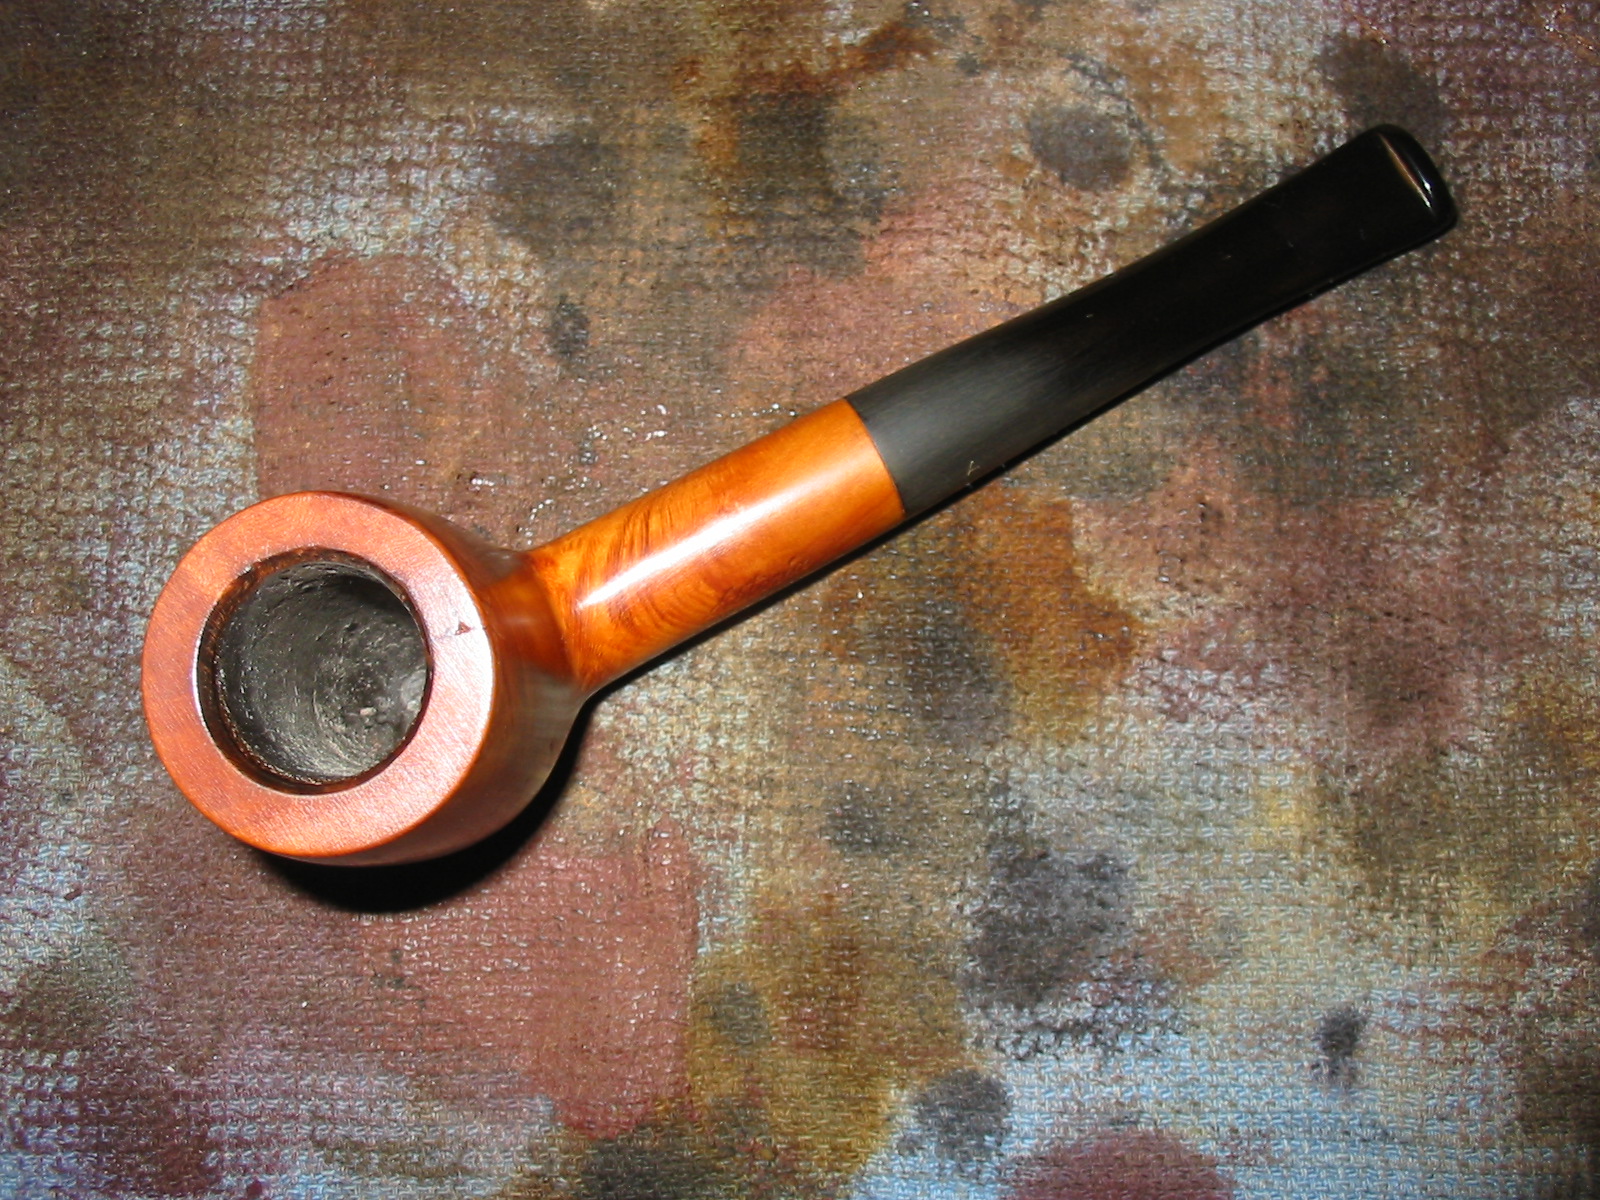
I was given this older, truly ugly pipe a bit ago. It is stamped Astoria De Luxe on the left side of the shank and on the underside the number 8 is stamped near the shank/stem junction. The stem has the letter “A” stamped in the vulcanite. The bowl was coated with a thick coat of something like urethane that gave it a plastic feel. It also seemed to be an opaque coating that was a yellow tan colour. The coating complete hid the grain and the numerous fills on the sides of the bowl. The rim had been damaged from a knife wielding person who tried to ream the bowl. The inner edge had a slight bevel that was damaged and the outer rim had damage from a torch lighter. This time the heavy coating on the bowl protected it from charring but the coating had darkened to black and was pitted. The top of the rim was badly damaged from tapping the bowl out against something hard. This pipe was certainly one that normally I would not have bothered to work on, but there was a challenge there to see if I could do something with it. This one will also go in the box of pipes for the Vancouver Pipe Club.
IMG_4455

IMG_4456

IMG_4457

IMG_4458

I took a close-up photo of the top of the bowl to highlight the rim damage before I went to work on repairing it.
IMG_4459

I set up my topping board and sandpaper and sanded the top of the rim. I press it against the board and work it in a circle to remove the damaged briar. I continue until the top is once again flat and the damage minimized. In doing so I was able to remove much of the gouging of the inner edge of the rim and flatten the rim. It also removed the burn damage to the outer edges of the bowl. However, it also revealed a flaw in the top of the rim. I filled the flaw with briar dust and superglue and when dry topped it slightly more to remove the excess fill that I had made.
IMG_4460

I scrubbed bowl down with acetone on cotton pads but the coating did not come off. I sanded the bowl with a sanding sponge and broke the top seal on the coating and then continued to wipe it down with acetone and then sand repeatedly until the finish was virtually gone.
IMG_4461

IMG_4462

IMG_4463

IMG_4464

Last evening when I finished for the night I dropped the bowl in an alcohol bath overnight to further remove some of the stubborn spots on the coating. These were at the bowl shank union and at the end of the shank. There were spots on both sides of the bowl and the front that also resisted the combination of sanding and acetone. When I took it out of the bath this morning the finish was gone. I rubbed the bowl dry and gave it a quick buff with Tripoli to remove any remnants of the coating. I cleaned out the shank with cotton swabs and Everclear to remove the tars and oils that were inside. When it was clean, I wiped it down a final time with a cotton pad and Everclear and prepared it for staining. I decided to once again use the MinWax and gave the bowl a coat of Red Mahogany and then a coat of Medium Walnut stain. I hand buffed the bowl and then took it to the buffer and buffed it with Red Tripoli and White Diamond.
IMG_4465

IMG_4466

IMG_4467

IMG_4468

The combination of the two stains worked well and minimized the ugly fills that stood out around the bowl. Combined they gave the pipe a light reddish brown hue. The stem had some damage around the shank area so I sanded it lightly with a medium grit sanding sponge to remove those markings.
IMG_4469

IMG_4470

IMG_4471

IMG_4472

I further sanded the stem with the usual array of micromesh sanding pads – wet sanding with 1500-2400 grit pads and dry sanding with 3200-12,000 grit pads. I rubbed the stem down with Obsidian Oil and then buffed it with White Diamond.
IMG_4473

IMG_4474

IMG_4475

I reinserted the stem in the pipe and gave the entire pipe a final buff with the White Diamond and finished by giving it multiple coats of carnauba wax. I buffed the pipe with a clean flannel buff to raise a shine in the stem and bowl. The result of the work can be seen in the photos below. The old, ugly duckling billiard had a facelift and now was far more attractive than previously in my opinion. It is ready to go in the box for the pipe club. Hopefully the pipeman who takes it home eventually will get good use out of it and enjoy the Astoria De Luxe. The challenge was worth doing and in doing so I learned some more tricks on removing a thick urethane coating.
IMG_4476

IMG_4477

IMG_4478

IMG_4480

IMG_4481

Topping a Badly Damaged Georg Jensen Bent Billiard


Blog by Steve Laug

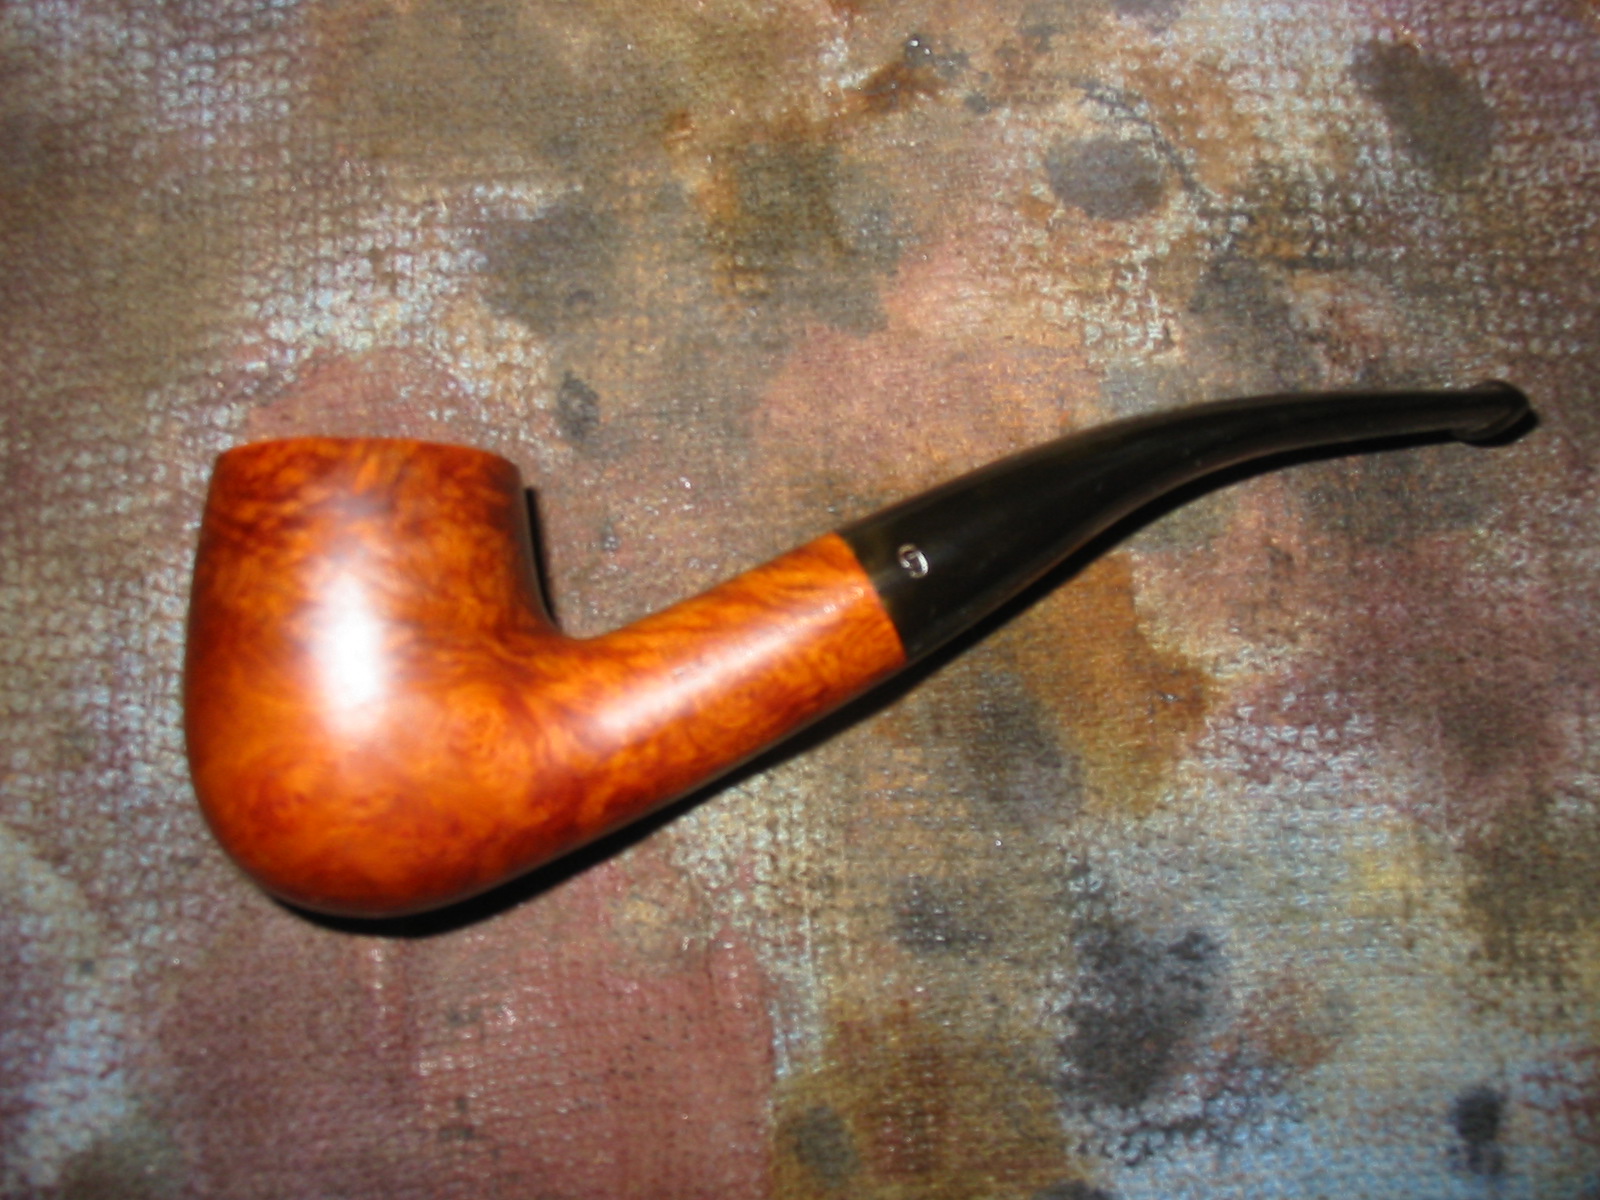
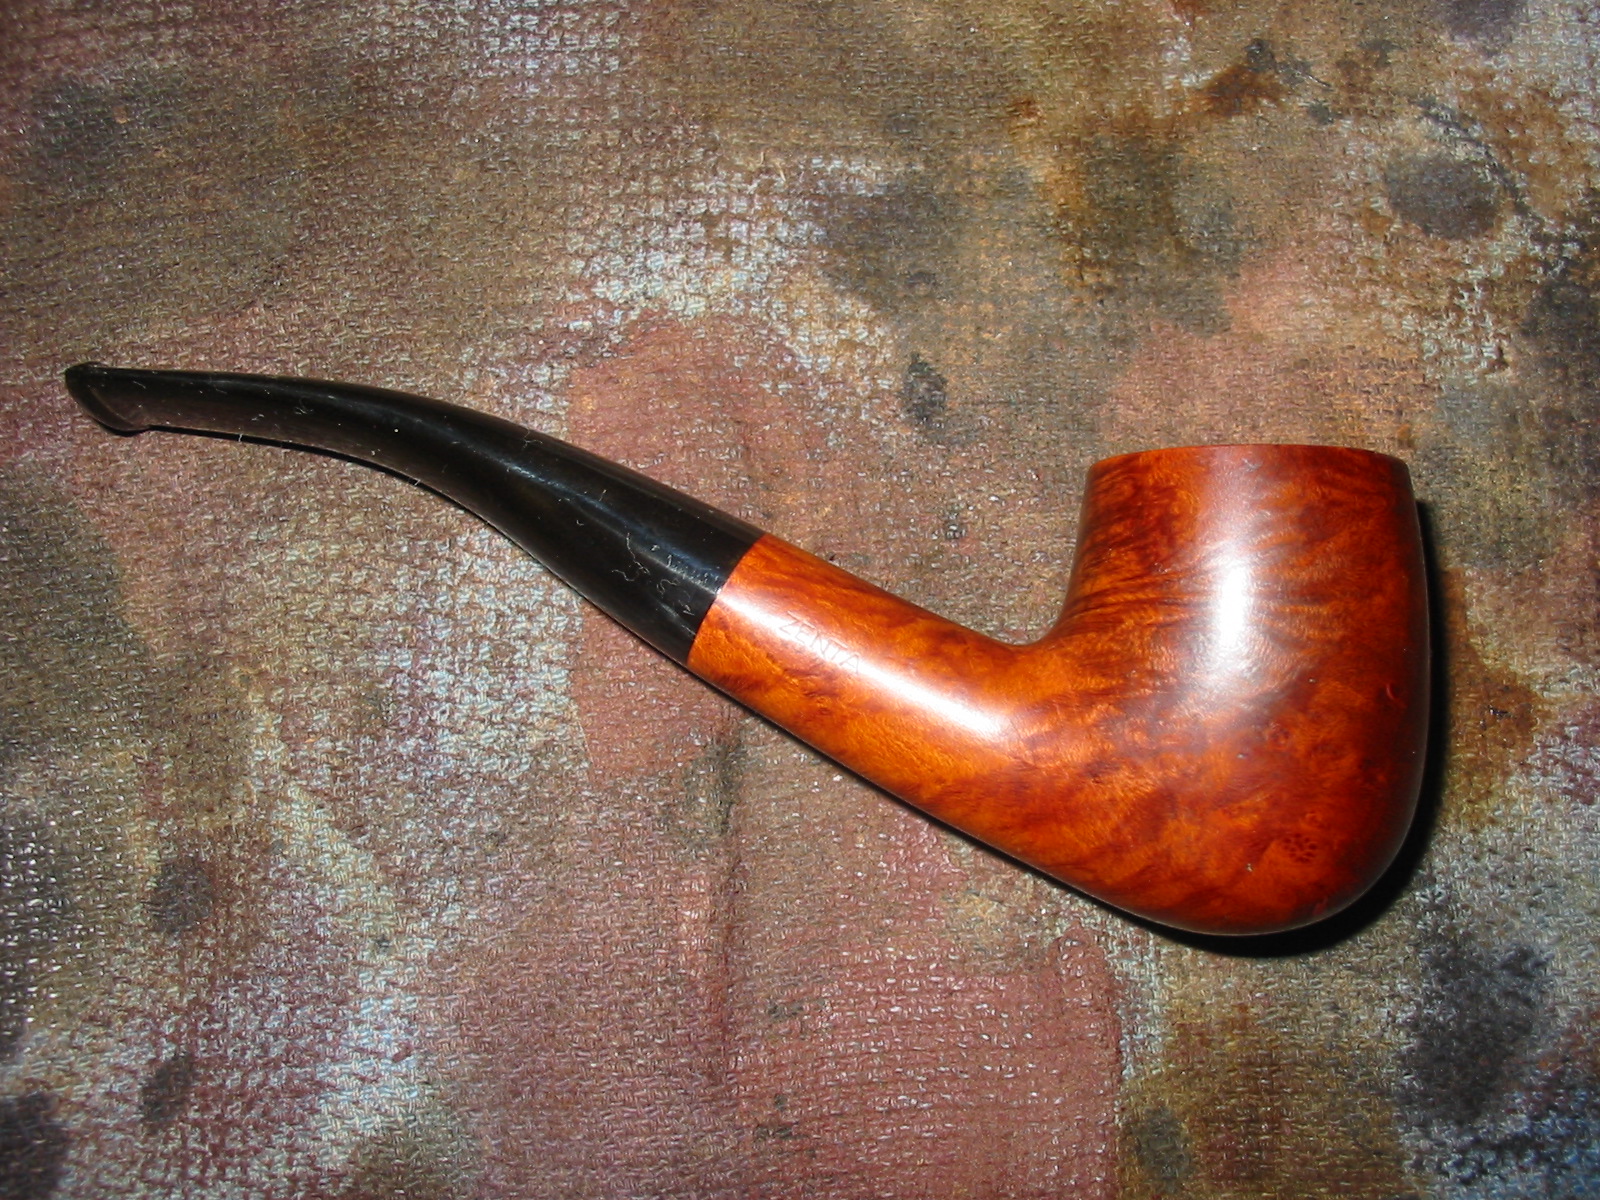
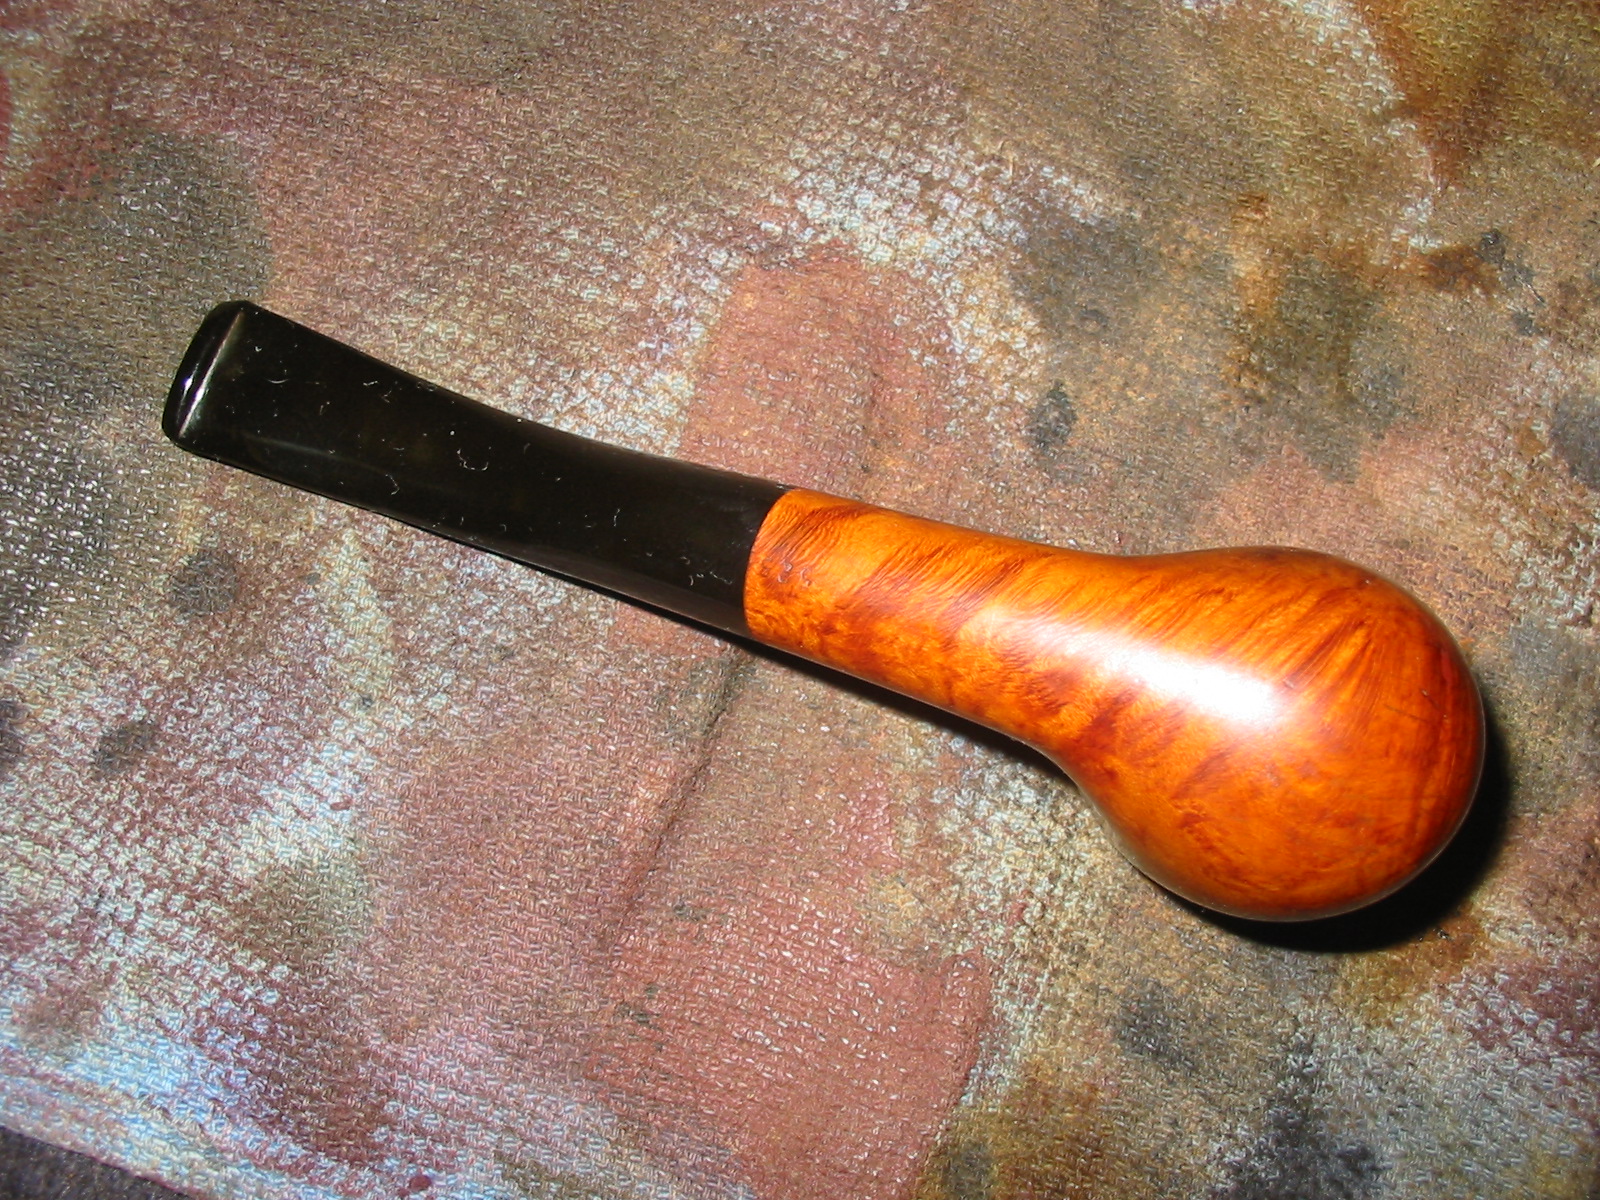
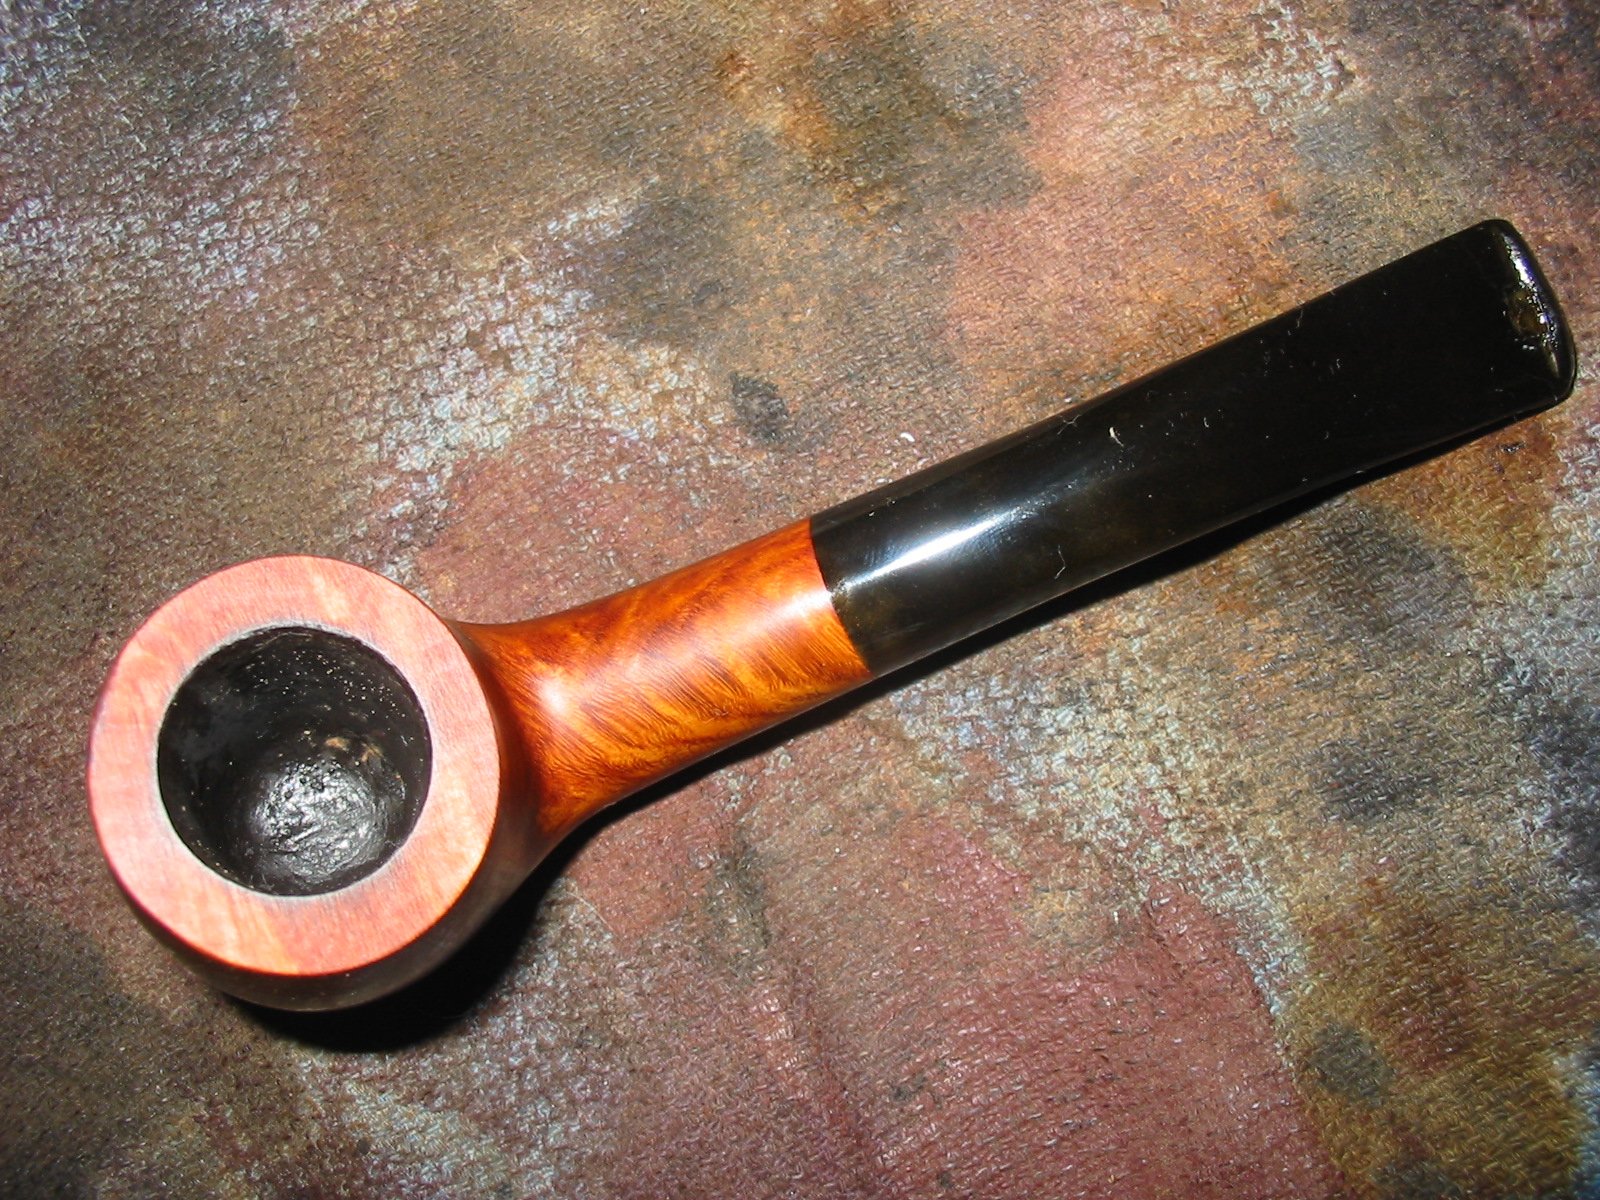
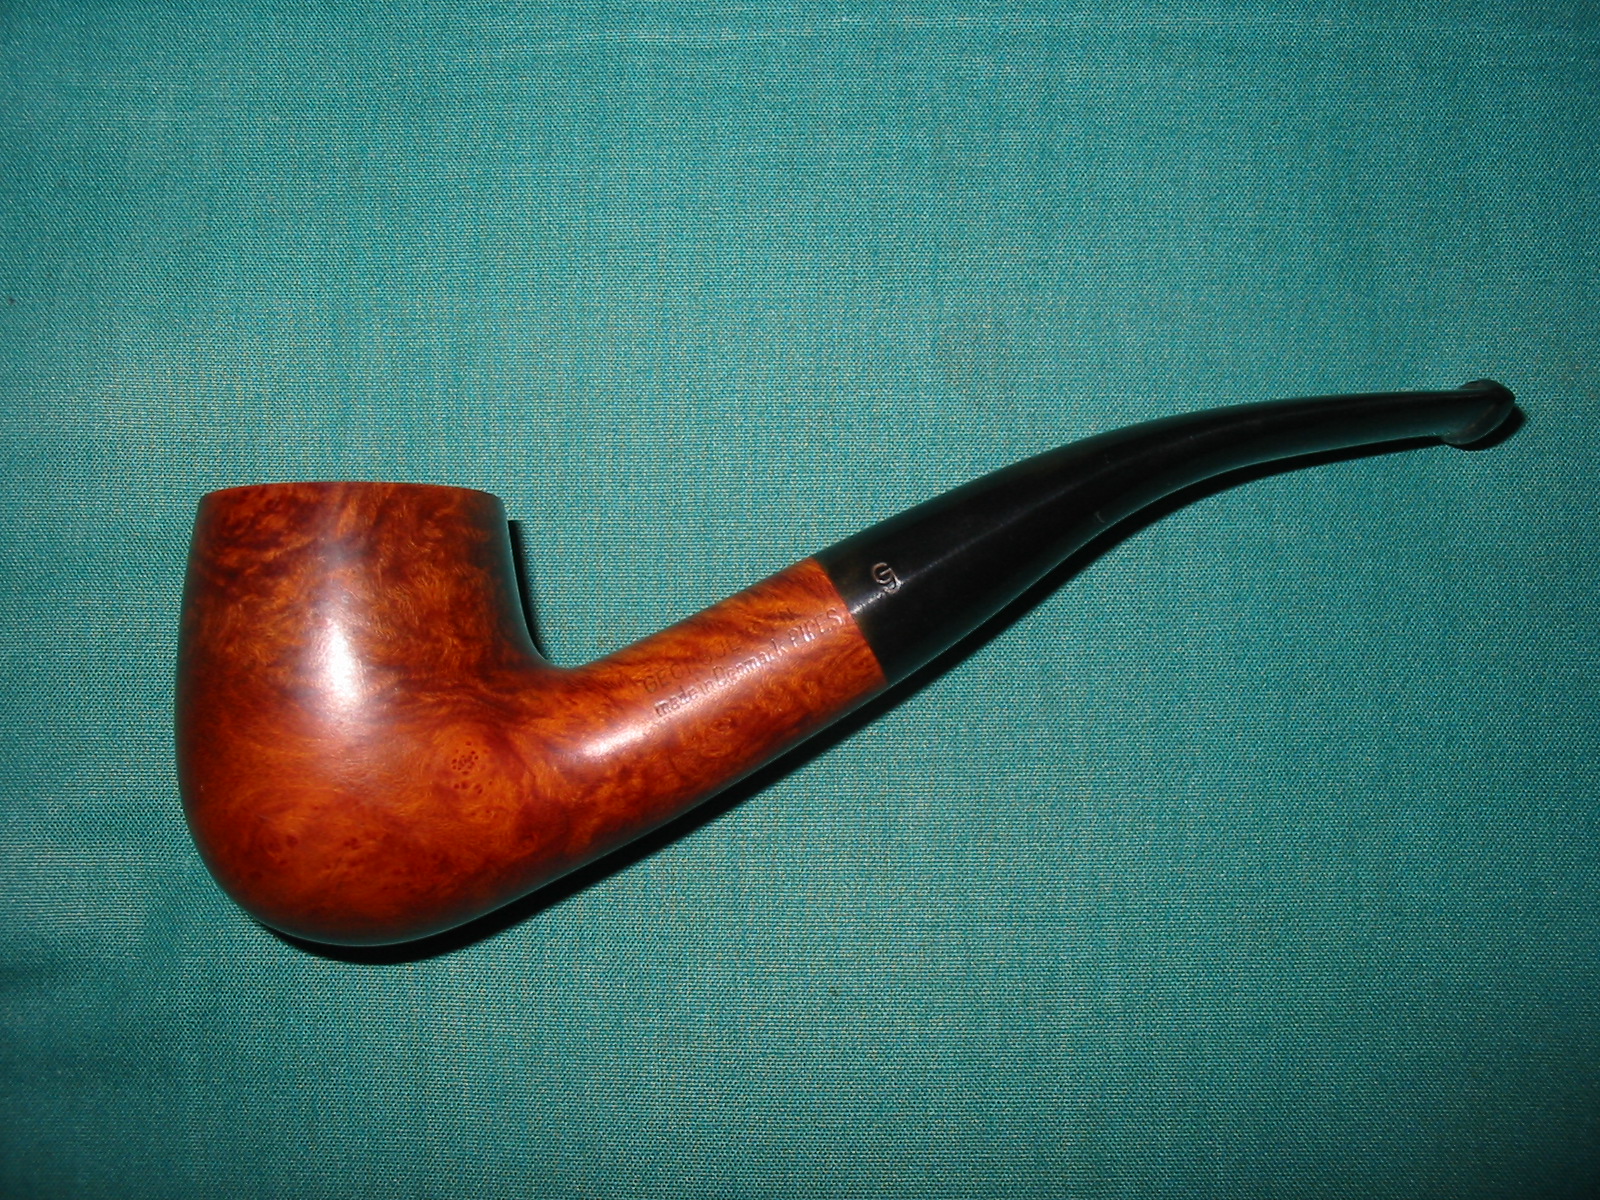
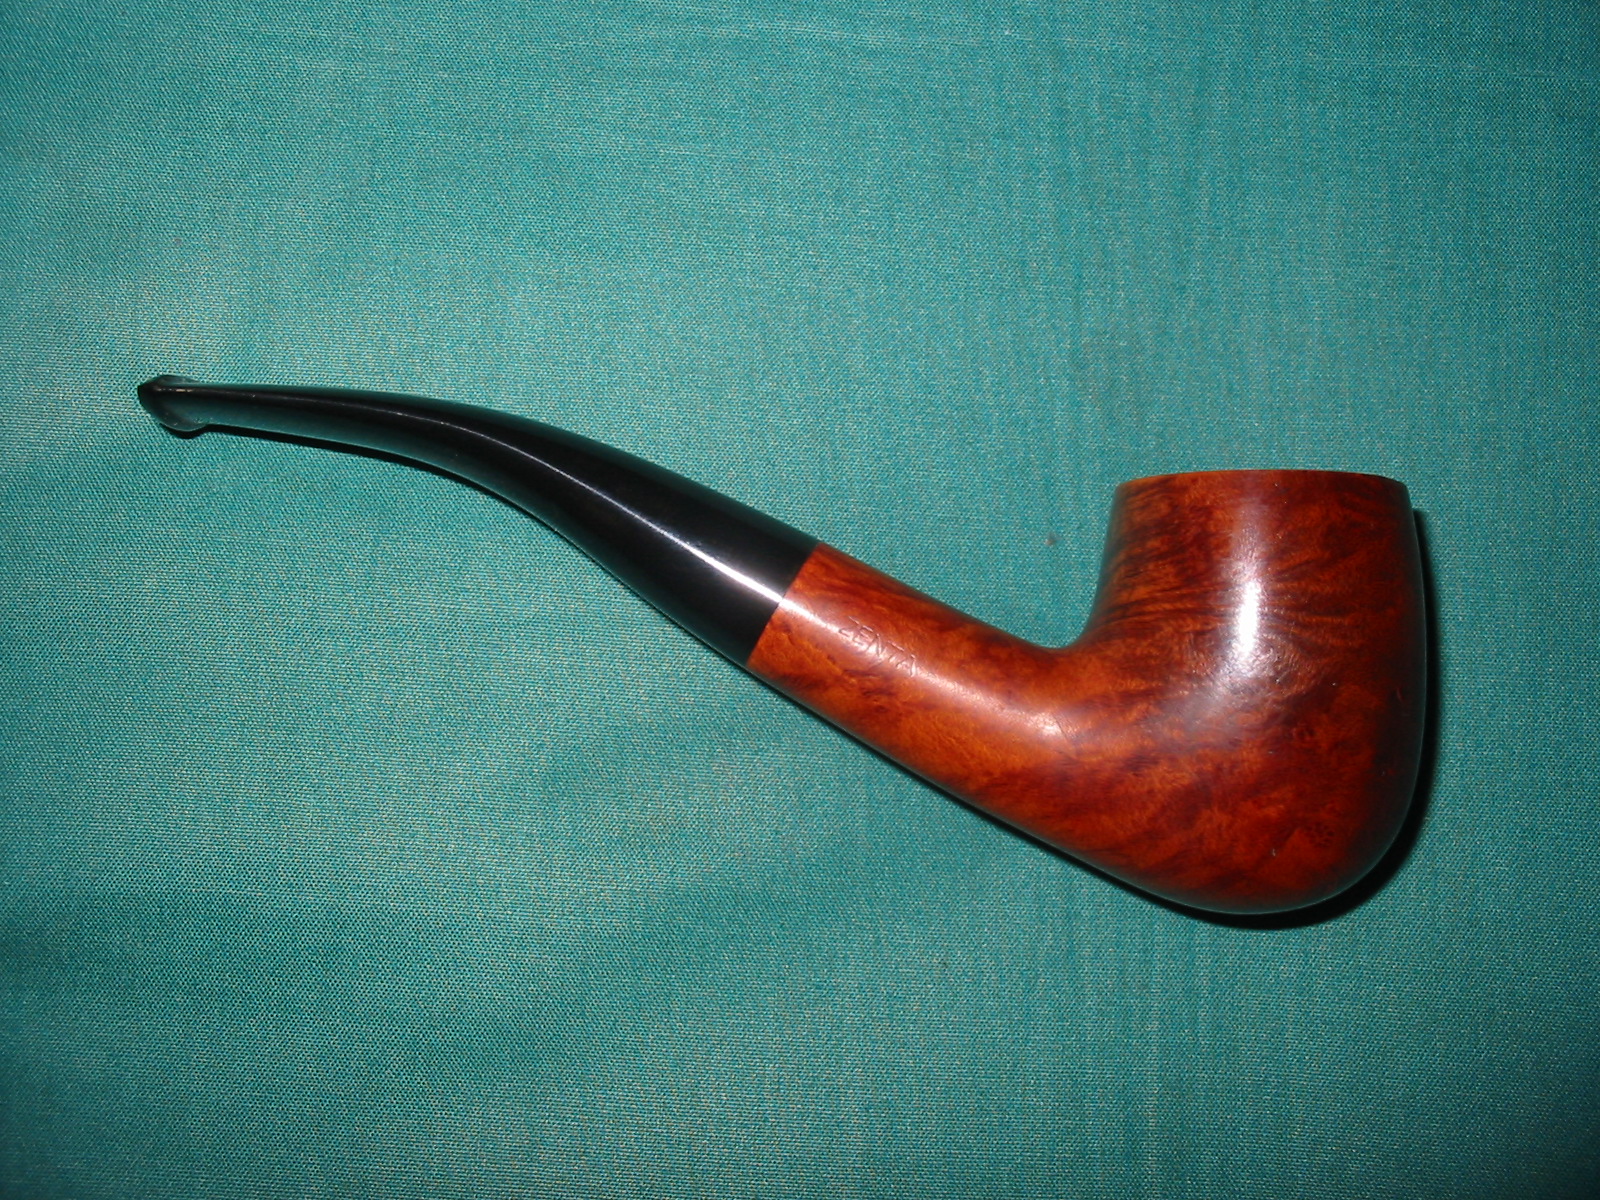
In the process of going through the box of pipes for the Vancouver Pipe Club to put back the ones I had worked on, I found another that really needed attention. I just could not leave it in the box as the damage looked awful and I knew it could look so much better. It is an oddly shaped bent billiard to me but it had a quaint quality about it that I liked. It is stamped Georg Jensen over Made in Denmark Pipes on the left side and Zenta on the right side. On the underside of the shank it is stamped 525. I am assuming that is a shape number. The stem was oxidized around the shank. The bowl had been coated with varnish – even over the grit on the surface. There were also finger prints in the varnish. The worst part of the pipe was the rim. It was worn down on the front side and the varnish had covered the rough surface of the beat up briar. It was also burned on the back inner edge of the rim and onto the rim surface. The inner edge of the rim was also damaged and nicked and gouged out of round. The stem had one tooth mark on the topside near the button.
IMG_4431

IMG_4433

IMG_4434

IMG_4435

I have included the next two close-up photos to show the rim damage. The front edge is very worn, the back inner edge is burned and the inner edge of the rim is clearly gouged and marked. Fortunately the damage did not extend deeply into the bowl was limited to the top 1/8th inch of the bowl top. The bowl had also been coated with a black rubbery bowl coating. I chose to leave it as the bowl also had some gouges in the bottom from the knife that someone used to ream the bowl.
IMG_4436

IMG_4437

I set up my board and sandpaper that I use for topping pipe bowls and sanded the top of the rim. This one was a little tricky in that the front slope was lower than the rest of the rim. I worked the back half of the rim first to bring the height down to the same place as the highest portion of the front slope. Once I had that done it was an easy matter to proceed with topping the rest of the rim. I worked until I had removed the burn damage and the rough front edge and had a flat, smooth and rim with an even circumference.
IMG_4438

I wiped the bowl down with acetone on cotton pads to remove the varnish coat and the rest of the finish so that I could blend in the stain on the freshly topped rim with the rest of the pipe.
IMG_4439

IMG_4440

IMG_4441

IMG_4443

I used MinWax Red Mahogany stain to restain the pipe. I rubbed it on and then wiped it off several times until I had the even coverage I wanted on the bowl. I had buffed it with a cotton cloth to give it a slight shine and get a feel for the overall look of the stain on the bowl. I retouched the stain on the rim to darken it slightly. I lightly buffed the bowl with White Diamond and gave it an initial coat of carnauba wax.
IMG_4444

IMG_4445

IMG_4446

IMG_4447

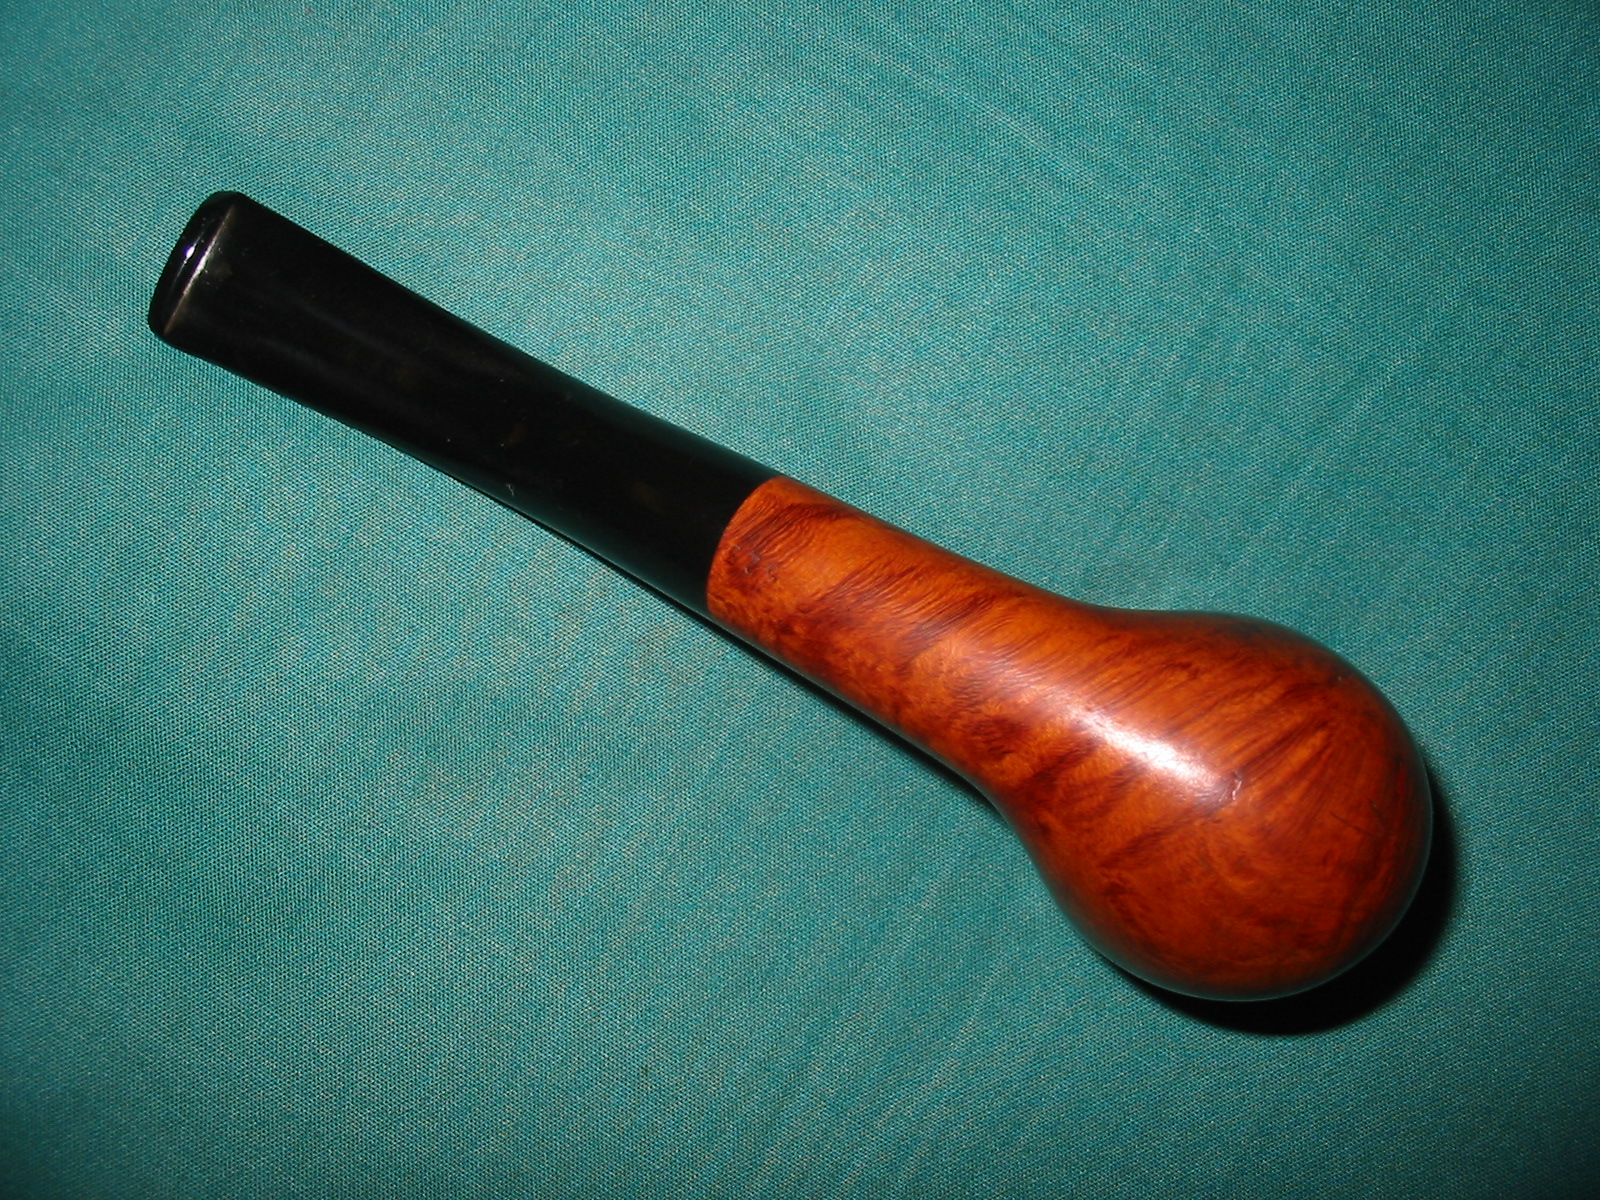
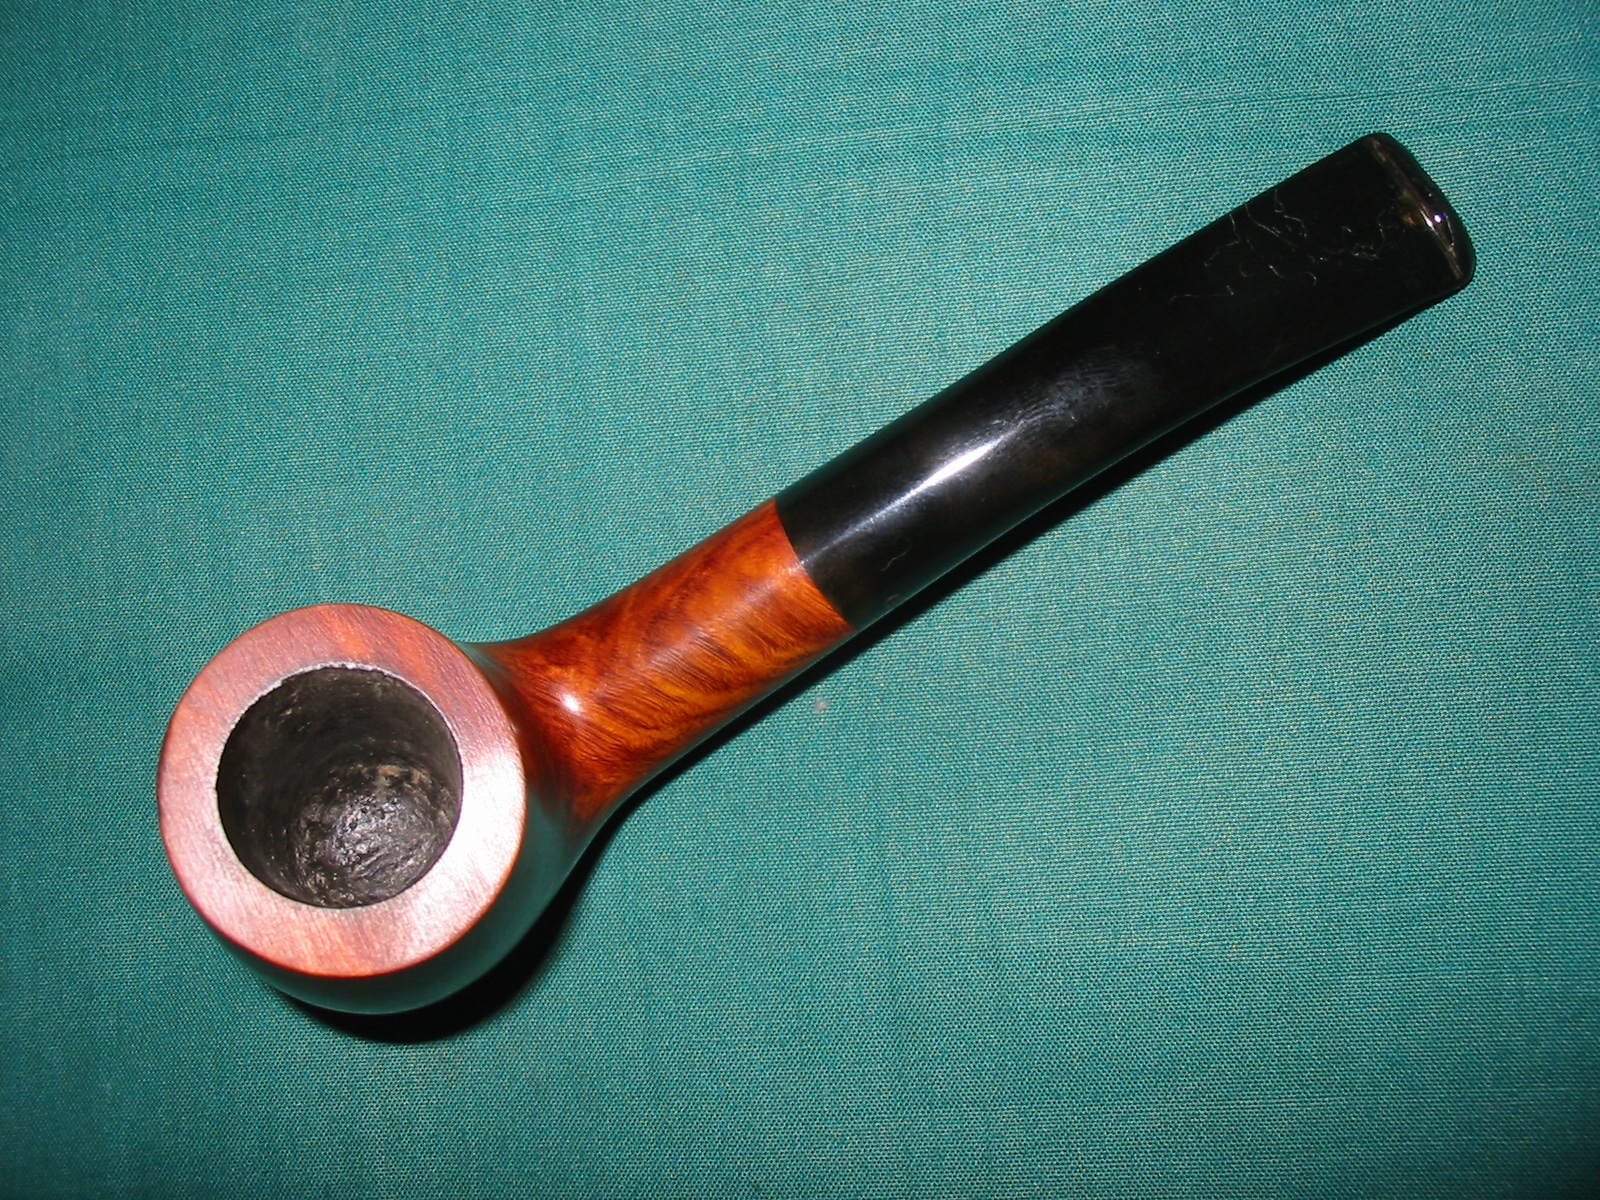
The tooth mark on the top of the stem needed to be heated to lift it as much as possible and then I used some superglue to finish the repair. I sanded it with 220 grit sandpaper to feather it into the surface of the stem. I followed that with a medium and fine grit sanding sponge. I finished the stem with my usual array of micromesh sanding pads – wetsanding with 1500-2400 grit pads and dry sanding with 3200-12,000 grit pads. I rubbed the stem down with Obsidian Oil and then buffed the pipe with White Diamond. I gave it multiple coats of carnauba wax to finish. The completed pipe is shown in the photos below. I also included a photo of the top of the rim to show the repair. The pipe is now ready to join the rest of the ones heading to the Vancouver Pipe Club. It should provide years of service to the pipeman who takes it home.
IMG_4450

IMG_4451

IMG_4452

IMG_4453

IMG_4454

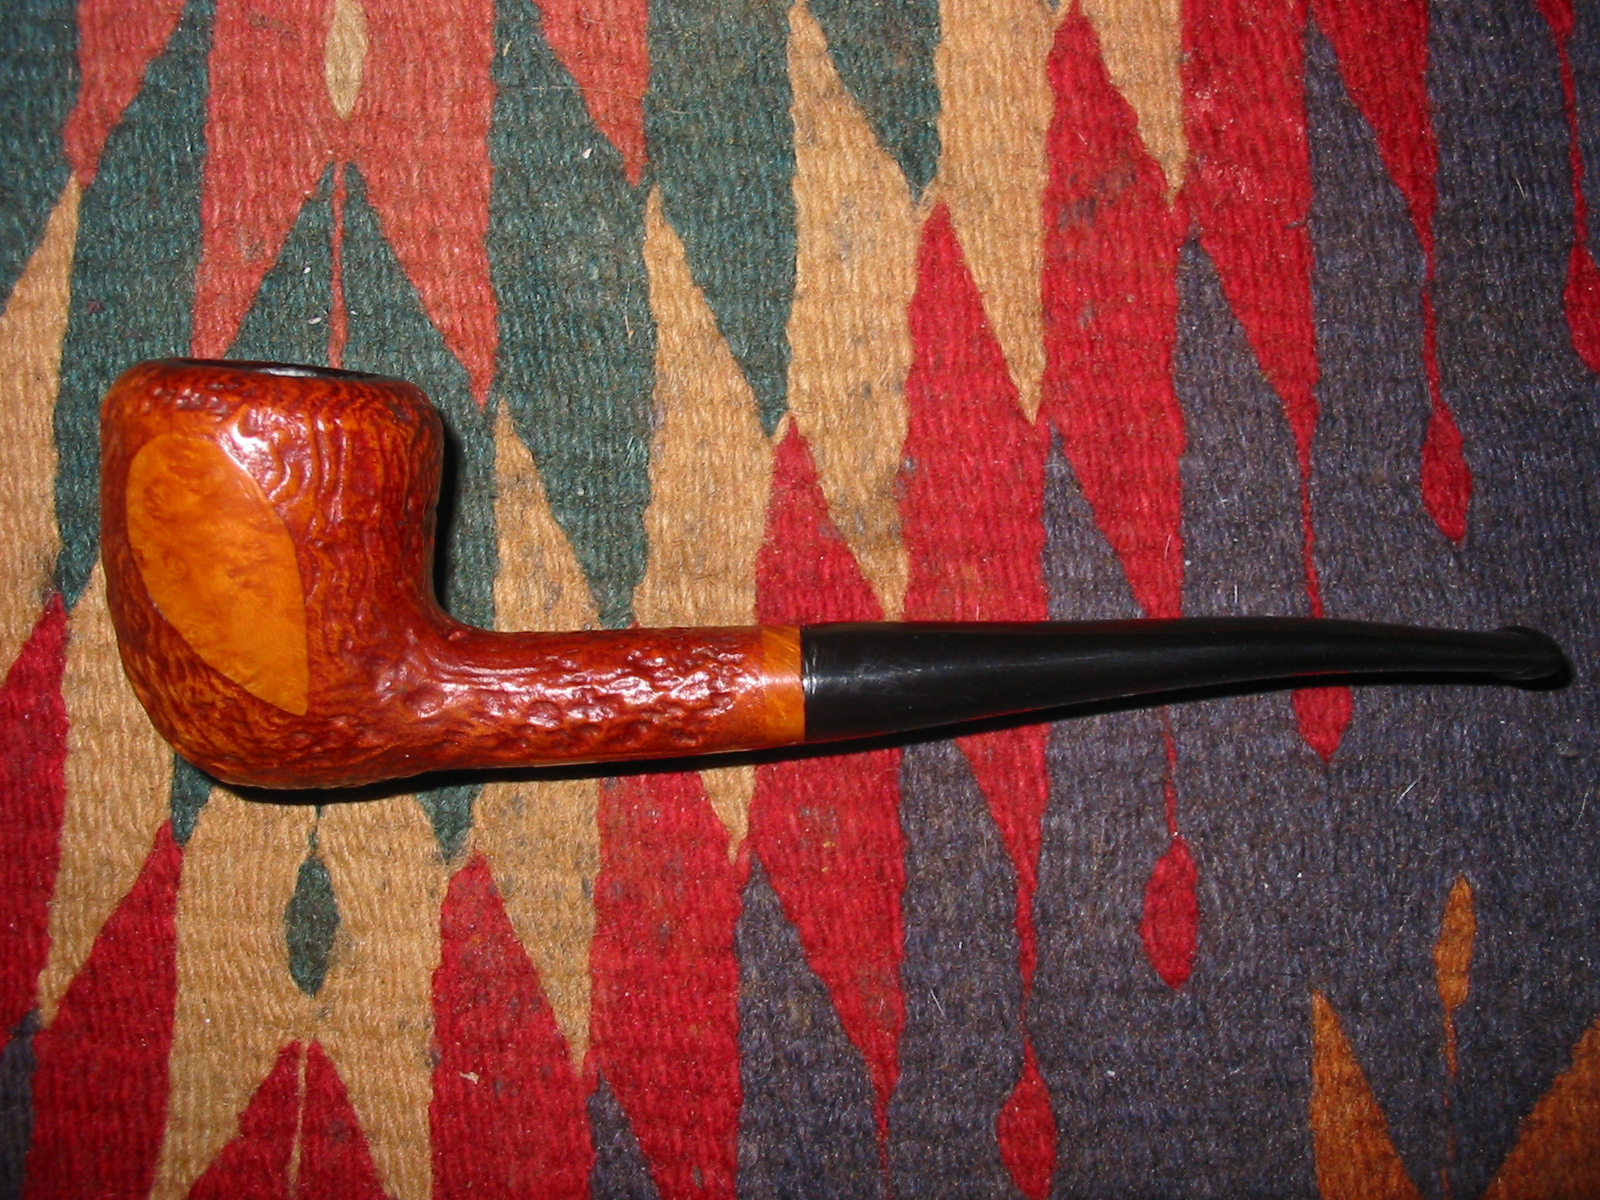
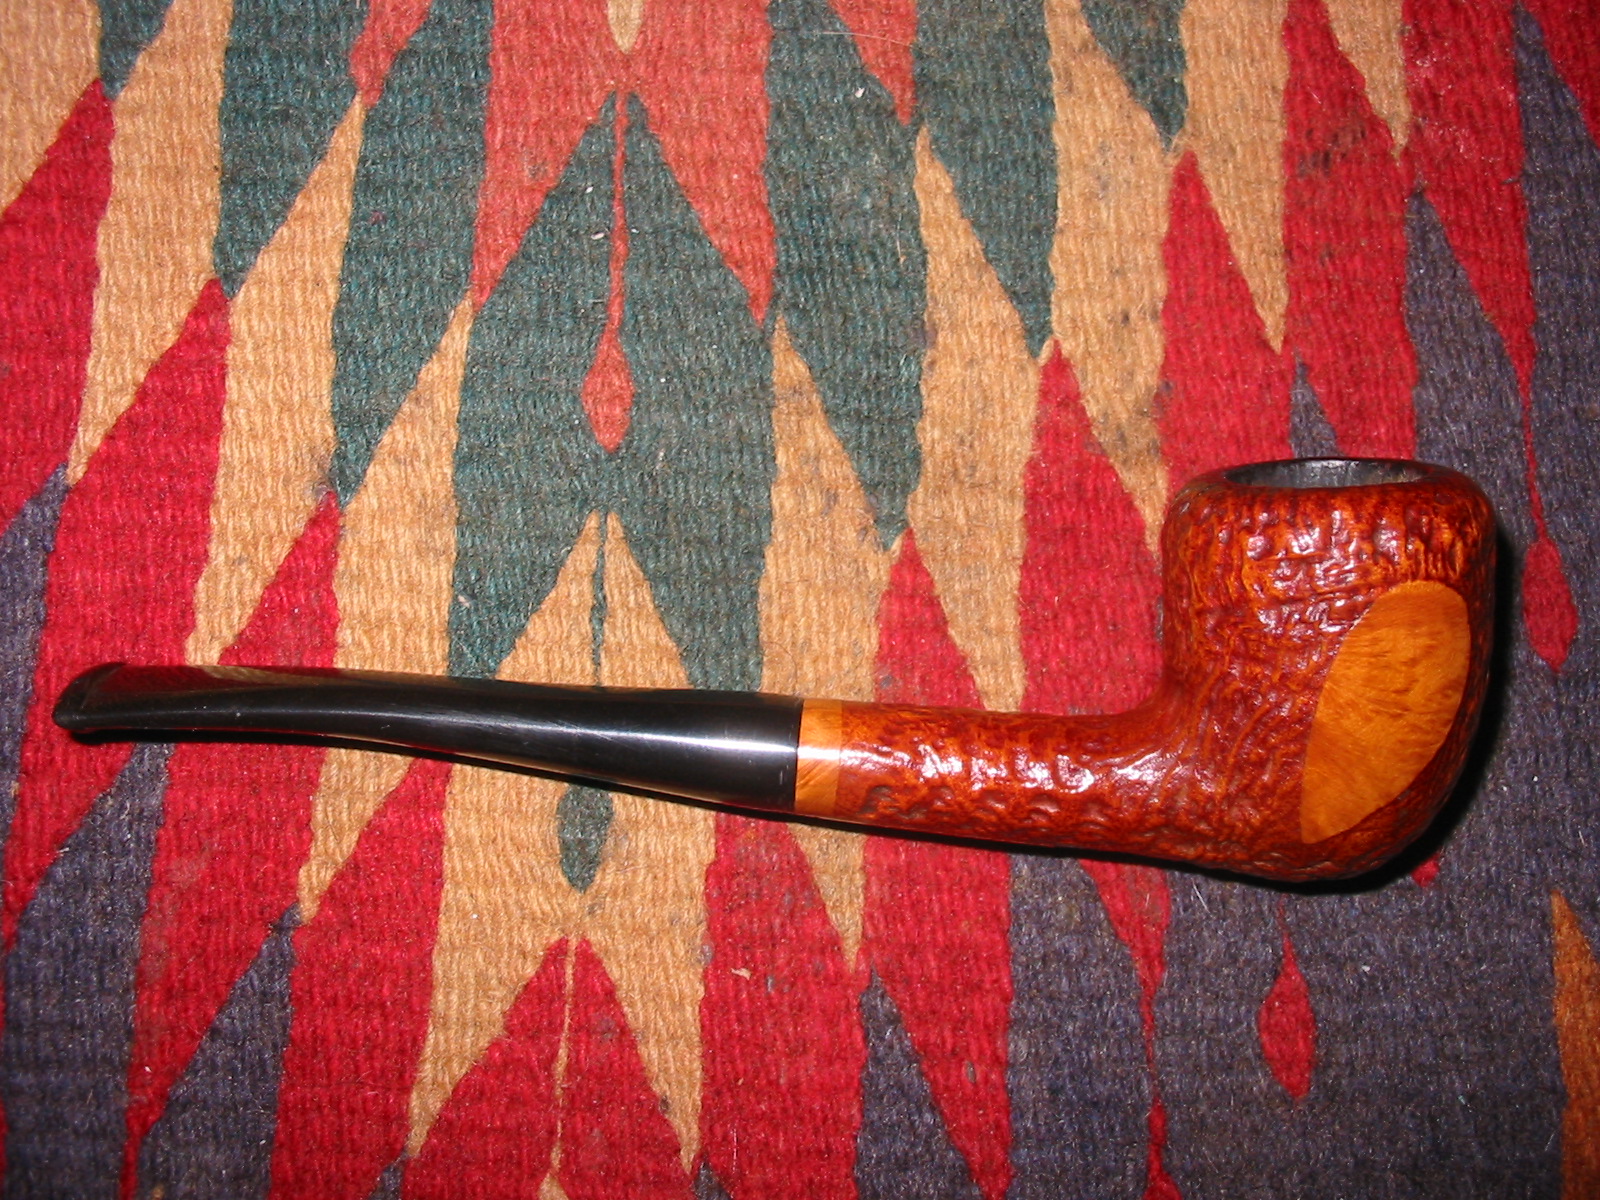
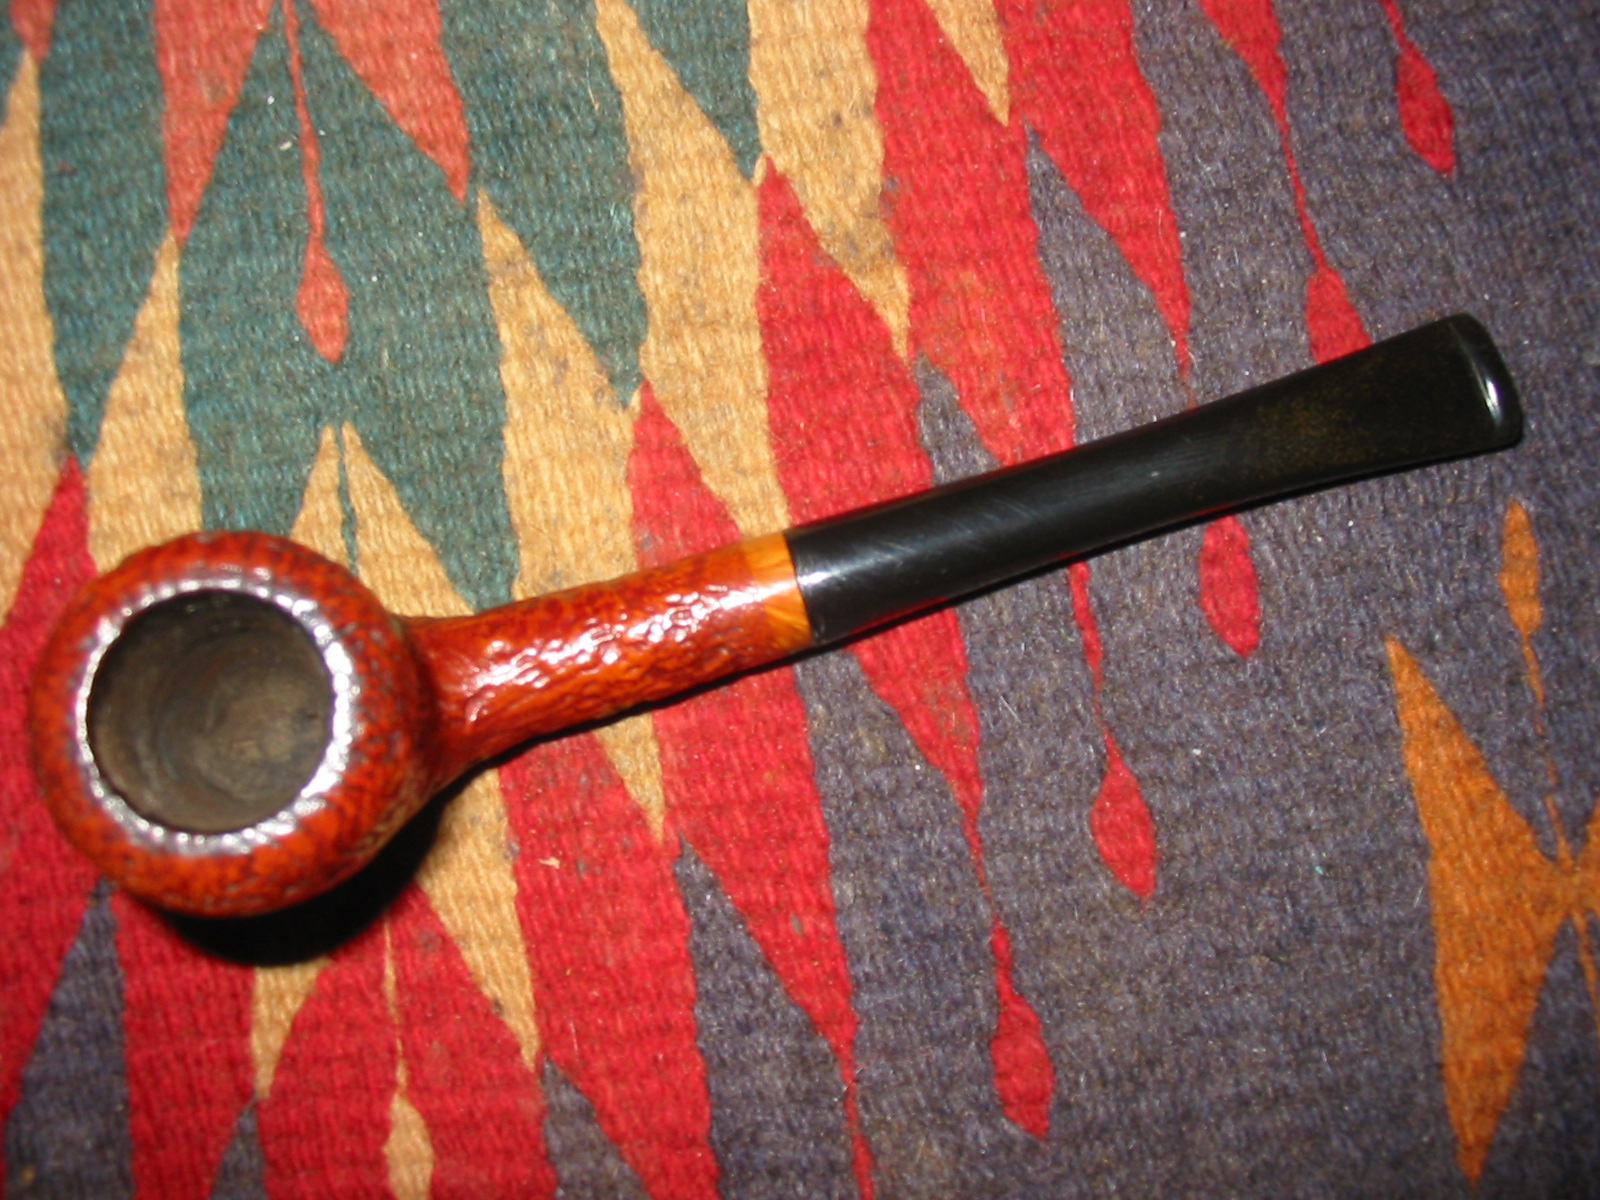
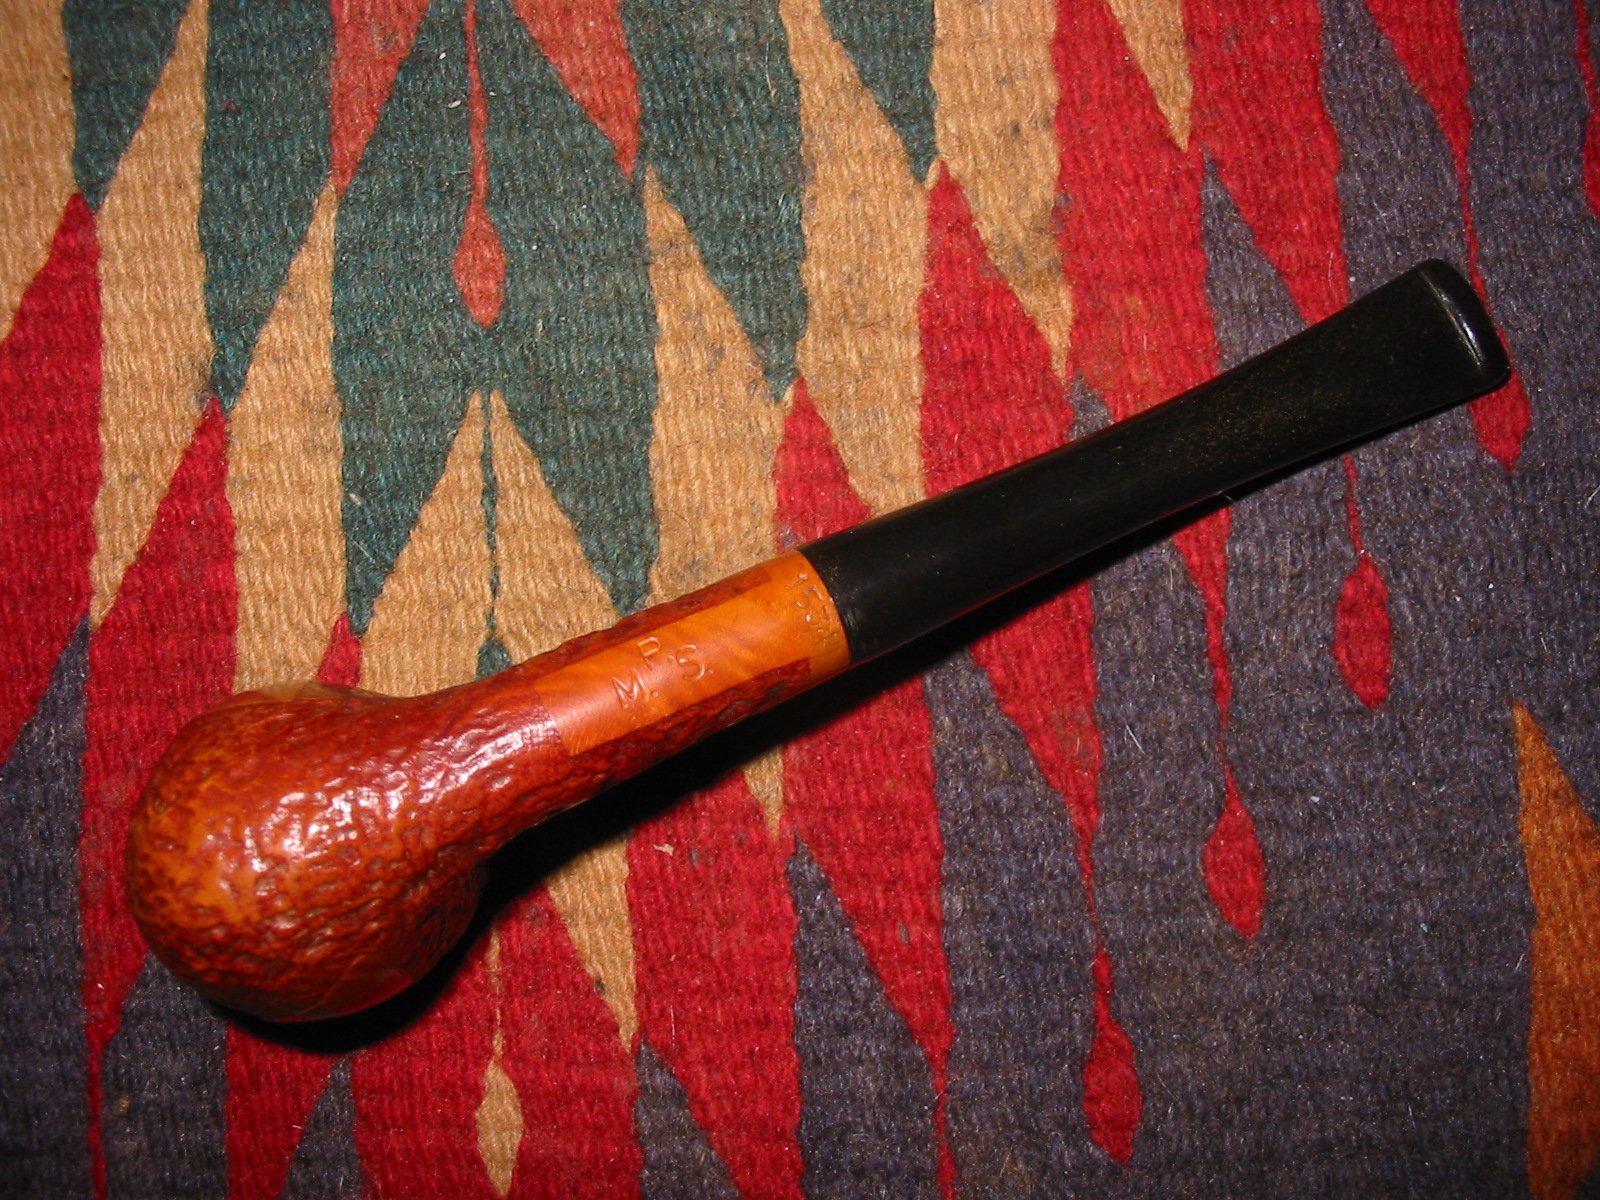
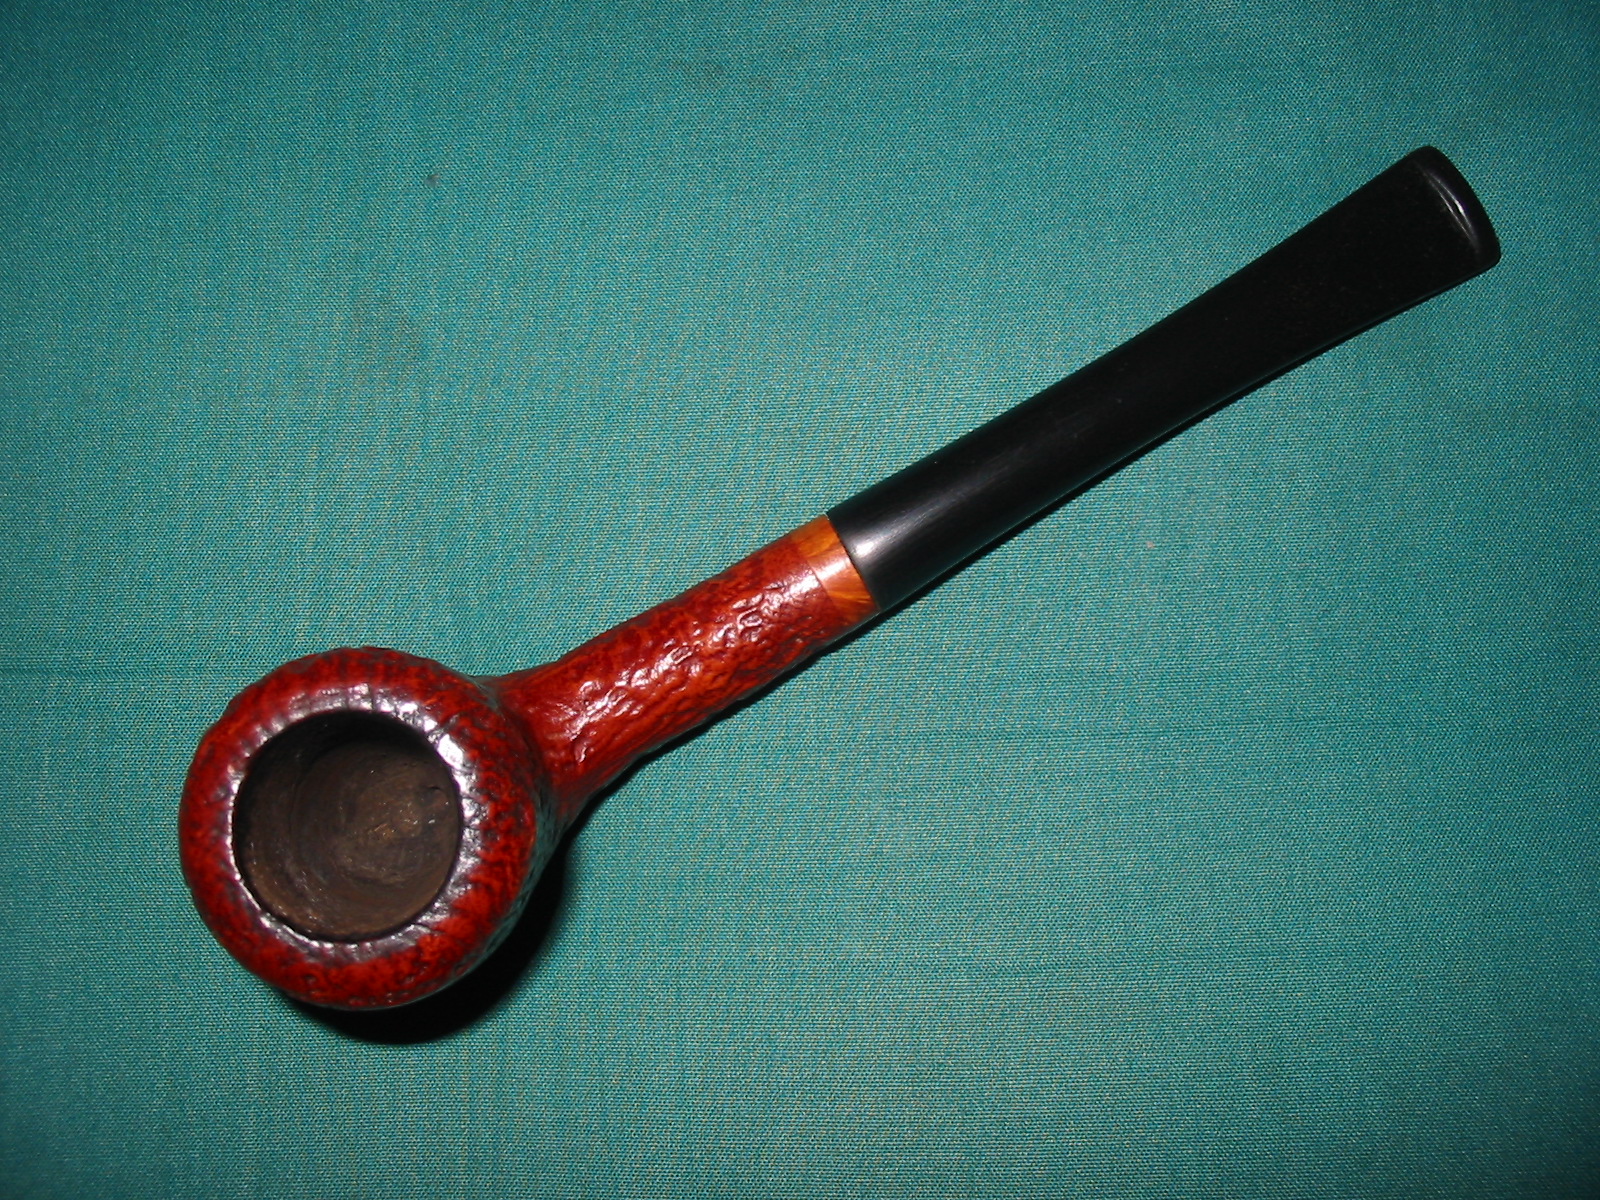
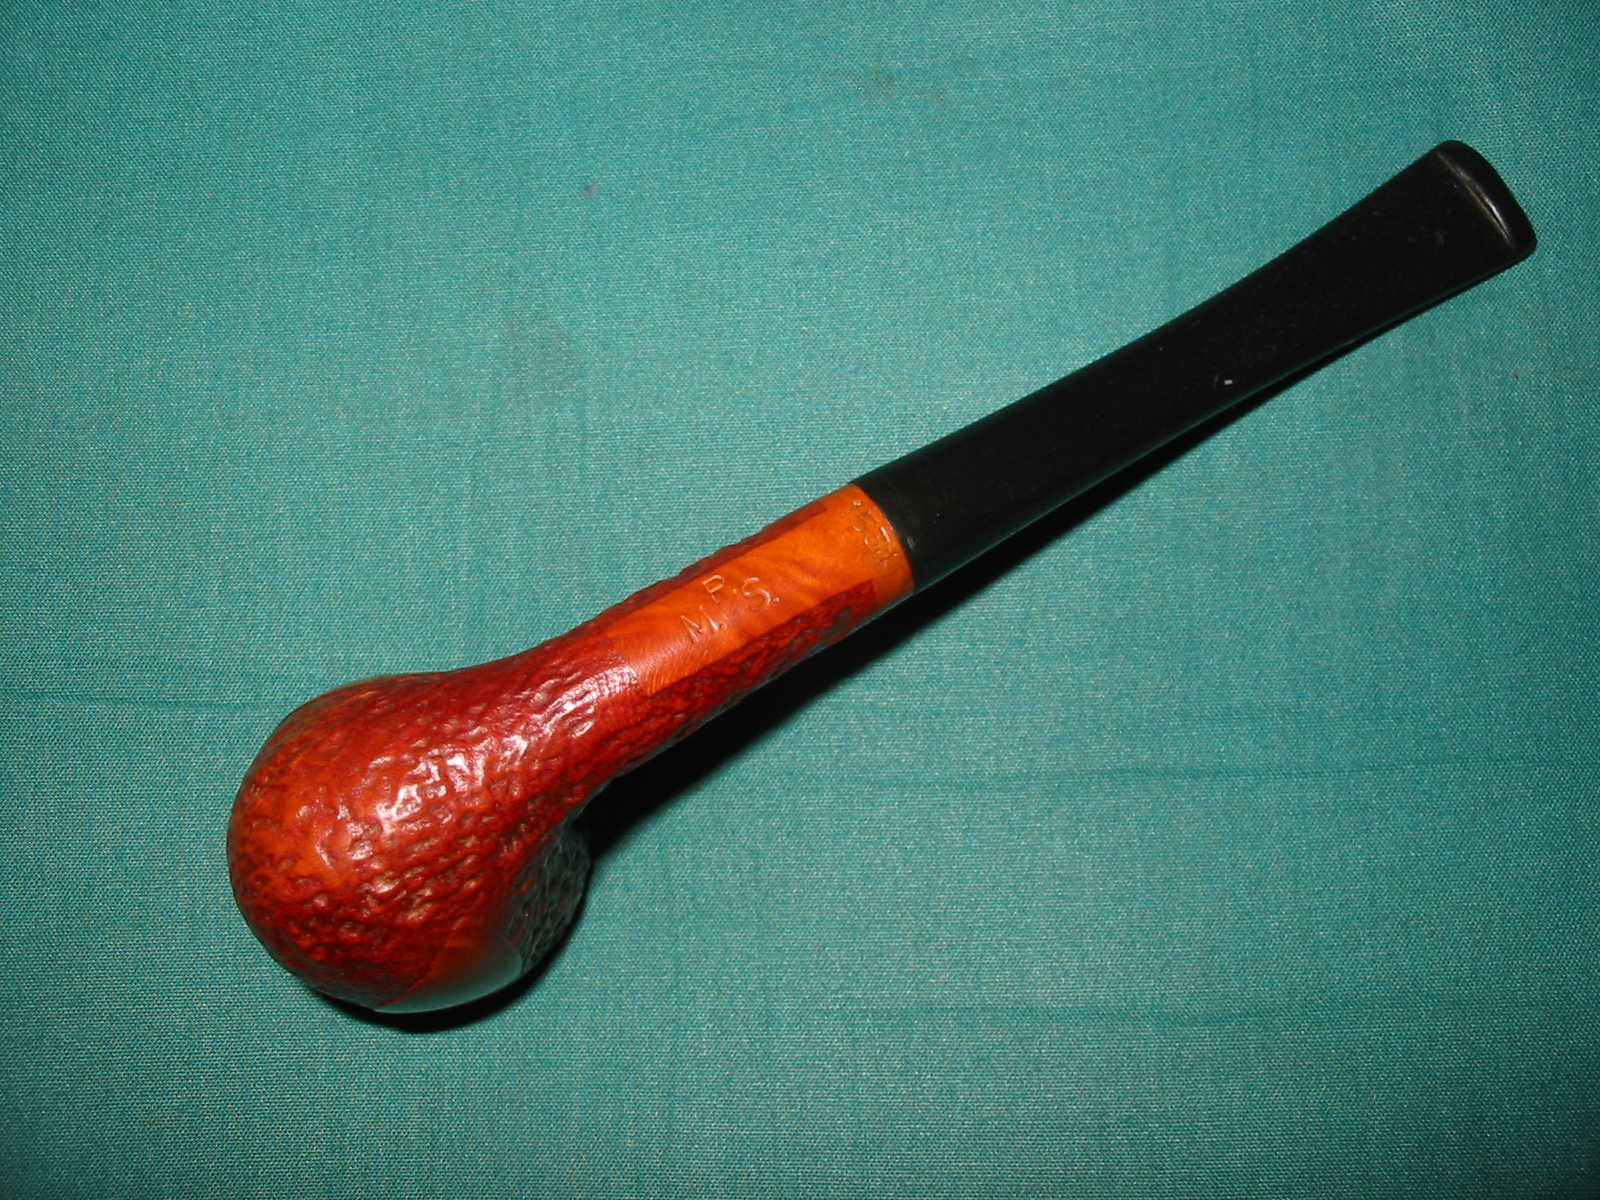
Reworking the Stem/Shank Junction on a MPS 1534


I went through the box of pipes for the Vancouver Pipe Club a final time and found two more that needed some cosmetic work. The first is rusticated acorn or Peewit shape with smooth “leaves” on the side of the bowl and a smooth spot on the shank and a band at the end of the shank. It is stamped on the underside of the shank M.P.S. with the P slightly higher than the M and S forming almost a triangle. Along the end of the shank it is stamped 1534. The pipe is in great shape and needed no cleaning or reworking. What was wrong with this one was the rough fit of the stem to the shank. It was clearly a replacement stem and showed the marks of the work done to fit it to the shank. There was no gap between the stem and shank and the tenon fit in the mortise snugly. The stem itself was slightly larger in diameter than the shank and was very rough. There were lots of lines and pits in the stem itself making the transition quite bumpy.
IMG_4414

IMG_4415

IMG_4416

IMG_4417

I took the following close up photos to show the gouges and scratches on the stem near the junction.
IMG_4418

IMG_4419

IMG_4421

I sanded the stem with 220 grit sandpaper and with a medium grit sanding sponge to smooth out the transition and remove the scratching and gouges. It took quite a bit of sanding to smooth it out but the fit when I finished was far better. I then sanded it with the usual array of micromesh sanding pads – wet sanding with 1500-2400 grit sanding pads and dry sanding with 3200-12,000 grit pads. I wiped the stem down with Obsidian Oil and rubbed it into the surface.
IMG_4422

IMG_4423

IMG_4424

When the Obsidian Oil had soaked into the vulcanite I took the pipe to the buffer and buffed it with White Diamond to polish the stem and bowl. I then gave it multiple coats of carnauba wax to protect and polish it. The pipe is ready to go back in the box with the rest of the lot that will go to the Vancouver Pipe Club. It should provide someone with a great smoking pipe.
IMG_4425

IMG_4427

IMG_4428

IMG_4429

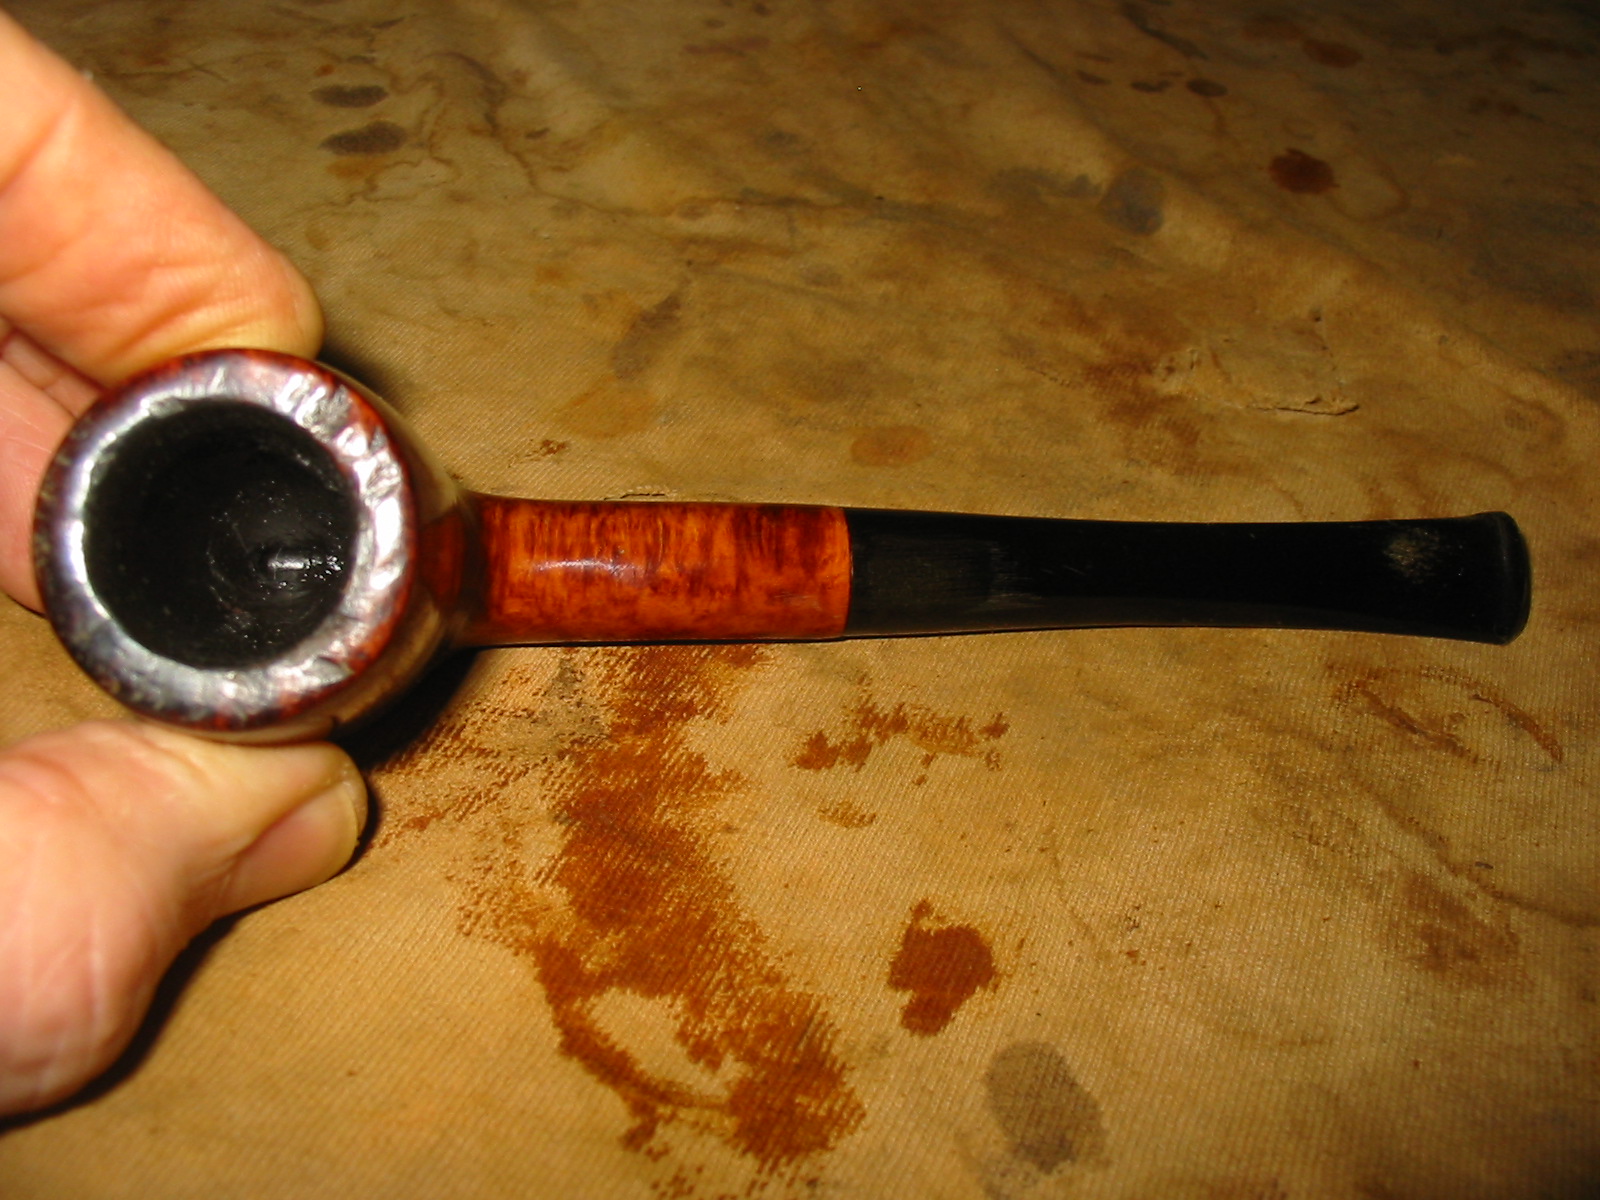
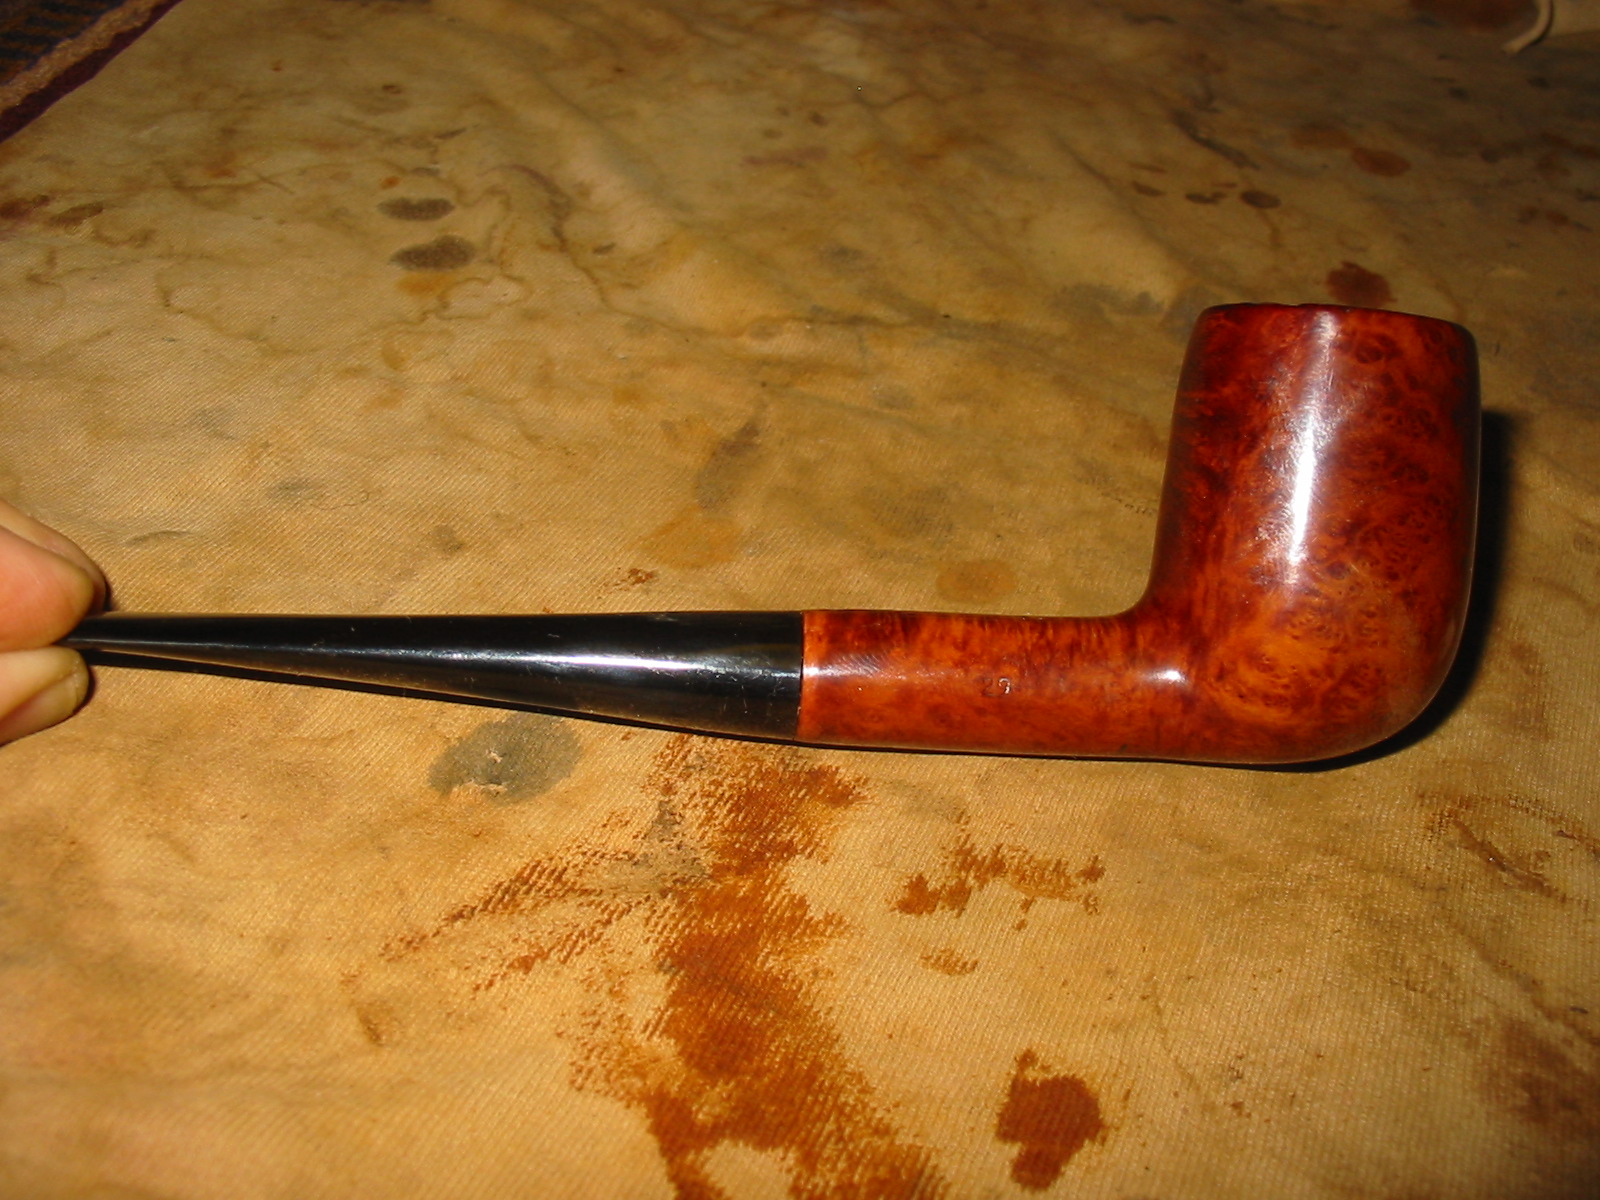
Reclaiming a Mistreated Royal Danish 29 Billiard


This is the last of the Vancouver Pipe Club pipes that I decided to rework. It is stamped on the bottom of the shank near the stem Royal Danish over Made in Denmark. On the right side of the shank, mid shank it is stamped 29 which I assume is the shape number. Like the others in this lot it was coated with a thick coat of varnish. The finish under the varnish was dirty and there were finger prints in the varnish coat – like it had been handled while wet. The rim looked like someone had used it for a hammer and had a thick coat of tars on the rim under the varnish. Not only were there marks on the surface of the rim but the inner and outer edges were also rough and damaged. The stem is a replacement and it was poorly fitted to the shank. The person who had restemmed it had left the shank pitted with small divots and out of round. The stem itself was no longer round but in different spots than the shank. It had not been sanded on the underside at the shank because of the close stamping on the end of the shank. Instead it had ripples and grooves left in the vulcanite that made it feel very rough in that portion of the stem. The bowl was coated with the same black rubbery substance.
IMG_4373

IMG_4375

IMG_4378

IMG_4379

The next photo shows the condition of the rim and what led me to top the bowl and refinish this pipe. It had great overall structure but needed some TLC to bring it to the next level and make it a pleasure to have and to hold.
IMG_4380

I used 220 grit sandpaper to work on the stem shank junction and try to smooth things out. Though it is hard to see in the photos the transition was a mix of hills and valleys. It was very rough and uneven all around that portion of the top and sides of the shank. The stem itself was poorly finished as well at that point. There were sanding marks and gouges in its surface that paralleled the shank. The shoulders of the stem were rounded as well so the fit to the shank was odd. I worked on the shank stem fit before turning to the bowl rim.
IMG_4382

IMG_4383

IMG_4386

The underside of the shank was quite tedious to work on as the stamping was faint at that point and very close to the end of the shank. I had to use a folded piece of sandpaper and carefully sand the stem and shank for a good clean fit. I worked to smooth out the transition as much as possible and minimize the rounded edges of the stem. I wanted the fit to be even and tight. Once the transition between the shank and stem were smooth and the feel seamless to touch I moved on to top the bowl. I set up my topping board and a piece of 220 grit sandpaper and began to work on the top of the bowl. I sanded it until it was flat and the outer edges of the bowl were clean and sharp. I used a folded piece of sandpaper on the inner edge to clean up some of the damage and sharpen the angles.
IMG_4387

IMG_4388

IMG_4389

IMG_4390

I wiped the bowl down with acetone on cotton pads to remove the varnish and the finish and bring the briar back to an even tone throughout the pipe. It always makes the staining easier when you rework the entirety of the bowl and the overall condition of this pipe demanded that kind of work.
IMG_4392

IMG_4393

IMG_4394

I used a MinWax Red Mahogany stain on the bowl to approximate the reddish colour of the original stain. I rubbed it on and off with a cotton pad until I had the colour I was looking for. When the stain was dry I hand buffed it with a soft cloth to bring out a shine. I set the bowl aside while I worked on the stem.
IMG_4396

IMG_4397

IMG_4398

IMG_4400

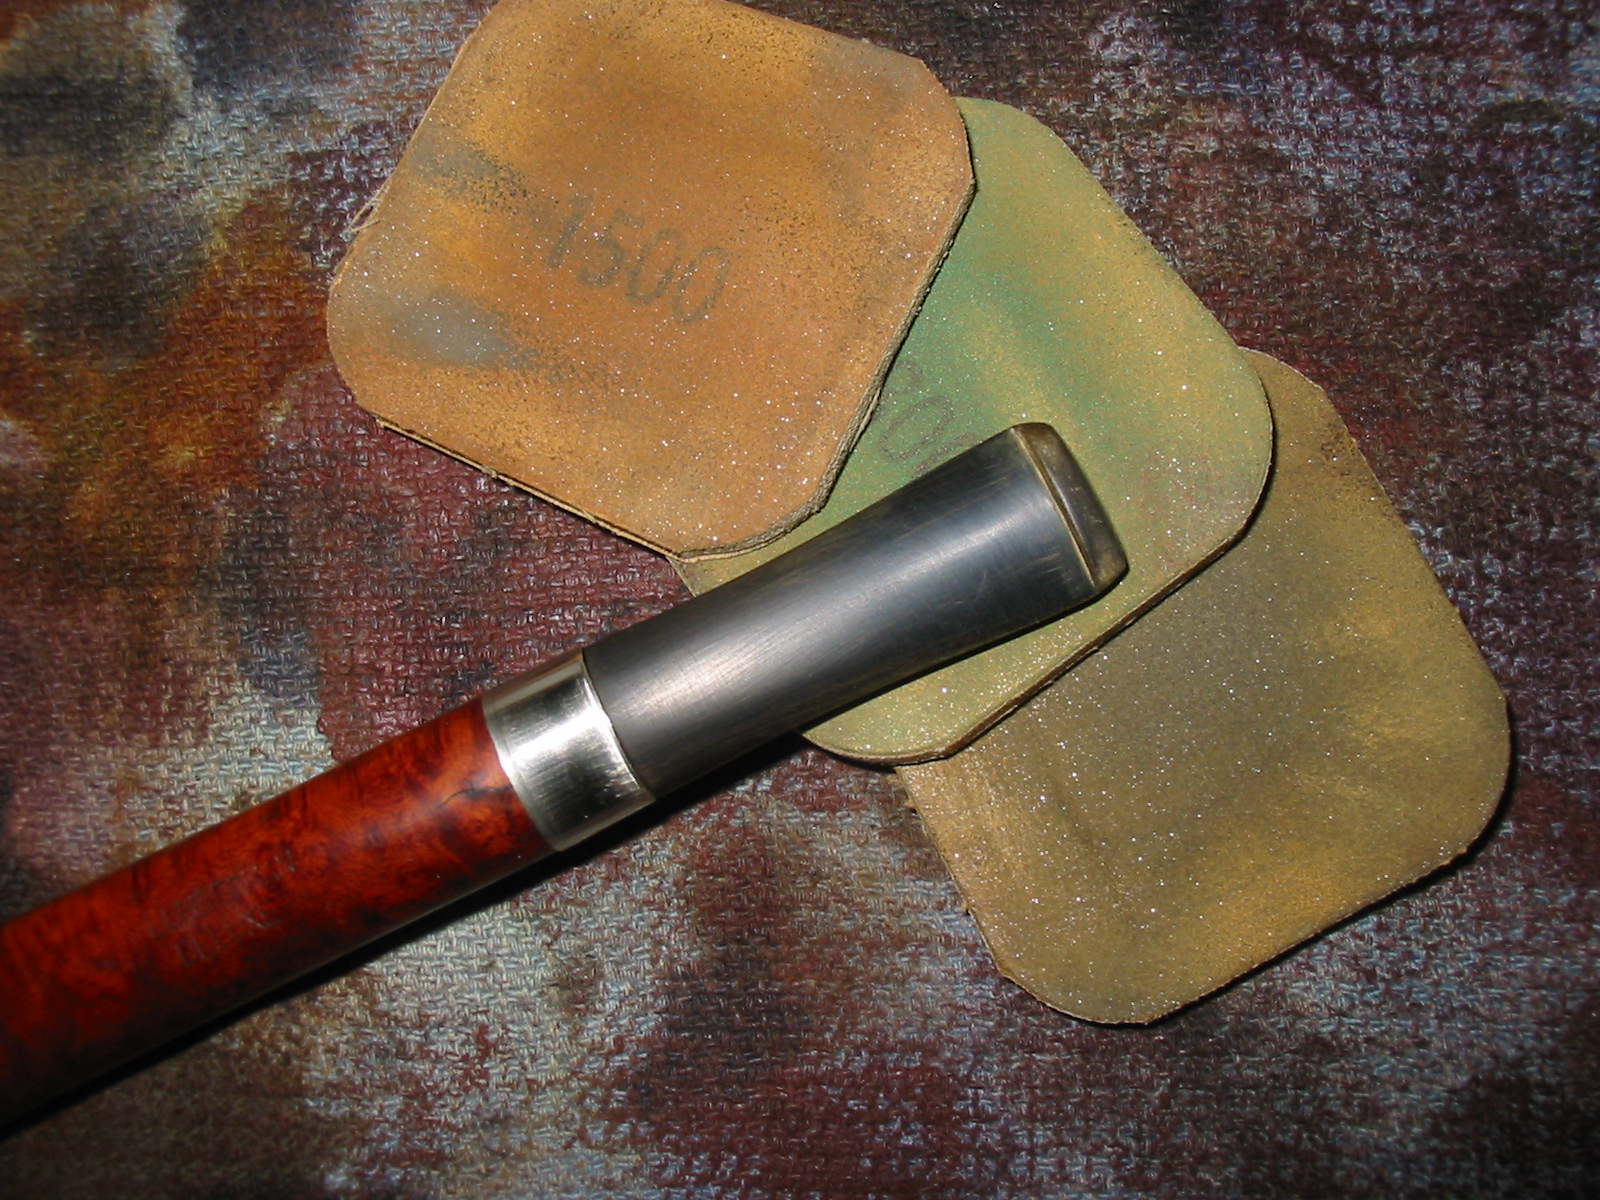
I sanded the marks out of the stem on the underside near the shank and in several spots on the taper mid stem with 220 grit sandpaper and then with a fine grit sanding sponge. I then used my usual array of micromesh sanding pads – wet sanding with 1500-2400 grit pads and dry sanding with 3200-12,000 grit pads.
IMG_4404

IMG_4406

IMG_4408

After sanding with the final grit of micromesh pads I rubbed down the stem with Obsidian Oil and then when it had dried took the pipe to the buffer. I lightly buffed the stem and bowl with White Diamond and then gave the pipe multiple coats of carnauba wax. The finished pipe is shown below and to my eye looks much better after the makeover. I think this is yet another pipe that will find a new home among the members of the Vancouver Pipe Club.
IMG_4409

IMG_4410

IMG_4411

IMG_4412

Reworking a Peterson’s Kildare X105


I picked up this old pipe primarily for the shape. It has the chunky look I like in a pipe. The bowl has some nice grain on it and that was attractive as well. The stamping was too faint to read in the shop but when I got home with a bright light and a loupe I was able to see the stamping more clearly – though it is very faint. The left side of the shank says Peterson’s over Kildare and the right side says Made in England and the shape number of X105 (at least that is what the stamping of the number looks like). The pipe was in decent shape and would clean up quite nicely. The finish was not too bad though the previous restorer had given it a coat of varnish or something that was quite heavy. There were finger prints still in the varnish coat. The bowl was reamed and clean and the shank quite clean. The rim had some buildup that had been varnished over which gave it a damaged appearance. The stem seems like a replacement but I cannot be sure as the fit is very well done. It was in great shape with minimal oxidation and slight pitting on the surface of the vulcanite. There were not any tooth marks or chatter.
IMG_4342

IMG_4343

IMG_4344

I decided to remove the varnish coat (it seems like I have had to do that a lot lately with the pipes I am reworking for the pipe club). I wiped down the bowl with acetone and cotton pads until I had removed the varnish and the stain. I scrubbed the rim with the acetone and pads as well to remove the buildup under the varnish. It came of quite easily and turned out to be undamaged. There was a slight darkening of the rim on the left side toward the front but no damage to the area.
IMG_4345

IMG_4346

IMG_4347

IMG_4349

While I was working on it I remembered that I had picked up a Peterson sterling silver band that would probably fit this pipe very well. I dug it out of my box of bands and gave it a try on the shank. It fit perfectly on the shank. I like the look of the bling and the added perk of it being a Peterson stamped sterling silver band was bonus!
IMG_4350

IMG_4351

IMG_4352

I put wood glue on the shank to anchor the band (no repairs were necessary and the band was purely adornment) and pressed the band into place. I rotated it so that the Peterson engraving was on the top of the shank.
IMG_4353

I stained the bowl with MinWax Medium Walnut and Red Mahogany stain to get a reddish brown tint to the briar. I rubbed it on the pipe and then off again. I did the same with both colours. When it was dry I hand buffed it with a soft cotton cloth.
IMG_4357

IMG_4358

IMG_4359

IMG_4360

The stem was lightly oxidized and slightly pitted so I decided to work it over with the micromesh sanding pads. I used the usual method I have developed as a habit over the years and wet sanded with 1500-2400 grit pads and dry sanded with 3200-12,000 grit pads. I buffed the stem with White Diamond and rubbed in some Obsidian Oil to preserve the vulcanite.
IMG_4362

IMG_4363

IMG_4364

When the stem was done I reinserted it into the shank and buffed the entire pipe with White Diamond. I avoided buffing the silver as I find that it darkens the wheels and also the wood and vulcanite on both sides of the band. So once I had finished buffing the pipe I gave it multiple coats of carnauba wax and then buffed it with a clean flannel buff. I took it back to the work table and polished the silver band with a jeweler’s cloth and then applied some wax on the band to slow down the oxidation of the silver. The finished pipe is pictured below. I also have included a picture of the finished rim to show the cleanup results. The pipe is cleaned and ready to be smoked. The addition of the silver band worked well in my opinion and I like the finished look of the old timer quite a bit.
IMG_4365

IMG_4366

IMG_4367

IMG_4368

IMG_4369

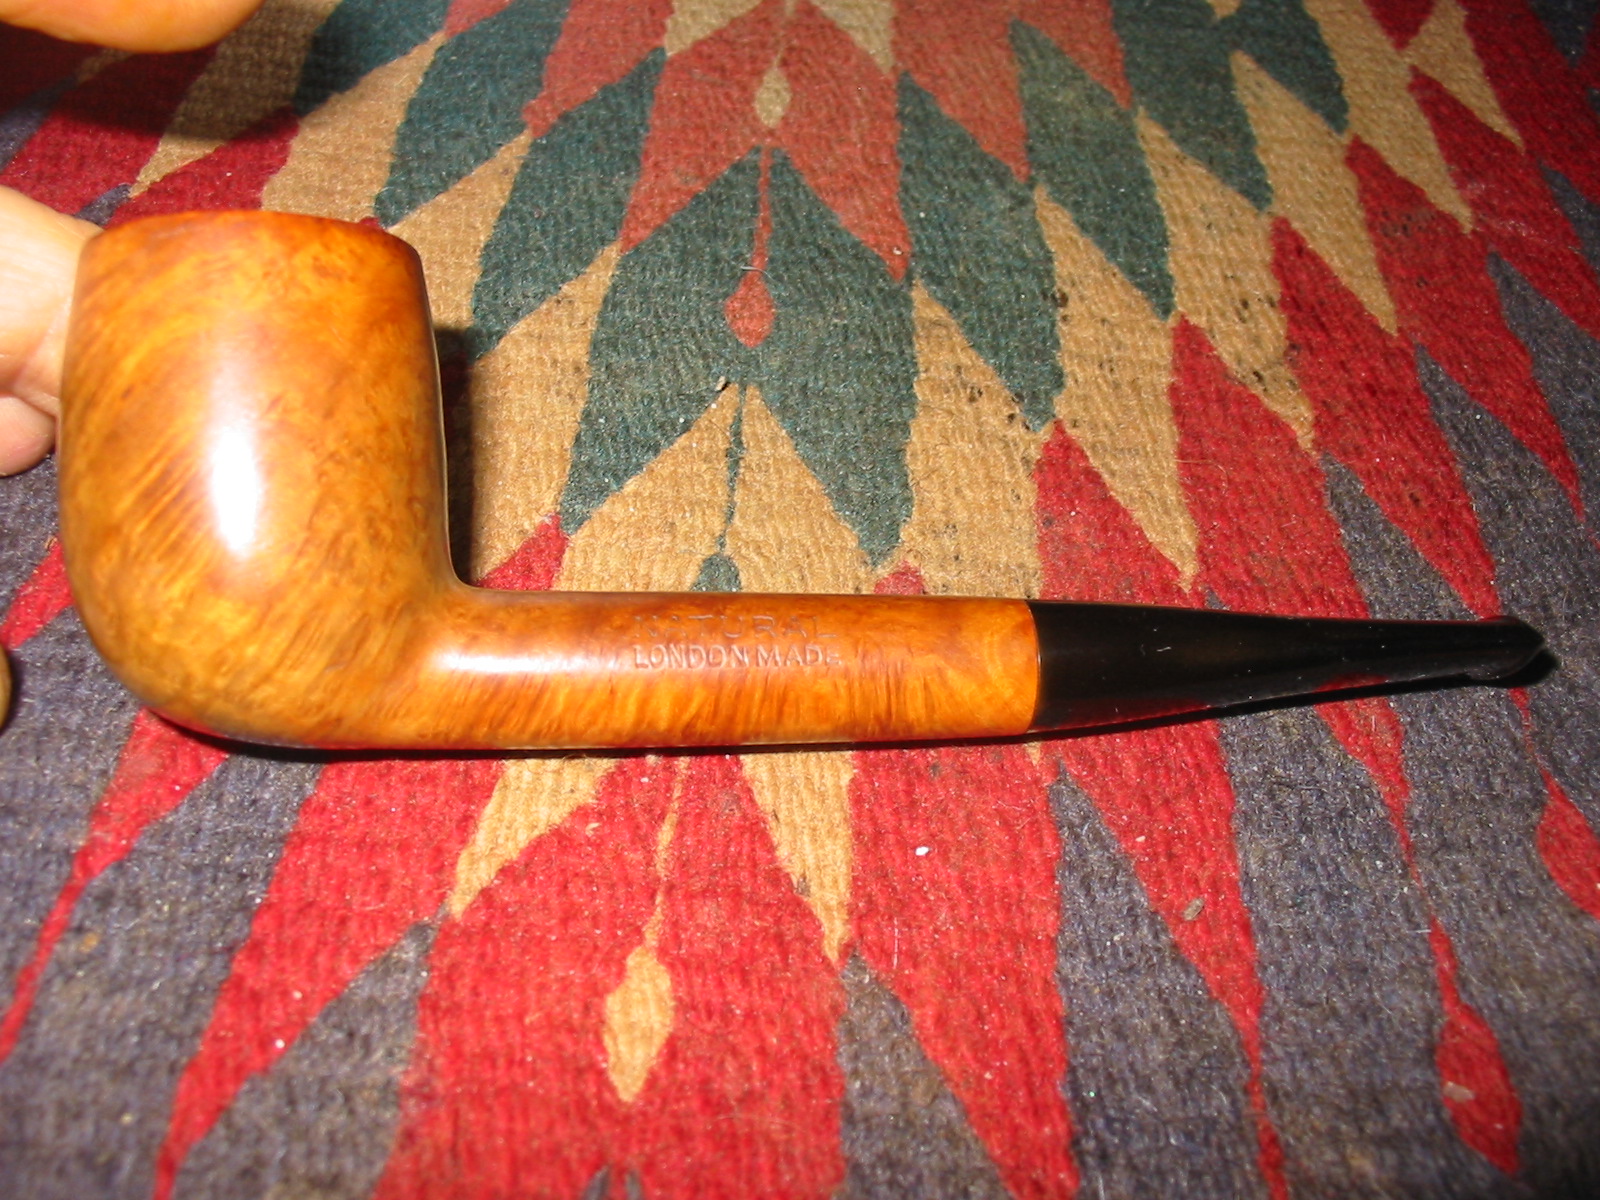
Restoring a Natural Liverpool


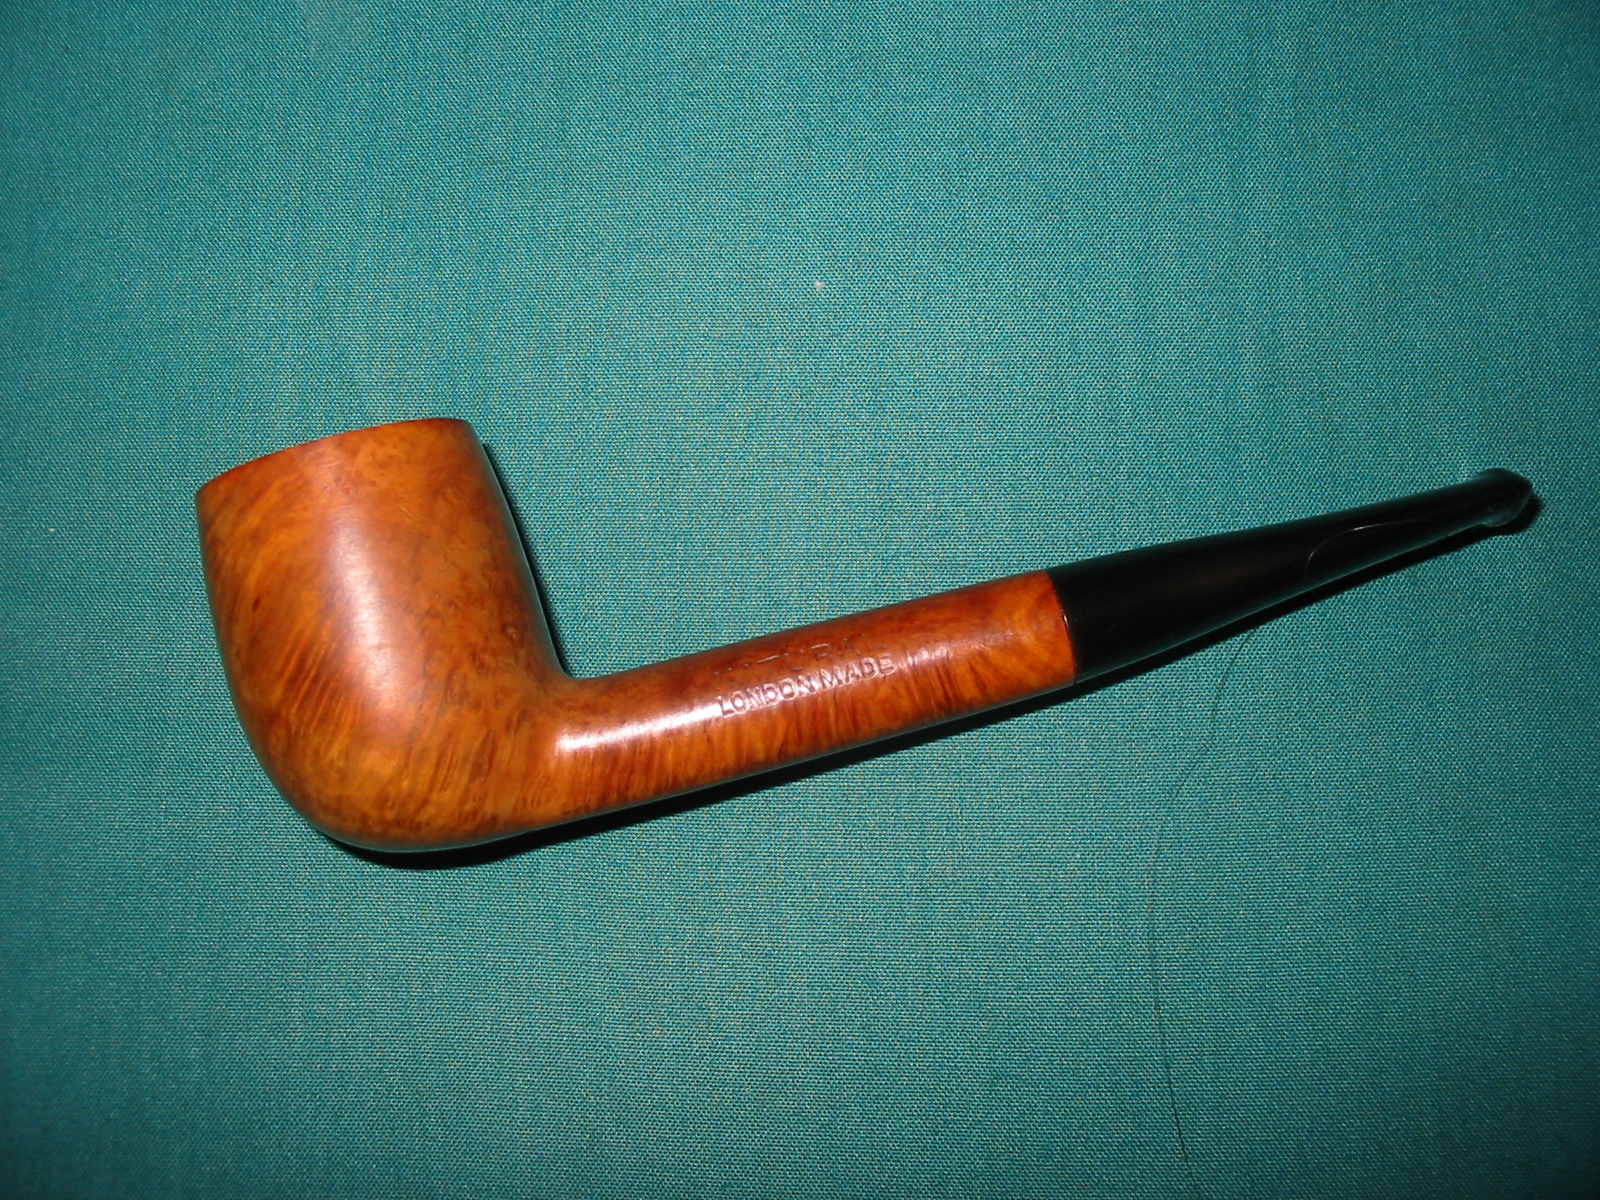
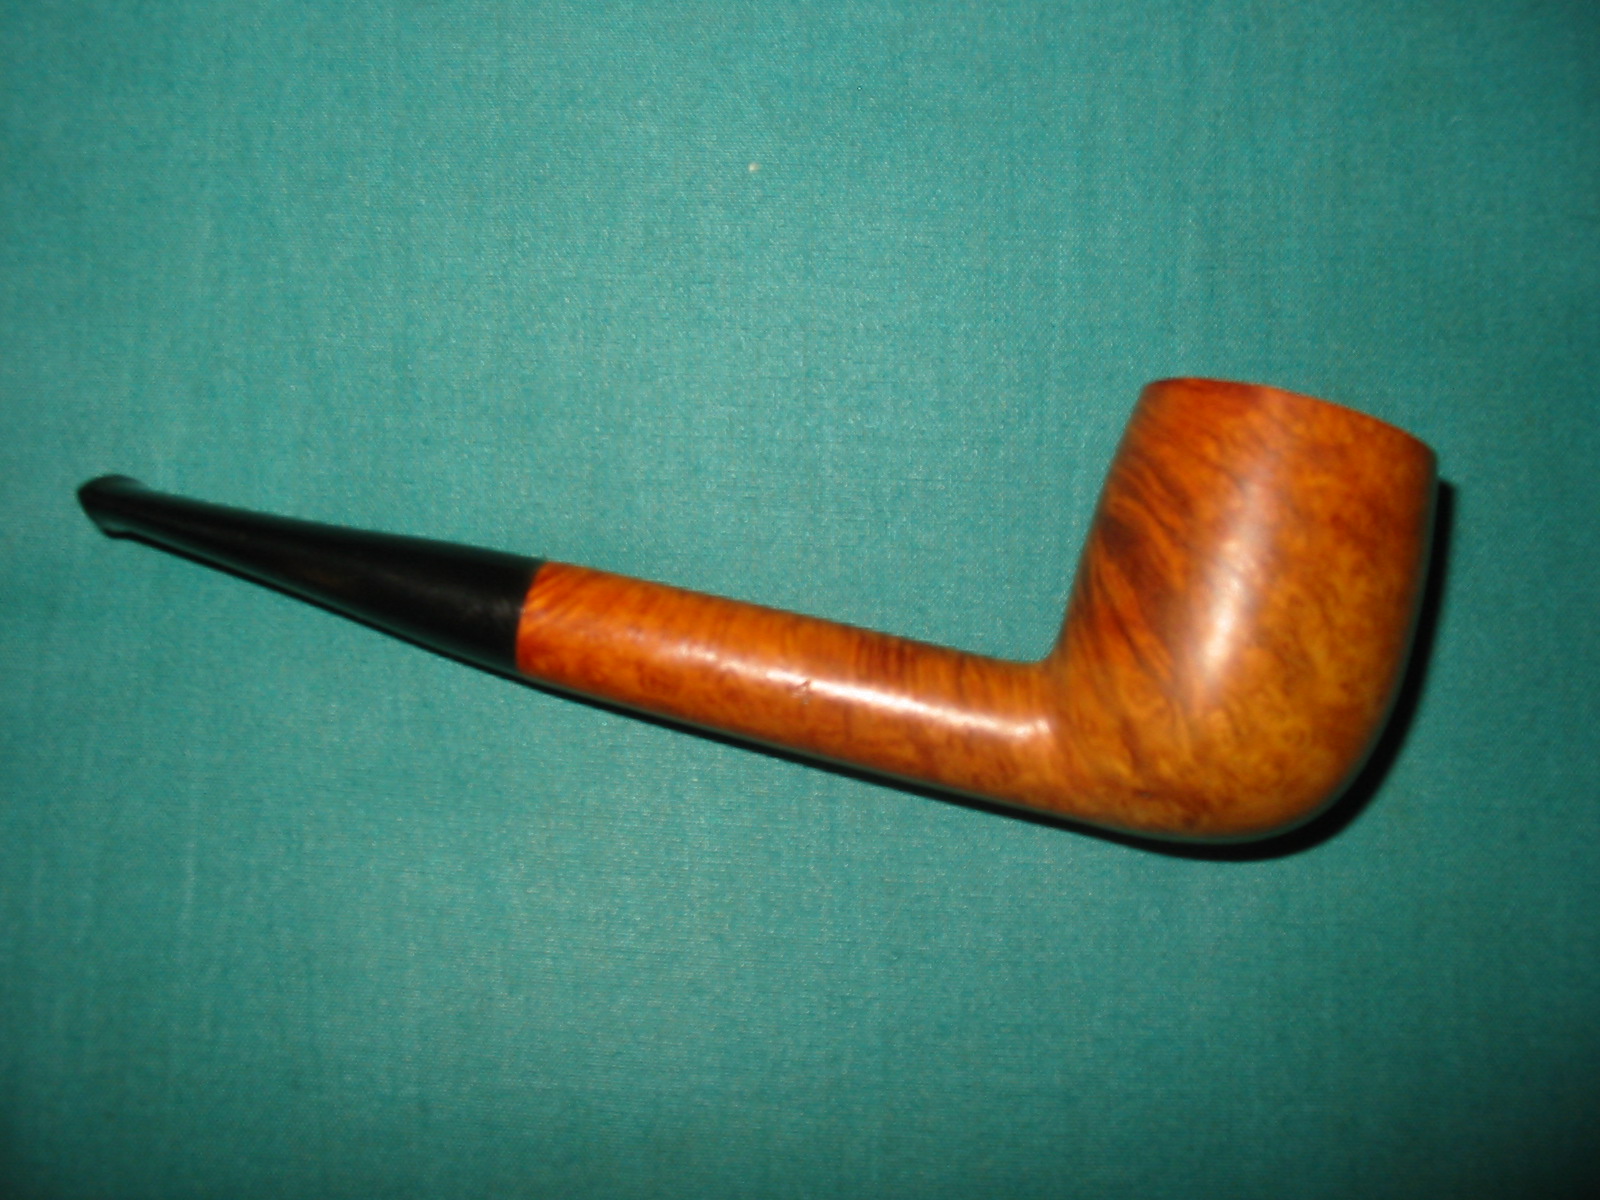
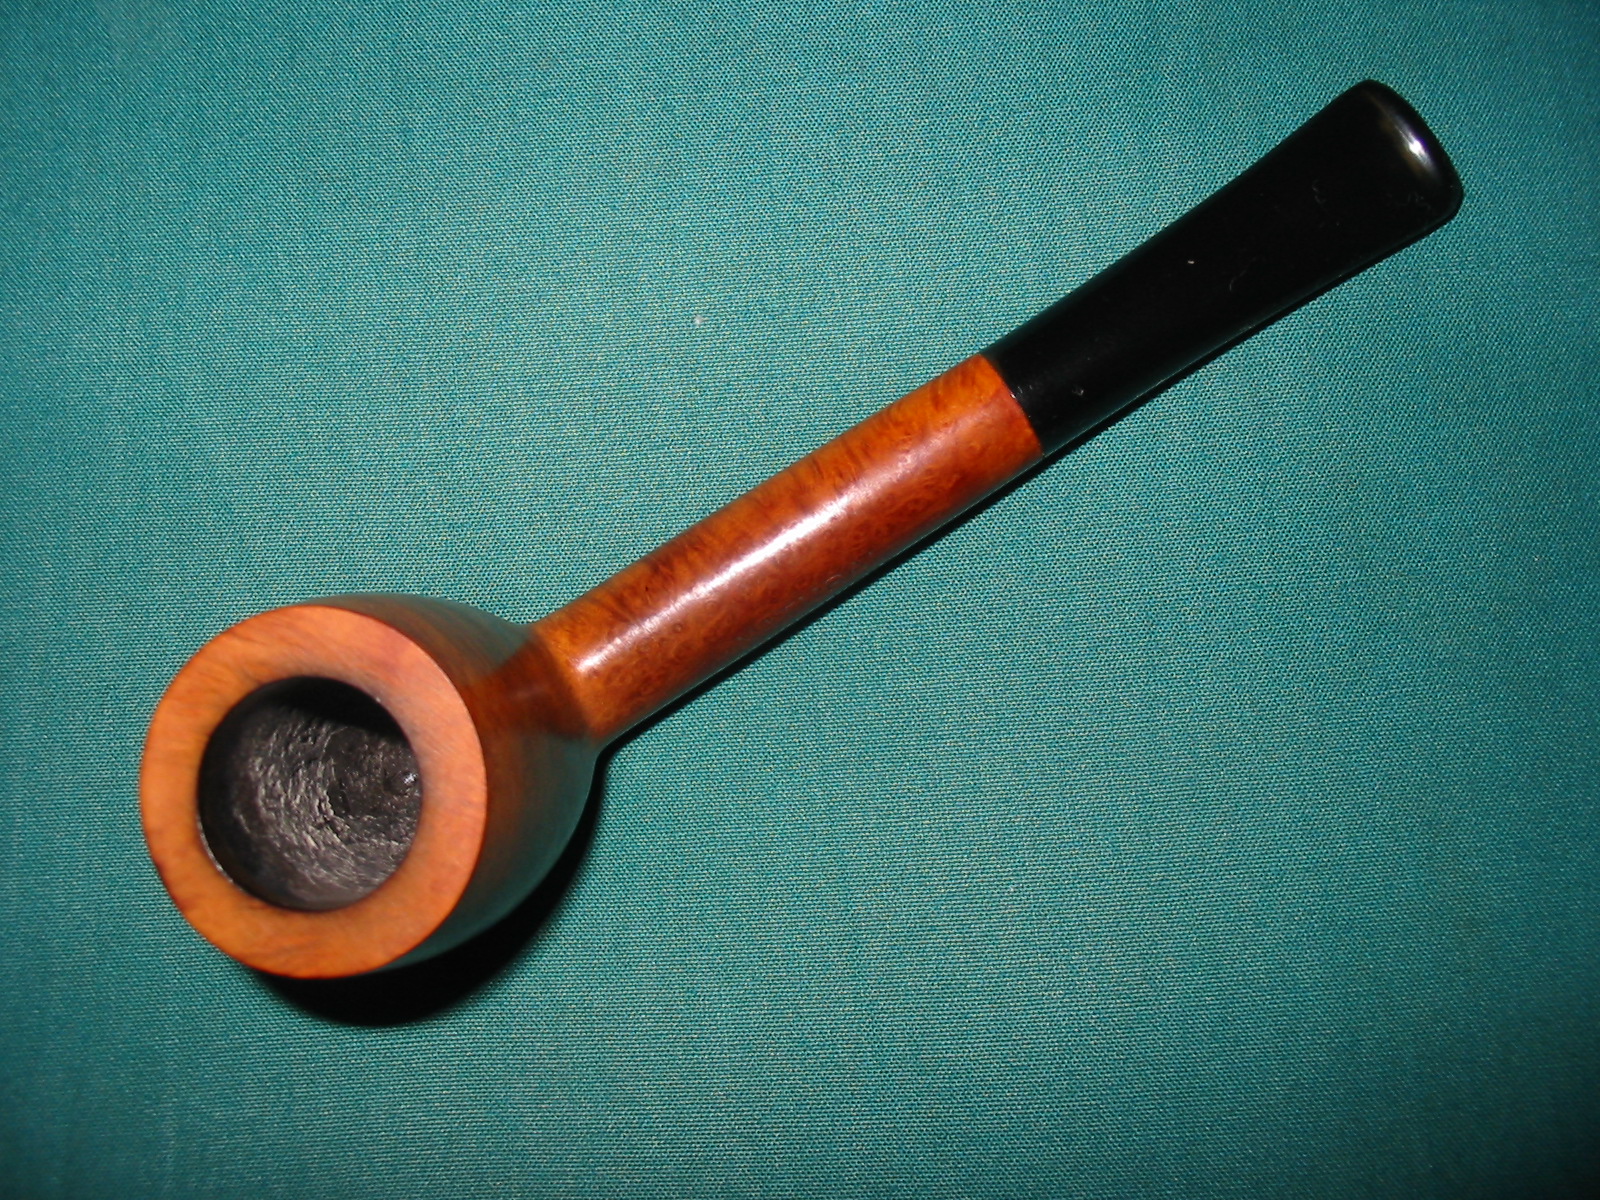
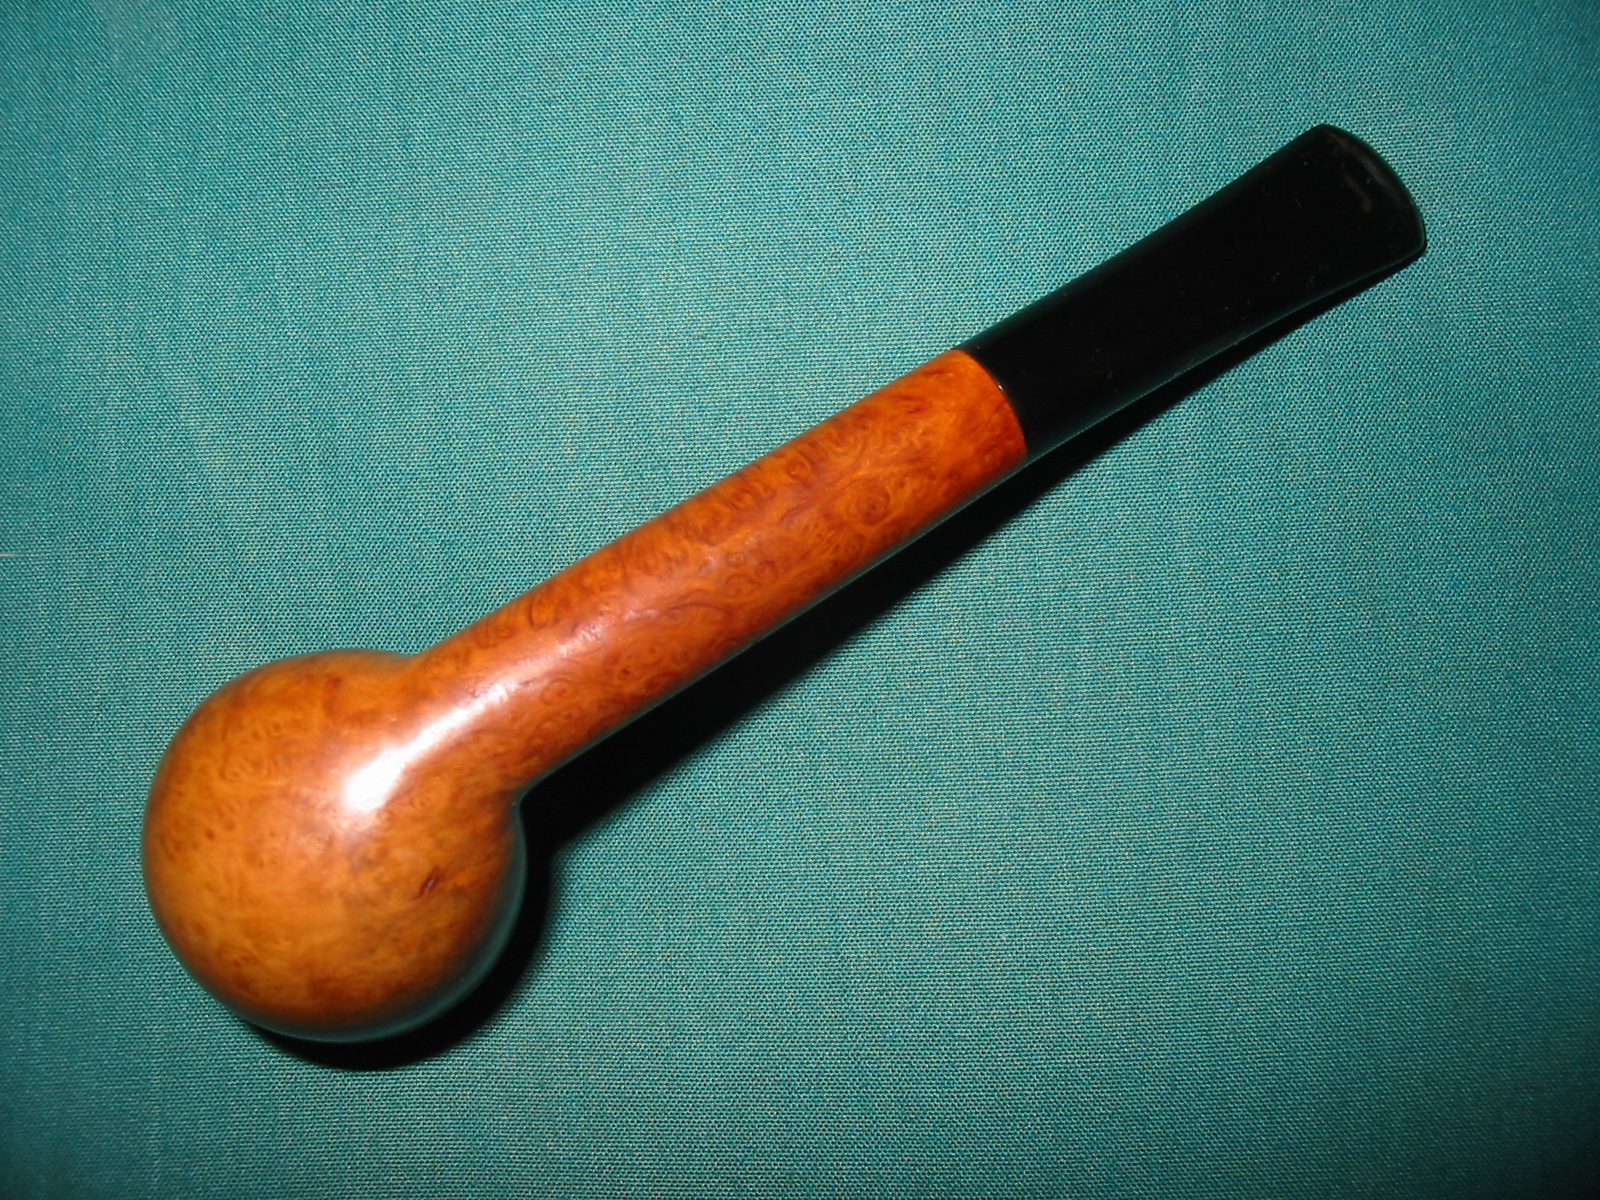
The pipe was in good shape. The finish was covered with a coat of varnish and under that there were soiled marks on the sides of the bowl. The rim had burn marks on the outer front edge. And there was slight darkening on the surface of the rim. The stem was clean with some slight tooth marks on the top and bottom of the stem that had been sanded previously. The stem also had some scratches and gouges in the surfaces in the middle of the top taper. The pipe is stamped NATURAL over London Made on the left side of the shank and there are no shape stamp numbers on the right side or underneath. I believe that the original finish was unstained, hence the natural stamping.
IMG_4320

IMG_4321

IMG_4322

IMG_4323

I have included the close-up photo of the rim below to show the burn damage on the front edge and the other damage on the surface and inner edge of the bowl.
IMG_4324

I topped the bowl with sandpaper on a flat board to remove the damage and the burn marks. Once that was finished the top looked like new with good sharp edges on the inside and outside of the rim.
IMG_4325

IMG_4326

I reamed the bowl with a PipNet reamer and took the cake back to bare wood. I wiped down the bowl with acetone on cotton pads to remove the varnish and the grime underneath. It took a few pads to clean off the finish, but once it was done the pipe looked good.
IMG_4328

IMG_4329

IMG_4330

I used my usual array of micromesh sanding pads to clean up the stem – wet sanding with 1500-2400 grit pads and dry sanding with 3200-12,000 grit pads.
IMG_4331

IMG_4333

IMG_4335

Once I had finished sanding the stem I rubbed it down with Obsidian Oil and then buffed the whole pipe with White Diamond. I gave it multiple coats of carnauba wax and buffed it with a clean flannel buff. The finished pipe is pictured below. The grain stands out nicely on this old pipe and the natural finish highlights that.
IMG_4336

IMG_4338

IMG_4339

IMG_4340

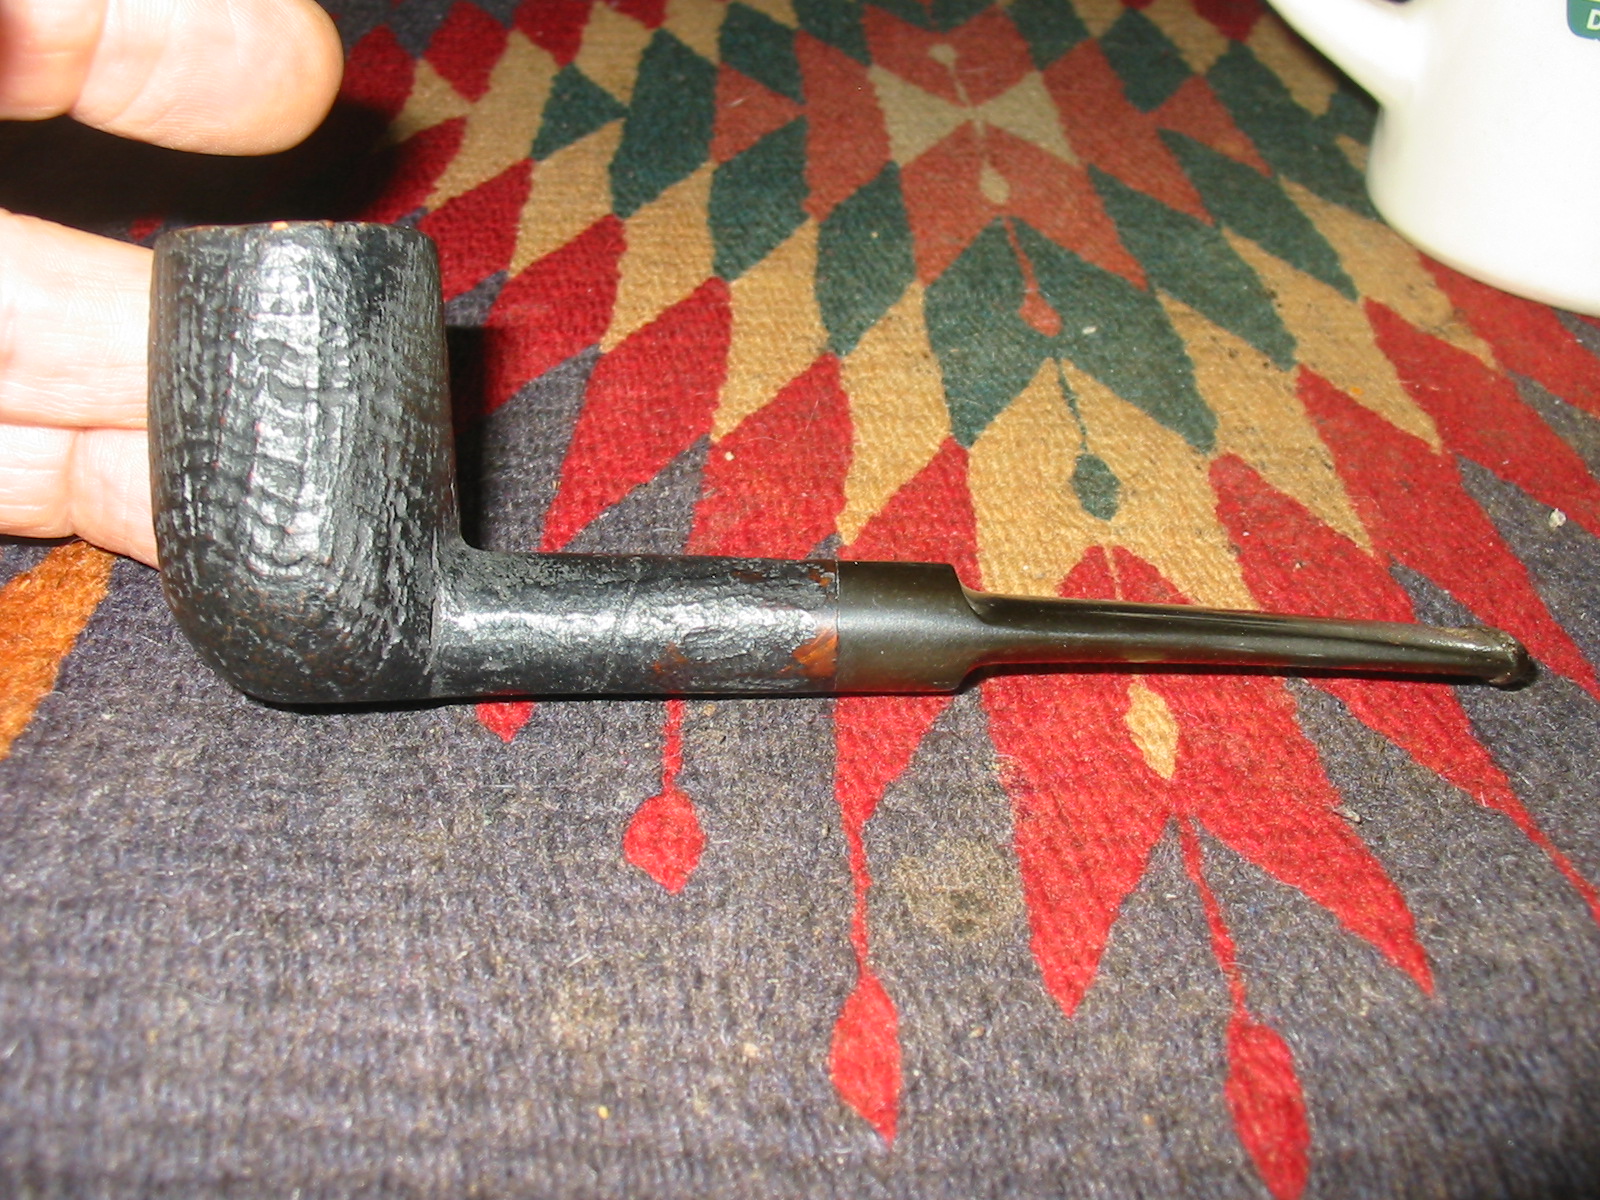
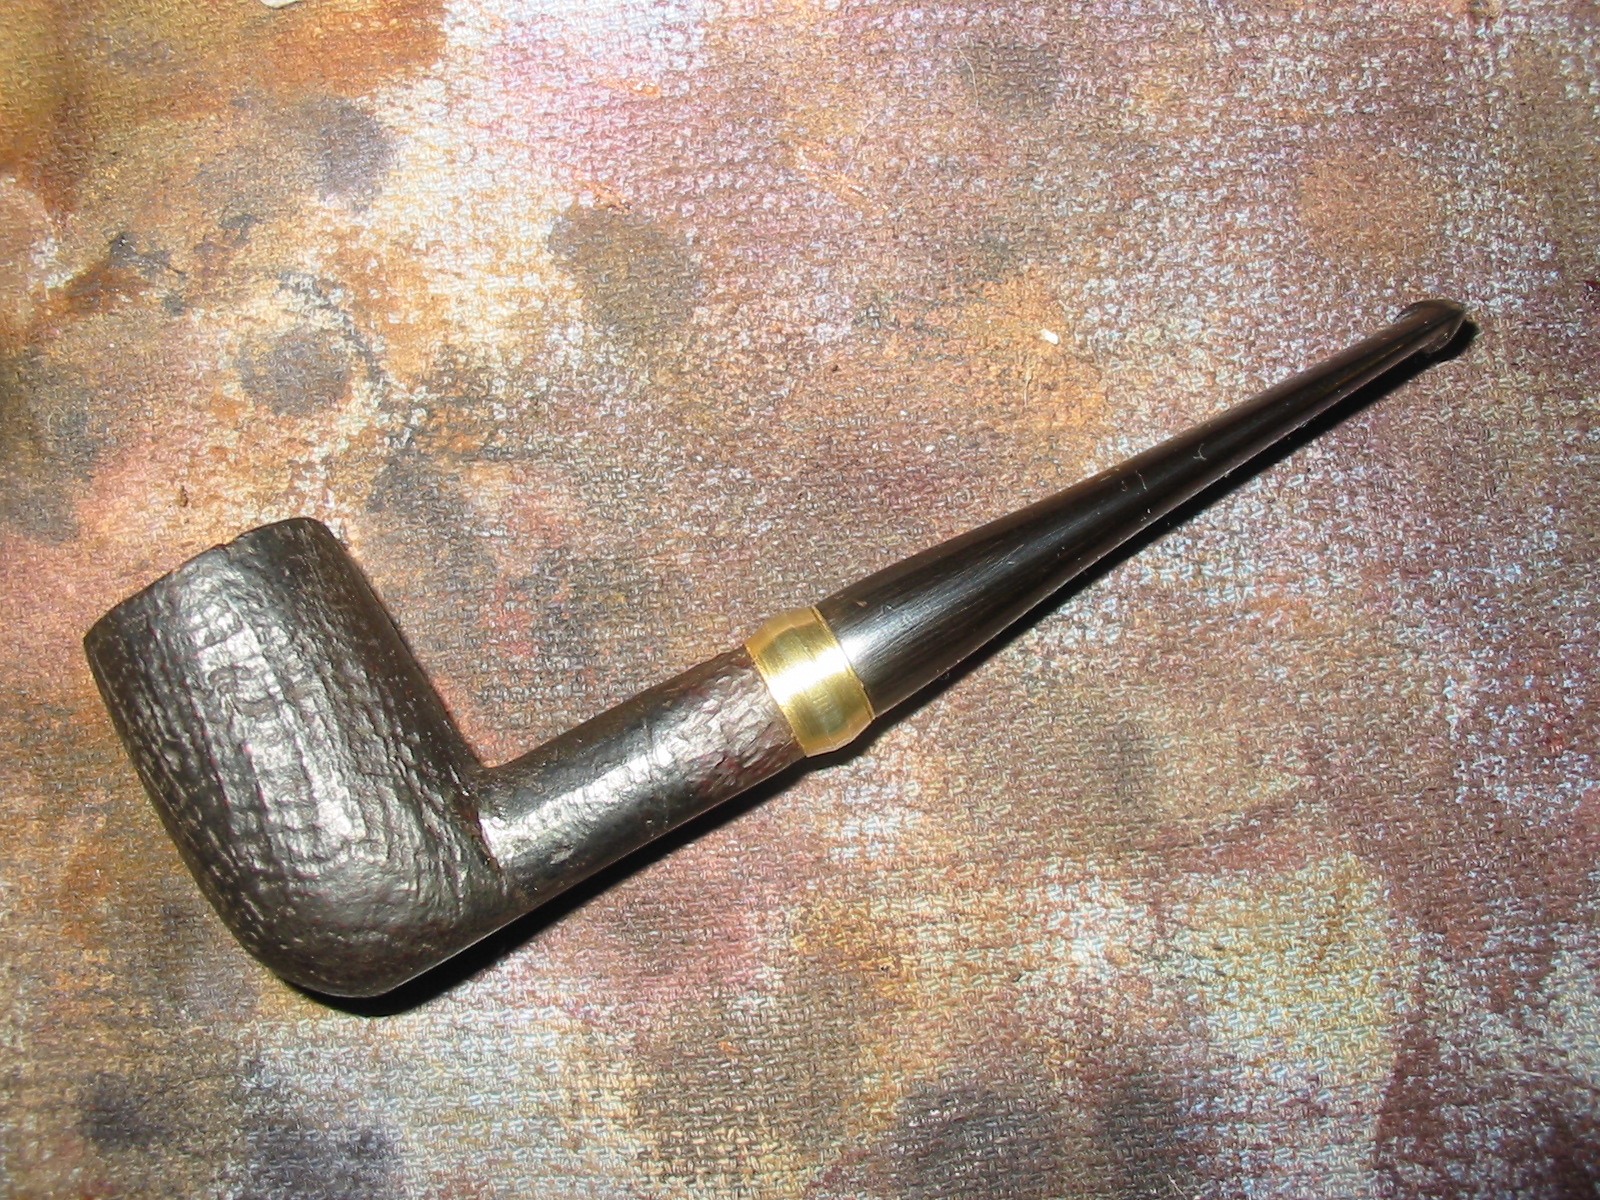
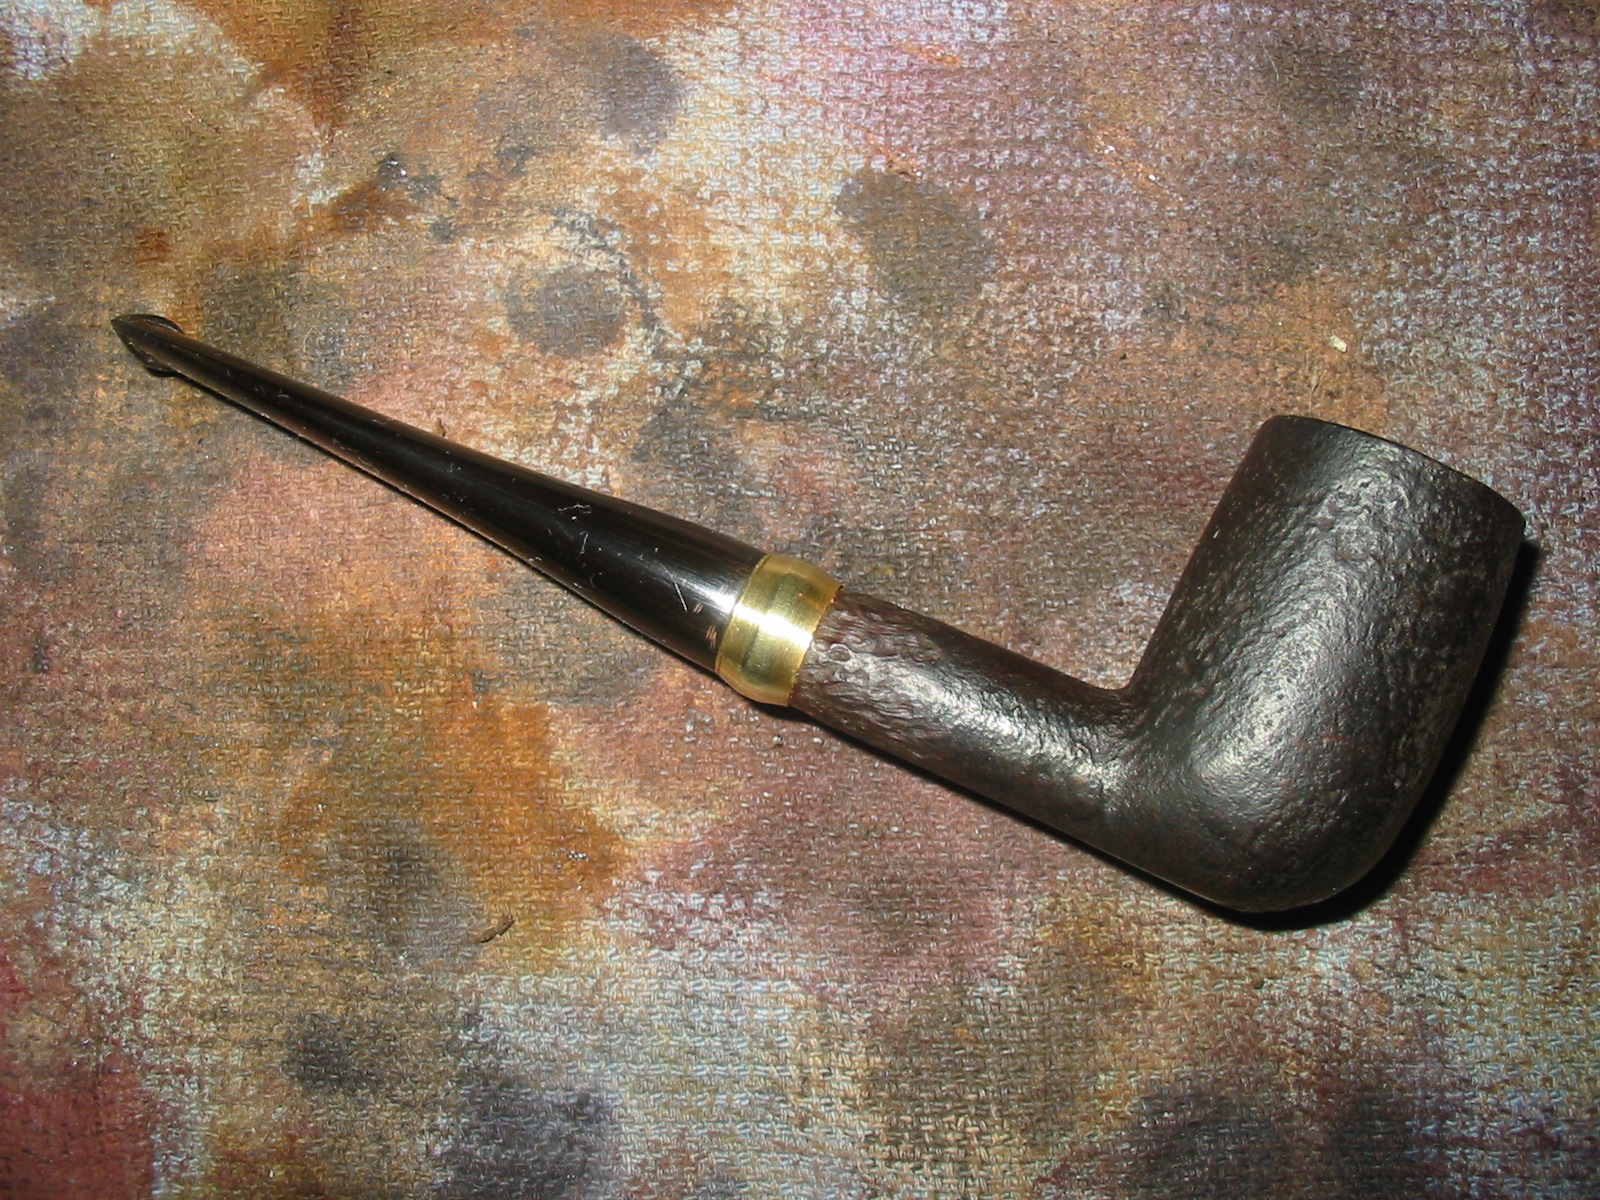
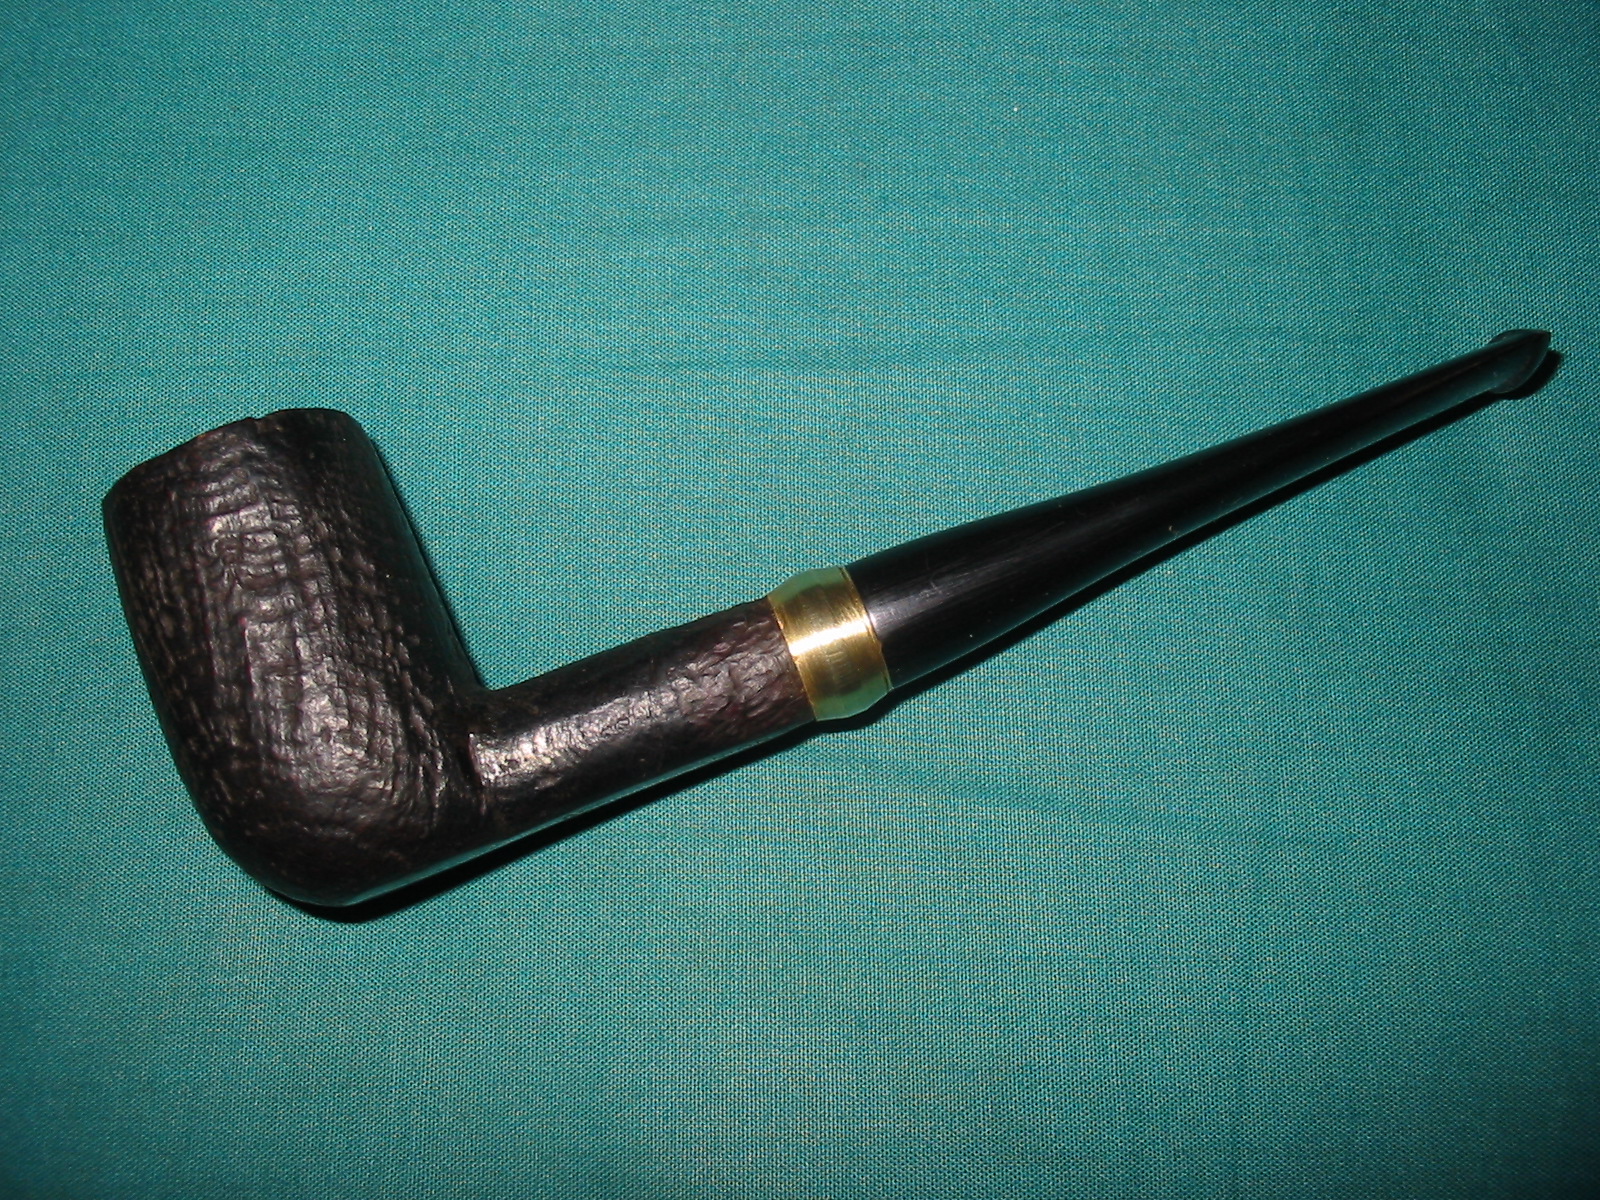
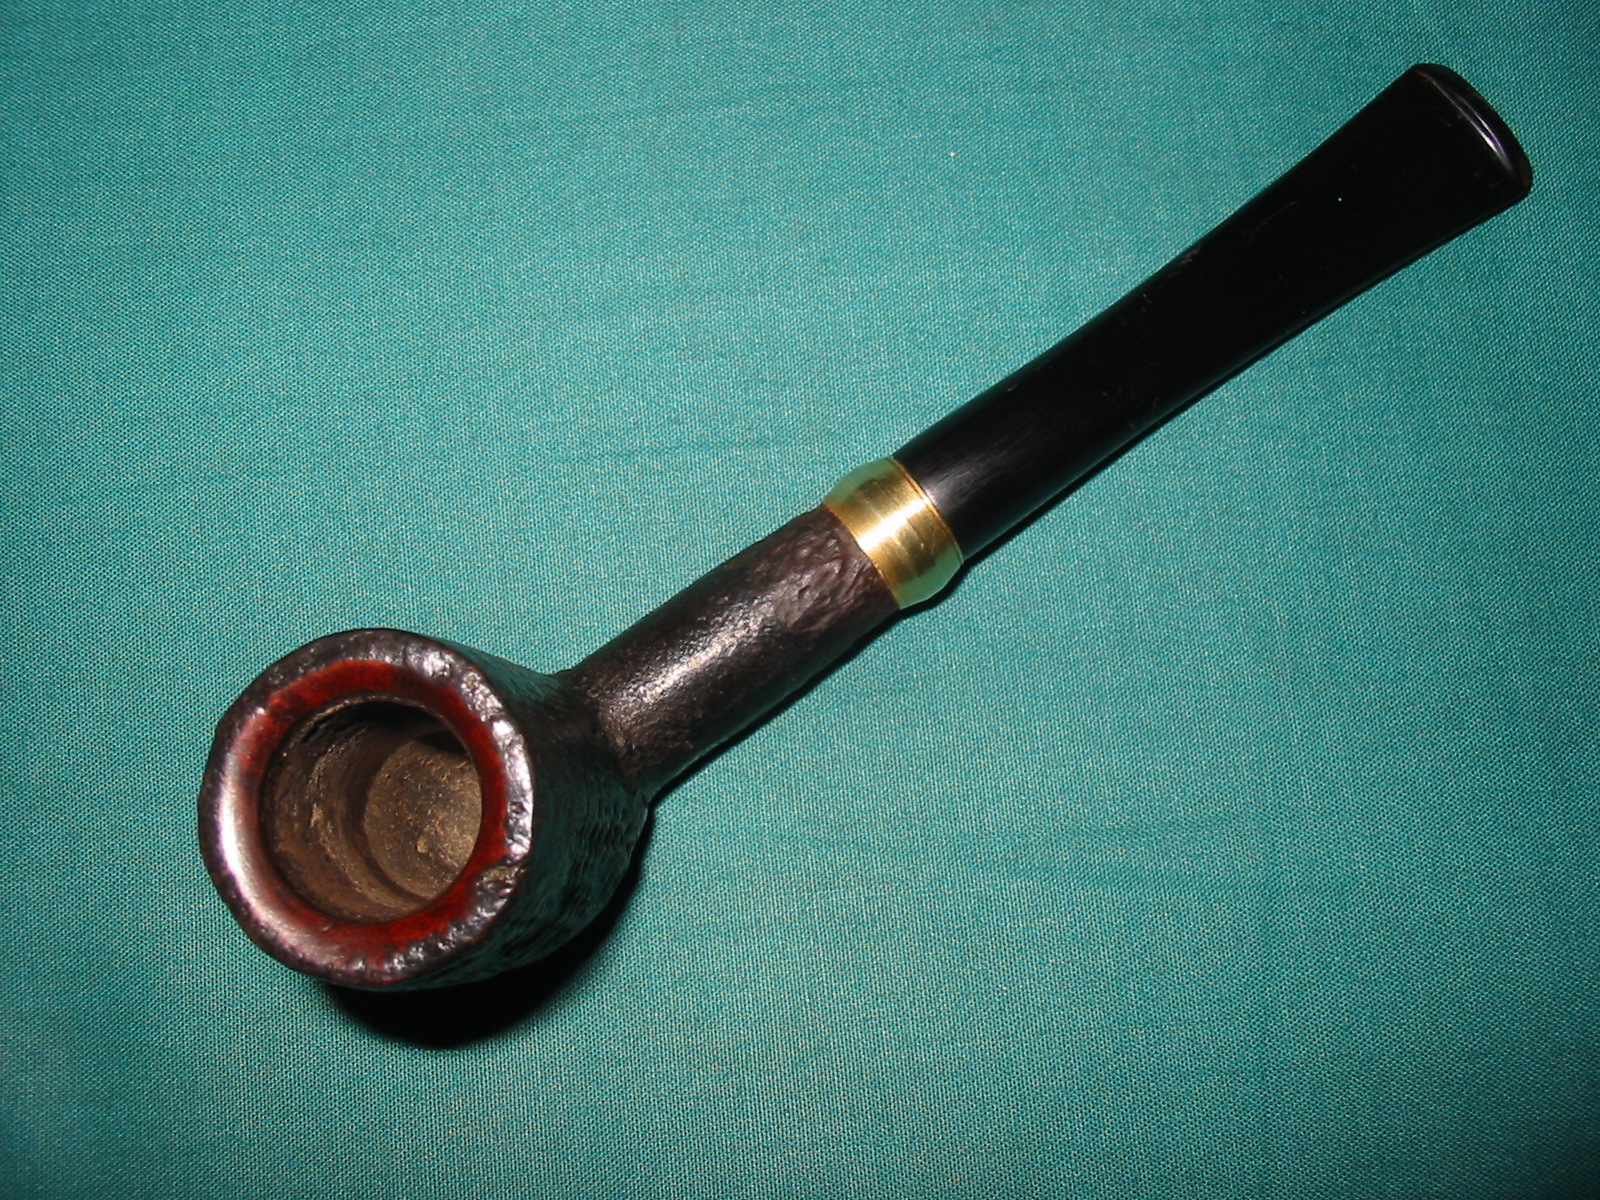
A Renovation of a Good Companion London Made Billiard


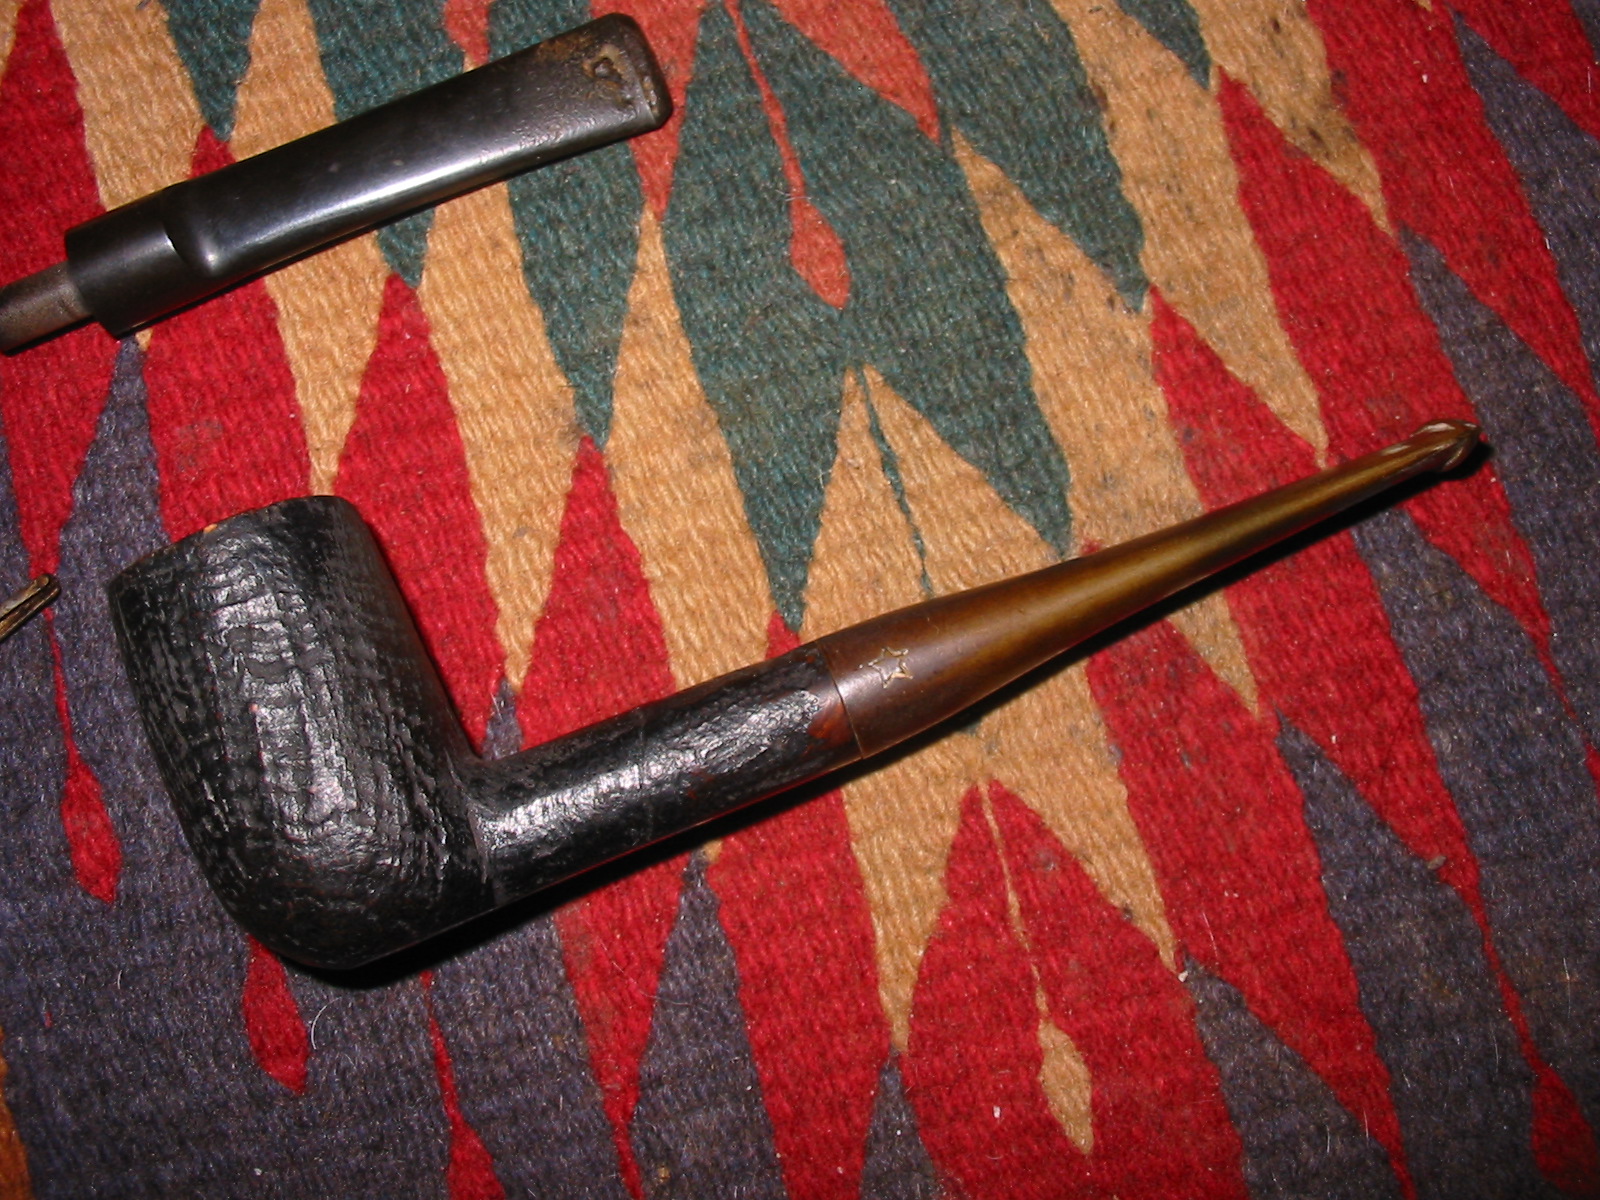
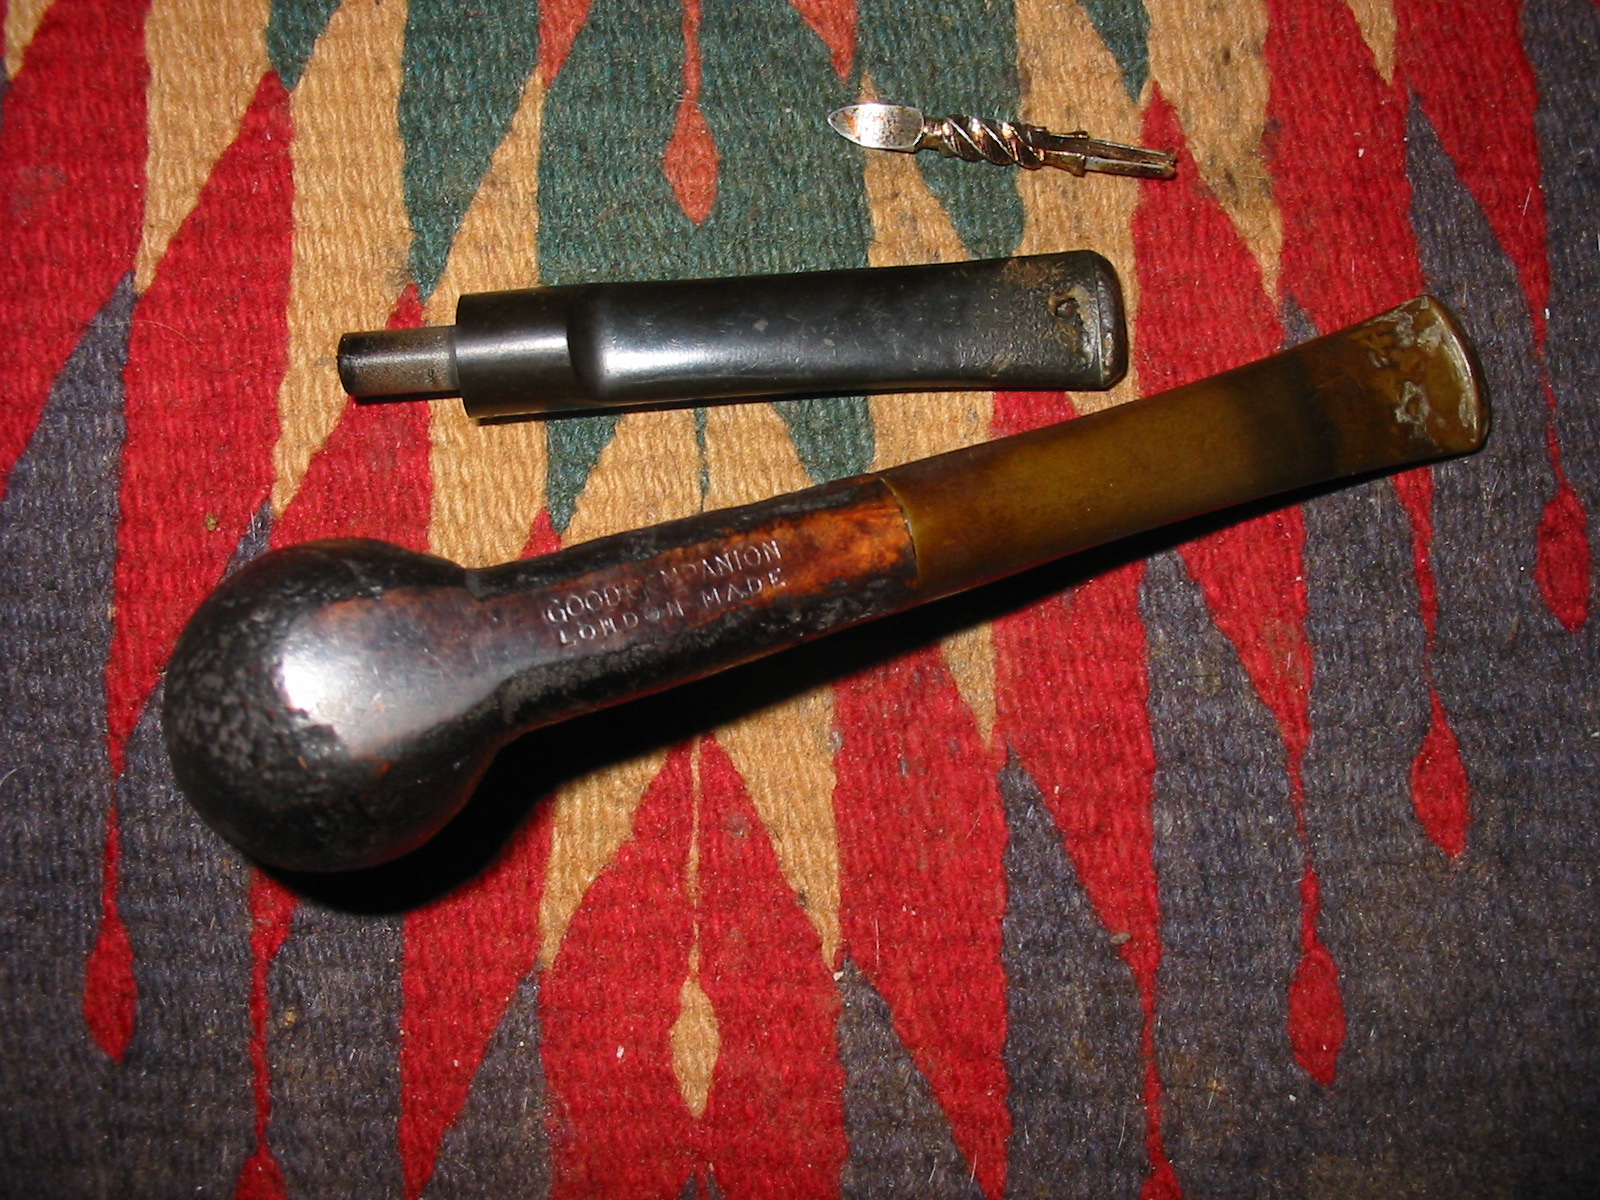
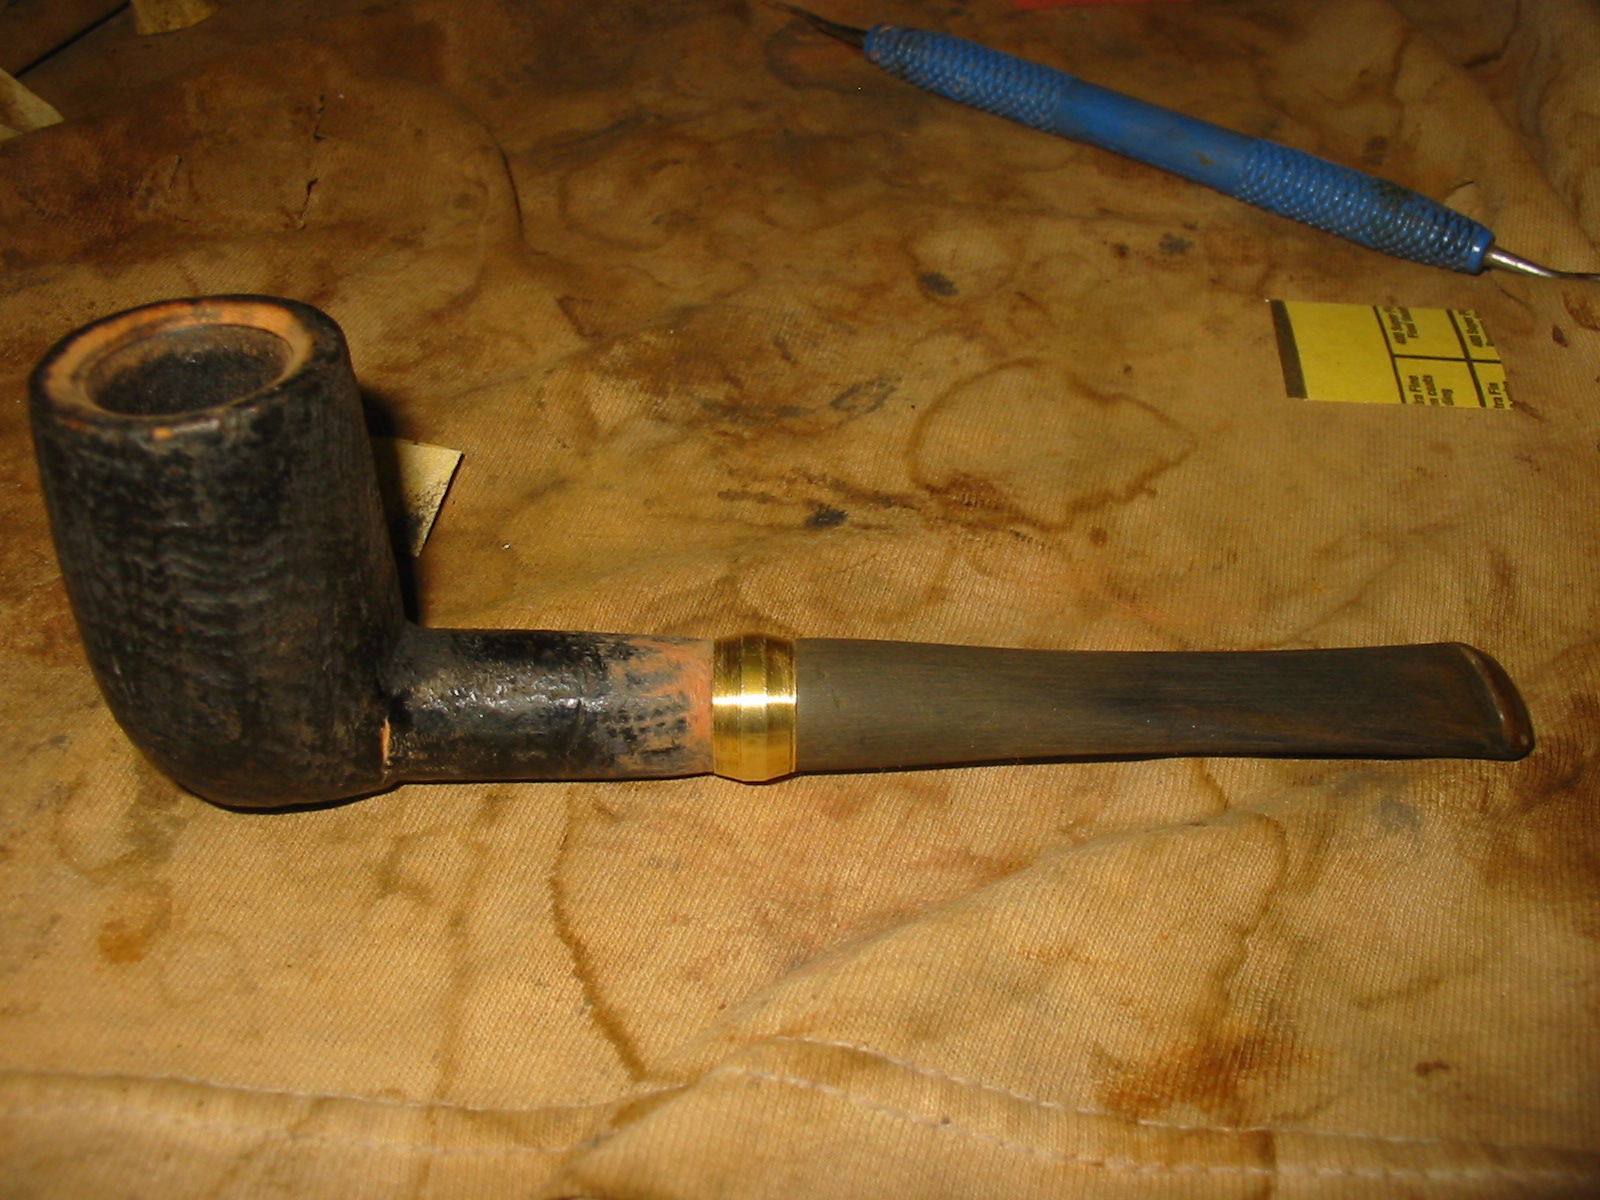
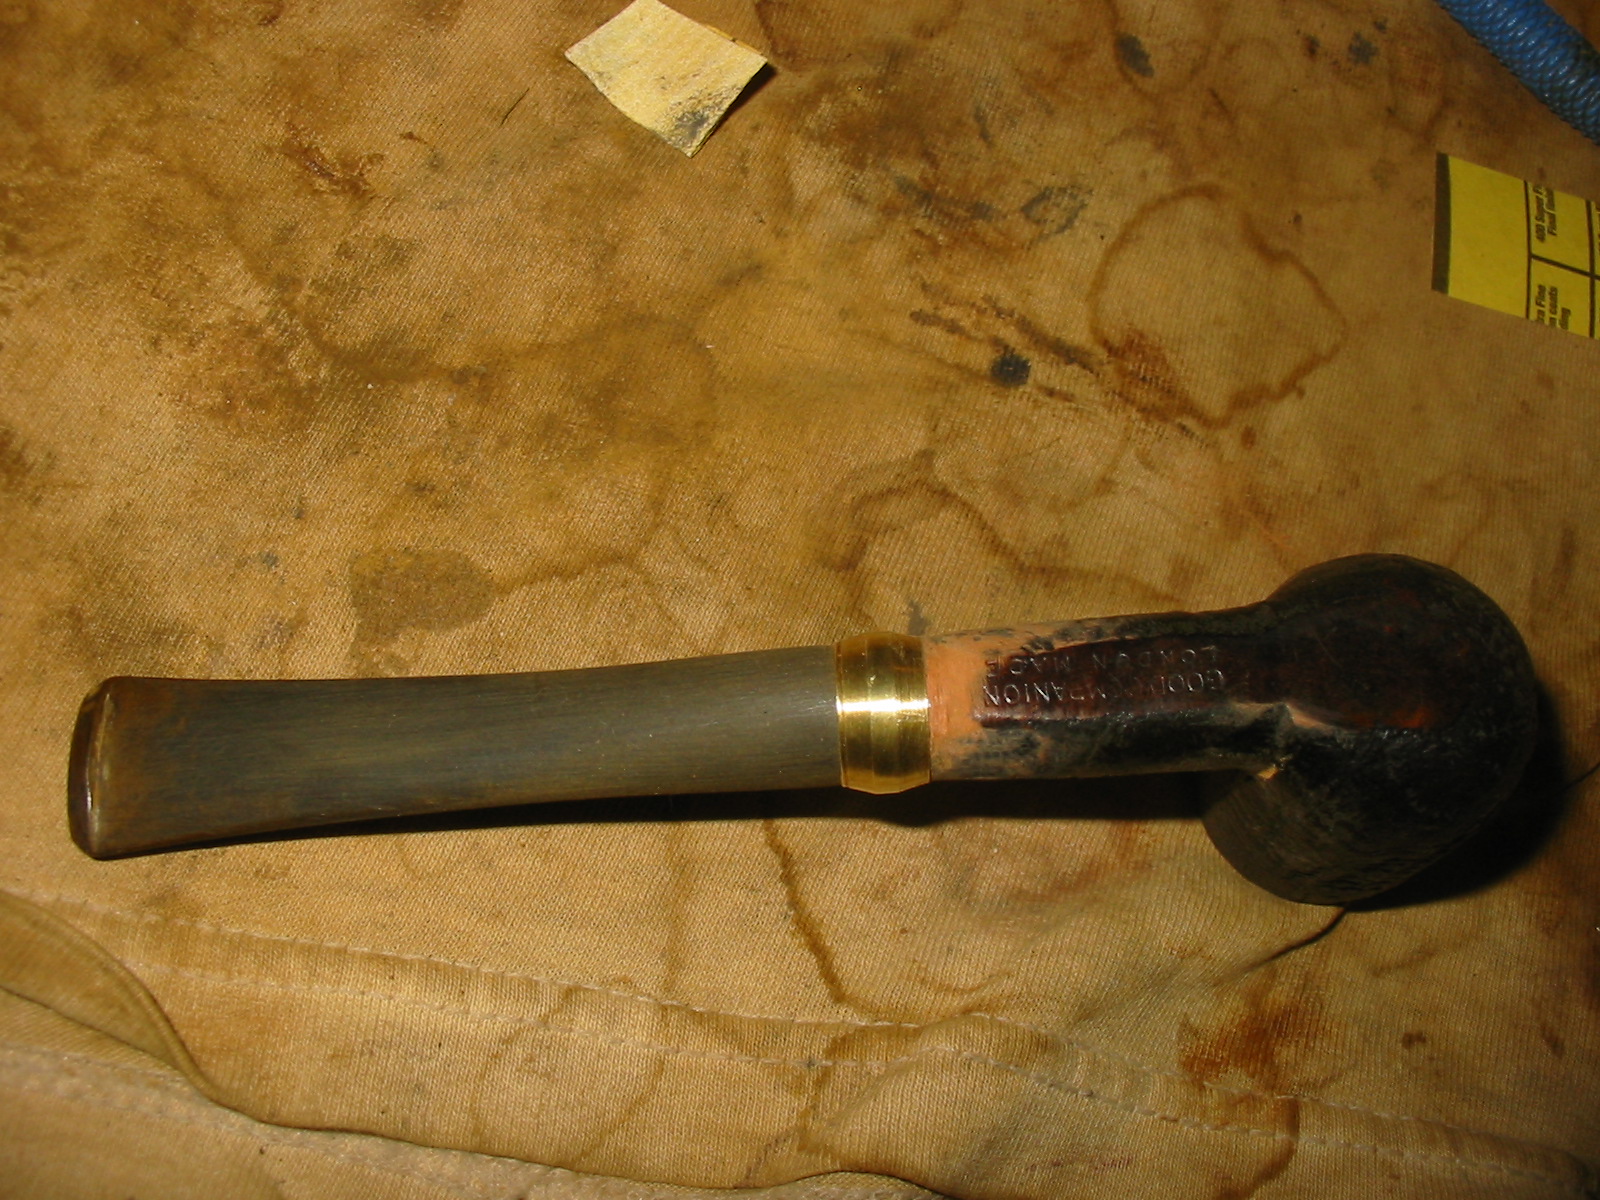
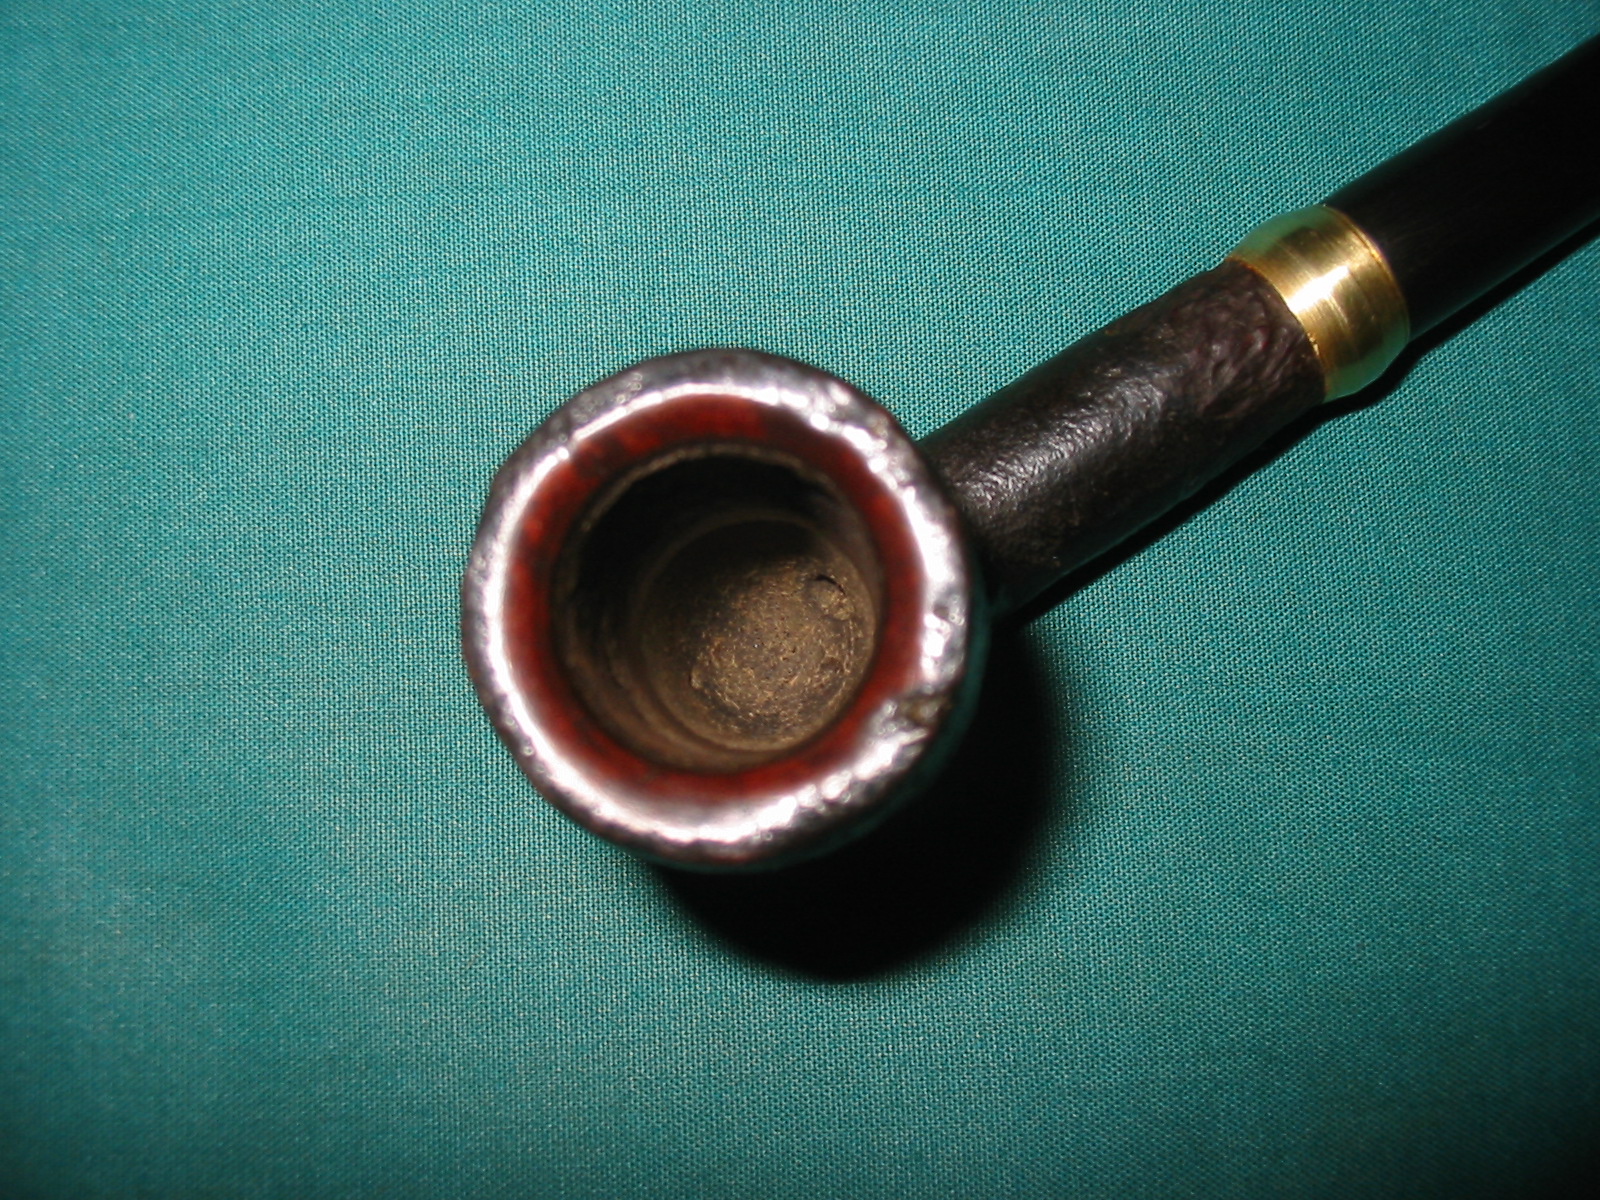
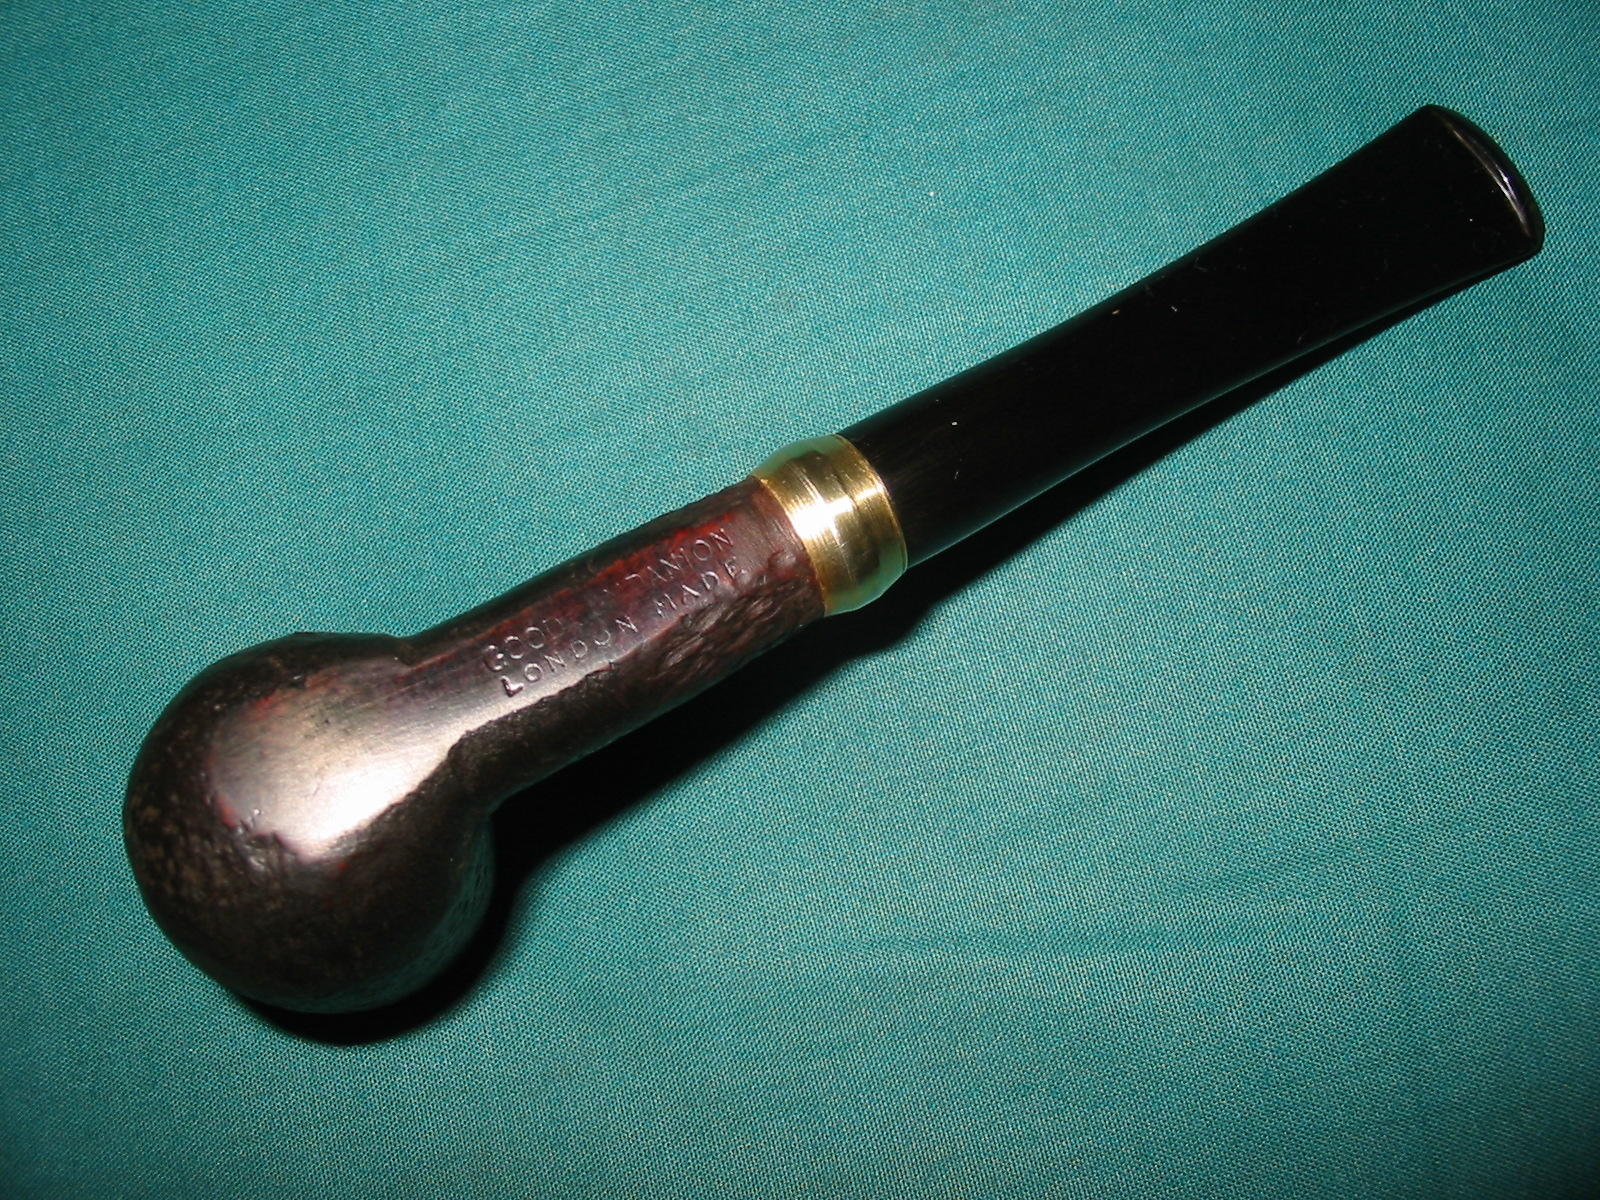
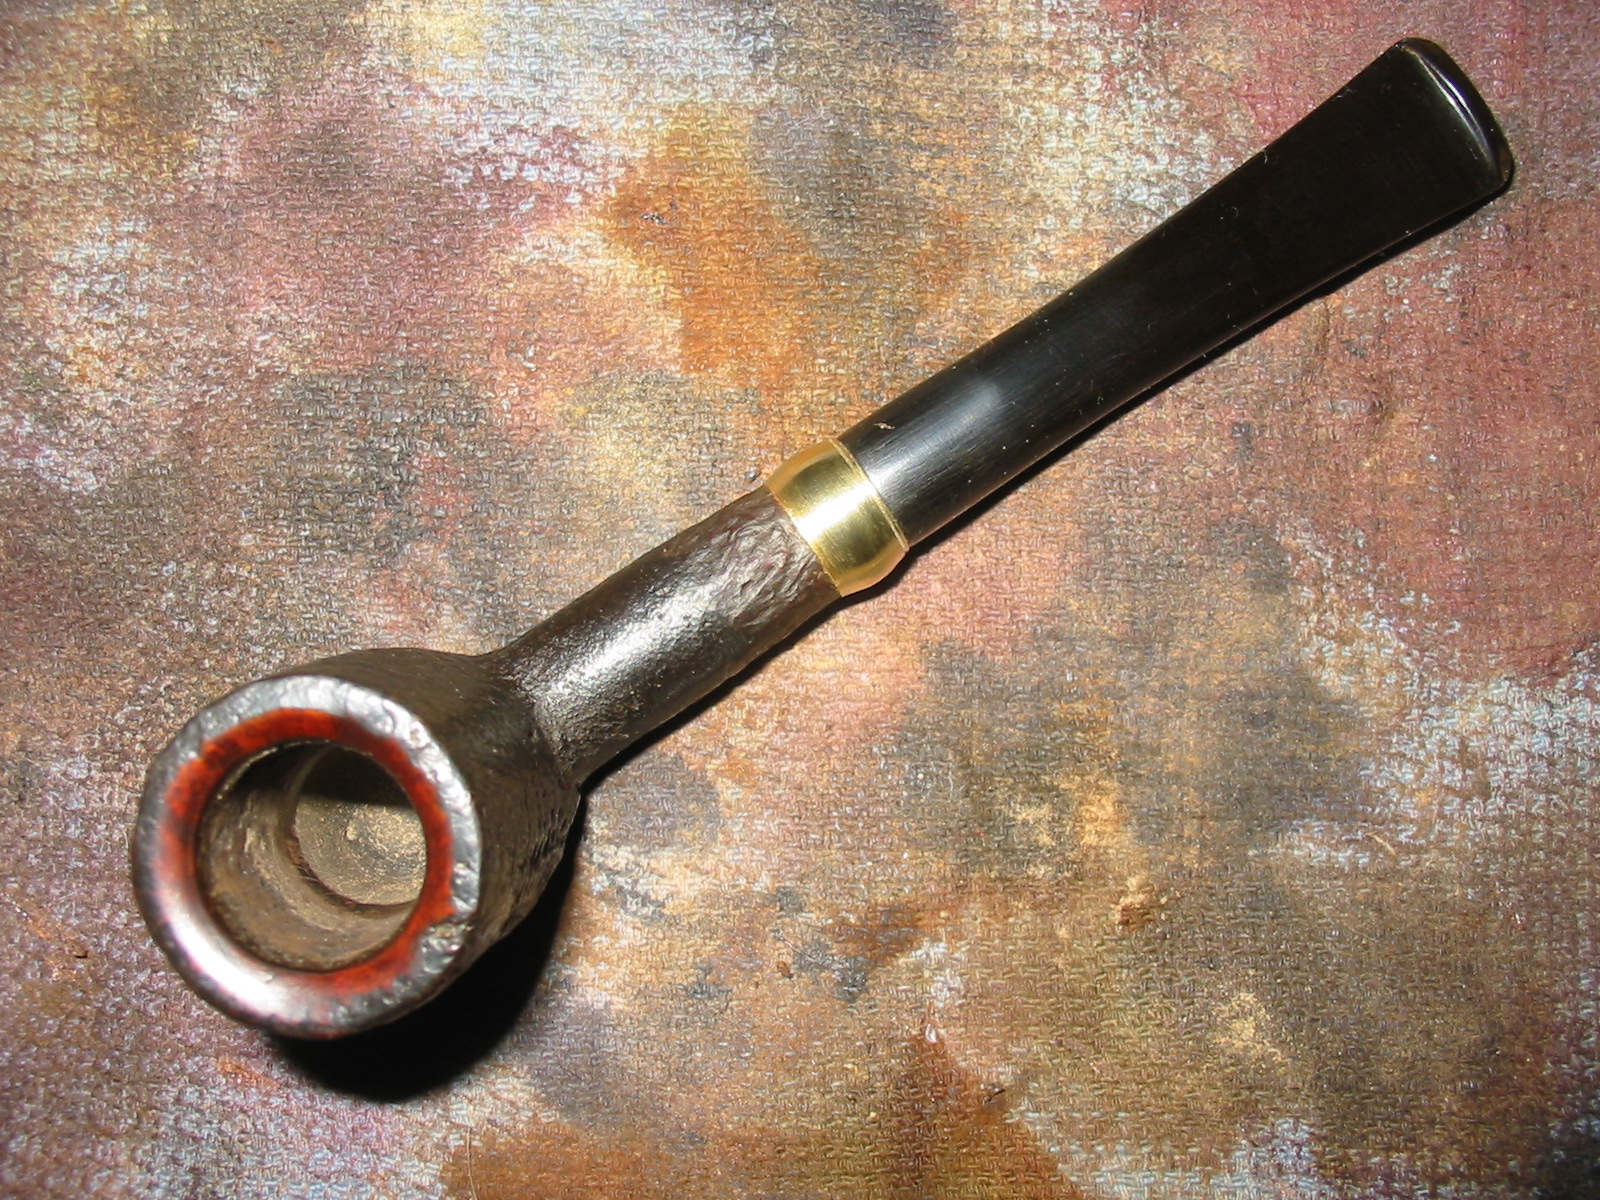
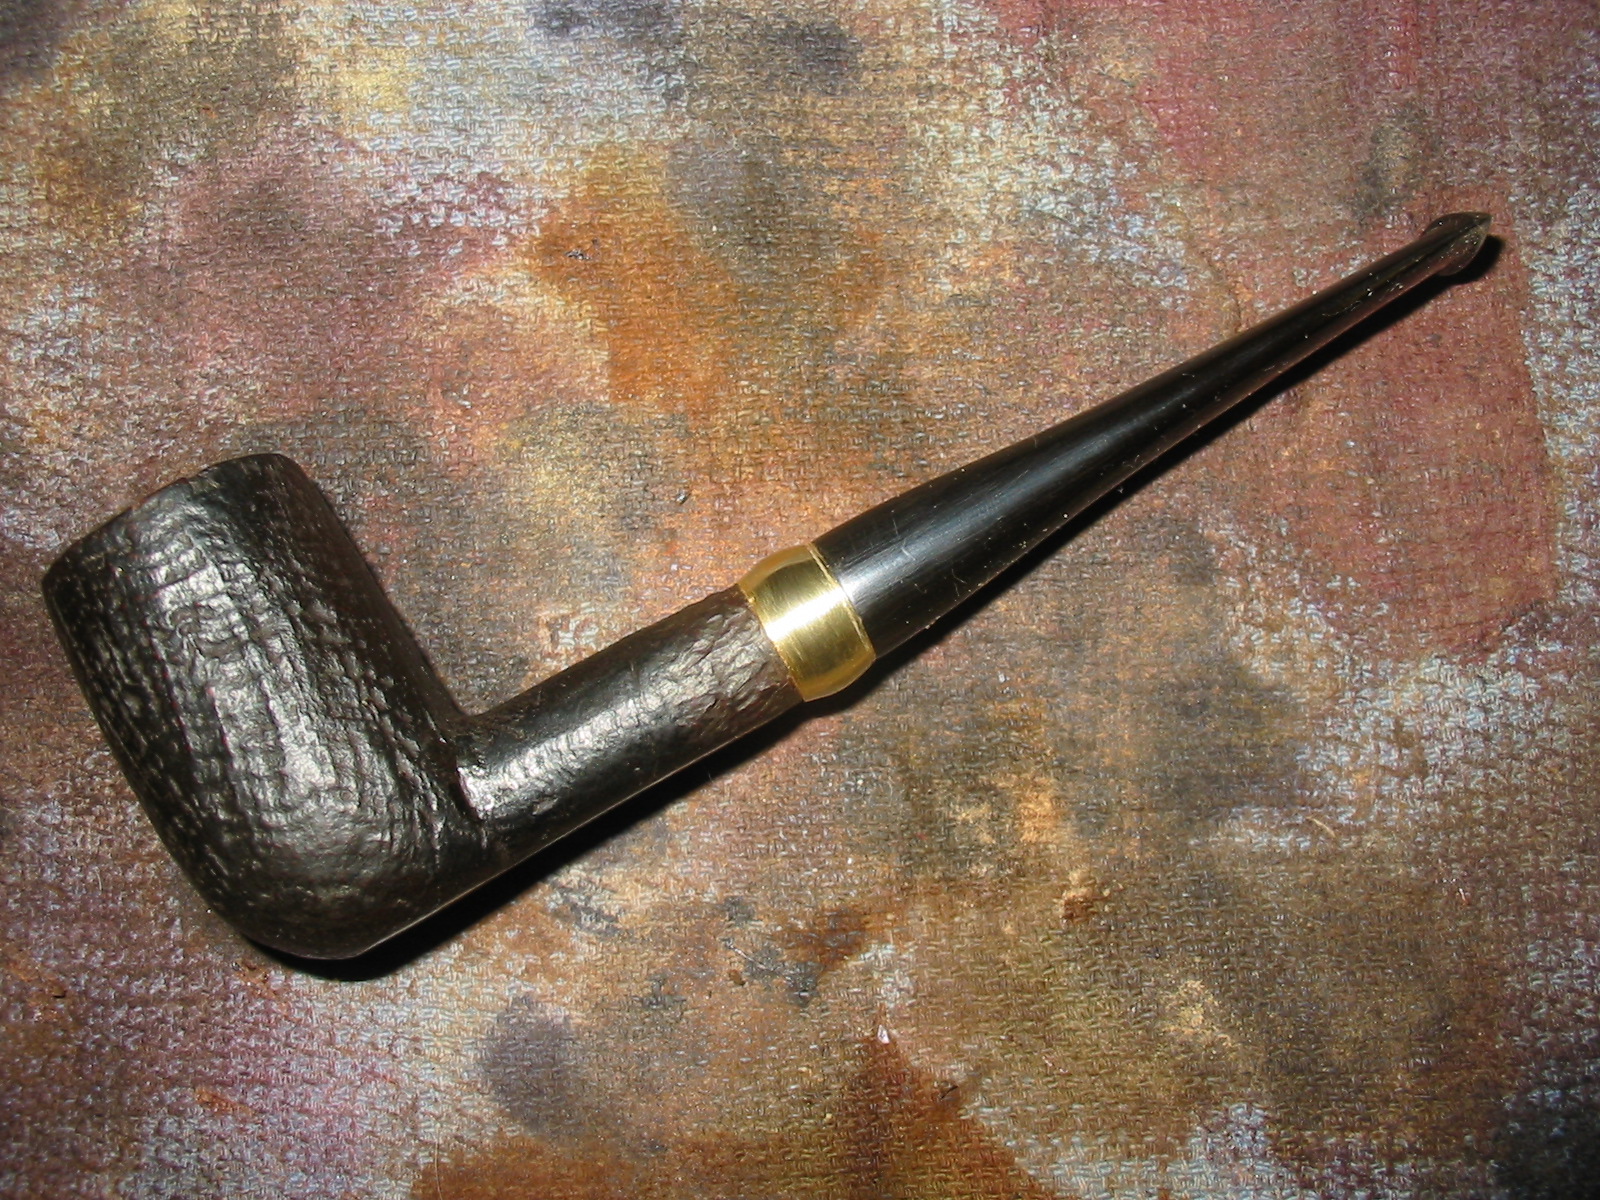
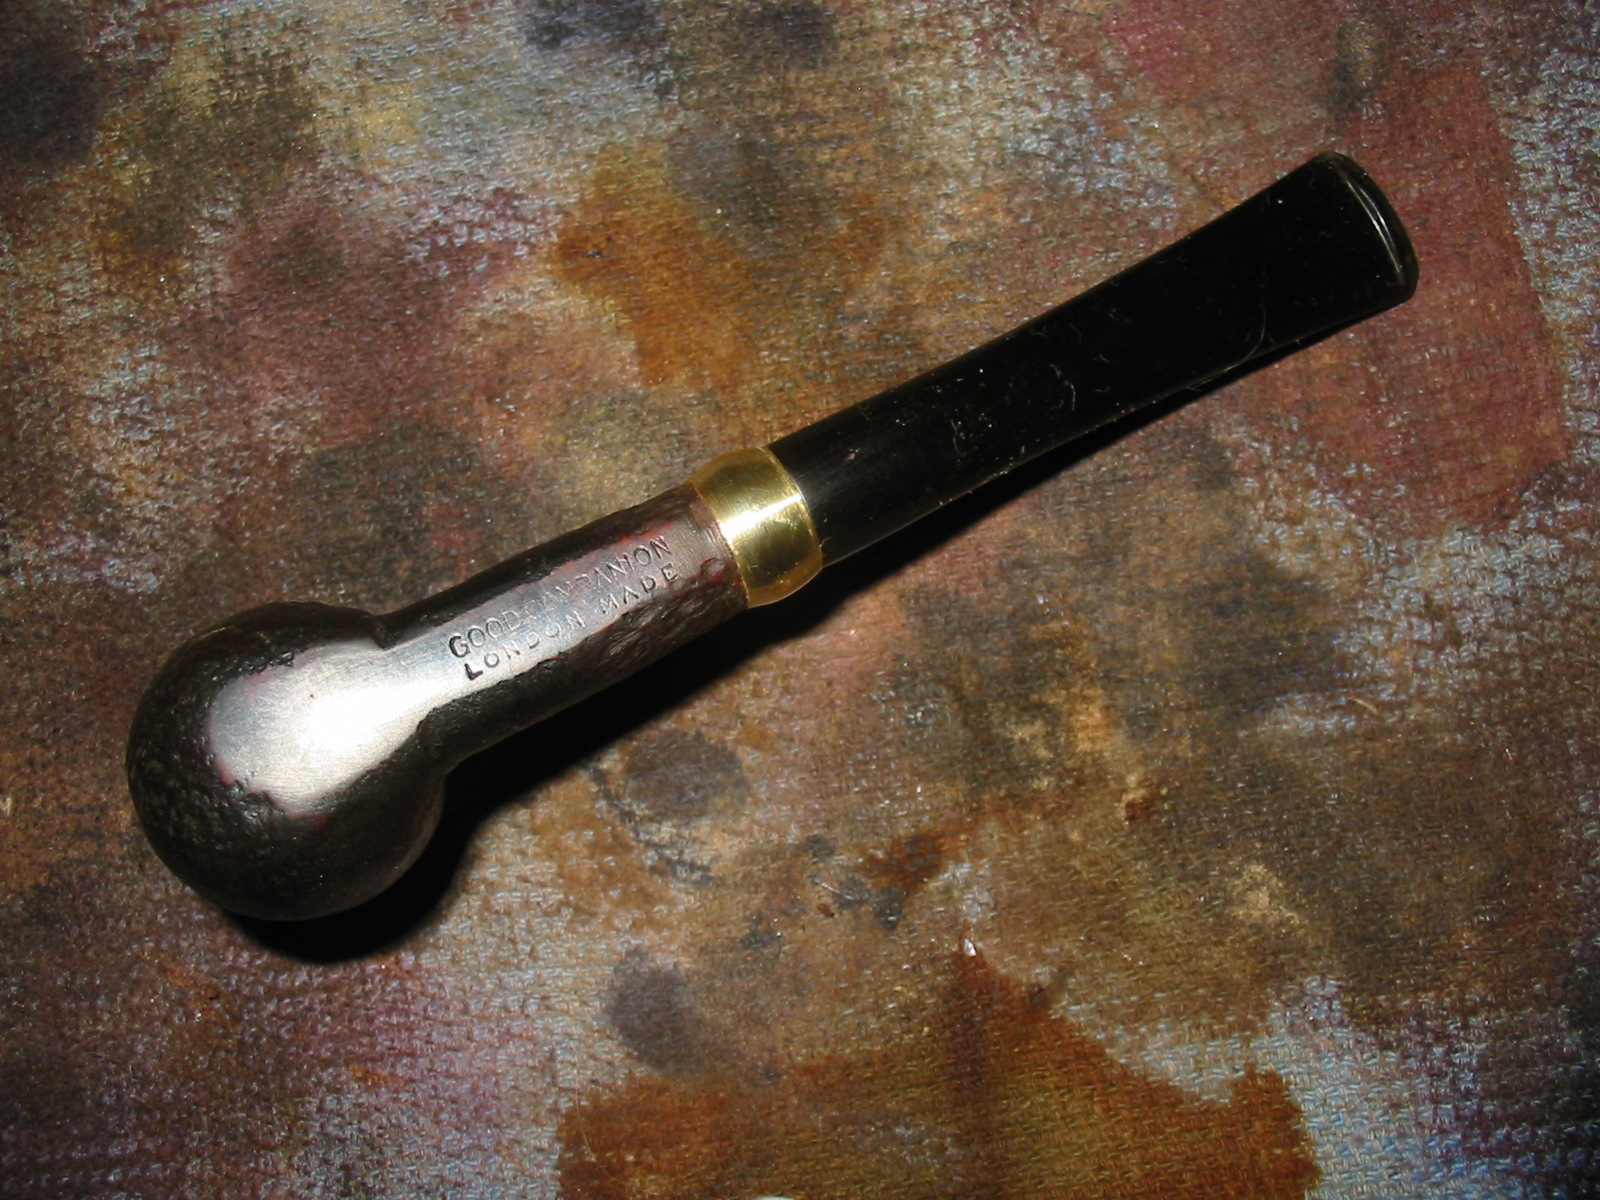
My wife and I went out for lunch on Saturday and there was an antique shop across the street from the restaurant. After eating we brave torrential downpours and ran across the street check out a shop we had not visited before. We looked through the various display cases and I found the pipe below along with a chewed up Yello-Bole billiard. The pipe was a small group 3 sized billiard. The finish was a dark brown stain on a sandblasted pipe. The left side had great grain pattern and showed deep grooves. The right side was a tight birdseye grain and the blast was shallow and close. The shank was rusticated to look like a sandblast. The stem had a slight bend but seemed be from sitting in the heat rather than intention. There was a bite through on the top surface of the stem that was large enough that it could not have been patched. The rim was originally smooth and beveled inward but the bevel had been damaged and needed to be reshaped and cleaned up. The stamping on the pipe is what ultimately made me spend the $10 to make the pipe mine. It read Good Companion over London Made on the underside of the shank. I just finished reading a new book by Mark Irwin called Pipe Companions. In it he wrote of the relationship between the pipe and the pipeman. I think it was a great coincidence to walk into a pipe stamped Good Companion. I wanted to clean it up and make it my own.
IMG_4177

IMG_4178

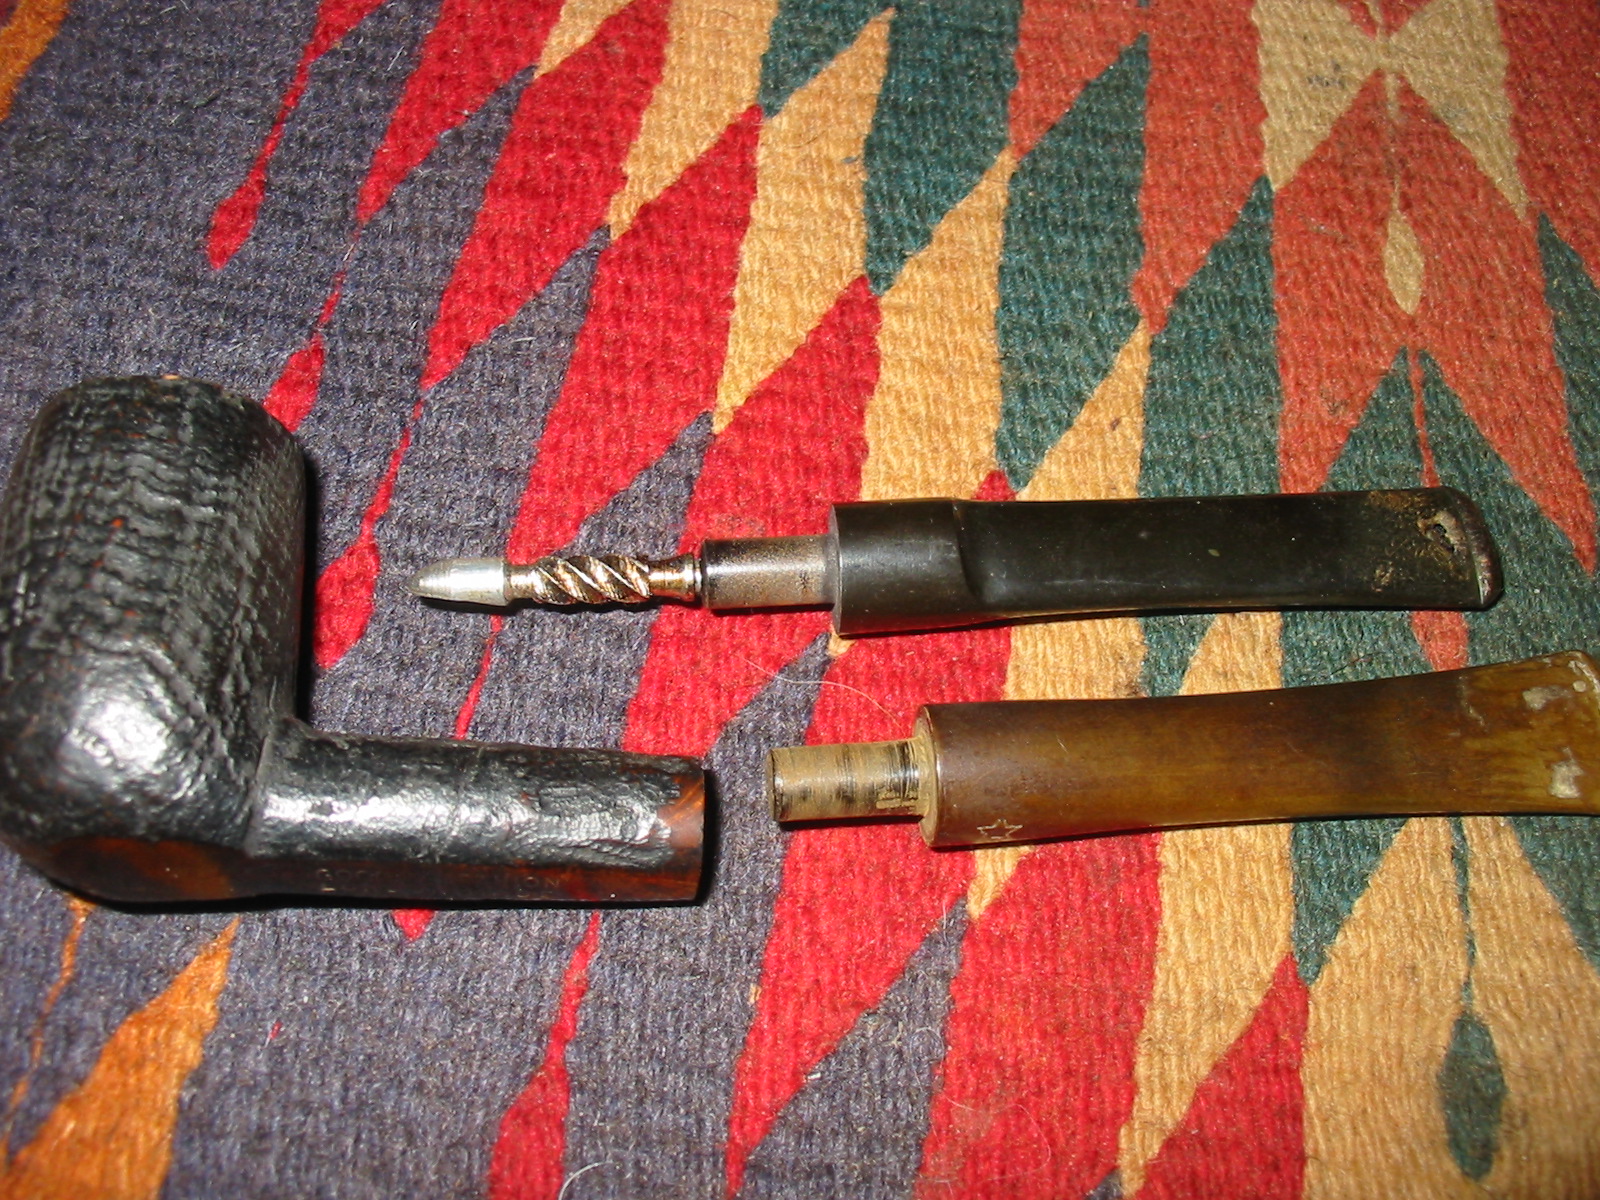
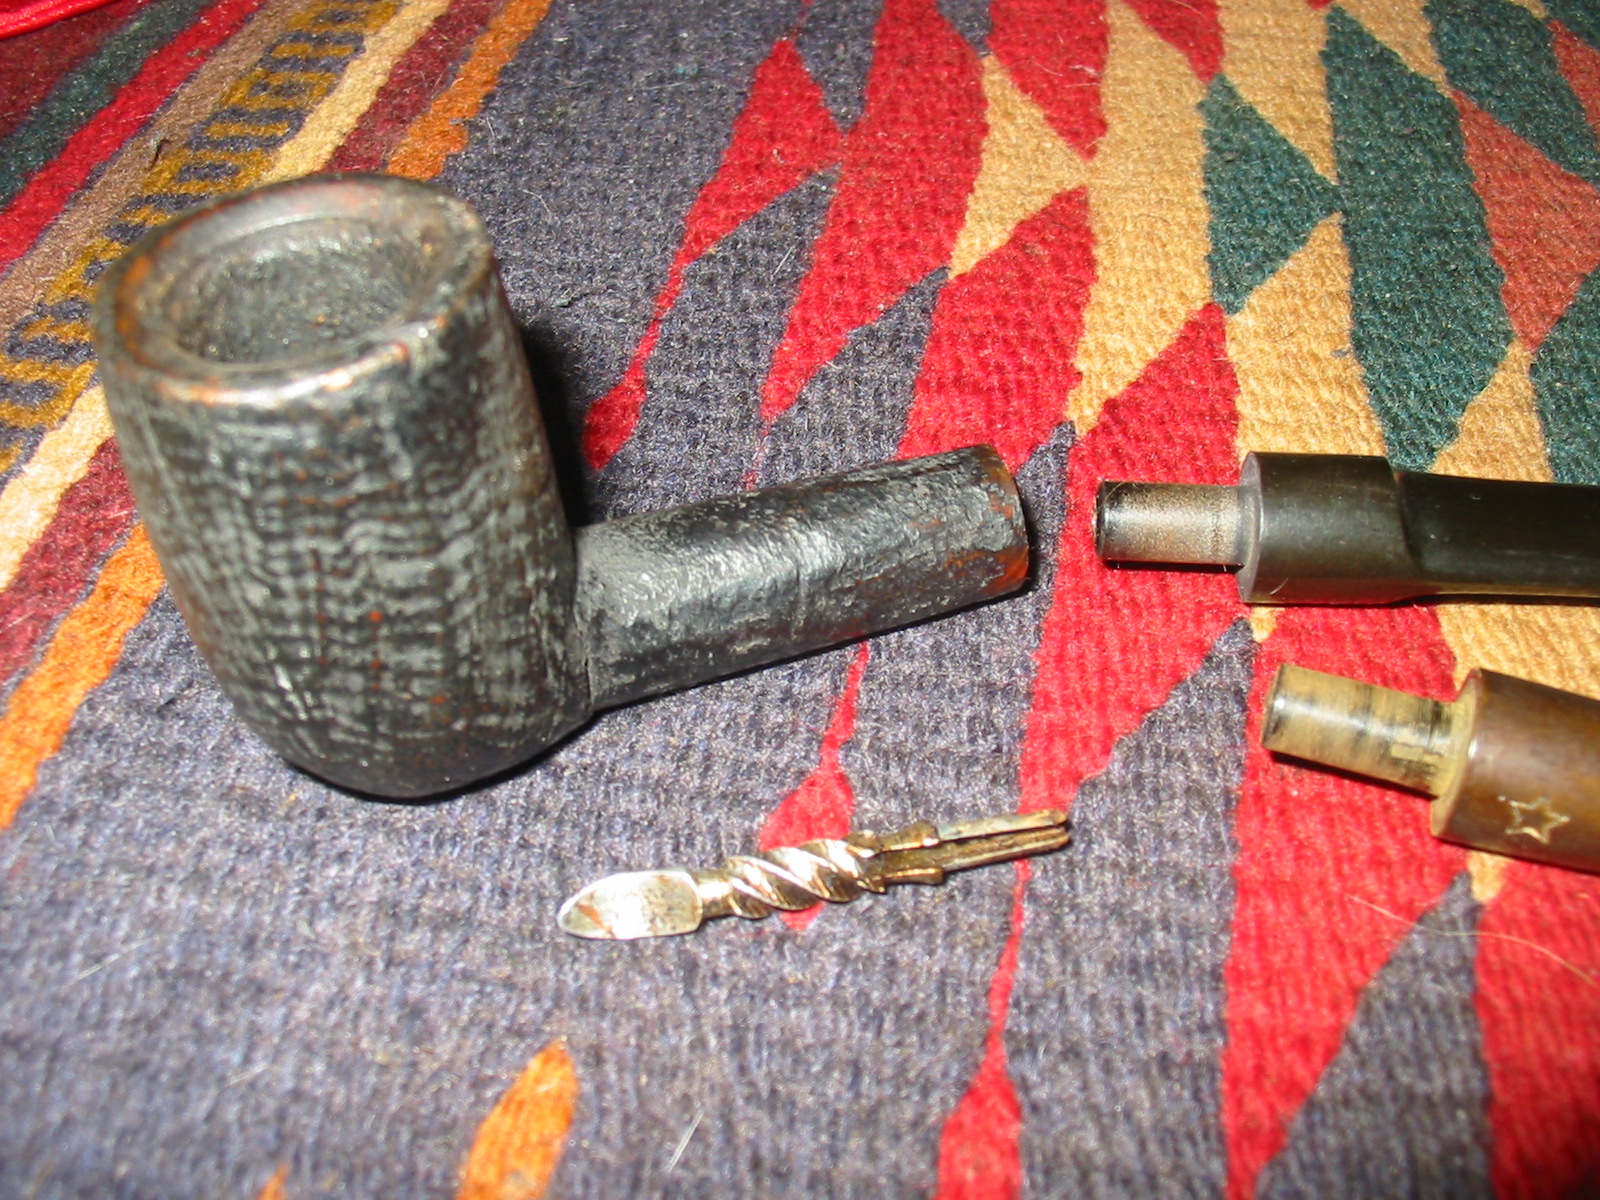
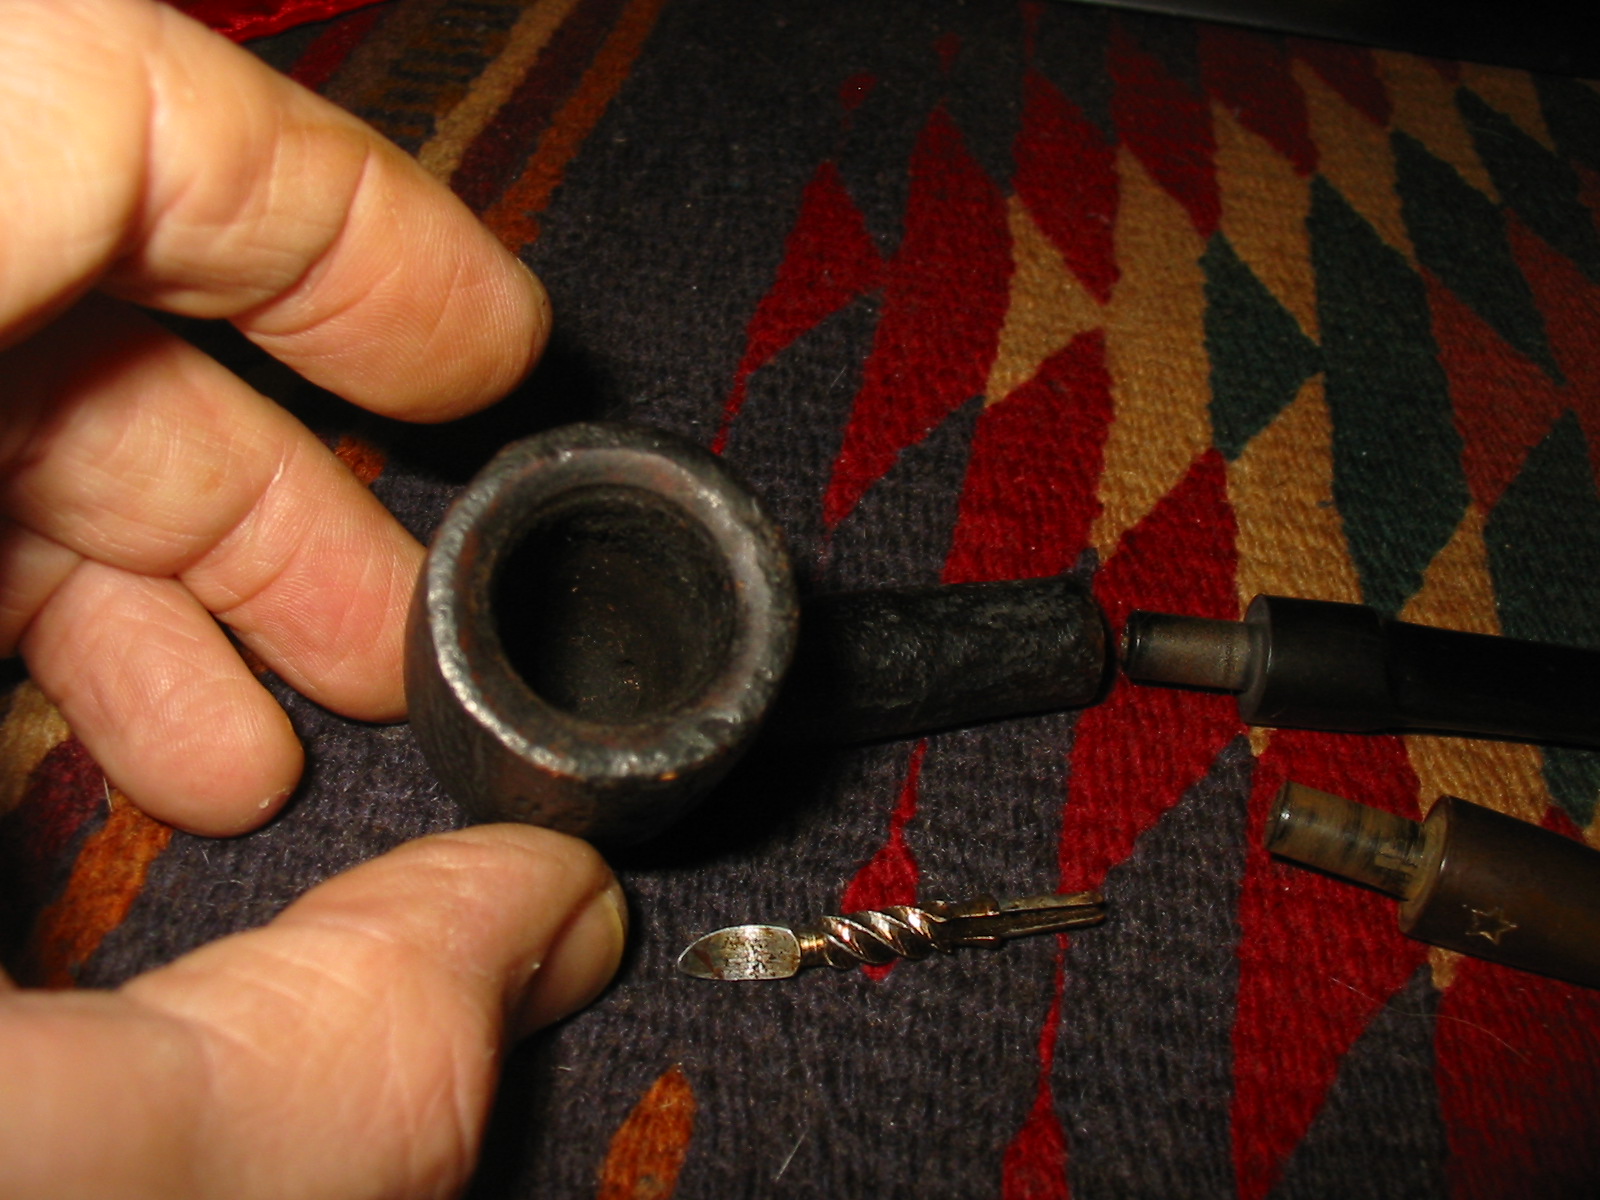
When I got home from the visit to the shop I took the pipe apart. The stem had a large spiral stinger apparatus in the tenon. The stem itself was badly chewed. I found a new stem for the pipe in my can of stems and worked on the tenon to make the tapered stem fit the shank.
IMG_4263

IMG_4264

IMG_4265

I pushed the newly fitted stem into the shank to have a look at the shape with a taper stem. I liked the overall look of the pipe with the new stem. I sanded the stem to remove the calcification and the oxidation on it. I also worked on the fit of the stem to the shank. I wanted the transition to be smooth and seamless. I took the stem in and out several times while I worked on it. The last time I pushed it into the shank there was a crack! I don’t know if that has happened to you but when it happens there is a sick feeling in the pit of my stomach. Here the pipe was almost ready to refinish and the stem fit well and then crack. The frustration at that moment is high level. I laid the pipe down and had a coffee while I thought about my next steps.
IMG_4266

IMG_4268

IMG_4269

IMG_4270

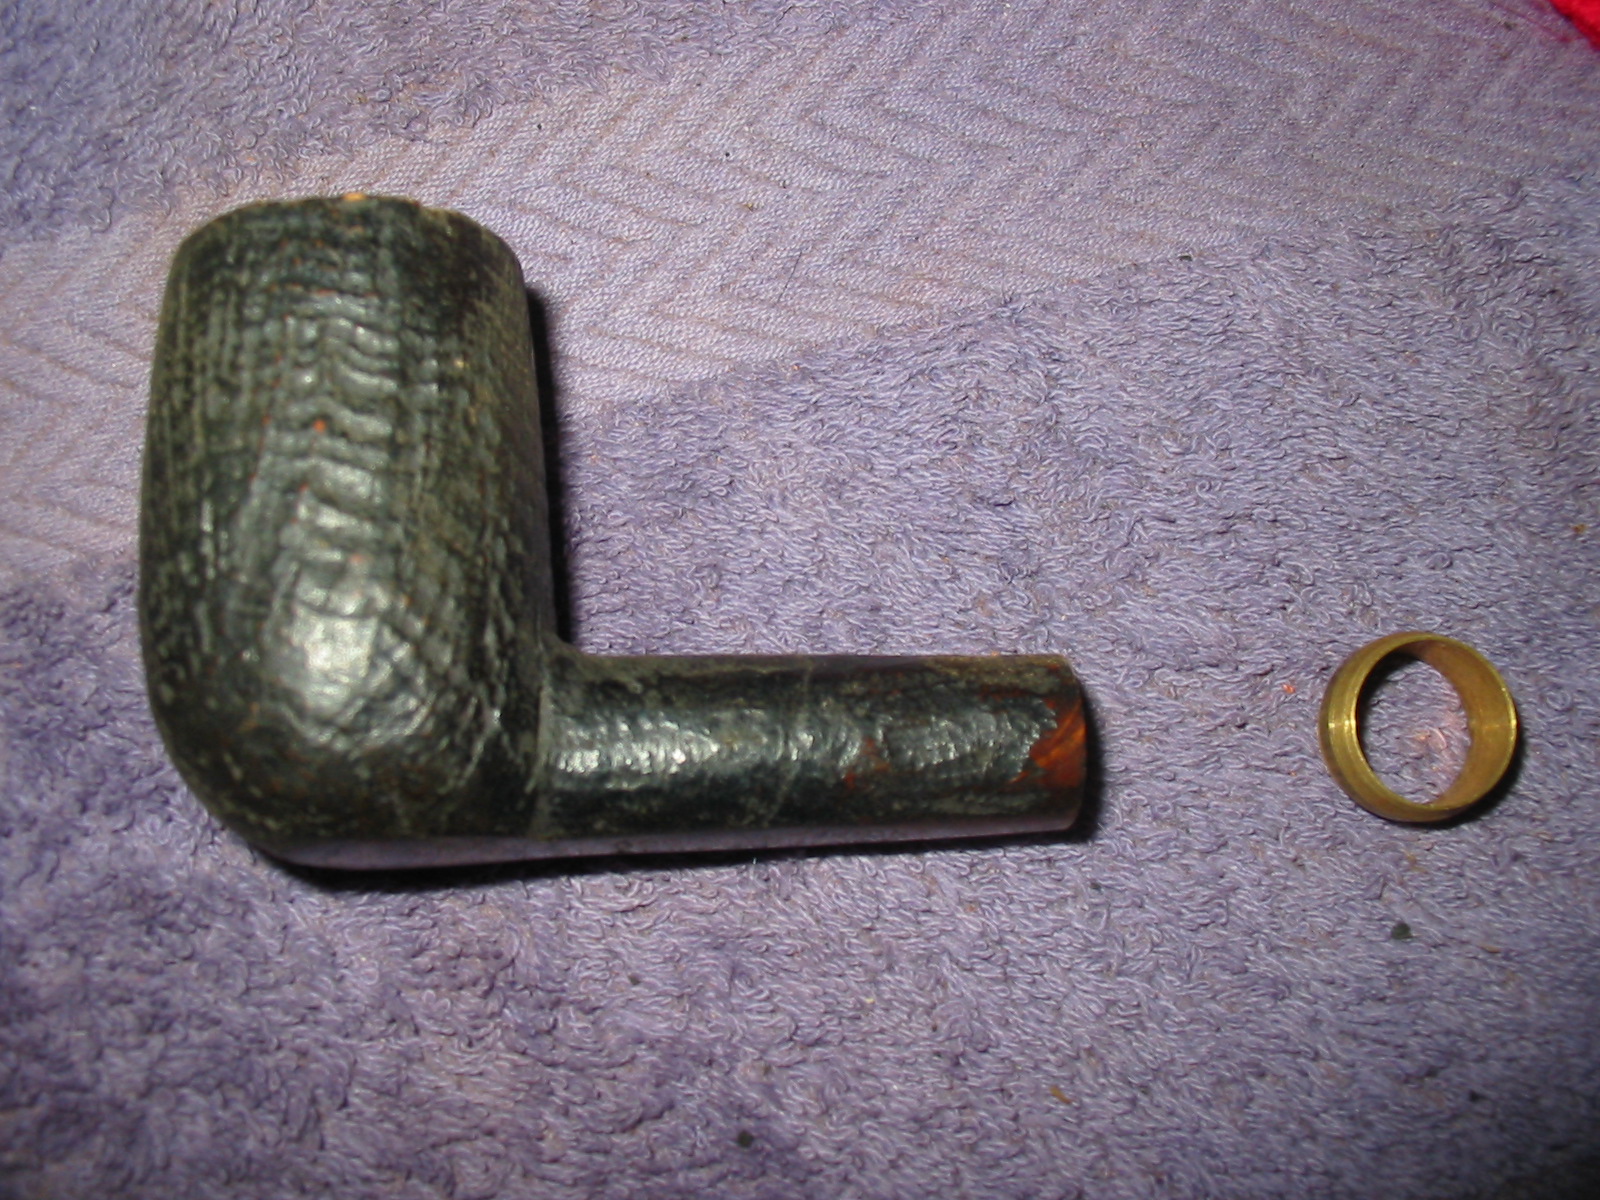
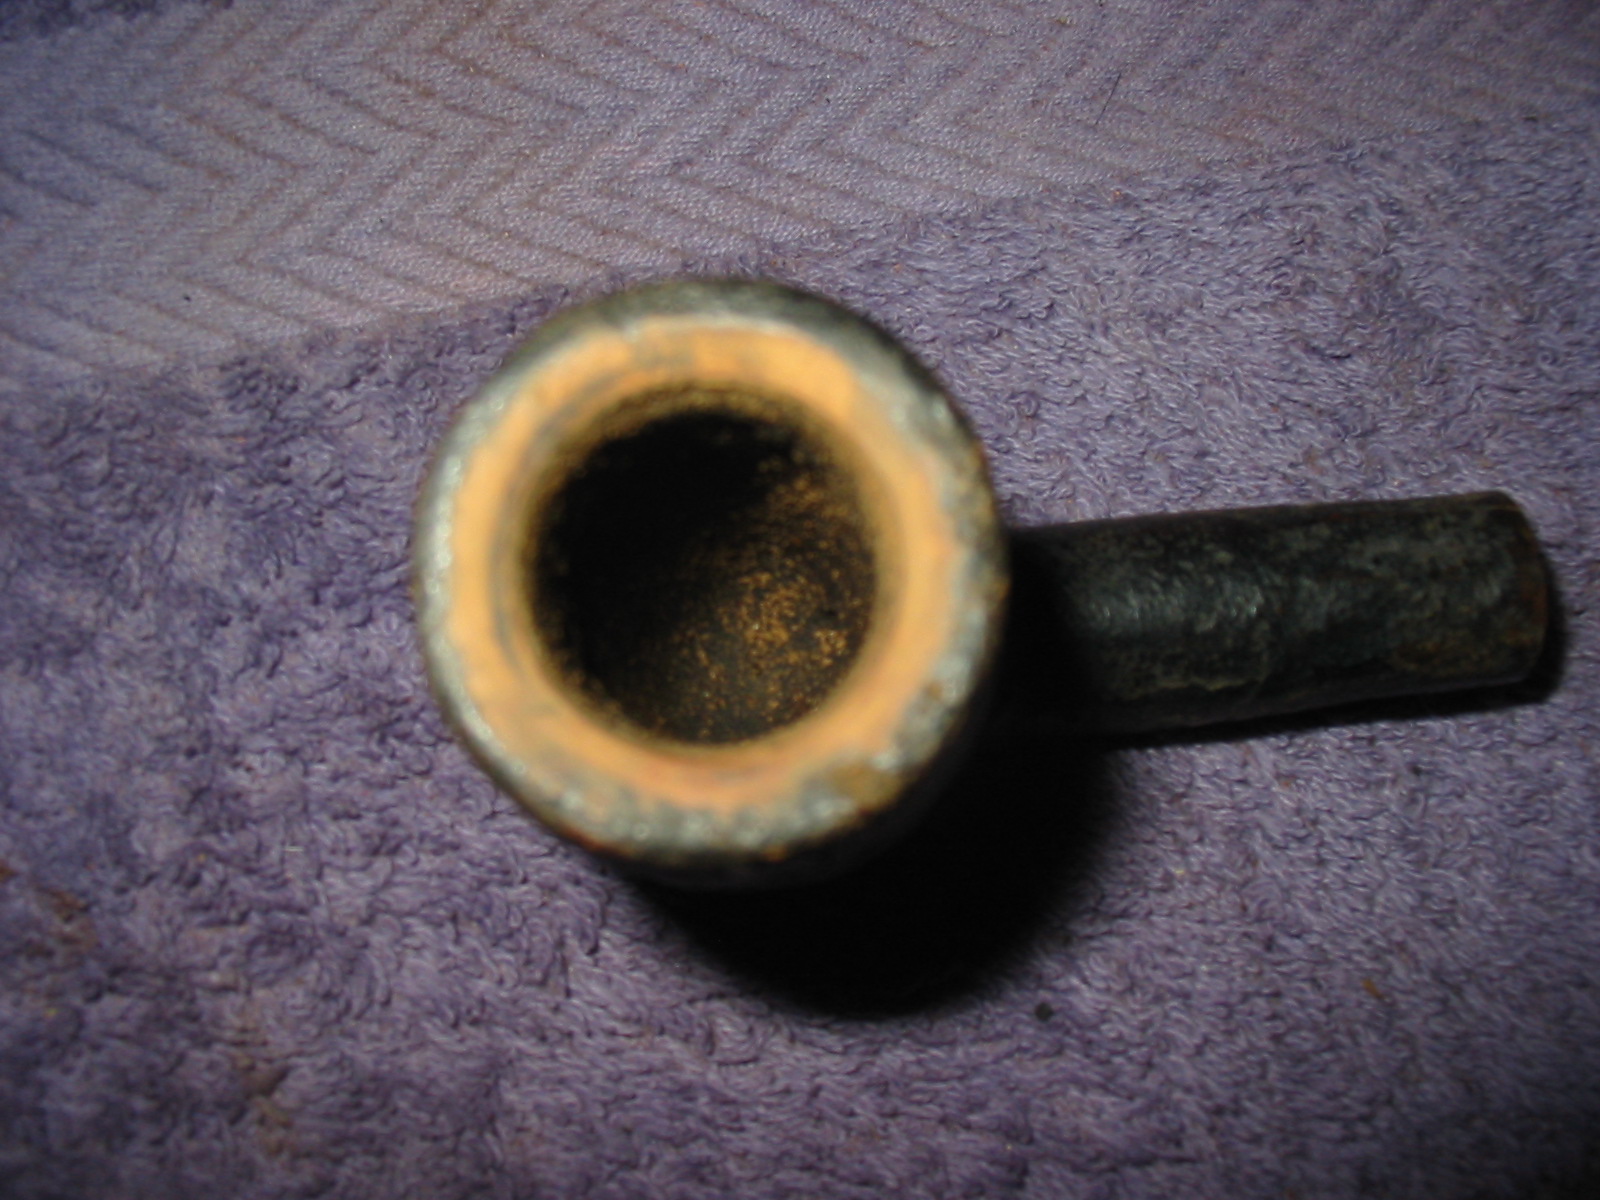
I went through the box of nickel bands that I have here and I did not have any the correct size for the shank. All of them were either too huge or too small. I did remember however that I had some brass plumbing pressure fitting pieces that would make a great band on the pipe and create a totally different look on this old pipe. Before fitting the band I worked on the bevel of the inner edge of the rim. I used a folded piece of sandpaper to smooth out the rim damage and reshape the bevel.
IMG_4271

IMG_4272

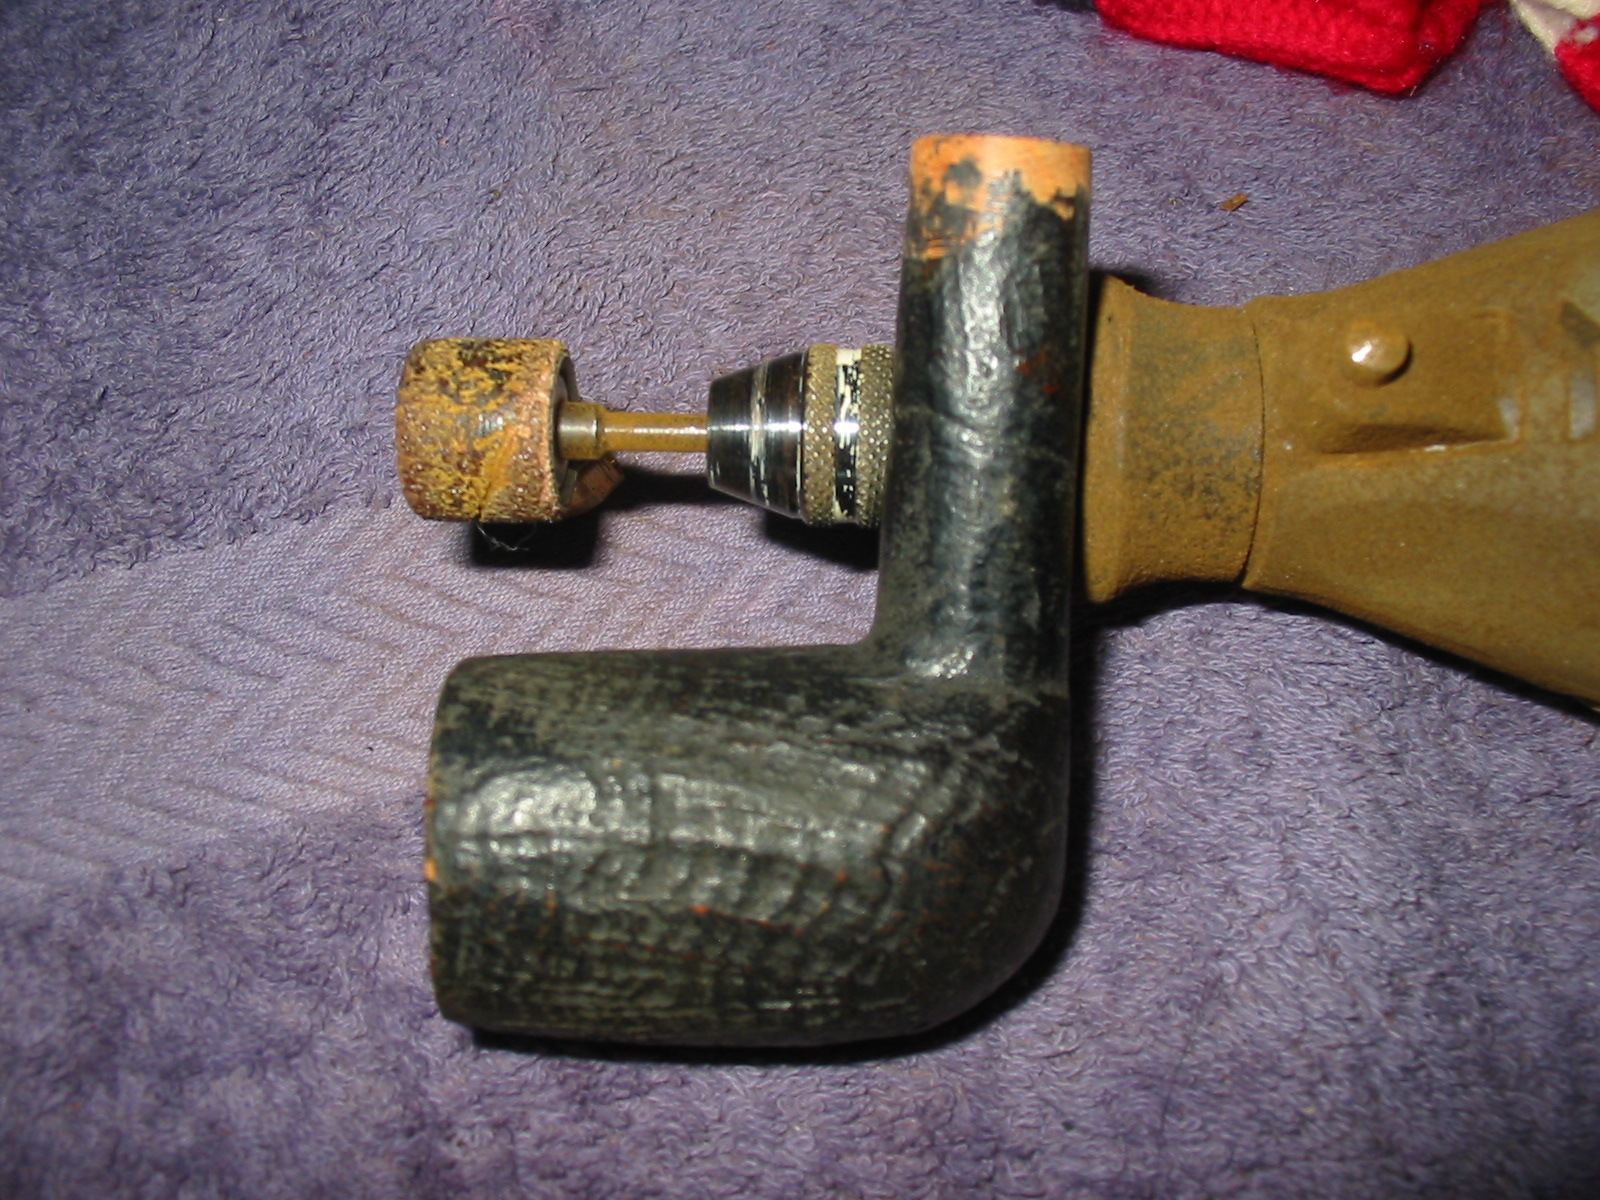
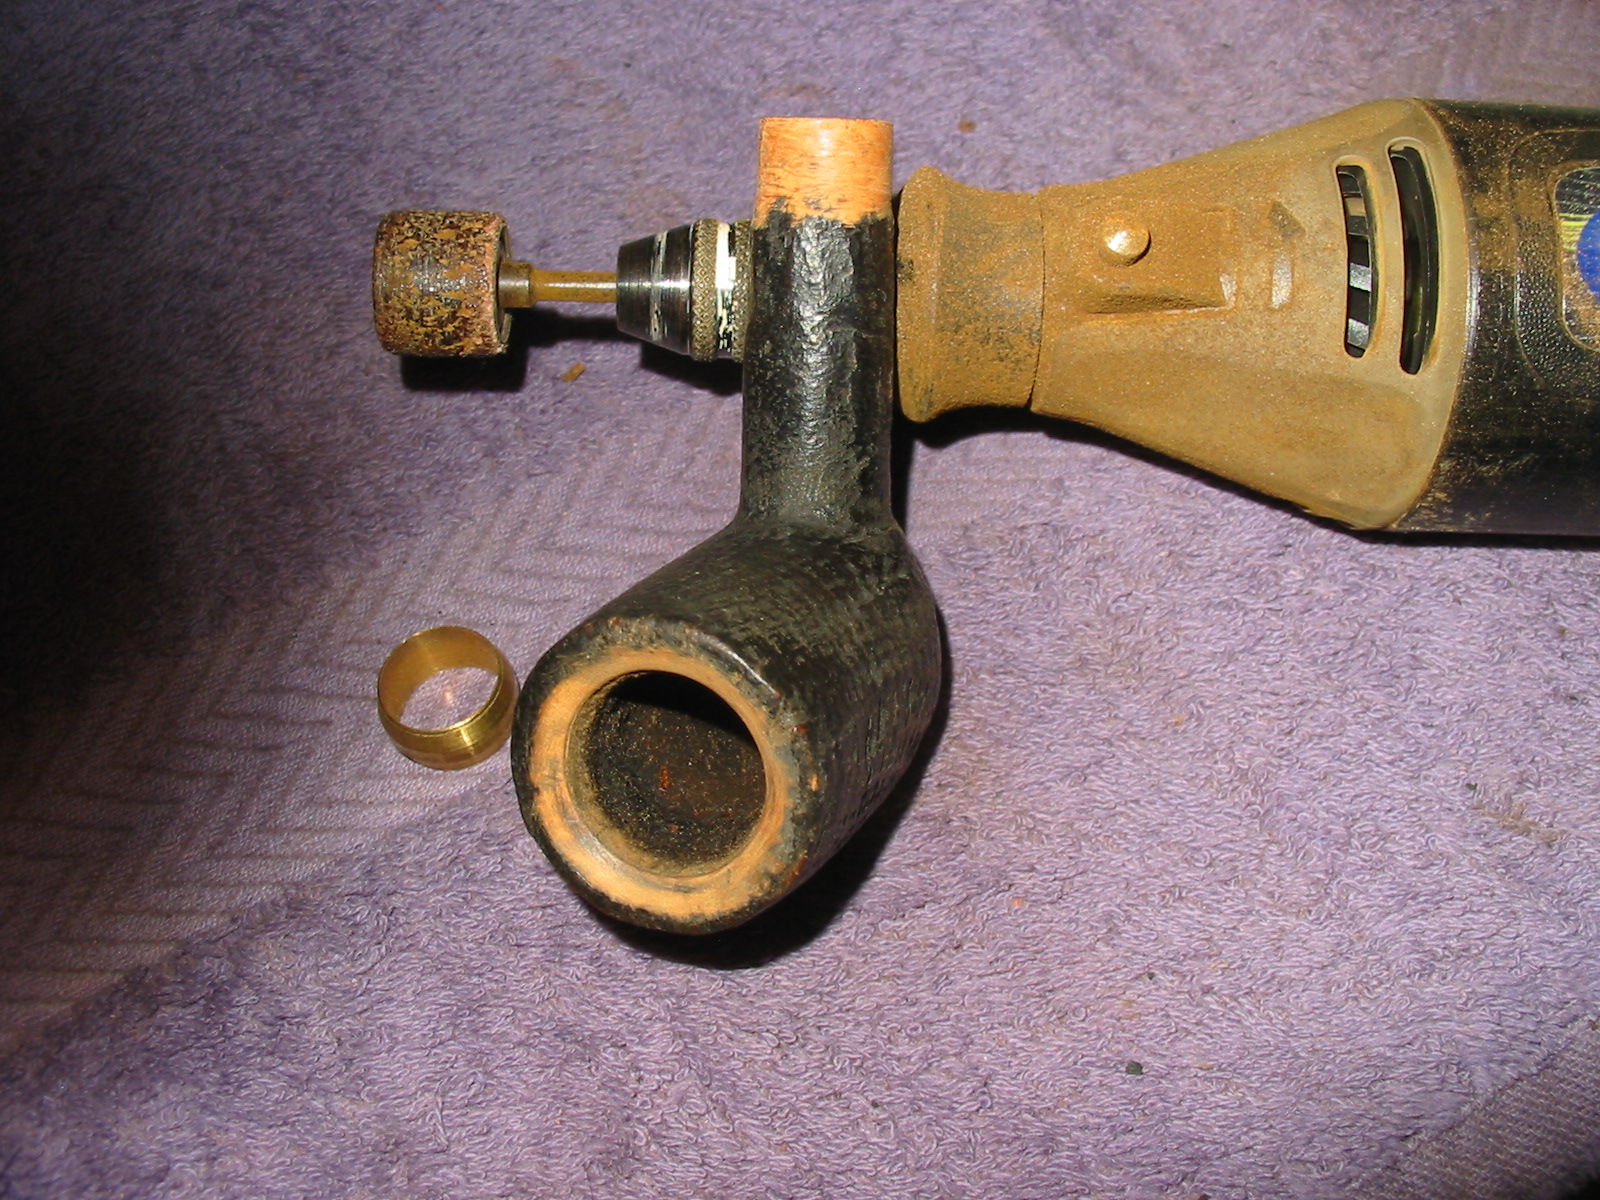
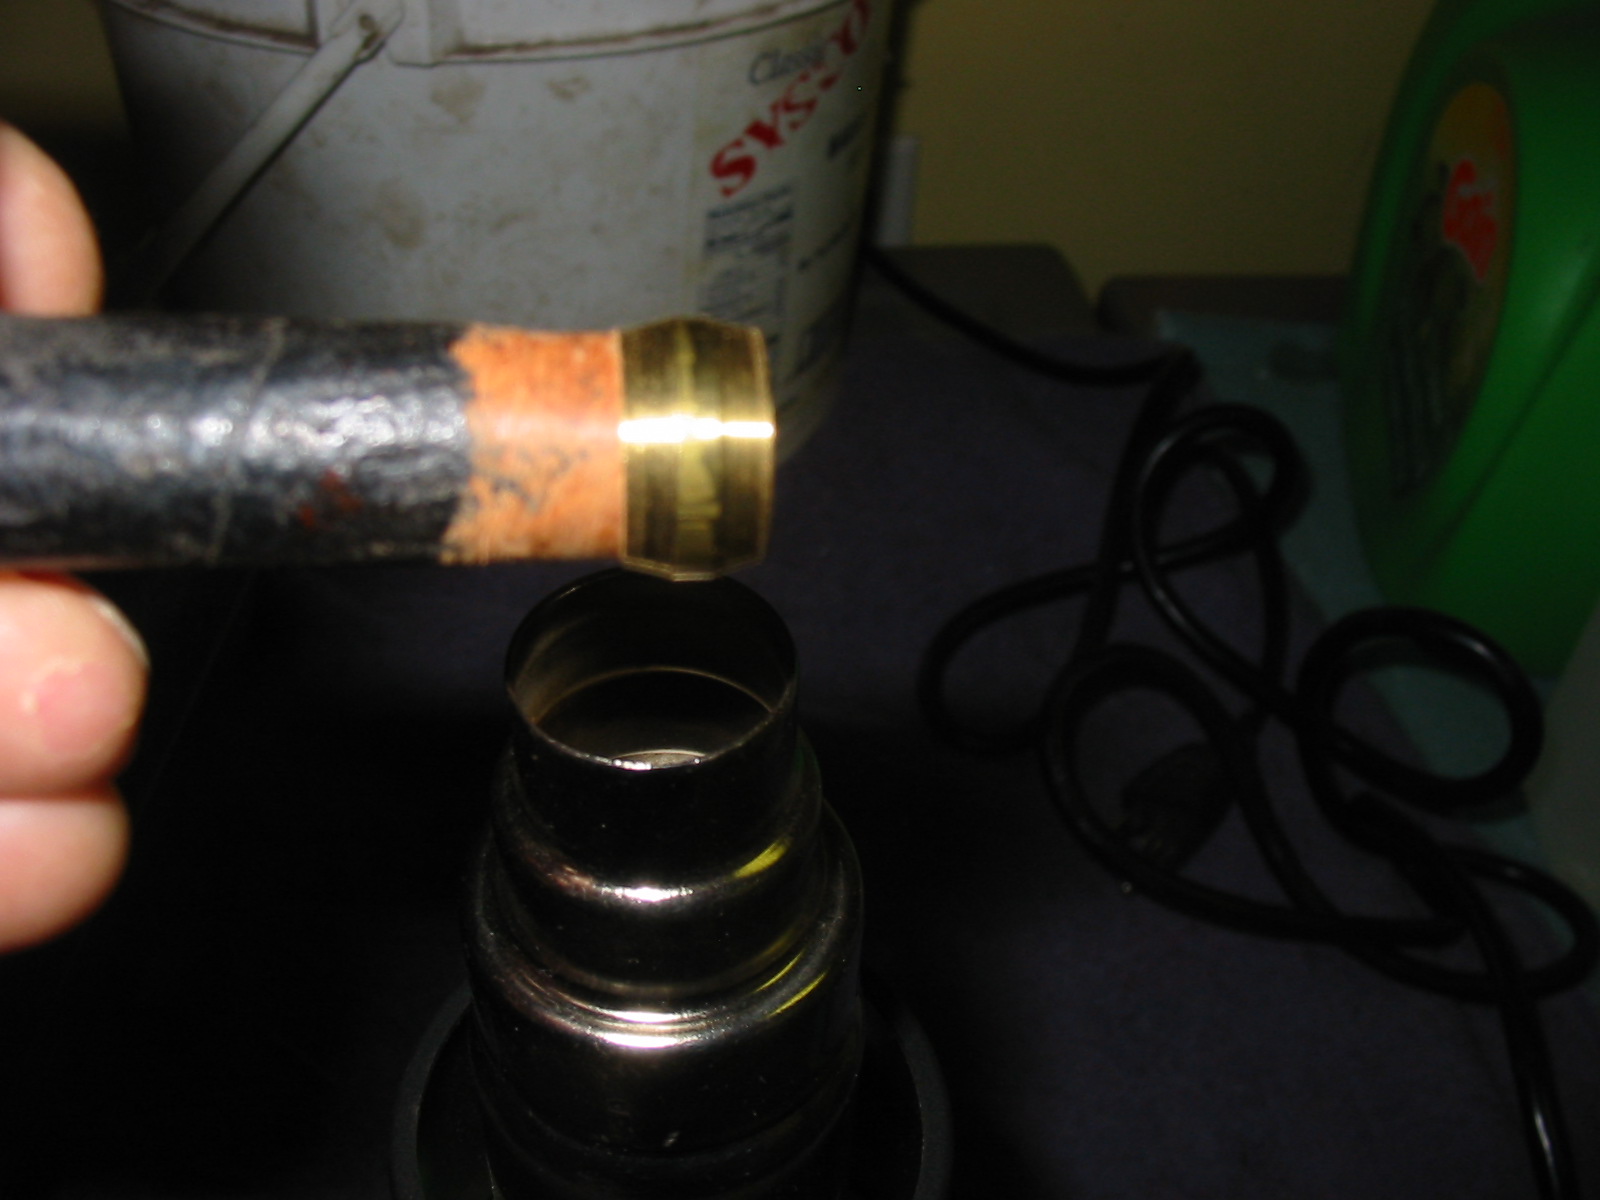
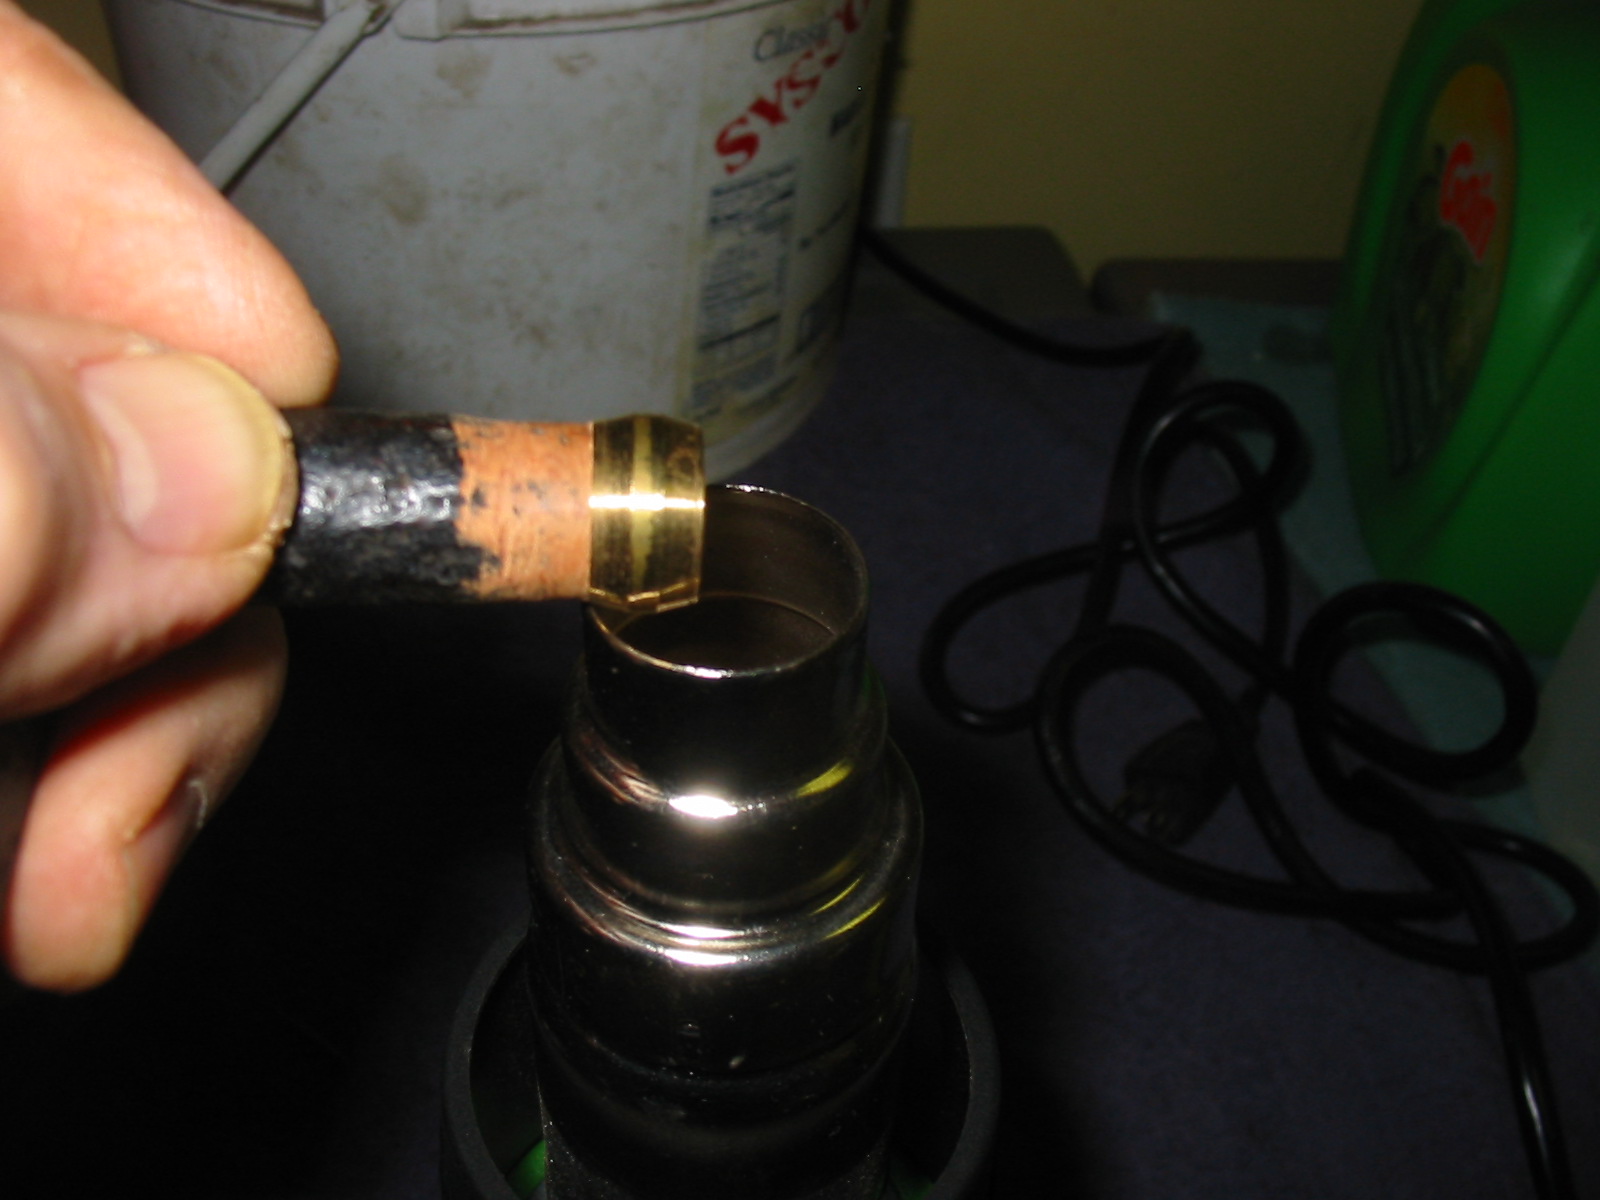
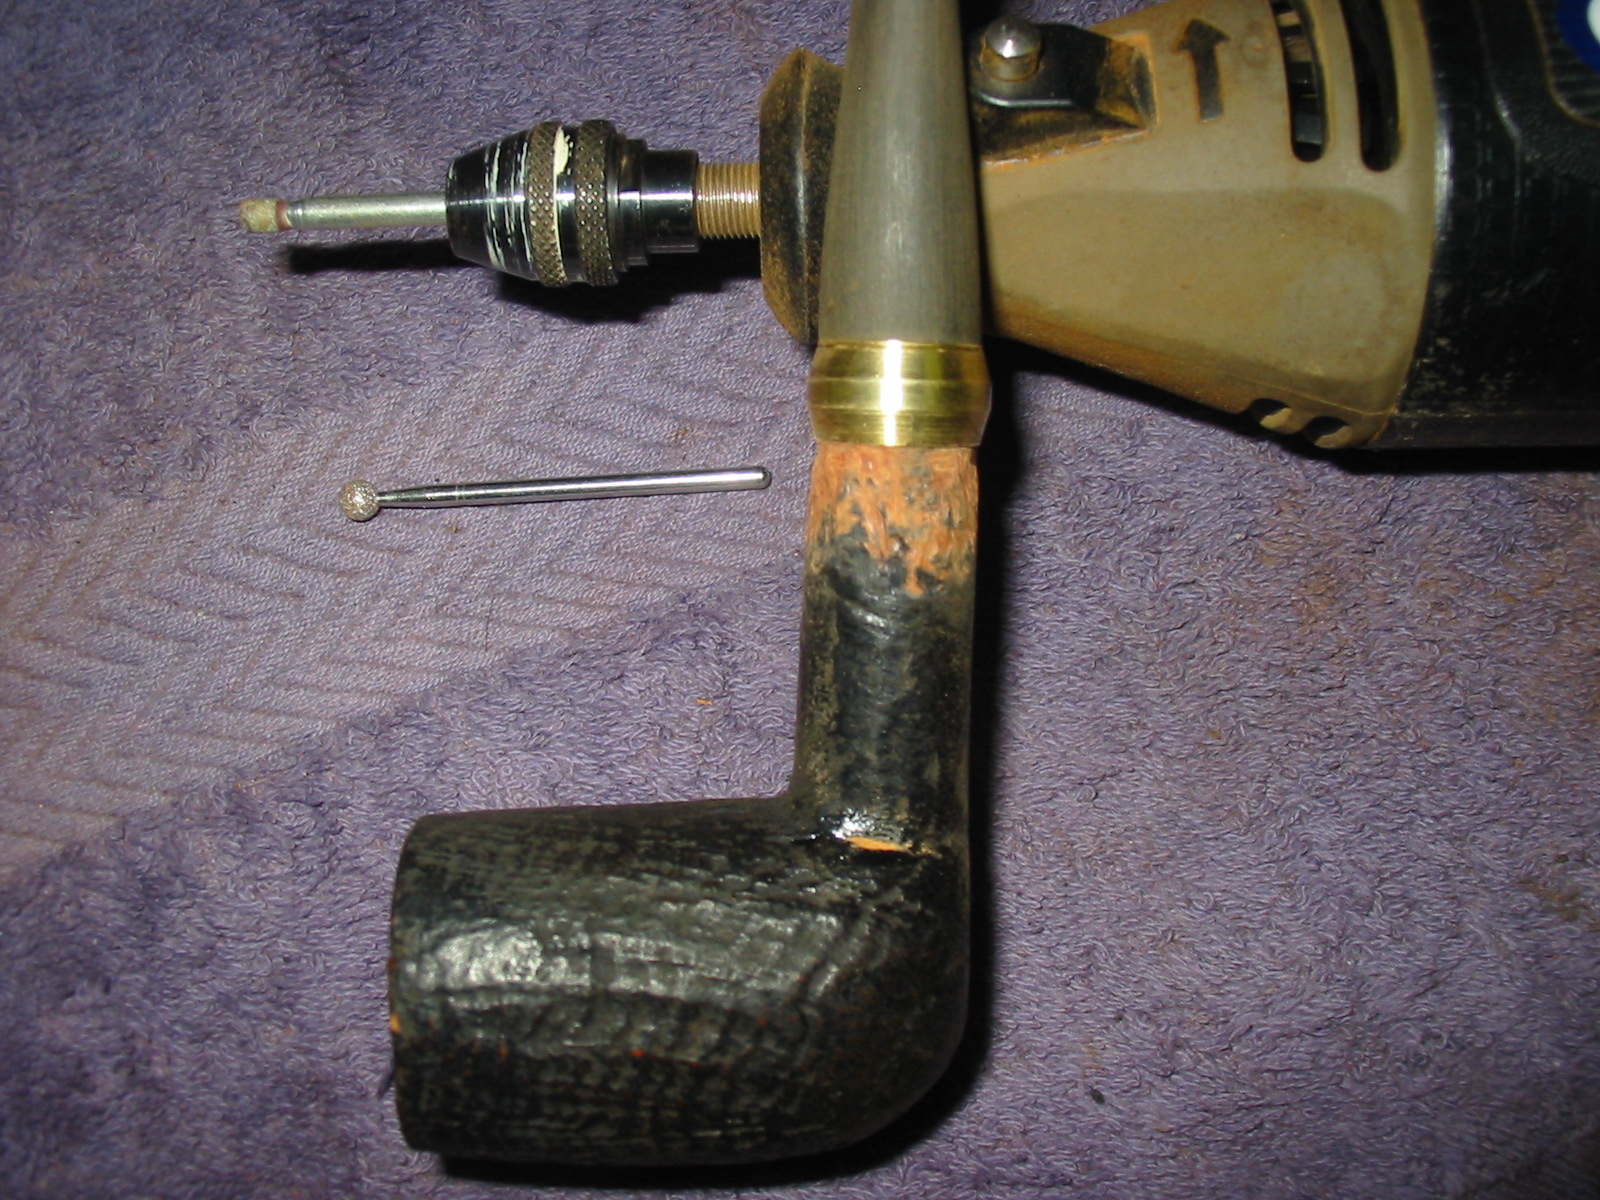
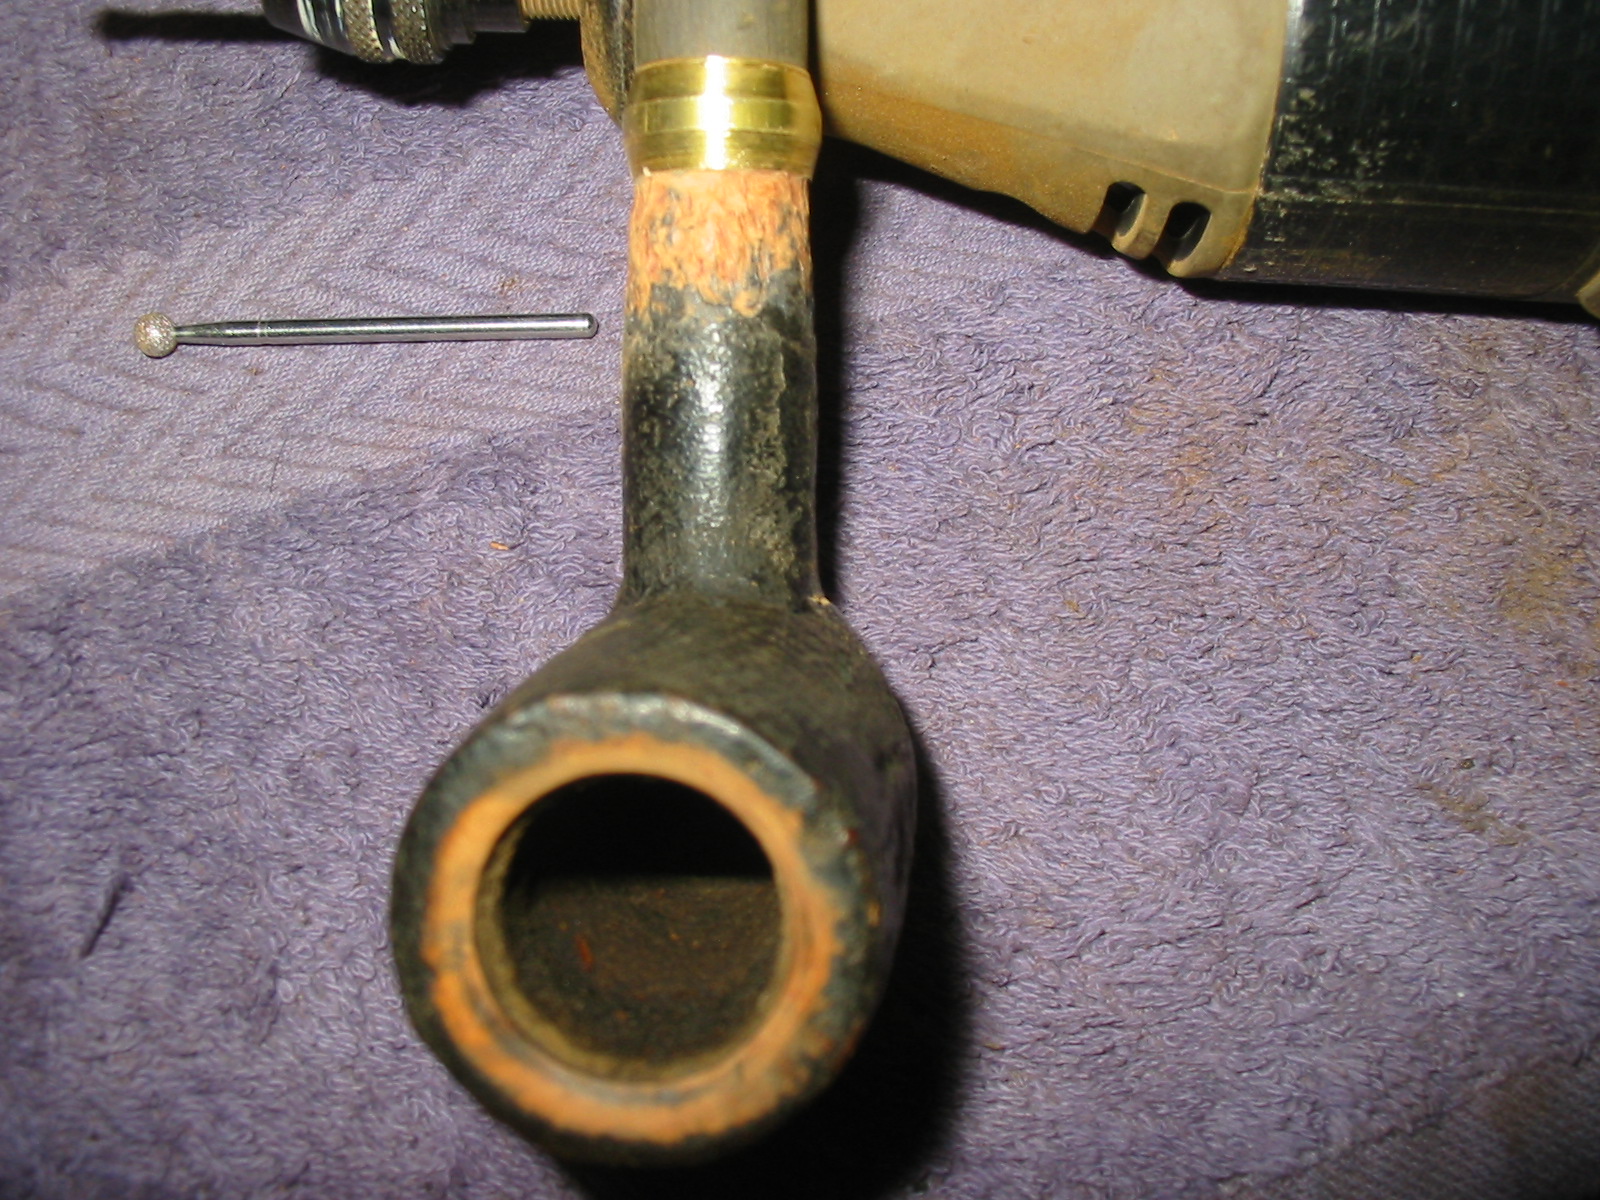
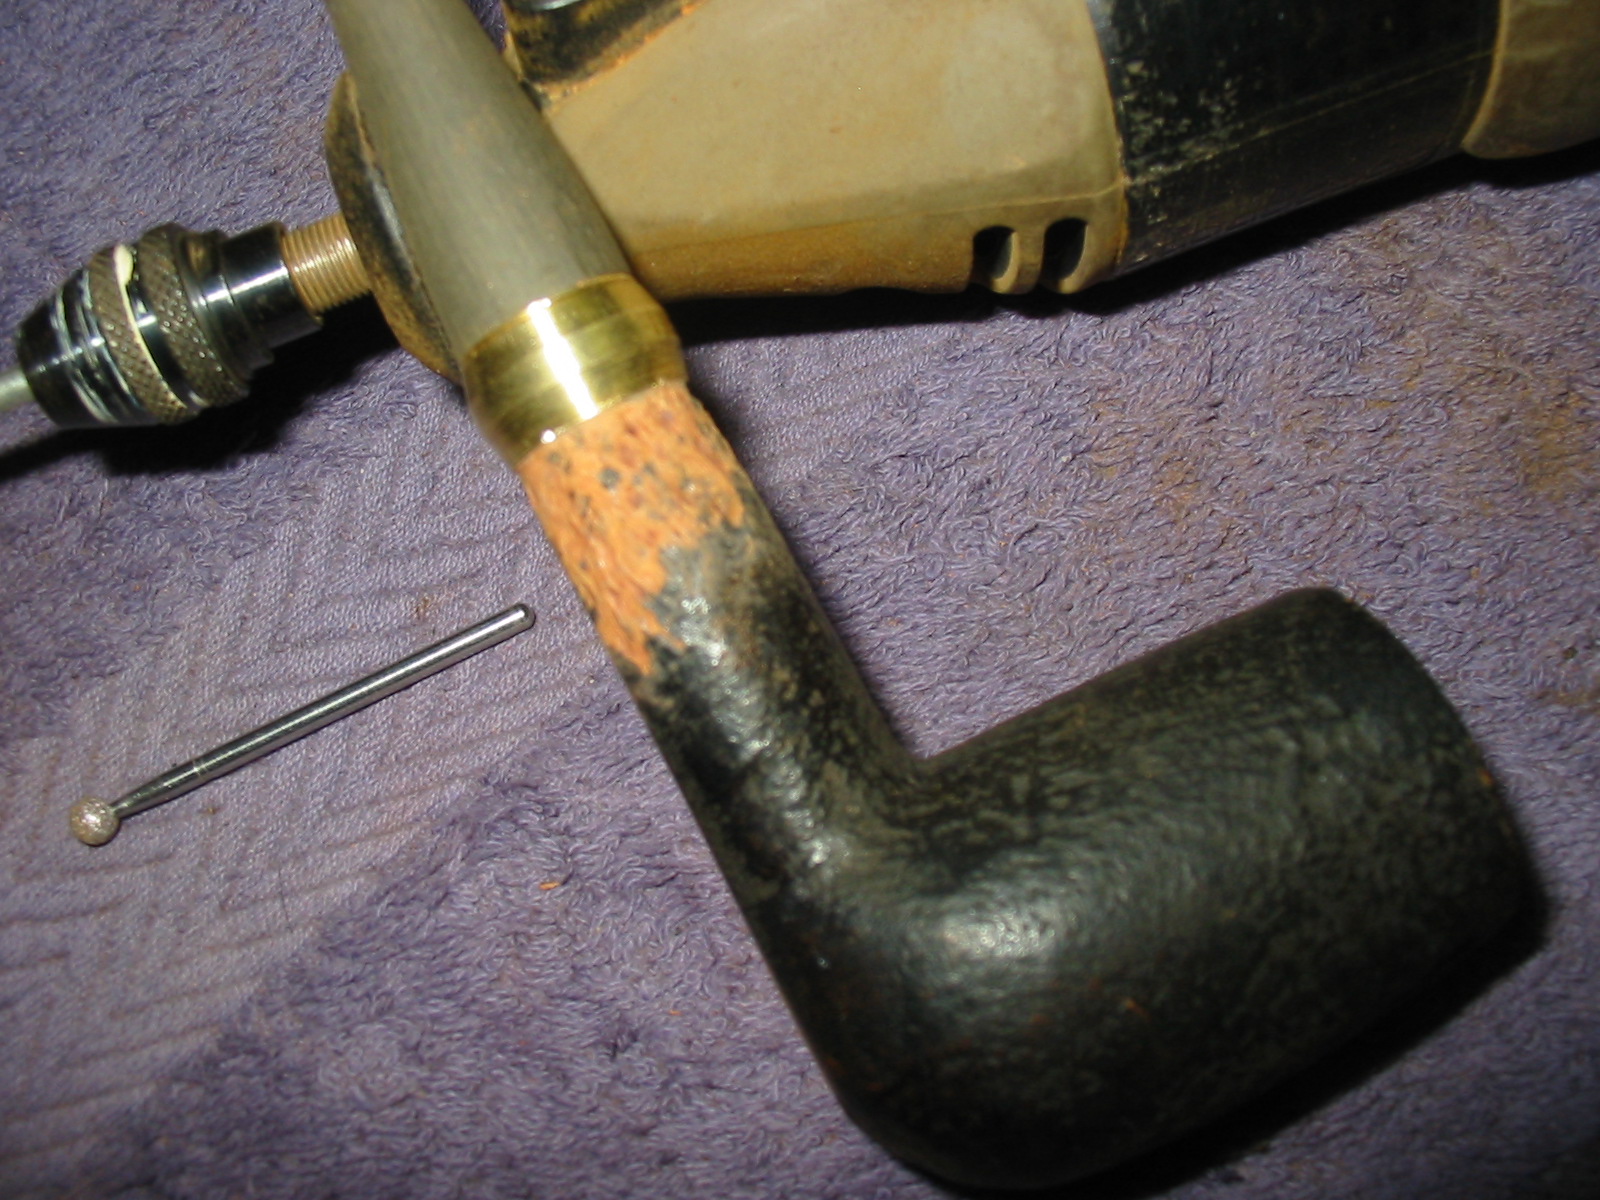
I used a Dremel and sanding drum to sand back the shank so that the band could be pressure fit against the cracked shank. I took back the rustication until the finish was gone and the shank area was smooth. When the band fit tightly on the shank I heated the brass band with a heat gun and then pressed it into place on the shank.
IMG_4273

IMG_4274

IMG_4276

IMG_4278

I pressed the band into place on the shank and then hand sanded the area in front of the band smooth so that I could rework the taper of the shank and the finish to match the rest of the pipe.
IMG_4279

IMG_4280

IMG_4281

IMG_4283

I used the two Dremel diamond cutting heads pictured below to rusticate the finish on the shank. I used the cylinder first and then the ball. I worked it into the briar to make the smooth area match the rest of the bowl.
IMG_4284

IMG_4285

IMG_4287

After rusticating the shank I stained it with a dark brown aniline stain and flamed it to set it deep within the grain. I stained the rest of the pipe as well and the rim with multiple coats of the dark brown.
IMG_4288

IMG_4289

IMG_4290

IMG_4291

Once the stain was dry on the bowl I hand buffed it with a cotton cloth and then stained it a second time with MinWax Red Mahogany stain. I rubbed it on and then rubbed it off. I repeated the process until I had the colour that I wanted.
IMG_4293

IMG_4294

IMG_4295

IMG_4296

I buffed the bowl on with White Diamond and to evenly distribute the stain coat and give the pipe a rich shine. When I had finished I worked on the stem with 220 grit sandpaper, a medium grit sanding sponge and micromesh sanding pads. I used my usual array – wet sanding with the 1500-2400 grit pads and dry sanding with the 3200-12,000 grit pads. I rubbed down the stem with Obsidian Oil and rubbed it into the vulcanite.
IMG_4297

IMG_4298

IMG_4299

I sanded the bevel on the bowl and the brass band on the shank with the 1500-2400 grit micromesh pads.
IMG_4300

IMG_4301

IMG_4302

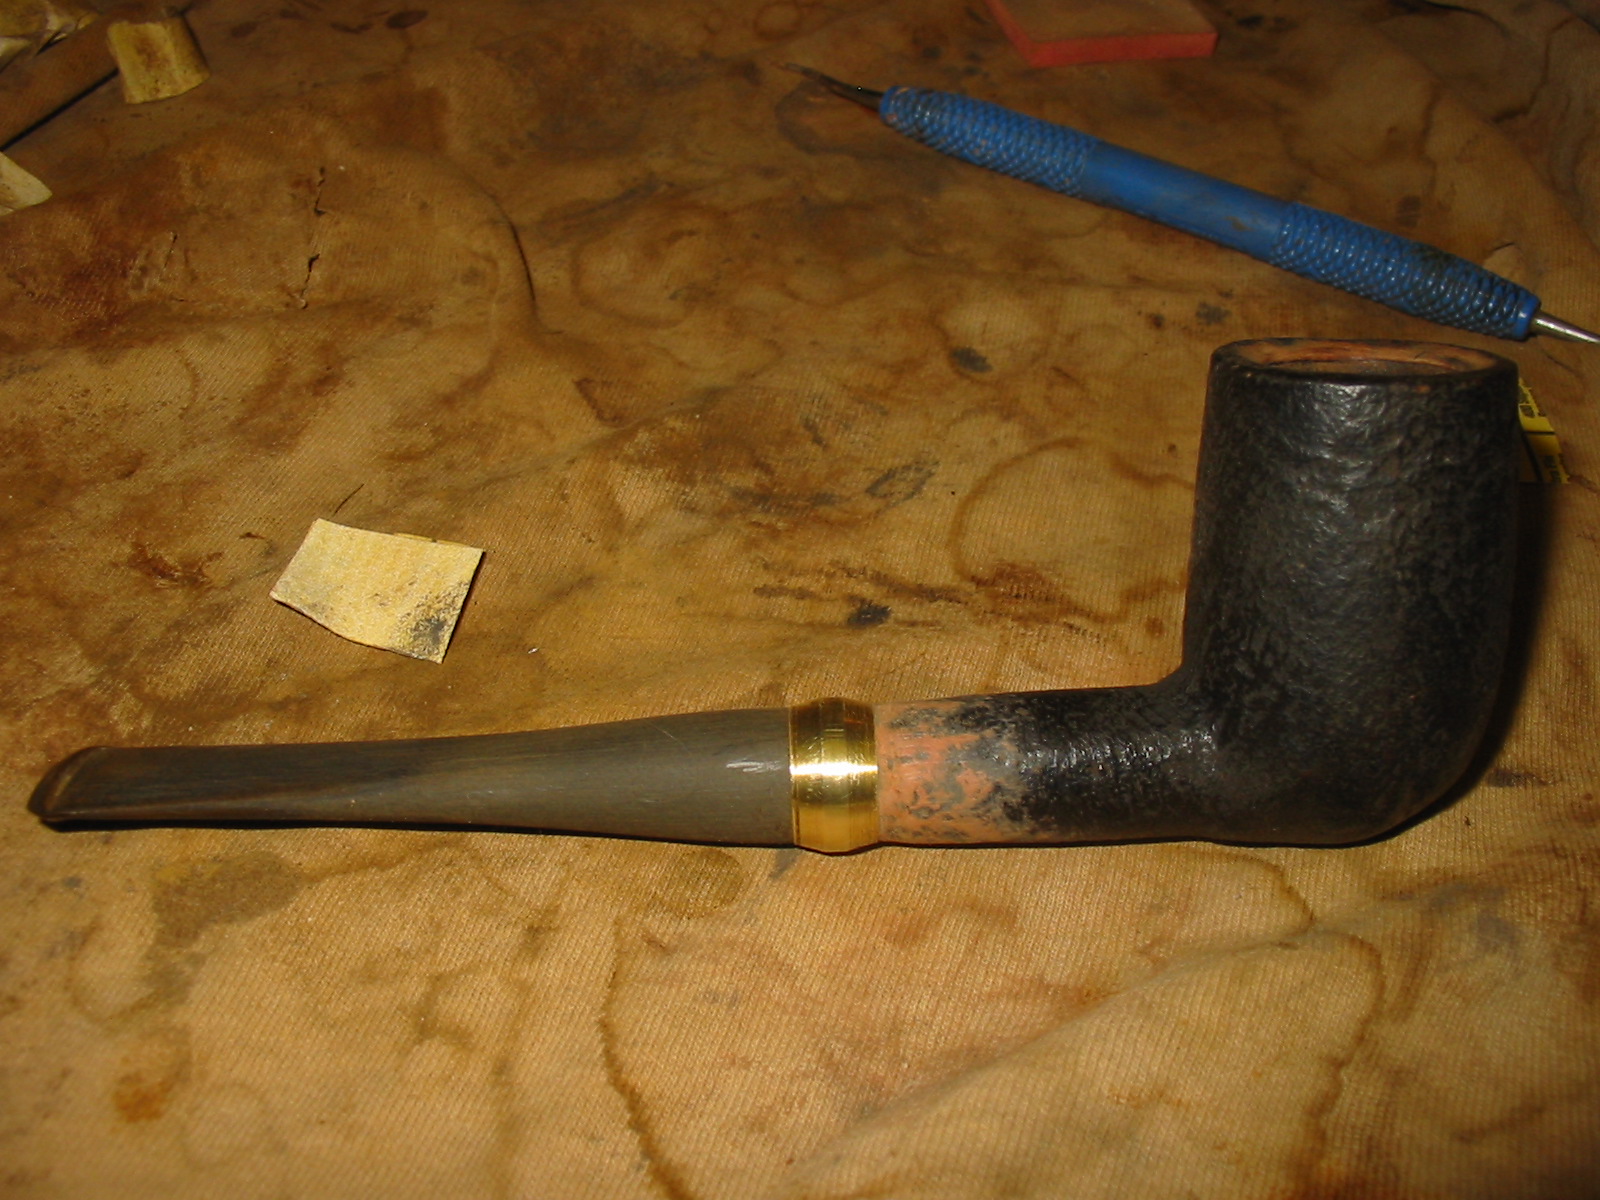
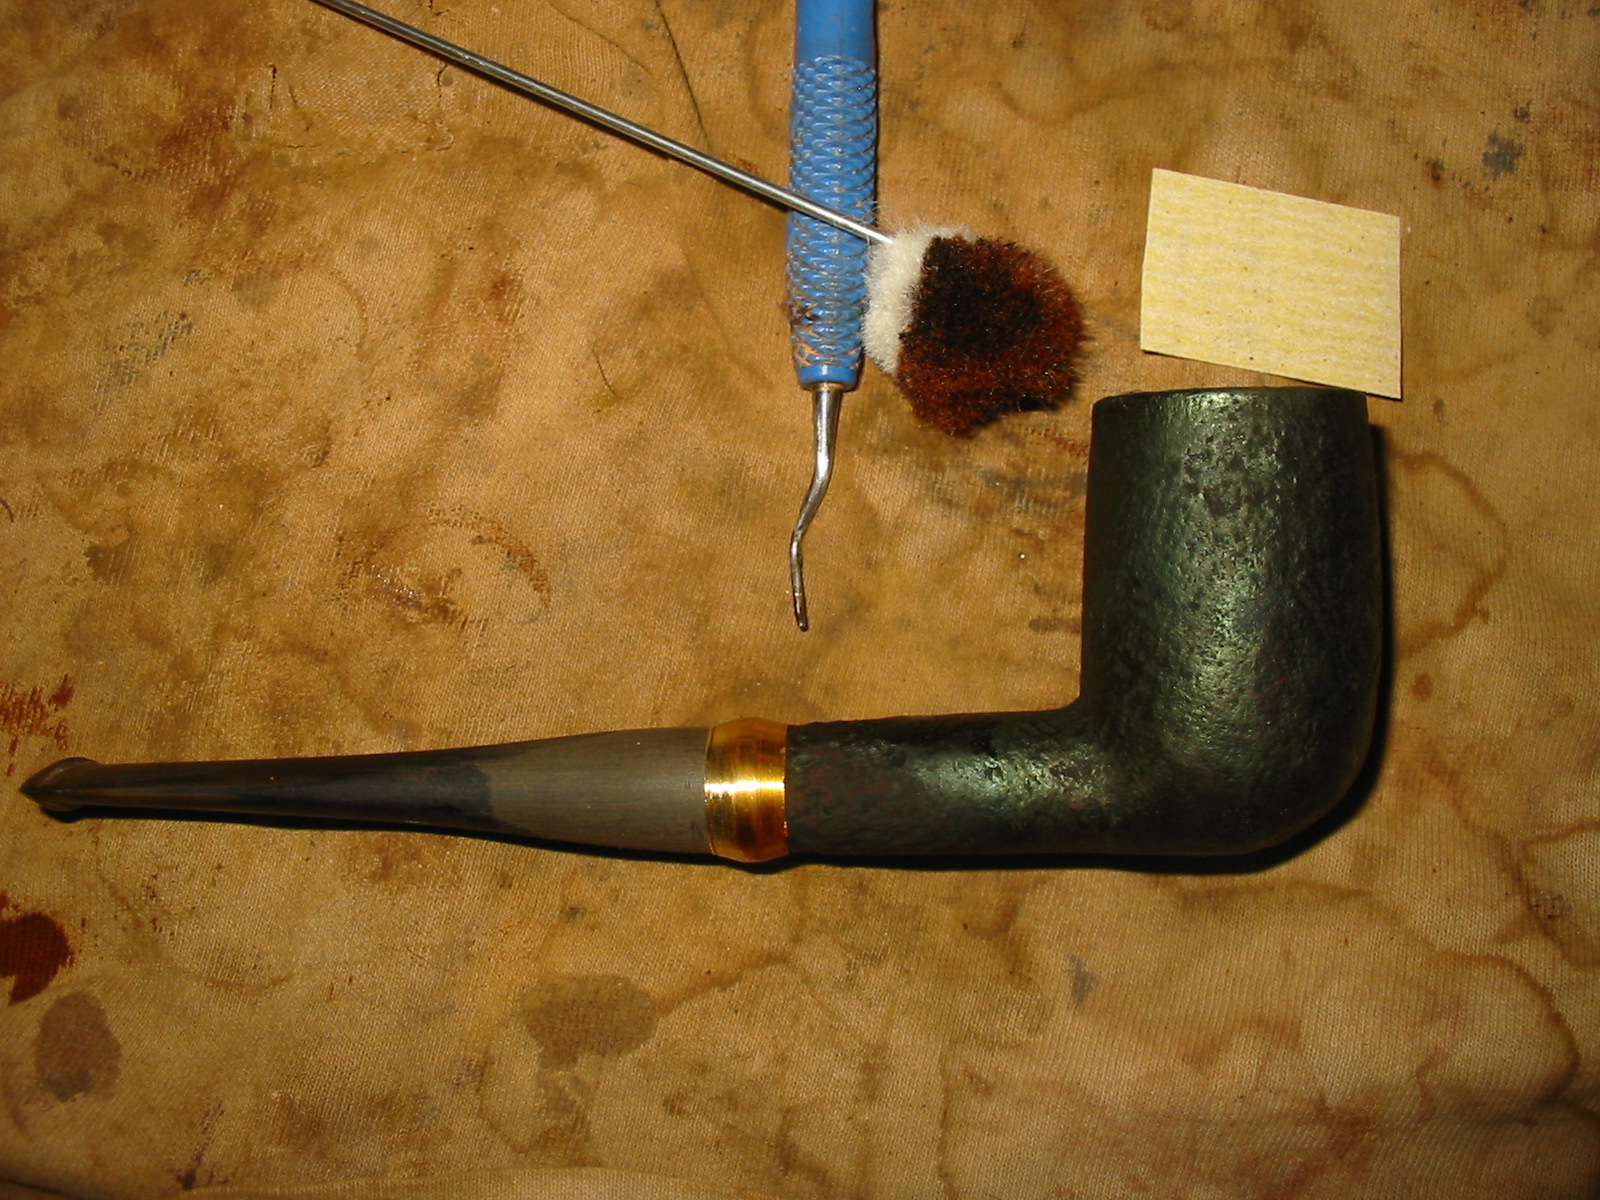
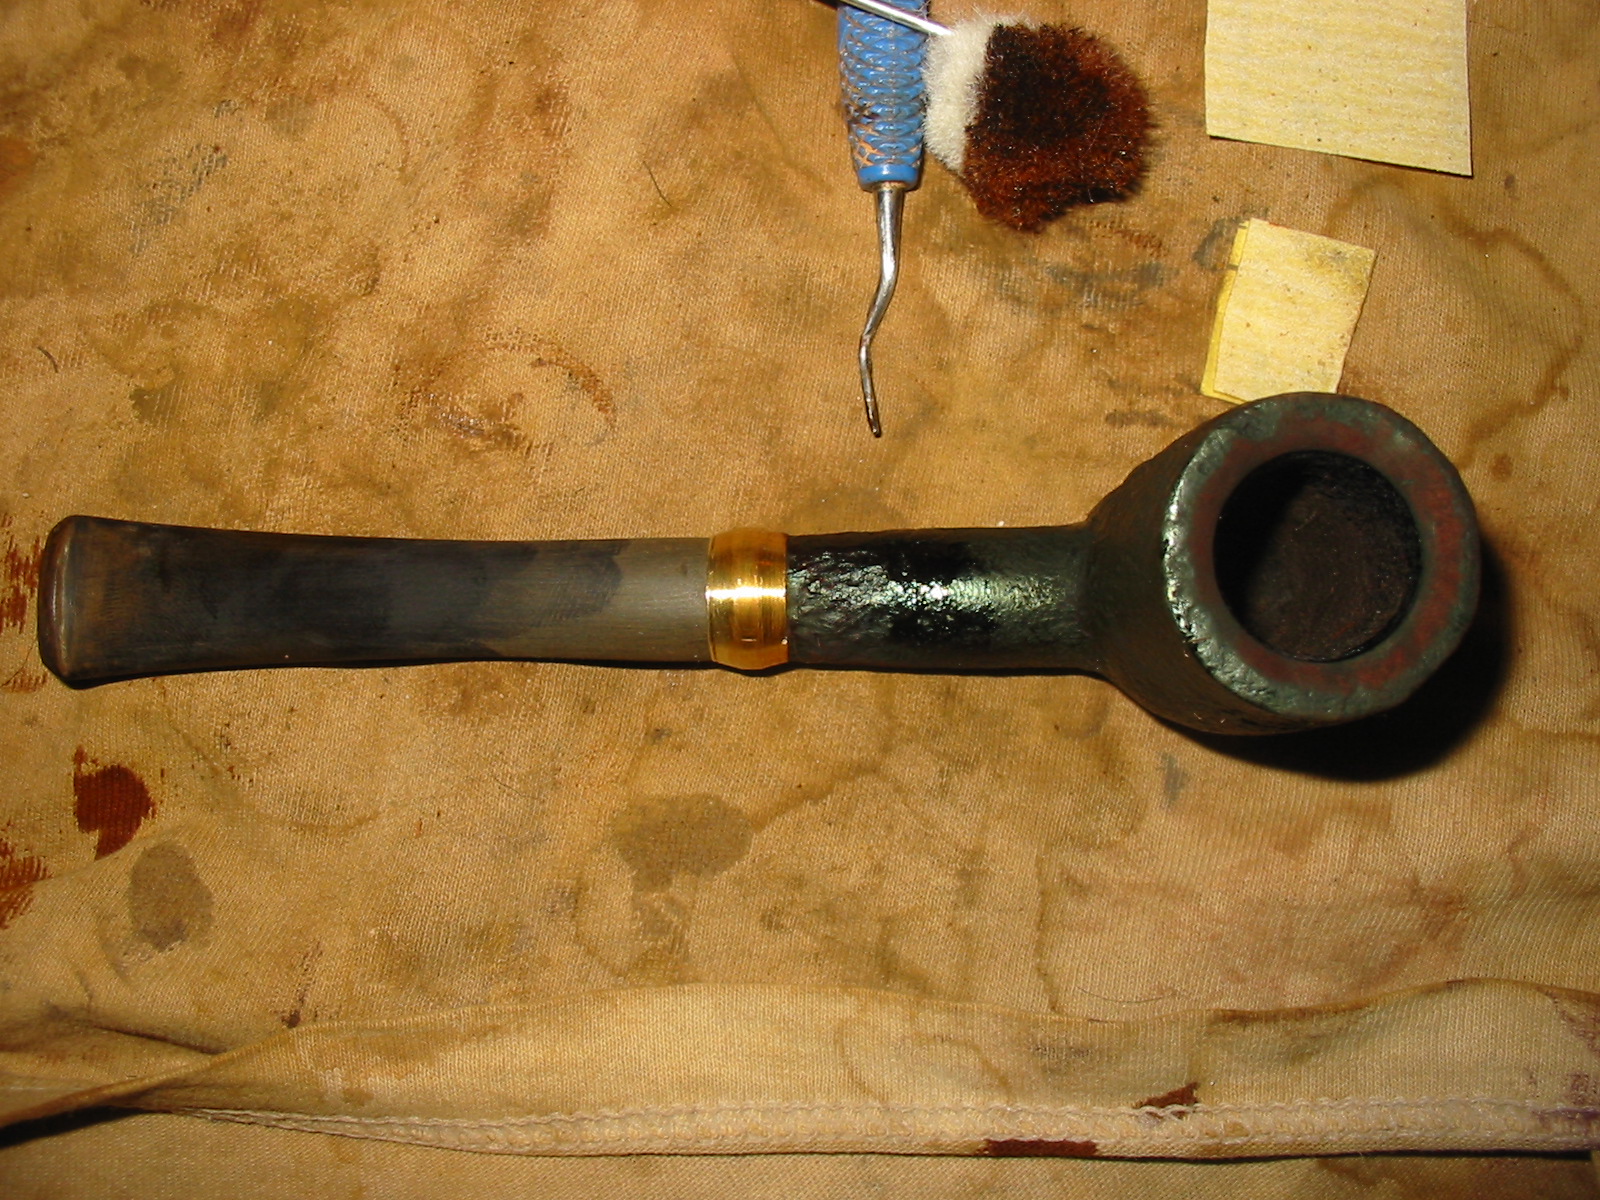
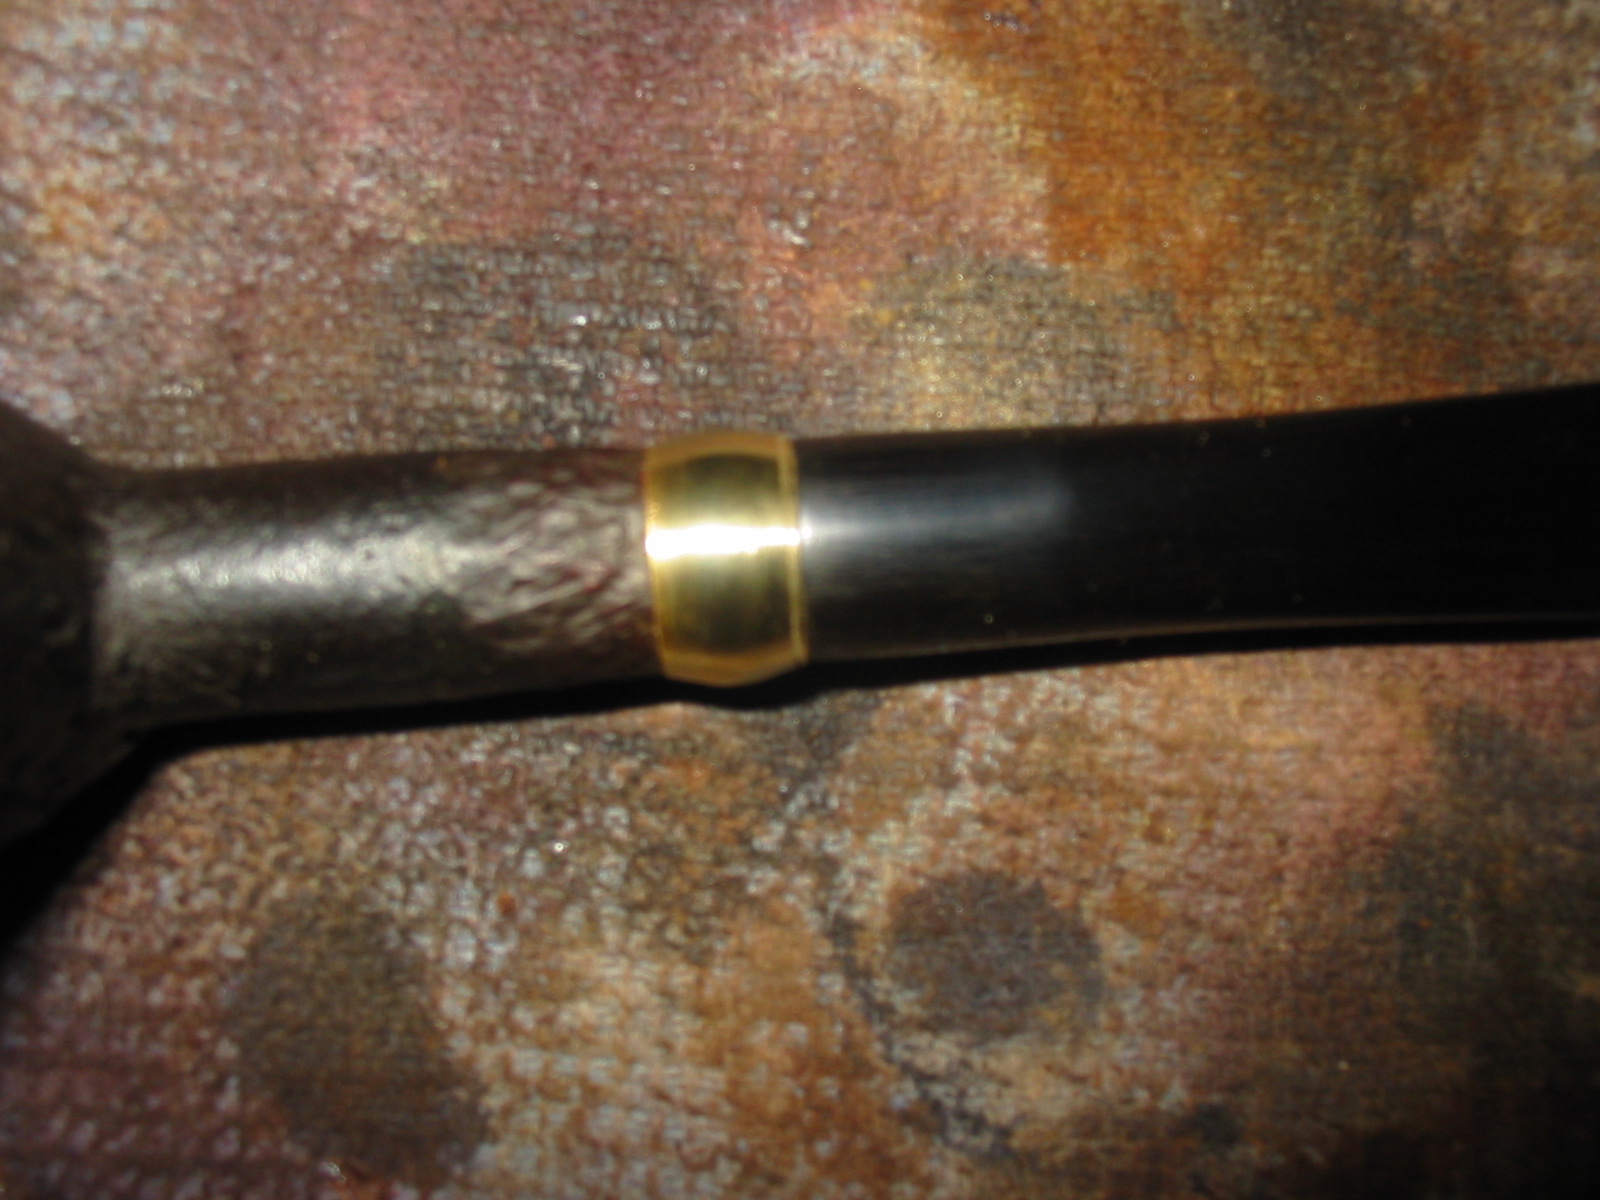
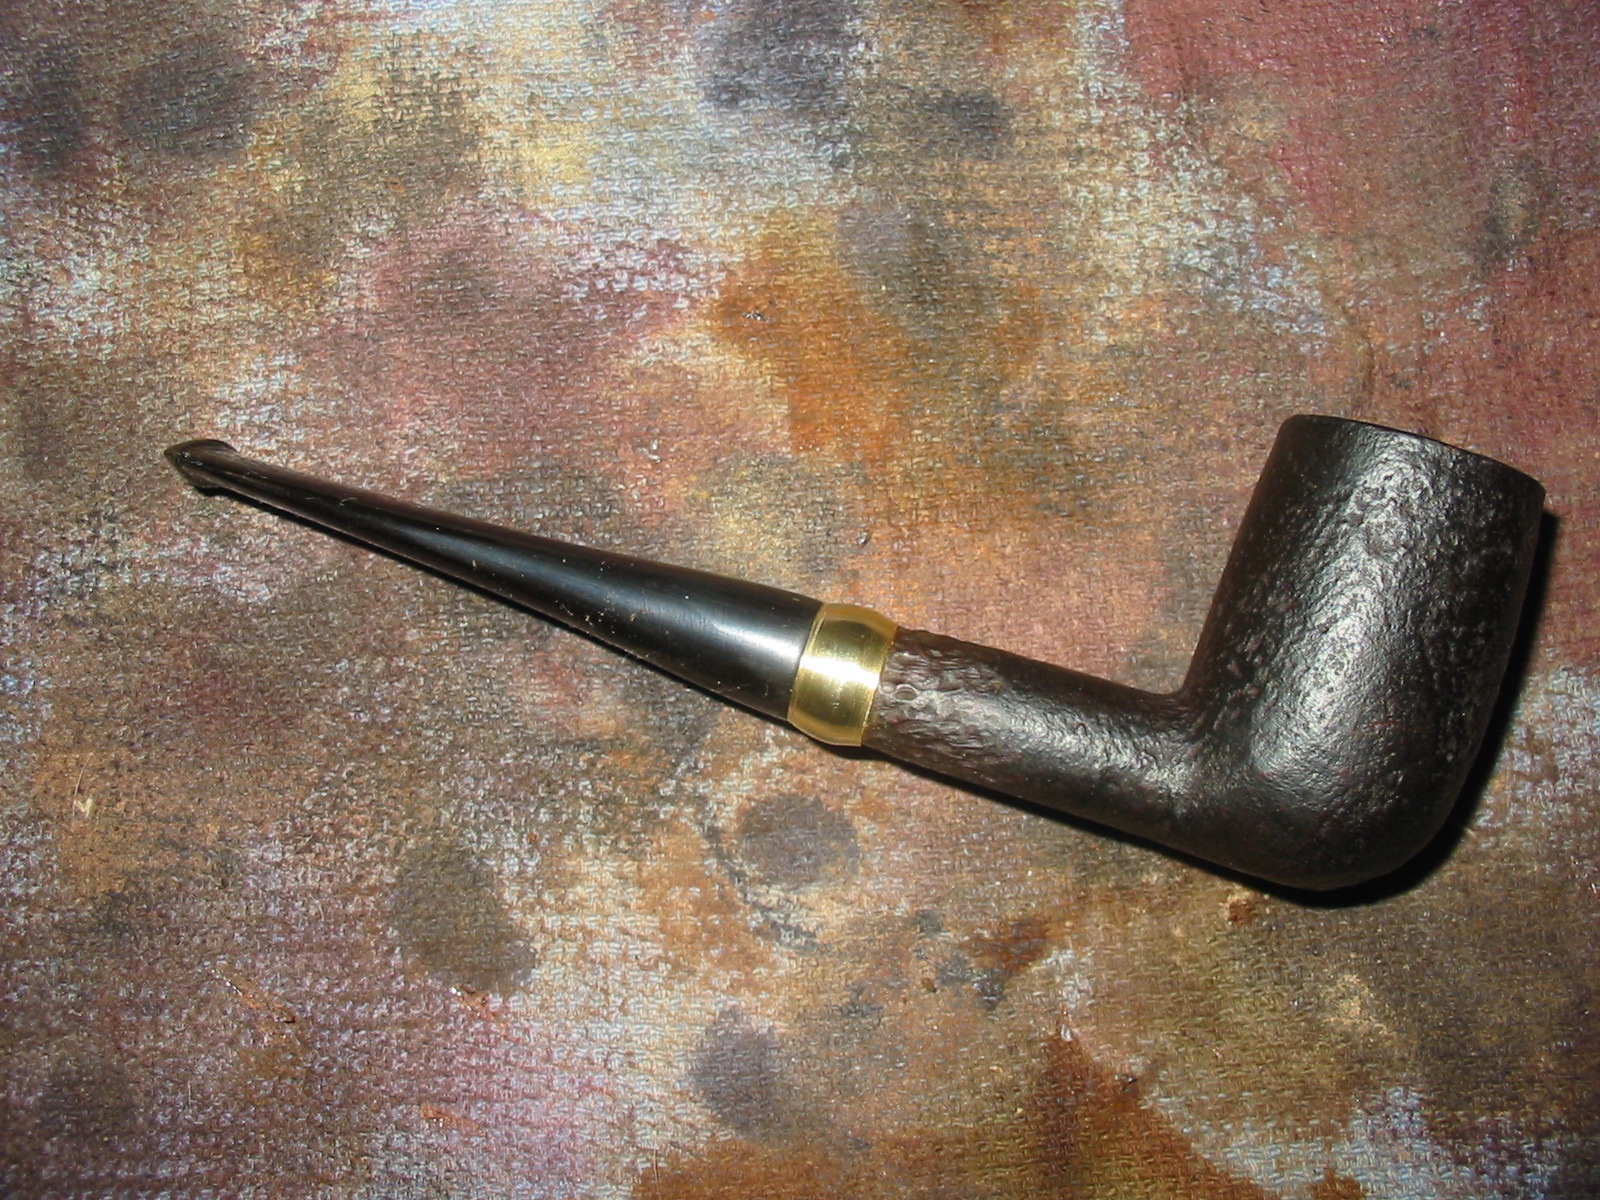
I buffed the pipe with White Diamond and then gave the stem multiple coats of carnauba wax. I used Halcyon II wax on the sandblast finish of the bowl. I buffed the pipe with a clean flannel buff. I have to say though I would have liked to keep the pipe unbanded and pristine, the crack that happened in the shank made me try something a little different. I actually like the finished look of the pipe with the brass band. The combination of the two stains give the blast finish depth that changes with different lighting and the tapered stem adds some panache to this Good Companion.
IMG_4309

IMG_4310

IMG_4311

IMG_4312

IMG_4313

Looking at the photos I decided to do a bit more work shaping the brass band. I sanded the band with 220 grit sandpaper to remove the ridges in the brass. I followed that by sanding with a medium and fine grit sanding sponge. I finished sanding the band with micromesh sanding pads from 1500-3200 grit polish it.
IMG_4314

IMG_4315

IMG_4316

IMG_4317

IMG_4318

IMG_4319

With the band finished I will give the pipe another buff to polish the handling that it received working over the stem.

First Experience Refurbishing – Working on Granddad’s Pipes – Cody Huey


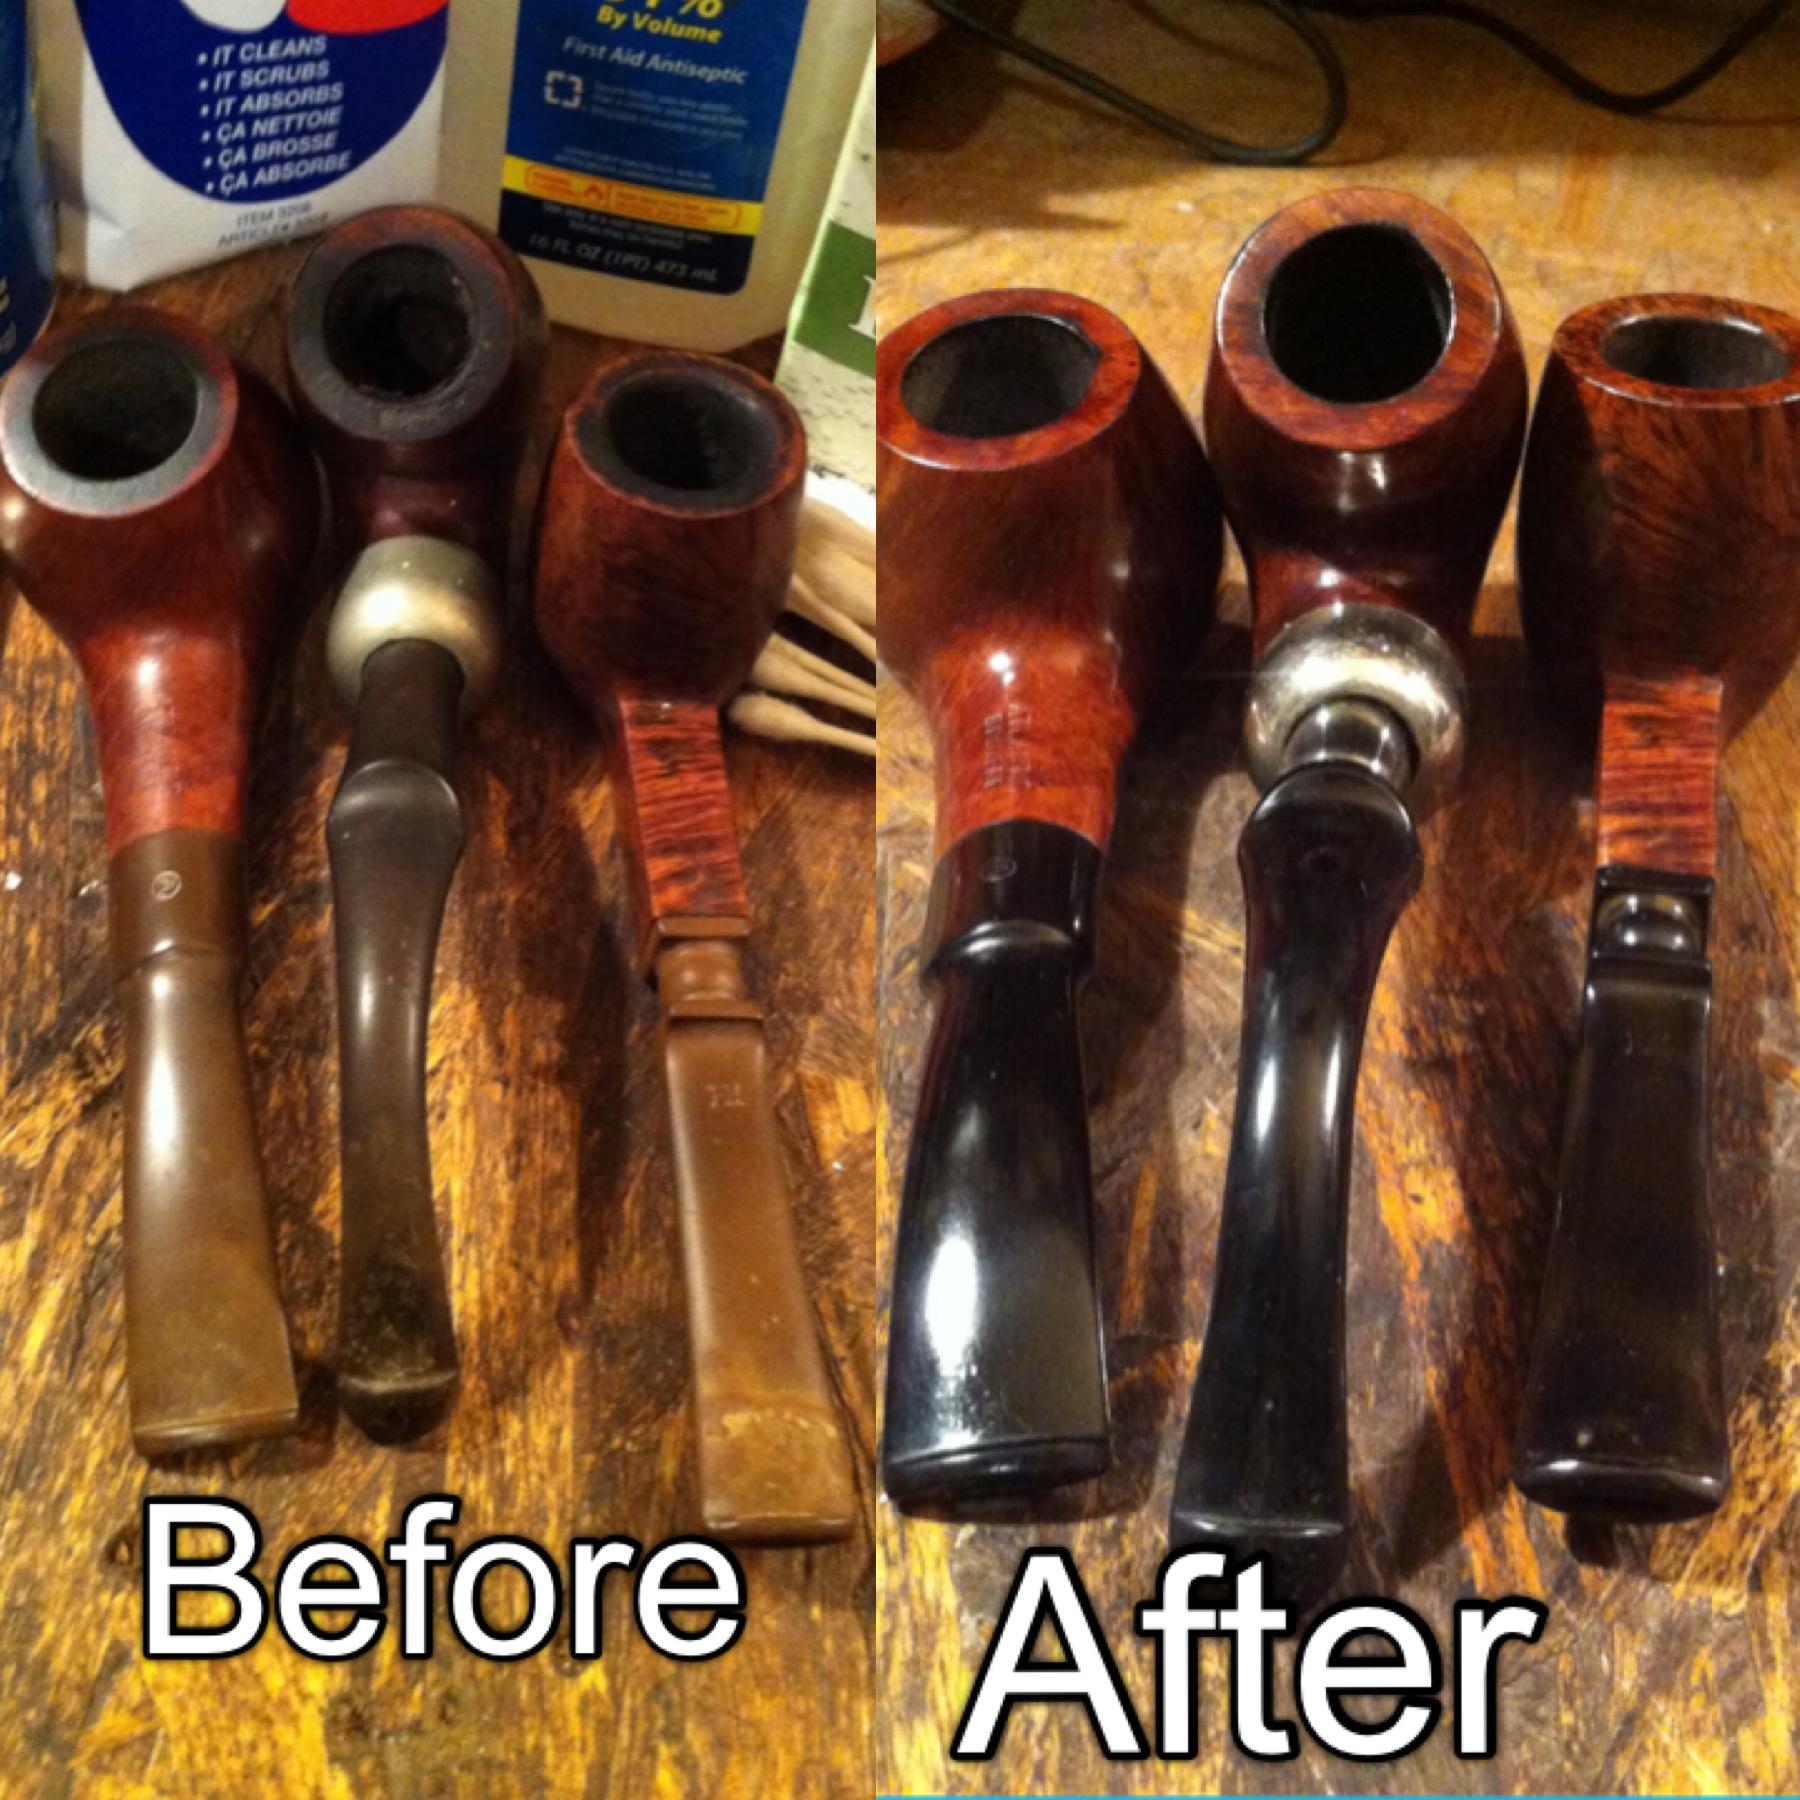
I am following Cody on Twitter and yesterday when he posted the final picture in the article on the before and after on these pipes and a teaser on where they came from I wanted to know the whole story. I wrote and asked him if he would be willing to write-up the story and the refurb for rebornpipes. He quickly replied and soon sent the piece below. I am happy to have Cody write for the blog. Some of you will remember the name with the Moustache Man tamper piece I wrote a while ago. You can read about it at the link below. https://rebornpipes.wordpress.com/2013/11/22/a-review-a-cody-huey-moustache-men-pipe-tamper/ Cody has posted his contact information after the blog post. Have a look at his website store for the tampers he carves. Thanks Cody for being willing to write this up for us. It is great to have you here. Without further ado here is the article.
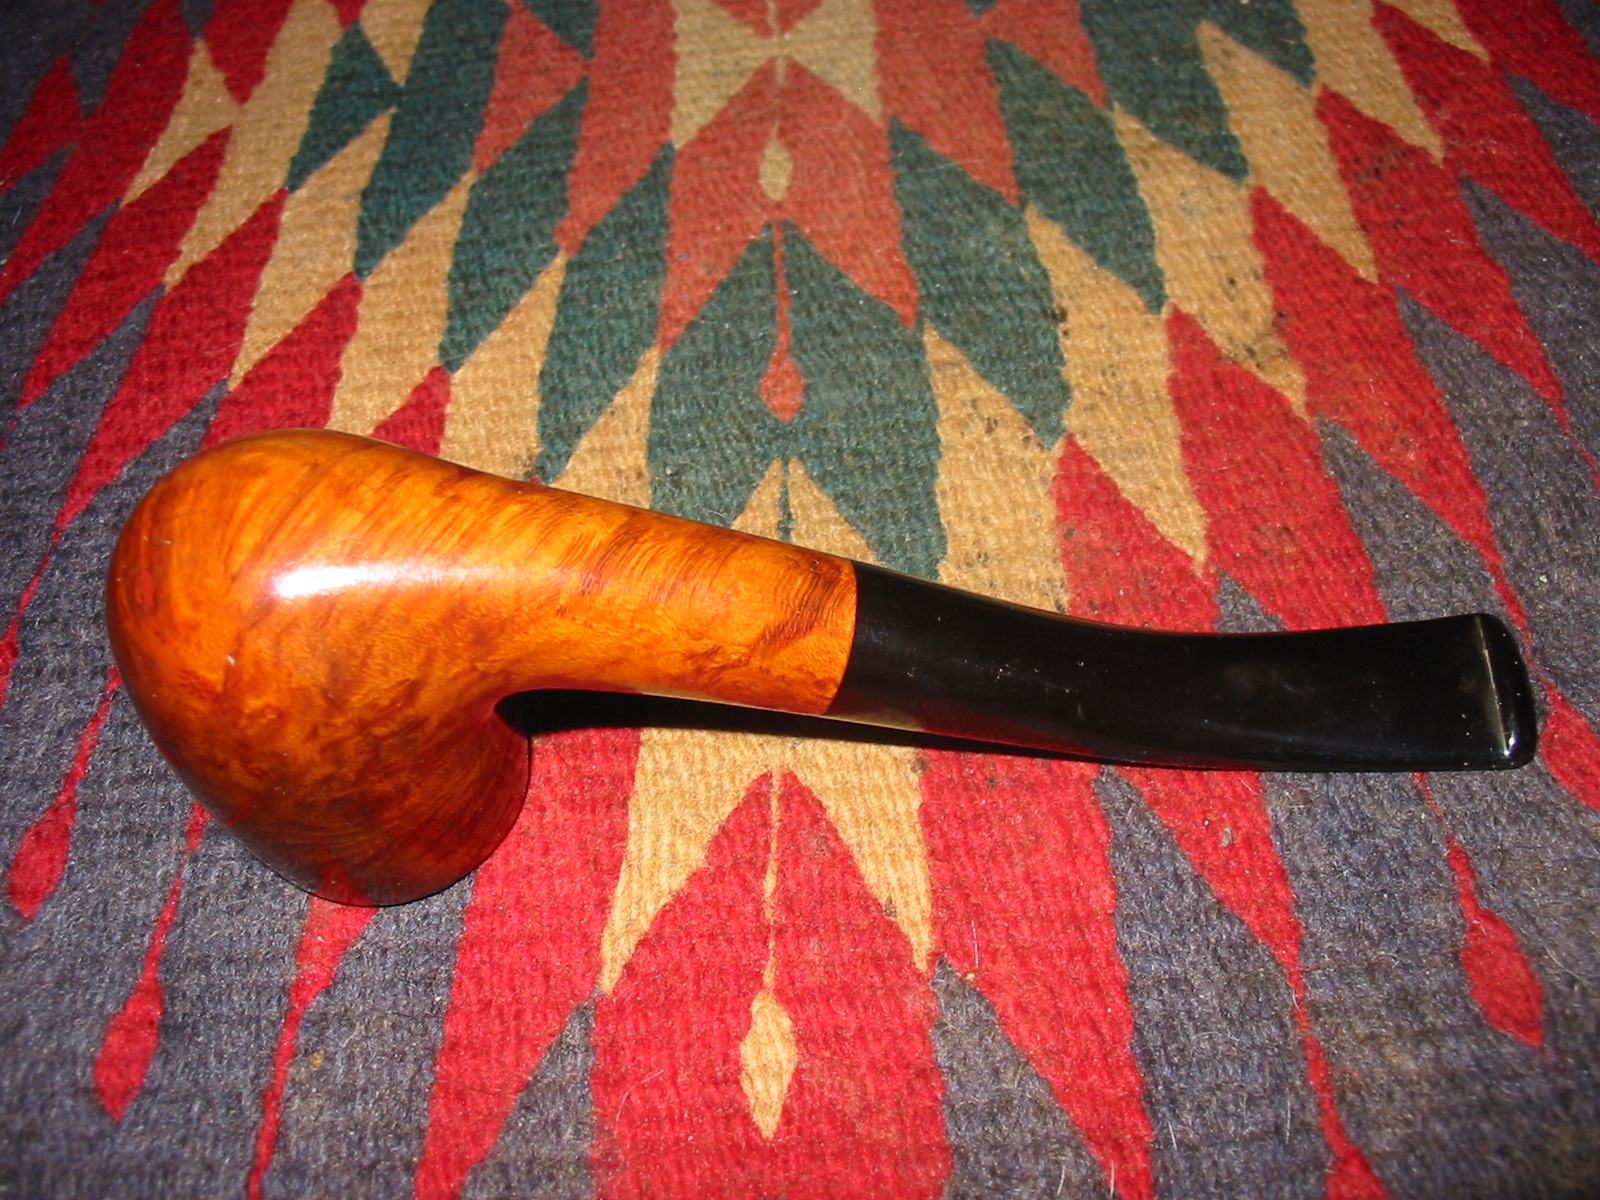
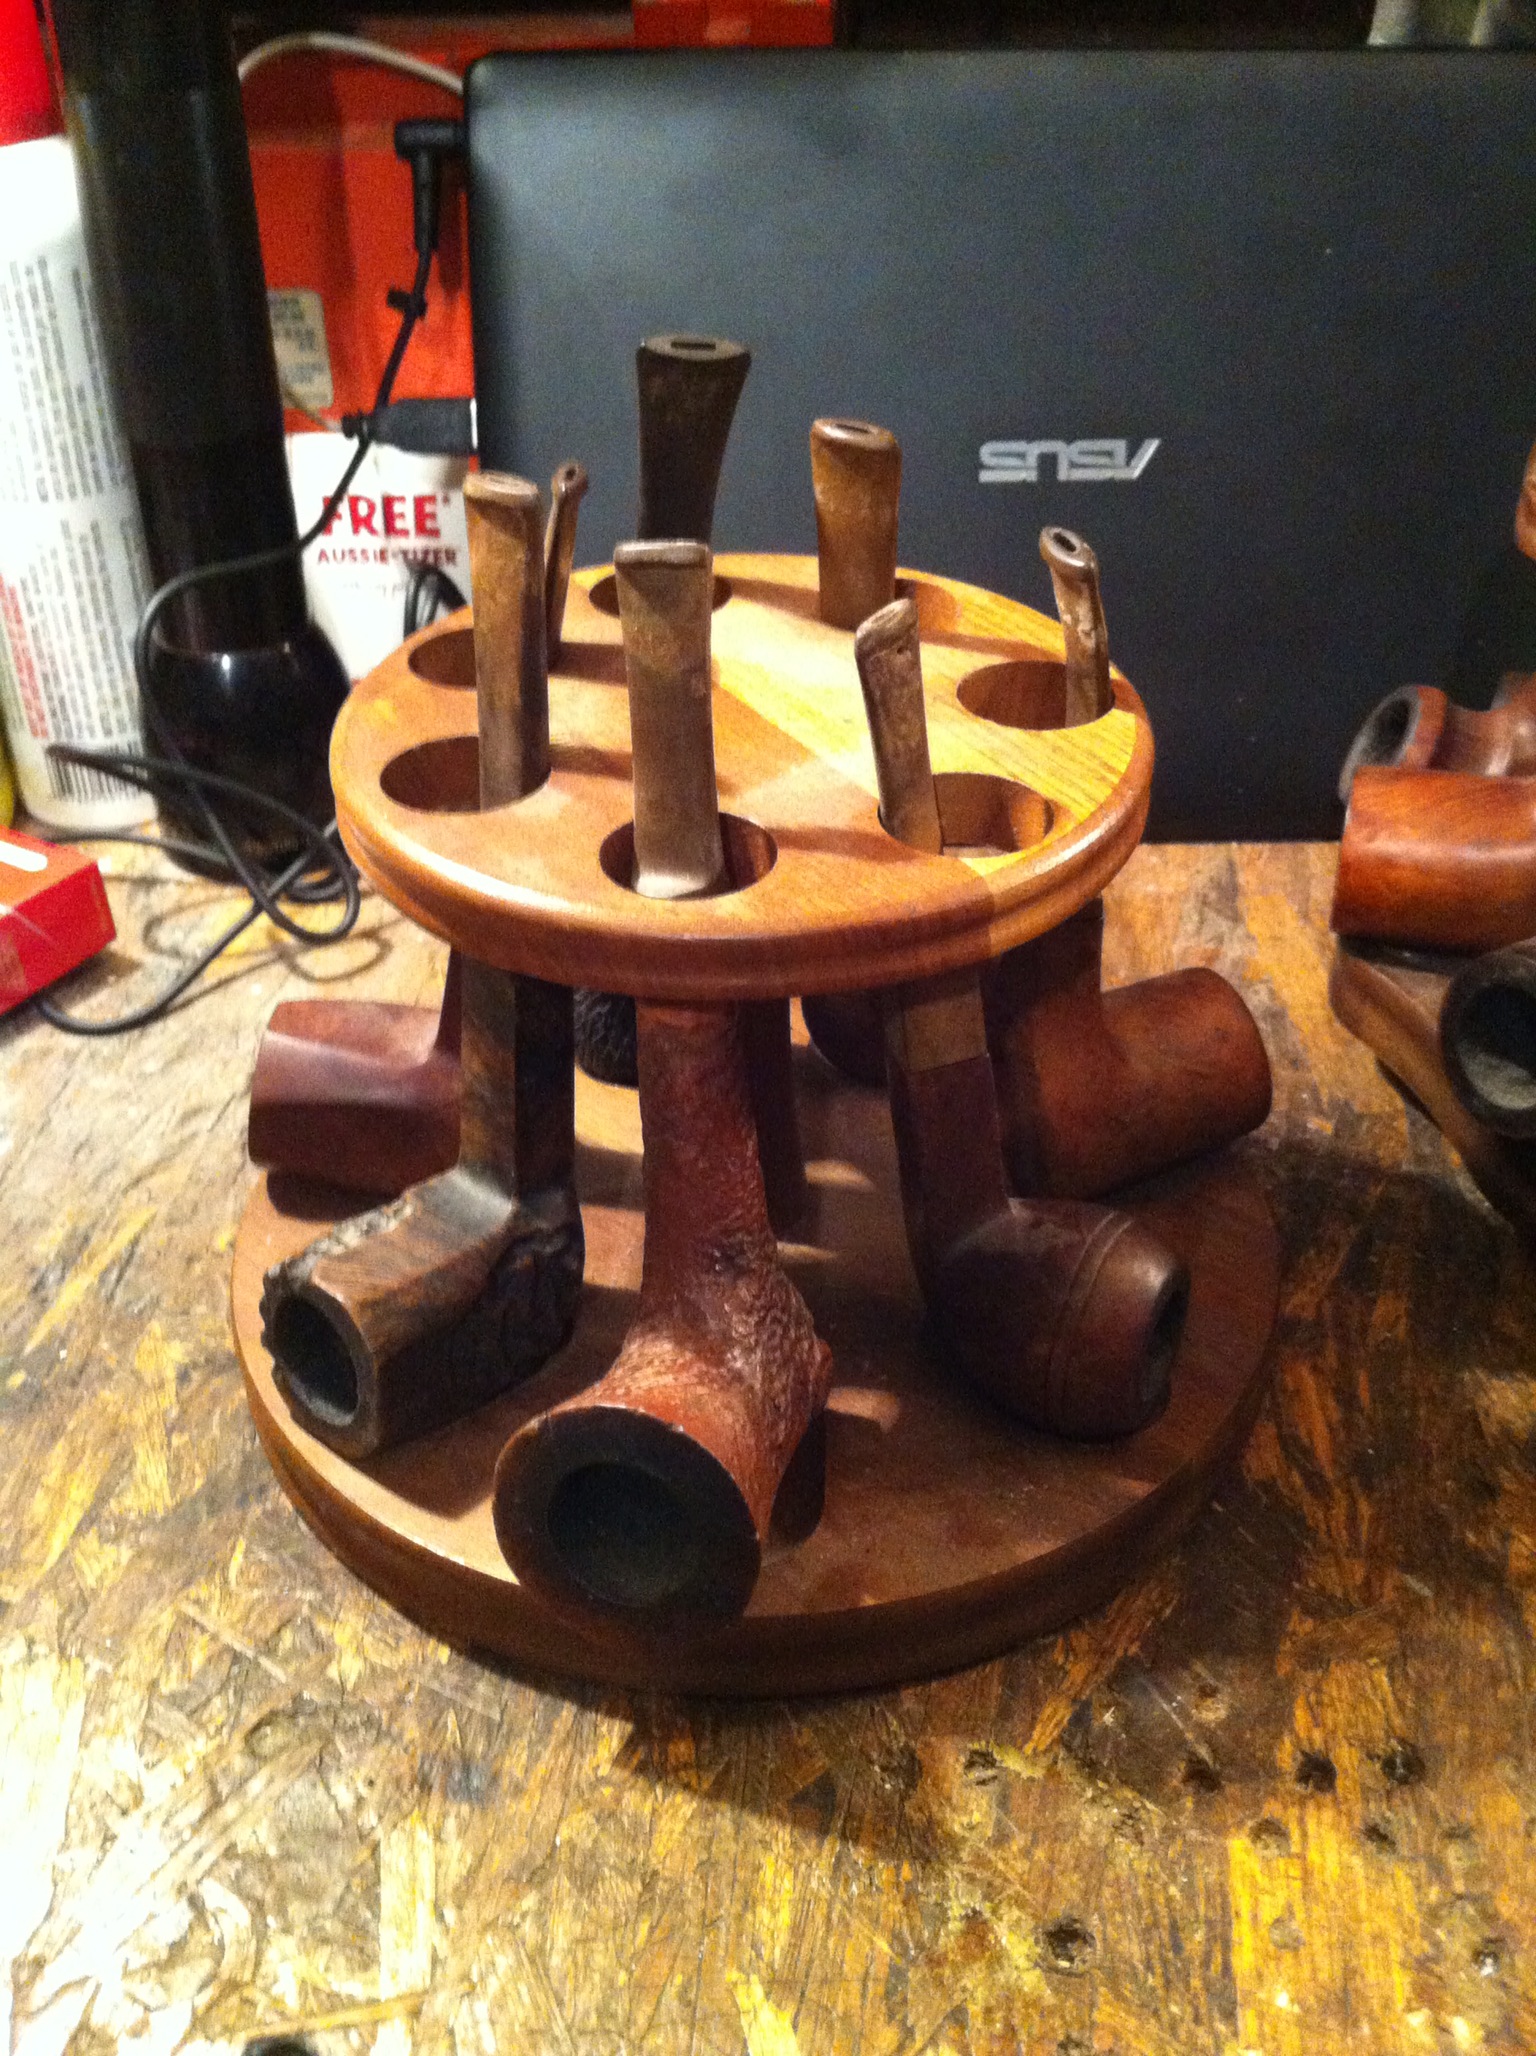
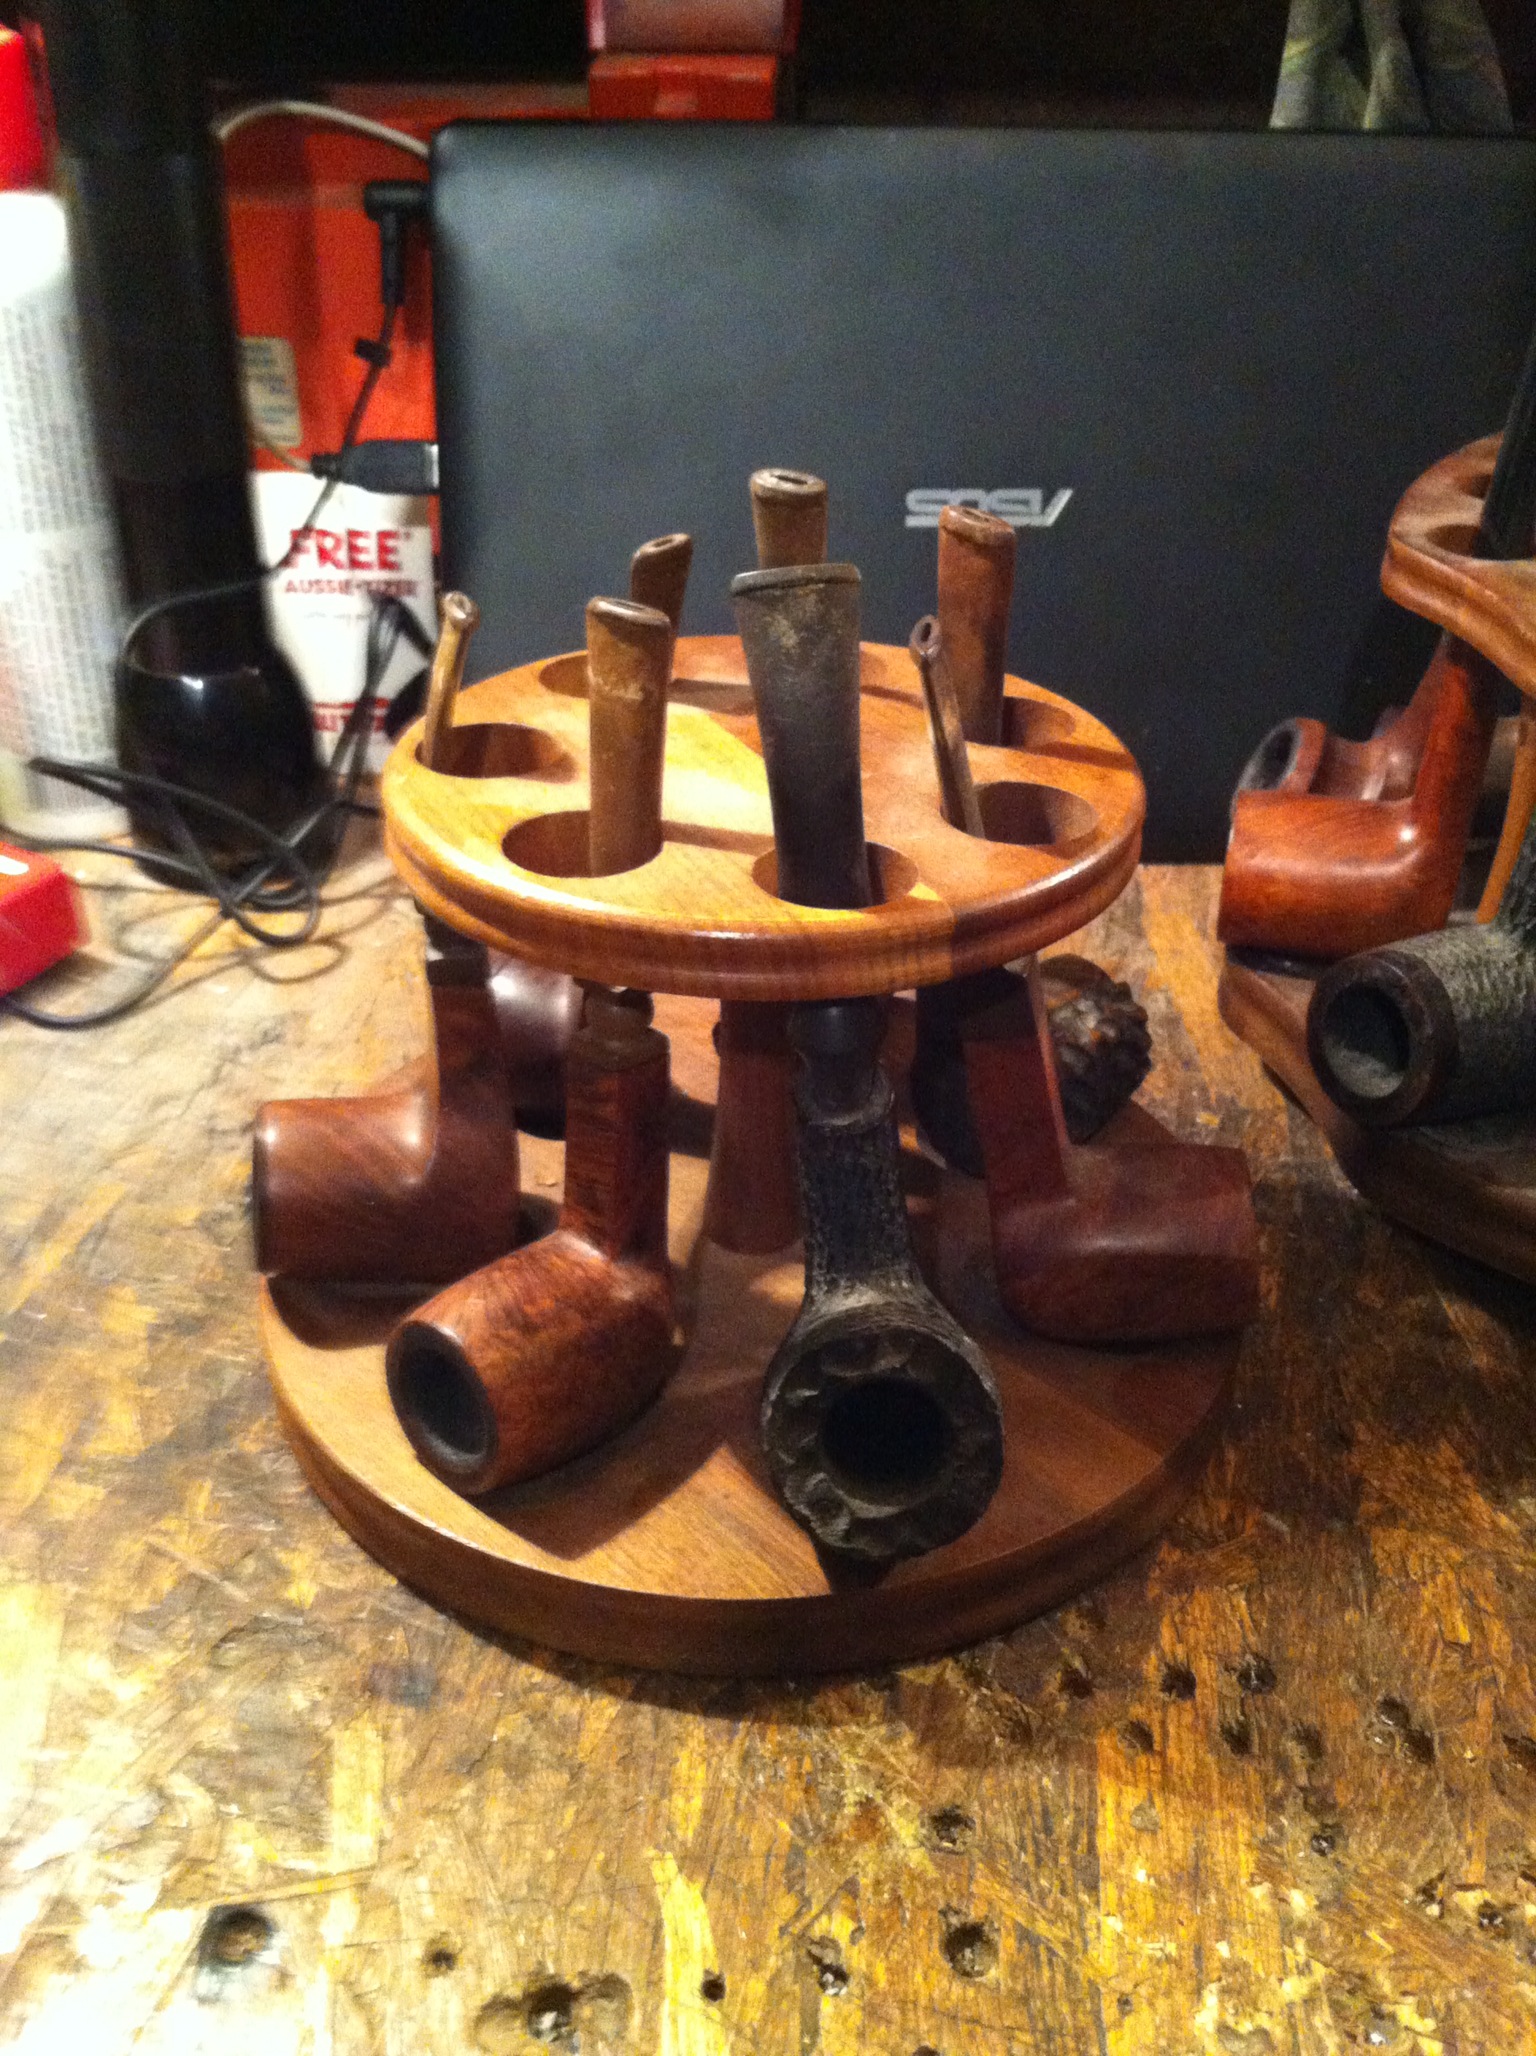
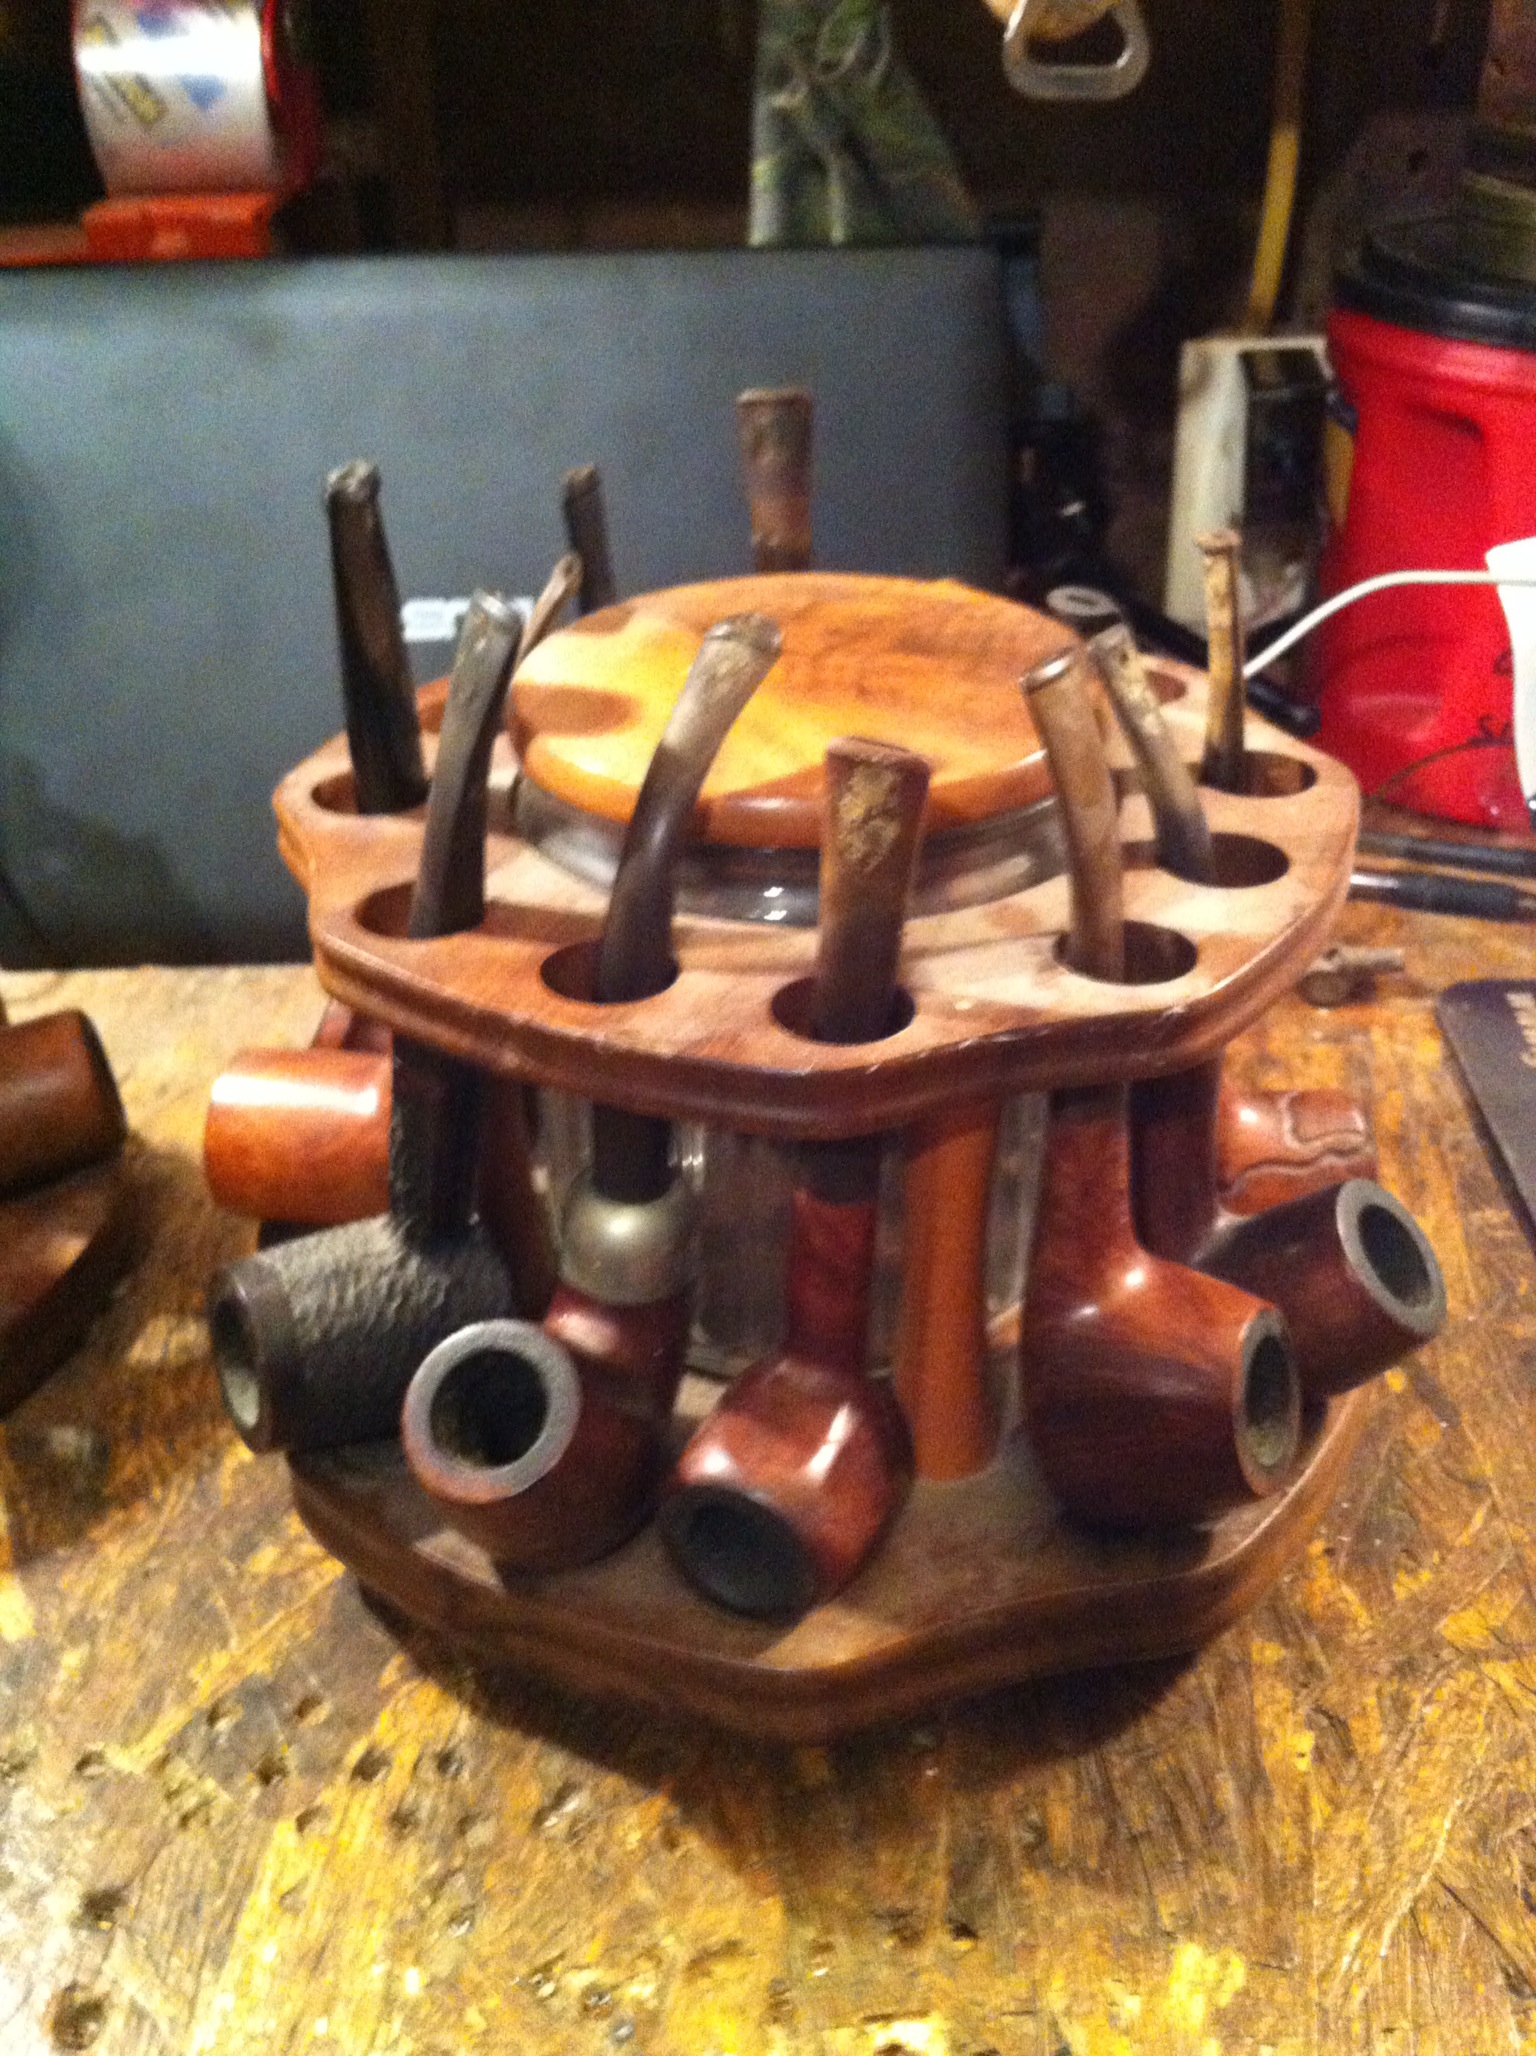
My wife and I were visiting her grandparents the other day. They are at the age where they are starting to hand down the precious items that they have collected over the years. As my wife and her mom were going through the rooms looking at figurines, paintings, and other things, I hear from the other room “Cody smokes a pipe”. My ears perked up then I was called to the front room. I heard, “Hey, take a look at these” as two full racks of old used pipes were sat down in front of me. I was told “take whatever you like, I won’t be smoking them anymore.” I was informed that all of these pipes are at least 50 years old and most of them were purchased at a smoke shop across from the University of Texas in Austin, TX. I asked if I could take all of them and was granted permission.
IMG_2468

IMG_2467

When I arrived home I started to go through all of them reading the names. GBD, Dr. Grabow, Rocky W. Germany, Aldo Velani, Penthouse (I thought that was a magazine huh who knew), Irwin’s, one meerschaum, and one Peterson. I started examining them closely to see how much work would be needed. I found that three had holes bitten through the stems but other than that some teeth marks, heavy amount of cake, and even heavier oxidation on the stems. My first thought was of all the people I have met that do restorations and how much it would cost to get these restored but, being the go getter that I am that thought quickly left my mind.
IMG_2470

IMG_2469

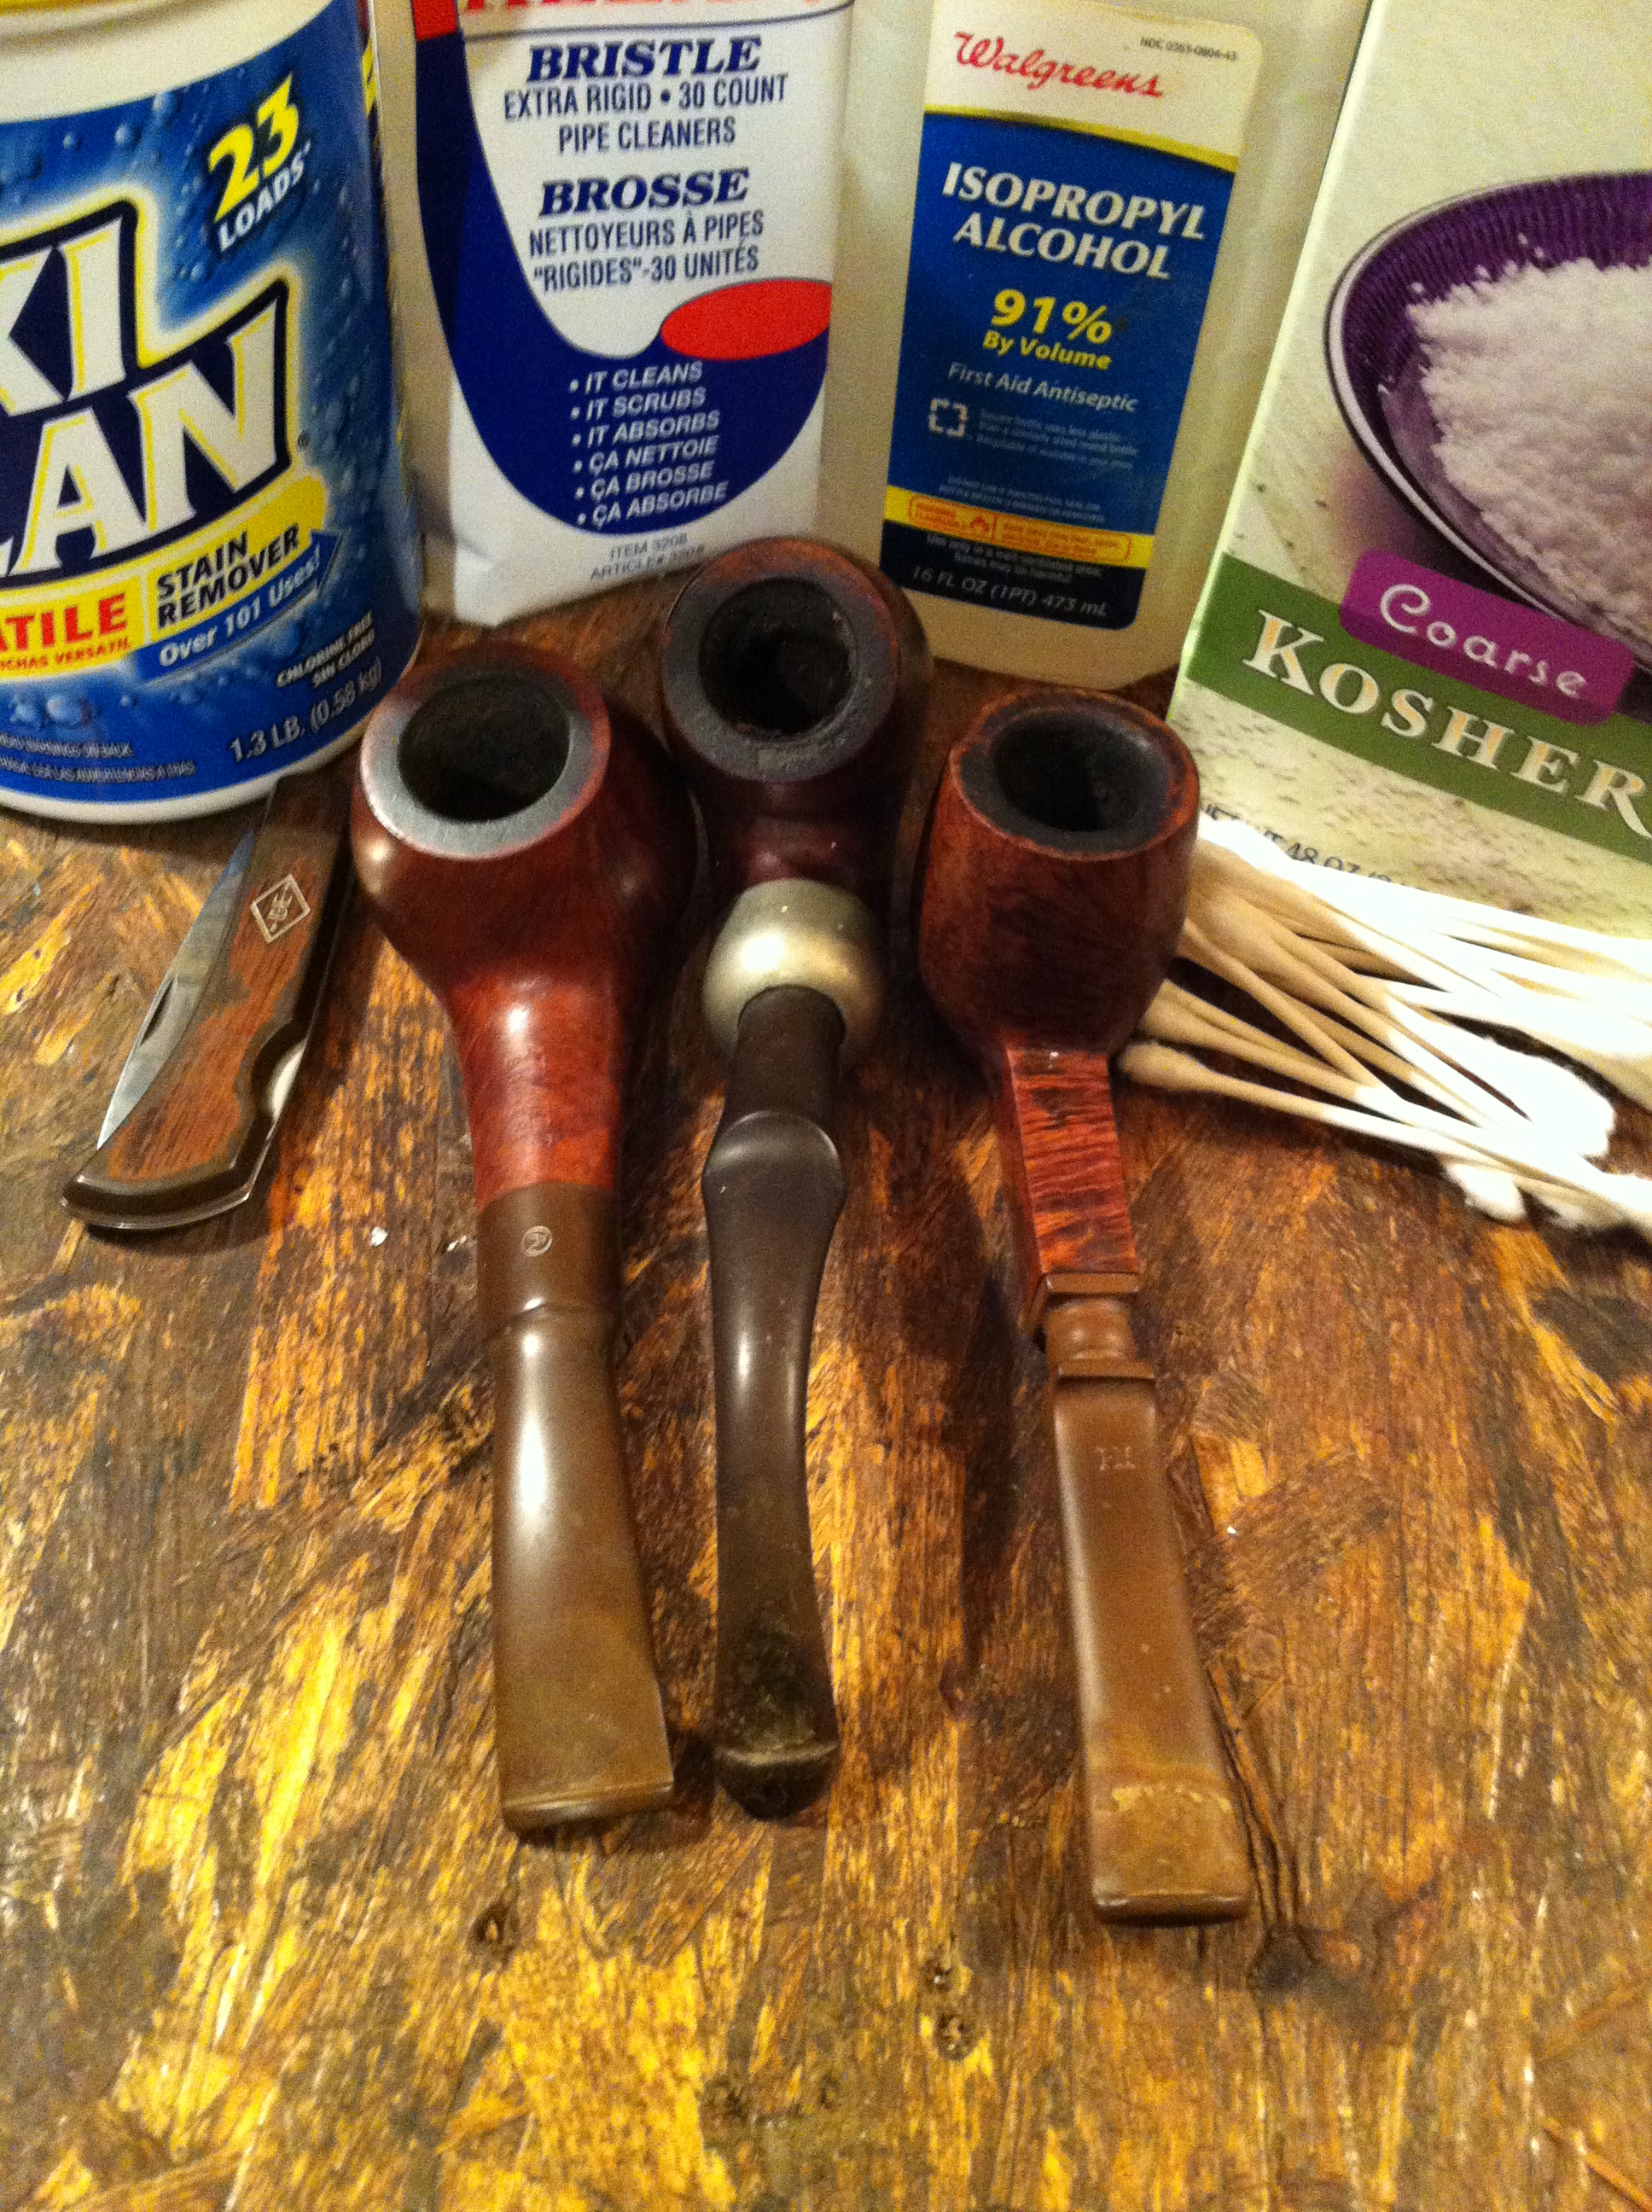
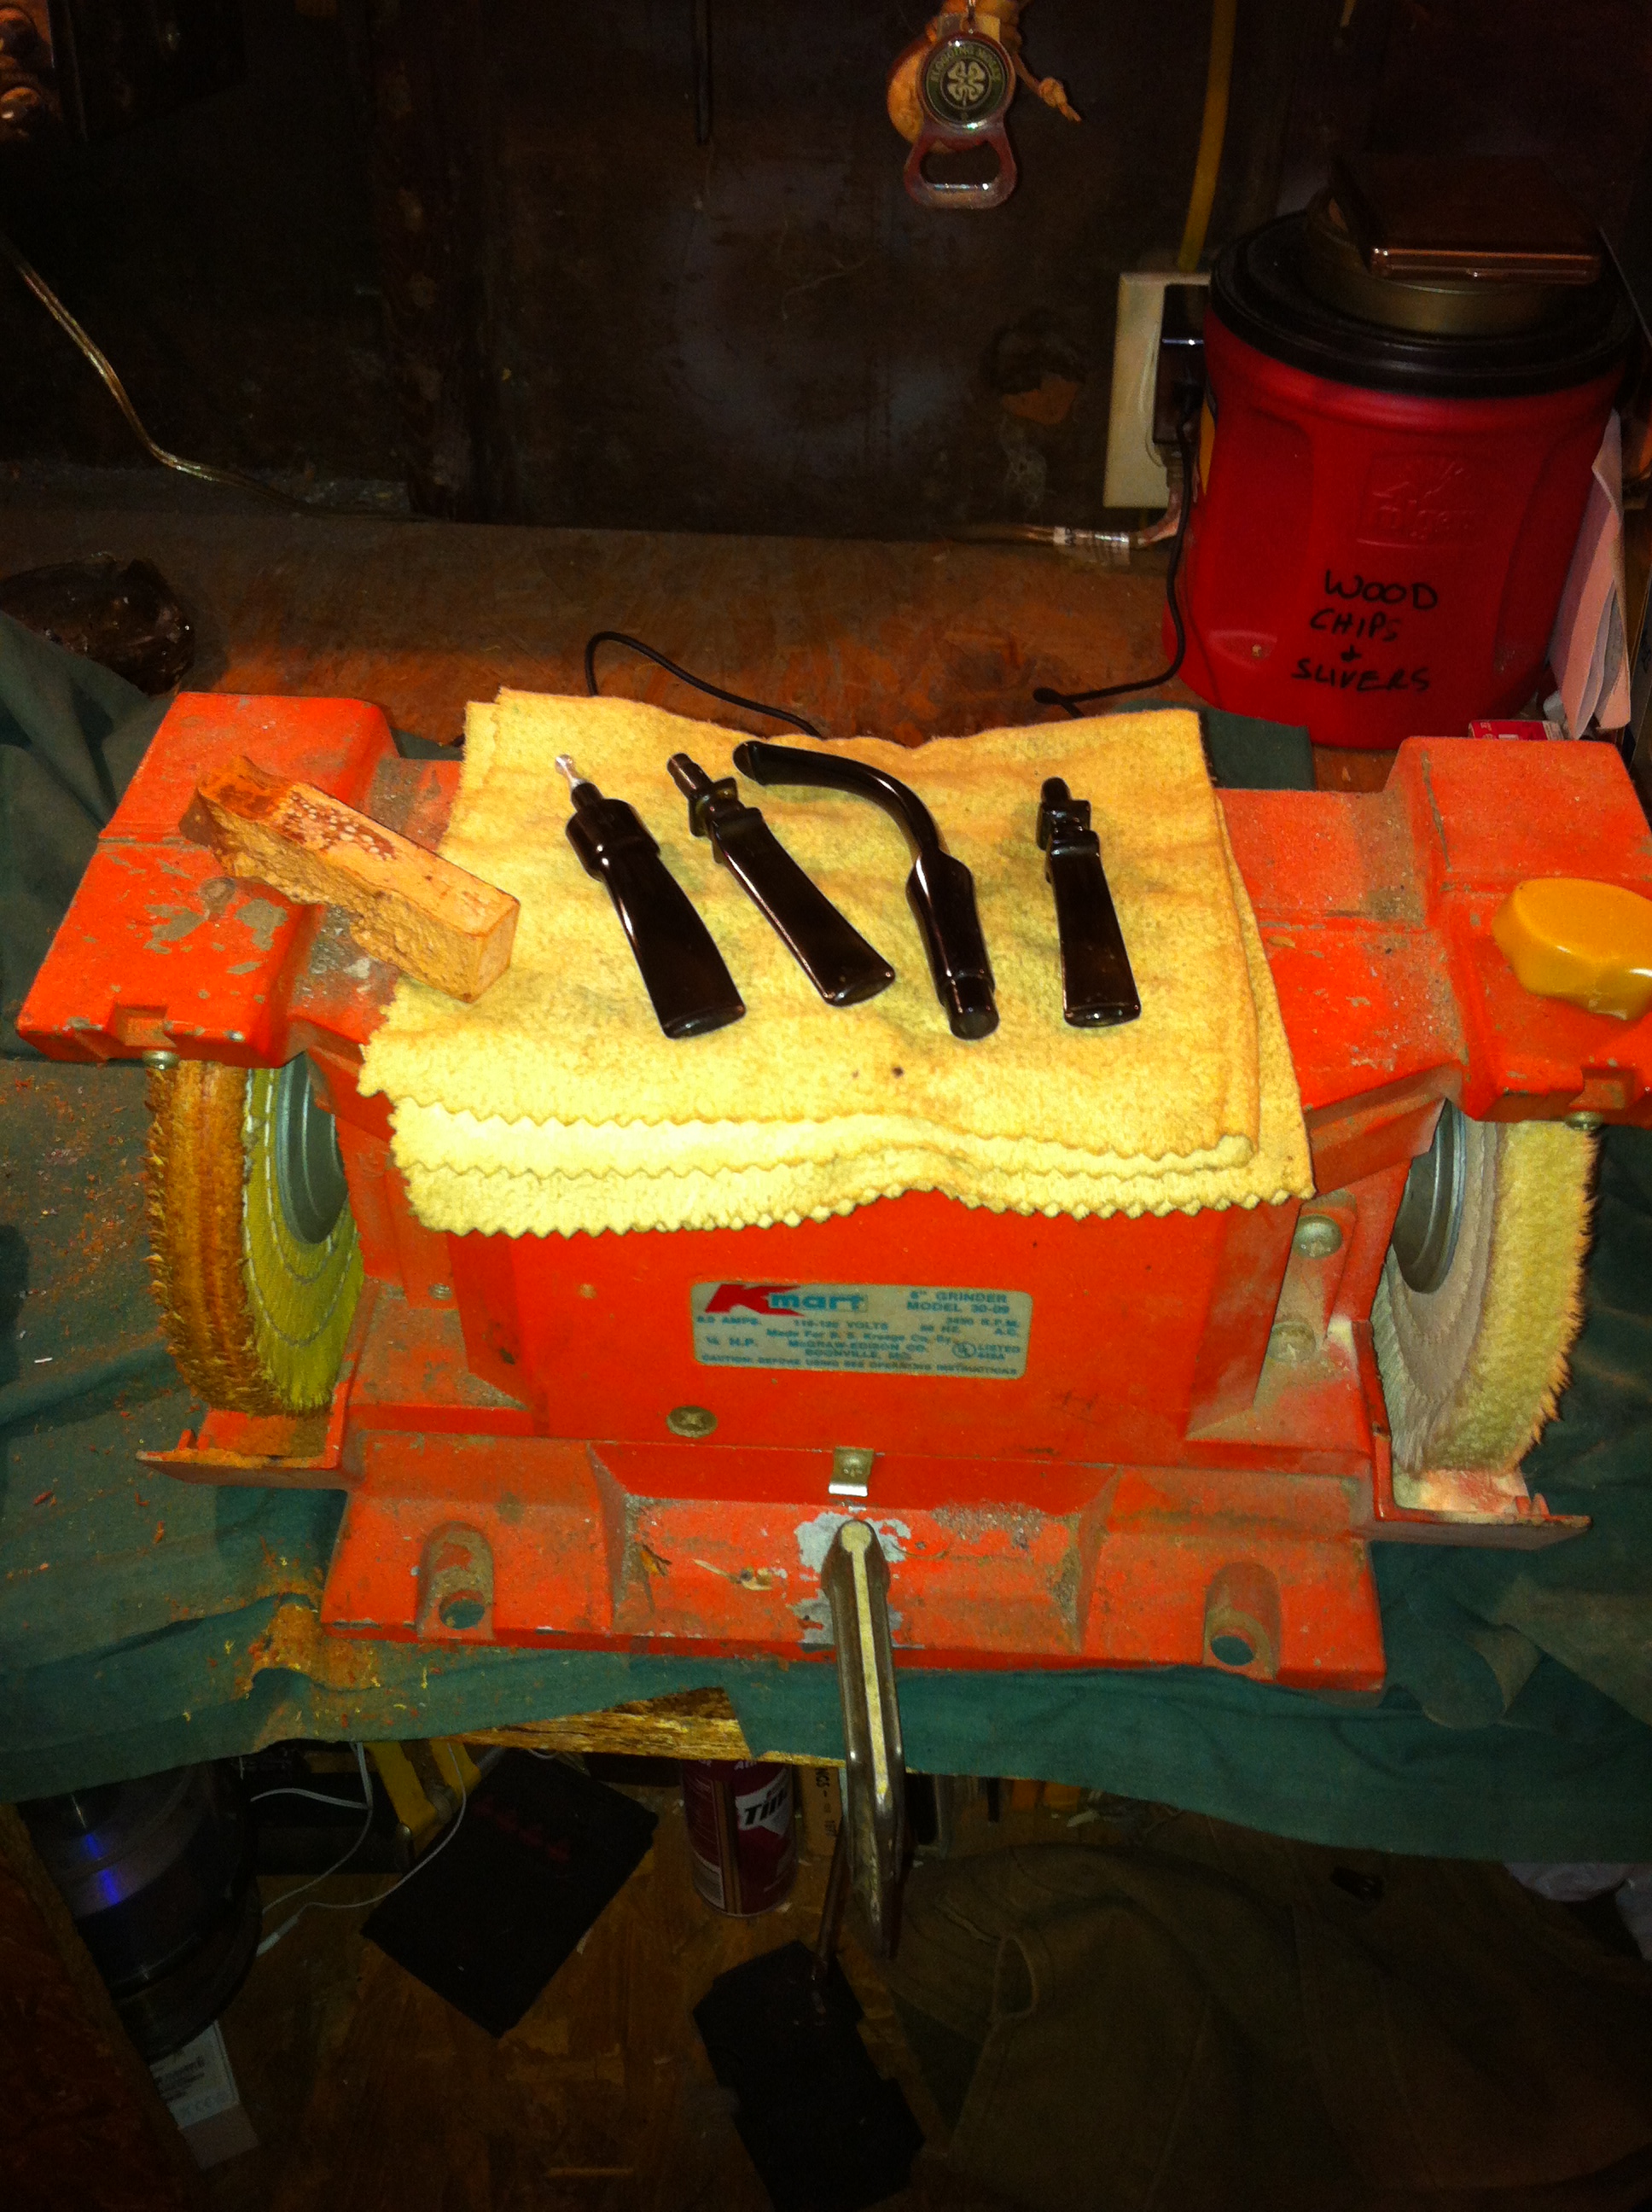
I then started to consume as much information as I could about restoring pipes. Reading tons of articles, many on this site, watching video after video, and digesting every piece of data I could get. After about 24 hours of nonstop information gathering I decided that I wanted to try to do this myself with very minimal materials. I would start with three pipes. The Materials used were as follows, a pocket knife, Oxy clean, bristled pipe cleaners, isopropyl alcohol, kosher salt, q-tips, my 6″ grinder converted into a buffer, Tripoli, carnauba wax, a polishing cloth, and some good ol’ elbow grease (which seems to be missing from a lot of people’s toolboxes these days but that’s a story for a different time).
IMG_2461

I started with the bowls and a pocket knife. I scraped all of the cake out being careful not to go all the way down to bare wood. I also used the knife to ever so lightly (and I mean ever so lightly) scrap the char from the rims of the bowls. I then used the pipe cleaners dipped in alcohol to clear out the draft holes. Next was the q-tips dipped in alcohol to clean out the tobacco chamber. This took quite some time but I was very persistent with it.

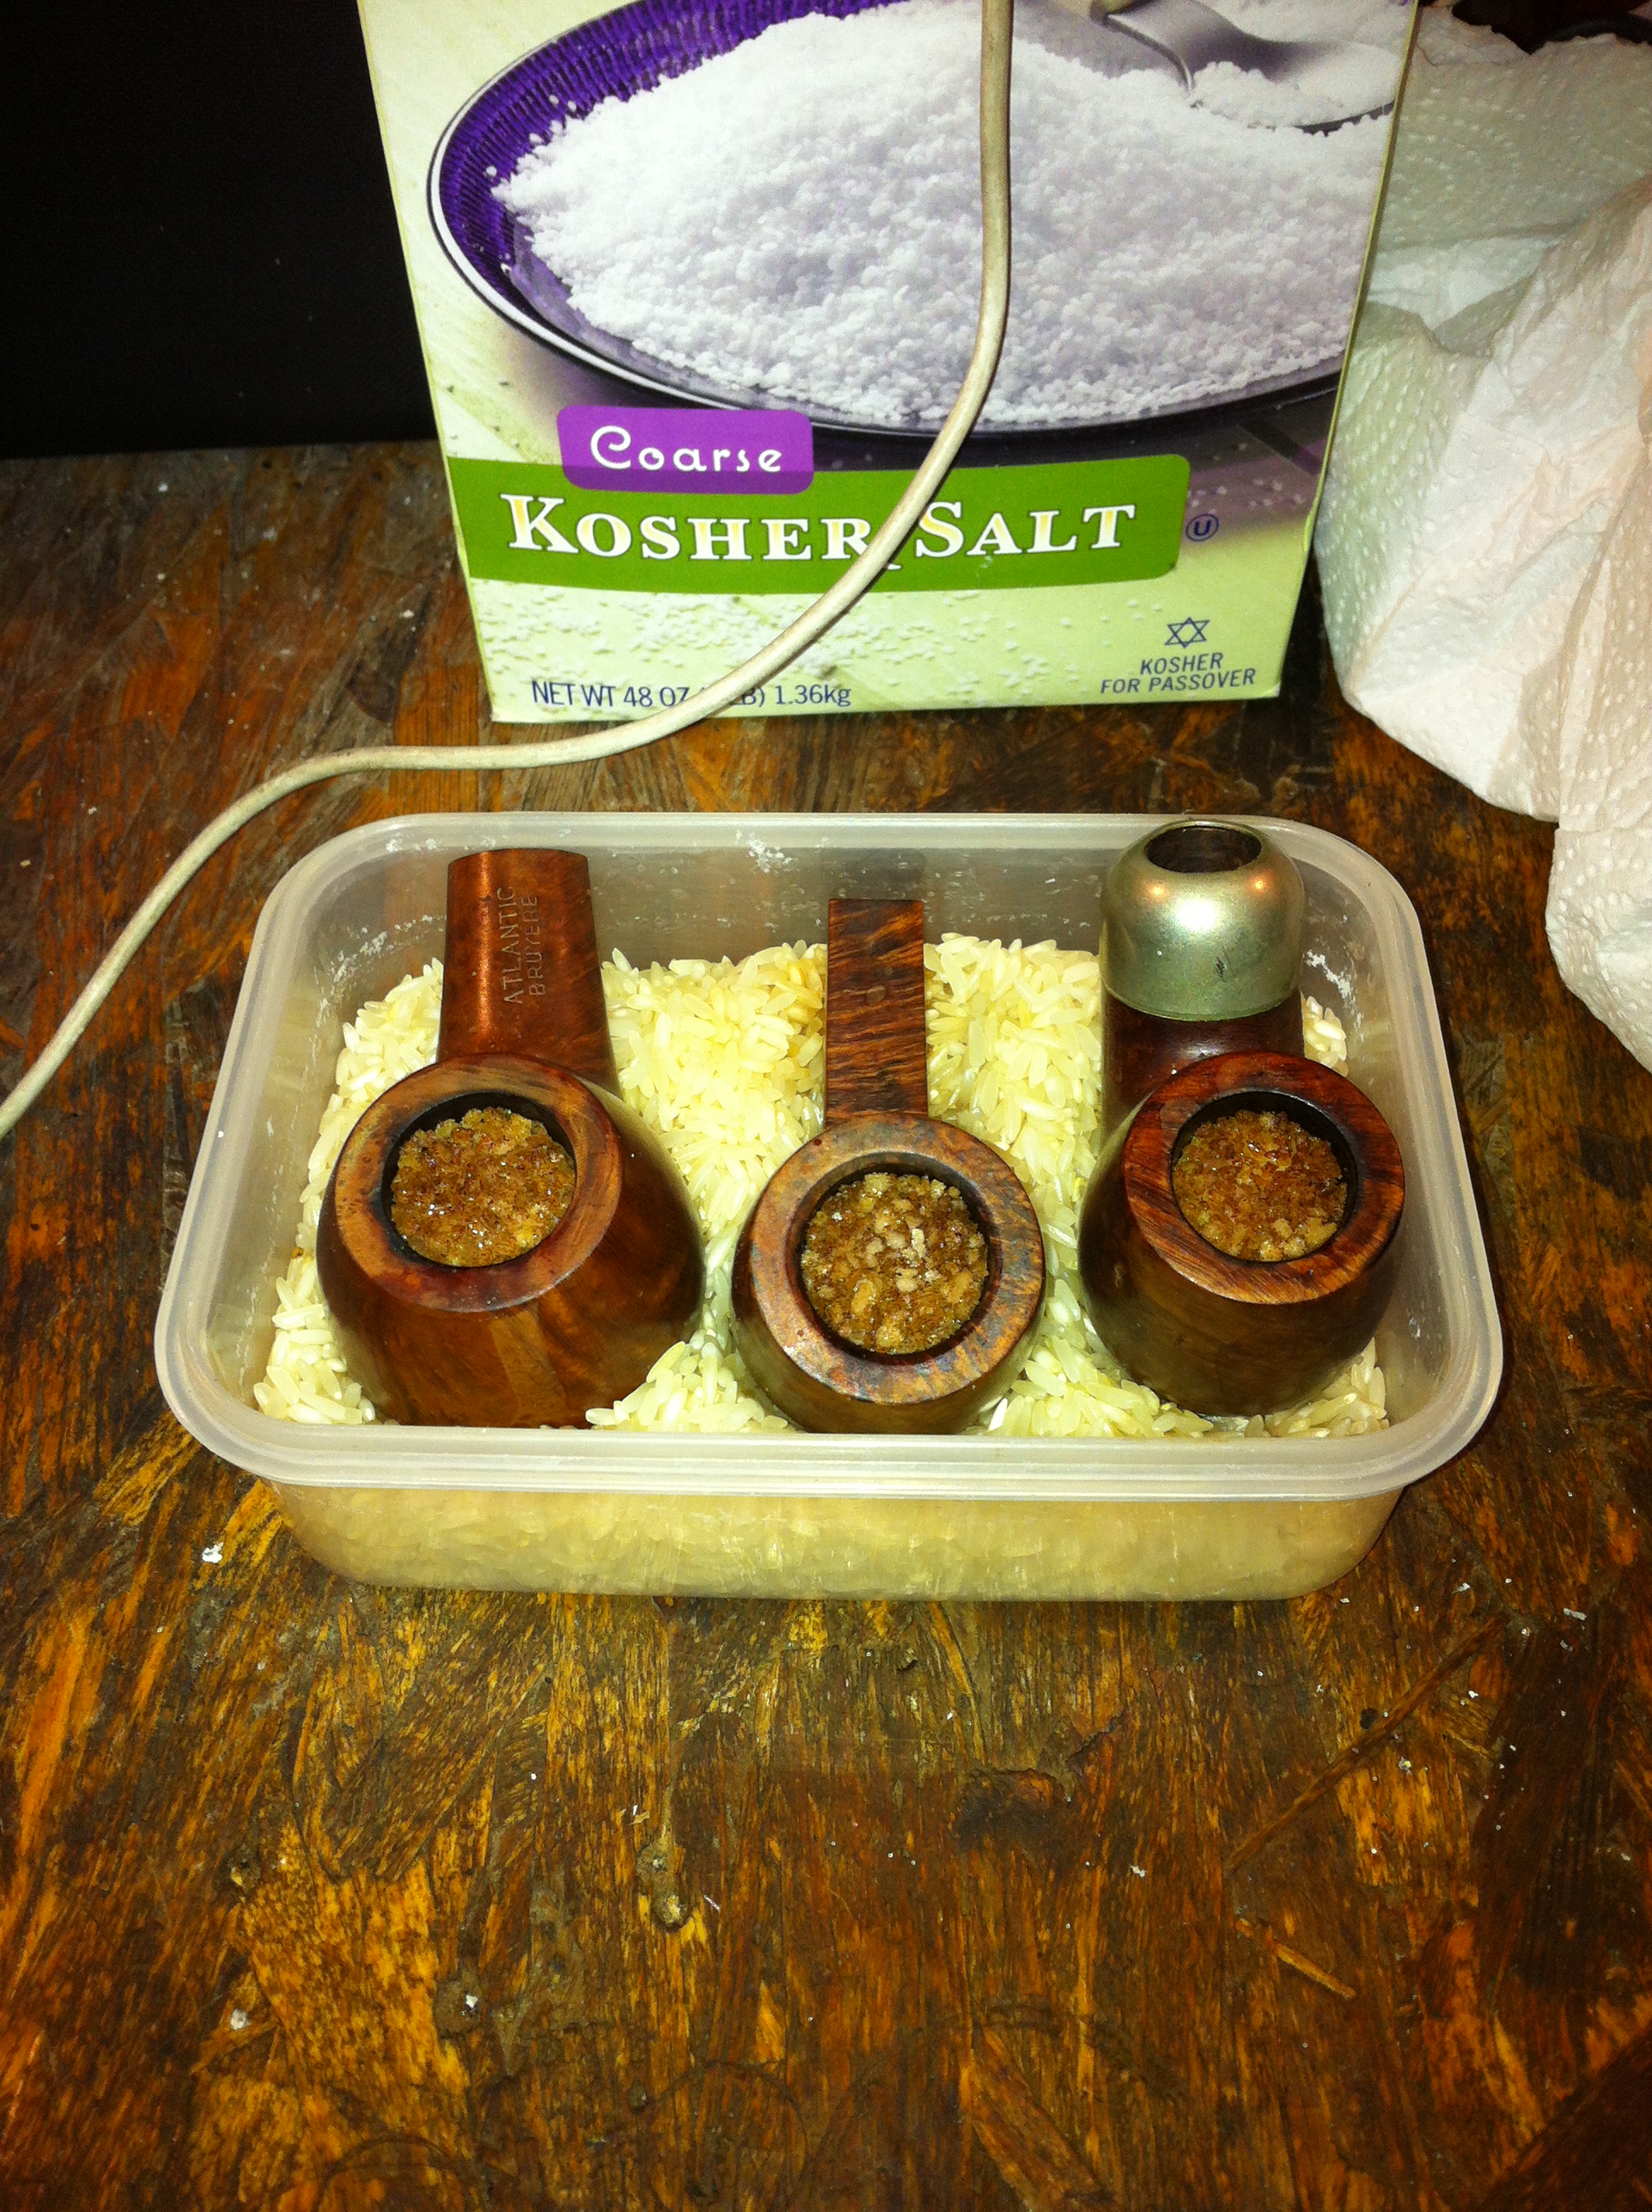
I then proceeded to the salt treatment. Typical treatment, fill the bowls with salt, not packing it but keeping it loose, then dropping the alcohol in. I sat the bowls in a dish with rice to keep them at the right angle and let them sit for 24 hours. I ended up doing 2 salt treatments when it was all said and done just to get more of the nastiness out of the chamber.
IMG_2464

IMG_2482

Next were the stems. Now when I say these stems had some oxidation I’m not kidding. These things were brown as a milk chocolate candy bar. I gathered a bowl, mixed in the oxy clean and proceeded to let the stems sit over night. The next morning I took them out of the dark beer colored water to discover that one stem was completely black now, one was a lighter shade of brown, and the last was half and half. I rinsed them off with water and rubbed them down with my handy cotton handkerchief (never leave home without it). I then started the second round of oxy clean concoction. I let these soak for about six hours and again the water changed colors but this time more of a light beer color. The black stem was still black, the dark brown was a lighter shade now, and the half and half was all black except for a small band of greenish brown at the base.

I took them out, repeated the steps as before and proceeded with the third round. I let them soak overnight this time and when I awoke, the water was almost as clear as when I began. The stems looked pretty much like they did after the second round of oxy so I proceeded to the next step, buffing. This is the part where I had to scratch my head a bit and figure out what exactly I was going to use to buff these stems with. I rummaged through my toolbox pulling out every kind of polishing compound and wax I could find.
IMG_2484

Most everything I read is that white diamond polishing compound is the best but I didn’t have any and I wasn’t willing to order some and wait. Maybe next time. So I laid out all that I had. Dremel tool red polishing compound, the little yellow bar that comes with my Flexcut carving knives, and Tripoli. Wait Tripoli where the heck did I get Tripoli….oh yea it came with my waxes from Pimo. As far as waxes I had bees-wax and carnauba wax. I decided on Tripoli and carnauba wax.

I first started with the Tripoli. This stuff took all the brown and green off and put quite the shine on them. It took some time, going very slowly, trying to get into all the nooks and crannies but worked very well. Then it was on to the carnauba wax. Now this is where the real shine came on. I started with just the stems then attached the pipes and buffed the pipe in its entirety. The last step was just to give them a wipe down with the polishing cloth (which came from my high school days as a trumpet player) and that was it.
IMG_2492

IMG_2491

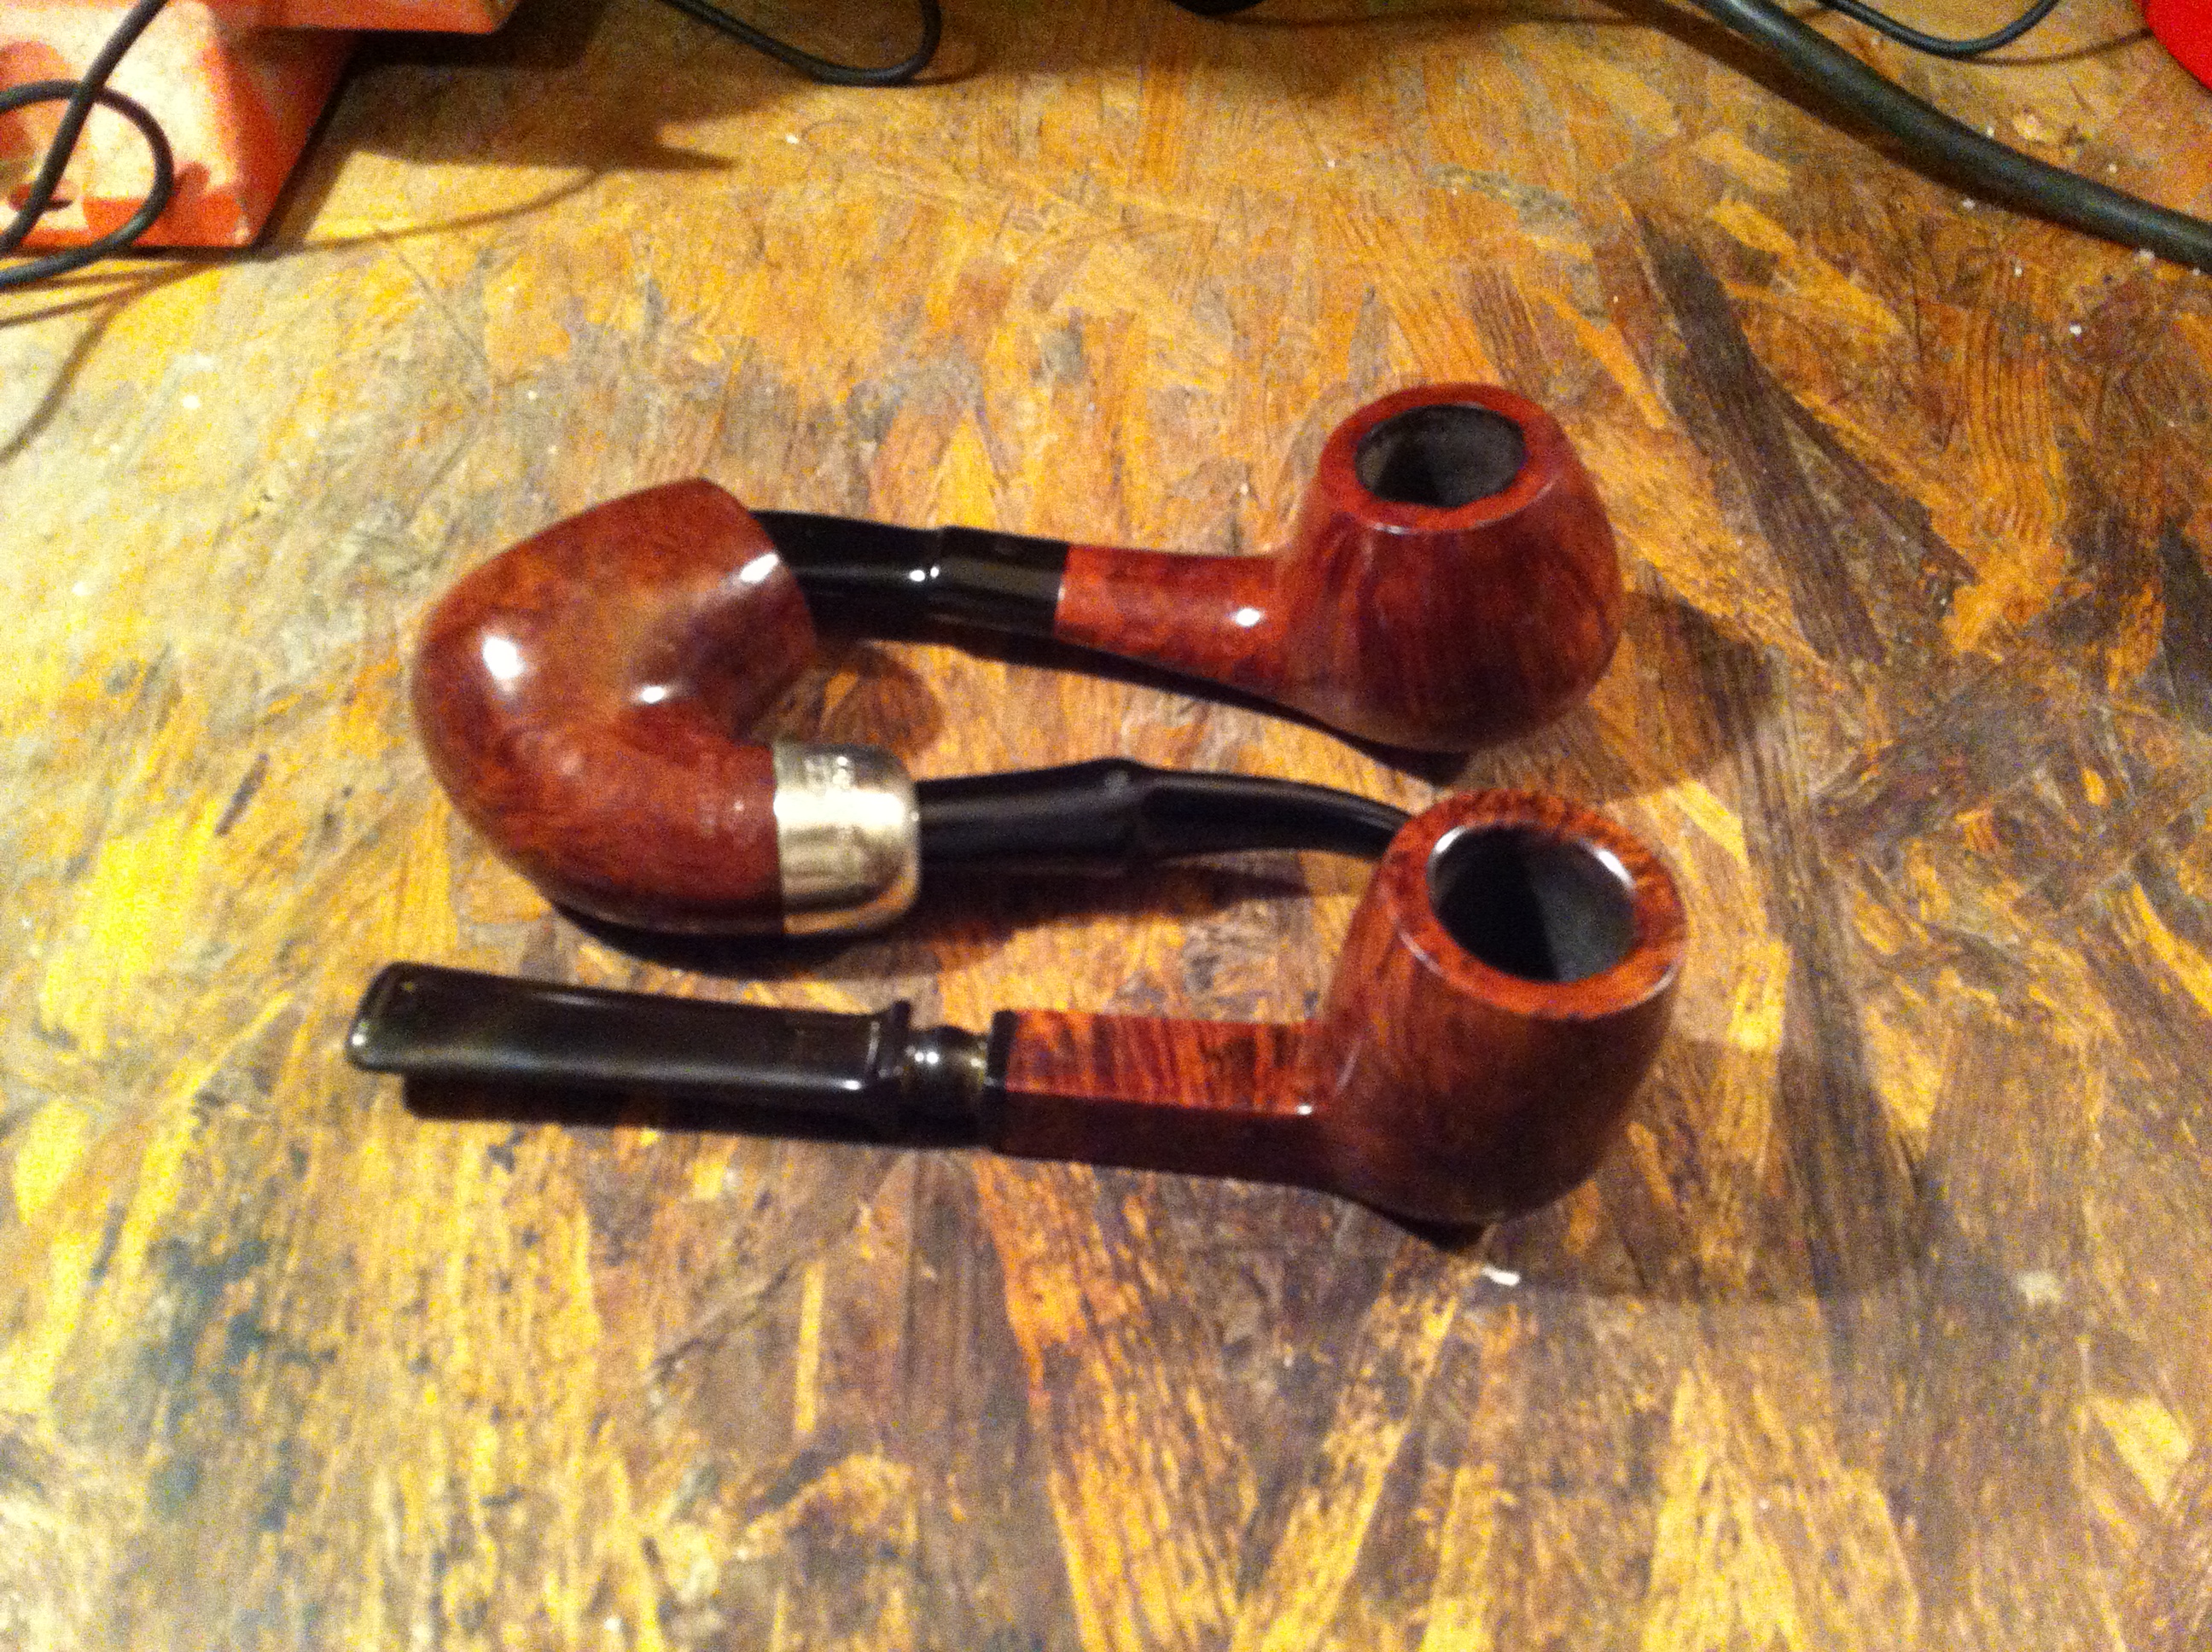
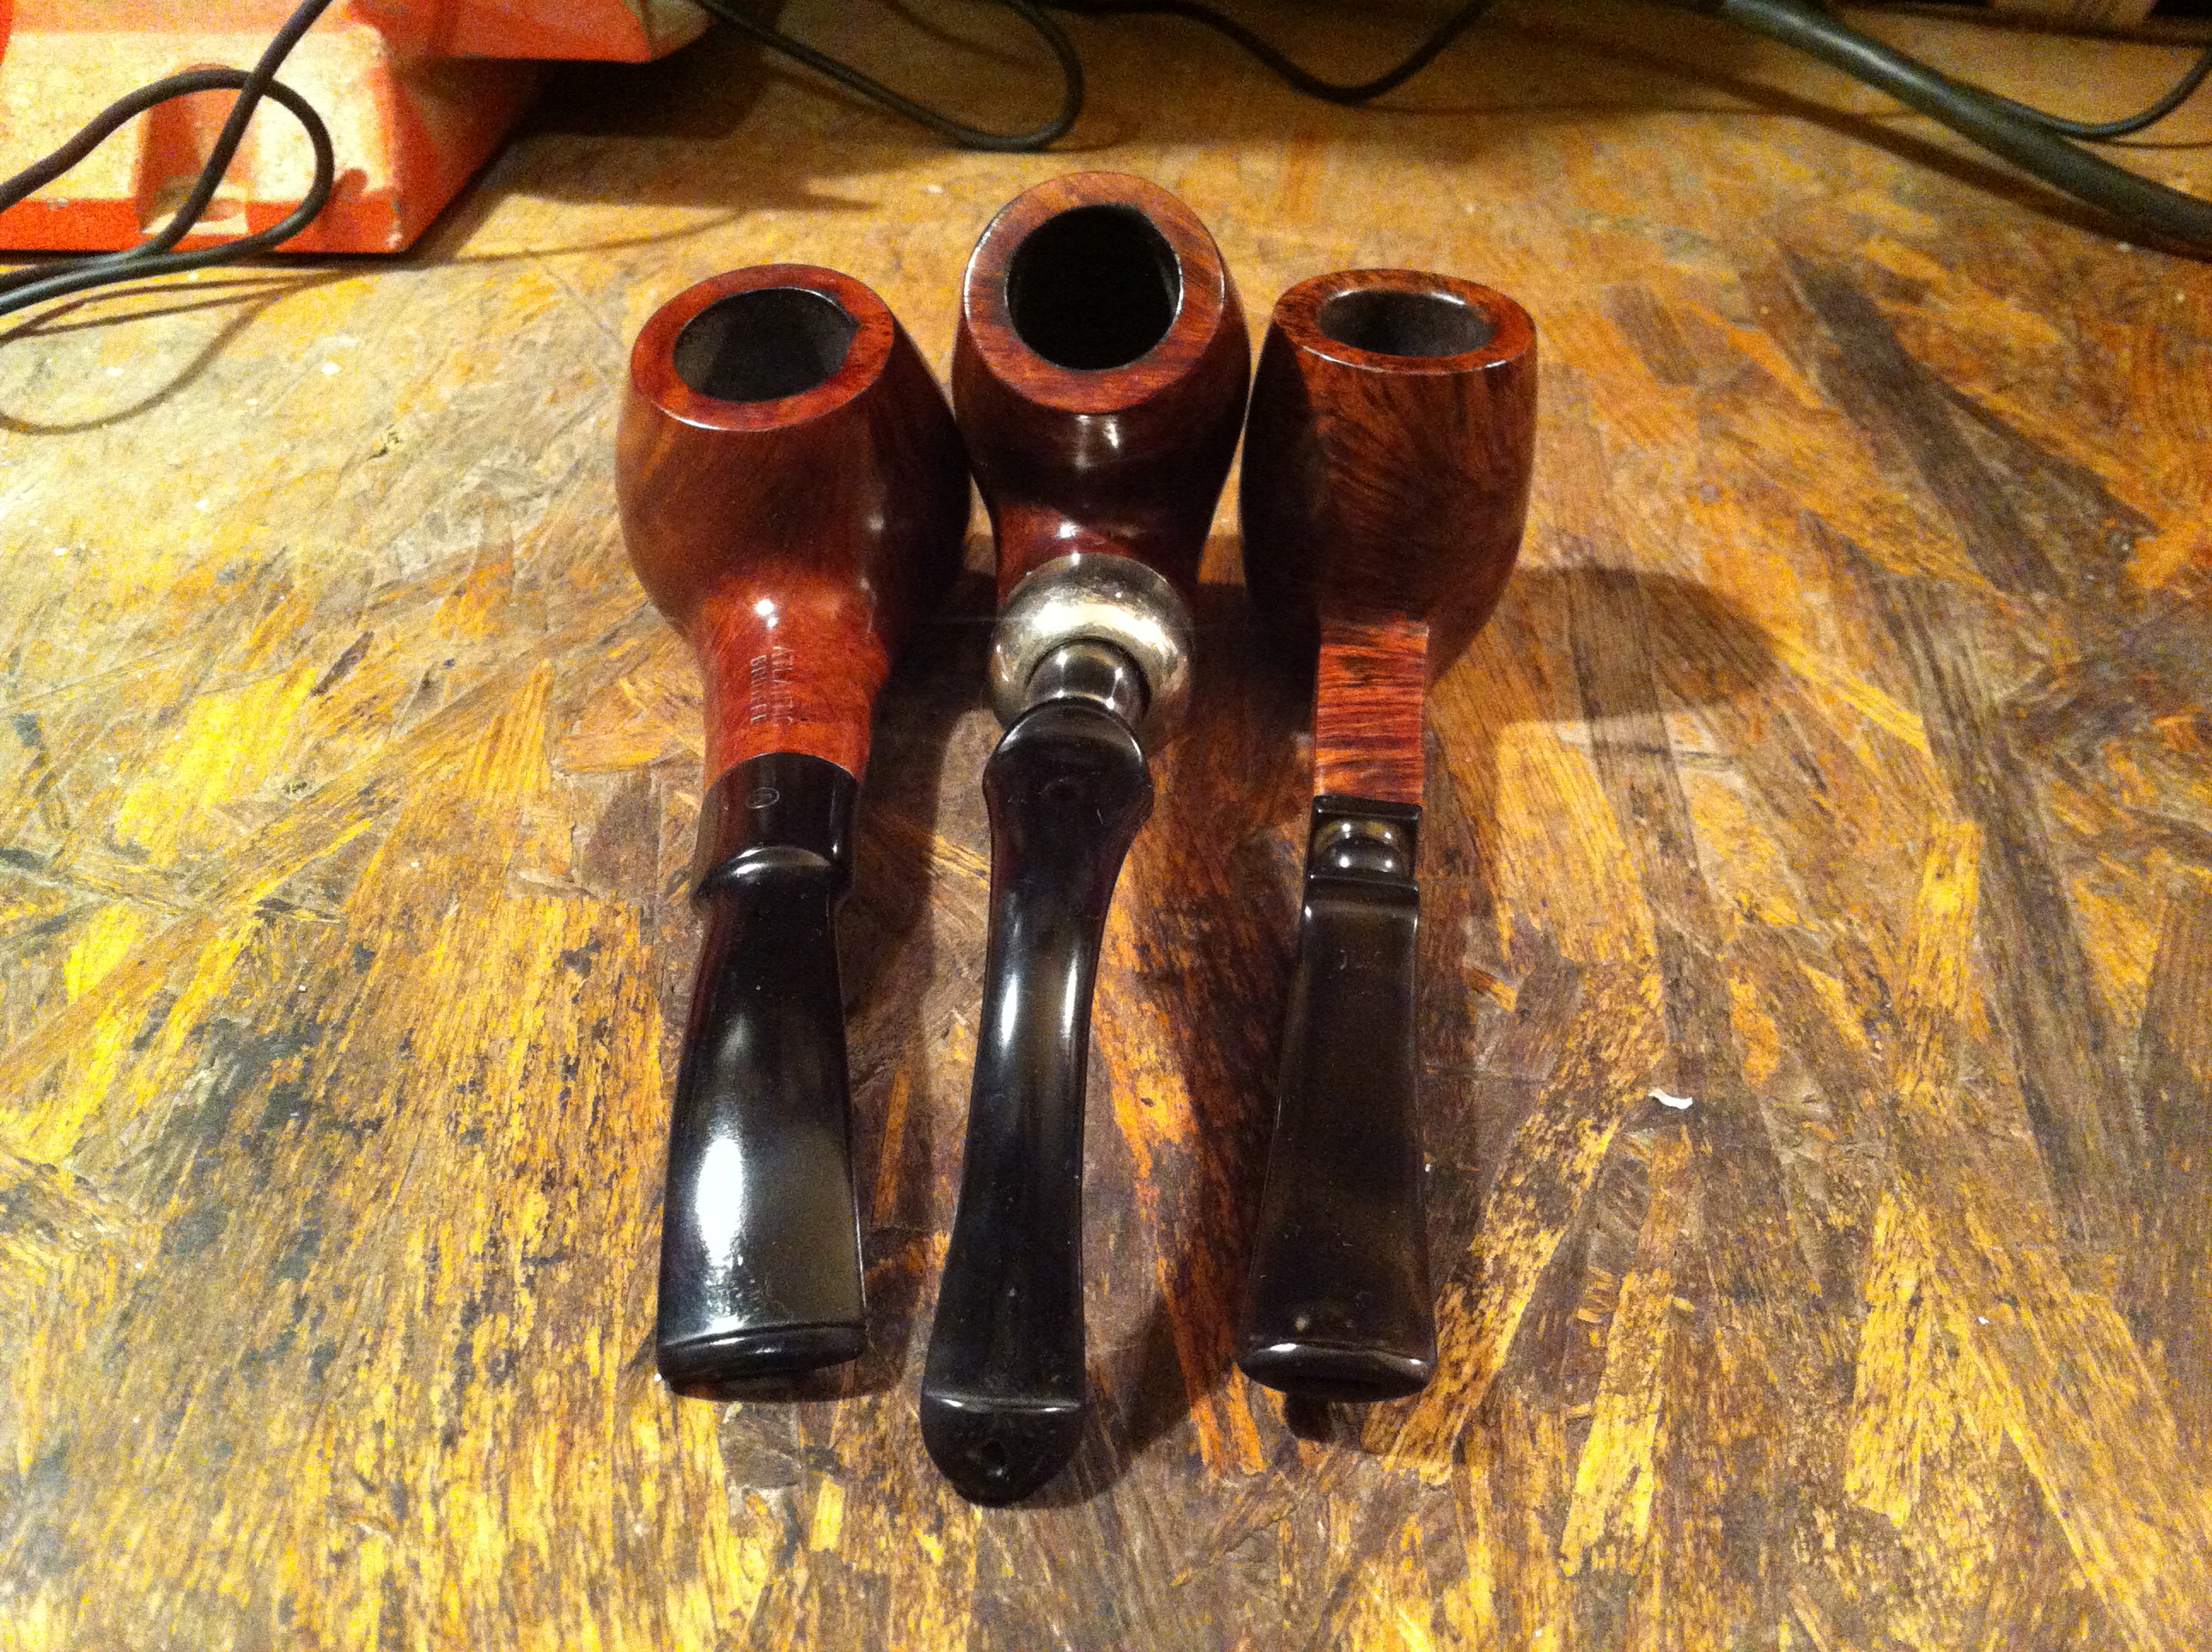
I was absolutely blown away with the outcome. These pipes are once again beautiful. I will give them many years of care and I know they will return the favor. If I could leave you with one thing to remember from this it would be that just because something looks run down and used up it might not be. With a little love, some patience, and whole lot of elbow grease you can bring it back to life, have fun doing it, and learn a whole slew of lessons in the process. If you have any questions I would love to help in any way that I can and I know Steve feels the same way. Take care and have a great day.
IMG_2493

Cody Huey
http://www.codyhuey.com
codyjhuey@gmail.com

Topping and Refinishing an Evident Super Billiard


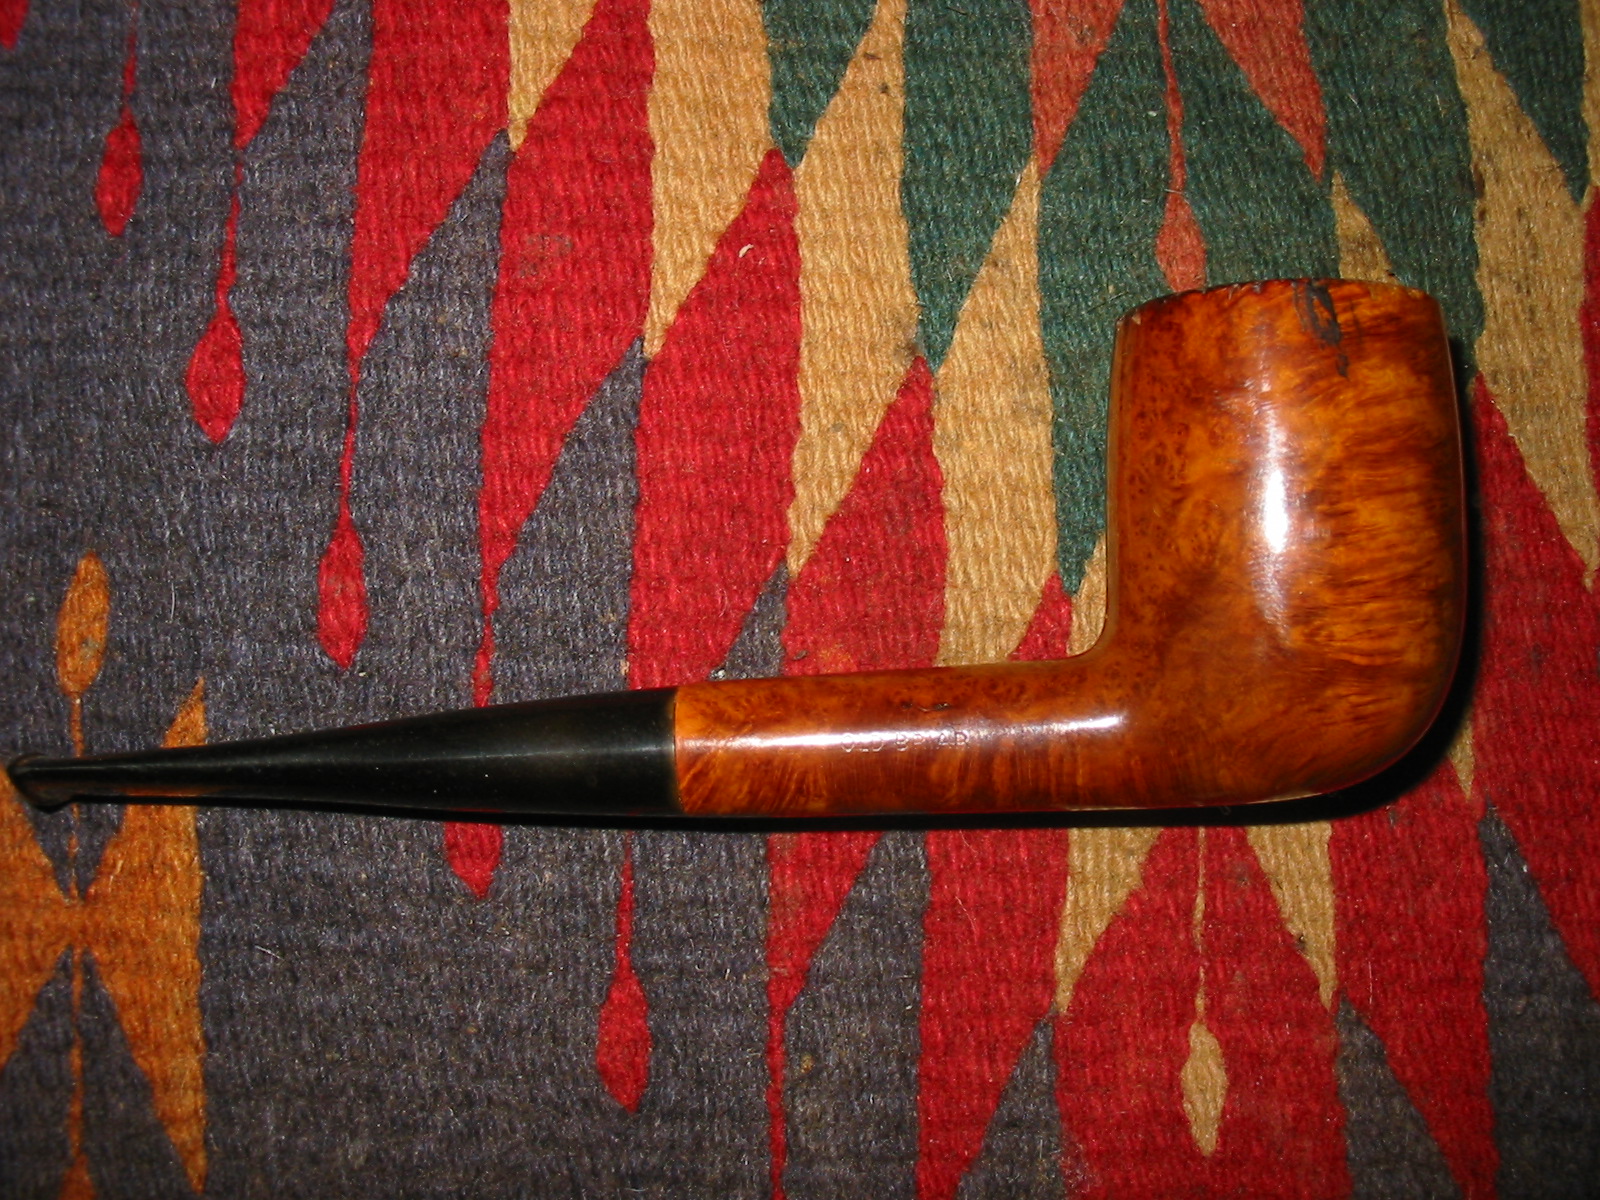
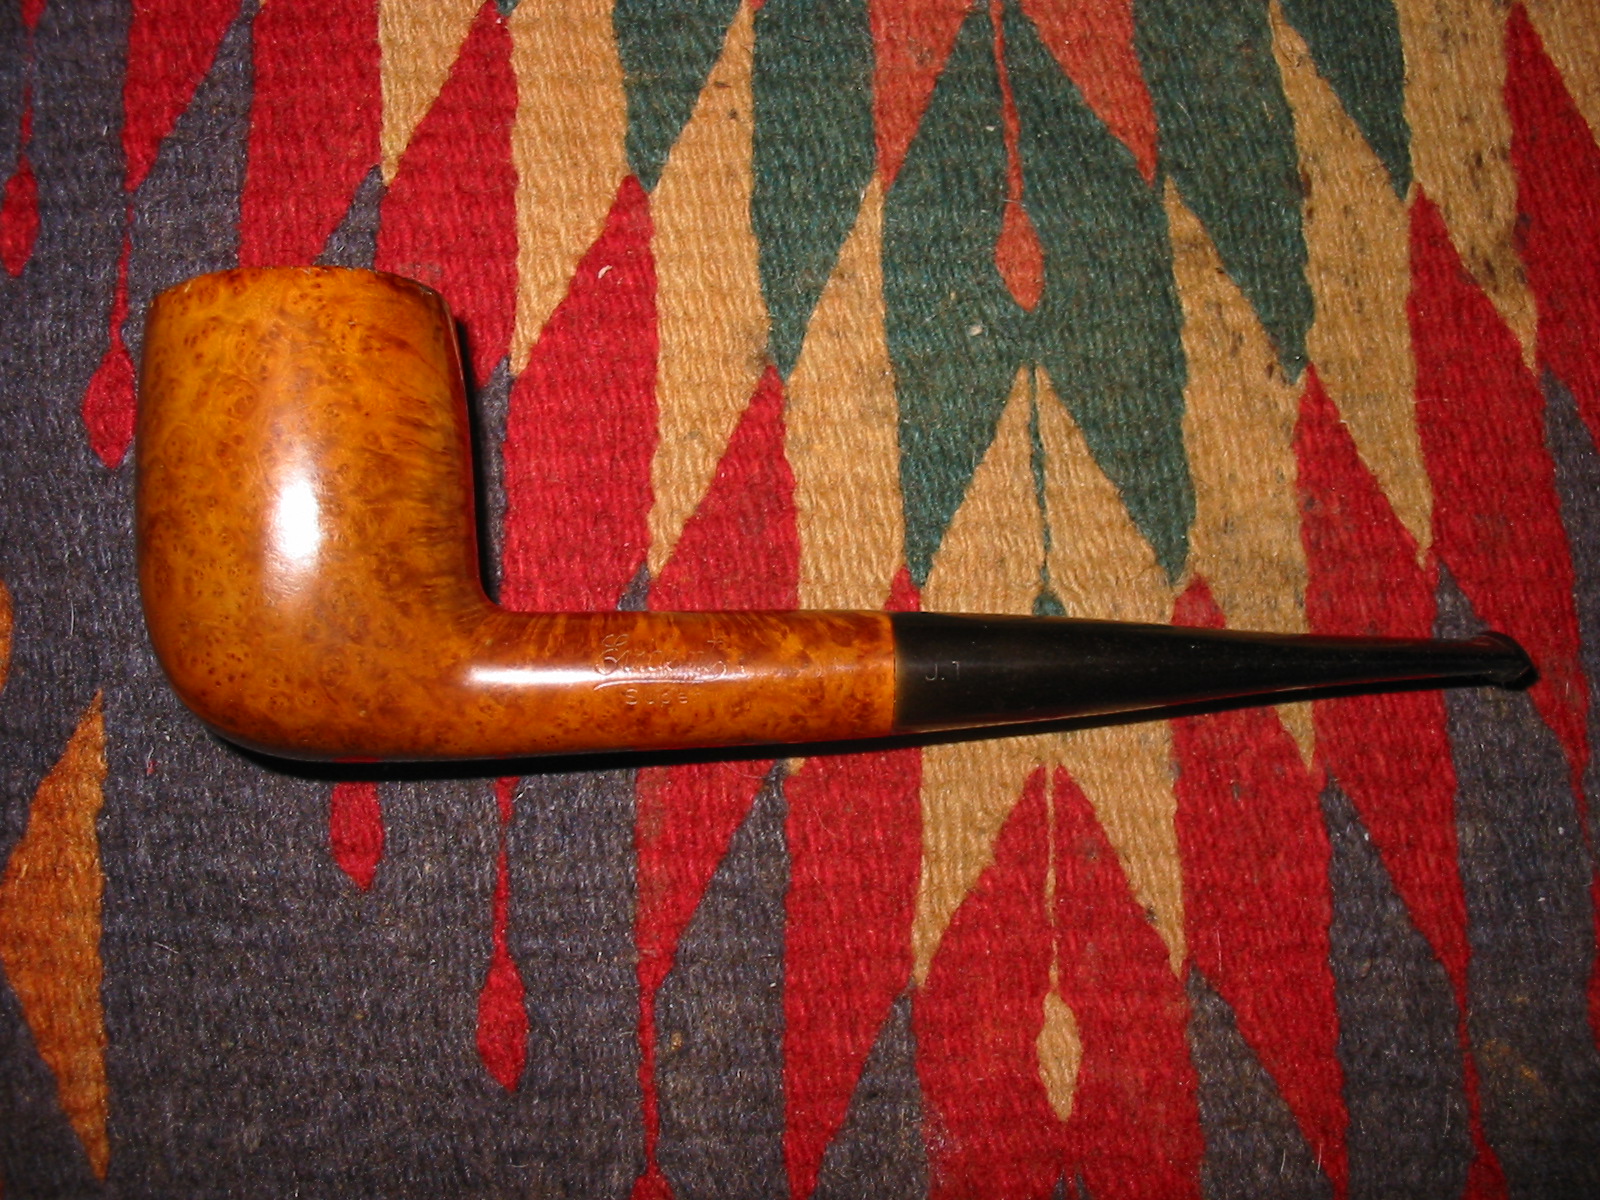
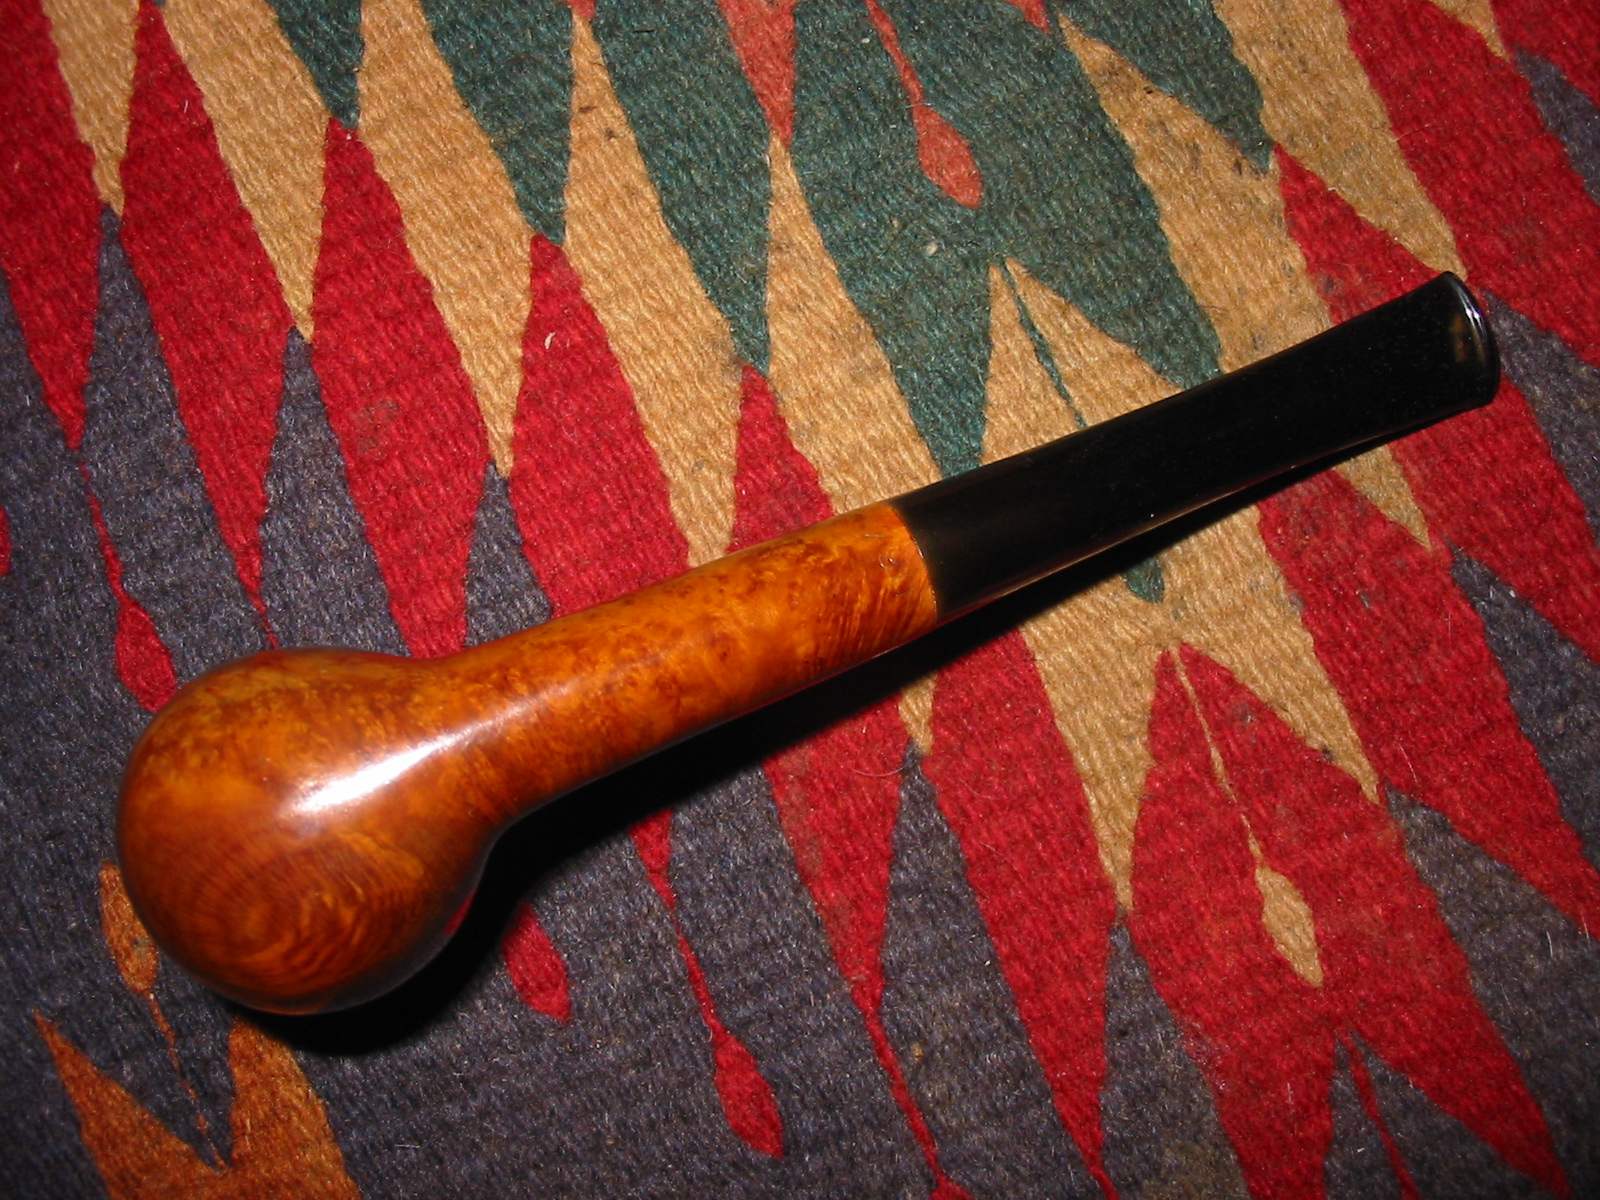
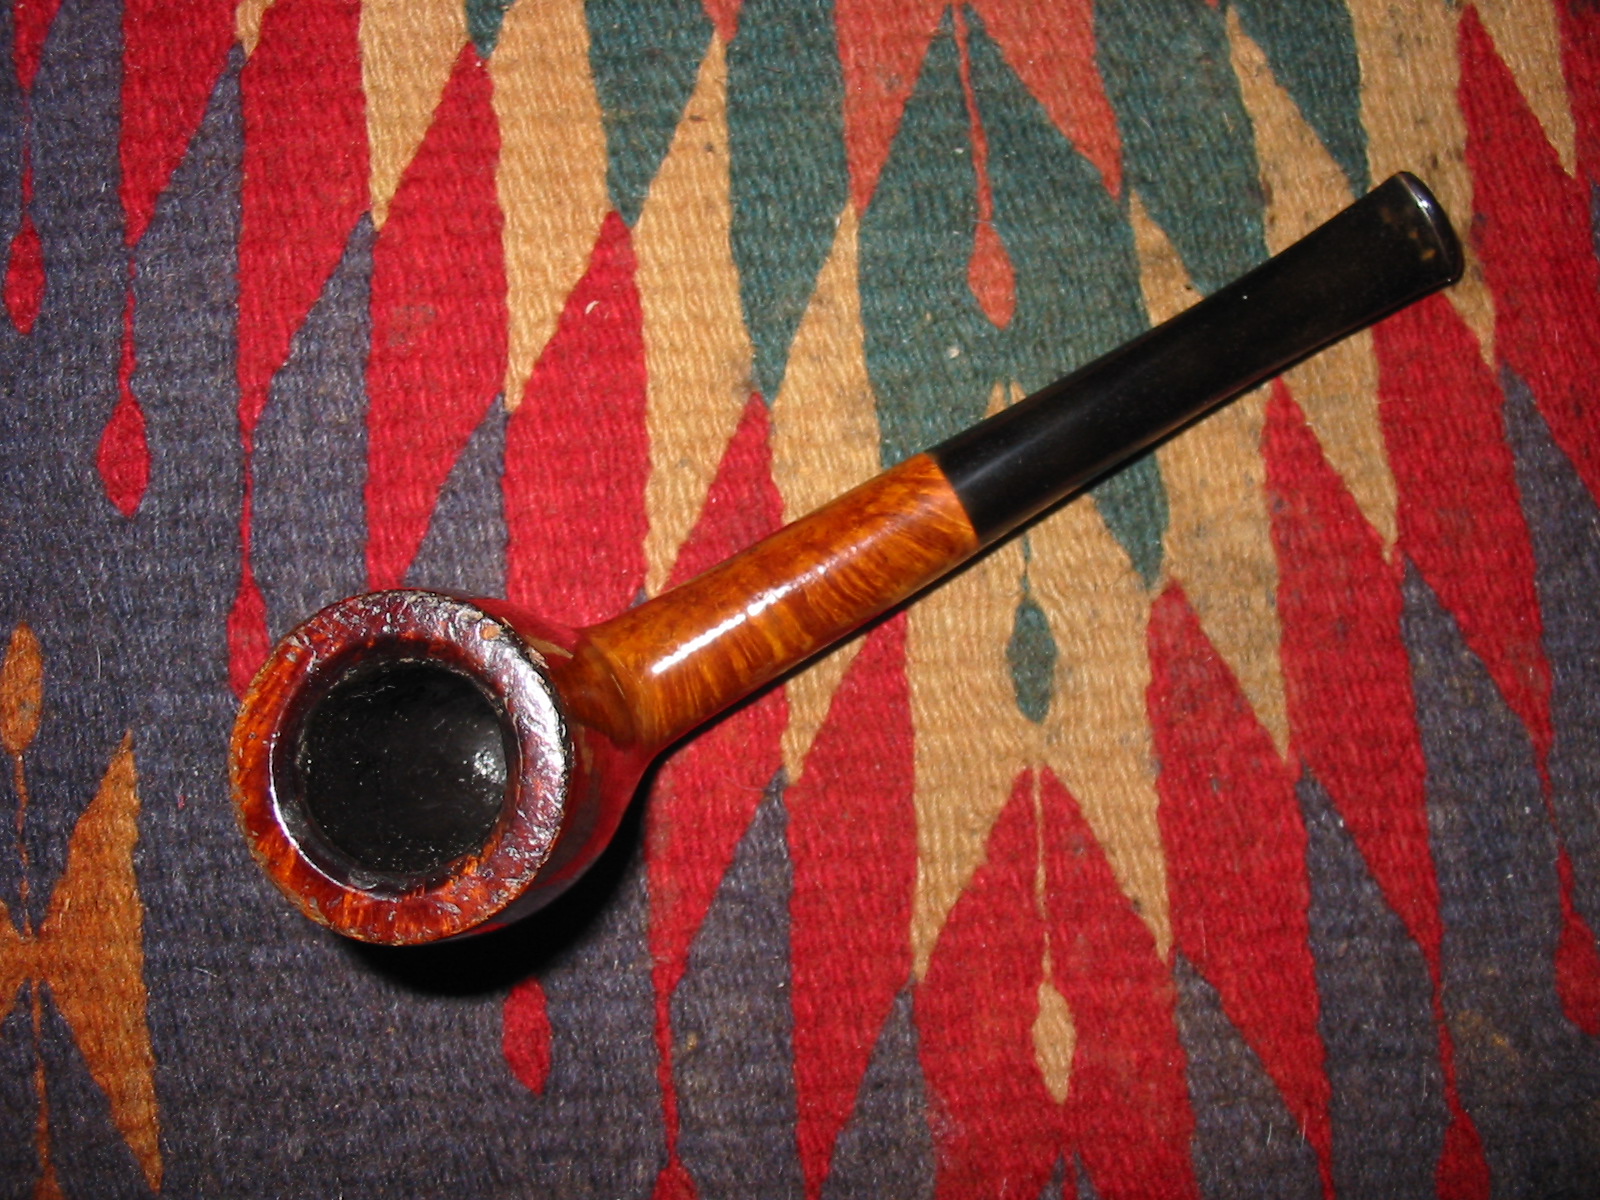
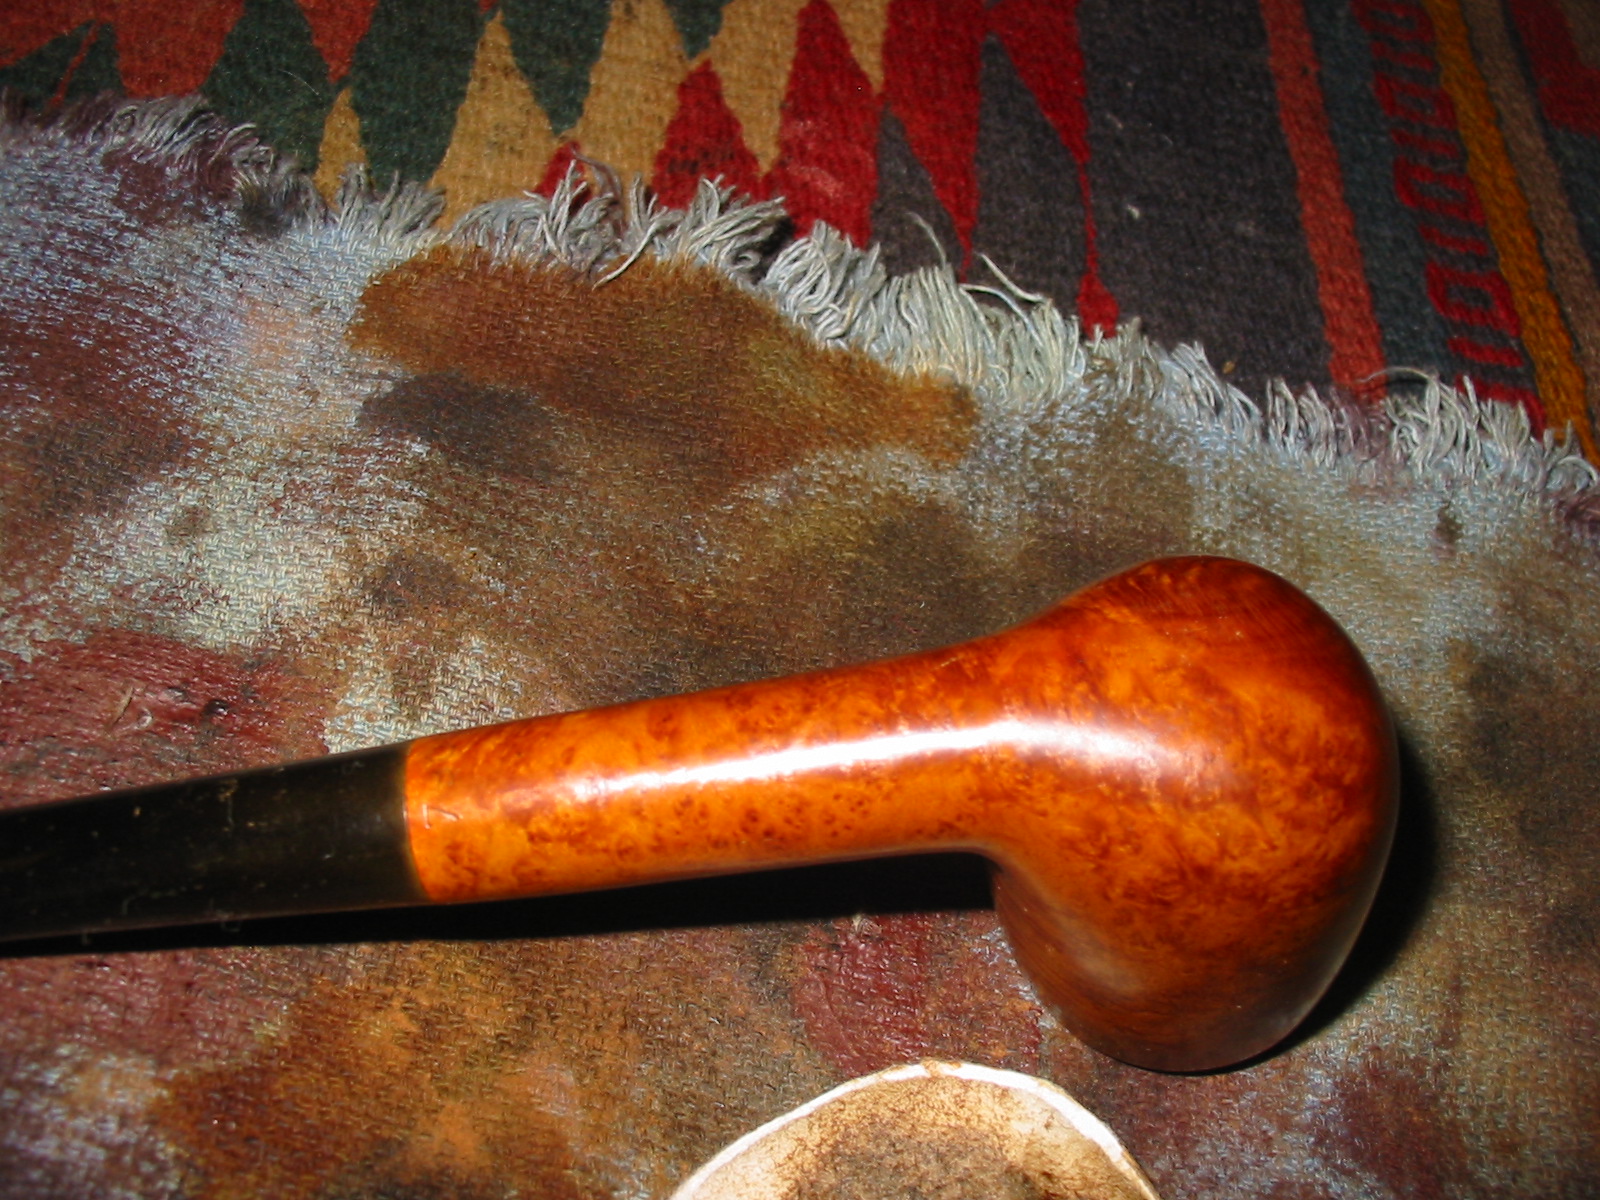
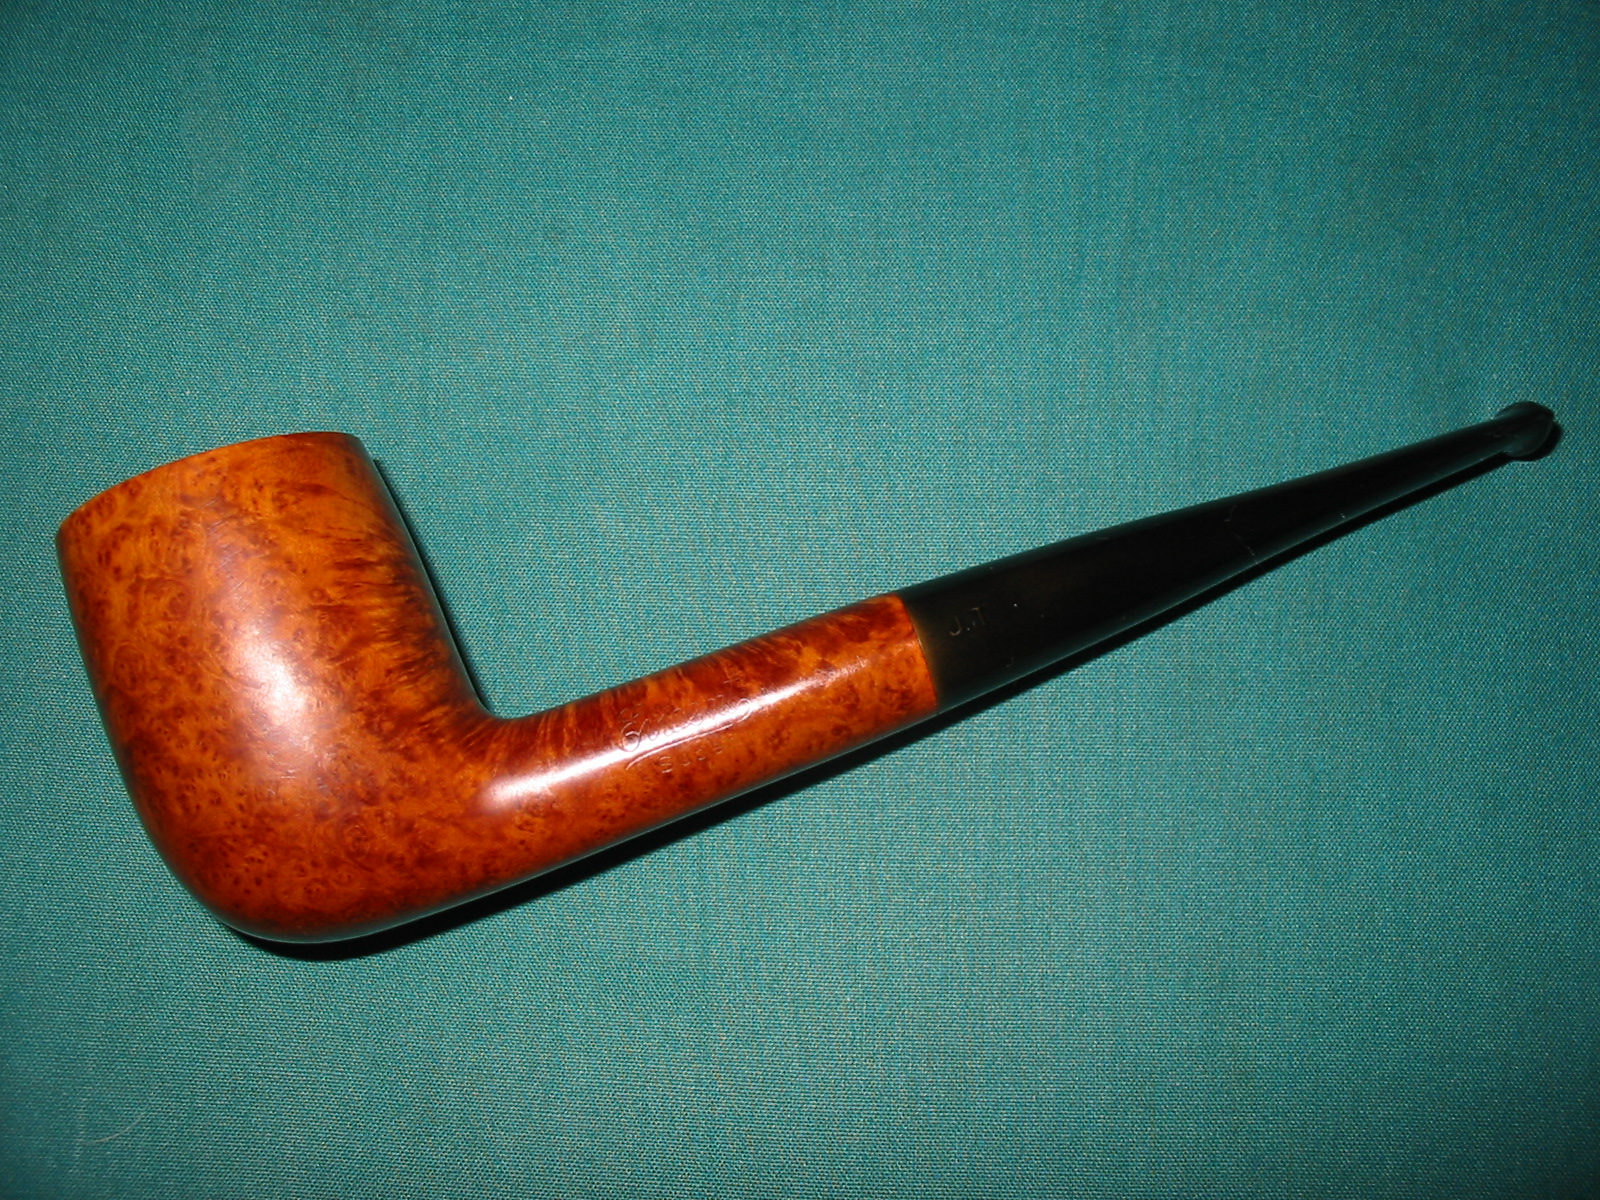
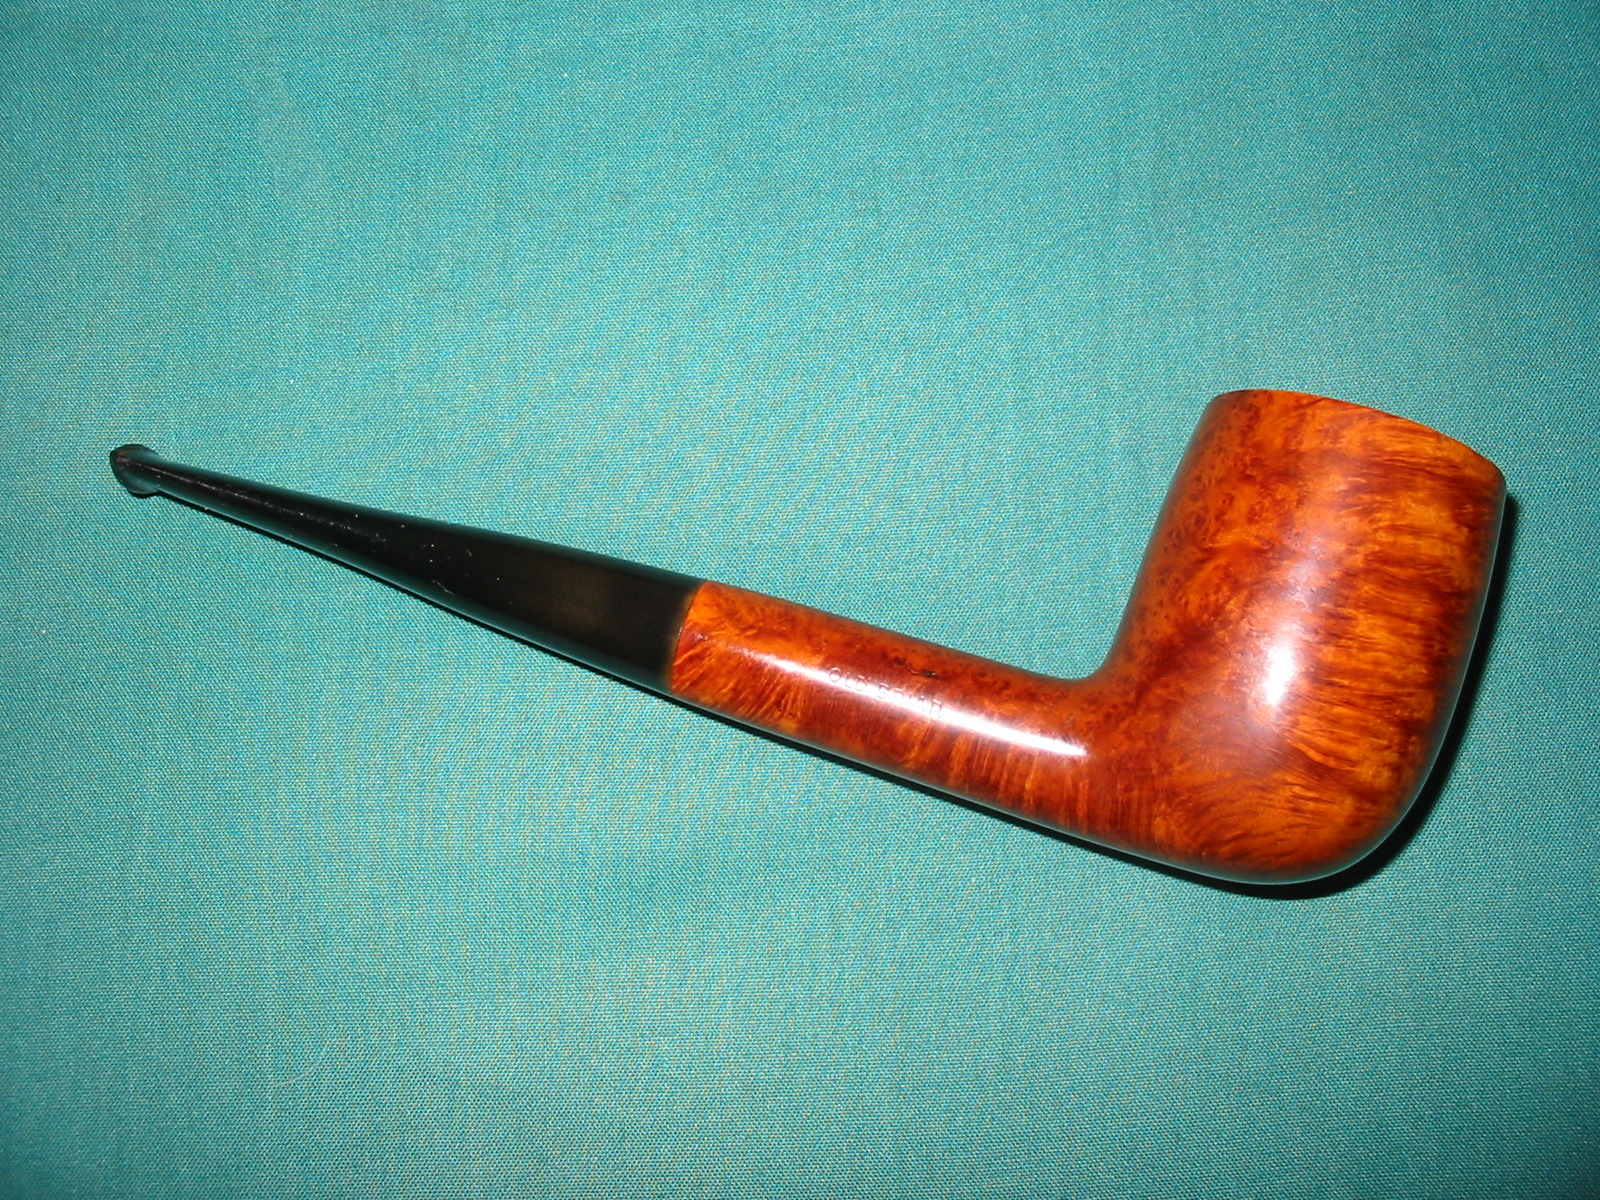
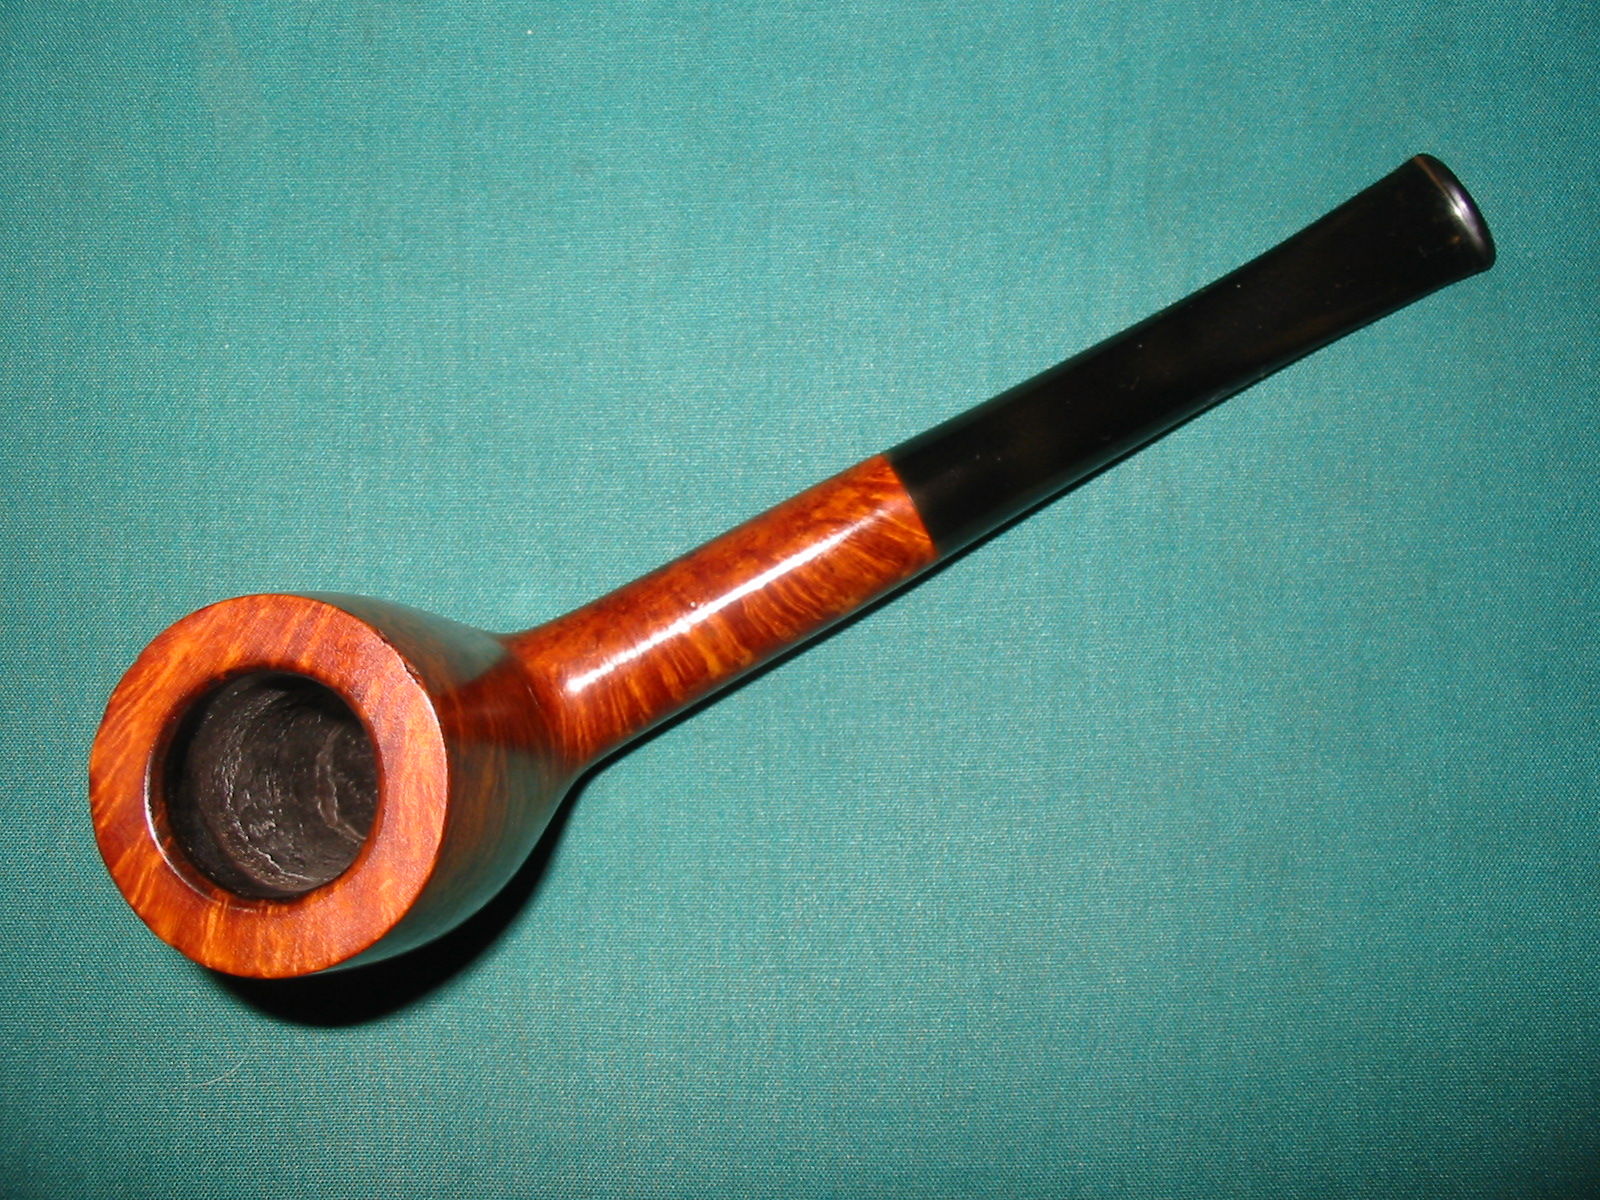
This is yet another of the pipes from the lot of Vancouver Pipe Club pipes that I have been working on. This is not a brand that I have ever heard of and I cannot find any information on the web regarding it. If anyone reading this has any information on the brand please leave a comment and give us a few clues. The pipe is stamped on the left side of the shank Evident in script over Super in block print. On the right side of the shank it is stamped Old Briar. On the underside of the shank next to the stem it is stamped 760. The finish was covered with the standard varnish and the bowl coated with the black rubberized bowl coating. The rim was in very rough shape – the inner bevel was in good shape with minor nicks to it but the outer edge of the bowl had been hammered all around the top. There was also spillage from the bowl coating on the side of the bowl on the back and right side. The stem was clean other than some very minimal tooth chatter near the button. It seems to have a light stamp on the left side – the letters J.T.
IMG_4146

IMG_4147

IMG_4148

IMG_4149

I took some close up photos of the rim and edges of the bowl before and during the time I was topping it to give a clear picture of the damage that had been done to this pipe. The first photo below is a close up of the rim. It was an absolute mess and the edges of the bowl was hammered and broken.
IMG_4150

I set up my topping board and sandpaper and began the process of topping the bowl. I took some photos after I first started to show clearly the edge damage.
IMG_4153

IMG_4154

IMG_4155

IMG_4156

I topped the bowl until the majority of the rim damage was gone. I then used a folded piece of sandpaper to re-bevel the inner edge of the rim. I used a sanding block to smooth out the rough edges that remained after topping the bowl. I decided that if I were to top the bowl to totally remove all of the damage it would change the profile too dramatically so I took the majority of the damage down and then lightly rounded the outer edge of the bowl with the sanding block.
IMG_4157

I wiped the bowl down with acetone on cotton pads to remove the varnish, bowl coating spillage and old stain. I reamed the pipe with the PipNet reamer to remove the black bowl coating and cleaned up the inside of the bowl with some Everclear.
IMG_4158

IMG_4159

IMG_4160

IMG_4161

As mentioned before I have been using a MinWax Medium Walnut stain as it is quick and easy to use on these pipes that I am working through for the club. It does a great job, the colour matches the old original stain quite well and it is a simple application – rub on and off. Each successive coat adds depth and richness to the final colour.
IMG_4162

IMG_4163

IMG_4164

IMG_4165

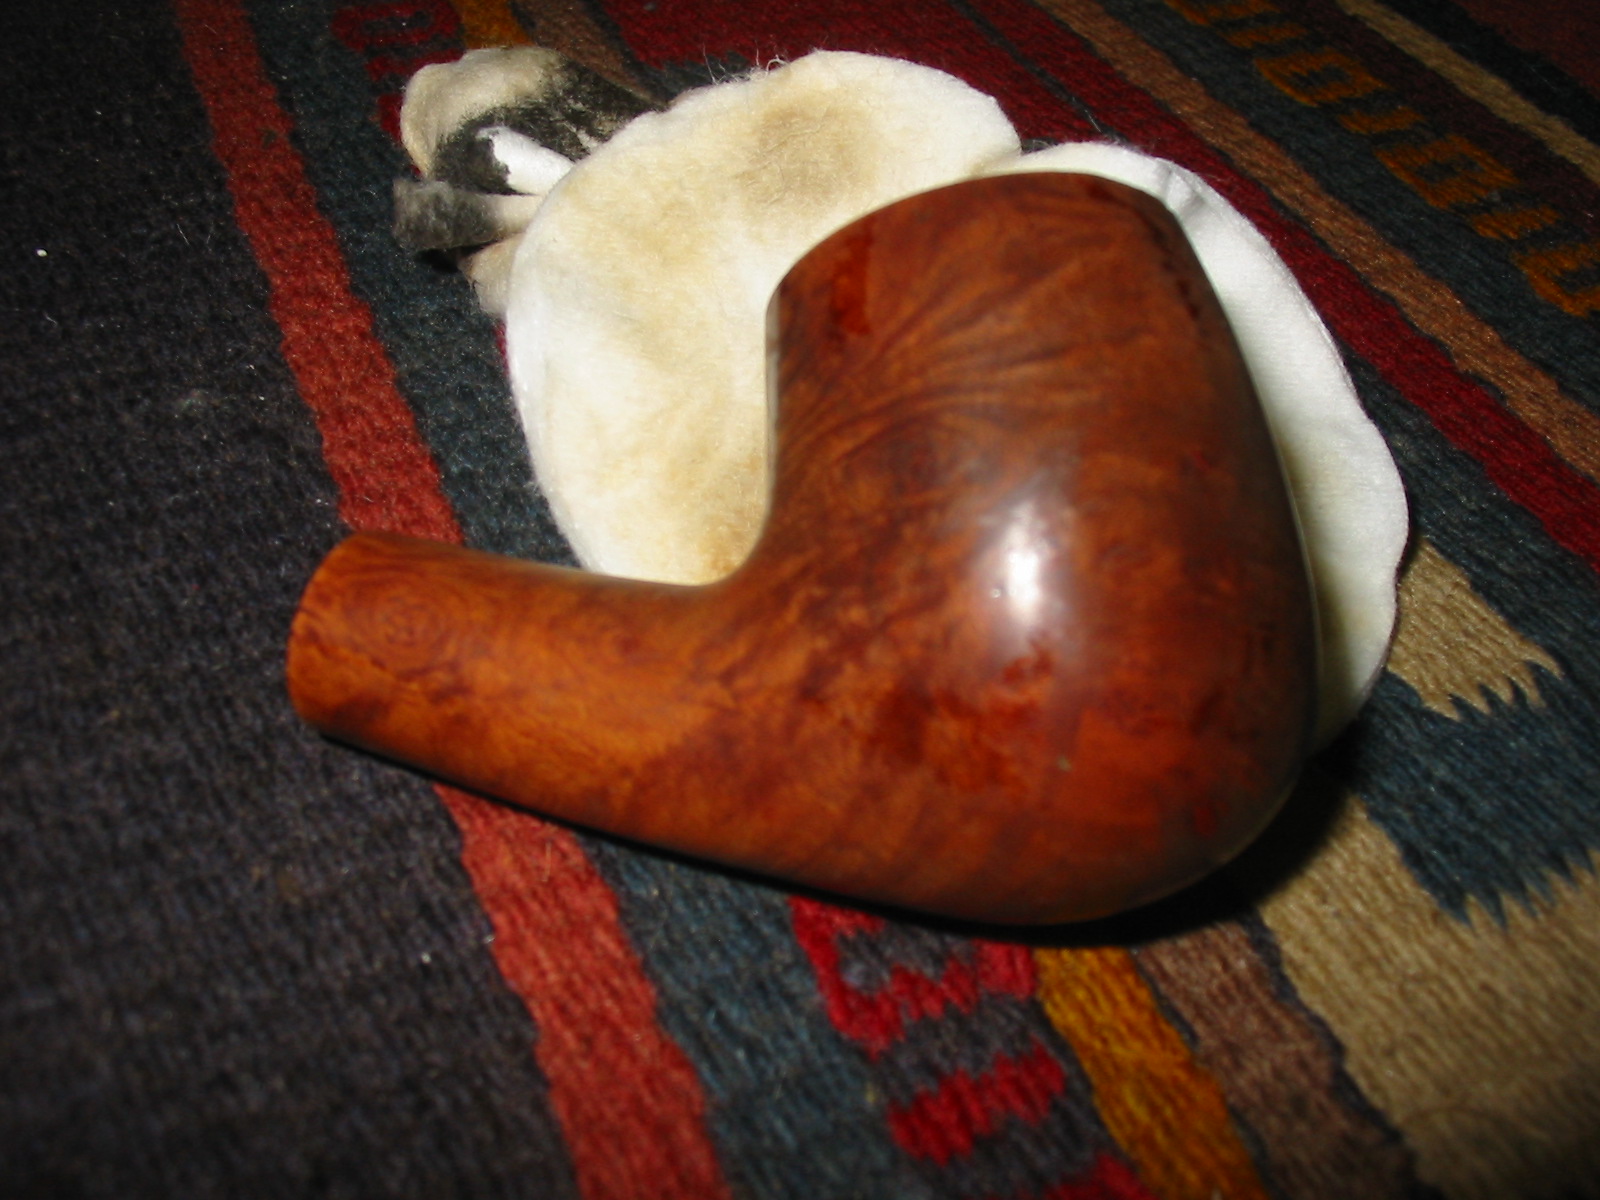
I sanded the tooth chatter on the stem to remove it and sanded it with micromesh sanding pads to polish the stem. I took the pipe to the buffer and buffed the bowl and stem with red Tripoli and then White Diamond. Once I had finished I rubbed the stem down with Obsidian Oil and rubbed it into the vulcanite. I buffed the stem and bowl one last time with White Diamond and then gave it multiple coats of carnauba wax. I finished with a soft flannel buff on the wheel. The finished pipe is shown in the photos below. It is ready to join the other finished pipes in the box of pipes for the Pipe Club. I look forward to seeing what they do with the lot.
IMG_4167

IMG_4169

IMG_4170

IMG_4171