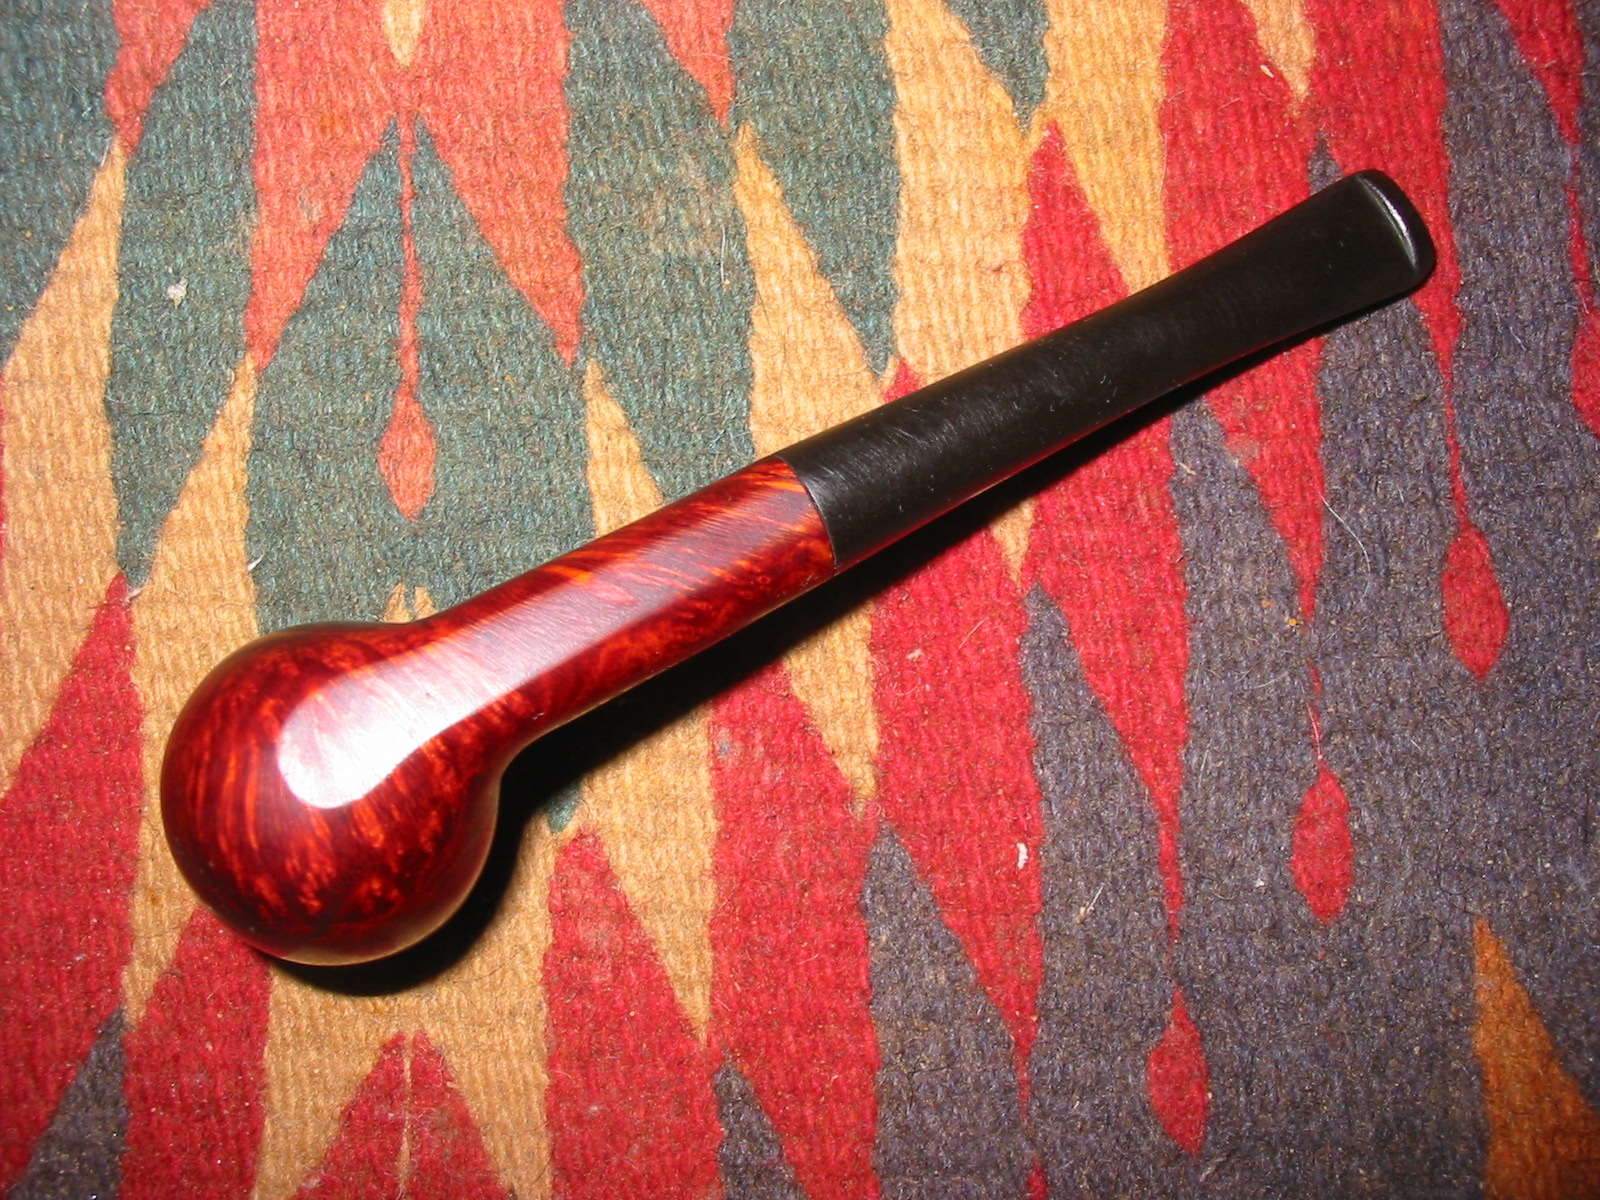
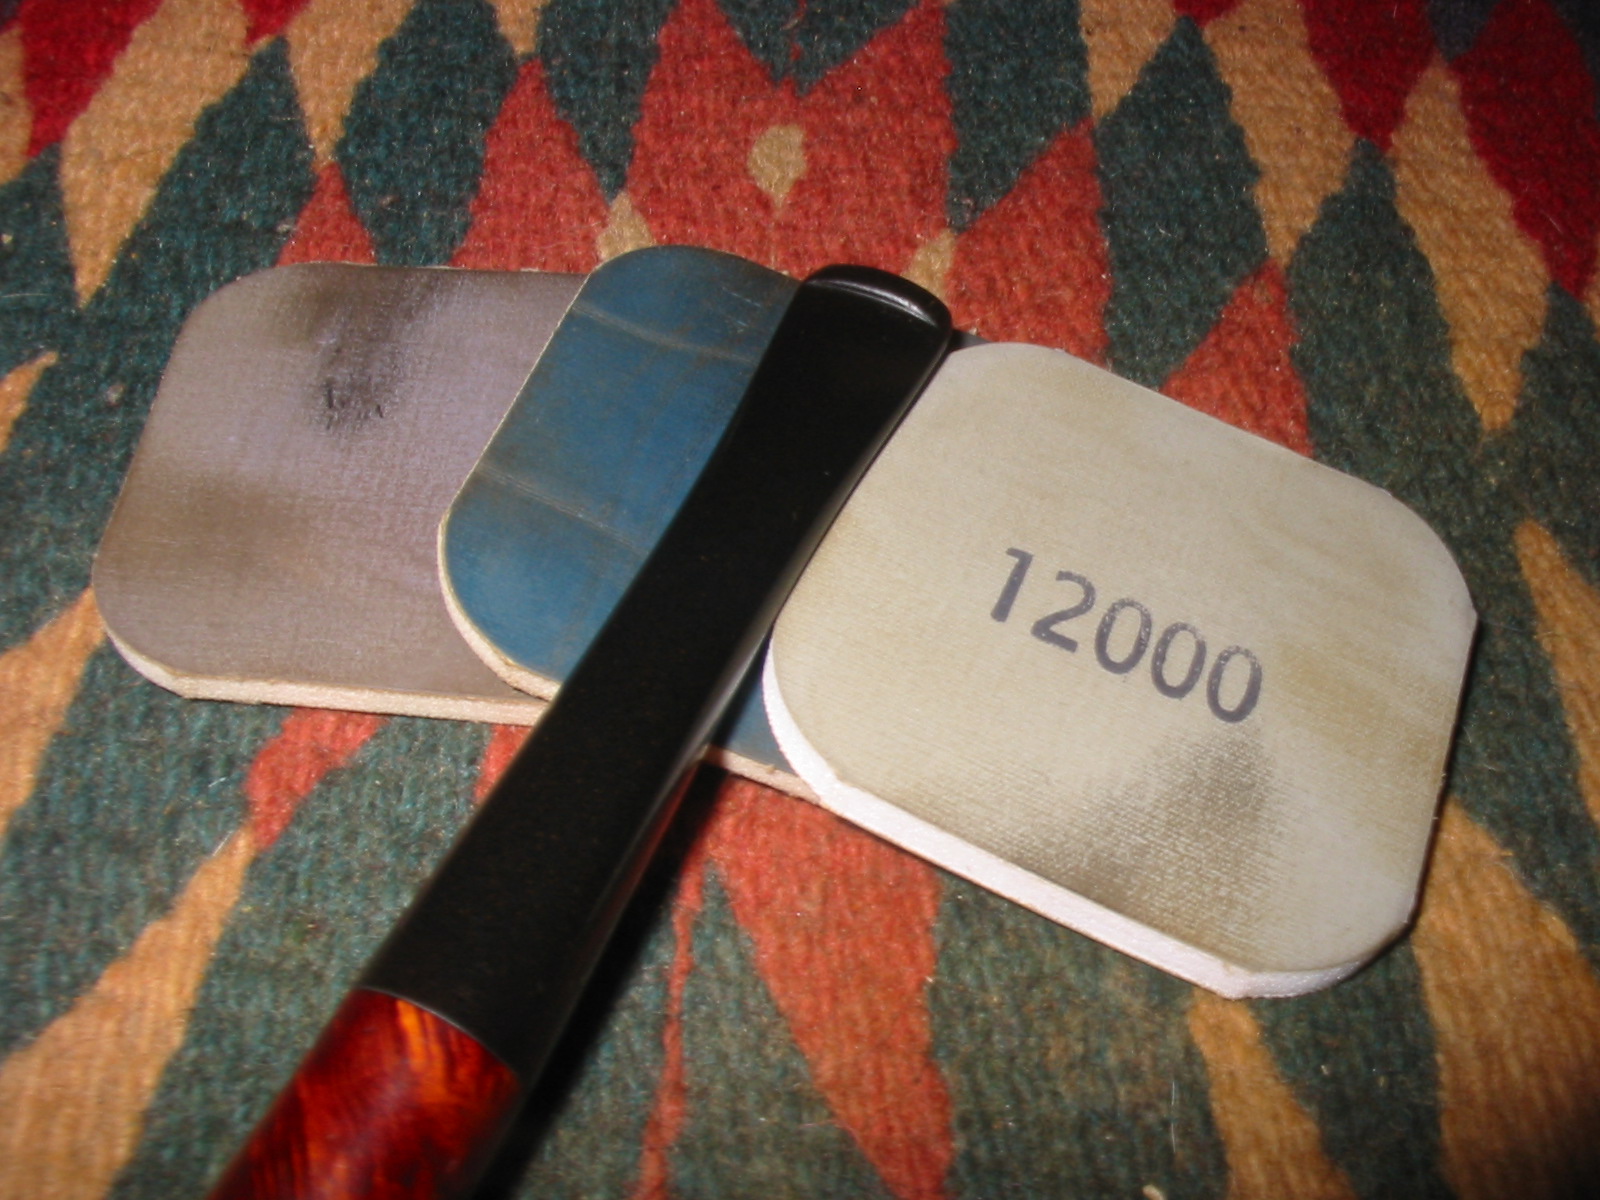
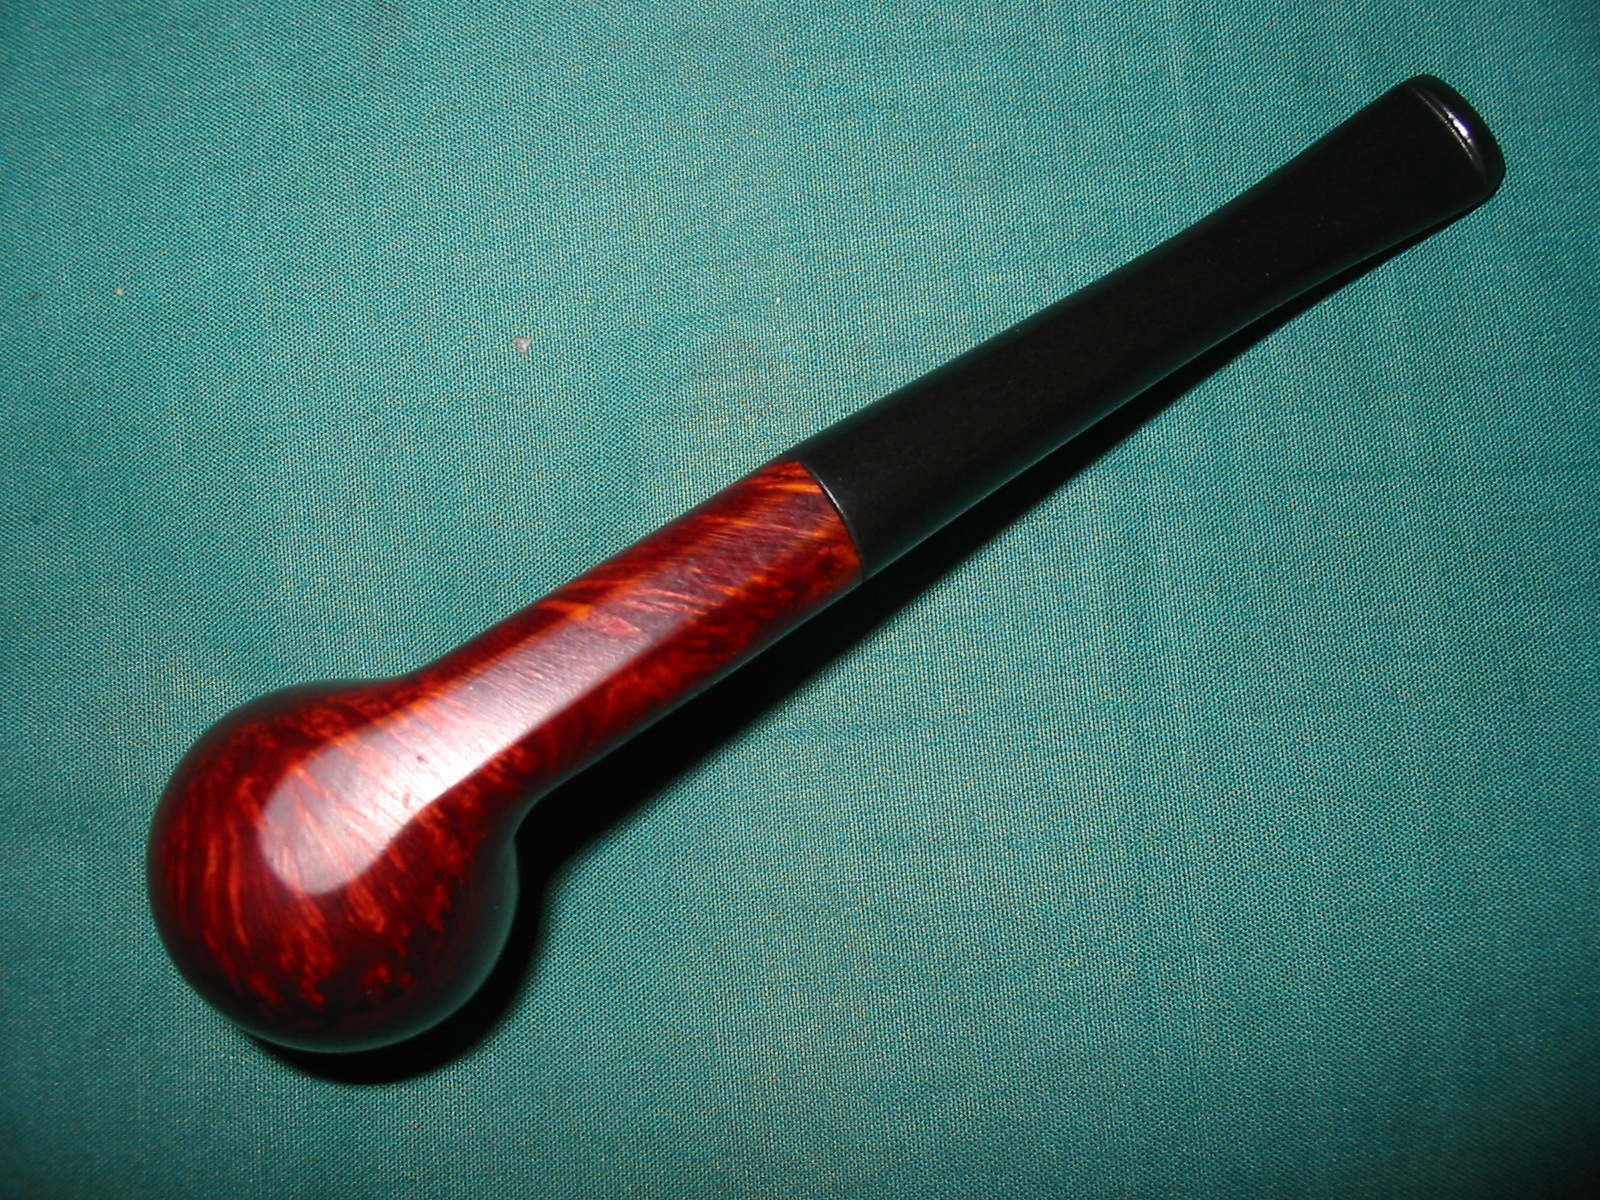
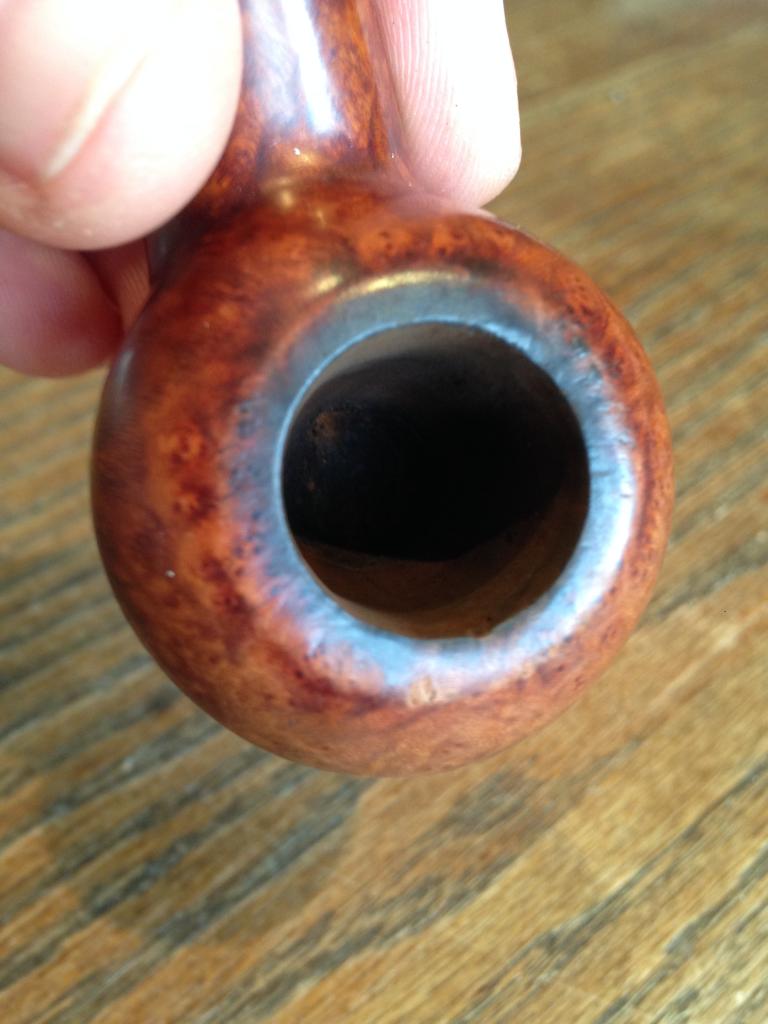
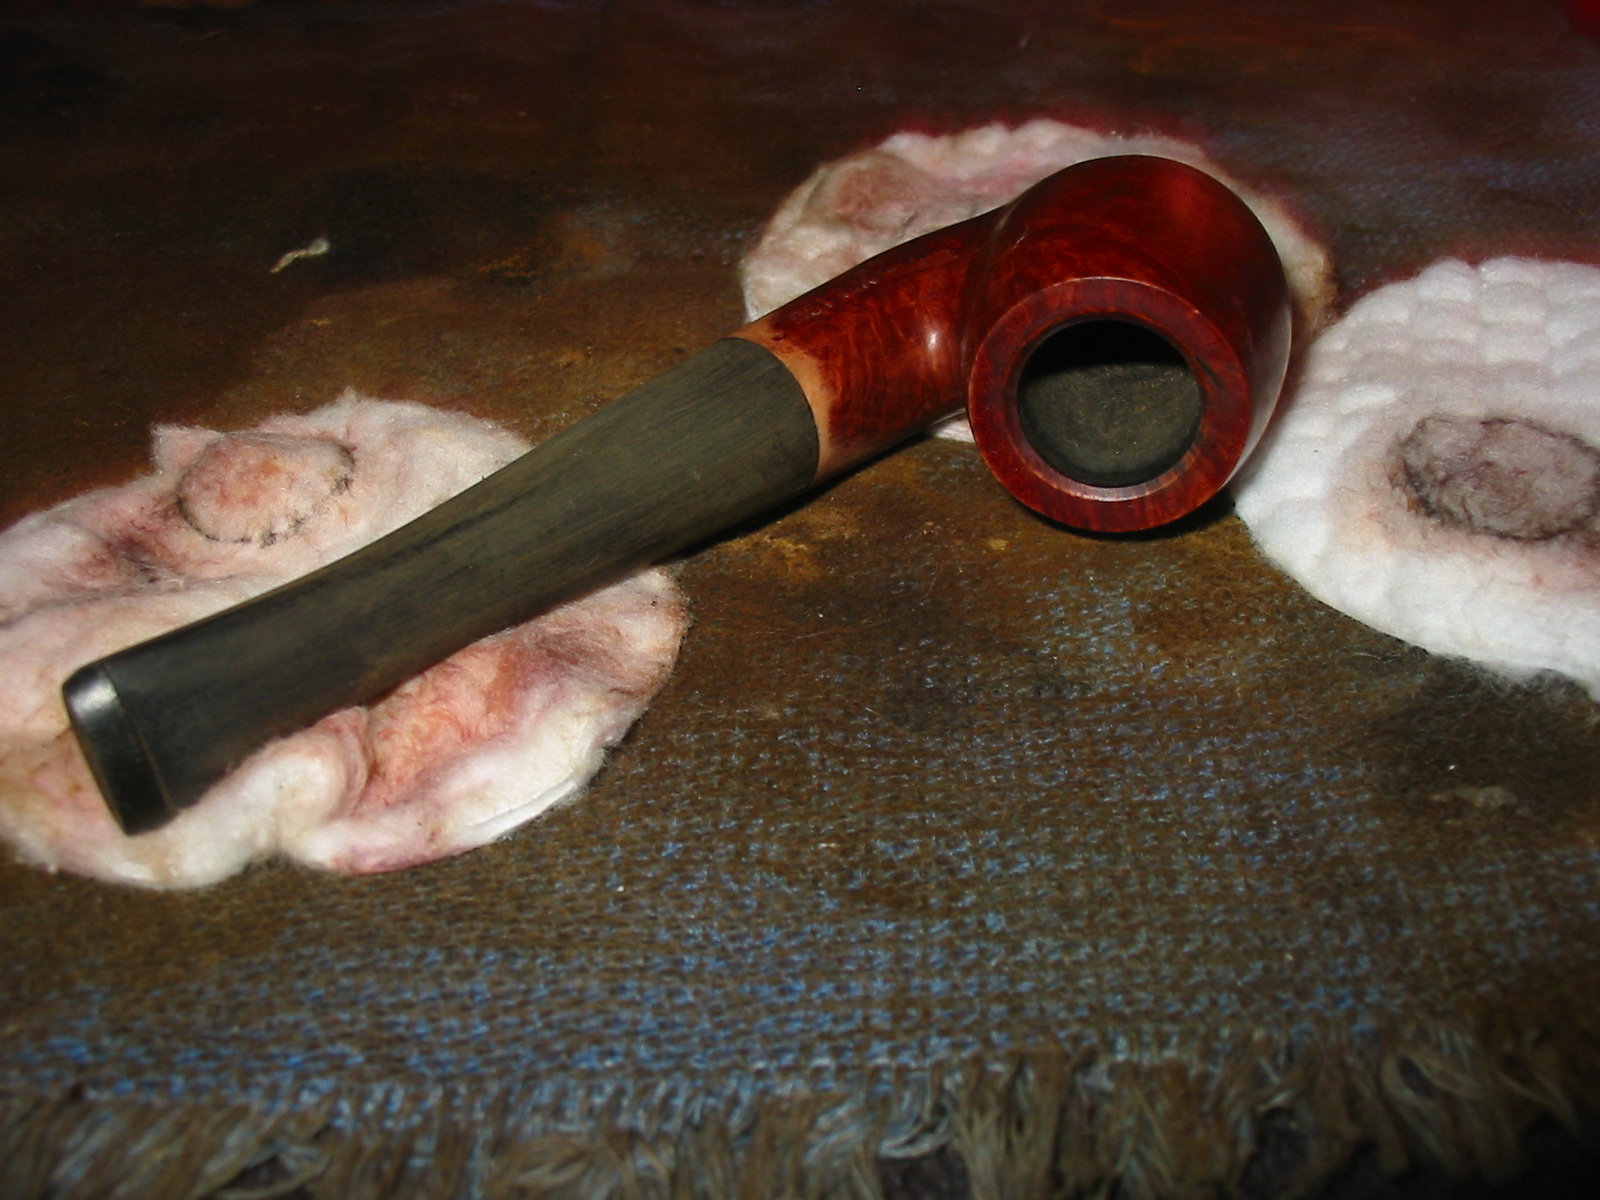
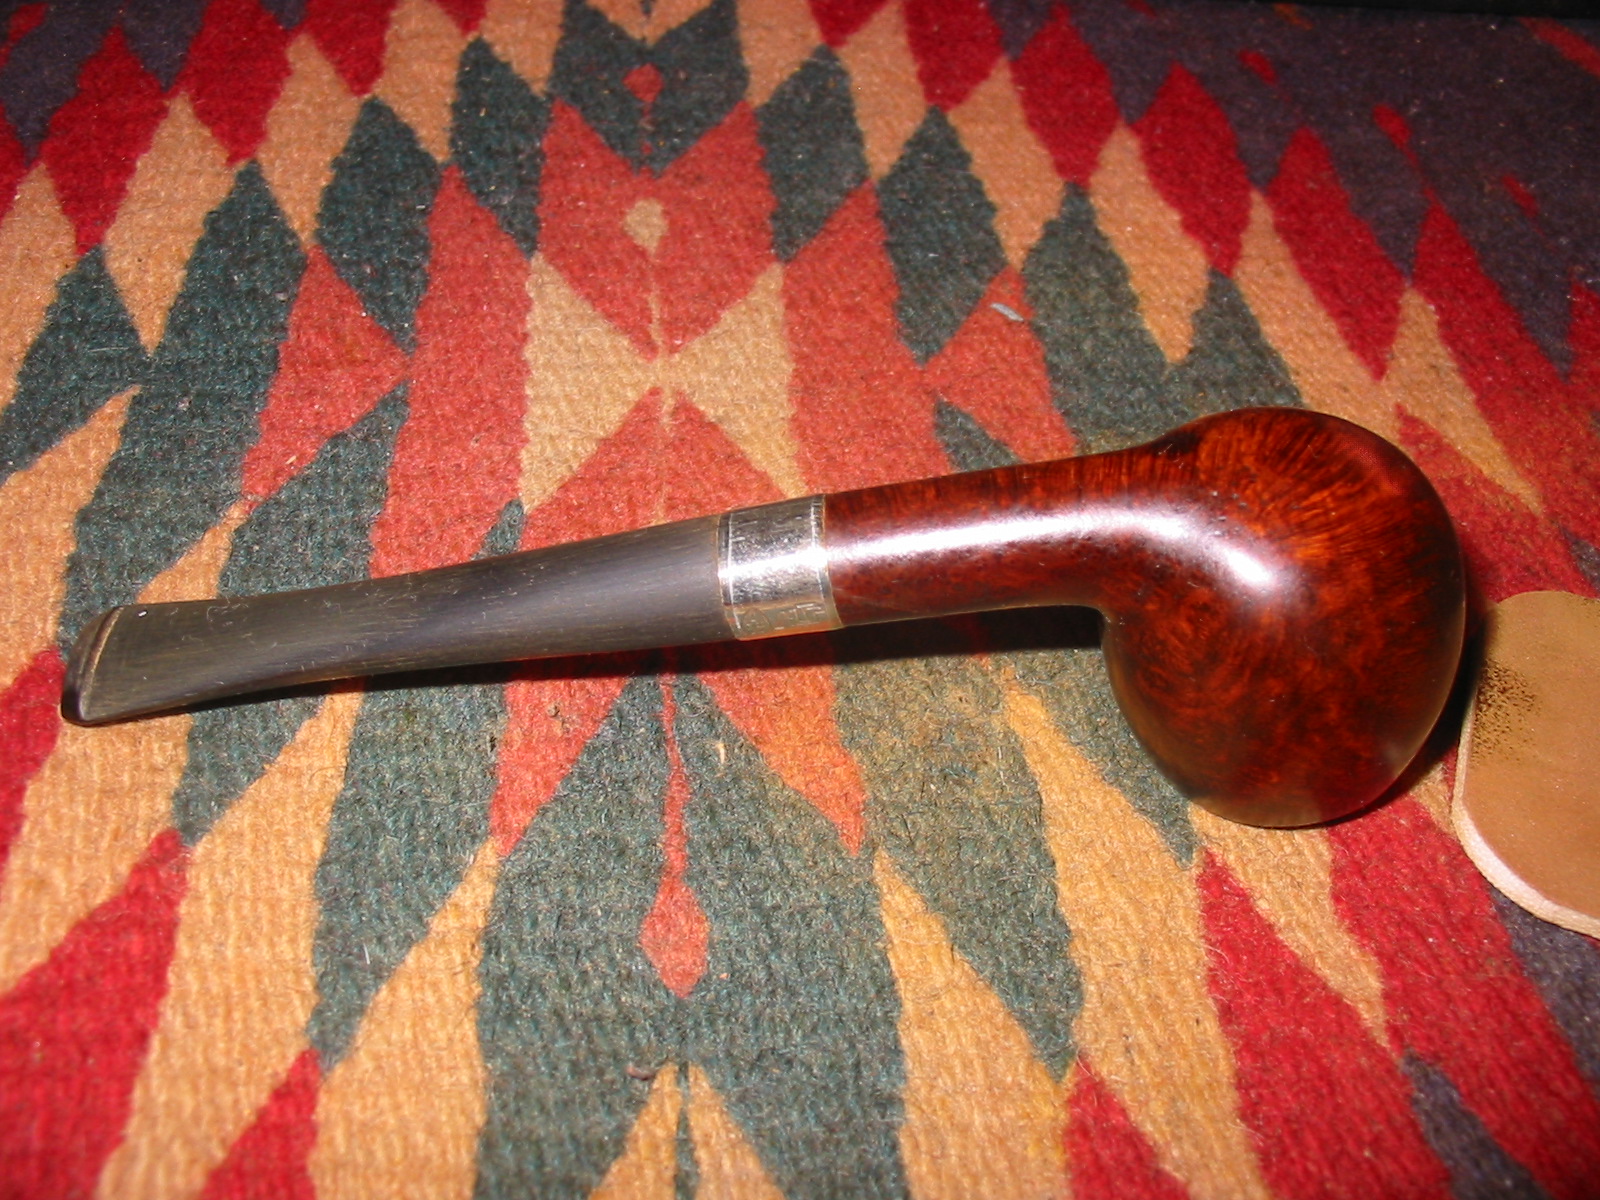
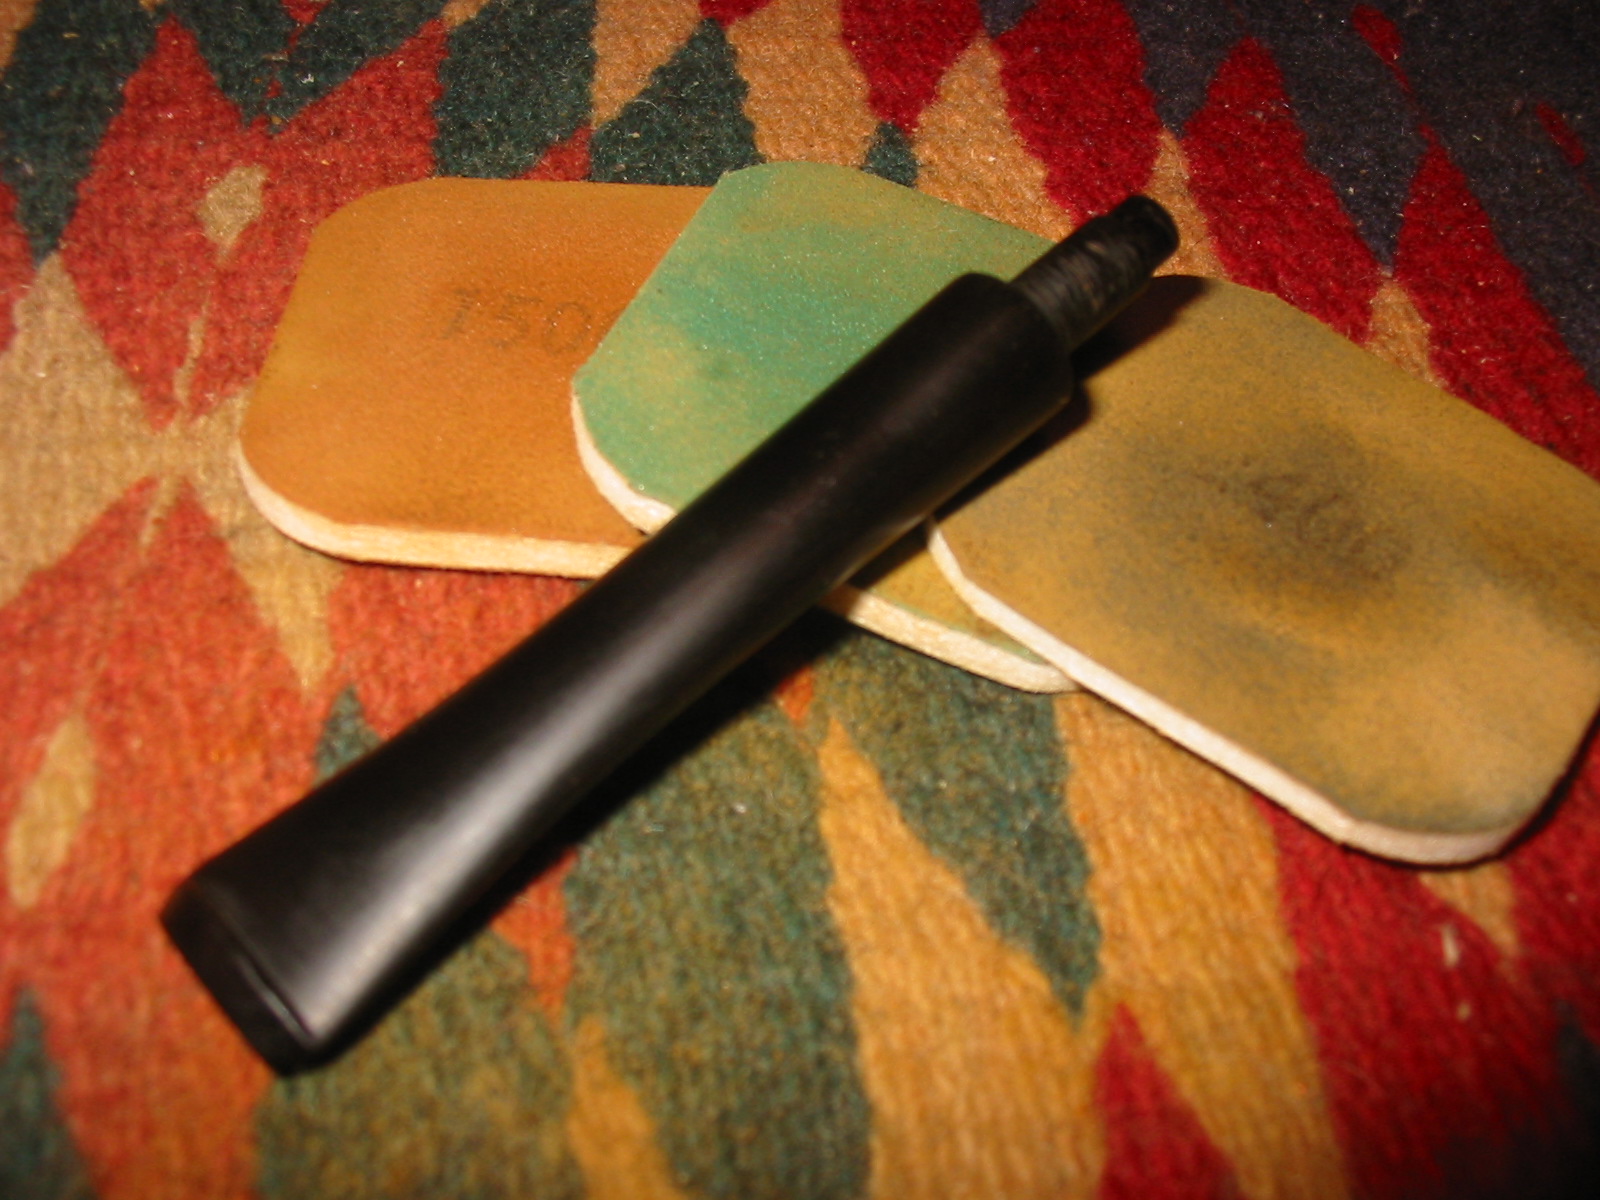
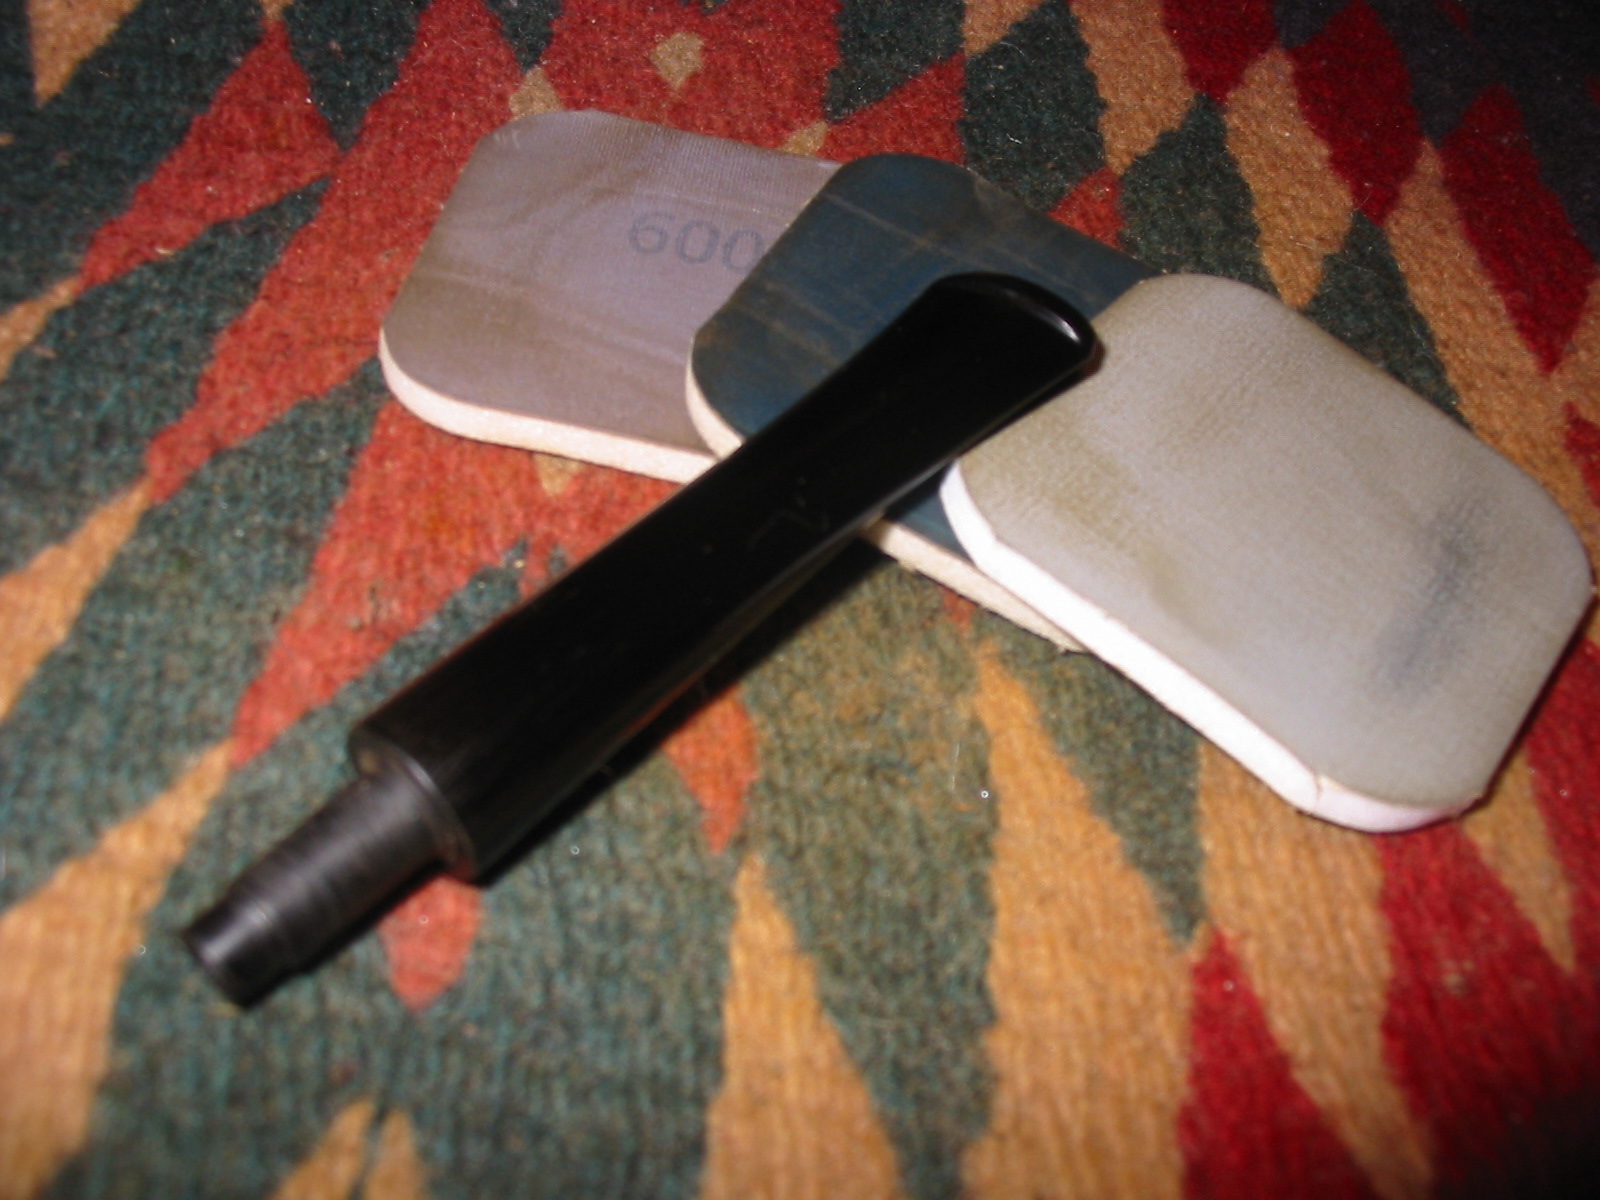
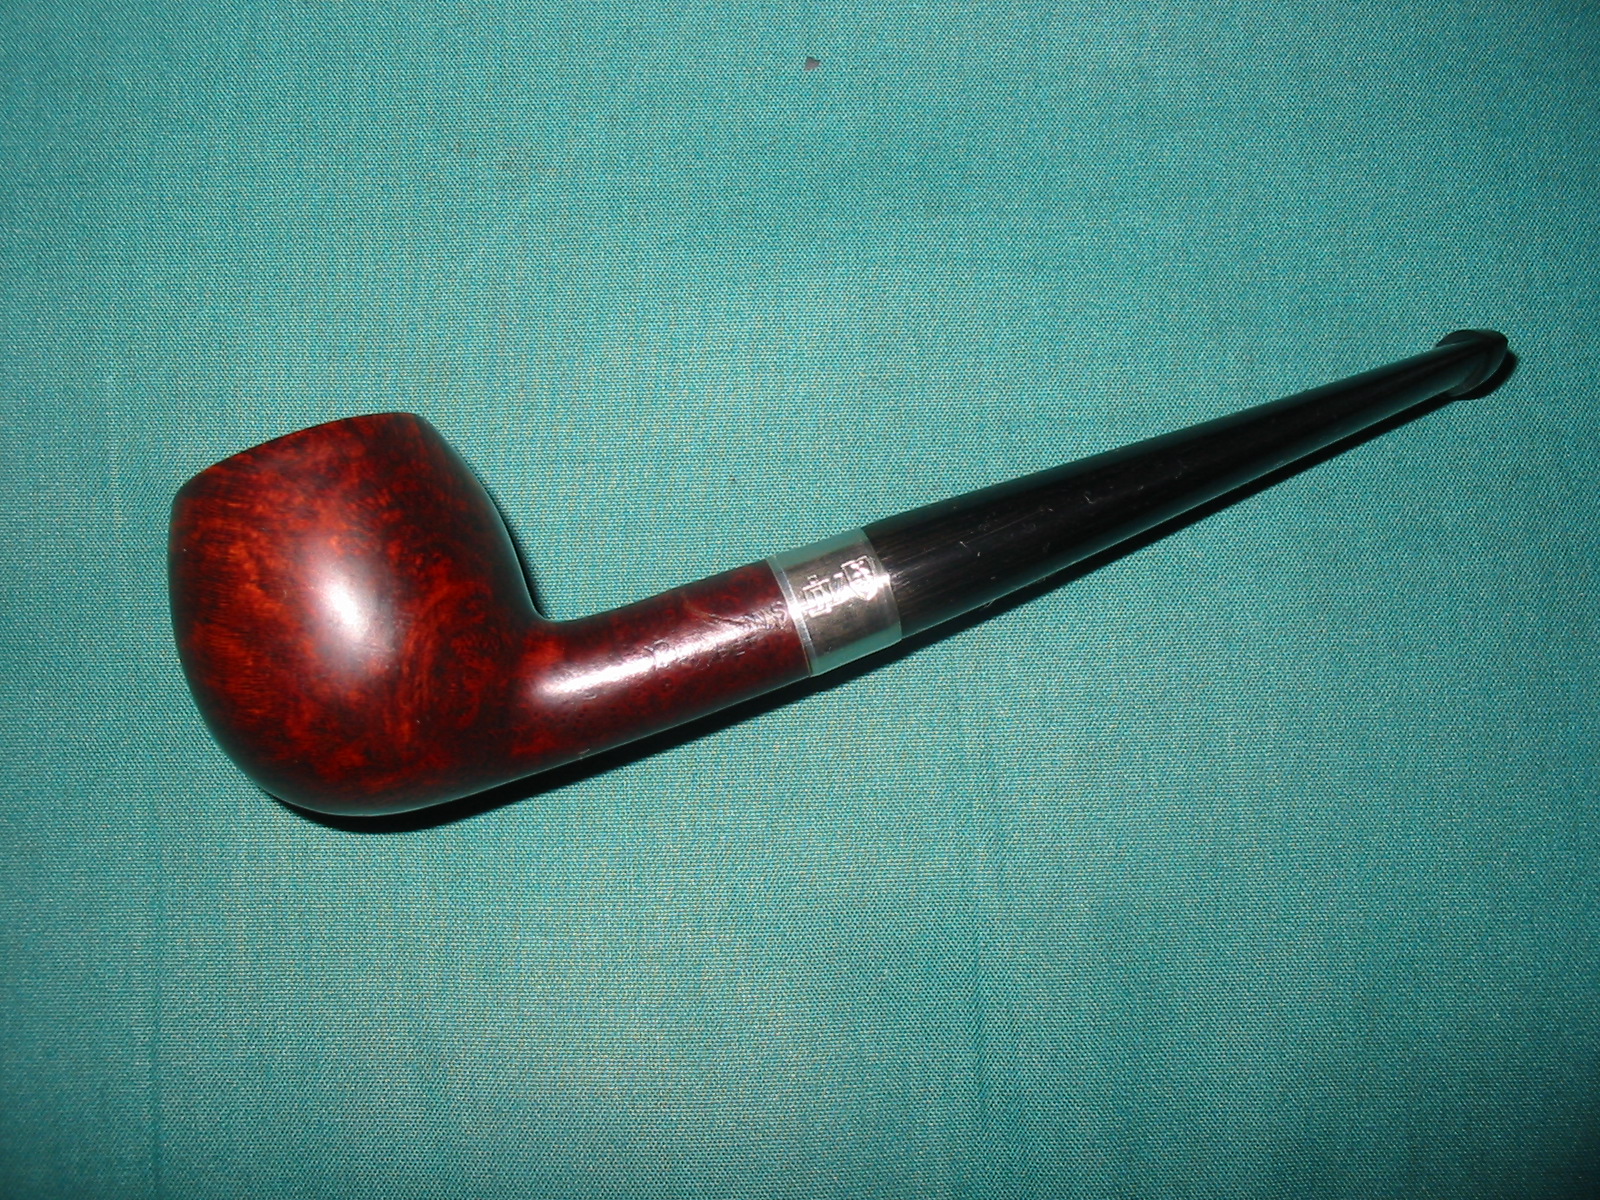
Tag Archives: stem work

Thanks to Father Tom I have a Base for the Yello-Bole Airograte Bowls


Blog by Steve Laug

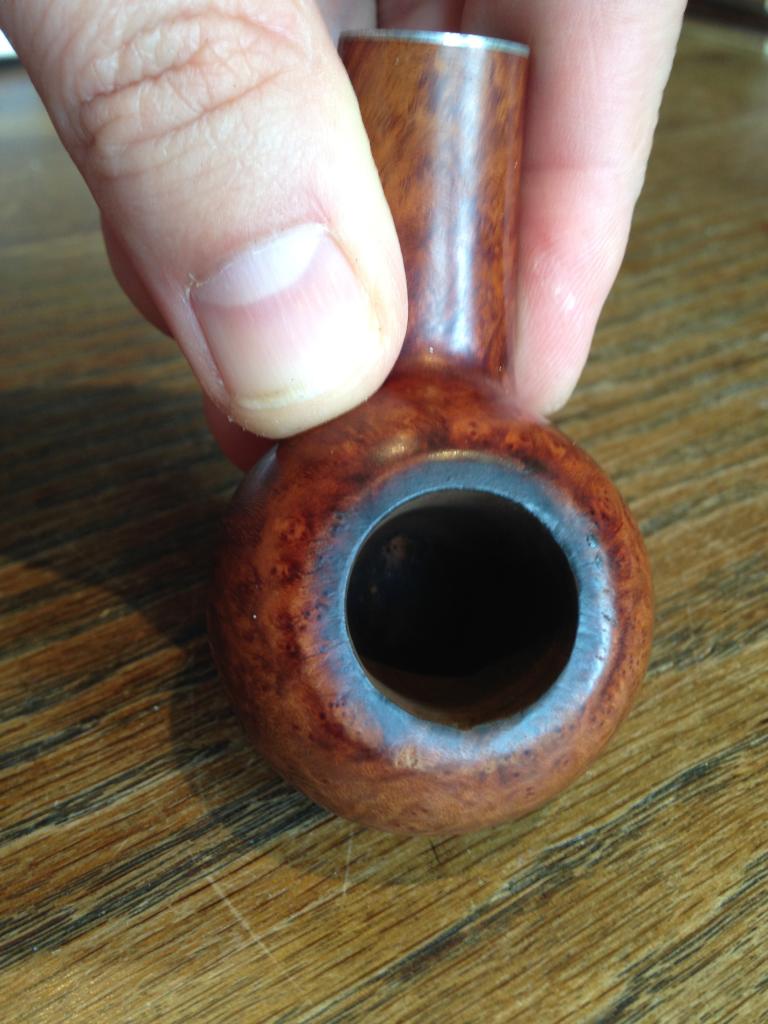
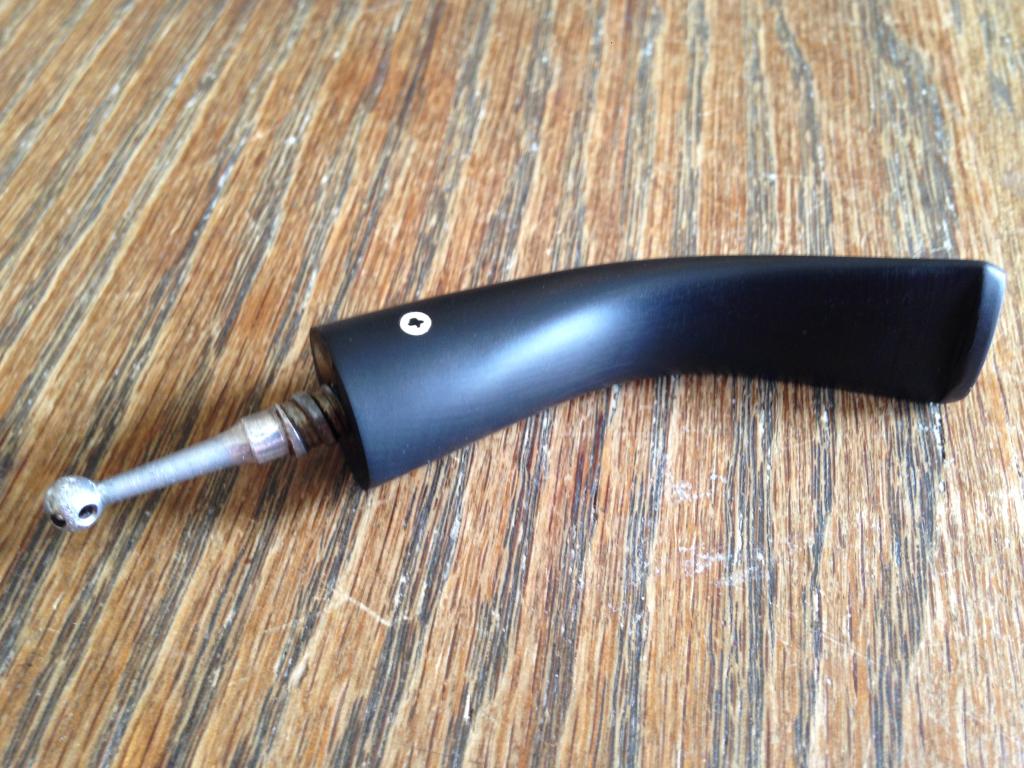
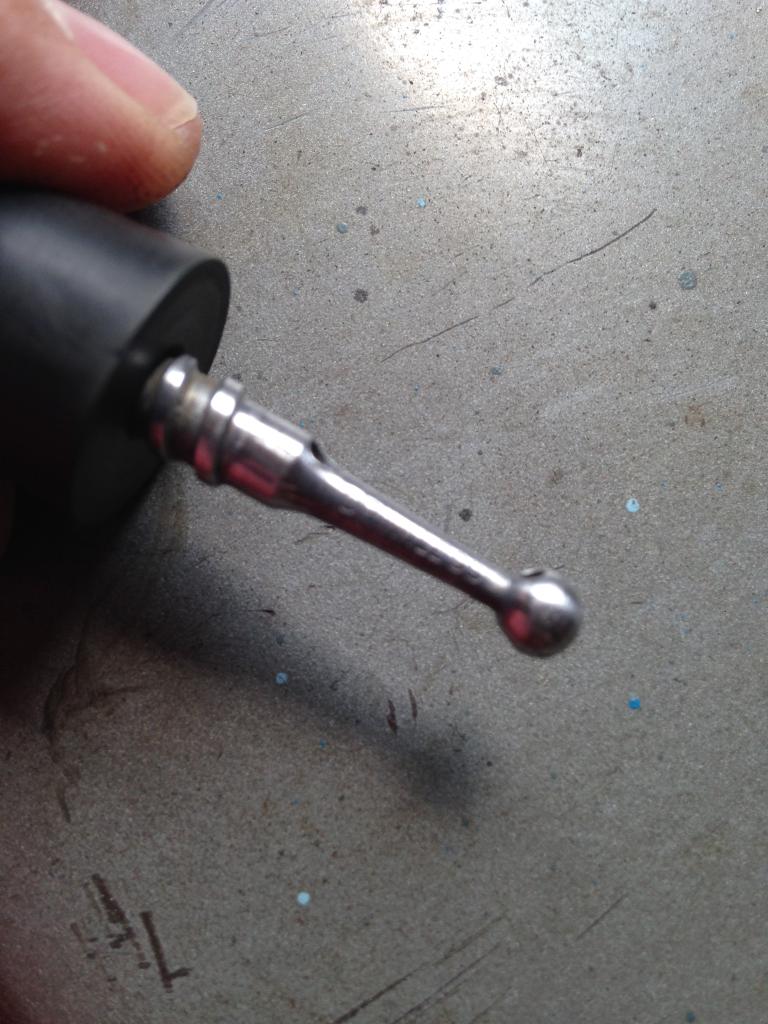
Those of you who have followed the blog for a long time will get the irony of the title. I have written quite a few Father Tom stories over the years and have had them on the blog. I am hoping that a book of these stories will be published in the near future. Anyway on the Pipe Smokers Unlimited Forum I posted that I was looking for a base unit/stem for some Yello-Bole Airograte pipe bowls that I had been gifted. I had refurbished the bowls and written of them here on the blog: https://rebornpipes.com/2014/07/17/restoring-a-couple-of-yello-bole-airograte-bowls/ Father Tom sent me a private message saying that he had one and would be glad to send it to me. We exchanged a few messages and settled on a trade. Last evening when I got home from work I was greeted by a package from him. The pipe had arrived. He had put a Grabow Viking bowl on the stem just for traveling and when I opened the box and removed the pipe from the wrappings I was excited to get to work on it. I removed the Grabow bowl and went to work cleaning the stem. I used pipe cleaners, cotton swabs and isopropyl alcohol to remove the buildup from the bottom of the base and the dental pick to clean out the threads.
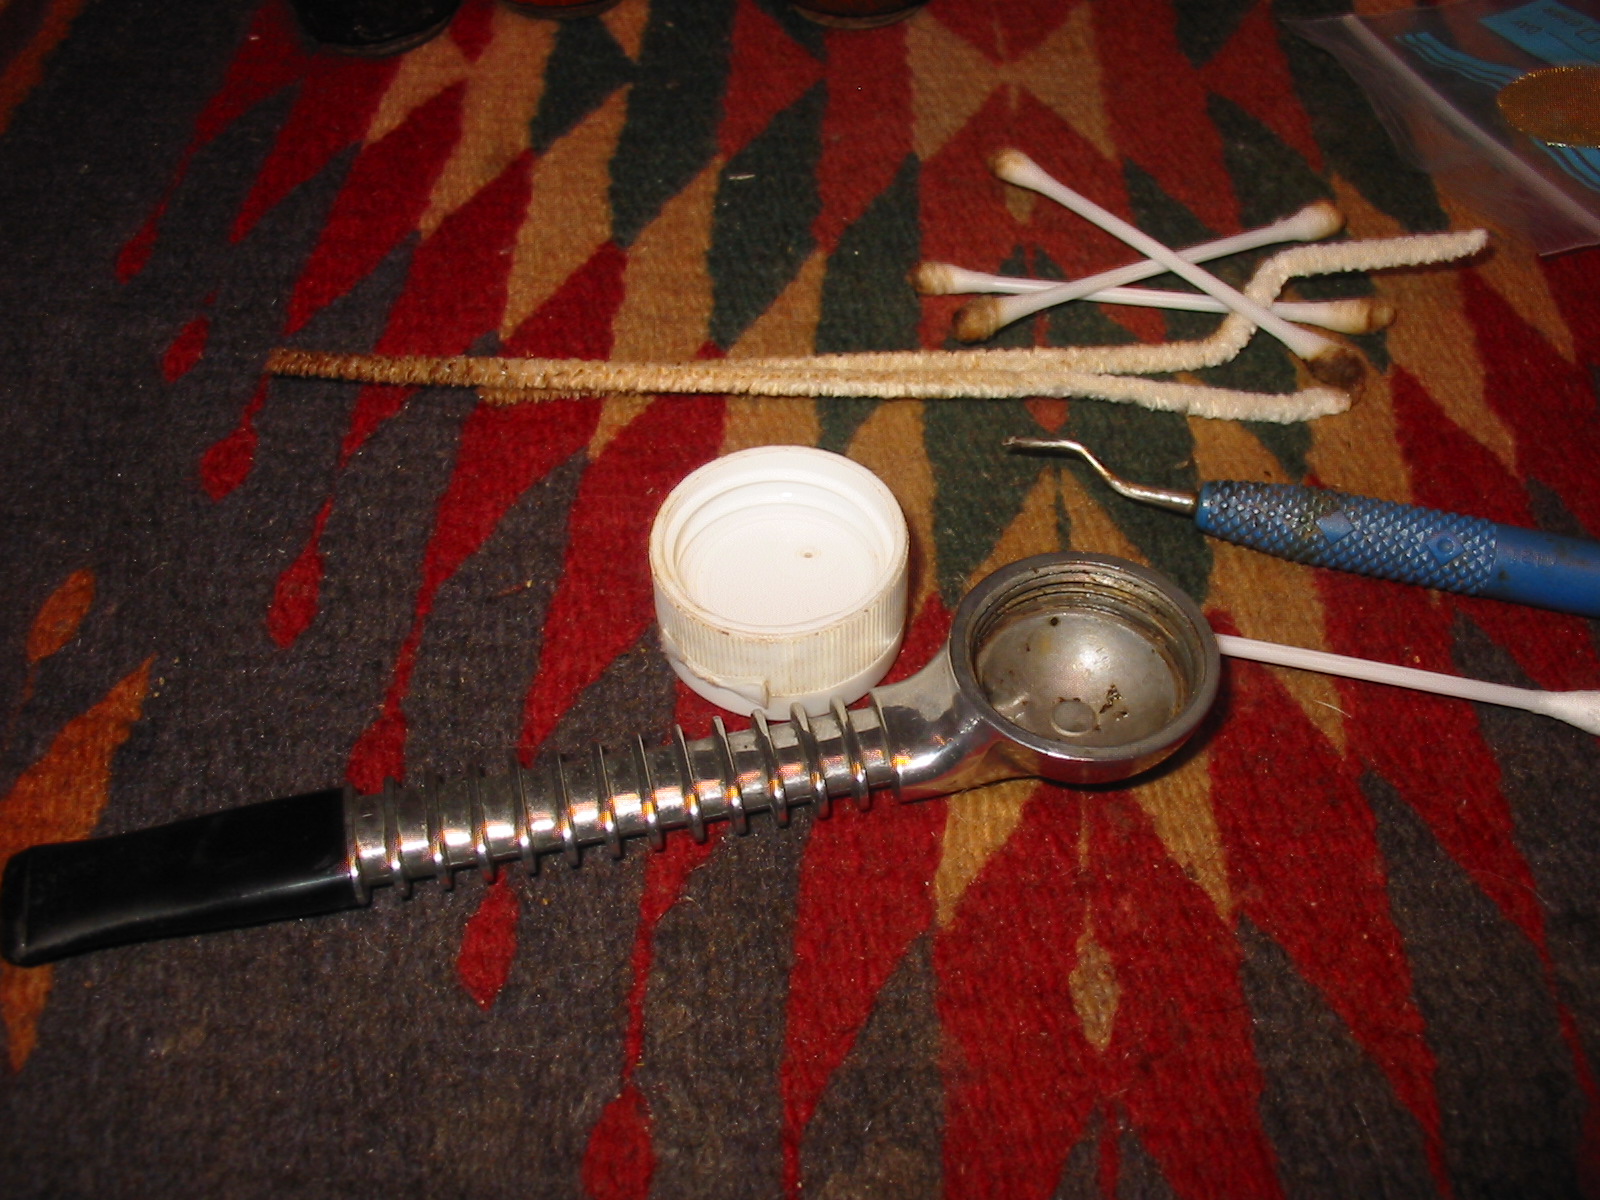
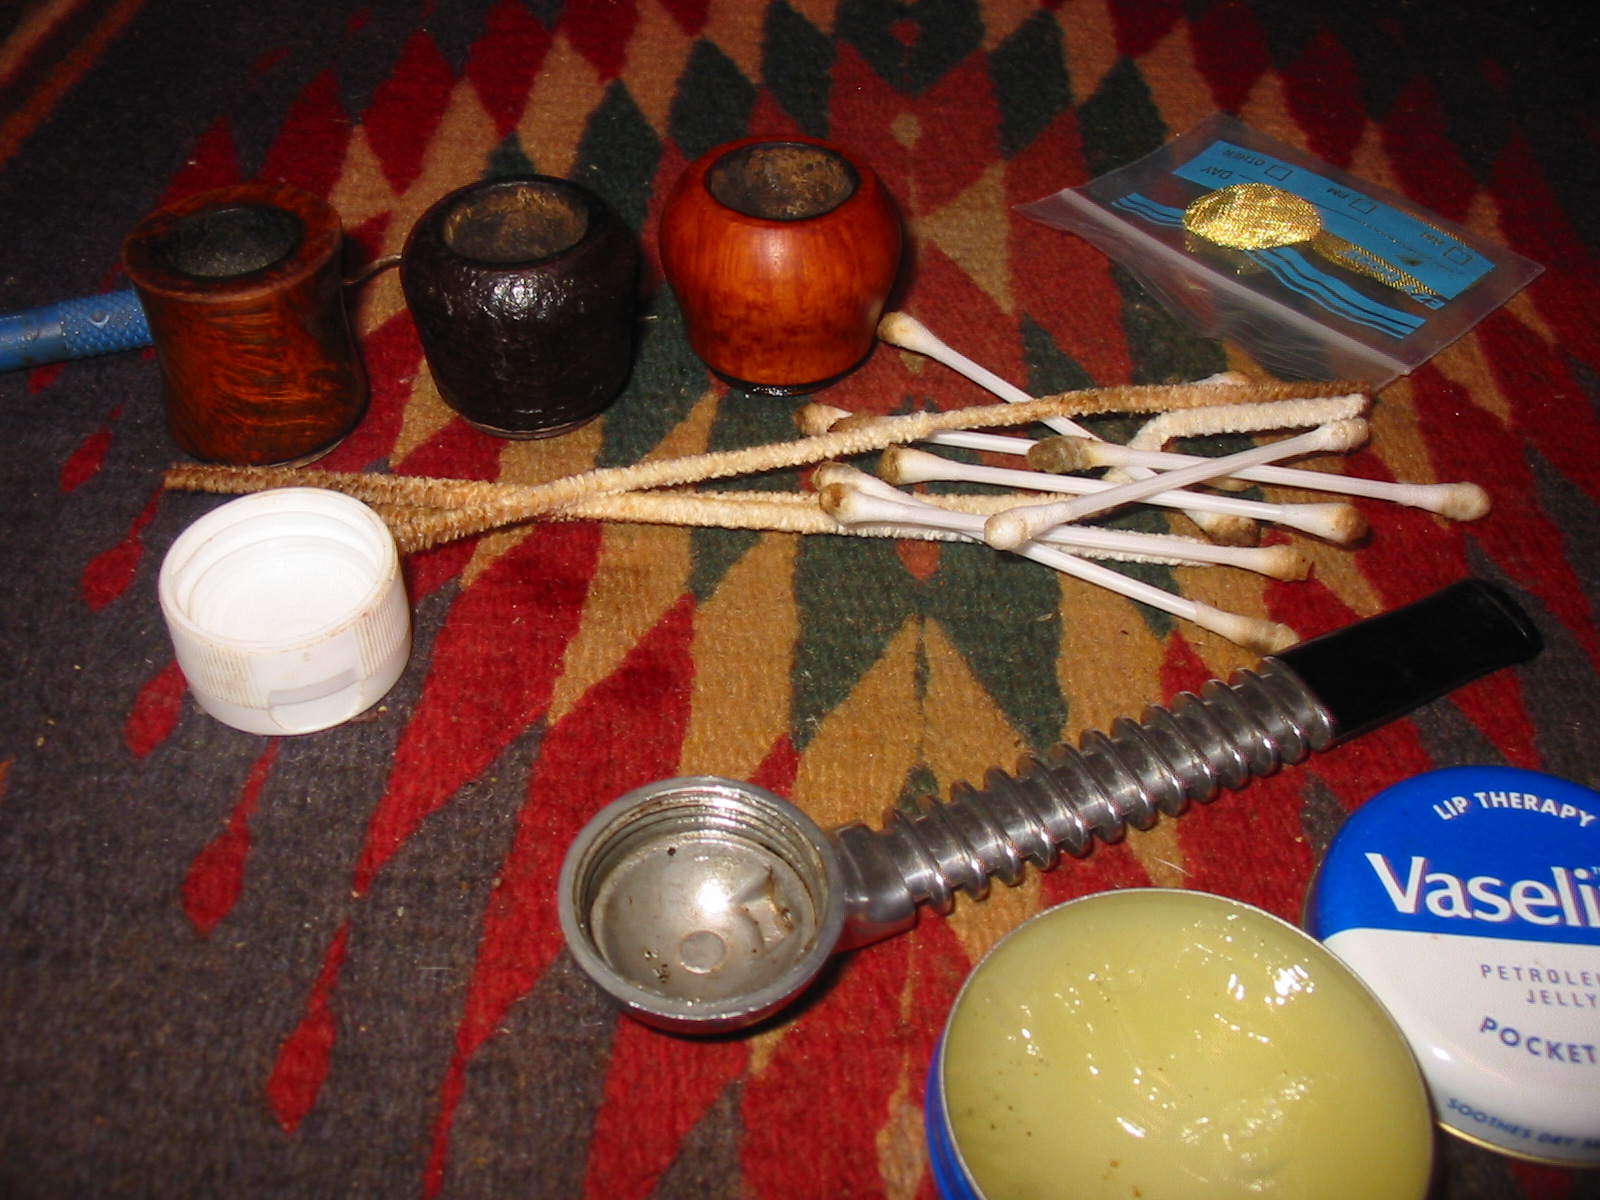
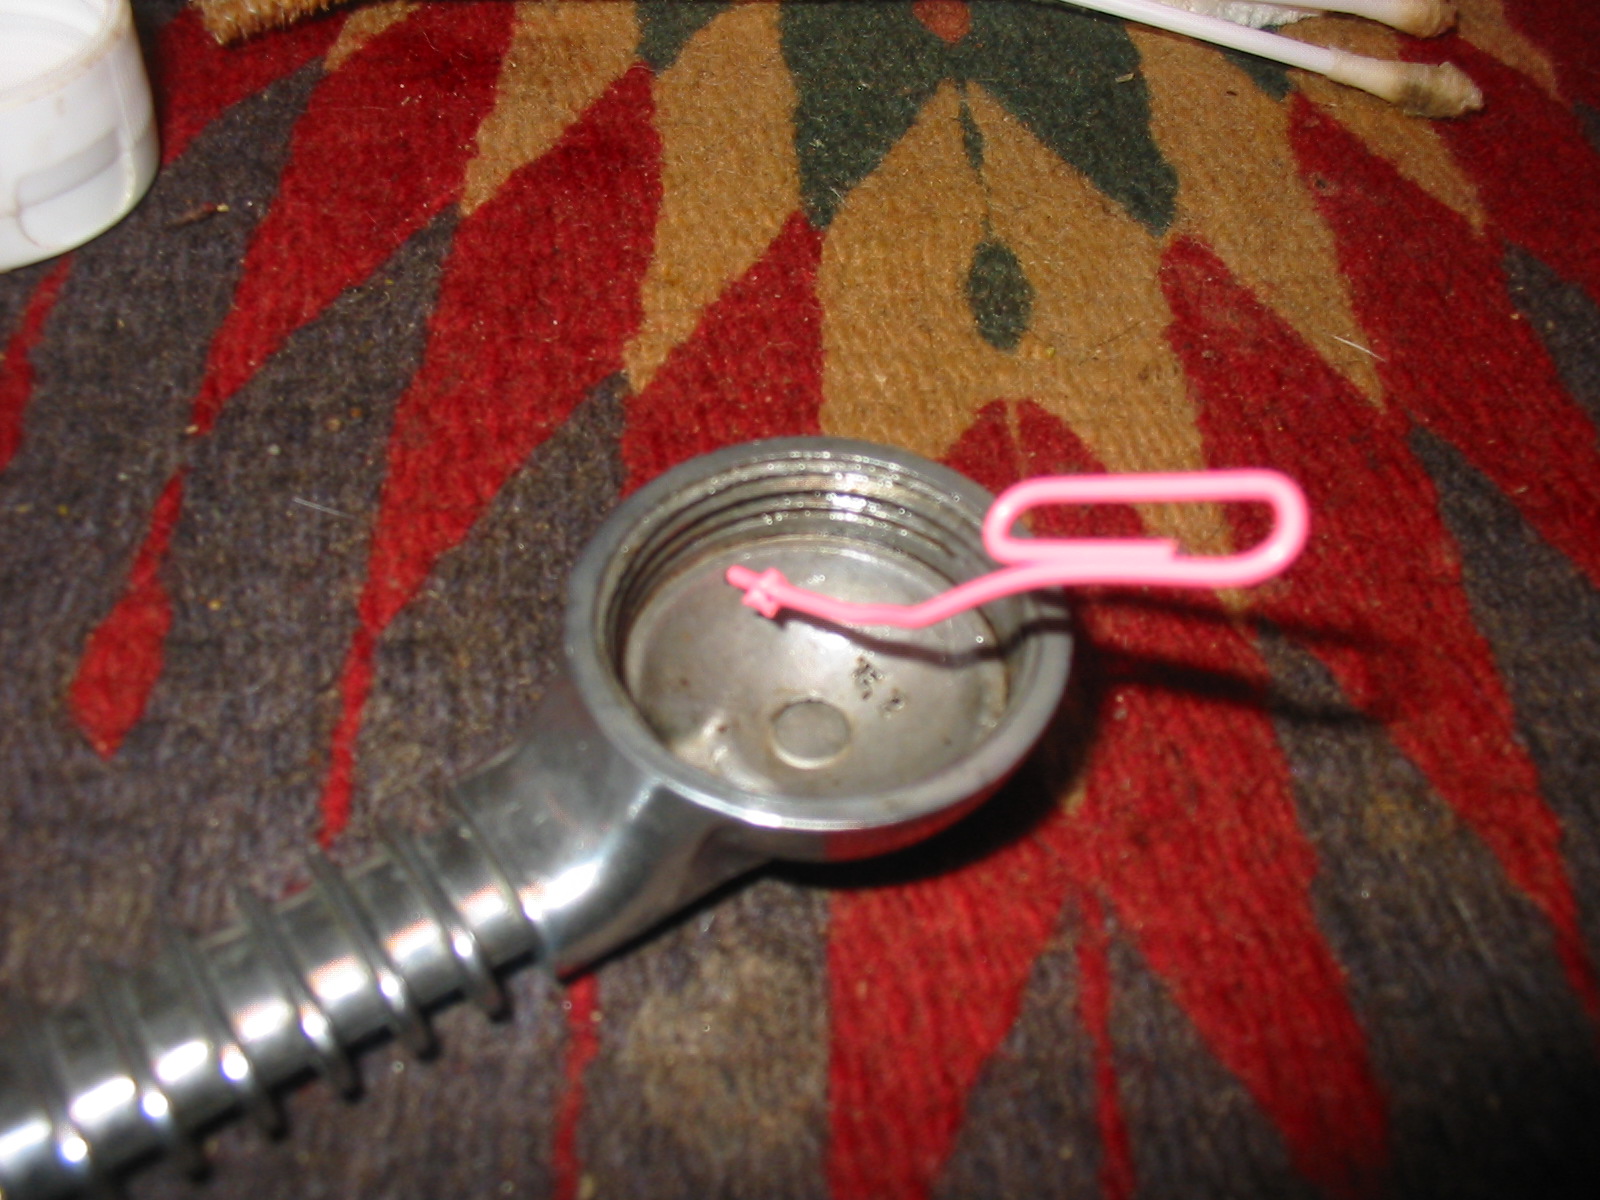
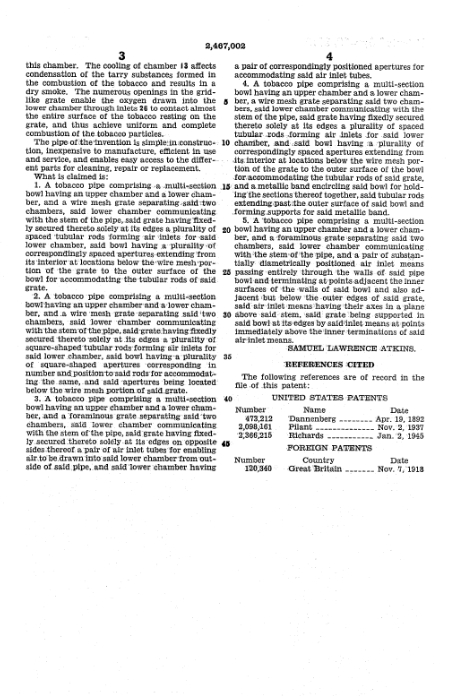
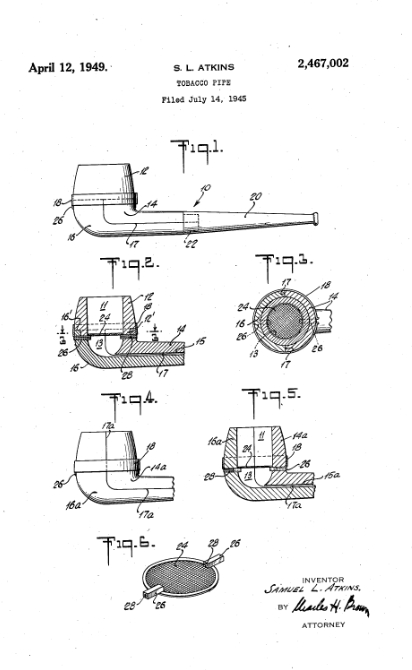
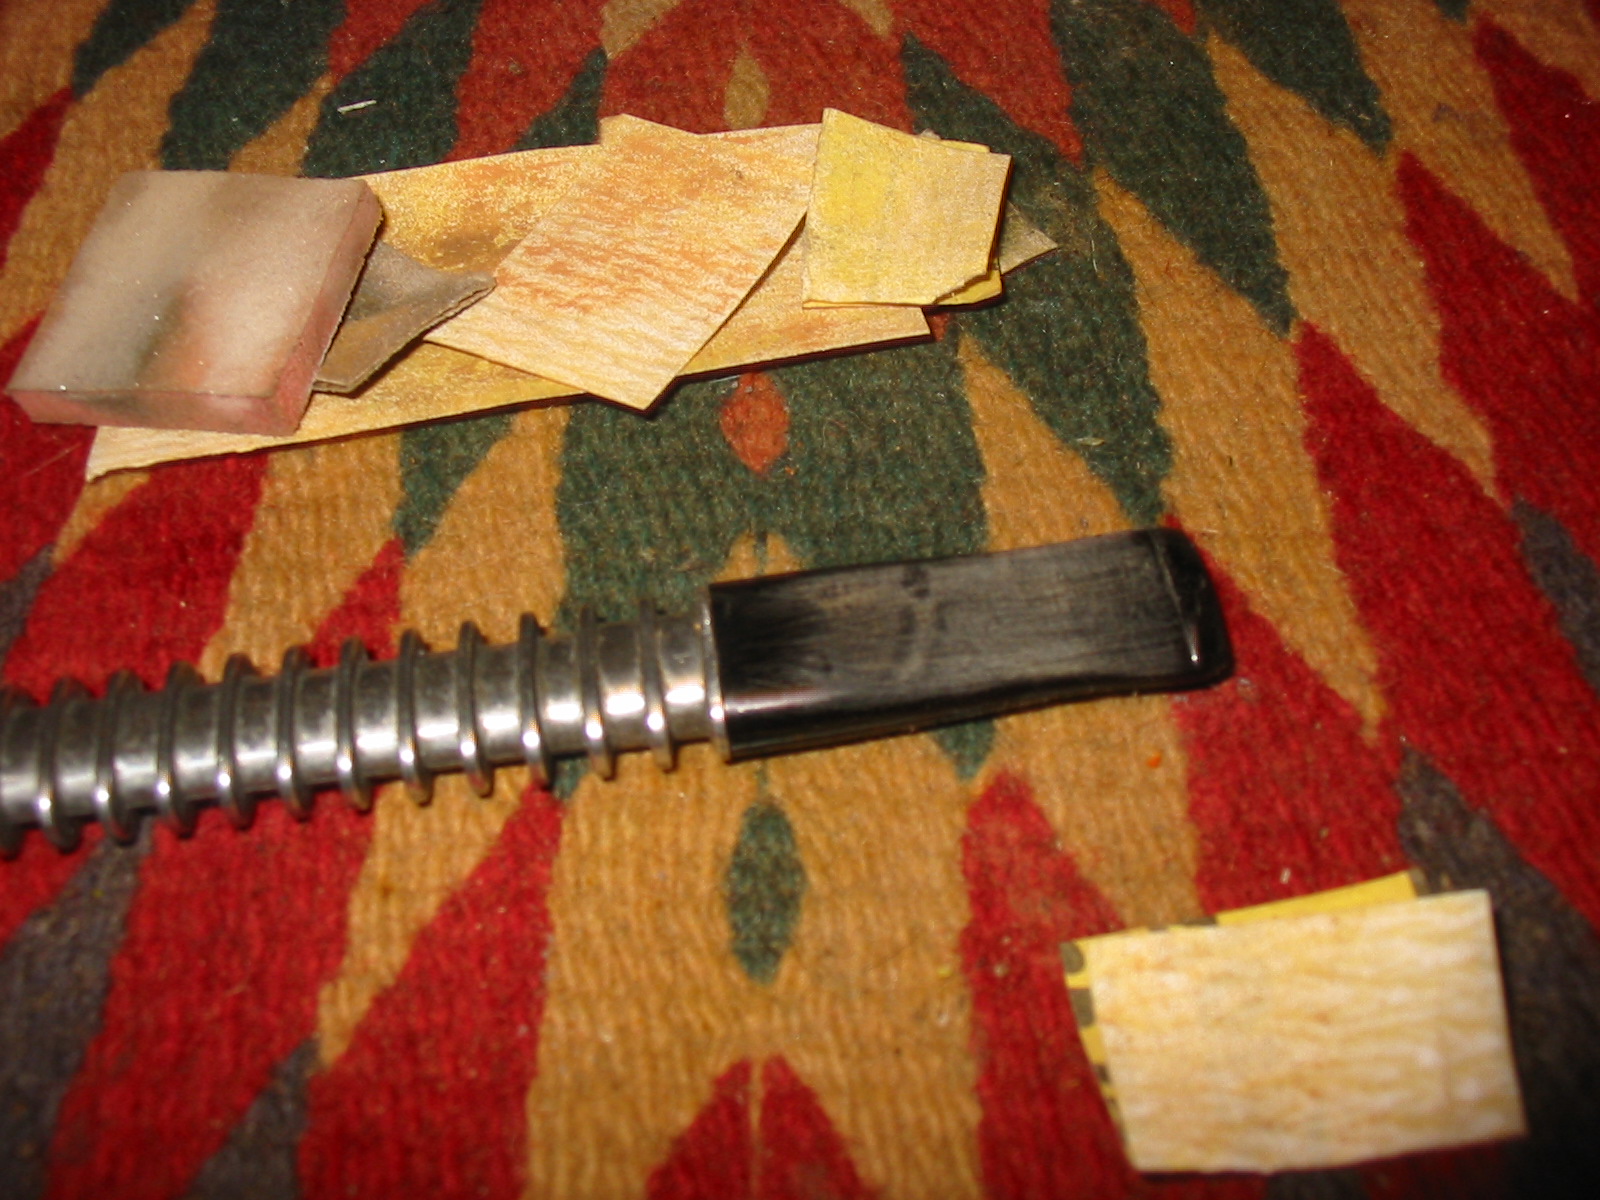
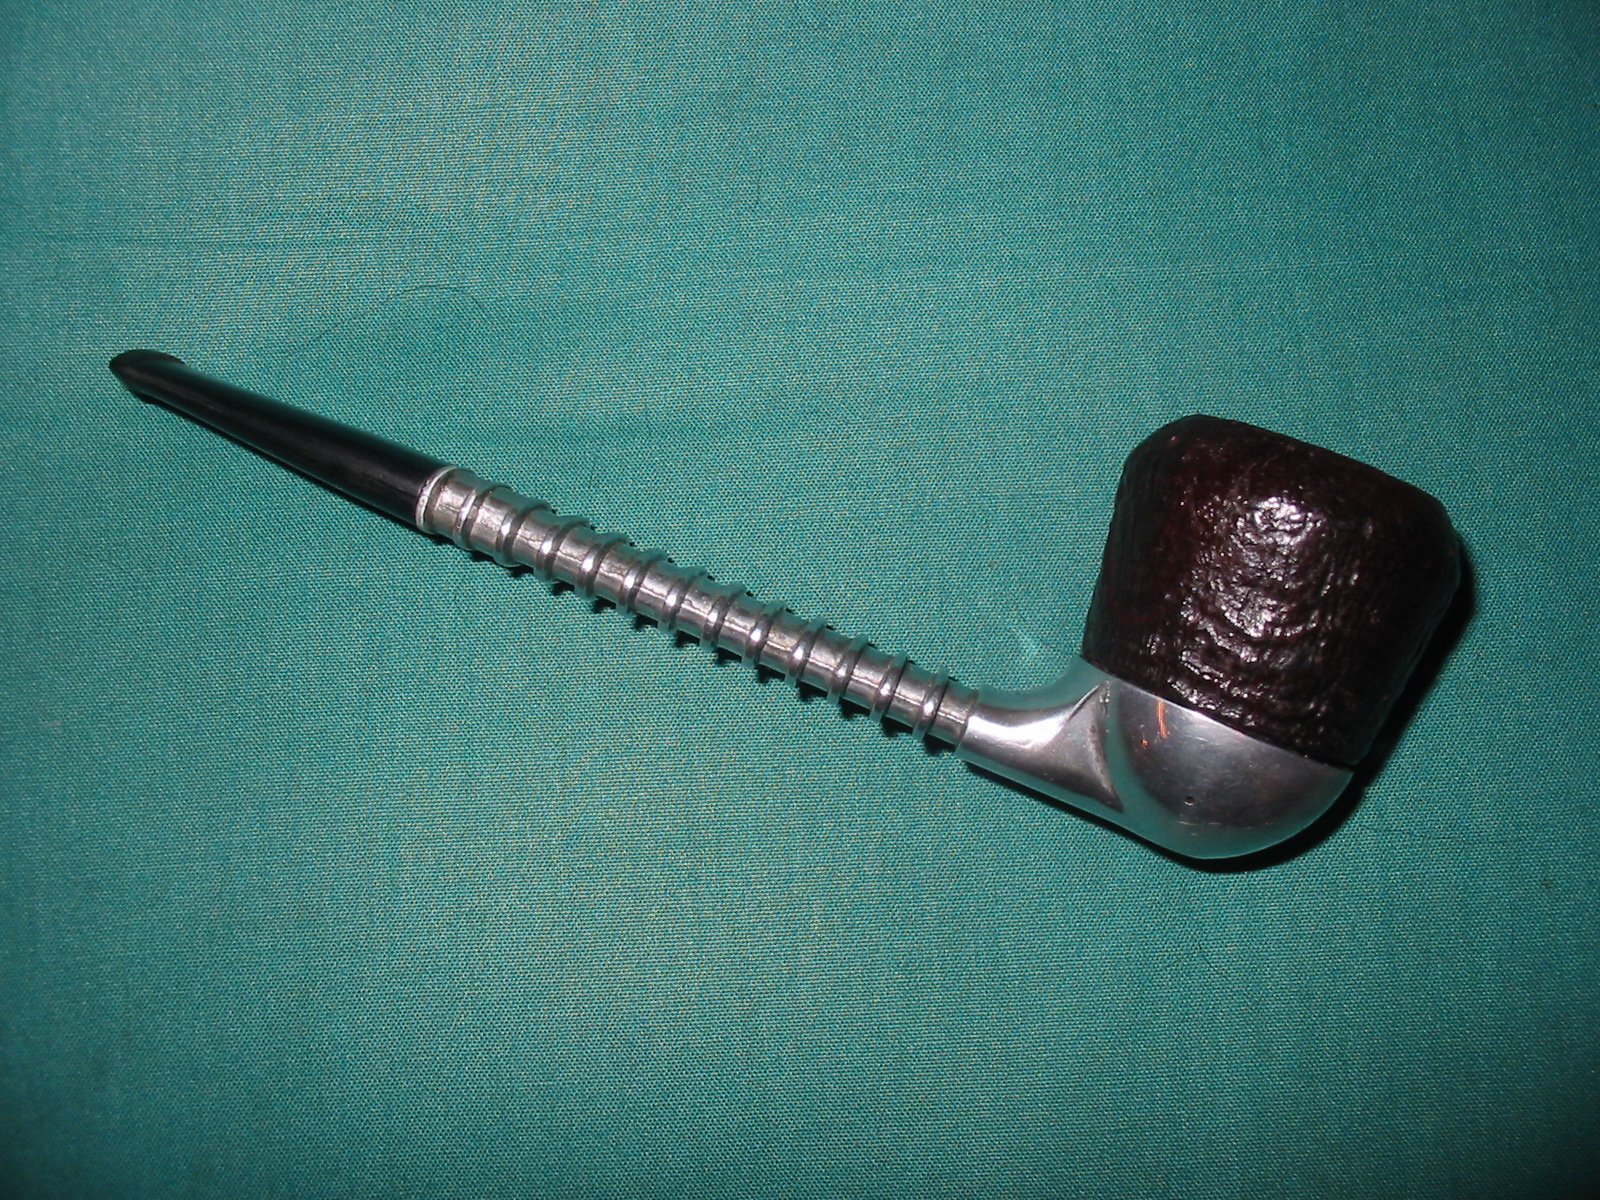
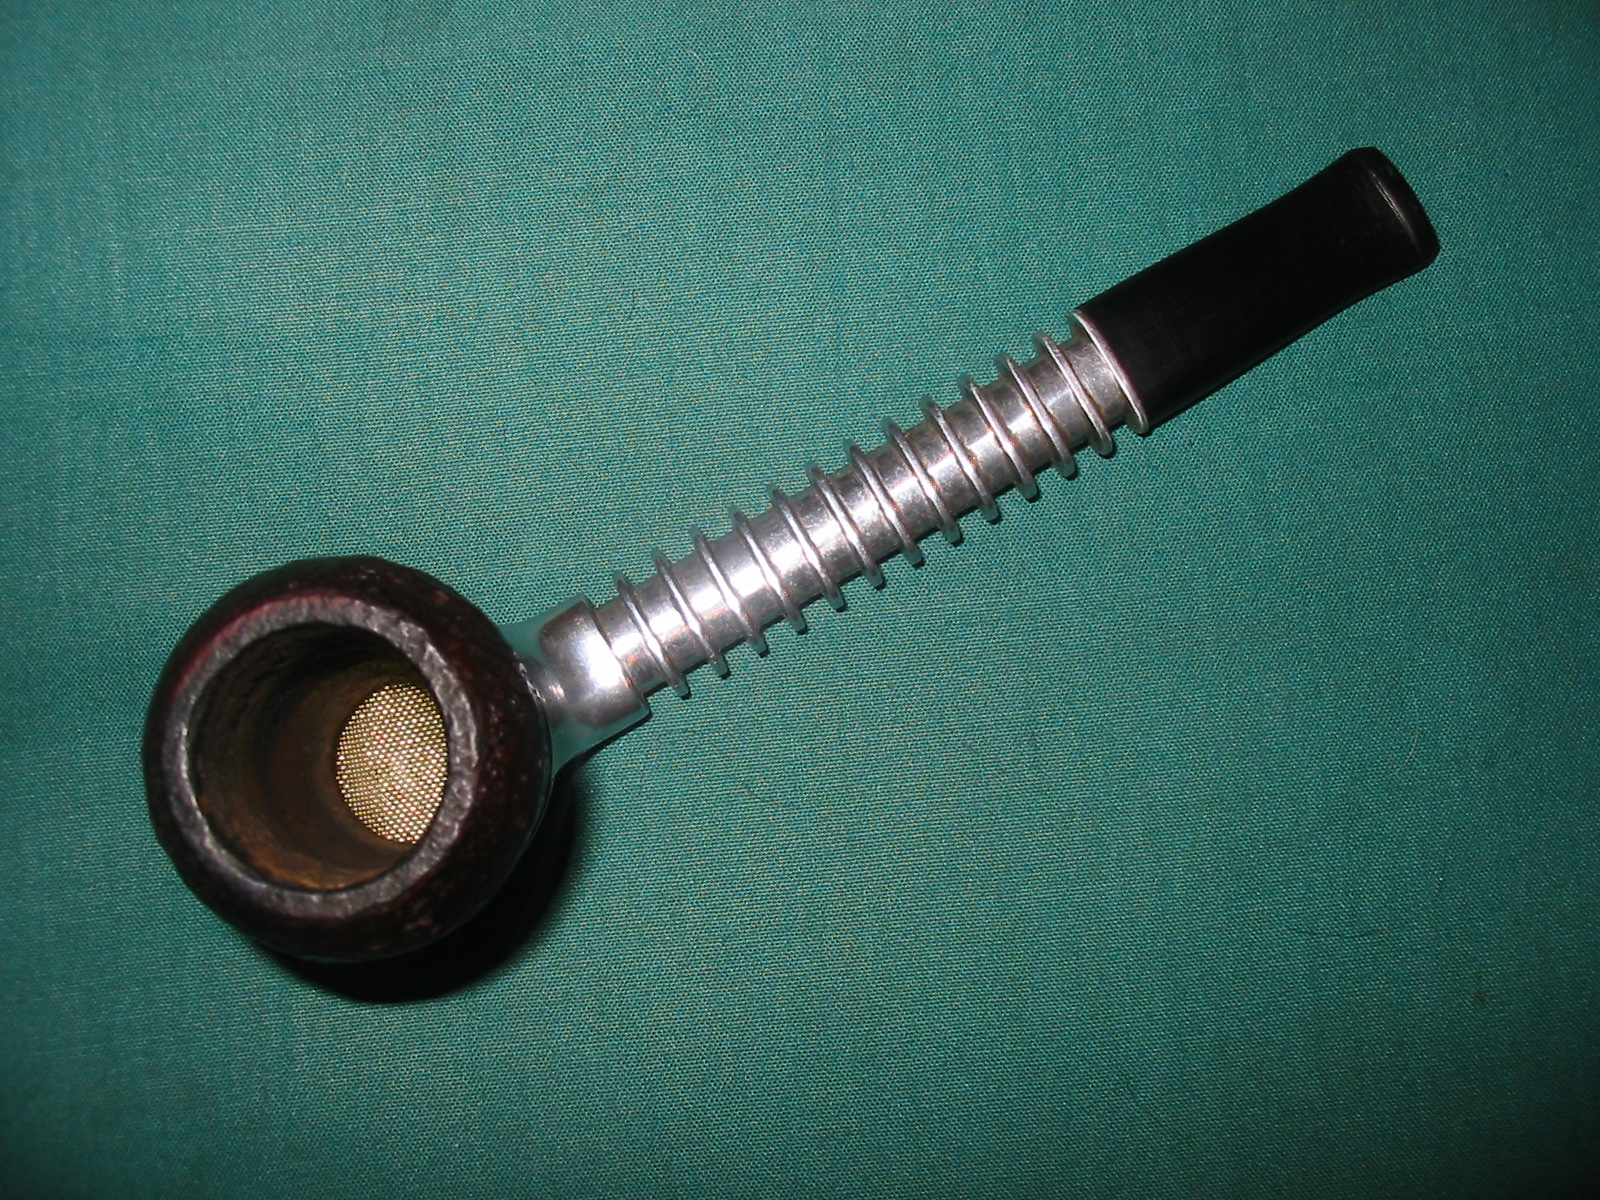
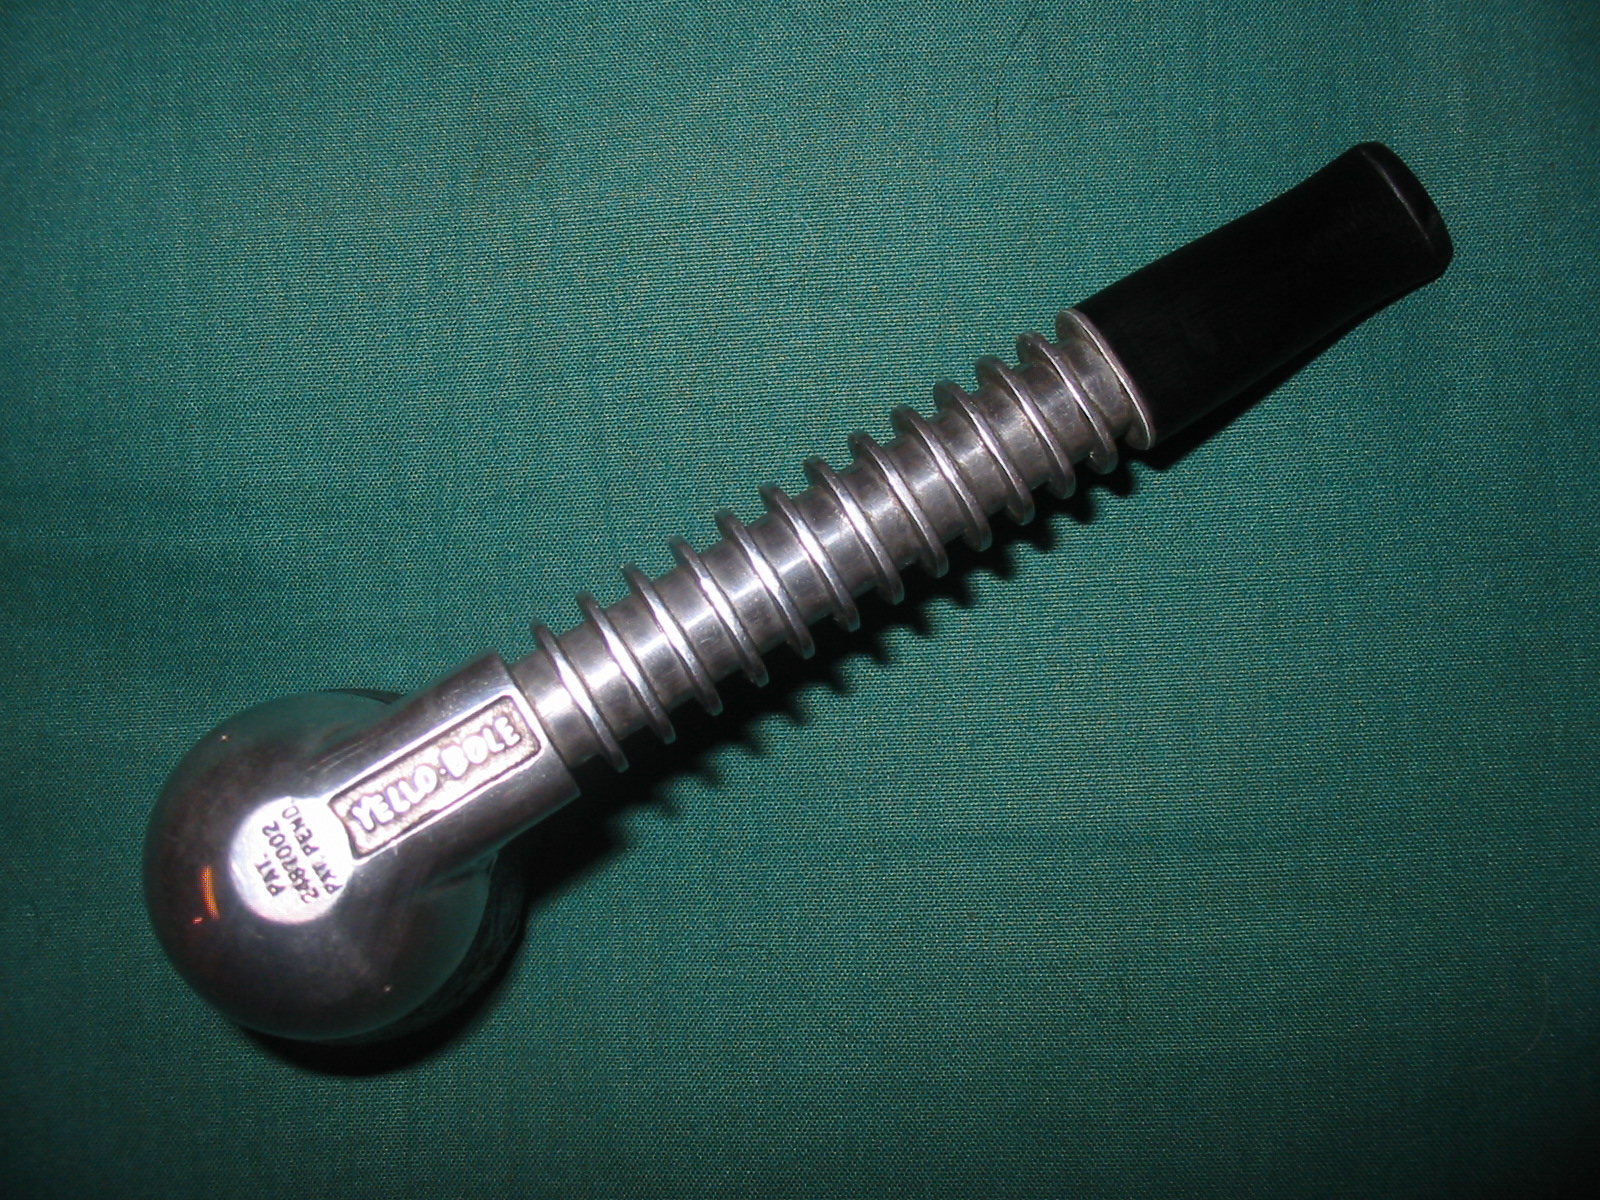
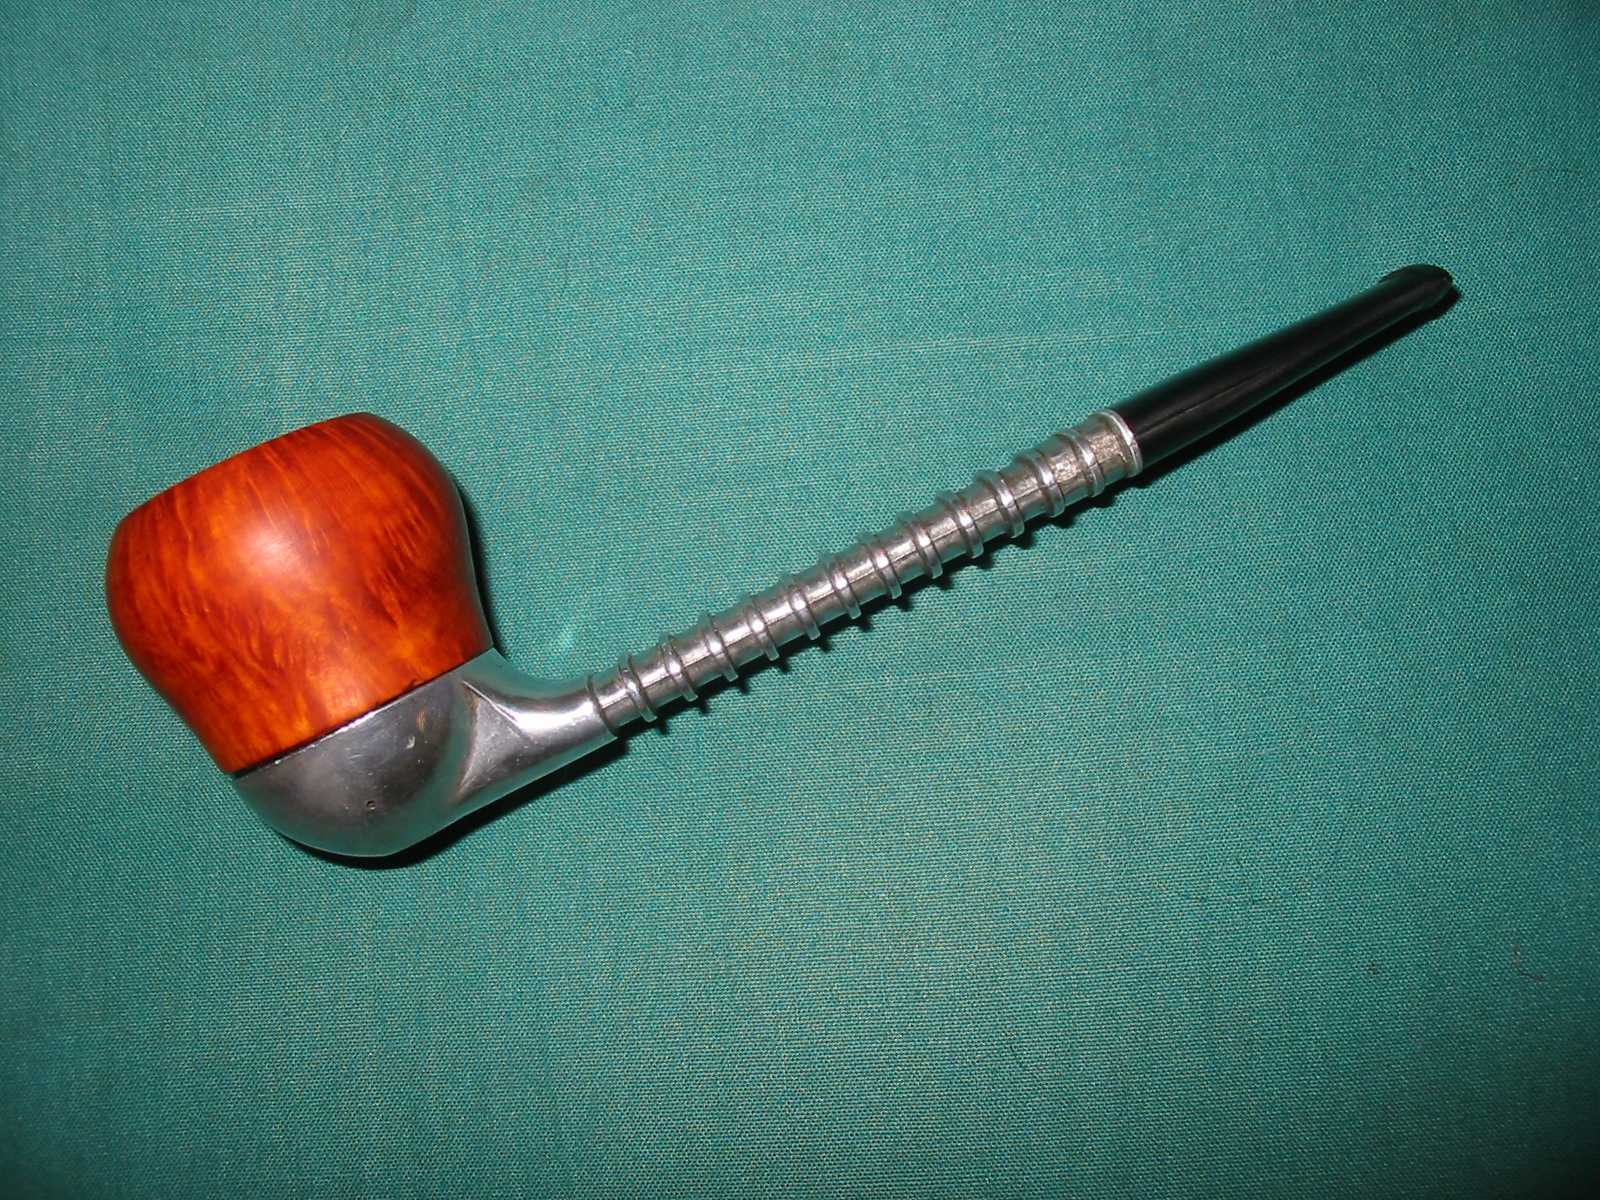
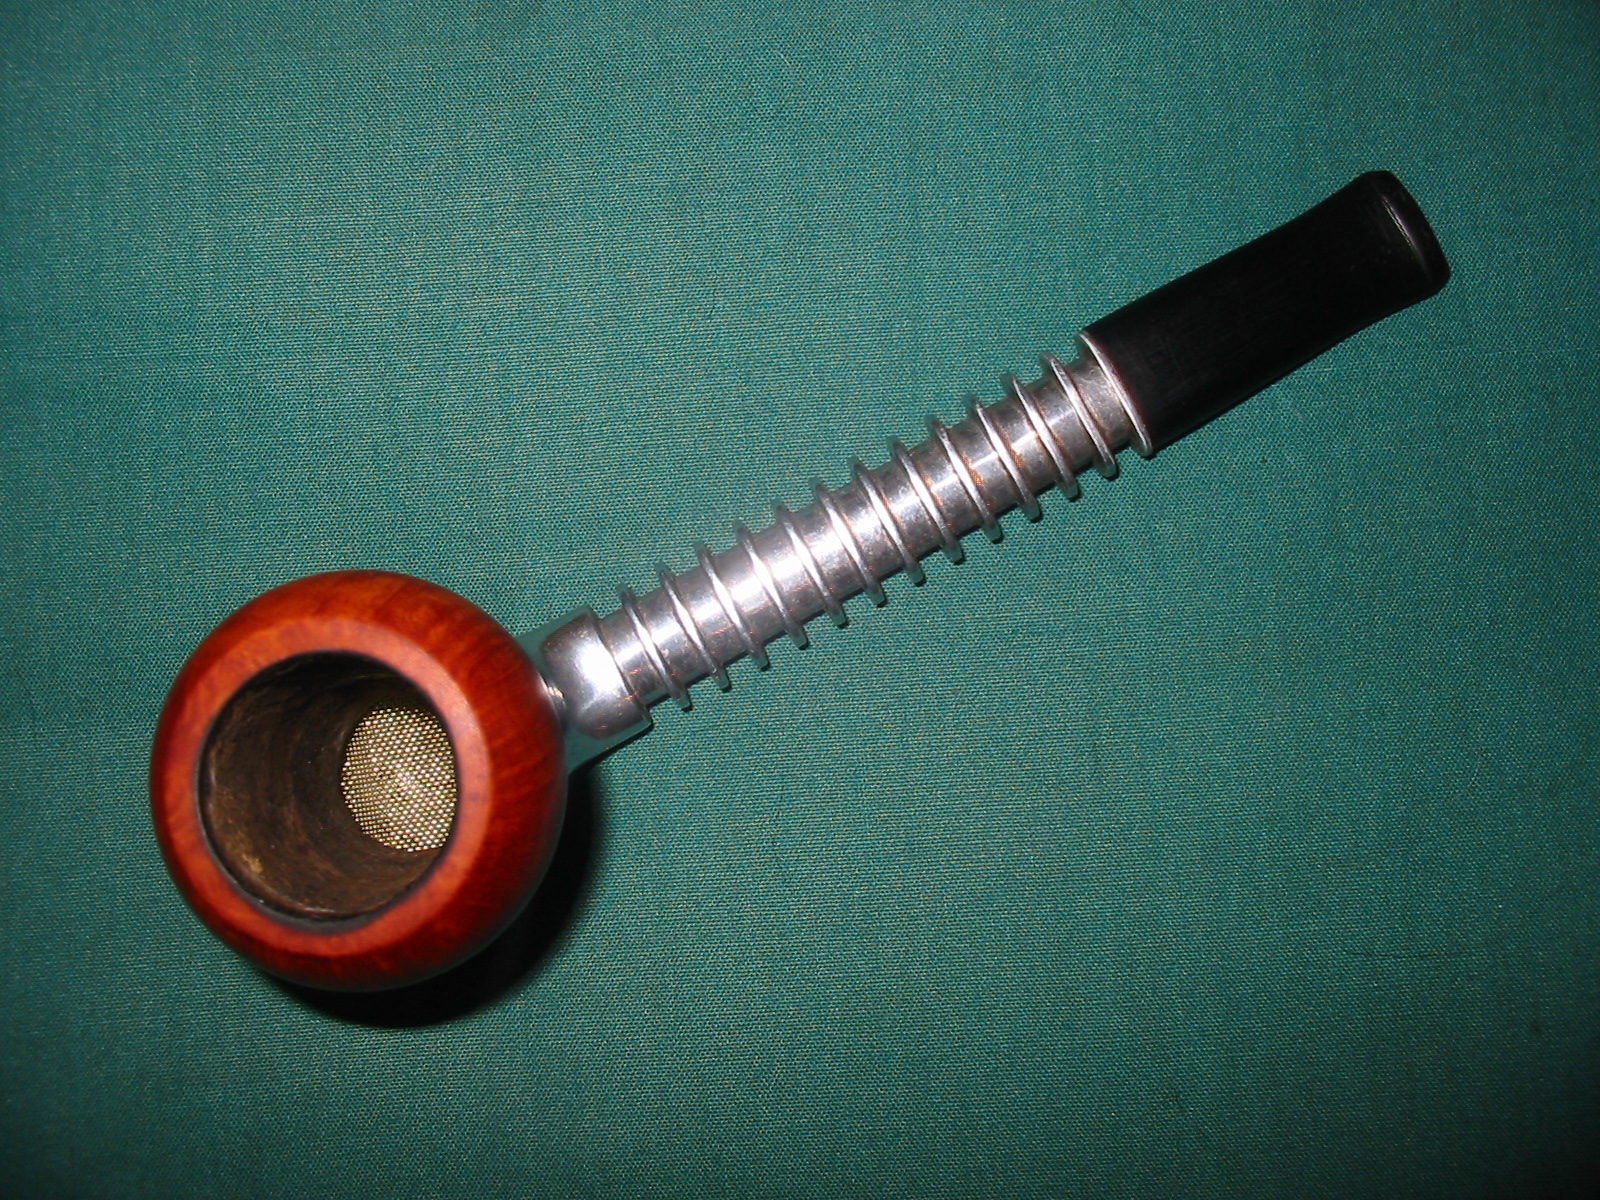
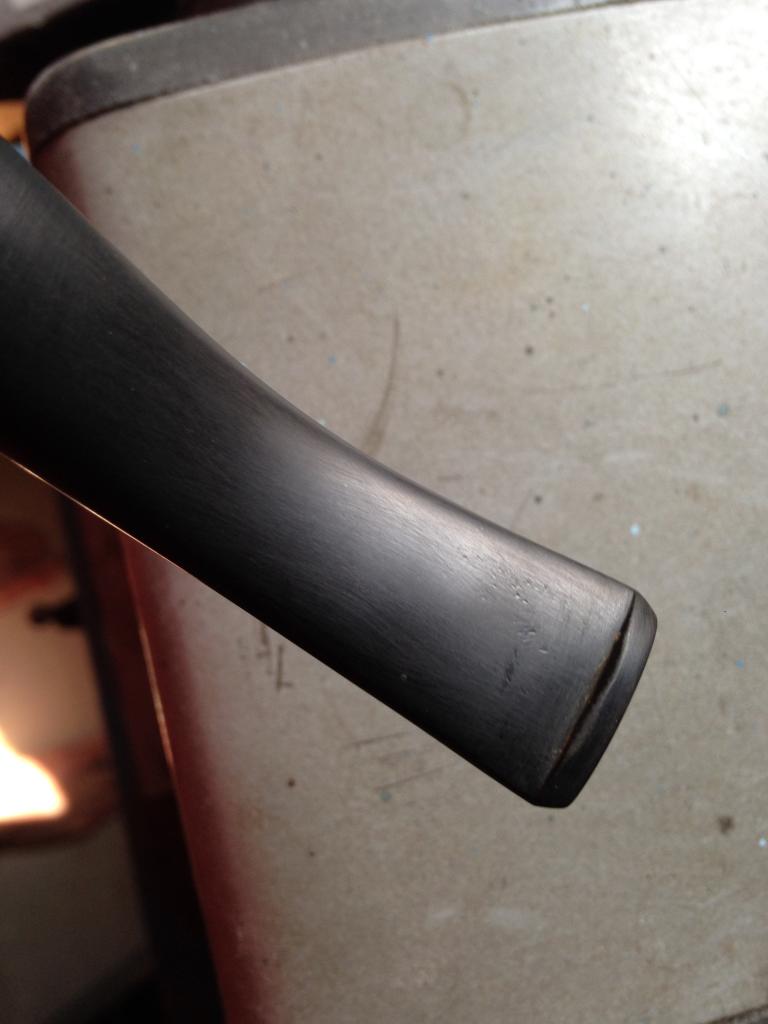
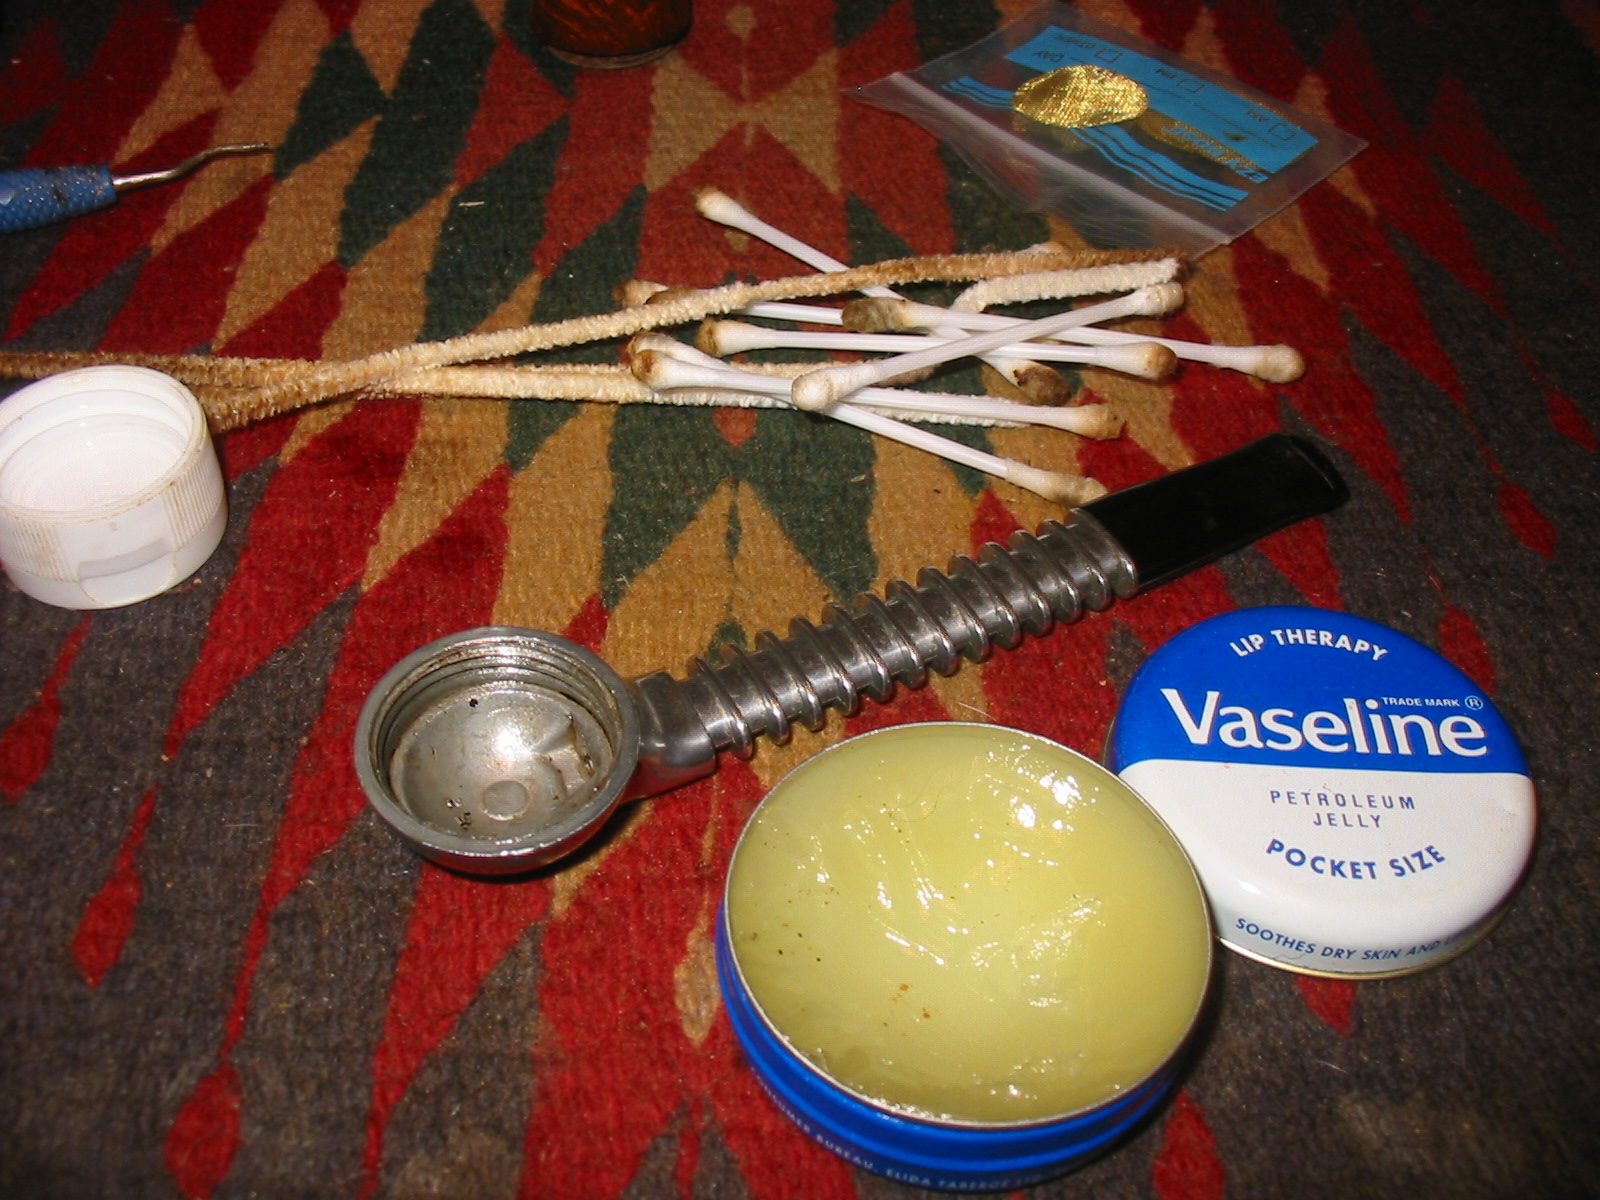
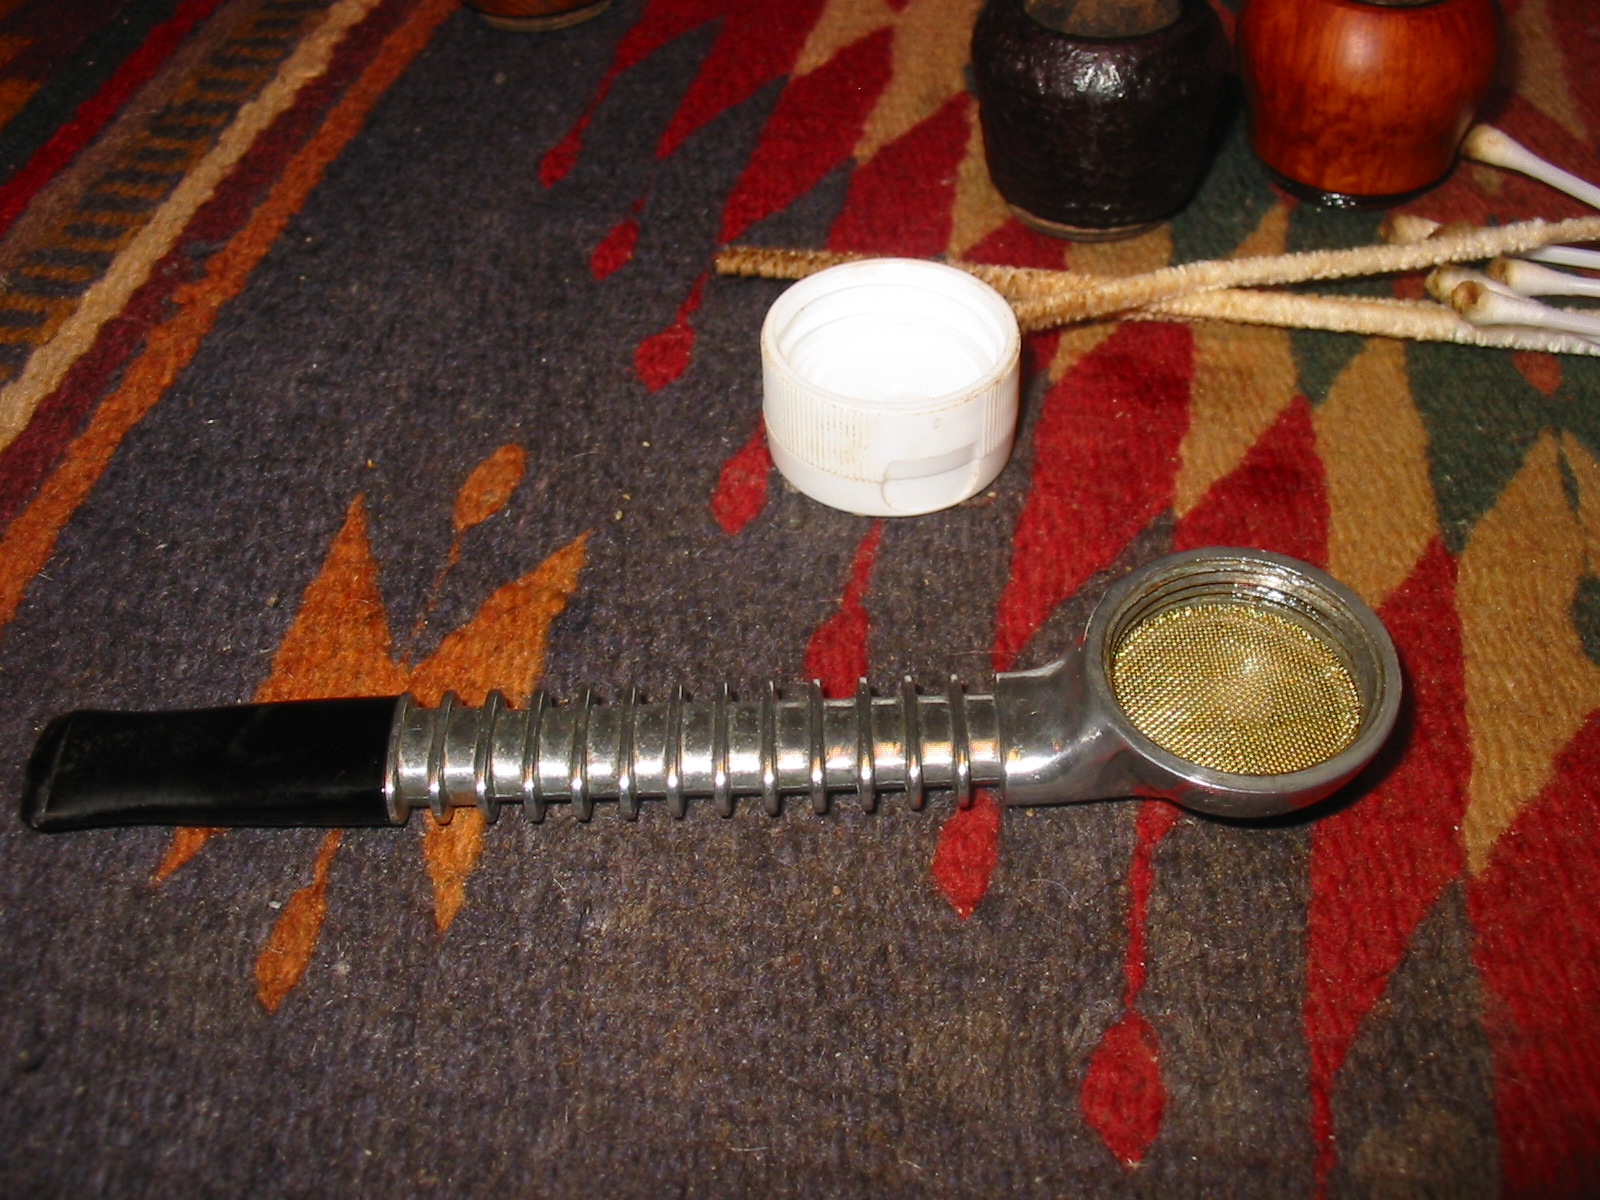
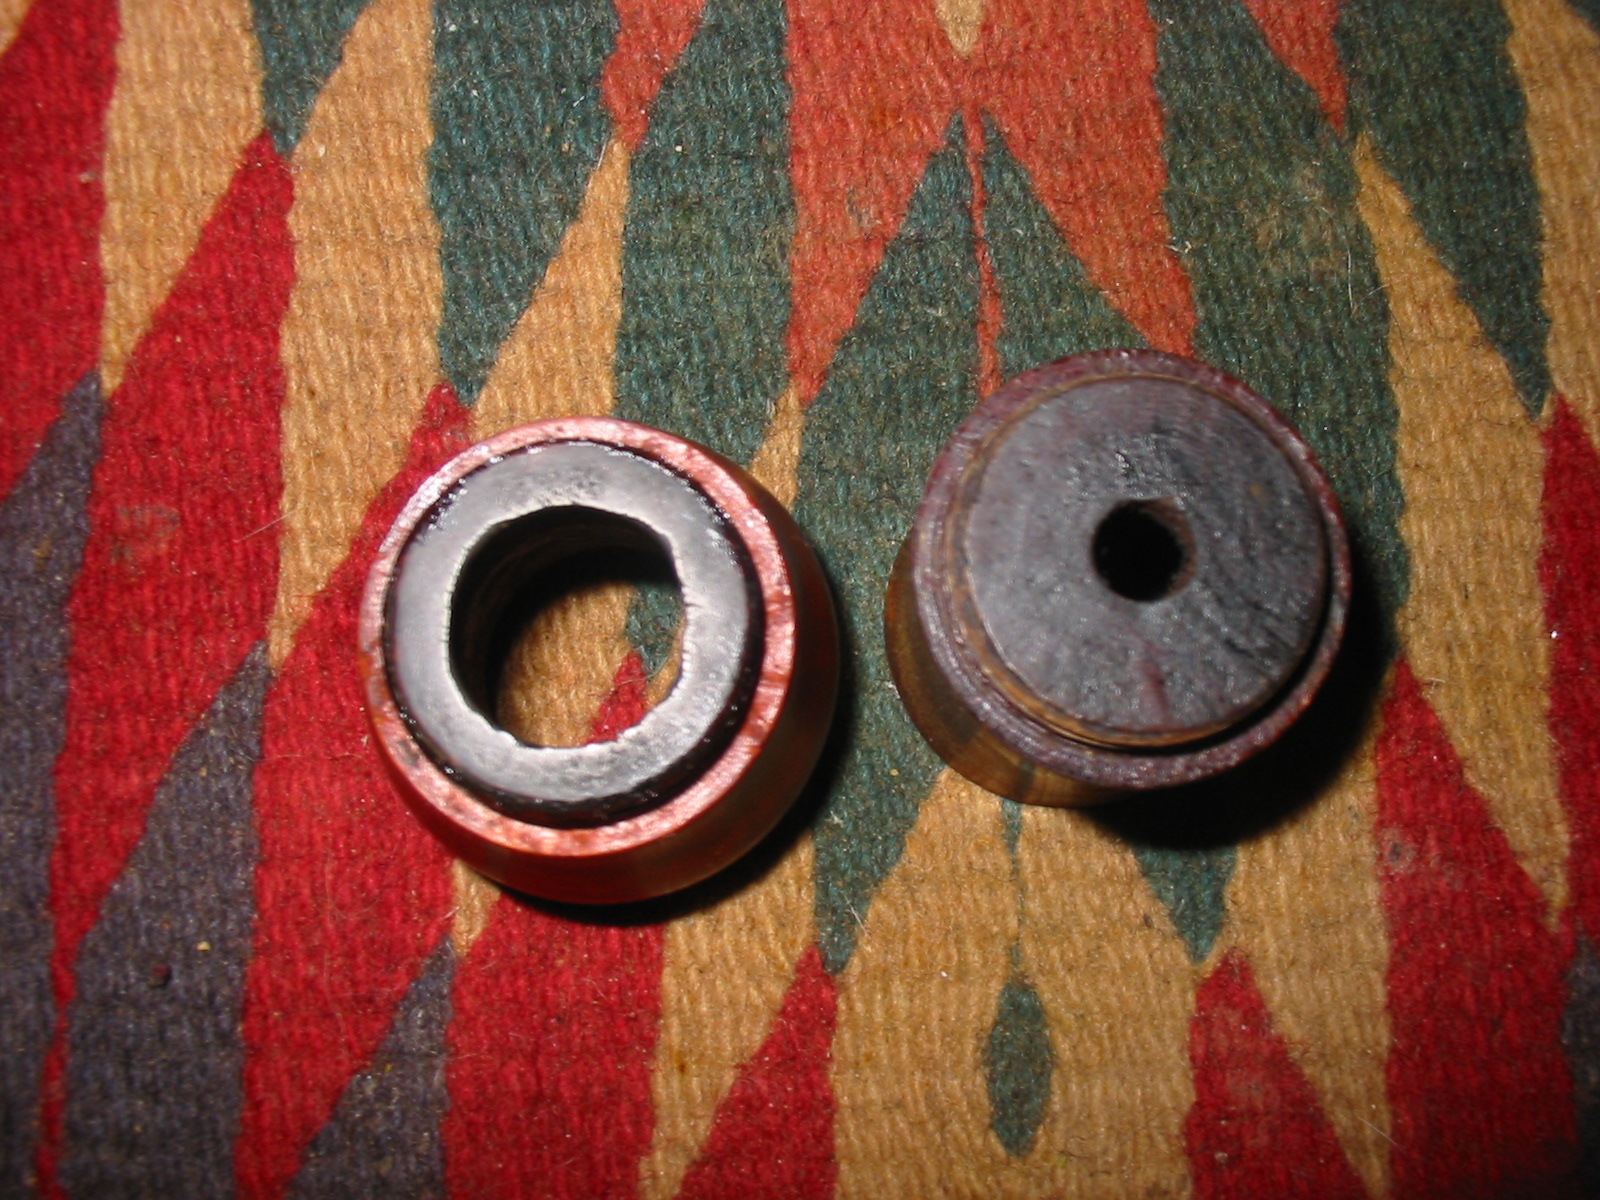
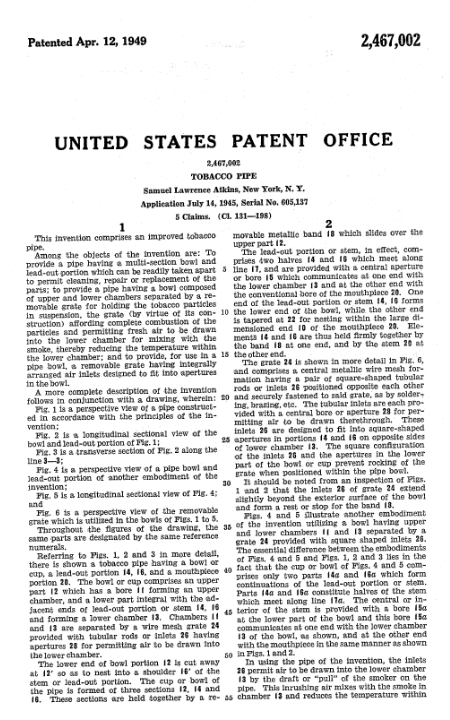
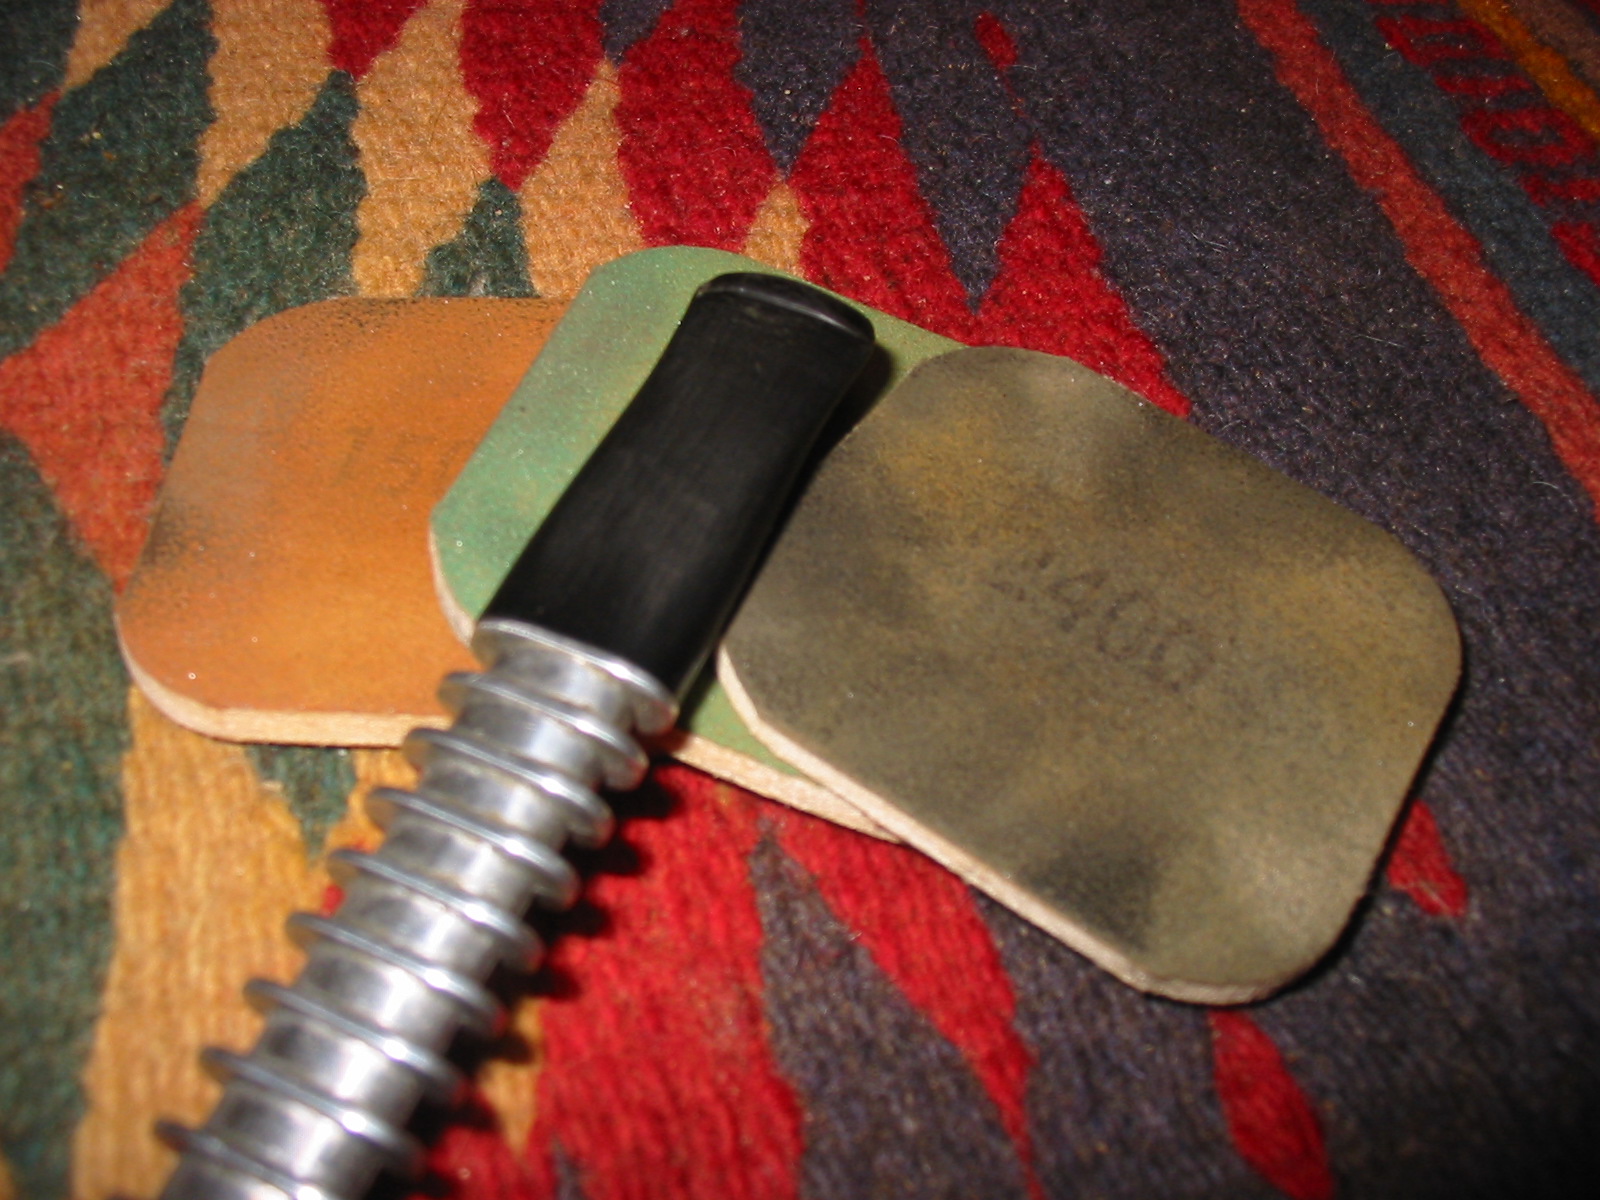
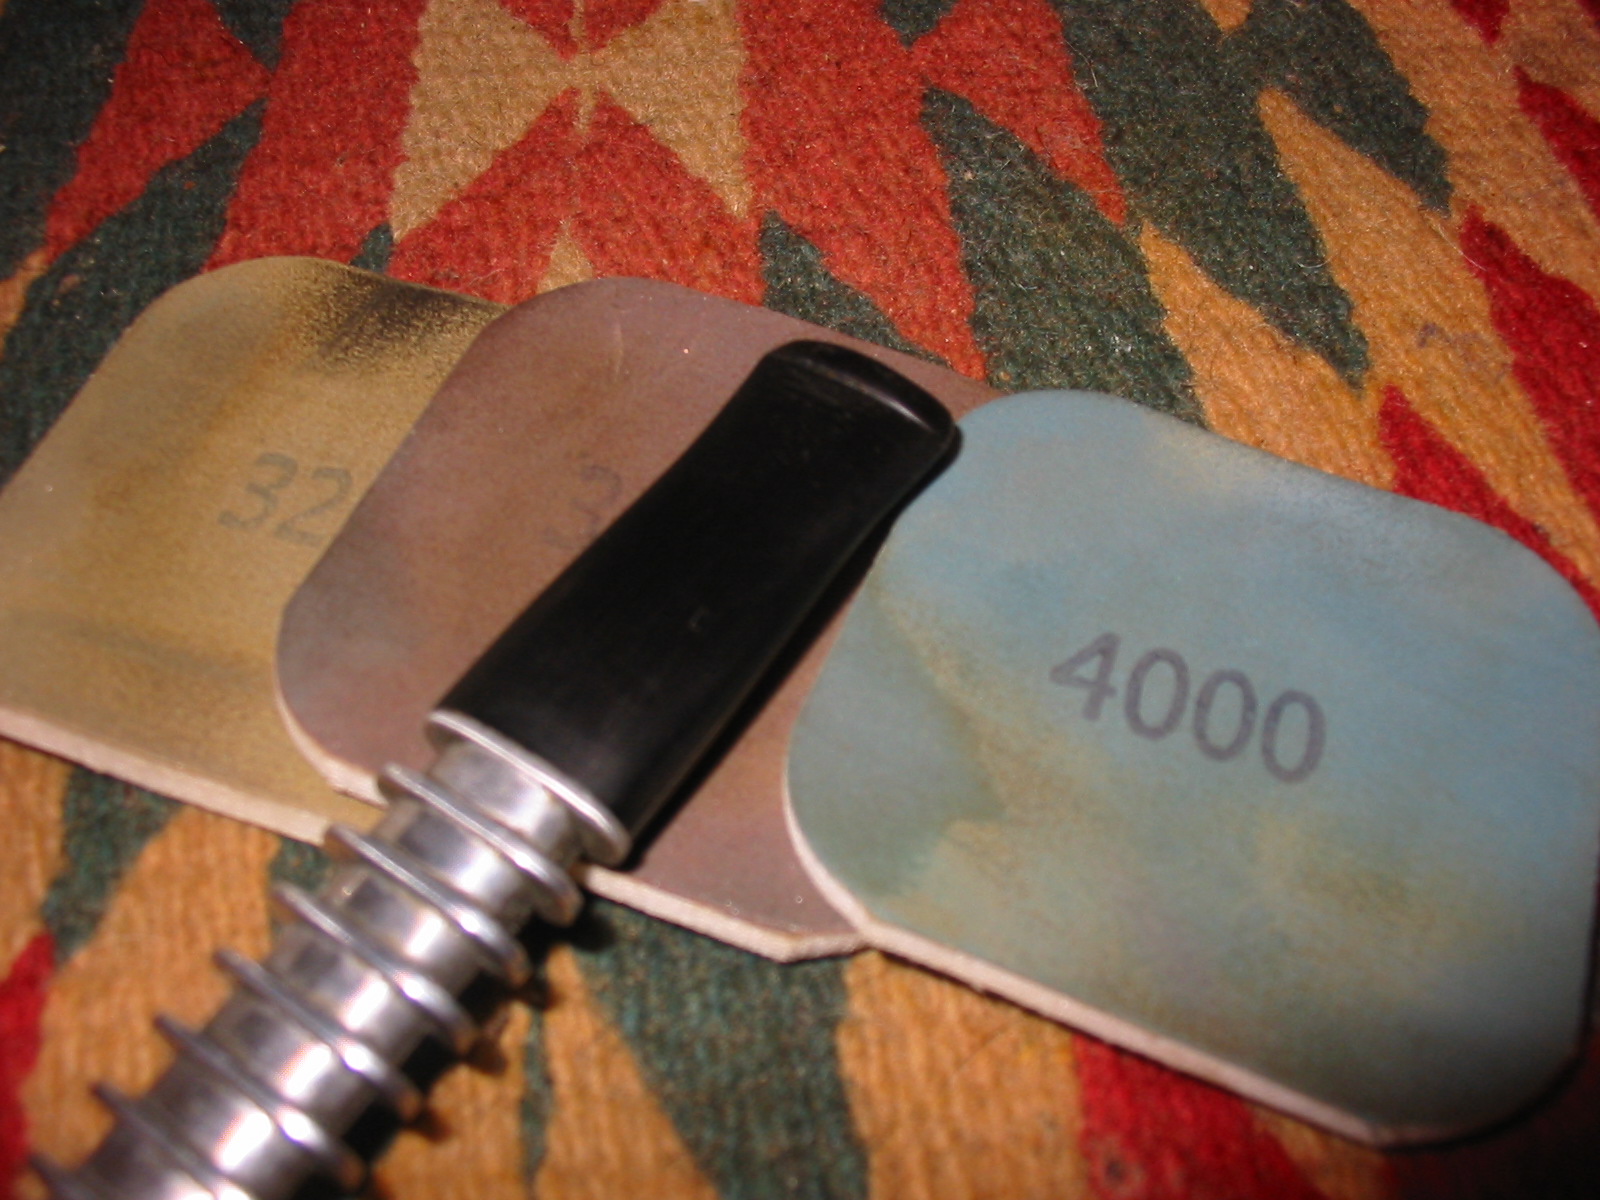
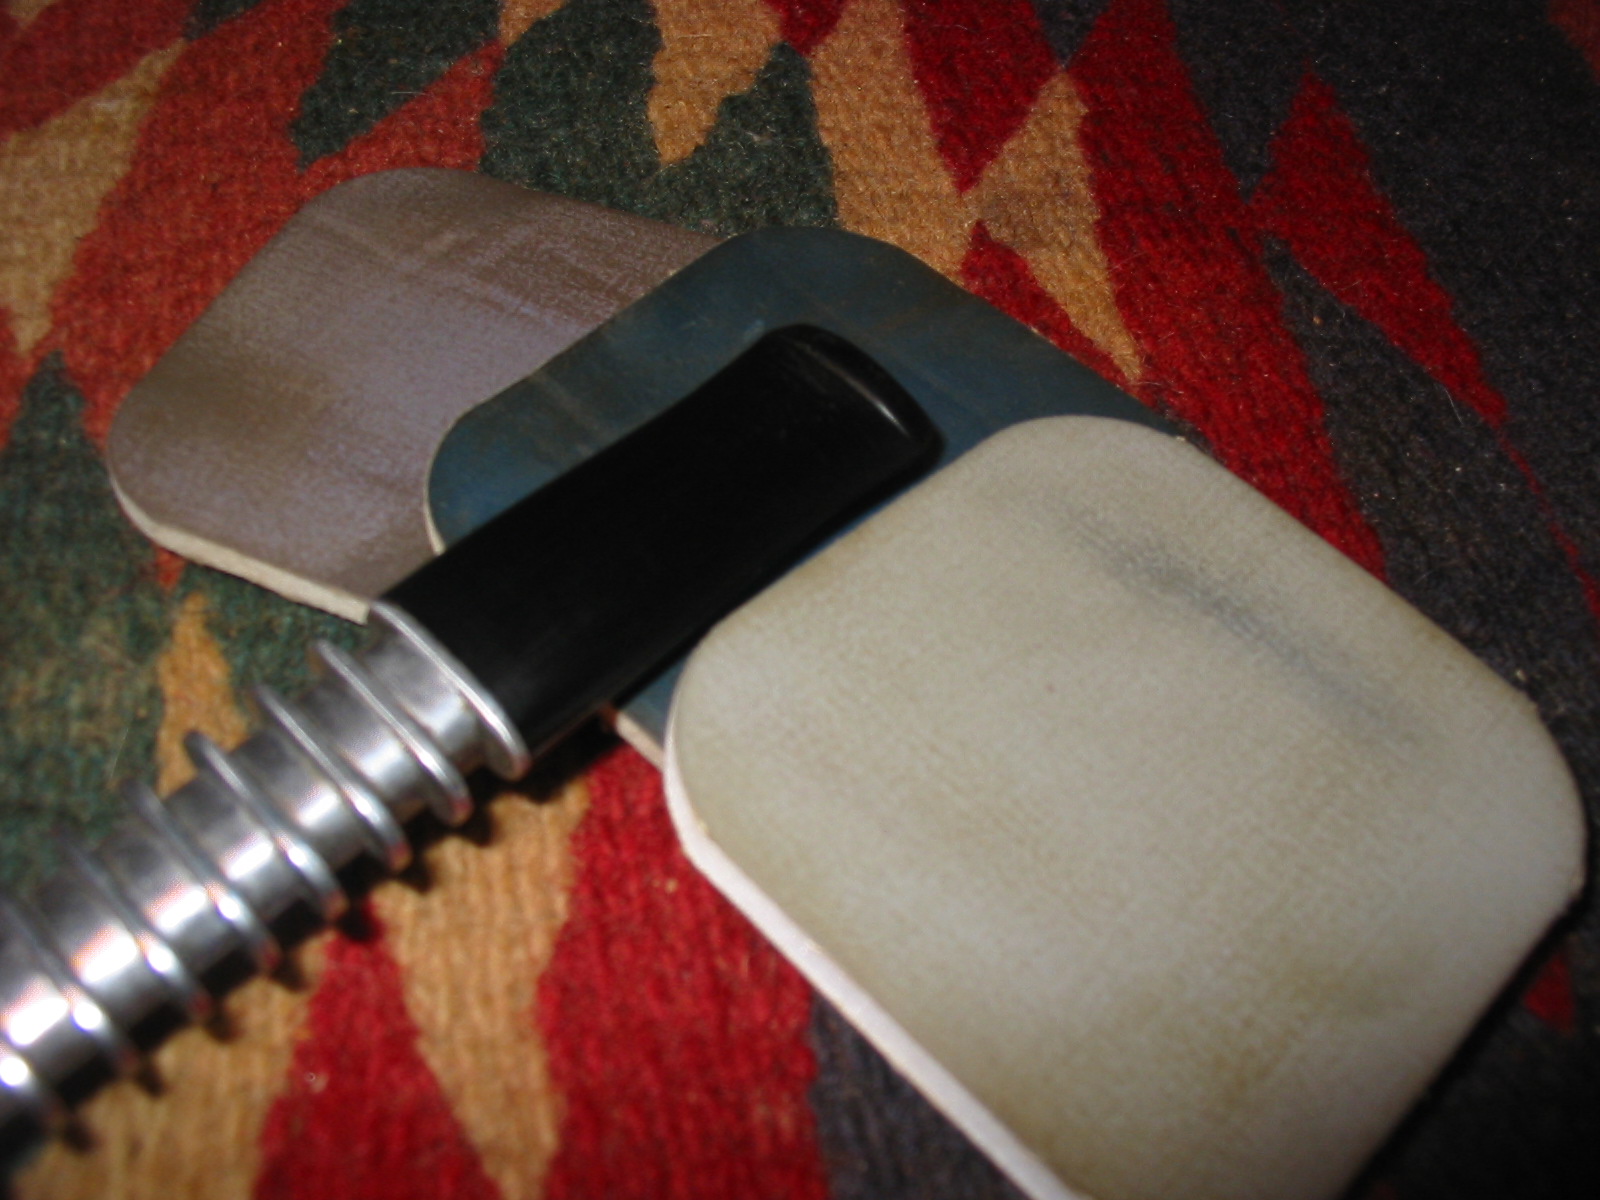
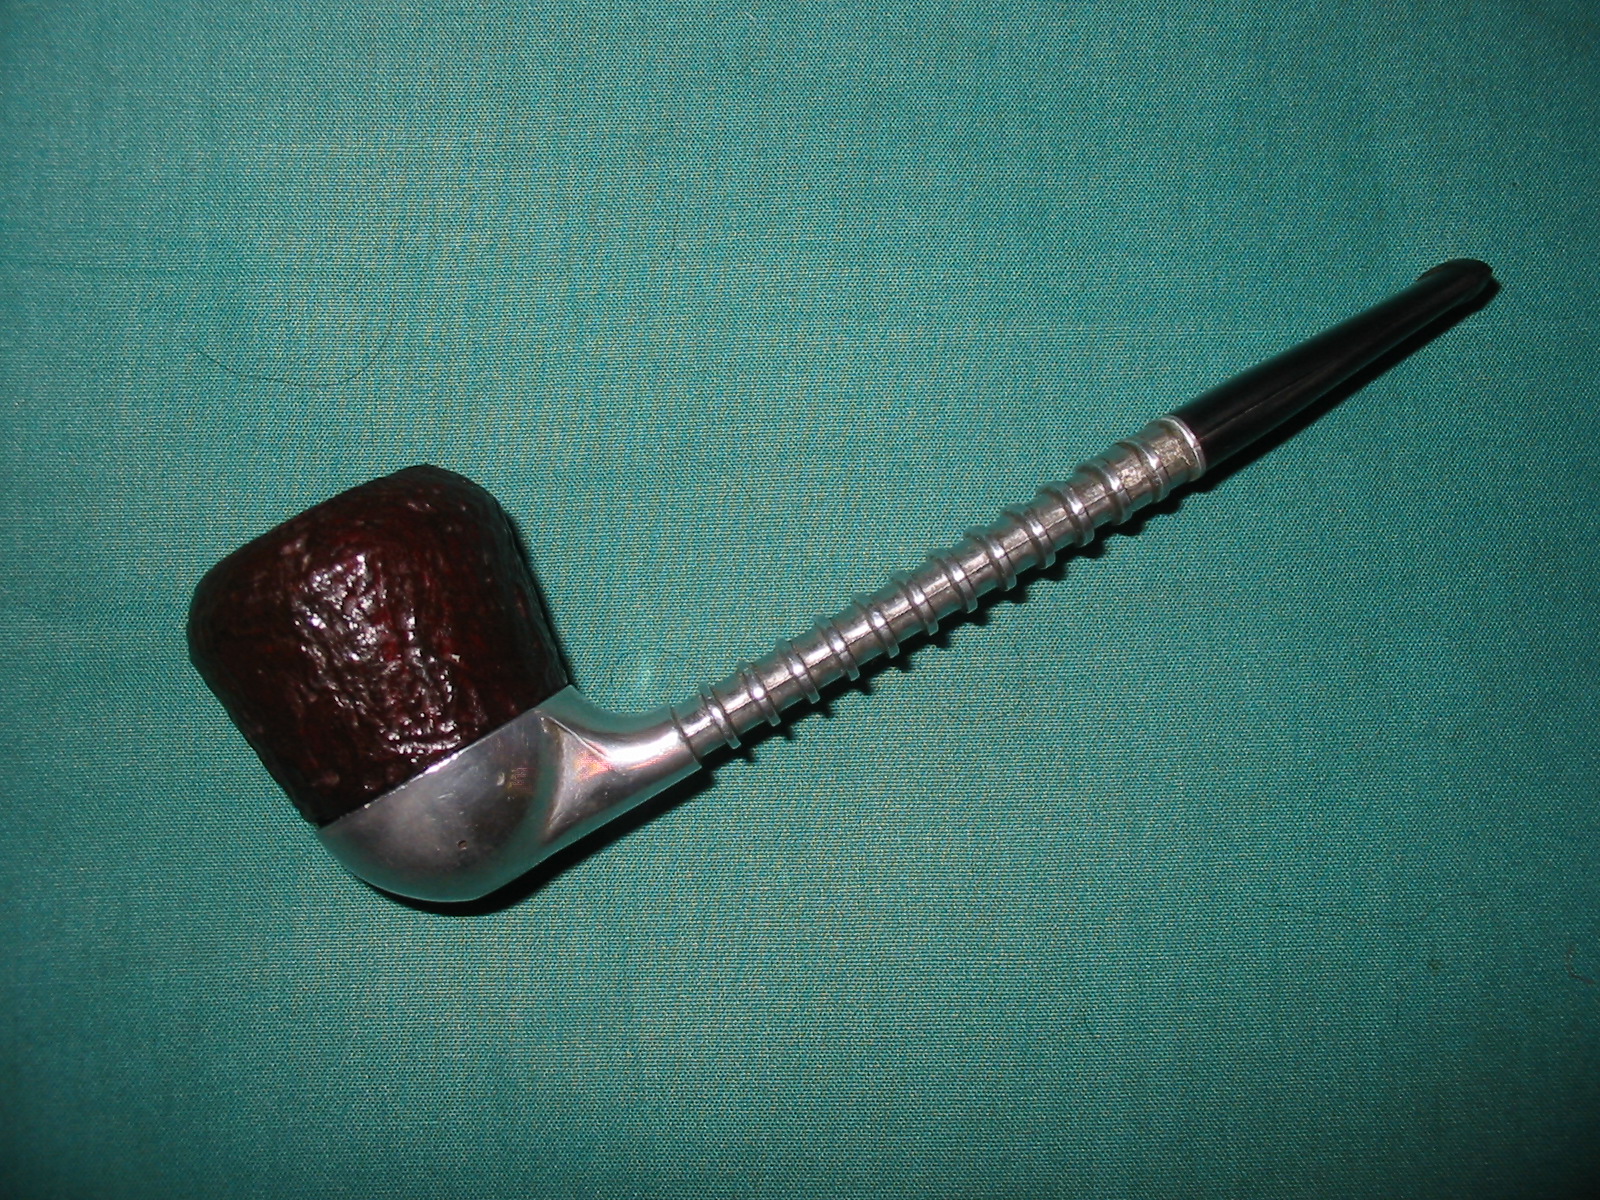
IMG_7647 Once it was clean I used Vaseline to lubricate the threads so that the bowls would turn easily into the base. I applied it with cotton swabs to get it into the threads. In the background are some brass screens that Tom sent along that go in the base between the bottom and the bowls. The open bottom on the bowls sit against this screen. Tom has found that these brass screens work far better than the original metal plate with holes that originally formed the grate for the bottom of the bowls. He says they clog far less frequently. IMG_7648 IMG_7649 The Airograte base has two small airholes in the sides of the bowl just below the ledge where the grate or screen sits. These tiny holes allow air to the bottom of the tobacco when smoked. When air is drawn in the bowl, it enters through these small airways. In this particular base the airways were clogged. I used an unfolded paper clip to open them again. I pushed out the clogs from both sides of the base from both the inside and the outside. The airflow is now unrestricted in those airways.IMG_7651 IMG_7652 I put the brass screen in place in the base once I had the cleaning finished. The bowl will screw on top of the screen and the tobacco when loaded will sit on top of the screen. IMG_7650 With the above statement about the bowl sitting on top of the screen I thought that it might be helpful to take a photo of the two different bowls. The one on the left is the bowl for the Airograte while the one on the right is for Grabow Viking. The Airograte is more of a tube that sits on top of the grate. The tobacco burns on the grate. IMG_7653 The Viking bowl also fits perfectly on the nylon stemmed pipe I have written about earlier. I am pretty certain that the nylon one is also a Grabow though it is unstamped. The photo below shows the bowl from the nylon pipe and the Grabow bowl from the bottom. IMG_7654 While I was cleaning up the bowl base I noticed the Patent and Patent pending information on the bottom of the bowl. This made me curious to see exactly what was patented/patent pending. I went to the US Patent Office on line ( http://patft.uspto.gov/ ) and searched the number on the bottom of the base. I was able to find that the patent had been applied for in 1949 by Samuel Lawrence Atkins of New York City. The patent was for the airograte that sat between the airway in the bowl and the tobacco and the two small holes in the bottom sides of the bowl. It was designed to give a dry and even burning smoke and keep bits of tobacco from entering the airway and mouthpiece. I have included a copy of the patent document with a diagram below. I find that it is always interesting to read the pitch that is made in terms of purpose for the design. The ongoing hunt for the perfect pipe continues to this day. yellobole patent3 yellobole patent4 yellobole patent With the bowl finished, the base cleaned and the airway opens and clean all that remained was to tidy up the stem. The nylon stem, though similar to the ones on Vikings and Falcons had a slimmer profile. The thinness made it very comfortable in the mouth. There was tooth chatter against the button on the top and the bottom of the stem as well as some deep tooth marks mid stem that had been poorly sanded out leaving dents in the flat surface of the stem midway up the stem on both sides. I sanded the stem with 220 grit sandpaper to remove the tooth chatter and to smooth out the flow of the taper. I followed that by sanding with a medium and fine grit sanding sponge to work on the scratches. IMG_7658 IMG_7660 Once the dents and scratches were gone I worked on the stem with micromesh sanding pads. I wet sanded with 1500-3200 grit pads. I found it really frustrating work to try to remove the scratches and marks. Wet sanding did not seem to really do the job – so I started over with the pads and a drop of olive oil. The oil seemed to do the trick. It proved to be the right medium for the micromesh. It gave bite to the pads and really worked quite well. IMG_7661 I continued to sand with the drop of oil through the 3200-4000 grit pads. The scratches really began to disappear and the stem was getting smoother. IMG_7662 I did the same with the 6000-12000 grit pads and a drop of olive oil. IMG_7663 Once I had finished sanding the stem with the micromesh I gave it a light buff with White Diamond. A light touch is essential when buffing nylon stems or you make more of a mess than you started with. I rubbed the stem down with Obsidian Oil and when dry I coated it with Paragon Wax and hand buffed it. Below are some photos of the pipe with each of the two bowls in place. I really like the looks of the finned shank on this one. The flat stem makes it very comfortable. I am looking forward to loading a bowl and trying out the patented “Airograte” screen that is on the bottom of the bowl. IMG_7664 IMG_7665 IMG_7666 IMG_7667 IMG_7668 IMG_7669 IMG_7670
Renewing a 30’s Era KBB Yello-Bole Honey Cured Briar


Blog by Steve Laug

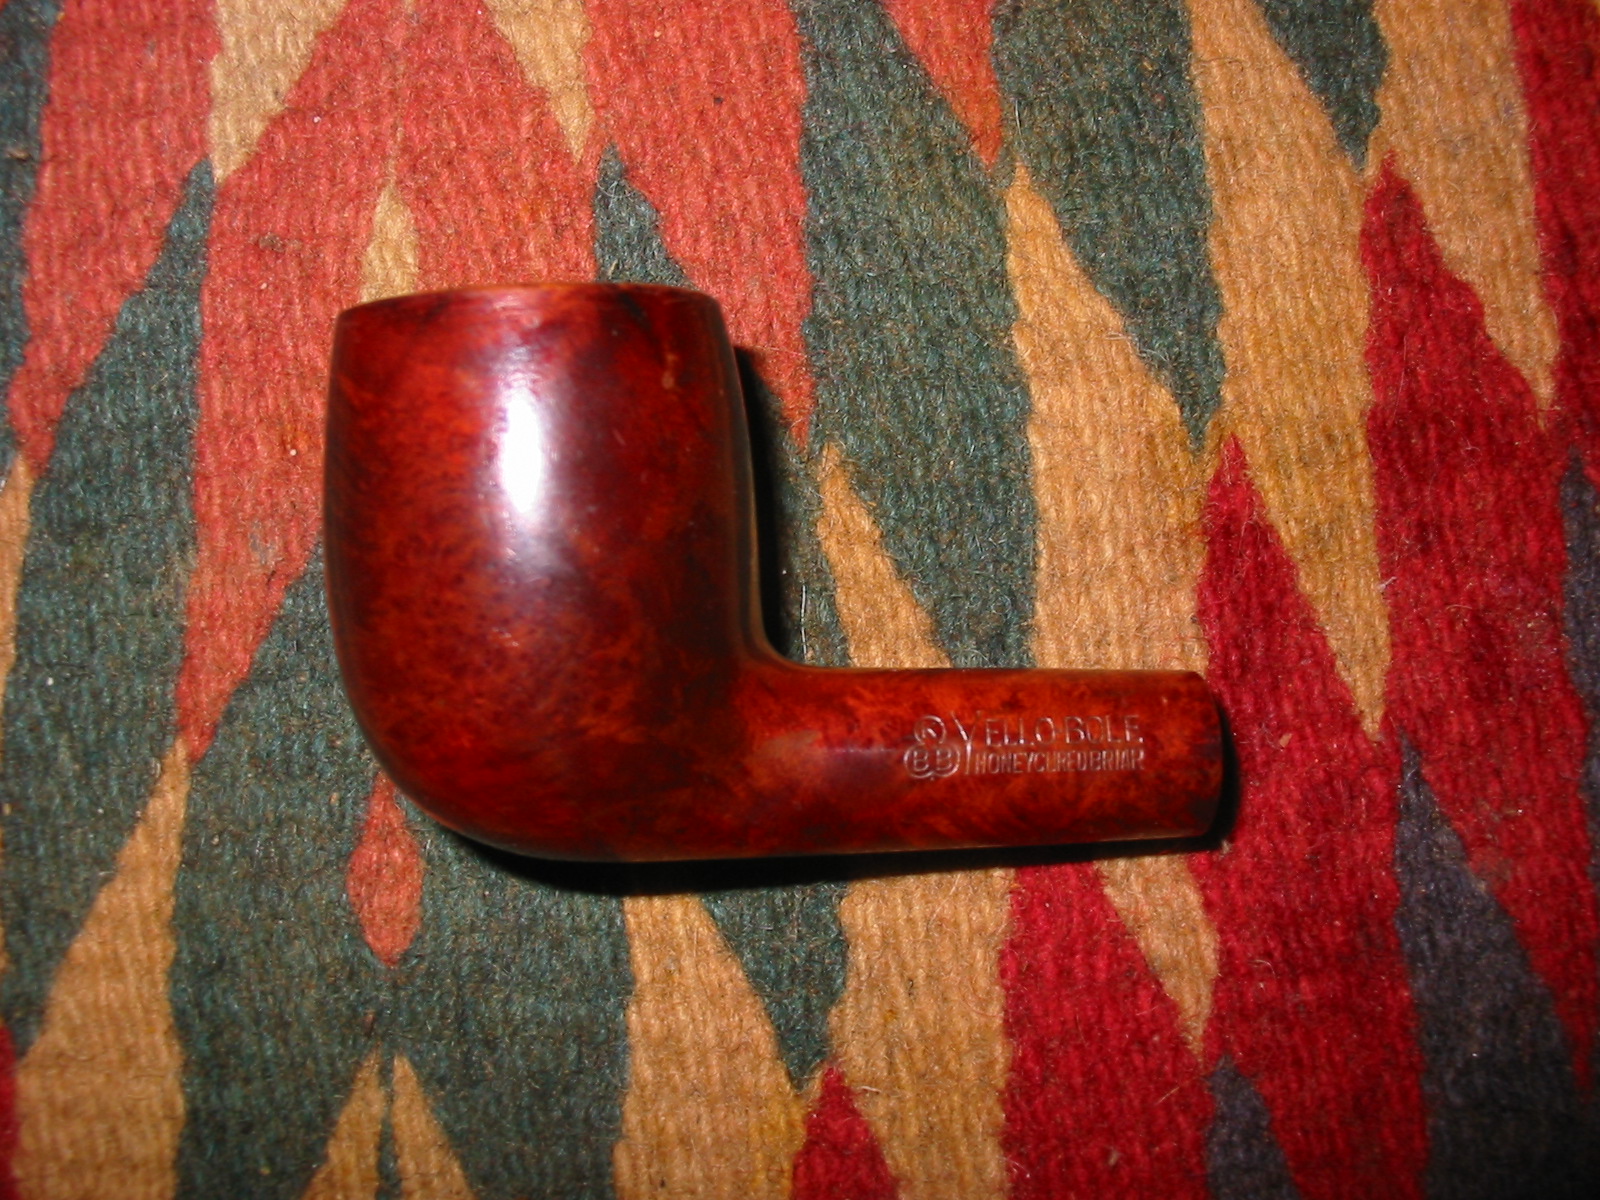
I just finished restoring and restemming an older Yello-Bole billiard. The bowl was stamped with the KBB (no ampersand) on the left side of the shank and next to it is stamped Yello-Bole in capital letters. Underneath is stamped Honey Cured Briar. On the right side of the shank it is stamped 2068B.
IMG_7566 The bowl was in decent shape. The finish had a heavy coat of varnish over the stain but the briar appeared to be quite nice. I could not find any visible fills in the bowl. There was some good grain under the varnish. The rim had been topped and was rounded and crowned. It still had some scratch marks in the wood and also it was stained in a much lighter colour than the rest of the bowl. The stem was missing. It originally had a push tenon stem as the mortise was not threaded. Fitting a new stem would not be difficult but getting proper look to the stem required that I had some idea of the era of the pipe. That pushed me to do a bit of research. IMG_7567IMG_7570 Since Yello-Bole pipes are one of my favorite older US brands doing the research would be enjoyable. As with other early brands made in the states I have found that older is better. A KBB in a cloverleaf stamp will date them back to the ’30’s. I have found through my reading that the 4 digit shape numbers are older than 2 digit ones. The pipes with the logo on top of the stem are older than ones that have them on the side. That is just some of the information that I found with a cursory read through the forums and a variety of websites.
I found that Kaywoodie would sort shipments of briar and send the culls to be used for Yello-Boles, meaning they got some quality briar. One fellow on the web believes that is why Yello-Bole pipes tend to be smaller over all, working around flaws. He also said that he thinks calling them Kaywoodie seconds is a bit of a misnomer, being that Kaywoodie was one of the largest briar purchasers in the world at the time (’20’s-50’s) and got some fantastic wood.

I came across the SM Frank website http://www.smfrankcoinc.com/home/?page_id=2 and found a wealth of historical information on Kaywoodies, Yello-Boles and the merger between KBB and SM Frank and later Demuth. It was a great read and I would encourage others to give the website a read. The information in the next paragraph was condensed from that site. I found confirmation for the statement above that the Yello-Bole line was an outlet for lower grade briar not used in Kaywoodie production. Yello-Bole’s were introduced in 1932 and manufactured by Penacook, New Hampshire subsidiary, The New England Briar Pipe Company. Advertising from the 1940′s, pictures the Yello-Bole “Honey Girl” and urges the pipe smoker to smoke the pipe with “a little honey in every bowl.” Honey was an ingredient of the material used to line the inside of the bowl. It was said to provide a faster, sweeter break-in of the pipe.
I went hunting further to see if I could find information on establishing dates for Yello-Bole pipes and found that there was not a lot of information other than what I had found above. Then I came across this link to the Kaywoodie Forum: http://kaywoodie.myfreeforum.org/archive/dating-yello-bole-pipes__o_t__t_86.html I quote the information I found there as it gives the only information that I found in my hunt to this point.

“OK so there isn’t a lot of dating information for Yello-Bole pipes but here is what I have learned so far.
– If it has the KBB stamped in the clover leaf it was made 1955 or earlier as they stopped the stamping after being acquired by S.M. Frank.
– From 1933-1936 they were stamped Honey Cured Briar.
– Pipes stems stamped with the propeller logo they were made in the 30s or 40s no propellers were used after the 40s.
– Yello-Bole also used a 4 digit code stamped on the pipe in the 30s.
– If the pipe had the Yello-Bole circle stamped on the shank it was made in the 30s this stopped after 1939.
– If the pipe was stamped BRUYERE rather than briar it was made in the 30s.

That is all I have in my notes right now I don’t have anything on the multitude of stem stampings or any other age indicators. If anyone has more definitive information or other methods of determining date please feel free to post it and I will edit this as I go. I currently have 2 from the 30s and 6 from pre 55 and 2 fairly modern ones.”

One further item was also found on that site. It was just a passing comment in the midst of some information on Kaywoodie pipes. I quote: “The pre-Kaywoodie KB&B pipes were marked on the shank with a cloverleaf around KB&B. Some early Kaywoodies had this same marking on the shank, but the practice was dropped sometime prior to 1936. Yello-Boles also had KBB in the leaf on the shanks, but did not have the ampersand found on Kaywoodies.” (Highlighting is mine)

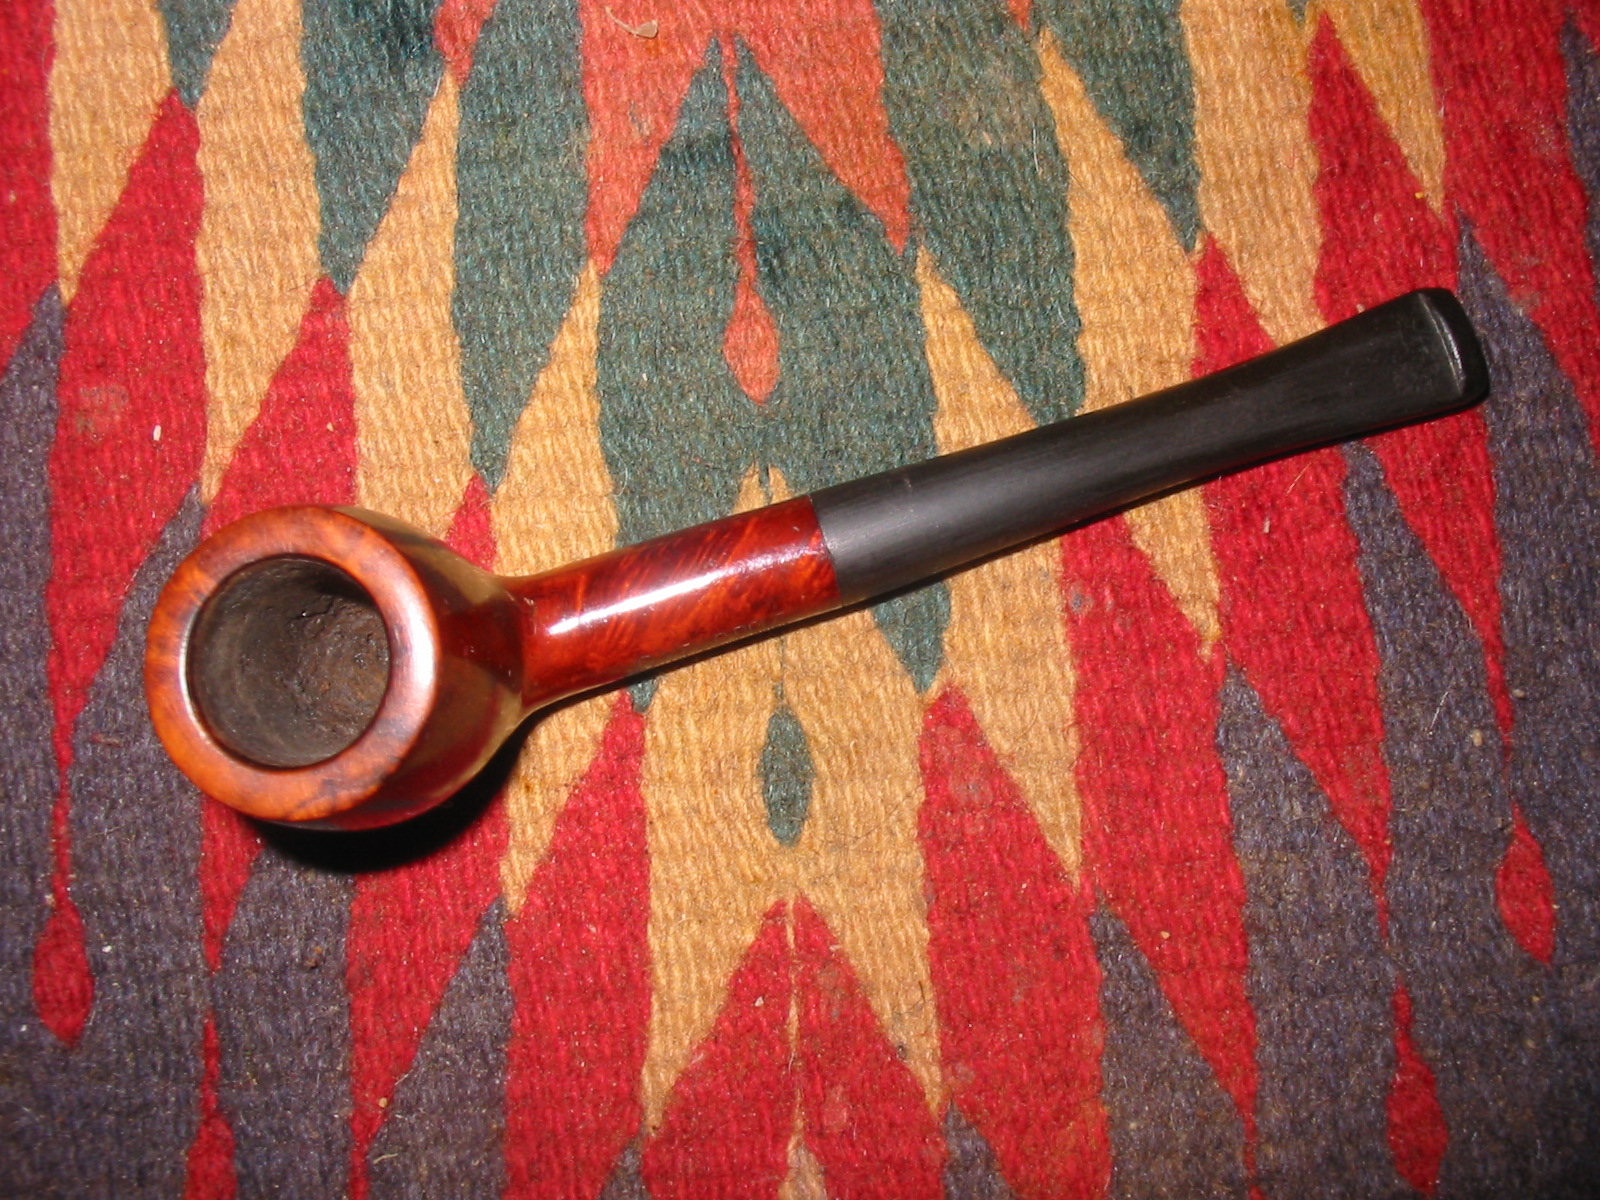
Given the above information I discovered that the pipe I was working on was made sometime between 1933-1936. It was stamped with the Honey Cured Briar stamping on the shank and had a four digit code. Thus it was an early Yello-Bole from the 1930s. With that information I had a fairly clear idea of what kind of stem I needed to fit to the shank. I looked for photos of the pipe online and found none from that era. So I looked at KW stems to get some sense of what the shape of the stem and the slope of the taper would have been like. I found one the shape I was looking for in my can of stems. It had the right taper and look and after turning the tenon I was able to fit it to the shank. The diameter of the stem was slightly larger than the shank on the top and would need to be sanded until the transition was smooth between the shank and stem. IMG_7577IMG_7578IMG_7579 I sanded the stem with 220 grit sandpaper to remove the excess material on the top side. I sanded the shank to make the transition smooth. I planned on removing the varnish and touching up the stain on the rim anyway so to touch up the shank would not be a problem. I sanded carefully so as not to damage the stamping. IMG_7592IMG_7593IMG_7594IMG_7595 There were some slight ripples in the taper of the stem so I sanded it with a sanding block to smooth out the high points on the taper and even out the line. IMG_7596IMG_7597IMG_7598 I wiped down the bowl with acetone and cotton pads to remove the varnish and some of the stain coat. I always do that when I am going to do a restain on the rim and shank as I find that it makes the new coat of stain much simpler. IMG_7599IMG_7600 I wanted to remove the crown and rounding of the rim and flatten it out. The original bowls did not have a crowned rim but a flat one so I wanted to repair that and bring it back to its original look. I set up a topping board and 220 grit sandpaper and pressed the rim into the sandpaper and sanded the top flat. IMG_7601IMG_7602 I sanded the rim with a medium and a fine grit sanding sponge and also with 1500-2400 grit micromesh sanding pads to prepare it for staining. I stained the bowl, rim and shank with oxblood aniline based stain, flamed and repeated until the coverage was even. I then buffed the pipe with White Diamond. IMG_7604IMG_7605IMG_7606IMG_7608 I sanded the stem with medium and fine grit sanding pads once again and then sanded it with the micromesh sanding pads. I wet sanded with 1500-2400 grit pads and 3200-12,000 grit pads. I rubbed the stem down with Obsidian Oil and when it had dried took the pipe to the buffer. IMG_7609IMG_7610IMG_7611 I buffed the pipe with White Diamond and then gave it multiple coats of carnauba wax, buffing with a flannel buff between the coats. The finished 1930’s era pipe is shown below ready to be loaded and enjoyed for another 80 years. The stain does a great job highlighting the grain on this little pipe. It came out looking like new. The stamping stands out and is still sharp. The stem tapers just right to my liking. It is finished and waiting. Now the only decision left is what tobacco to use to break it in once again. IMG_7613IMG_7617IMG_7615IMG_7616

Restored – Kaywoodie Flame Grain 13B (Author) Drinkless – Pat Russell


It is a pleasure to present Pat’s second contribution to the blog. In it he describes his work on an old Kaywoodie in one of my favourite shapes – the 13B. Thanks for the contribution Pat. Keep ’em coming. You are doing some great work.

Greetings friends.

It’s been one heckuva week, one of those weeks where life just seems to take over. As a reward for making it through, I’ve taken a holiday today to restore a beautiful old pipe that has been sitting on my bench for a month or so. This was another $14.00 eBay win, and one I was thrilled about. I started looking for early Kaywoodies about a year ago when I fell in love with the quality of the briar. This lovely little author was in pretty good shape. The drinkless stinger, with 4 holes, and a two digit shape code with one letter dates it to between 1940 and the early 1950s. There was a sizable tooth mark in the top of the stem, a couple smaller bites out of the bottom of the bit, and a few small dings and dents in the bowl. Other than that, the pipe was in pretty good shape.
KW1KW2KW3KW4KW5 So I threw the stem in a OxyClean bath, and then took the new PipNet reamer to the cake.
KW6KW7KW8 I then wet a tea towel and set the bowl rim down on the towel for two minutes or so, before using the damp towel to wipe off the rim char and tars.
KW9 Once that was done, I wet sanded the stem with 600 and 800 grit sandpaper.
KW10 Then took the heat gun to the stem to work on those dents.
KW11KW12 It took a couple attempts, but they both lifted somewhat.
KW13KW14 Then I took 0000 steel wool to the stinger to clean it up.
KW15 Following the stinger, I elected to do a surface clean of the stummel with acetone and a cotton pad.
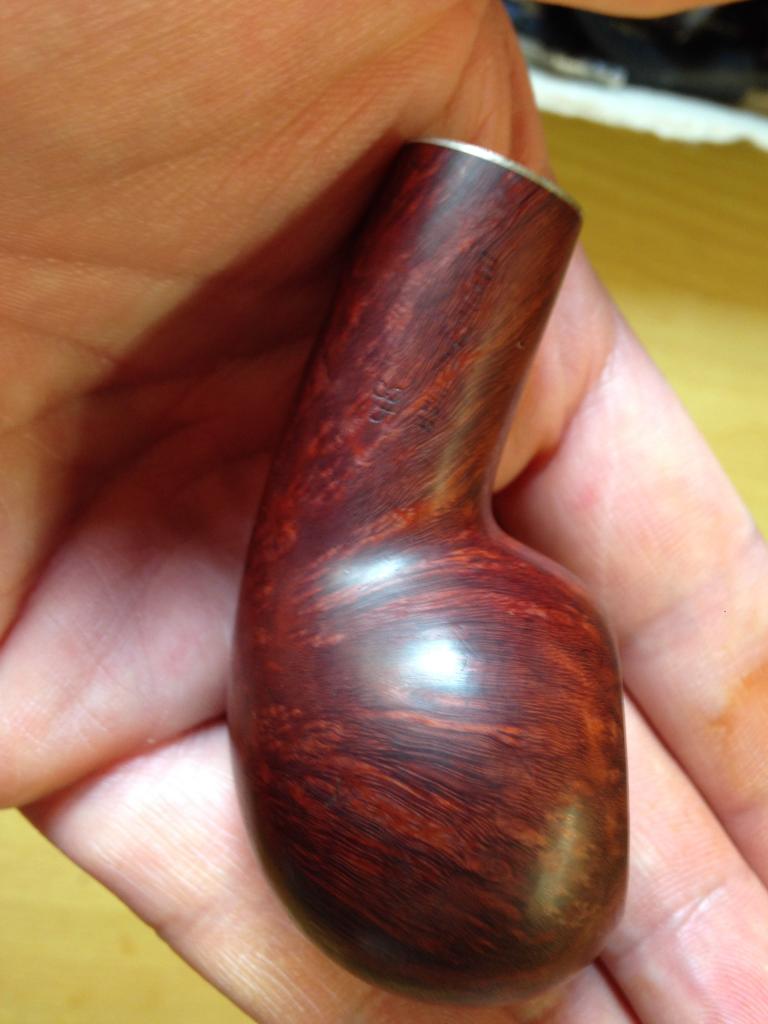
KW17KW18KW19KW20 At this point, it was time to make some judgement calls. There was still some rim darkening, there were a couple very minor dents in the bowl, and that tooth mark was still there even after the heat treatment and there was a little bleaching around the top of the bowl. This pipe is for me. I’m a clencher. I elected to leave the tooth mark. I also elected to leave the dents, and do a light tint of the bowl to bring back the colour.
The next step was a date with about fifty pipe cleaners and the same number of bristle cleaners liberally dosed with isopropyl alcohol. After a thorough scrub out, I elected to finish the stem, shank and stummel clean with a retort.
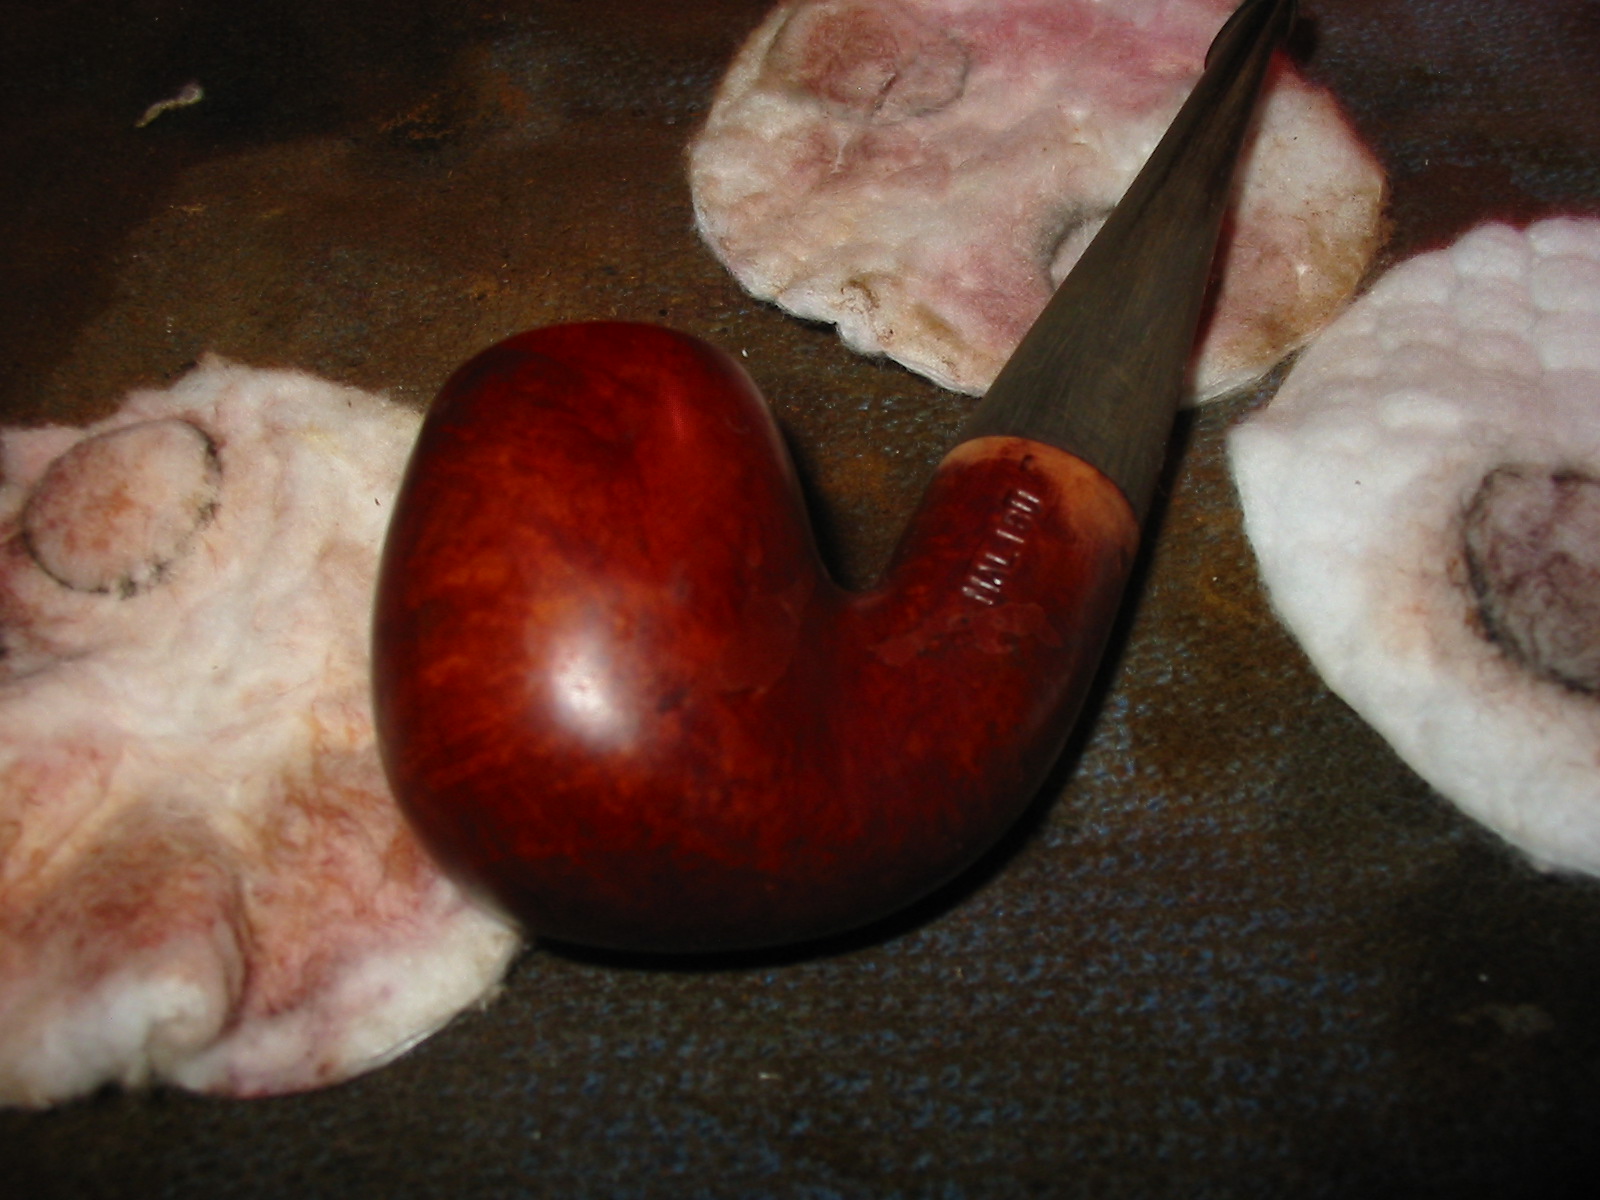
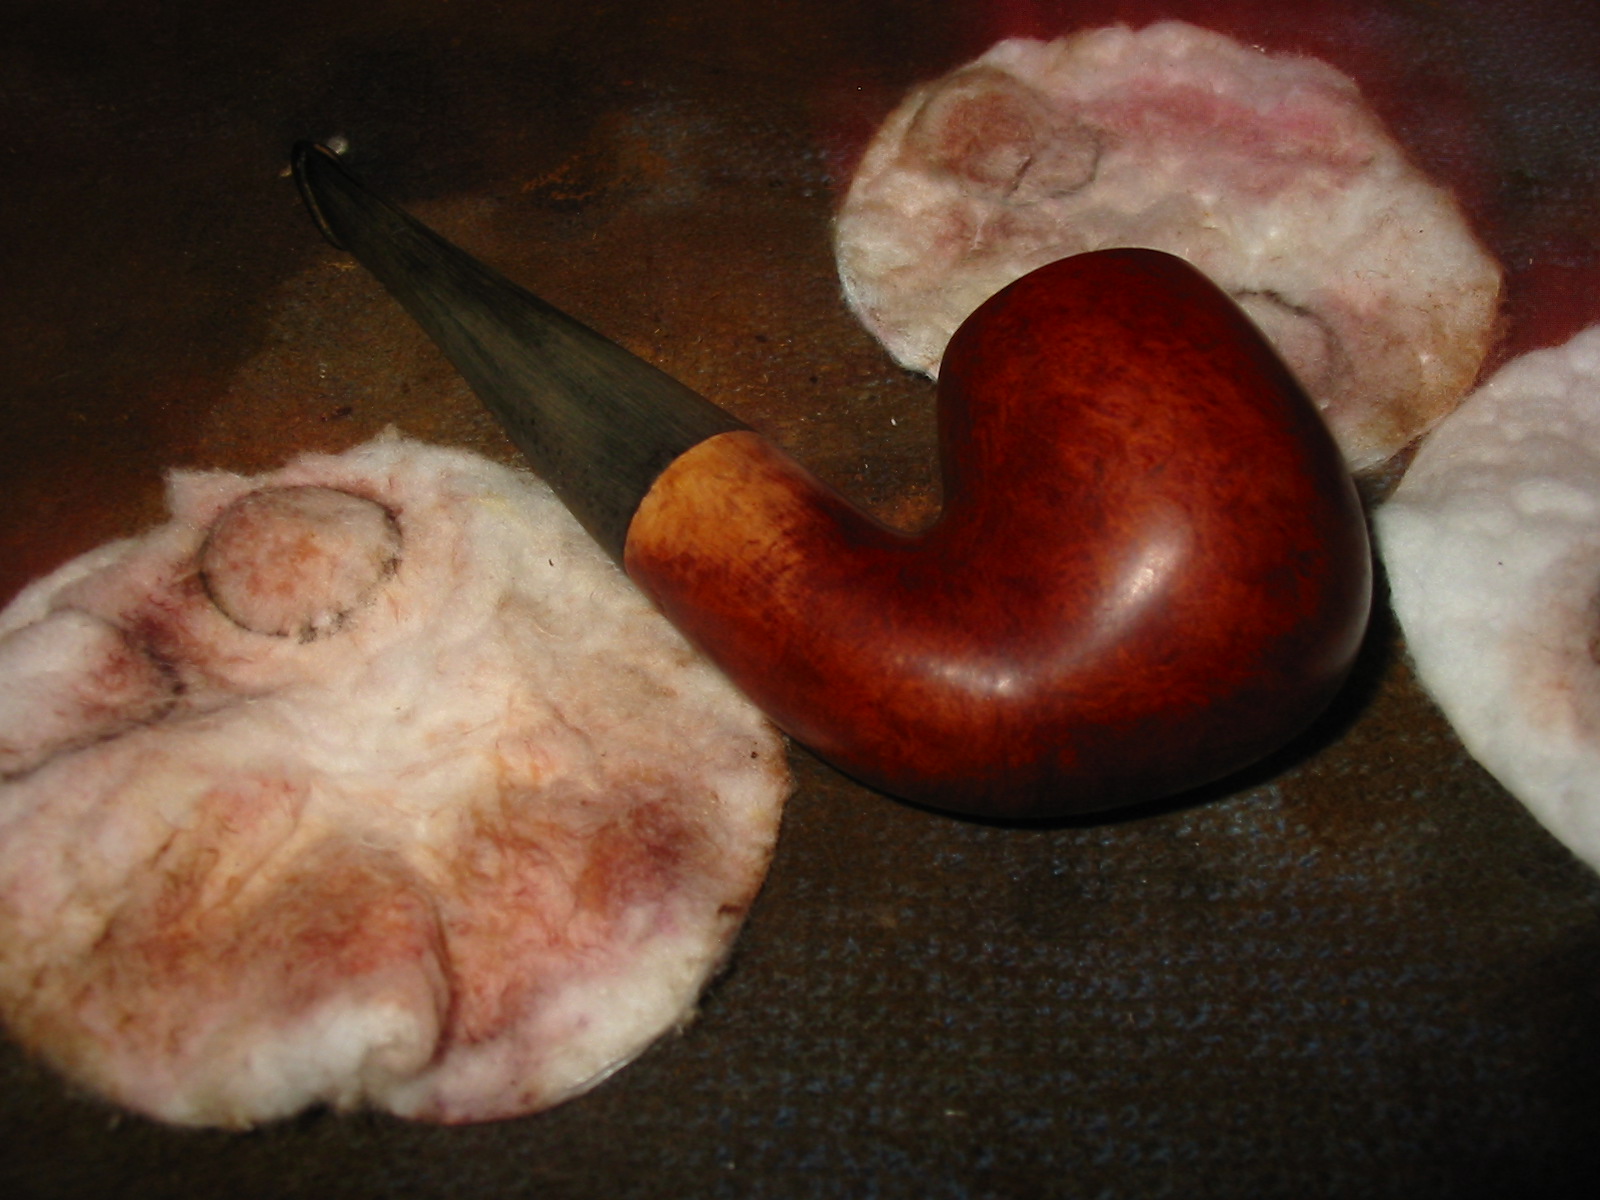
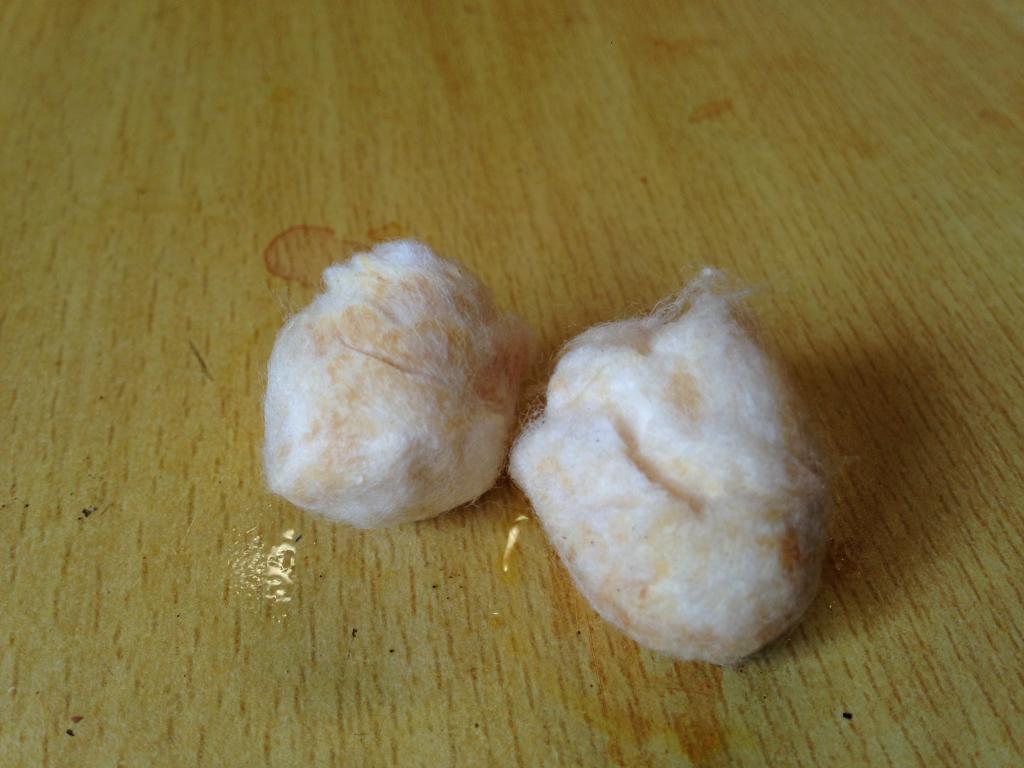
KW21KW22KW23 Testament to the fact that isopropyl alcohol and pipe cleaners don’t clean out everything, here are the cotton balls from the bowl post retort.
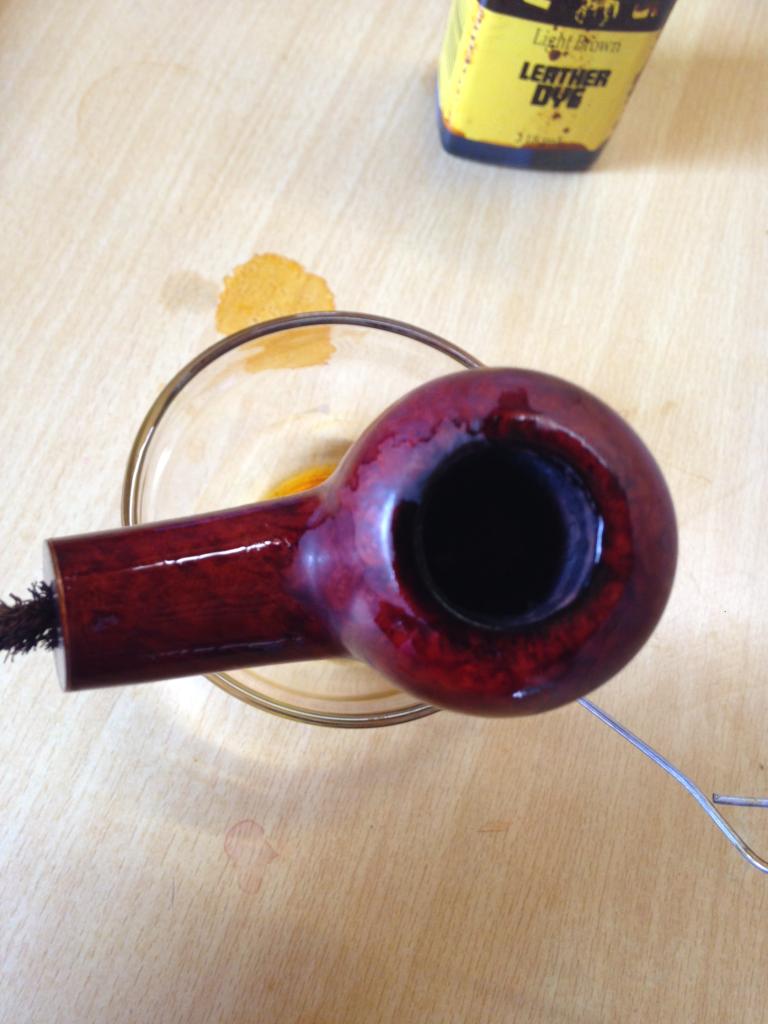
KW24 Post retort, I added two drops of Fiebing’s Light Brown to about half an eye dropper of 99% isopropyl alcohol. I do this to create tints. I don’t always want to restain a pipe, the tint allows me to blend the stain and bring colour back to the bleached areas of the stummel.
KW25KW26KW27KW28KW29 After adding the tint, I used a cotton ball with isopropyl alcohol to wipe down the stummel and even out the tint.
KW30KW31 Then the pipe went to the buffer. First with white diamond…
KW32KW33 Then with Carnauba…
KW34KW35KW36KW37 Then after a wipe down with a Dunhill Pipe Wipe…
KW38KW39KW40KW41KW42KW43 I love this pipe. I’m thrilled to have it, and can’t wait to smoke it.

Right now I’m having one of these to celebrate.
KW44 As always, thanks for looking, and feel free to toss any tips my way.

A Malibu Bent Billiard by Savinelli Restemmed and Restored.


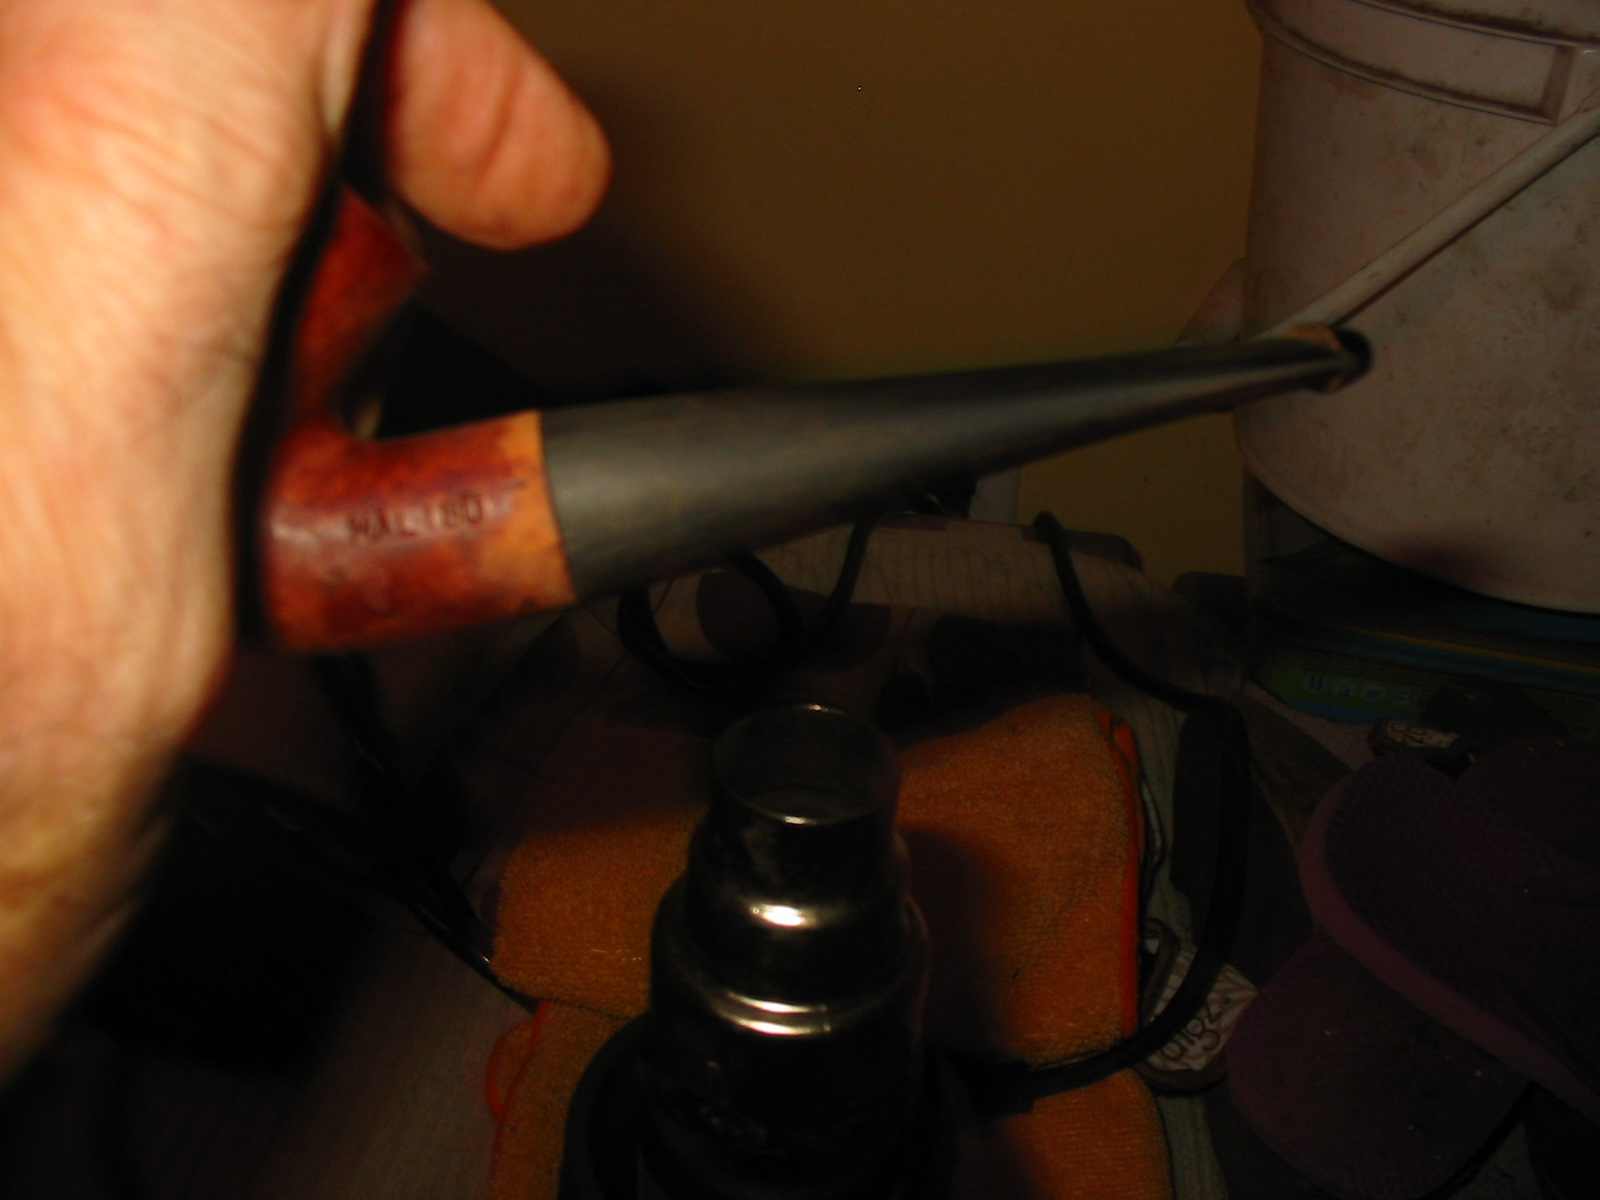
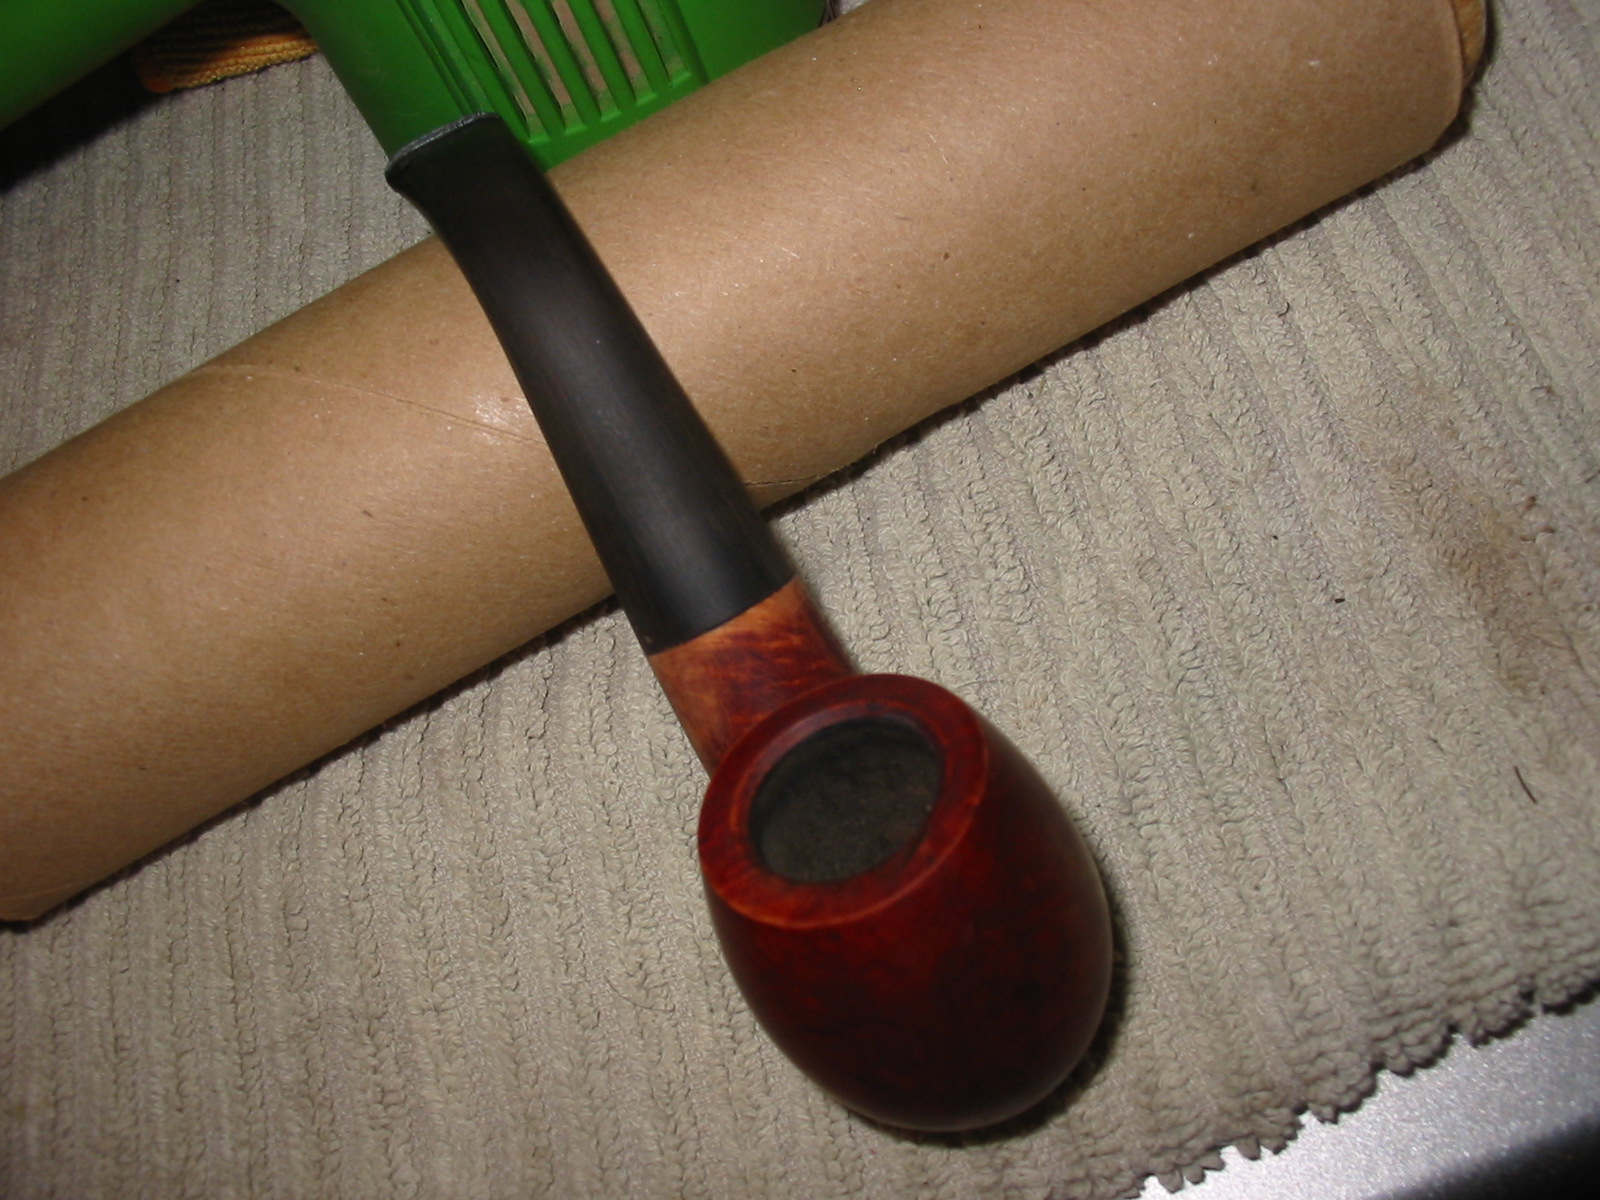
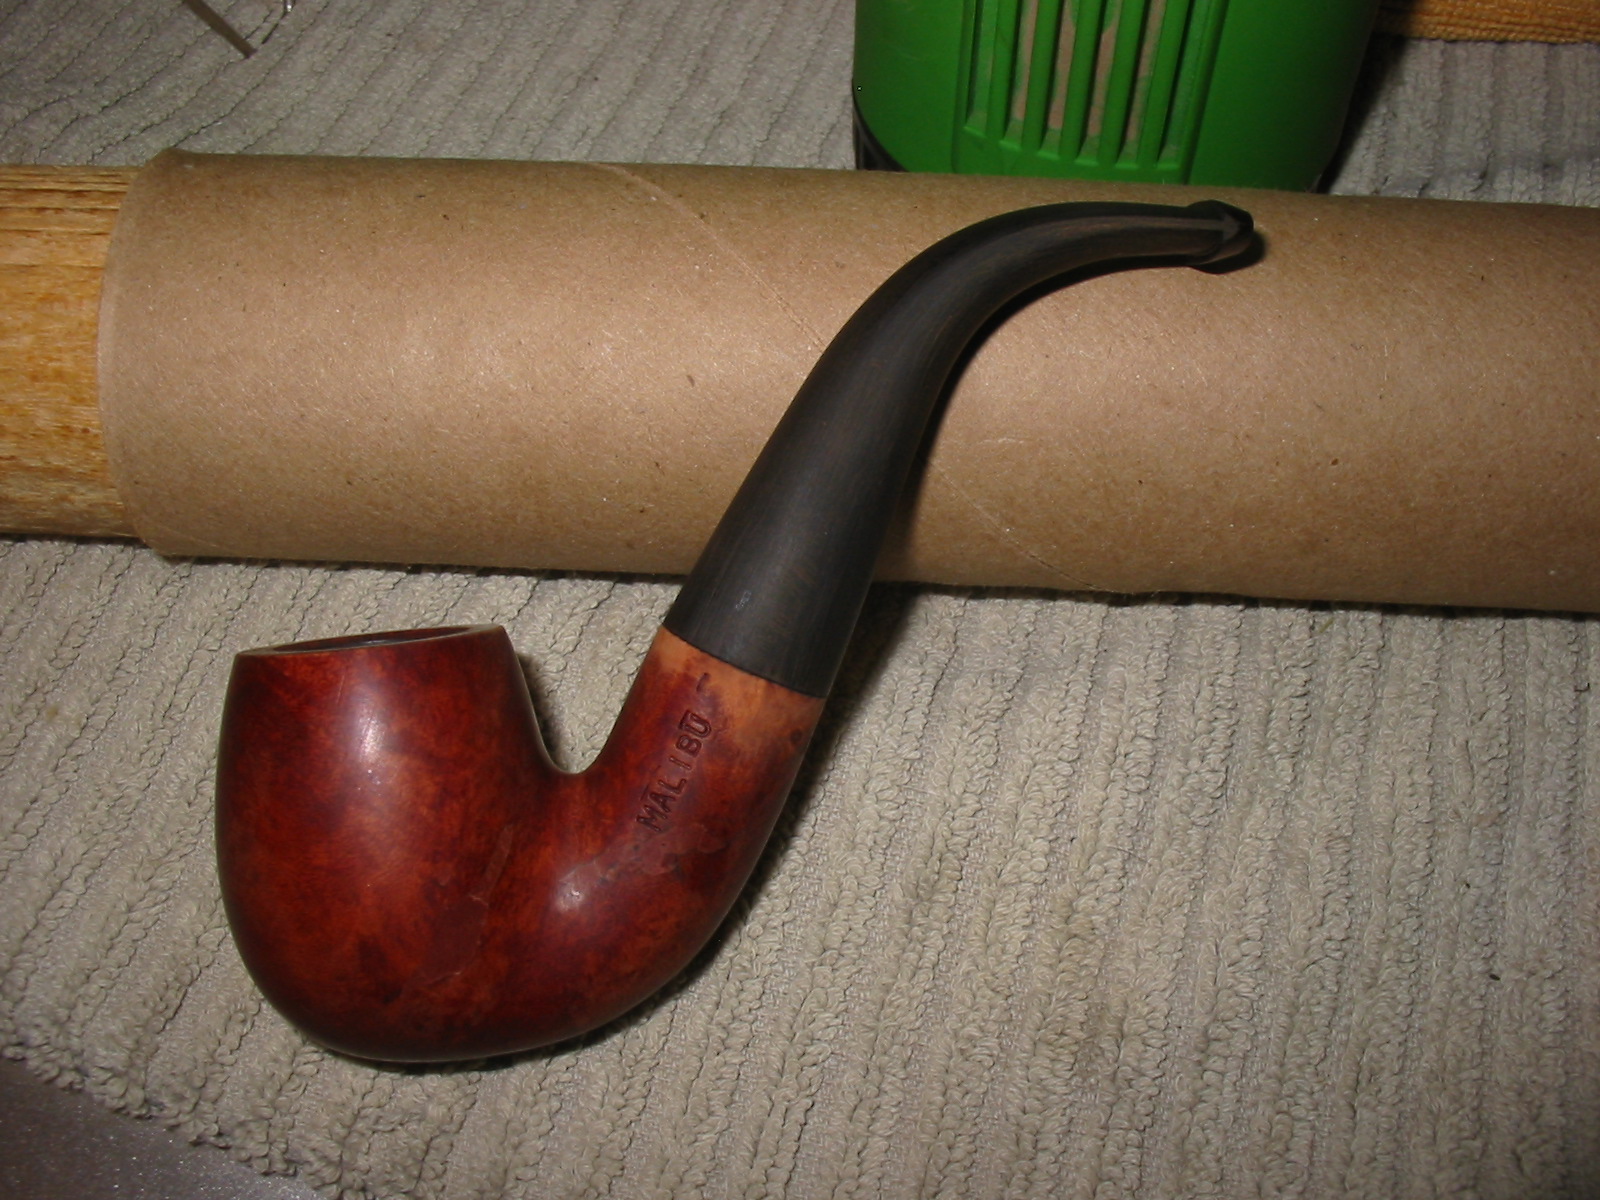
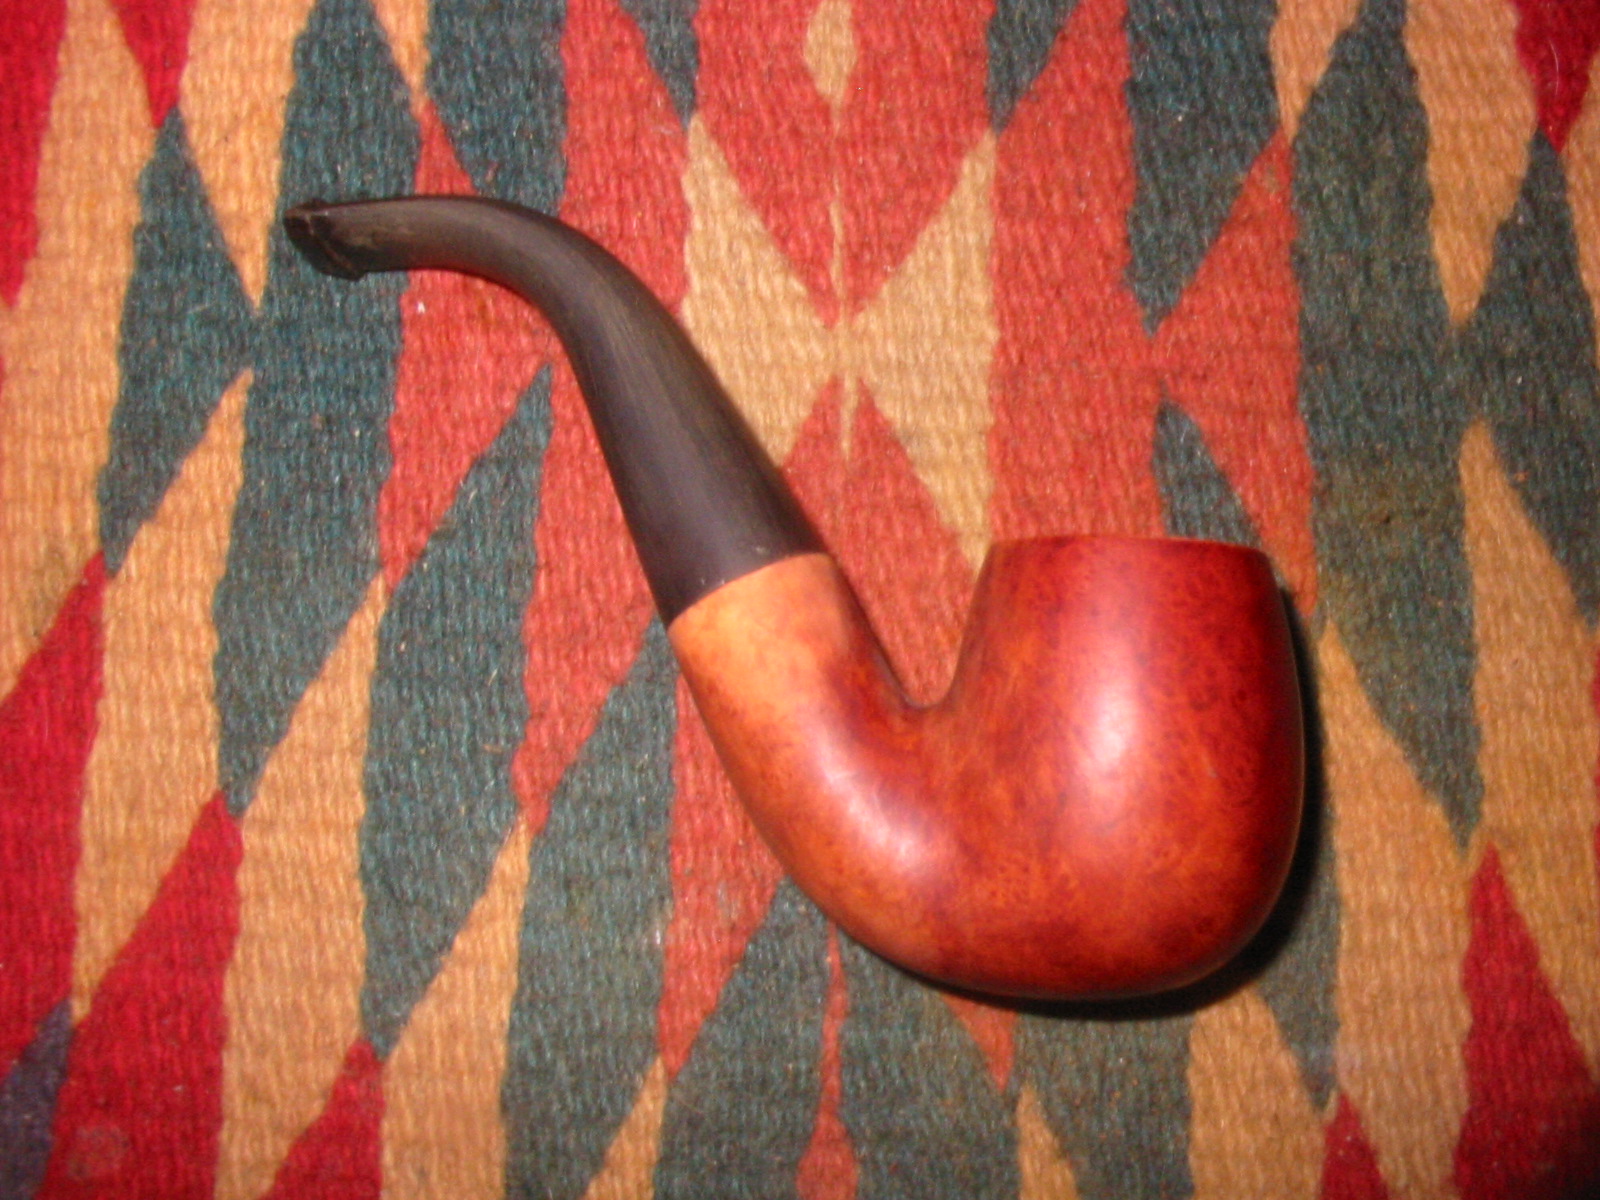
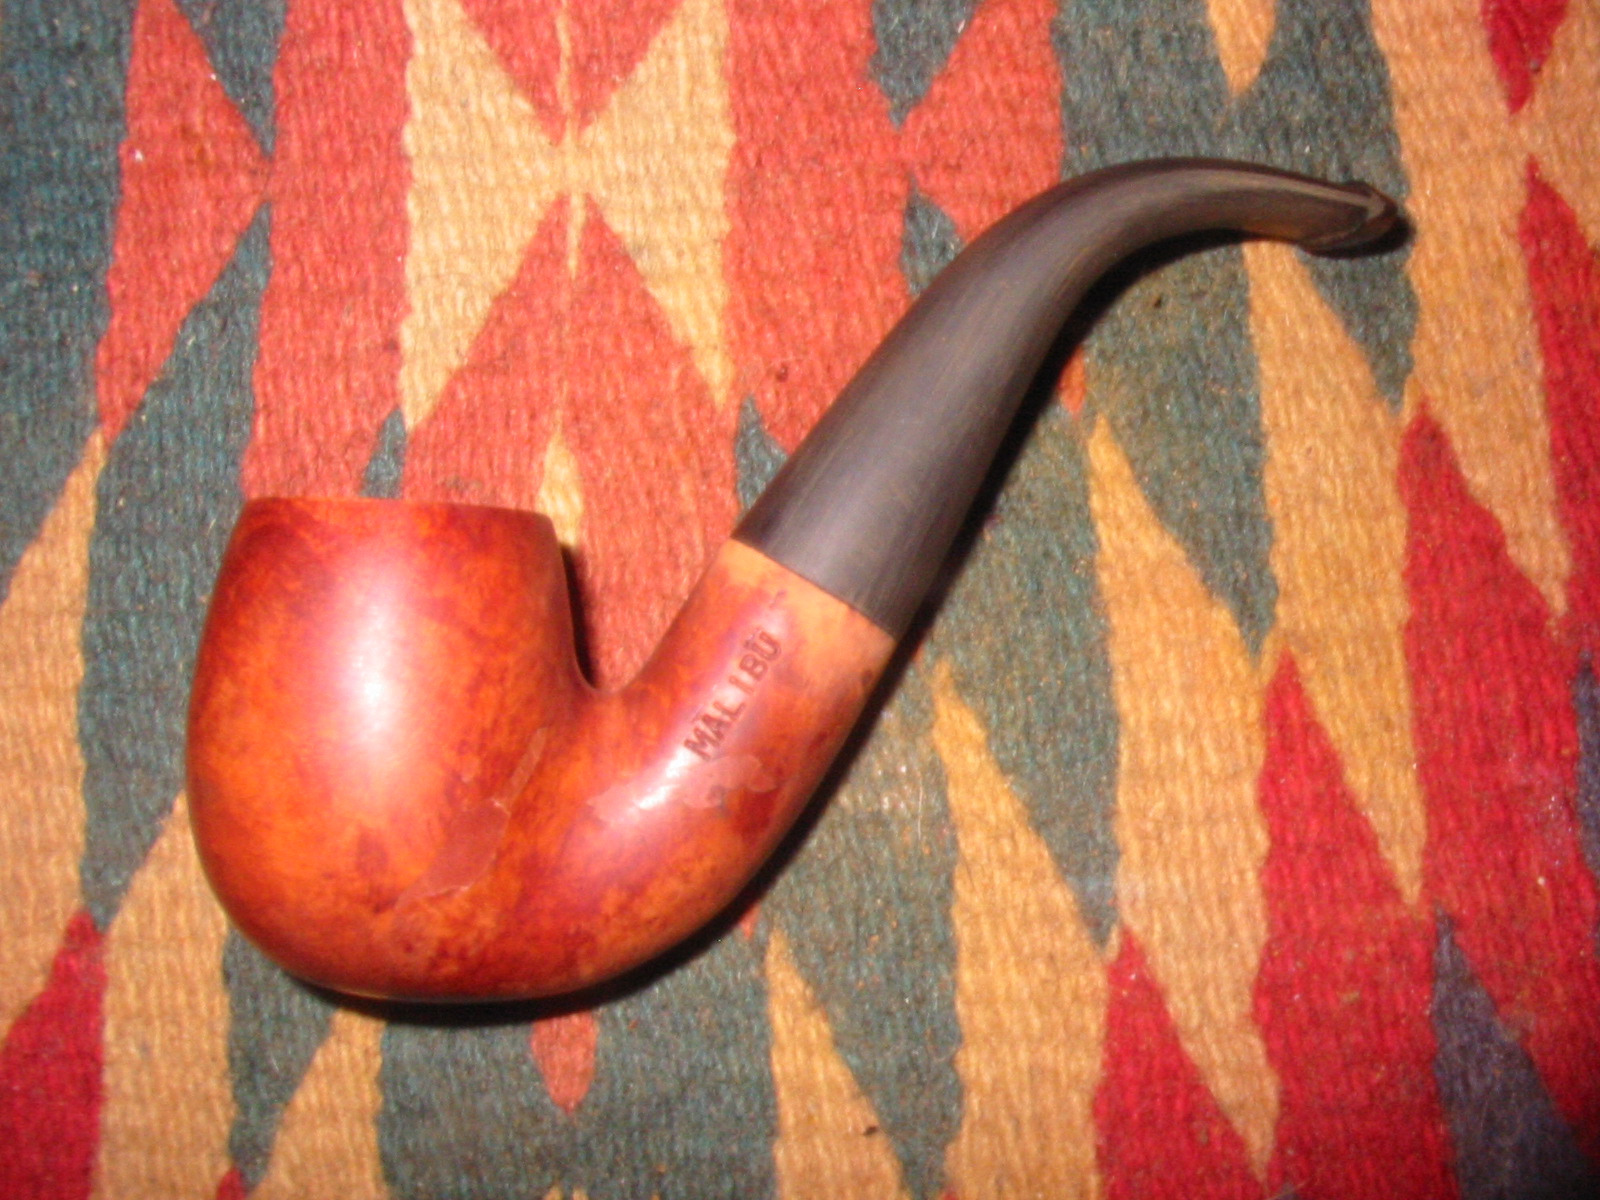
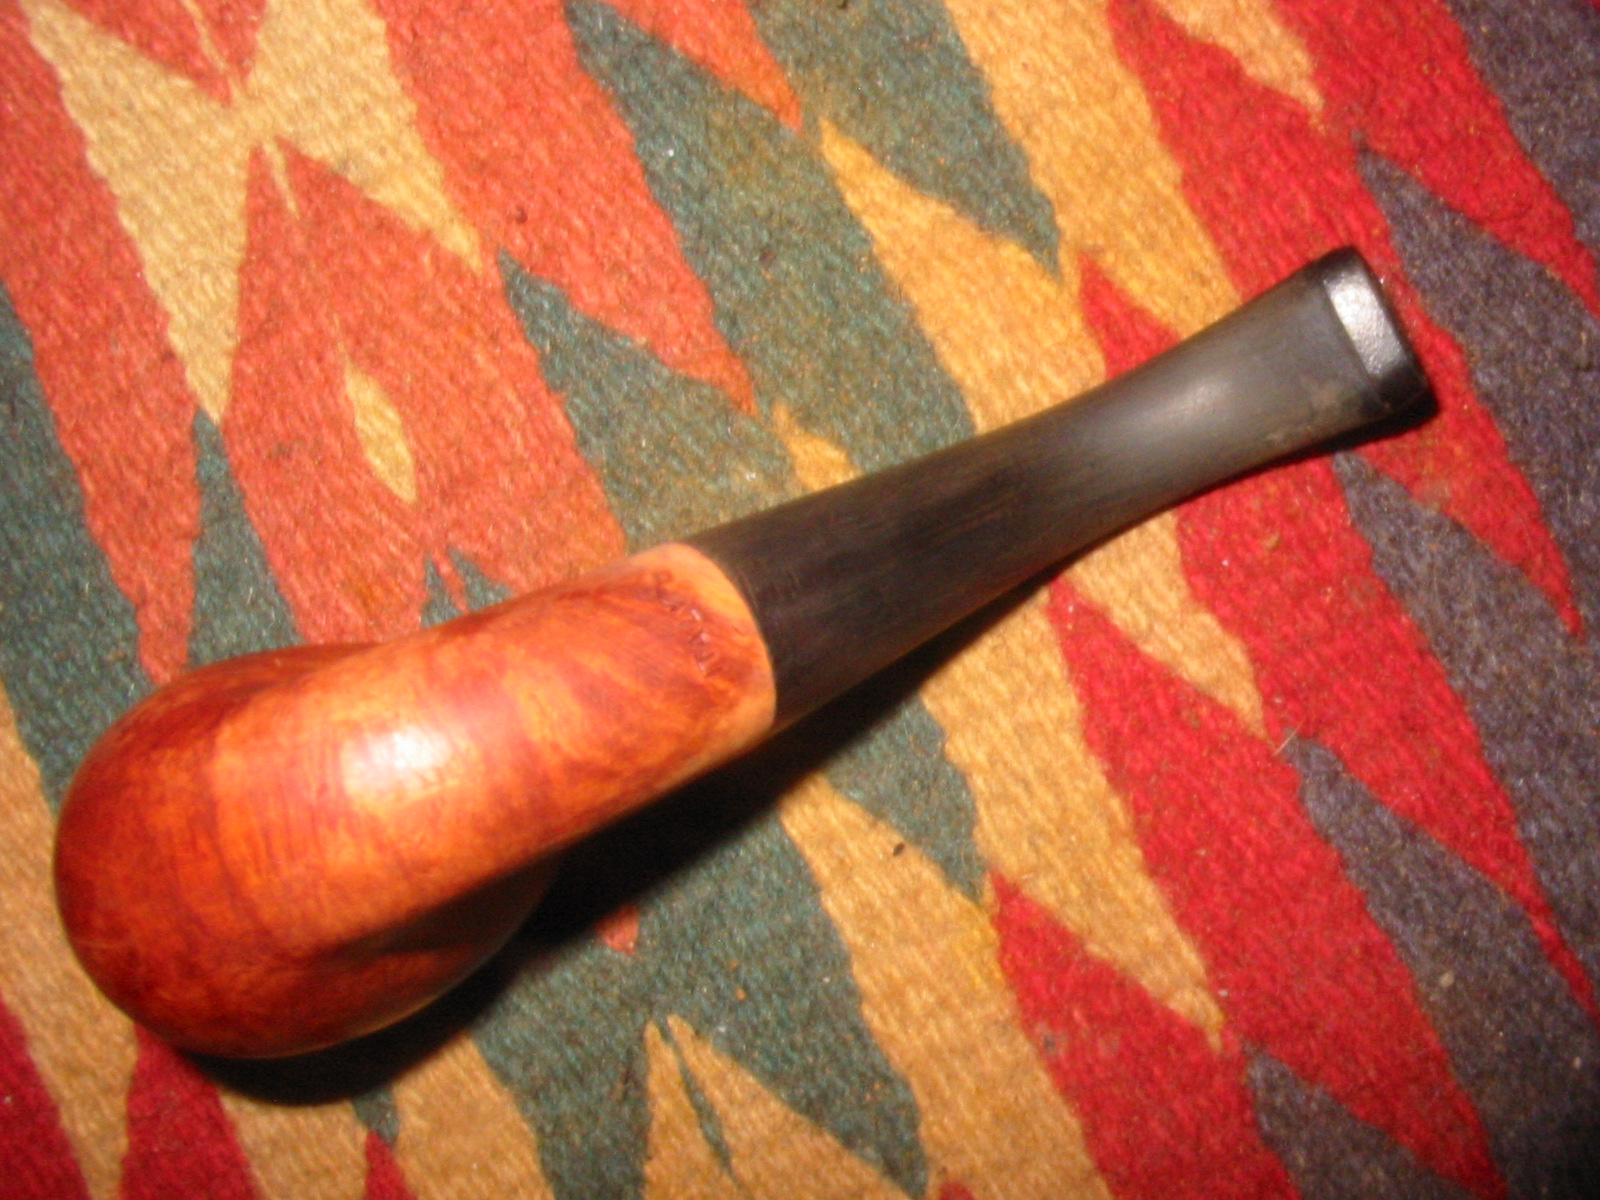
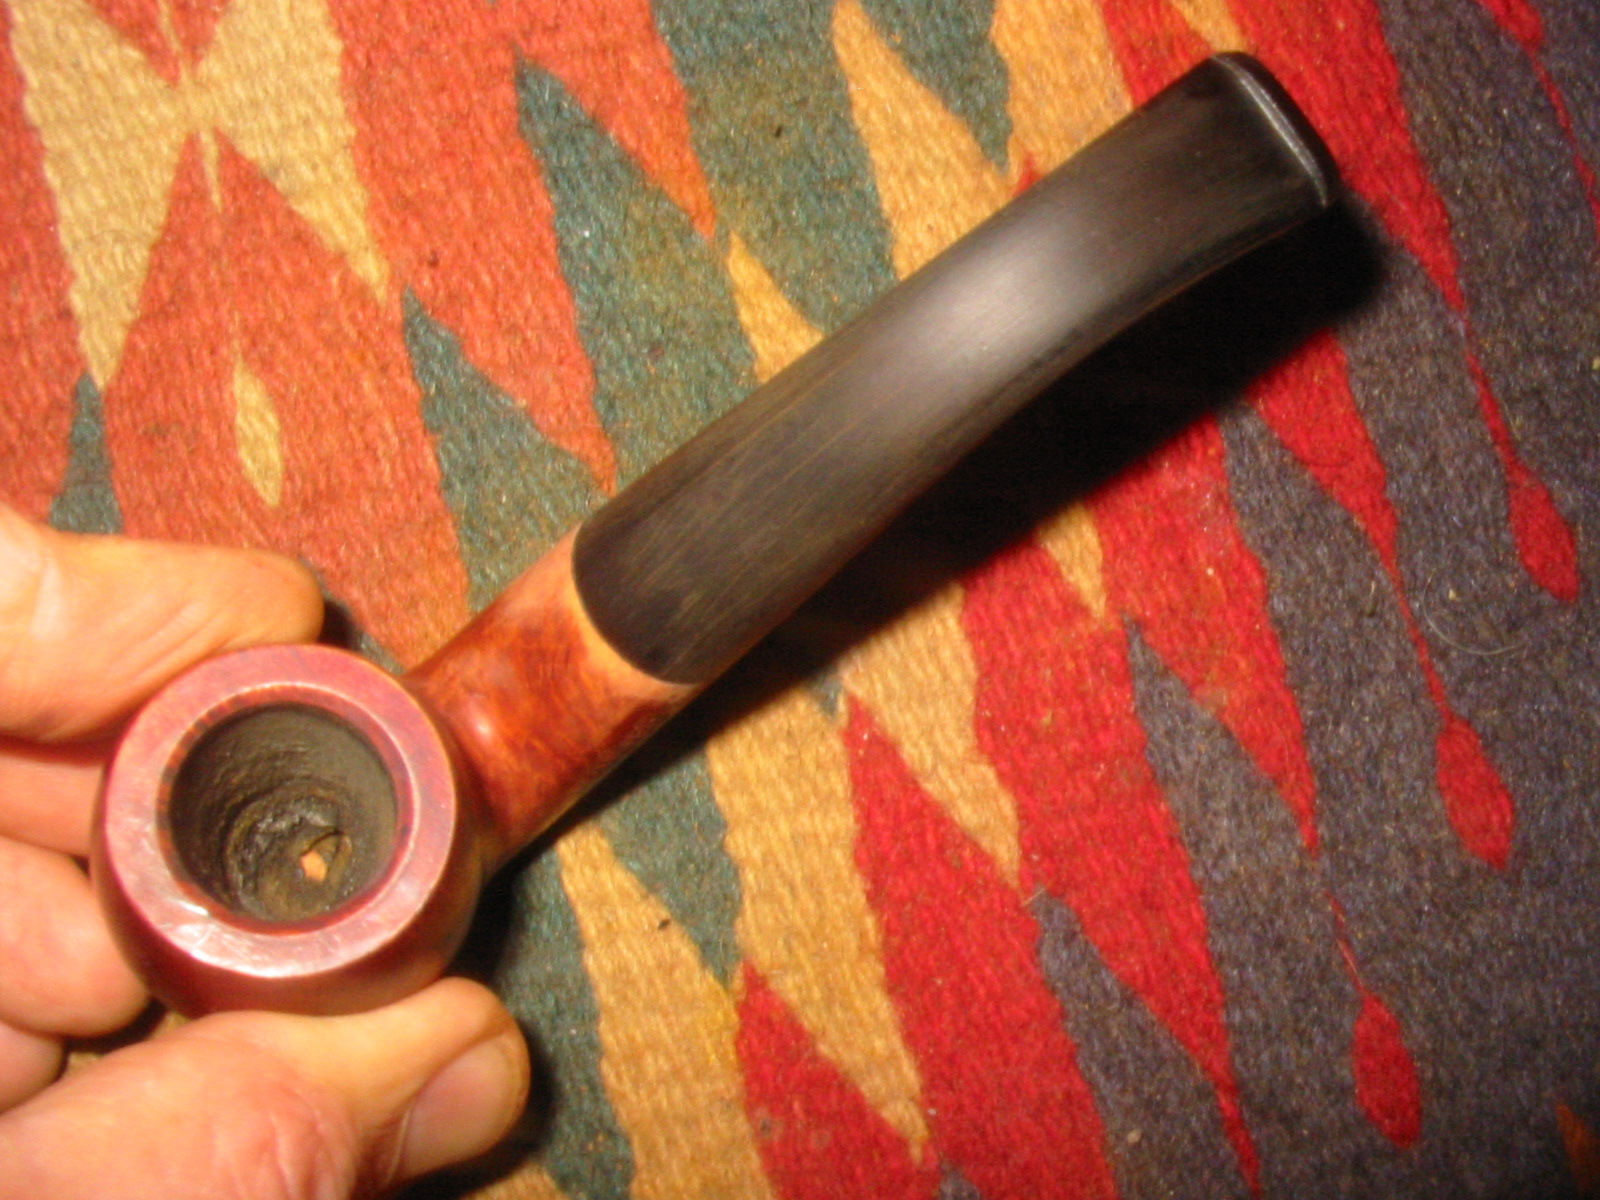
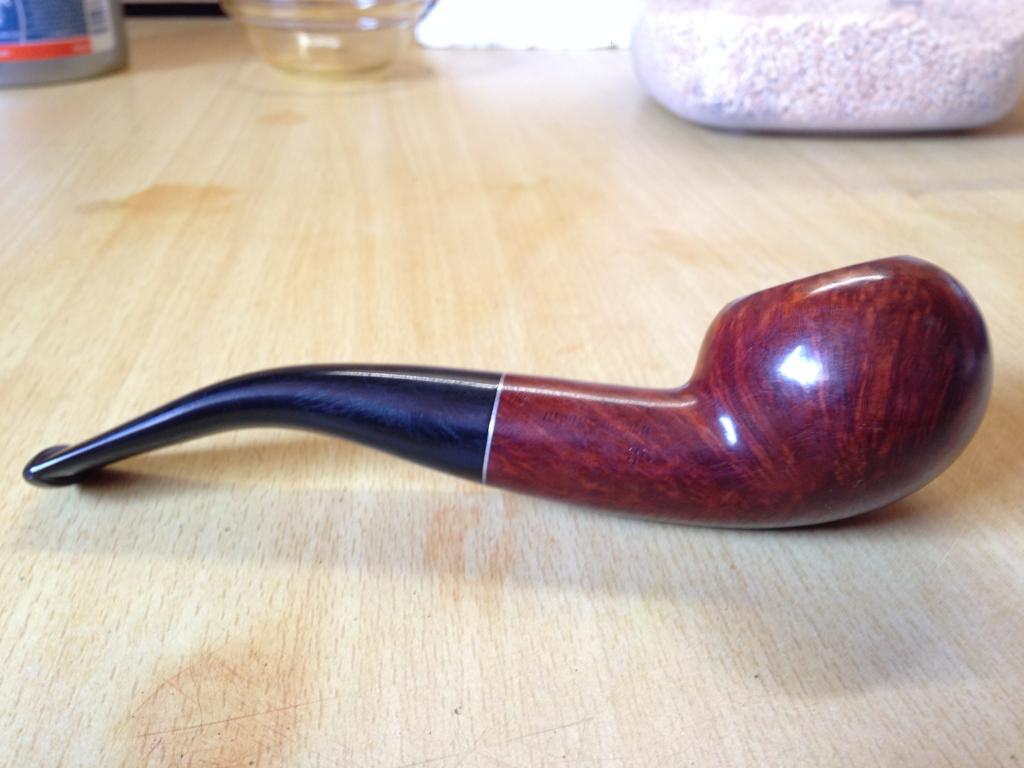
The next pipe from the gift box of bowls was a bent billiard stamped MALIBU on the left side of the shank and Italy on the underside. There is no other stamping on the pipe. I searched the internet for information on the brand and also looked in the book Who Made That Pipe and there found that the pipe was made by Savinelli. I emailed Savinelli but have not yet received a confirmation of that information. I will update this post as soon as I hear from them. In the meantime I worked on the bowl. It was in decent shape though covered by a thick varnish coat that gave it a perma-shine. The bowl and shank were dirty but had not been smoked enough to build up a cake or tars. The rim was in excellent shape and the finish other than being very plastic looking was clean. In the first photo below you can see the two large fills that were on the bowl and shank on the left side. The first is on the side of the bowl, just ahead and below the bend. The second is on the shank next to and below the stamping. They seemed to have taken the stain and though they are visible are not a bright pink. There was no stem with the pipe so I found the one in the photo below that would fit the shank with a little work.
IMG_7519
I turned the tenon down with a PIMO Tenon Turning Tool and then sanded some of the seams that still showed on the side of the bowl. The diameter was very close to being the same – I had to make a few adjustments on the top and the right side to get a seamless fit.
IMG_7520

IMG_7521

IMG_7522

IMG_7523
I sanded the stem in place and sanded the shank at the same time. I needed to remove the varnish coat anyway so I figured it would be okay to sand the shank at the same time. I did not want to reduce the size of the shank – merely that of the stem and then match them. I find that if I do that with the stem off the shank it is easy to round the edges of the stem. With it in place and using a sanding block I can get a smooth transition. I also work to restain the sanded area of the shank to match the bowl.
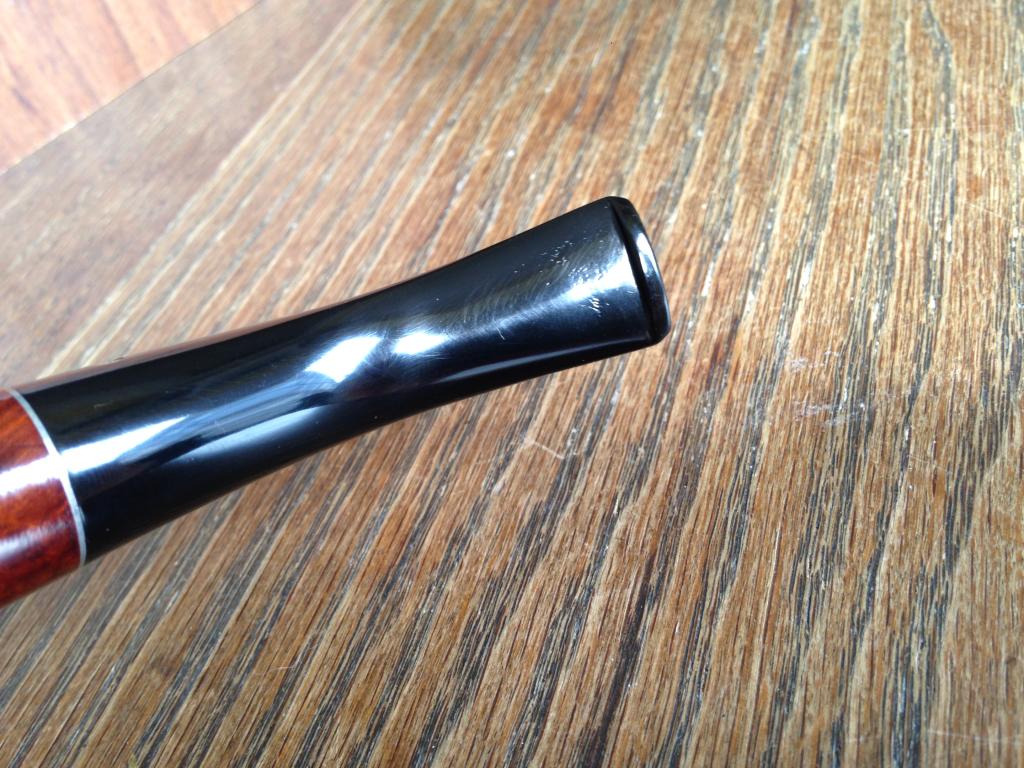
IMG_7524

IMG_7525

IMG_7526

IMG_7527
Once the transition was smooth I wiped down the bowl with acetone to remove the varnish coat. It took some scrubbing with acetone wet cotton pads. I was finally able to break through the finish with the acetone.
IMG_7528

IMG_7529

IMG_7530
I sanded the bowl and shank, carefully avoiding the stamping, with a medium and a fine grit sanding sponge. I sanded the entire bowl and shank and then wiped the bowl down with isopropyl alcohol to remove the sanding dust.
IMG_7531

IMG_7532
I sanded the stem with the same sanding sponges and removed the majority of the scratches left behind by the sandpaper. I set up a heat gun and heated the stem to soften it so I could bend it. When it was pliable I bent it over a rolling pin with a hard cardboard tube over it to smooth out the wood. I bend it until the stem looks right with the bend in the shank and then use cool water to set the bend.
IMG_7533

IMG_7538

IMG_7539
With the bend set I took it back to the worktable to sand the bowl to even out the existing finish and the stem.
IMG_7541

IMG_7542

IMG_7543

IMG_7544
I stained the bowl with a medium brown aniline stain, flamed it and repeated the process. I sanded the stem with the usual battery of micromesh sanding pads – wet sanding with 1500-2400 grit pads and dry sanding with 3200-12,000 grit pads. I rubbed the stem down with Obsidian Oil between each set of three pads and then as a final rub down once I had buffed the stem with White Diamond. I buffed the entire pipe with White Diamond and then gave the bowl and stem multiple coats of carnauba wax – buffing with a soft flannel buff between coats of wax. The finished pipe is shown below. The fills on the left side are still visible but the blend into the bowl is quite good. It is tolerable. The pipe is cleaned, refinished and ready for the rack of the next pipe man who will smoke it.
IMG_7551

IMG_7565

IMG_7552

IMG_7553

New Life for an old KBB Doc Watson Dublin


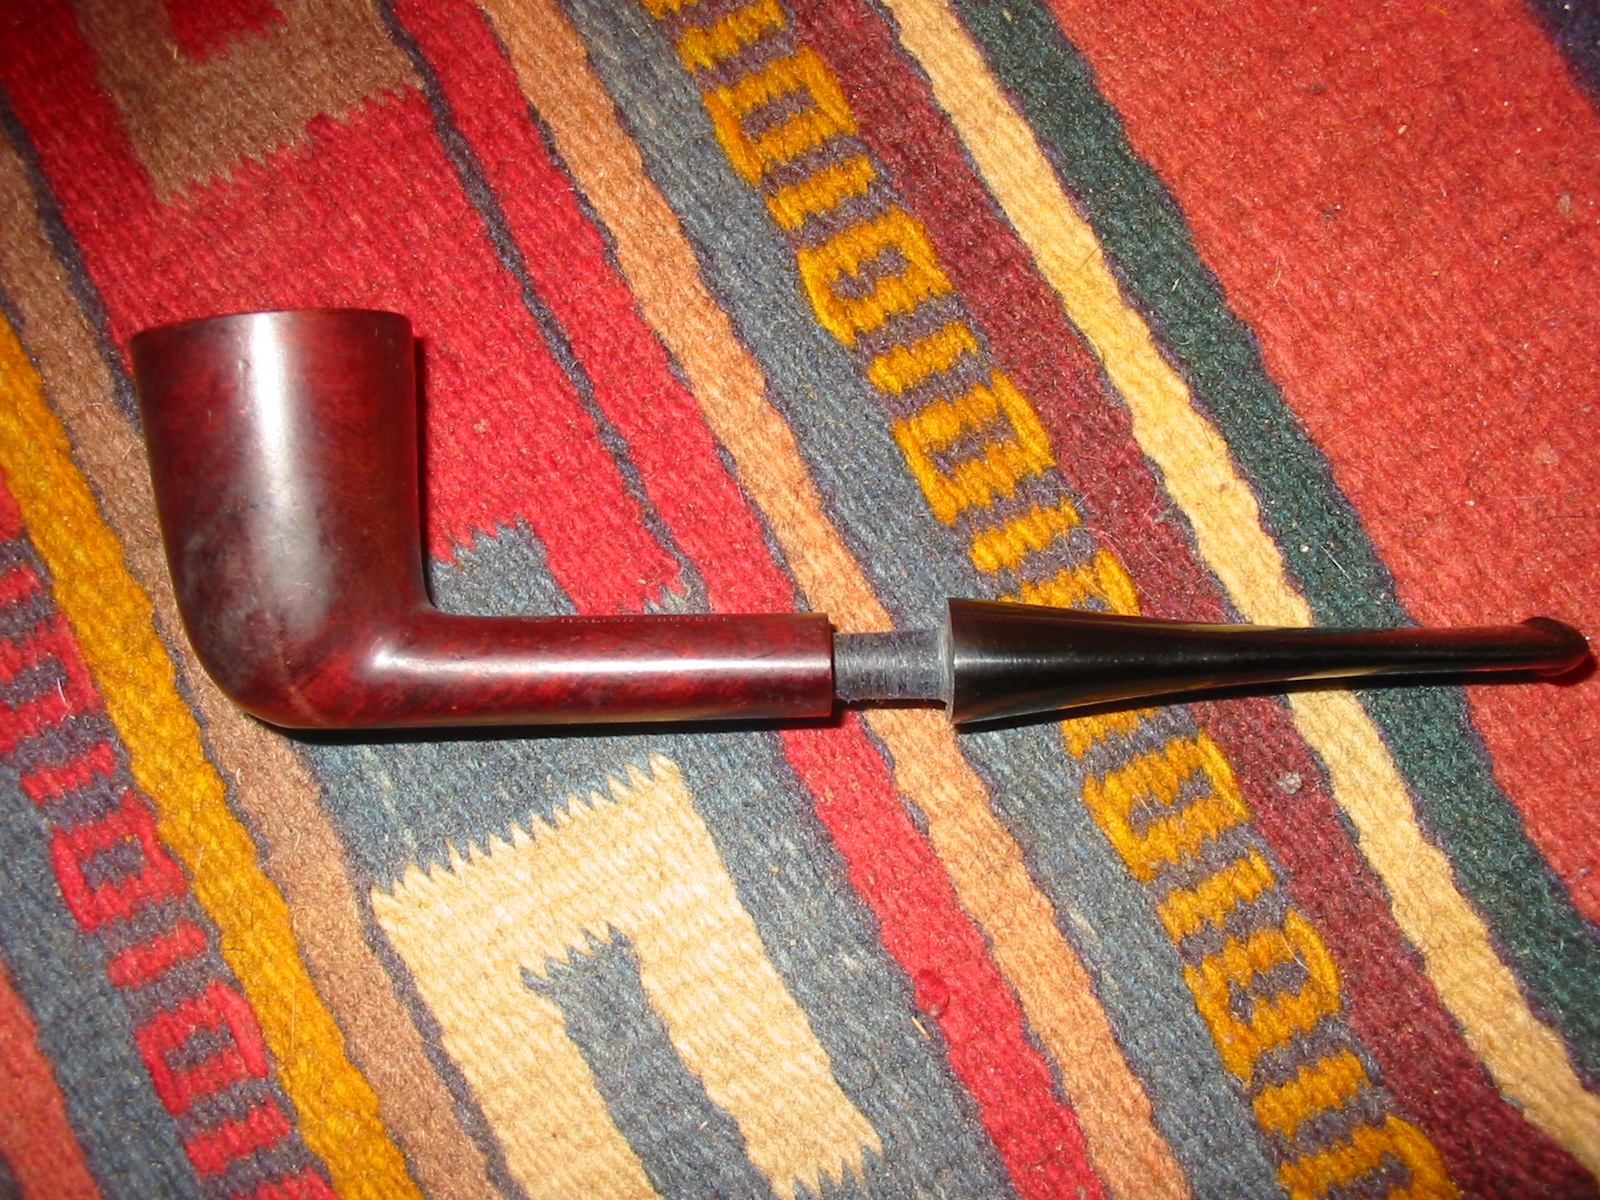
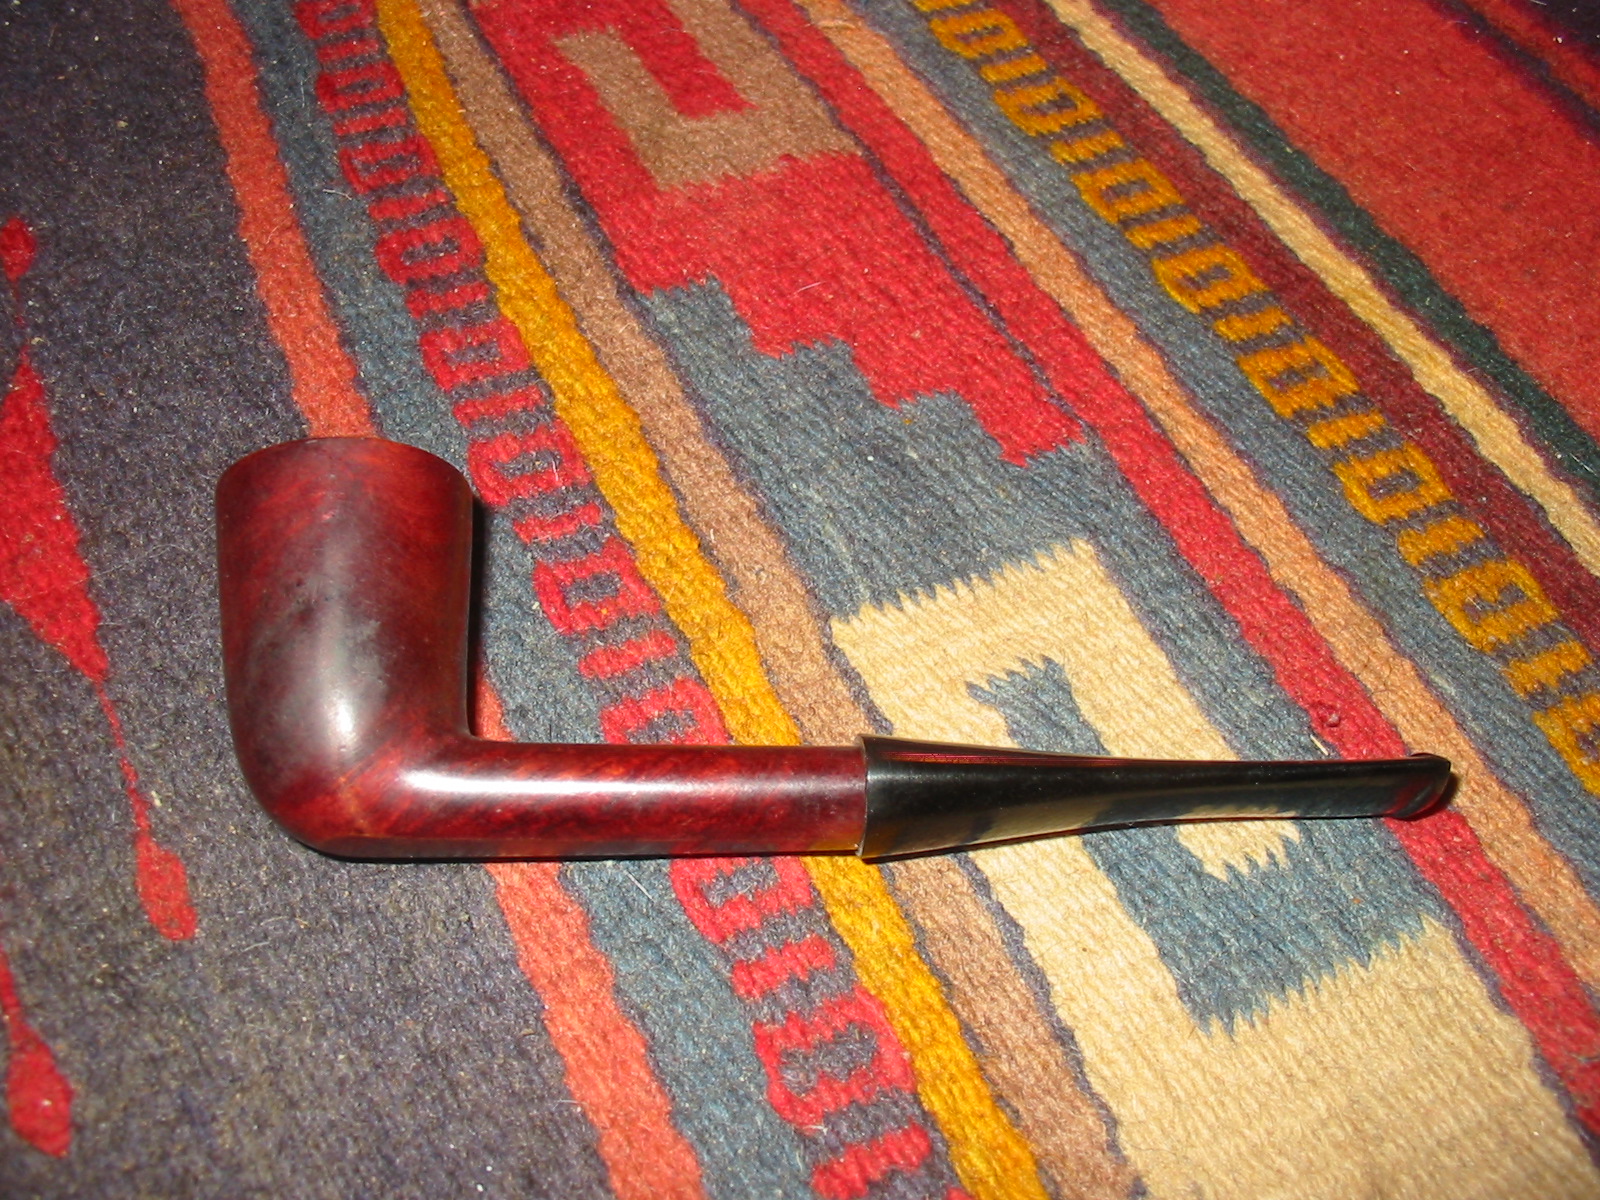
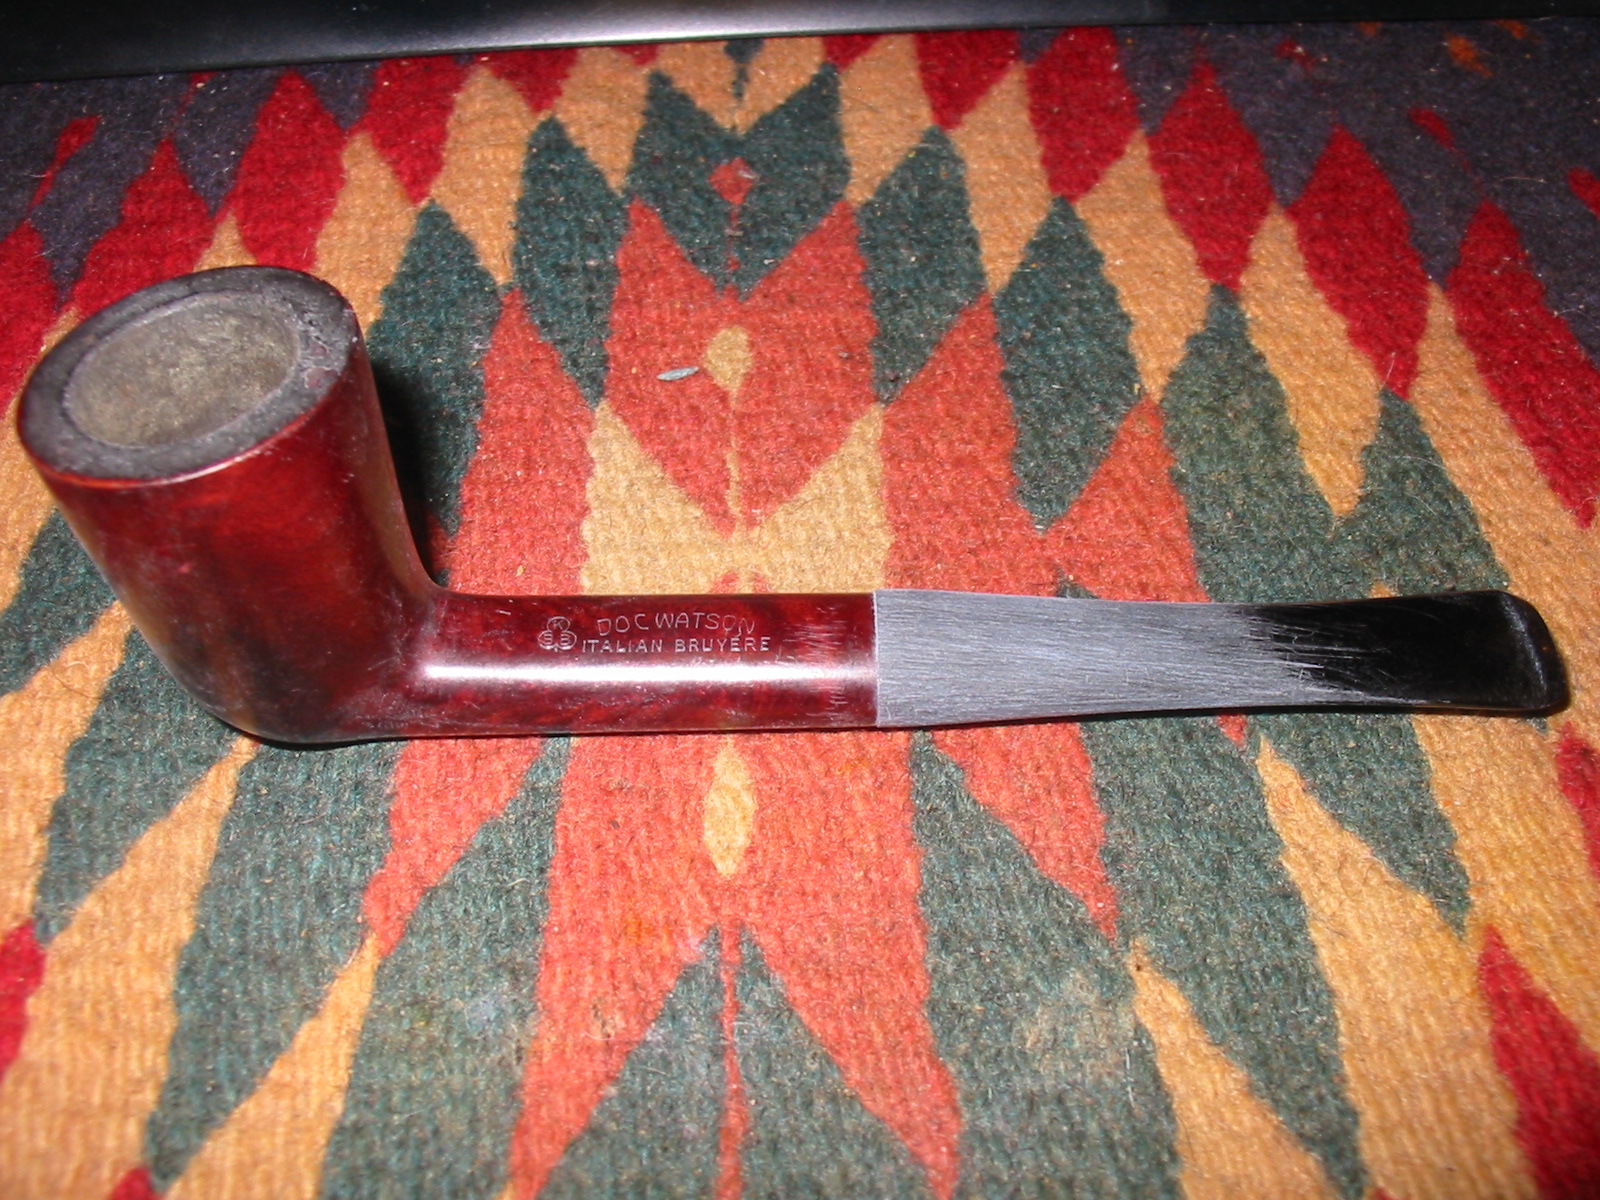
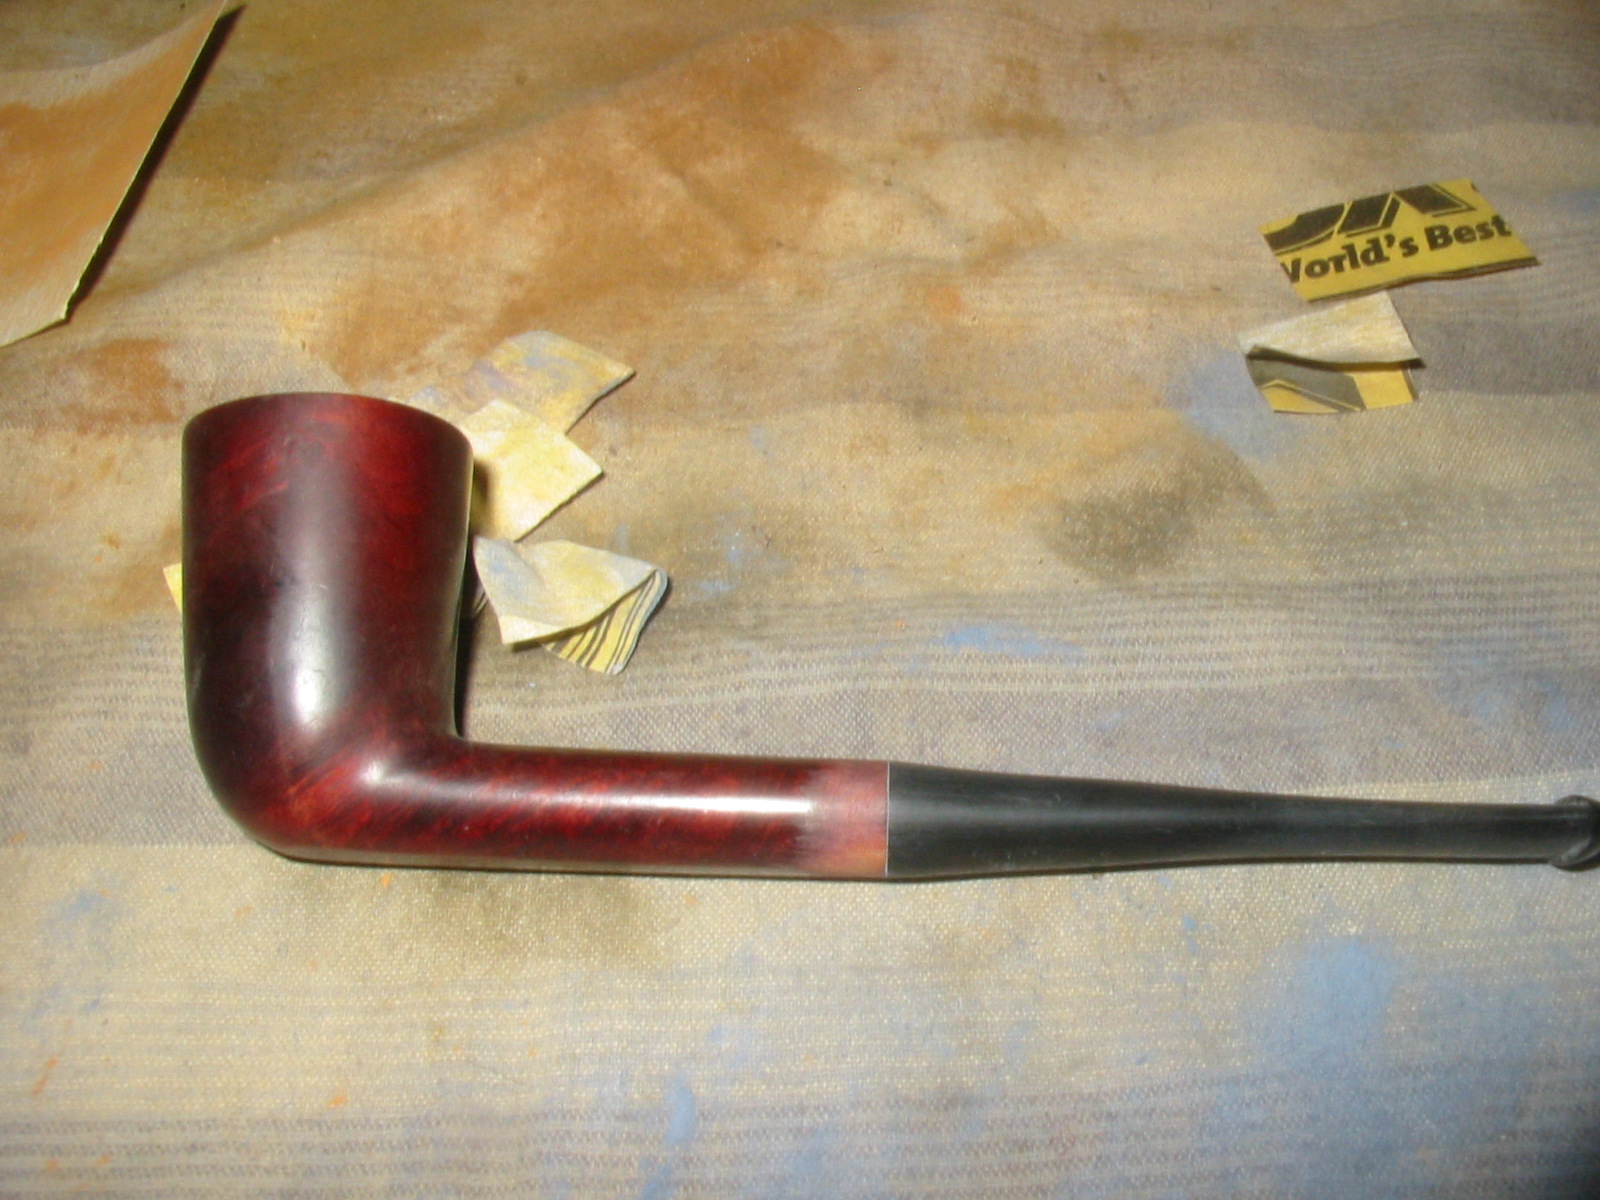
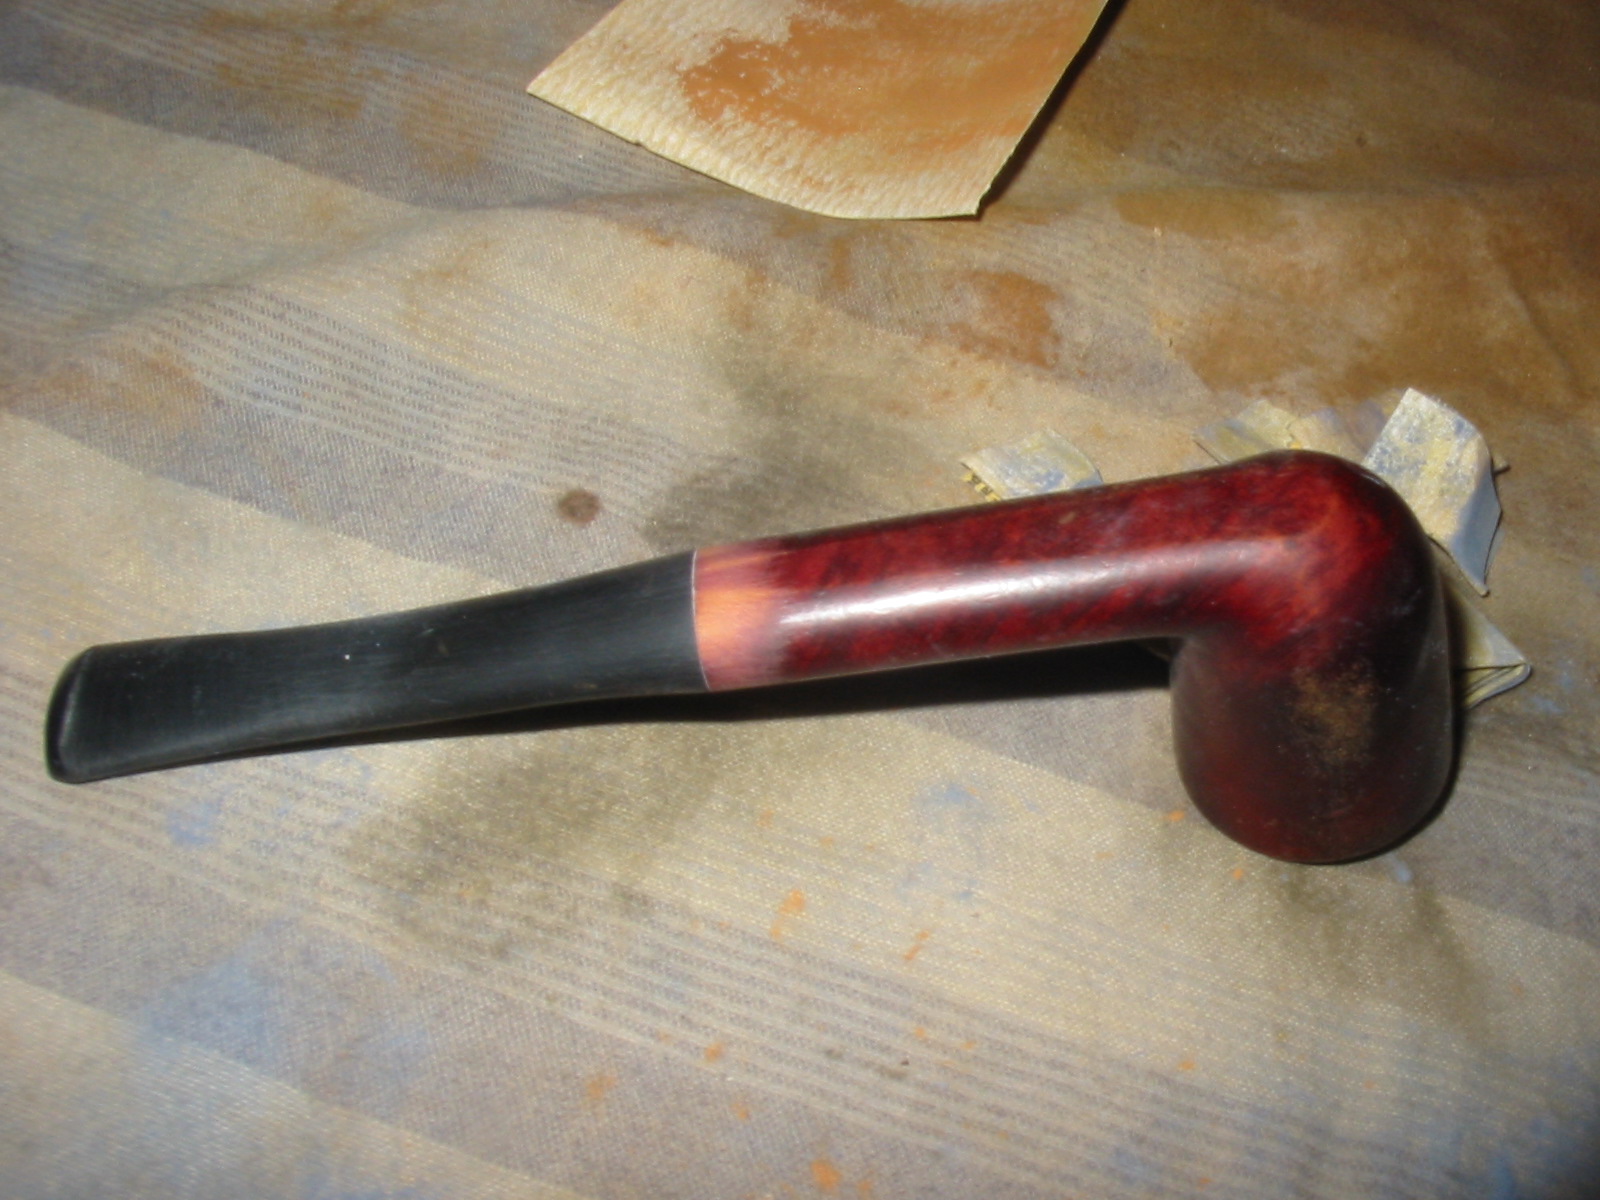
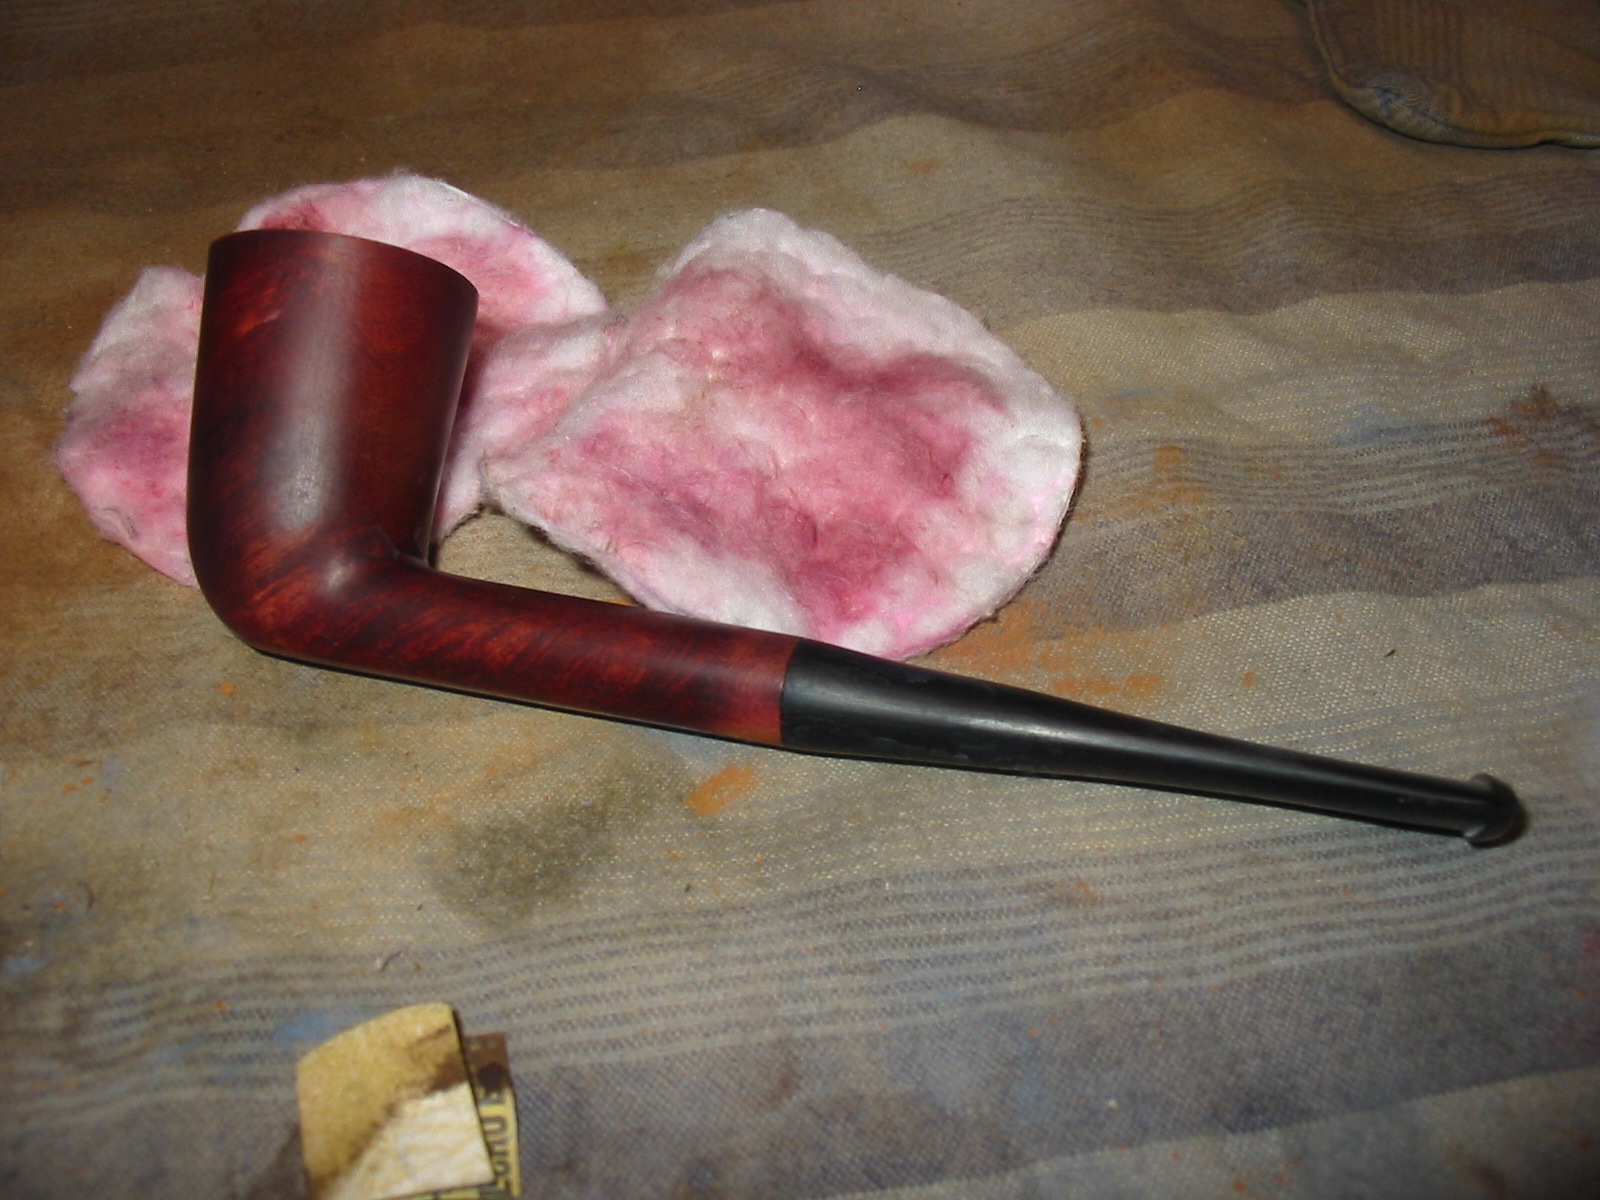
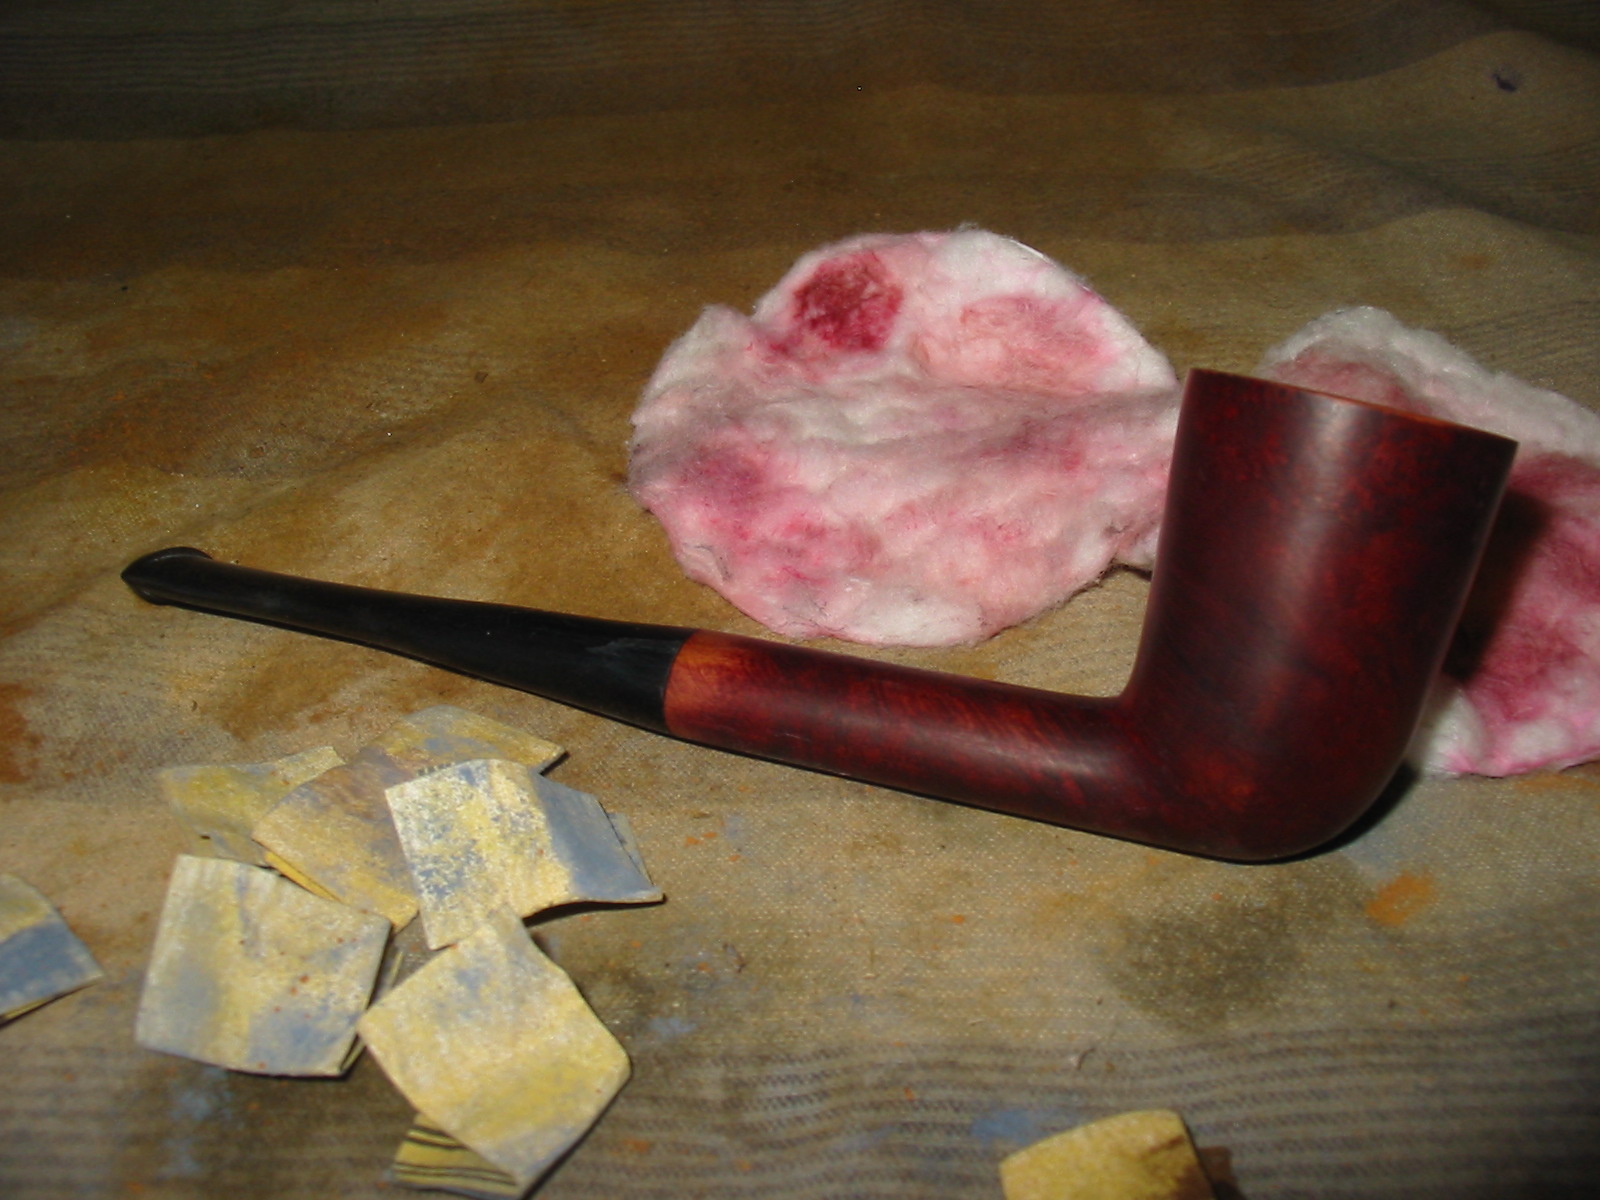
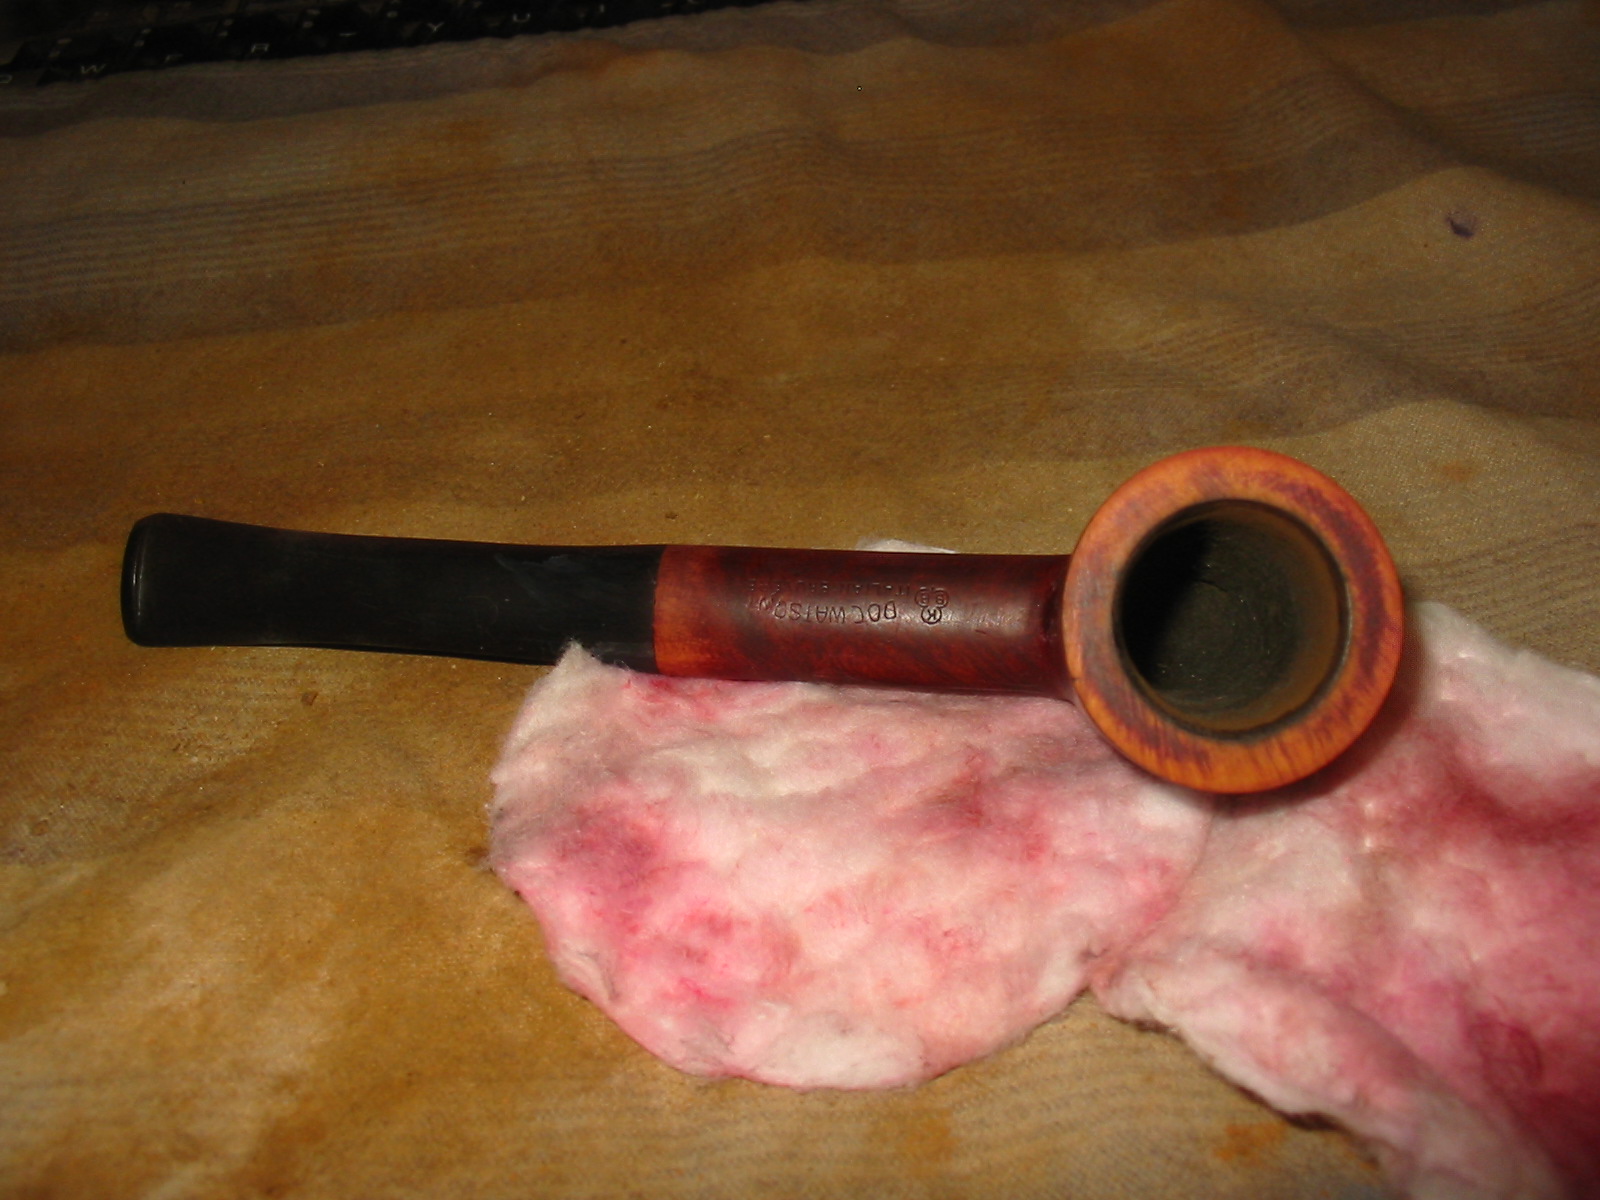
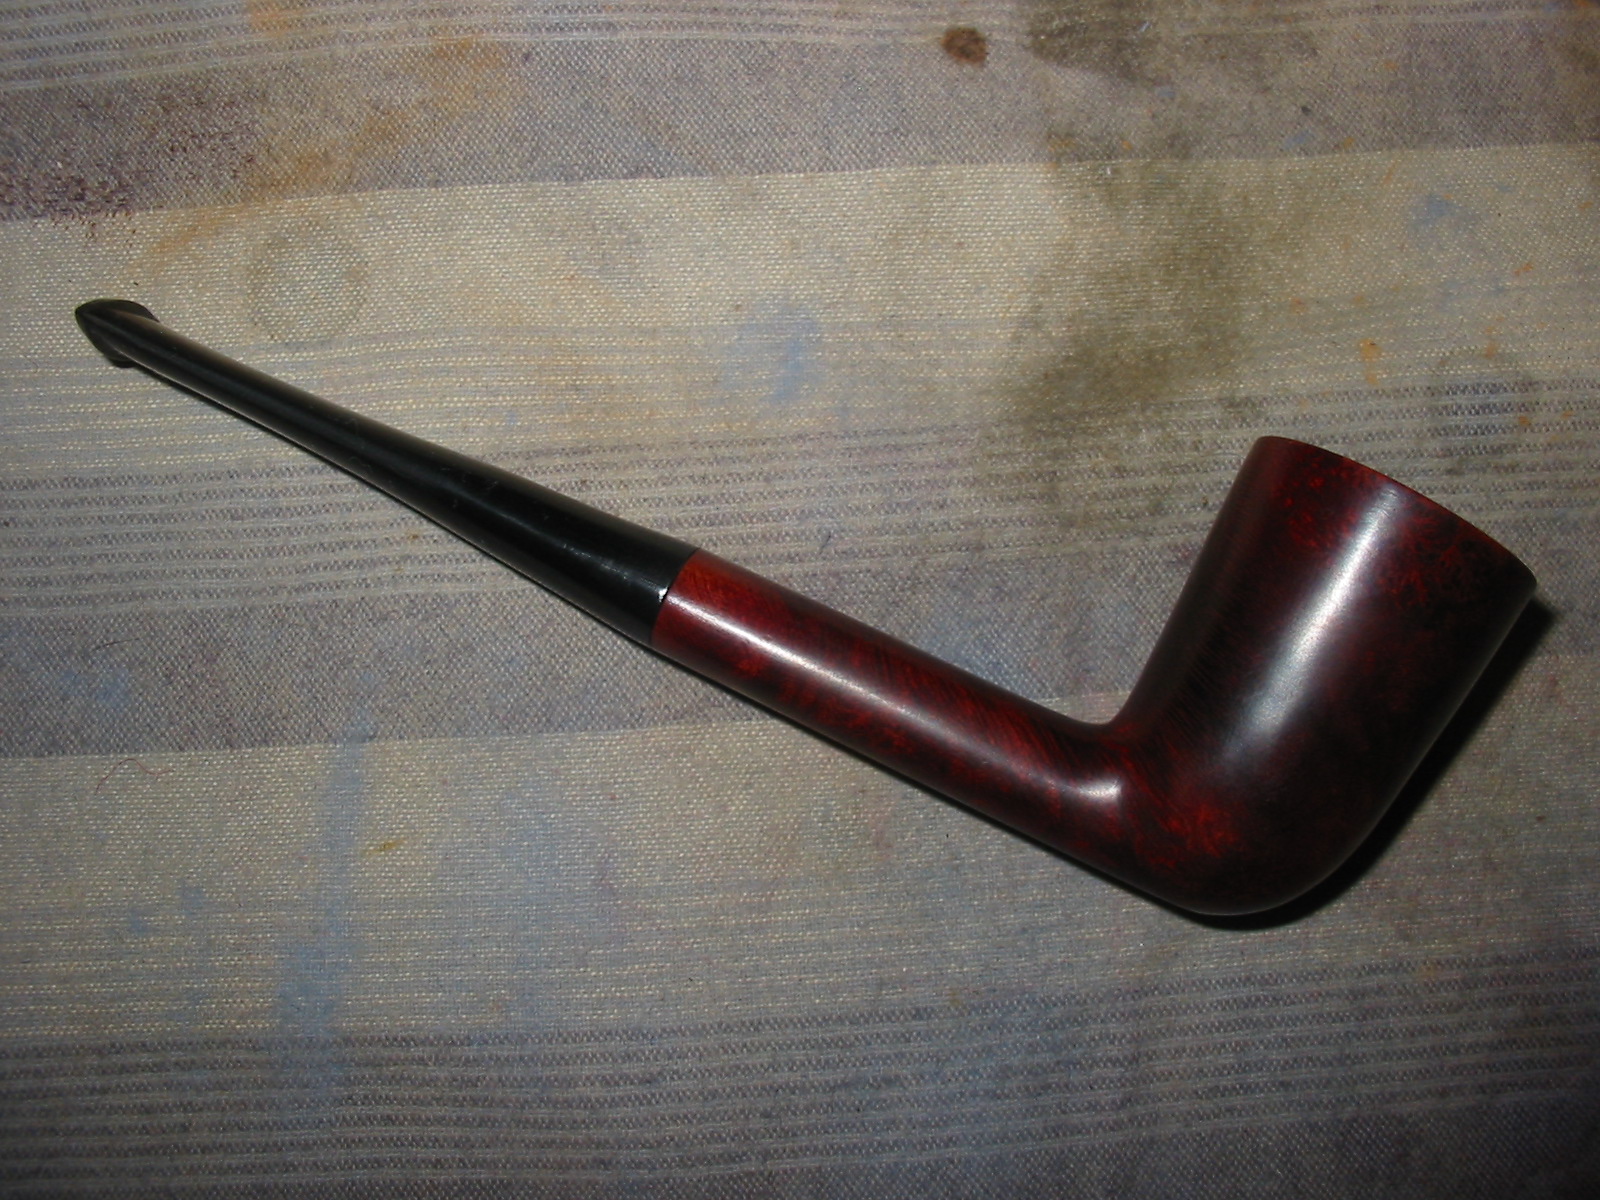
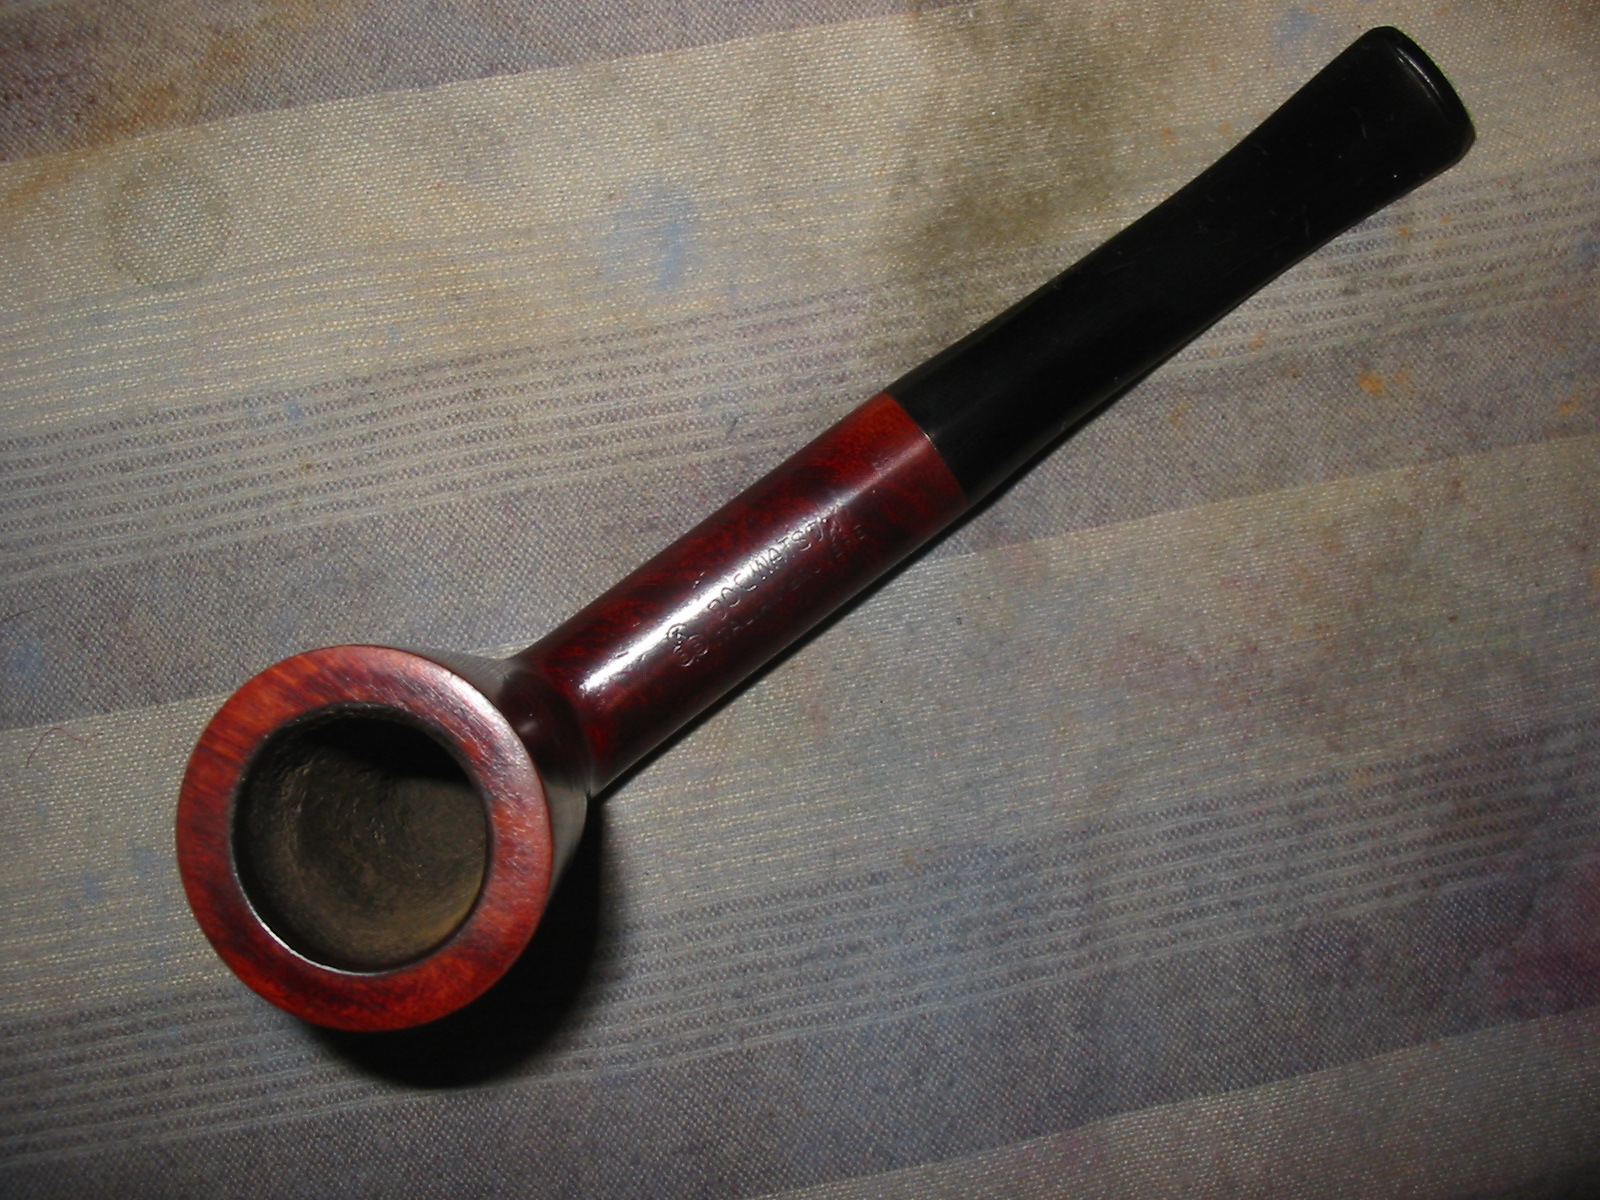
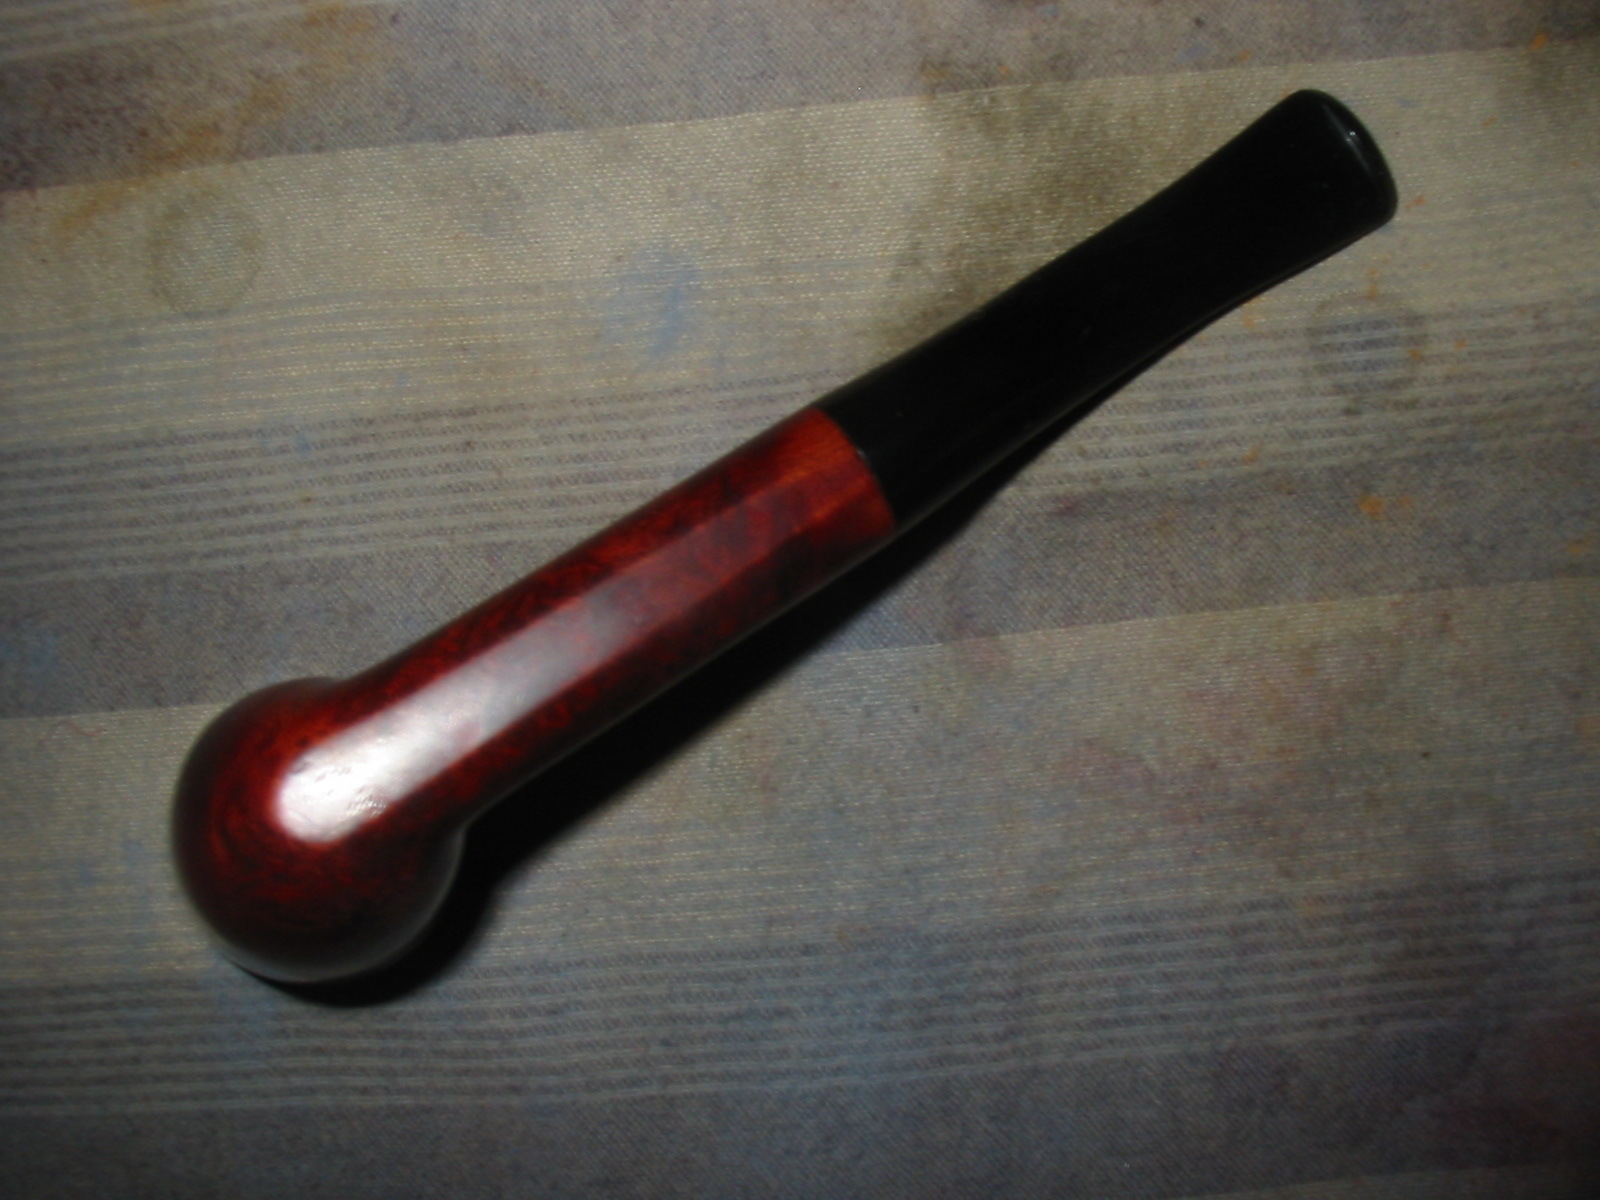
Yet another of the gift bowls was on the work table today. It a delicate Dublin shaped bowl that is stamped on the top of the oval shank with KBB in the cloverleaf and next that Doc Watson in an arc over Italian Bruyere. There are no other stampings on the bowl or shank. I was intrigue to work on this old pipe as Doc Watson was one of my favourite musician/singers. I enjoy his guitar playing and singing. I have no idea if this pipe is connected to him in any way but the name brought back memories of small concerts when I lived in Southern California. The finish was dirty and the briar darkened on the left and right side of the bowl where it was held in the hands. Oils and soil from the hands of the previous smoker had darkened the bowl. It had a dark oxblood stain that hid the grain of the briar. There was a small nick on the bottom front of the bowl that did not go too deep into the briar. The rim was darkened and had a buildup carbon and oils that would need to be cleaned. The bowl had a light uneven cake and the shank was dirty.
IMG_7445

IMG_7446

IMG_7447

IMG_7448
I had a new oval Lucite stem in my stem can that would work well for this bowl. The slot in the button had not been cut or shaped. The diameter of the stem was slightly larger than the shank so it would need to be shaped. The tenon was too longer so it would need to be shortened to fit in the shank.
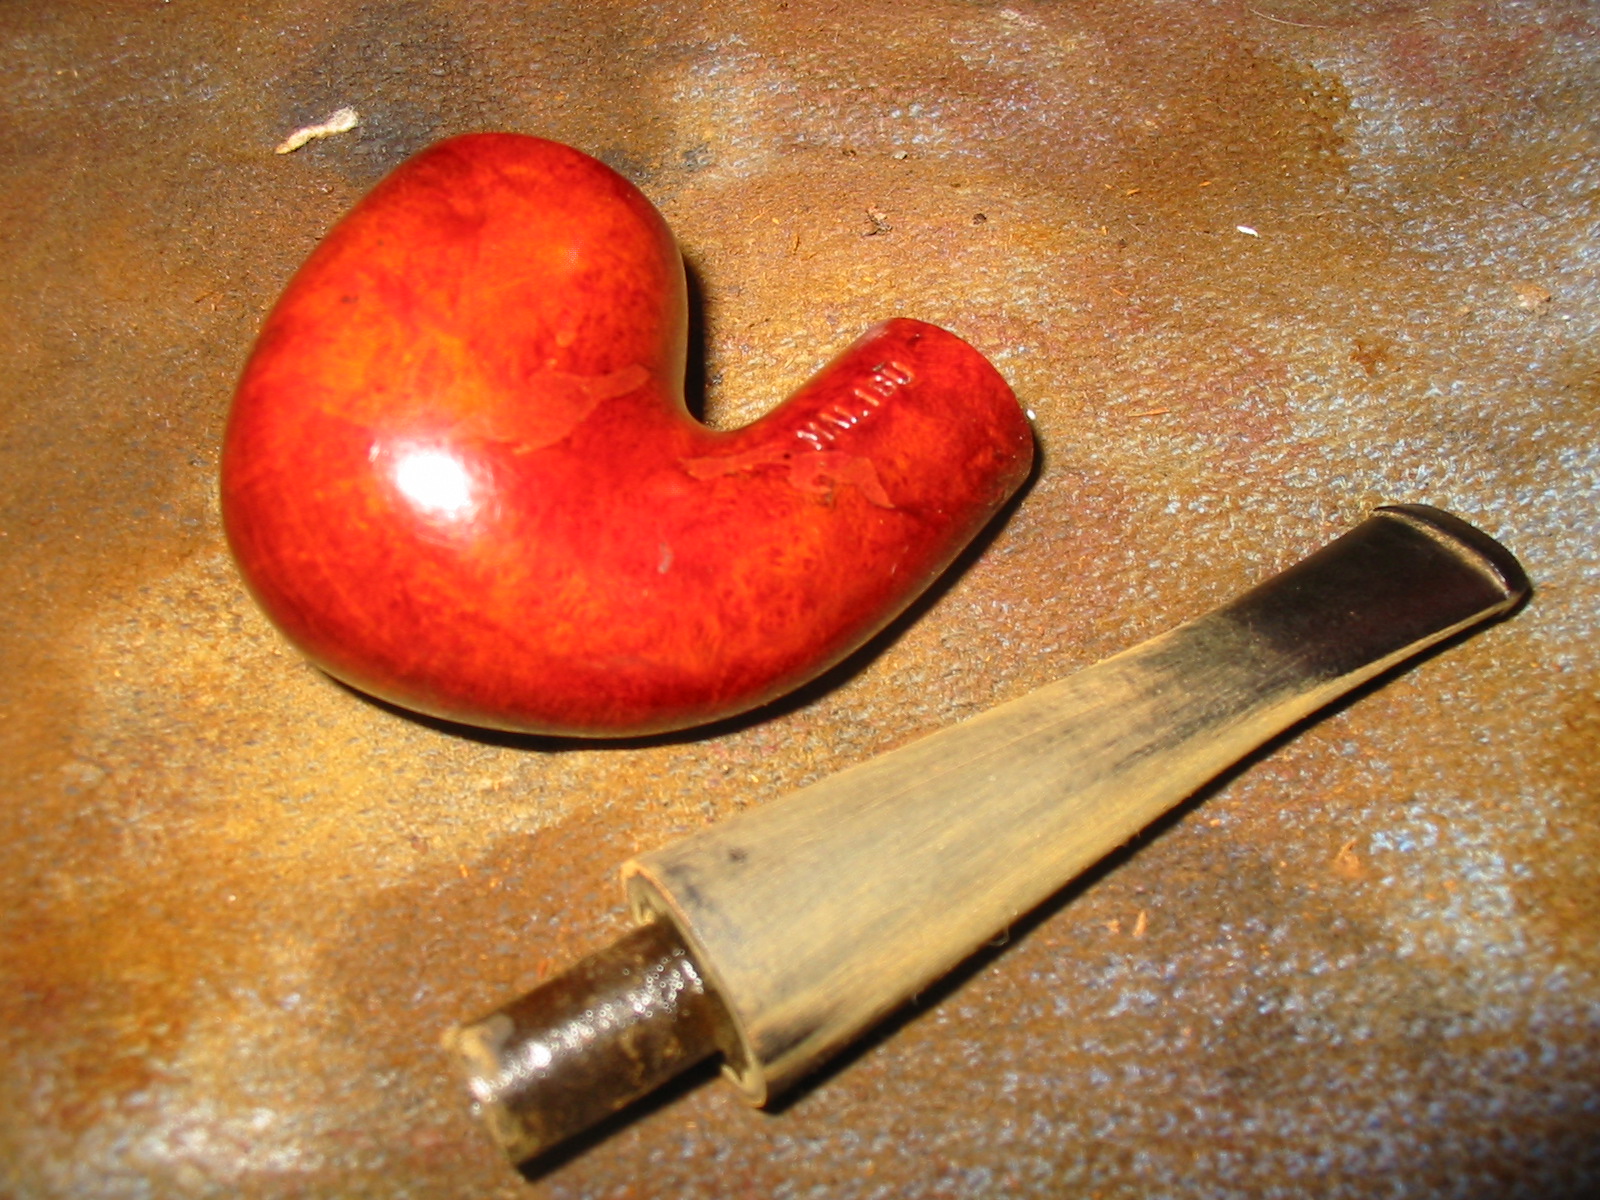
IMG_7449

IMG_7450
I used a Dremel to sand the diameter of the tenon and shorten it. When I had the fit close I sanded it by hand to assure a snug fit in the shank.
IMG_7451

IMG_7453
I initially sanded the excess diameter on the stem with the Dremel and a sanding drum. I followed that by sanding with 150 grit sandpaper to smooth it out and bring it closer to matching the stem. I When I had the fit close I sanded the shank and stem together with 220 grit sandpaper to make the transition absolutely smooth.
IMG_7454

IMG_7486

IMG_7487

IMG_7488

IMG_7489
I wiped down the bowl with acetone on cotton pads to remove the finish. I find that when I break down the stain I can actually bleed it into the sanded portion of the shank. This colours the shank and makes it easier to apply the next coat to the whole bowl.
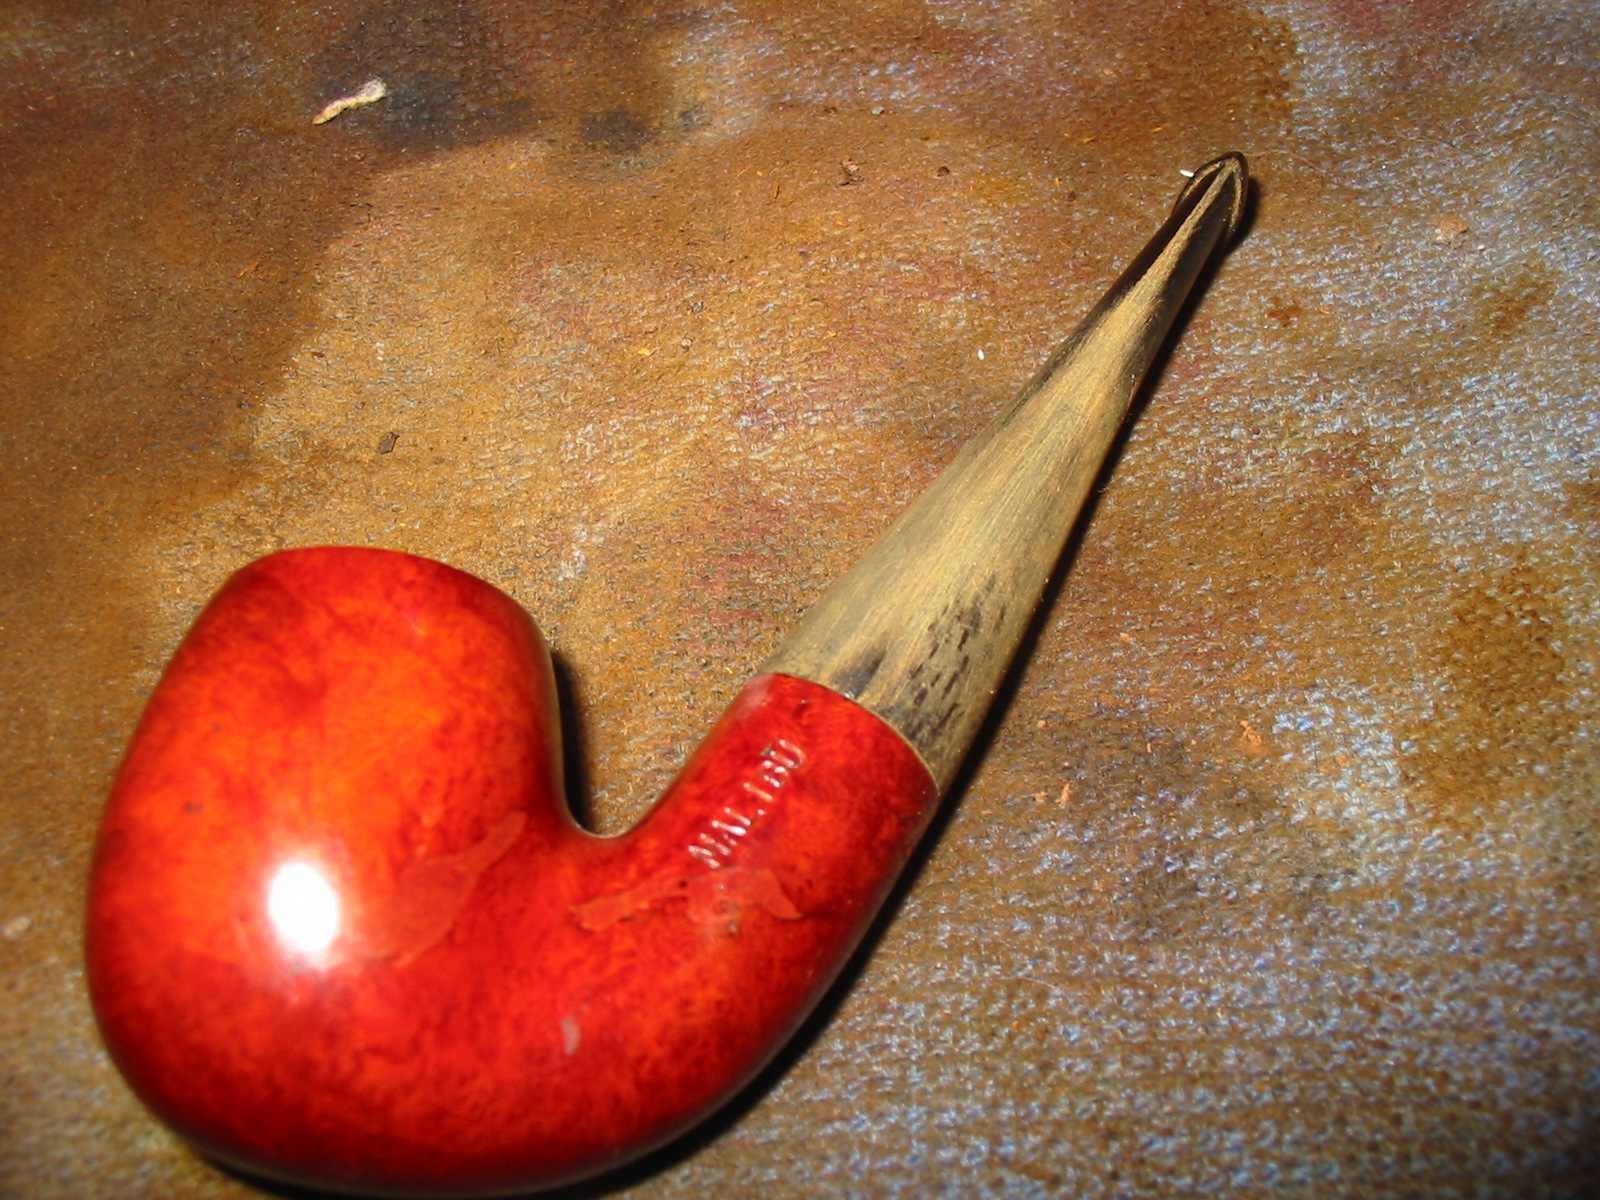
IMG_7490

IMG_7491

IMG_7492

IMG_7493
I sanded the bowl and shank with 1500-2400 grit micromesh sanding pads. Then wiped it down a final time with isopropyl alcohol.
IMG_7494
I stained the bowl with a oxblood aniline stain, flamed it and repeated the process. It covered the pipe very well.
IMG_7495

IMG_7496
When it had dried I buffed the pipe with White Diamond to polish it. The bowl was ready to be buffed with carnauba but I waited until I had worked on the stem then I would buff them together.
IMG_7499

IMG_7500

IMG_7501

IMG_7502
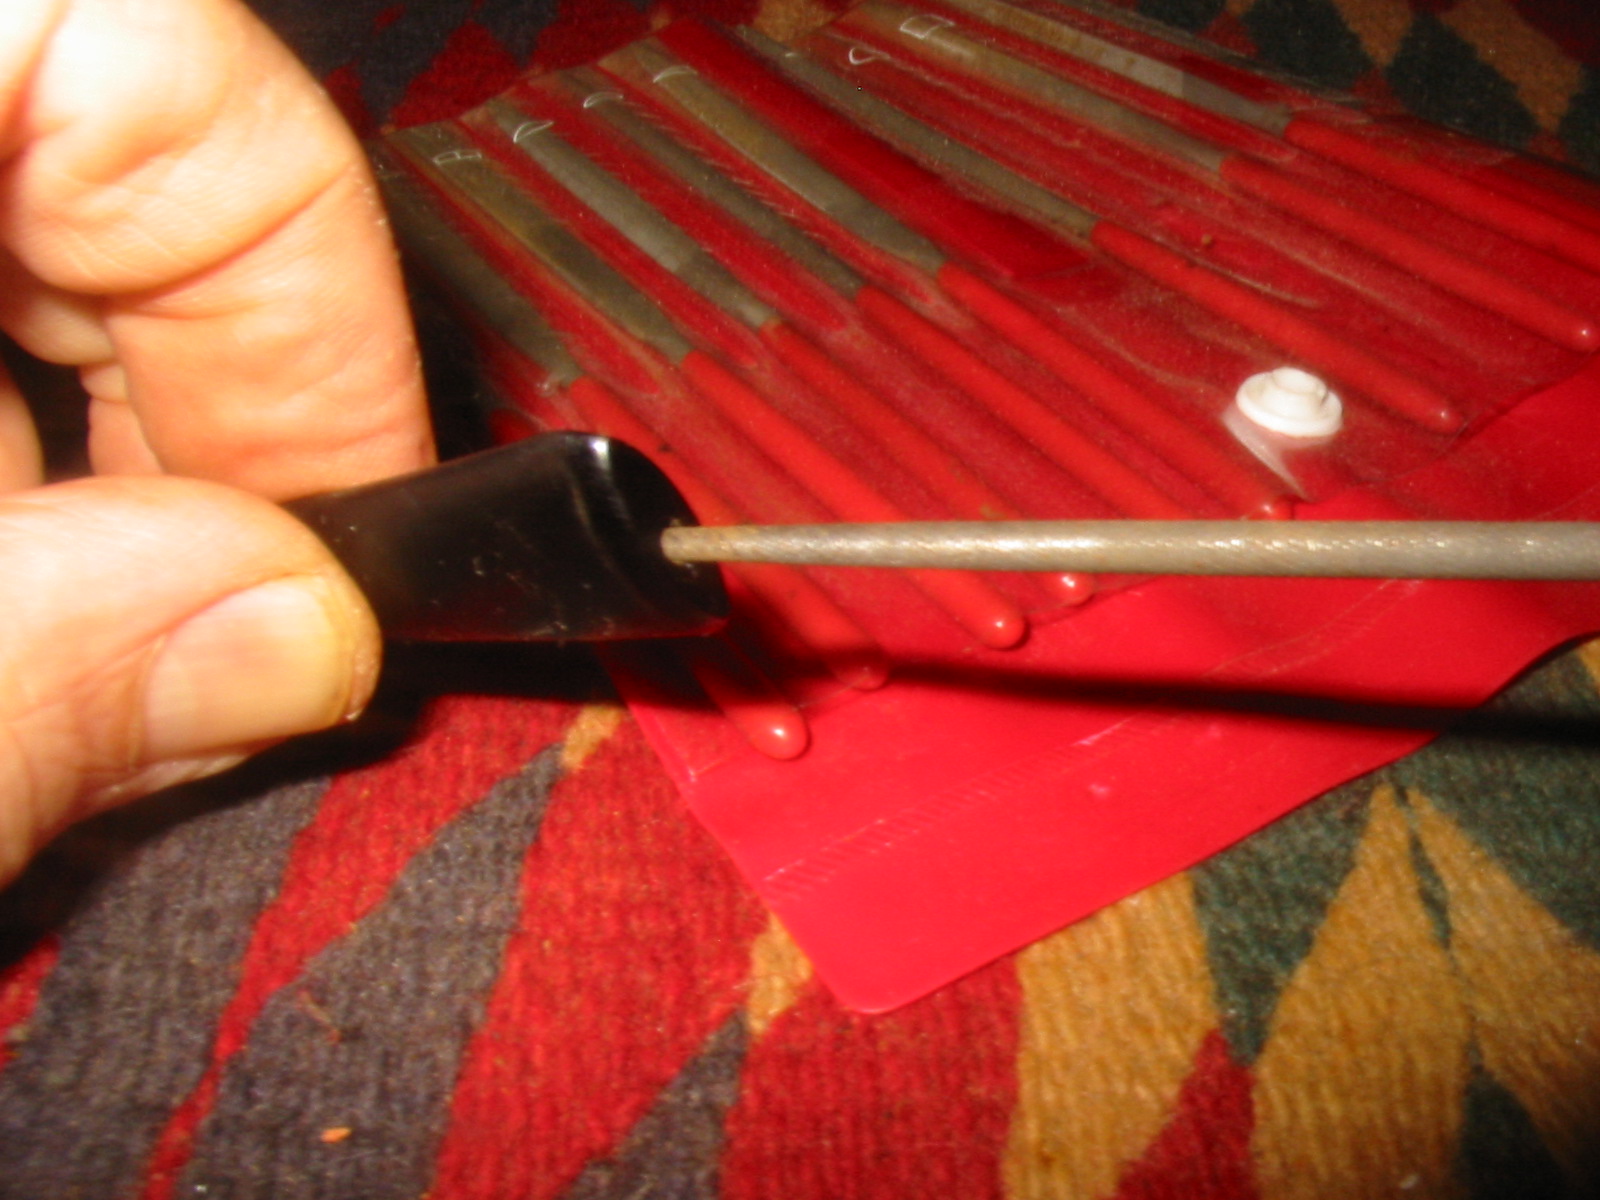
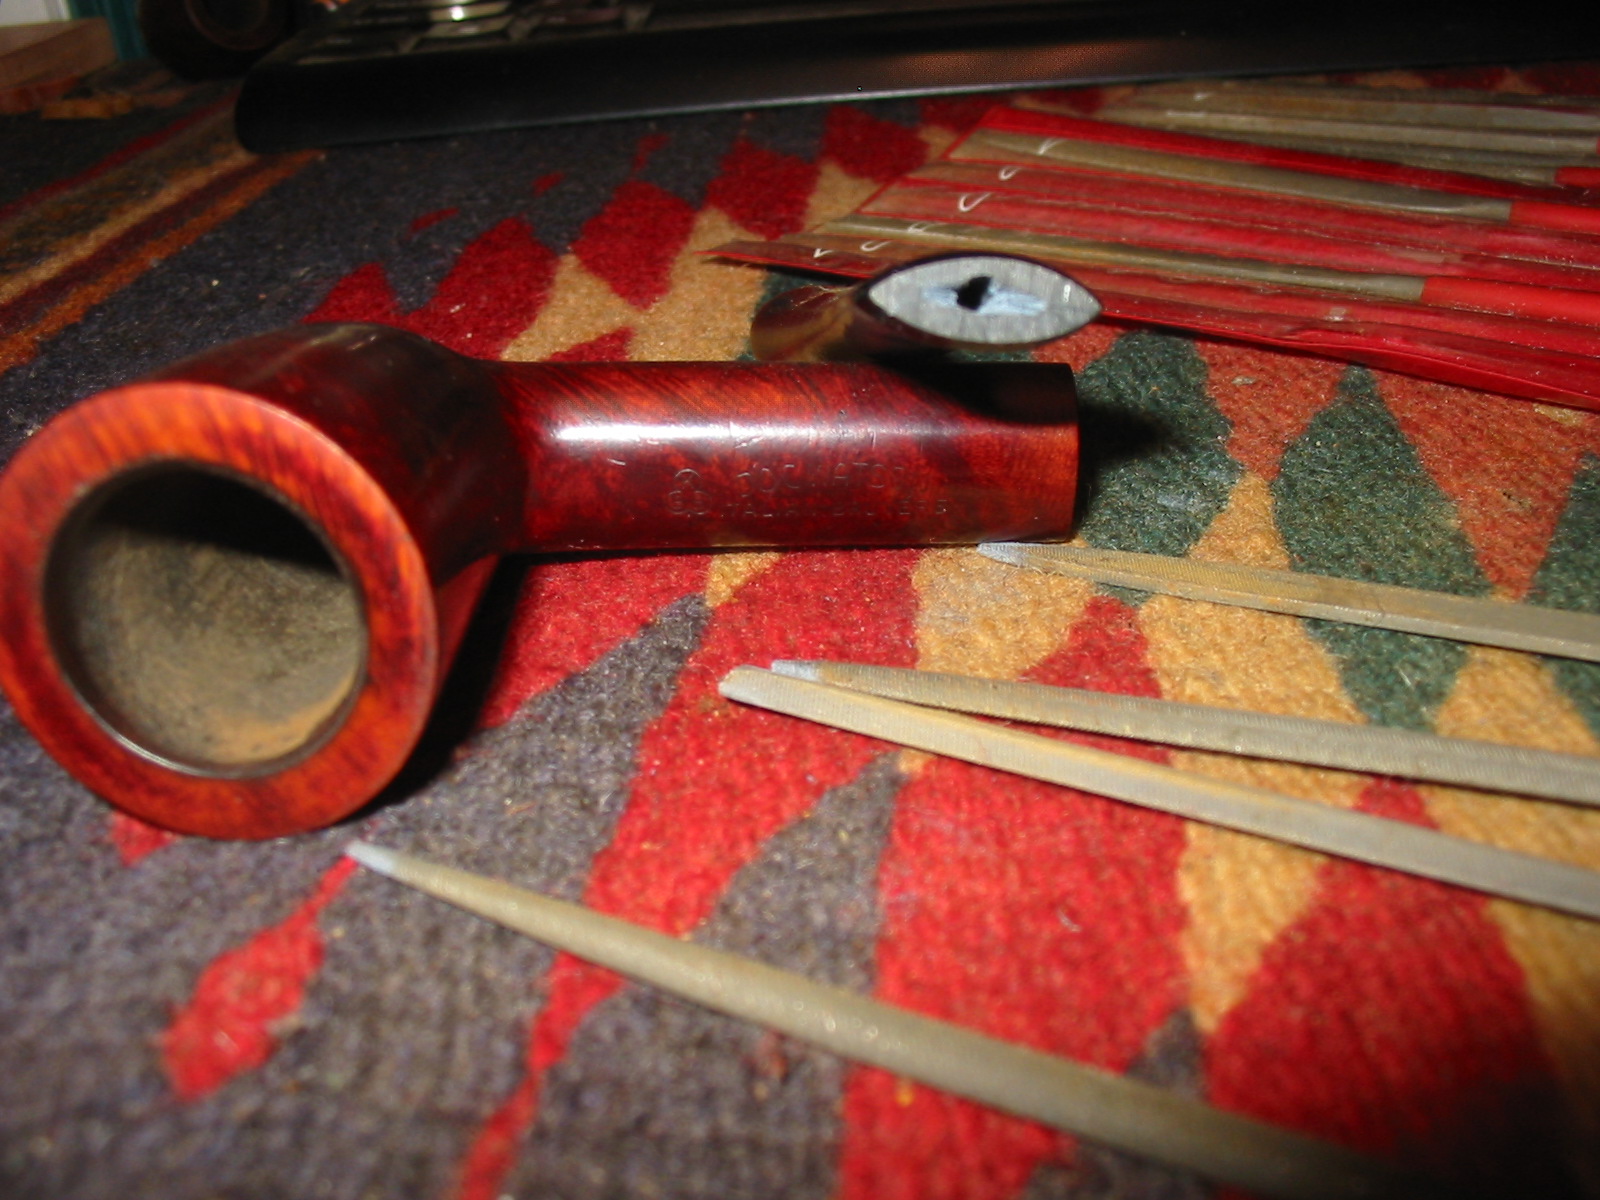
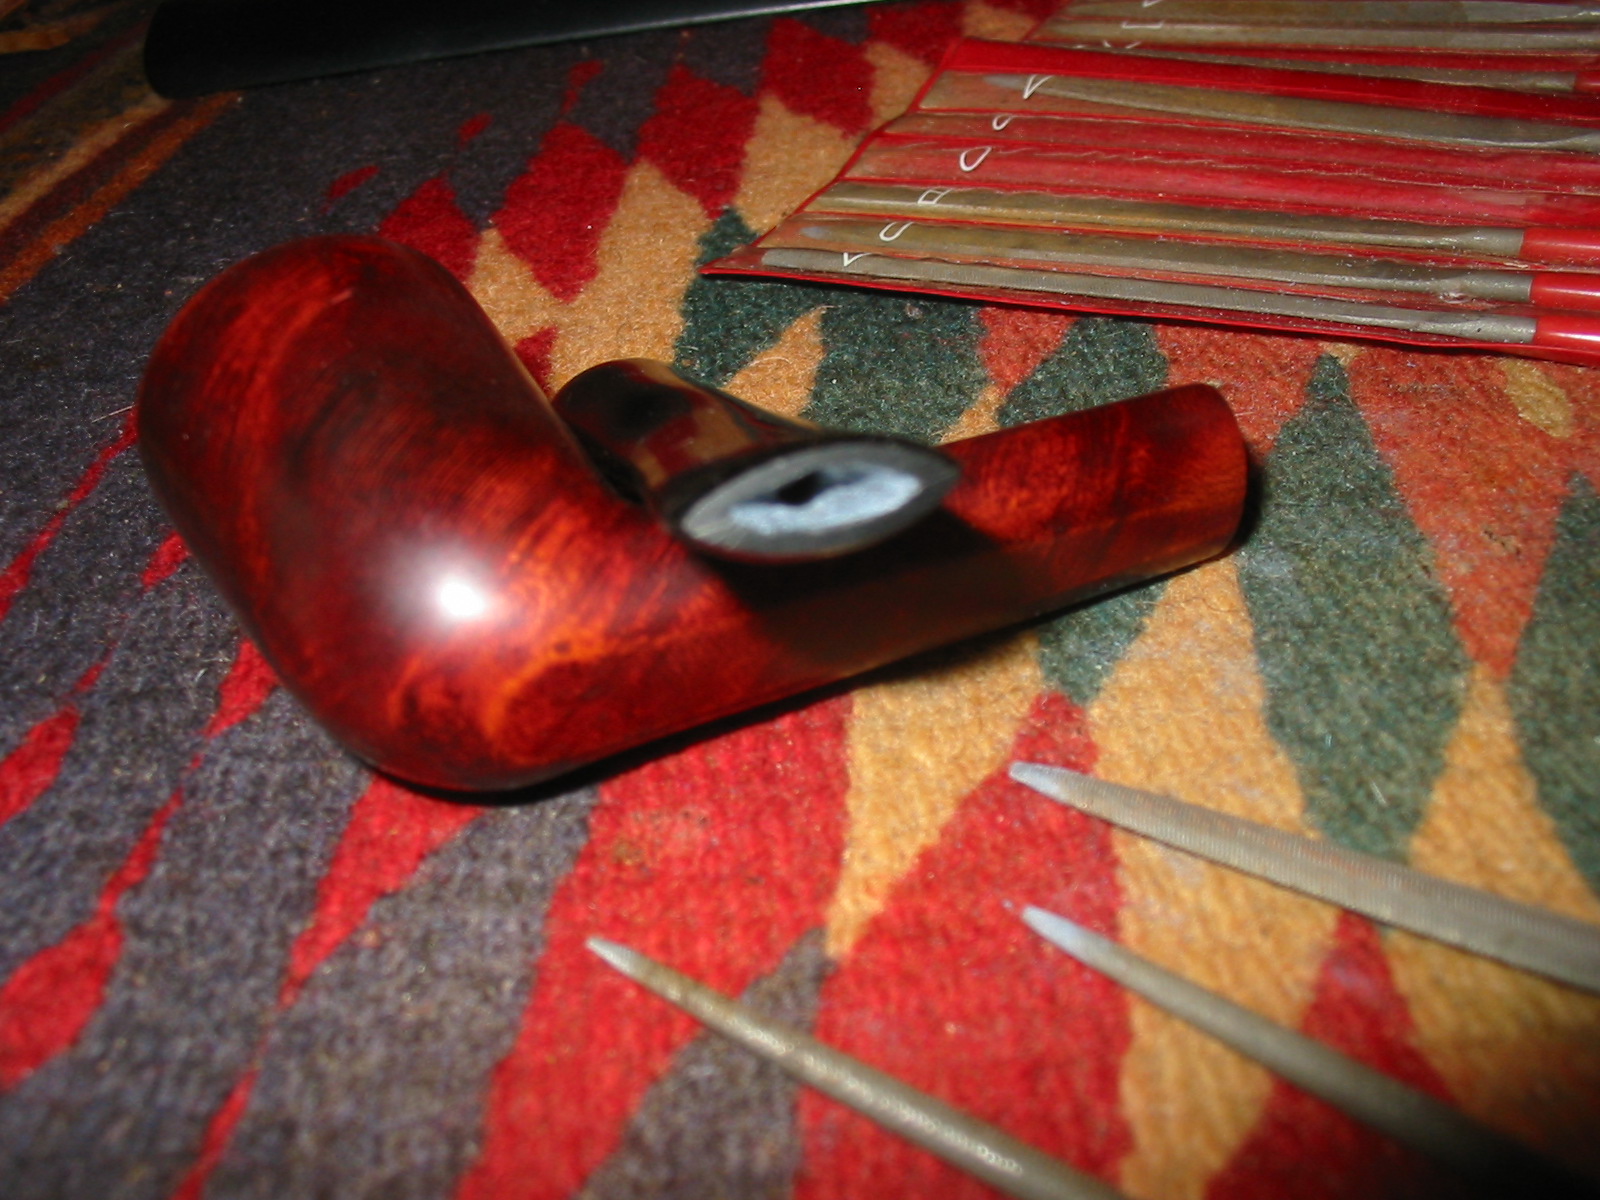
I sanded the stem with my usual array of micromesh sanding pads. I wet sanded it with 1500-2400 grit pads. I then worked on the slot. I wanted to have a wide open oval slot in the button so I used needle files to open the airway in the end of the stem. I used flat, round and oval files to open it and then a folded piece of sandpaper to polish after filing.
IMG_7503

IMG_7504

IMG_7507

IMG_7509

IMG_7512
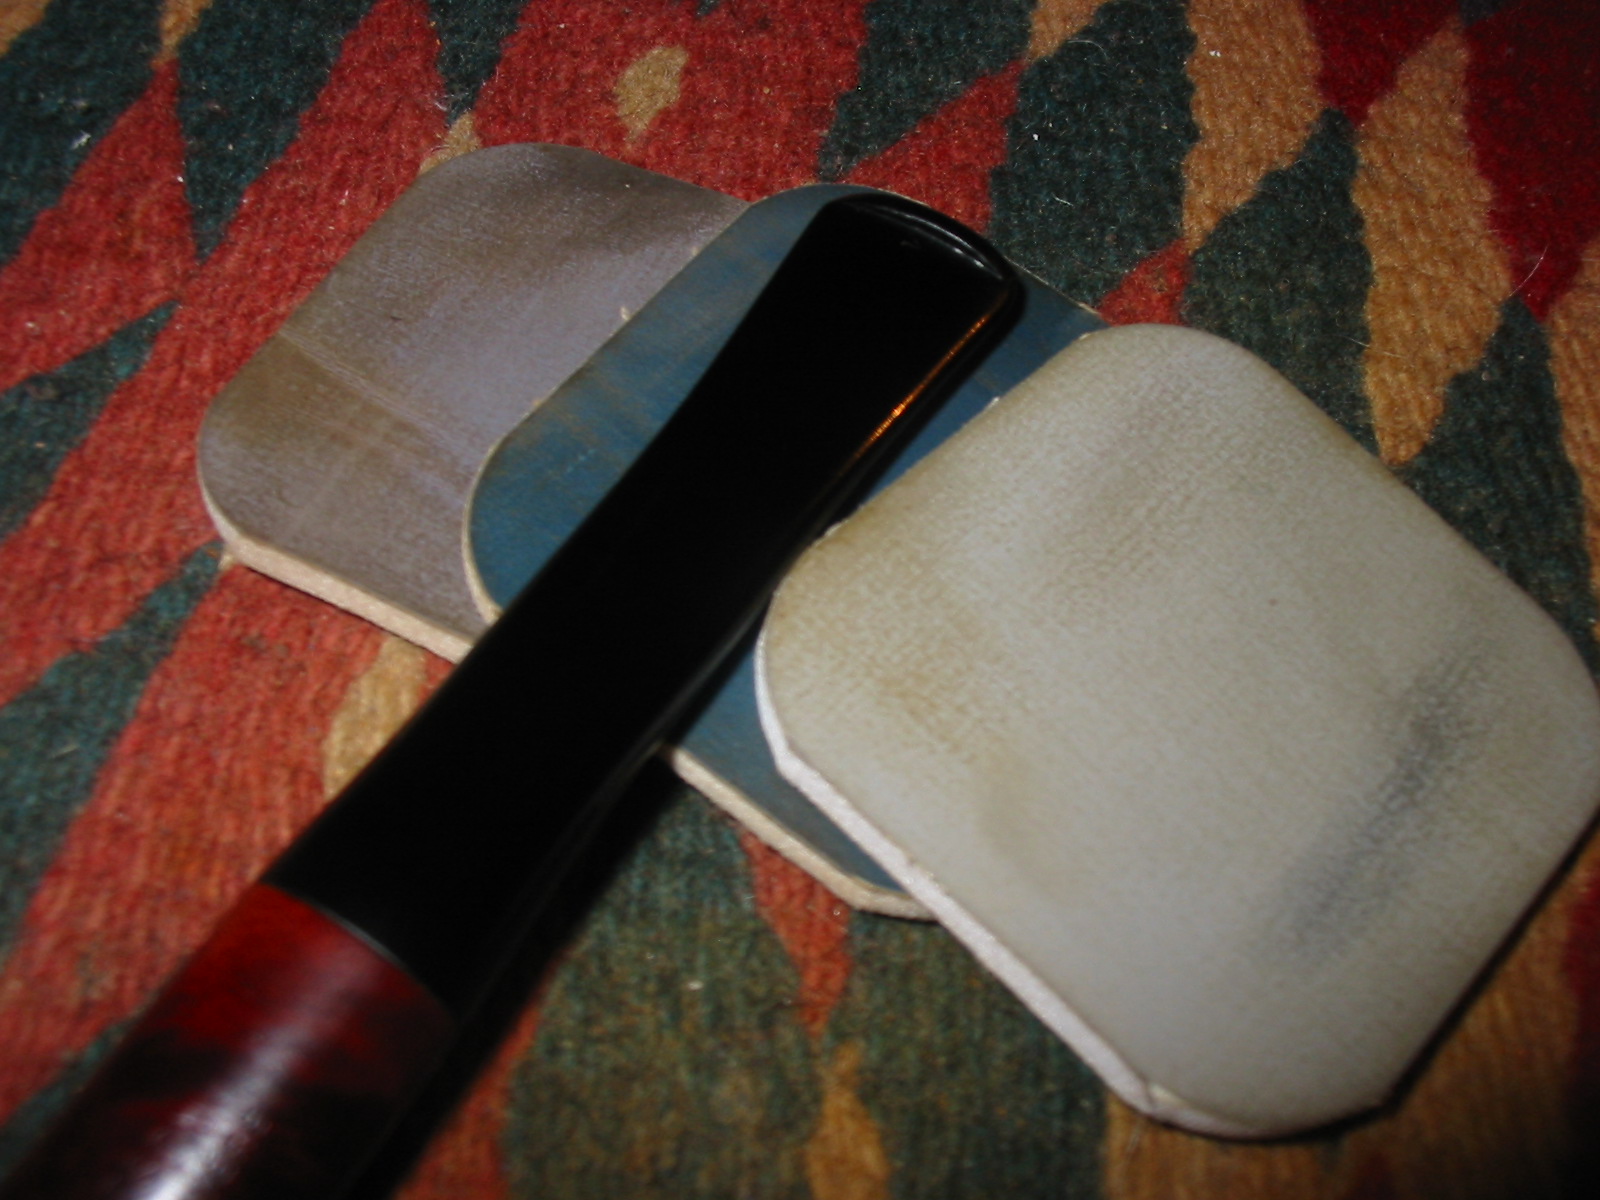
I dry sanded the stem and the end of the button with 3200-12,000 grit pads. To remove some of the scratches left on the button I also started again and wet sanded with the 1500-2400 grit pads. When I had finished sanding I polished it with Obsidian Oil and let it dry. The Oil does not soak in like it does on vulcanite but provides a lubricant that works well when I buff the Lucite stem with White Diamond.
IMG_7513

IMG_7514
I buffed the bowl and stem with White Diamond and then gave it multiple coats of carnauba wax, polishing it with a clean flannel buff between coats. When finished the pipe looks like it must have the day it left the KBB factory. It is cleaned, restored and ready to smoke. The finished pipe is shown below.
IMG_7515

IMG_7516

IMG_7517

IMG_7518

A Non-descript Old Bowl turns out to be a Worthwhile Peterson


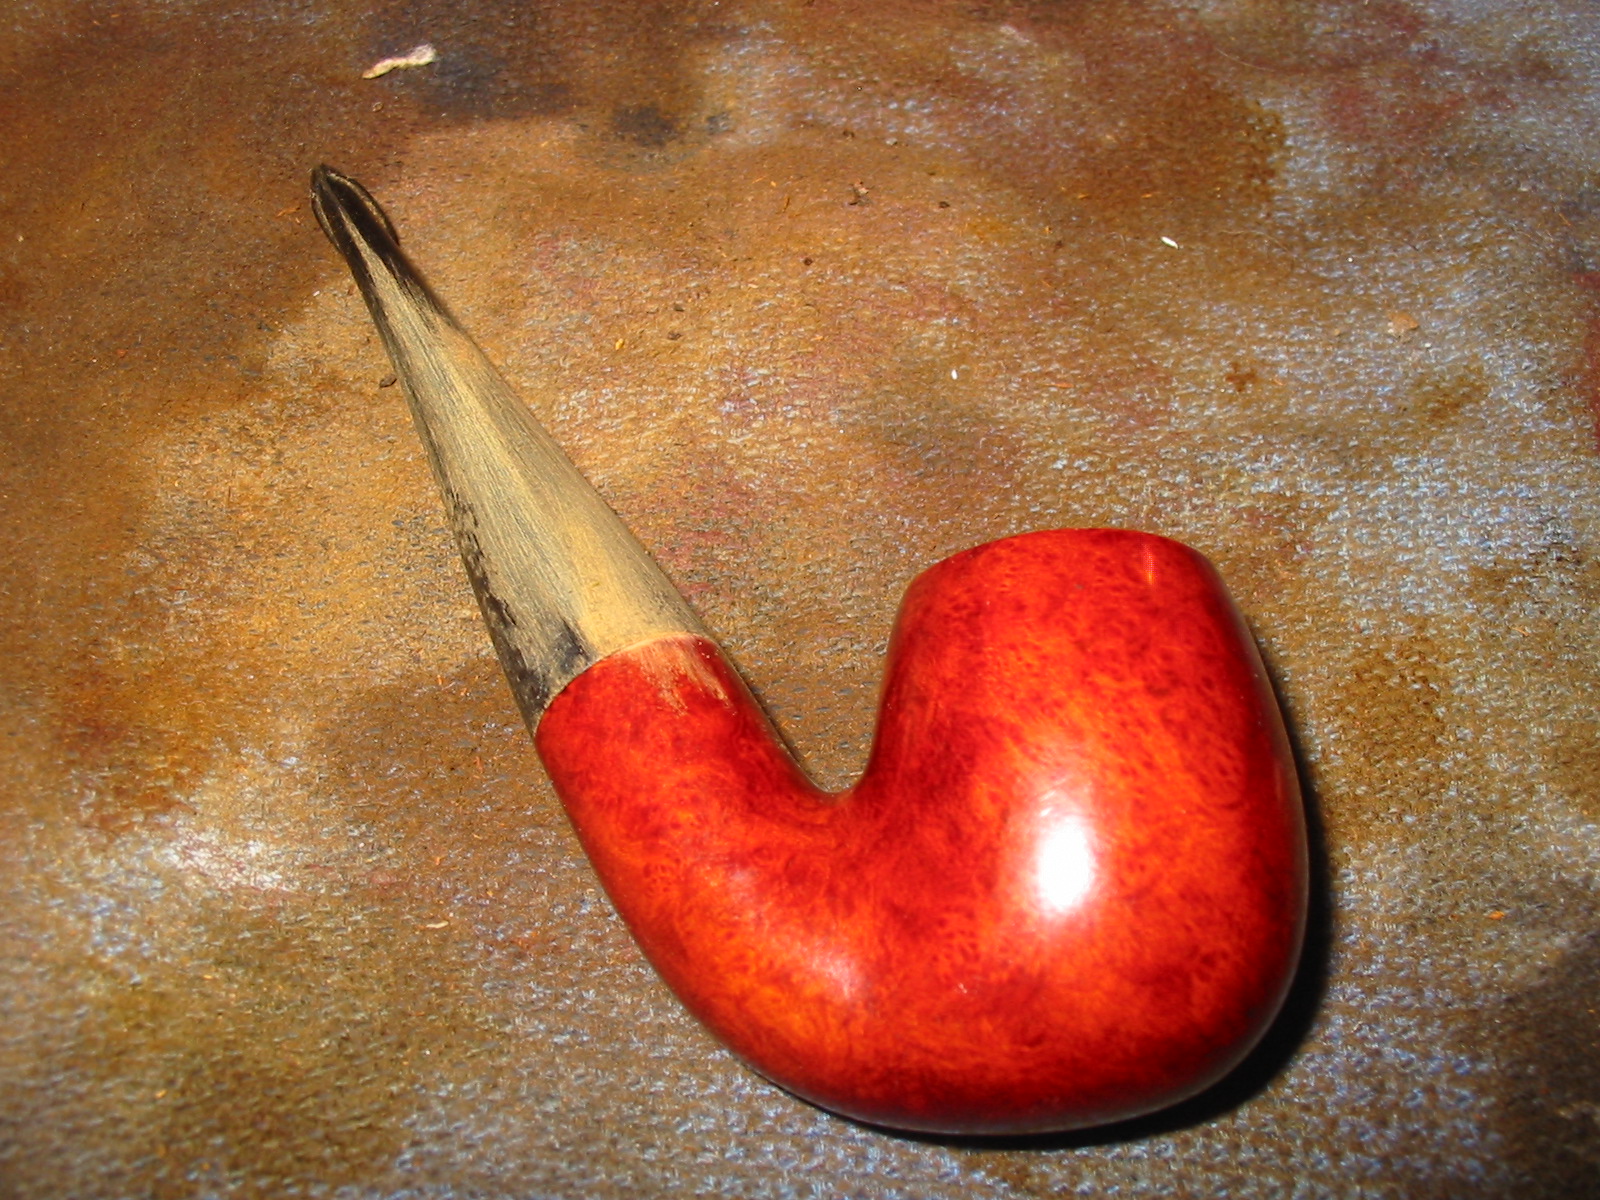
In the gift box that I received there was an old worn bowl that had a thick coat of grime on the finish. The shank was cracked and had been repaired but still showed. There was stamping on the shank but it was illegible without magnification. The bowl had been reamed but was out of round. It had been topped at some point but had not been flattened it had an odd crown and was quite a bit lighter than the rest of the bowl. The briar itself was quite nice under the grime. The right side of the bowl had some birdseye grain while the rest was mixed grain. The rim also had birdseye grain on it. I used a magnifying glass to look at the stamping – low and behold it was stamped Peterson’s (with a forked P) over Kapet on the left side of the shank. It was faint but clearly readable with light and magnification. The right side was even more worn but I was able to make out that it was stamped Made in London England. The shape number was not readable. There was not a stem with the bowl but I had one that would work in my box of stems.
IMG_7455
I cleaned up the shank area with a wipe down with acetone on a cotton pad. I wanted to avoid covering the remaining stamping with the band but wanted a band that would strengthen the repair that had been made to the cracked shank. I heat the band and pressed it into place on the shank. I also sanded the tenon on the stem so that it would fit the shank.
IMG_7456

IMG_7457
With the new band in place I cleaned up the tenon and pushed the stem into the shank. I sanded the stem with 220 grit sandpaper to remove the tooth chatter and also to adjust the diameter of the stem at the band. I wanted it to fit evenly against the band so that looking at the pipe from the end view there would we equal silver all the way around the stem junction.
IMG_7458

IMG_7459

IMG_7460

IMG_7461
When I had the fit against the shank and band correct I sanded the stem with a medium and a fine grit sanding sponge to clean up the scratch marks. I also used a folded piece of sandpaper to work on the inner edge of the rim to bring it back to round. I wiped down the bowl with isopropyl alcohol on a cotton pad to remove the grit and buildup on the bowl and lighten the bowl to match the current colour of the rim. Even though I would later end up topping the bowl I knew that the lightening of the stain would make the restain much simpler.
IMG_7462

IMG_7463

IMG_7464
I cleaned the inside of the shank and stem with cotton swabs, pipe cleaners and isopropyl alcohol until the cleaners went in and came out the same colour. The photo below shows some of the building pile of cleaners that were used to get the pipe clean.
IMG_7465
I set up the topping board and 220 grit sandpaper and twisted the rim into the sandpaper until I had the top of the bowl flat once again. I took out the rounded/crowned rim that had been done earlier and squared it up with sharp edges once more.
IMG_7466

IMG_7467
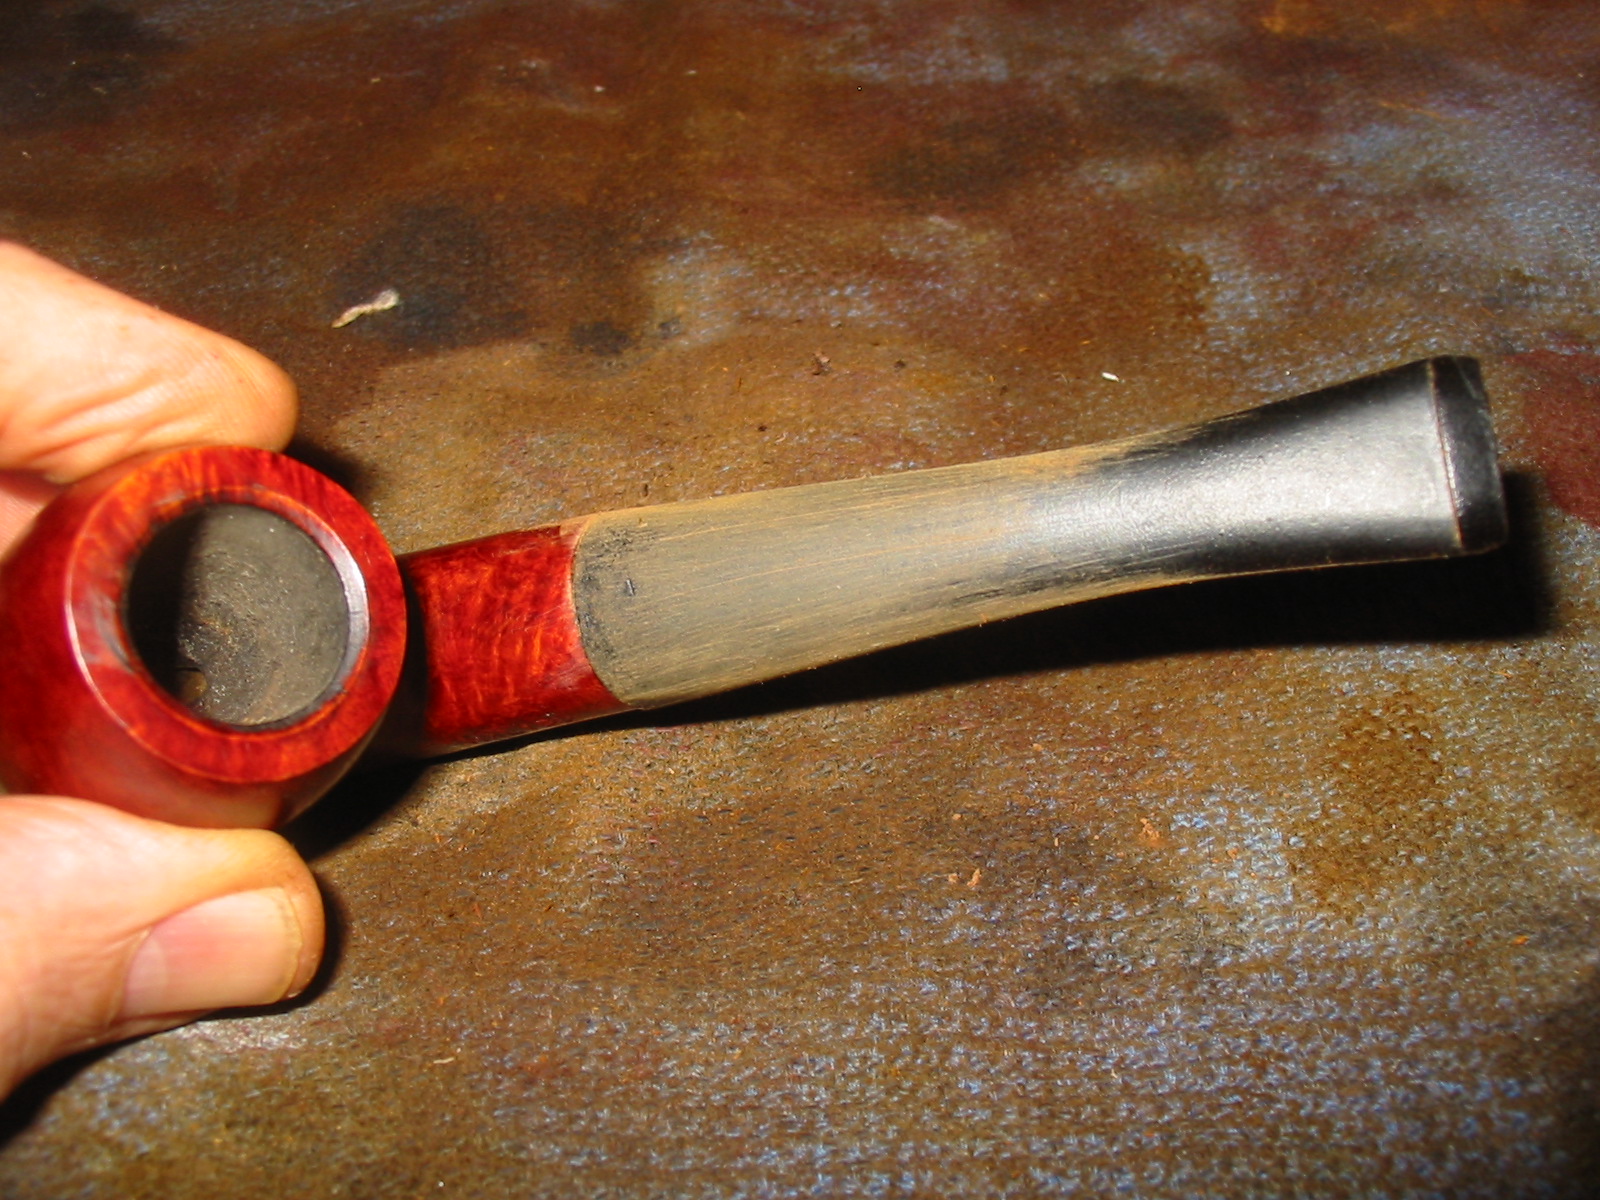
I sanded the rim with the sanding sponges and also with 1500-2400 grit micromesh sanding pads to remove the scratches. I stained the bowl with a dark brown aniline stain with several more applications of stain to the rim to achieve a match with the bowl. I applied, flamed and repeated the process of staining until I got an even coverage on the bowl and rim.
IMG_7468

IMG_7469

IMG_7470
To make the stain less opaque I washed it down with alcohol on cotton pads. I wanted to remove enough of the stain to make the grain visible.
IMG_7471

IMG_7472

IMG_7473
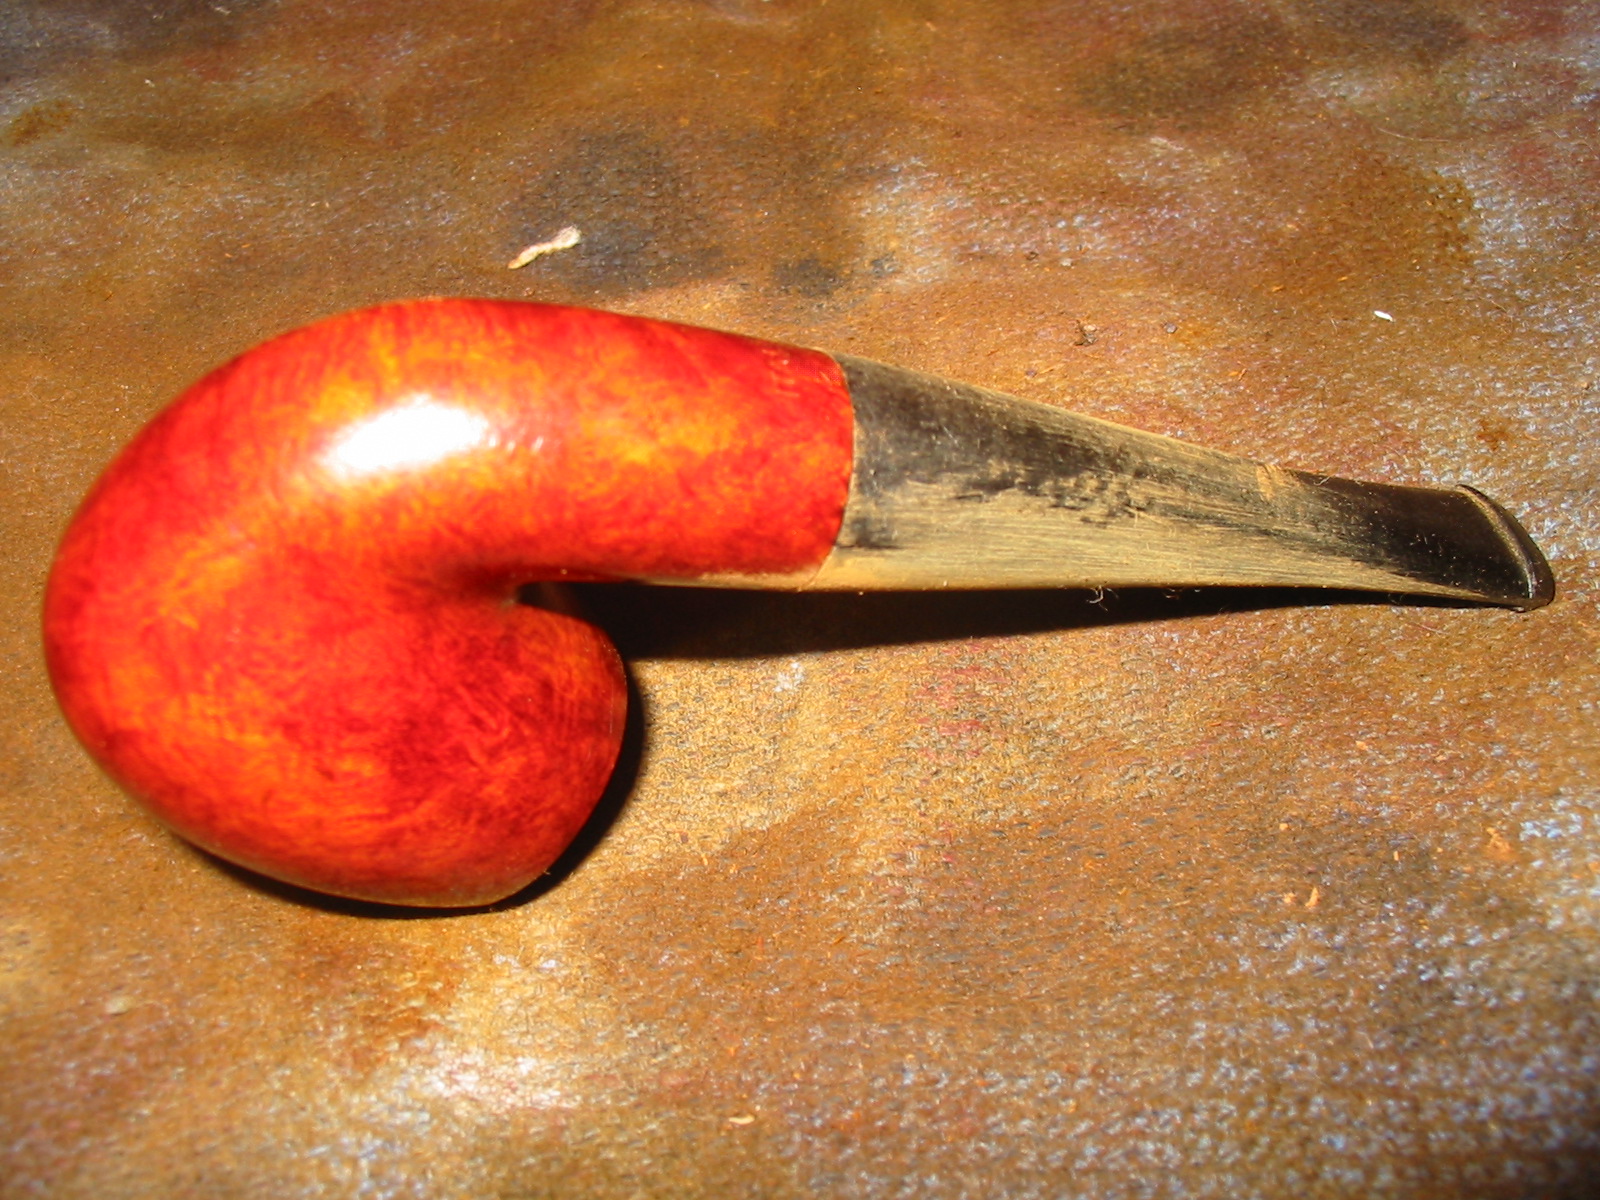
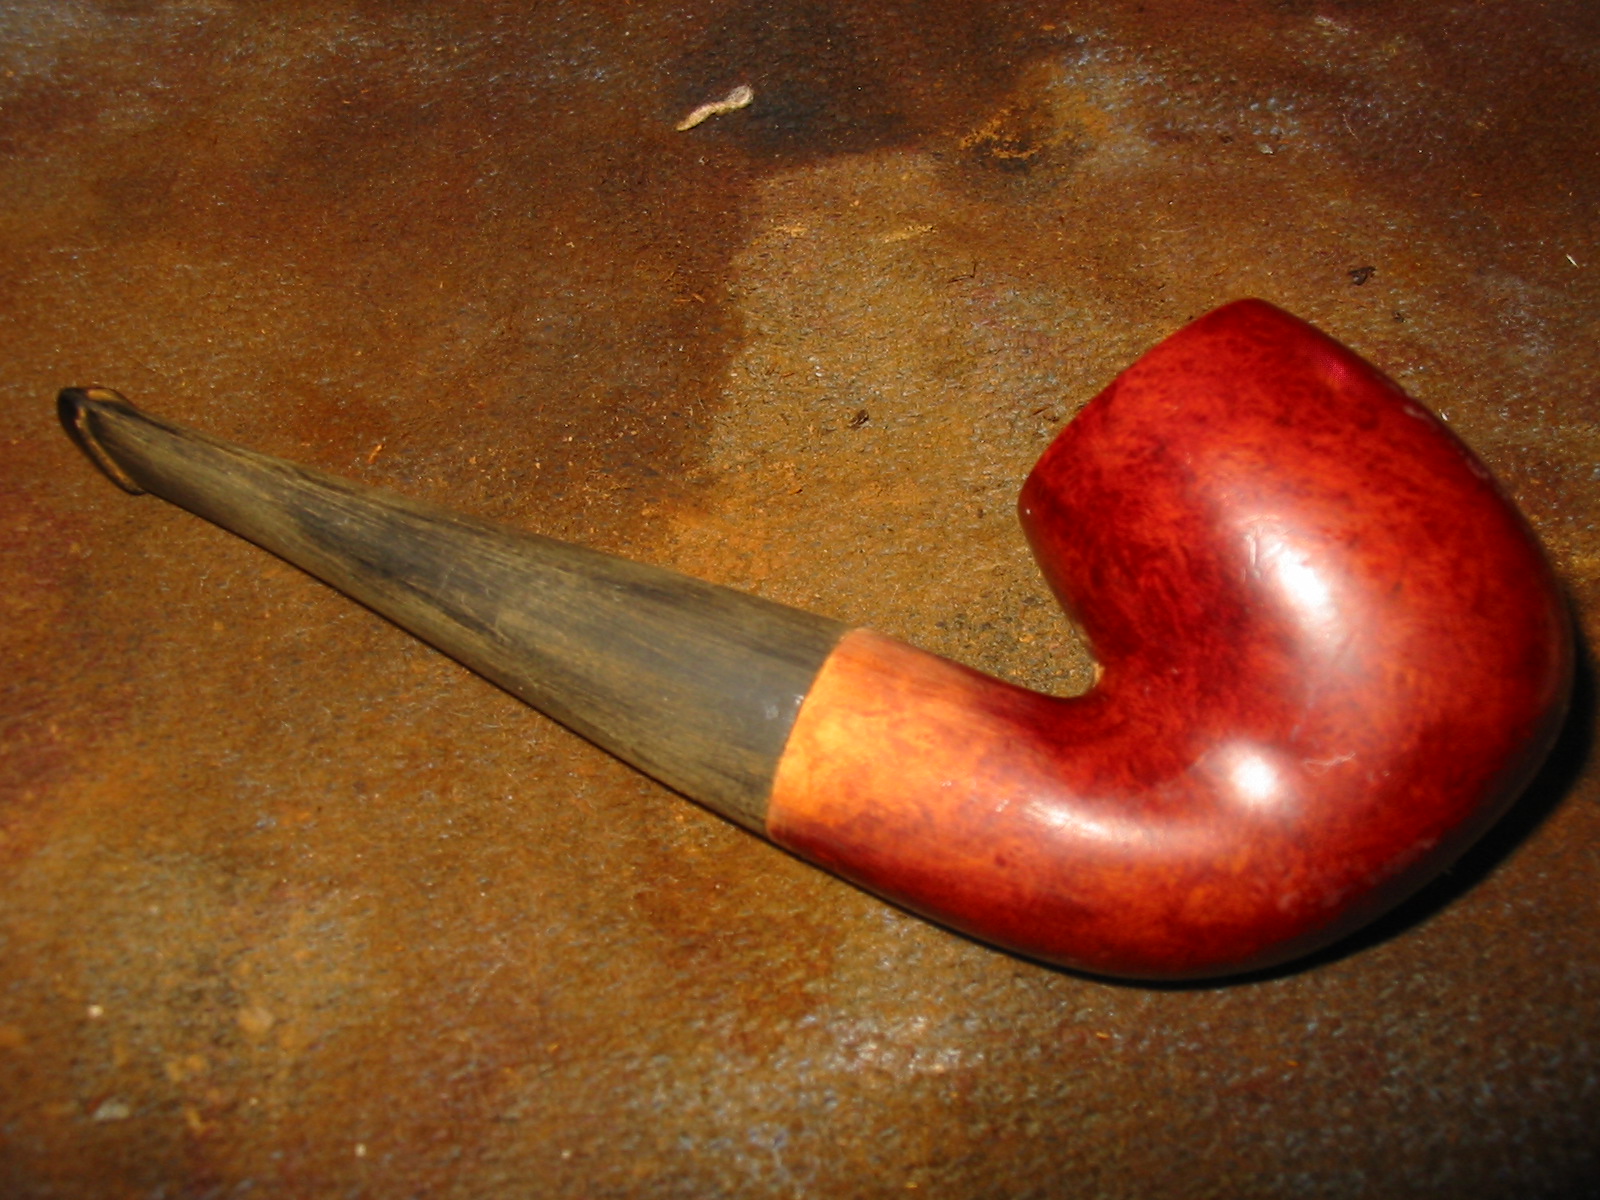
I sanded the bowl with 1500-2400 grit micromesh sanding pads to further lighten things. I buffed the bowl with White Diamond, while avoiding the light stamping. I rubbed the bowl down with a light coat of olive oil. The result was exactly what I was aiming for. The reddish brown tint of the briar came through beautifully.
IMG_7474

IMG_7475

IMG_7476

IMG_7477
I sanded the stem with the medium and fine grit sanding sponges and then went on to sand with my usual array of micromesh sanding pads. I wet sanded with 150-2400 grit pads and dry sanded with 3200-12,000 grit pads. I rubbed the stem down with Obsidian Oil between each of the three groups of micromesh pads. The Oil penetrates deeply into the vulcanite and makes the sanding simpler. The oil that sits below the surface lubricates the surface and the micromesh cuts into the vulcanite to clean up the scratches.
IMG_7478

IMG_7479

IMG_7480
I gave the stem a final coat of Obsidian Oil and when it dried I buffed the bowl and stem with White Diamond. I gave both multiple coats of carnauba wax and between the coats I buffed it with a soft flannel buff. I hand buffed the bowl with a shoe brush. The finished pipe is shown in the photos below. It is not a large pipe – a mere 5 ½ inches long and 1 3/8 inches tall. The bowl is in good condition and cleaned and ready to smoke. This should make a great little Virginia pipe.
IMG_7481

IMG_7483

IMG_7484

IMG_7485

Ropp Cherrywood Everest Oom Paul Restored


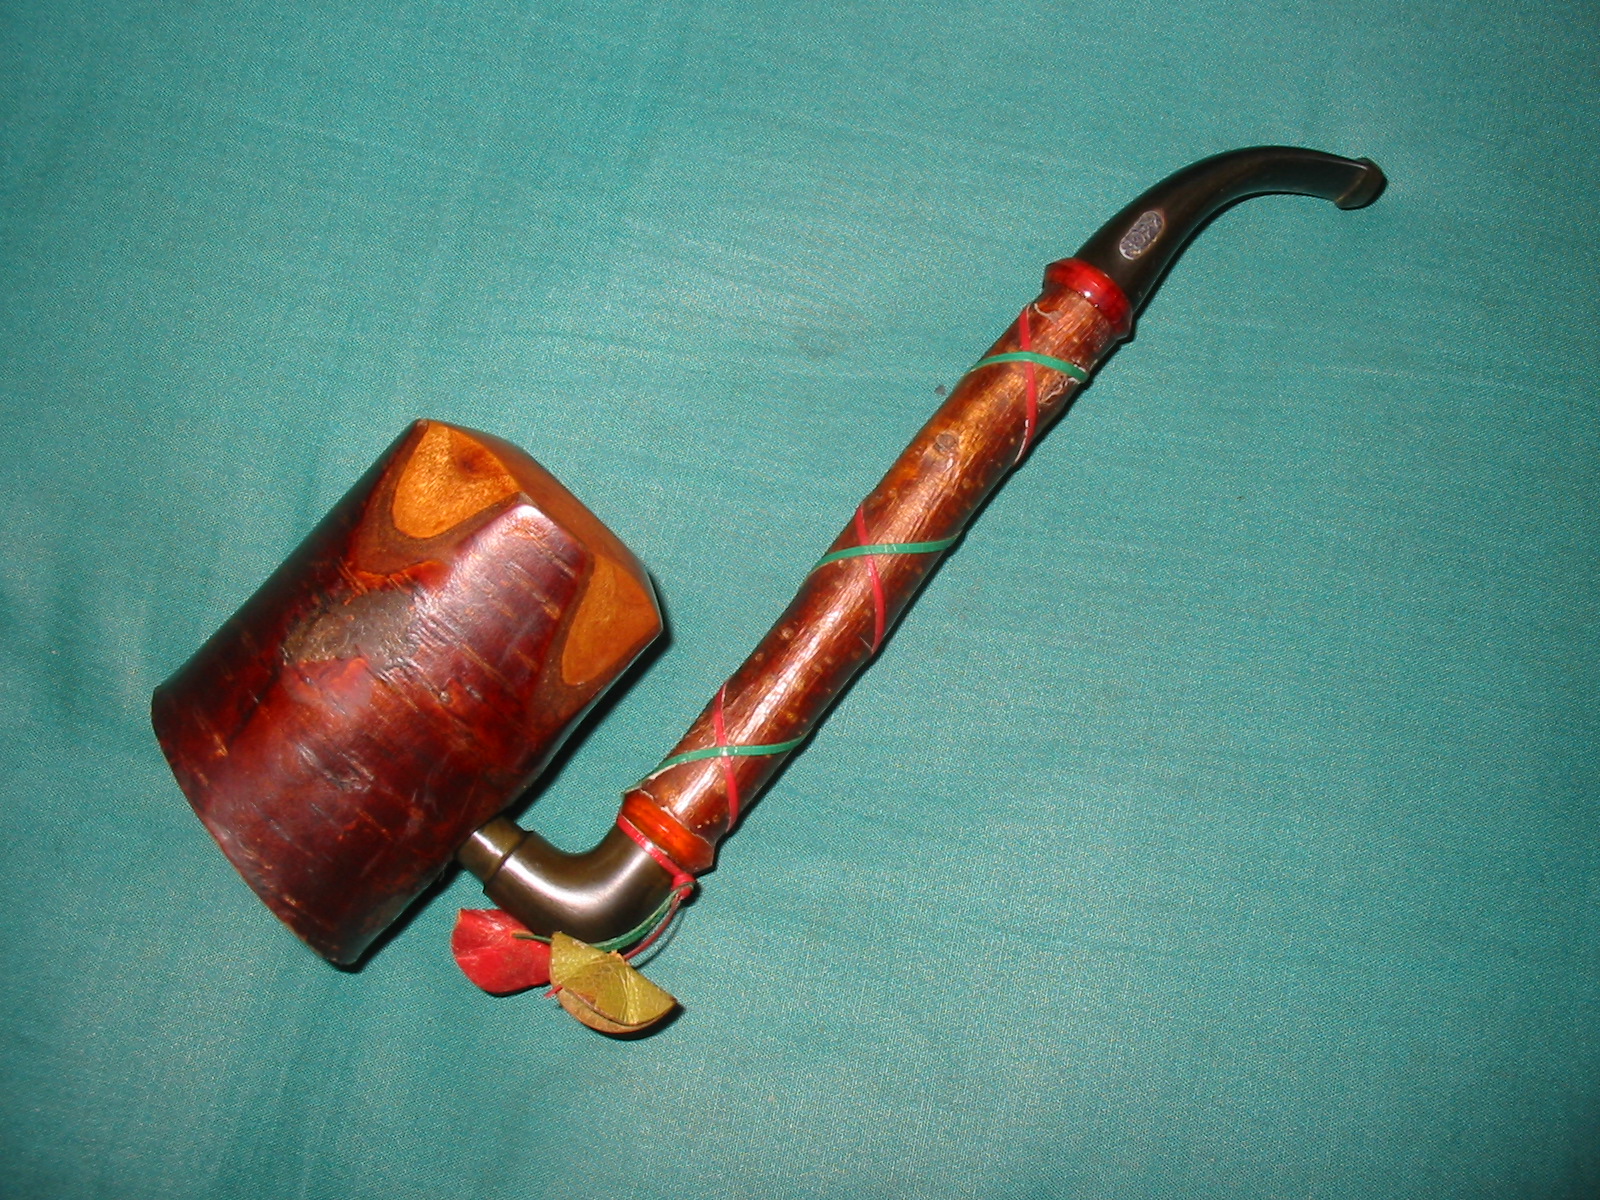
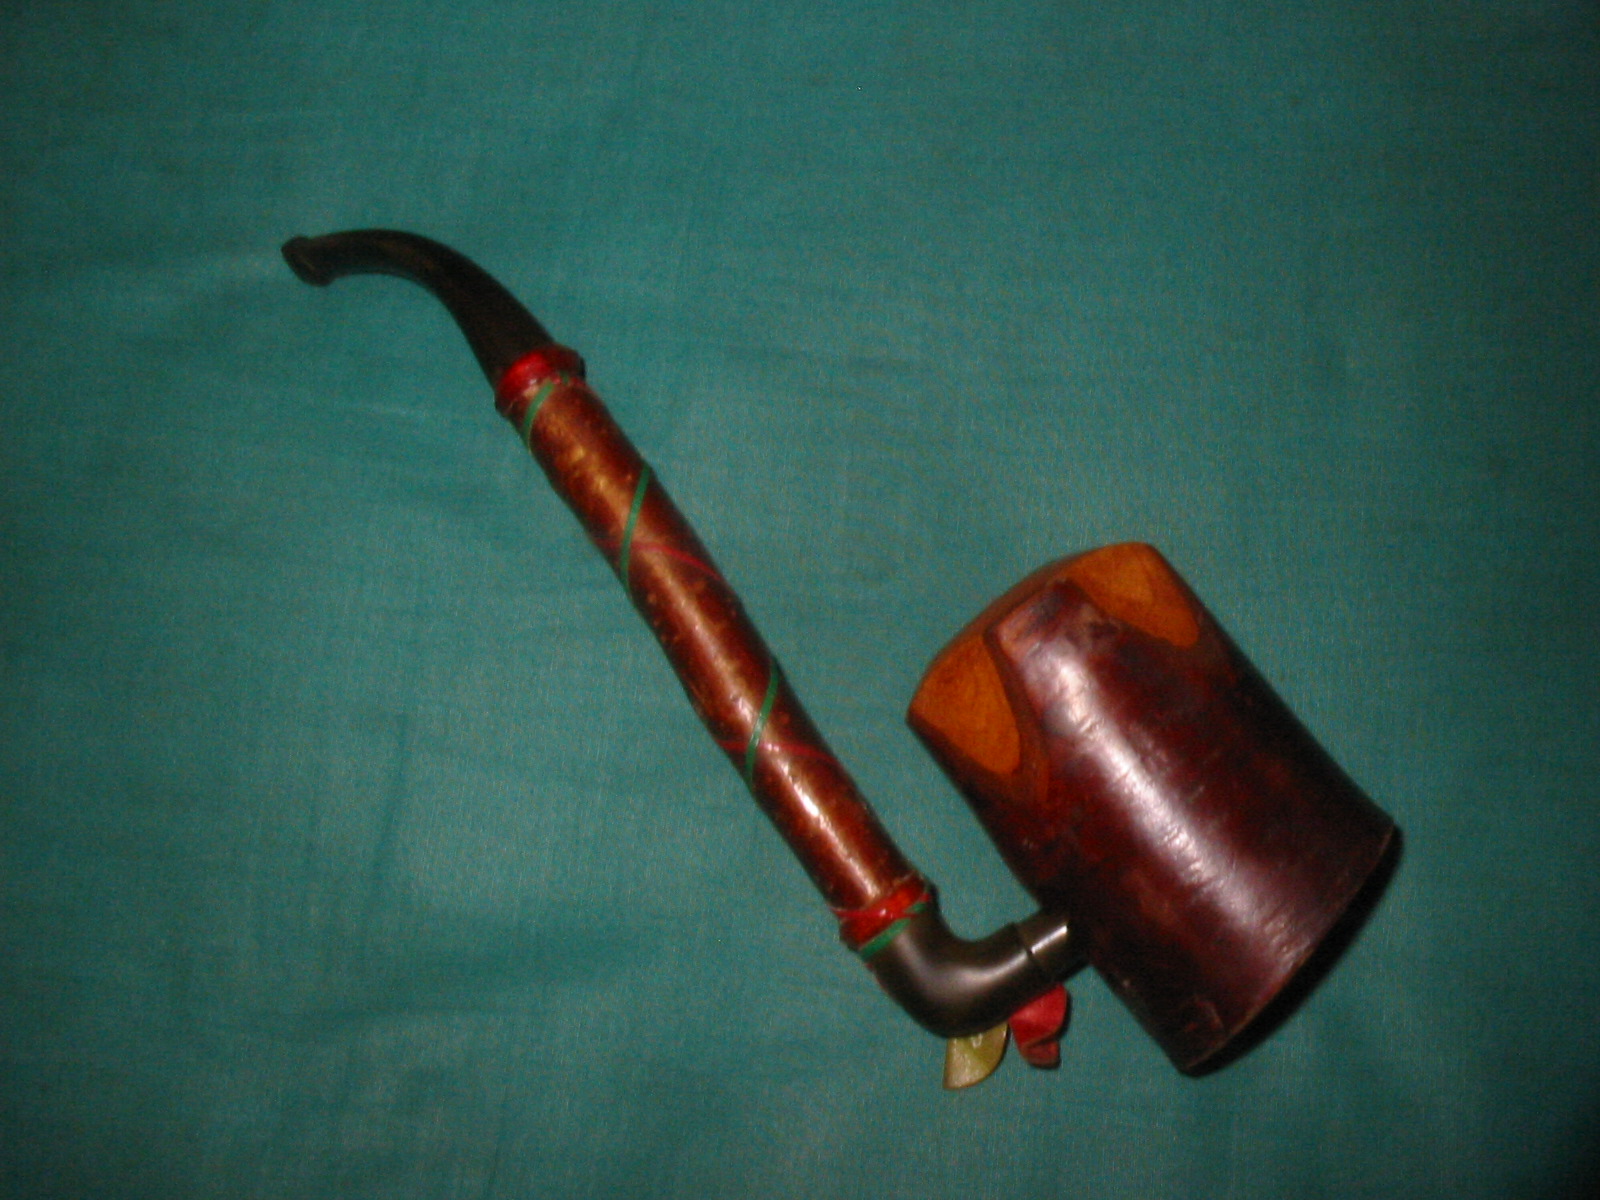
Yet another one of the pipe bowls that came to me in the gift box was a Ropp Cherrywood. It is stamped on the bottom of the bowl on a polished smooth portion, Ropp over Everest over Made in France. The wood was dirty and tired looking but still solid. The bowl was caked but not burned. The rim had a carbon buildup on it but was not burned or scorched. The drilling on the pipe was perfect. At first I thought that only the bowl had been included and I was scheming about the kind of stem to put on this one. But in the bottom of the box I found the original stem. It had a vulcanite 90 degree angle portion attached to the end of a cherrywood branch that fit snug in the hole in the bowl. At the other end of the cherrywood branch/shank was the stem. It bore the Ropp emblem and was badly oxidized. There was some tooth chatter on the stem near the button on the top and the bottom. The tenon on the stem had been coated with a brown wax to ensure a snug fit in the shank.
IMG_7443
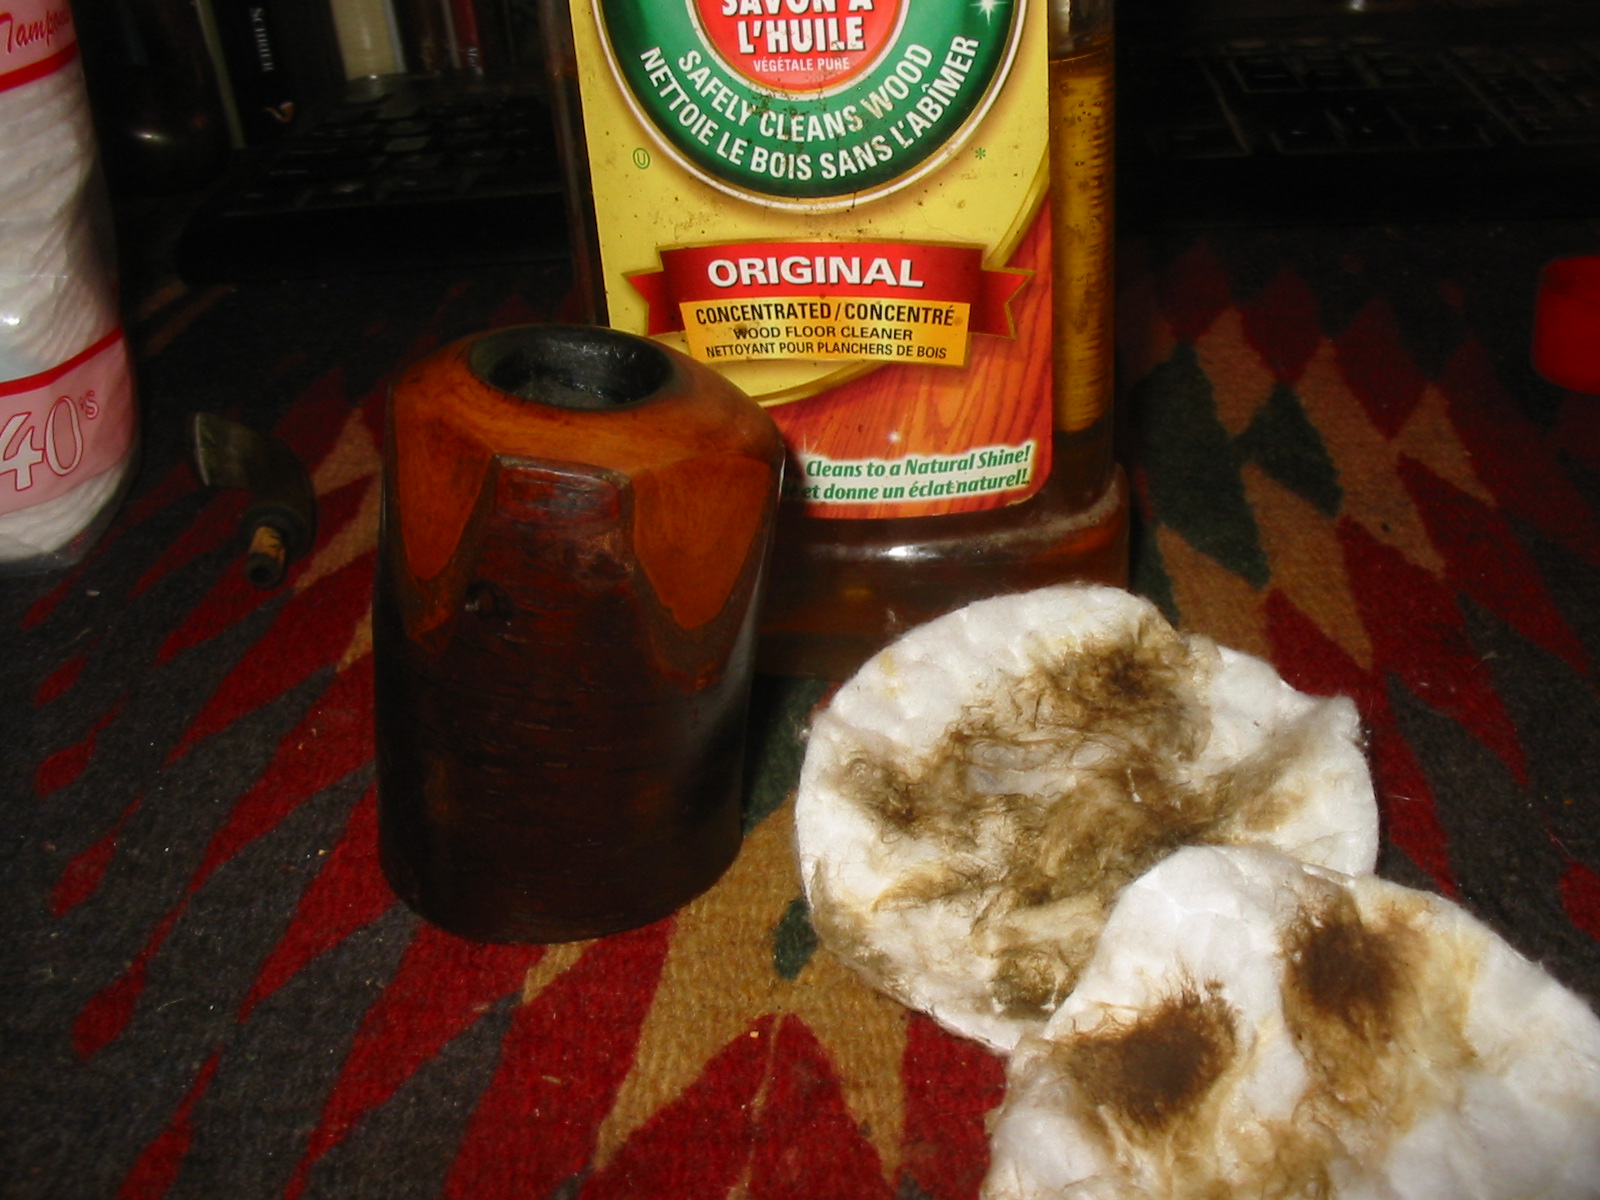
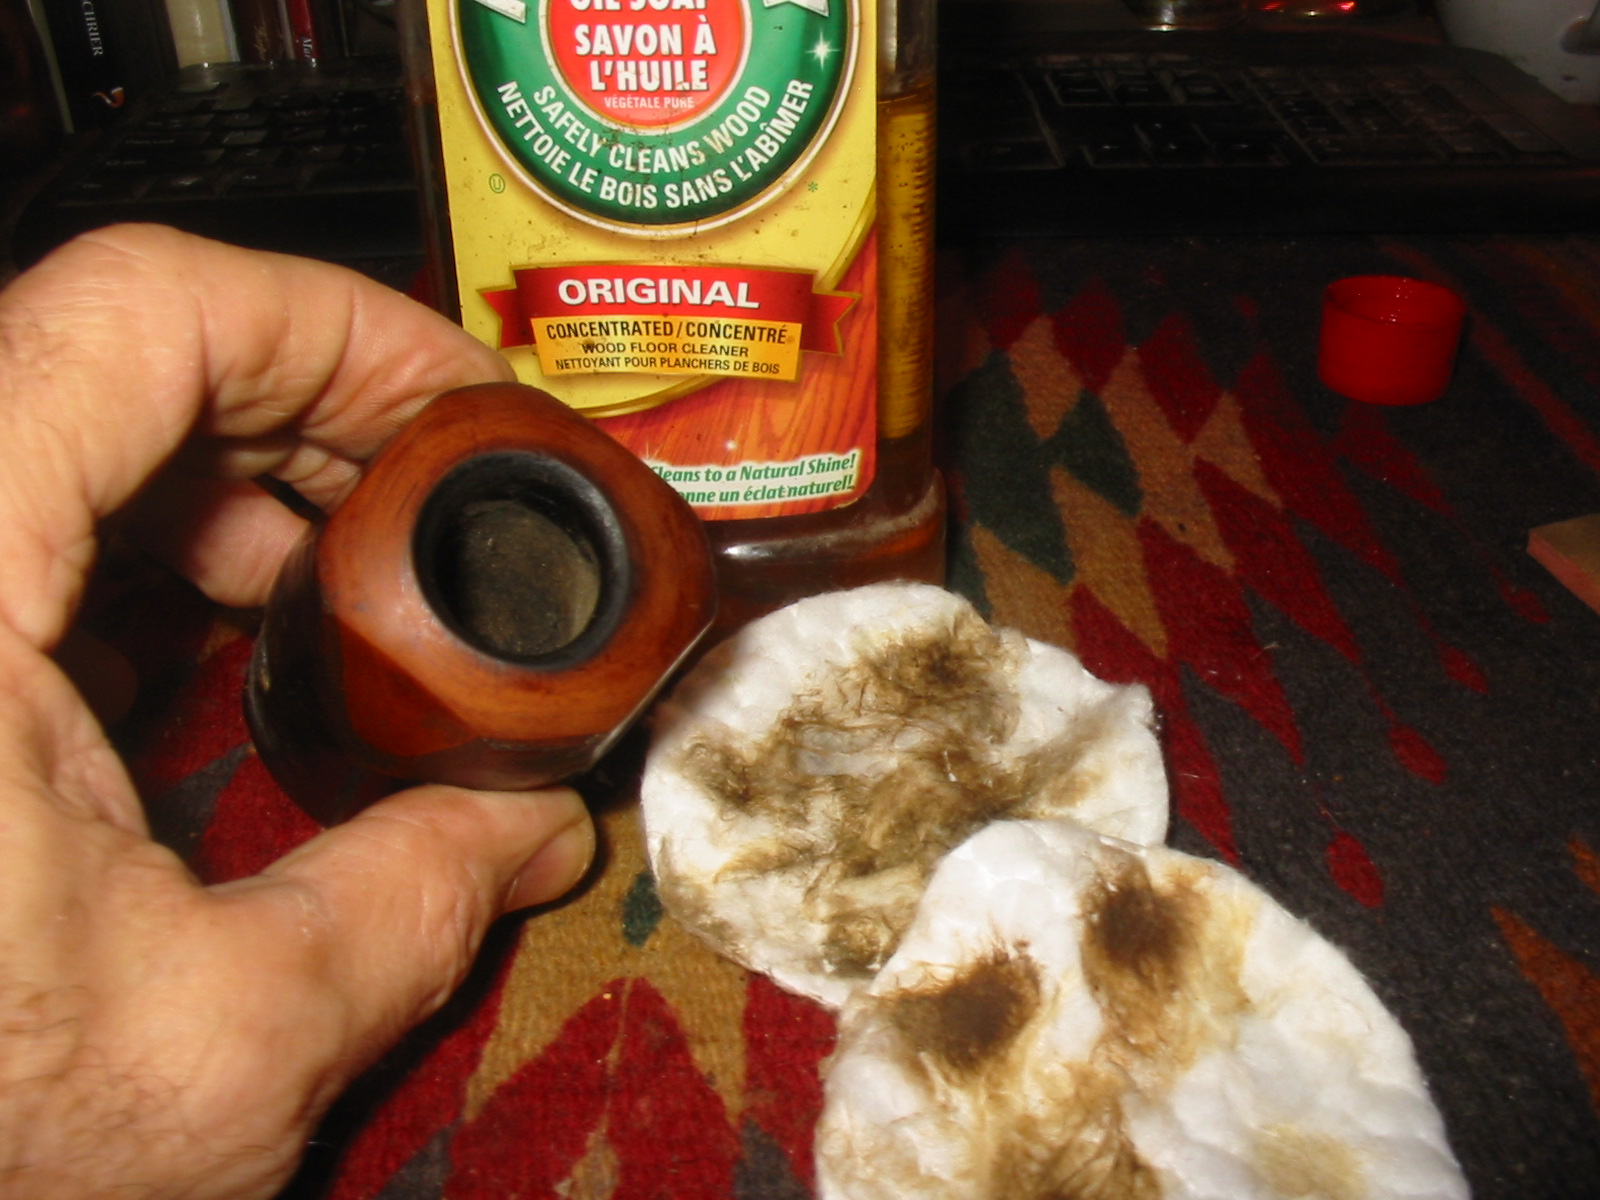
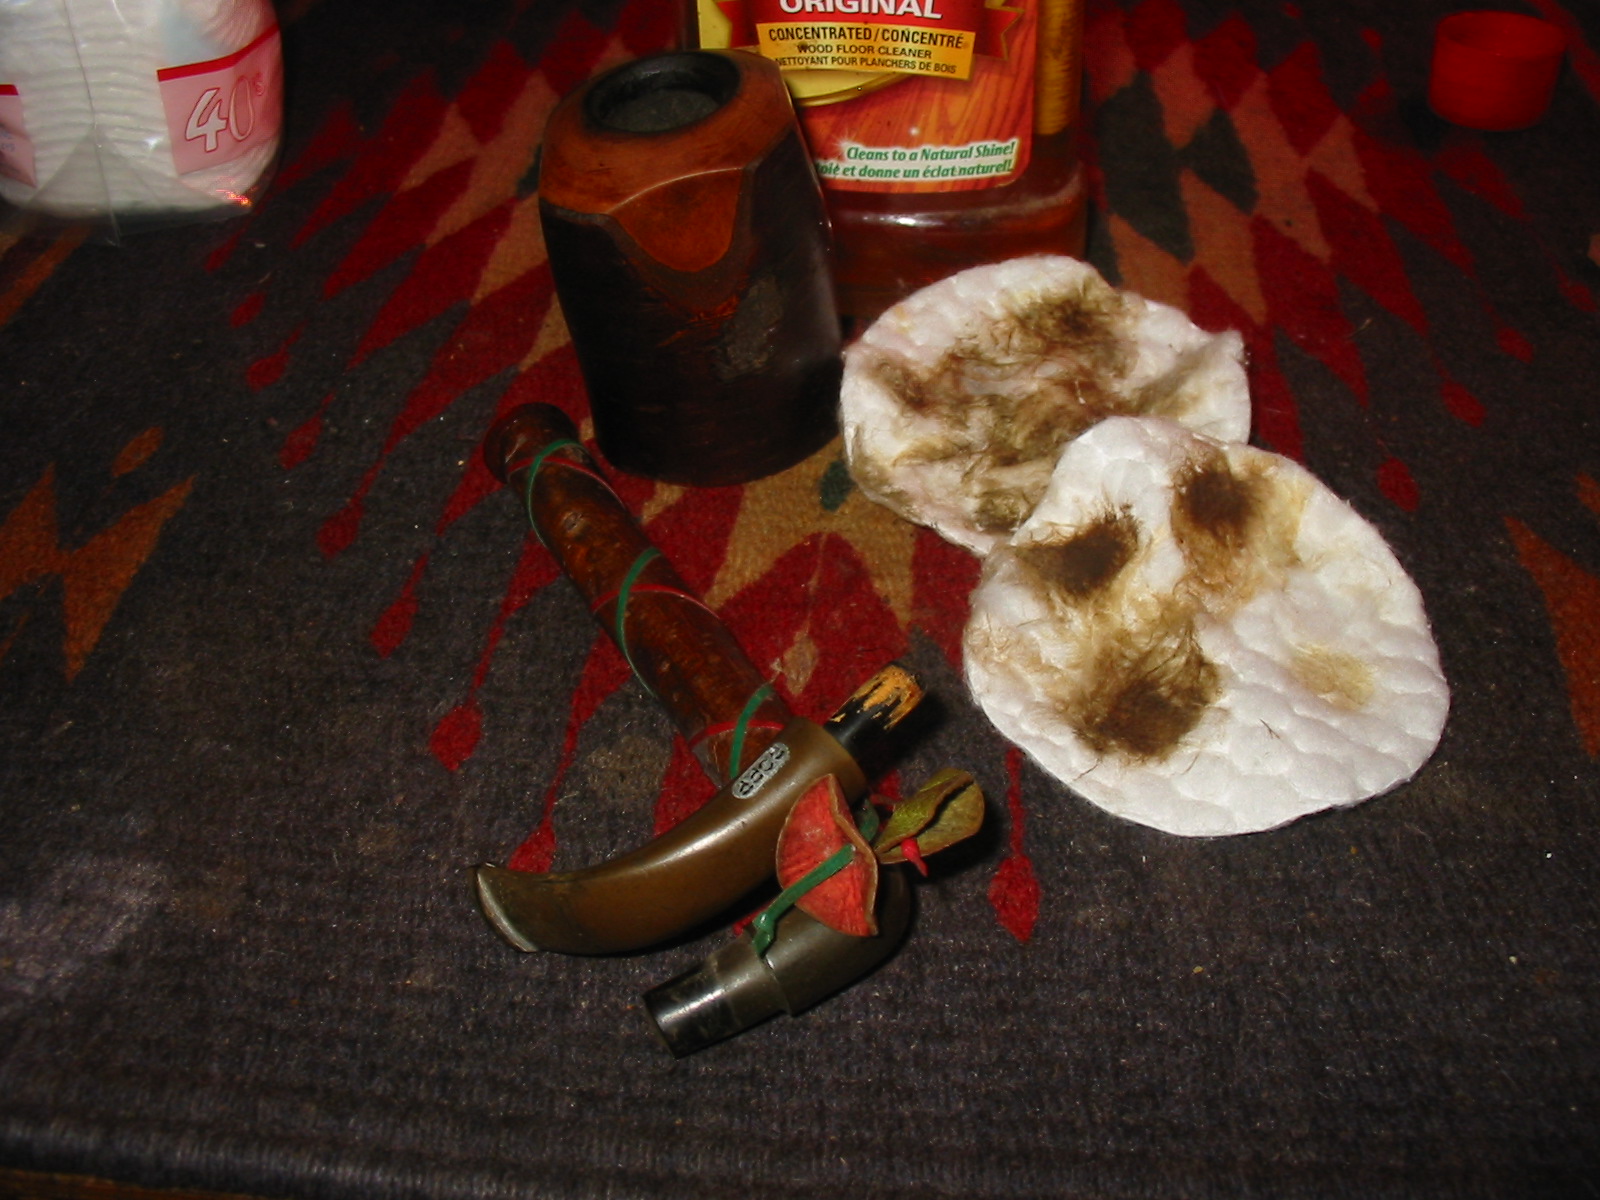
I scrubbed the exterior of the bowl and rim with Murphy’s Oil Soap and cotton pads to remove the dirt and grime that had built up on the bark and wood. There were several places where the bark had a pitch build up on the outside that had hardened and was black. I was able to scrub away all of the carbon buildup on the rim and bring it back to the natural colour.
IMG_7419

IMG_7420

IMG_7421
I scrubbed the shank carefully with oil soap on cotton pads so as not to damage the leather wrapping that was on it. There were two cords – one red and one green that were interlaced around the length of the shank. A plastic ring was glued on the shank on both ends to anchor the leather cords. On the bowl end of the shank there were two roundels of leather that acted as tassels.
IMG_7425
I reamed the bowl with a PipNet reamer. I find that the heads of this reamer fit most of the bowls that I work on. I cleaned out the ash from the bowl and then swabbed the bowl out with cotton swabs and alcohol. I also cleaned the airway on the bowl with cotton swabs.
IMG_7426
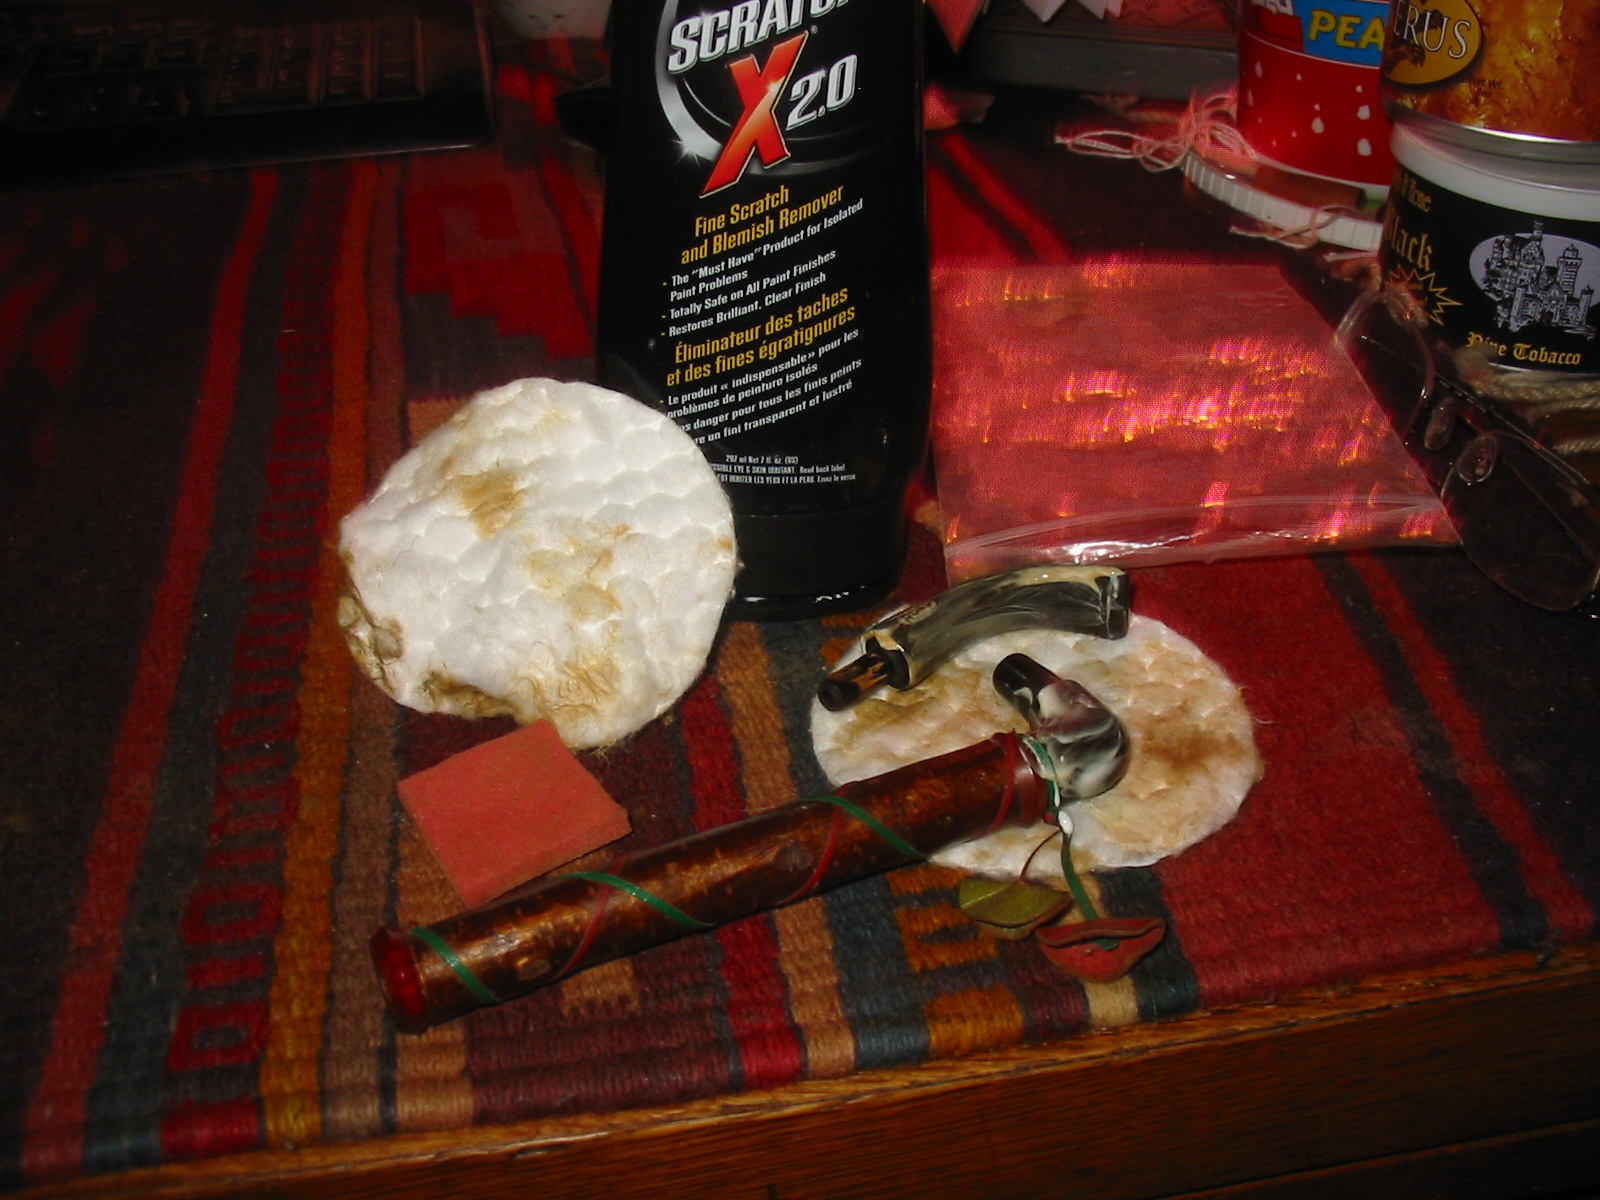
The 90 degree angle vulcanite connector between the bowl and shank was oxidized. It was hard to sand with micromesh pads or sanding sticks so I used a fine grit sanding sponge to break up the oxidation and then scrubbed it with Meguiar’s Scratch X2.0 – a plastic polish to remove the oxidation. It took a lot of scrubbing to get through the oxidation. I applied the polish with my finger and when it had dried scrubbed it off with cotton pads. While I worked on the connector I also applied the Scratch X2.0 to the stem and let it sit.
IMG_7427
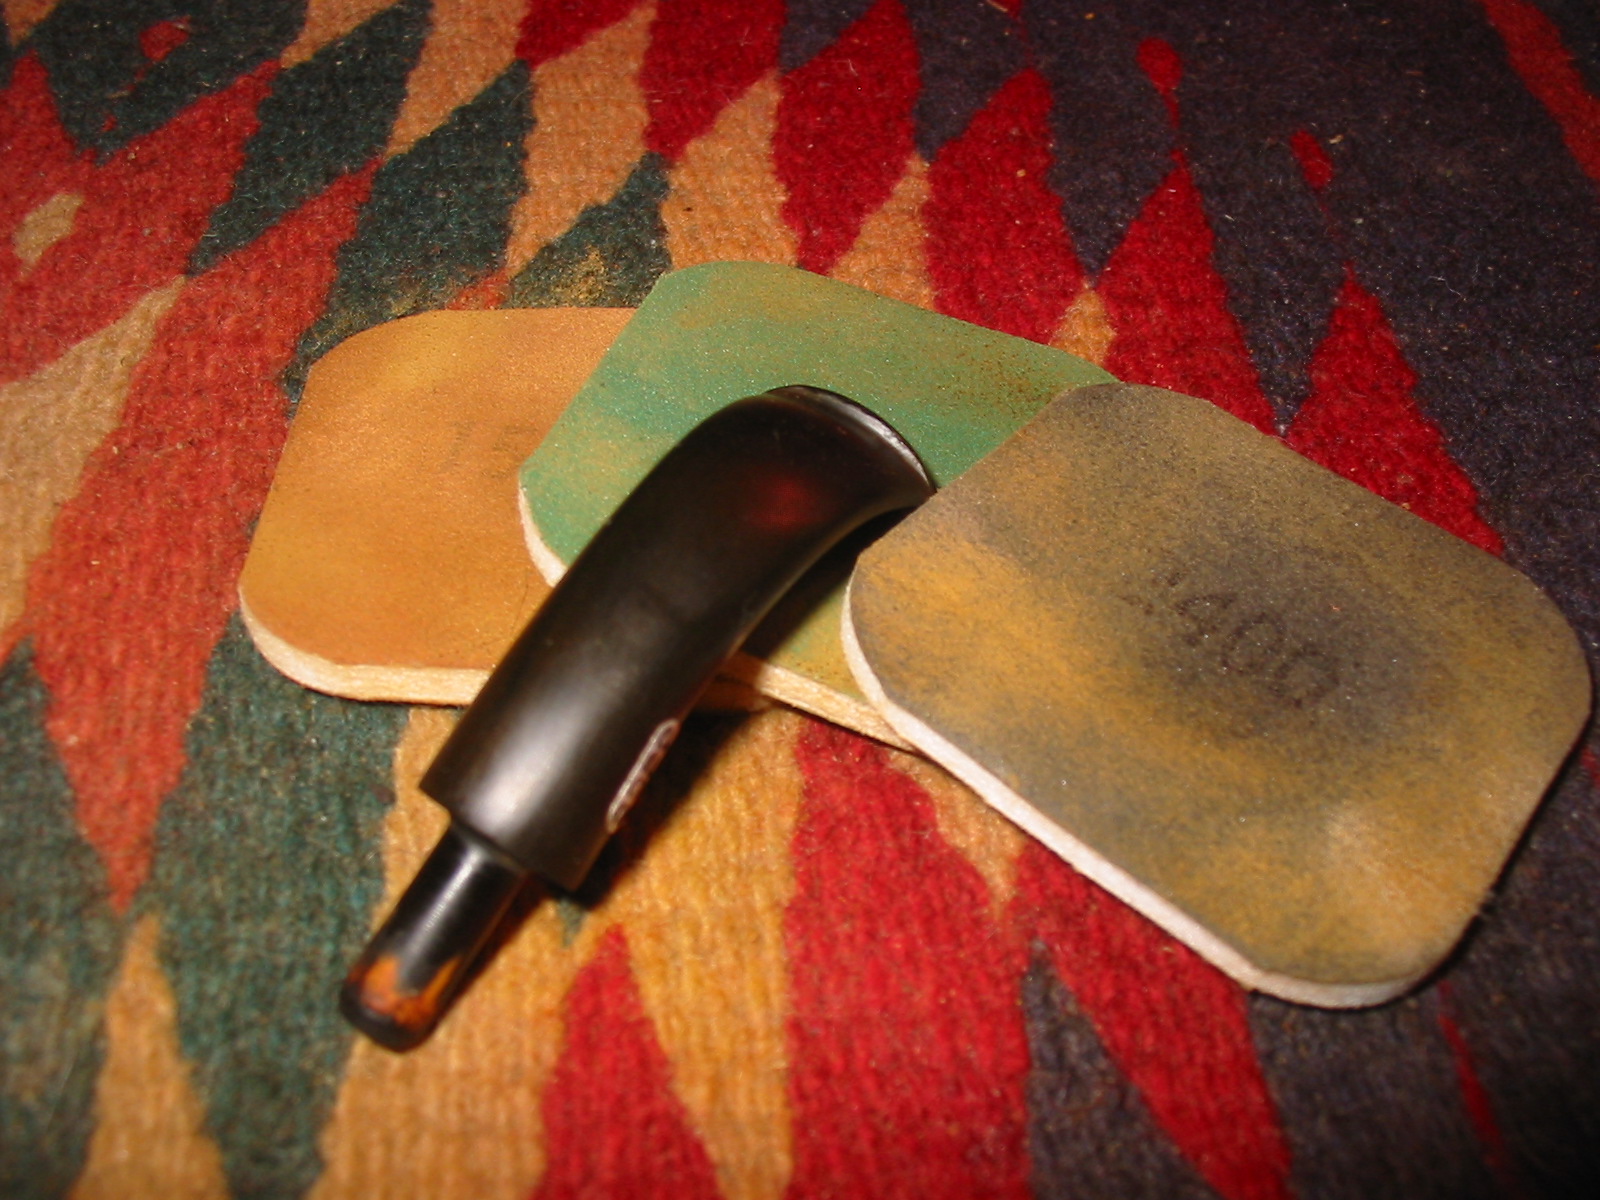
I sanded the stem with 220 grit sandpaper, medium and fine grit sanding sponges and then with the usual array of micromesh sanding pads. I wet sanded with 1500-2400 grit pads and dry sanded with 3200-12000 grit pads. I buffed the stem with White Diamond. I left some of the wax buildup on the stem once I found that to remove it made the stem very loose.
IMG_7428

IMG_7431

IMG_7432
I buffed the bowl and stem with White Diamond and then gave it several coats of carnauba wax and buffed it with a soft flannel buff. I hand waxed the shank with Halcyon II and then a shoe brush. The finished pipe is shown below. I am looking forward to experiencing a smoke in a Ropp Cherrywood Oom Paul.
IMG_7439

IMG_7440

IMG_7441

IMG_7442
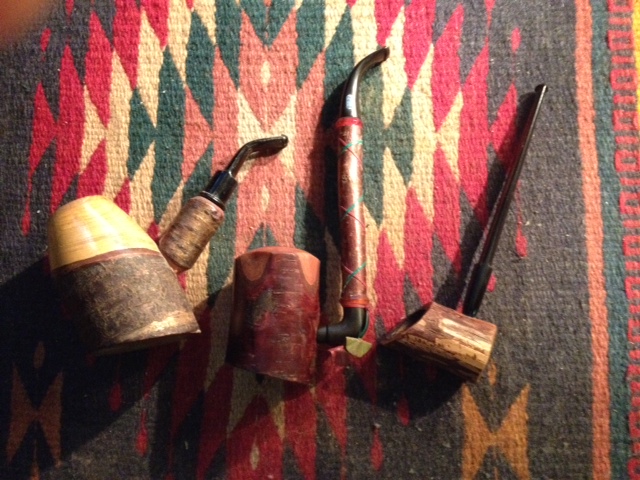
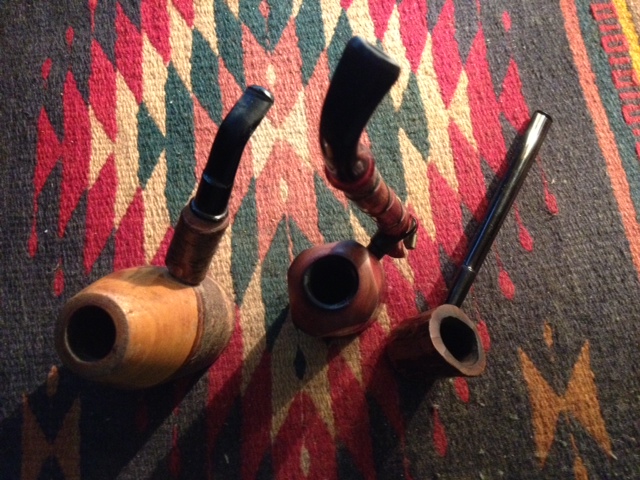
The final two photos were taken with my cell phone to show my Ropp Threesome – a Volcano, the Oom Paul and the newest Frankenpipe that I wrote about earlier. They make an interesting subset of my pipe collection and now they occupy shelves in my study. I think in the long run at least the two larger pipes will be primarily display items (though I plan to try them all out at least once).
photo 2

photo 4

One Just for Fun: A New Frankenpipe – Combining a Few Parts to Craft a Rustic Pipe


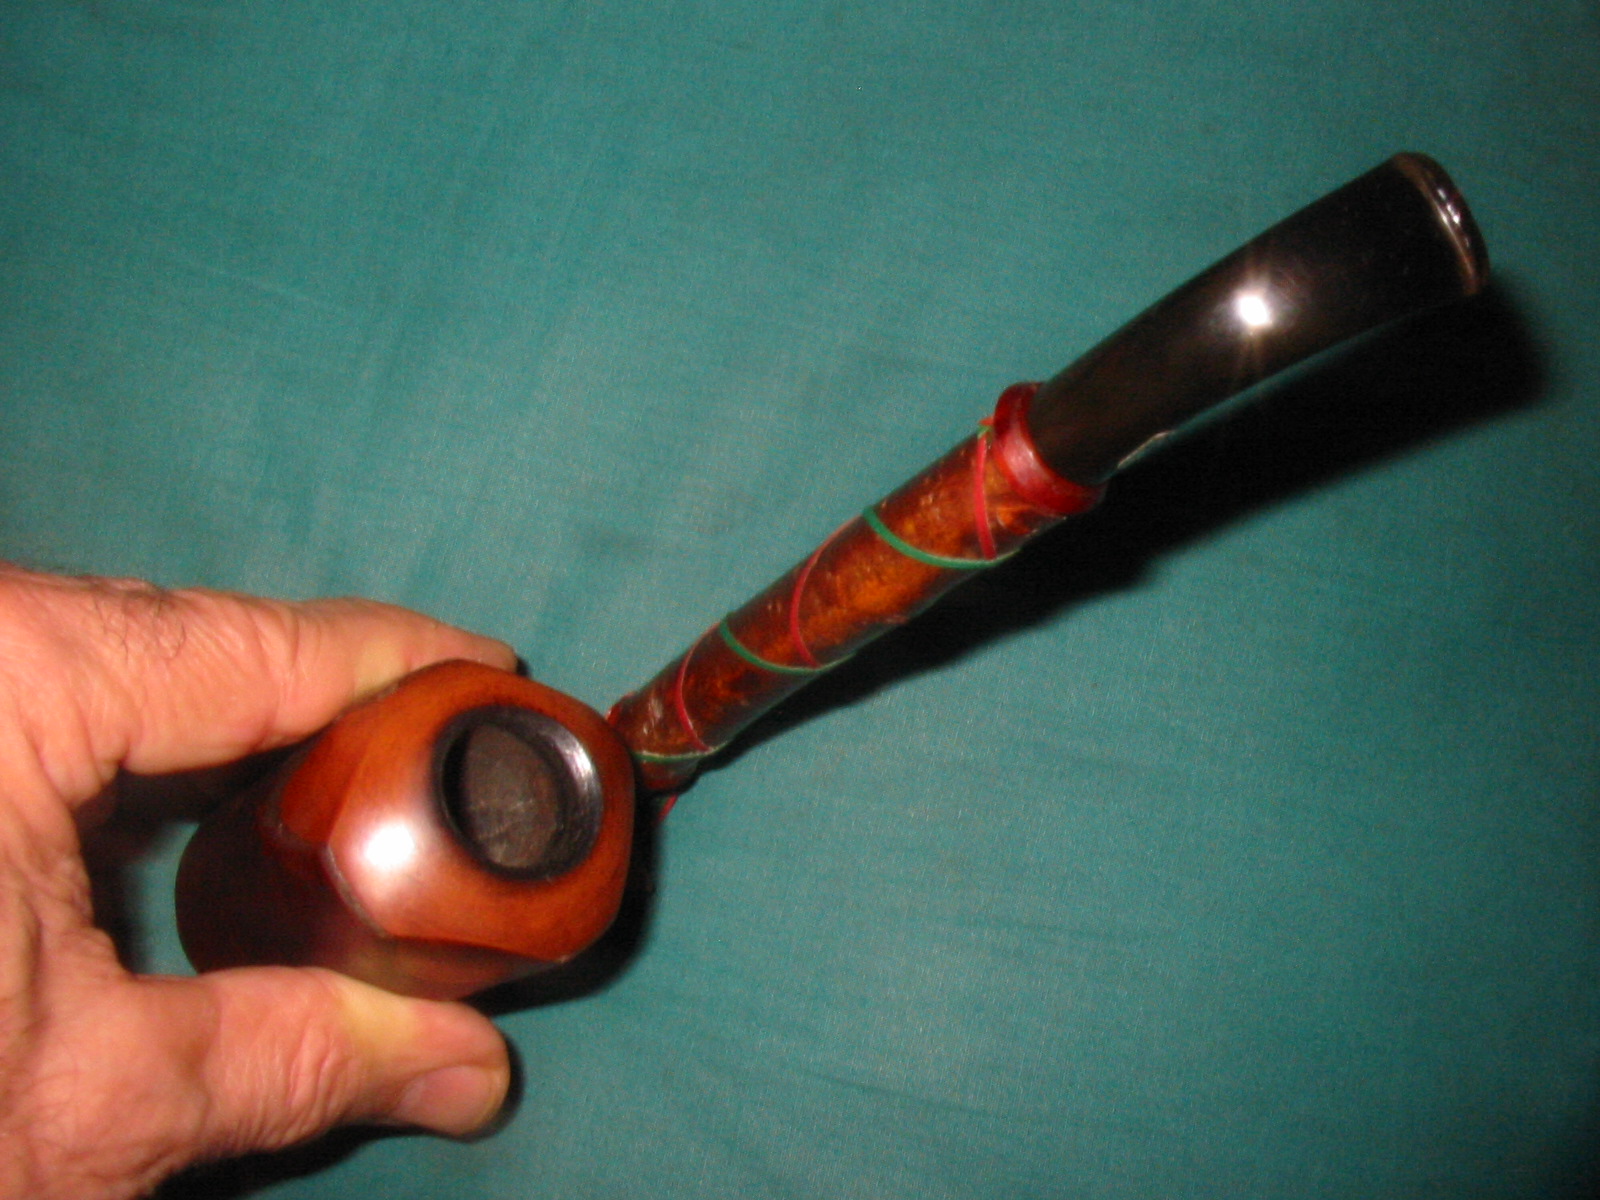
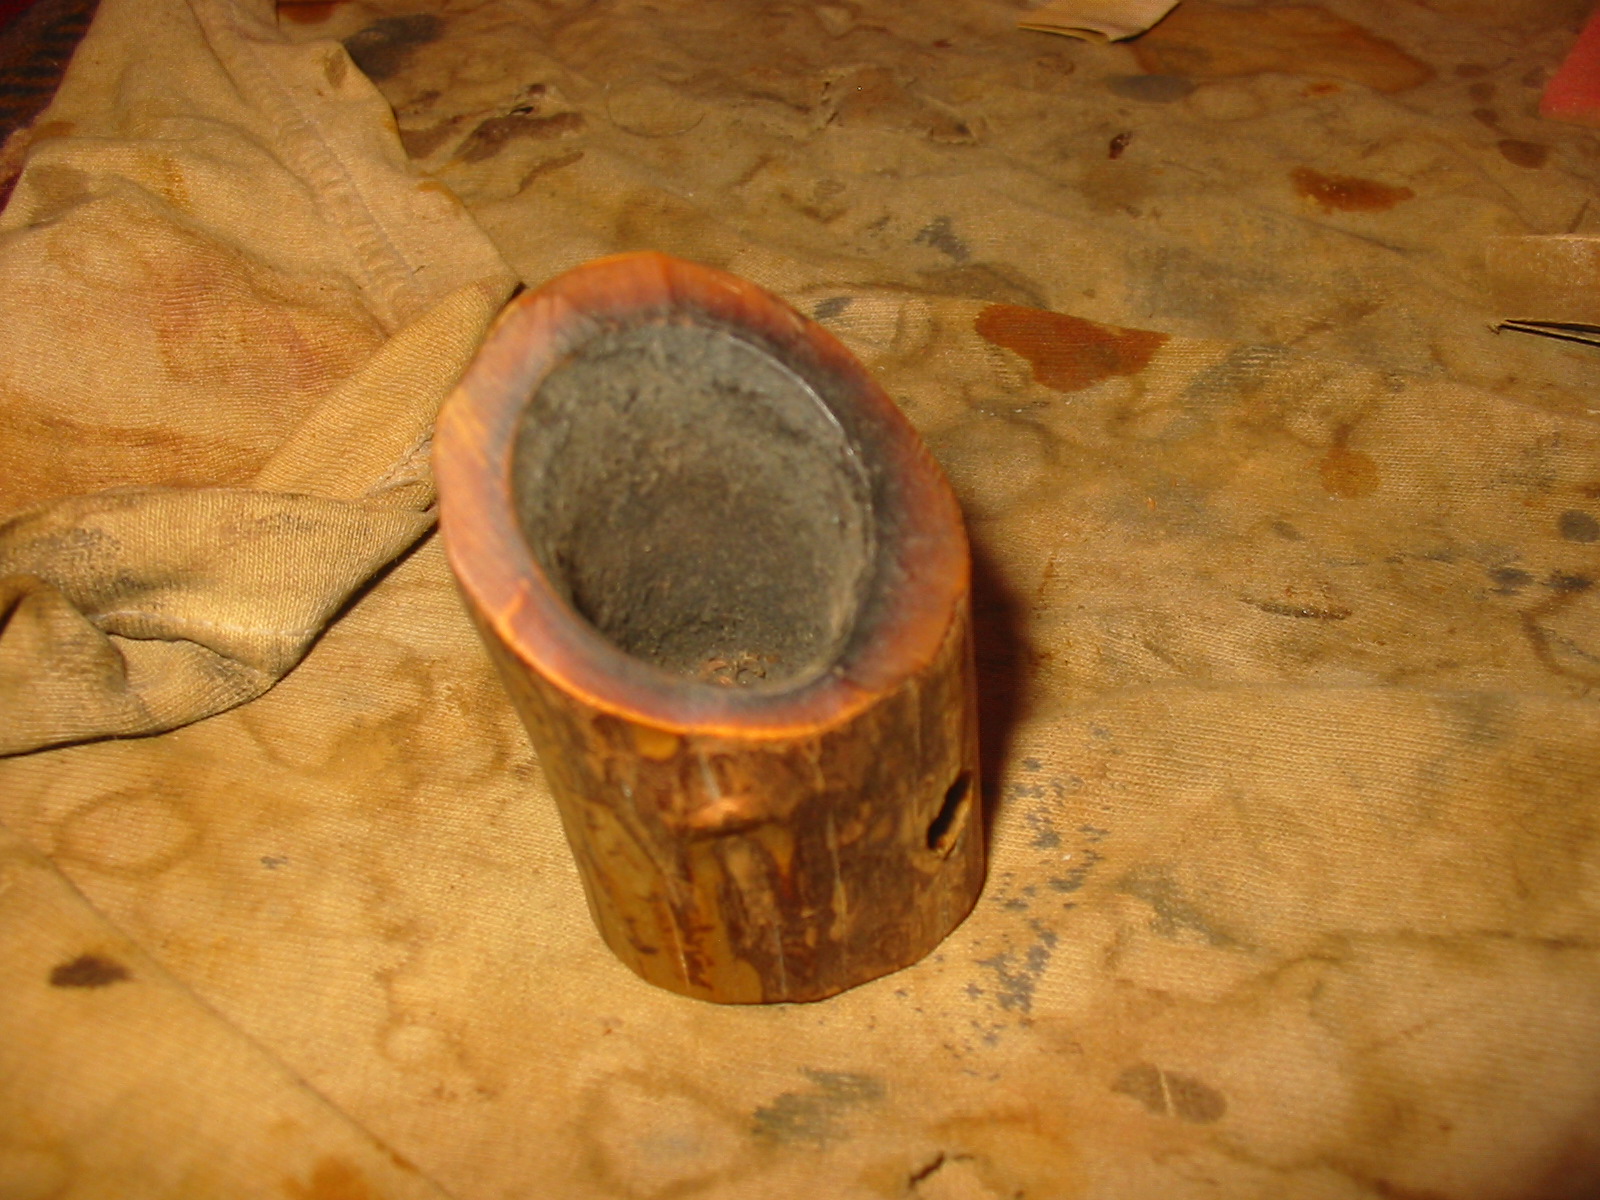
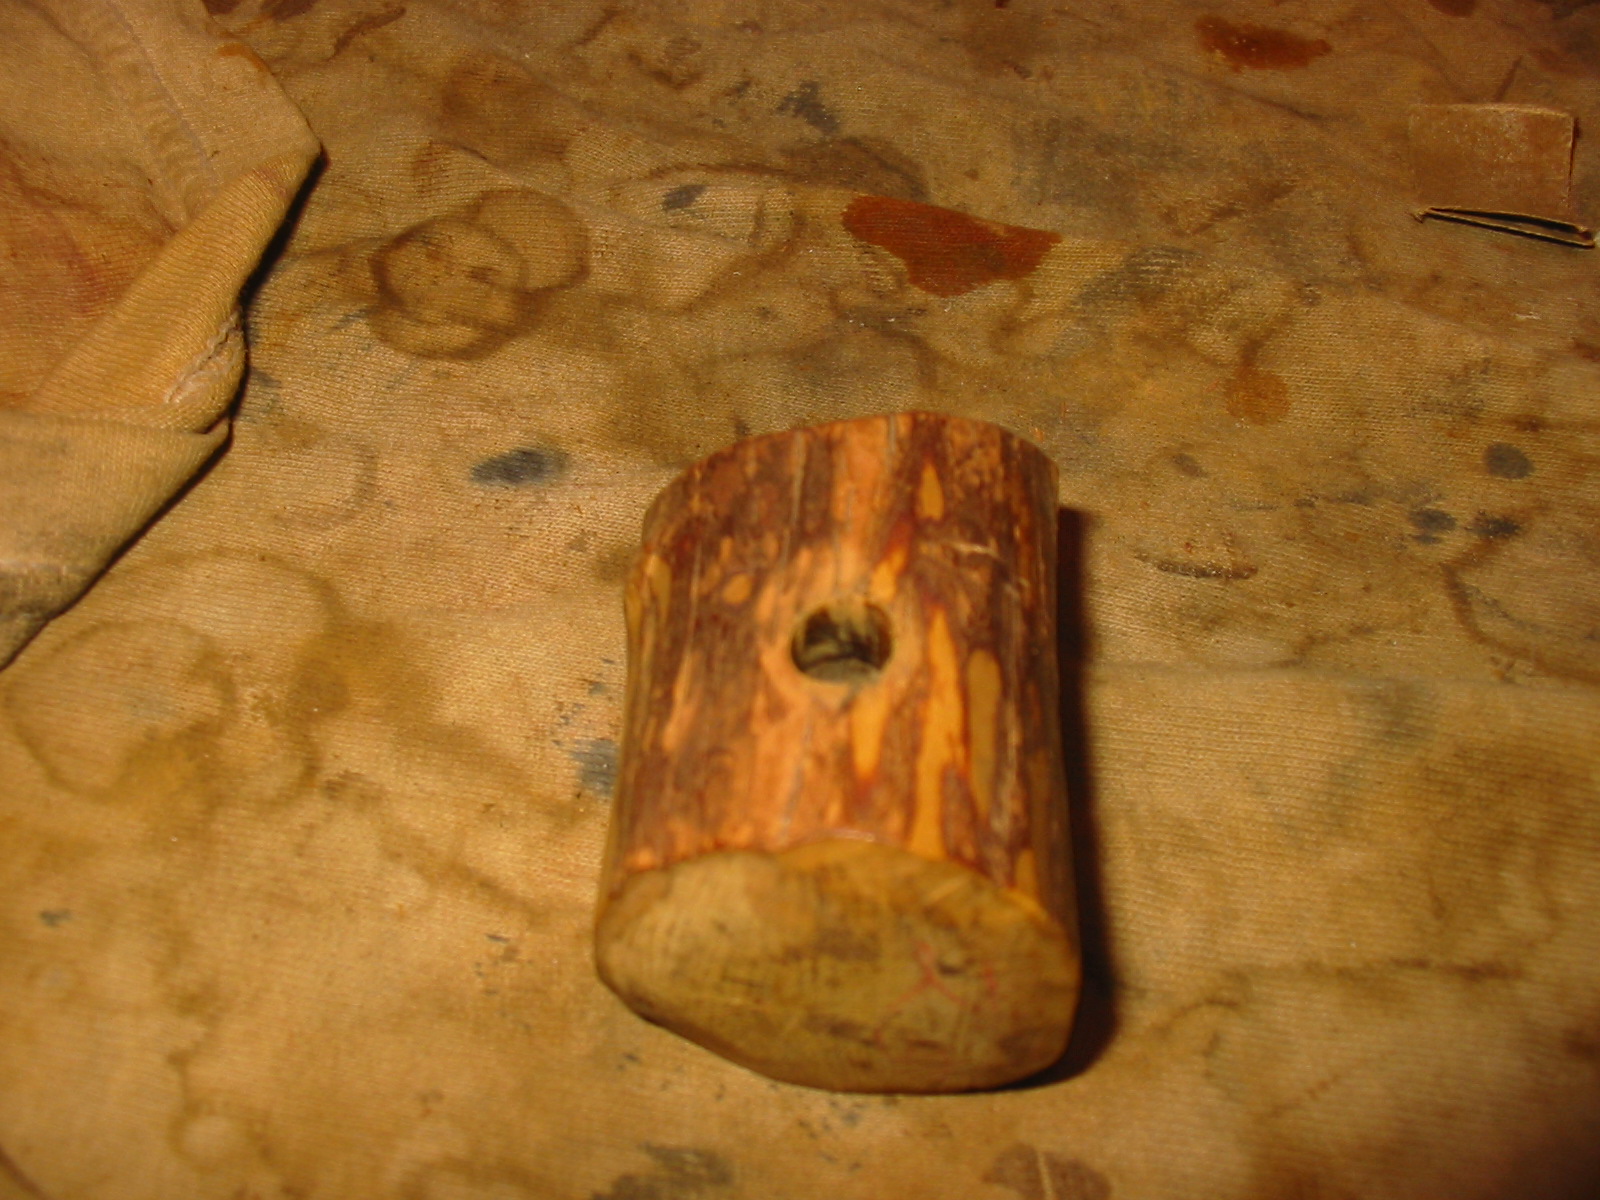
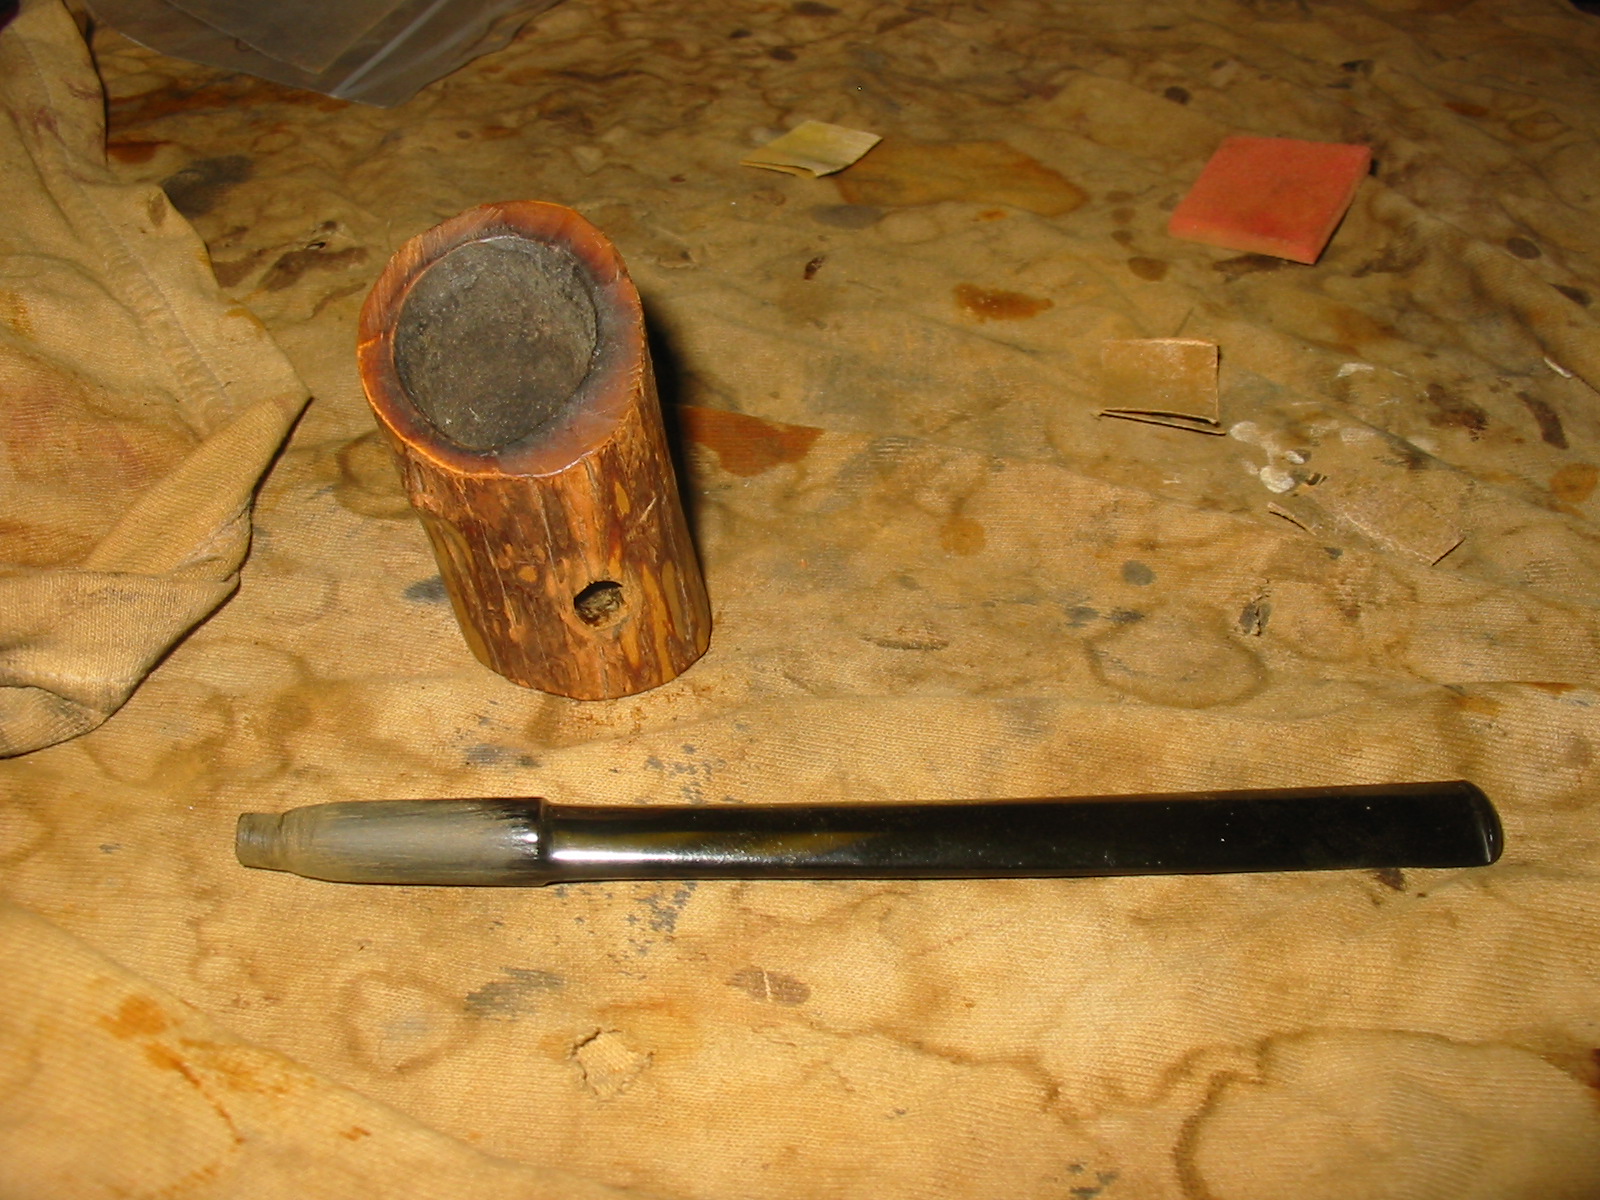
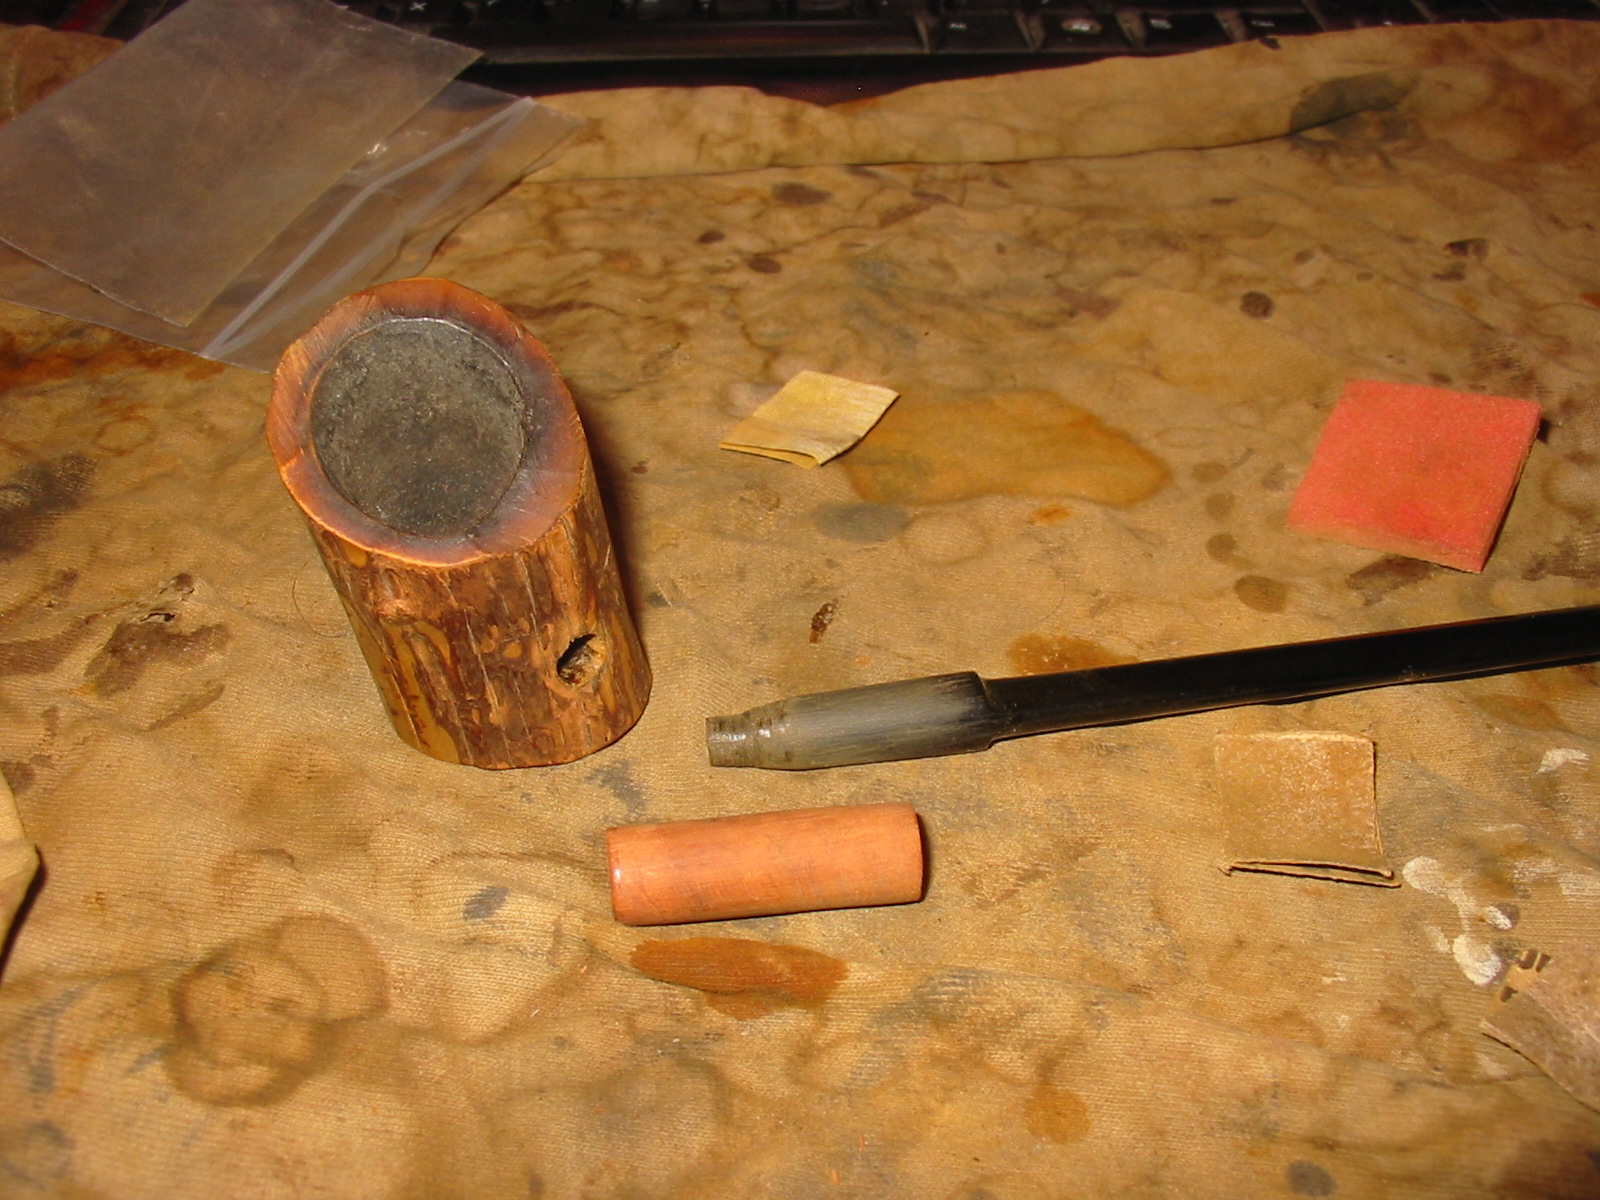
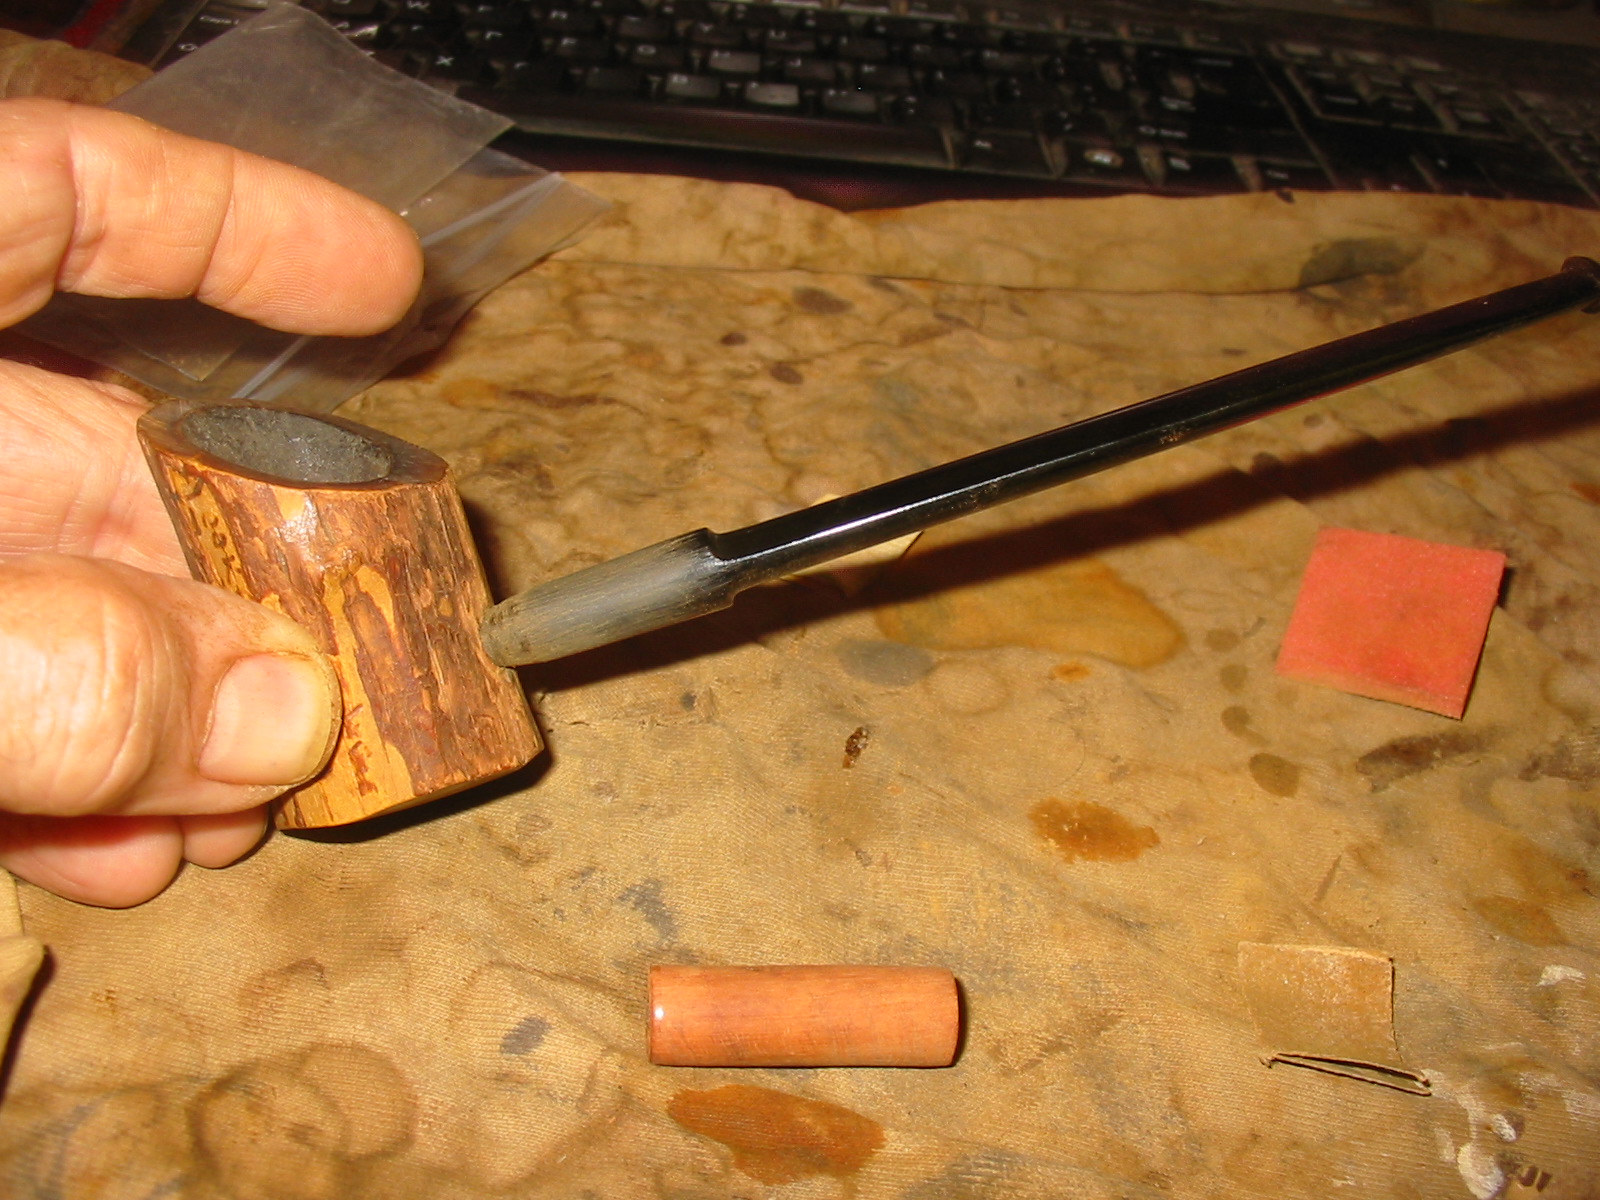
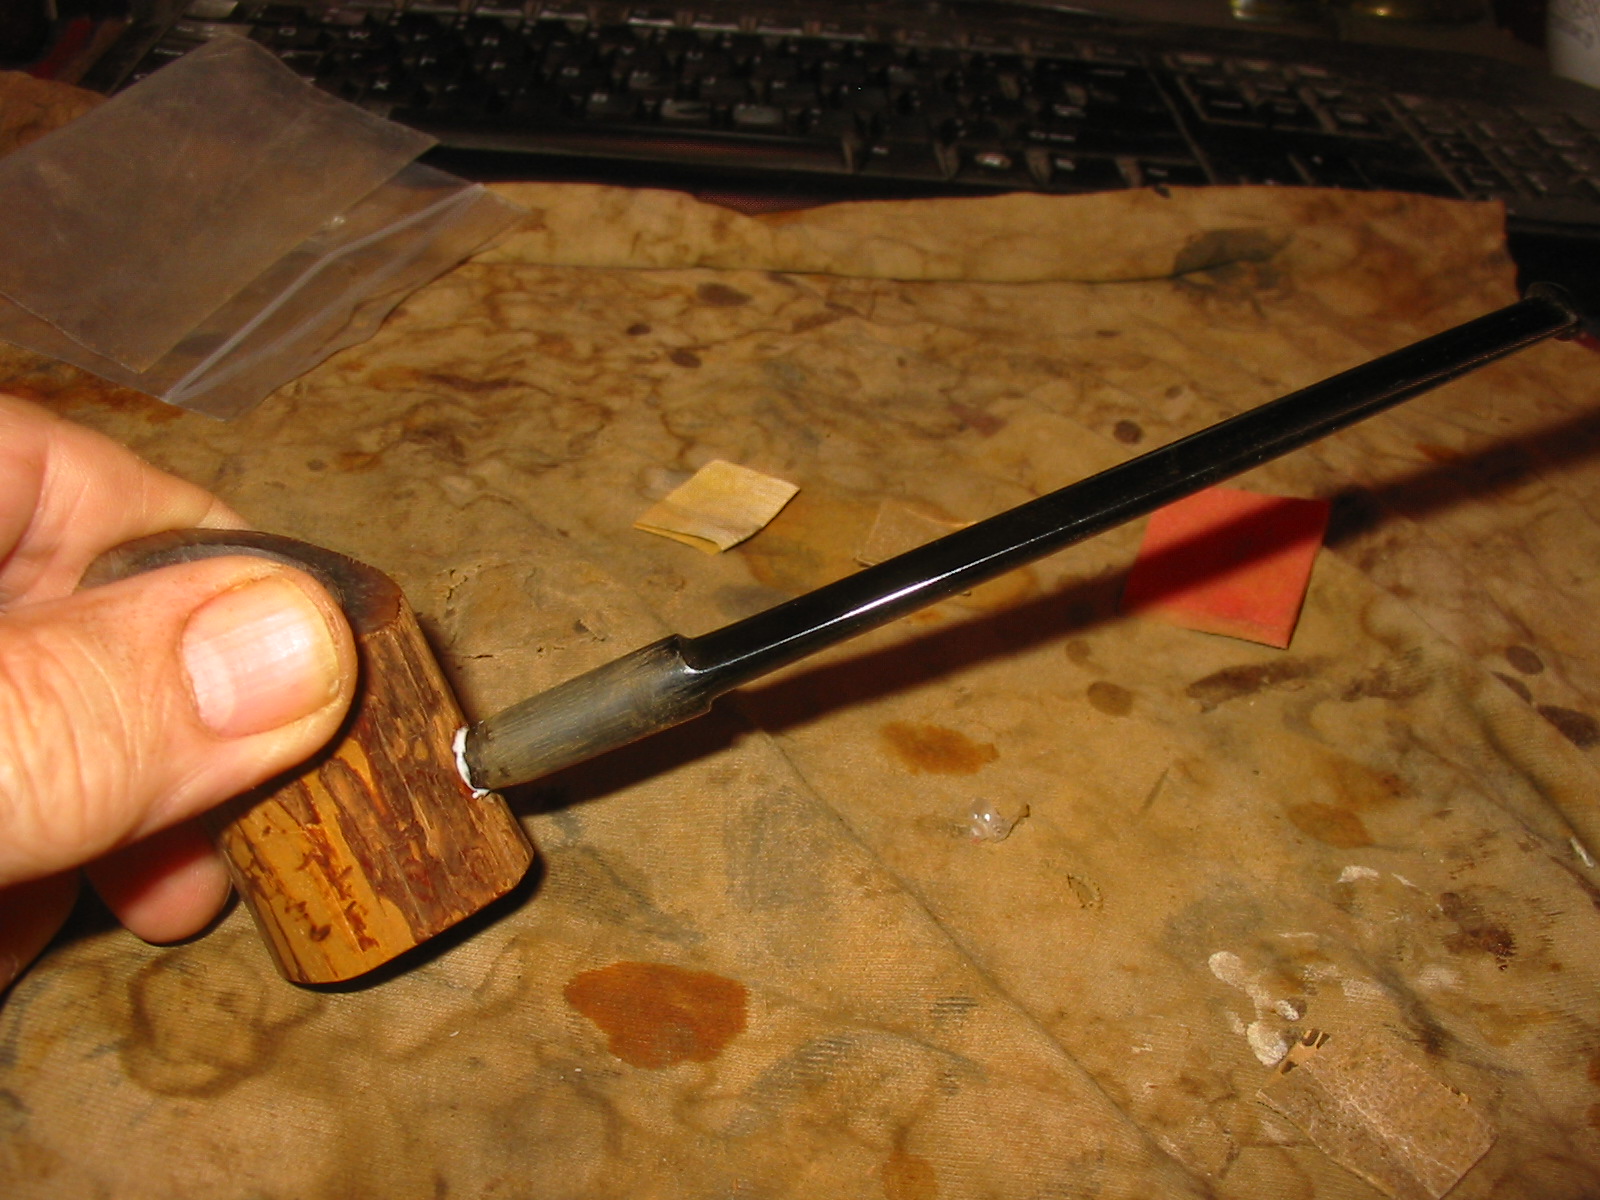
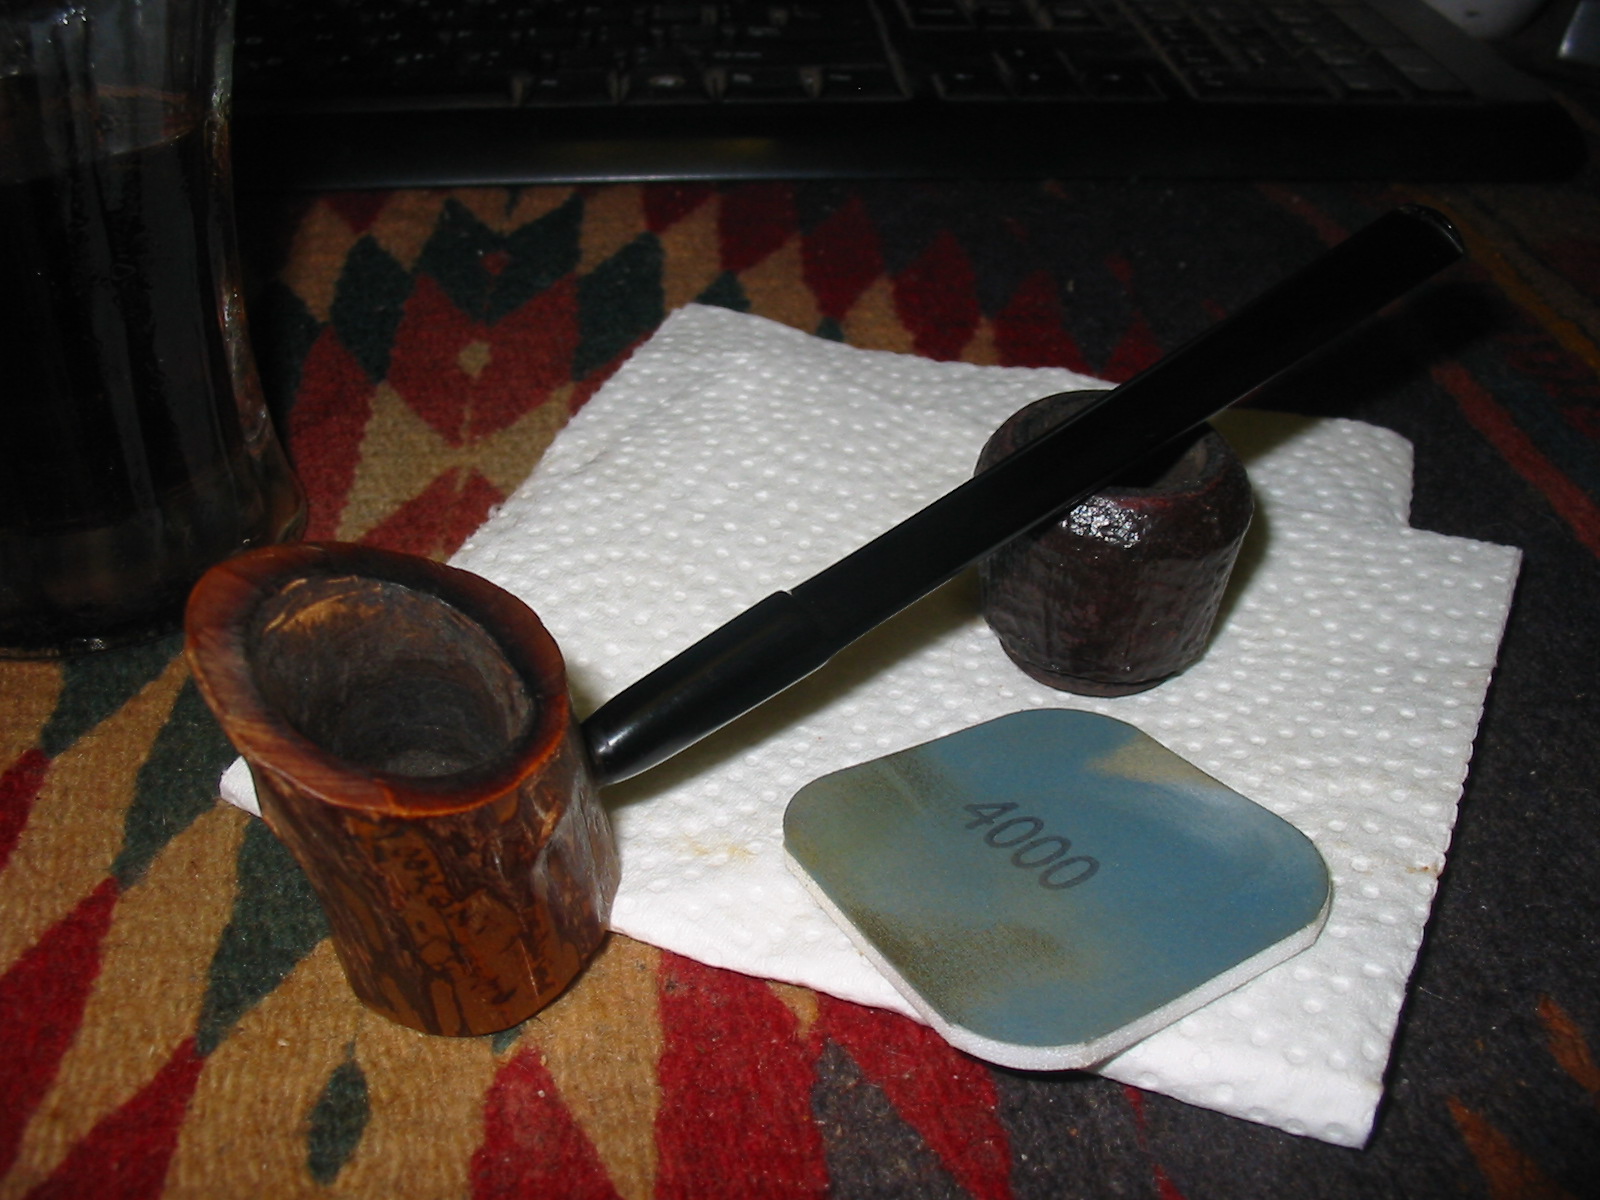
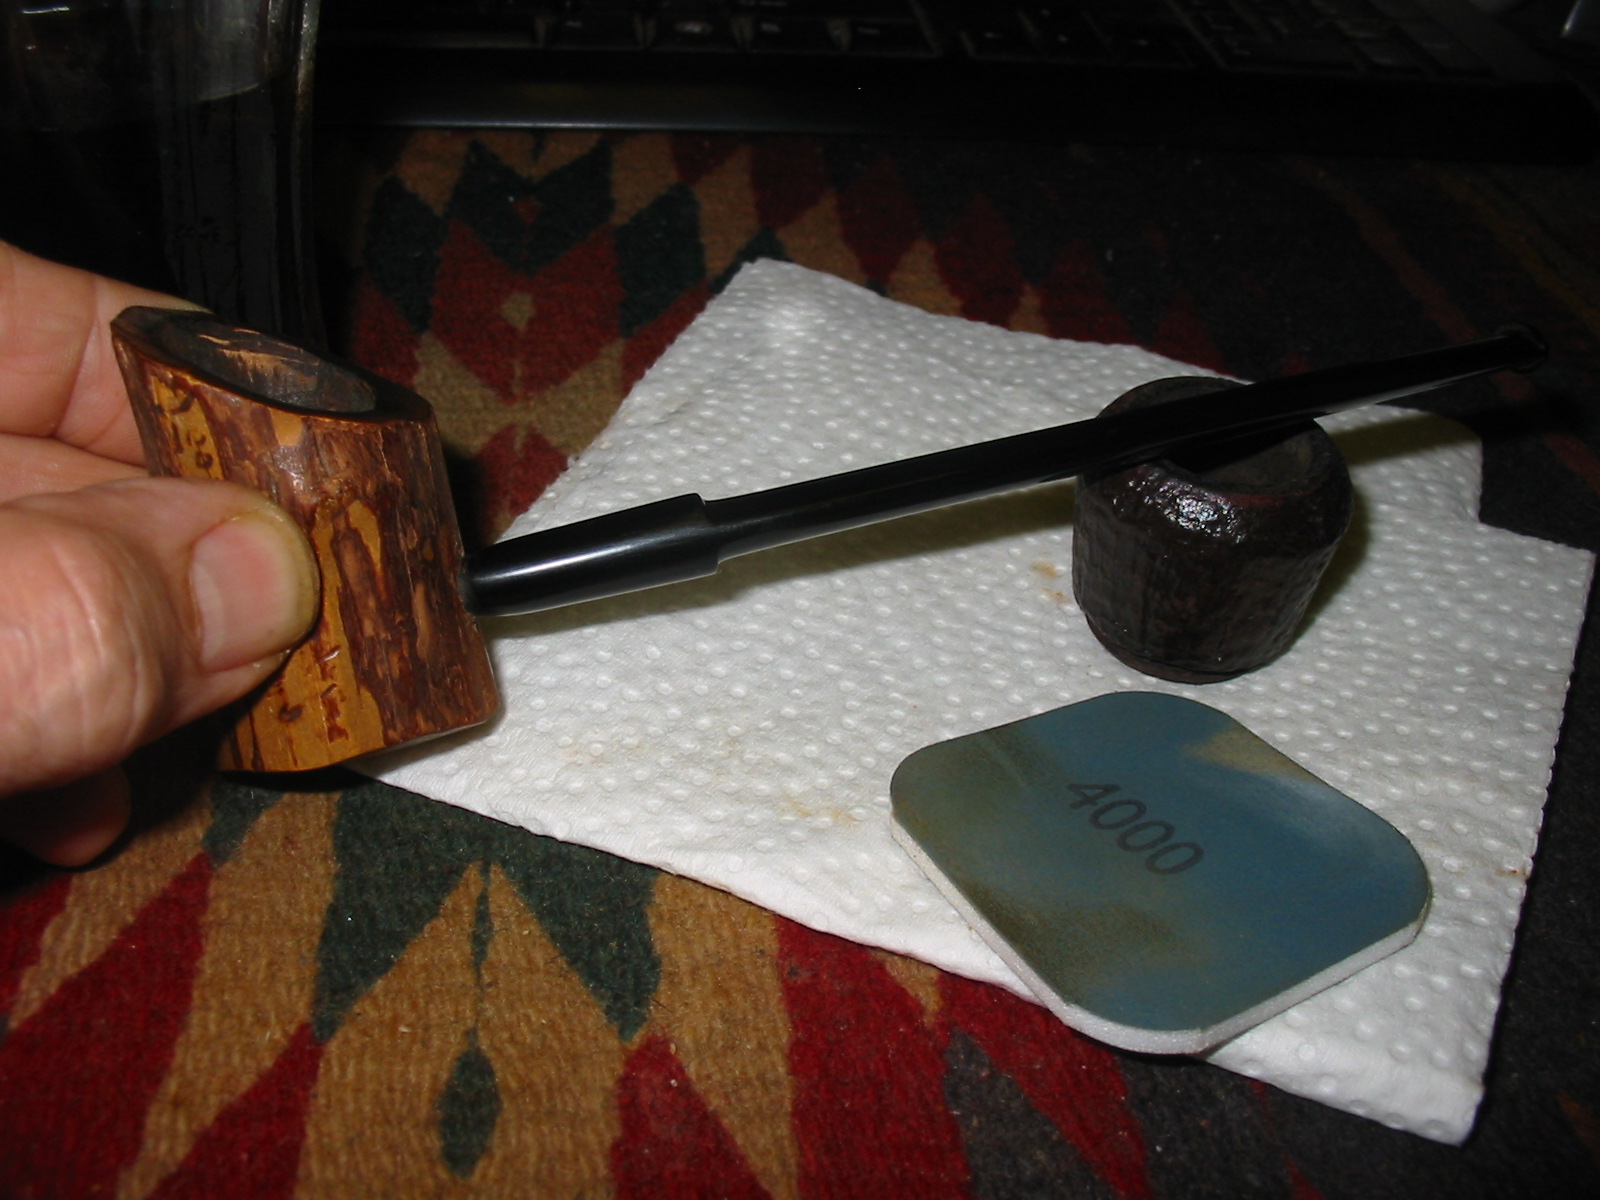
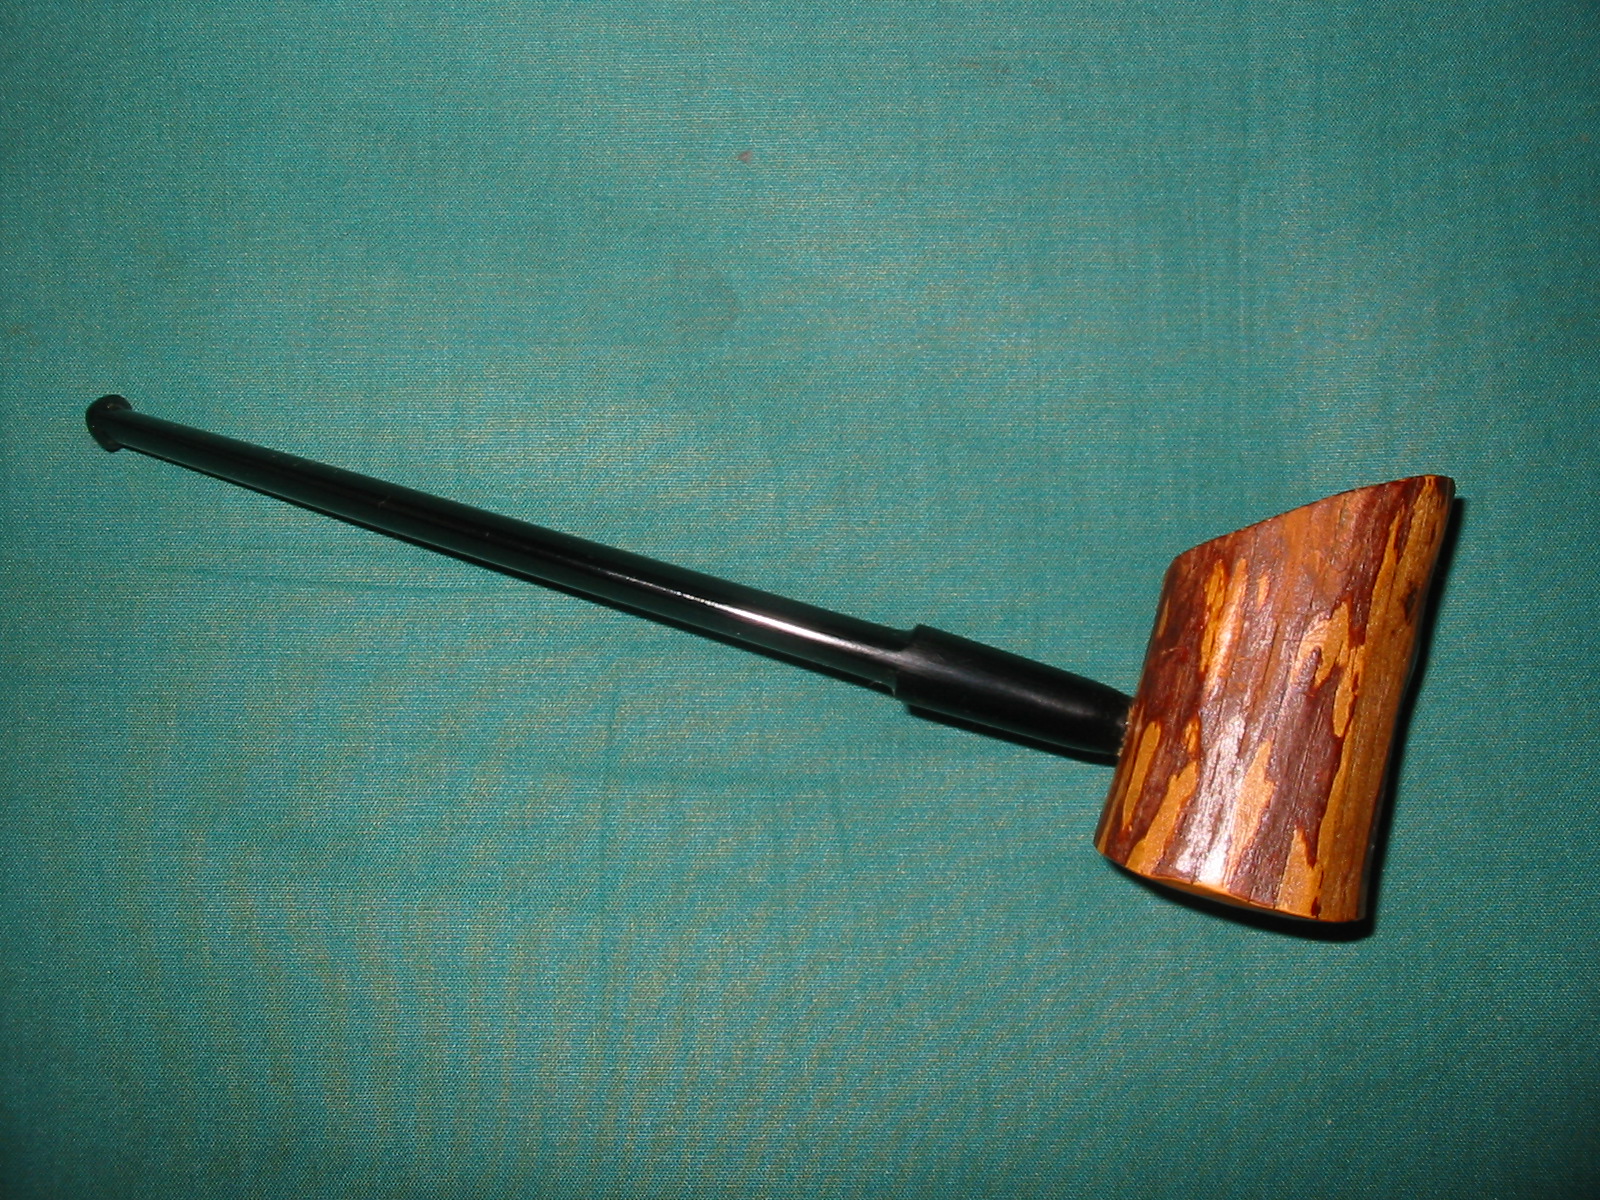
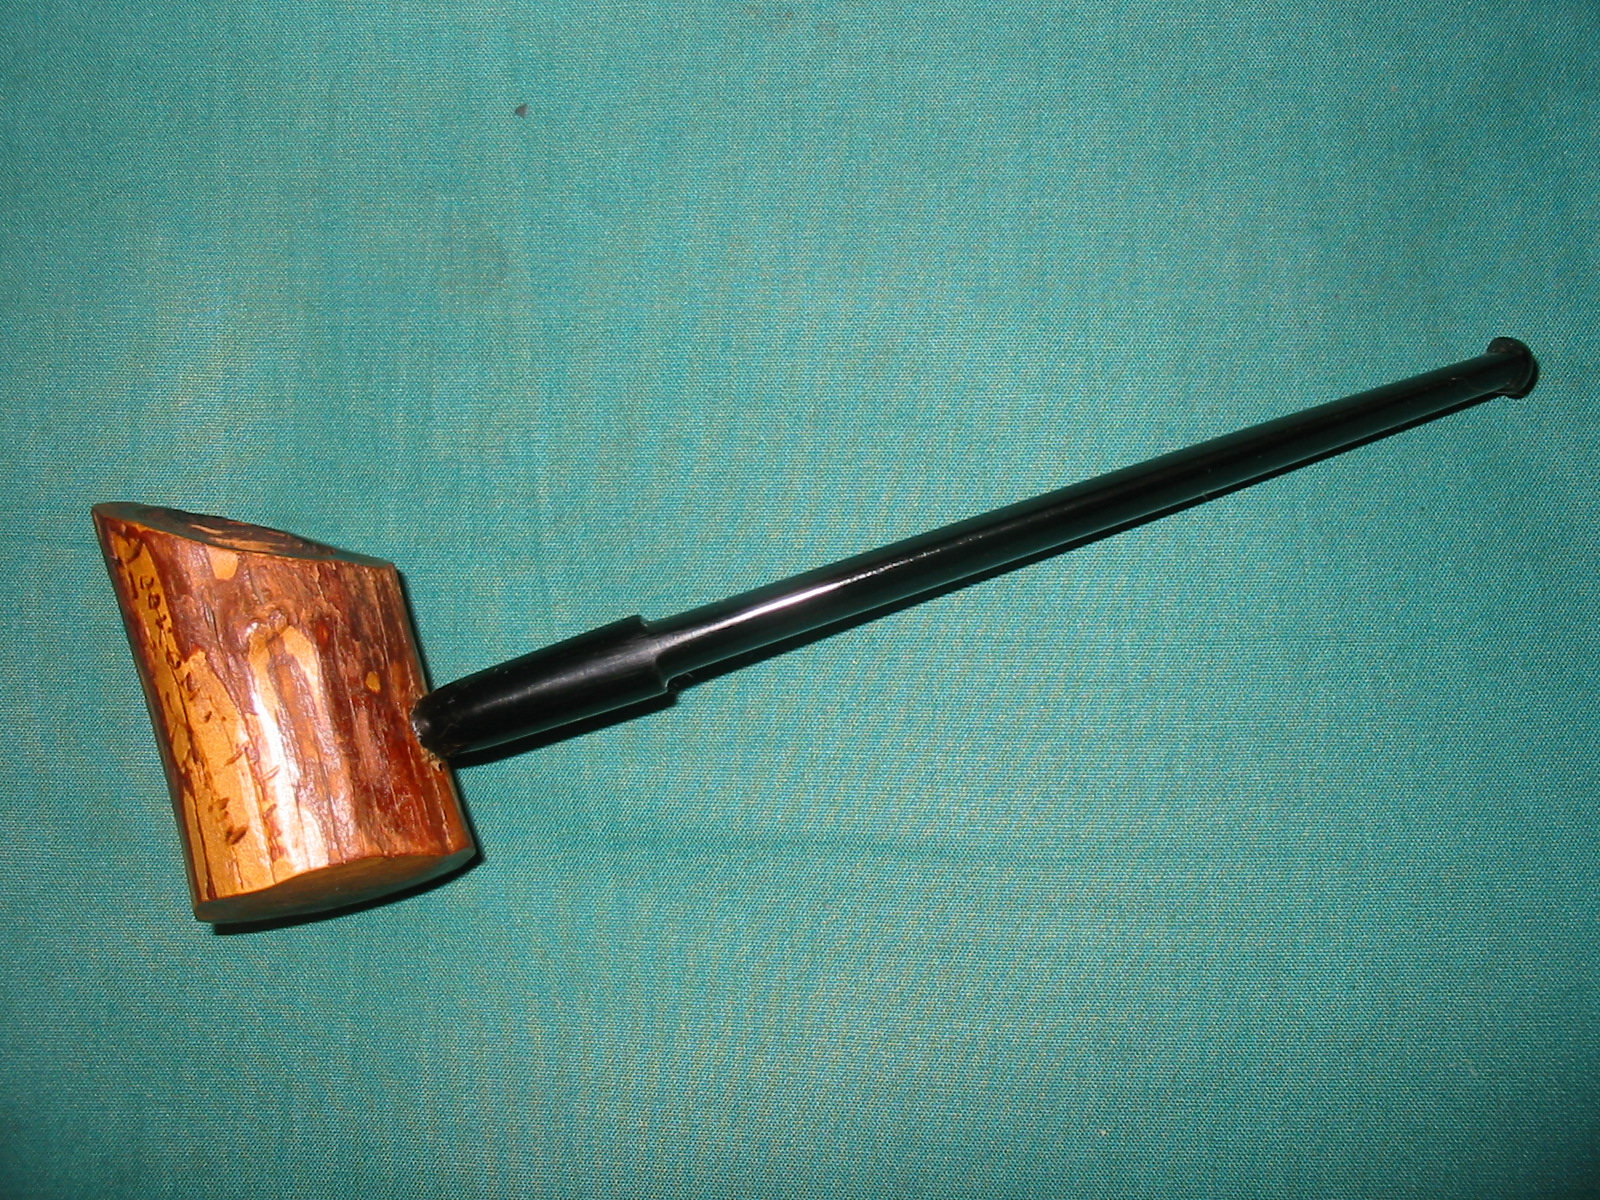
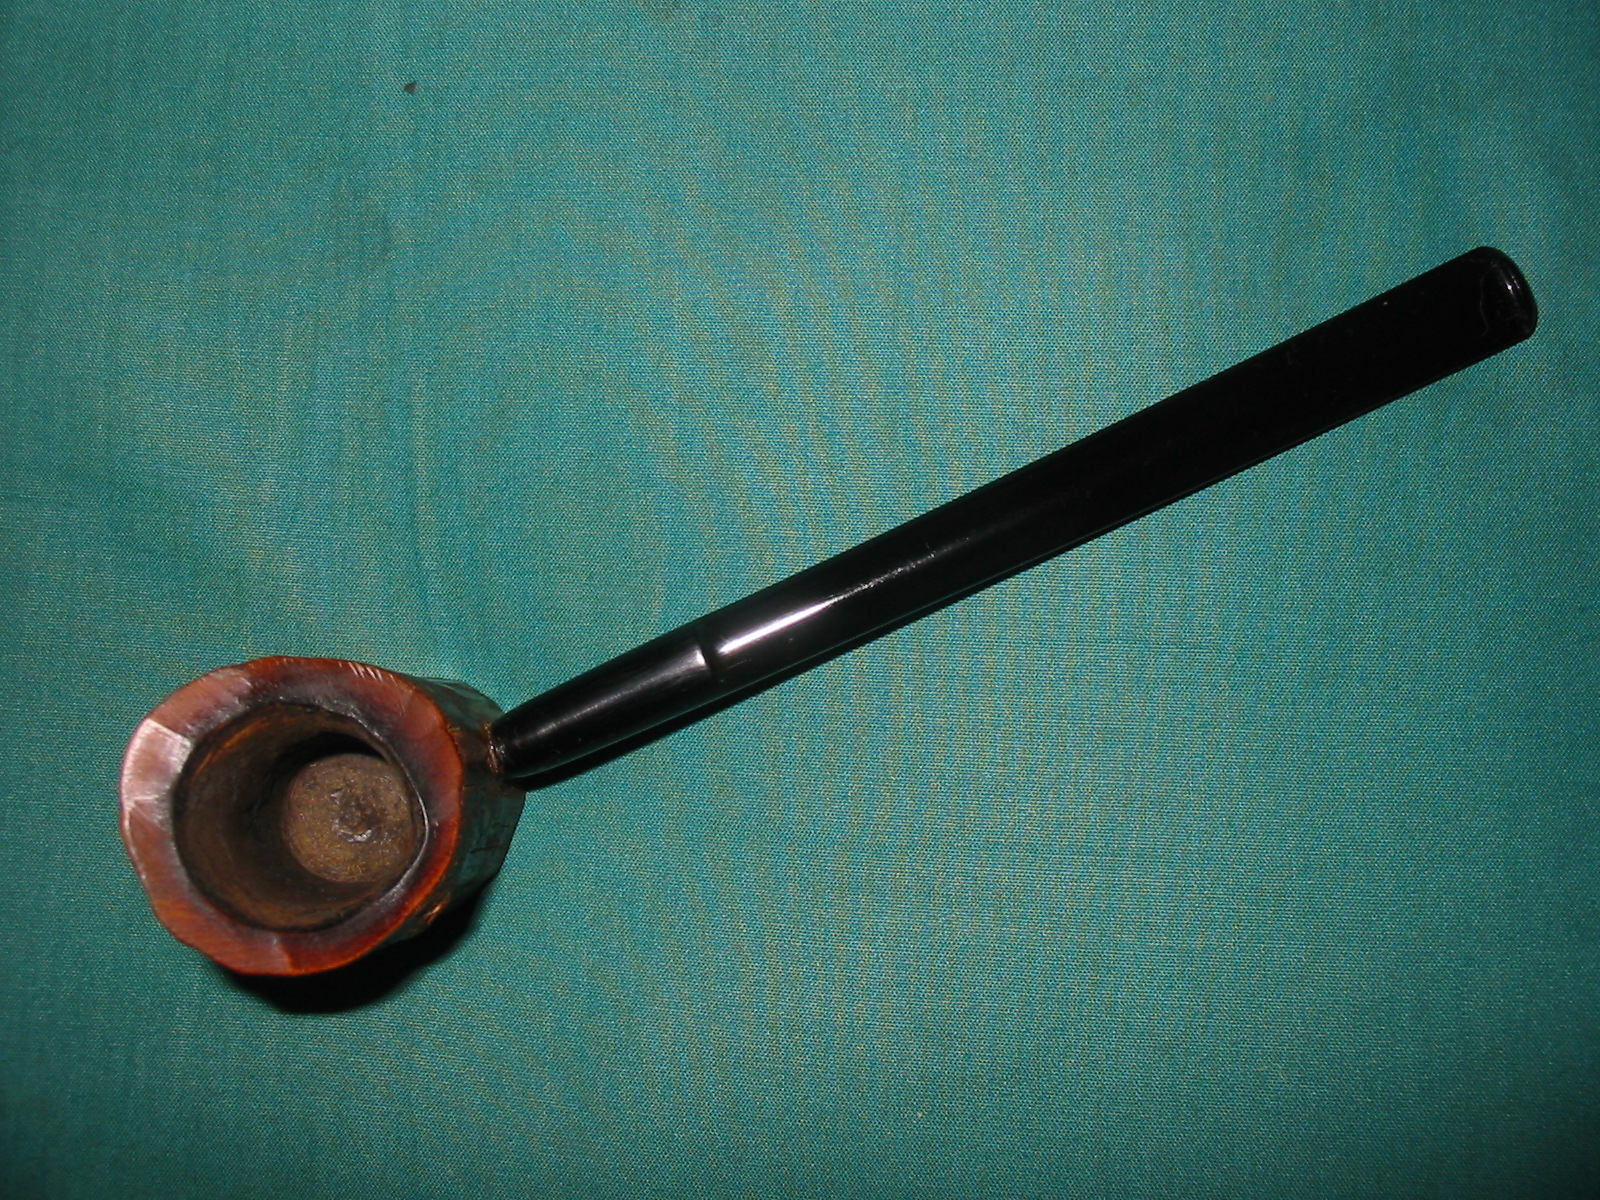
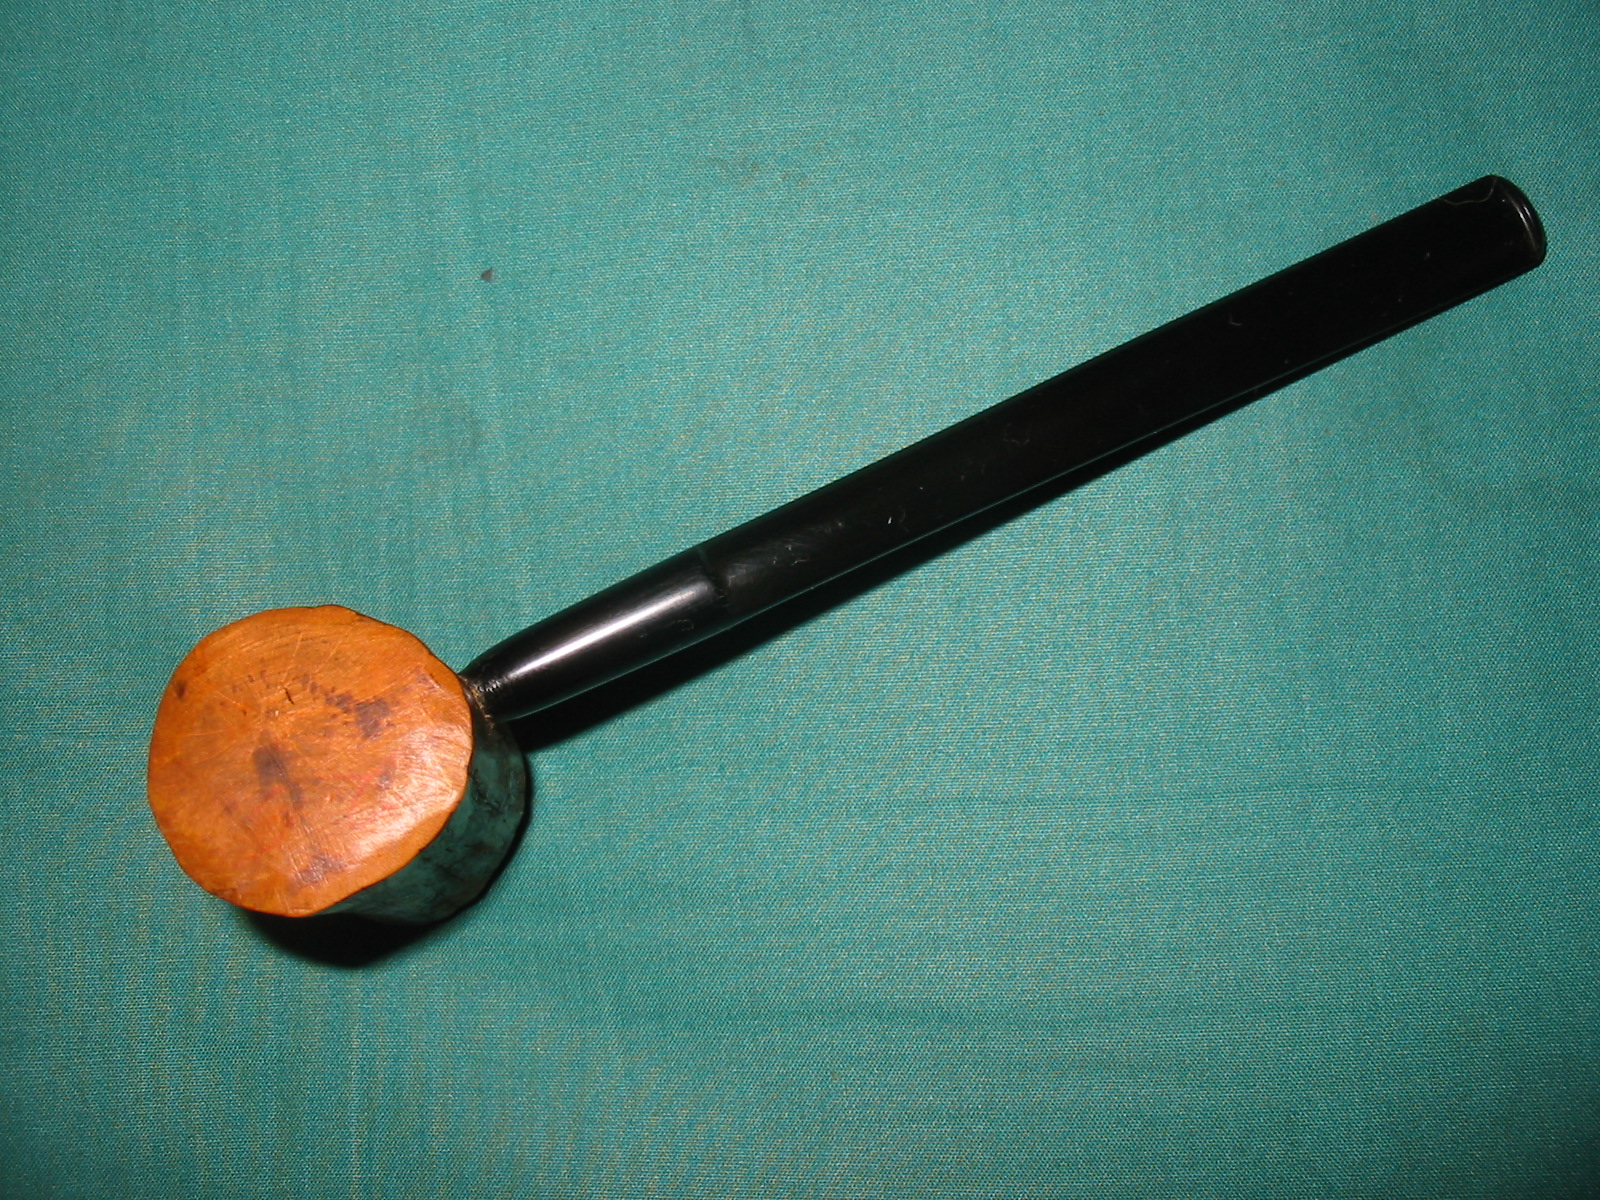
In the box of gift bowls that came to me were a few that I could fiddle with and see what I could come up with. There were no stems for these items so it was a blank slate to work on. The first of these was an old rustic bowl. As I looked at it I could see some possibilities for this old bowl. The bowl had a decent cake on the walls and there were no cracks in the piece of wood. It was like an old branch of cherrywood. The bark had been peeled and the top roughly carved. The bottom of the bowl was rounded. Internally the bowl bottom was flat and sound. The airway entered the bowl precisely on the bottom. There was a drilled airway on the side of the bowl that looked like it probably had a long stick for a shank and stem – possibly a reed stem.
IMG_7394

IMG_7395
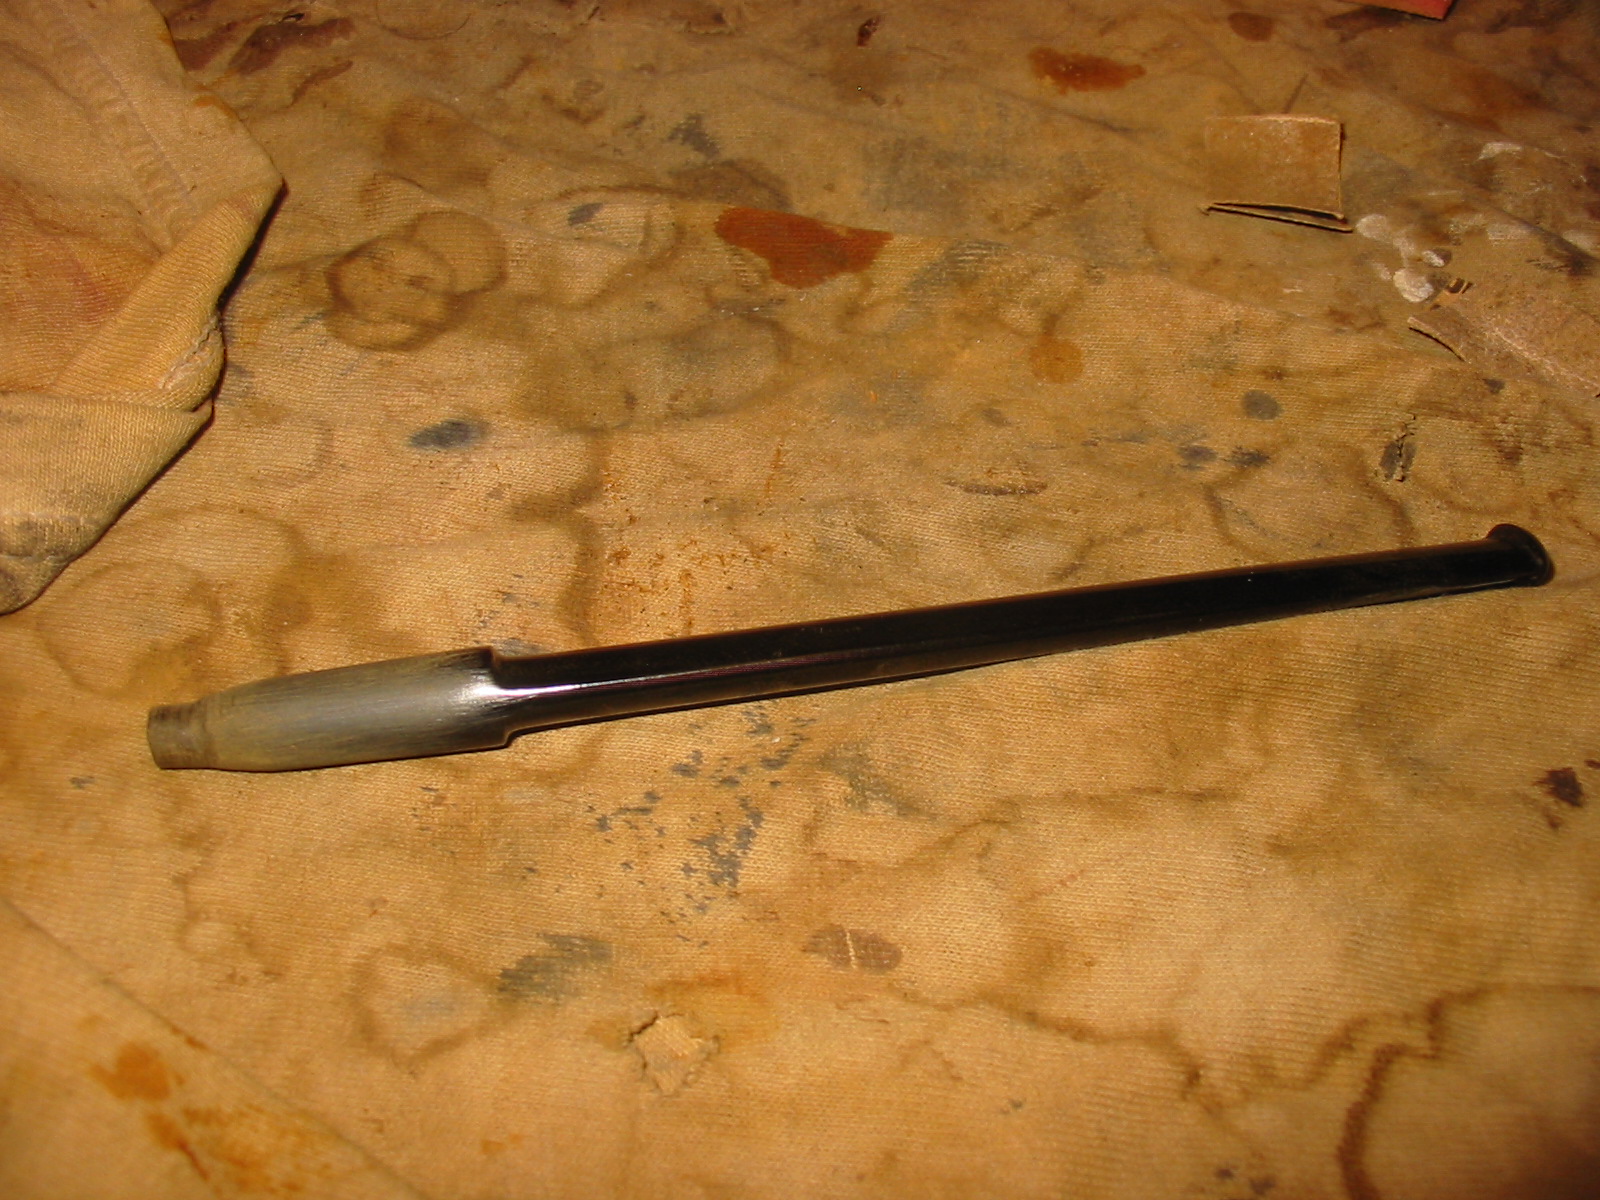
I did not have a reed stem or a wooden shank to insert in the bowl but I did have an old vulcanite long stem that would work. The tenon had been tapered down and it had a slight saddle that gave it a unique look.
IMG_7393
I sanded the taper and reduced the diameter of the end of the stem/tenon. I sanded it until it fit snug in the hole in the bowl. I sanded it with 150 and 220 sandpaper to shape the stem and clean up the fit. I sanded it with a medium and a fine grit sandpaper to remove the scratches left behind by the sandpaper.
IMG_7396
I have a briar shank piece left over from other work I had done and for a short time considered inserting that between the bowl and the stem. I laid it out to see what it would look like and did not like the look so I set it aside for a later project.
IMG_7397
I turned the stem directly into the bowl and checked on the fit. The short tenon end on the stem was the precise depth of the hole in the side of the bowl. That made the fit perfect.
IMG_7398
I decided to glue in the stem with wood glue rather than leaving it a pressure fit stem. I decided the look would be similar to a mini-church warden cob and the fixed stem would work well with this particular bowl. I put the glue on the tenon and pressed it into place. I wiped up the spill over and wiped it down with a cotton pad to clean the briar and vulcanite surfaces.
IMG_7399
I sanded the stem with micromesh sanding pads – wet sanding with 1500-2400 grit pads and dry sanding with 3200-12,000 grit pads. The look of the pipe was quite acceptable.
IMG_7401

IMG_7402
I gave the bowl a thin coat of medium brown aniline stain, flamed it and buffed it. The finished pipe is shown below. Now I need to get a straw hat and use it as a yard pipe. It should work well as a pipe that will not leave any worry when I am working in the garden or mowing the lawn. It will be a good pipe to smoke while sitting and reading on my front porch.
IMG_7414

IMG_7413

IMG_7411

IMG_7412

Maintaining Vulcanite Stems – Ric Farrah Of Briarville Pipe Repair & Restoration


bvlogo1I have chatted with Ric from Briarville several times on Skype and not only found him great to talk with and full of ideas but also that we share the same passion for pipe refurbishing and restoration. I visited his website http://www.briarville.com/briarvilleblog.htm and found not only a great service that is offered to those who do not wish to repair or refurbish their own pipes but also much helpful advice in his blog. The following article is reproduced here with Ric’s permission. Thanks Ric for what you provide and for the permission to reprint your blog post here on rebornpipes.

As you probably already know there are two primary materials used for making pipe stems, acrylic and vulcanite. The brand names for these materials are Lucite and Ebonite respectively.

Vulcanite starts as a powdered rubber substance that is vulcanized and molded into rods for hand cutting stems or poured into molds of various stem shapes and sizes to be fitted as replacements when an original stem breaks.

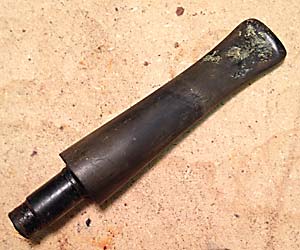
Unlike acrylic, a hard plastic that can be either molded or hand cut into stems, vulcanite oxidizes which causes a bitter taste and changes colors anywhere from white, brown or even green. Consequently vulcanite requires a little maintenance whereas acrylic, not so much.
stem-beforeLG
Nevertheless, because of tradition and a more comfortable smoke, vulcanite is still a favorite for about half of us. I’ve seen many polls and enjoyed many debates about the best pipe stem material and it’s always pretty close with perhaps acrylic gaining very slight favor.

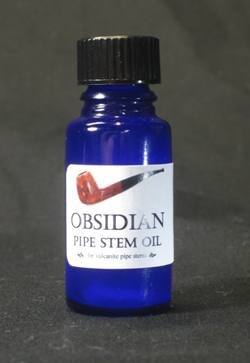
Maintenance before the stem oxidizes is the best way to keep vulcanite from oxidizing at all. Obsidian Oil is the best product I’ve found to prevent oxidation. After smoking, simply wipe a few drops on the stem, let stand for about 30 minutes and buff clean with an old cotton tee shirt. Follow this regiment and your stems will never oxidize. obsidian oil2

But what to do with your estate purchases or when some of the stems in your own collection are already oxidized? For the do-it-yourself guys without professional buffing mandrels, tripoli and white diamond, a little elbow-grease and a few easily obtained materials are all that’s needed.

Vulcanite oxidation, like rust to ferrous metals, feeds off the rubber. It grows into the stem and must be removed. You can remove or at least soften the oxidation by soaking your stems in either OxyClean or bleach. I prefer bleach but be aware, bleach will eat away stamping, logo inlays, threaded metal tenons and stingers! I would advise against using bleach with stems fitted with metal parts as are common with Kaywoodie pipes. Stamping and logos can be protected with a dollop of petroleum jelly applied over the top of them.

Let your stems soak overnight and then rinse them with water. They will dry to a pale gray. What has happened is the beach has eaten away the oxidation leaving your stem covered with microscopic peaks and valleys. In fact, under a microscope they’d look like the Himalayas. Those peaks and valleys absorb light and the stem appears dull.

Light being reflected back off the stem is what we perceive as a shine so the peaks and valleys must go. In the shop we use a buffing mandrel with 500 grit tripoli applied to the wheel spinning on the lathe at 1800 RPM to re-smooth the stem and then follow up with white diamond to bring out the glass-like appearance of a new, finely polished stem.

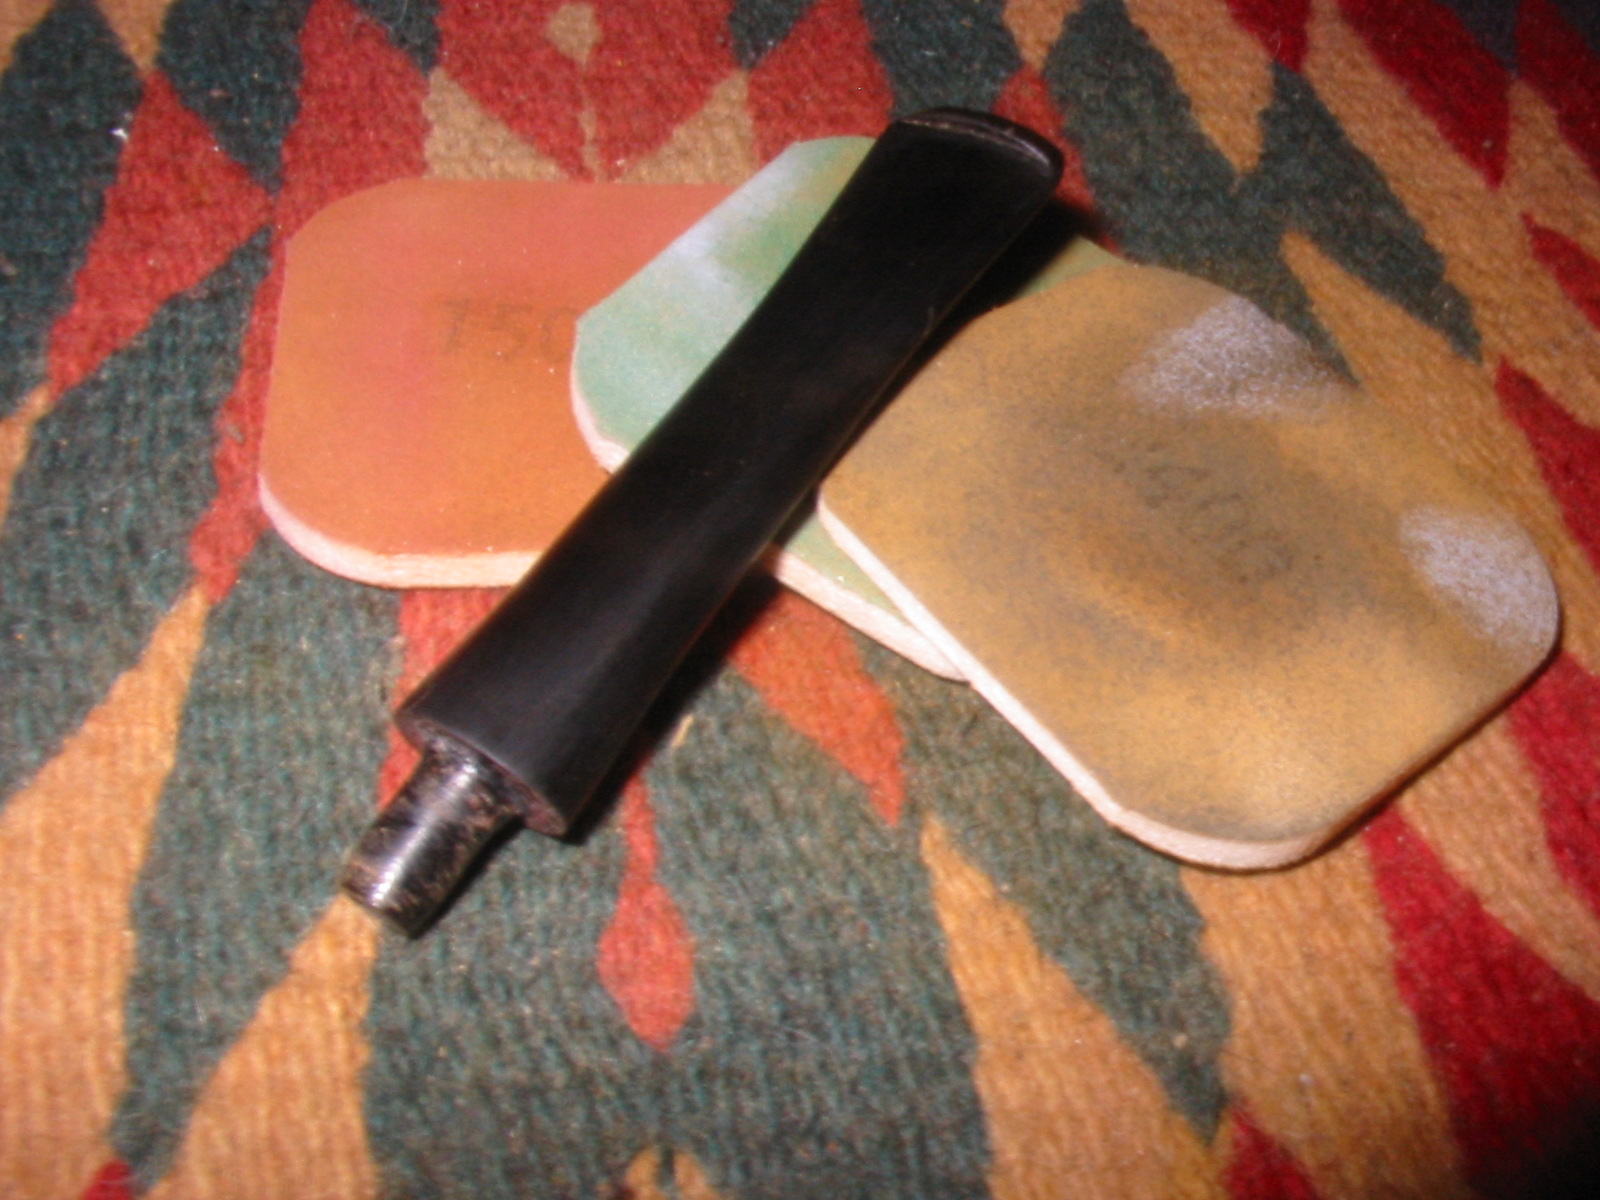
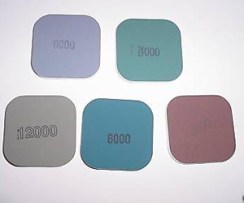
Our buffing promicromesh1cess can be reasonably replicated with micro mesh pads, wet and dry sanding pads in various grits. A set of micro mesh pads can be ordered on Amazon or eBay. The grits range is 1500, 1800, 2400, 3200, 3600, 4000, 6000, 8000, 12000. Have a bowl water handy to wet sand the stem through the various grits. The magic comes between 6000 and 12,000 grits.

Once the outside of your stem is to your satisfaction use some pipe cleaners soaked in denatured alcohol or your favorite high proof booze to clean the inside of the oils and gunk the bleach didn’t remove. Finally, apply the Obsidian Oil and buff with a cotton cloth.

stem-afterWhile this method won’t bring the stems to “as new”, it will get them close.

Of course, you can save yourself the hassle… (Here comes the shameless plug) …send your pipes for a quick visit to Briarville. Starting February Briarville is an online retailer of Obsidian Oil and all repaired and refurbished pipes with vulcanite stems will leave the shop with an application to retard future oxidation.

Reworking a WDC Wellington – Removing a Finish and Restemming the Bowl


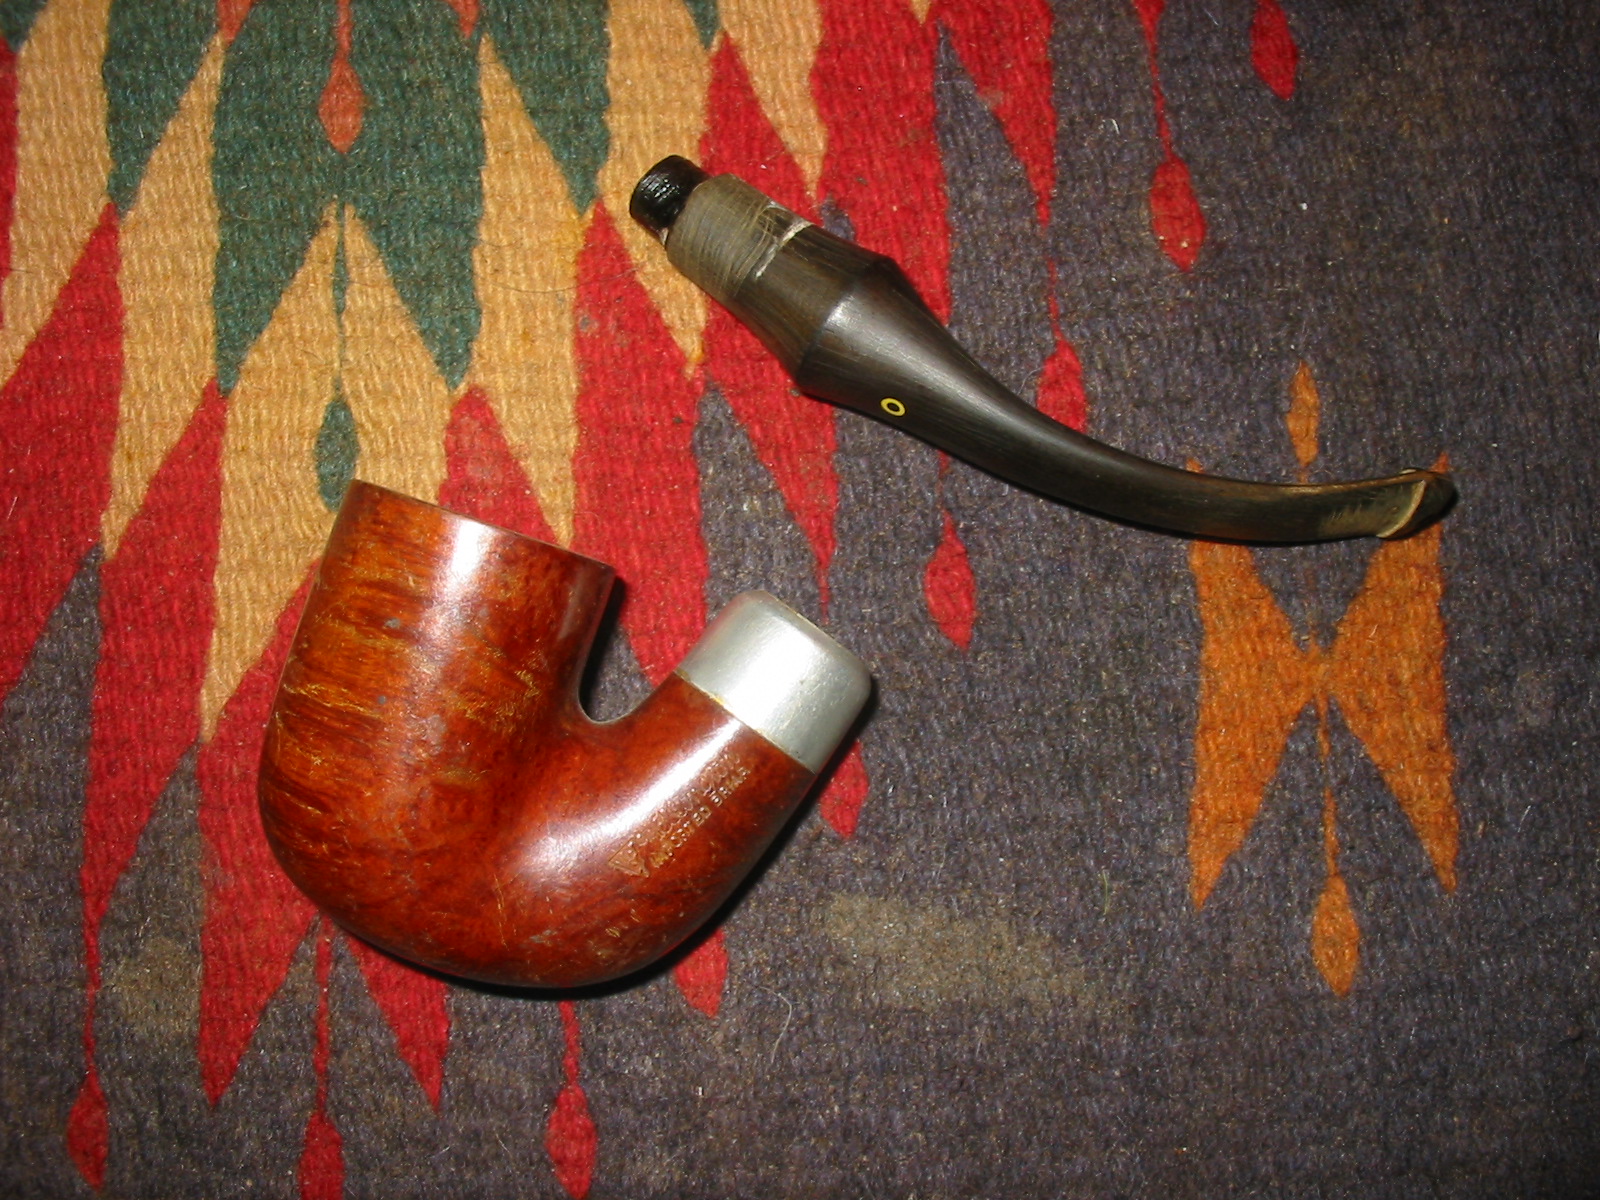
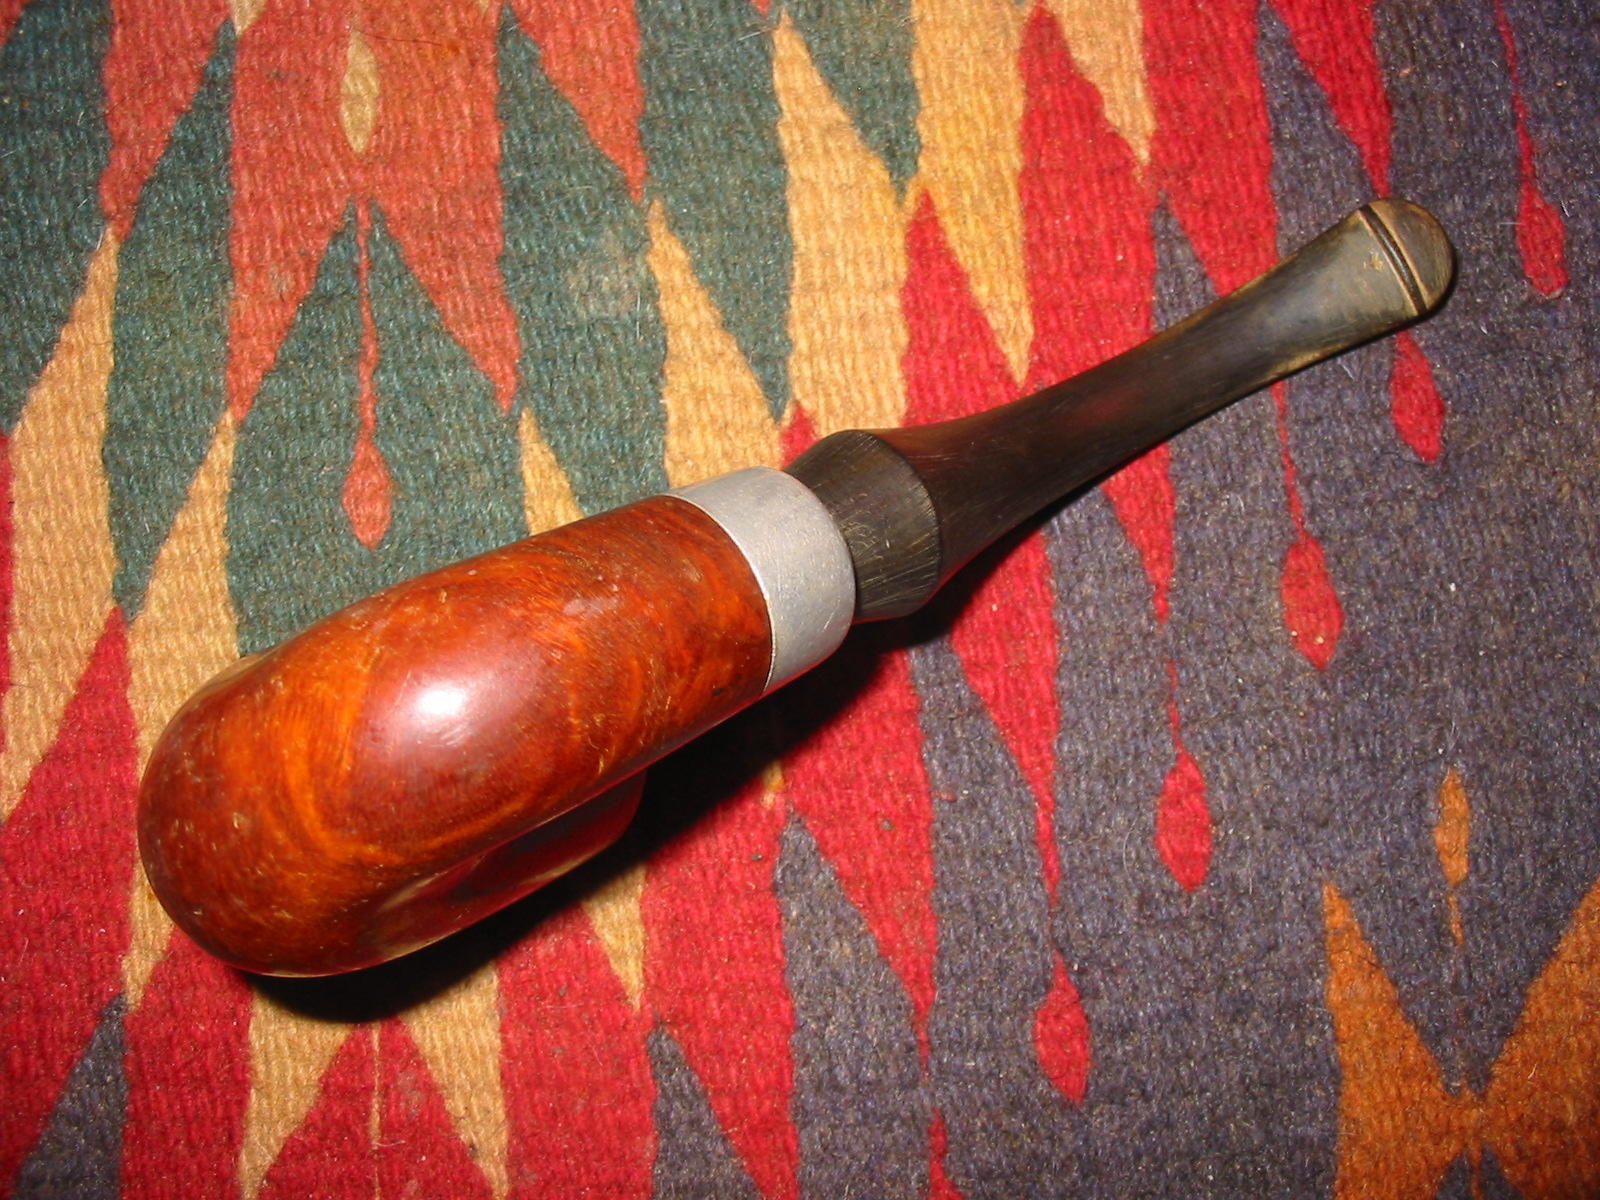
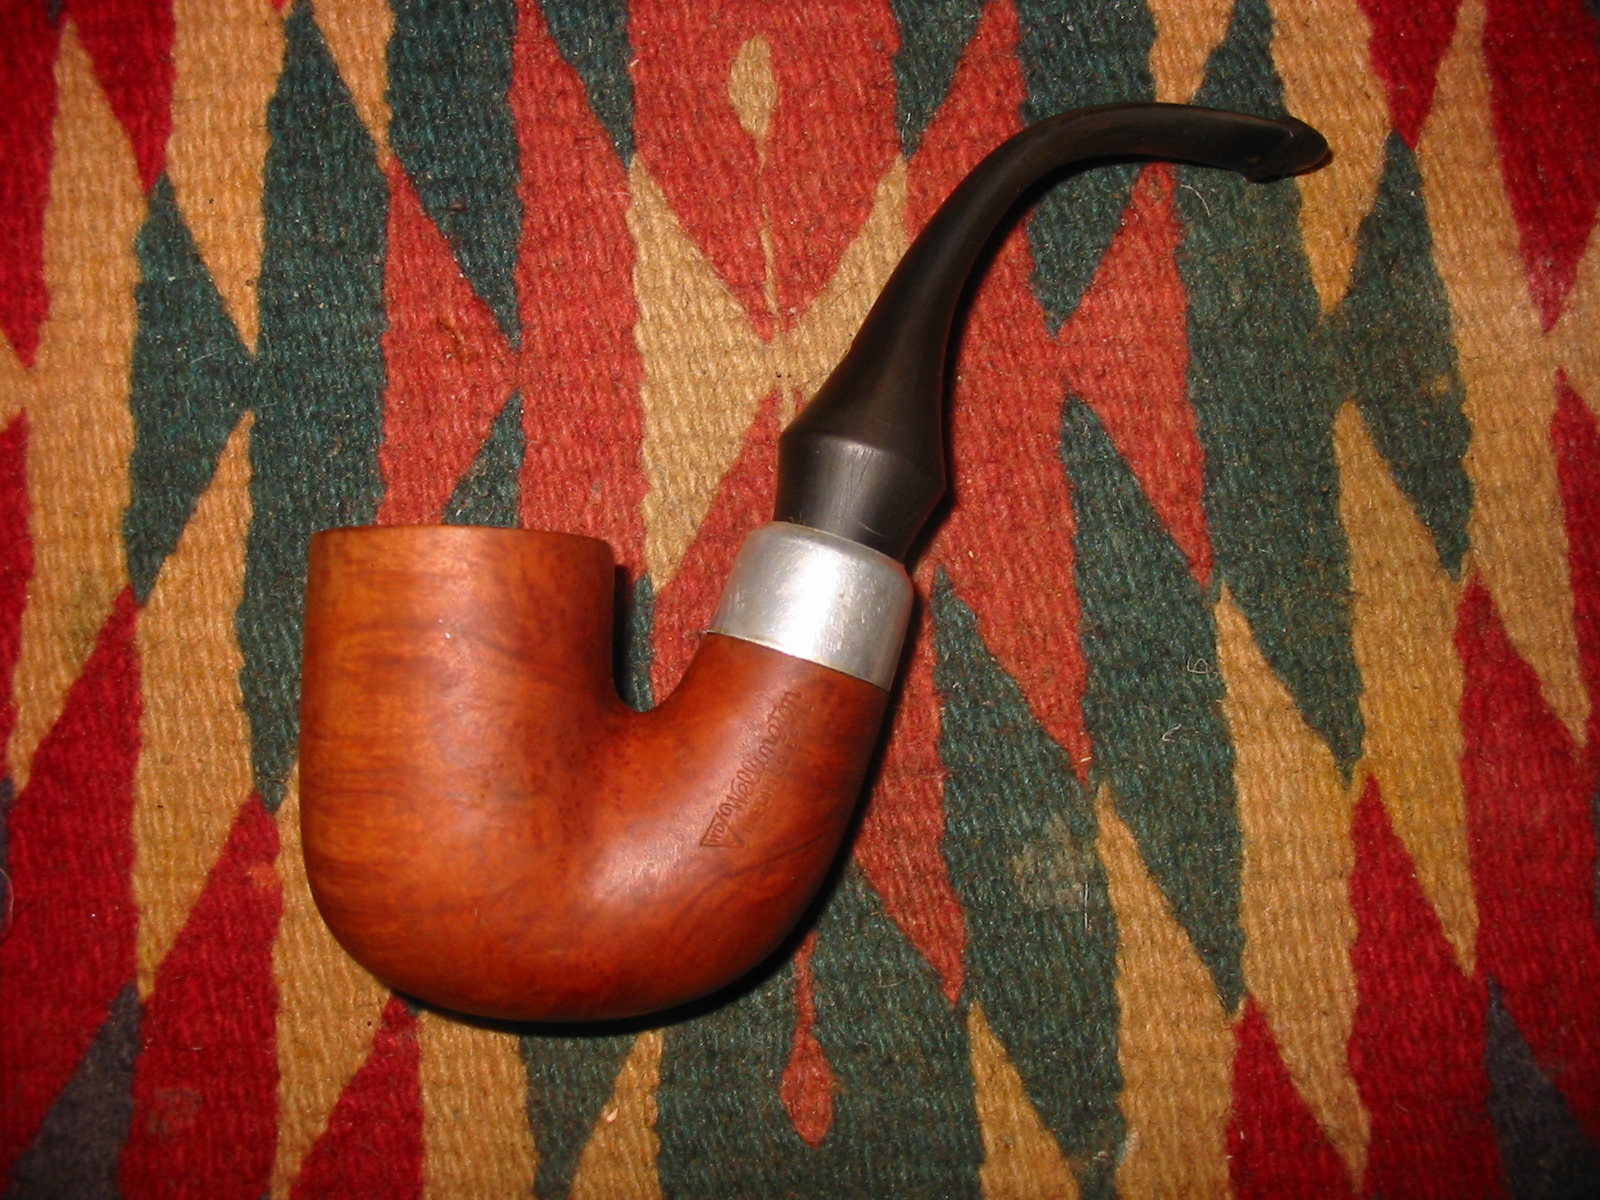
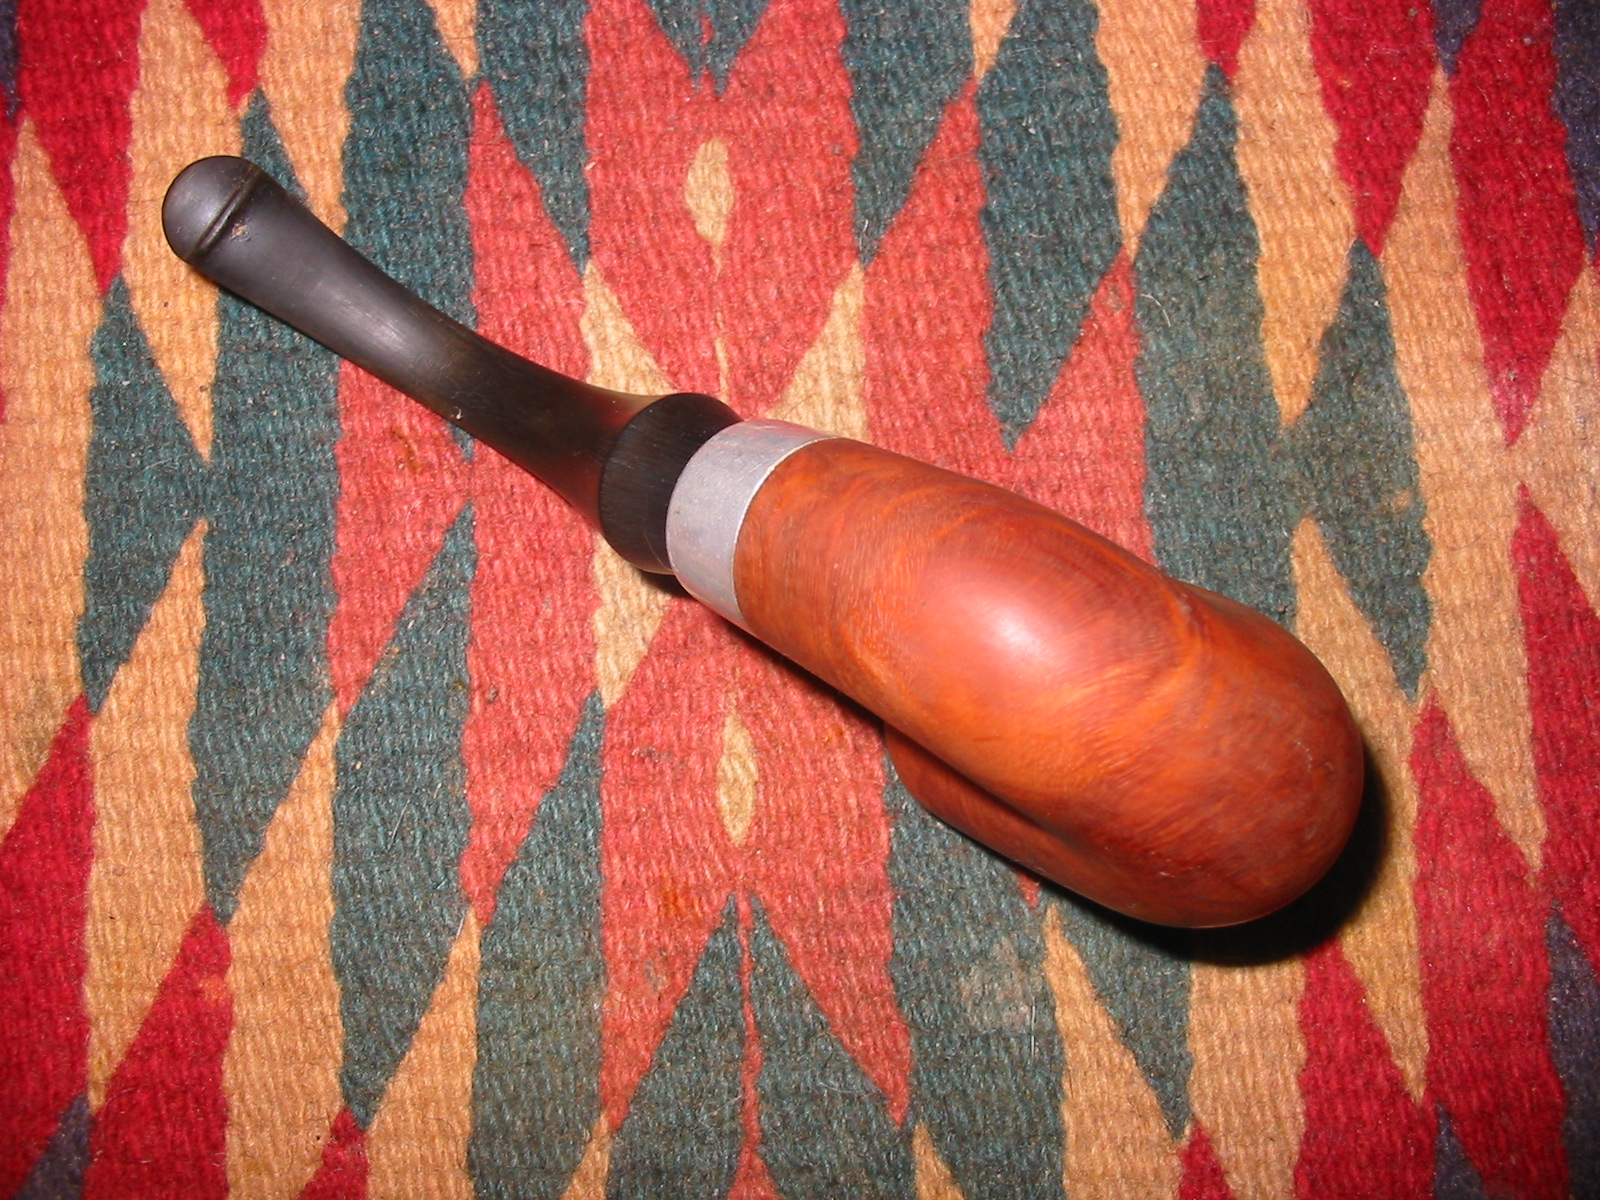
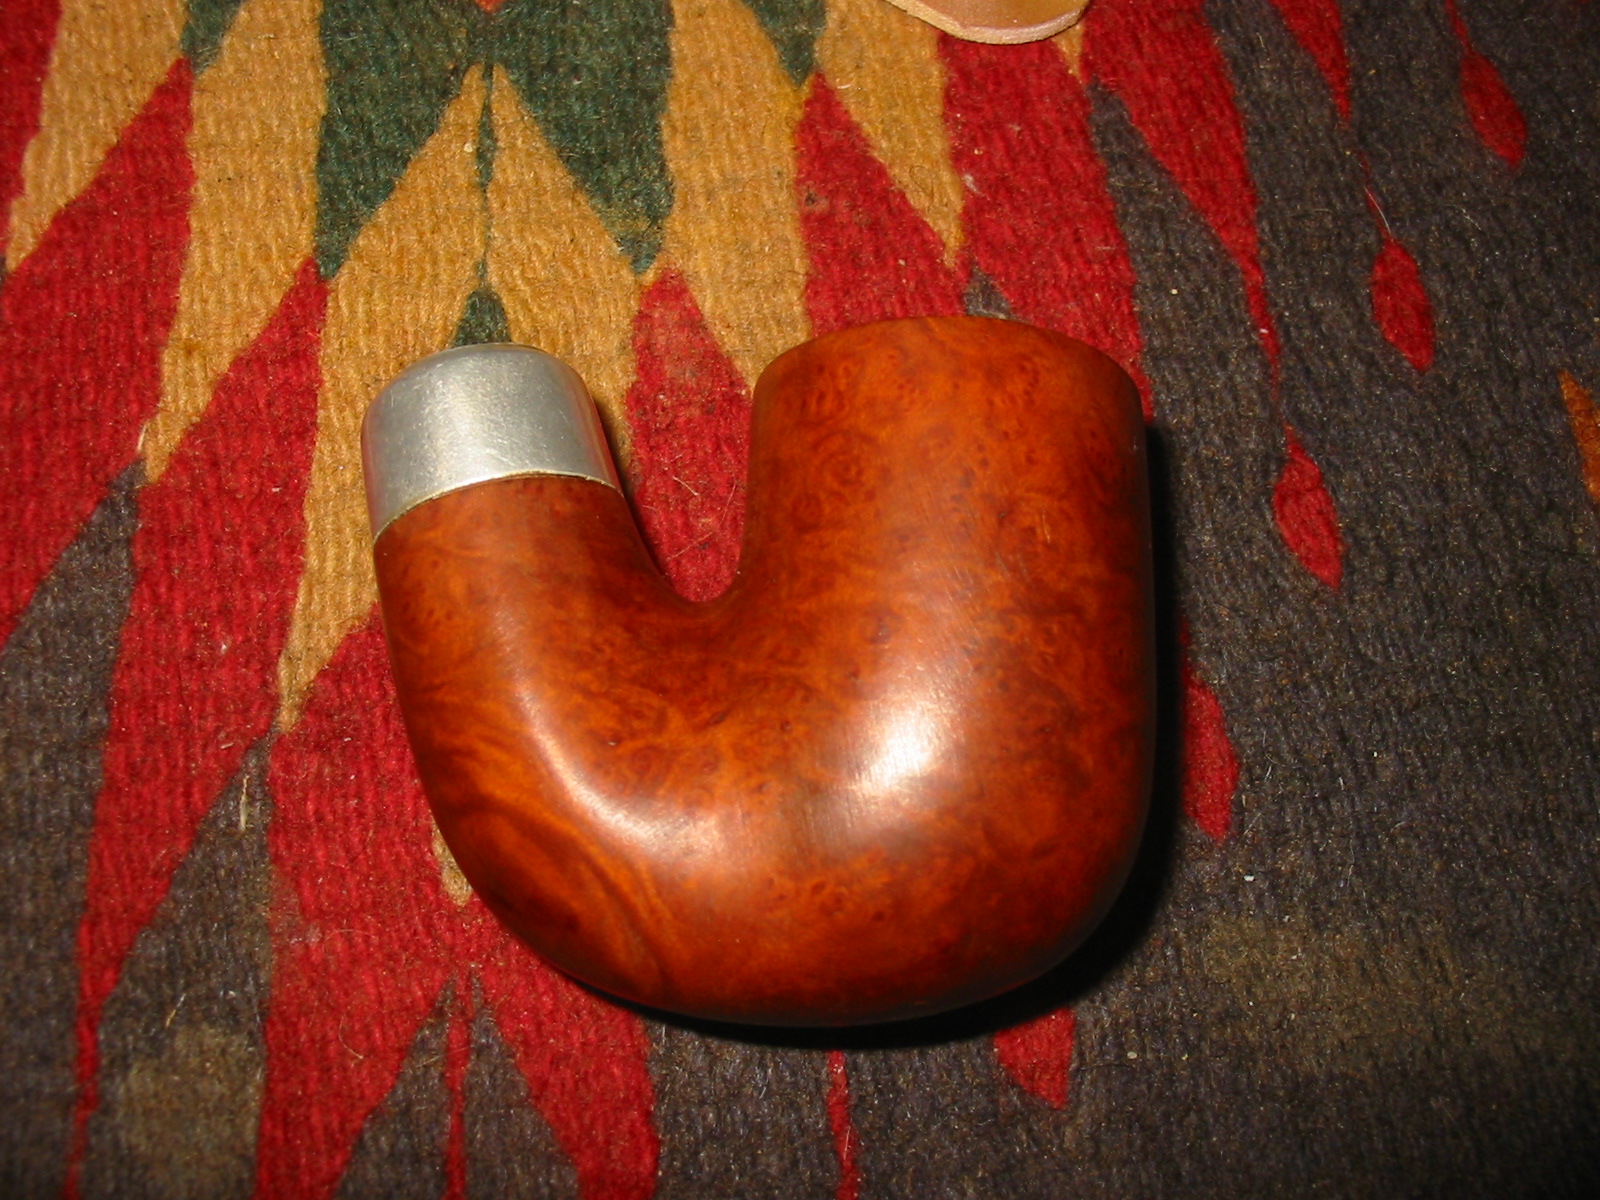
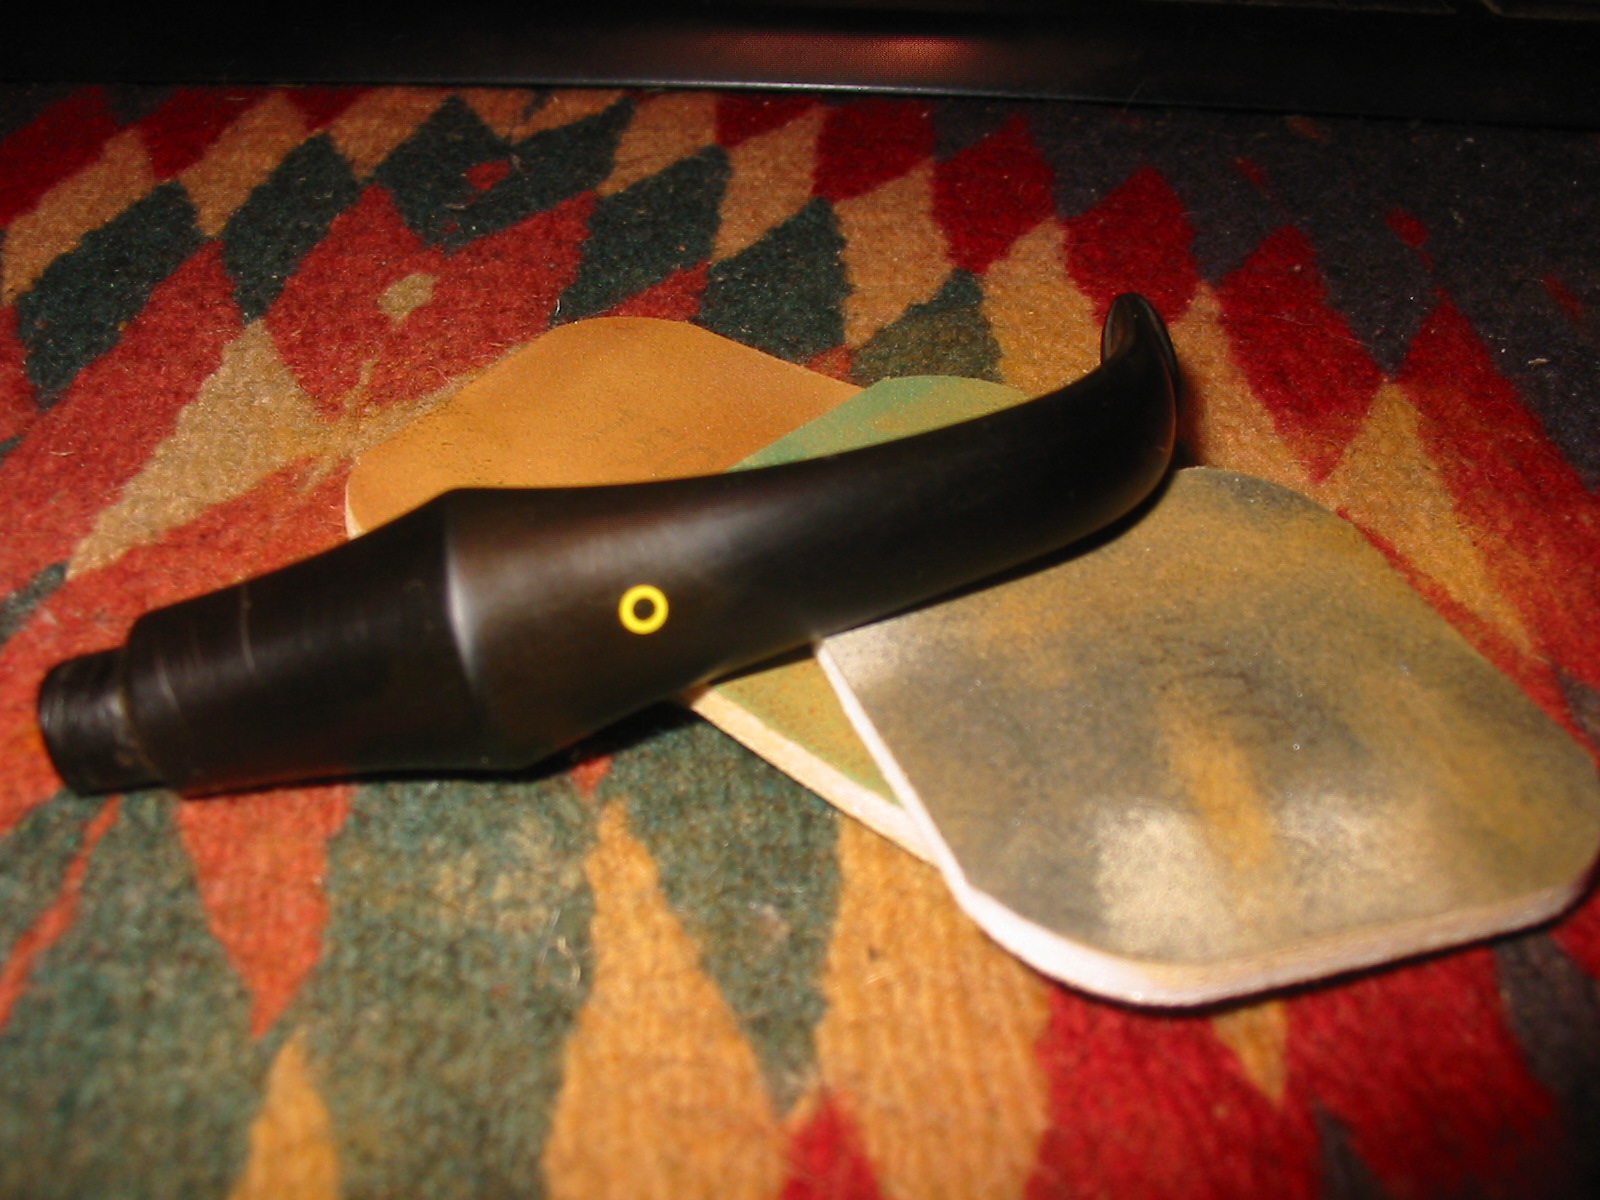
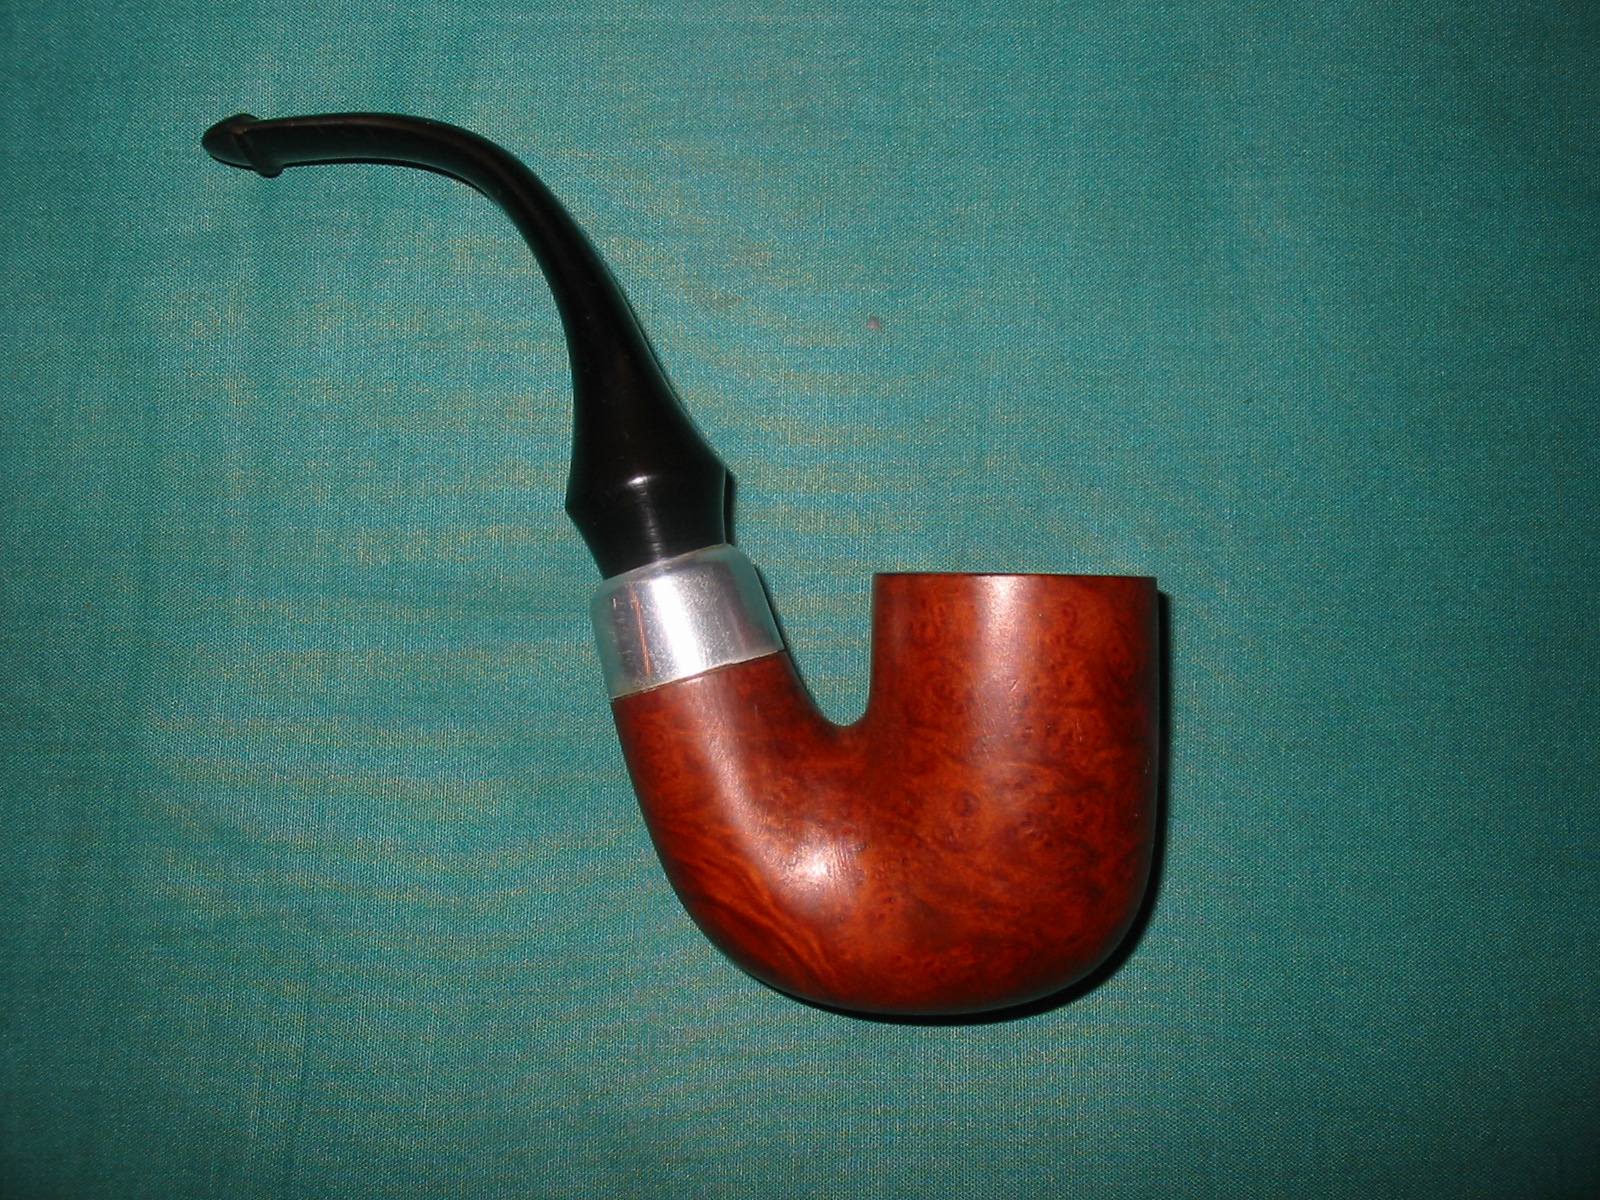
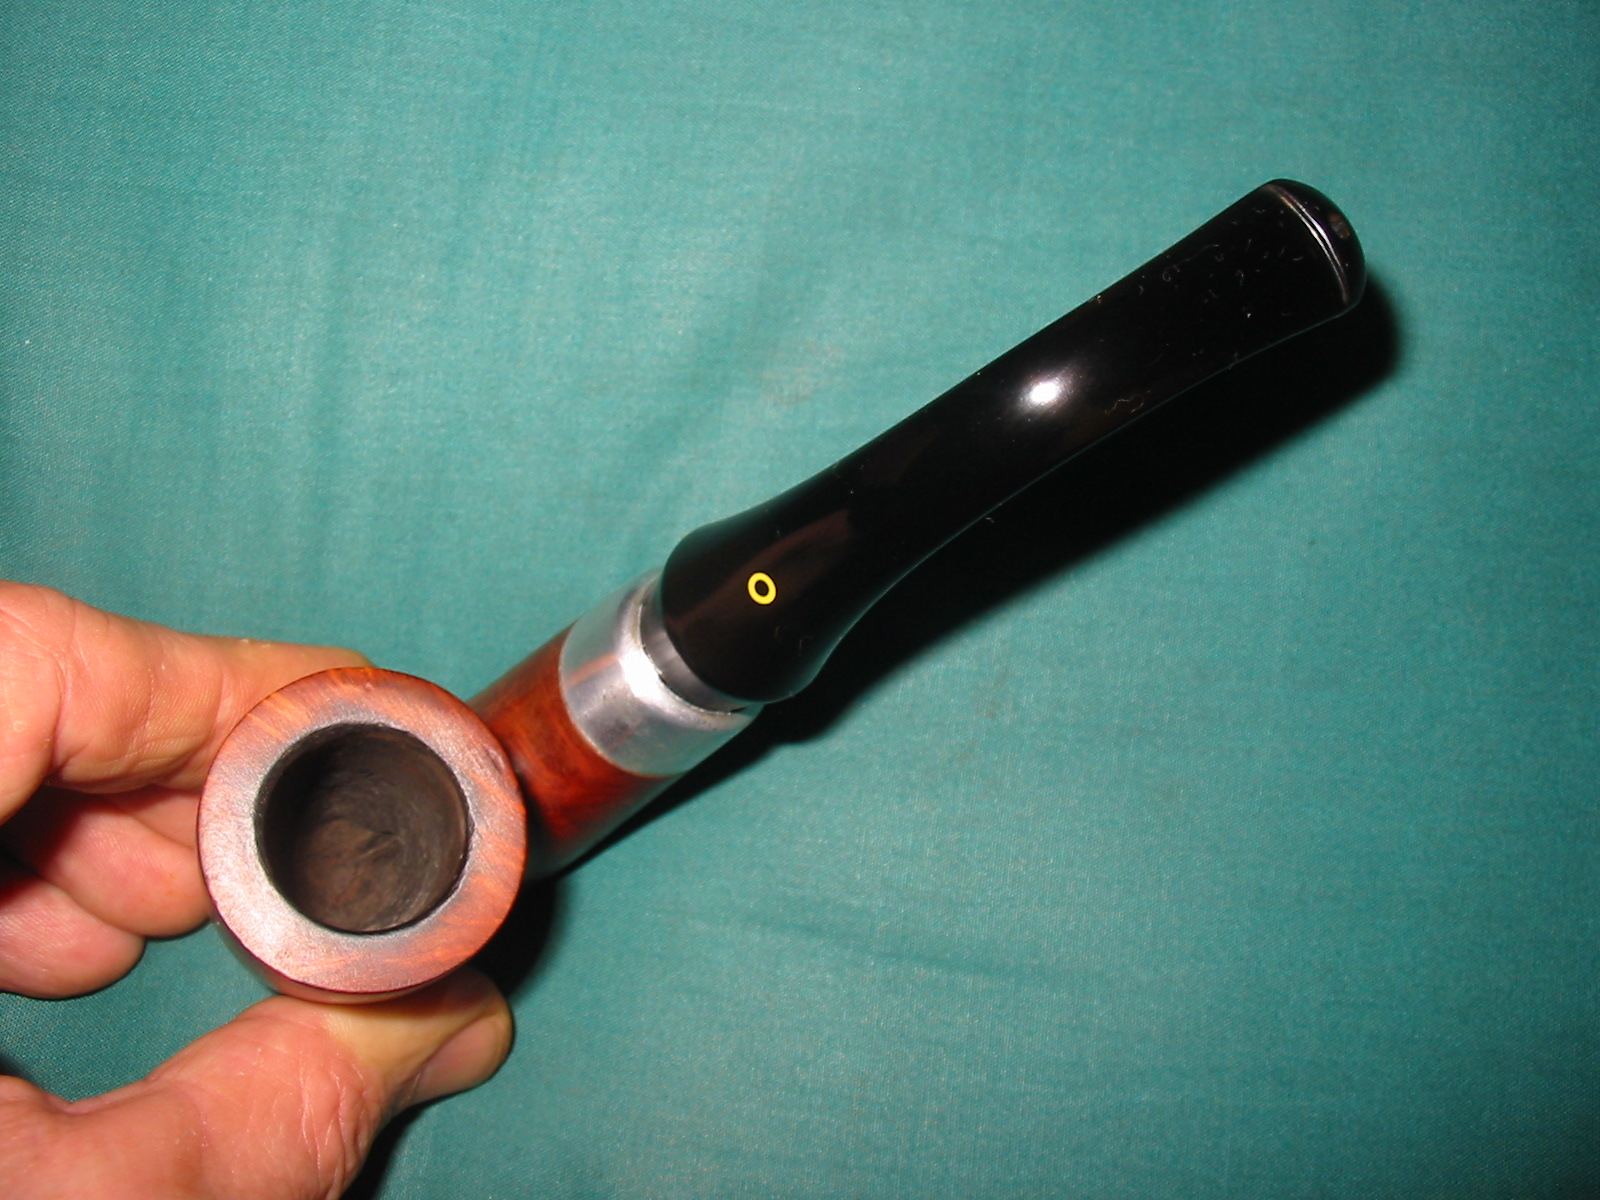
The second bowl I decided to work on from the box of bowls I was gifted was an old Wellington bowl that was actually in decent shape. The bowl is 2 inches tall and 1 3/8 inches in diameter. The bowl has an internal diameter of 7/8 inches. It is quite a large bowl. The nickel ferrule was in good shape but slightly oxidized with a few small nicks and dents. There was an uneven cake in the bowl and the sump area was filled with tars and oils. The finish was varnished but peeling as can be seen in the photo below. The rim had a tar build up and the varnish was peeling under it. The inner edge and outer edge of the rim was in excellent shape. The stamping on the bowl was on the left side of the shank and included the WDC inverted triangle and letters and next to that Wellington in script over the words IMPORTED BRIAR. There was no other stamping on the bowl. The stem did not come with the bowl. I had an old Yello Bole stem from the same era as the Wellington and with the same structure at the tenon and the P-lip. It was scratched and oxidized and had some tooth marks on the top and bottom sides just ahead of the button. The stem has a bright yellow “O” on the top. The bend in the stem had straightened so it would need to be re-bent to work well with the bowl.
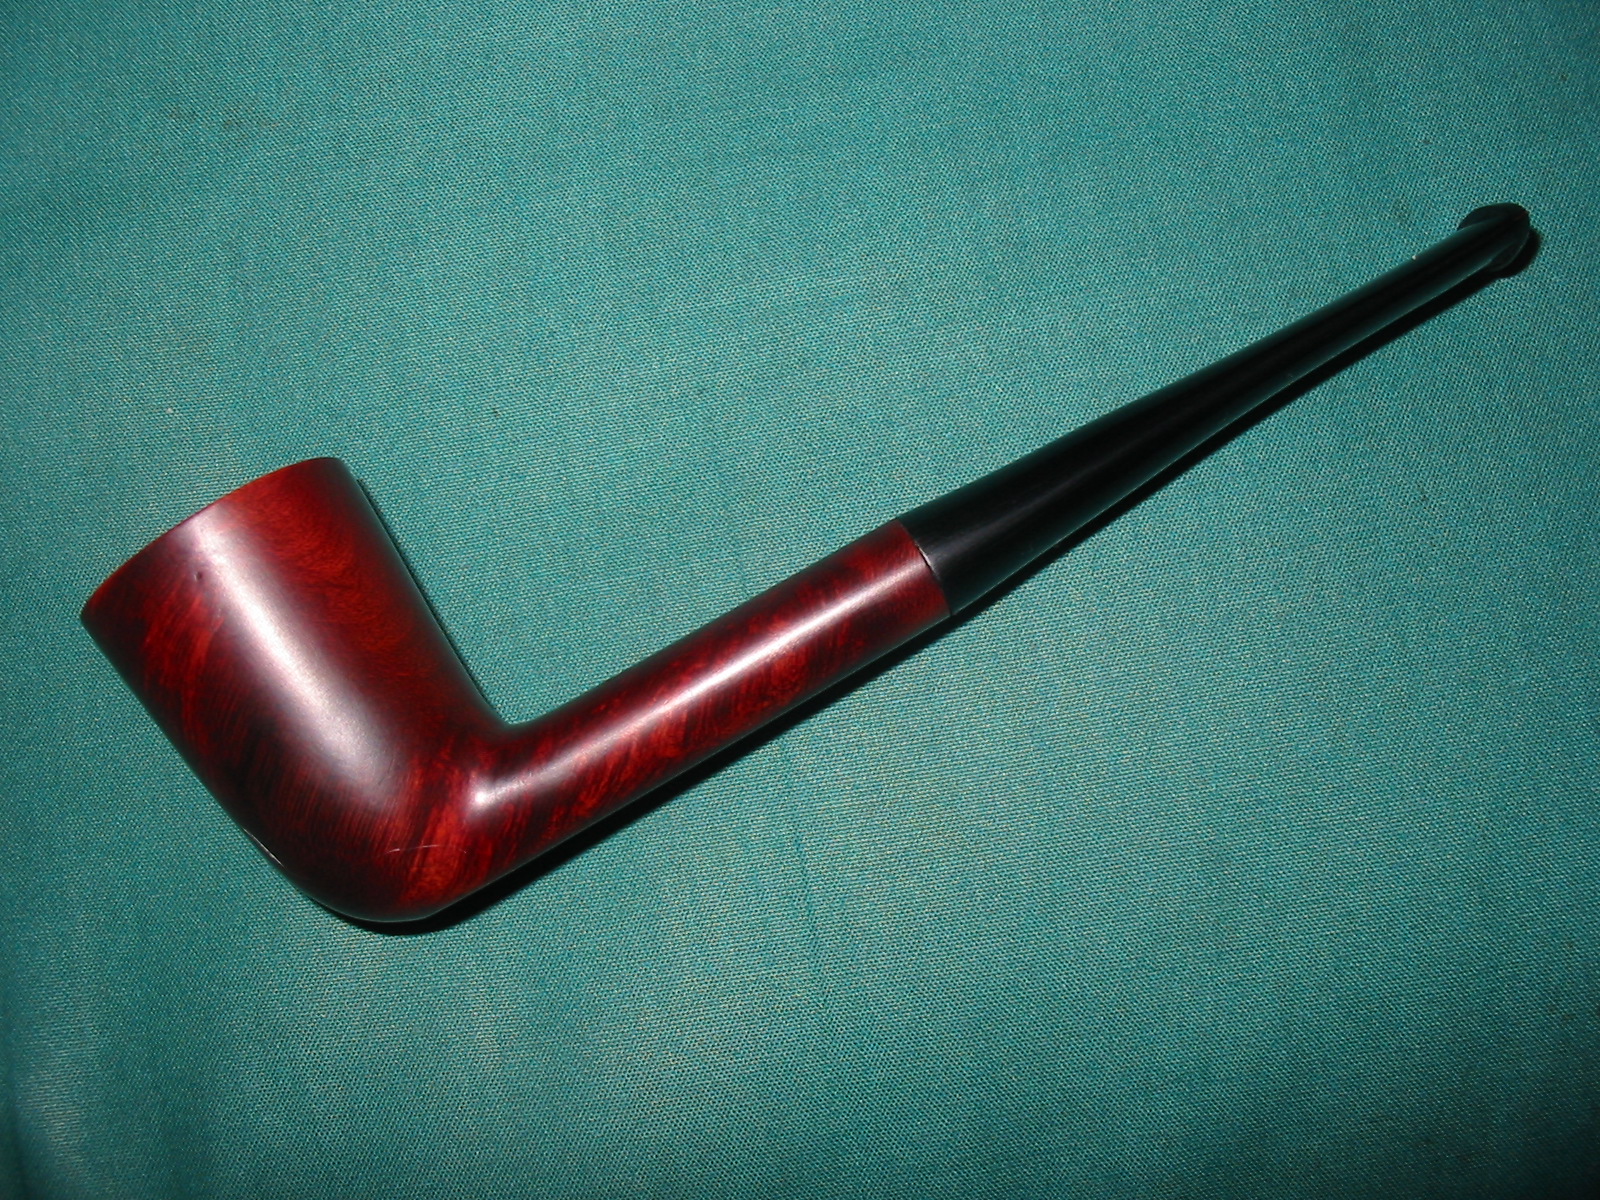
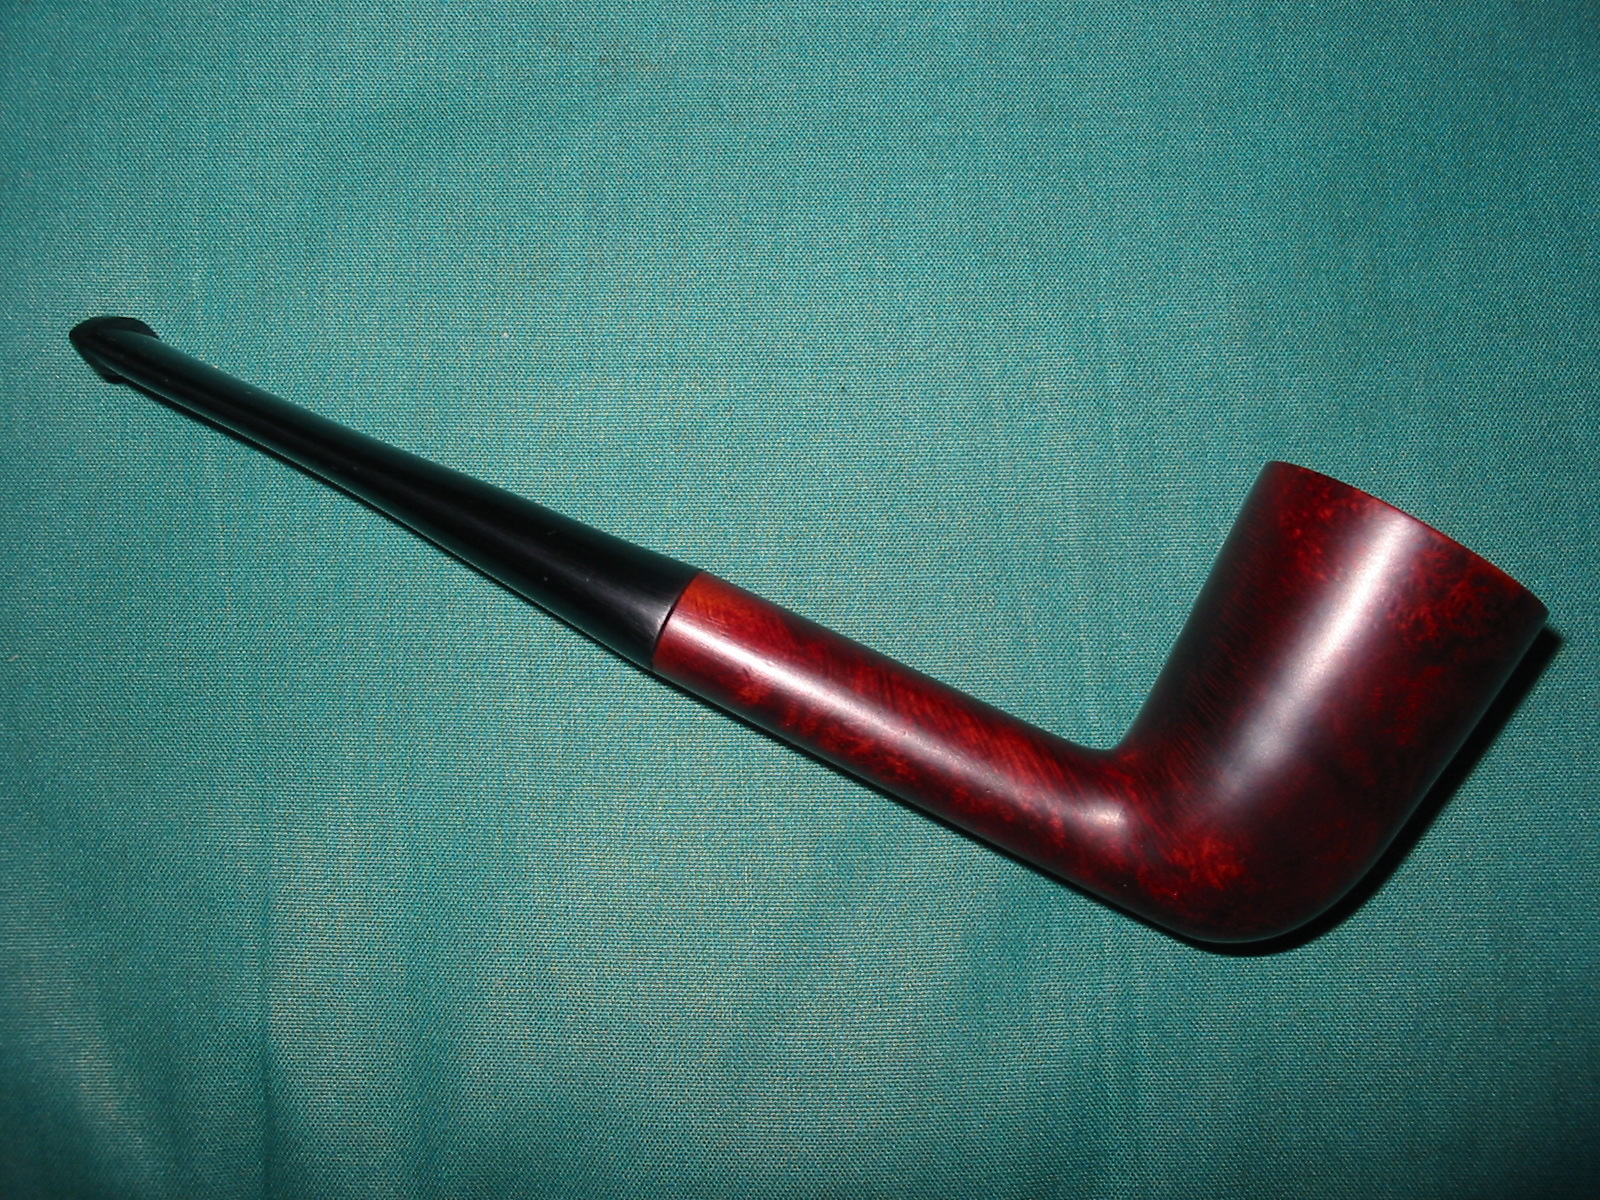
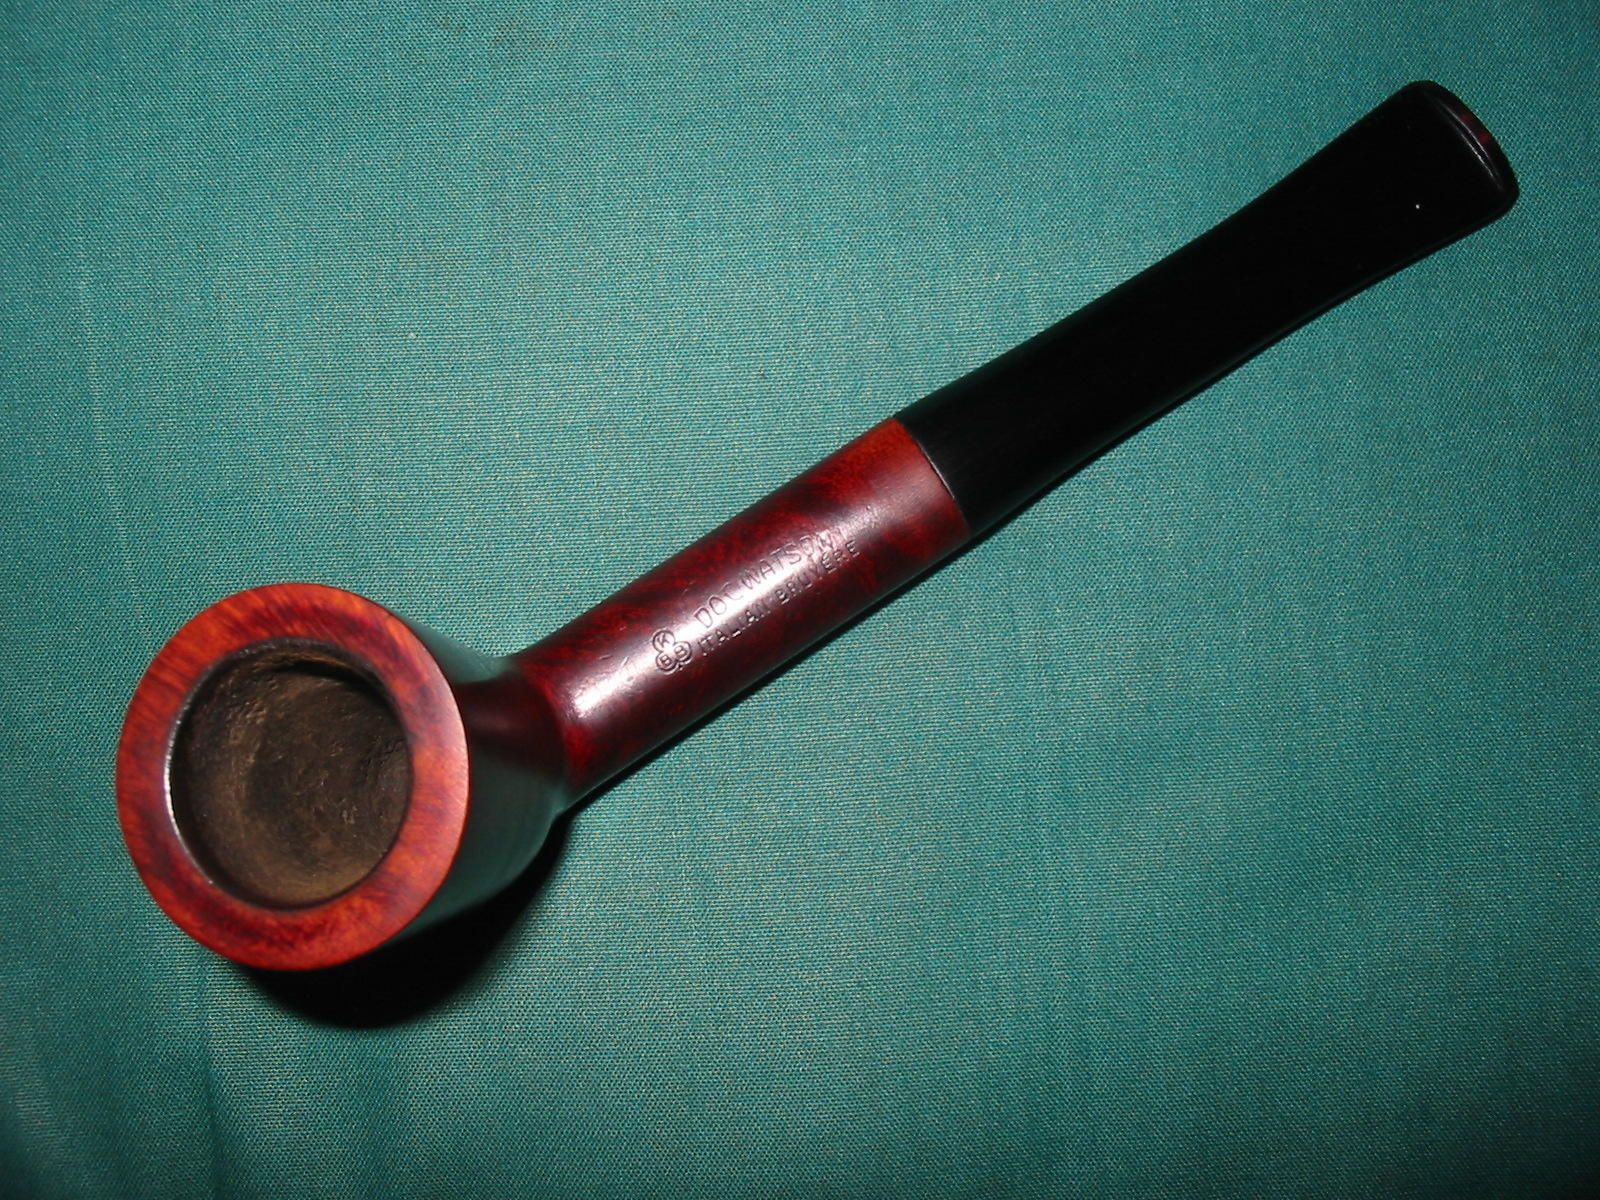
IMG_7308
I have several WDC pipes and have done quite a bit of research on the brand that I have written about on the blog. I have even repaired and given away quite a few Wellington’s over the years. This one appeared to be a great piece of briar so I wanted to repair it. I also wanted a quick refresher about this line of WDC pipes and how it fit within the hierarchy of WDC lines. The following is a brief excerpt from the pipedia.org article on WDC pipes.

“William Demuth, a native of Germany, entered the United States at the age of 16 as a penniless immigrant. After a series of odd jobs he found work as a clerk in the import business of a tobacco tradesman in New York City. In 1862 William established his own company. The William Demuth Company specialized in pipes, smoker’s requisites, cigar-store figures, canes and other carved objects.
The Demuth Company is probably well known for the famous trademark, WDC in an inverted equilateral triangle. William commissioned the figurative meerschaum Presidential series, 29 precision-carved likenesses of John Adams, the second president of the United States (1797-1801) to Herbert Hoover, the 30th president (1929-1933), and “Columbus Landing in America,” a 32-inch-long centennial meerschaum masterpiece that took two years to complete and was exhibited at the World’s Columbian Exposition in Chicago in 1893.

The Presidential series was the result of Demuth’s friendship with President James A. Garfield, a connoisseur of meerschaum pipes. Demuth presented two pipes to Garfield at his inauguration in 1881, one in his likeness, the other in the likeness of the President’s wife. Later, Demuth arranged for another figurative matching the others to be added to the collection as each new president acceded to the White House, terminating with President Hoover.

In 1897 Ferdinand Feuerbach joined the Demuth Company and by 1903 had become the production manager. Feuerbach is credited with developing Demuth’s popular Royal Demuth and Hesson Guard Milano pipelines. He left in 1919, when Sam Frank Sr. needed an experienced pipe man to run his pipe factory, located at 168 Southern Blvd., in the Bronx. Feuerbach and Frank had been close friends since Frank started his own business in 1900 and was closely associated with the sales staff of WDC, selling their line of pipes.

In early 1937, the City of New York notified S.M. Frank & Co. of their intent to take by eminent domain, part of the land on which the companies pipe factory was located. This was being done to widen two of the adjacent streets. As a result of this, Frank entered into negotiations to purchase the Wm. Demuth Co.’s pipe factory in the Richmond Hill section of Queens. It was agreed upon that Demuth would become a subsidiary of S.M. Frank and all pipe production of the two companies would be moved to DeMuth factory. New Corporate offices were located at 133 Fifth Avenue, NYC.

Demuth pipes continued to be made at the Richmond Hill plant till December 31, 1972. Then the Wm. Demuth Company met its official end as a subsidiary company by liquidation. Demuth’s mainstay pipe, the Wellington continued to be offered in the S.M. Frank catalog until 1976. In the mid-80’s, the Wellington even made a brief return as a direct to the consumer offer.”

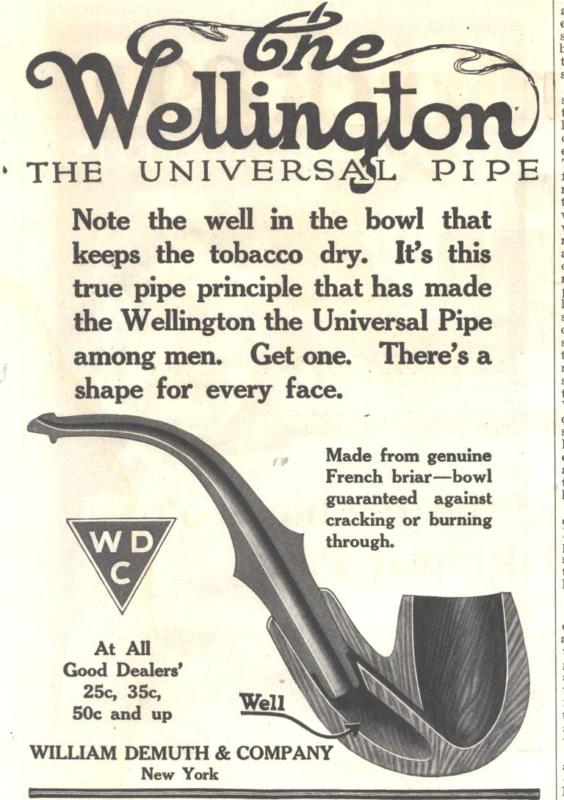
The two leaflets below give some of the details on the Wellington pipe. The first one is a sales leaflet that speaks of the assets of the pipe and what it has to offer the pipe smoker. The second one is a cutaway picture of the Wellington pipe that clearly shows the details of the drilling both of the airway and the sump or well in the heel and shank of the pipe.
wellington1

wellingtonsystem
With the above diagram and information I was better equipped to work on the internals of the pipe and give it a thorough cleaning. I really like digging out the information and some of the diagrams of the pipes that I work on so that I can get a feel for the design and an appreciation for the work.

I fit the stem on the bowl and the overall look and feel was the same as the Wellington. The shoulder or ridge that formed the saddle was not as sharply defined as in the original stem but the look was close. The P-lip was the same and the tenon insert end was a match to the diagram above. Once the stem was re-bent the look would be even closer to the original.
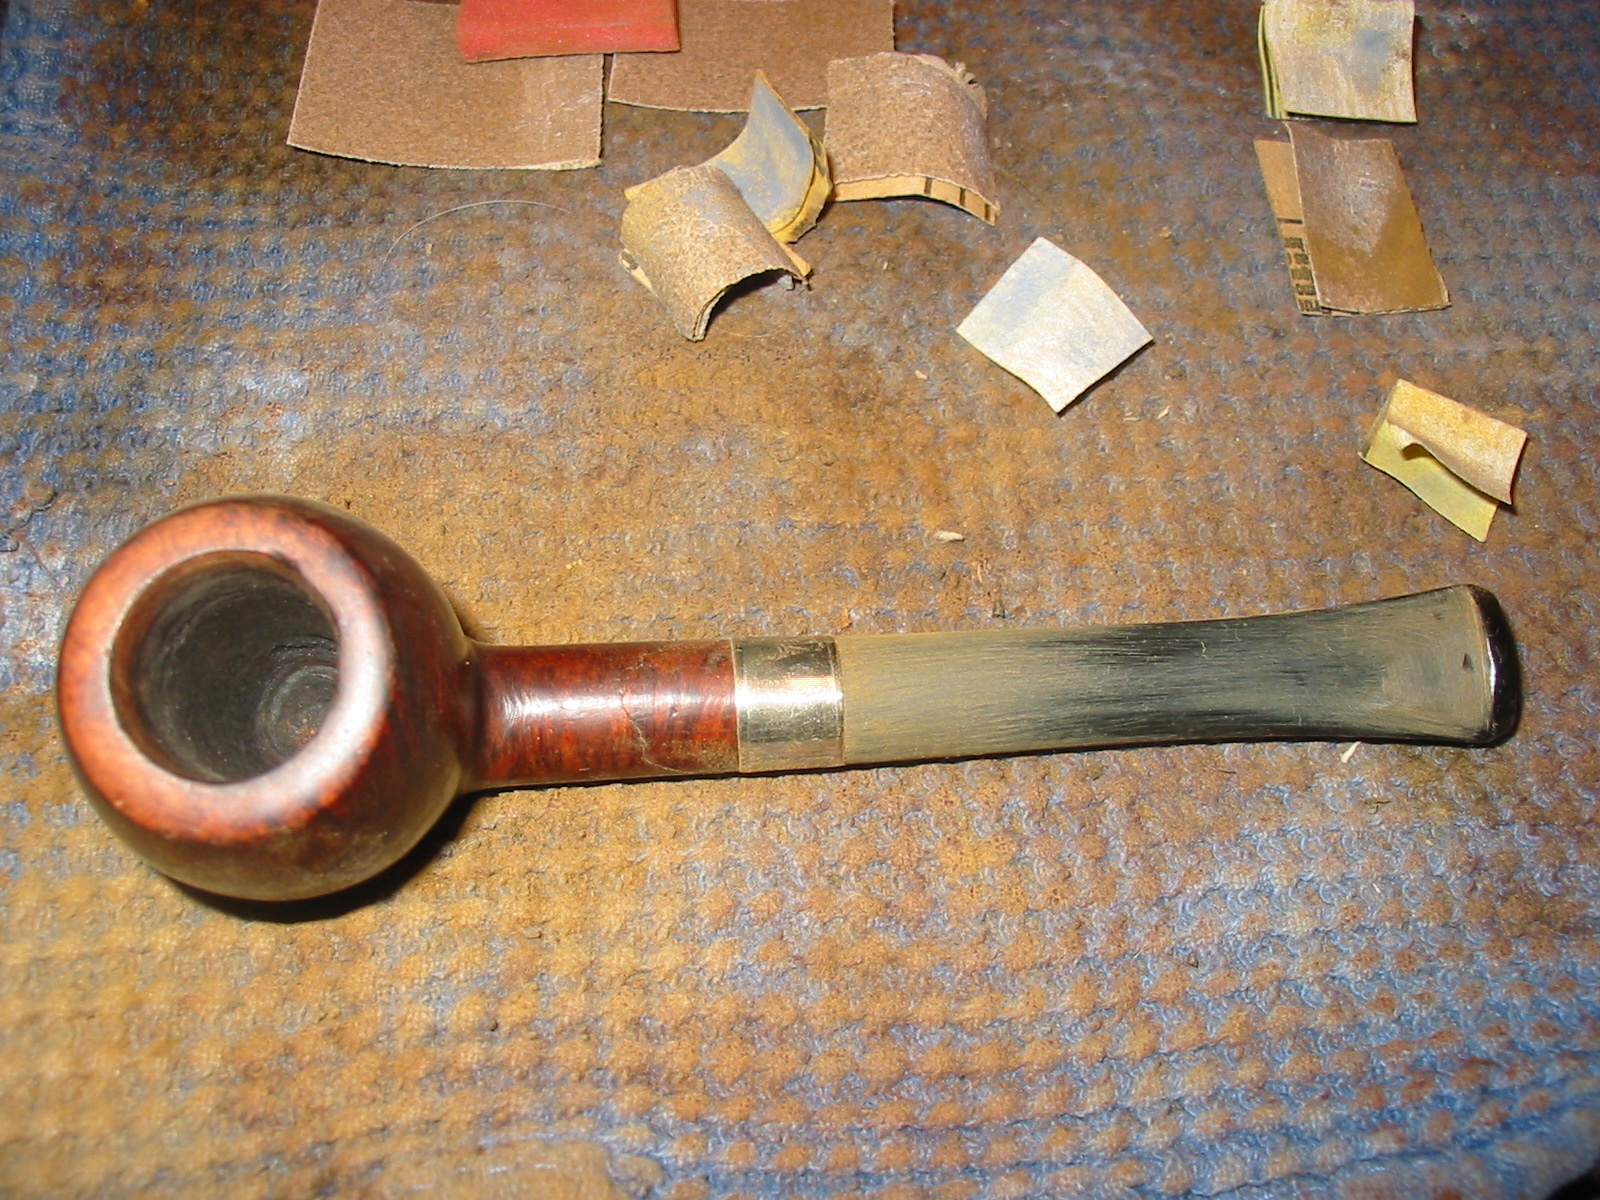
IMG_7312

IMG_7313

IMG_7314

IMG_7315
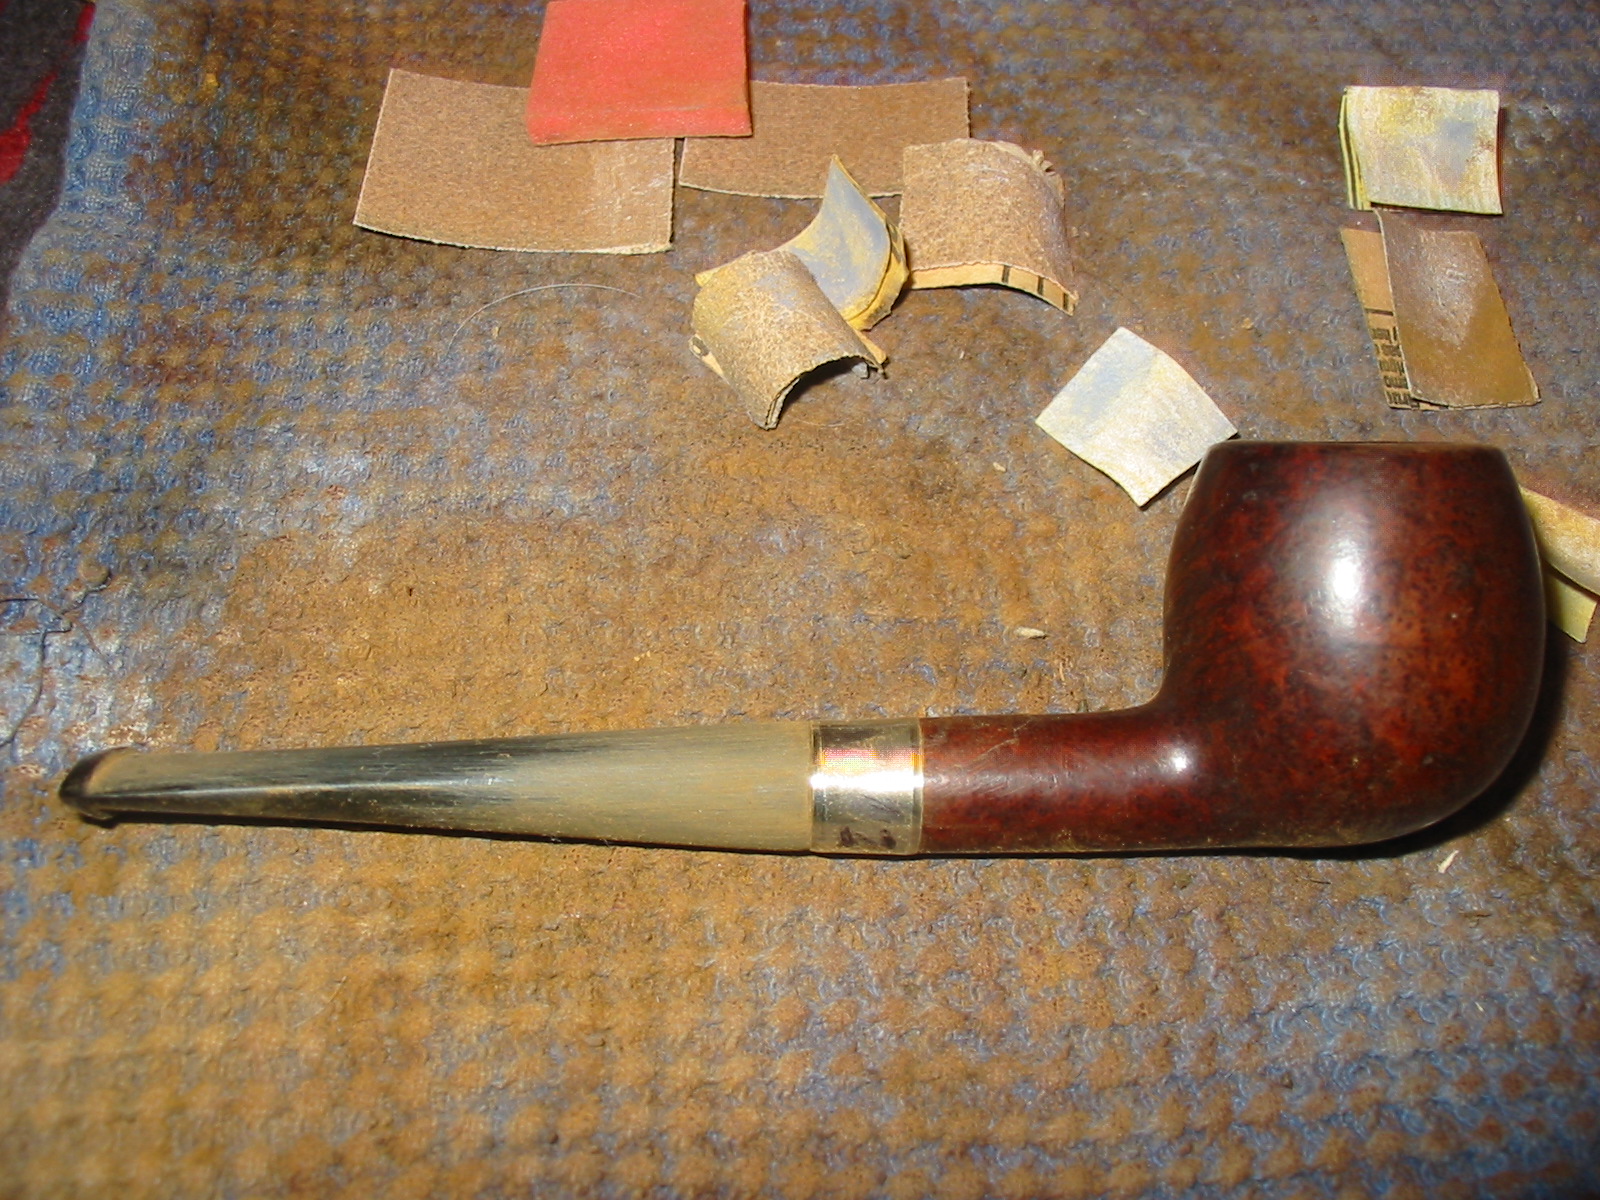
I cleaned the top of the rim with a cotton pad and alcohol to remove the tars and oils. I then reamed the bowl with a PipNet Reamer – a tool that I use on virtually every pipe I work on. The interchangeable heads allow me to use various heads to careful trim back the cake. In this case I took it back to bare wood to clean it up and remove the uneven buildup.
IMG_7351

IMG_7352
I scrubbed down the finish with acetone on cotton pads. The varnish came off with scrubbing. Underneath the peeling varnish the stain was in good shape. The briar was very clean with no fills. The grain was quite nice with a mix of cross grain and birdseye.
IMG_7358

IMG_7359

IMG_7360
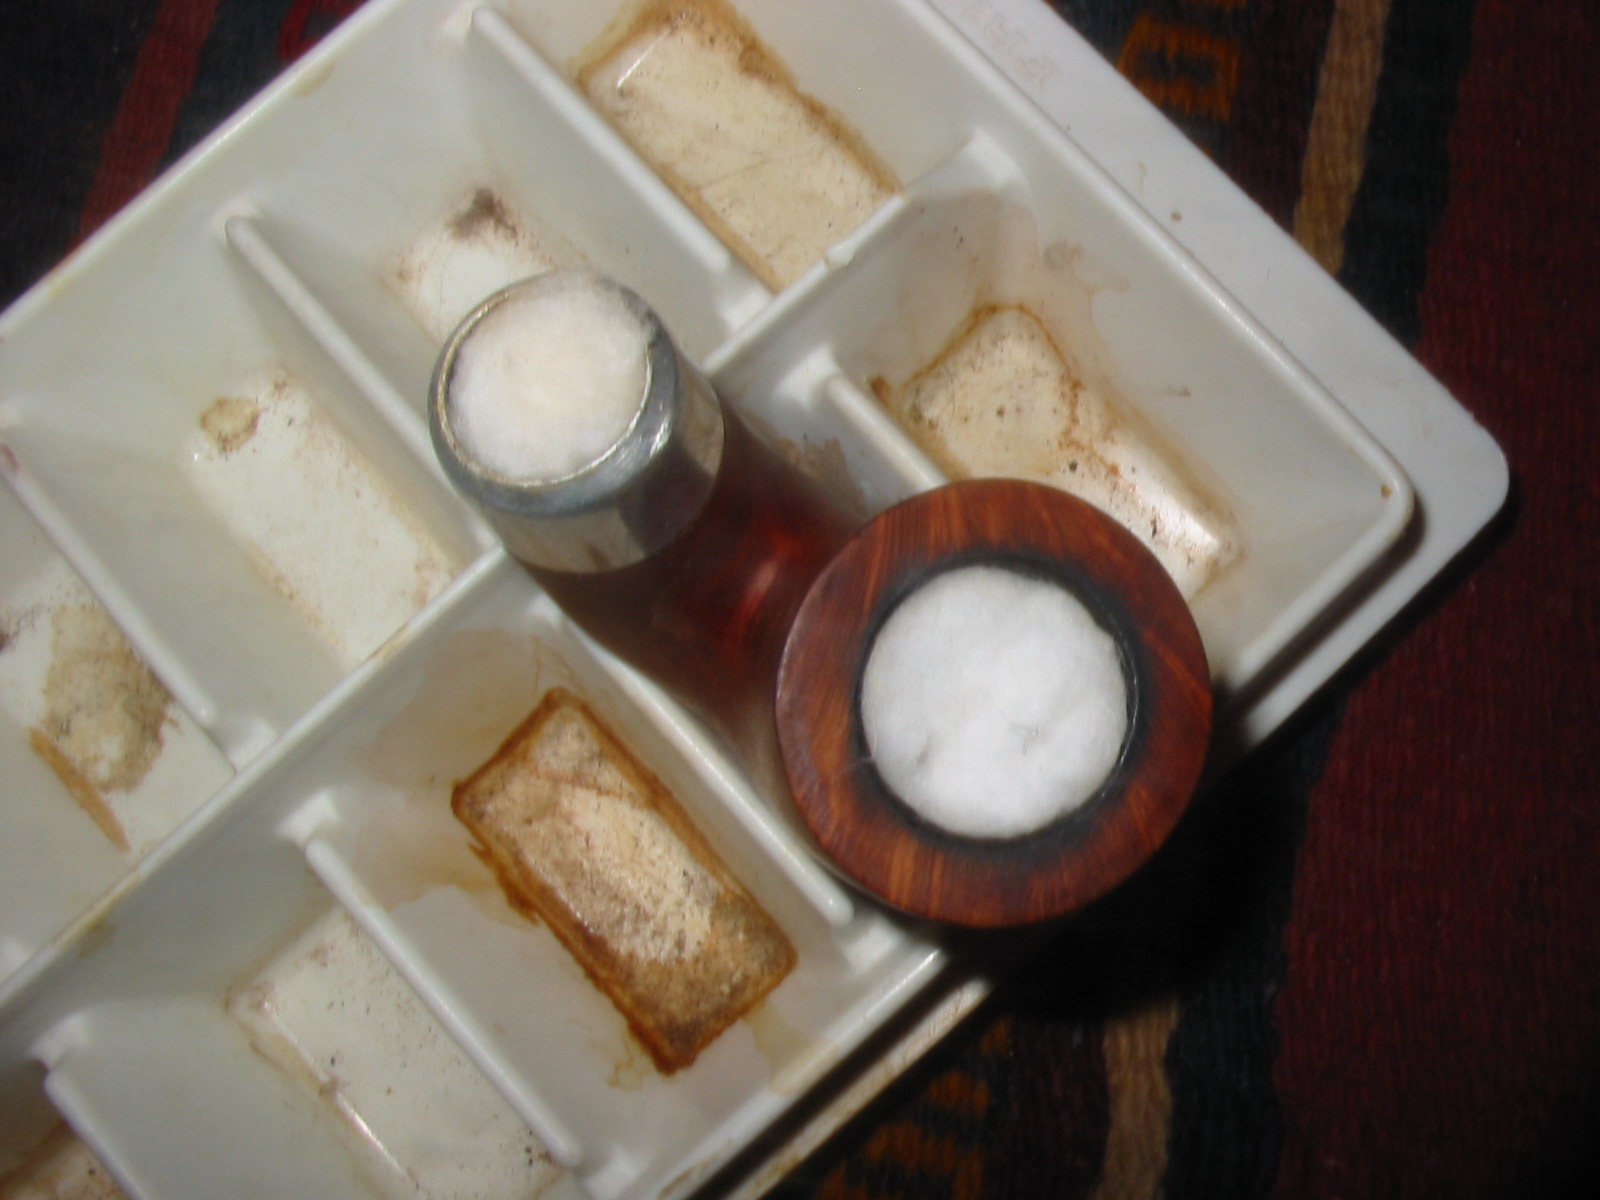
I scrubbed out the sump and the internals of the pipe with cotton swabs, pipe cleaners and isopropyl alcohol. Once the cleaners came out unstained I stuffed cotton balls in the shank and the bowl and then used an ear syringe to fill both with isopropyl alcohol (99%).
IMG_7362

IMG_7361
I put the bowl upright in an ice cube tray that I use for a stand when sweetening the pipes I clean. It works very well in wicking out tars and oils. I let it sit overnight. The first photo below shows the bowl after filling. The second photo below shows the bowl after 12 hours of soaking. Once I remove the cotton and re-clean the bowl and shank the smell of the pipe is fresh and clean.
IMG_7363

IMG_7367
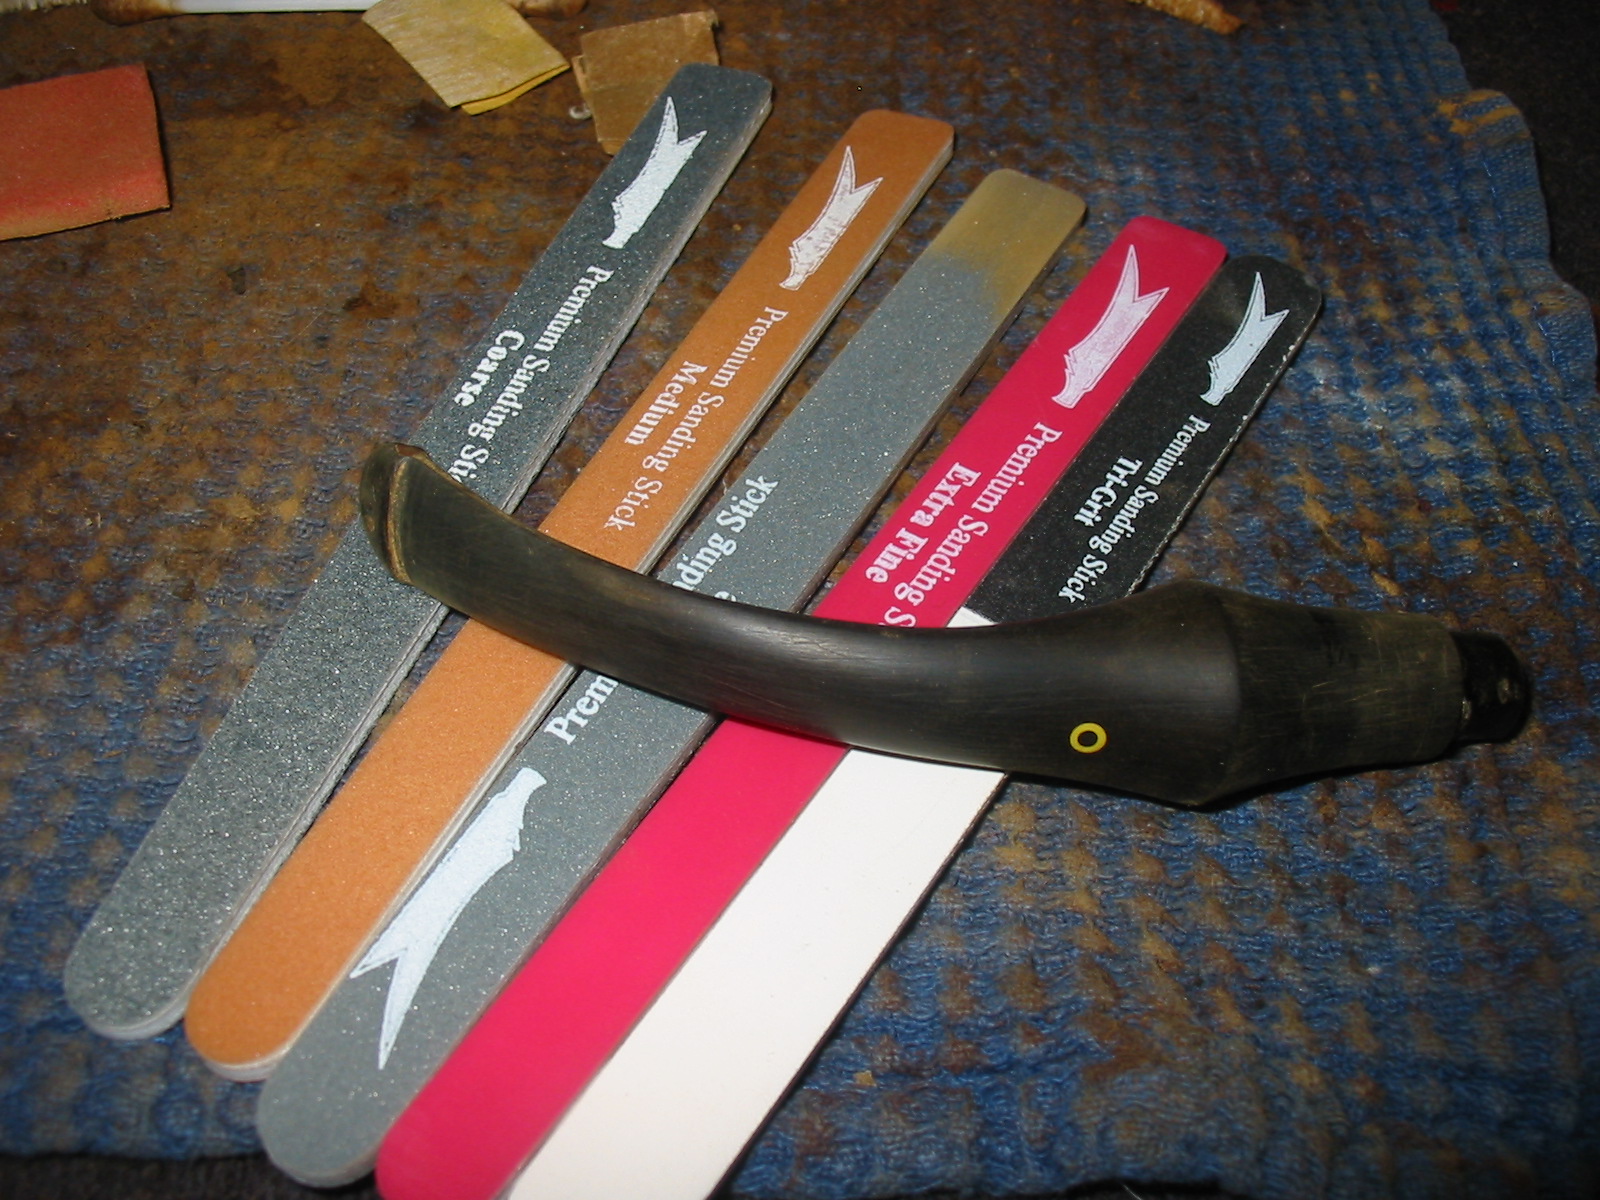
Over the weekend I picked up a few new tools to make the clean up simpler. One set of tools was the sanding sticks shown in the photo below. The various grits are clearly on the sticks. These work exceptionally well in the crease next to the button and on the shelf on the underside of the P-lip stem. I sanded the stem with 220 grit sandpaper and with medium and fine grit sanding sponges.
IMG_7366
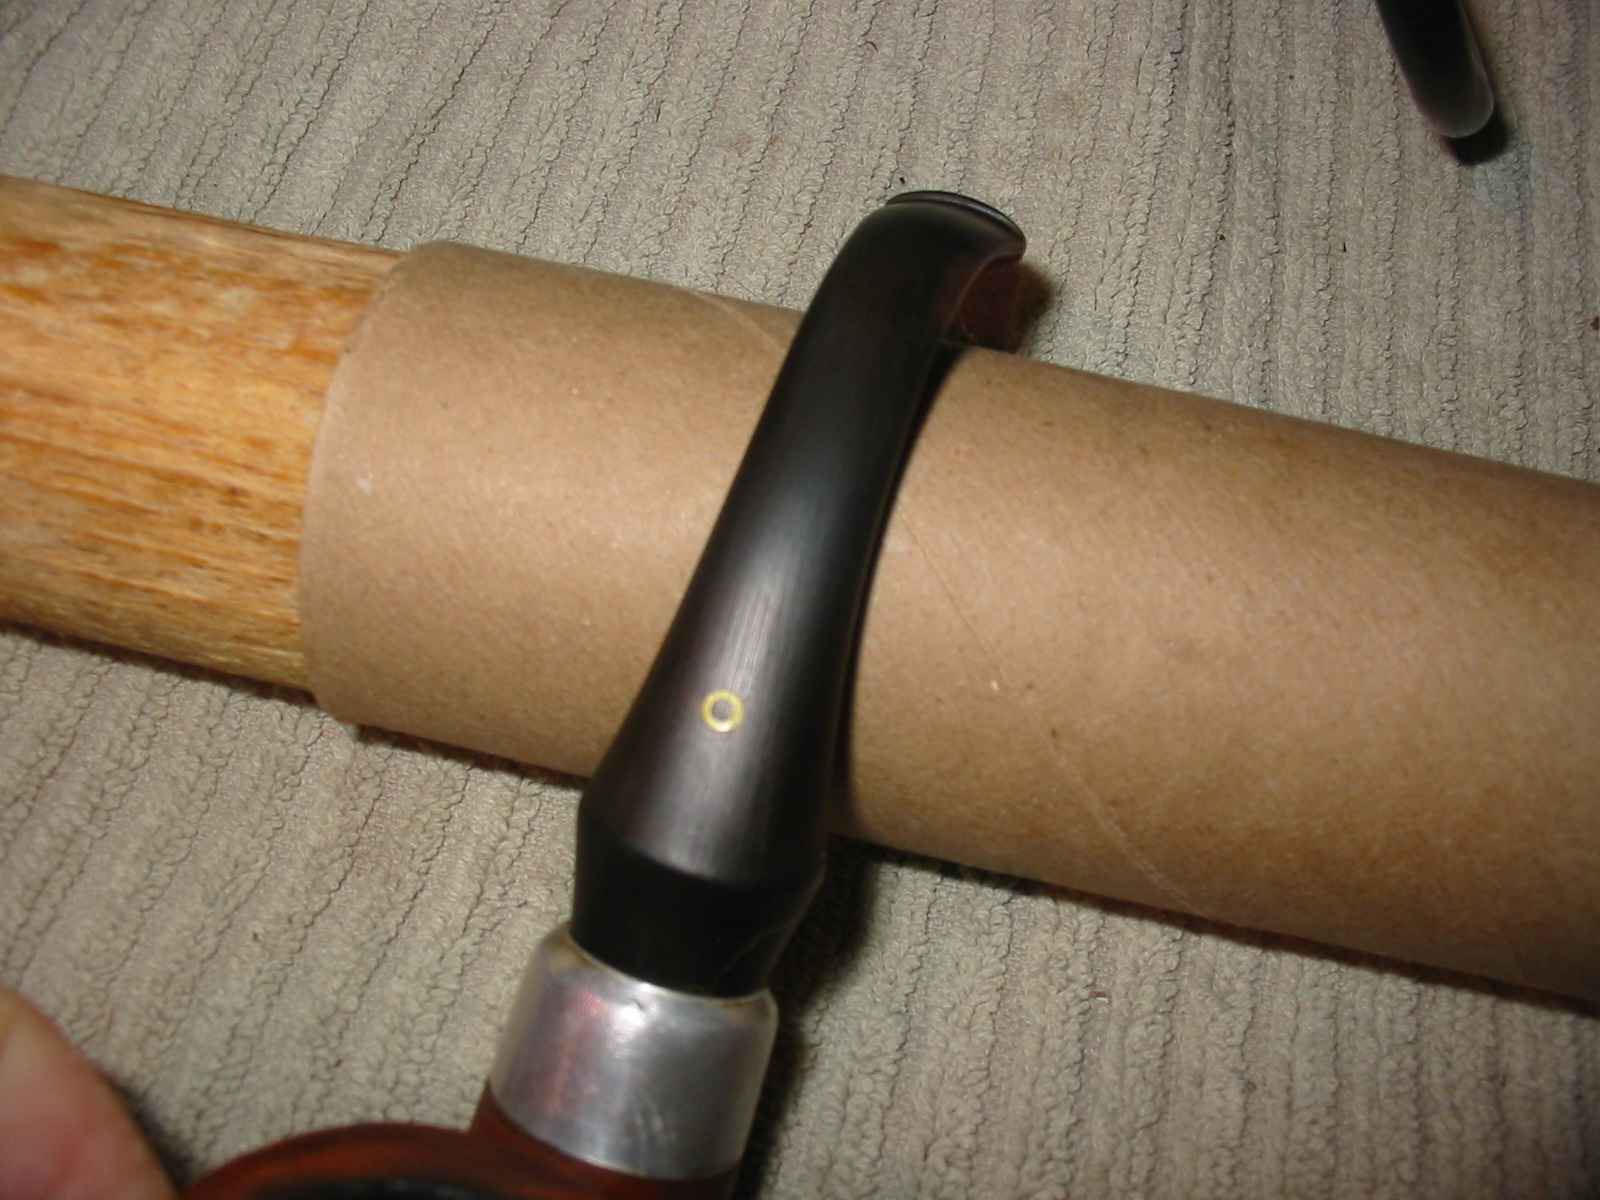
After the initial sanding was finished I used a heat gun to heat the stem and bent it over a rolling pin covered with a thick cardboard tube to give the stem a clean bend and avoid kinking the airway. I have been using this for quite a few years now and have not experienced trouble with damaging the airways in the bending process.
IMG_7371

IMG_7372

IMG_7373
I sanded the stem once again with a fine grit sanding sponge. I generally do this before moving on to the micromesh sanding pads.
IMG_7374

IMG_7375

IMG_7376

IMG_7377
I wiped down the bowl with a damp cloth to remove any dust and to get an idea of whether I would give it a coat of stain. Once it was clean it looked good to me. No stain would be necessary on this old timer. The colouring once it was buffed would be perfect.
IMG_7378

IMG_7379
The rim needed a bit more sanding with the micromesh to clean up the top and then a folded piece of sandpaper on the inner edge to smooth things out.
IMG_7380
I worked on the stem with the micromesh sanding pads. I wet sanded with 1500-2400 grit pads. Afterwards I noticed the oxidation that still remain at the saddle so I sanded it again with the medium and fine grit sanding sponges and repeated the micromesh wet sanding.
IMG_7382
I sanded it with the 3200-4000 grit pads and still saw some oxidation in that area. I repeated the process above with the sanding sponges and the six grits of micromesh to clean it more deeply. I then buffed it with Tripoli and then finished the final three grits of micromesh from 6000-12,000 grit. I buffed it with White Diamond.
IMG_7383

IMG_7384
I polished the nickel ferrule with silver polish and a polishing cloth and then buffed the bowl and stem a final time with Whtie Diamond. I gave the entire pipe multiple coats of carnauba wax, buffing in between coats with a soft flannel buff. The finished pipe is shown below. I am quite pleased with the new look. The old Yello Bole stem works well with the pipe.
IMG_7389

IMG_7392

IMG_7390

IMG_7391