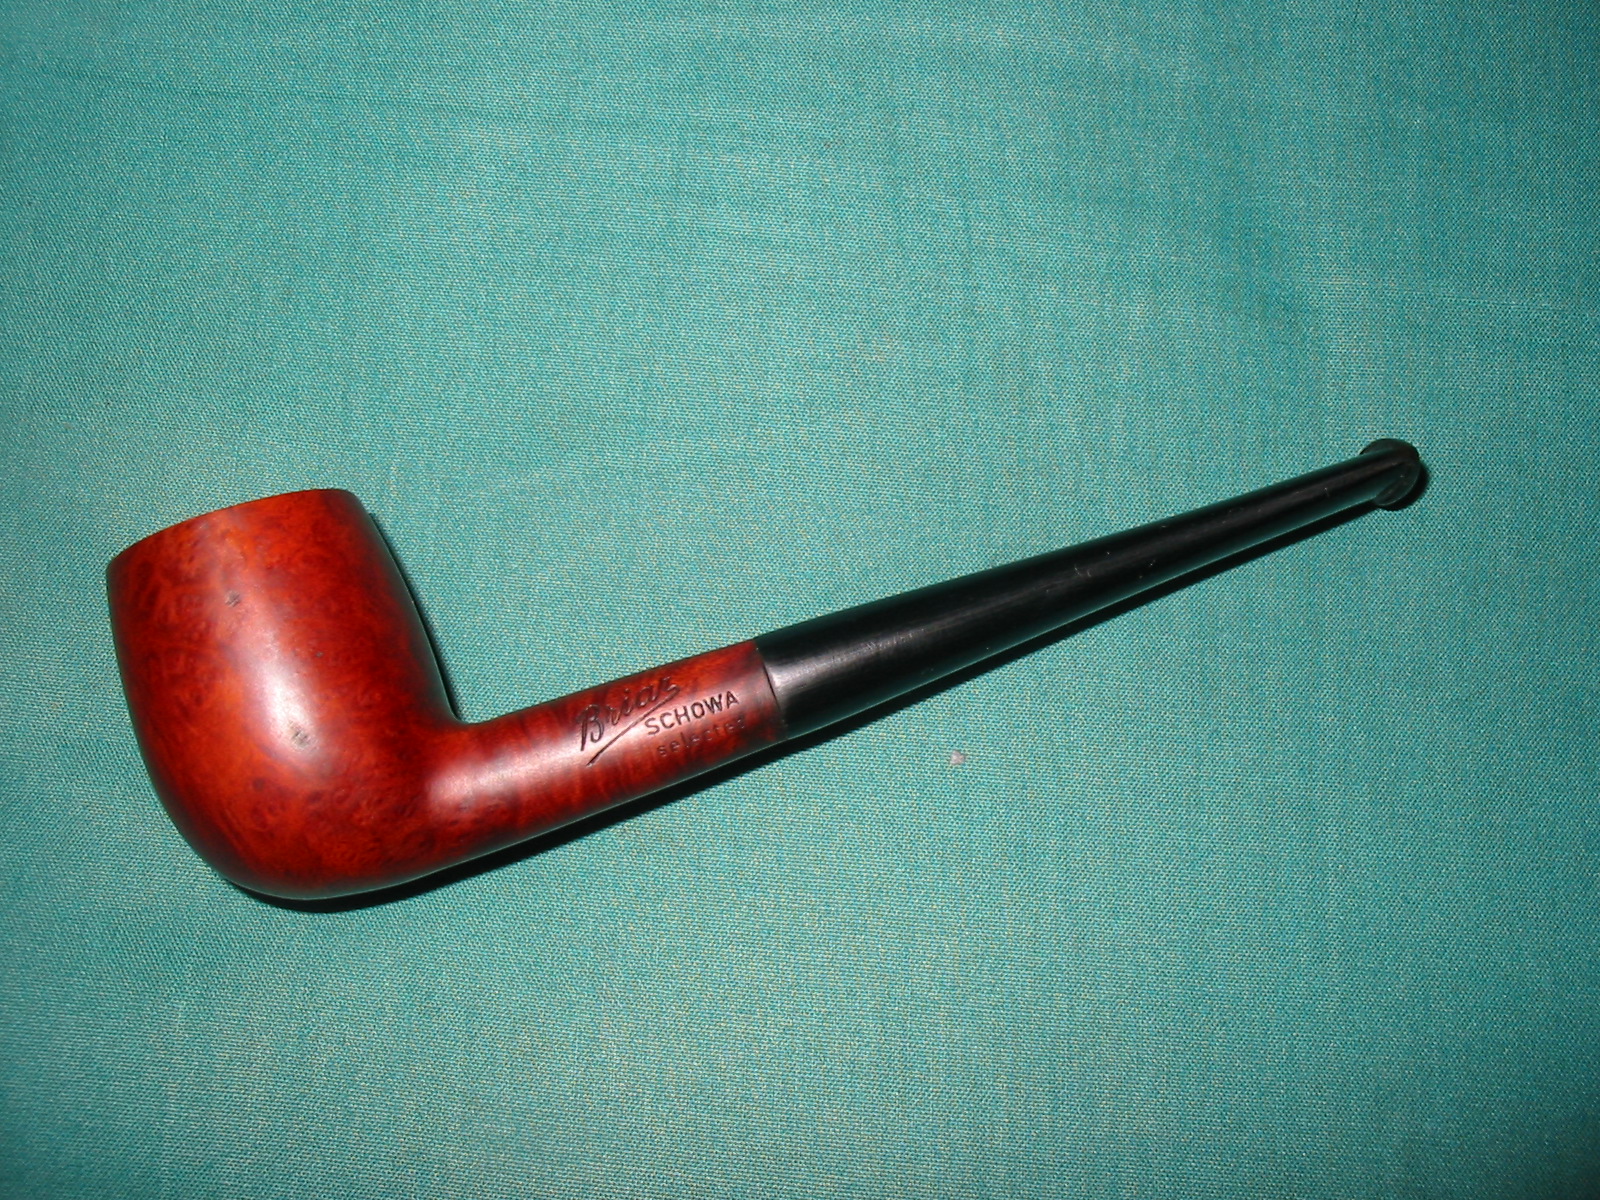
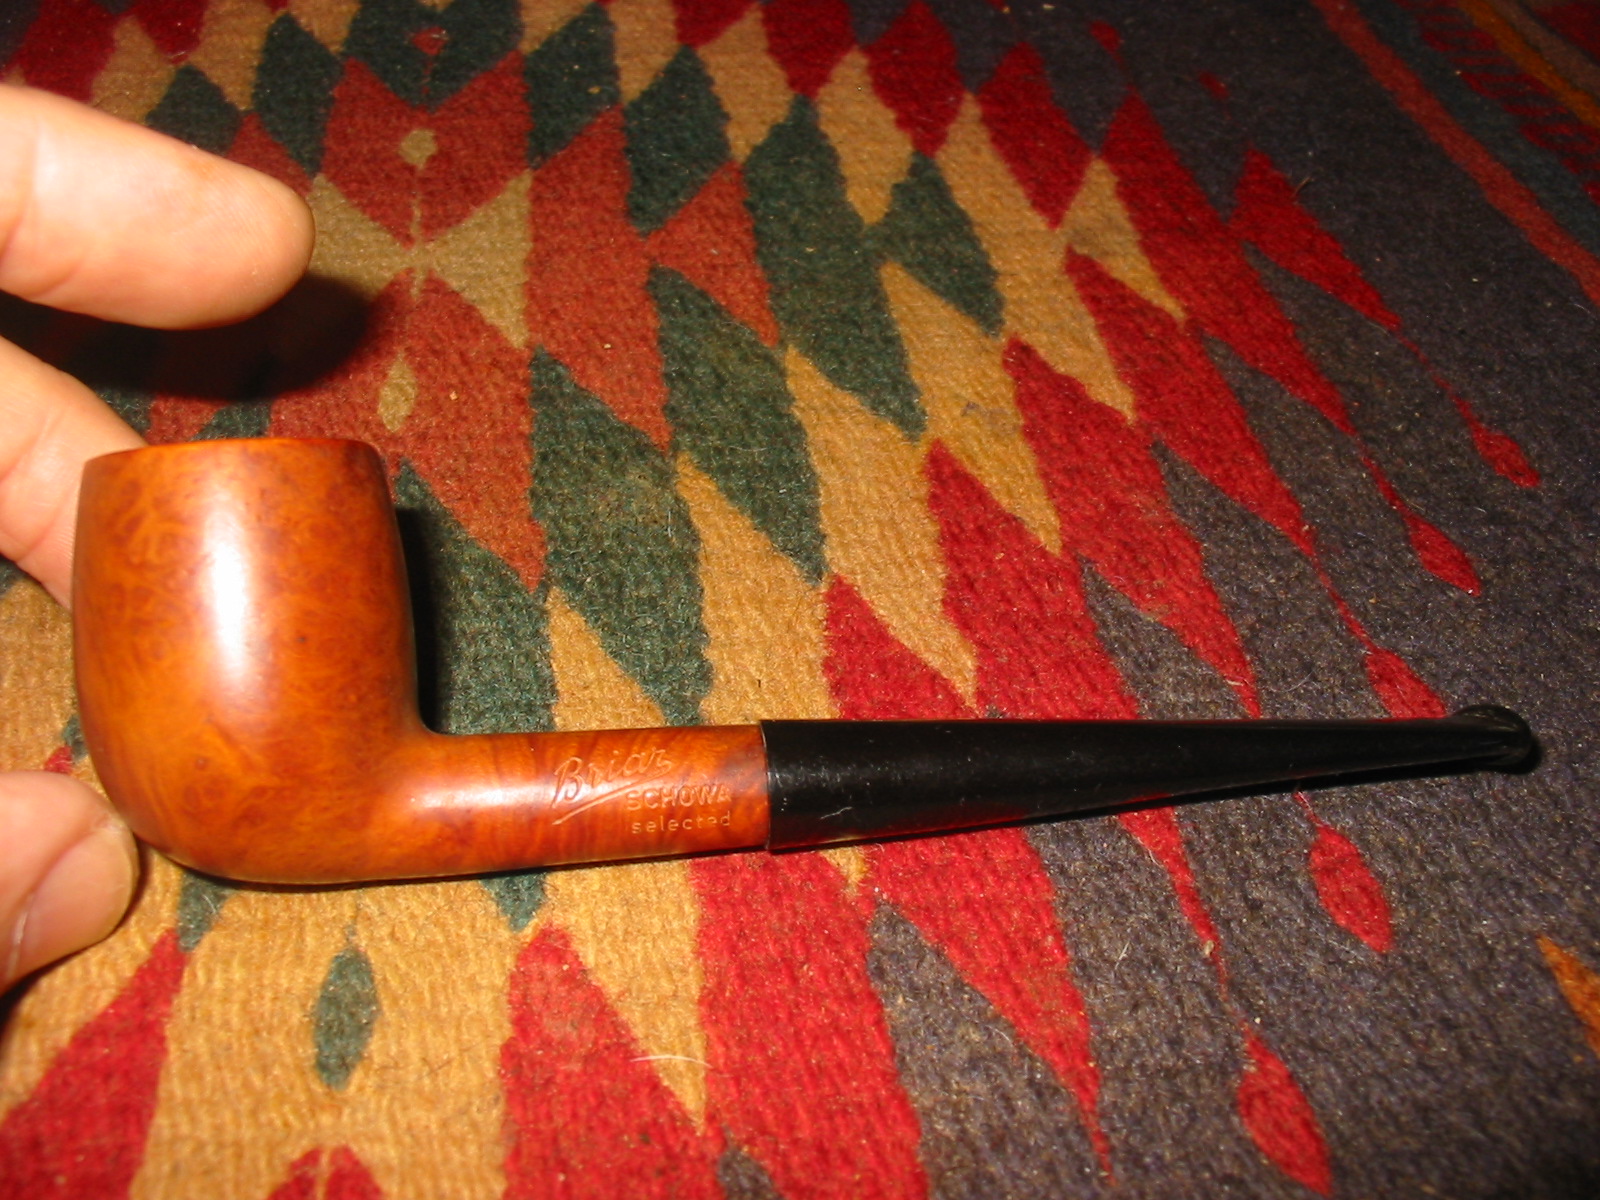
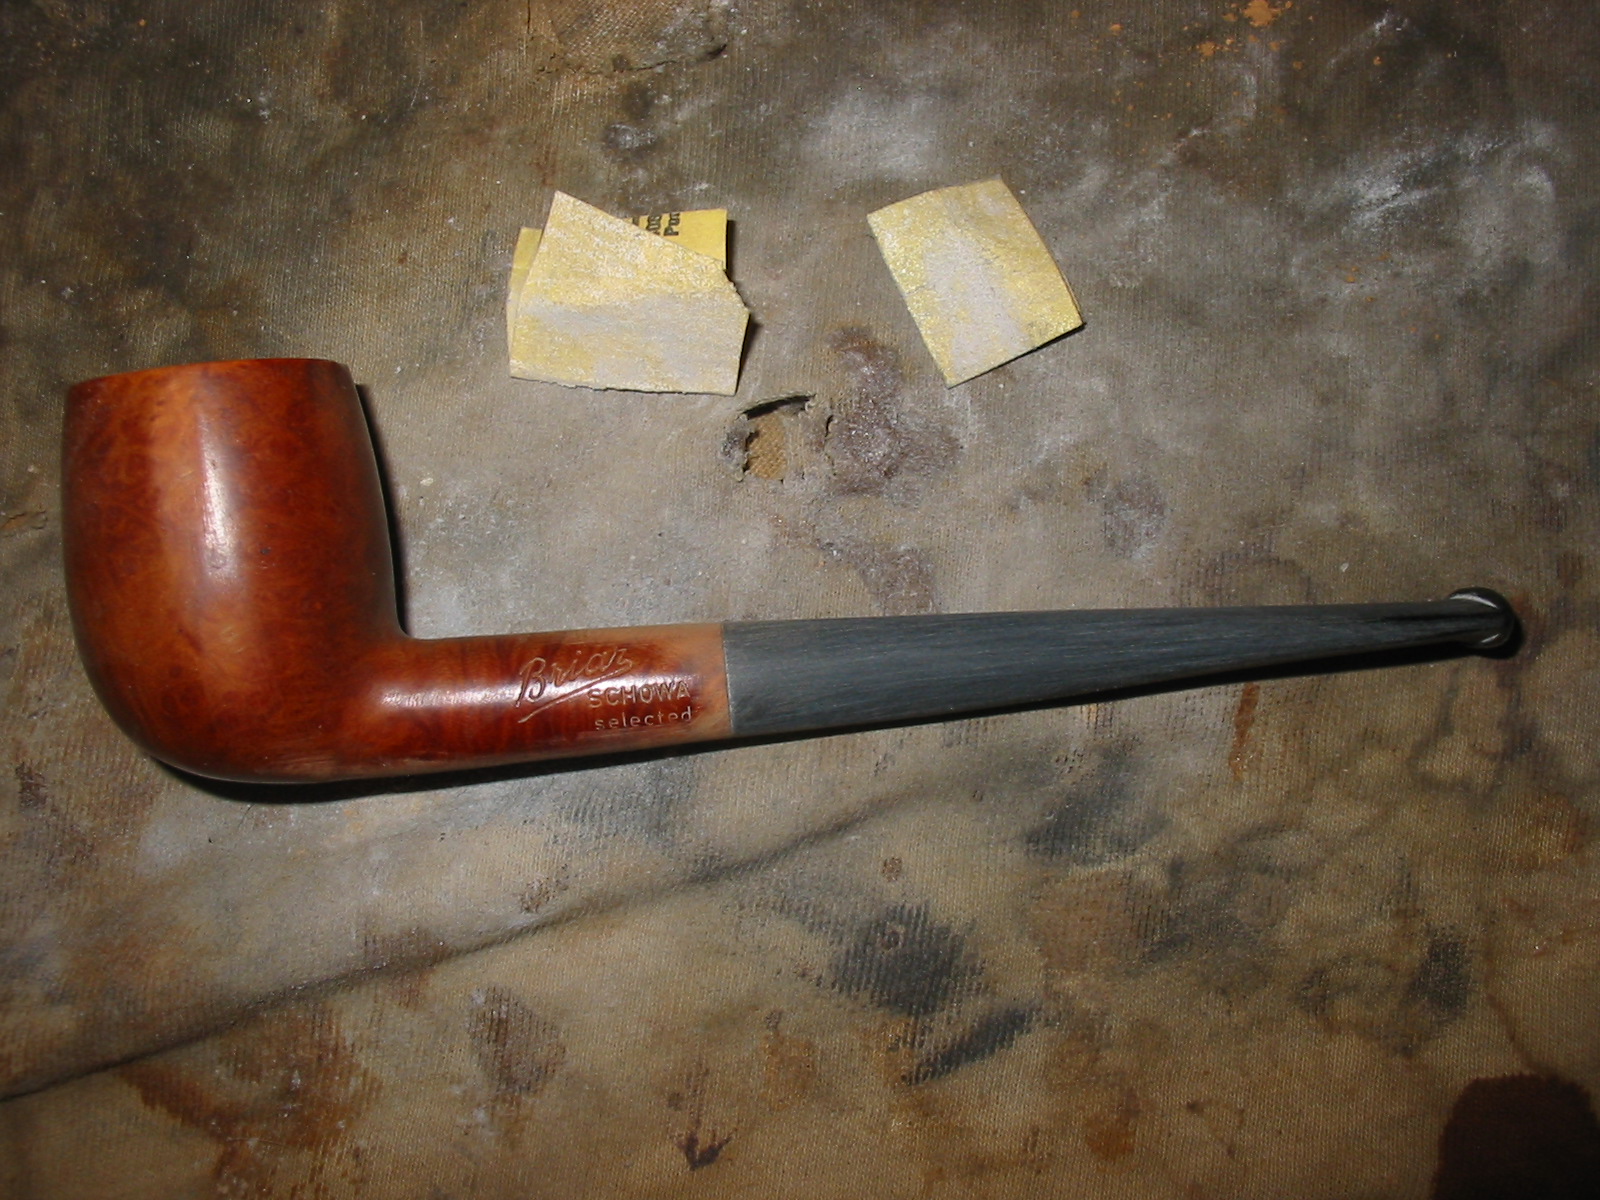
Yet another gift bowl made its way to the work table today. It is stamped Schowa Briar Selected. The brand was one I had never heard of and never seen before. There is little background information on the brand on the internet. What I could find came from Pipephil’s website http://www.pipephil.eu/logos/en/logo-s4.html There I read that the brand belongs to the Schum family who were established in Bad König (Odenwald, Hesse), Germany. The name was a combination of the Schum name and Odenwald. The factory crafted briar and porcelain pipes (Bavarian style). I have no idea on the date or time of the brand. I did find some porcelain examples of their work from the mid to late 1970’s and some nice briar pipes with no dates. They seem to also have carved figurals in briar. That was the extent of information I could find.
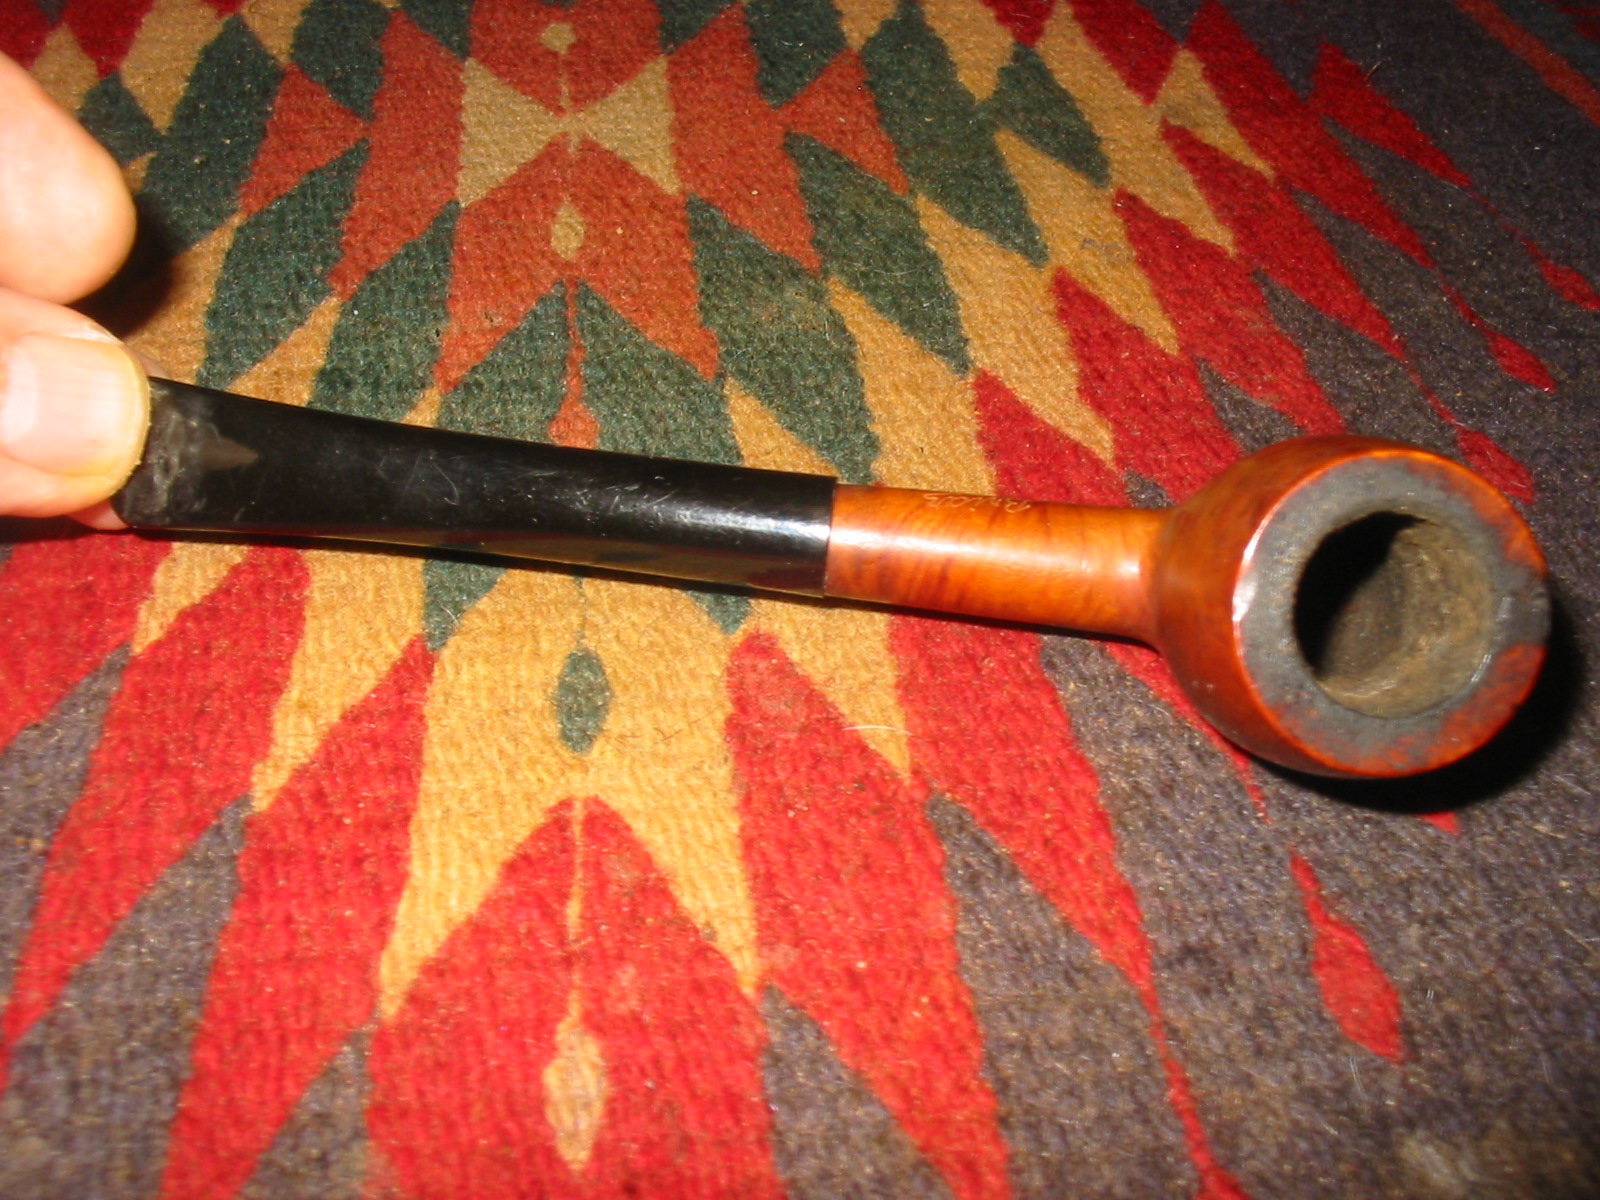
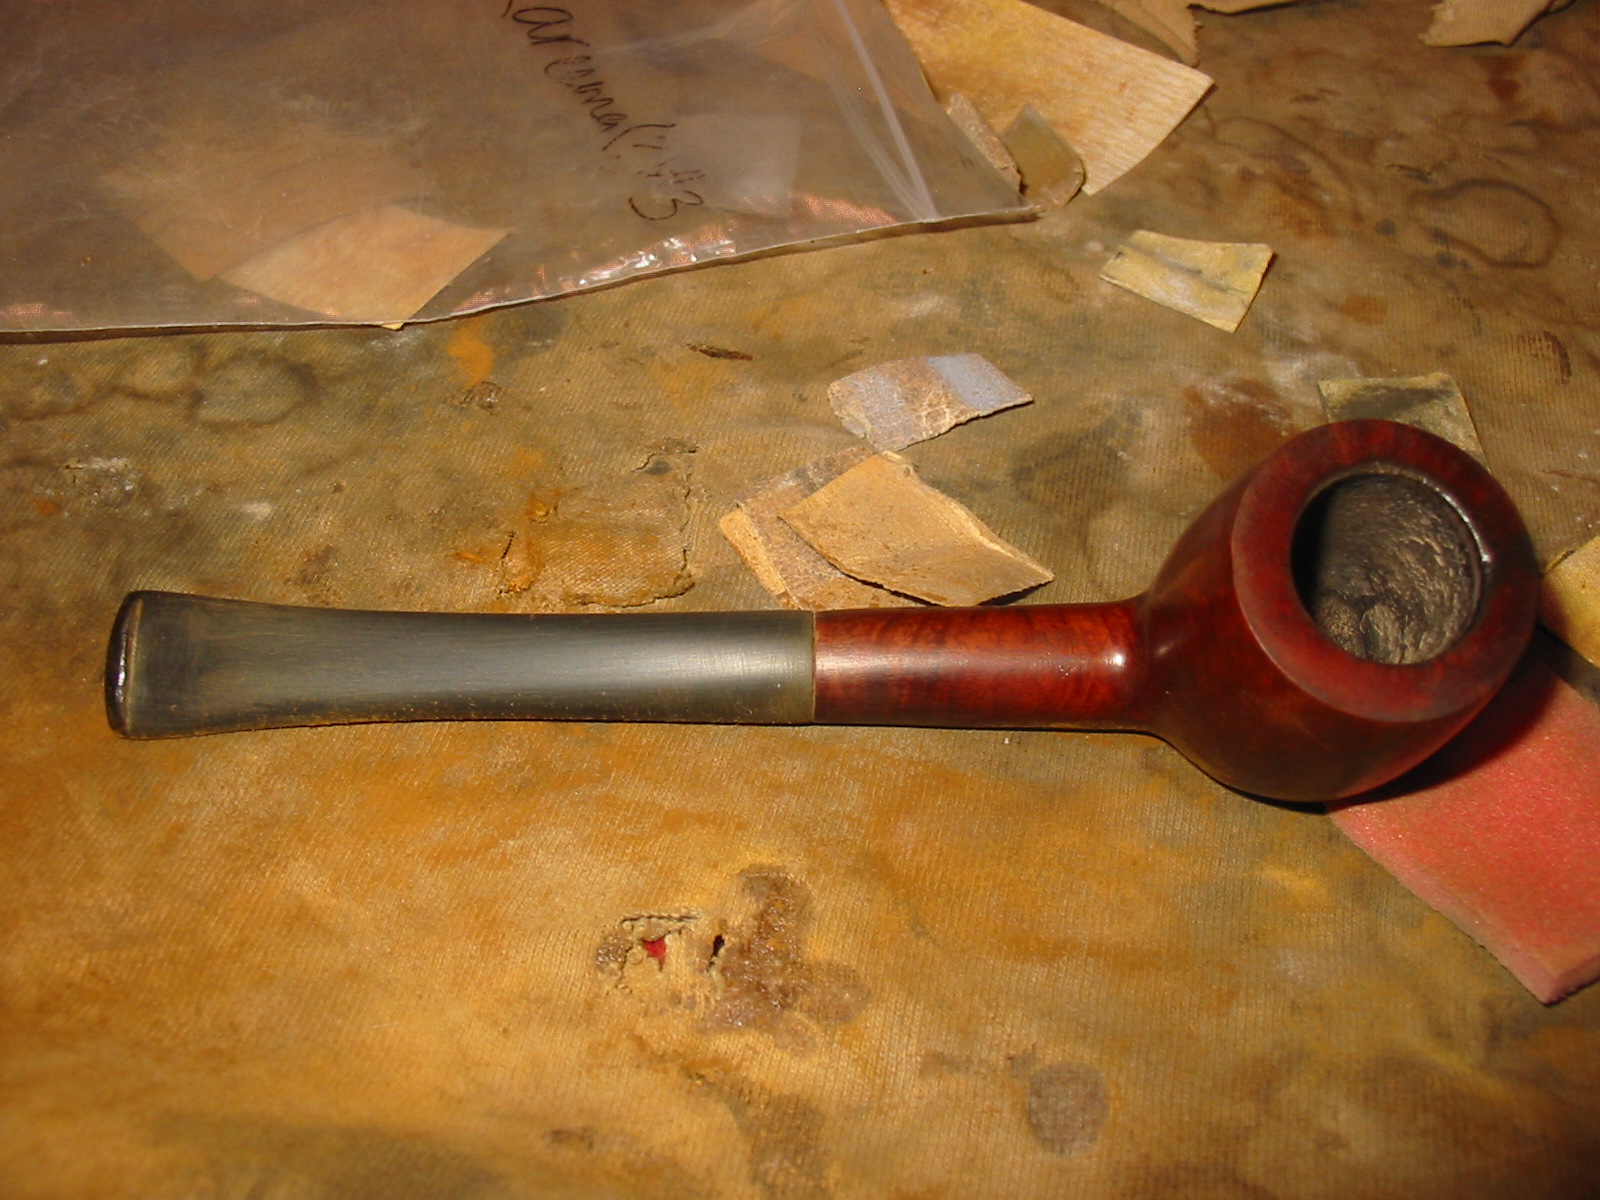
This bowl is on the small side with the stamping on the left side of the shank. It was pretty clean internally. The finish was gone and what remained was bare briar. There were several nicks in the sides of the bowl. The inner edge of the rim has some burn damage and there was a burn mark on the front middle top of the rim and inner edge. The back outer edge of the rim had a large divot out of it. The shank was pinched at the end and was out of round. The left side was significantly thinner than the right side. Restemming it was going to be a bit of a challenge in terms of getting a good clean/smooth fit of the shank and stem.
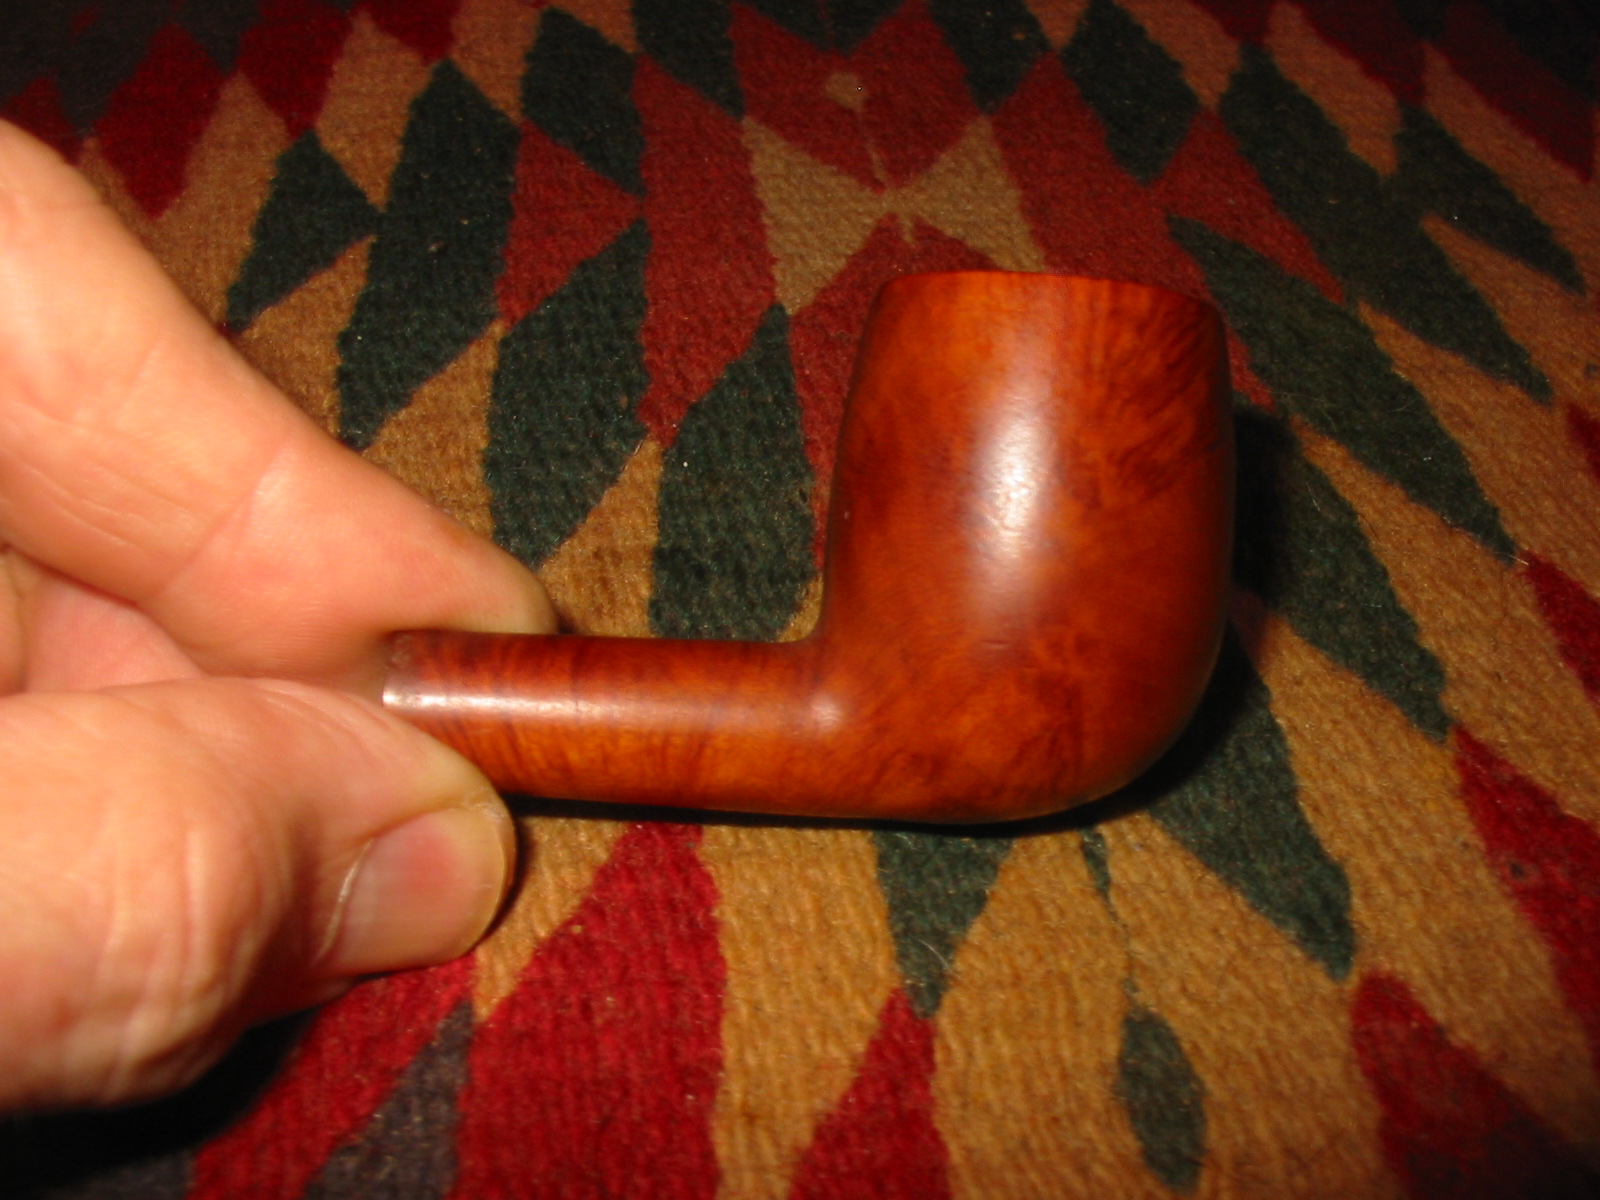
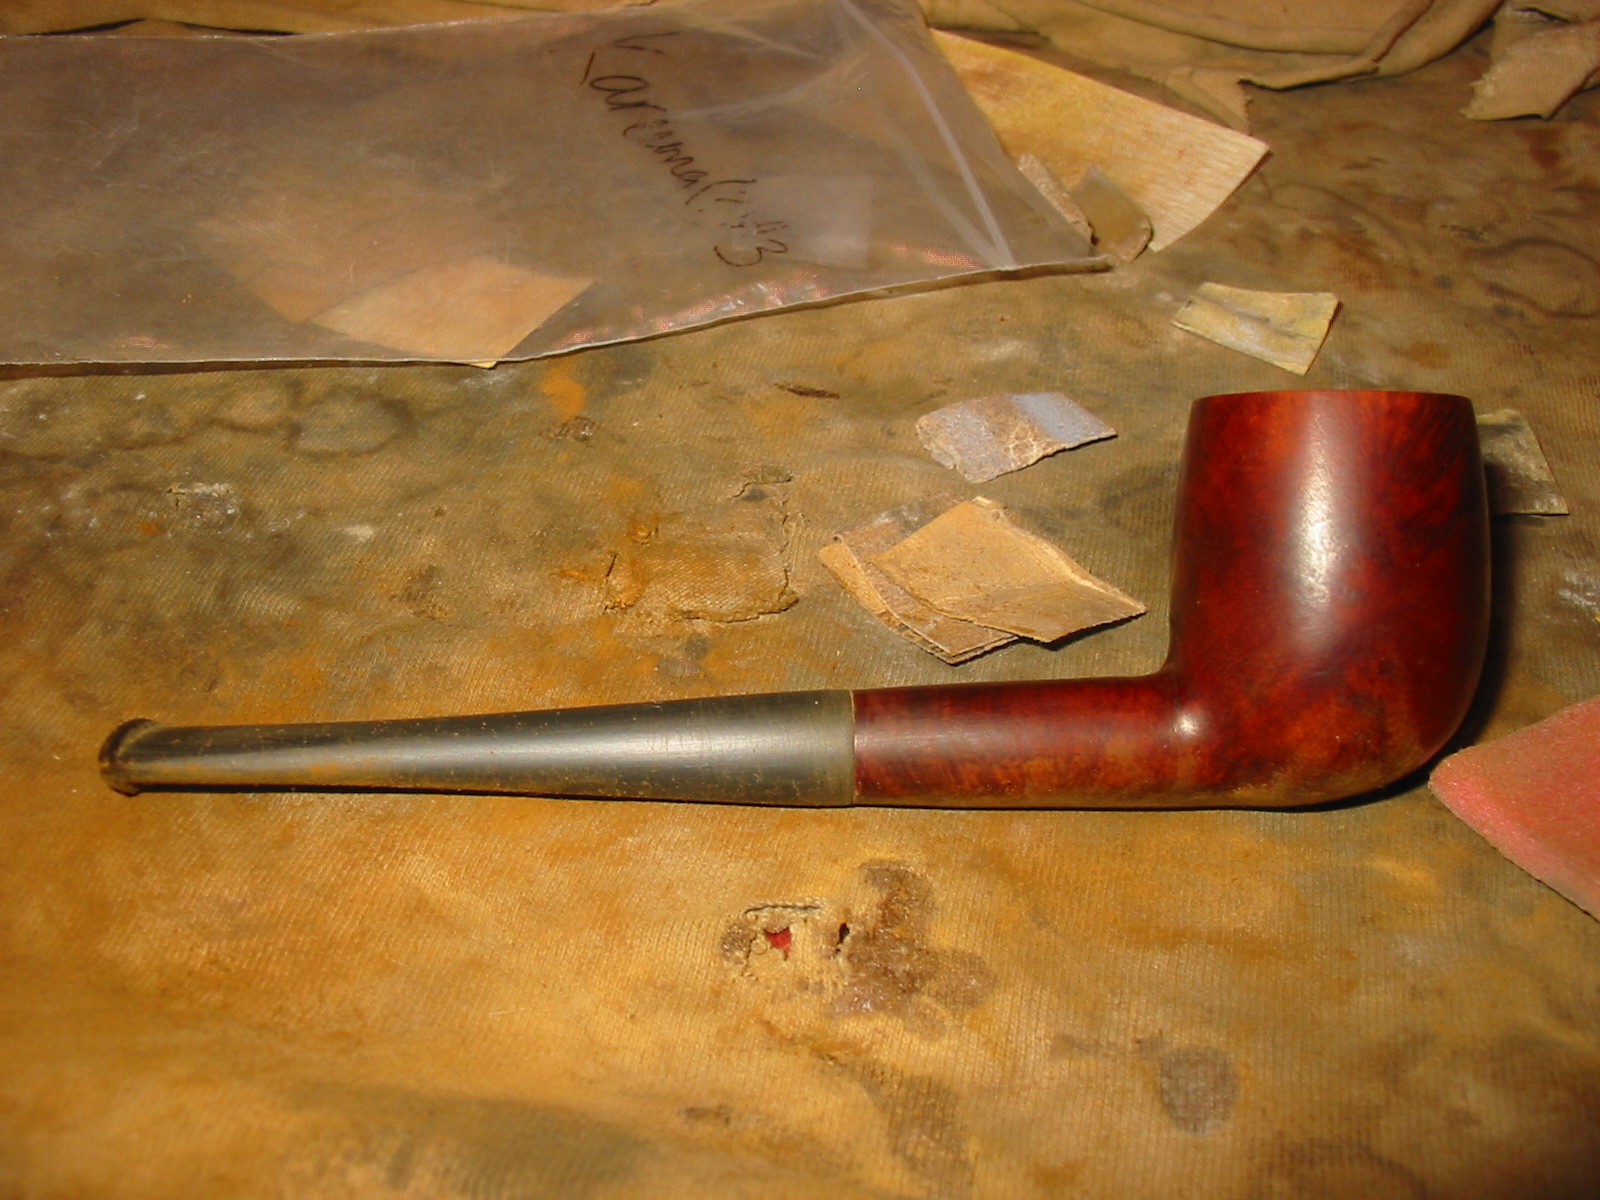
 I found a stem in my stem can that would work with this bowl and sanded the tenon so that it would fit in the shank. The diameter of the stem was larger than the shank and the out of round and pinched shank was going to make getting a proper fit an issue.
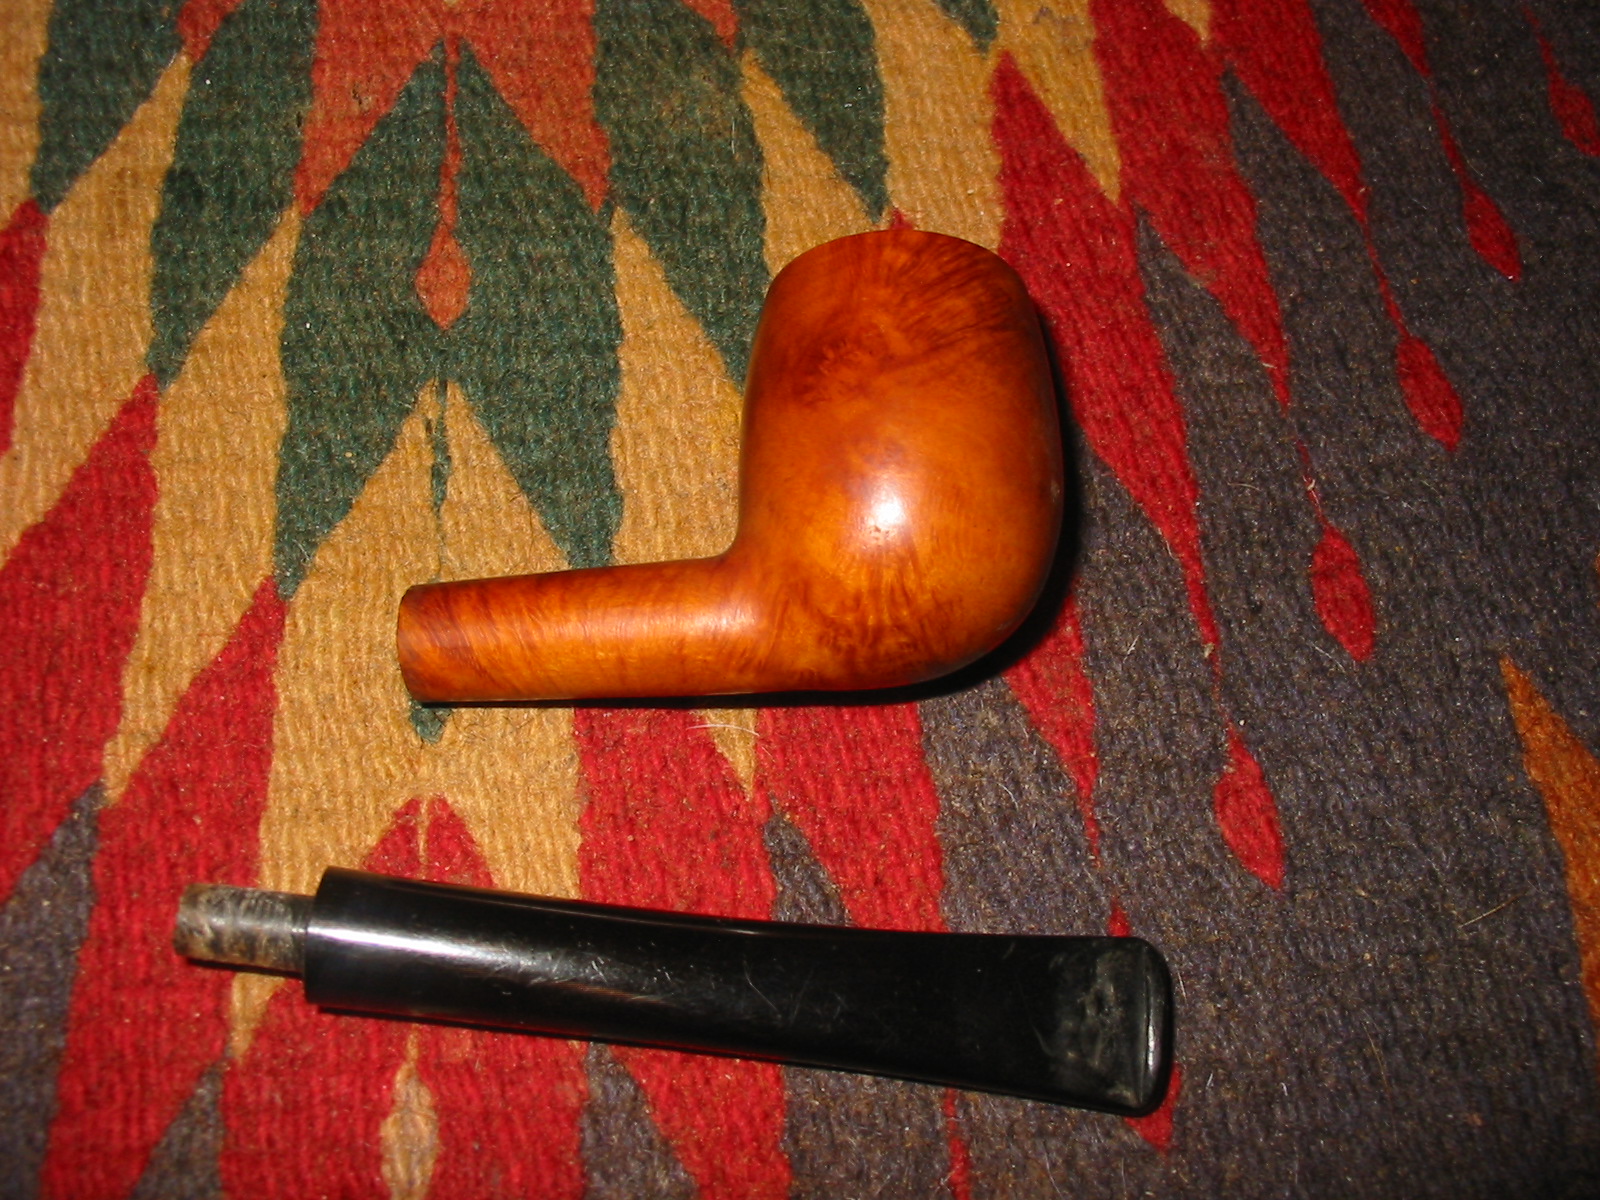

 I took down the excess material with a Dremel and sanding drum and then hand sanded with 220 grit sandpaper to smooth things out. I could easily sand about ¾ of the shank to get a smooth fit but the left side stamping made working on that side a challenge.
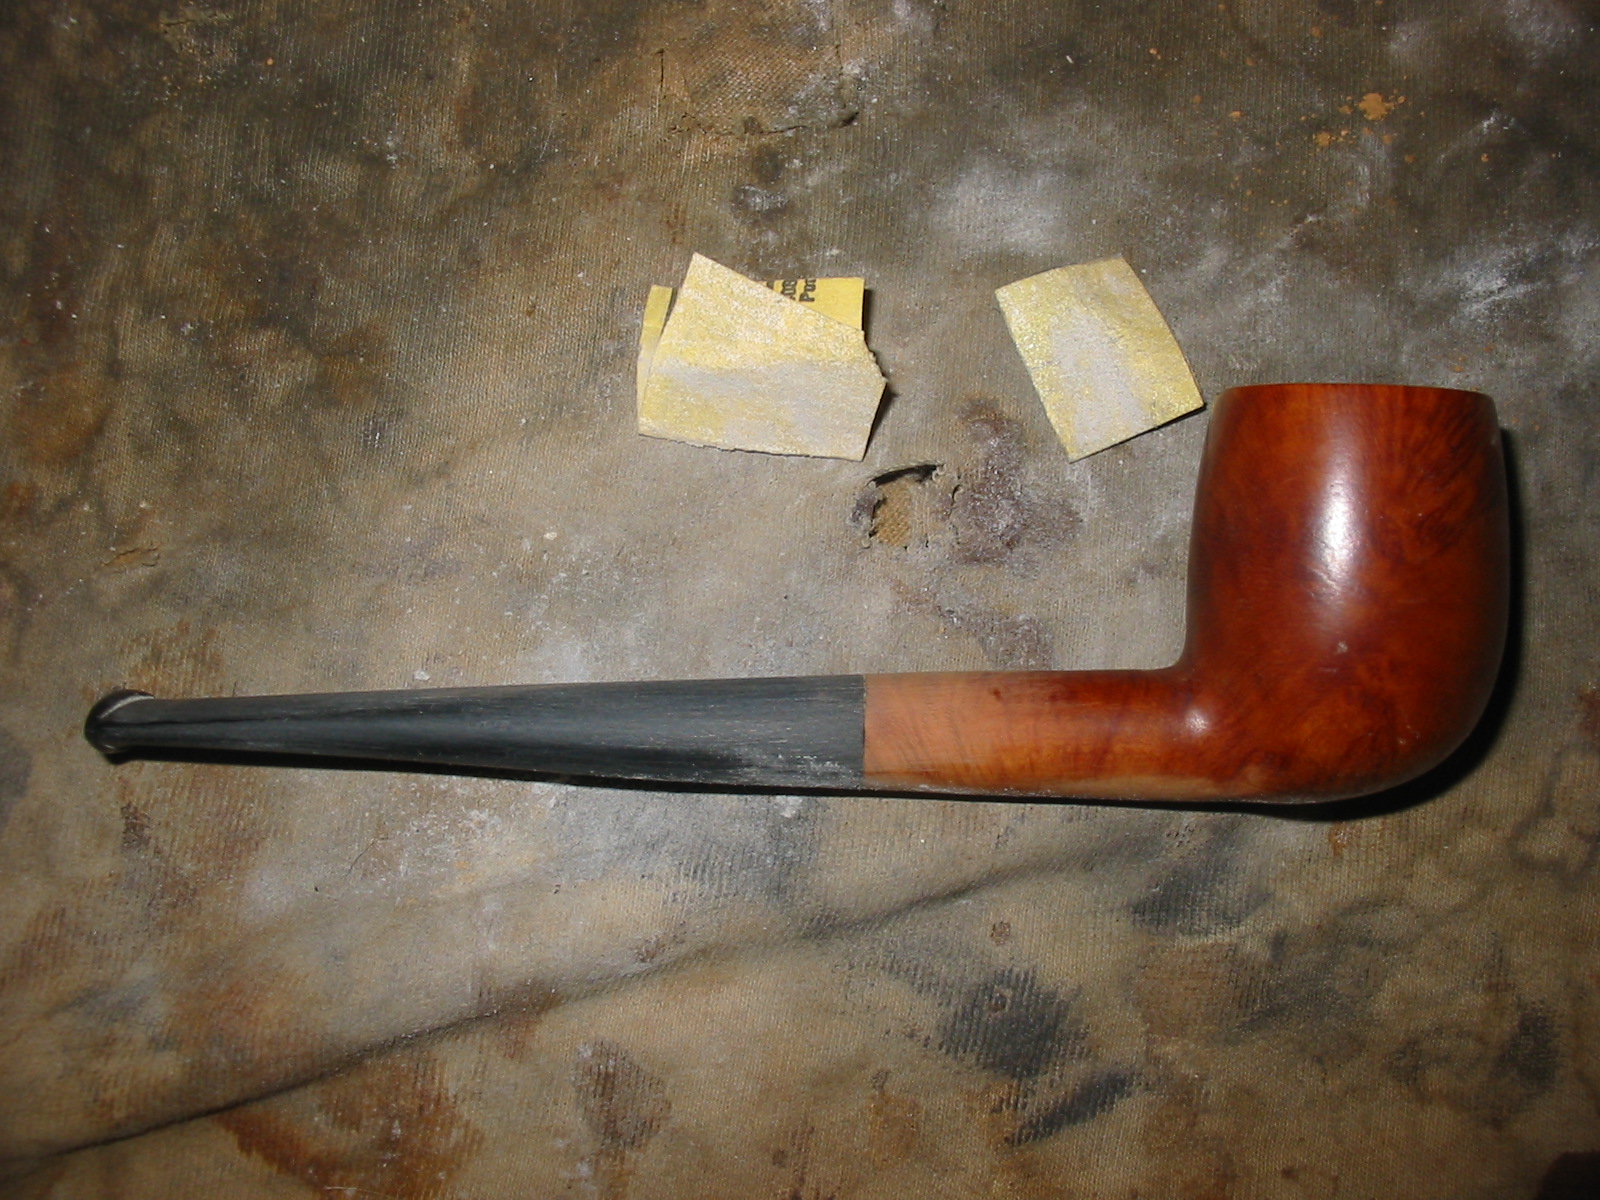
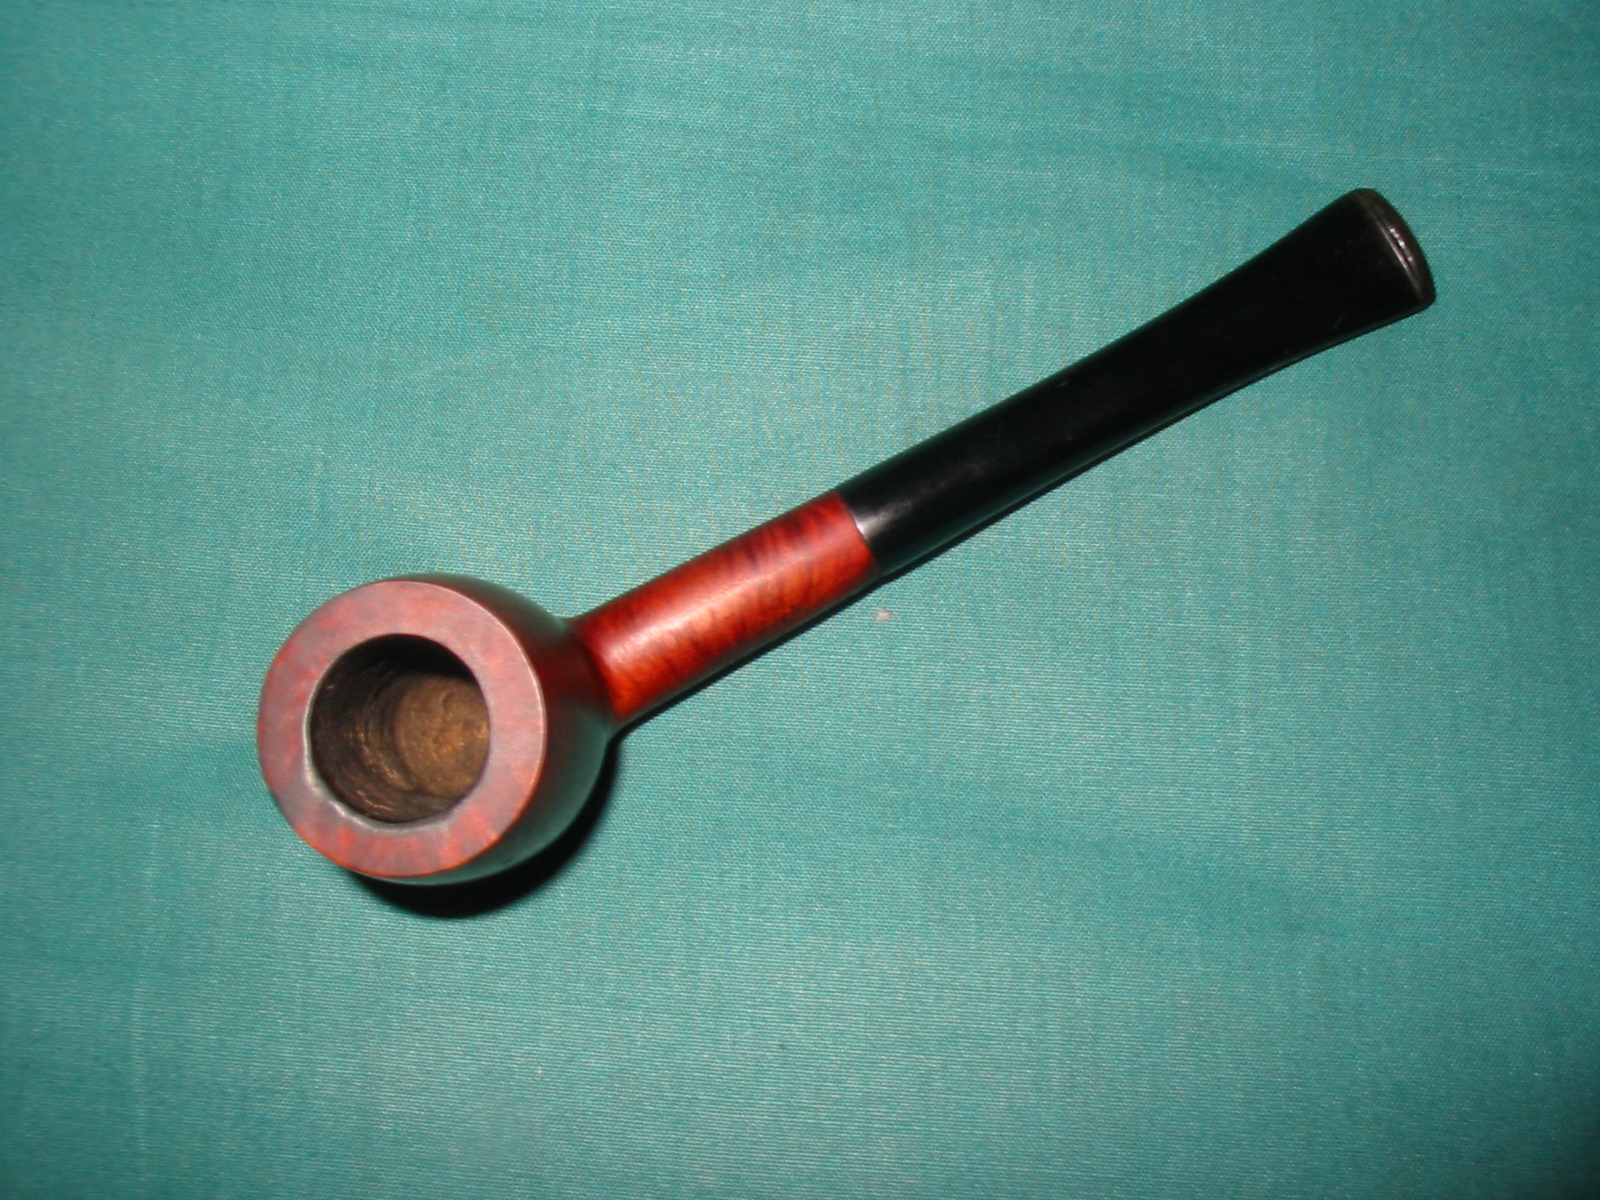
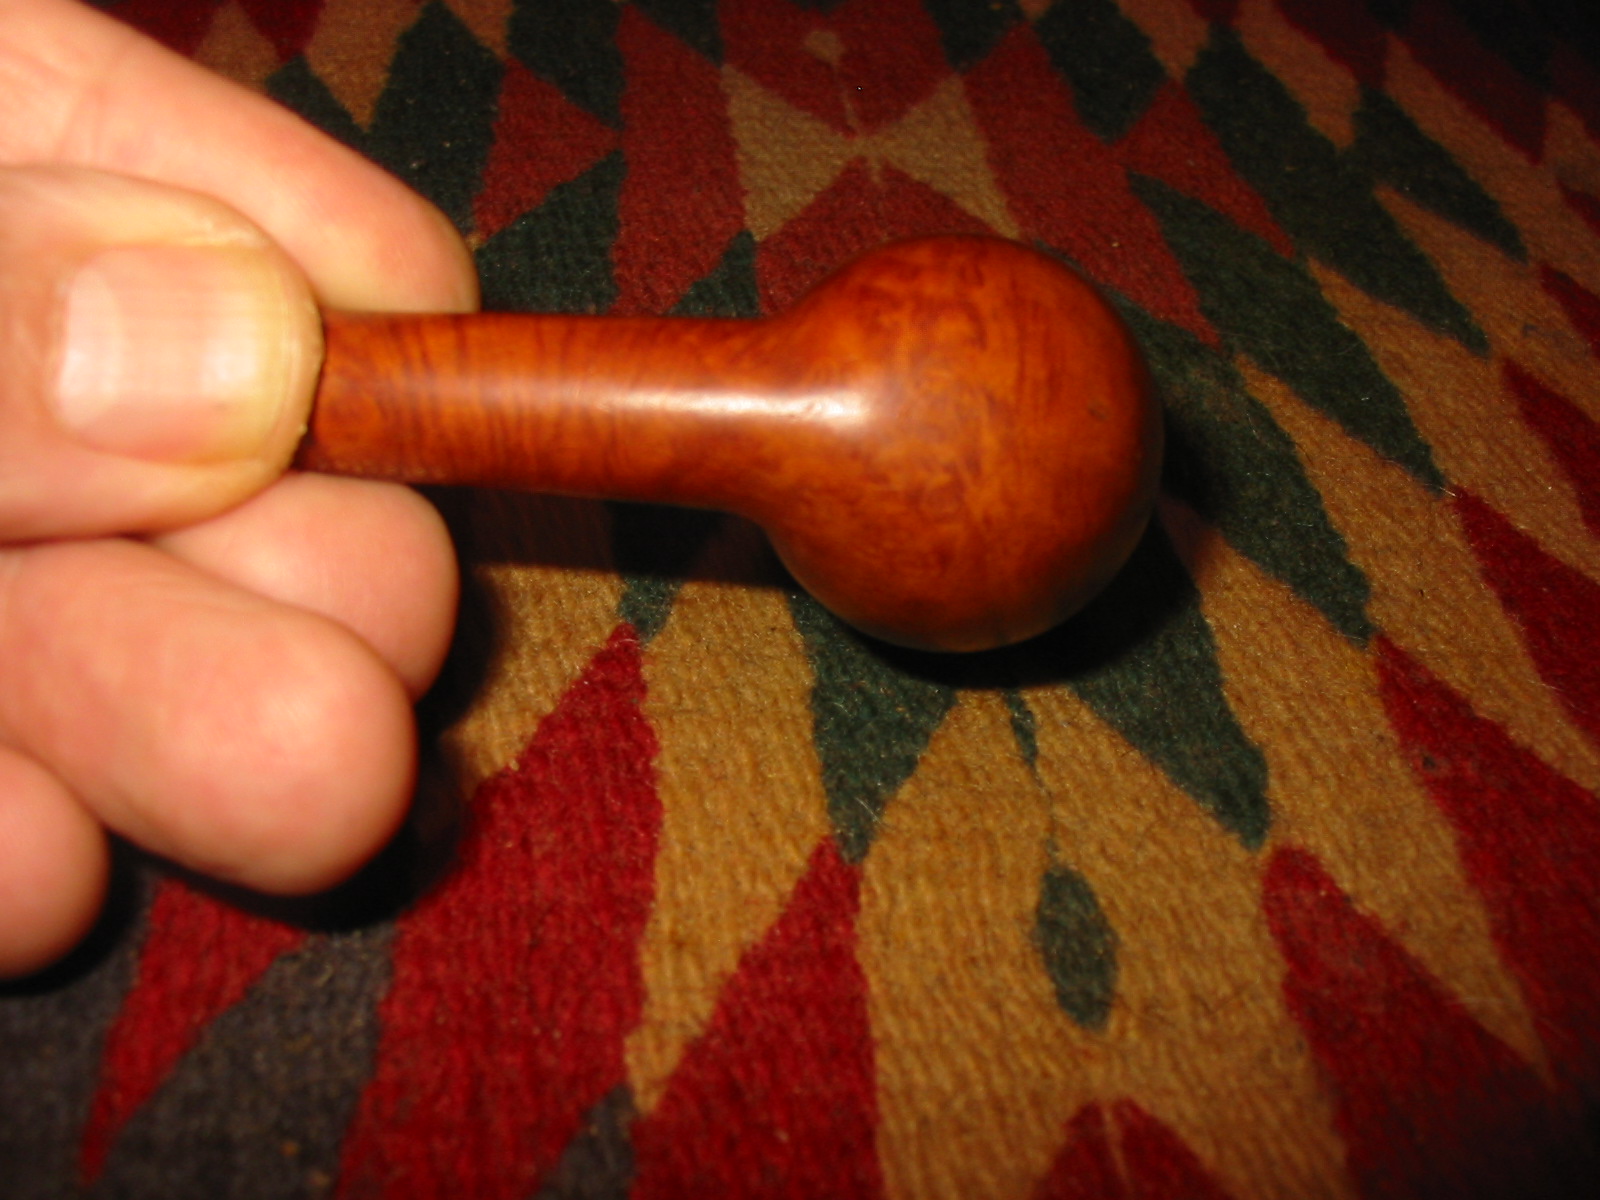
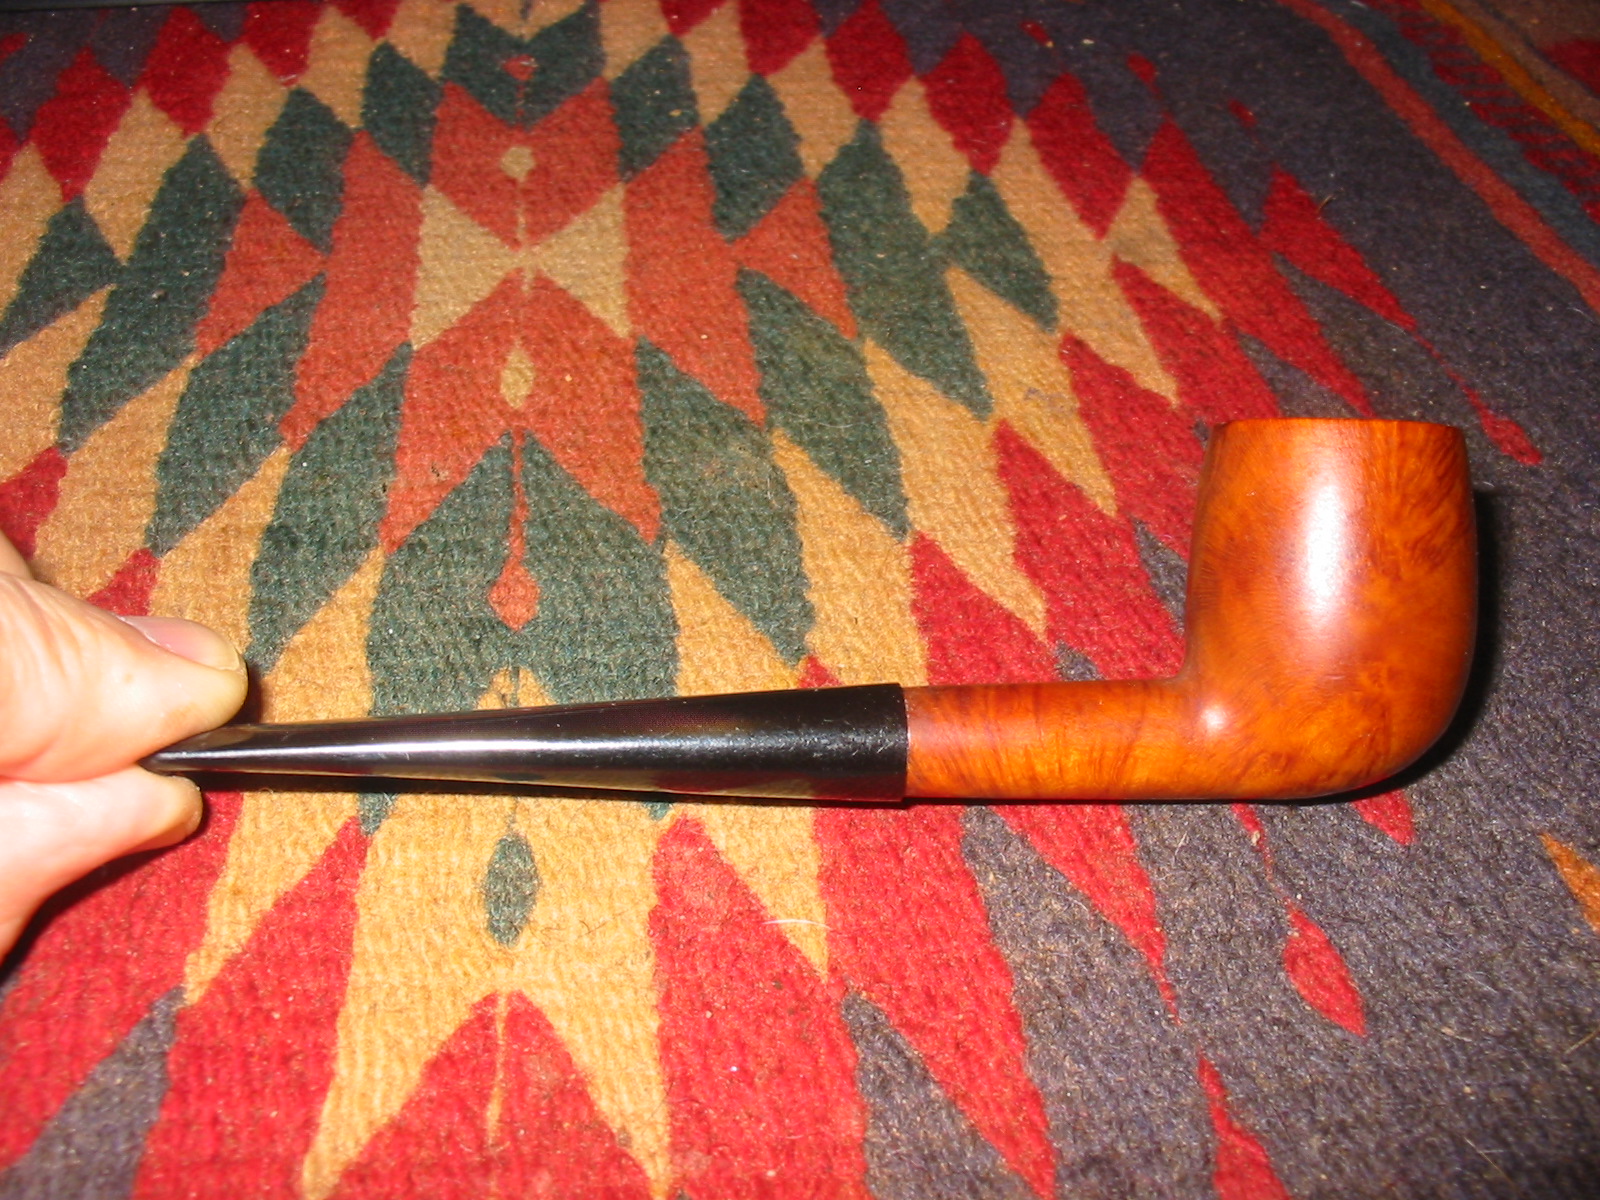
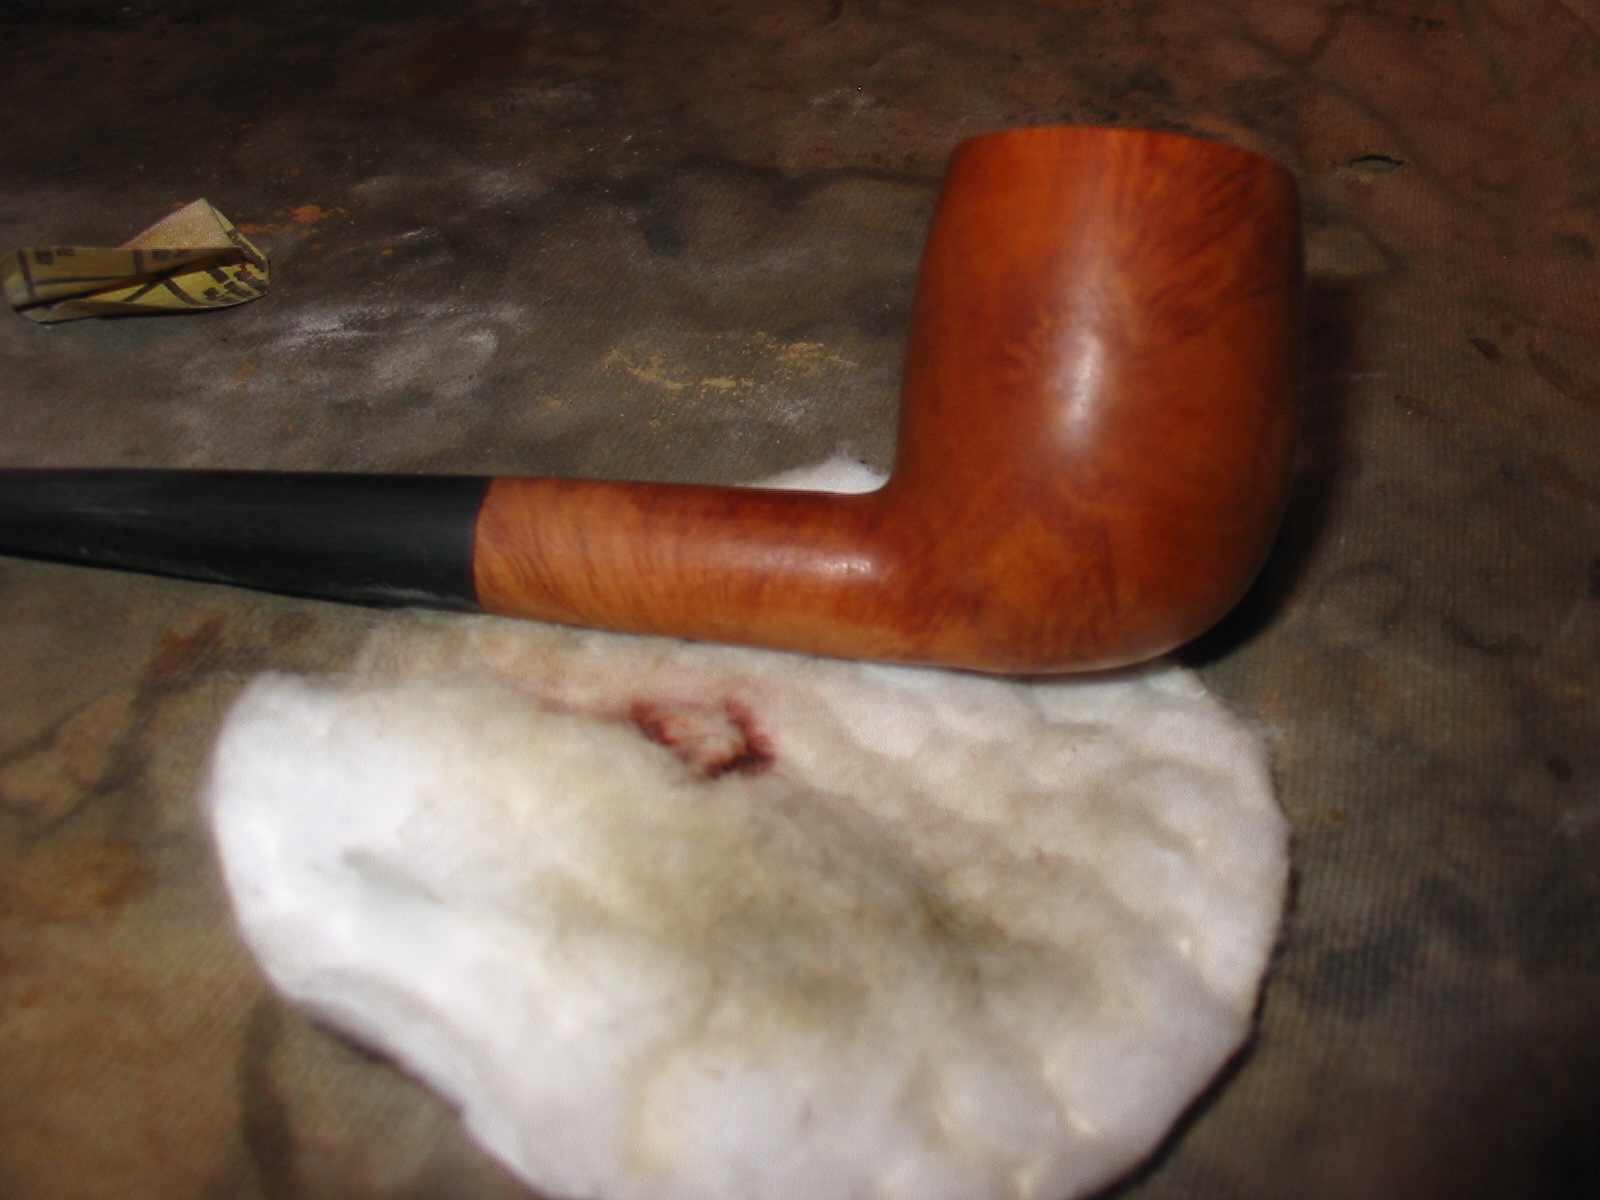
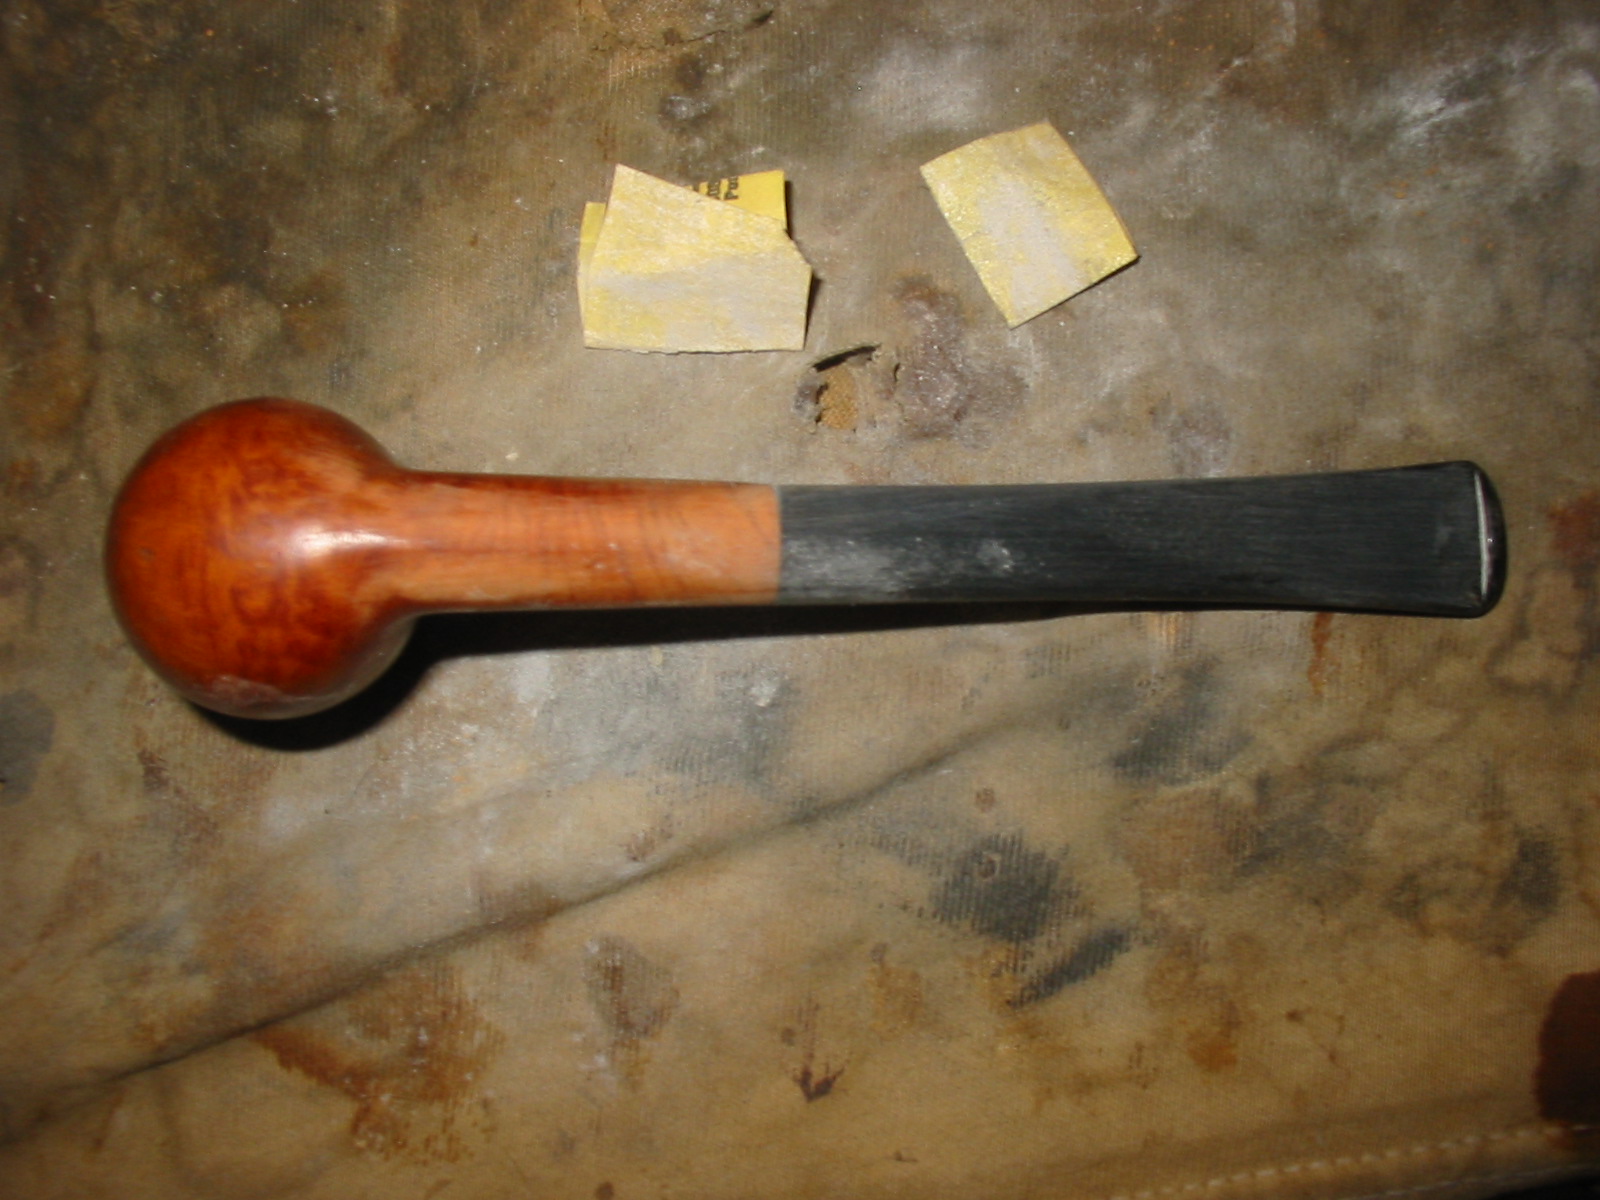 In the photo below of the top of the pipe the indent on the left side is visible. The stem and the shank dip in at the joint and make the fit less than I wanted to achieve. The other three sides were perfect.
 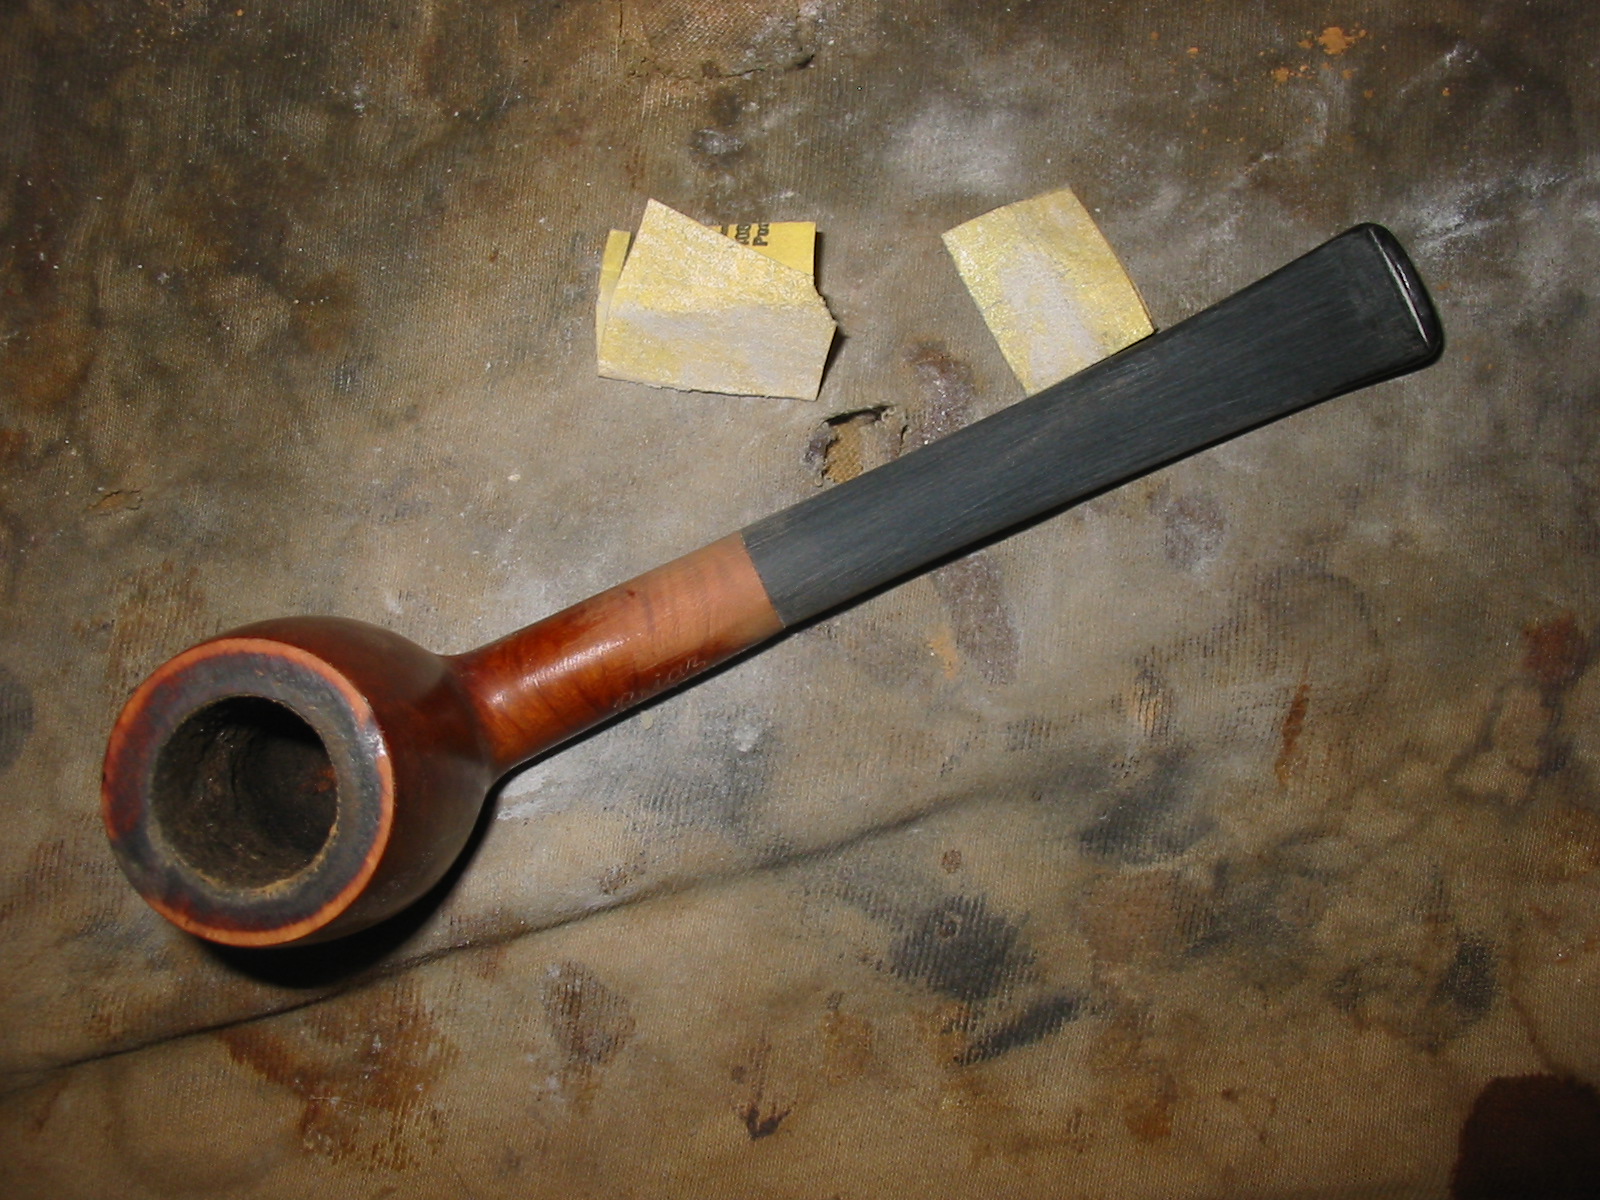 I decided to leave the bothersome fit of the stem and work on the bowl. I topped the bowl with my usual method of a sanding board and 220 grit sandpaper to remove the burn damage on the front and the large divot on the back of the rim. I was able to remove most of it with a light topping. The remaining dark spot on the front of the rim would blend in to the stain fairly well.
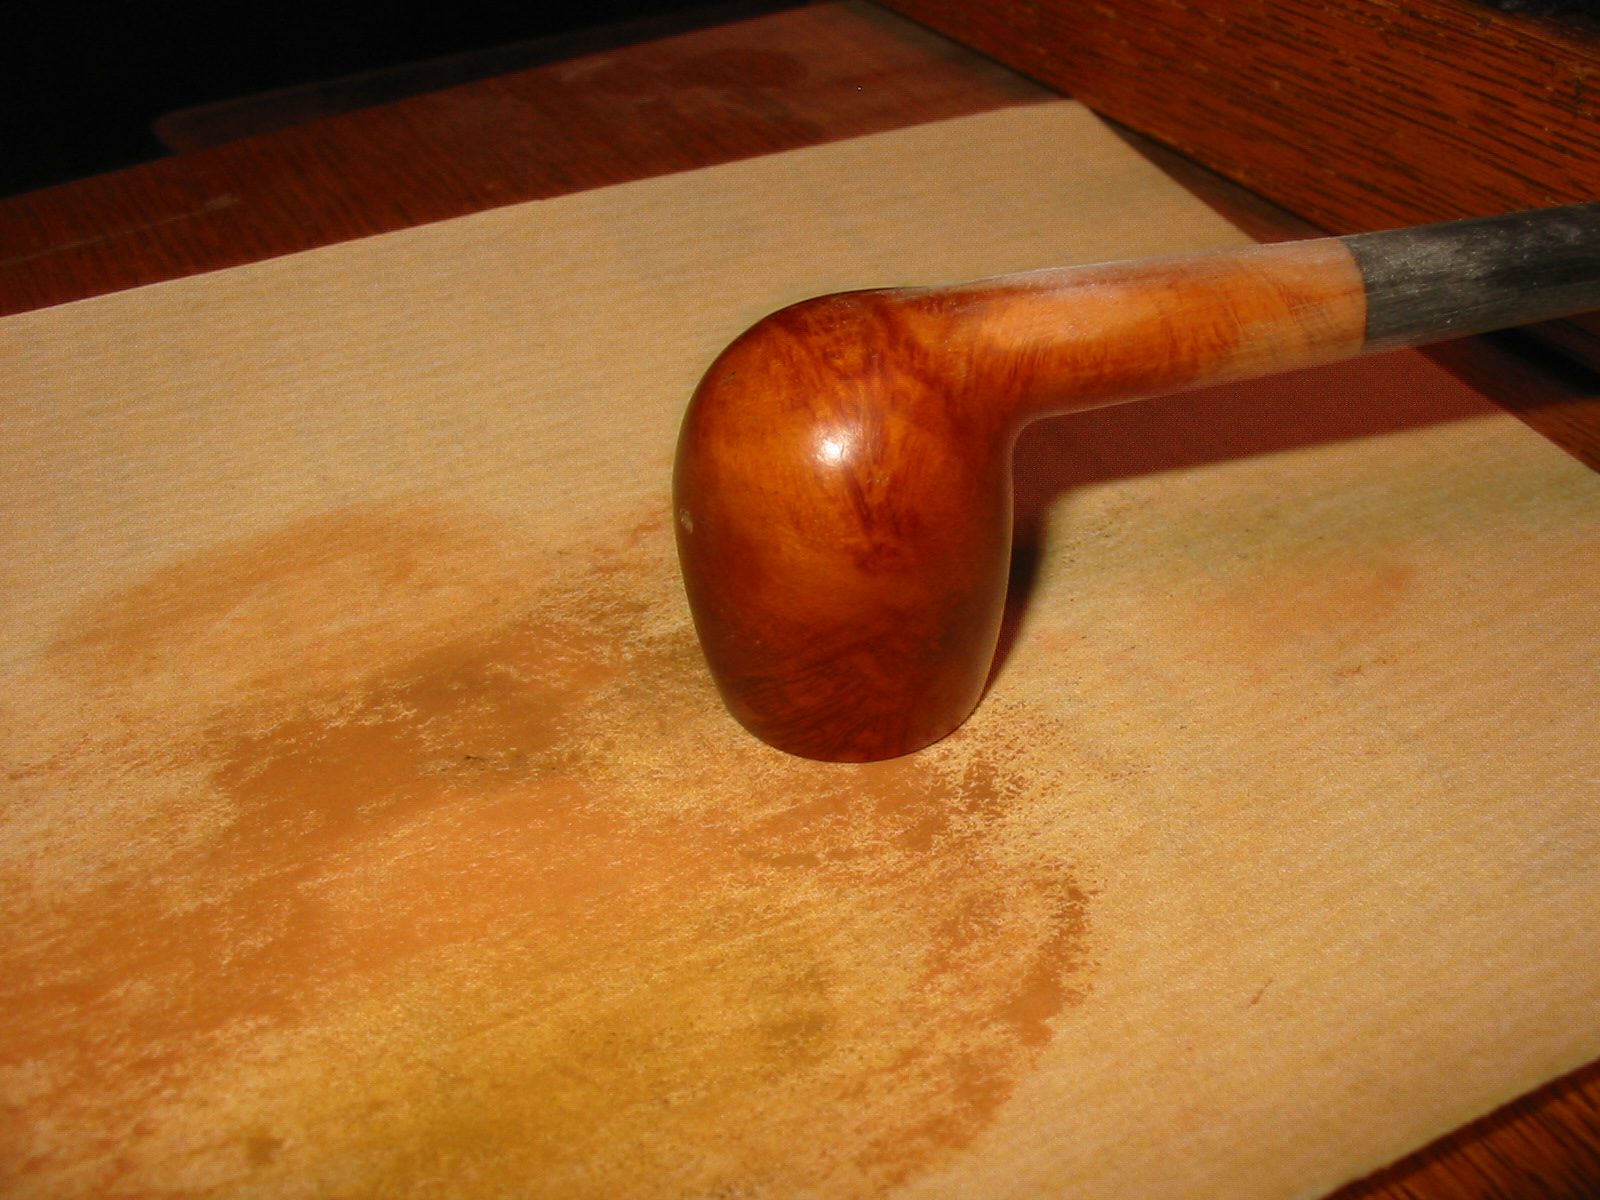
 I wiped down the bowl with acetone on cotton pads to remove the finish that remain and to prepare the pipe for staining.
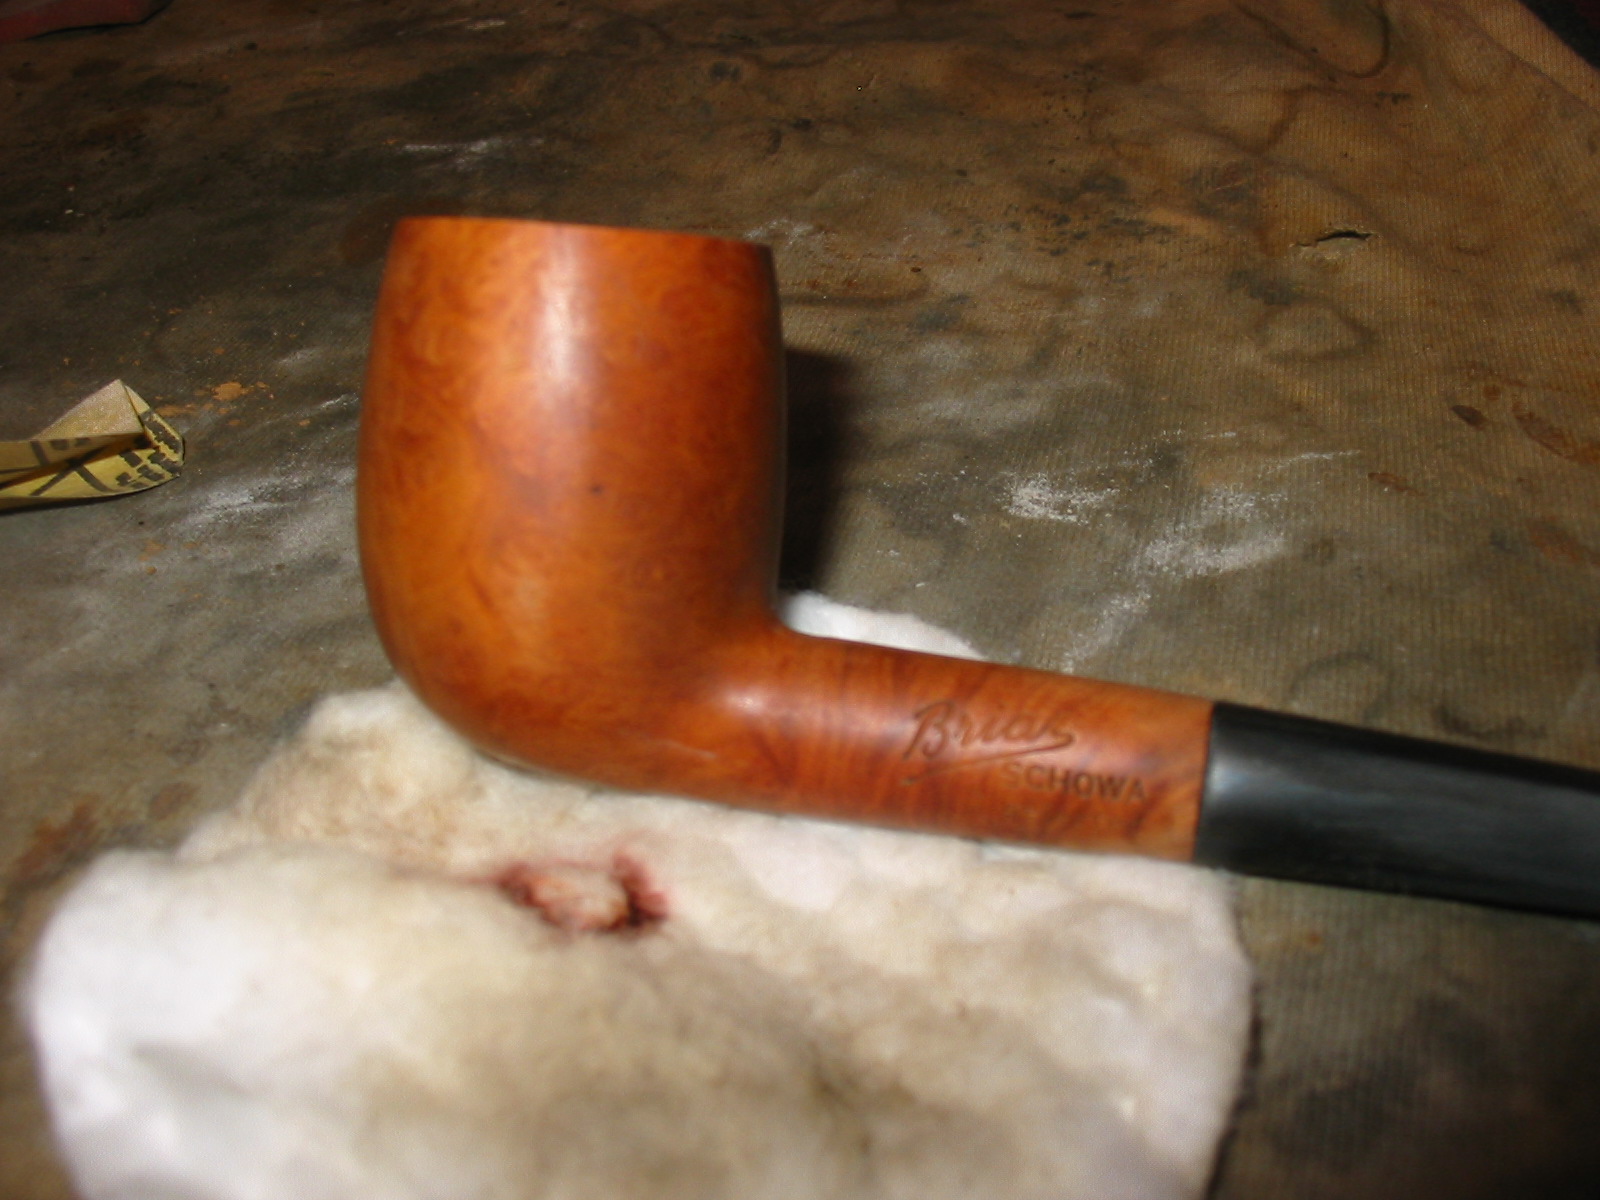
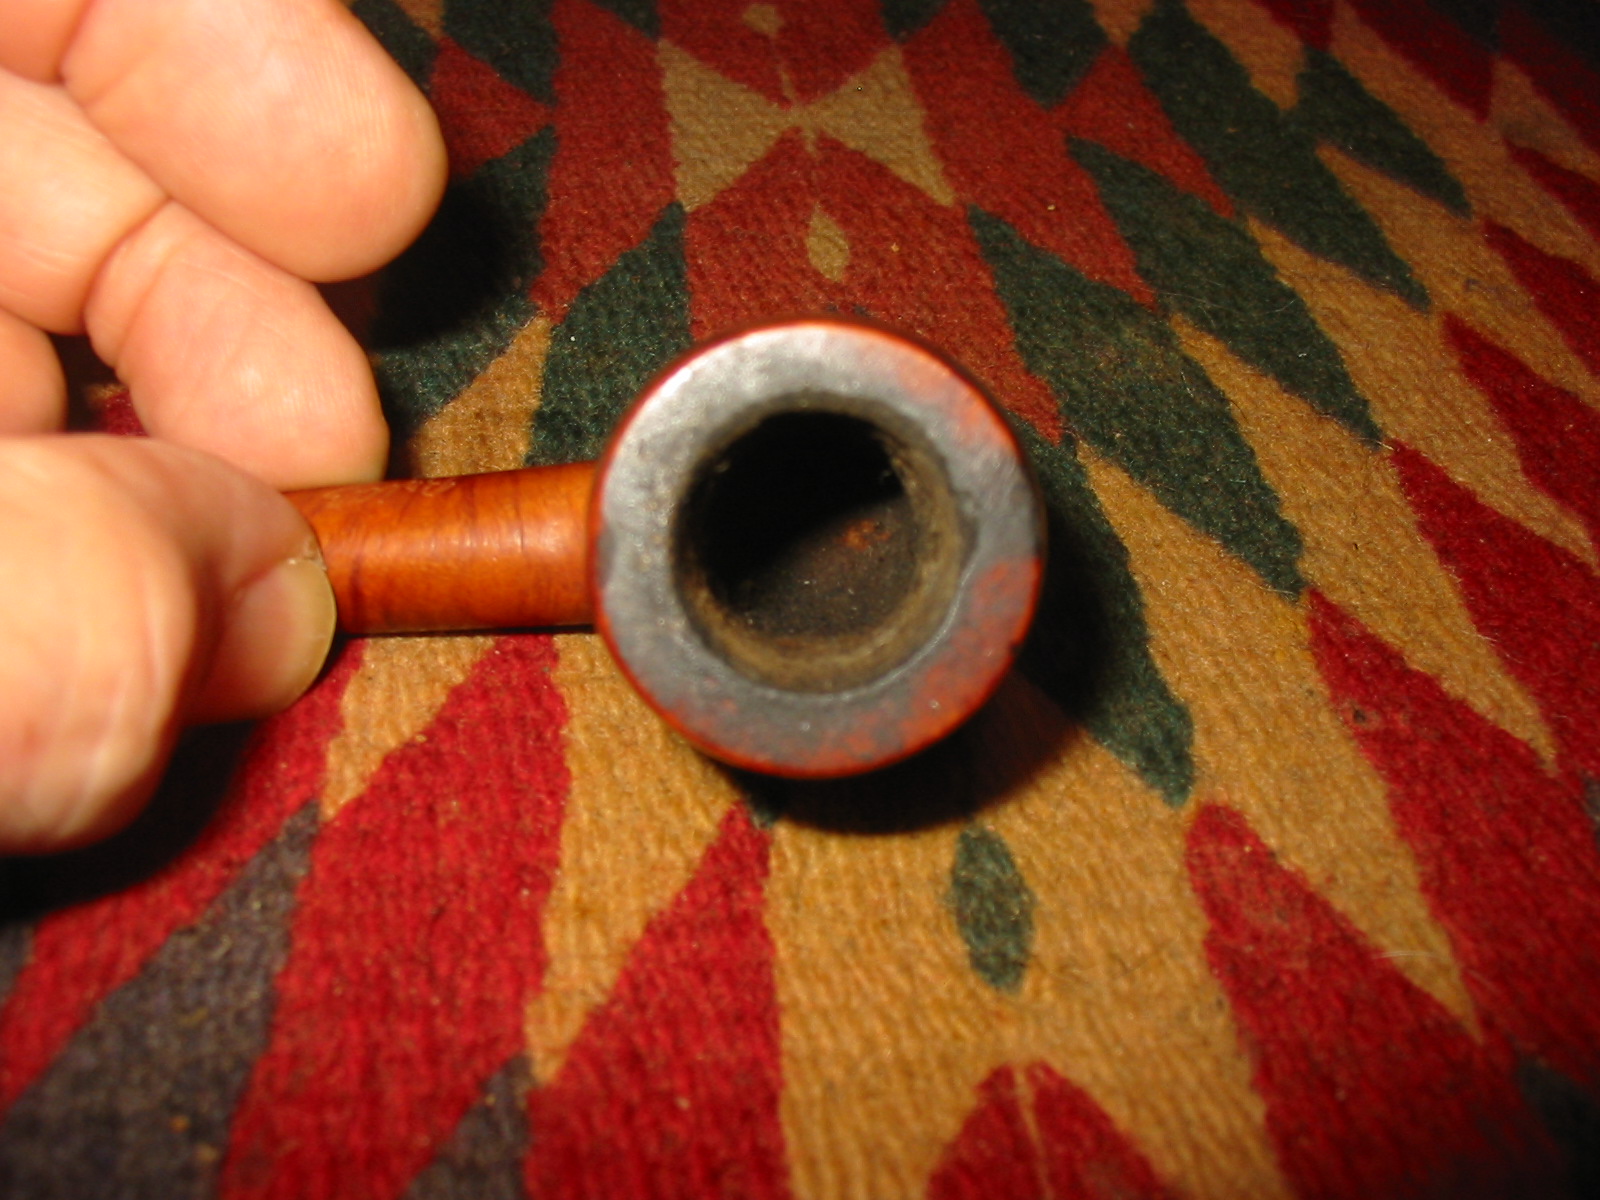
 I cleaned out the shank with pipe cleaners, cotton swabs and isopropyl alcohol until the cleaners came out with no colour.
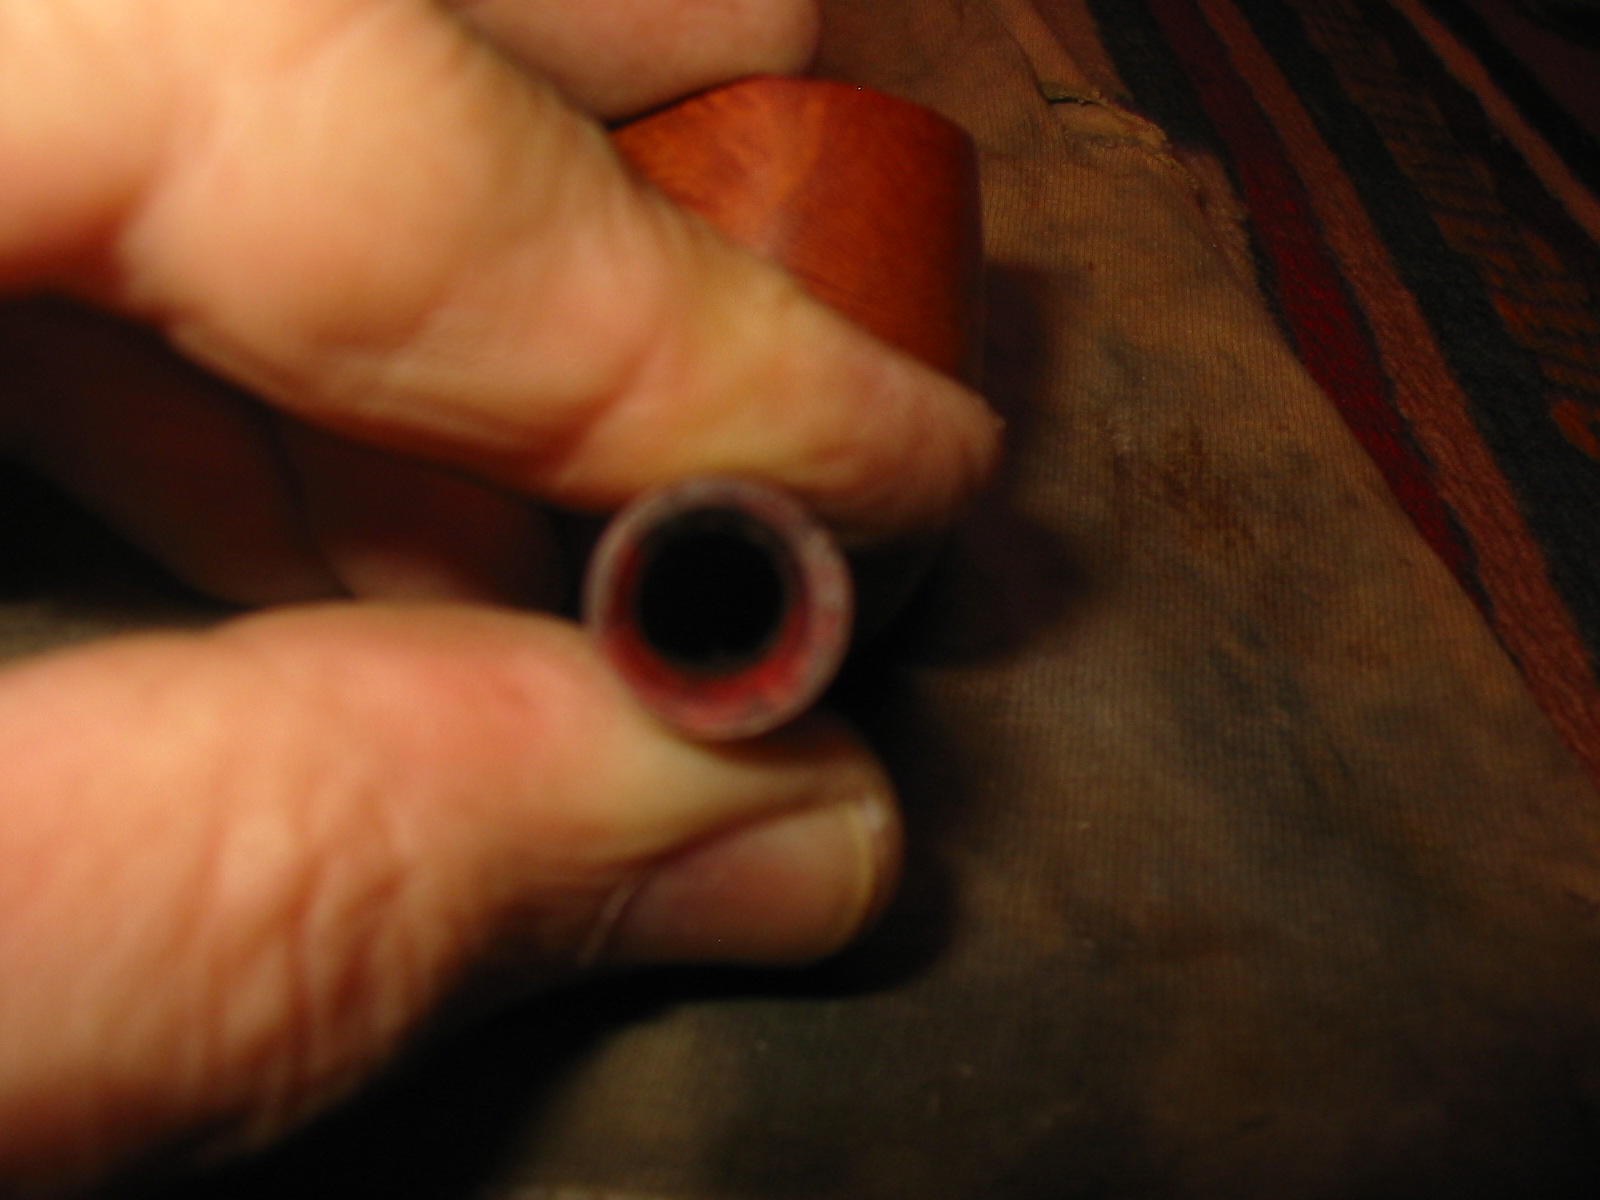
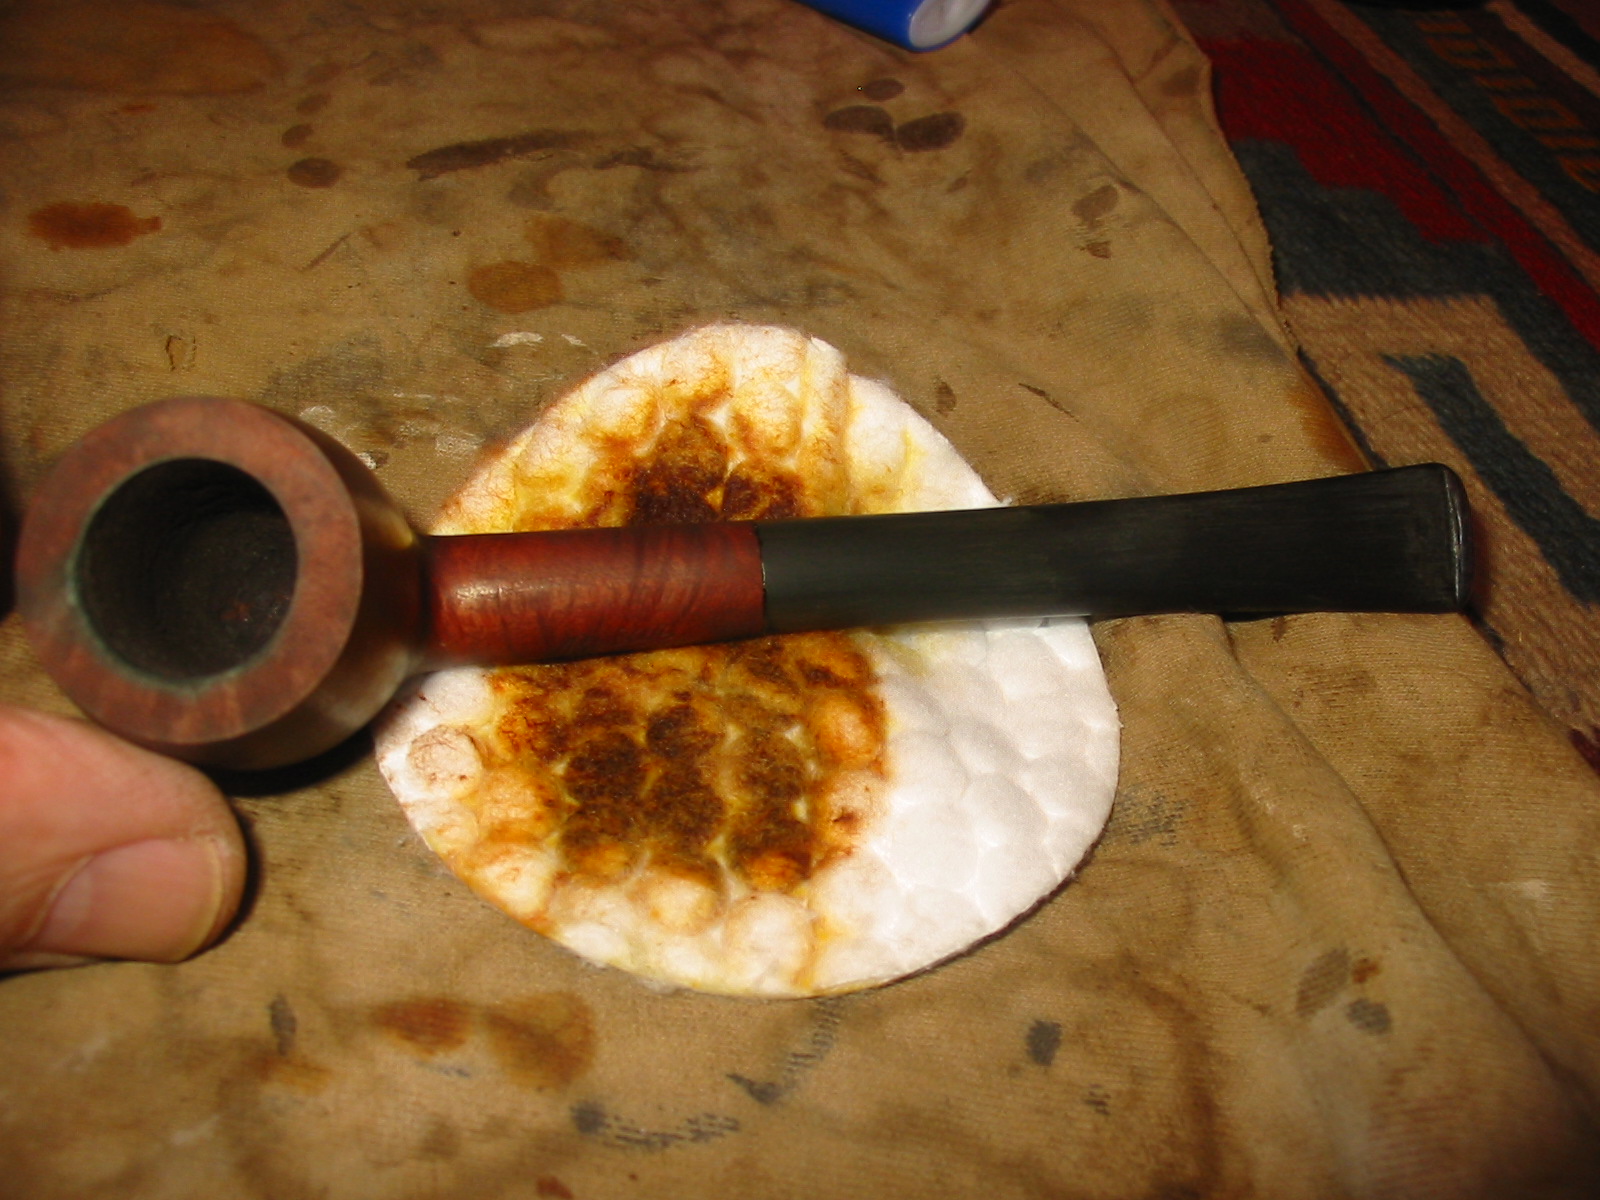
  The dip in the left side of the union of the stem and shank bothered me. I took photos of the shank end and the end of the stem to show the degree that they were out of round. These are slightly out of focus but the problem can be seen. The left side of the stem next to the tenon is thinner than the right and the same is true of the shank. The stem is straight and clean edged but the shank is pinched inward. The union of the two would always be slightly pinched on the left.
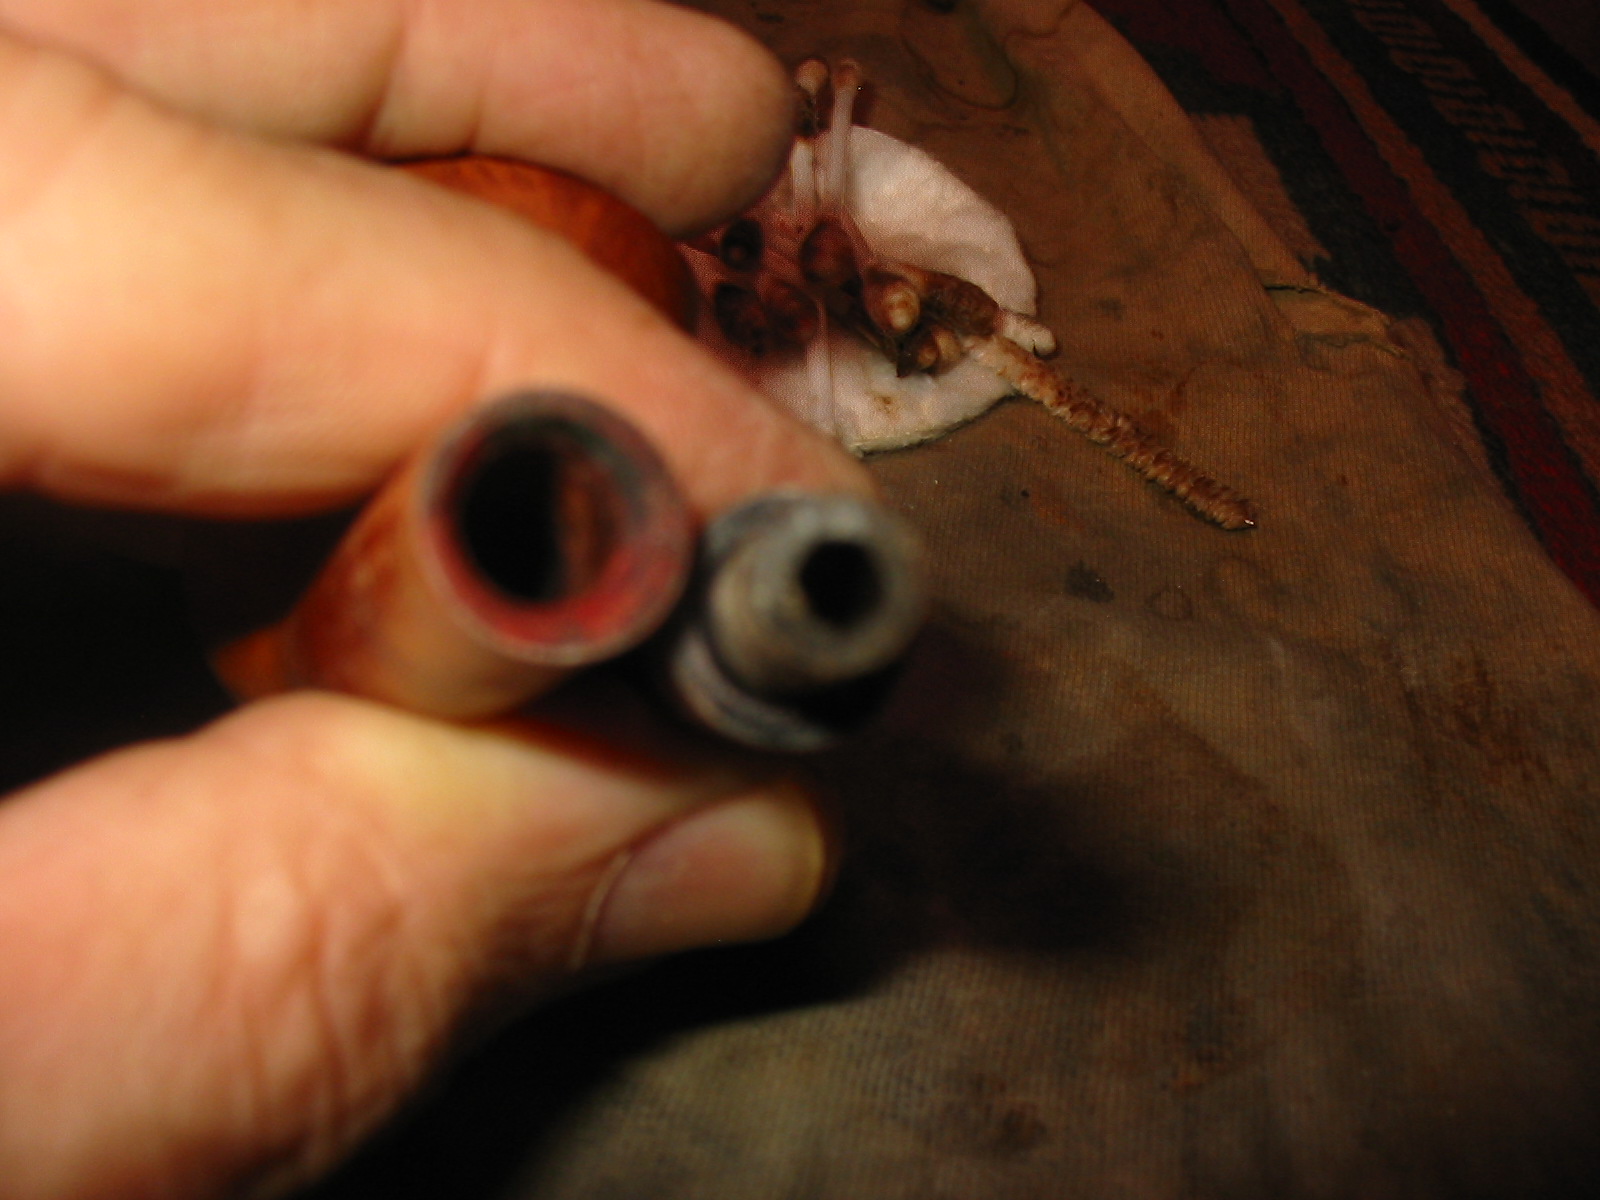
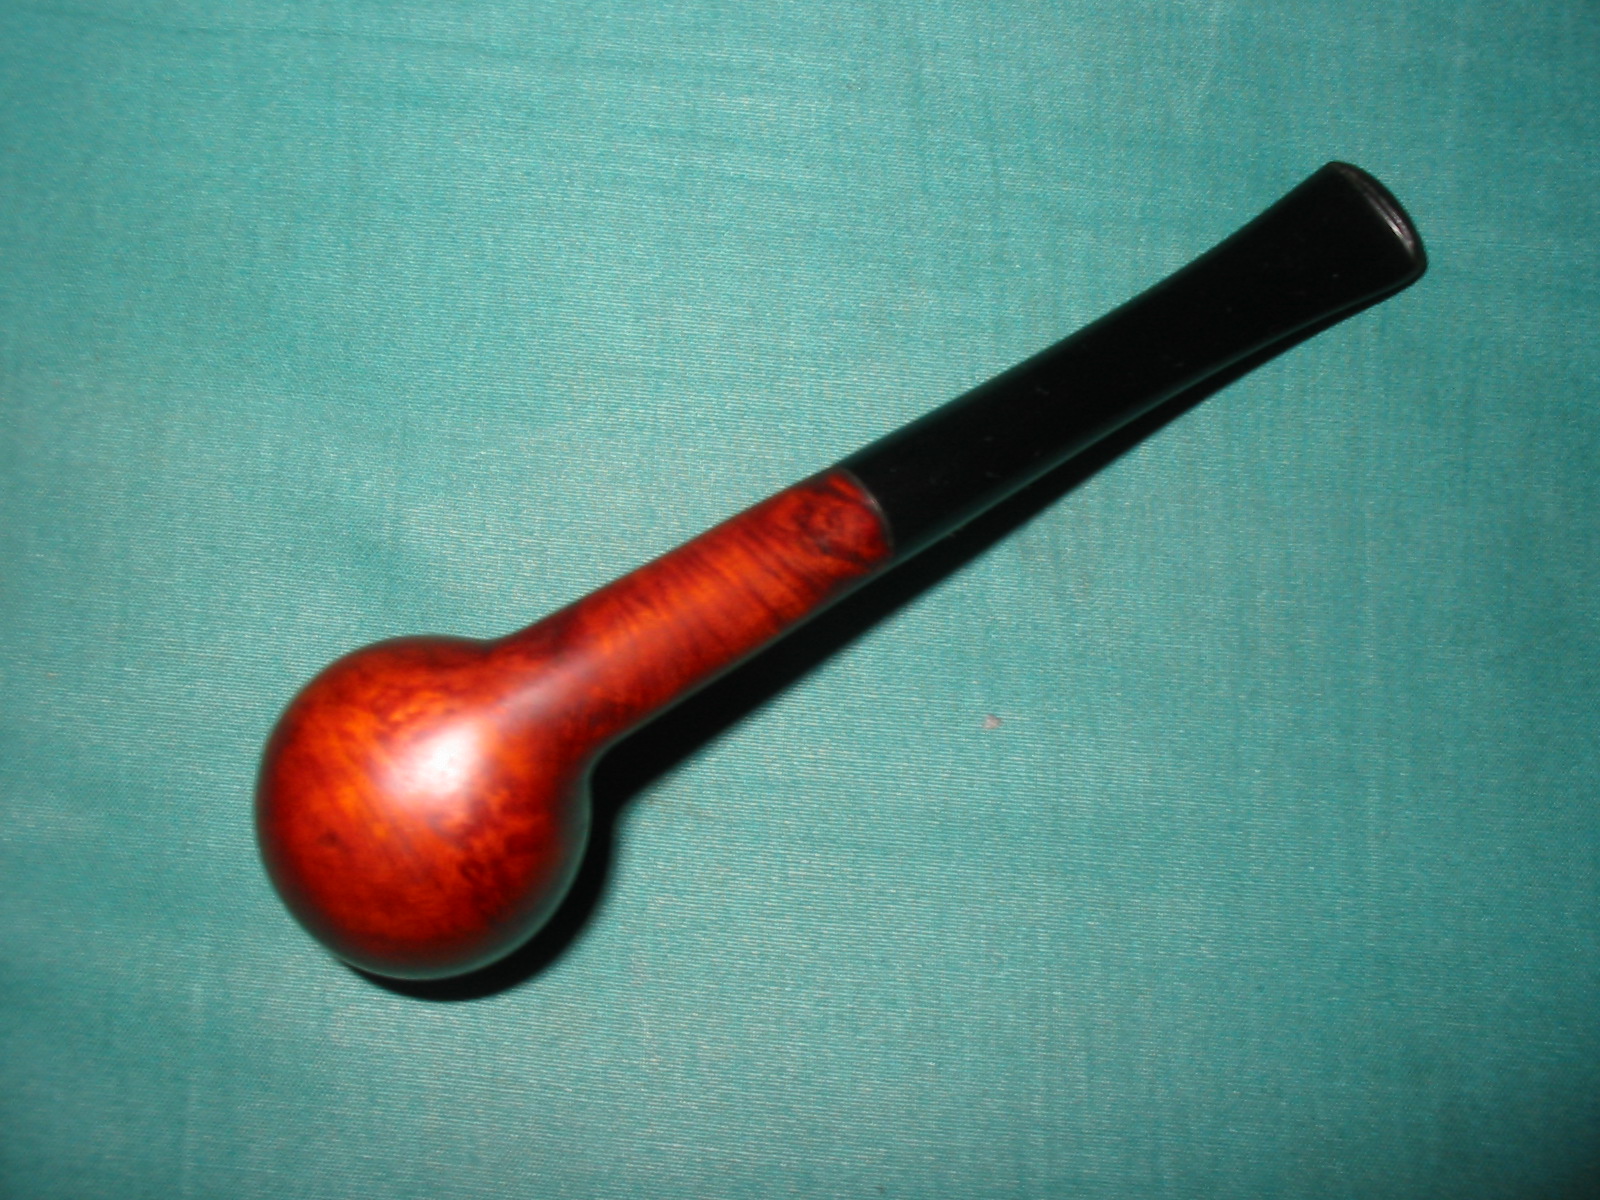
 I was not happy with the fit but decided to leave it for the moment. I stained the bowl with a dark brown aniline stain (Fiebings) and flamed it. I repeated the process until the coverage was even. I wiped down the bowl and shank with isopropyl alcohol on cotton pads to lighten the stain on the bowl and make it less opaque. (In the first photo the troublesome left side joint really stands out.)
 The joint bothered me enough that I took out a second stem and fit it in the shank. I sanded the outer diameter until it was a close fit to the shank. This time I did not sand the shank any further and avoided the junction on the left side altogether. I decided to focus on keeping the profile of the stem straight and not worry about the pinched end on the left side of the shank. I knew that it would look slightly oversized on the left when finished but I could live with that look.
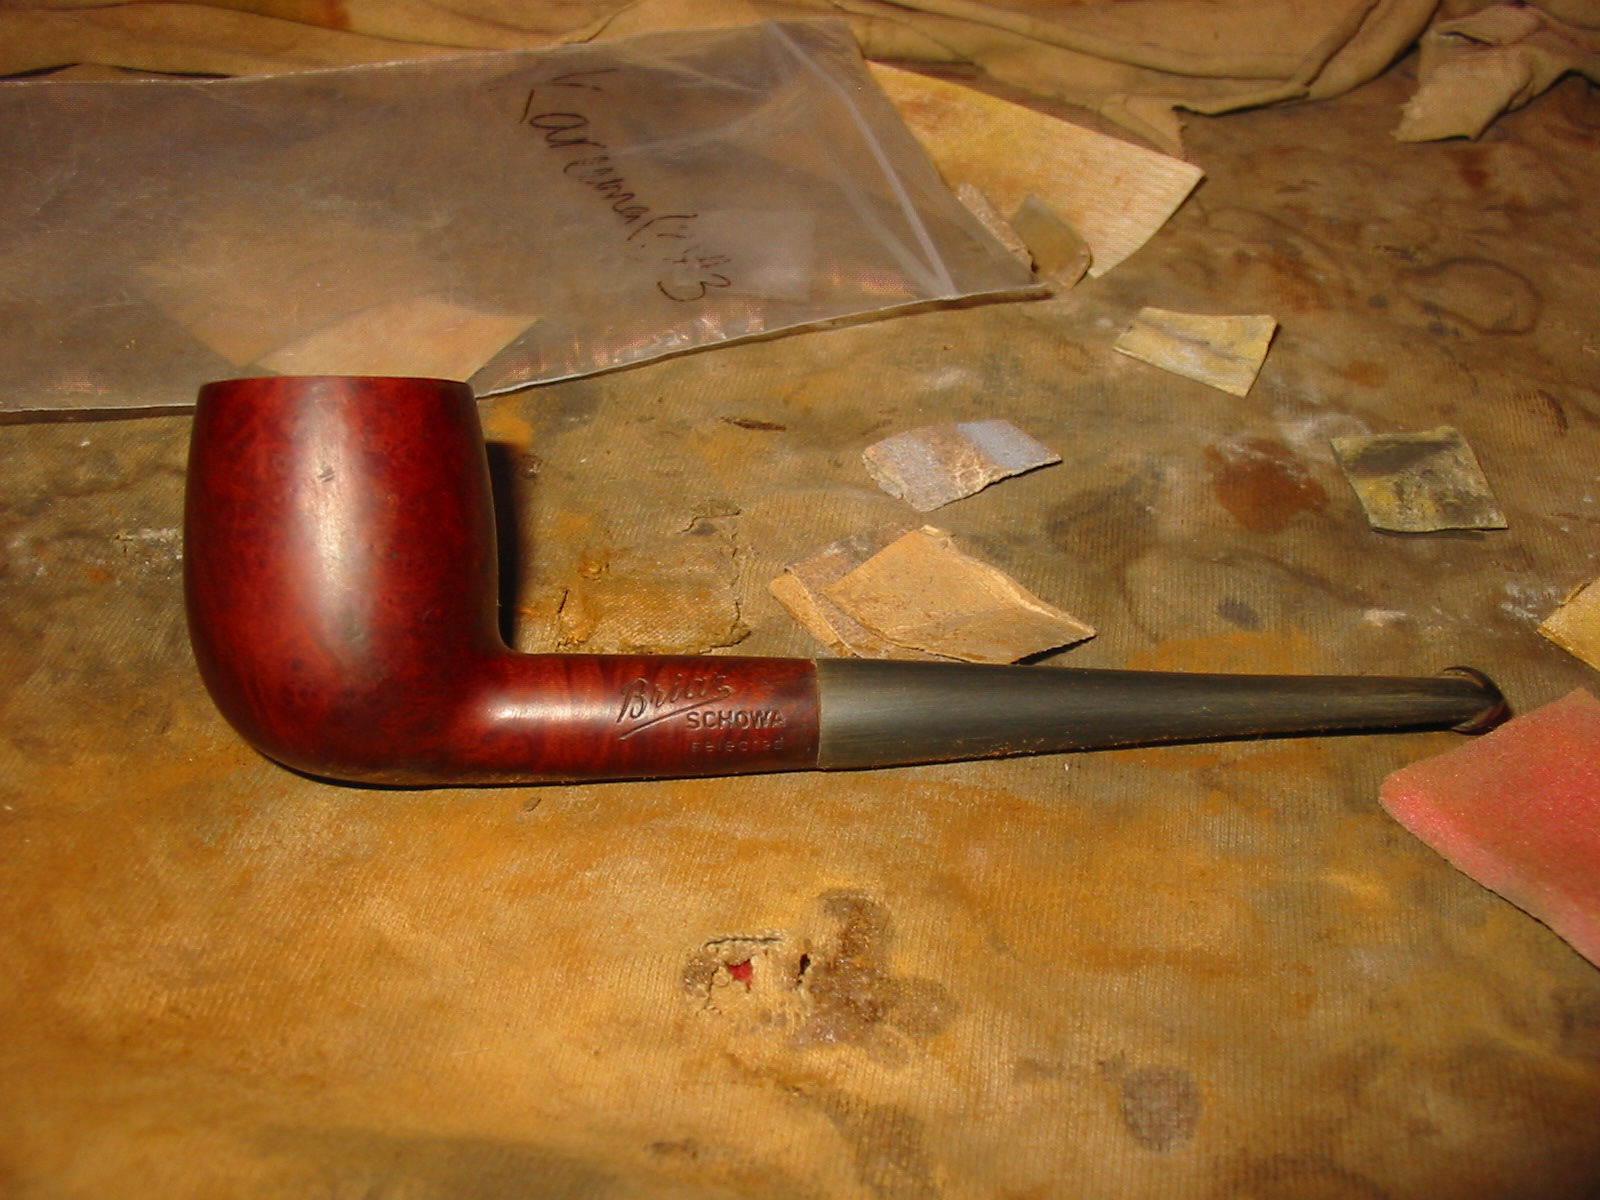
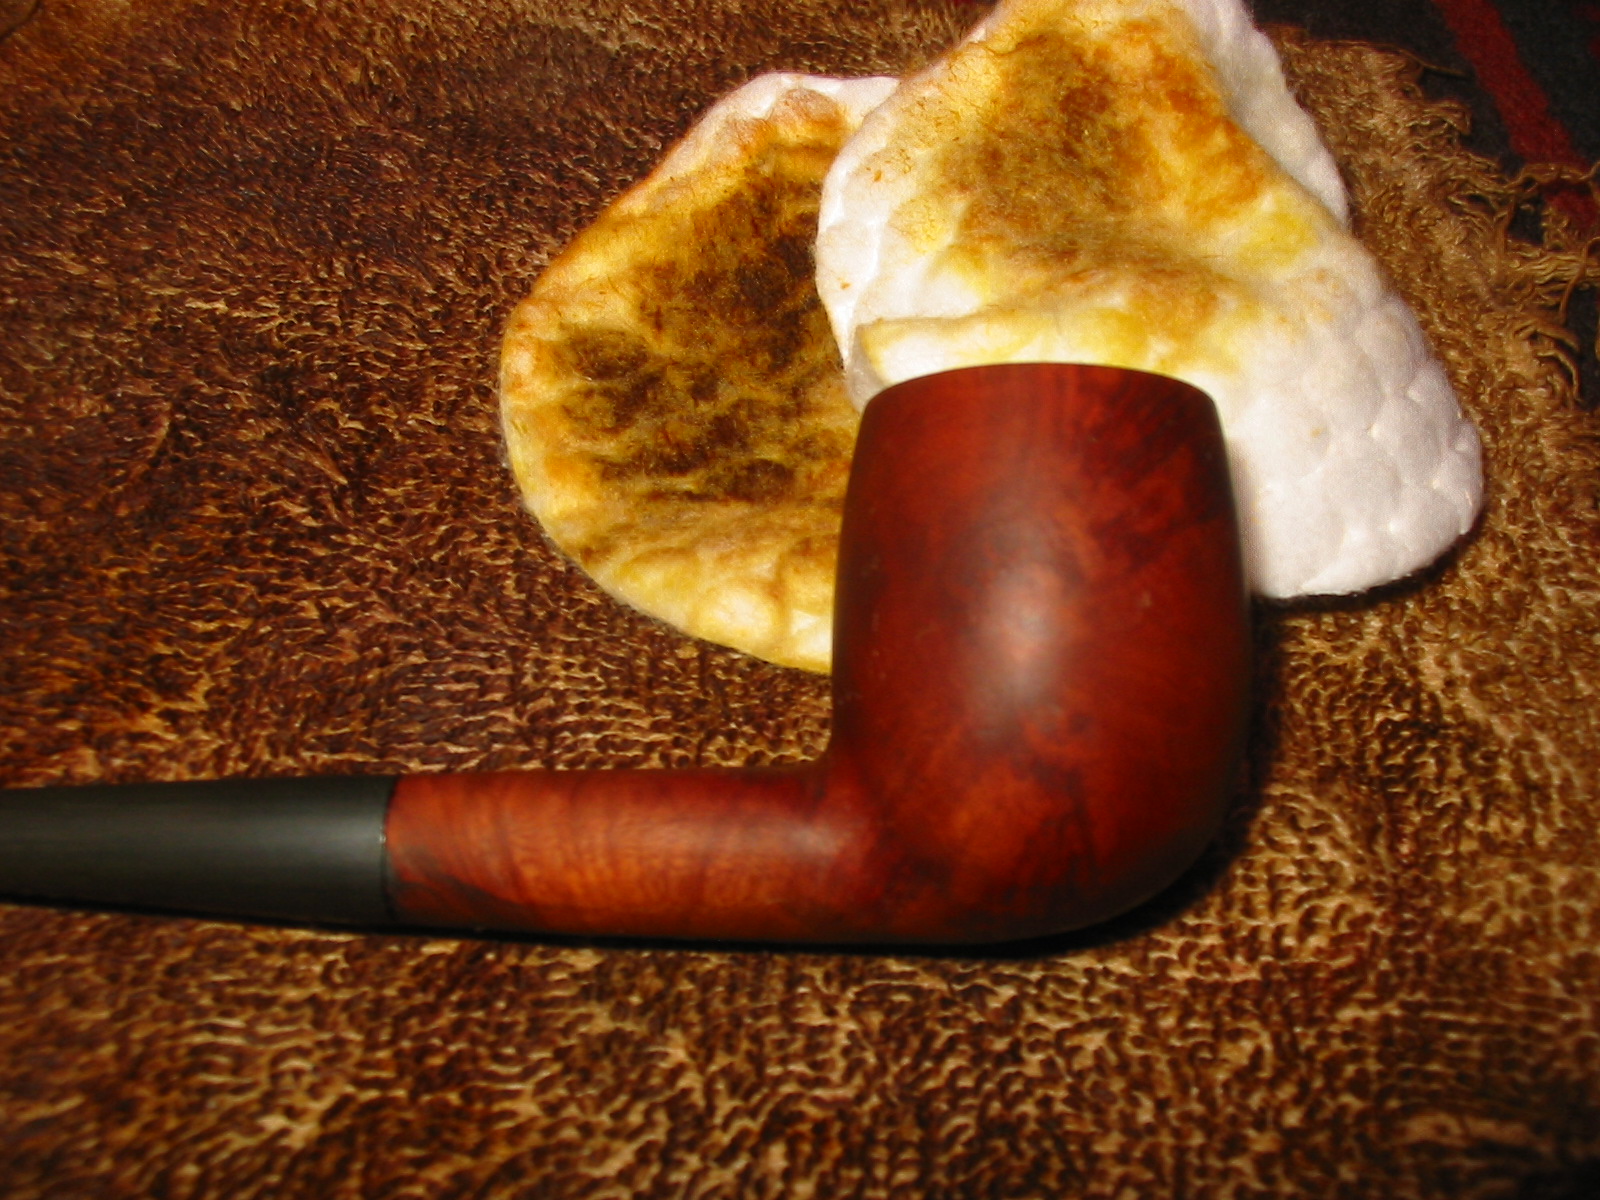
 I washed down the bowl when I was finished with isopropyl alcohol on cotton pads to clean up the sanding dust from the stem and further lighten the look of the stain on the briar.
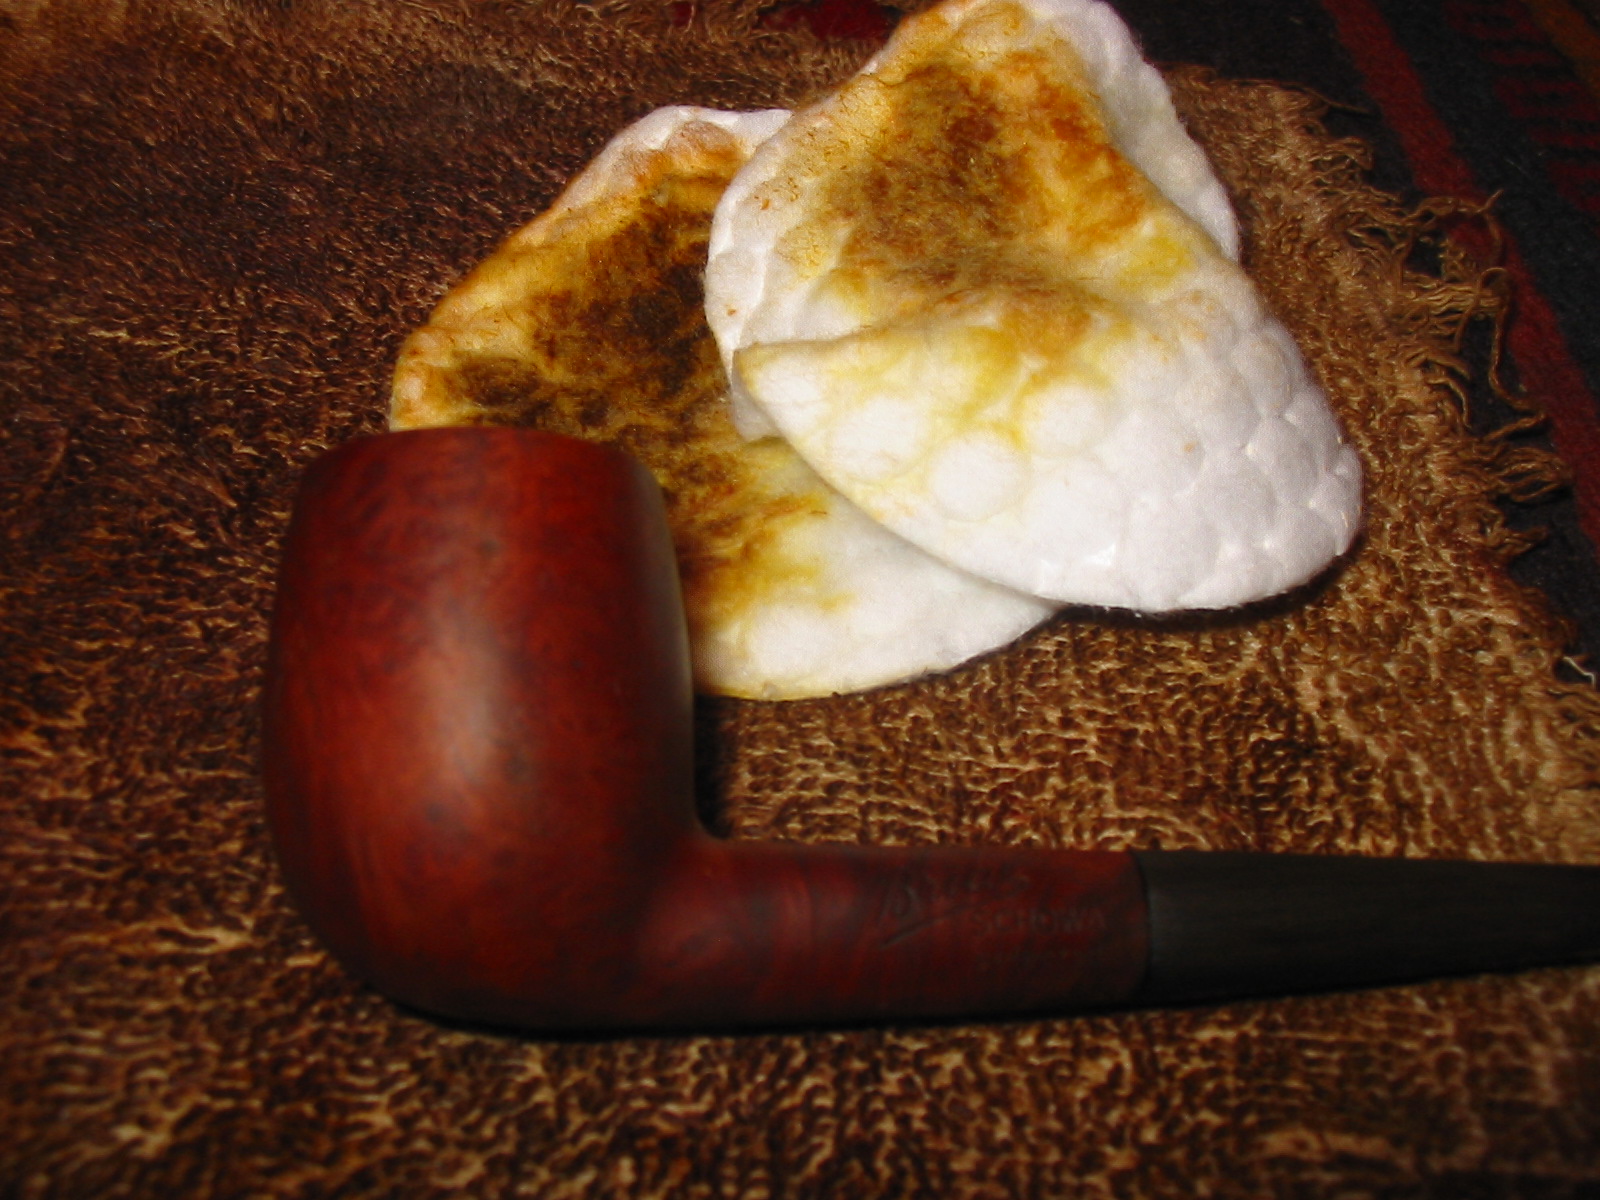
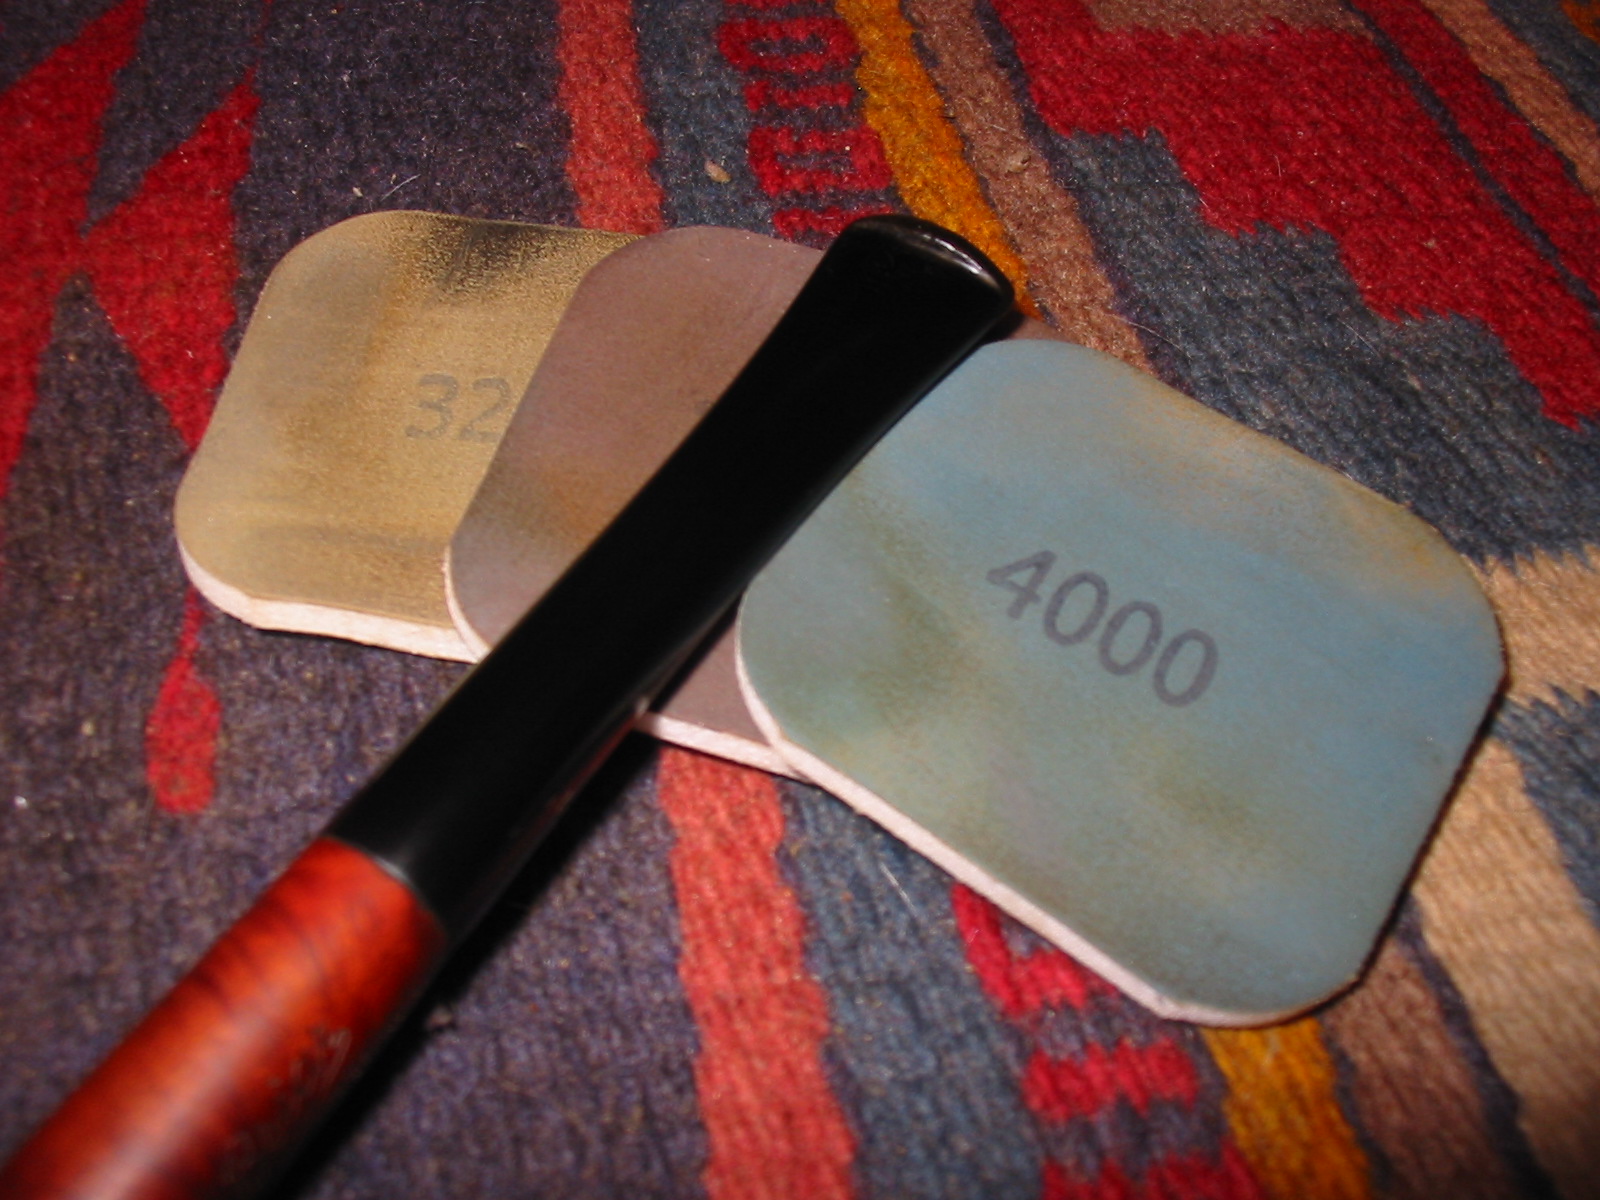
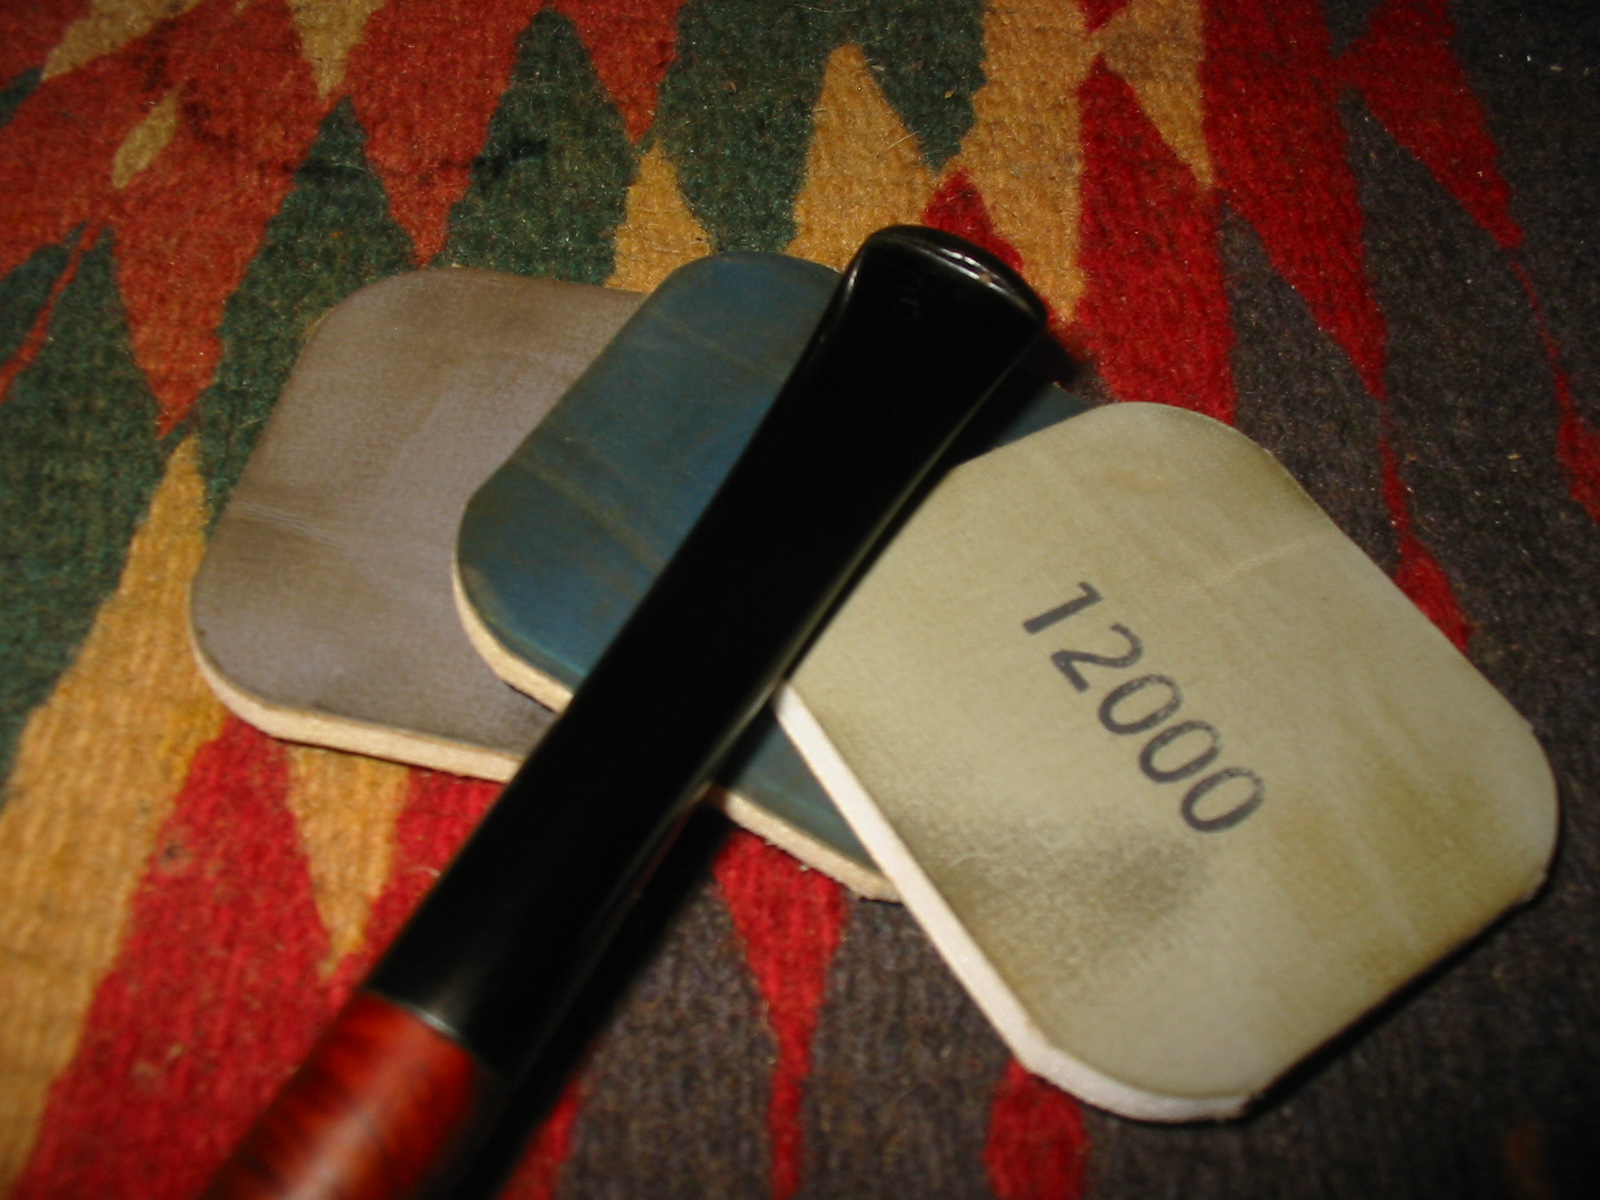
 Once I had finished with the bowl I worked on the stem. I sanded it with a medium and find grit sanding sponge to clean up the scratches left behind by the sandpaper and then used micromesh sanding pads to polish it. I wet sanded with 1500-3200 grit pads and dry sanded with 3600-12,000 grit pads. I rubbed the stem down with Obsidian Oil between the wet and dry sanding and also between each successive group of three grits of micromesh pads. This time the fit on the shank was better though far from flawless. It would work for me though. One day I may well end up banding this pipe but not today.
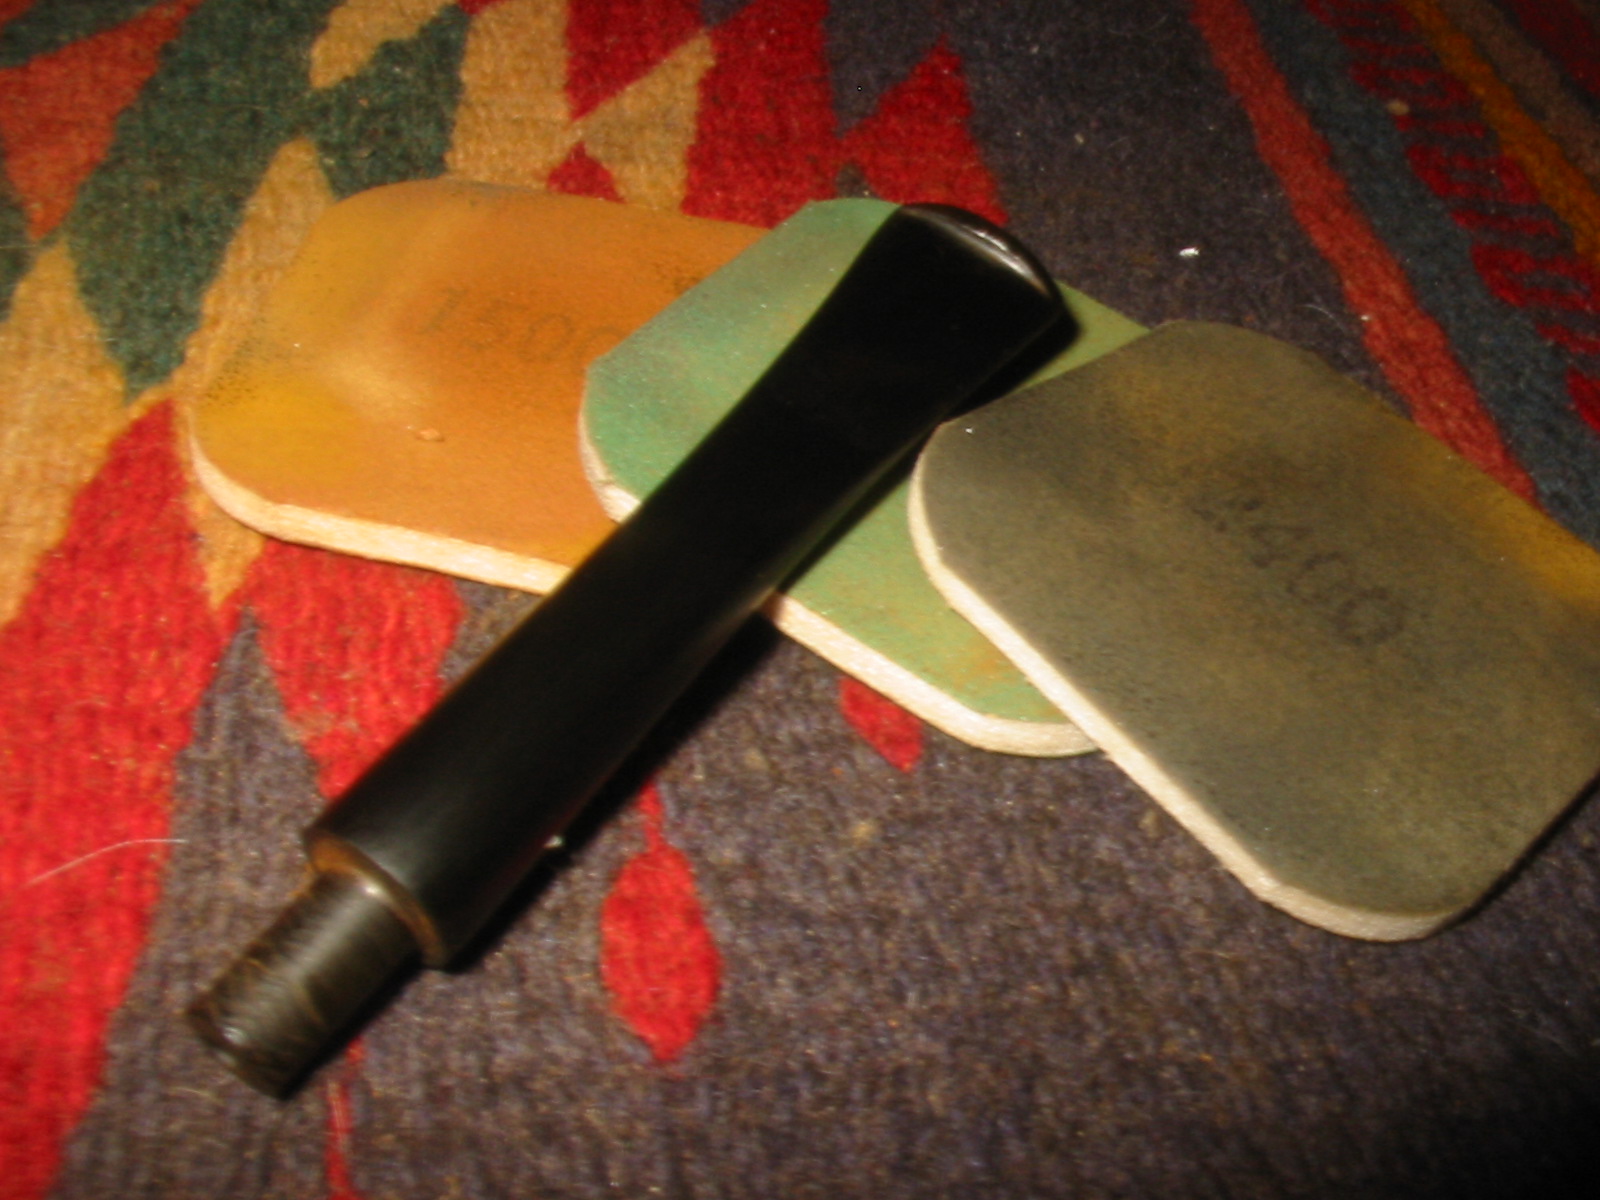
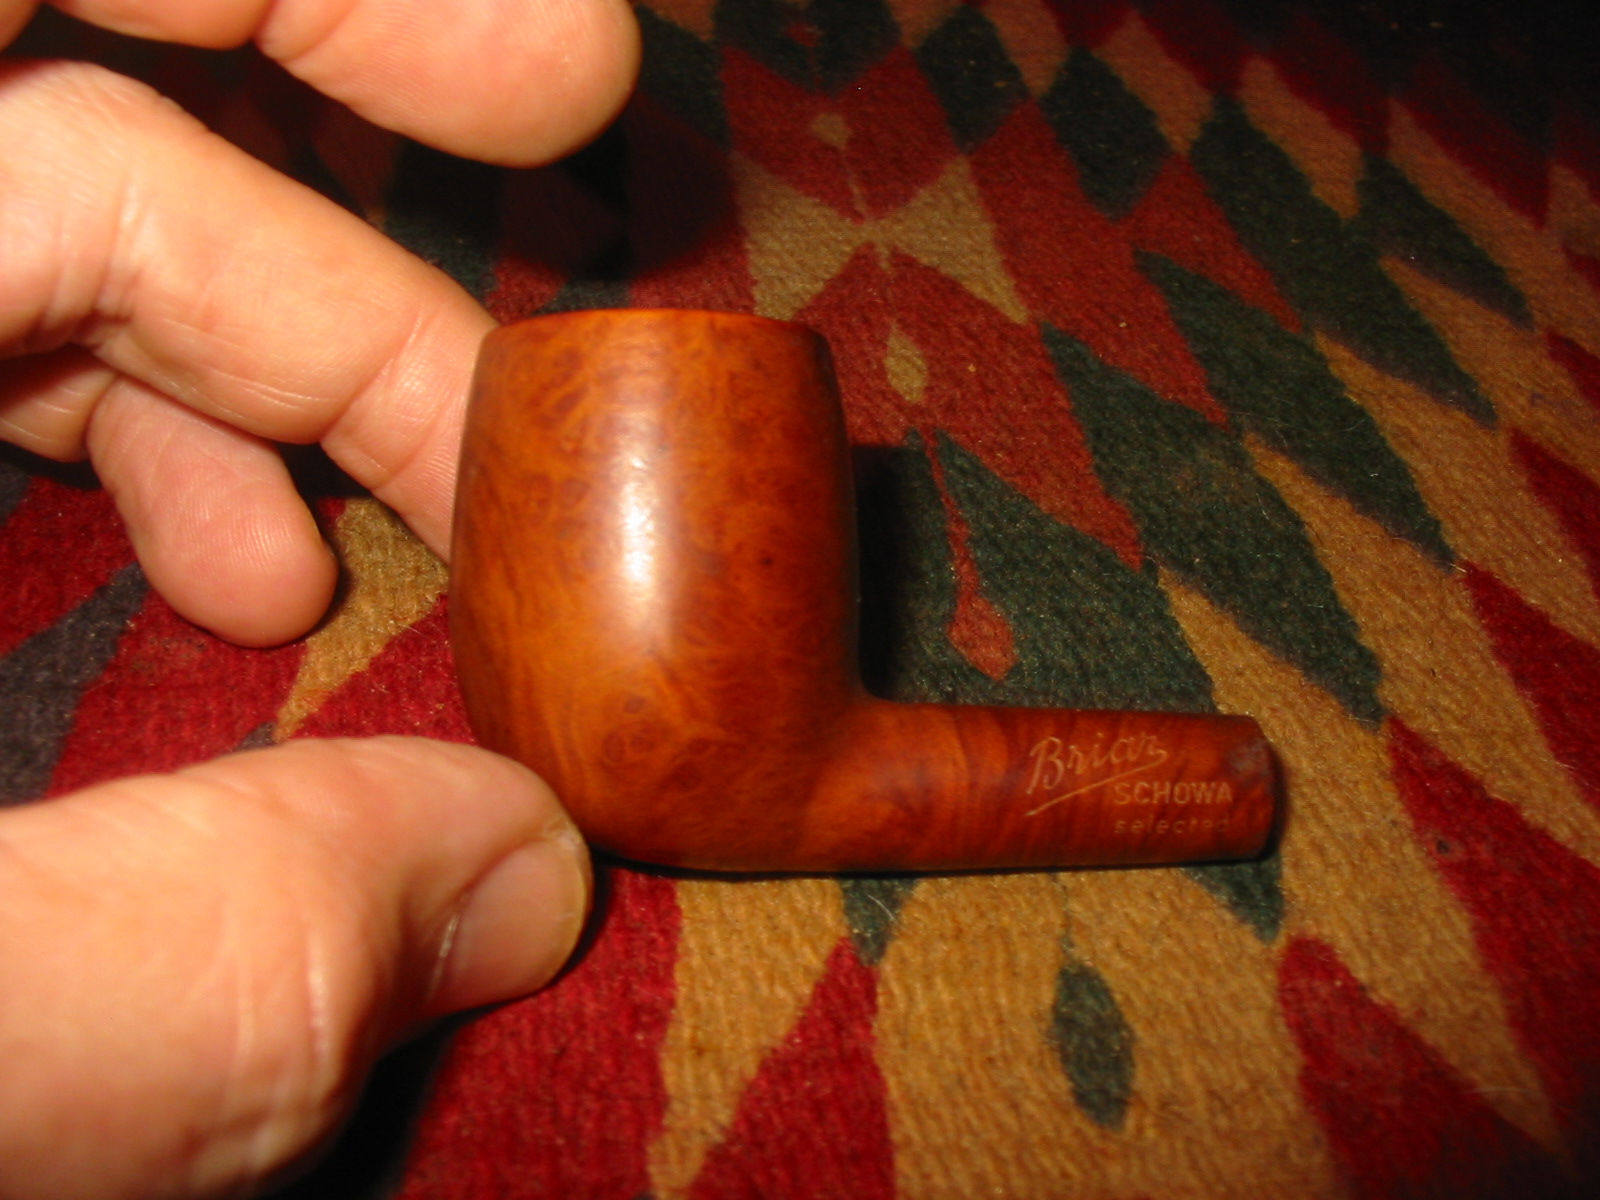
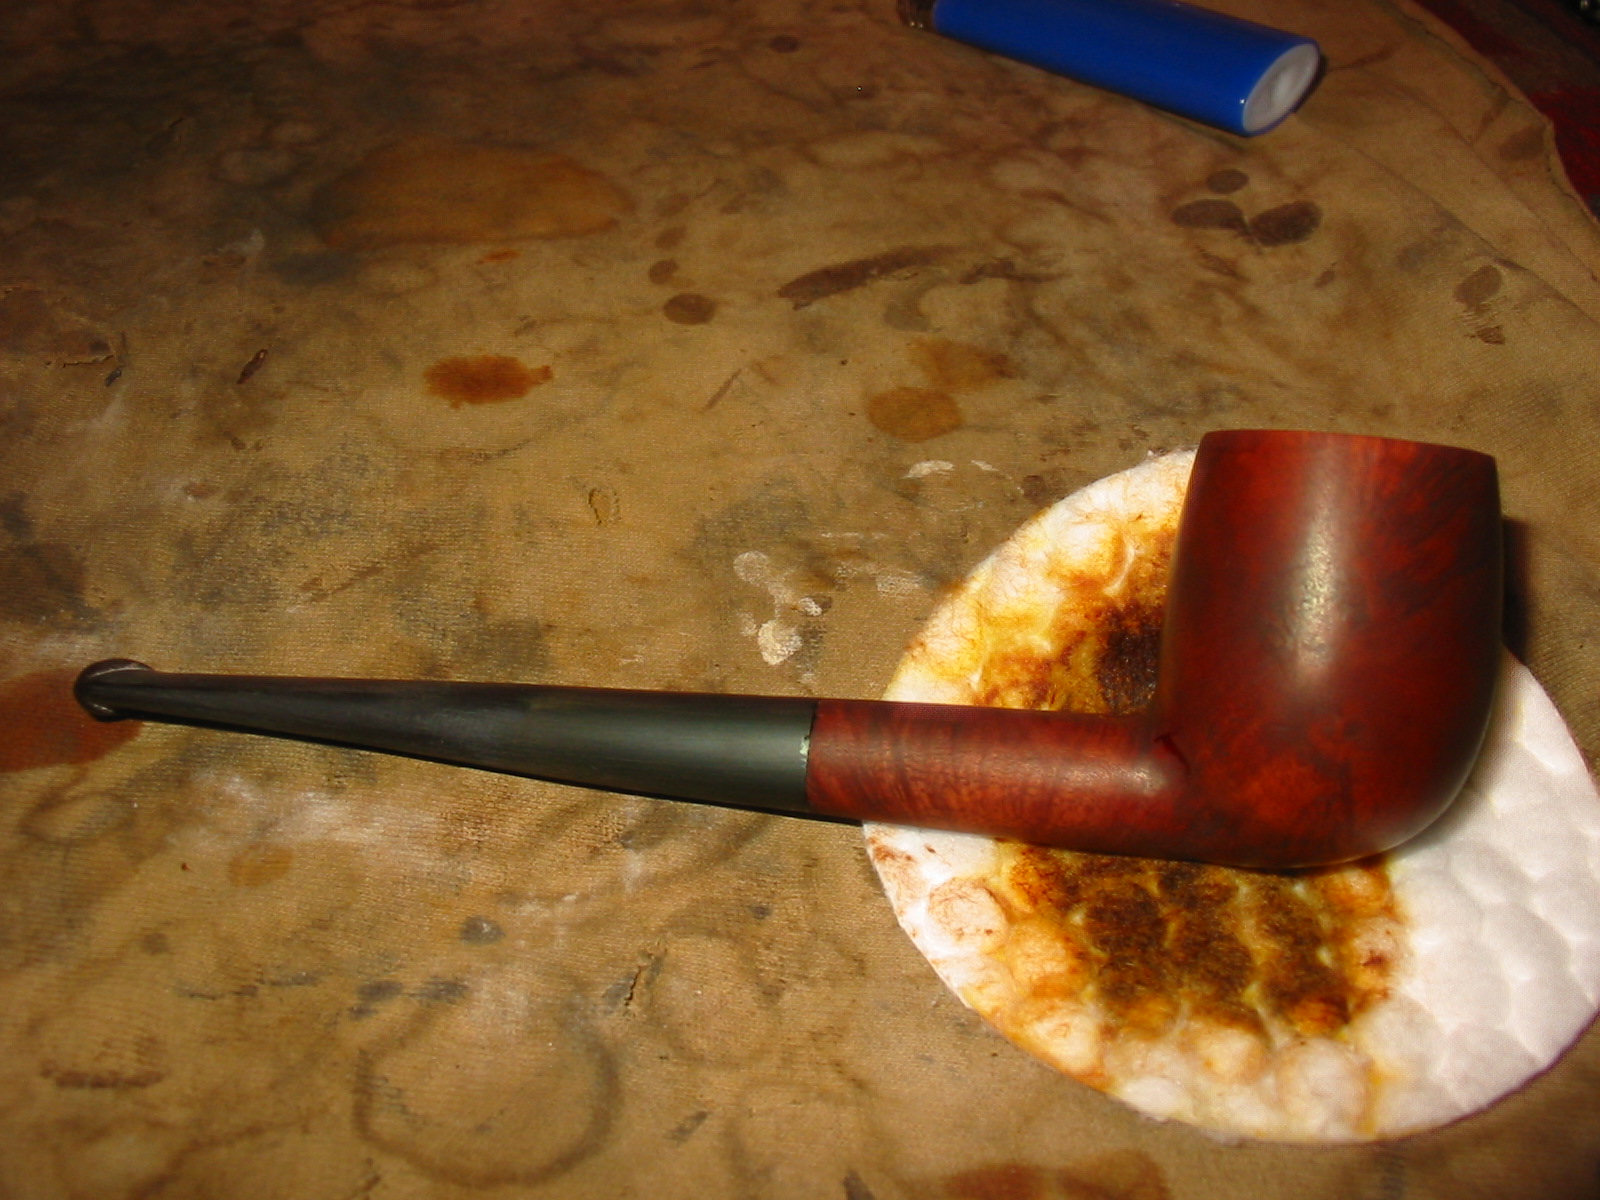
 I buffed the pipe and stem with White Diamond and then gave it repeated coats of carnauba wax to raise a shine and protect the new finish. The finished pipe is shown below. While the stem fit is far from perfect it is now a serviceable pipe and ready for use.