Blog by Steve Laug
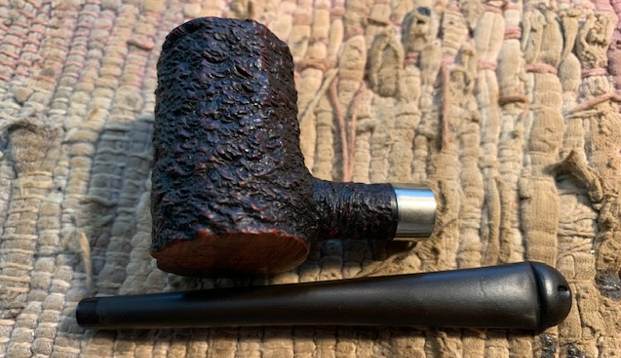
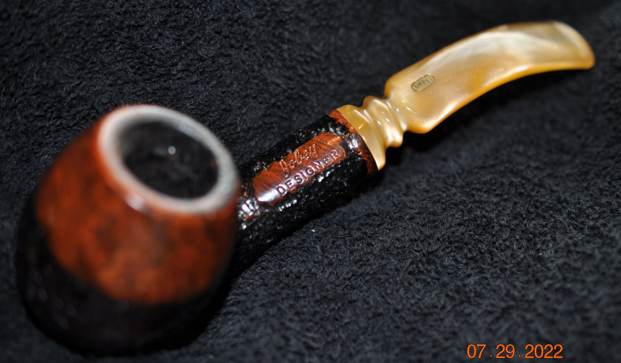
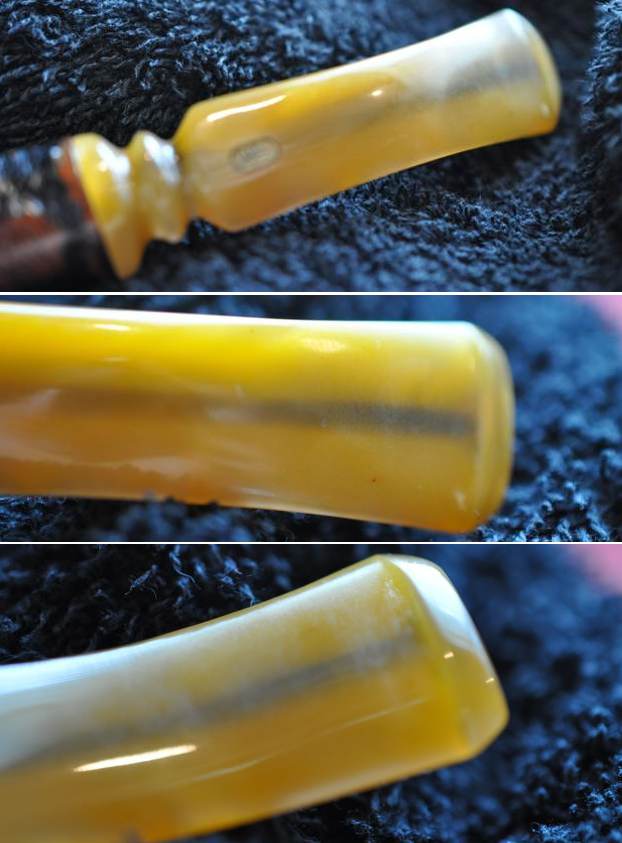
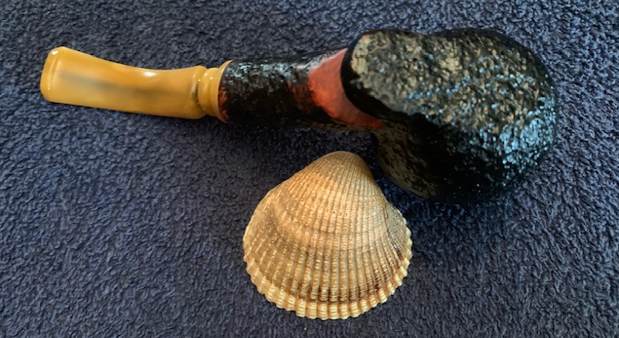
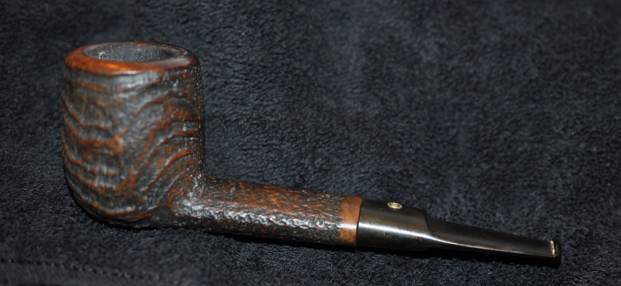
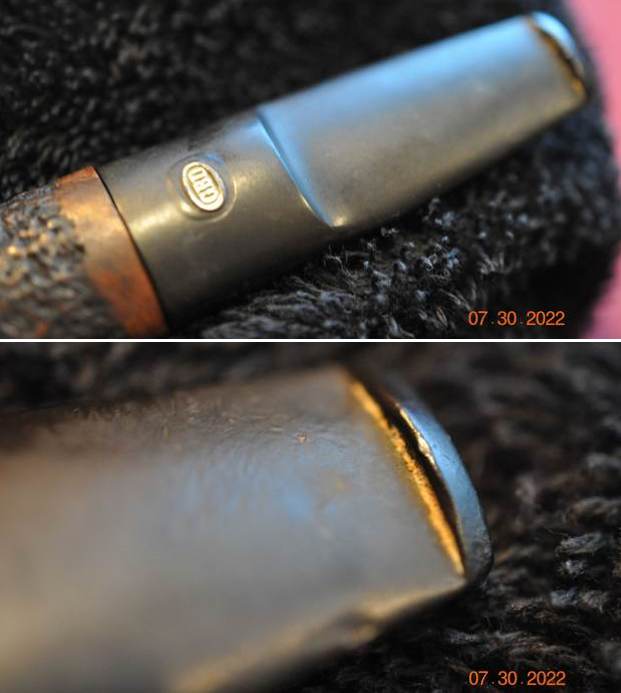
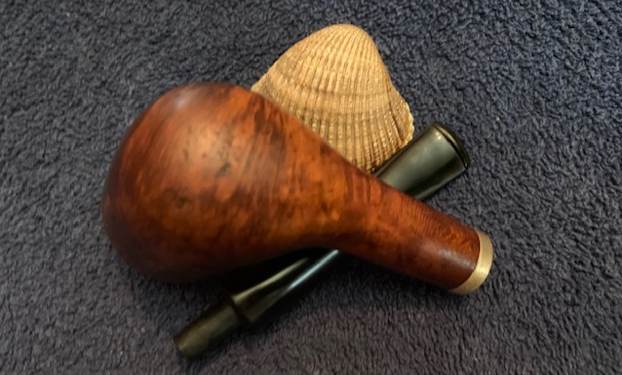
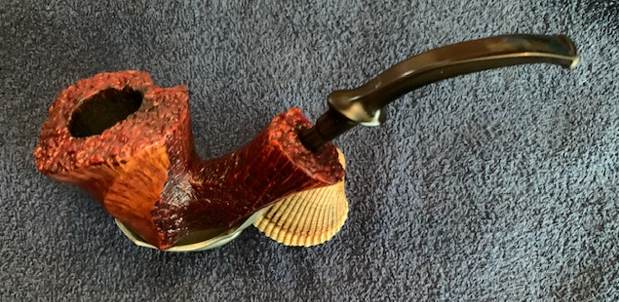
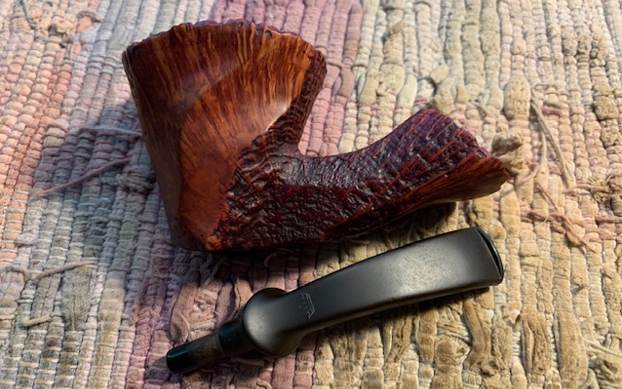
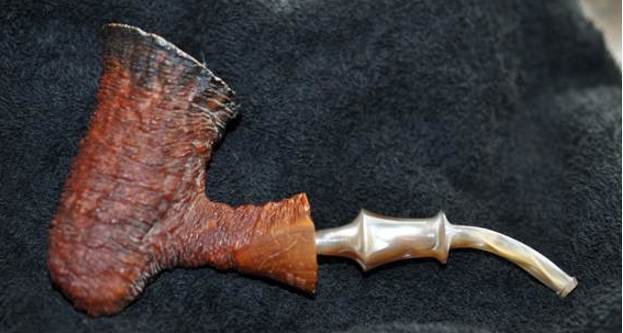
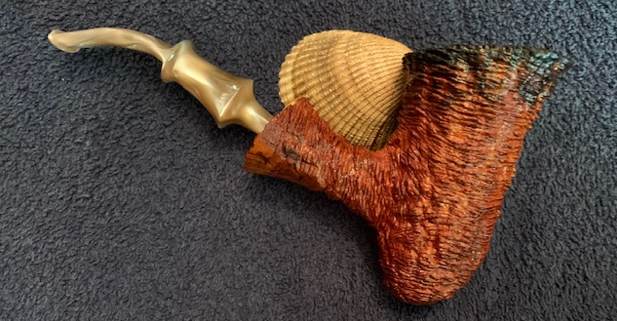
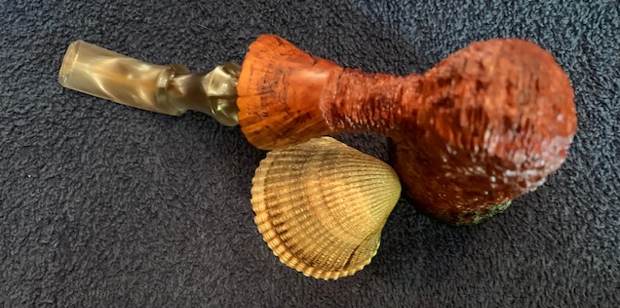
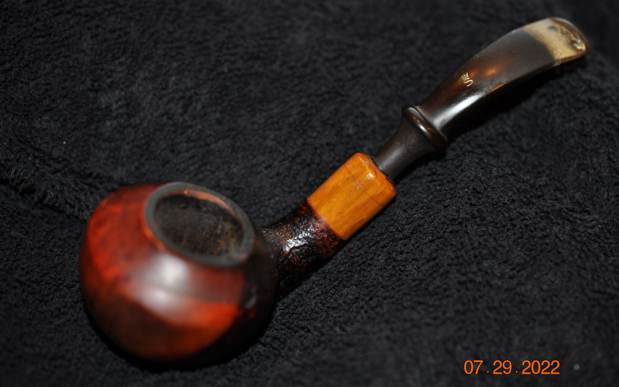
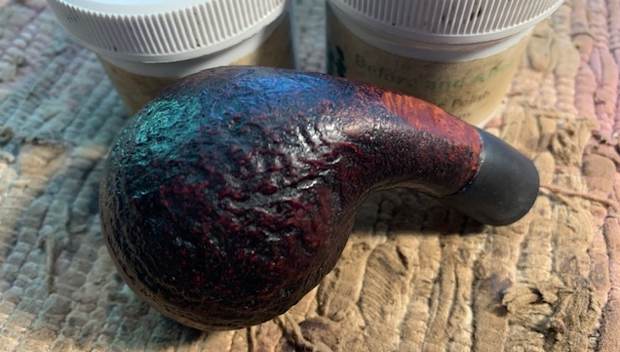
The next pipe really caught our attention with the variegated finish on the bowl – both smooth and sandblast. The orange/apricot acrylic shank extension looked great with the briar. Jeff picked it up from an antique mall on 05/10/22 in Astoria, Oregon, USA. The bowl had some interesting grain on both the smooth portion and the sandblast portion. The straight line transition is sharp and clear. There was a lot of dust and debris in the grooves of the blast and there was a thick cake in the bowl. There was a thick overflow of lava on the rim top and the inner edge of the bowl. The interior of the pipe was filthy with oils and tars. The acrylic shank extension had a lot of cracks and fissures but still appeared to be solid. The stem had a Stanwell Crown S on the top of the saddle. It was oxidized, calcified and had tooth marks and chatter on both sides near the button. The pipe was a real mess but it was also a beauty. Jeff took photos of the pipe before he started his clean up work on it.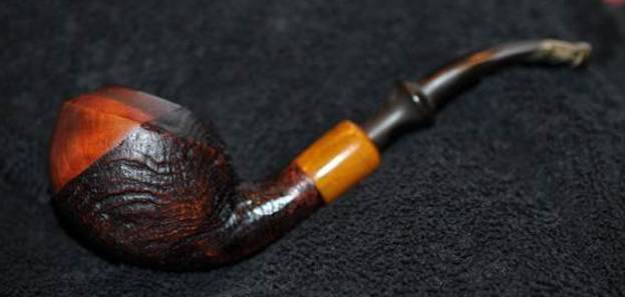
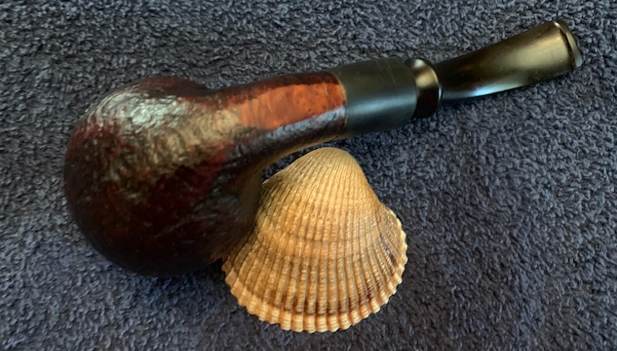
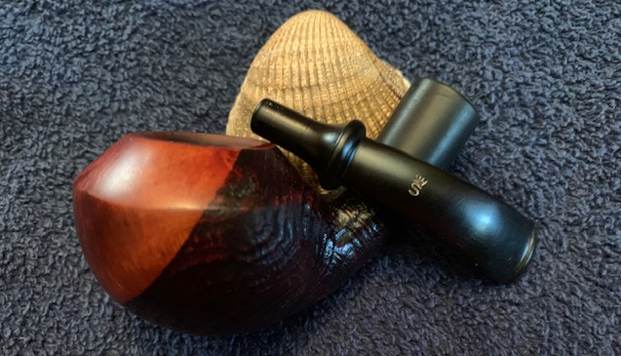
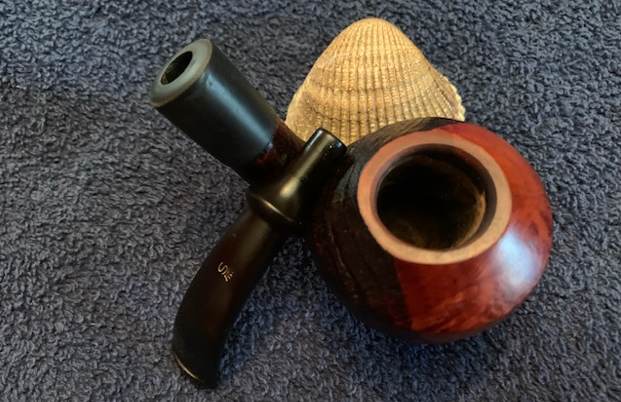
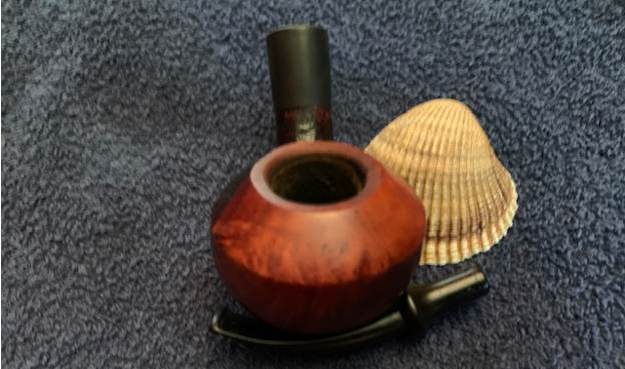
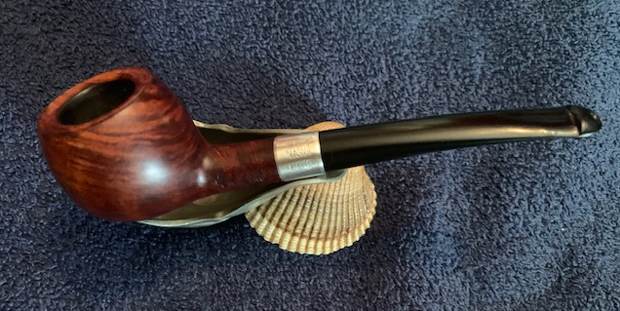
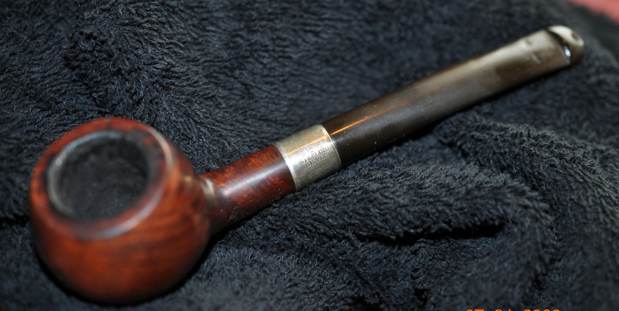
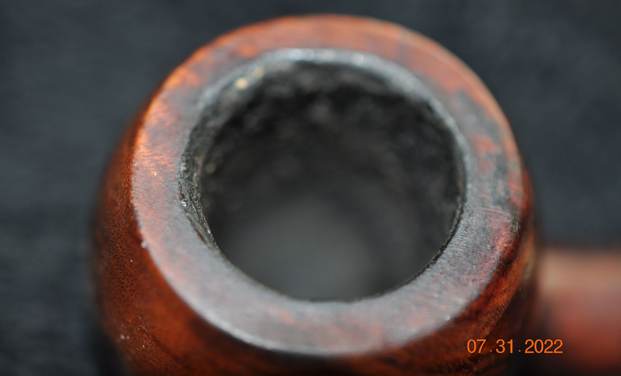
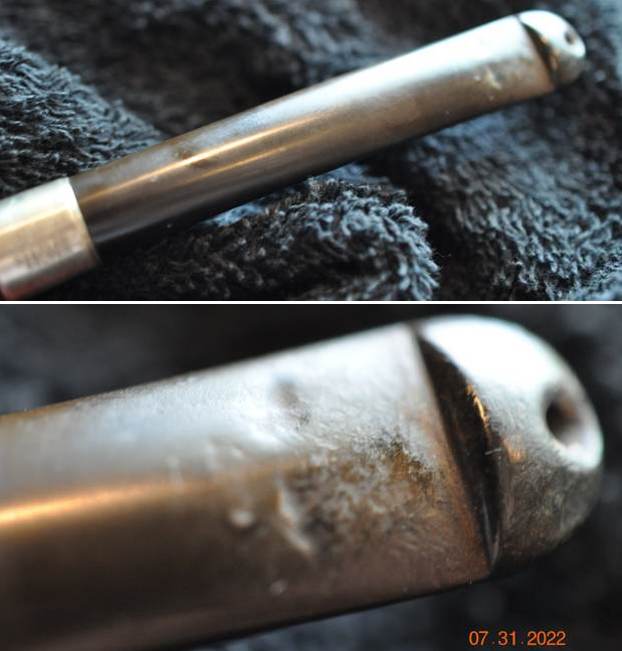
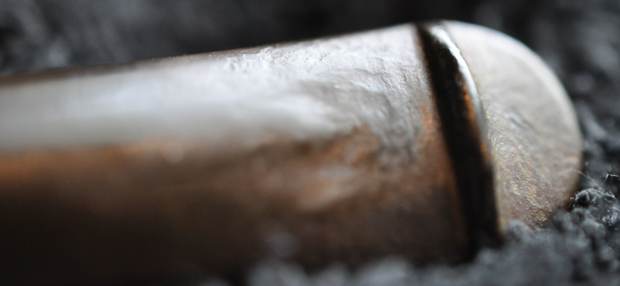
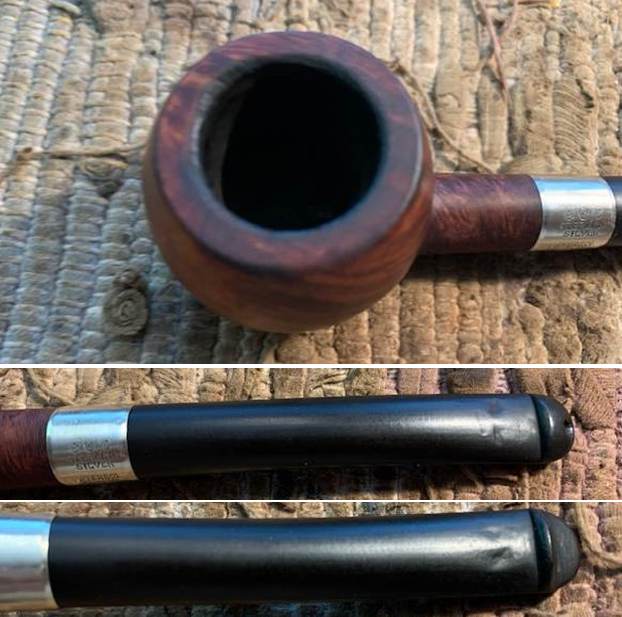
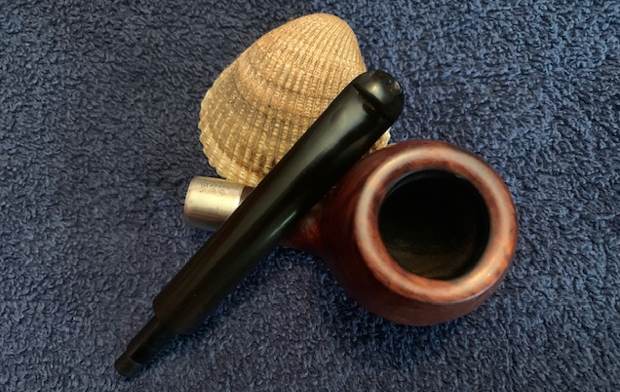
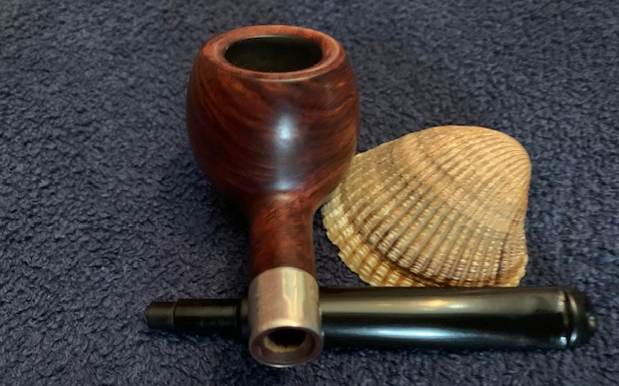
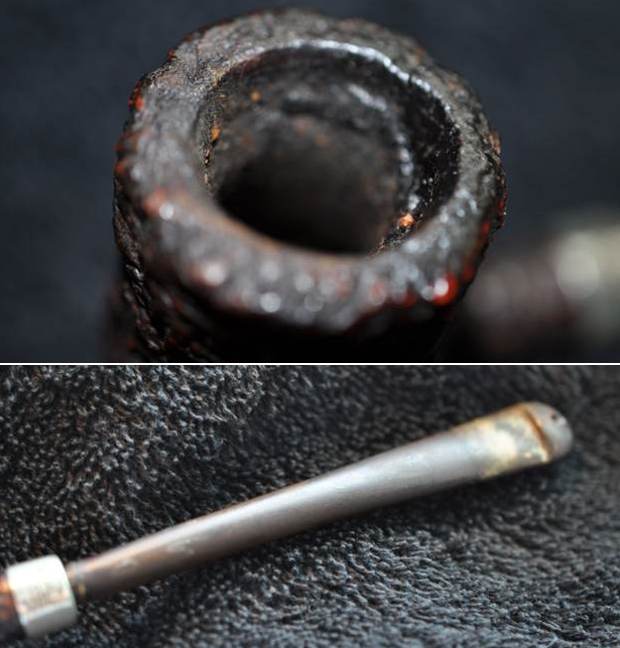
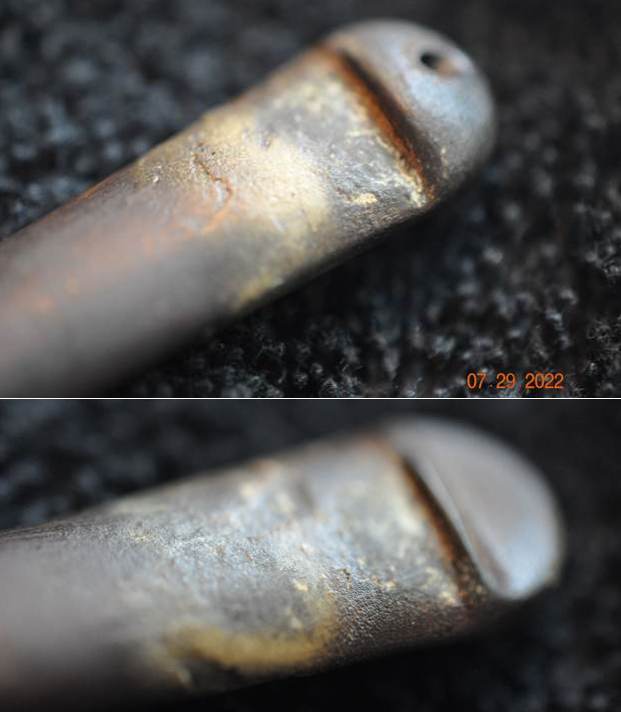
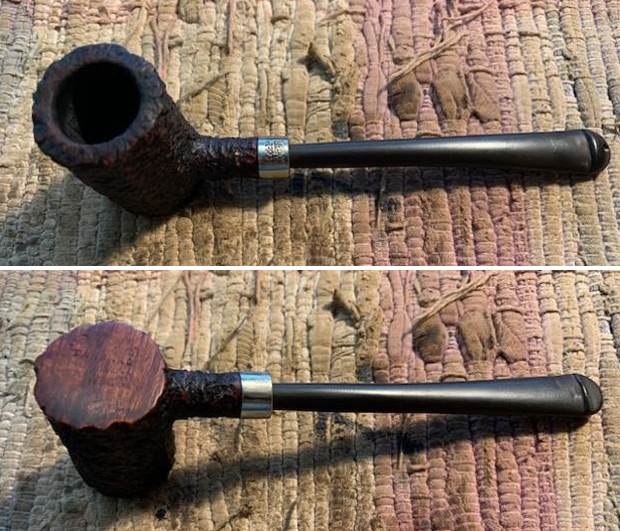
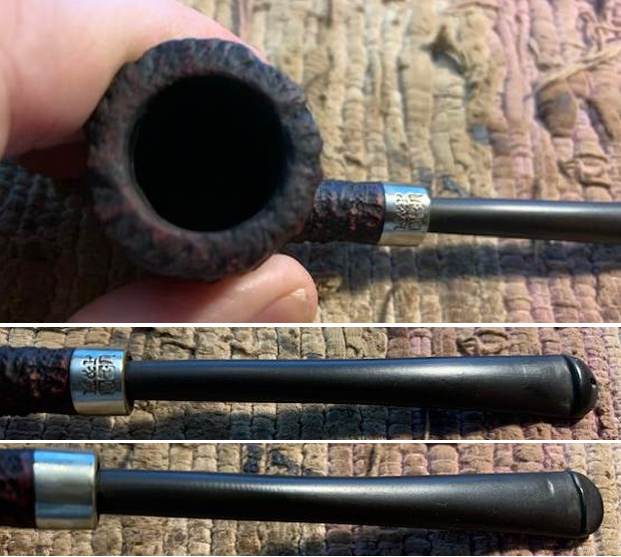
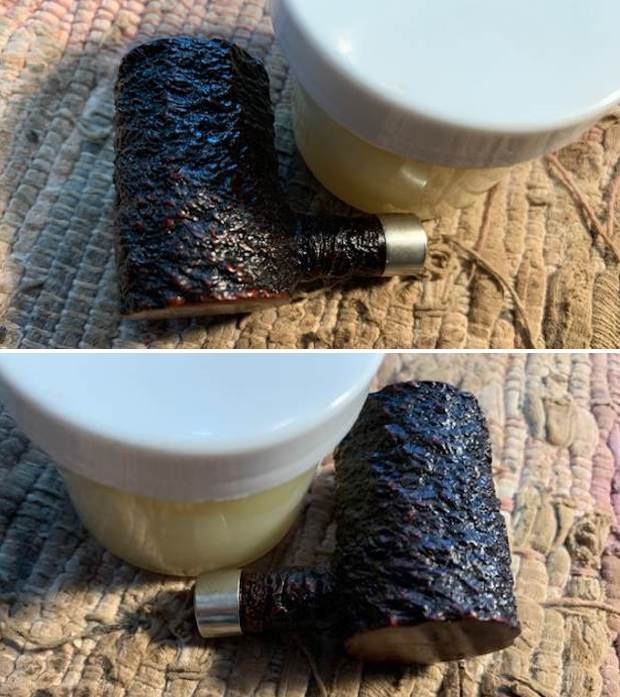
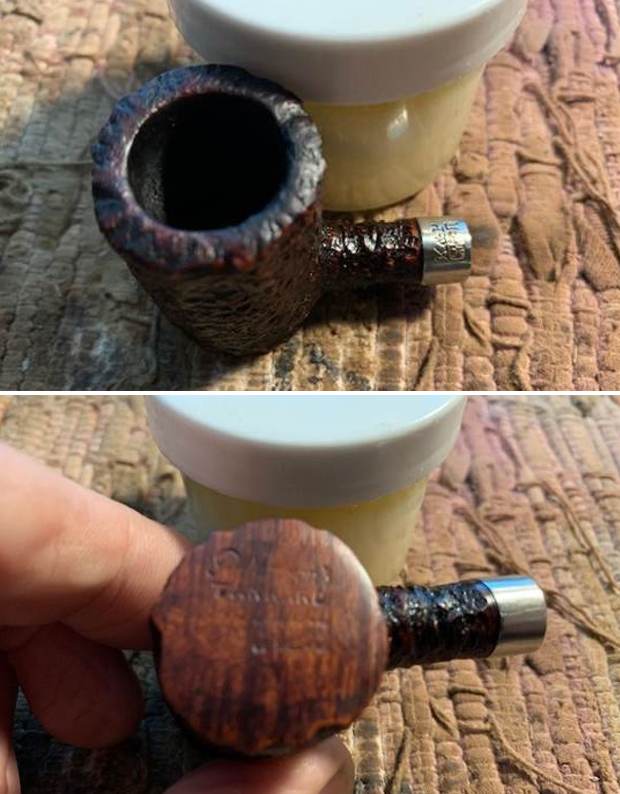
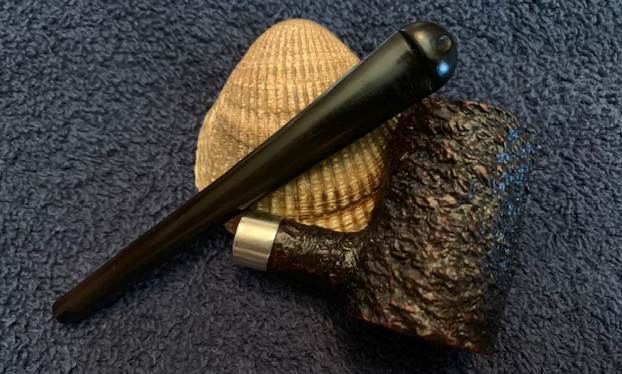
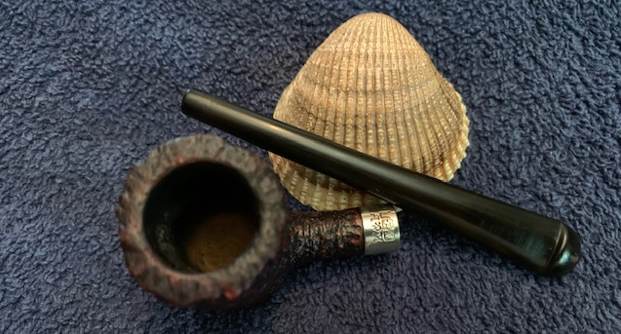
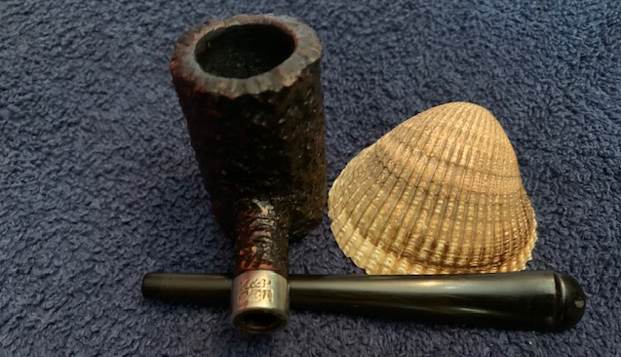
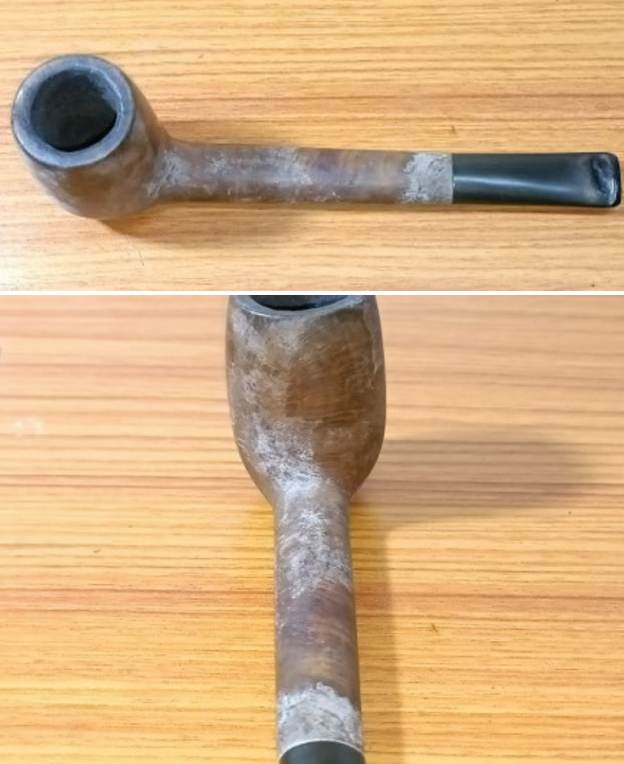
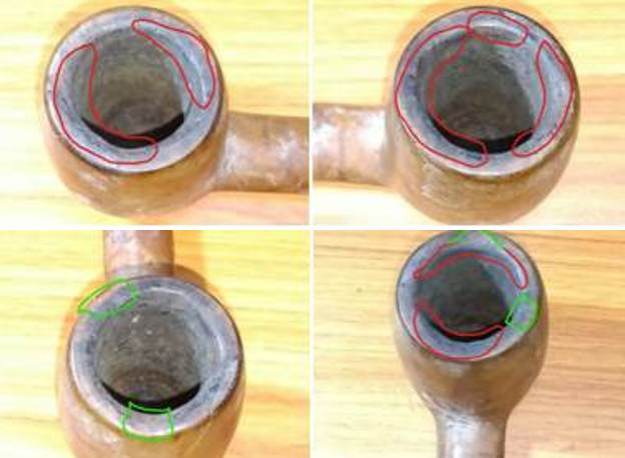
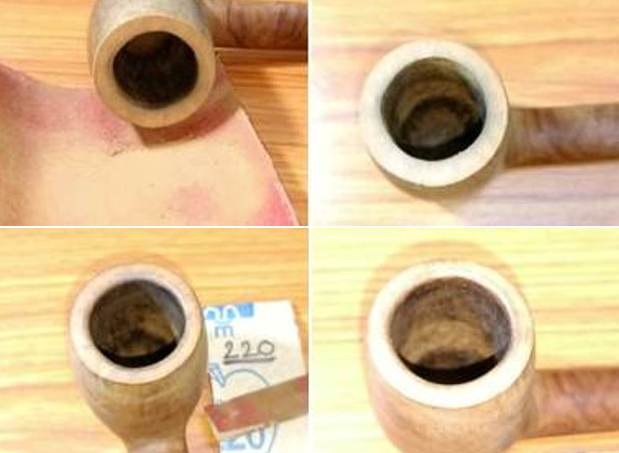
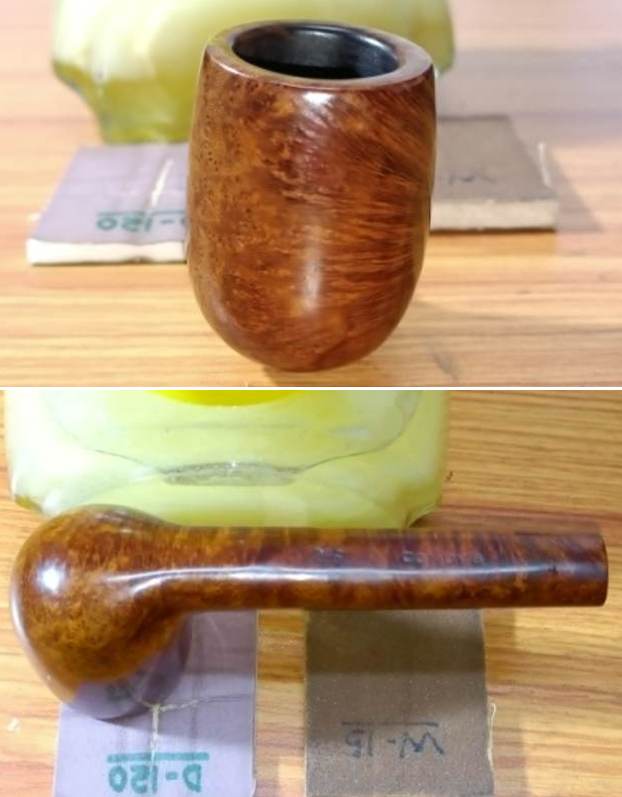
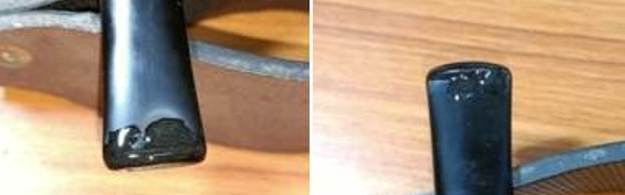
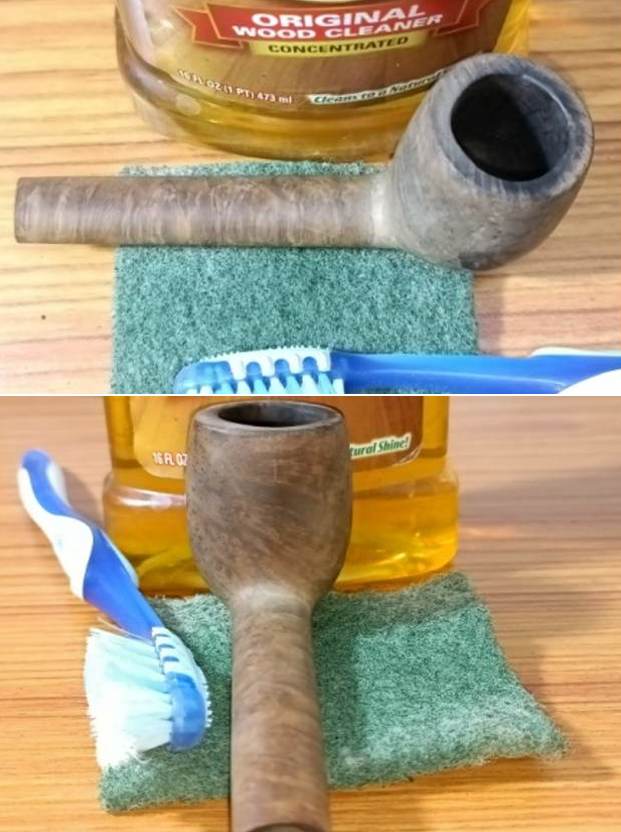
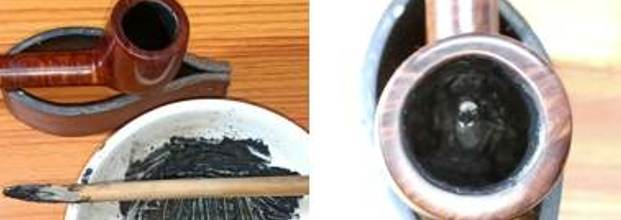
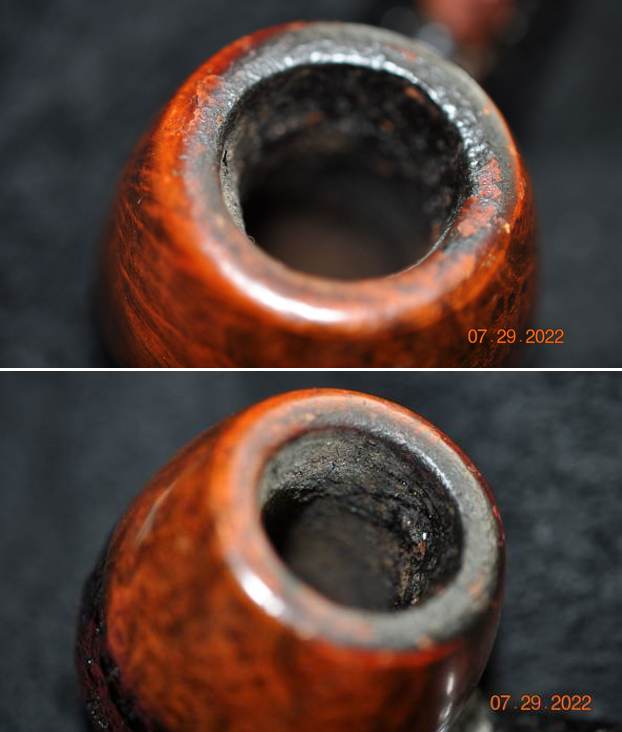
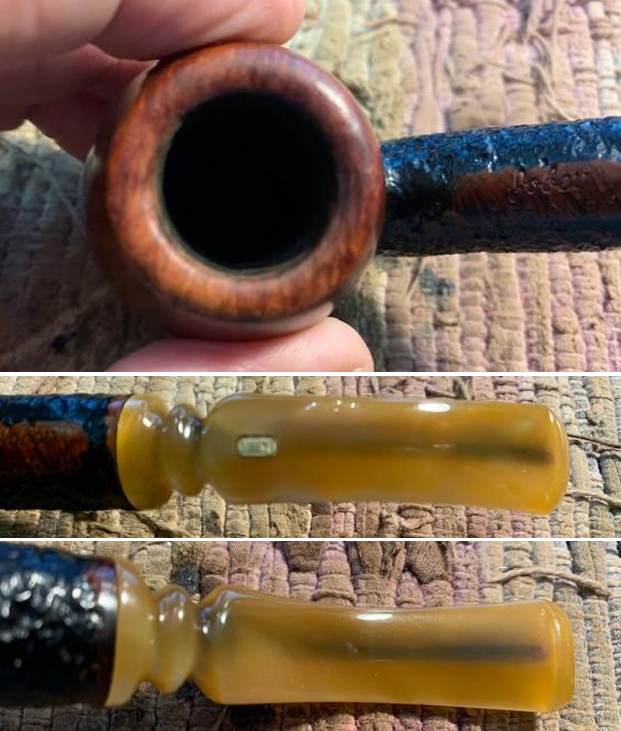
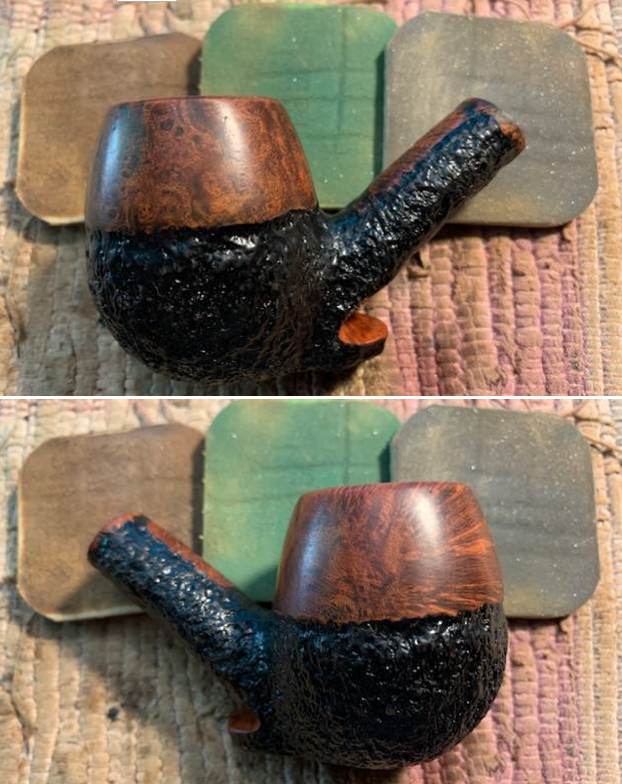
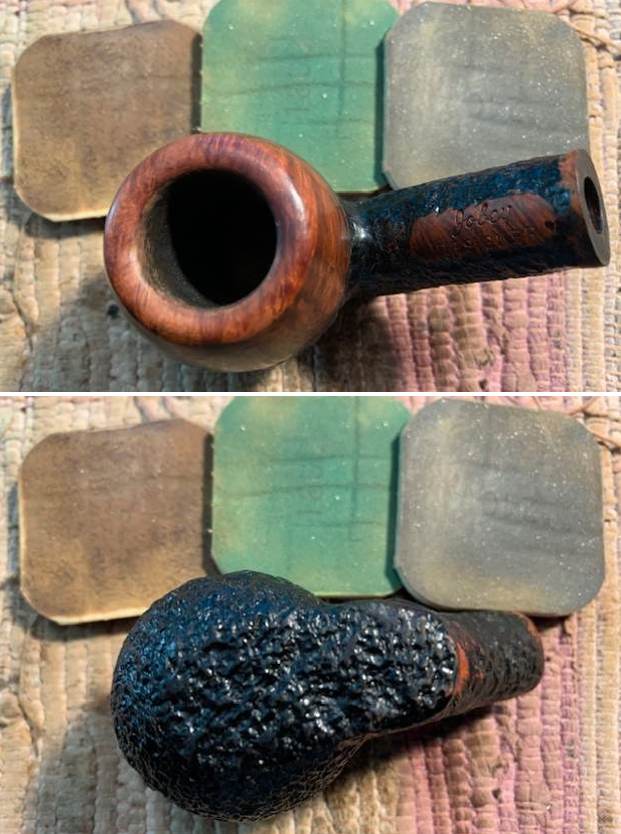
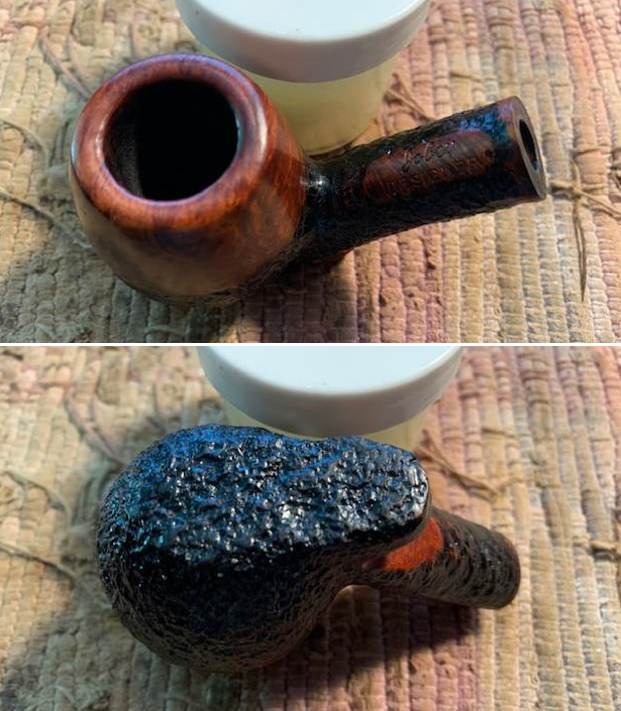
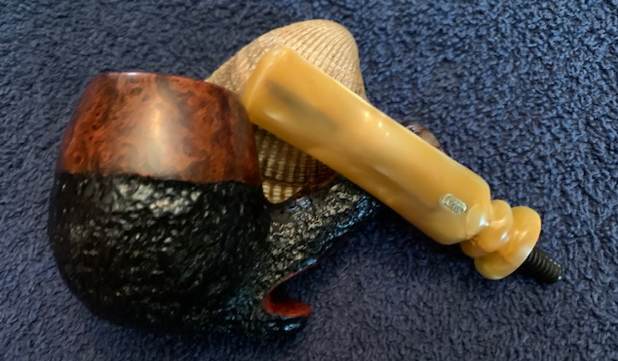
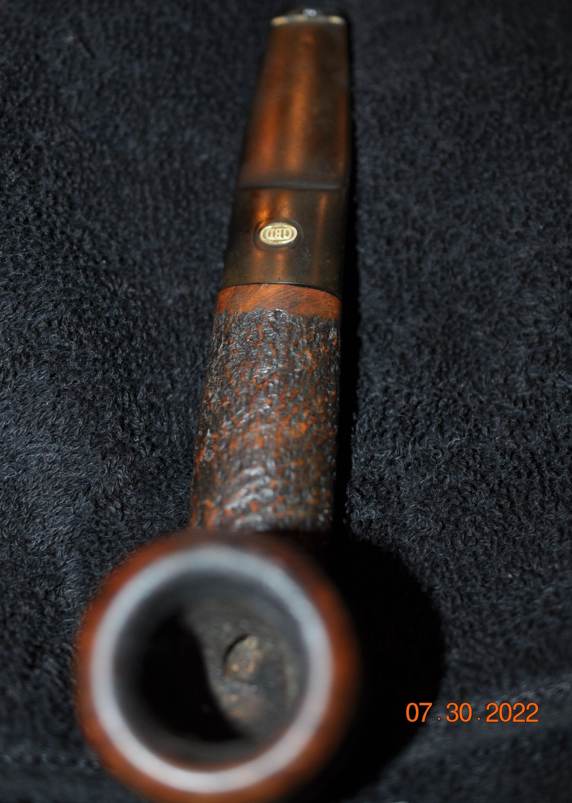
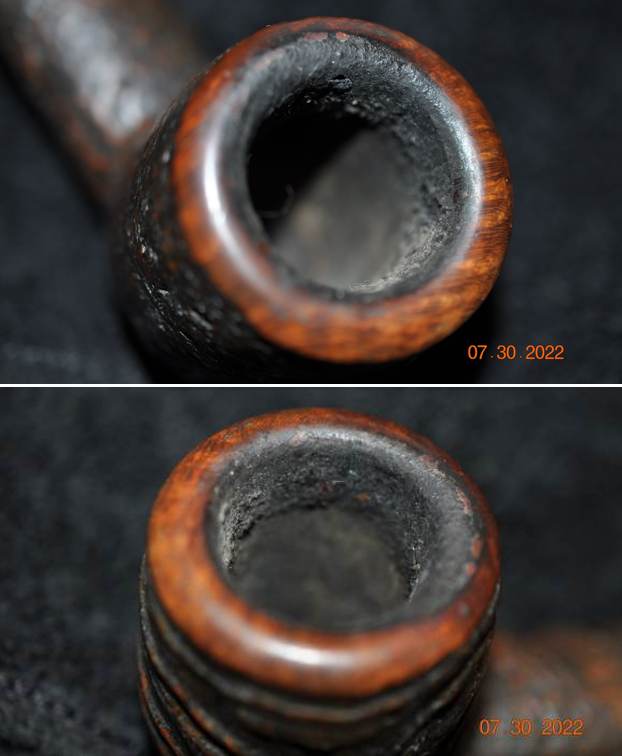
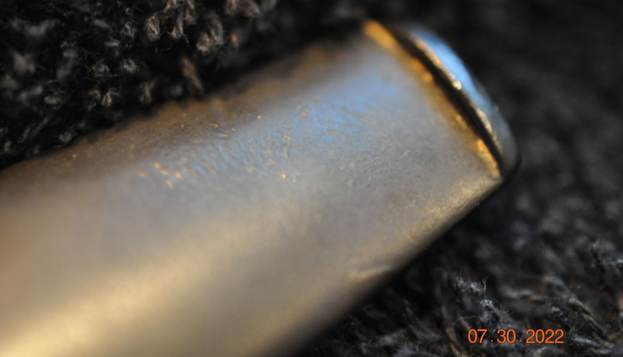
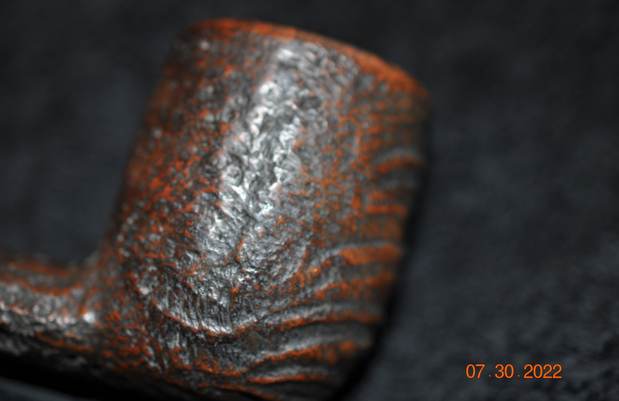
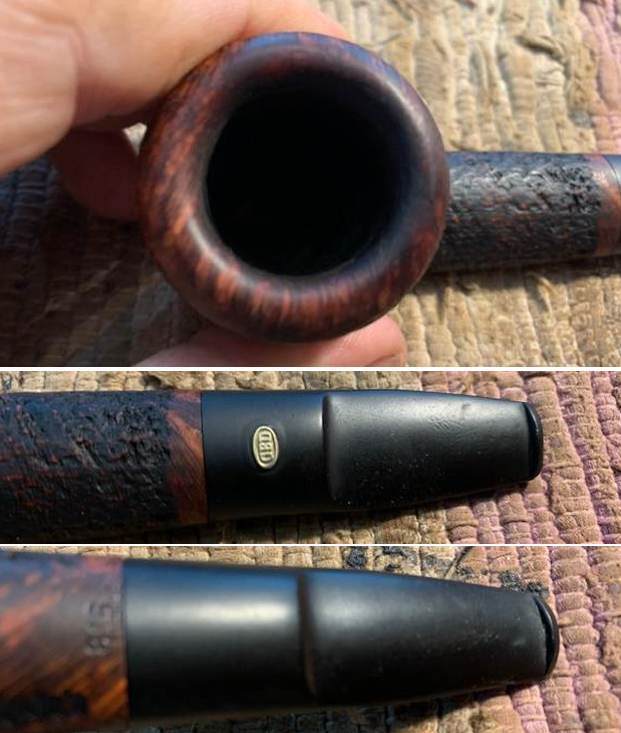
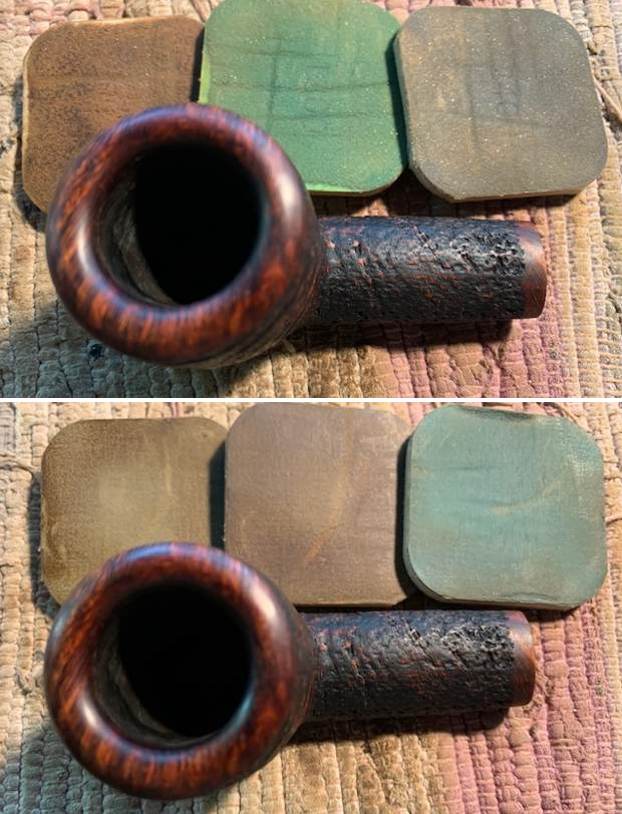
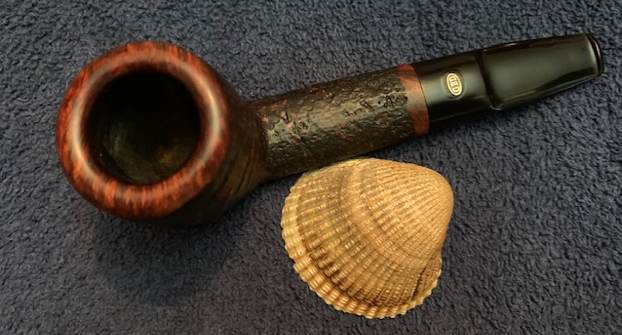
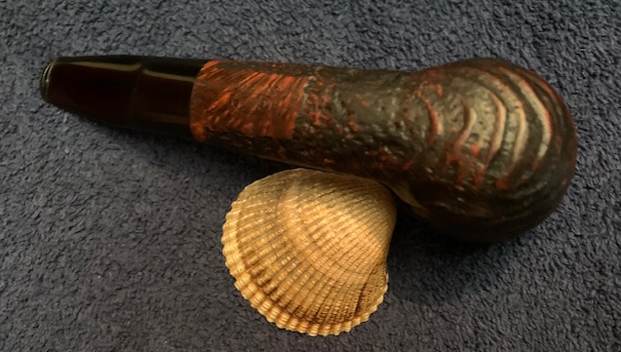
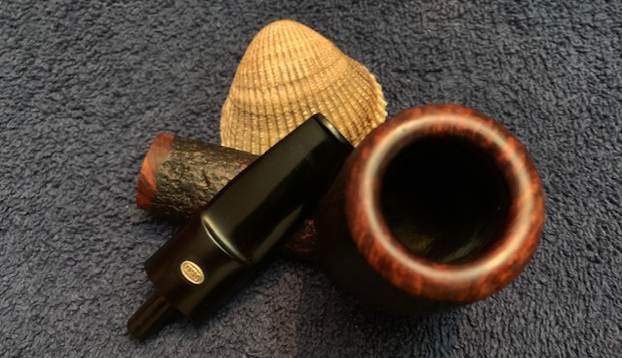
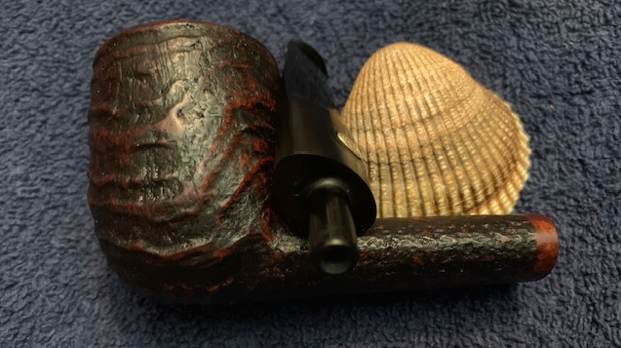
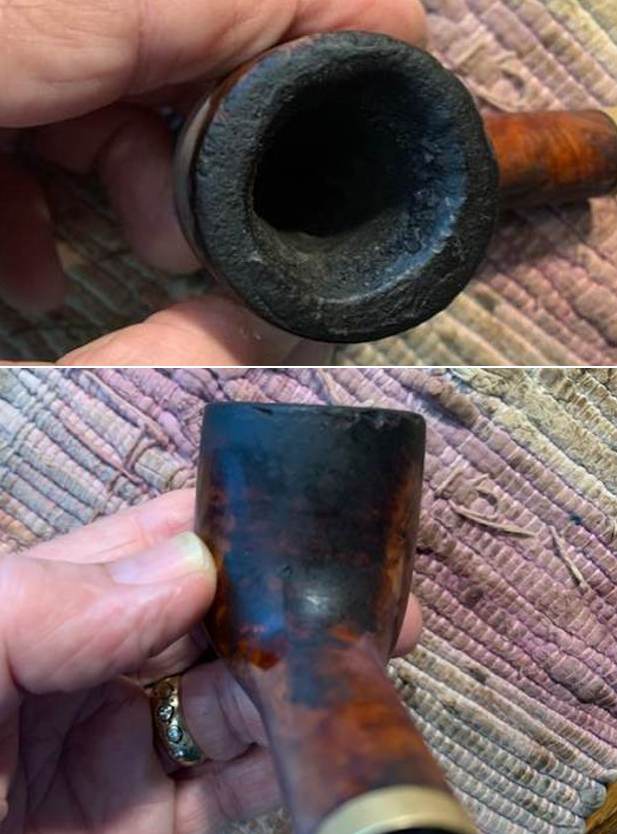
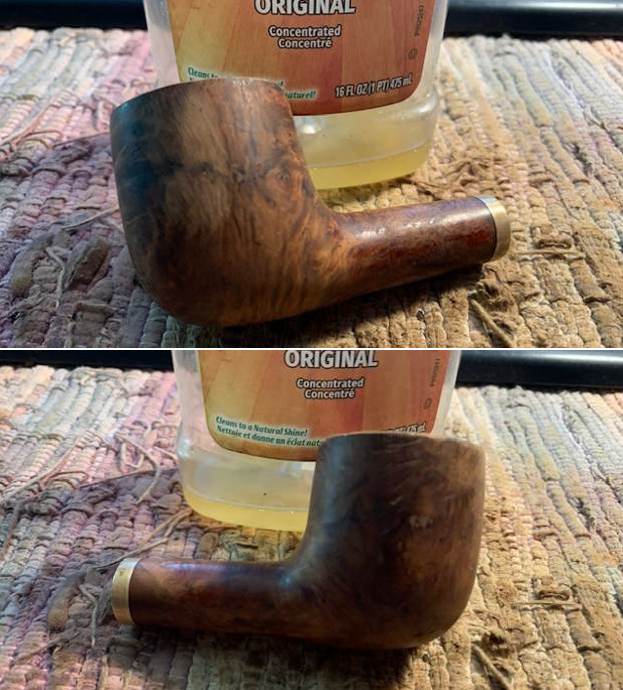
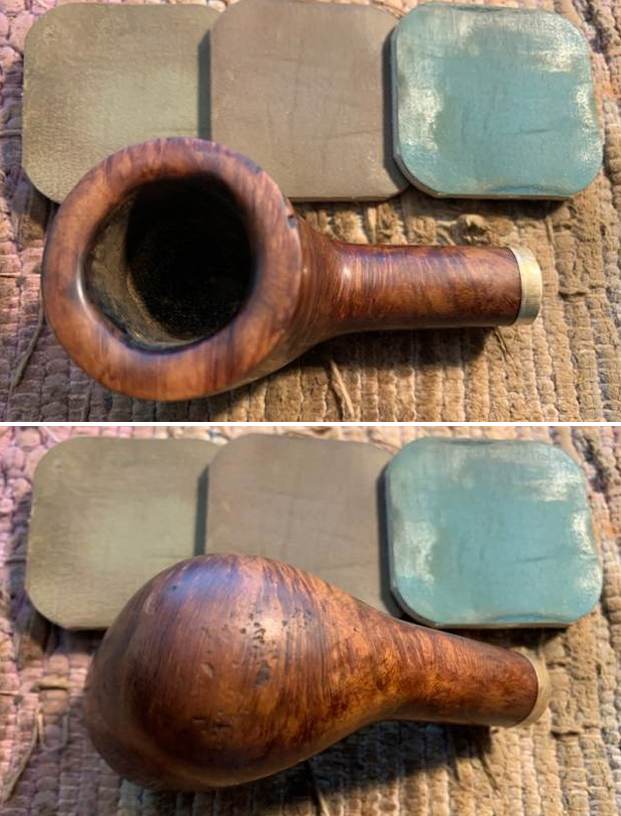
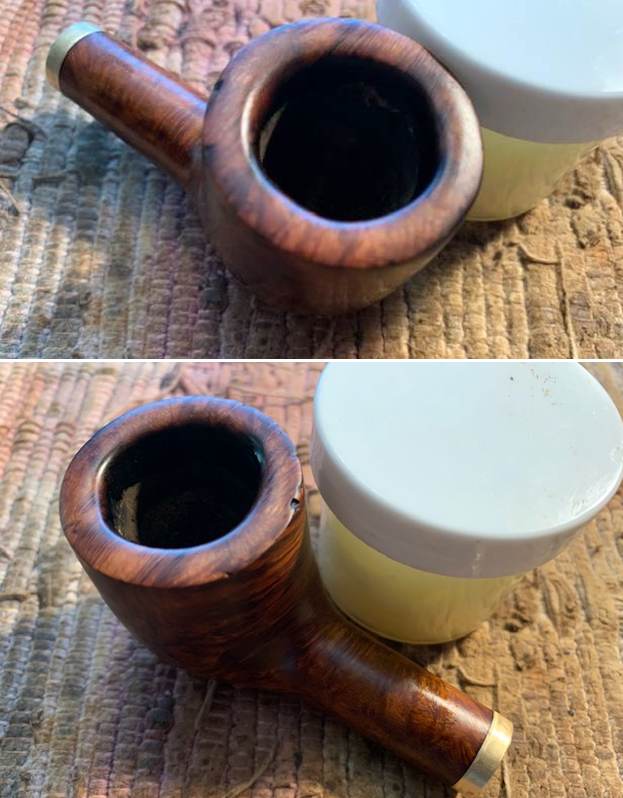
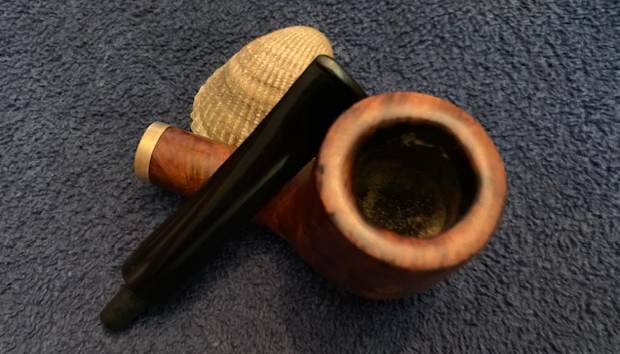
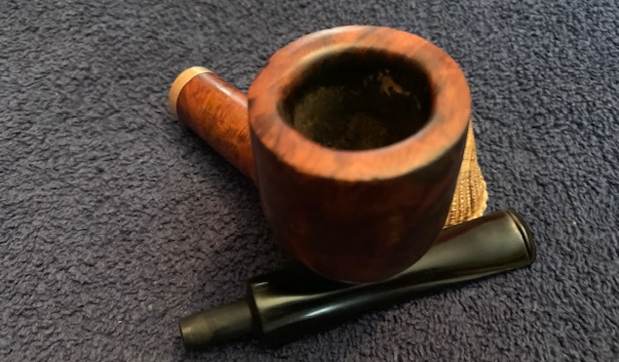
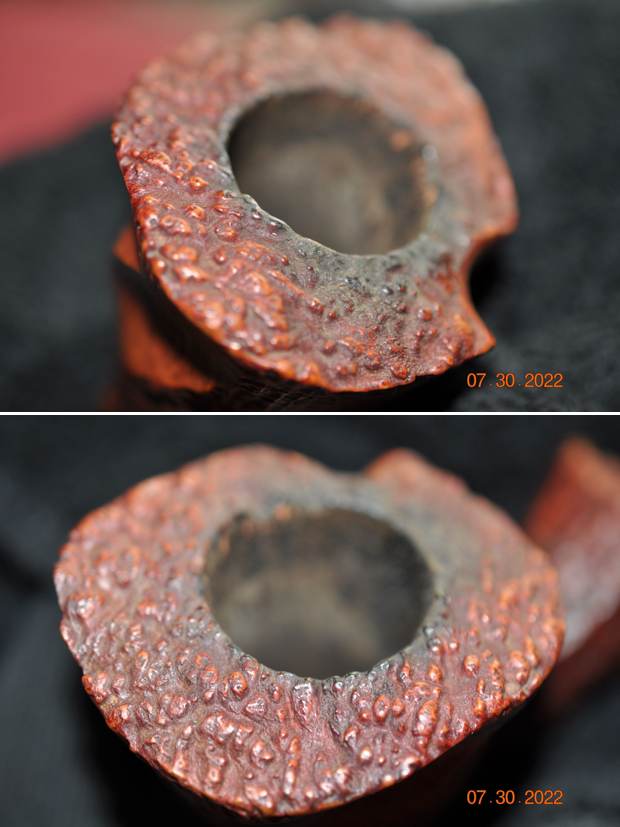
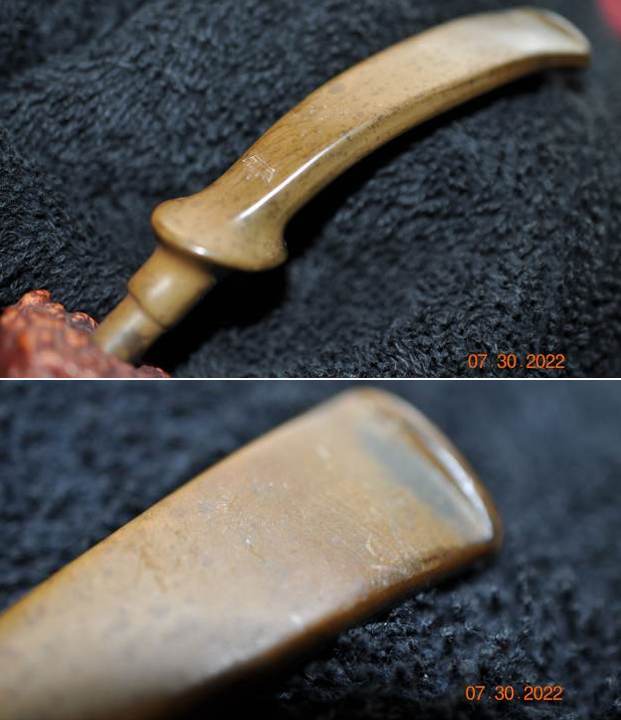
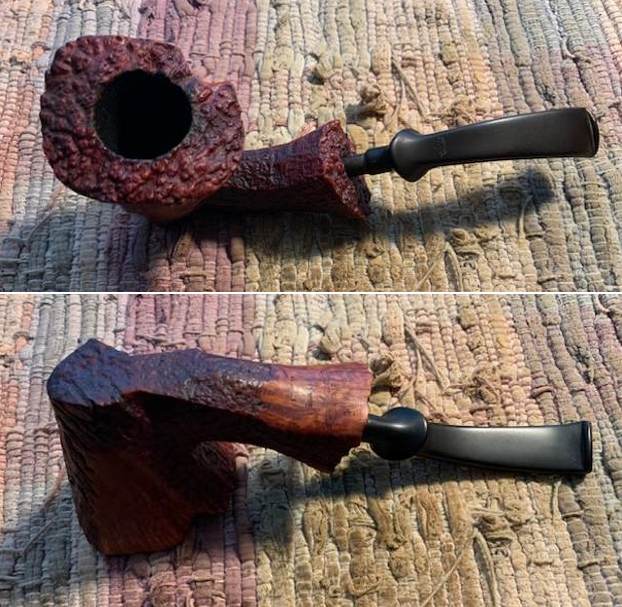
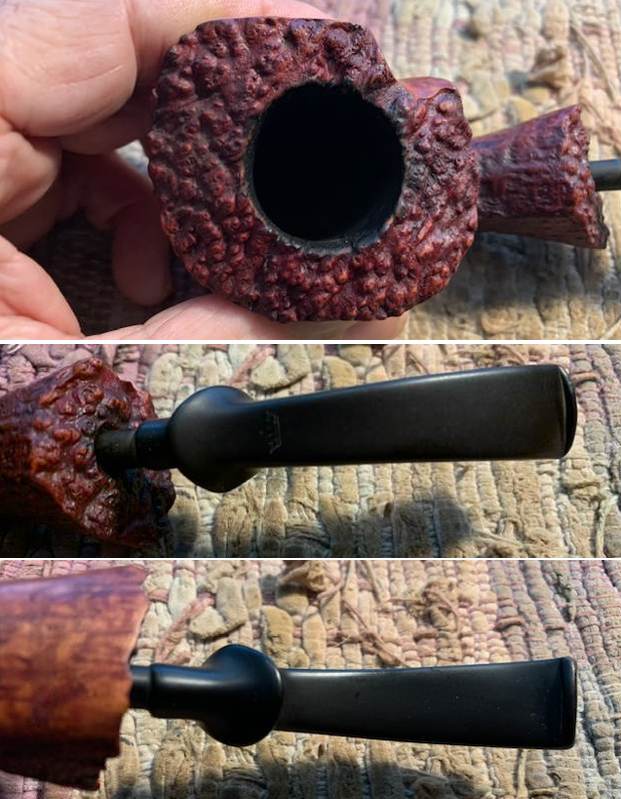
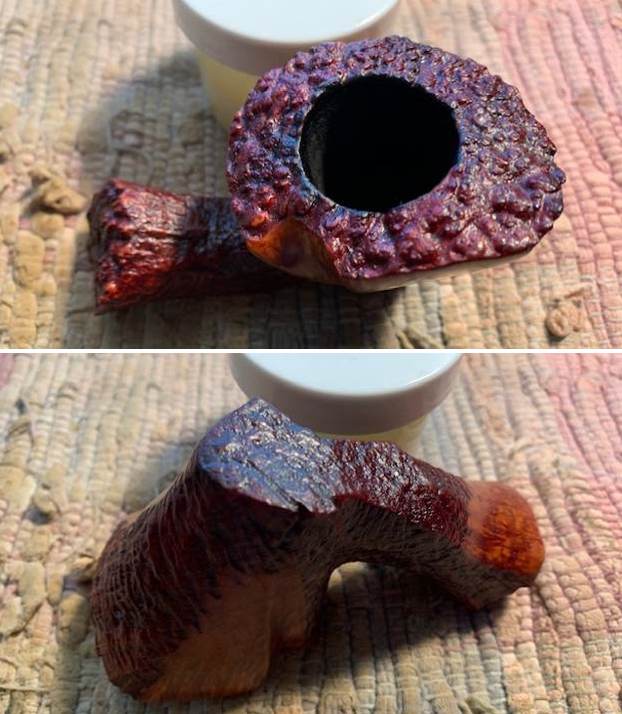
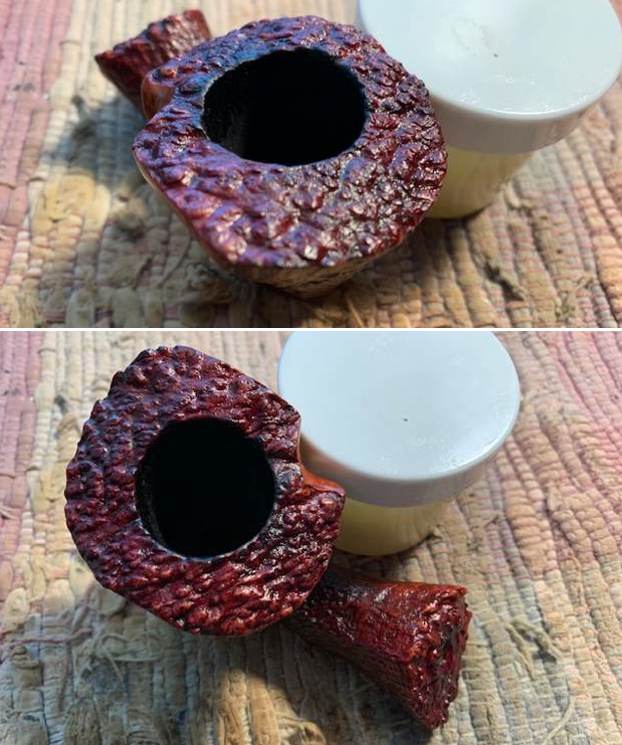
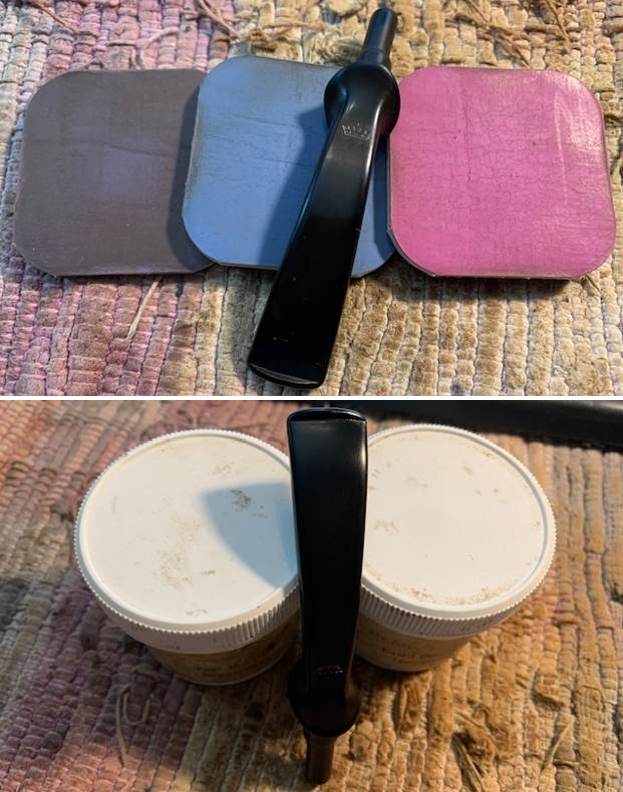
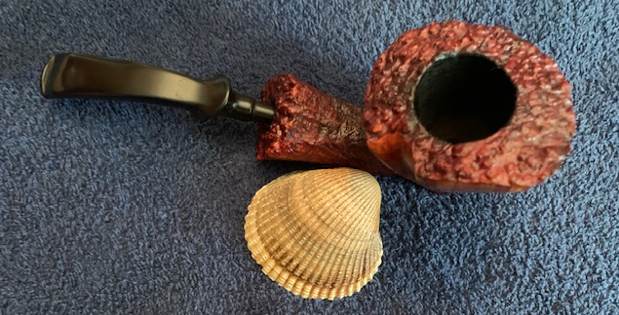
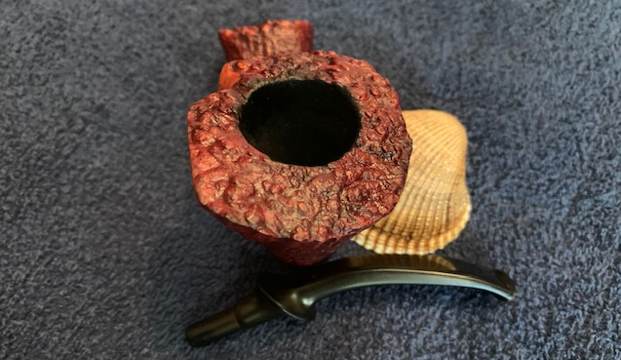
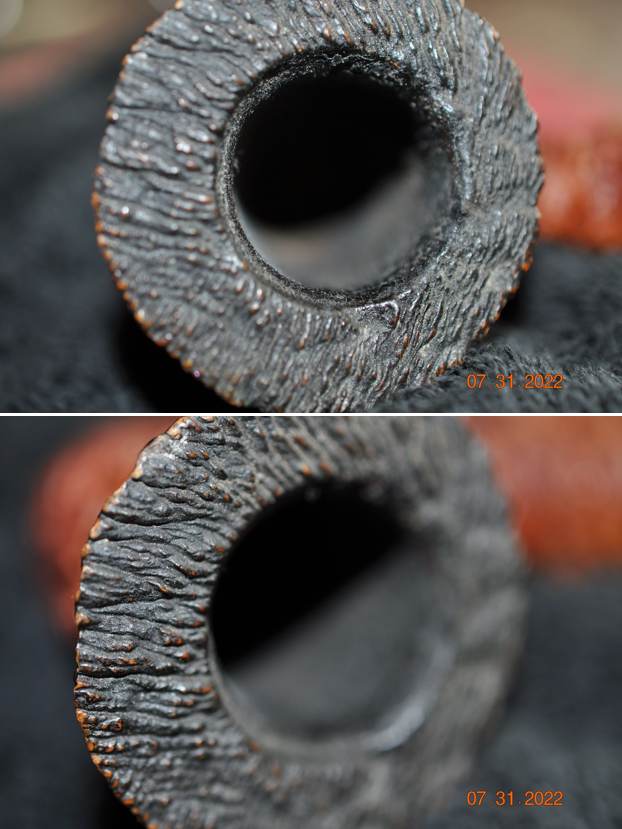
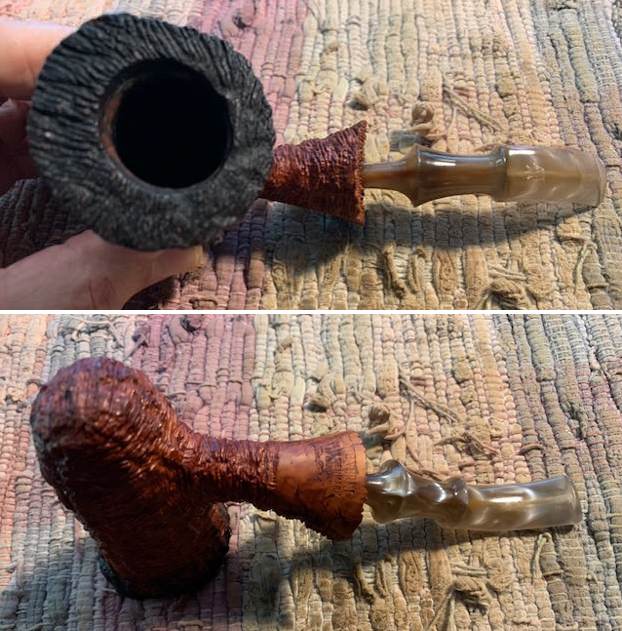
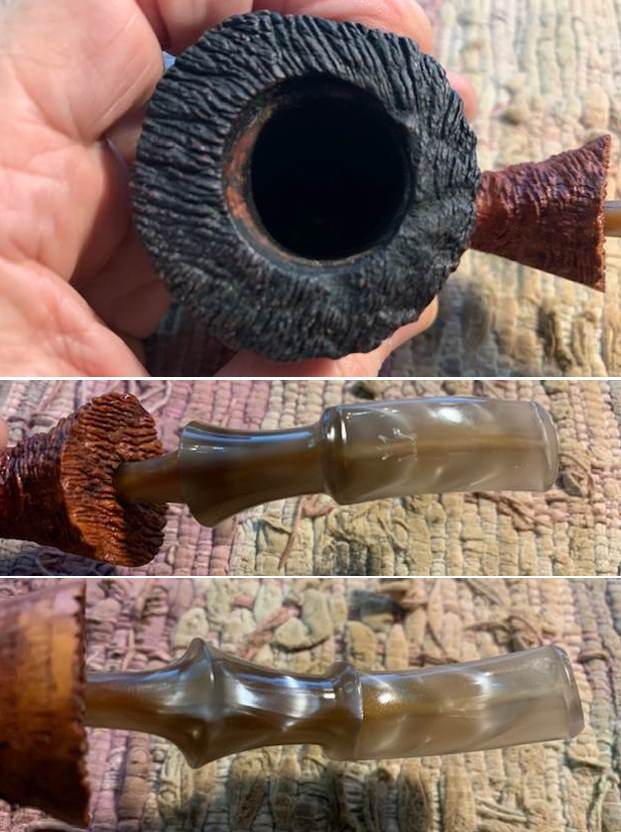
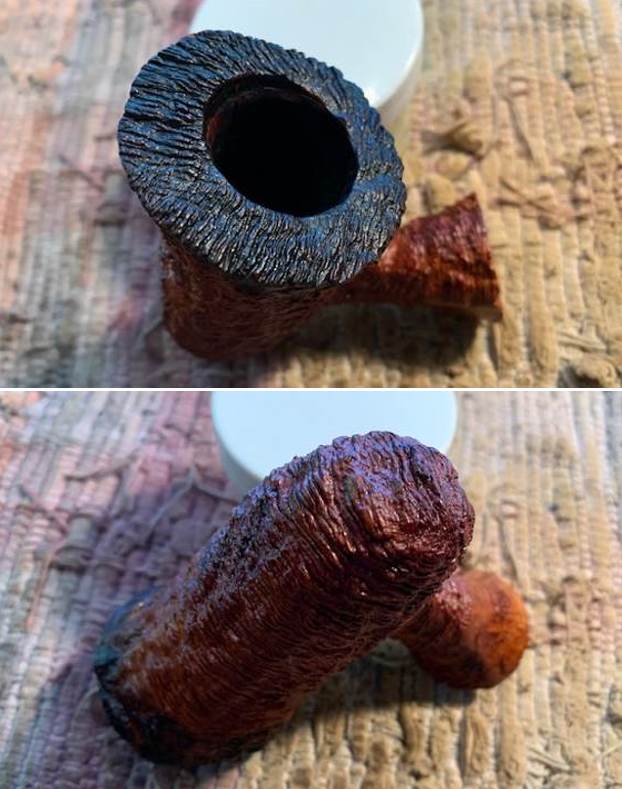
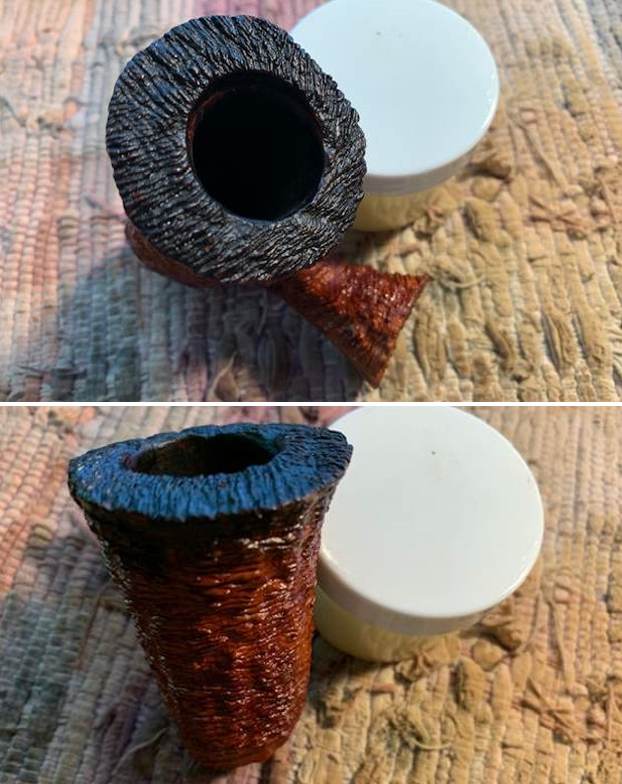
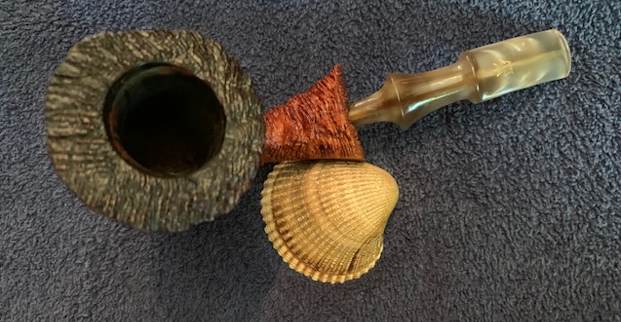
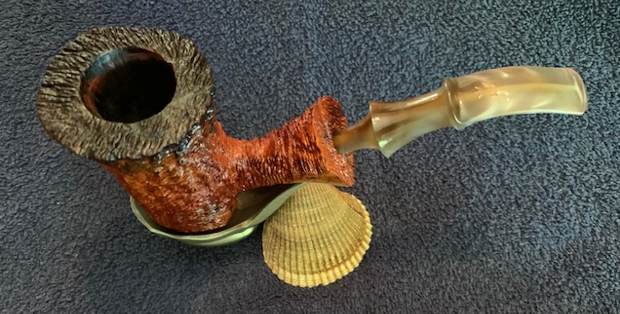
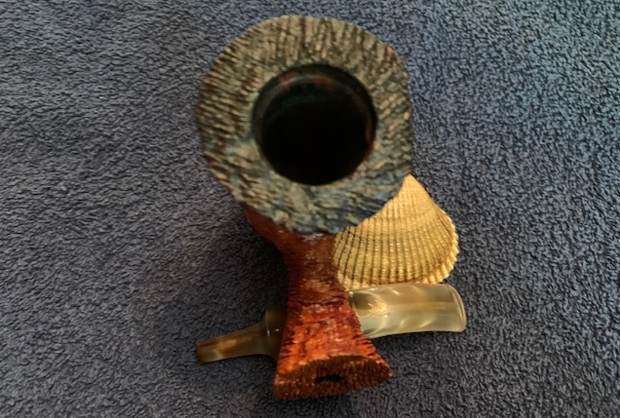
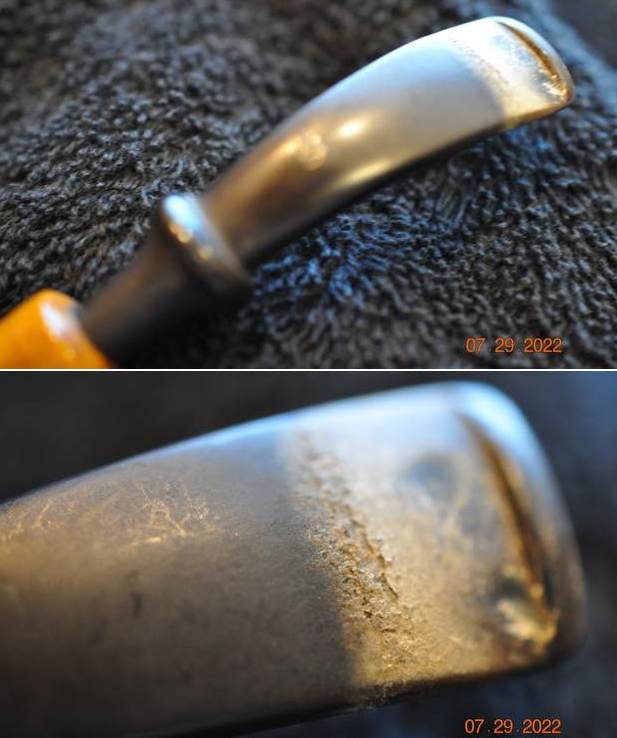
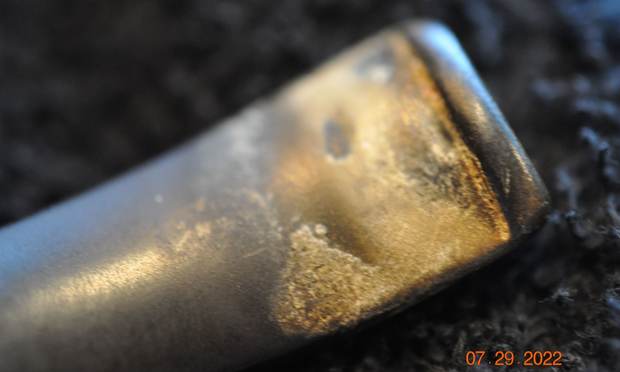
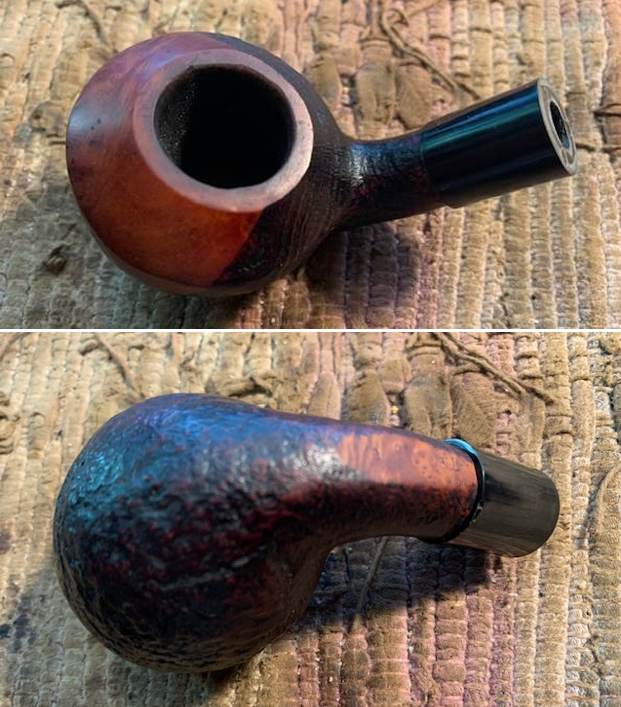
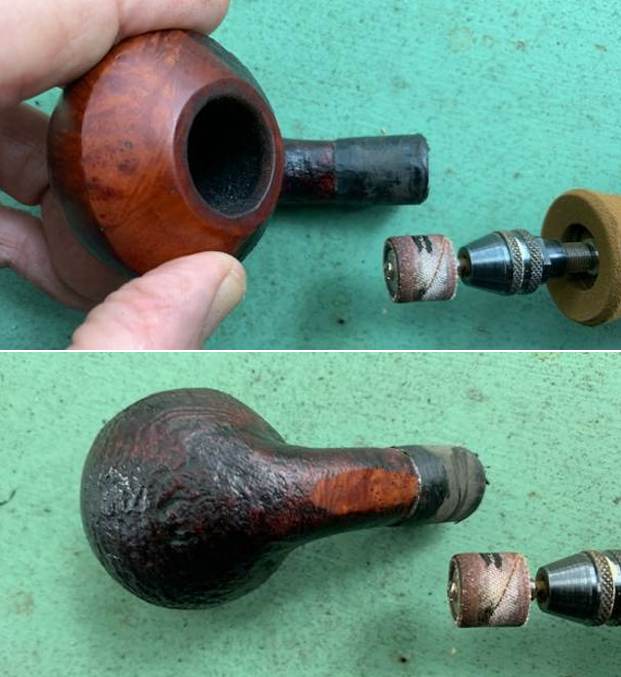
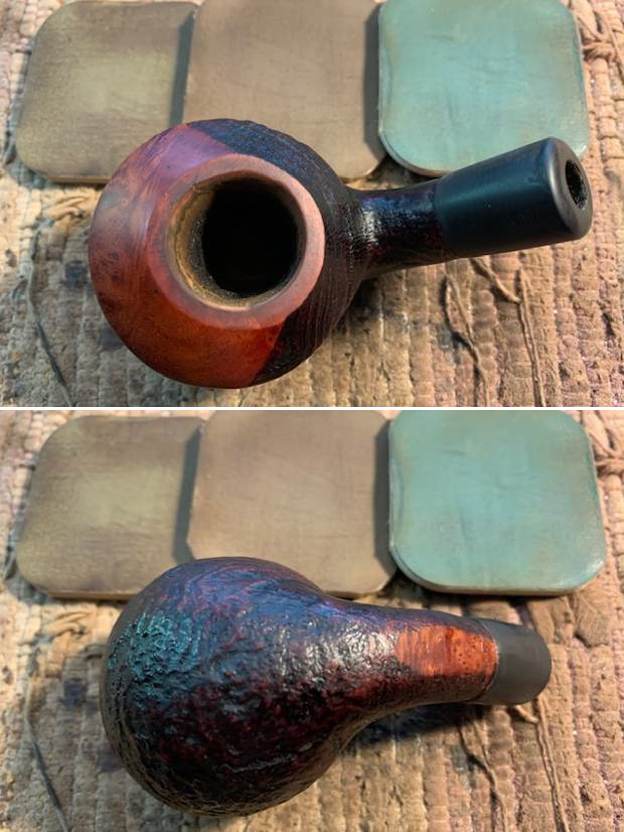
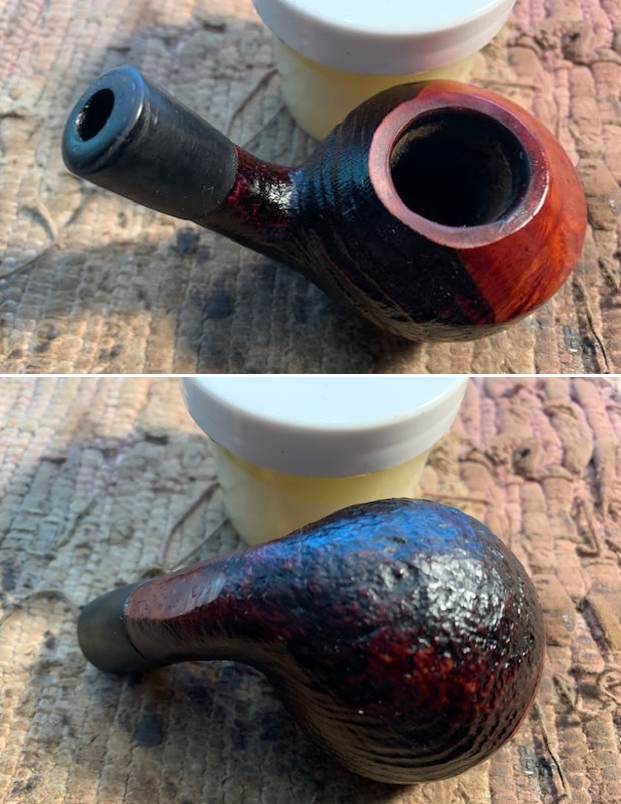
 He took photos of the bowl and rim top as well as the stem to show the general condition of the pipe. You can see the thickness of the cake in the bowl and the lava on the rim top. The bowl and rim are a mess. There is also a lot of grim ground into the finish that is visible in the photos. The stem photos show the oxidation, calcification and the tooth marks on chatter on both sides.
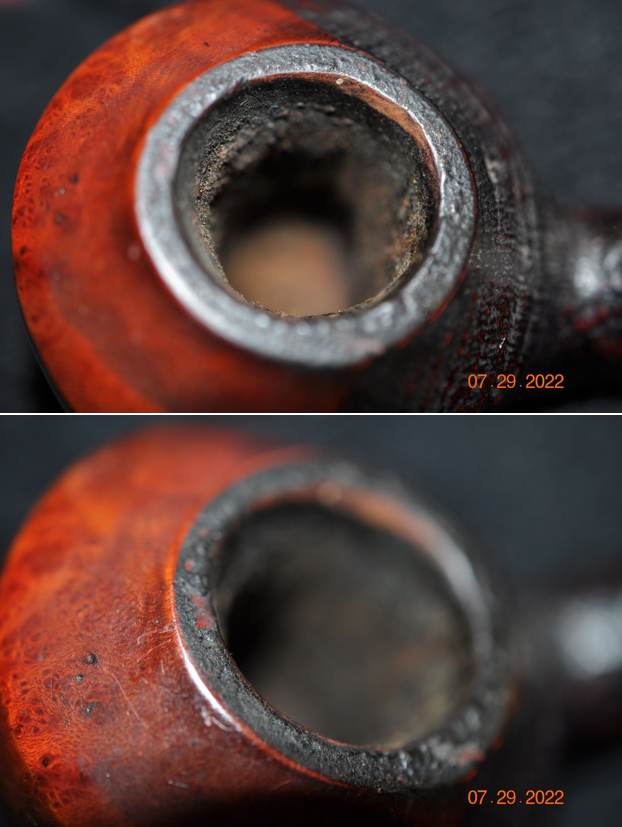
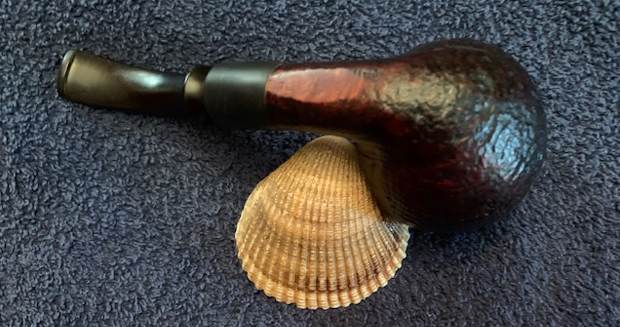
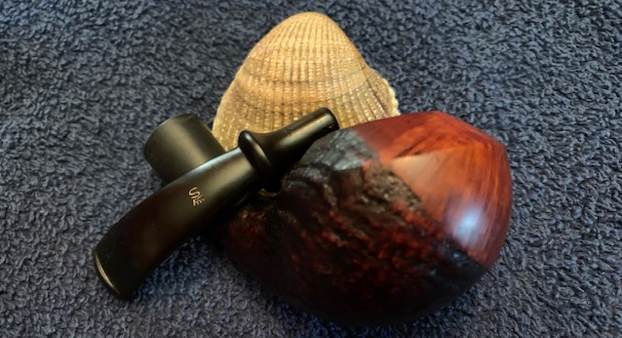
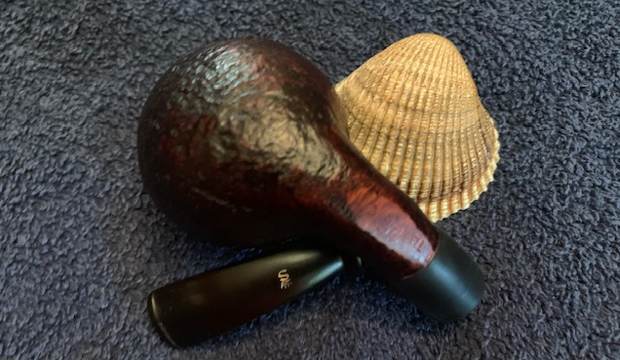
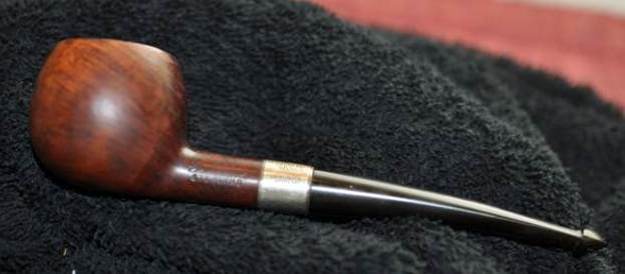
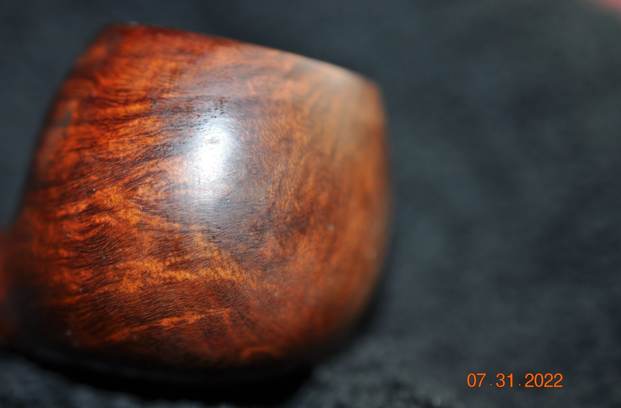
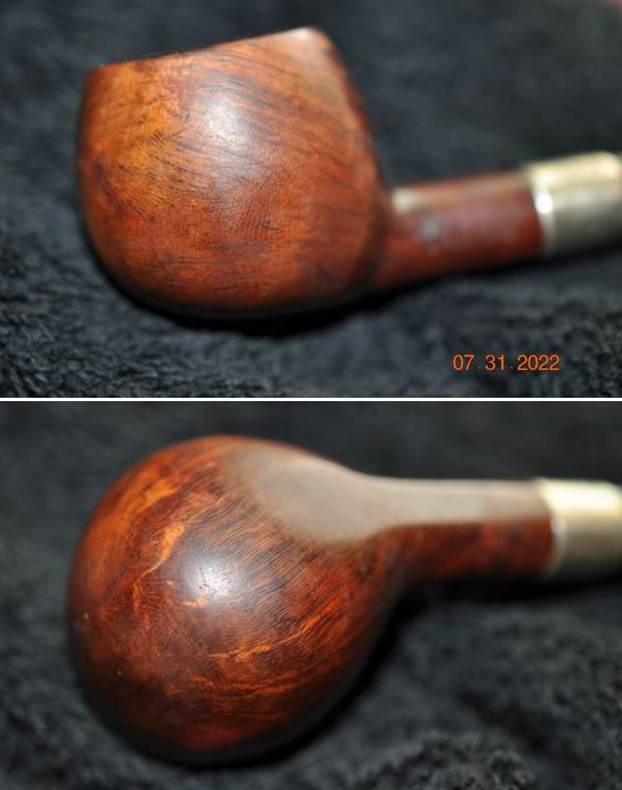
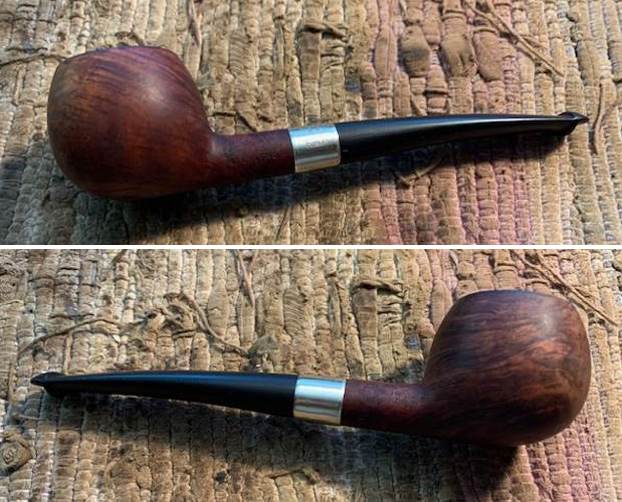
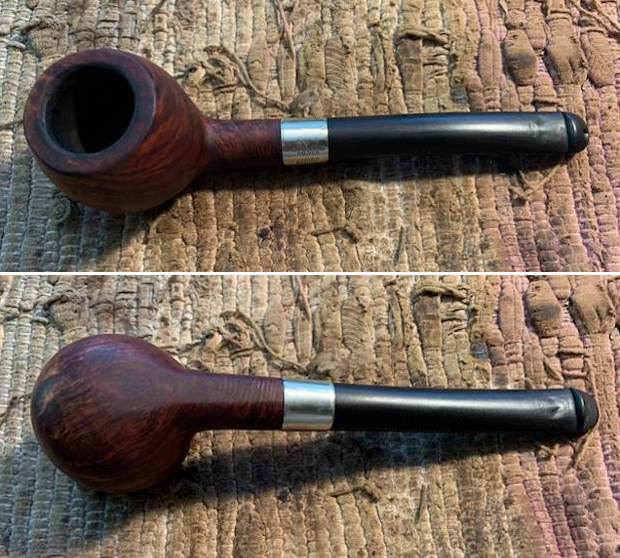
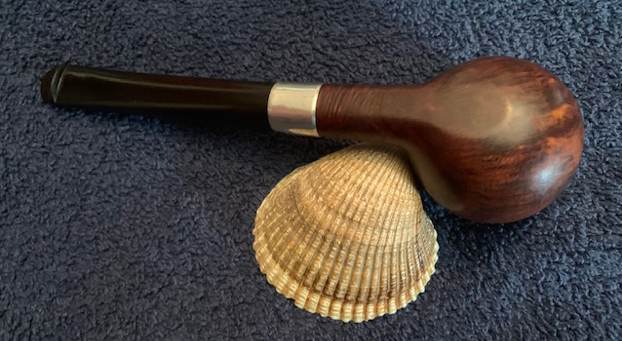
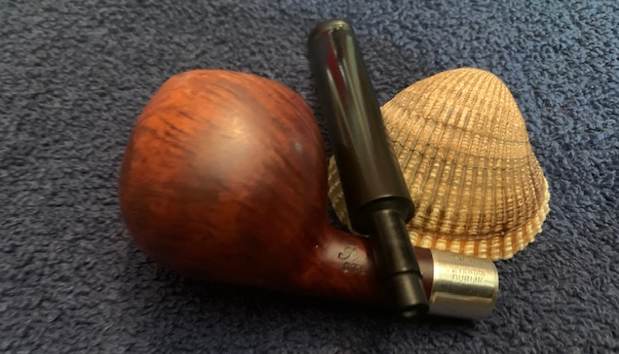
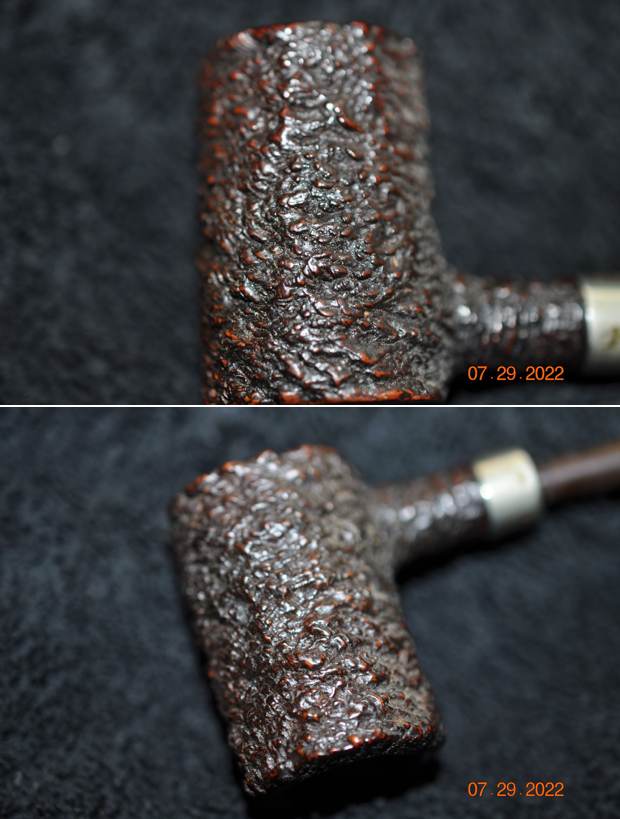
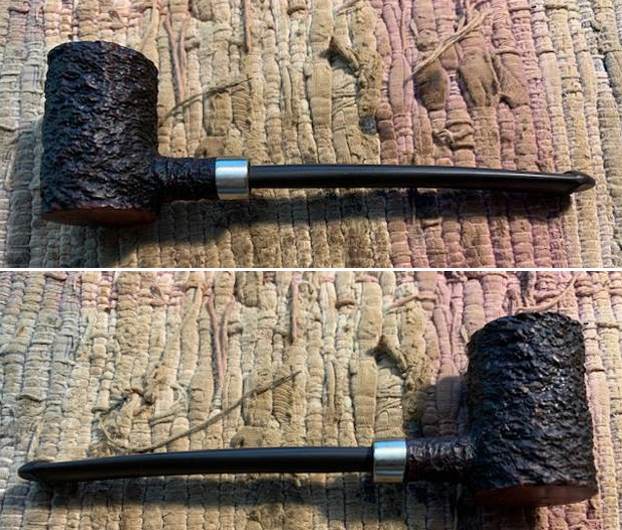
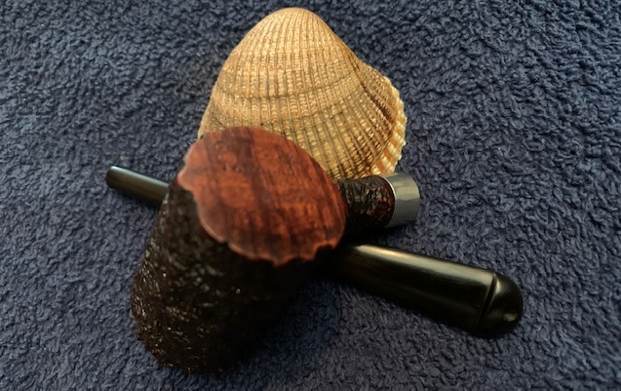
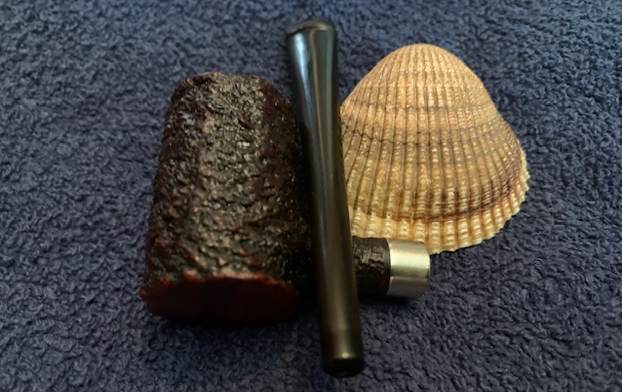
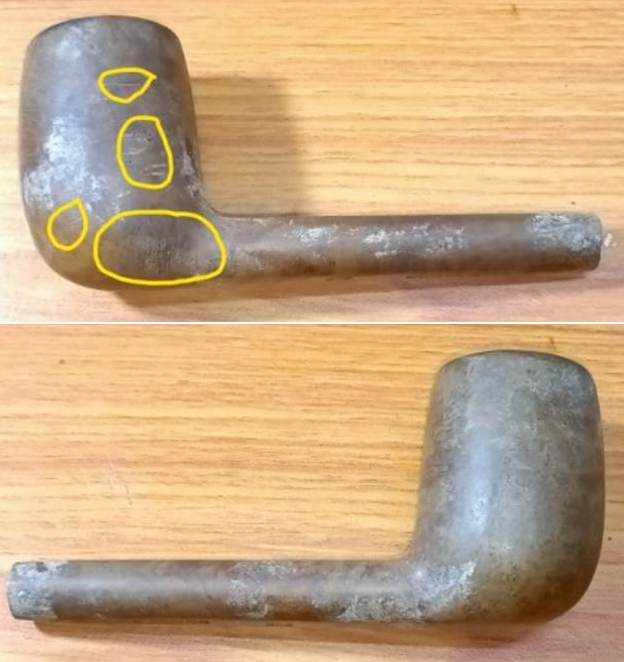
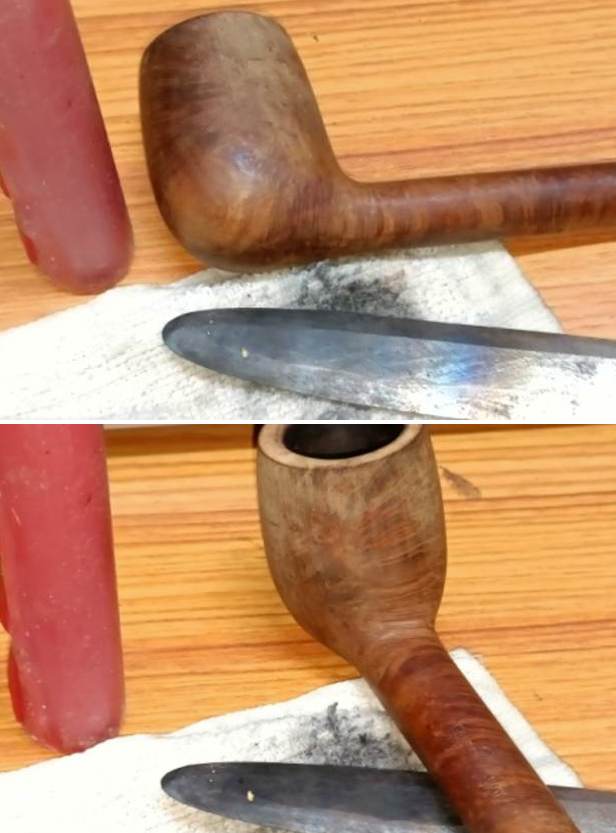
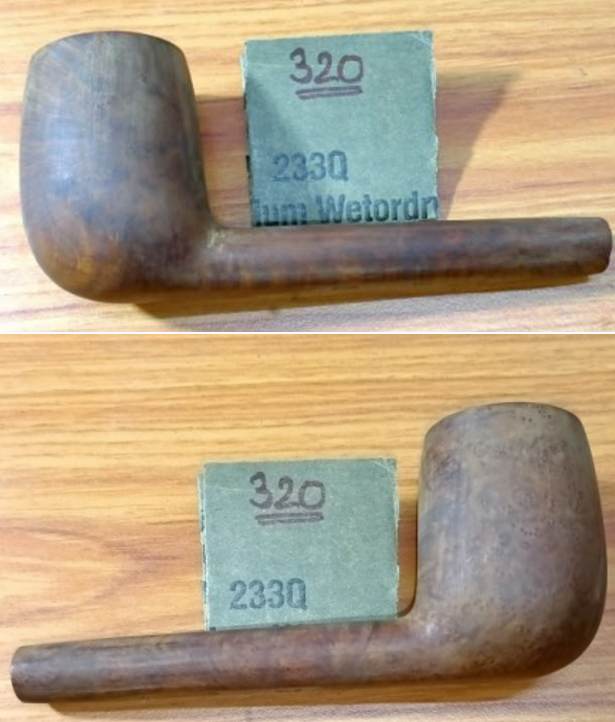
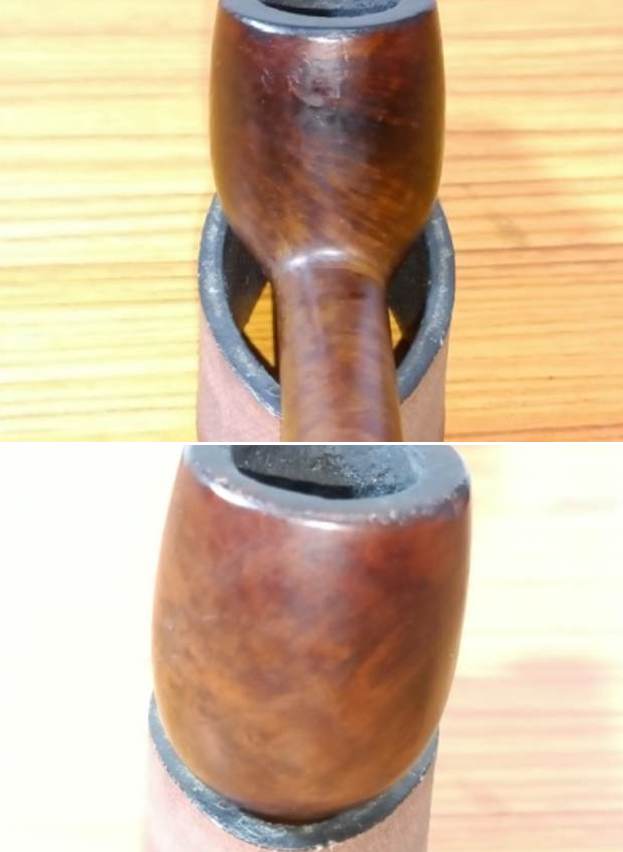
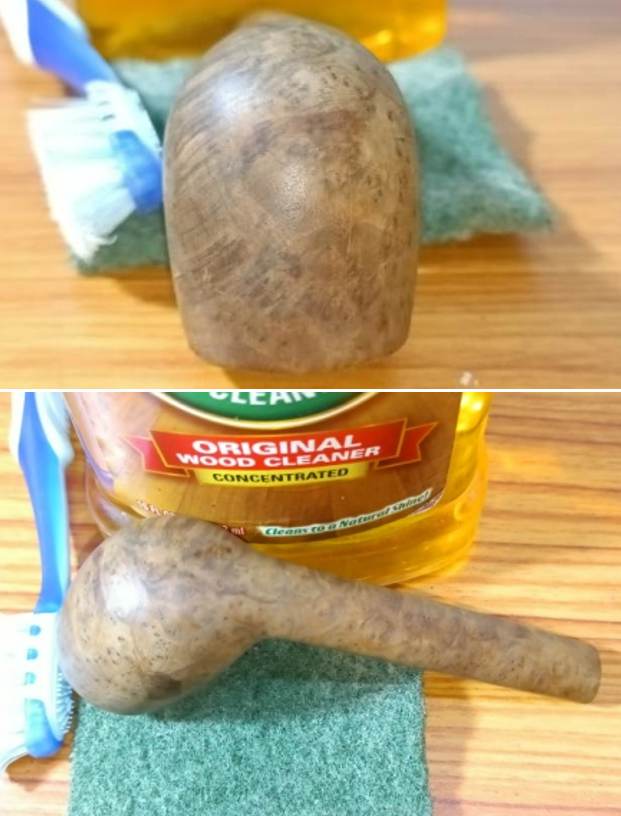
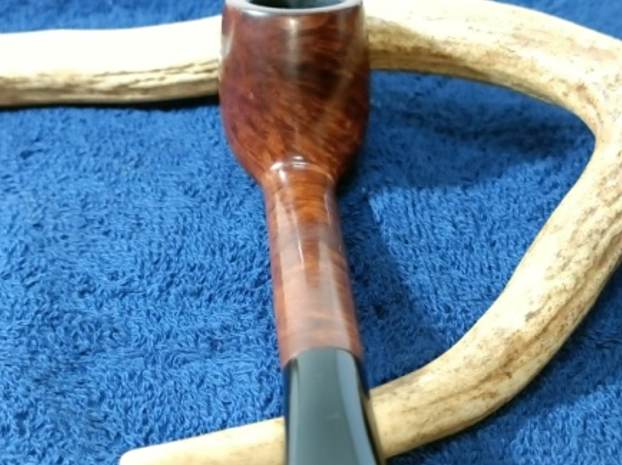
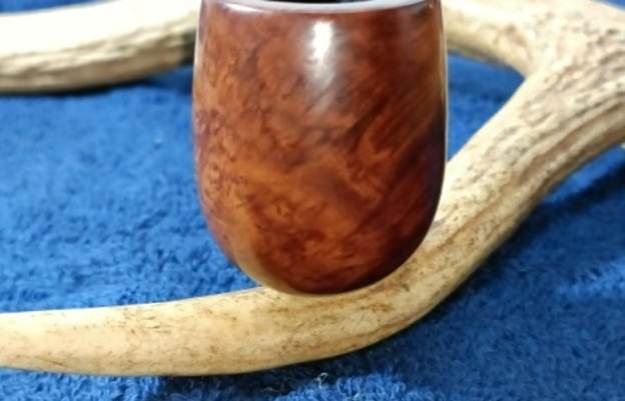
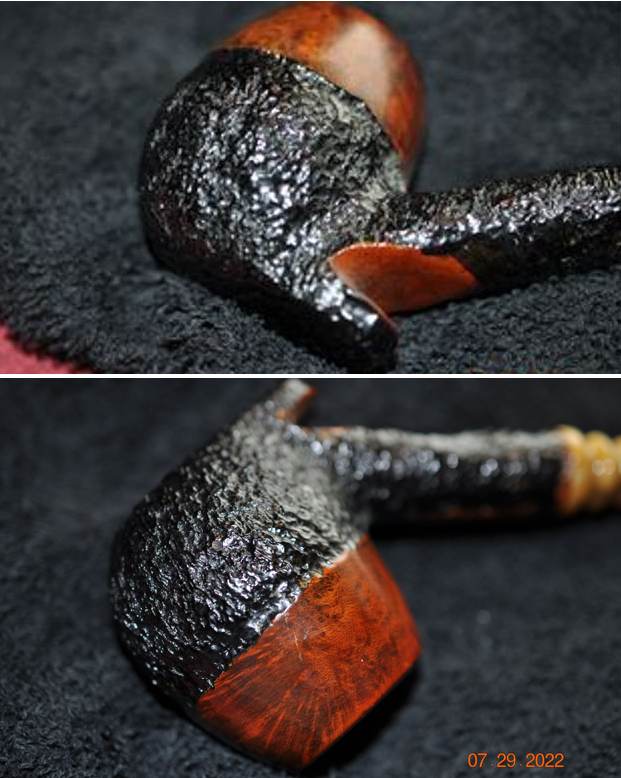
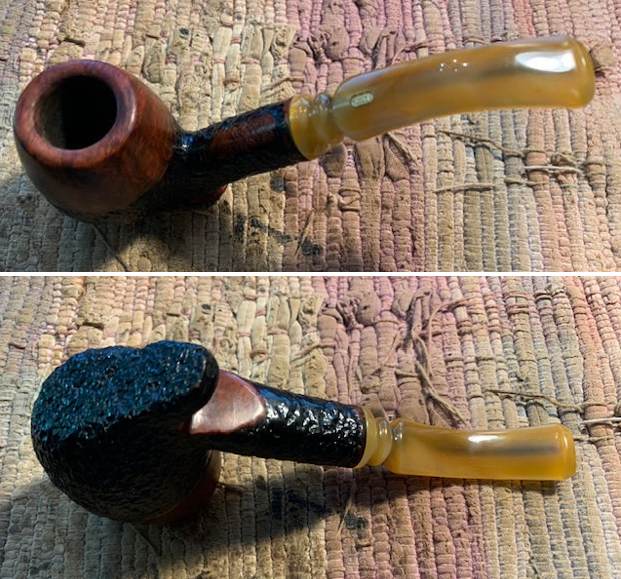
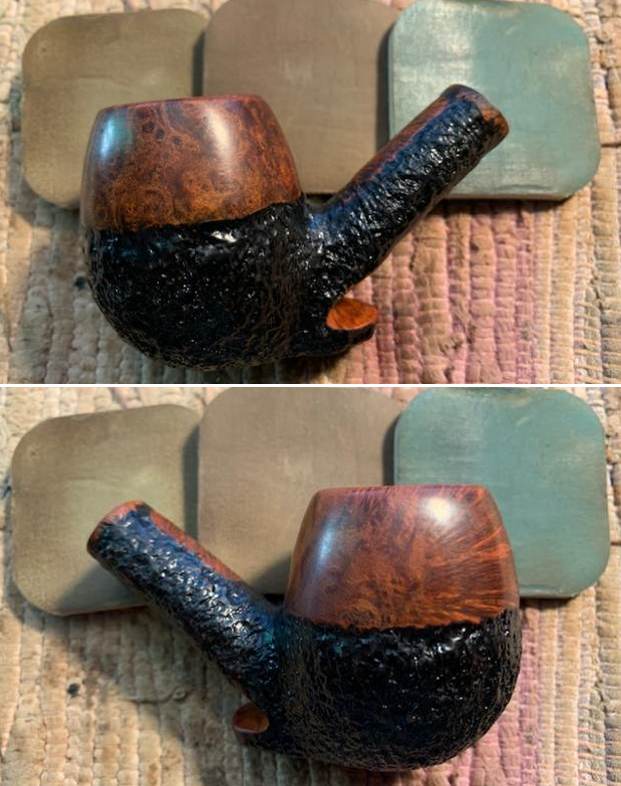
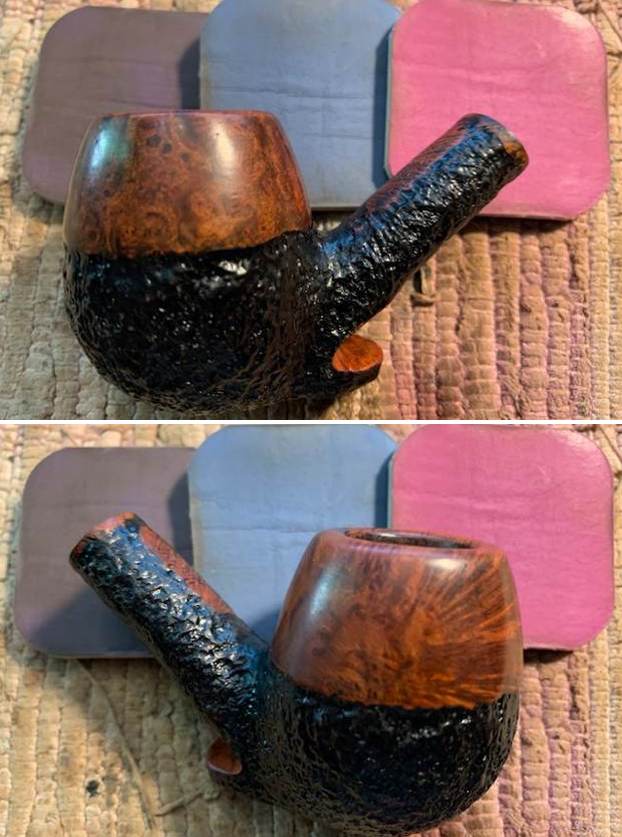
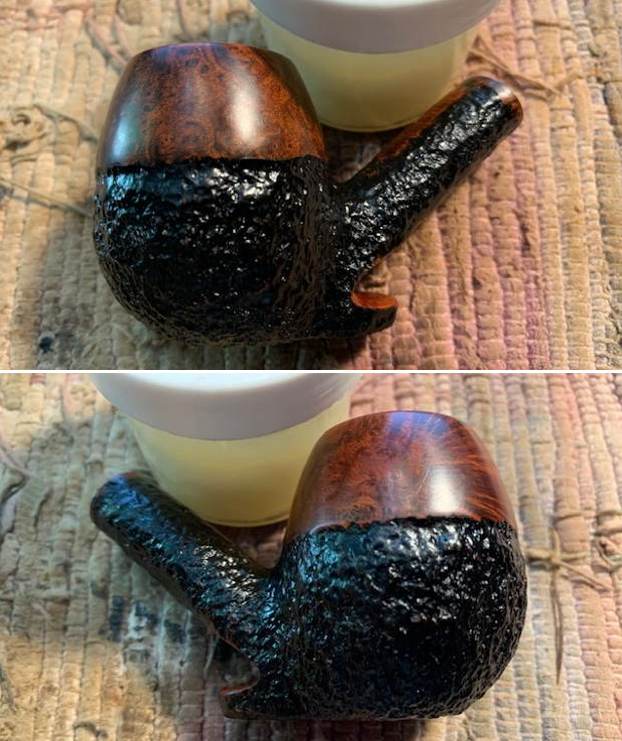
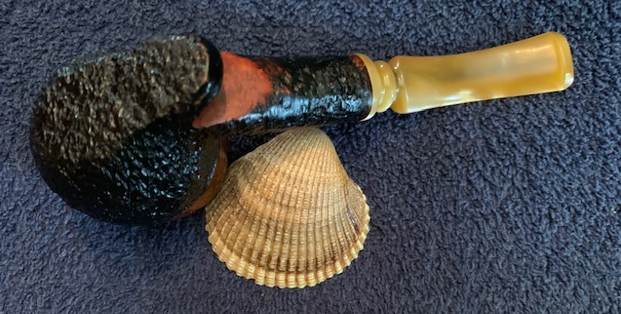
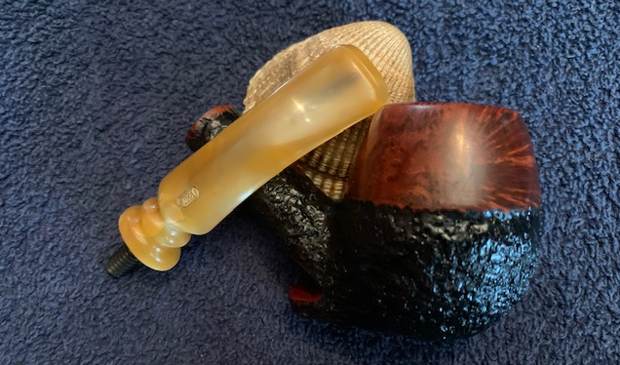
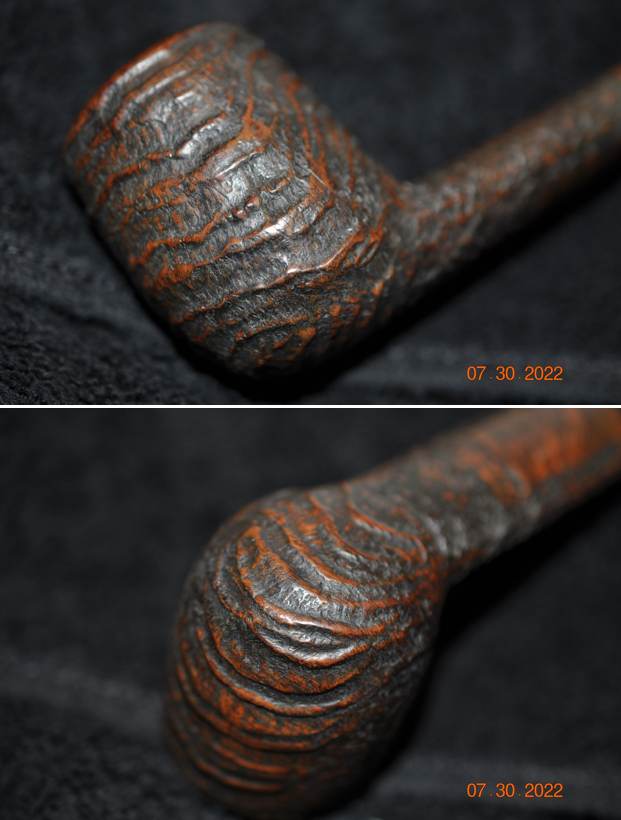
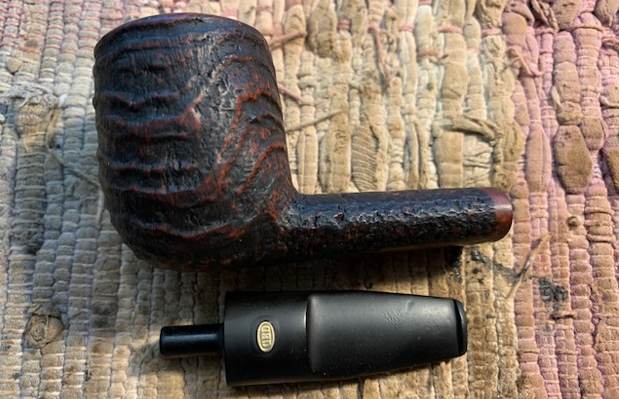
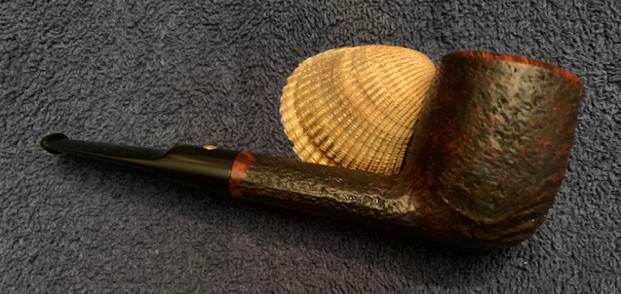
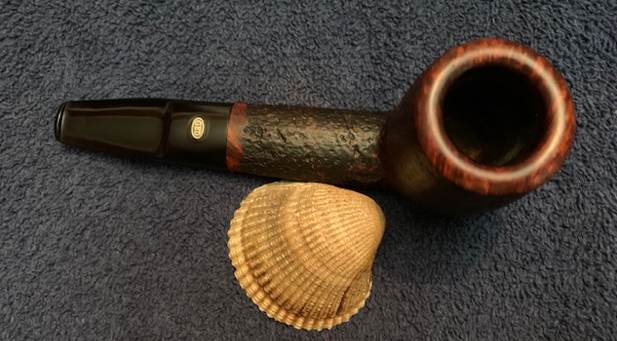
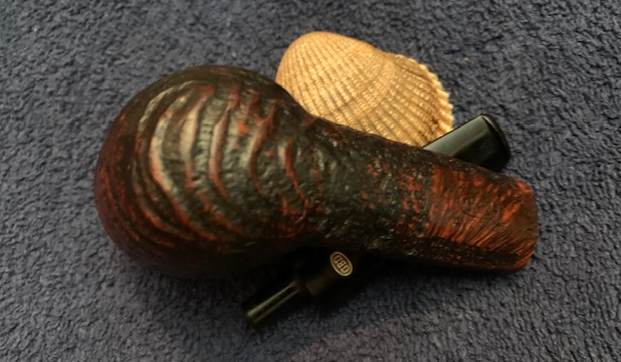
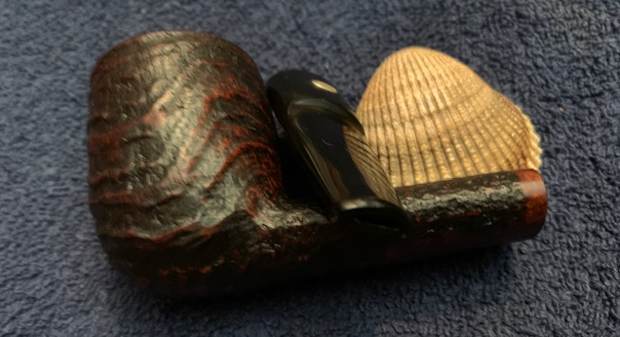
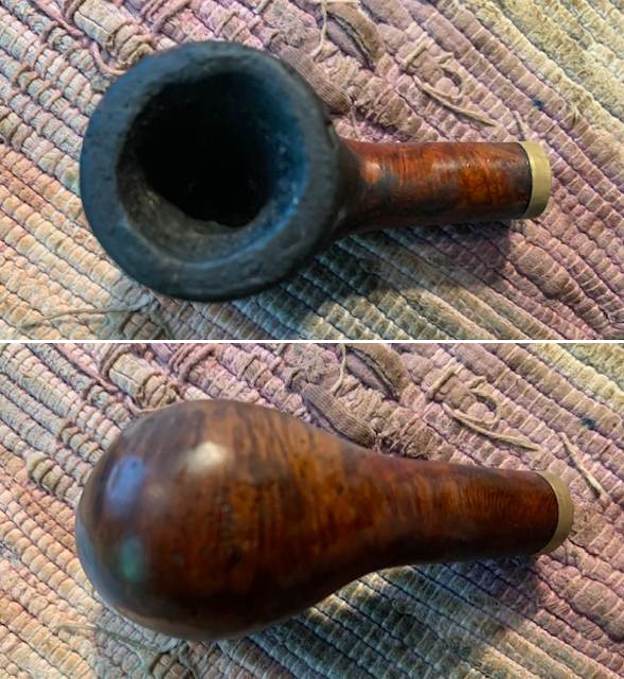
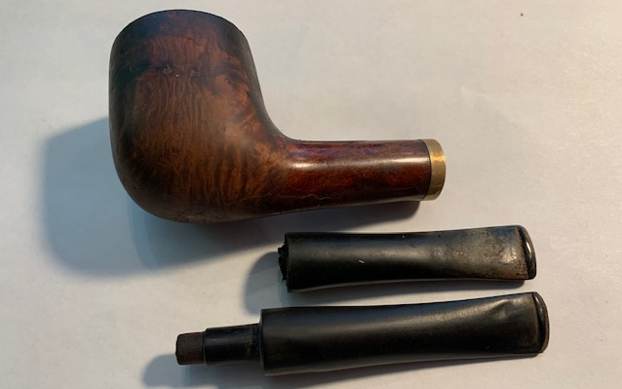
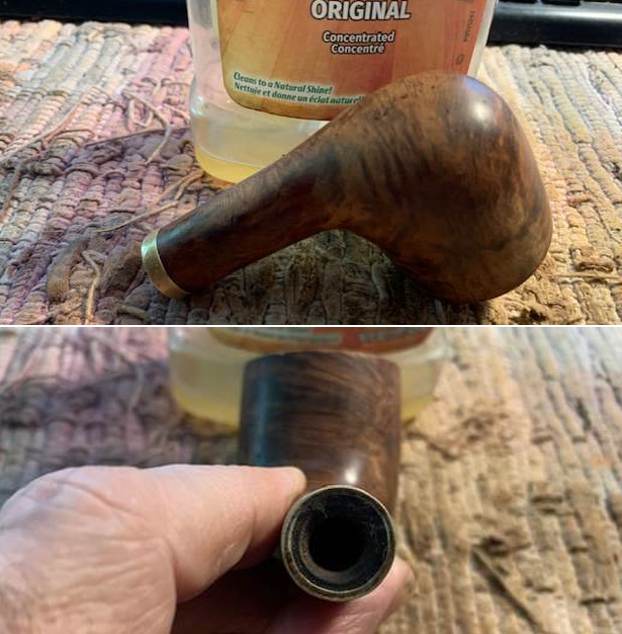
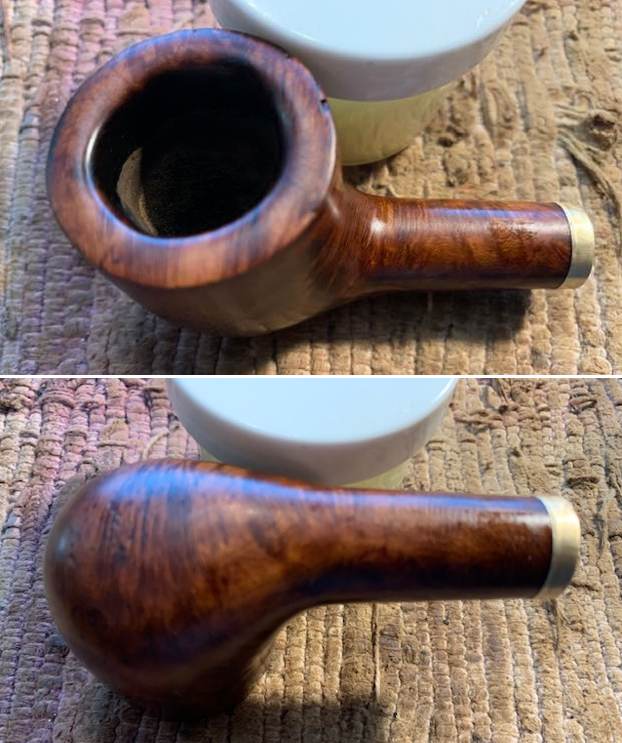
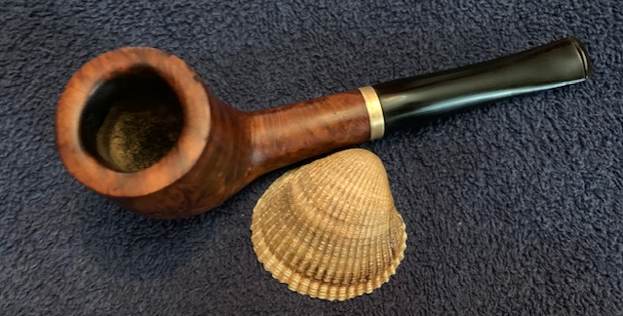
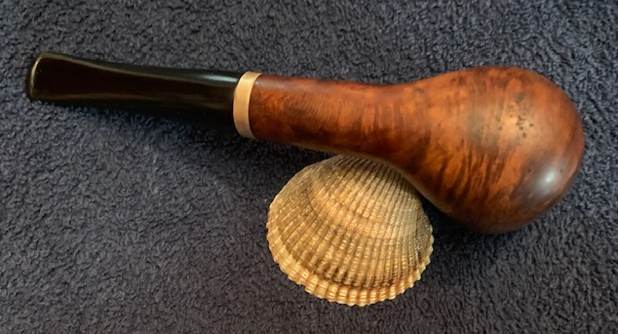
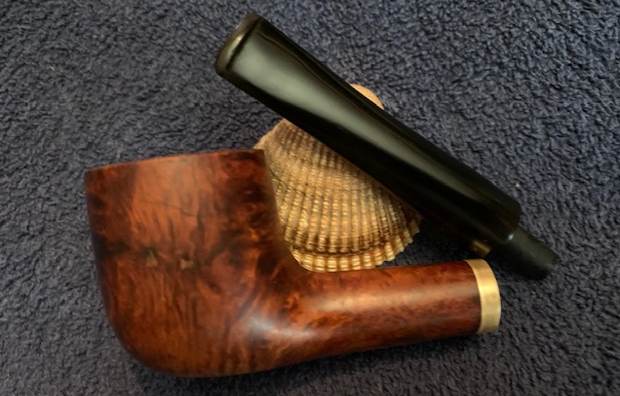
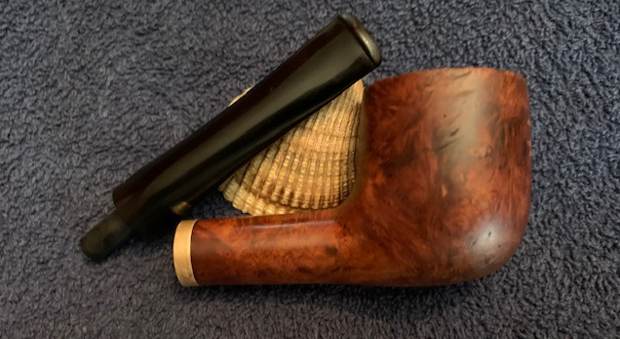
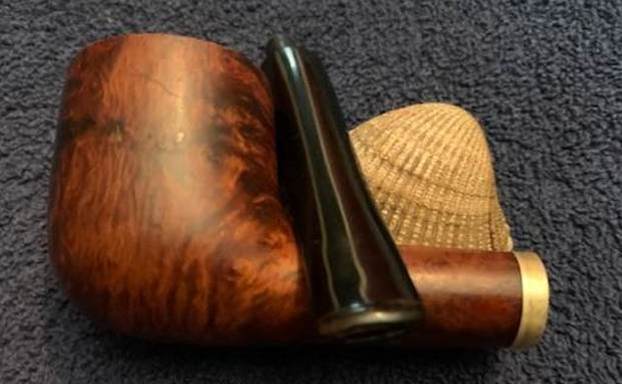
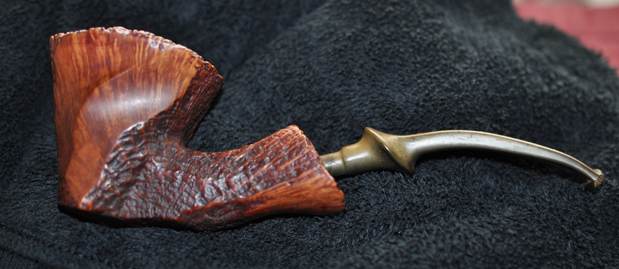
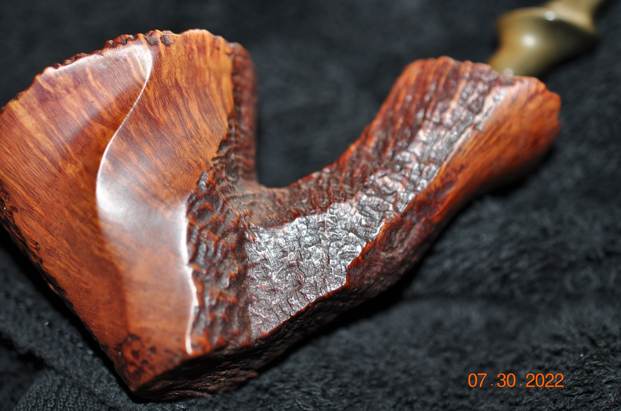
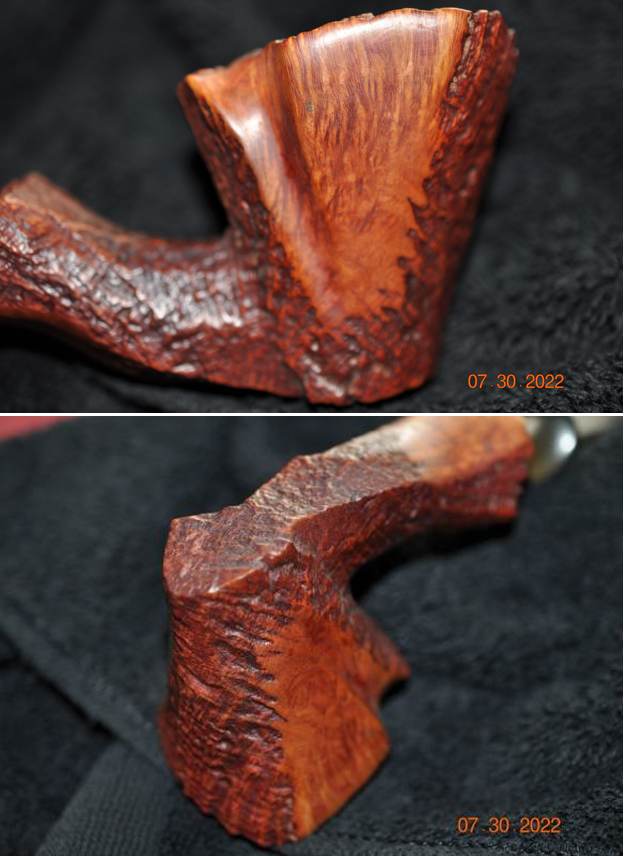
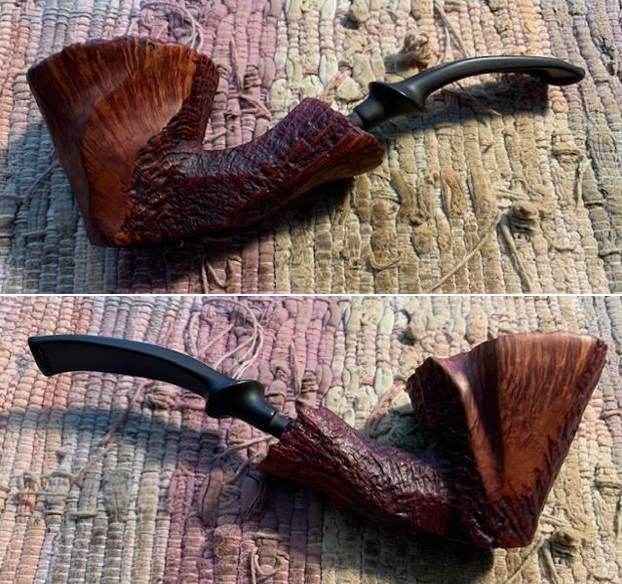
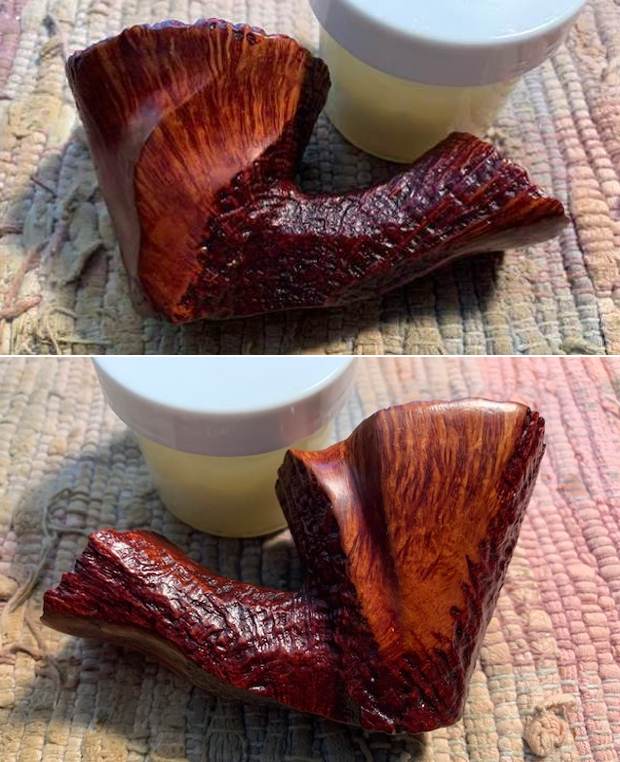
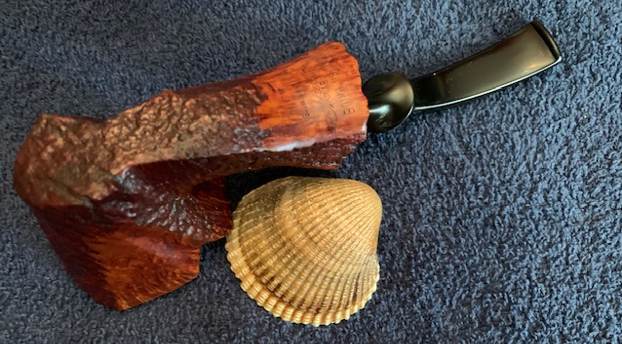
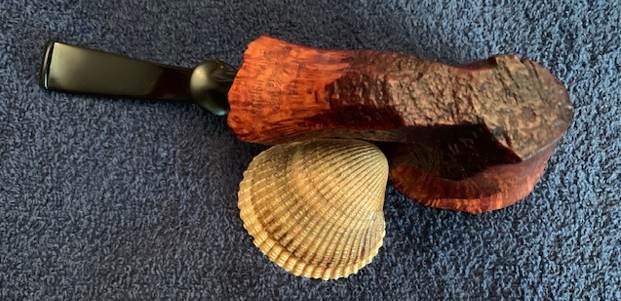
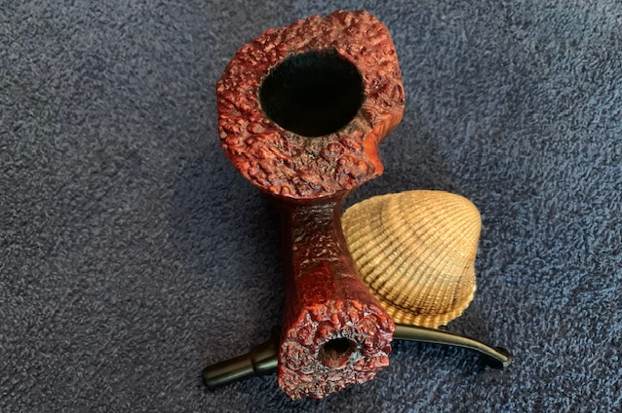
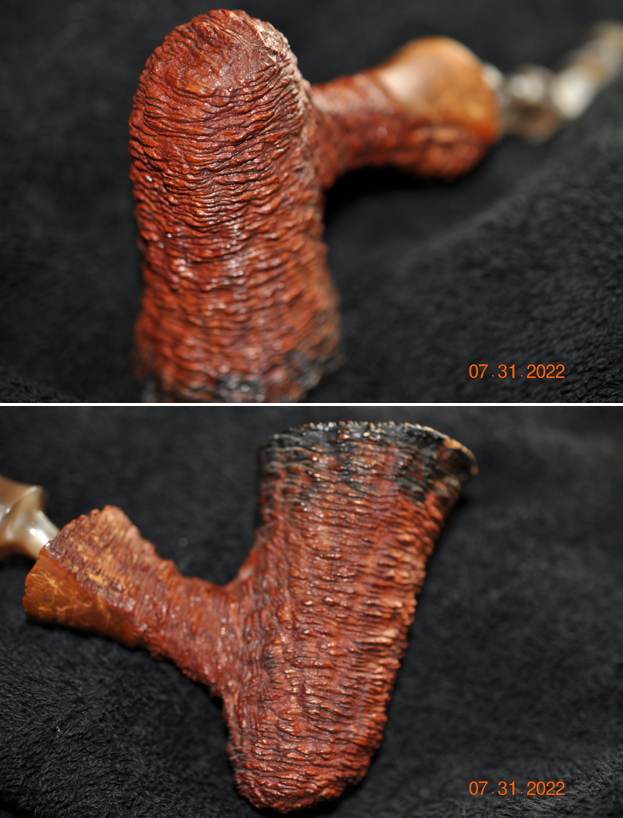
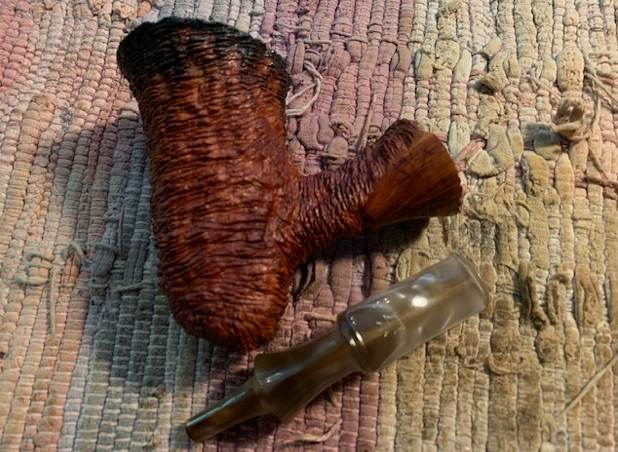
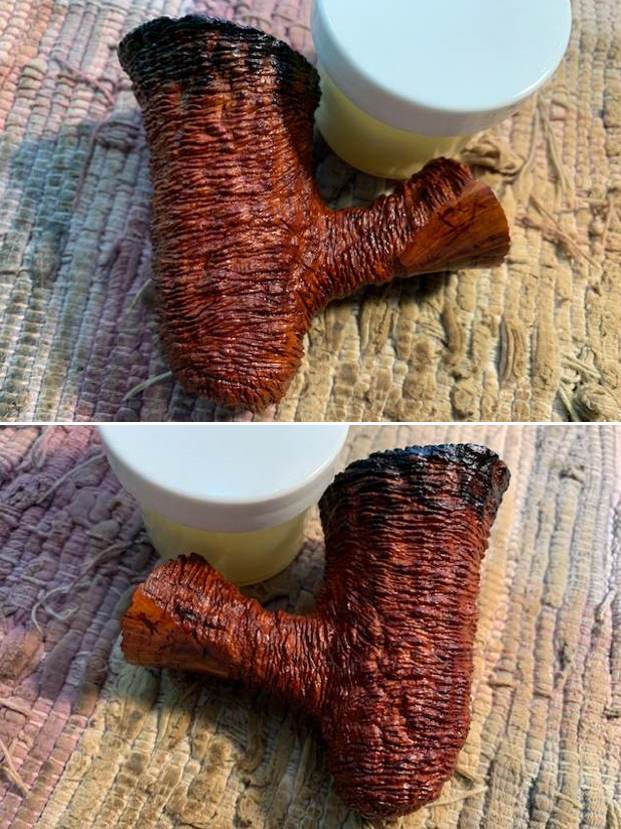
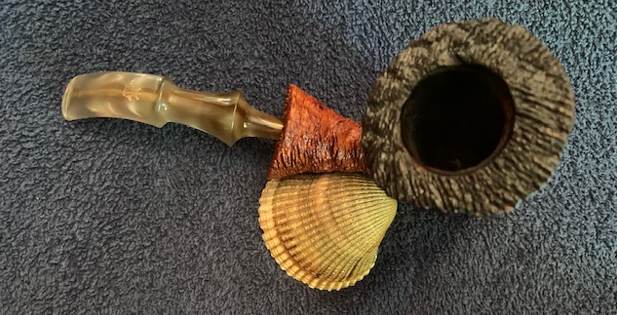
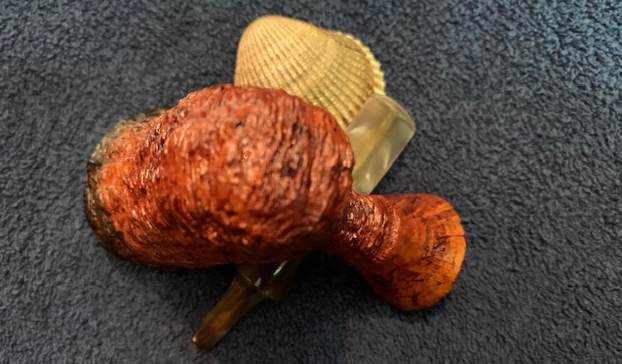
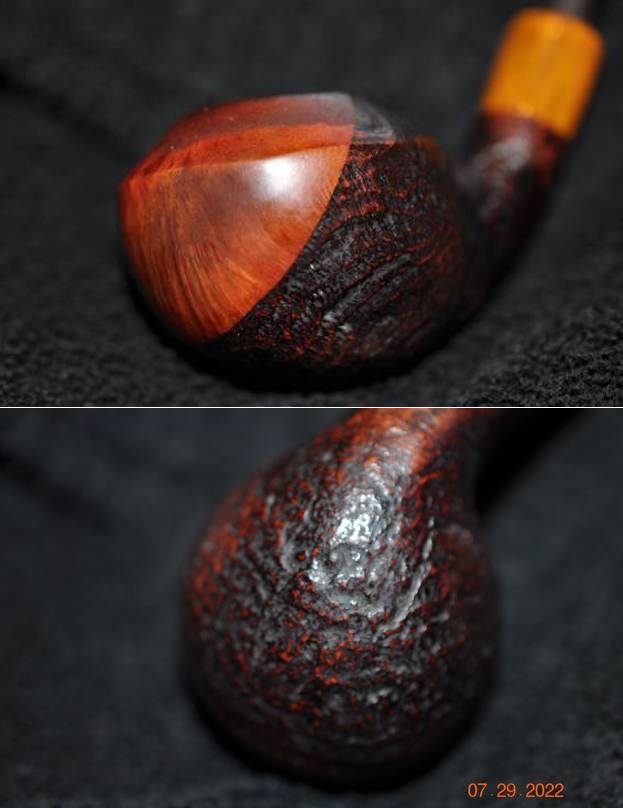
 He took photos of the sides and heel of the bowl to give a sense of the finish and shape of the bowl. It is an interesting ¾ bent Rhodesian if held right and otherwise appears like a scoop. It really has some unique beauty to it.
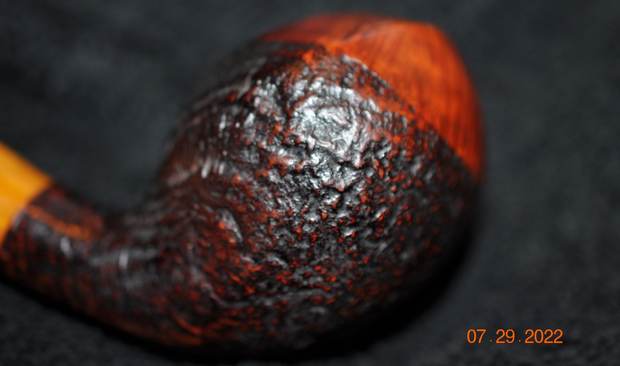
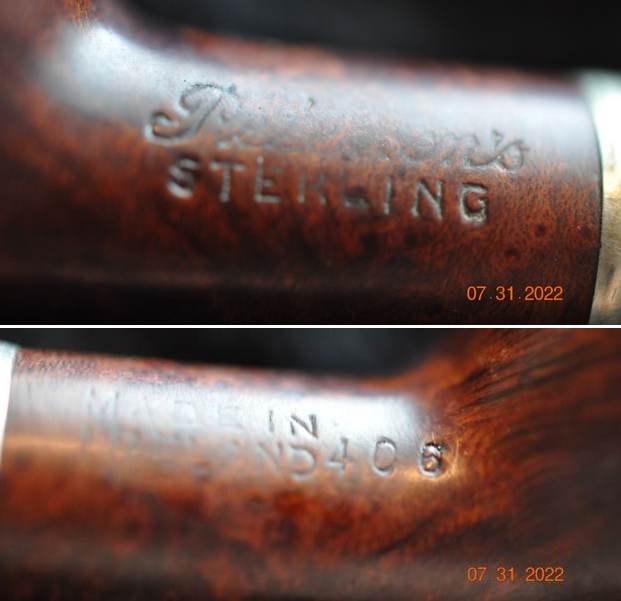
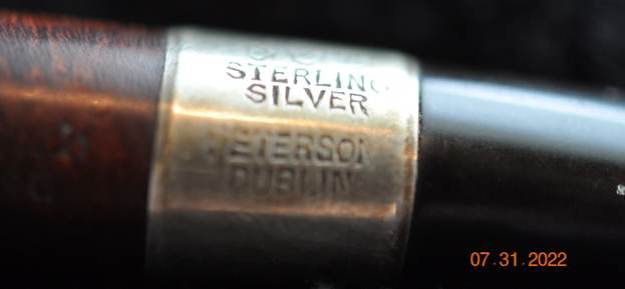
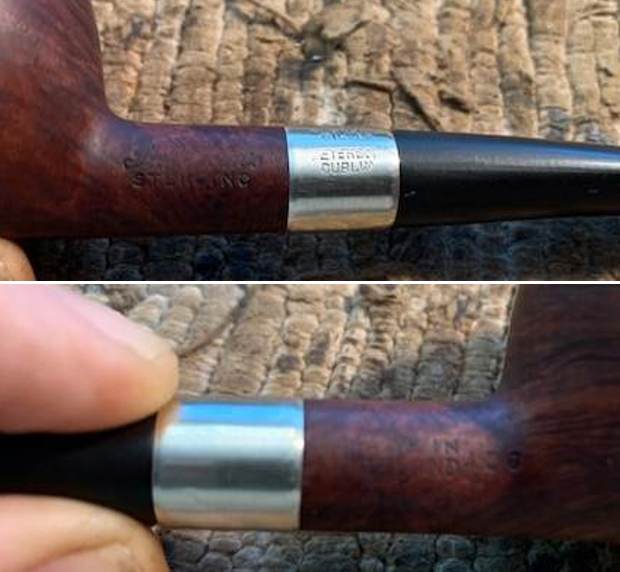
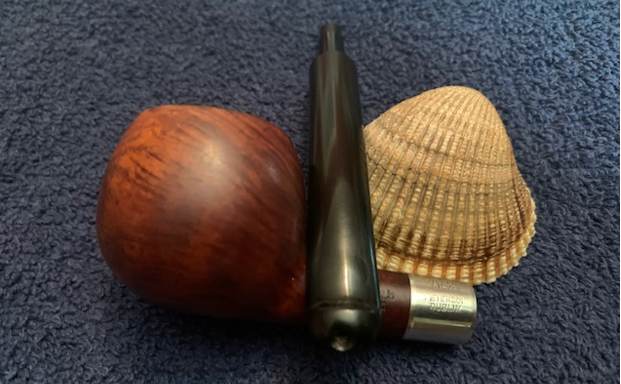
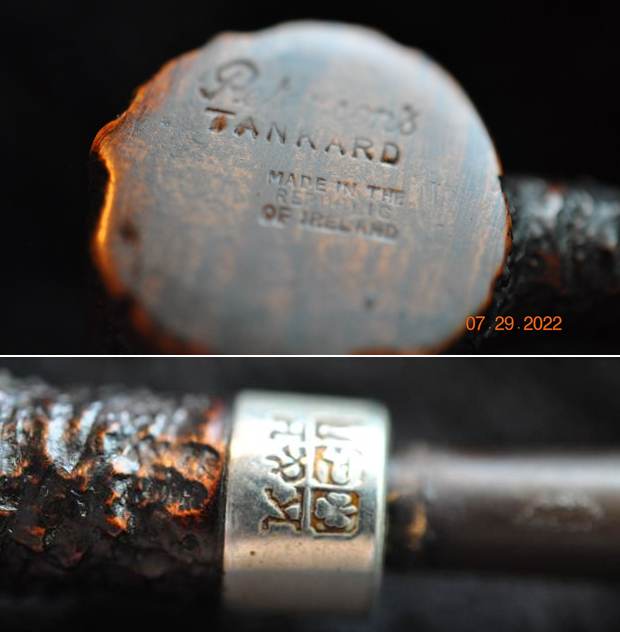
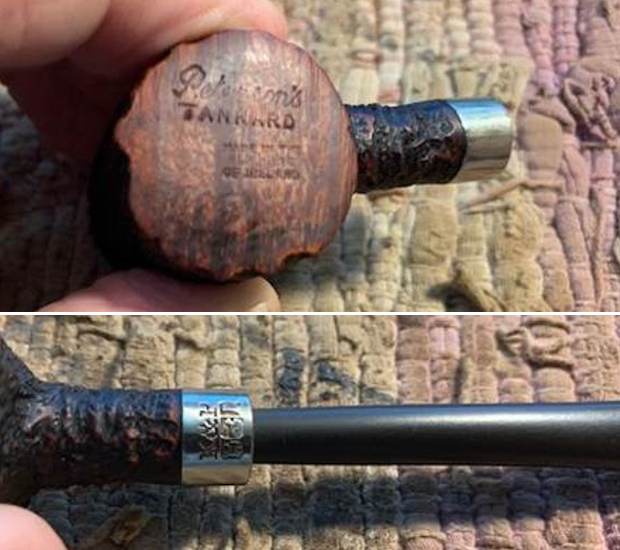
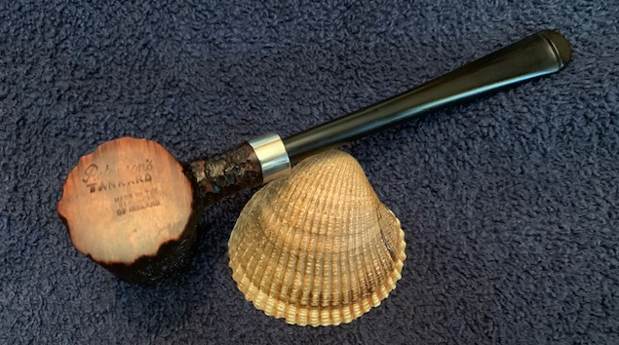
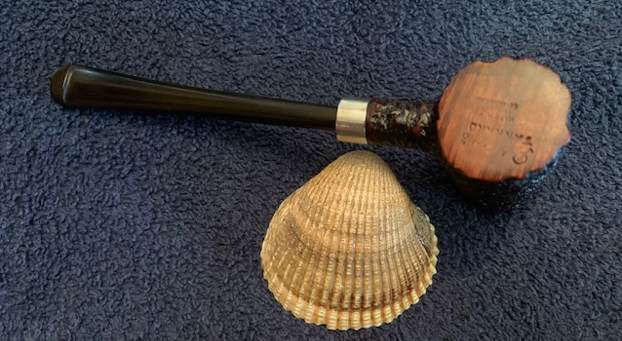
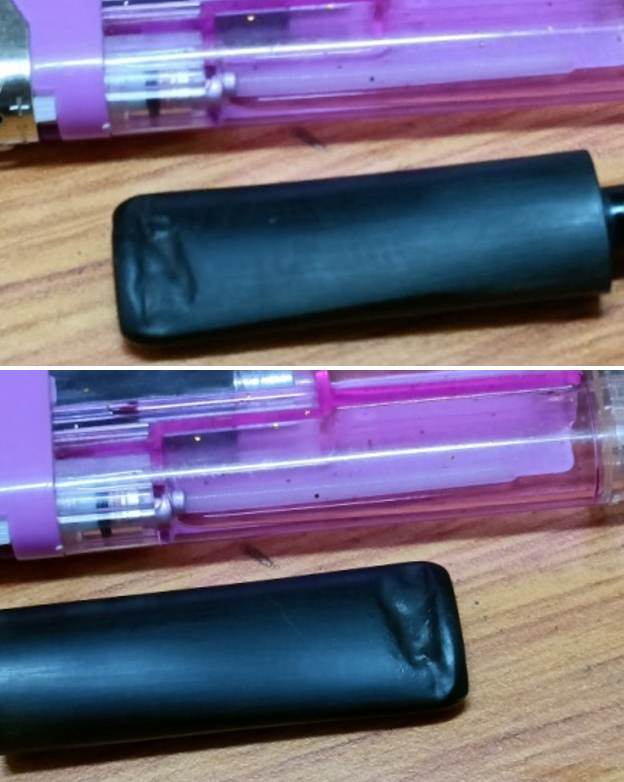
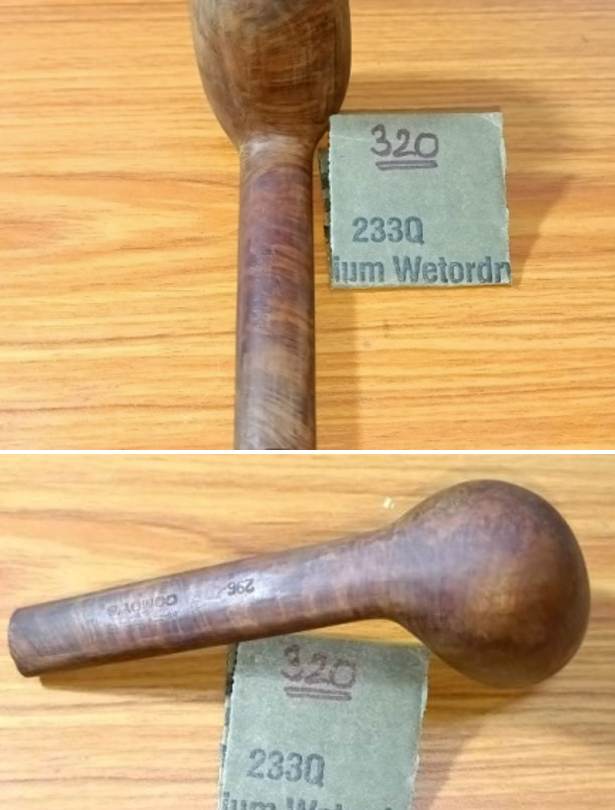
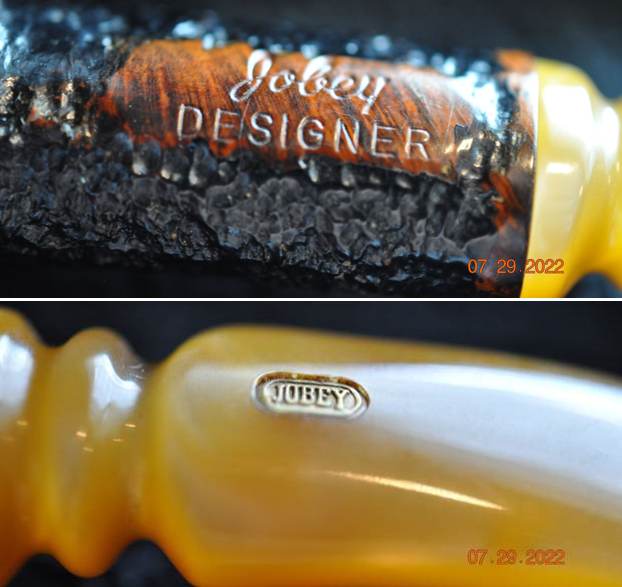
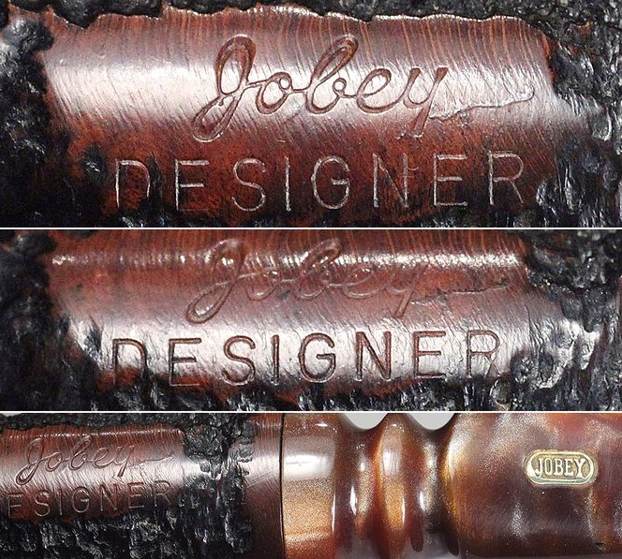
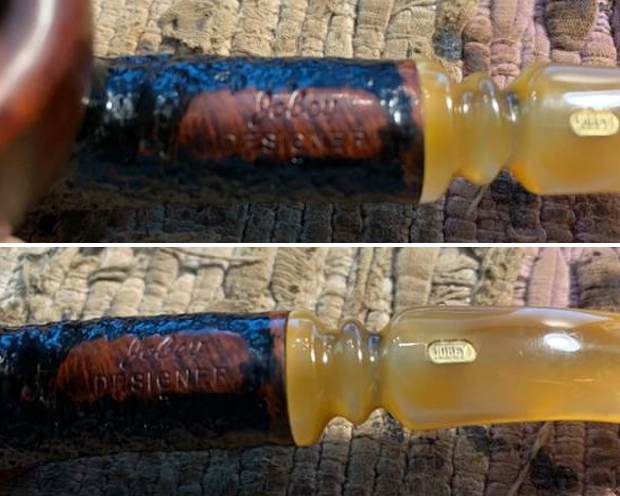
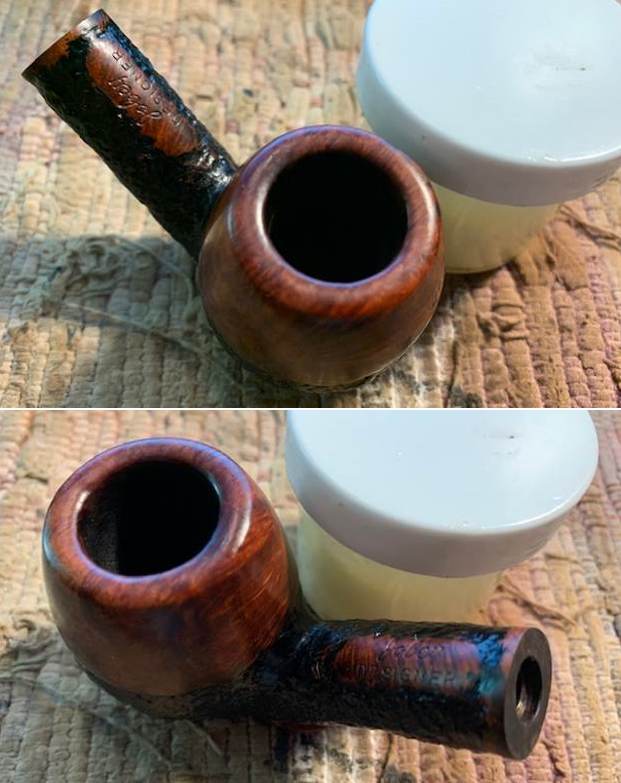
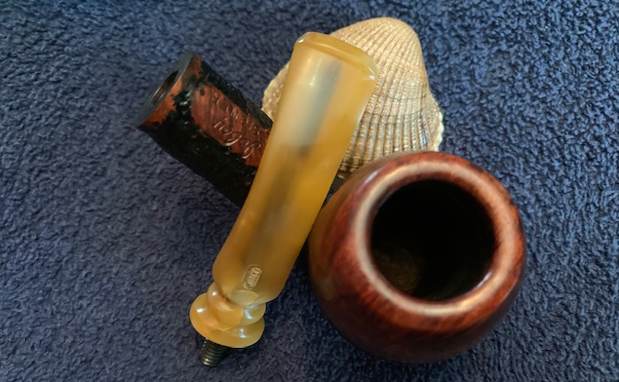
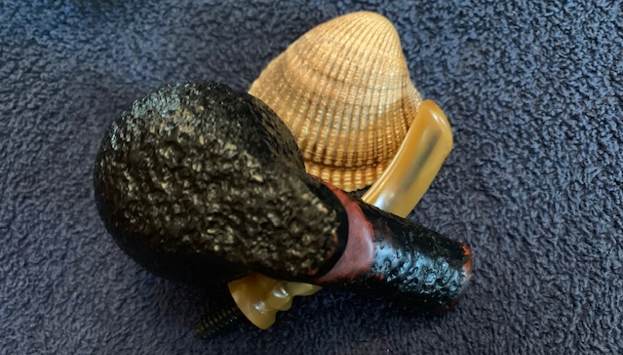
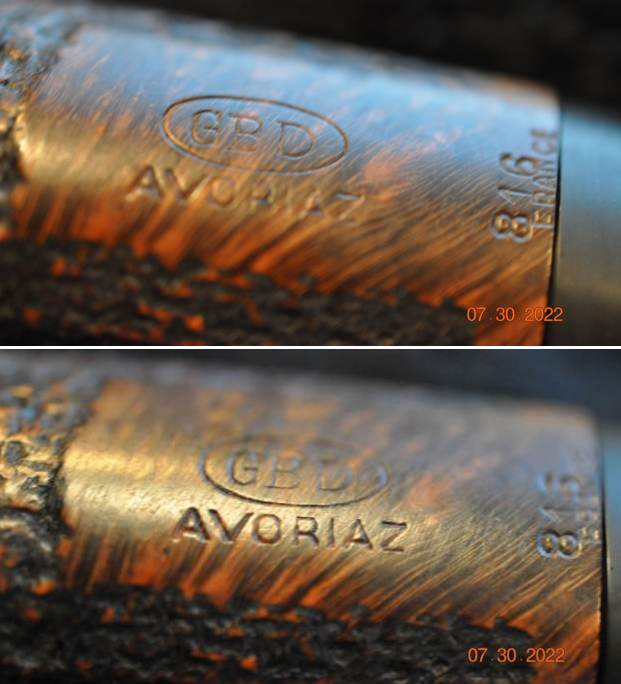
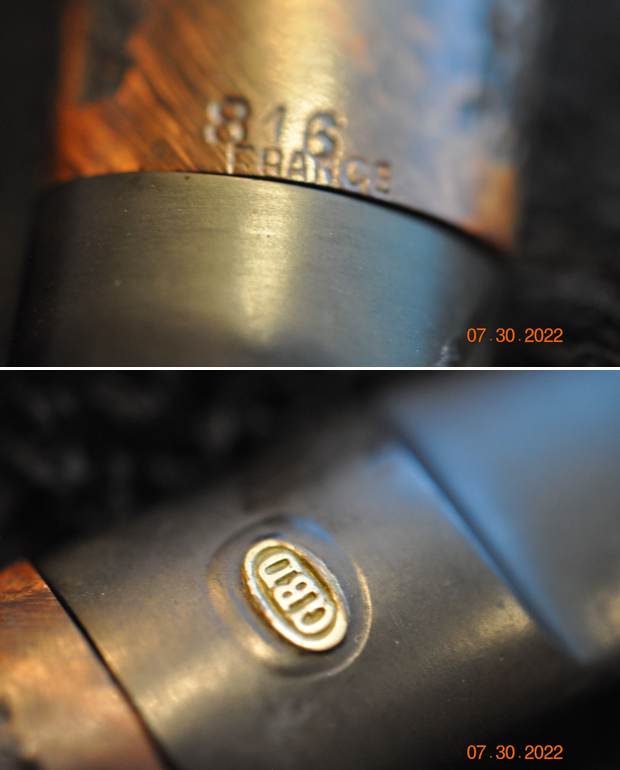
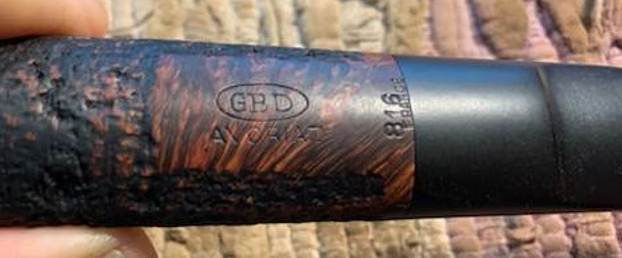
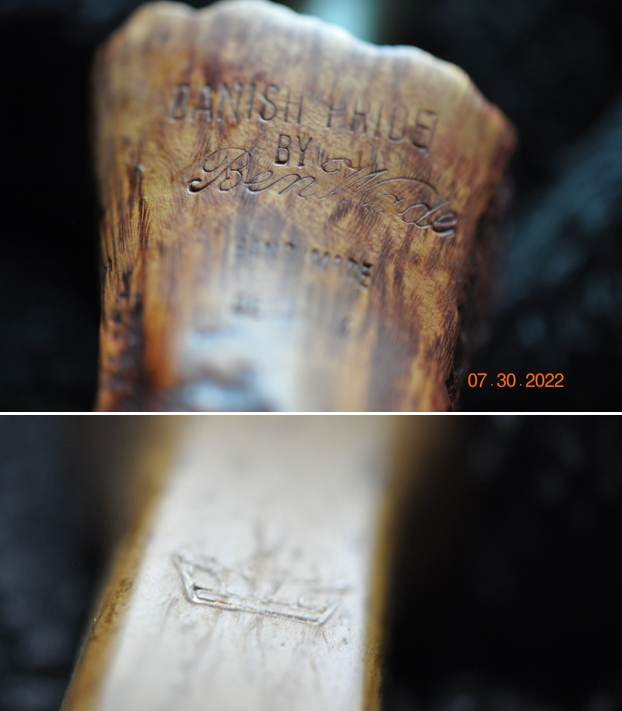
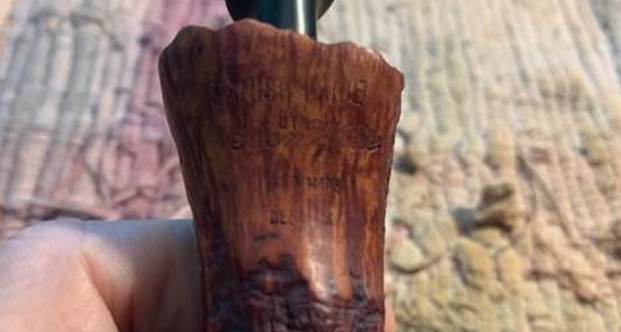
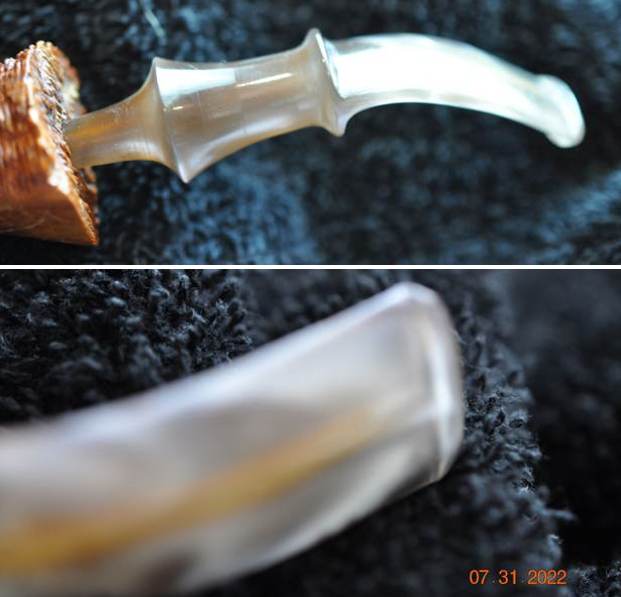
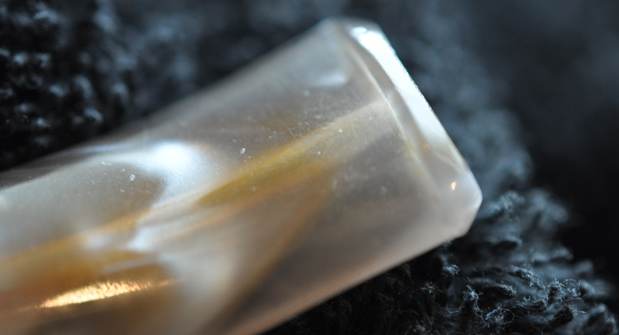
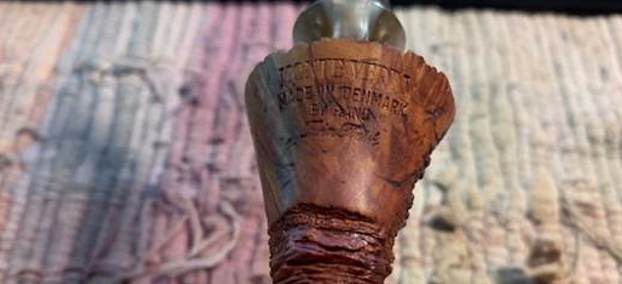
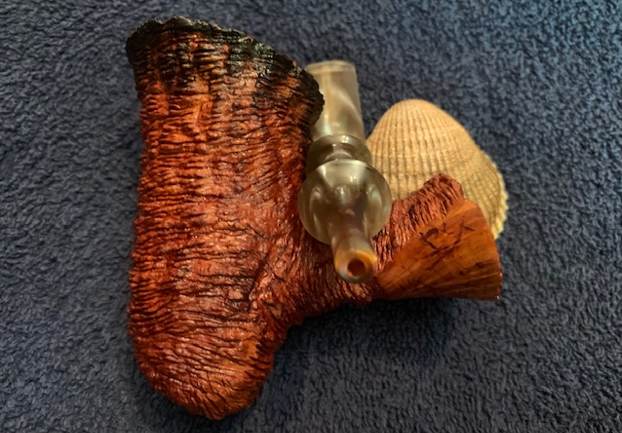
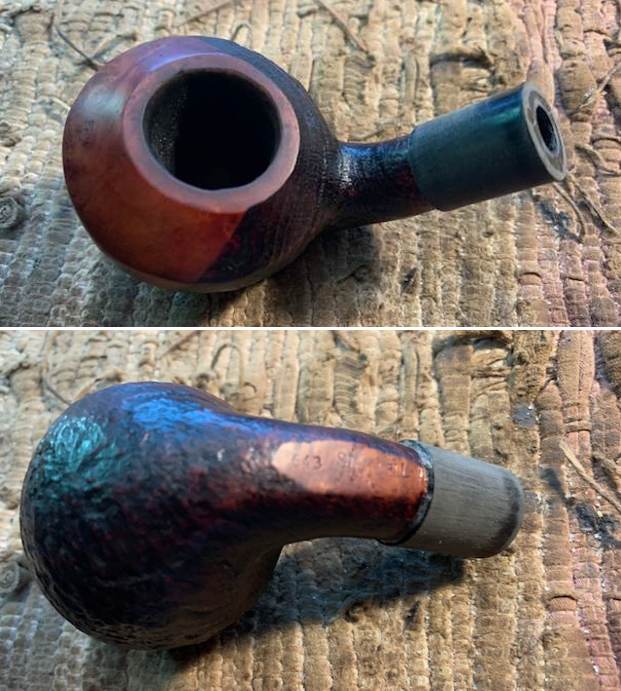
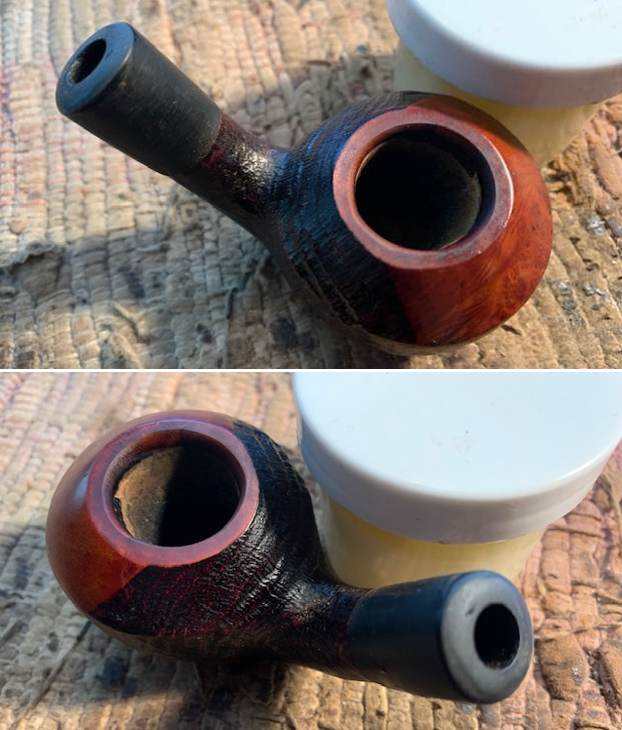
 Jeff took photos of the stamping on the underside of the shank and it is clear and readable as noted above. The shank extension has a lot of cracks and fissures that are hard to capture in the photo but they were there and they were problematic.
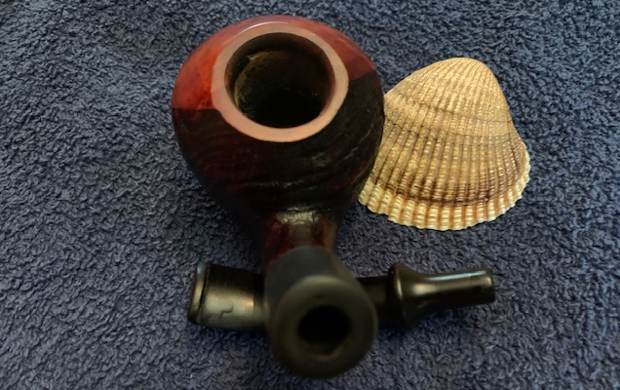
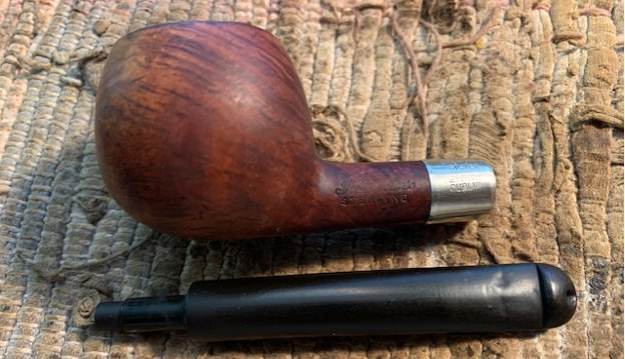
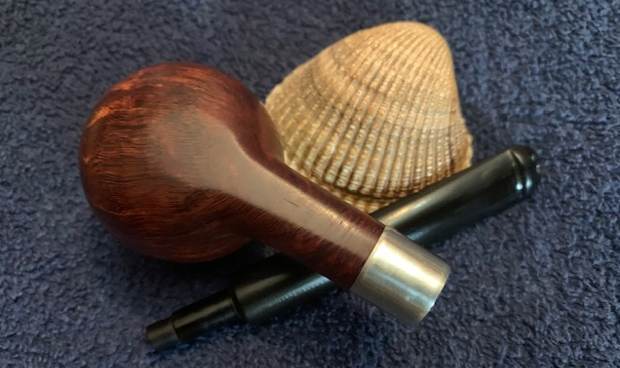
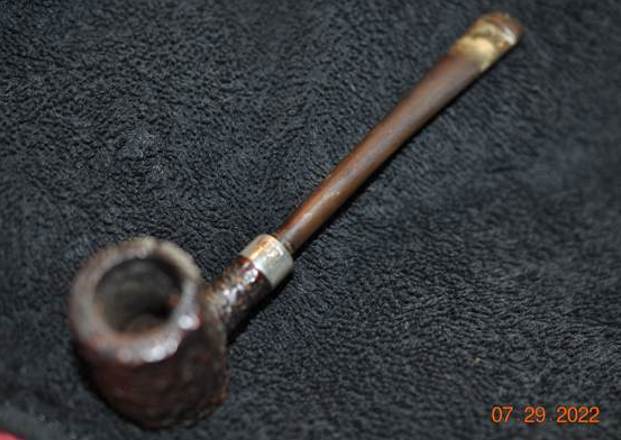
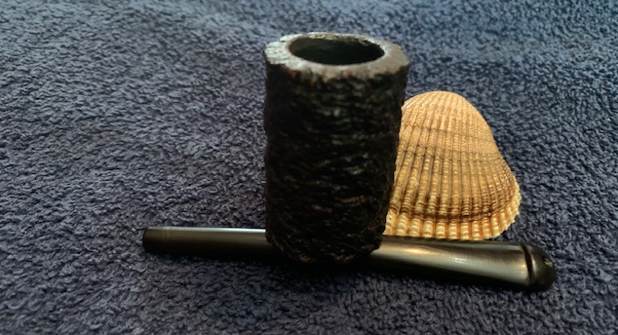
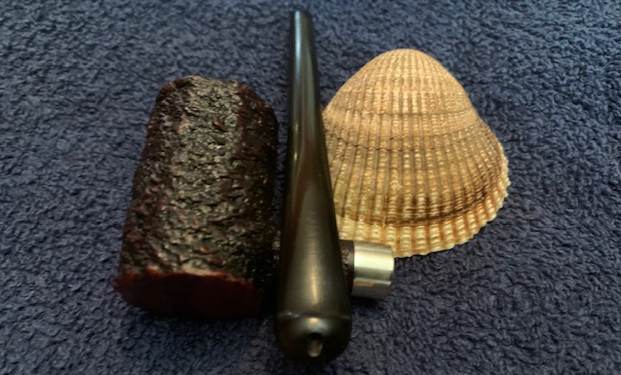
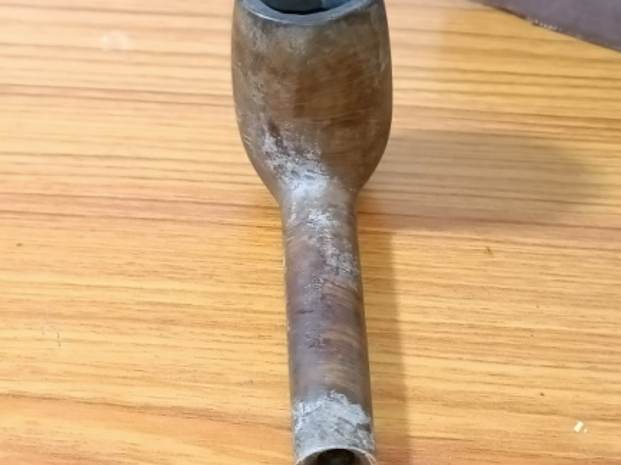
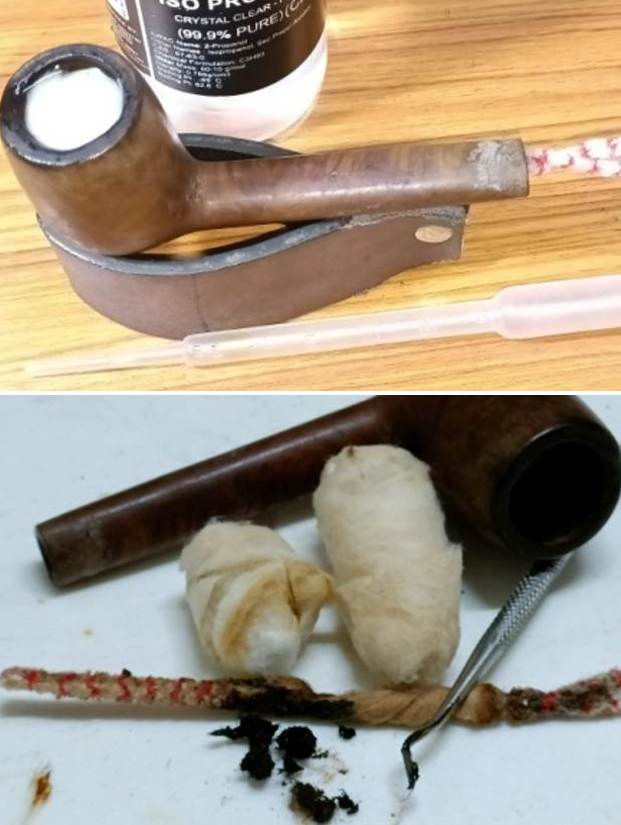
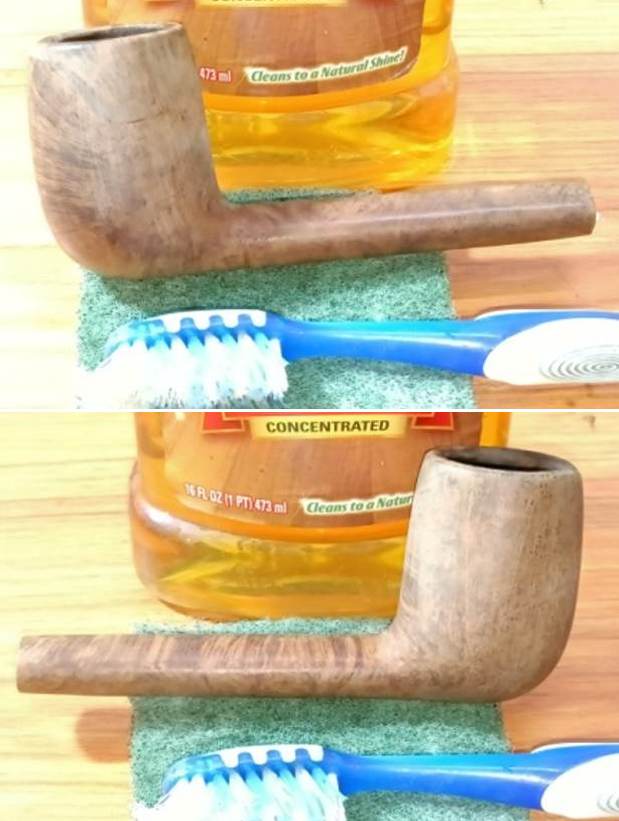
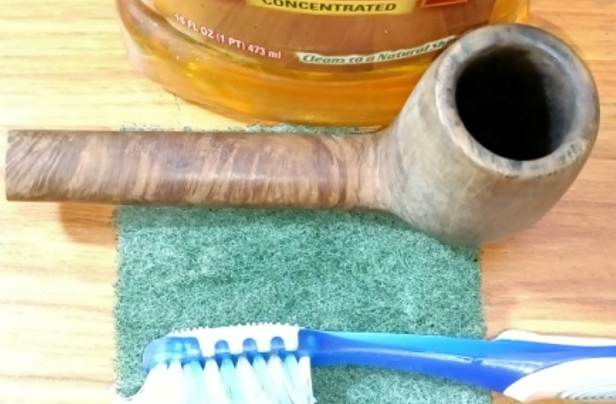
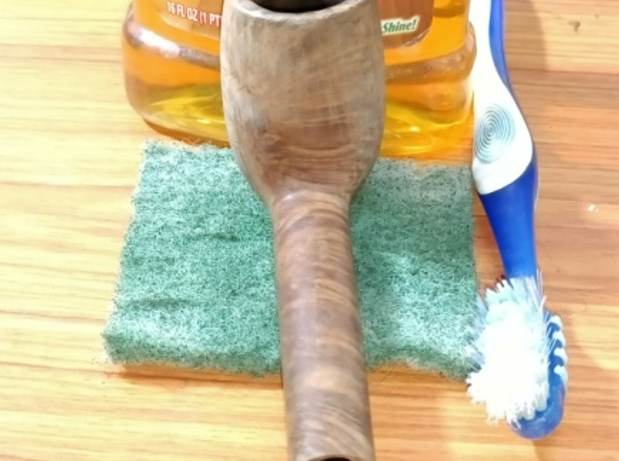
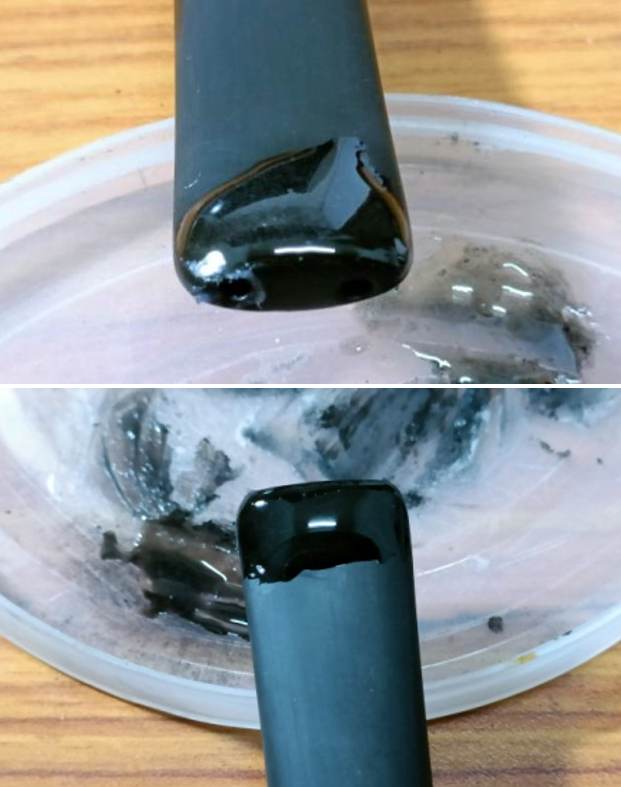
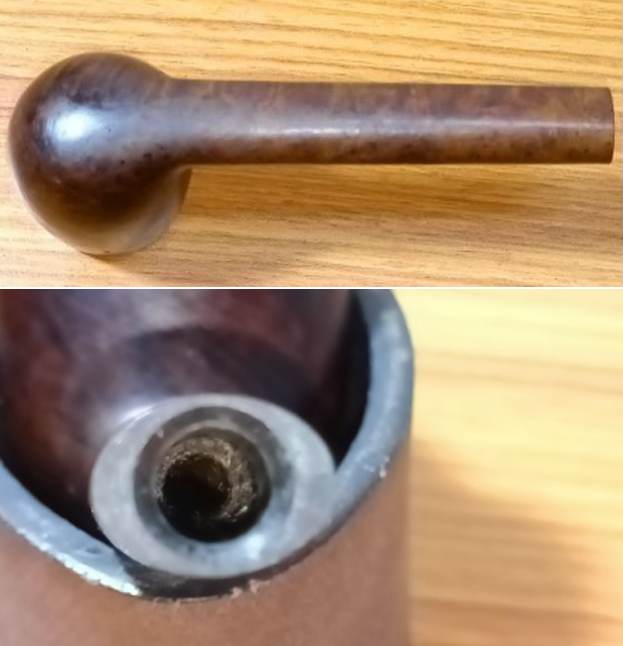
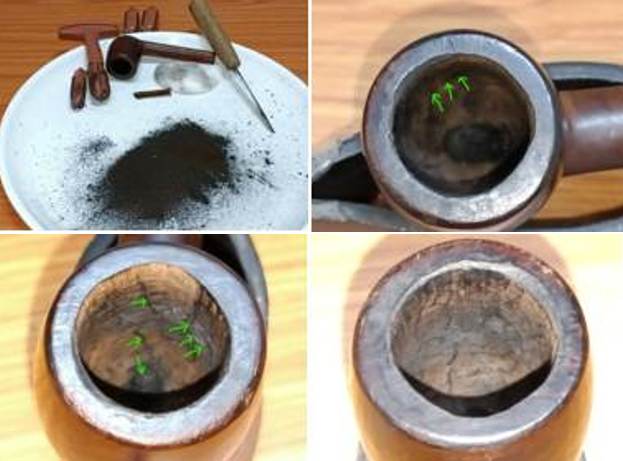
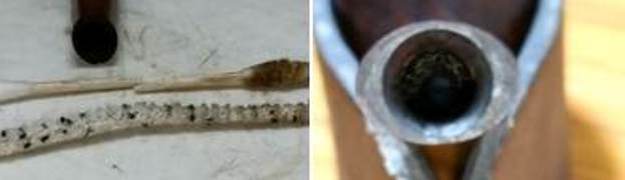
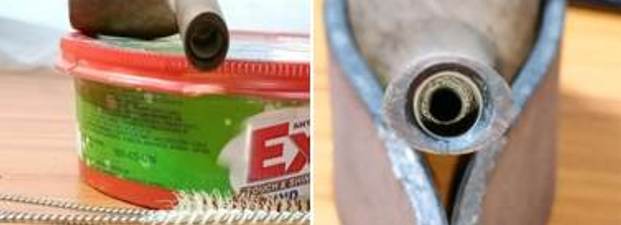
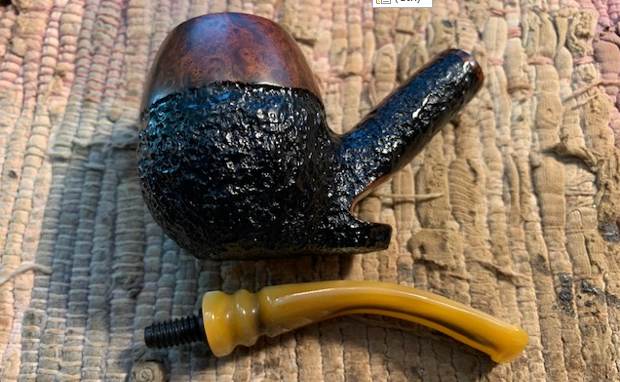
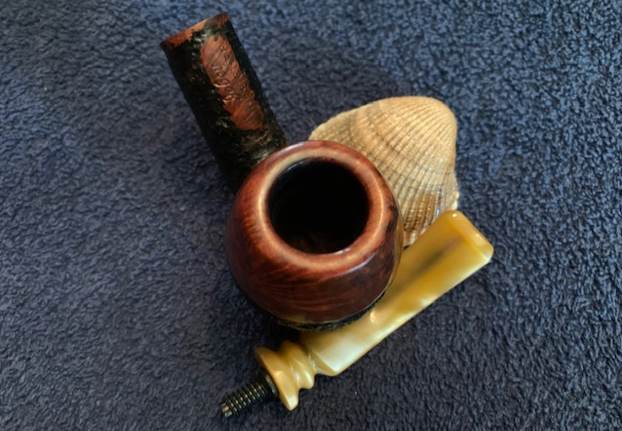
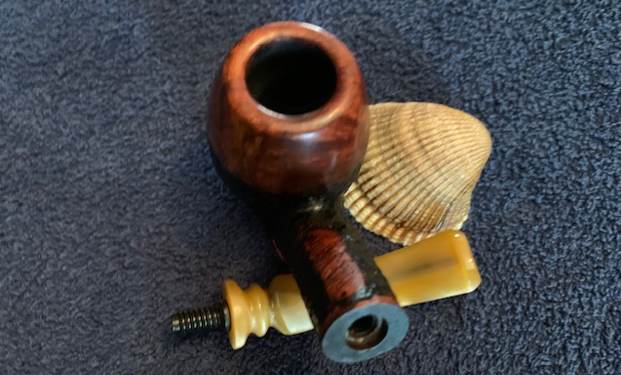
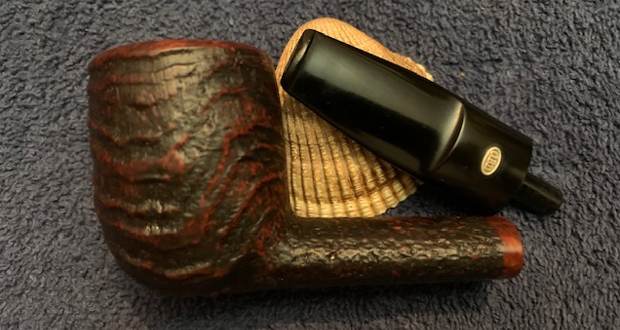
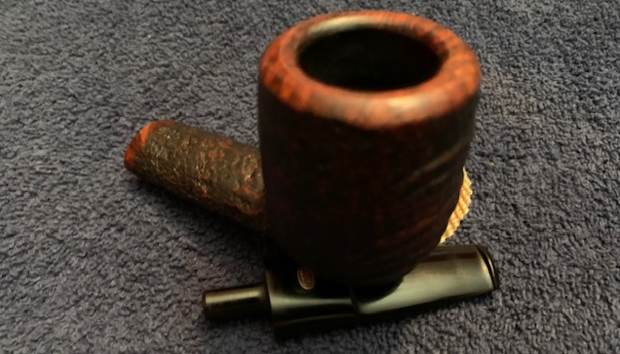
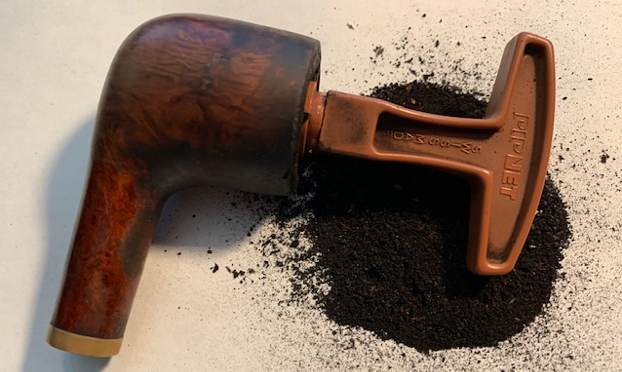
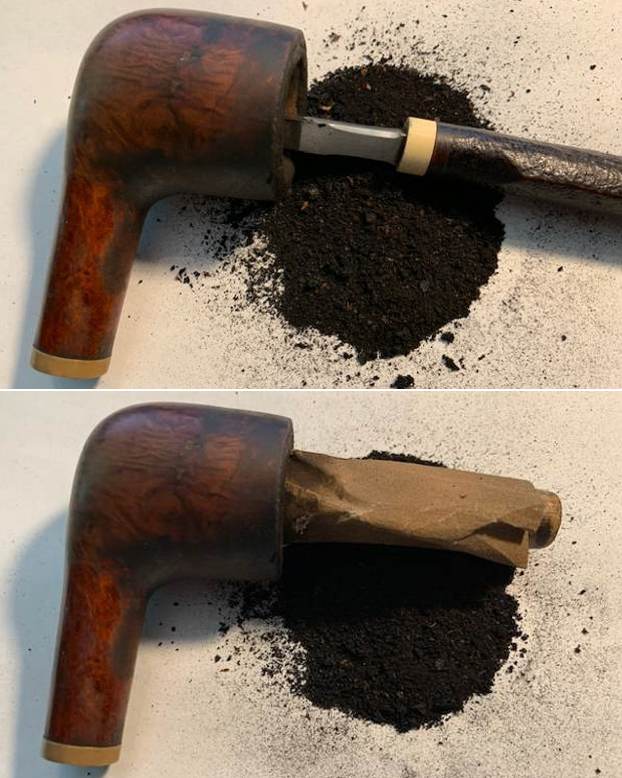
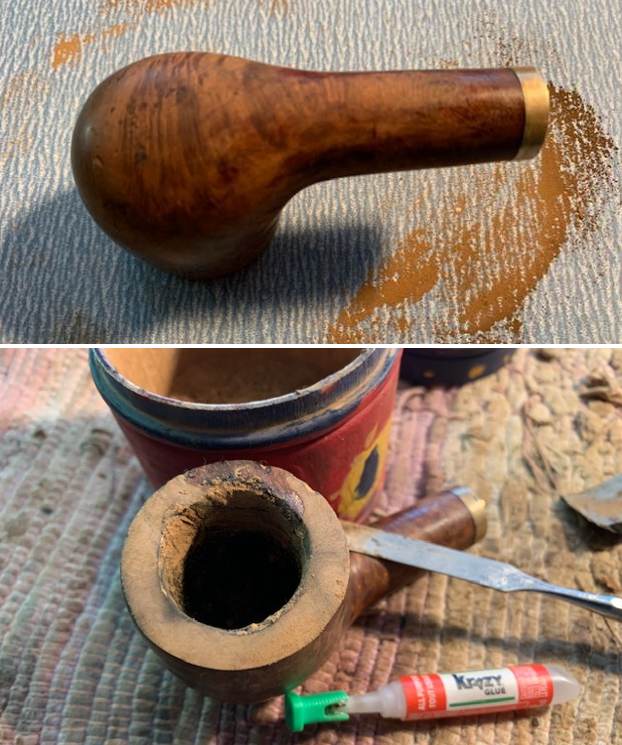
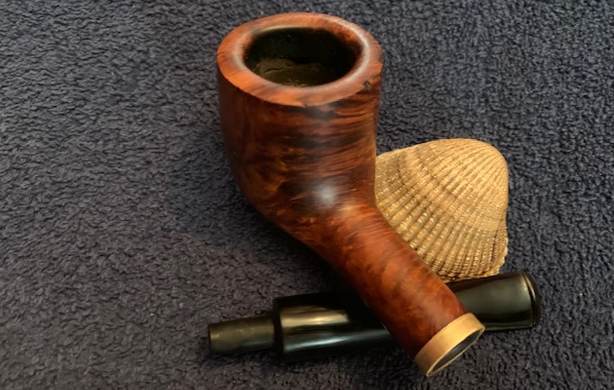
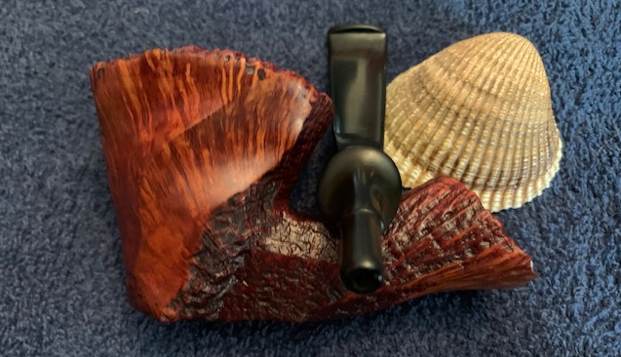
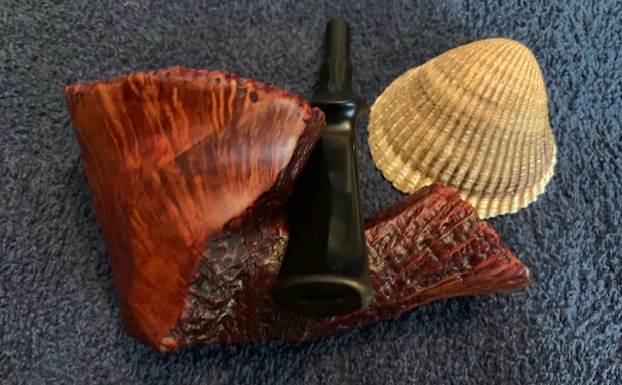
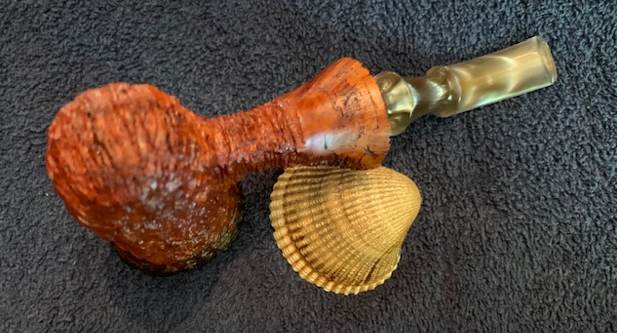
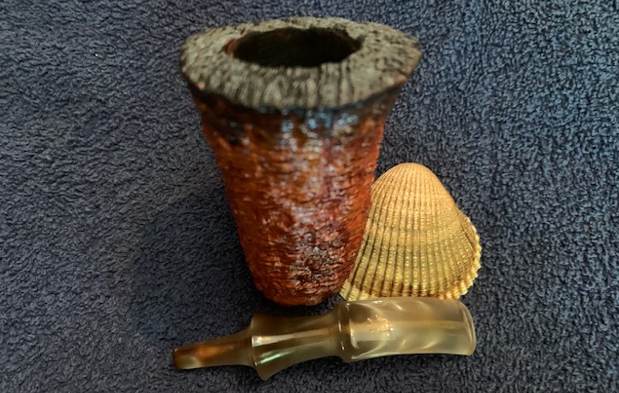
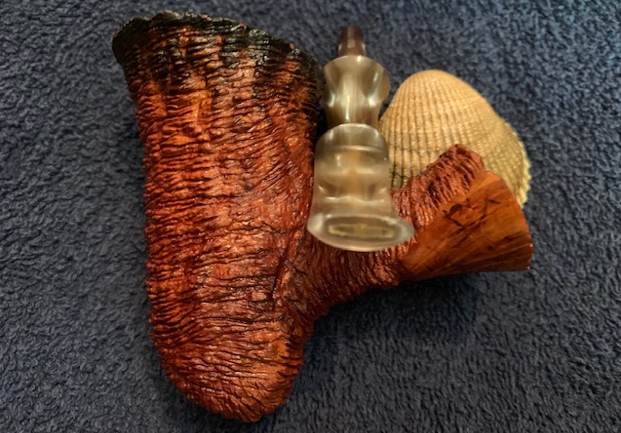
  Jeff had done a great cleanup on the pipe. He reamed the bowl with a PipNet pipe reamer and followed up with a Savinelli Fitsall pipe knife to remove the cake. He scrubbed out the mortise and the airway in the shank and the stem with alcohol, cotton swabs and pipe cleaners. He scrubbed the bowl exterior with a tooth brush and Murphy’s Oil Soap to remove the grime on the finish of the bowl and the lava from the rim top. Upon scrubbing it the shank extension shattered in his hands. It was destroyed and not fixable. He rinsed the bowl under running water. He carefully dried it off with a soft cloth. He cleaned the internals and externals of the stem with alcohol, pipe cleaners and cotton swabs. He soaked the stem in Briarville’s Pipe Stem Deoxidizer and rinsed it off with warm water and cleaned out the airway in the stem with alcohol, pipe cleaners and cotton swabs. I took photos of the pipe as I saw it when I put it on the table. You can see how badly Humpty Dumpty had come apart and there was no putting him back together again – no matter how many hands tried. It was going to have to be a replacement.
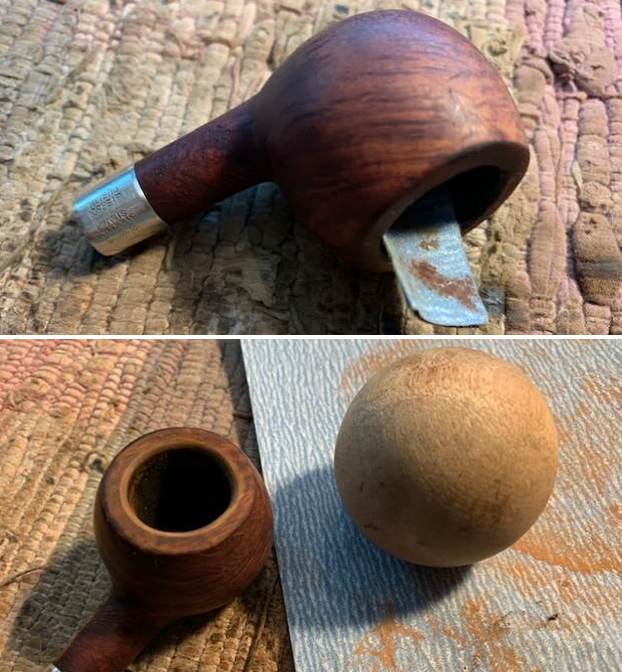
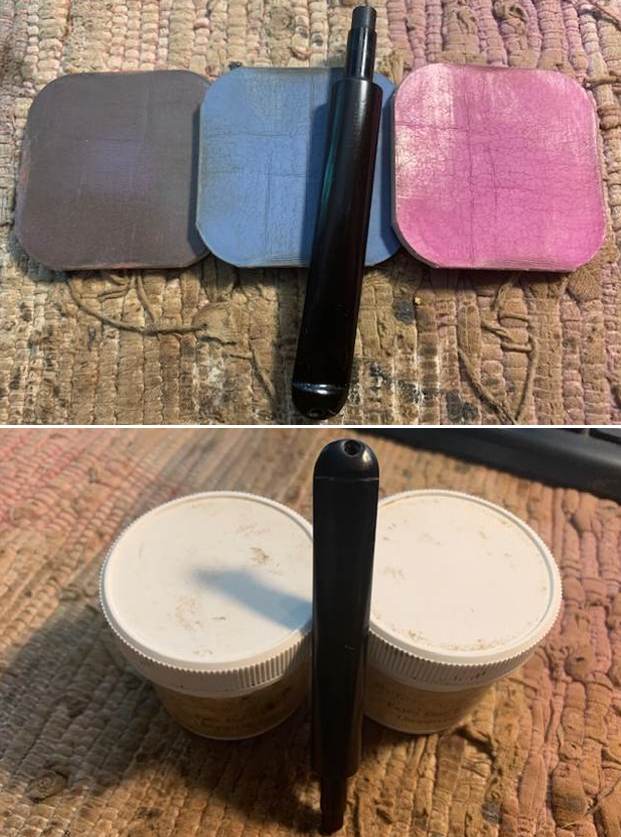
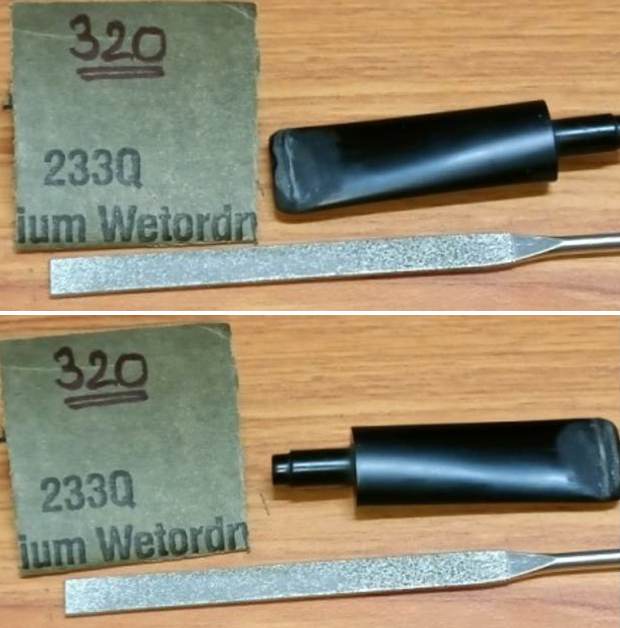
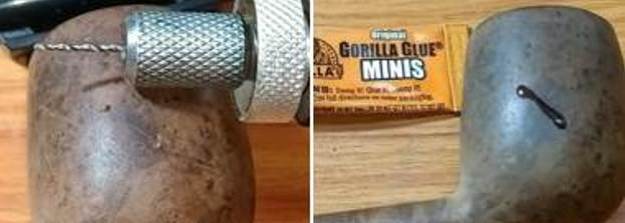
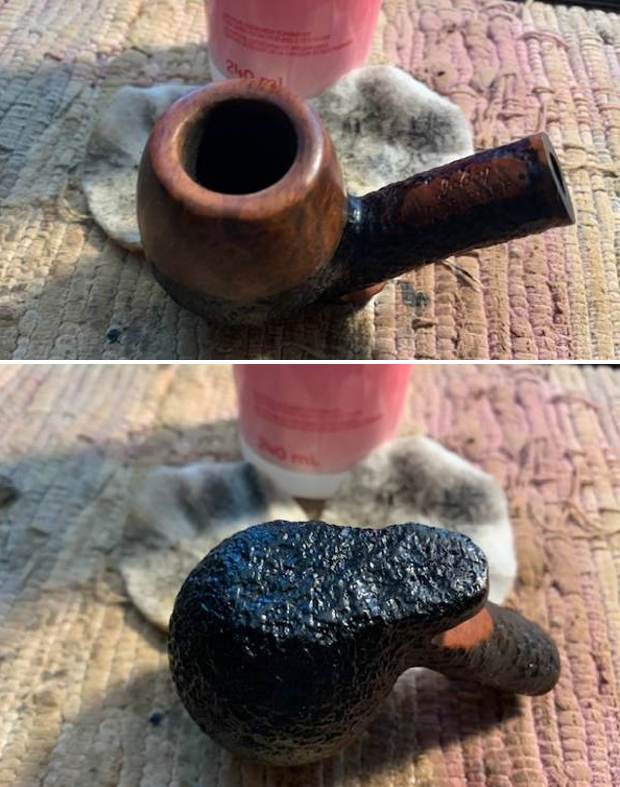
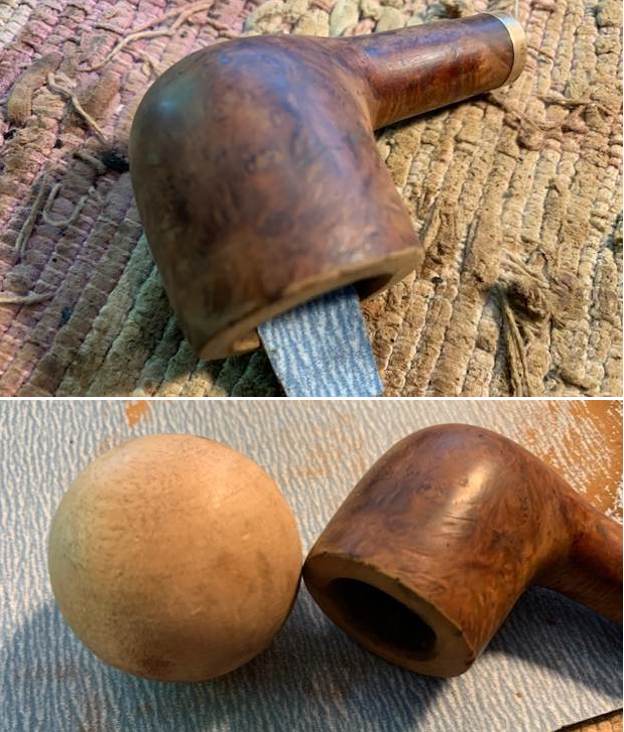
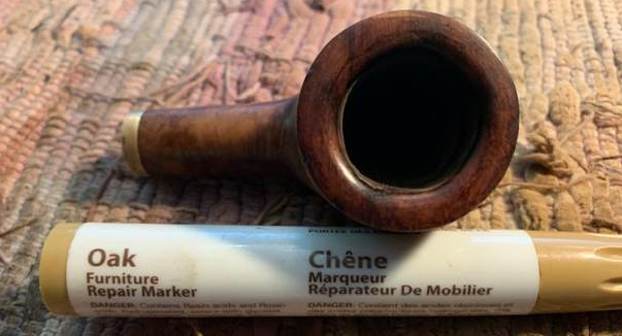
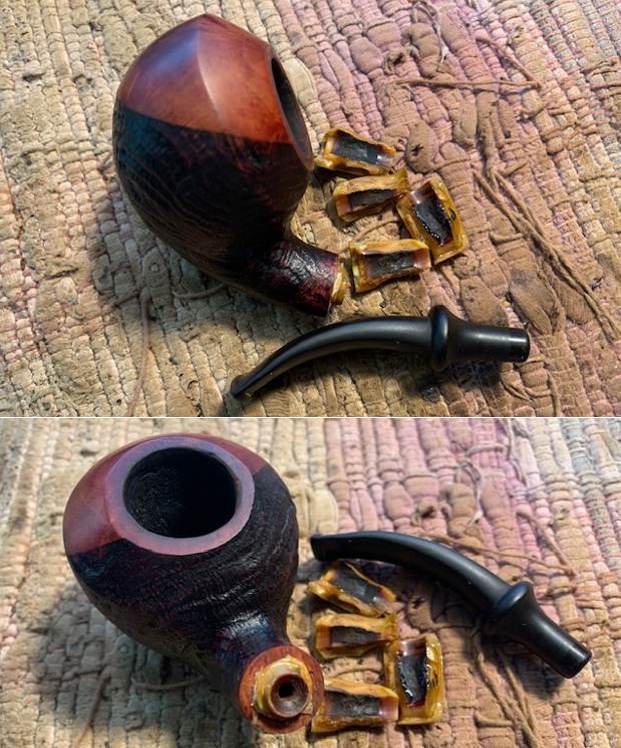 In order to work on the pipe I need to remove the debris around the nub that had held the acrylic shank extension. I used a small file and a knife to scrape away the debris. I used small needle files to flatten the face of the shank and to clean up the edges of the nub. I wiped it down repeatedly with acetone on a cotton pad to remove the glue on the briar. I also went through my box of parts and found a nice black acrylic piece that would work well. It had the same diameter airway in it as the nub and should work well once it is finished.
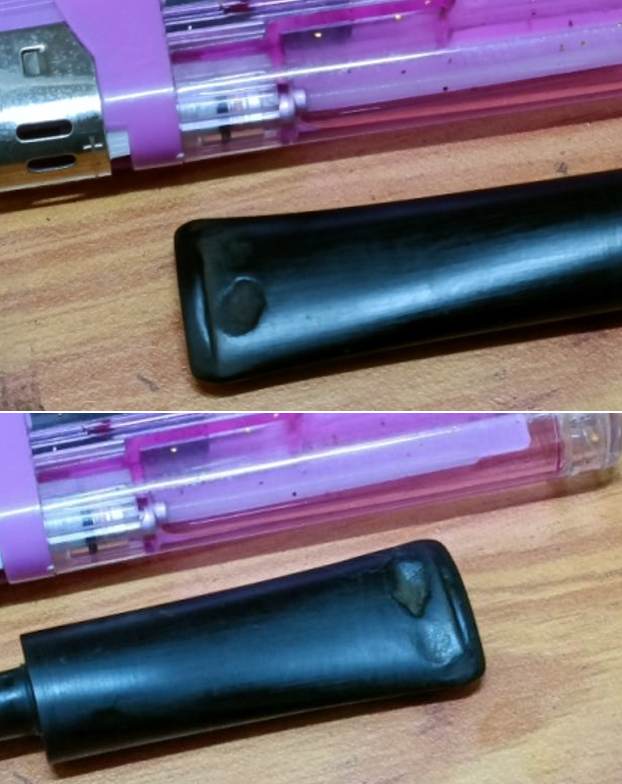
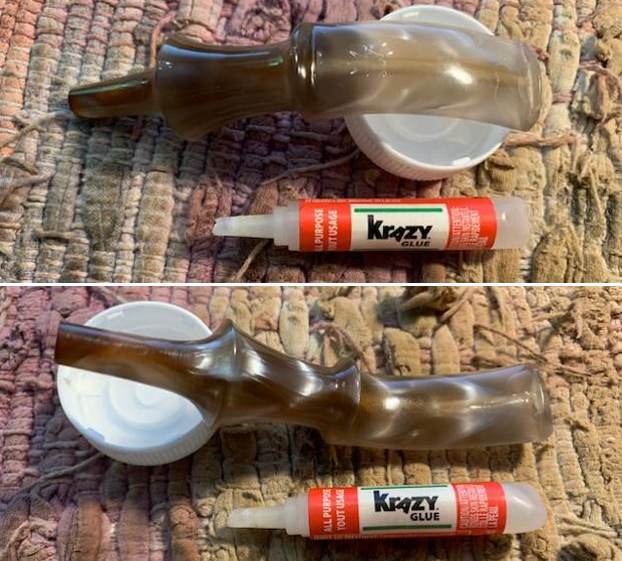
 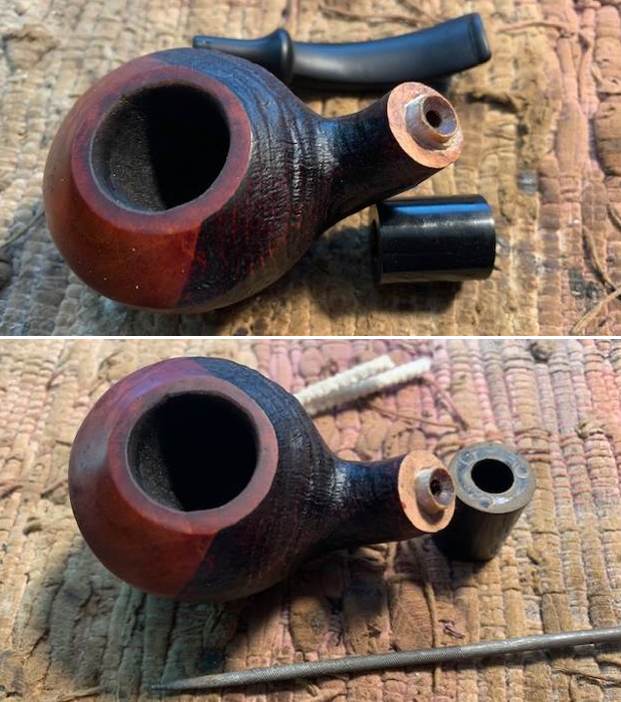 I decided to use WeldBond white all purpose glue to attach the acrylic to the briar nub. I set it aside to dry for 30 minutes.
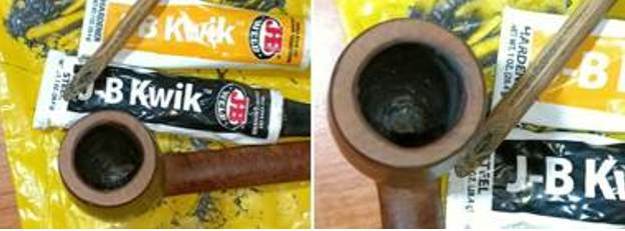
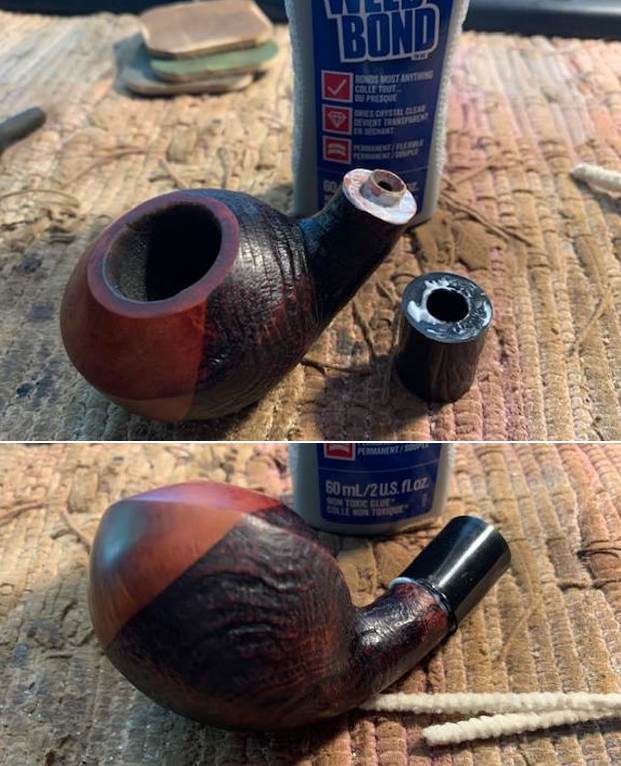
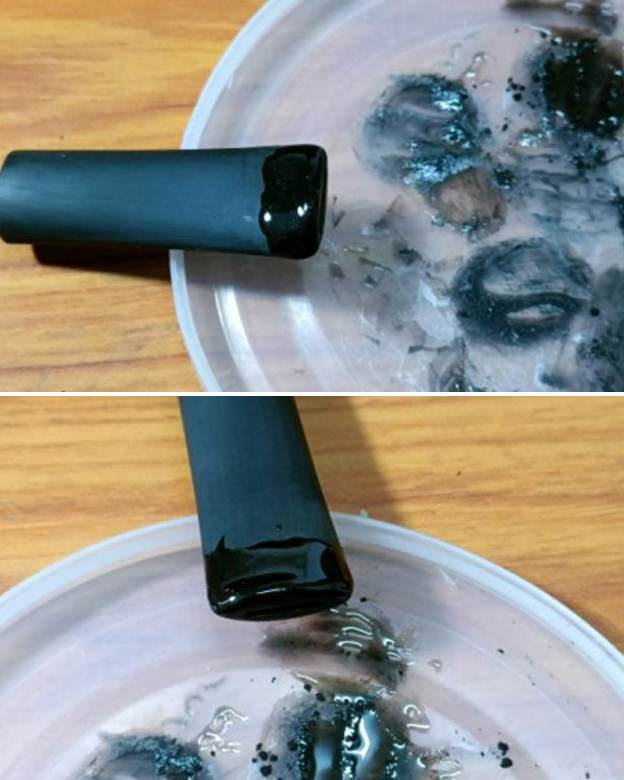
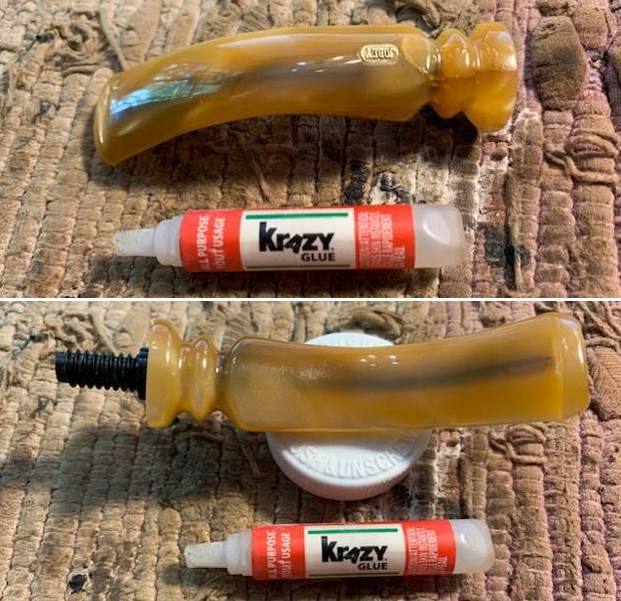
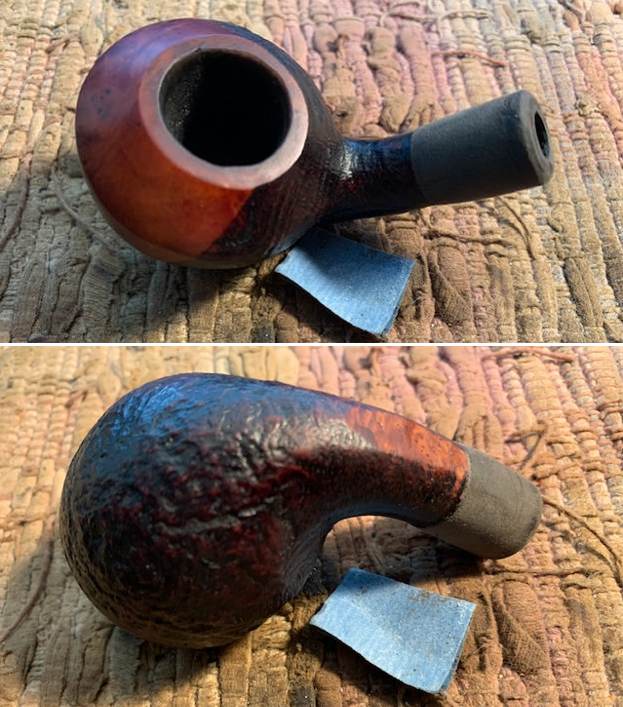
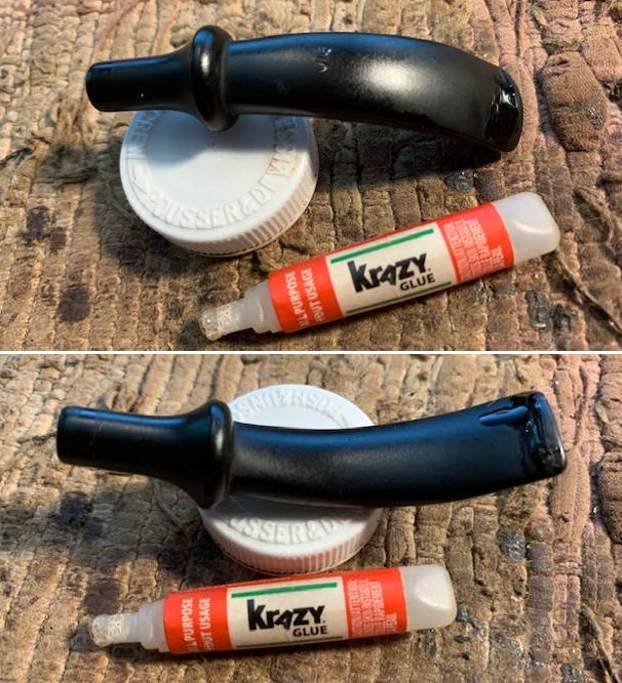
 Once glue had set I checked the bond for stability and found that it would not hold well. I redid the glue with a clear CA glue and set it aside to cure. This time the bond was very strong and stable and was ready for the shaping.
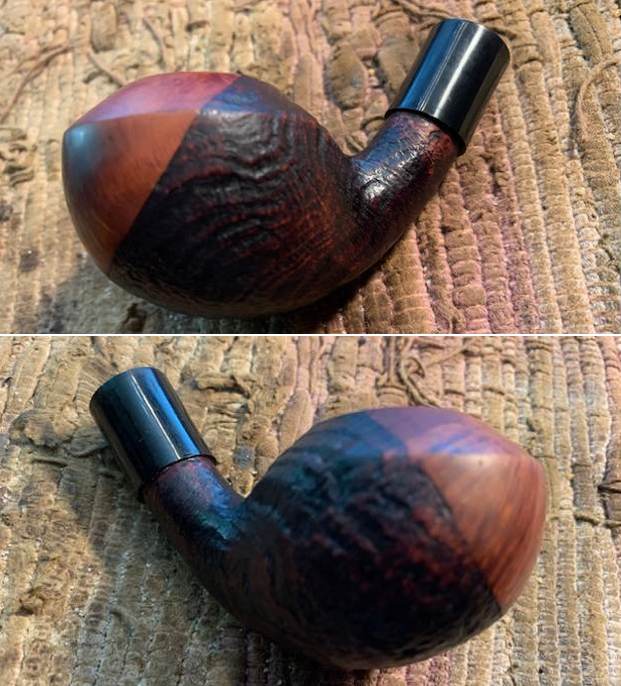
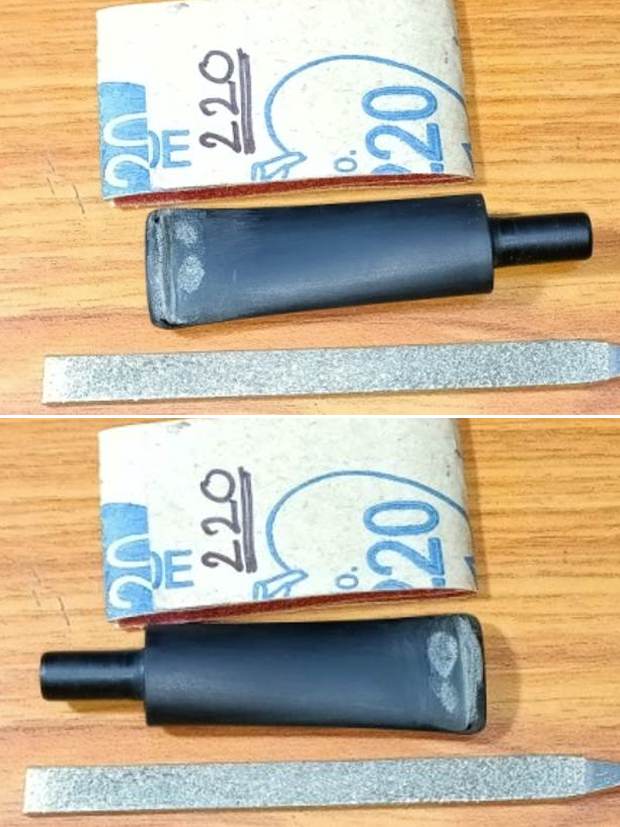
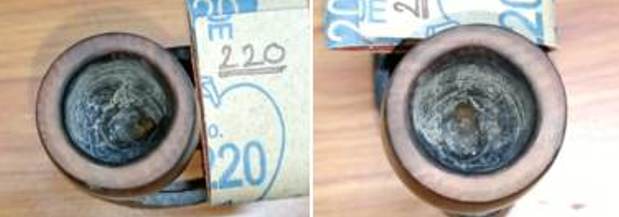
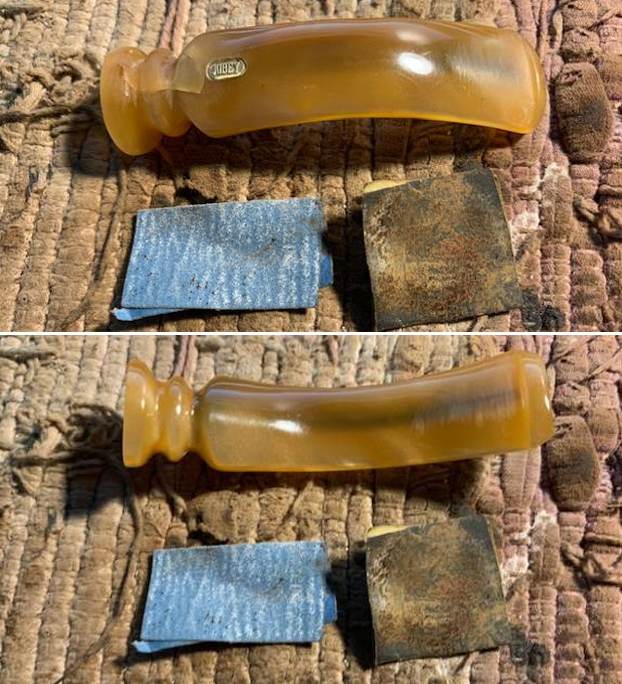
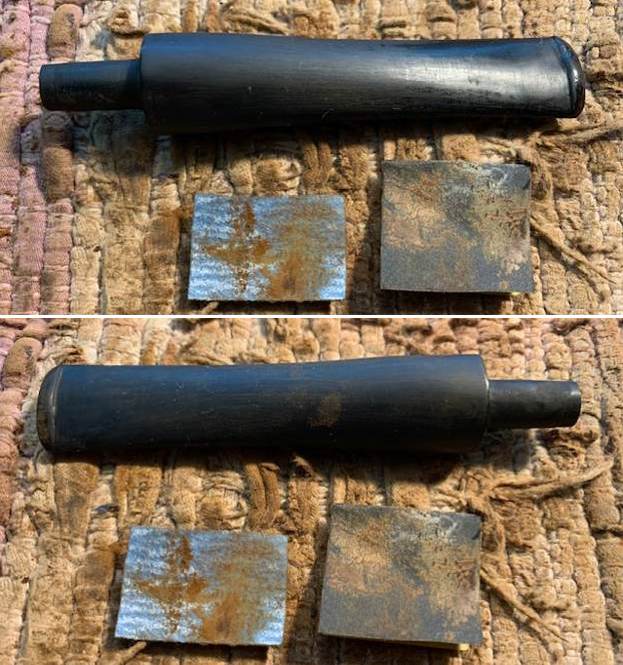
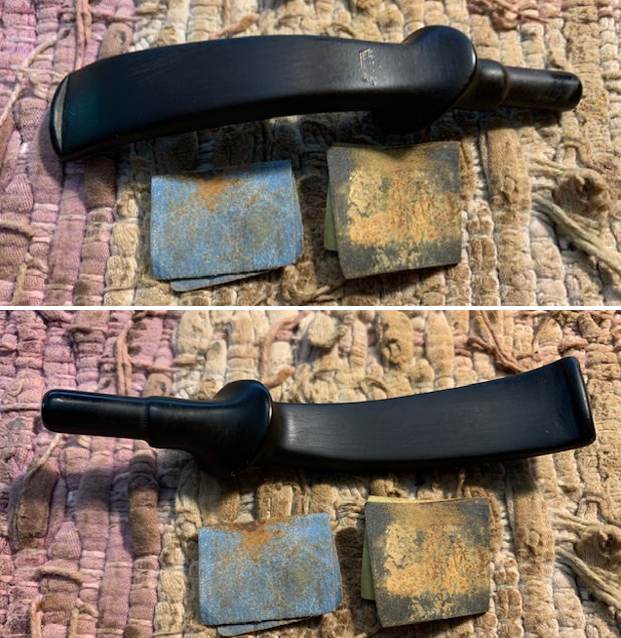
 I used a piece of 220 grit sandpaper to start the process of shaping the shank extension. If I continued to sand it the shaping would take a very long time.
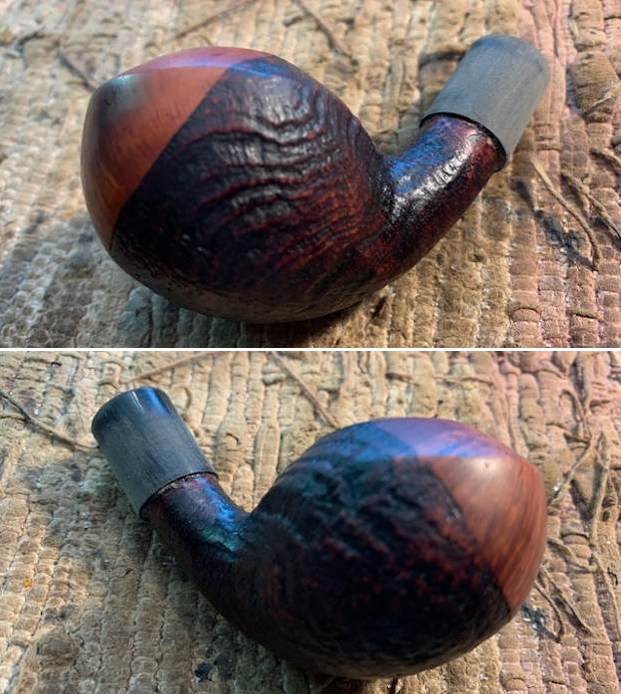
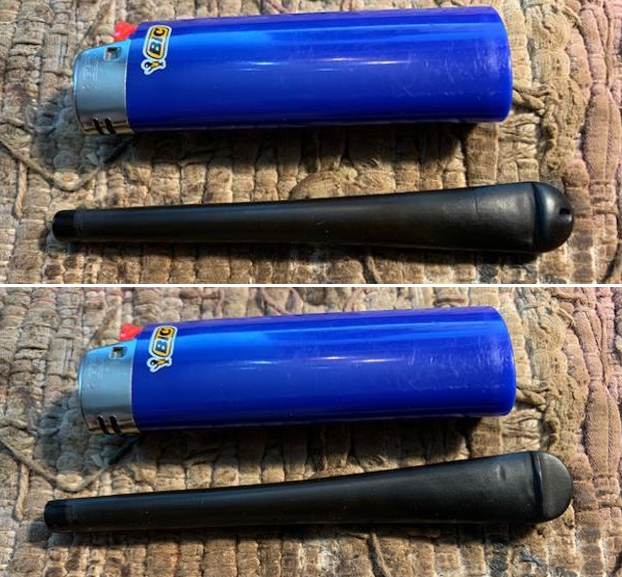
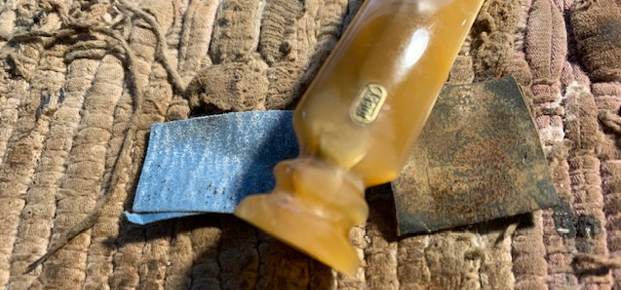
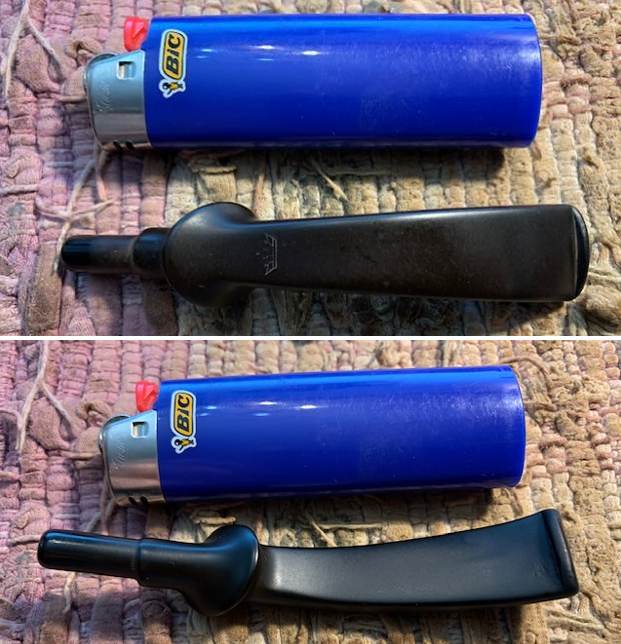
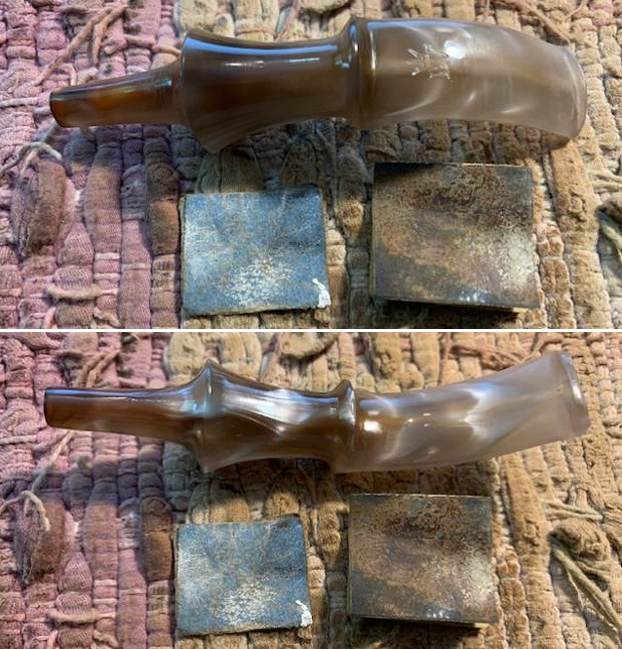
 To speed up the process I decided to use a Dremel and sanding drum to shape the acrylic shank extension. I used it to taper the end that sat against the shank and upward to the shank end. It was looking good when I finished with the Dremel.
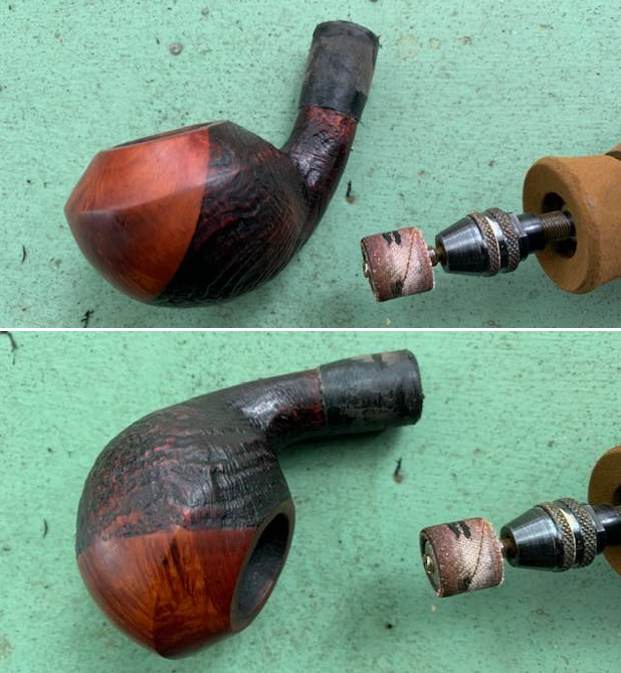
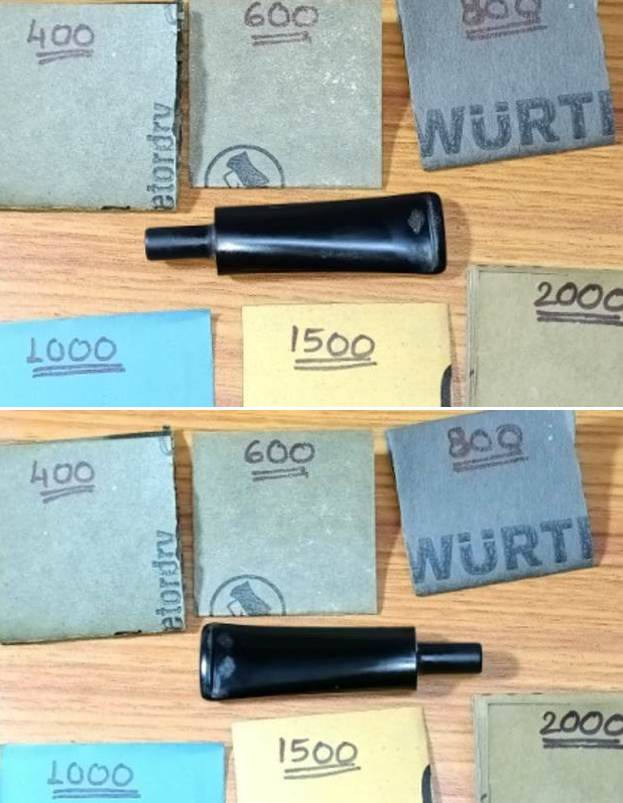
 I sanded out the Dremel sanding marks on the acrylic with220 grit sandpaper. I continued the shaping of the extension to flow smoothly from the shank end. The shape was what I was aiming for when I started the process.
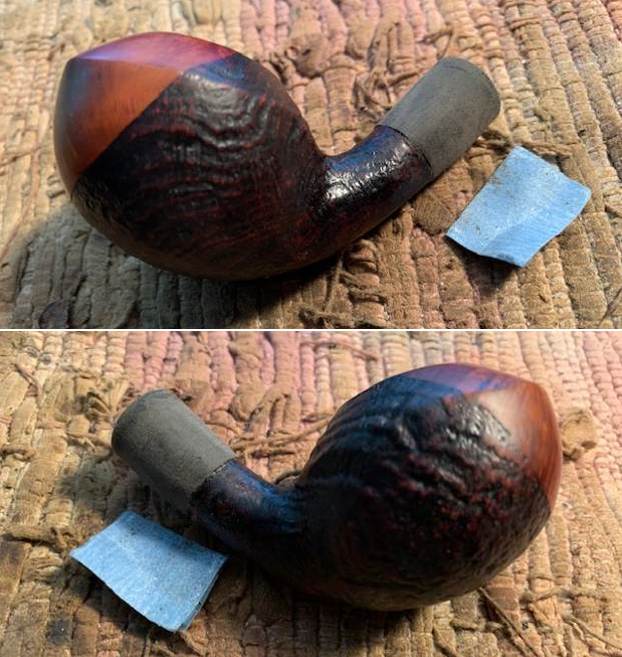
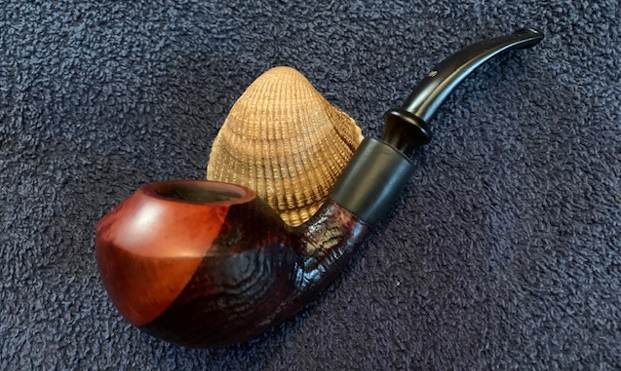
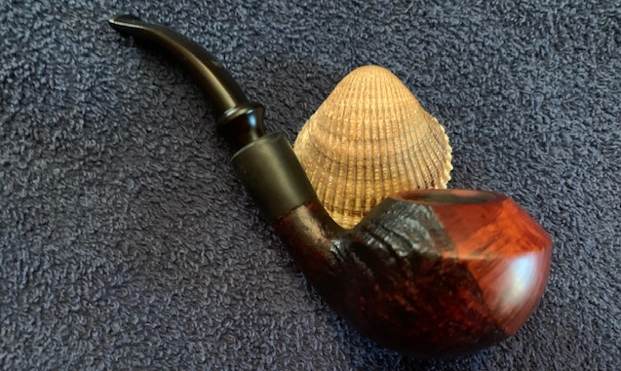
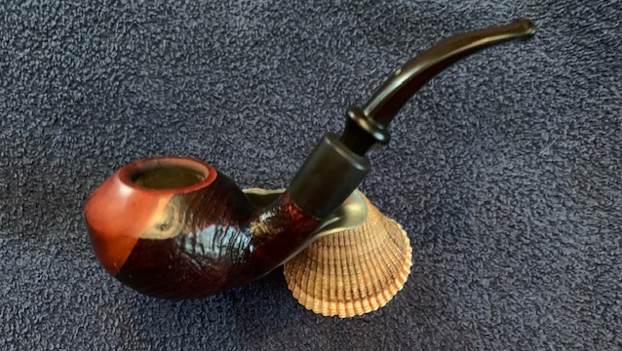
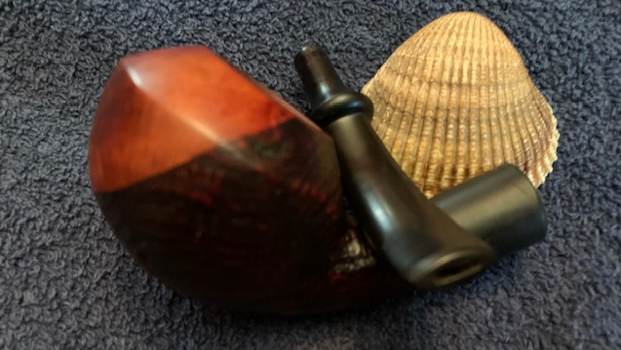
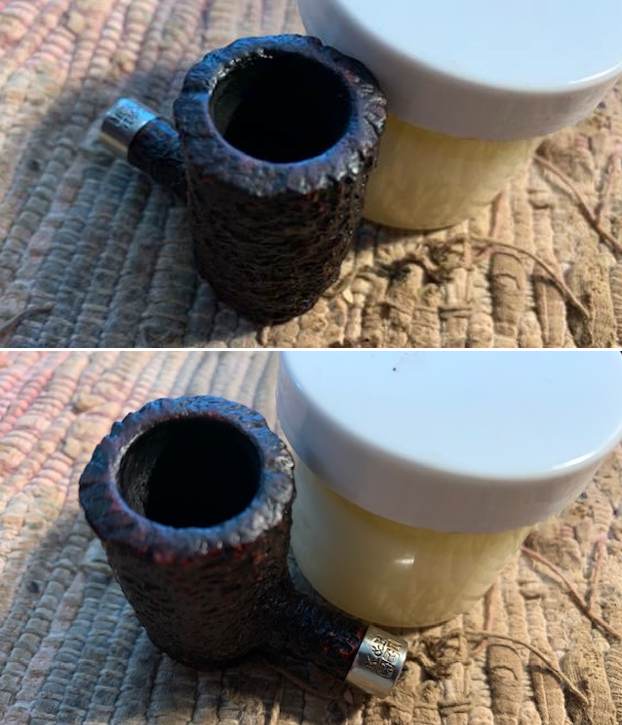
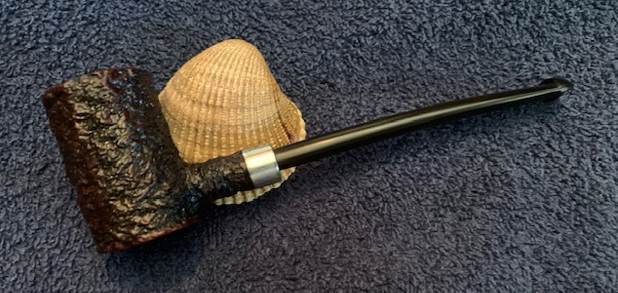
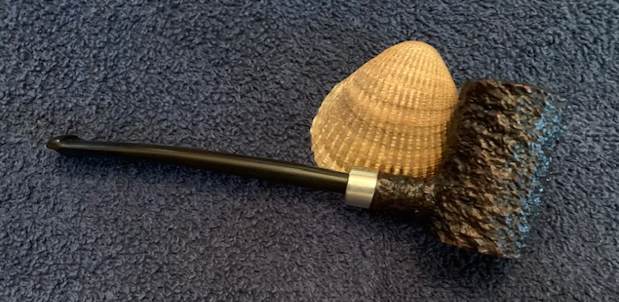
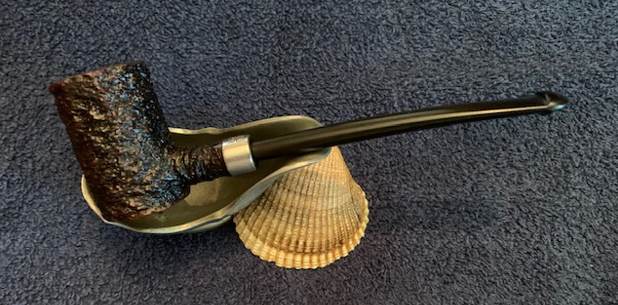
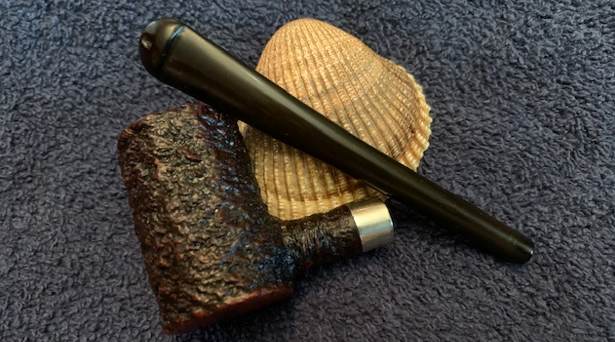
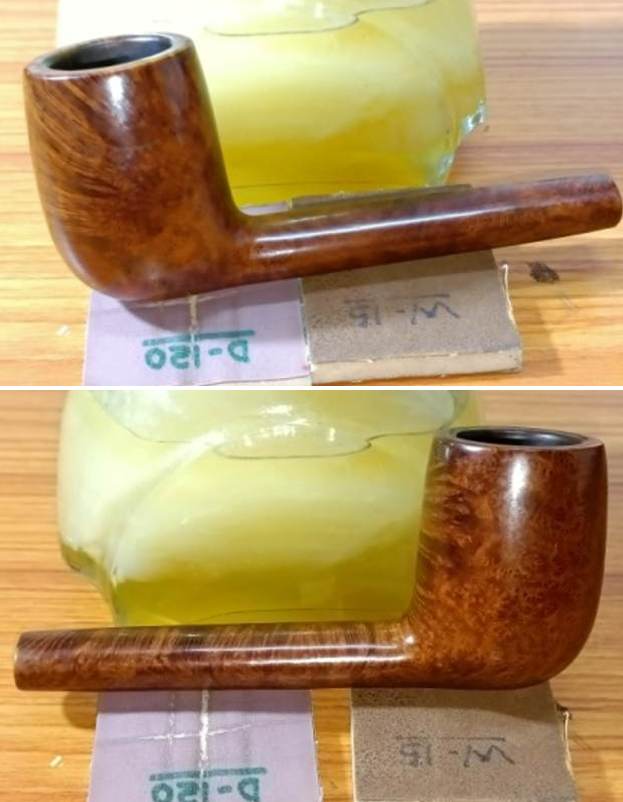
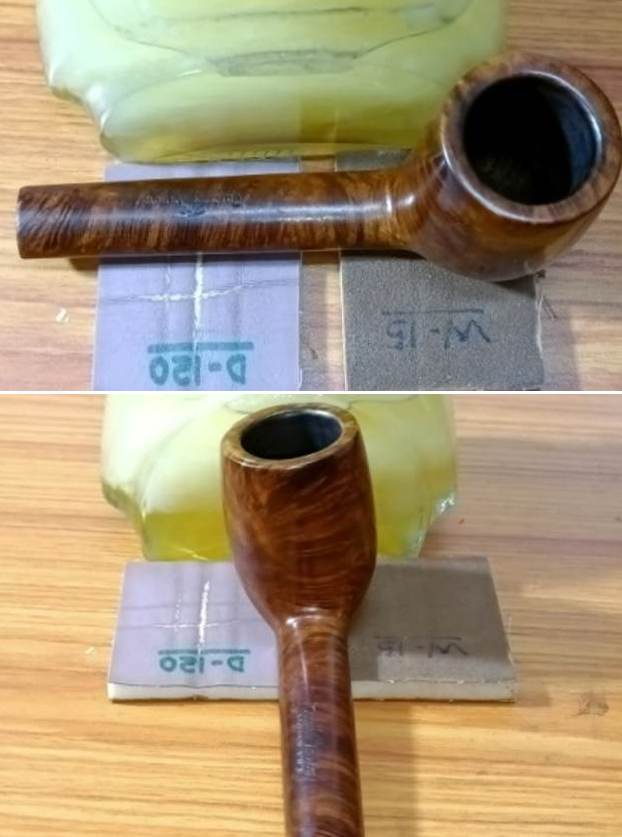
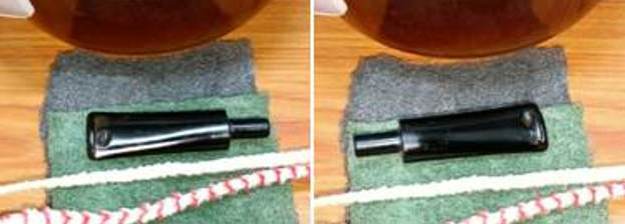
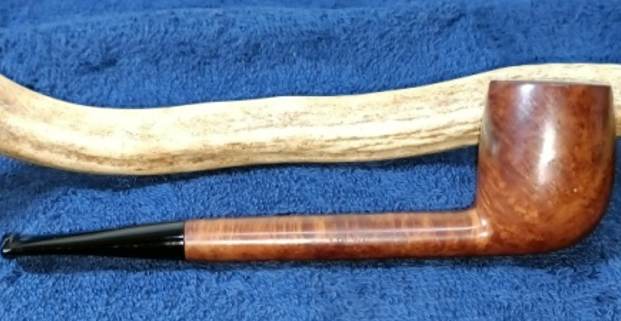
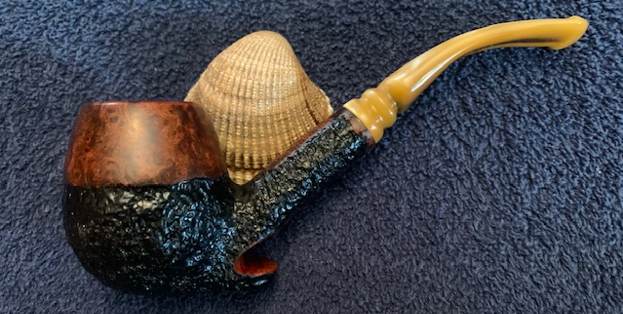
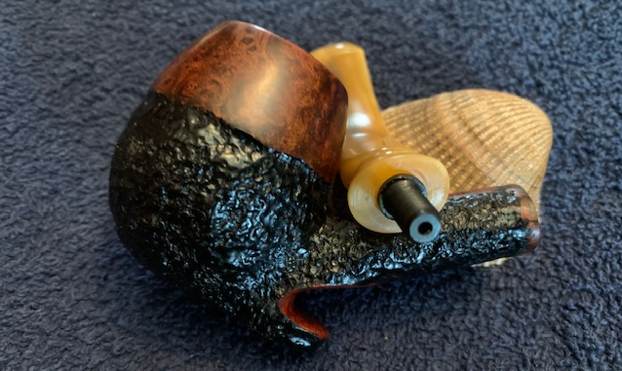
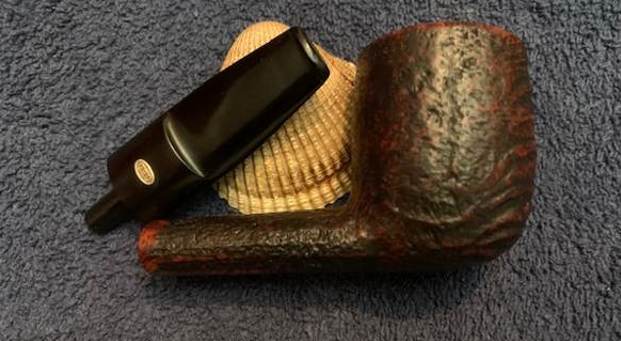
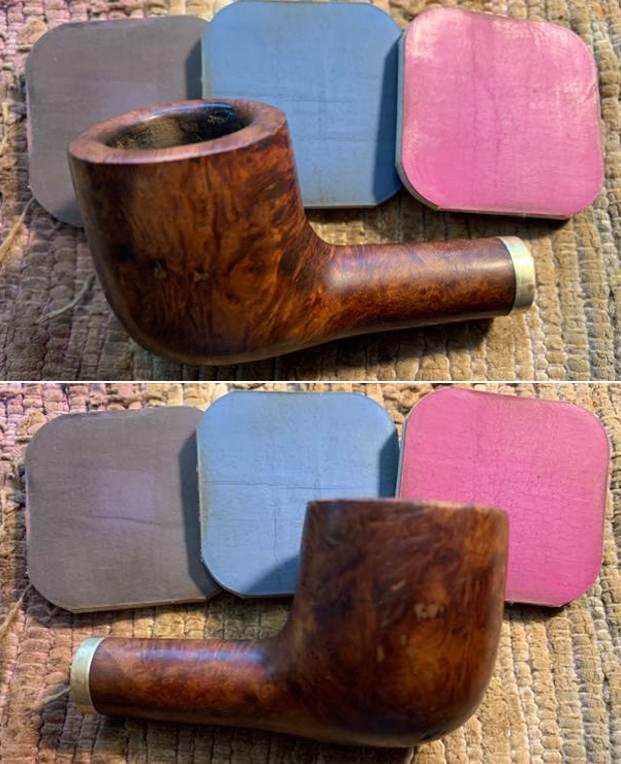
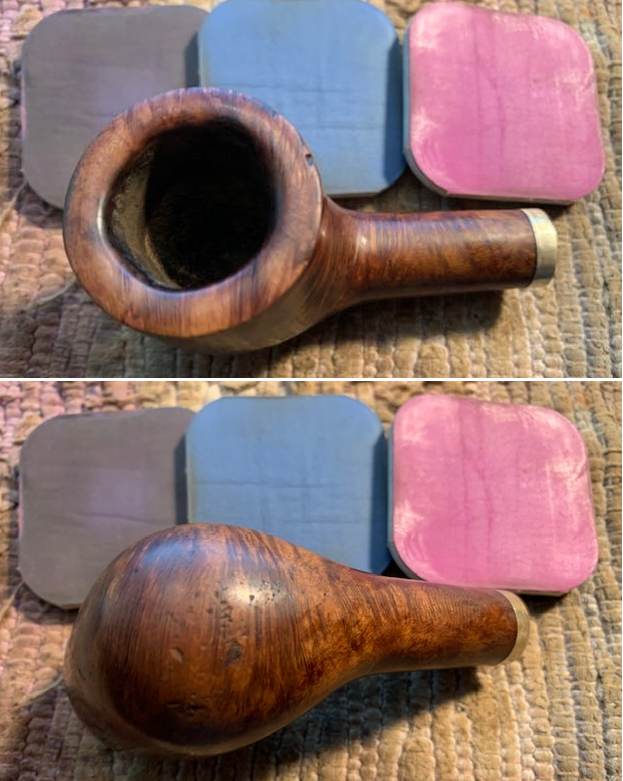
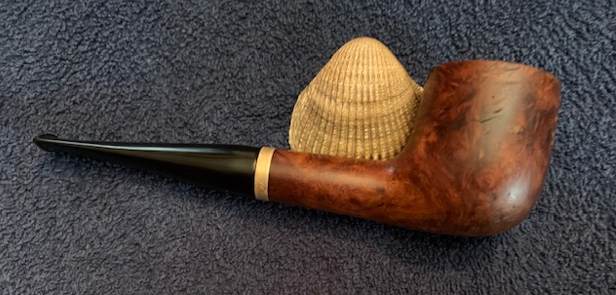
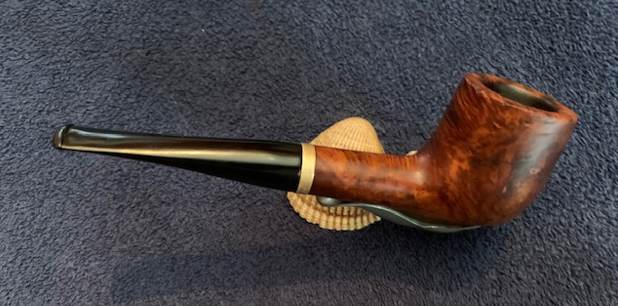
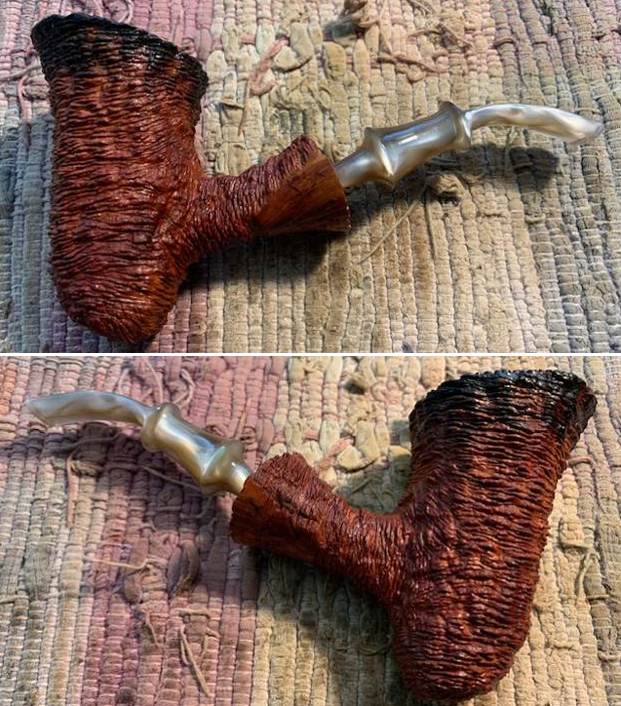
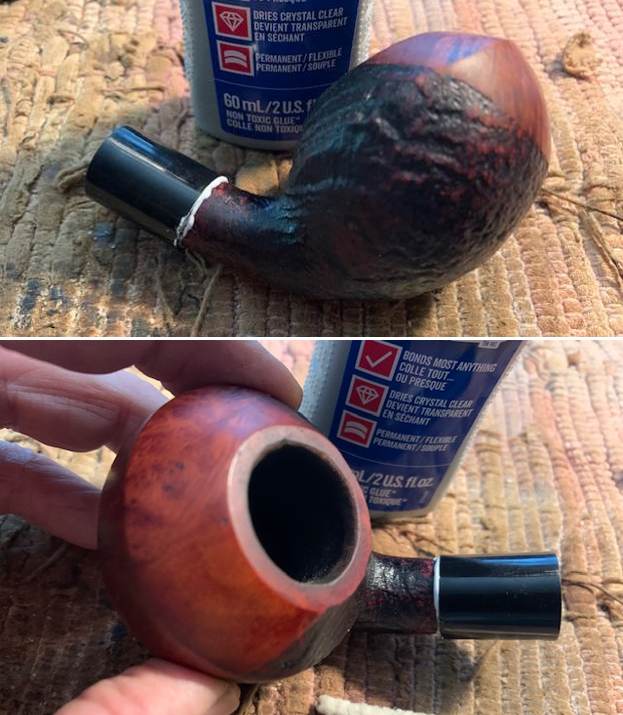
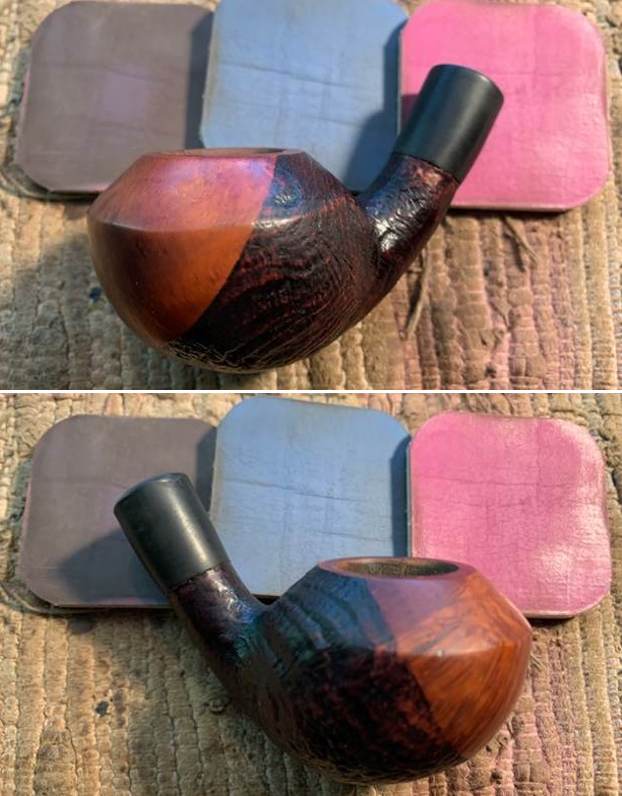
 I put the stem on the shank and took some photos of the pipe with the newly shaped shank extension. I liked what I was seeing.
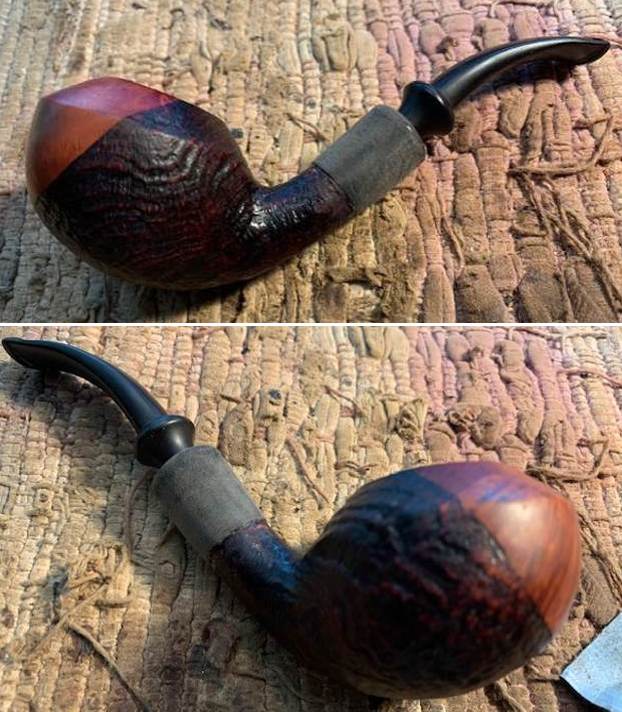
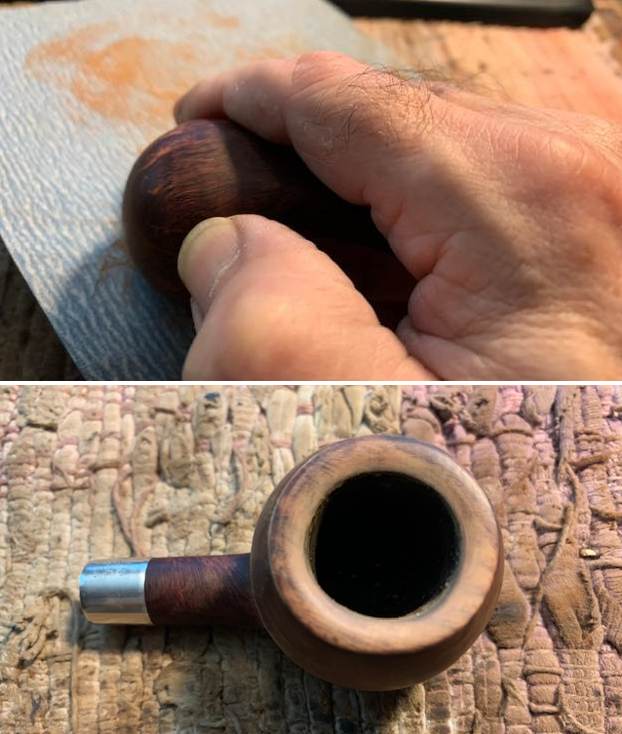
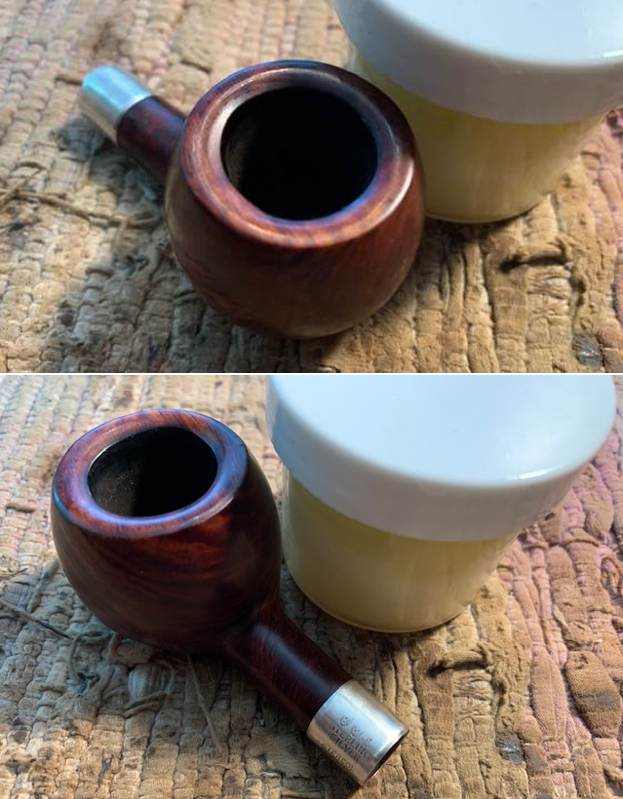
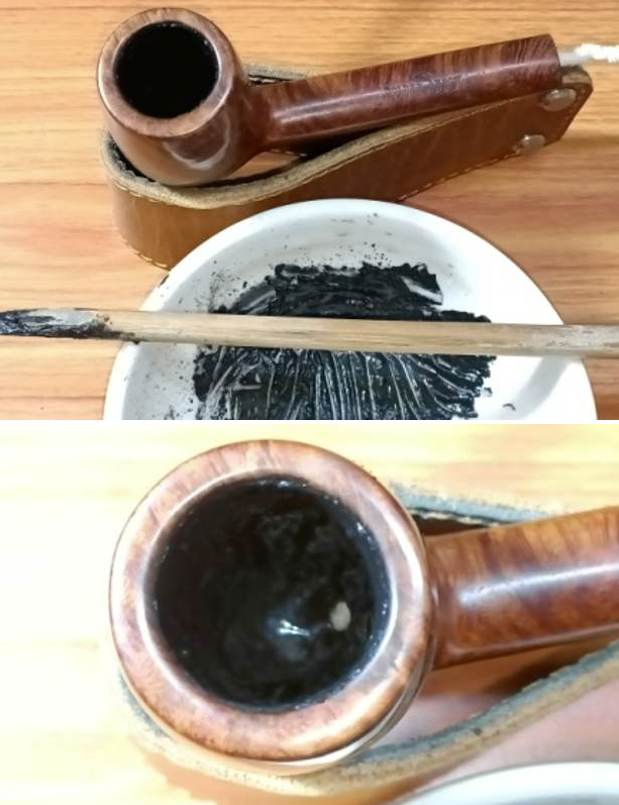
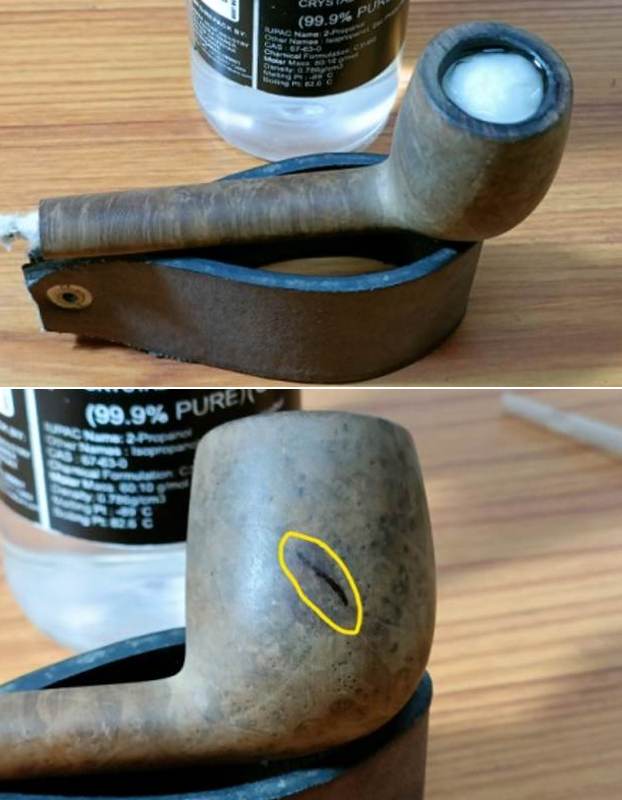
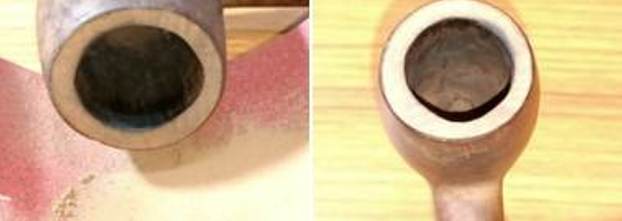
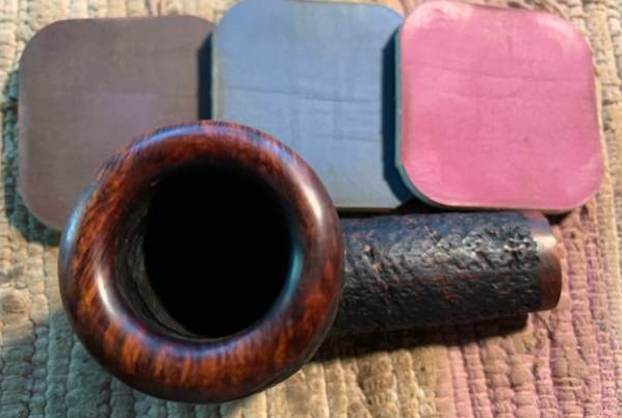
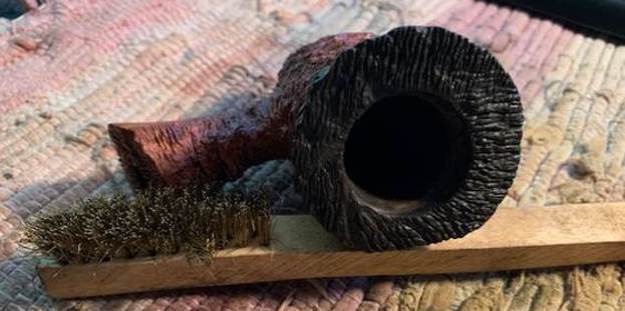
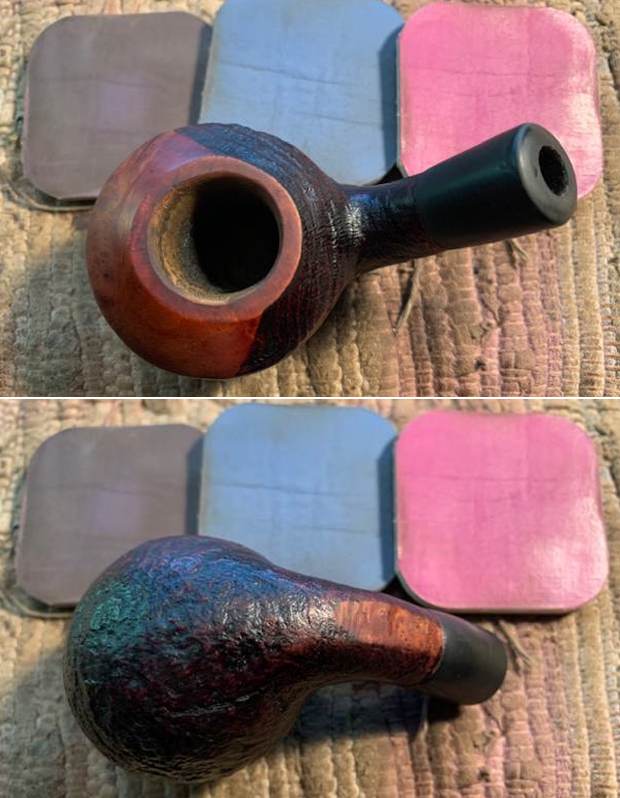
 Before I started polishing the shank end I used a folded piece of 220 grit sandpaper to smooth out the damage on the inside of the rim edge. Once I was finished it looked much better.
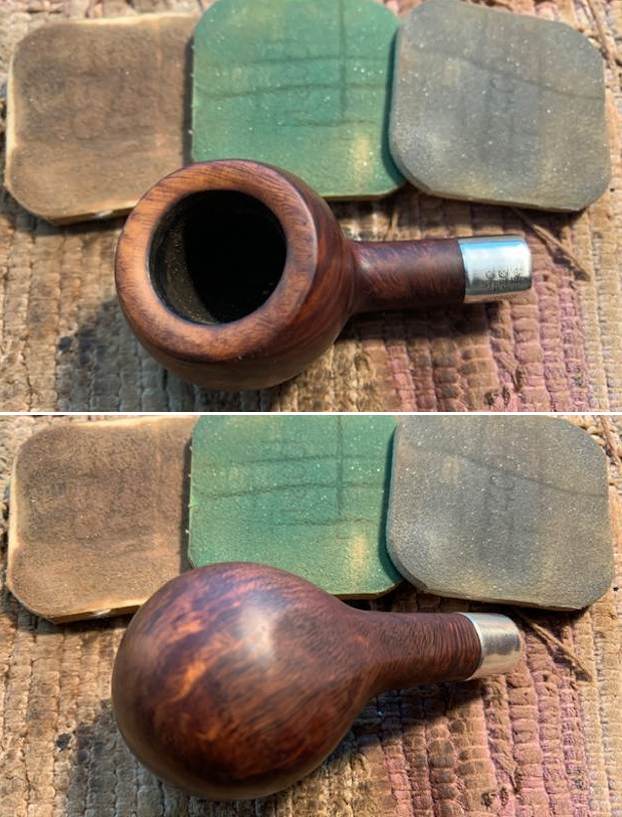
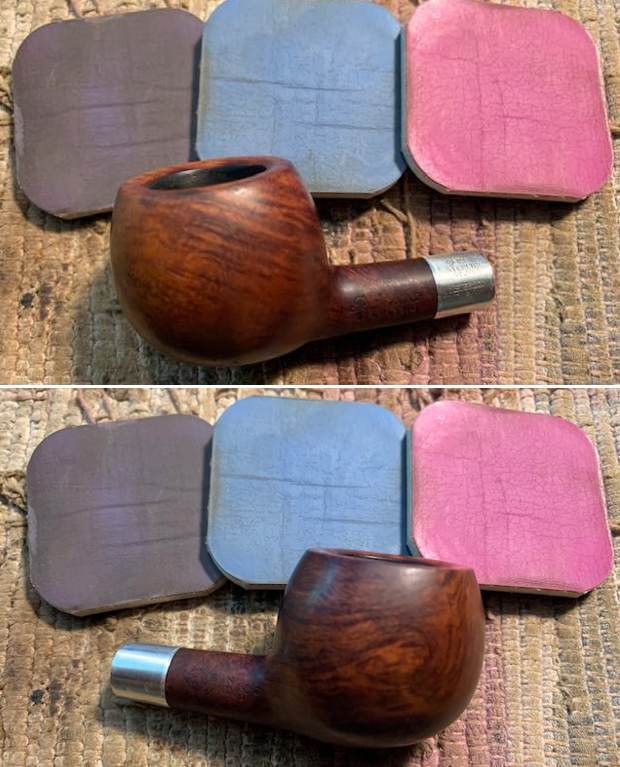
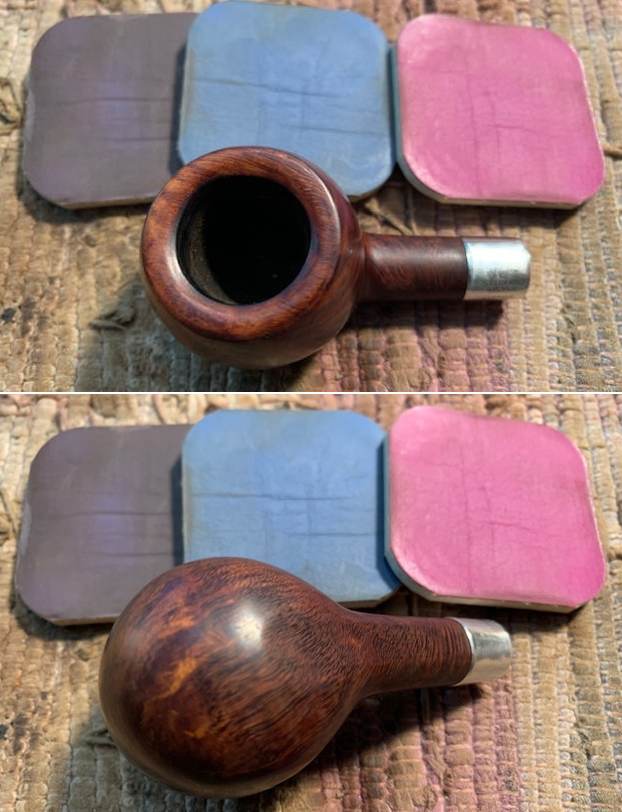
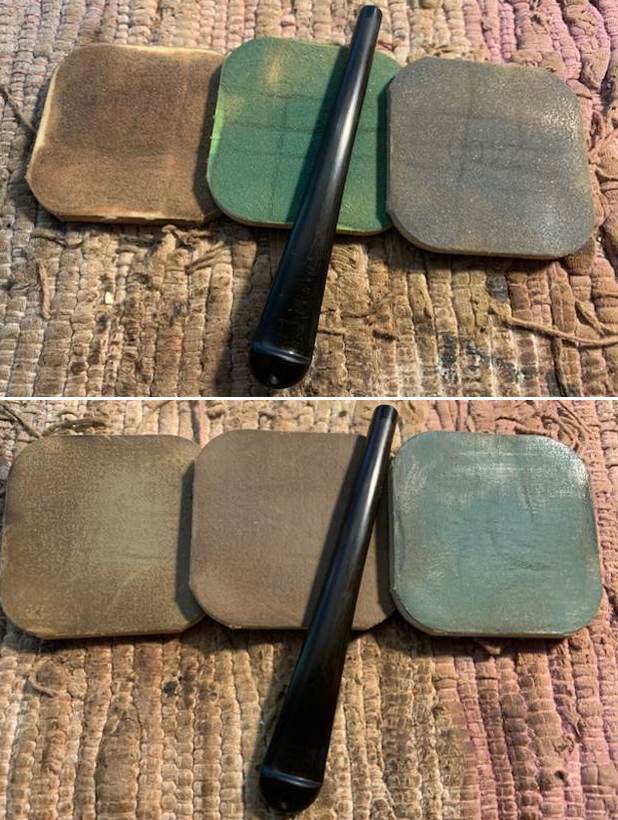
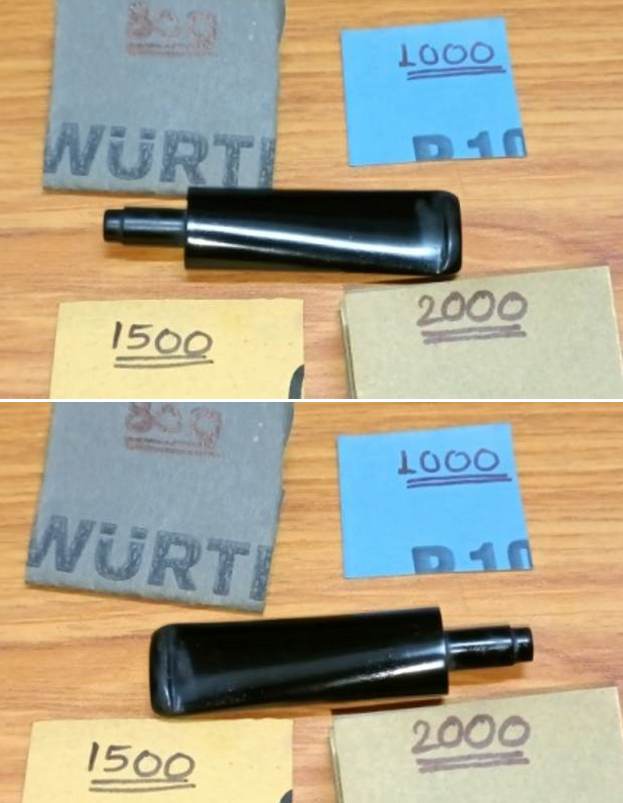
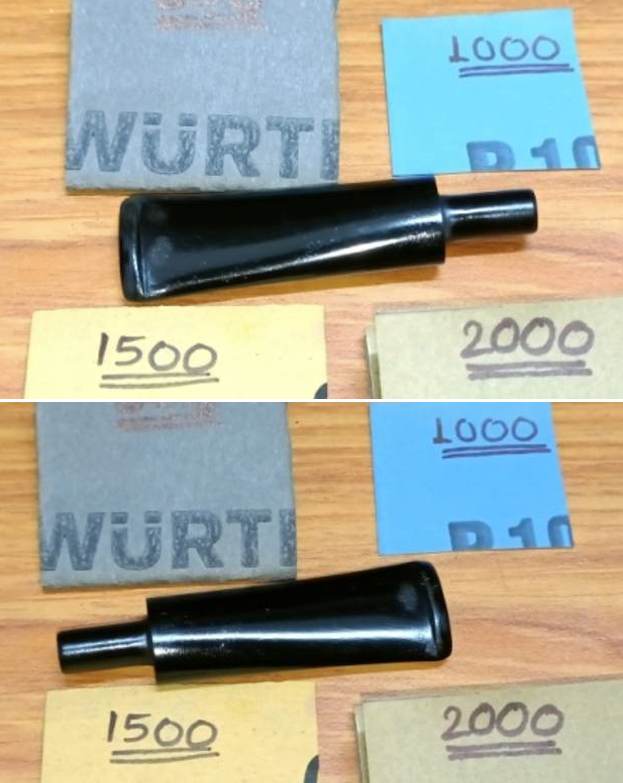
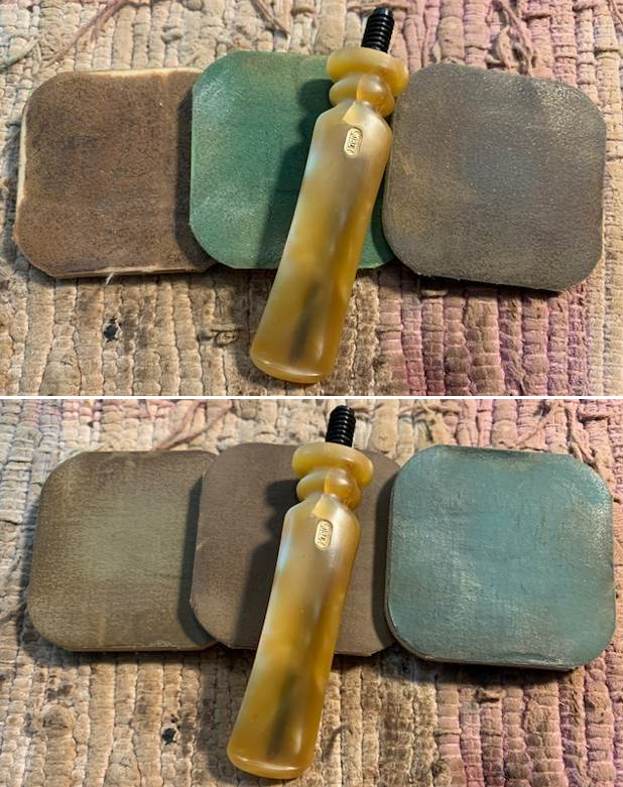
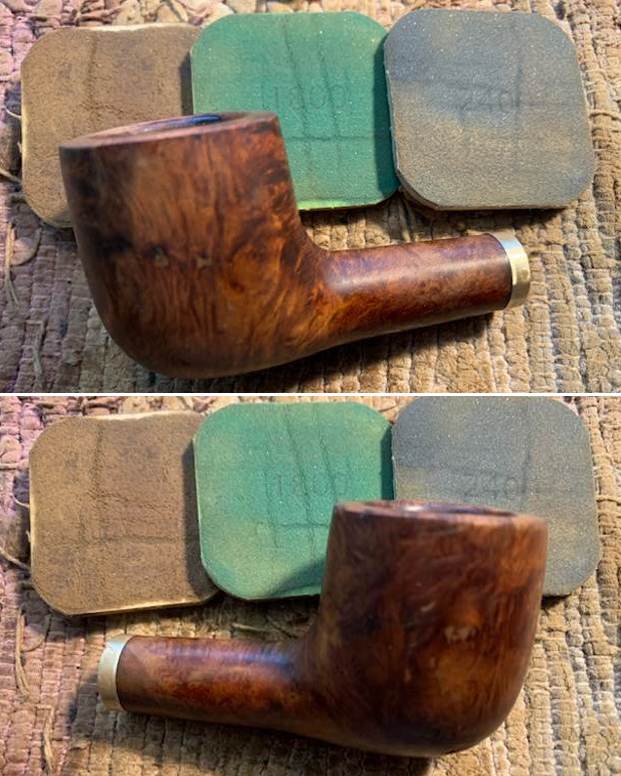
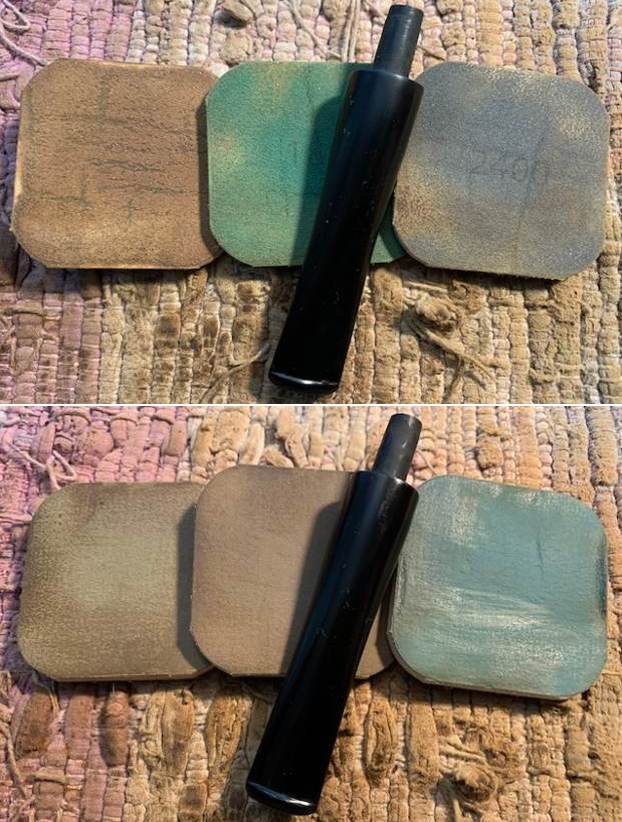
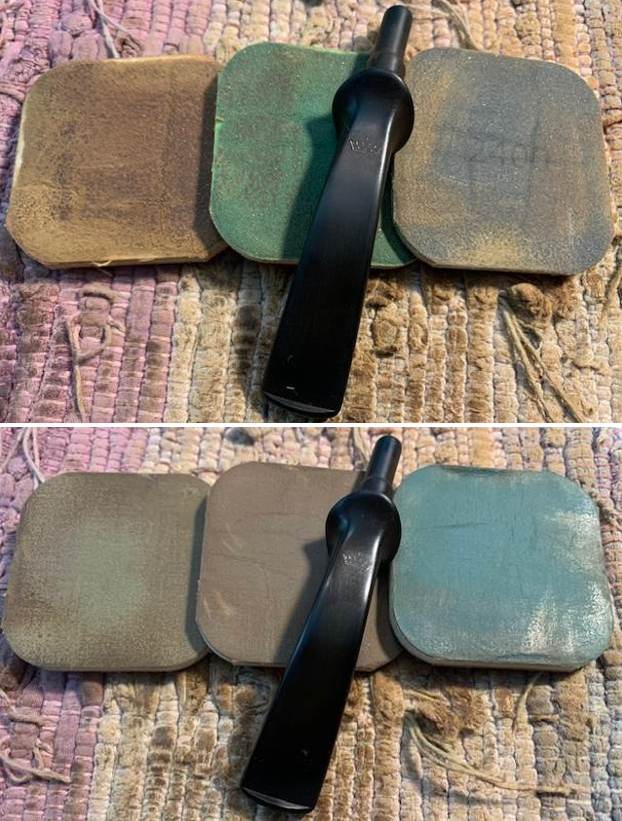
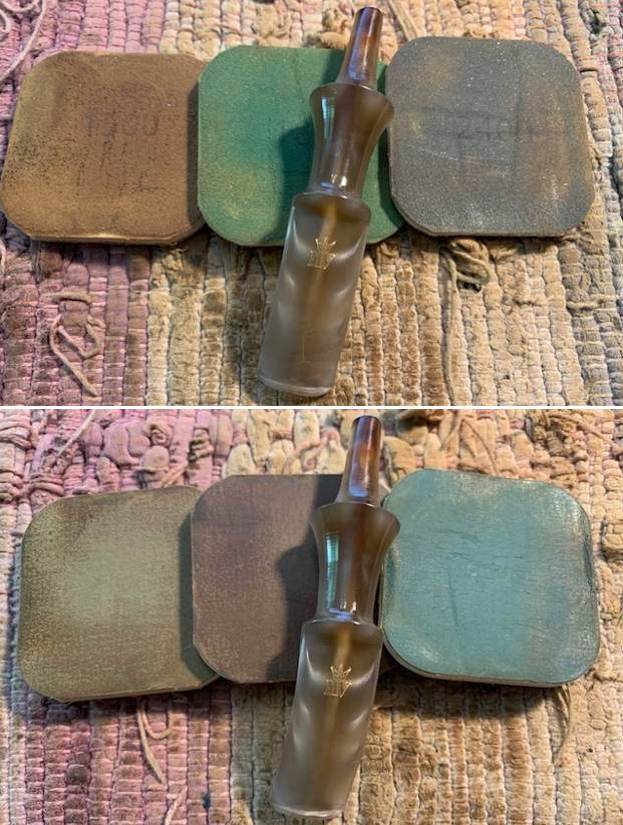
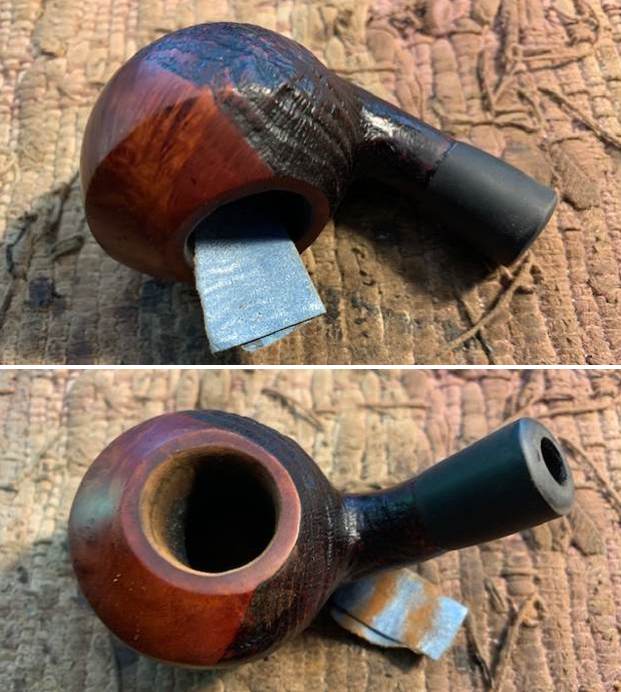 I polished the smooth portion of the briar and the acrylic shank extension with micromesh sanding pads. I dry sanded both with1500-12000 grit sanding pads and wiped the sanded portions with a damp cloth to remove the sanding debris.
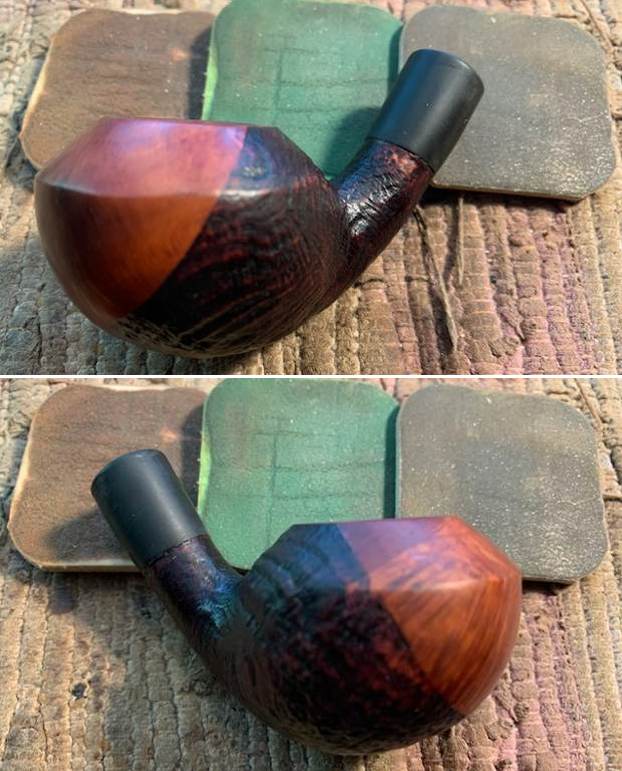
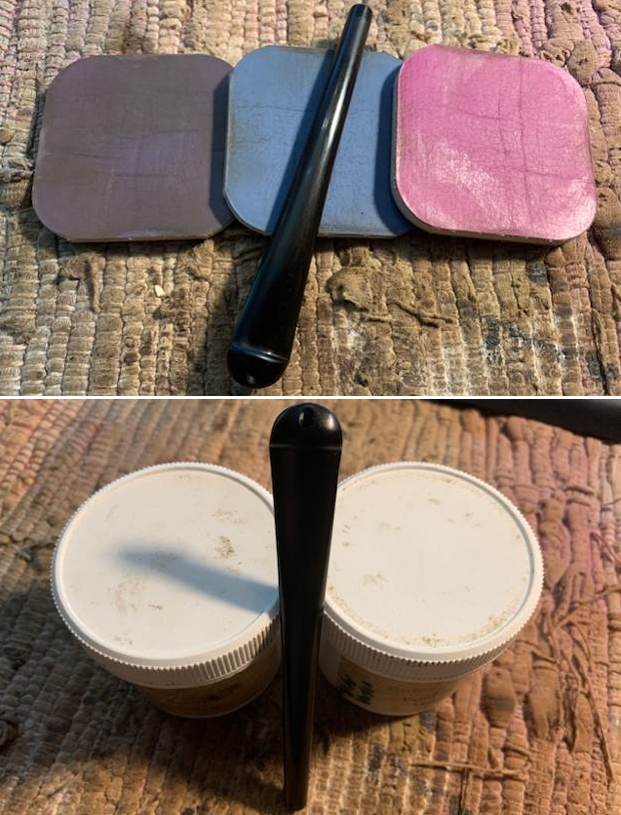
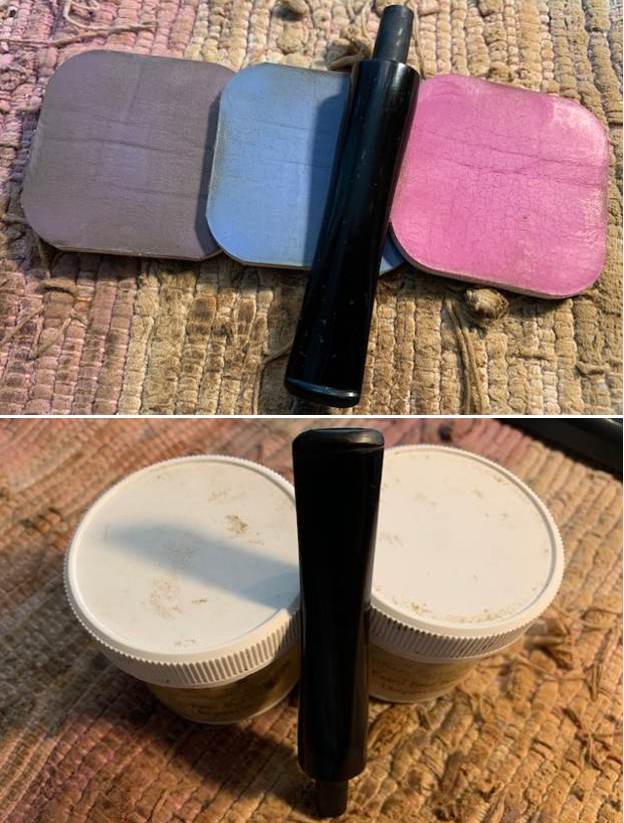
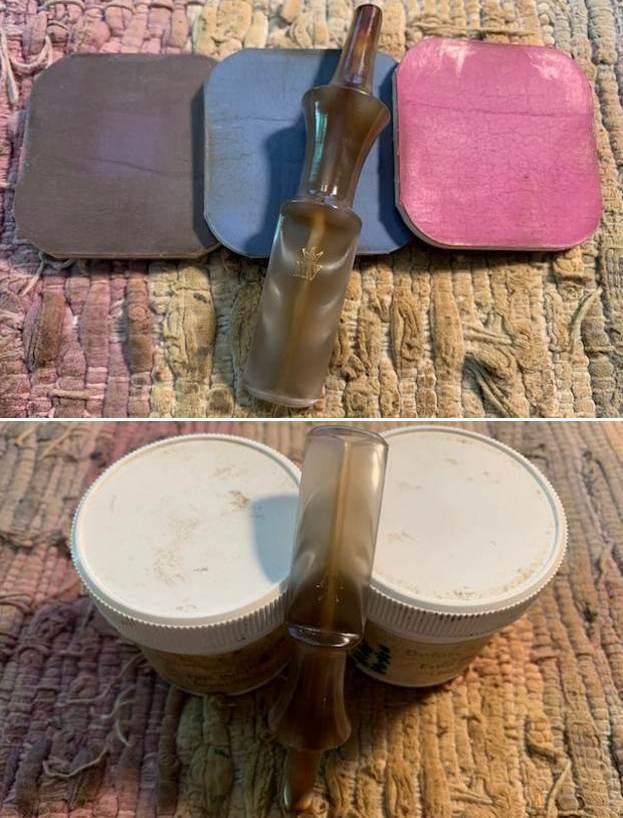
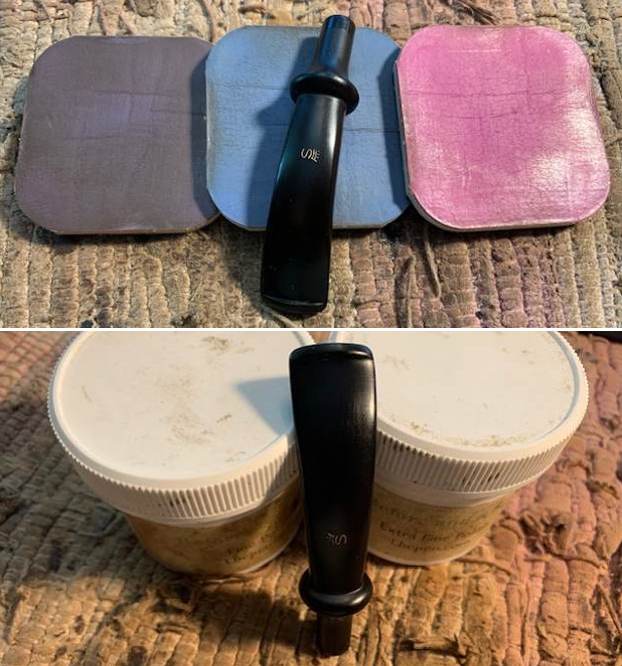
 I polished the acrylic shank extension with Before & After Stem Polish (Fine and Extra Fine). I buffed it with a soft cloth after each of the polishes and the acrylic began to take on a shine.
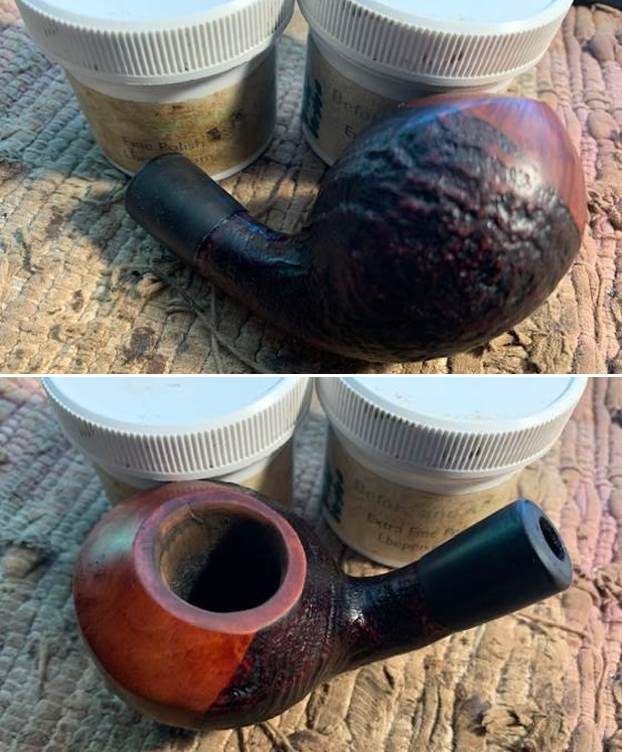
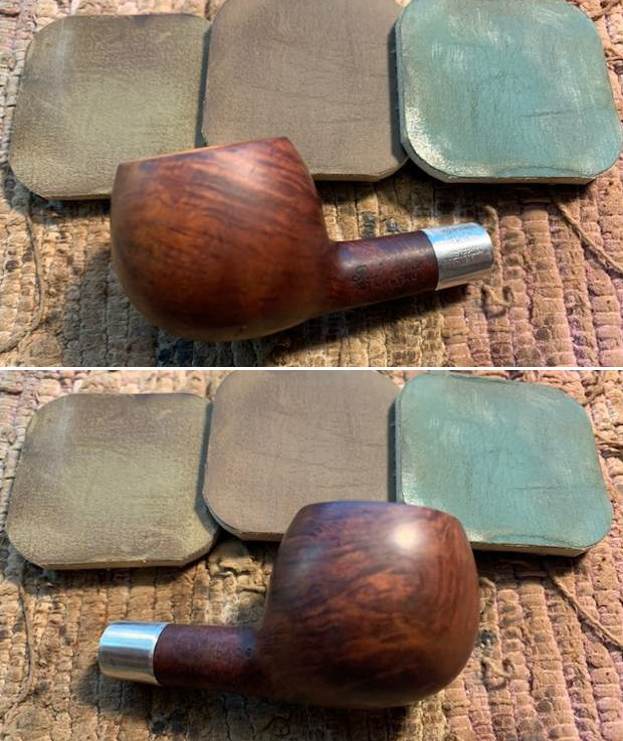
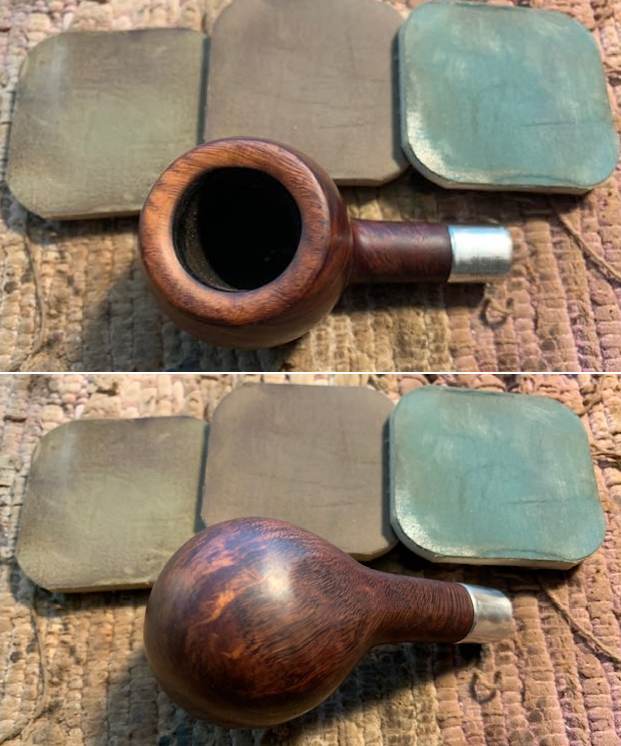
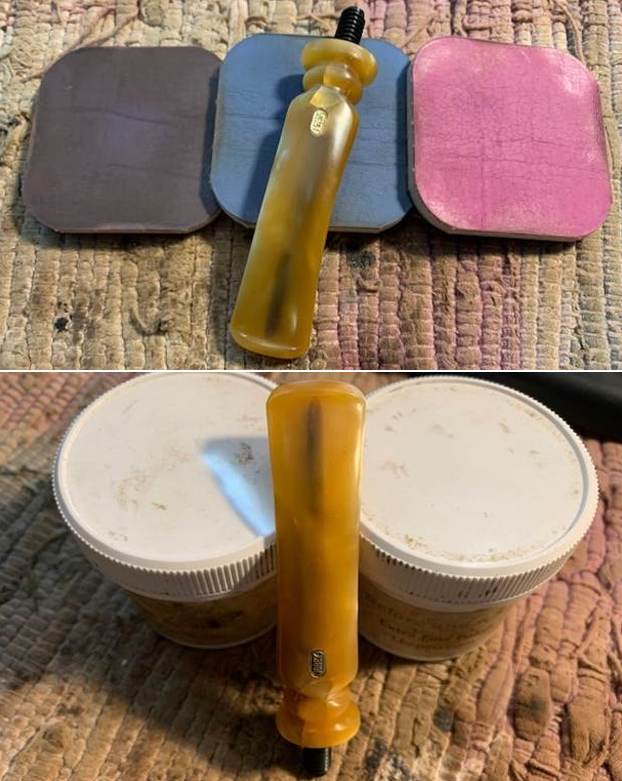
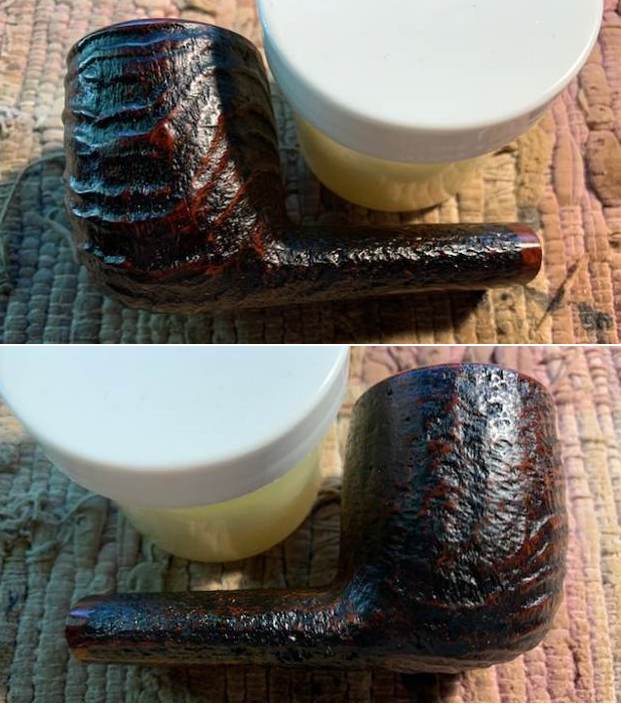
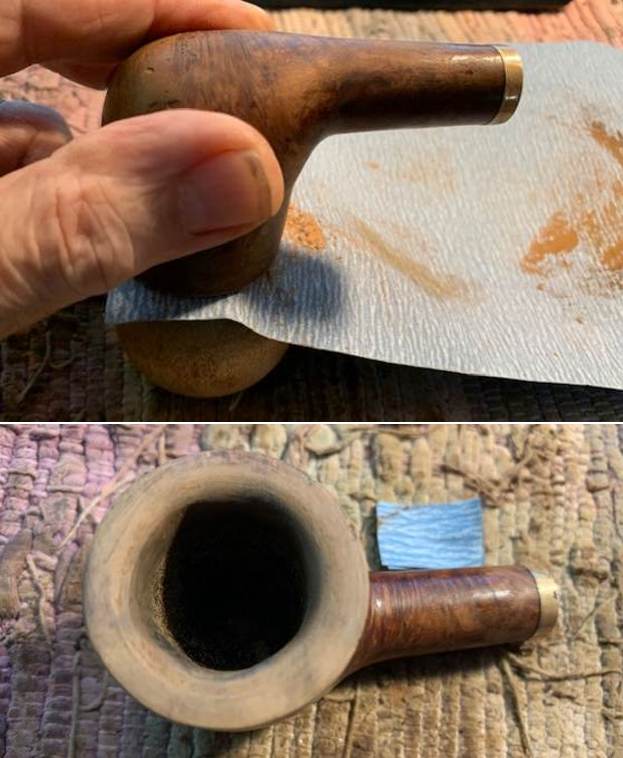
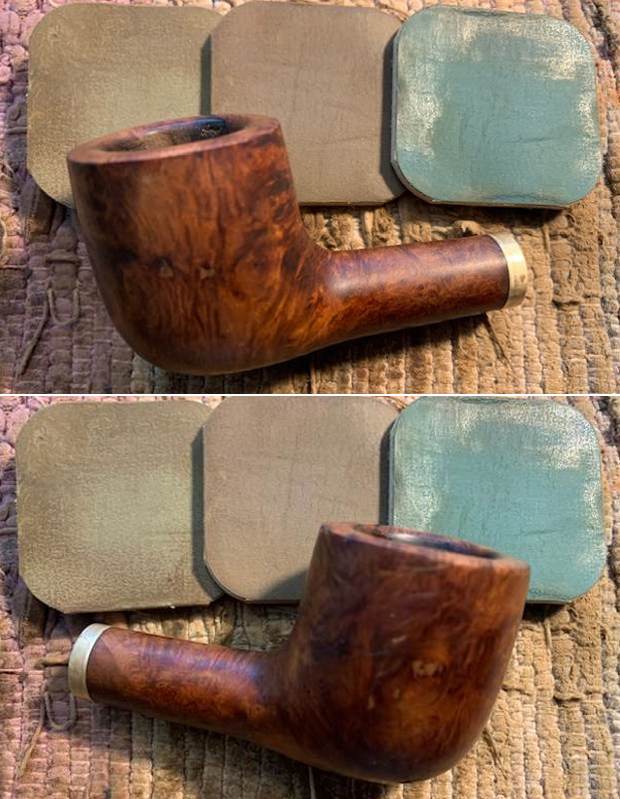
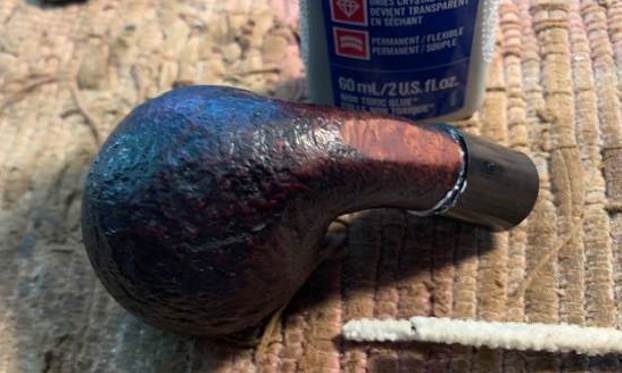
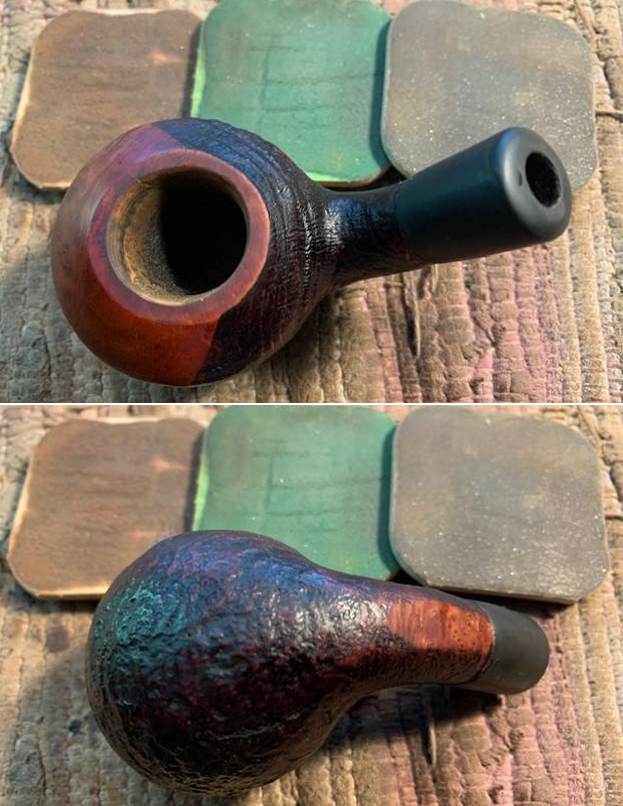
 I rubbed the bowl and shank down with Before & After Restoration Balm. I worked it into the surface of the bowl sides and shank with my fingertips and a horsehair shoe brush to clean, enliven and protect the briar. I let the balm sit for 10 minutes, then buffed with a cotton cloth to raise the shine. The Balm did its magic and the grain stood out on the briar.
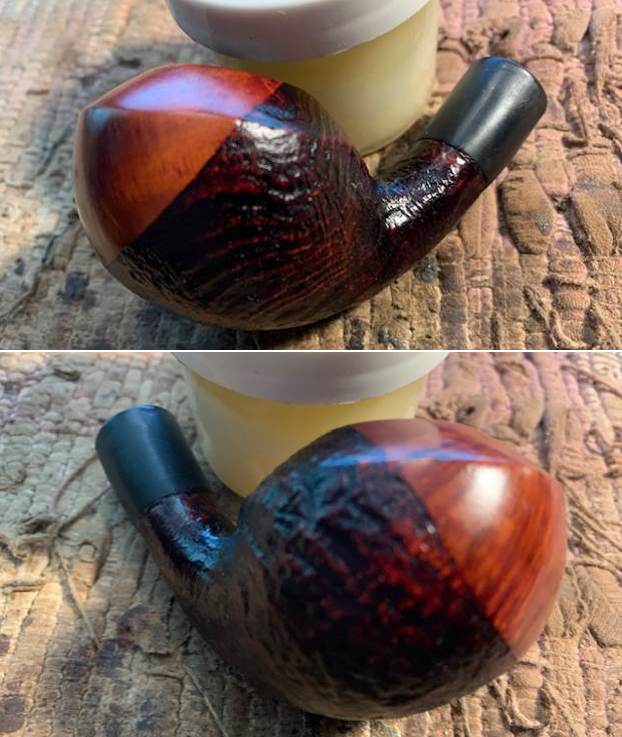
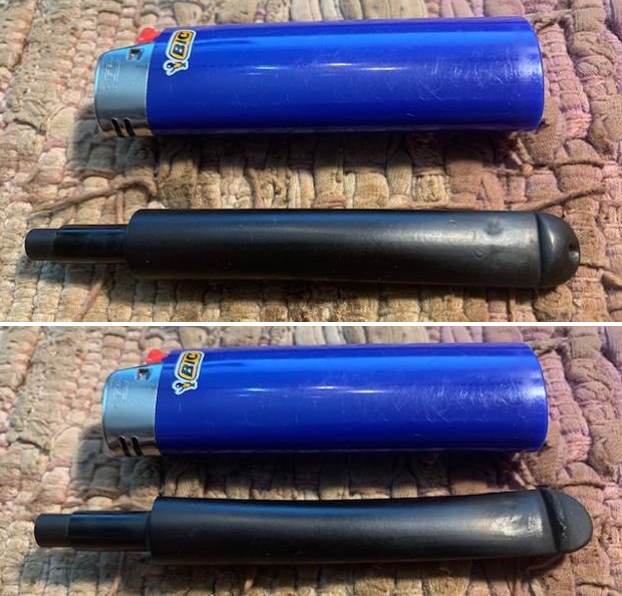
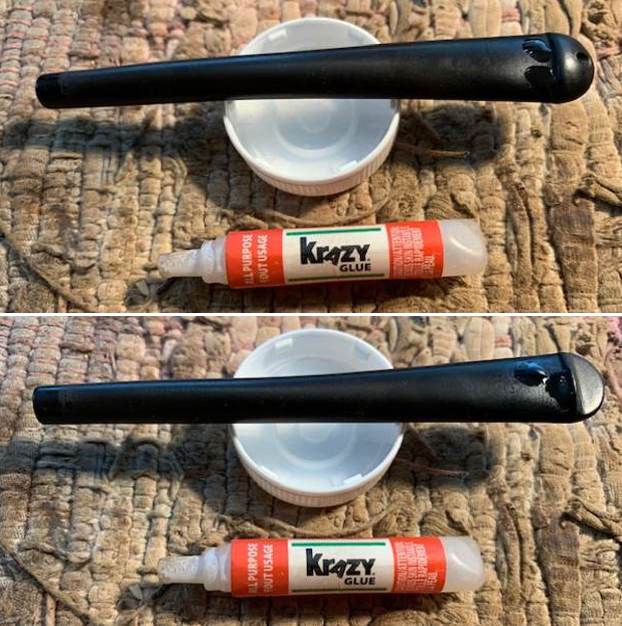
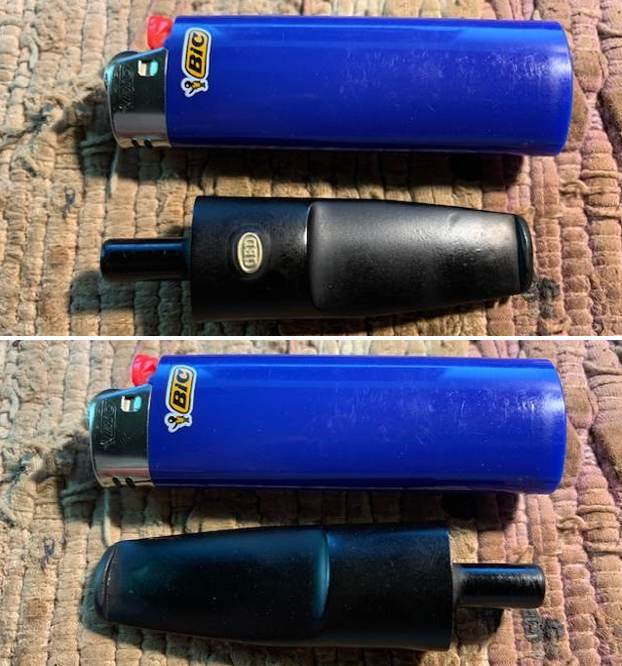
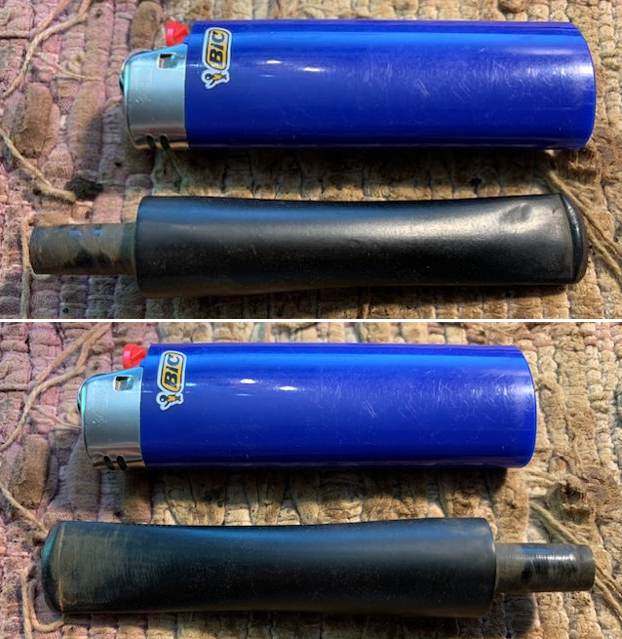
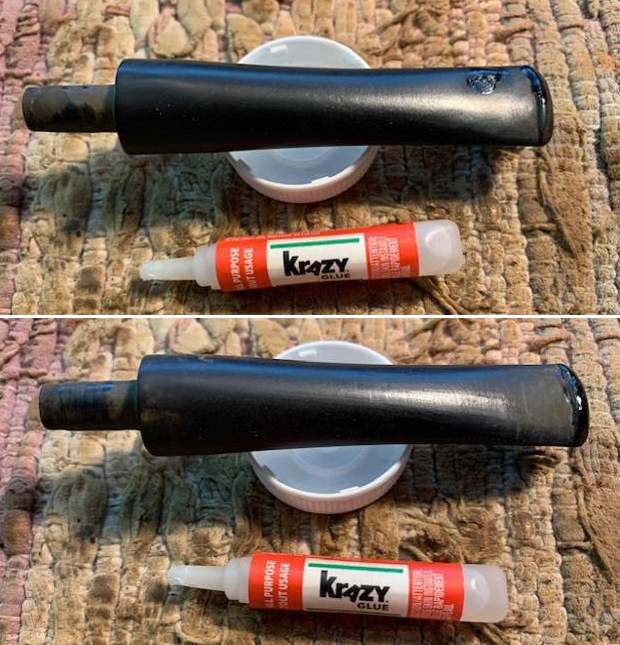
 I set the bowl aside and turned my attention to the stem. I “painted” the surface of the stem on both sides with the flame of a Bic Lighter to lift some of the tooth marks and chatter. I was able to lift some of them but there were several deep ones on each side available. I filled in those that remained with some clear CA glue.
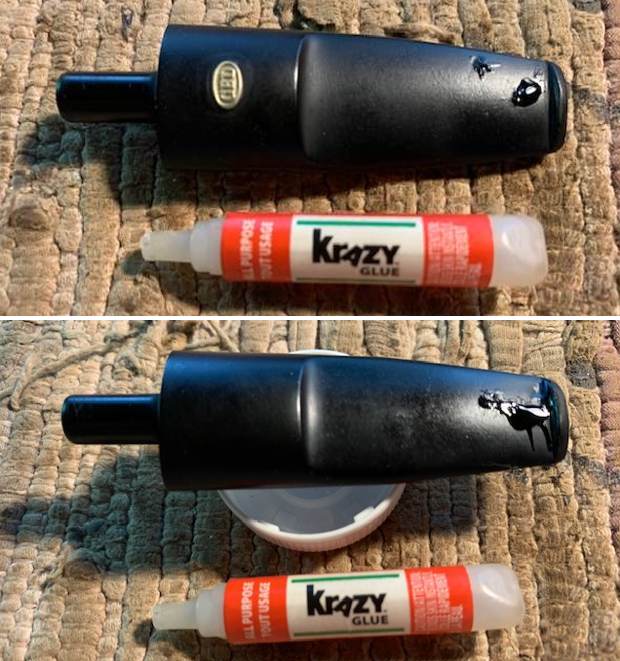
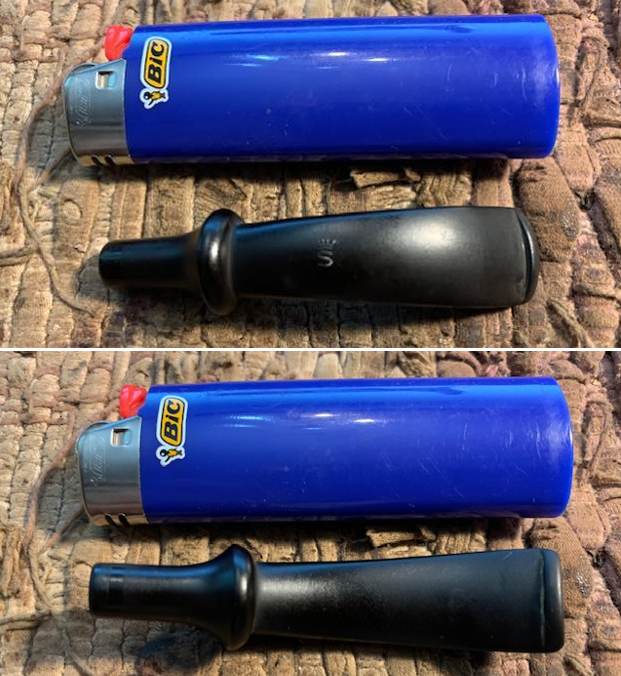
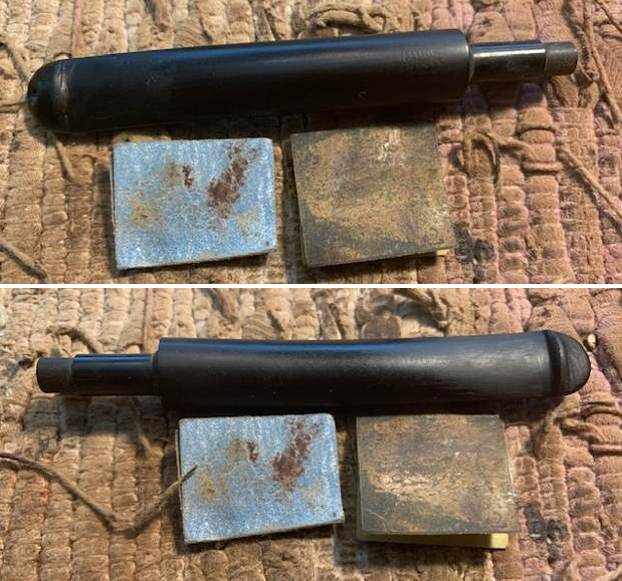
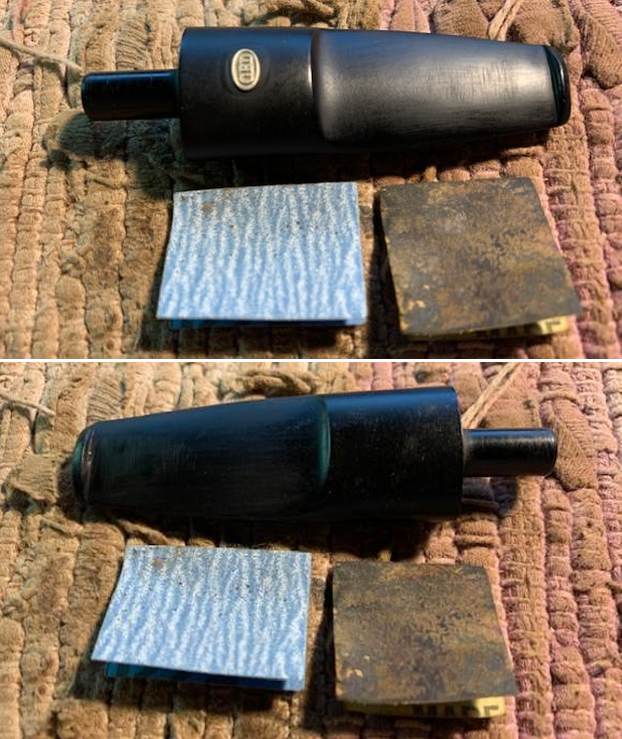
 Once the repair cured I sanded the repair smooth with 220 grit sandpaper to blend it into the surface. I stated the polishing process with 400 grit sandpaper.
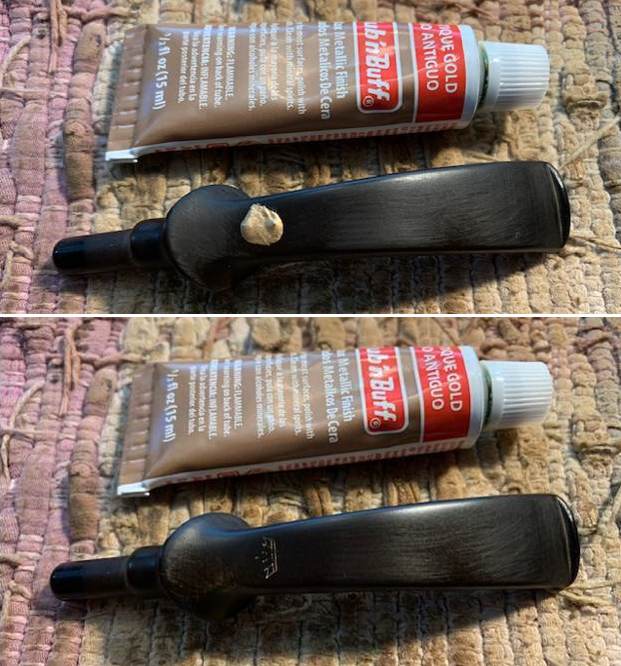
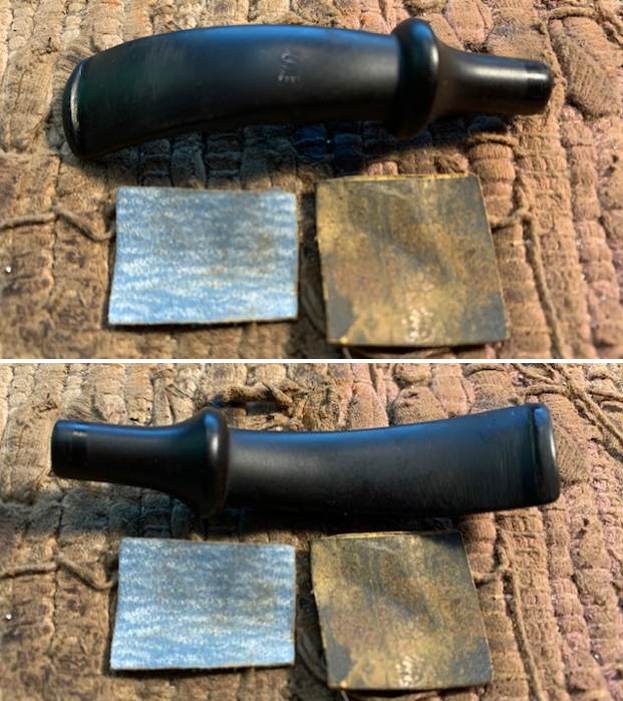 I touched up the Stanwell logo Crown S on the top of the stem with some Rub’n Buff Antique Gold. I worked it into the logo with a tooth pick. I let it sit for a few minutes and then buffed it off with a soft cloth. I worked over the stamp with a won 1500 grit micromesh pad and the stamp looked very good.
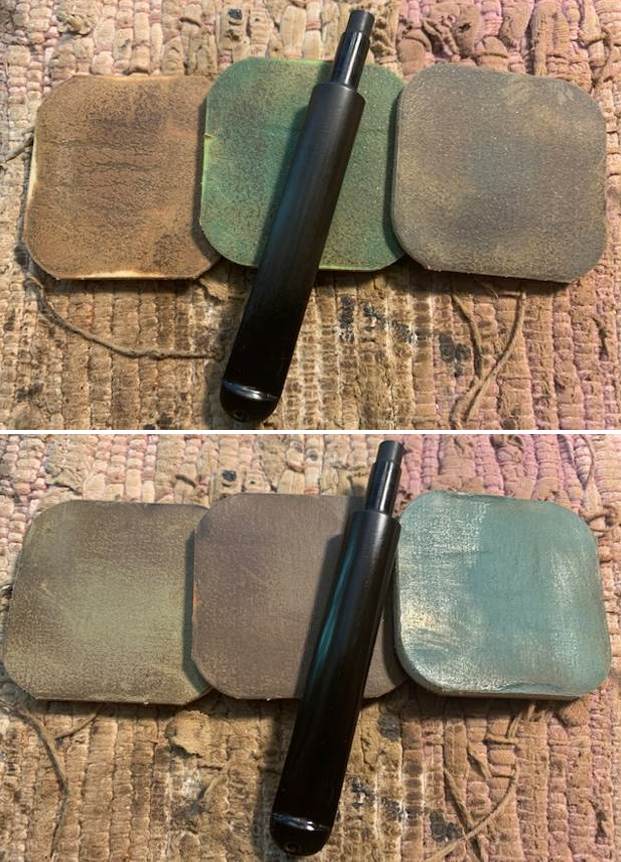
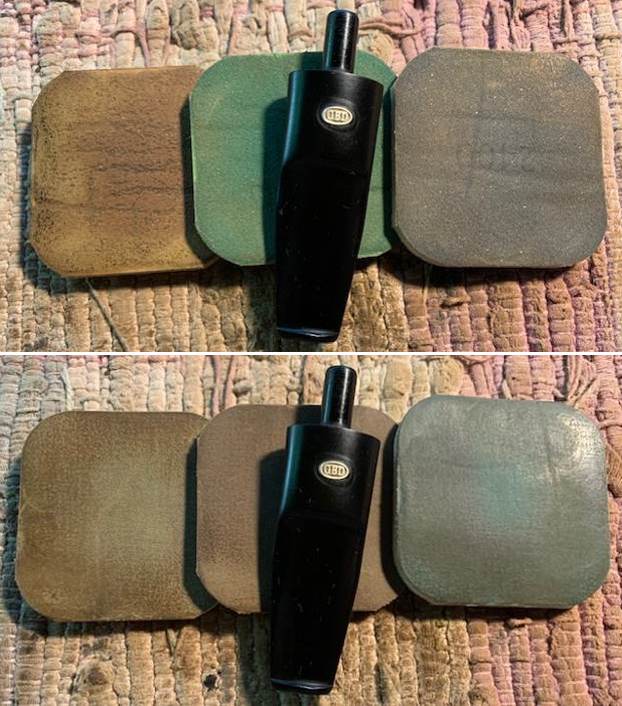
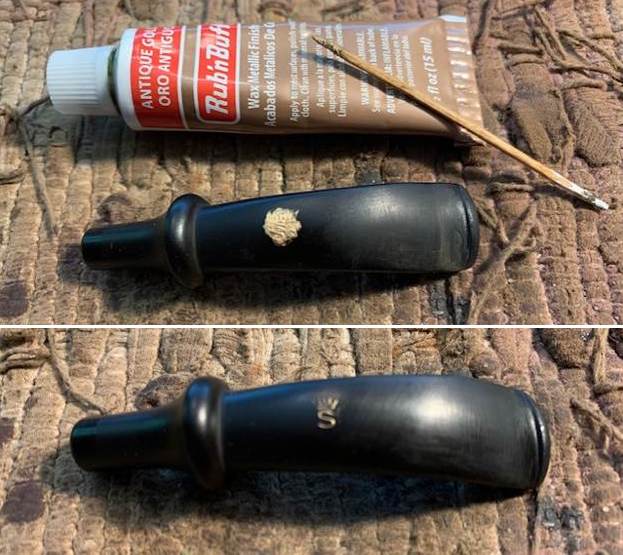 I polished the stem with micromesh sanding pads – 1500-12000 grit pads. I wiped it down with Obsidian Oil after each sanding pad. I finished the polishing with Before & After Polishes – both Fine and Extra Fine. I gave it a final rub down with Obsidian Oil and set it aside to dry.
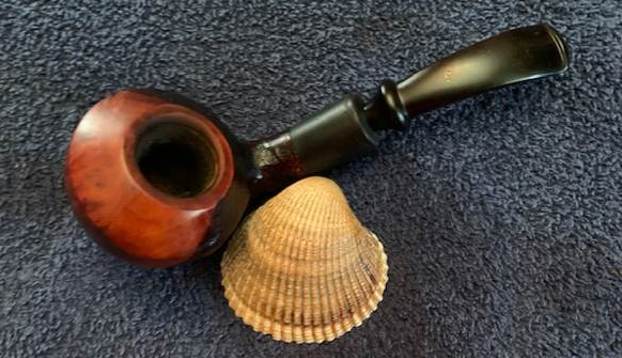
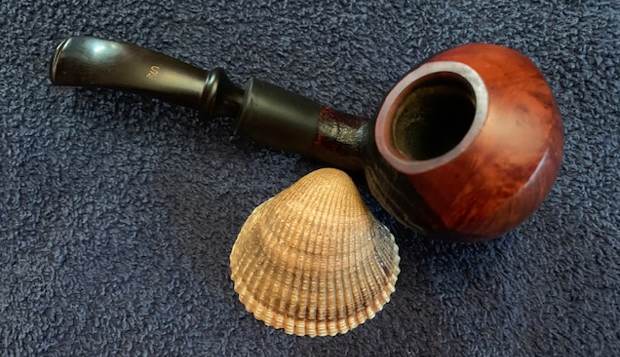
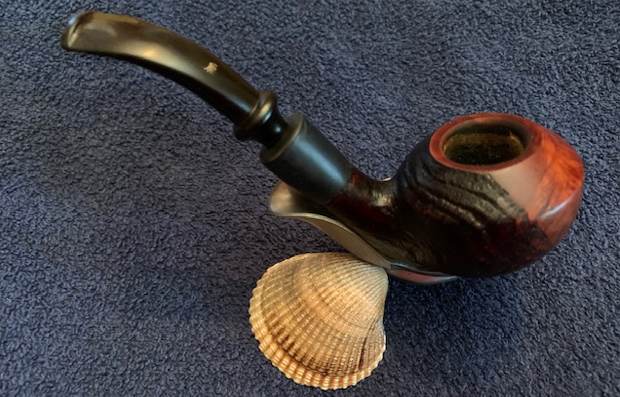
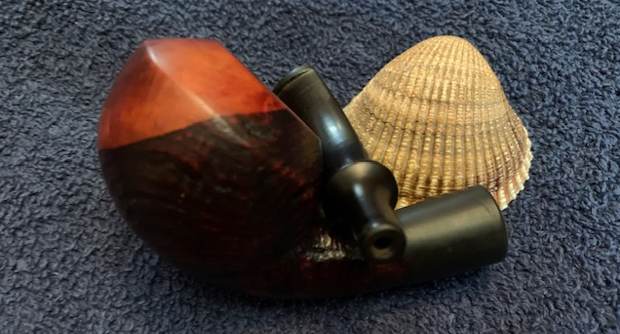
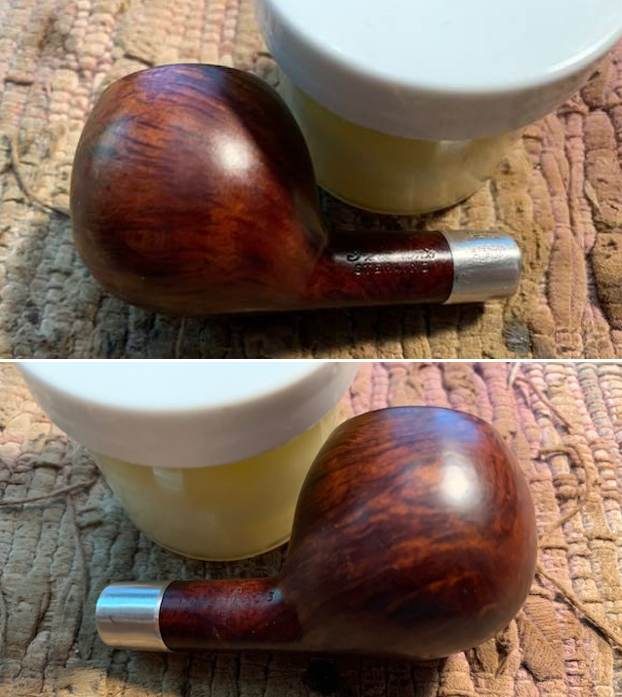
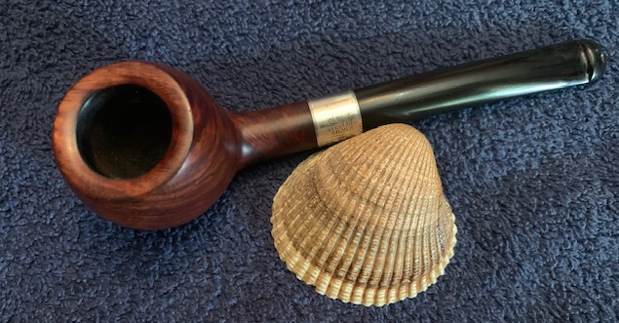
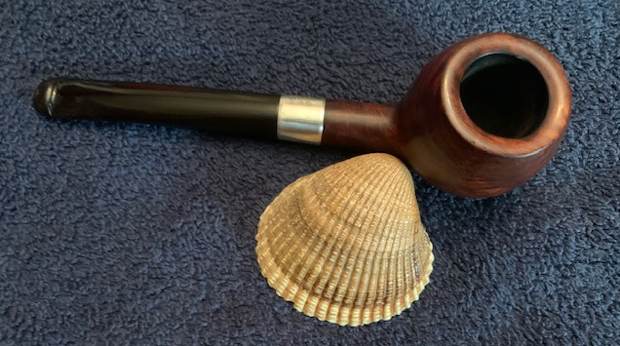
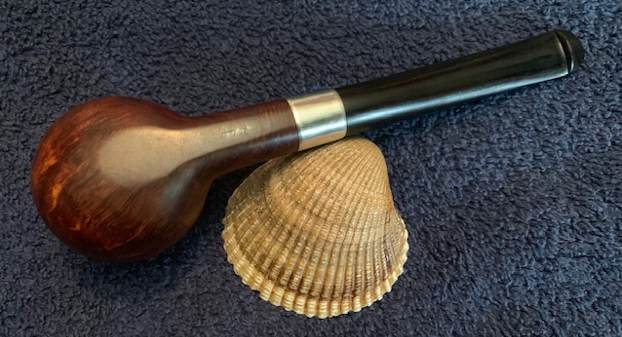
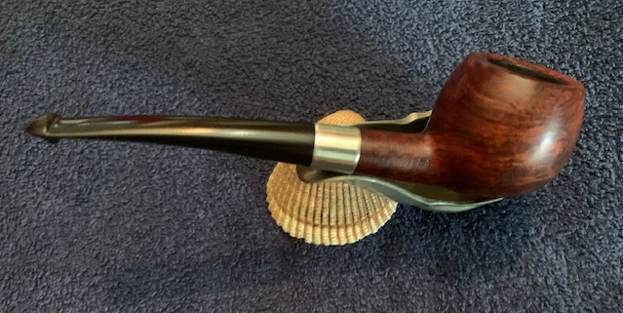
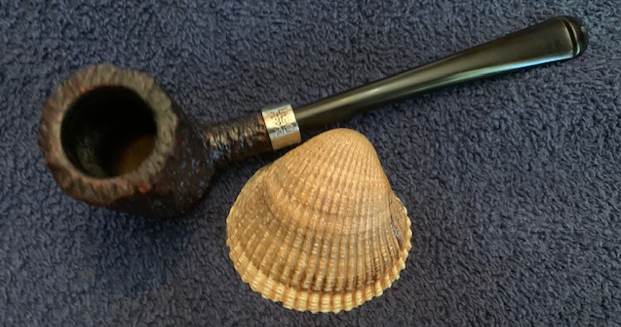
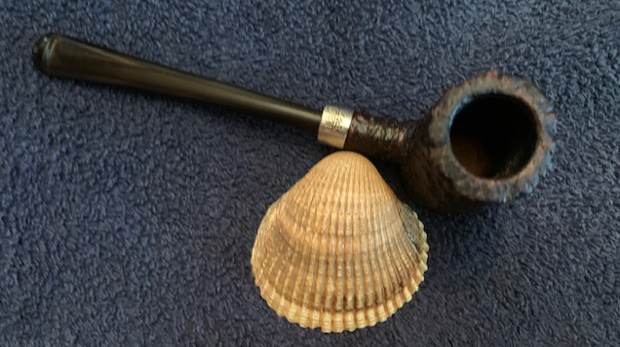
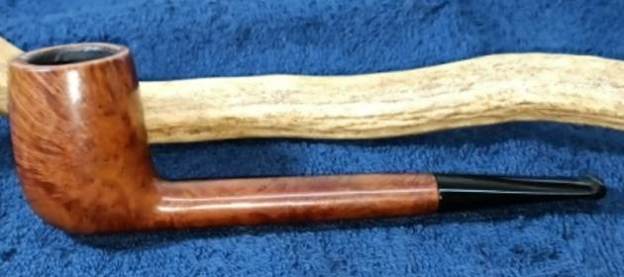
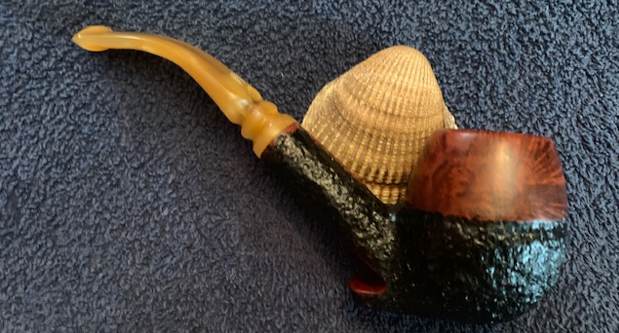
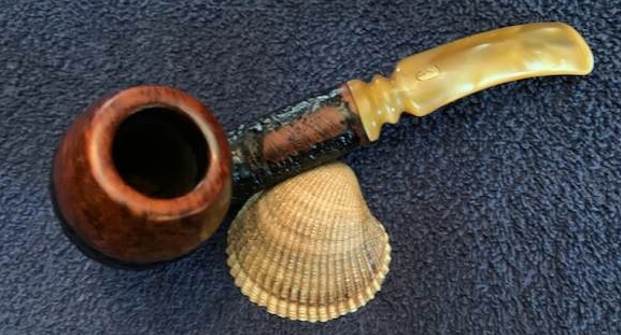
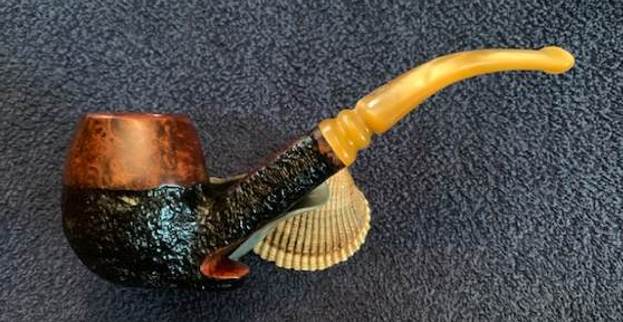
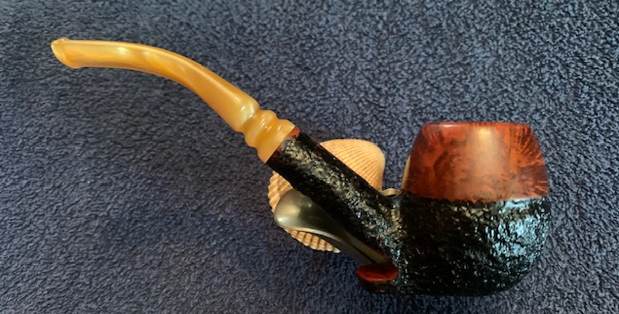
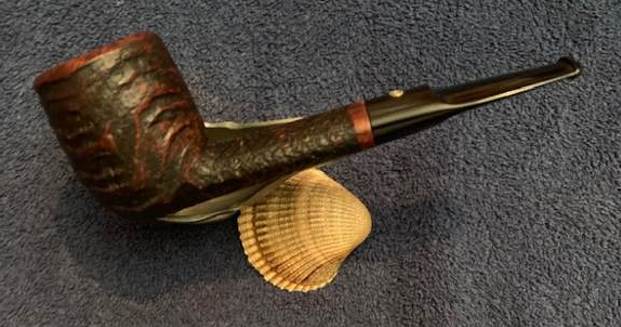
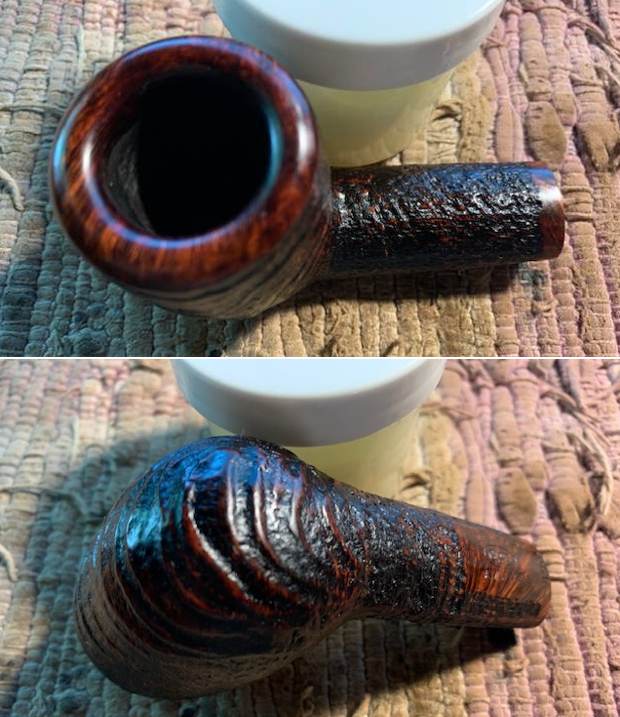
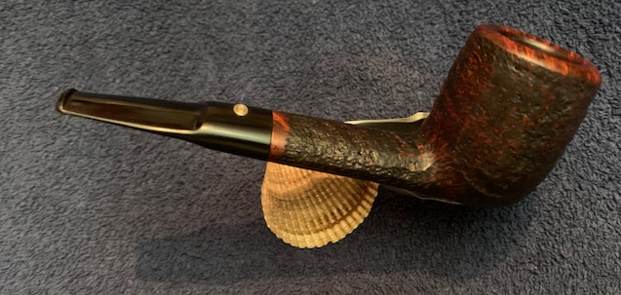
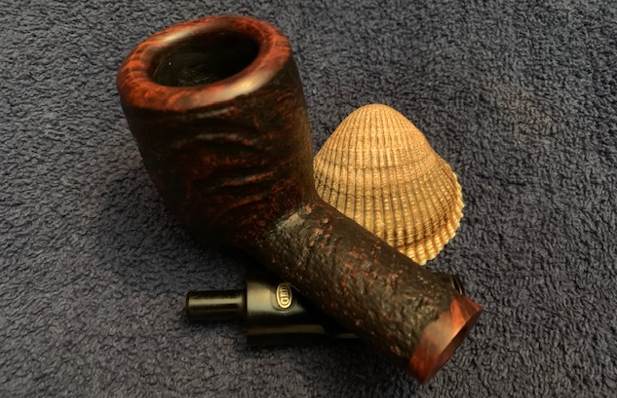
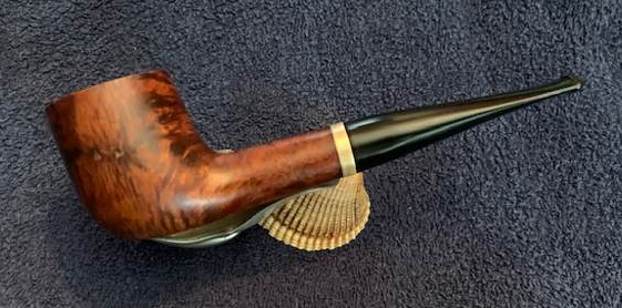
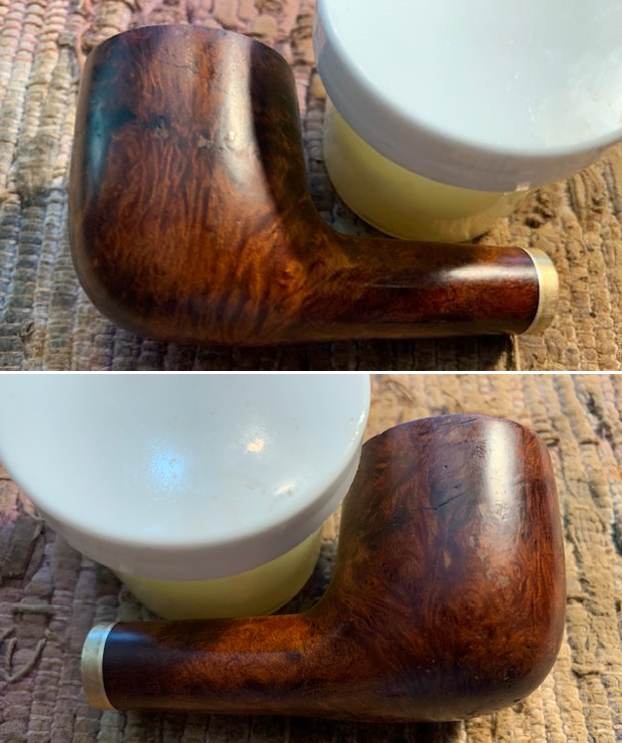
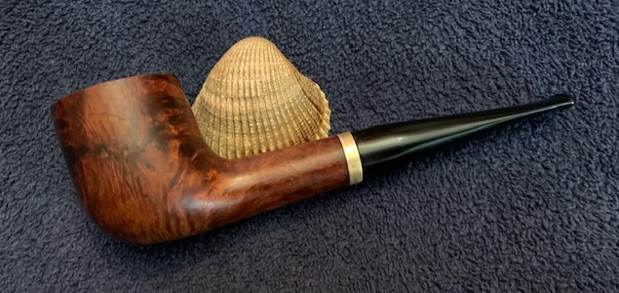
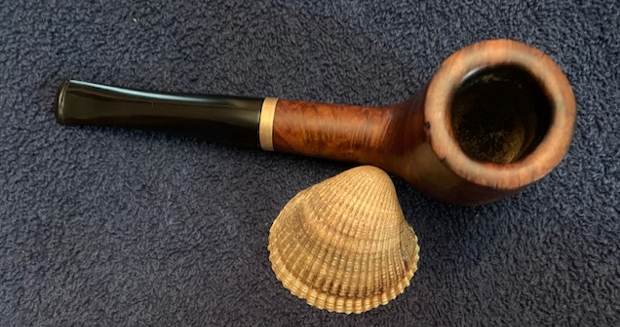
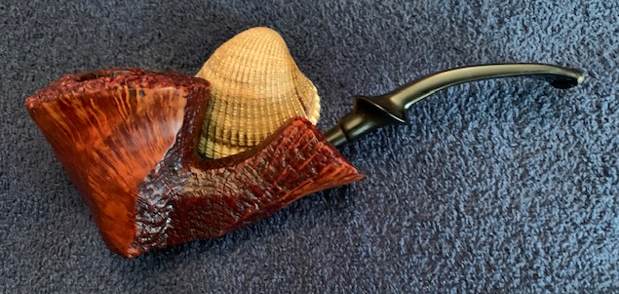
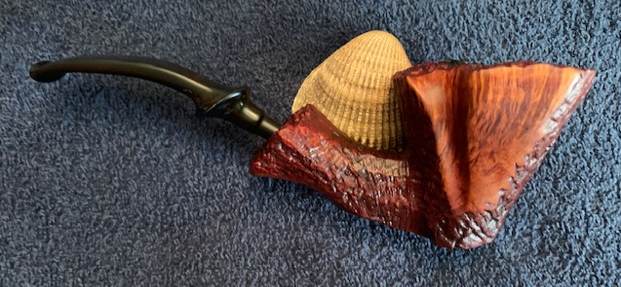
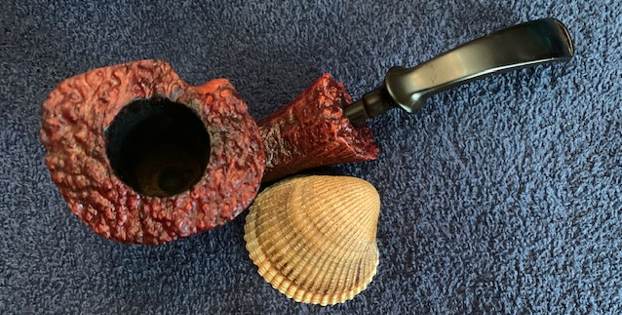
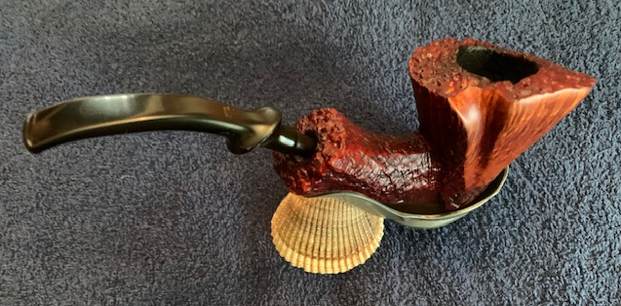
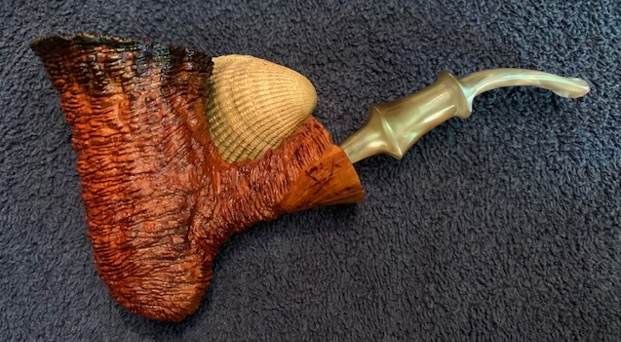
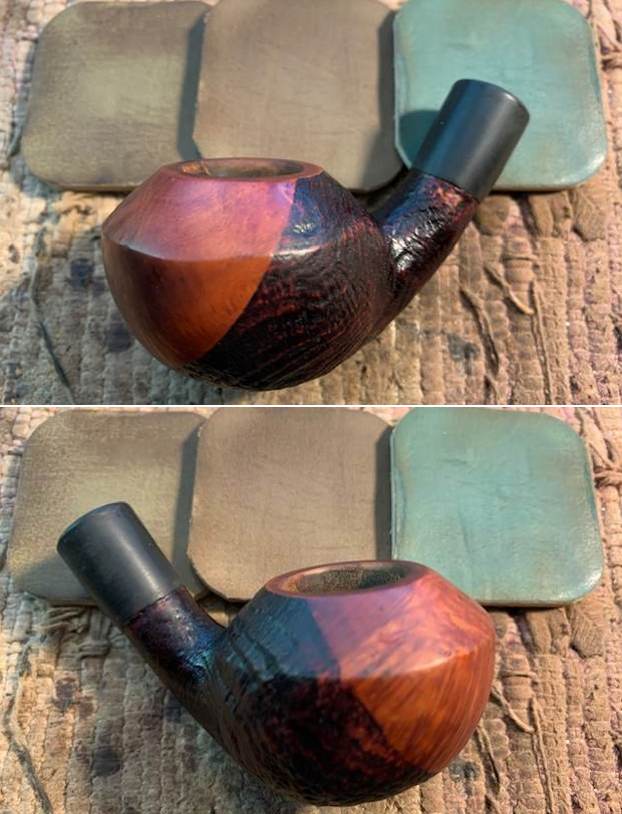
 This Stanwell Sandblast/Smooth Mixed Finish Bent Rhodesian with a replacement acrylic shank extension and vulcanite saddle stem is a beautifully grained pipe with a flowing shape that looks great . The rich browns, reds and blacks of the contrasting stain makes the grain come alive with the polishing and waxing. I put the stem back on the bowl and carefully buffed the pipe with Blue Diamond on the buffing wheel using a light touch on the briar. I gave the bowl and the stem multiple coats of carnauba wax on the buffing wheel and followed that by buffing the entire pipe with a clean buffing pad. I hand buffed the pipe with a microfiber cloth to deepen the shine. The finished Stanwell Bent Rhodesian really is a beauty and fits nicely in the hand and looks very good. Give the finished pipe a look in the photos below. The dimensions of the pipe are Length: 5 ½ inches, Height: 1 ½ inches, Outside diameter of the bowl: 1 ¼ inch, Chamber diameter: ¾ of an inch. The weight of the pipe is 2.08 ounces/59 grams. This pipe will soon be on the Danish Pipe Makers Section of the rebornpipes store if you would like to add it to your collection. It was an enjoyable challenge. Thanks for reading this blog and my reflections on the pipe while I worked on it.