by Steve Laug
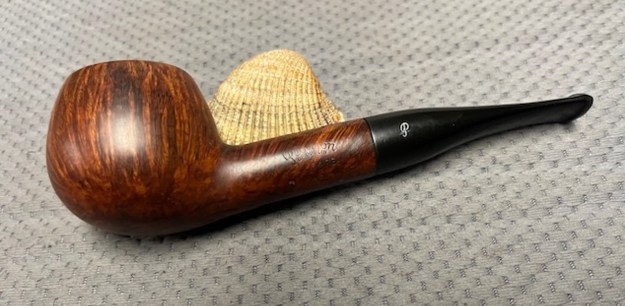
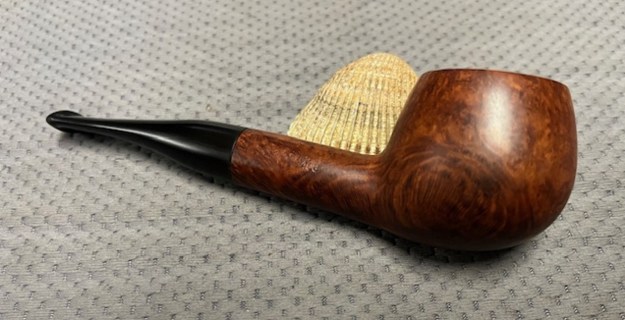
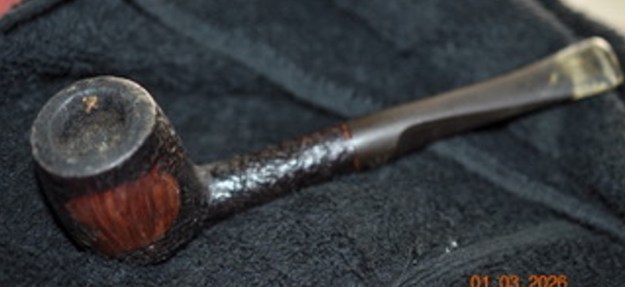
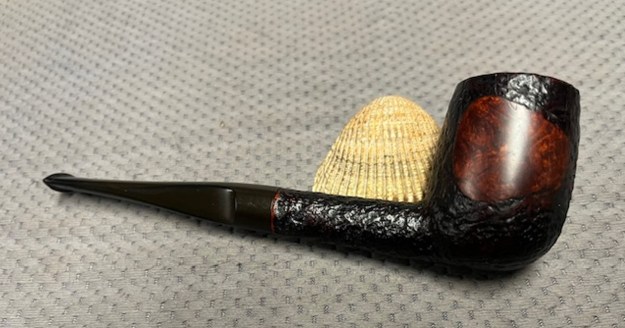
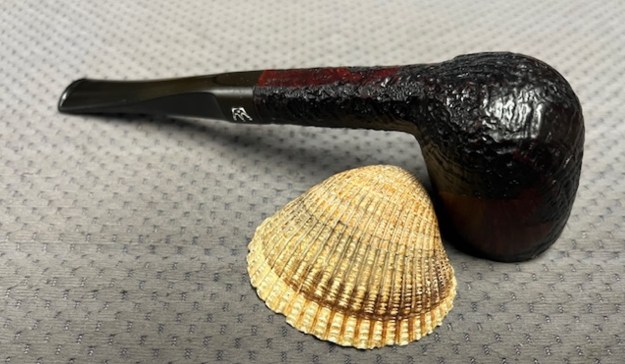
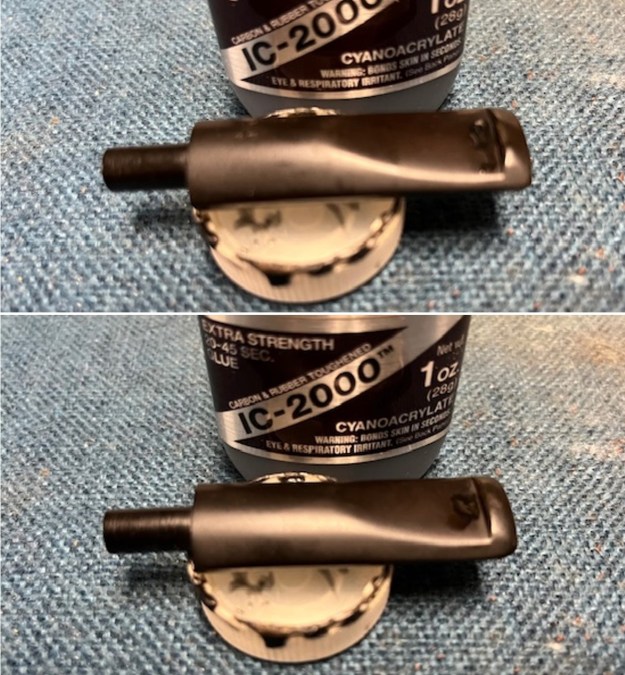
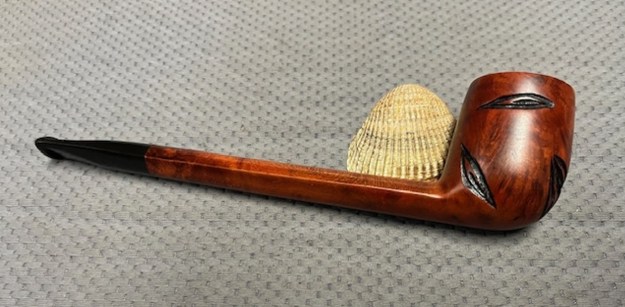
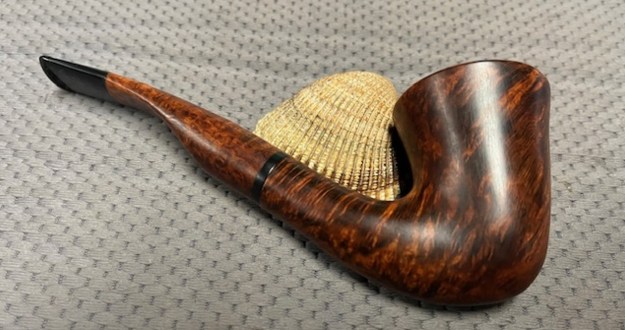
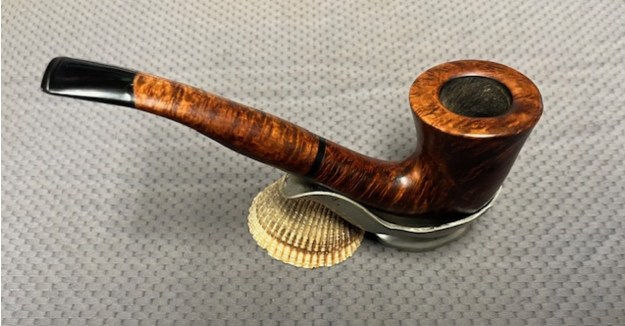
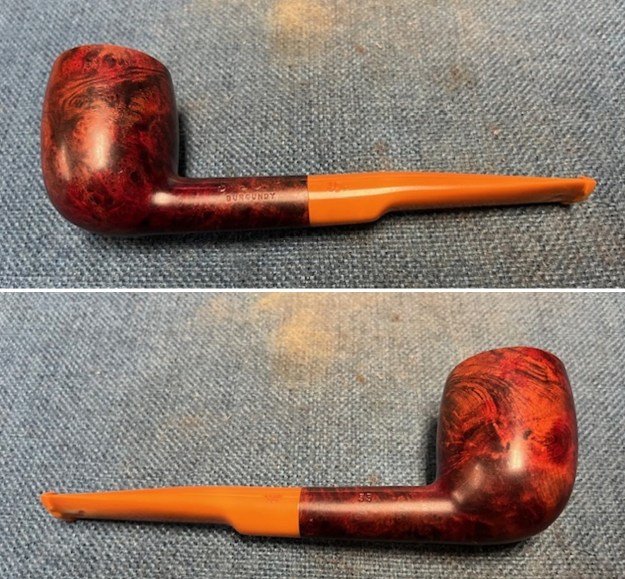
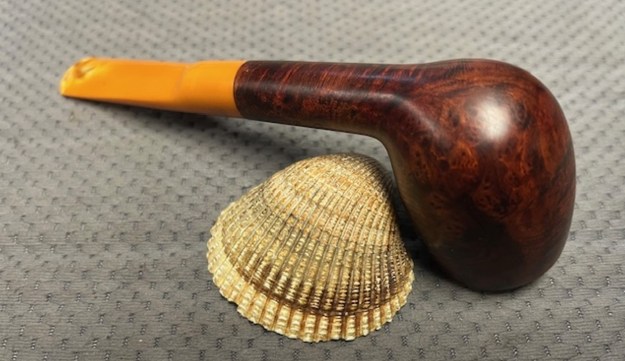
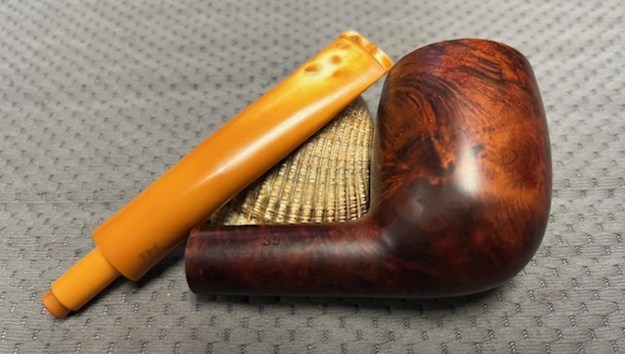
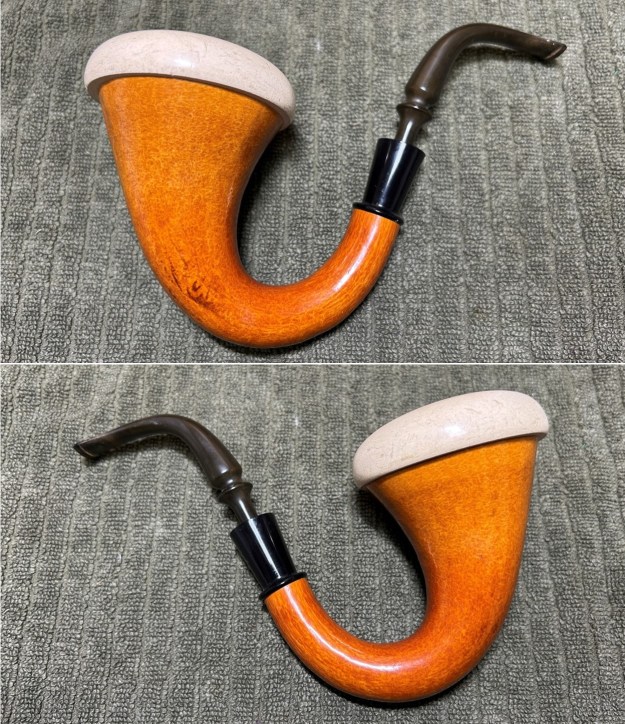
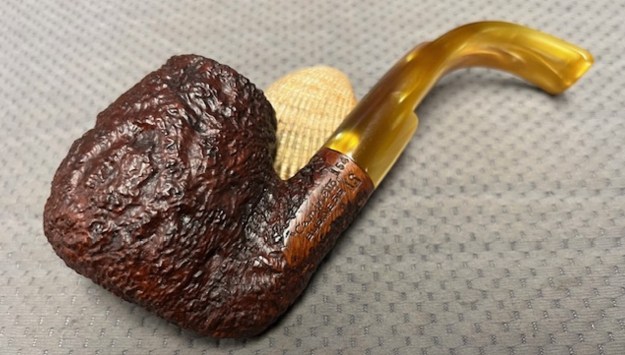
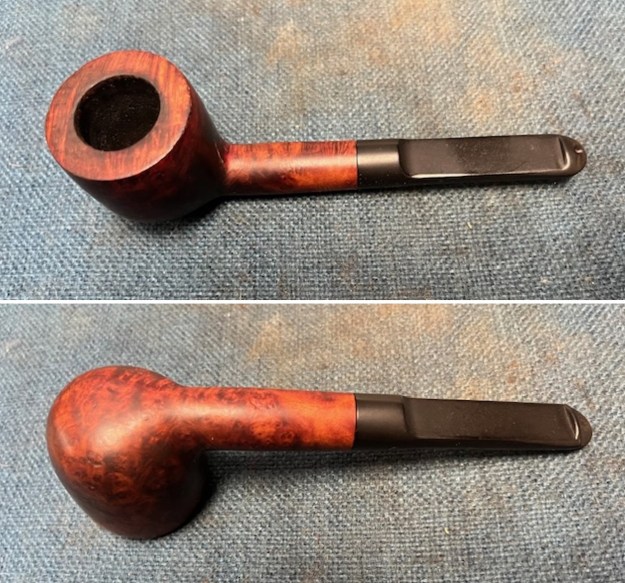
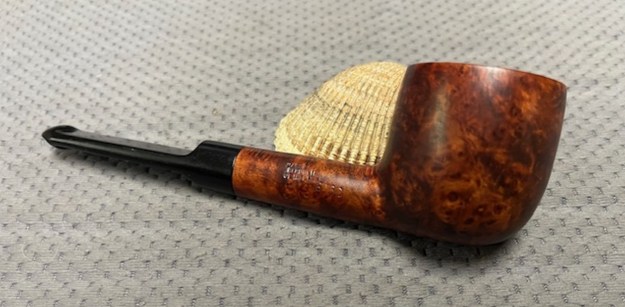
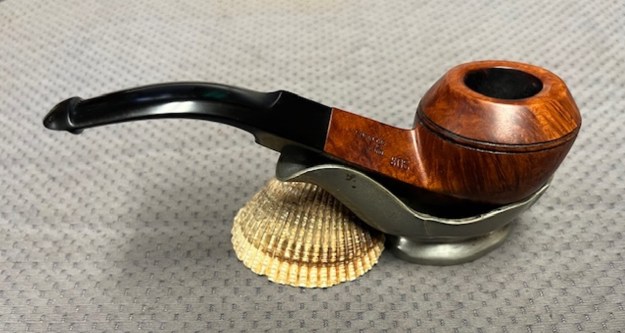
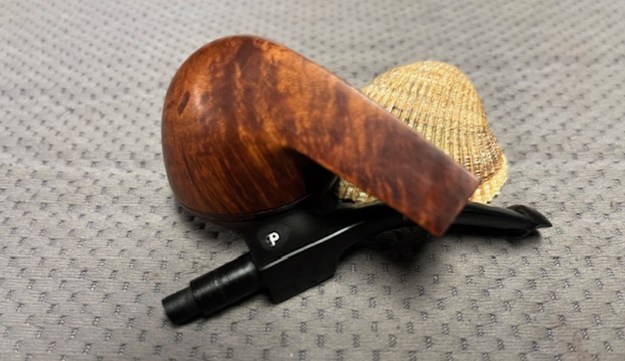
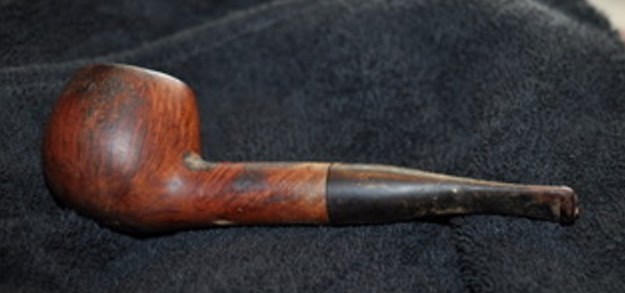
The next pipe I am working on is an interesting Cigar Style or Zeppelin style horn shaped pipe. We picked it up from a seller in Delafield, Wisconsin, USA on 01/28/2026. It has a hard rubber stem and a briar shank/bowl that holds the tobacco and a screw cap on the end with five airholes in the front of the bowl. The finish is smooth with rusticated patches around the bowl and the screw lid on the end. The rustication is similar to what I have found on Custom-bilt pipes. This one had a lot of fills in the rusticated areas. These areas were darker in colour than the smooth finish. The shank end cover unscrews from the wooden threads on the bowl. The pipe is stamped on the left side of the bowl and reads Sequoia House {over] California. The bowl had a light cake in it and some darkening on the inside of the cover and bowl internals.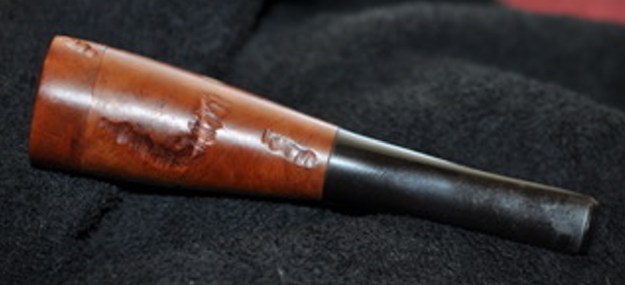
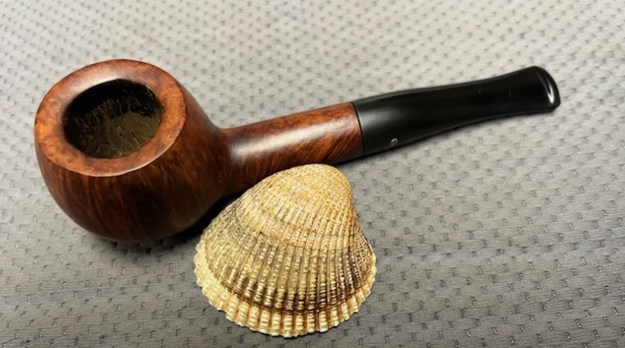
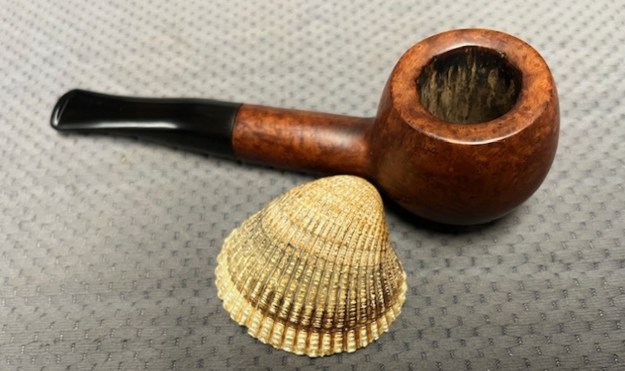
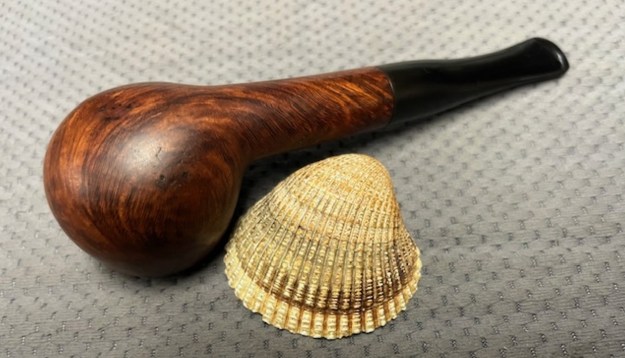
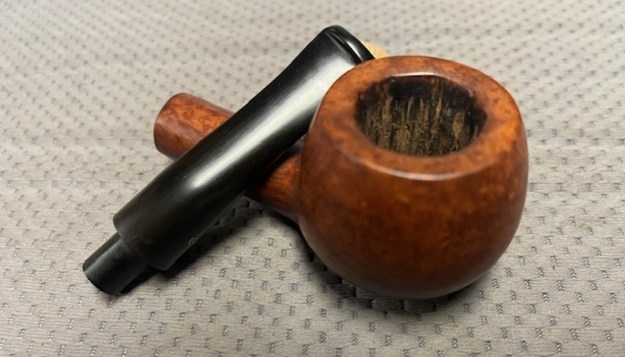
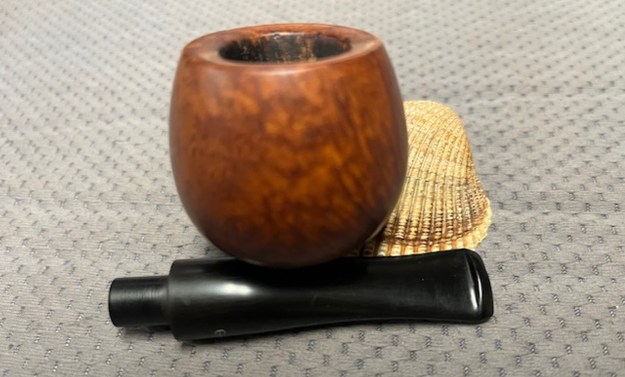
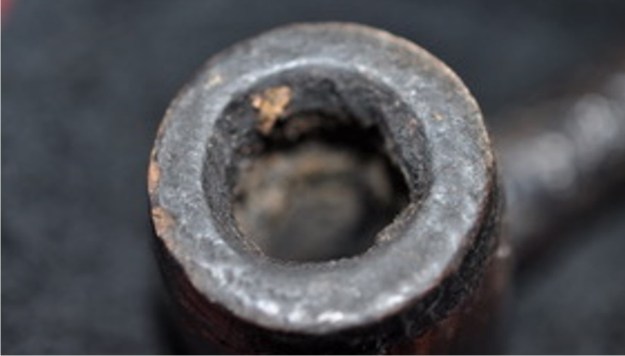
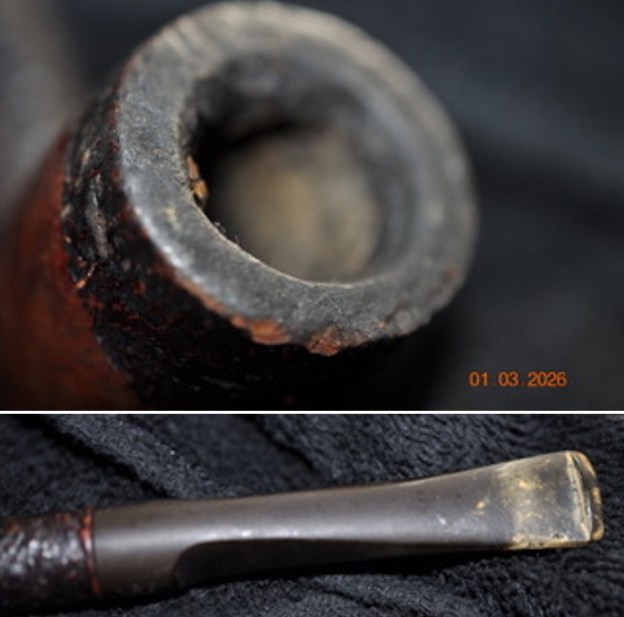
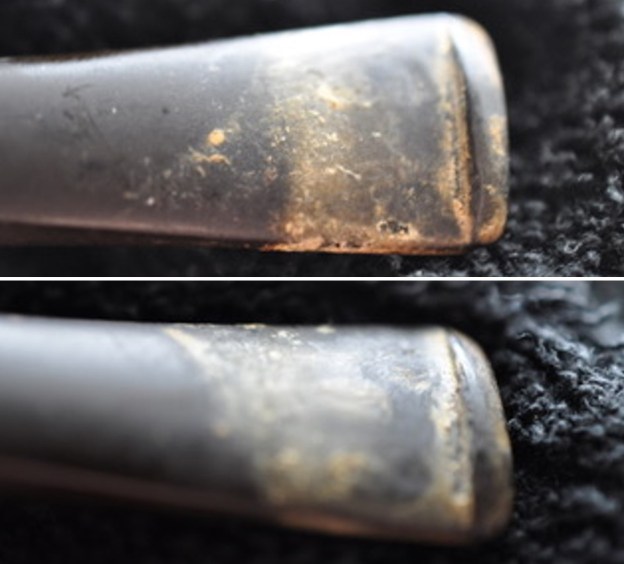
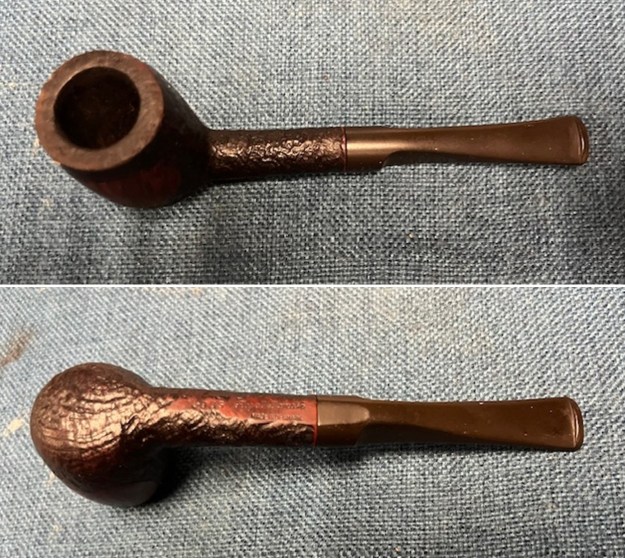
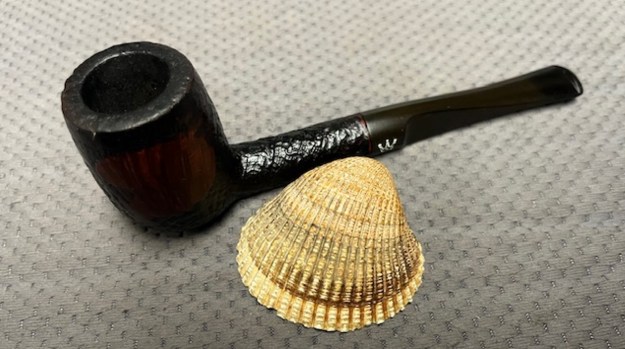
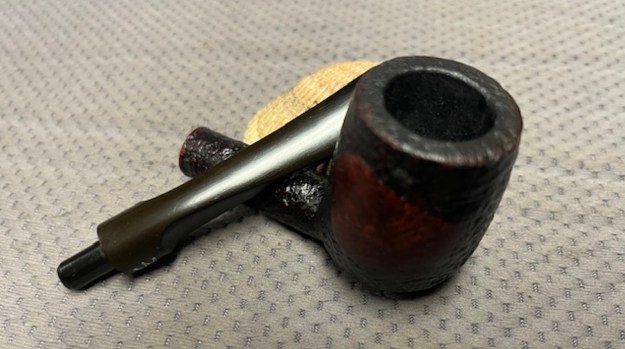
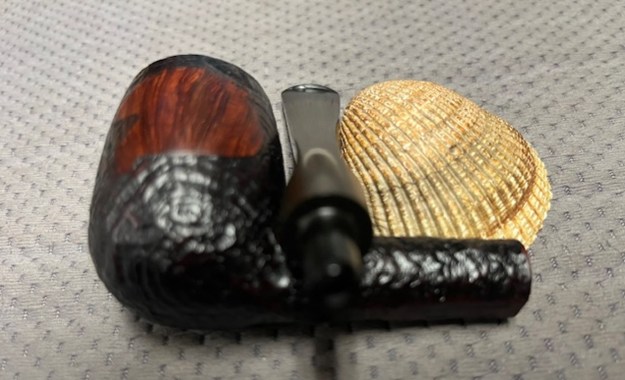
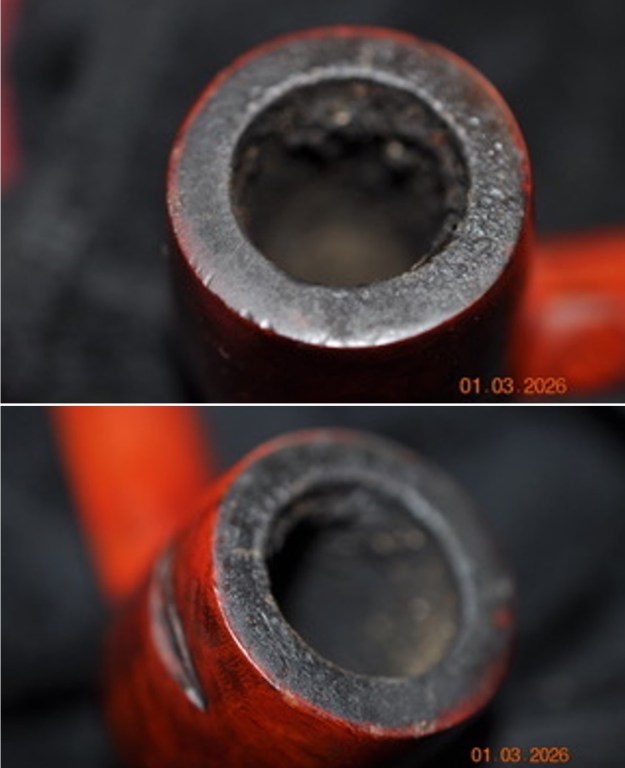
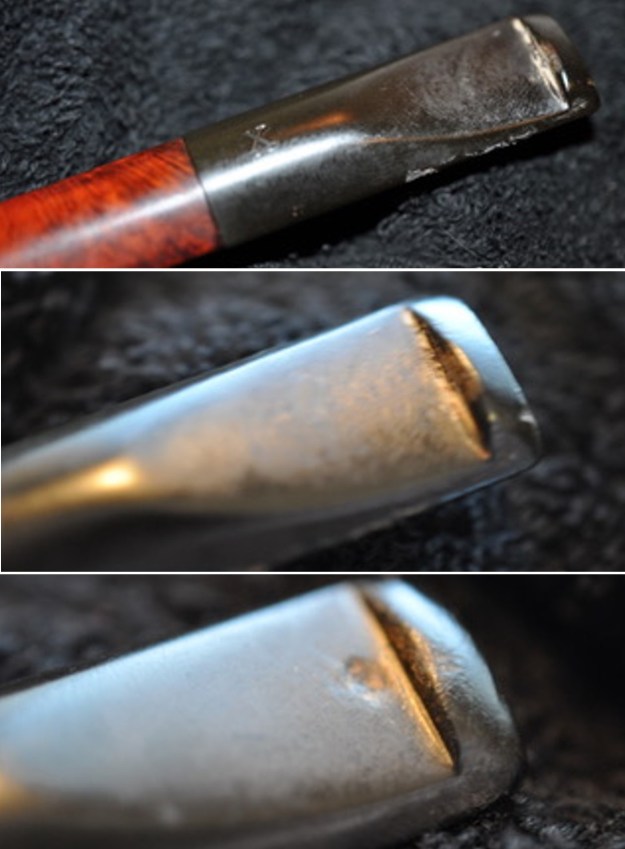
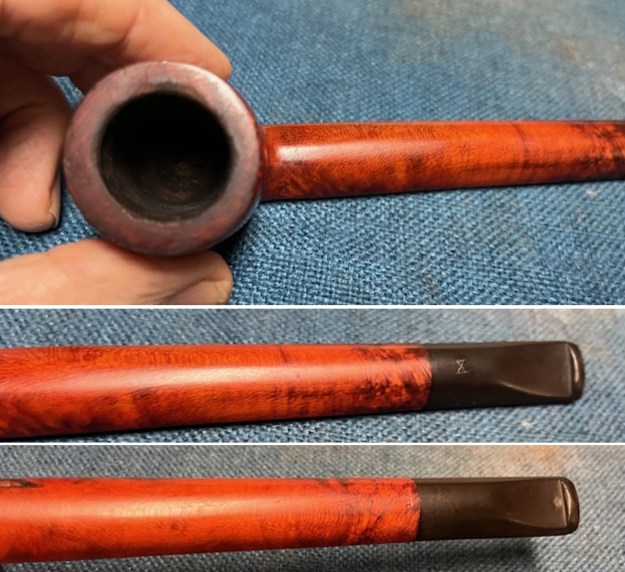
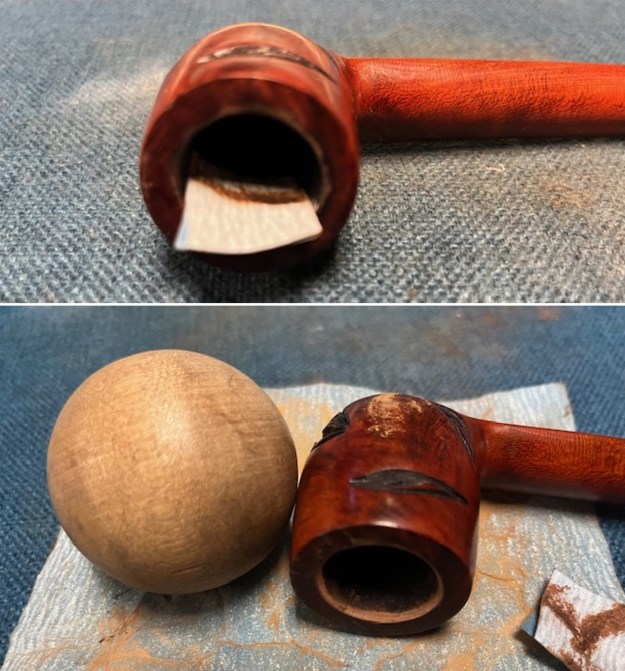
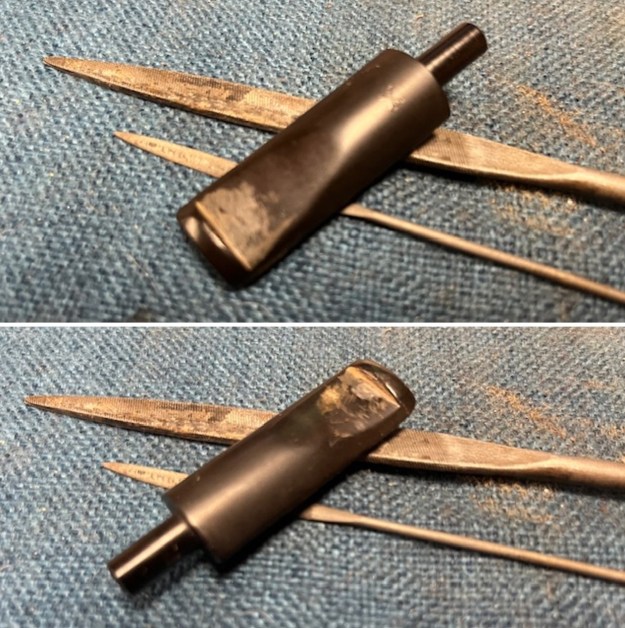
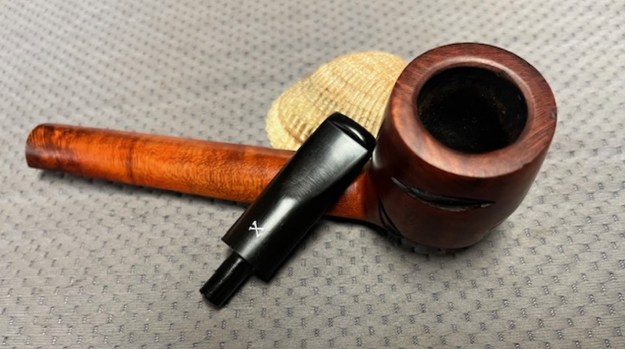
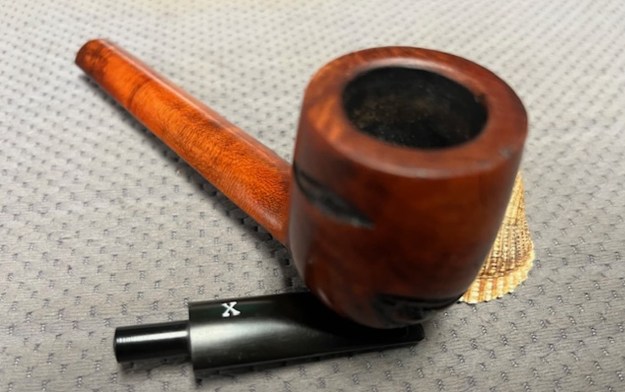
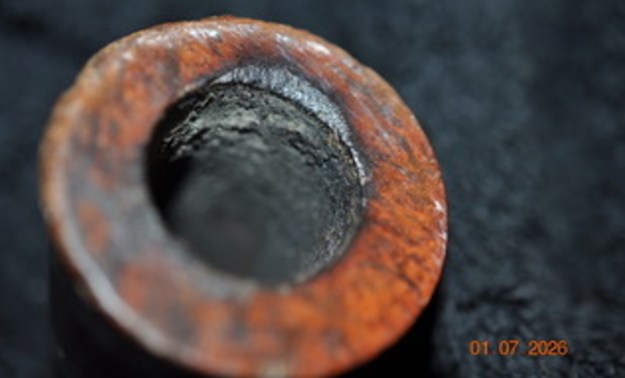
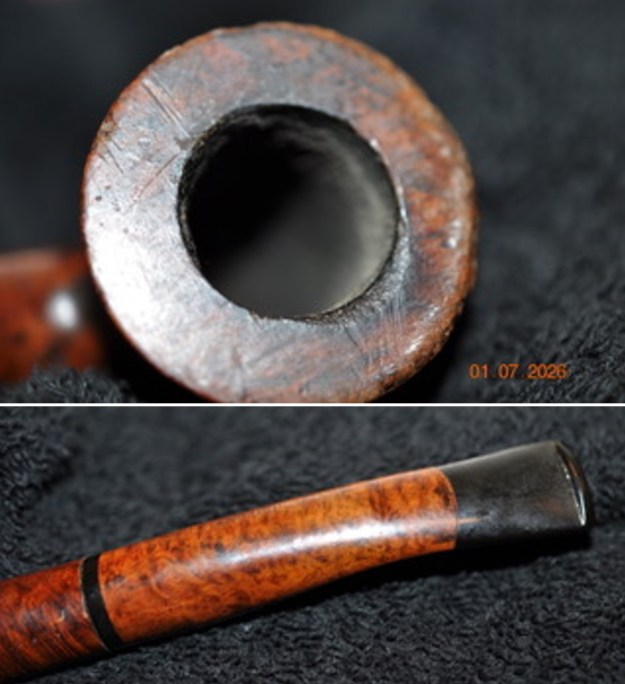
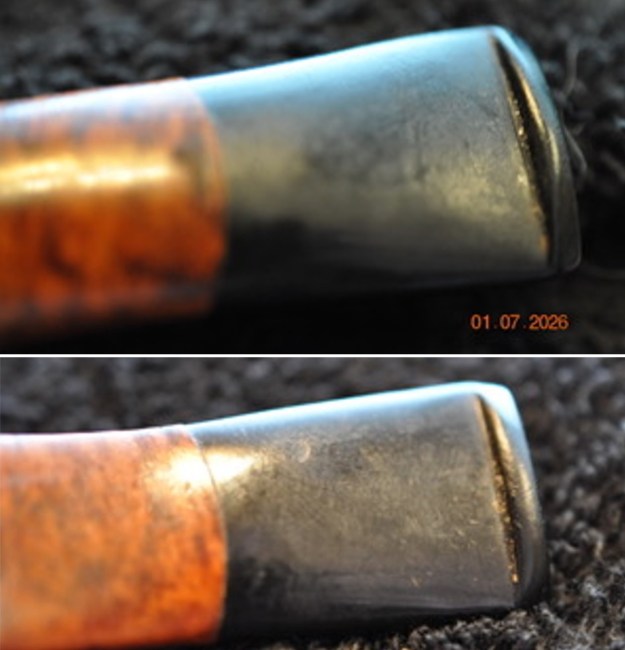
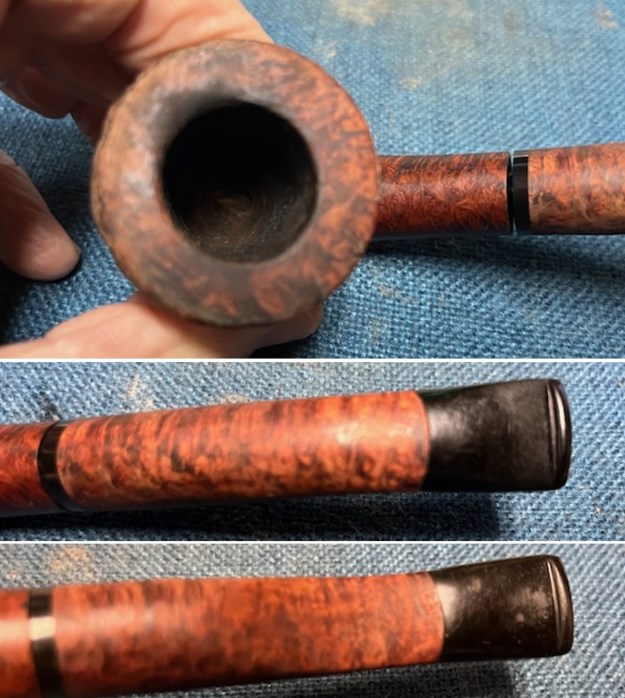
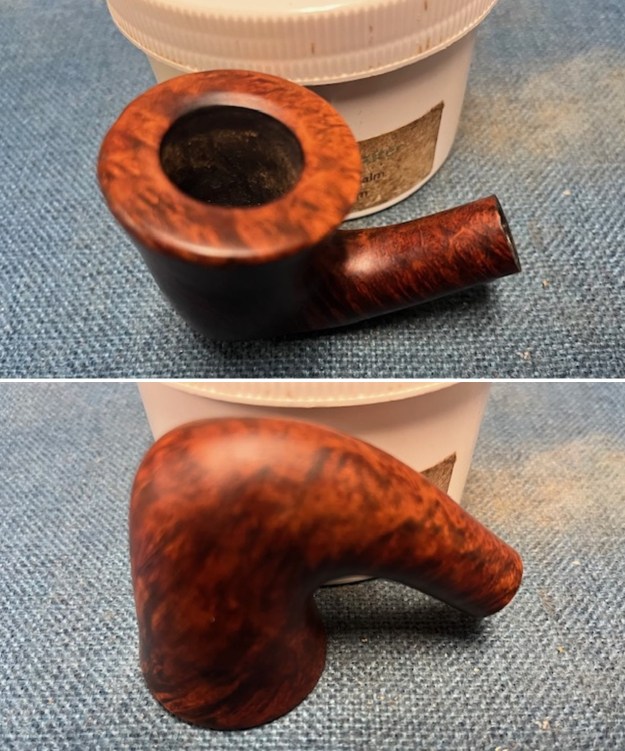
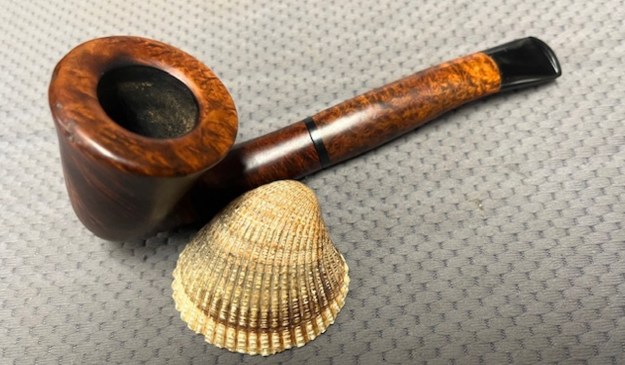
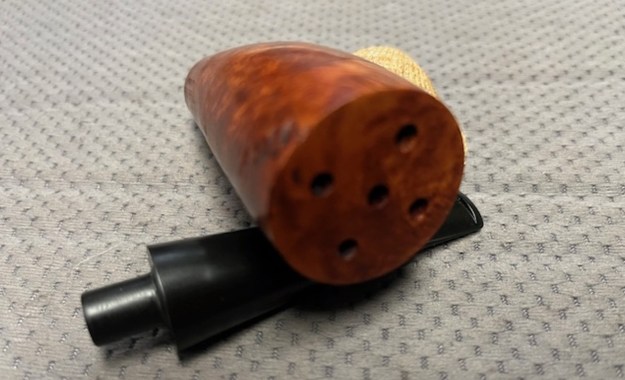
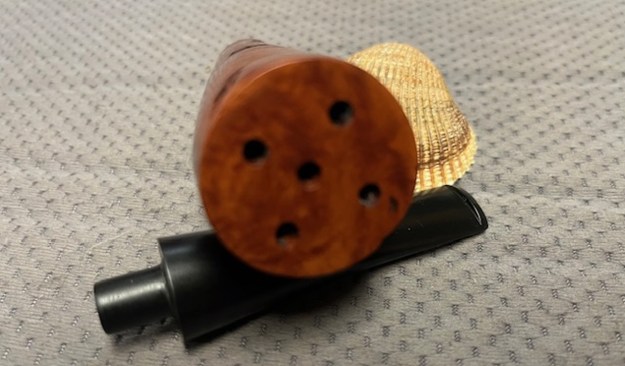
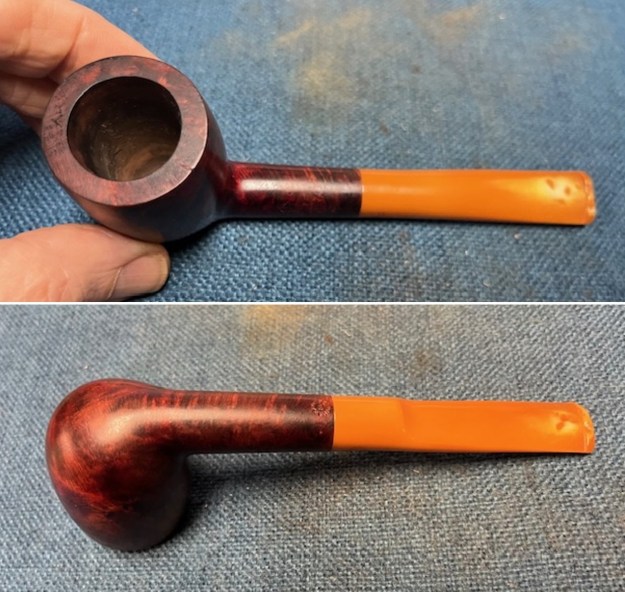
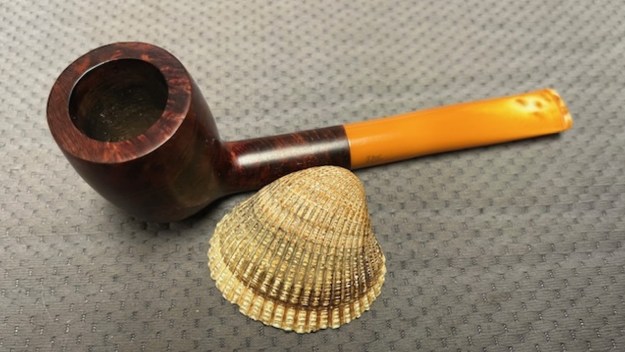
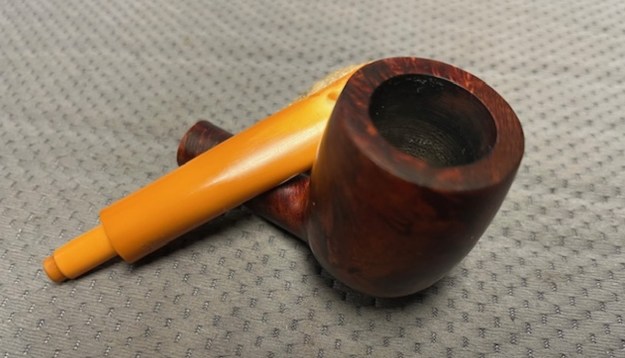
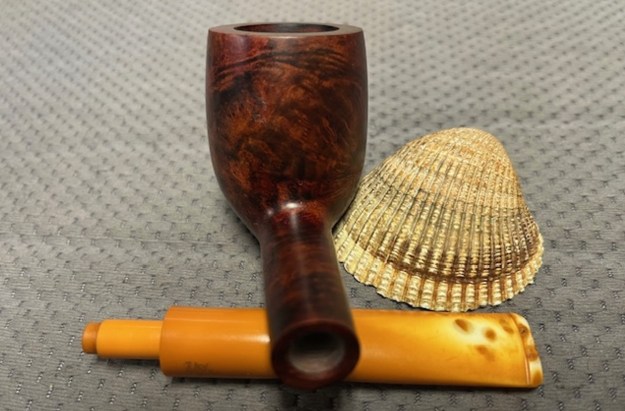
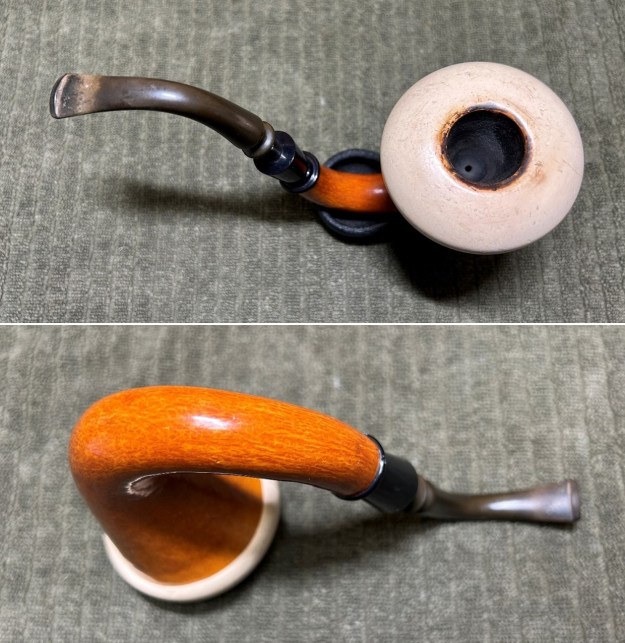
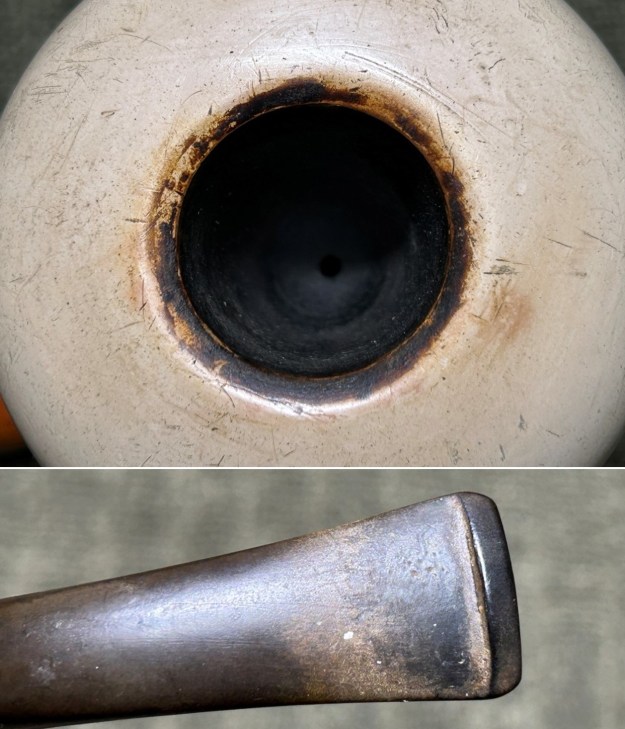
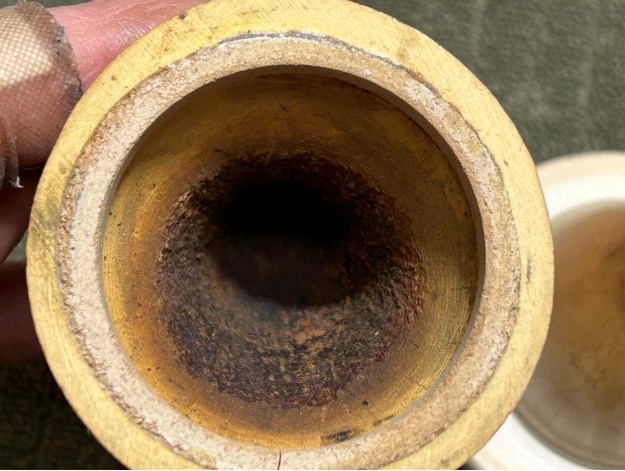
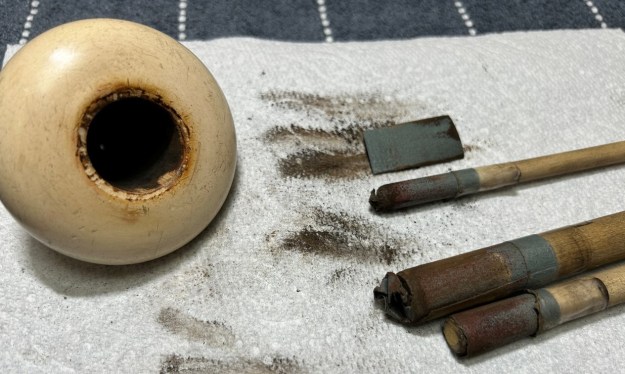
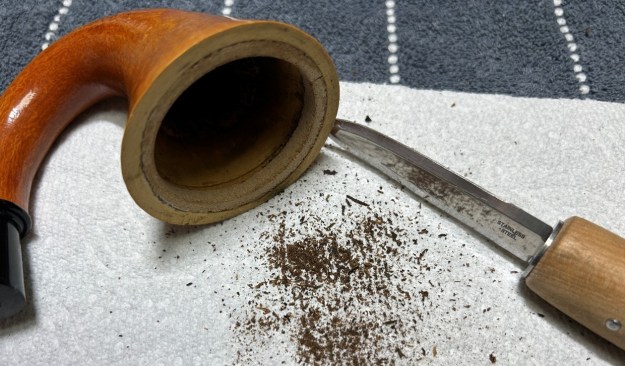
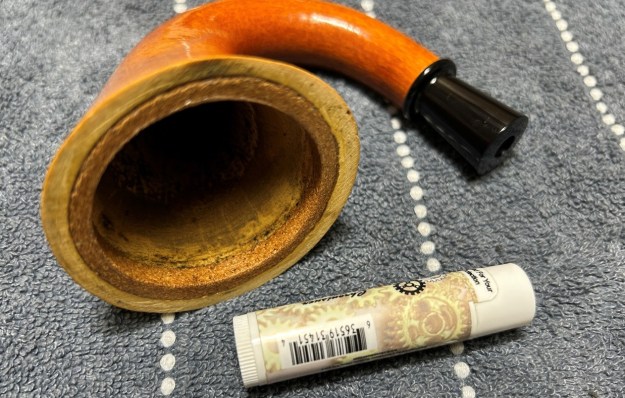
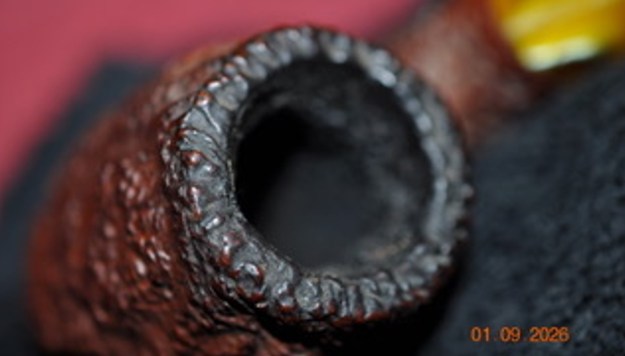
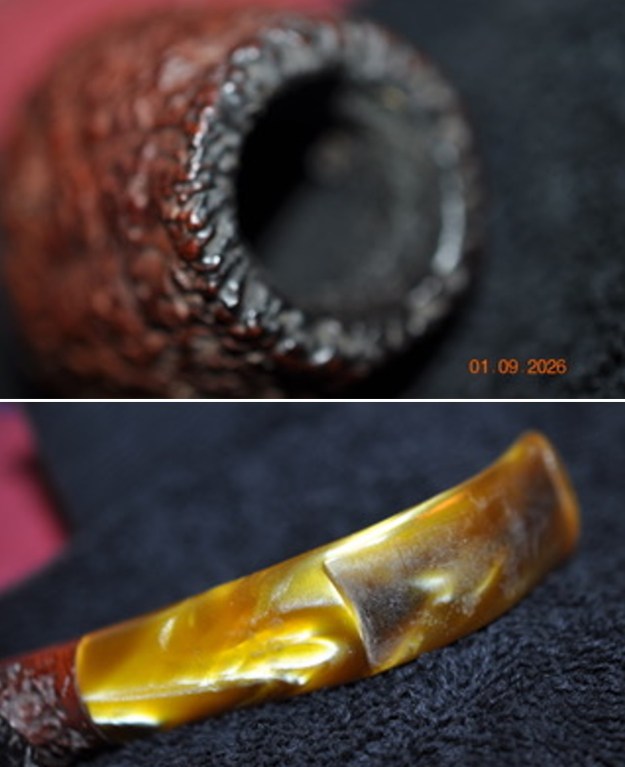
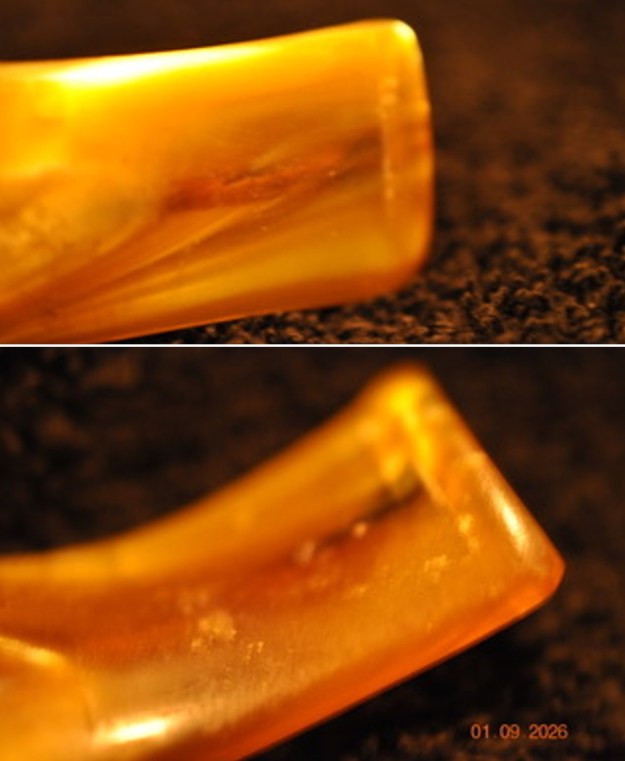
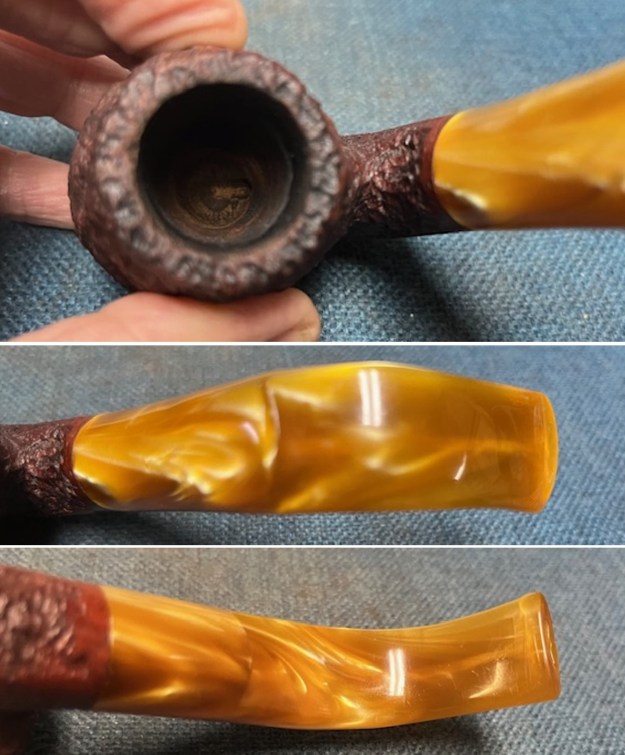
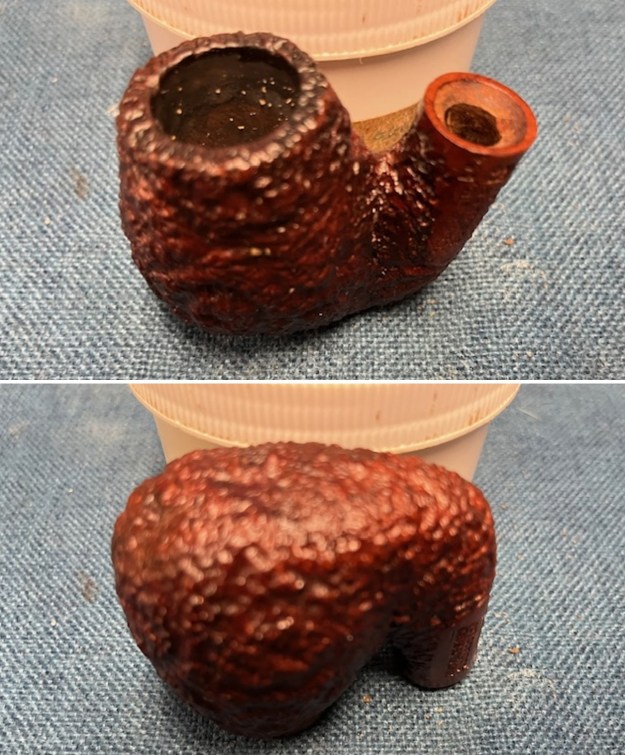
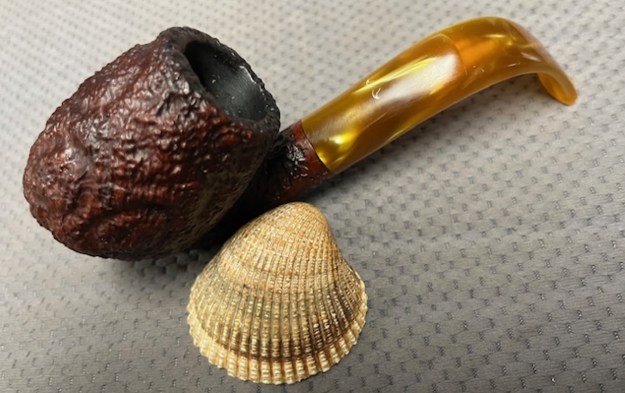
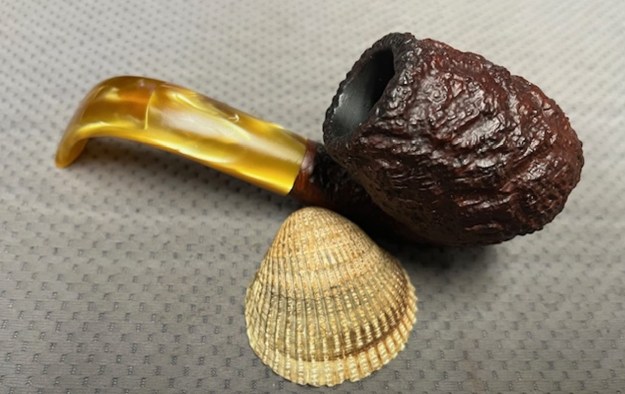
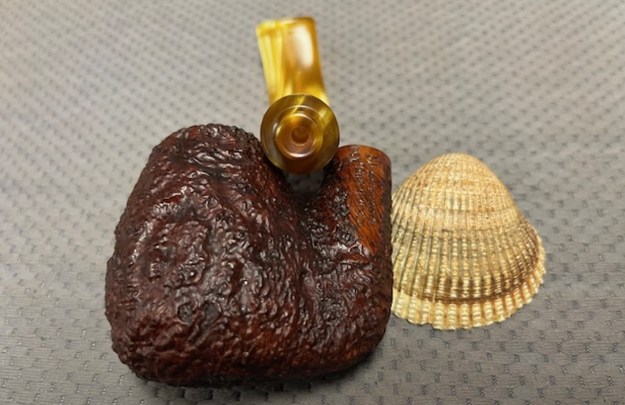
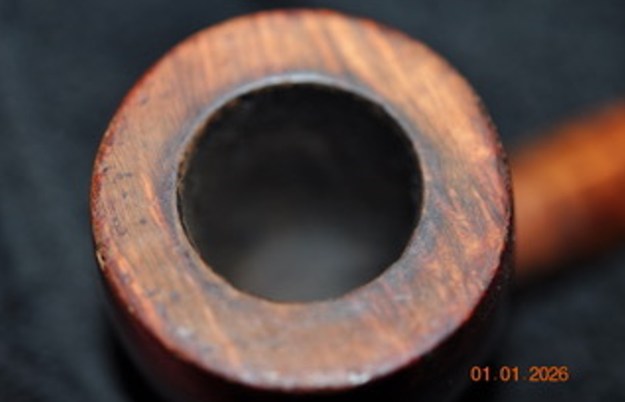
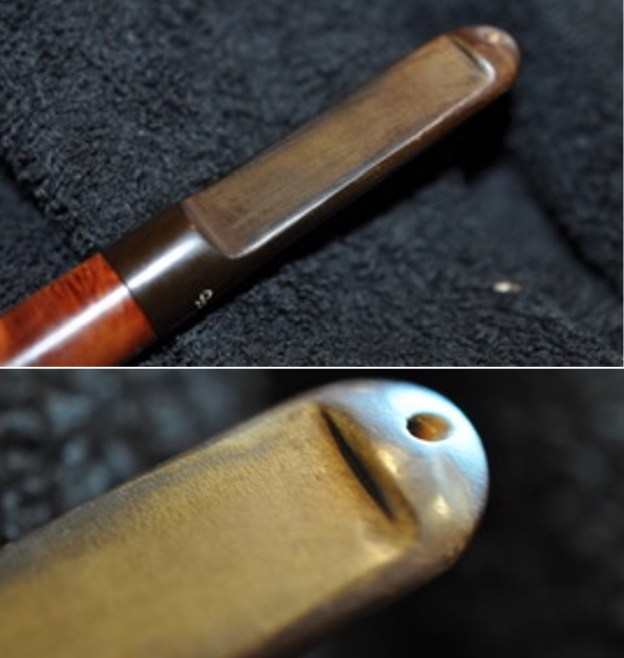
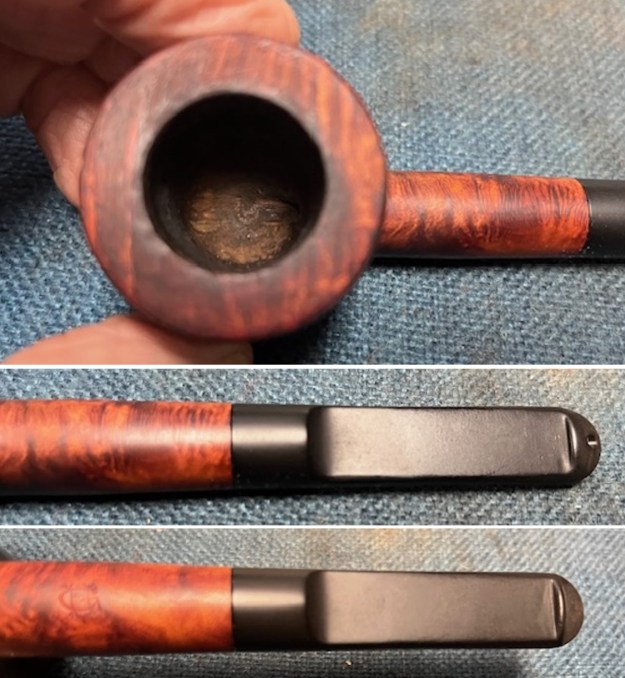
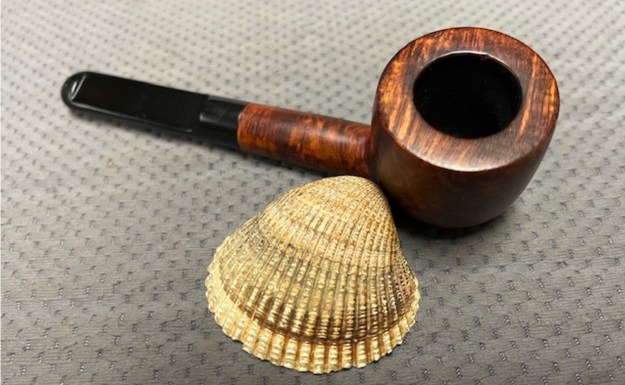
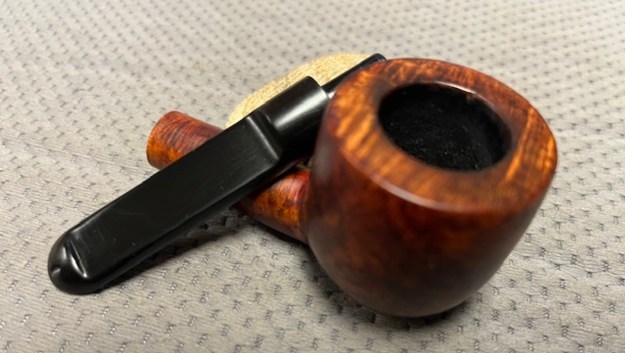
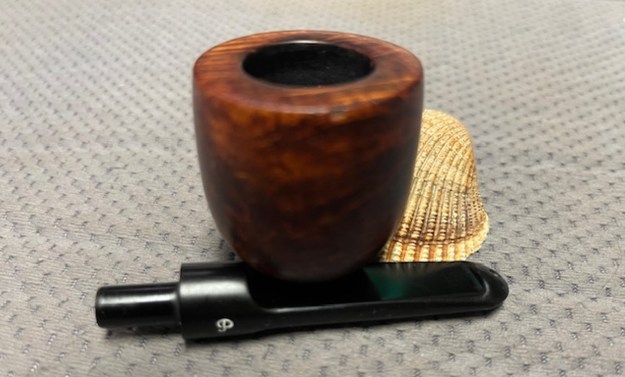
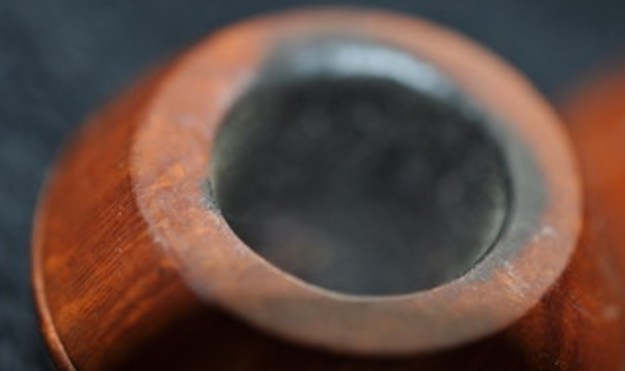
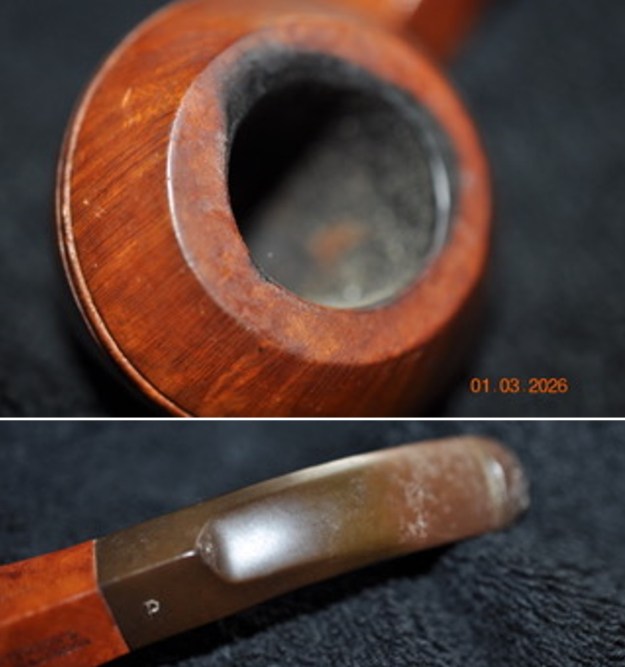
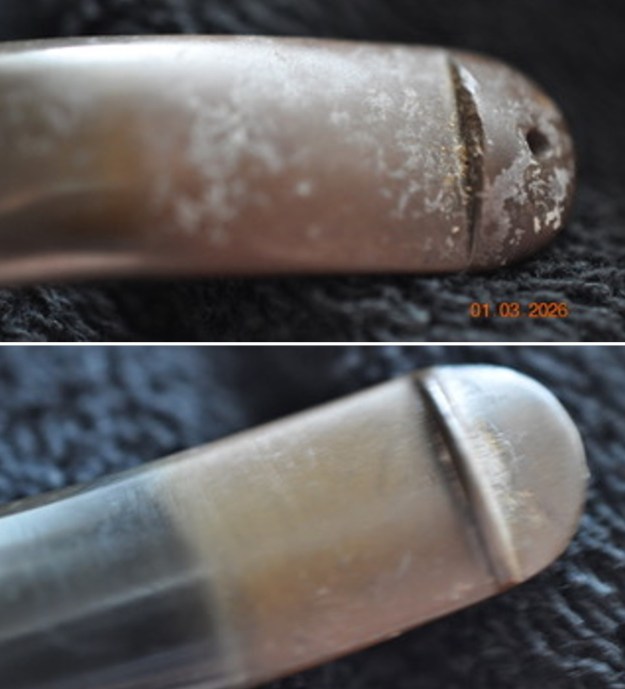
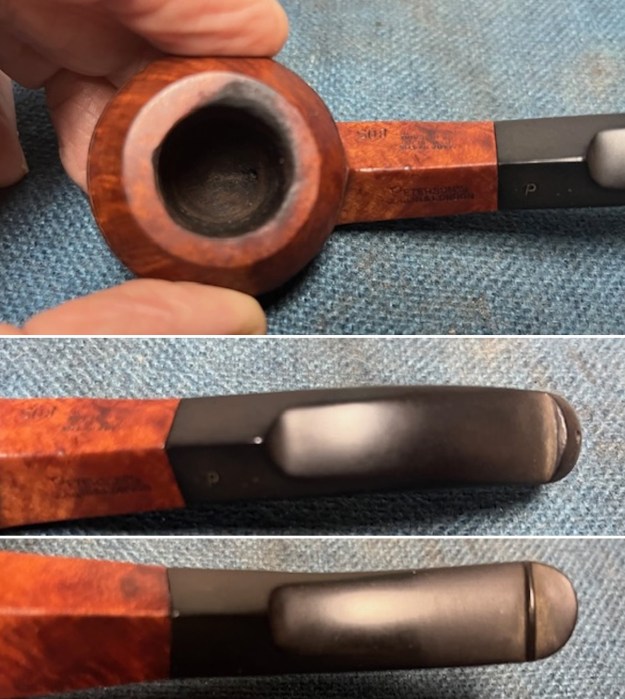
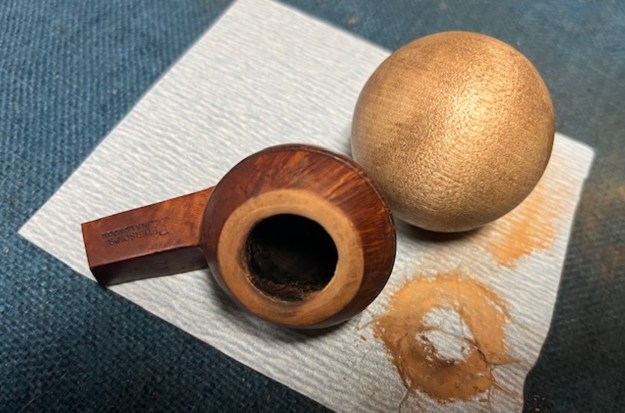
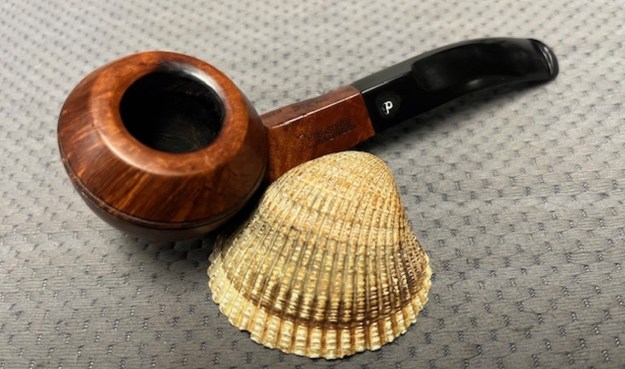
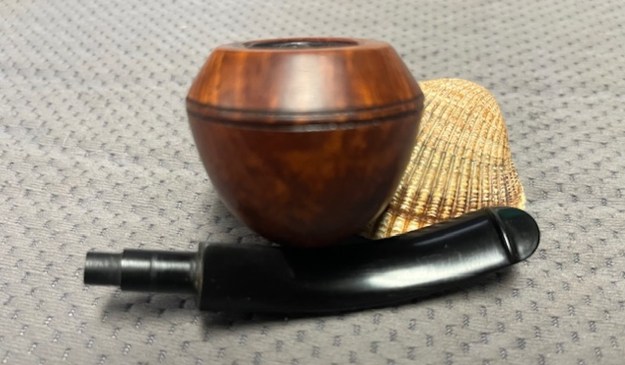
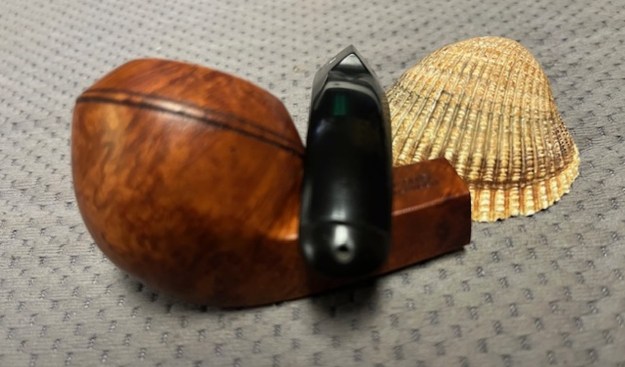
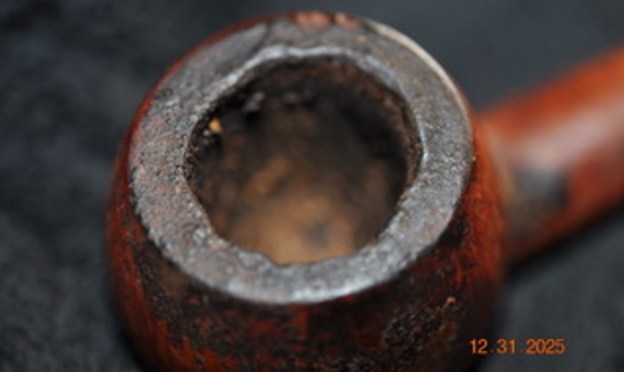
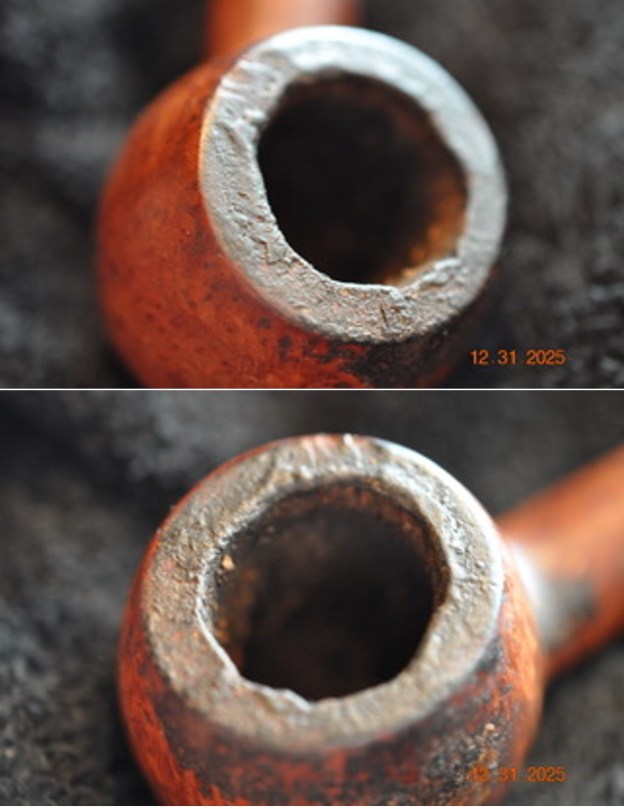
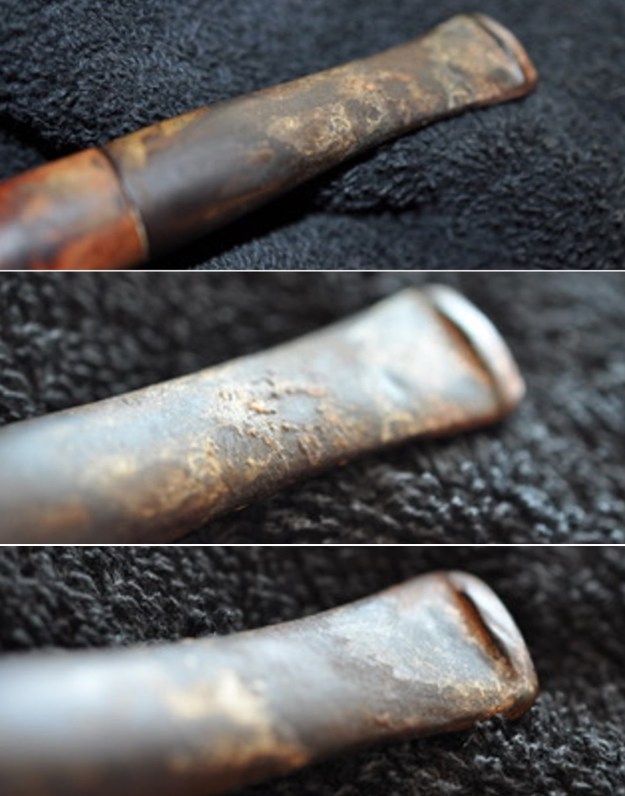
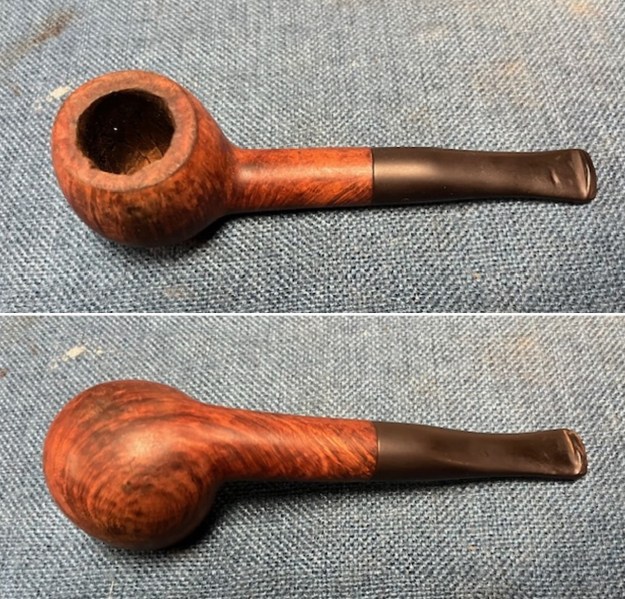
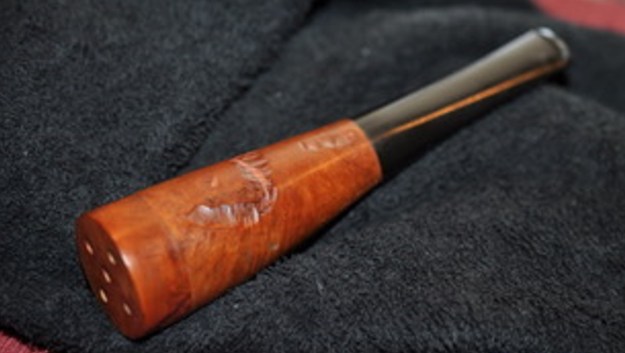 He took photos of the five-hole cap on the bowl cap. It is cleanly drilled and open. He removed the bow cap and took a photo of the bowl and cap separated. You can see the debris in the bowl and the darkening on the inside of the rim cap. There is a light cake in the bowl. He captured the condition of the stem. It is quite clean – light tooth chatter on both sides.
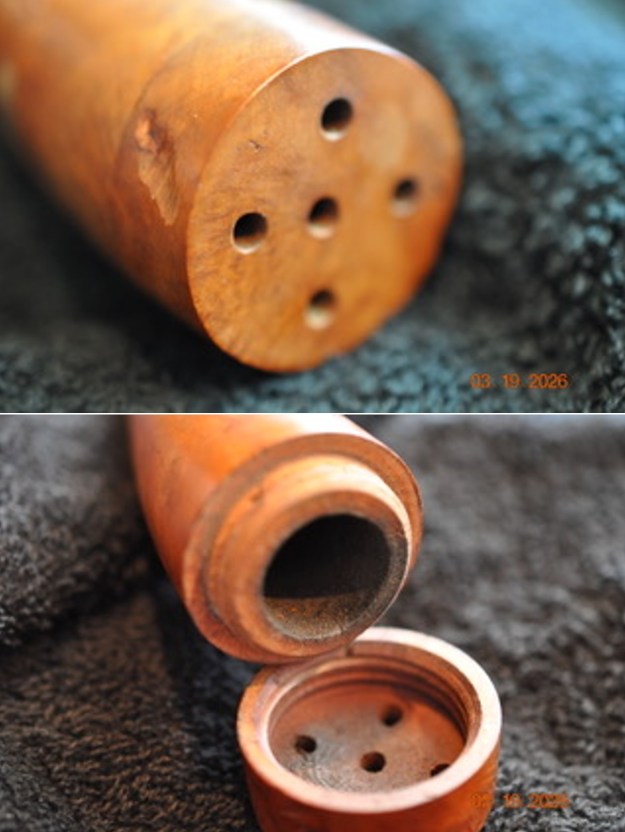
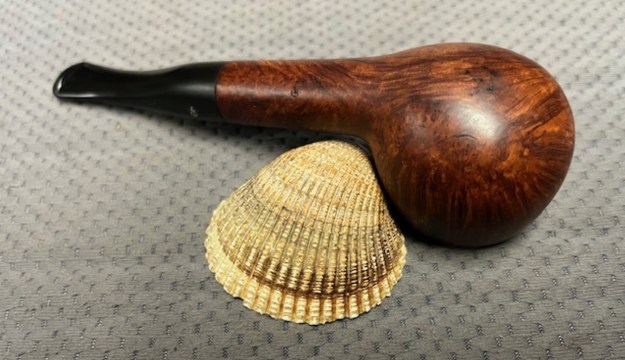
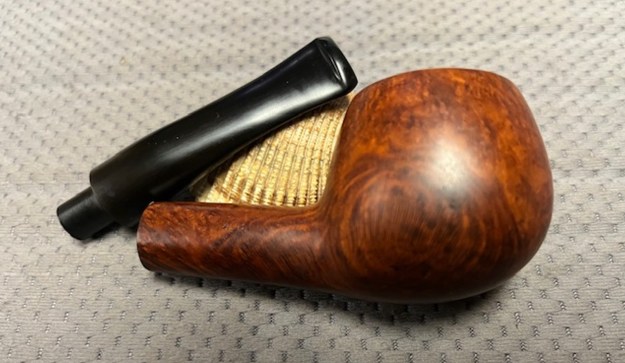
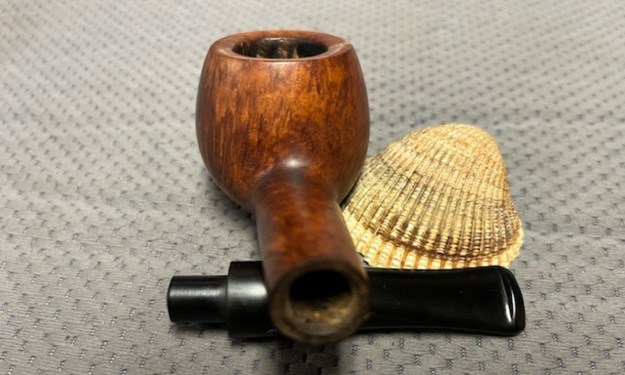
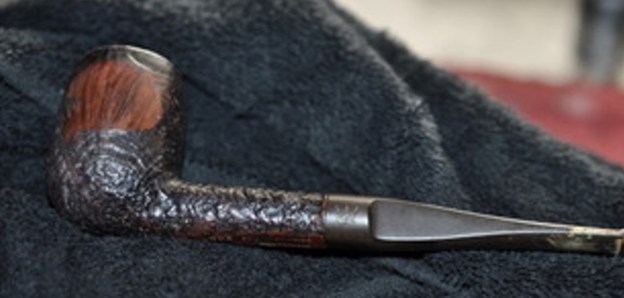
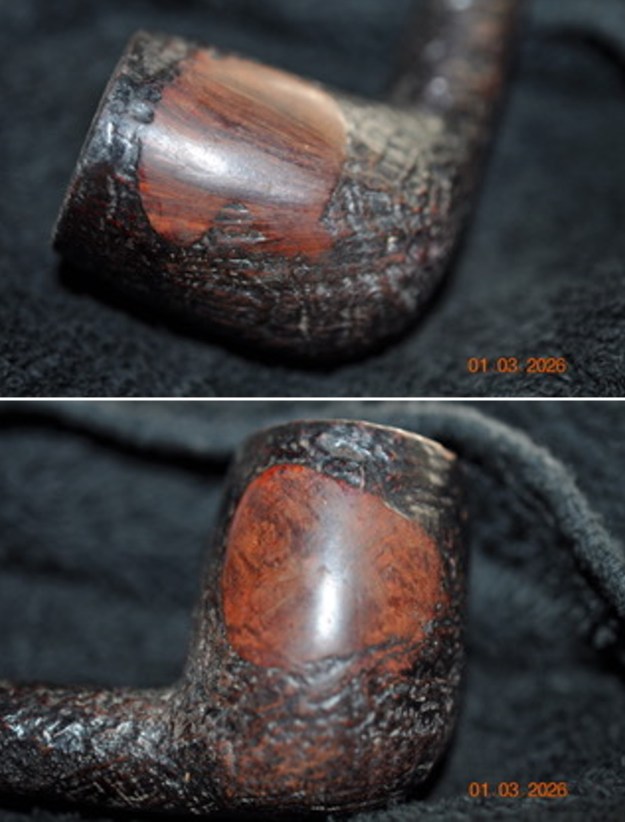
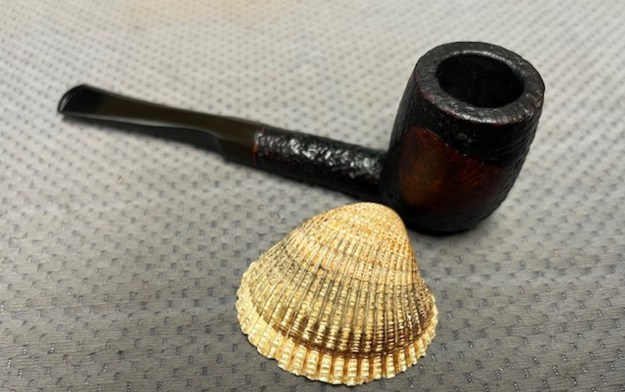
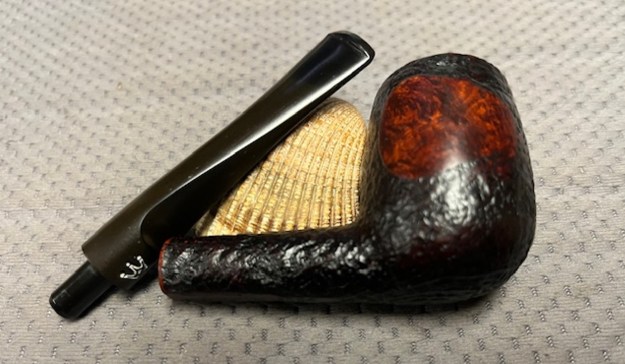
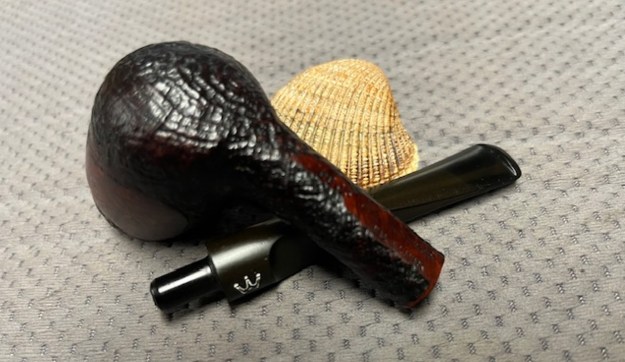
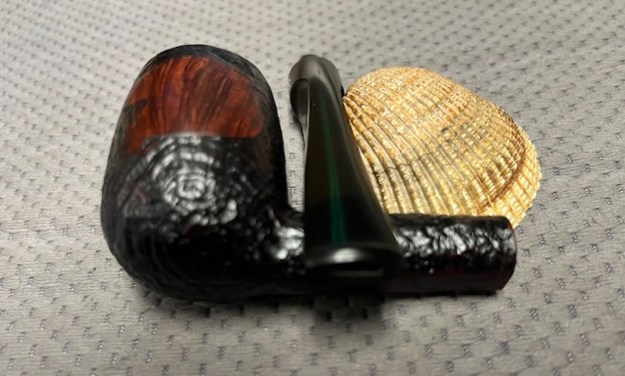
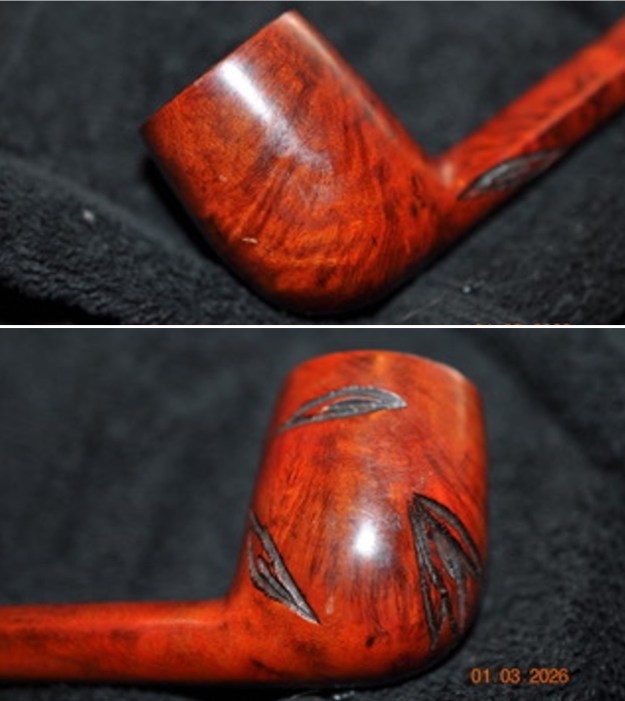
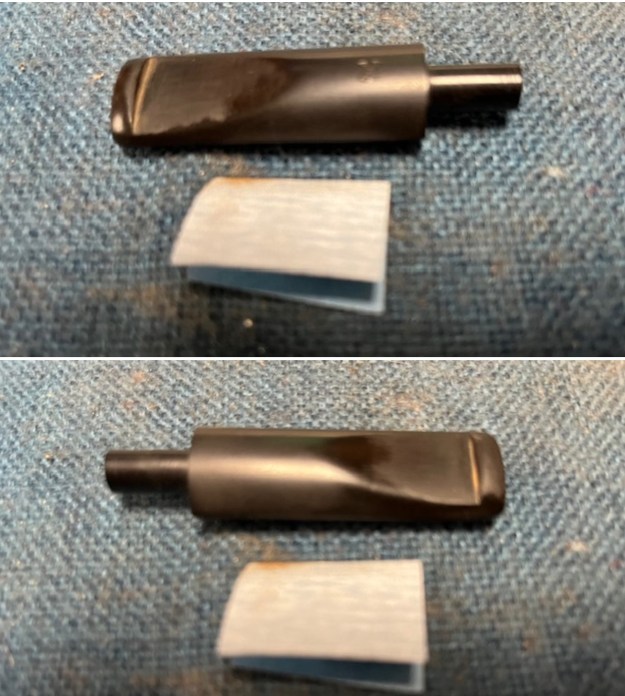
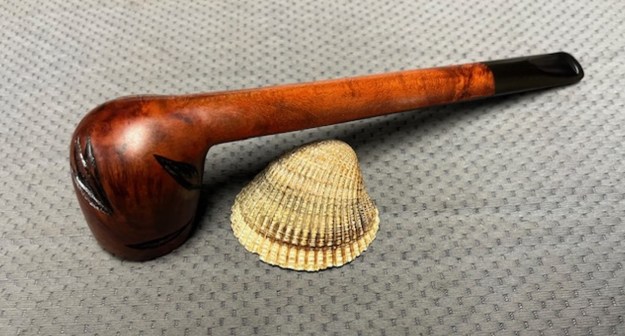
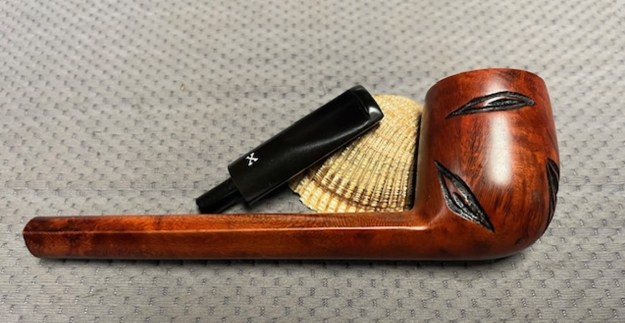
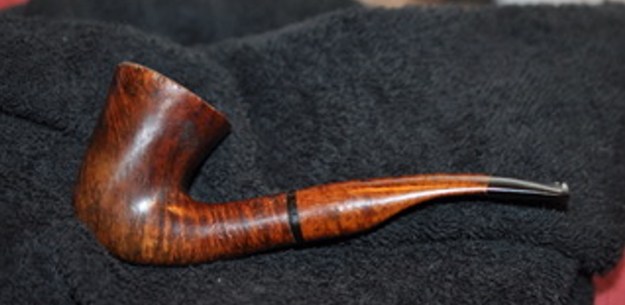
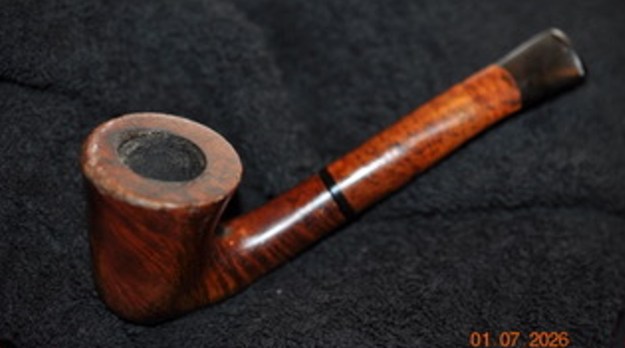
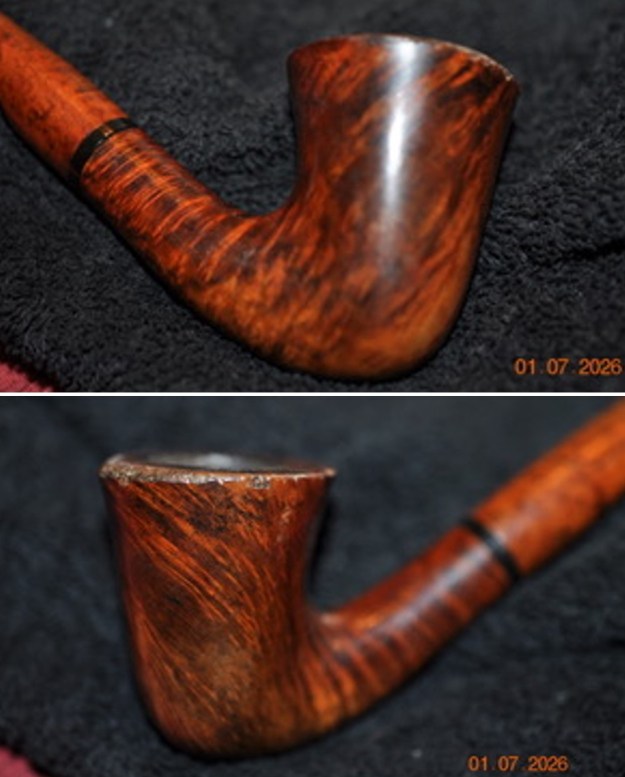
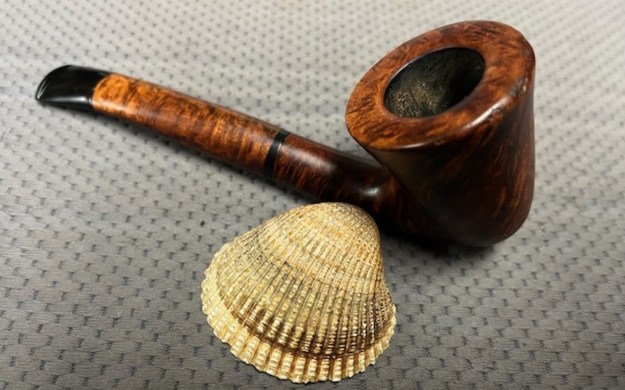
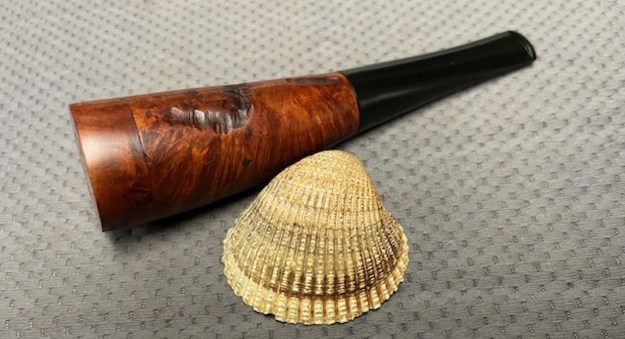
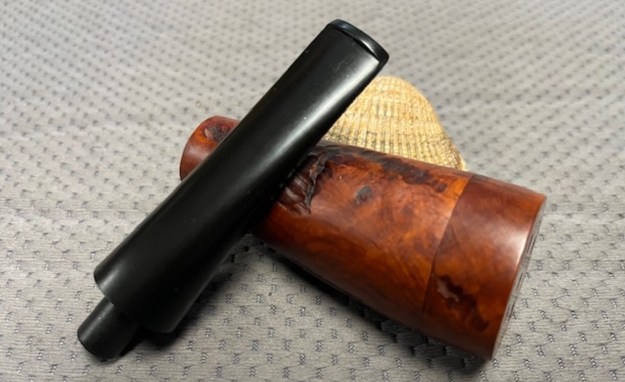
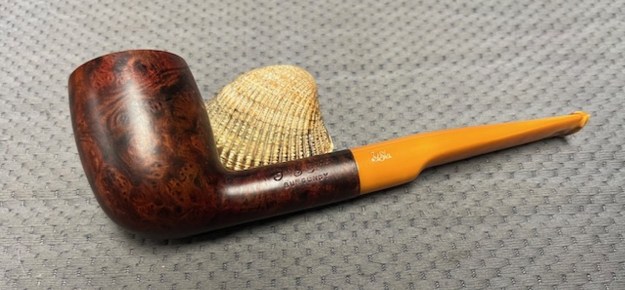
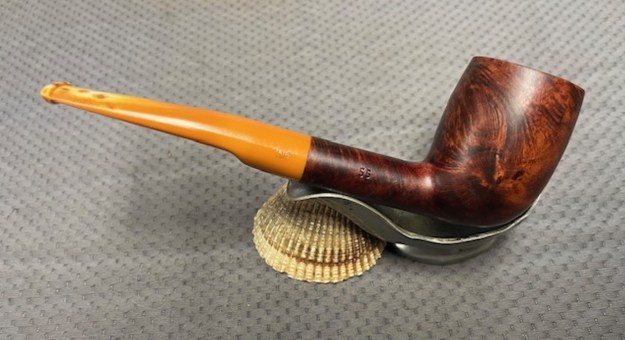
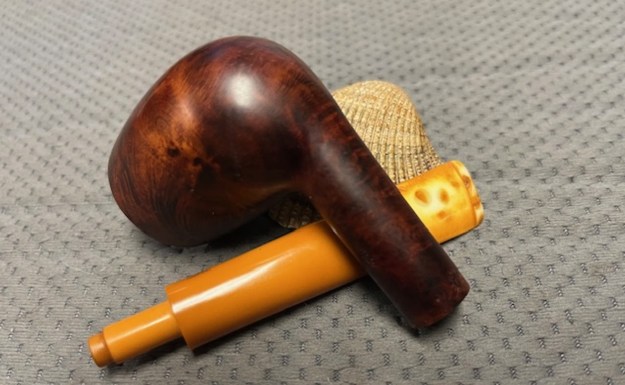
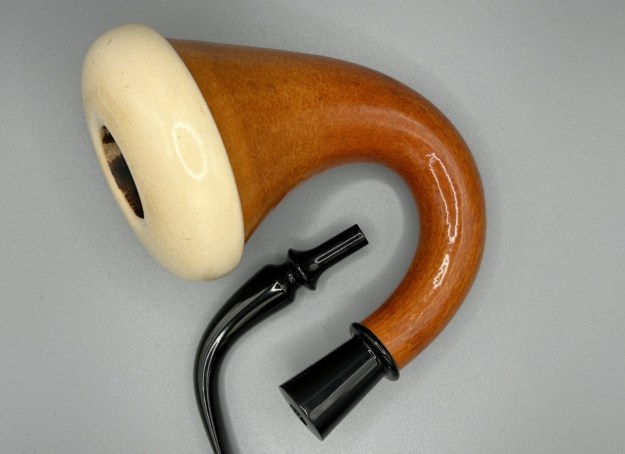
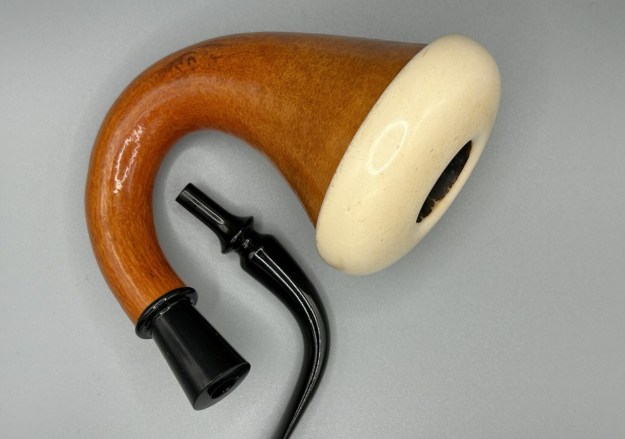
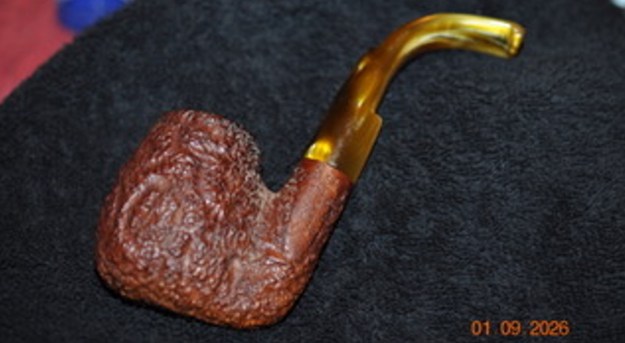
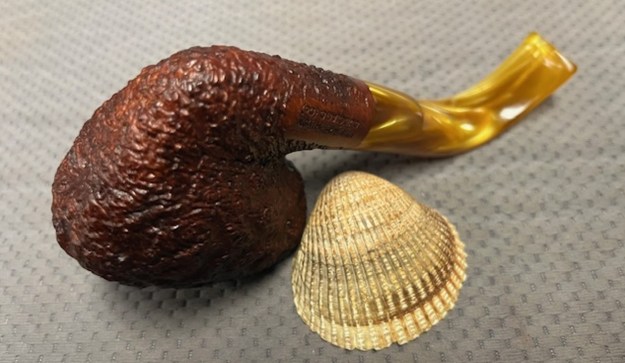
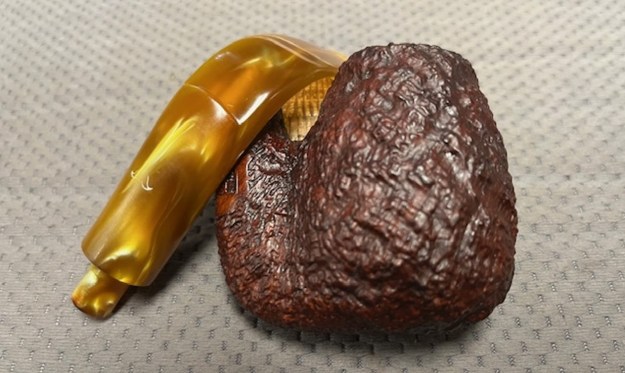
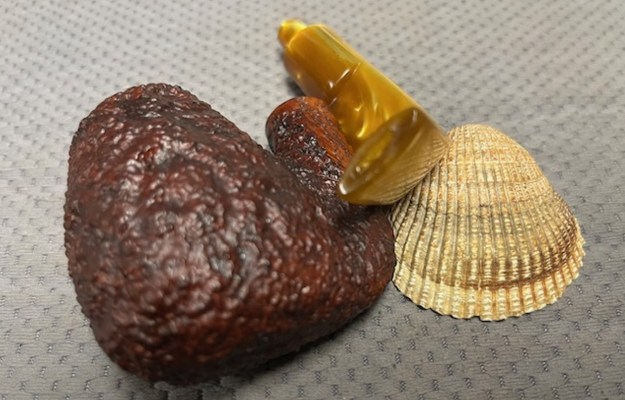
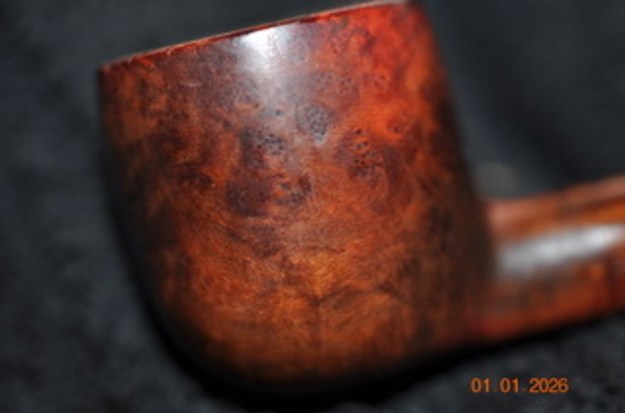
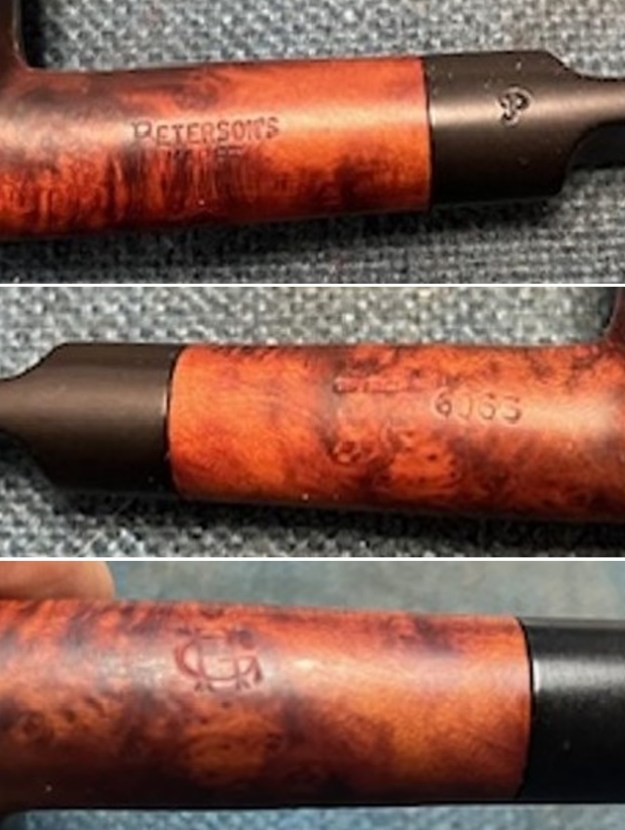
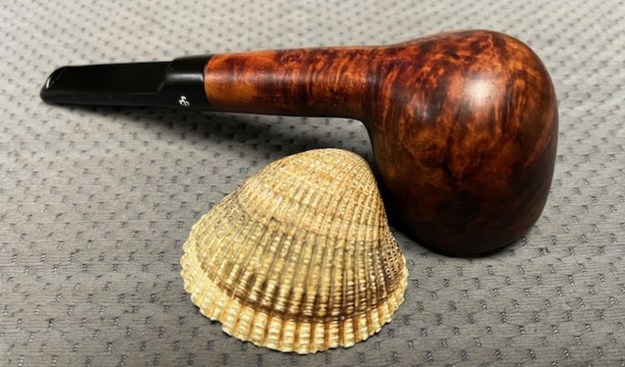
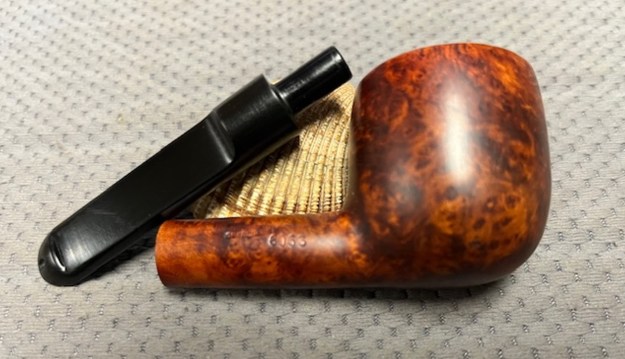
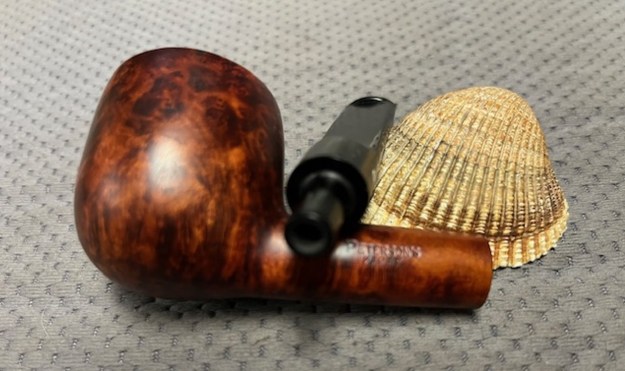
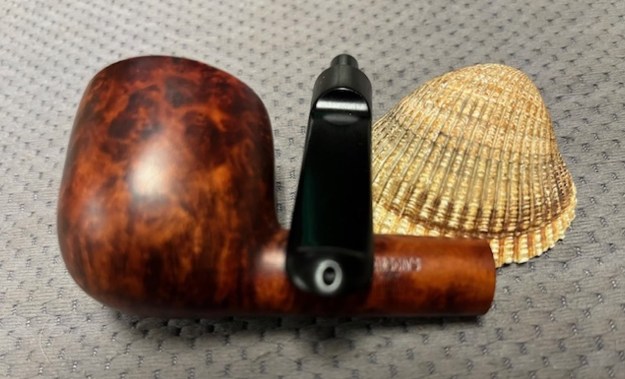
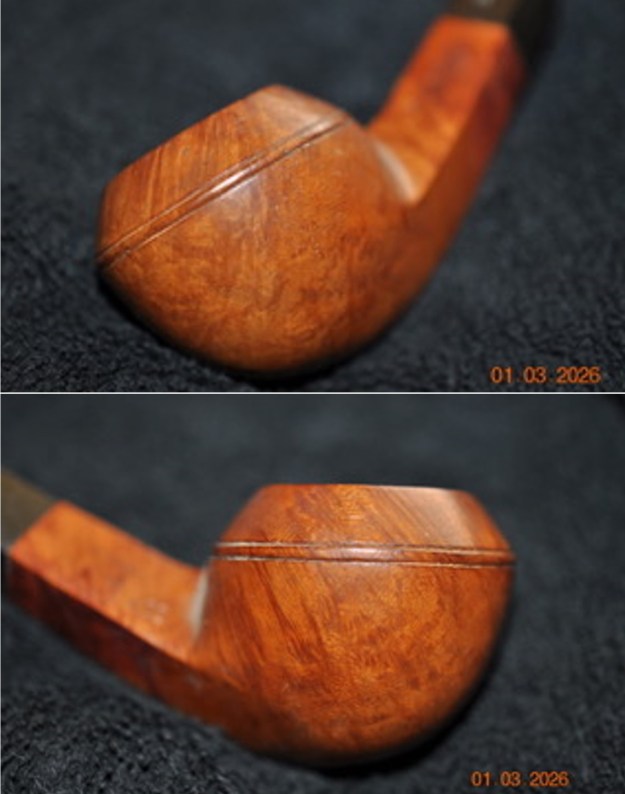
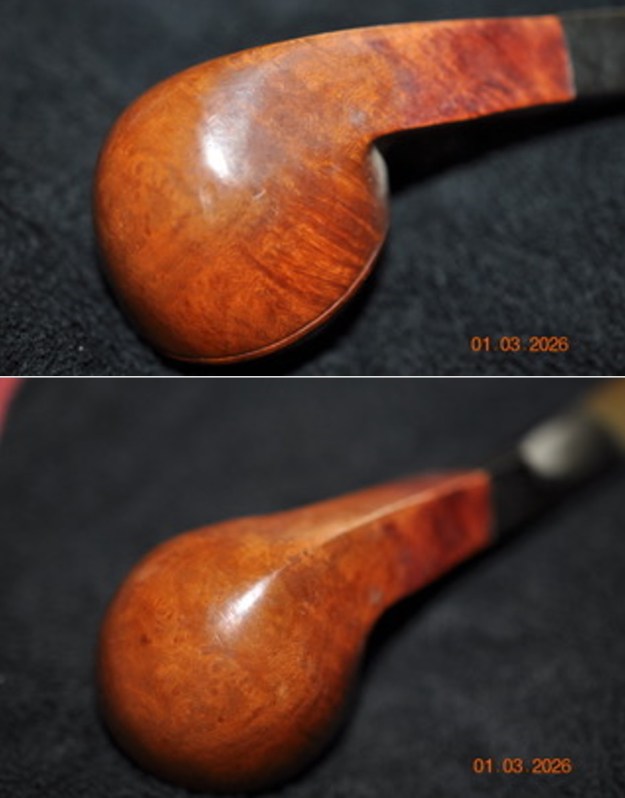
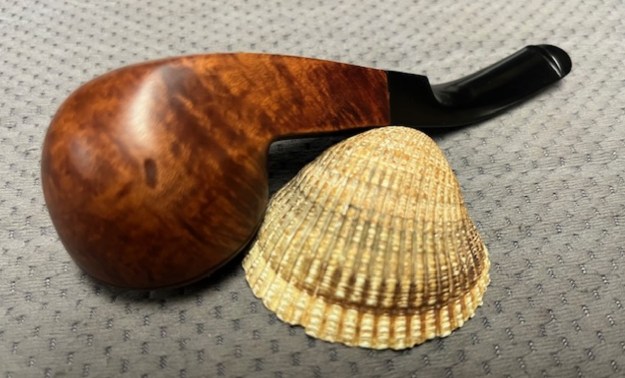
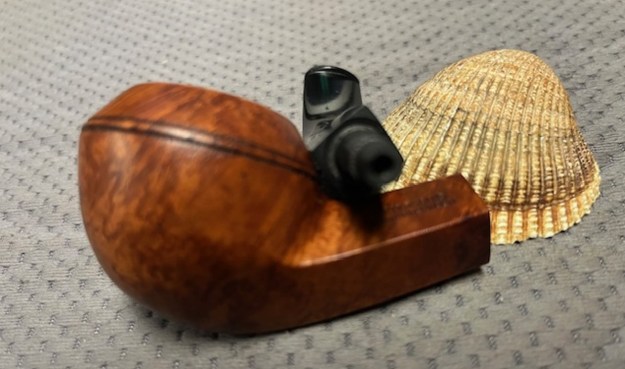
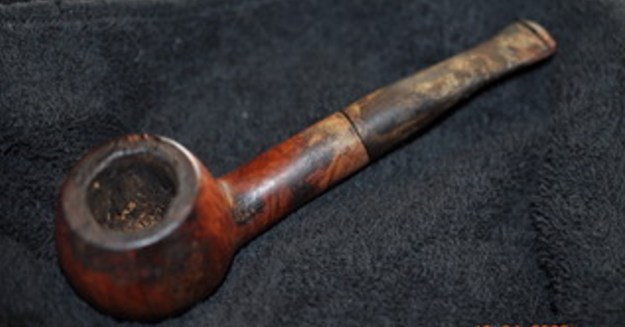
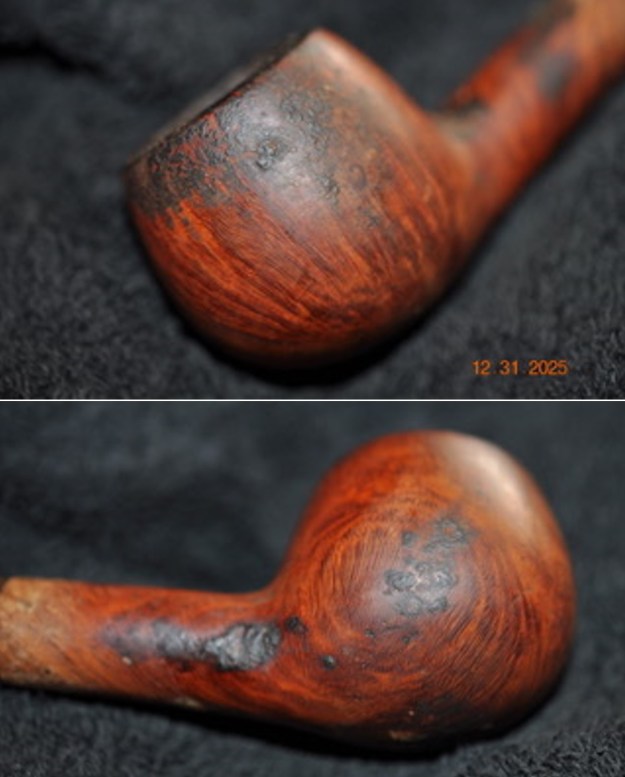
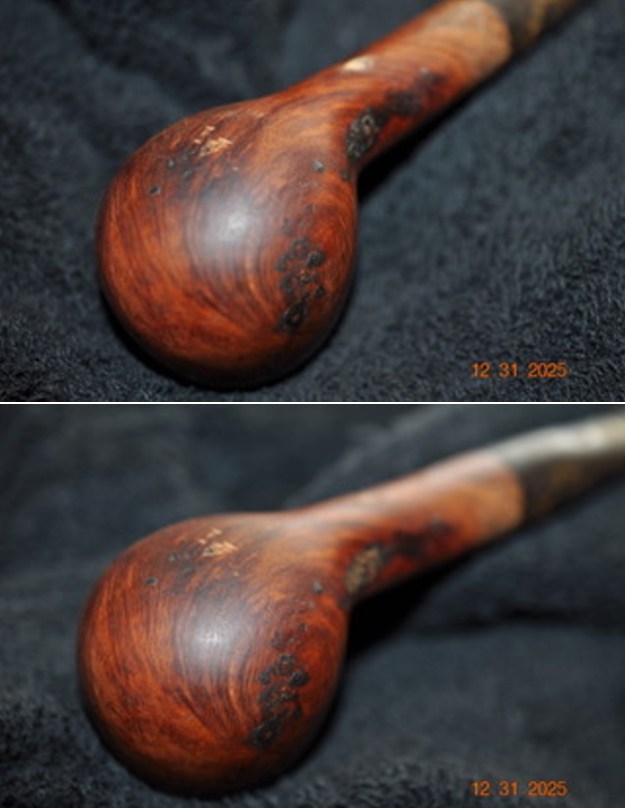
 He took a photo of the side of the bowl and cap to show the rustication on the surface of the briar. You can see the putty in the fills on the bowl sides.
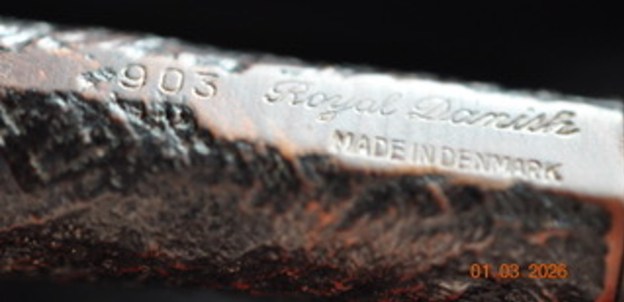
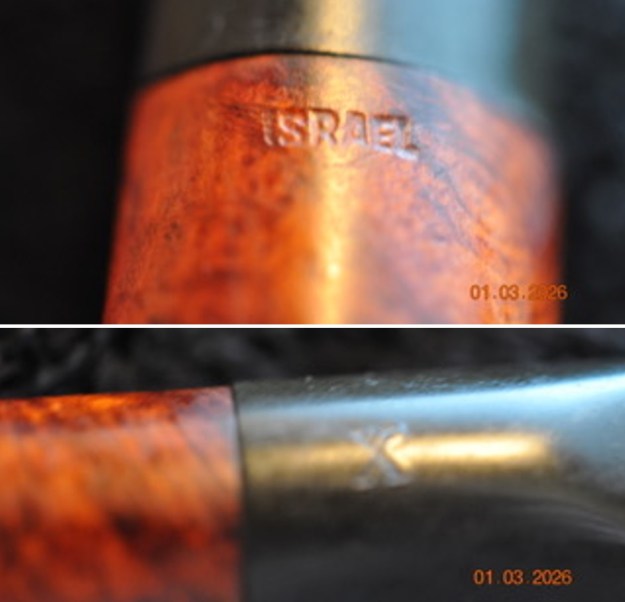
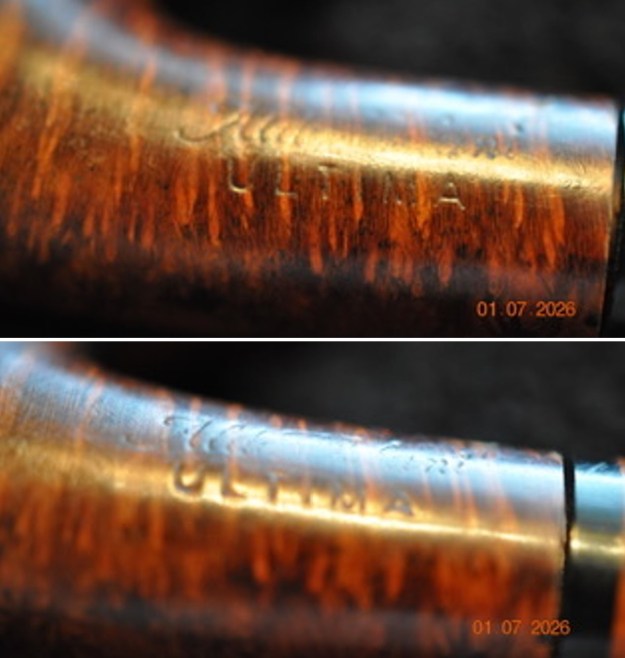
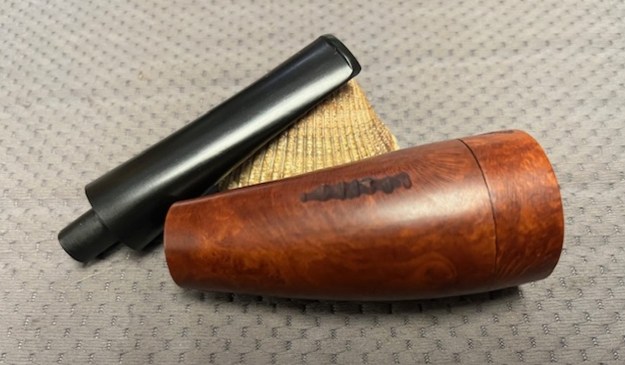
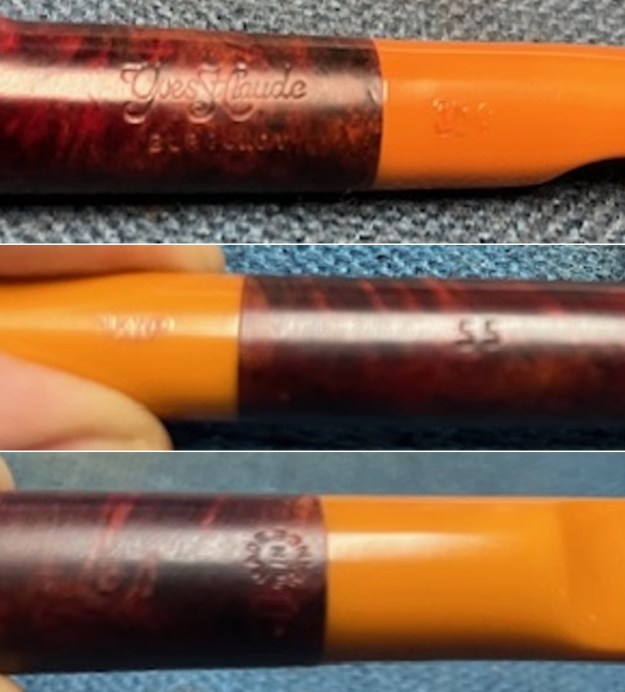
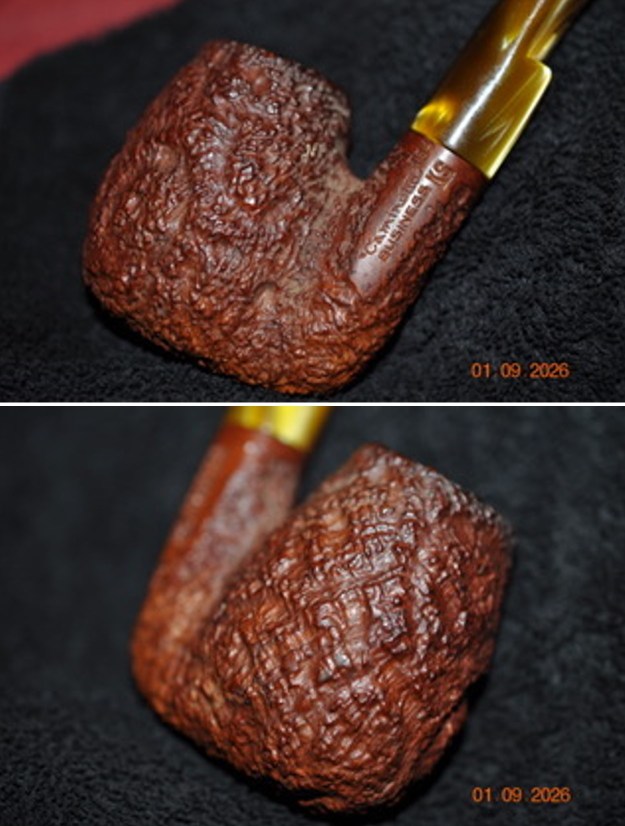
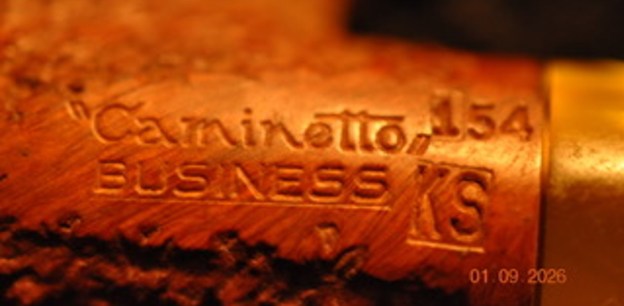
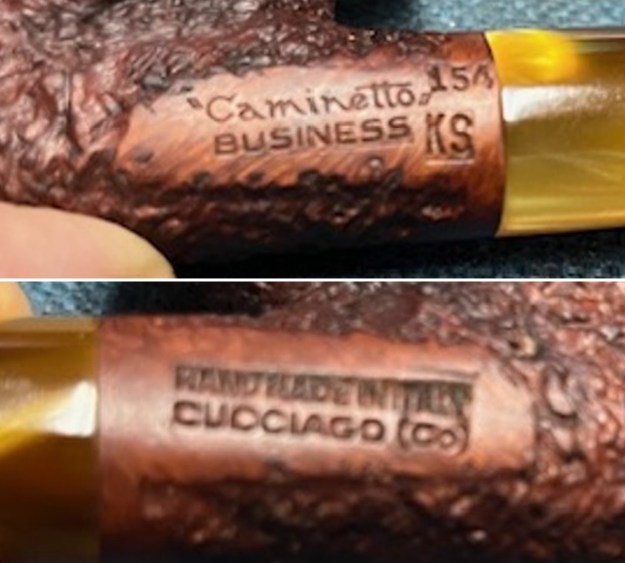
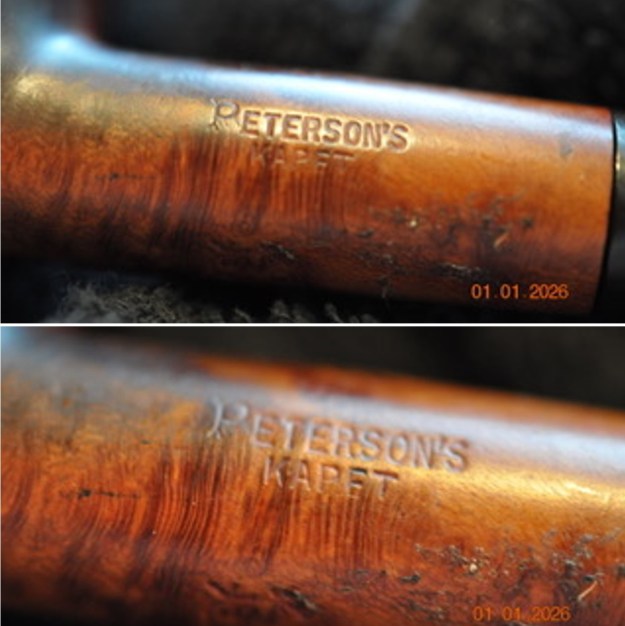
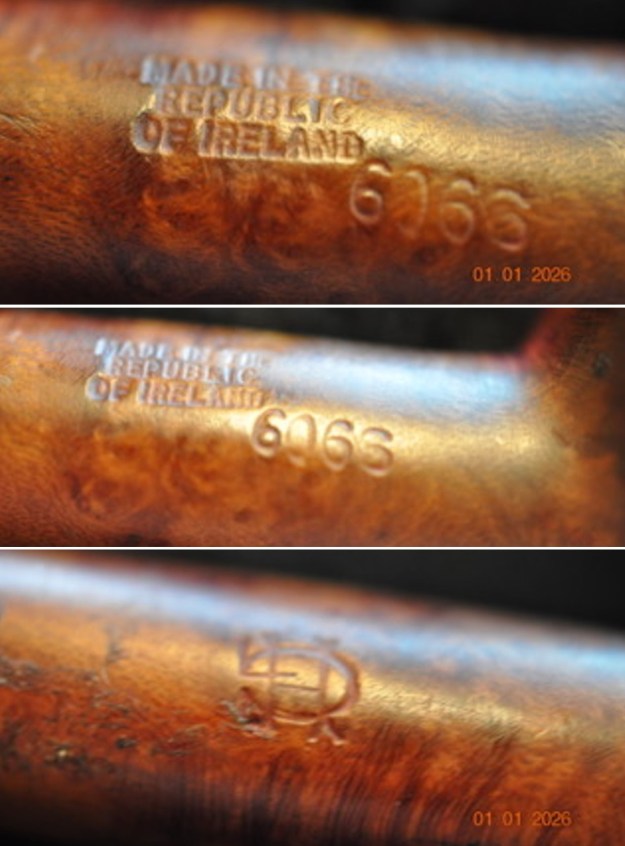
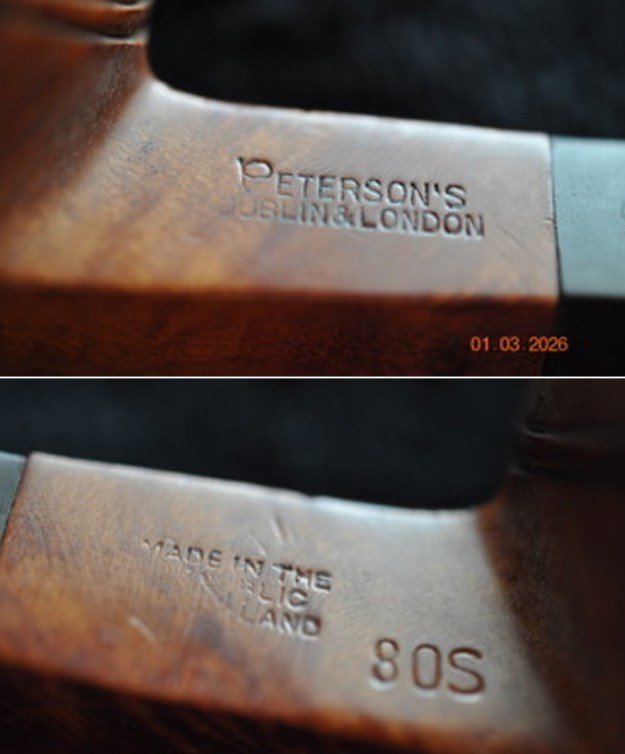
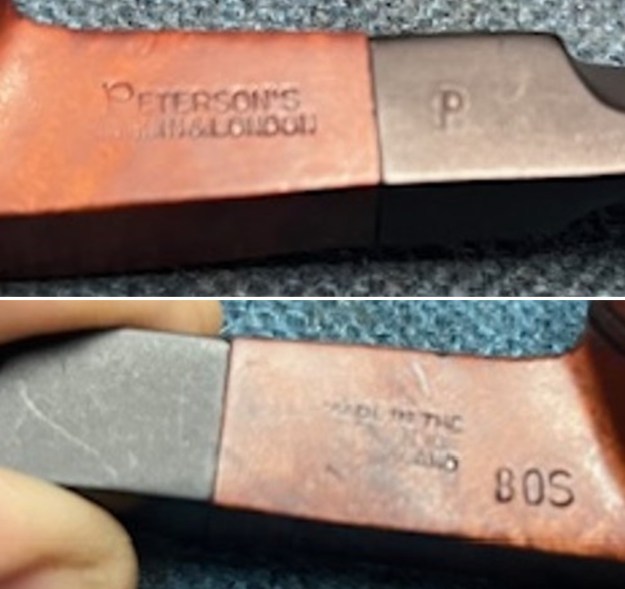
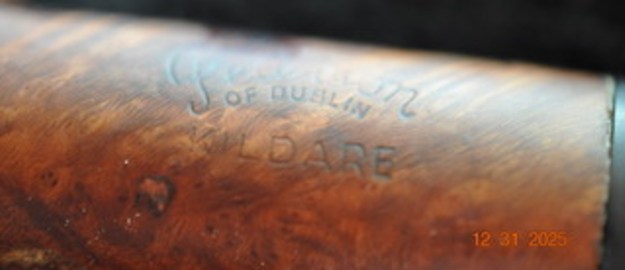
 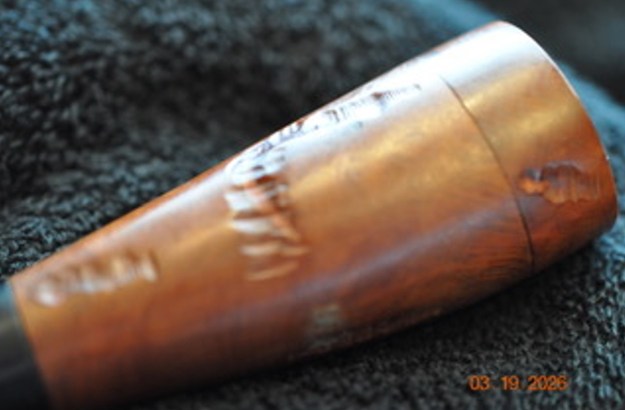 He captured the stamping on the left side of the shank. It reads as noted above. The stamping is faint in spots but is still readable as noted above.
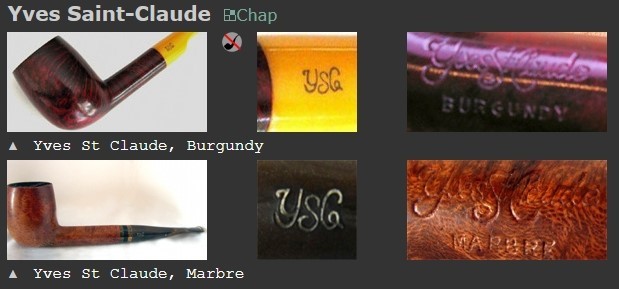
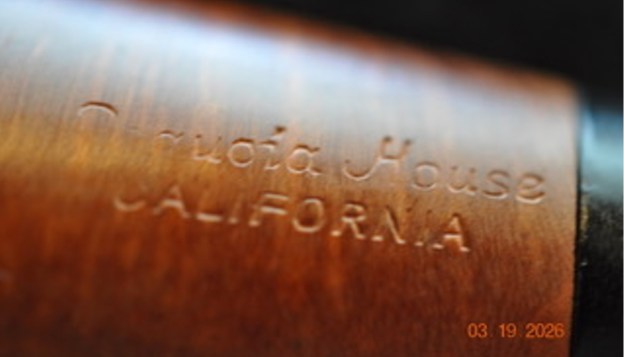 There was nothing on Pipephil’s site or on Pipedia about the brand so I did a general search on Google for the Sequoia House California brand. I was able to find a listing and map for a pipe shop in Fresno, California call Sequoia Smoke Shop on 6060 N. First St. I am including the link to the map and the information on the site (https://www.smokeguideusa.com/shop/sequoia-smoke-shop-fresno-ca).
At the top of the search AI had gather information on the brand and the shop. Click on the “information” link above. I have included the information below.
Sequoia House
smoking pipes were made by Cy Pruner, who operated Cy Pruner’s Sequoia Pipe Shop in Los Angeles, California.
Based on historical advertisements from the late 1940s, here are the key details regarding Sequoia House pipes:
Maker: Cy Pruner
Location: The shop was located in the Farmer’s Market at 3rd & Fairfax in Los Angeles, California.
Product Details:
Handmade Pipes: Sequoia House pipes were marketed as “Hand Made Pipes”.
Materials: They were crafted using “Choice Aged Imported Blocks”.
DIY Options: The shop also sold these imported blocks for “Home Craftsmen” to make their own pipes.
Related Products: Cy Pruner also produced a companion tobacco line known as Sequoia No. 3 Tobacco, which was noted for its “Natural Aroma”.
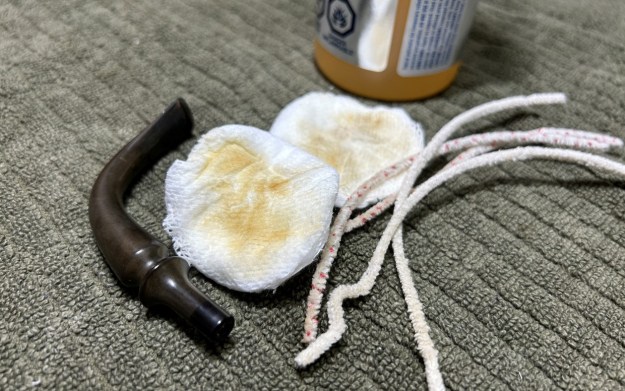
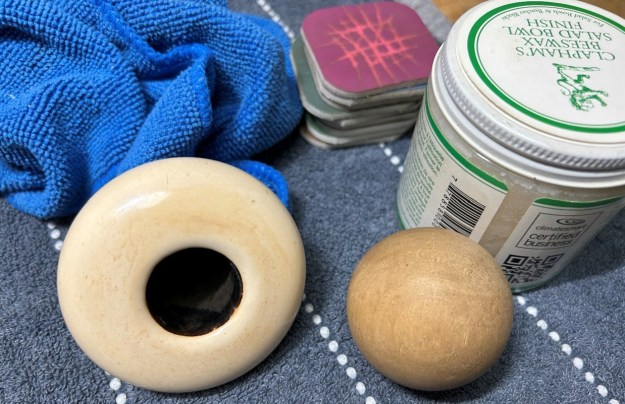
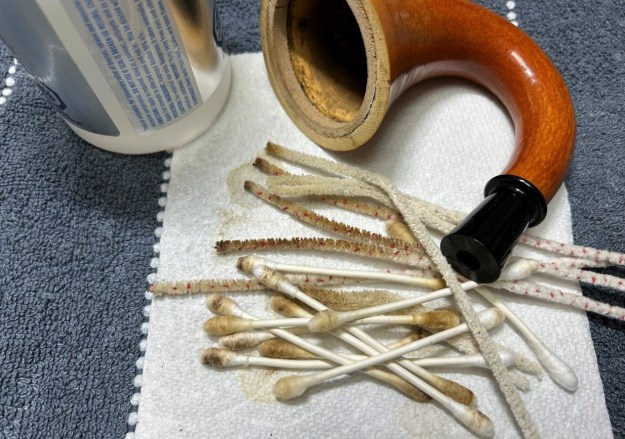
There was also a link in the summary to Pipe Lovers Magazine and I went through it and found a reference to Sequoia House – including both the pipes and tobaccos that were available on the site. The advertising is from the 1940s so that fits with what I am estimating on the age of the pipe in hand. I have included the advertisement below for your reference. Here is the link to Pipe Lovers Magazine (https://pipedia.org/images/f/f1/PipeLovers-Feb48smaller-file.pdf).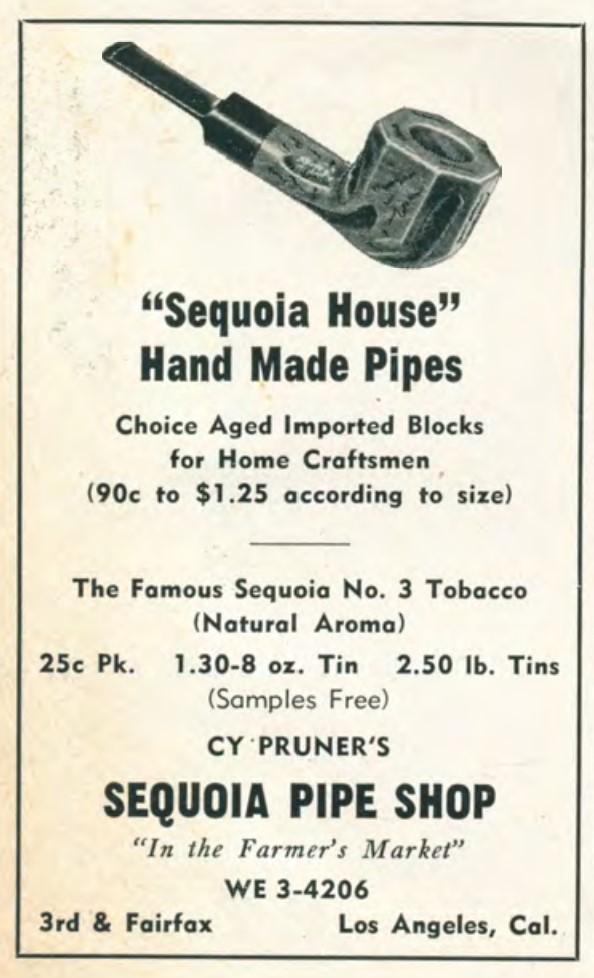 Now it was time to work on the pipe. Jeff had cleaned up the pipe following his normal cleaning process. In short, he reamed the bowl and then cleaned up the reaming with a Savinelli Fitsall Pipe Knife. He scrubbed the bowl with undiluted Murphy’s Oil Soap with a tooth brush. He worked over the lava and debris on the plateau rim top and shank end and was able to remove it. He rinsed it under running warm water to remove the soap and grime. He cleaned out the inside of the shank and the airway in the stem with alcohol, cotton swabs, shank brushes and pipe cleaners. He scrubbed the stem with Soft Scrub and cotton pads to remove the debris and oils on the stem. He soaked it in Briarville’s Pipe Stem Deoxidizer to remove the remaining oxidation. He rinsed it with warm water and dried it off. I took photos of the pipe once I received it. It really looked good.
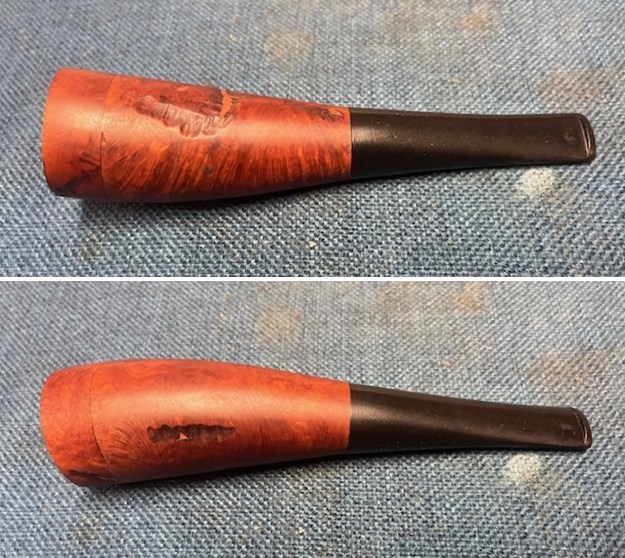
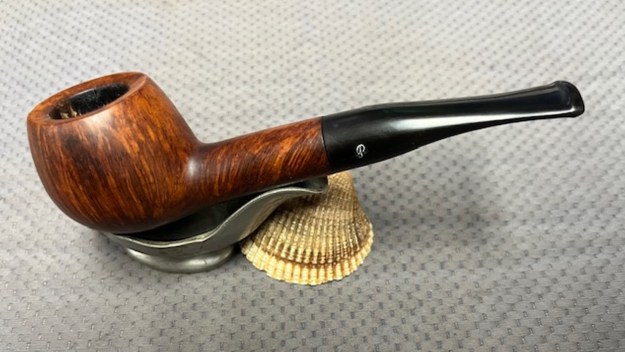
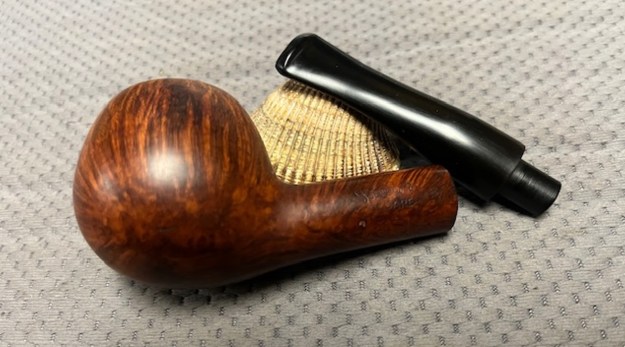
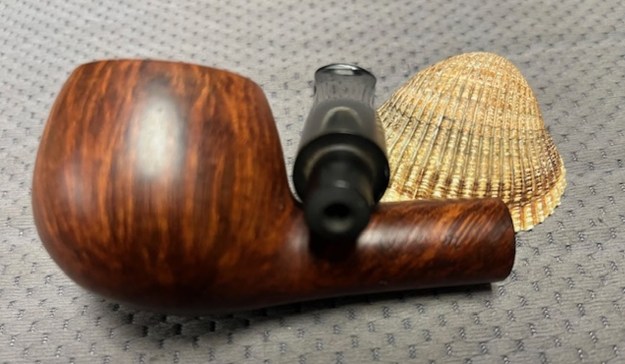
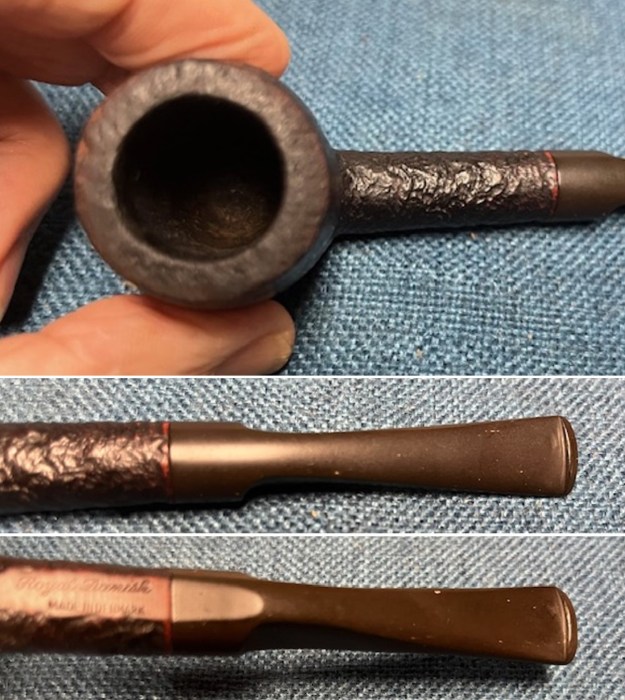
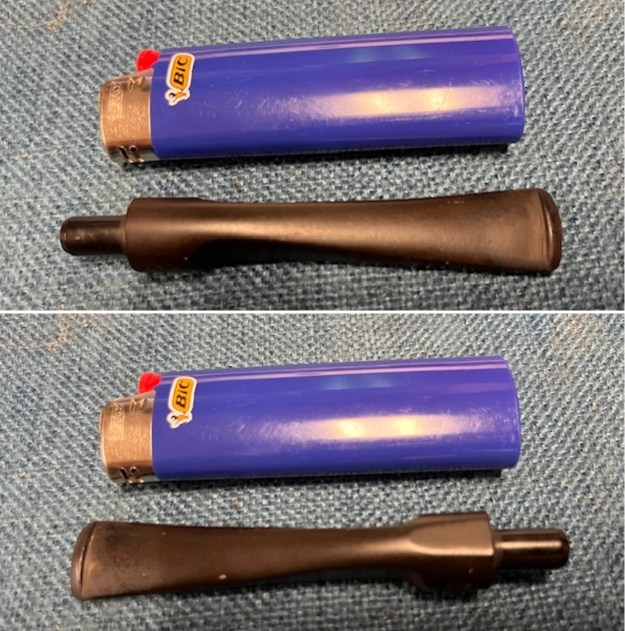
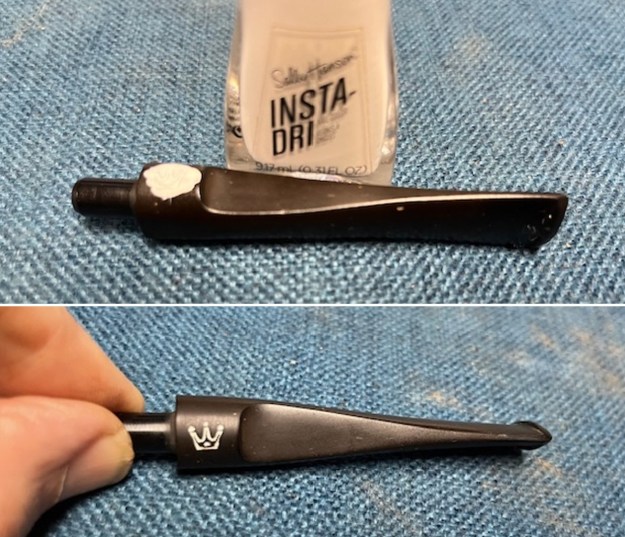
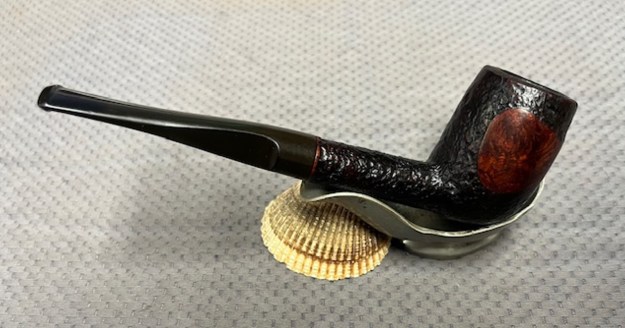
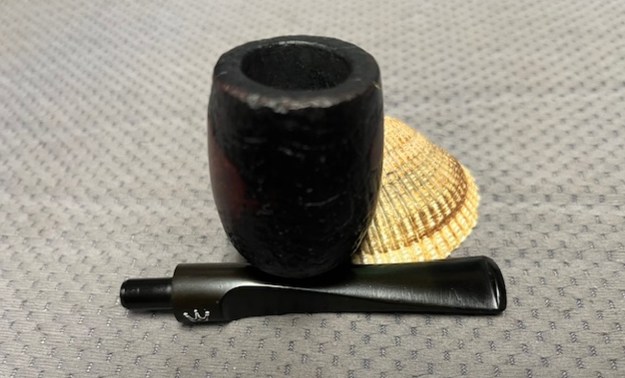
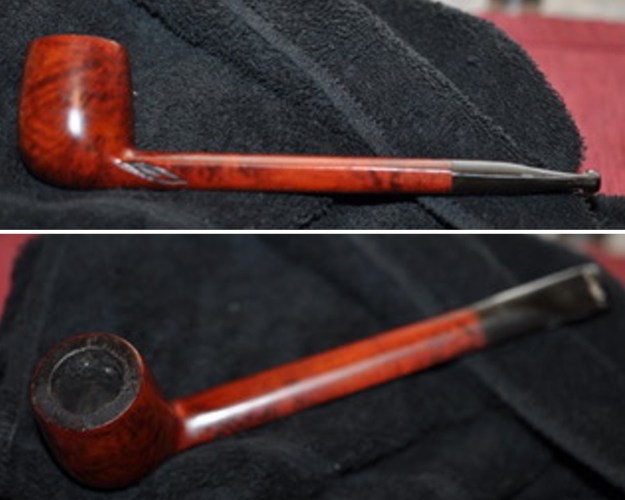
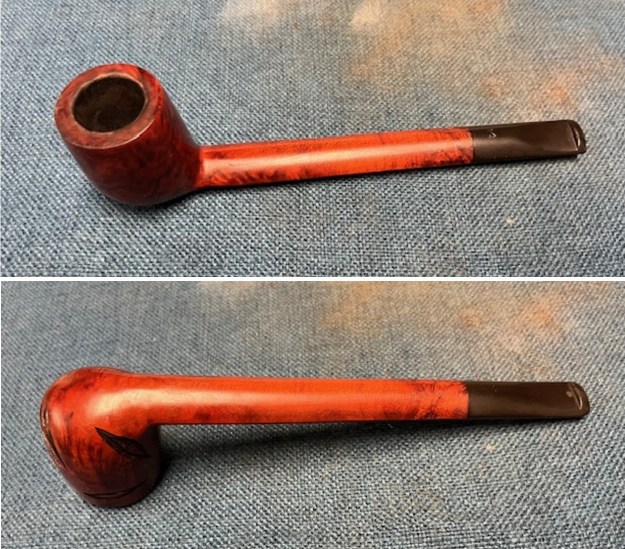
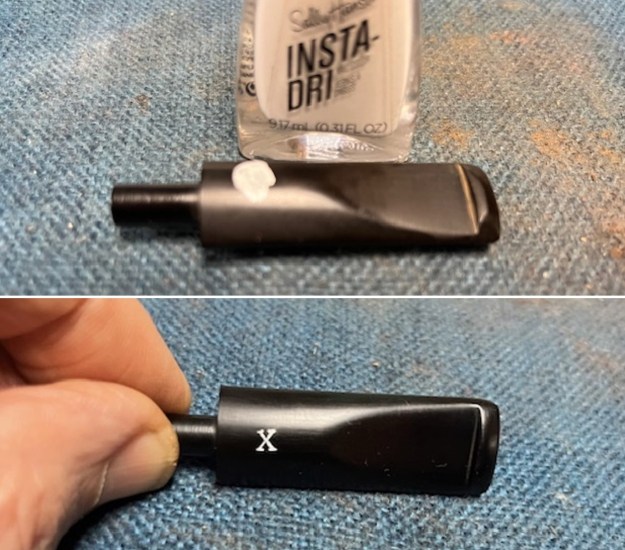
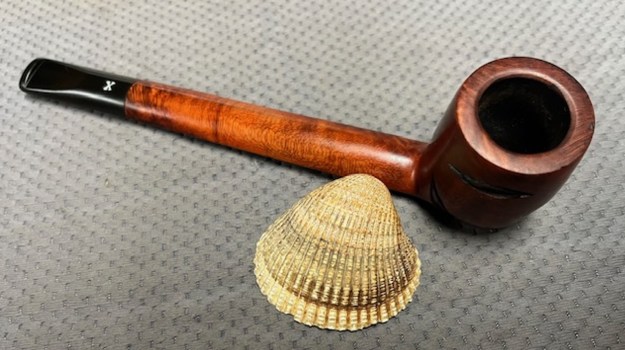
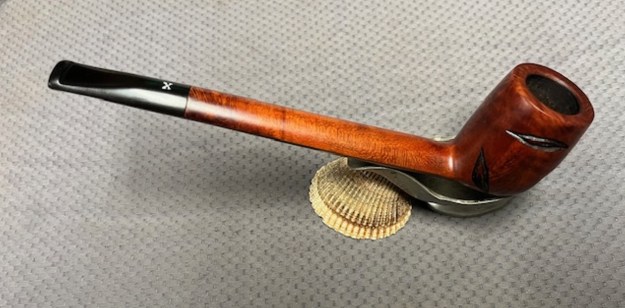
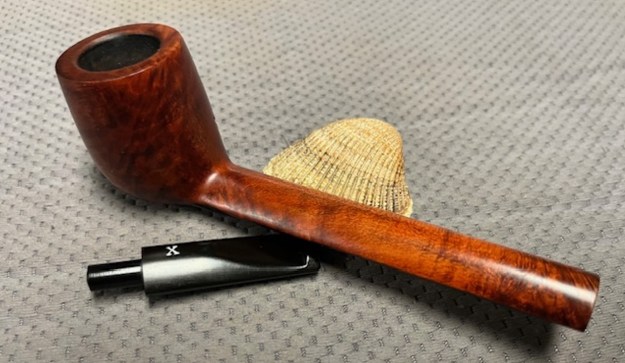
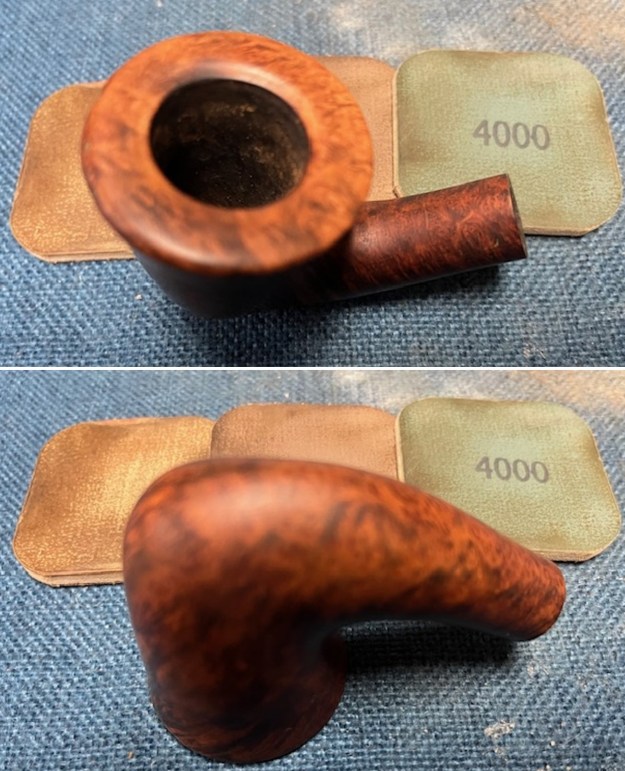
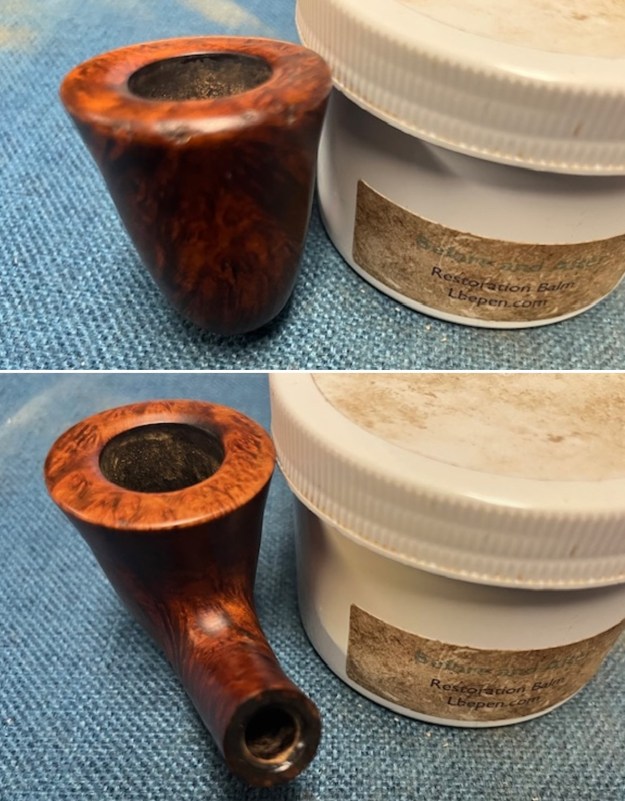
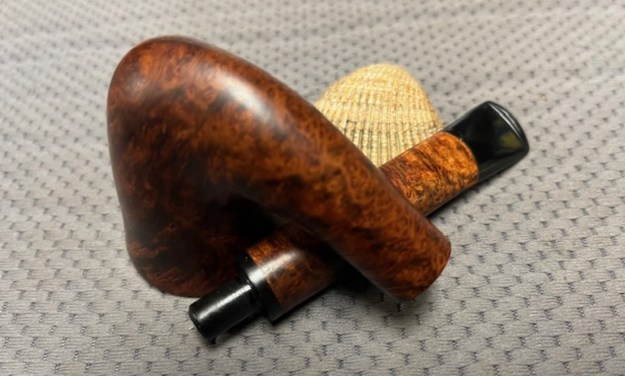
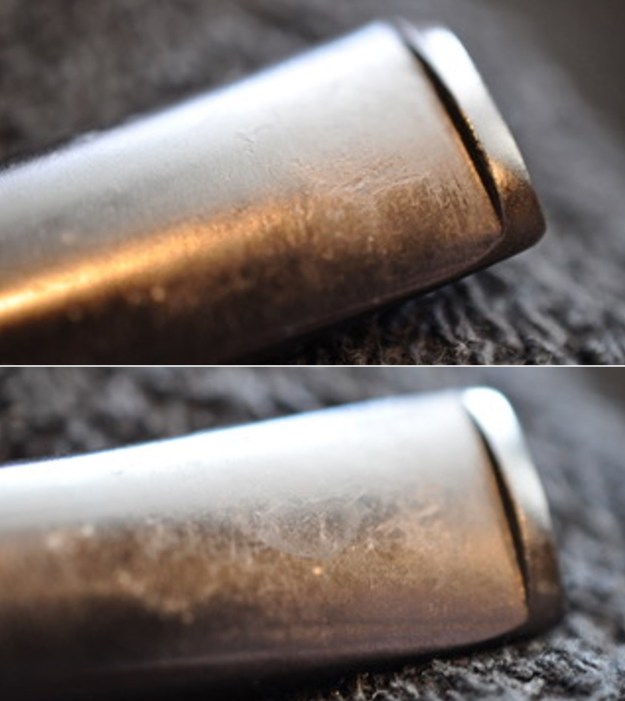
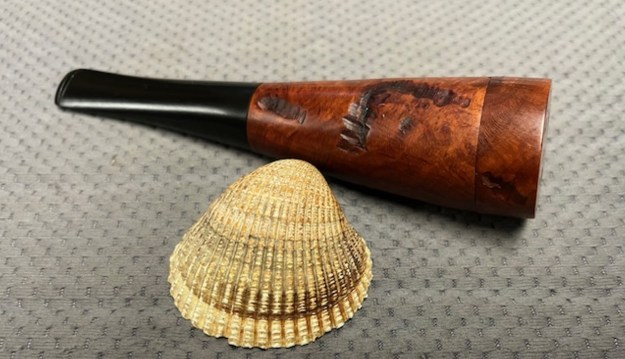
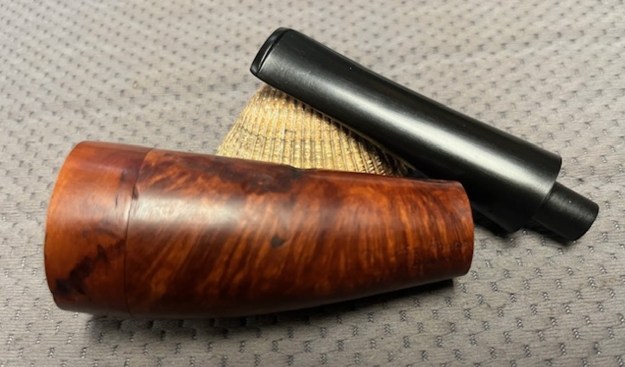
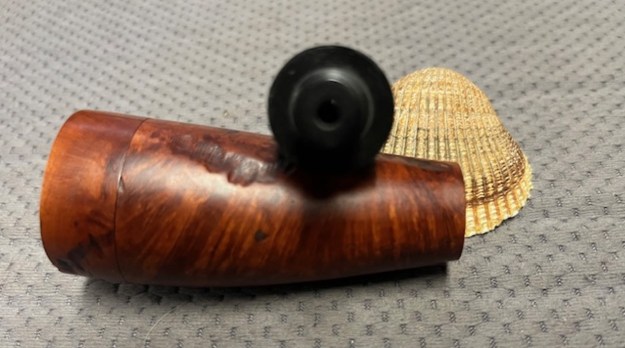
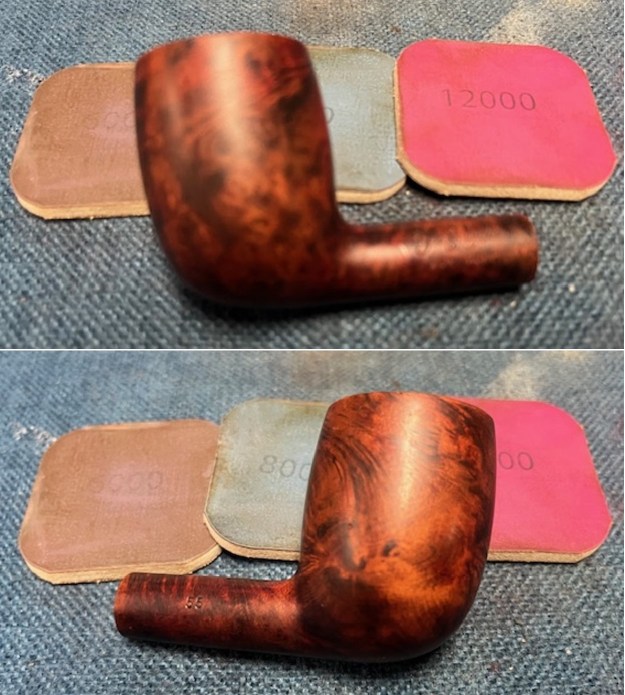
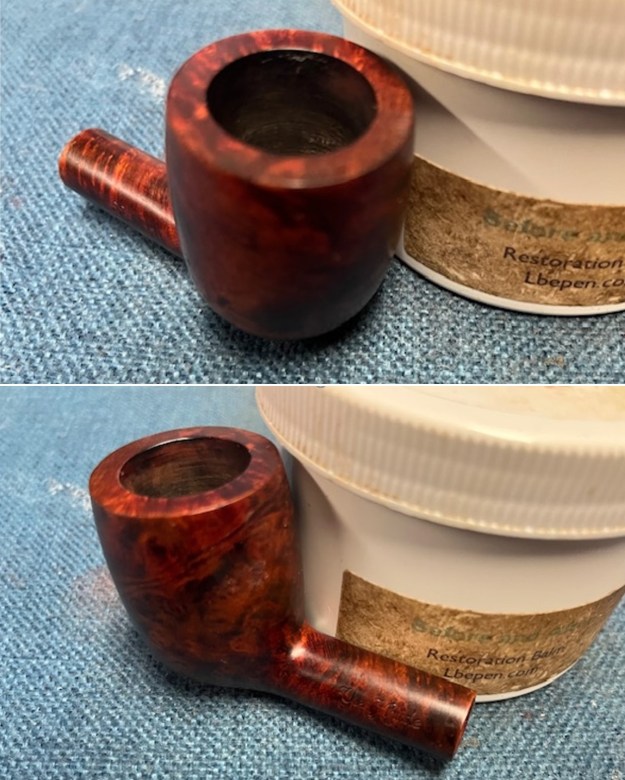
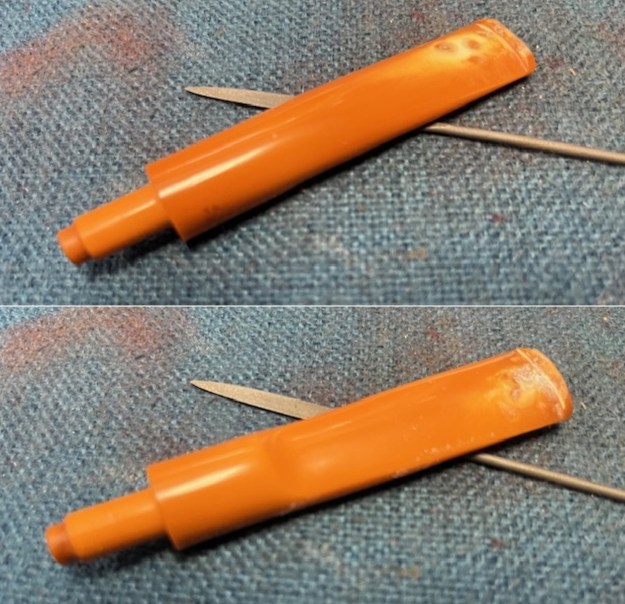
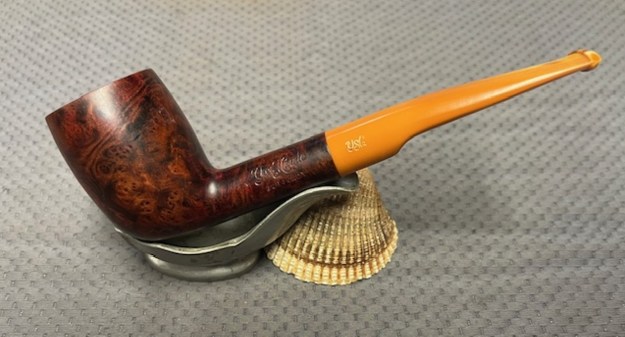
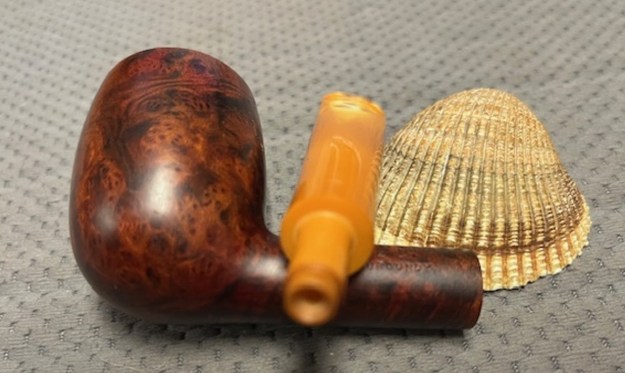
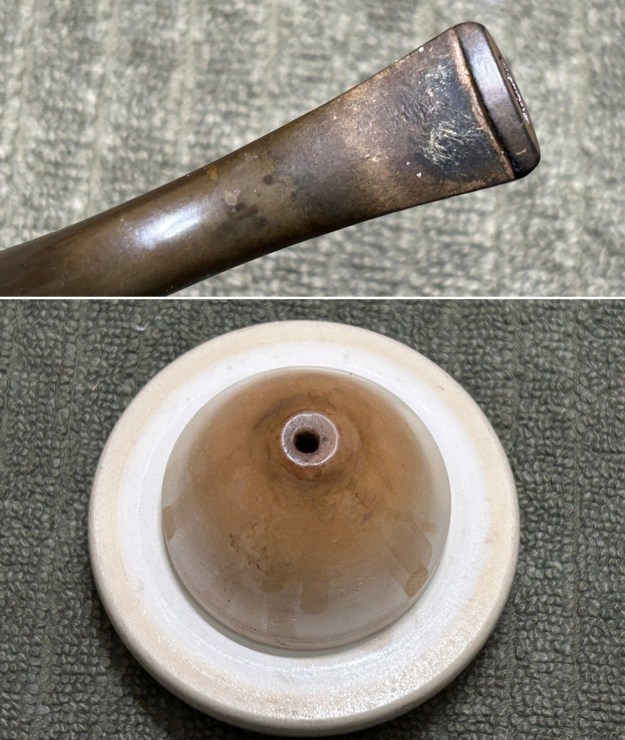
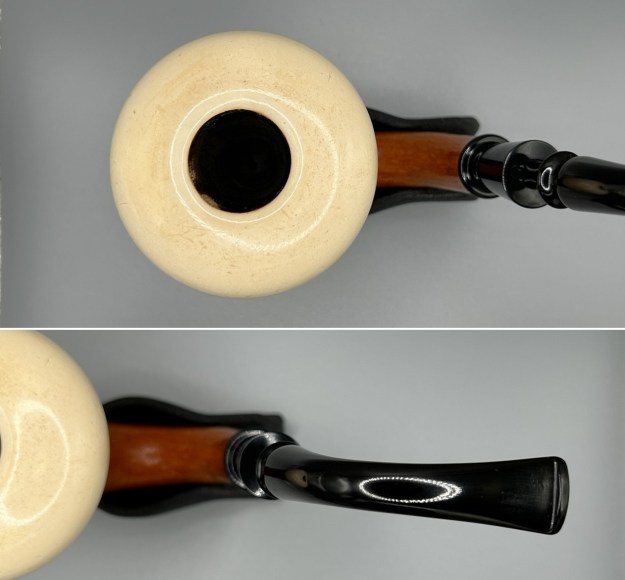
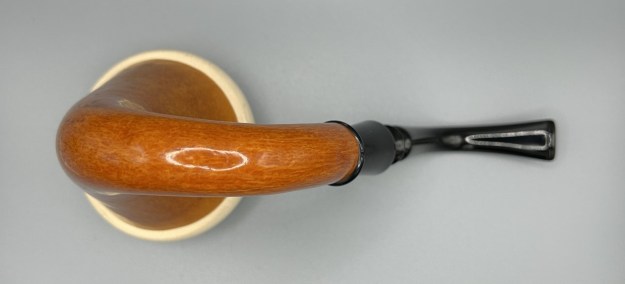
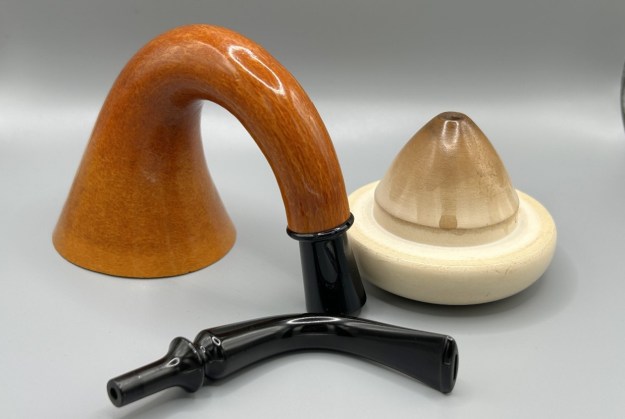
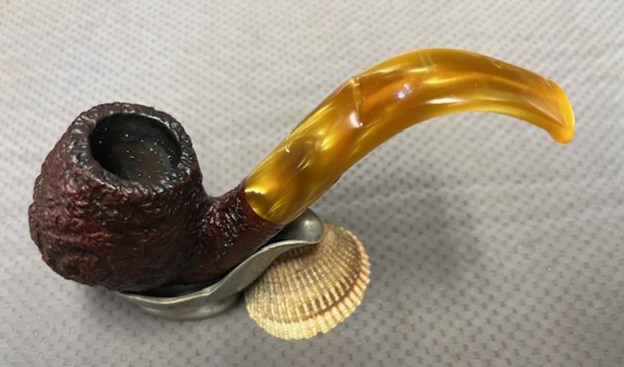
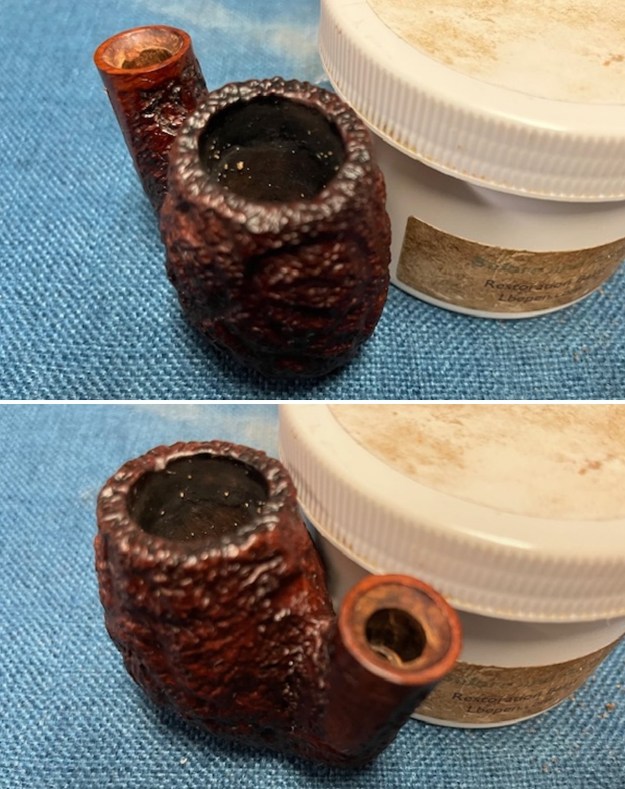
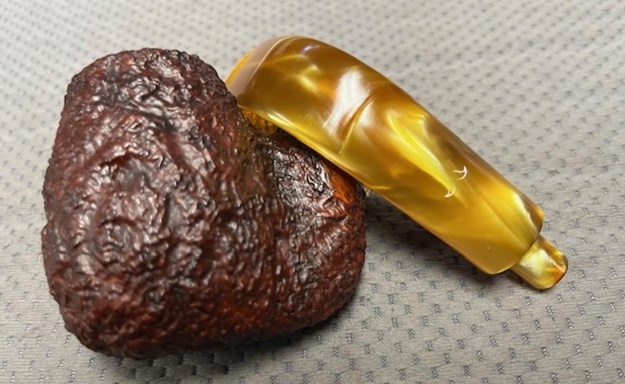
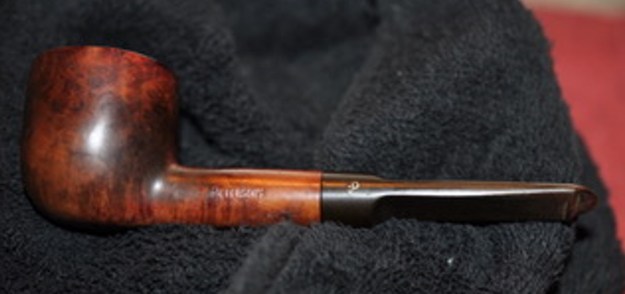
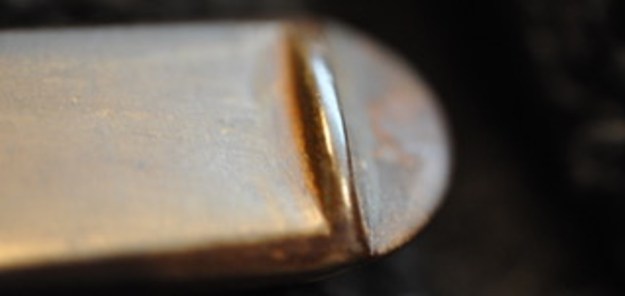
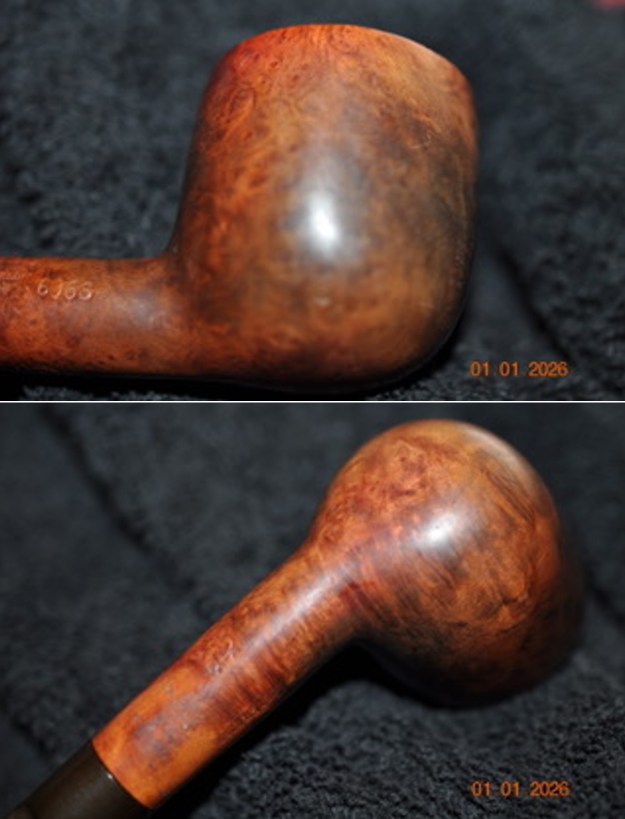
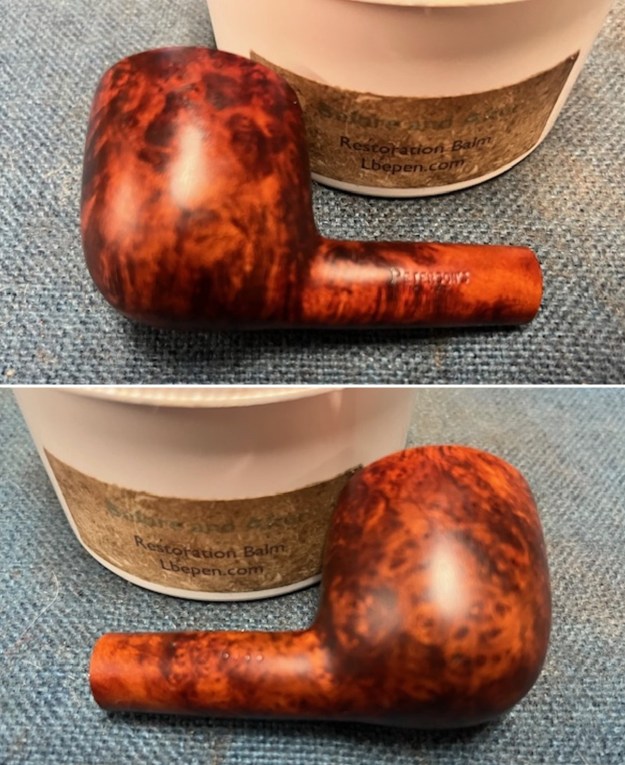
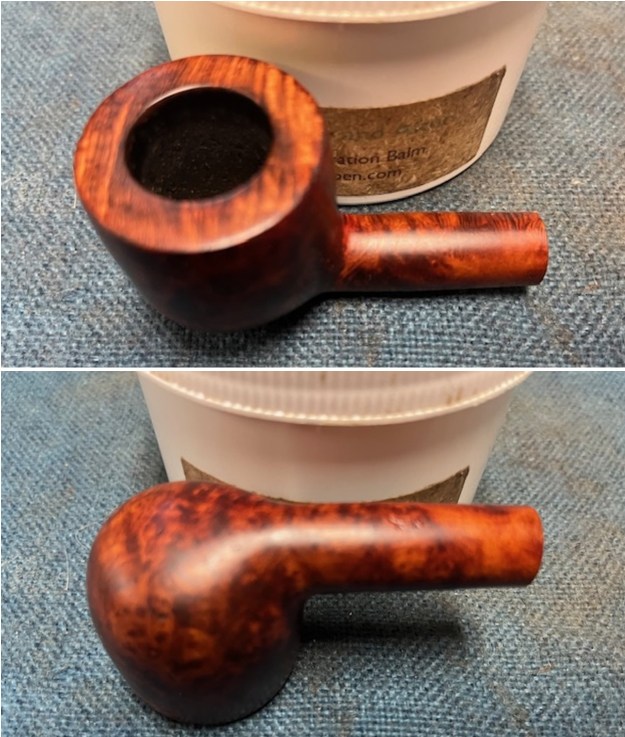
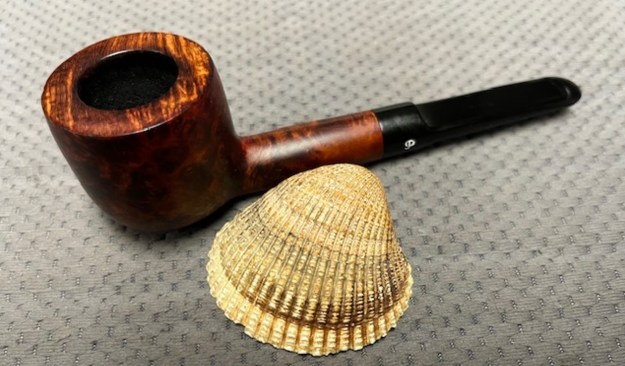
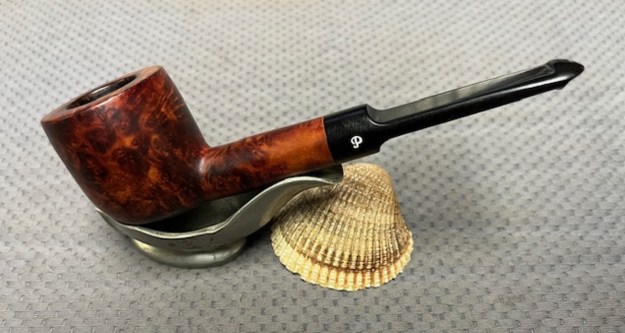
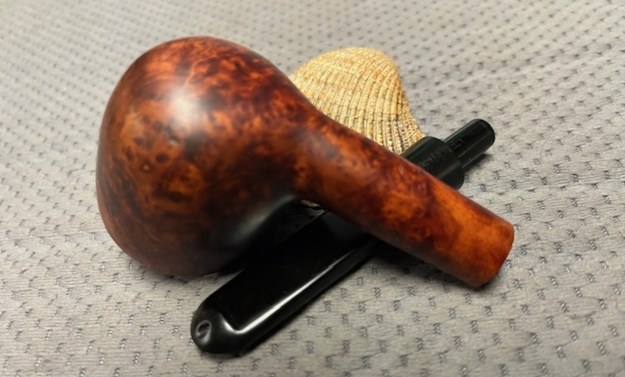
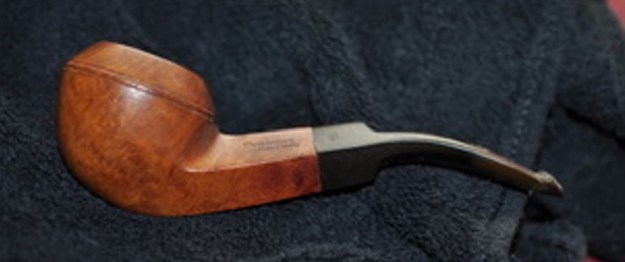
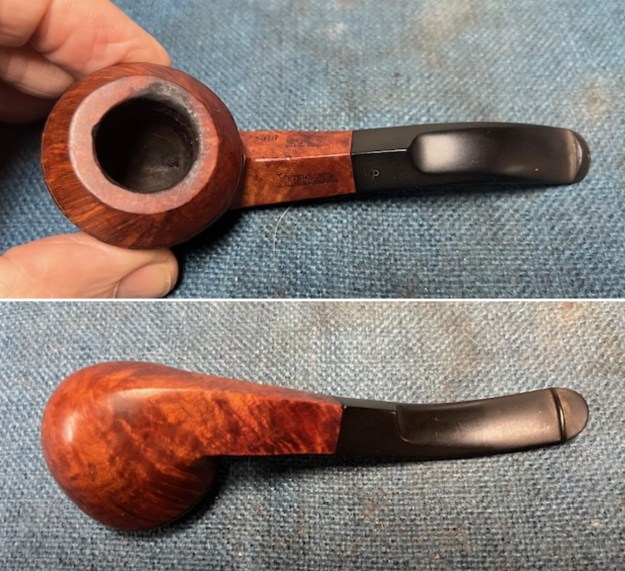
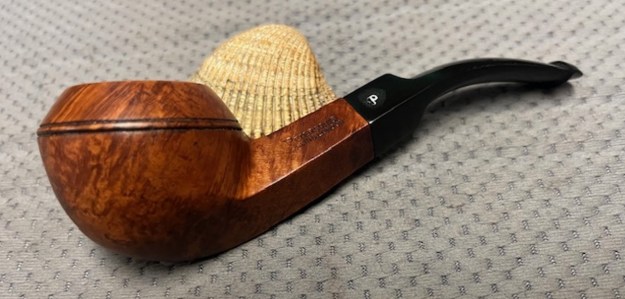
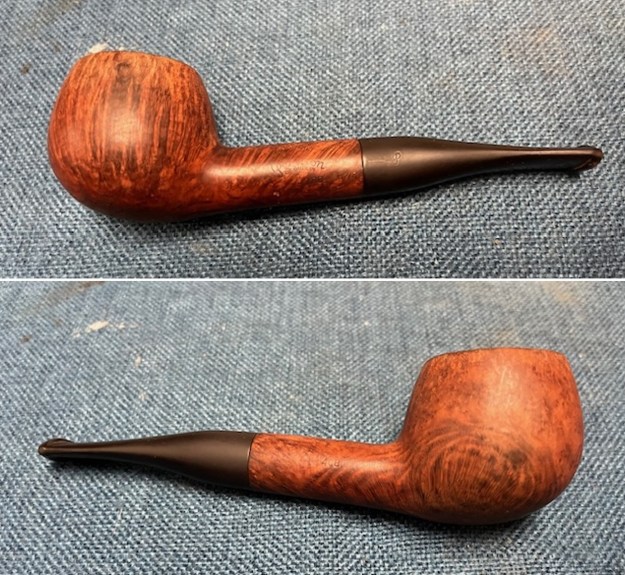
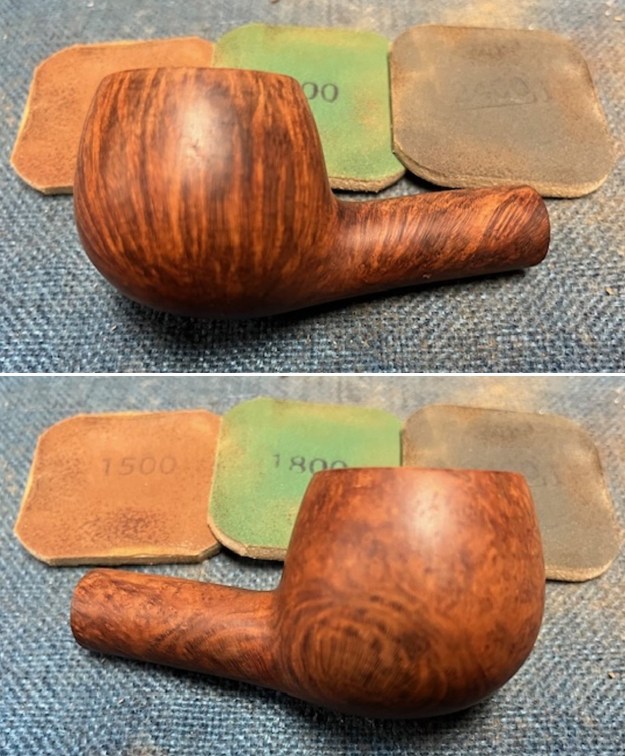
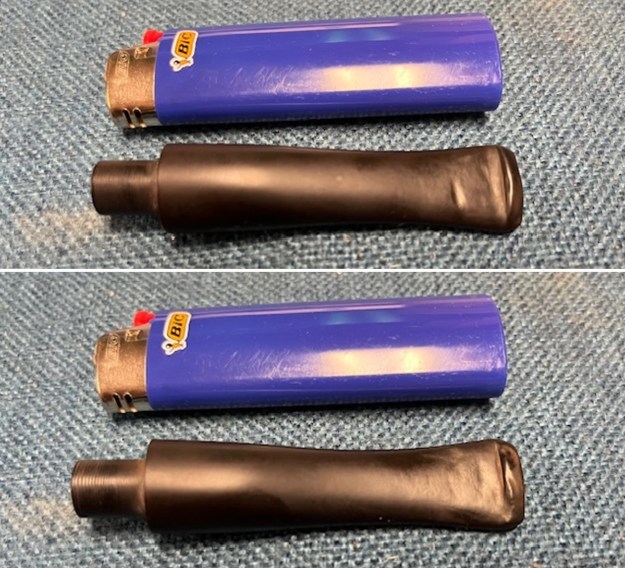
 I took close up photos of the stem and the rim cap to show both how clean they were. The rim cap and bowl look good. The stem was probably hard rubber and it has light chatter in the surface but it is clean.
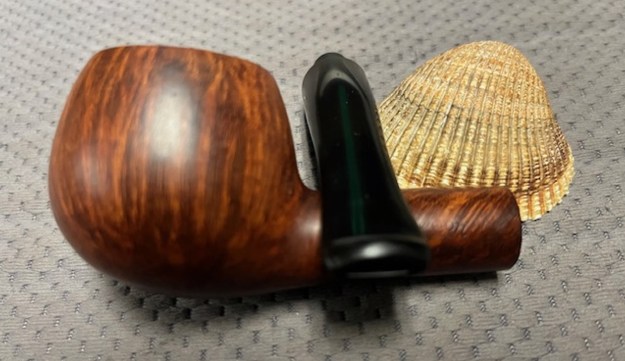
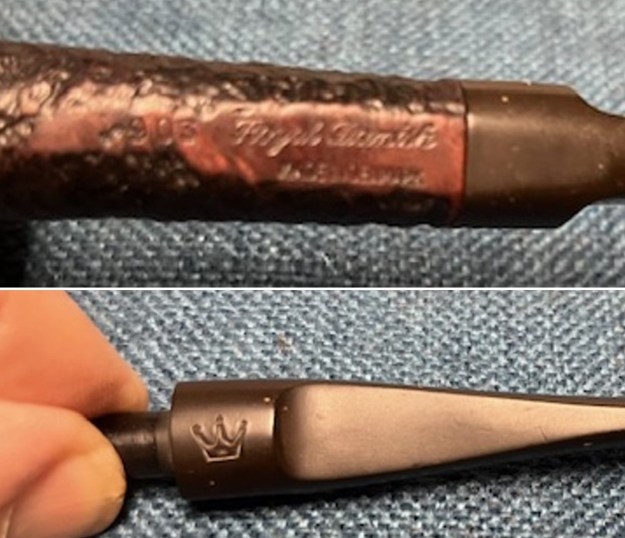
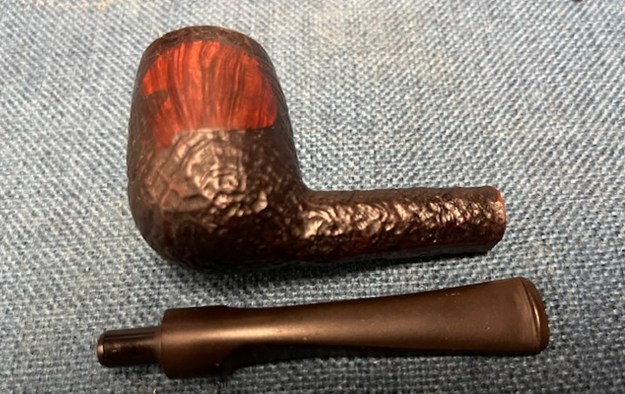
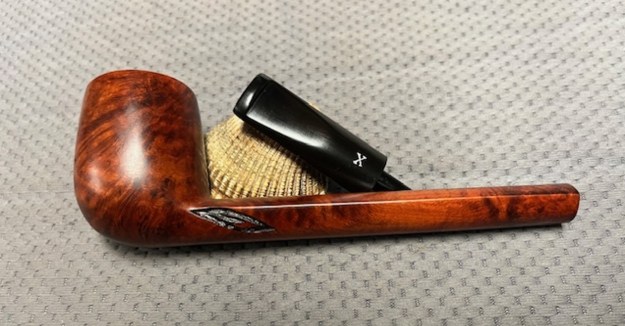
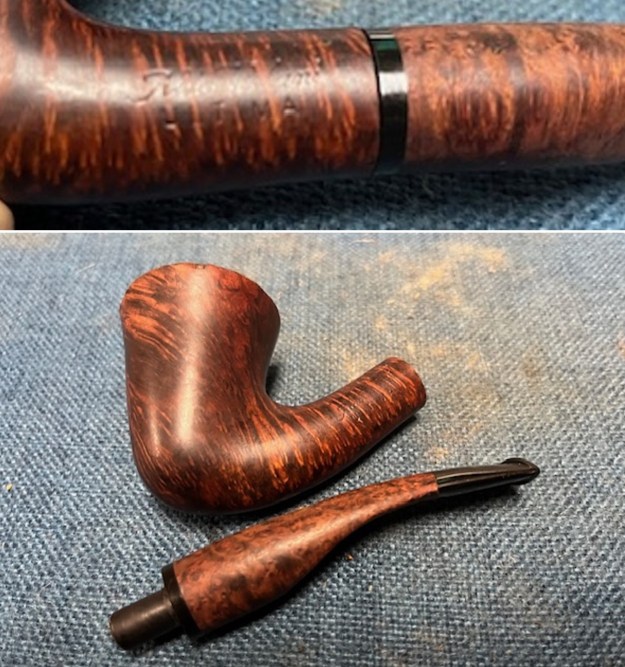
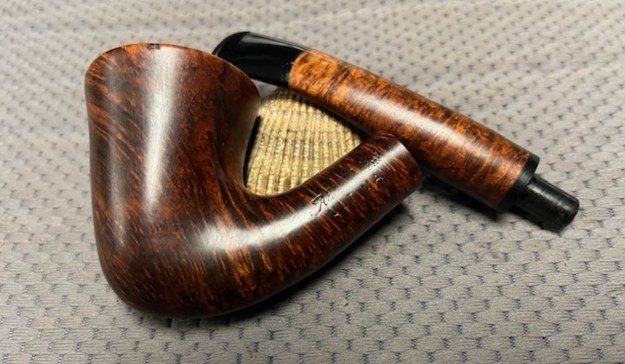
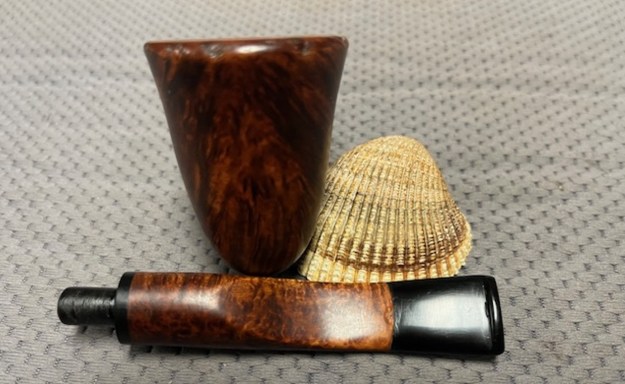
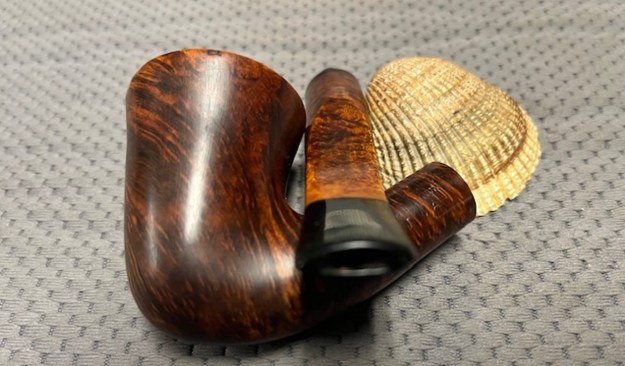
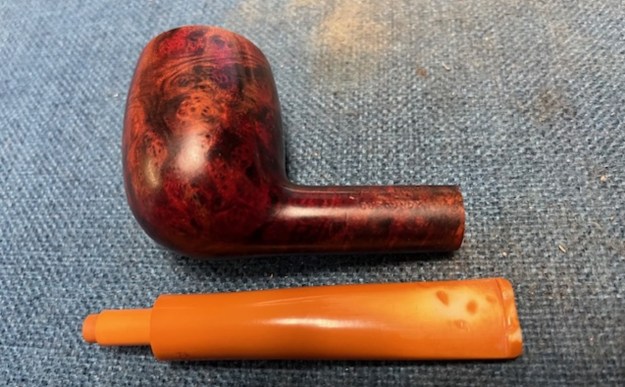
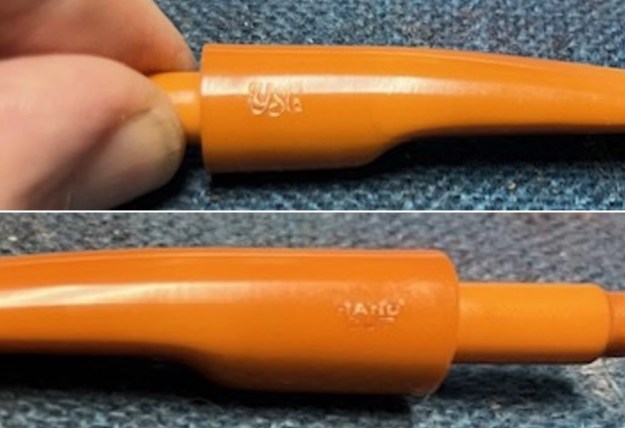
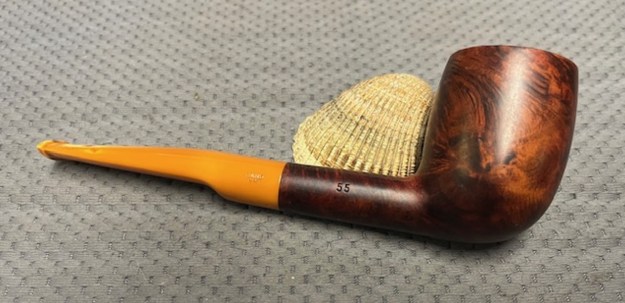
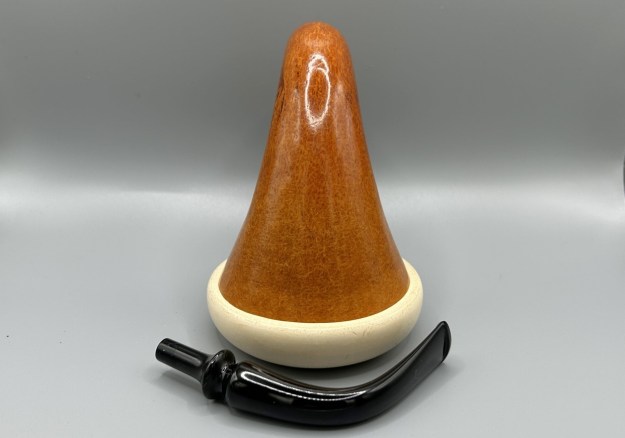
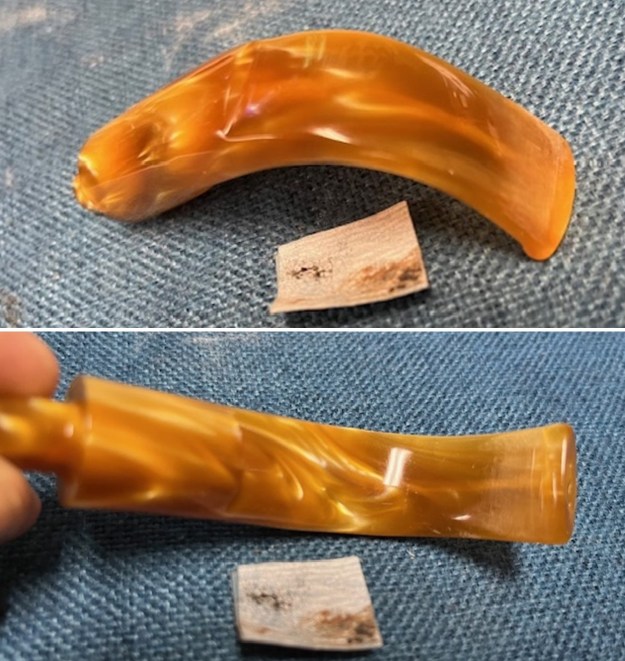
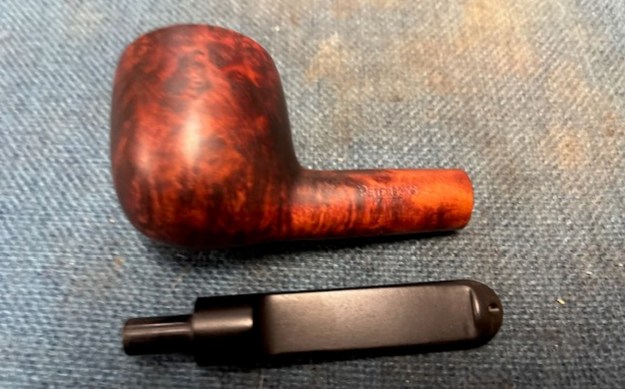
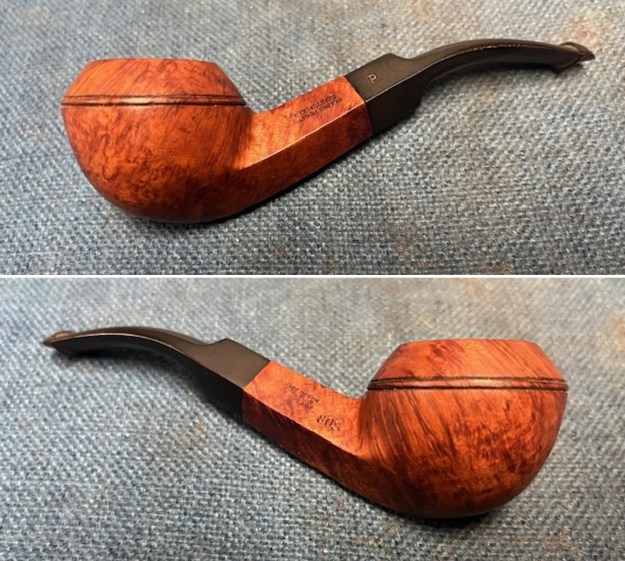
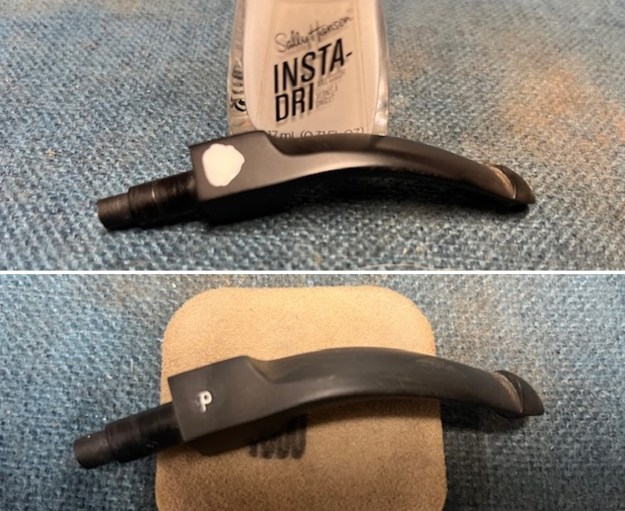
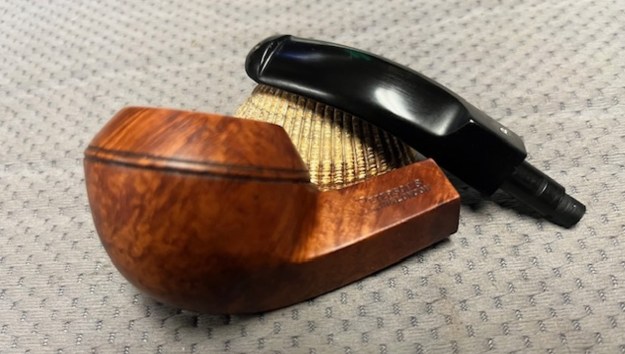
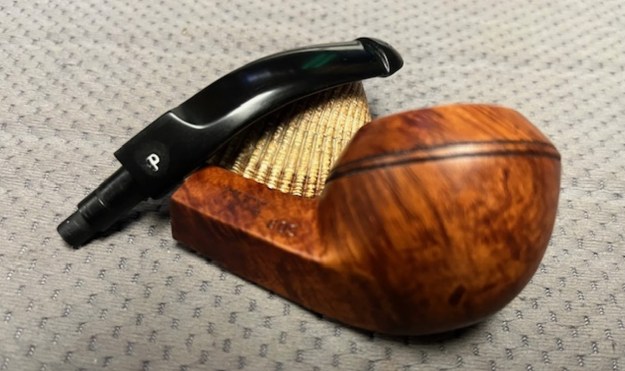
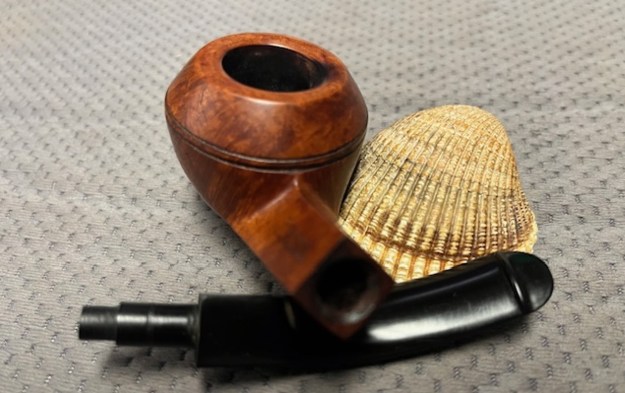
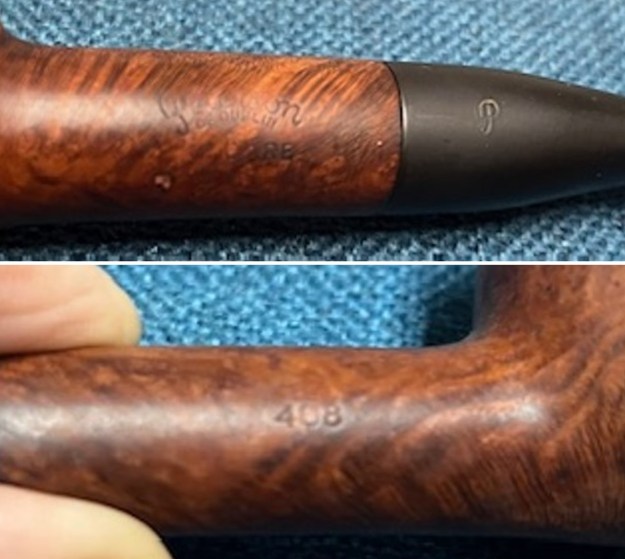
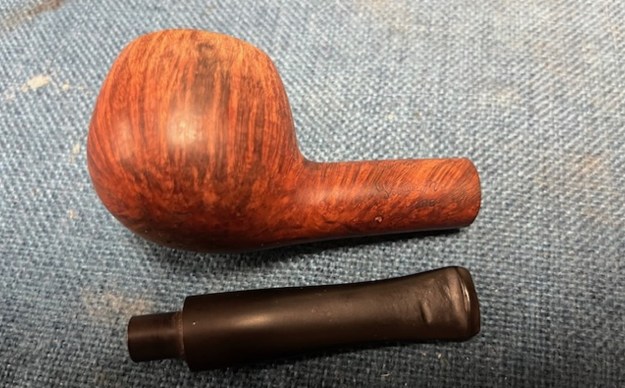
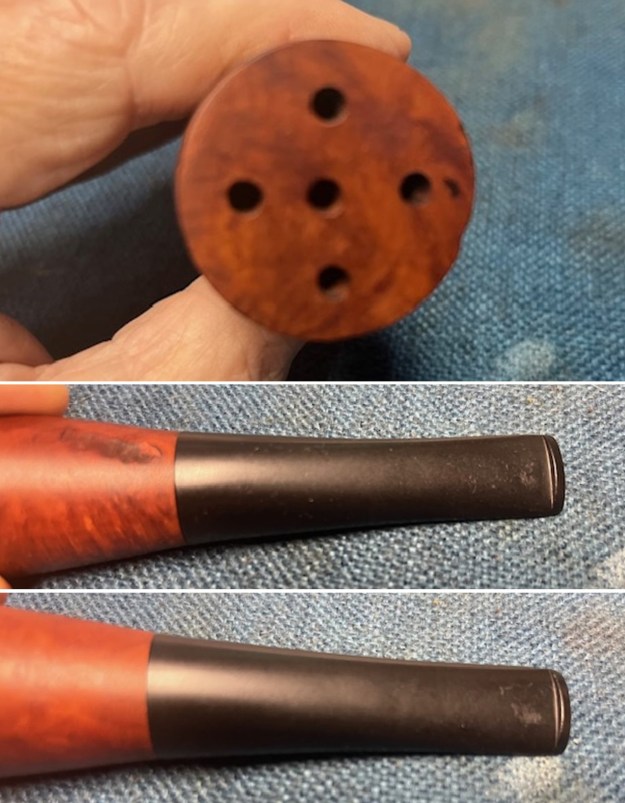 I took a photo of the stamping on the side of the shank on the left side of the briar ahead of the stem. I took the stem off the shank and took a photo of the parts to give a sense of the beauty of the pipe.
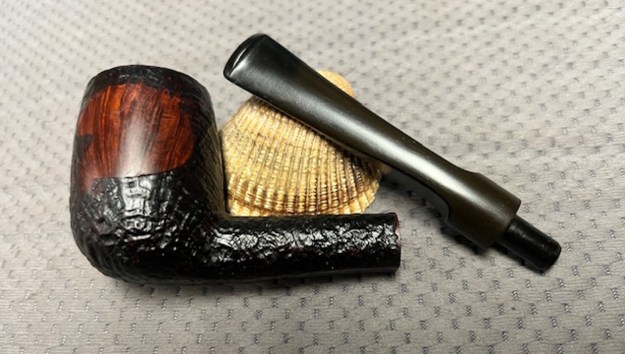
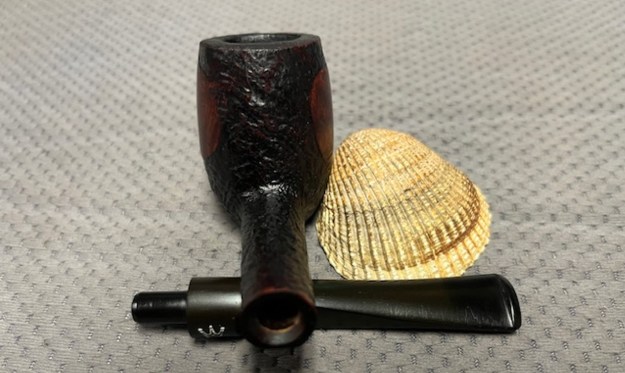
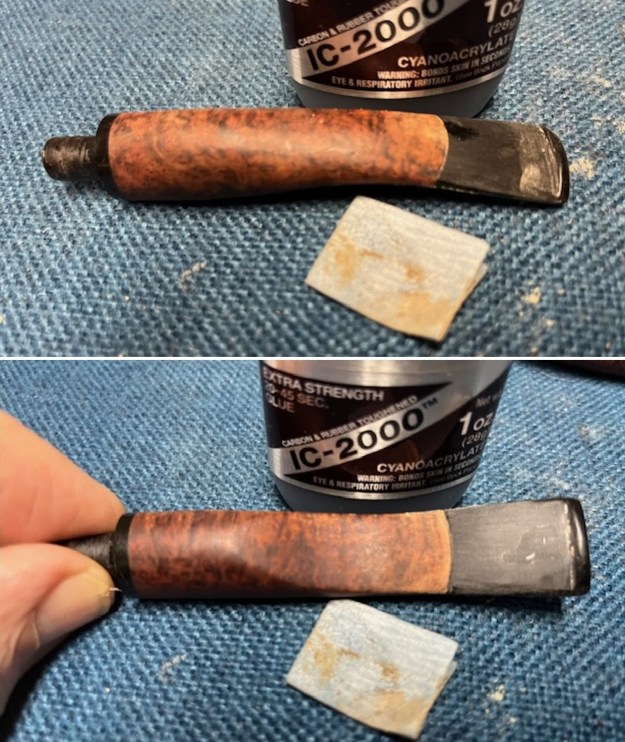
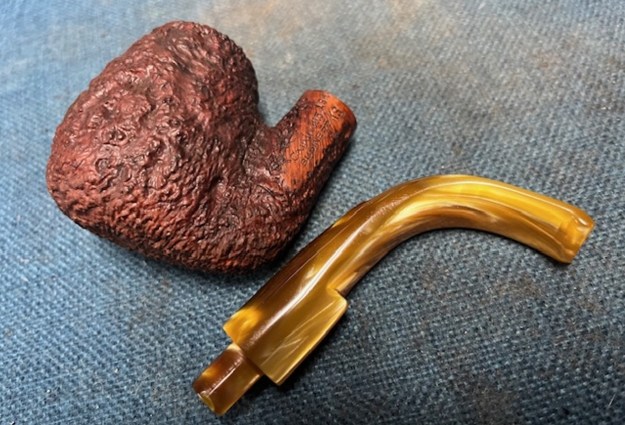
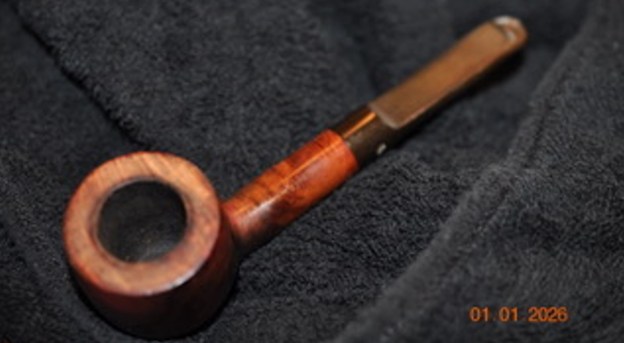
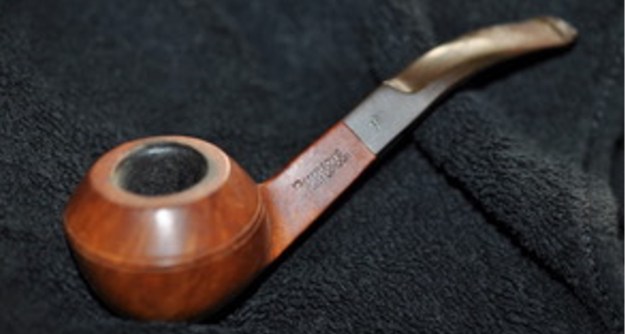
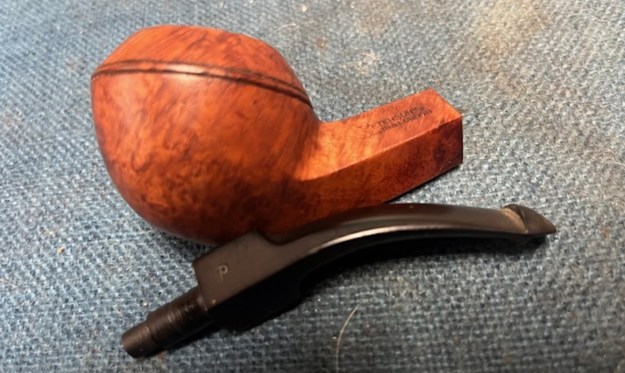
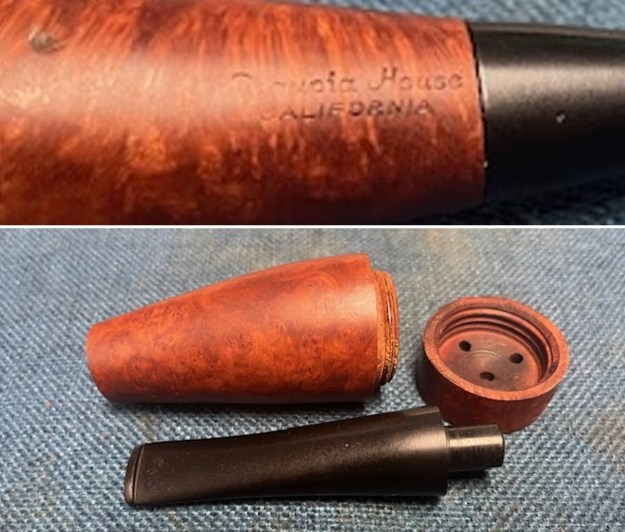
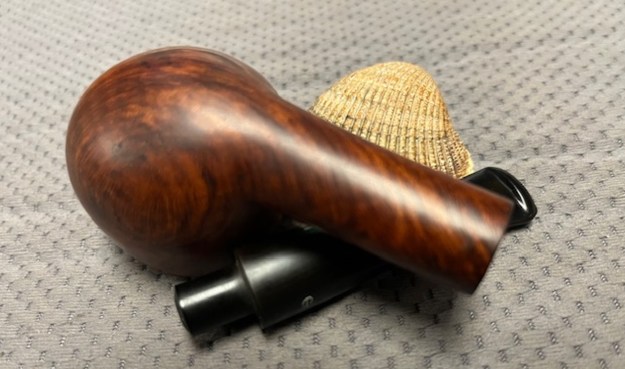
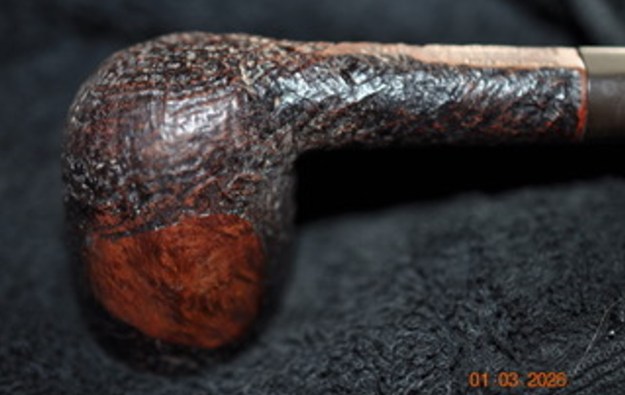
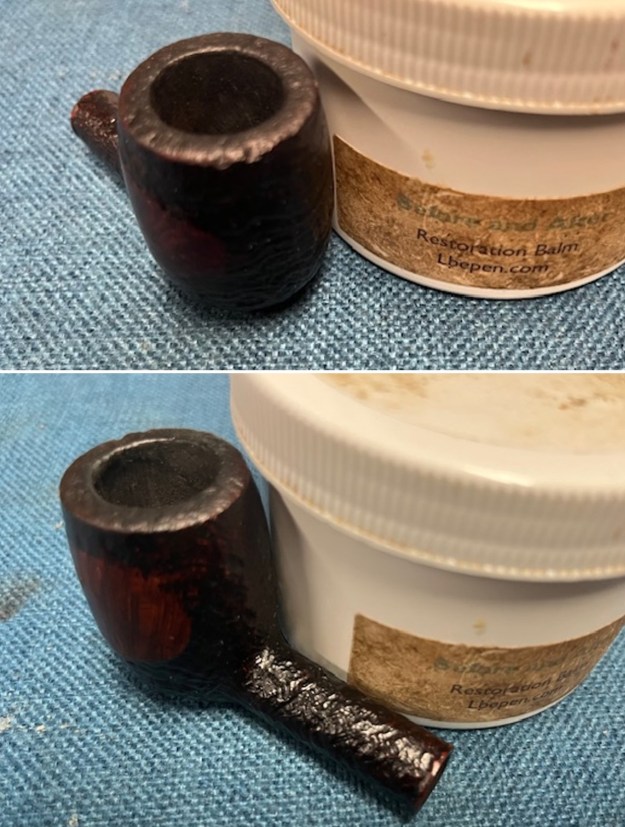
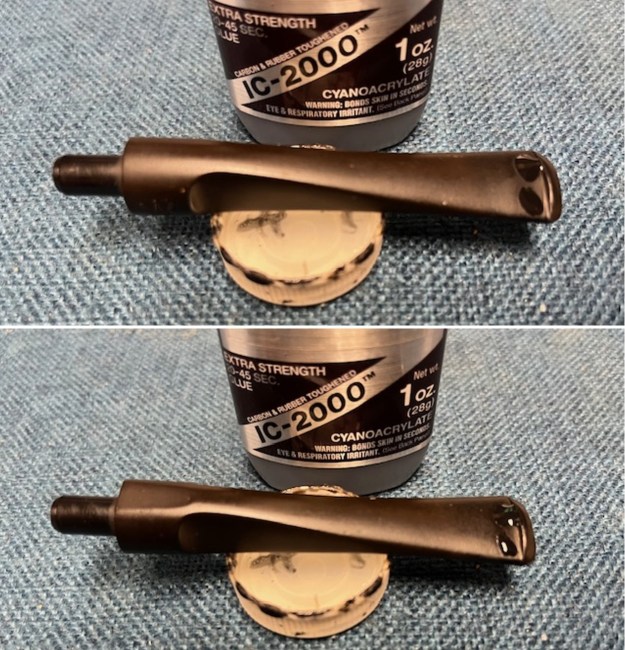
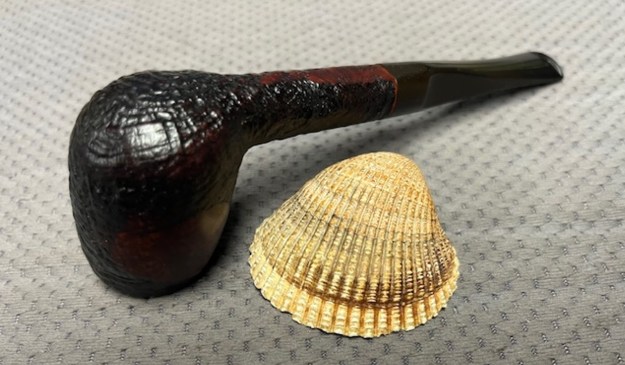
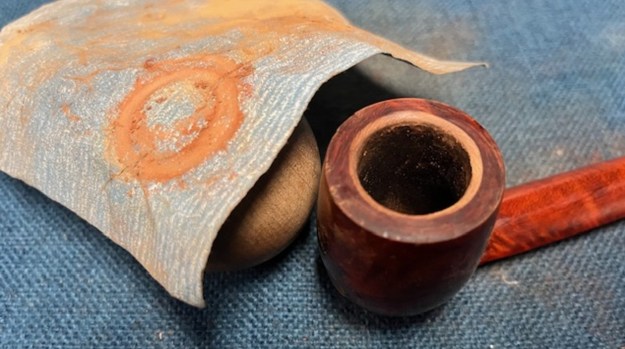
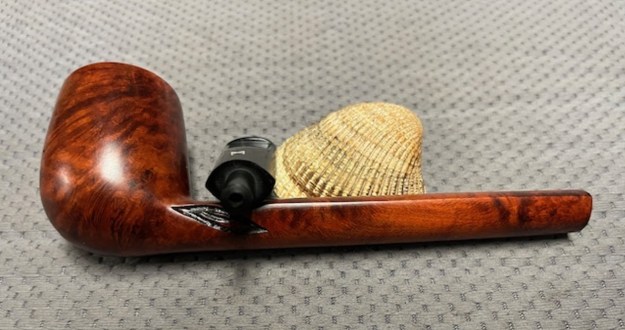
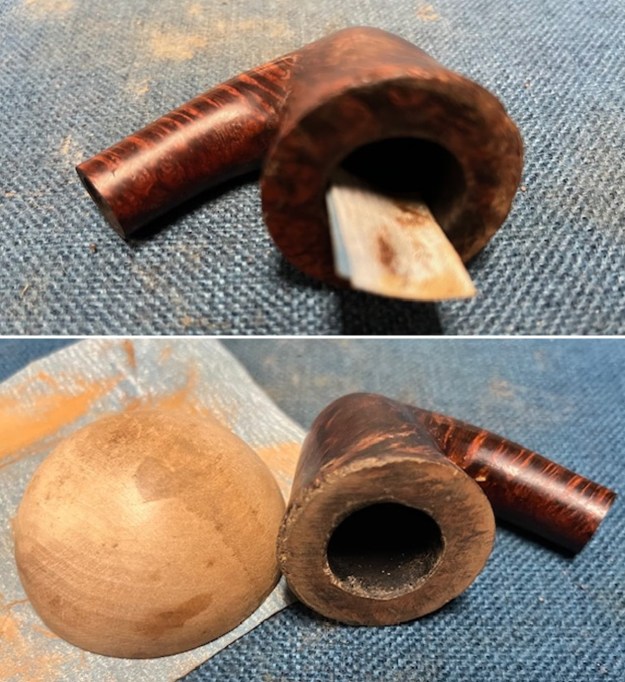
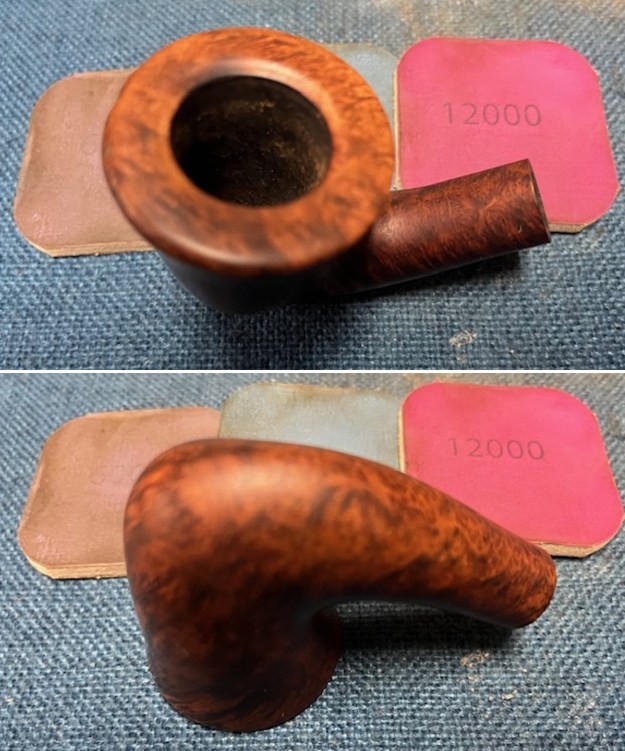
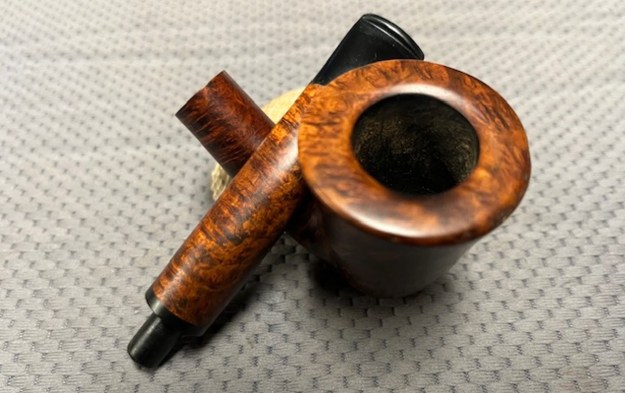
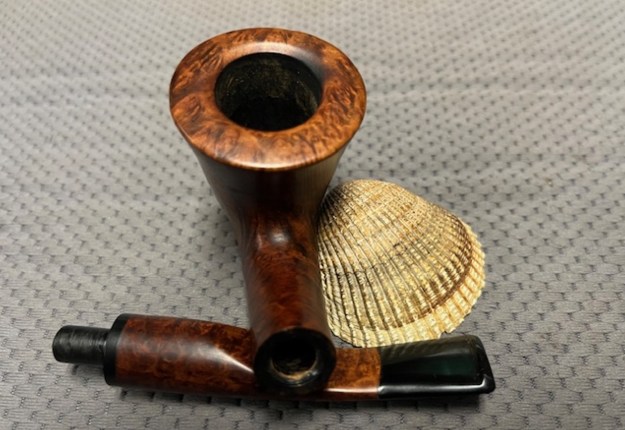
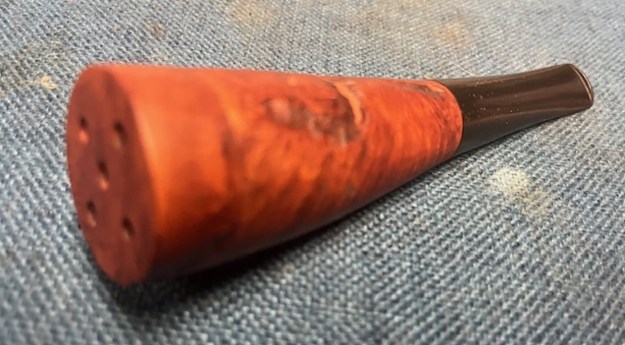
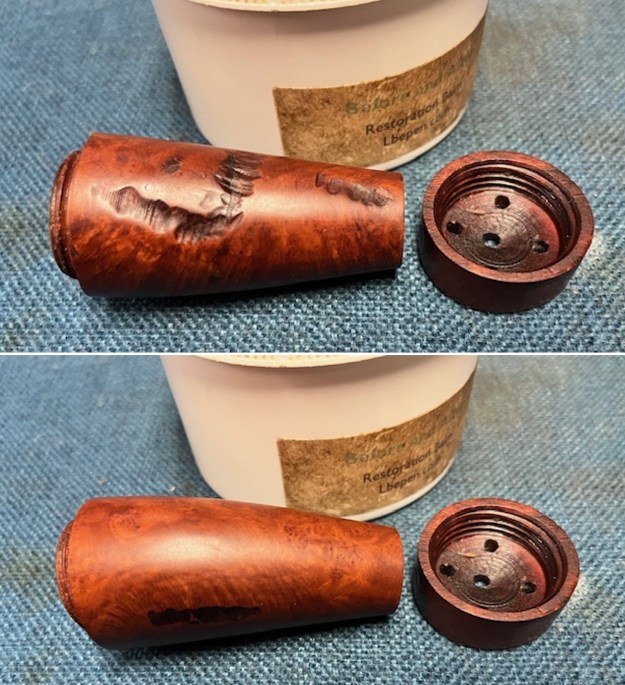
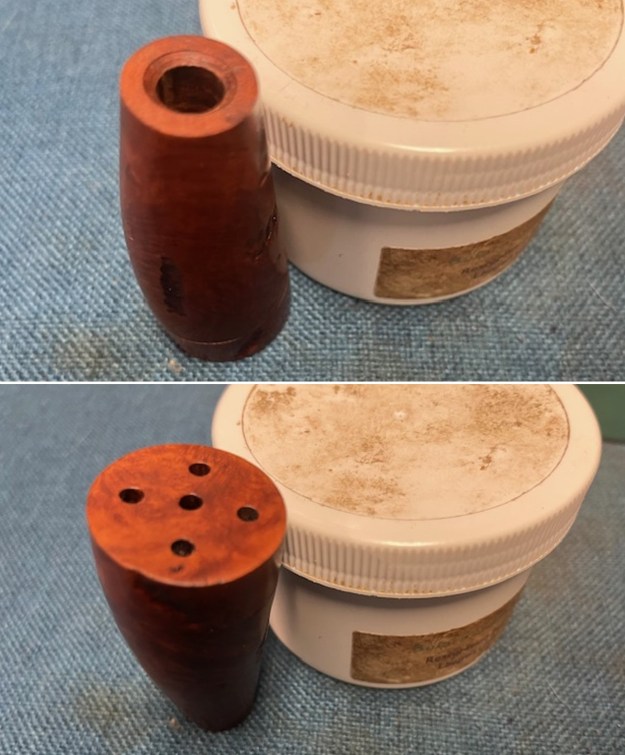
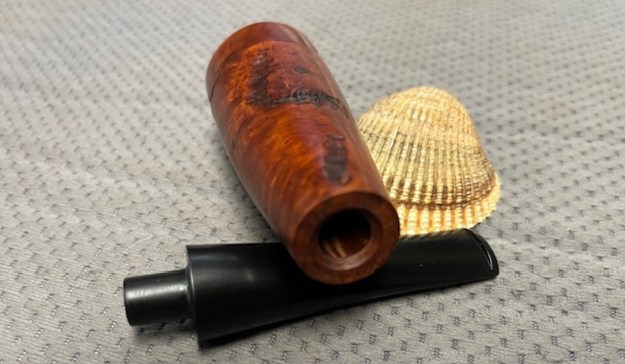
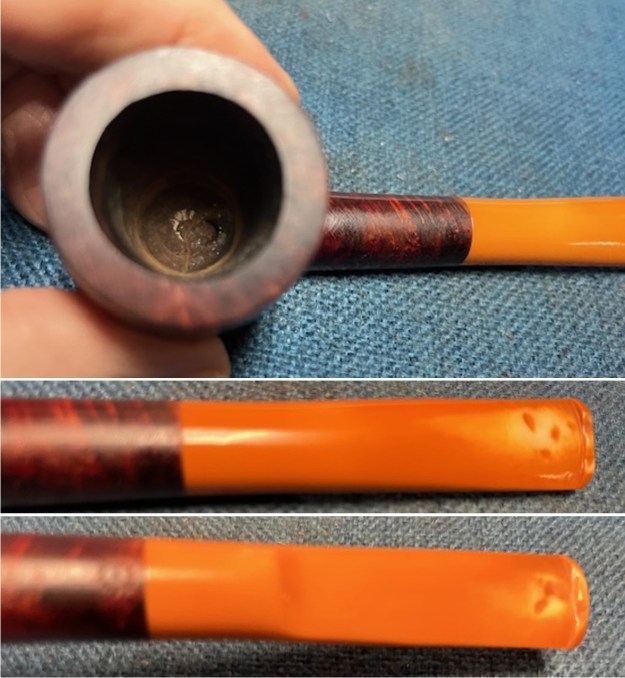
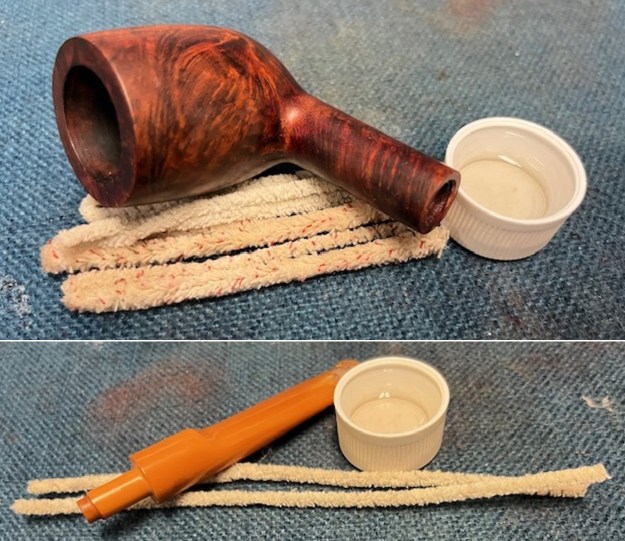
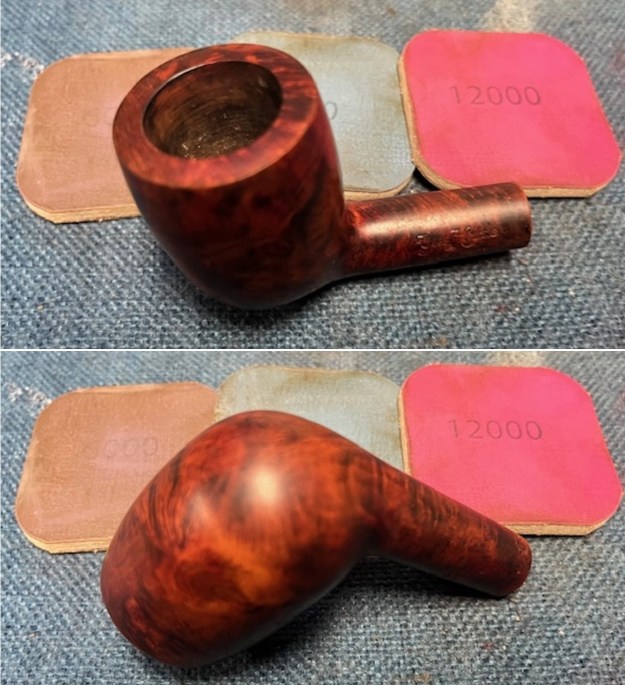
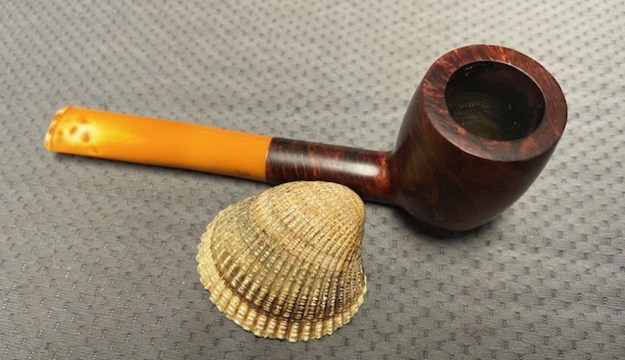
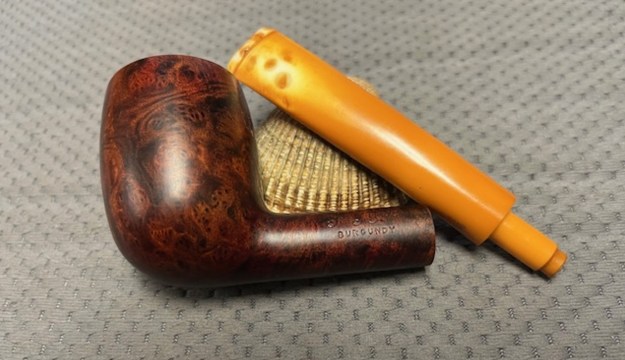
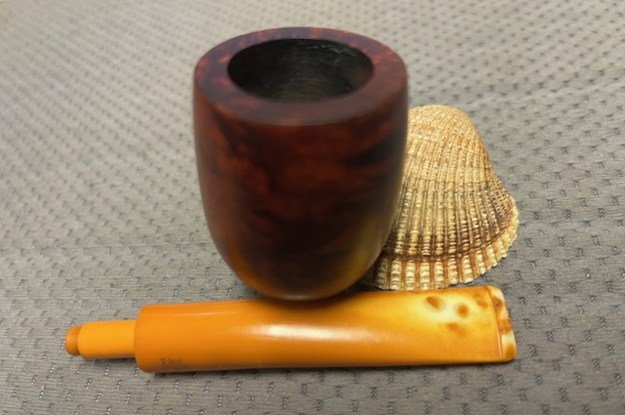
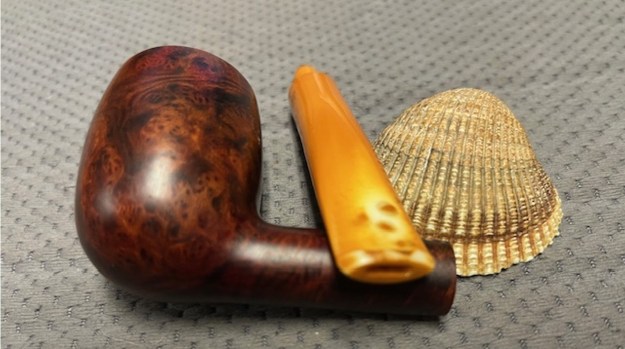
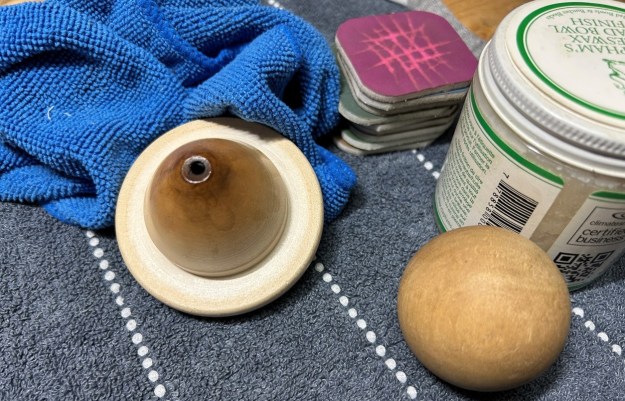
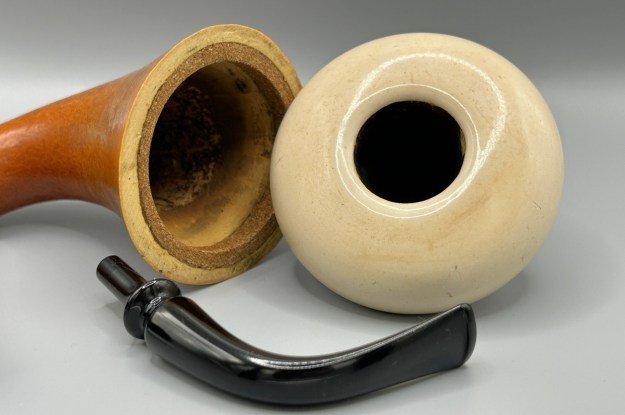
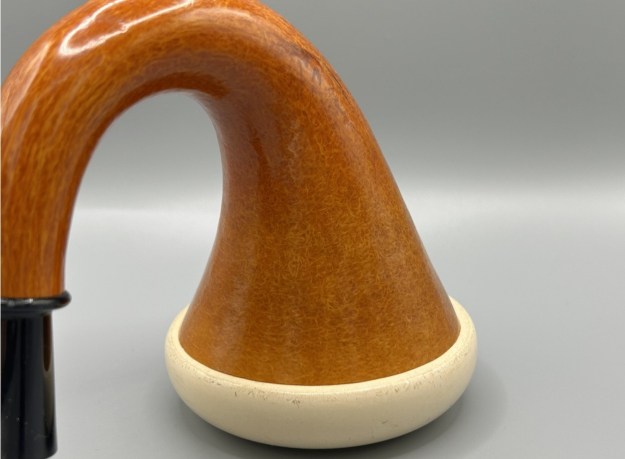
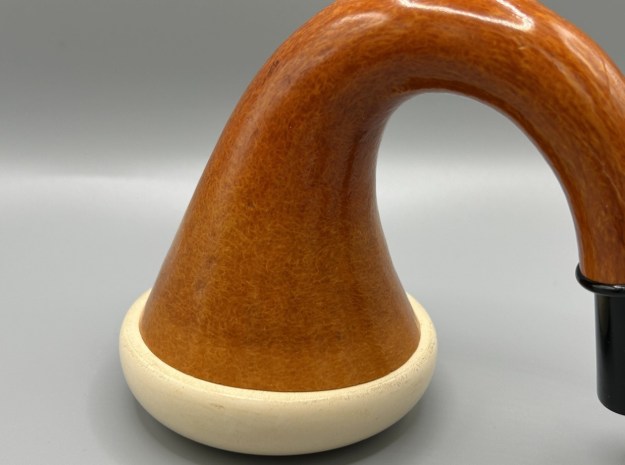
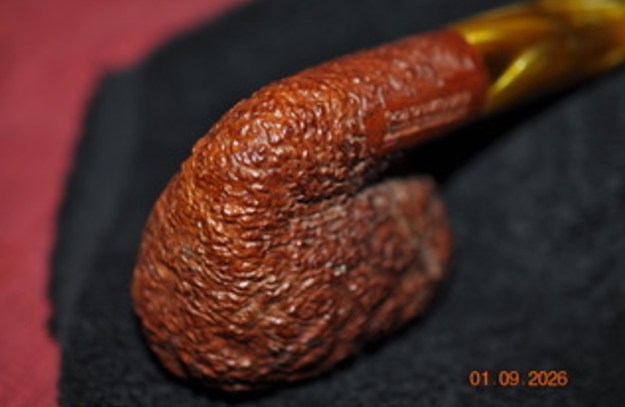
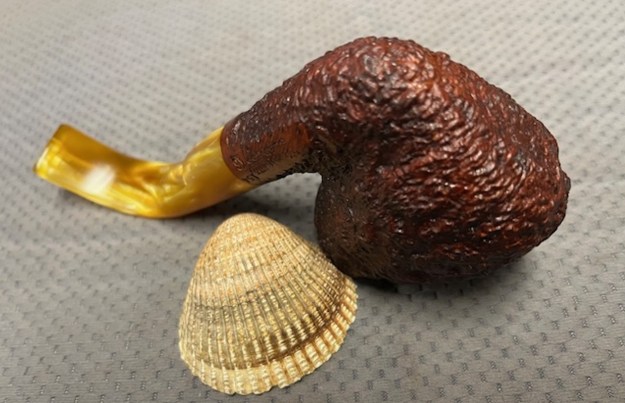
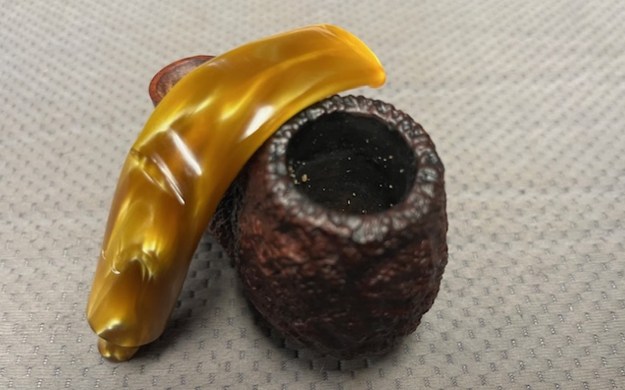
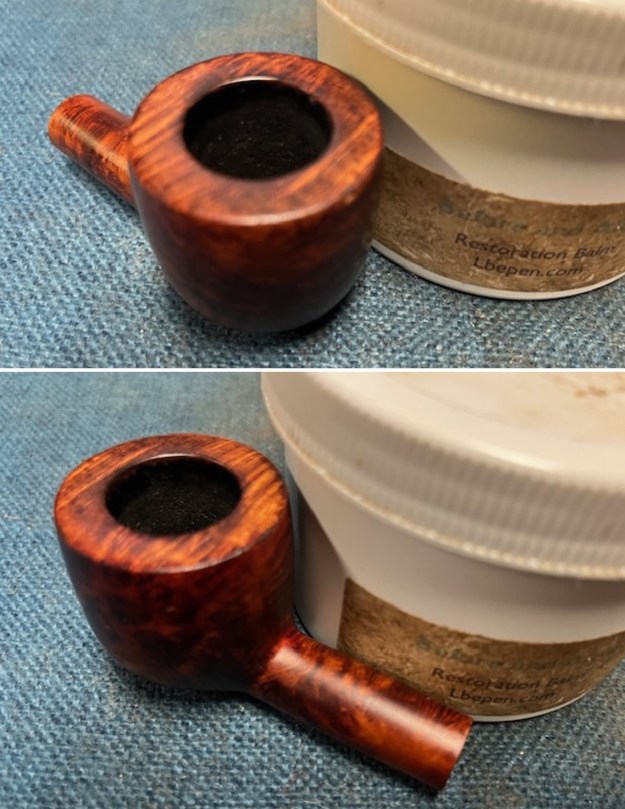
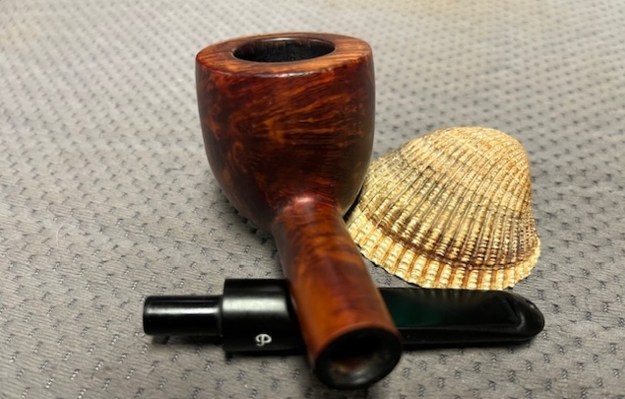
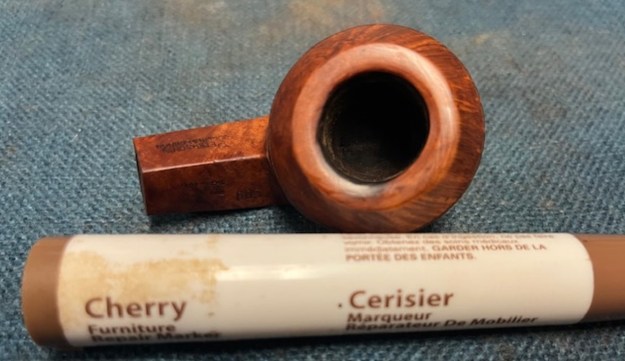
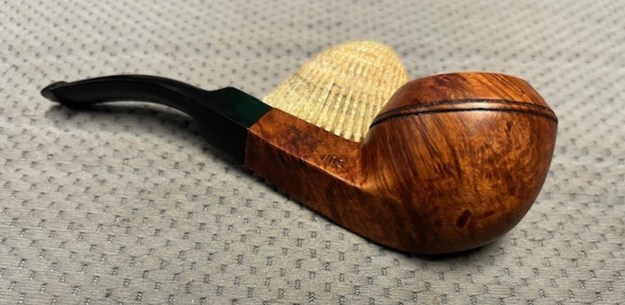
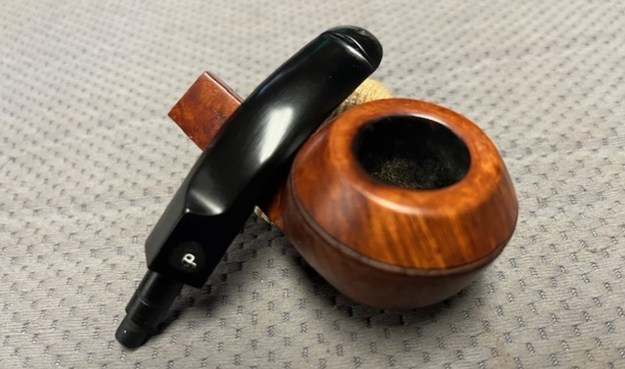
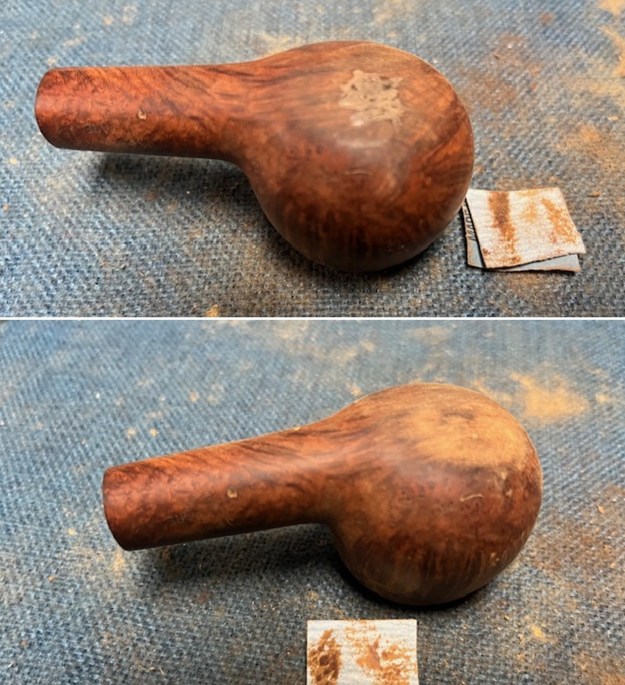
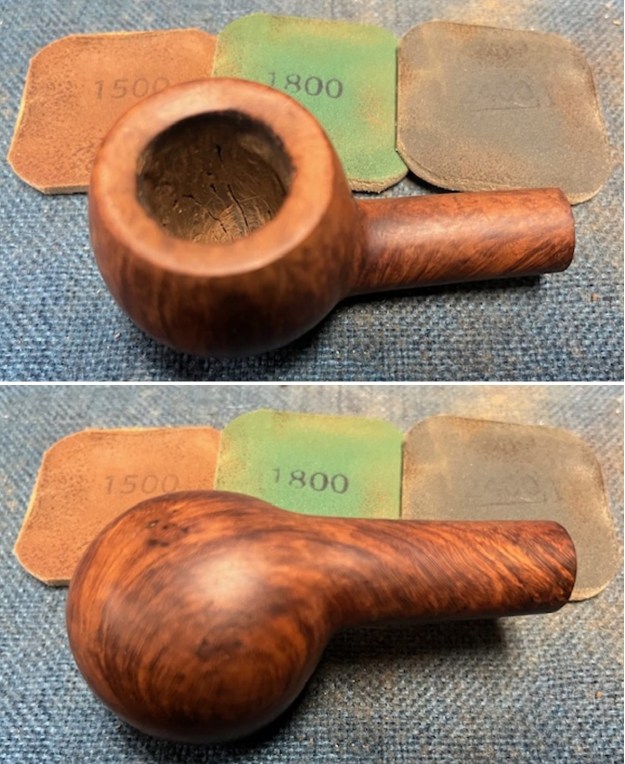
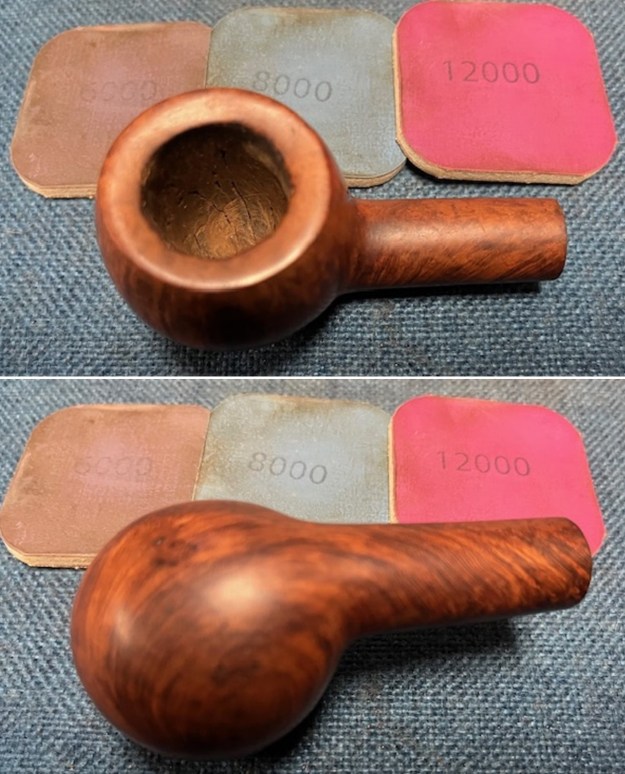
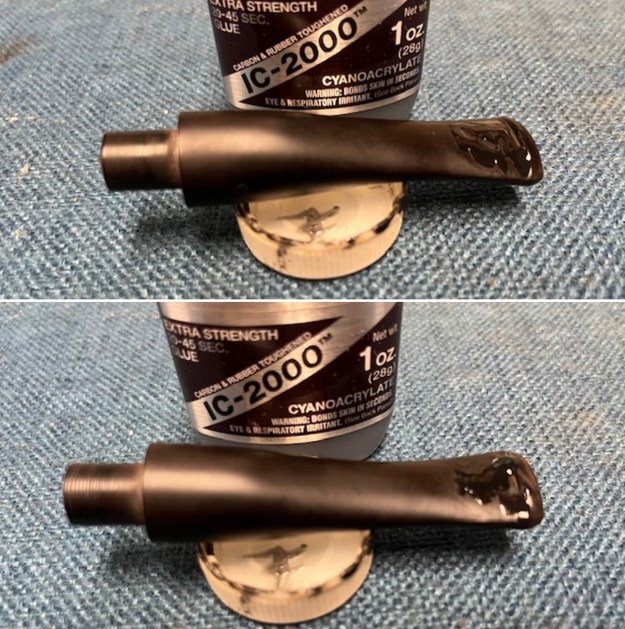
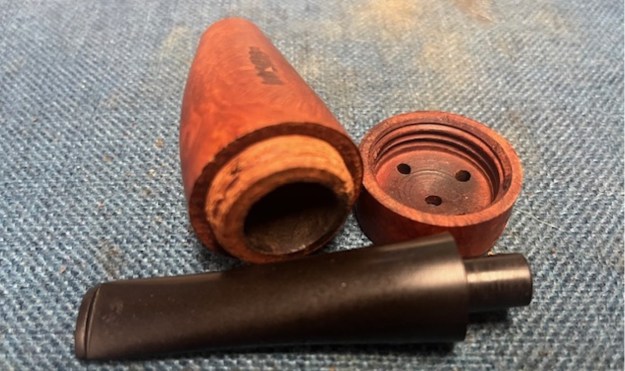 I took a photo of the threads around end of the pipe with the cap removed. The threads are in great conditon. You can also see the putty in the rusticated patterns on the bowl sides. It is a unique looking pipe.
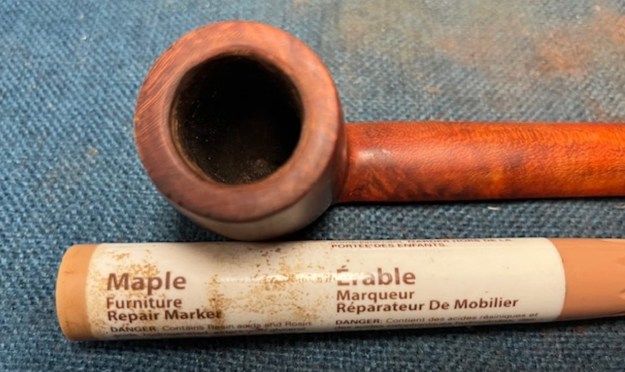
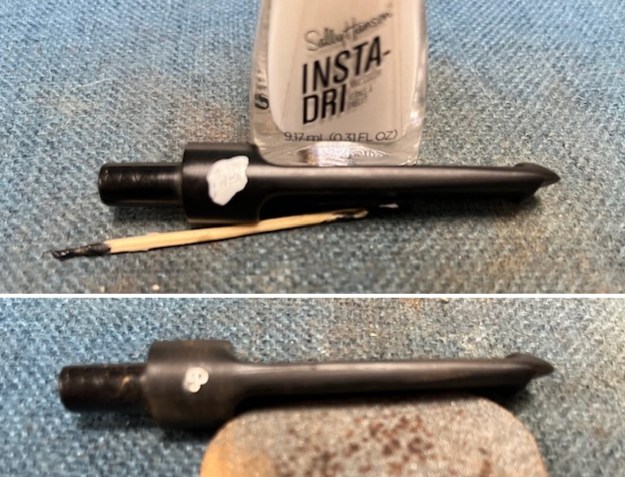
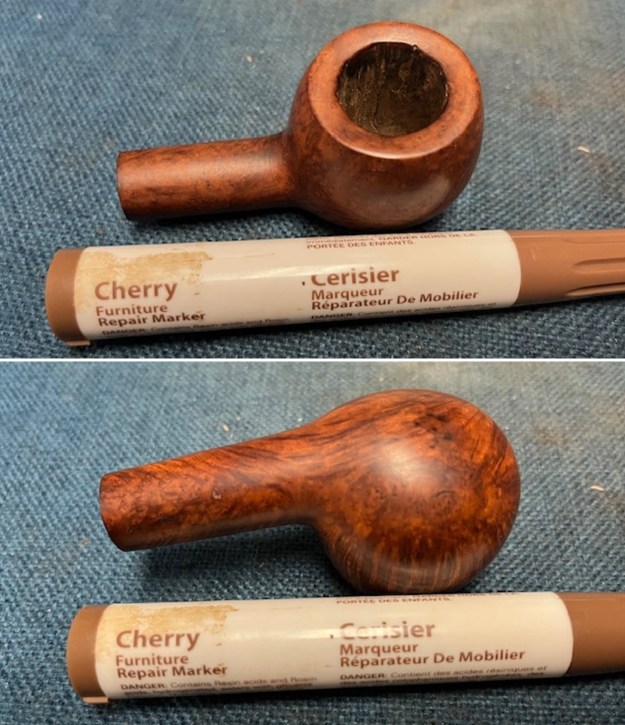
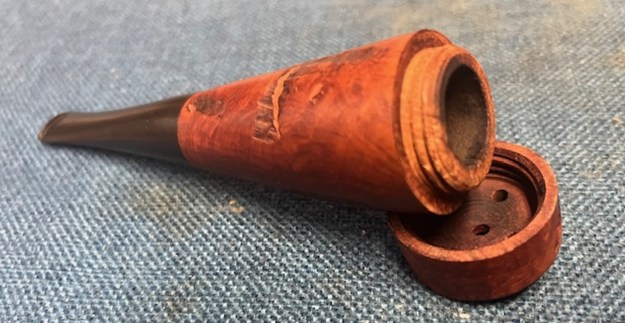 I used a Black Sharpie Pen to touch up the putty fills in the rusticated portions on the pipe. It blended in quite well.
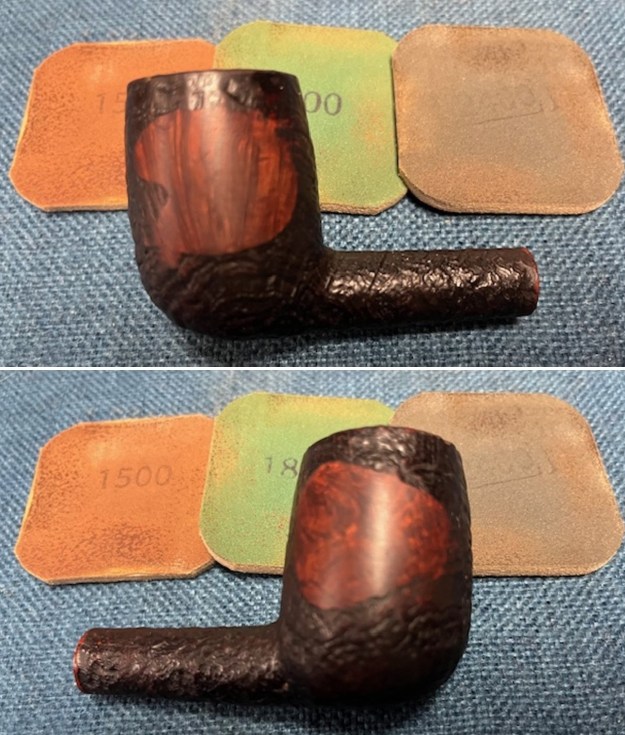
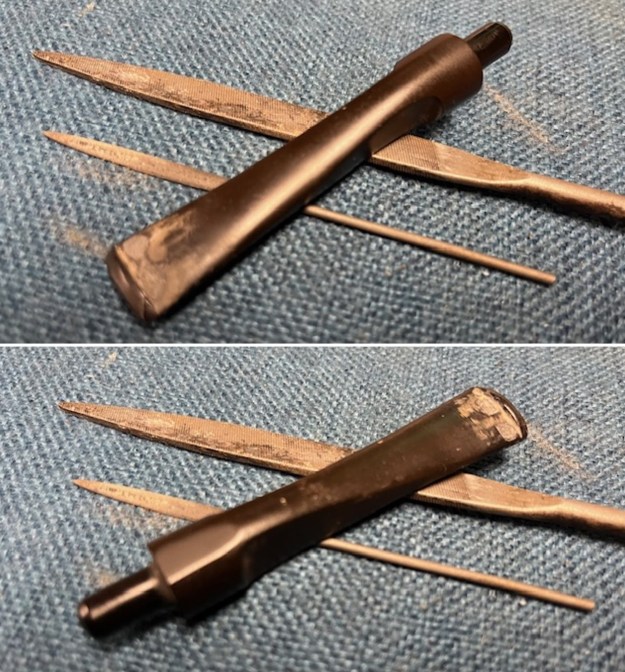
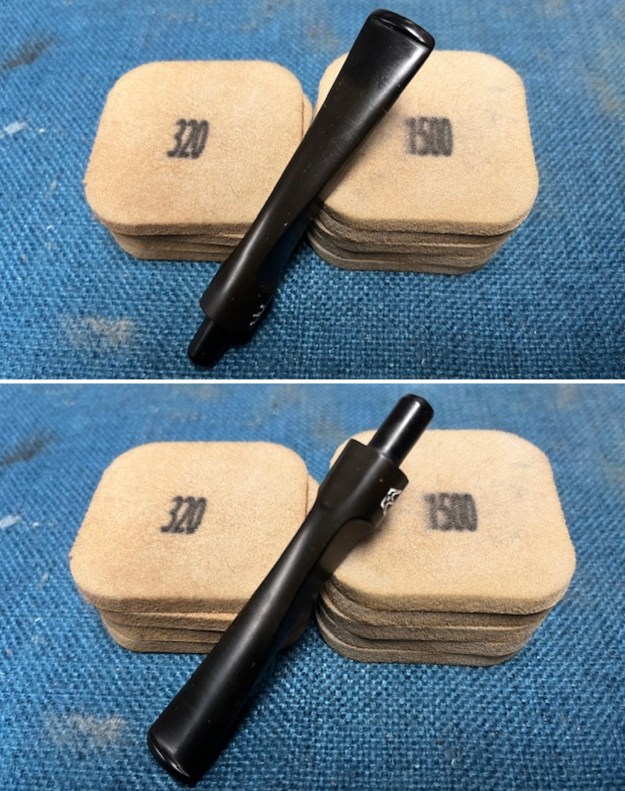
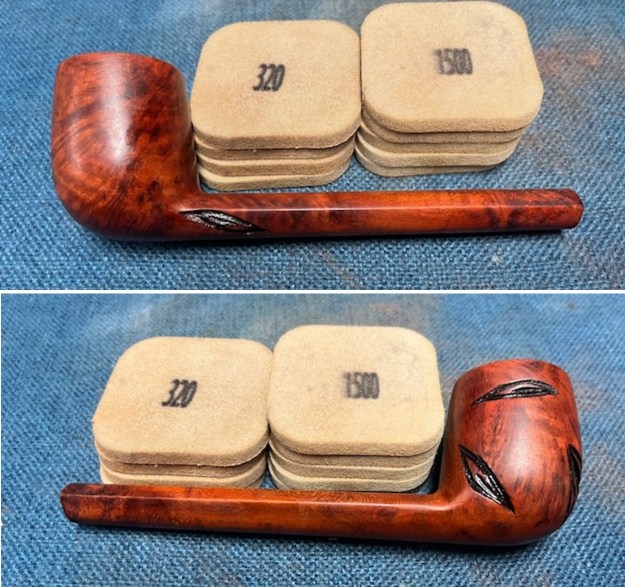
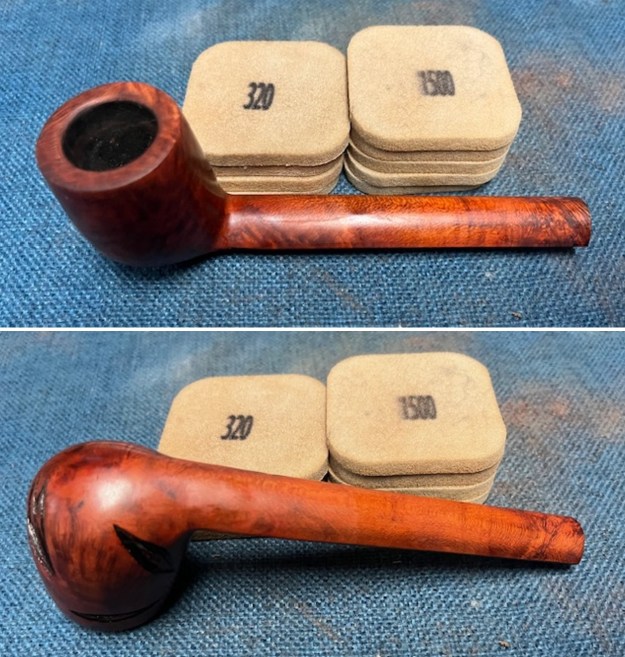
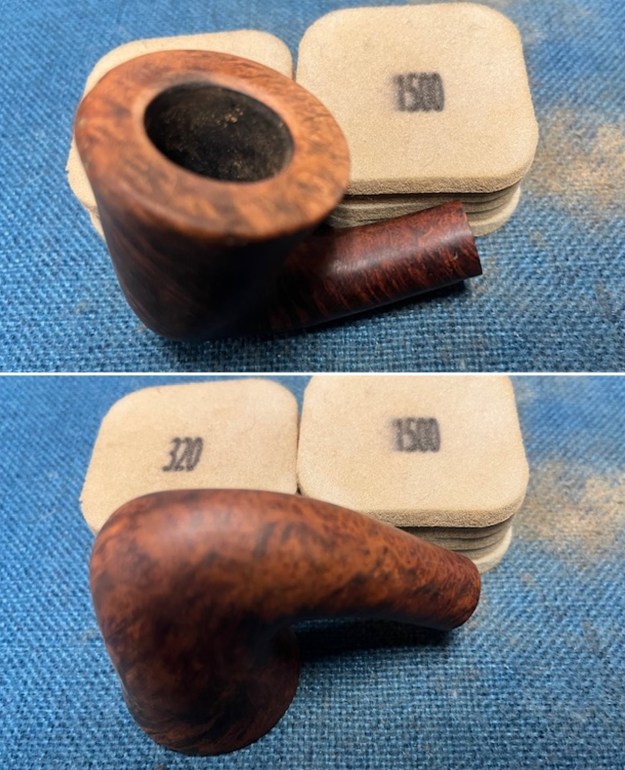
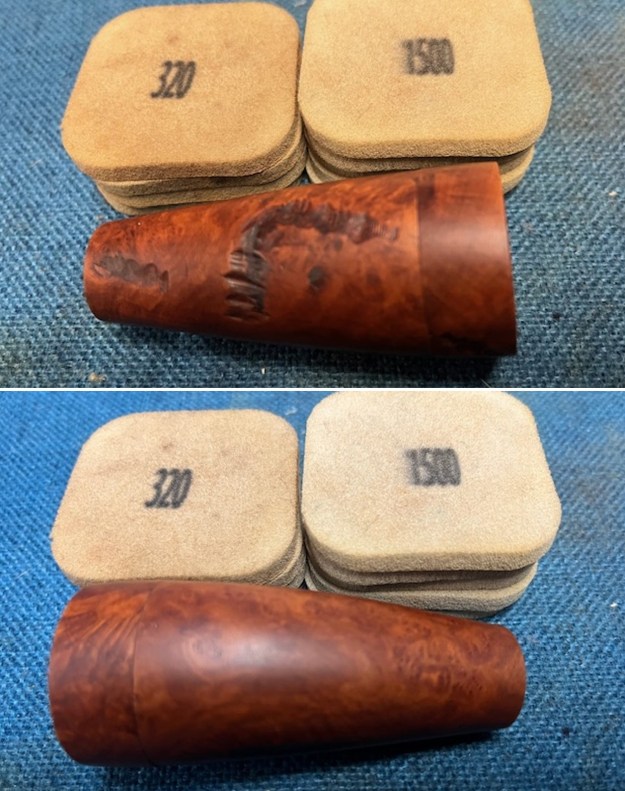
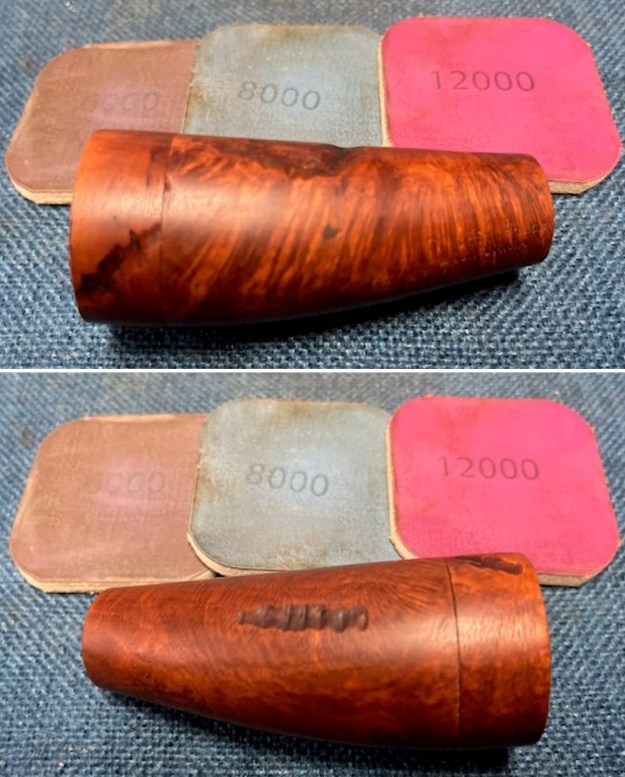
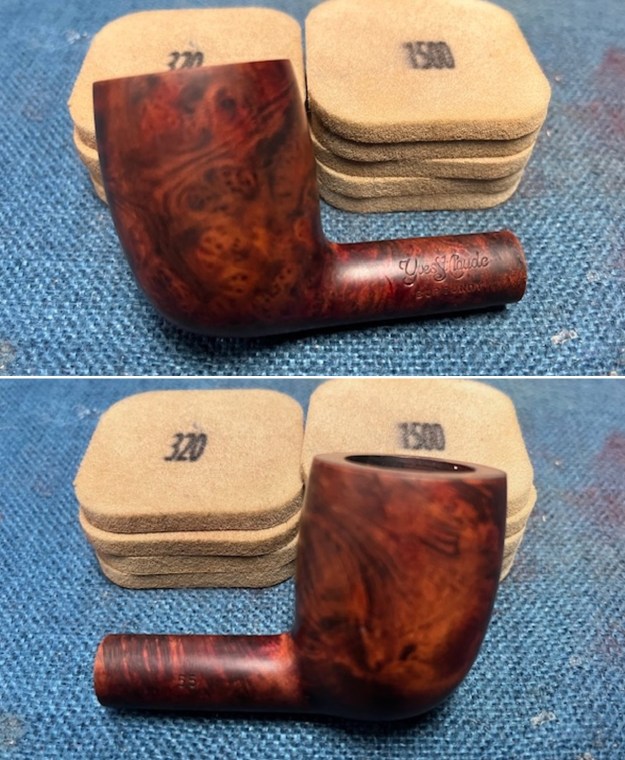
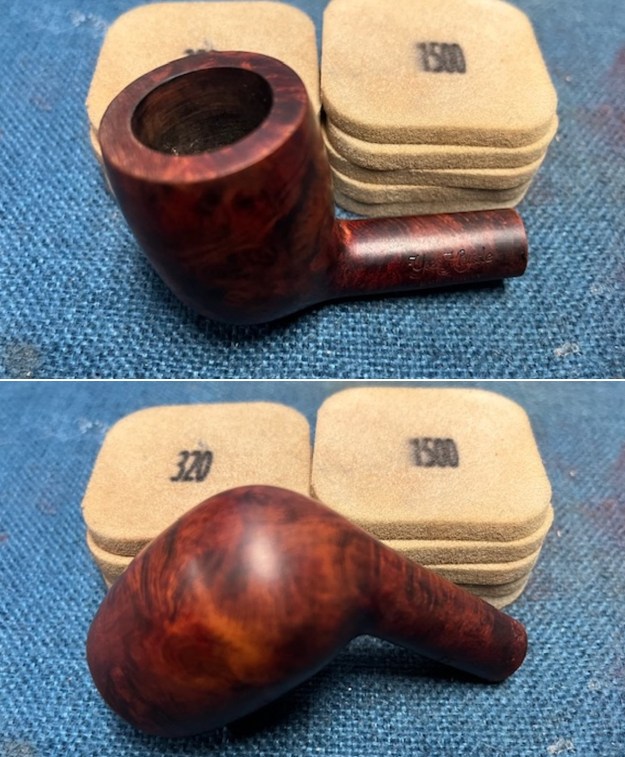
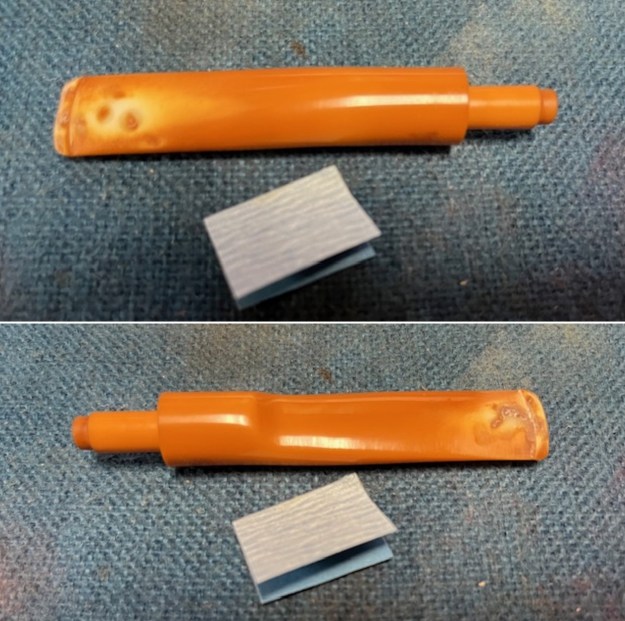
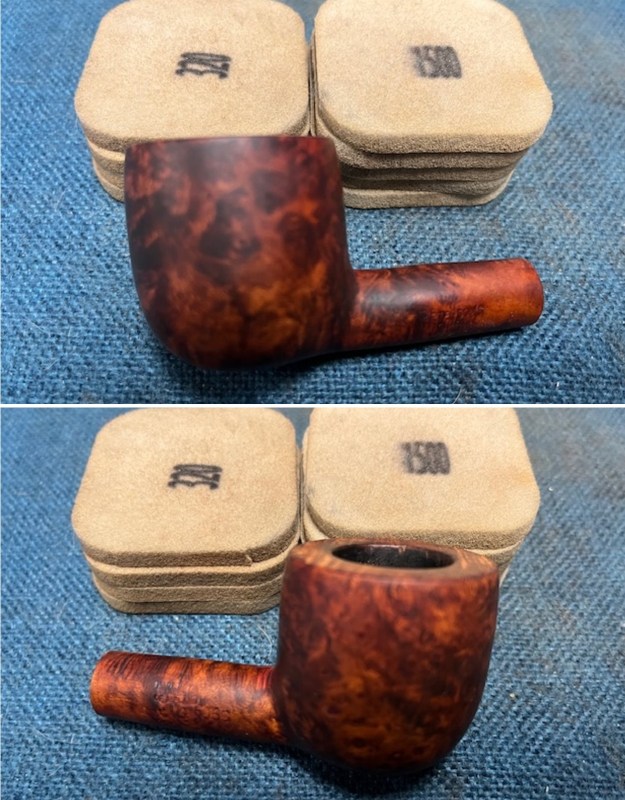
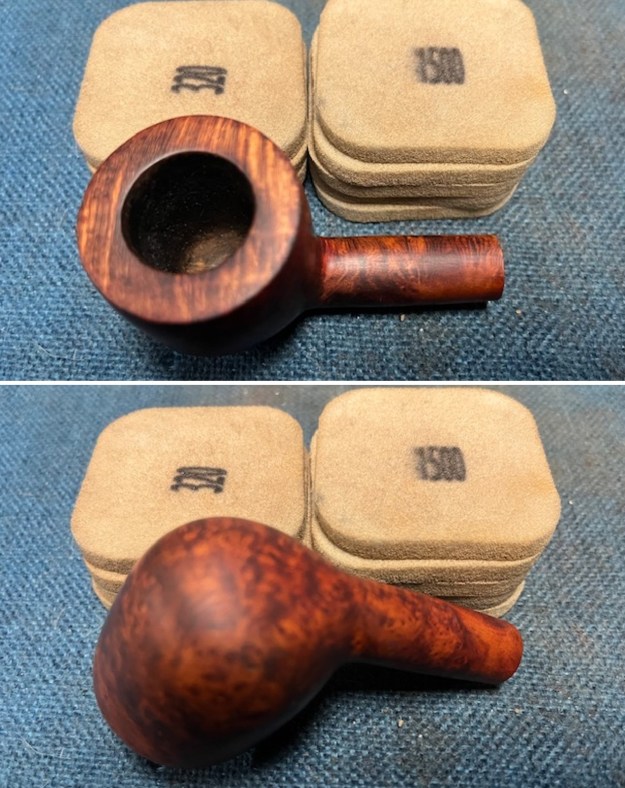
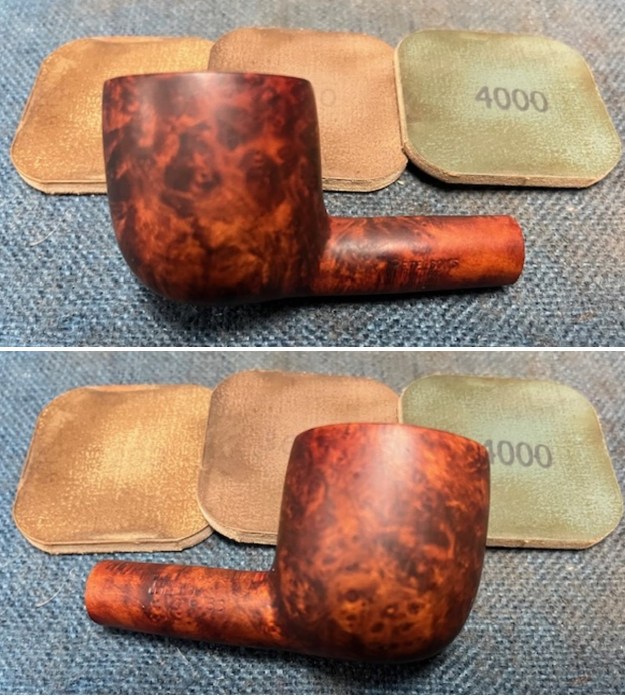
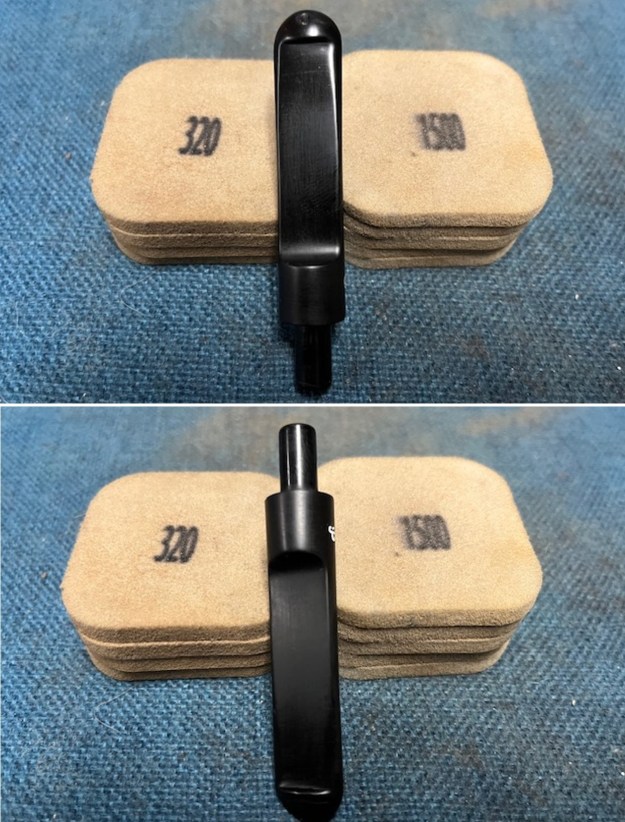
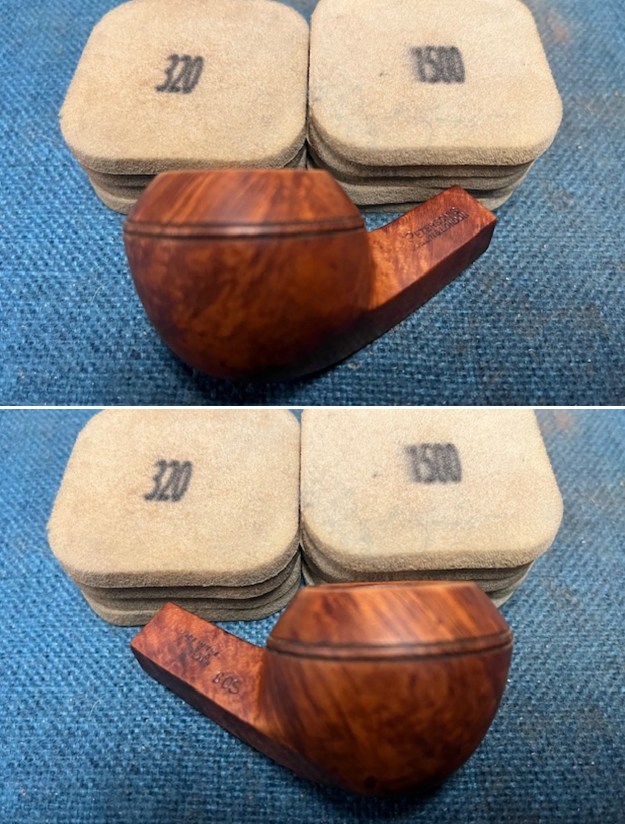
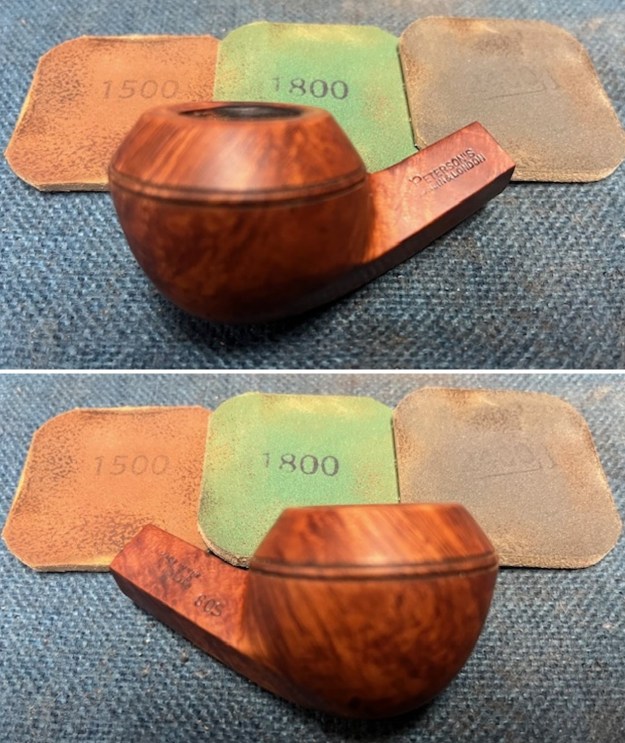
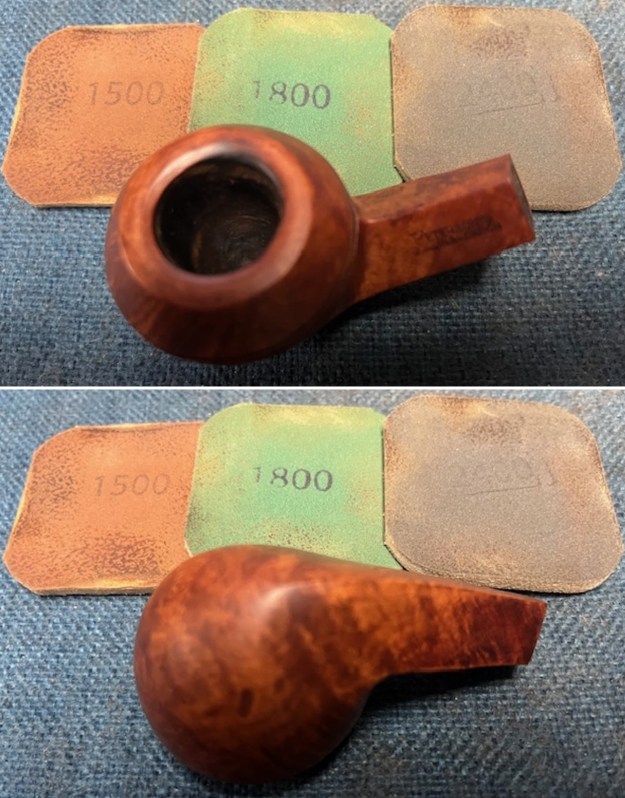
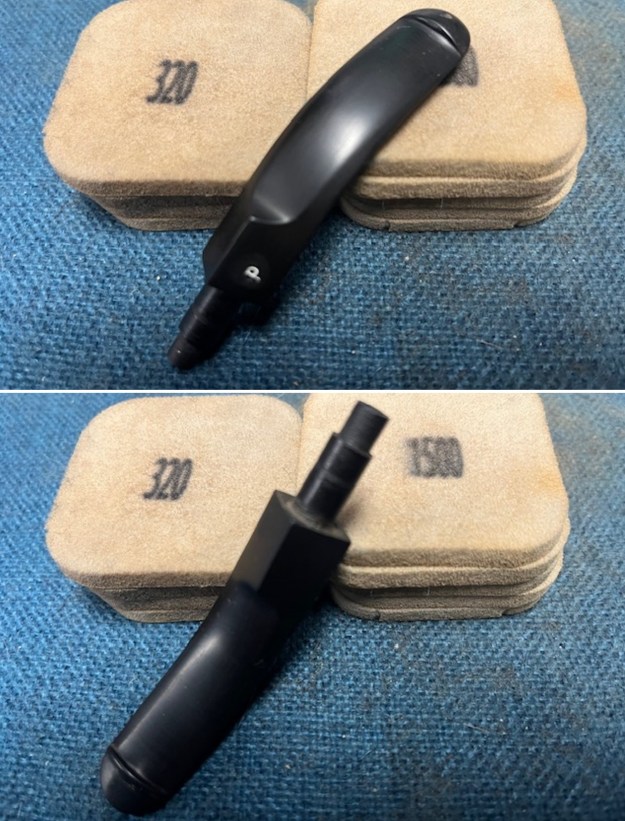
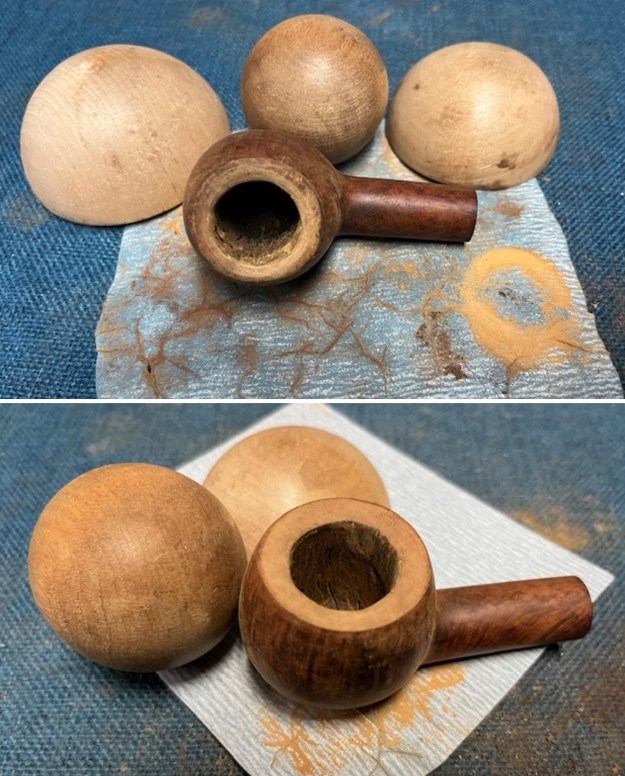
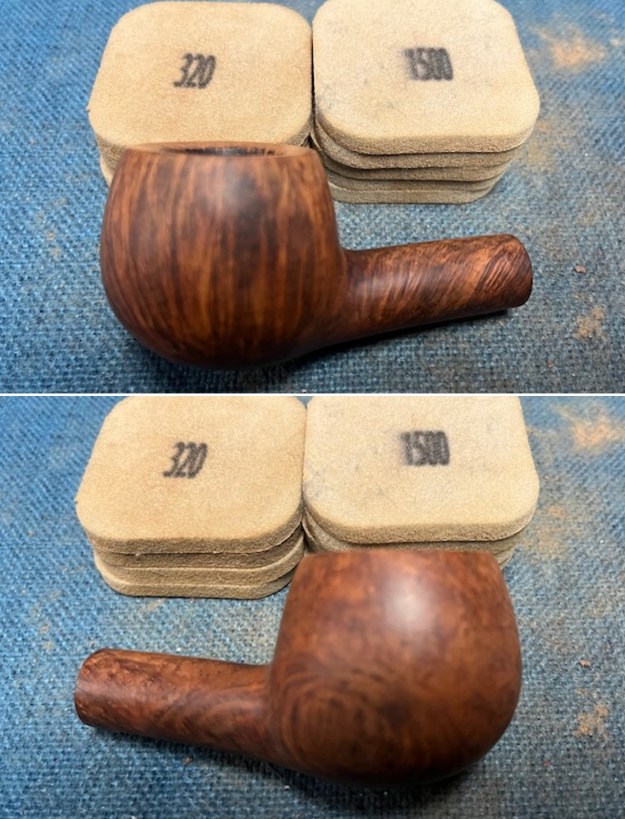
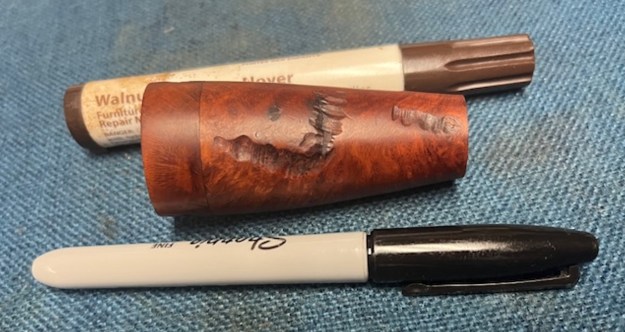 I sanded the briar with 320-3500 grit 2×2 inch sanding pads. I carefully worked around the stamping on the shank side. I wiped it down after each pad with a damp cloth to remove the sanding debris. The sanding blended the black stain on the rustication into the surface and they looked very good.
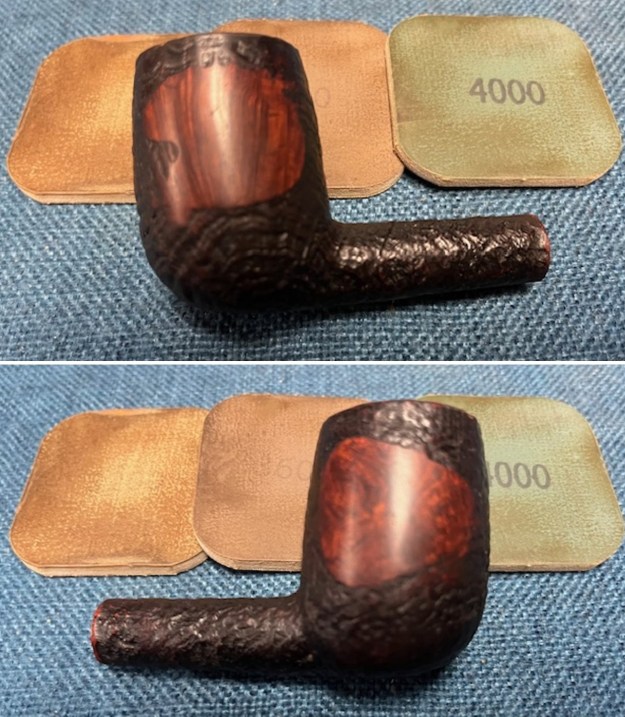
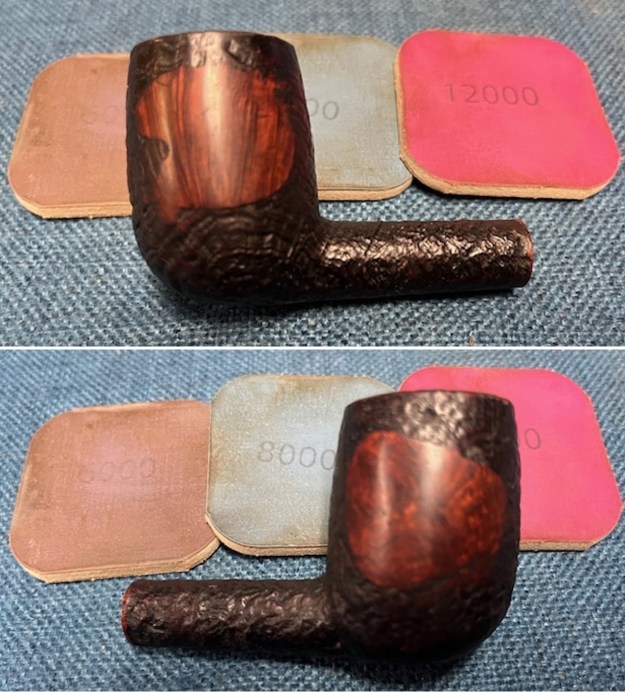
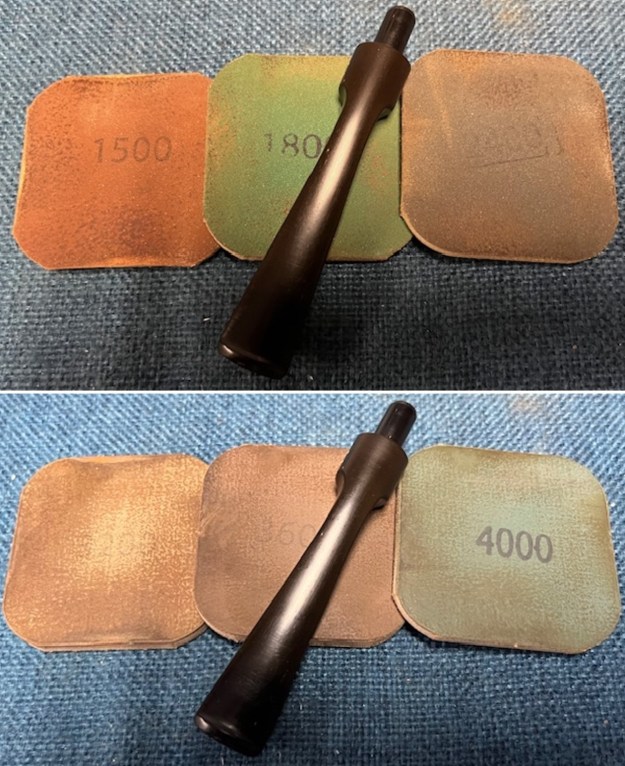
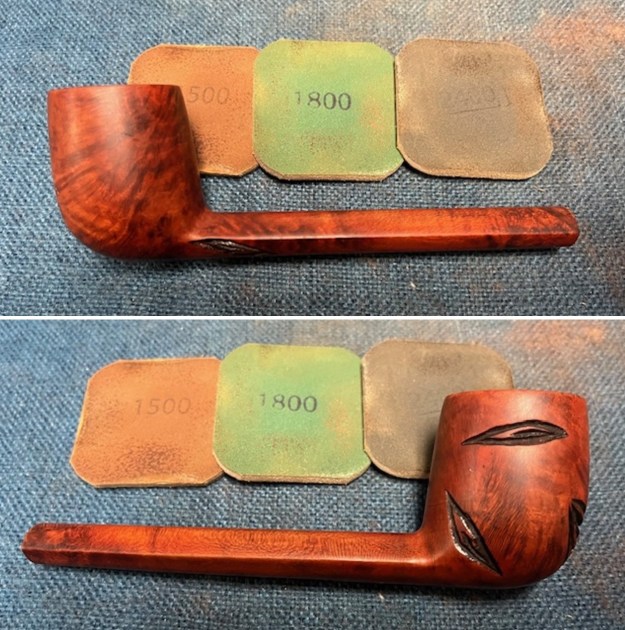
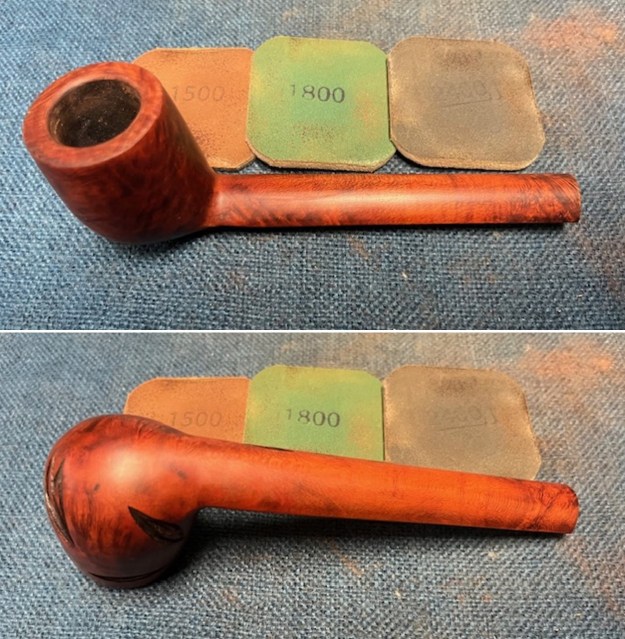
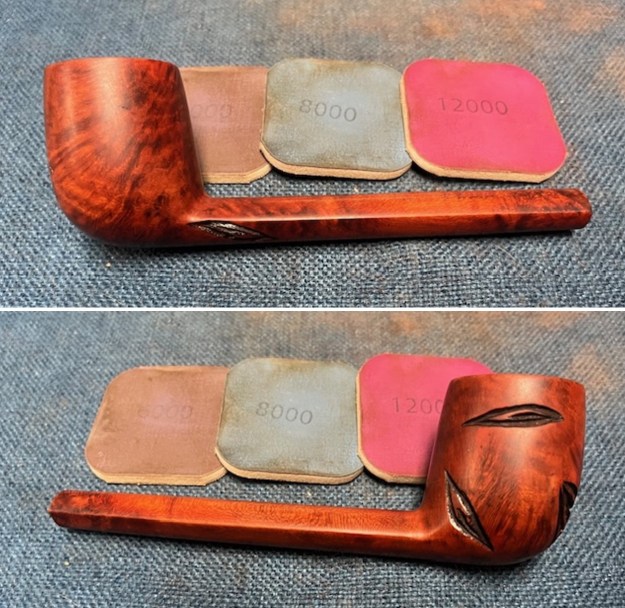
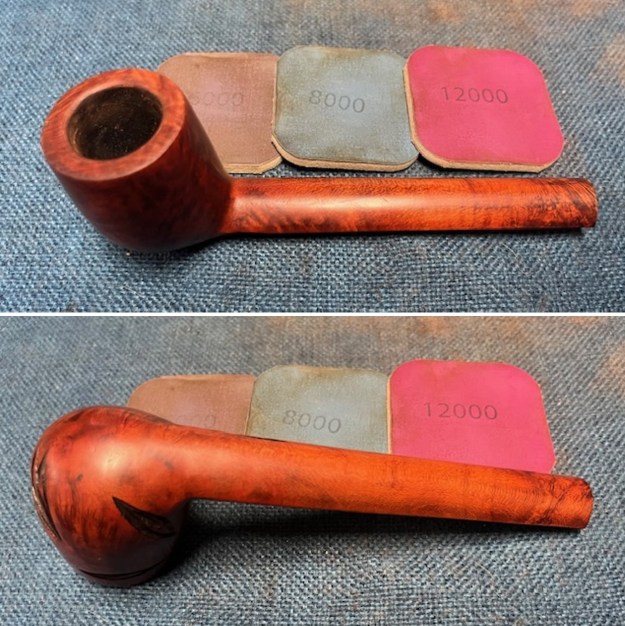
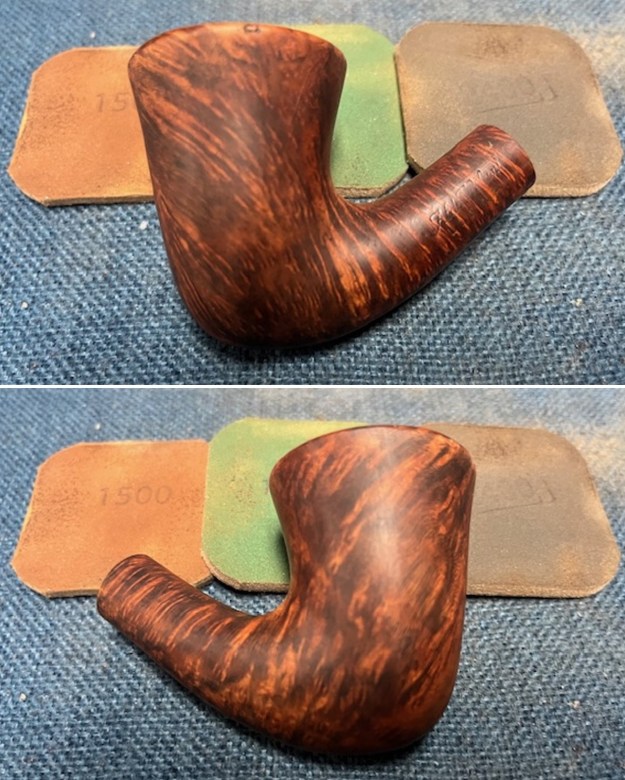
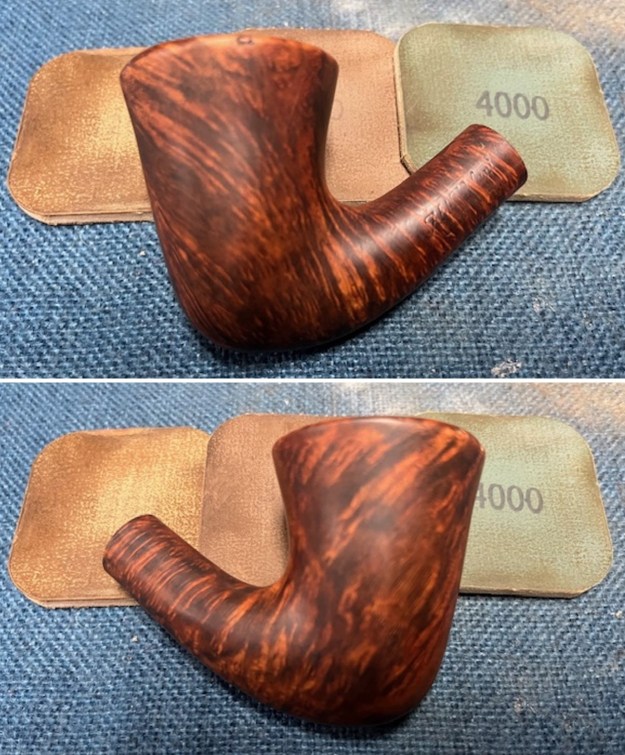
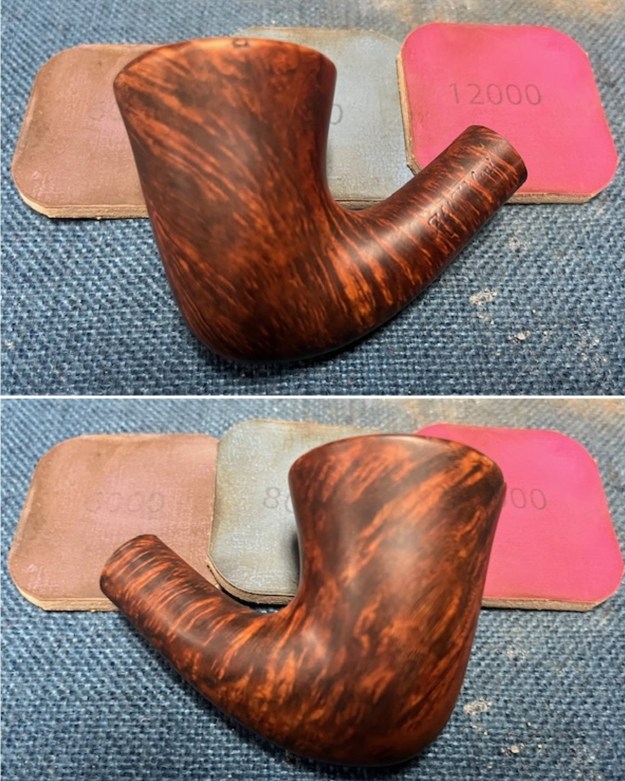
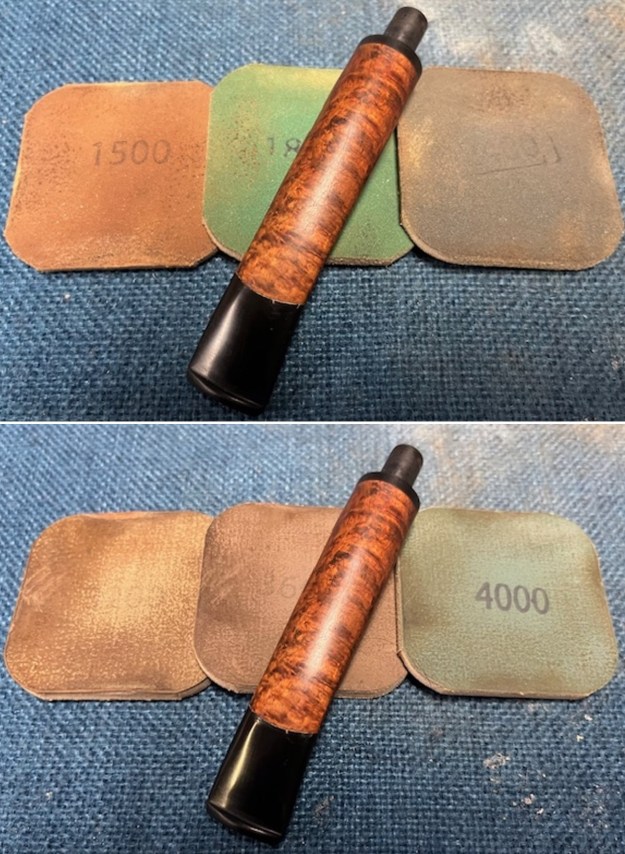
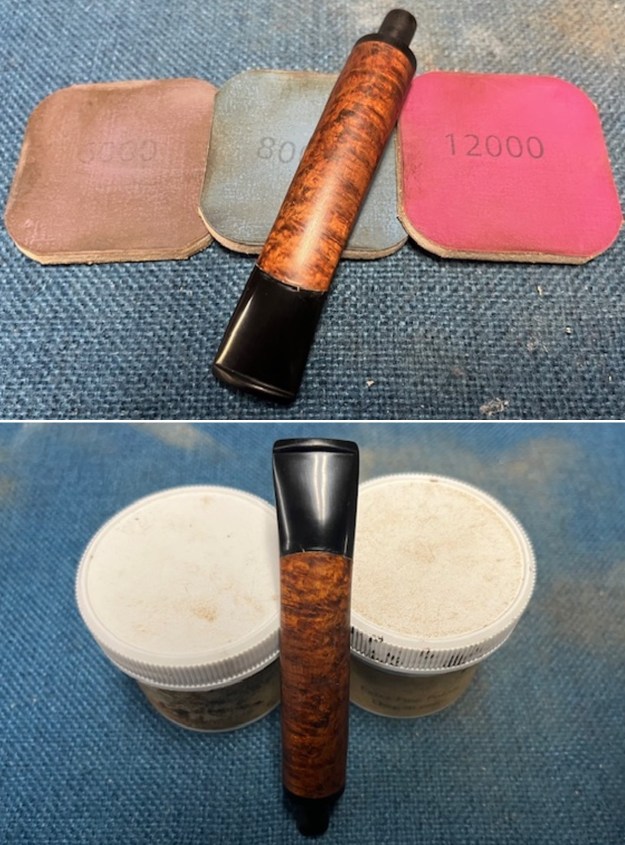
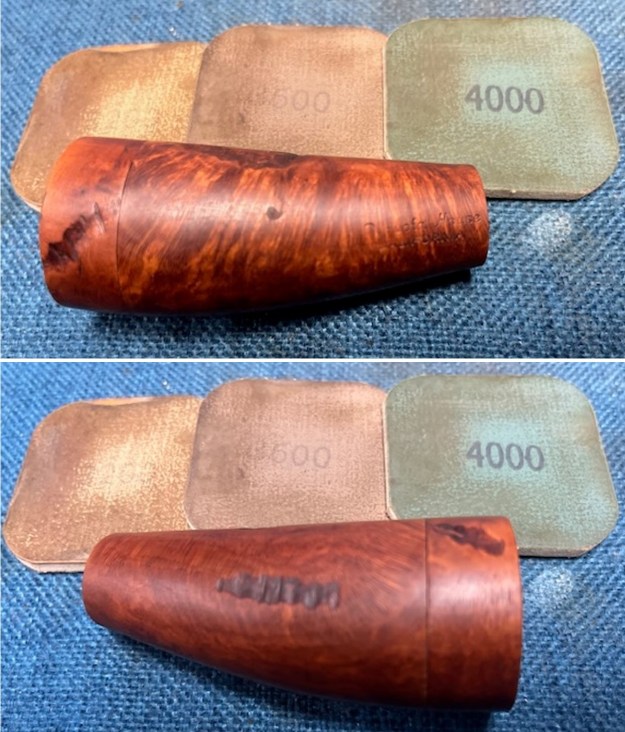
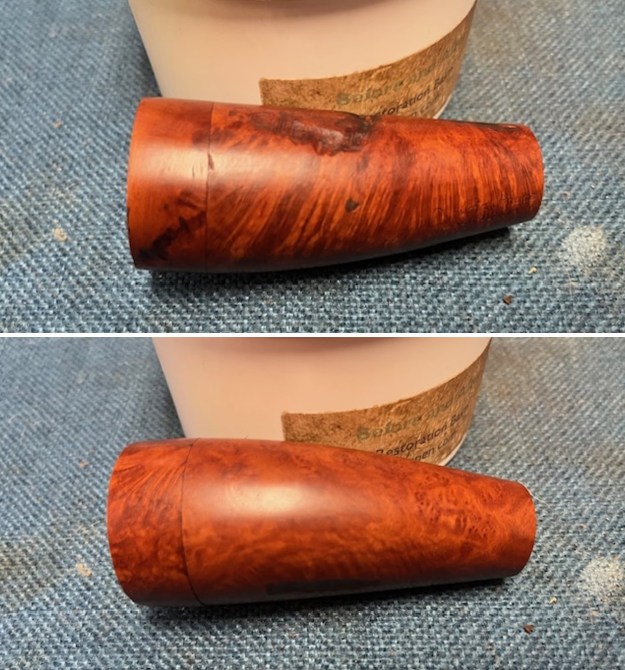
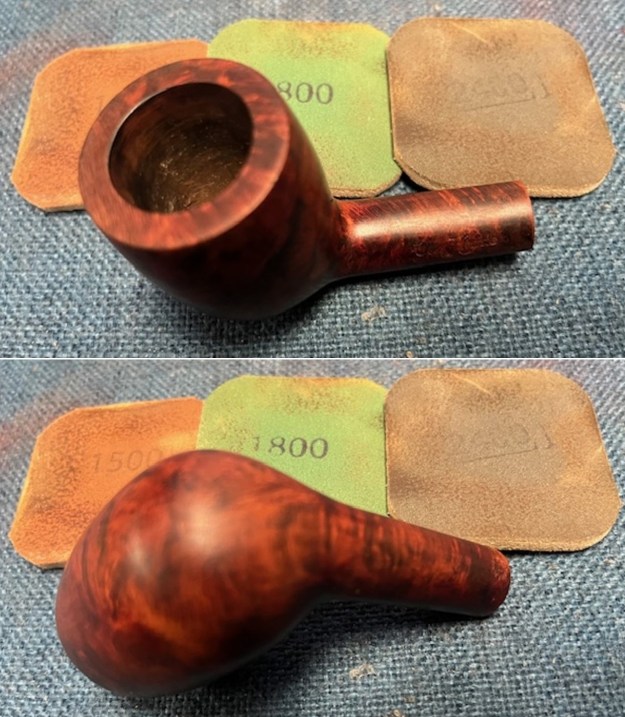
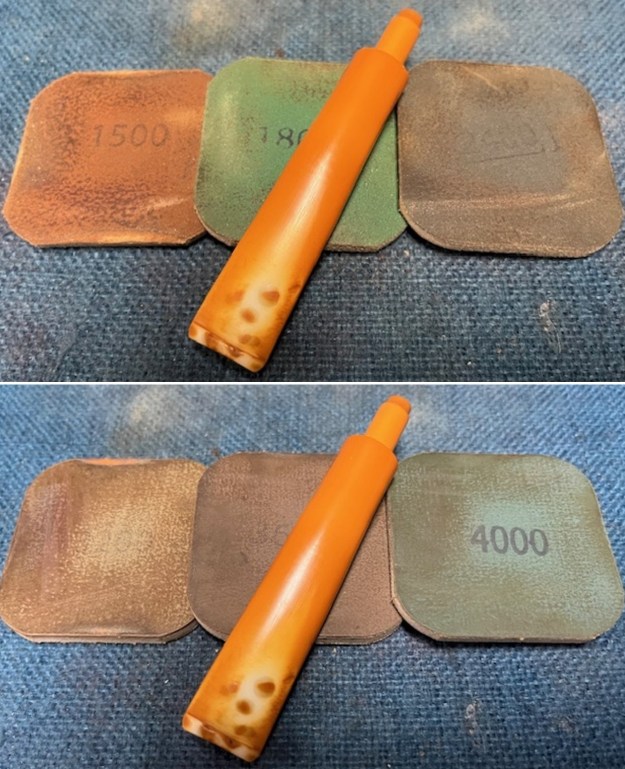
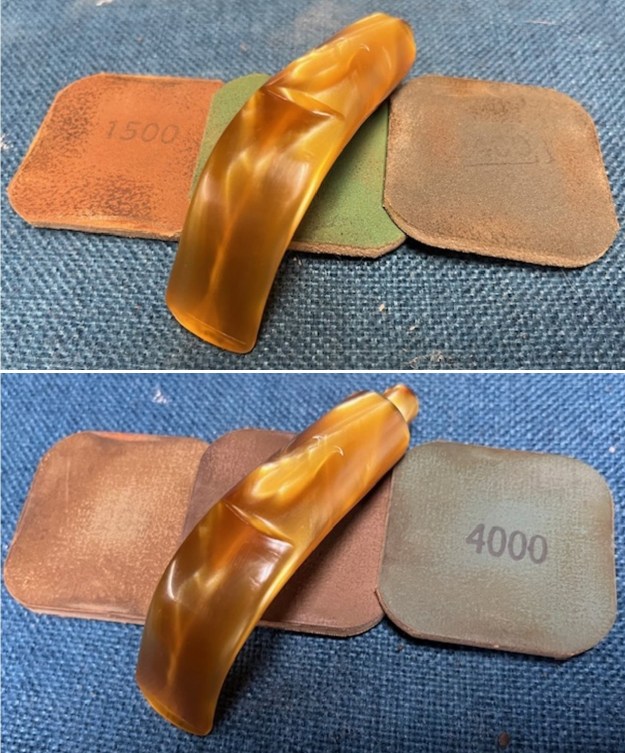
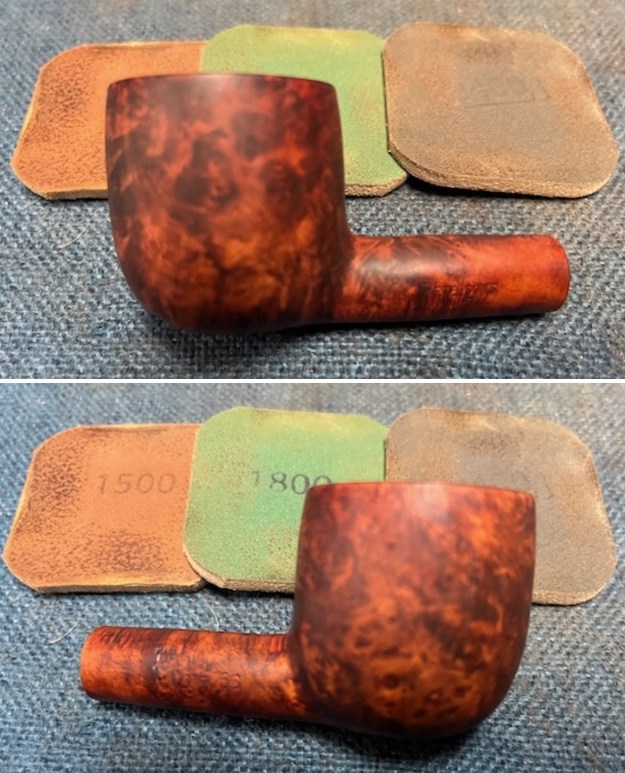
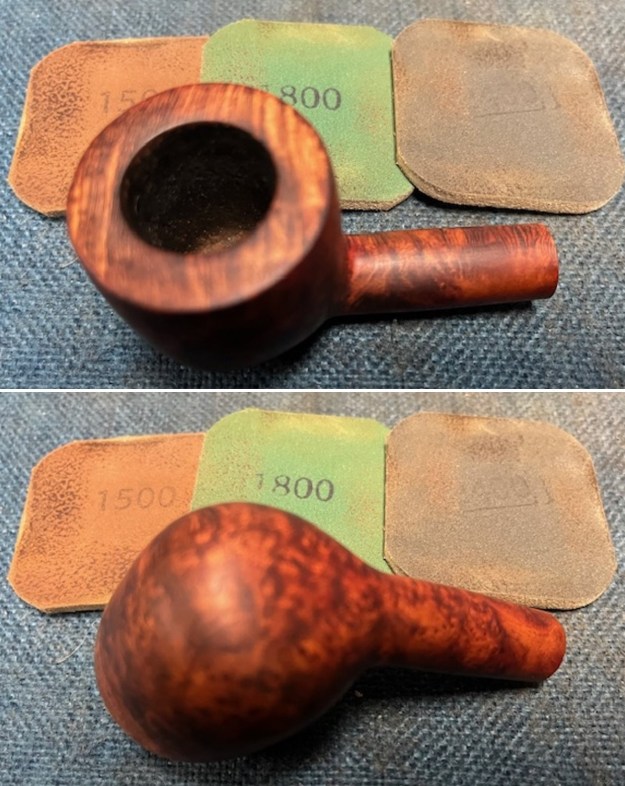
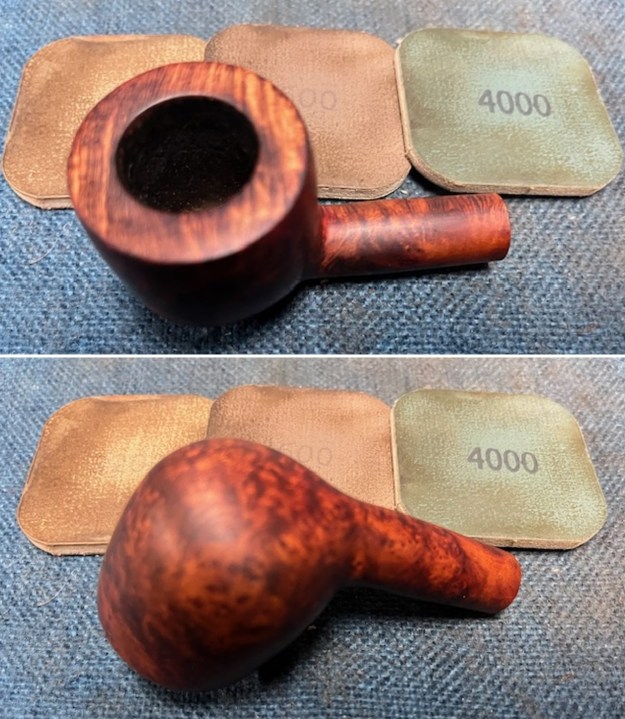
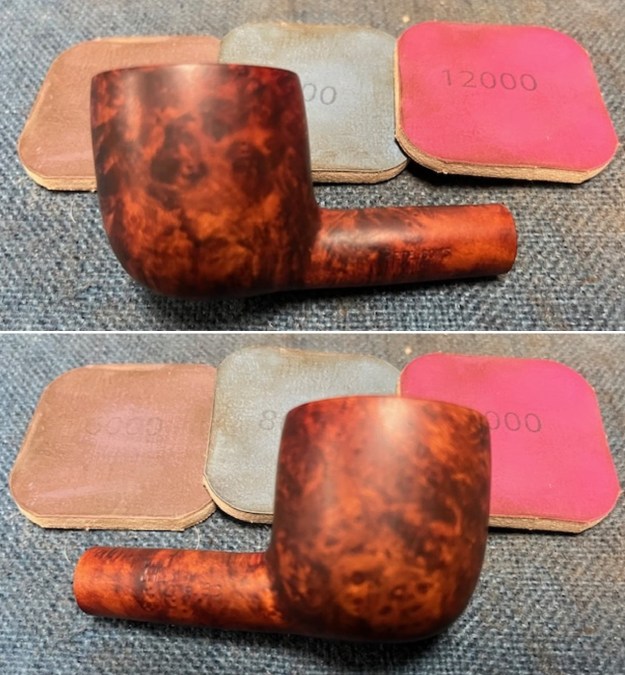
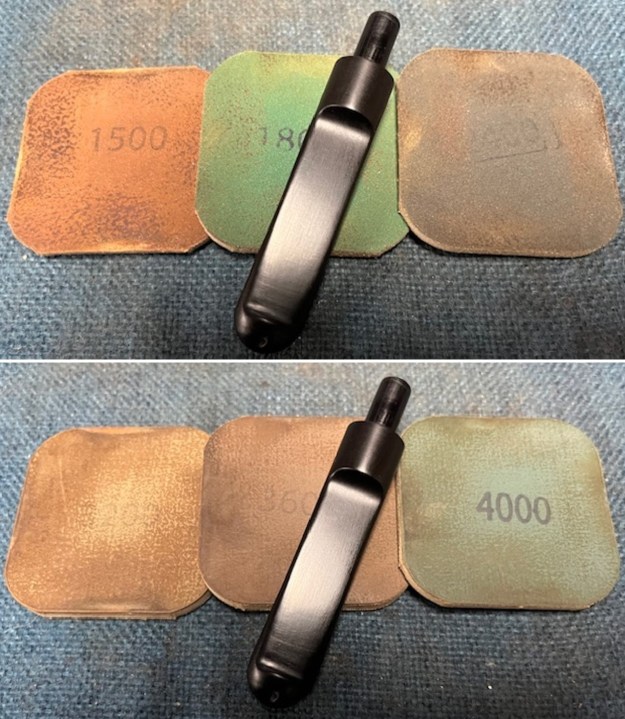
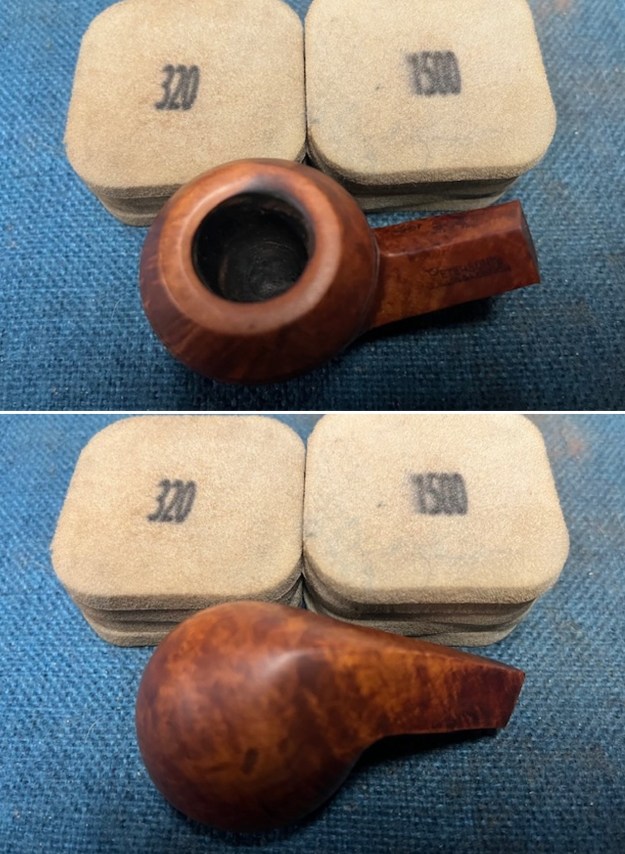
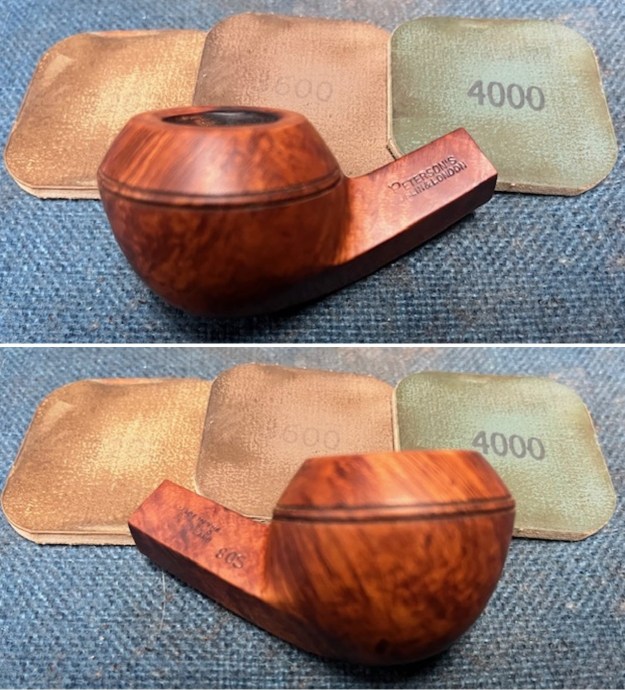
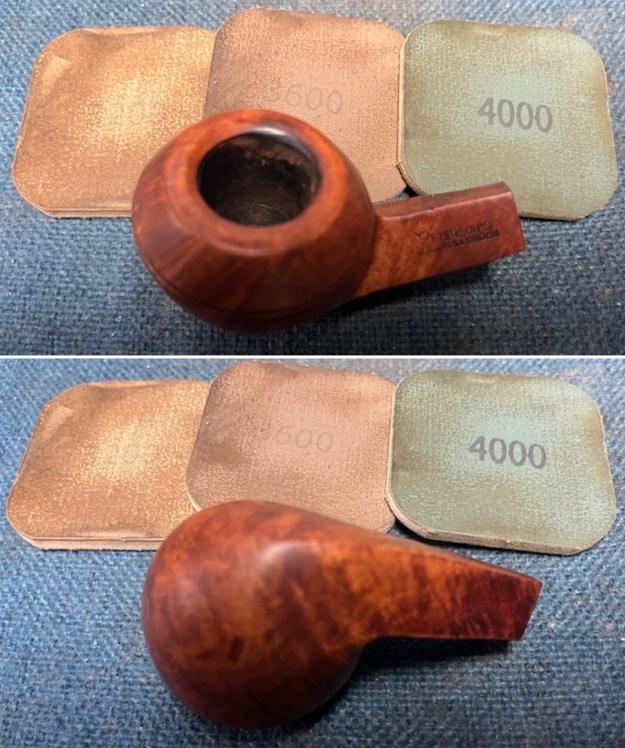
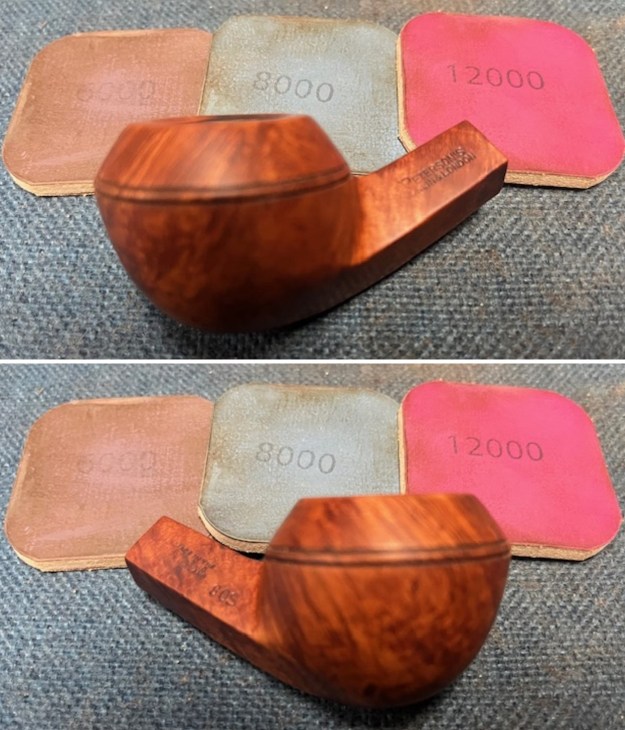
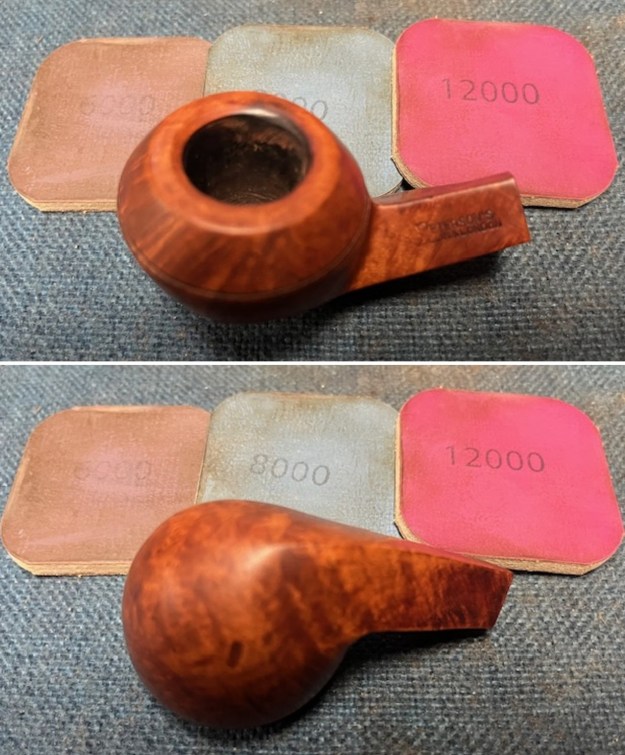
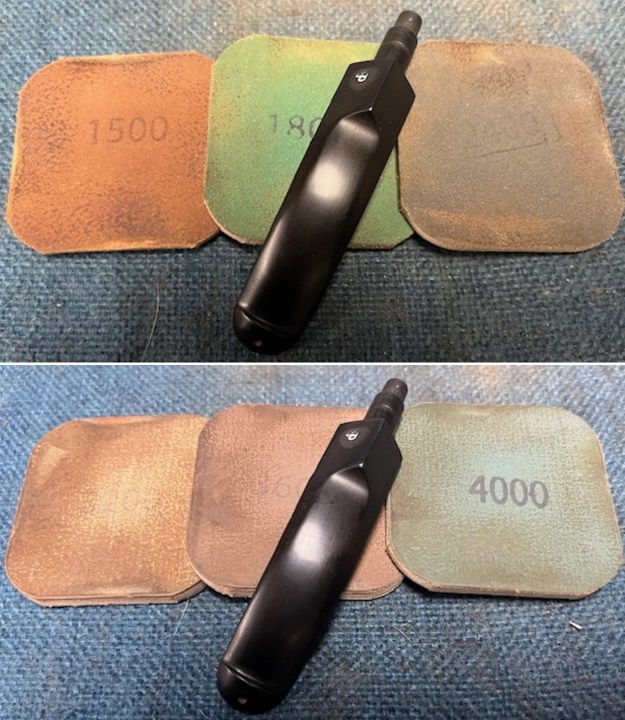
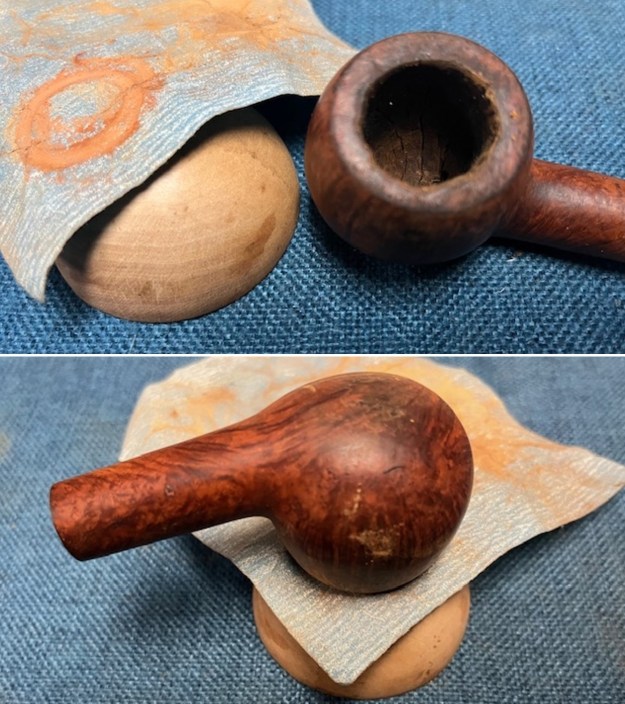
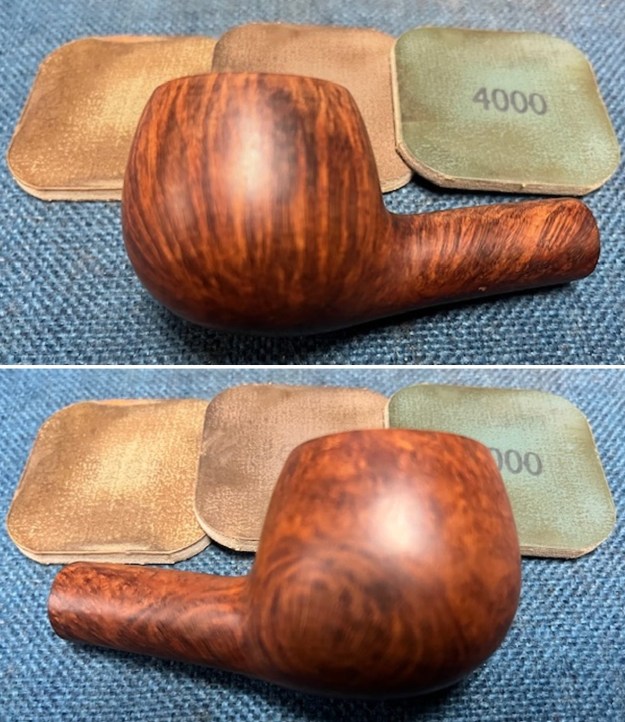
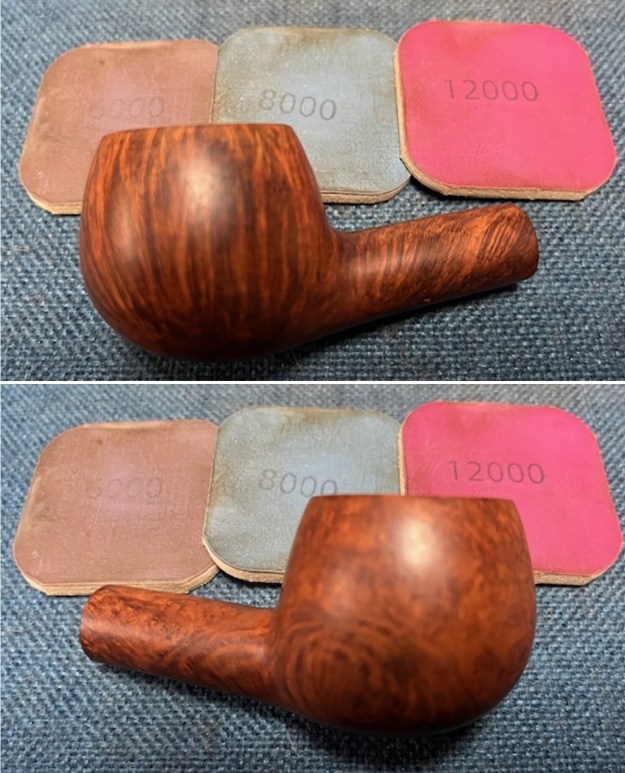
 I polished the rim cap and bowl sides with micromesh sanding pads – I dry sanded the briar with 1500-12000 grit sanding pads. I wiped the bowl down with a damp cloth after each sanding pad to remove the debris. It really took on a rich shine.
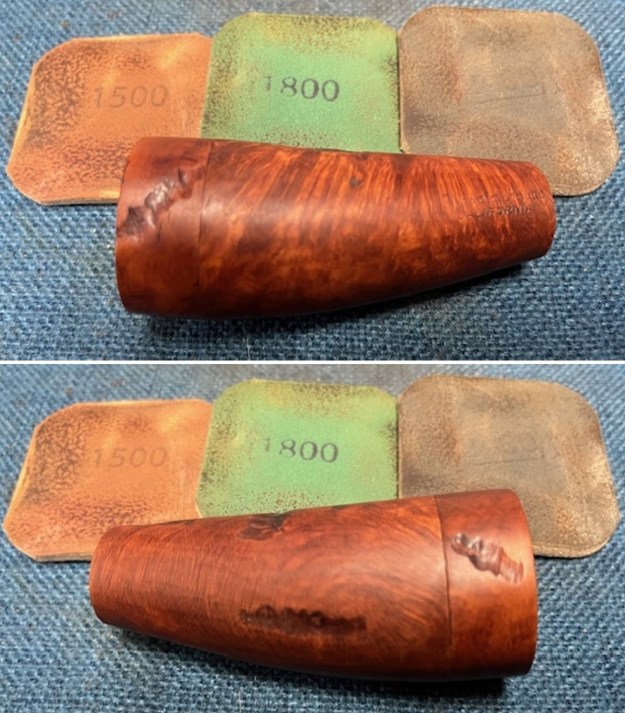

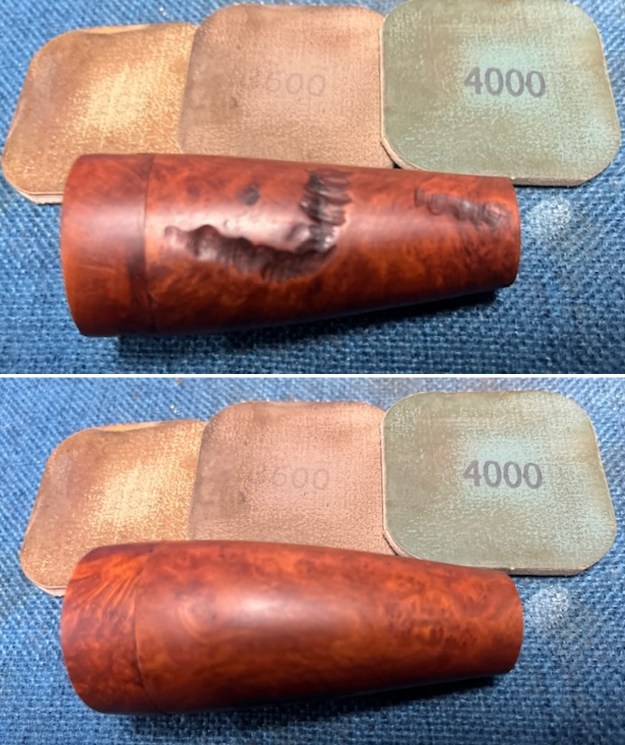
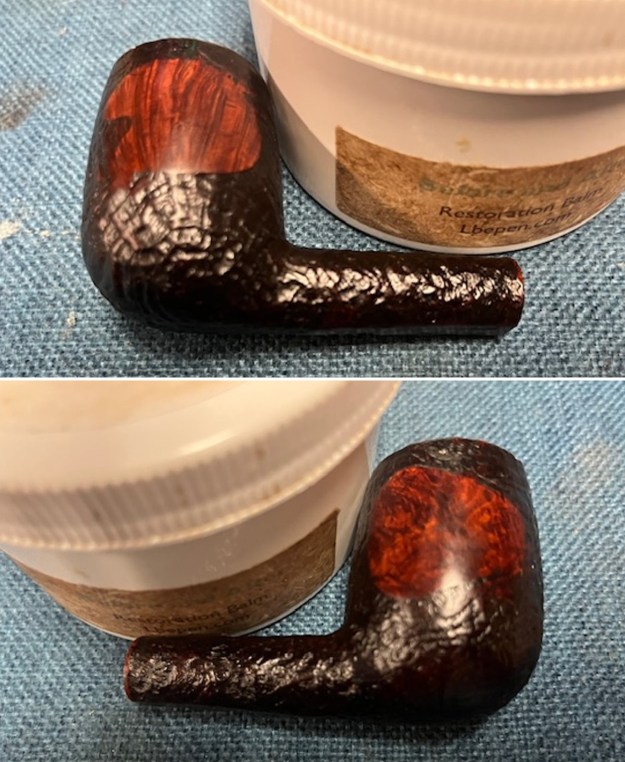
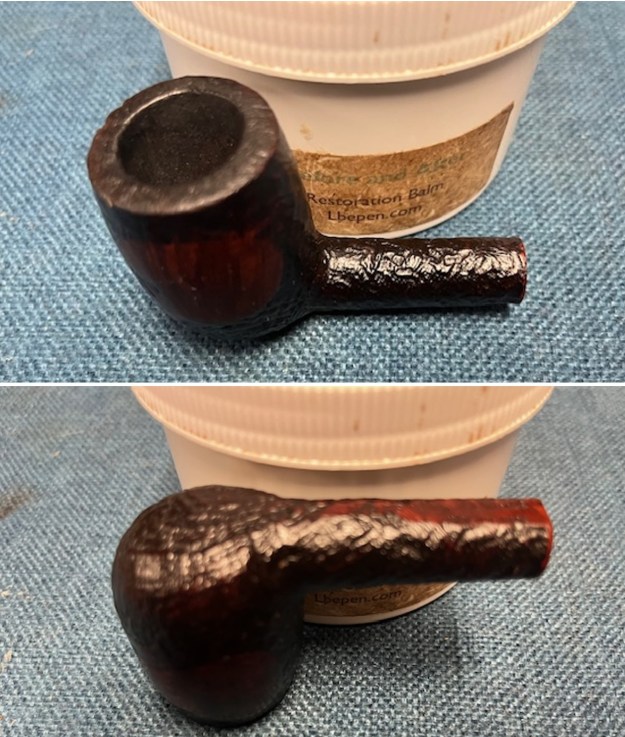
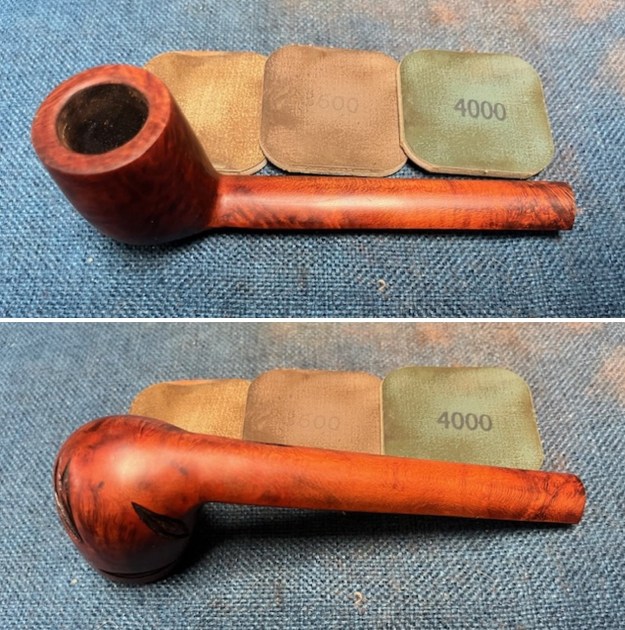
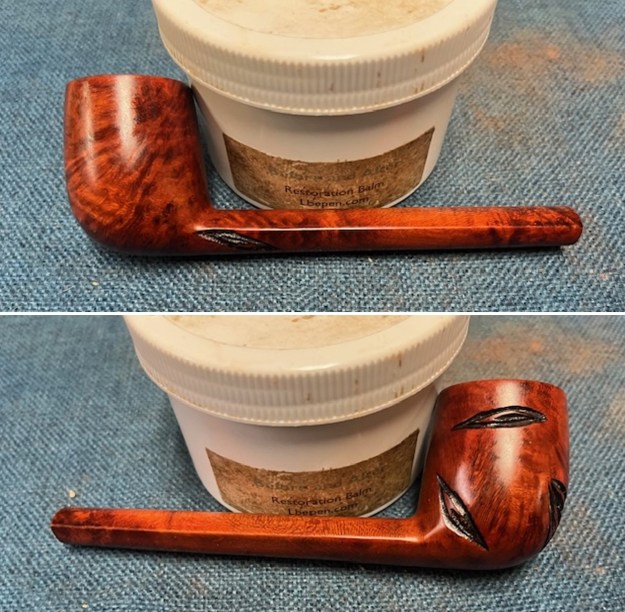
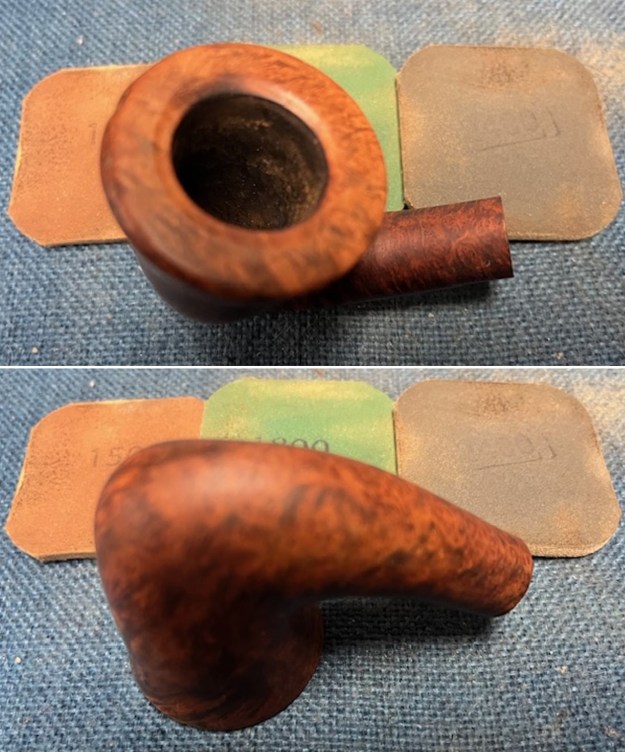
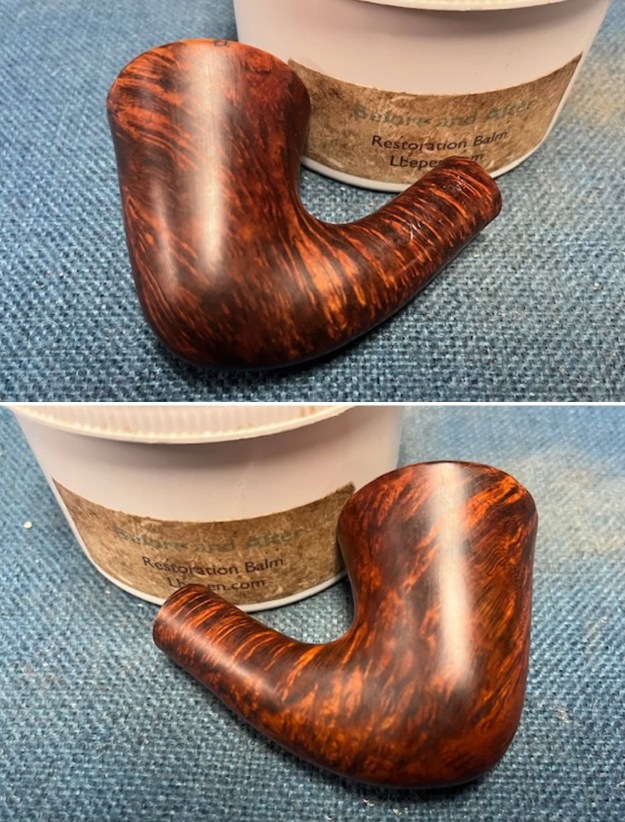
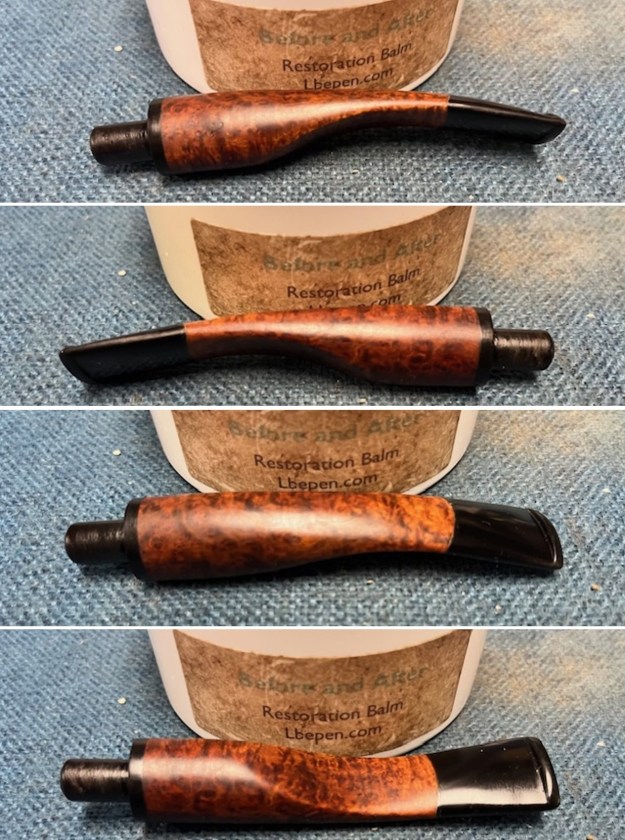
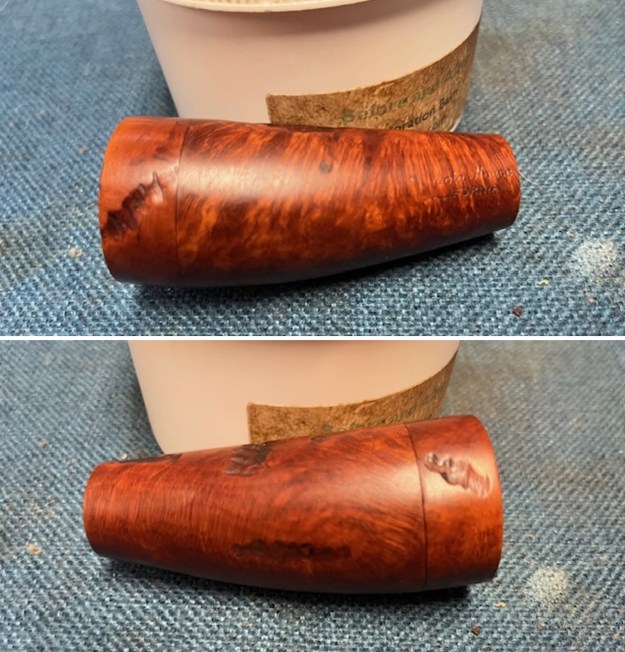
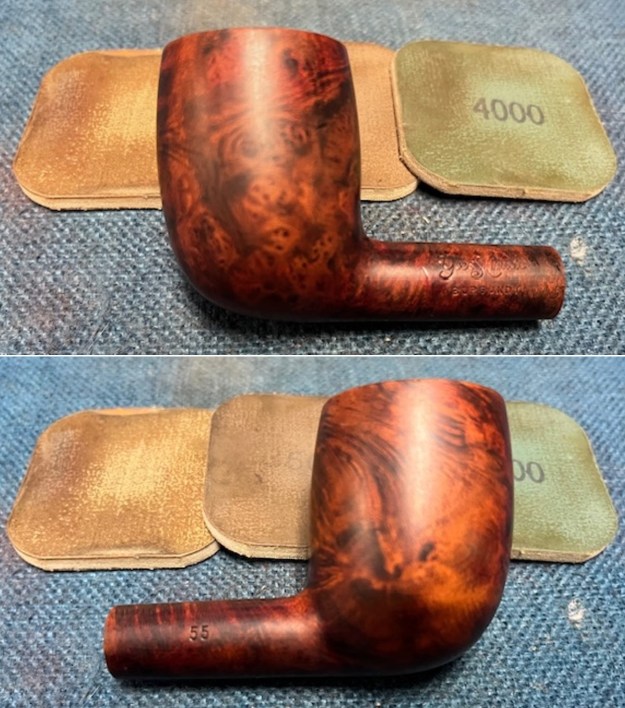
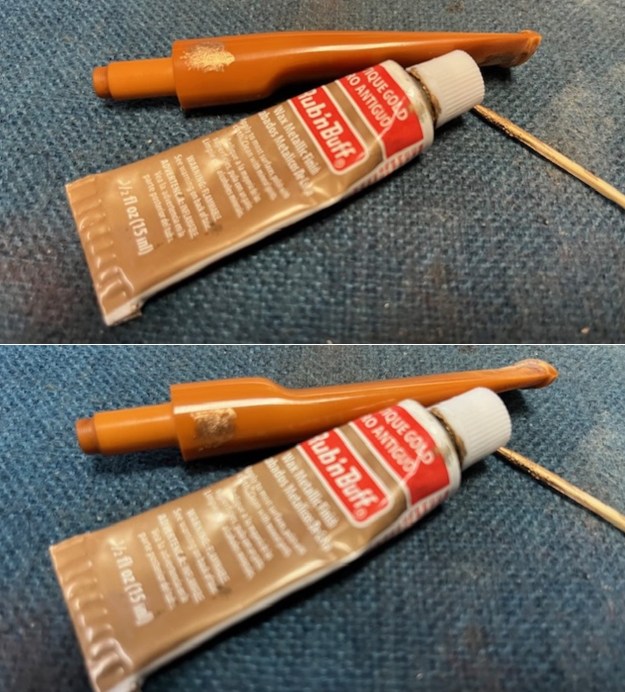
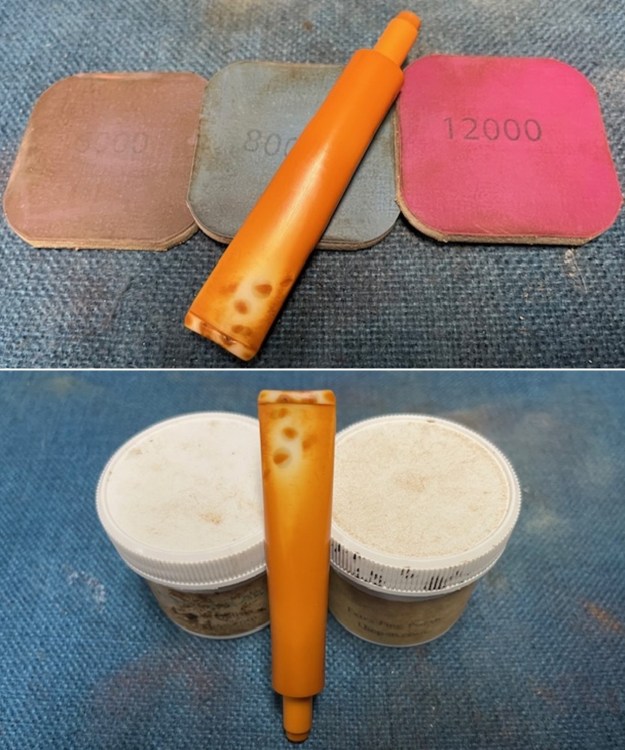
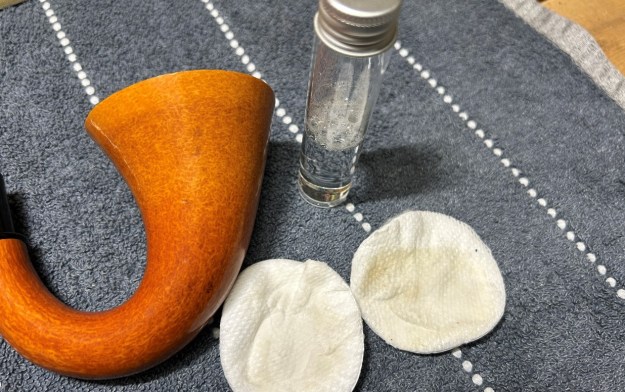
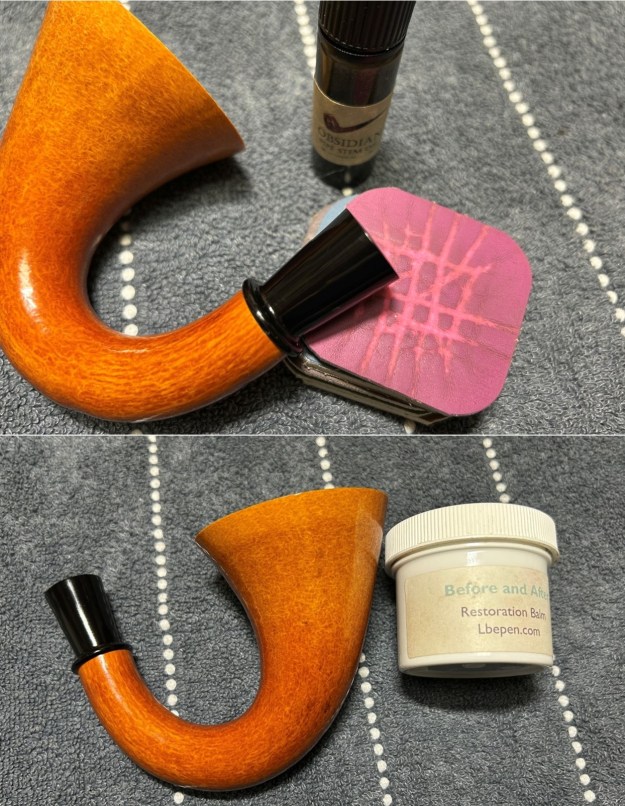
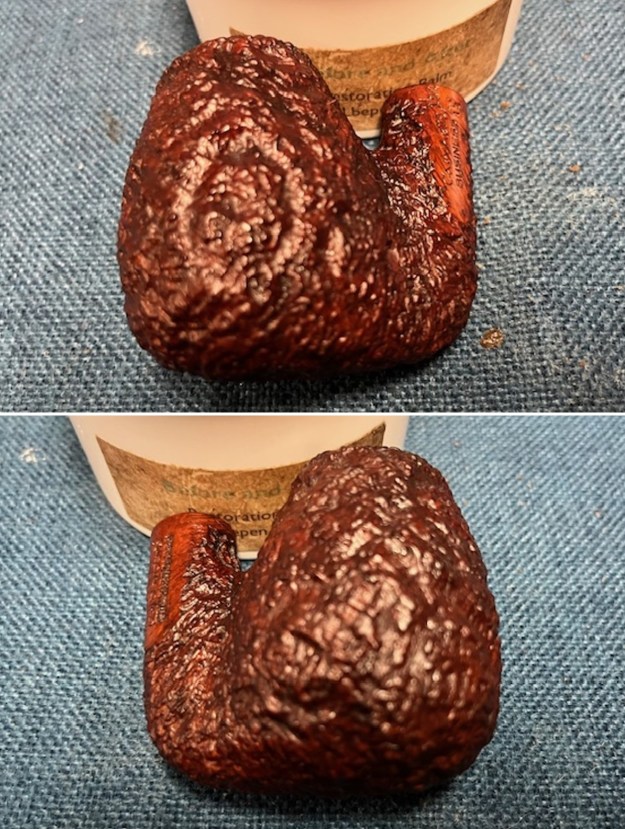
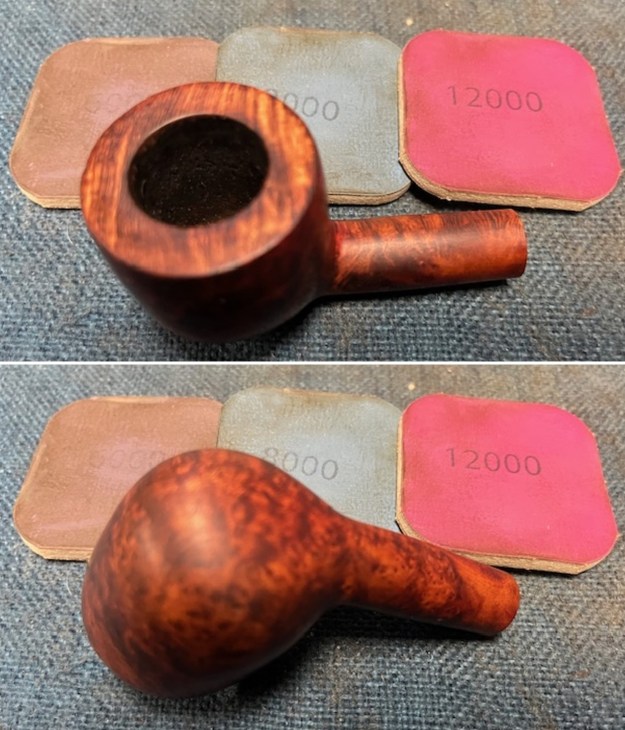
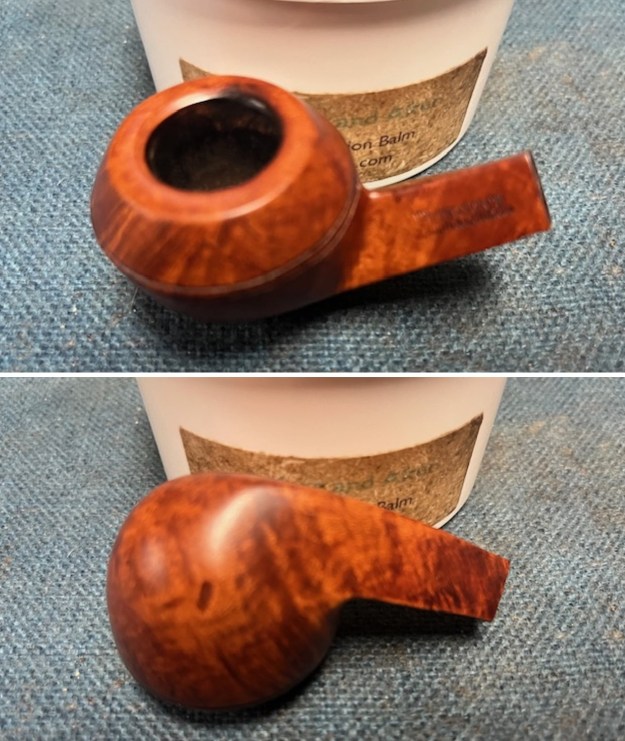
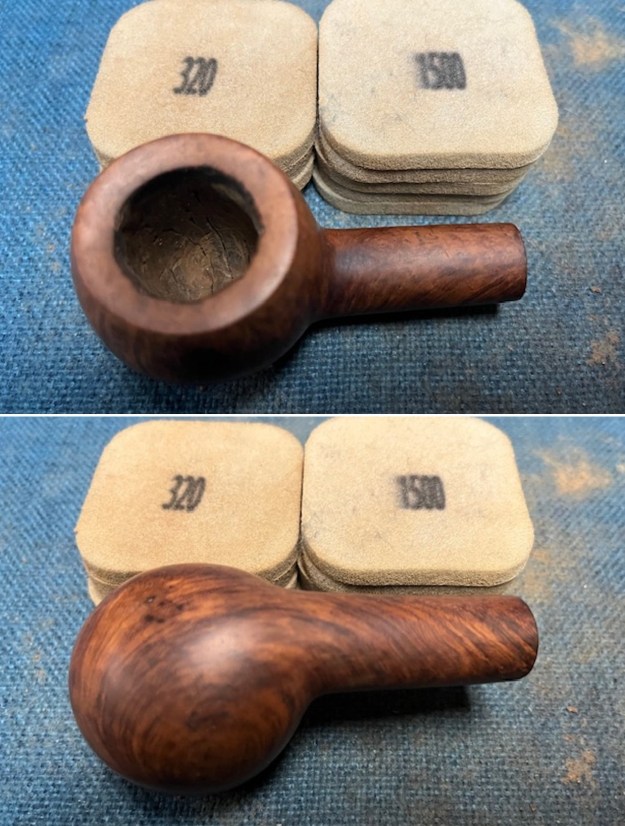
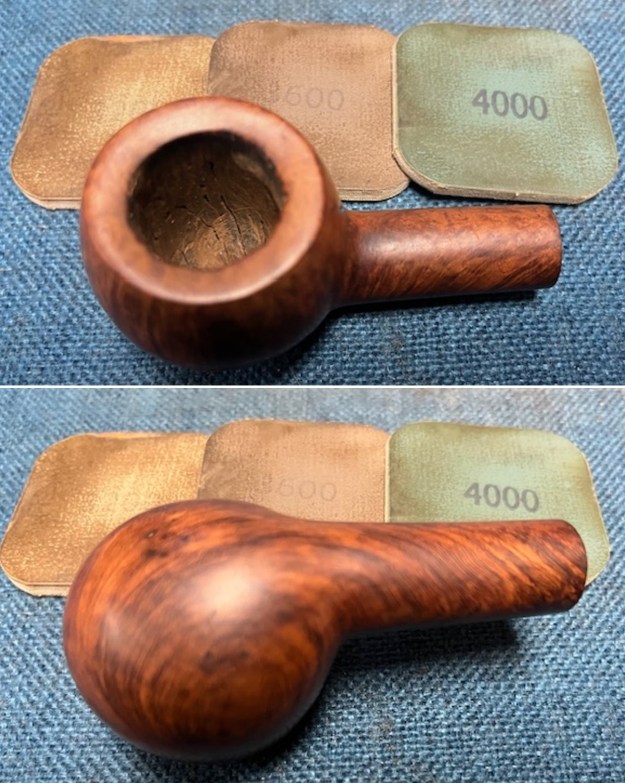
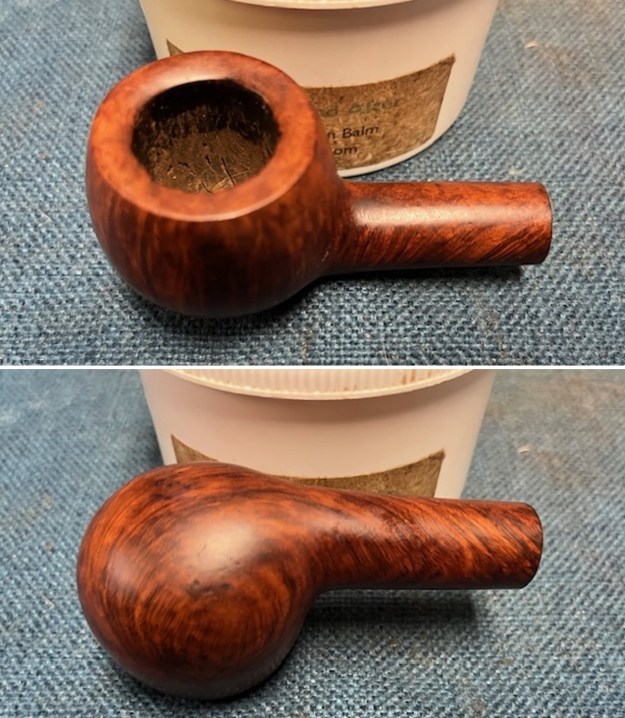
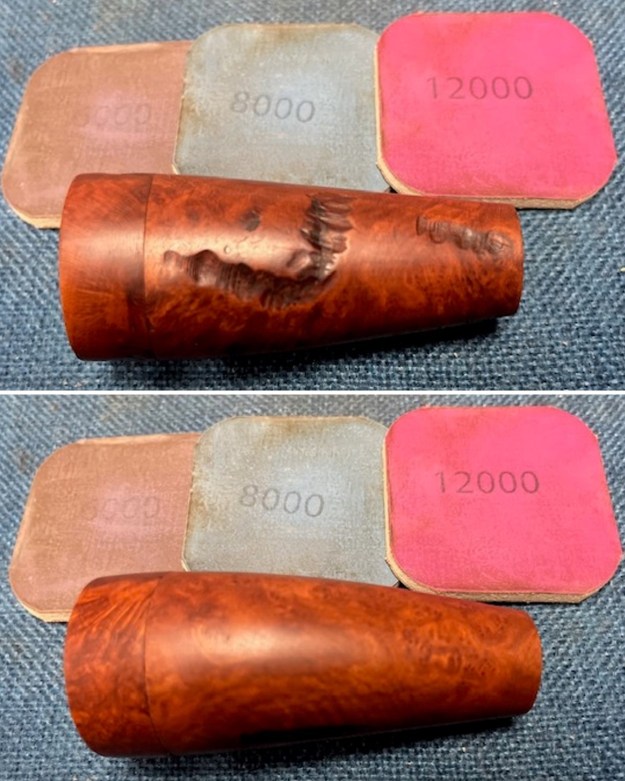 I worked some Before & After Restoration Balm into the surface of the briar with my finger tips and a horse hair shoe brush to get into the rusticated portions. The product is incredible and the way it brings the grain to the fore is unique. It works to clean, protect and invigorate the wood.
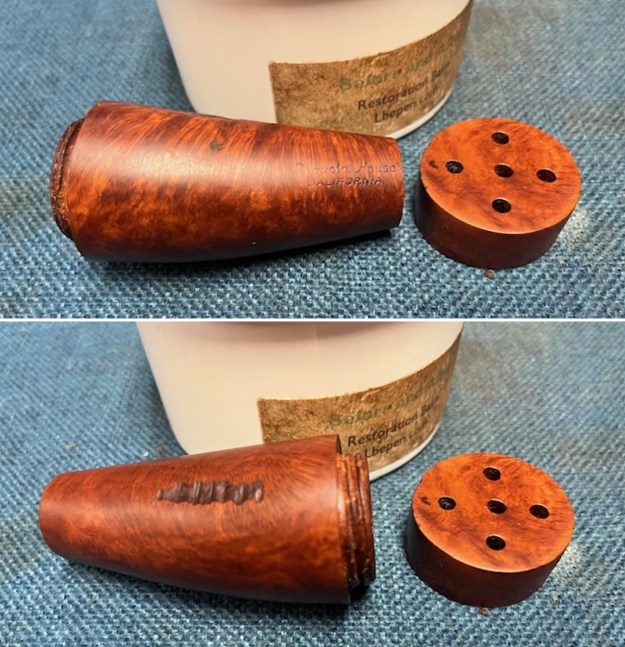
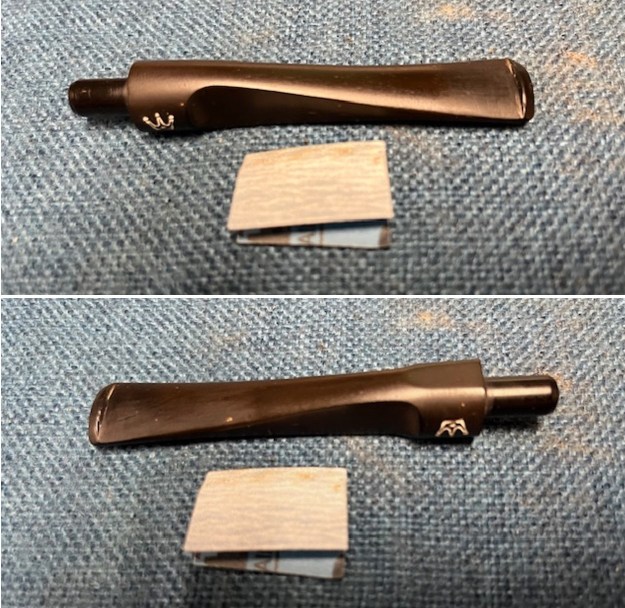
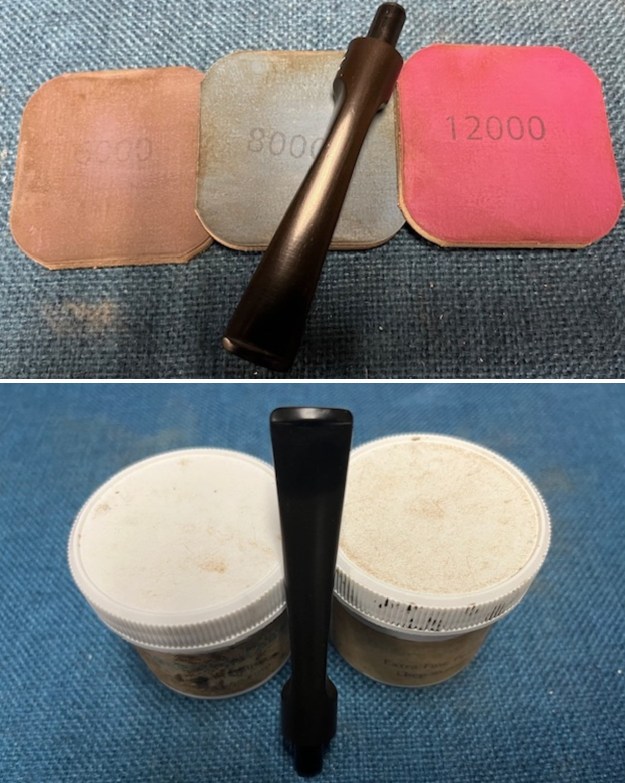
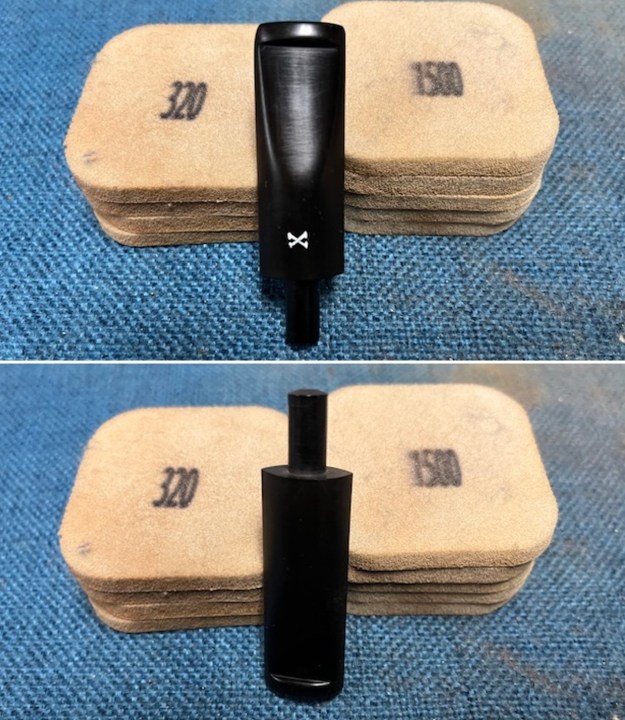
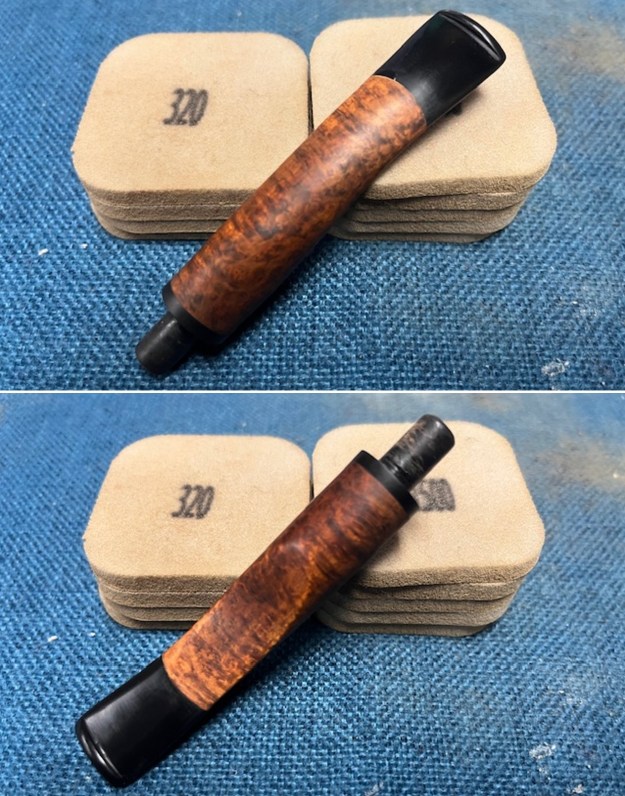
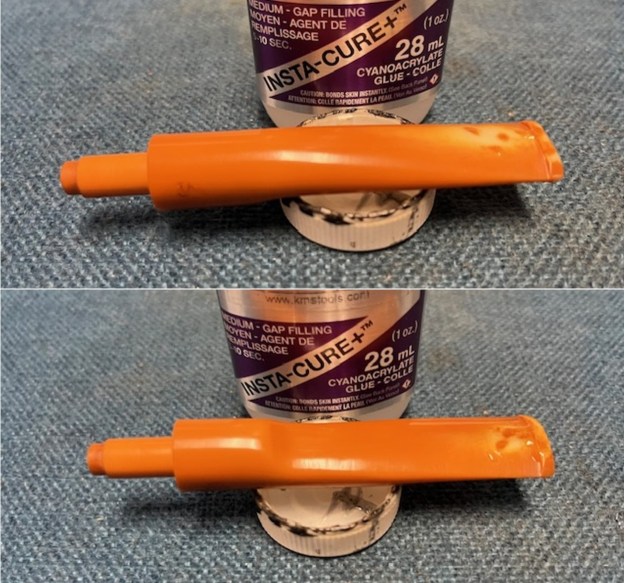
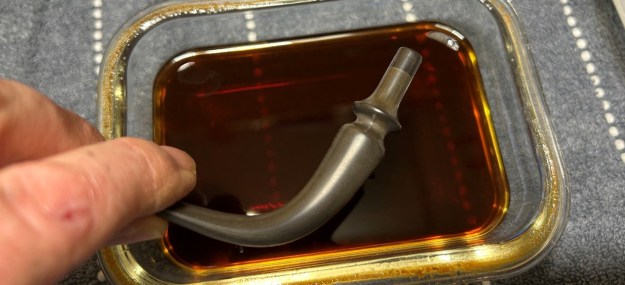
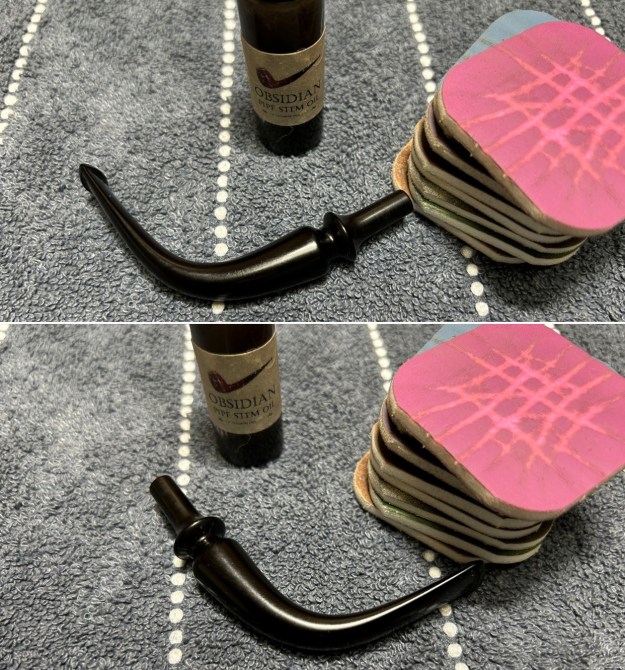
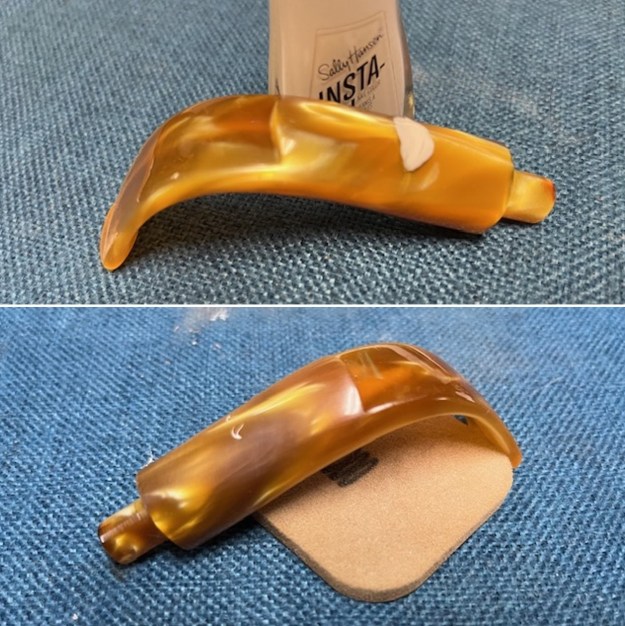
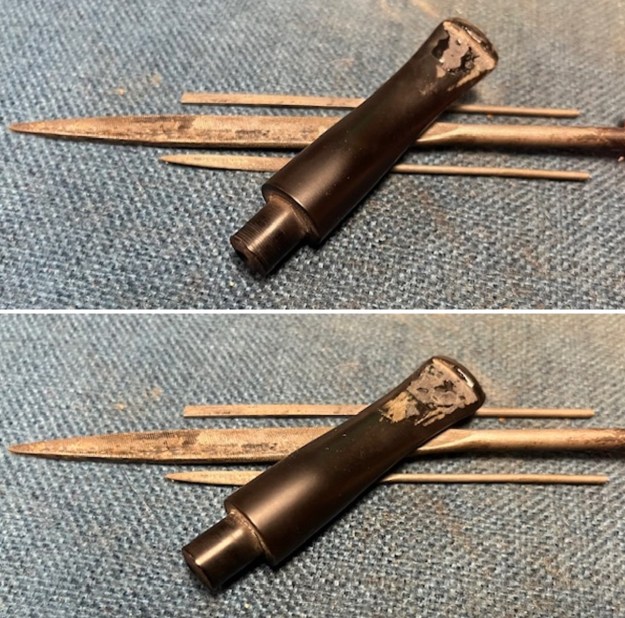
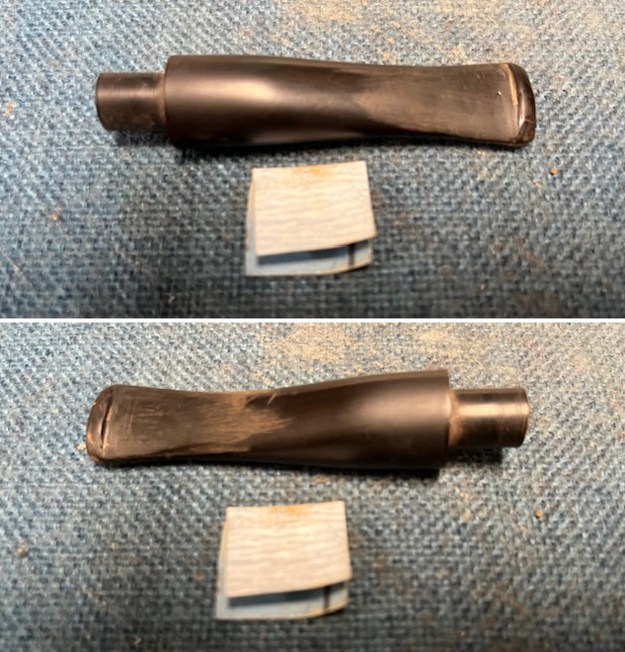
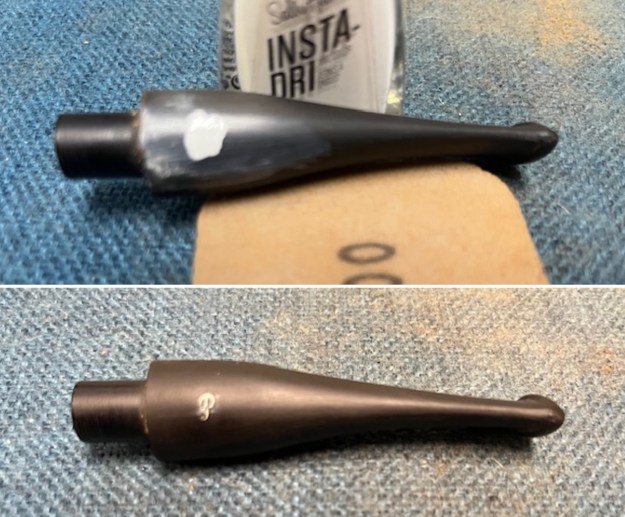
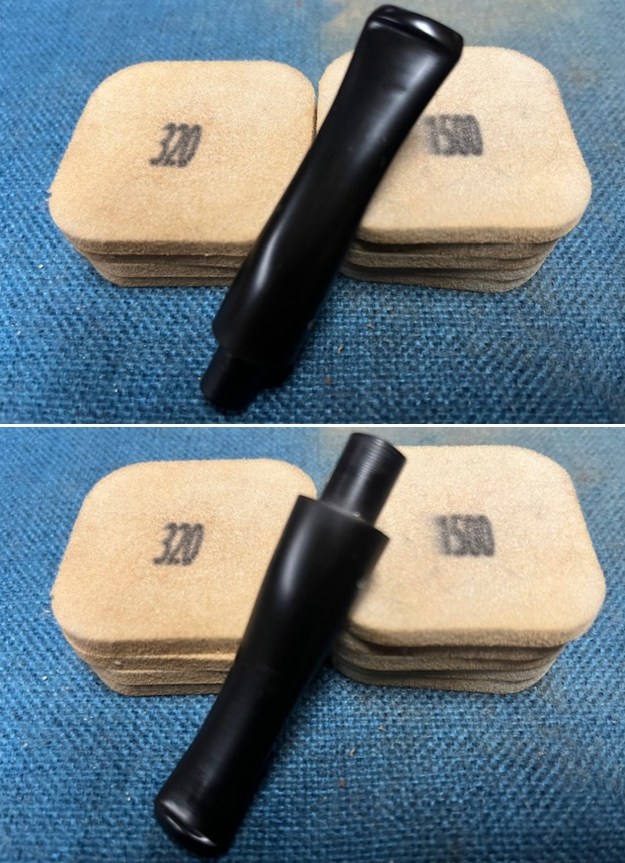
 I sanded the stem with 320-3500 grit sanding pads to remove the tooth chatter and the marks in the stem surface. I wiped it down after each sanding pad with an Obsidian Oil soaked cloth. It began to look very good.
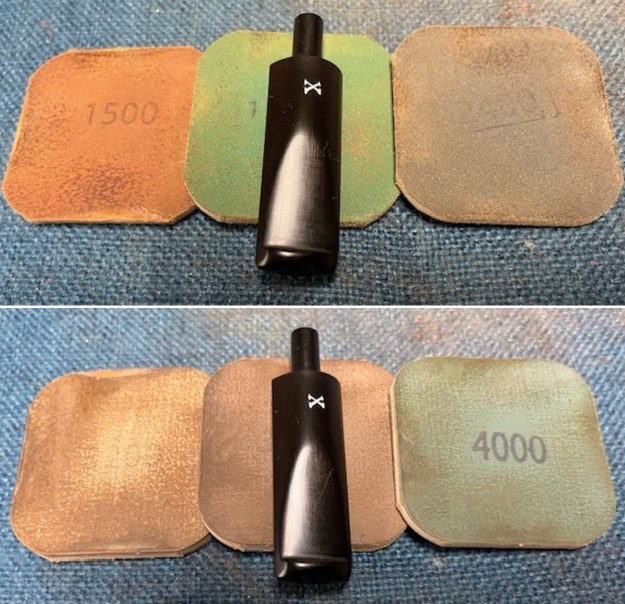
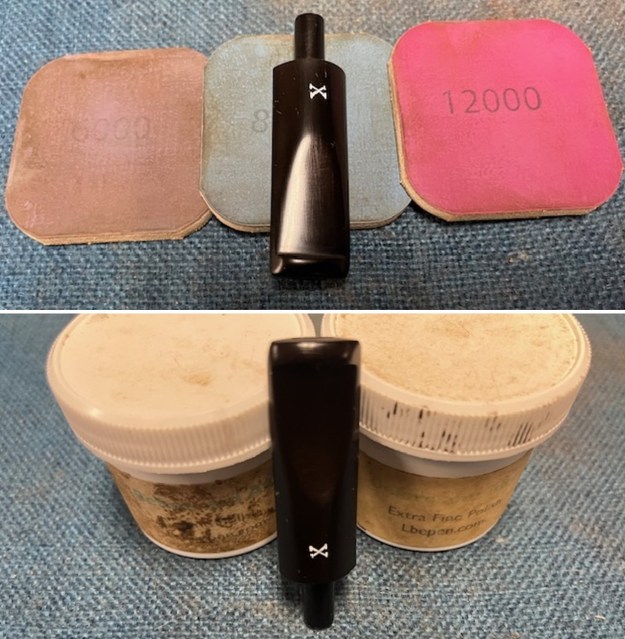
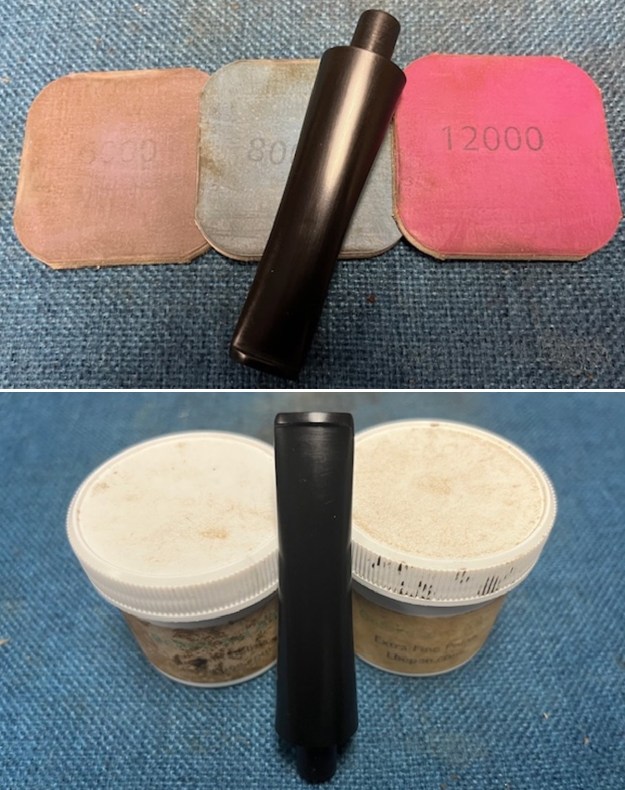
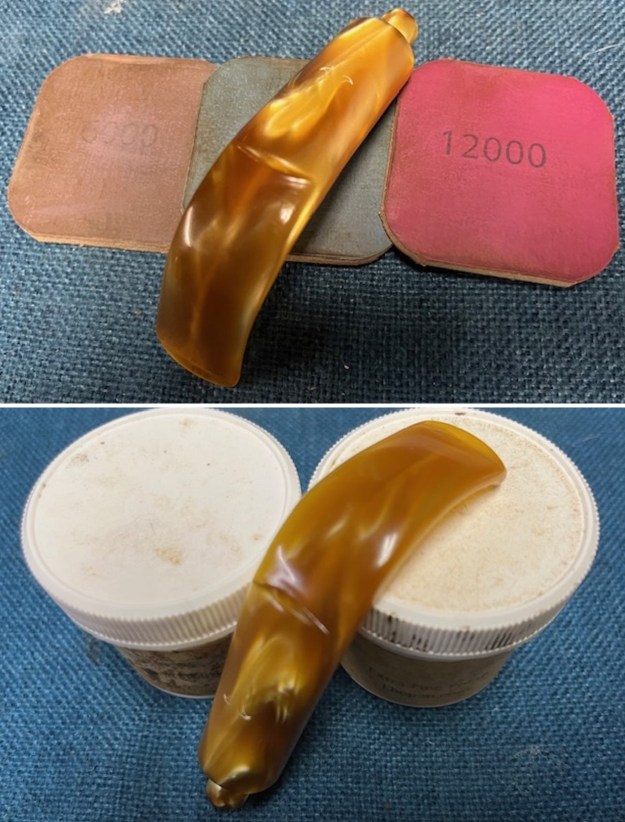
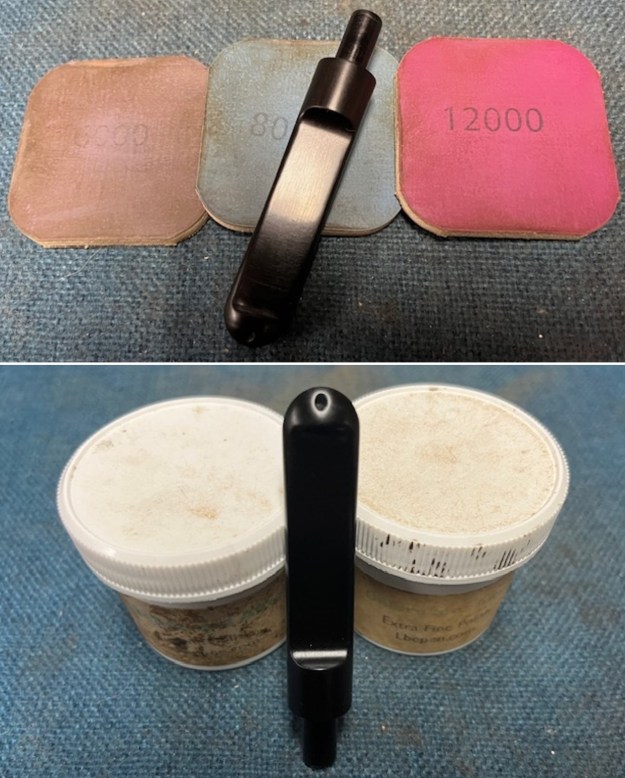
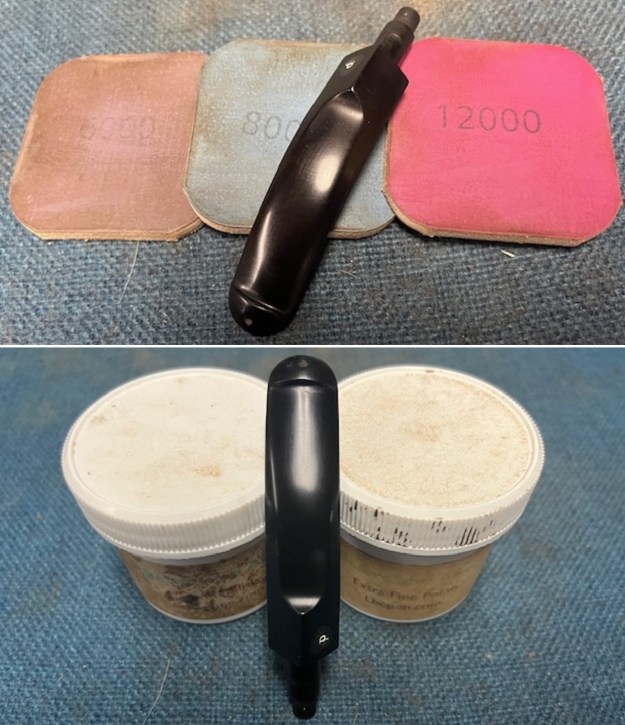
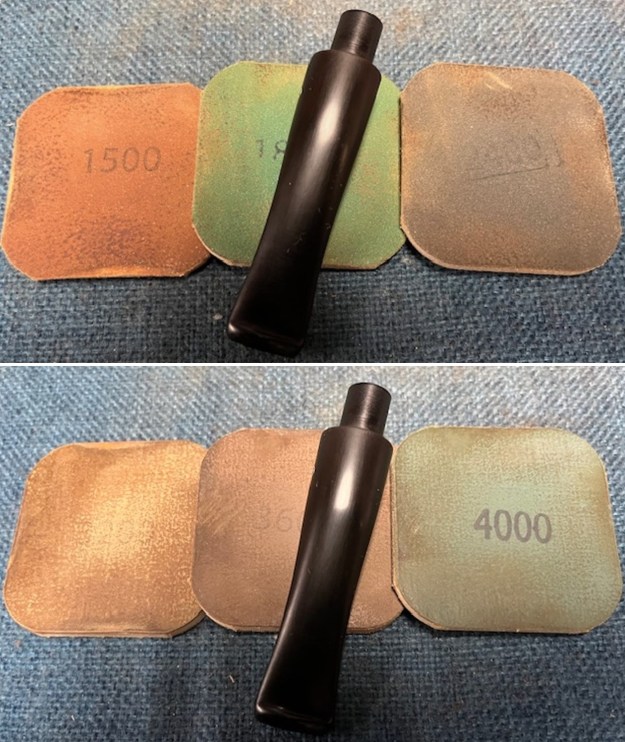
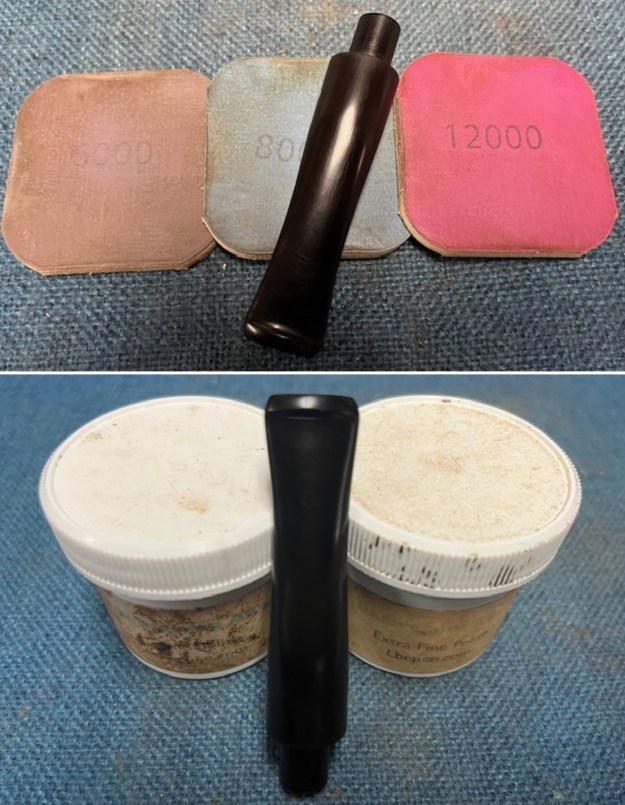
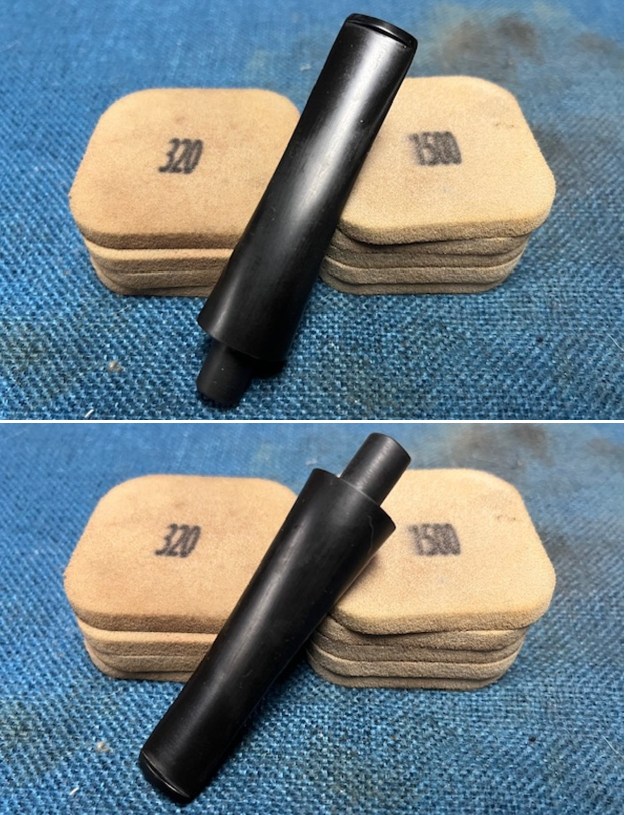 I polished the stem with micromesh sanding pads – dry sanding it 1500-12000 pads. I wiped it down with Obsidian after each pad to remove the dust and polishing debris. I polished it with Before After Pipe Polish – both Fine and Extra Fine. I gave it another coat of Obsidian Oil.
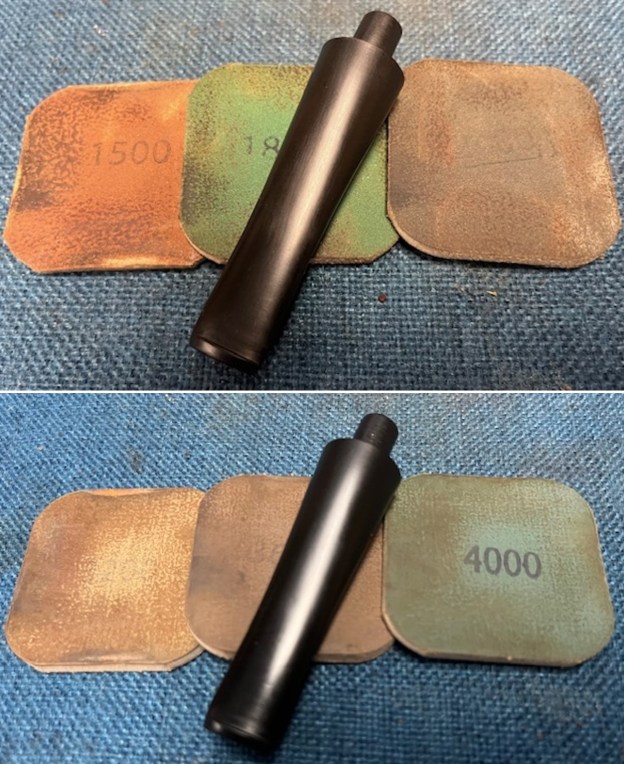
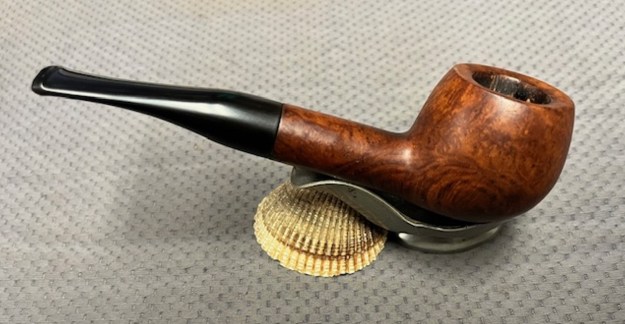
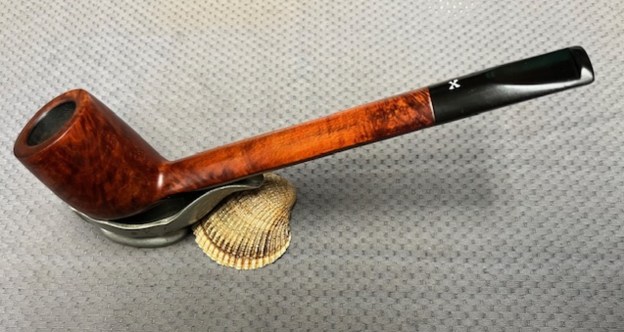
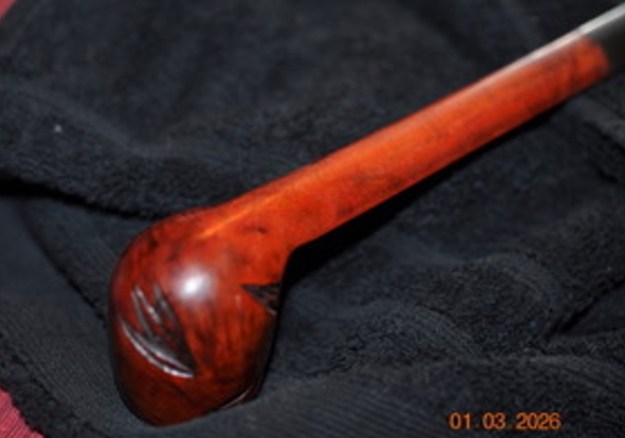
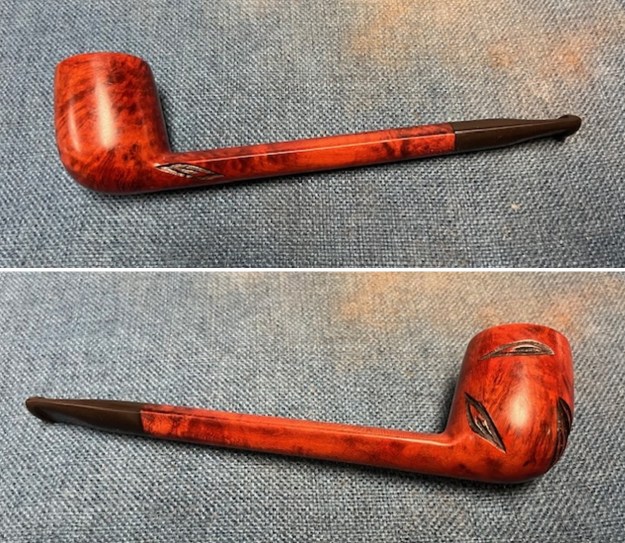
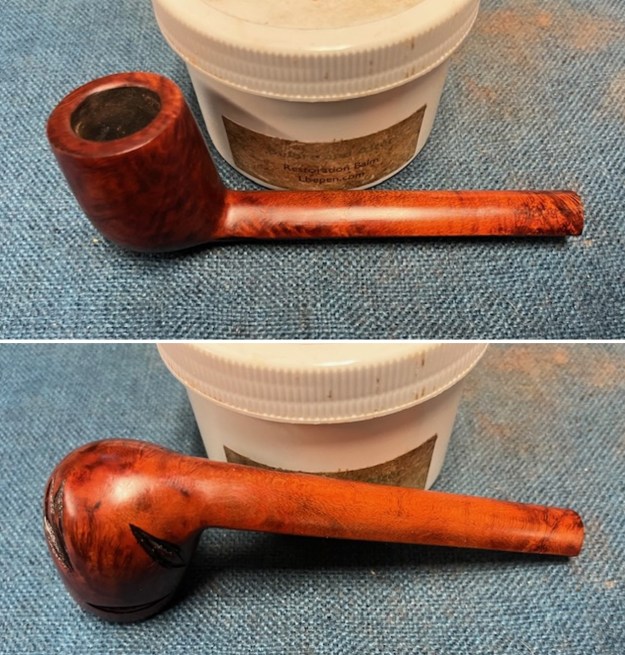
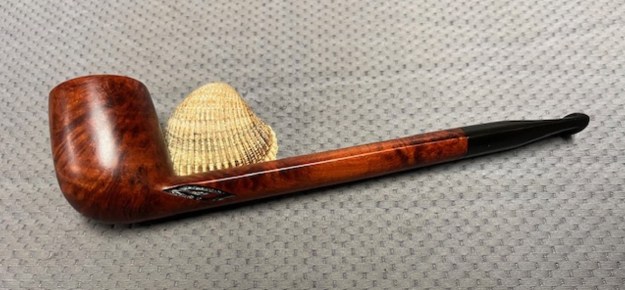
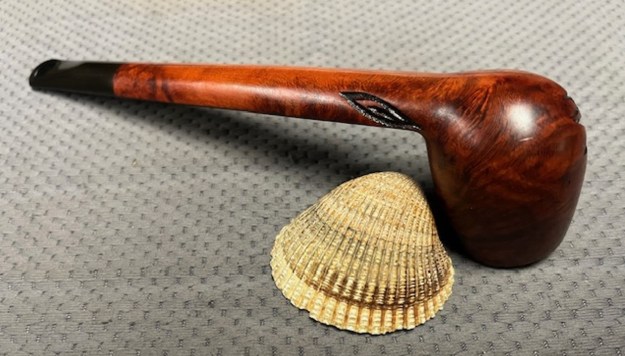
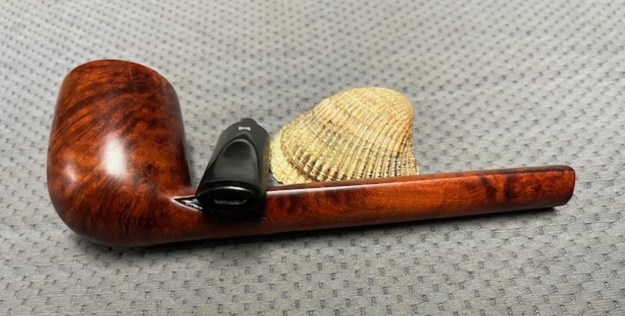
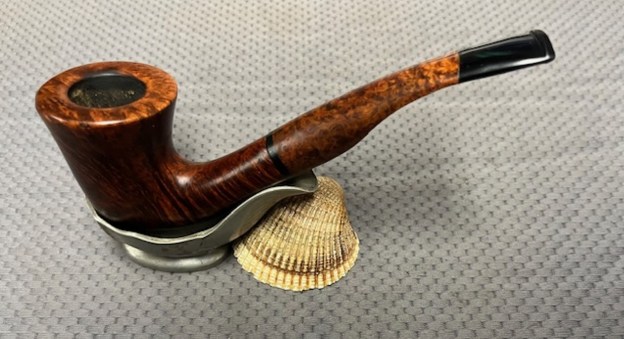
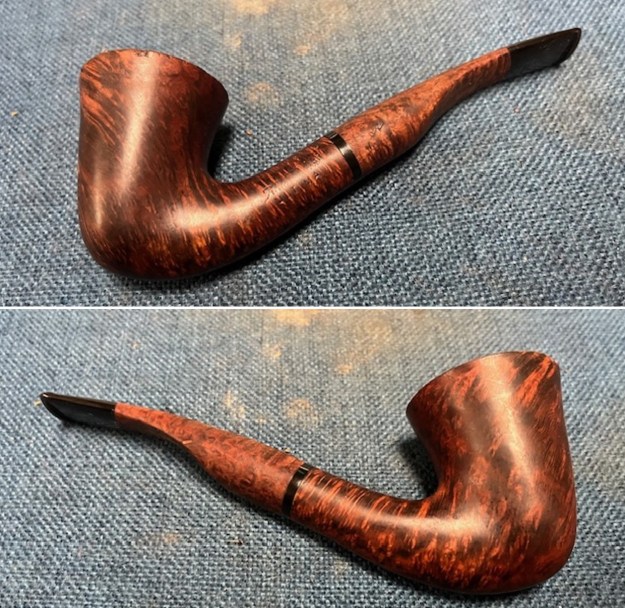
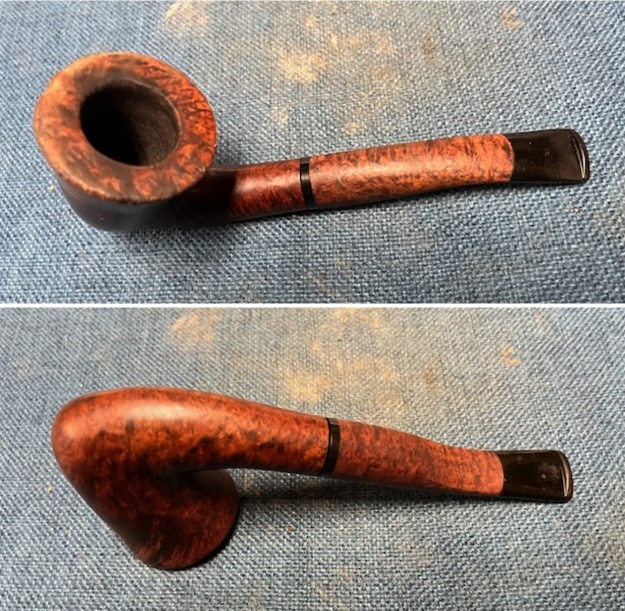
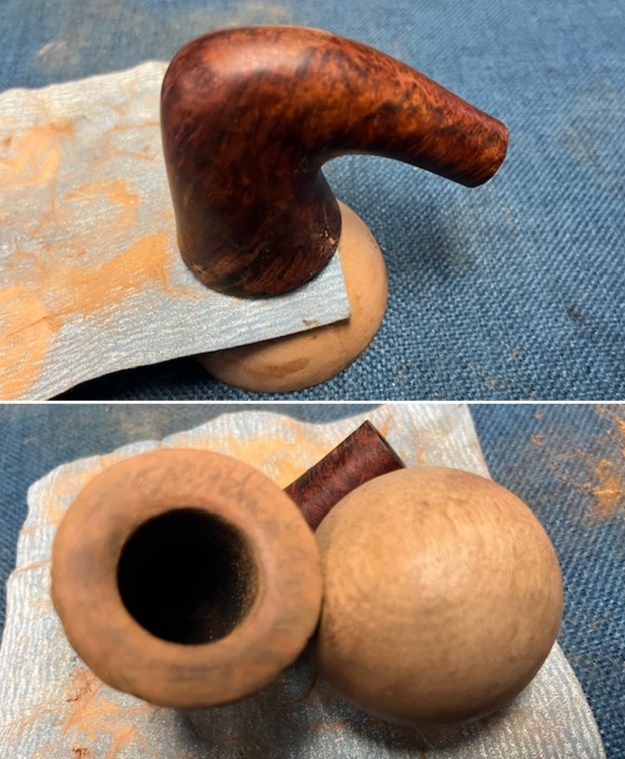
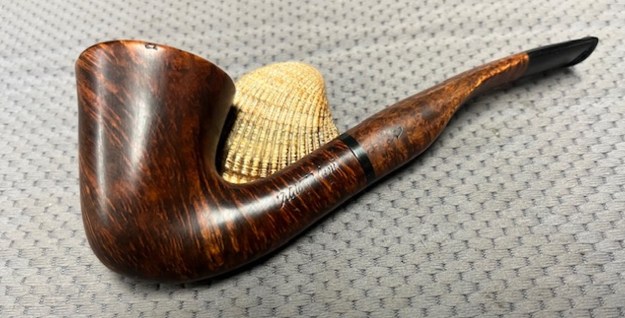
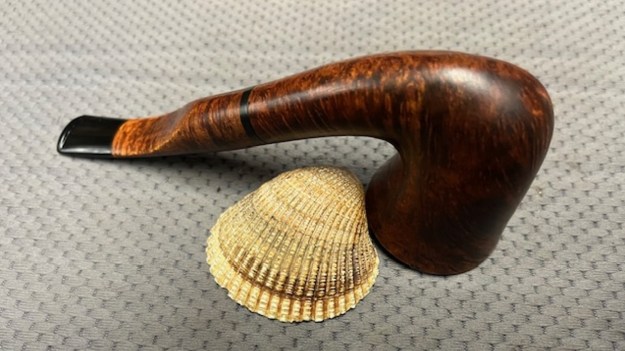
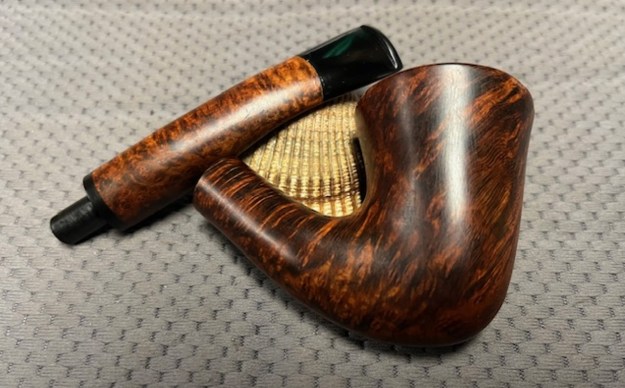
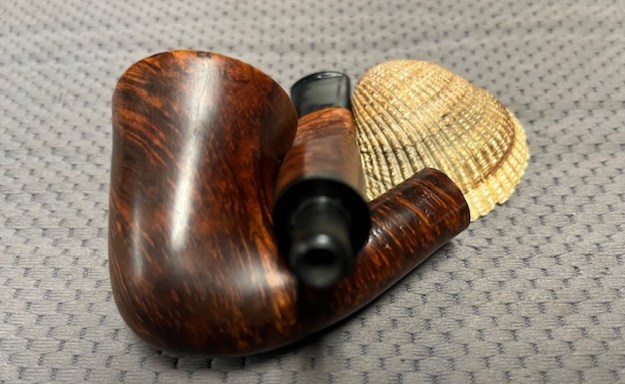
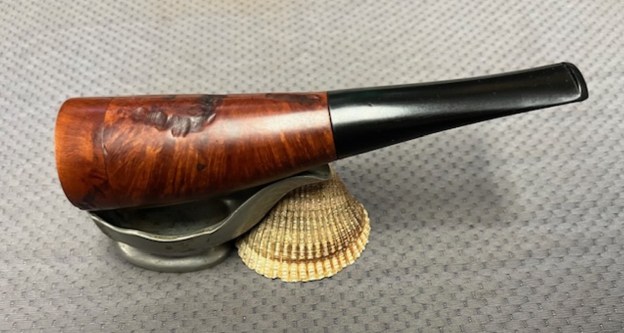
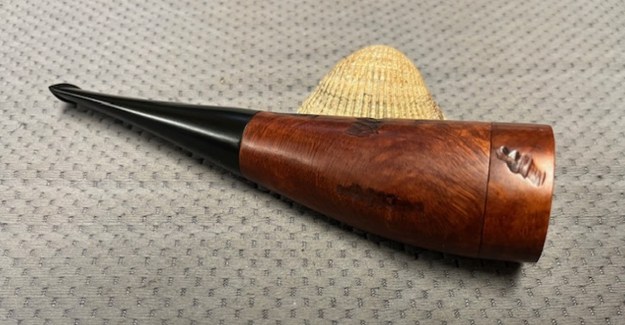
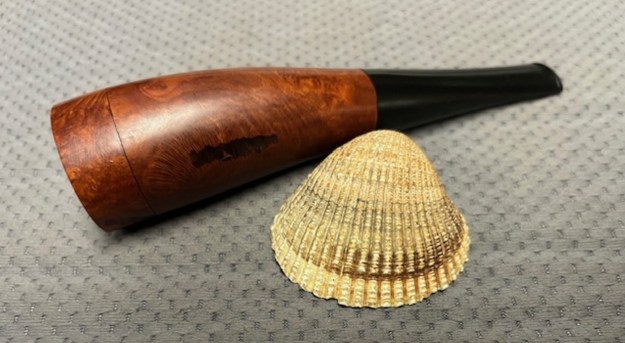
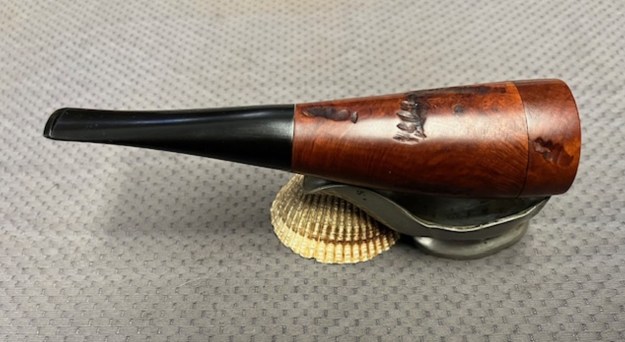
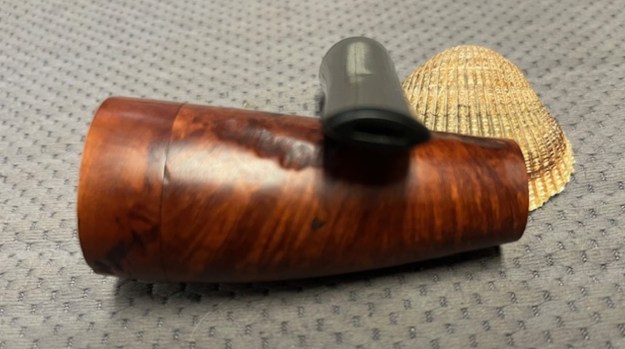
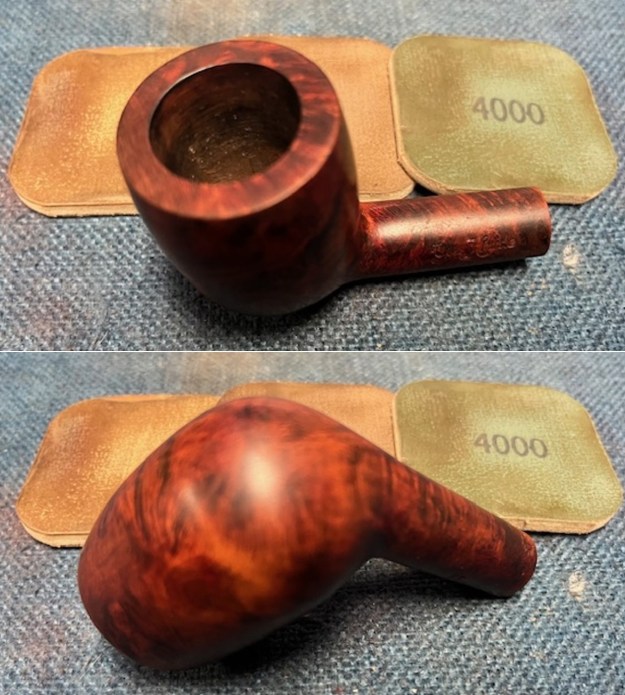
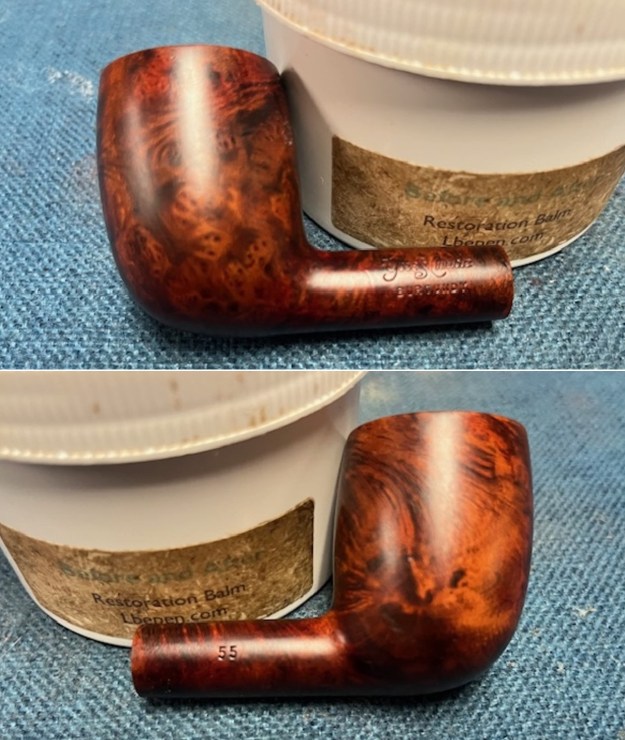
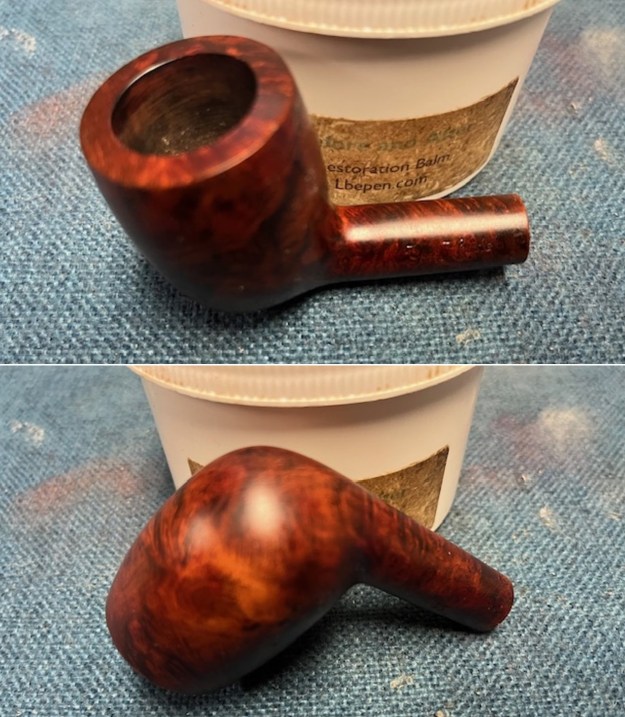
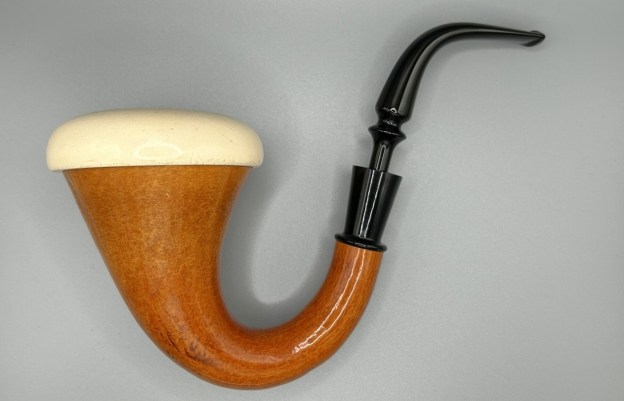
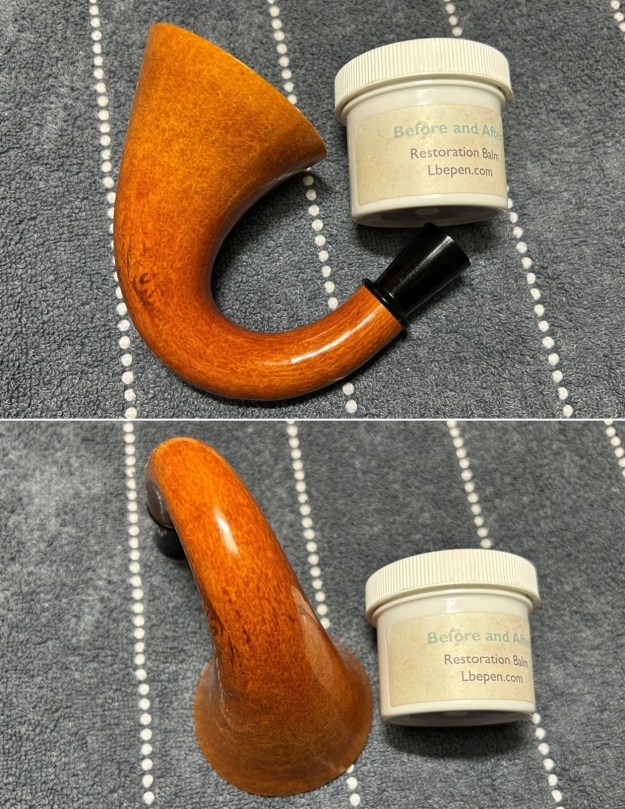
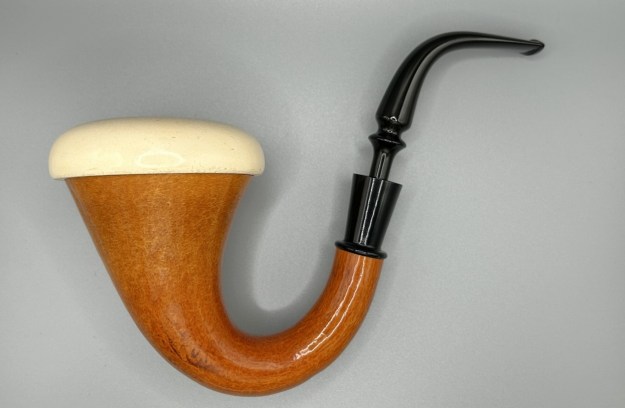
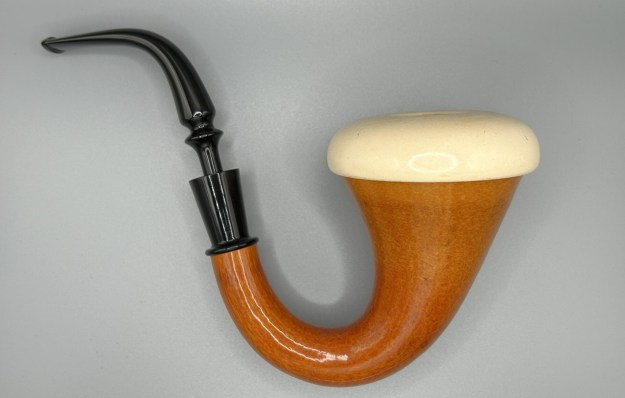
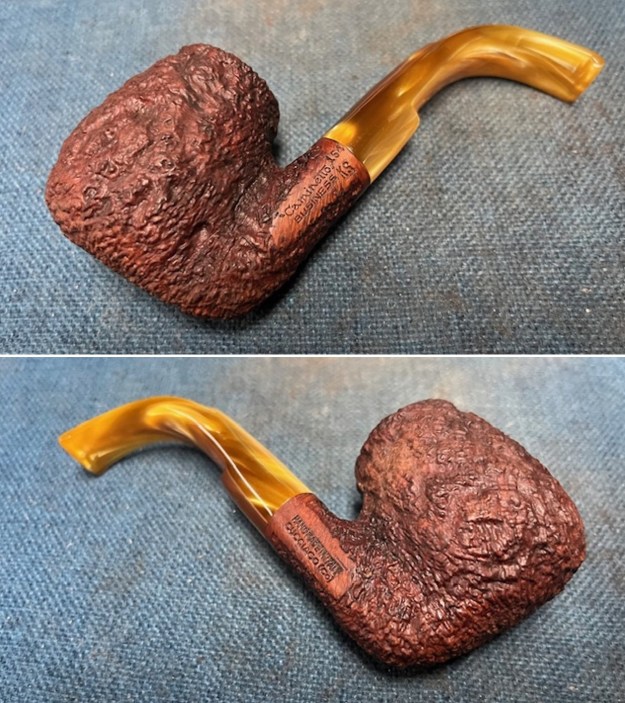
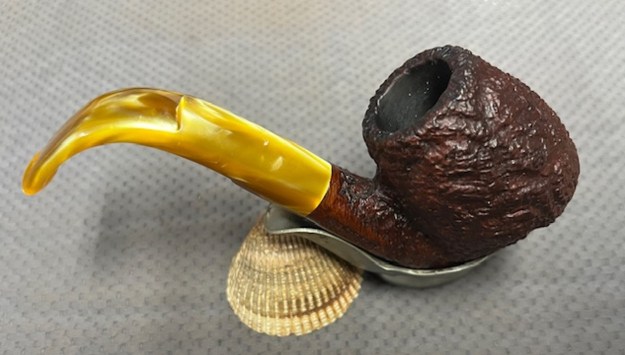
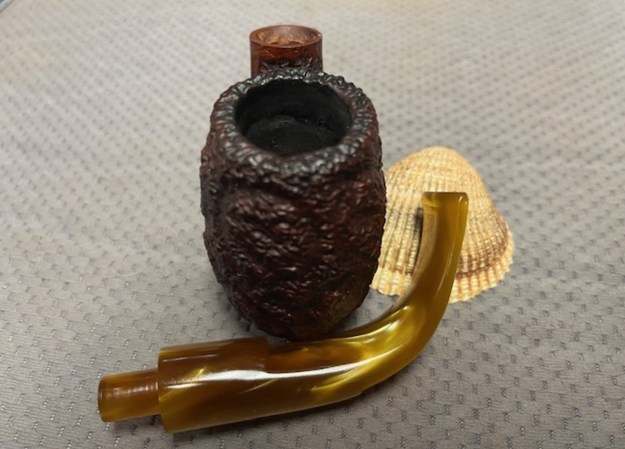
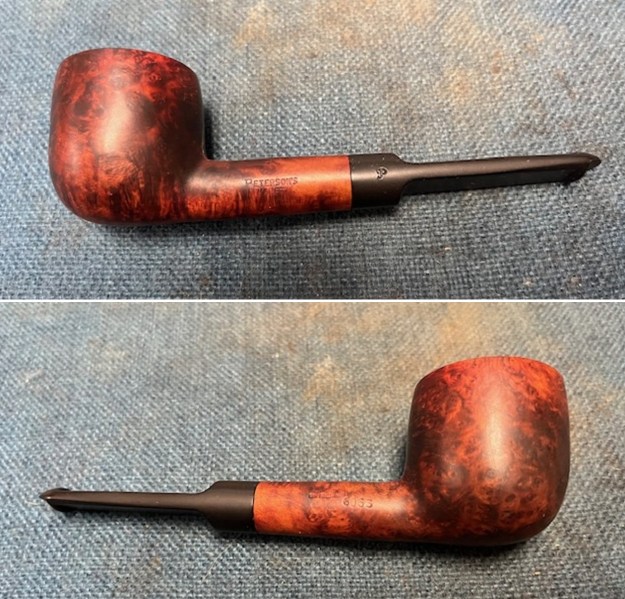
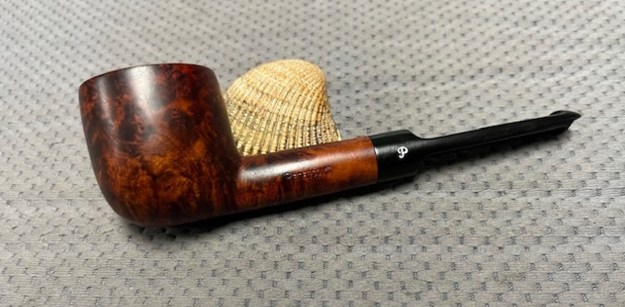
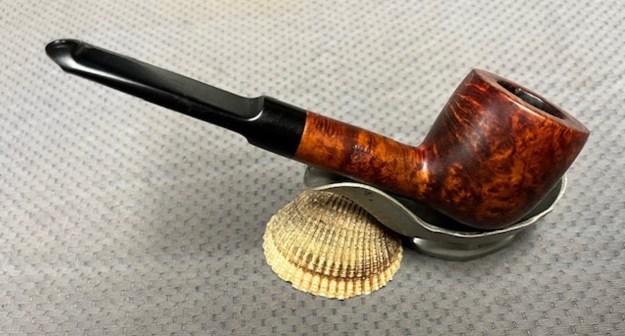
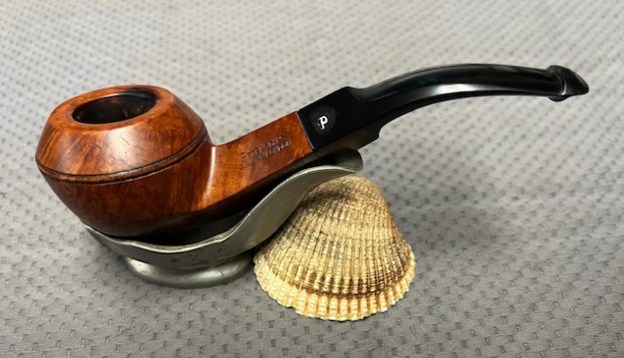
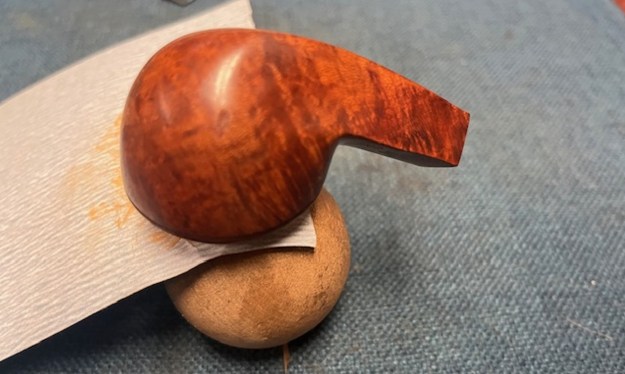
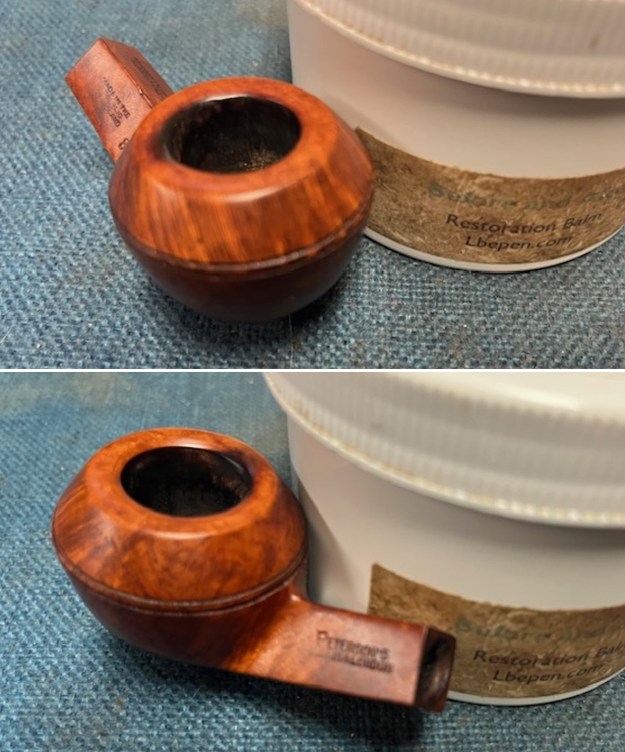
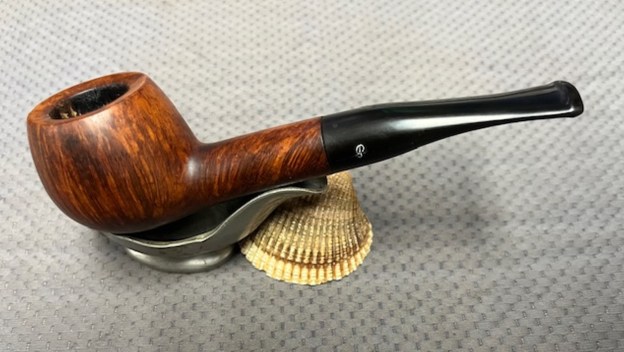
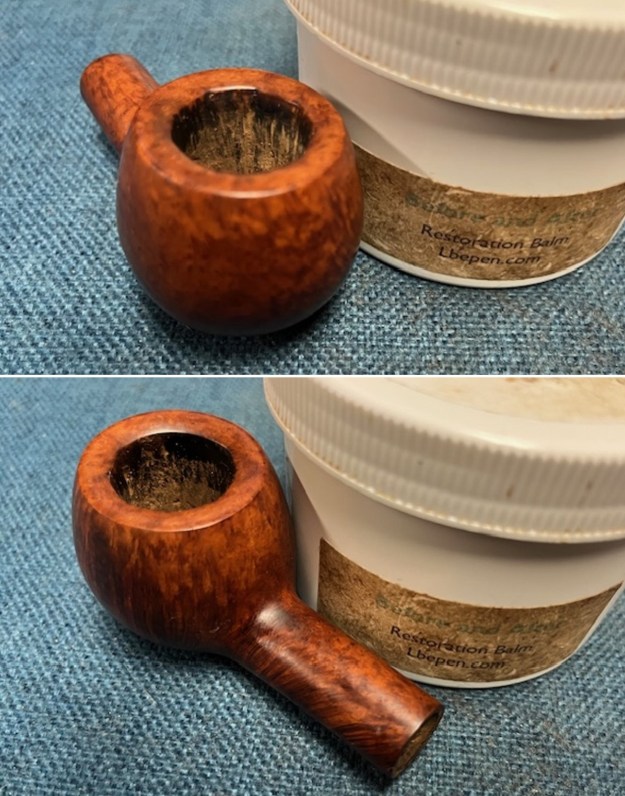
 This Sequoia House California Horn with a hard rubber taper stem turned out very nice. The mix of brown stains highlights the grain and the dark rustications around the bowl worked well with the smooth taper stem. The flat rim cap and bowl look very good. The finish on the pipe is in excellent condition. I put the stem back on the shank and carefully buffed the pipe with Blue Diamond on the buffing wheel. I gave the bowl and stem multiple coats of carnauba wax on the buffing wheel and followed that by buffing the entire pipe with a clean buffing pad. I hand buffed the pipe with a microfiber cloth to deepen the shine. The finished Sequoia House California Horn is unique and feels great in the hand. Give the finished pipe a look in the photos below. It is a nice pipe whose dimensions are Length: 6 inches, Height: 1 ¼ inches, Outside diameter of the bowl: 1 inch, Chamber diameter: ¾ of an inch. The weight of the pipe is 44 grams/1.55 ounces. Thanks for walking through the restoration with me as I worked over another beautiful pipe. This one will be going on the rebornpipes store, in the American Pipe Makers Section shortly. If you are interested in adding it to your collection let me know by message or by email to slaug@uniserve.com. Thanks for your time.
As always, I encourage your questions and comments as you read the blog. Thanks to each of you who are reading this blog. Remember we are not pipe owners; we are pipe men and women who hold our pipes in trust until they pass on into the trust of those who follow us. 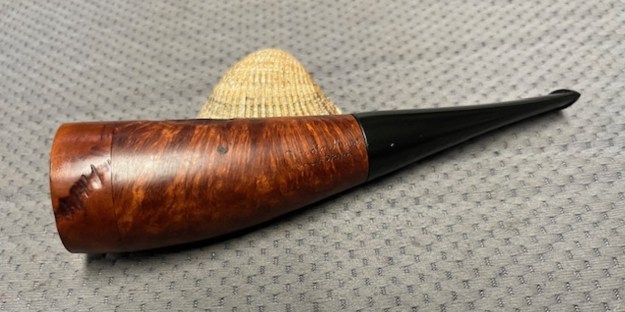


 I
I