
Blog by Steve Laug
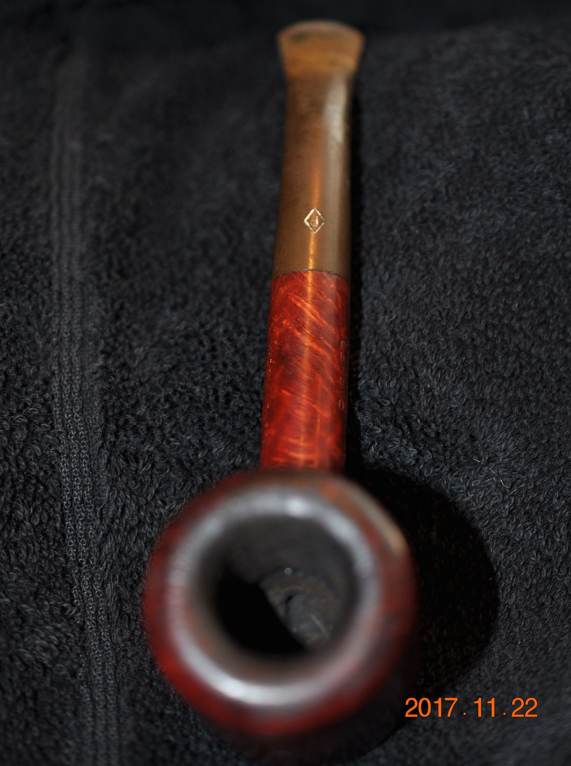
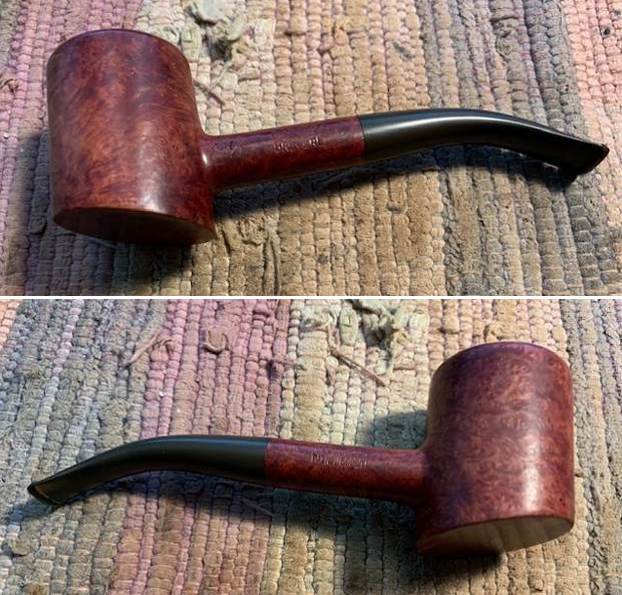
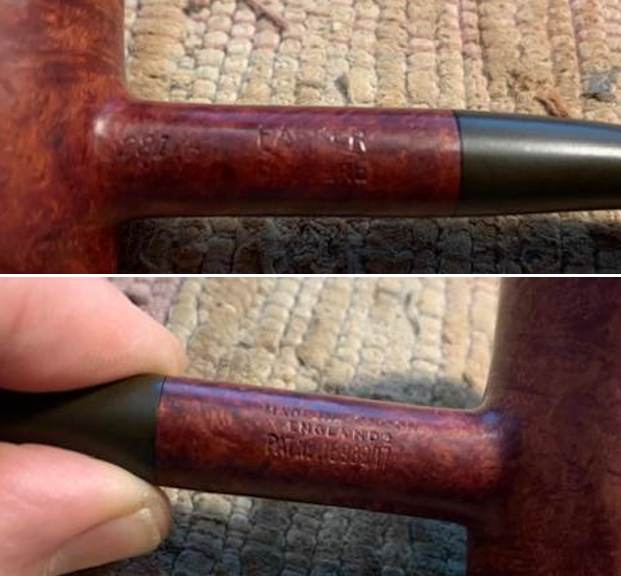
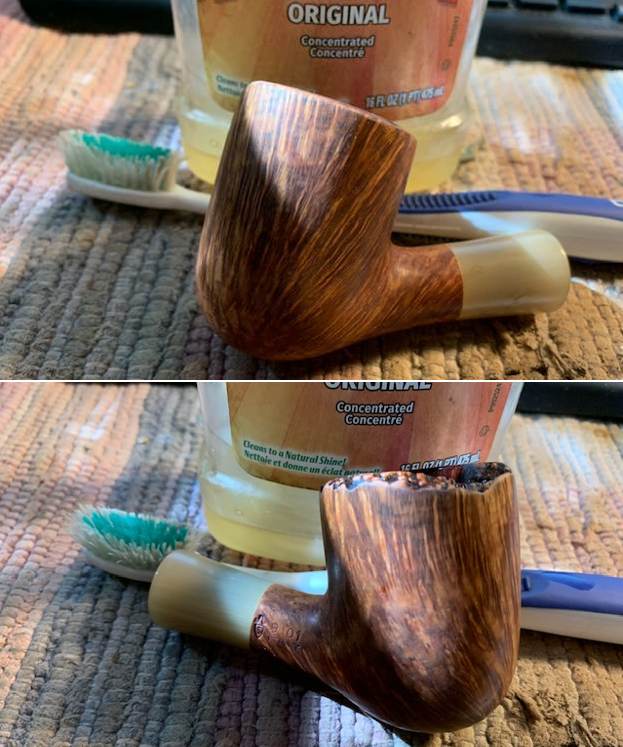
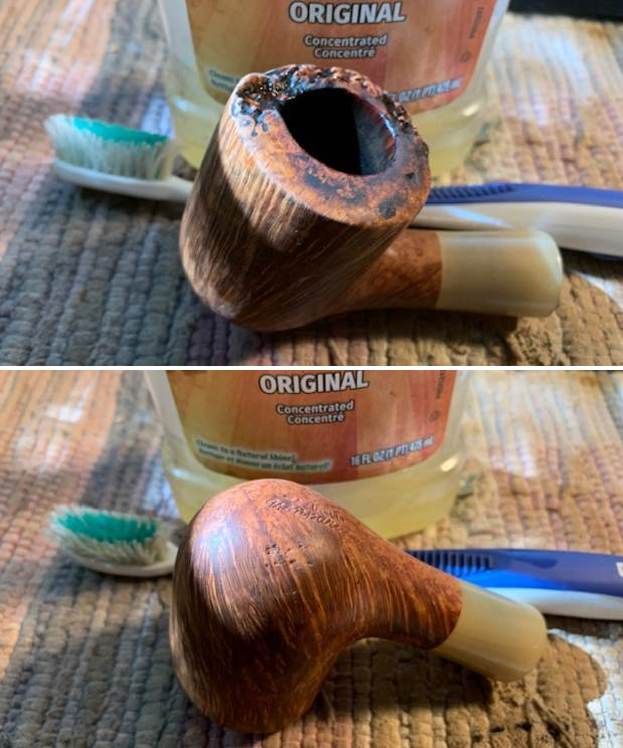
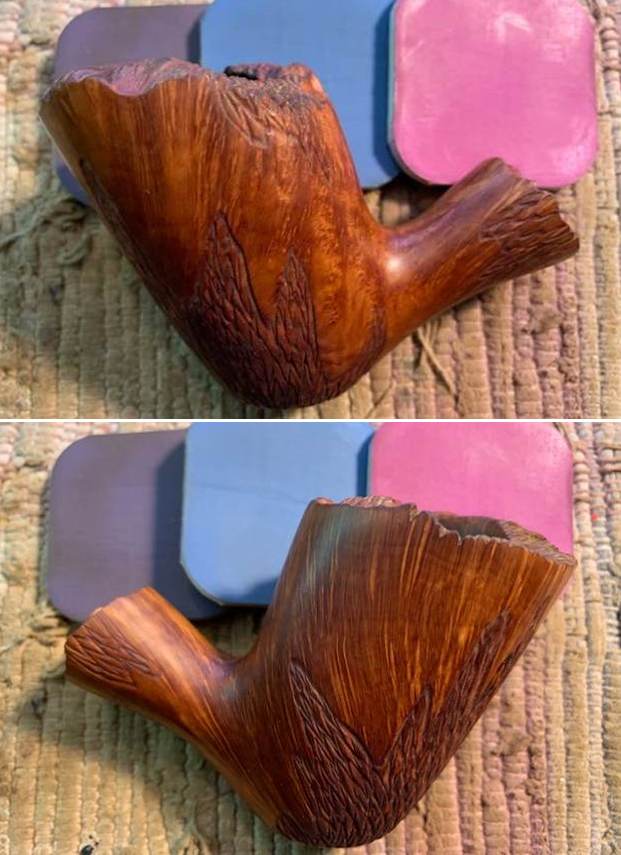
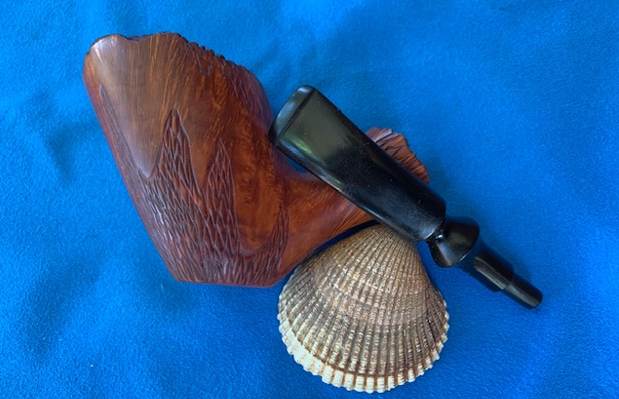
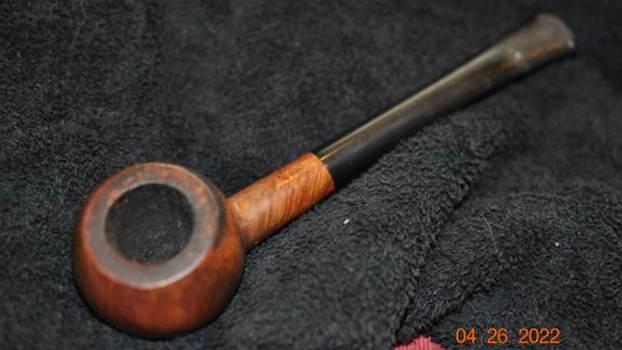
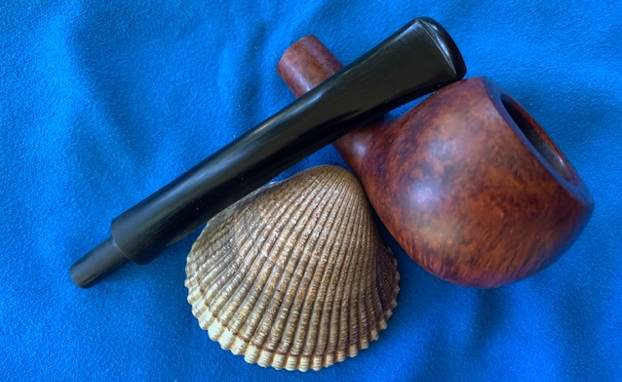
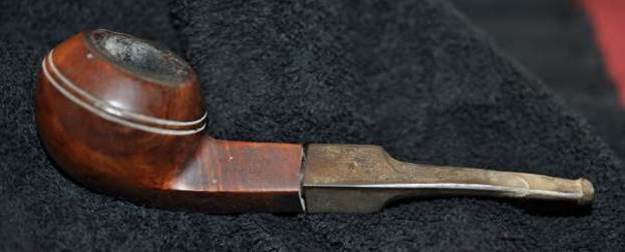
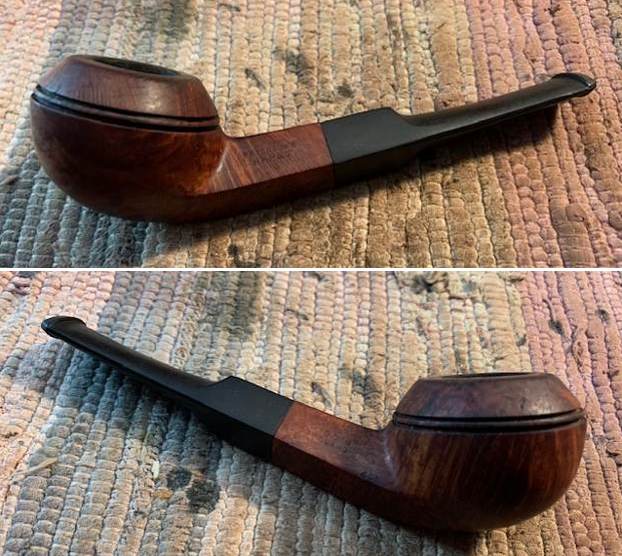
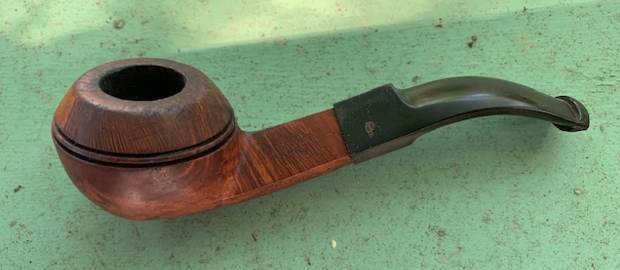
The next pipe on the work table was purchased on 08/16/17 from the same estate in Portland, Oregon, USA as the other Parker I worked on. This one is a beautiful little Parker Lovat. The stamping on the left side of the shank reads Parker over Super in a diamond over Bruyere. To the left of that next to the shank bowl junction is the shape number 63/F. On the right side of the shank the stamping reads Made in London over England with an underlined superscript 3 following the D in England that is the date stamp 1953. The date stamp was easily read after the previous 1954 Parker Super Bruyere Cherrywood that I restored and added to my collection (https://rebornpipes.com/2022/07/16/restoring-my-birth-year-1954-parker-super-bruyere-patent-cherrywood-281-f/). Further stamping under that reads PAT NO. 116989/17 which should also help with dating the pipe. The finish on the pipe was filthy with grime ground into the briar. There was a thick cake in the bowl that flowed out on top of the crowned rim top and down the outer edge of the rim. The cake was thick so it was hard to know what the edge of the rim looked like. The stem was heavily oxidized and calcified with tooth marks on the top and underside ahead of the button. There was a Diamond P logo on the top of the stem. Jeff took photos of the pipe before he cleaned it up. 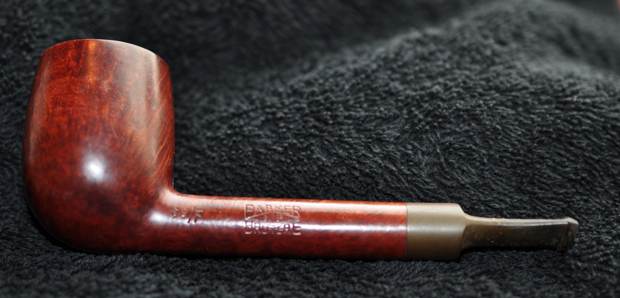
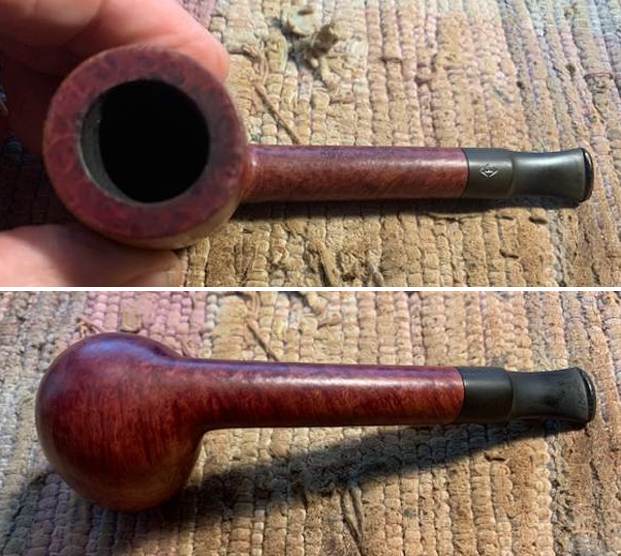
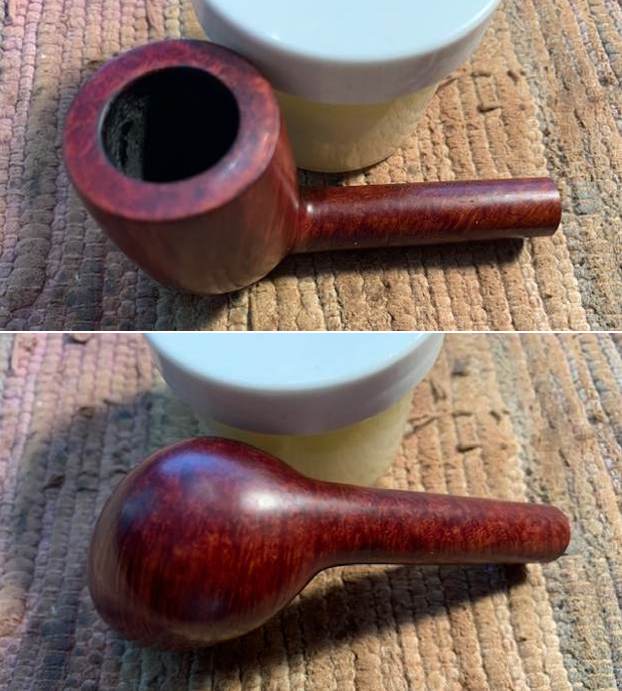
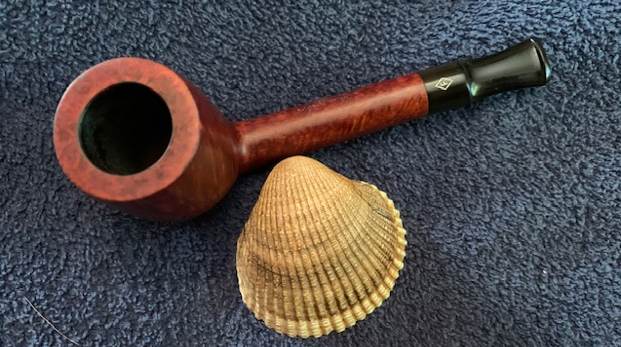
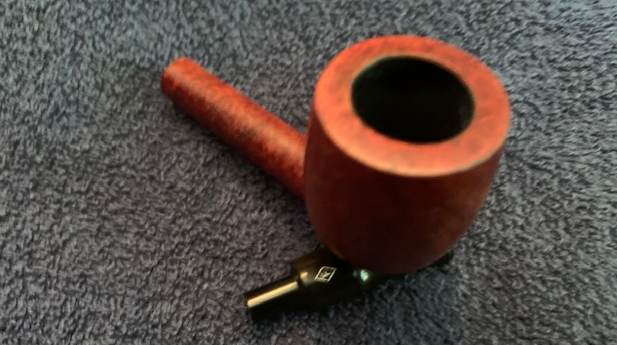
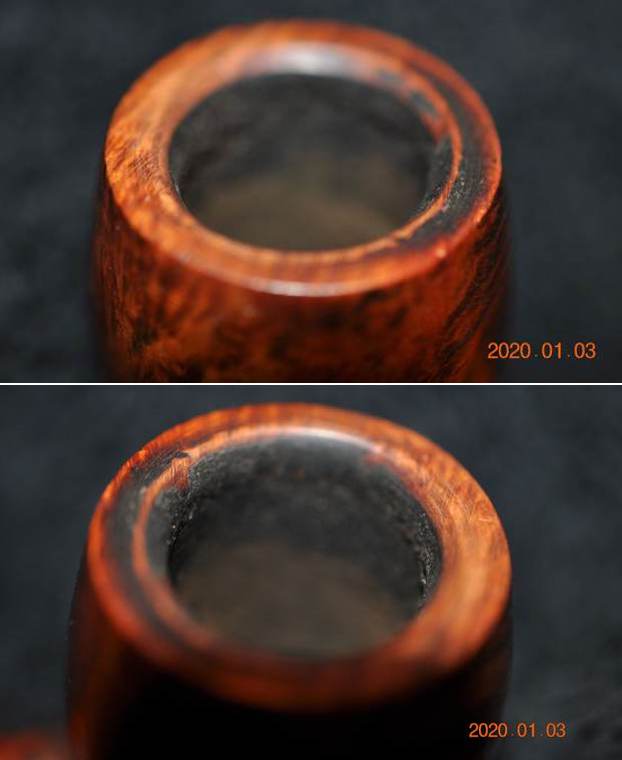
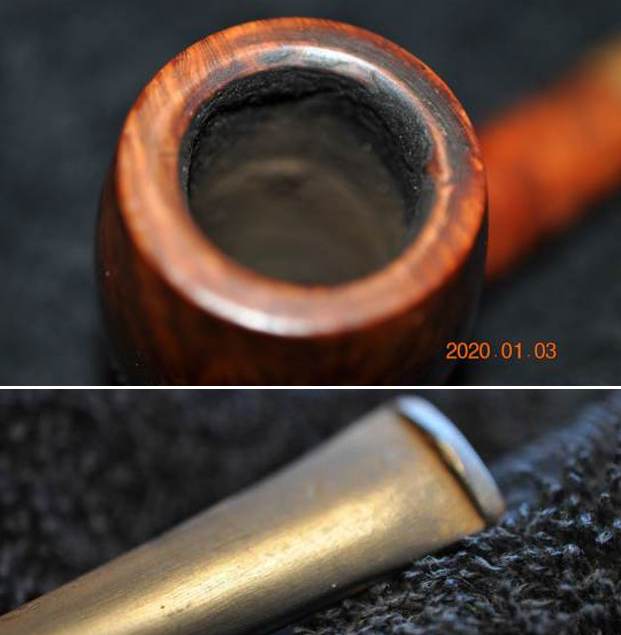
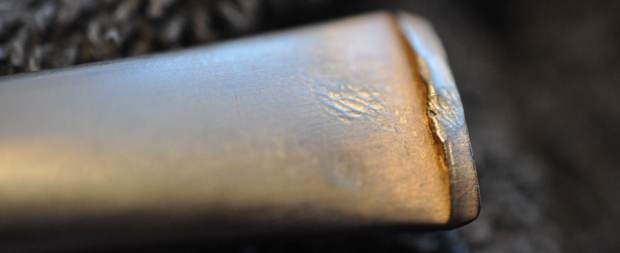
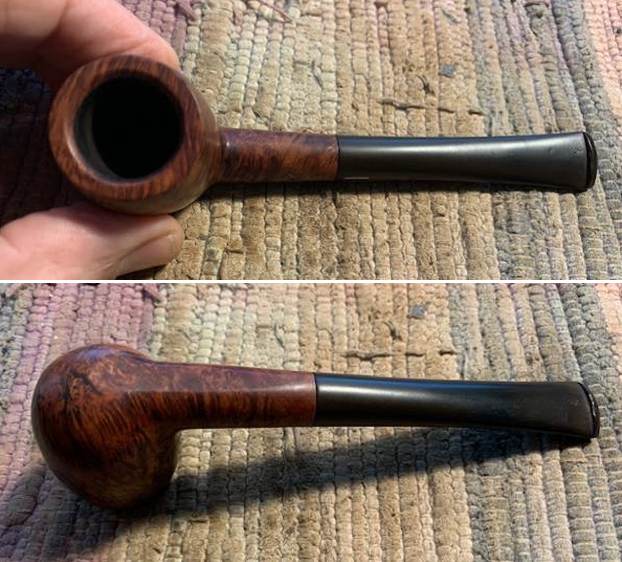
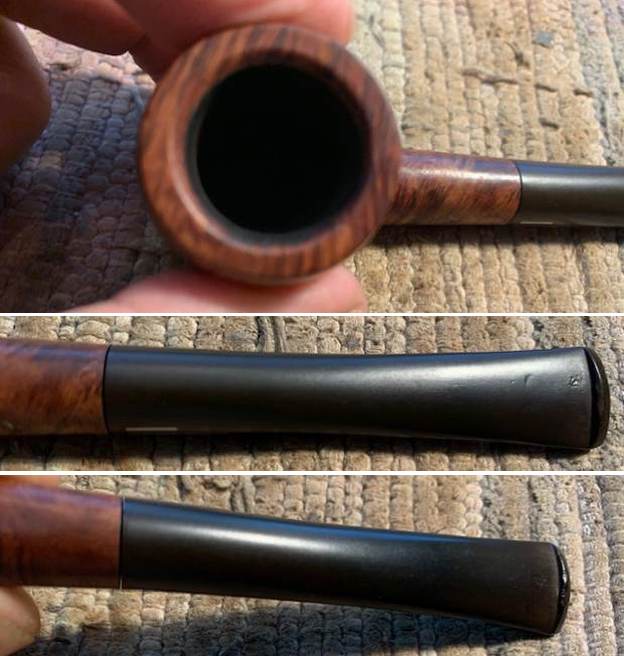
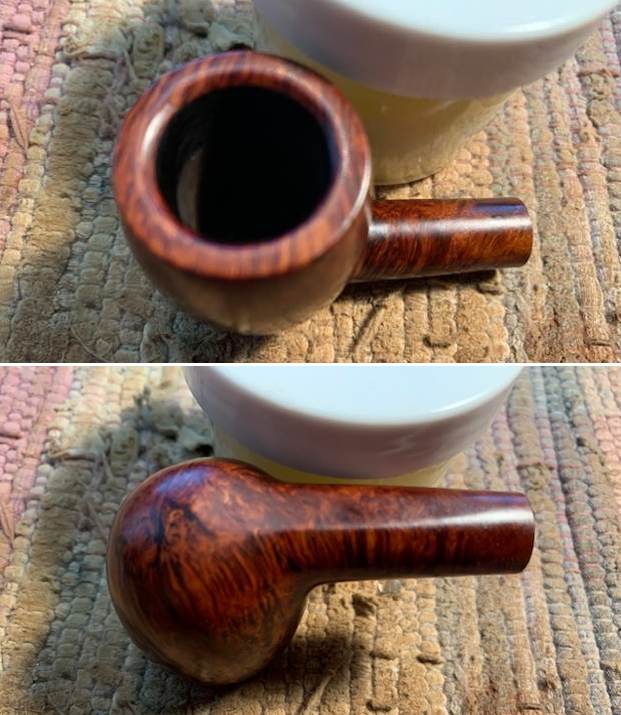
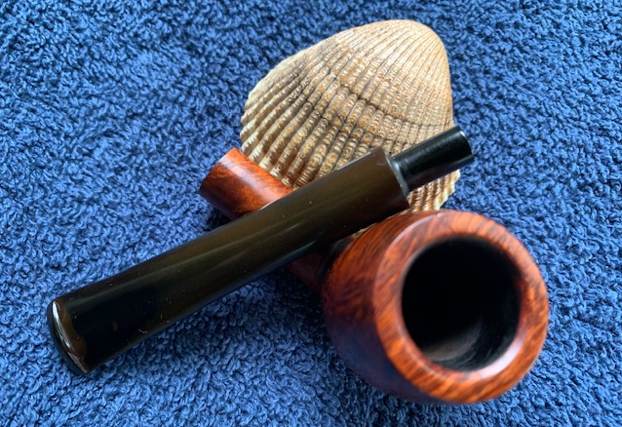
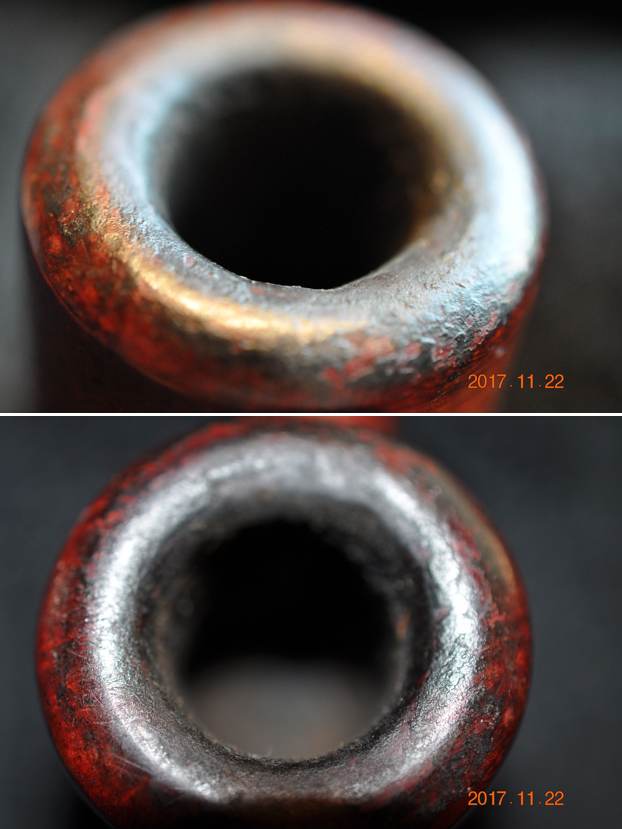
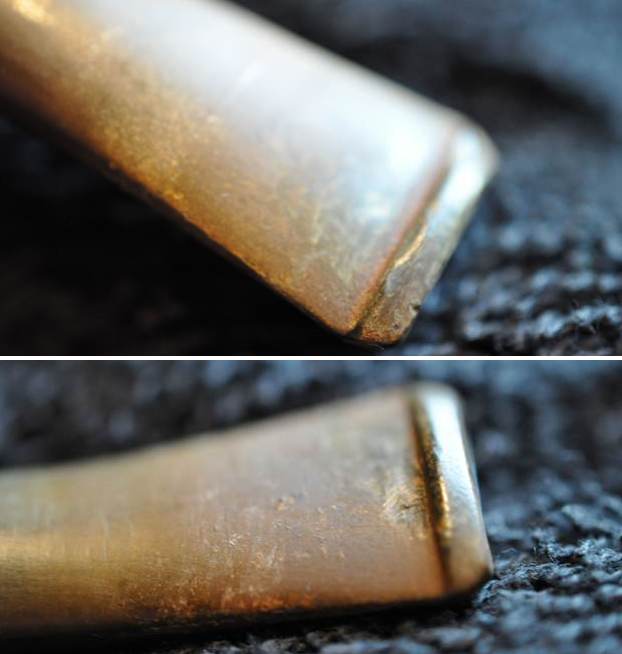
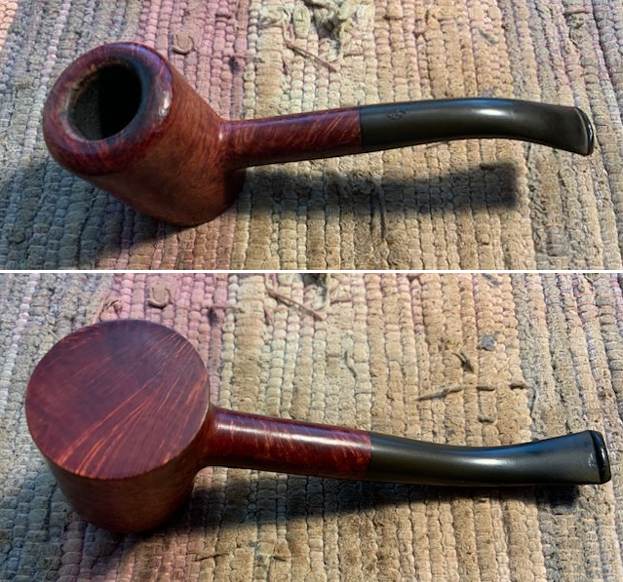
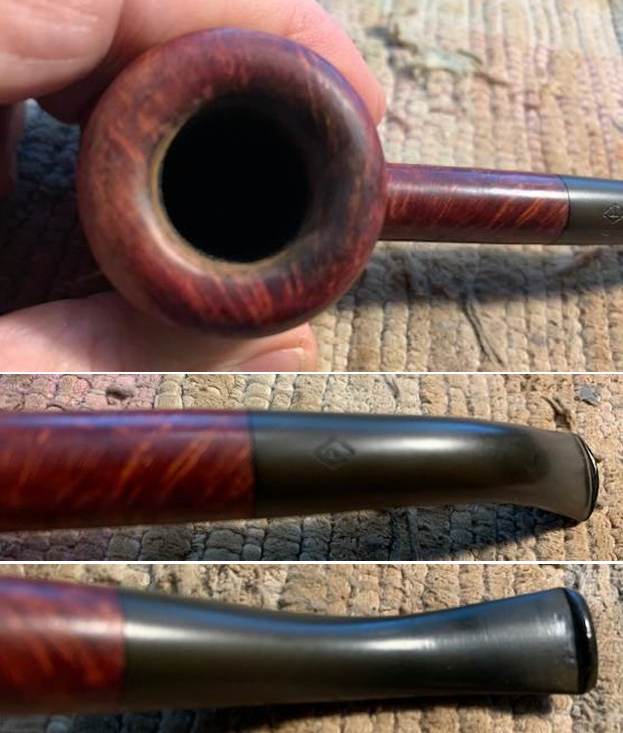
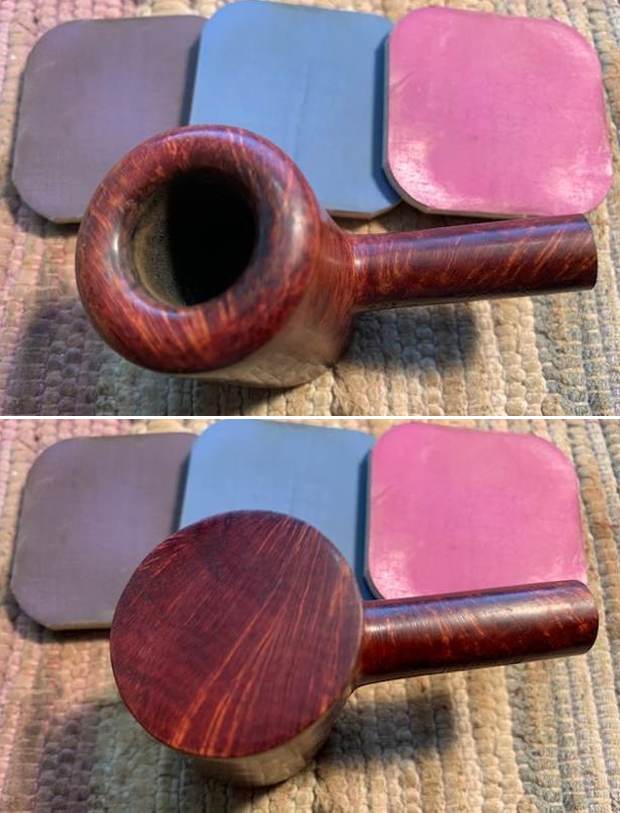
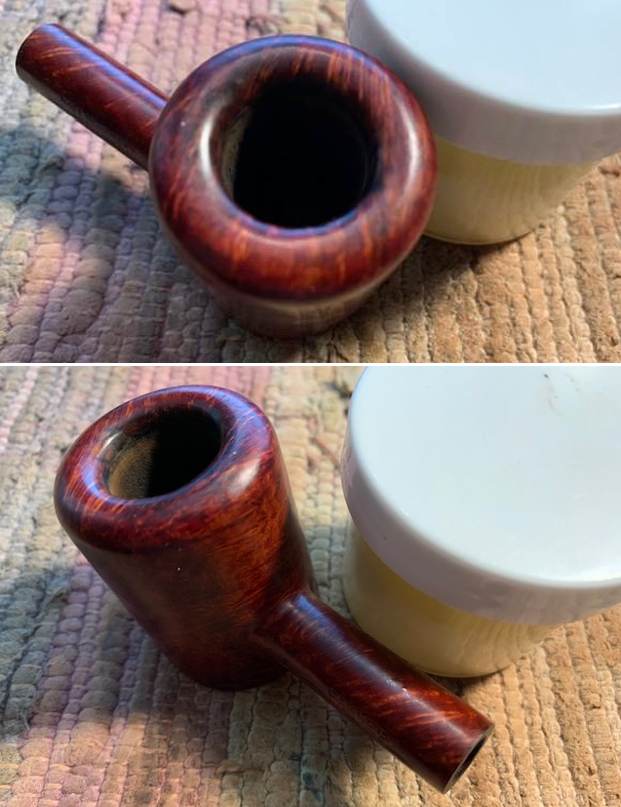
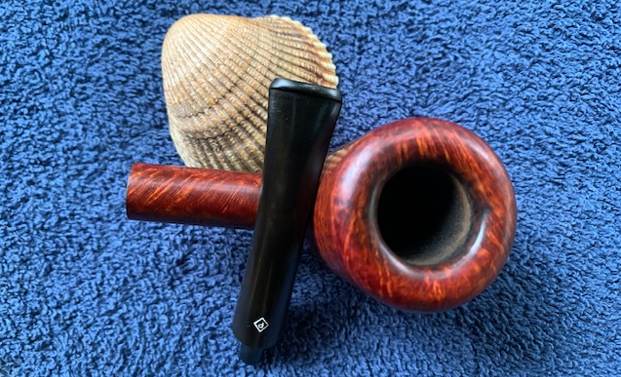
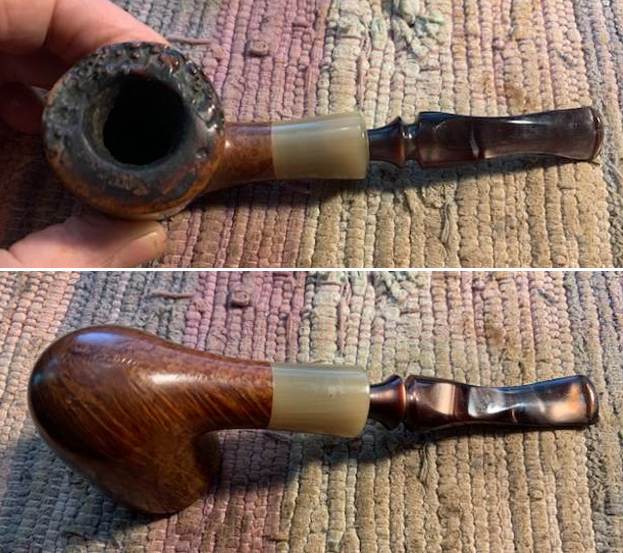
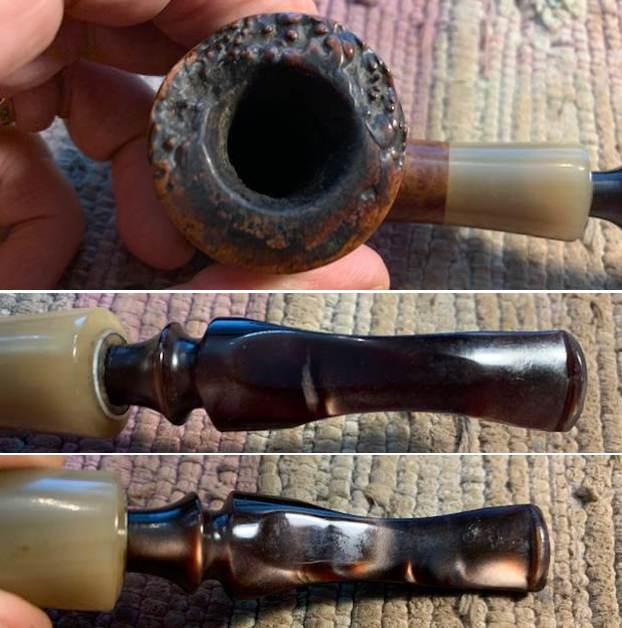
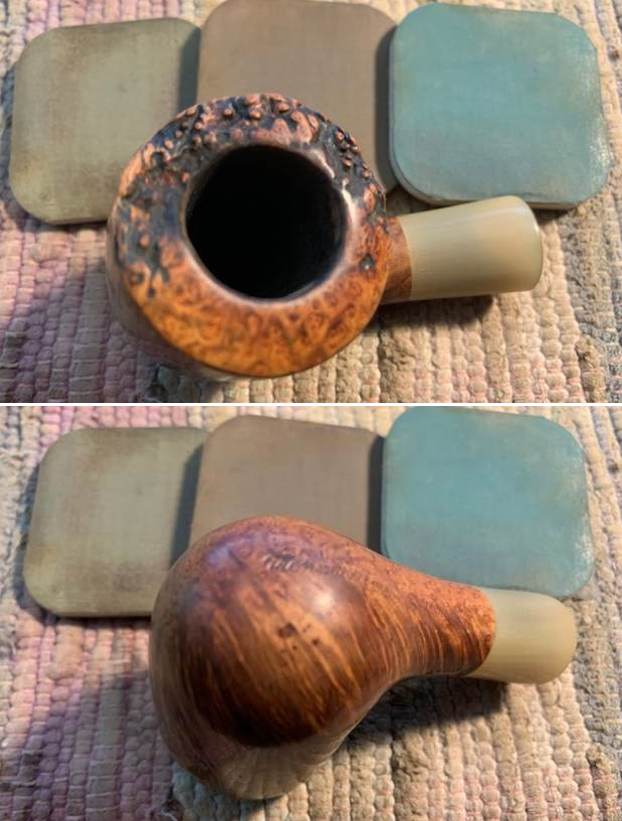
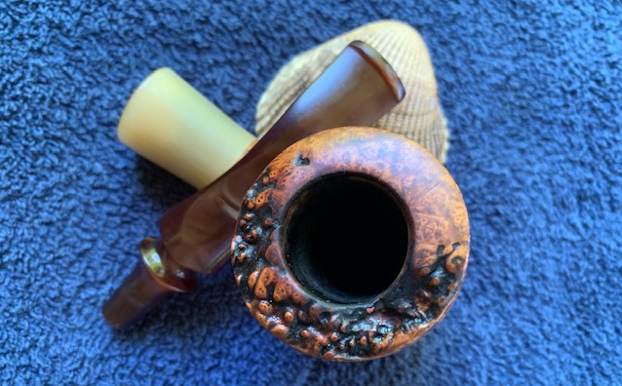
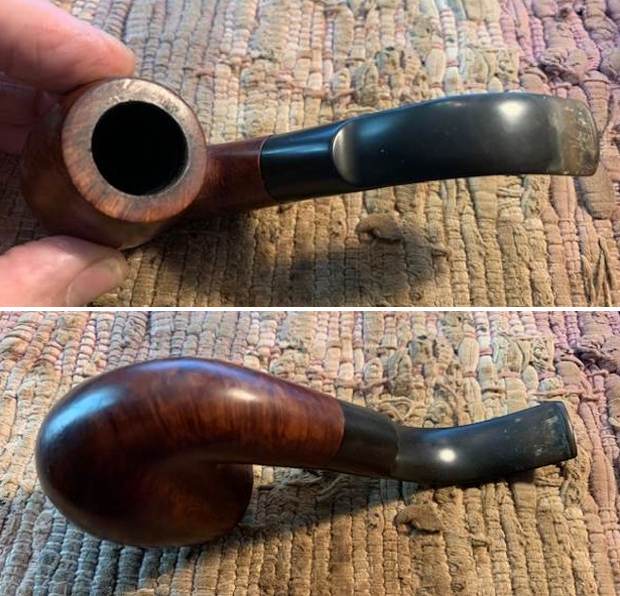
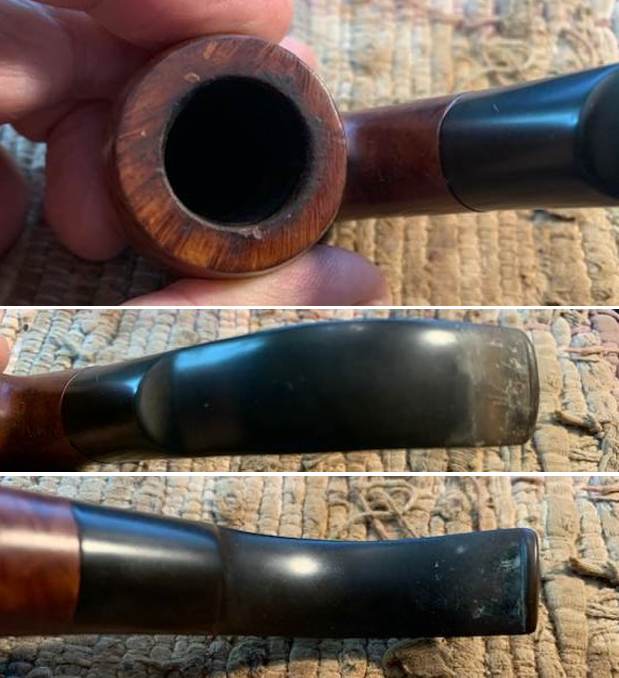
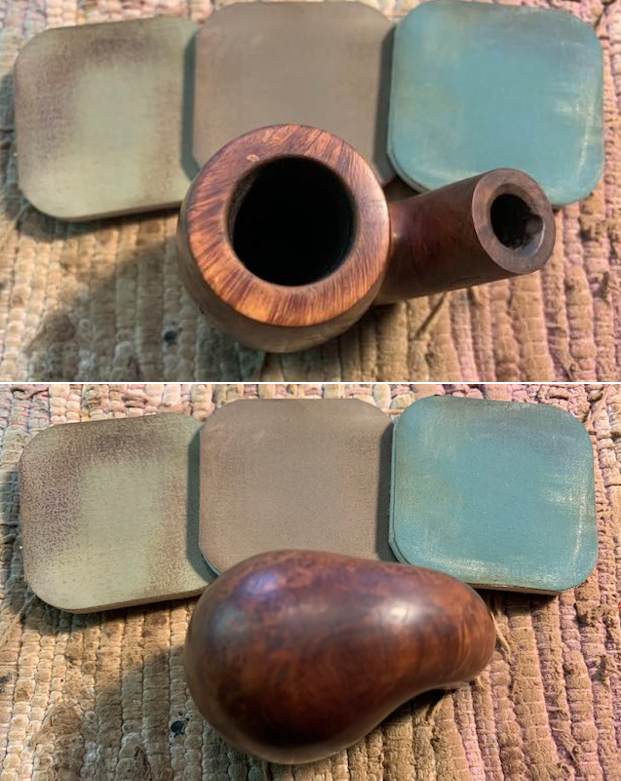
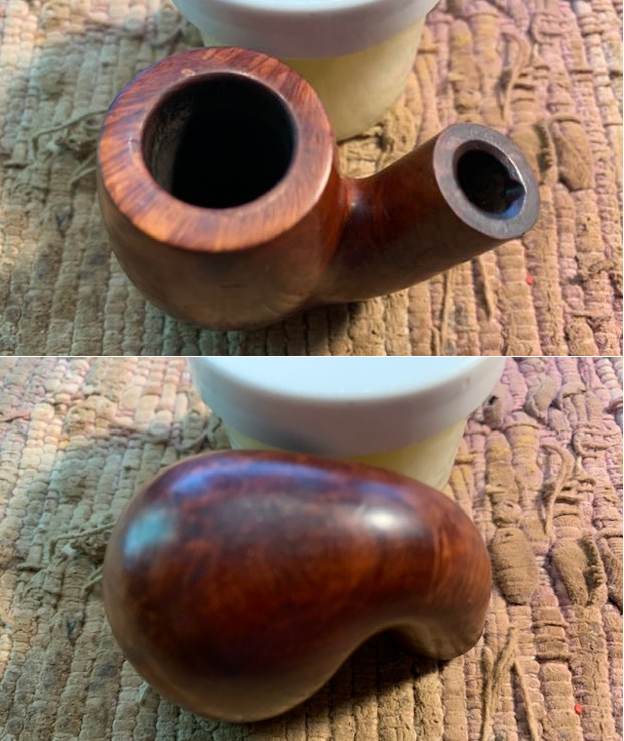
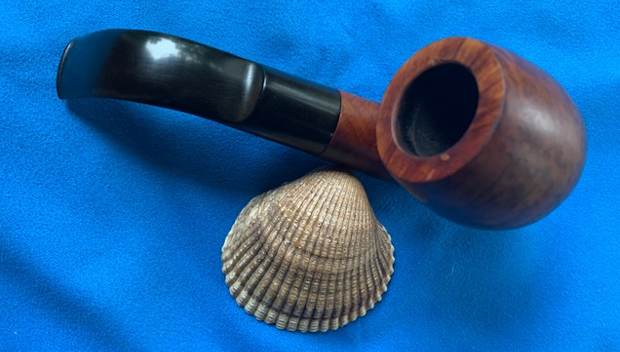
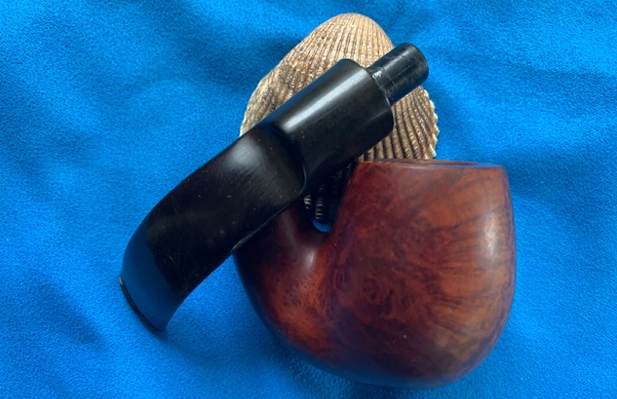
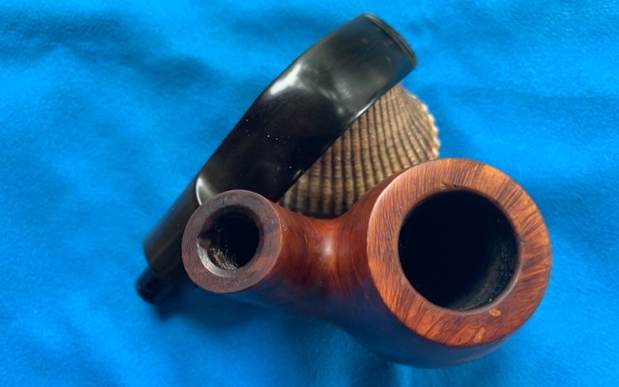
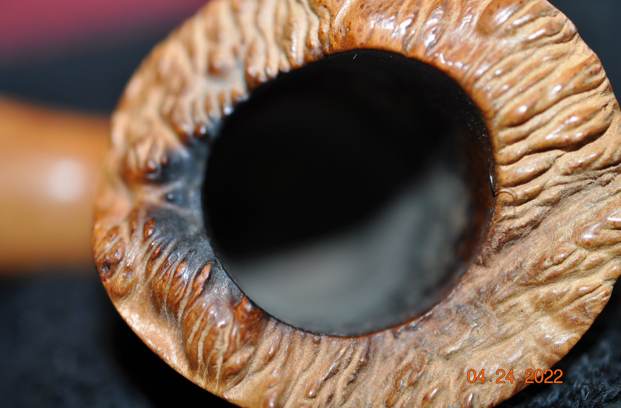
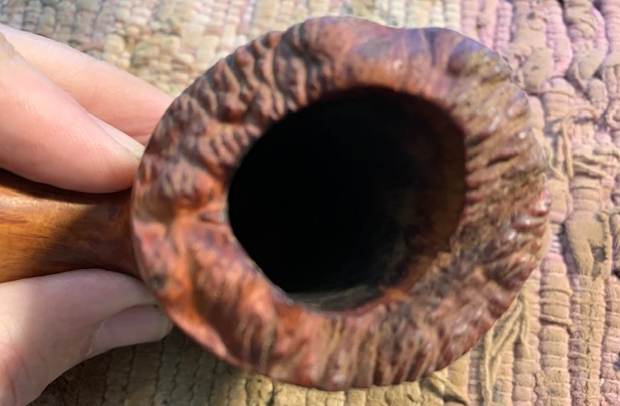
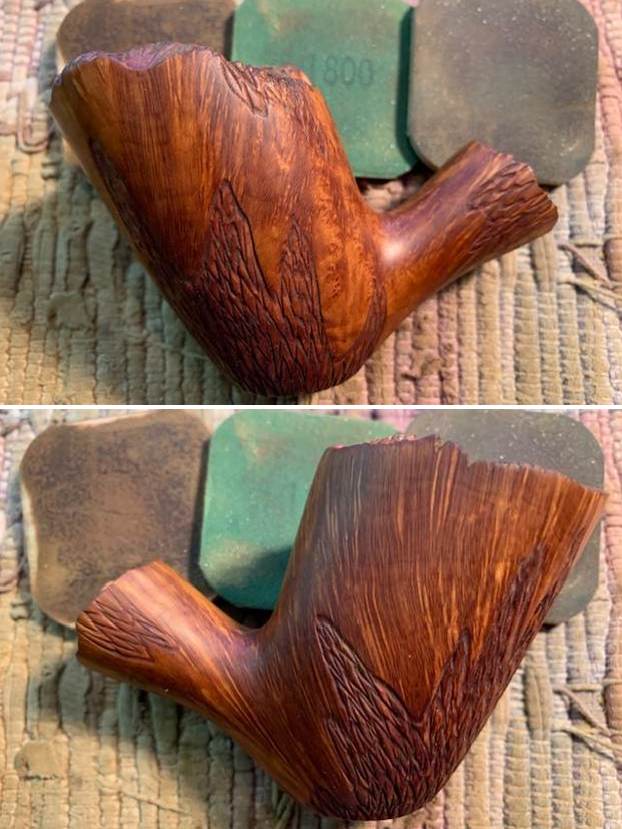
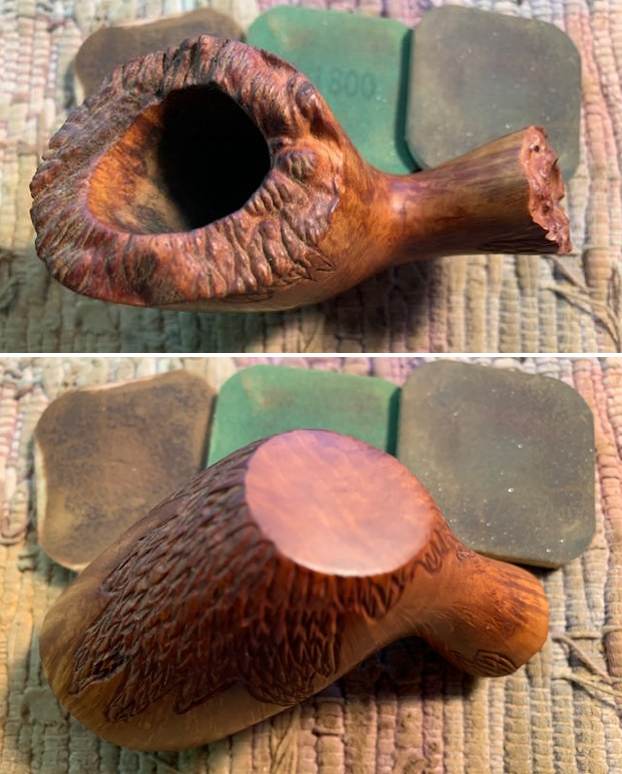
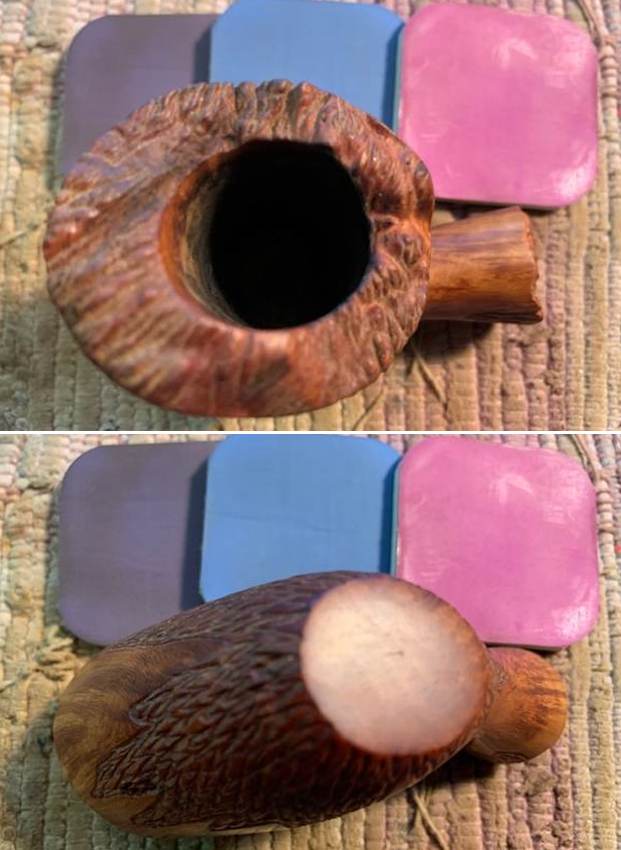
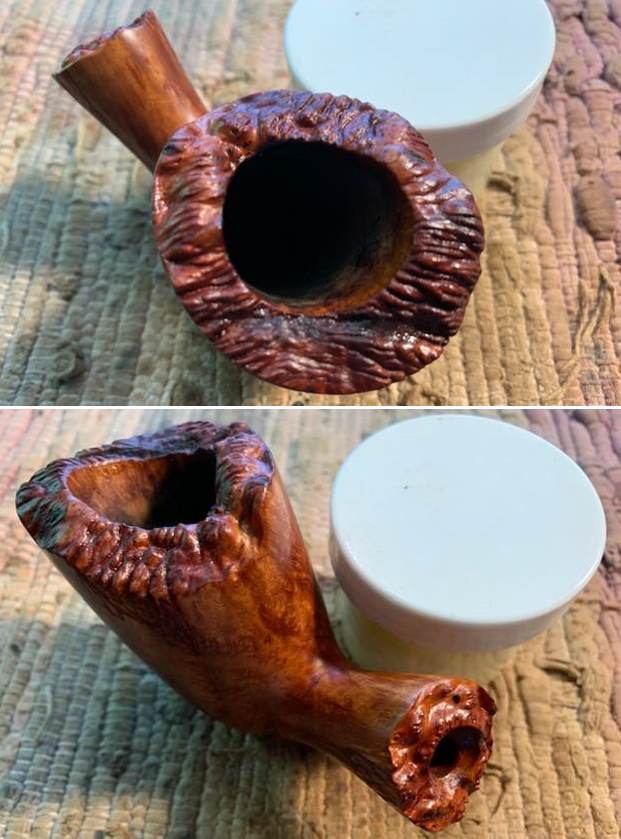
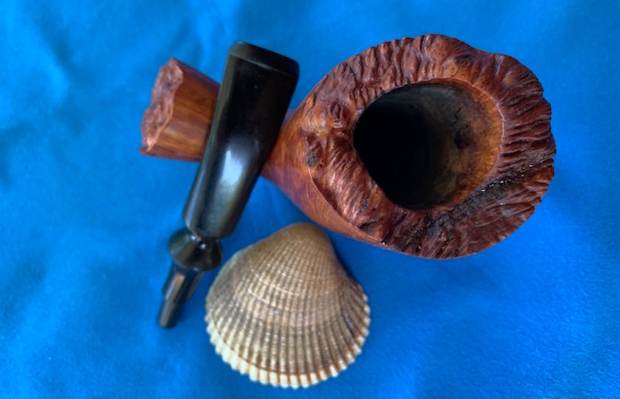
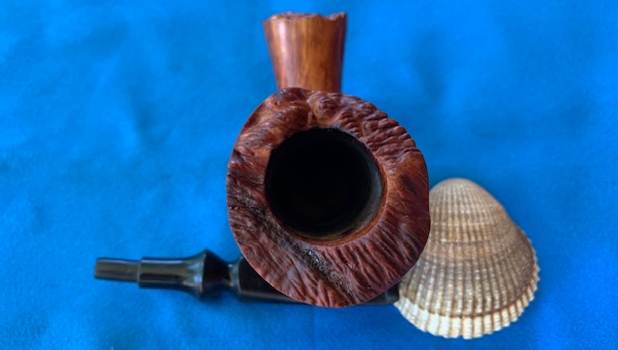
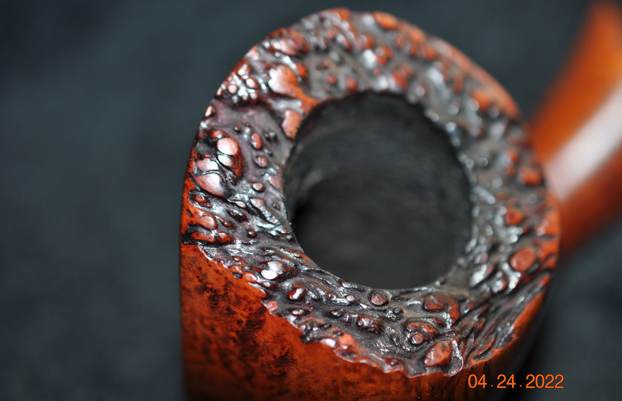
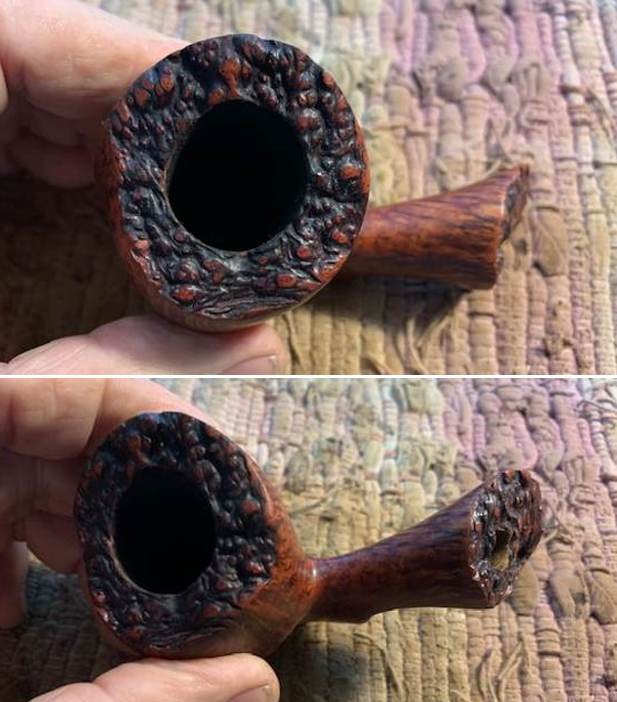
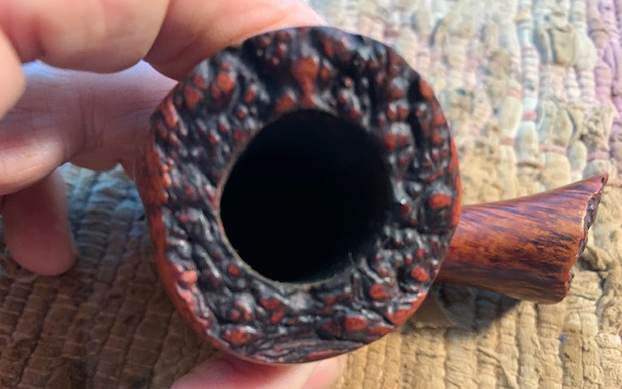
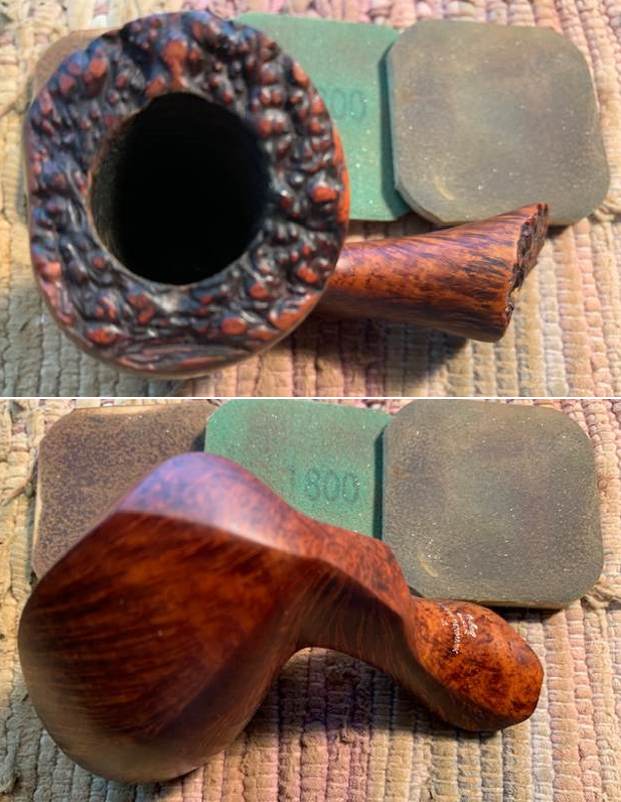
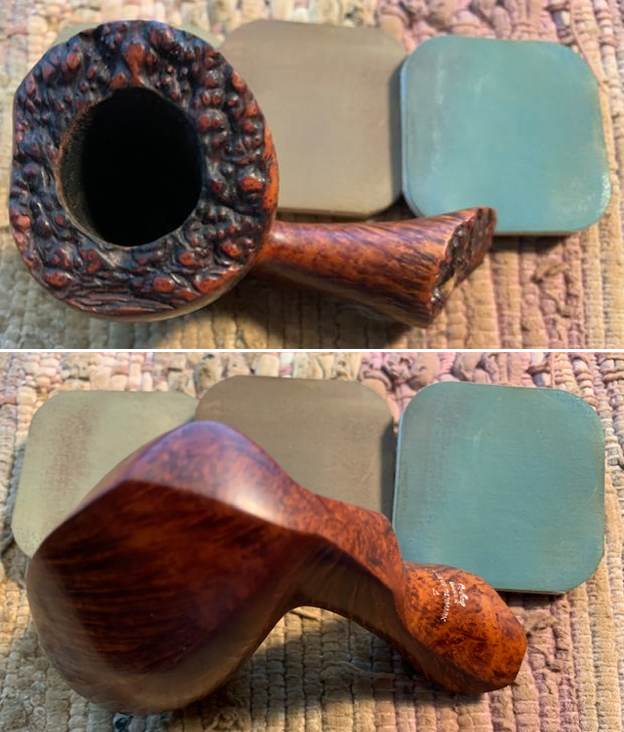
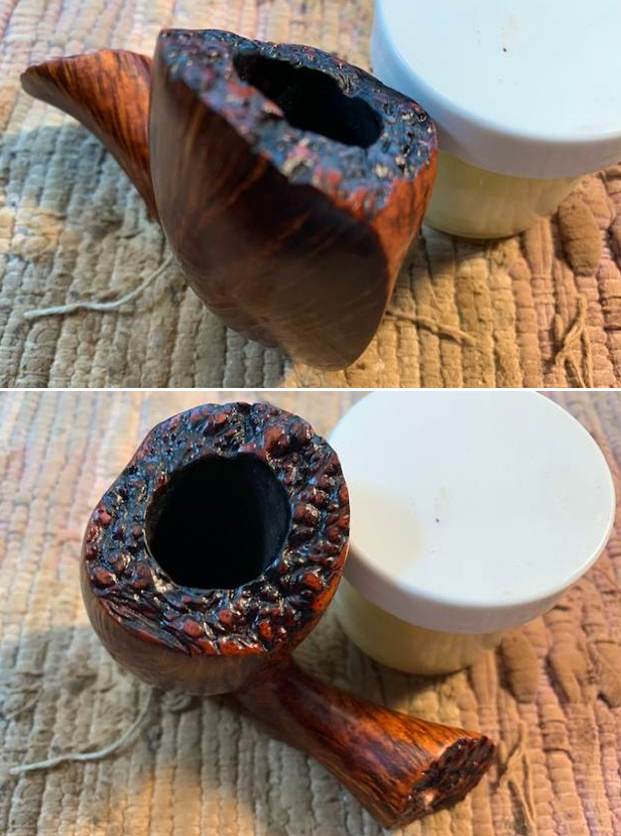
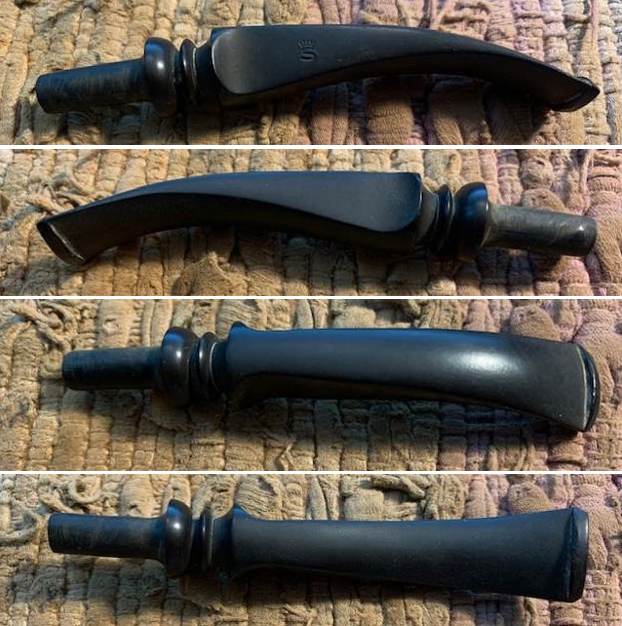
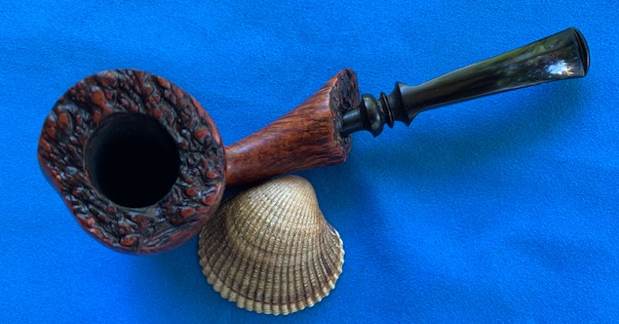
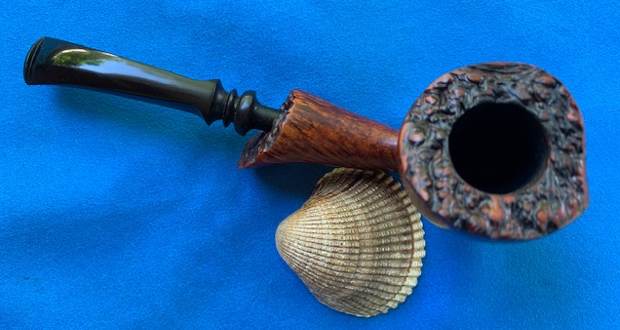
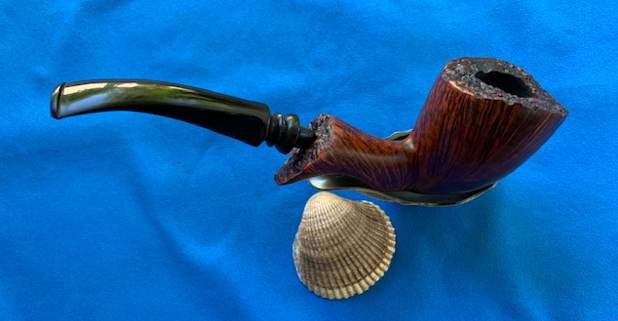
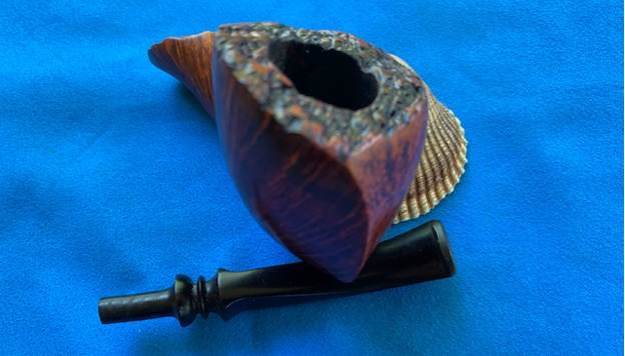
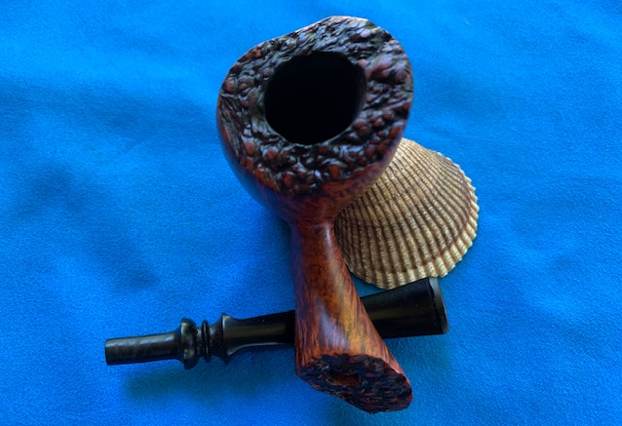
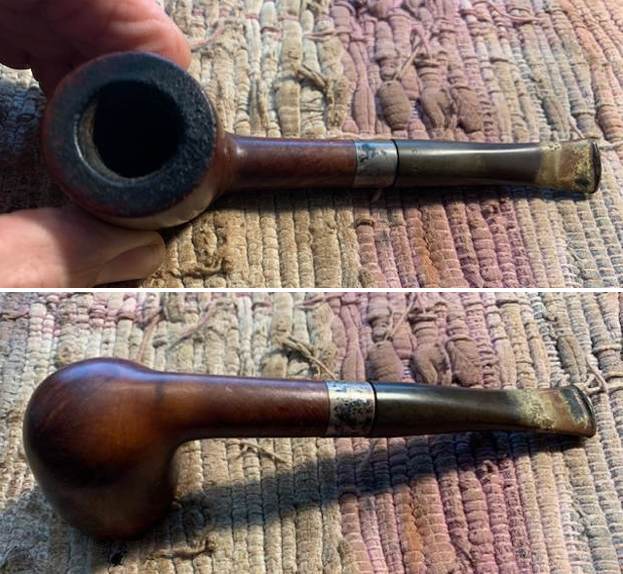
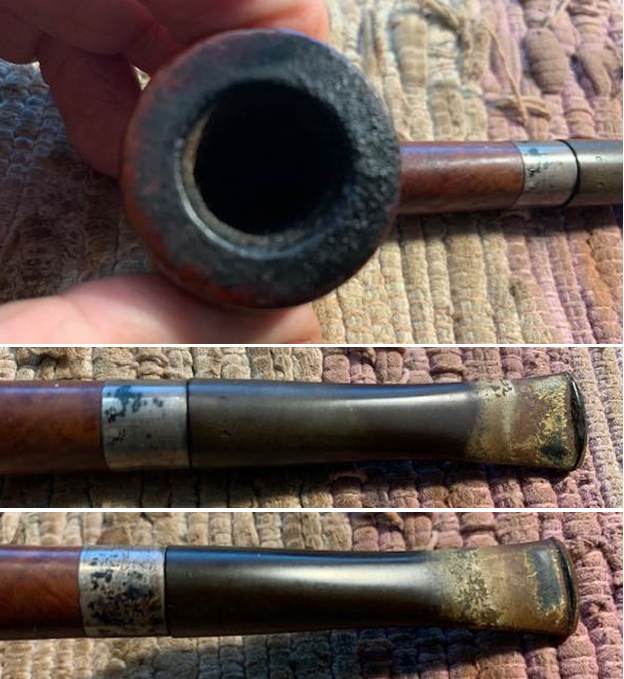
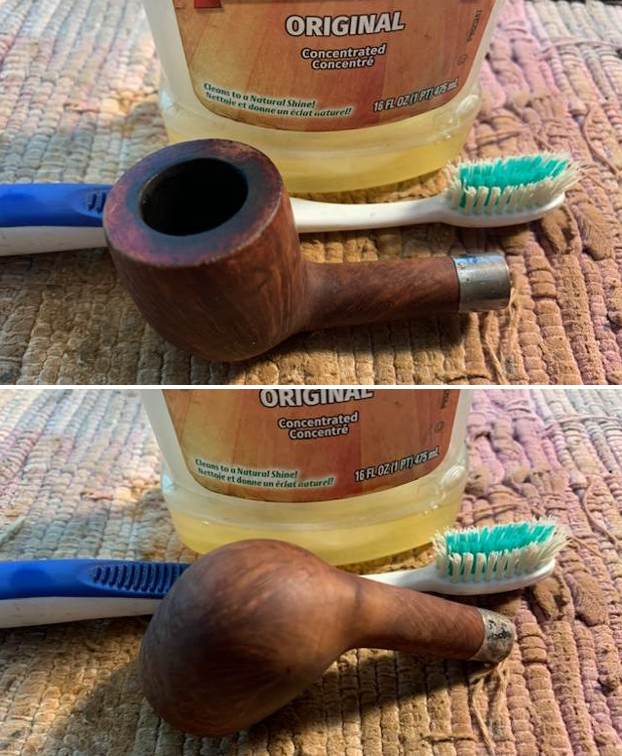
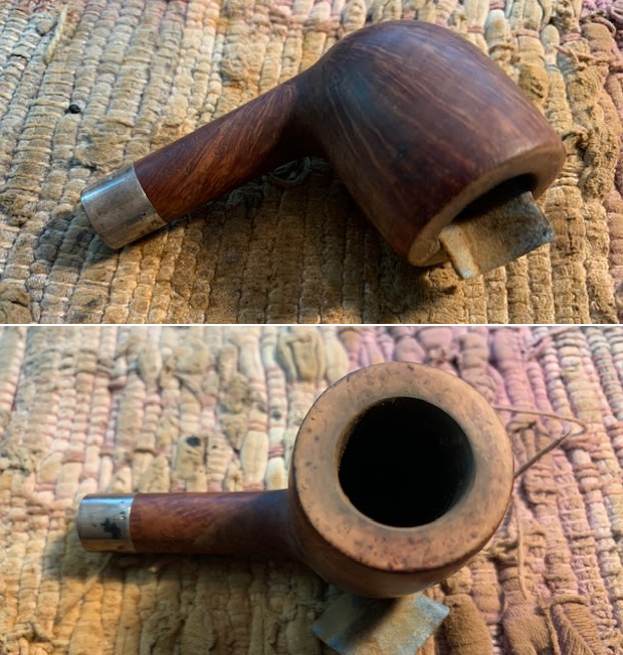
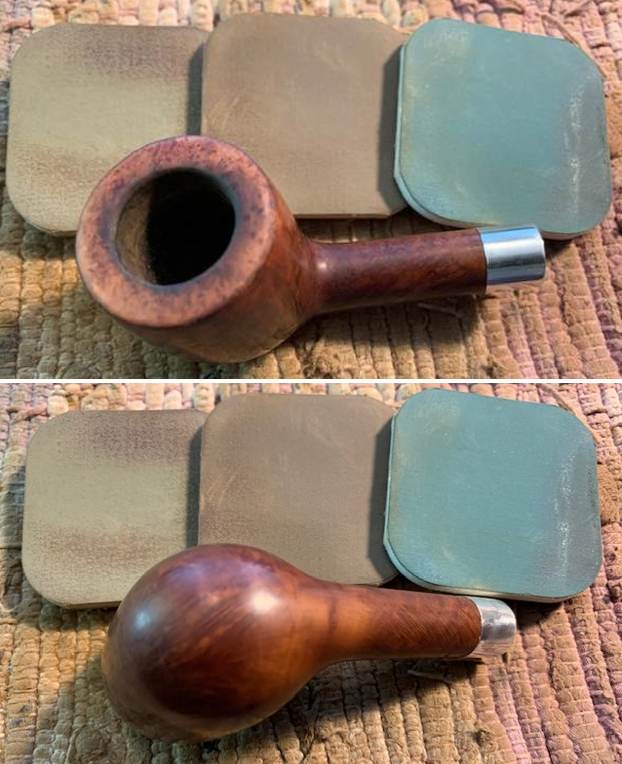
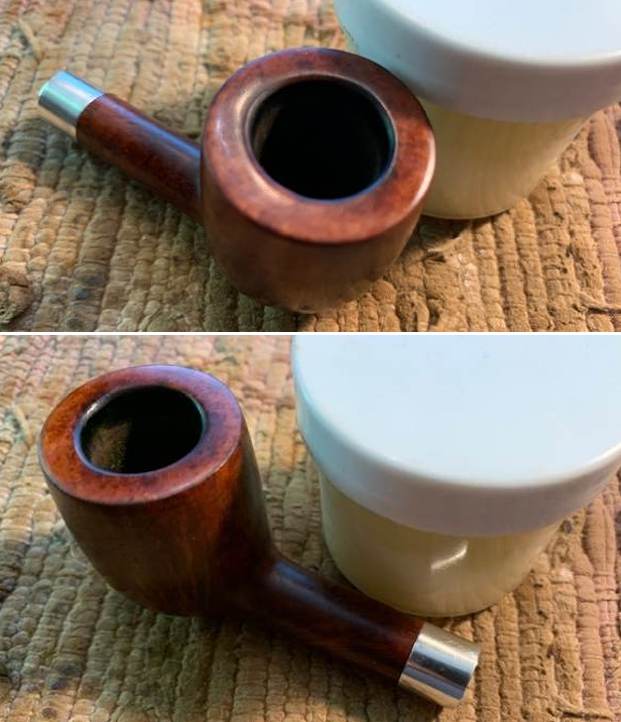
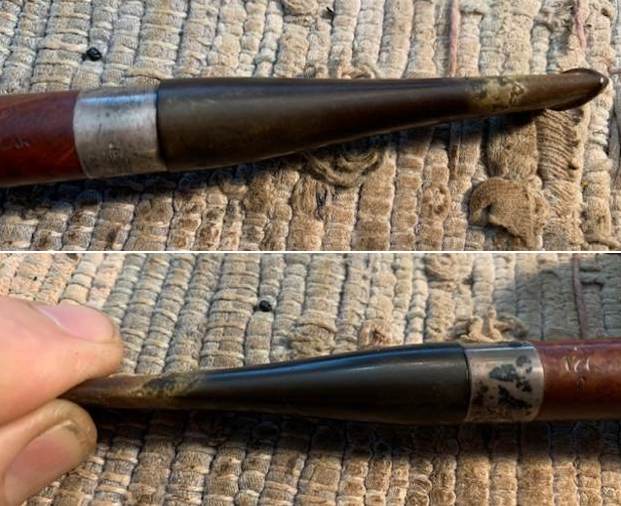
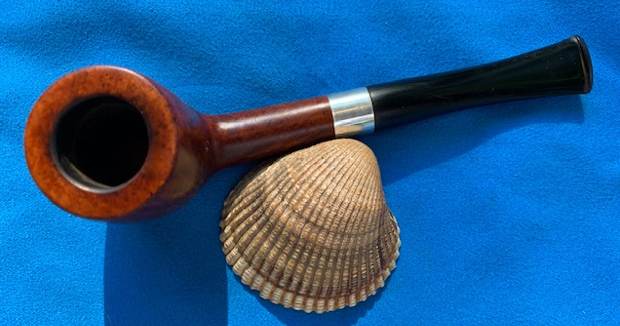
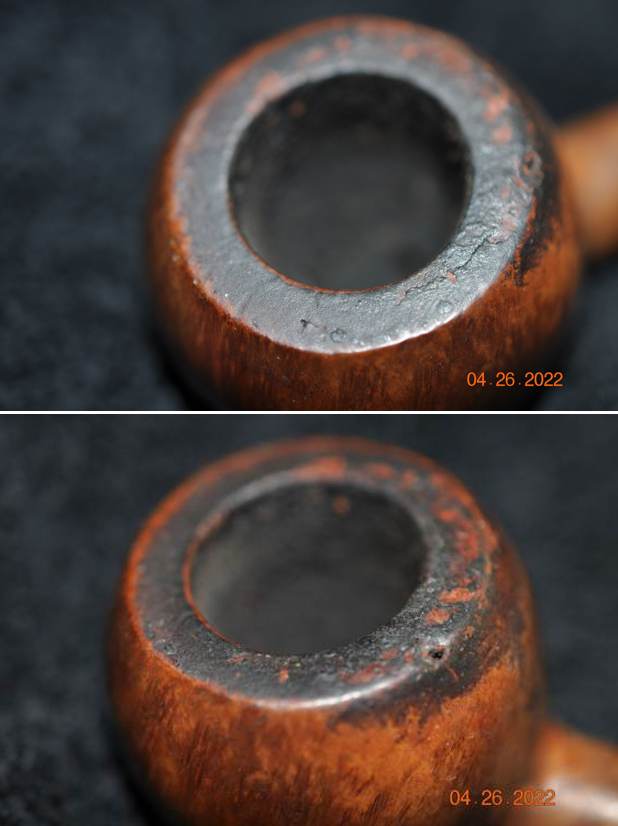
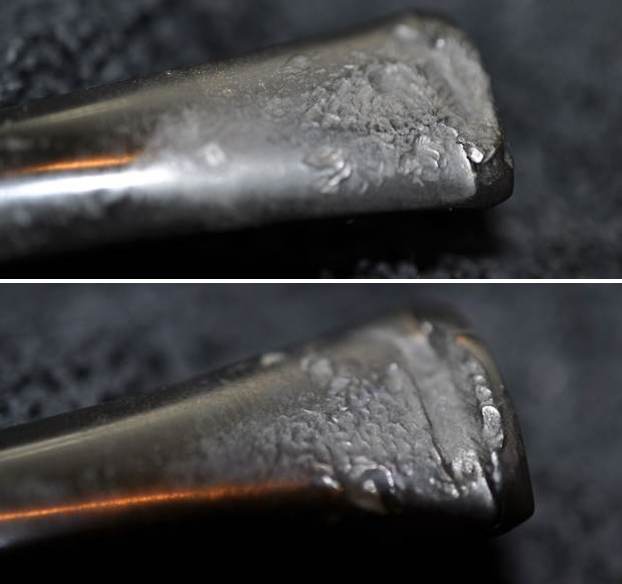
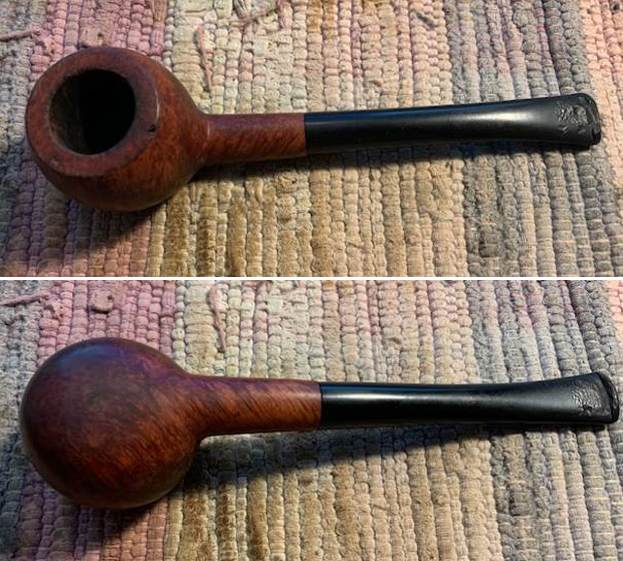
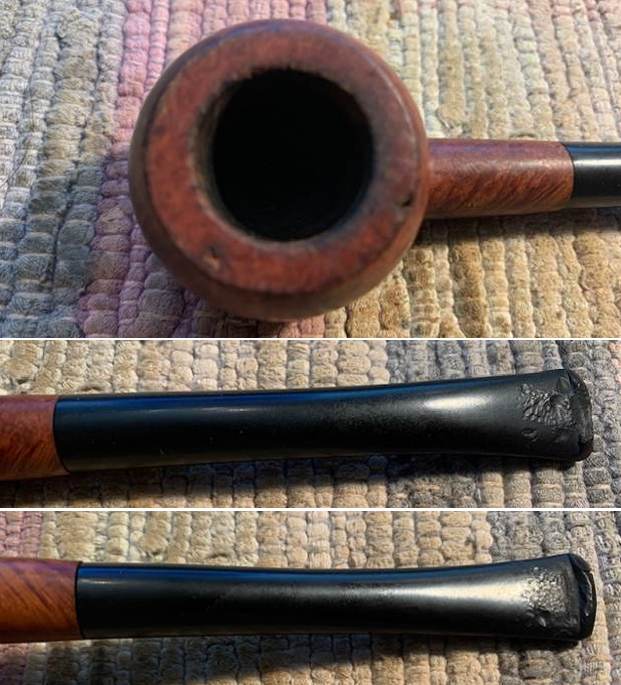
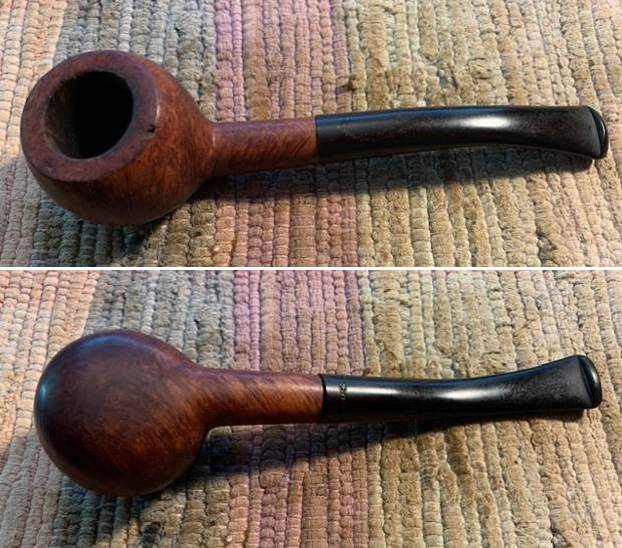
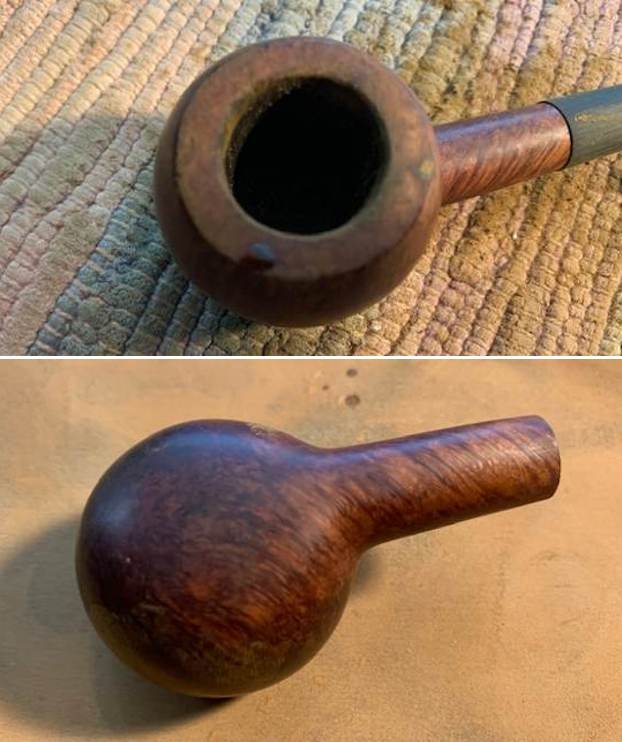
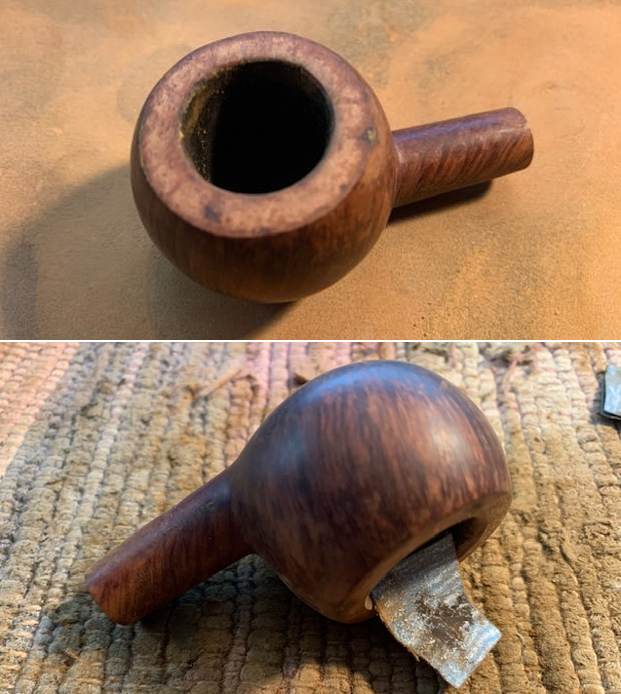
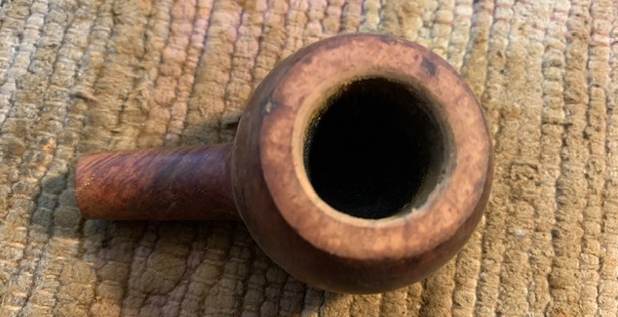
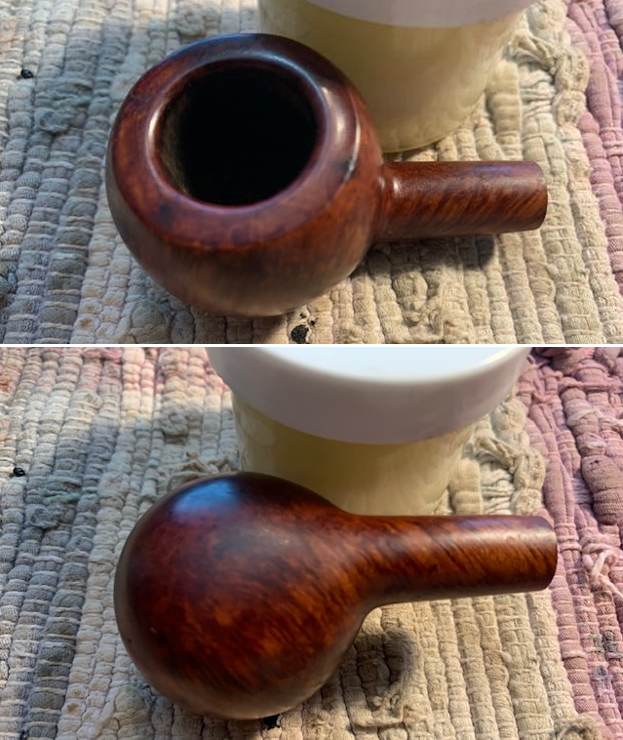
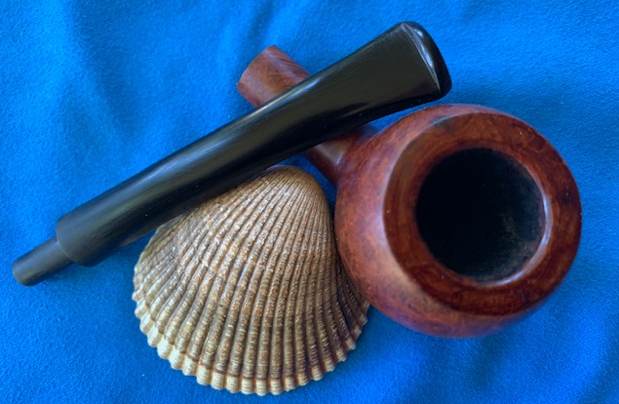
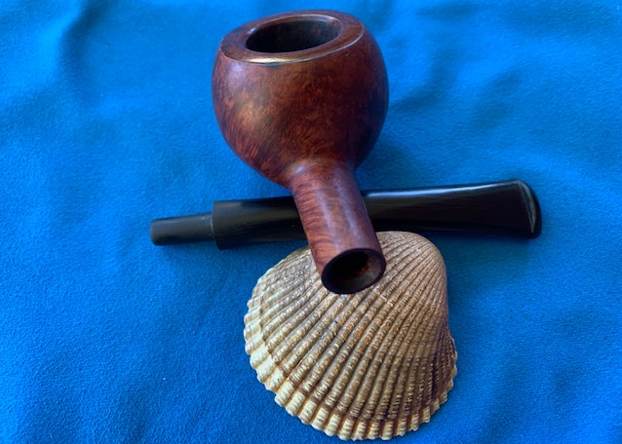
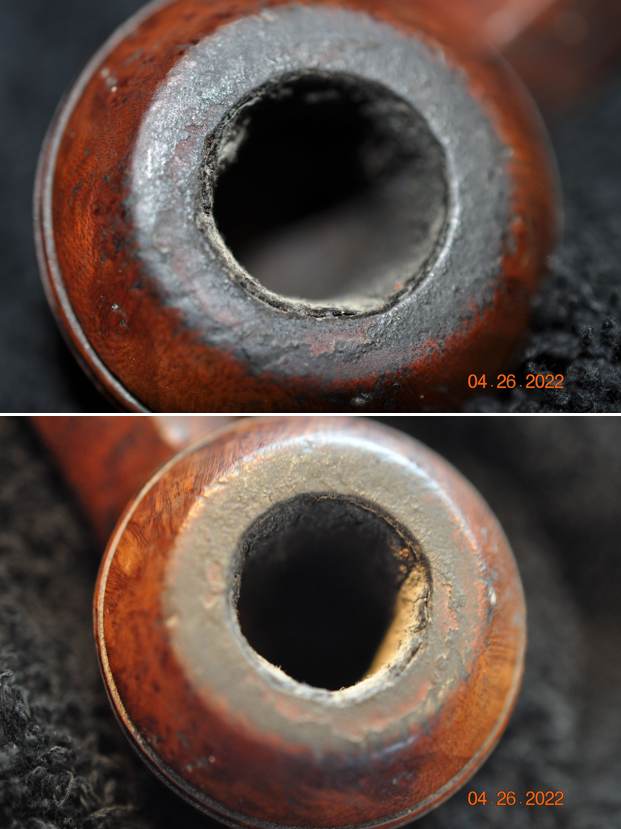
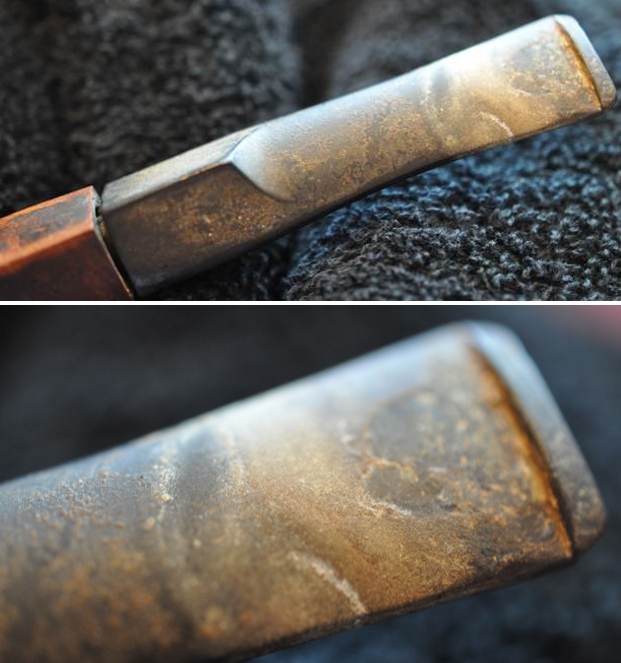
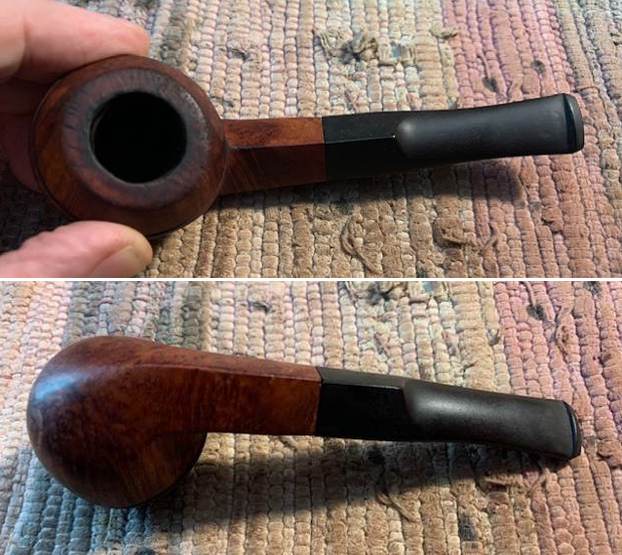
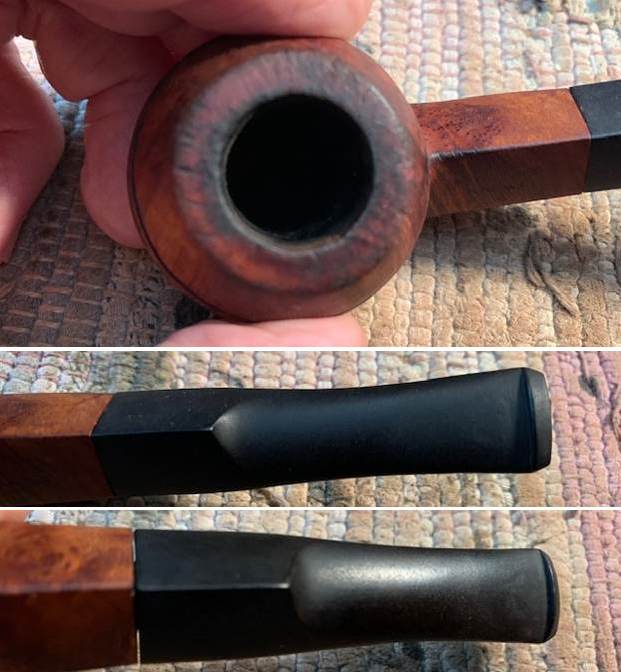
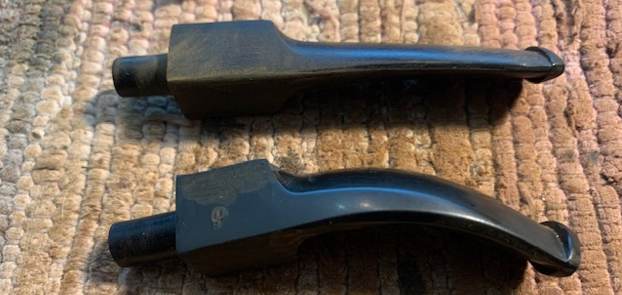
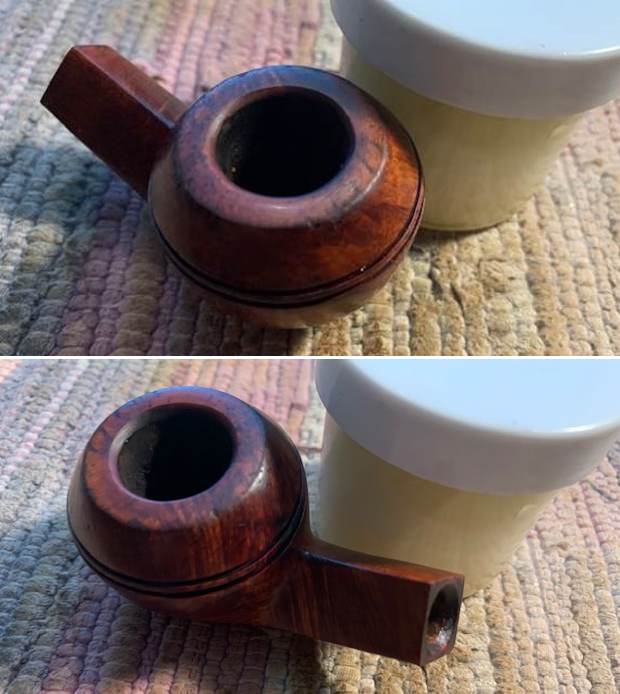
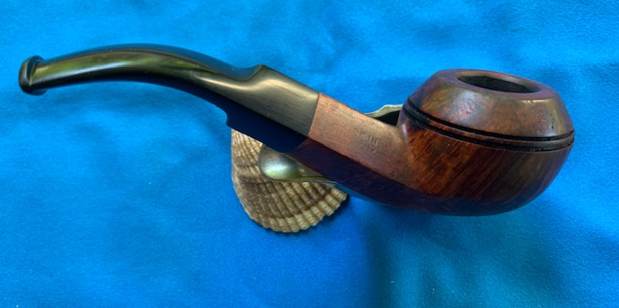
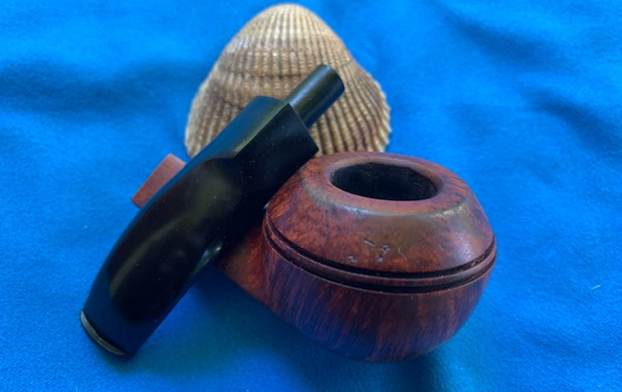
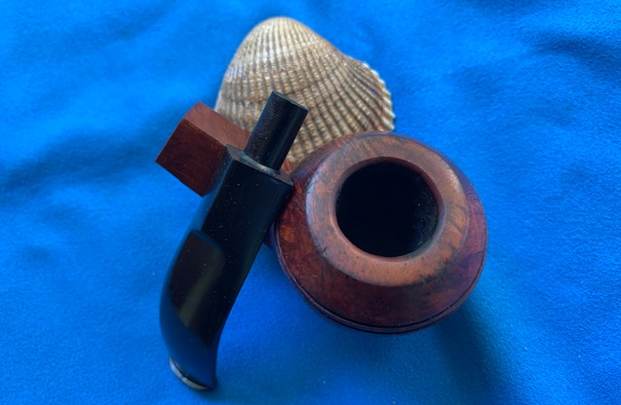
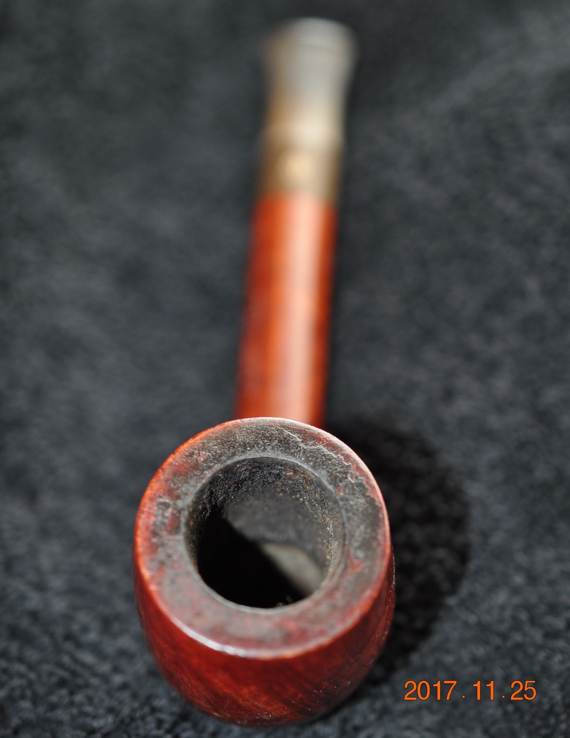 He took photos of the bowl and rim top to show the condition of the pipe. You can see the cake in the bowl and the thick lava build up on the inner edge and the rim top. The stem photos show the oxidation and tooth marks and chatter on the top and underside ahead of the button.
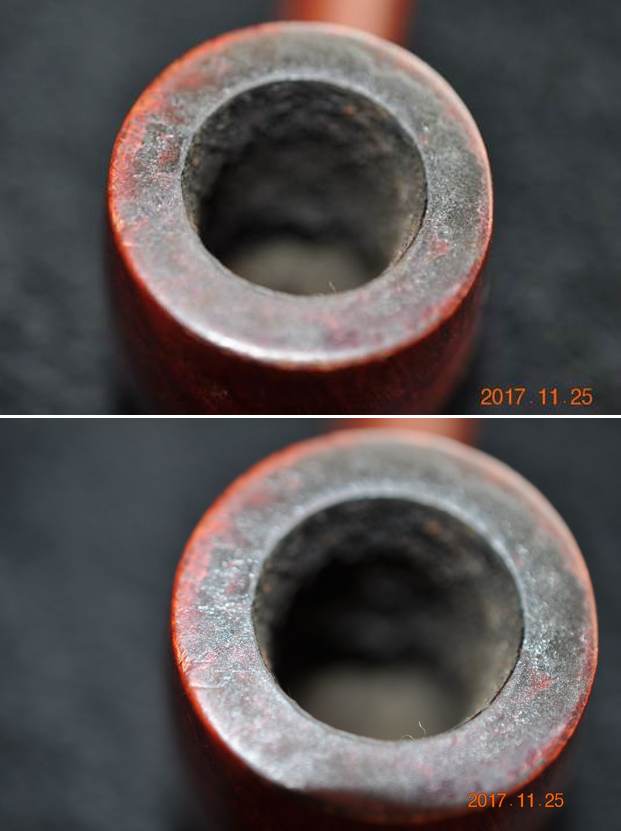

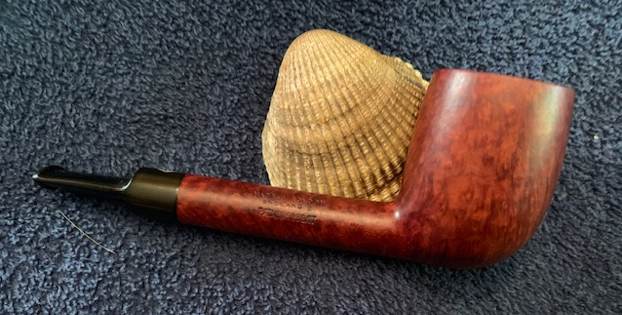
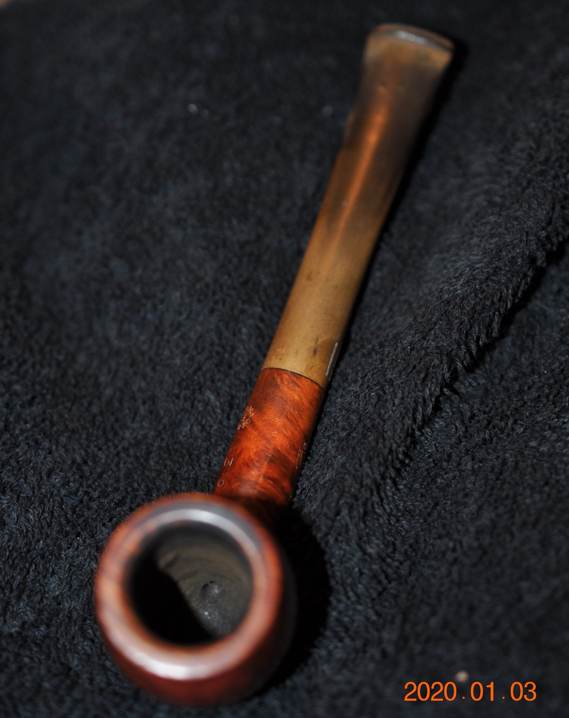
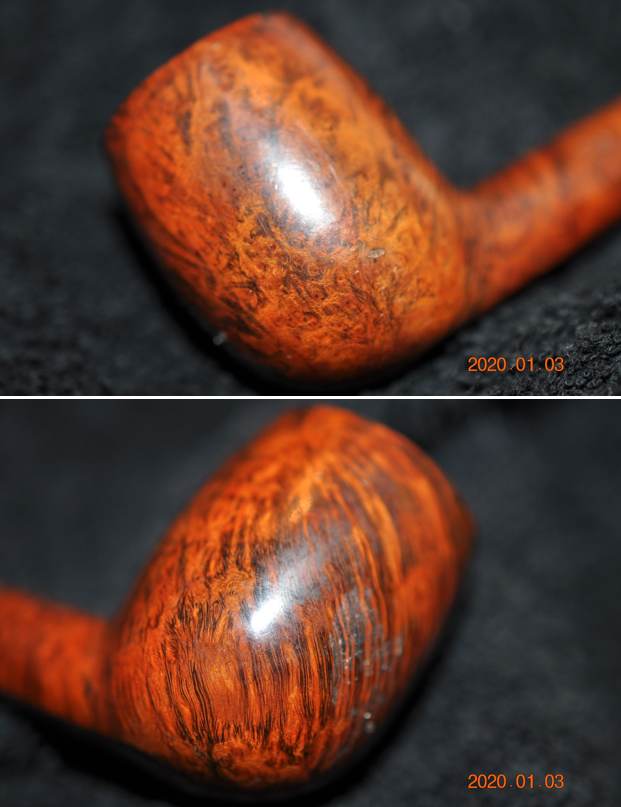
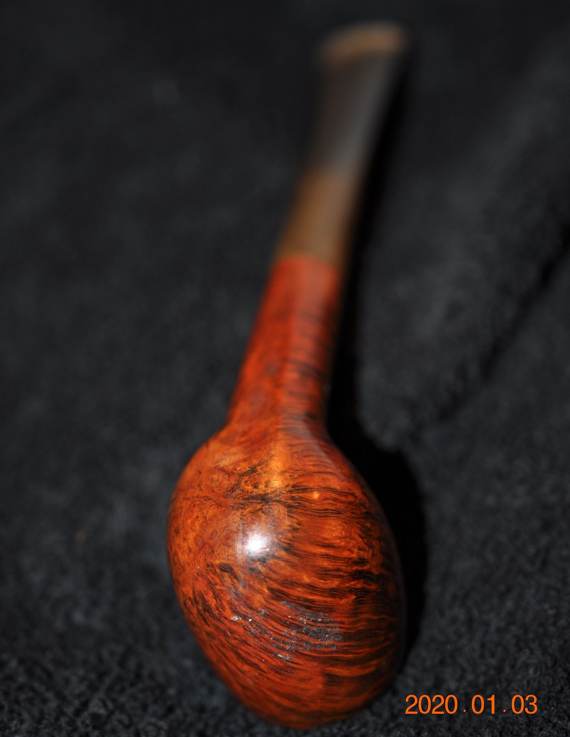
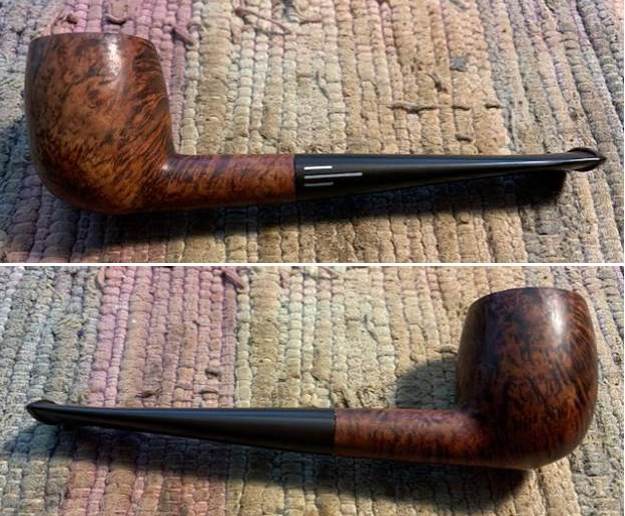
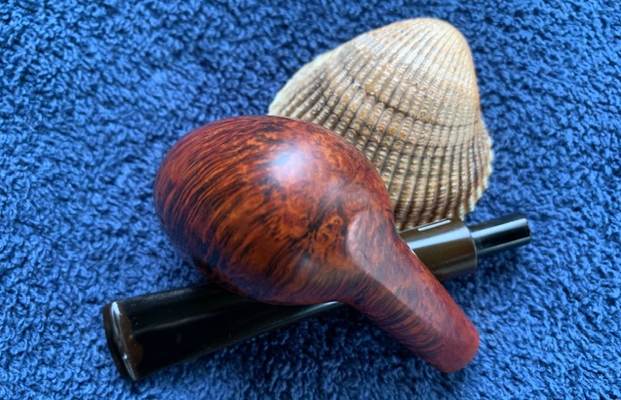
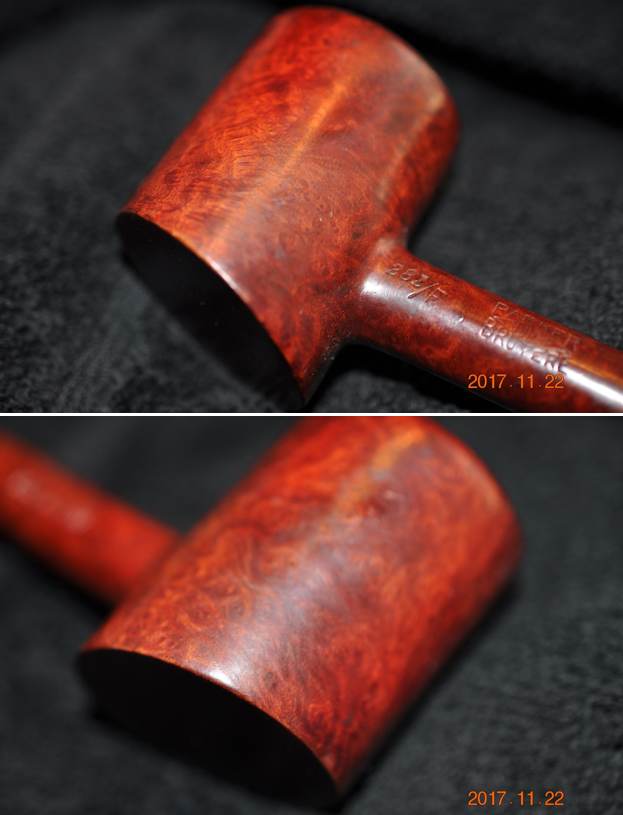
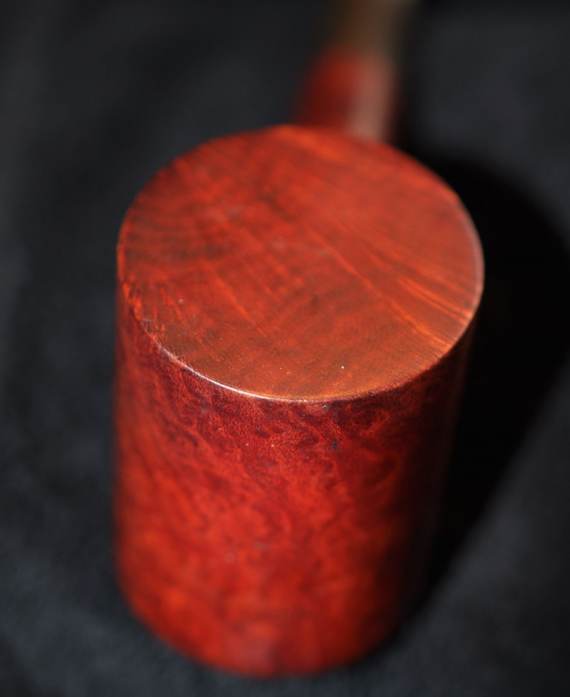
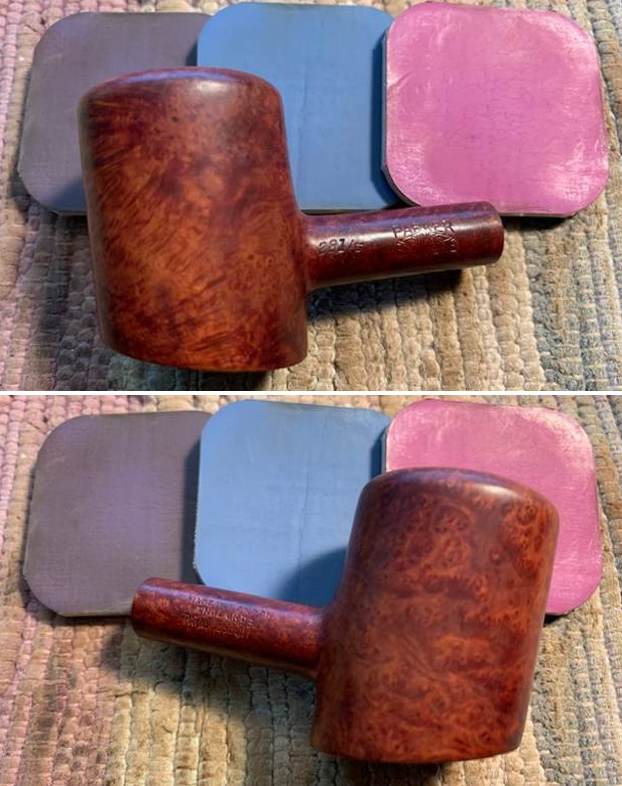
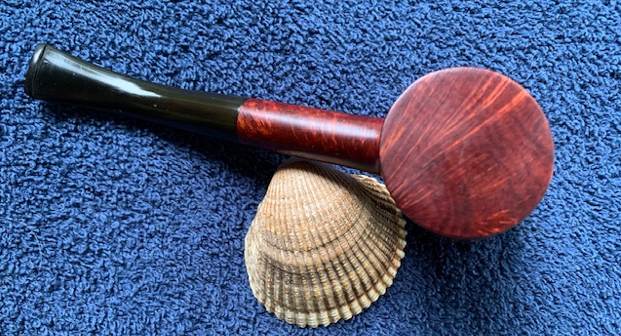
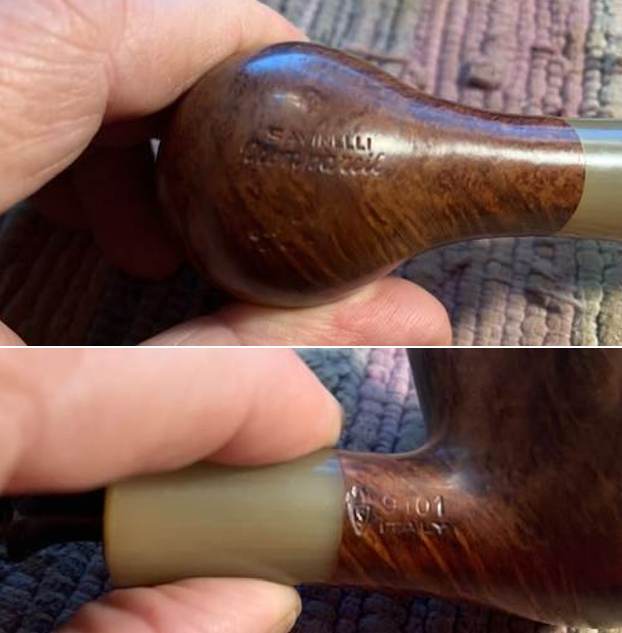
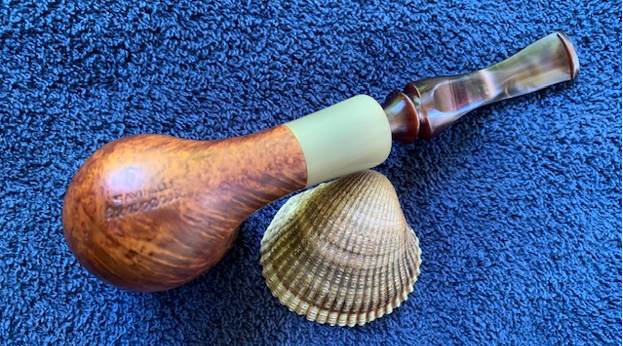
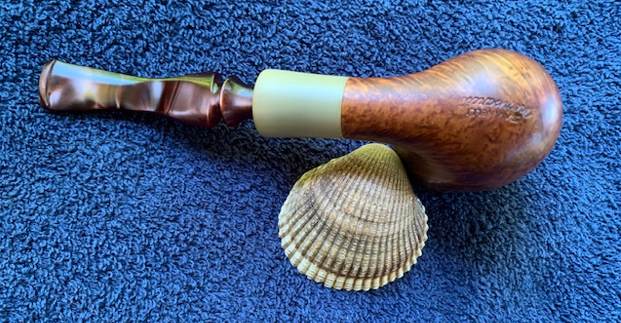
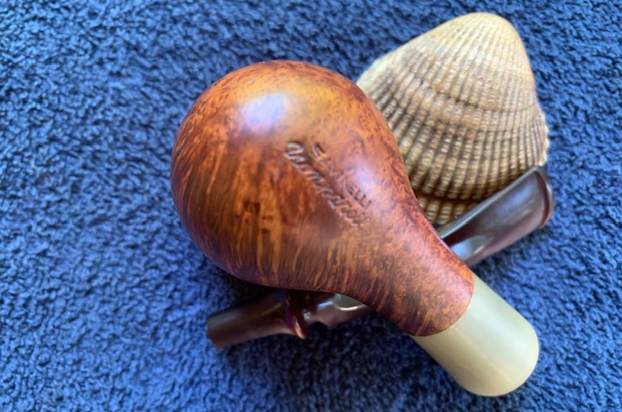
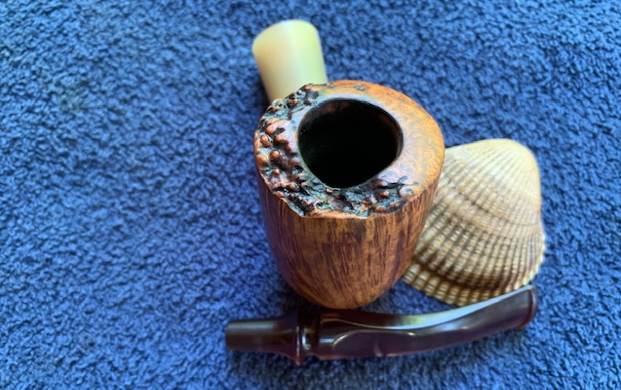
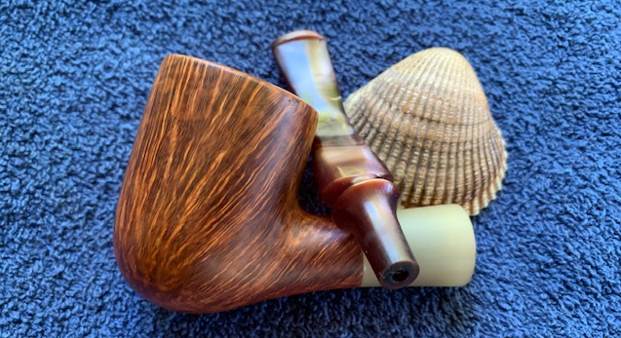
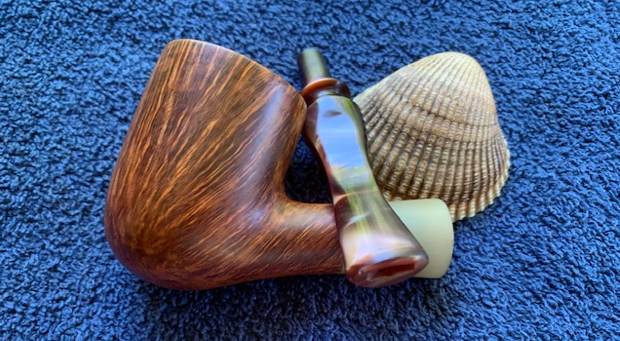
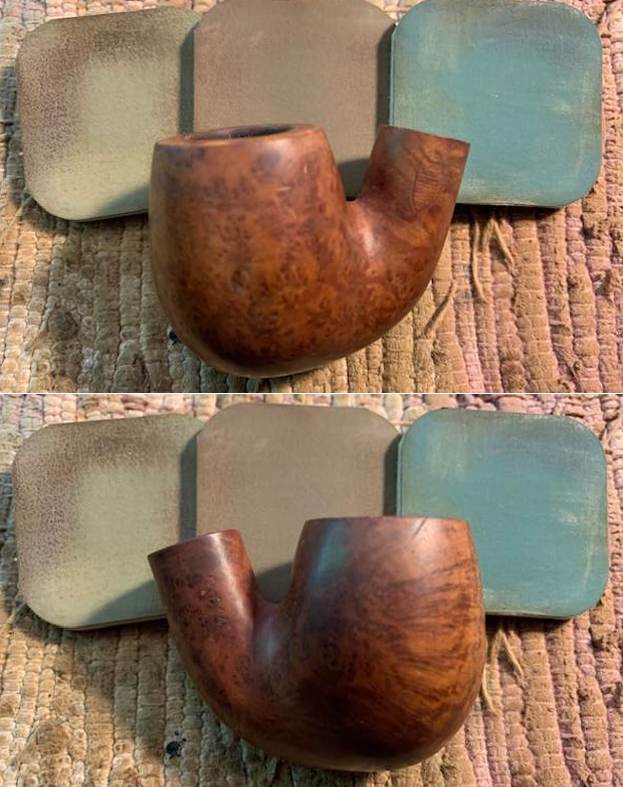
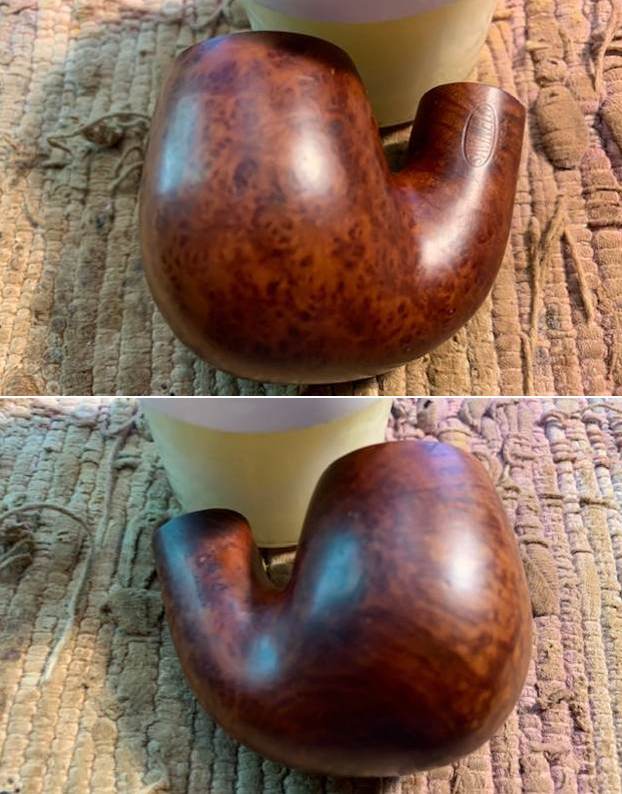
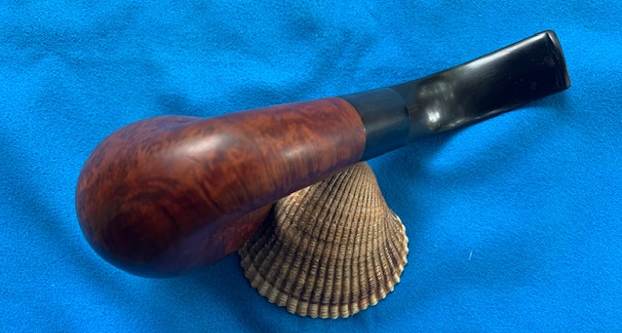
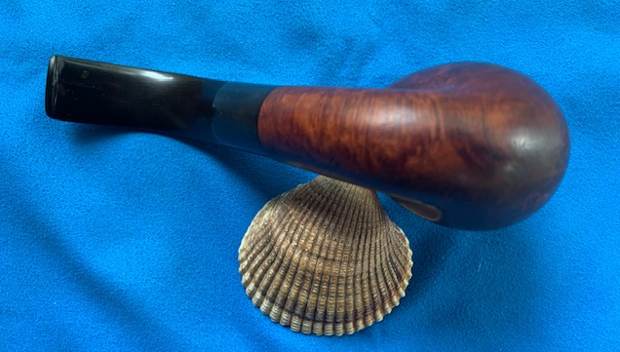
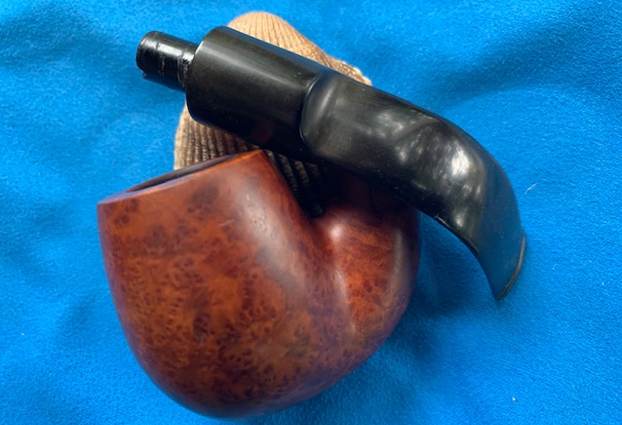
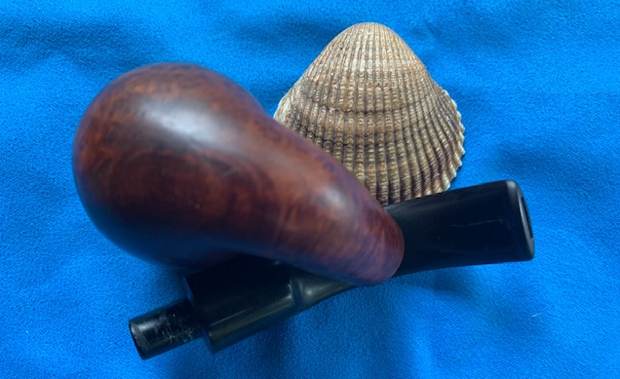
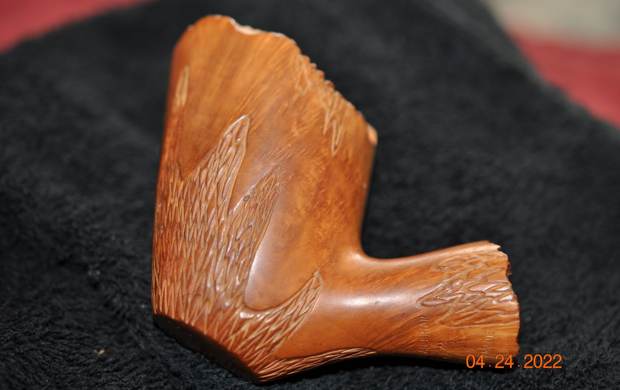
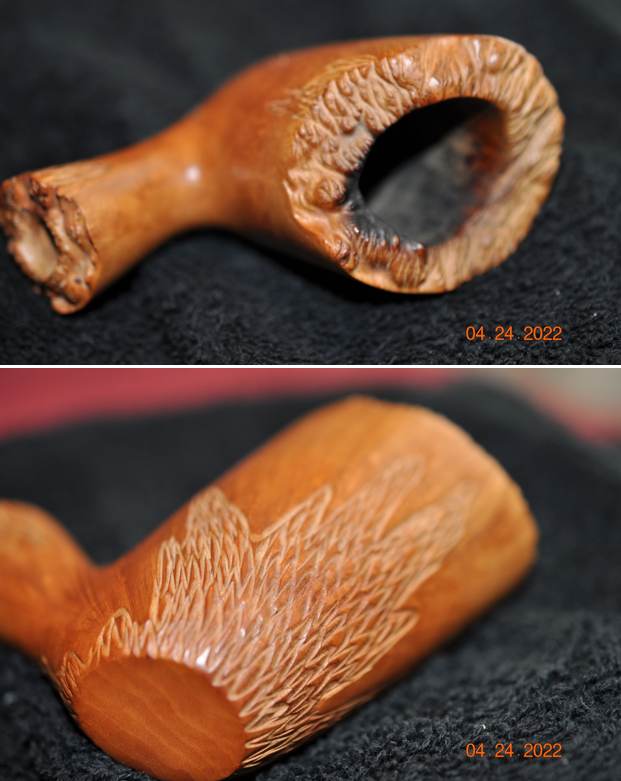
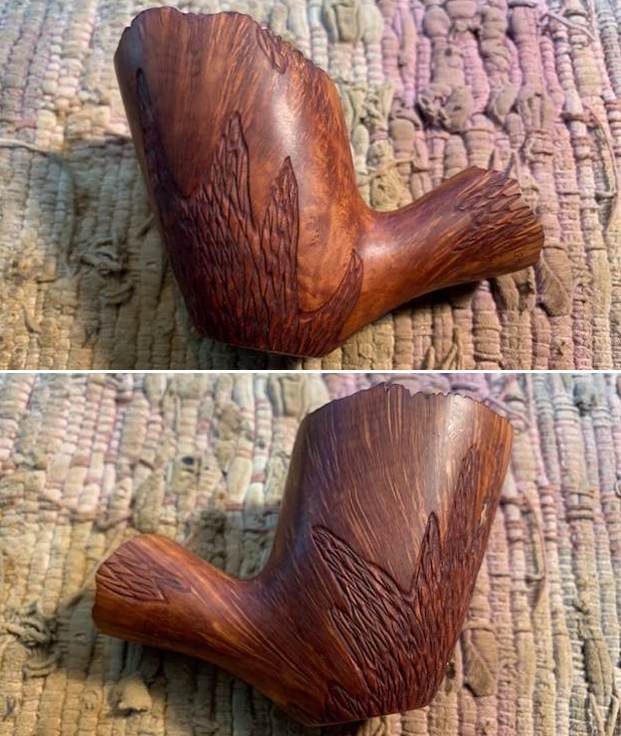
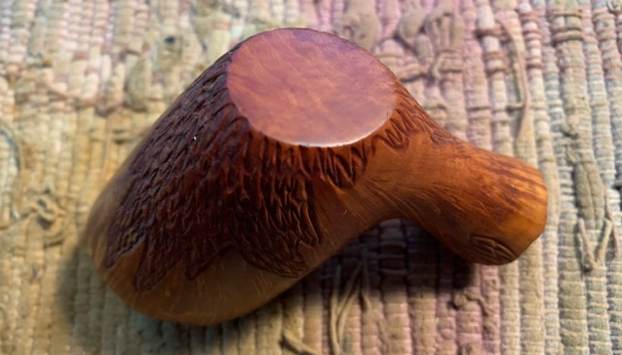
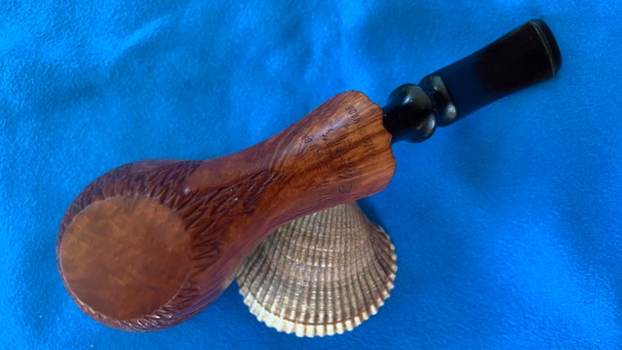
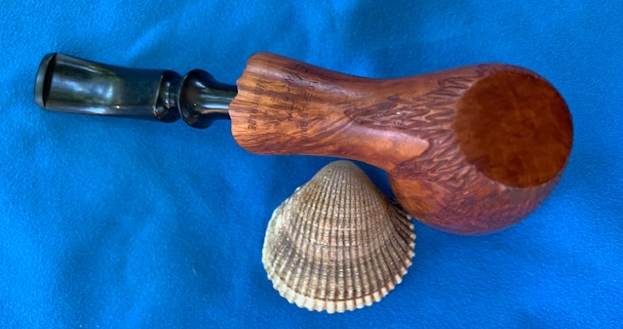
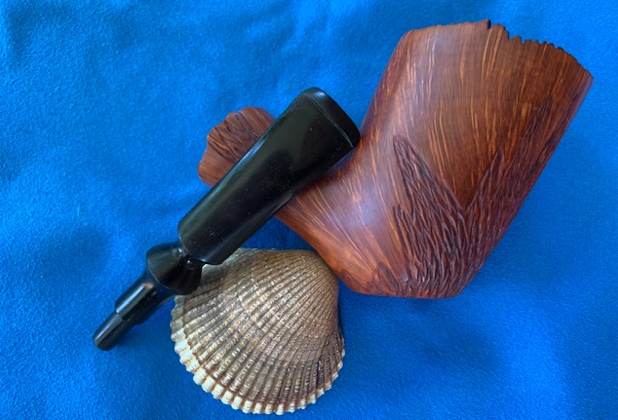
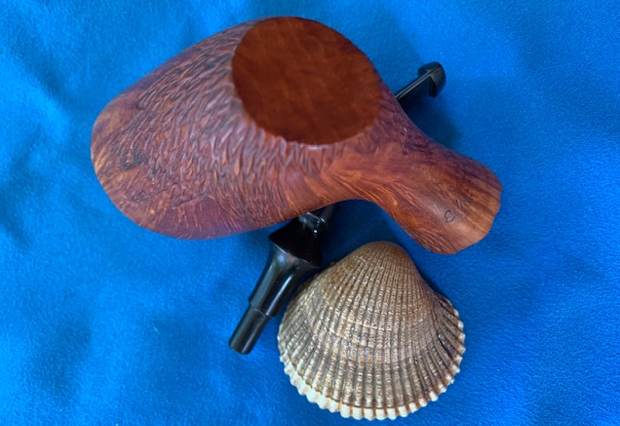
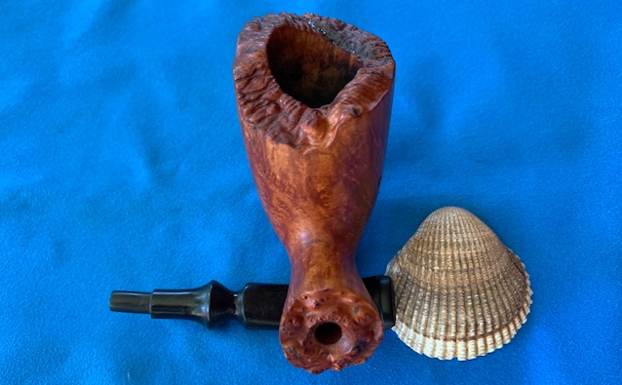
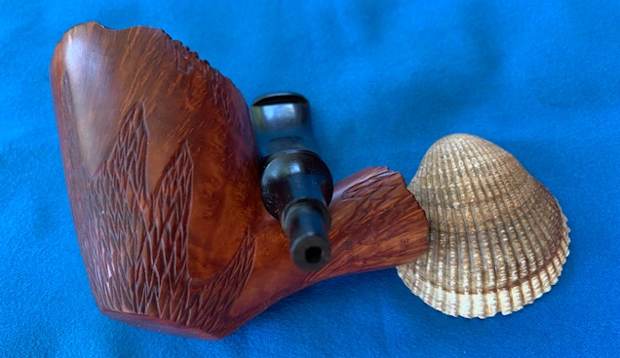
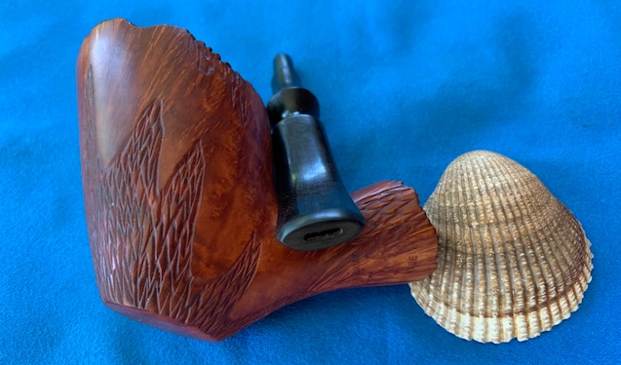
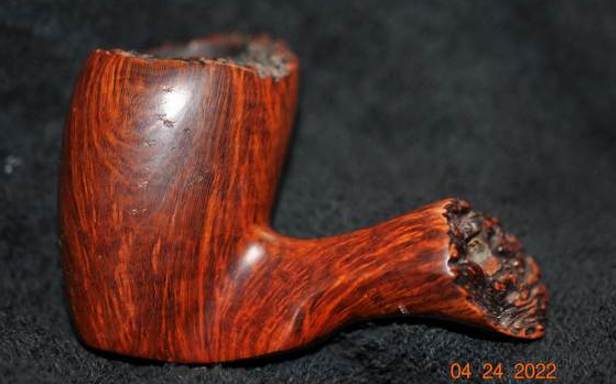
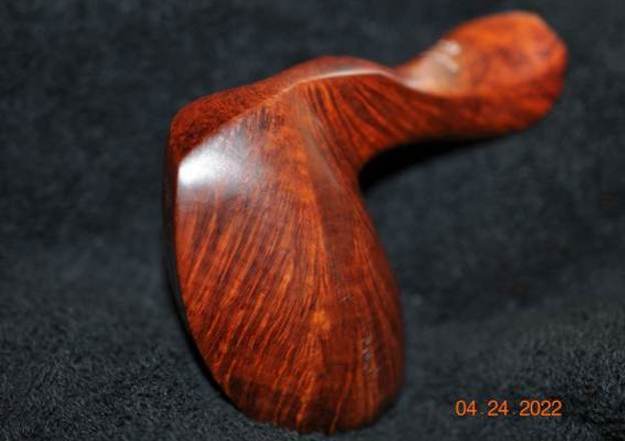
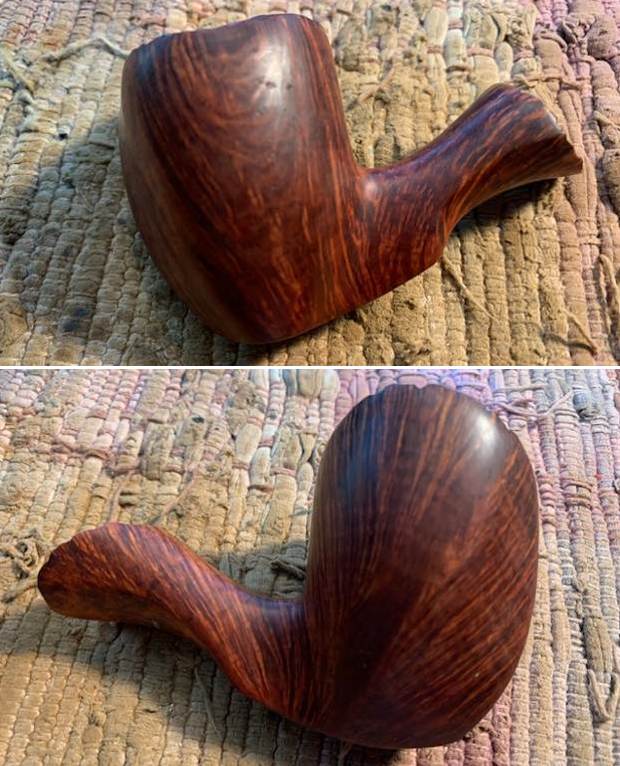
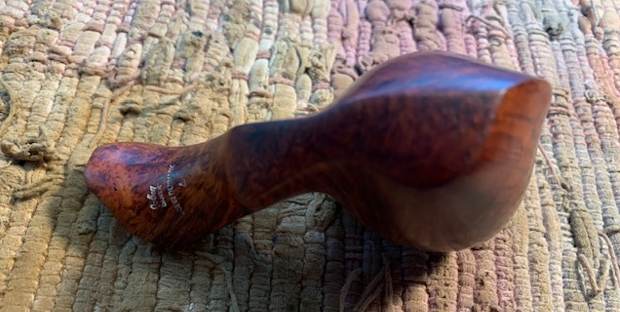
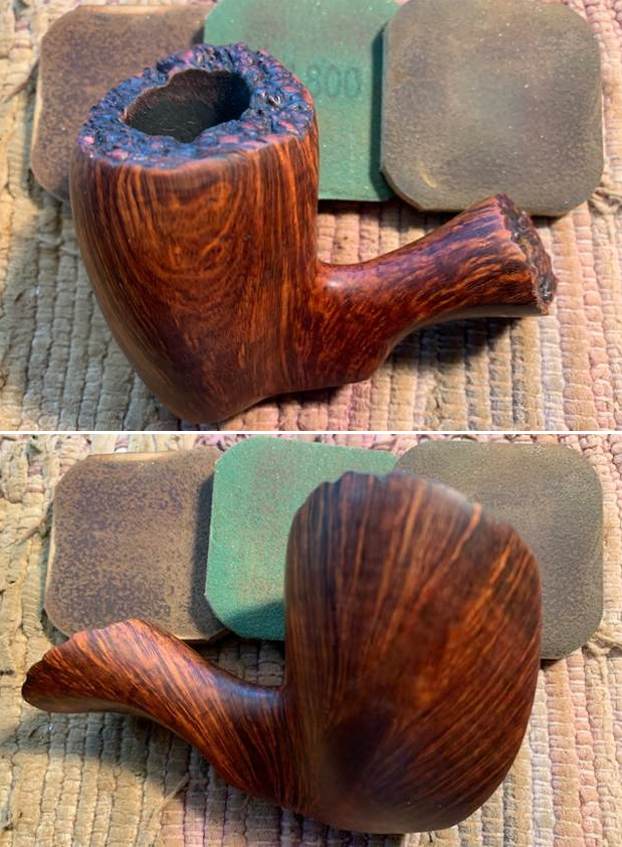
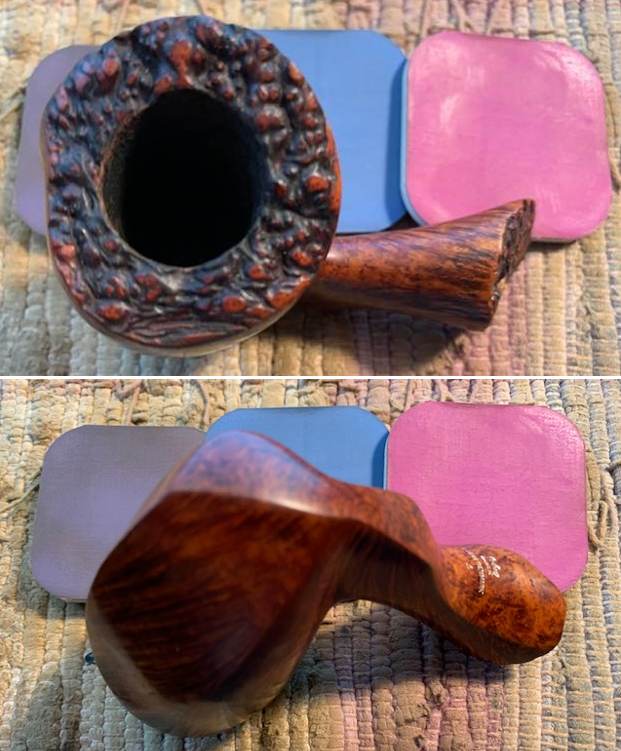
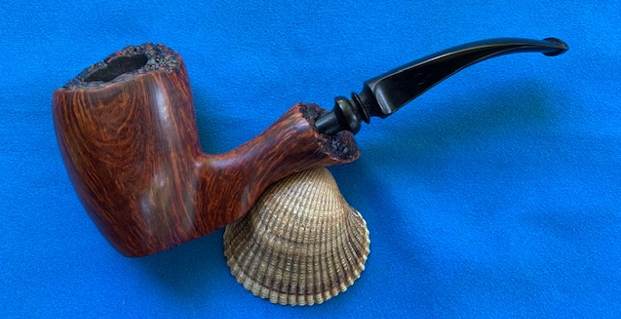
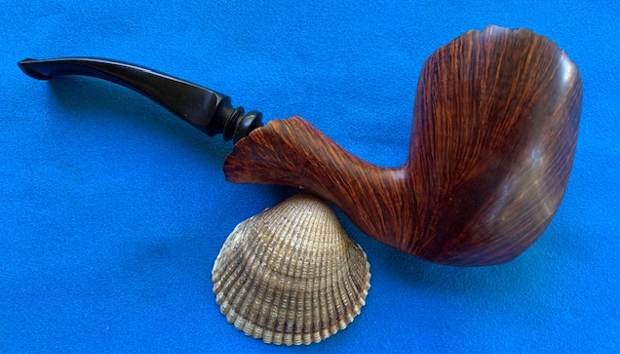
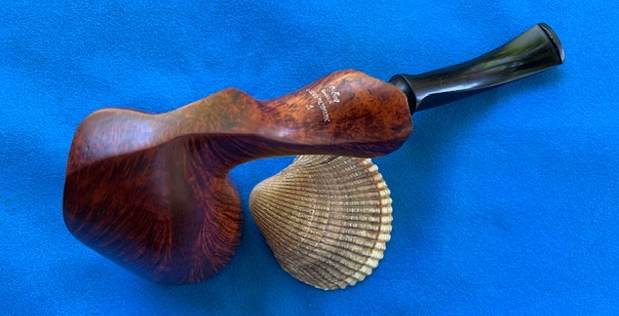
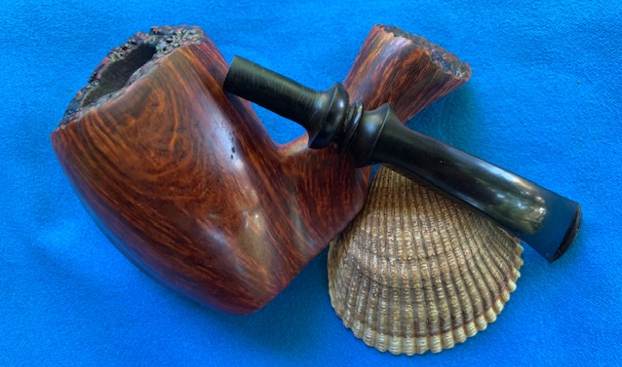
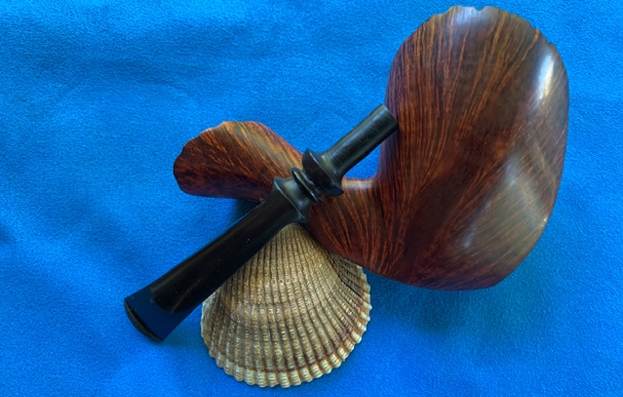
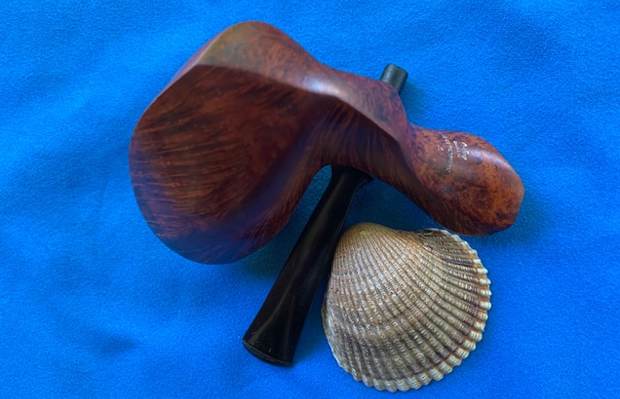
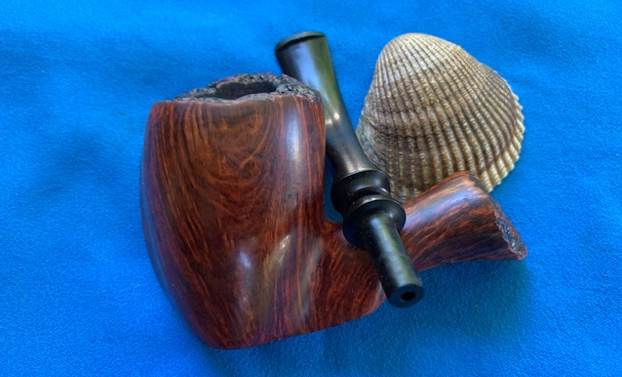
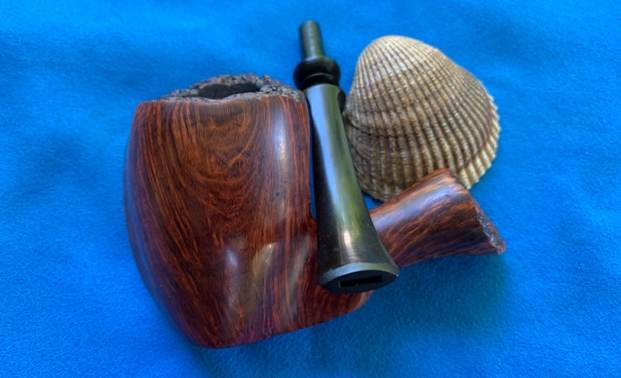
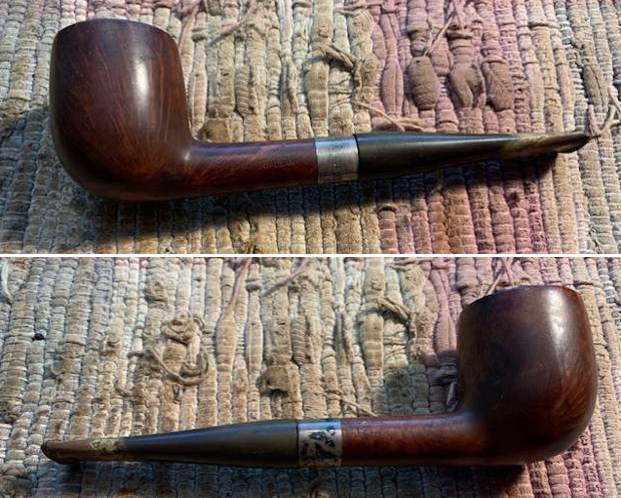
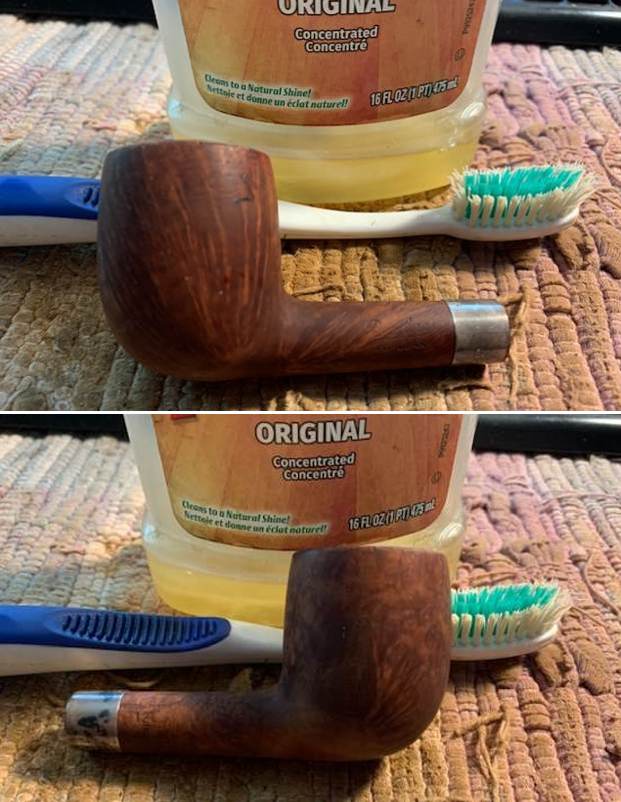
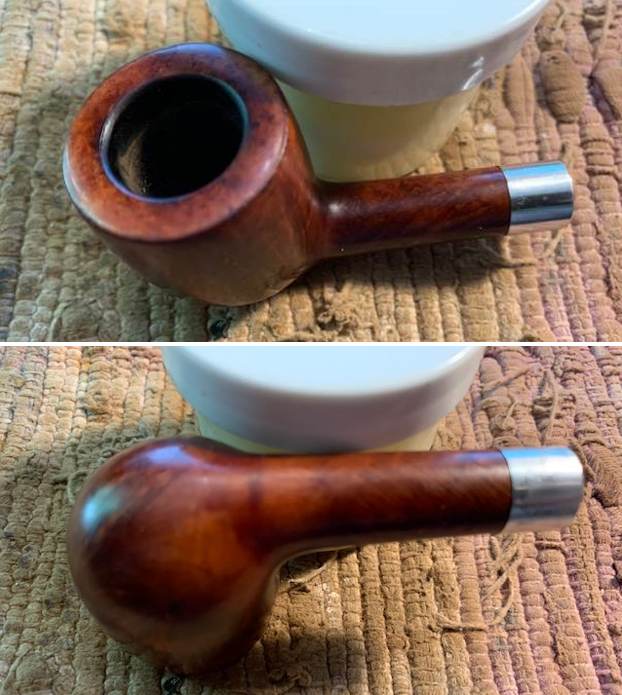
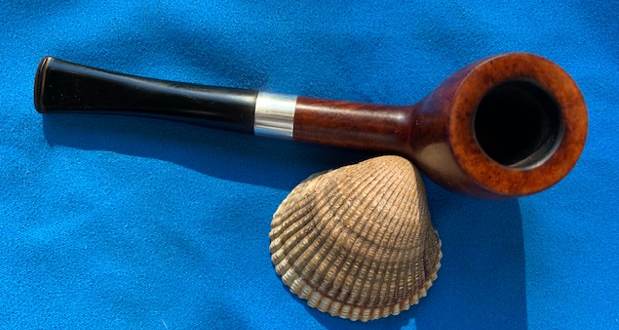
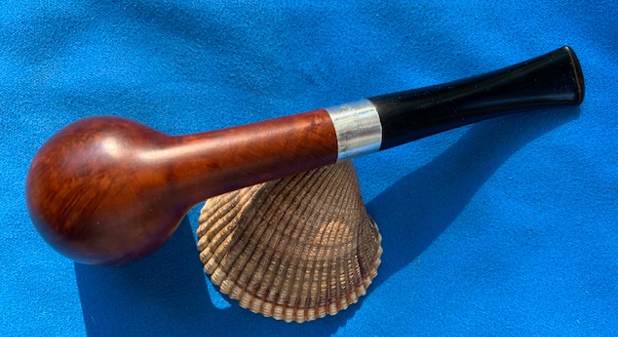
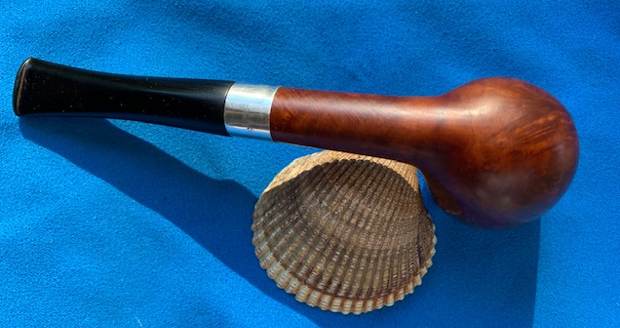
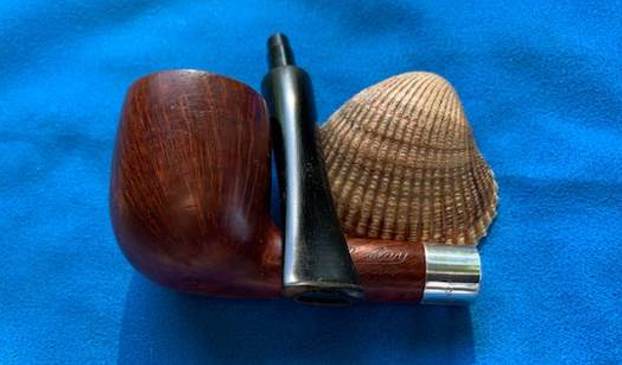
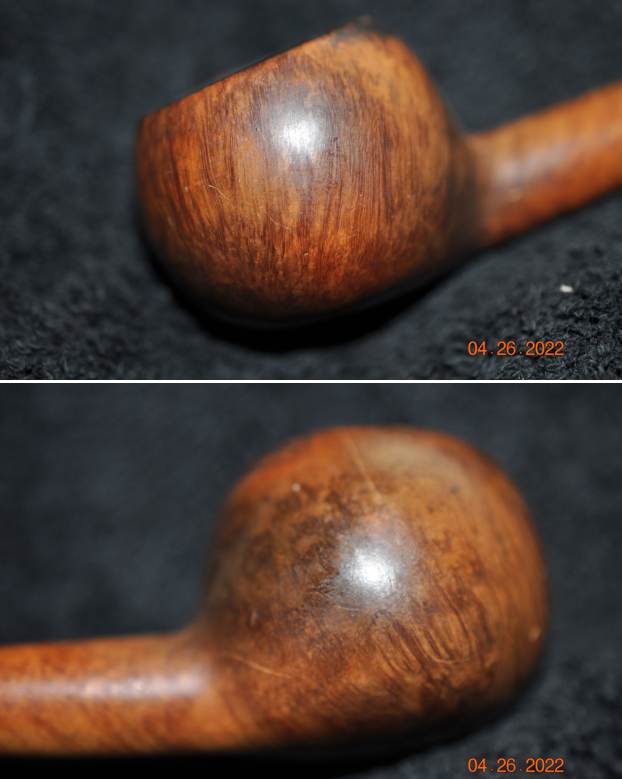
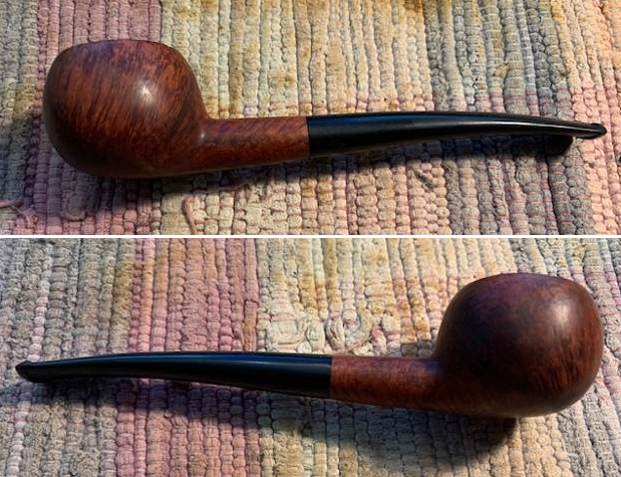
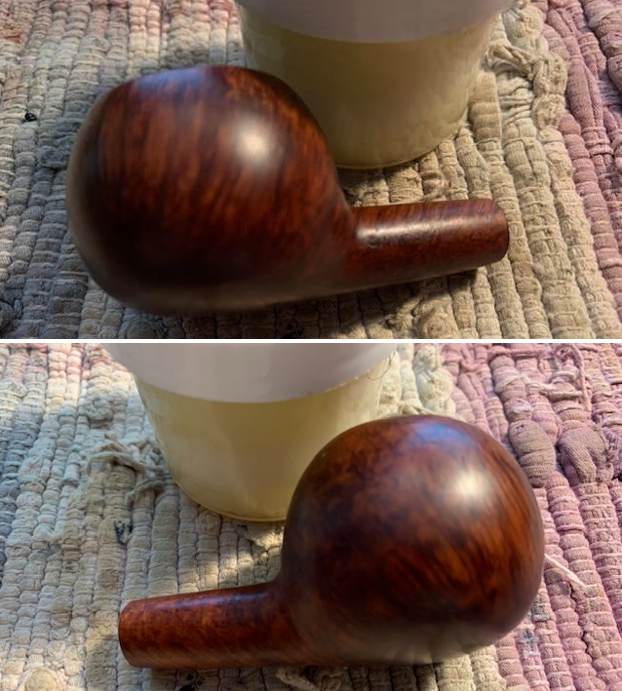
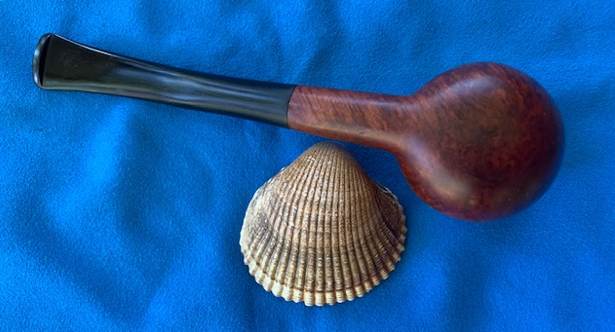
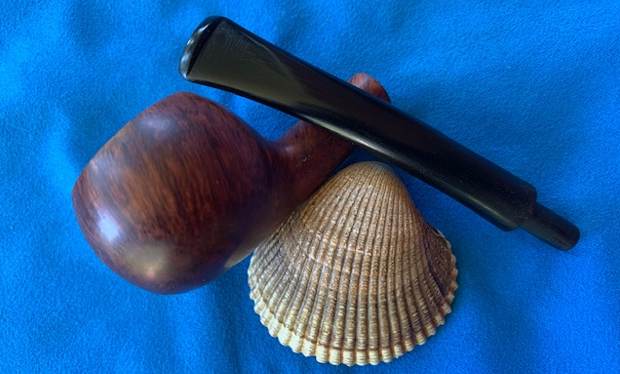
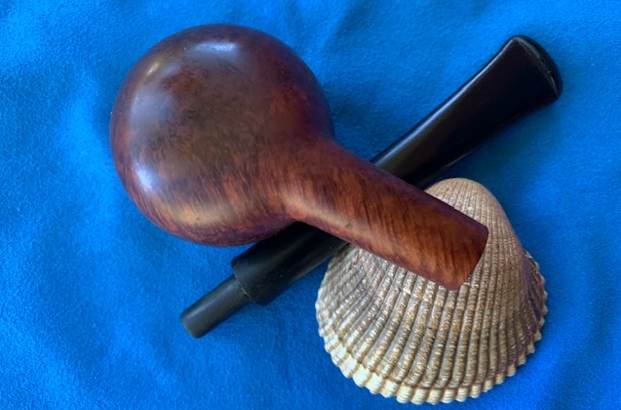
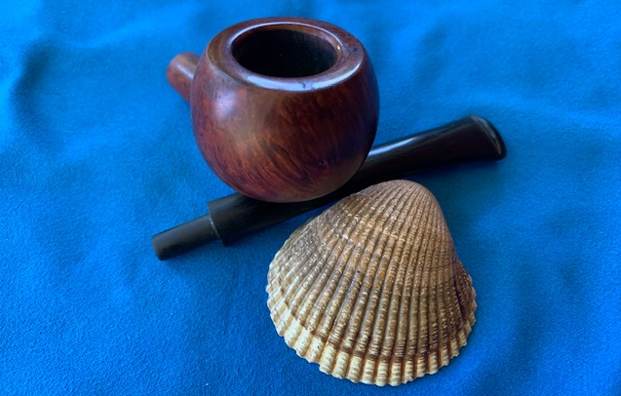
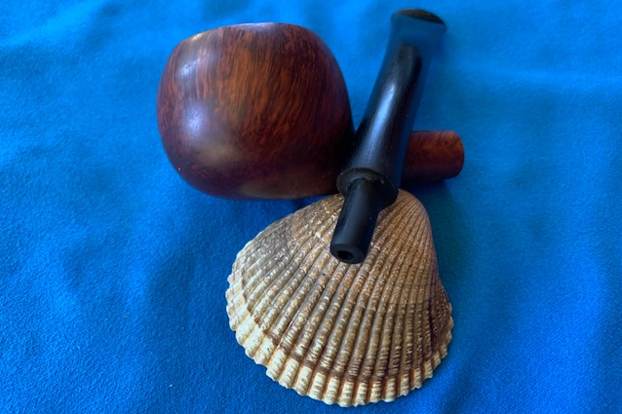
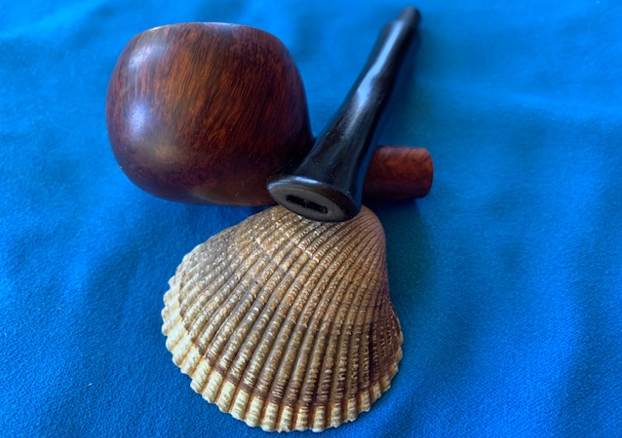
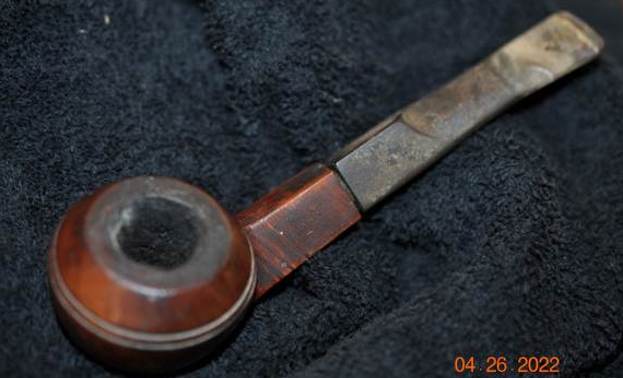
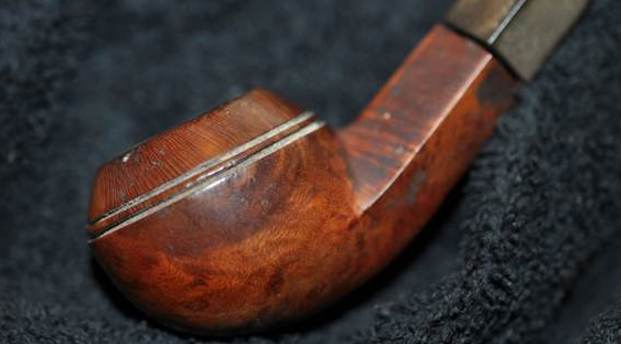
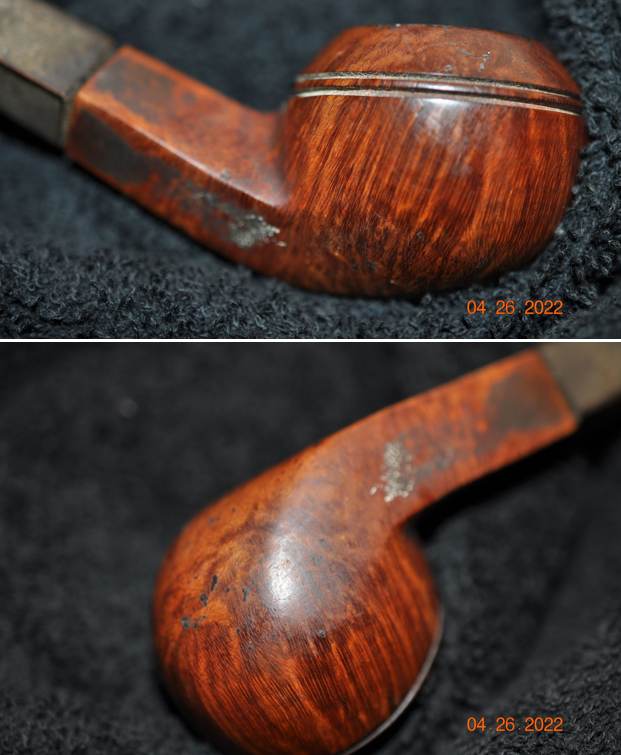
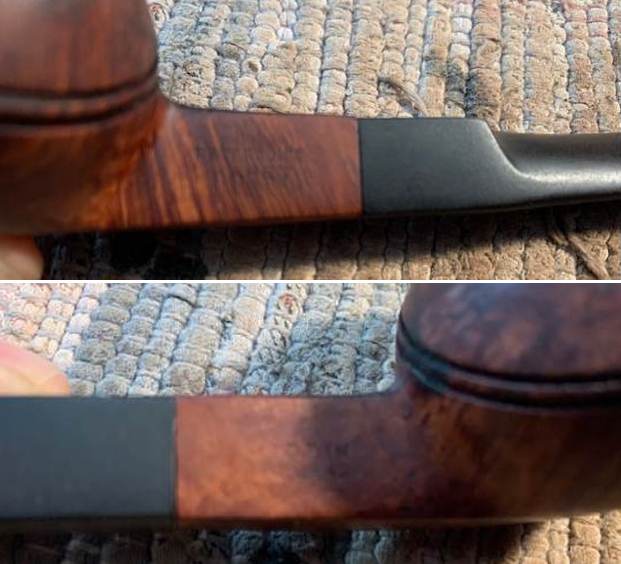
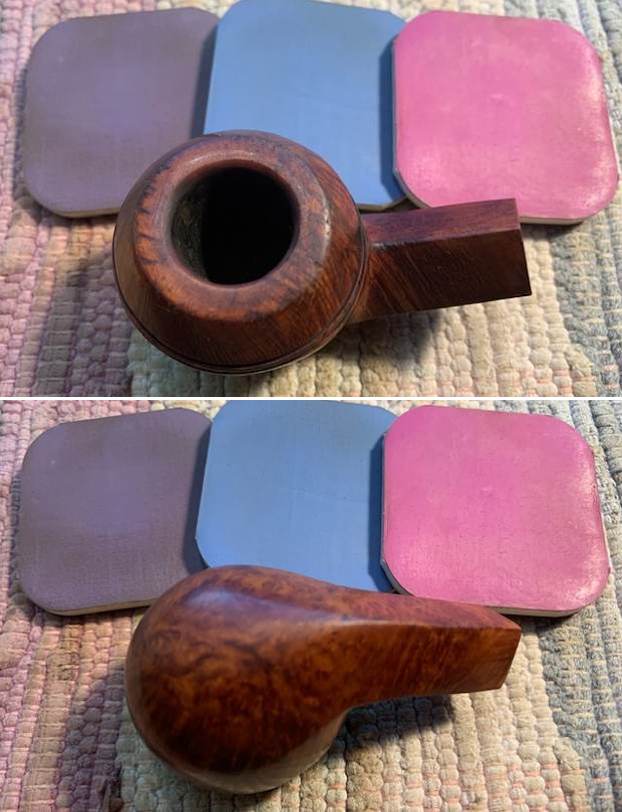
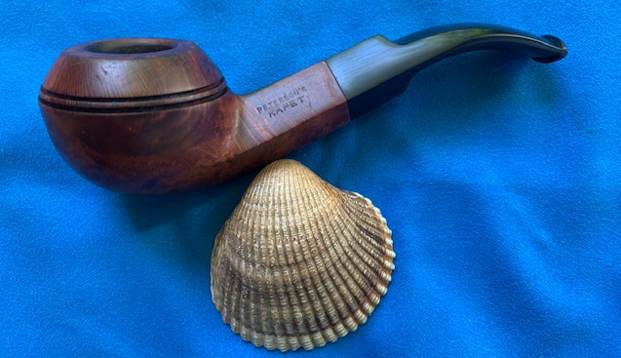
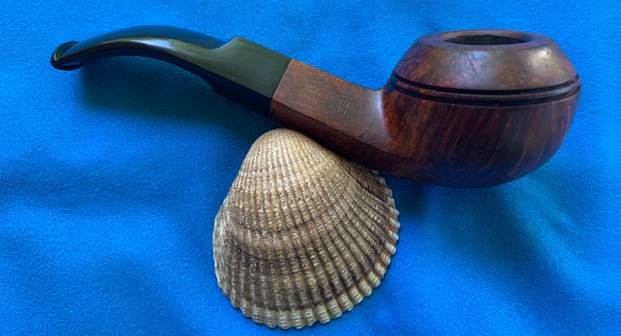
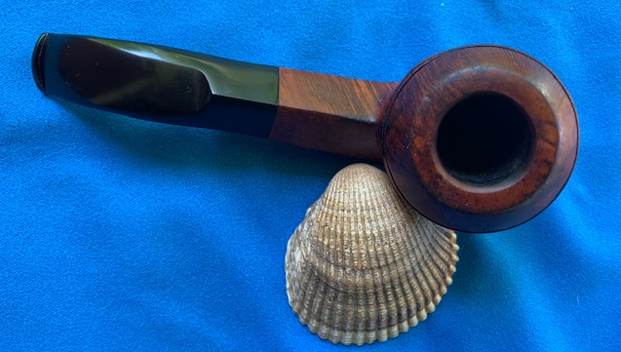
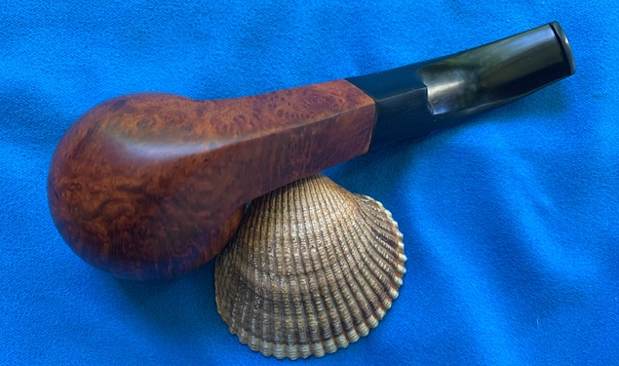
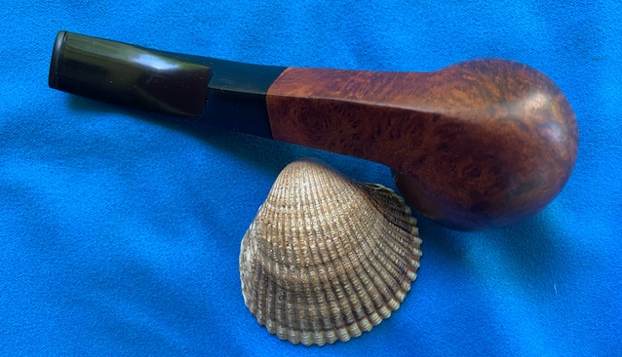
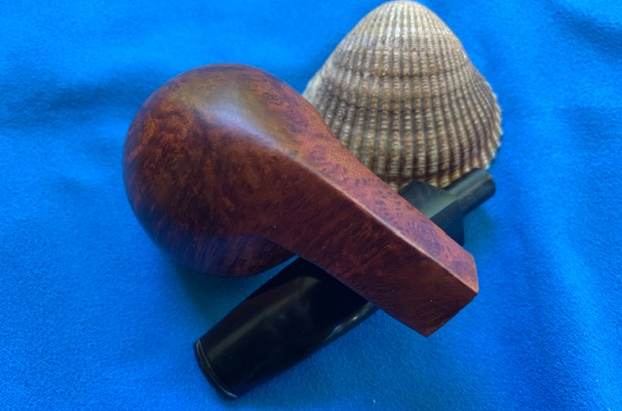
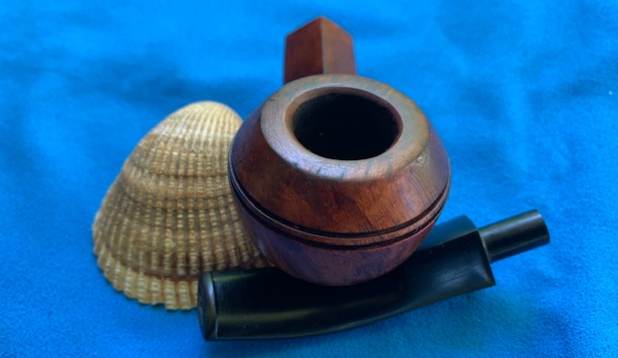
 He took photos of the bowl and the heel to capture a sense of the grain around the bowl. It is a really nice piece of briar.
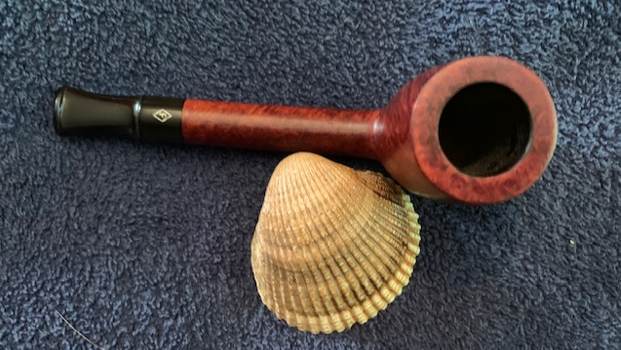
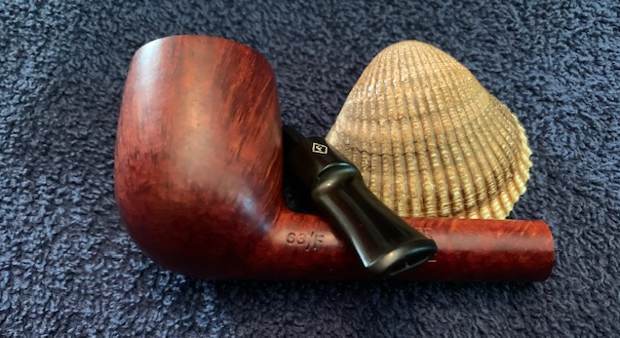
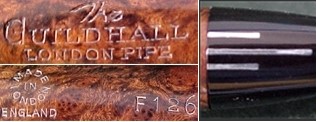
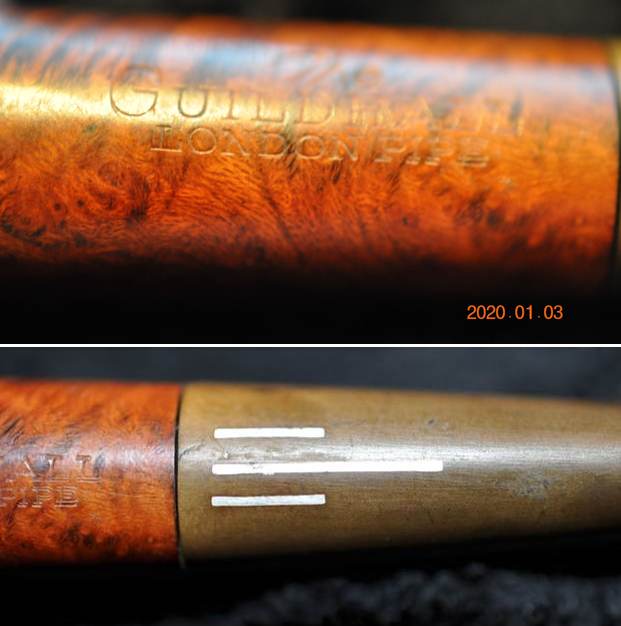
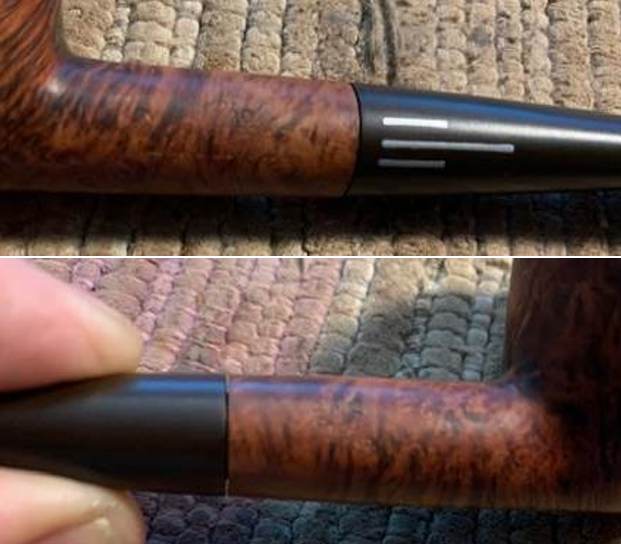
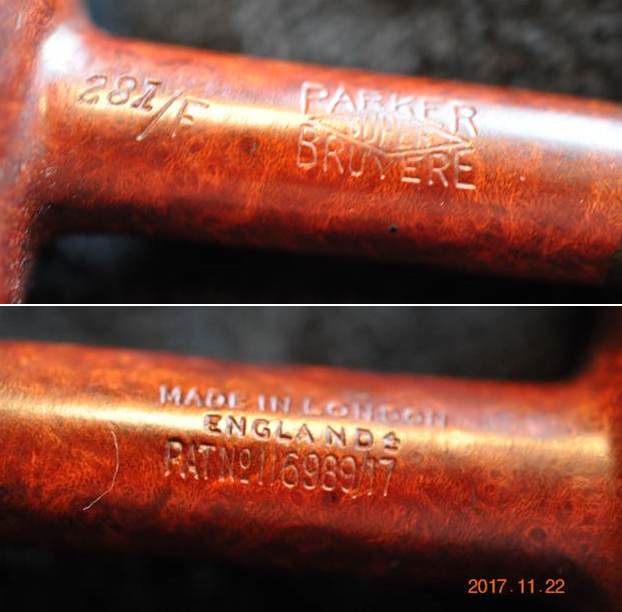
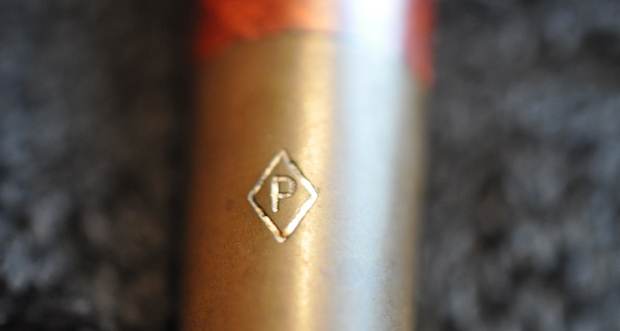
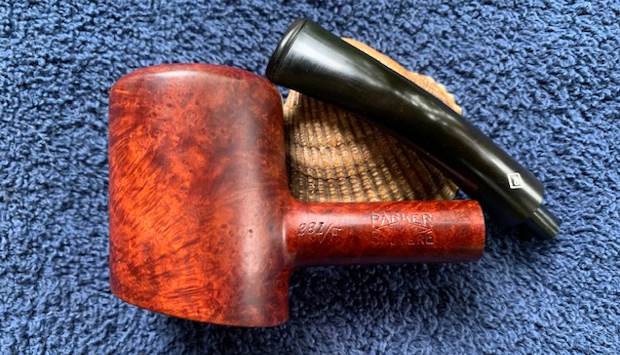
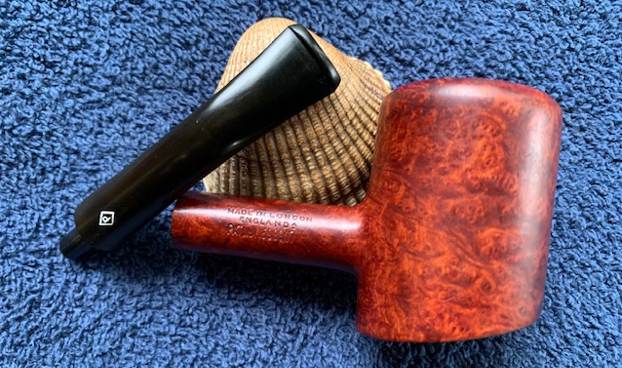
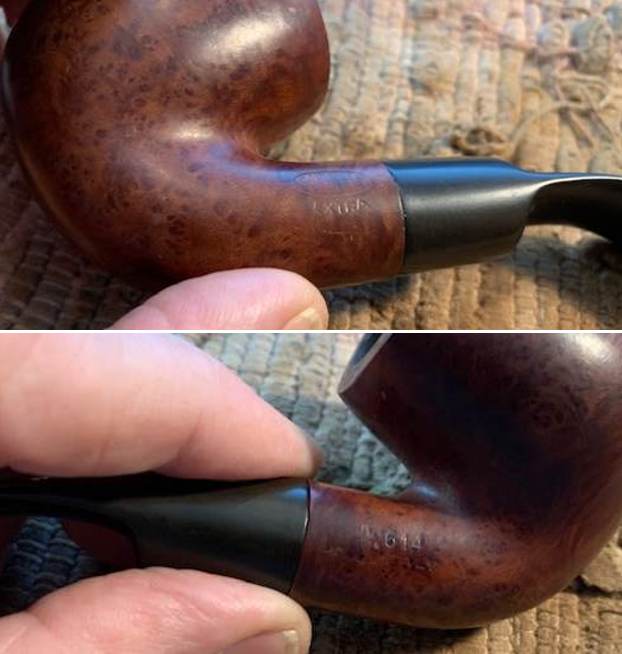
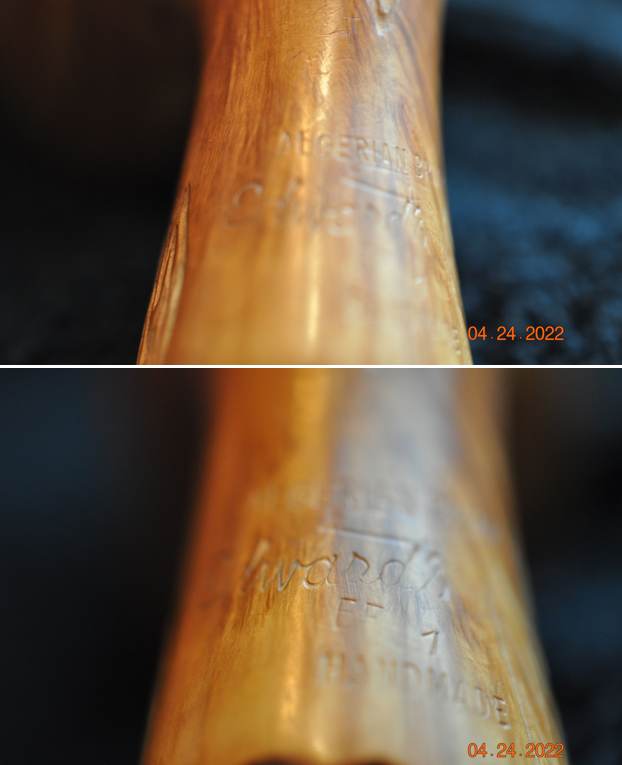
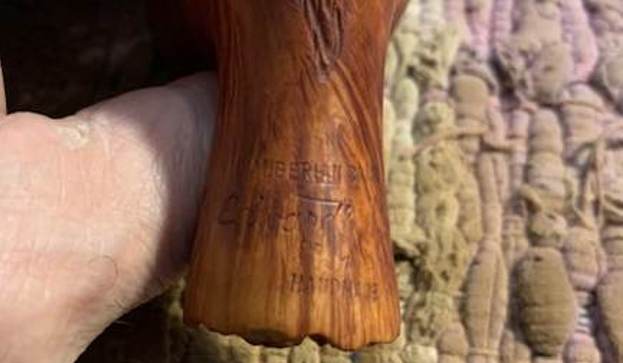
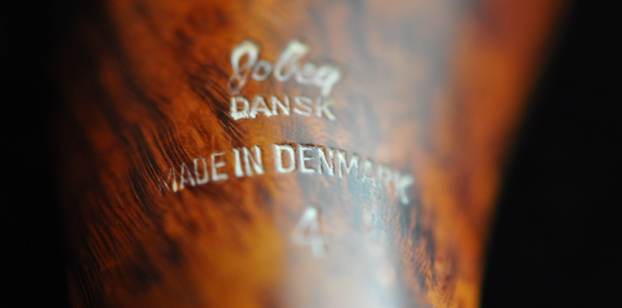
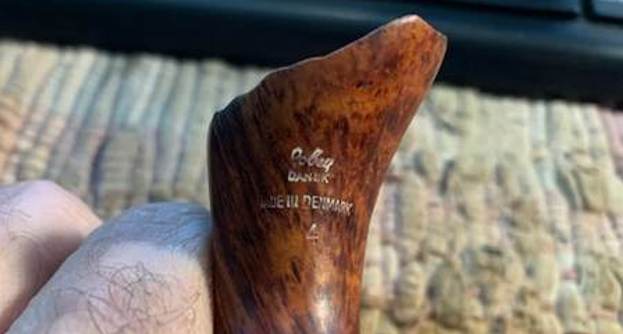
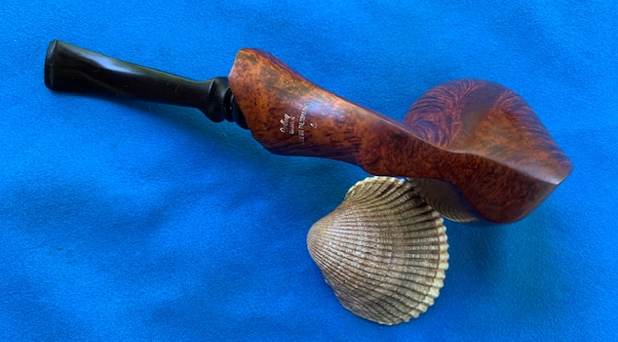
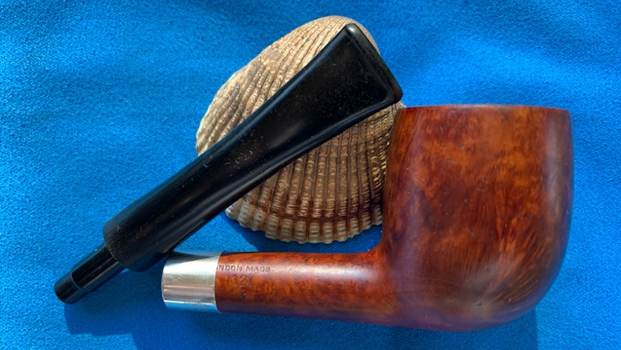
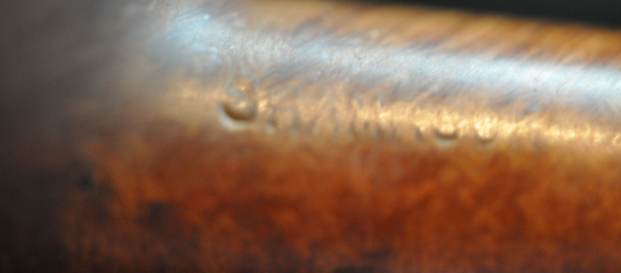
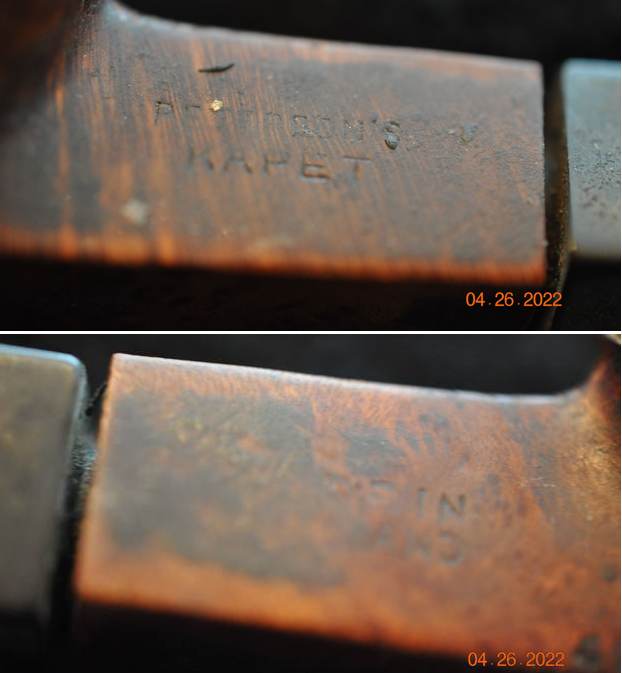
 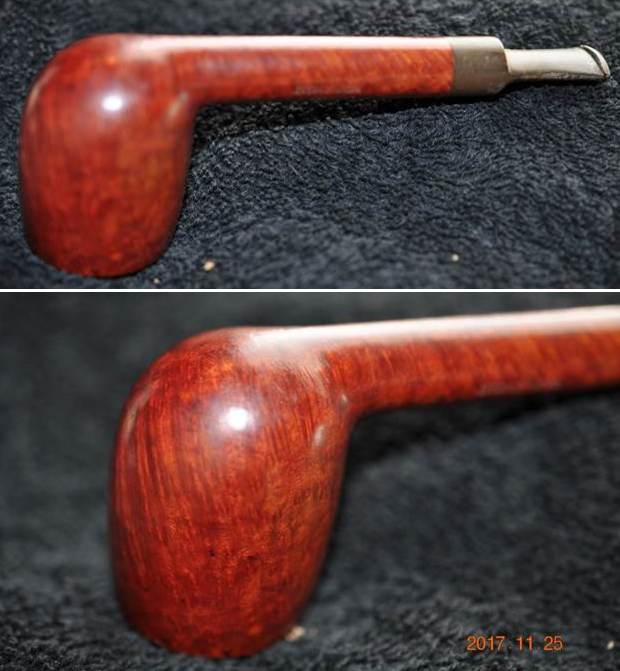 He took photos of the stamping on sides of the shank as well as the logo stamp on the top side of the saddle stem. All are clear and readable as noted above.
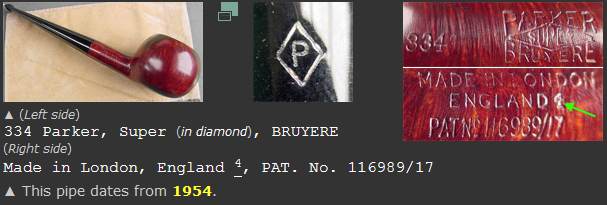
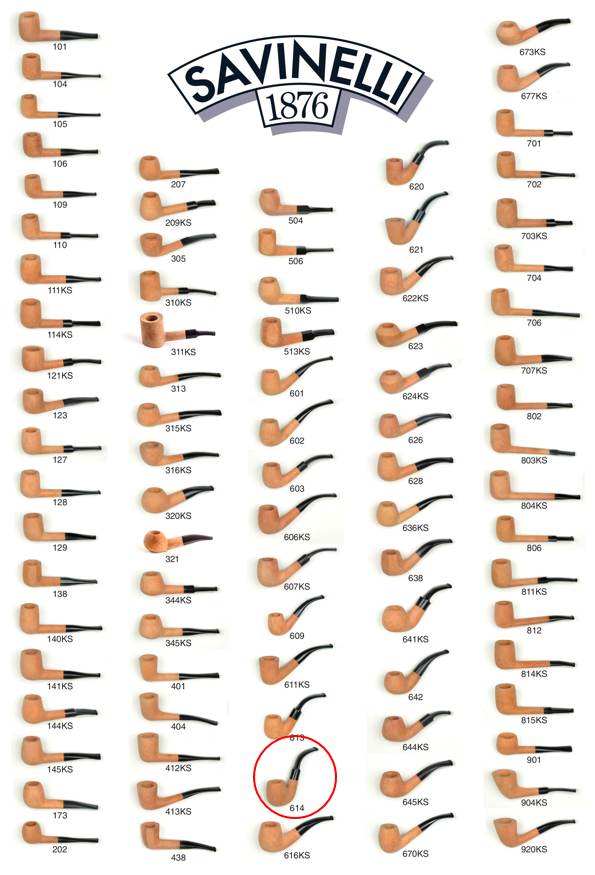
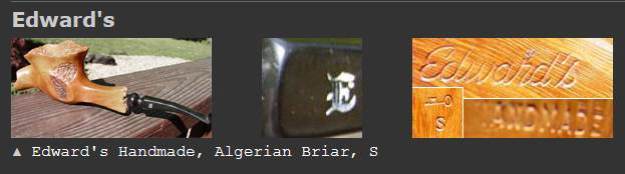
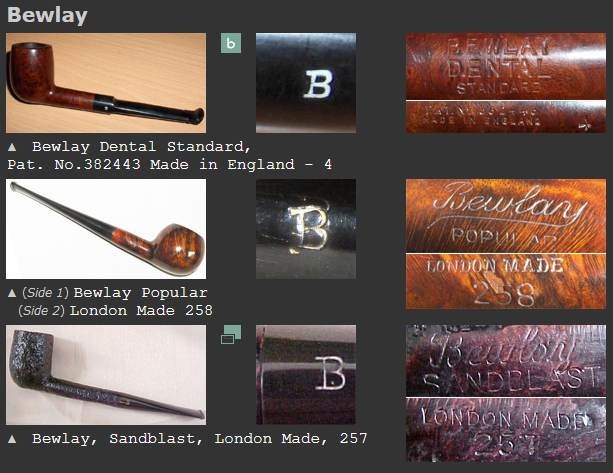
 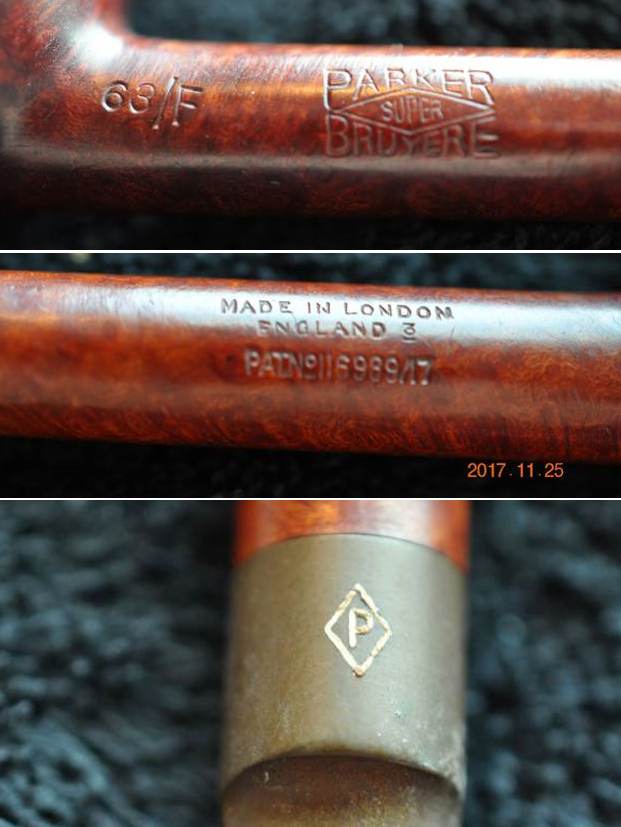 I have worked on quite a few Parkers over time but this is the second one stamped with both a date stamp and a Patent number. The superscript 3 after the D in England and a Patent Number under that. The pipe was a 1953. I found a picture of a pipe that had the same stamping on both sides of the shank as the one I am working on but it has a different shape number and date after the D (http://www.pipephil.eu/logos/en/logo-parker.html). I have included a screen capture of the section showing pipe.
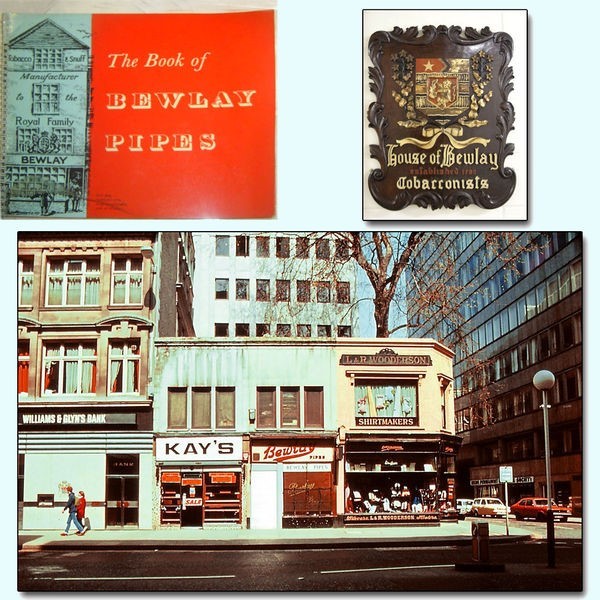
  At the top of the listing there was a short summary of the history of the brand. I quote from it below.
Parker Pipe Co. was created in 1923 by Dunhill. After Dunhill acquired Hardcastle the two companies were merged (1967) in the Parker-Hardcastle Ltd.
Patent number 116989/17 is the only one which may appear on a Parker pipe prior to 1954. This was the year Parker and Dunhill both stopped stamping pat#.
On the side bar next to the listing for Parker Super Bruyere the following information was available.
Like Dunhill pipes, Parkers were also date coded but had a independent cycle.
- From 1925 through 1941 the date code of Parker pipes runs from 2 to 18.
- From 1945 through 1949 the date code runs from 20 to 24.
- From 1950 through 1957 (at least) date suffix run from an underlined and raised 0 to 7.
Pat n° 116989/17 is the number corresponding to the Inner Tube patent (with flange).
I turned to Pipedia and did a bit more reading on the brand (https://pipedia.org/wiki/Parker). I quote in part below:
In 1922 the Parker Pipe Co. Limited was formed by Alfred Dunhill to finish and market what Dunhill called its “failings” or what has come to be called by collectors as seconds. Previous to that time, Dunhill marketed its own “failings”, often designated by a large “X” over the typical Dunhill stamping or “Damaged Price” with the reduced price actually stamped on the pipe.
While the timing and exact nature of the early relationship remains a bit of mystery, Parker was destined to eventually merge with Hardcastle when in 1935 Dunhill opened a new pipe factory next door to Hardcastle, and purchased 49% of the company shares in 1936. In 1946, the remaining shares of Hardcastle were obtained, but it was not until 1967 when Parker-Hardcastle Limited was formed.
It is evident through the Dunhill factory stamp logs that Parker and Dunhill were closely linked at the factory level through the 1950s, yet it was much more than a few minor flaws that distinguishing the two brands. Most Dunhill “failings” would have been graded out after the bowl turning process exposed unacceptable flaws. This was prior to stoving, curing, carving, bit work and finishing. In others words, very few Parkers would be subjected to the same rigorous processes and care as pipes destined to become Dunhills. Only those that somehow made it to the end finishing process before becoming “failings” enjoy significant Dunhill characteristics, and this likely represents very few Parker pipes.
After the war, and especially after the mid 1950s the differences between Parker and Dunhill became even more evident, and with the merger of Parker with Hardcastle Pipe Ltd, in 1967 the Parker pipe must be considered as an independent product. There is no record of Parker ever being marketed by Dunhill either in it’s retail catalog or stores.
Parker was a successful pipe in the US market during the 1930s up through the 1950s, at which point it faded from view in the US, while continuing to be popular in the UK. It was re-introduced into the US market in 1991 and is also sold in Europe…
…Prior to Word War II, the possessive PARKER’S stamp was used. However, at least some pipes were stamped with the non-possessive as early as 1936.
Like Dunhill, Parker pipes are date stamped, but differently than Dunhill. The Parker date code always followed the MADE IN LONDON over ENGLAND stamping. The first year’s pipes (1923) had no date code; from 1924 on it ran consecutively from 1 to 19.
There is no indication of a date code for the war years. Parker was not a government approved pipe manufacturer, while Dunhill and Hardcastle were. During the war years Parker manufactured the “Wunup” pipe made of Bakelite and clay. A Parker pipe with a 19 date code has been reported, indicating there was perhaps some production of briar pipes as well, but no dating record.
From 1945 through 1949 the Parker date code runs from 20 to 24 and from 1950 through 1957 it runs from an underlined and raised 0 to an underlined and raised 7.
A little help here from anyone with date code information beyond 1957 would be most appreciated.
The site did give me a lot of information about the Parker brand and its connection to Dunhill. It confirmed without a doubt that the pipe that I was working on was made in 1953 from the date stamp underlined superscript 3 following the D in England. The Patent Number 116989/17 is the only one which may appear on a Parker pipe prior to 1954. This was the year Parker and Dunhill both stopped stamping Patent Numbers. The patent refers to an inner tube with a flange.
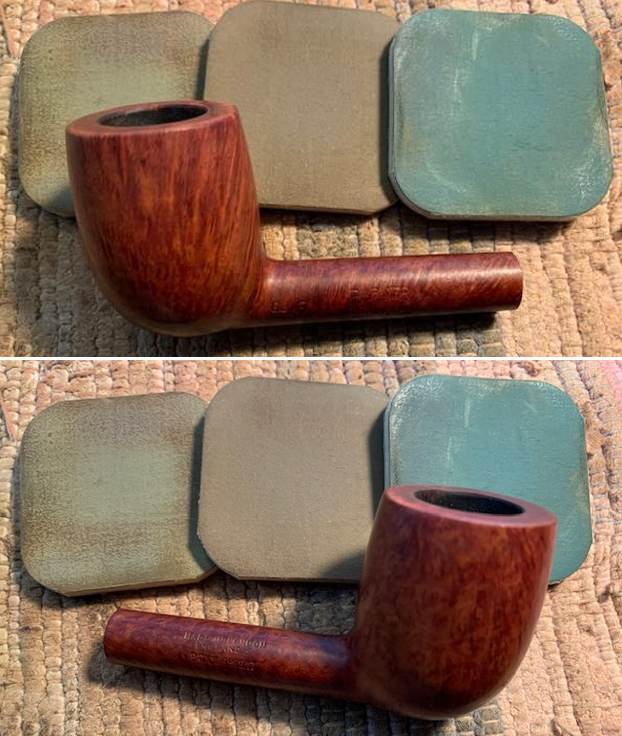
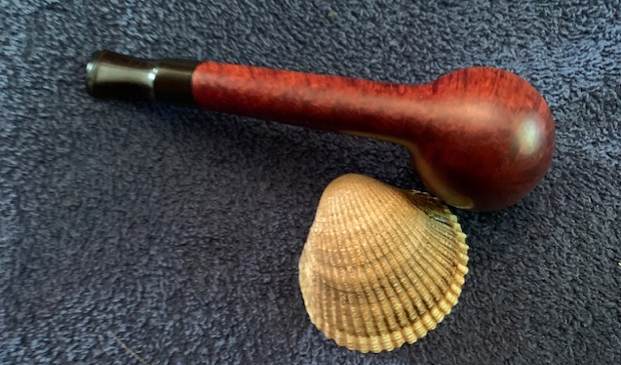
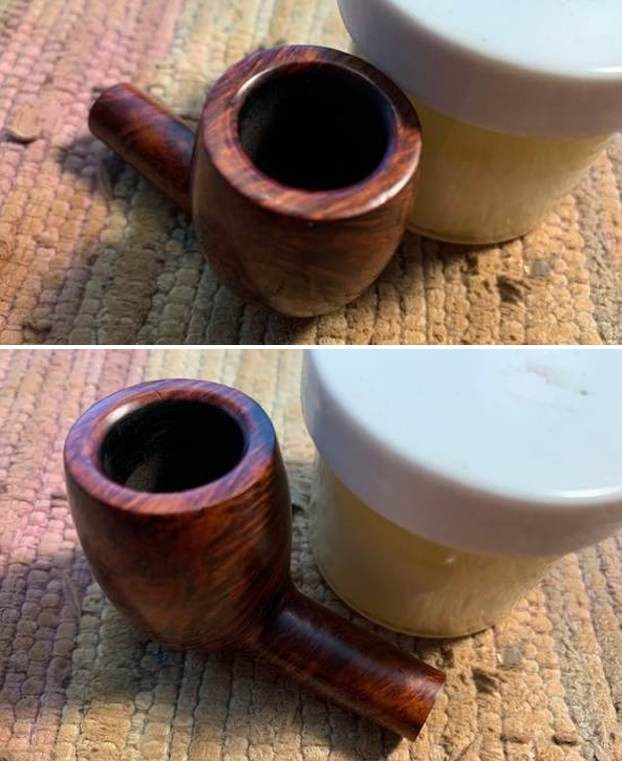
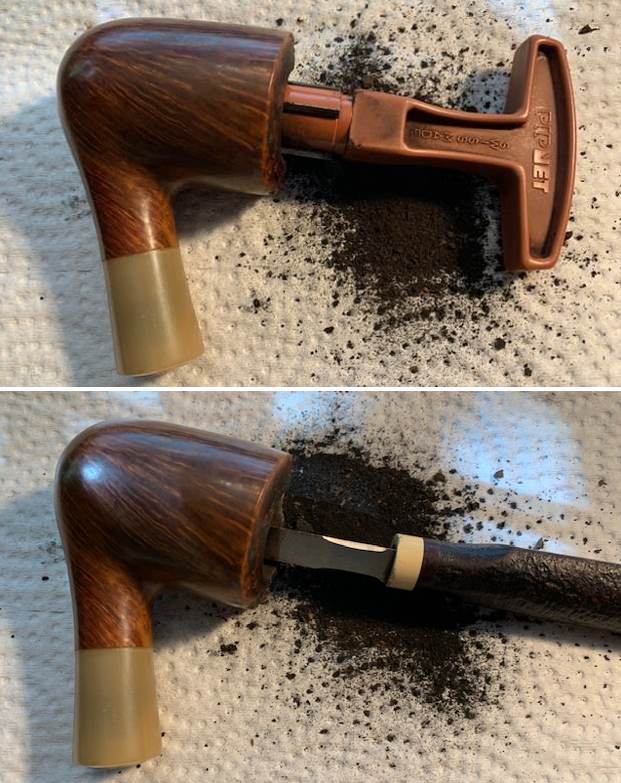
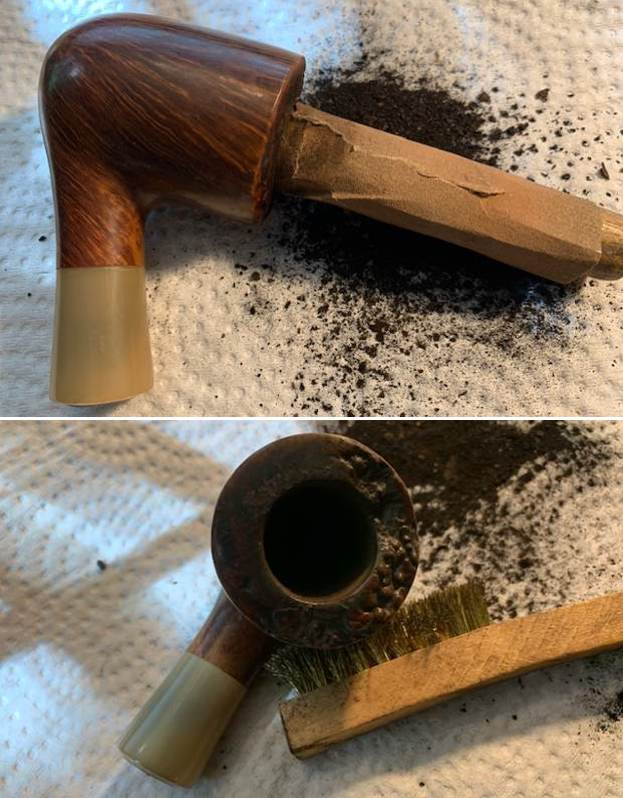
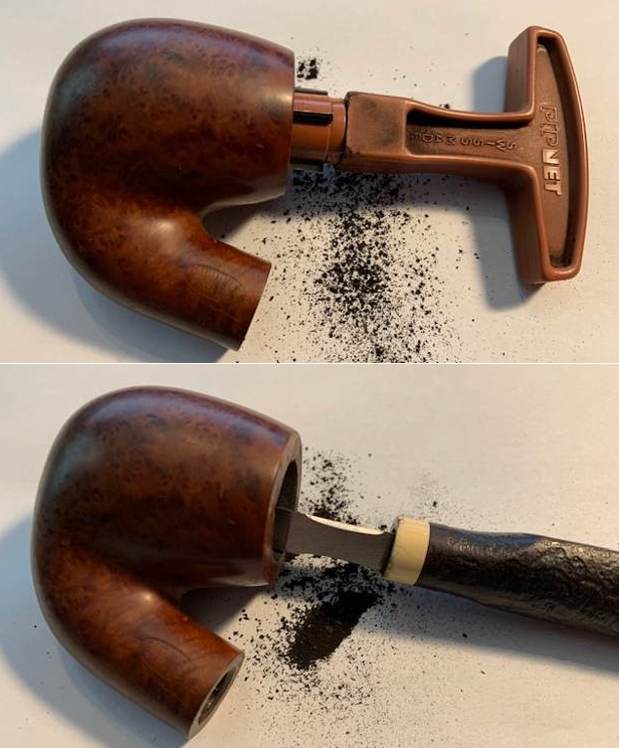
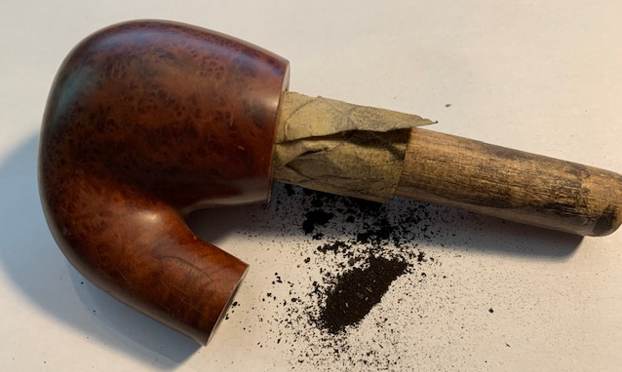
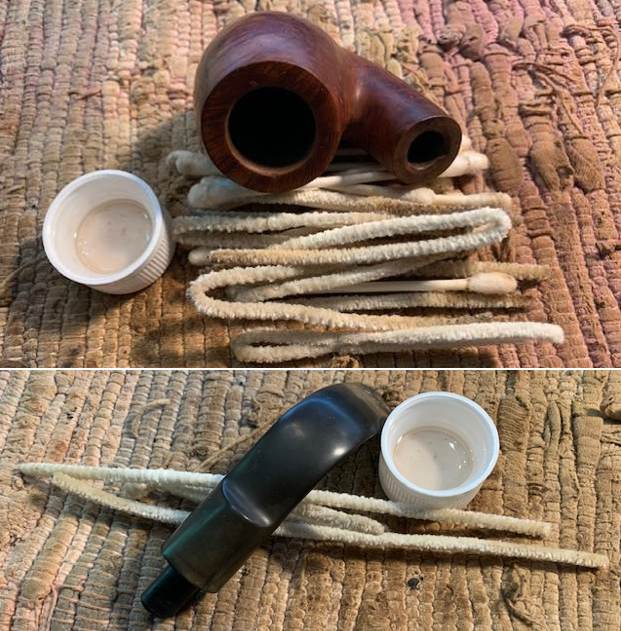
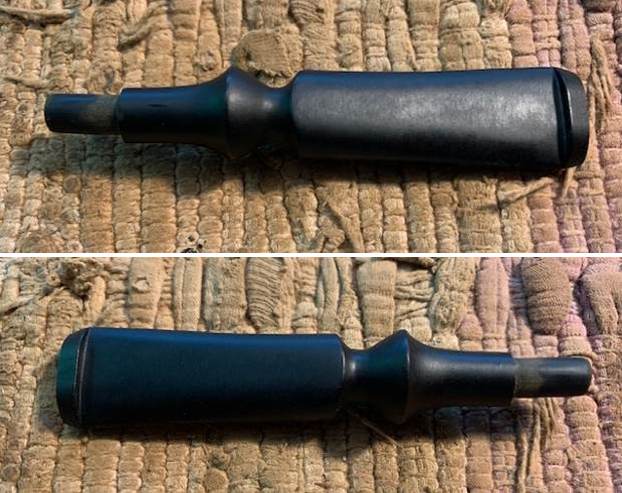
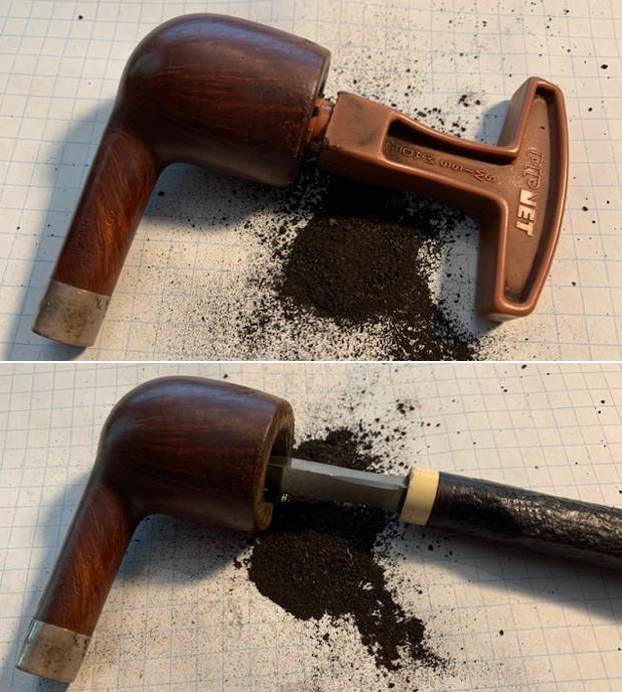
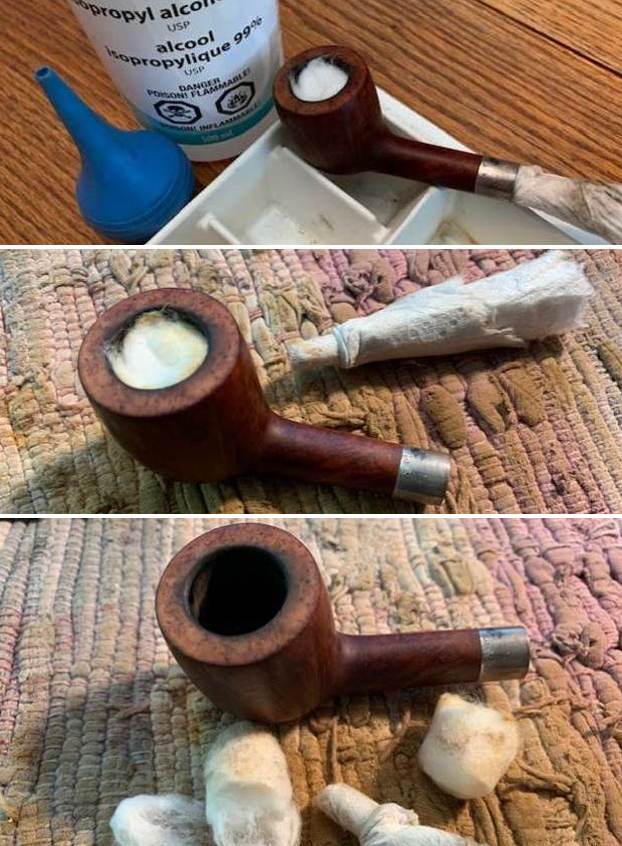
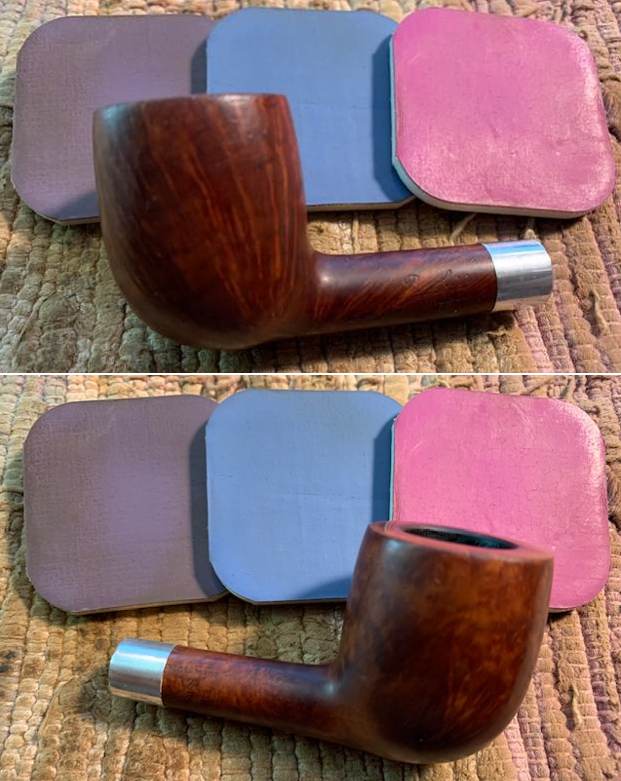
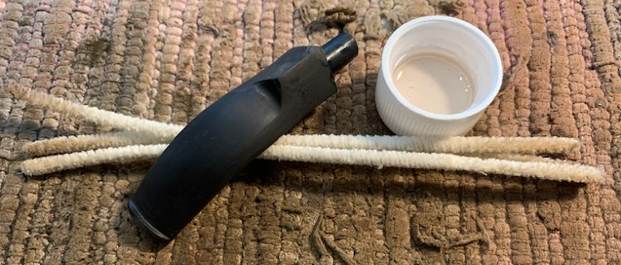
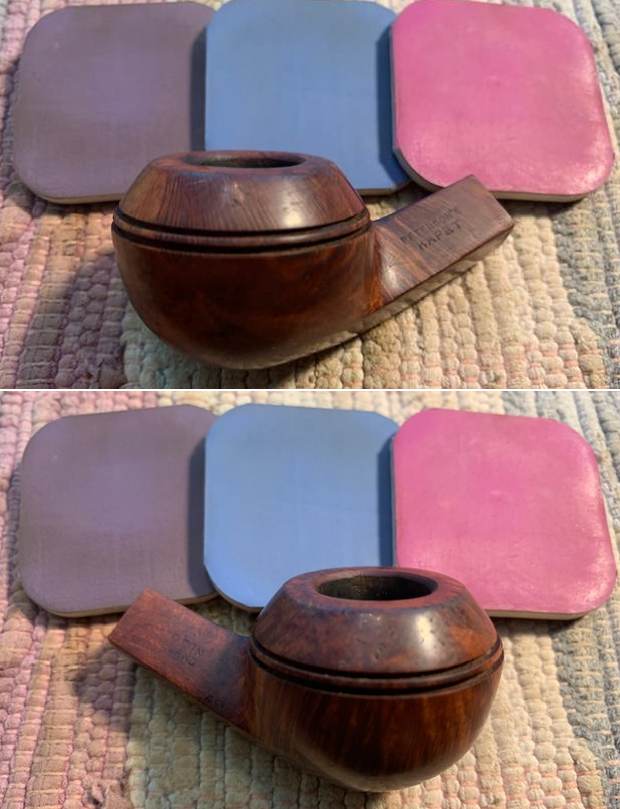
Jeff cleaned the Parker up really well. He reamed it with a Pipnet Reamer and cleaned up the reaming with a Savinelli Fitsall pipe knife. He had scrubbed the exterior of the bowl with Murphy’s Oil Soap and a tooth brush and rinsed it off with warm water to remove the grime from the finish. He cleaned the internals of the shank and stem with alcohol, cotton swabs and pipe cleaners to remove the tarry residue and oils from the airway in the shank and stem. He soaked the stem in Before & After Deoxidizer to remove the oxidation on the stem surface. When it arrived here on my work table I took photos of the pipe before I started my part of the restoration. The pipe looked very good with a light oxidation still remaining on the stem surface. The Diamond P stamp was clean but had no colour left in the stamping. 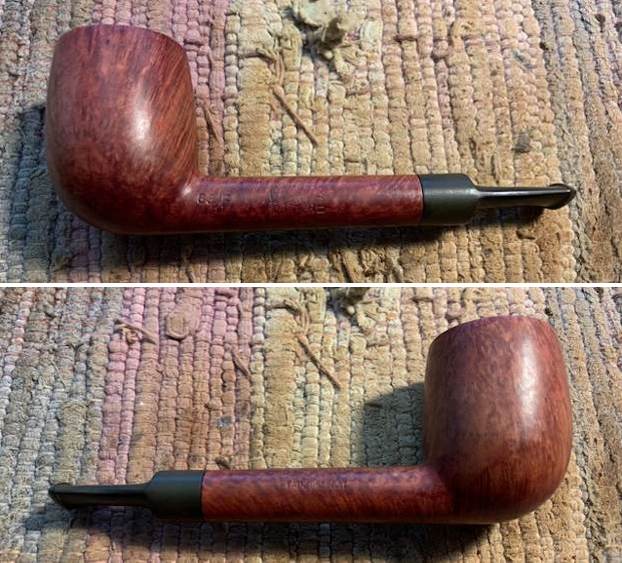
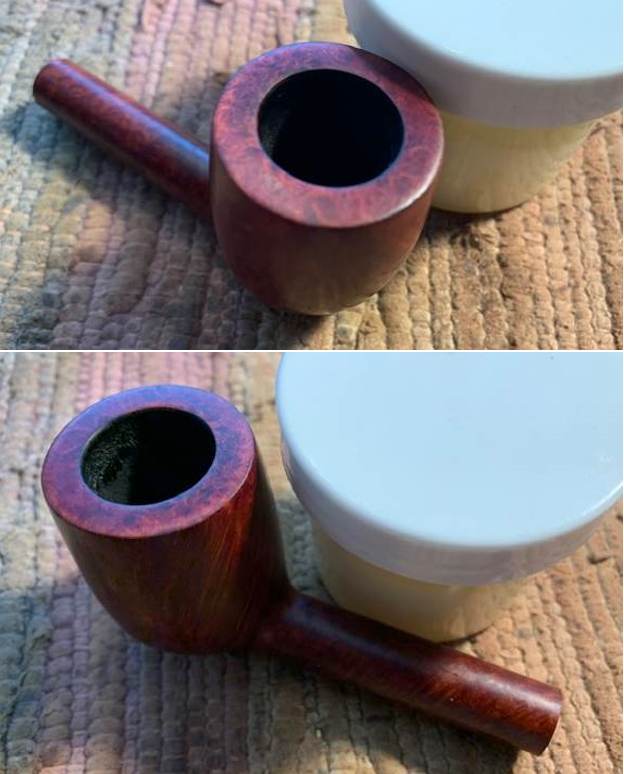
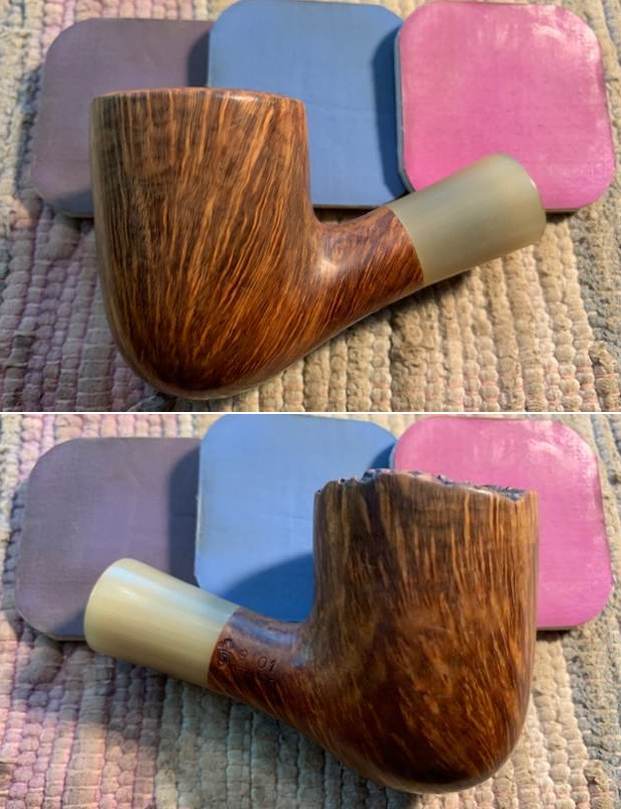
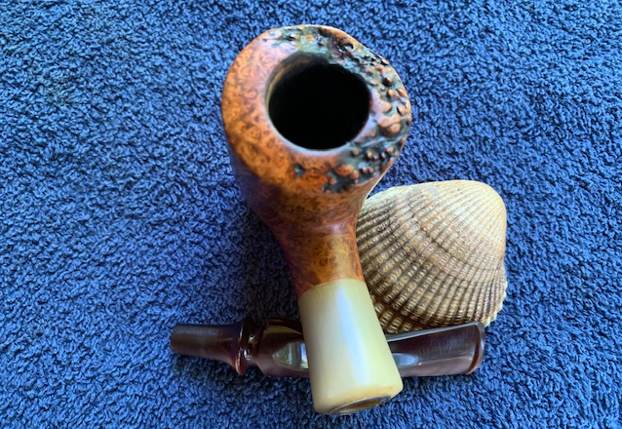
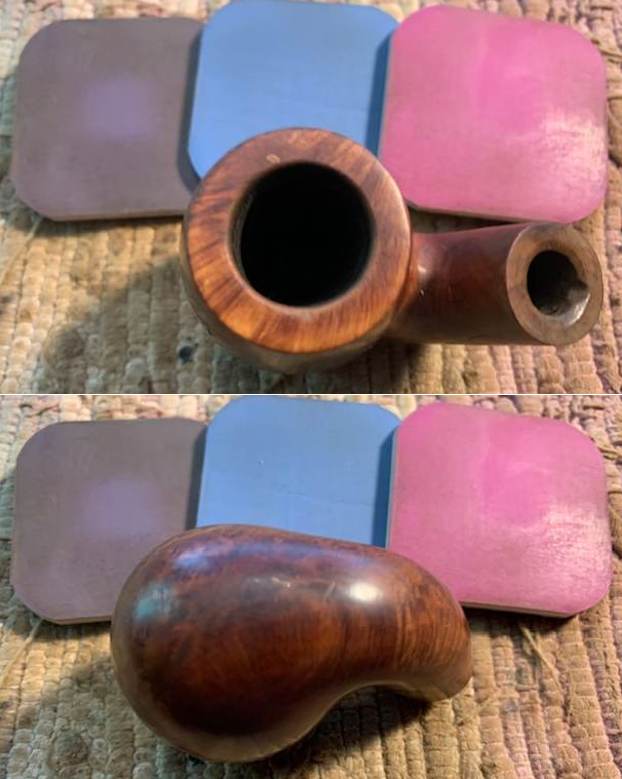
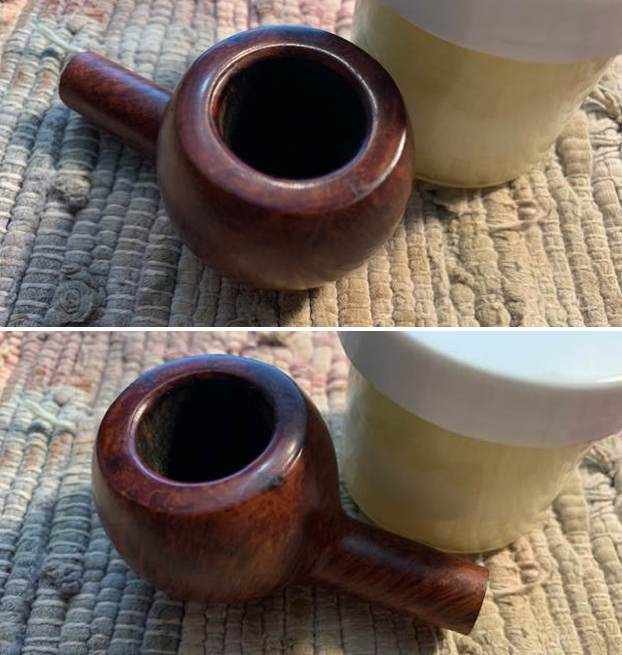
 The inner and outer edges were in good condition. There was some darkening on the back of the rim top and around the inner edge. There was some light marks or nicks on the front edge. The stem looked good but there was still some oxidation and there were tooth marks and chatter on both sides near the button.
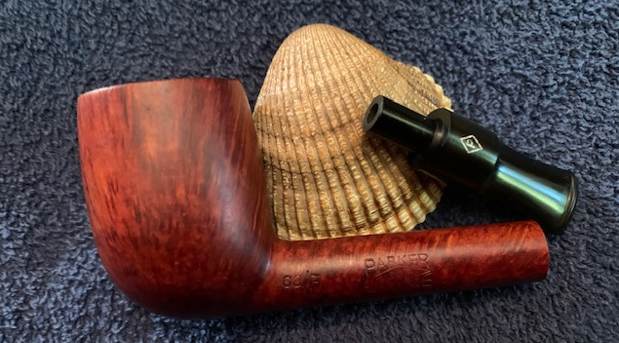
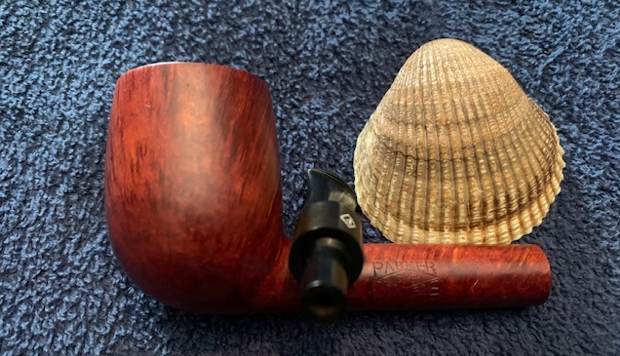
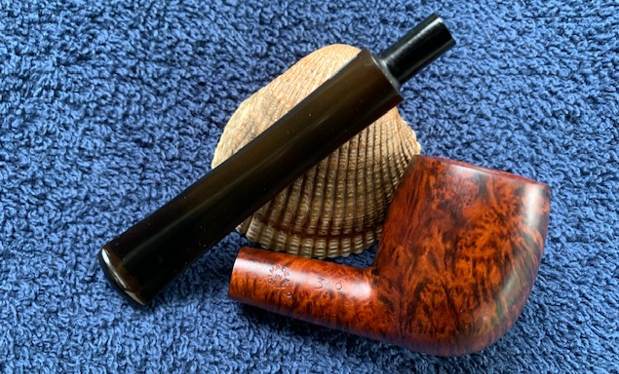
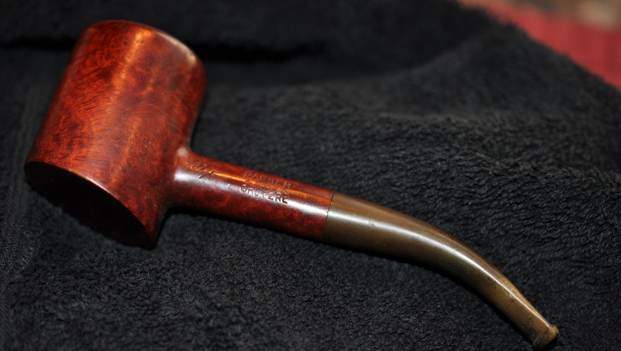
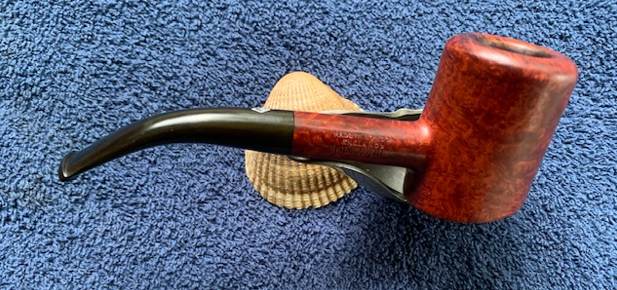
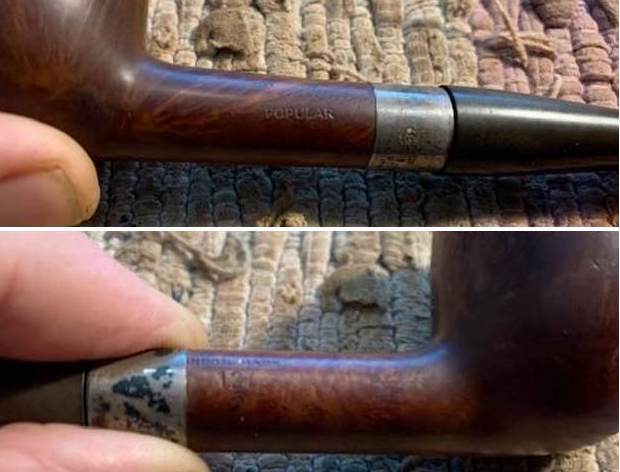
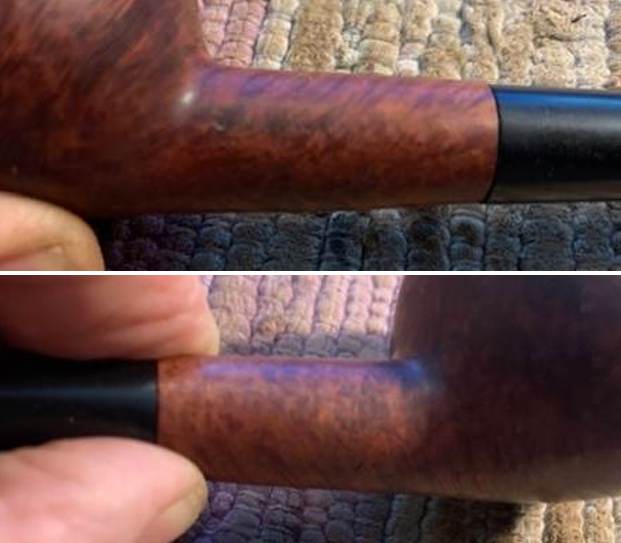
 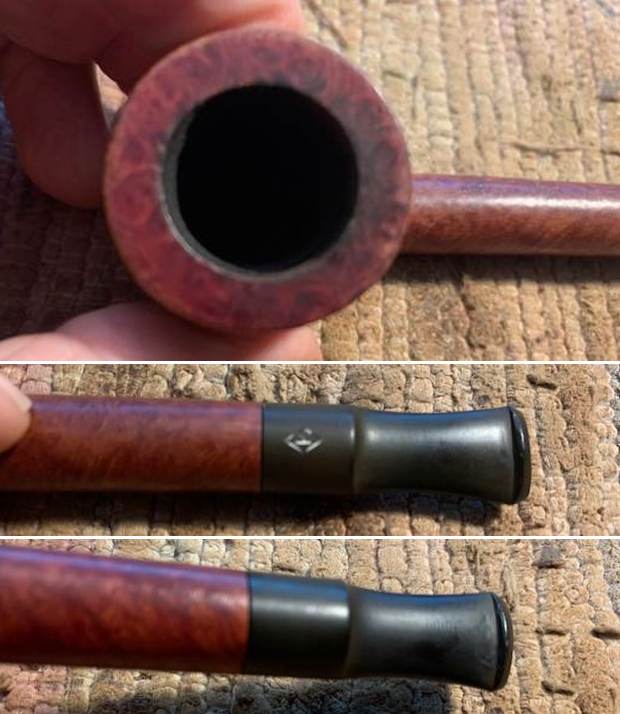 I took a photo of the stamping on the sides of the shank. The stamping is clear and readable and reads as noted above.
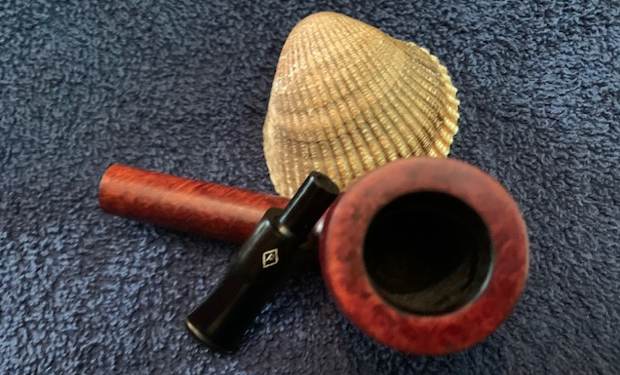
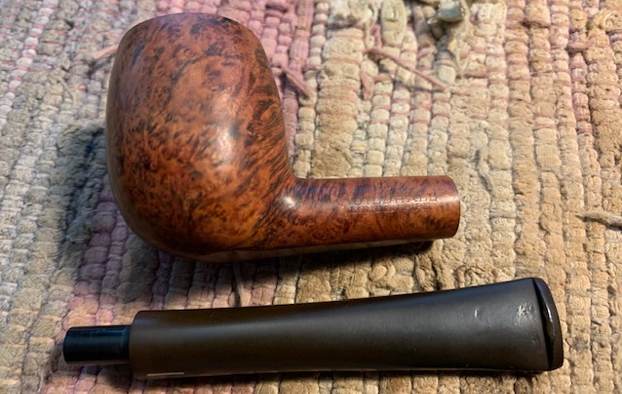
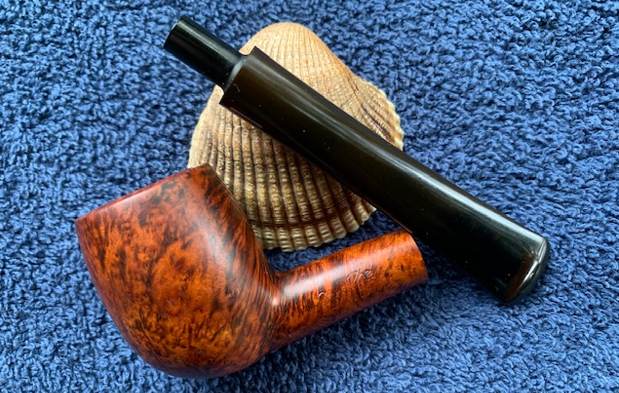
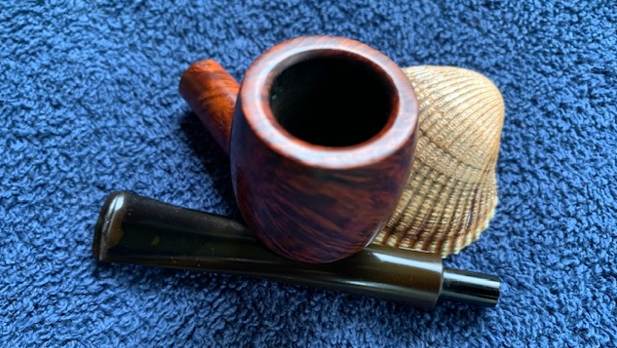
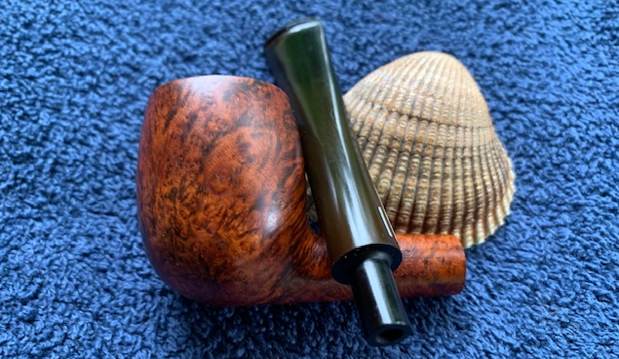
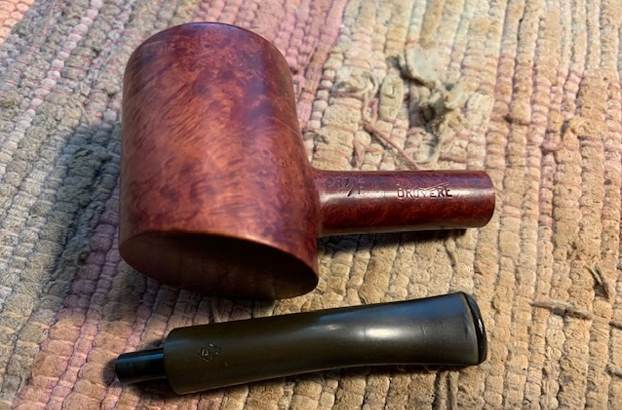
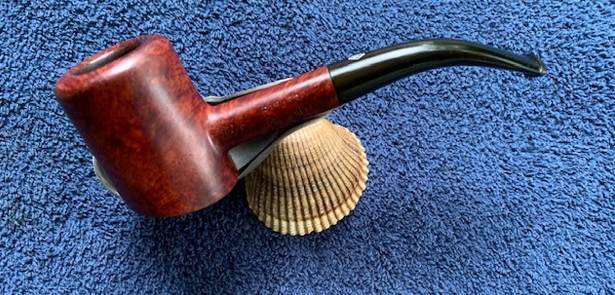
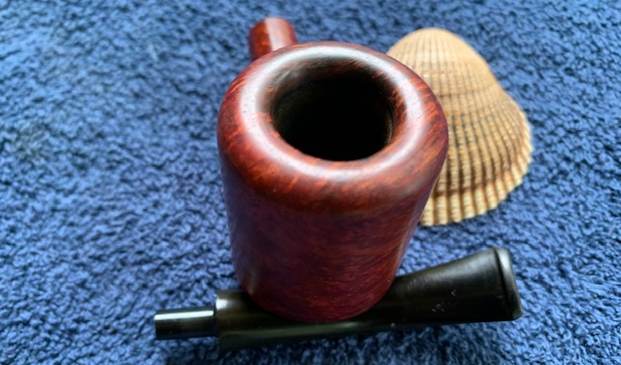
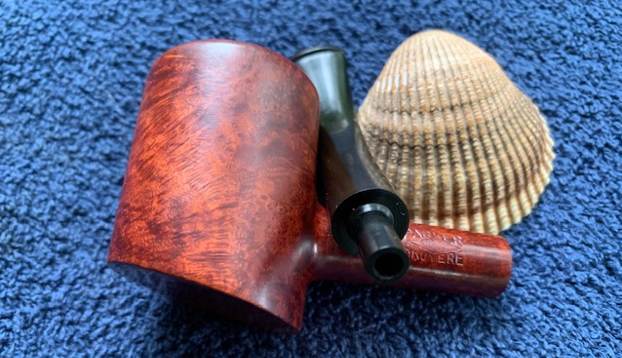
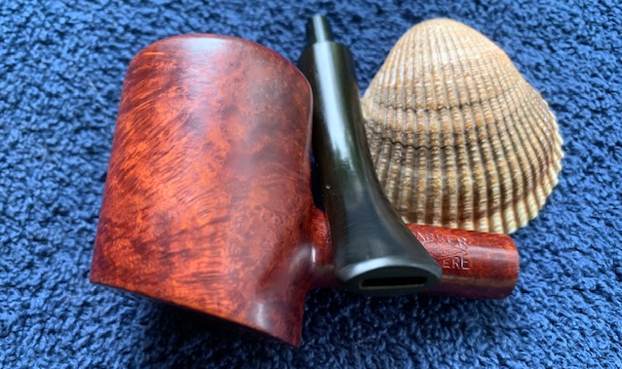
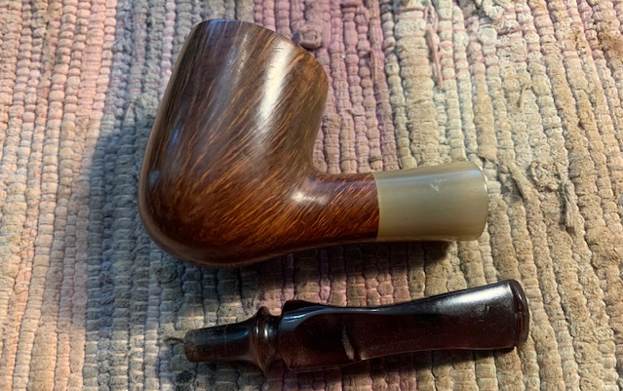
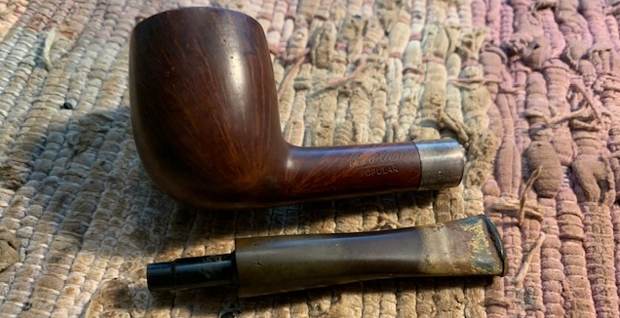
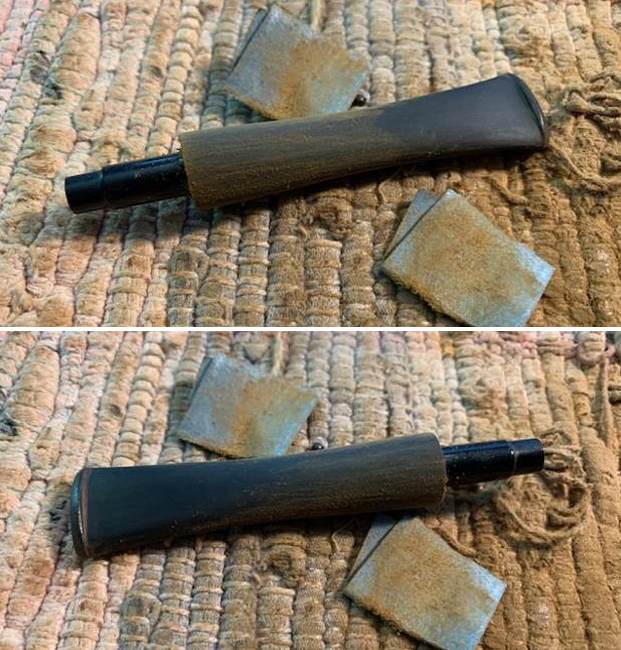
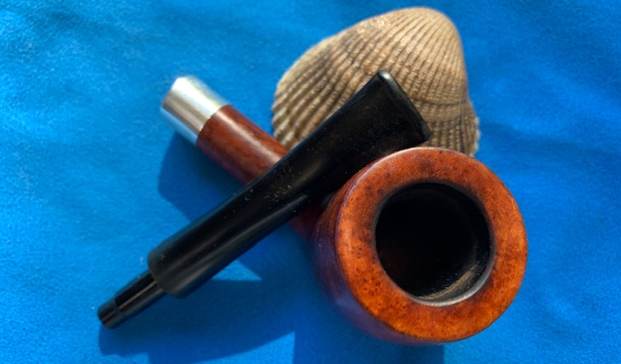
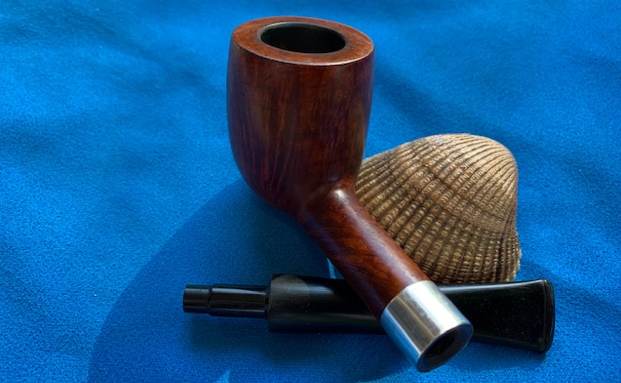
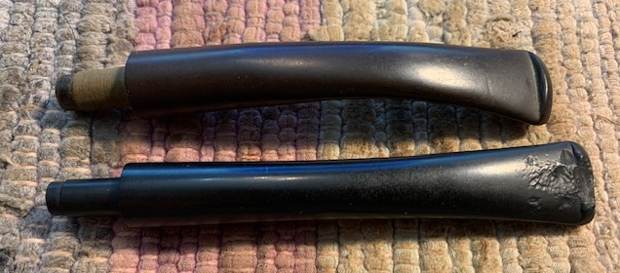
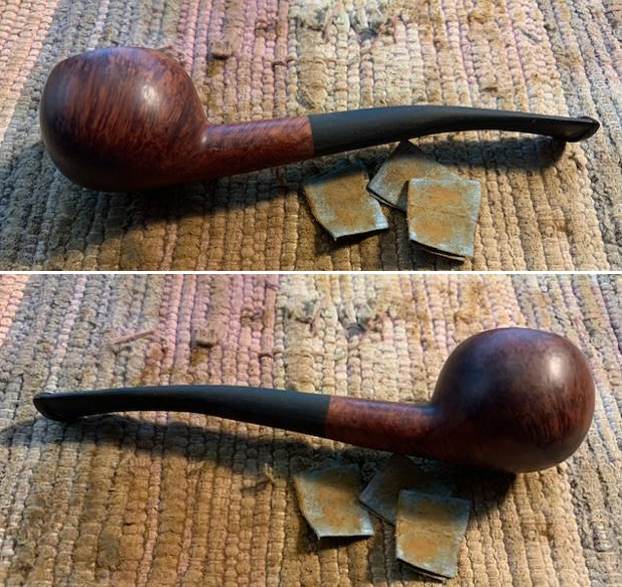
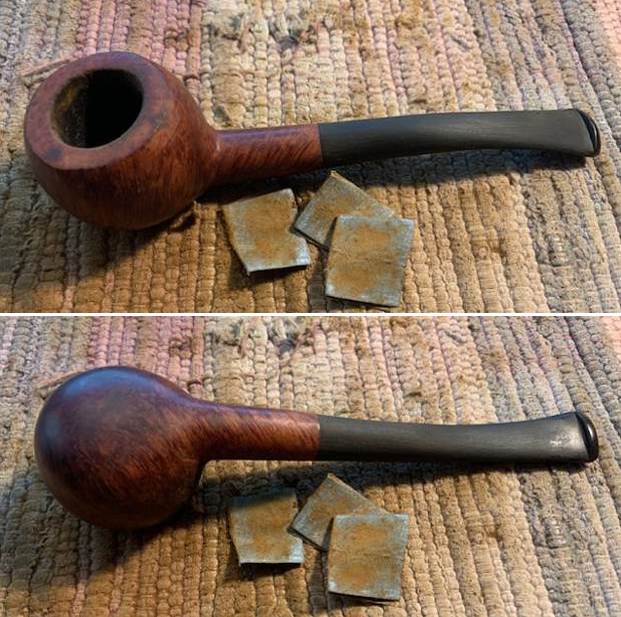
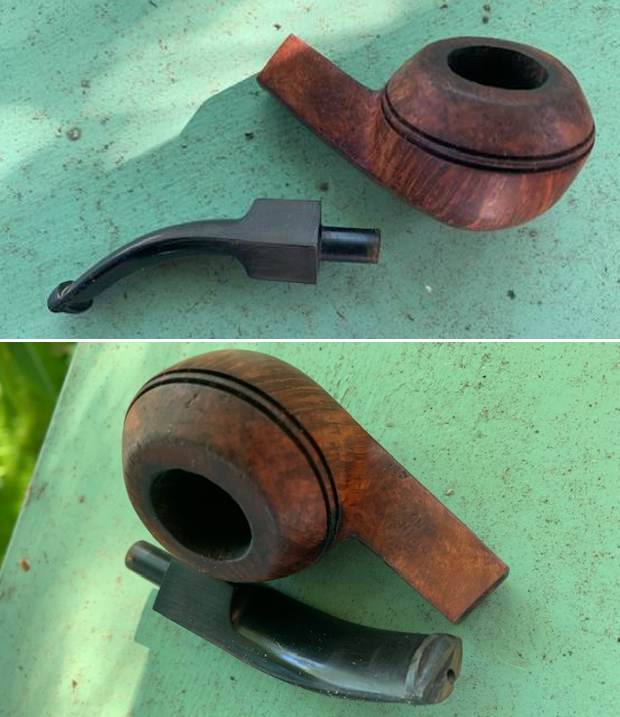
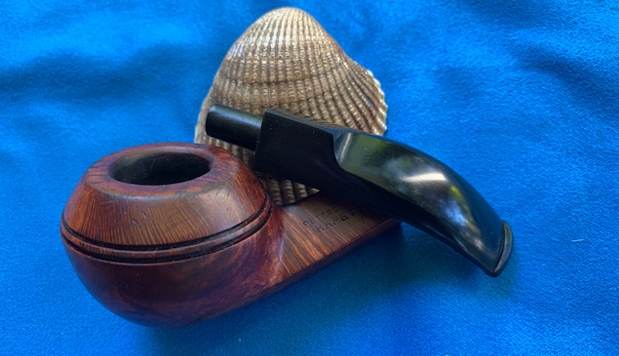
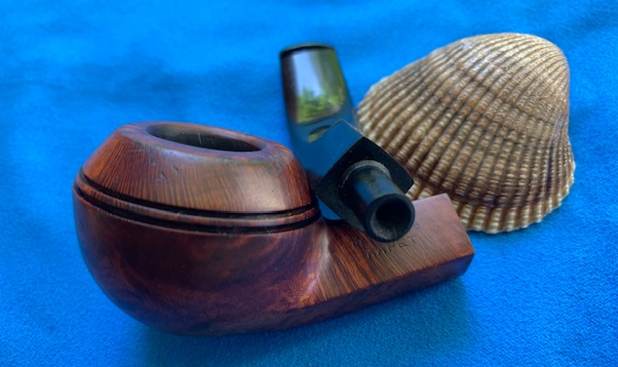
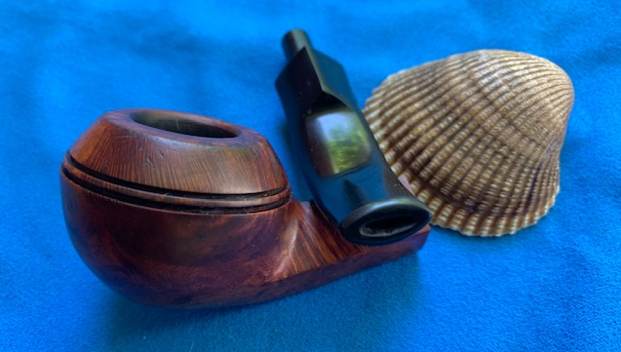
 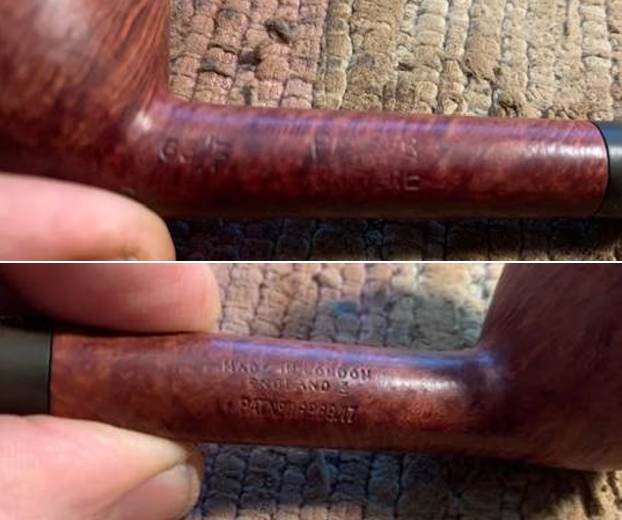 I took the stem off the pipe and took a photo of the parts to show the look of the pipe as a whole.
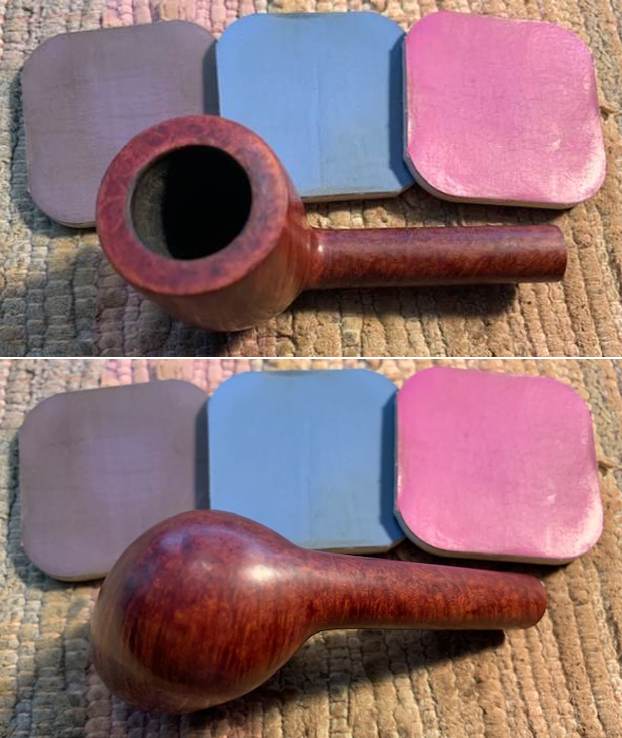
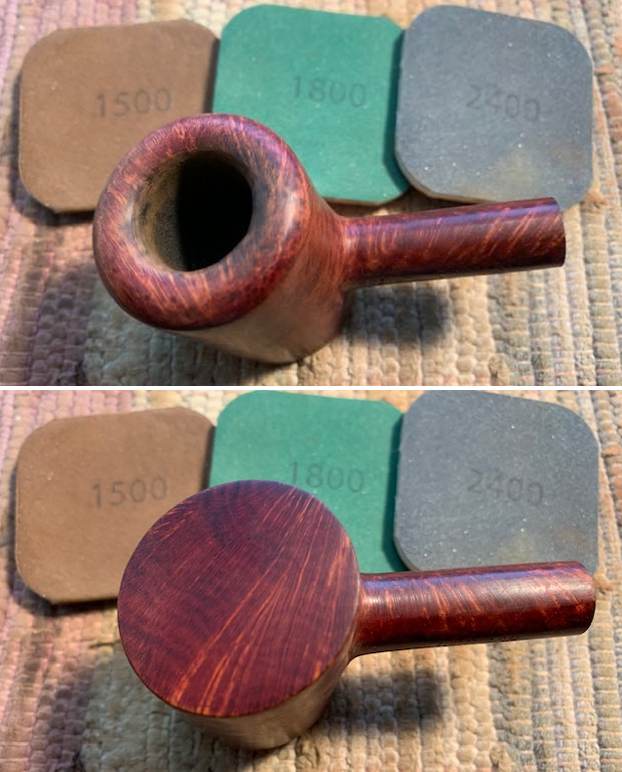
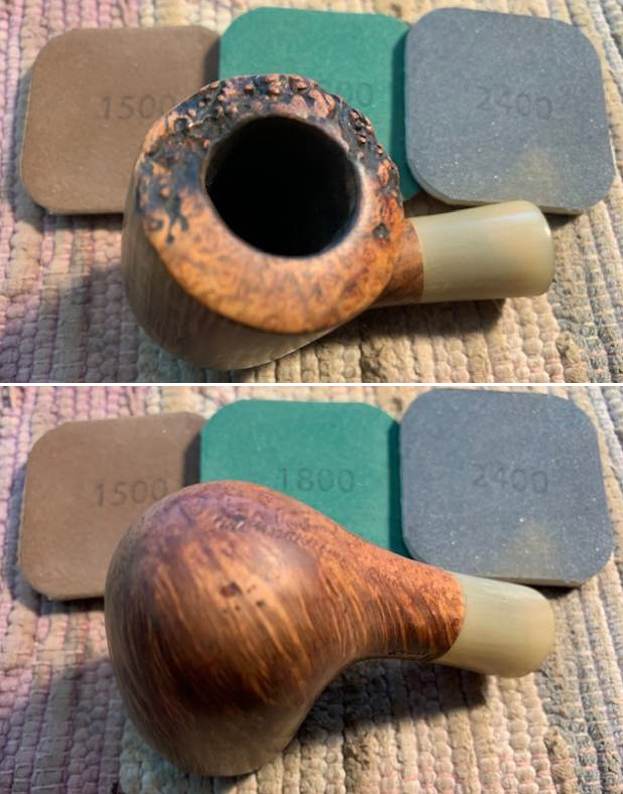
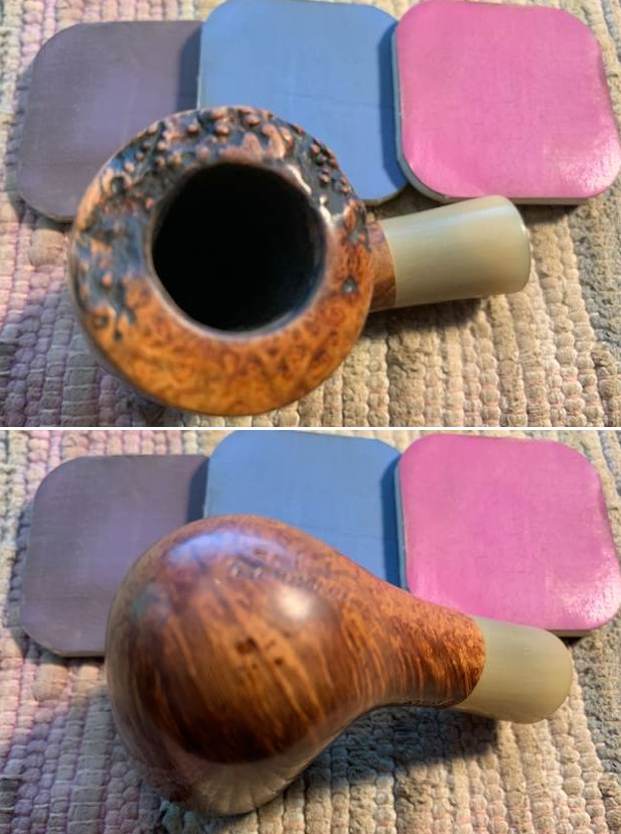
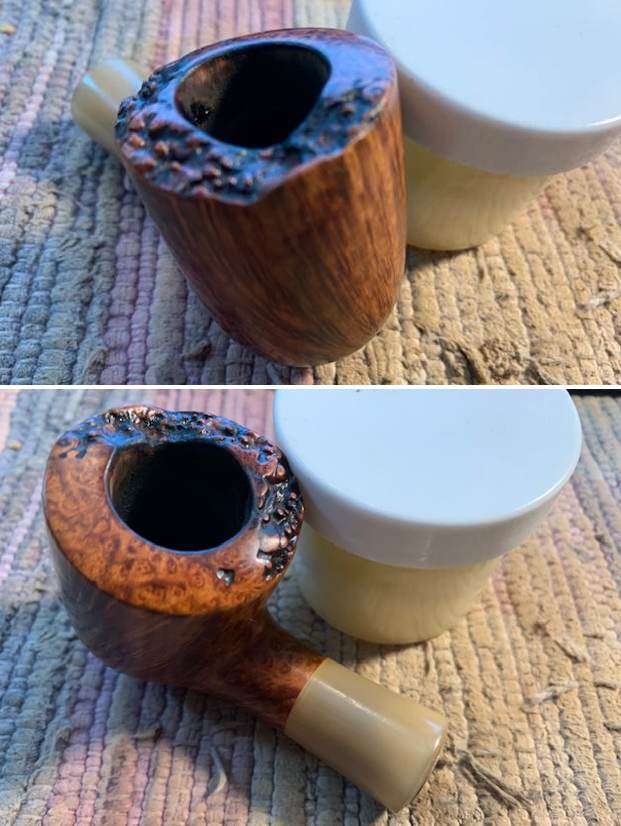
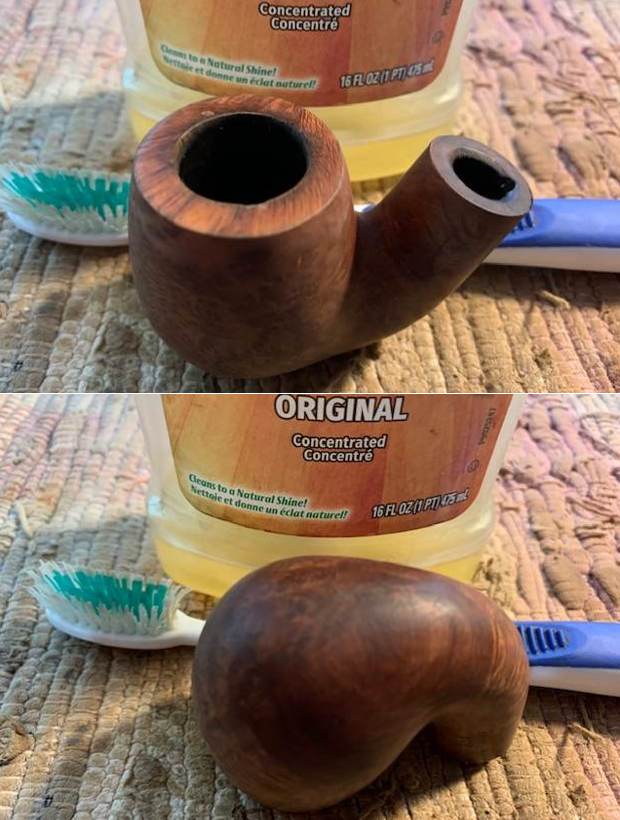
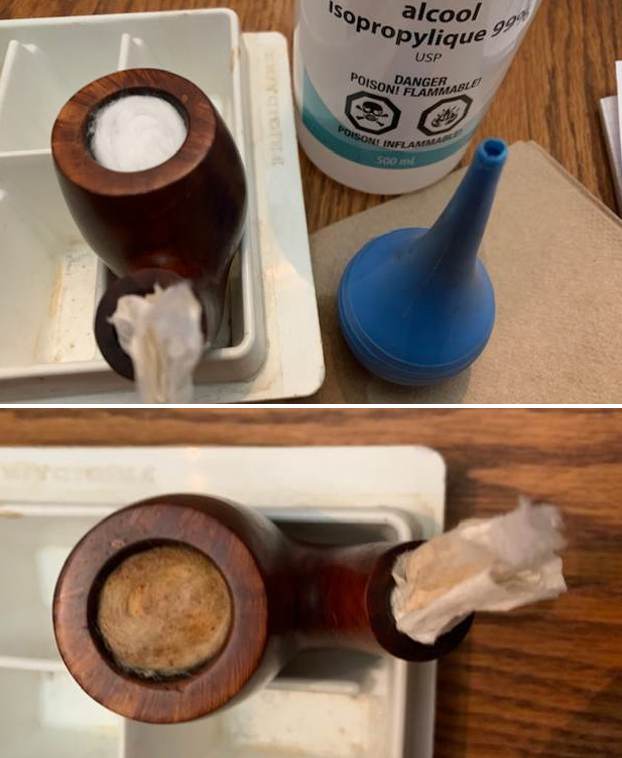
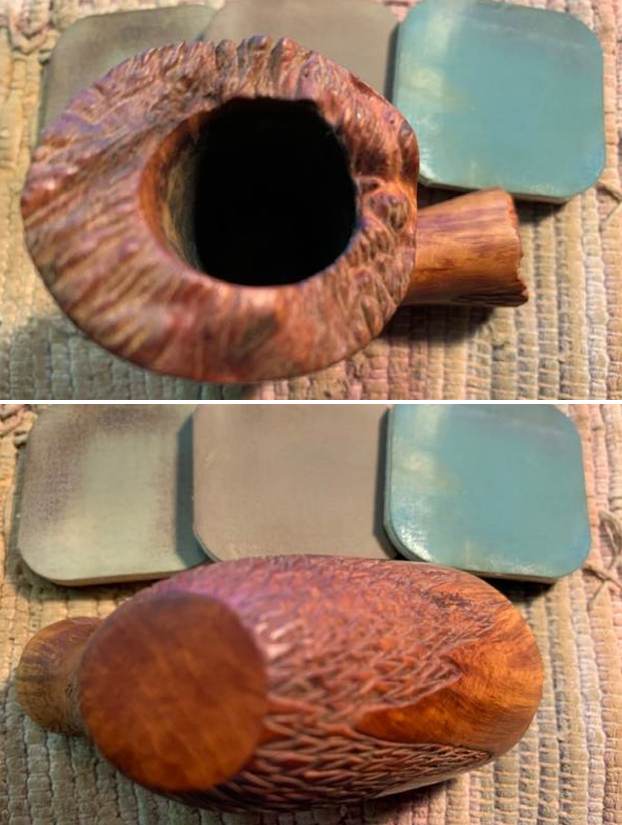
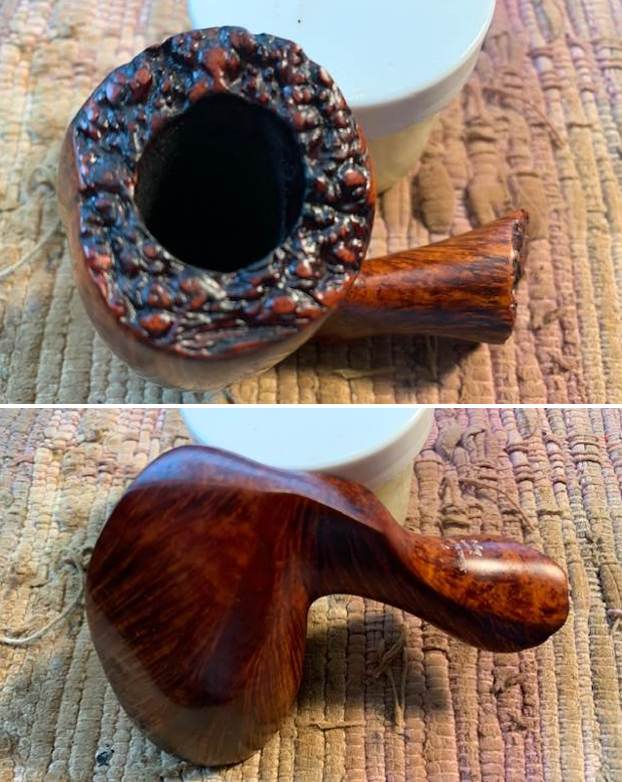
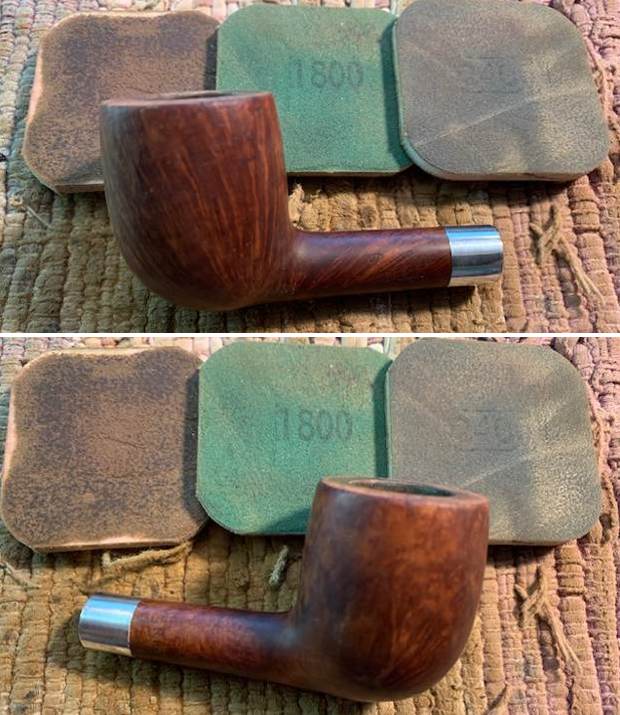
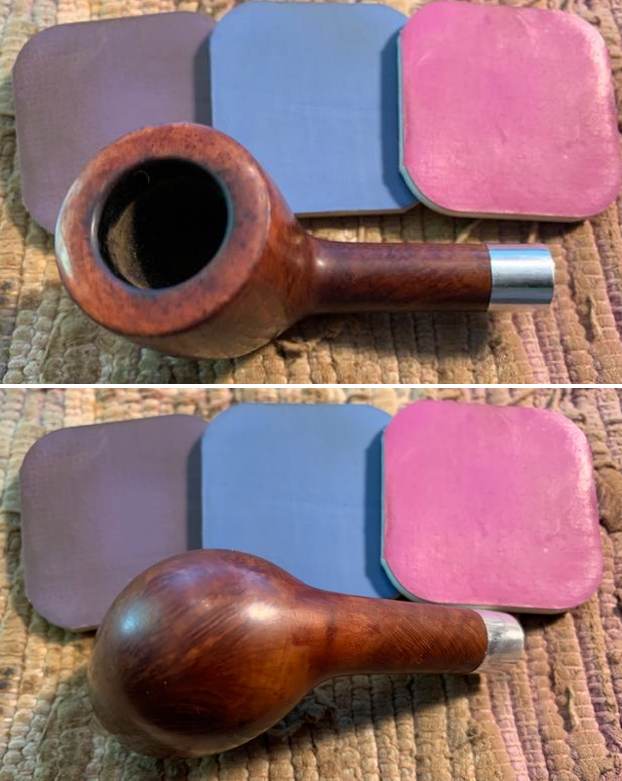
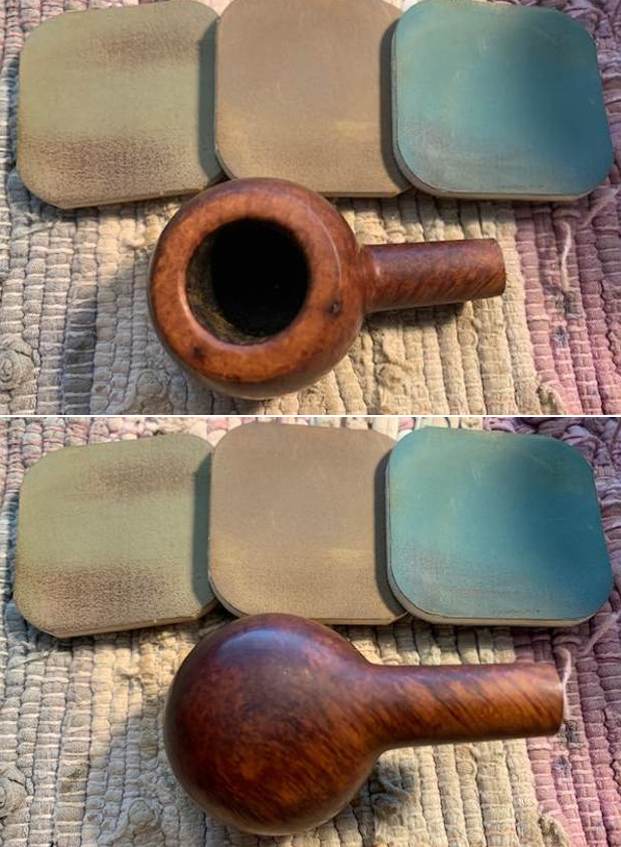
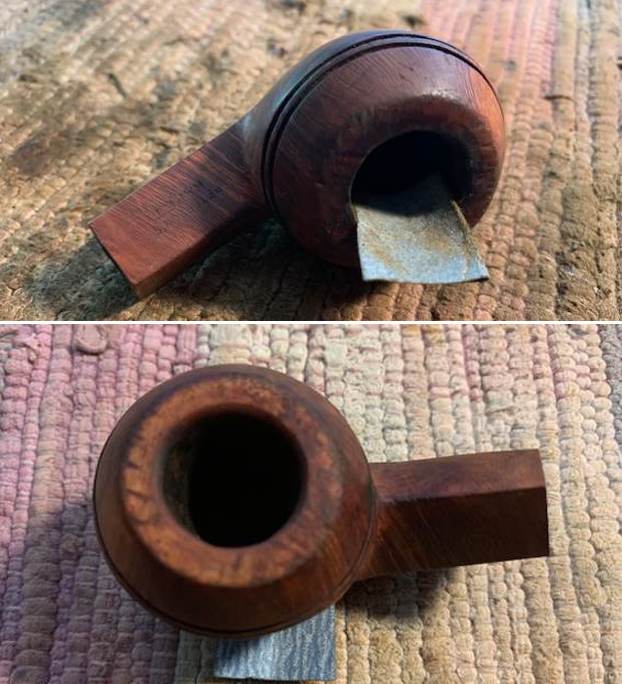
 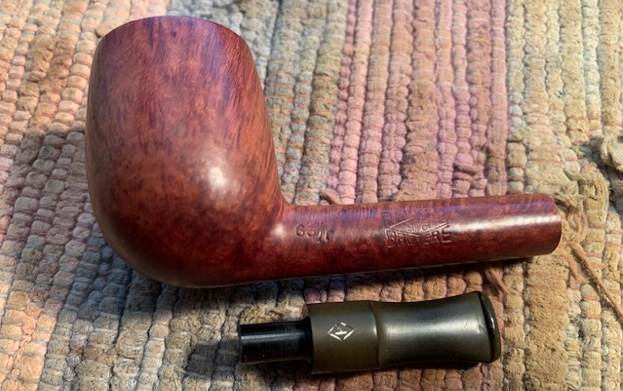 I started my work on the inner edge of the bowl and rim top with a folded piece of sandpaper to clean up the darkening and damage. It looked much better after the work.
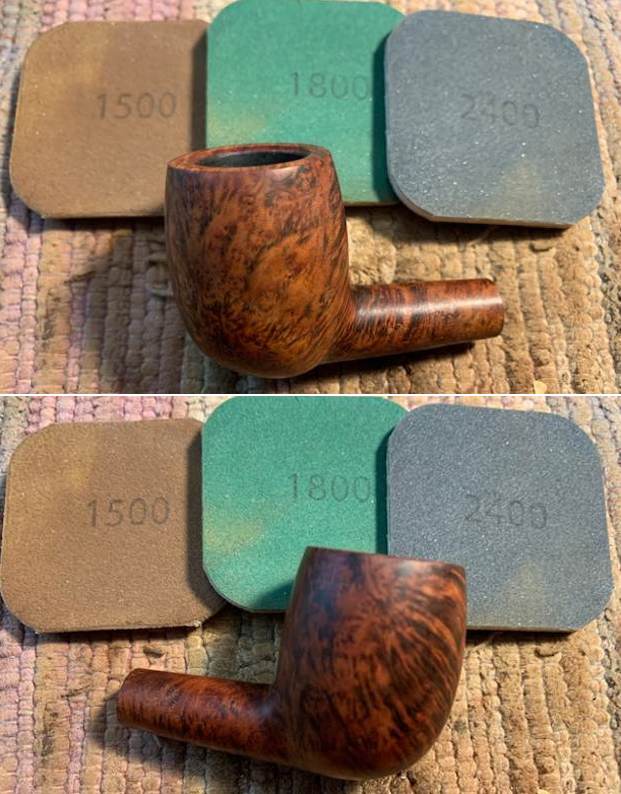
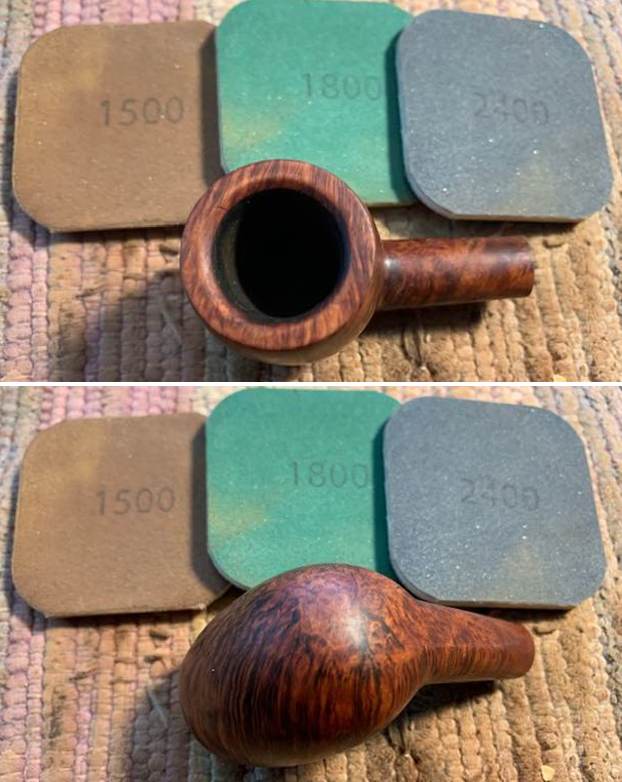
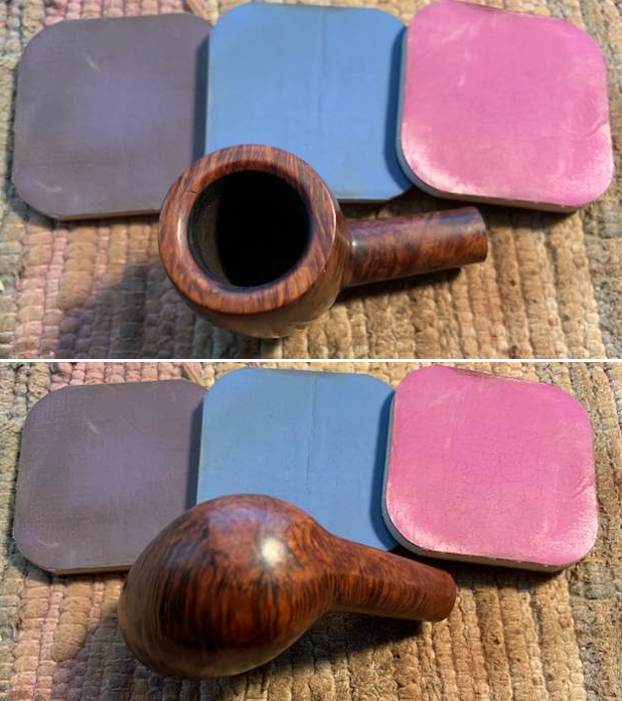
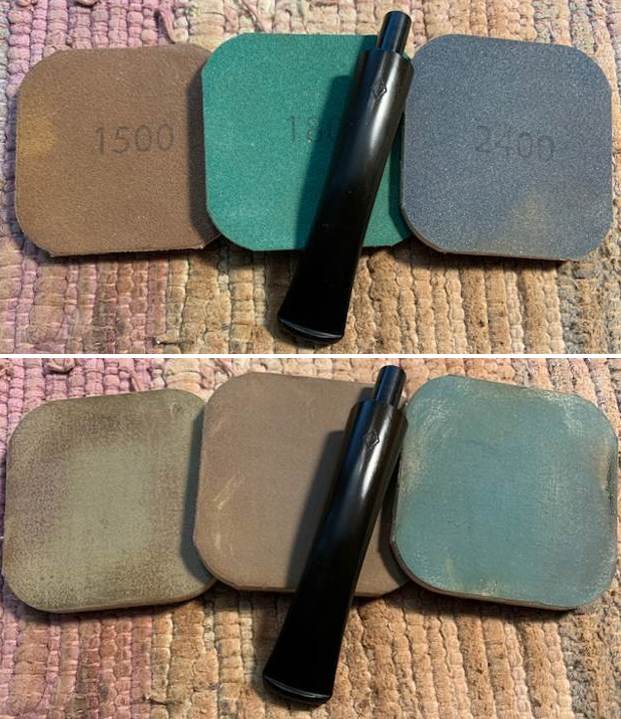
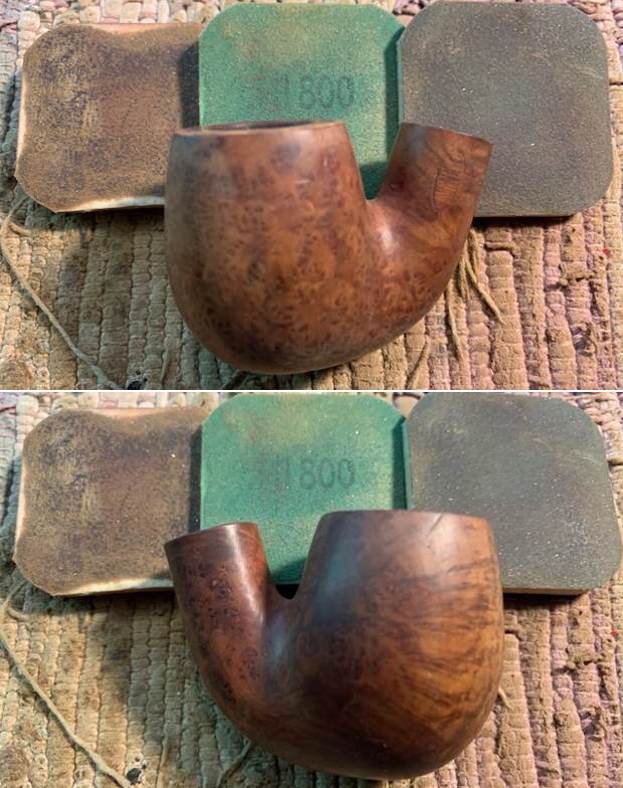
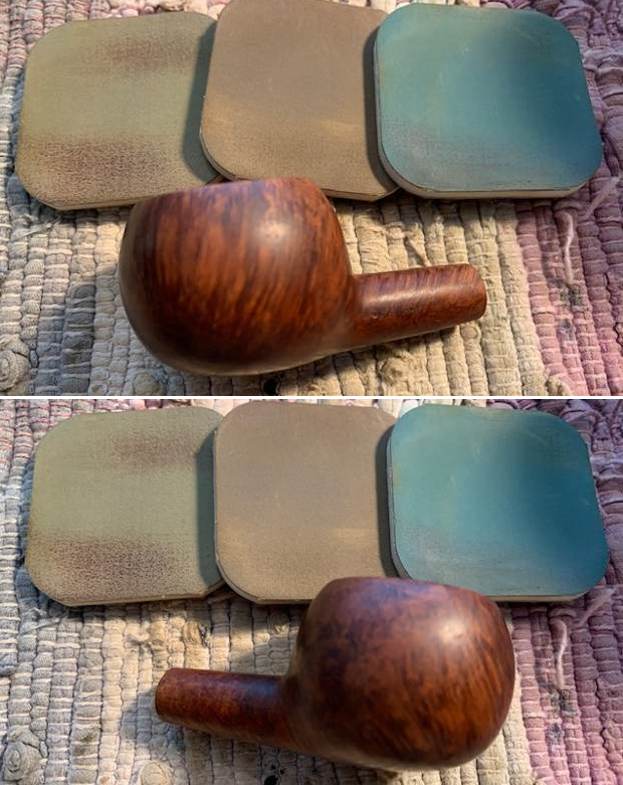
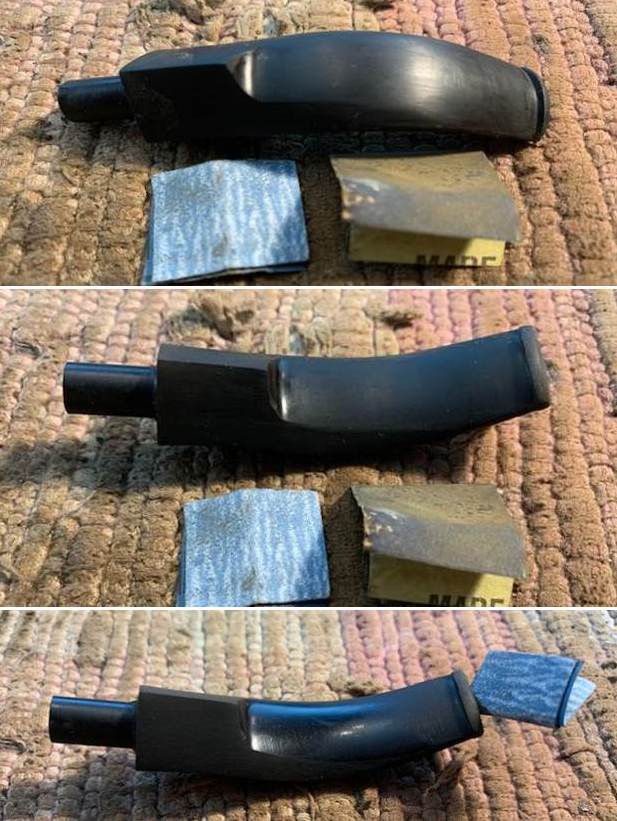
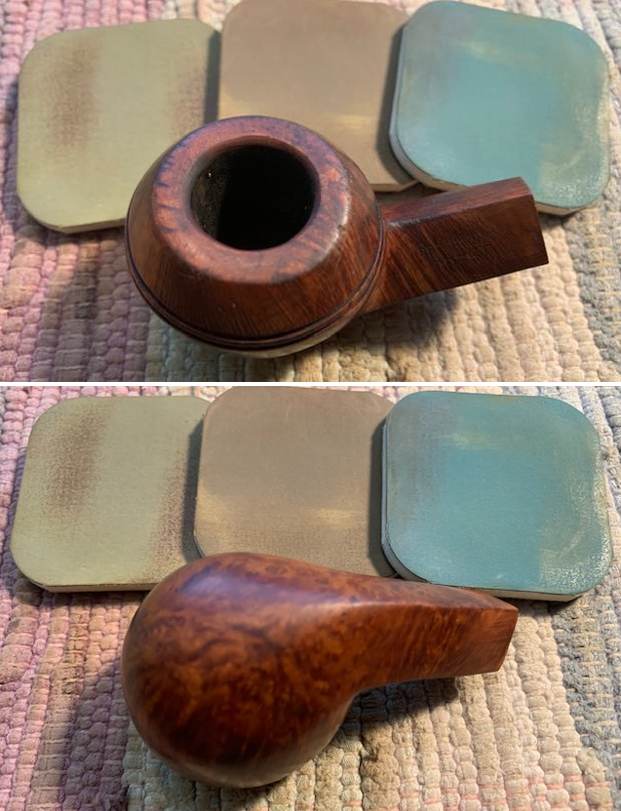
 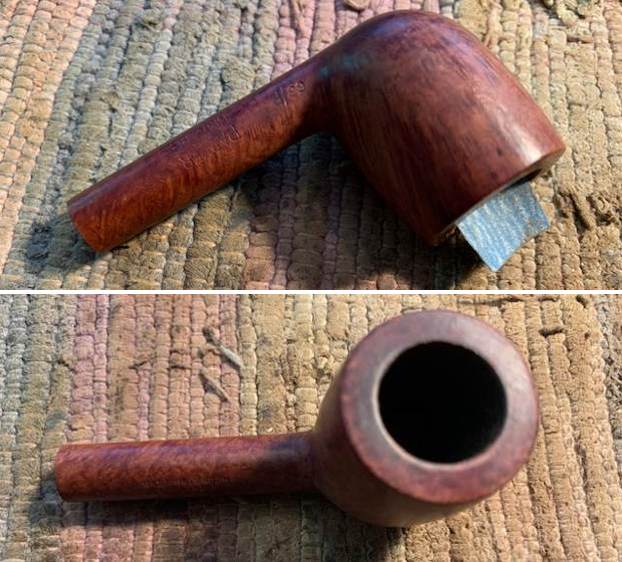 I polished the rim top and bowl with 1500-12000 grit micromesh sanding pads to polish the briar. I wiped it down with a damp cloth after each sanding pad.
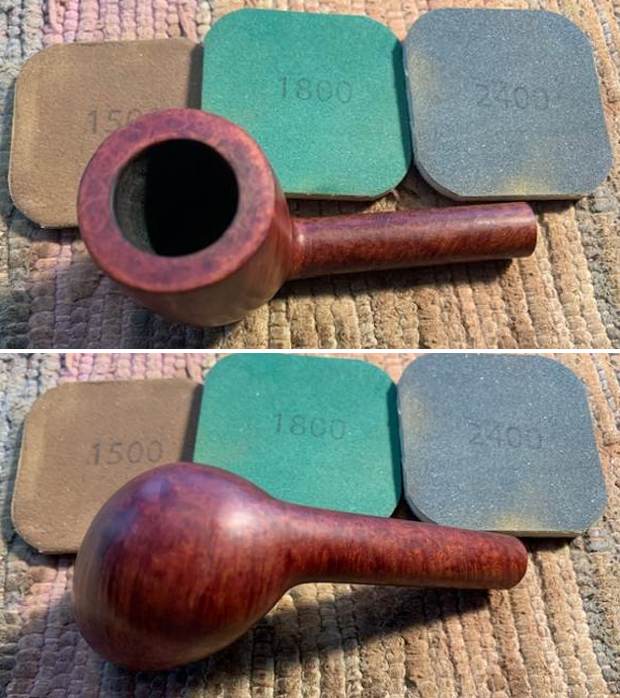

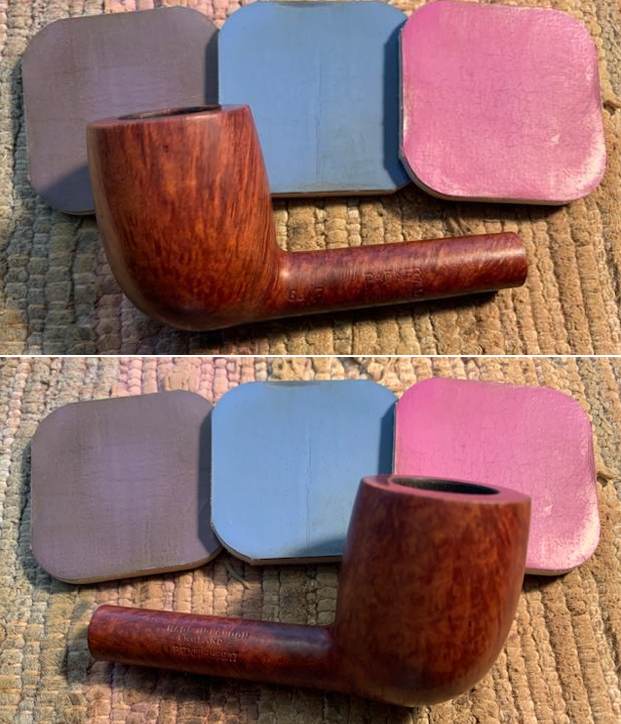
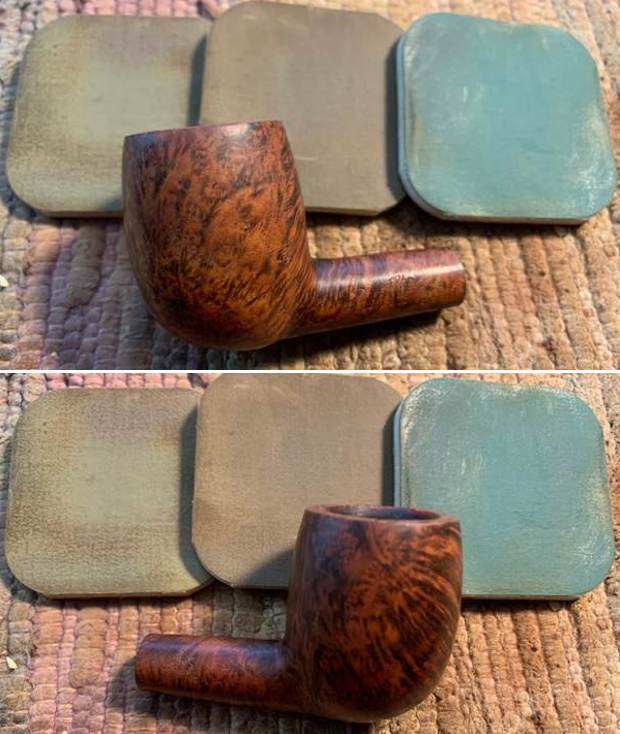
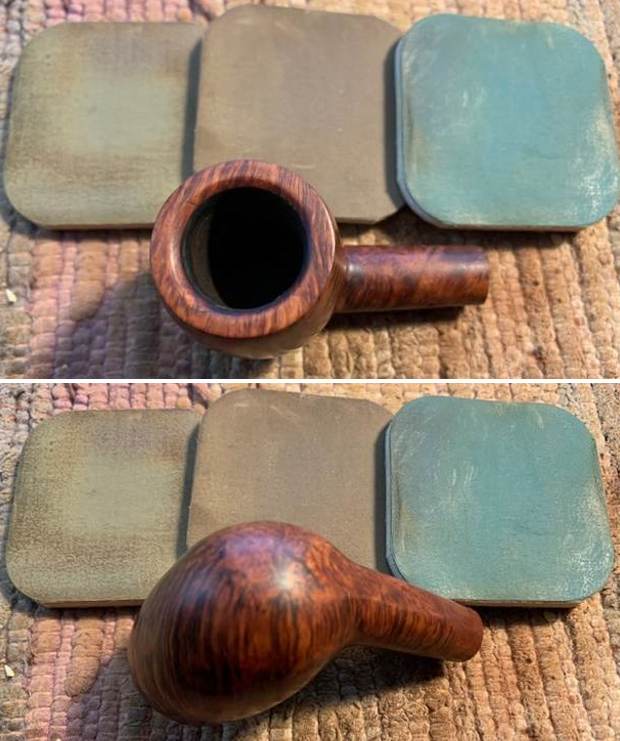
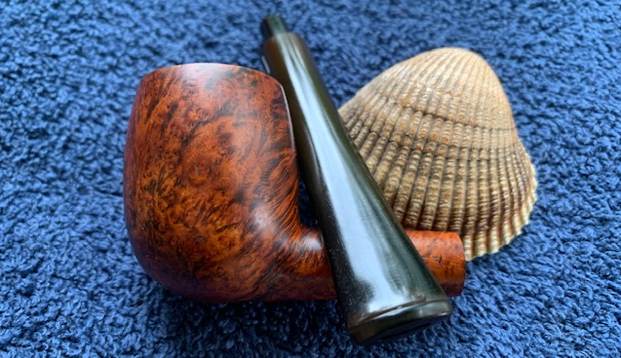
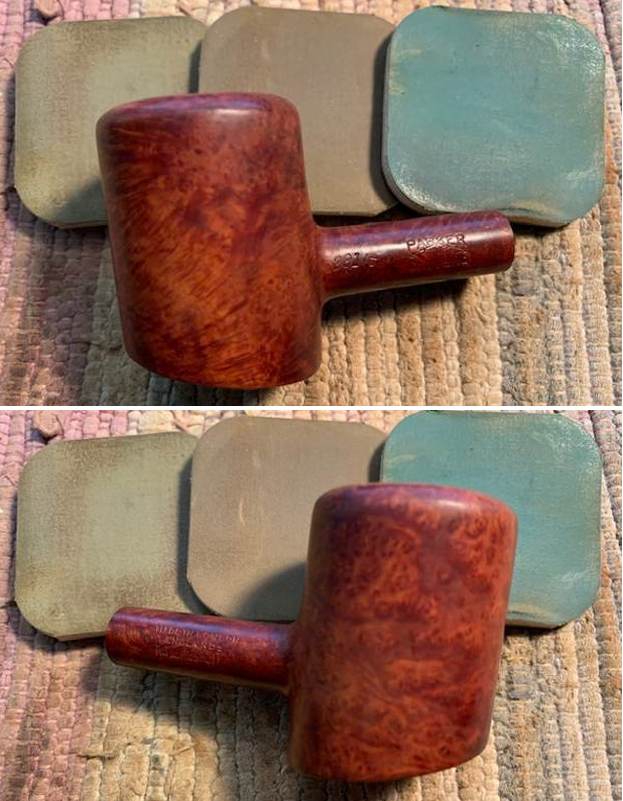
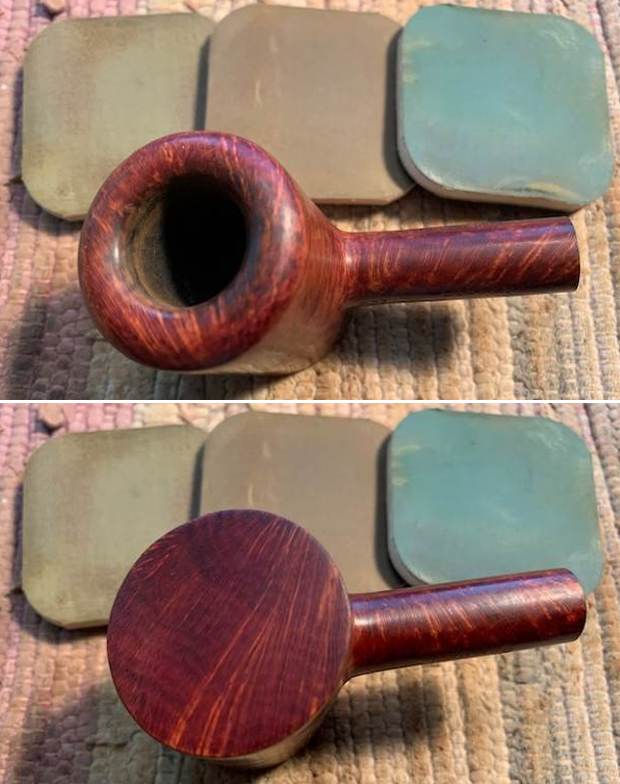
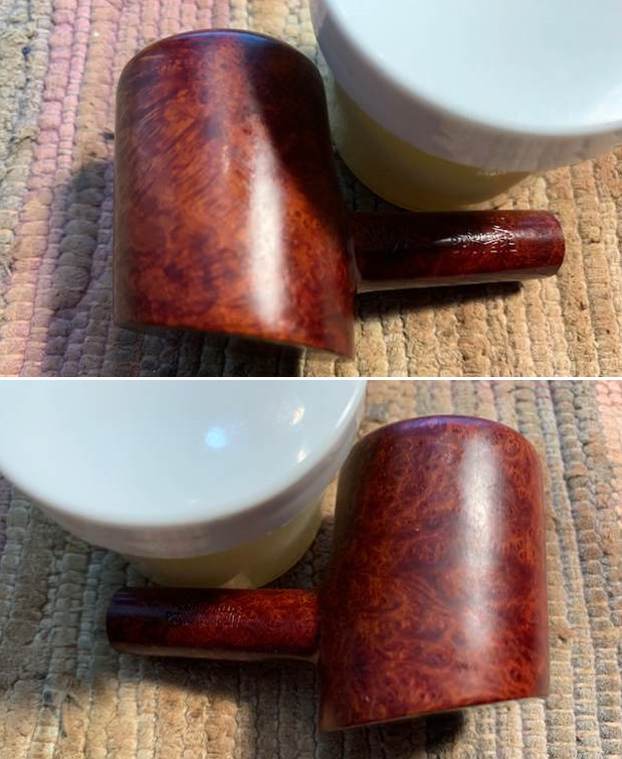
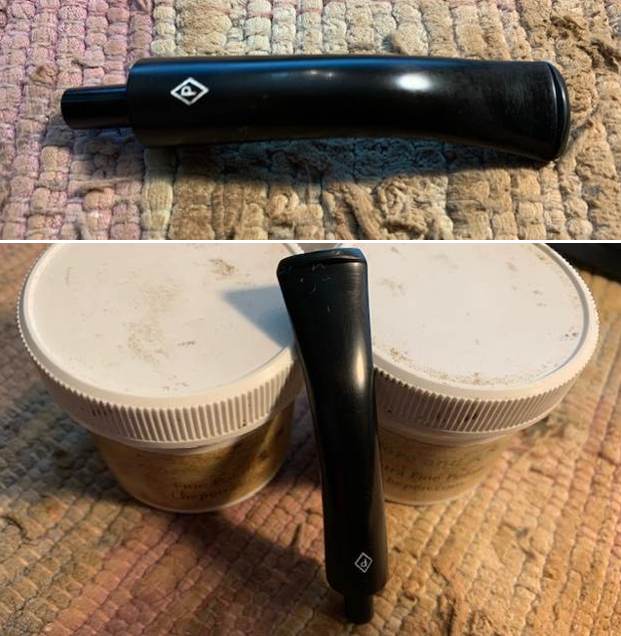
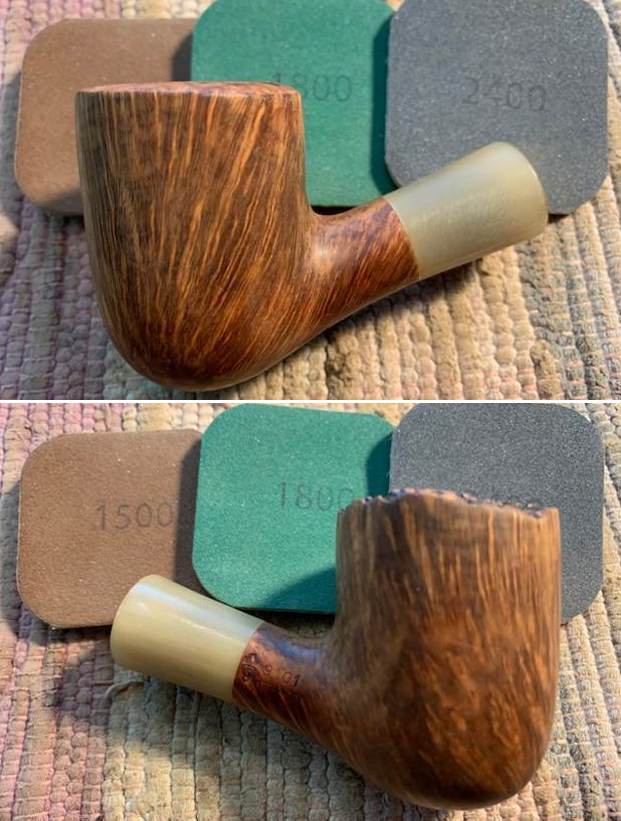
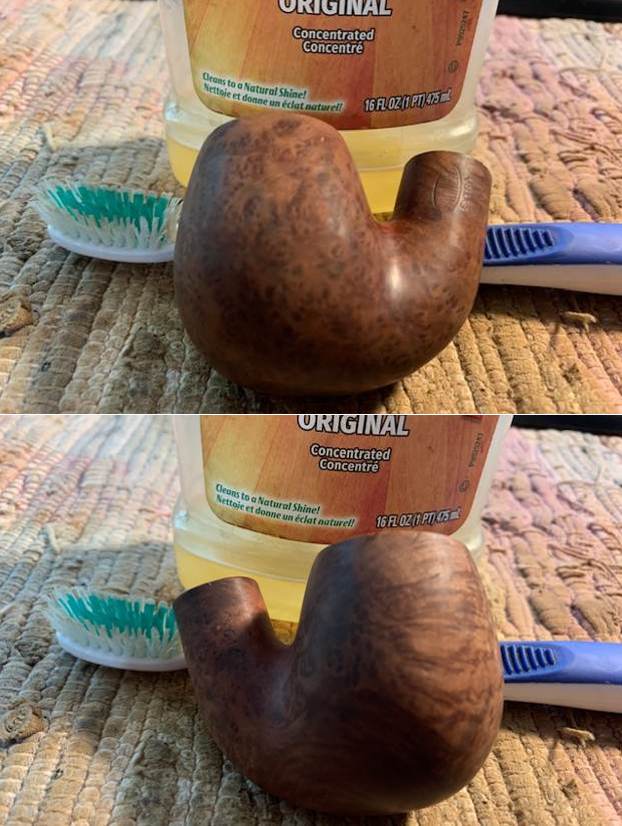
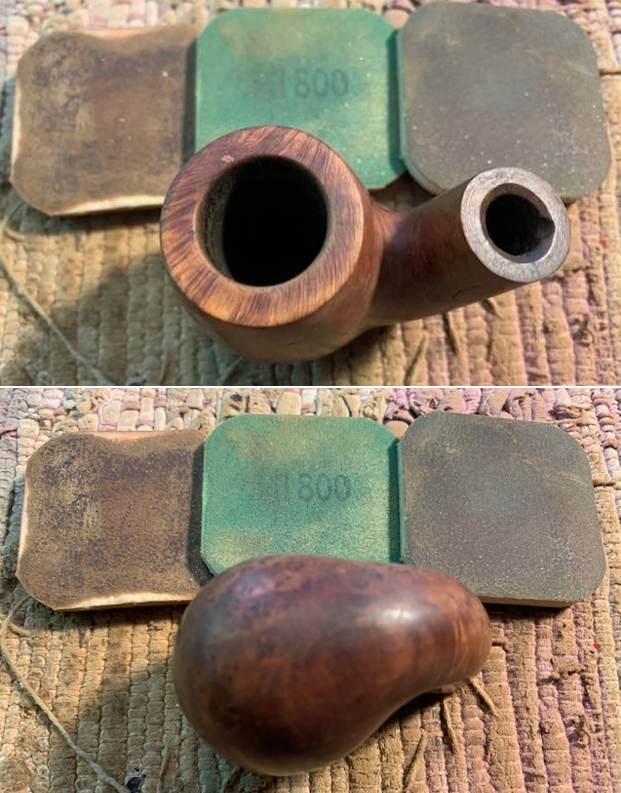
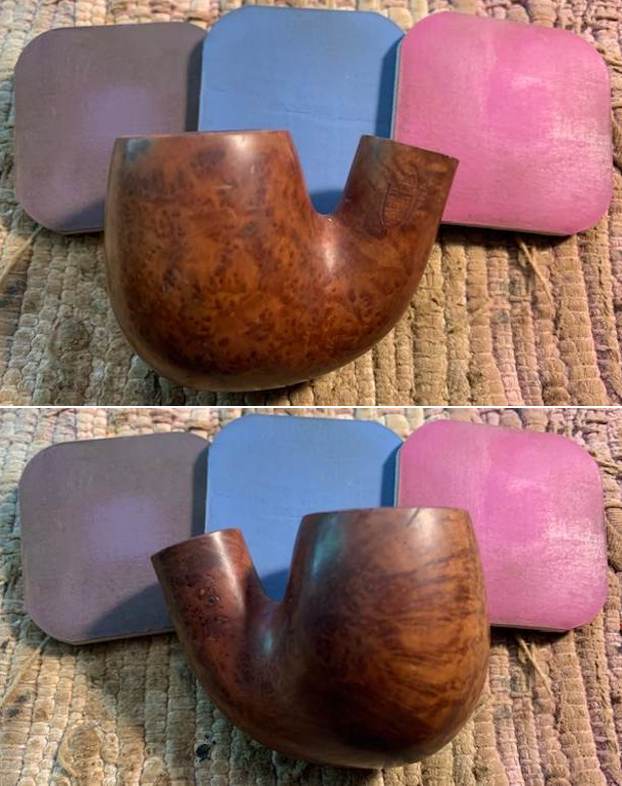
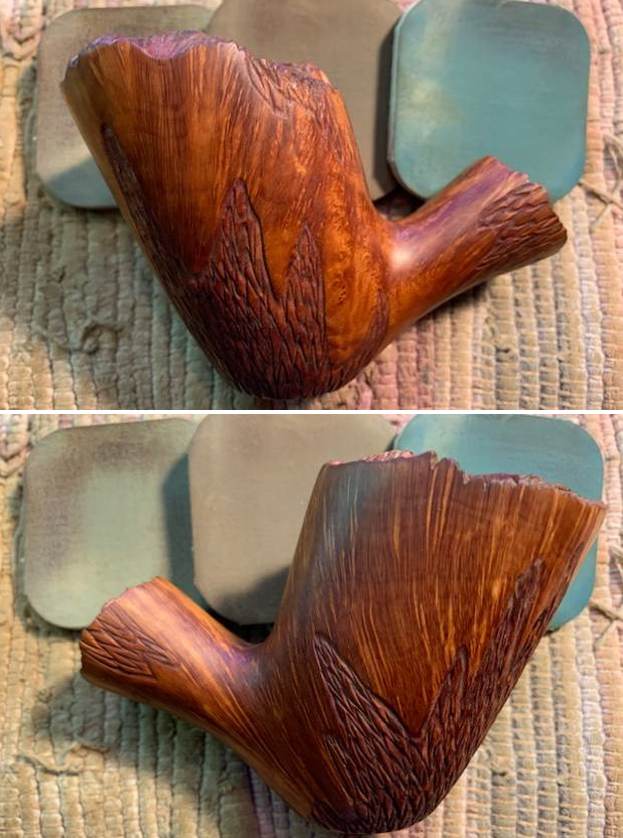
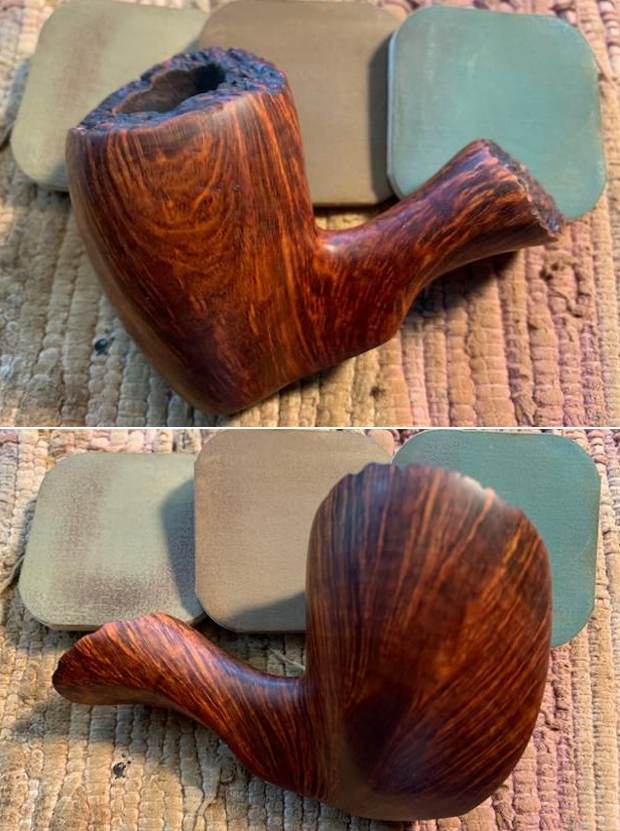
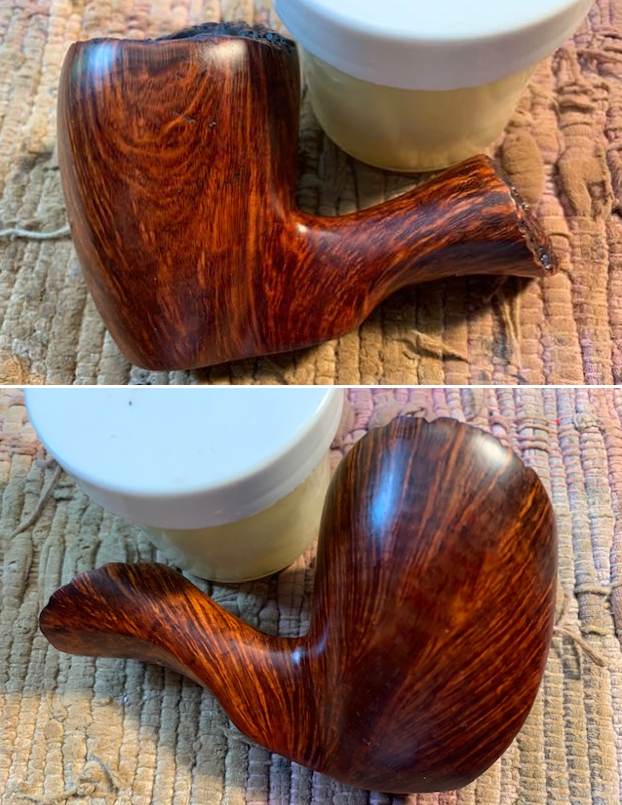
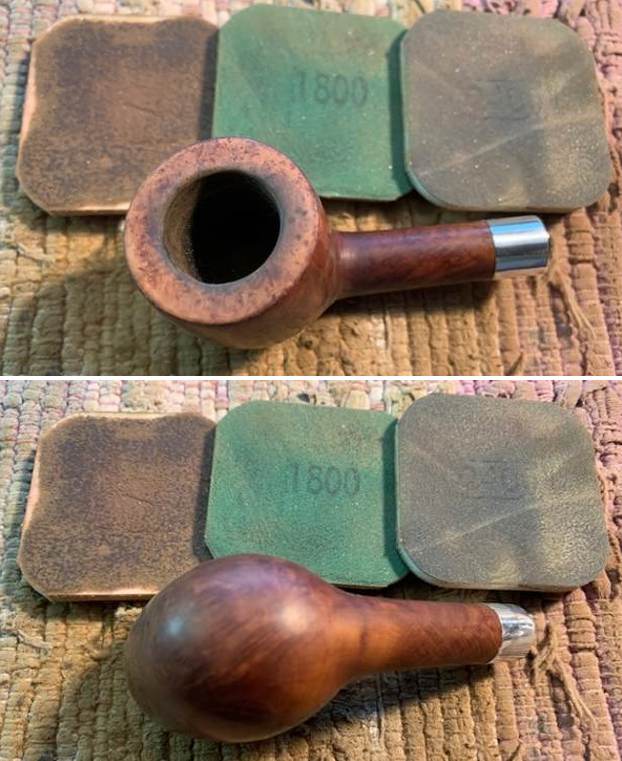
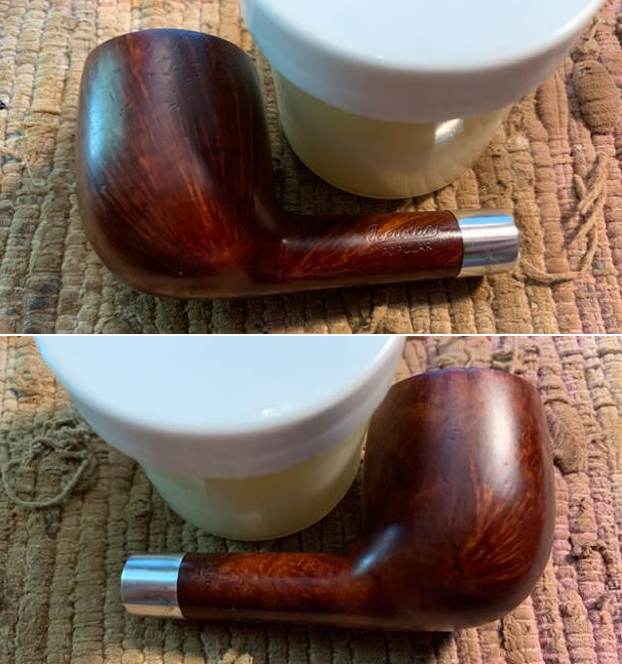
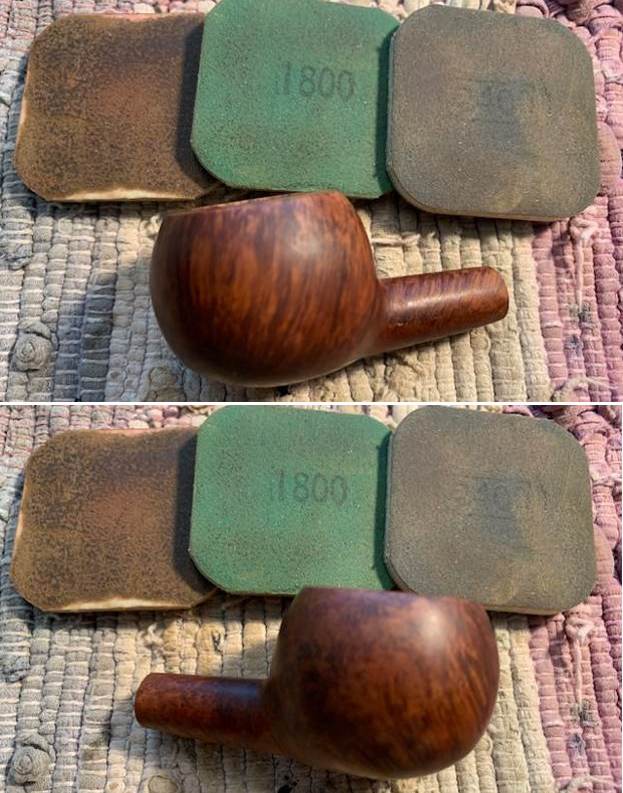
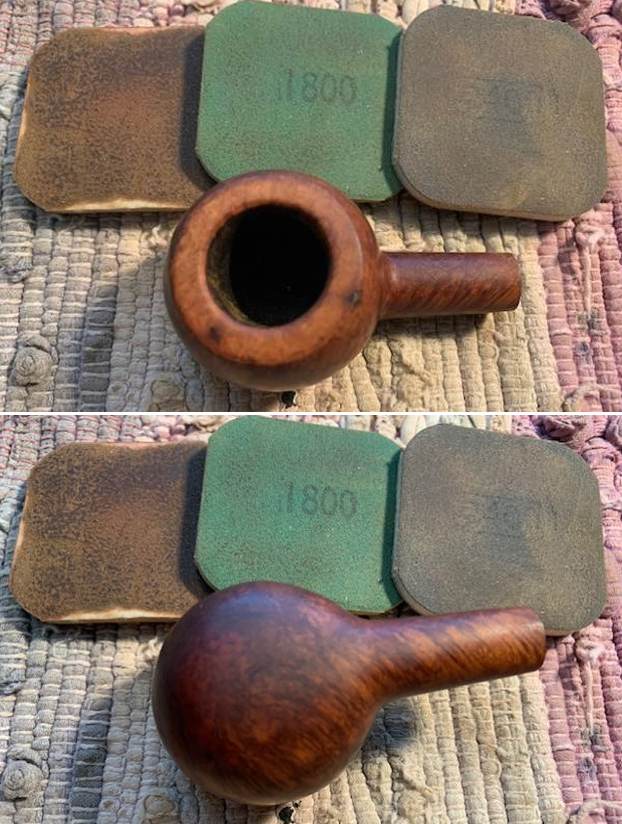
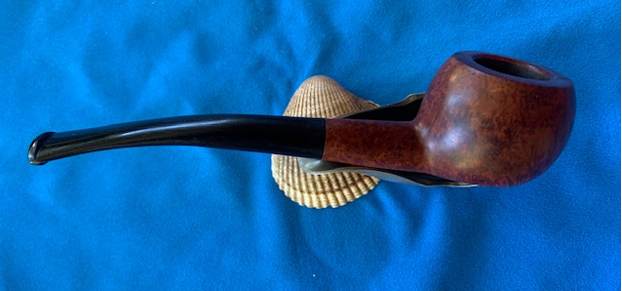
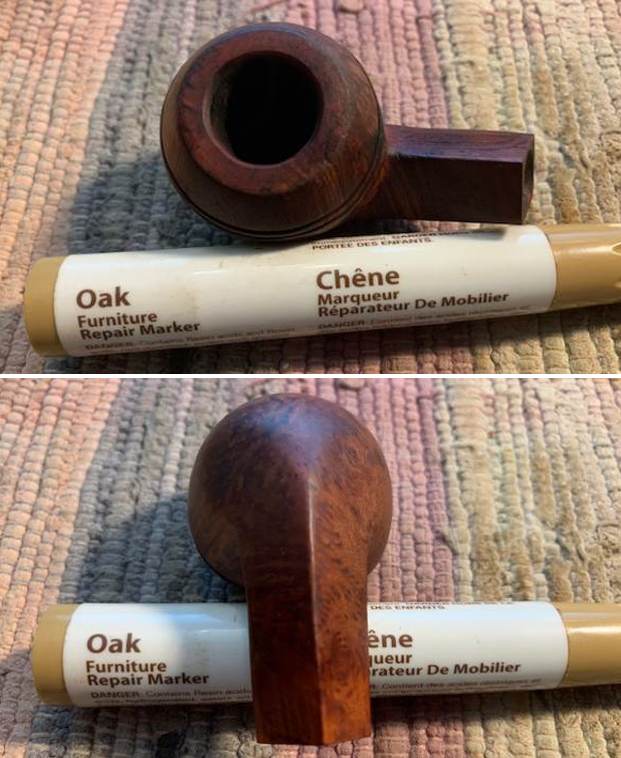
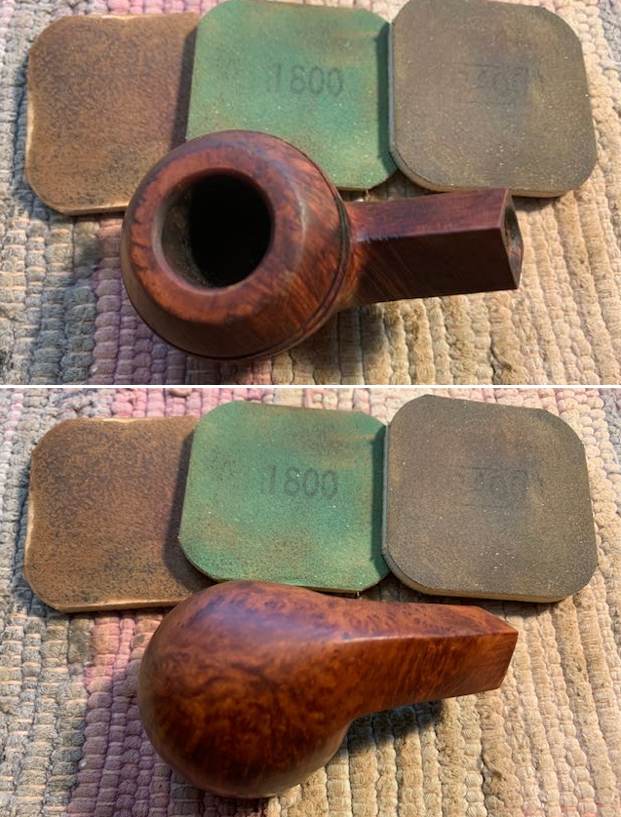
 I rubbed the bowl and shank down with Before & After Restoration Balm. I worked it into the surface of the bowl sides and shank with my fingertips to clean, enliven and protect the briar. I let the balm sit for 15 minutes then buffed with a cotton cloth to raise the shine. You can see the grain showing through the deep glow.
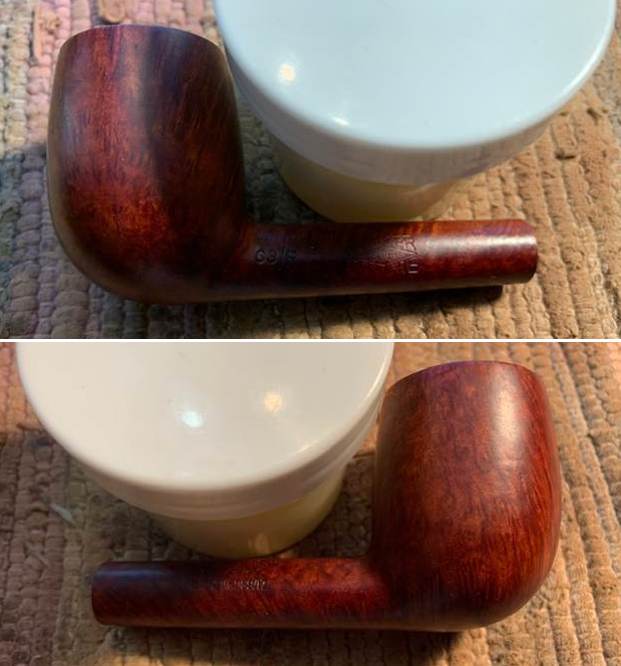
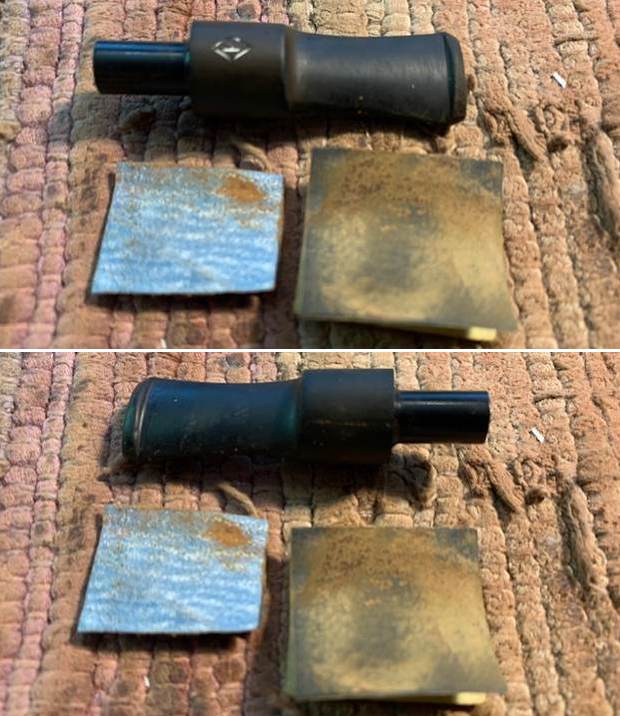
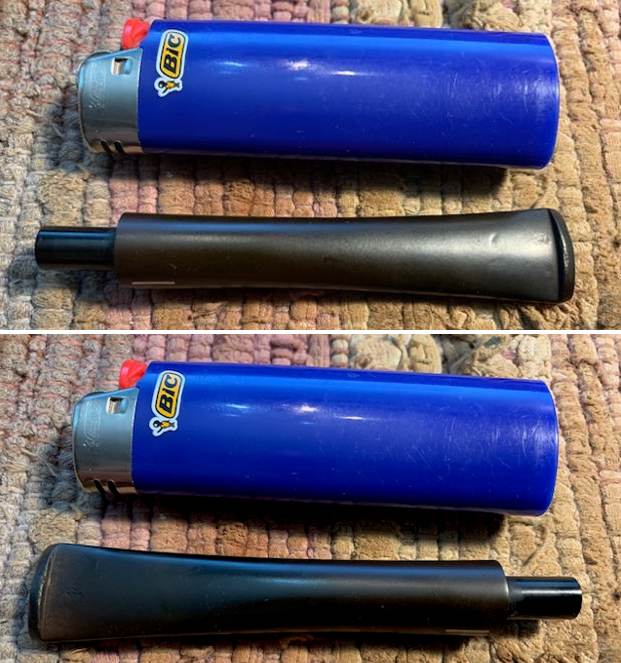
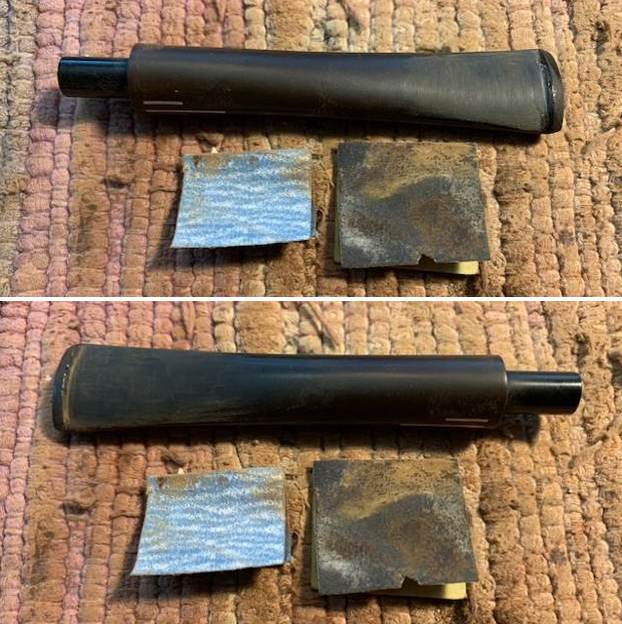
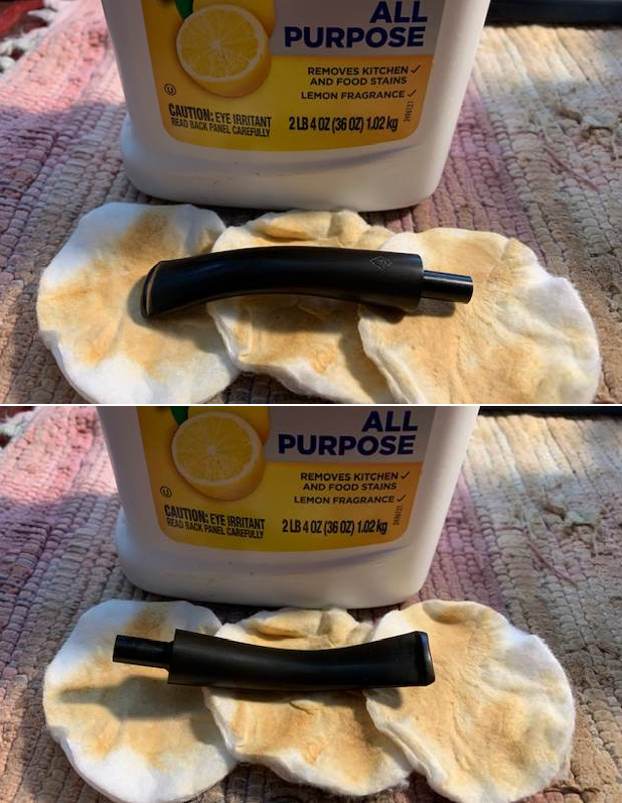
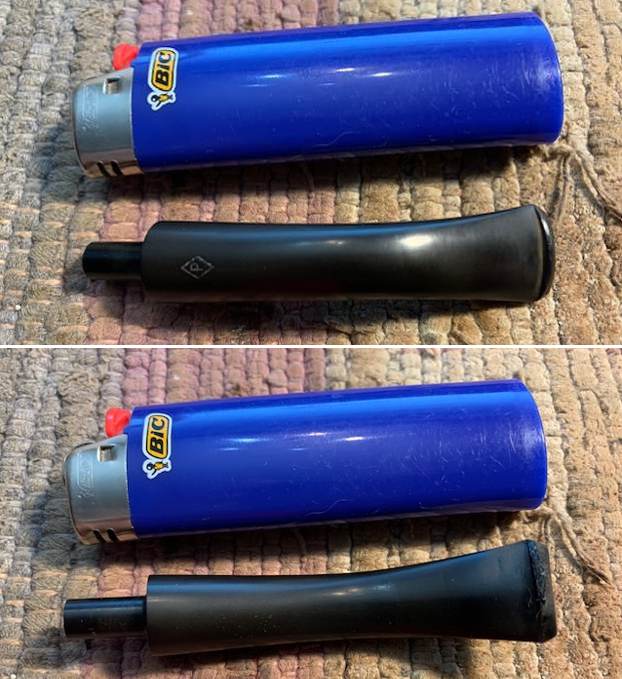
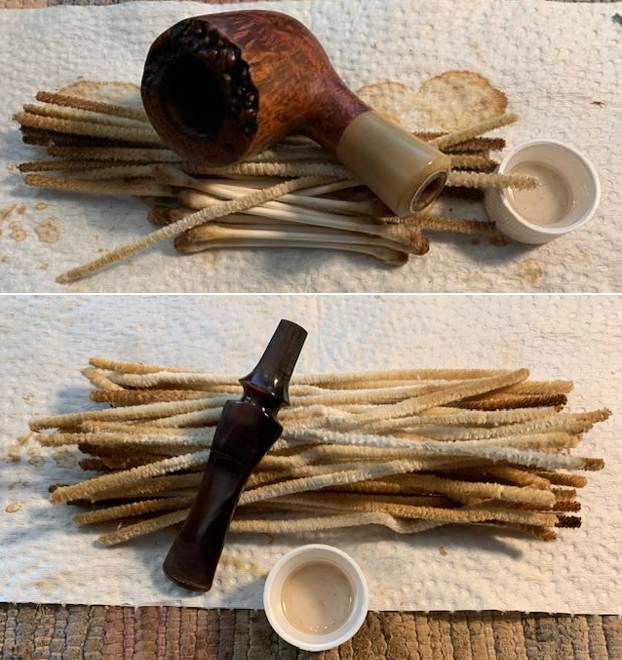
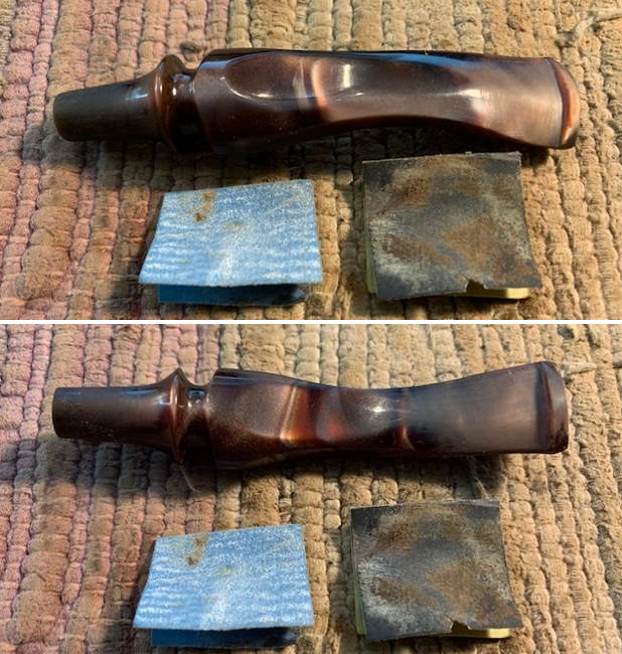
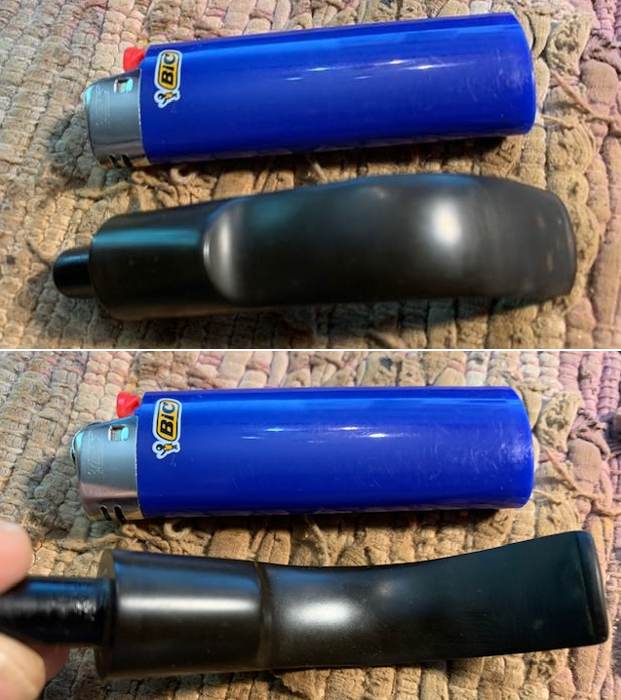
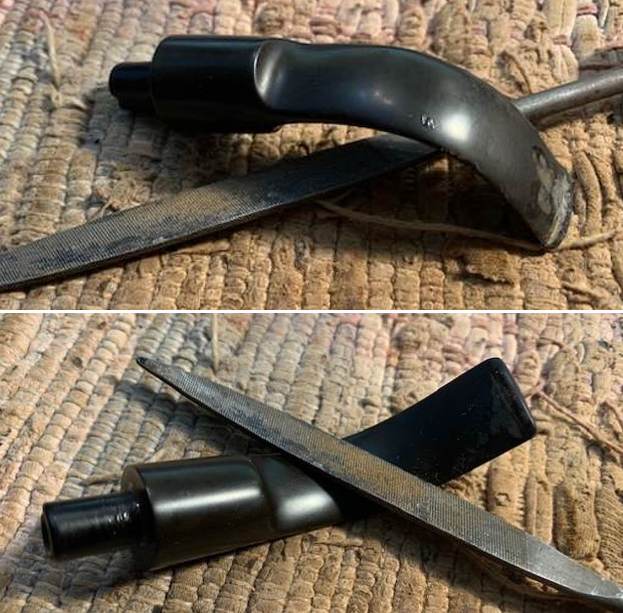
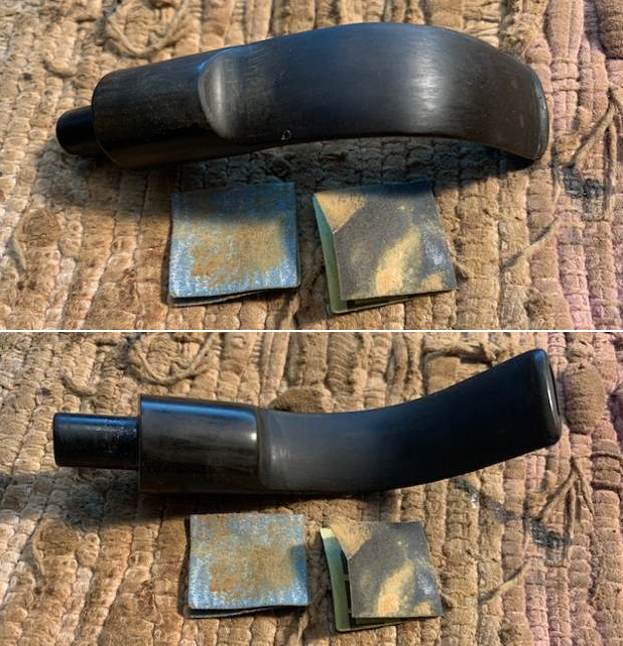
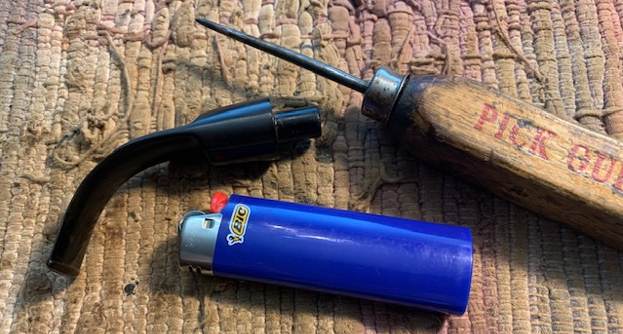
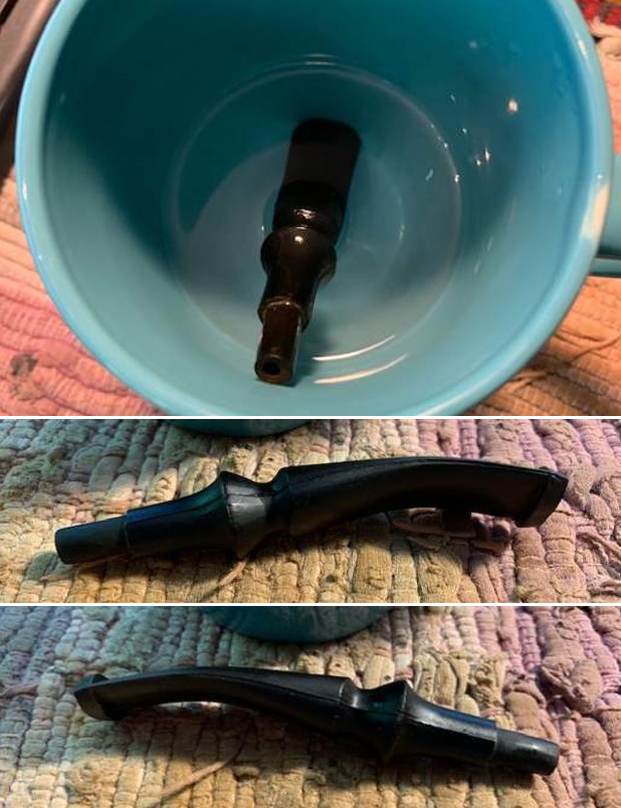
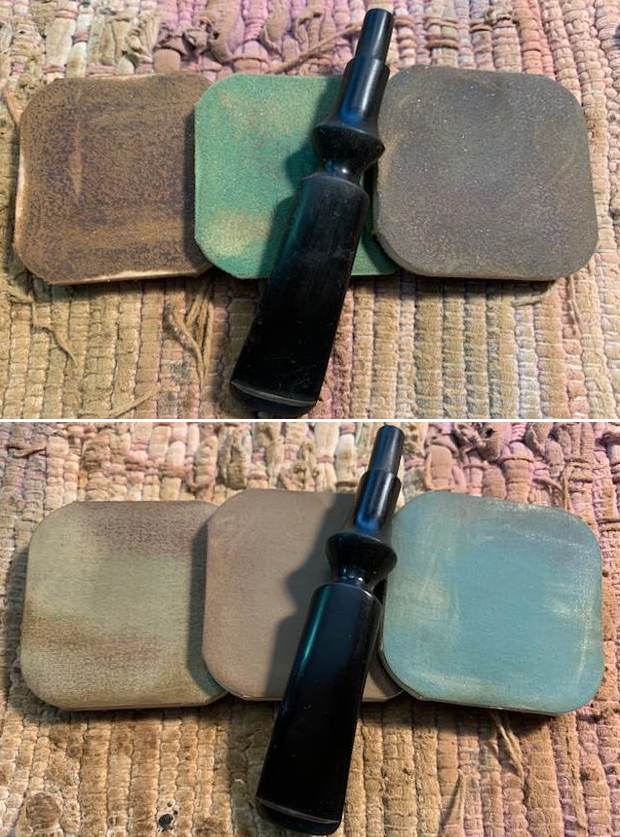
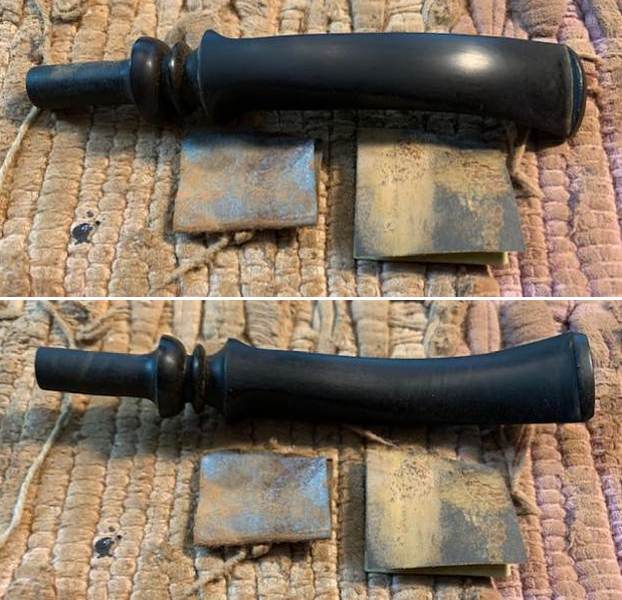
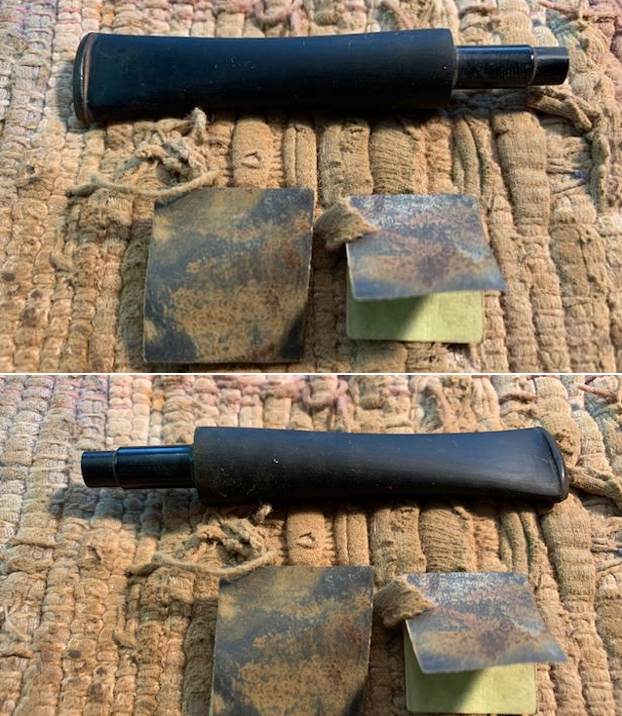
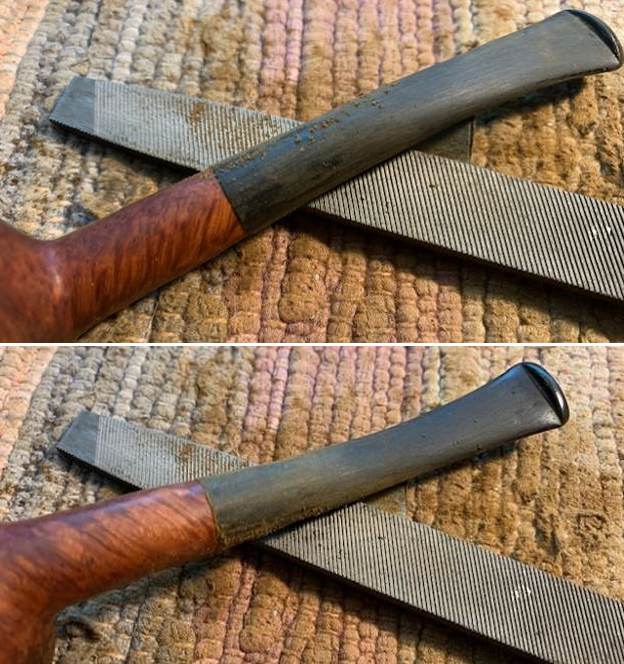
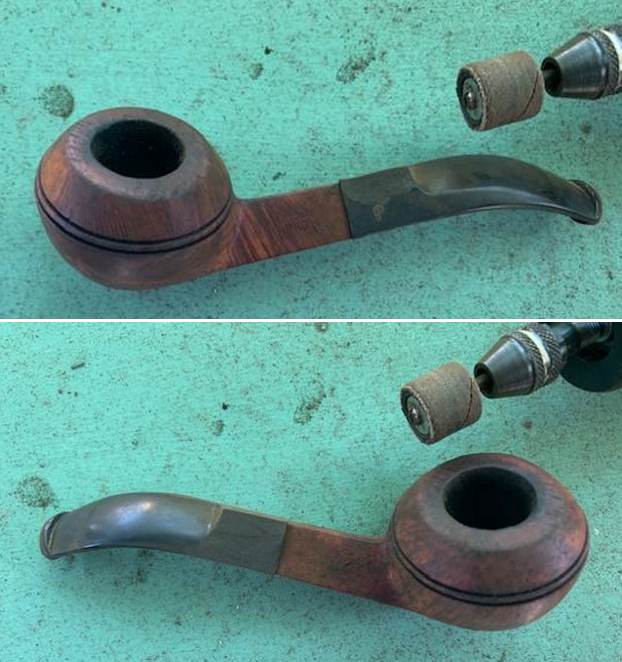
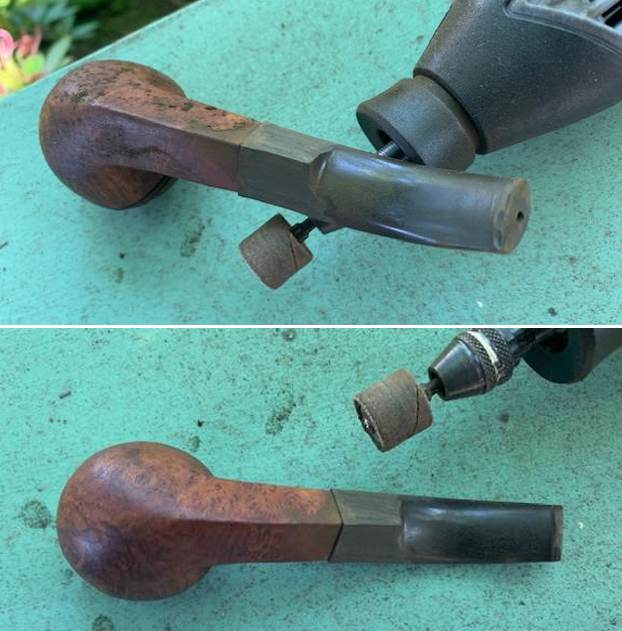
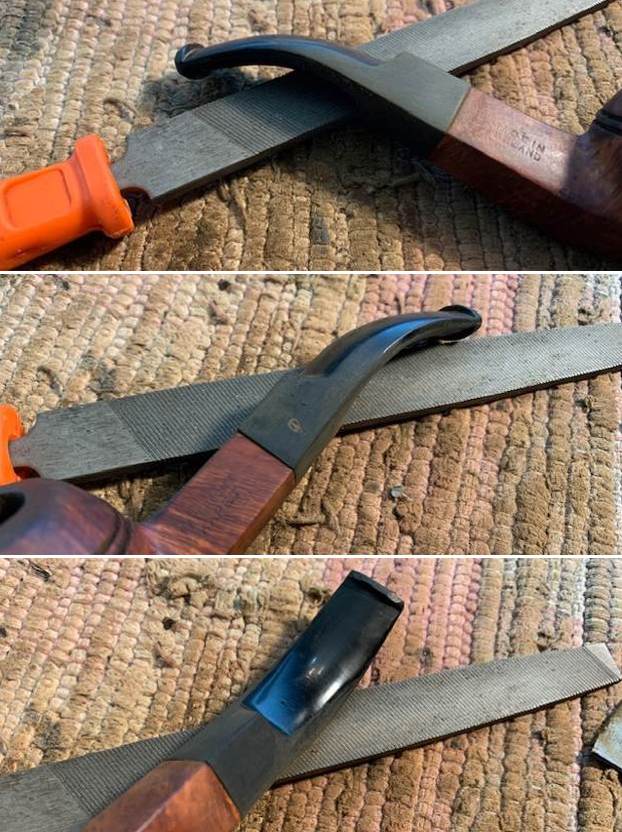
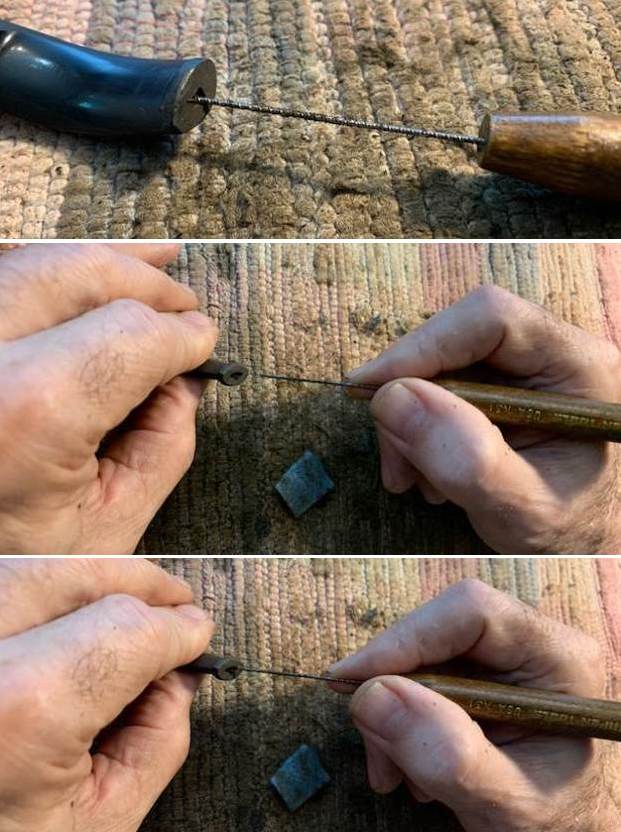
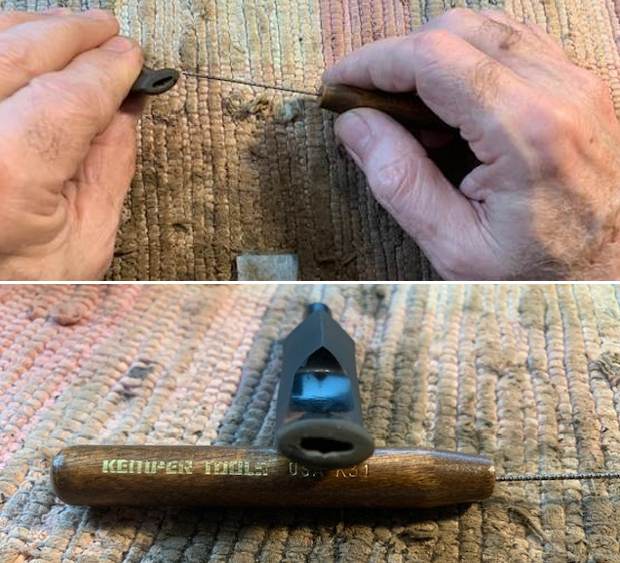
 I “painted” the stem surface with the flame of a Bic lighter. I was able to lift the dents and then sanded out the remnants of chatter and marks with 220 grit sandpaper. I started polishing the stem with 400 grit wet dry sandpaper.
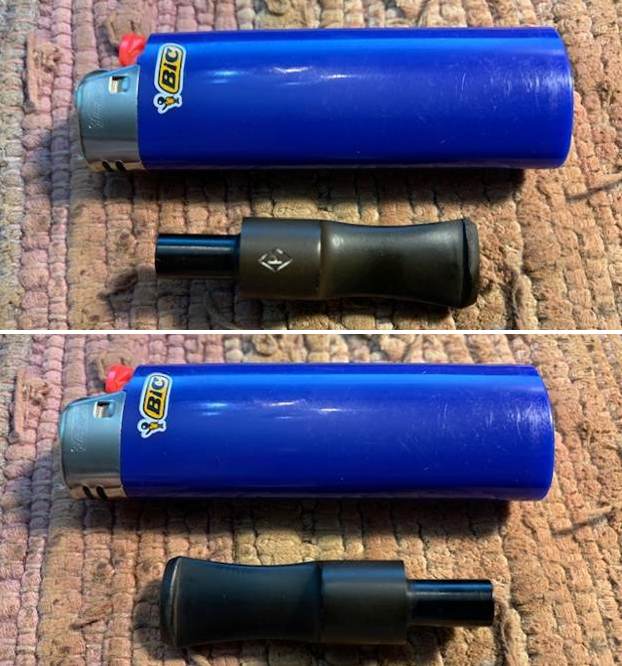
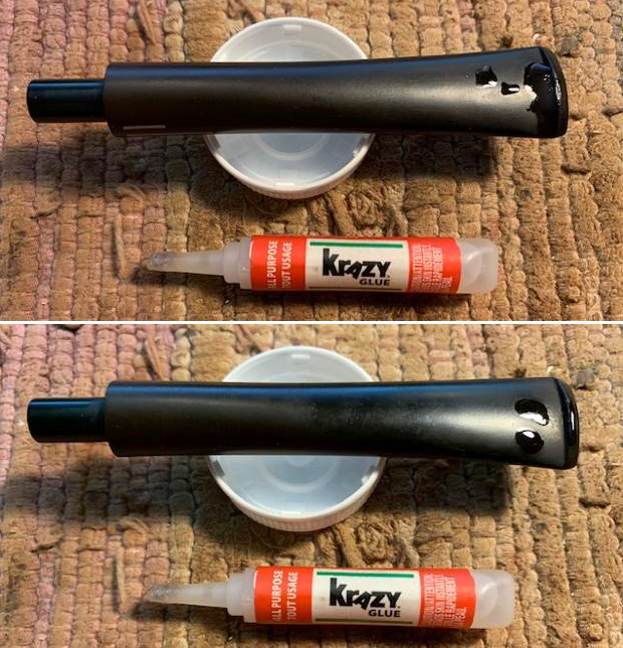
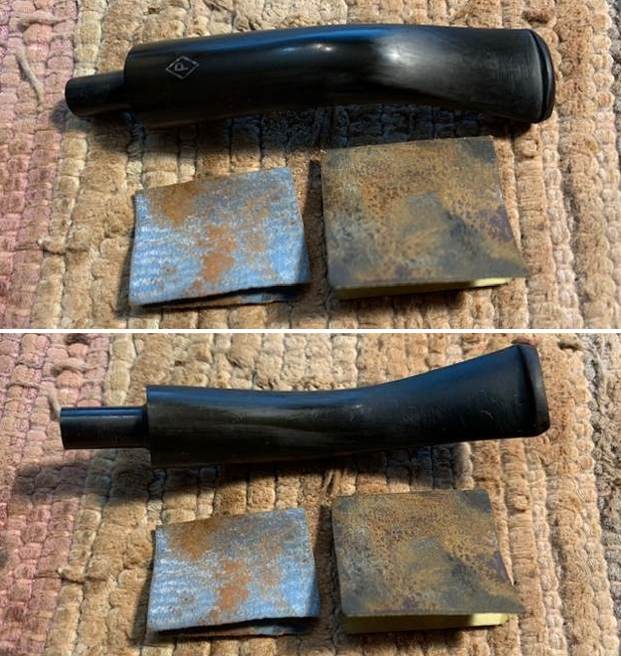
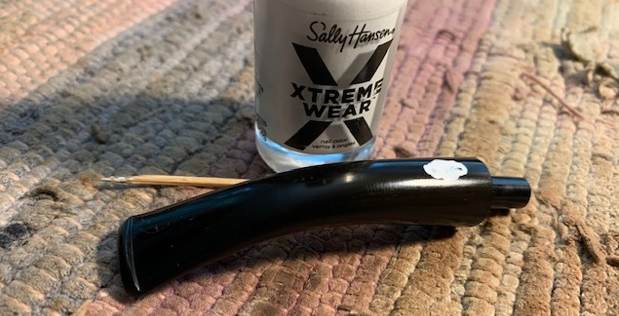
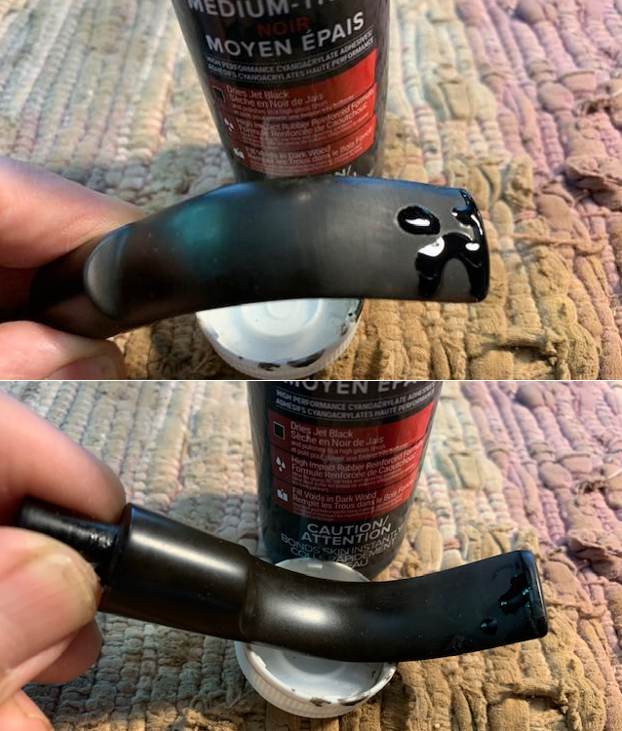
 I touched up the Diamond P stamp with White Acrylic Fingernail Polish. I pushed it into the stamping with a tooth pick. I scraped it off with the tooth pipe and a cotton pad to remove the excess and still leave some in the stamping. Afterwards I used a 1500 grit micromesh sanding pad to remove the remaining acrylic.
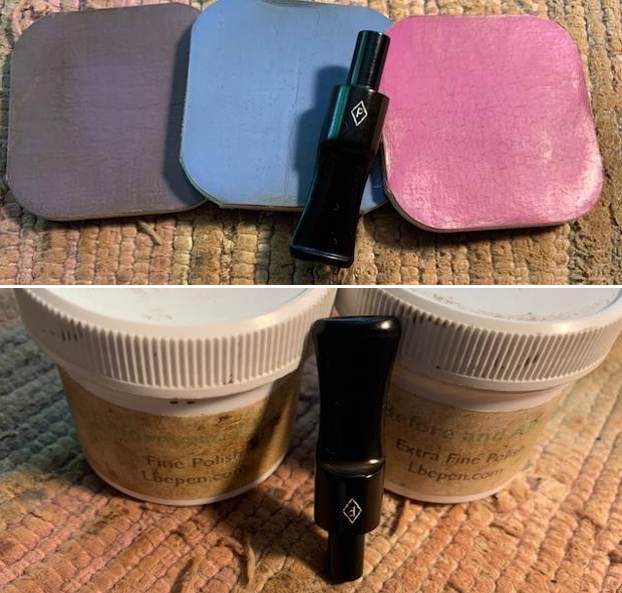
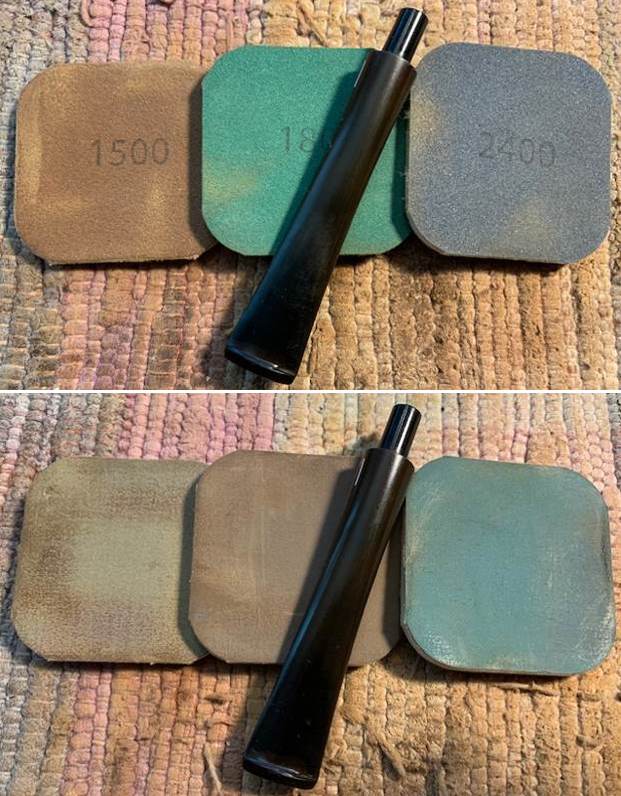
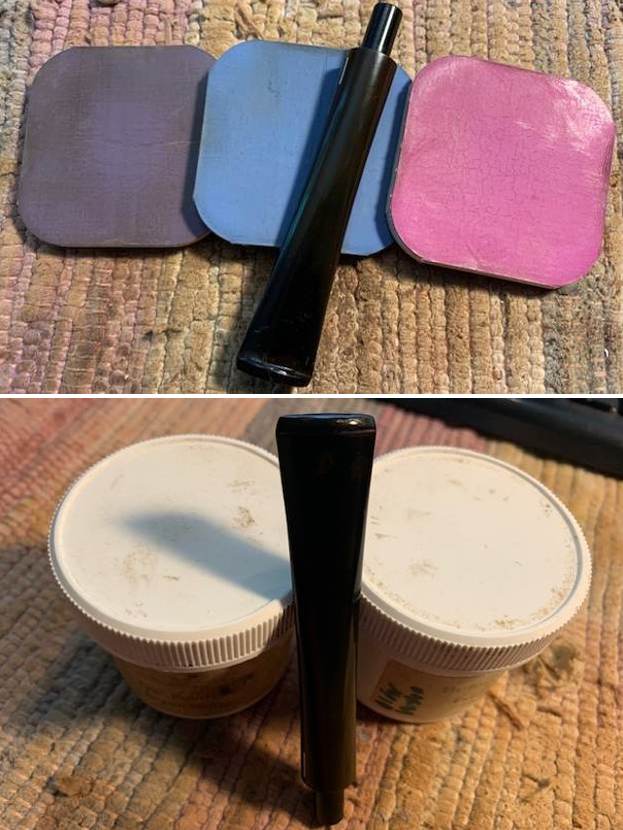
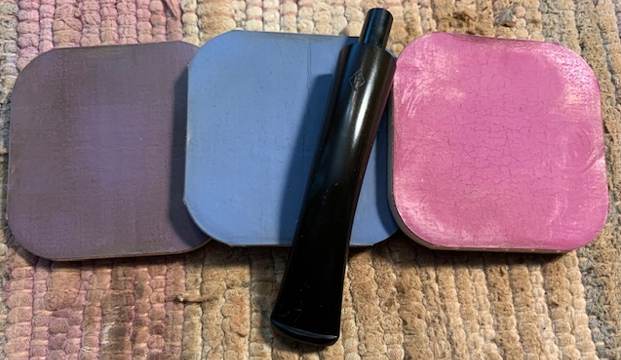
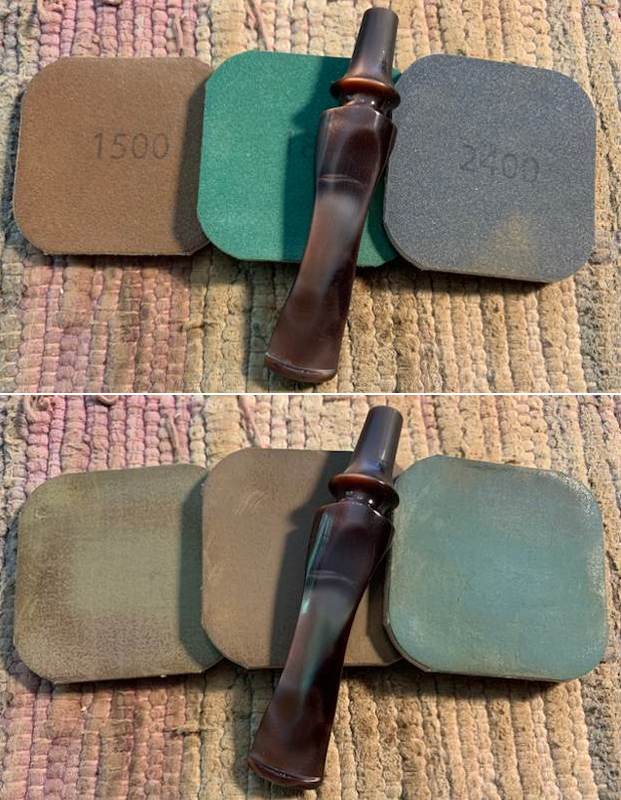
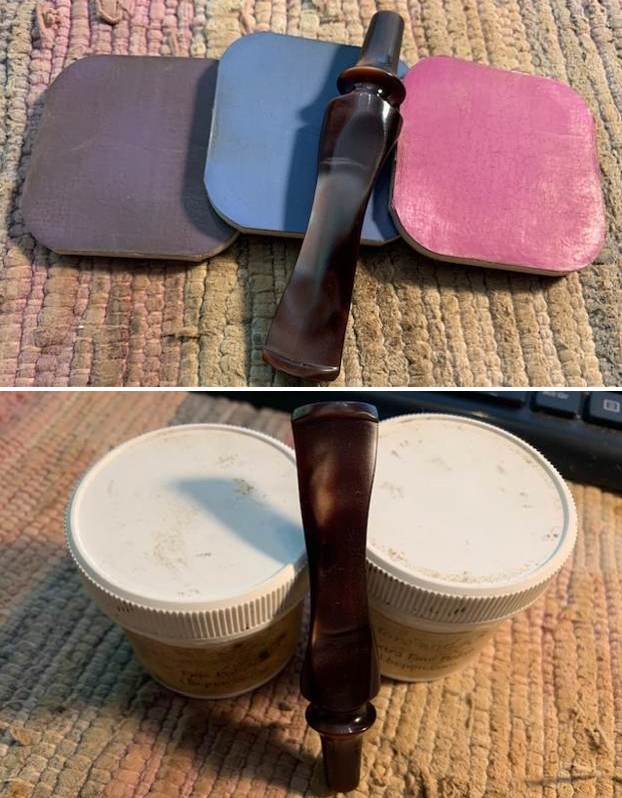
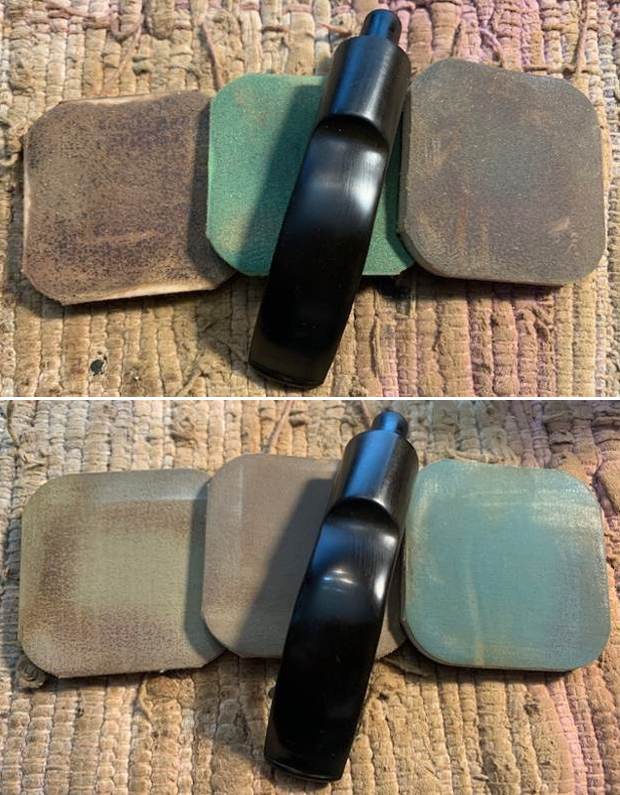
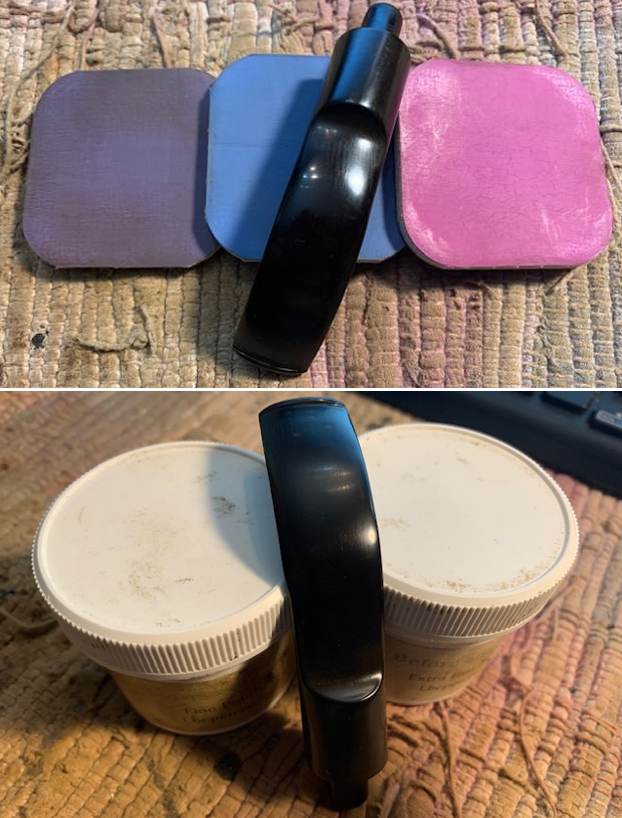
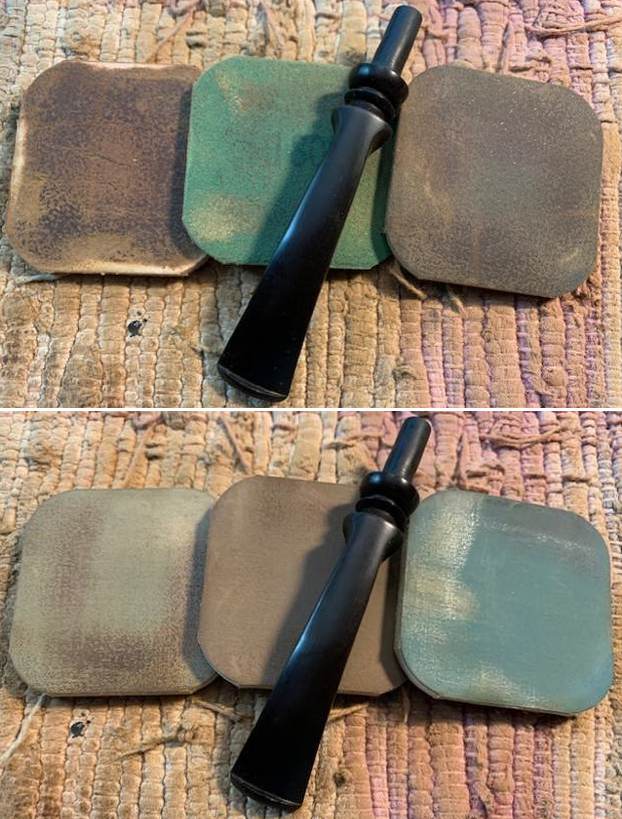
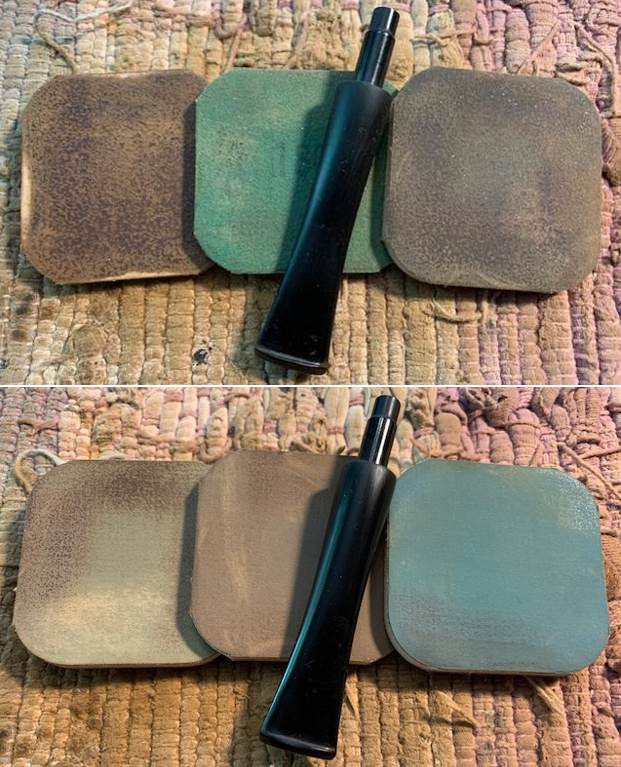
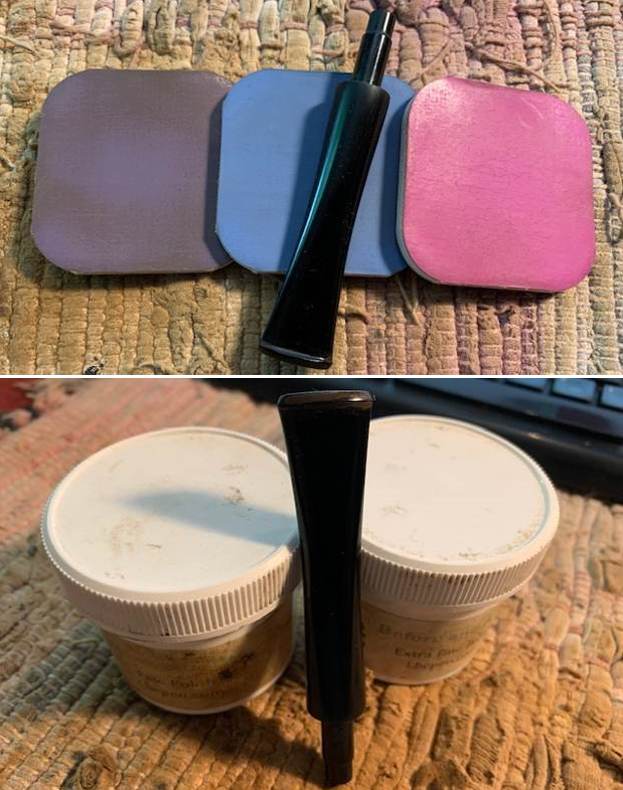
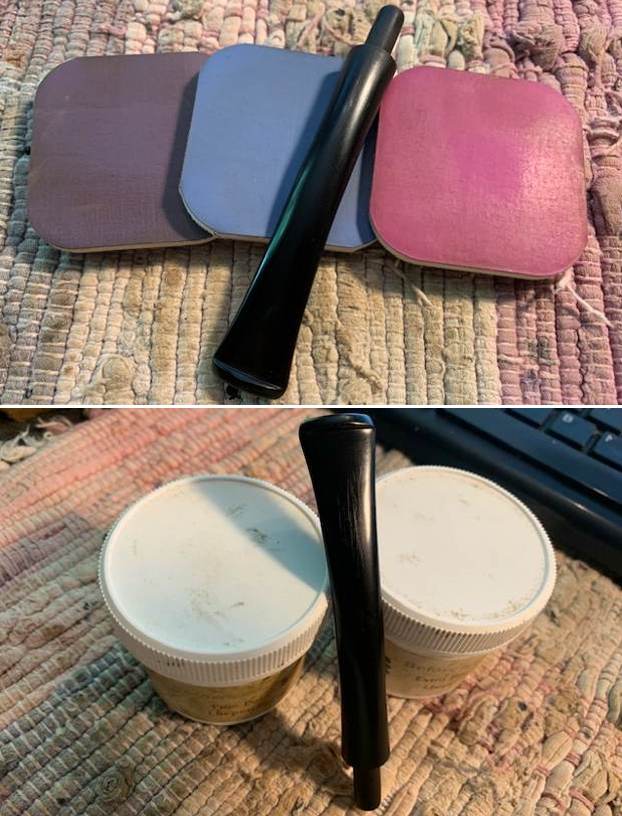
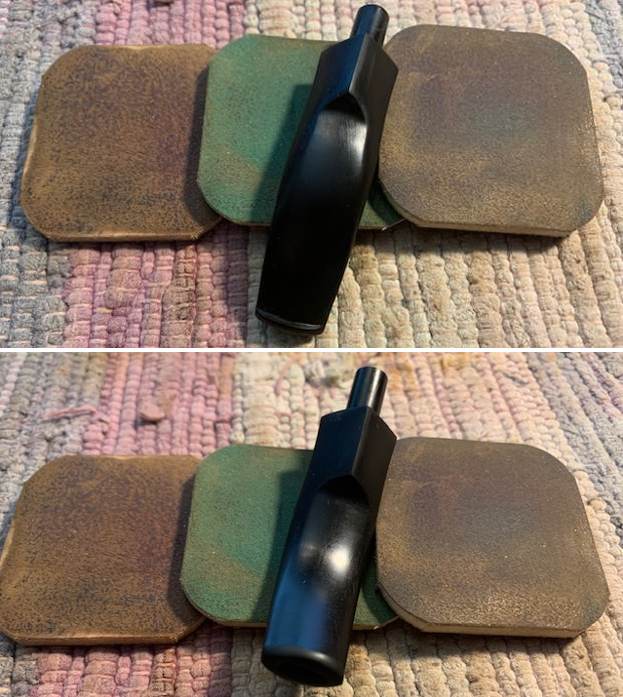
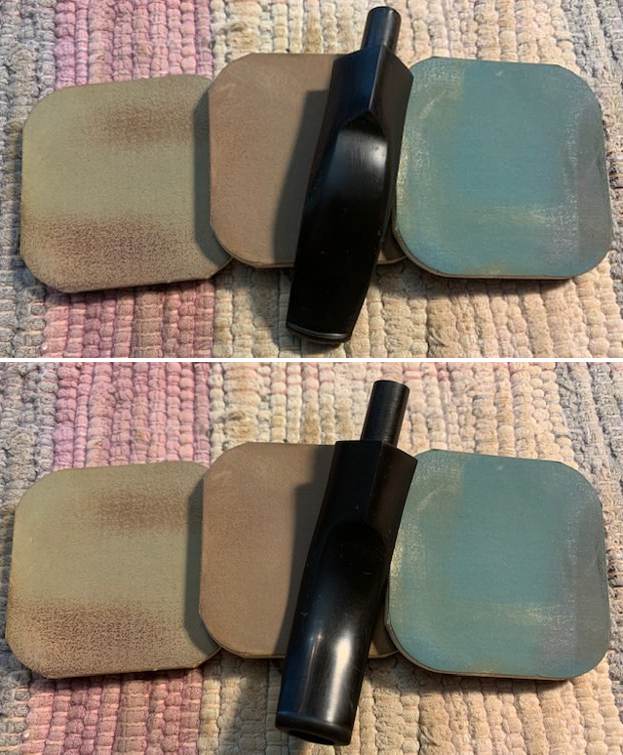
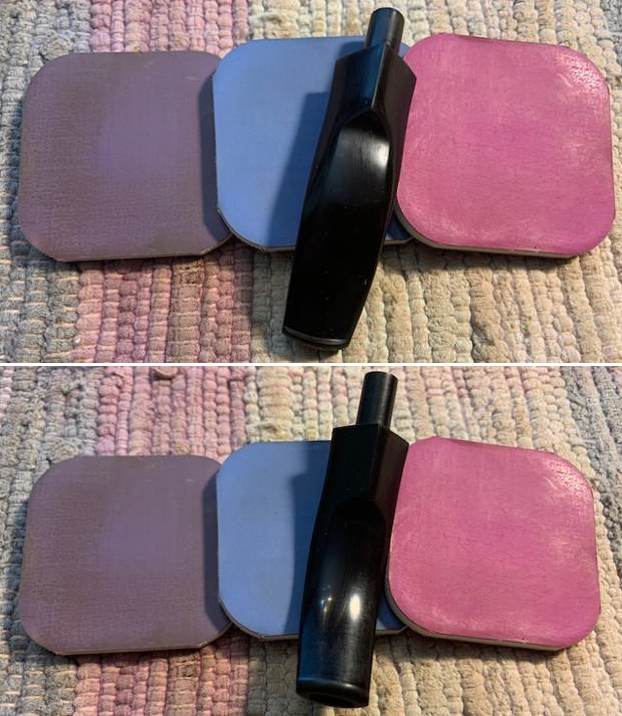
 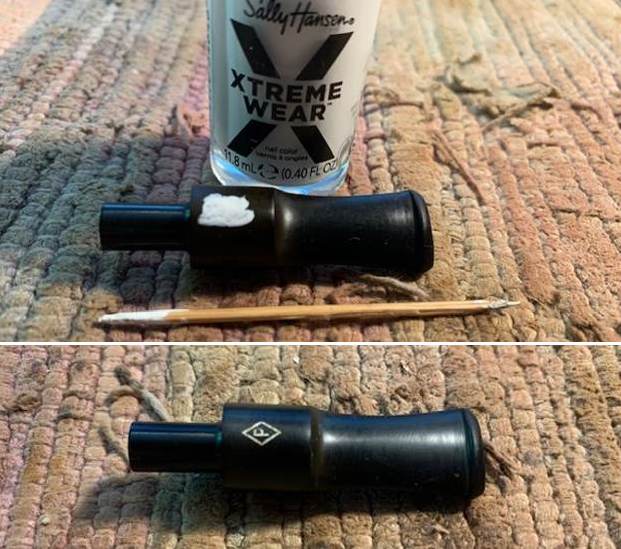 I polished the vulcanite stem with micromesh sanding pads – 1500-12000 grit pads. I wiped it down with cloth impregnated with Obsidian Oil after each sanding pad.
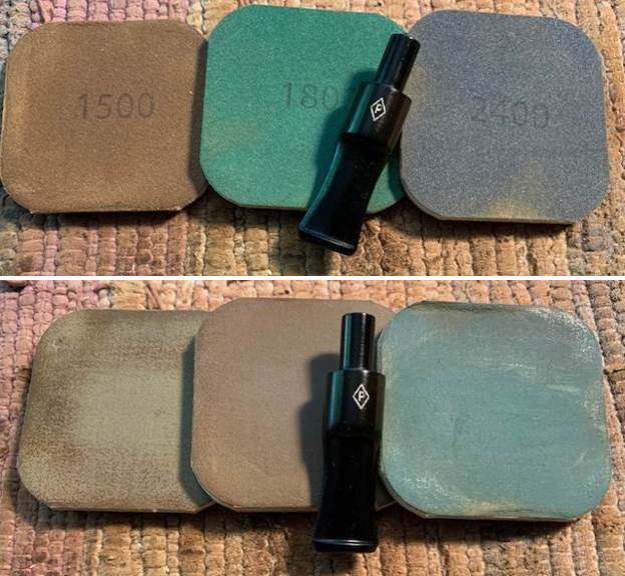
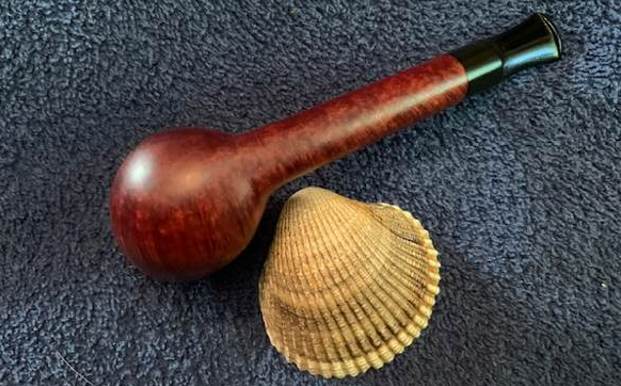
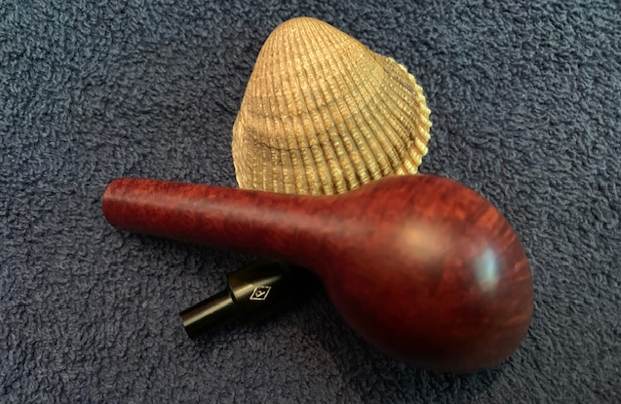
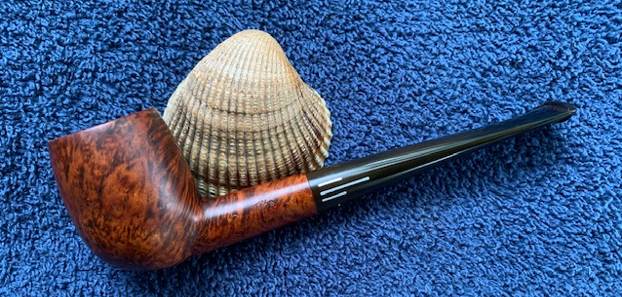
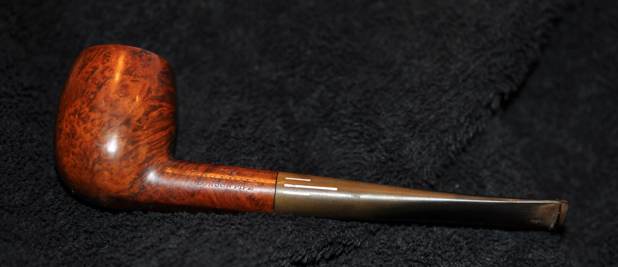
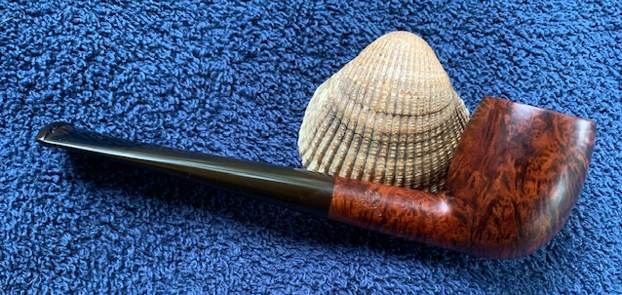
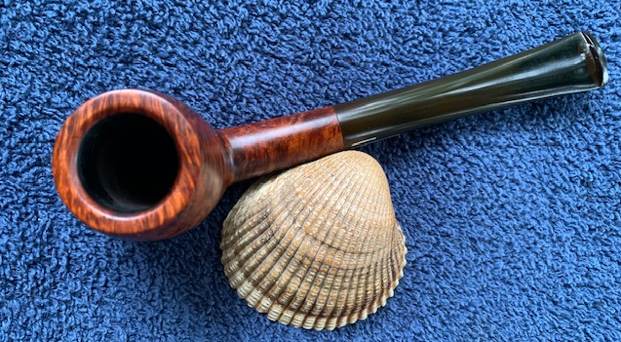
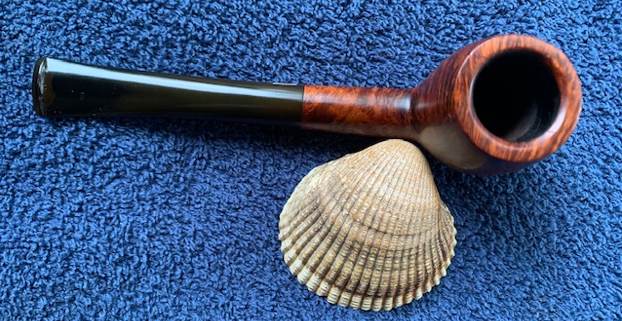
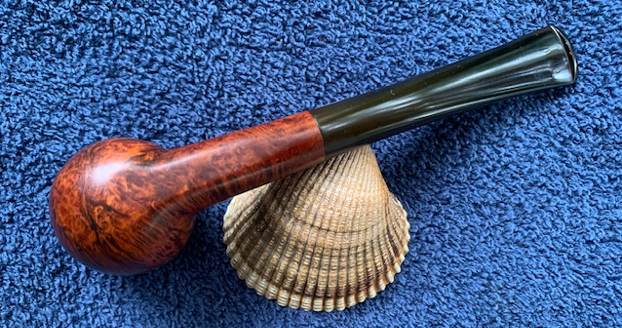
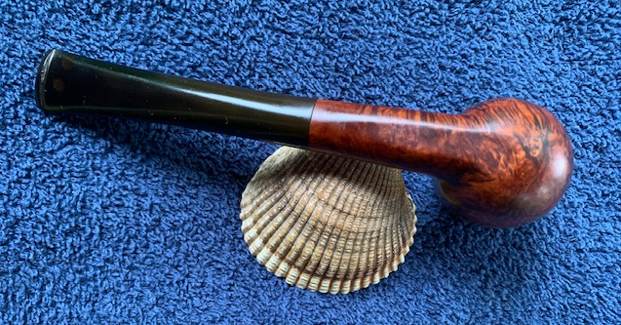
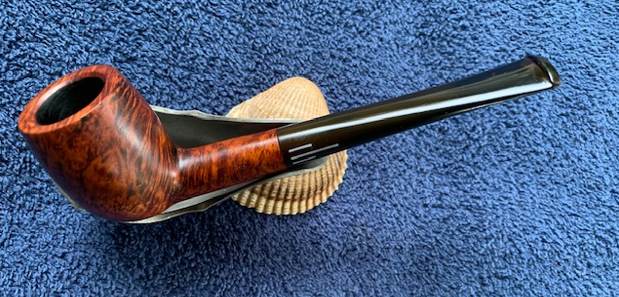
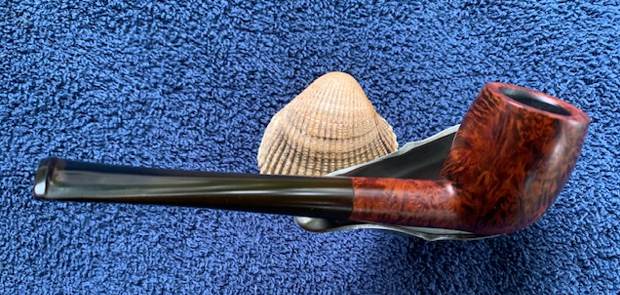
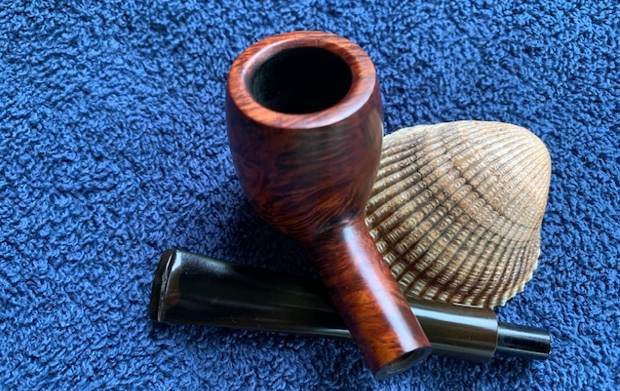
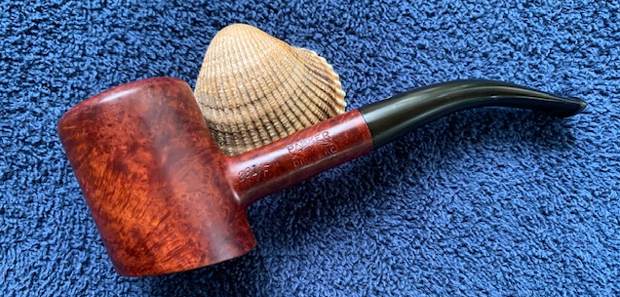
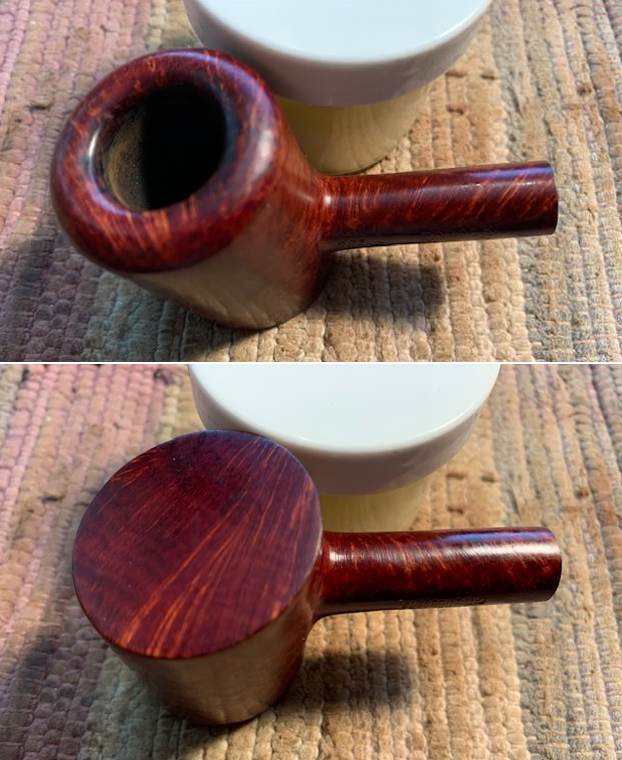
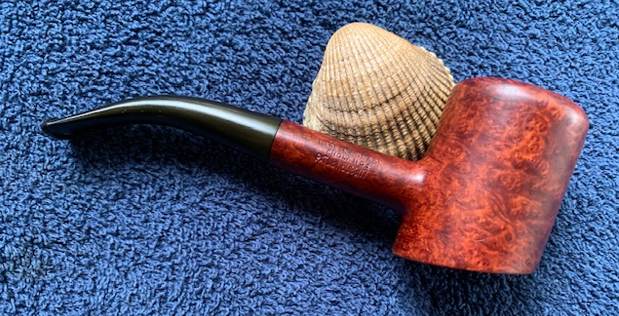
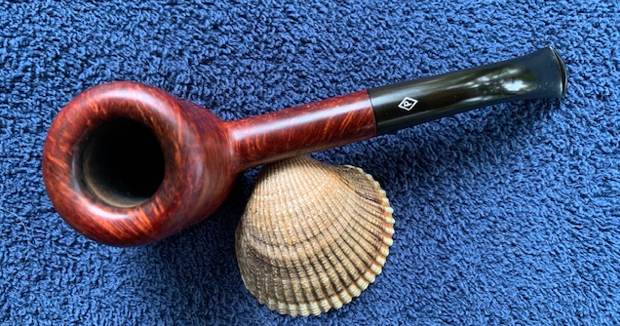
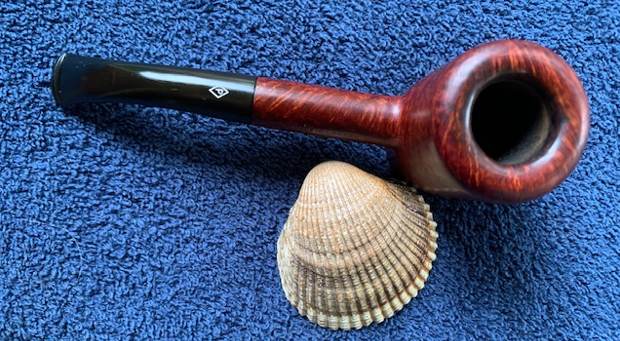
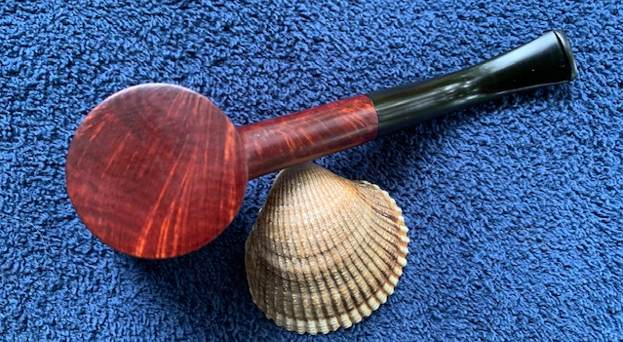
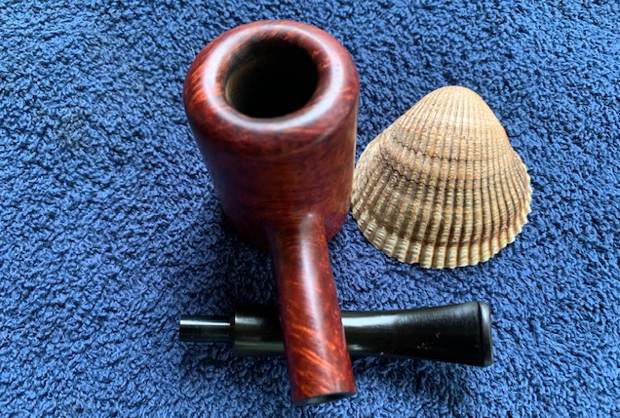
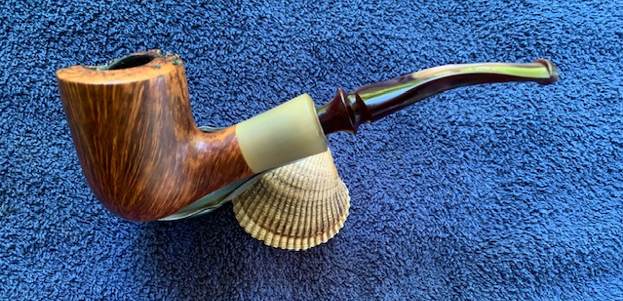
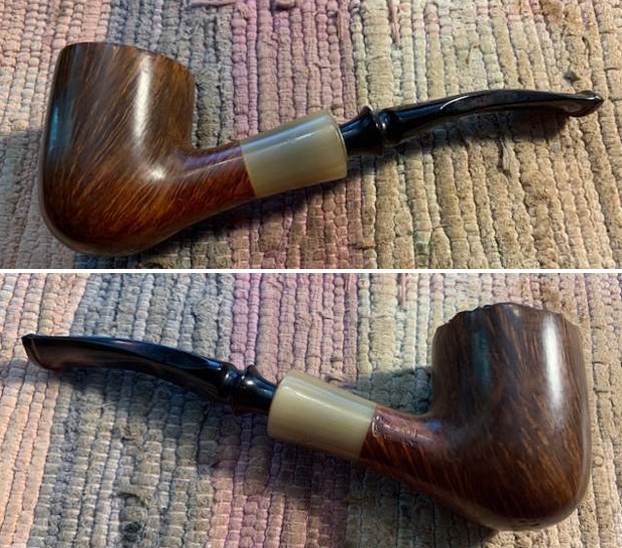
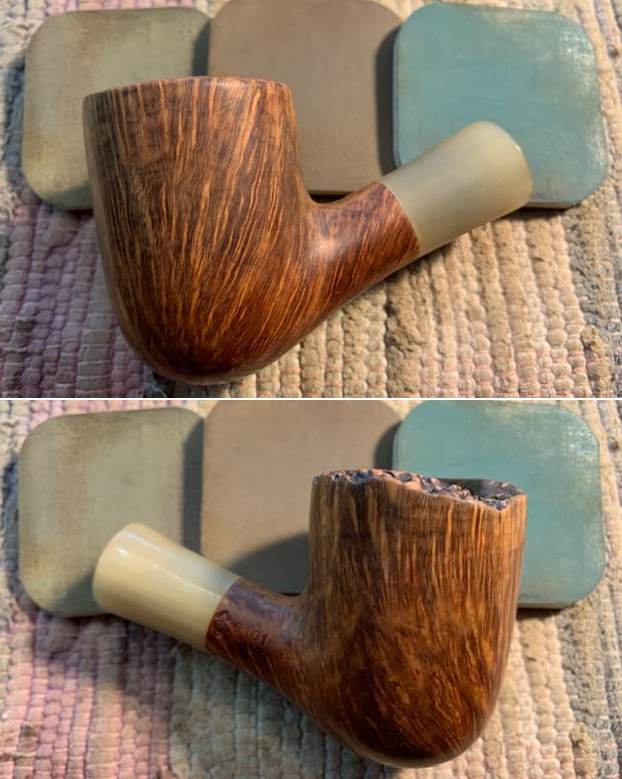
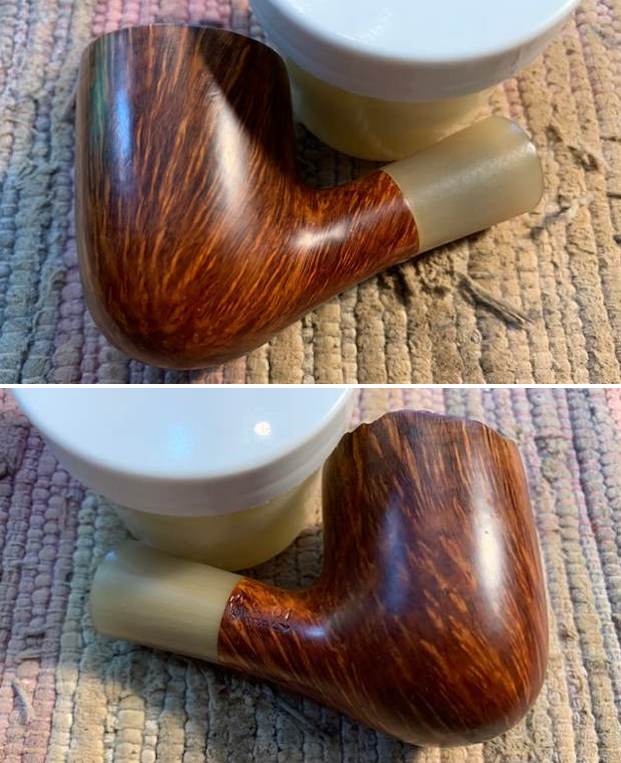
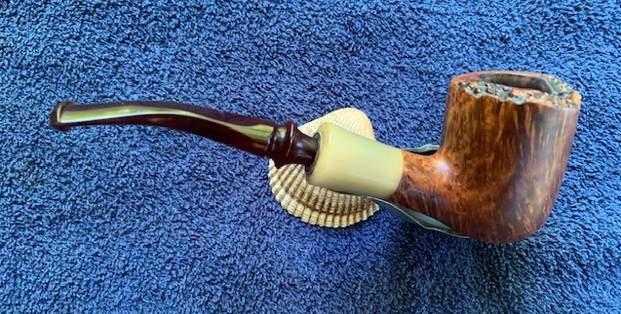
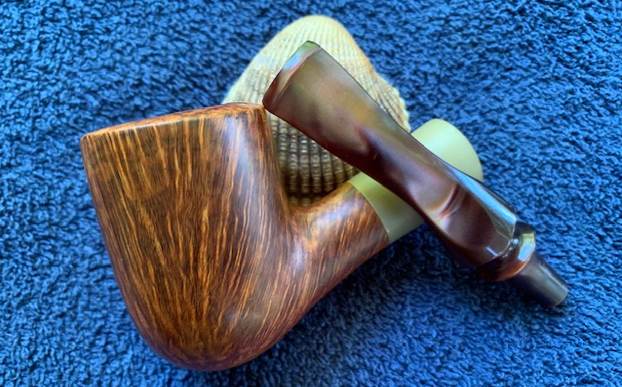
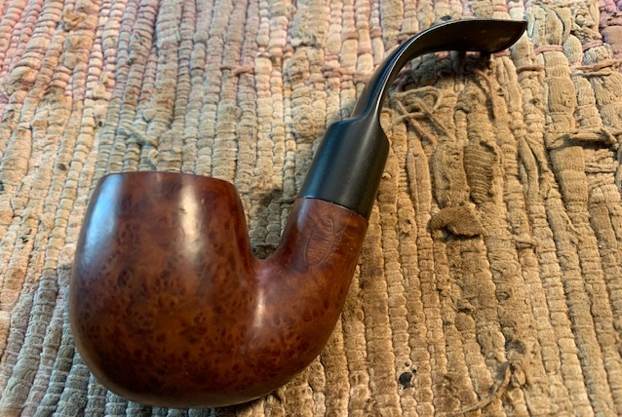
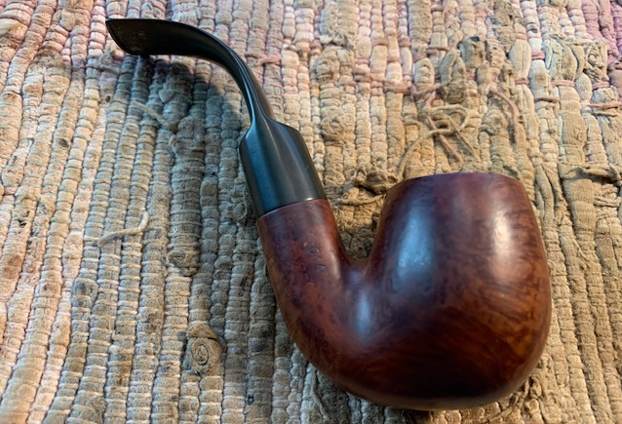
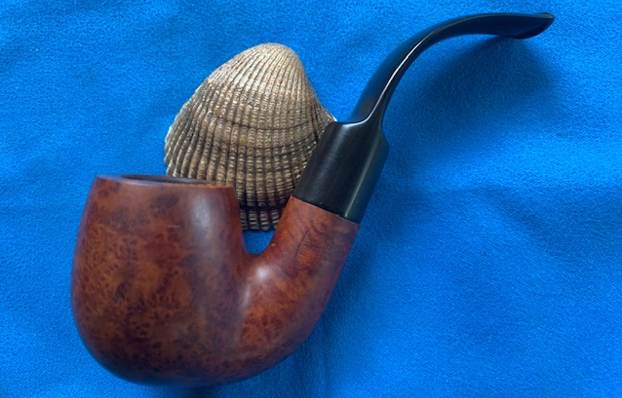
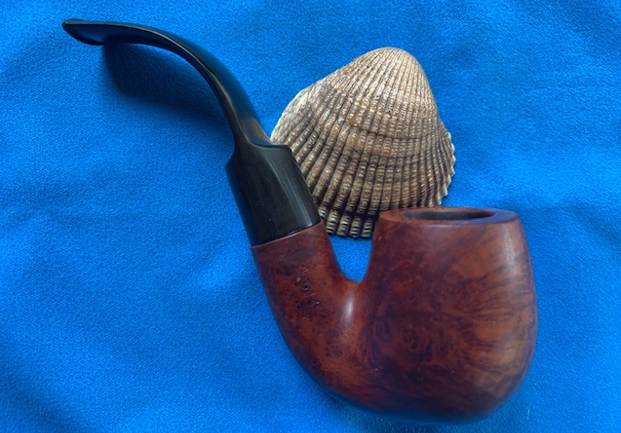
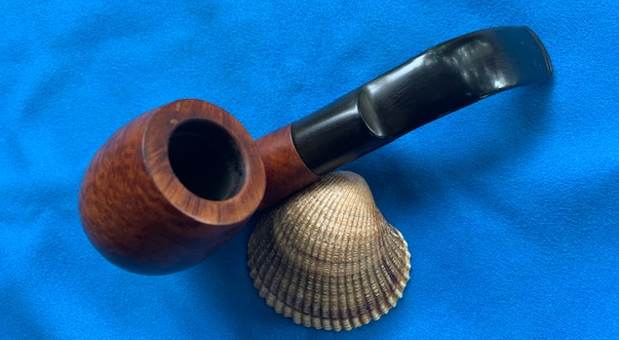
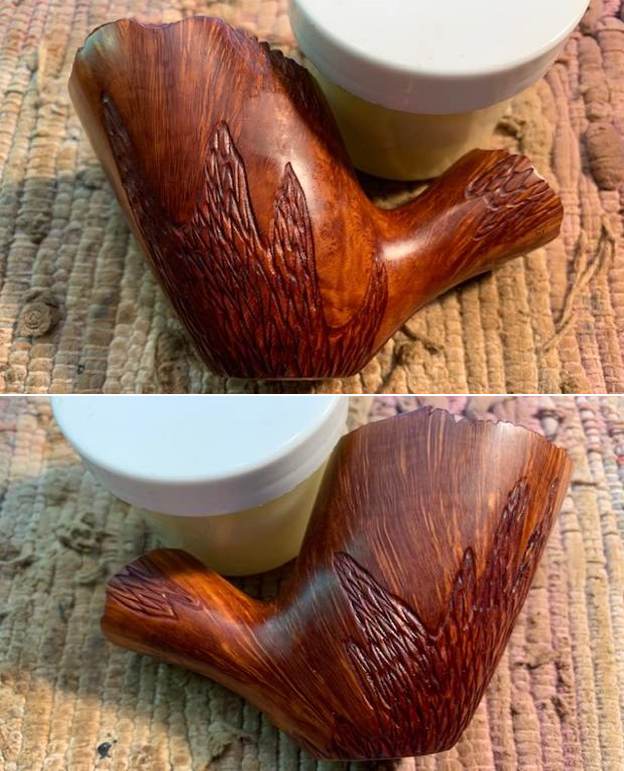
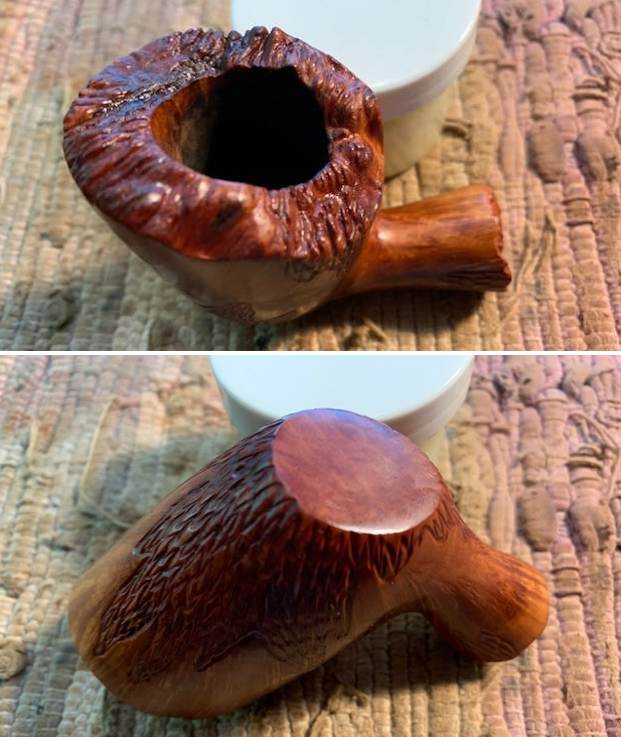
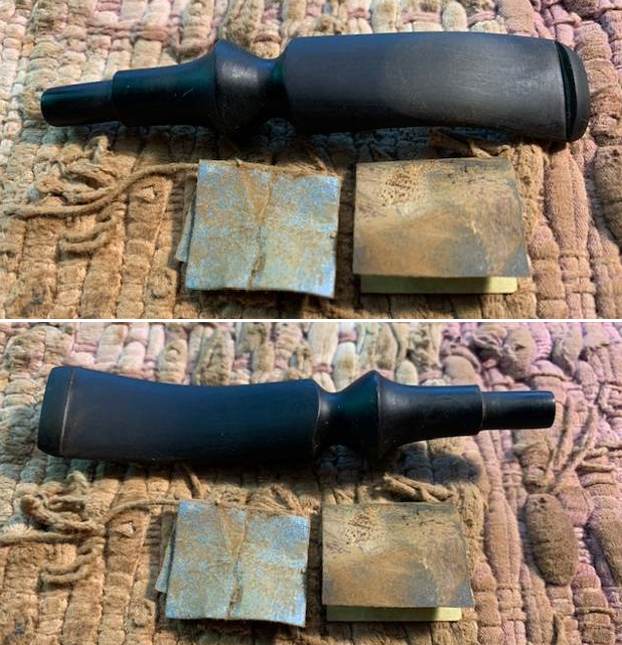
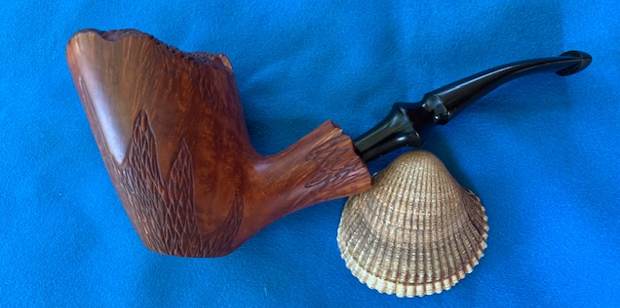
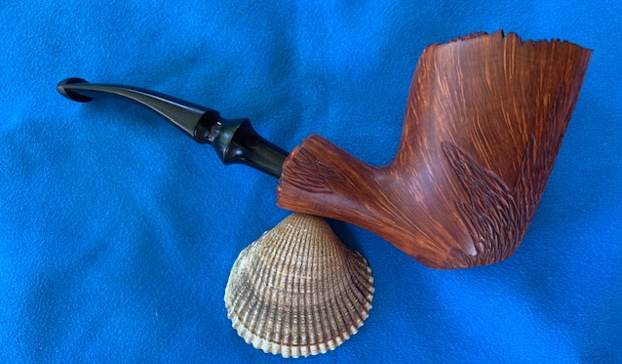
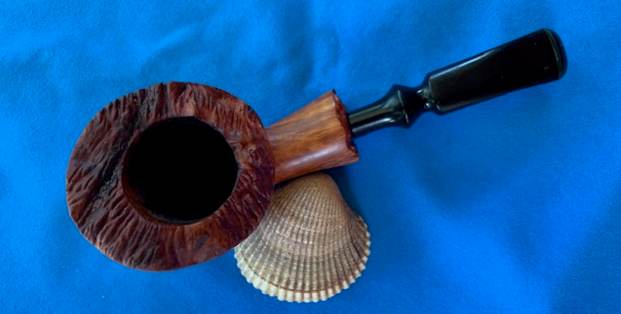
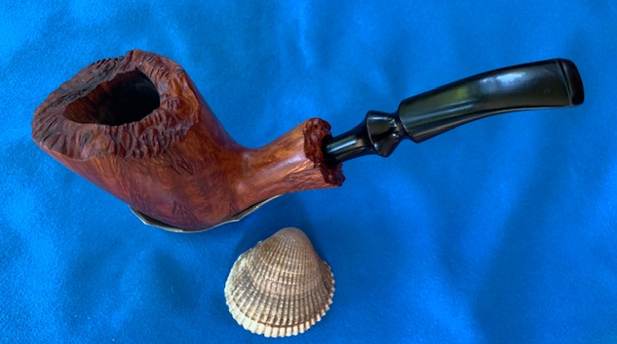
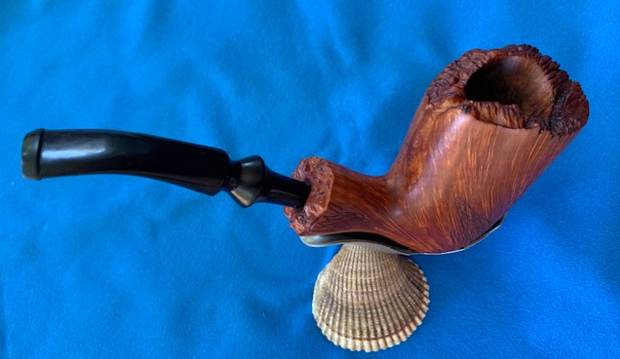
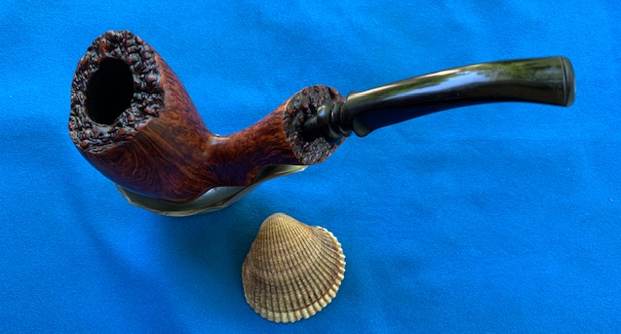
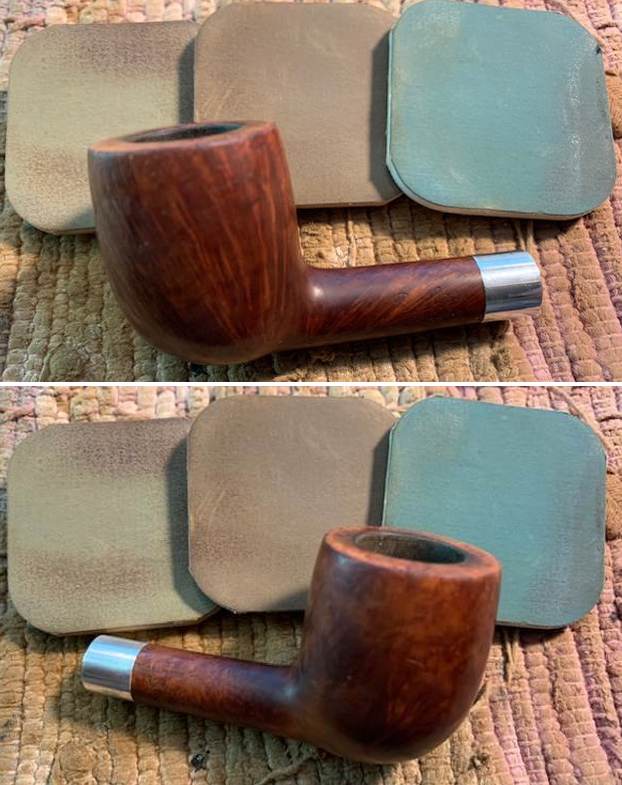
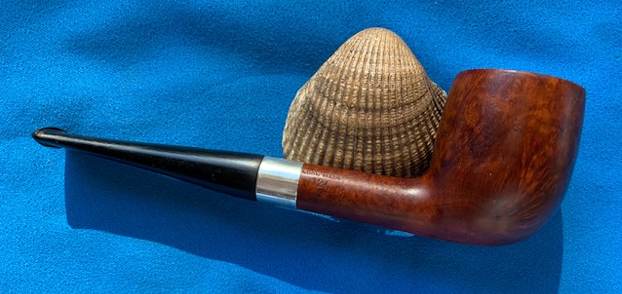
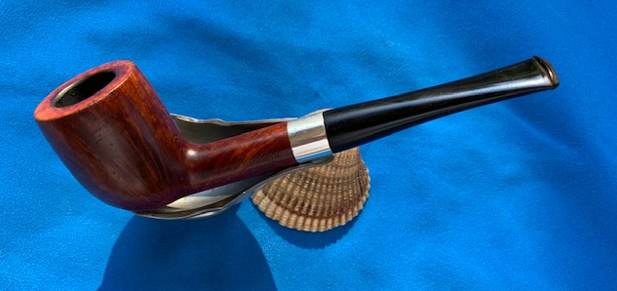
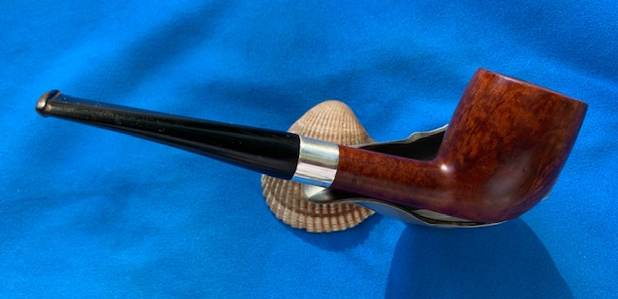
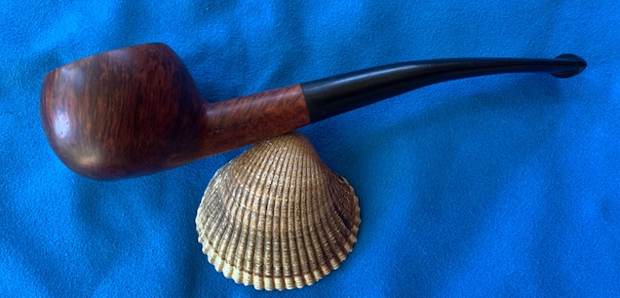
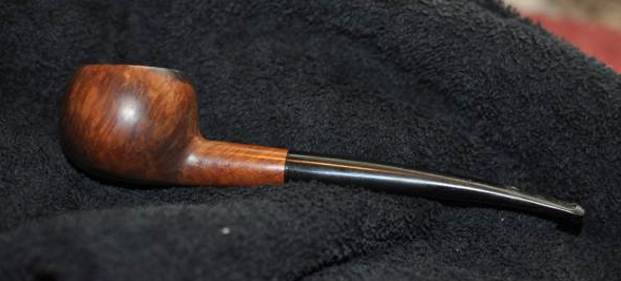
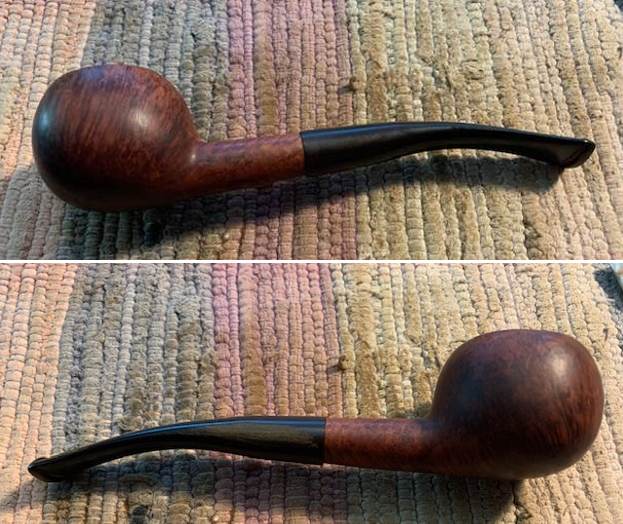
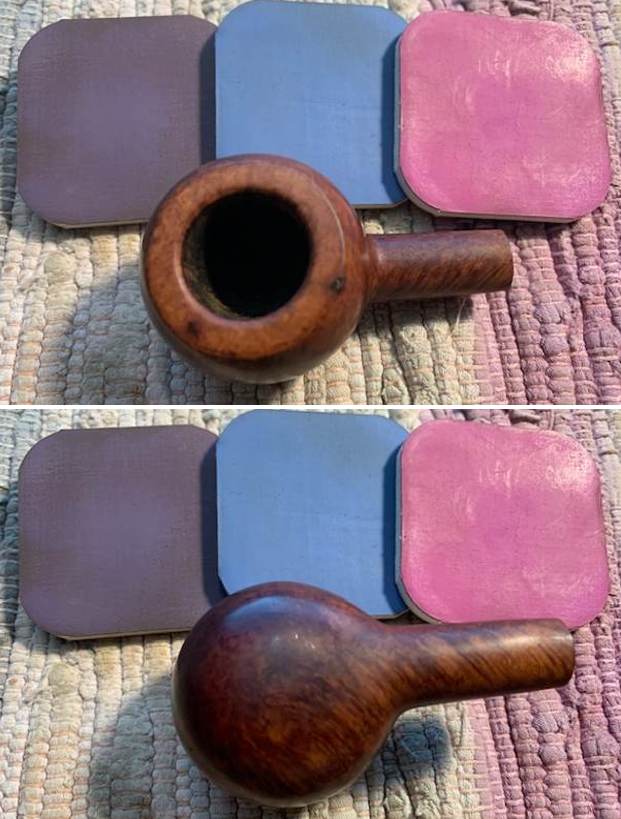
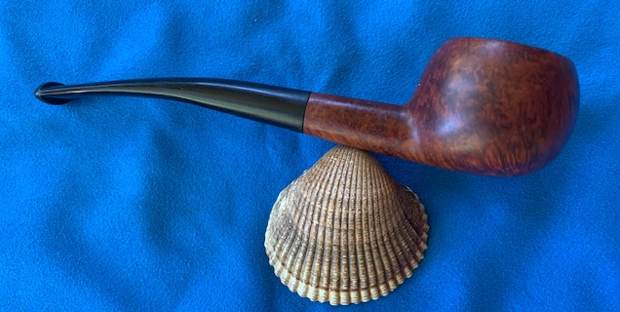
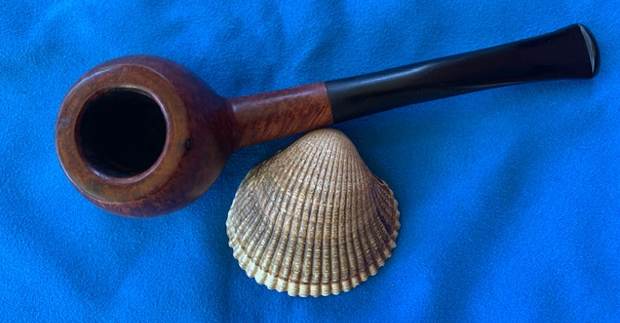
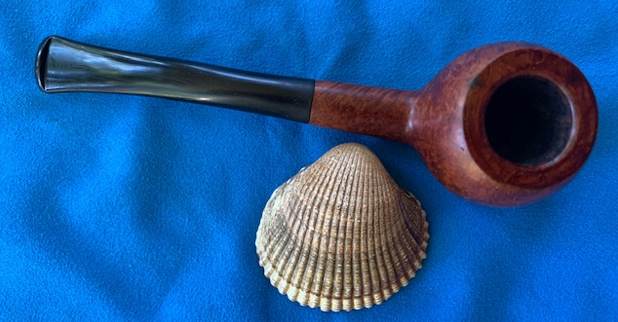
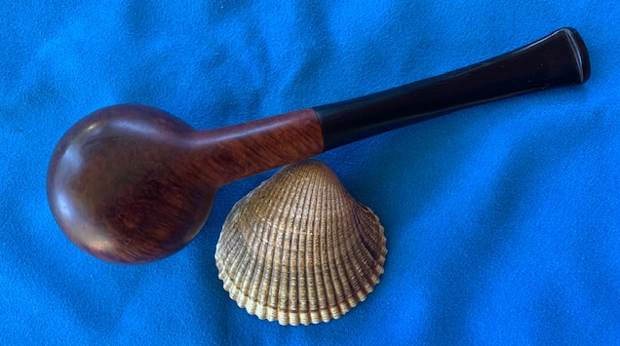
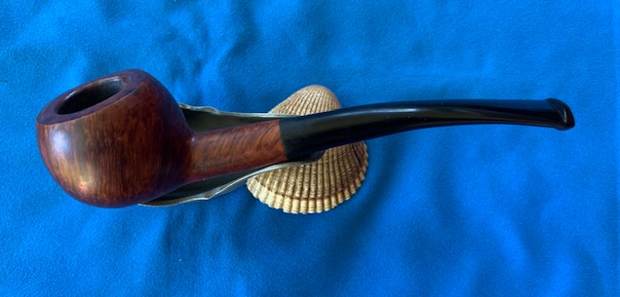
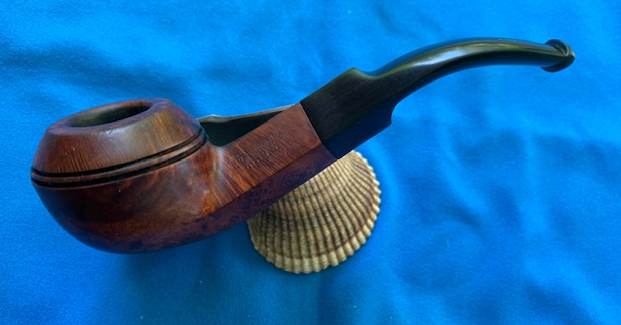
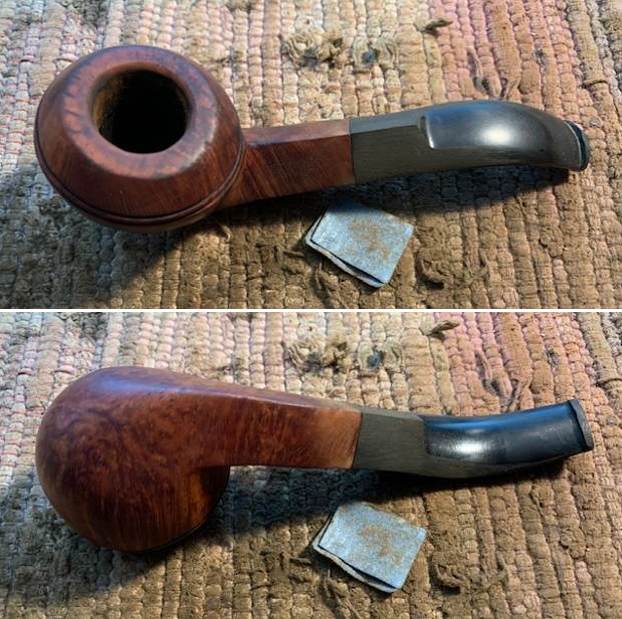
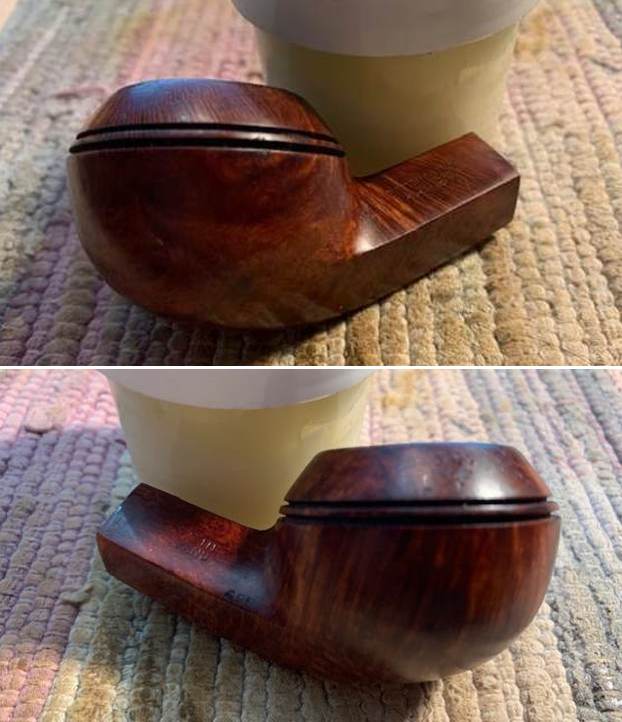
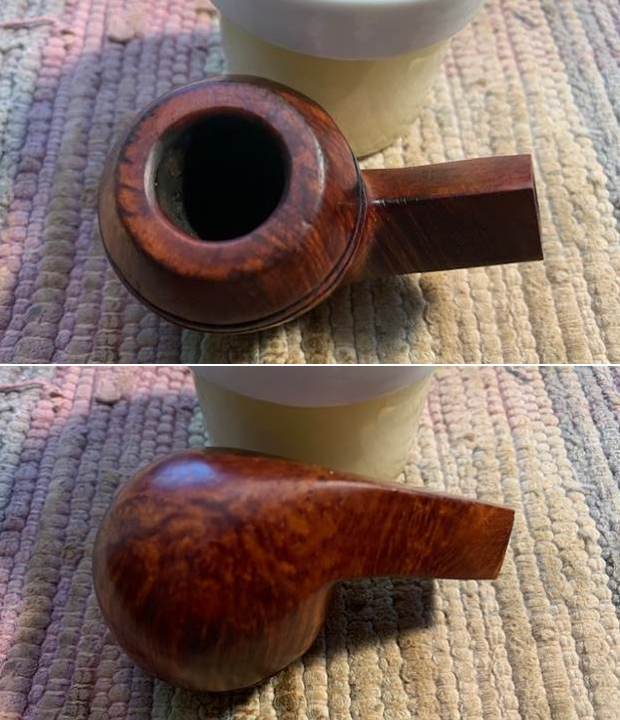
 This 1953 Parker British Made Super Bruyere 68F Lovat is a great looking pipe now that it has been restored. The medium reddish brown stain highlights the grain and works well with the polished vulcanite bent taper stem. I put the stem back on the bowl and carefully buffed the pipe with Blue Diamond on the buffing wheel using a light touch on the briar. I gave the bowl and the stem multiple coats of carnauba wax on the buffing wheel and followed that by buffing the entire pipe with a clean buffing pad. I hand buffed the pipe with a microfiber cloth to deepen the shine. The finished Lovat fits nicely in the hand and feels great. Give the finished pipe a look in the photos below. The dimensions of the pipe are; Length: 5 inches, Height: 1 ¾ inches, Outer diameter of the bowl: 1 ¼ inches, Chamber diameter: ¾ inches. The weight of the pipe is 1.20 ounces/34 grams. I will be adding it to the rebornpipes store in the British Pipemakers Section. Thanks for reading this blog and my reflections on the pipe while I worked on it. This is an interesting estate to bring back to life.
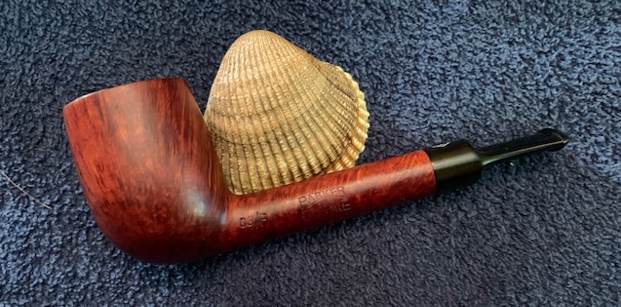


