by Steve Laug
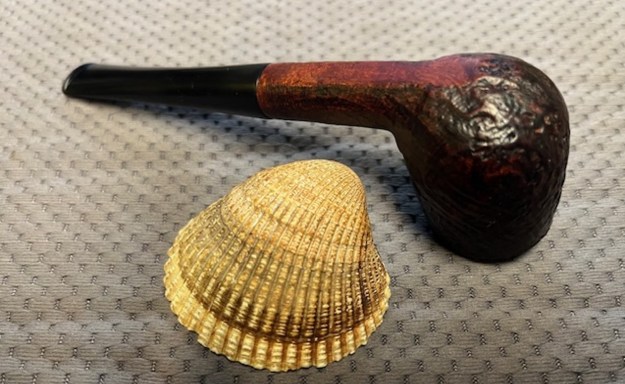
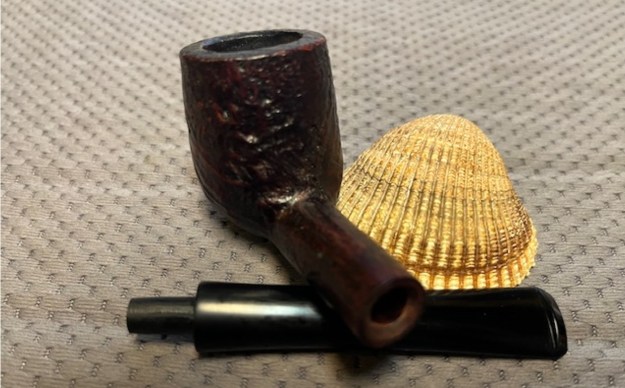
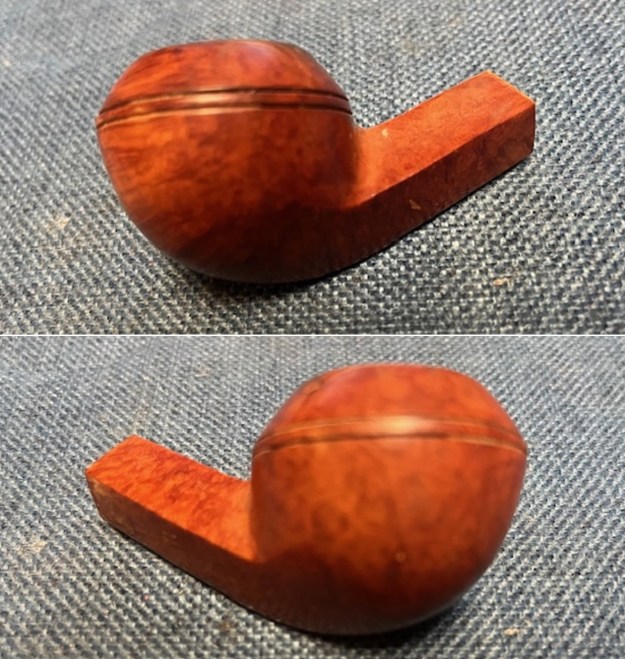
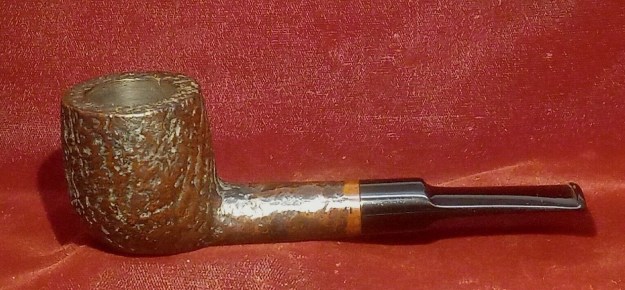
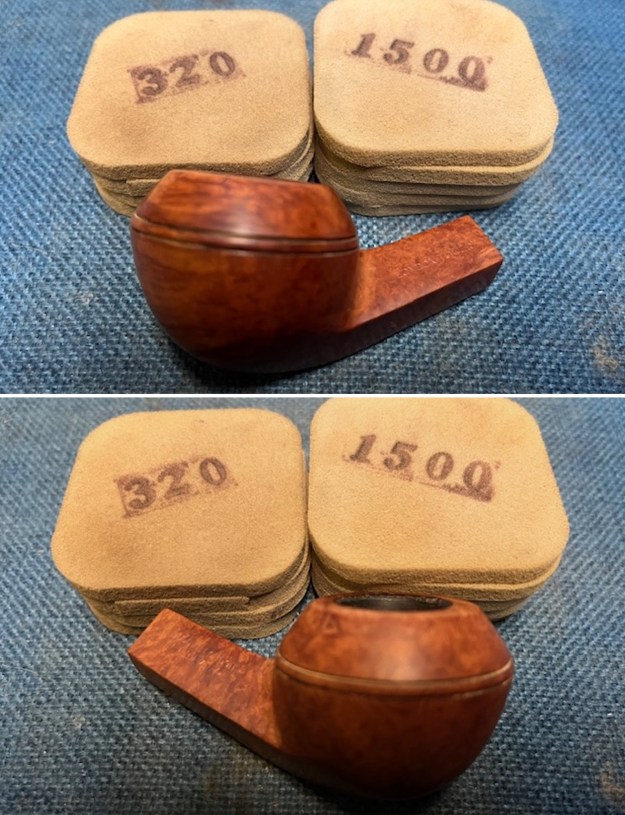
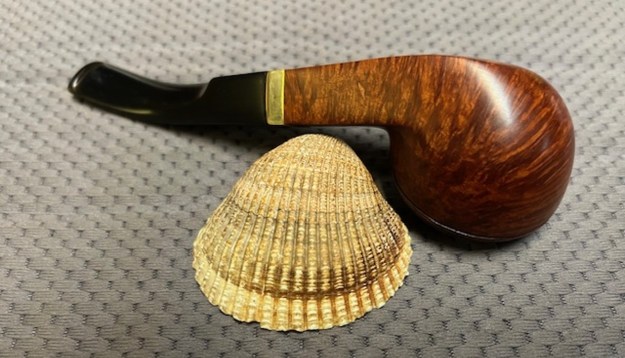
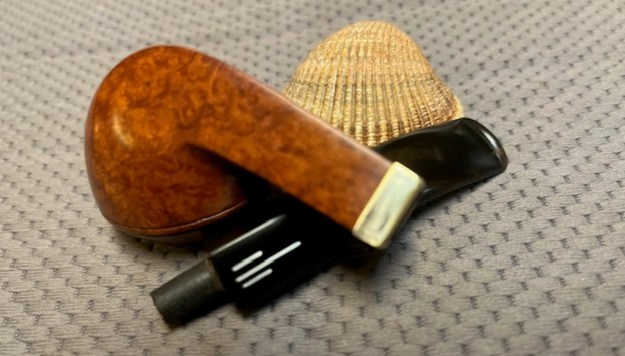
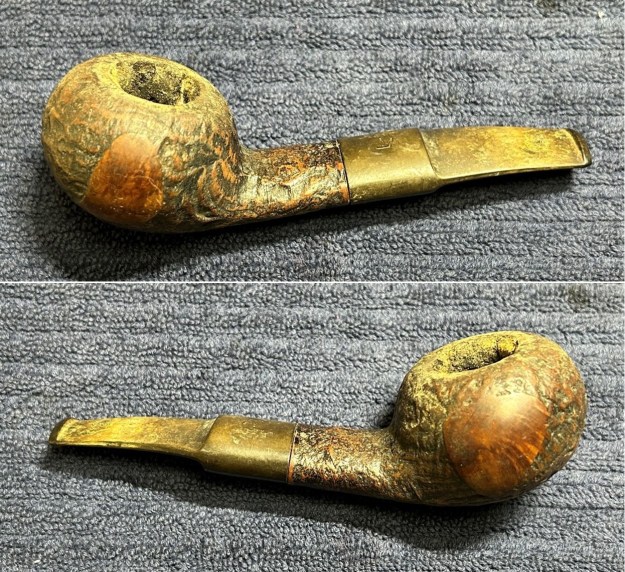
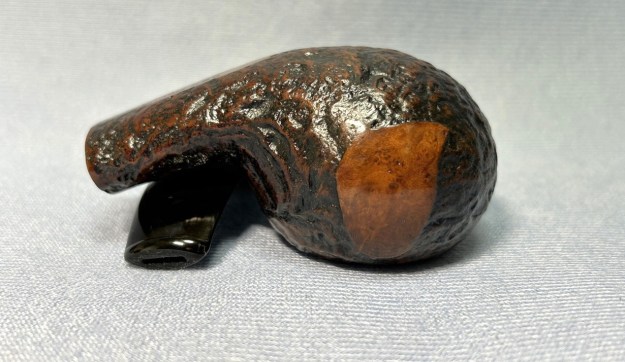
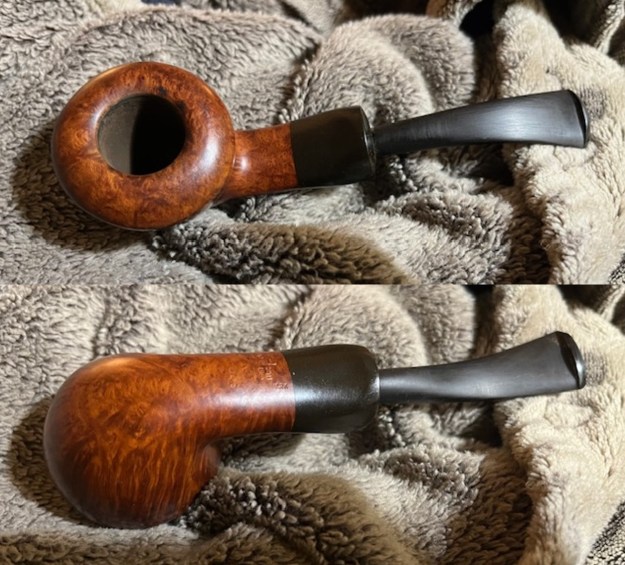
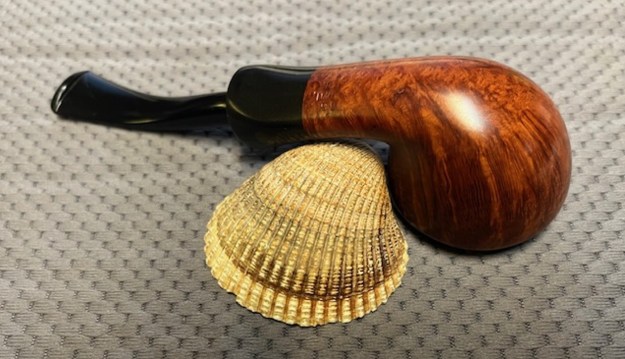
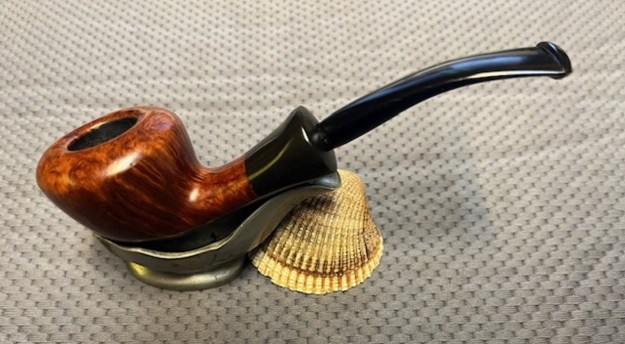
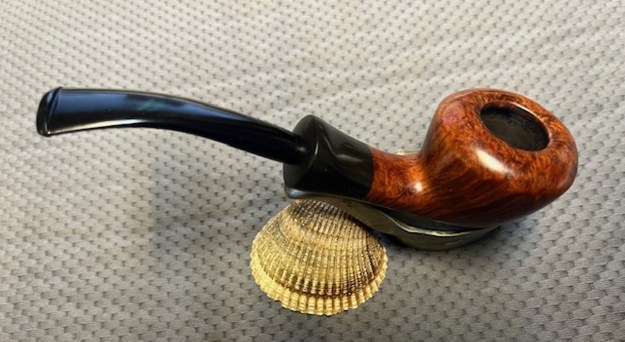
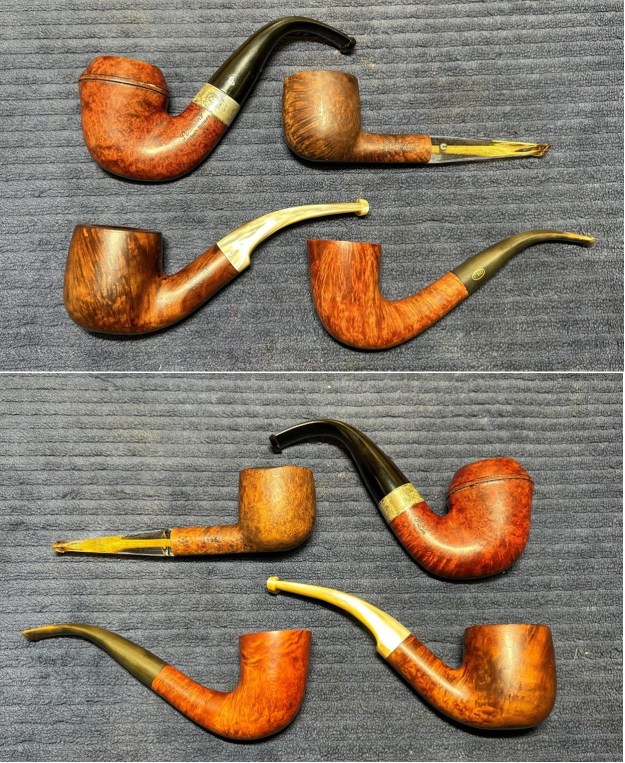
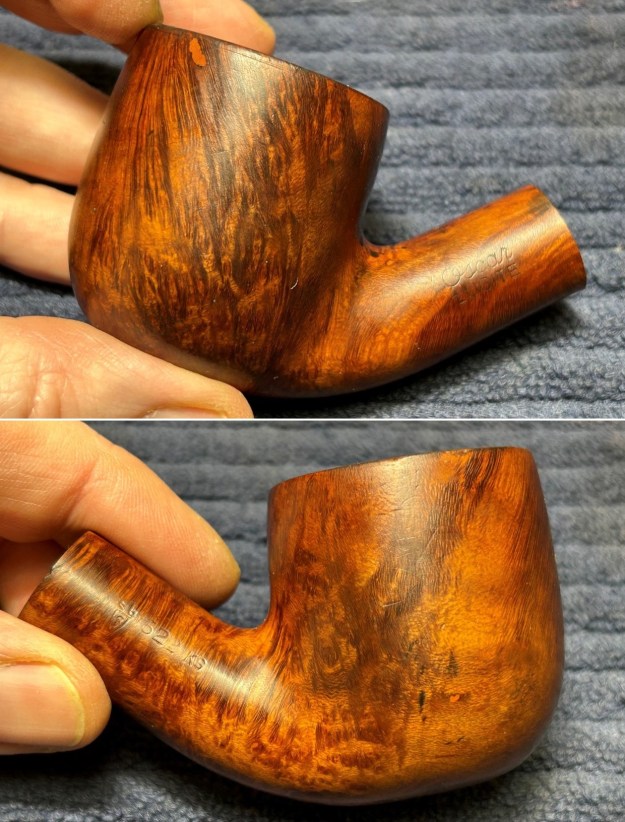
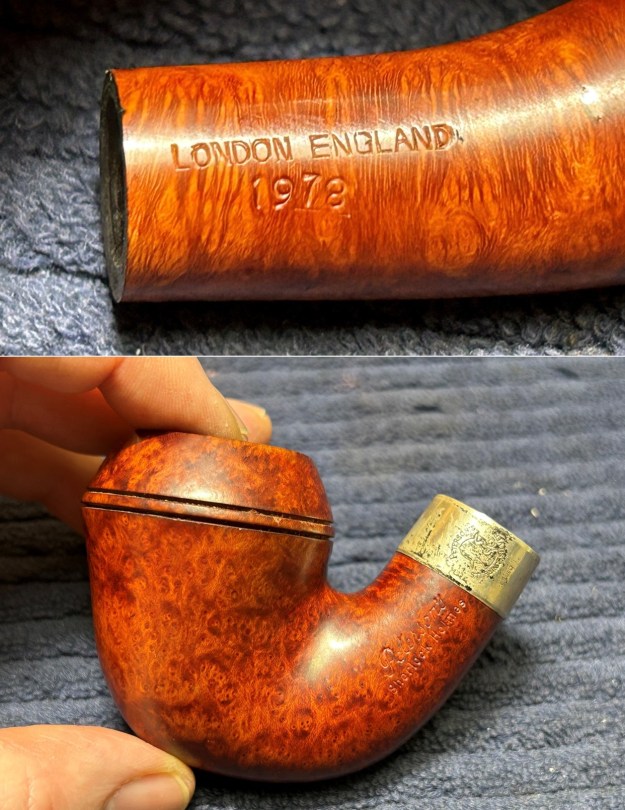
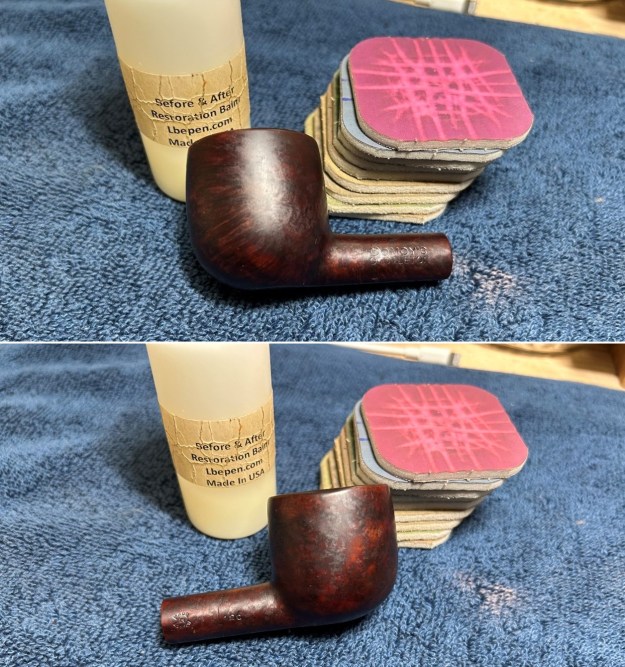
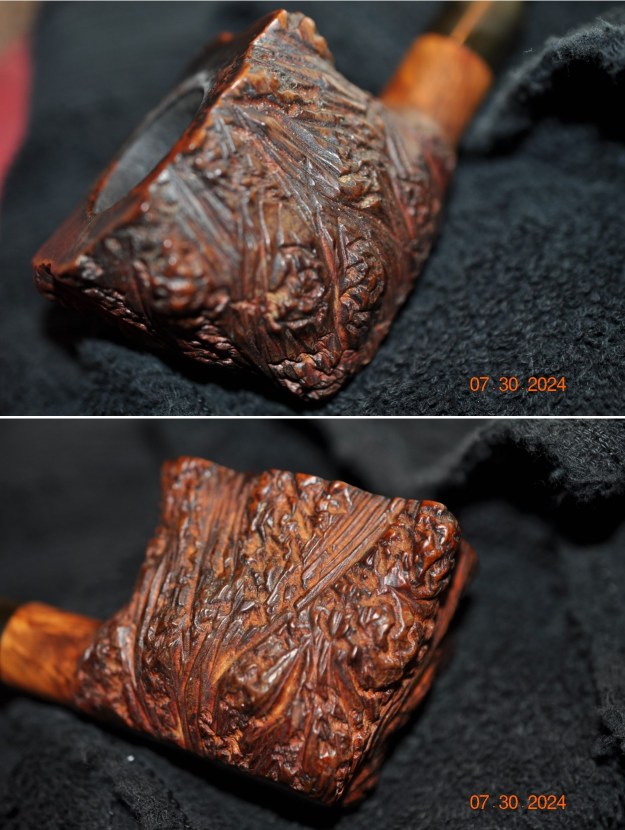
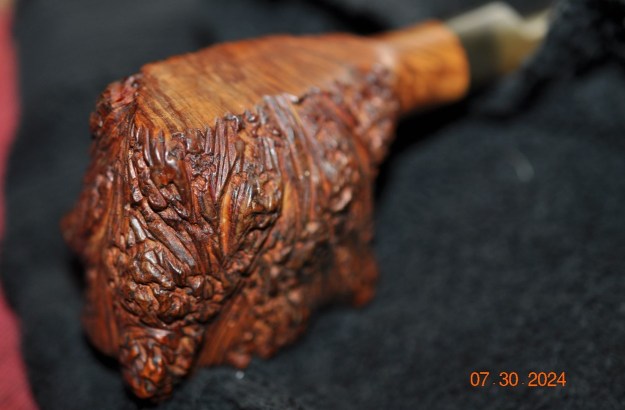
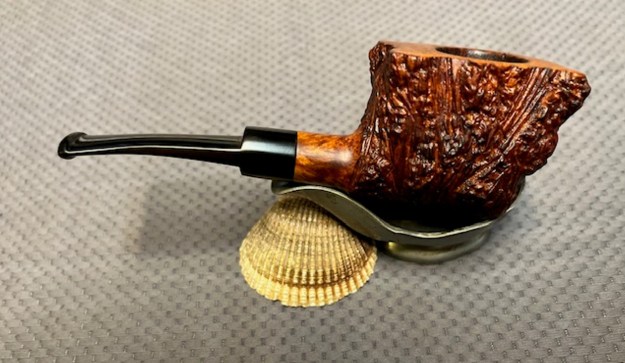
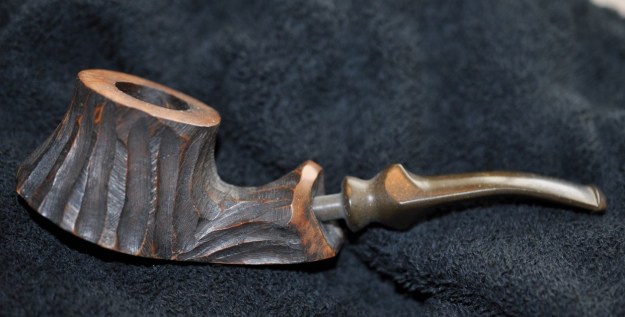
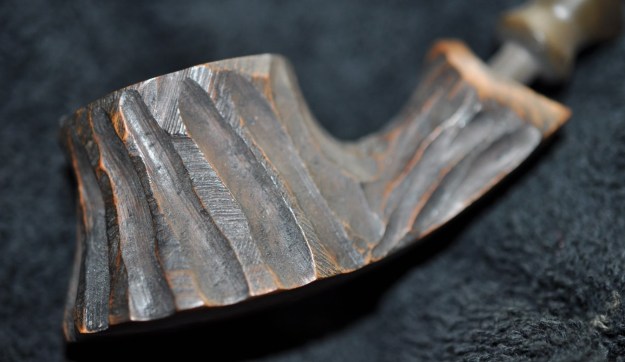
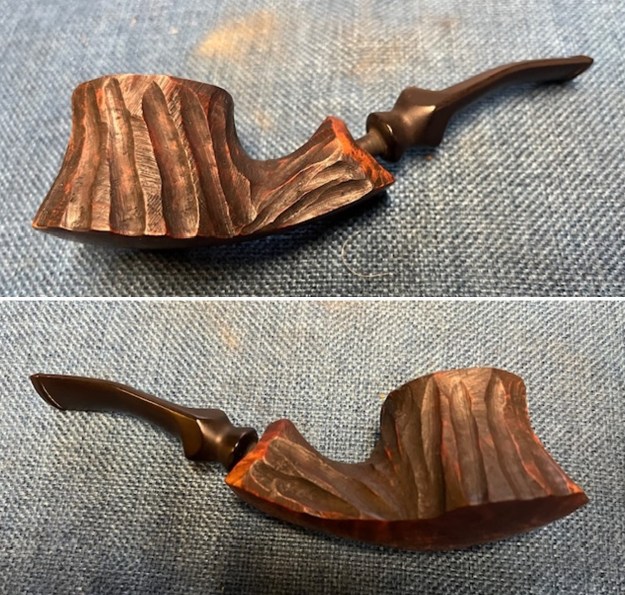
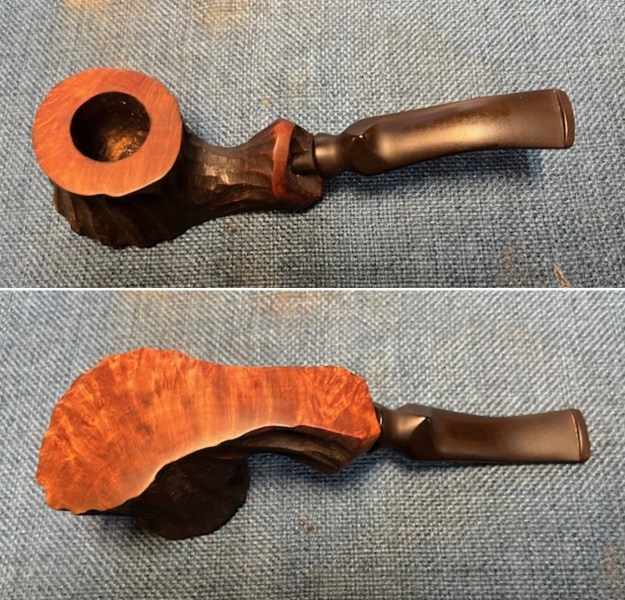
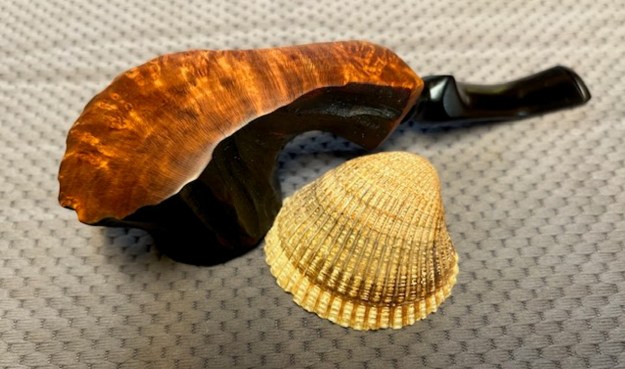
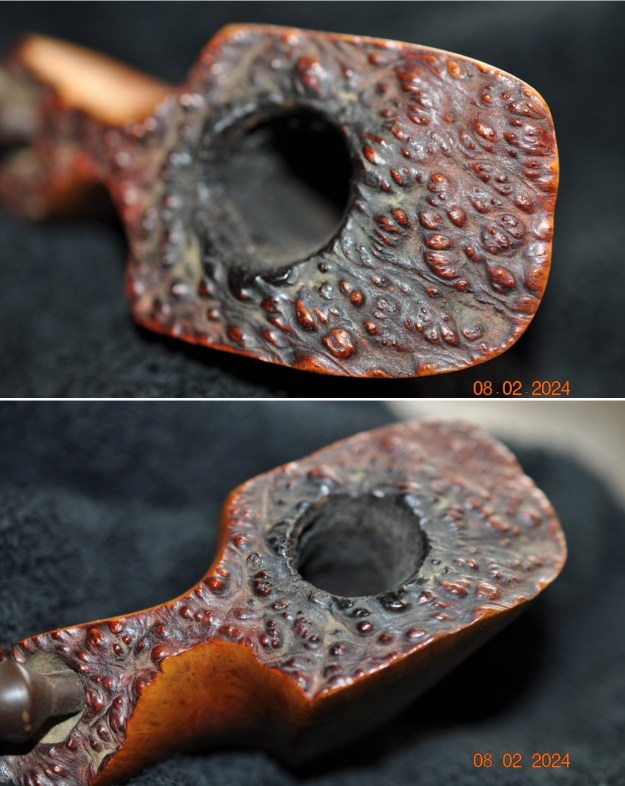
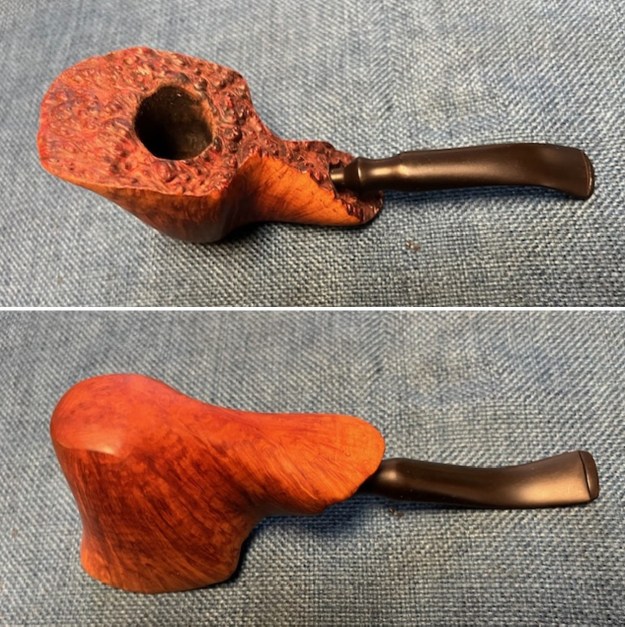
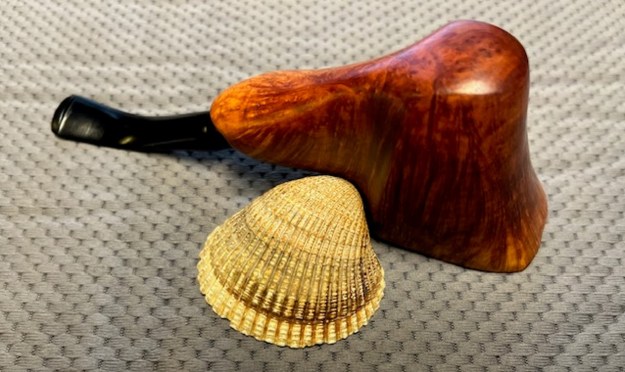
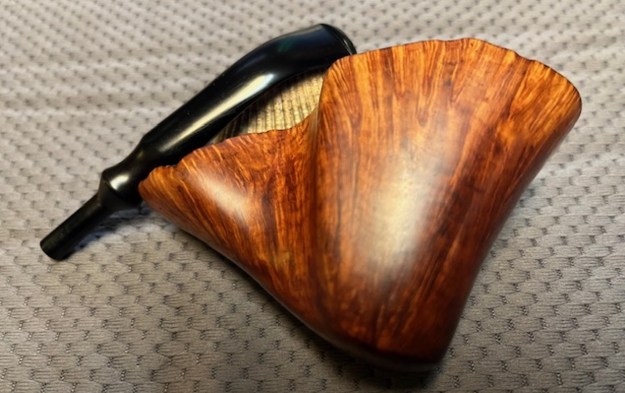
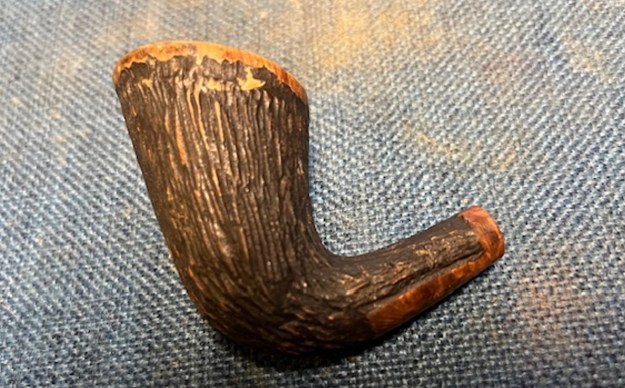
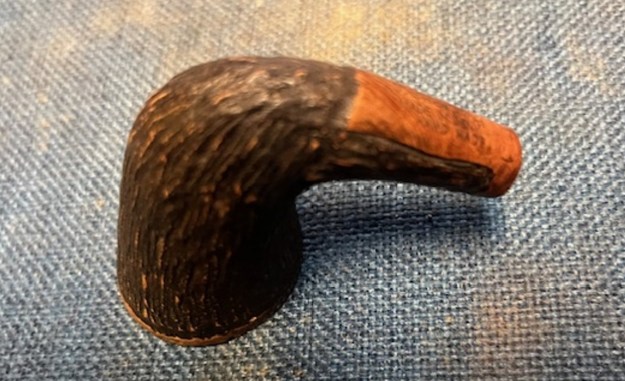
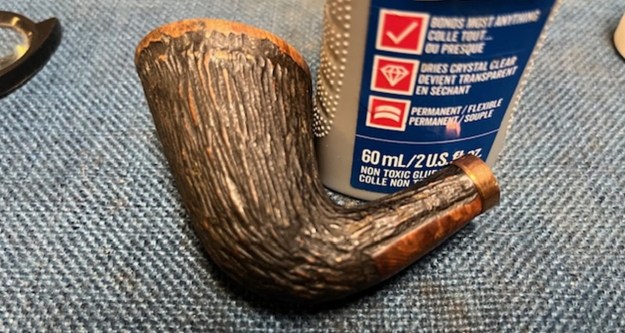
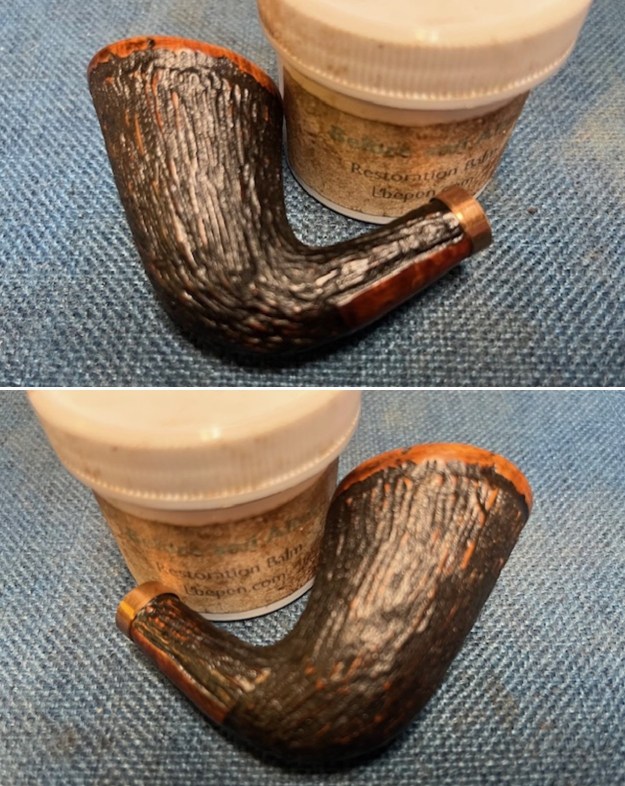
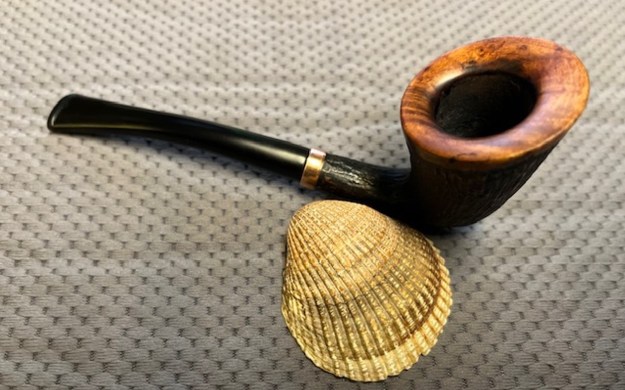
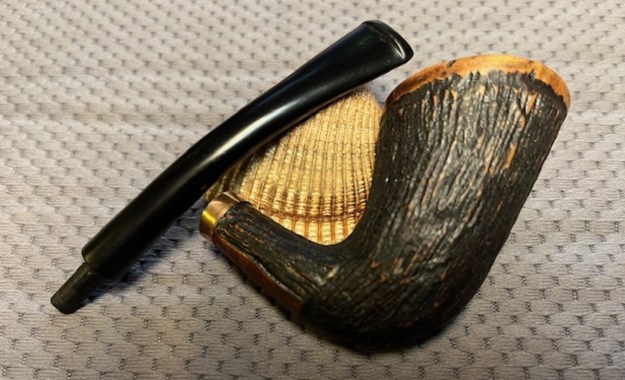
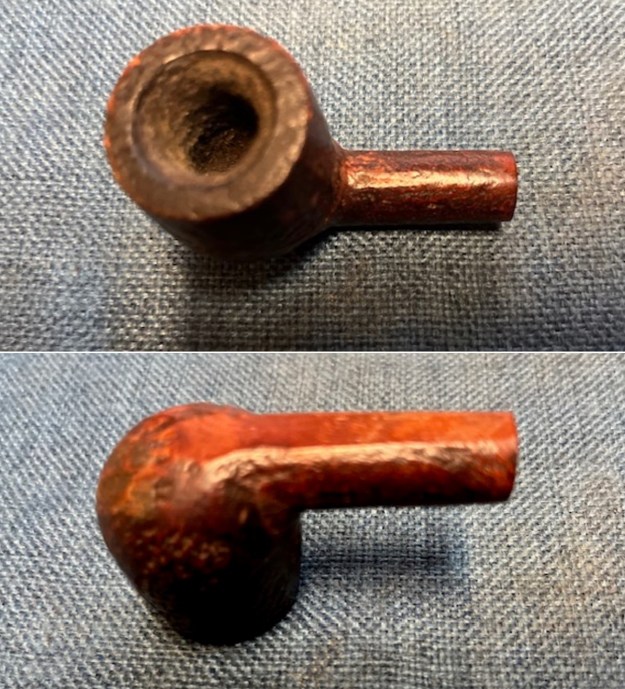
Once again, I dipped into my box of bowls to restem and came out with this interesting sandblast straight billiard. It is stained with a rich combination of brown stains that highlight the highs and lows of the blast. The finish is scratched and dirty but still interesting. The pipe is stamped on a smooth panel on the underside of the shank and reads 2 [followed by] Sandy [over] London Made. The bowl has a thick cake with some lava overflow on the rim top. There is something interesting about this little billiard bowl that makes me choose it next. Here are some photos for you to have a look.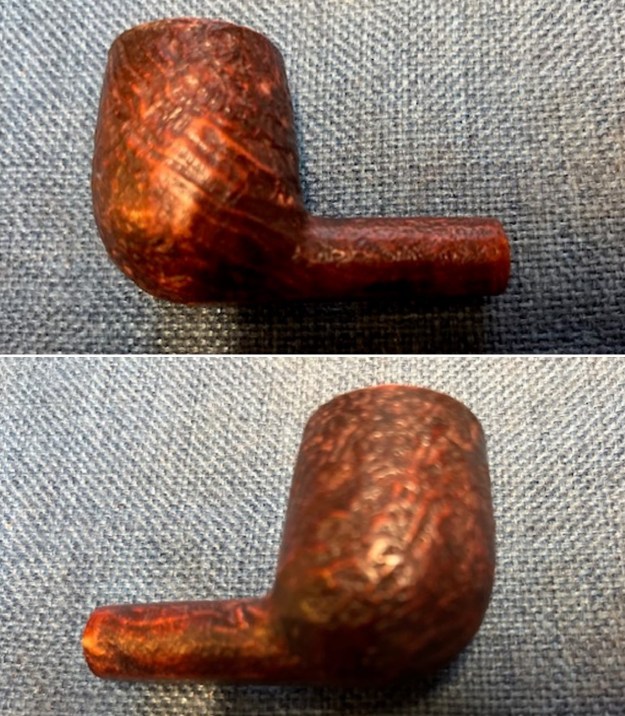
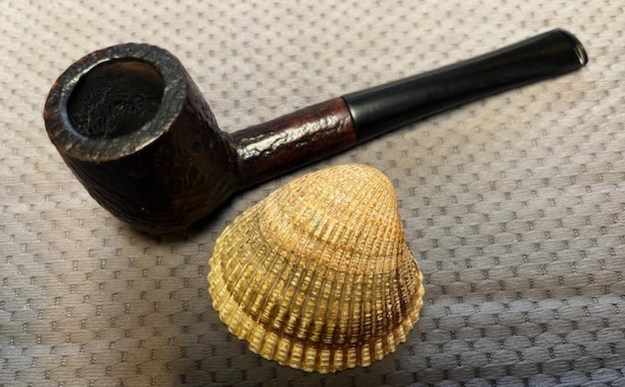
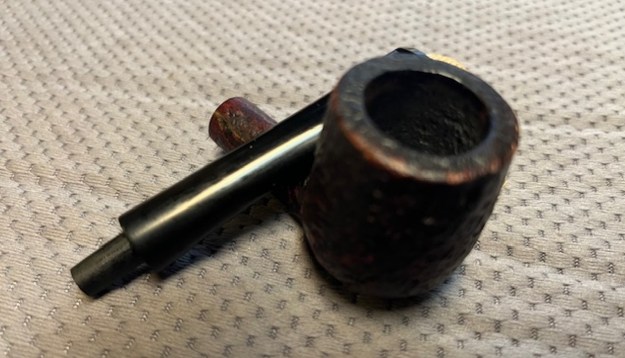
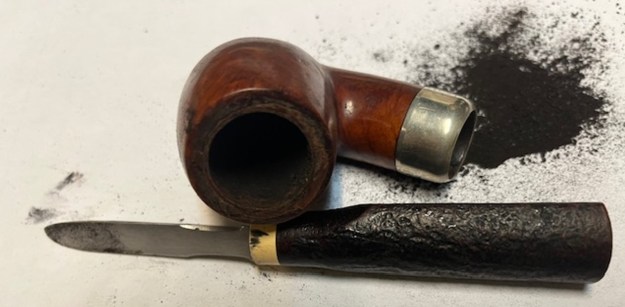
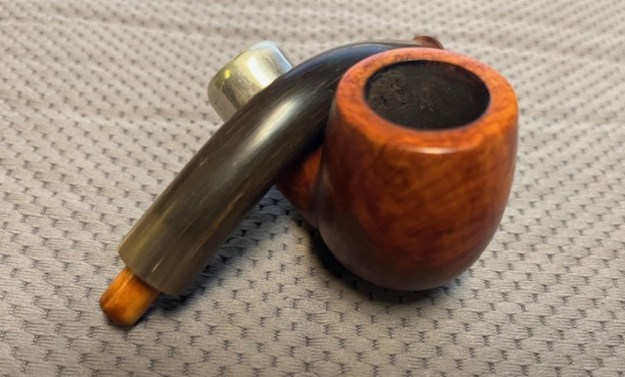
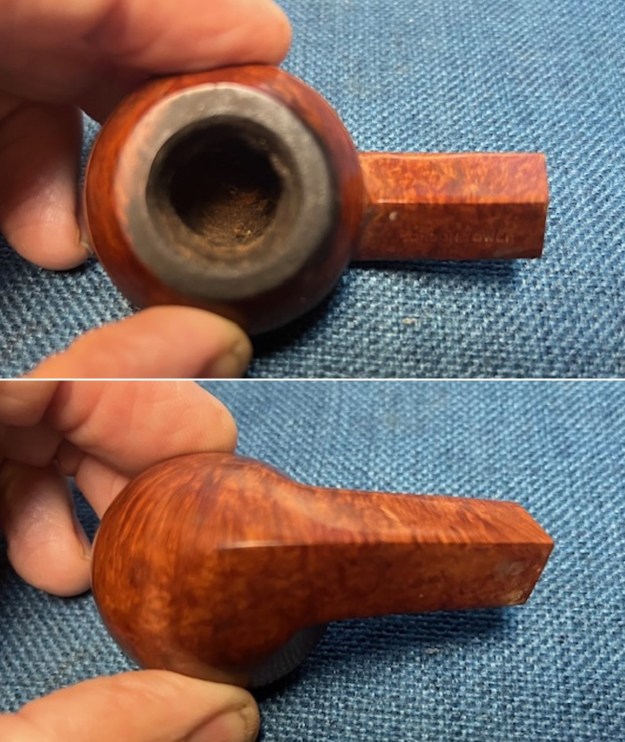
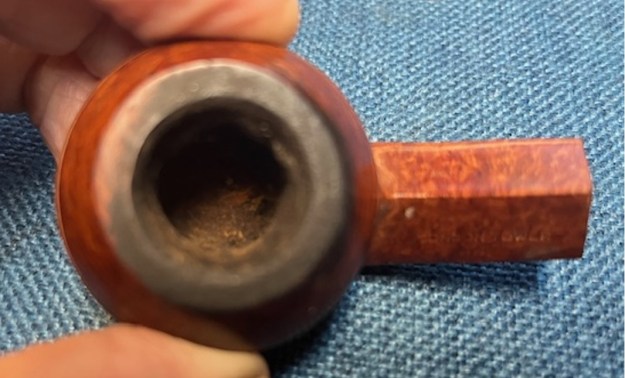
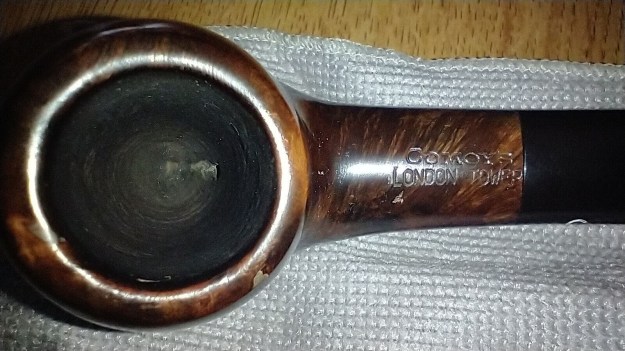
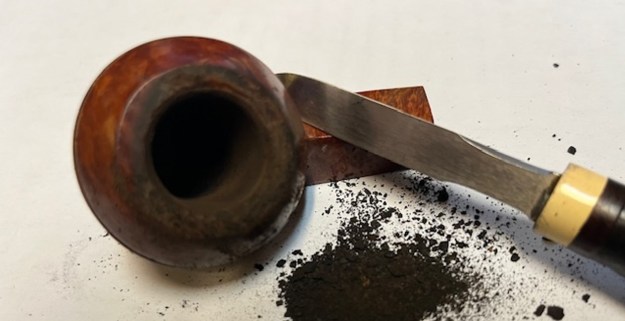
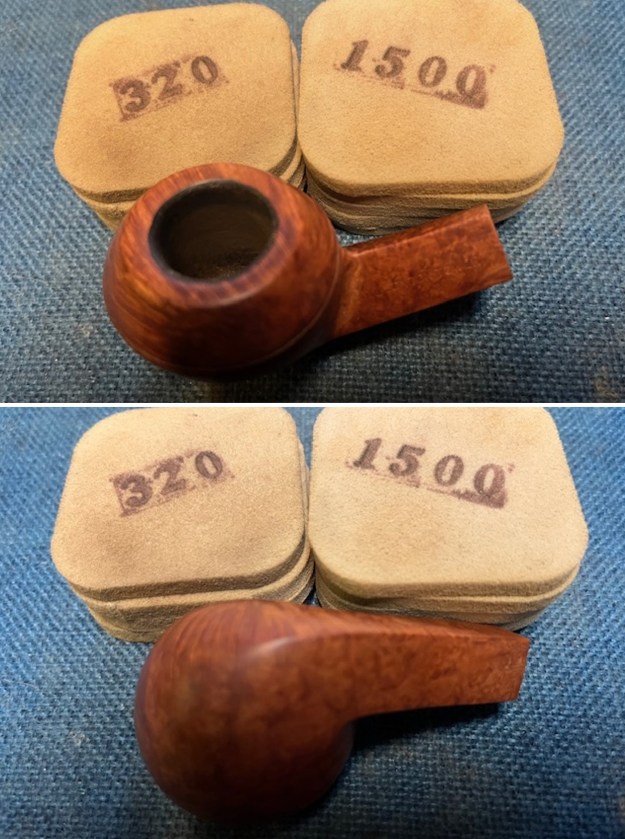
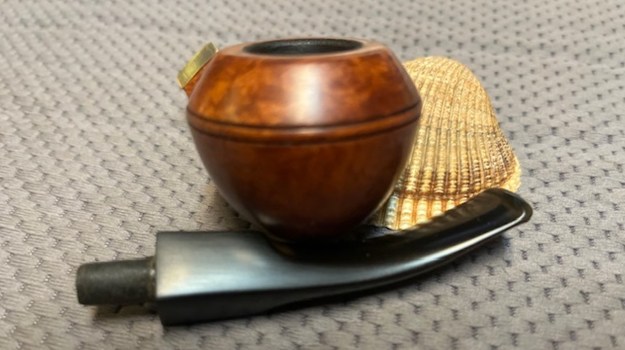
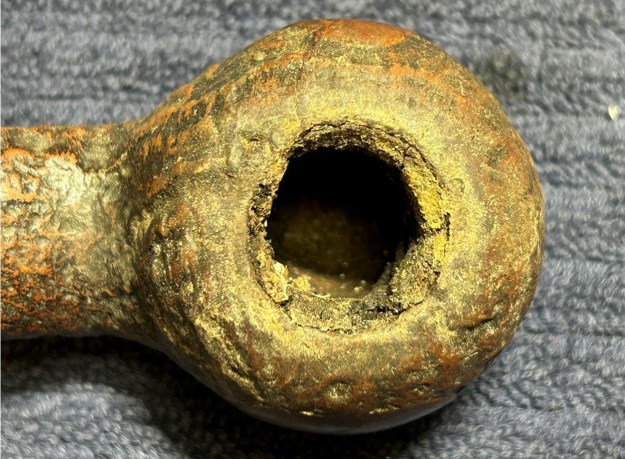
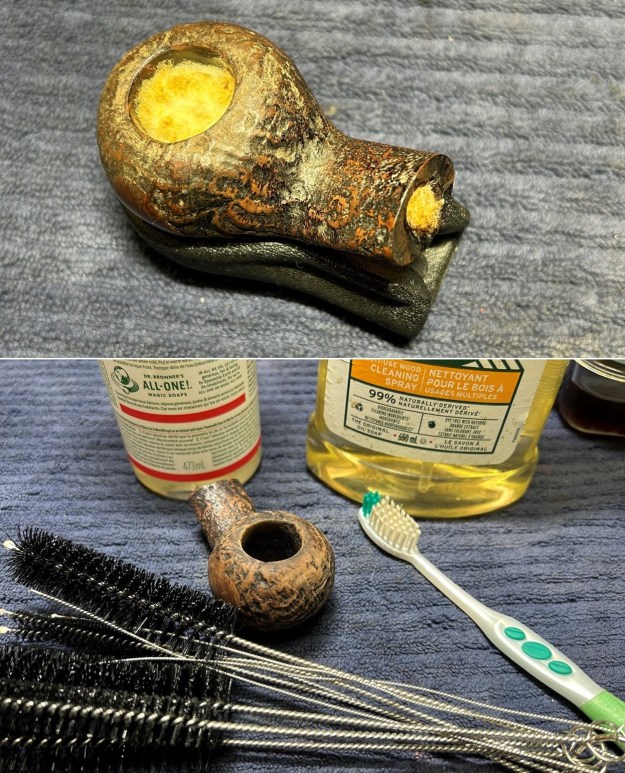
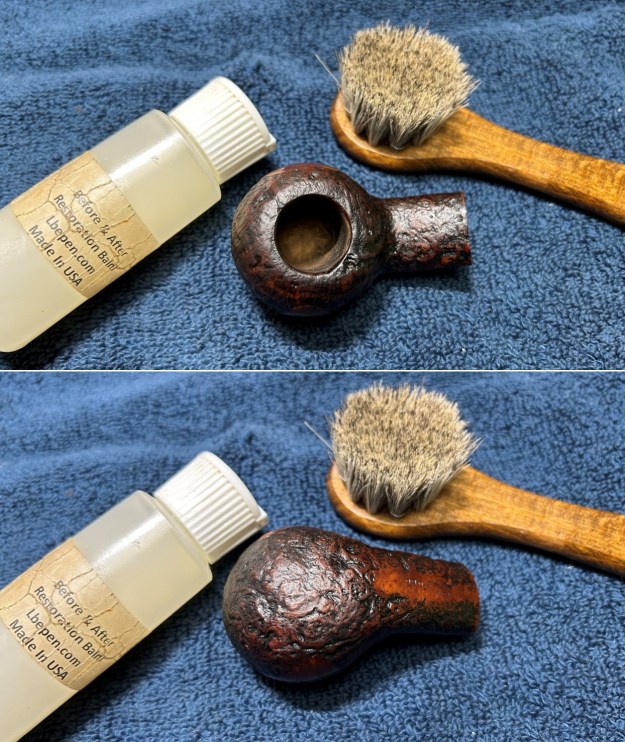
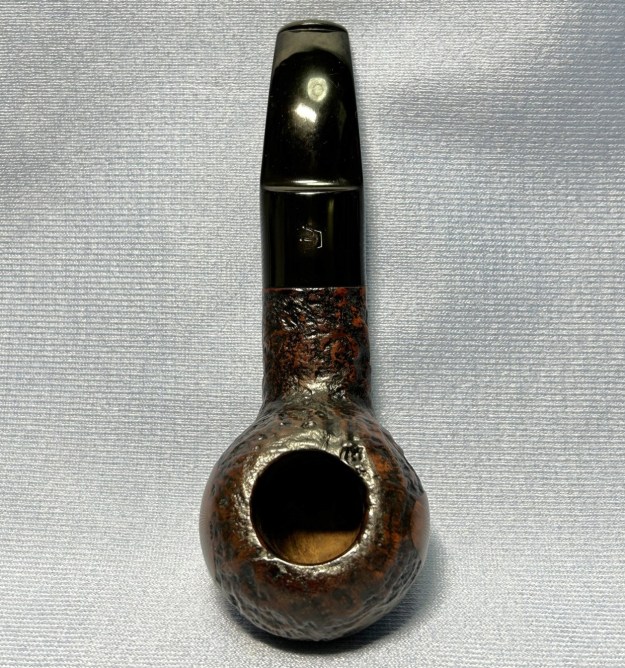
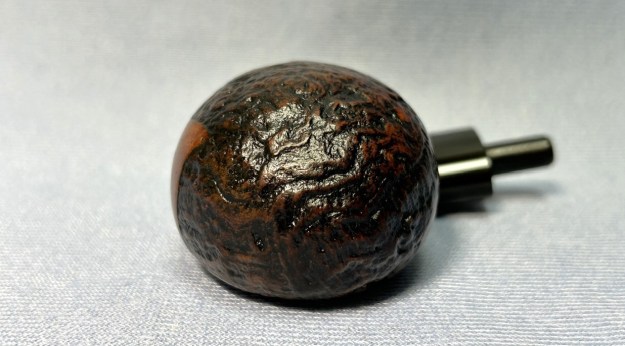
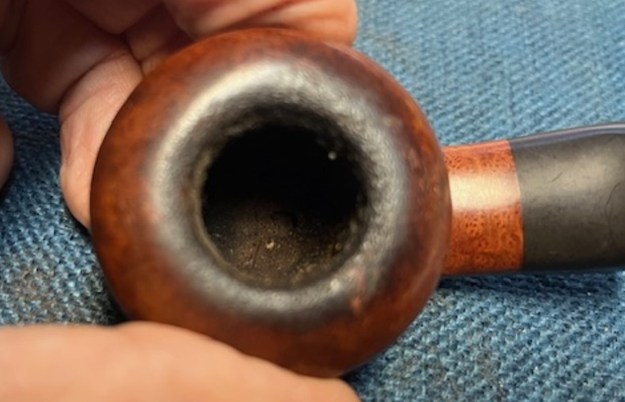
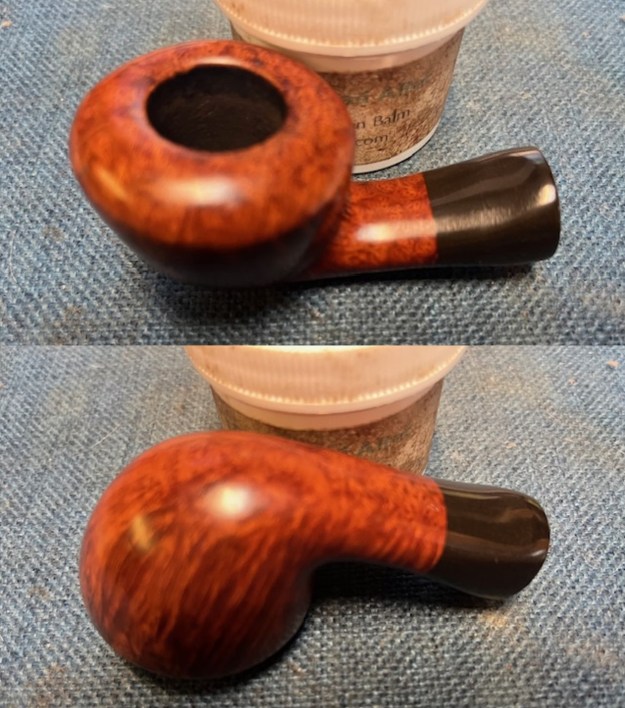
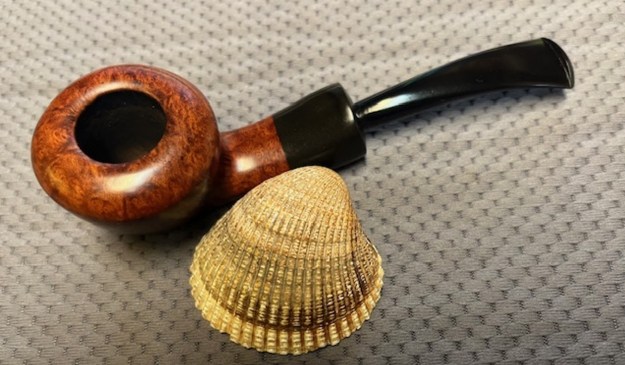
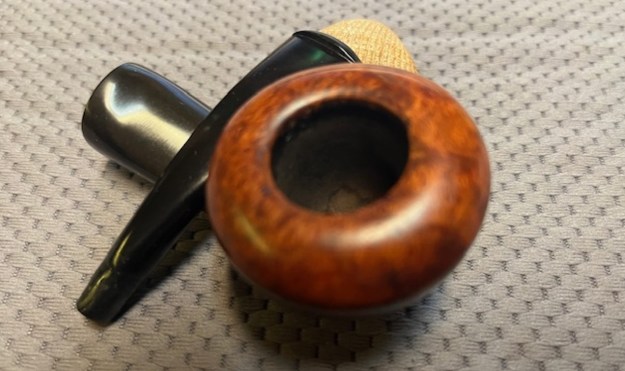
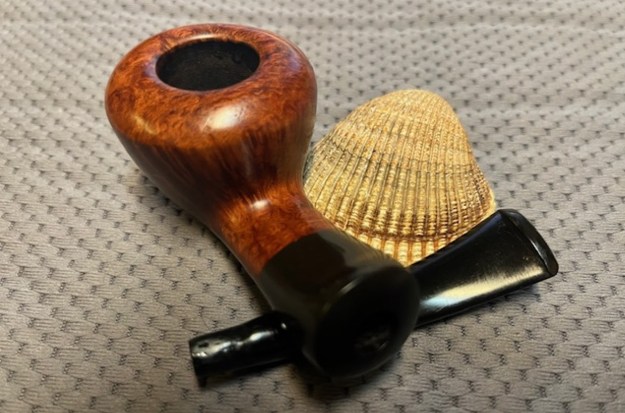
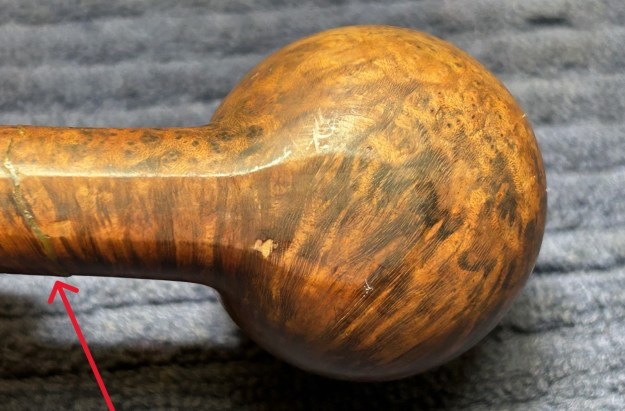
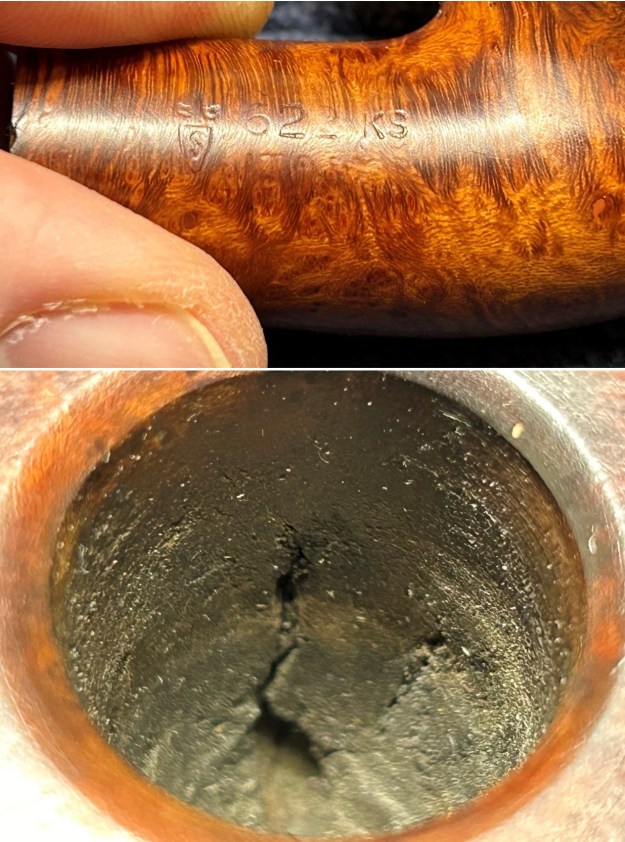
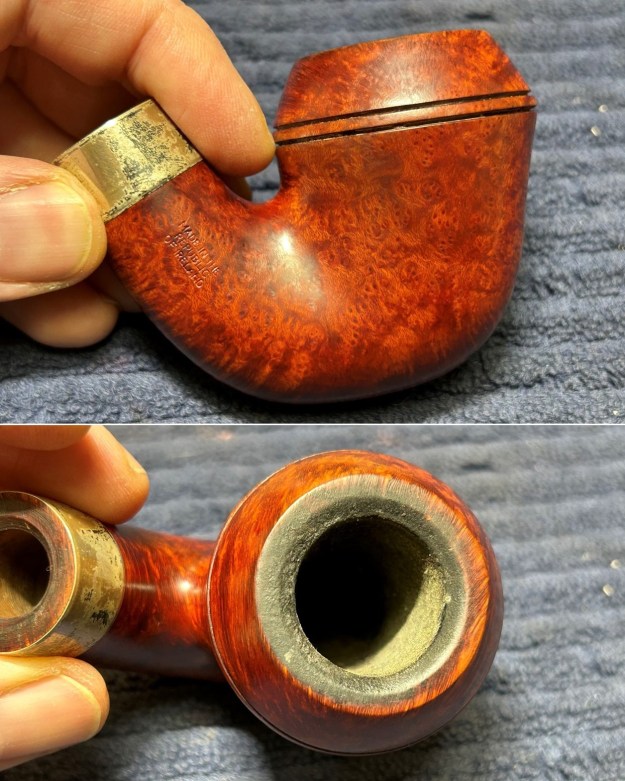
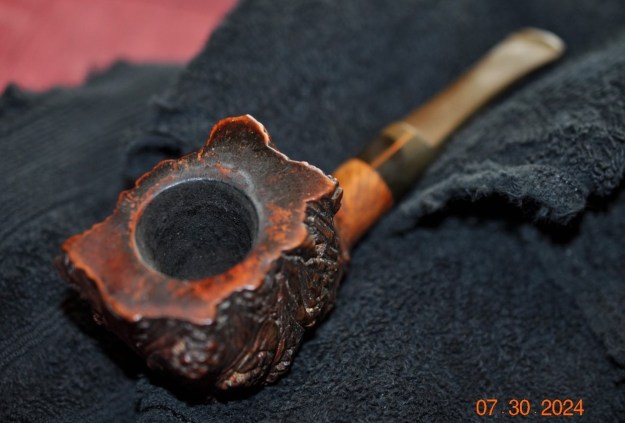
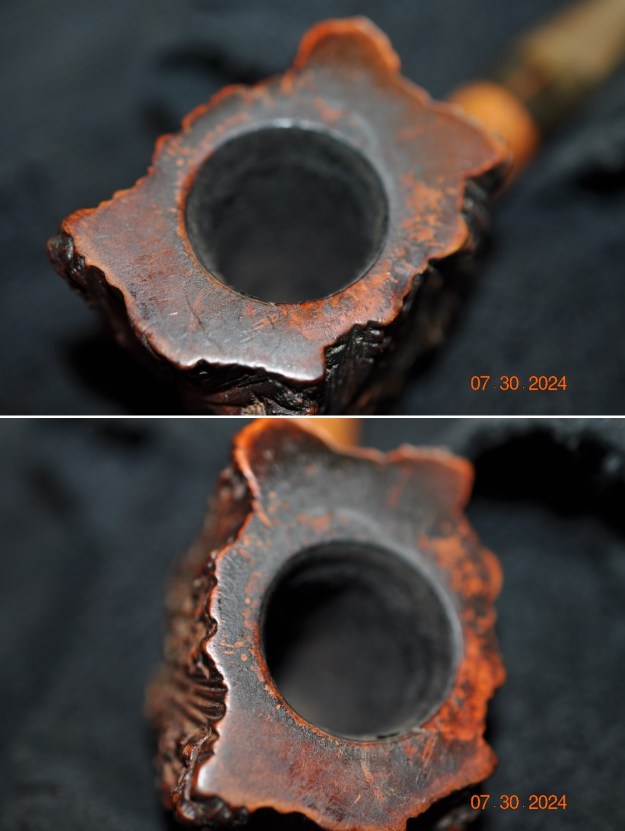
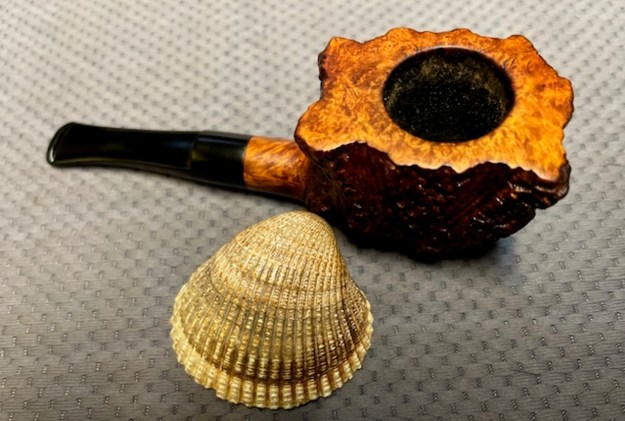
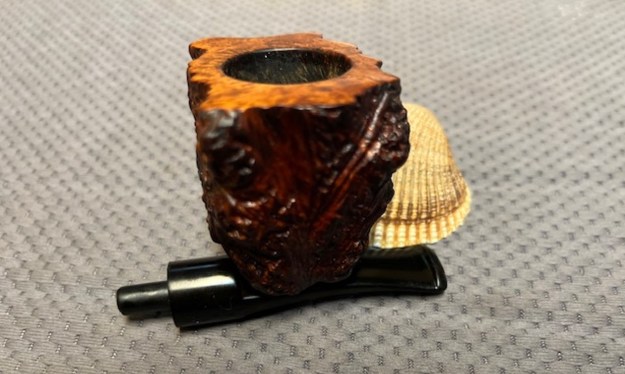
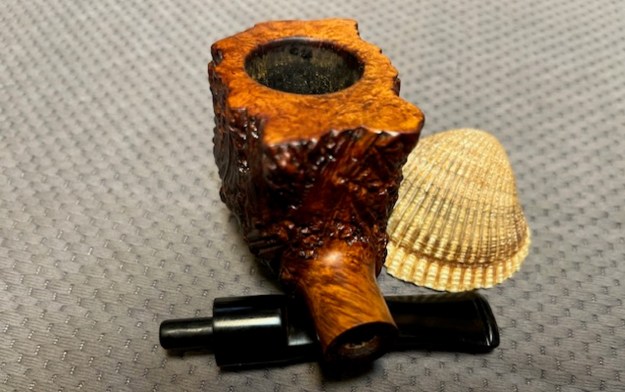
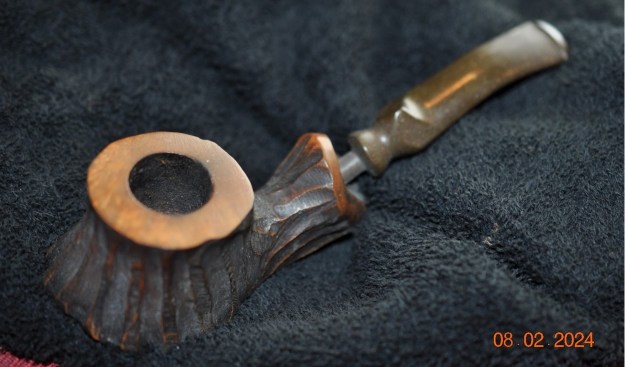
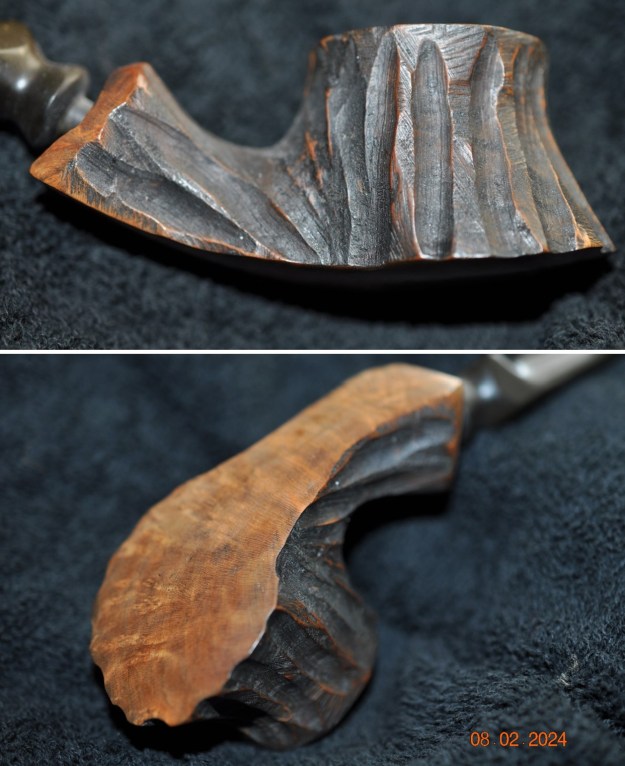
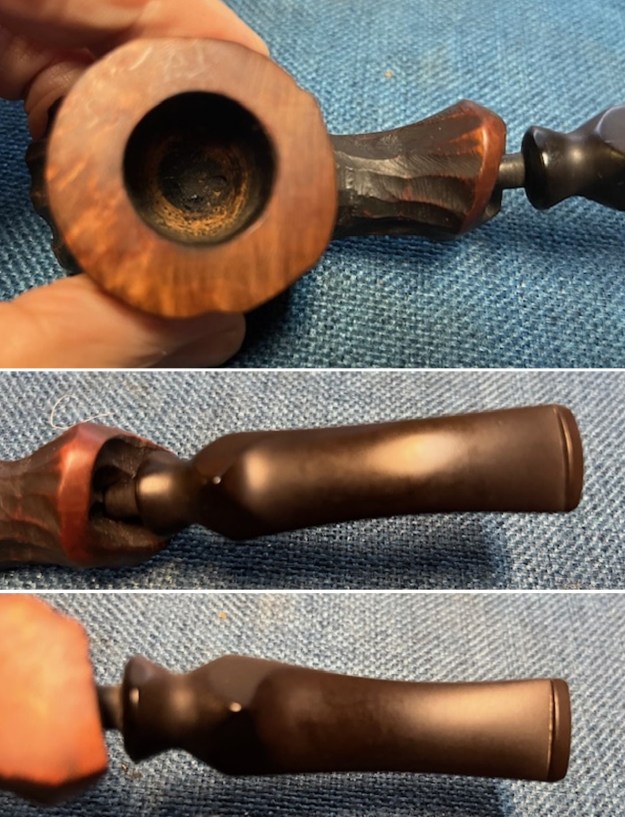
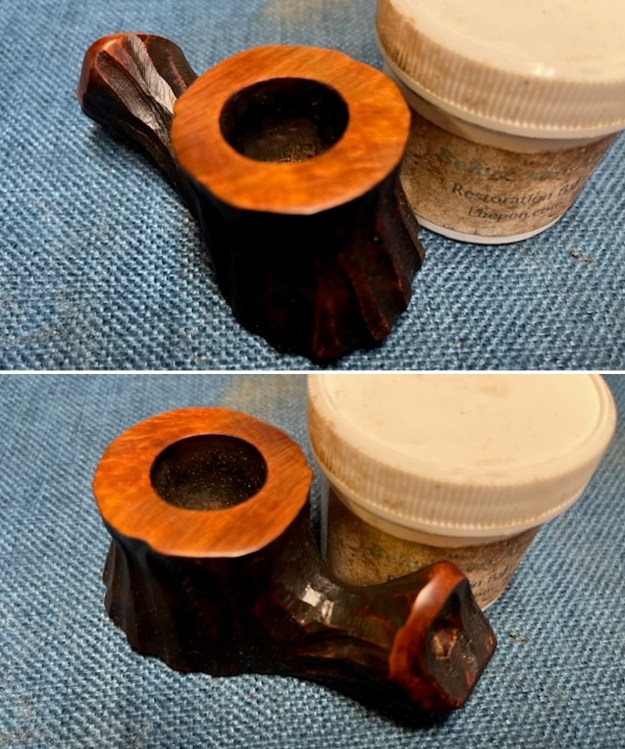
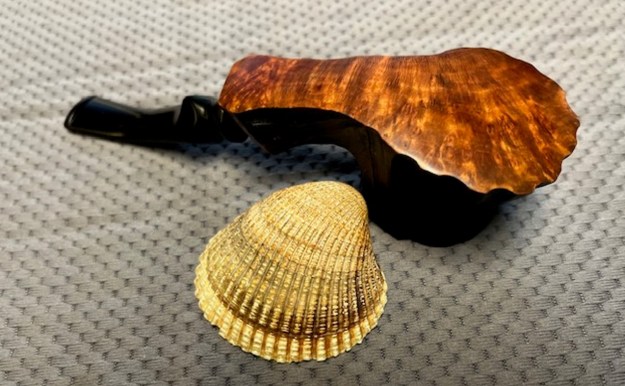
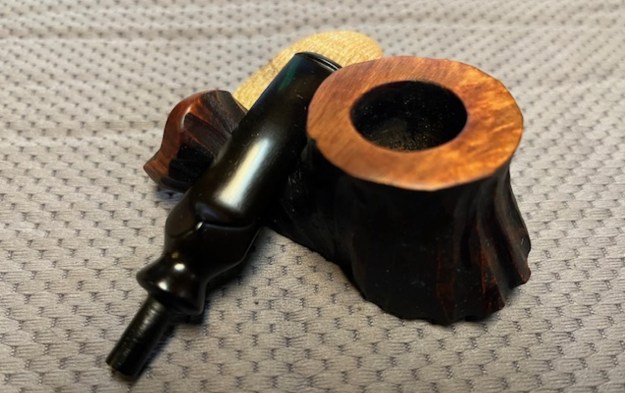
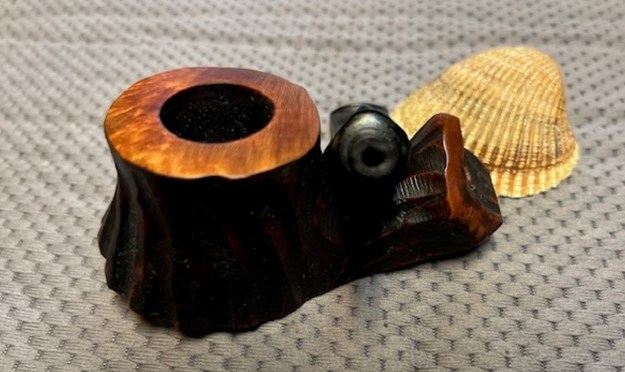
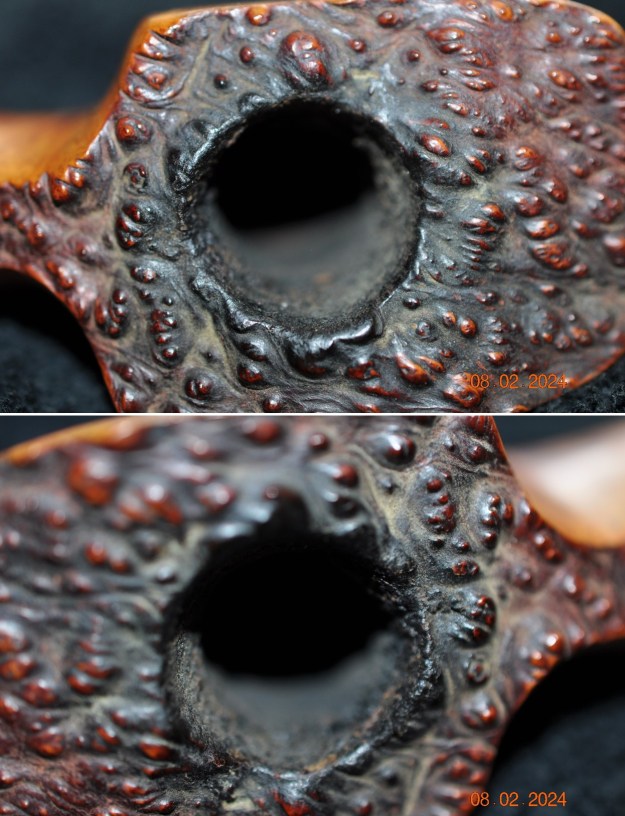
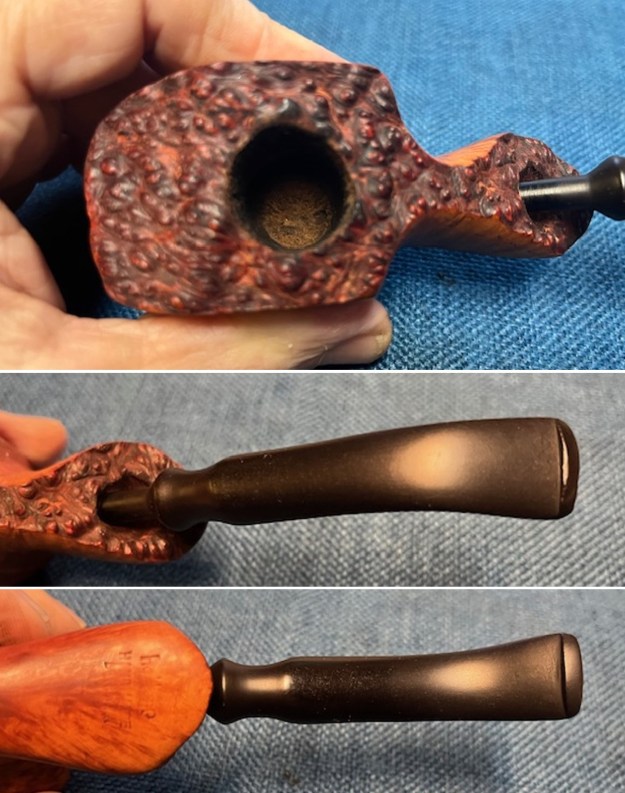
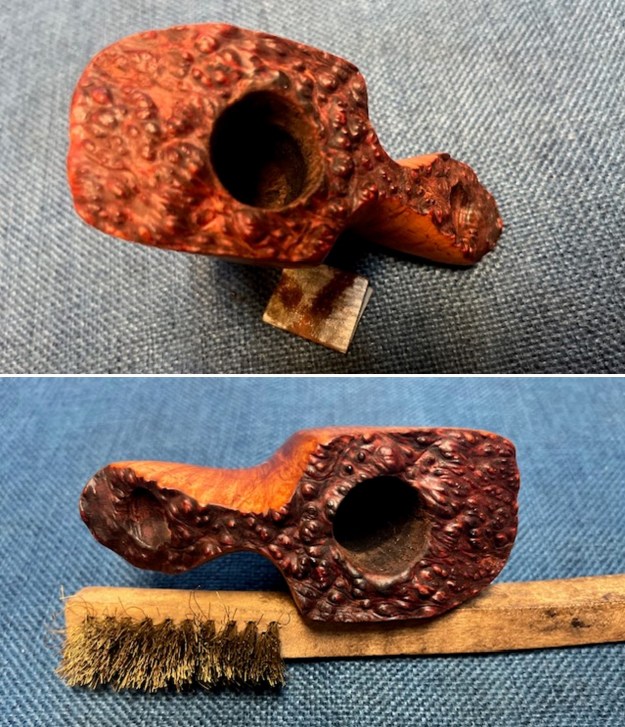
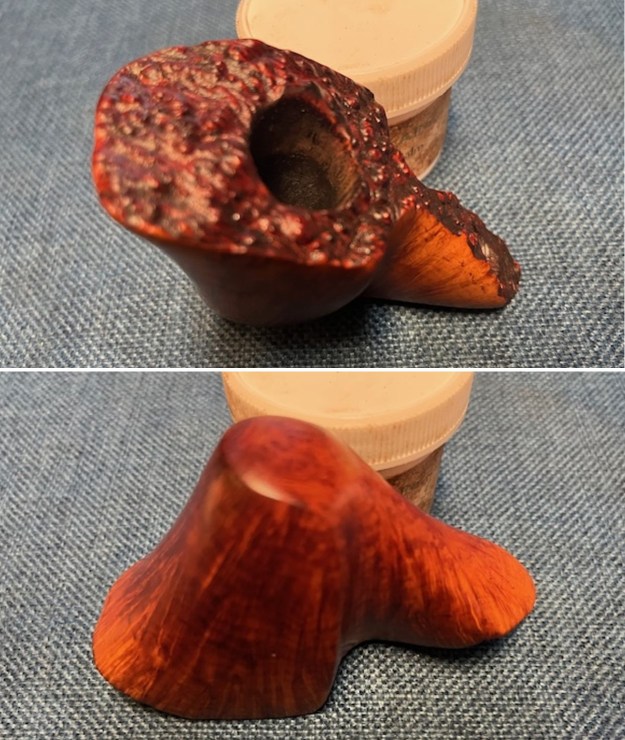
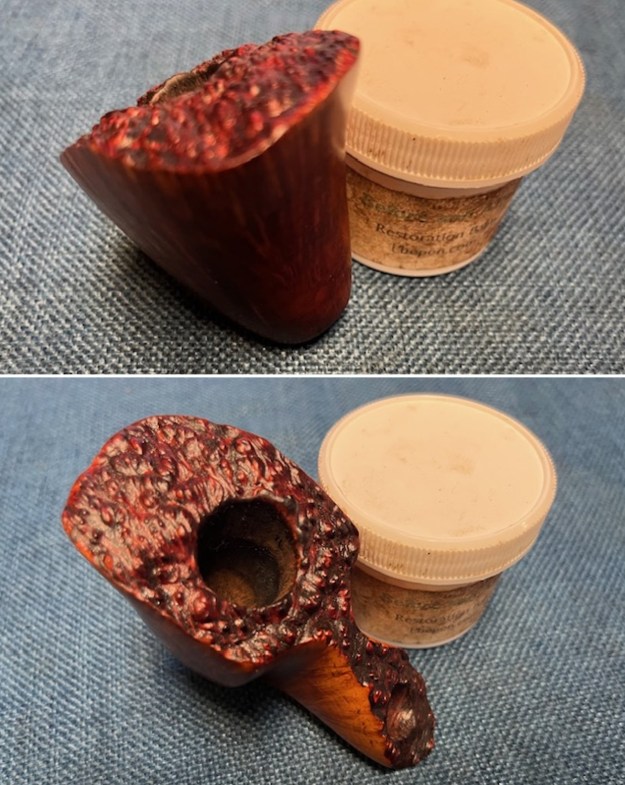
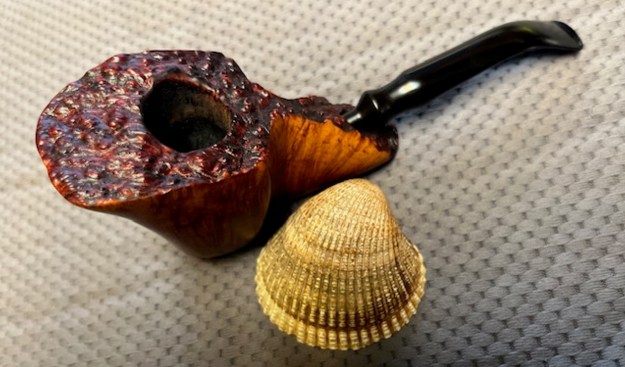
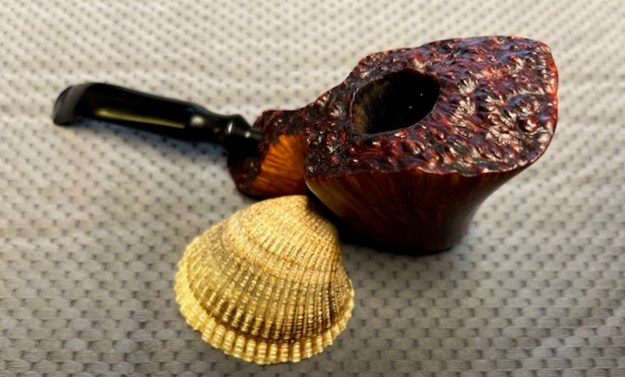
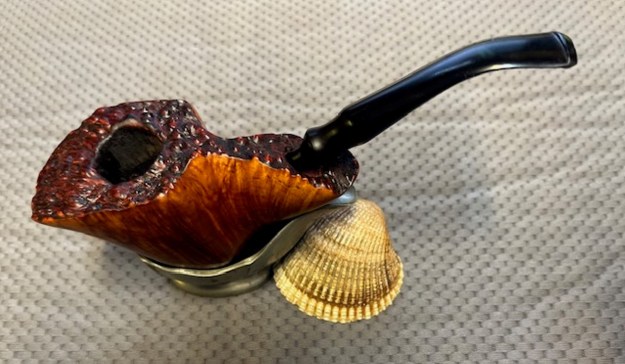
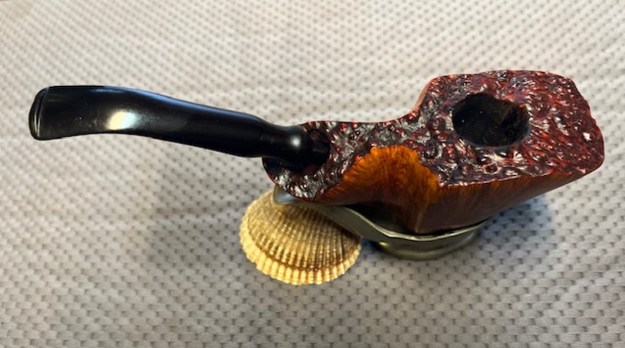
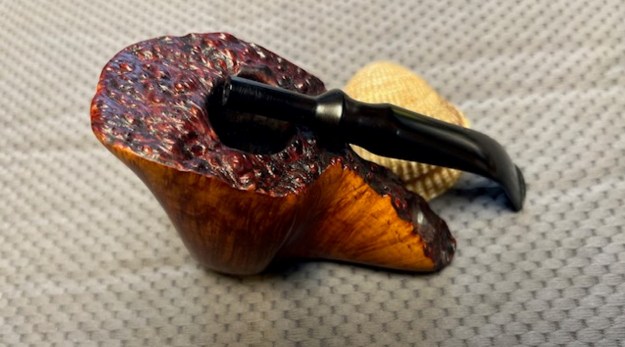
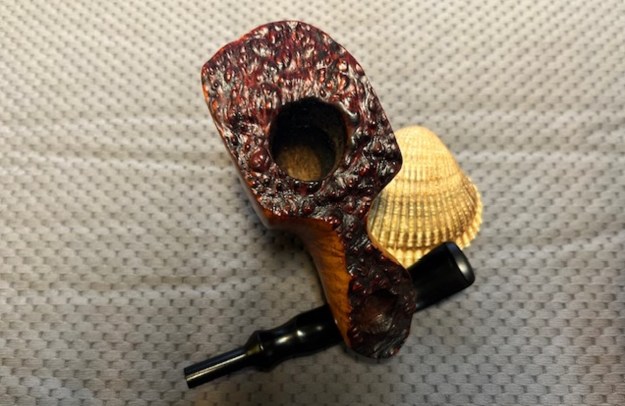
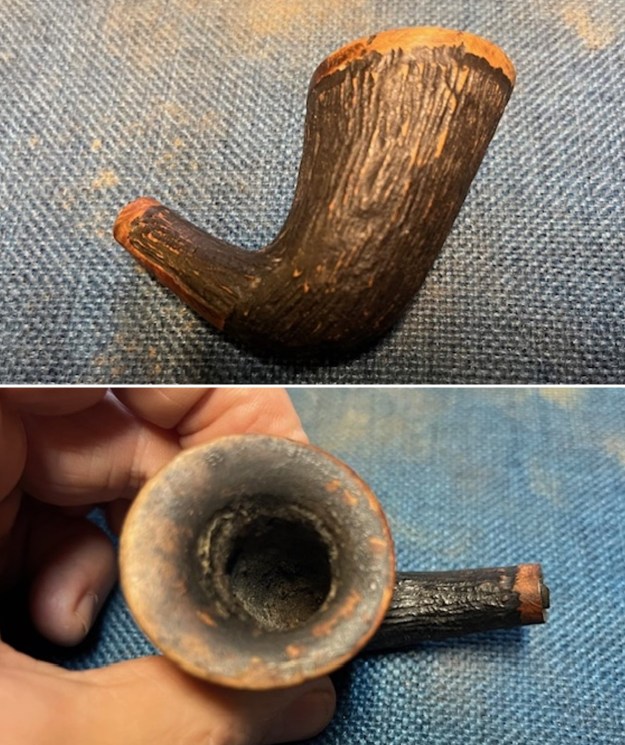
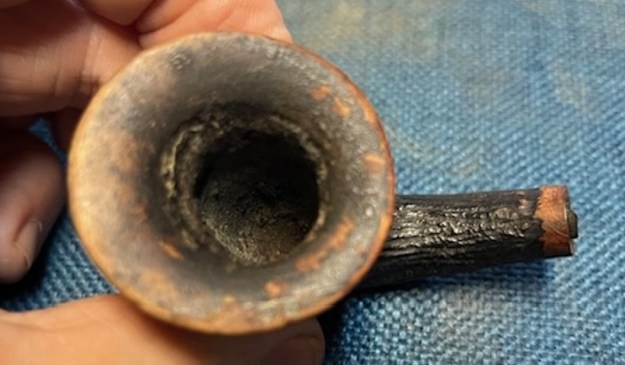
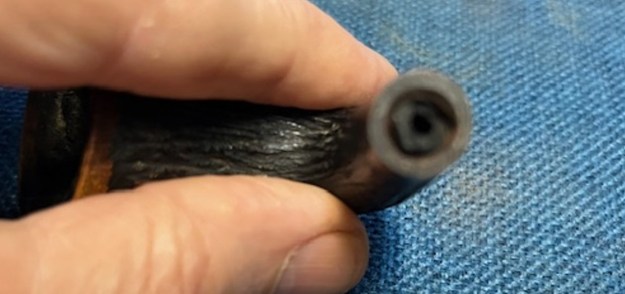
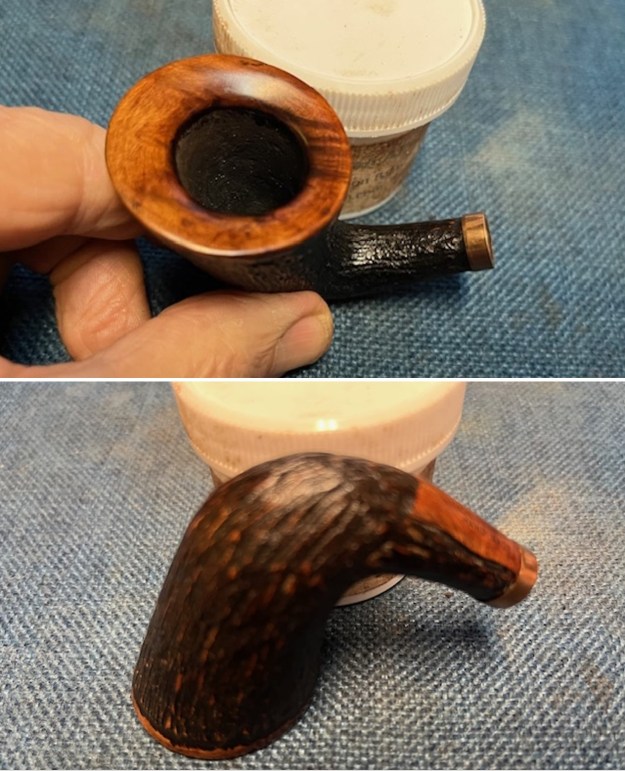
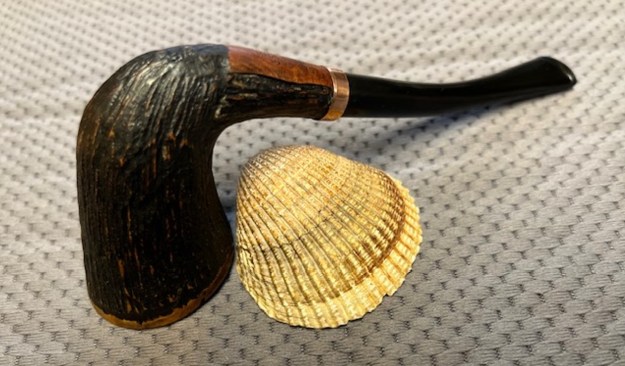
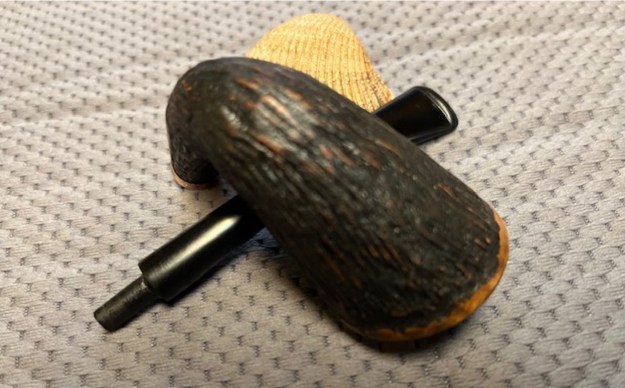
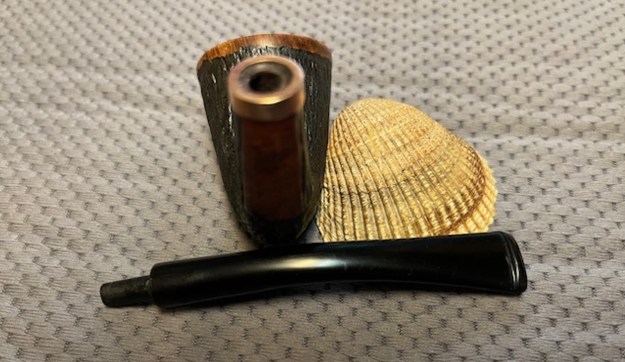
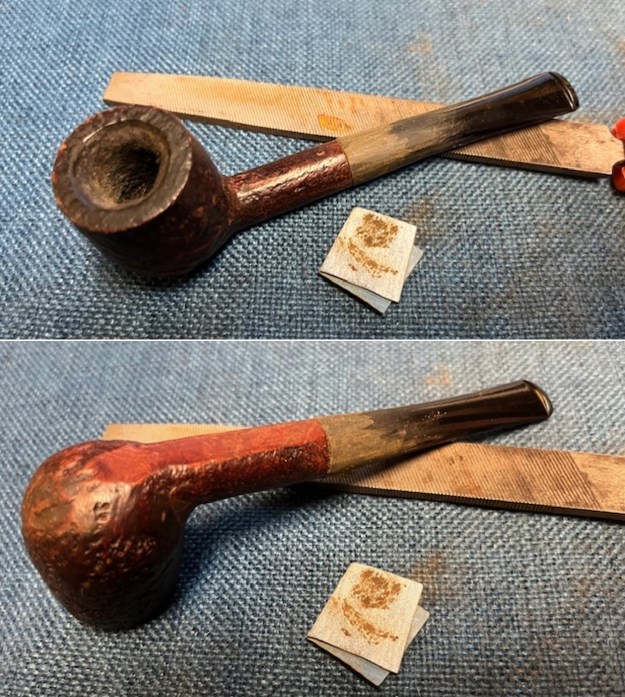
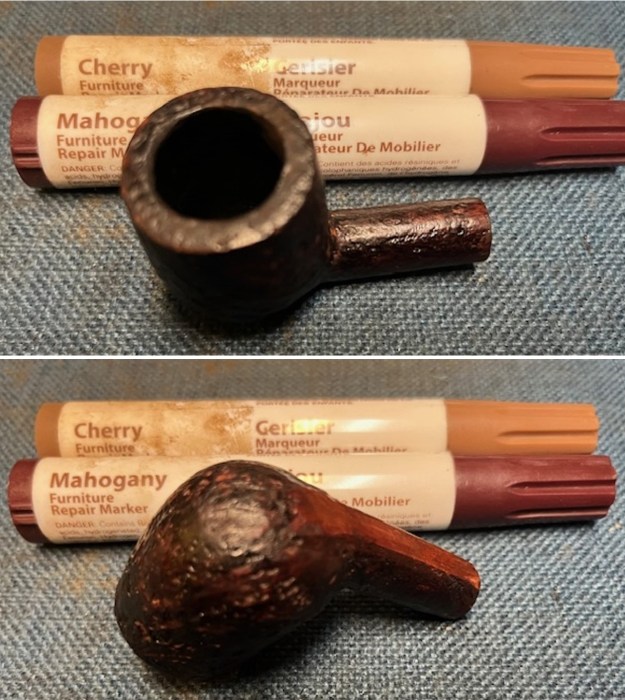
 I took a close up photo of the rim top and bowl to give a sense of the thickness of the cake and the lava in the sandblast on the rim. It was a mess but obviously a well loved pipe.
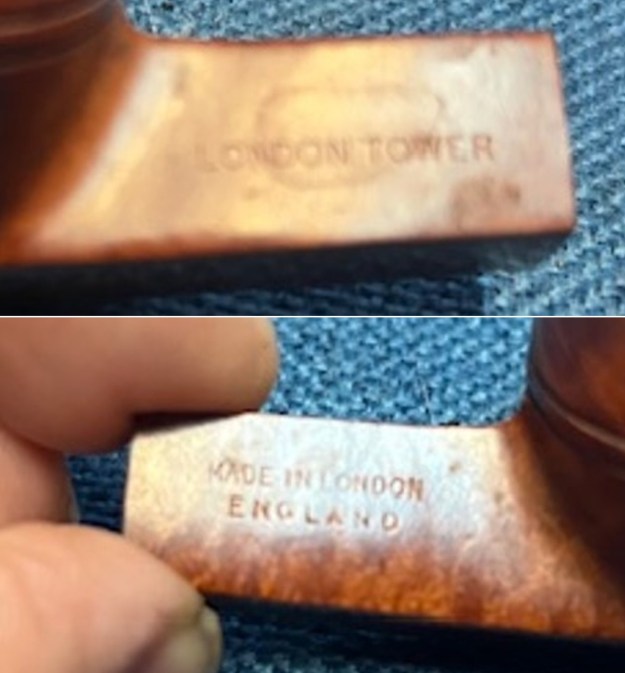
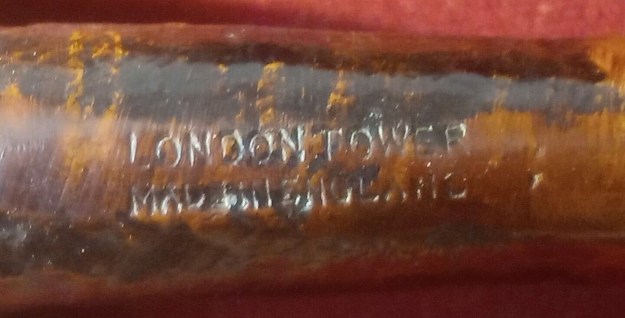
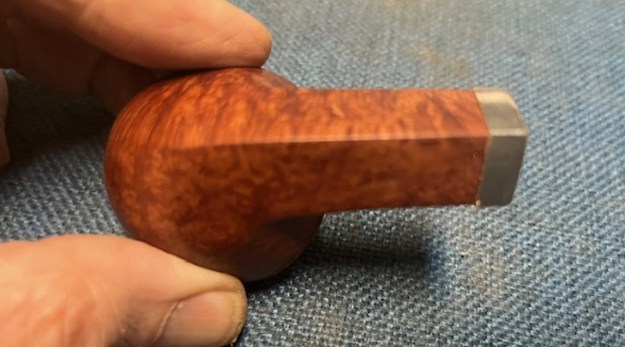
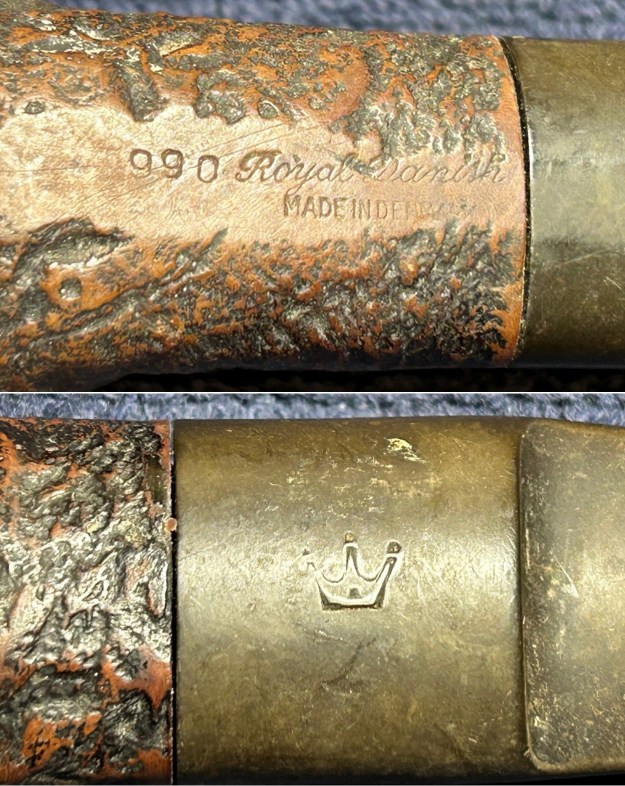
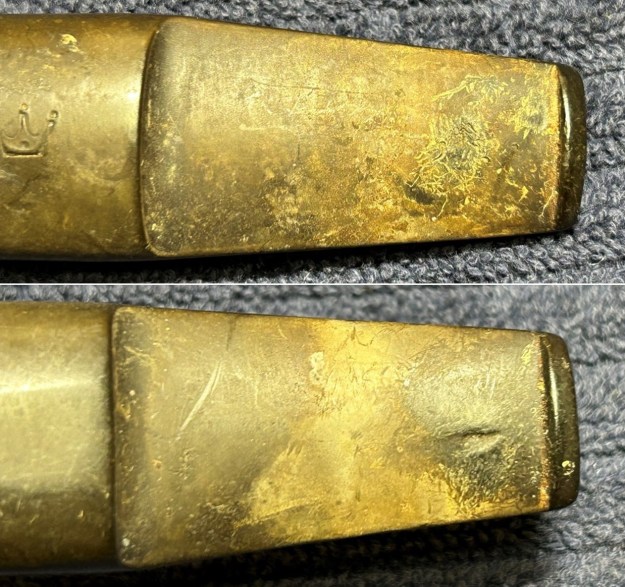
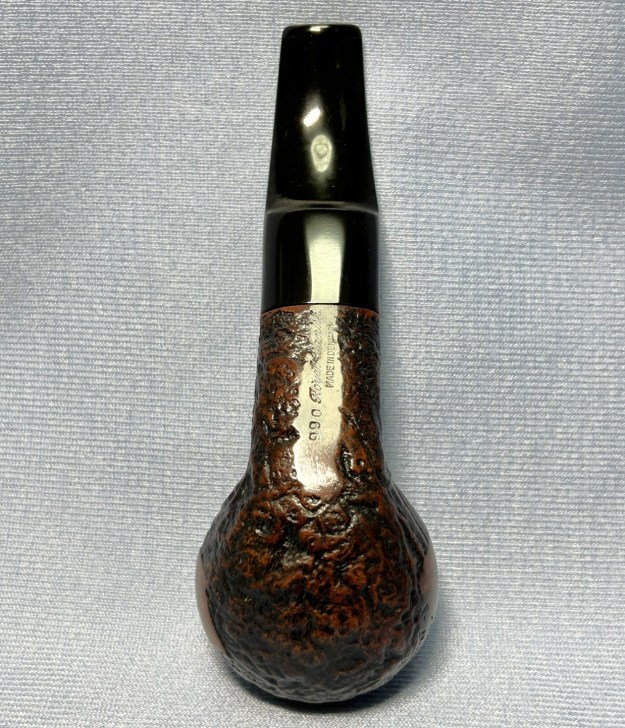
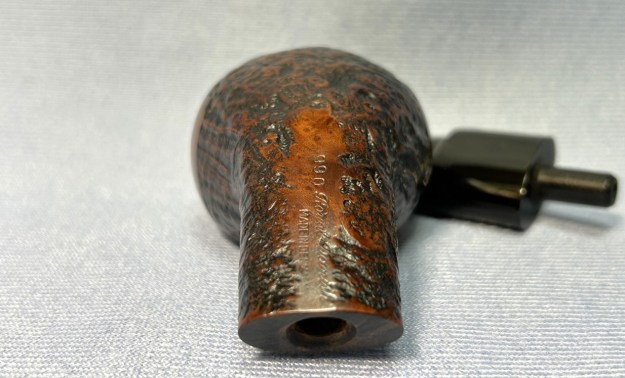
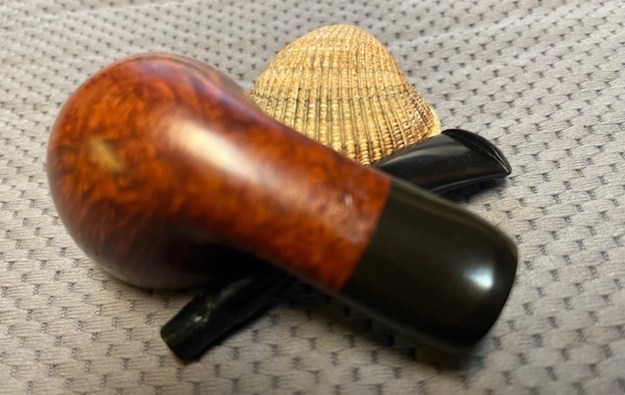
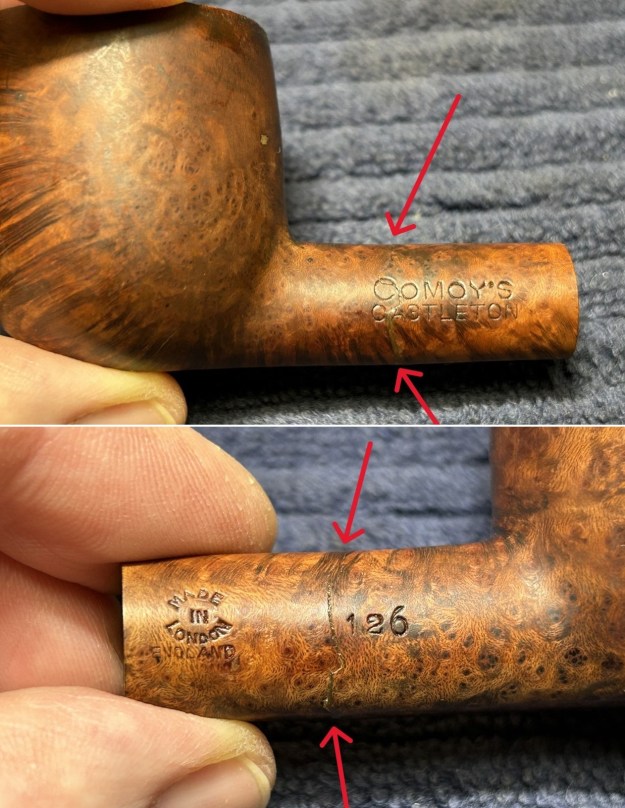
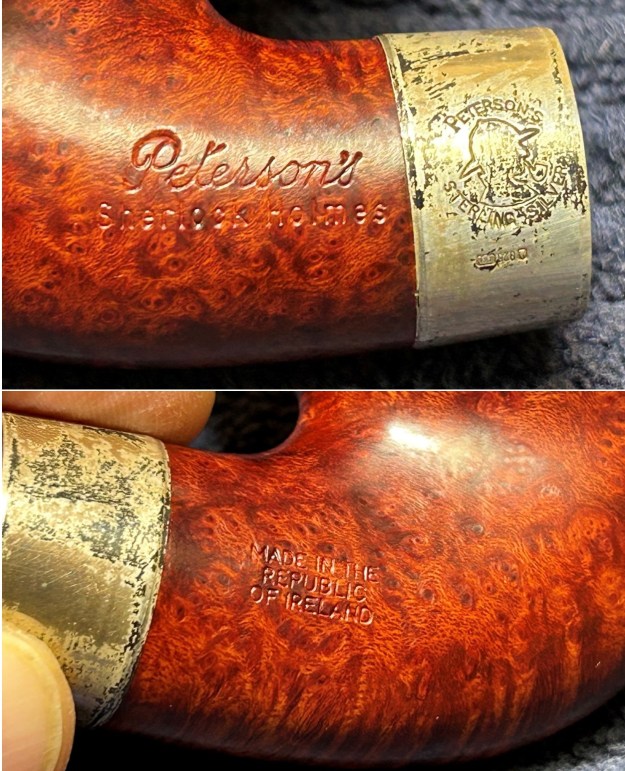
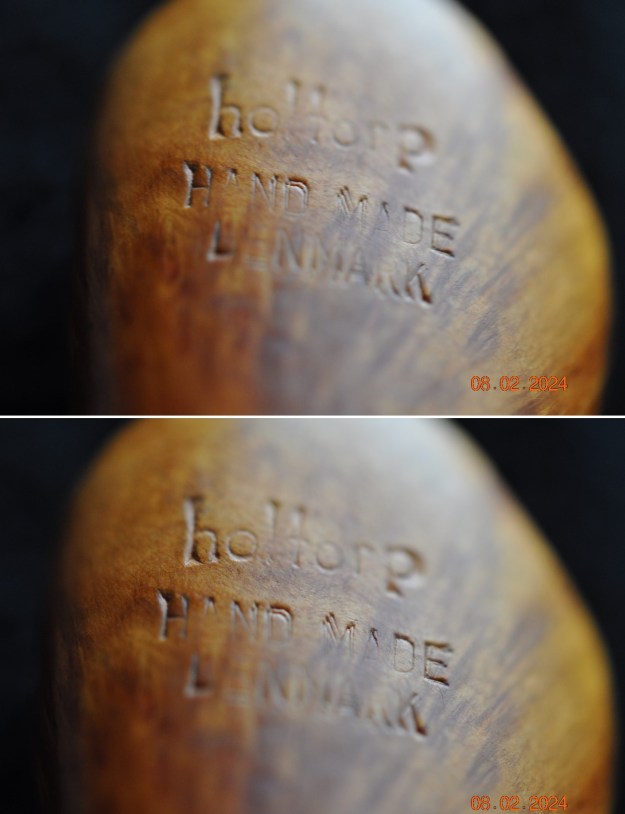
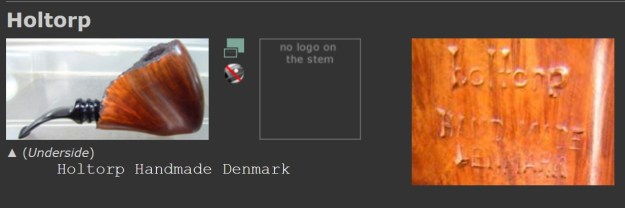
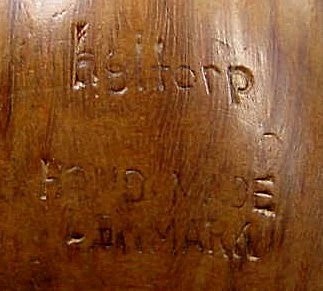
 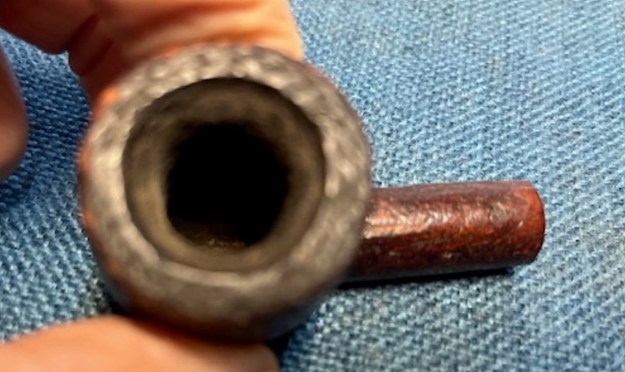 I took a photo of the stamping on the underside of the shank. There is a numeral 2 toward the heel of the bowl and the rest is centered in the shank in two lines as noted above.
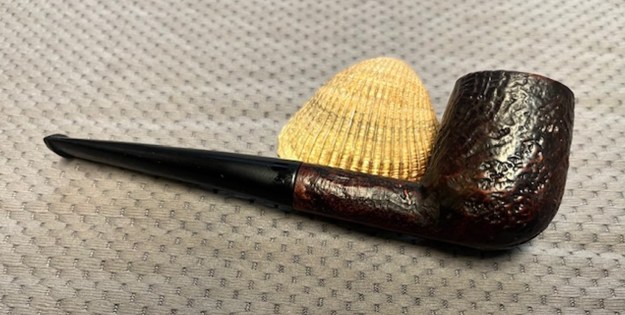
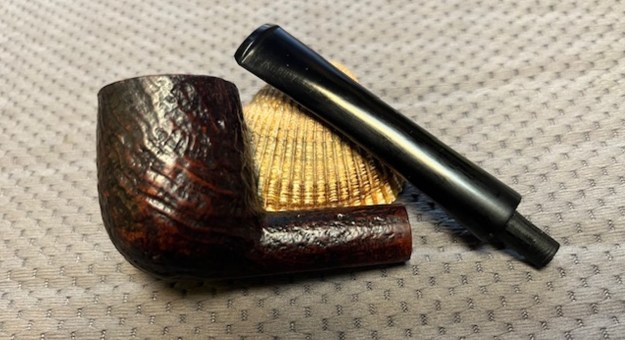
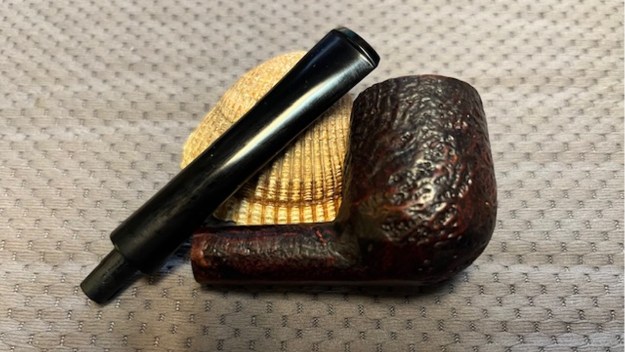
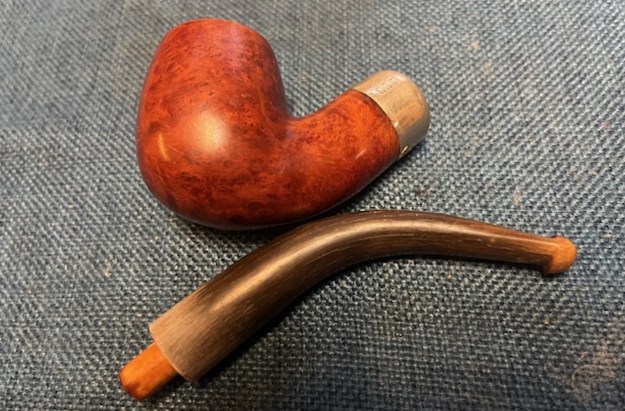
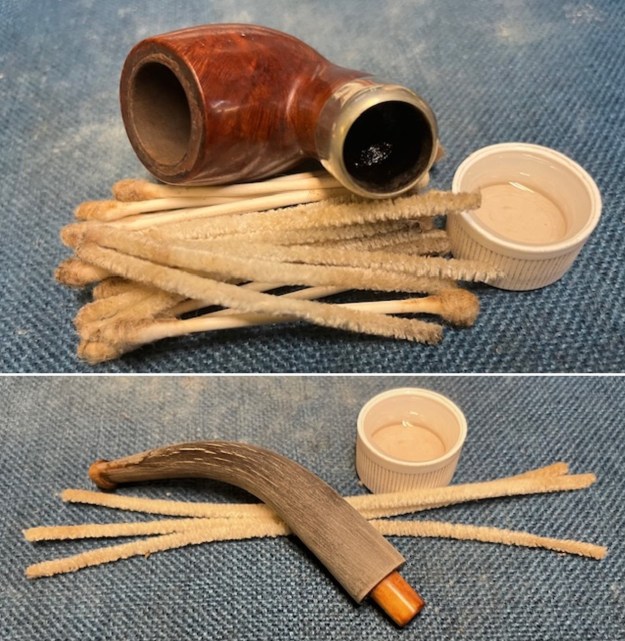
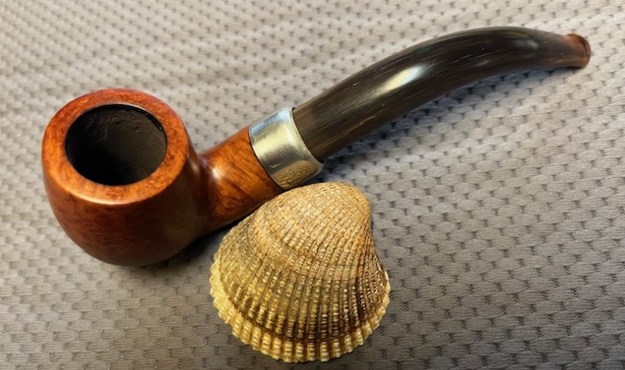
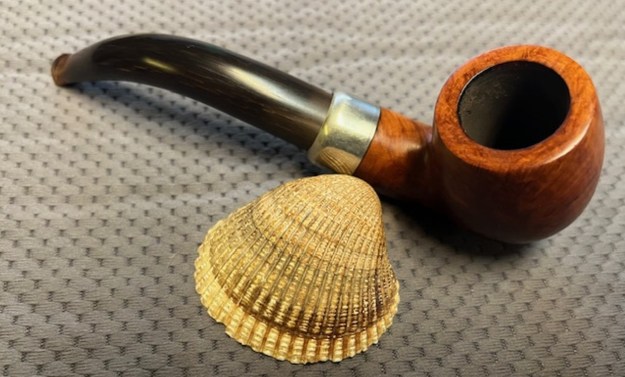
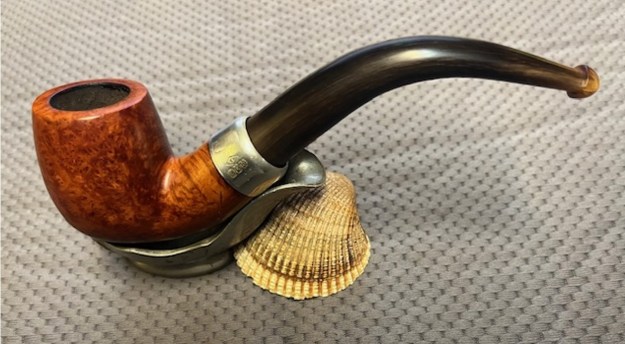
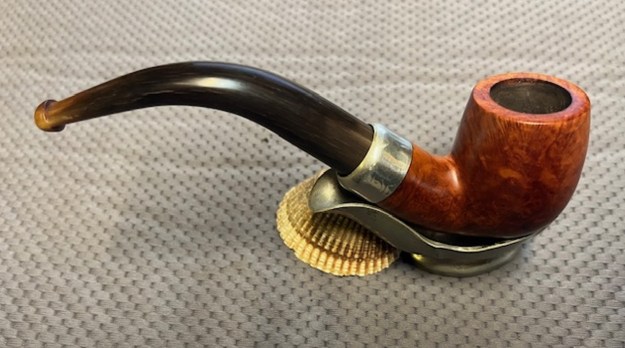
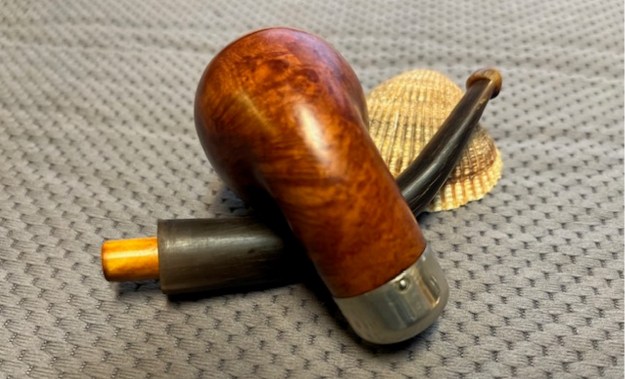
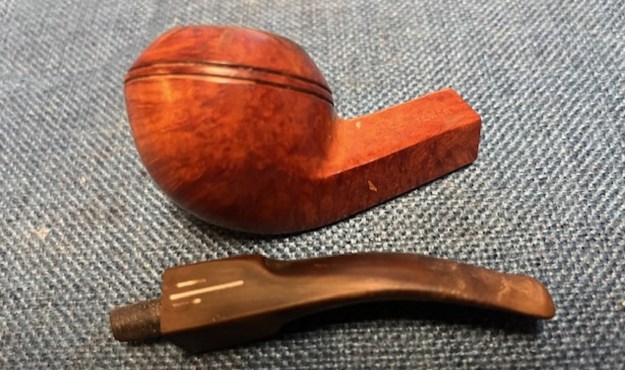
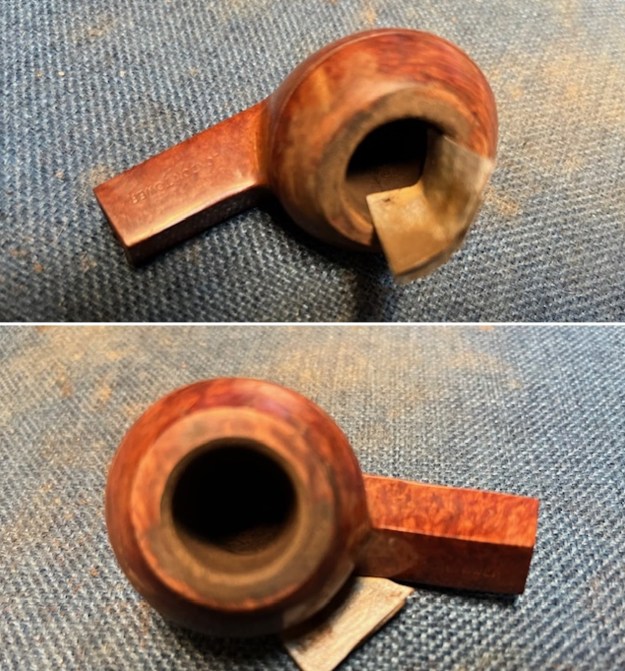
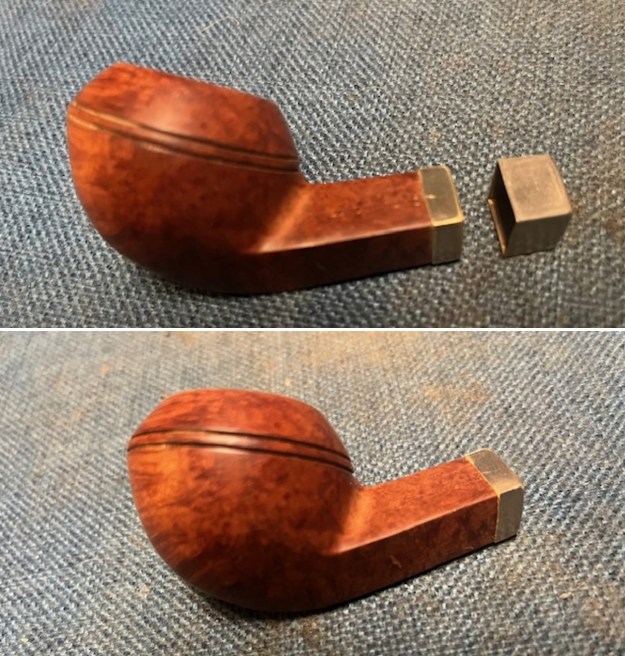
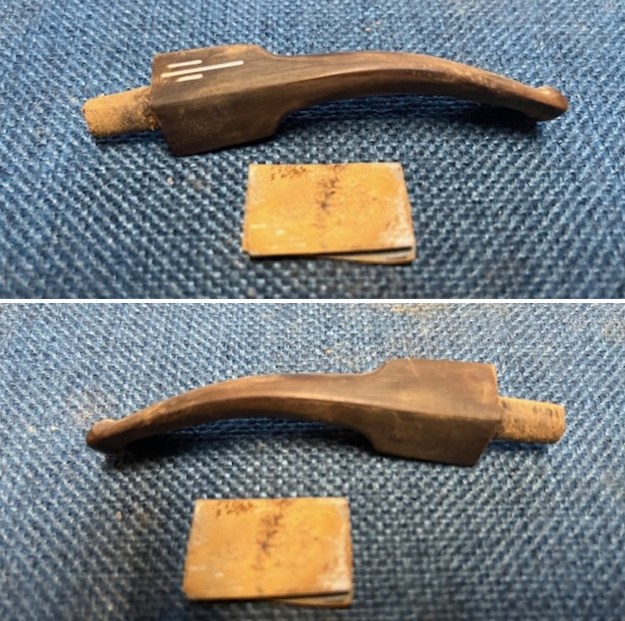
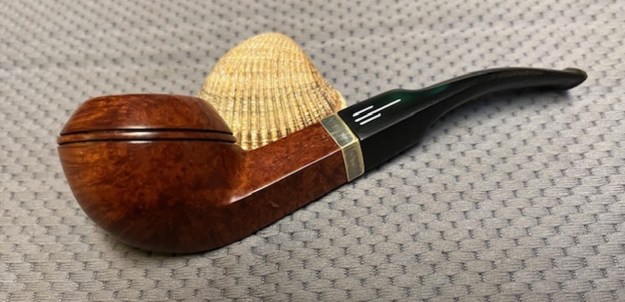
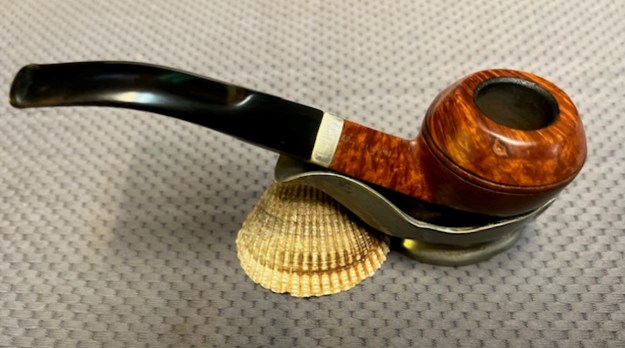
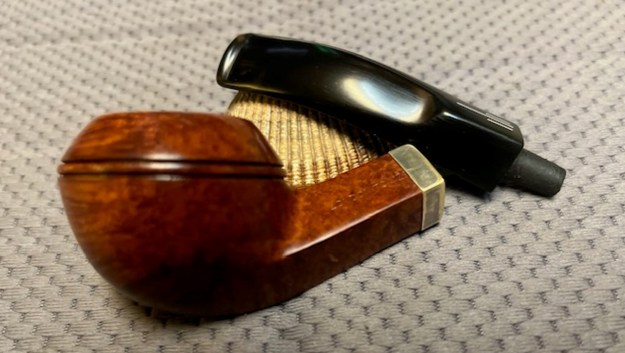
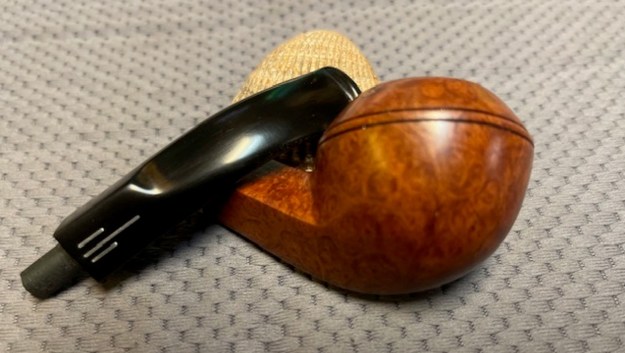
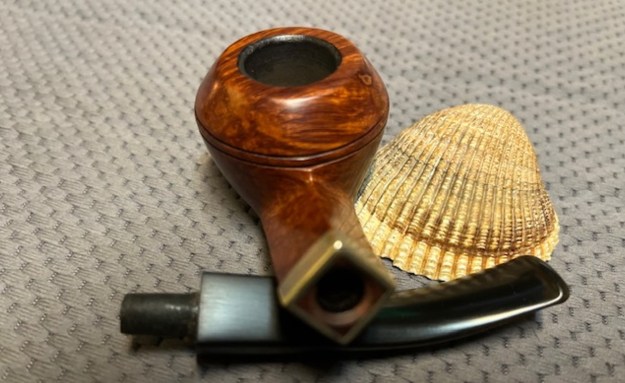
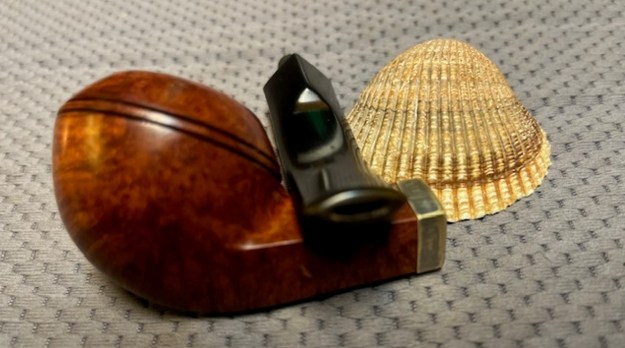
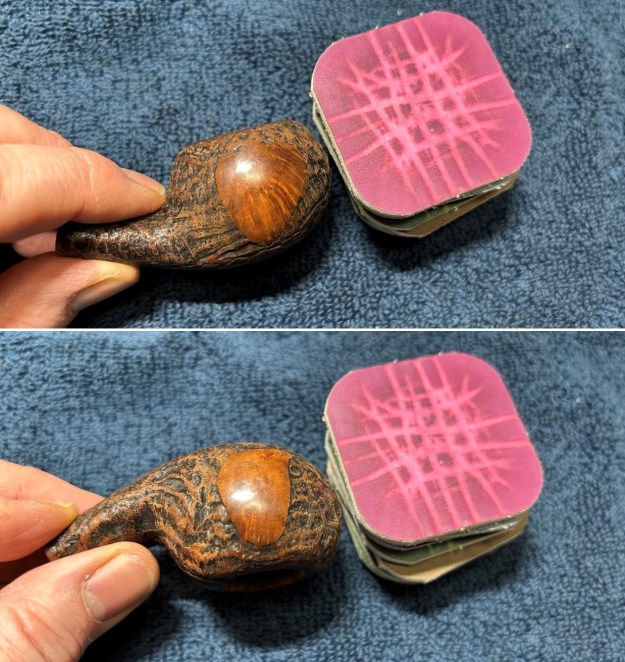
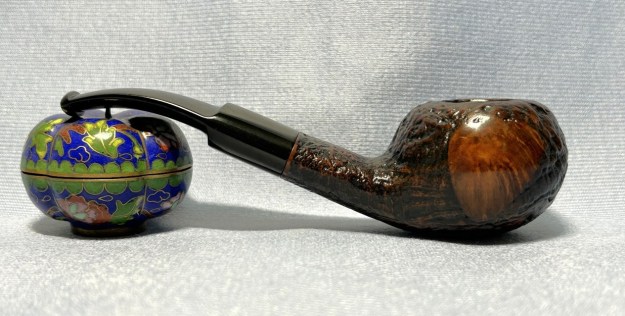
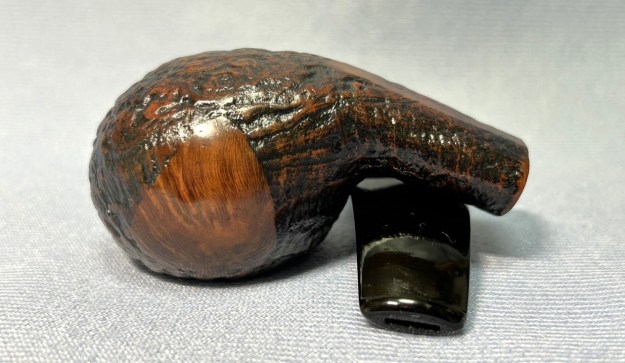
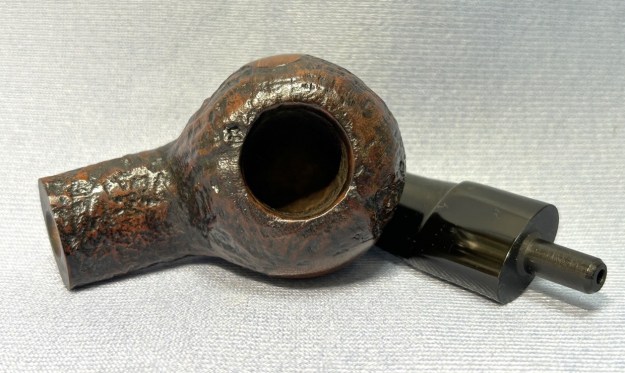
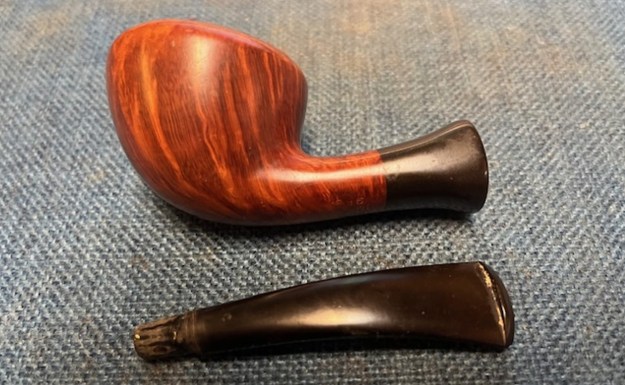
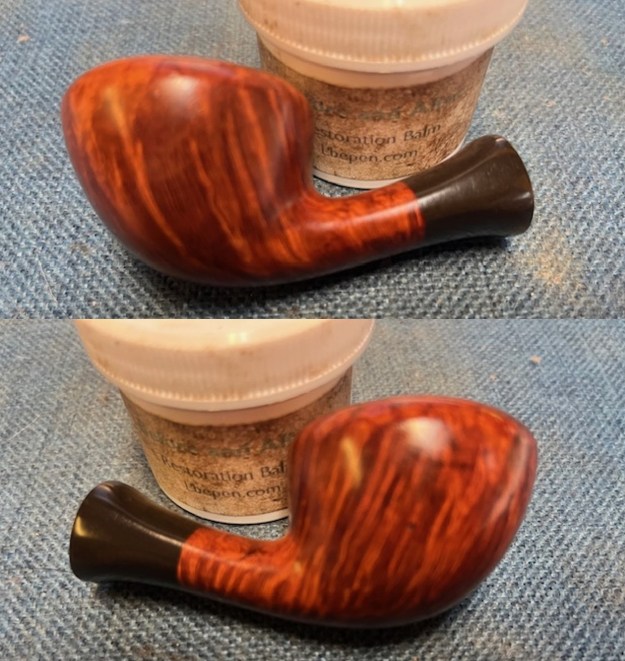
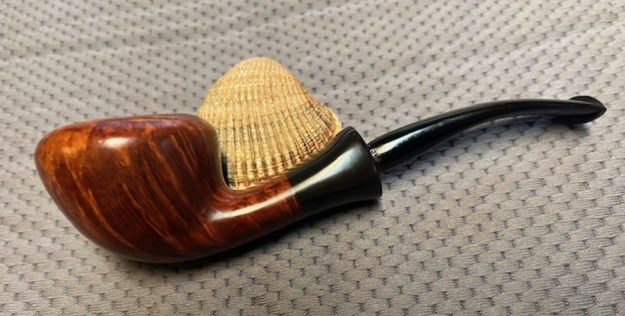
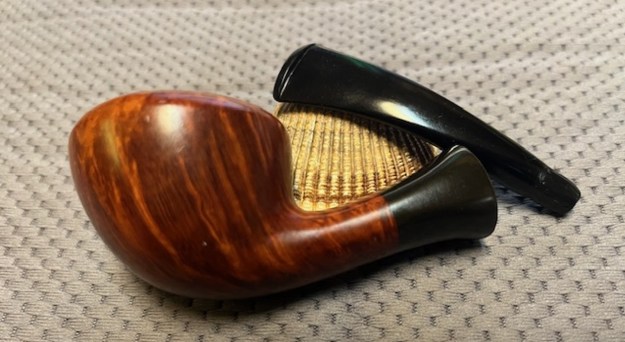
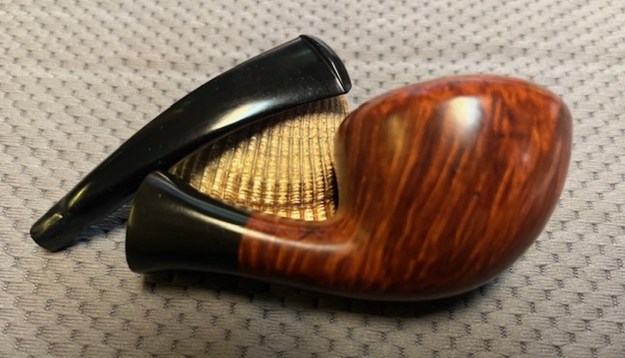
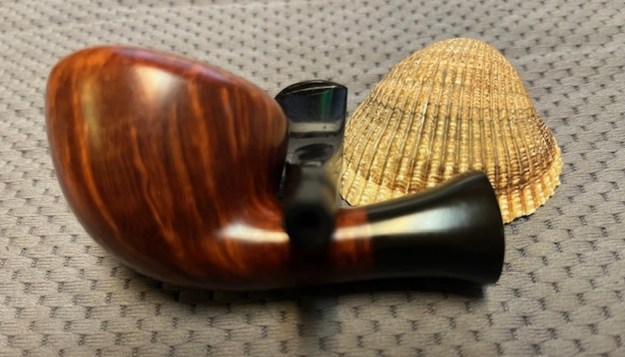
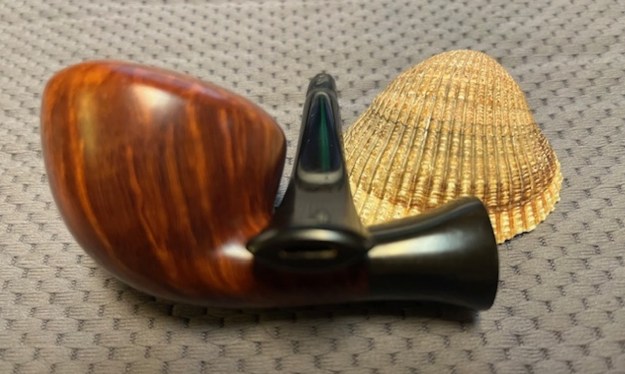
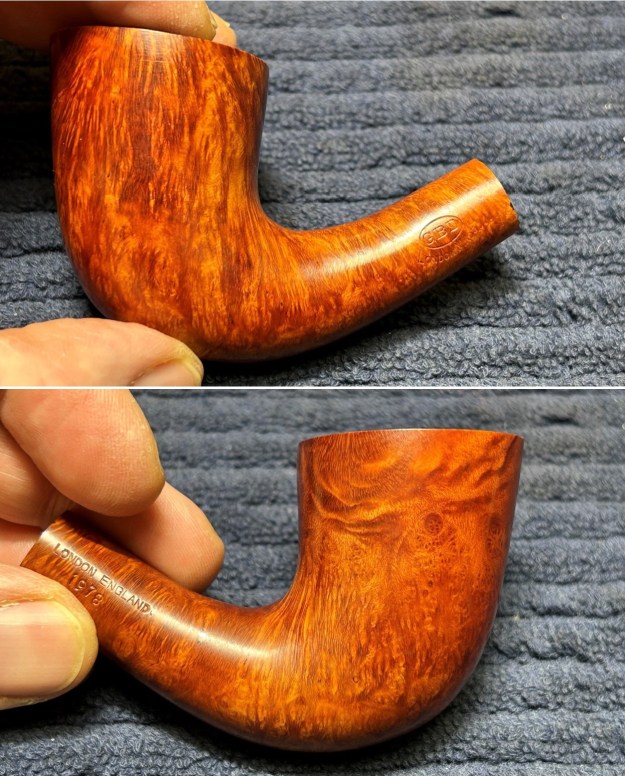
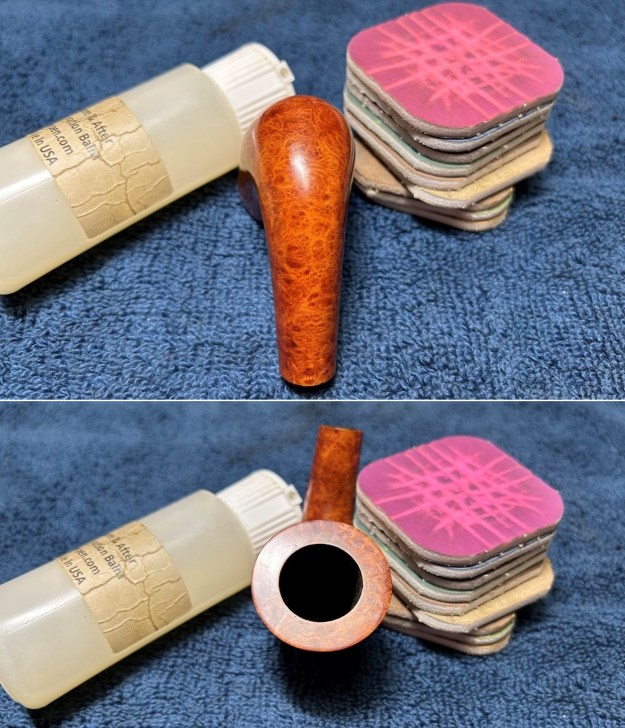
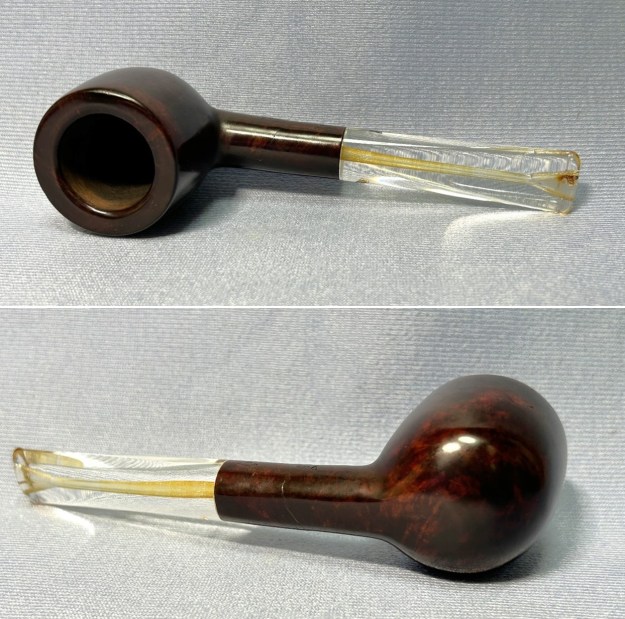
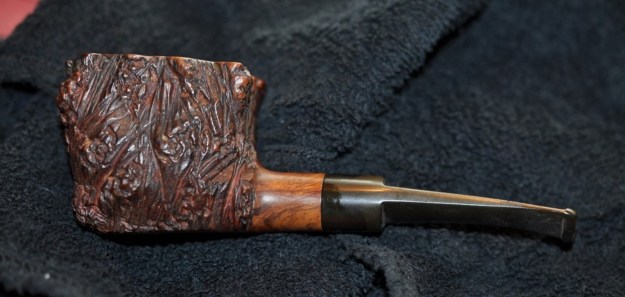
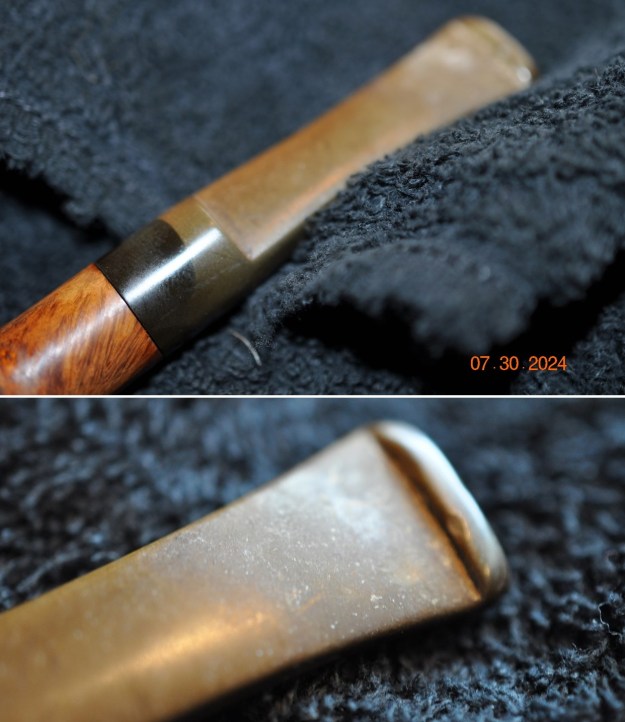
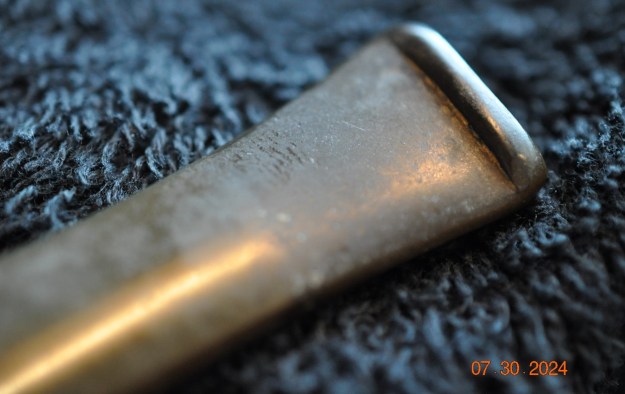
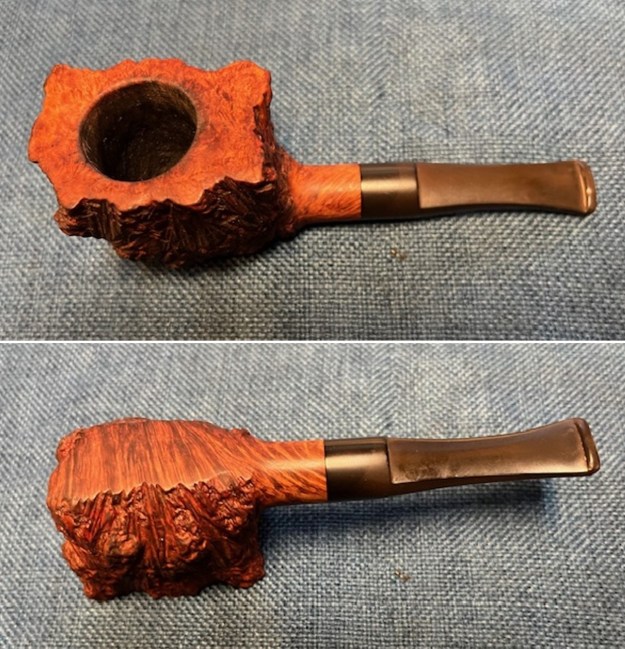
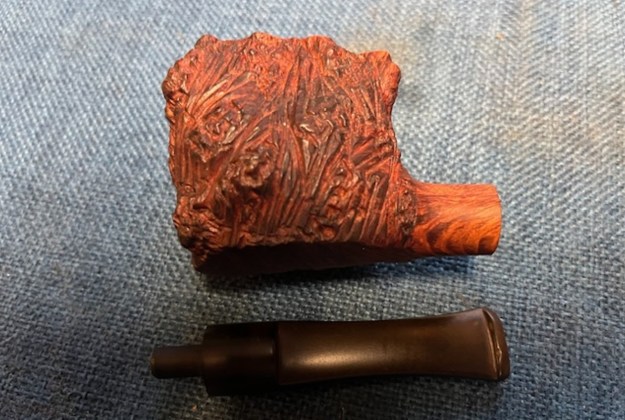
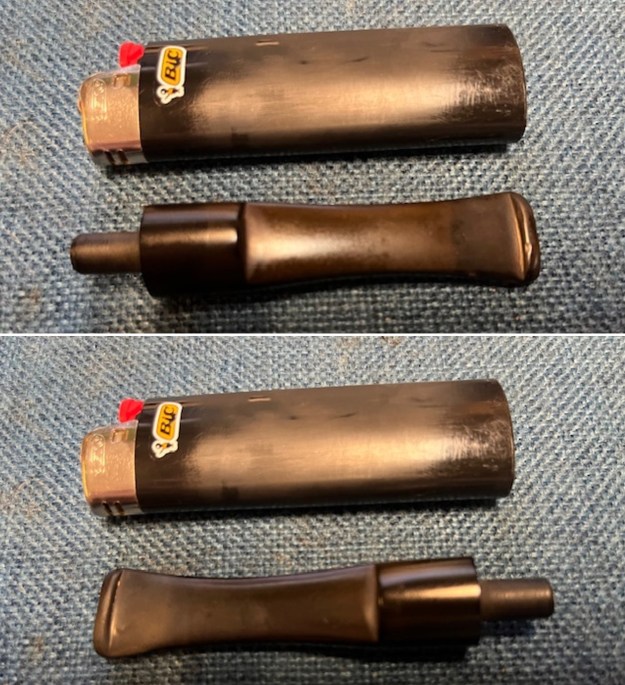
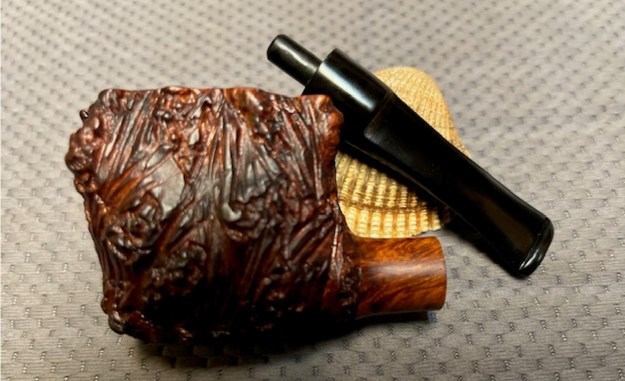
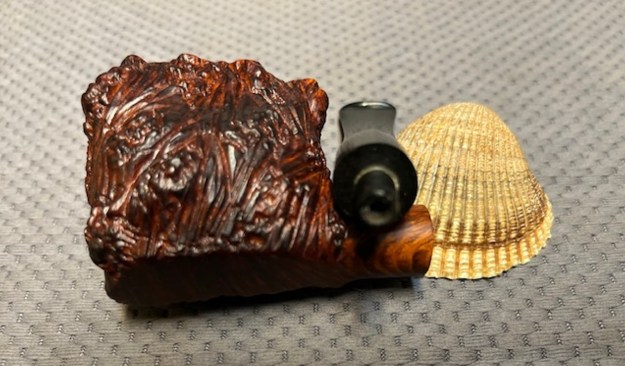
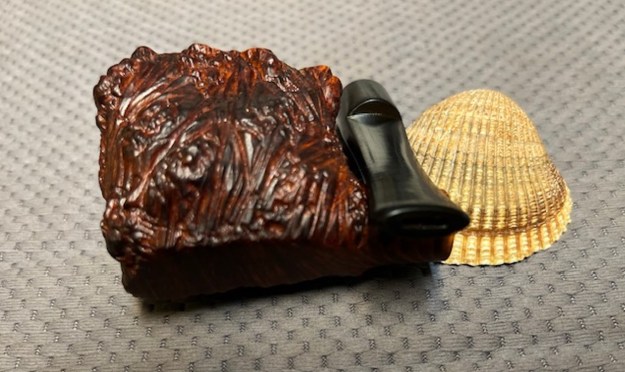
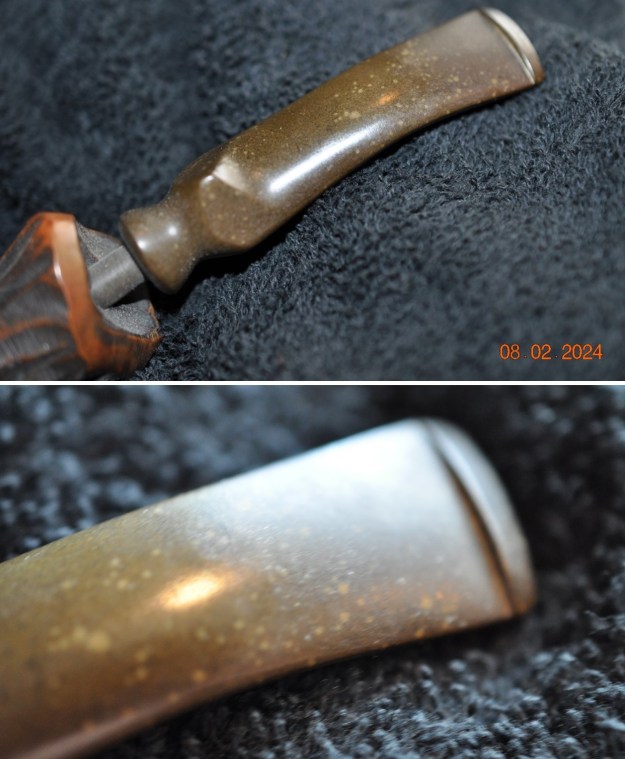
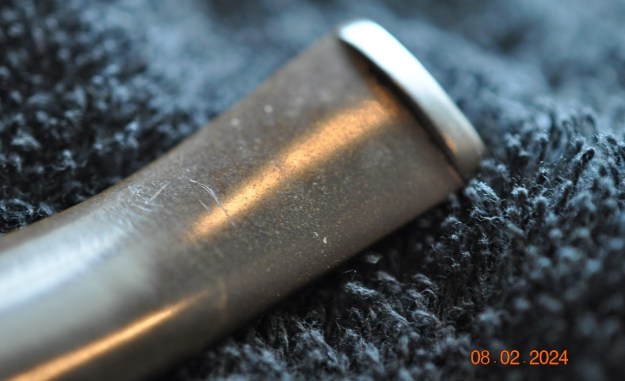
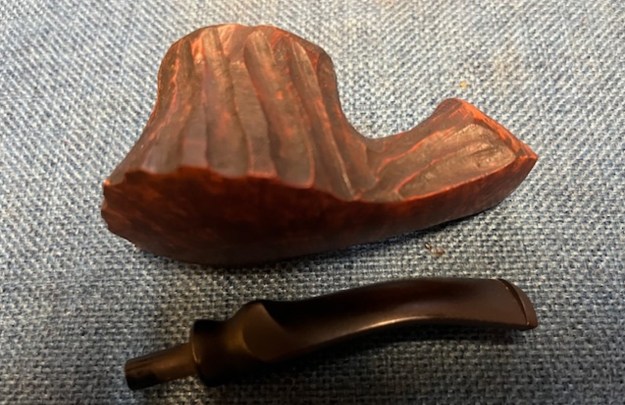
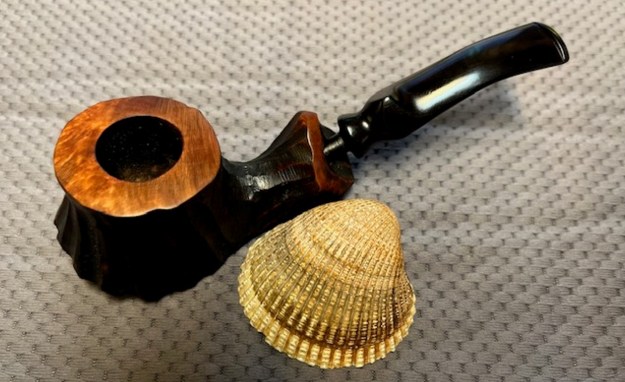
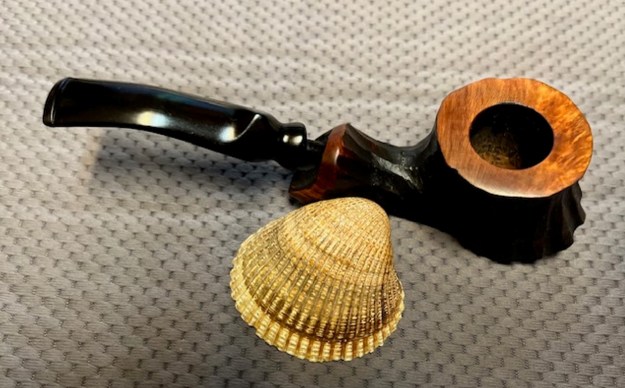
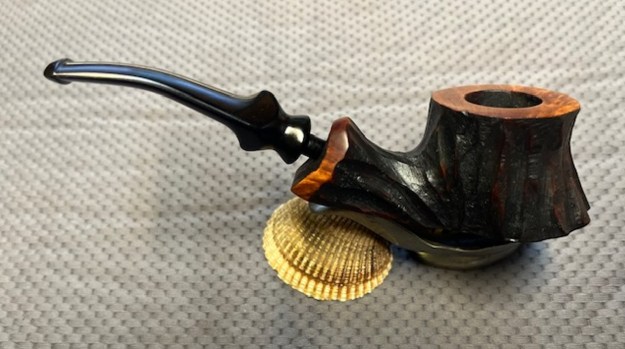
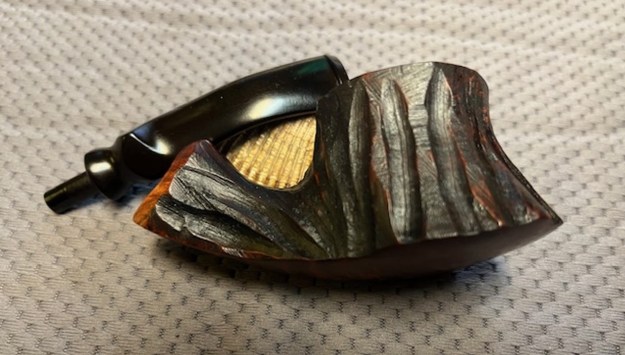
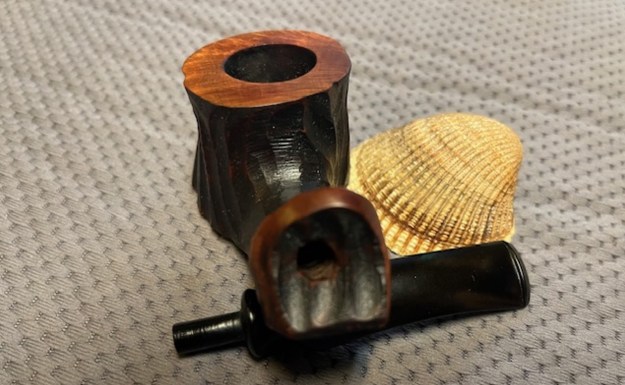
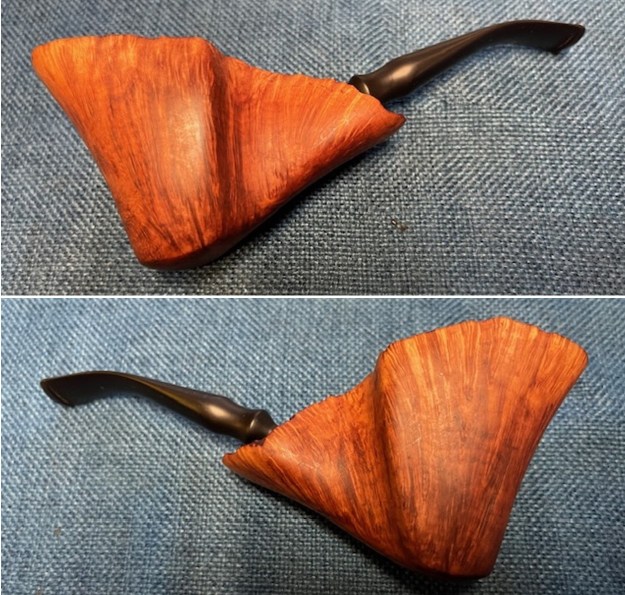
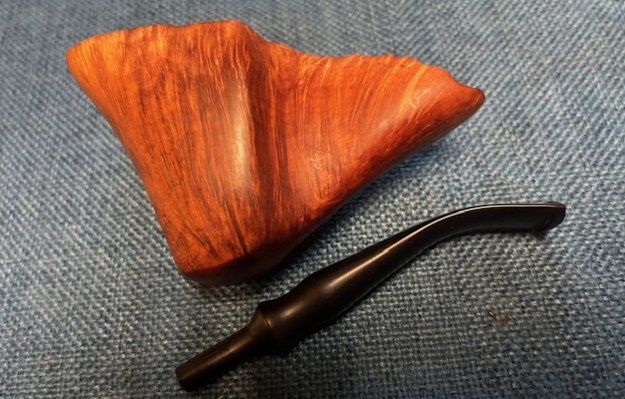
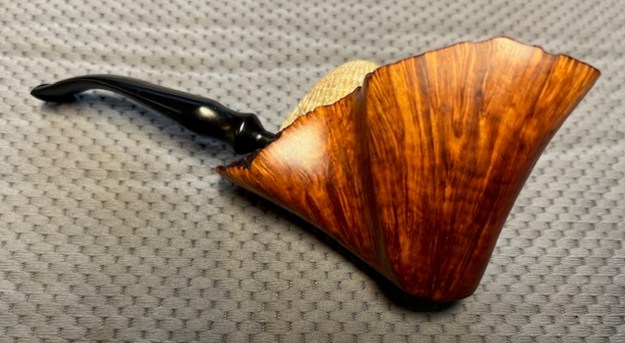
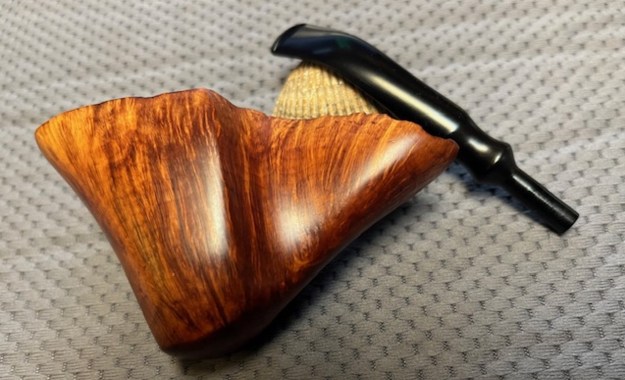
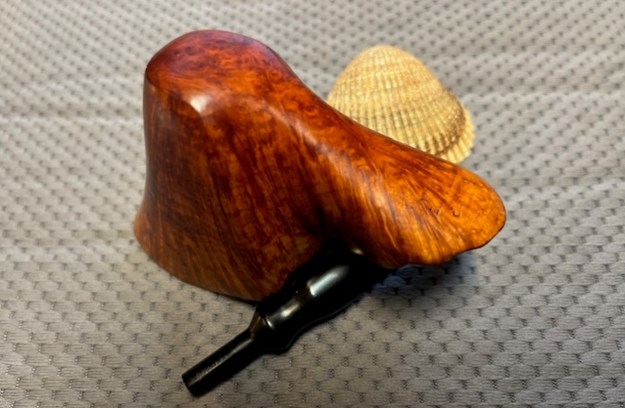
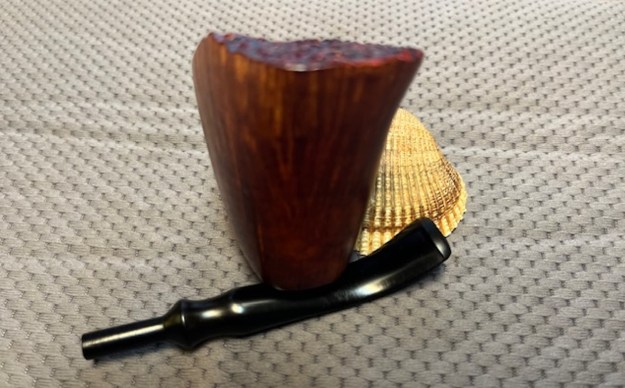
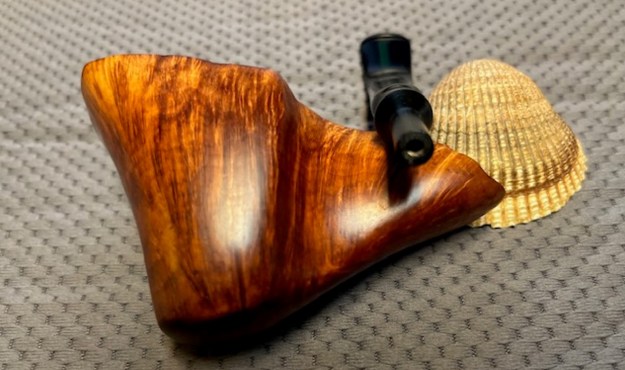
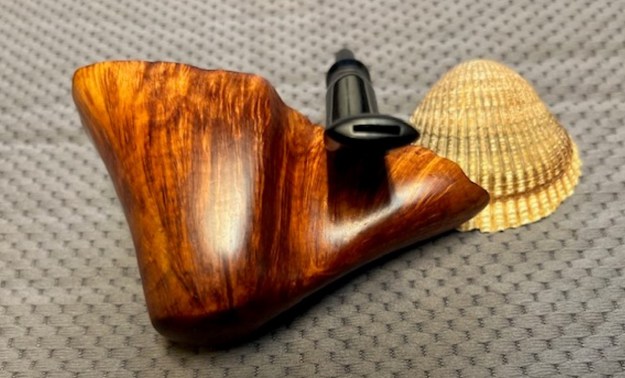
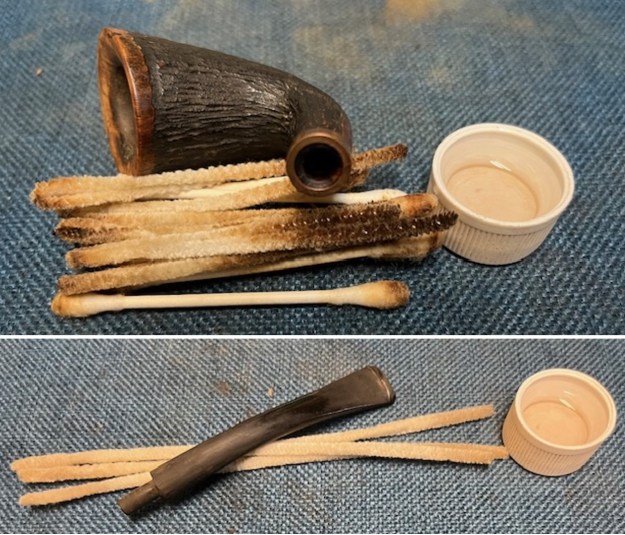
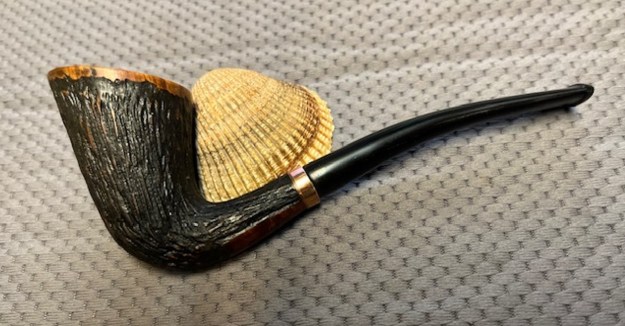
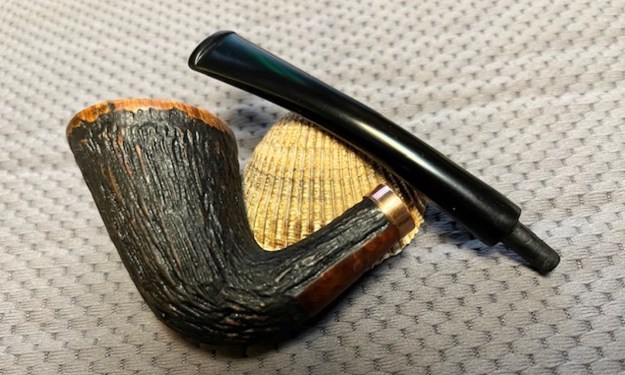
 I took a photo of the stem I had chosen for the pipe next to the bowl so you can see the overall look of the stem and shank. It is slightly larger in diameter than the shank so that will need to be adjusted. The tenon is also slightly larger.
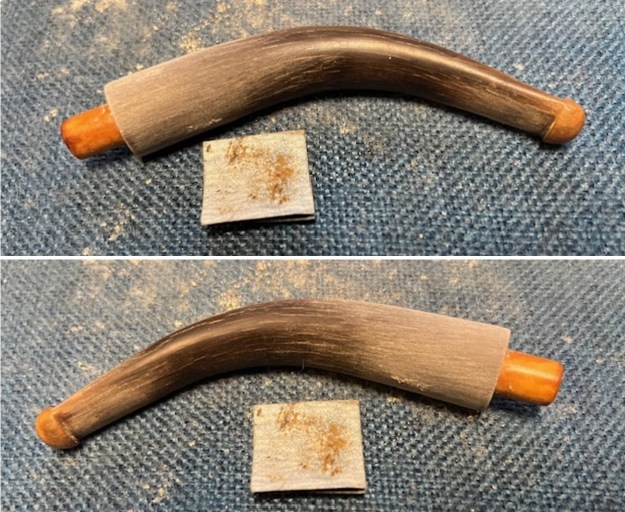
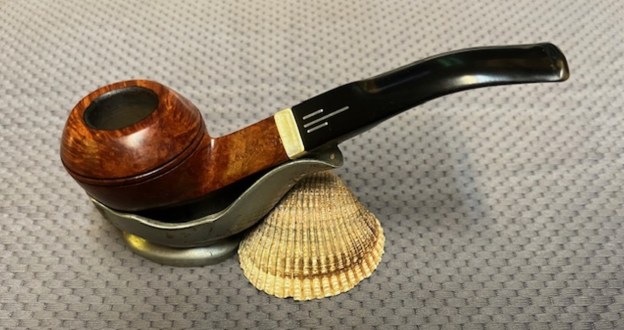
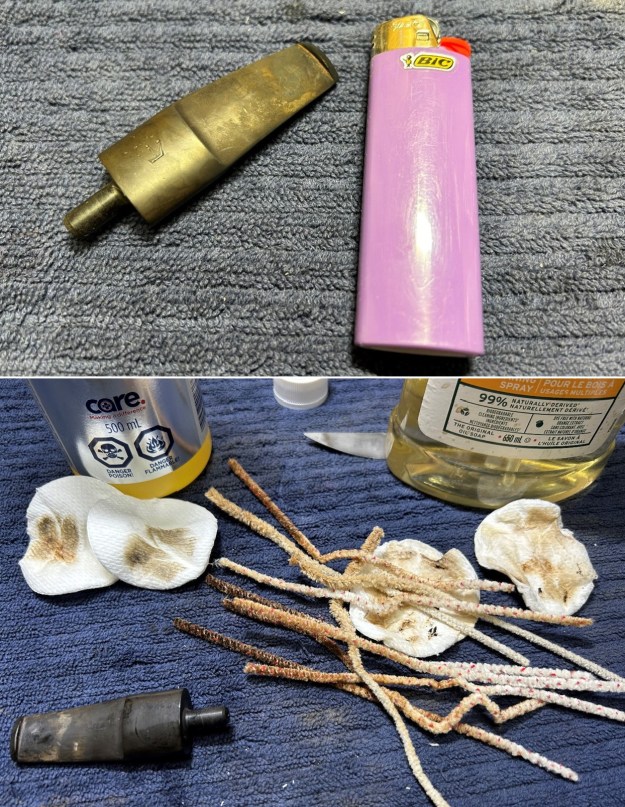
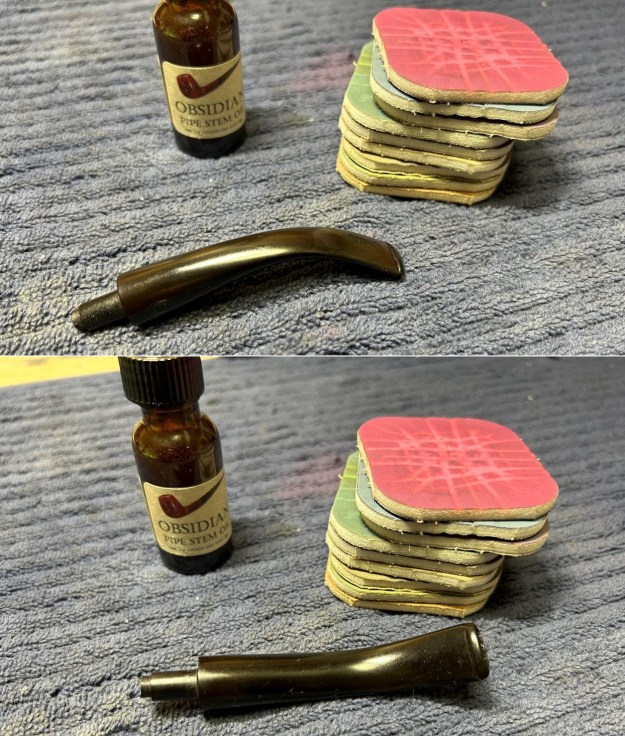
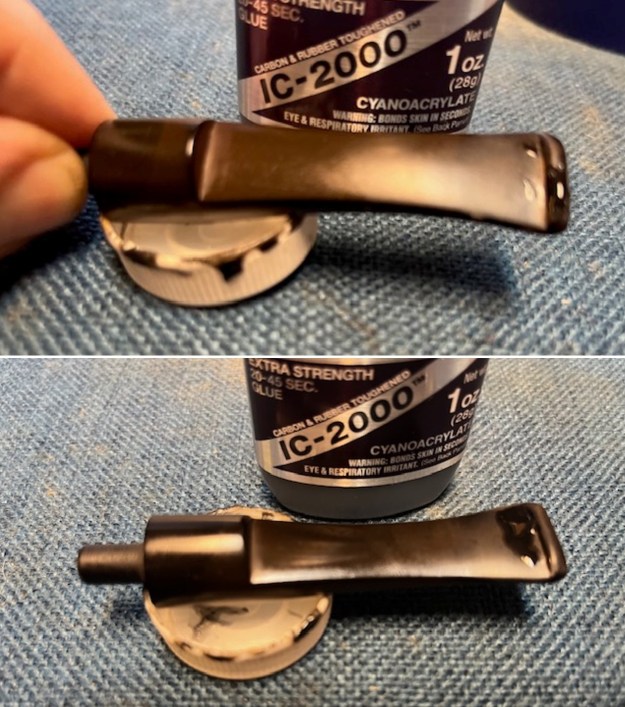
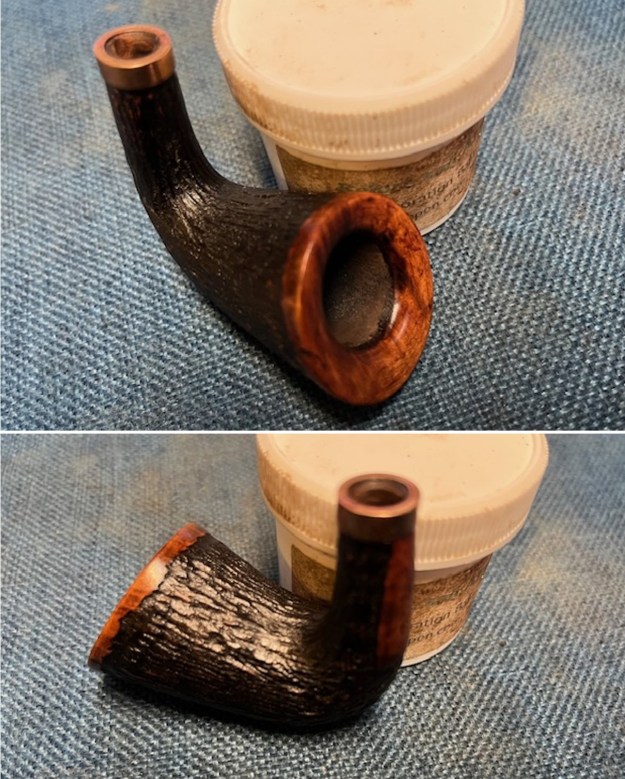
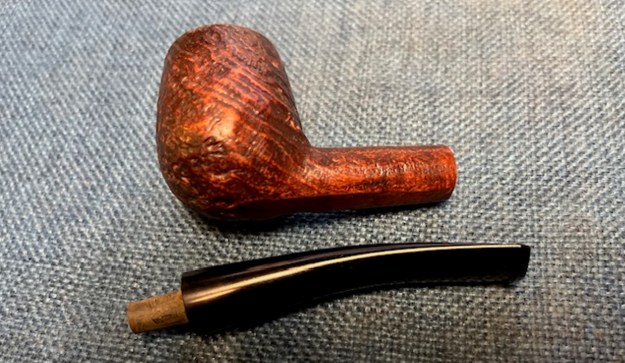 I used a flat needle file to reduce the diameter of the tenon so that it would fit the shank of the pipe. It did not take too much to do and once it was removed it looked very good.
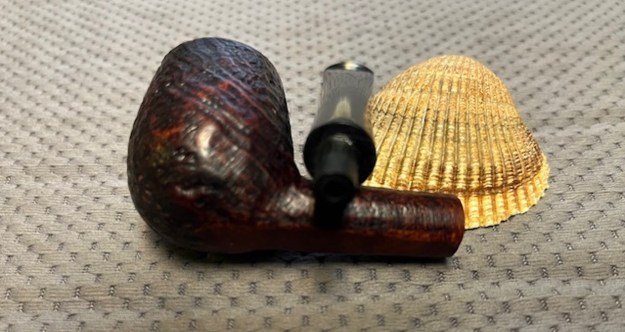
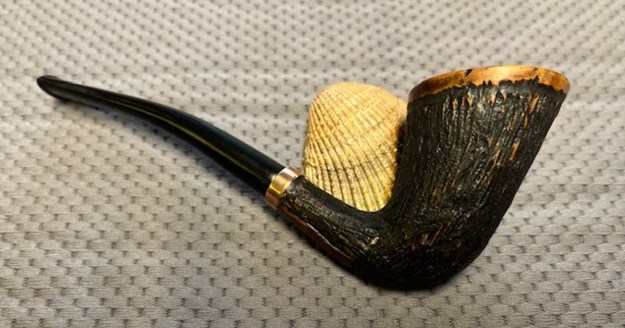
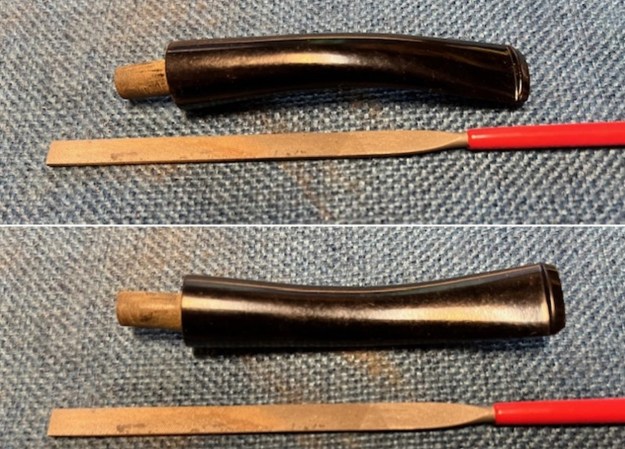 I heated the stem with the flame of a Bic lighter to soften the vulcanite. Once it was soft enough I was able to straighten the stem to the angle that I wanted.
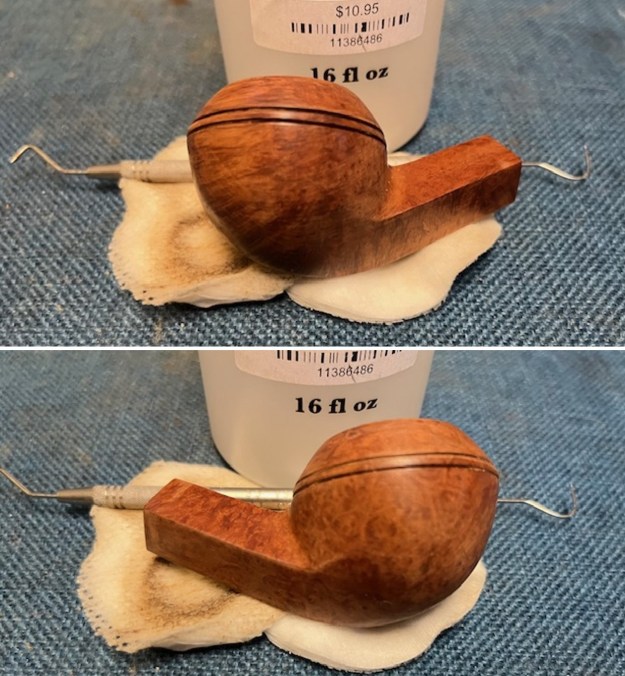
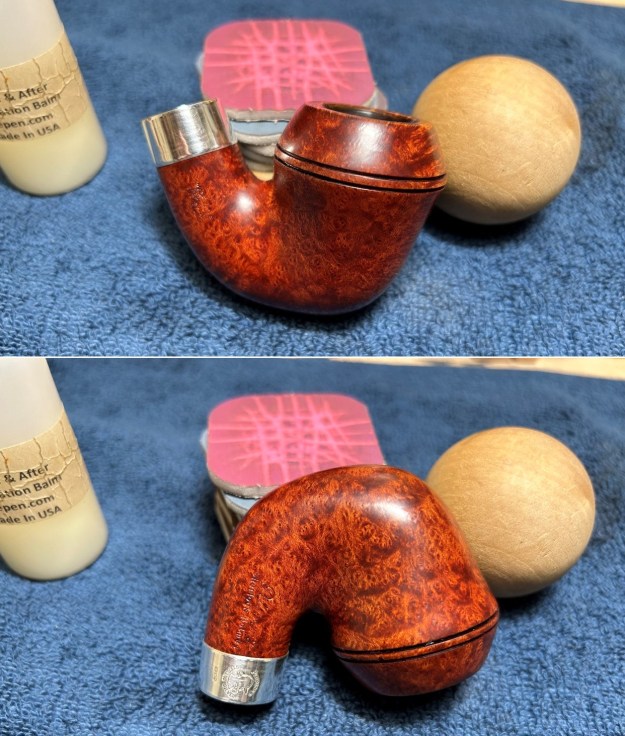
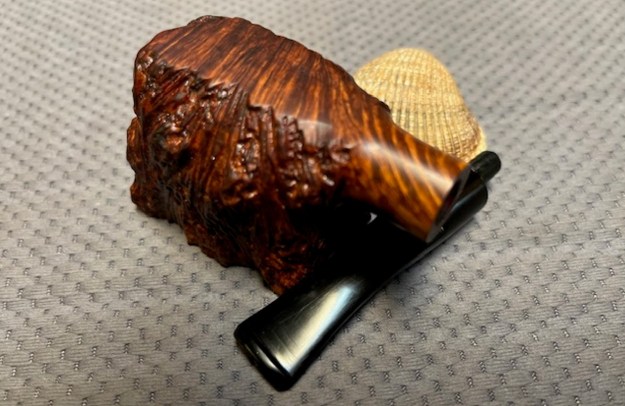
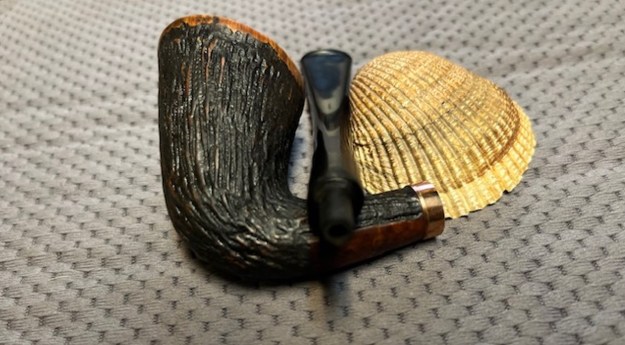
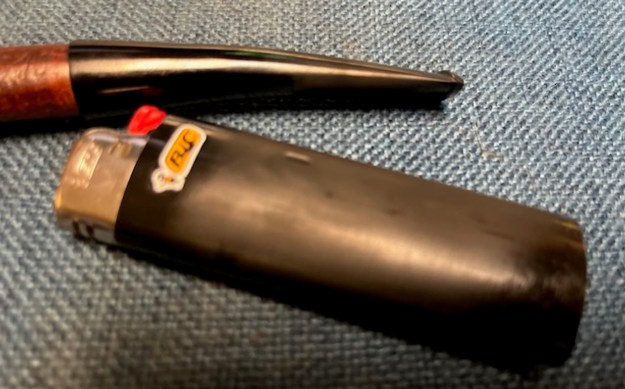 I fit the stem to the shank and used a rasp to reduce the diameter of the stem. I wanted it to be a smooth transition from the shank to the stem. It was looking much better.
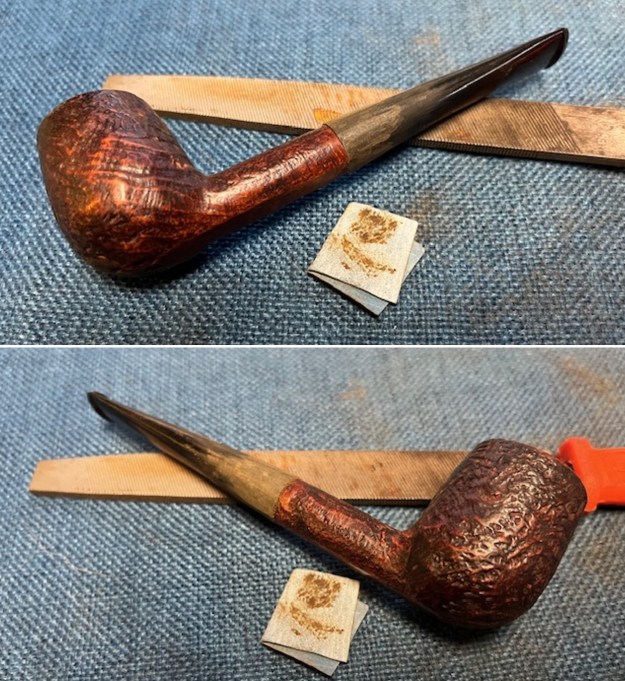
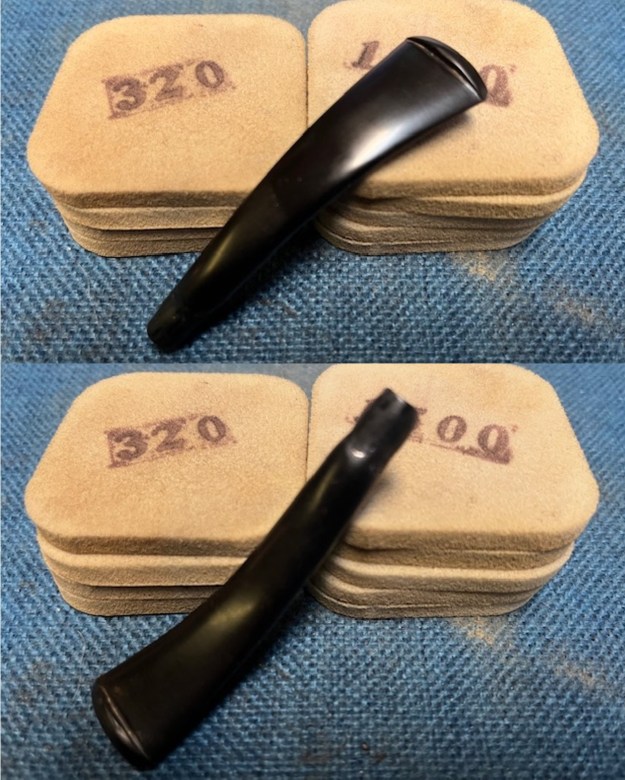
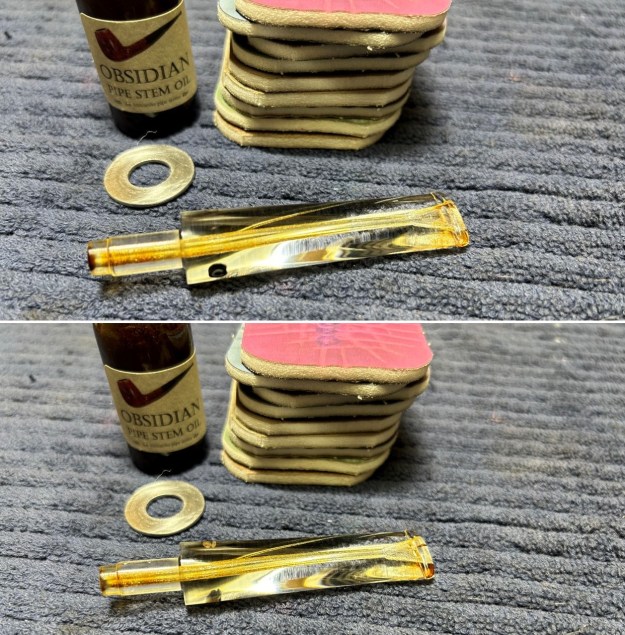
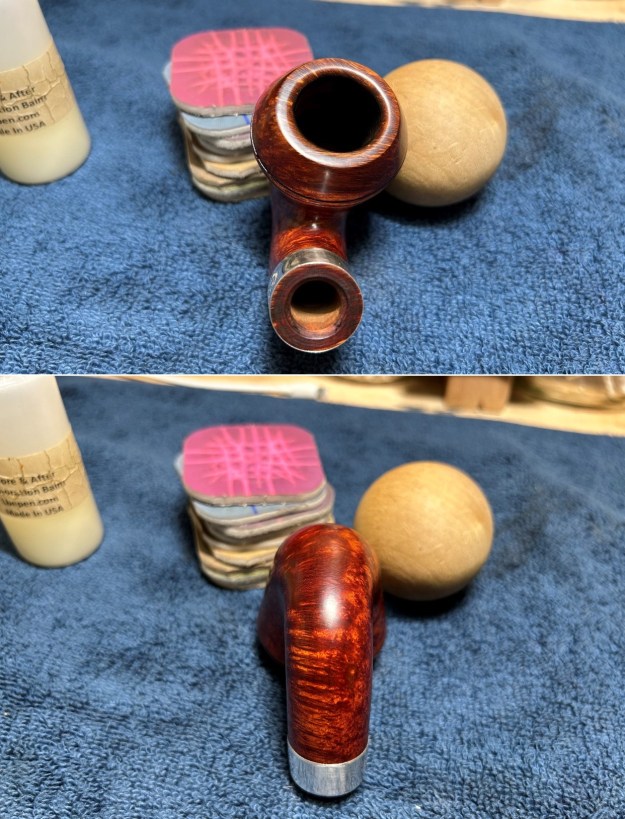
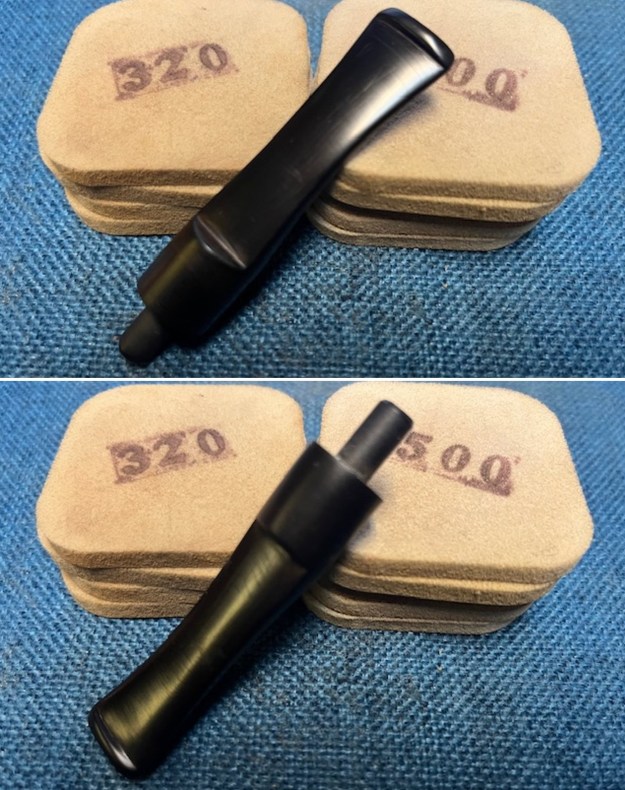
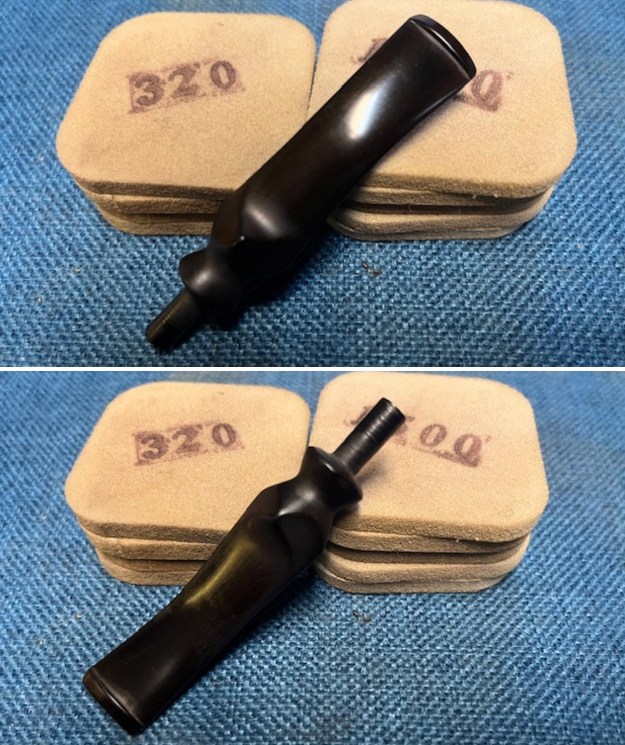
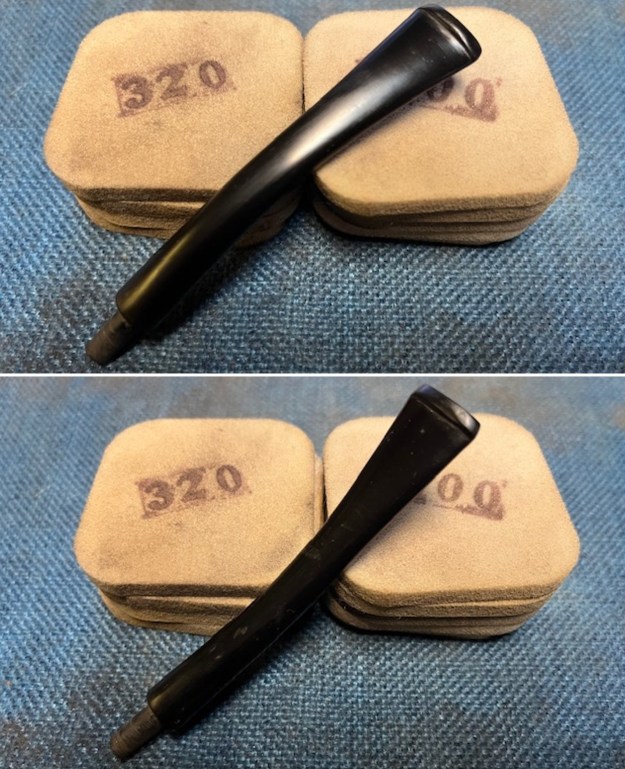
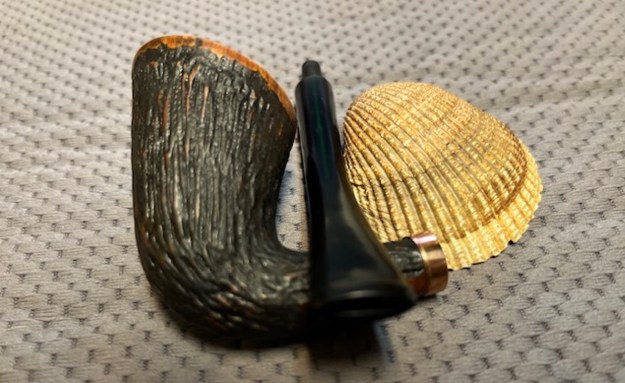
 I sanded the reduced stem diameter with 200 grit sandpaper to remove the file marks and smooth out the scratches. The transition began to really look good and it was smooth to the touch.
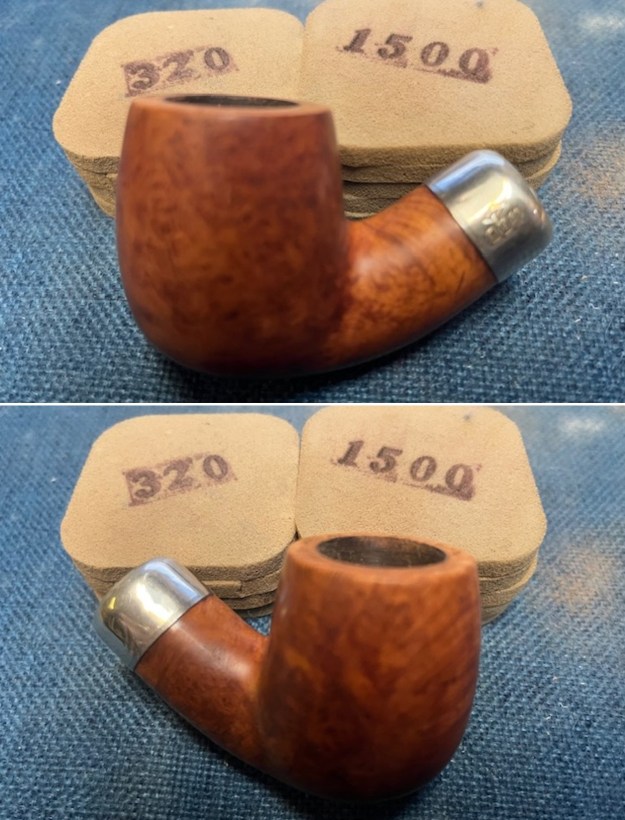
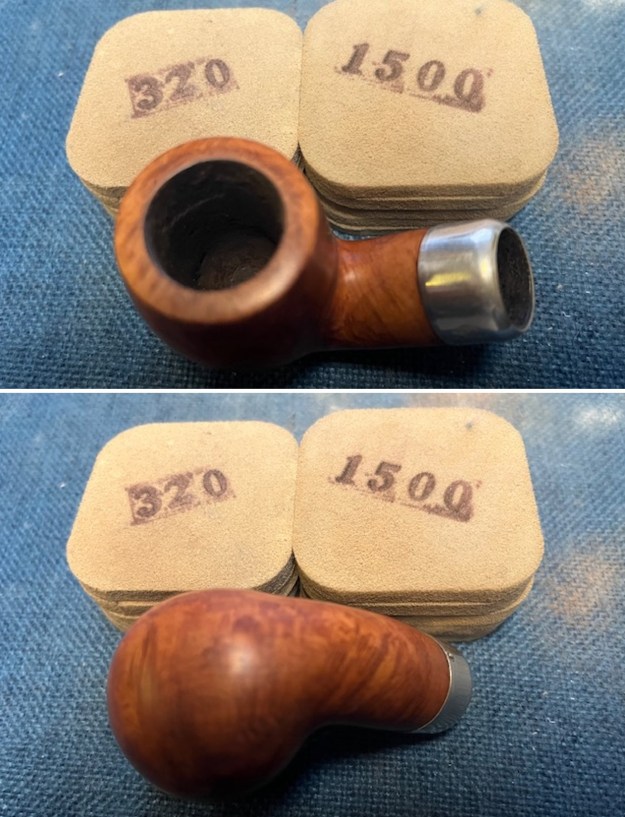
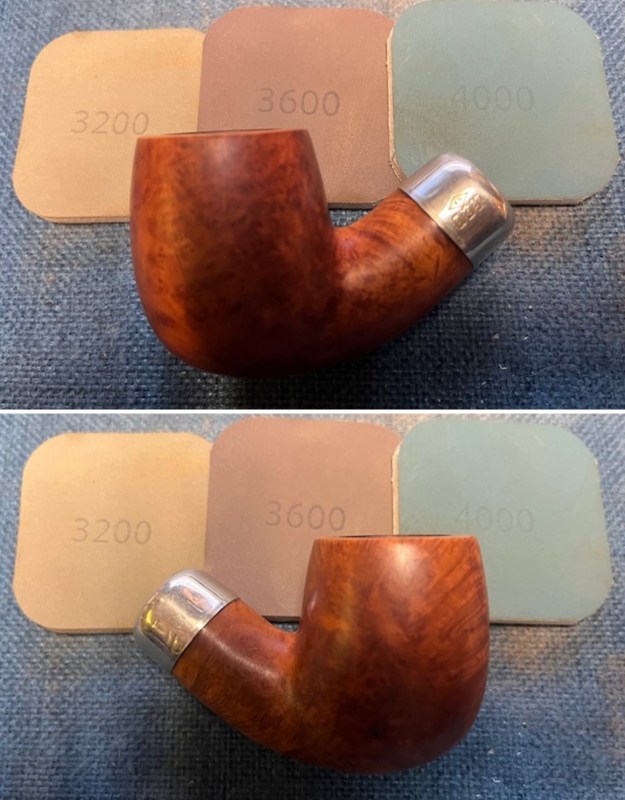
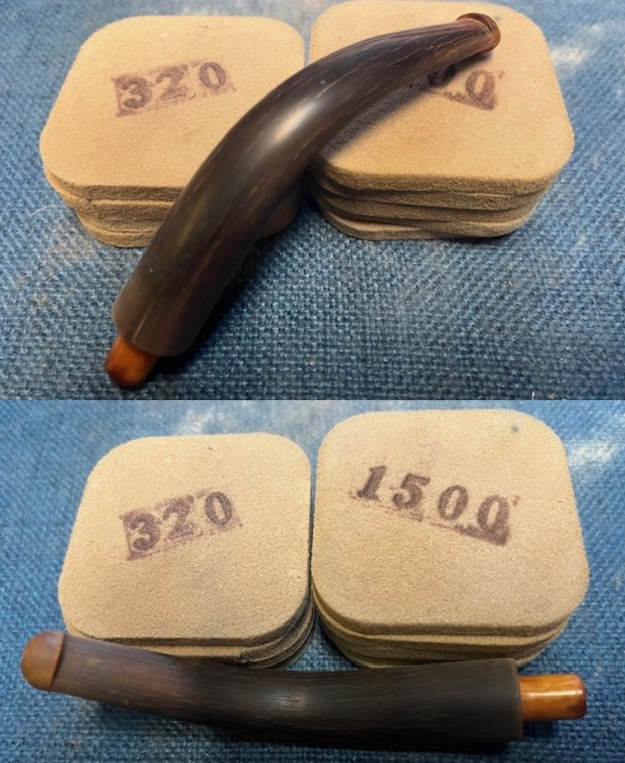
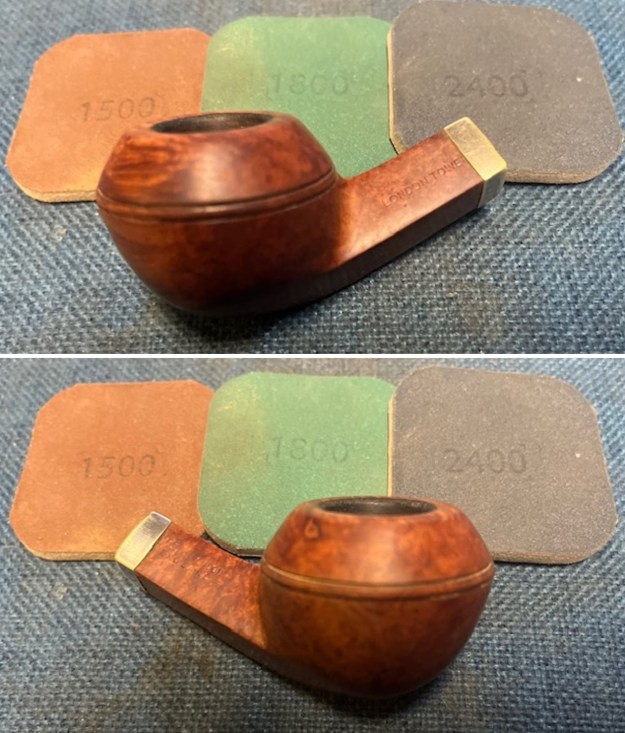
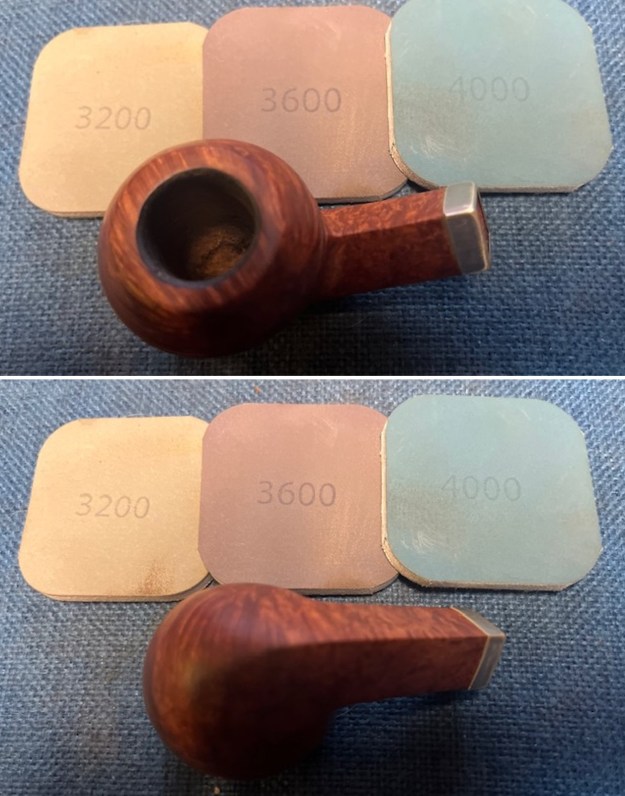
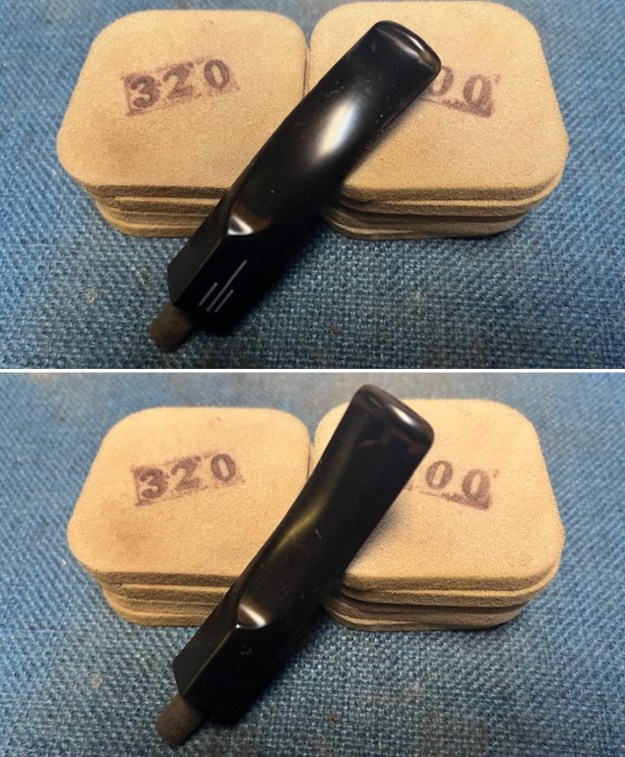
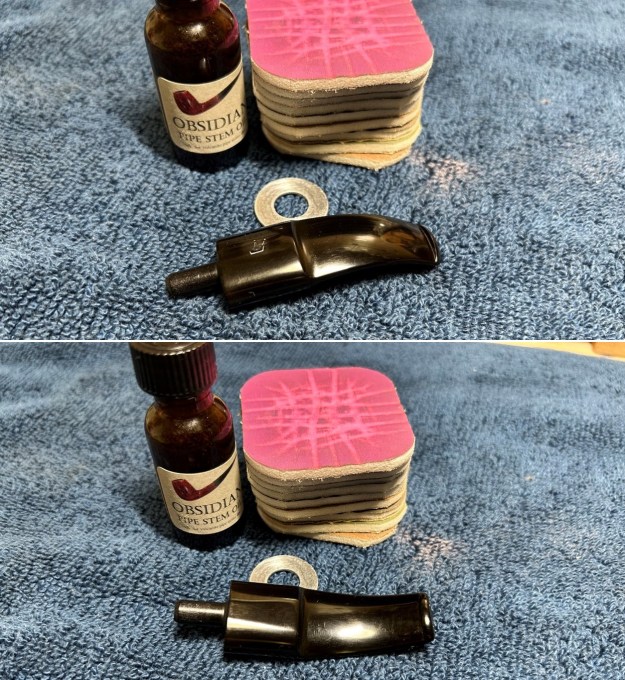
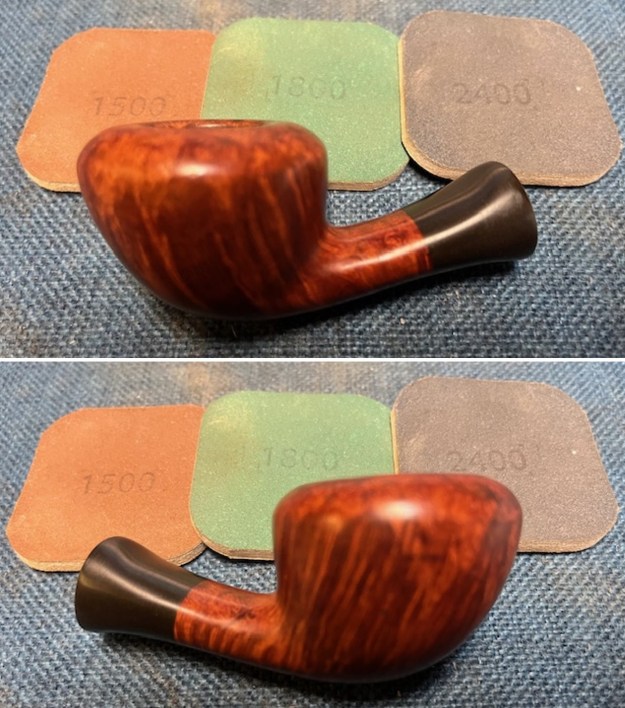
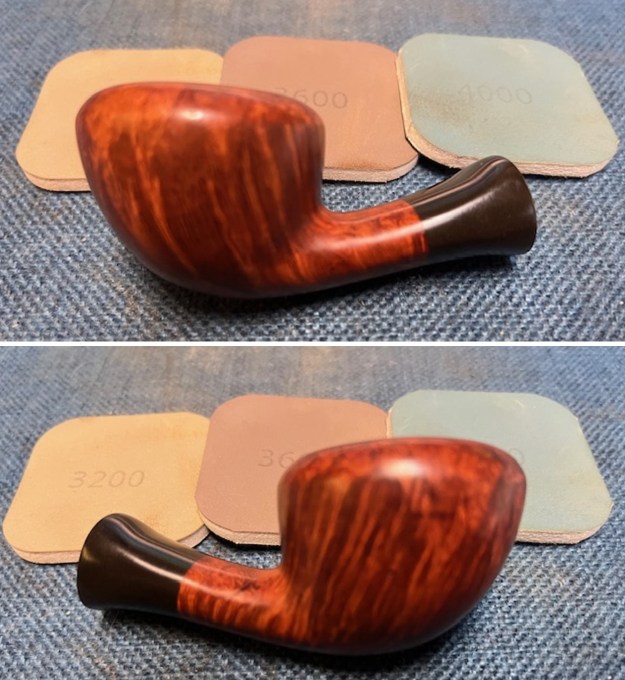
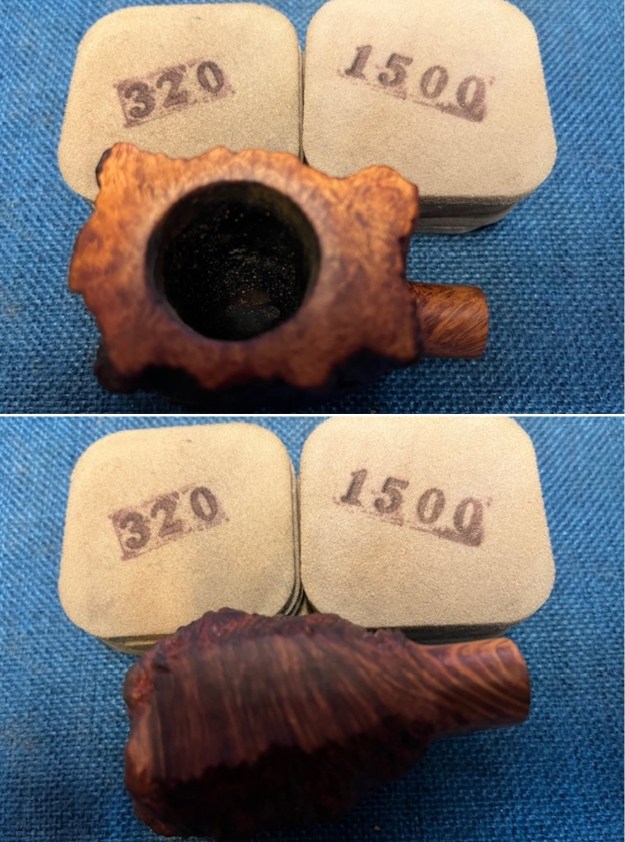
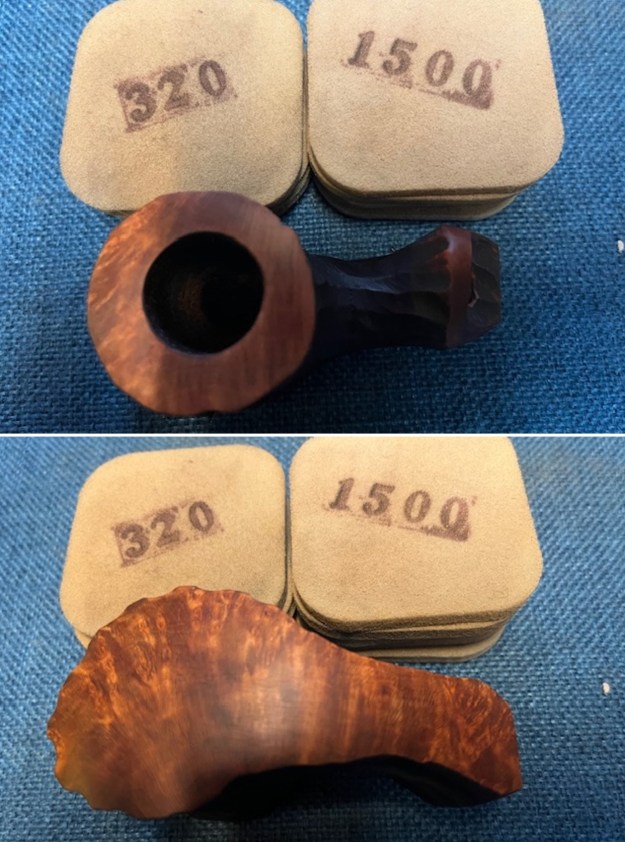
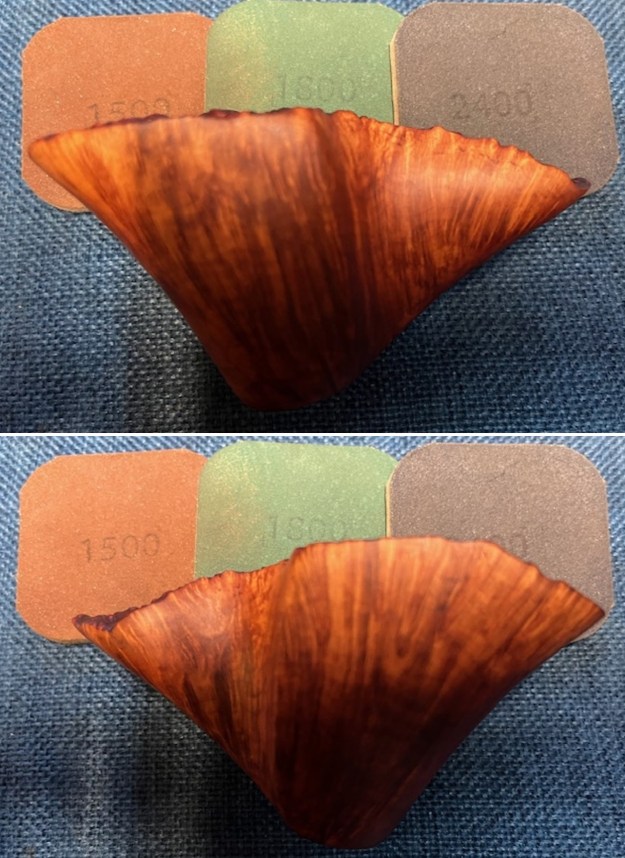
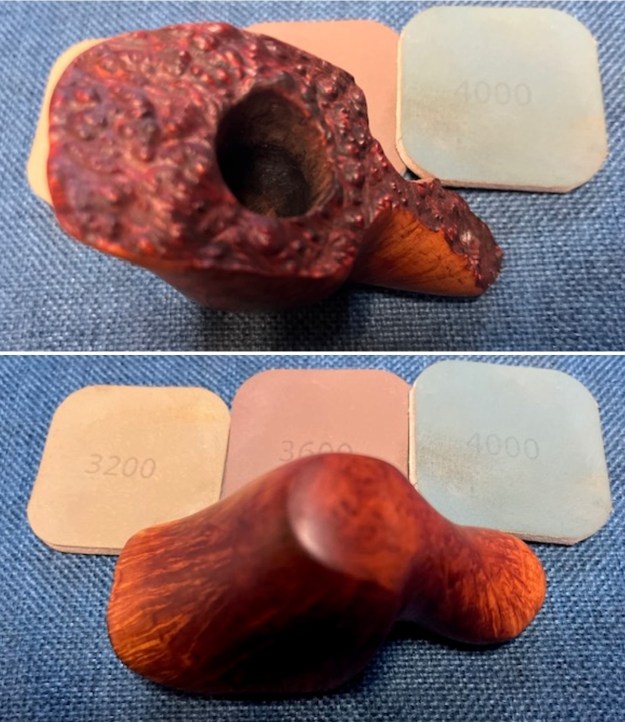
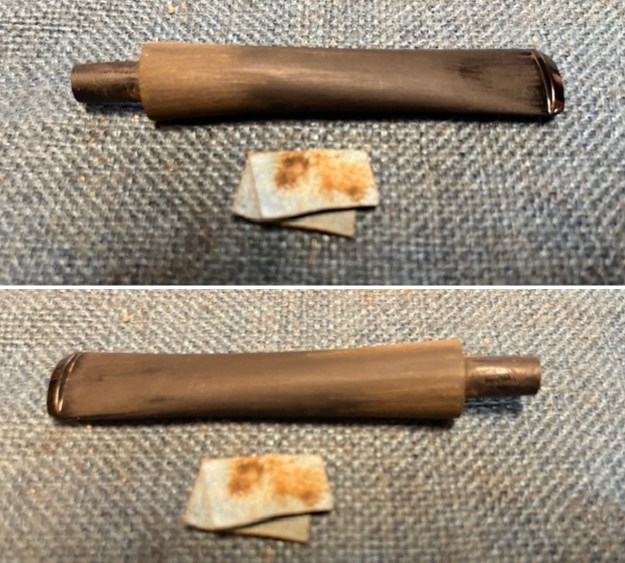 I sanded out the scratches in the vulcanite with 320-3500 grit sanding pads. I wiped the stem down after each sanding pad with a cloth impregnated with Obsidian Oil. It started to take on a deep shine.
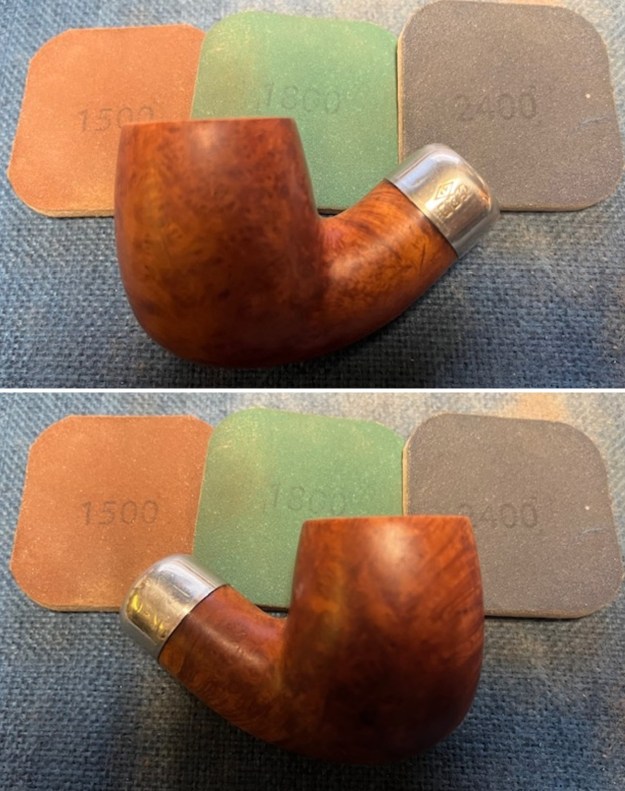
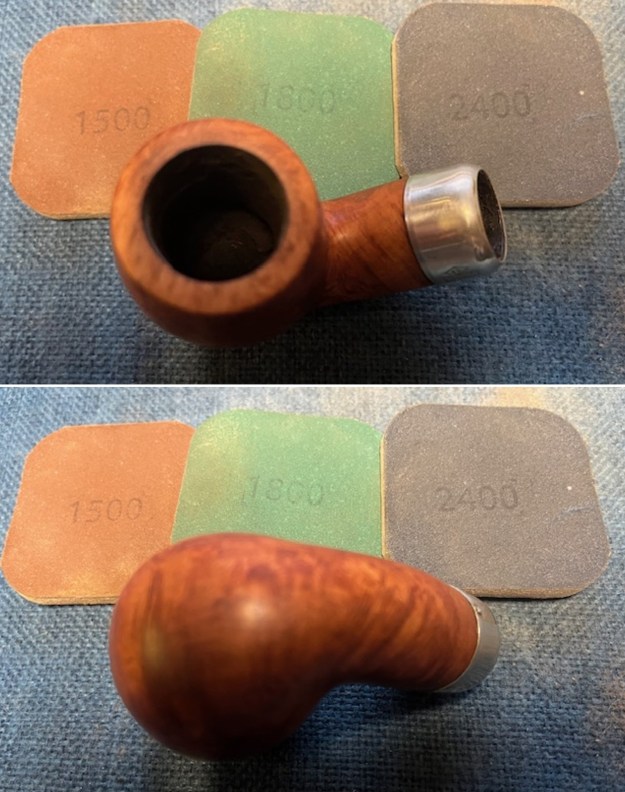
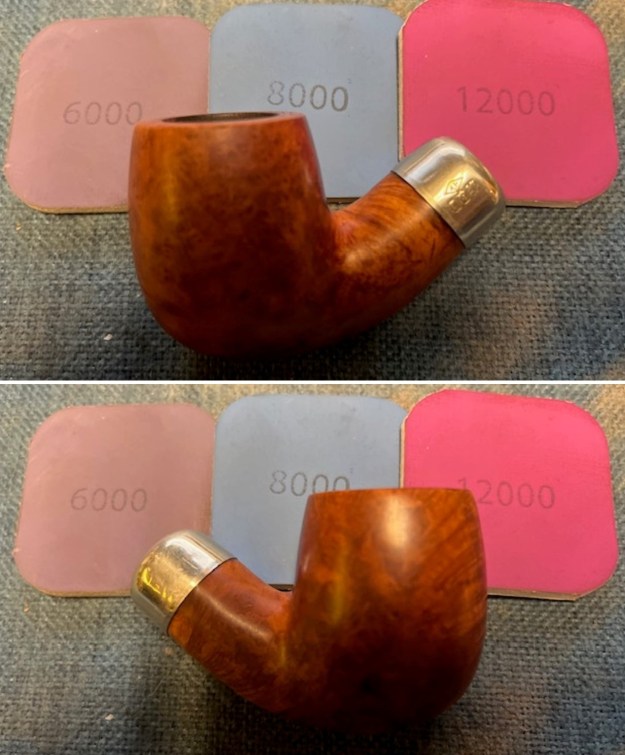
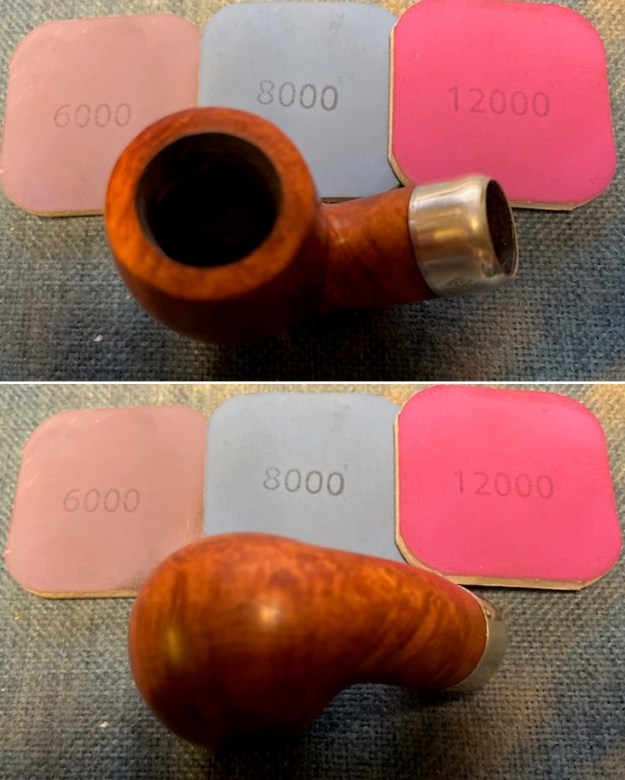
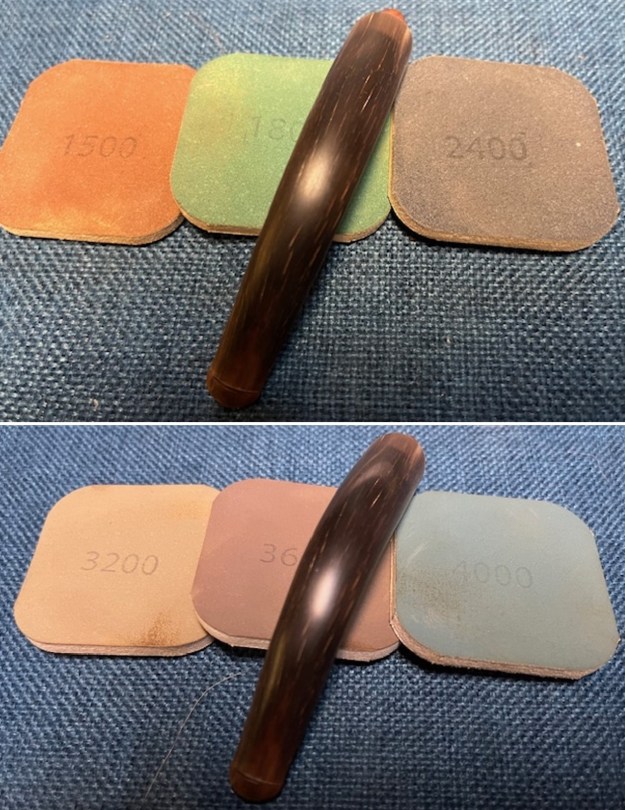
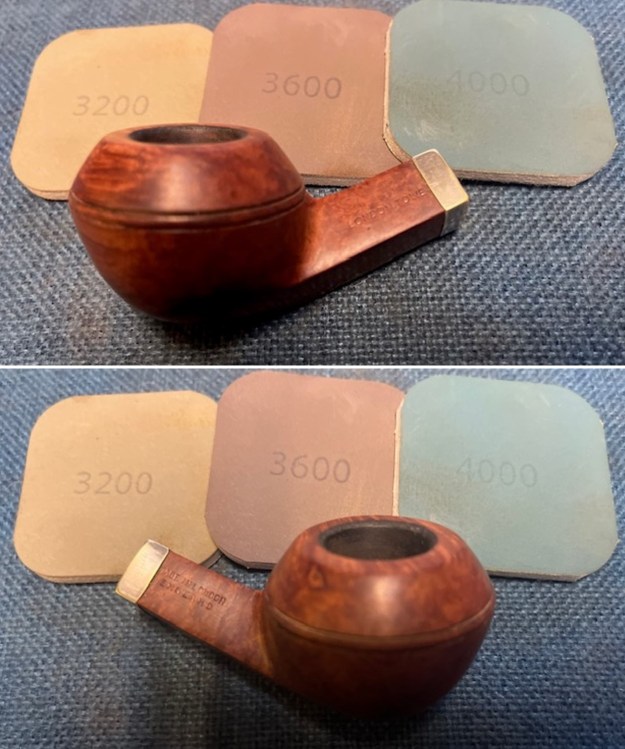
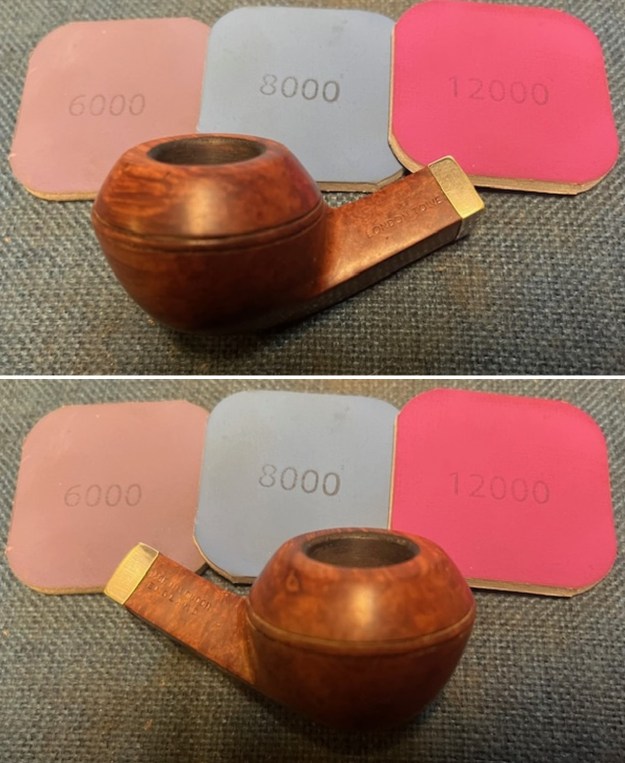
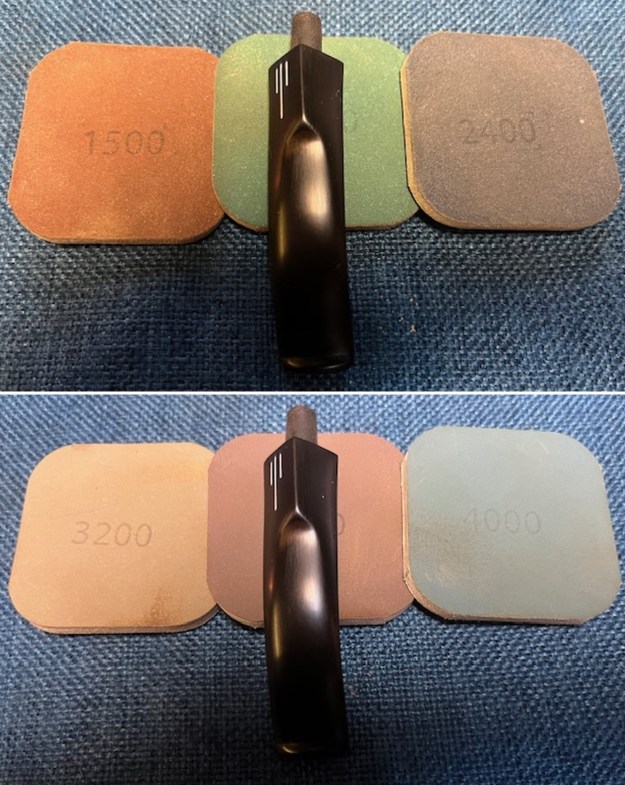
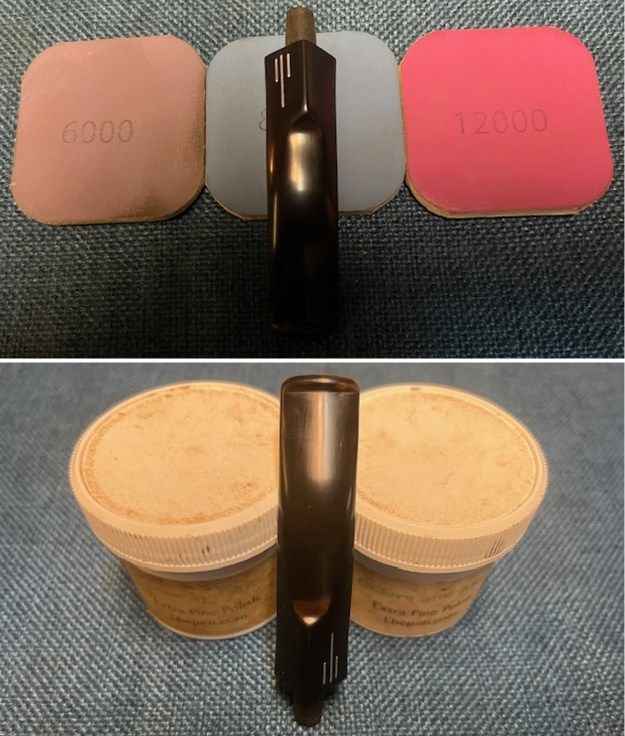
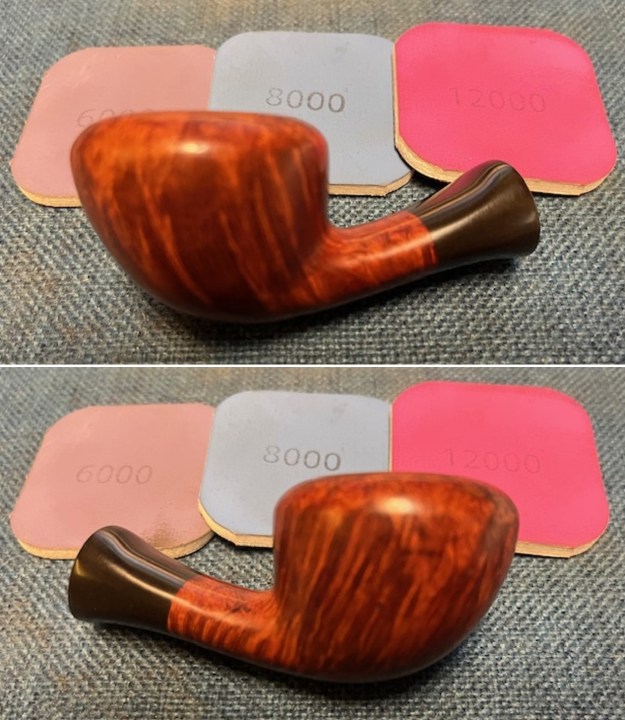
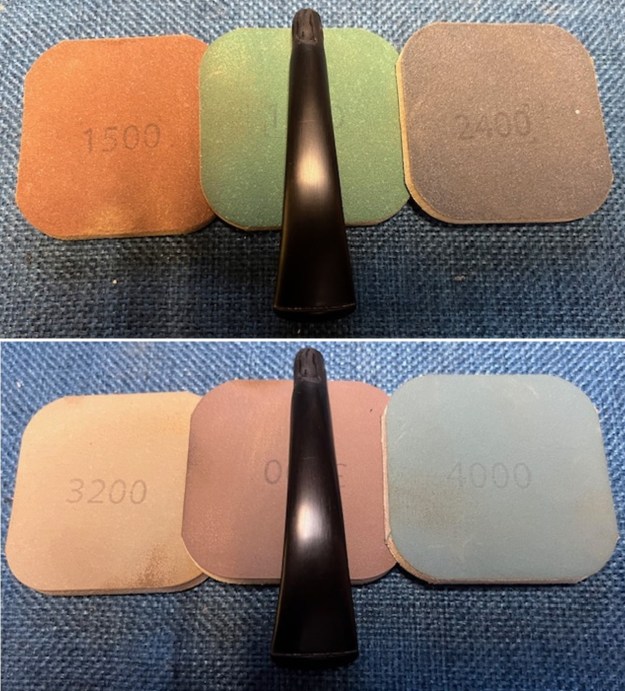
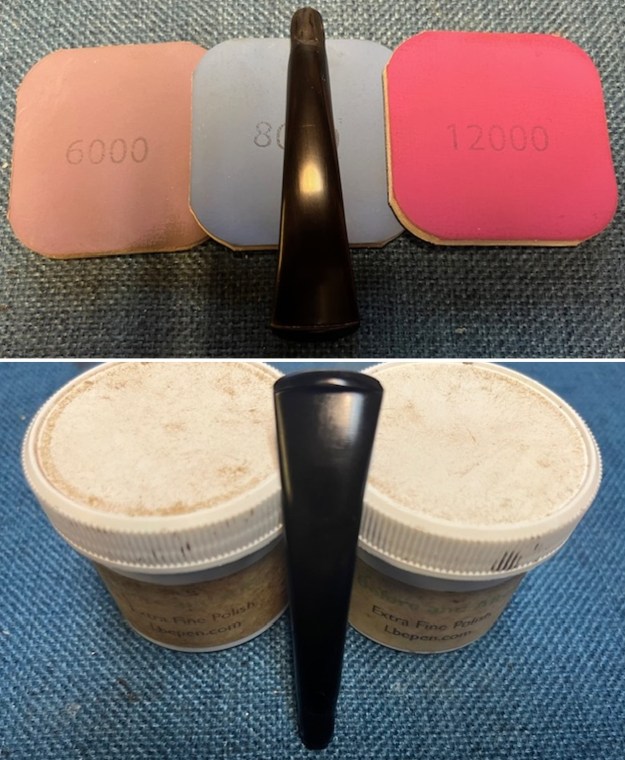
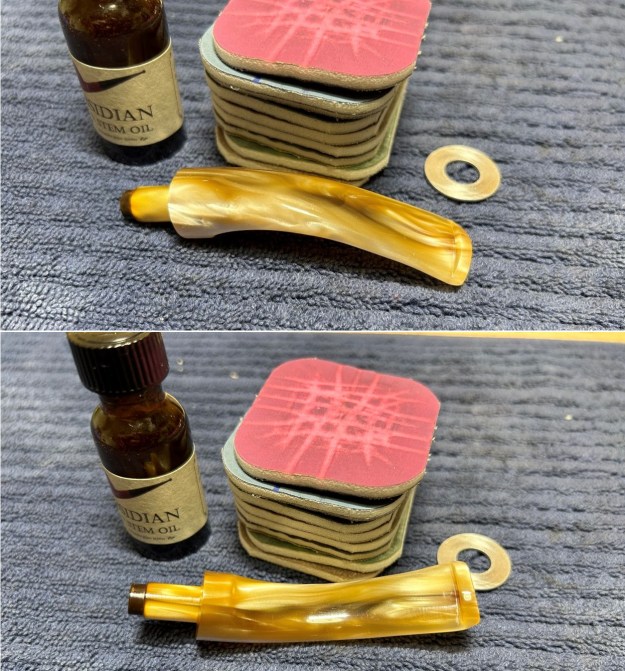
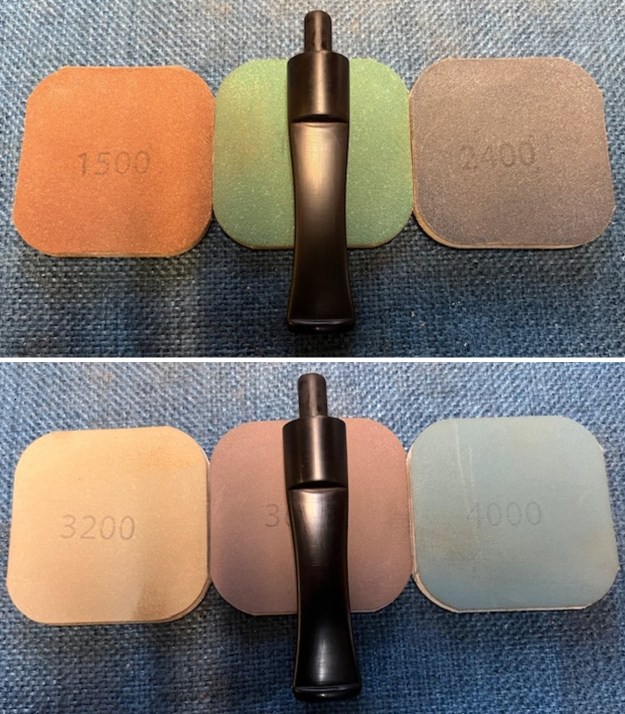
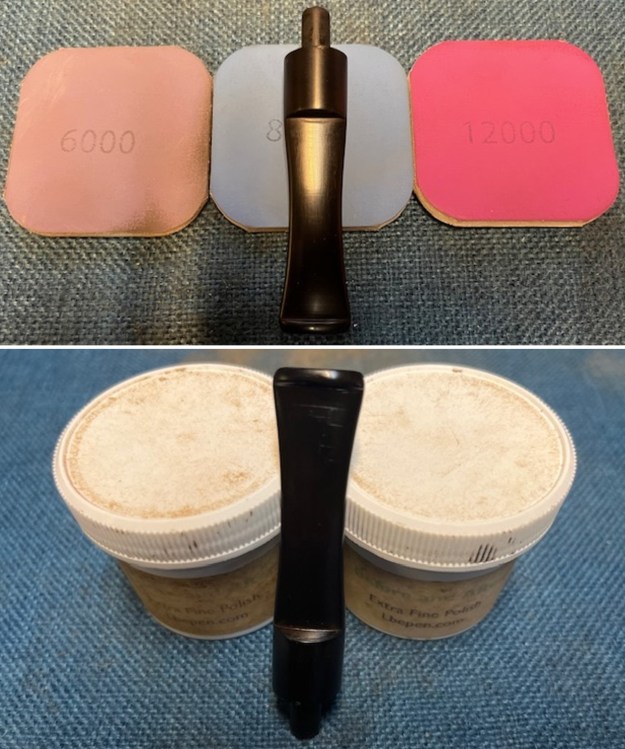
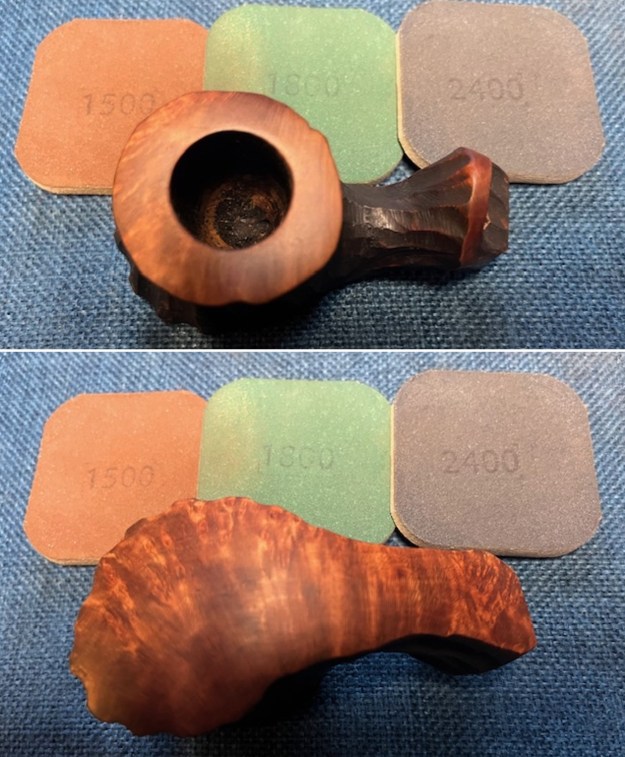
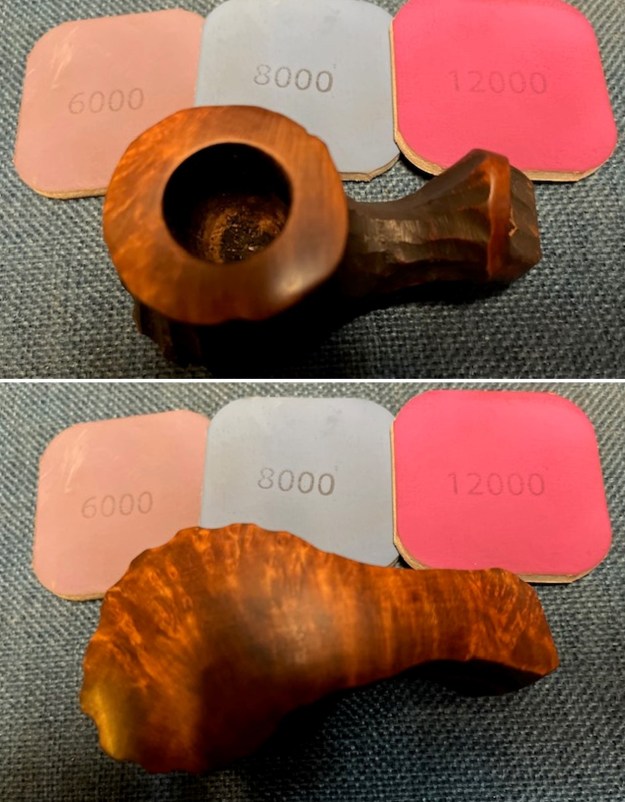
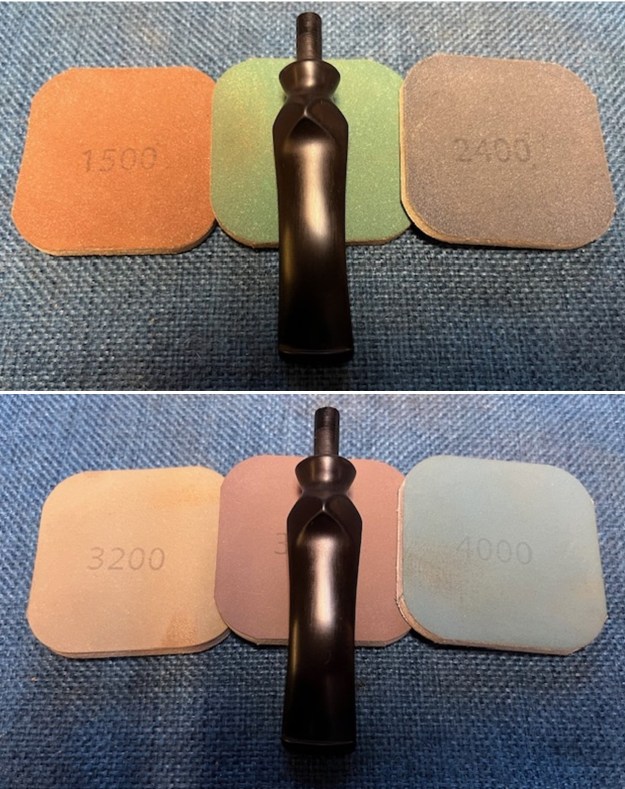
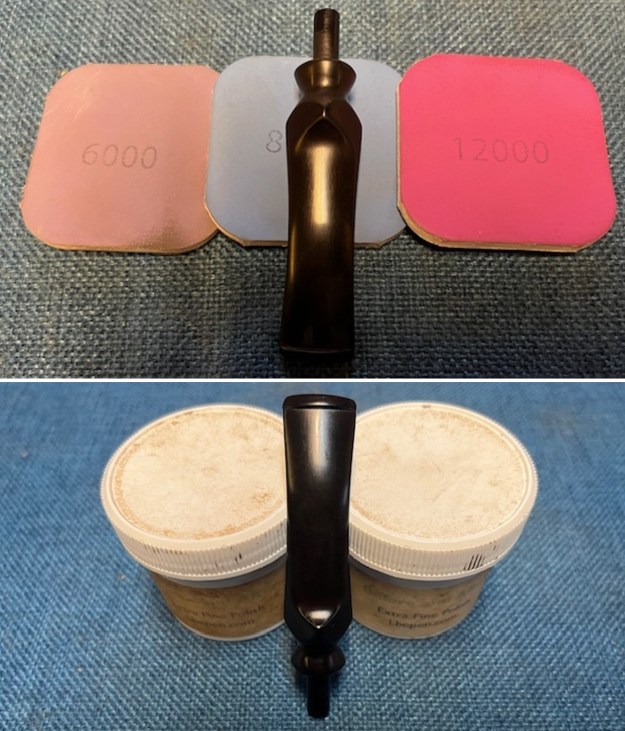
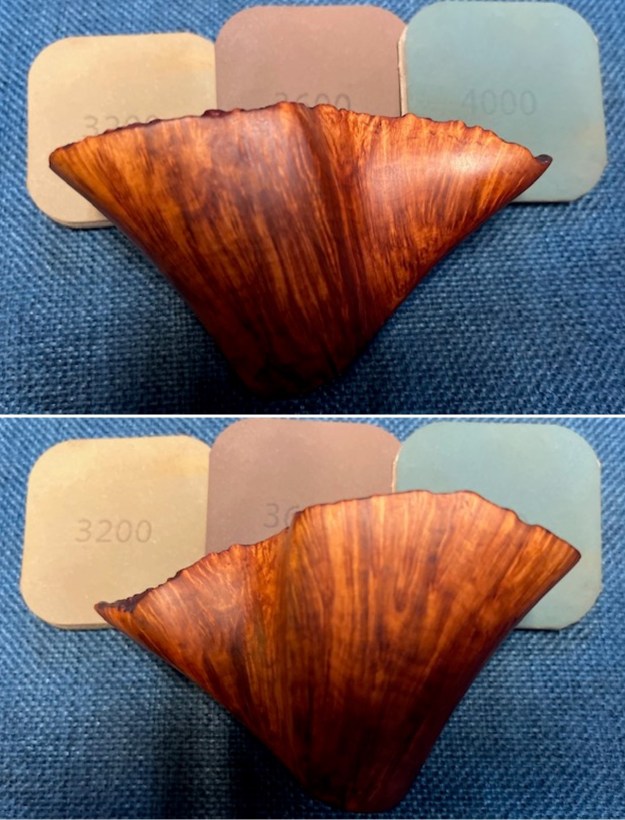
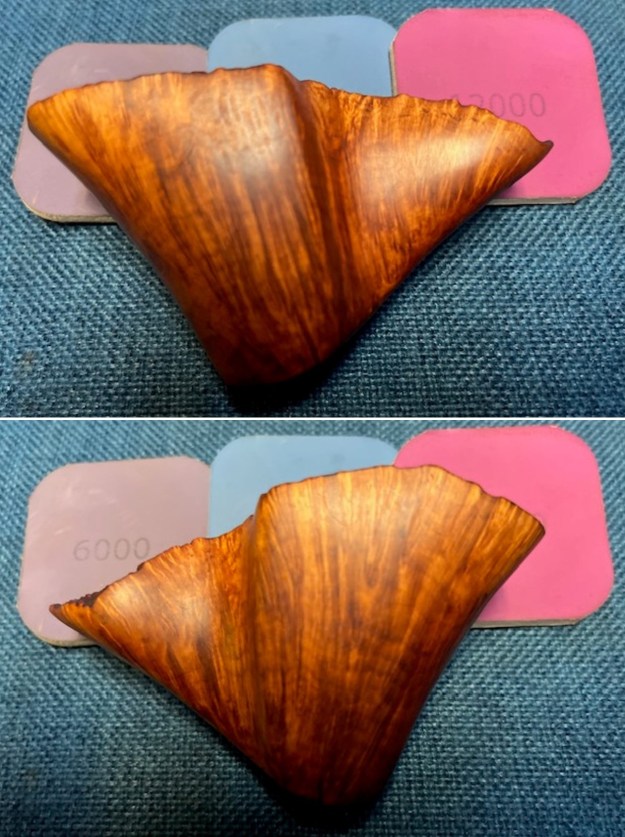
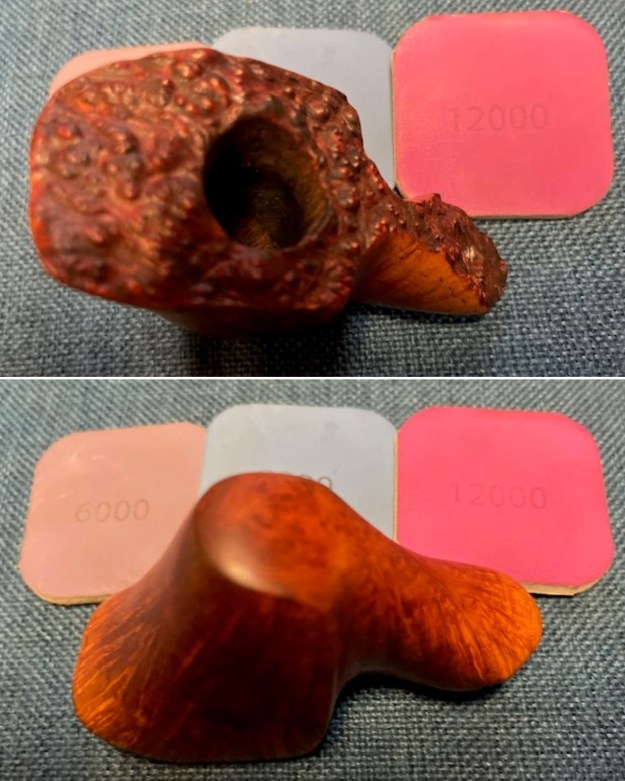
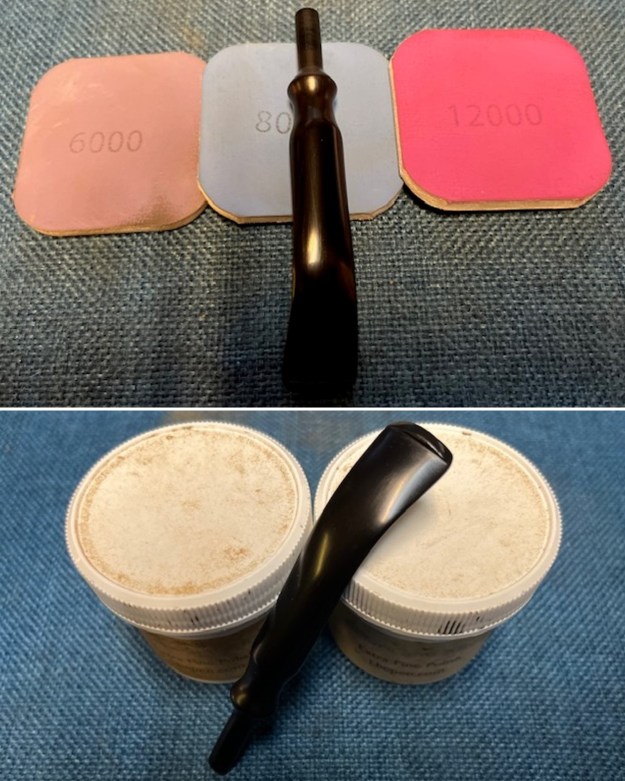
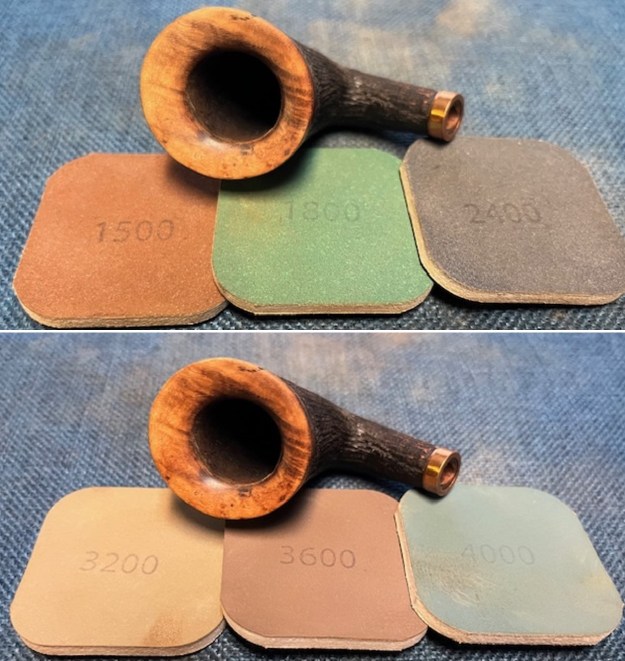
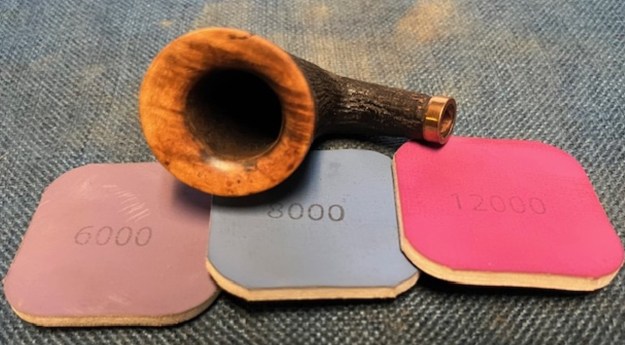
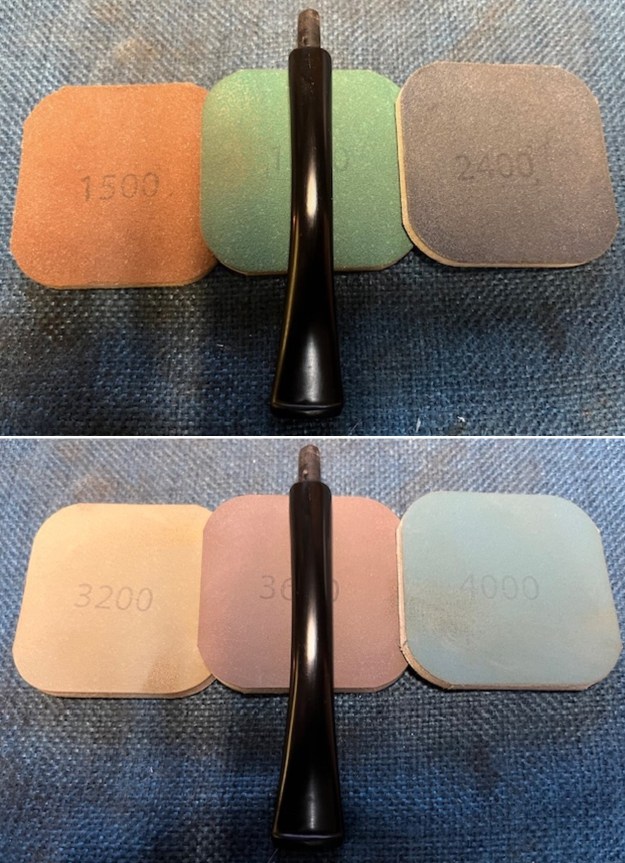
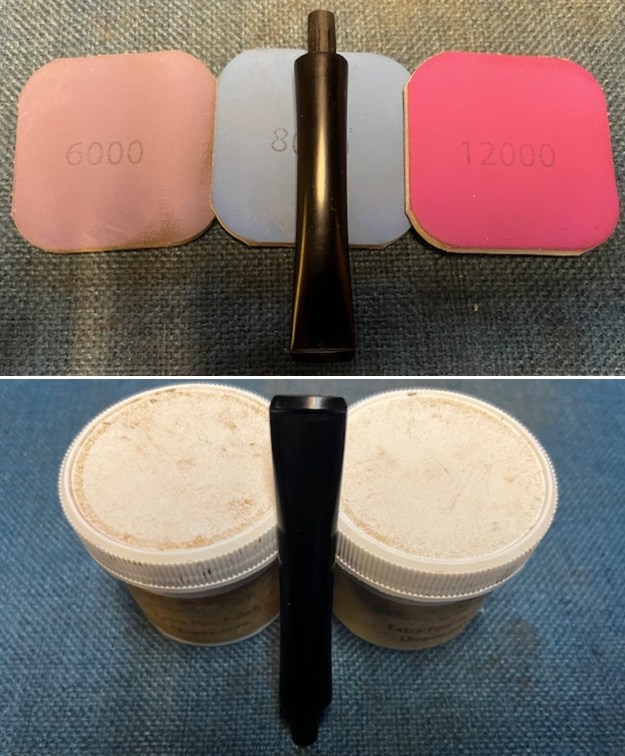
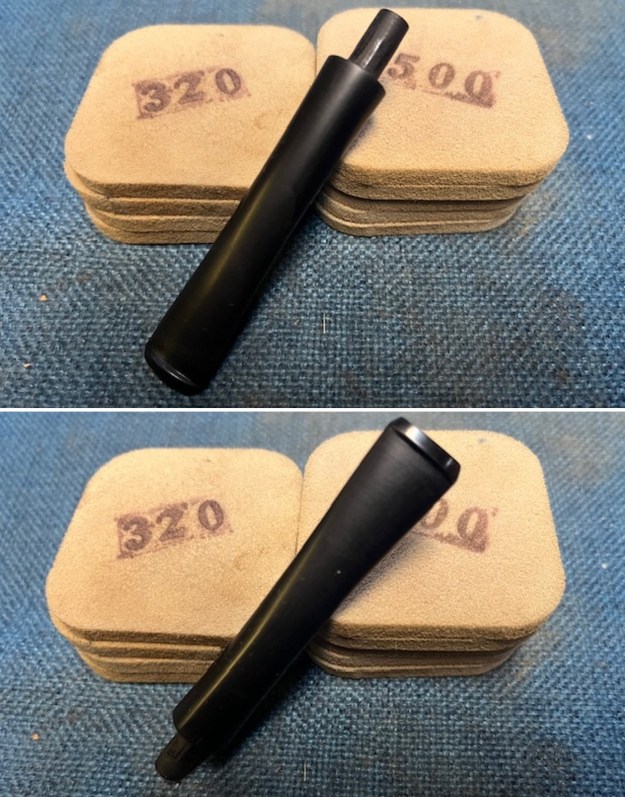 I polished the stem with micromesh sanding pads – 1500-12000 grit pads to remove them. I wiped the stem down with Obsidian Oil after each sanding pad. I used Before & After Pipe Polish – both Fine and Extra Fine to further polish the stem. I rubbed it down with a final coat of Obsidian Oil and let it dry.
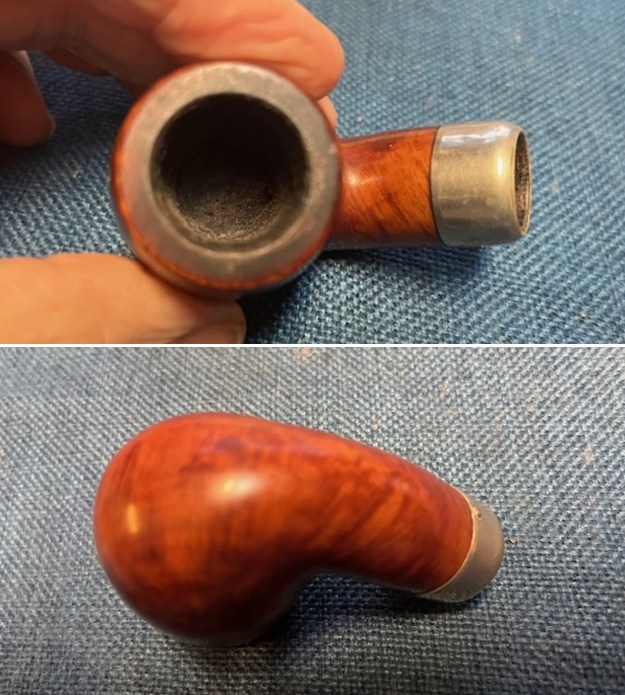
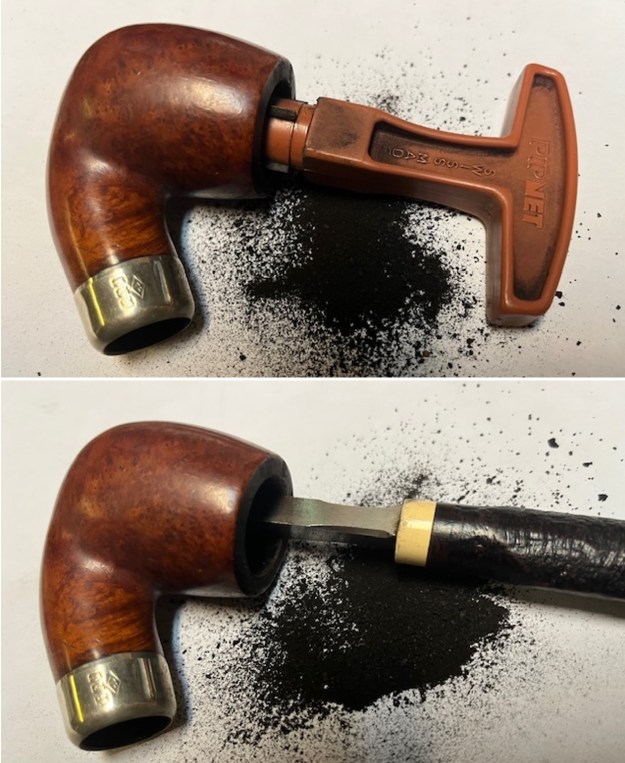
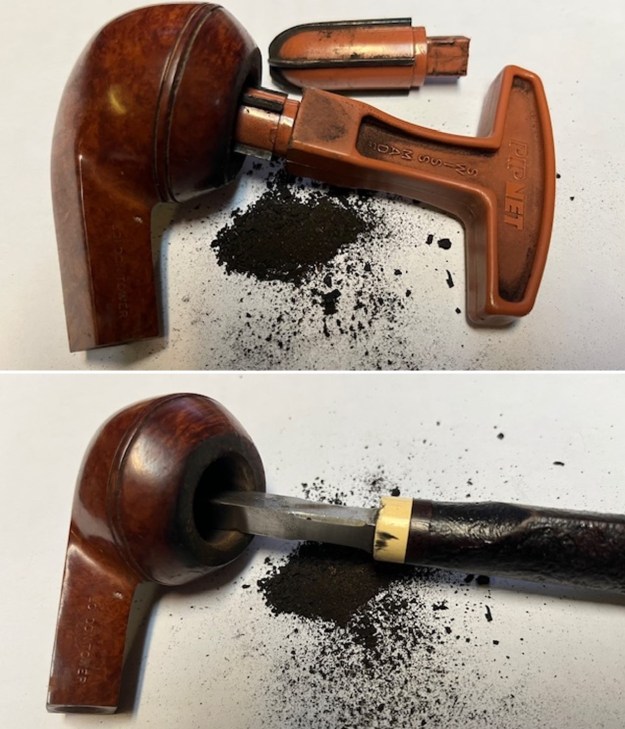
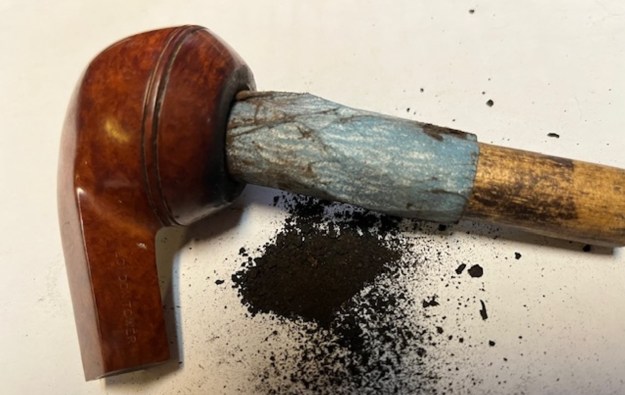
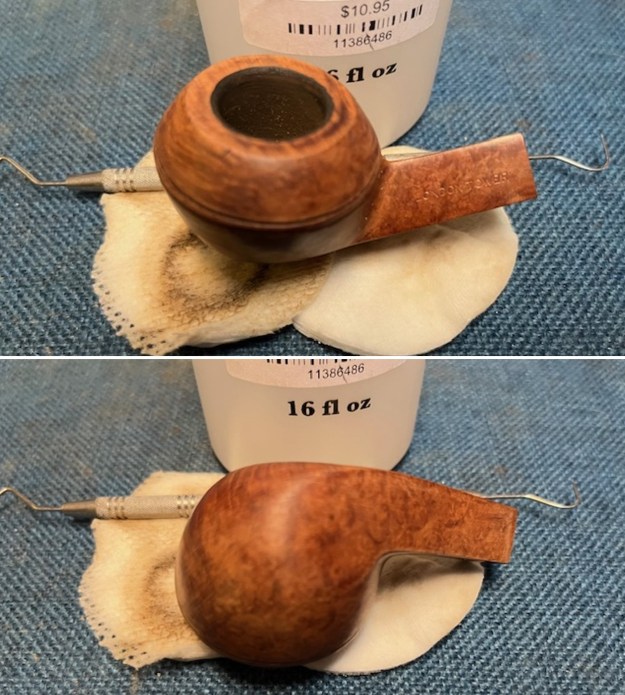
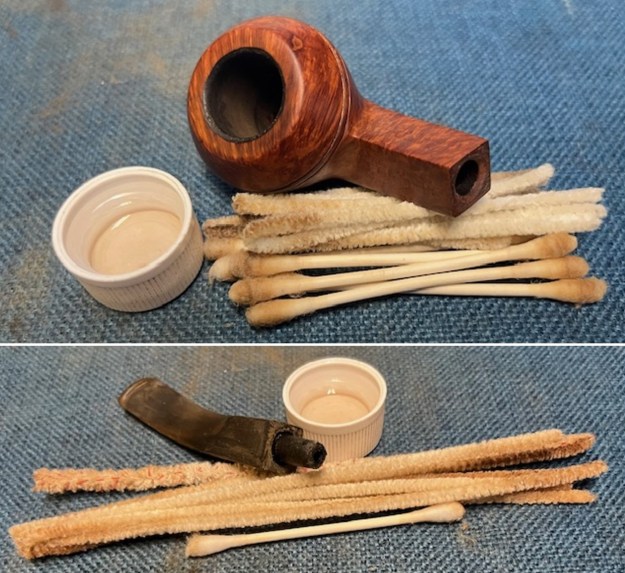
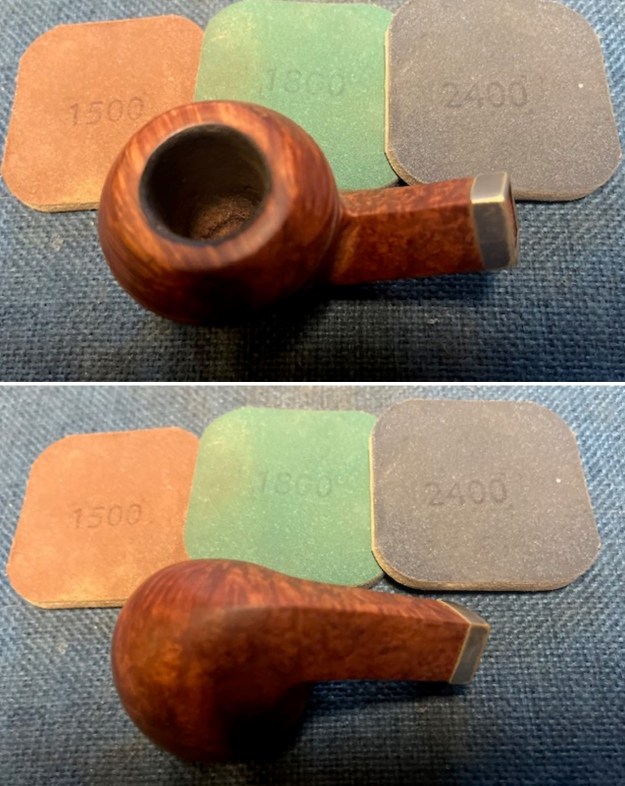
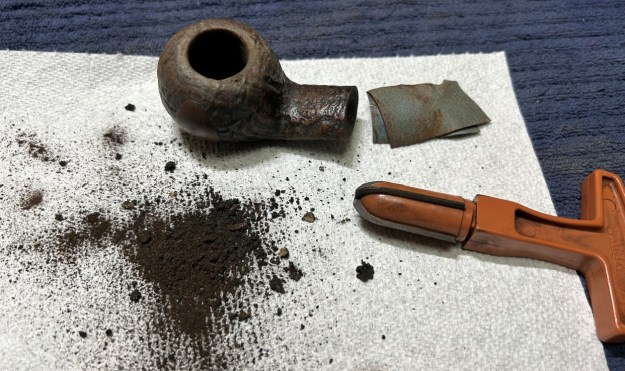
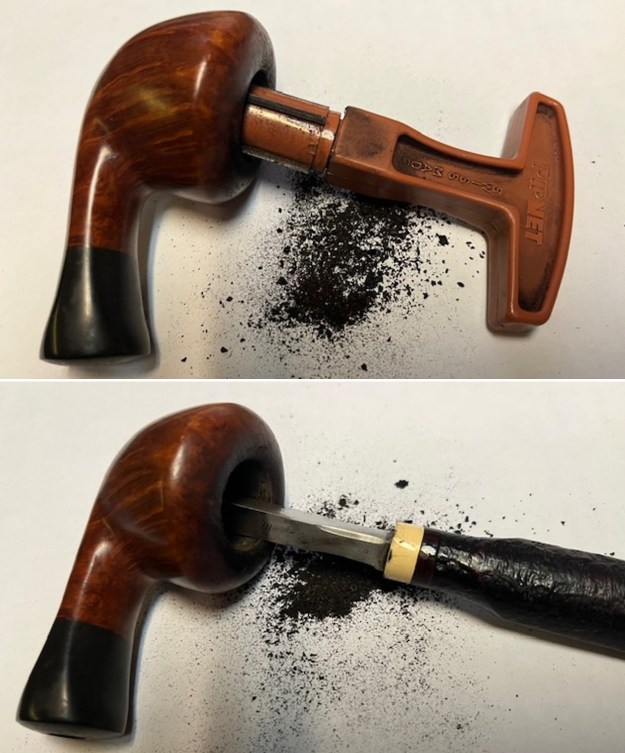
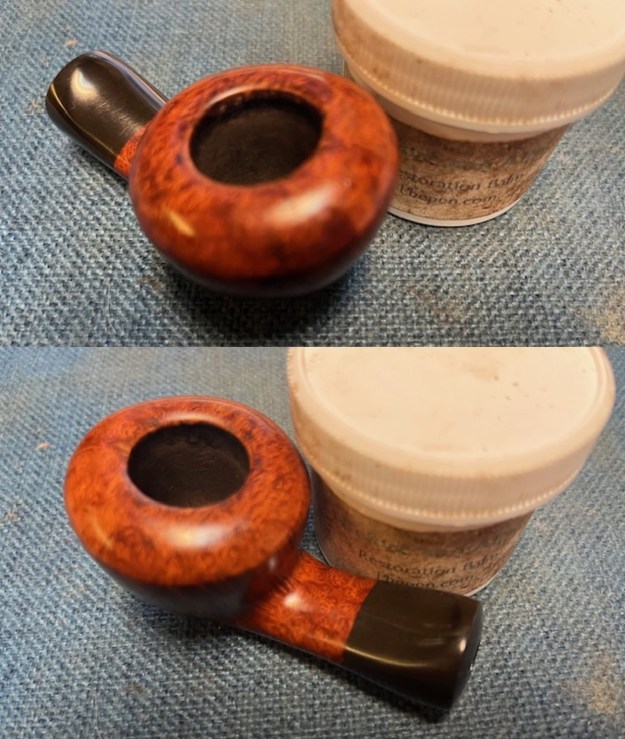
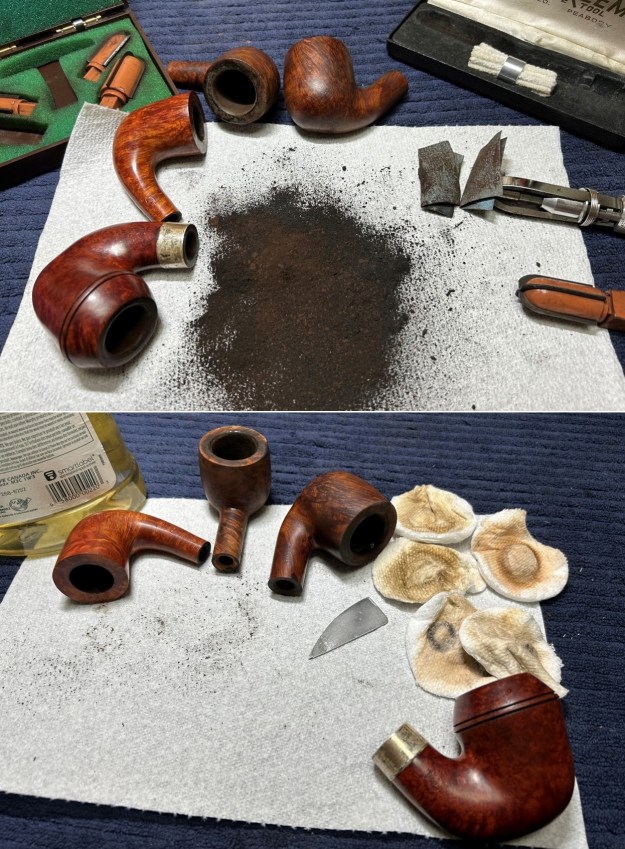
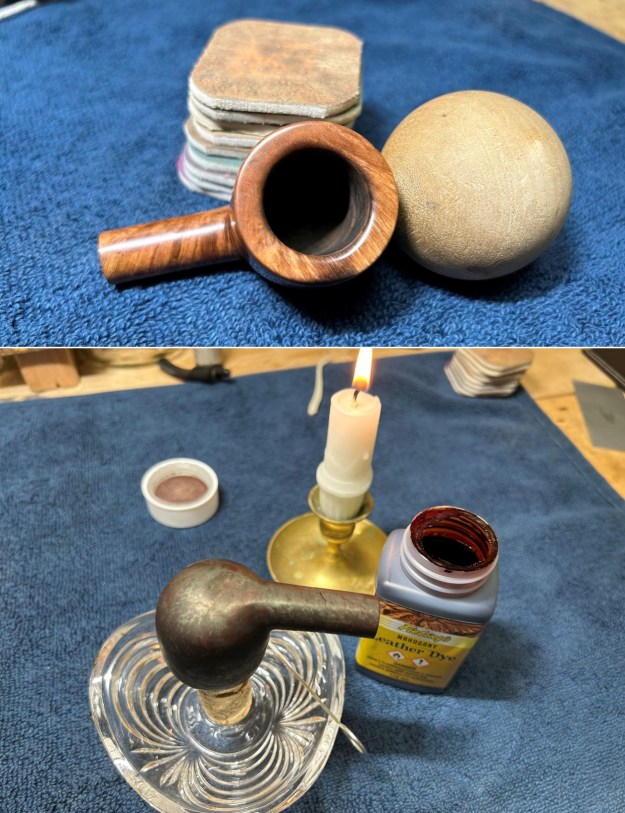
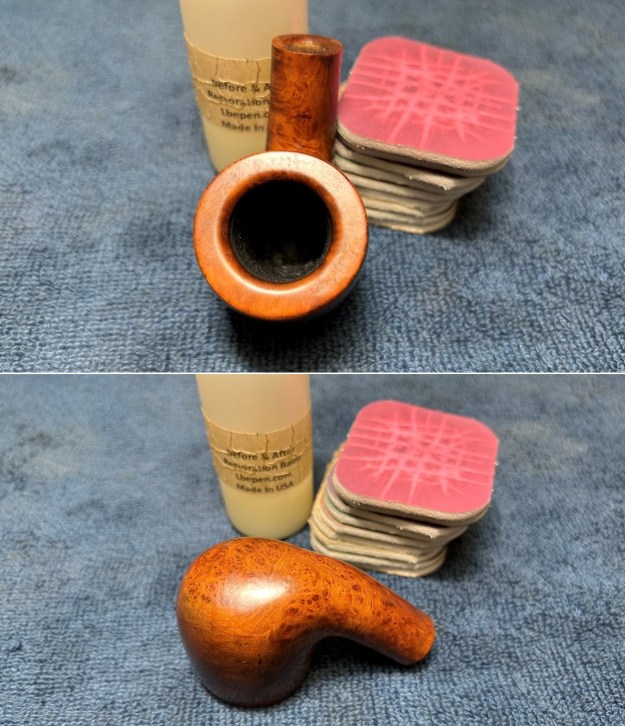
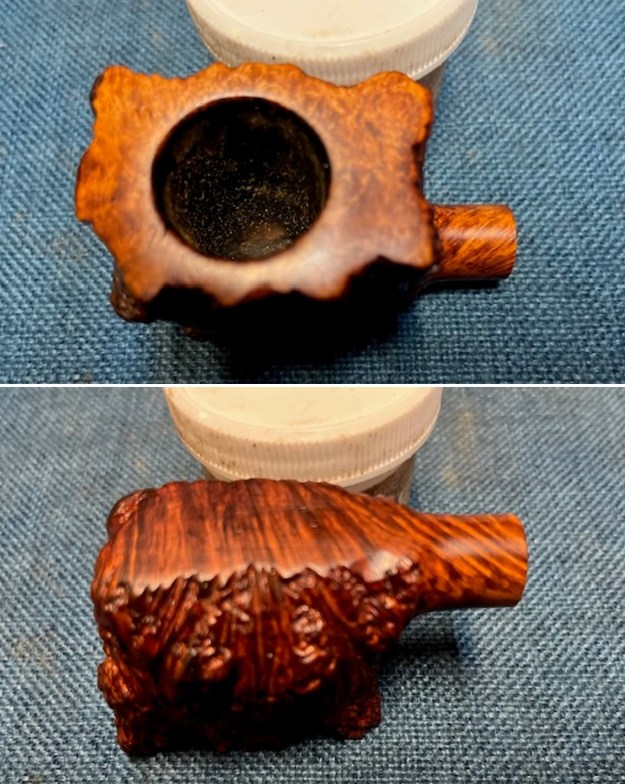
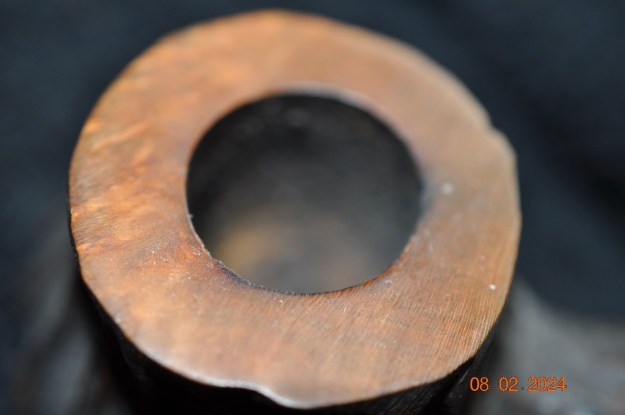
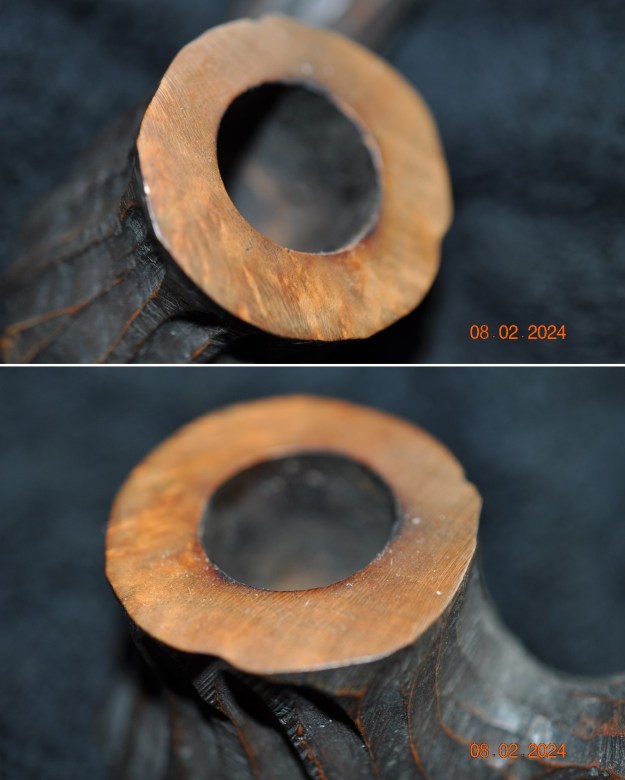
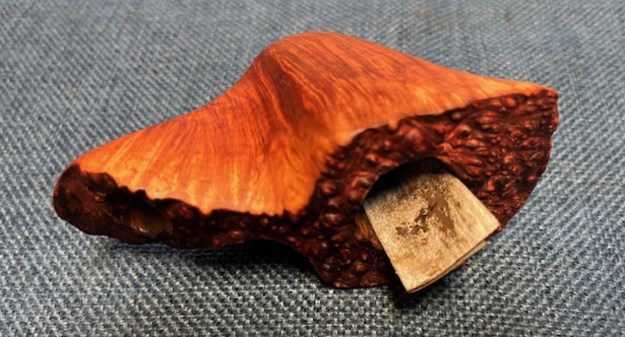
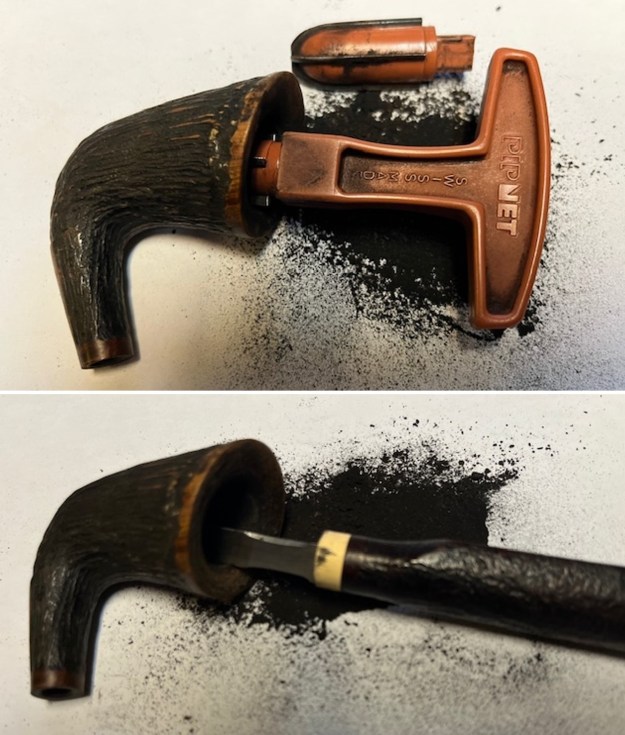
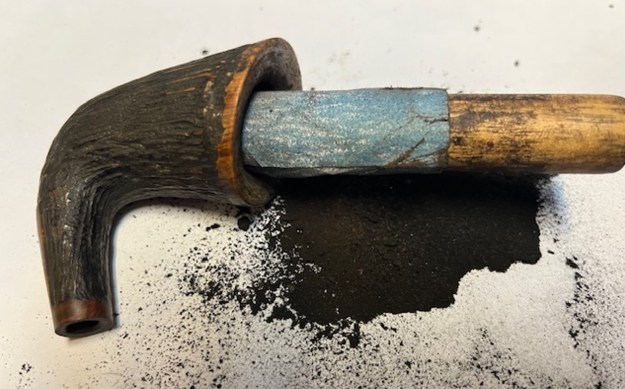
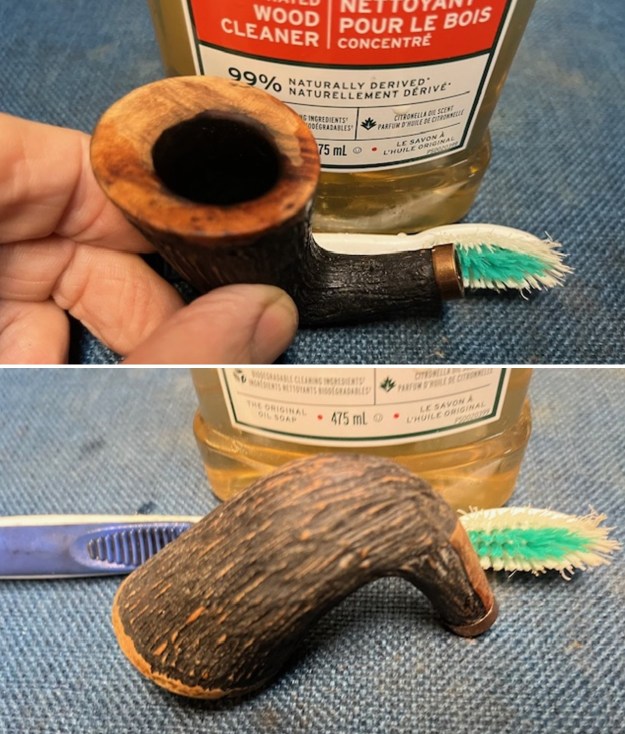
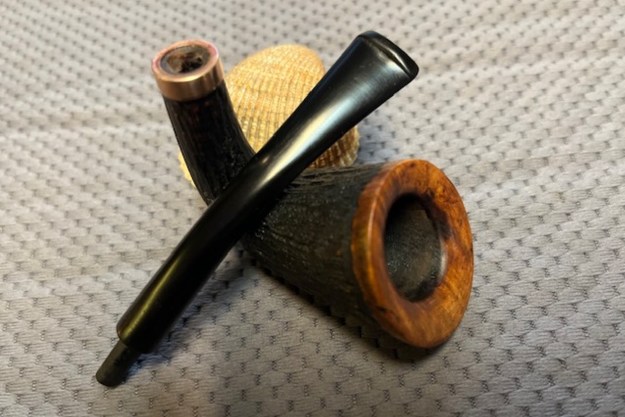
 I turned my attention to the bowl. I used a PipNet Reamer with the first and second cutting heads to take back the heavy cake to bare briar. I cleaned up the reaming with a Savinelli Fitsall Pipe Knife and finally sanded the bowl walls with 220 grit sandpaper wrapped around a dowel. I like to remove all the cake to examine the walls for damage and checking. Great news is that this one is free of any damage!
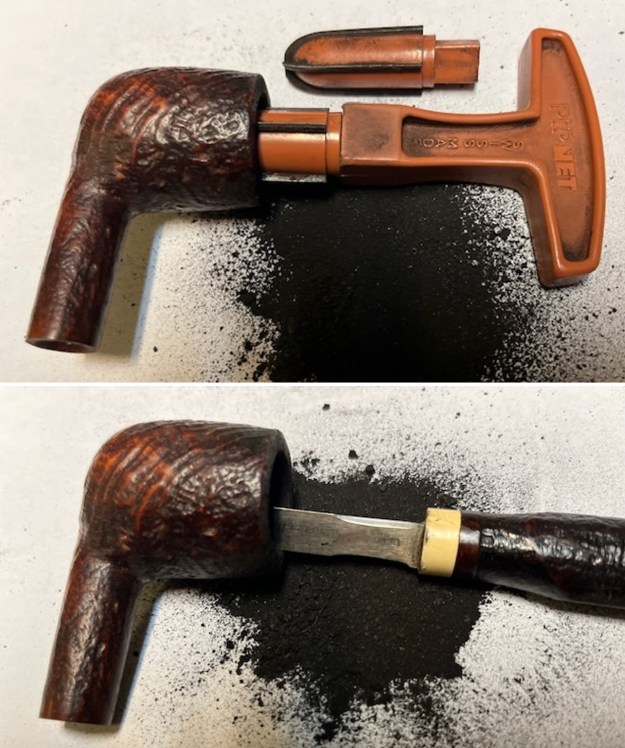
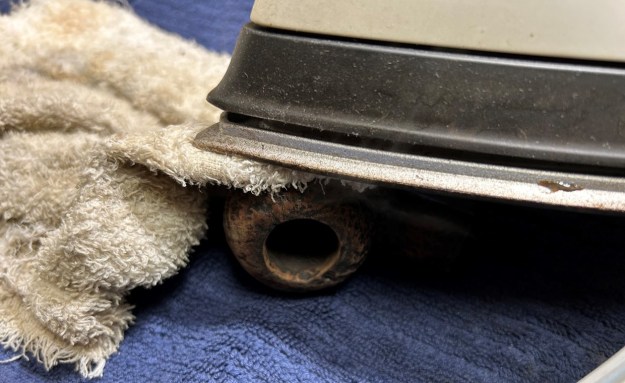
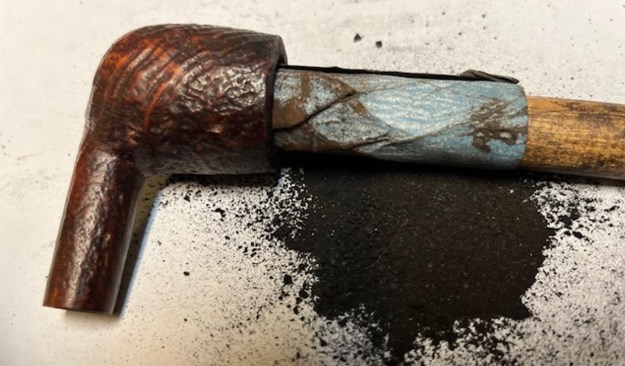 I used a brass bristle wire brush to work over the sandblast rim top and edges. The inner edge and the top looked to be undamaged.
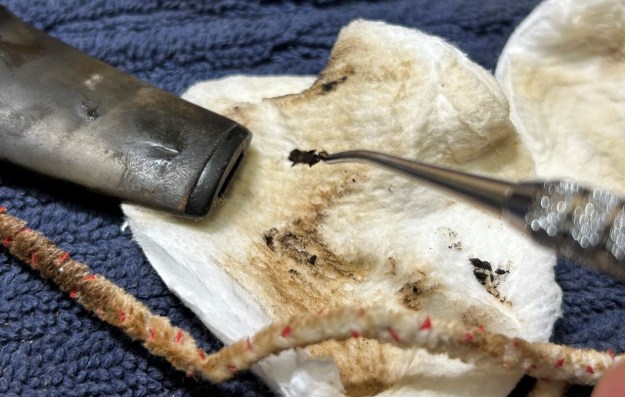
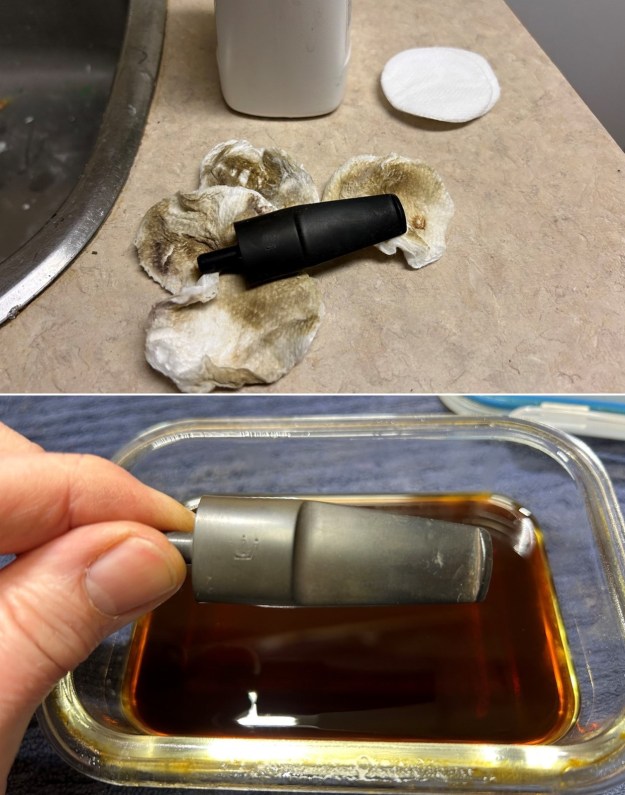
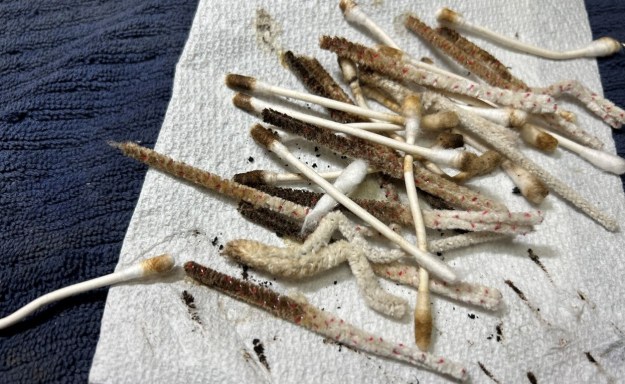
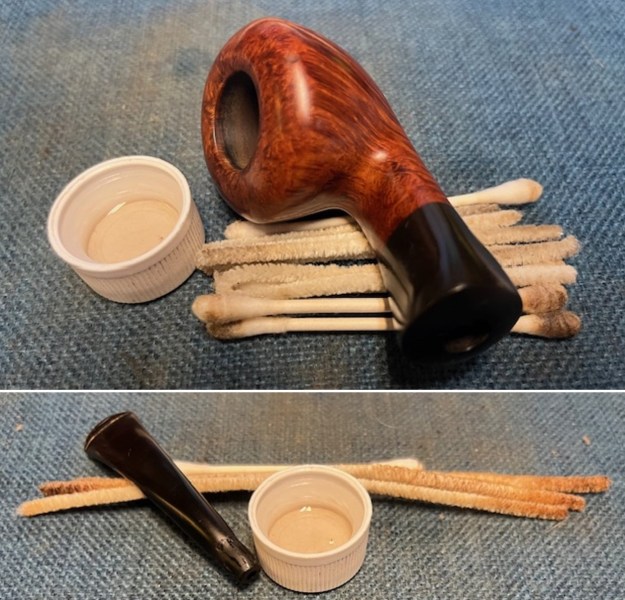
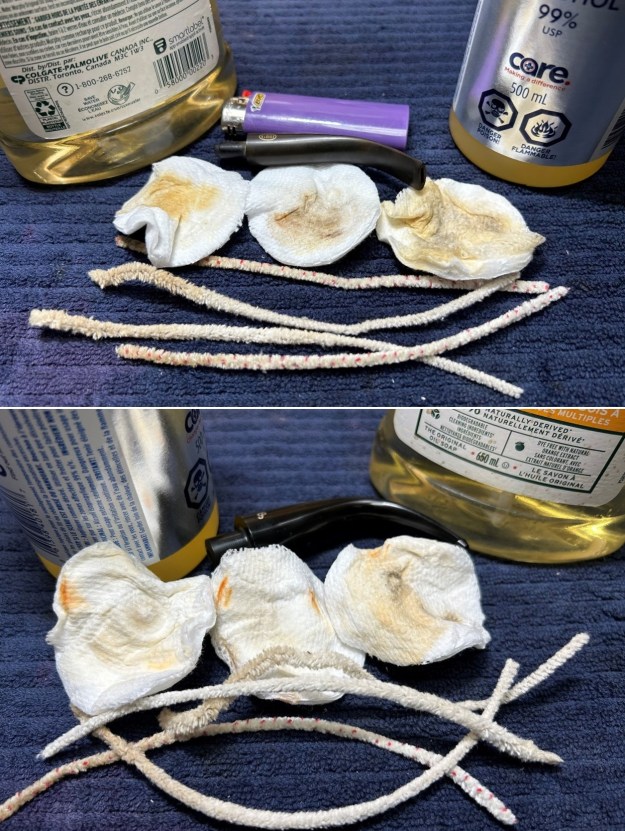
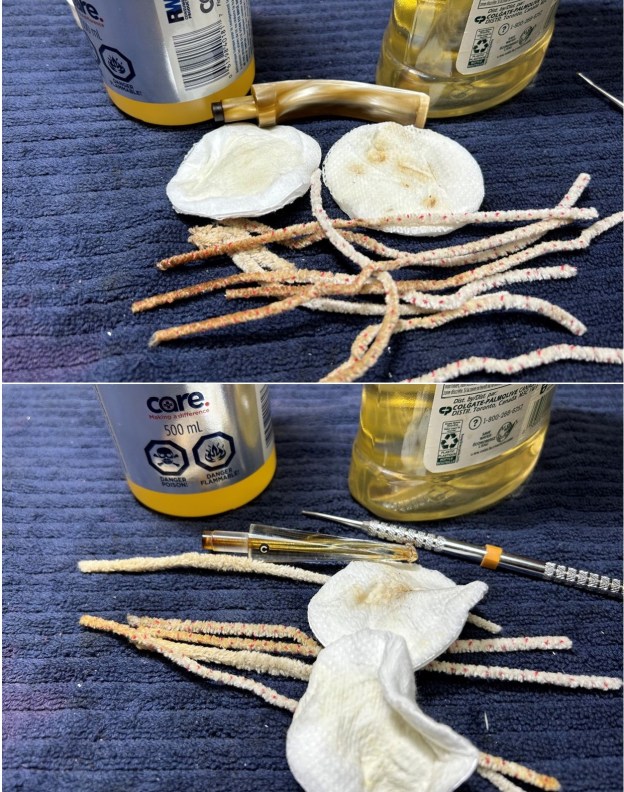
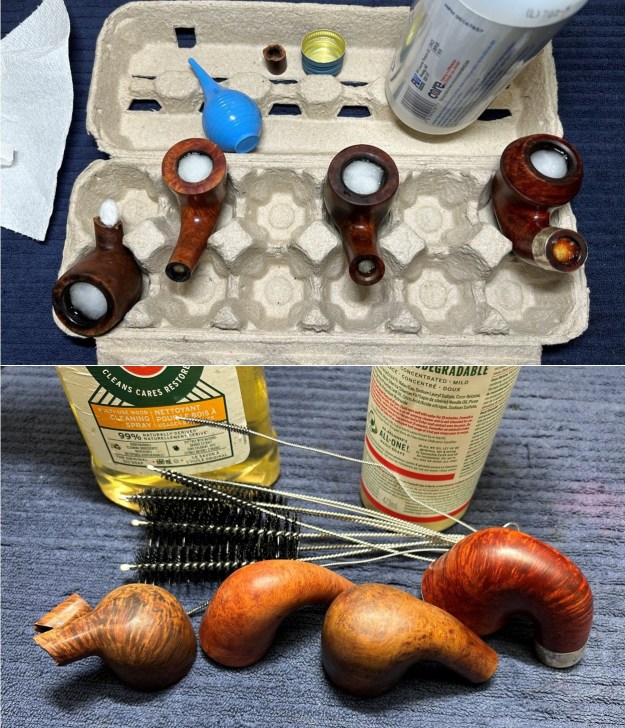
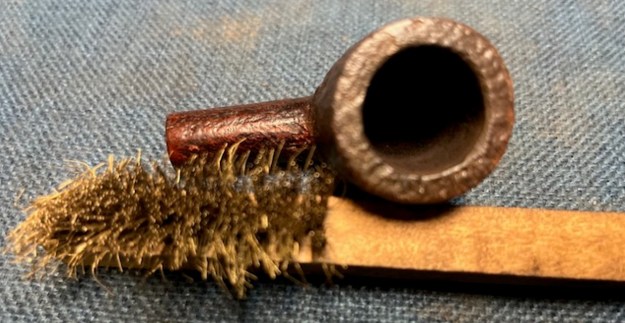 I used alcohol, cotton swabs and pipe cleaners to clean out the internals of the shank and the new stem. Once finished the pipe smelled as clean as it looked.
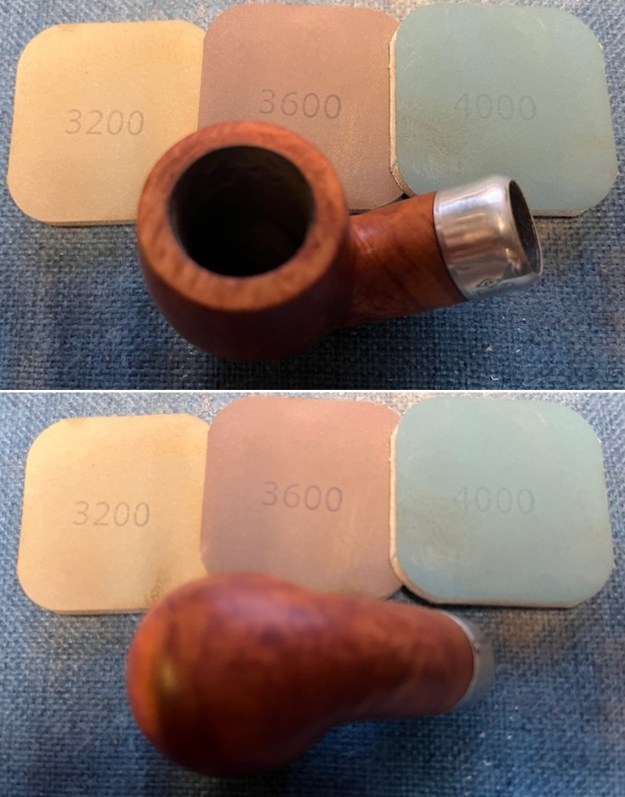
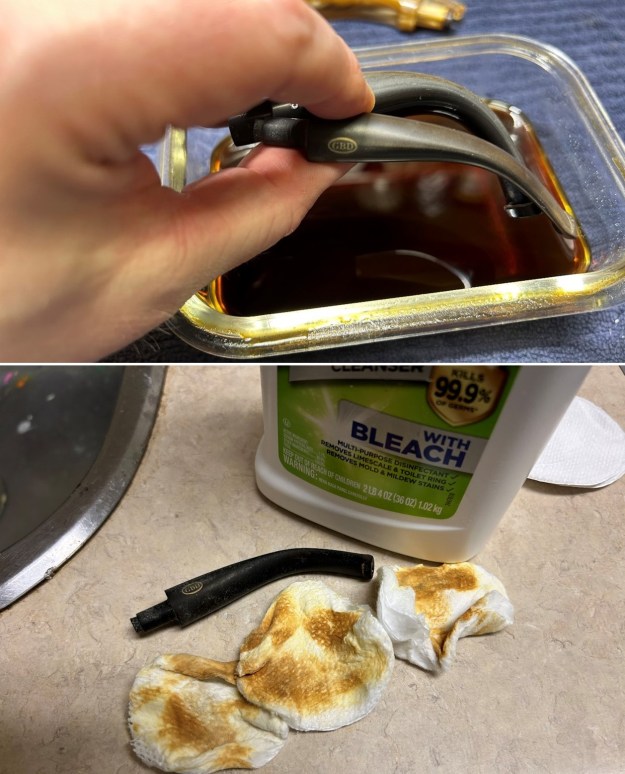
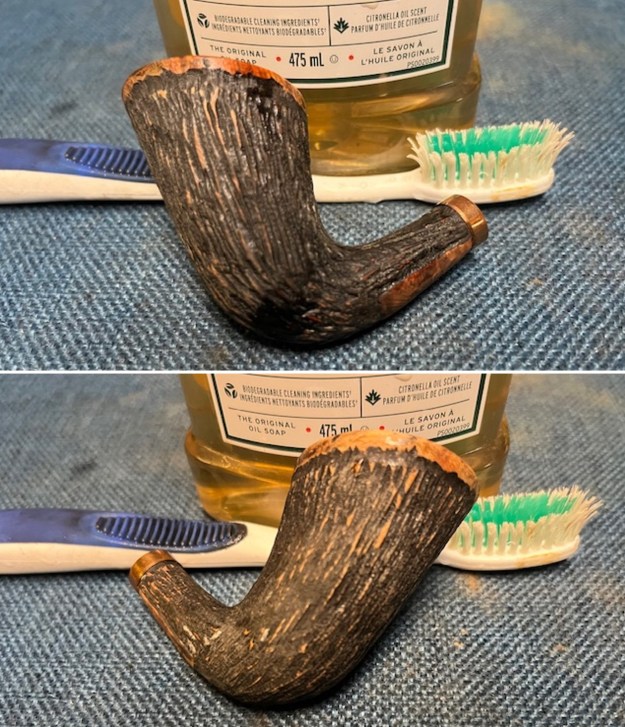
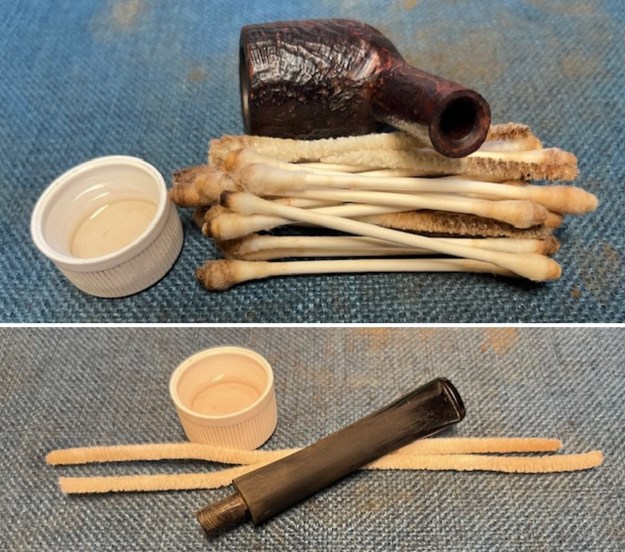 I scrubbed the bowl with a tooth brush and undiluted Murphy’s Oil Soap to remove the debris from the sandblast finish. I rinsed the bowl off with warm running water and dried it with a soft towel. It looked much better at this point.
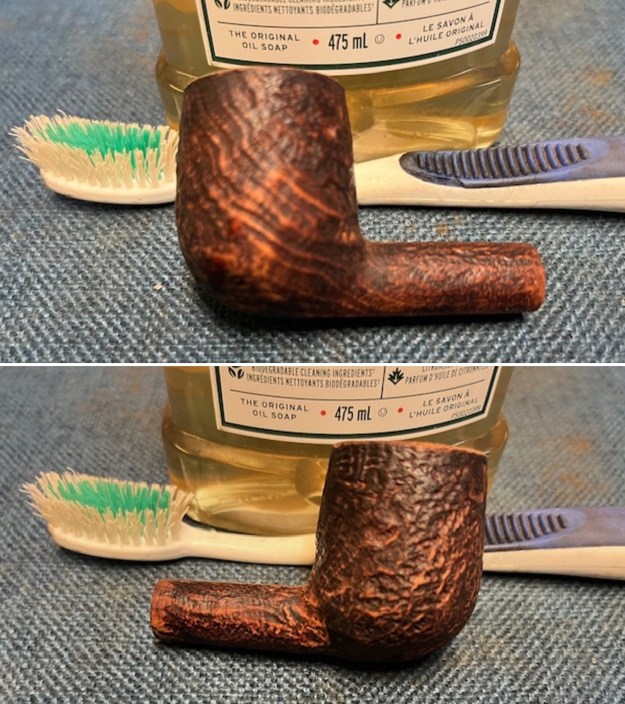
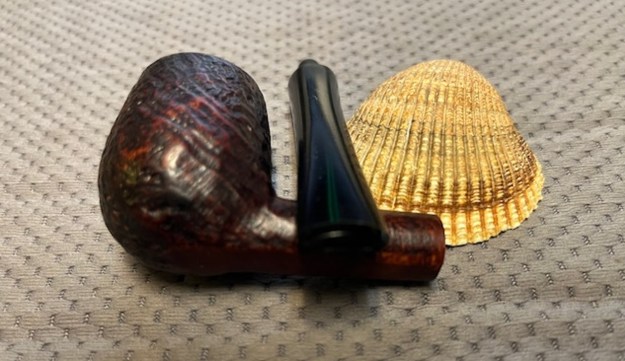
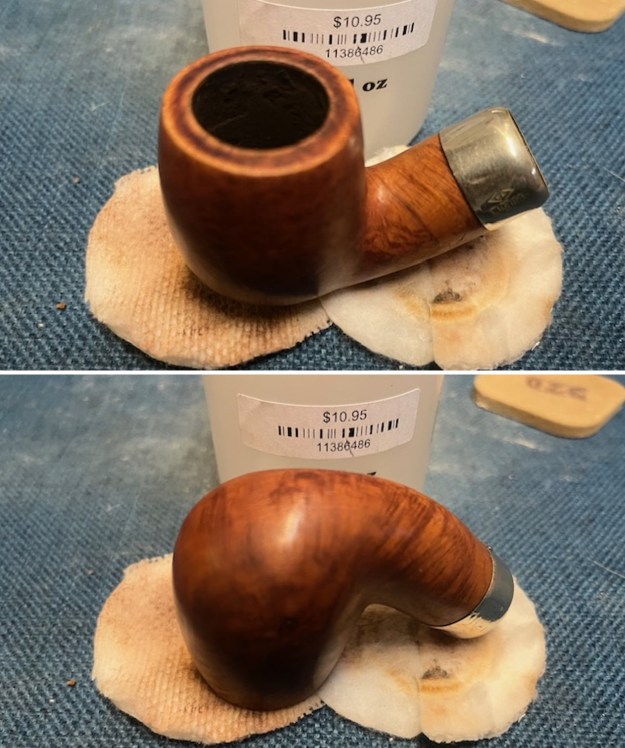
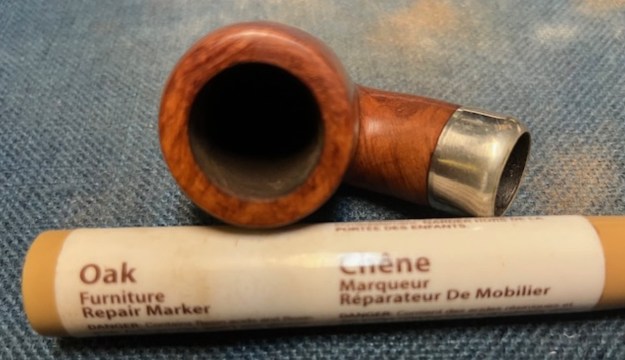
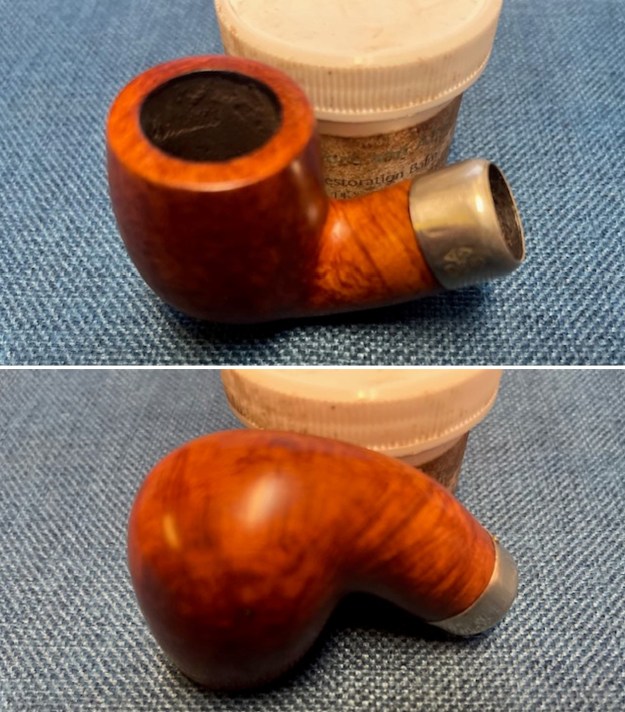
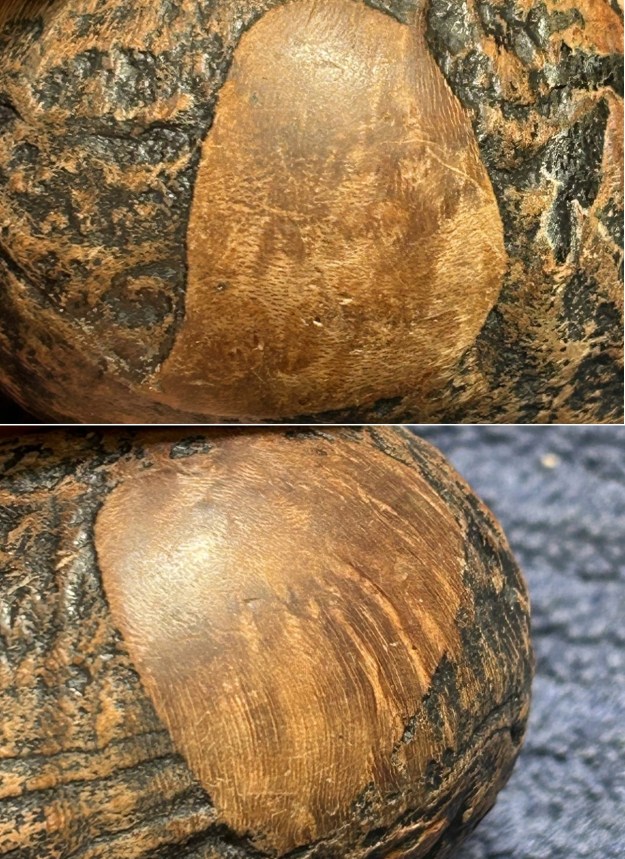
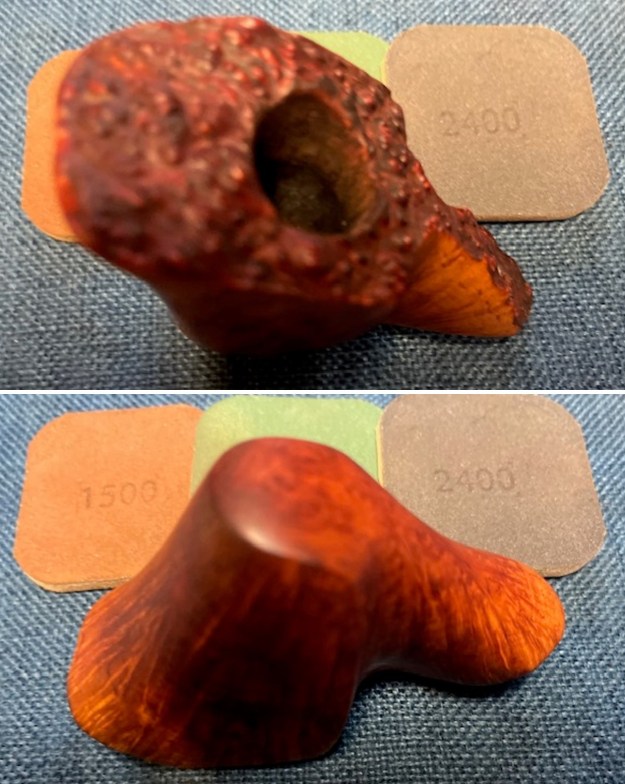
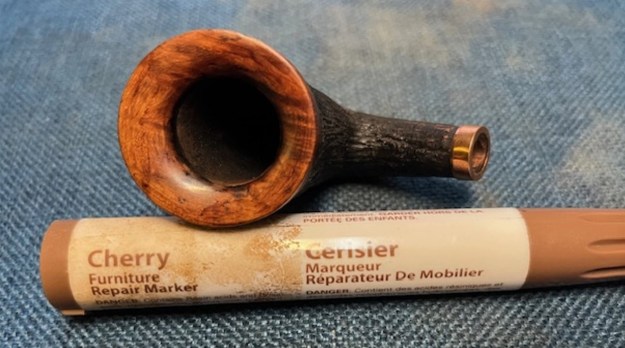
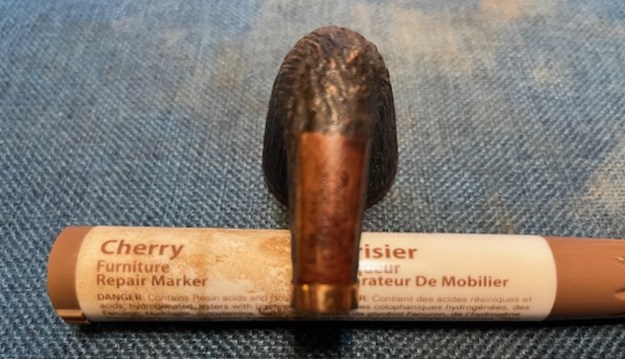
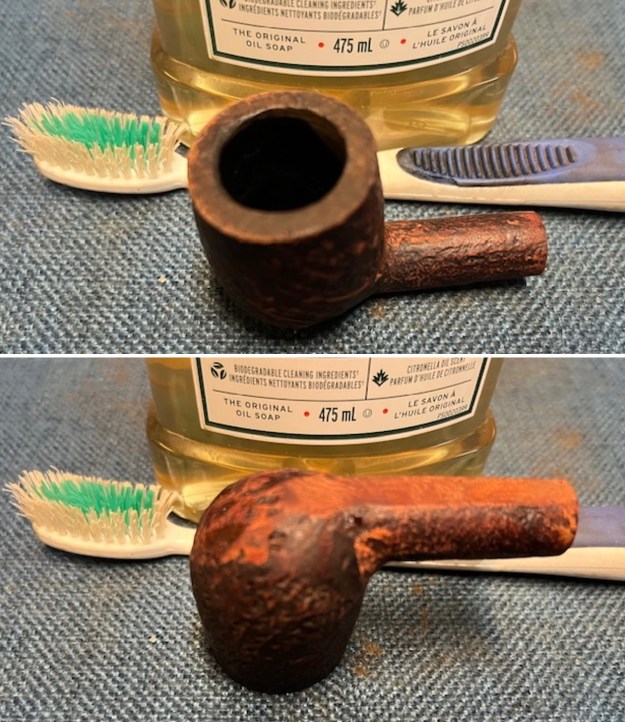 I restained the faded spots on the bowl sides and heel with a Mahogany and a Cherry stain pen to blend the colours into the sandblast finish. It looked much better at this point.
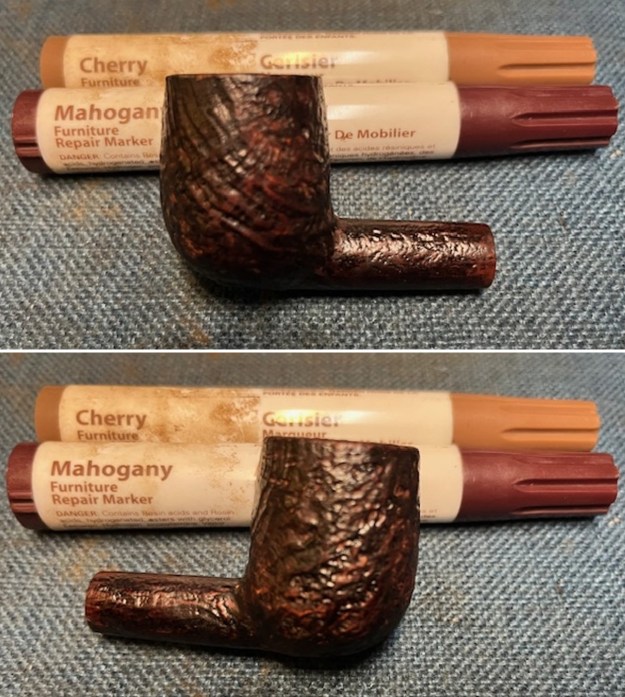
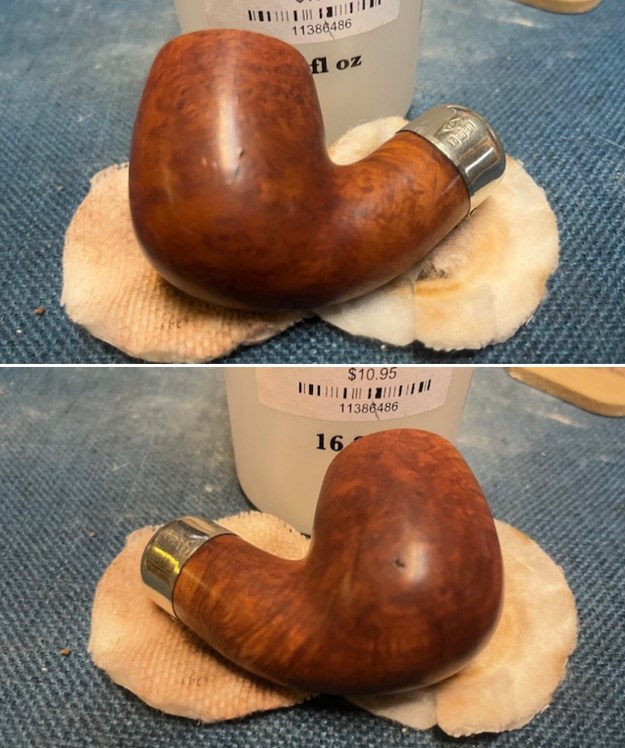
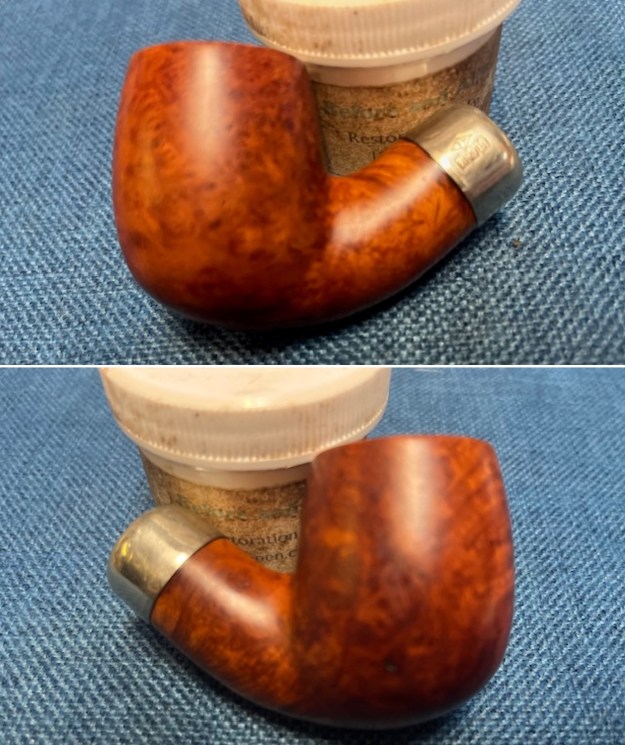
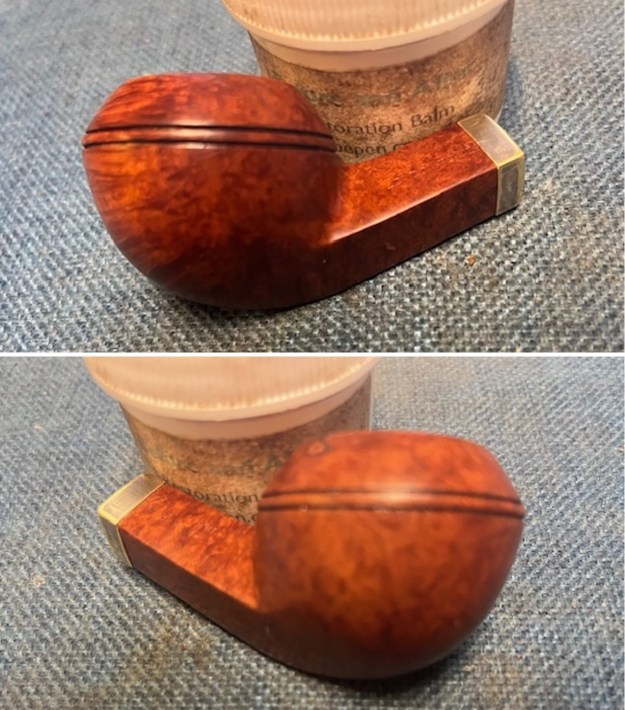
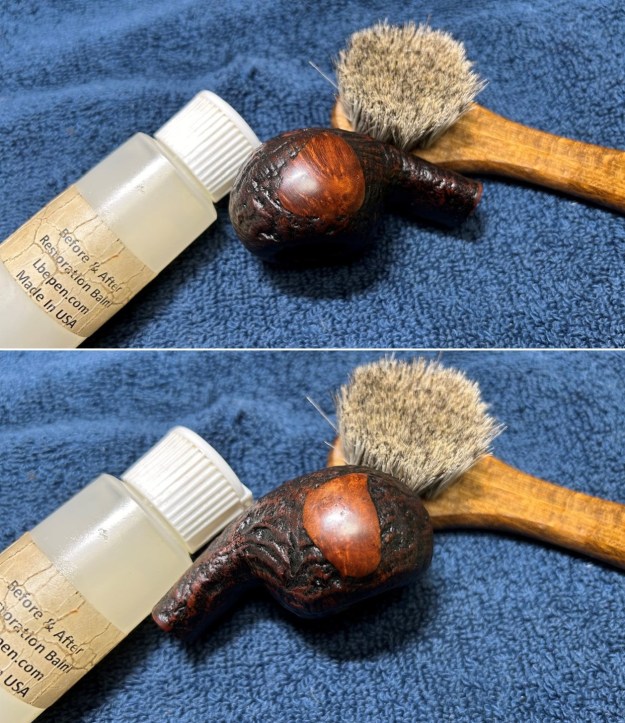
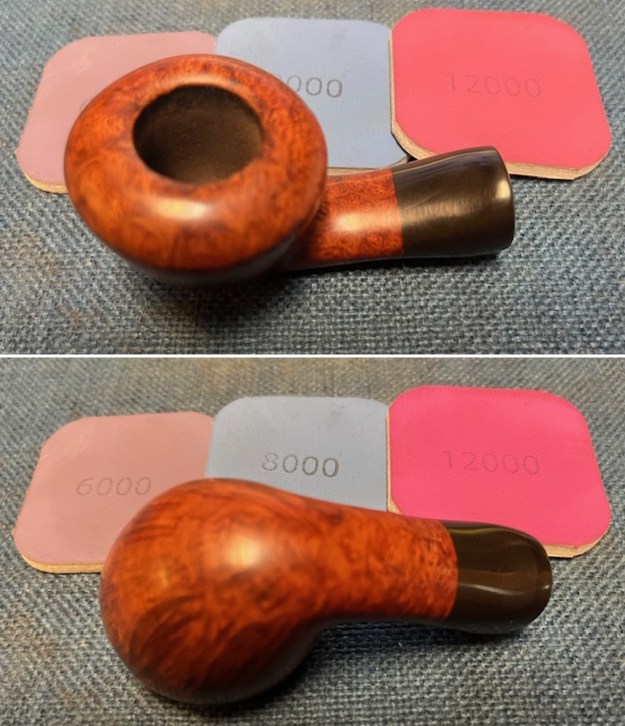
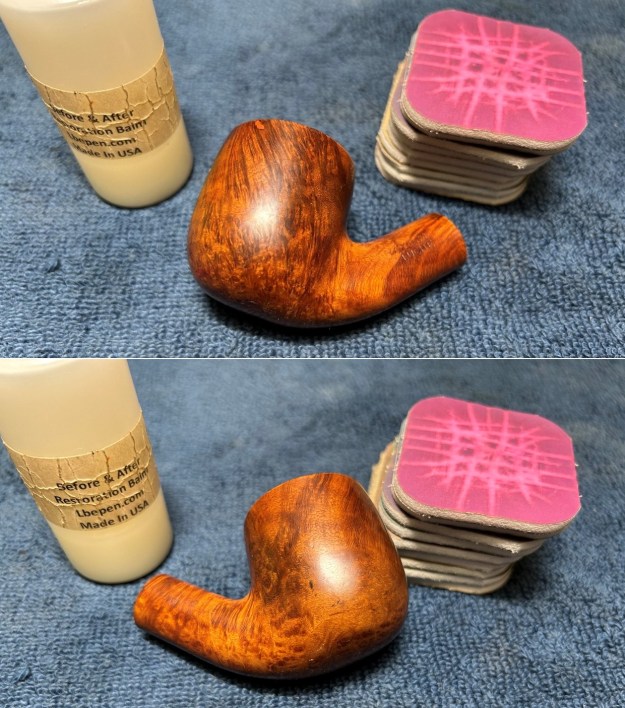
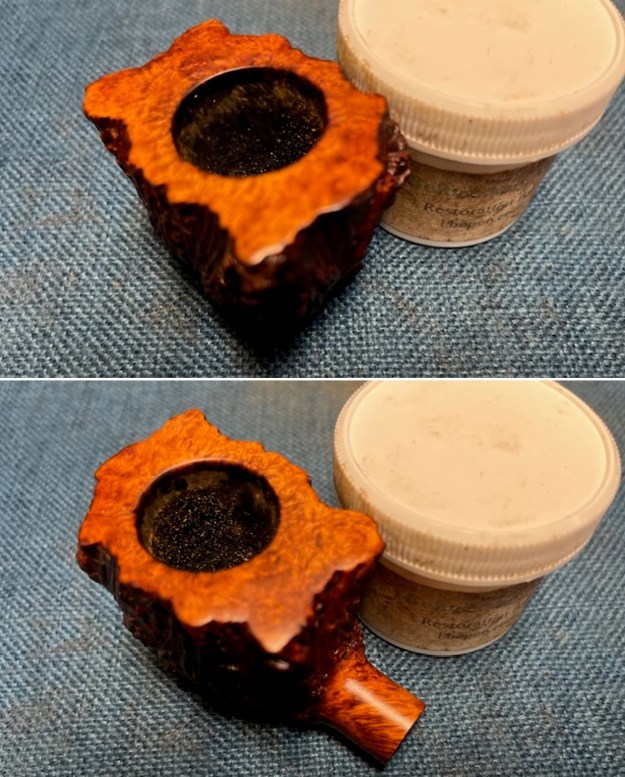
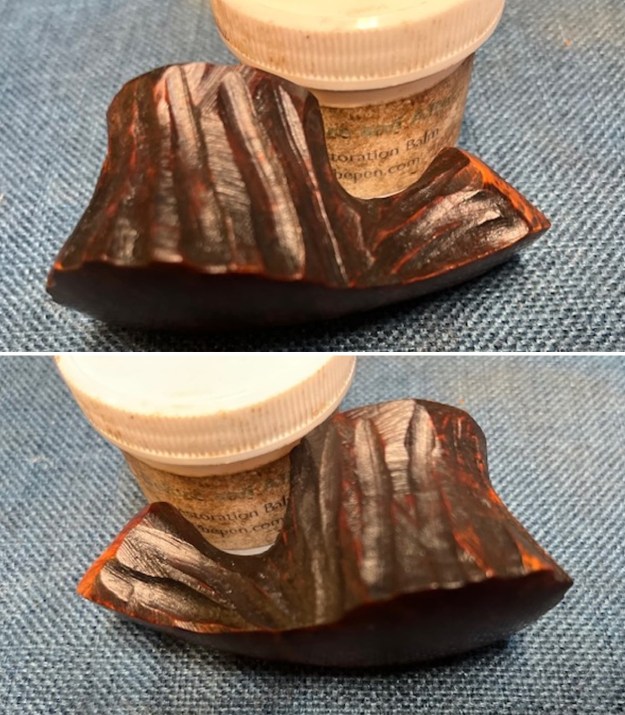
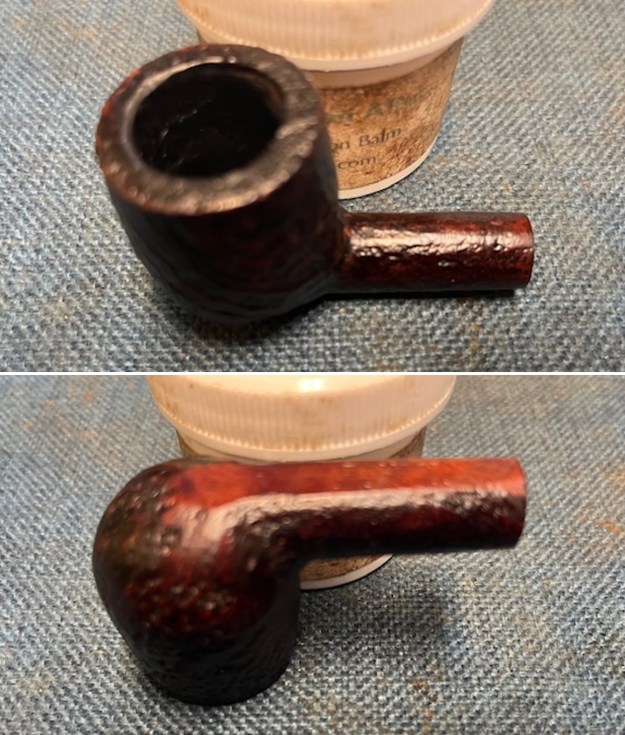
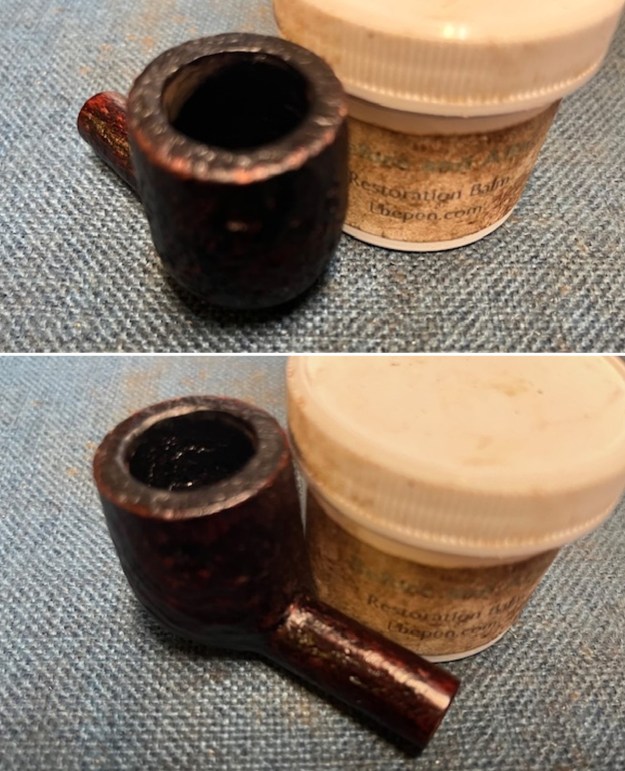
 I rubbed down the briar Before & After Restoration Balm. I worked it into the surface with my fingertips. I used a shoe brush to work the balm into crevices of the sandblast. The product works to clean, enliven and preserve the briar. I let it sit for 15 minutes then I buffed it with a cotton cloth to deepen the shine. The briar really comes alive with the balm.
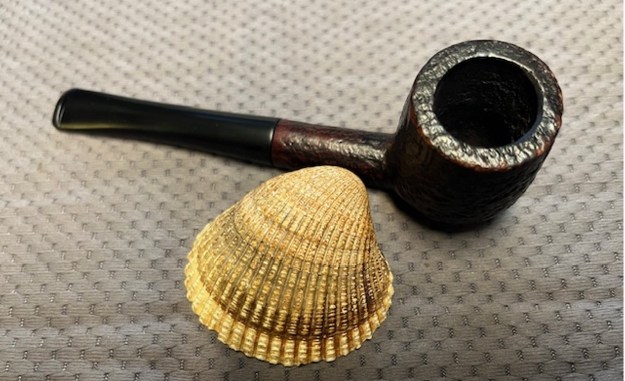
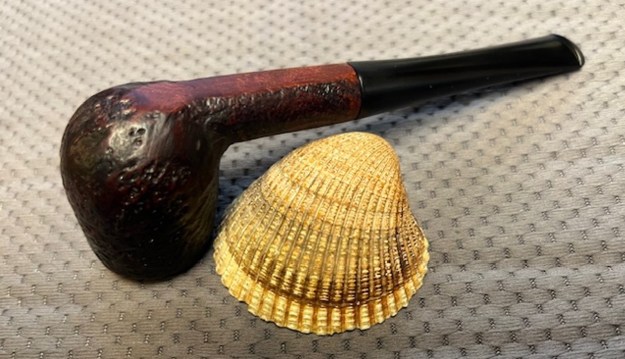
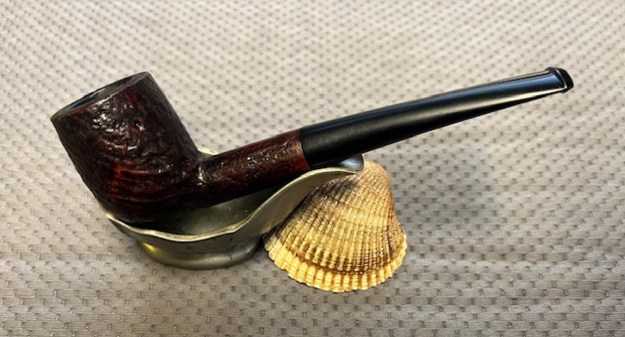
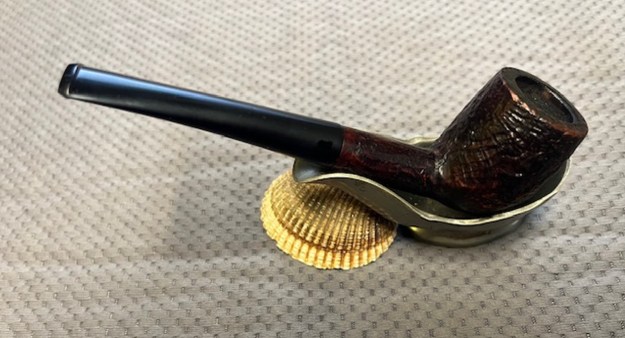
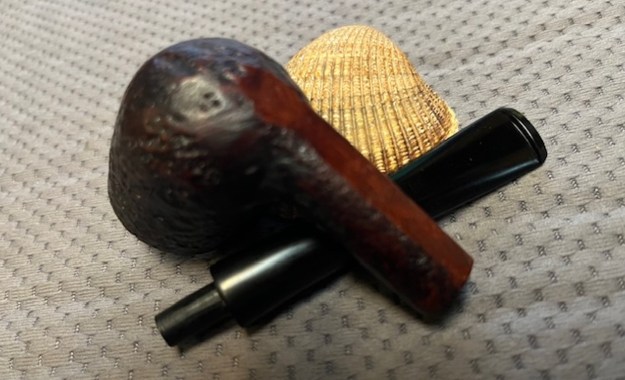
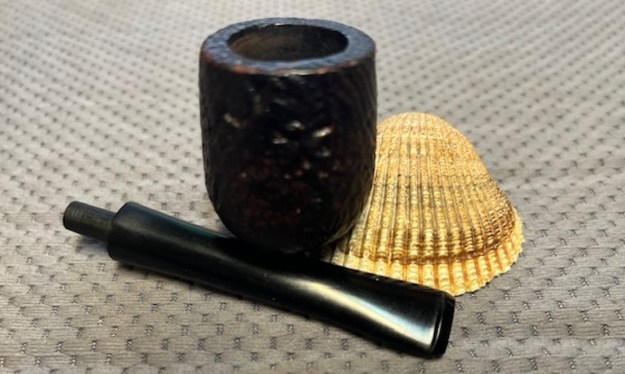
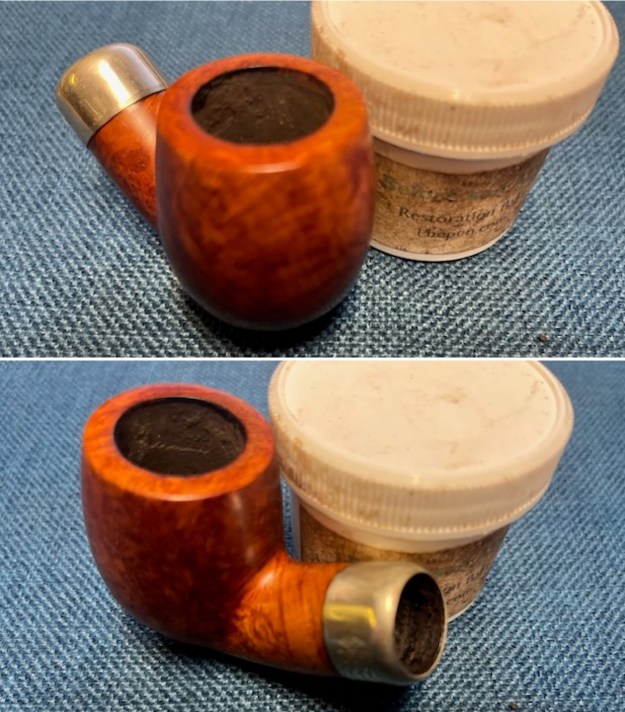
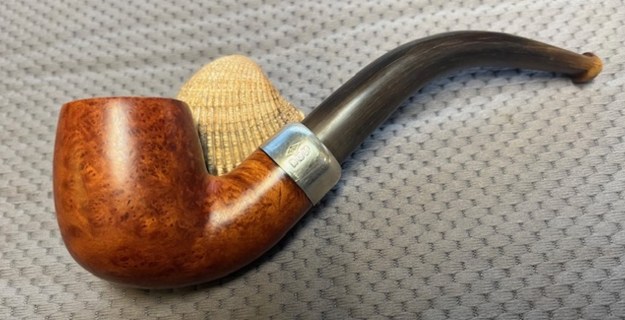
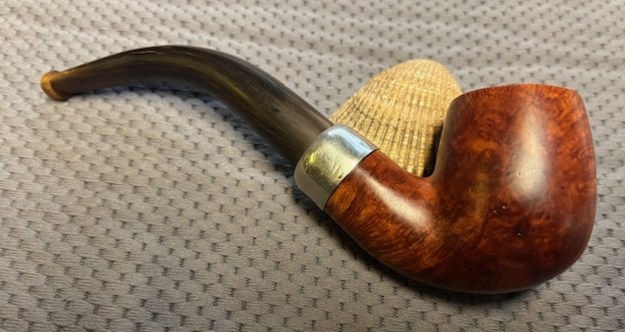
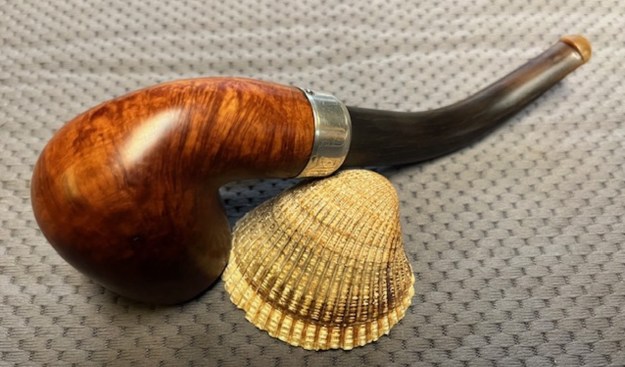
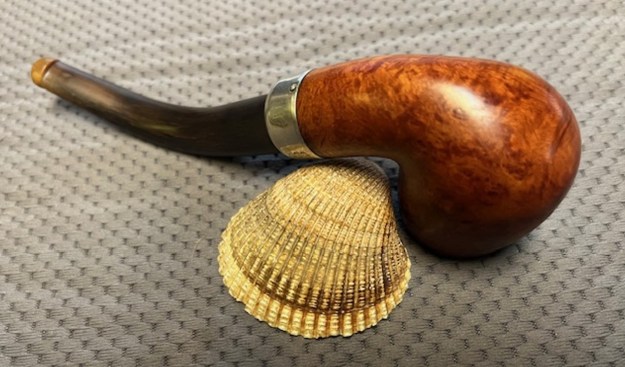
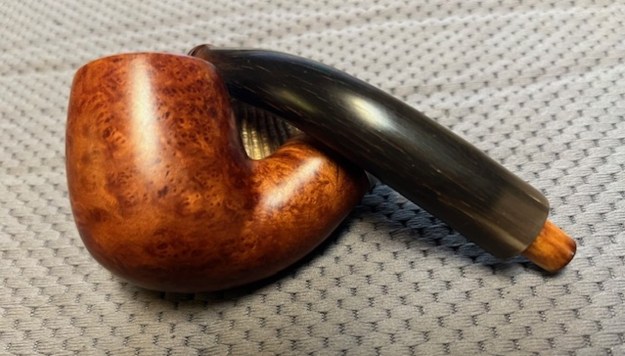
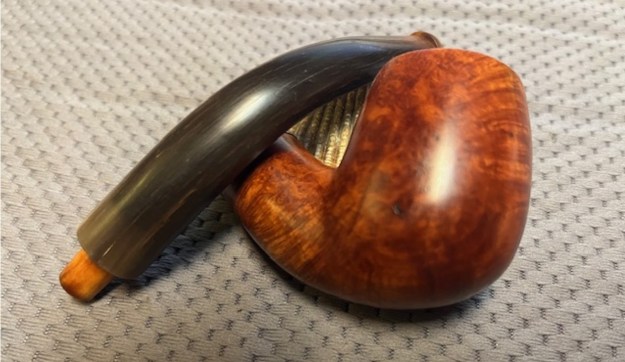
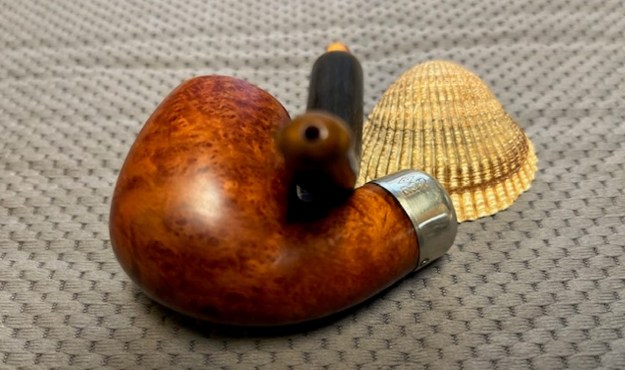
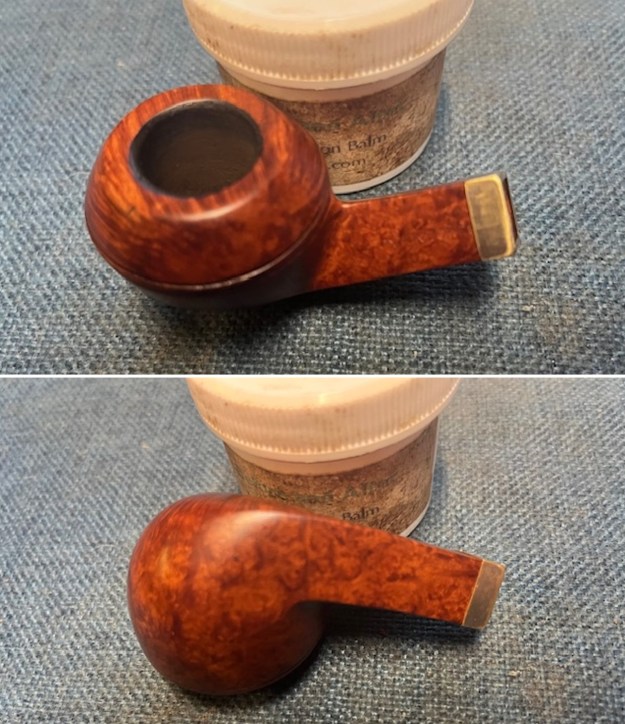
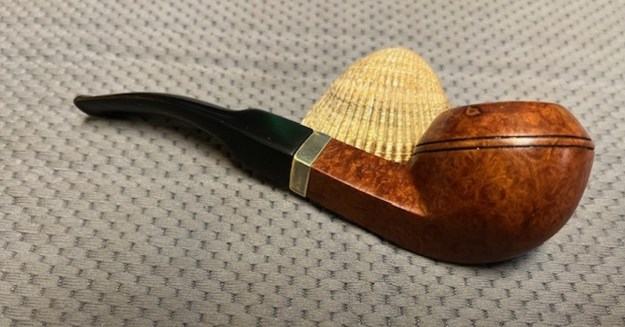
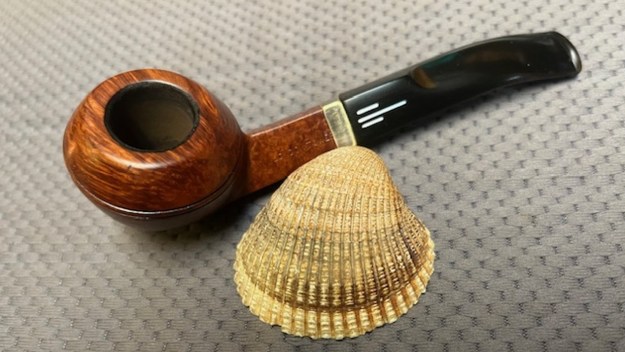
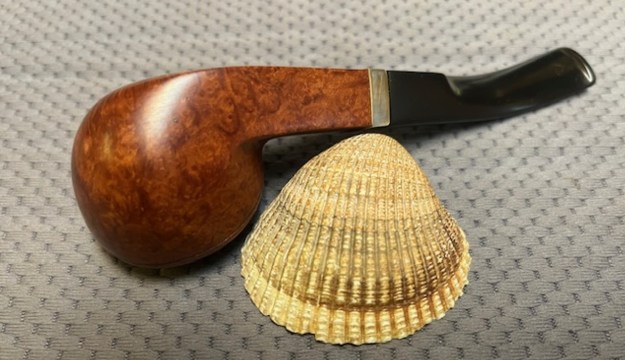
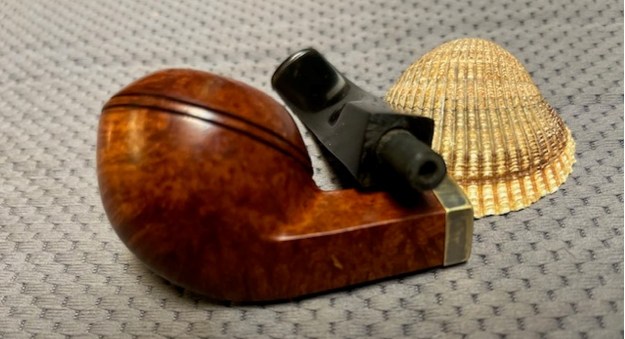
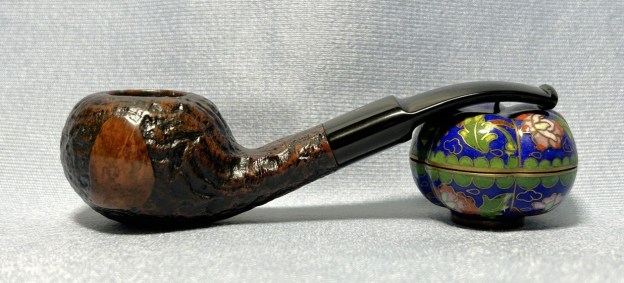
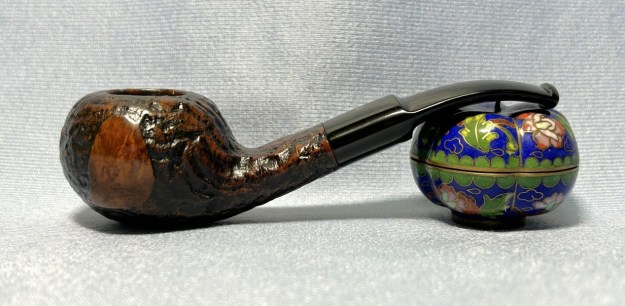
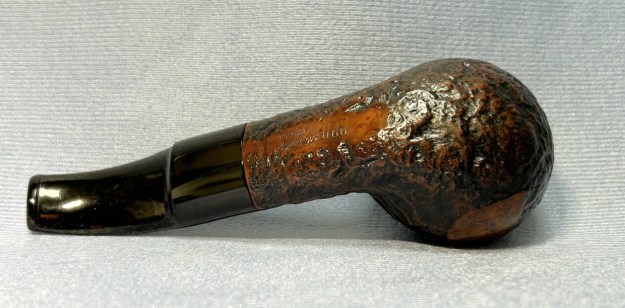
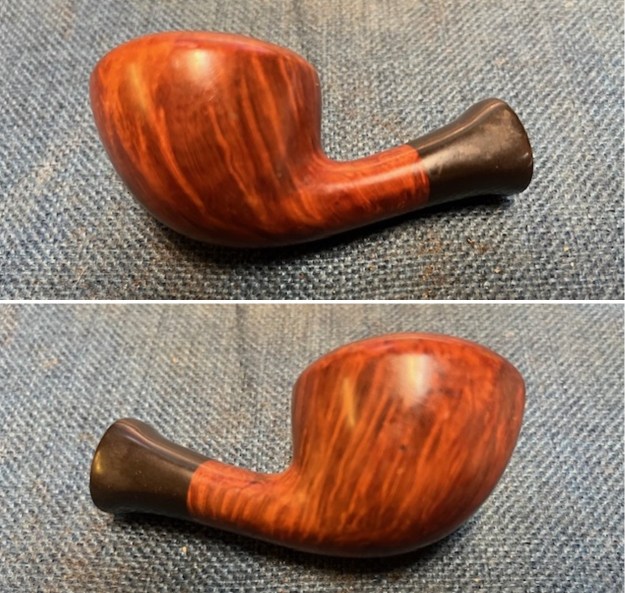
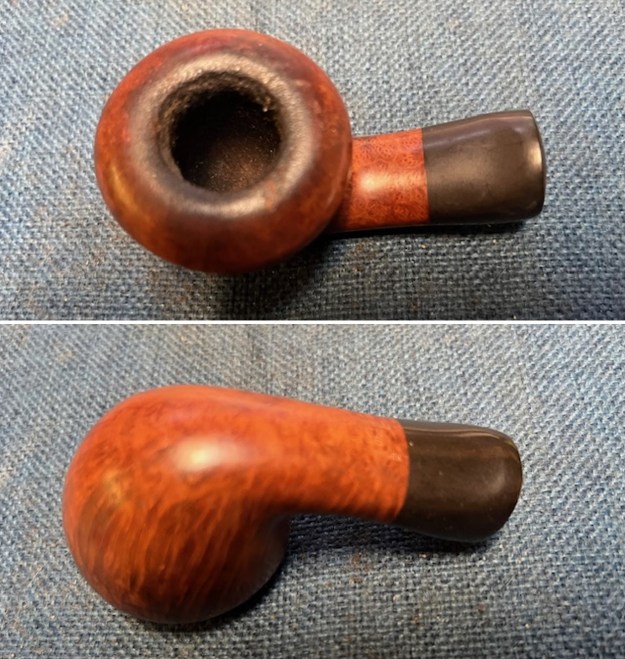
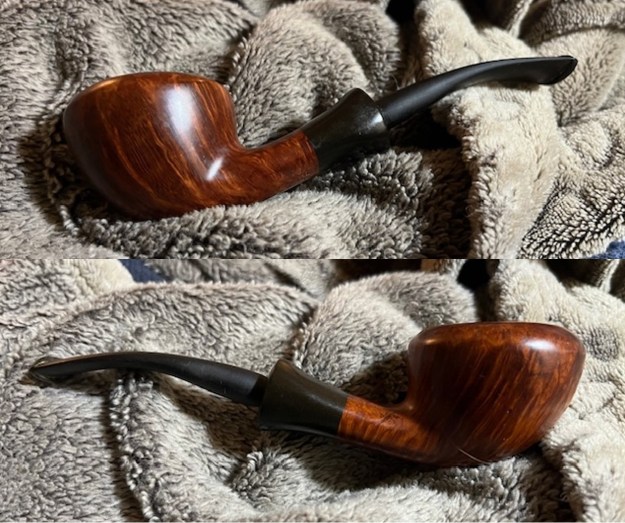
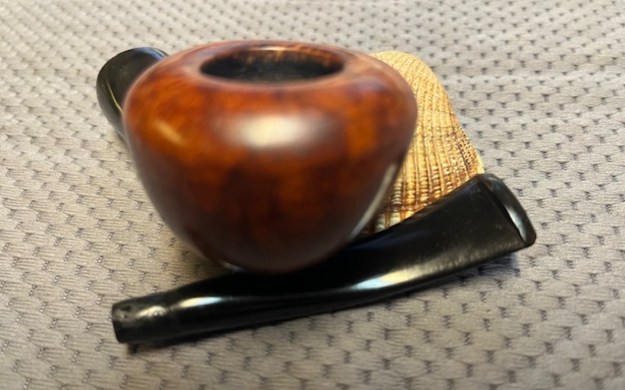
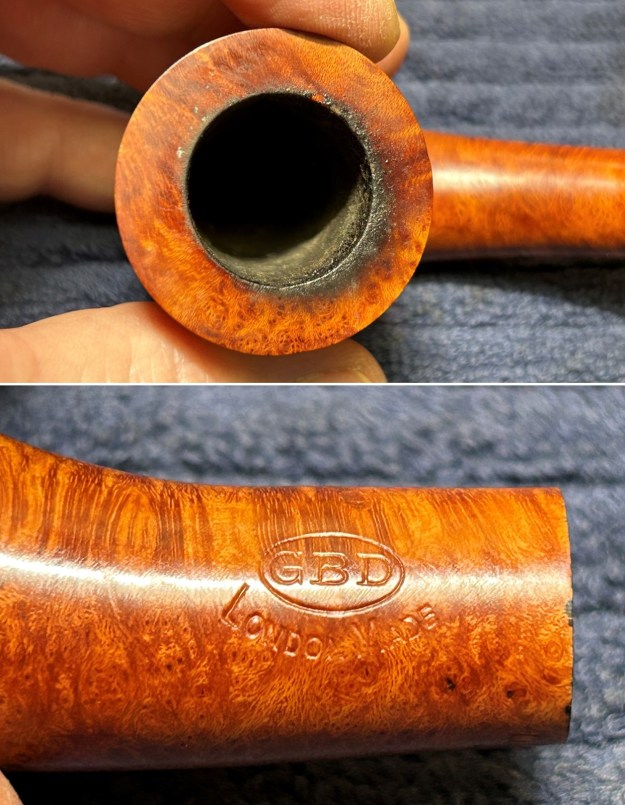
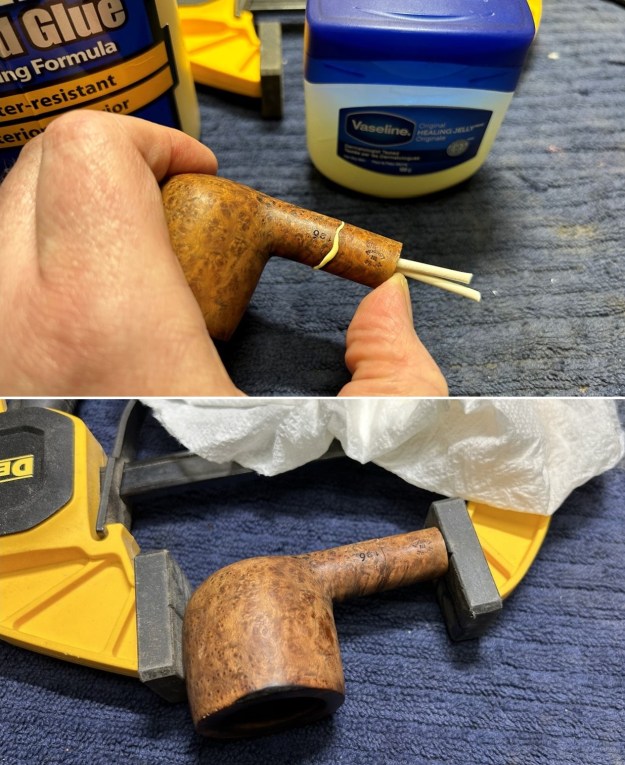
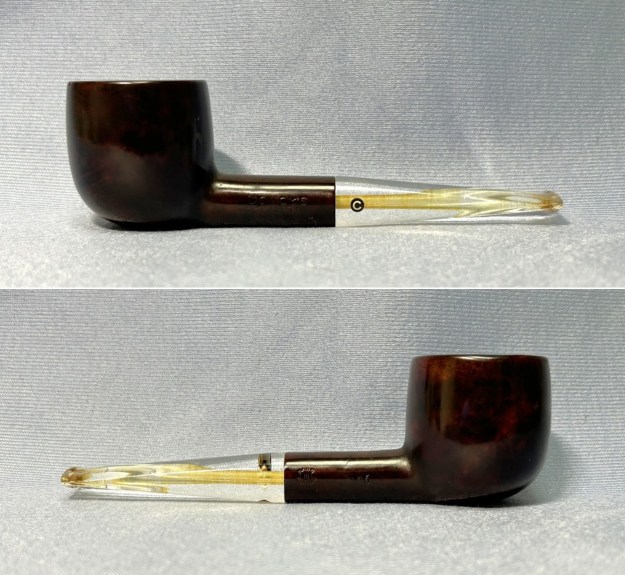
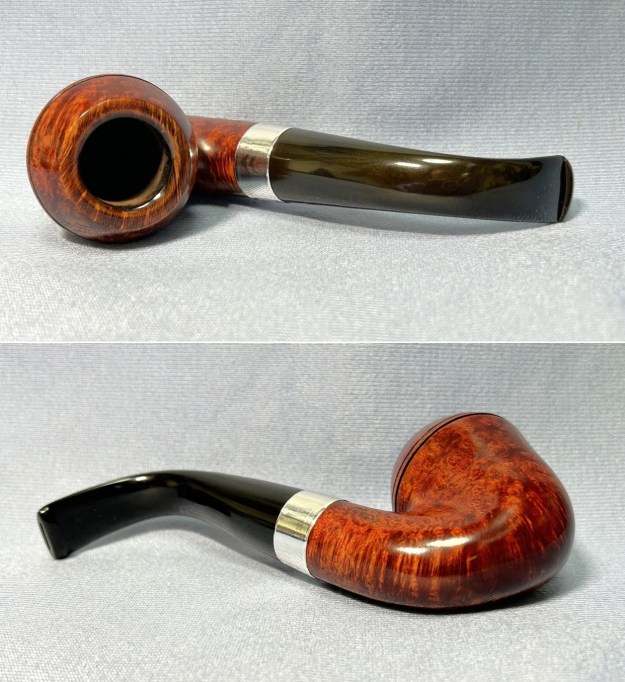
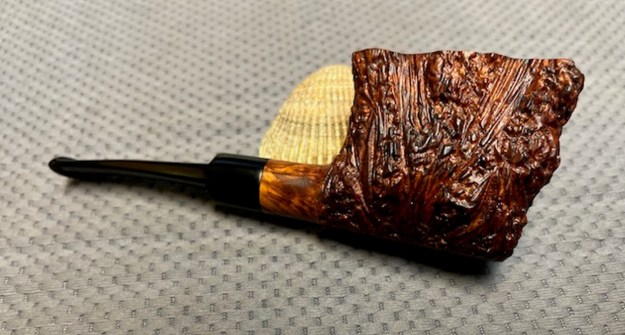
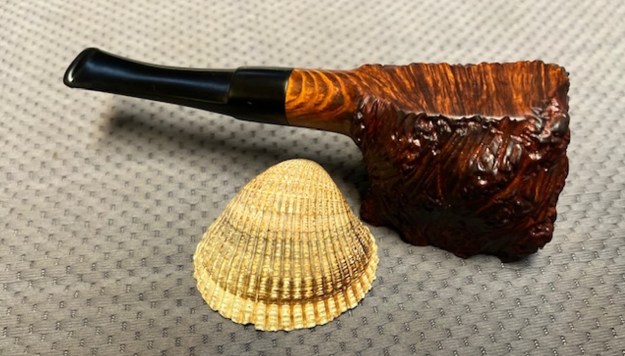
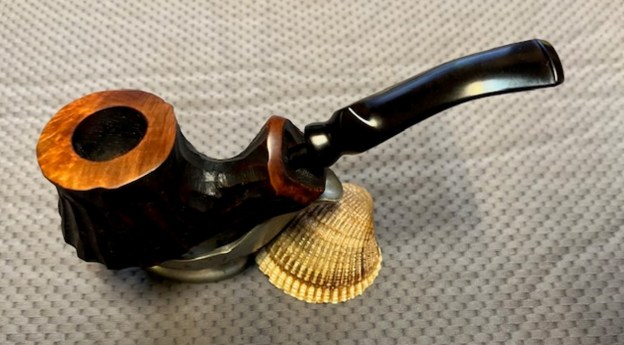
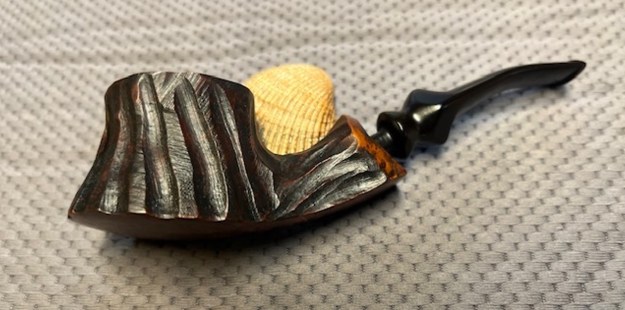
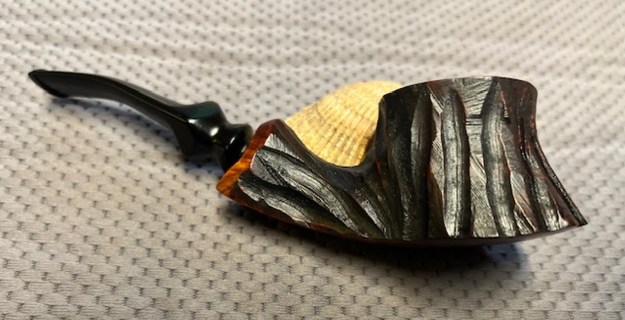
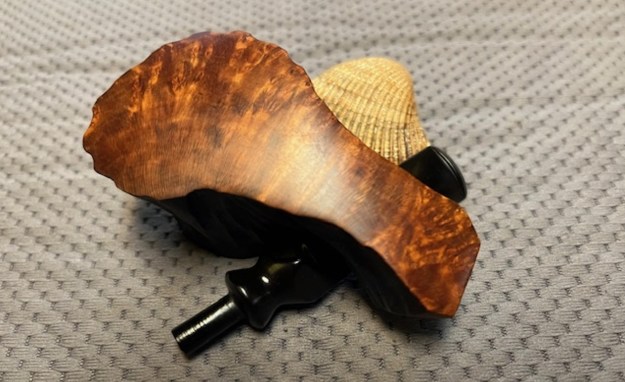
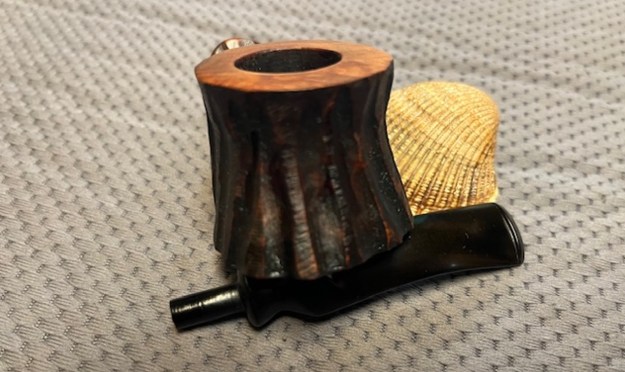
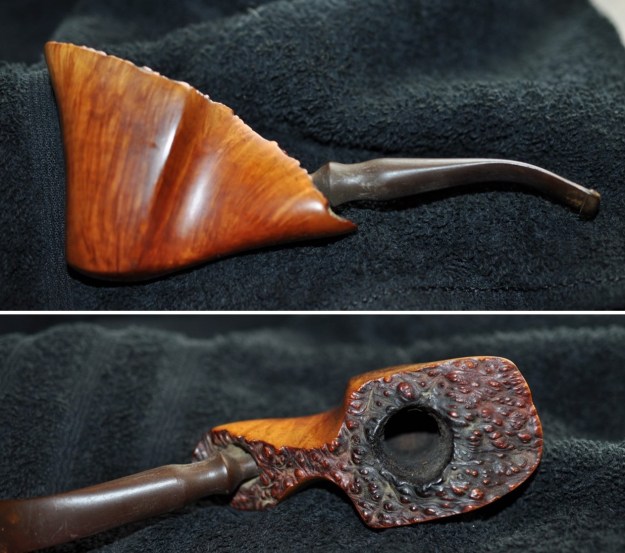
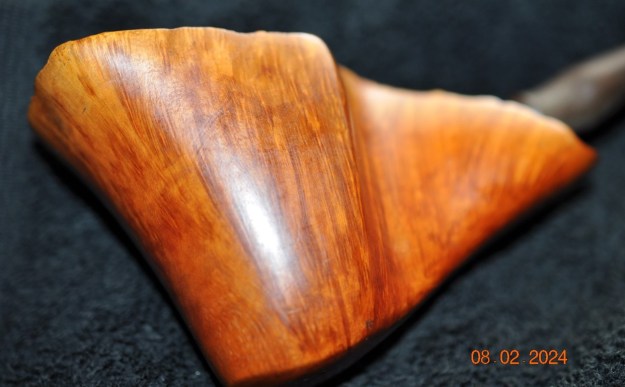
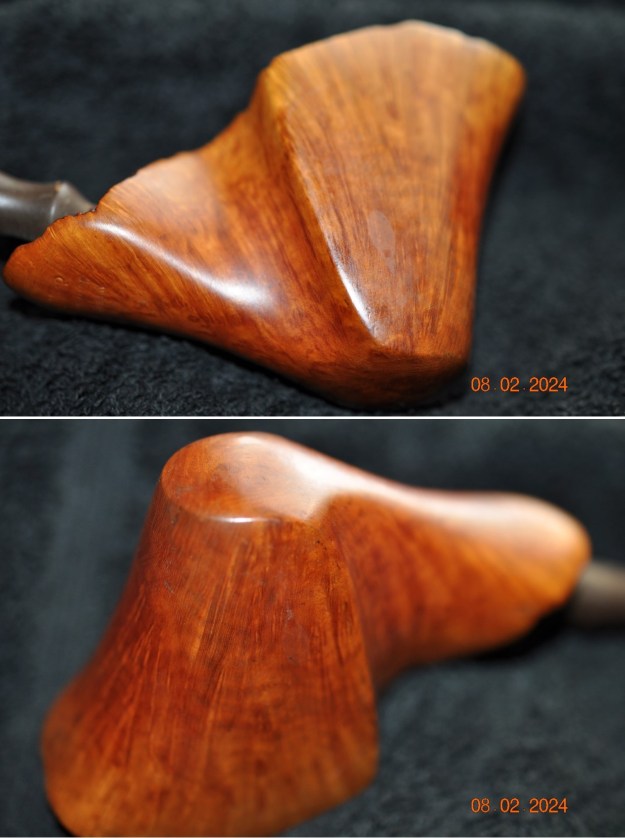
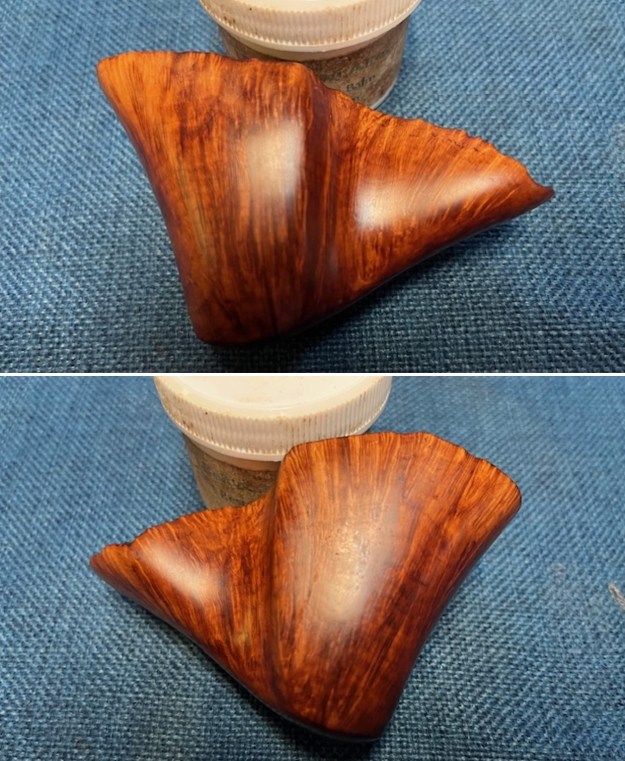
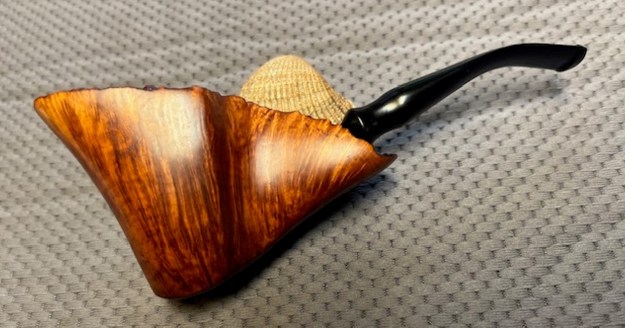
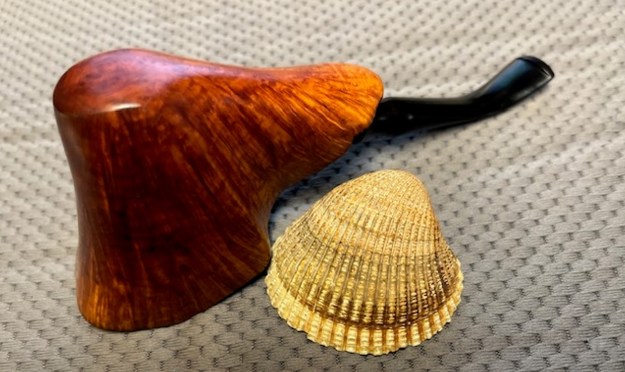
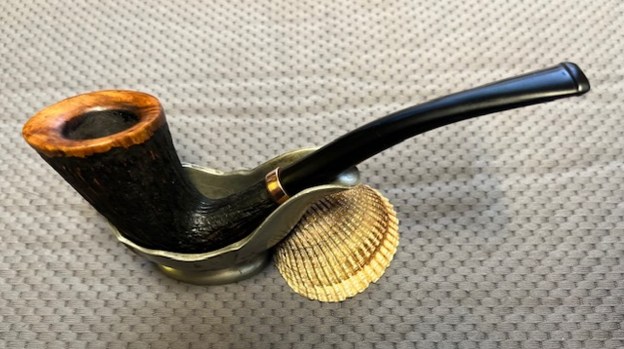
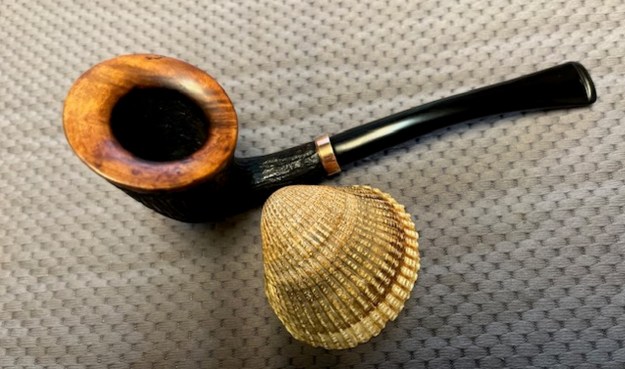
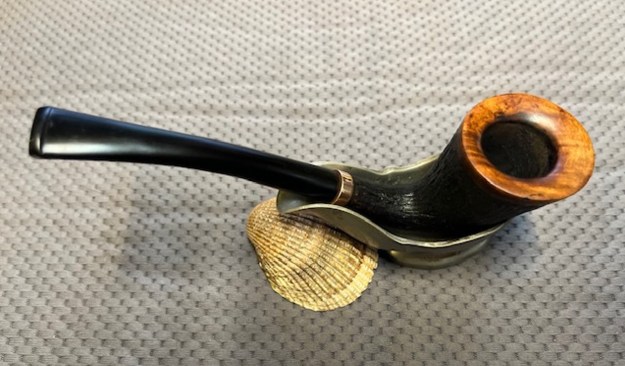
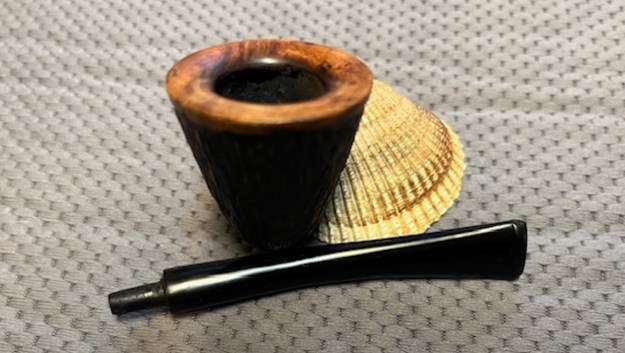
 This is another pipe that I am really happy about the finished restoration. This reborn Sandy 2 London Made Sandblast Billiard turned out really well. I used a vulcanite stem I had here to fit the pipe with a new stem. After restemming I think that it really is a great looking pipe with a great shape and grain. The bowl is a classic English Billiard that looks excellent with the new vulcanite stem. The polished black of the stem works well with the briar. The briar really came alive with the buffing. The rich brown and mahogany stains of the finish make the blast really pop with the polishing and waxing. I put the stem back on the bowl and buffed the pipe with Blue Diamond on the buffing wheel. I gave the bowl and the stem multiple coats of carnauba wax on the buffing wheel. I buffed the pipe with a clean buffing pad to raise the shine. I hand buffed the pipe with a microfiber cloth to deepen the shine. The finished Sandy 2 London Made Billiard really has a unique beauty and feels great in the hand. It looks very good. Give the finished pipe a look in the photos below. The dimensions of the pipe are Length: 5 ½ inches, Height: 1 ½ inches, Outside diameter of the bowl: 1 ¼ inches, Chamber diameter: ¾ of an inch. The weight of the pipe is 28 grams/.99 ounces. The pipe will be going on the rebornpipes store soon. It will be in the British Pipemakers Section if you would like to add it to your collection. Thanks for reading this blog and my reflections on the pipe while I worked on it. It was a fun one to work on!