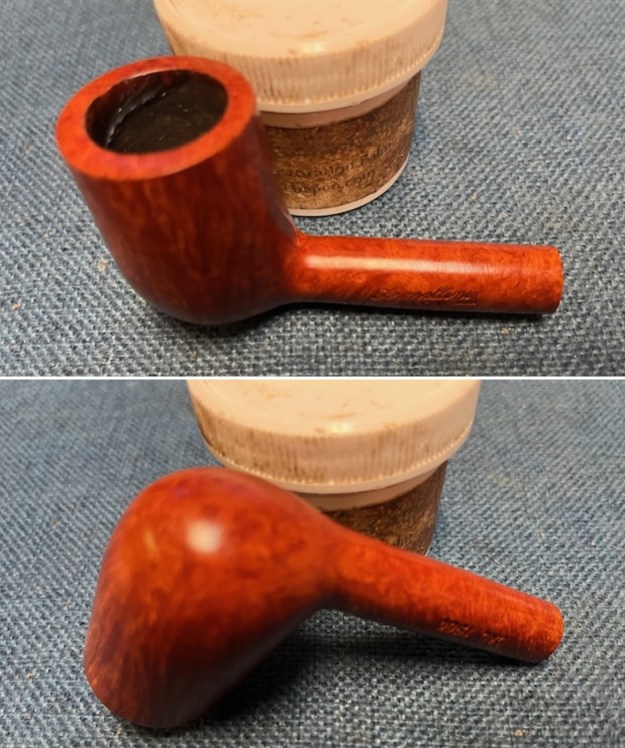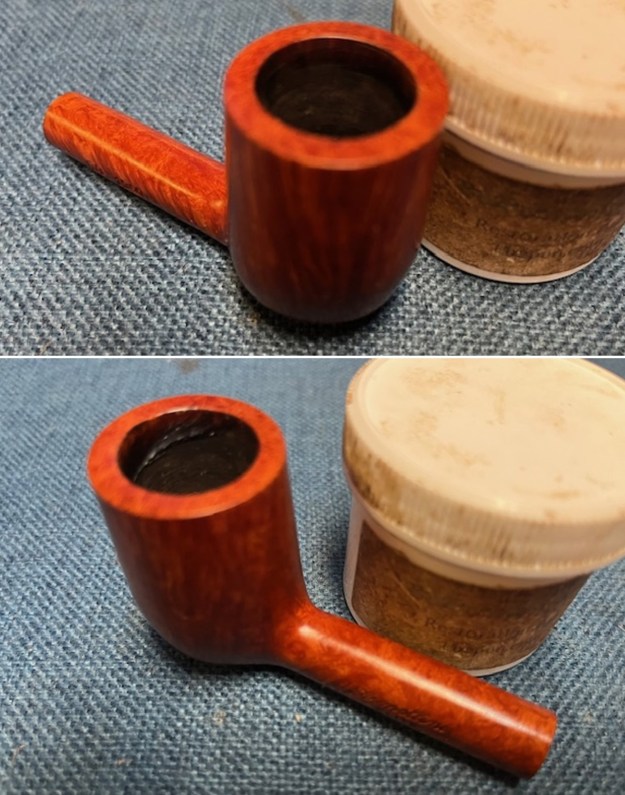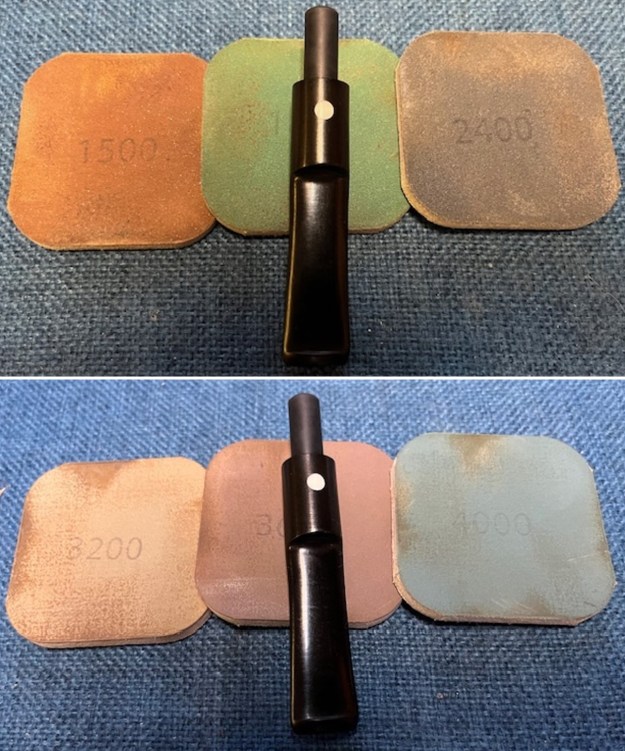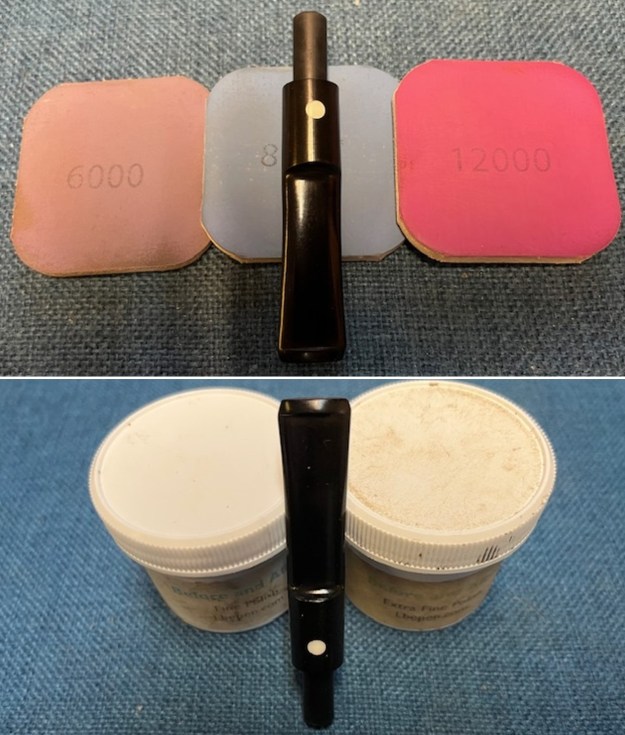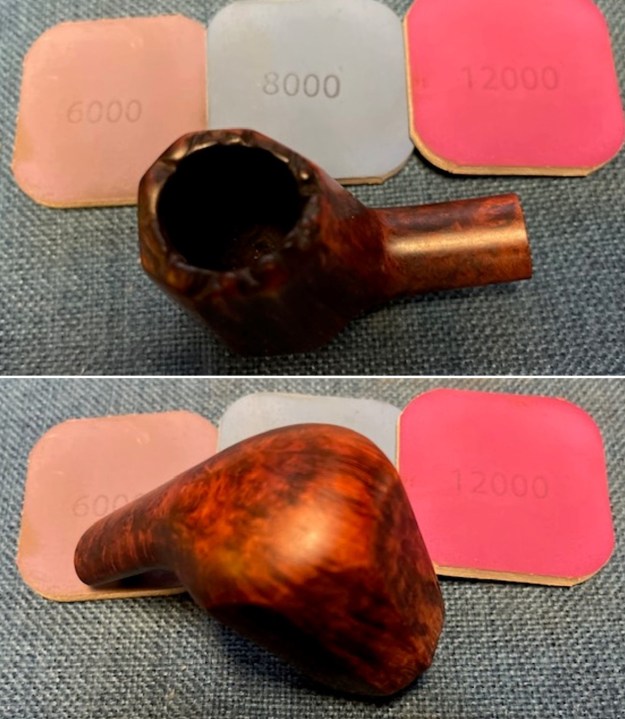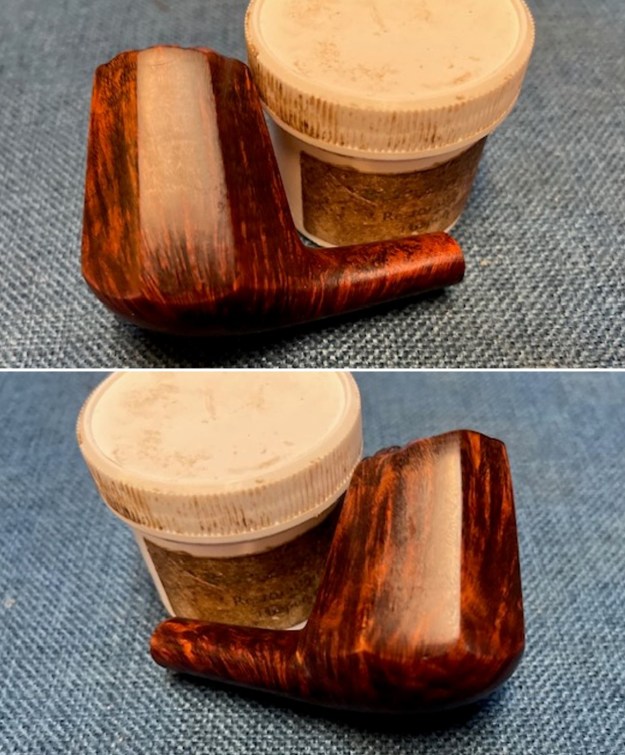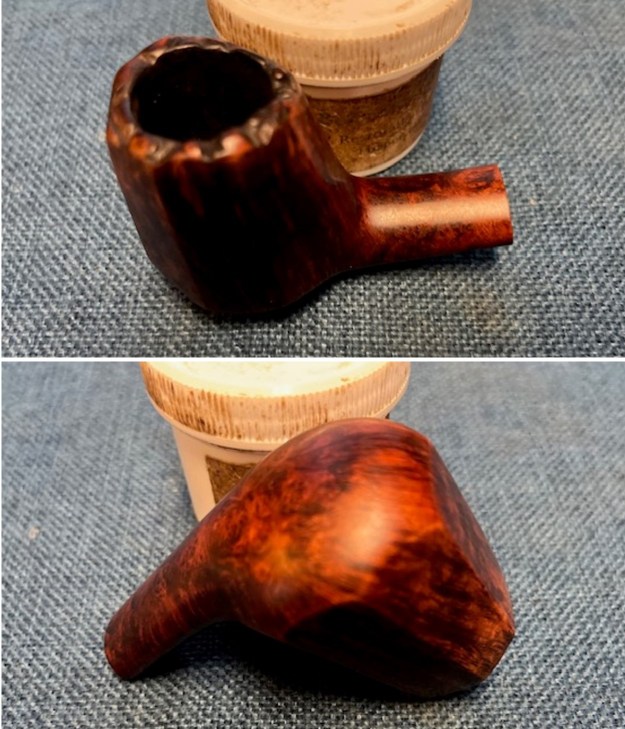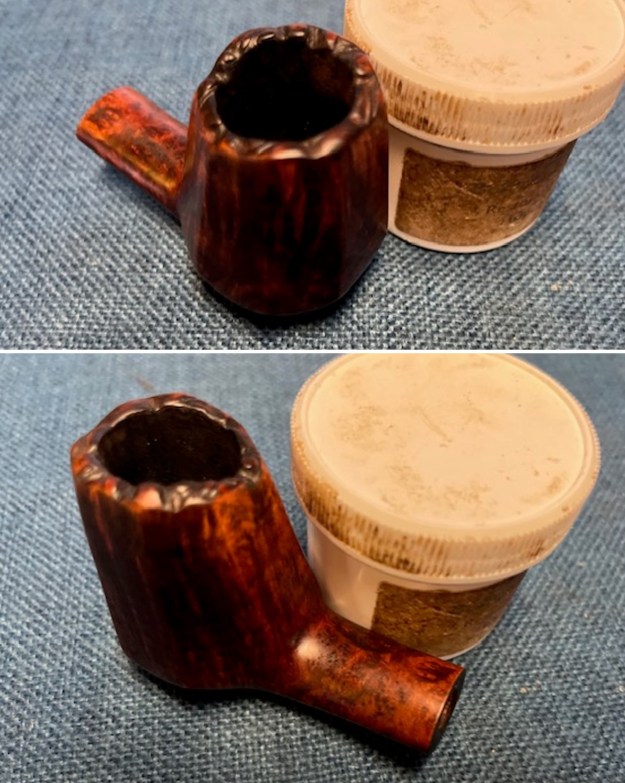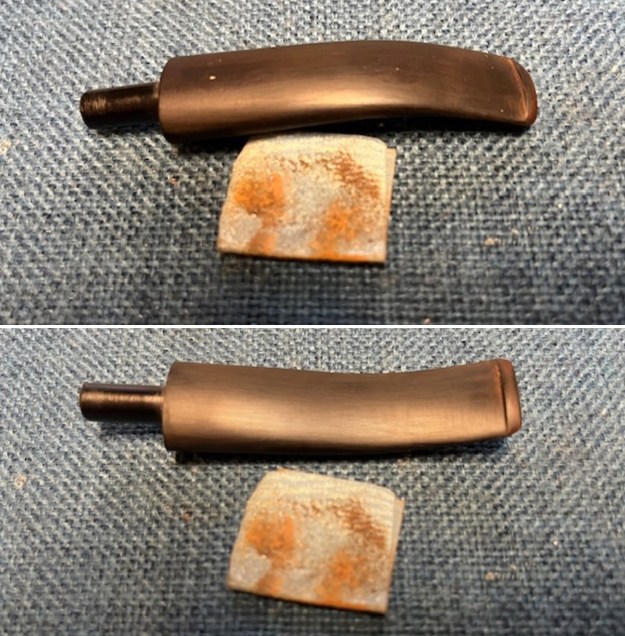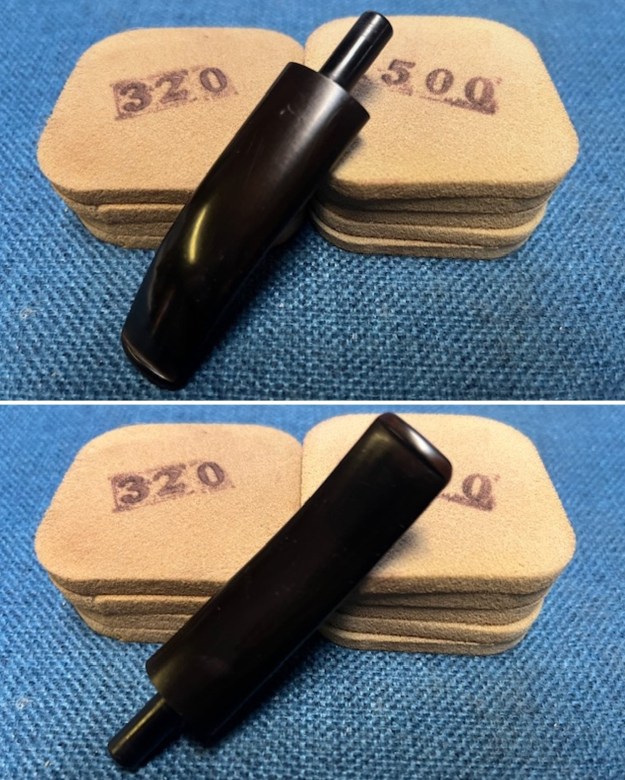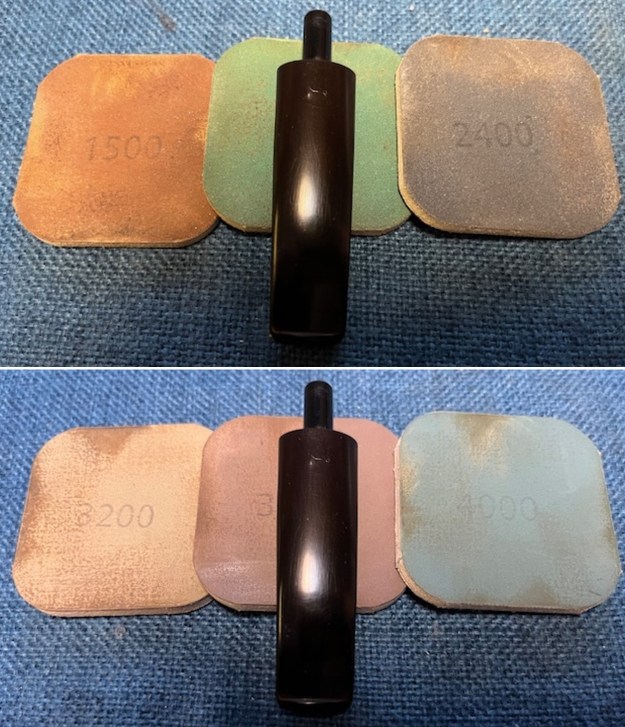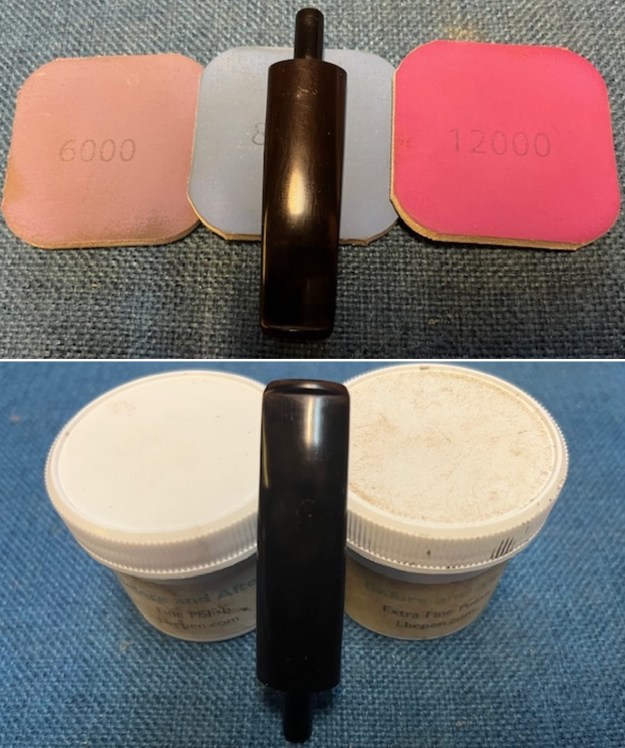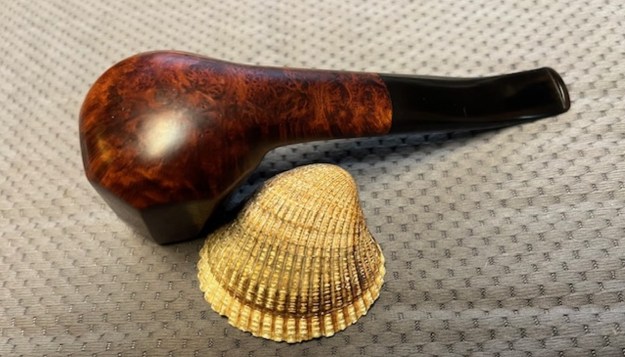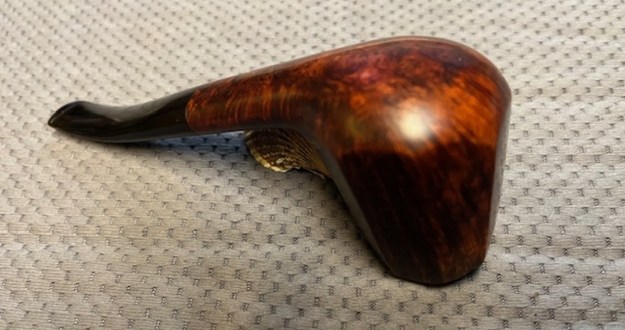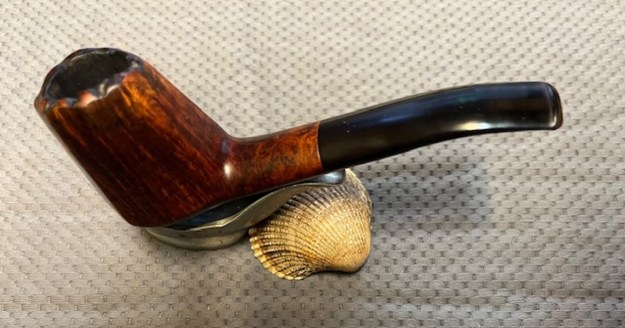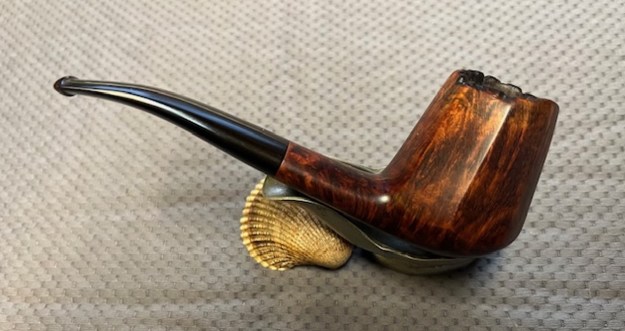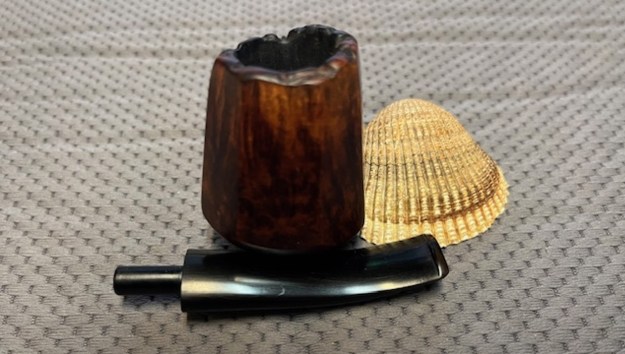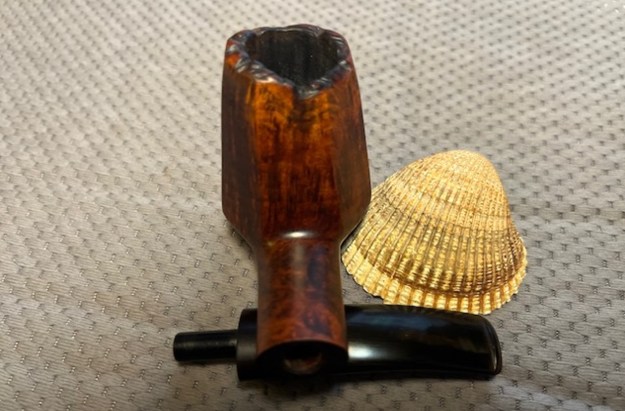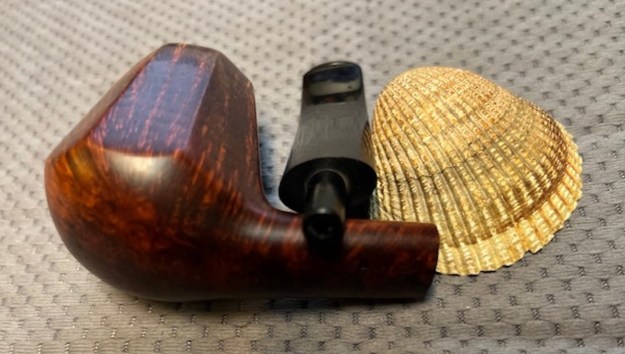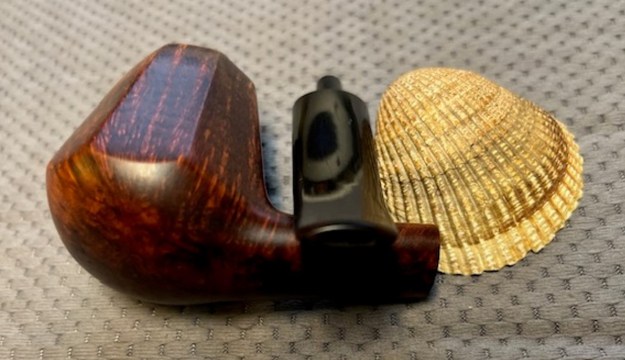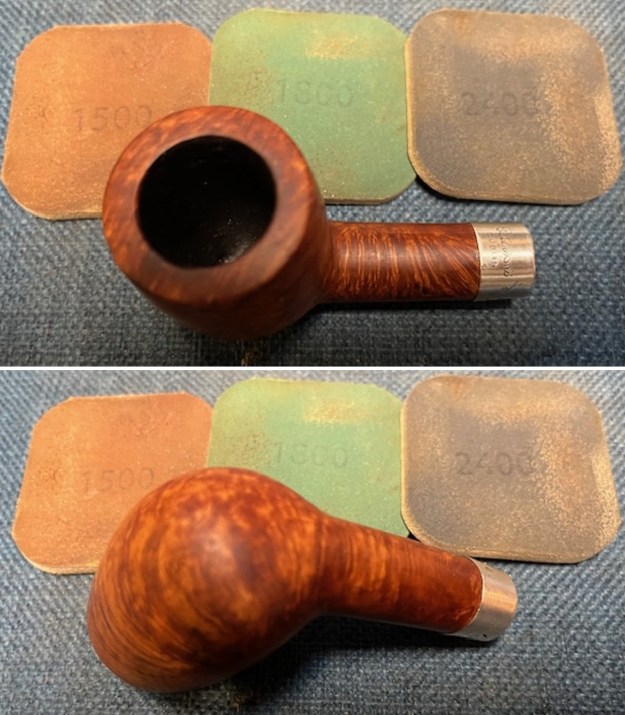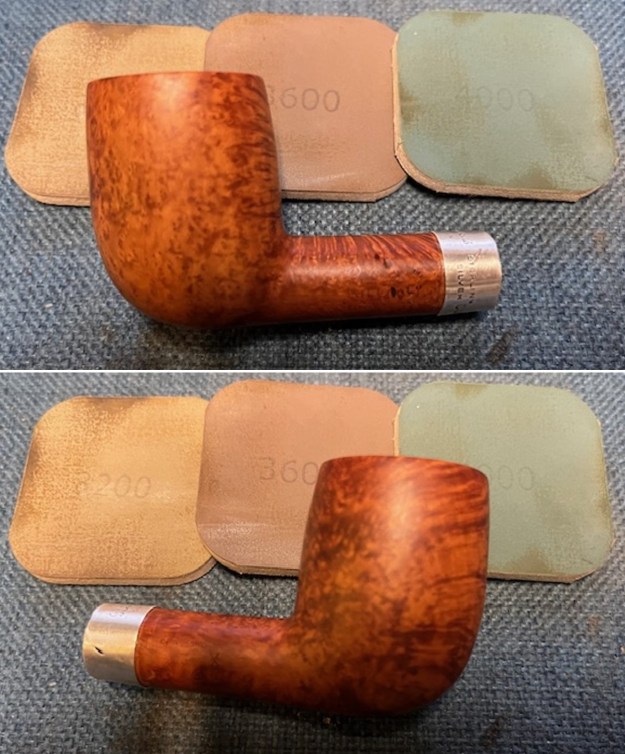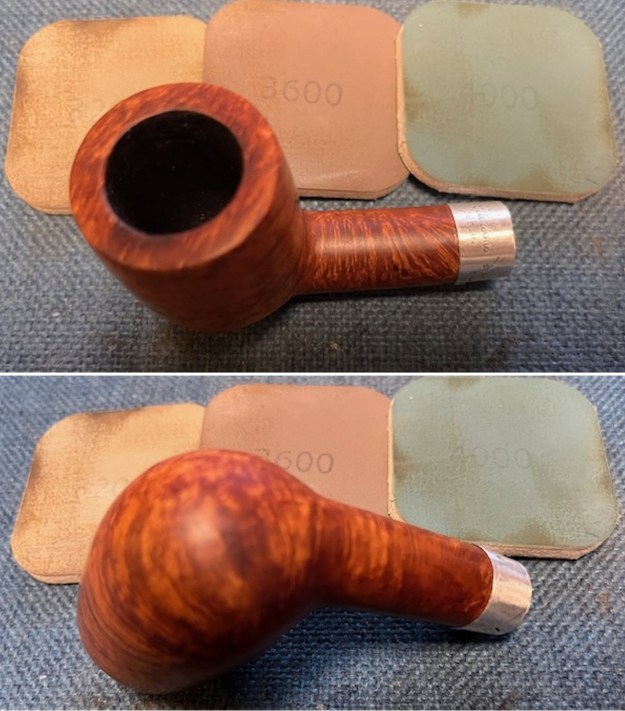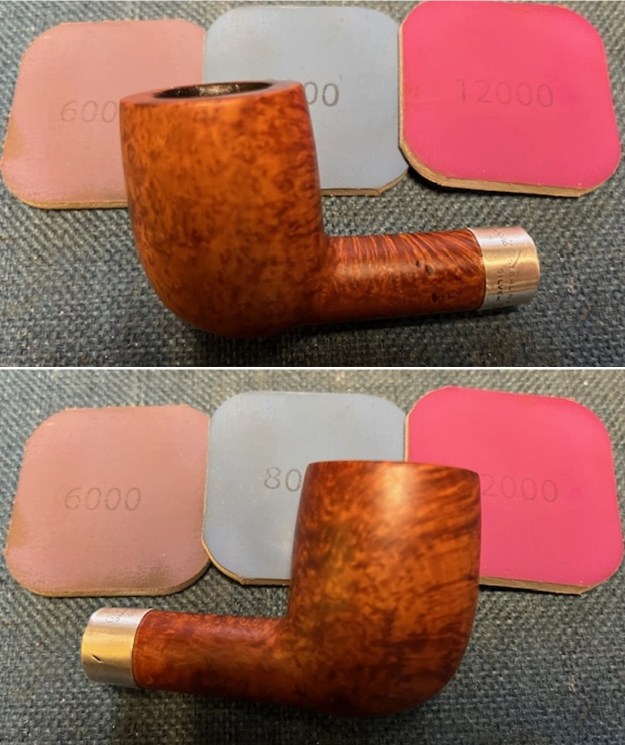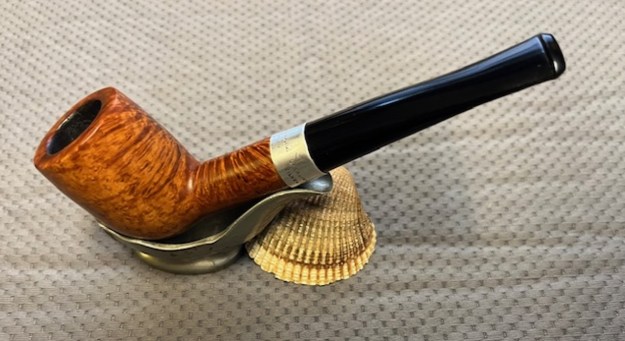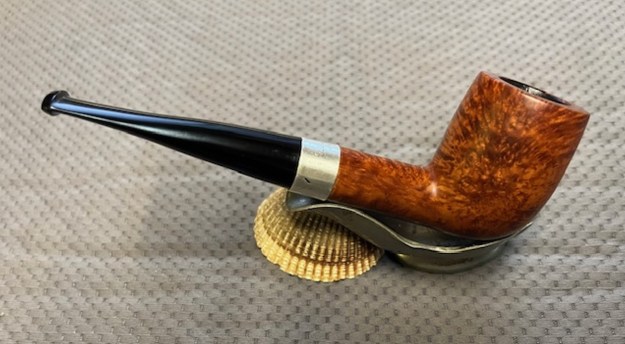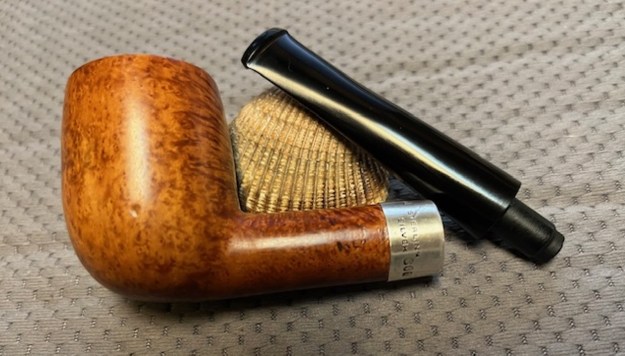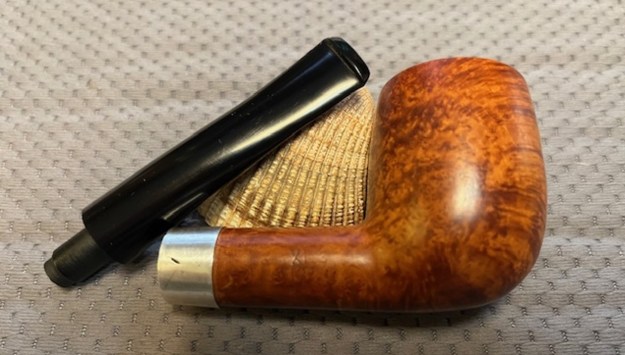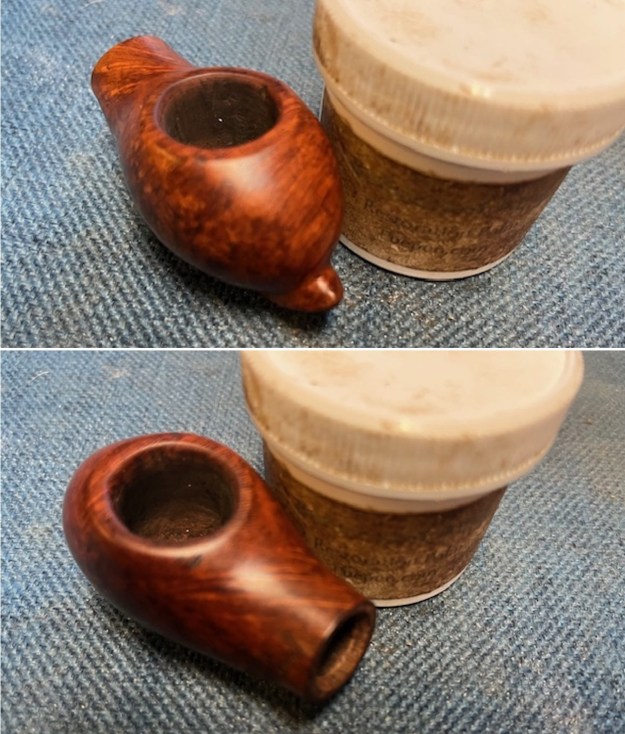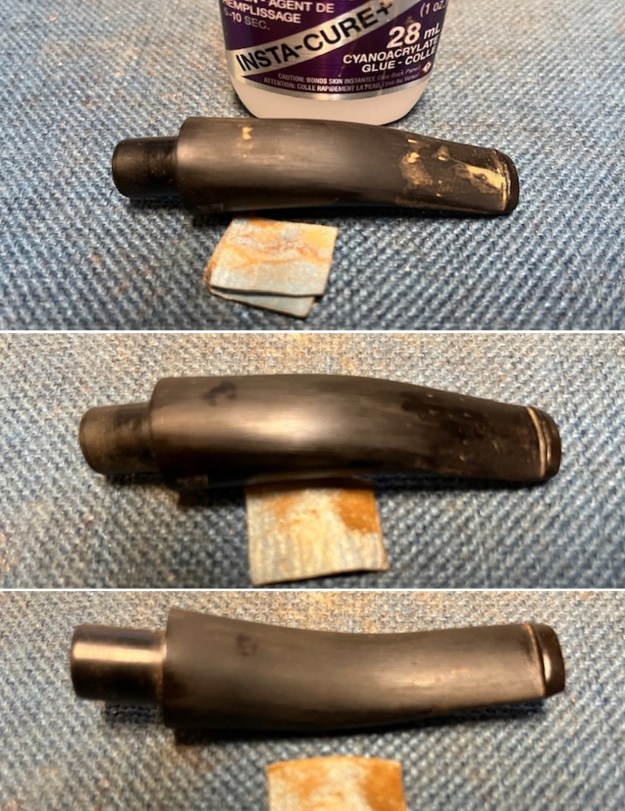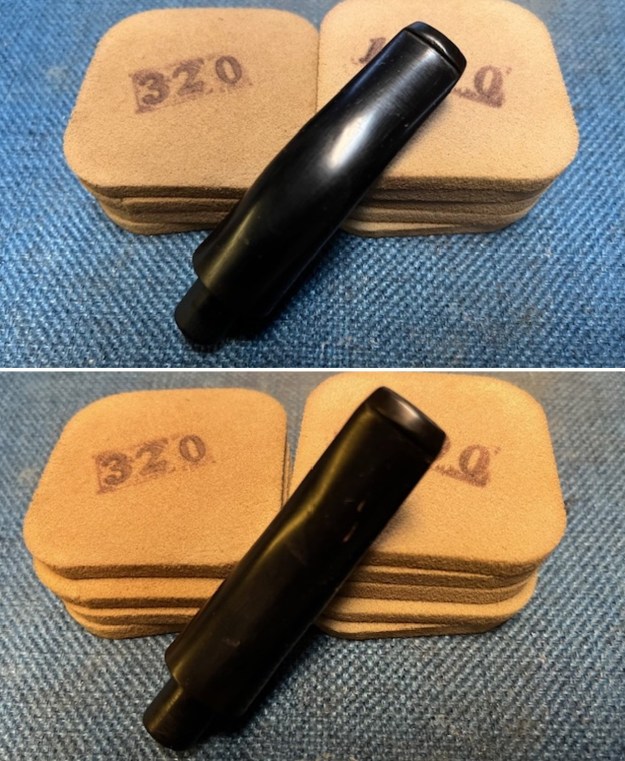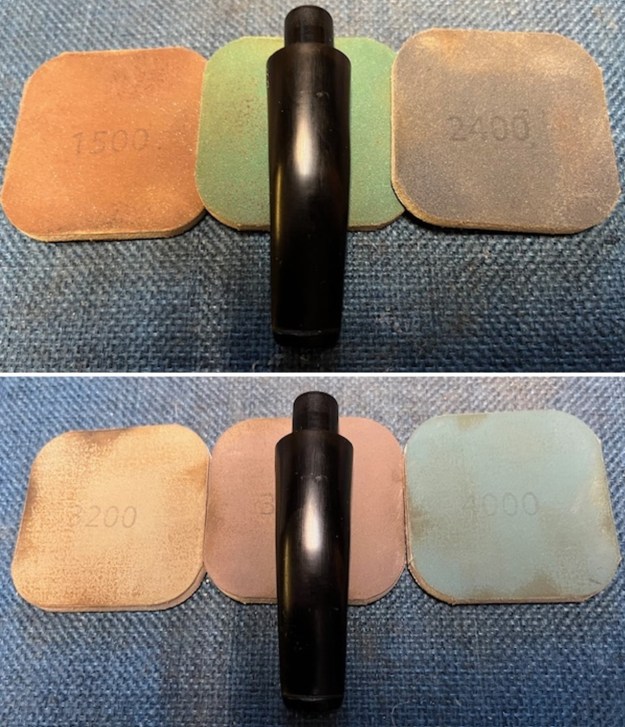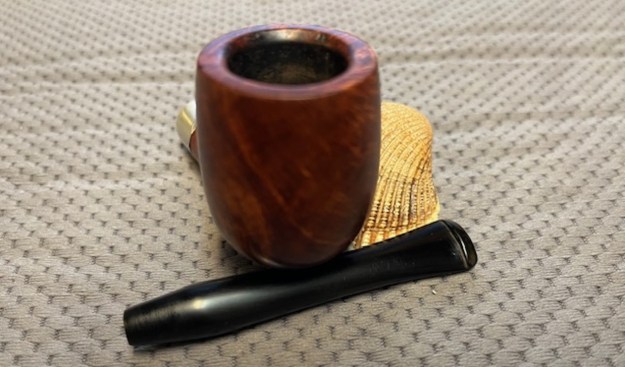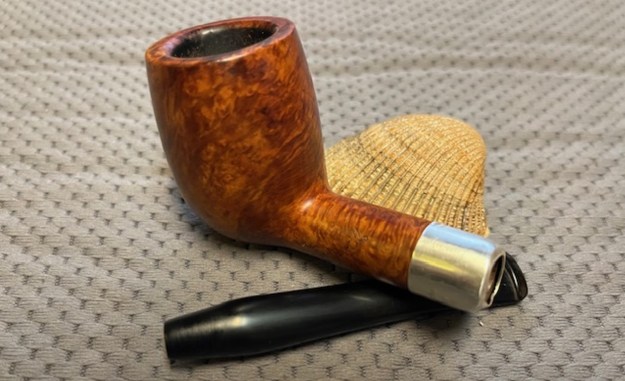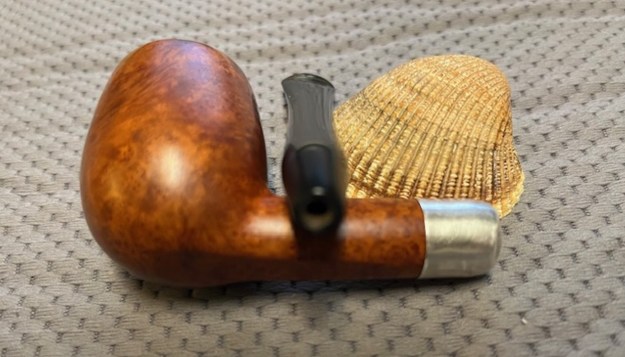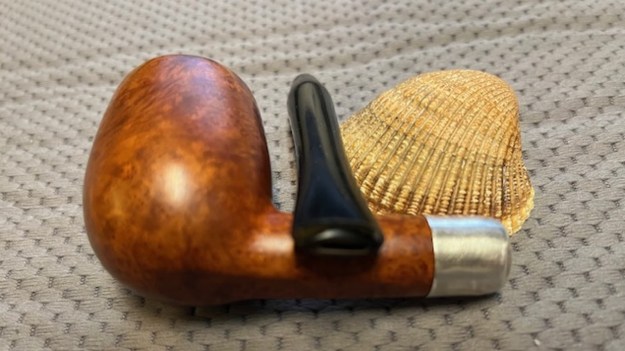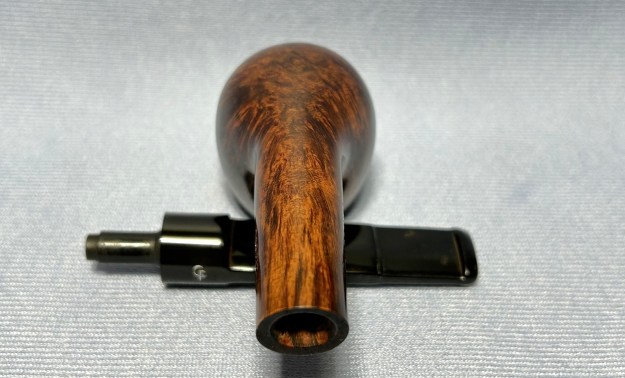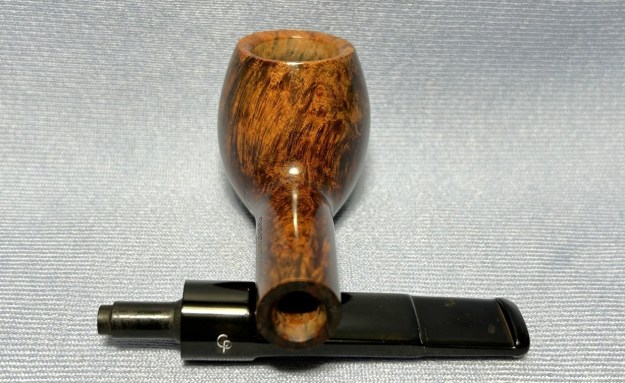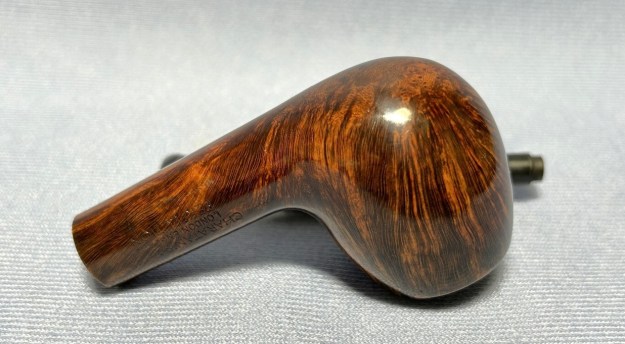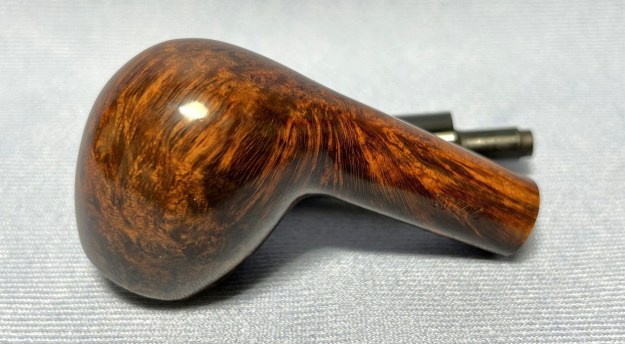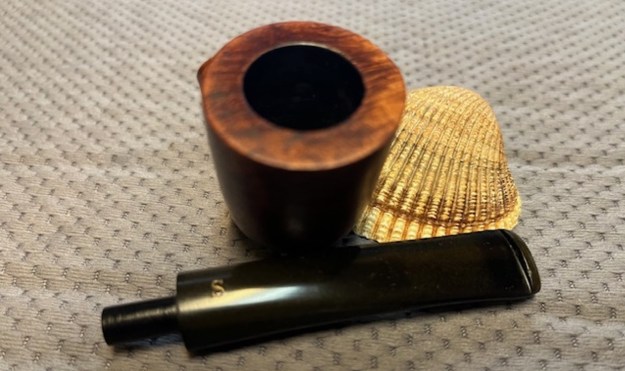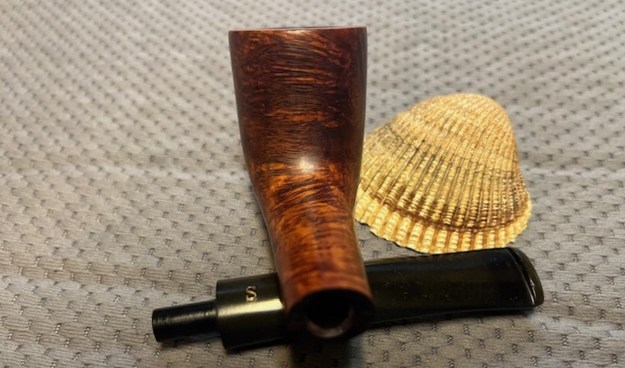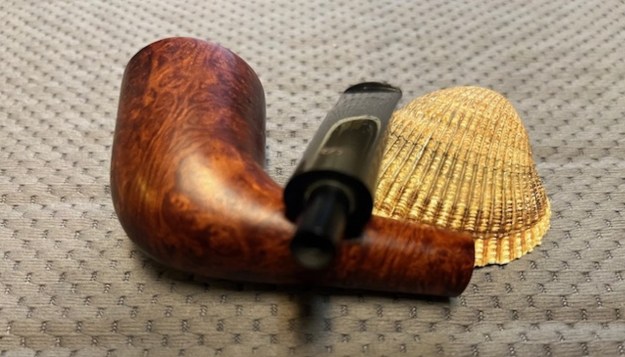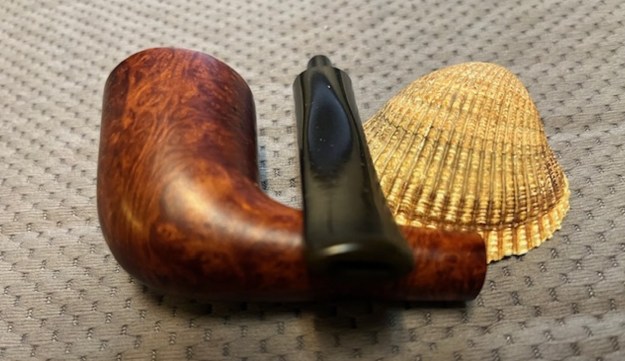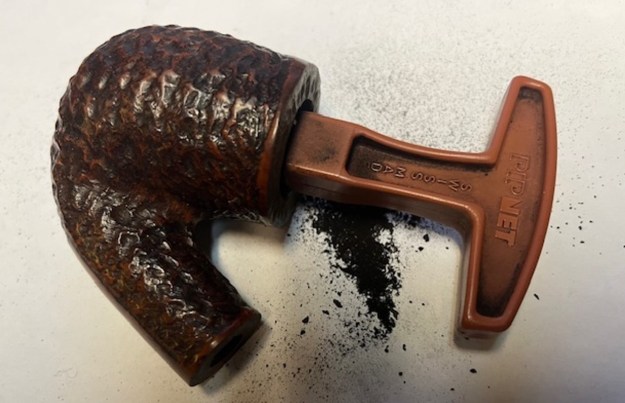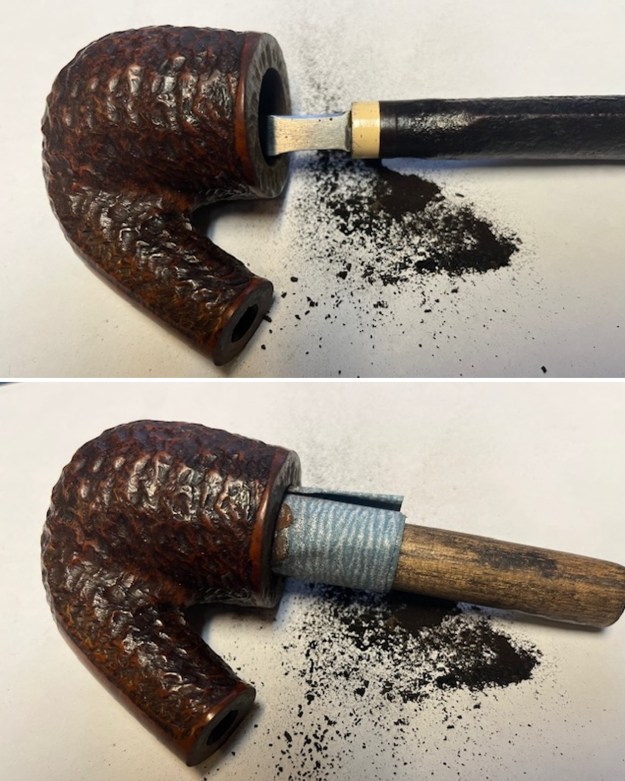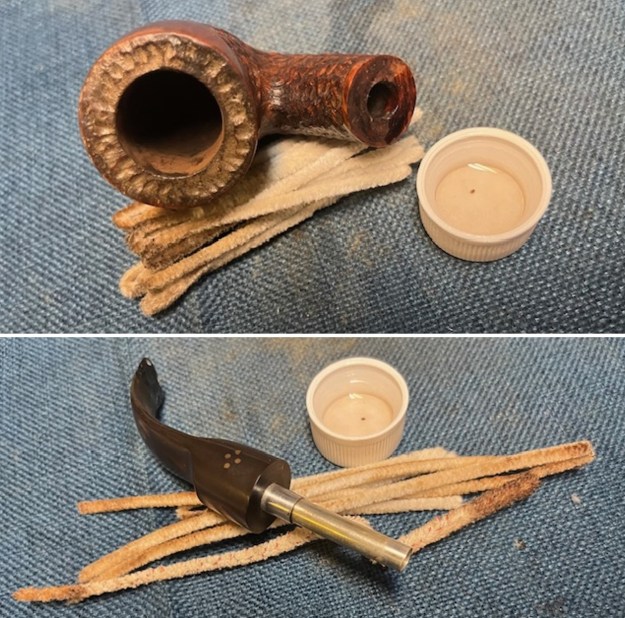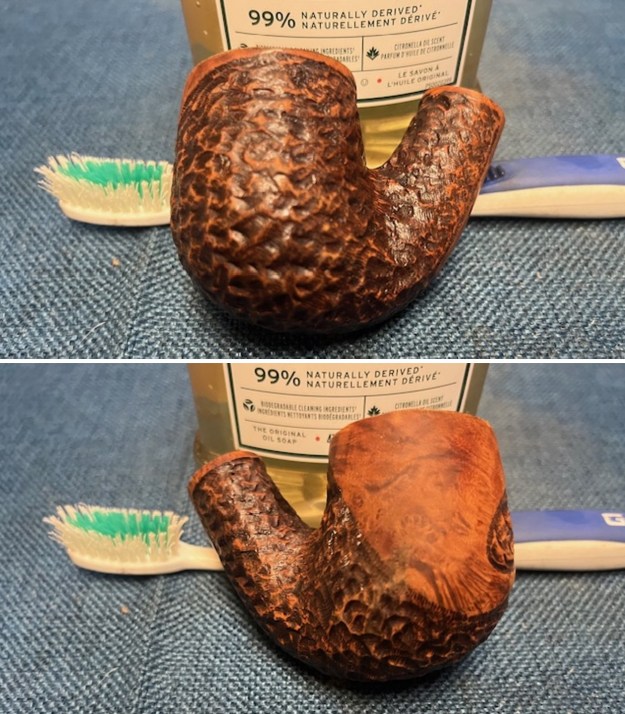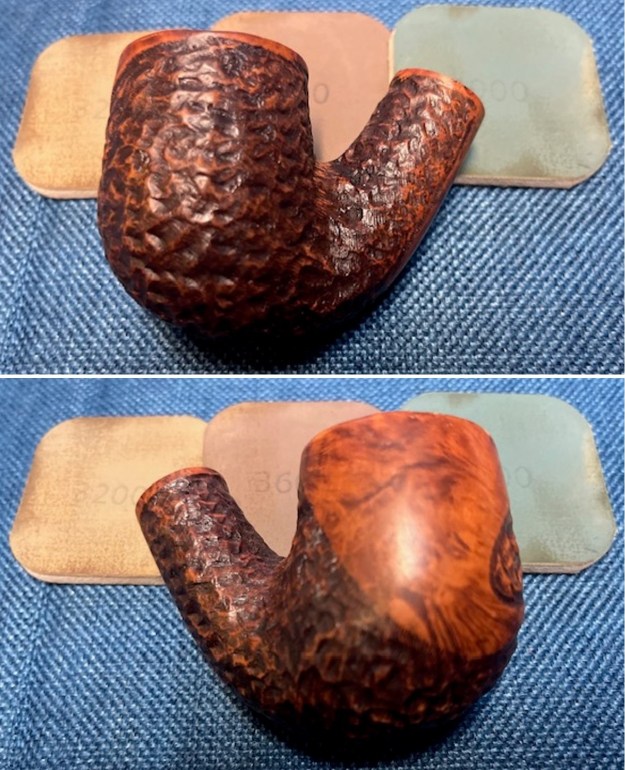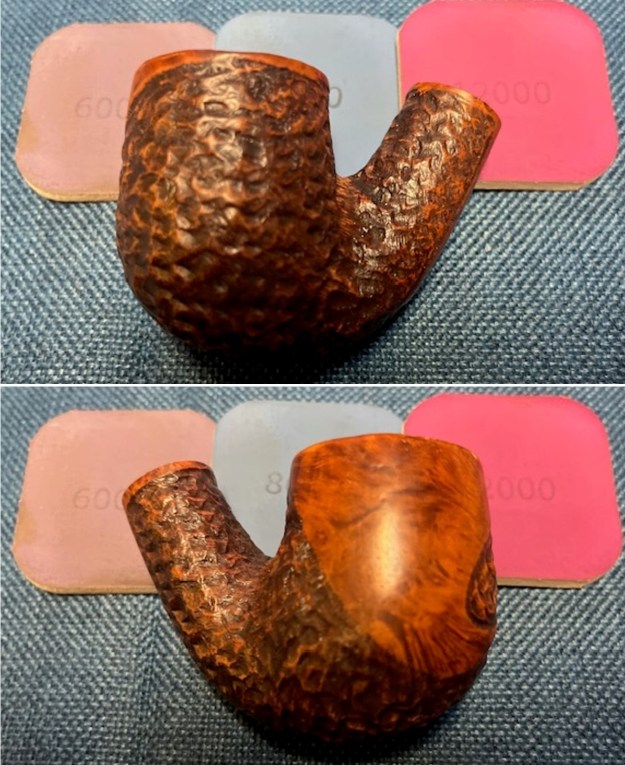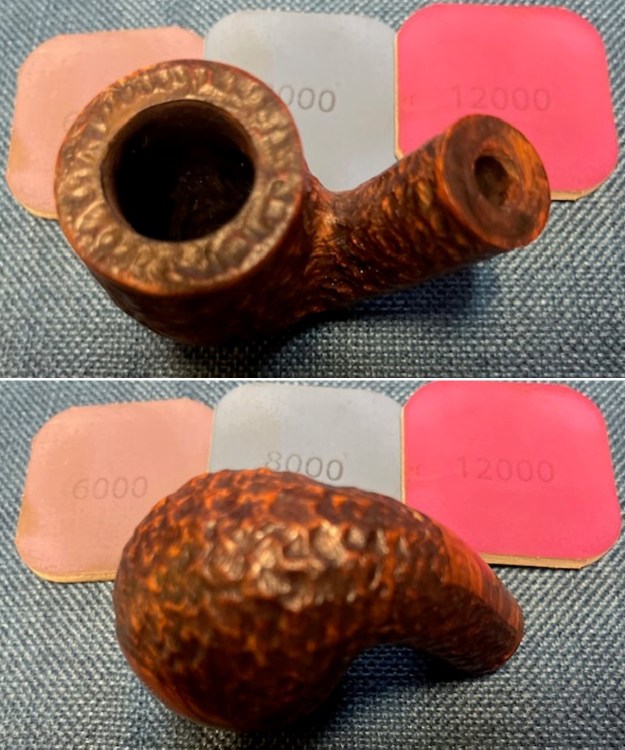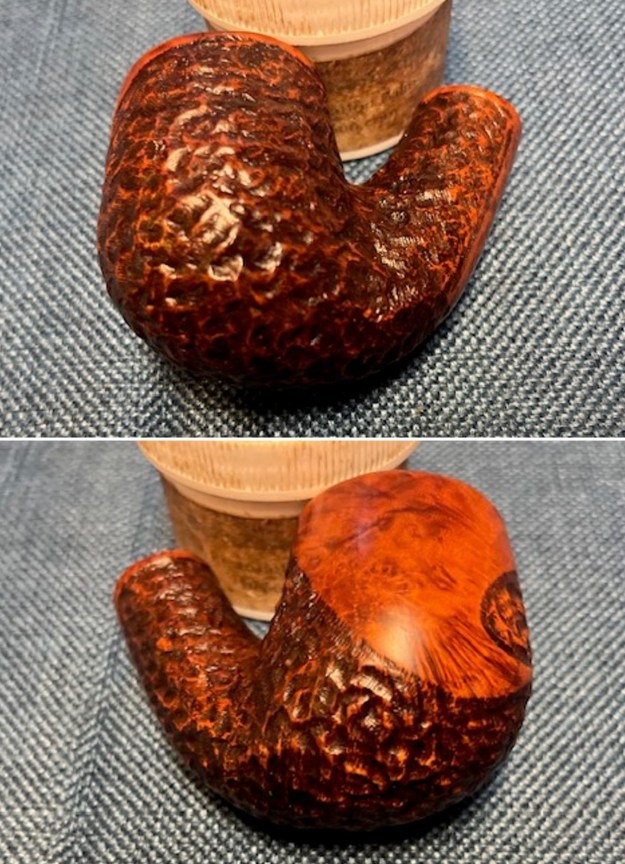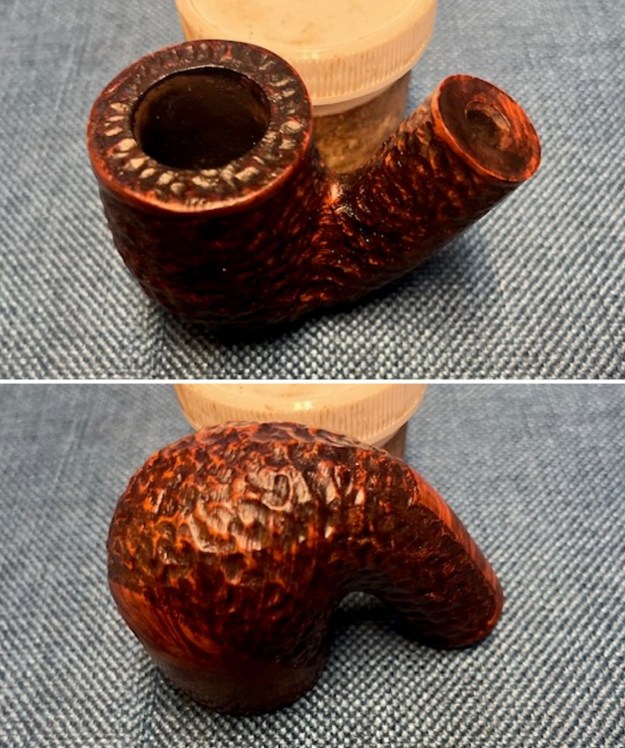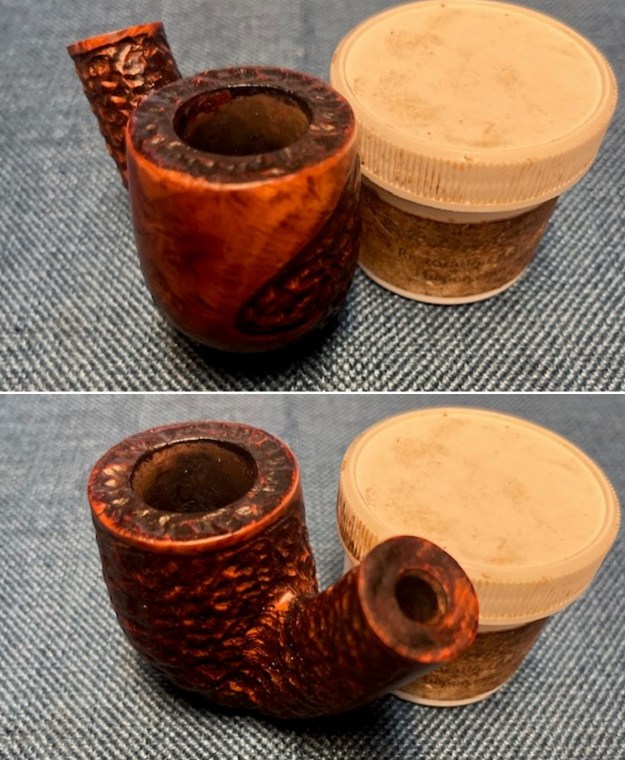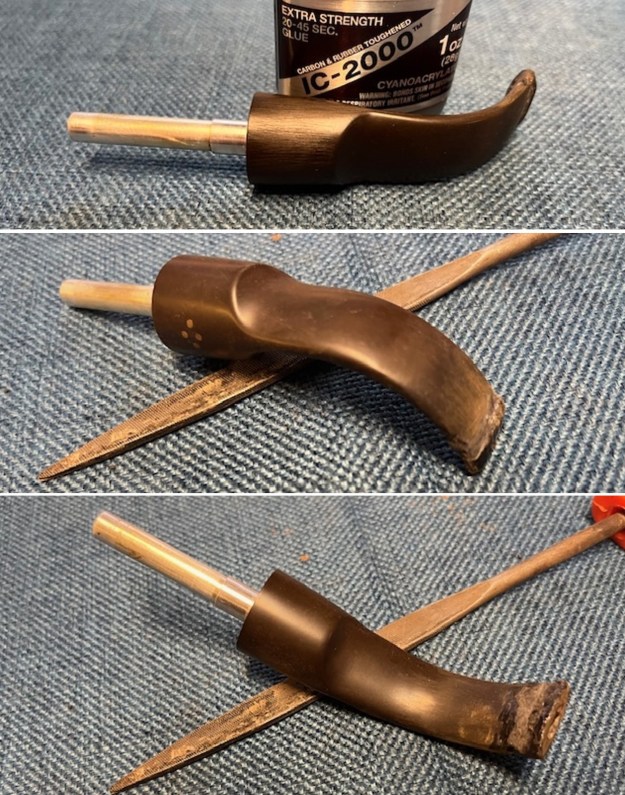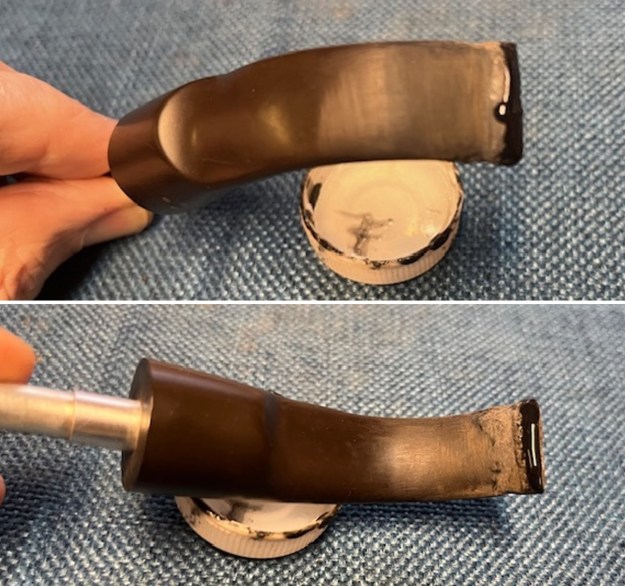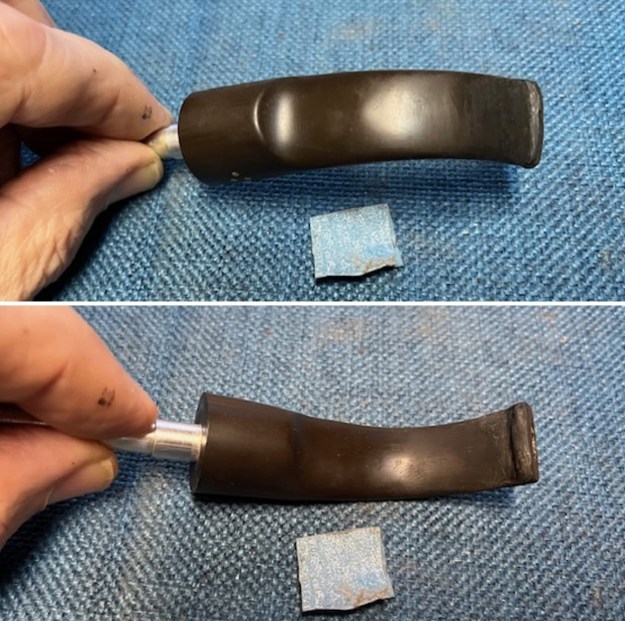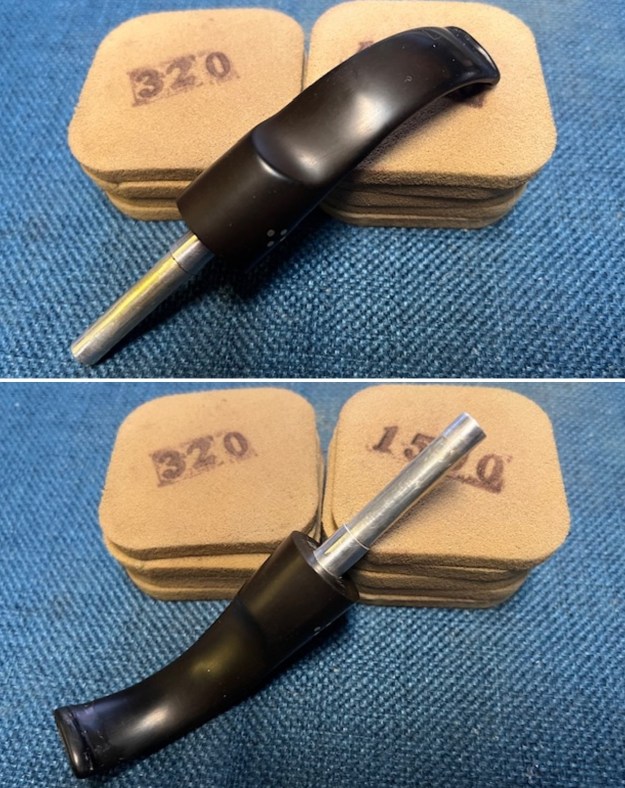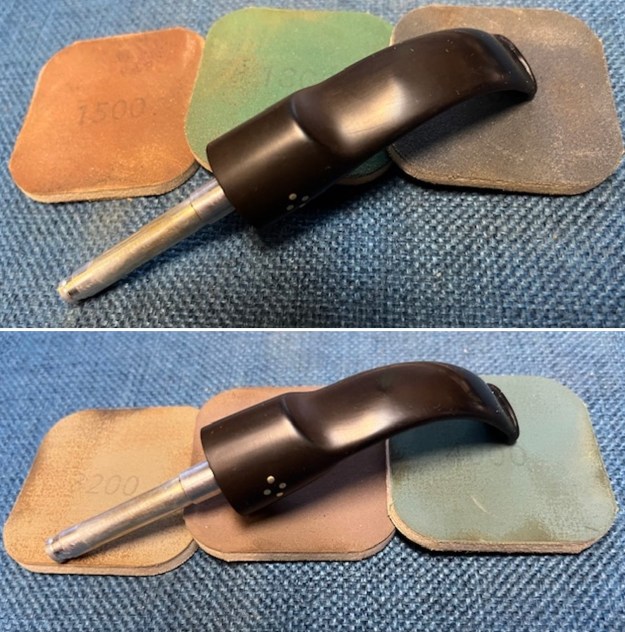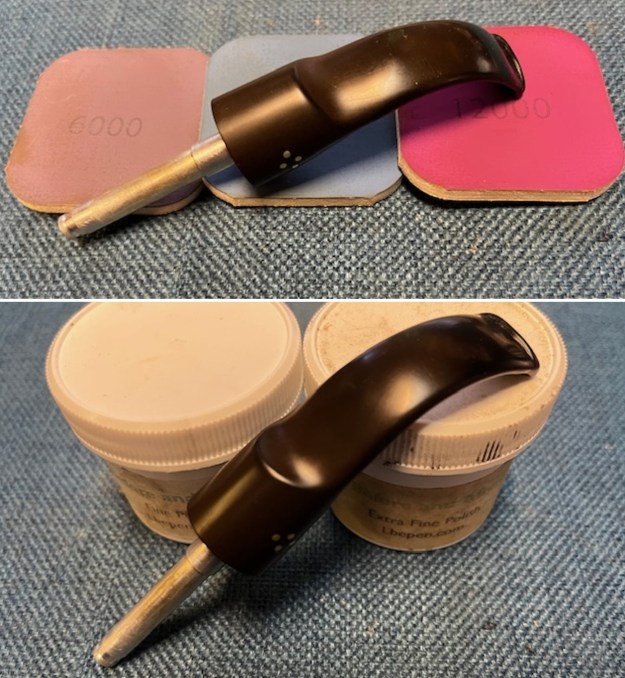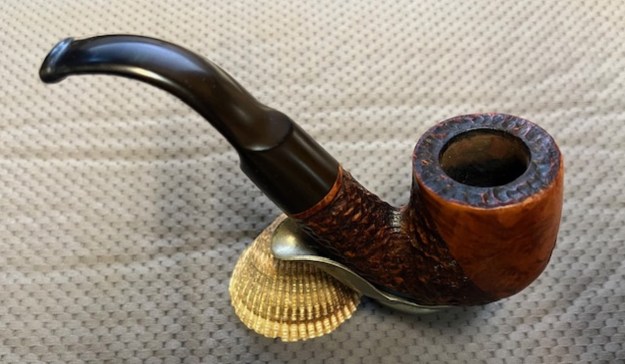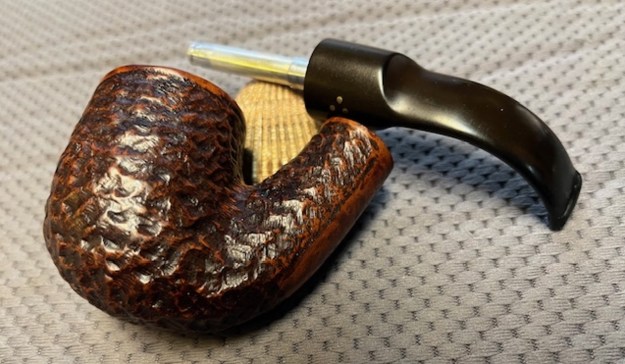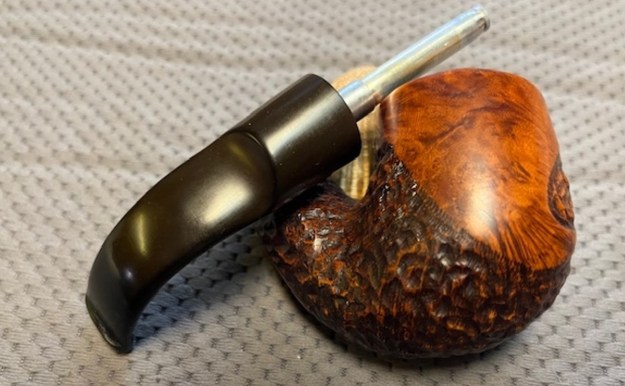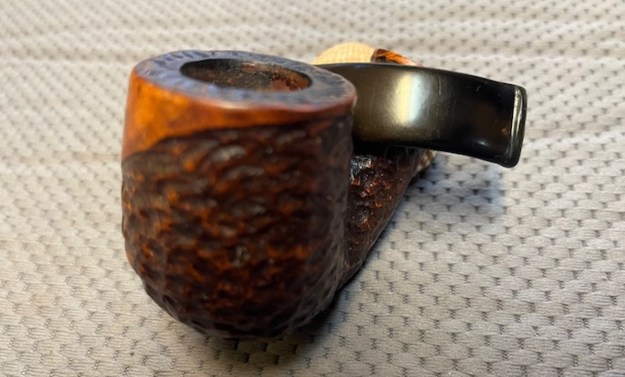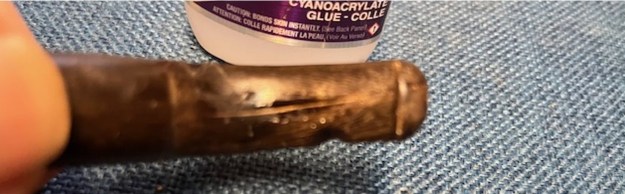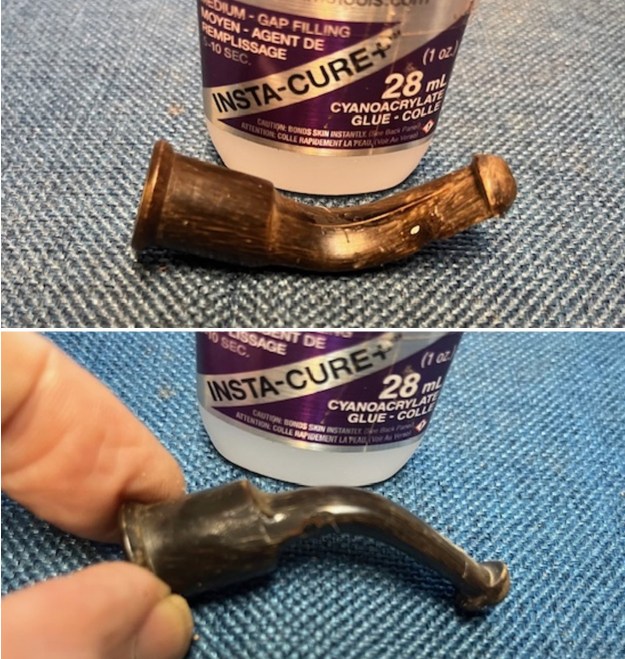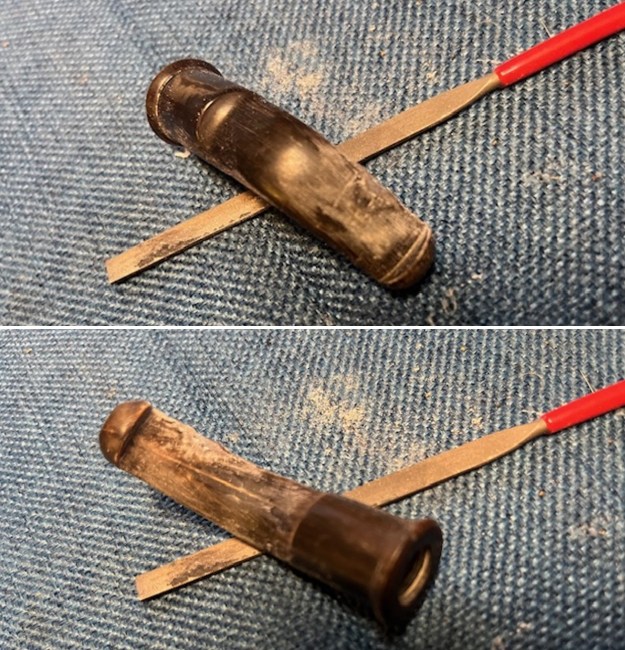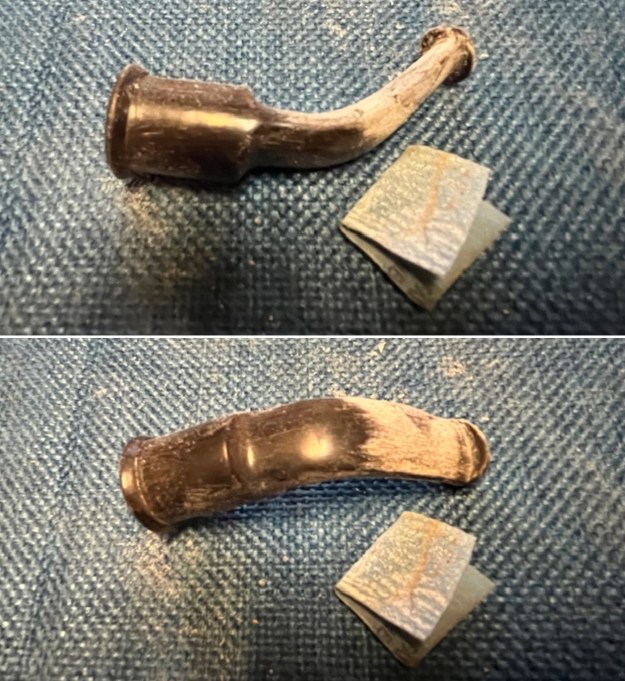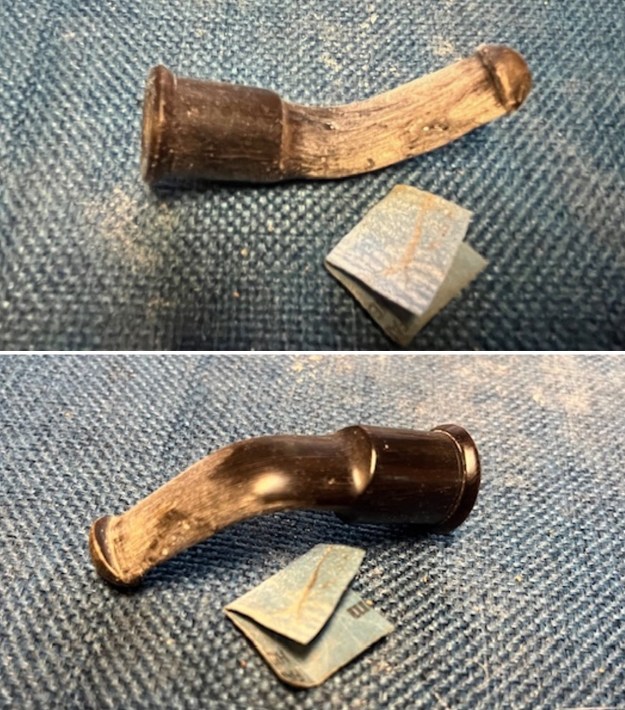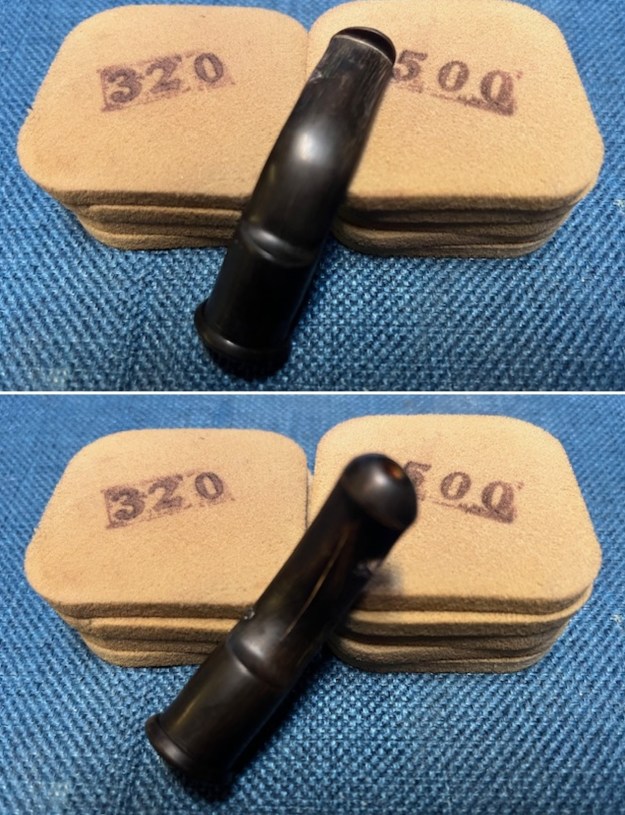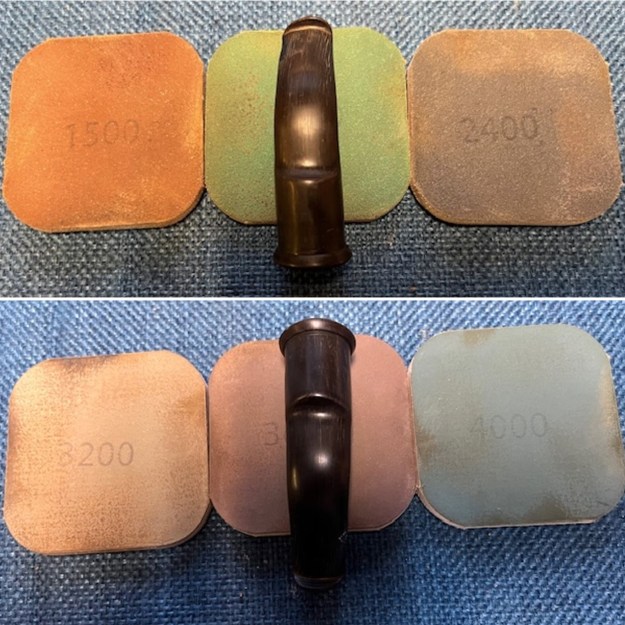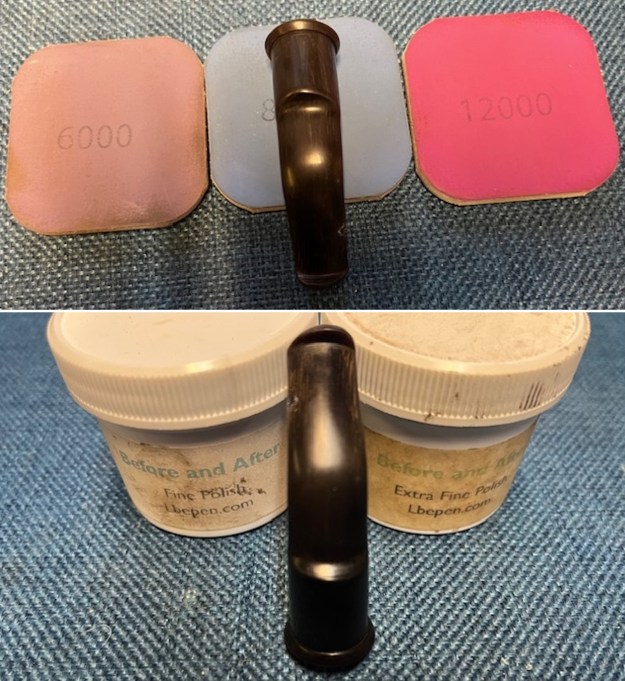
Tag Archives: shaping a stem

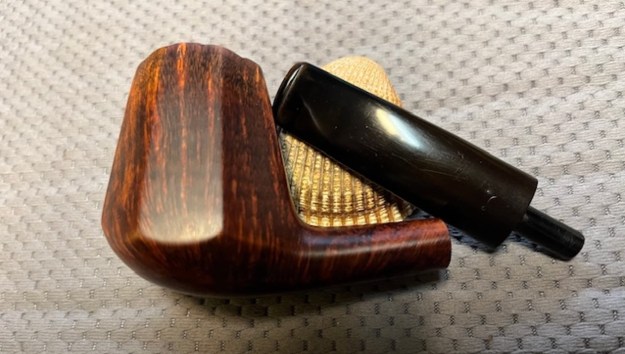
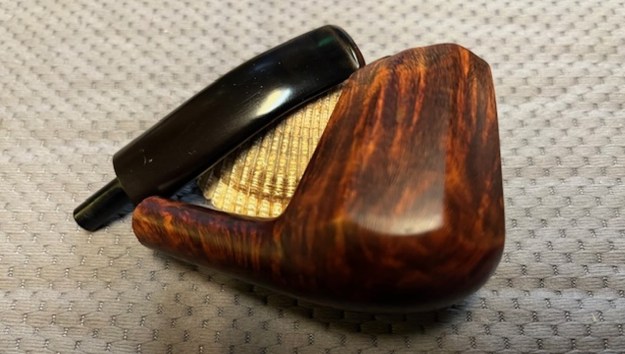
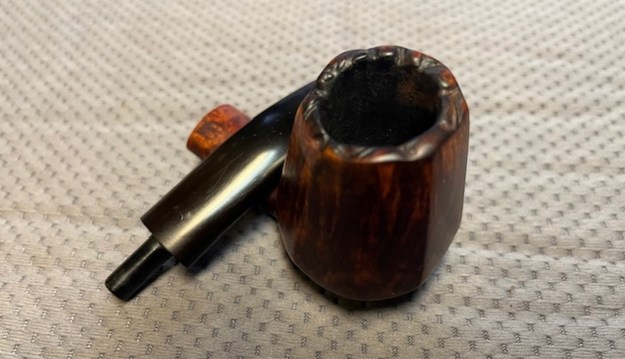
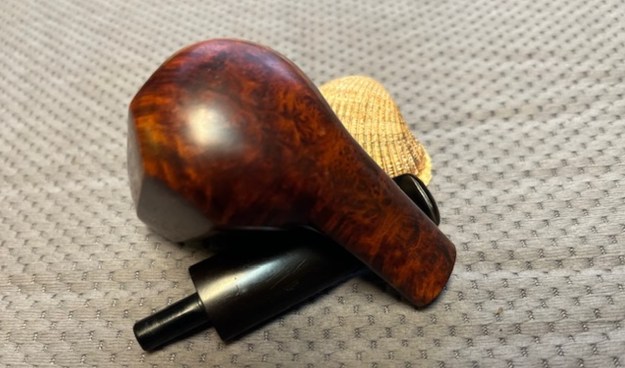
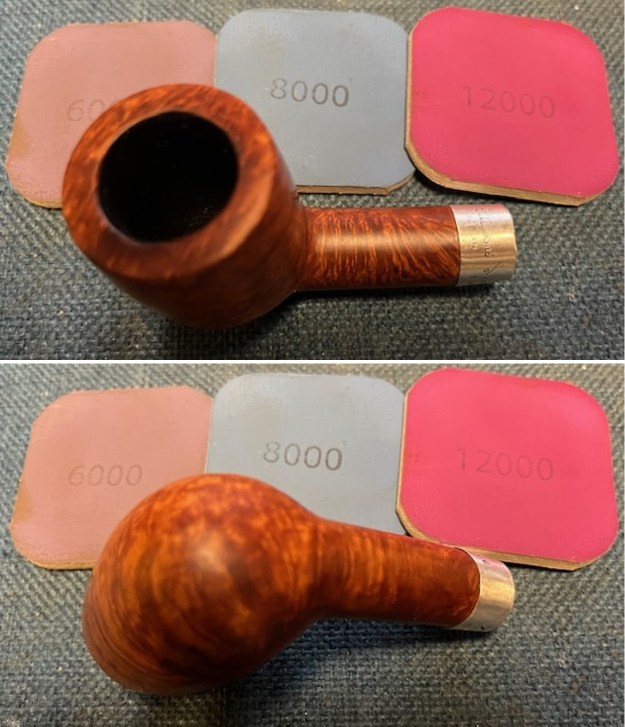
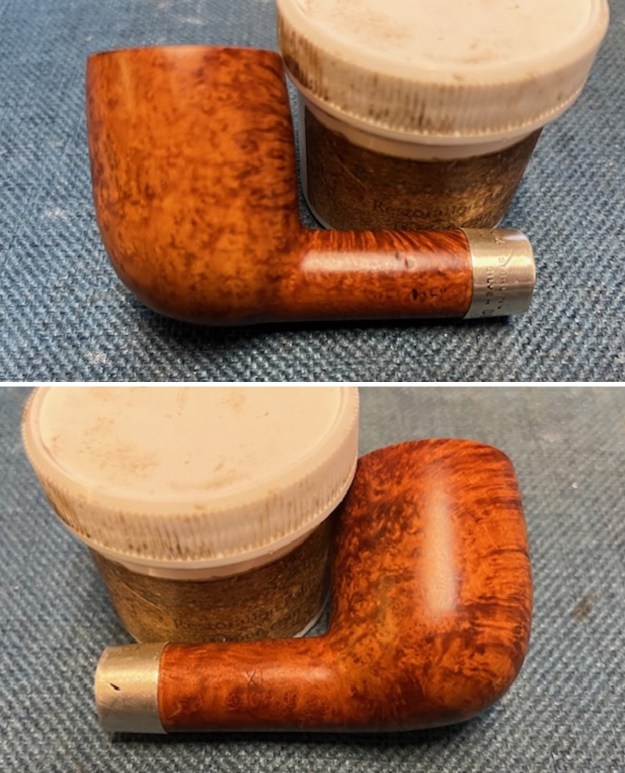
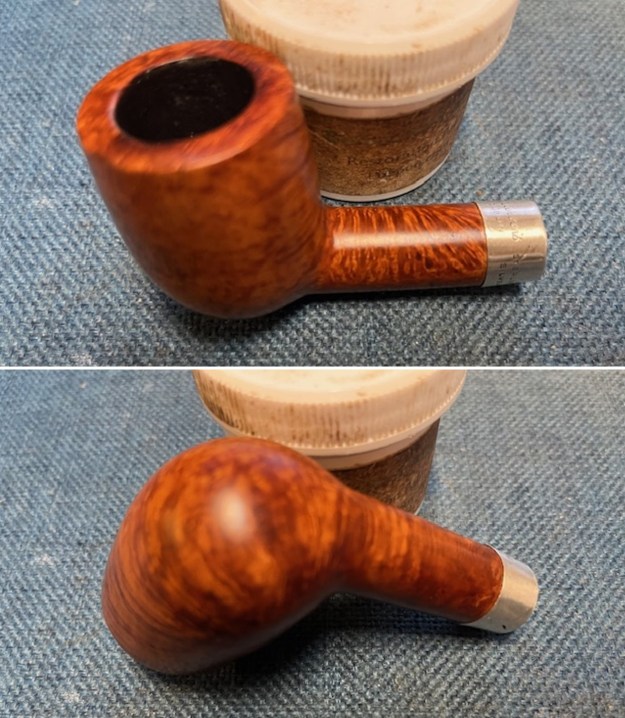
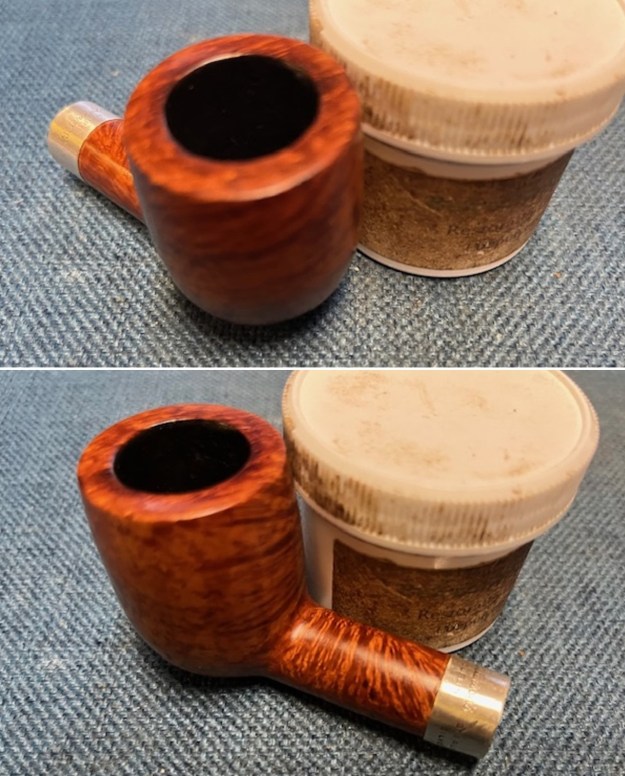
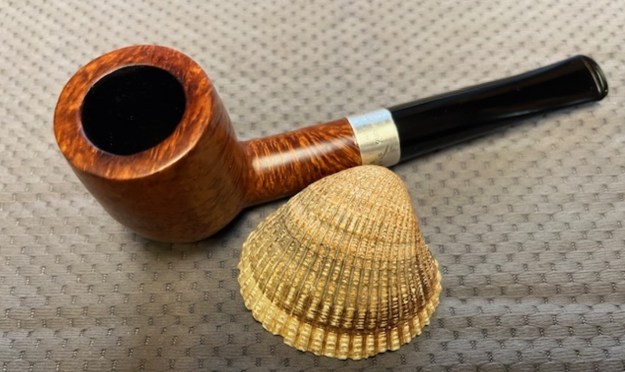
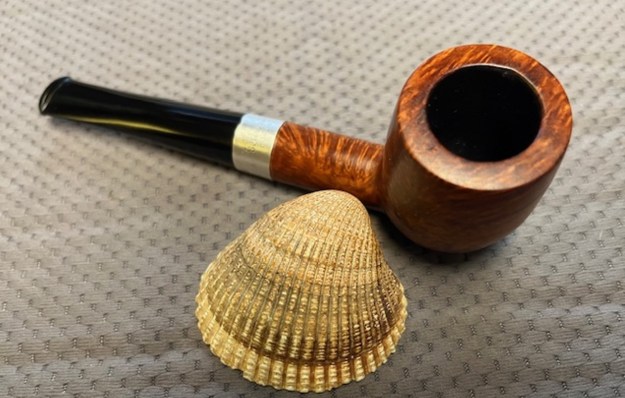
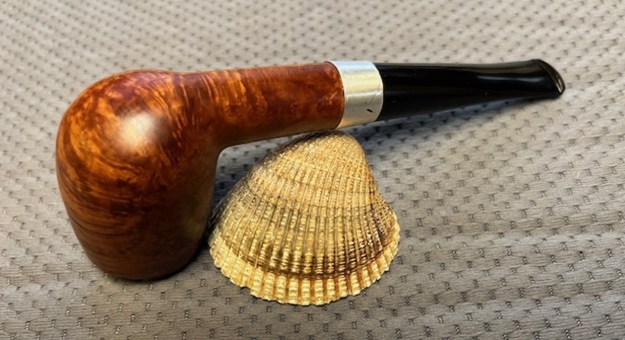
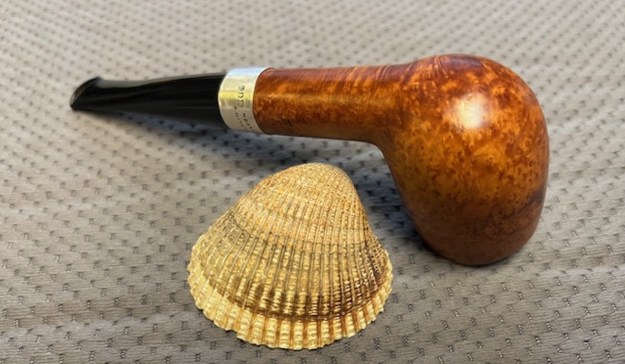
New Life for an Armellini Elite DAL 1960 Saddle Stem Billiard


By Steve Laug

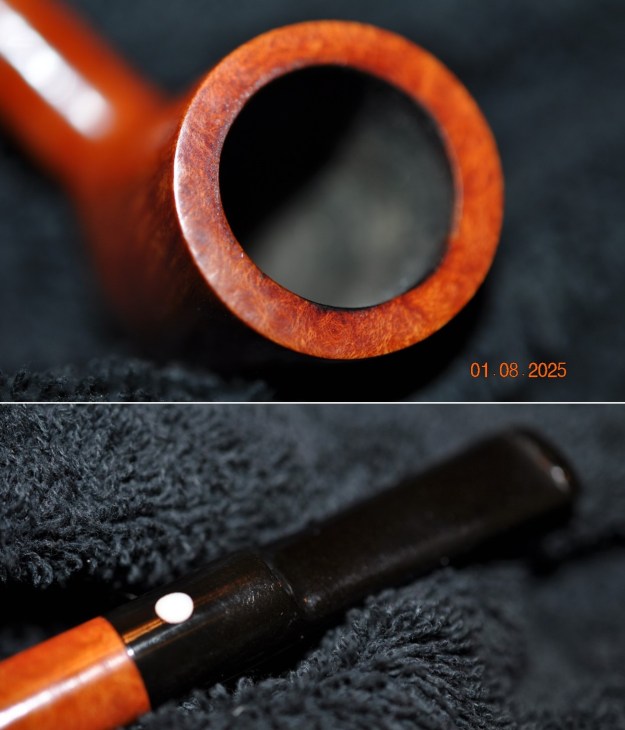
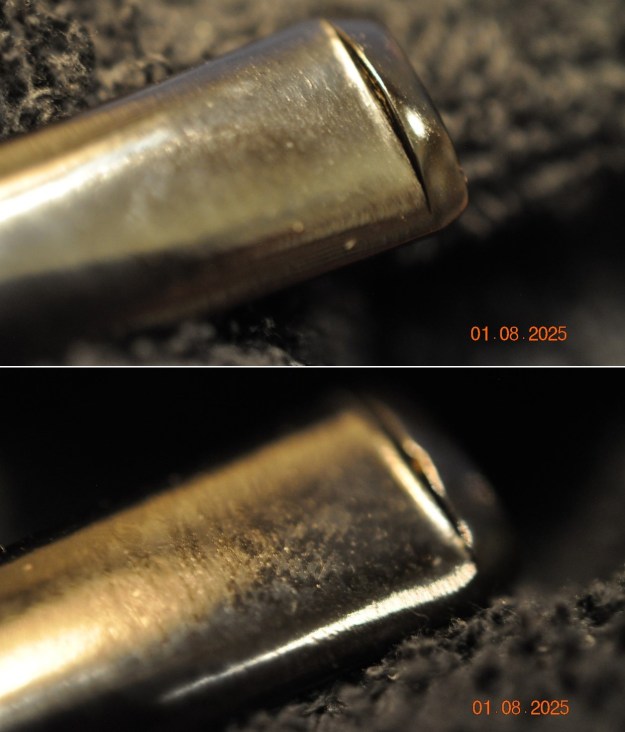
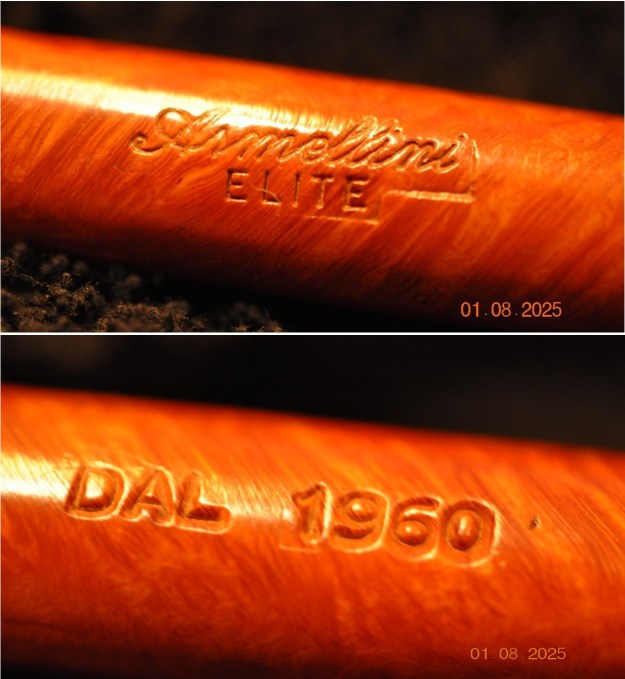
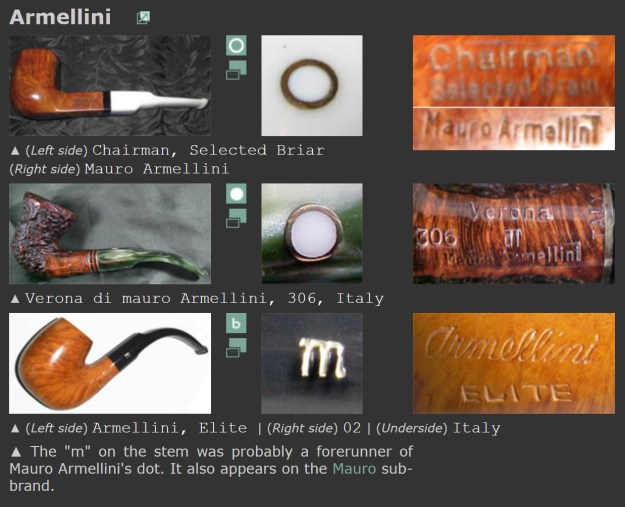
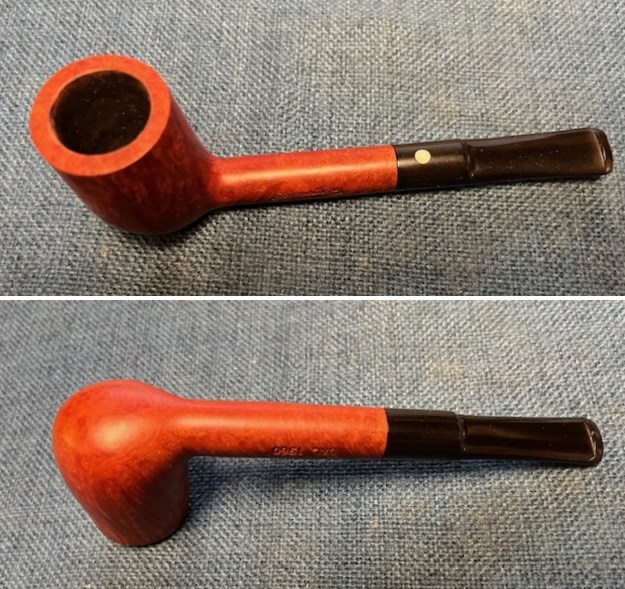
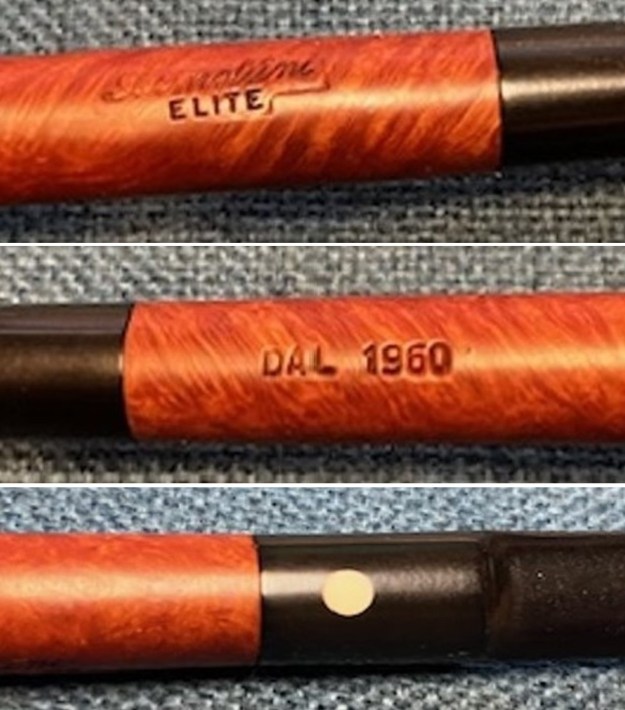
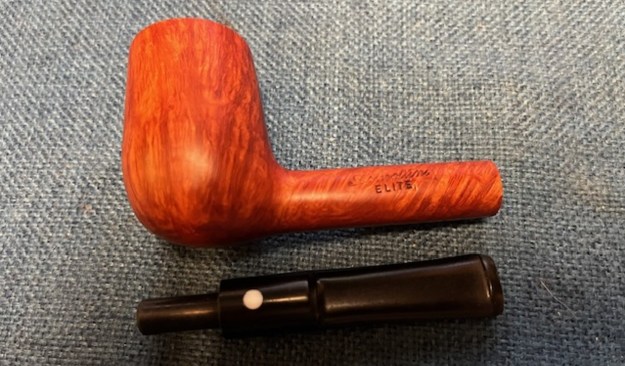
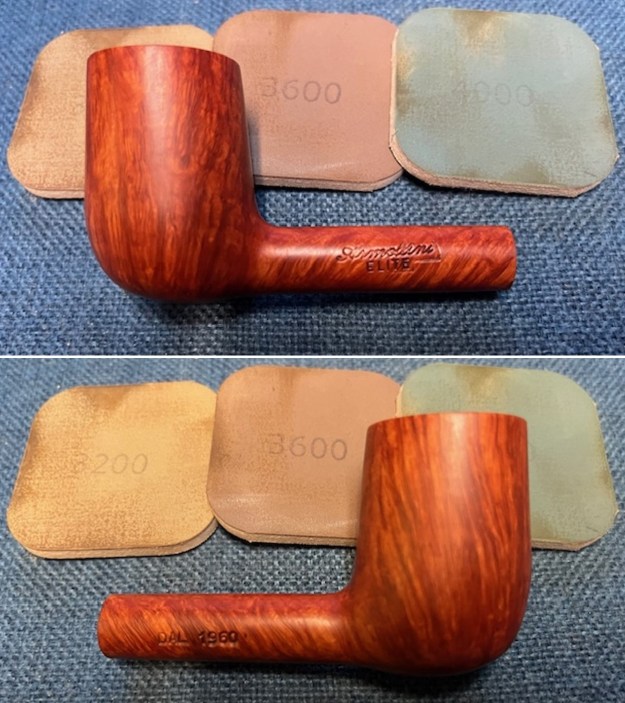
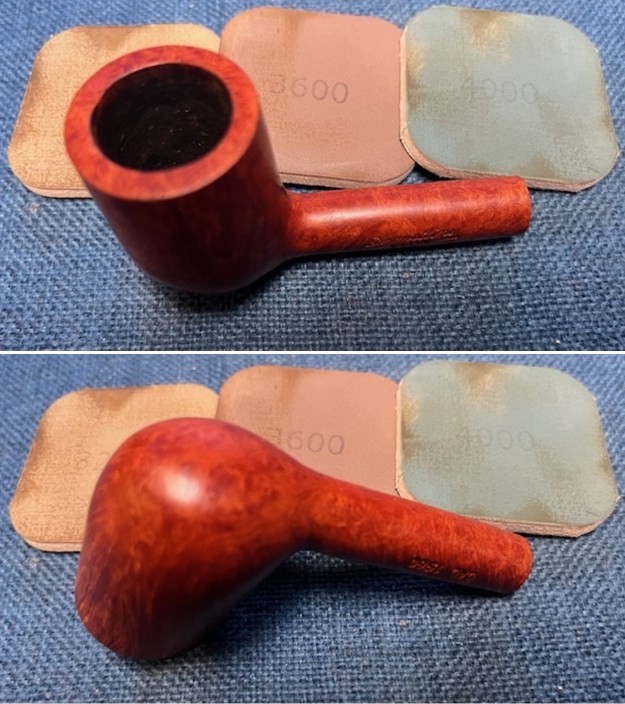
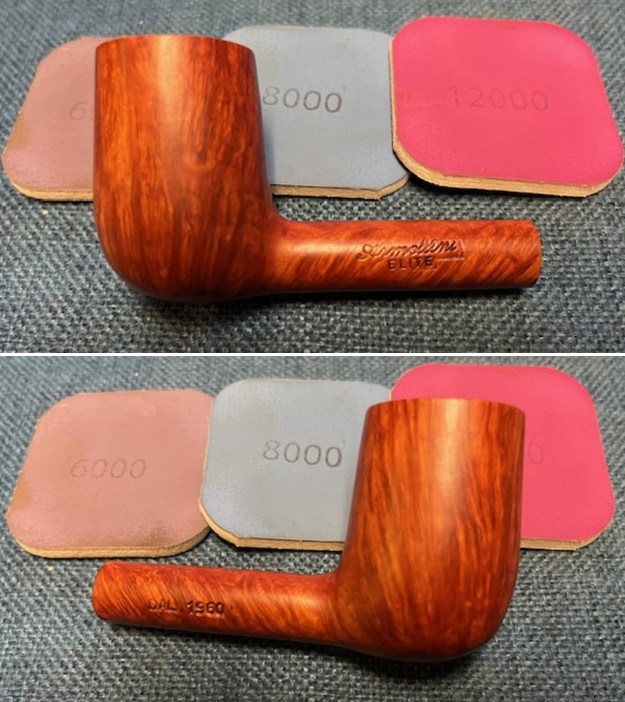
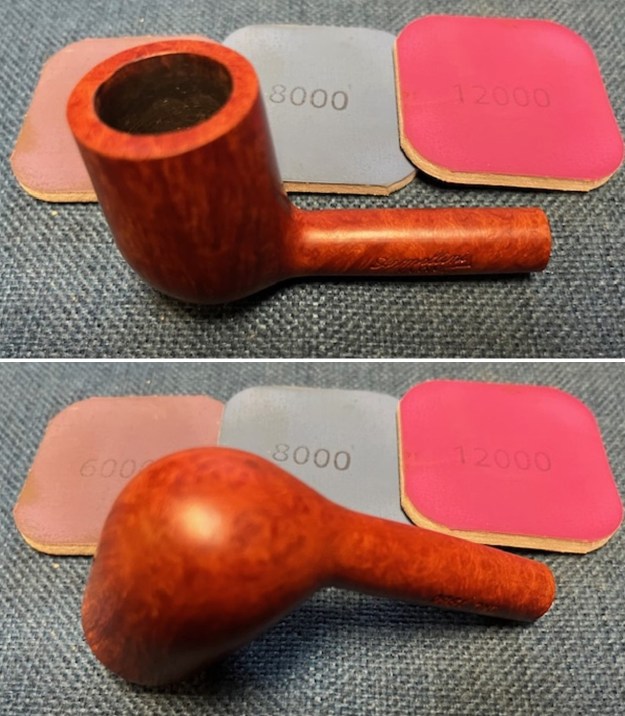
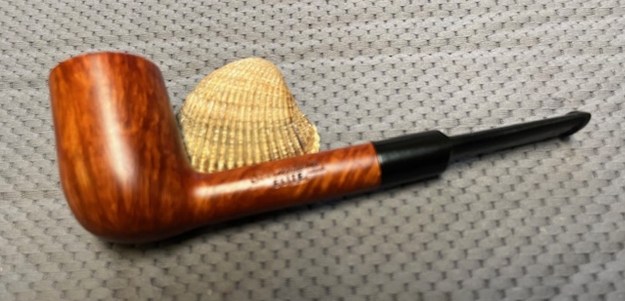
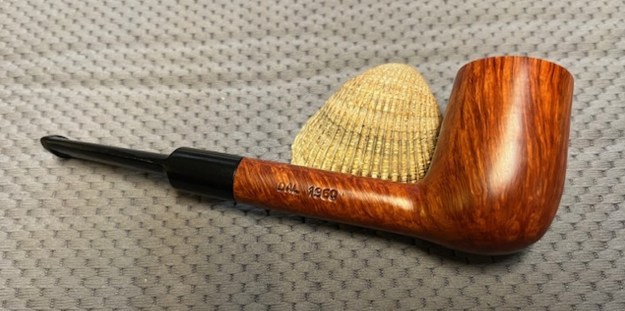
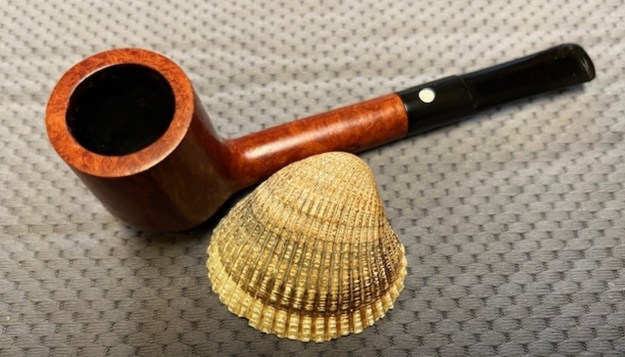
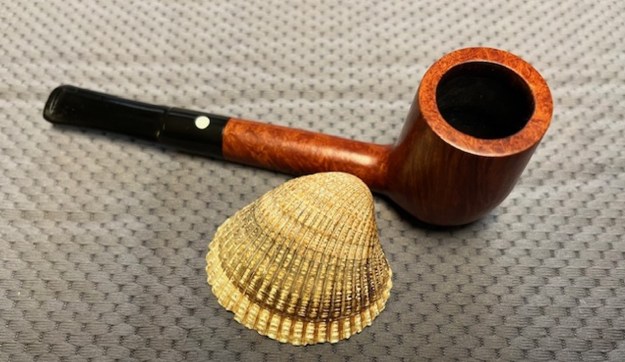
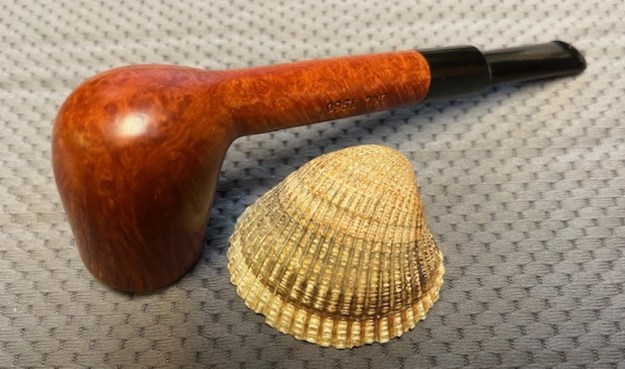
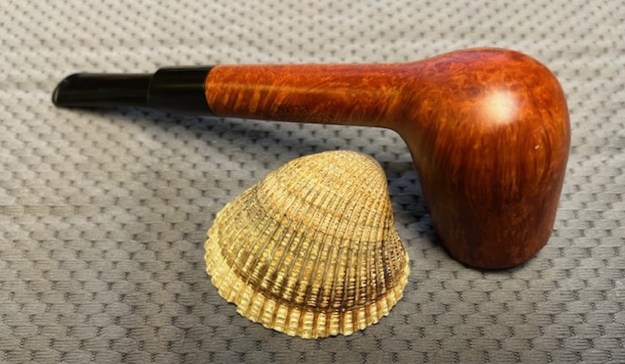
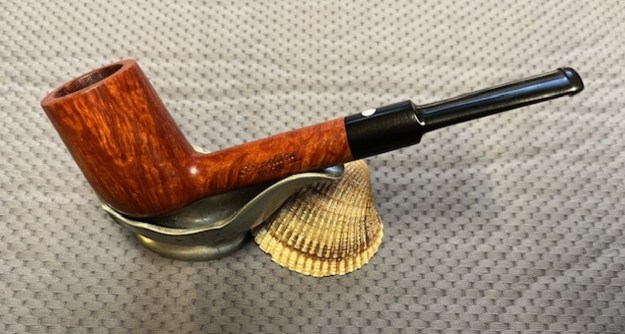
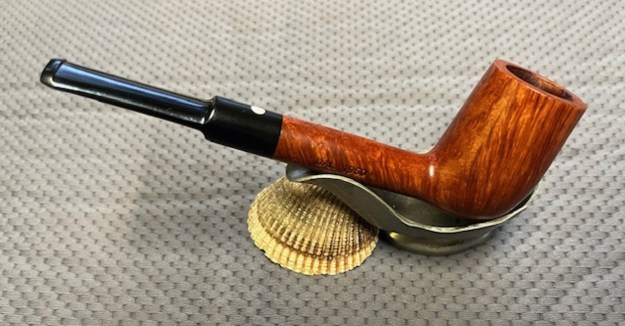
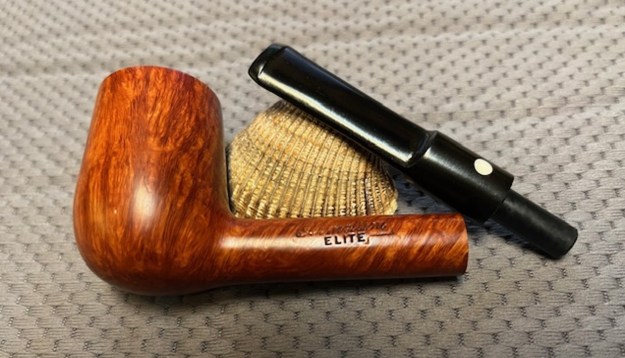
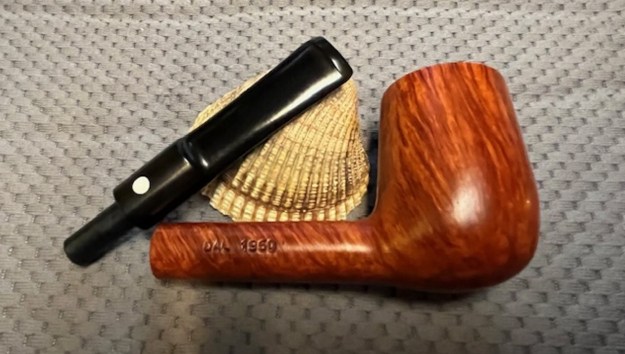
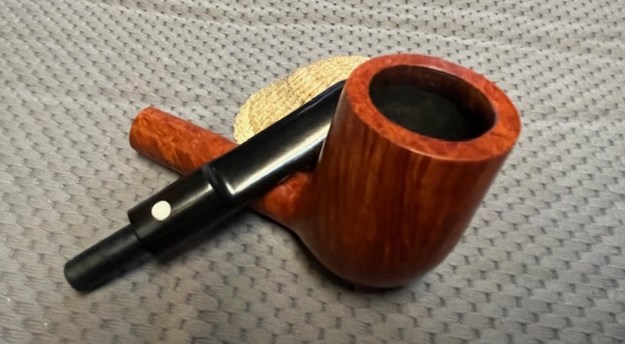
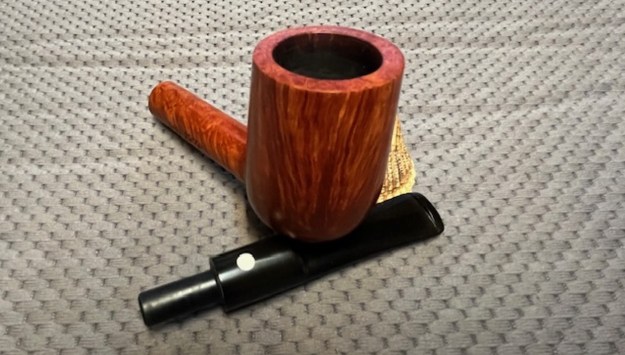
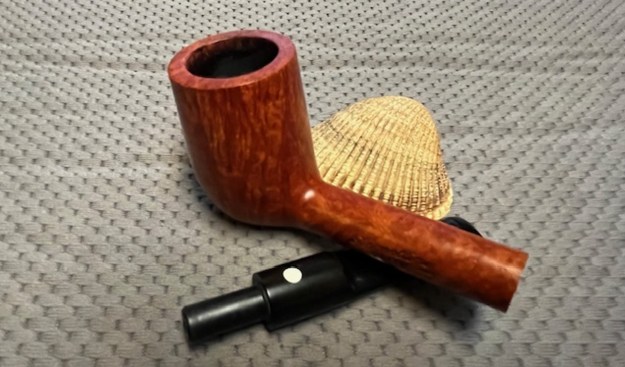
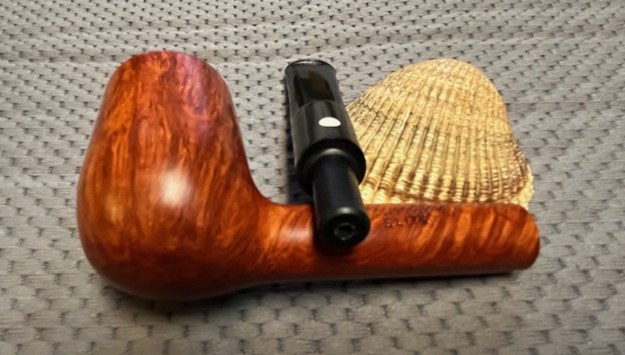
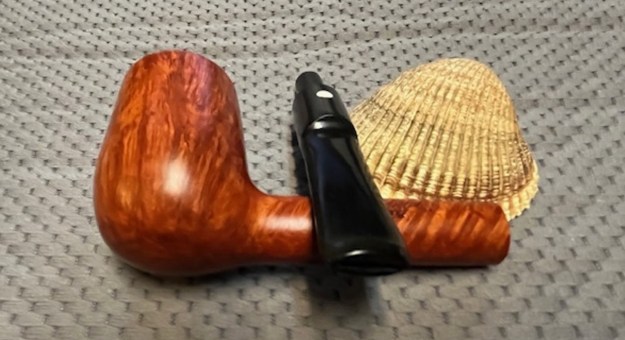
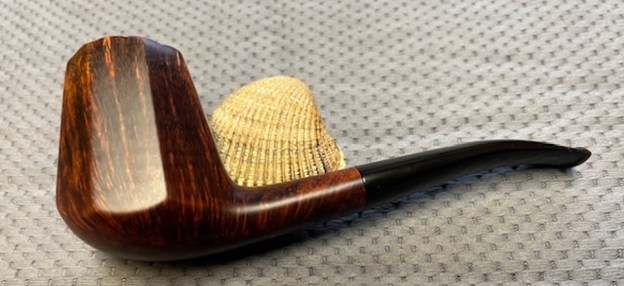
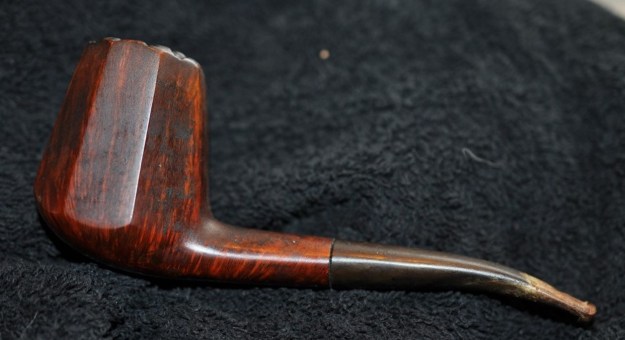
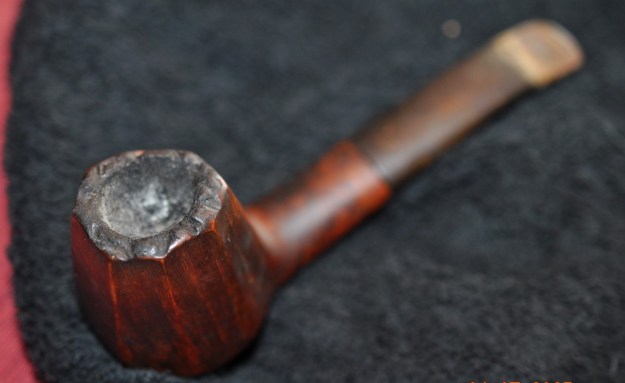
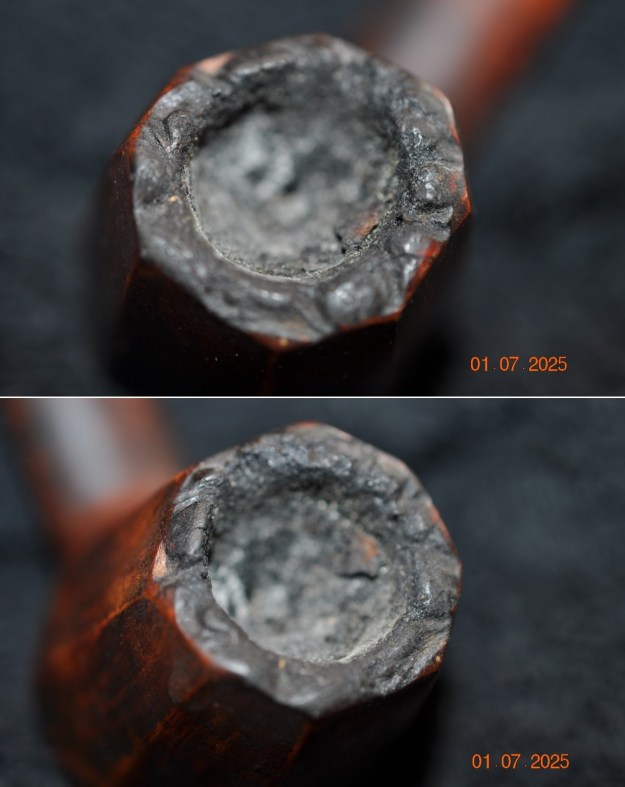
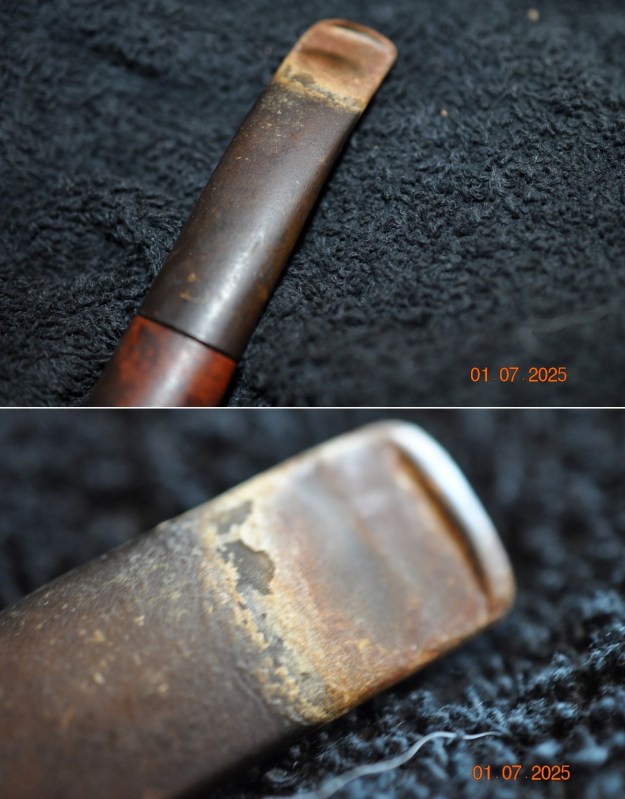
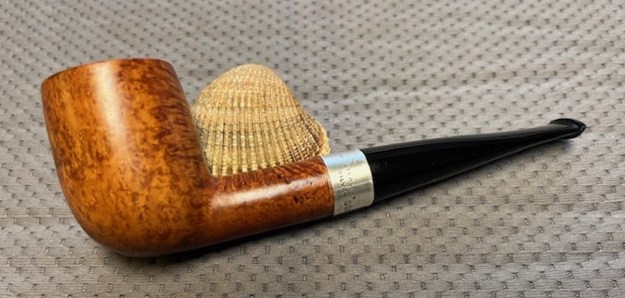
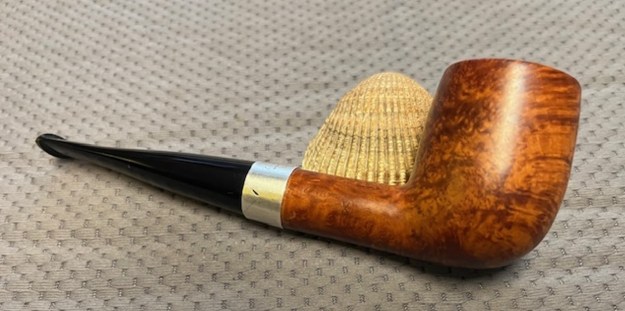
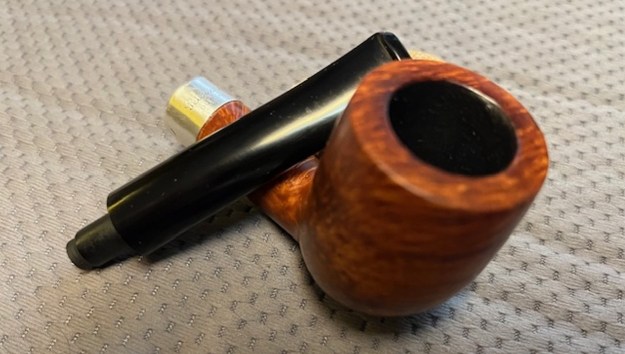
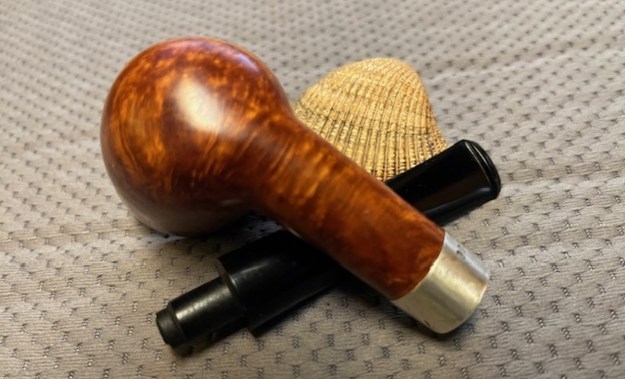
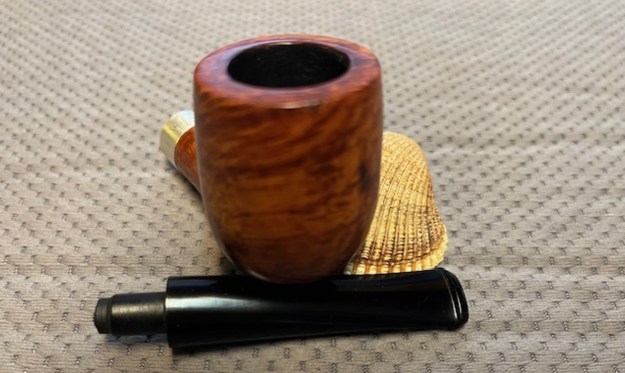
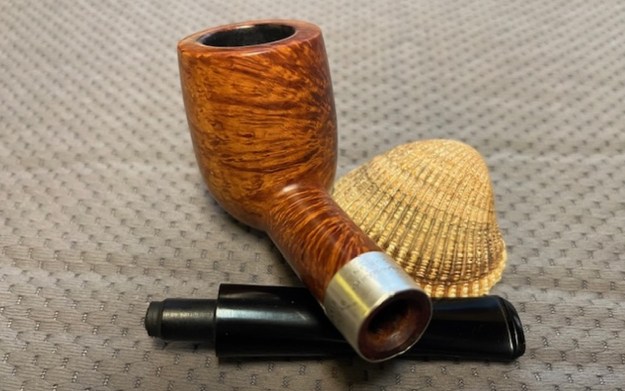
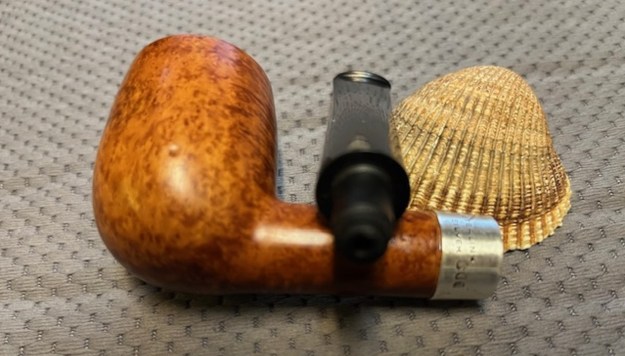
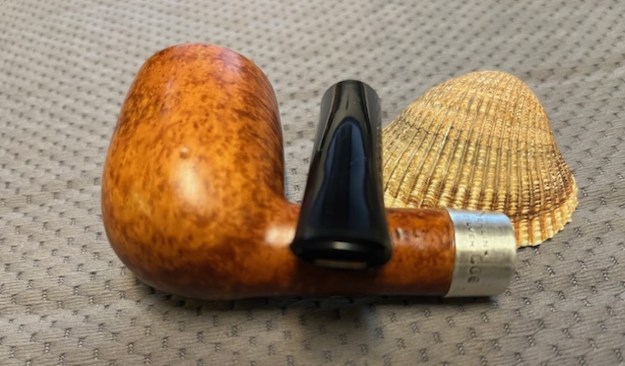
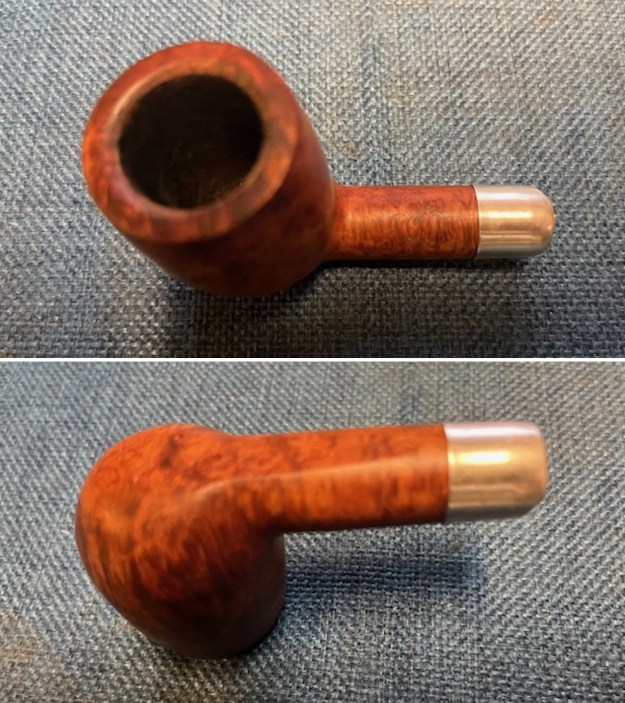
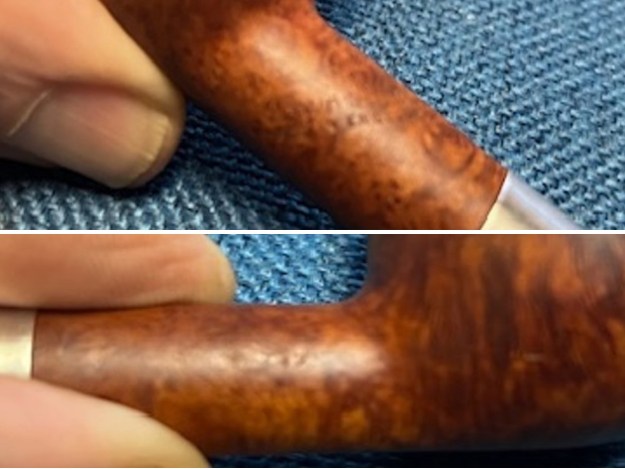
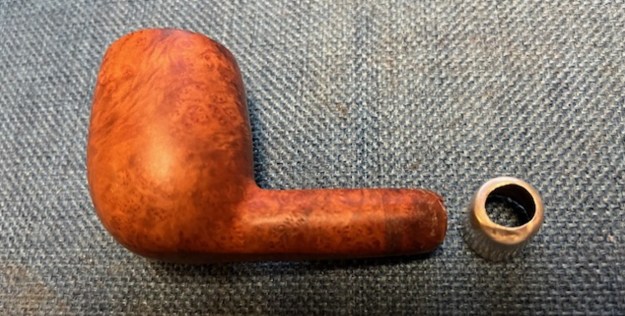
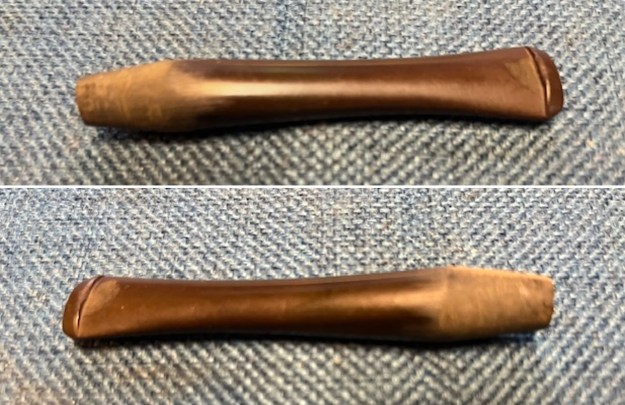
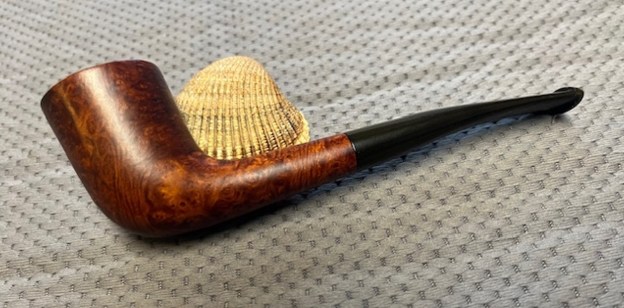
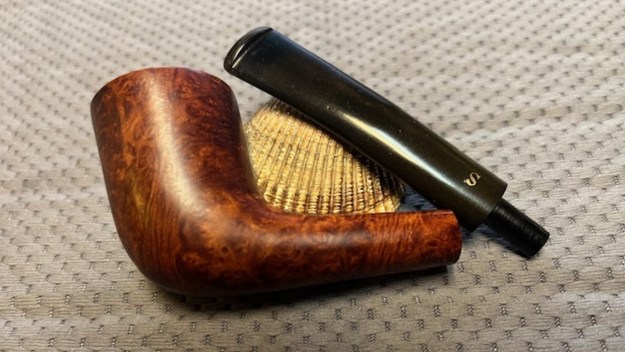
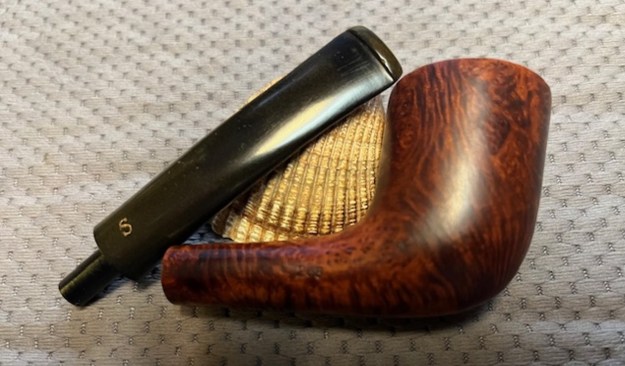
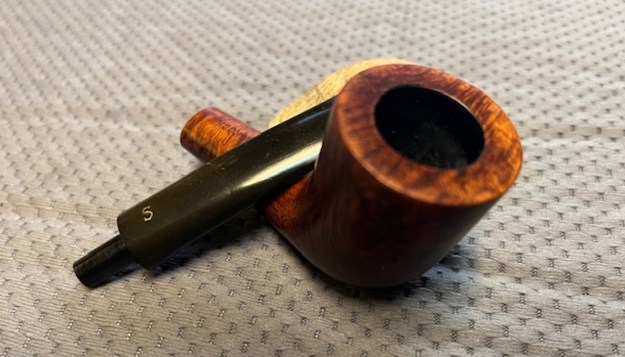
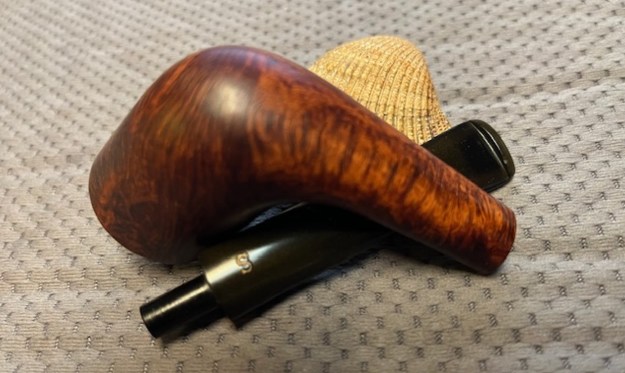
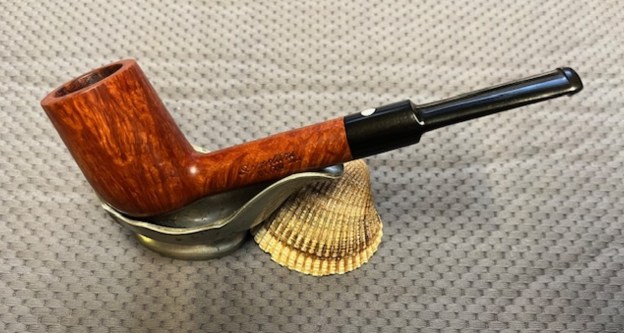
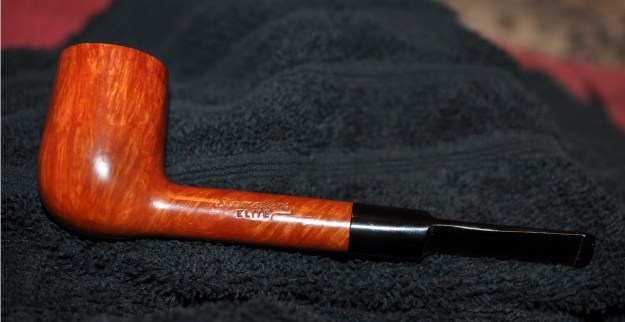
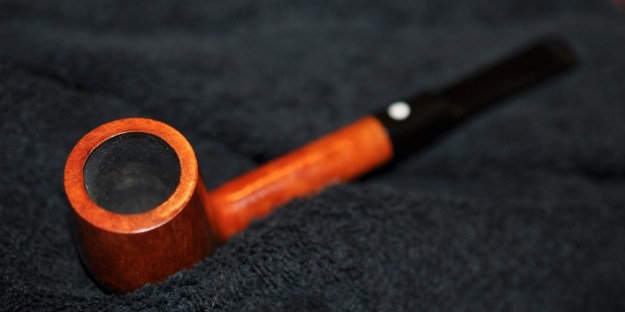
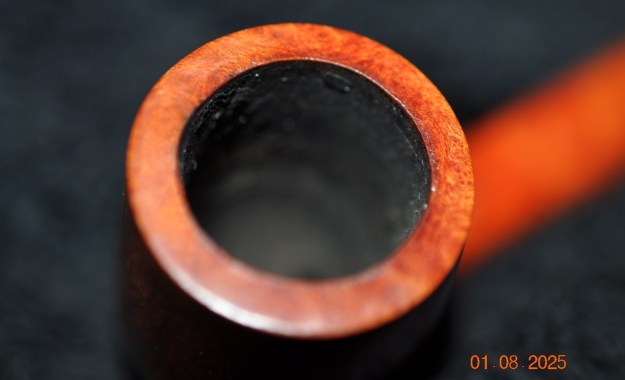
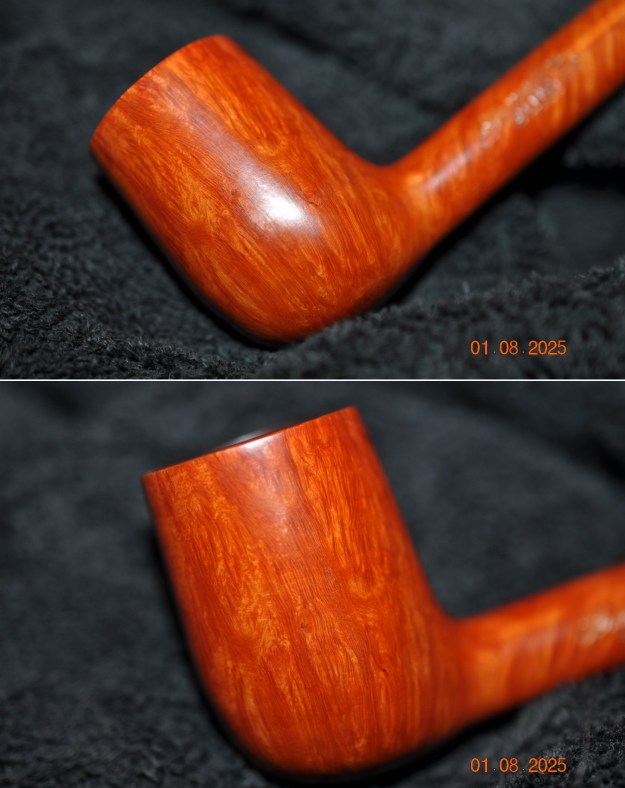
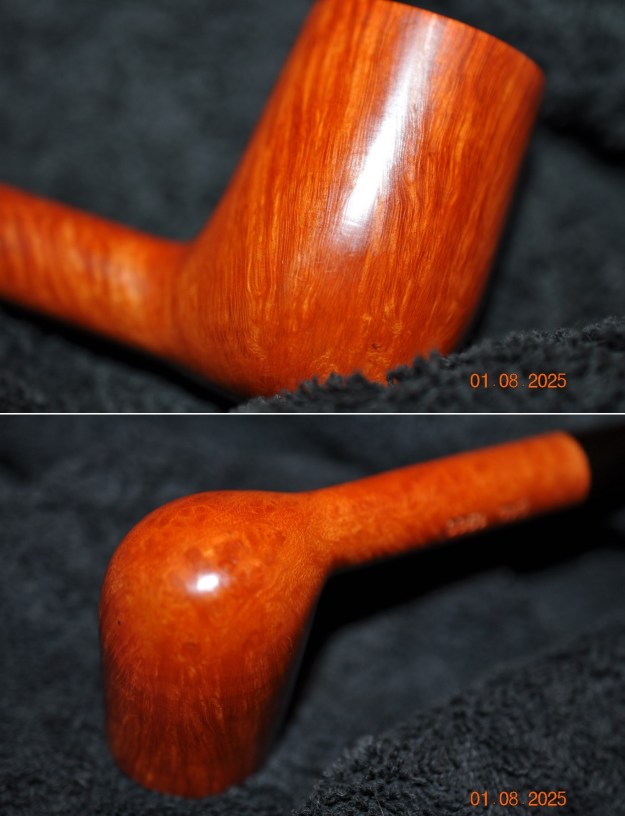
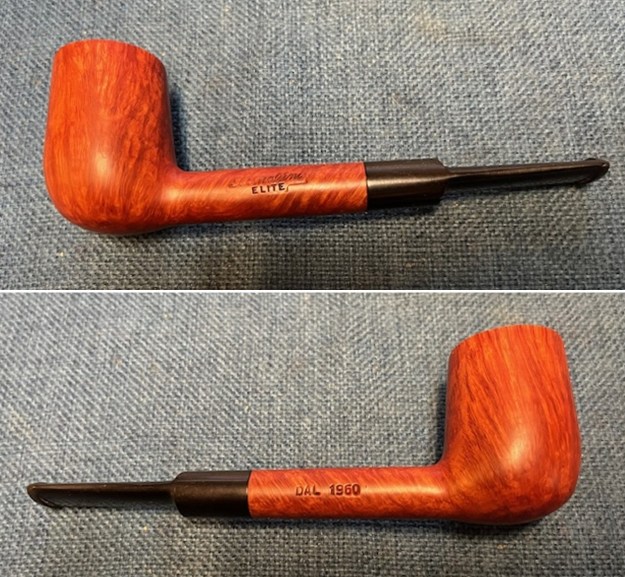
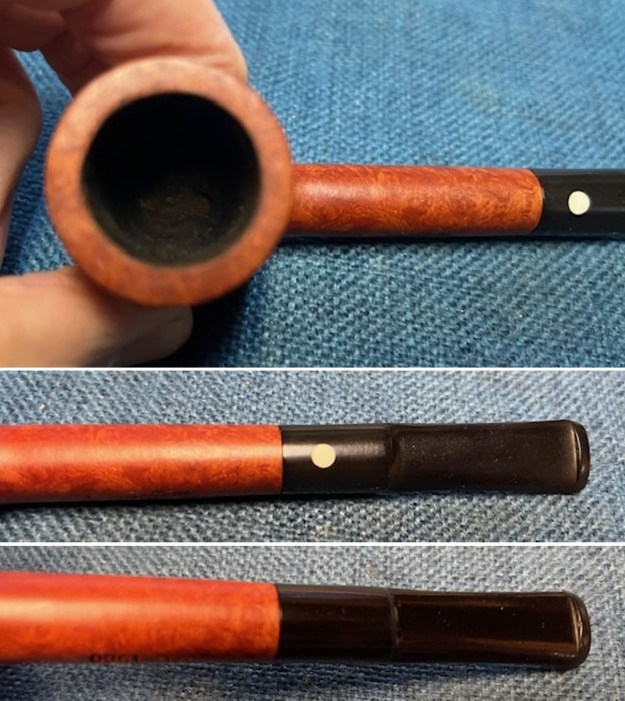
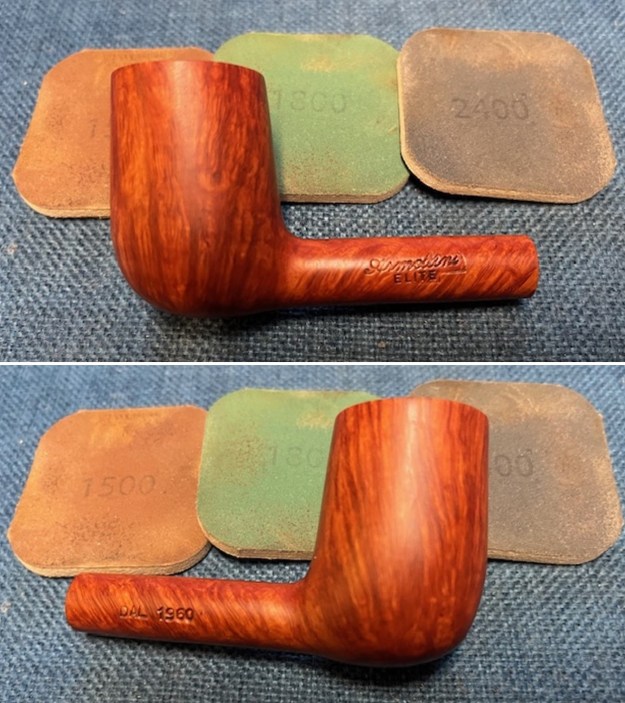
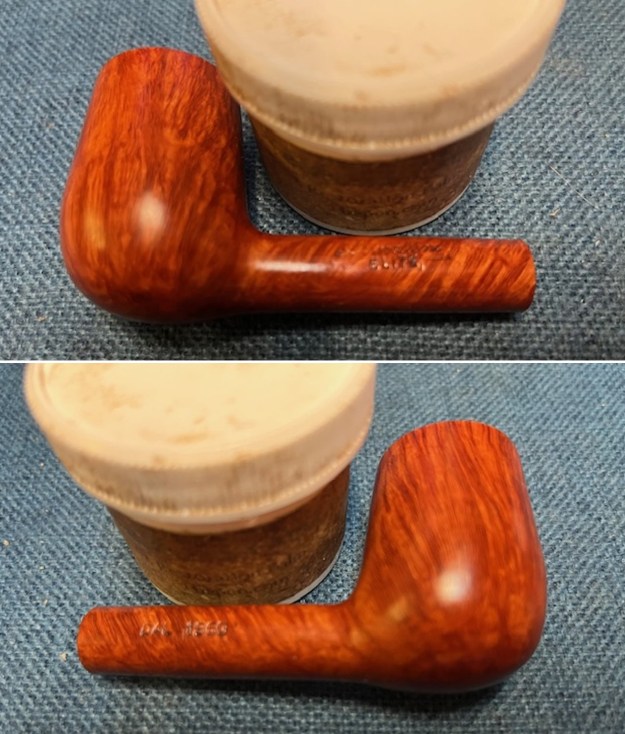
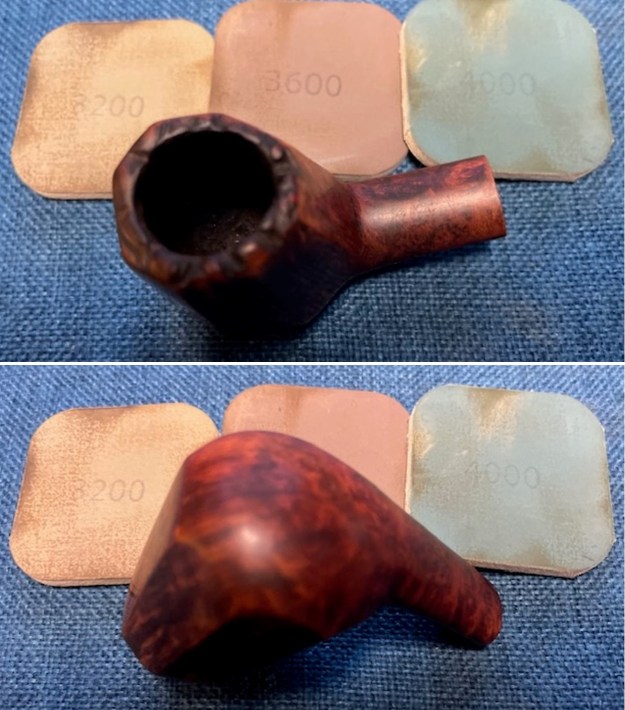
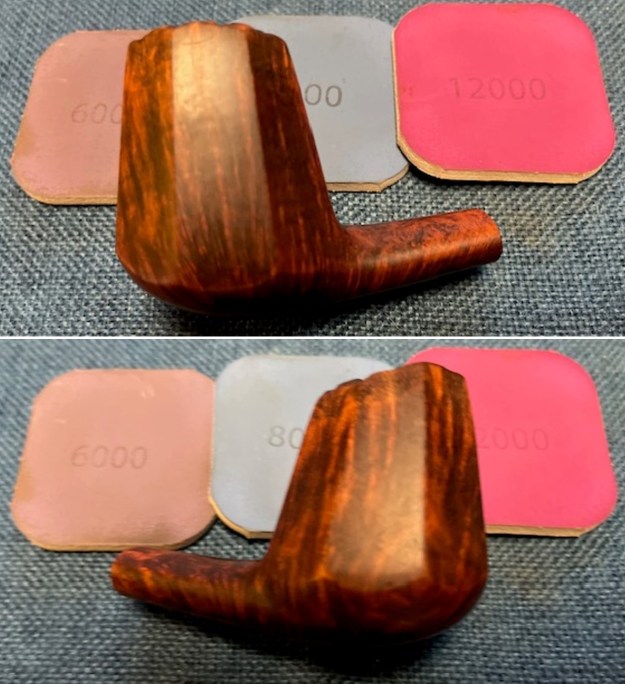
The next pipe I chose to work on was one that we purchased on 12/09/2024 from a seller in Wellsville, Kansas, USA. The pipe came with an Armellini pipe sock and is stamped on the left side of the shank and reads Armellini [over] Elite. On the right side of the shank it is stamped DAL 1960 which I believe signifies the year the pipe was made – DAL = From and the date is 1960. This is the second Armellini I have worked on and like the previous one it is well made pipes following the grain on the smooth briar. The pipe what some would call a Lovat but to me it is a saddle stem Billiard as the stem and shank are more proportionally billiard. However, call it what you would like. The briar bowl and shank were smooth and well grained. The rim top is also smooth and quite clean. The exterior of the pipe had some oils and grime ground into the bowl sides. It has a moderate cake in the bowl and some lava/darkening on the inner edge of the bowl. The stem is a thin bladed saddle stem that is comfortable. It is lightly oxidized and had some light tooth marks and chatter on both sides ahead of the button. Jeff took photos of the pipe before he started his clean up work. Jeff took photos of the rim top and stem to show the general condition of the pipe. The bowl is moderately caked and there was some light lava/darkening on the rim top and inner edge. I am hoping that once the lava is removed the edge will be okay. The stem looked good under the dirt and grime. There was light oxidation and had some light tooth marks or chatter. It should cleanup very well. Jeff took photos of the bowl sides and heel to show the beautiful grain that was around this bowl even though the grime on the finish hides it some. The pipe had obviously been well loved and enjoyed by the previous pipeman. He took photos of the sides of the shank to show the stamping. The stamping is clear and readable in the photos below as noted above. The stem had a large Armellini white Dot on the topside.I decided to hunt down a bit of background on the brand before I started my clean up on the pipe. I turned to Pipephil’s site (http://www.pipephil.eu/logos/en/logo-a7.html). It had a great summary listing and photos. I did a screen capture of the section and the side notes and have included them below.After Mauro Armellini passed (1936 – † 2004), his daughter Vilma Armellini answered for the brand’s destiny. Seconds: Mauro, Converti
For more detail on the brand than the notes above gave me about Armellini, I turned to Pipedia (https://pipedia.org/wiki/Armellini). I quote:

Mauro Armellini and Vilma Armellini. Courtesy of italianpipemakers.com

Mauro Armellini factory has born in 1960. When he was 24, my father decided to begin this business and after several difficult years, he was able to produce freehand pipes for foreign markets. Our factory has always been on the surf(?) because it has solid bases: quality and price.

I have always worked with my father and when I lost him, back in 2004, I had to learn to “walk on my own two legs”.

Someone called me “white fly” because I am probably the only women in Italy making pipes. I only work with briar which has been seasoned for at least one year; I think that after one year of seasoning the briar becomes old and dark. I prefer hand crafting, using only very few machines: in this way I am able to extole my predilection for freeforms.

Over the sale of pipes, I think that this work should transmit the genuineness and love for the pipe and for those who smoke it; The philosophy of the factory is the same that moves my work: quality and price

Mauro Armellini stands for the true meaning of self-made and self-taught pipe makers. He started his pipe making career back in the early 1960s, working at the famous Italian pipe factory “Rossi”. Years later, and when the Rossi factory shut its door, Armellini moved to Savinelli where he stood out immediately. He perfected the rustication technique and till today some of the most famous rusticated finishes, such as the “Roccia” and the “Corallo” exist only thanks to him. He worked for Savinelli for several years and till the day he realized that he decided to create his own workshop and make pipes under his own name. At those times, and in spite of the fact that the pipe market was huge, it was a big risk to start his own pipe brand, due to the costs involved and the difficulty of obtaining the right equipment and tools.

Once the name Armellini found its rightful place on a piece of briar, Armellini never looked back. Thanks to his friend and neighbor, Alberto Paronelli, he was able to attract foreign markets, such as the US one and that of other European countries. Armellini’s four daughters slowly and gradually became involved in the business by lending their dad a helping hand whenever possible. However, it was Wilma that became truly interested in the business and gradually became her father’s right hand, not only in the administrative aspect of the business, but also, and above all, the actual pipe making in all its various stages. Indeed, and many years later, Armellini retired from full-time pipe making, and it was Wilma who took over.

When Armellini passed away recently, it was natural, and yet very difficult, for Wilma to decide and continue the Armellini production, according to her father’s own standards and vision. What encouraged her is the fact that for over 20 years she had been making pipes, from A to Z, and so, she knew that the quality Armellini has always been known for could and would continue.

Today, in the small town Barasso, in northern Italy, Wilma and her 20-year-old son are running the workshop and producing all of the Armellini pipes. Matteo, Wilma’s son, is an enthusiastic young man with a love for pipes and pipe making that he could have only inherited from his grandfather. He’s determined to carry on and keep alive his grandfather’s pipe making tradition while creating new shapes and finishes that he is confident his grandfather would be proud of.

Today the name Armellini bears the dreams, the dedication, the passion, and the pipe making talent and expertise of three different generations, united by one objective: Offering the best pipes possible, out of the best material possible, at the lowest price possible.

The legacy lives on …

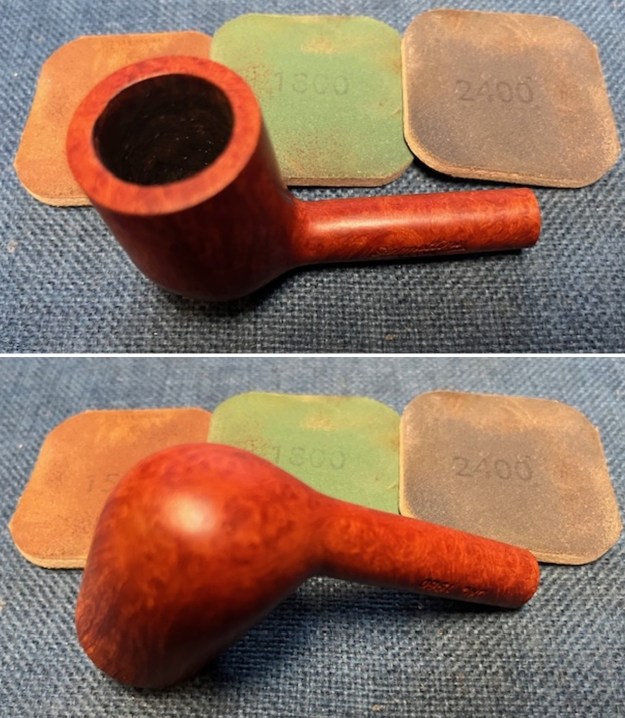
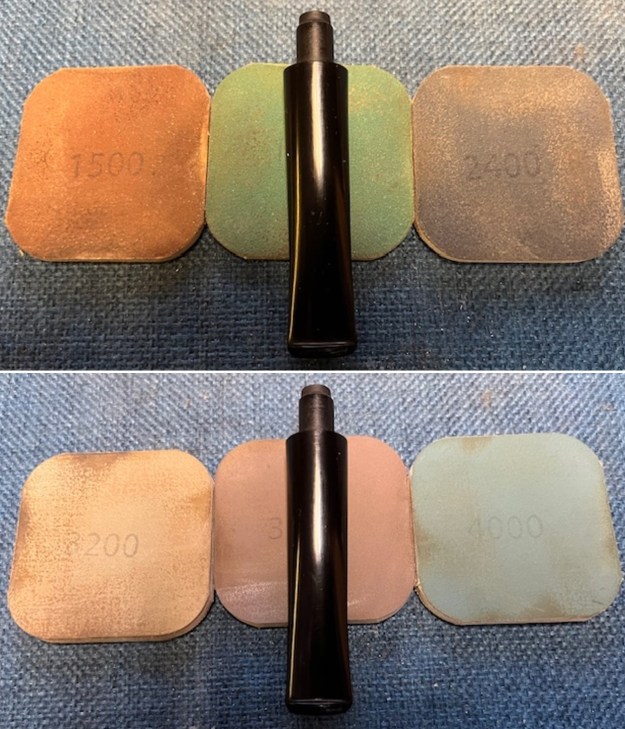
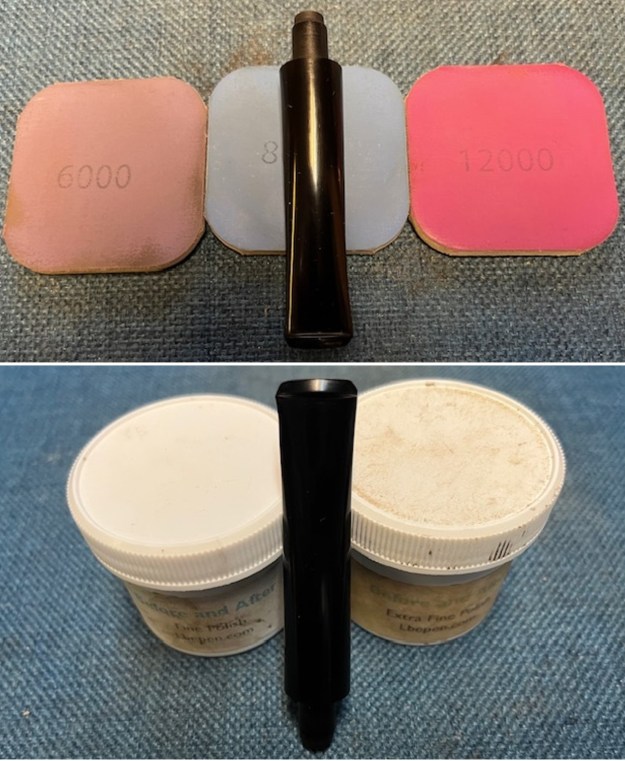
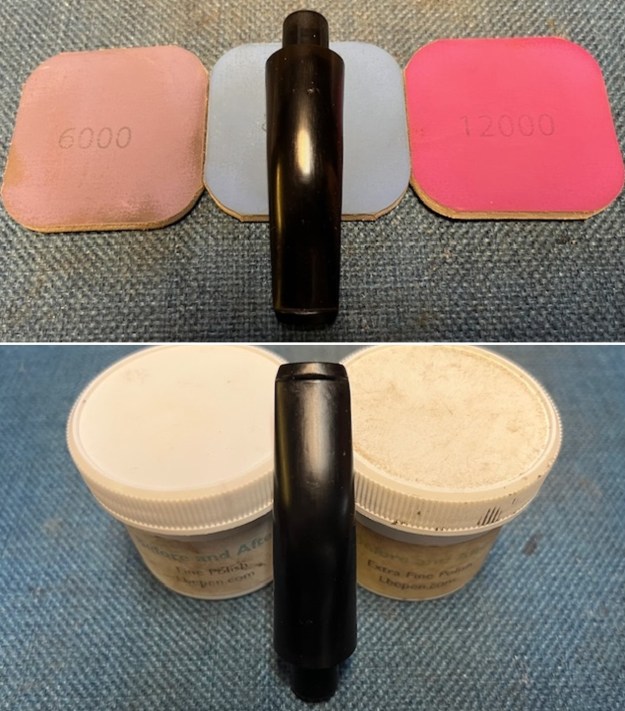
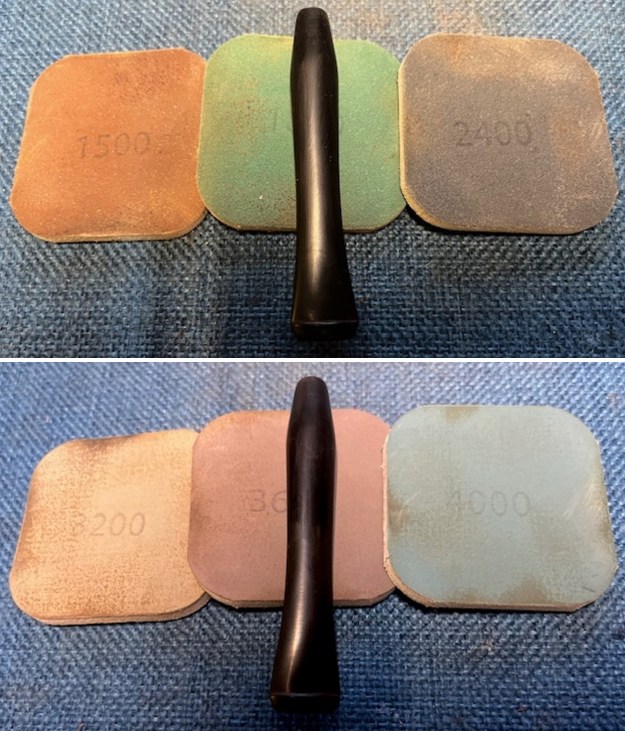
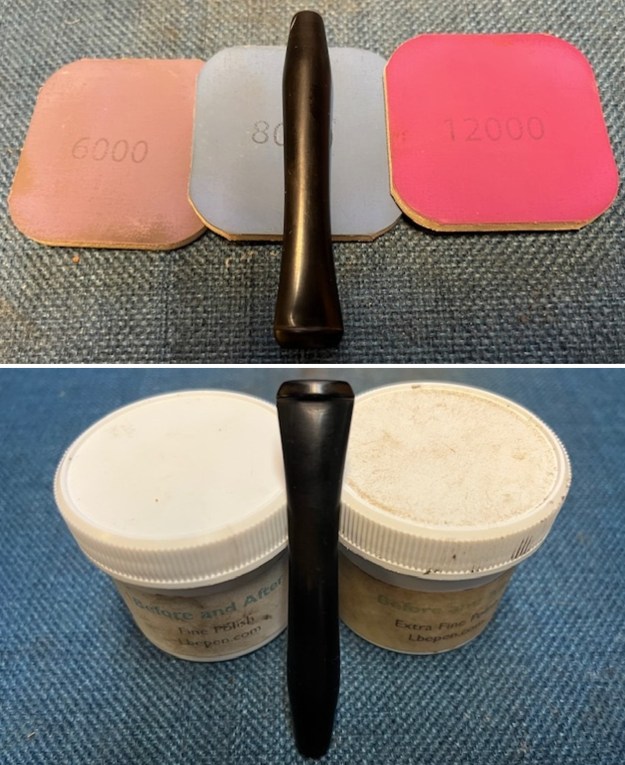
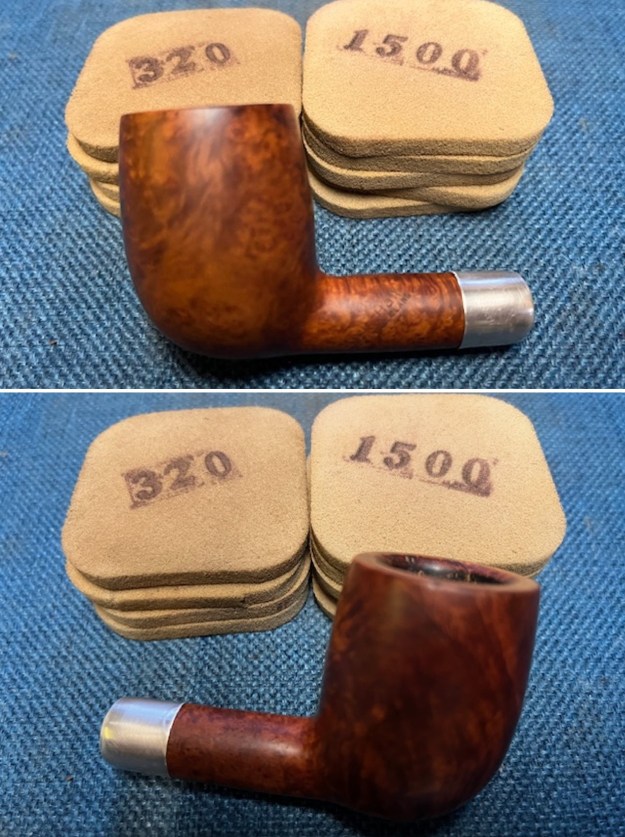
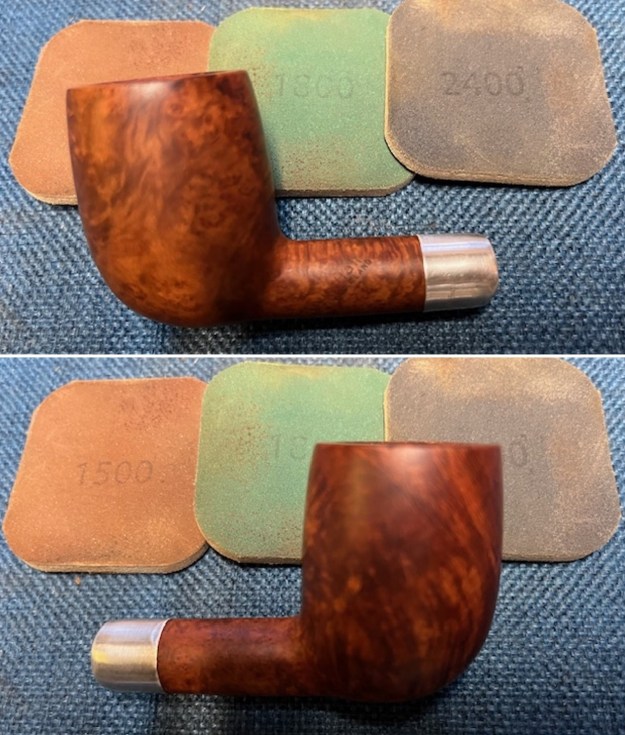
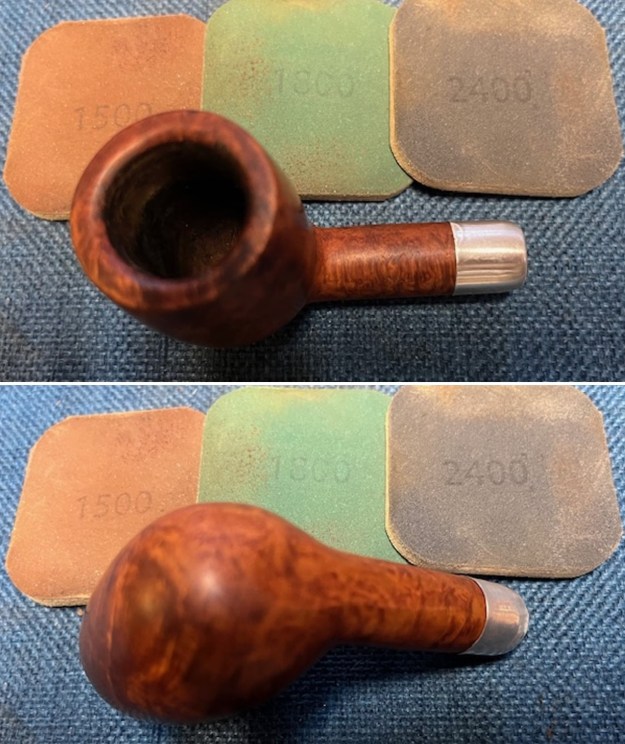
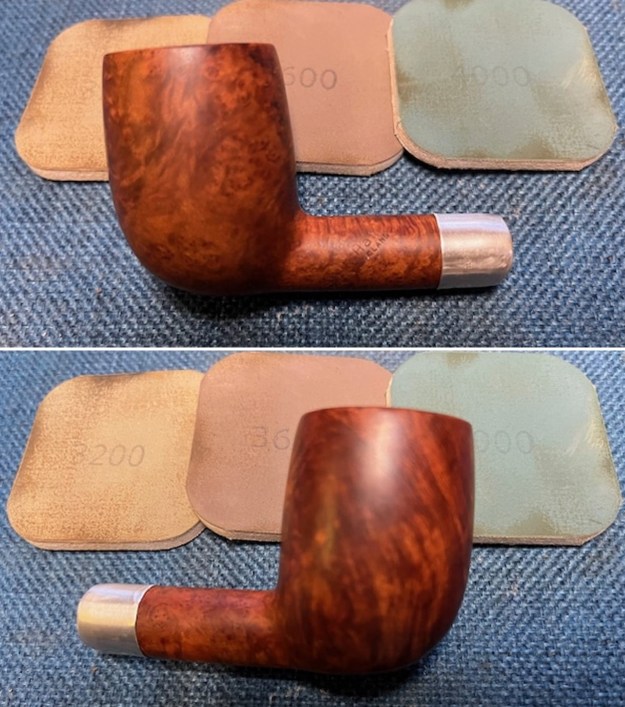
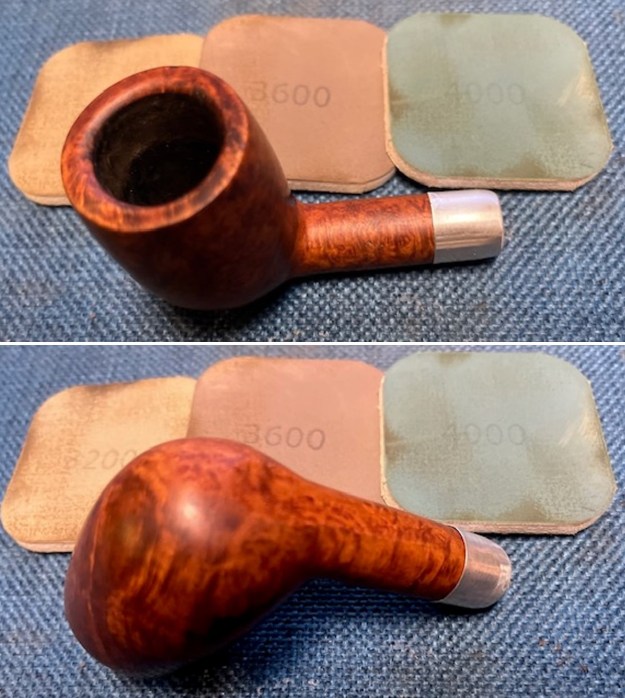
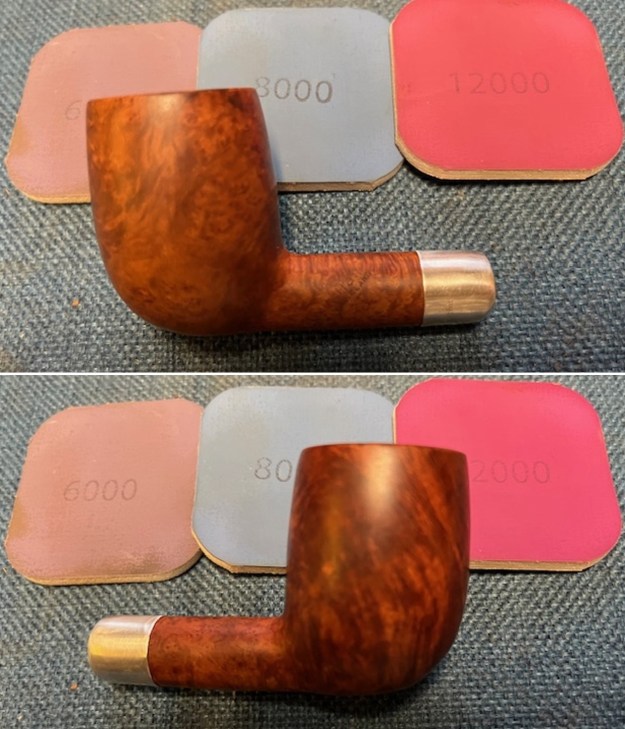
Jeff did a great job cleaning off the debris and grime on this old pipe. He reamed it with a PipNet reamer and smoothed the walls of the bowl with a Savinelli Fitsall pipe knife. He scrubbed out the mortise and the airway in the shank and the stem with alcohol, cotton swabs and pipe cleaners. He scrubbed the exterior of the bowl, rim and shank with a tooth brush and Murphy’s Oil Soap to the oils and tars on the bowl, rim and shank. He rinsed it under running water. He dried it off with a soft cloth. Once the grime was removed the finish underneath was in stellar condition. The rich patina of the older briar was a variegated finish of smooth and sandblast looked great. He scrubbed the exterior of the stem with Soft Scrub then soaked it in a bath of Briarville’s Pipe Stem Deoxidizer. He rinsed off the deoxidizer with warm water and wiped the bowl and stem down with a light coat of olive oil to rehydrate both. The pipe really was quite stunning. I took photos of the pipe to show its condition before I started my work on it. I took a close up photo of the rim top and edges to show how well it had cleaned up and the edges around the bowl. I also took close up photos of the stem to show the light tooth chatter on the surface ahead of the button on both sides.I took photos of the stamping on the sides of the shank. It is readable as noted above. I took a photo of the white spot on the top of the stem. I removed the stem and took a photo of the parts to show the proportions of the pipe. It is a beauty. I polished the briar with micromesh sanding pads – dry sanding with 1500-12000 grit sanding pads. I wiped the bowl down with a damp cloth after each sanding pad. The grain really began to sing. I worked some Before & After Restoration Balm into the surface of the briar with my fingertips to clean, enliven and protect the briar. I used a shoe brush to work the balm into the plateau on the rim top. I let the balm sit for 15 minutes and then buffed with a cotton cloth to raise the shine. The photos show the bowl at this point in the restoration process. I set the bowl aside and turned my attention to the stem. I polished the stem with micromesh sanding pads – dry sanding with 1500-12000 grit sanding pads. I wiped it down after each sanding pad with Obsidian Oil. I polished it with Before & After Pipe Stem Polish – both Fine and Extra Fine. I gave it another coat of Obsidian Oil. As usual at this point in the restoration process I am excited to be on the homestretch. I look forward to the final look when it is put back together, polished and waxed. I put the Armellini Elite DAL 1960 back together. I polished the bowl and stem with Blue Diamond to polish out the scratches in the briar and the vulcanite. I gave the bowl and the stem multiple coats of carnauba wax. I buffed the pipe with a clean buffing pad to raise the shine. I hand buffed it with a microfiber cloth to deepen the shine. The pipe polished up pretty nicely. The grain really pops with the wax and polish. The shiny black vulcanite stem is a beautiful contrast to the reddish, browns of the bowl. This Armellini Elite 2009 Straight Bulldog was a great pipe to spruce up. It is a very comfortable pipe to hold in the hand. The finished pipe is shown in the photos below. The dimensions of the pipe are Length: 6 inches, Height: 2 inches, Outside diameter of the bowl: 1 ¼ inches, Chamber diameter: ¾ of an inch. The weight of the pipe is 46 grams/1.62 ounces. This pipe will be going on the Italian Pipe Maker section of the rebornpipes store if you are interested in adding it to your collection. Thanks for reading this blog and my reflections on the pipe while I worked on it. This is an interesting estate to bring back to life.

Restoring a Beautiful Panel Bjarne


by Steve Laug

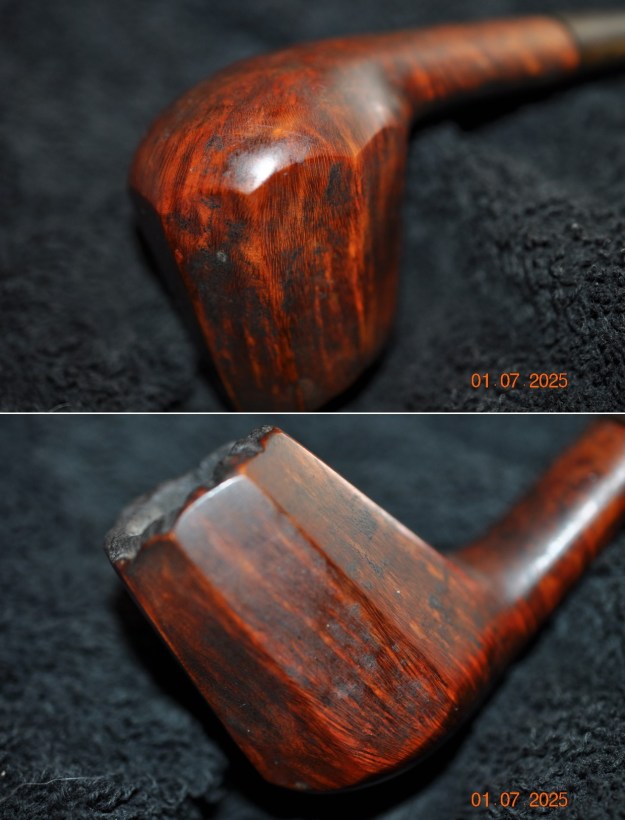
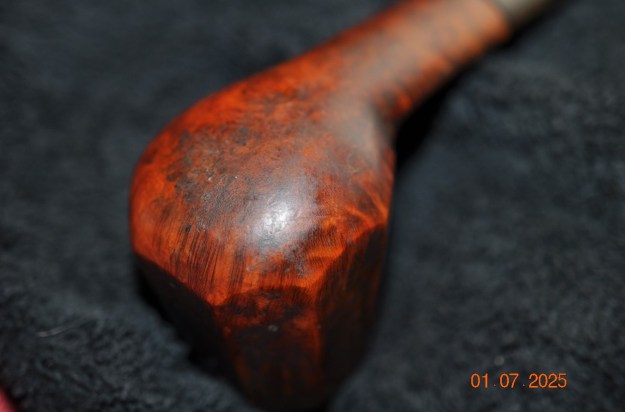
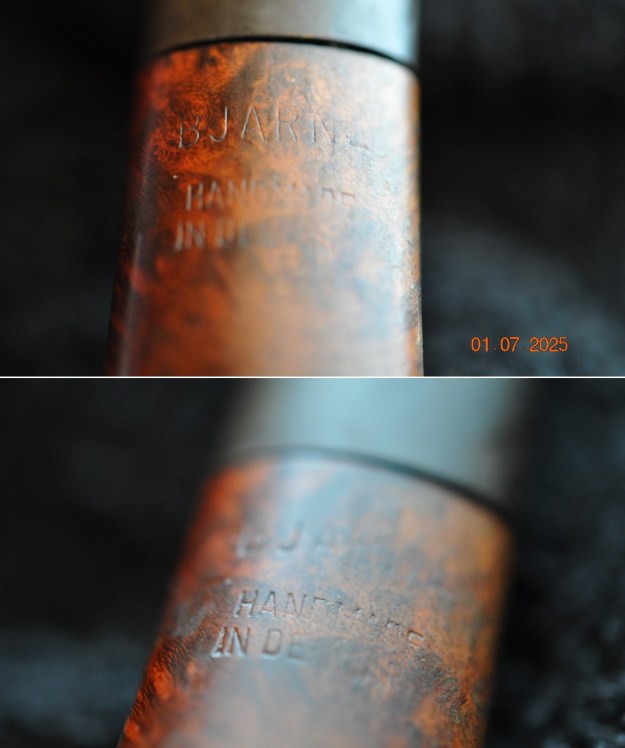
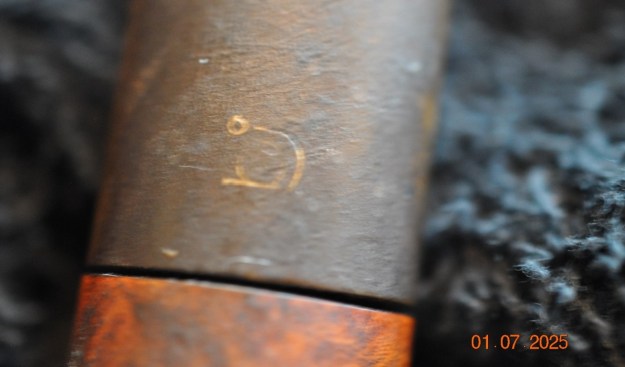
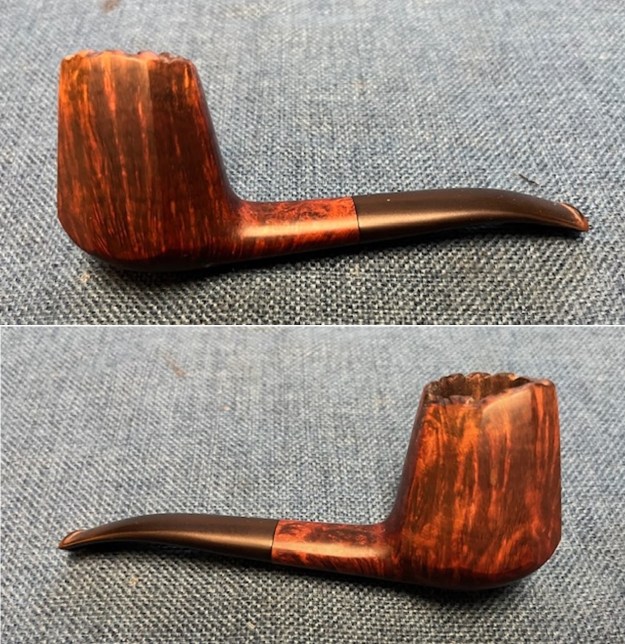
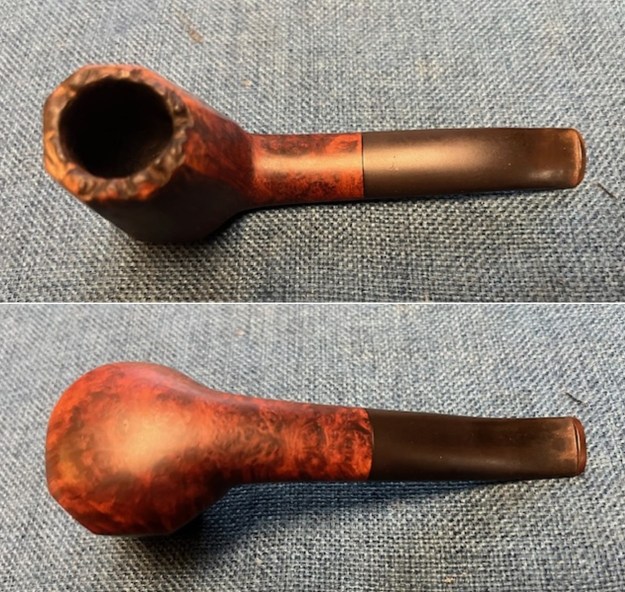
The next pipe I chose to work on was one that we purchased on 10/20/2022 from and Antique Store in Vancouver, Washington, USA. This one is stamped Bjarne [over] Handmade [over] In Denmark. I have worked on quite a few Bjarne pipes over the years and found them to be well made pipes following the grain on the smooth and unique sandblast on the others. So, when I saw this one I was excited to work on it. The pipe is kind of a shape I would call a combination of a Freehand and a Panel Brandy. The briar bowl and shank were smooth and well grained. The rim top had a plateau finish. The exterior of the pipe is dirty from use with oils and grime on the bowl sides. It has a thick cake in the bowl and an overflow of lava on the plateau rim top and inner edge of the bowl. The stem is a oval taper stem that is comfortable. It is oxidized but free of tooth marks and chatter on the surface. Jeff took photos of the rim top and stem to show the general condition of the pipe. The bowl is thickly caked and seems to have a thick dottle in the bottom of the bowl. There was some thick lava on the rim top and inner edge. I am hoping that once the lava is removed the edge will be okay. The stem looked surprisingly good under the dirt and grime. There was oxidation, calcification on the surface of the vulcanite. It looked like it had a rubber Softee Bit on the stem. There did not appear to be any tooth marks or chatter. It should cleanup very well.Jeff took photos of the bowl sides and heel to show the beautiful grain that was around this bowl event though it was lost in the grime the finish. The pipe had obviously been well loved and enjoyed by the previous pipeman. He took a photo of the underside of the shank to show the stamping. The stamping is clear and readable in the photos below as noted above. The stem had a faint Bjarne logo on the topside. In a previous blog I had researched the brand quite a bit. I have included it in full below for information on this pipe (https://rebornpipes.com/2020/03/07/another-pipe-from-the-eastern-canada-lot-a-hand-carved-bjarne-freehand/). I quote:
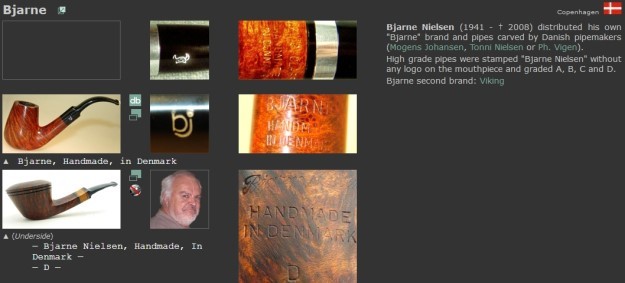
I turned my favourite go to sites on background of brands. The first is Pipephil’s site (http://www.pipephil.eu/logos/en/logo-b5.html). There I looked up the Bjarne brand. I have copied the pertinent information below.

Bjarne Nielsen (1941 – † 2008) distributed his own “Bjarne” brand and pipes carved by Danish pipemakers (Mogens Johansen, Tonni Nielsen or Ph. Vigen). High grade pipes were stamped “Bjarne Nielsen” without any logo on the mouthpiece and graded A, B, C and D. Bjarne second brand: Viking.

I have included a screen capture of the section on the brand below.I turned to Pipedia and looked up the brand for a bit more information on the pipes that were stamped like the one that I am working on (https://pipedia.org/wiki/Bjarne). Toward the end of the article I found what I was looking for. I quote:

Among the pipemakers that worked for Bjarne were Johs (for the lower priced high volume pieces), and makers like Ph. Vigen, Ole Bandholm and Tonni Nielsen for high grade pieces. The cheaper line was stamped “Bjarne” while the highest grades were stamped “Bjarne Nielsen” (never with the pipemakers’ name) and graded, from highest to lowest, by the letters: AX, A, B, C, D, E, F, G, H, I, and J.

Now I knew that I was dealing with the cheaper line of pipe made by the company. It was stamped Bjarne while the higher grade pipes were stamped Bjarne Nielsen with a grade stamp.

Jeff did a great job cleaning off the debris and grime on this old. He reamed it with a PipNet reamer and smoothed the walls of the bowl with a Savinelli Fitsall pipe knife. He scrubbed out the mortise and the airway in the shank and the stem with alcohol, cotton swabs and pipe cleaners. He scrubbed the exterior of the bowl, rim and shank with a tooth brush and Murphy’s Oil Soap to the oils and tars on the bowl, rim and shank. He rinsed it under running water. He dried it off with a soft cloth. Once the grime was removed the finish underneath was in stellar condition. The rich patina of the older briar was a variegated finish of smooth and sandblast looked great. He scrubbed the exterior of the stem with Soft Scrub then soaked it in a bath of Briarville’s Pipe Stem Deoxidizer. He rinsed off the deoxidizer with warm water and wiped the bowl and stem down with a light coat of olive oil to rehydrate both. The pipe really was quite stunning. I took photos of the pipe to show its condition before I started my work on it. I took a close up photo of the rim top and edges to show how well it had cleaned up and the edges around the bowl. I also took close up photos of the stem to show the light tooth chatter on the surface ahead of the button on both sides.I took a photo of the stamping on the underside of the shank. It is faint but readable as noted above. I removed the stem and took a photo of the faint stamping on the top of the stem – BJ. There is not enough depth in the stamp to recolour it.I started my work on the pipe by going over the rim top with a wire brush to remove the remnants of debris and lava on the plateau of the rim top. I sanded the bowl with 320-3500 grit sanding pads to remove the scratches and marks on the sides of the bowl and heel. I wiped the bowl down with a damp cloth after each sanding pad to remove the sanding debris. It began to really take on a shine.I polished the briar with micromesh sanding pads – dry sanding with 1500-12000 grit sanding pads. I wiped the bowl down with a damp cloth after each sanding pad. The grain really began to sing. I worked some Before & After Restoration Balm into the surface of the briar with my fingertips to clean, enliven and protect the briar. I used a shoe brush to work the balm into the plateau on the rim top. I let the balm sit for 15 minutes and then buffed with a cotton cloth to raise the shine. The photos show the bowl at this point in the restoration process. I set the bowl aside and turned my attention to the stem. I sanded out the tooth marks and dents in the vulcanite with 220 grit sandpaper until it was smooth.  I sanded the stem with 320-3500 grit sanding pads to remove the remnants of oxidation and the sanding marks in the vulcanite. I wiped the stem down after each sanding pad with a damp cloth to remove the sanding debris.I polished the stem with micromesh sanding pads – dry sanding with 1500-12000 grit sanding pads. I wiped it down after each sanding pad with Obsidian Oil. I polished it with Before & After Pipe Stem Polish – both Fine and Extra Fine. I gave it another coat of Obsidian Oil. I am really happy with the way that this Bjarne Hand Made Freehand Brandy Panel turned out. It really is a beautiful looking pipe with a unique shape and smooth and plateau finishes. The vulcanite oval taper stem is really nice. The briar really came alive with the buffing. The rich brown and black stains of the finish gave the pipe a sense of depth with the polishing and waxing. I put the stem back on the bowl and carefully buffed the pipe with Blue Diamond on the buffing wheel using a light touch on the briar. I gave the bowl and the stem multiple coats of carnauba wax on the buffing wheel. I buffed the pipe with a clean buffing pad to raise the shine. I hand buffed the pipe with a microfiber cloth to deepen the shine. The finished Bjarne Brandy Panel Freehand really is a beauty and feels great in the hand and looks very good. Give the finished pipe a look in the photos below. The dimensions of the pipe are Length: 5 ½ inches, Height: 2 inches, Outside diameter of the bowl: 1 ¼ inches, Chamber diameter: ¾ of an inch. The weight of the pipe is 50 grams/1.66 ounces. The pipe will be going on the rebornpipes store in the Danish Pipe Makers Section if you would like to add it to your collection. Thanks for reading this blog and my reflections on the pipe while I worked on it. It was a fun one to work on!
Restoring an Unusual Freehand Dublin


by Kenneth Lieblich

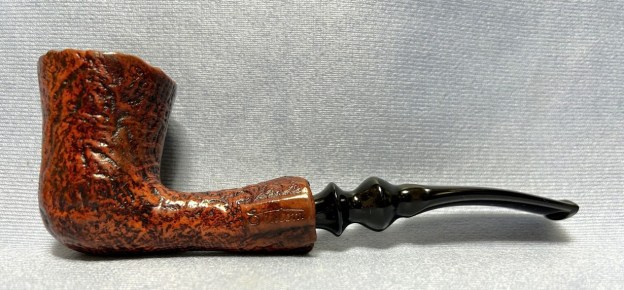
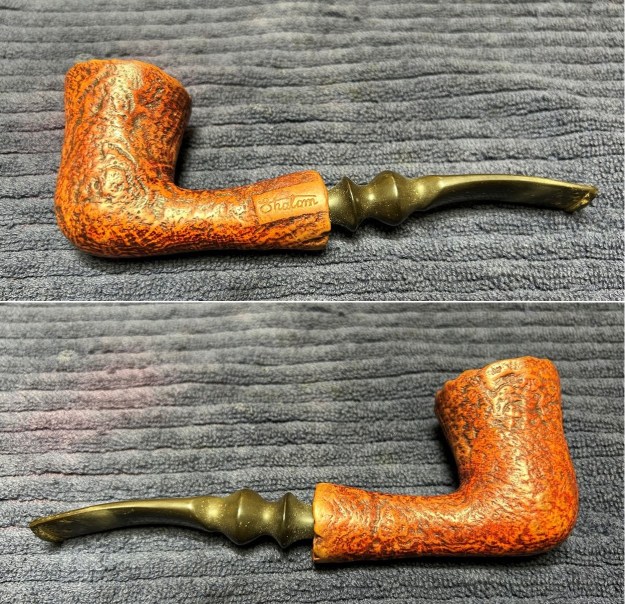
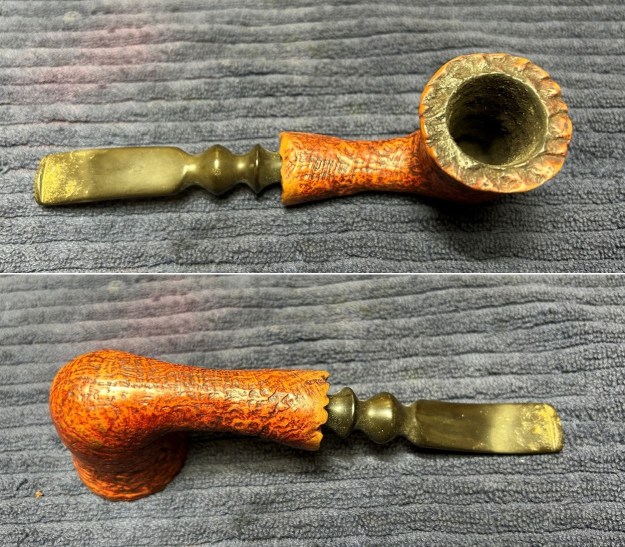
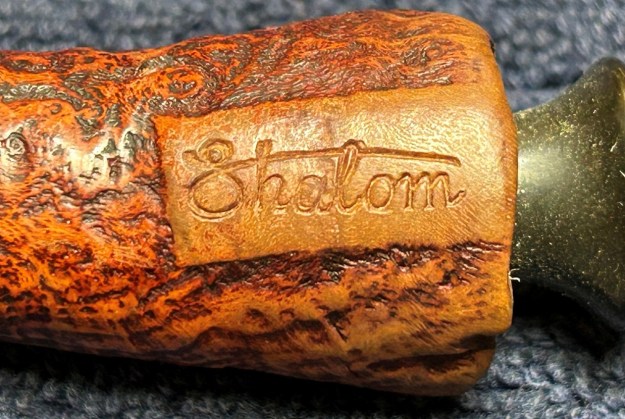
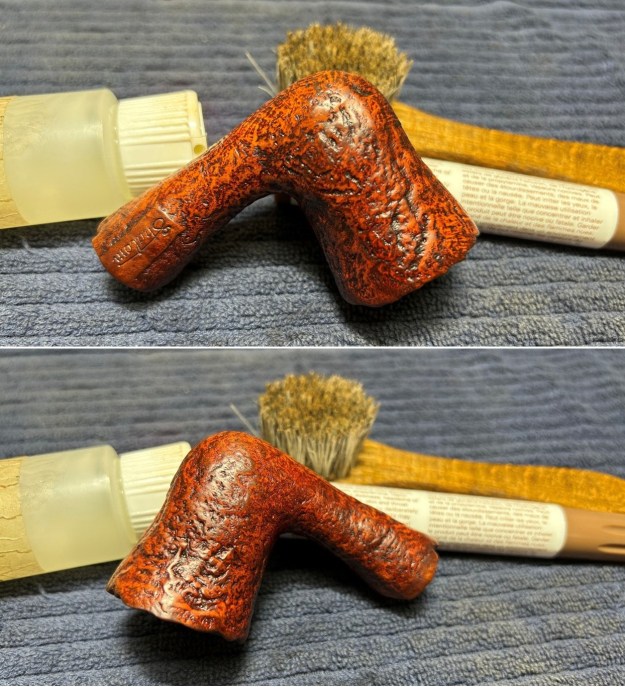
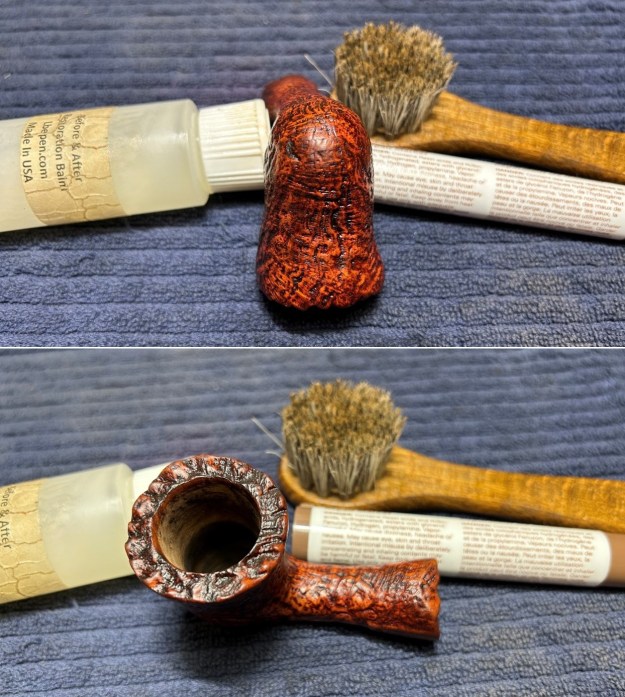
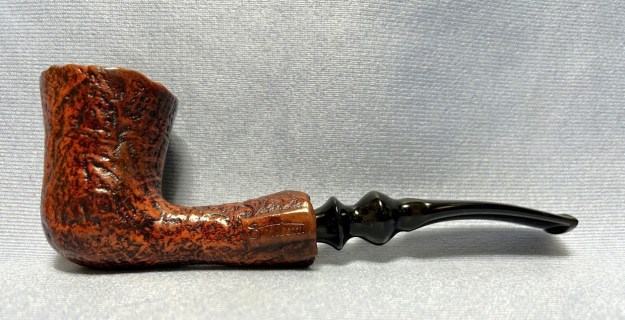
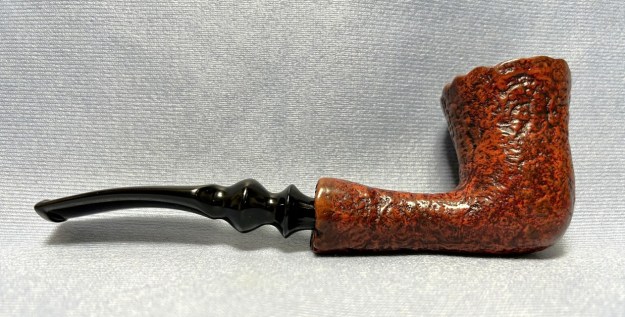
Today, for your viewing pleasure, I have a charming – almost whimsical – pipe from the Shalom Pipe Company of Israel. This pipe came to me in an auction lot of various and sundry things. I thought the shape was quite peculiar, with it’s large, deep bowl and sandblasted exterior. It’s light and handsome – and it looked to be in good condition, so I chose it for my next restoration. There’s only one mark on the pipe – and that is the word Shalom on the left of the shank. I was familiar with the company, but went to Pipedia to see what they had to say.

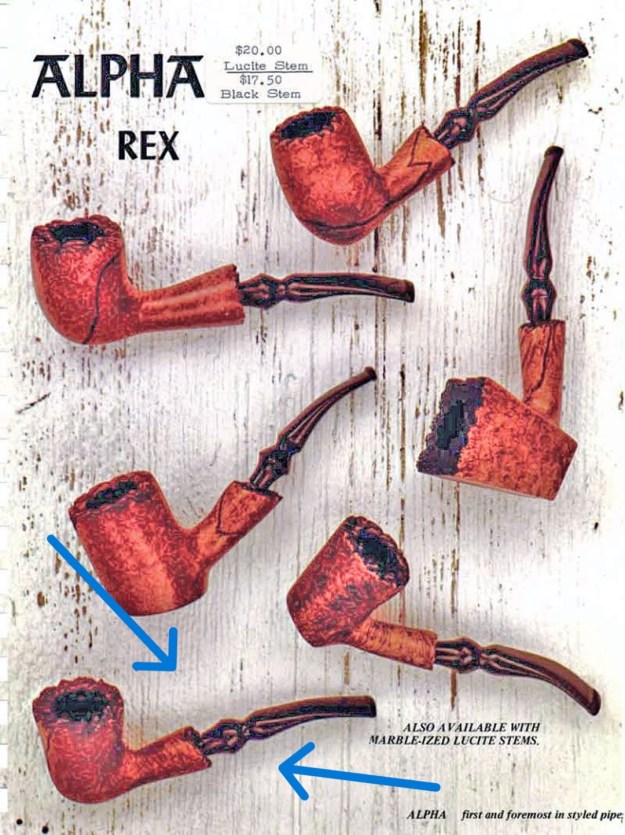
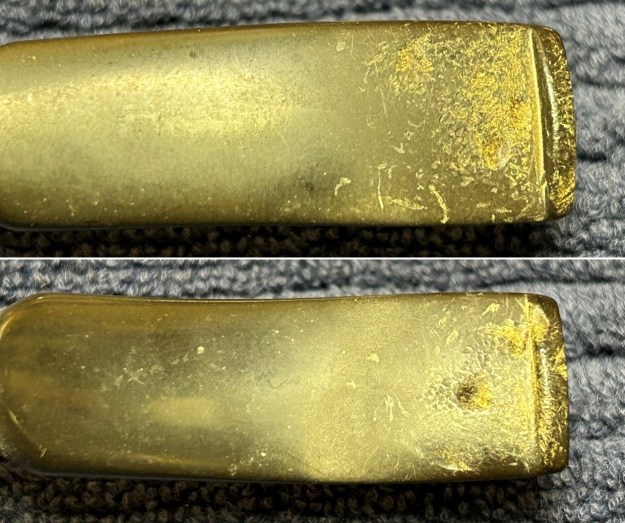
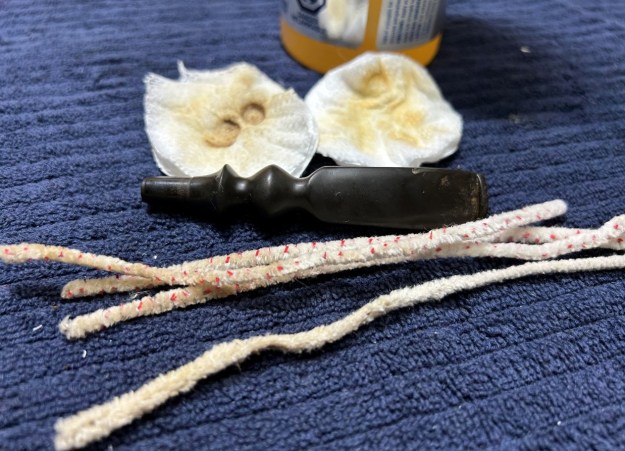
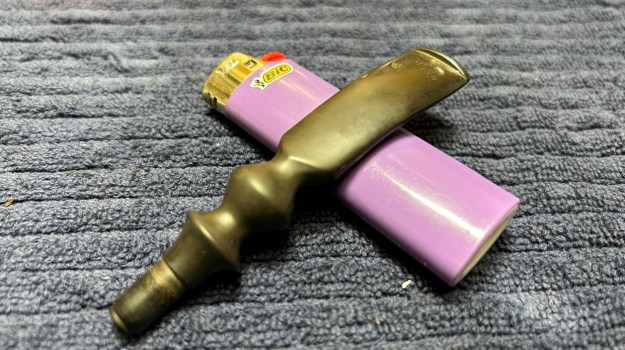
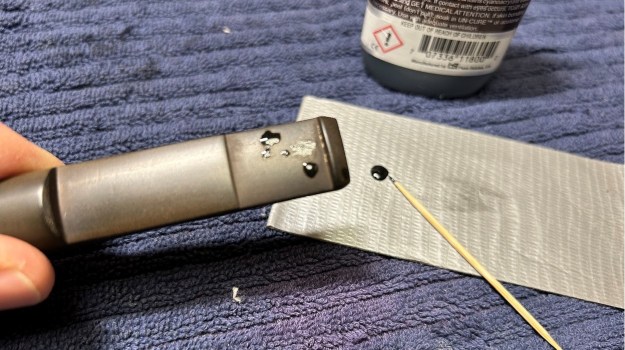
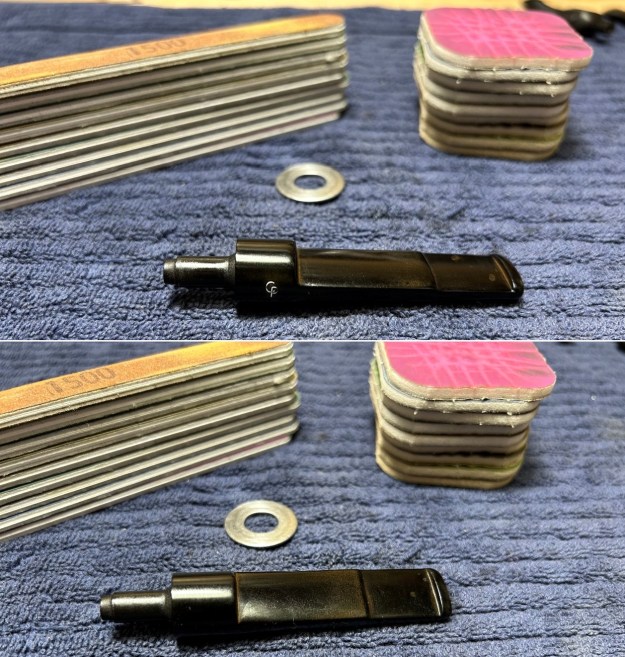
Not much is known about Israel’s sole pipe factory though it’s reported to have operated quite successfully on international markets. Beside the brand “Shalom” the mainstay brand was Alpha – especially well known in the USA. Alpha was popular for a range of fresh and unusual shapes. Series (afaik): Caprice (s), Citation (s), Classic (b), Pedestal (s), Regent, Region (b), Rex (s). (1) (1) (b) = blasted, (s) = smooth. Alpha also produced at least one of its Citation forms for Carey’s “Magic Inch” series. Mentioned in context with Shalom Pipe Factory was a Danish pipemaker named ‘Muki Liebermann’, who later lived and worked in the USA. Muki is known for his unique briar bending technique and his original shapes that gave inspiration to many of the most praised Danish pipemakers. Shalom was taken over by Robert L. Marx of New York City, later Sparta, NC, then of Mastercraft. Mastercraft continued the Alpha pipes introducing new lines.This made me wonder if this pipe was, in fact, made by Muki Liebermann – I have no evidence of that, but it certainly fits. Anyway, nothing here gave me any information about this specific pipe, but I clicked on the Alpha link to see if I could find further information. Indeed, I found that the same shape of my pipe was also released by Alpha (slightly different stem, but the stummel is the same). See below…Let’s take a closer look at the pipe itself. The stummel was in good shape. Dirty, of course, but nothing looked damaged or overly worn. The stem was also generally ok – it had the usual wear and tear. The only thing that gave me pause was a couple of tooth dents. But I felt confident that I could resolve that. I used oil soap on a few cotton rounds and wiped the stem down to provide an initial cleaning of filth. The primary cleaning comes next. I cleaned the inside of the stem with both pipe cleaners and cotton swabs dipped in 99% lemon-infused isopropyl alcohol. I scrubbed thoroughly to make sure the interior was clean.I used a disposable lighter and ‘painted’ the stem with its flame. The gentle heat of the flame can cause the dents in the vulcanite of the stem to expand back into shape. In this case, it didn’t work too well – but no big deal.The goal of the next step is the removal (or minimization) of oxidation. Going to my sink, I used cream cleanser, cotton rounds, and a toothbrush, and scoured the stem to remove as much surface oxidation as possible. As the photos show, the result is a hideous brownish mess – but better off the stem than on it.Once the stem was reasonably clean, I soaked it overnight in some de-oxidation fluid. This solution works to draw oxidation in the stem to the surface. This is a major aid and an important step in ensuring a clean stem. The following day, I drew the stem out from its bath and scrubbed the lingering fluid with a toothbrush.Now that the stem is clean and dry, I set about fixing the marks and dents in the vulcanite. This is done by filling those divots with black cyanoacrylate adhesive, impregnated with carbon and rubber. I left this to cure and moved on.The penultimate step for the stem is sanding. First, with my set of needle files, I reduce the bulk of the cyanoacrylate repairs. I want to remove the excess adhesive as near to the surface as possible, without cutting into the vulcanite. Following that, I use all nine of the micromesh sanding pads (1,500 through 12,000 grit) to sand out flaws, even out the vulcanite, and provide gentle polishing of the finished surface. I also apply pipe-stem oil while using the last five micromesh pads. There was a wonderful, deep black shine to the stem when I was done.Now that the stem is (nearly) complete, I can move on to the stummel. The first step for me is to ream out the bowl – that is to say, remove all the cake inside the bowl. This accomplishes a couple of things. First (and most obviously), it cleans the bowl and provides a refurbished chamber for future smoking. Second, when the old cake is removed, I can inspect the interior walls of the bowl and determine if there is damage or not. I used a reamer and a piece of sandpaper taped to a wooden dowel. Collectively, these ensure that all the debris is removed. Pleasingly, the walls of the bowl looked to be in good condition.Similar to the stem, I then cleaned the stummel with both pipe cleaners and cotton swabs dipped in 99% lemon-infused isopropyl alcohol. With a pipe this dirty, it took quite a while and much cotton to get clean.I then decided to ‘de-ghost’ the pipe – that is to say, exorcize the remaining filth from the briar. I filled the bowl and the shank with cotton balls, then saturated them with 99% isopropyl alcohol. I let the stummel sit overnight. This caused any remaining oils, tars and smells to leach out into the cotton.To tidy up the briar, I also wiped down the outside with some oil soap on cotton rounds (and a nylon-bristle brush for the rim). This does a good job of cleaning any latent dirt on the surface of the briar. The last step of the cleaning process is to scour the inside of the stummel with some soap and tube brushes. This is the culmination of a lot of hard work in getting the pipe clean.I used a few of the smoother micromesh pads – but just on the flat section where the logo is. After that, there were a few spots that needed to be tinted in the same colour as the rest of the stummel. I used some of my furniture pens (which is simply dye in pen form) to match the colour. I rubbed some Before & After Restoration Balm into the briar and let it sit for 20 minutes or so. The balm moisturizes the wood and gives a beautiful depth to the briar. I then buffed it with a microfibre cloth. For the final step, I took the pipe to my bench buffer and carefully polished it – first with a white diamond compound, then with three coats of carnauba wax. This procedure makes the pipe look its best – the stummel sings and the stem glows.

All done! This Shalom freehand Dublin looks fantastic again and is ready to be enjoyed by its next owner. I am pleased to announce that this pipe is for sale! If you are interested in acquiring it for your collection, please have a look in the ‘Various Makers’ section of the store here on Steve’s website. You can also email me directly at kenneth@knightsofthepipe.com. The approximate dimensions of the pipe are as follows: length 6⅛ in. (155 mm); height 2⅛ in. (54 mm); bowl diameter 1½ in. (37 mm); chamber diameter 1 in. (24 mm). The weight of the pipe is 1¼ oz. (38 g). I hope you enjoyed reading the story of this pipe’s restoration as much as I enjoyed restoring it. If you are interested in more of my work, please follow me here on Steve’s website or send me an email. Thank you very much for reading and, as always, I welcome and encourage your comments.

Restoring a Worn Peterson’s “Kildare” X105 Silver Banded Billiard


by Steve Laug

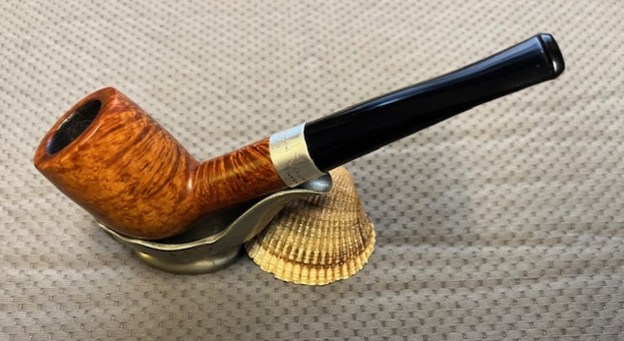
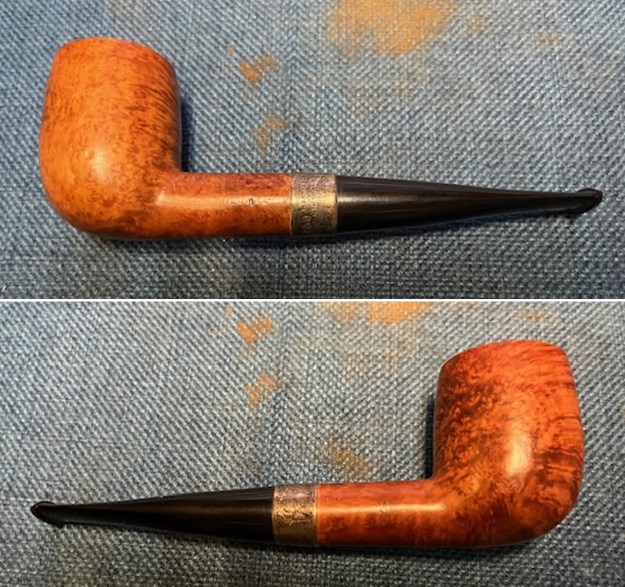
The next pipe I have chosen is smooth finished Peterson’s Billiard pipe. This one is a smooth Billiard that has a rich coloured finish around the bowl sides and shank. Neither Jeff or I have any idea where we picked up this pipe. It could have been a trade or a purchase in a shop but we do not remember. The contrast of the brown stains makes the grain really pop. It was faintly stamped on the left side of the shank and read Peterson’s [over] “Kildare”. It was very faintly stamped to the right side of the shank and reads Made in the Republic of Ireland (3 lines) with the shape number X105 next to the bowl. It came to us quite clean, just some dust and debris and little bit of oxidation on the stem and on the silver band. On the oxidized, fancy silver band on the shank end it is stamped on the top and reads Peterson [over] Dublin. On the right side it is stamped Sterling [over] Silver. Next to that are three hallmarks – a seated woman (Hibernia), a Crowned Harp (quality of the silver used) and the letter m (the date letter) which dates it to 1978. The bowl had been cleaned recently with just a little debris in the bottom. The rim top and the inner edge of the bowl looked good. The mortise had some tars and oils darkening it. The stem was lightly oxidized but there were not any tooth marks or chatter on the top and underside on and near the button. I took photos of the pipe before I started my cleanup work. They tell the story and give a glimpse of the promise that we see in this pipe. I took photos of the rim top and stem to show the general condition of the pipe. The bowl is very clean other than dust and debris in the bottom. The rim top and edges look good. The silver band is heavily oxidized but otherwise appears to be in good condition. The stem is lightly oxidized but there are no tooth marks on the surface or the button.I tried to capture photos of the sides of the shank to show the stamping. The stamping is very faint and is hard to see in the photos. However, with a bright light and lens you can discern what is stamped and it reads as noted above.I am including the link to the Pipedia’s article on Peterson pipes. It is a great read in terms of the history of the brand (https://pipedia.org/wiki/Peterson).

I turned to “The Peterson Pipe” by Mark Irwin and Gary Malmberg to get some background on the Peterson’s System Line. On page 314 it had the following information.

Kildare (1965-) First issue of line with matte-finish in Classic Range shapes, P-Lip and fishtail mouthpiece. Second issue C.1979 as Kildare Patch, with rusticated patches on pipe surface. Third issue 2010, matte-brown, P-Lip or fishtail mouthpiece, no band. Fourth issue 2011-, burgundy sandblast finish, nickel army mount, fishtail mouthpiece, exclusive to Smokingpipes.com.

Judging from the description above I believe that I am working on a First Issue of the line in the time period of 1965-1979. It is a late Republic Era Classic Shaped pipe with a matte-finish and a fish tail stem. Now it was time to work on the pipe.

I started my work on the pipe by scraping out the debris in the bowl with a Savinelli Fitsall Pipe Knife. There was no cake on the walls but there was dust and tobacco debris on the bottom and lower sides of the bowl. It came out very easily.I cleaned up the oxidized Sterling Silver Band with a jeweller’s cloth. I used a lot of elbow grease but was able to remove all of the oxidation. The stamping is quite readable as noted above. I scrubbed internals with pipe cleaners, cotton swabs and isopropyl alcohol to remove the debris and dust in the internals in both the shank and the stem. It was surprisingly clean and cleaned up quickly.I decided to address the darkening on the front inner edge of the bowl first. I used a folded piece of 220 grit sandpaper to give the inner edge of the bowl a slight bevel to minimize the darkening and blend it into the surrounding briar. It looked much better at this point. I polished the briar with micromesh sanding pads to remove the scratches in the briar – dry sanding with 1500-12000 grit sanding pads. I wiped the bowl down with a damp cloth after each sanding pad. I worked some Before & After Restoration Balm into the surface of the briar with my fingertips to clean, enliven and protect the briar. I let the balm sit for 15 minutes and then buffed with a cotton cloth to raise the shine. The photos show the bowl at this point in the restoration process. I set the bowl aside and turned my attention to the stem. I polished the stem with micromesh sanding pads – wet sanding with 1500-12000 grit sanding pads. I wiped it down after each sanding pad with Obsidian Oil. I polished it with Before & After Pipe Stem Polish – both Fine and Extra Fine. I wiped it down with another coat of Obsidian Oil and set it aside to cure. I am excited to finish this 1978 Peterson’s “Kildare” X105 Silver Banded Straight Billiard with taper vulcanite stem. I put the pipe back together and buffed it with Blue Diamond on the buffing wheel. I gave the bowl and the stem multiple coats of carnauba wax. I hand buffed the pipe with a clean buffing pad to raise the shine. It is fun to see what the polished bowl looks like with beautiful flame grain all around it. Added to that the polished Sterling Silver band and the black vulcanite stem was beautiful. This smooth Classic Peterson’s “Kildare” X105 Silver Banded Billiard is great looking and the pipe feels great in my hand. It is light and well balanced. Have a look at it with the photos below. The dimensions are Length: 5 ½ inches, Height: 1 ¾ inches, Outside diameter of the bowl: 1 ¼ inches, Chamber diameter: ¾ of an inch. The weight of the pipe is 43 grams/1.52 ounces. It is a beautiful pipe and one that I will be putting on the rebornpipes store in the Irish Pipe Makers Section. If you want to add it to your collection you can send me a message or an email to slaug@uniserve.com. Thanks for walking through the restoration with me as I worked over this pipe. Thanks to each of you who are reading this blog.

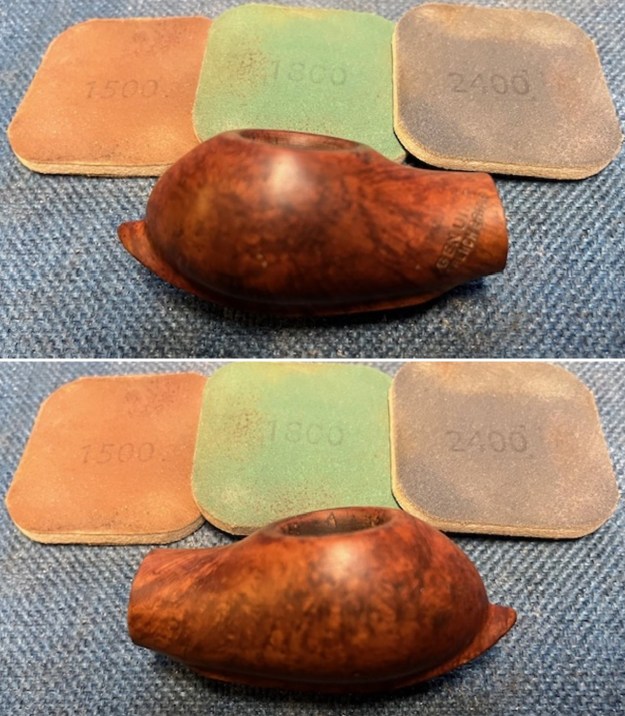
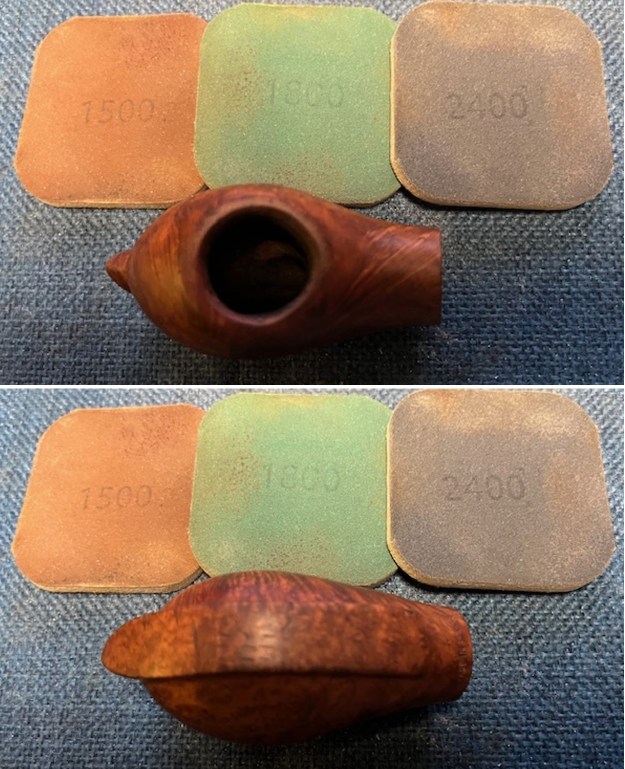
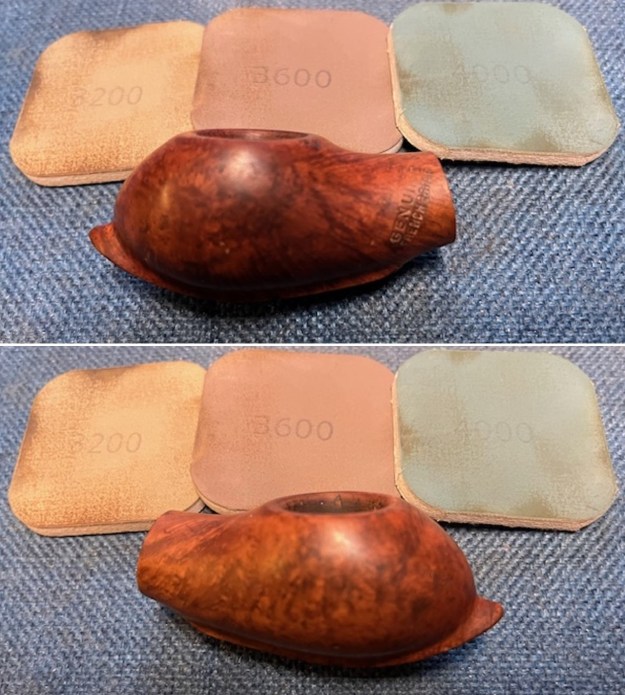
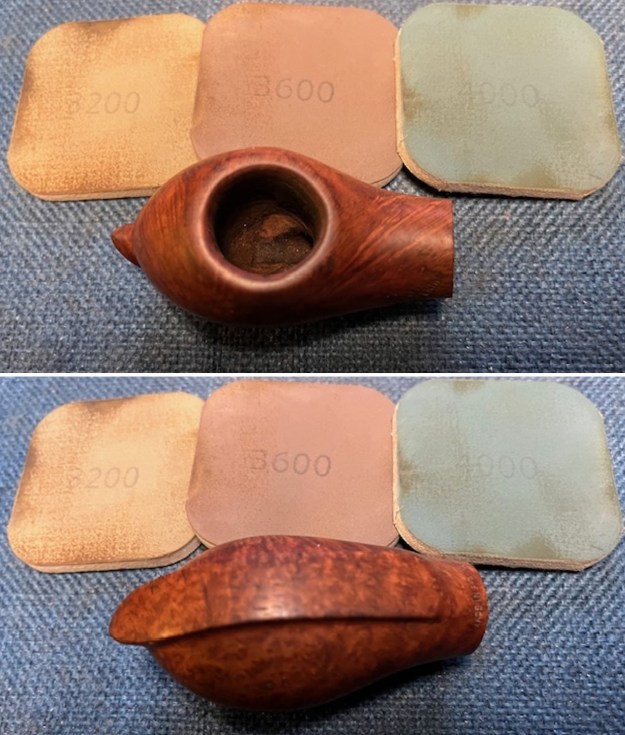
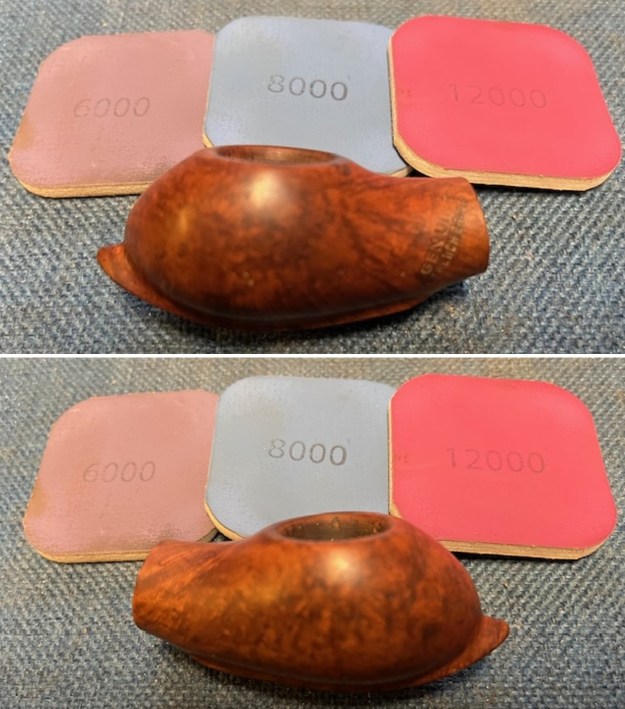
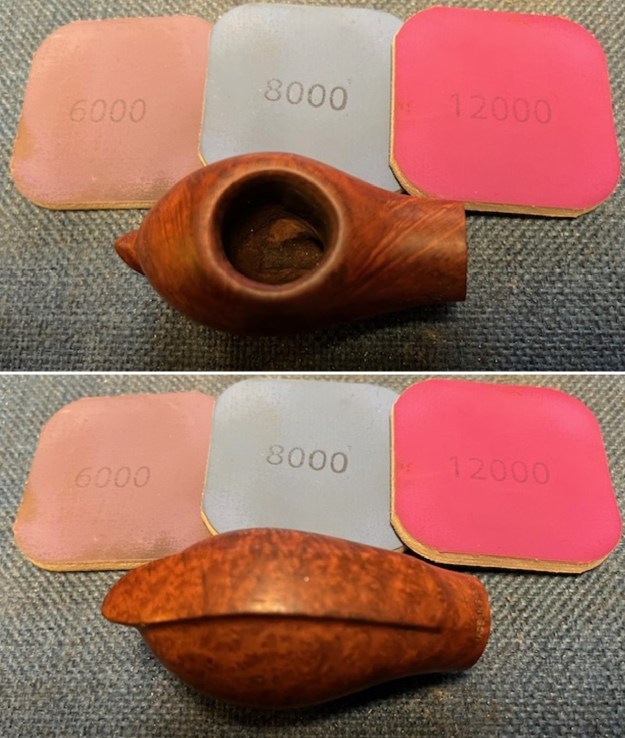
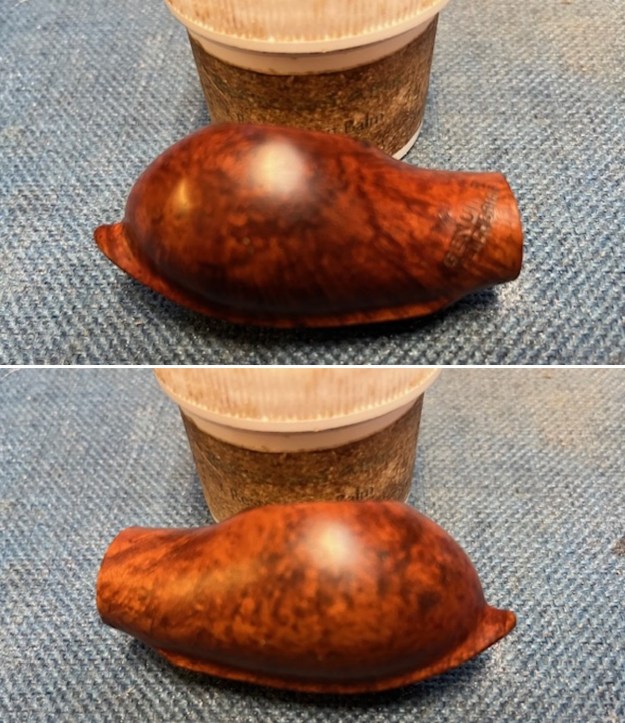
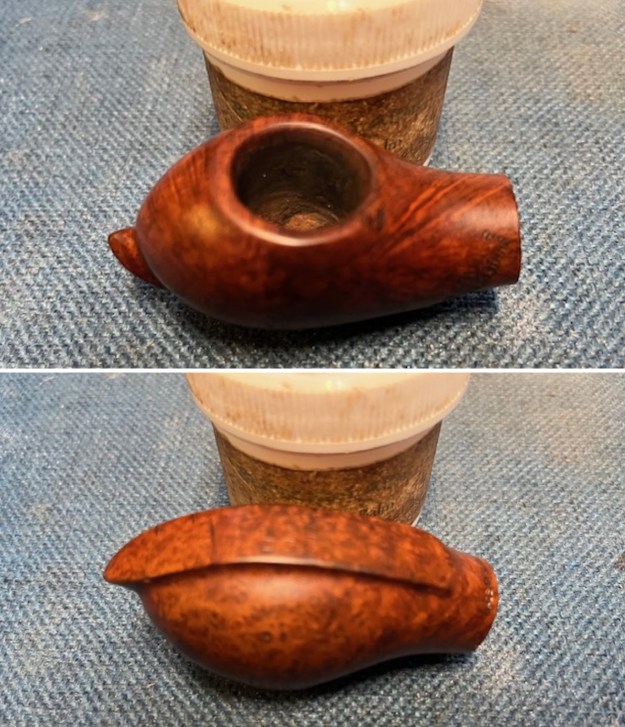
Restoring an Odd, Old Genuine French Briar Slug Style Pocket Pipe


by Steve Laug

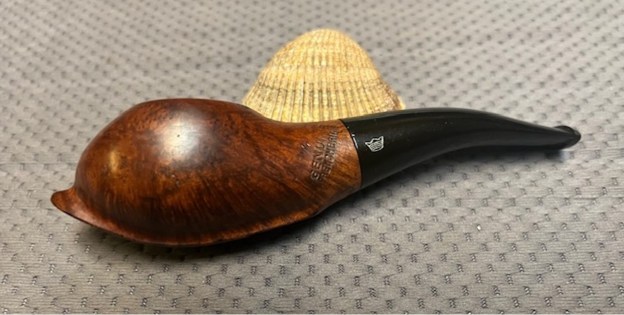
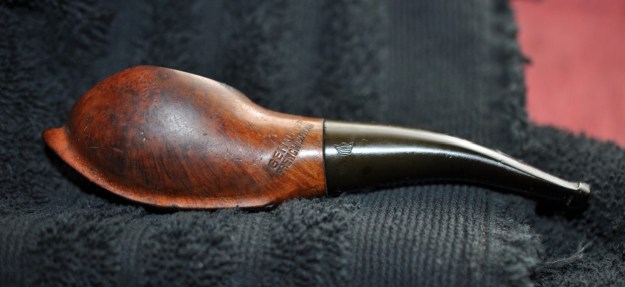
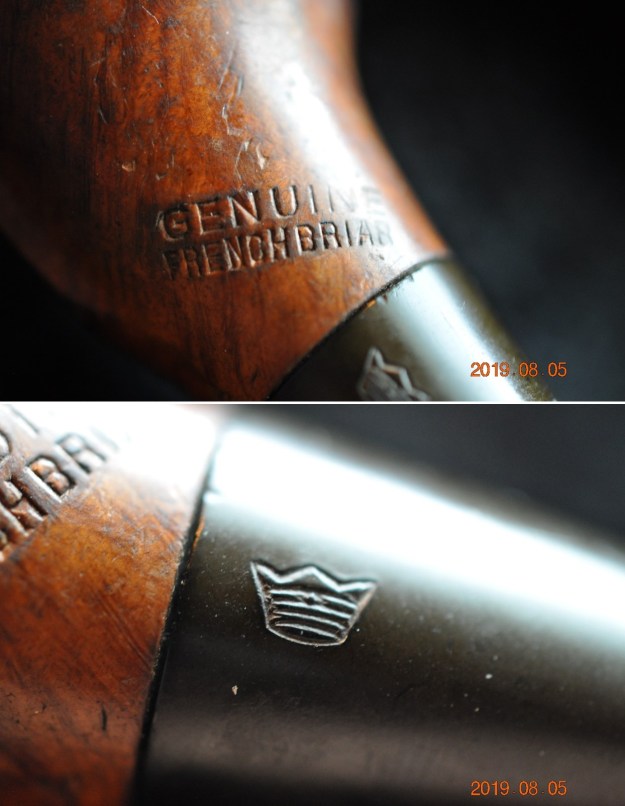
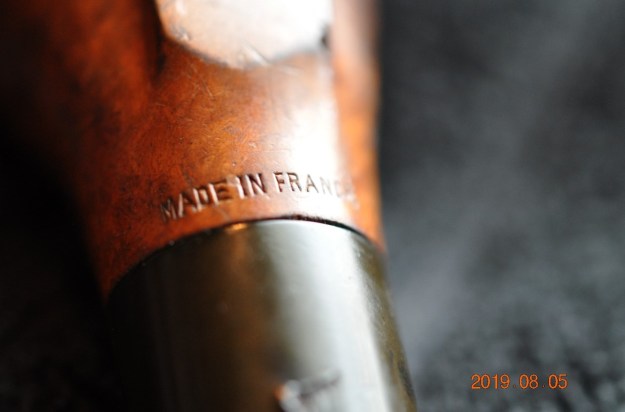
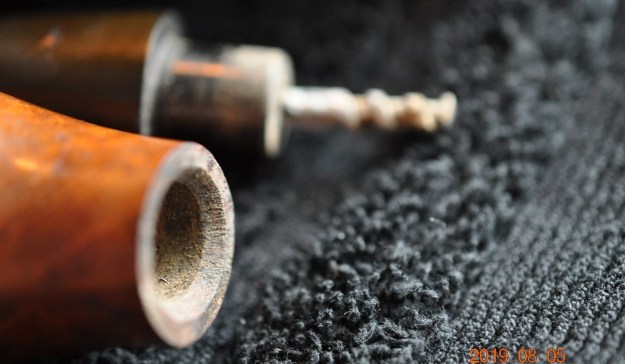
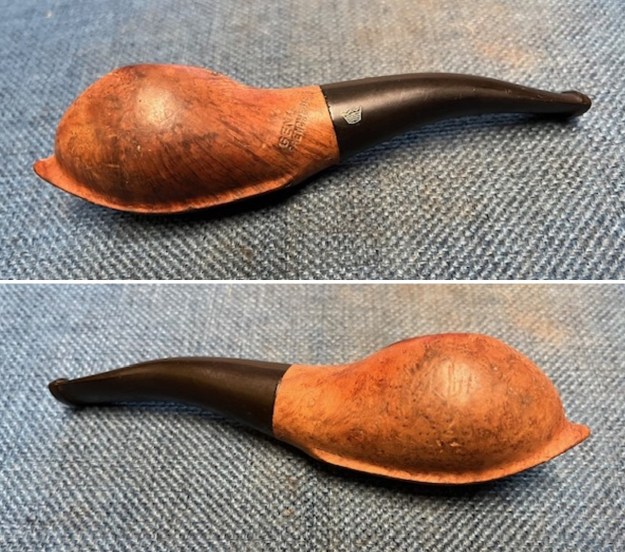
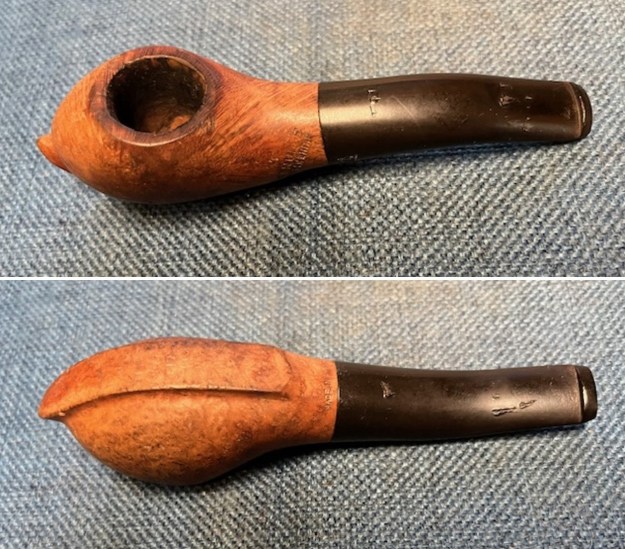
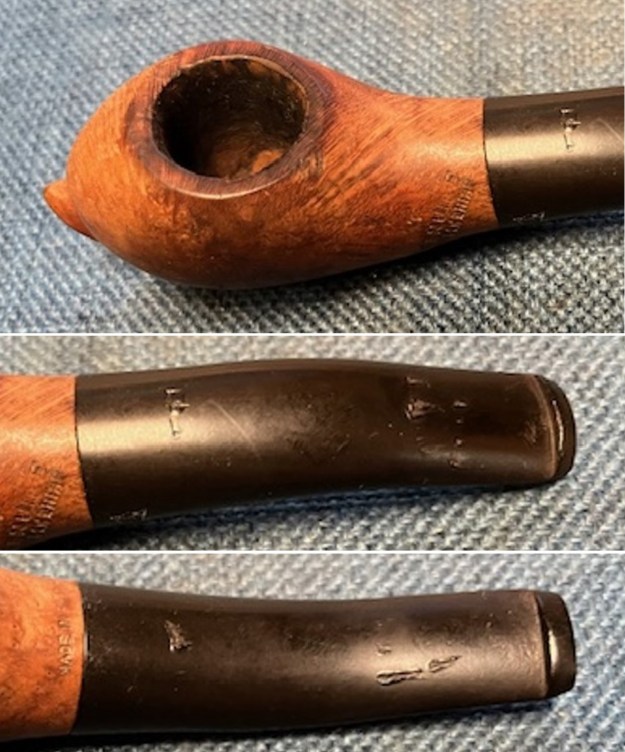
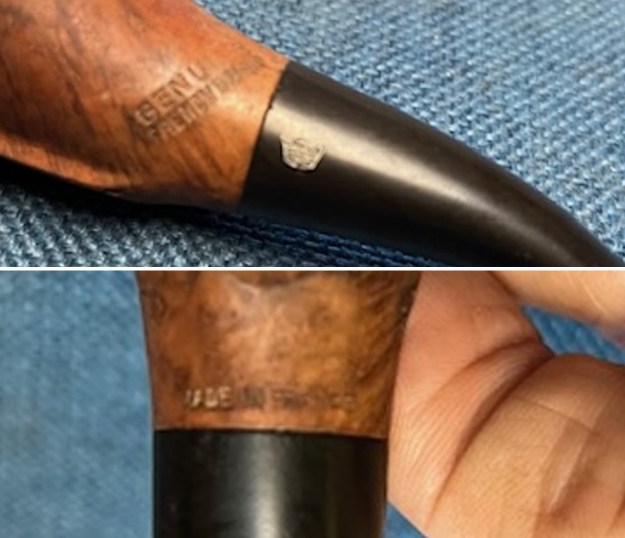
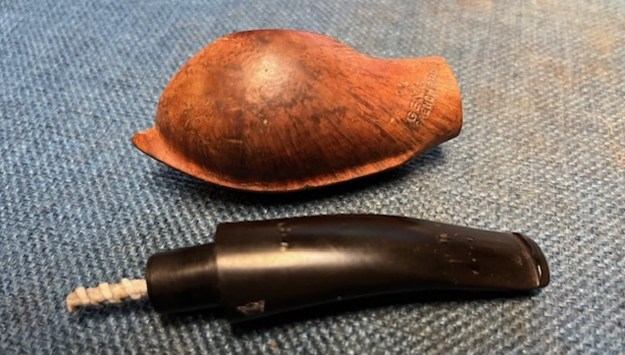
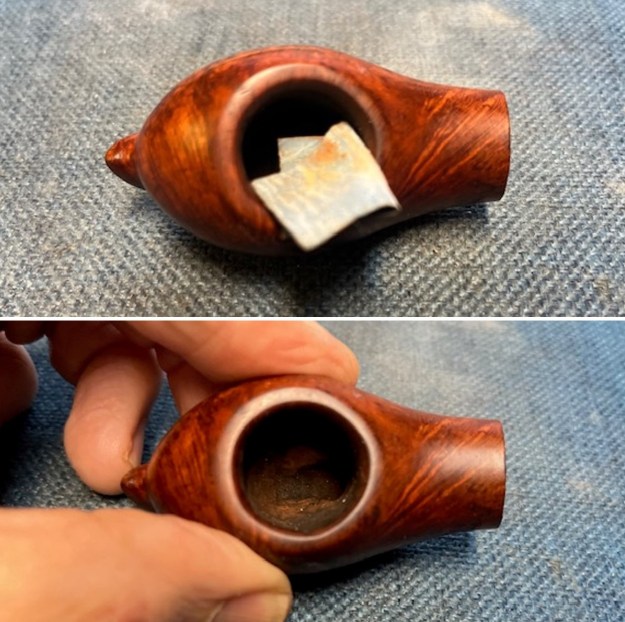
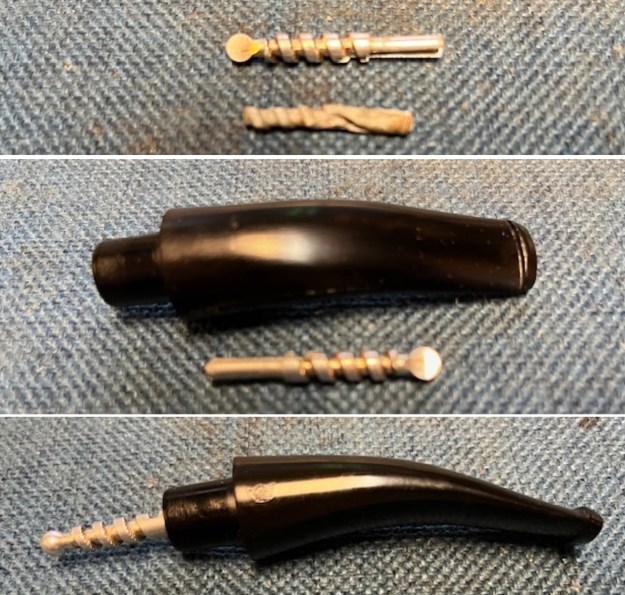
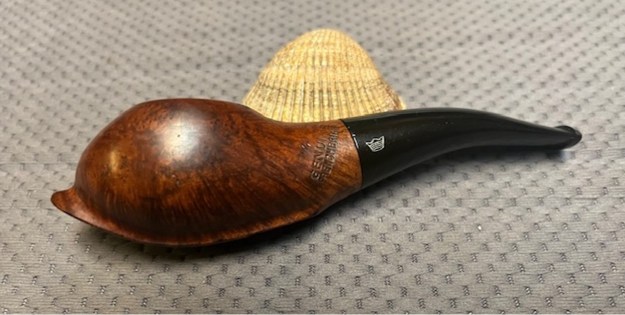
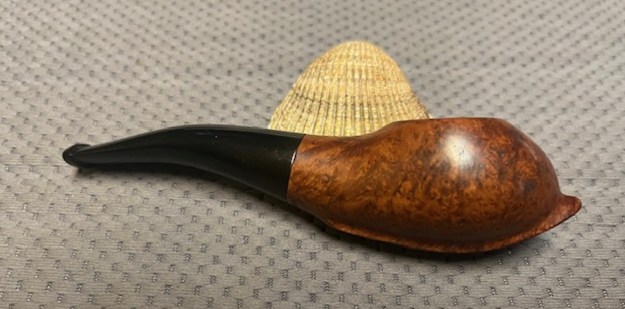
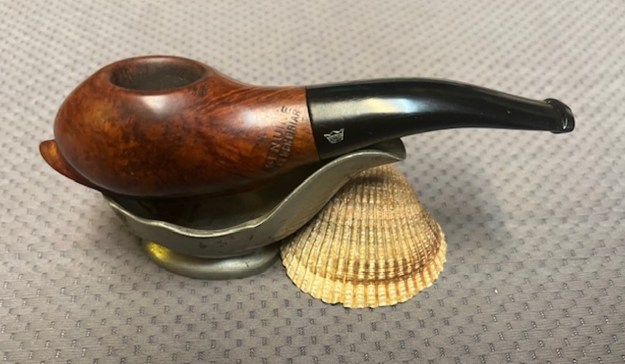
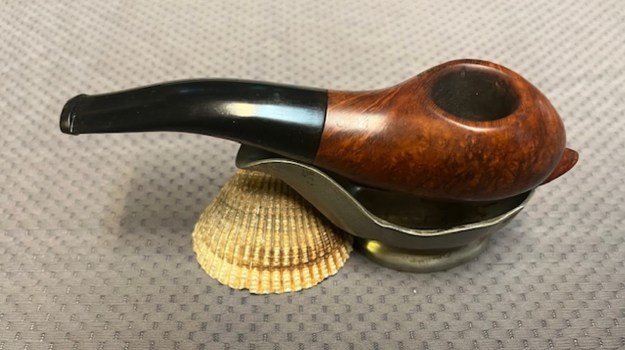
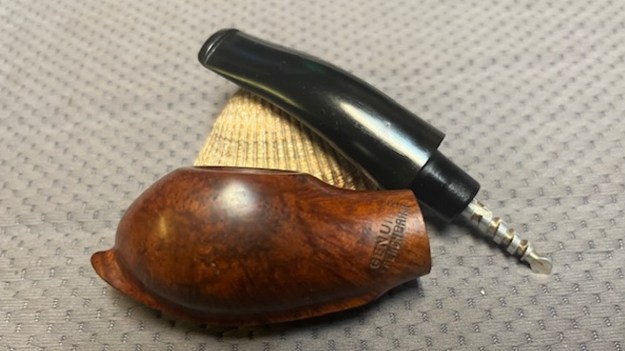
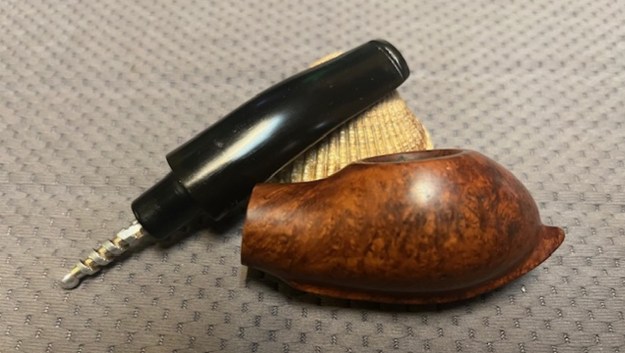
The next pipe on the table is one that has always interested me. Jeff called it a Slug and we purchased it on 07/27/2019 from a seller in Wilkes Barre, Pennsylvania, USA. The stamping on the left side of the pipe reads Genuine French Briar at an angle on the short shank. On the underside at the stem shank union it is stamped Made in France. It is clear and readable. The hard rubber stem has a crown stamped on the left side of the taper. The finish on the pipe did not have a shiny varnish coat but it was very dirty and had oils ground into the bowl sides. There were a lot of nicks and scratches in the briar. The rim was darkened and hard to tell whether it was burned or just tarry. The bowl was nicked and out of round but it also had a cake that would need to be reamed out before addressing the out of round inner wall of the rim. The hard rubber stem had nicks and gouges on both side that looked liked someone had used pliers to try to remove it. There was light tooth chatter on the top and underside ahead of the button, however, it was clean and sharp as was the slot in the in the end of the button. Jeff took some photos of the pipe before he started his clean up work on it. You can see what I have pointed out above in the photos. Jeff took some close-up photos of the damage to the rim and the stem. Looking closely at the photos of the rim top of the photo you can see the damage to the rim itself and the scratches in the top. The bowl also has a thick cake with some lava on the top and edges. The photo of the underside of the stem shows the nicks and gouges in the rubber. The top side also mirrors that though there is no photo of it. Jeff took photos of the grain around the bowl sides and the heel. It is interesting to note the also foot like bottom of the bowl which looks like the tread of a slug. The bowl is very dirty and oily on the outside and there are many nicks and scratches in the finish. The next photos show the stamping on the sides of the shank and the logo on the stem. It is clear and readable as noted above. Jeff removed the stem to show the damaged and corroded stinger that was in the shank. It appeared to me to have corroded a portion off the end as the bottom of the bowl showed a trough where it extended into the bowl.I knew that there were several blogs on rebornpipes about this style of pipe and in the middle of the night it hit me that they had horn stems so I did a quick search on the blog for horn stems and found two articles. The Mokin is an article on a restoration by Anthony Cook and is very helpful. The second is one I did on a Bruyere Garantie Pocket pipe and it is also a help in solidifying what I knew about the shape and the pipe. Here are the links:

https://rebornpipes.com/2015/10/20/ship-shape-refurbishing-a-mokin-corsaire-7087/

https://rebornpipes.com/2015/11/09/cleaning-up-a-bruyere-garantie-pocket-pipe-with-a-horn-stem/

Since this pipe is stamped Genuine French Briar I did a quick search on the blog for both Genuine French Briar and GFB pipes. I have restored a few of those over the years so I have included those links as well to try to pin down the history of the brand.

I went back and reread the posts on the GFB pipes I had refurbished to remind myself of their history. There I described the process of hunting down information on the brand. I summarize that here for those may not have read the posts. I quote below from the articles the pertinent information on the brand.

(https://rebornpipes.wordpress.com/2013/06/07/restemming-and-reclaiming-an-older-unsmoked-gfb-briar-calabash/ , https://rebornpipes.wordpress.com/2013/04/01/restoring-a-gfb-bent-billiard-another-reclamation-project/, https://rebornpipes.com/2013/11/21/restoring-an-older-gfb-three-star-horn-stem-bent-bulldog/#)

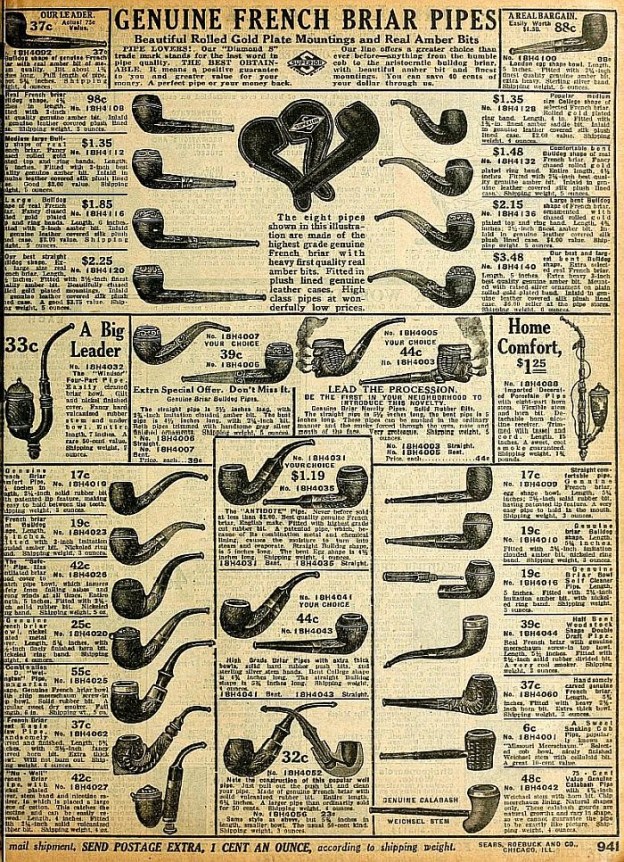
The first thing I found was information that the GFB brand was an older French Trademark and that it came from Saint Claude, France. A more focused search for GFB French Briar Pipes led to information that the stamping GFB stood for Great French Briar – something about that did not seem right to me so I continued to look and finally came across the following advertisement from a Sears Catalogue that I have included below. It shows a full page of GFB pipes and the header says GENUINE FRENCH BRIAR. That made much more sense to me, and all three of the GFB pipes I had worked on match the pipes in the catalogue. It was good to be reminded of the old brand. I am pretty sure that all three of my GFB pipes come from either the late 1890’s or the early 1900’s.Judging from the description above, the pipe I am working on is an older French Made pipe by the GFB company – Genuine French Briar. The best I can tell the pipe was made in the early 1900s. I have worked on horn stem examples of this but this is one of the first with  a hard rubber stem. Now it was time to work on the pipe itself.

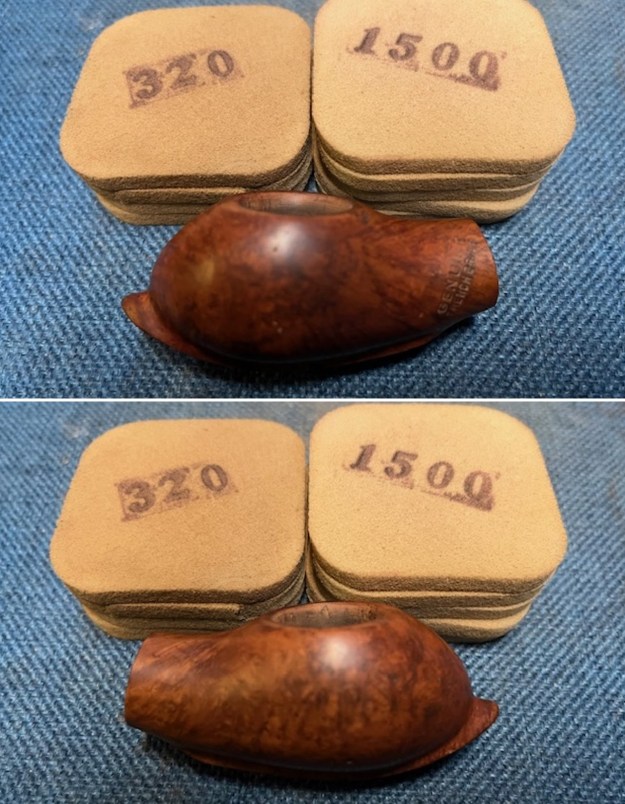
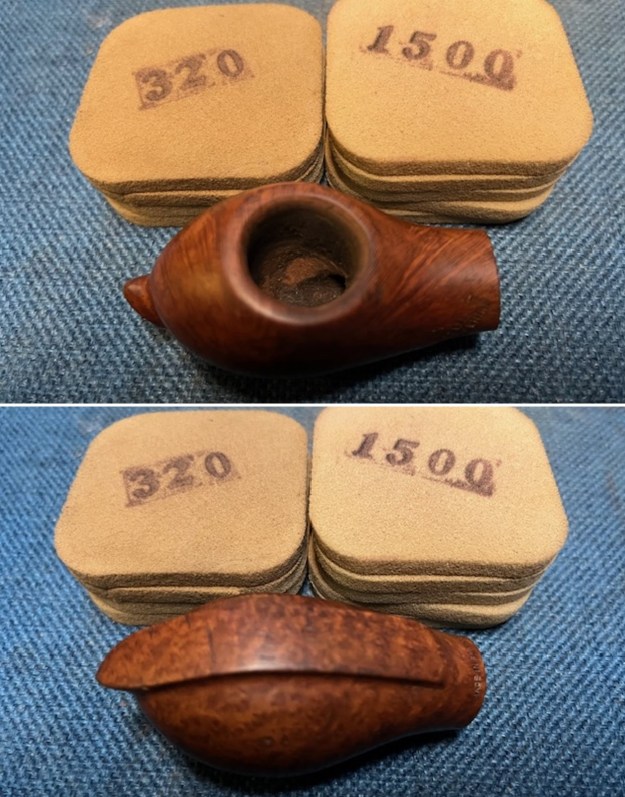
Jeff had done a great job cleaning up the pipe as usual. He reamed the pipe with a PipNet reamer and cut back the cake back to the bare briar. He cleaned up the walls with a Savinelli Fitsall Pipe Knife. Surprisingly the walls looked unscathed from the heavy cake. He scrubbed the interior of the bowl and shank with pipe cleaners, cotton swabs and alcohol to remove the tars and oils. He scrubbed the exterior of the pipe with Murphy’s Oil Soap and a tooth brush to remove the grime from the finish. He scrubbed the inside of the stem with alcohol and pipe cleaners. He scrubbed the exterior of the stem with Soft Scrub and then soaked it in Briarville’s Pipe Stem Deoxidizer. He washed it off with warm water to remove the Deoxidizer. When I examined the stem, it looked very good. The pipe looked far better when it arrived. I took some close up photos of the rim top and edges to show how well it had cleaned up and the edges around the bowl. I also took close up photos of the stem to show the gouges, scratches and light tooth chatter on the surface ahead of the button on both sides.I took photos of the stamping on the sides of the shank. It is clear and readable as noted above. I removed the stem and took a photo of the pipe to have a look at the parts and overall look. I worked on the out of round bowl with a folded piece of sandpaper to smooth out the damaged areas and bring it back to as close to round as I could get it. I smoothed out the rim top at the same time to remove damage on the surface.I sanded the scratching and marks around the bowl sides with 320-3500 grit sanding pads. I wiped the briar down after each sanding pad. I was able to smooth out most of the marks and the bowl looked much better. I polished the briar with micromesh sanding pads – dry sanding with 1500-12000 grit sanding pads. I wiped the bowl down with a damp cloth after each sanding pad. The grain really began to sing. I worked some Before & After Restoration Balm into the surface of the briar with my fingertips to clean, enliven and protect the briar. I let the balm sit for 15 minutes and then buffed with a cotton cloth to raise the shine. The photos show the bowl at this point in the restoration process. I set the bowl aside and filled in the deep nicks and gouges with black CA glue. Once it cured I sanded out the chatter on both sides of the stem ahead of the button with 220 grit sandpaper.I sanded the stem surface with 320-3500 grit sanding pads. The repairs were blended in and the chatter was gone on both sides ahead of the button looked very good. The stem began to shine.I polished the stem with micromesh sanding pads – dry sanding with 1500-12000 grit sanding pads. I wiped it down after each sanding pad with Obsidian Oil. I polished it with Before & After Pipe Stem Polish – both Fine and Extra Fine. I went through my collection of stingers and found one that was probably much like the broken one that was in this tenon. It extended into the bowl the correct distance judging by the bowl bottom. It would work well. I fit it in the stem after polishing it.I am excited to finish this GFB Genuine French Briar Pocket Pipe. Jeff called it a slug and that certainly fits the shape. I put the pipe back together and buffed it with Blue Diamond on the buffing wheel. I gave the bowl and the stem multiple coats of carnauba wax. I hand buffed the pipe with a clean buffing pad to raise the shine. It is fun to see what the polished bowl looks like with beautiful mixed grain all around it, looks great with the polished black hard rubber stem. This smooth Old GFB Pocket Pipe is both ugly and great looking at the same time. The pipe feels great in my hand. It is light and well balanced. Have a look at it with the photos below. The dimensions are Length: 5 inches, Height: 1 ¼ inches, Outside diameter of the bowl: 1 inch, Chamber diameter: ¾ of an inch. The weight of the pipe is 35 grams/1.23 ounces. It turned out to be a beautiful pipe. I am not sure what I am going to do with it at the moment. I have it on my desk and keep picking it up and looking at it. Thanks for your time as I walked through the restoration.

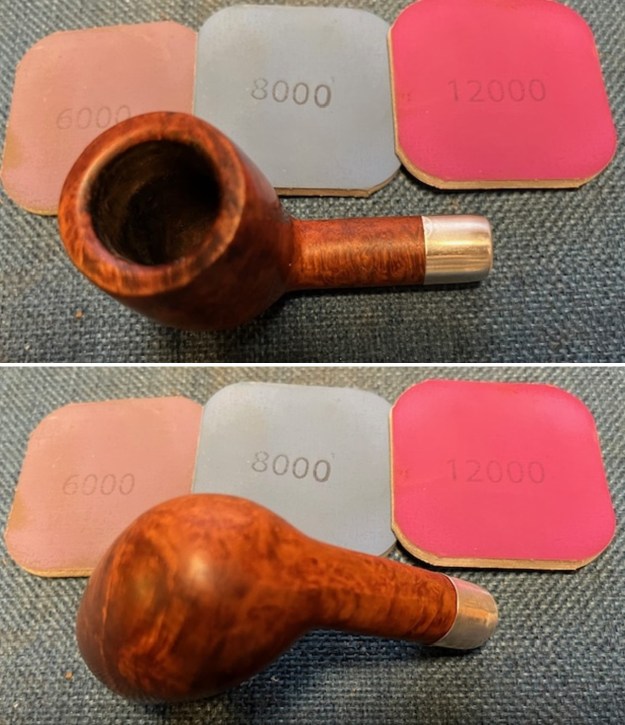
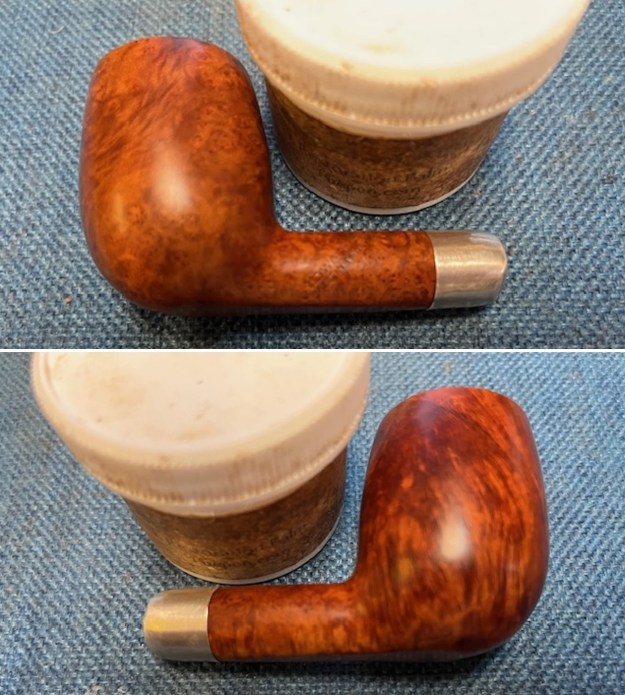
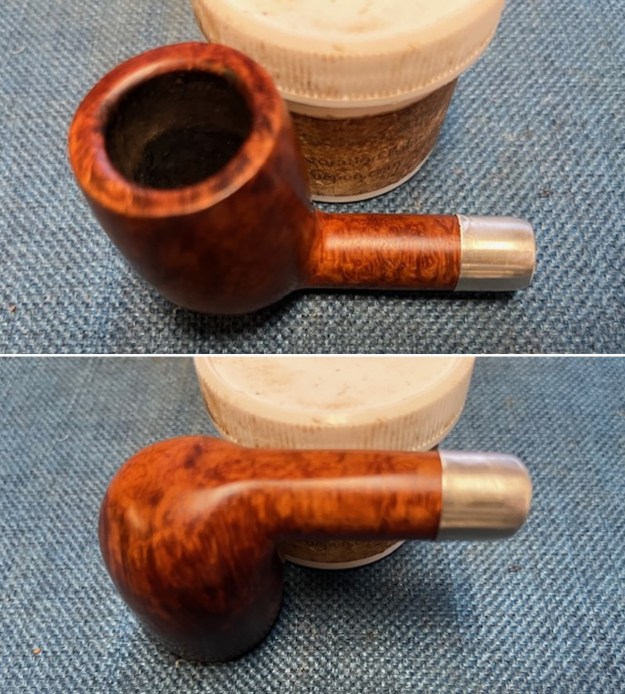
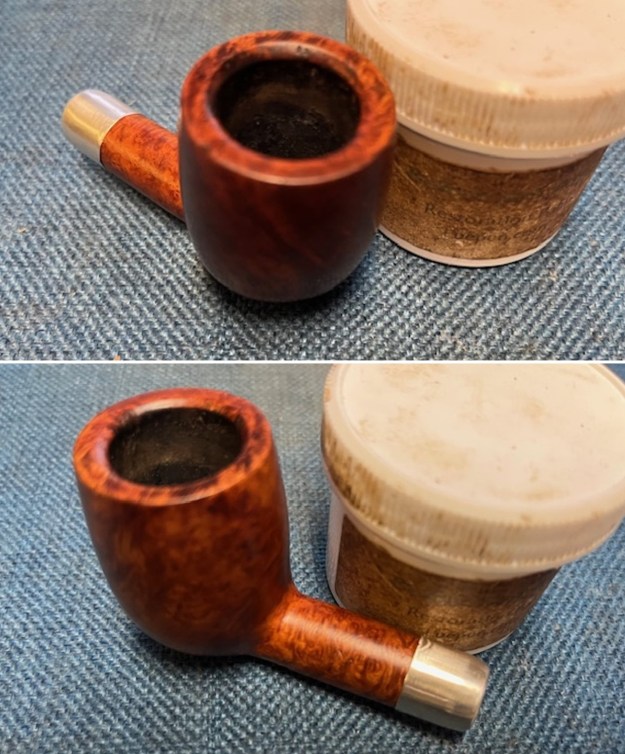
Restemming and restoring a Comoy’s Made Town Hall Made in England 19 Military Bit Billiard


by Steve Laug

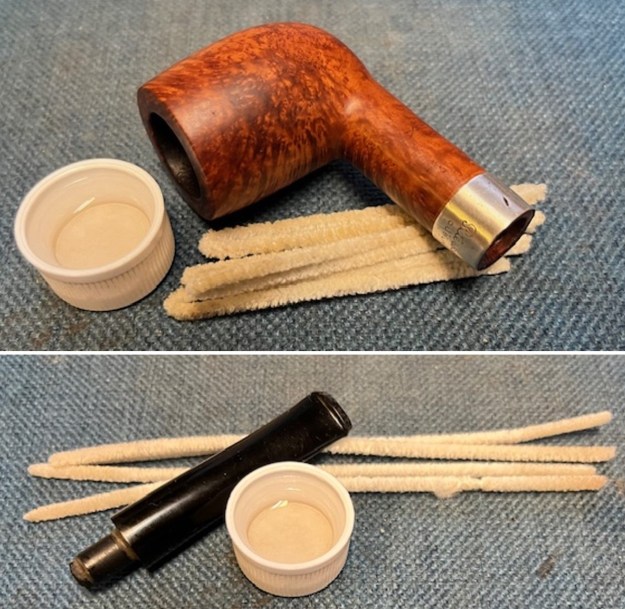
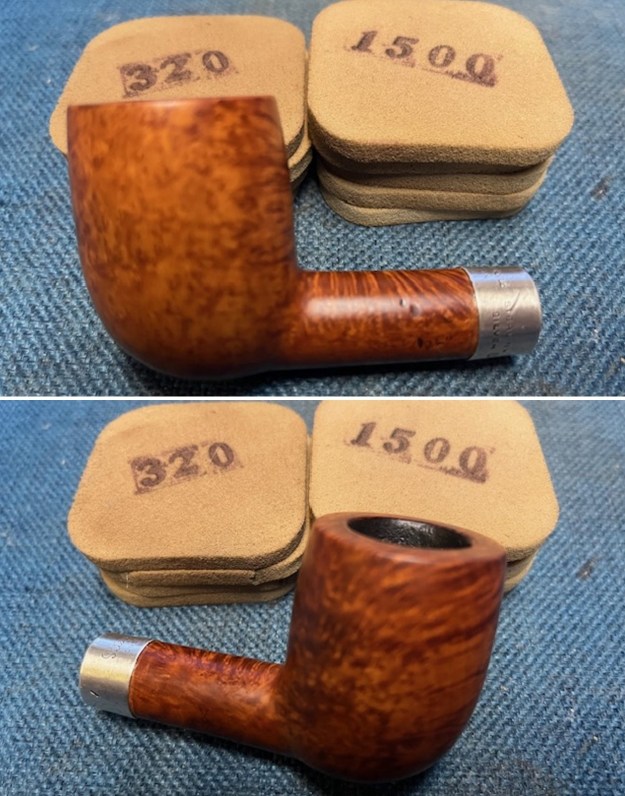
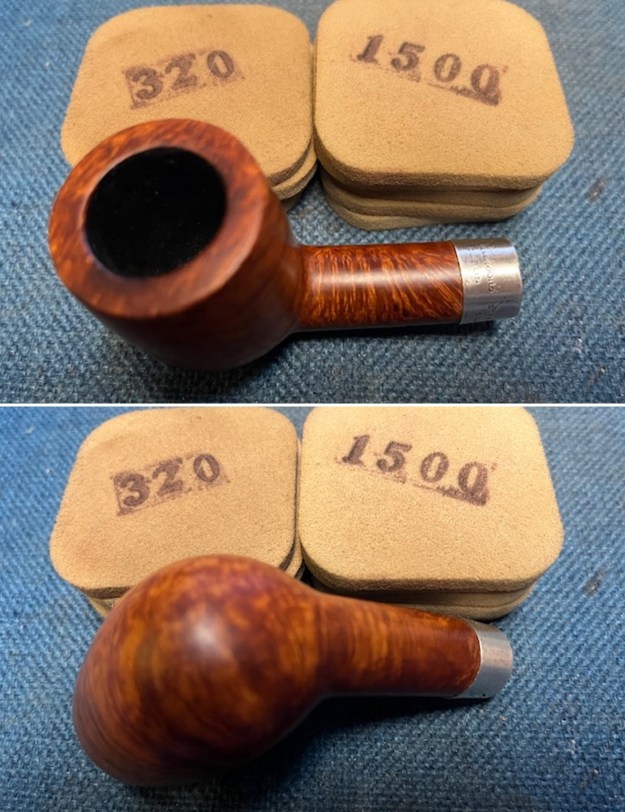
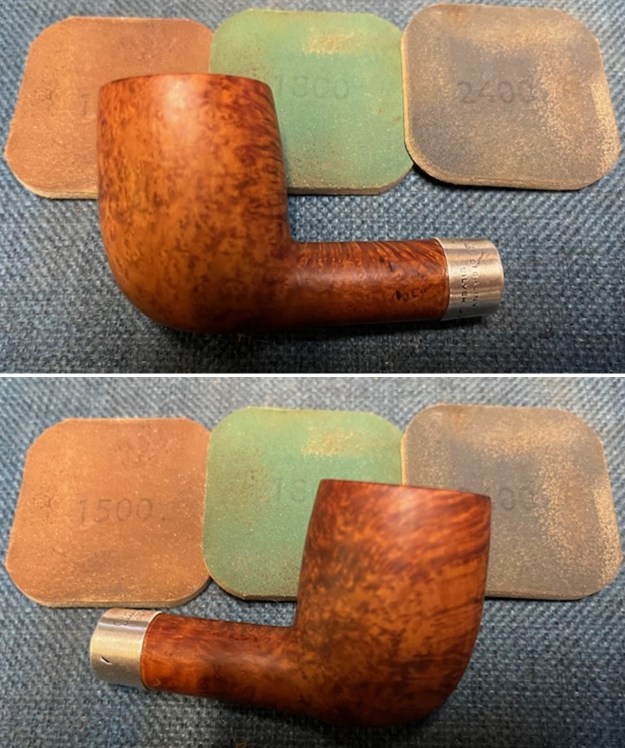
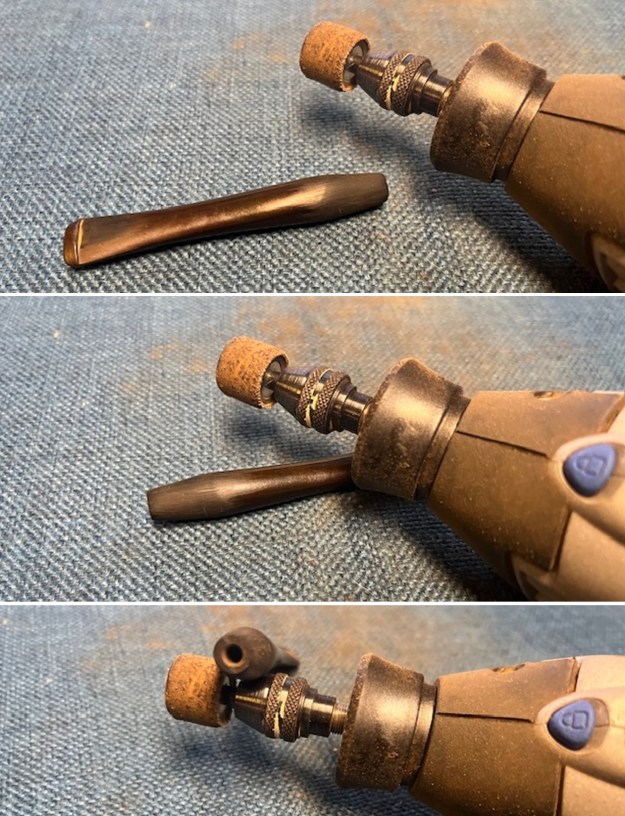
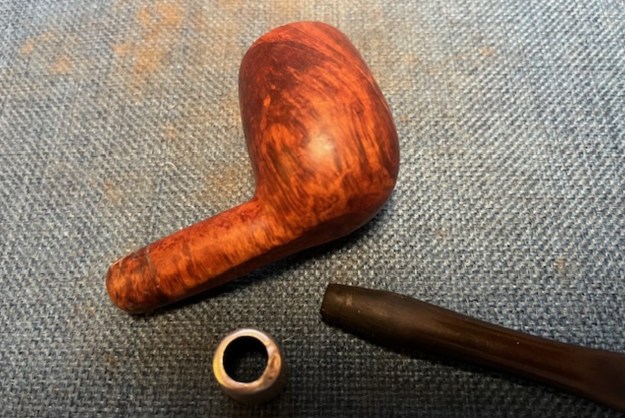
I decided to restem another bowl that I had here in the box. Jeff and I purchased on 11/23/2020 from a seller in Brazil, Indiana, USA. It is a nice bowl with a silver ferrule on the shank end. The left side of the shank is stamped at and angle and reads Town Hall [over] Made in England. The right side has the shape number 19 next to the bowl/shank junction. The ferrule is stamped with an arched Sterling Silver. The bowl is quite clean with no cake and no lava overflow on the rim top or the bevelled inner edge. The briar is dry but clean – just a bit lifeless looking but there is some great grain hidden by the dullness. The silver ferrule is not oxidized but there are some dents on the shank end on the underside. The ferrule is a bit ragged looking around the entrance to the mortise. I took some photos of the pipe before I started my work on restemming and restoring it back to its former glory. I tried to capture the stamping on the shank sides. It is readable but faint in spots. It reads as noted above.The ferrule was loose so I removed it and took a photo to show the dents and the condition of the opening on the ferrule end.I went through my stems and found this partially shaped stem that would work quite well. It would need to be reduced in diameter and cleaned up. There were some gouges on both sides ahead of the button that looked like someone had started shaping a dental bit. Before I started working on the pipe I wanted to get an idea of the maker of the Town Hall brand. Something about the shape and the number reminded me of the Guildhall by Comoy’s but I was not sure. I turned first to Pipephil’s site and found a link that gave a good summary of the information and confirmed the Comoy’s connection (http://www.pipephil.eu/logos/en/logo-t7.html) that I suspected. I have included a screen capture of the pertinent section and the side bar information below the photo.Other Comoy’s seconds with a one bar mouthpiece logo: Carlyle, Charles Cross, St James, The Golden Arrow, Trident,

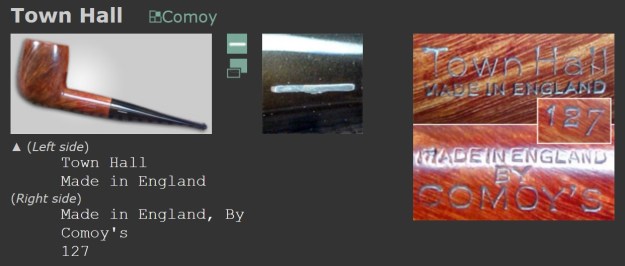
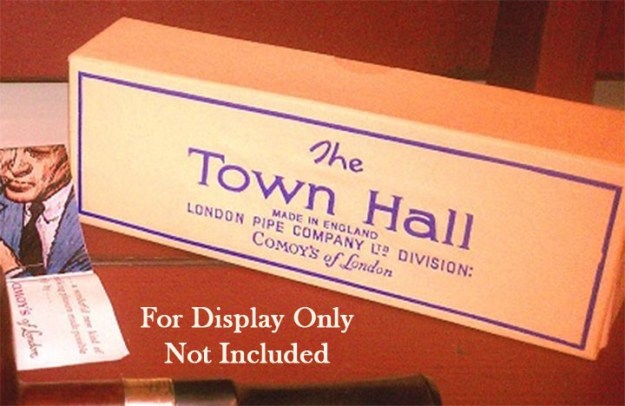
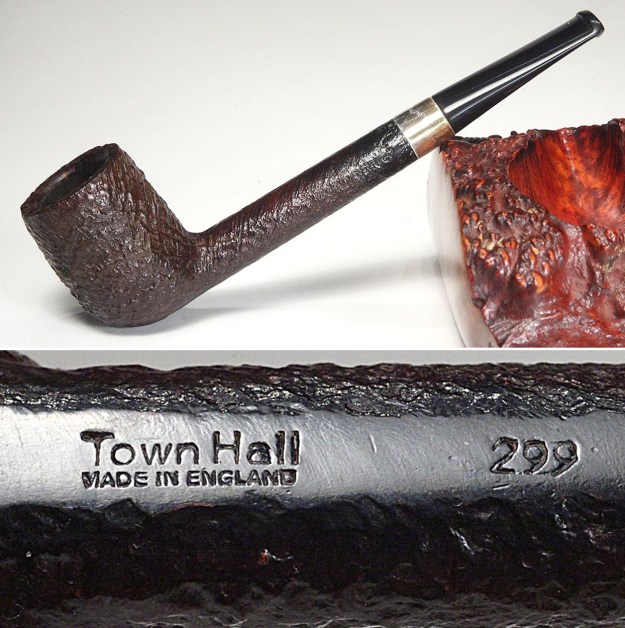
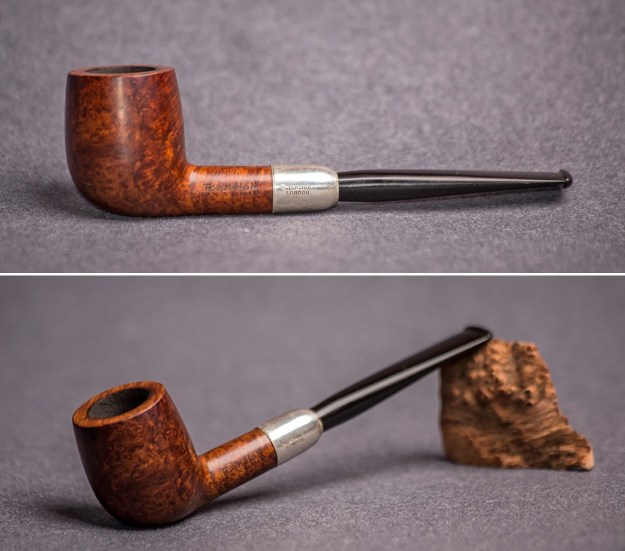
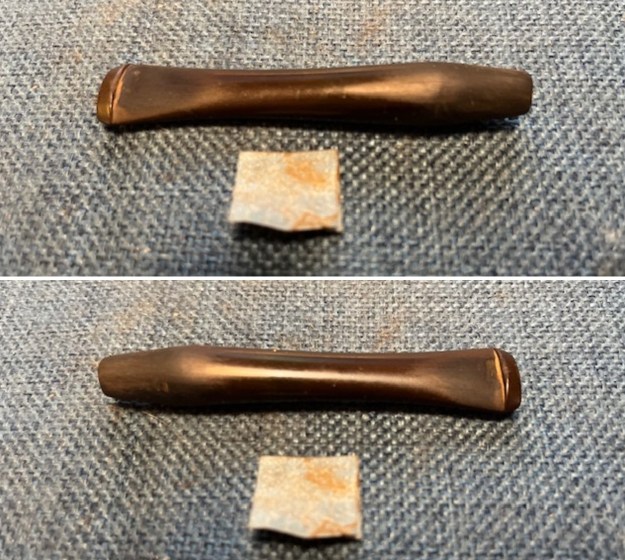
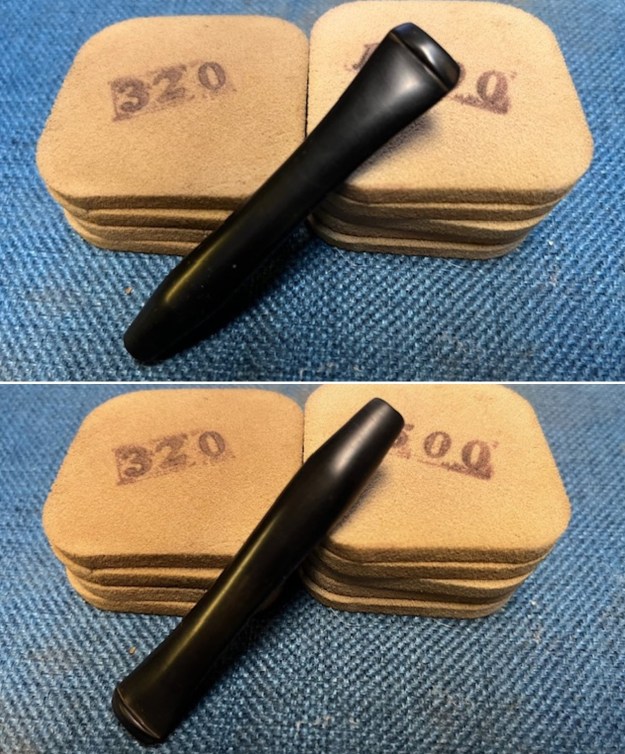
I turned to Pipedia for more information (https://pipedia.org/wiki/Comoy%27s). Other than the great history of the brand there was a note in the section entitled “Seconds made by Comoy’s” that had a listing for Town Hall. I scrolled down the page and found some interesting photos that I have included below including an original box for the pipe. The second and third photos show similar stamping though horizontal on this pipe. At the very bottom of the article I found perhaps to me, the most exciting connection – a Town Hall – same shape, same silver ferrule as the one I was working on. The stamping on it was clearly a Comoy’s Town Hall Pipe, Made in England. The thing I am glad for is that the photos show the type of stem I would need to fit on the pipe. The one I had chosen would work quite well with some shaping.I started my work on this one by fitting the newly chosen stem first. If you have followed me you will note the departure from my normal pattern of working on the bowl first. But in this case, I really wanted to see if I could duplicate the stem shown above for this pipe. I shaped the conical end with my Dremel and a sanding drum to get it close to the look I was shooting for. The rough shape was done but I would need to fine tune it by hand.I carefully sanded the conical portion with a folded piece of 220 grit sandpaper and blended it into the rest of the stem. I reshaped it in the process and sanding out the gouges in the button end on both sides. I was able to remove the roughening left by the Dremel and the shape was beginning to look right. I worked on the silver ferrule to try to smooth out the dents and damage to the opening on the stem end. I was able to remove some of the dents and minimize the others. It looked better. I pressed it onto the shank and fit the stem. I took photos of the stem in place to give a sense of how it was beginning to look. The fit of the stem still needed adjusting and the scratches needed to be sanded out from the surface. It was beginning to look much better. I sanded the stem with 320-3500 grit sanding pads to polish out the scratches in the surface. I wiped the stem down after each sanding pad with a damp cloth to remove the dust and debris on the surface of the stem. It began to take shape and look better.I polished the stem with micromesh sanding pads – dry sanding with 1500-12000 grit sanding pads. I wiped it down after each sanding pad with Obsidian Oil. I polished it with Before & After Pipe Stem Polish – both Fine and Extra Fine. I wiped down again with Obsidian Oil and set it aside while I worked on the stem. I sanded the briar with 320-3500 grit sanding pads to remove the scratching and nicks in the rim edge and the side of the bowl. I wiped the bowl down with a damp cloth after each sanding pad to remove the sanding debris. It is starting to look very good at the end of the process. I polished the briar with micromesh sanding pads – dry sanding with 1500-12000 grit sanding pads. I wiped the bowl down with a damp cloth after each sanding pad. The grain really began to sing. I worked some Before & After Restoration Balm into the surface of the briar with my fingertips to clean, enliven and protect the briar. I let the balm sit for 15 minutes and then buffed with a cotton cloth to raise the shine. The photos show the bowl at this point in the restoration process. This Comoy’s Made Town Hall 19 Military Bit Billiard was one I was looking forward to seeing come together. The brown stains highlight the grain around the bowl – sides, top and heel. The polished silver ferrule and the black vulcanite military bit that I fit to the shank works very well with the look of the pipe. I put the stem back on the bowl and carefully buffed the pipe with Blue Diamond on the buffing wheel. I gave the bowl and stem multiple coats of carnauba wax on the buffing wheel and followed that by buffing the entire pipe with a clean buffing pad. I hand buffed the pipe with a microfiber cloth to deepen the shine. I polished the silver band with a jeweller’s cloth. The finished Town Hall 19 Billiard is quite nice and feels great in the hand. Give the finished pipe a look in the photos below. The dimensions of the pipe are Length: 5 ¾ inches, Height: 1 ¾ inches, Outside diameter of the bowl: 1 ¼ inches, Chamber diameter: ¾ of an inch. The weight of the pipe is 1.20 ounces/34 grams. Thanks for walking through the restoration with me as I worked over another beautiful pipe. This pipe will be added to the British Pipe Makers Section of the rebornpipes store soon. If you want to add it to your collection send me an email or a message! Thanks for your time.

Amazing Grain on a Charatan Perfection 2122DC


by Kenneth Lieblich

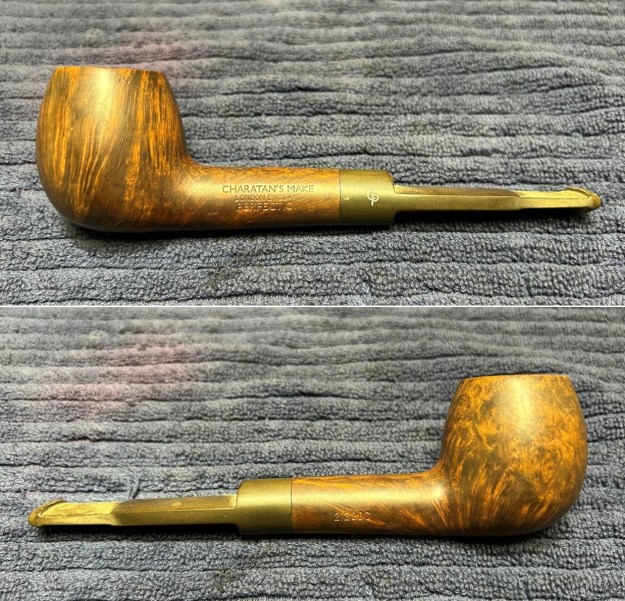
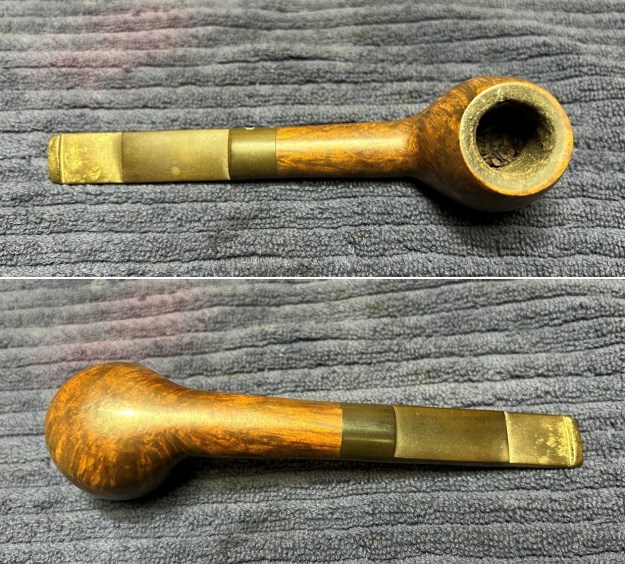
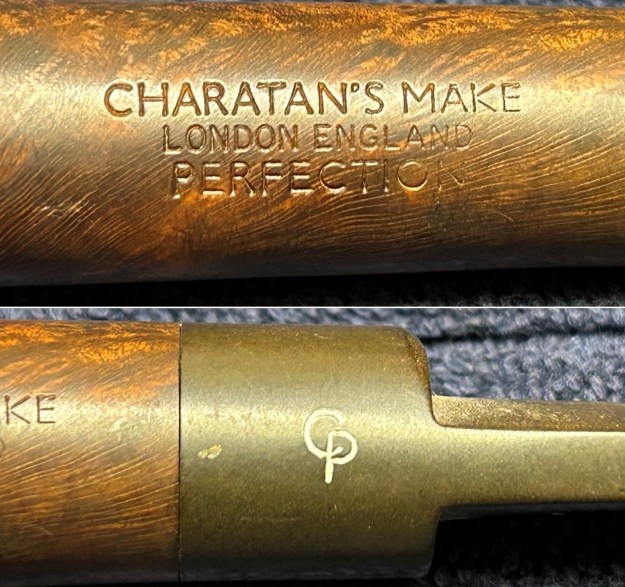
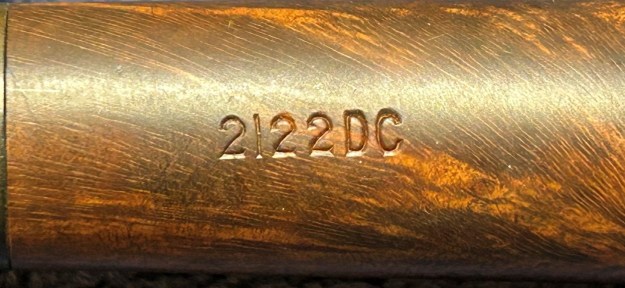
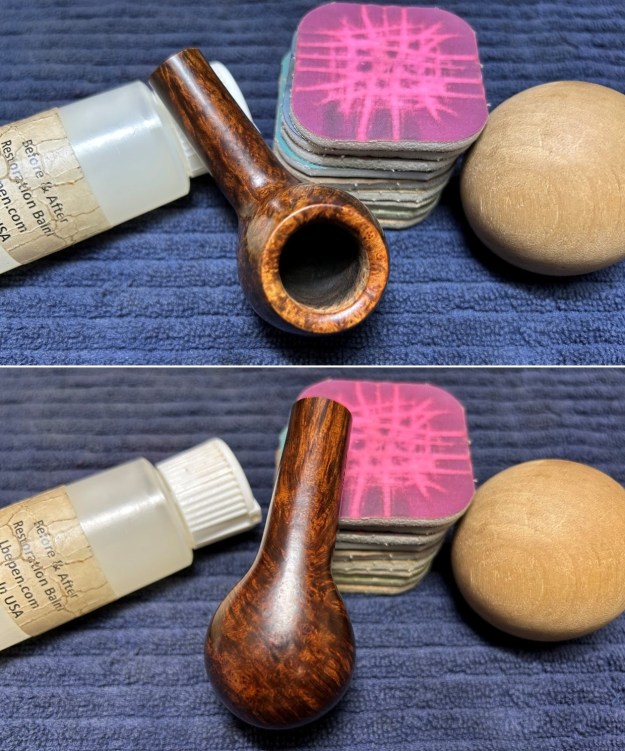
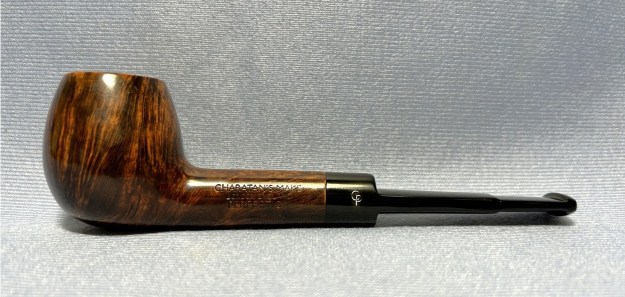
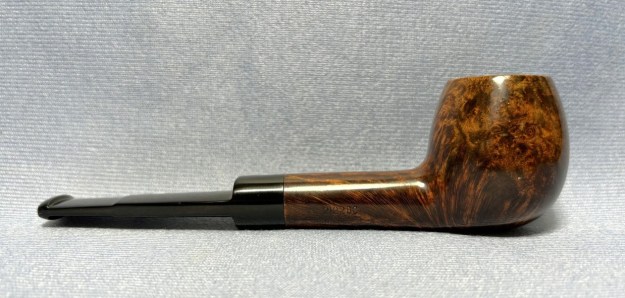
This beauty is a pipe I acquired recently and it turned out so well – especially compared with how it looked when I found it. I took a liking to it immediately and figured you would too, so I cleaned it up poste haste. The pipe is light, attractive, and comfortable – and the grain is just so warm and inviting. This is an apple shape with a ‘Double Comfort’ saddle stem. Let’s look at the markings. On the left side of the shank are the words, Charatan’s Make [over] London England [over] Perfection. The right side of the shank shows the model, 2122DC. The ‘DC’ suffix here indicates what we already know: the pipe has a ‘Double Comfort’ saddle stem. Finally, the stem has the letters C and P – with the C penetrating into the P. This is notable for dating purposes. I believe this pipe comes from the Dunhill era. Using Pipedia’s Charatan dating page (which you can see here), I saw that this pipe has

  • Double comfort mouthpiece
  • In the CP logo, the C enters the P
  • Absence of £ on the shank
  • Presence of the letters DC just after the shape number

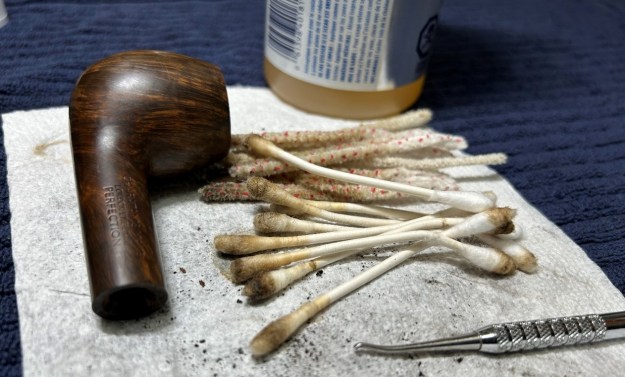
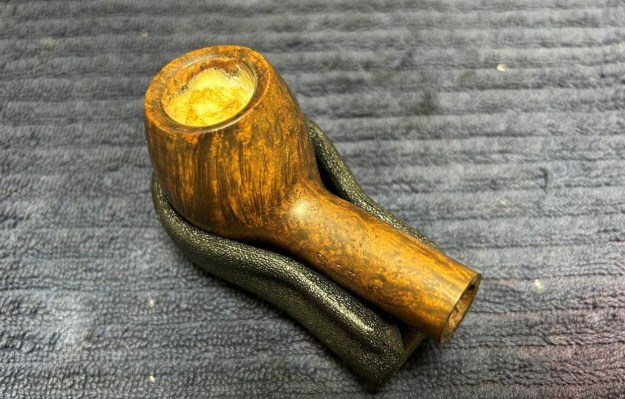
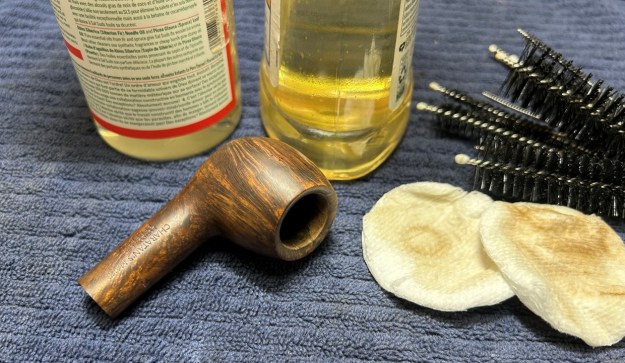
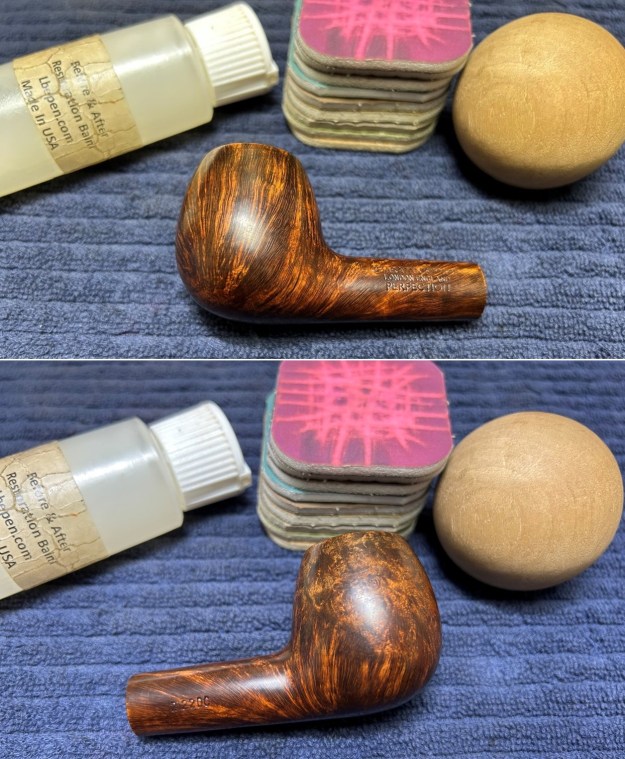
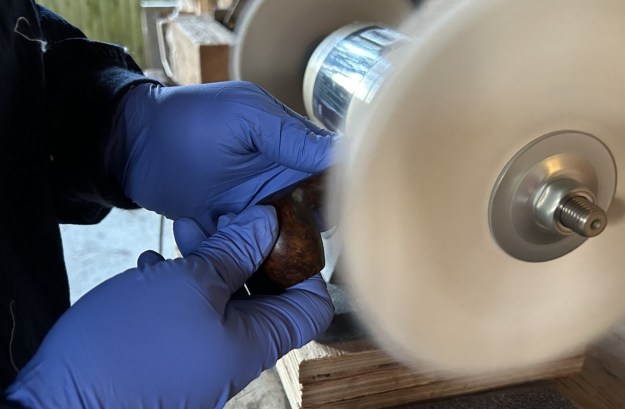
Having said that, dating these pipes precisely is always a tricky business. A good estimate would be late 70s-early 80s. Meanwhile, I was also curious about the model name ‘Perfection’. Once again, Pipedia indicated that ‘Perfection’ was one of Charatan’s Make’s ‘Apprenticeship’ standard shape grades.On with the restoration! I used oil soap on a few cotton rounds and wiped the stem down to provide an initial cleaning of filth before moving on to the next steps. The primary cleaning comes next. I cleaned the inside of the stem with both pipe cleaners and cotton swabs dipped in 99% lemon-infused isopropyl alcohol. I scrubbed thoroughly to make sure the interior was clean.I used a disposable lighter and ‘painted’ the stem with its flame. The gentle heat of the flame can cause the dents in the vulcanite of the stem to expand back into shape. In this case, it did help a bit – but only a bit.The goal of the next step is the removal (or minimization) of oxidation. Going to my sink, I used cream cleanser, cotton rounds, and a toothbrush, and scoured the stem to remove as much surface oxidation as possible. As the photos show, the result is a hideous brownish mess – but better off the stem than on it.Once the stem was reasonably clean, I soaked it overnight in some de-oxidation fluid. This solution works to draw oxidation in the stem to the surface. This is a major aid and an important step in ensuring a clean stem. The following day, I drew the stem out from its bath and scrubbed the lingering fluid with a toothbrush.Now that the stem is clean and dry, I set about fixing the marks and dents in the vulcanite. This is done by filling those divots with black cyanoacrylate adhesive, impregnated with carbon and rubber. I left this to cure and moved on.After this, I painted the logo on the stem with some nail polish. I restored the logo carefully and let it fully set before proceeding.The penultimate step for the stem is sanding. First, with my set of needle files, I reduce the bulk of the cyanoacrylate repairs. I want to remove the excess adhesive as near to the surface as possible, without cutting into the vulcanite. Following that, I use all nine of the micromesh sanding pads (1,500 through 12,000 grit) to sand out flaws, even out the vulcanite, and provide gentle polishing of the finished surface. I also apply pipe-stem oil while using the last five micromesh pads. This was a surprisingly difficult stem to restore, but, in the end, we got there. There was a wonderful, deep black shine to the stem when I was done.Now that the stem is (nearly) complete, I can move on to the stummel. The first step for me is to ream out the bowl – that is to say, remove all the cake inside the bowl. This accomplishes a couple of things. First (and most obviously), it cleans the bowl and provides a refurbished chamber for future smoking. Second, when the old cake is removed, I can inspect the interior walls of the bowl and determine if there is damage or not. I used a reamer and a piece of sandpaper taped to a wooden dowel. Collectively, these ensure that all the debris is removed.My next step was to remove the lava on the rim. For this, I took a piece of machine steel and gently scraped the lava away. The metal’s edge is sharp enough to remove what I need, but not so sharp that it damages the rim. This work revealed that, fortunately, everything was in good shape. No issues.The inside of the stummel needs to be cleaned thoroughly. Similar to the stem, I then cleaned the stummel with both pipe cleaners and cotton swabs dipped in 99% lemon-infused isopropyl alcohol.I then decided to ‘de-ghost’ the pipe – that is to say, exorcize the remaining filth from the briar. I filled the bowl and the shank with cotton balls, then saturated them with 99% isopropyl alcohol. I let the stummel sit overnight. This caused any remaining oils, tars and smells to leach out into the cotton.To tidy up the briar, I also wiped down the outside with some oil soap on cotton rounds. This does a good job of cleaning any latent dirt on the surface of the briar. The last step of the cleaning process is to scour the inside of the stummel with some soap and tube brushes. This is the culmination of a lot of hard work in getting the pipe clean.I used all nine micromesh pads (1,500 through 12,000 grit) on the outside of the stummel to finish it off. This sanding minimizes flaws in the briar and provides a beautiful smoothness to the wood. I rubbed some Before & After Restoration Balm into the briar and let it sit for 20 minutes or so. The balm moisturizes the wood and gives a beautiful depth to the briar. I then buffed it with a microfibre cloth. For the final step, I took the pipe to my bench buffer and carefully polished it – first with a white diamond compound, then with three coats of carnauba wax. This procedure makes the pipe look its best – the stummel sings and the stem glows.All done! This Charatan’s Make Perfection 2122DC apple looks fantastic again and is ready to be enjoyed by its next owner. I am pleased to announce that this pipe is for sale! If you are interested in acquiring it for your collection, please have a look in the ‘British’ section of the store here on Steve’s website. You can also email me directly at kenneth@knightsofthepipe.com. The approximate dimensions of the pipe are as follows: length 5⅞ in. (149 mm); height 1⅔ in. (43 mm); bowl diameter 1½ in. (37 mm); chamber diameter ¾ in. (19 mm). The weight of the pipe is 1¼ oz. (39 g). I hope you enjoyed reading the story of this pipe’s restoration as much as I enjoyed restoring it. If you are interested in more of my work, please follow me here on Steve’s website or send me an email. Thank you very much for reading and, as always, I welcome and encourage your comments.

Restoring “A Peterson’s Product” Made in the Rep. of Ireland Shamrock 268 Zulu


by Steve Laug

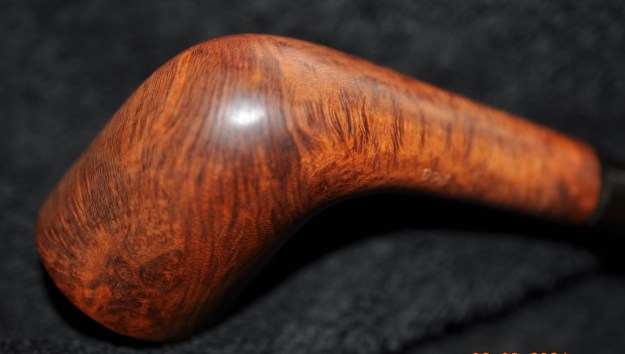
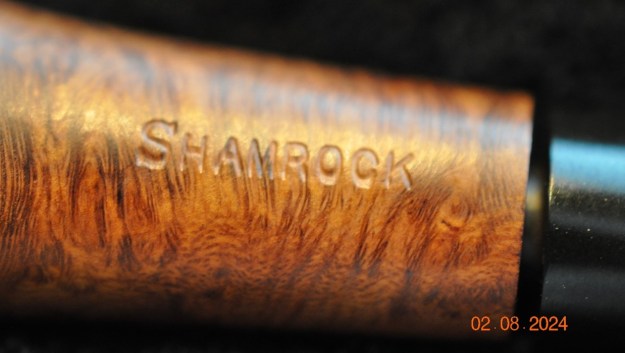
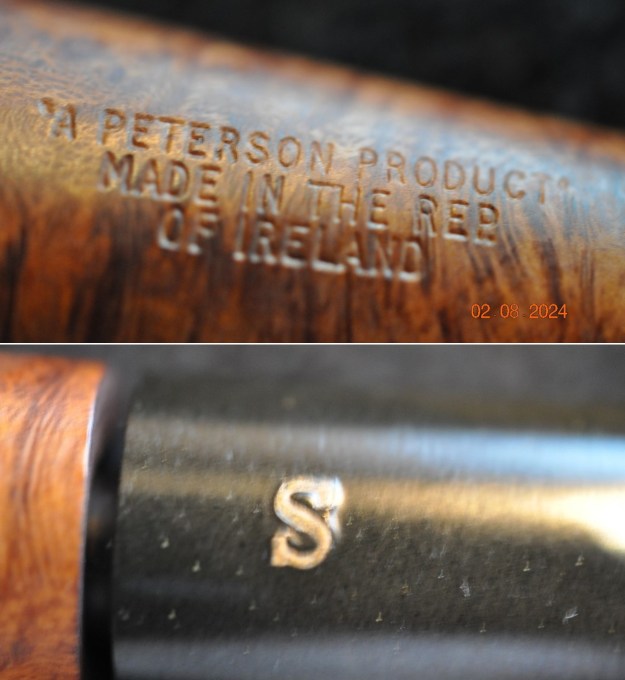
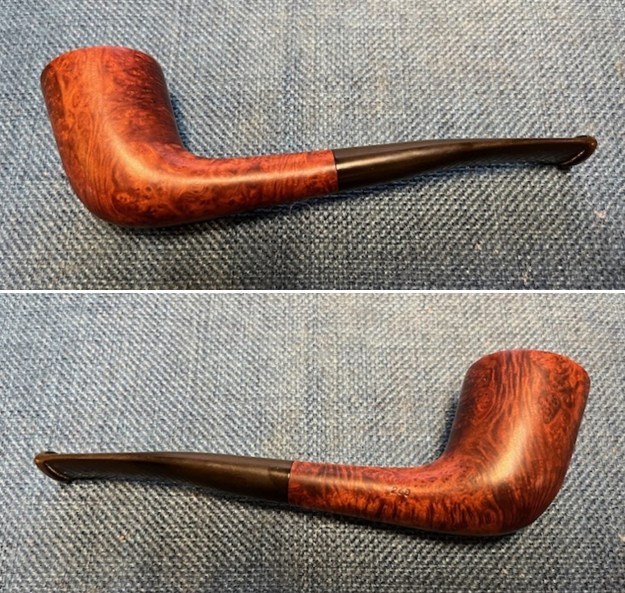
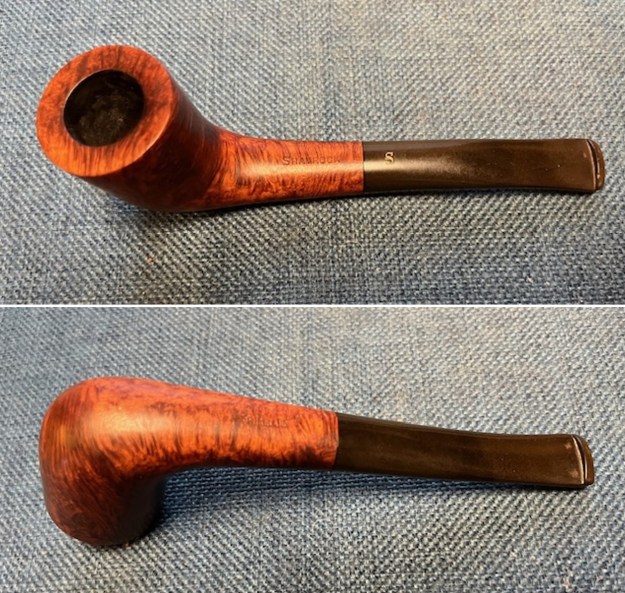
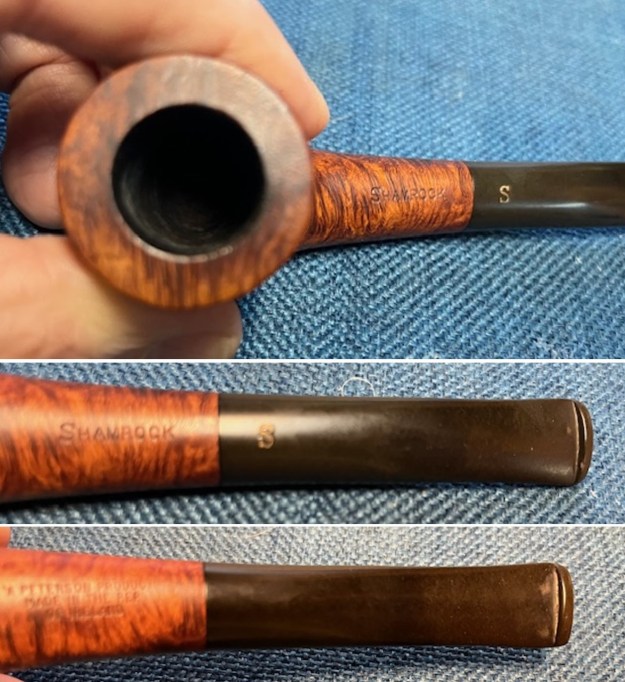
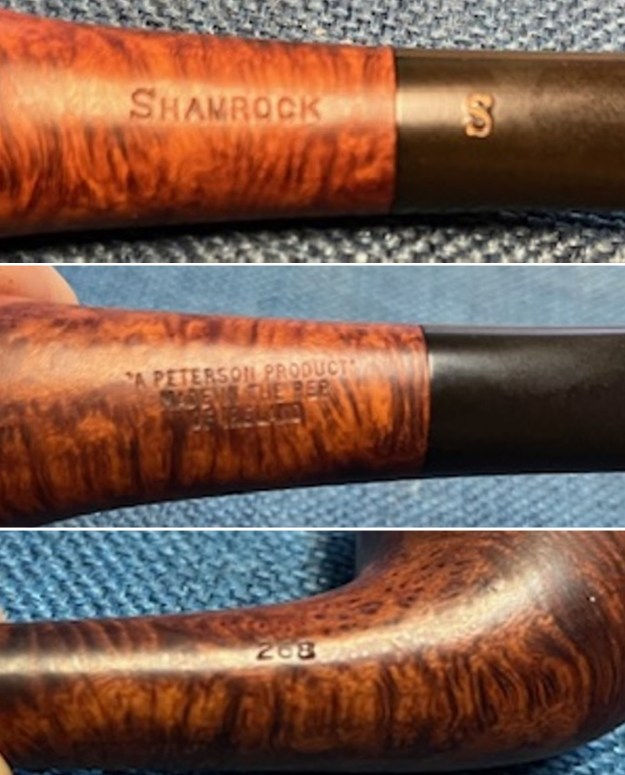
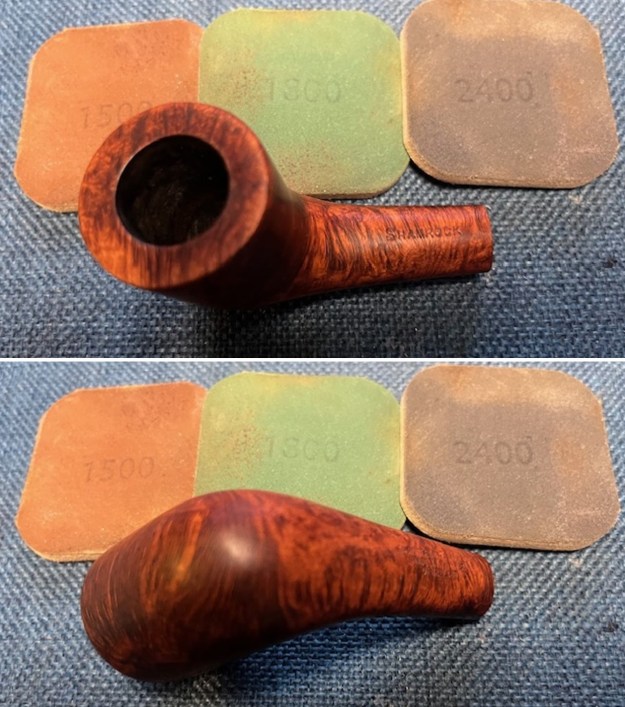
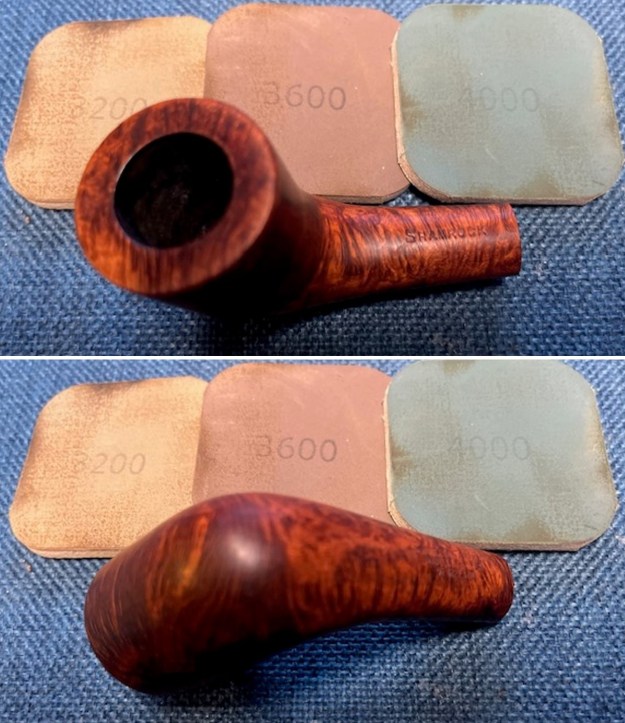
The next pipe was a pipe that was in surprisingly good condition. The finish on the bowl and rim top looked very good other than being dirty. This old pipe is a smooth Zulu that has a rich coloured finish around the bowl sides and shank under the grit and grime of years. It was purchased from our contact in Copenhagen, Denmark on 01/08/2024. It was stamped on the top side of the shank and read SHAMROCK. It was stamped to the underside of the shank and reads “A Peterson’s Product” [over] Made in the Rep. [over] of Ireland. The shape number 268 was on the right side of the shank next to the bowl. It was dirty when Jeff brought it to the table. There was a thick cake in the bowl and the inner edge but there was no lava on the rim top. The taper fishtail vulcanite stem was lightly oxidized and there was tooth chatter ahead of the button. There was also a Shamrock “S” logo on the topside of the stem. Jeff took photos of the pipe before his cleanup work. Jeff took photos of the rim top and stem to show the general condition of the pipe. The bowl is heavily caked so it is hard to know the condition of the edges under the lava overflow. The stem looked surprisingly good. Jeff took photos of the bowl sides and heel to show the grain that was around this bowl. You can see the grime but the grain around the bowl is beautiful. Even so, it is a nice looking pipe. He took photos of the top and underside of the shank to show the stamping. The stamping is clear and readable in the photos below as noted above. He did not capture the shape number stamp on the right side of the shank. The “S” logo on the top of the stem looks very good. I am including the link to the Pipedia’s article on Peterson pipes. It is a great read in terms of the history of the brand (https://pipedia.org/wiki/Peterson).

I turned to “The Peterson Pipe” by Mark Irwin and Gary Malmberg to get some background on the Peterson’s Shamrock Pipe. On page 312 it had the following information.

Shamrock (c1941-2009) Originally stamped SHAMROCK with no brand name, an inexpensive line first described in George Yale (New York) mail order booklet in 1941, imported by Rogers Import. The line was actively promoted beginning in ’45, aggressively promoted in US by Rogers from early ‘50s when they registered the Shamrock logo with US Patent Office, claiming propriety since ’38. Over the years offered with P-lip or fishtail mouthpiece, with or without nickel band, with or without Shamrock logo on the band, with or without S stamped in white or later in gold on mouthpiece. Appearing in 2008 as unstained smooth and rustic, fishtail mouthpiece with gold impressed P on the stem. COMS of MADE IN over IRELAND (C1945-1965), MADE IN IRELAND forming a circle (c1945-1965), “A PETERSON’S PRODUCT” over MADE IN IRELAND (c1945-1965), MADE IN THE over REPUBLIC over OF IRELAND (c1948-1998). Model is always difficult or impossible to date.

Judging from the description above, the pipe I am working on is stamped with the stamp noted in red above. The stamping Made in the Rep. of Ireland narrows the date to approximately 1948-1998. It is just stamped SHAMROCK with no brand name and the S stamping on the stem.

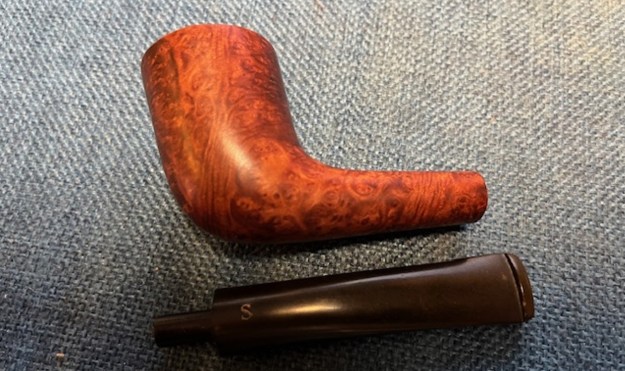
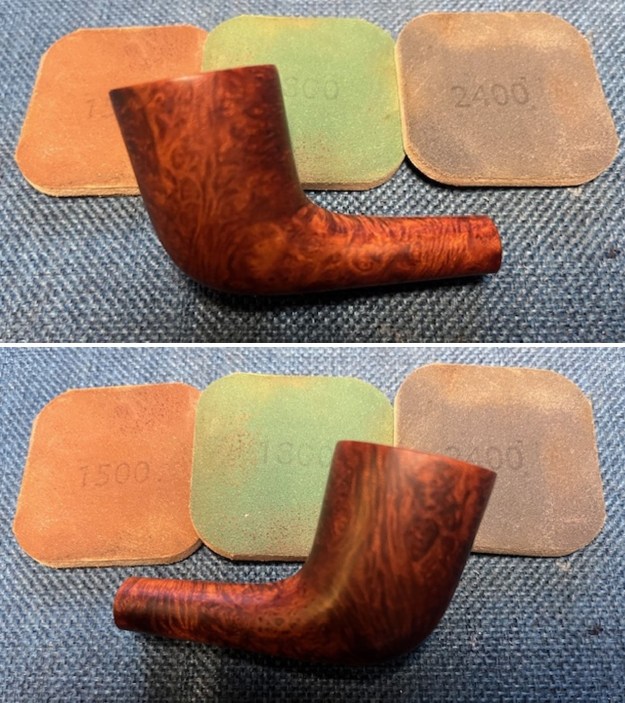
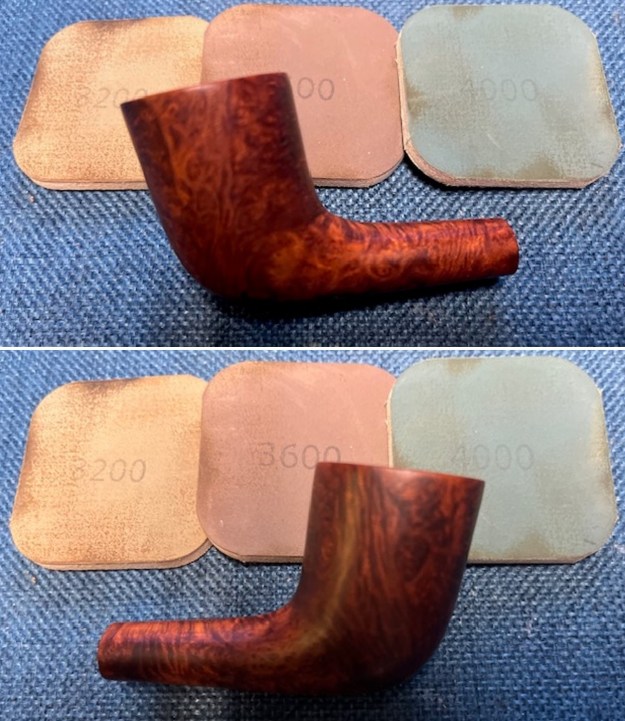
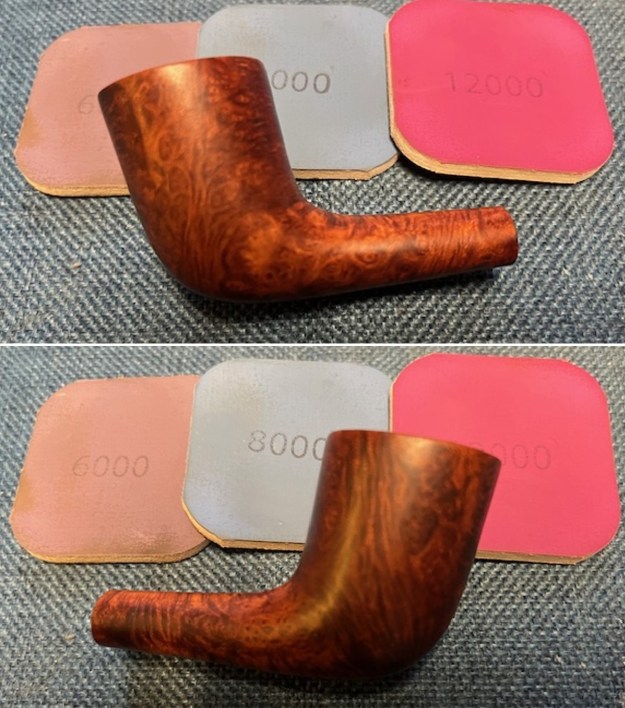
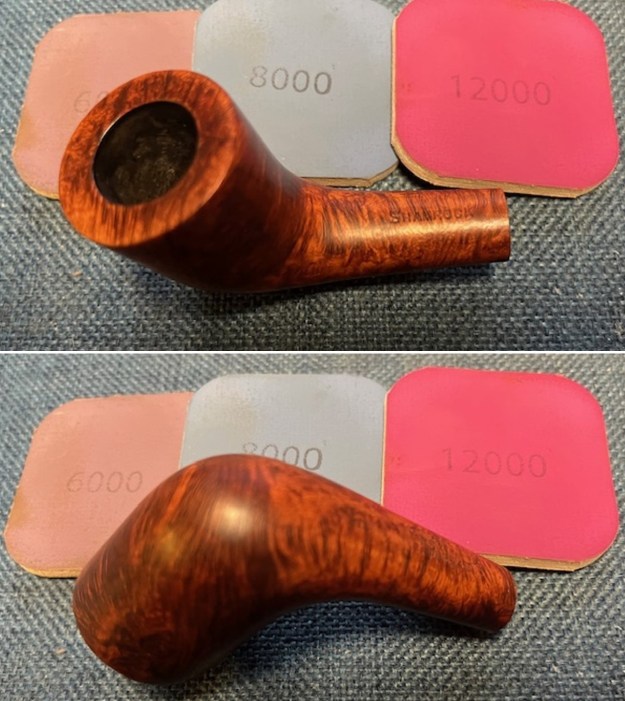
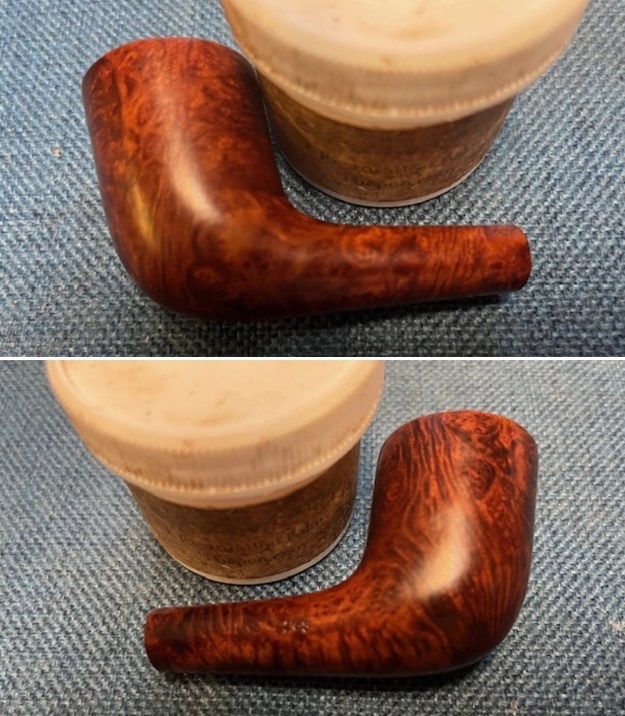
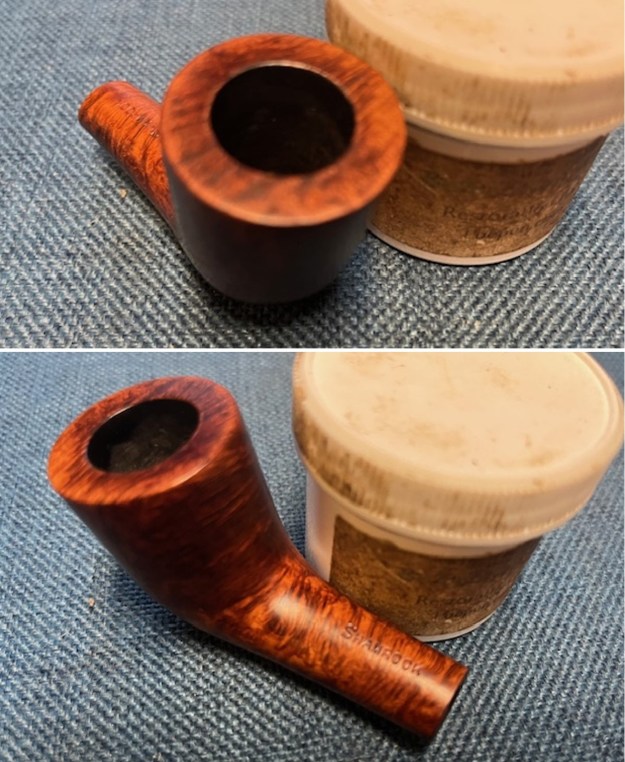
Jeff had done a great job cleaning up the pipe as usual. He reamed the pipe with a PipNet reamer and cut back the cake back to the bare briar. He cleaned up the walls with a Savinelli Fitsall Pipe Knife. Surprisingly the walls looked unscathed from the heavy cake. He scrubbed the interior of the bowl and shank with pipe cleaners, cotton swabs and alcohol to remove the tars and oils. He scrubbed the exterior of the pipe with Murphy’s Oil Soap and a tooth brush to remove the grime from the finish. He scrubbed the inside of the stem with alcohol and pipe cleaners. He scrubbed the exterior of the stem with Soft Scrub and then soaked it in Briarville’s Deoxidizer. He washed it off with warm water to remove the Deoxidizer. When I examined the stem, it looked very good. The pipe looked far better when it arrived. I took some close up photos of the rim top and edges to show how well it had cleaned up and the edges around the bowl. I also took close up photos of the stem to show the light tooth chatter on the surface ahead of the button on both sides. I took photos of the stamping on the sides of the shank. It is clear and readable as noted above. I removed the stem and took a photo of the pipe to have a look at the parts and overall look. I polished the briar with micromesh sanding pads – dry sanding with 1500-12000 grit sanding pads. I wiped the bowl down with a damp cloth after each sanding pad. The grain really began to sing. I worked some Before & After Restoration Balm into the surface of the briar with my fingertips to clean, enliven and protect the briar. I let the balm sit for 15 minutes and then buffed with a cotton cloth to raise the shine. The photos show the bowl at this point in the restoration process. I set the bowl aside and sanded out the chatter on both sides of the stem ahead of the button with 220 grit sandpaper.I sanded the stem surface with 320-3500 grit sanding pads. The chatter was gone on both sides ahead of the button looked very good. The stem began to shine.I polished the stem with micromesh sanding pads – dry sanding with 1500-12000 grit sanding pads. I wiped it down after each sanding pad with Obsidian Oil. I polished it with Before & After Pipe Stem Polish – both Fine and Extra Fine. I am excited to finish this “Peterson’s Product” Made in the Rep. of Ireland Shamrock 268 Zulu. I put the pipe back together and buffed it with Blue Diamond on the buffing wheel. I gave the bowl and the stem multiple coats of carnauba wax. I hand buffed the pipe with a clean buffing pad to raise the shine. It is fun to see what the polished bowl looks like with beautiful mixed grain all around it, looks great with the polished black vulcanite stem. This smooth Classic Shamrock 268 Zulu is great looking and the pipe feels great in my hand. It is light and well balanced. Have a look at it with the photos below. The dimensions are Length: 5 ½ inches, Height: 1 ¾ inches, Outside diameter of the bowl: 1 ¼ inches, Chamber diameter: ¾ of an inch. The weight of the pipe is 32 grams/1.13 ounces. It turned out to be a beautiful pipe. I will be putting on the rebornpipes store in the Irish Pipe Makers Section. Let me know if you are interested in adding it to your collection. Thanks for your time as I walked through the restoration.
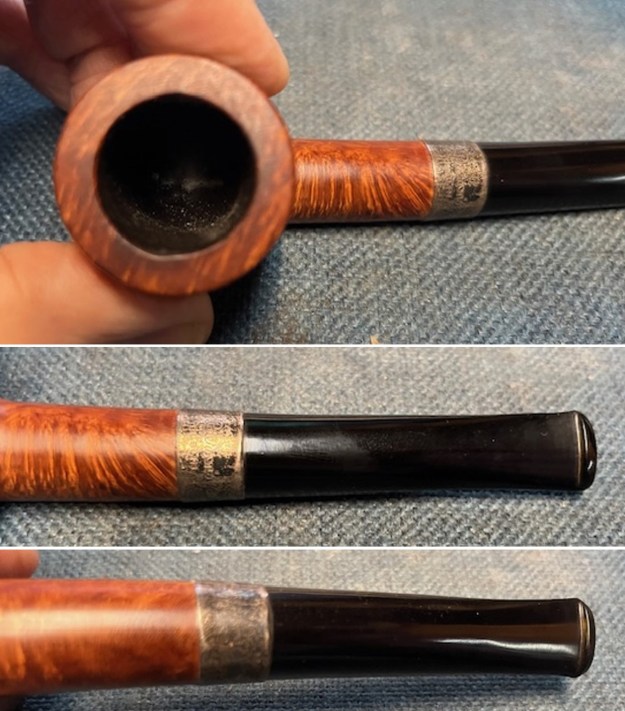
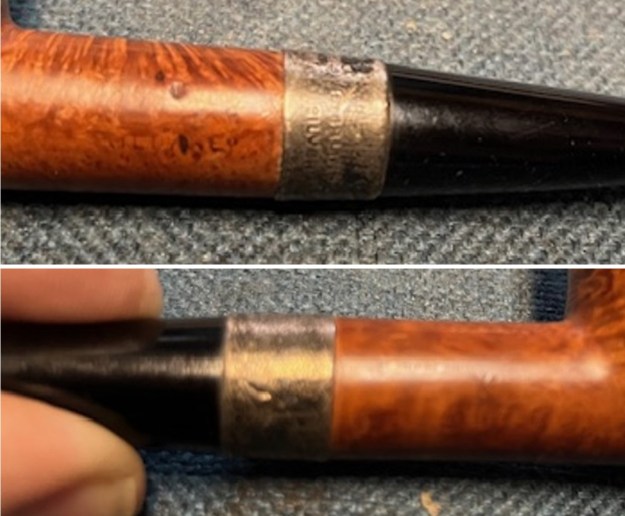
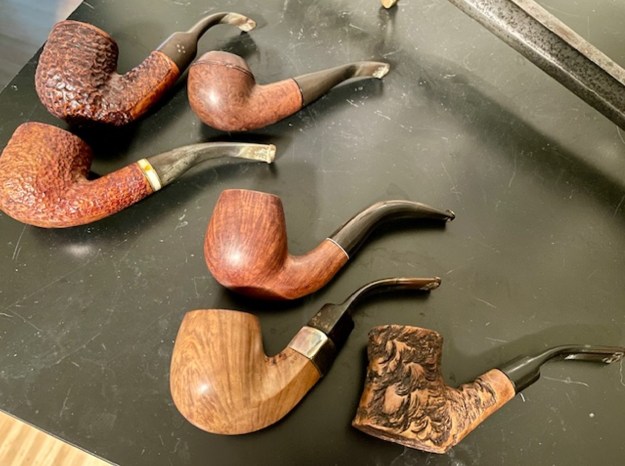
Restoring the fourth and final of six pipes for a Vancouver Pipeman – A Brigham 4244 Full Bent


by Steve Laug

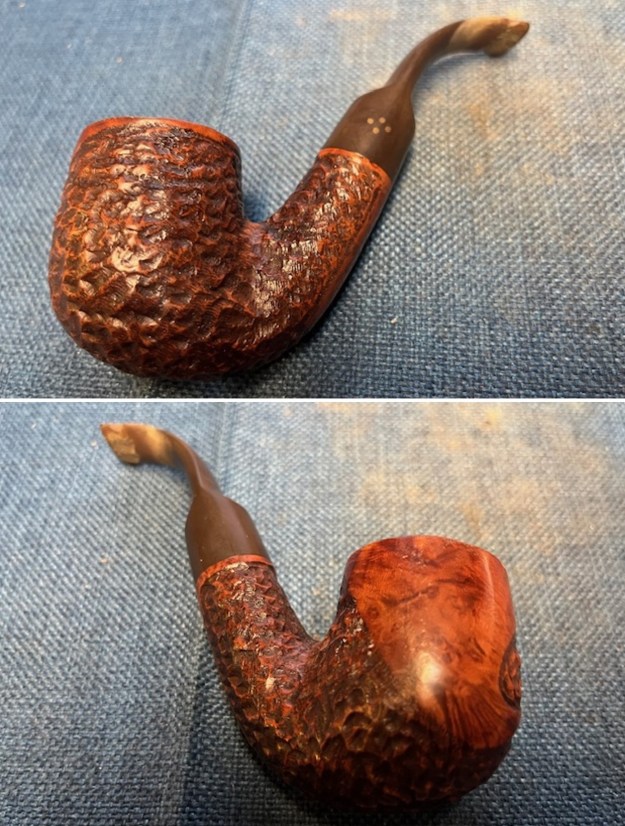
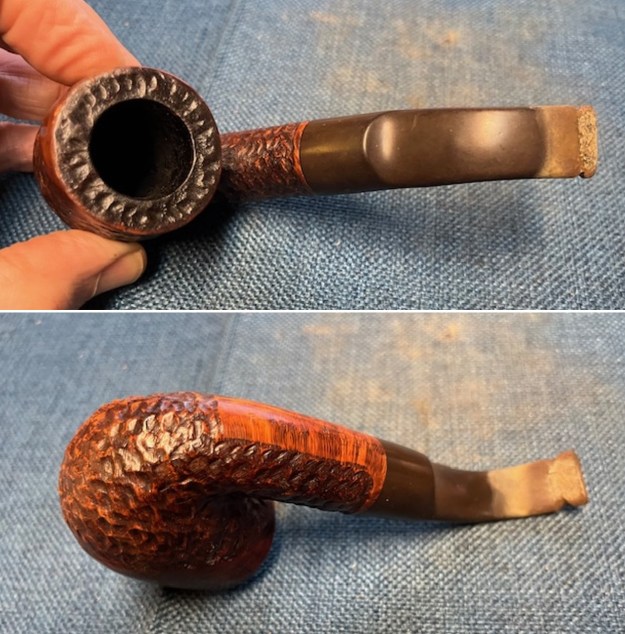
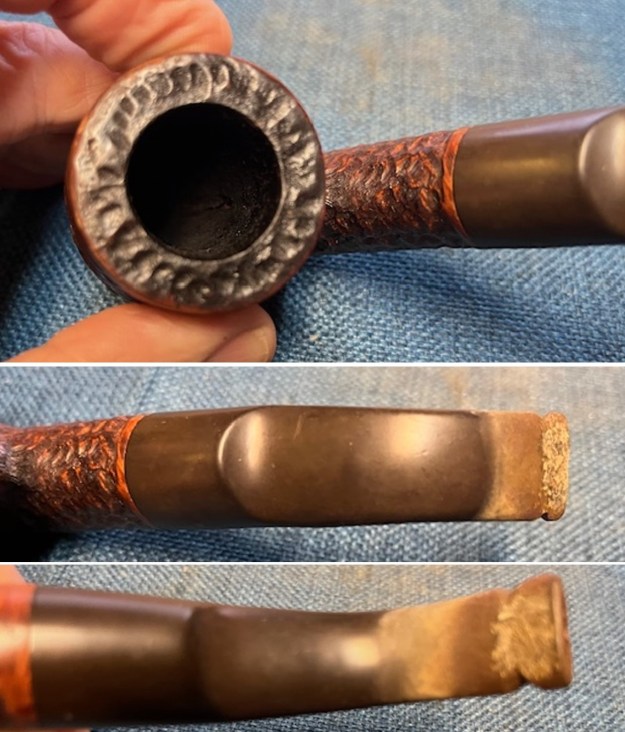
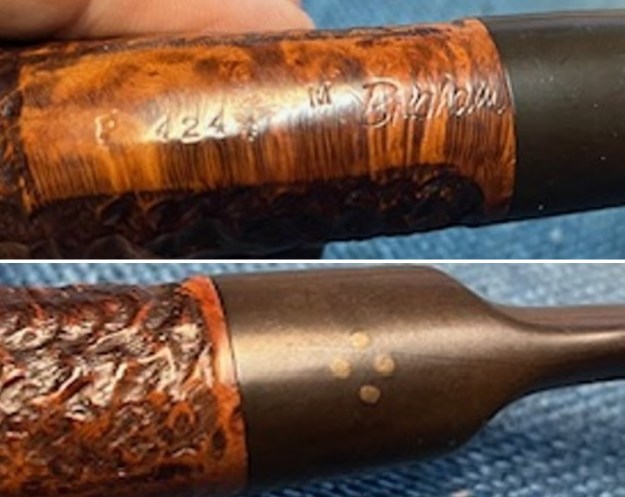
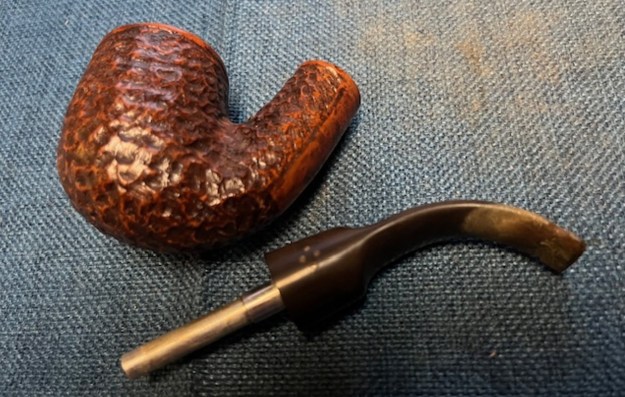
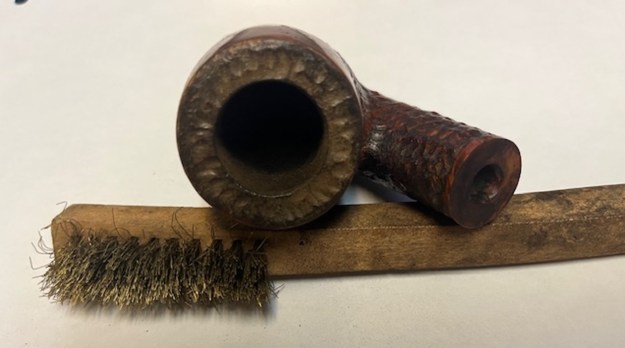
Last week I received an email from Steffen regarding a few more pipe projects that he had for me to work on. He dropped them off here yesterday for me to work on. There were six pipes in the lot. Two were his that I had worked on a few years ago – a Mayfair 1005 rusticated tree stump and a Jost Supreme. Both were favourite pipes of his. One was a Savinelli Bent Billiard that he purchased on a trip to Italy. The final three were pipes that belonged to his father who would soon be visiting him in Vancouver – a Brigham full bent four dot 4244, a Savinelli Portofino Bent Pot and a Bent Rhodesian with no name stamped on the shank sides. Steffen texted me this photo of the pipes before he sent them.I decided to work on the two pipes at the bottom before addressing the final pipe of Stephen’s Dad’s pipes. This involved stem tightening on two of Stephen’s pipes that are really straight forward. I did not write a blog on them. It is now time to work on the final one of Steffen’s father’s pipes. It is a rusticated Full Bent Pipe. It is a beautiful rusticated piece of briar that I fully appreciate why his Dad chose it. The pipe is stamped on the underside of the shank. It reads P 4244 M followed by Brigham. There is no Canada stamp on it. The stem bears 4 dots on the left side of the saddle. The briar is dirty from use with a moderate cake in the bowl and some chipping and dents in the rim top on the outer edge of the bowl. The stem was oxidized, calcified and had some tooth marks and chatter on the top and underside of the stem ahead of a hand carved button that his father carved in the stem end. I took photos of the pipe before I started my work and included them below. I took a photo of the stem surfaces and the bowl and rim to give a sense of condition of the pipe. You can see the cake in bowl and the lava overflow and the heavy nicking and denting on the edges and rim top of the bowl. The stem surface is very dirty and you can see the tooth marks and chatter on both sides ahead of the button. There is also a paper wash inserted in the mortise of the pipe to tighten the fit of the stem.I took photos of the stamping on the underside of the shank to show its clarity. It read as noted above. I also removed the stem from the shank of the pipe and took a photo of the parts to show the flow of the pipe. It has some great grain. For the needed background I am including the information from Pipedia on Brigham pipes. It is a great read in terms of the history of the brand (https://pipedia.org/wiki/Brigham_Pipes). Charles Lemon (Dadspipes) is currently working on a book on the history of the brand. Until that is complete this article is a good summary. I have included it below.

Roy Brigham, after serving an apprenticeship under an Austrian pipesmith, started his own pipe repair shop in Toronto, in 1906. By 1918 the business had grown to include five other craftsmen and had developed a reputation across Canada for the high quality of workmanship. After repairing many different brands of pipes over the years, Roy noted certain recurring complaints by pipe smokers, the most common referred to as “tongue bite”. Tongue bite is a burning sensation on the smoker’s tongue, previously thought to be due to the heat of the smoke (i.e. a “hot smoking pipe”).

He soon began manufacturing his own pipes, which were lightweight, yet featured a more rugged construction, strengthening the weak points observed in other pipes. The problem of tongue bite intrigued him, and he decided to make overcoming it a future goal.

About 1938, Roy’s son Herb joined him to assist in the business. The business barely survived the great depression because pipes were considered to be a luxury, not a necessity, and selling pipes was difficult indeed. In approximately 1937 [1], after some experimentation, Roy and Herb discovered that tongue bite was in fact a form of mild chemical burn to the tongue, caused by tars and acids in the smoke. They found that by filtering the smoke, it was possible to retain the flavour of the tobacco and yet remove these impurities and thereby stop the tongue bite.

Just as Thomas Edison had searched far and wide for the perfect material from which to make the first electric light bulb filaments, Roy & Herb began experimenting with many materials, both common and exotic, in the quest for the perfect pipe filter. Results varied wildly. Most of the materials didn’t work at all and some actually imparted their own flavour into the smoke. They eventually found just two materials that were satisfactory in pipes: bamboo and rock maple. As bamboo was obviously not as readily available, rock maple then became the logical choice.

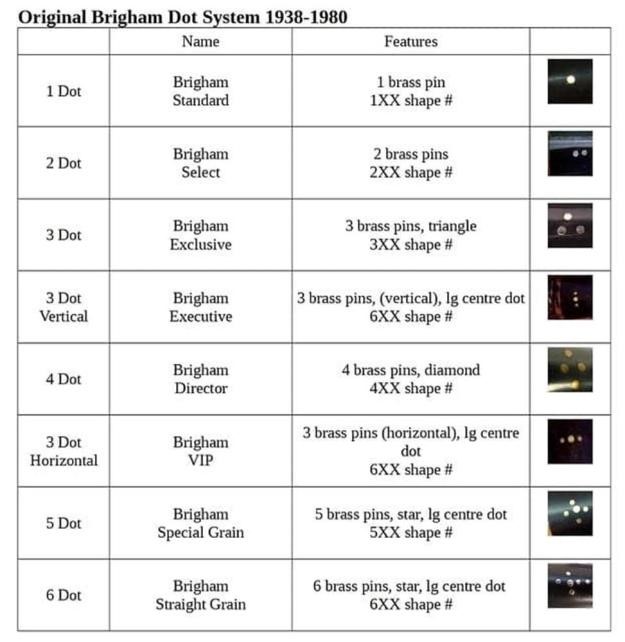
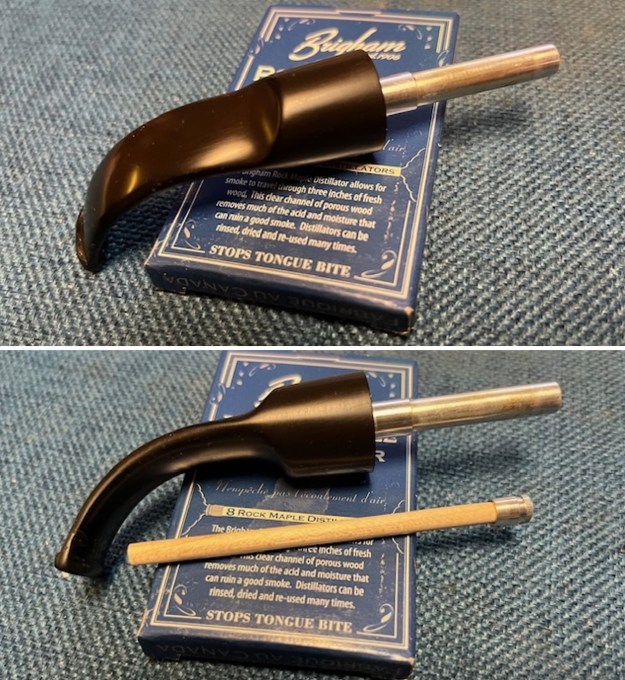
They were able to manufacture a replaceable hollow wooden tube made from rock maple dowelling, which when inserted into a specially made pipe, caused absolutely no restriction to the draw of the pipe, yet extracted many of the impurities which had caused tongue bite. The result was indeed a truly better smoking pipe…With the information from Charles’ article and the chart above that he included I knew what I was dealing with in terms of the stamping and the age of this pipe. I learned that this 4244 (the 4XX shape number) is a Brigham Director (4-Dot) Full Bent. Now it was time to work on the pipe.

I used a brass bristle wire brush to clean up the debris on the bowl top. The small rusticated patterns were quite filled in with lava and dirt. I reamed the bowl with a PipNet pipe reamer using the second and third cutting head to trim the cake back. I used a Savinelli Fitsall Pipe knife to clean up the remnants leaving bare briar. I sanded the bowl walls with 220 grit sandpaper wrapped around a piece of dowel. The bowl was undamaged under the cake and was now significantly cleaner. I cleaned out the airway in the shank and mortise as well as the stem with cotton swabs, pipe cleaners and isopropyl alcohol. It was dirty but it cleaned up very well. I scrubbed the surface of the briar with undiluted Murphy’s Oil Soap and a tooth brush. I rinsed it with warm running water and repeated the process until the pipe was clean. It looked much better. I sanded the smooth panel on the right side of the bowl and the smooth ring around the rim top and shank end with 320-3500 grit sanding pads. I wiped the bowl down after each sanding pad with a damp cloth to remove the sanding debris. I polished the smooth portions of the briar with 1500-12000 micromesh sanding pads – dry sanding the bowl with the pads and wiping it down after each sanding pad to remove the sanding debris. It is looking much better. I left the nicks on the outer edge as they are a part of the pipe’s journey. I rubbed the bowl down with Before & After Restoration Balm. I worked it into the surface of the briar with my fingertips and a shoe brush to work it into the rustication. The product works to clean, restore and preserve the briar. I let it do its magic for 15 minutes then buffed it off with a cotton cloth. The pipe looks very good at this point in the process. I set the bowl aside and turned my attention to the vulcanite saddle stem. I cleaned the stem area around where Stephen’s father had cut off the damaged button and notched the side of the stem. I used alcohol and cotton swabs. I rebuilt the button on both sides of the stem with black CA glue. I also filled in the notches with the glue. I layered it on multiple times to build up the button surface. The glue I use has both rubber and carbon in the mix that harden as it dries but does not become brittle. Once it cured I flattened the repairs and reshaped the button edge with a flat needle file. I gave the button top and bottom as well as the notches another layer or two of black CA glue. Once it cured I continued the process of reshaping and then sanded the stem with a folded piece of 220 grit sandpaper. I sanded the stem with 320-3500 grit sanding pads. I wiped the stem down after each sanding pad to remove the sanding debris and dust. The stem looked very good. I polished the stem with micromesh sanding pads – 1500-12000 grit pads. I wiped it down with an Obsidian Oil cloth after each sanding pad.  I finished polishing it with Before & After Pipe Stem Polish – both Fine and Extra Fine and buffed it off with a cotton cloth. I gave it a coat of Obsidian Oil to preserve and protect the stem. I fitted the tenon system with a Brigham Hard Rock Maple Filter. It fit well and the pipe is ready to smoke with it in place. This Brigham 4244 Full Bent Four Dot Director is a great looking pipe now that it has been restored. The mix of brown stains really highlight the grain and the polished finish has depth. The nicks on the outer edge give a bit of character and history to the pipe. I put the vulcanite stem with the rebuilt button back on the bowl and carefully buffed the pipe with Blue Diamond on the buffing wheel. I gave the bowl and the stem multiple coats of carnauba wax on the buffing wheel and followed that by buffing the entire pipe with a clean buffing pad. I hand buffed the pipe with a microfiber cloth to deepen the shine. The finished Brigham 4244 Full Bent Four Dot Director fits nicely in the hand and feels great. Give the finished pipe a look in the photos below. The dimensions of the pipe are Length: 5 ½ inches, Height: 2 inches, Outside diameter of the bowl: 1 ½ inches, Chamber diameter: 7/8 of an inch. The weight of the pipe is 66 grams /2.33 ounces. I had finished the stem tightening on two of Stephen’s personal pipes and cleaned them up. This is the last of the other four of Stephen’s pipes that needed to be worked on and restored. I will give him a call in the week ahead and get them back to him to enjoy with his father.

As always, I encourage your questions and comments as you read the blog. Thanks to each of you who are reading this blog. Remember we are not pipe owners; we are pipe men and women who hold our pipes in trust until they pass on into the trust of those who follow us.

Fitting a Shank and Stem to a well Patinaed Meerschaum


by Steve Laug

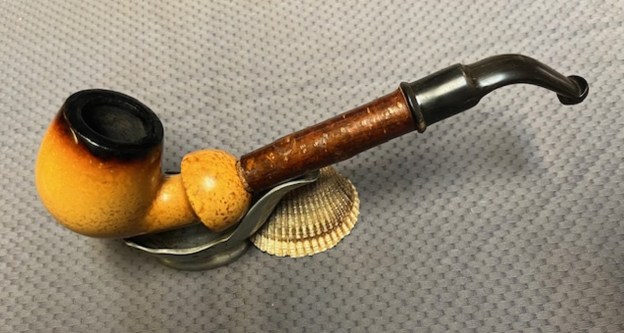
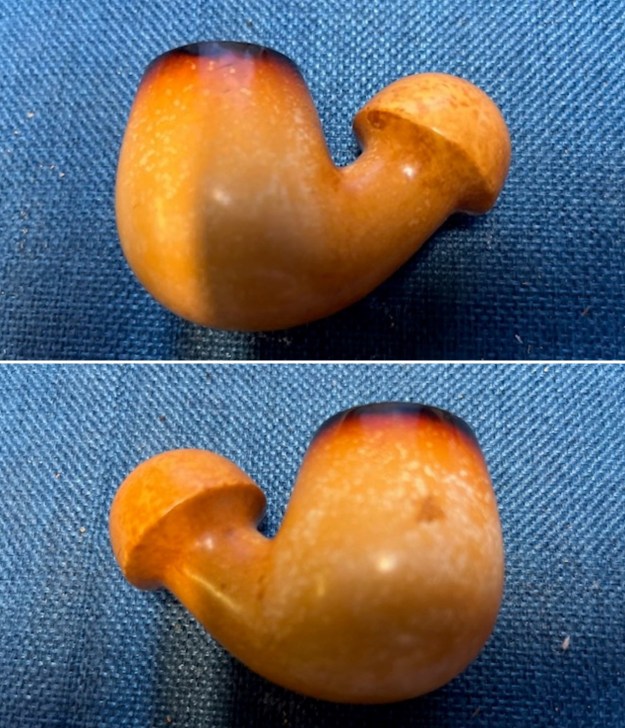
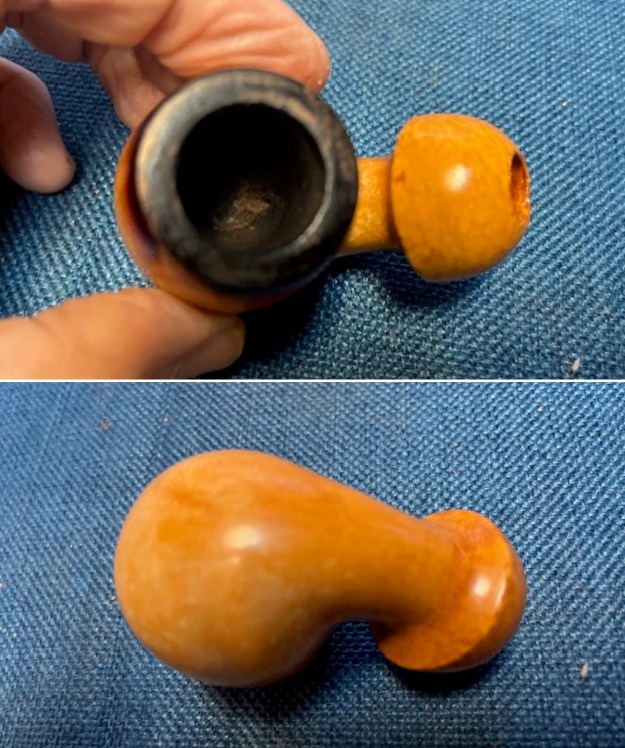
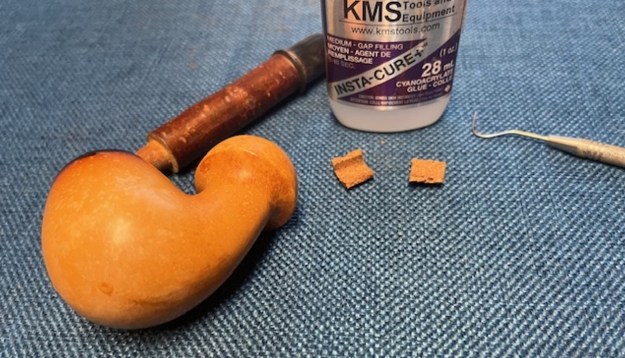
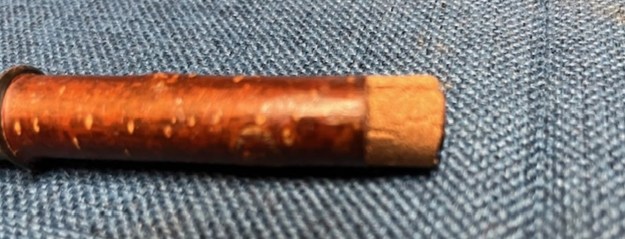
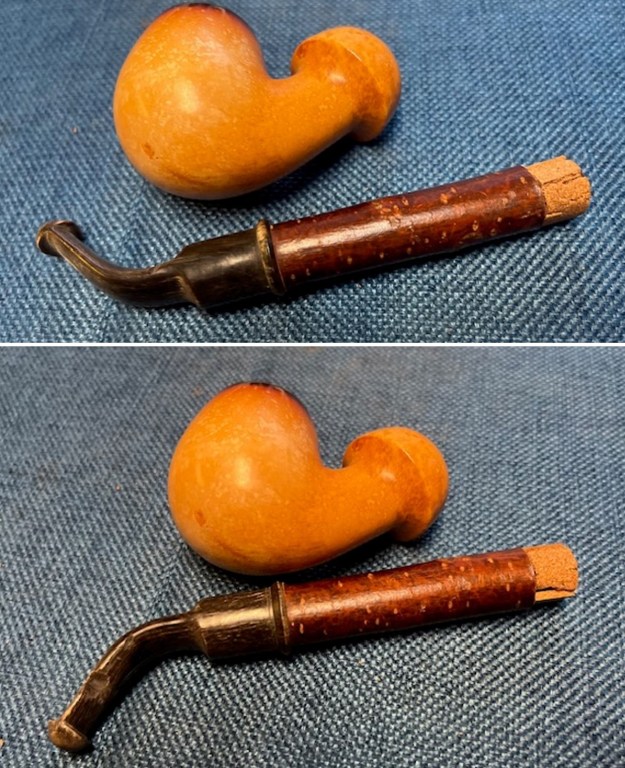
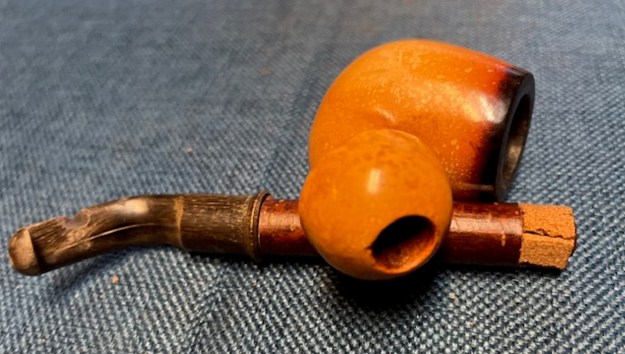
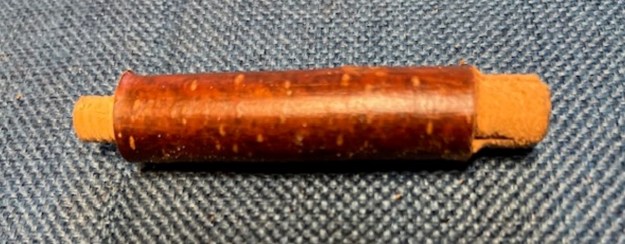
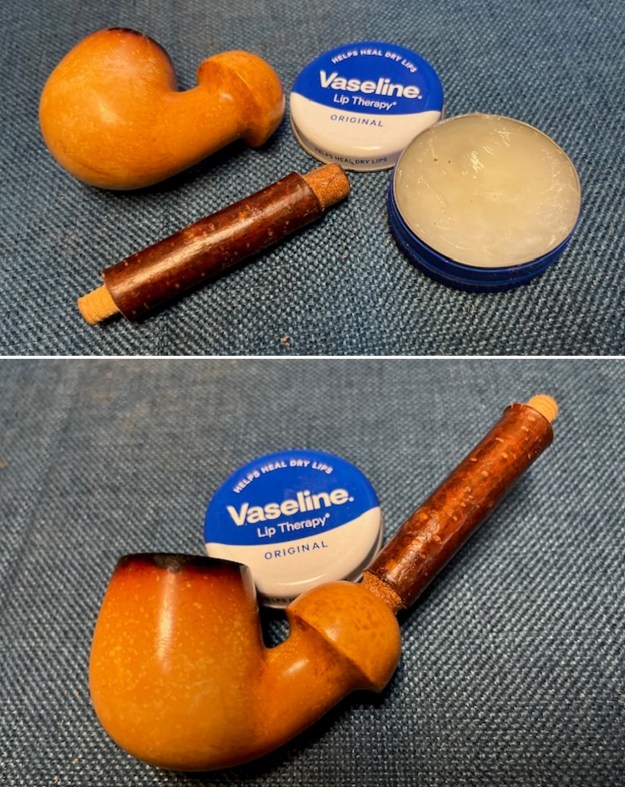
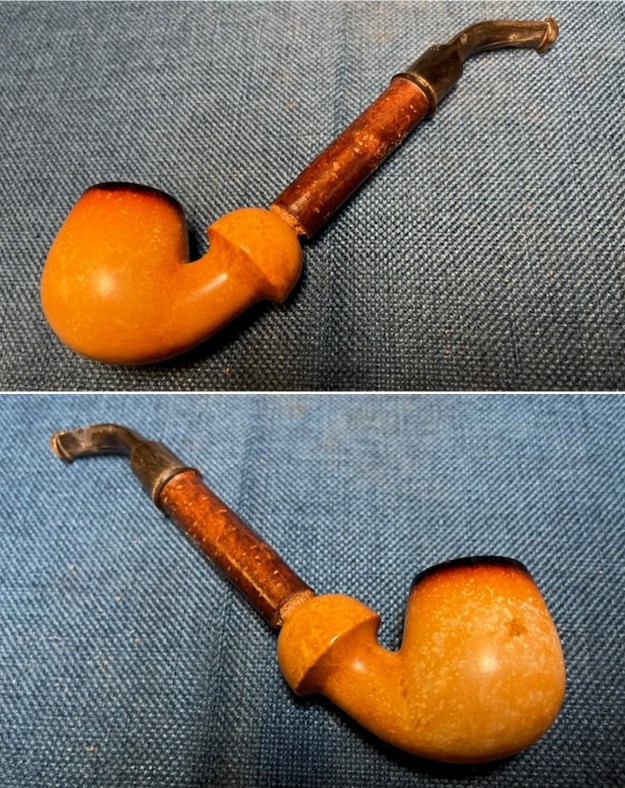
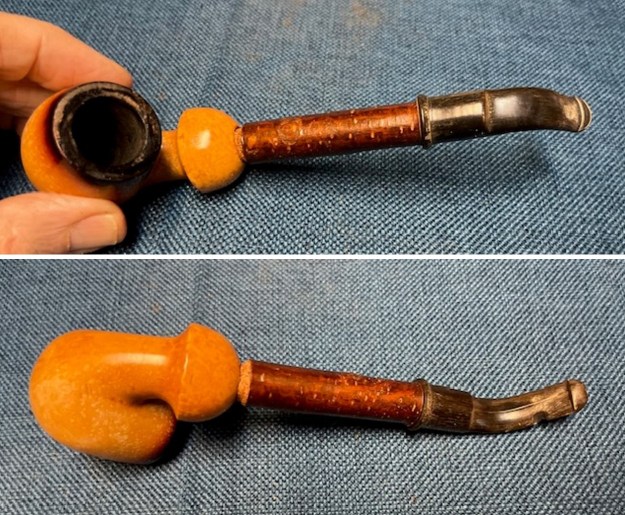
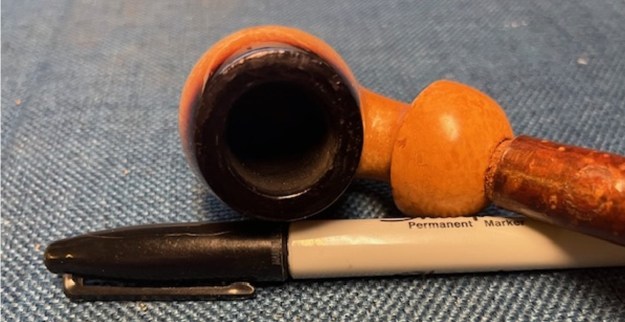
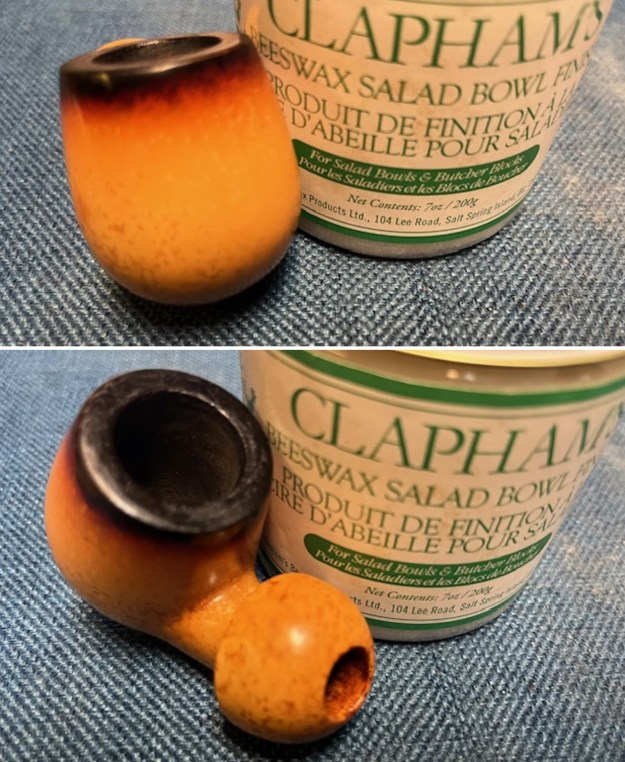
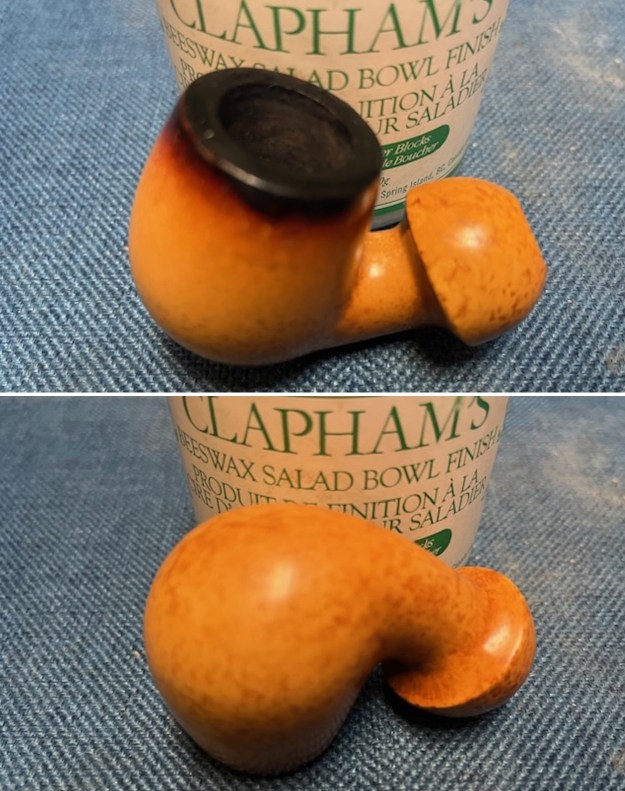
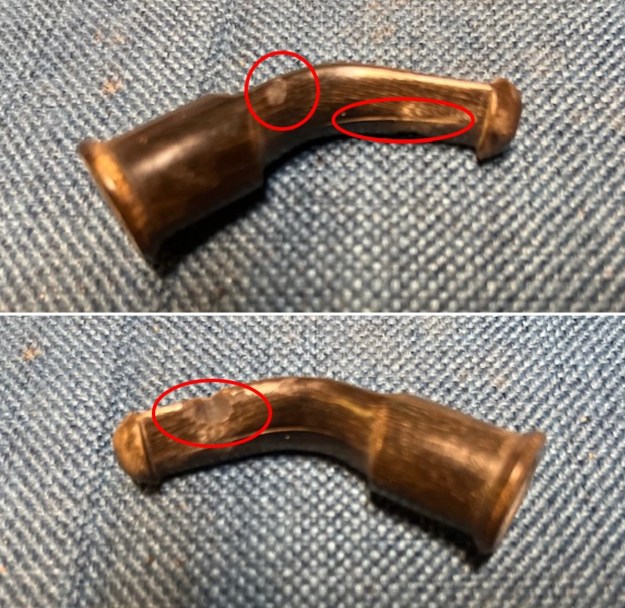
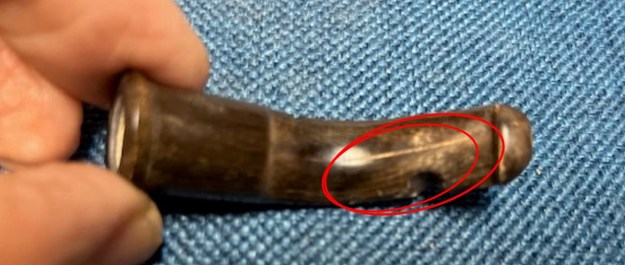
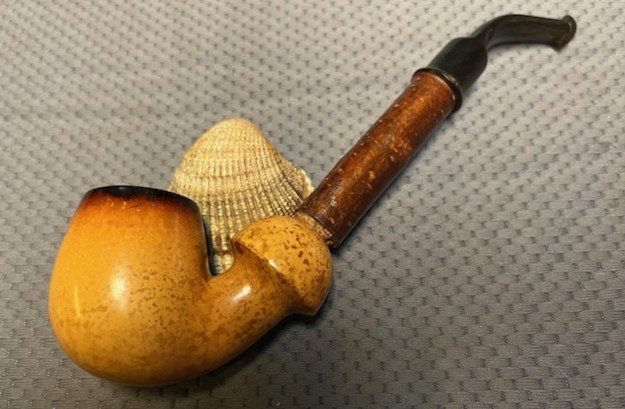
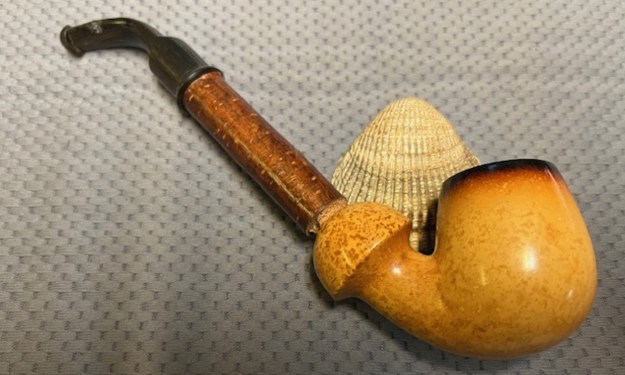
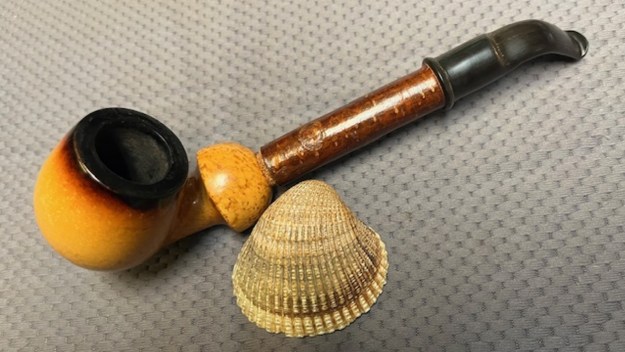
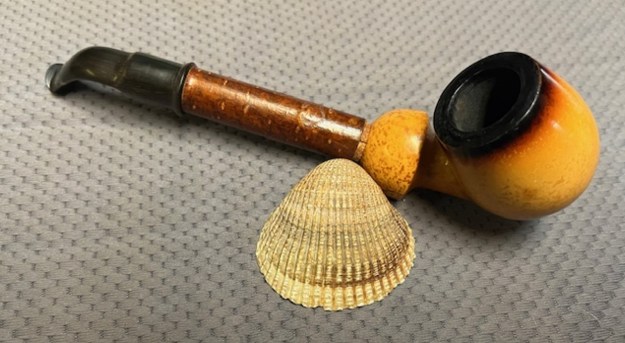
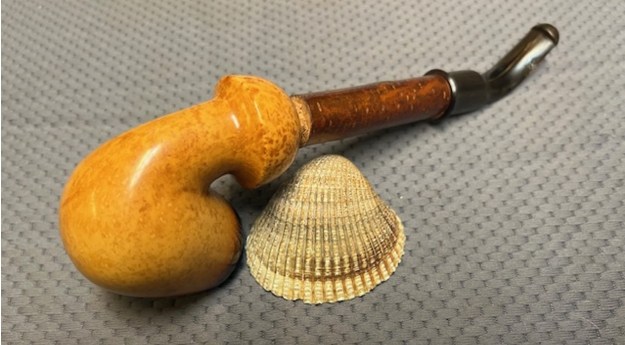
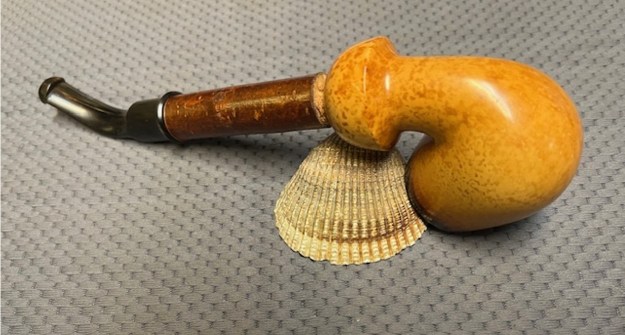
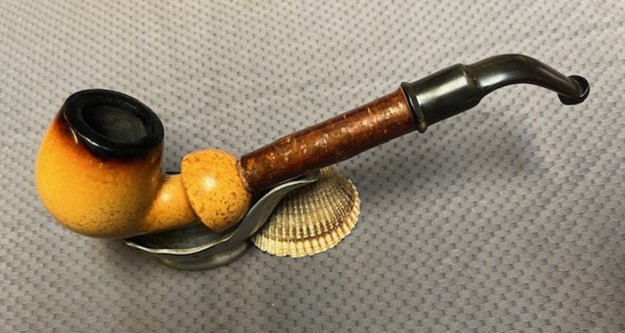
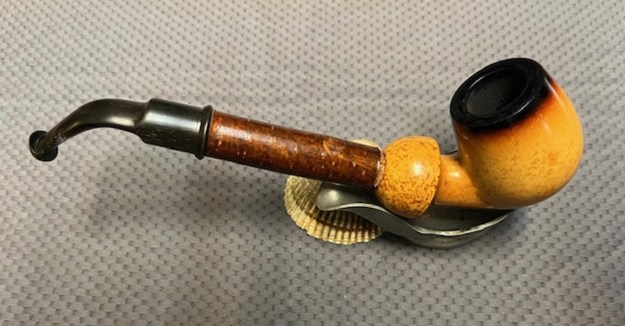
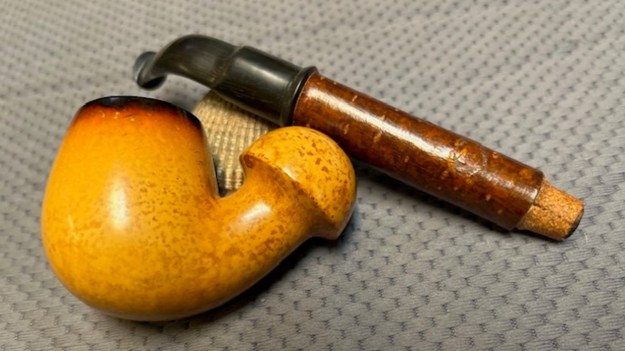
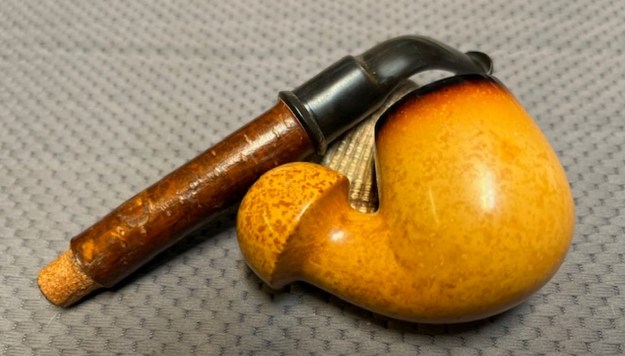
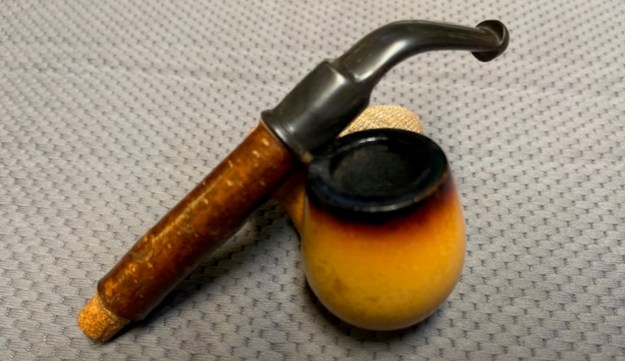
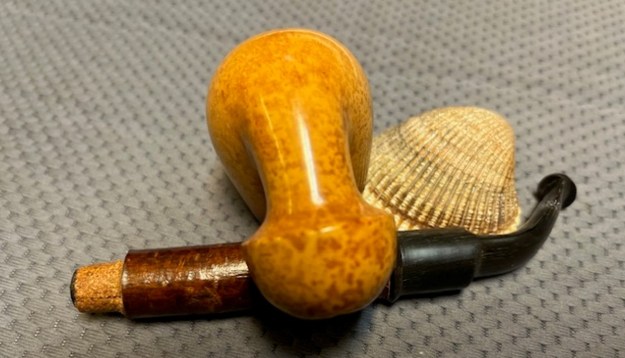
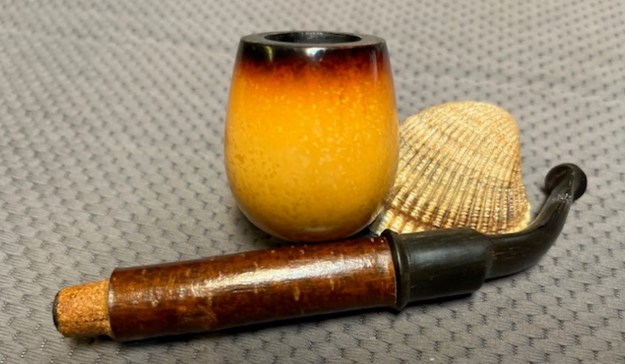
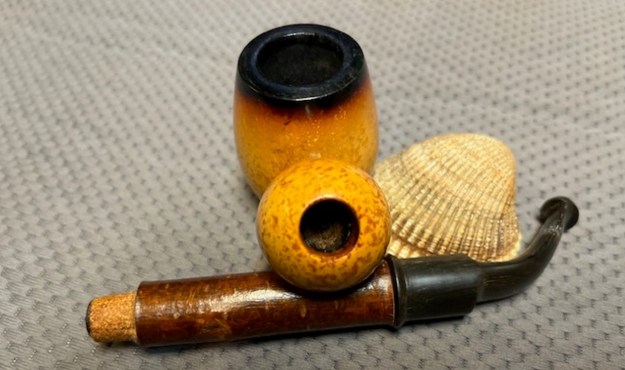
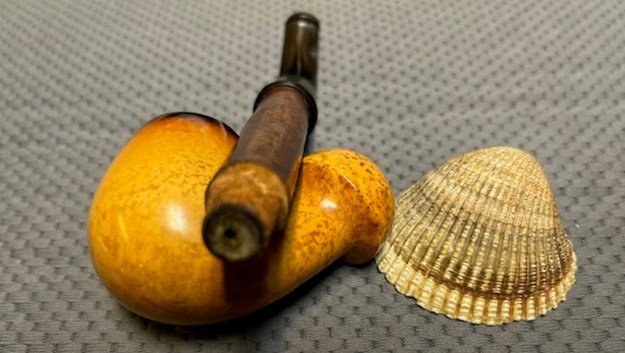
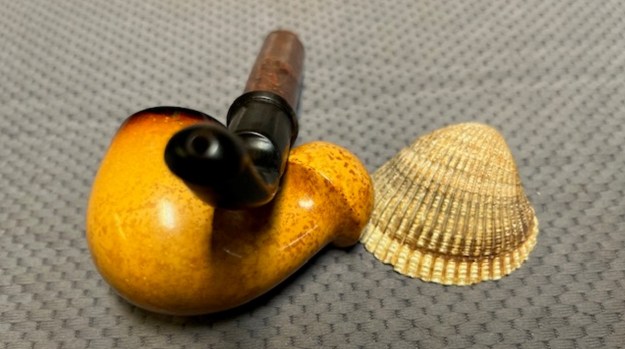
I have had this older meerschaum bowl in my box of pipes to restem for a long time. I have no idea where we picked it up but this older style bowl always catches my attention. The mushroom shaped shank, the patina on the meer and the darkened, or flumed, edge of the bowl all catch my eye. I have worked on quite a few of these in the past and most had cherrywood shanks and horn stems. I was going through my box of bowls the other evening and once again this one really caught my eye. The finish is clean with a very nice patina. The bowl is very clean with no cake build up and appears to have been well maintained. The rim top is clear of debris and lava and the fluming is faded in spots around the top. The shank is also clean and appears to have been cleaned before we set it aside. I don’t know about you all but when you have a lot of pipes to work on sometimes it is easy to forget what has been done on the pipes in boxes. I took some photos of the pipe to give a sense of what it looked like when I removed it from the box. I went through my stems and found a cherrywood shank and horn stem that would work well with the pipe. I would need to glue some cork on the tenon of the stem (normal for this style of shank). The cherrywood was in excellent condition but the stem had some worm damage on the sides and a small split in the underside that would need to be repaired.I gave the cork a coat of clear CA glue and pressed it in place on the shank end. I love working with this glue as it cures quickly and holds very well.I took some photos of the parts of the pipe to show the general proportion of the pipe. You can also see the seams in the cork gasket.  But no worries. I still need to sand down the gasket for a fit in the shank and grease it which will bring the seams together. You can also see the worm damage on the horn stem in the second and third photos below. I used my Dremel and sanding drum to reduce the diameter of the cork gasket until it fit well in the shank ed of the bowl.I used some Vaseline petroleum Jelly to soften and preserve the cork gasket. I worked it into the cork with my finger tips and let it sit. I repeated the process and once finished the cork was soft and pliable. It fit well in the shank and was snug and solid.I screwed the stem on the shank to give a sense of what the pipe would look like once finished. I like the look and feel of this one. I touched up the black flume to the rim top with a black Sharpie Pen. I coloured in the edge and the spots on the rim top and inner edge until it was blended in.I gave the bowl multiple coats of Clapham’s Beeswax/Carnauba wax. I applied it by hand and let it cure then buffed it off with a soft cloth to raise a shine. I removed the stem from the cherrywood shank and set the bowl and shank aside. It was time to address the worm damage in the horn stem. I have circled the damaged areas in red in the photos below. I filled in the split on the underside of the stem and the worm damage spots on each side with clear CA glue. I layered it into he damaged areas until it was smooth. Once the repair cured I shaped and flattened the repairs with a small file. I worked over the shape with a folded piece of 220 grit sandpaper. I wanted the edges and surfaces to be smooth. I sanded the stem with 320-3500 grit sanding pads. I wiped the stem down after each sanding pad to remove the sanding debris and dust. The stem looked very good. I polished the stem with micromesh sanding pads – 1500-12000 grit pads. I wiped it down with an Obsidian Oil cloth after each sanding pad.  I finished polishing it with Before & After Pipe Stem Polish – both Fine and Extra Fine and buffed it off with a cotton cloth. I gave it a coat of Obsidian Oil to preserve and protect the stem. This Old Apple Meerschaum with its new Cherrywood and Horn Stem is a great looking pipe now that it has been restored. The patina on the waxed meerschaum gives a sense of depth to the pipe. The flume on the rim and down the outer edge of the bowl is a nice touch. The Cherrywood shank and the rebuilt horn stem go well with this older classic bowl. I carefully buffed the parts of the pipe with Blue Diamond on the buffing wheel. I gave the bowl and the stem multiple coats of Clapham’s Beeswax carefully buffed the entire pipe with a clean buffing pad. I hand buffed the pipe with a microfiber cloth to deepen the shine. The finished Old Apple Meerschaum with its new Cherrywood and Horn Stem fits nicely in the hand and feels great. Give the finished pipe a look in the photos below. The dimensions of the pipe are Length: 7 inches, Height: 1 ¾ inches, Outside diameter of the bowl: 1 ¼ inches, Chamber diameter: ¾ of an inch. The weight of the pipe is 57 grams /1.98 ounces. I will be adding it to the rebornpipes online store in the Meerschaum Pipe Section shortly. Send me an email or a message if you wish to add it to your collection.

As always, I encourage your questions and comments as you read the blog. Thanks to each of you who are reading this blog. Remember we are not pipe owners; we are pipe men and women who hold our pipes in trust until they pass on into the trust of those who follow us.