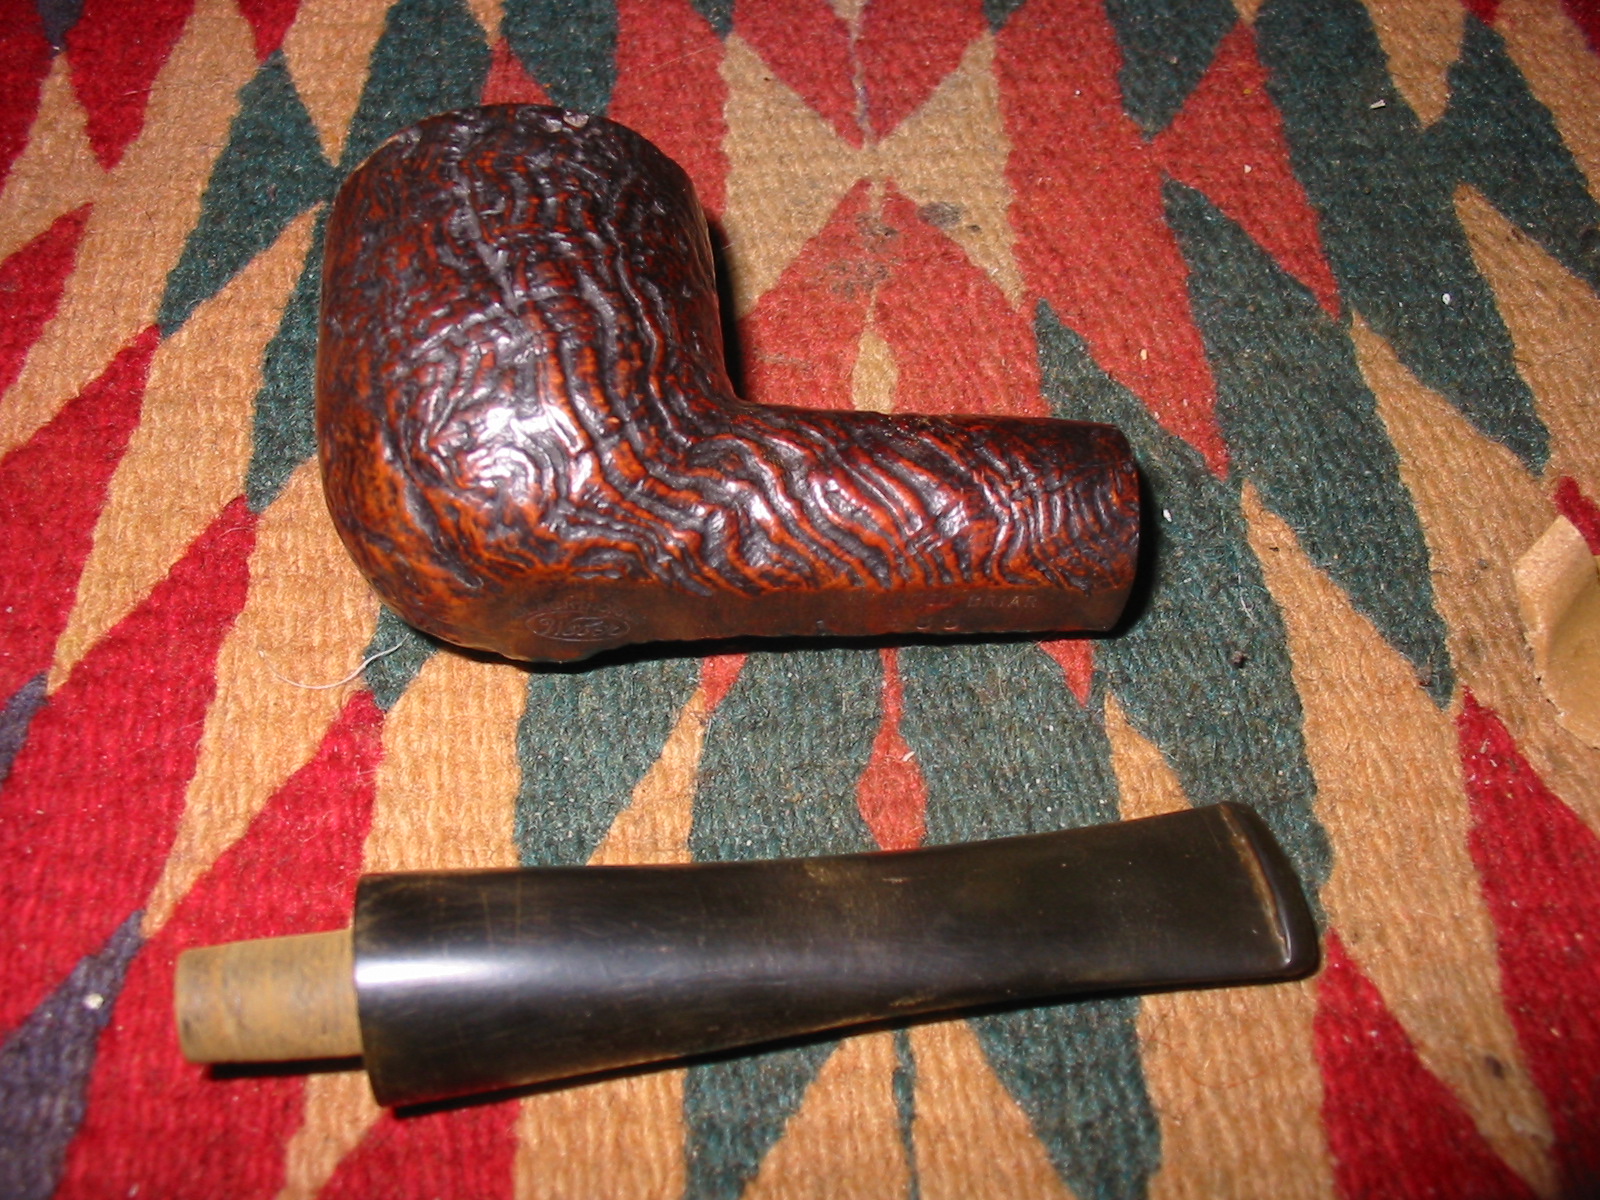
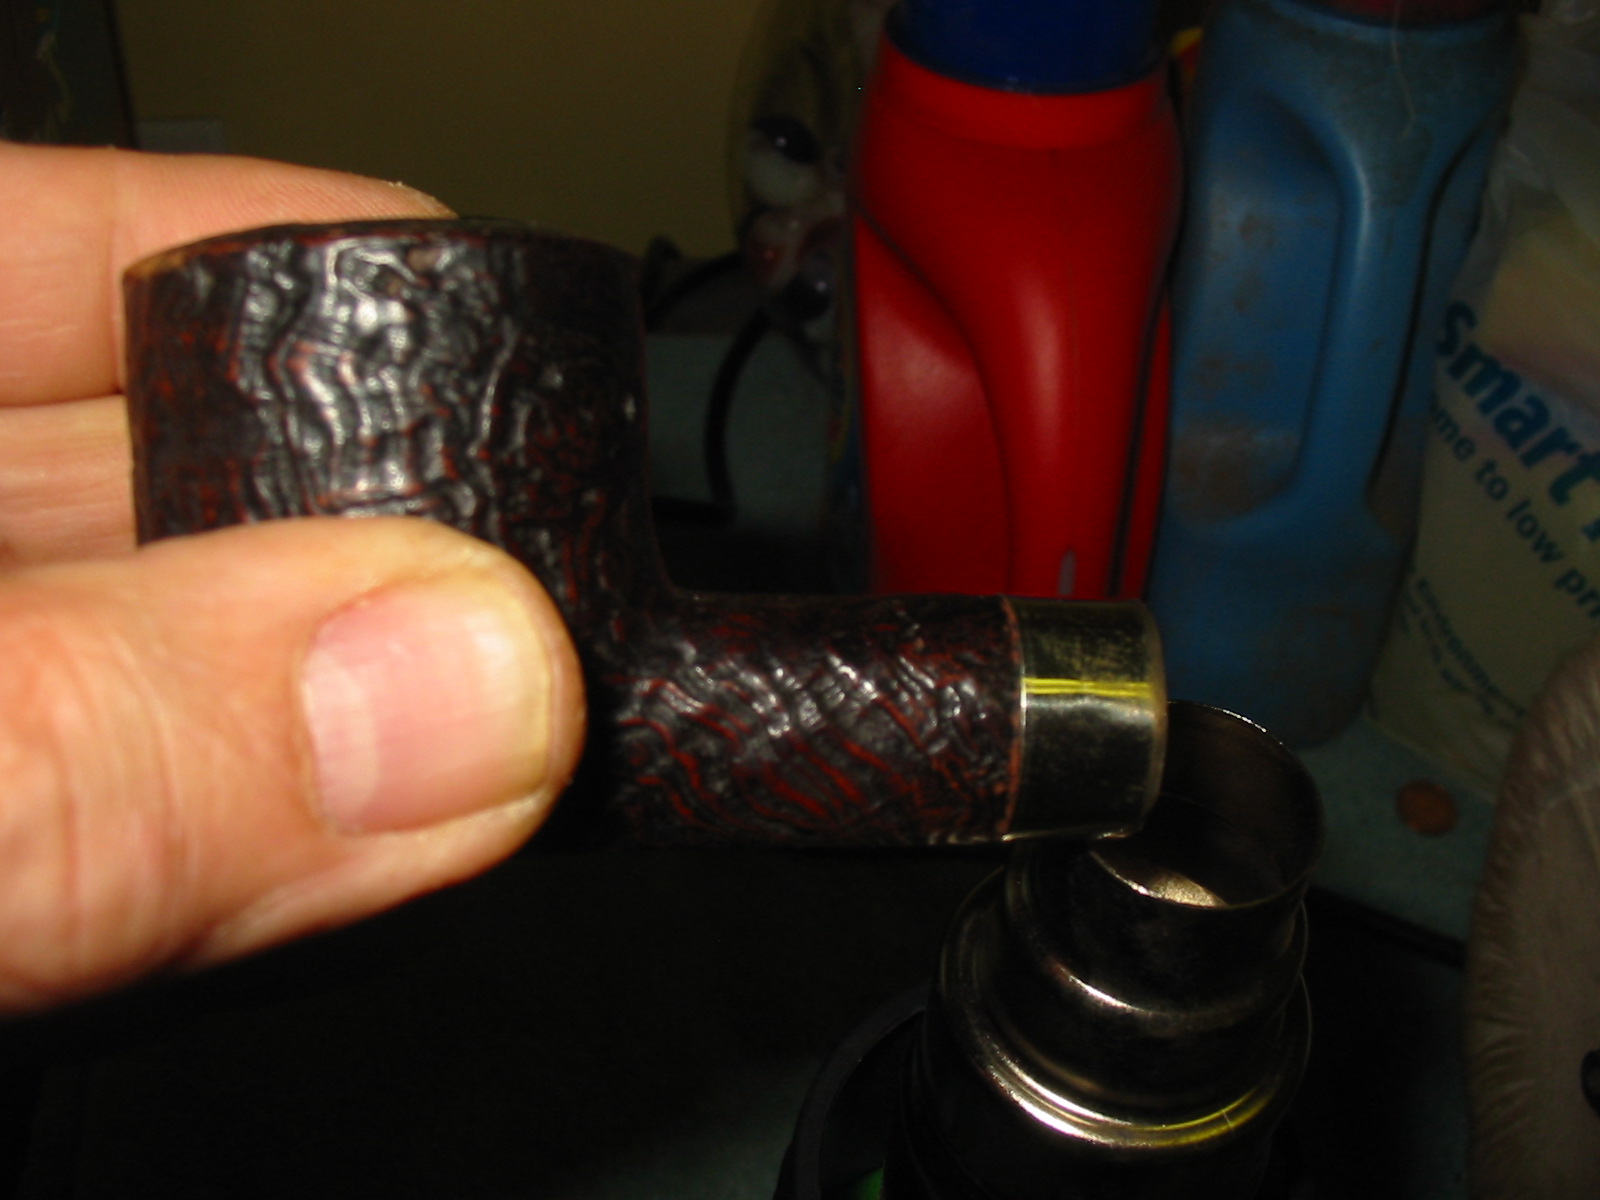
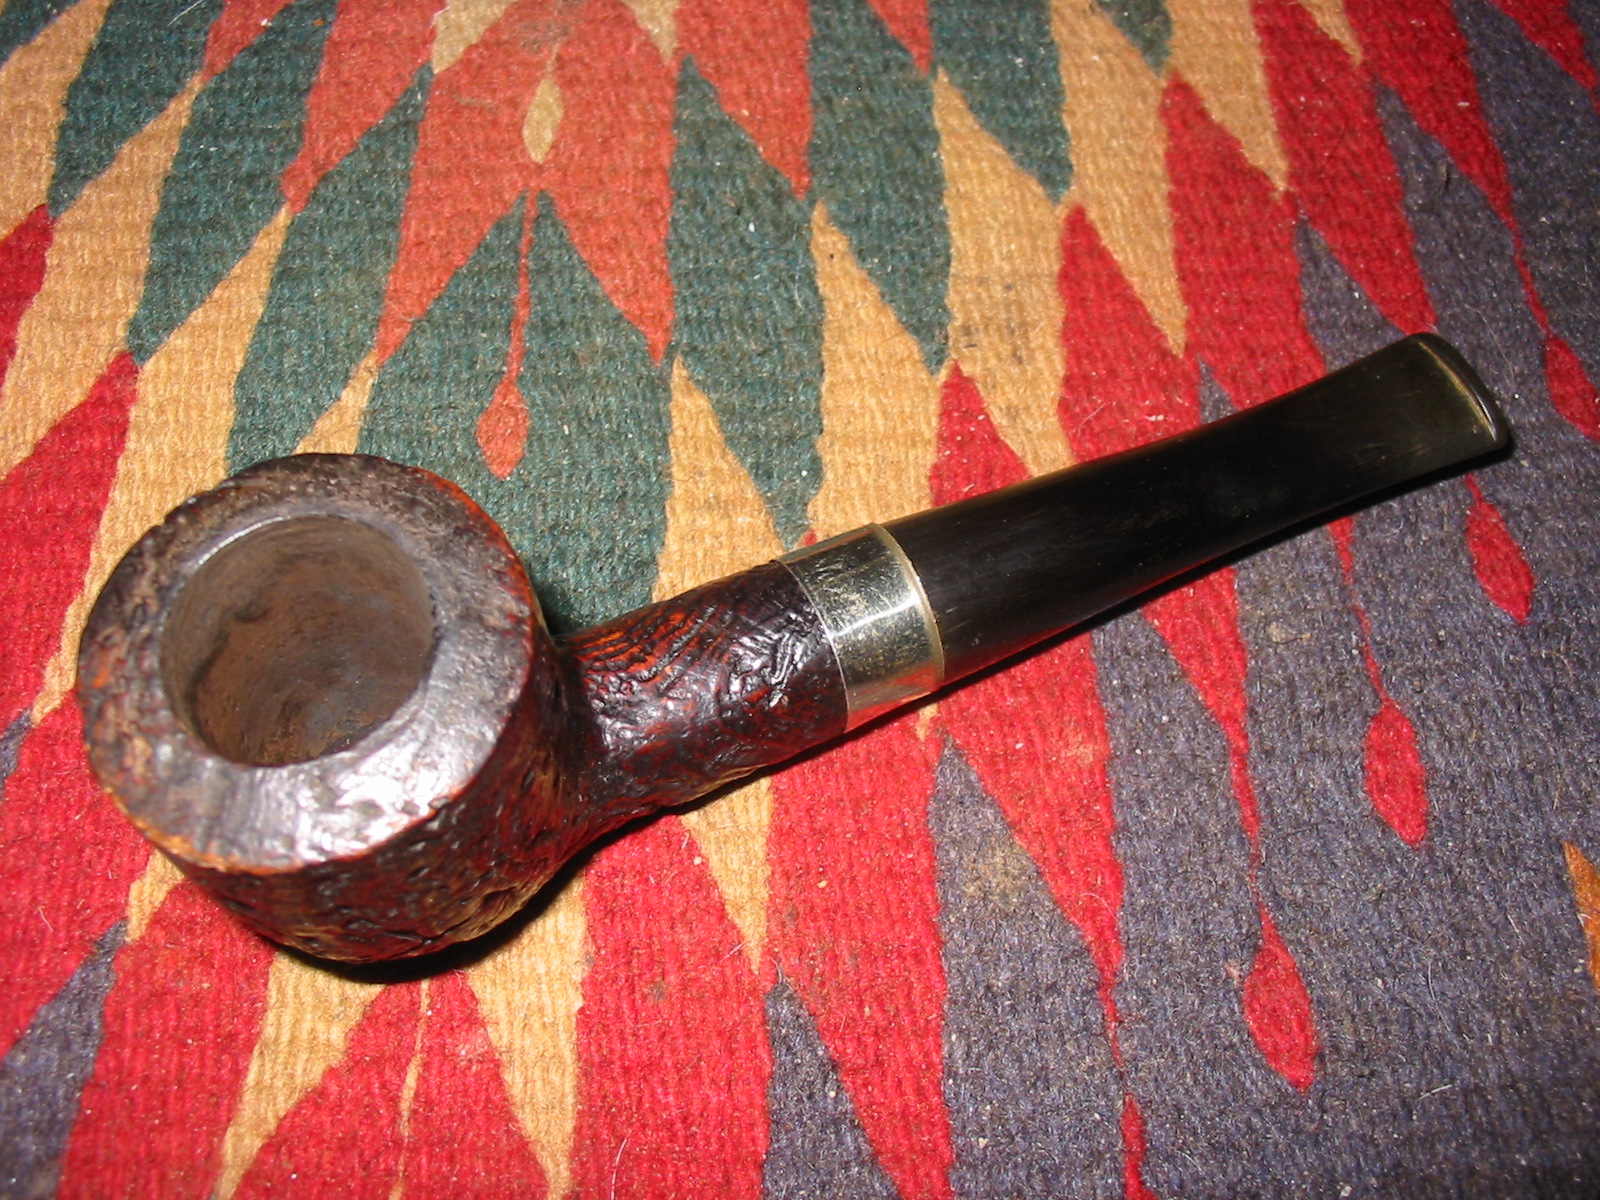
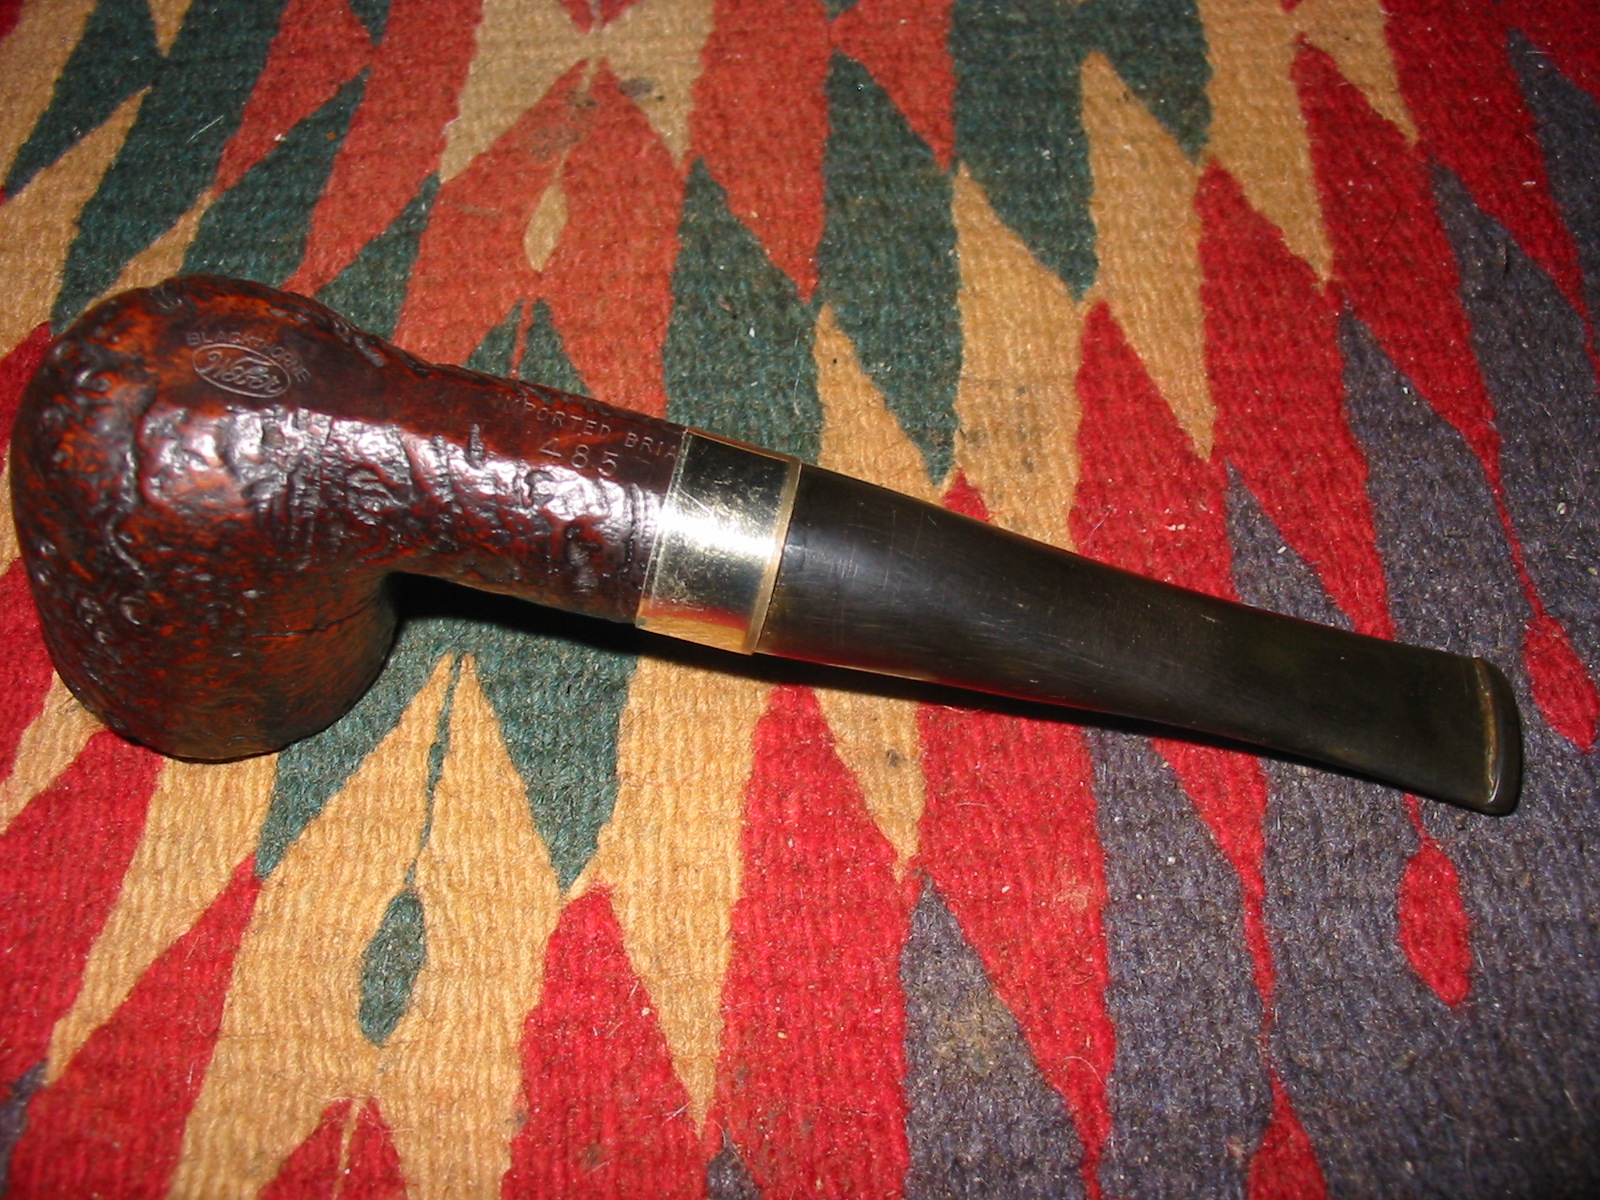
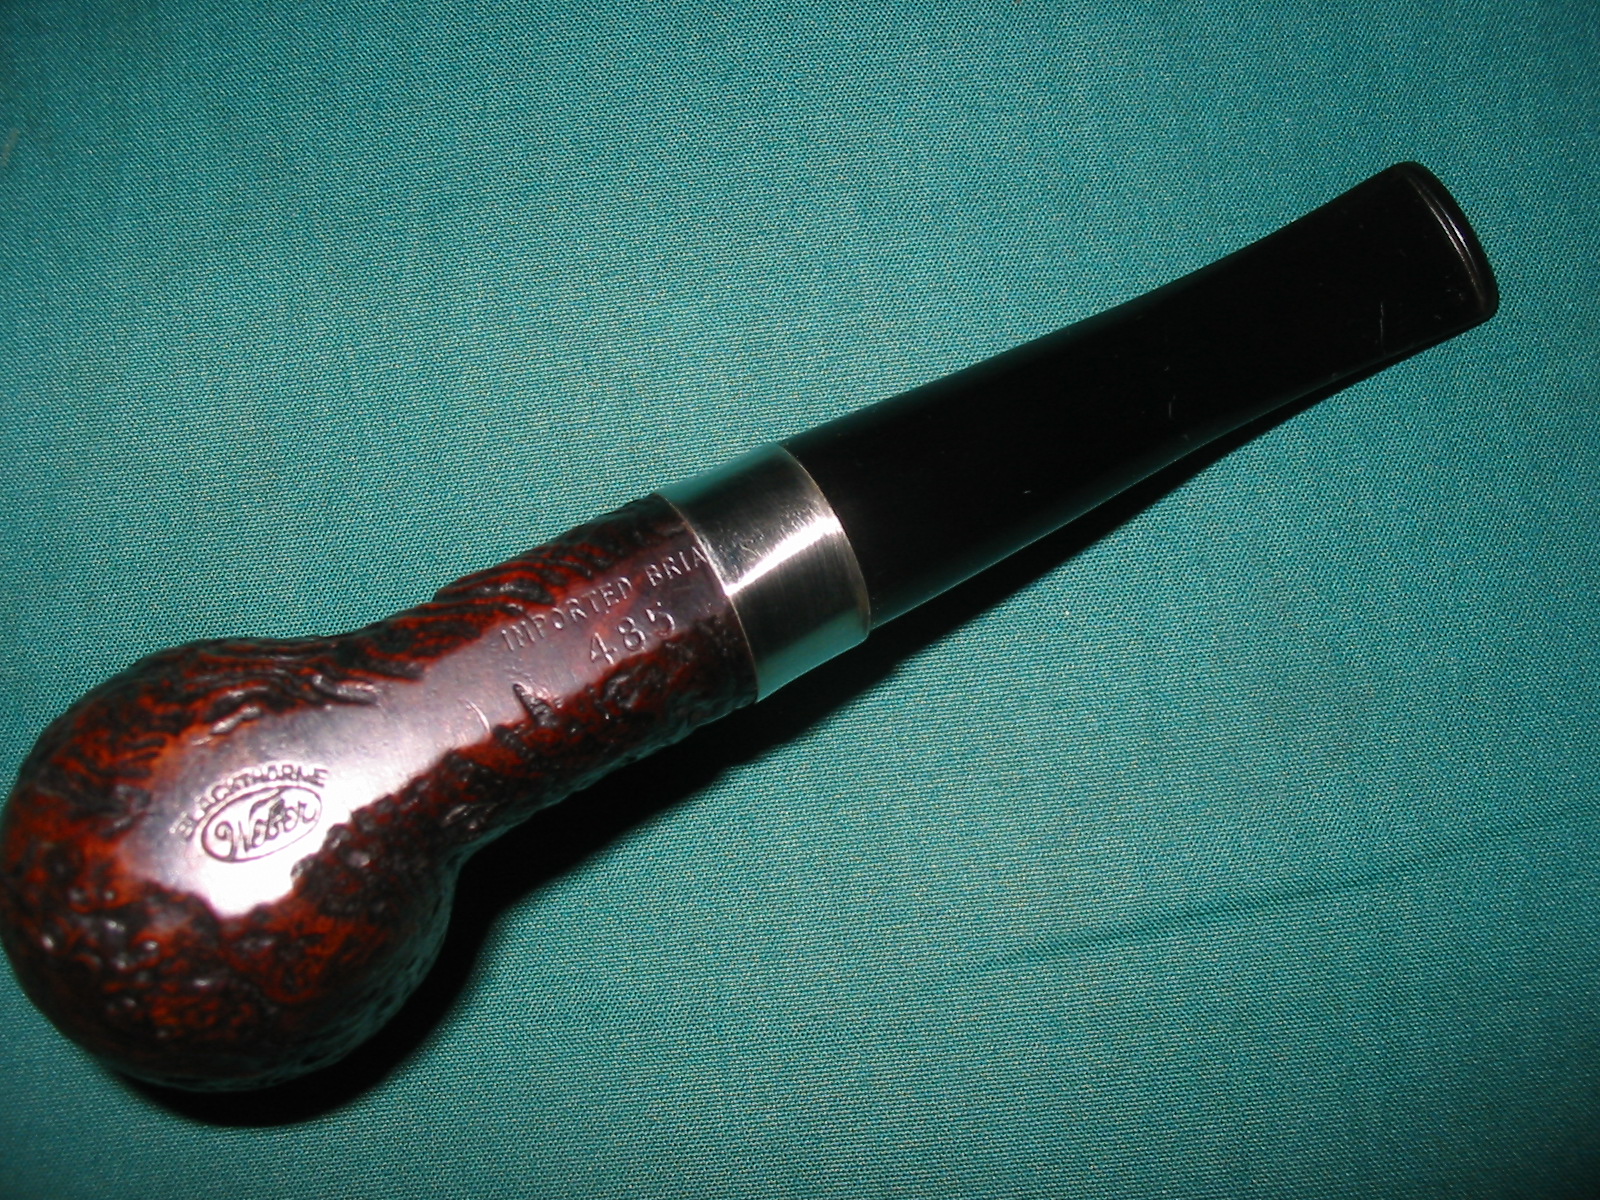
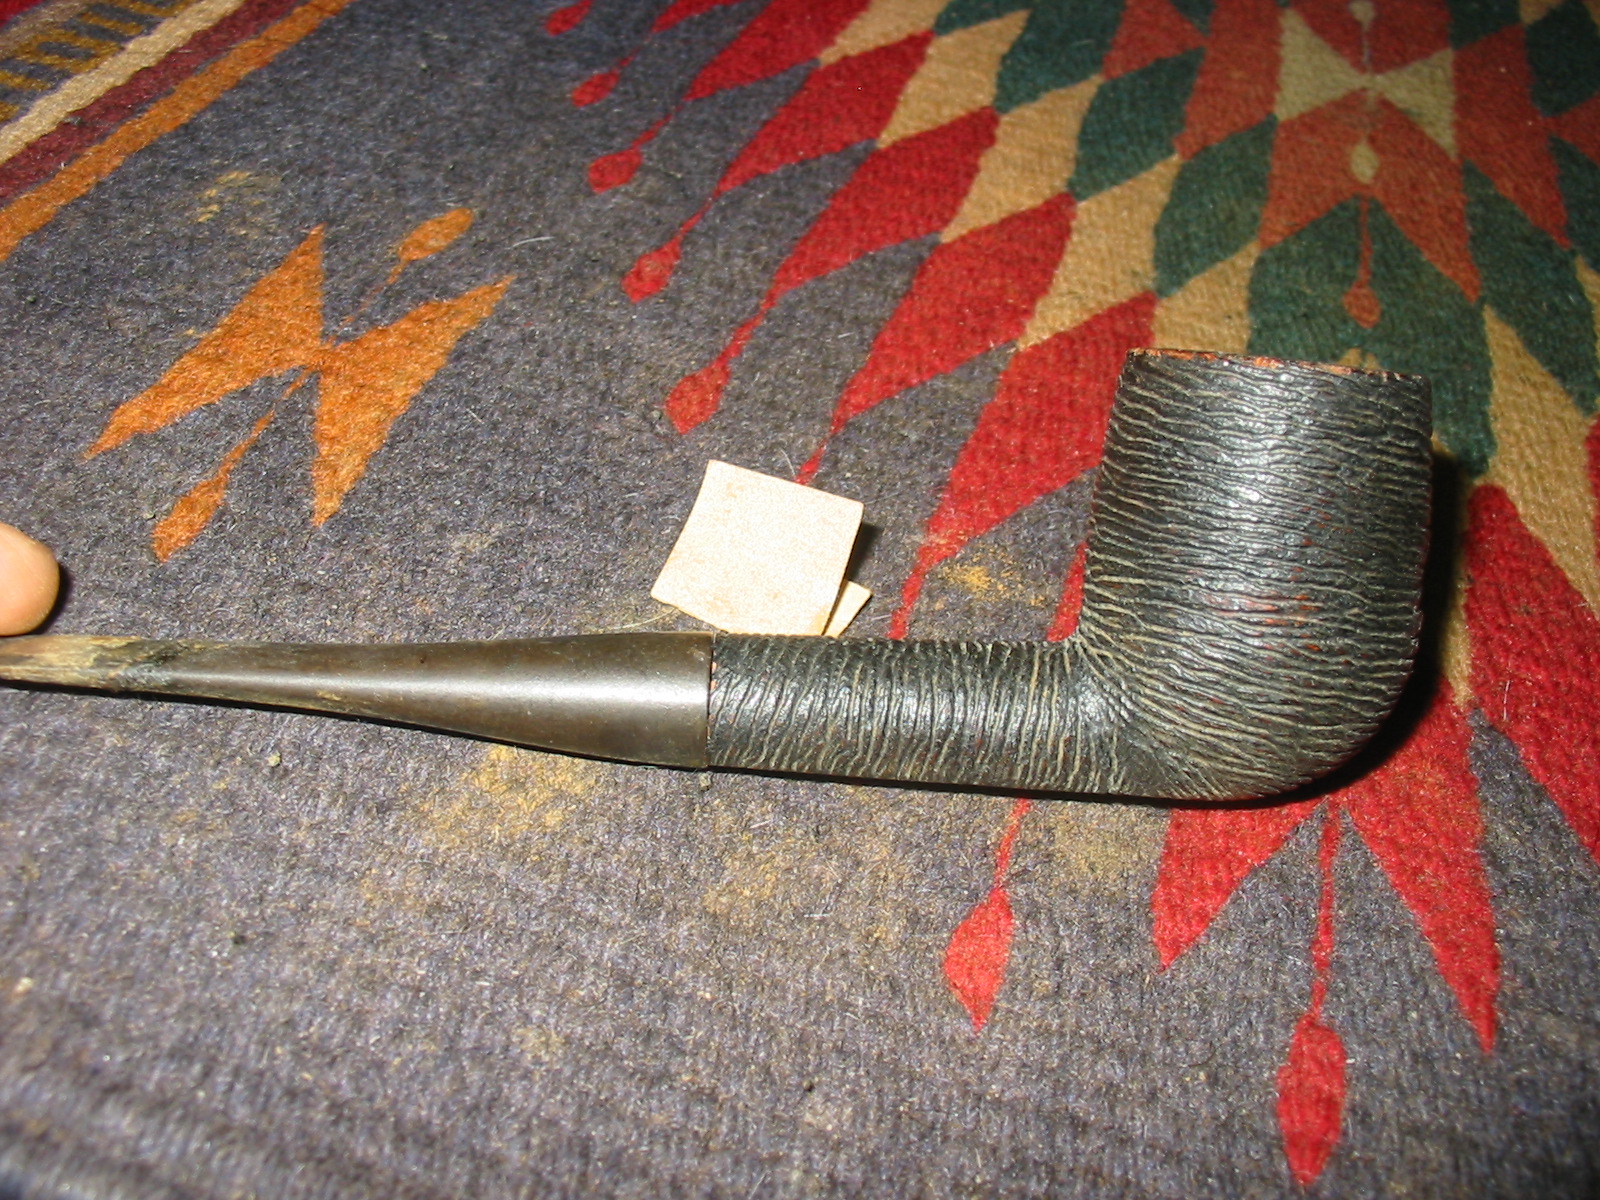
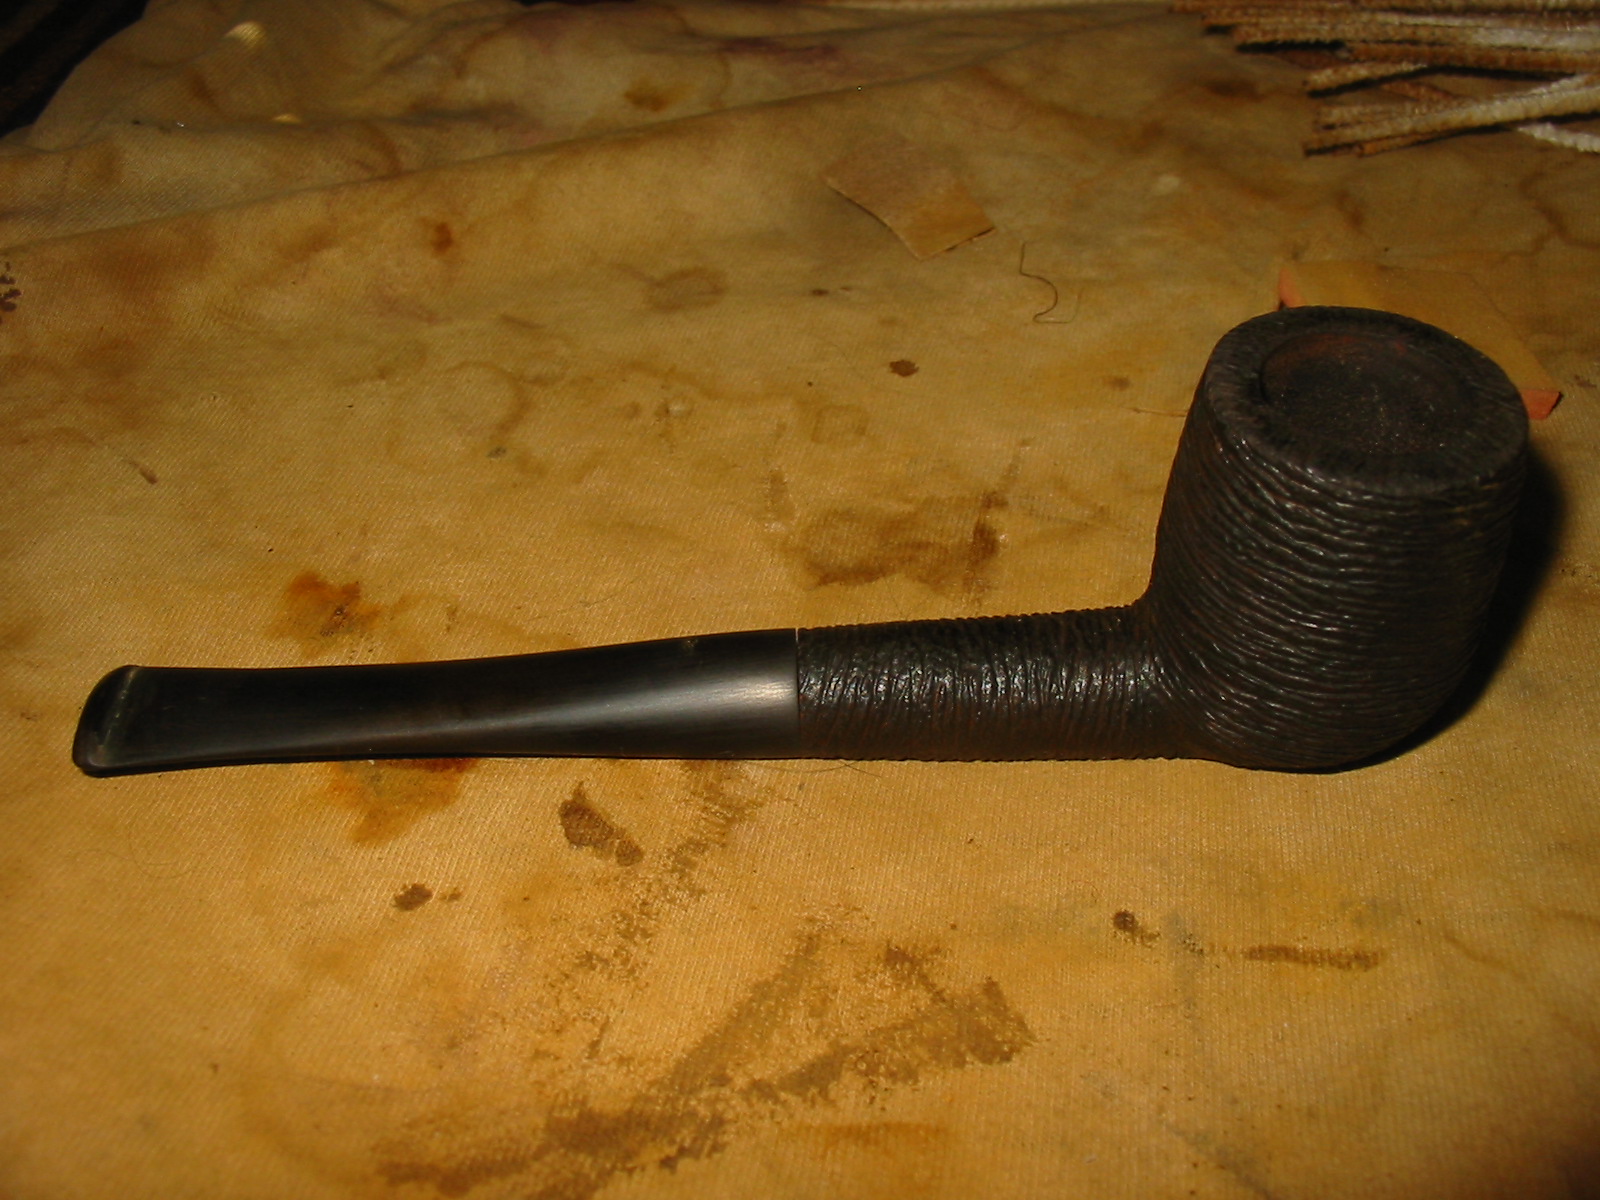
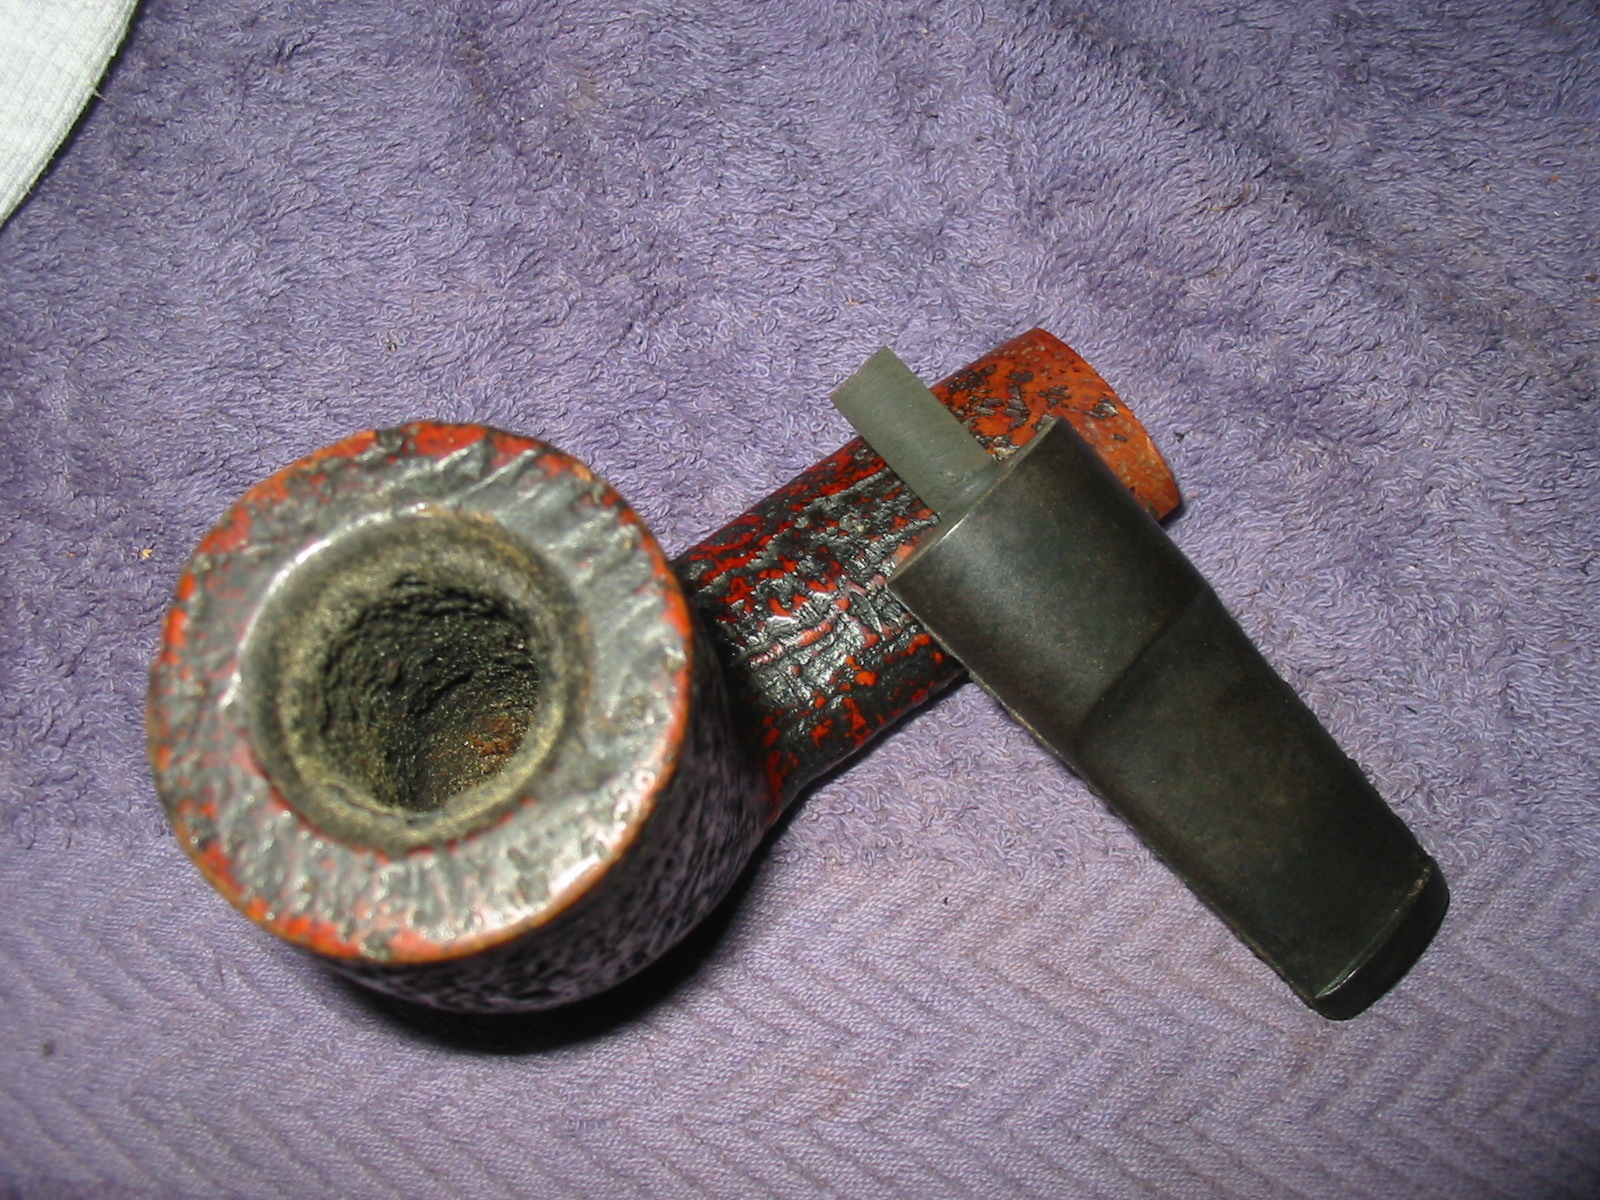
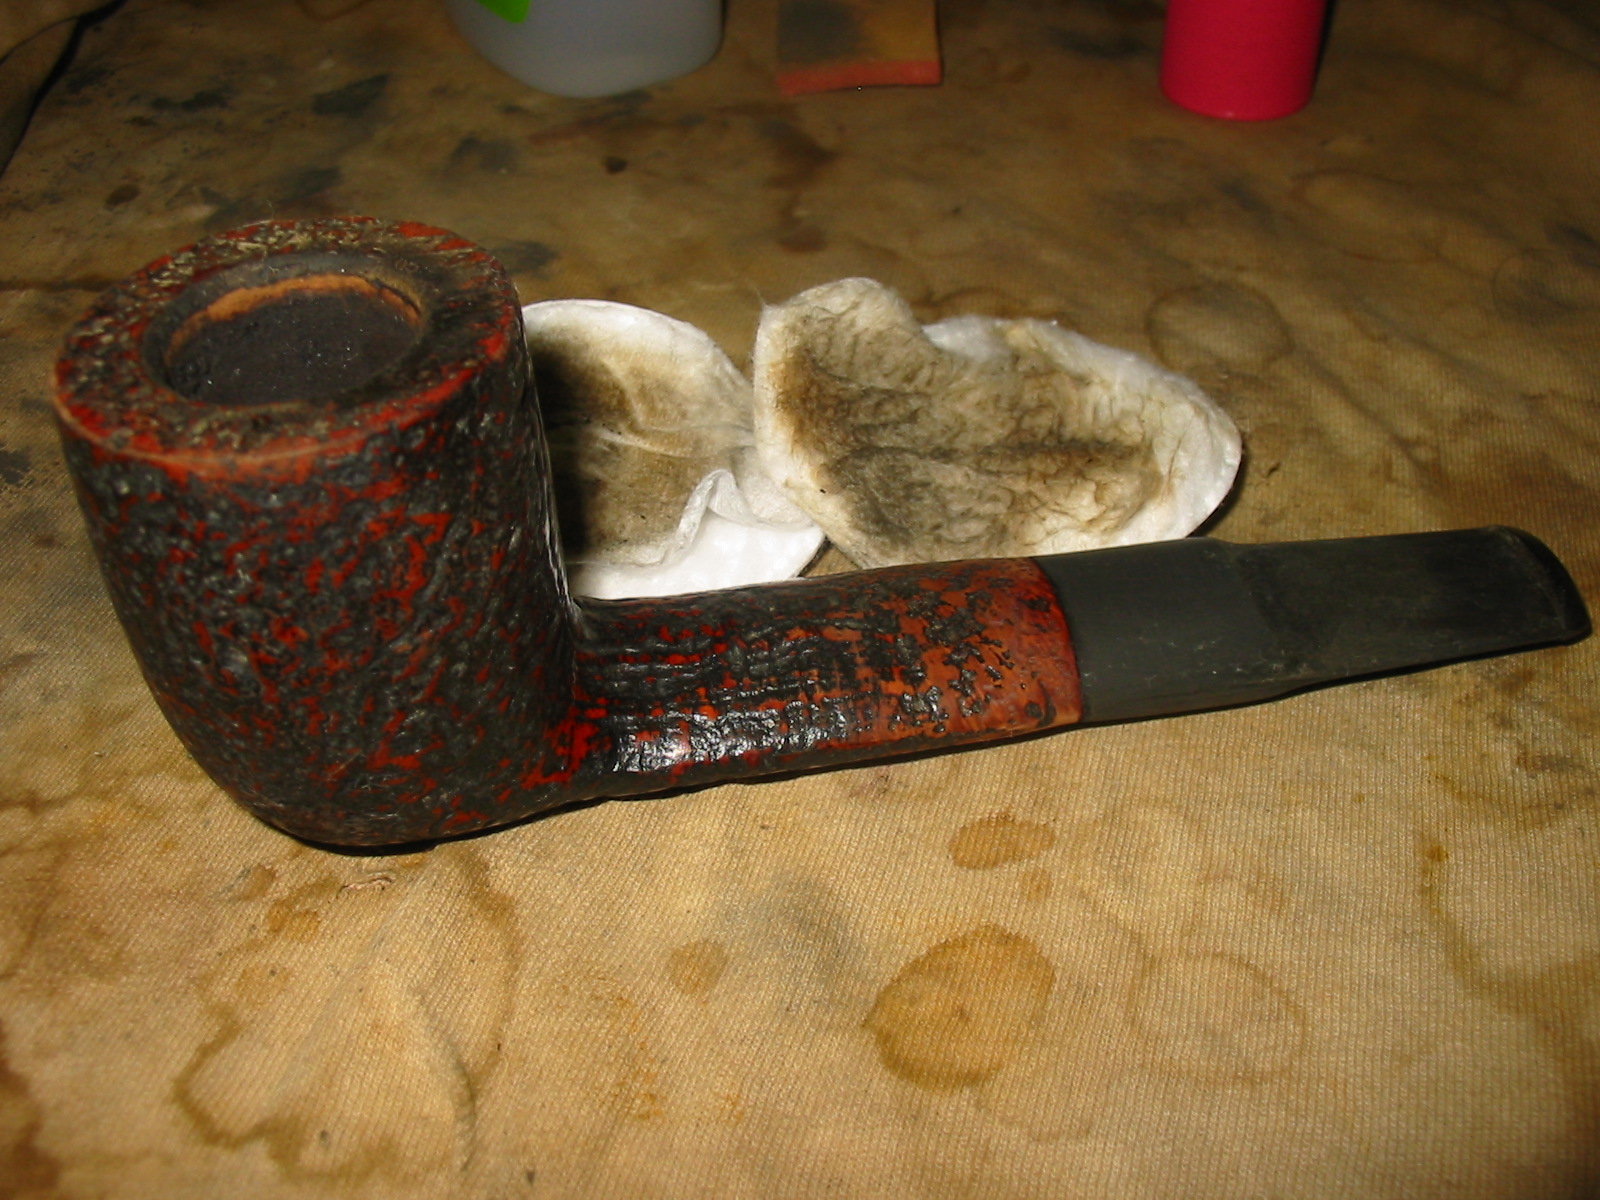
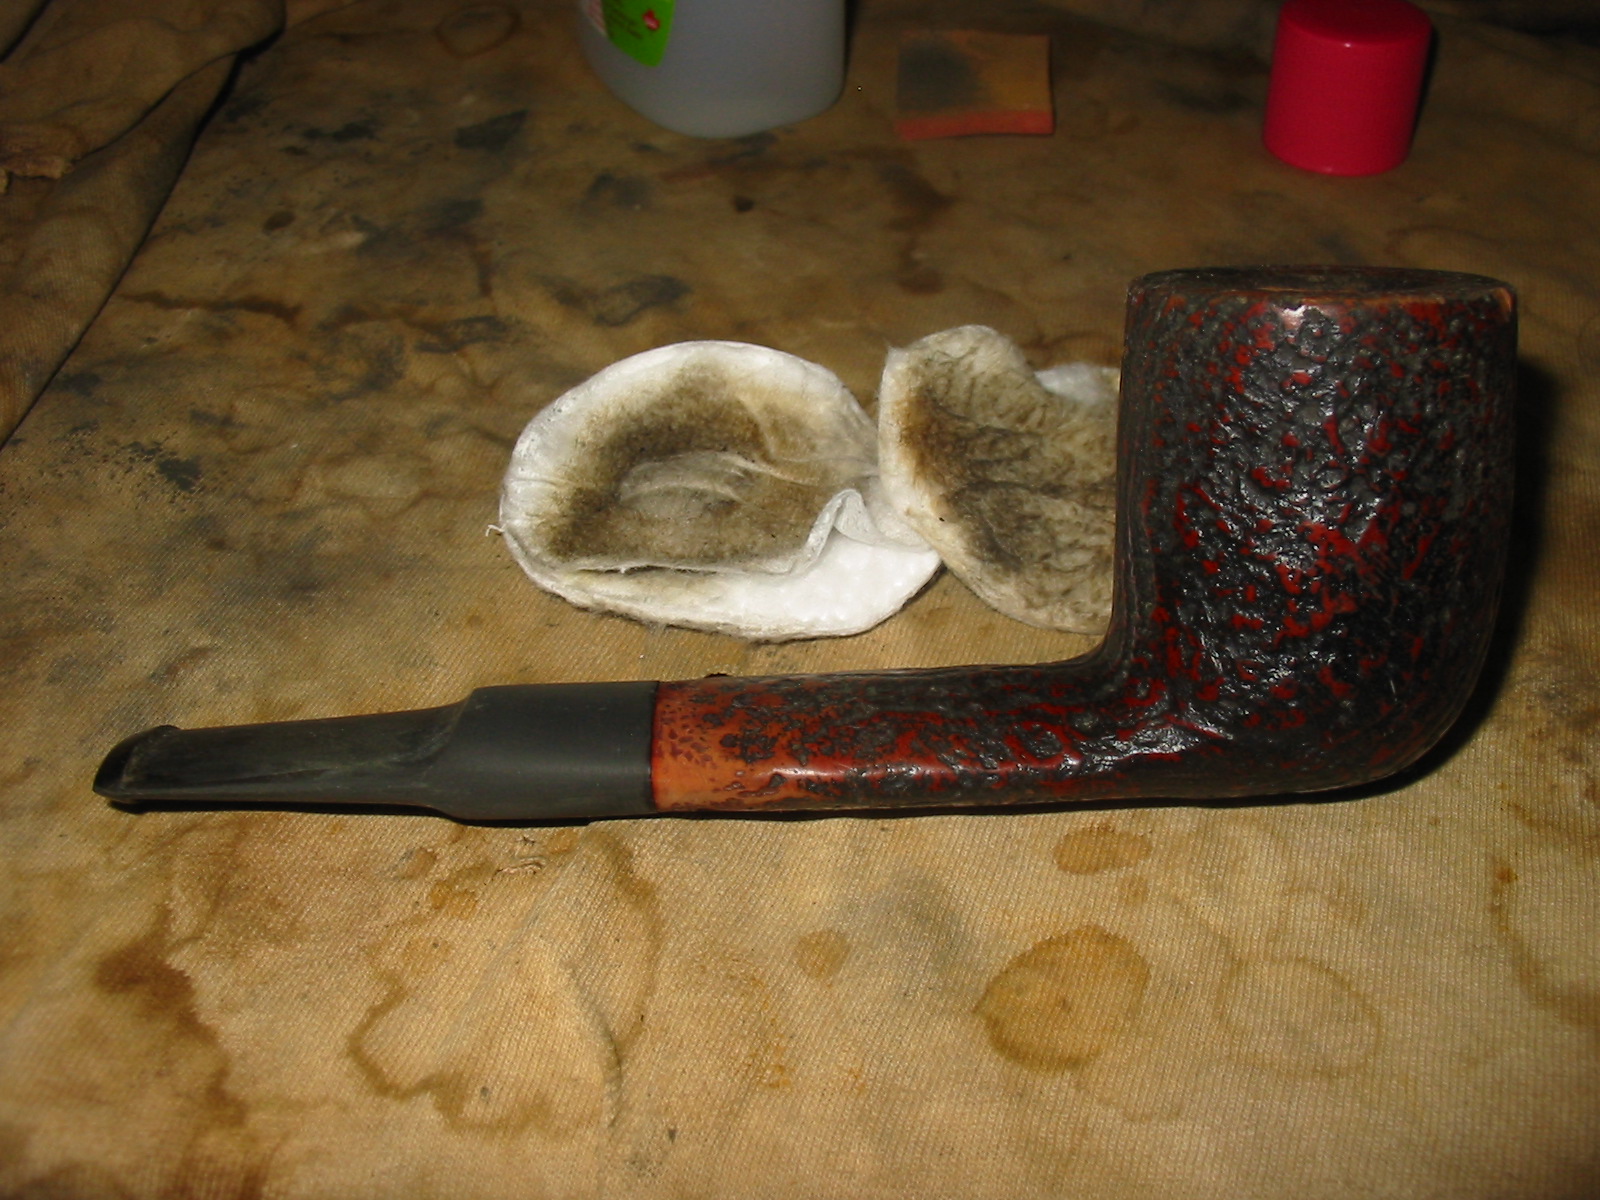
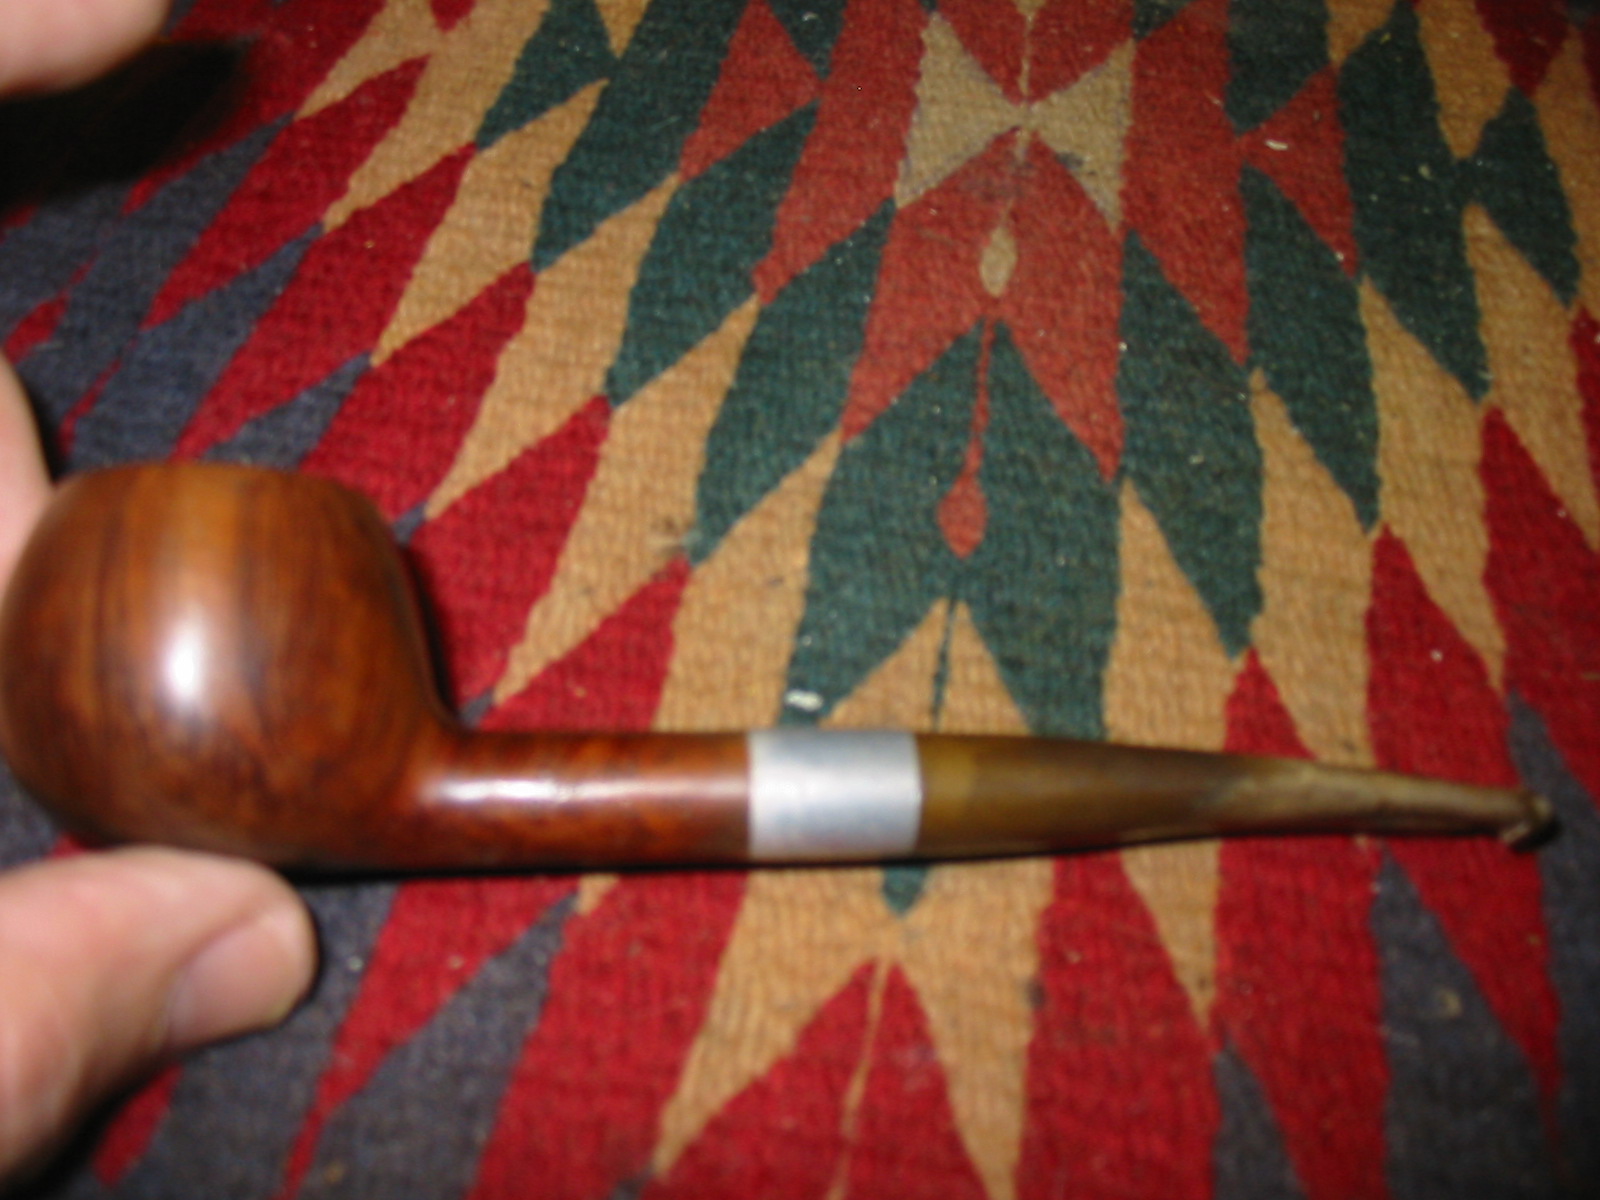
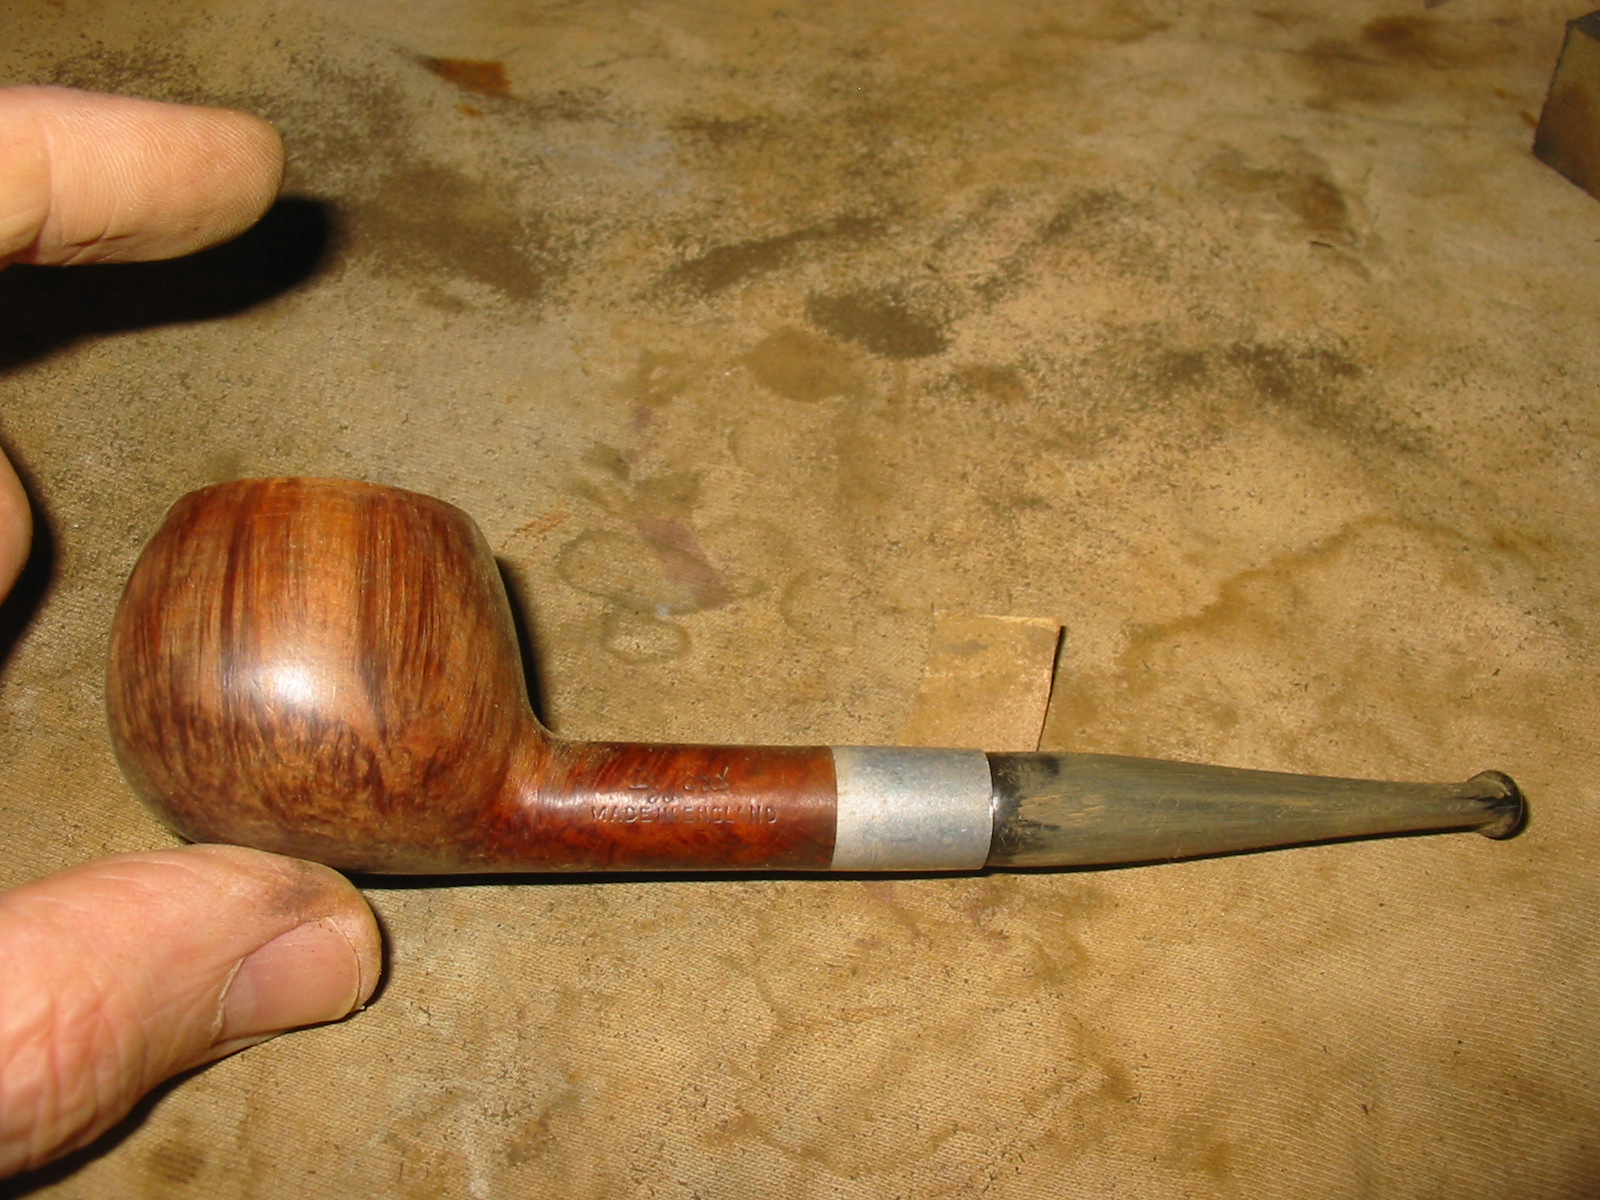
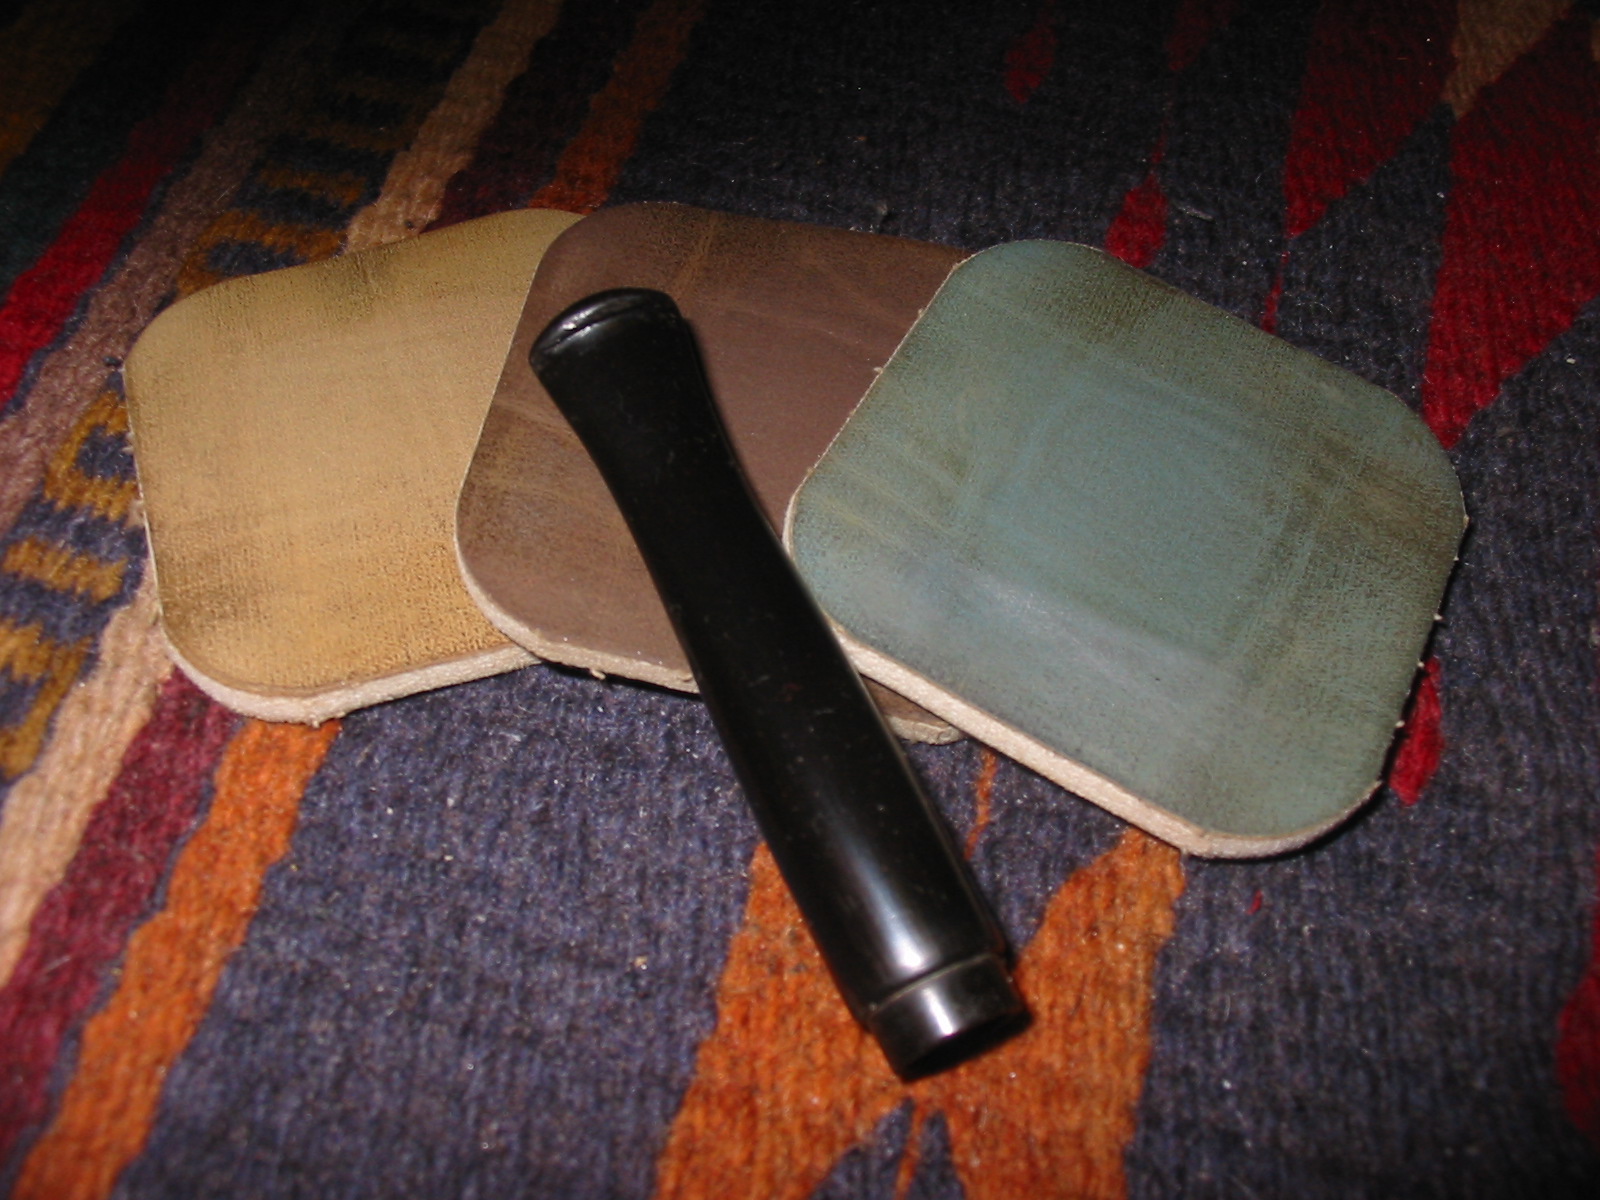
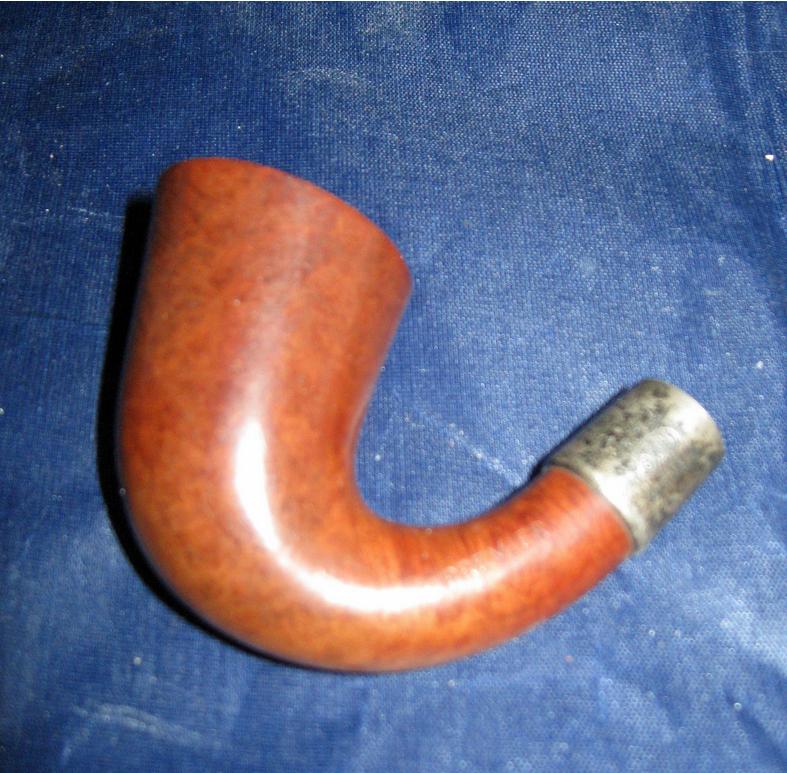
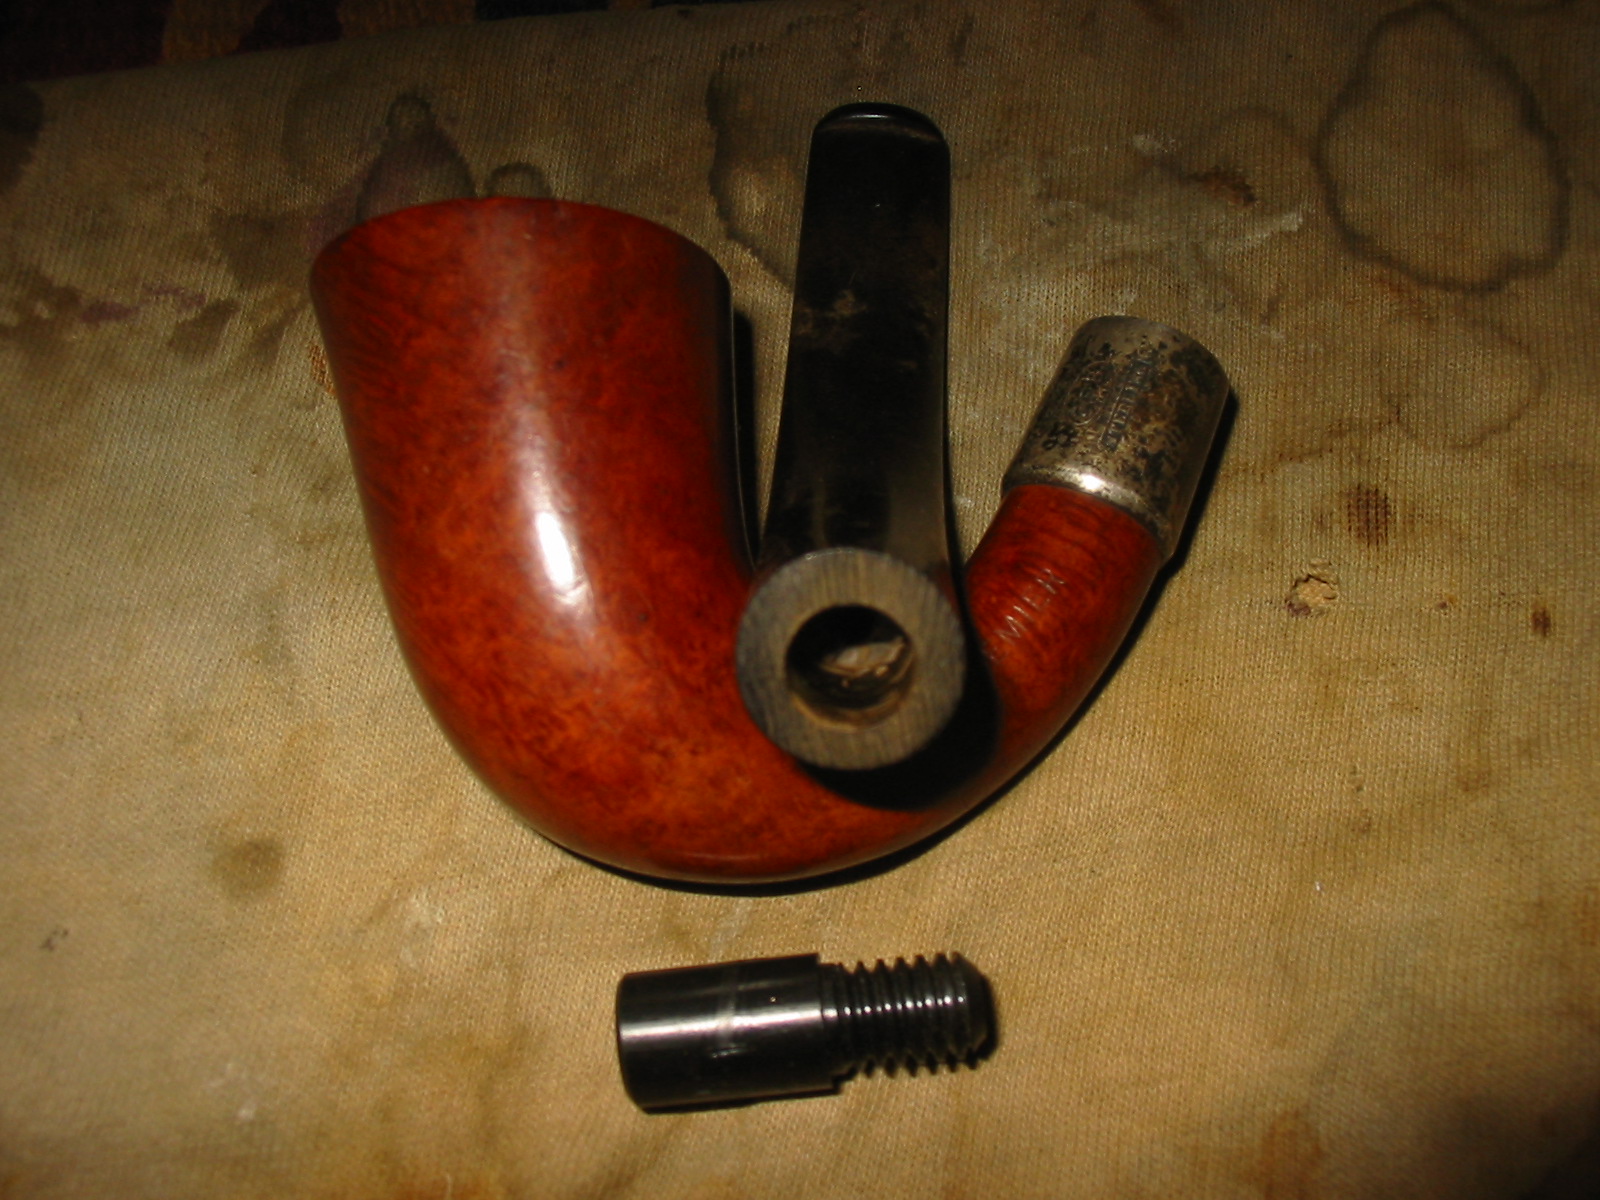
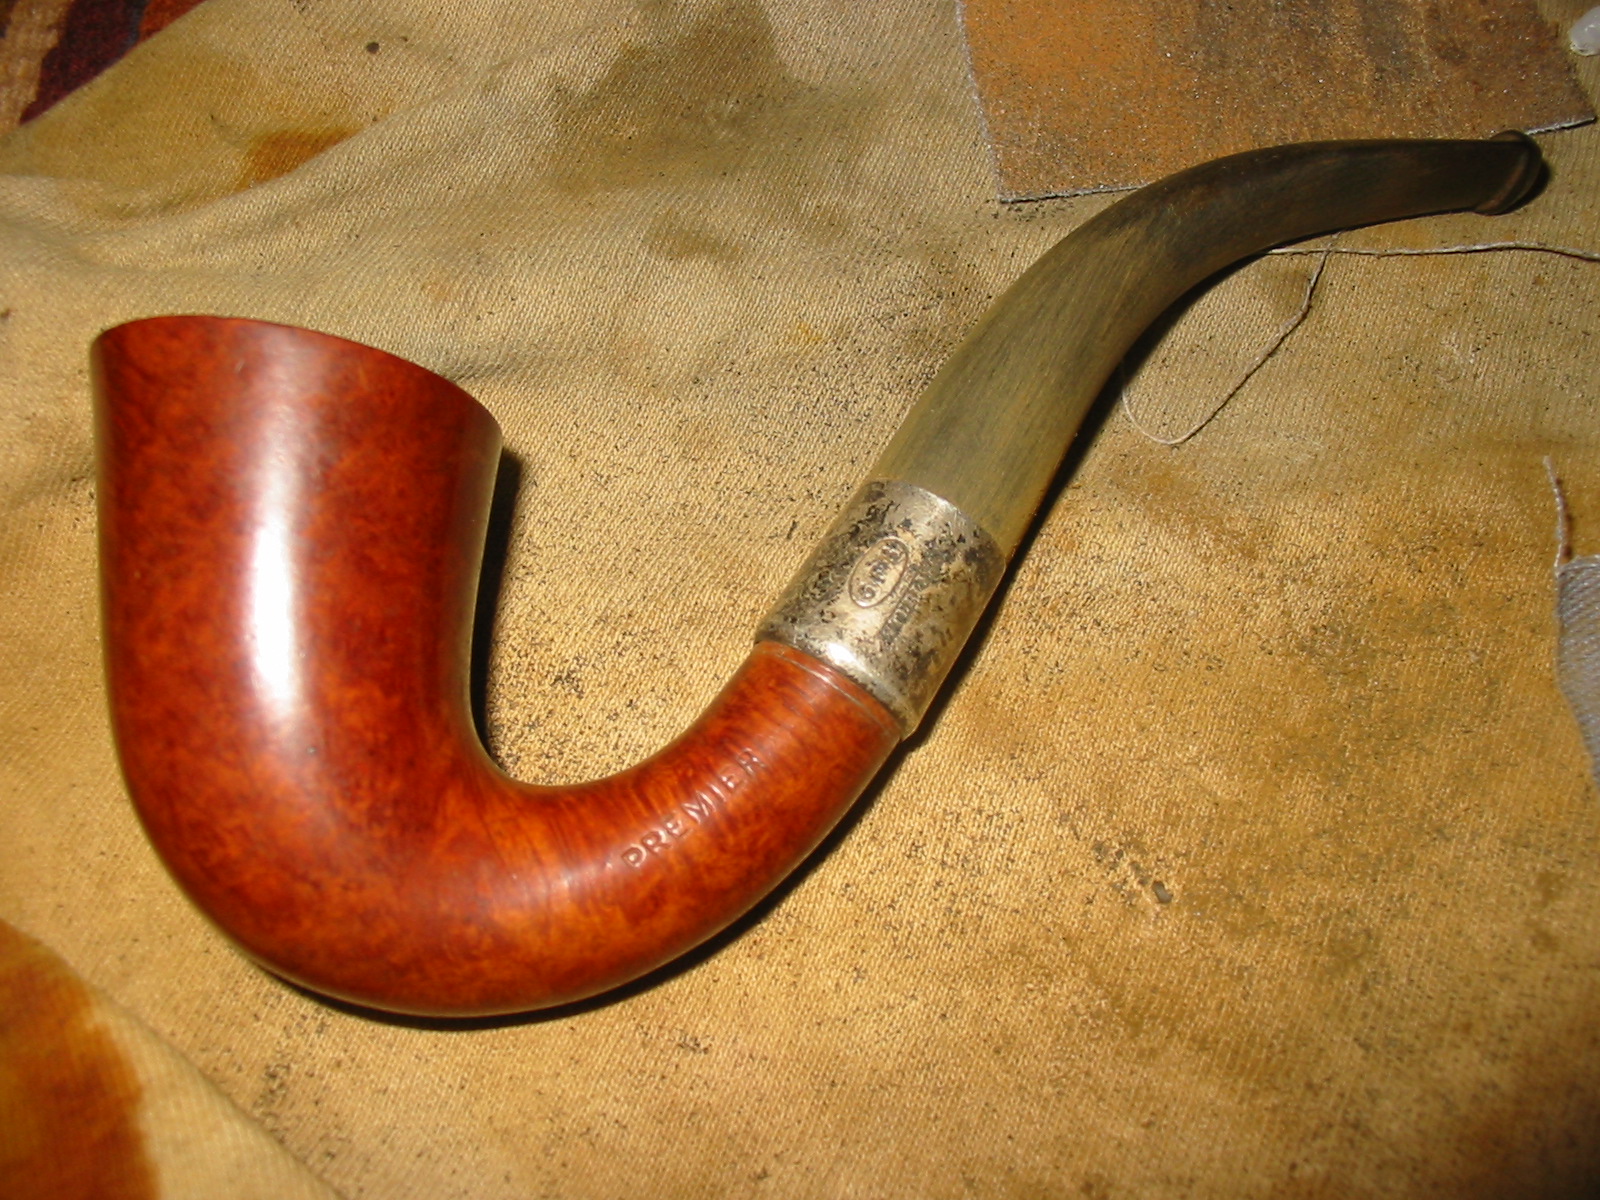
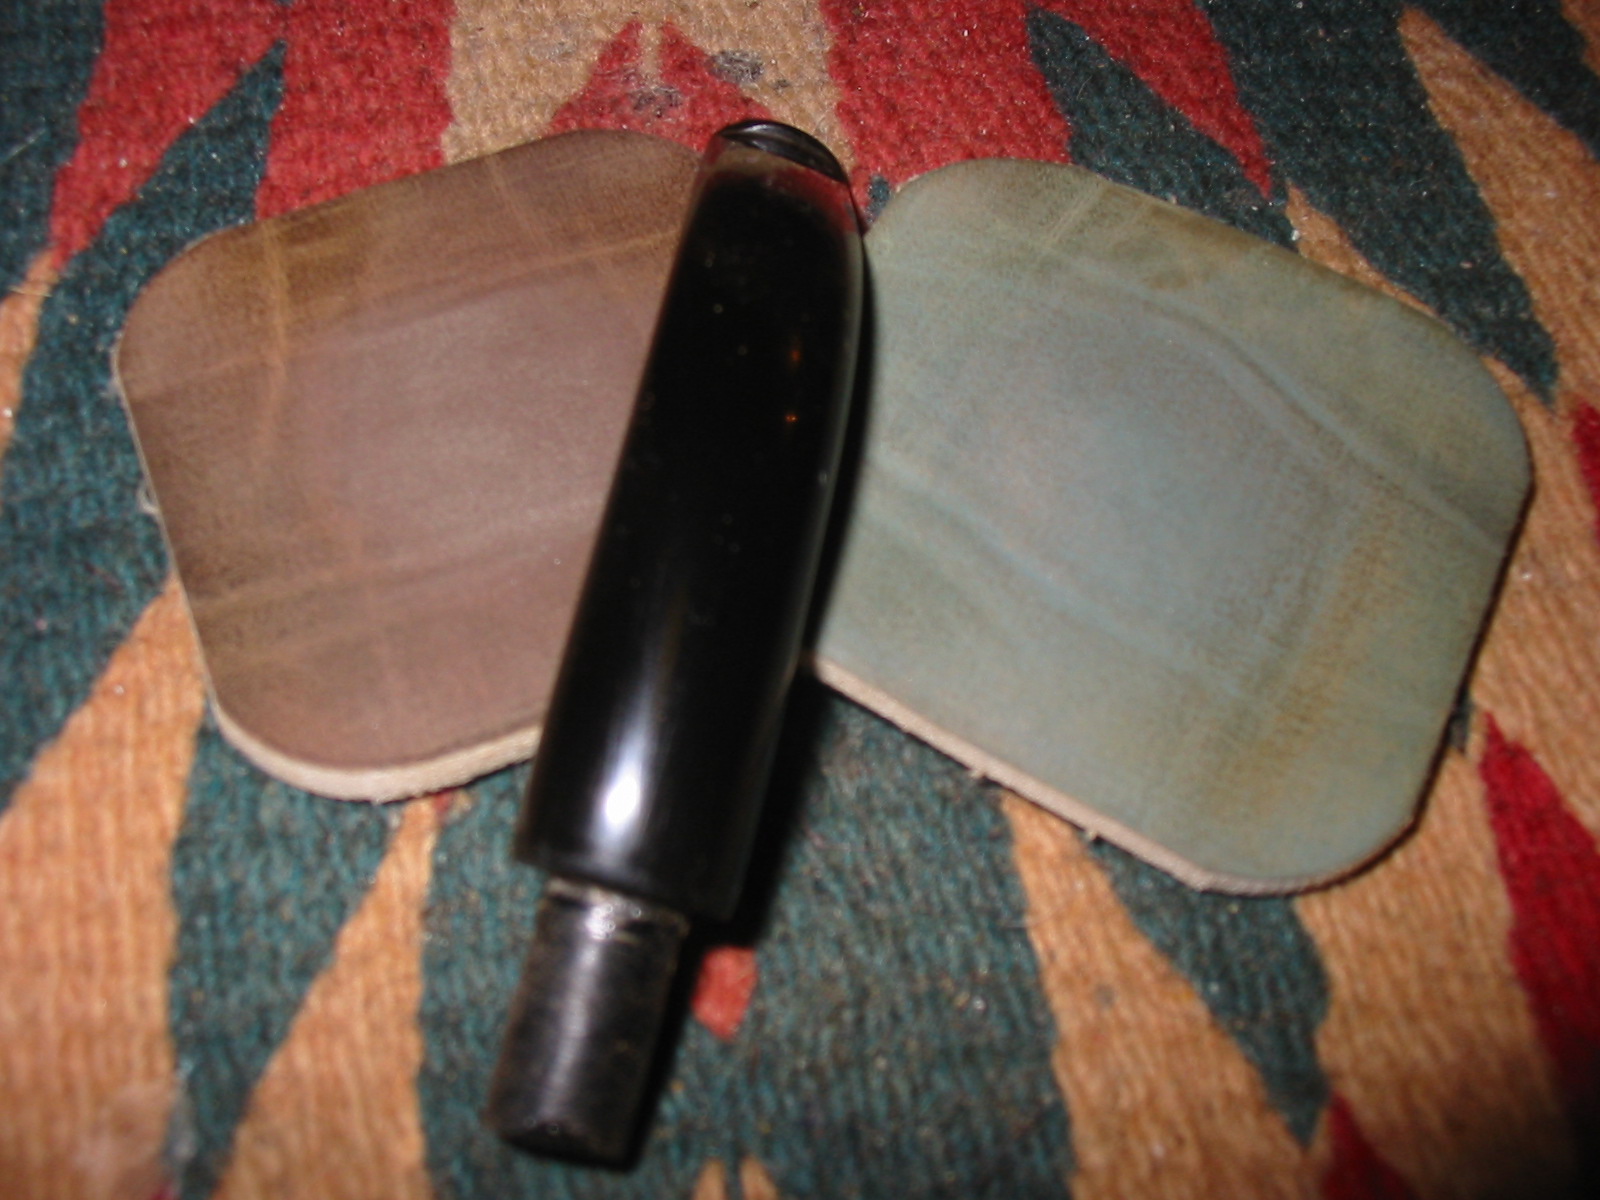
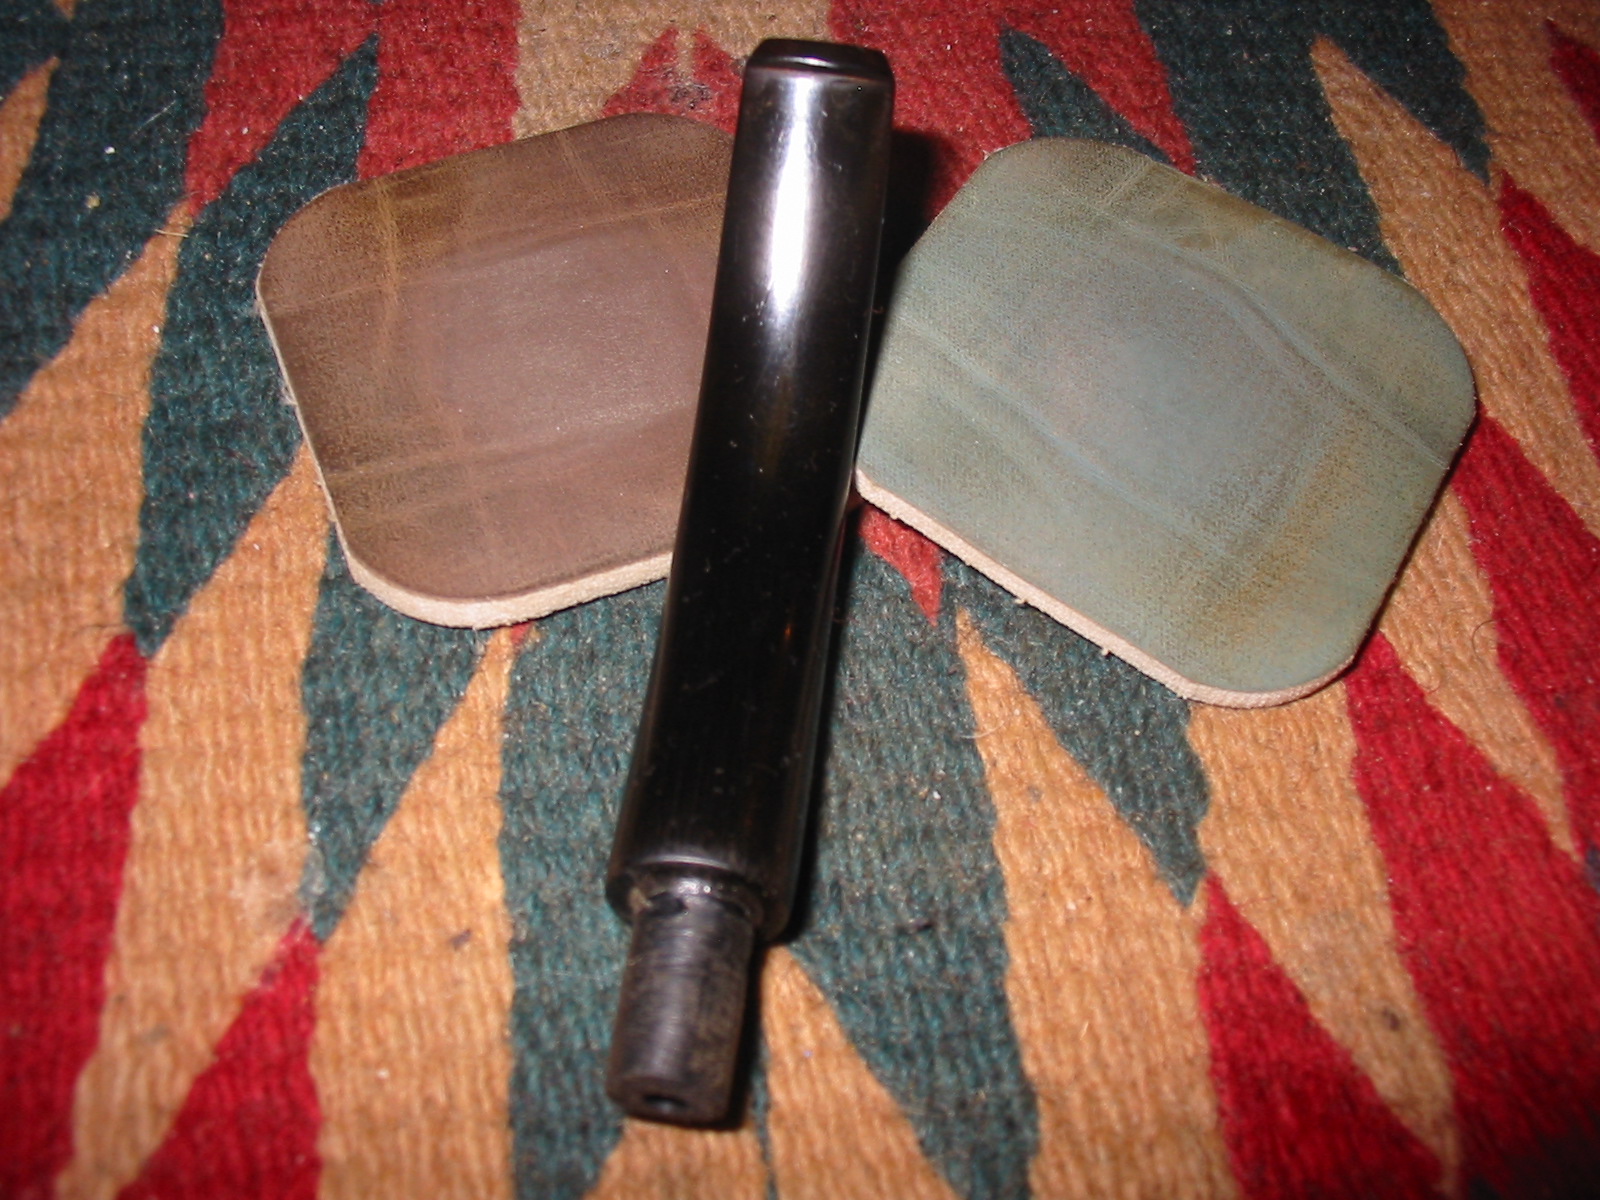
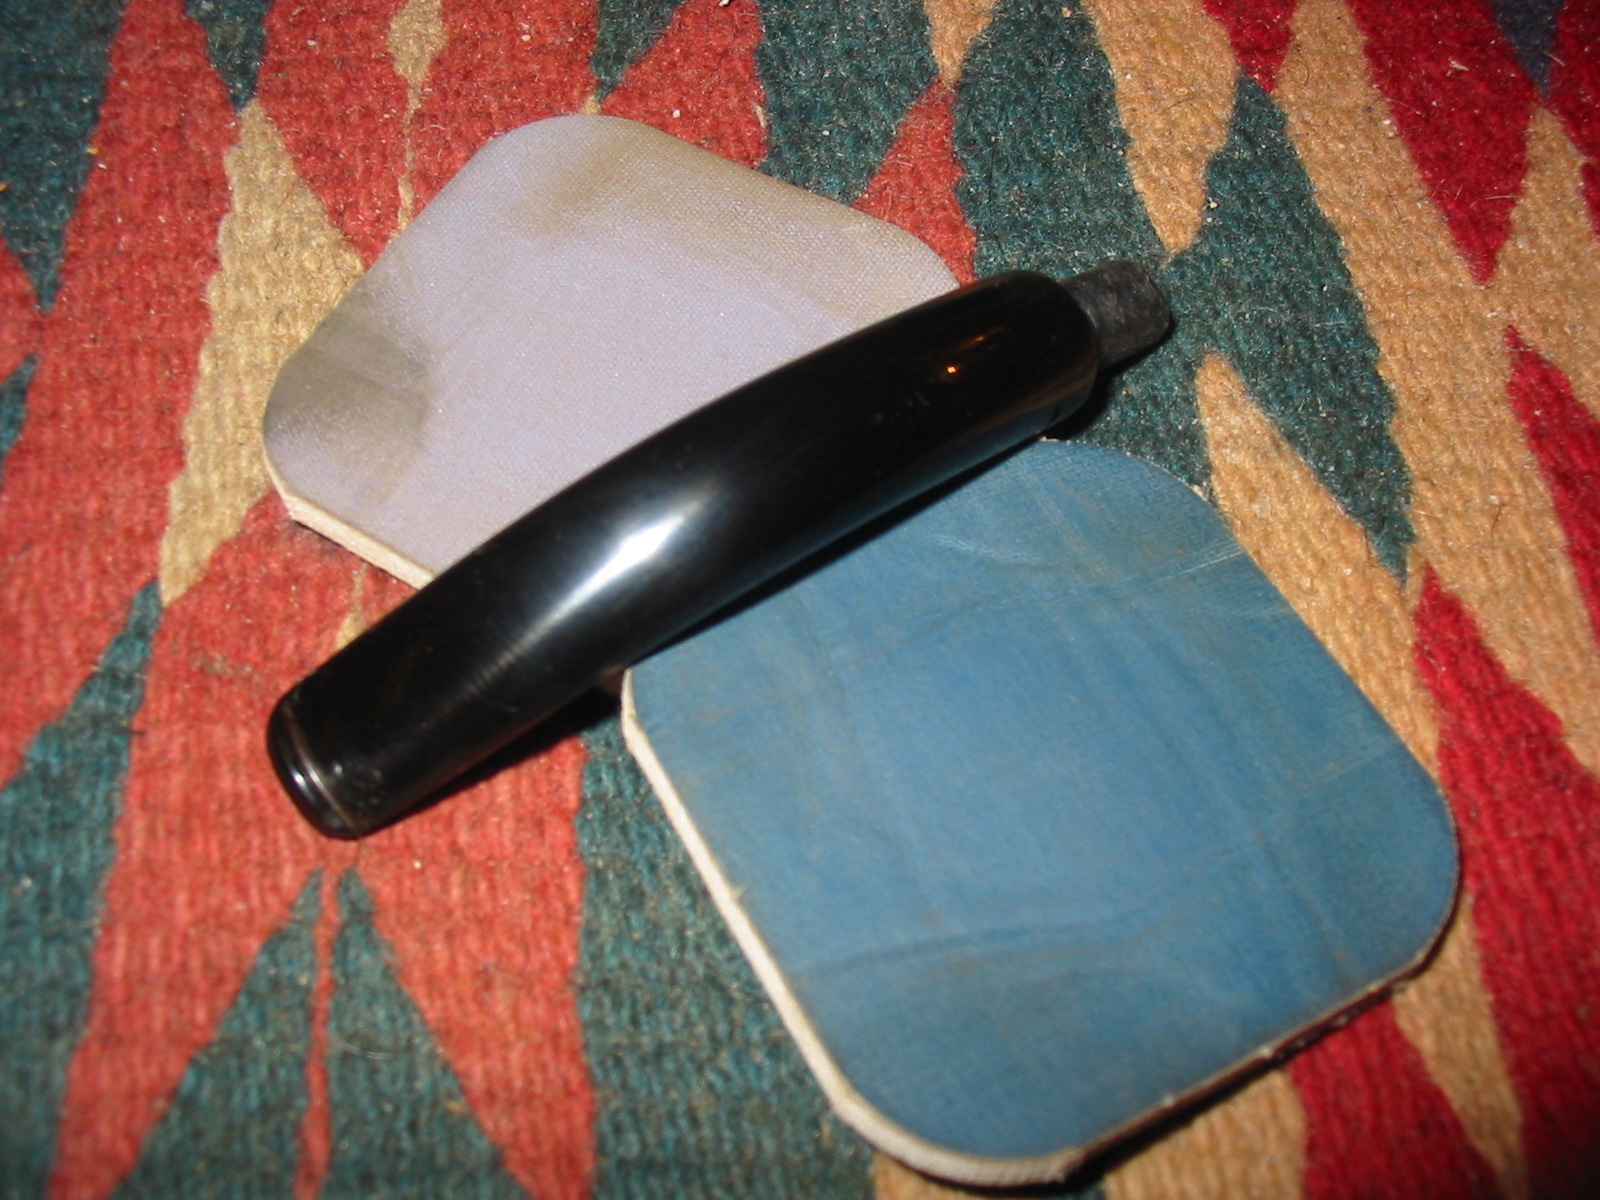
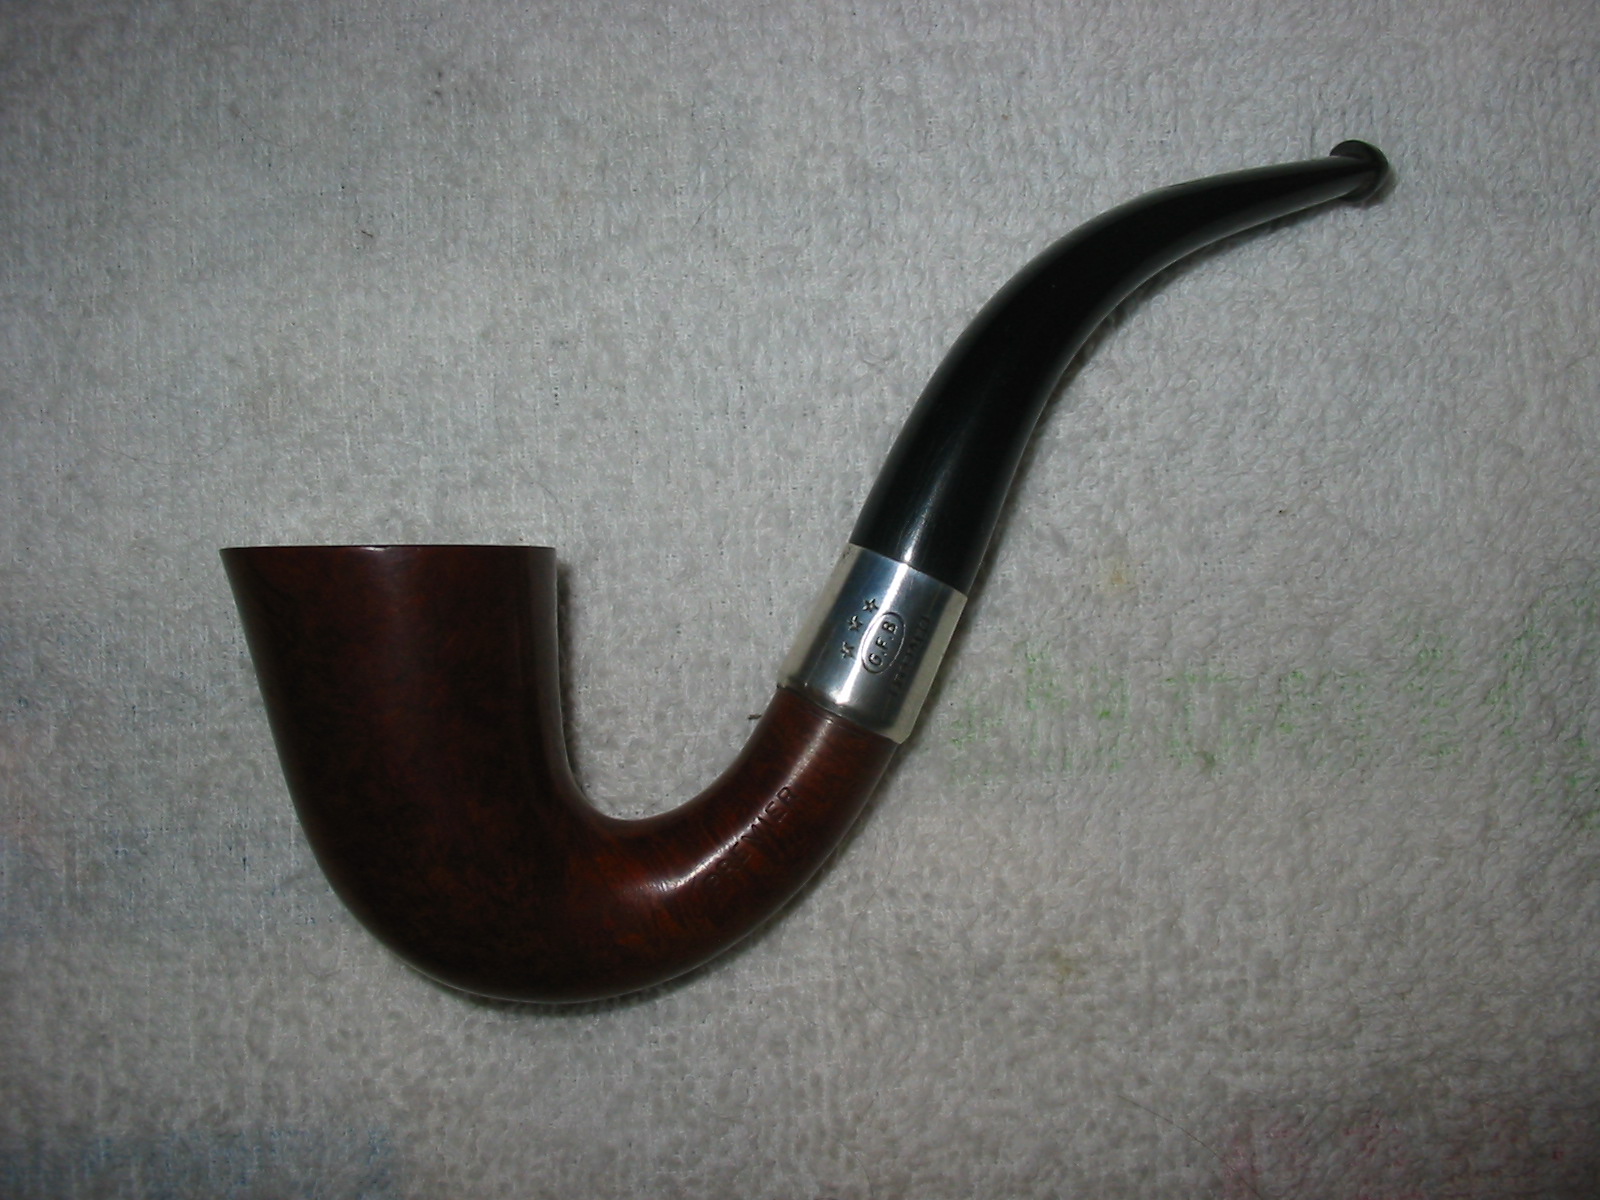
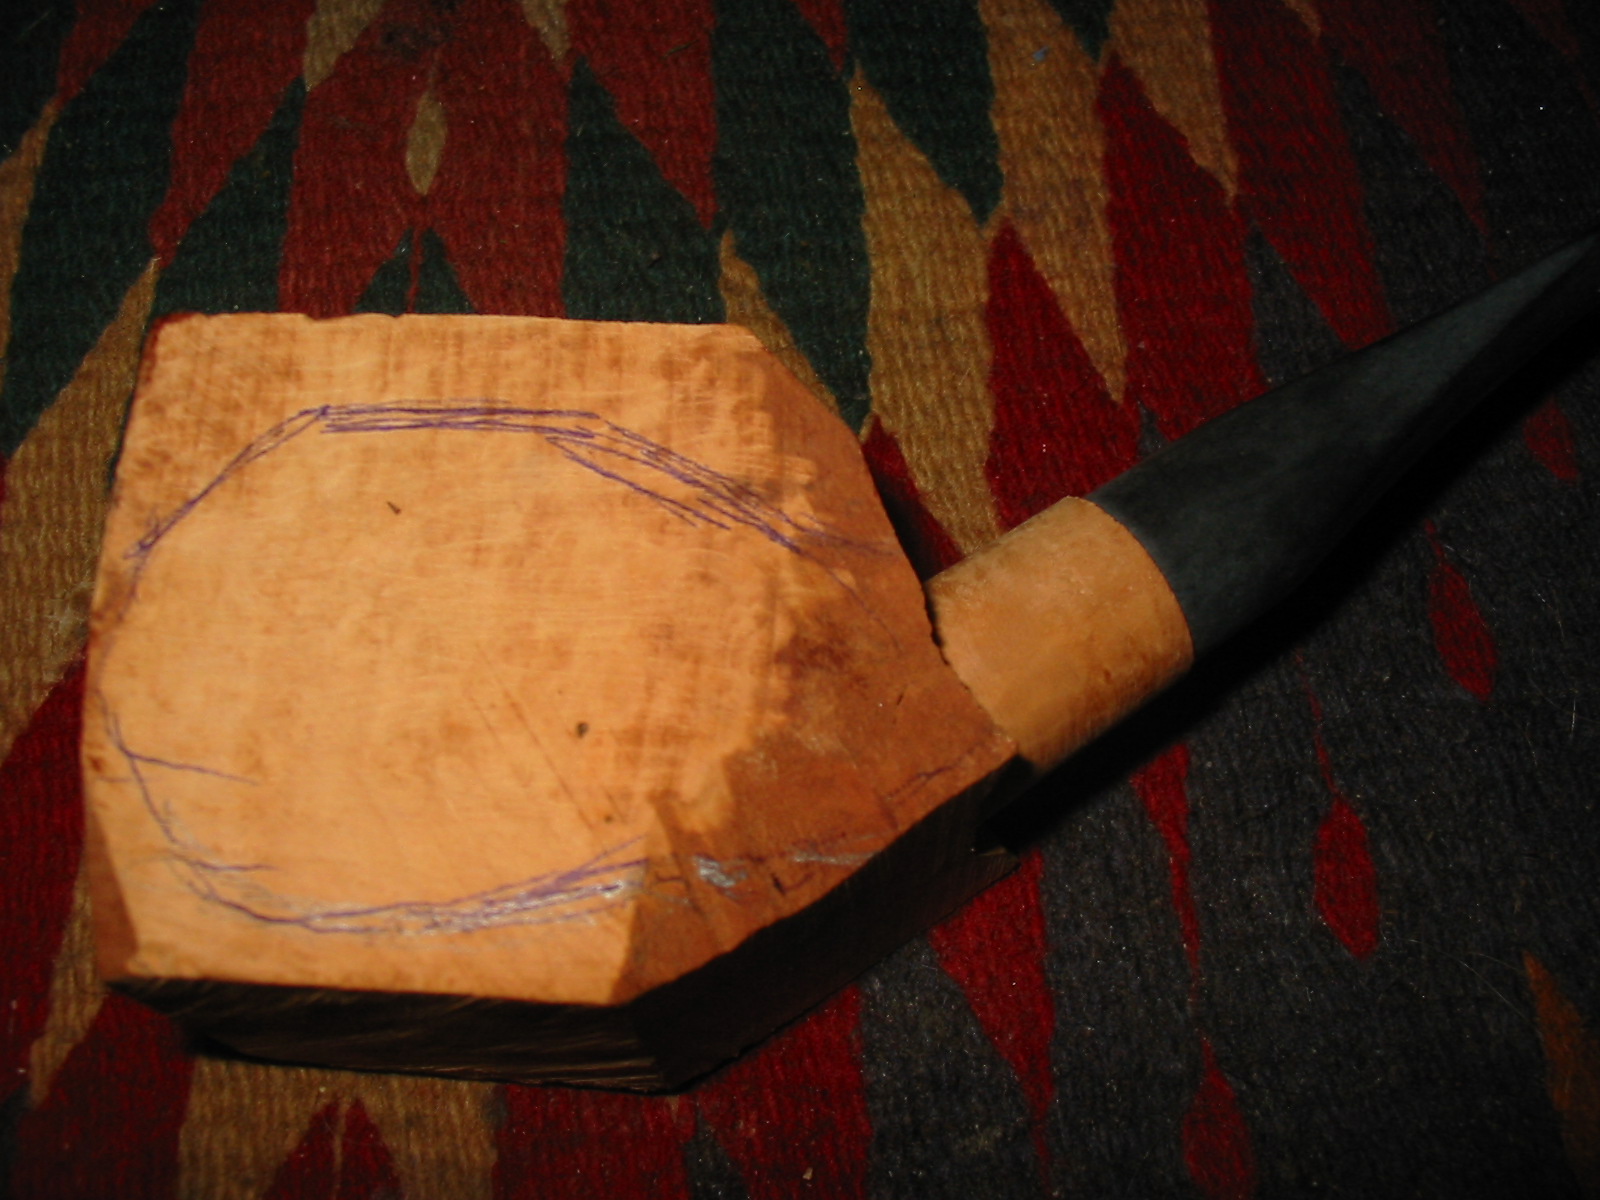
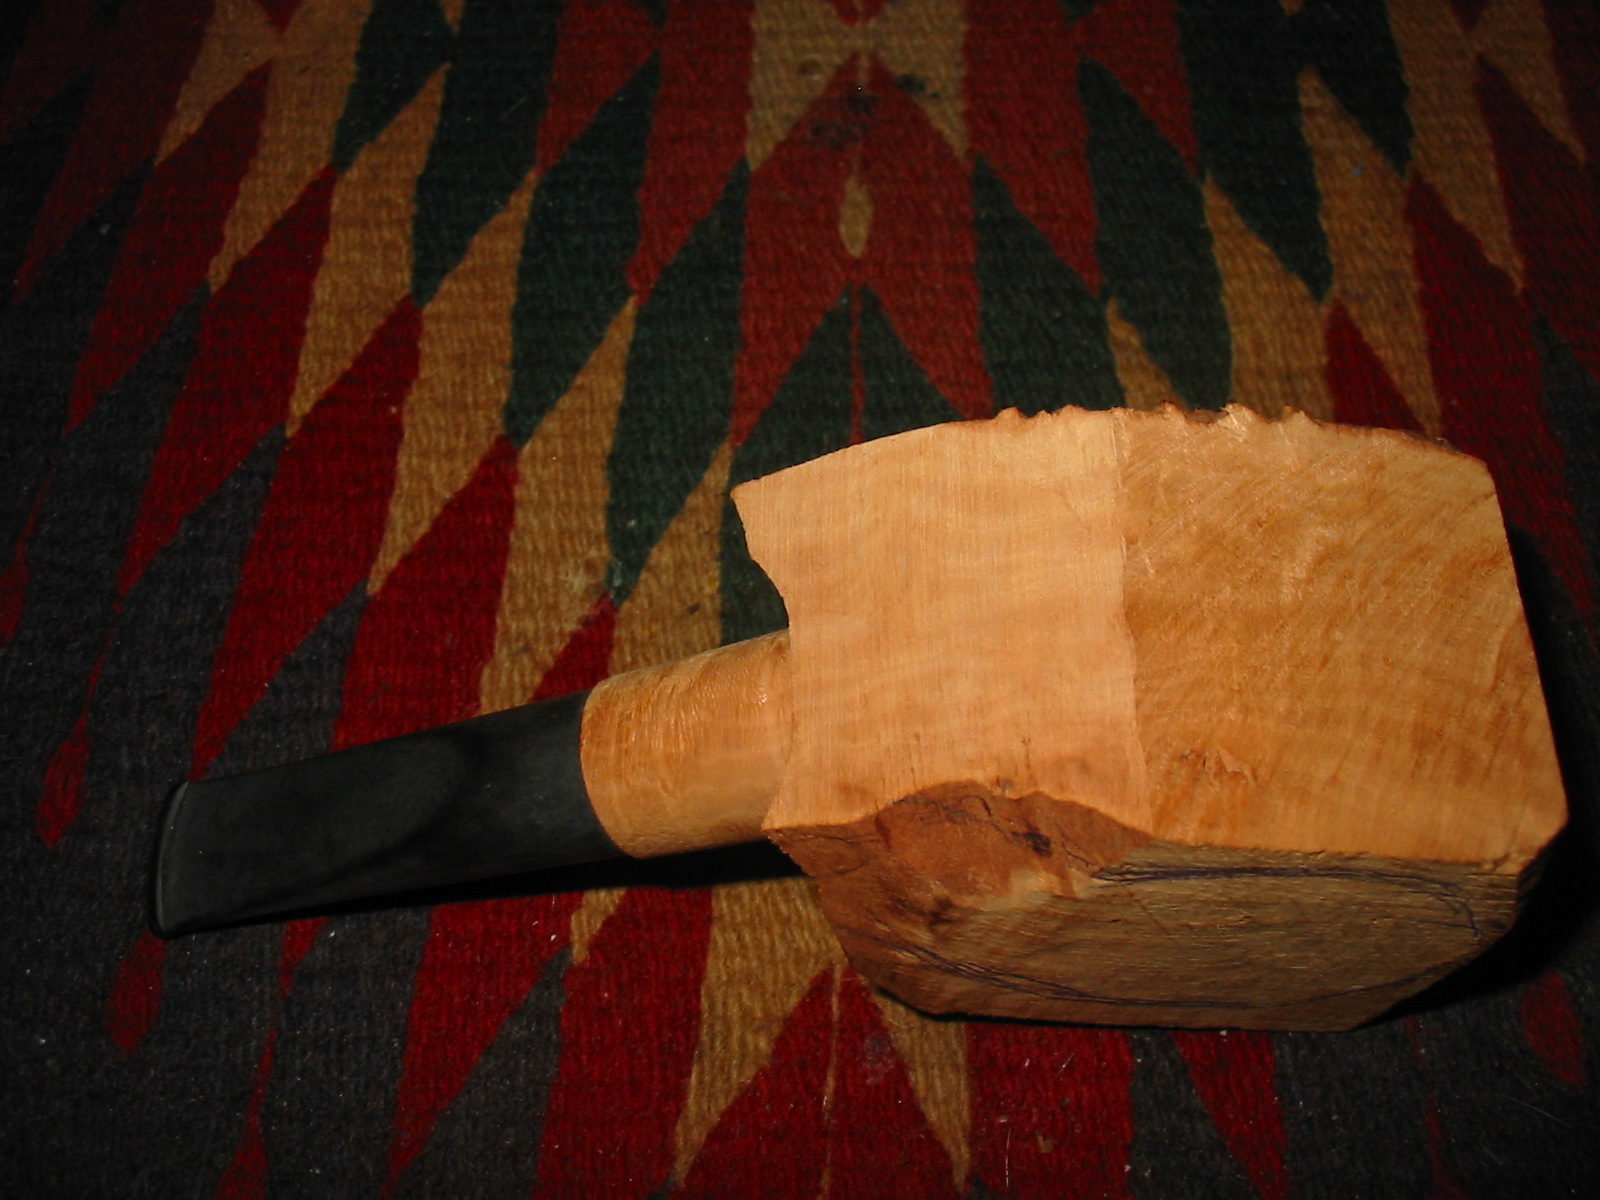
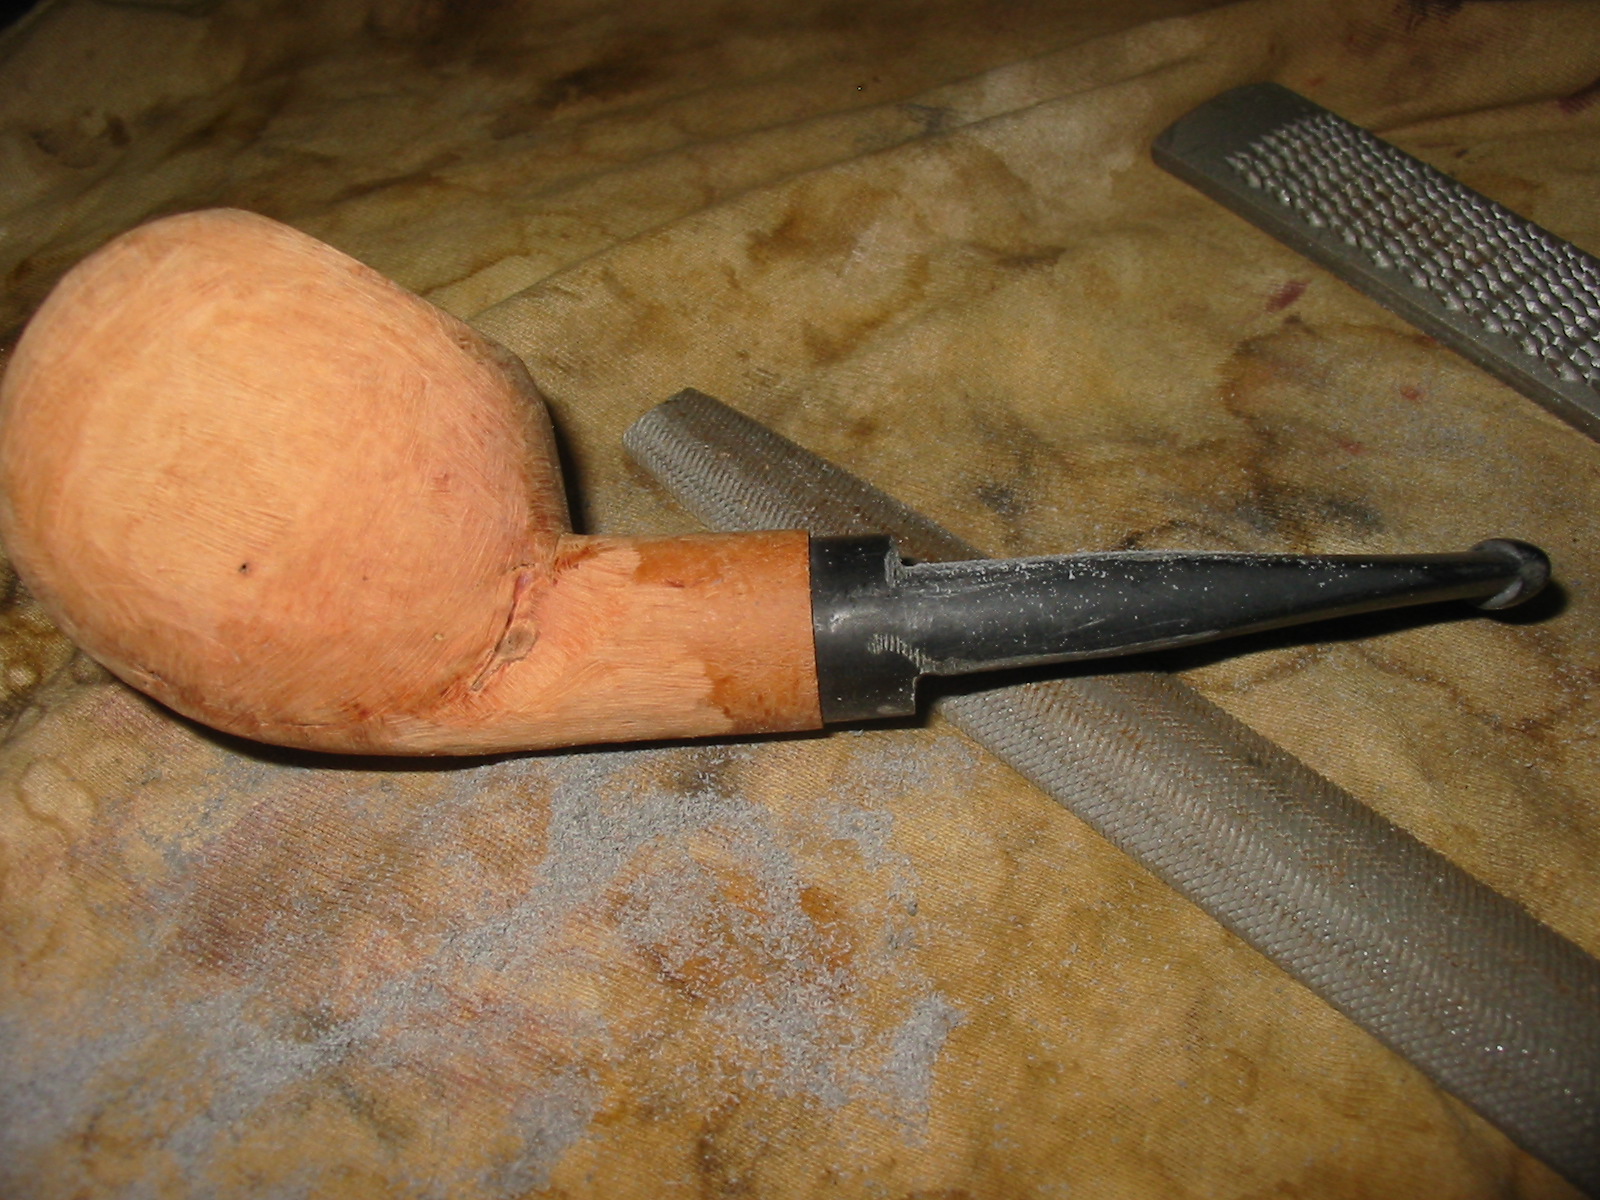
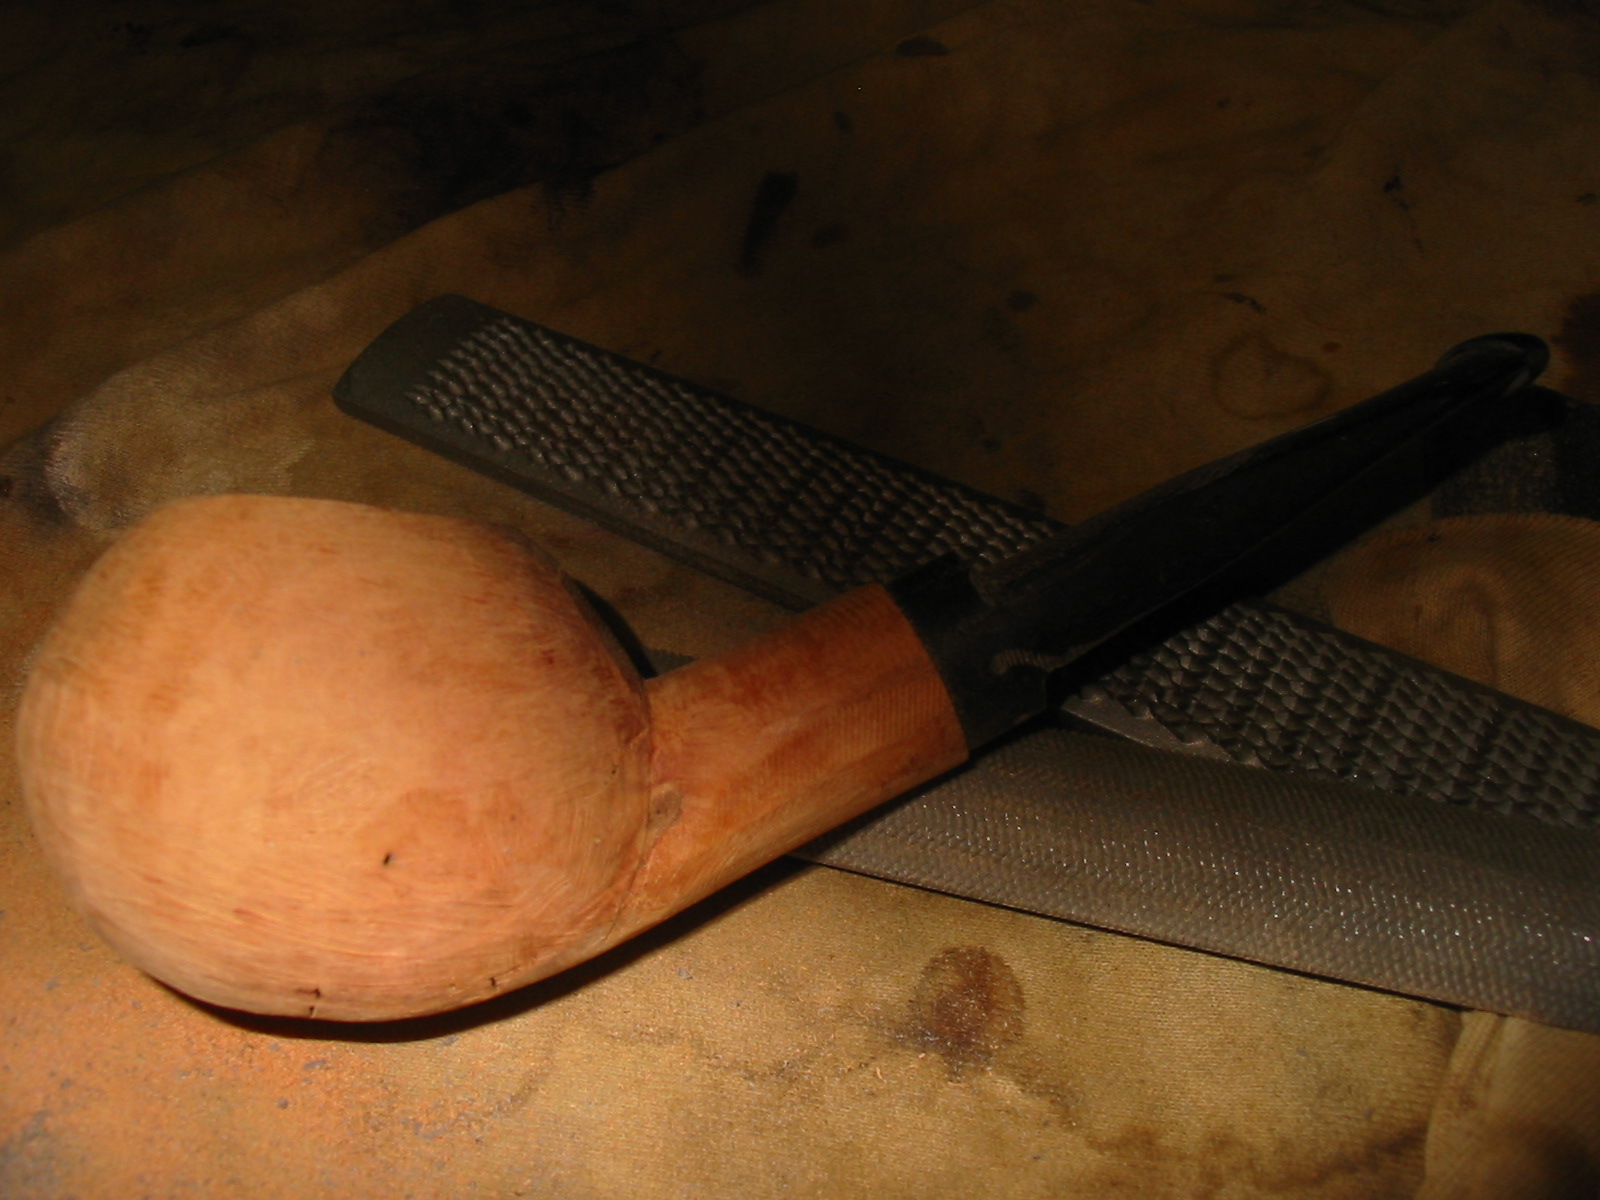
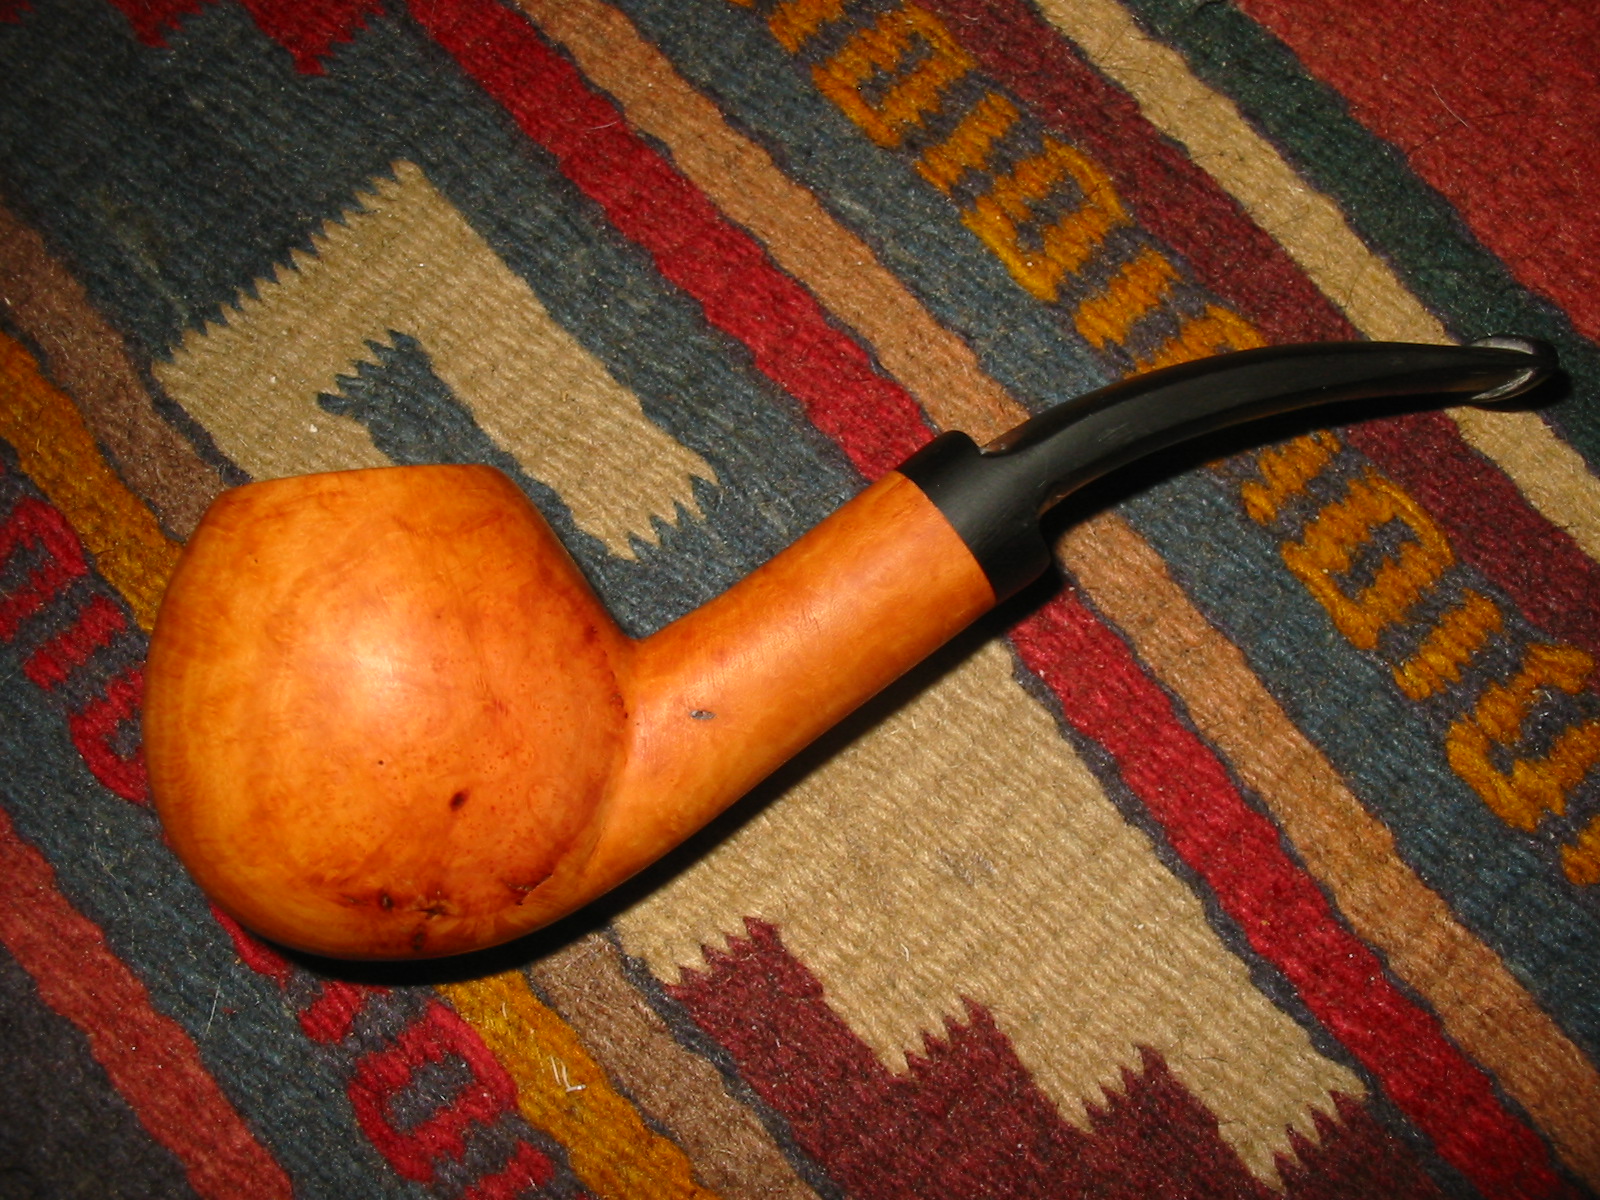
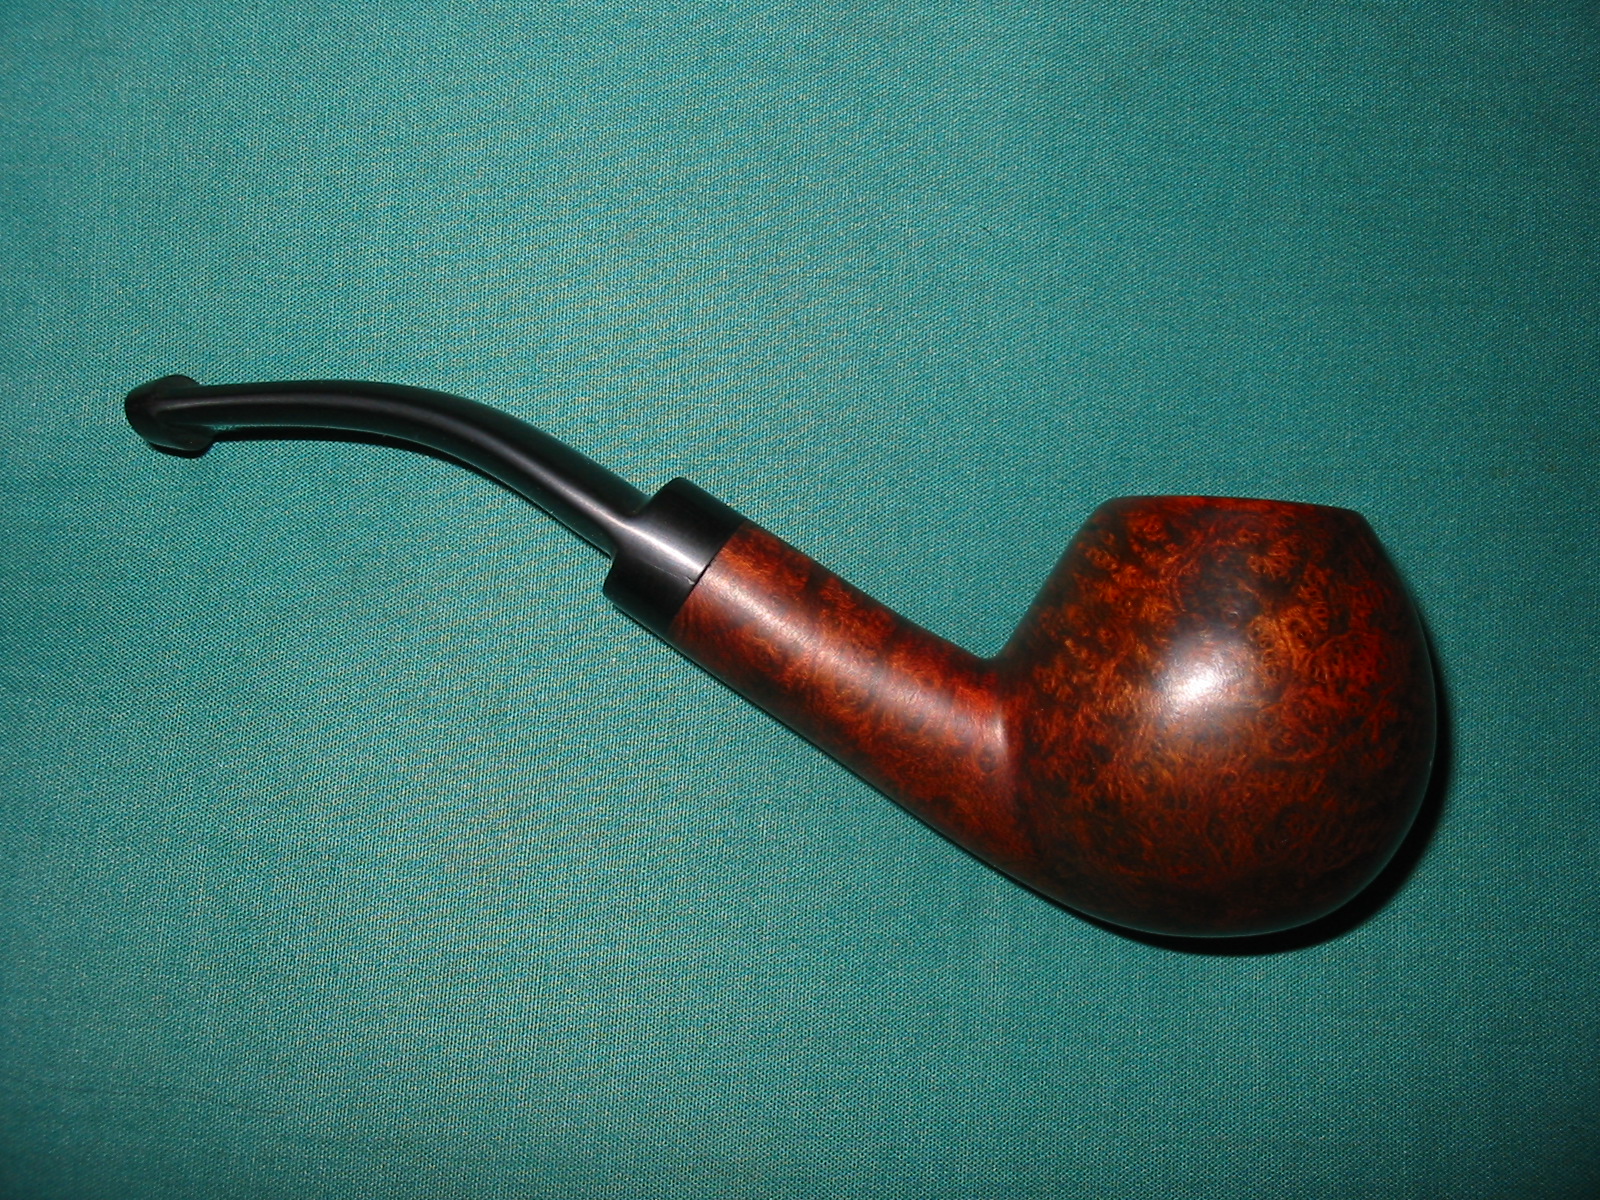
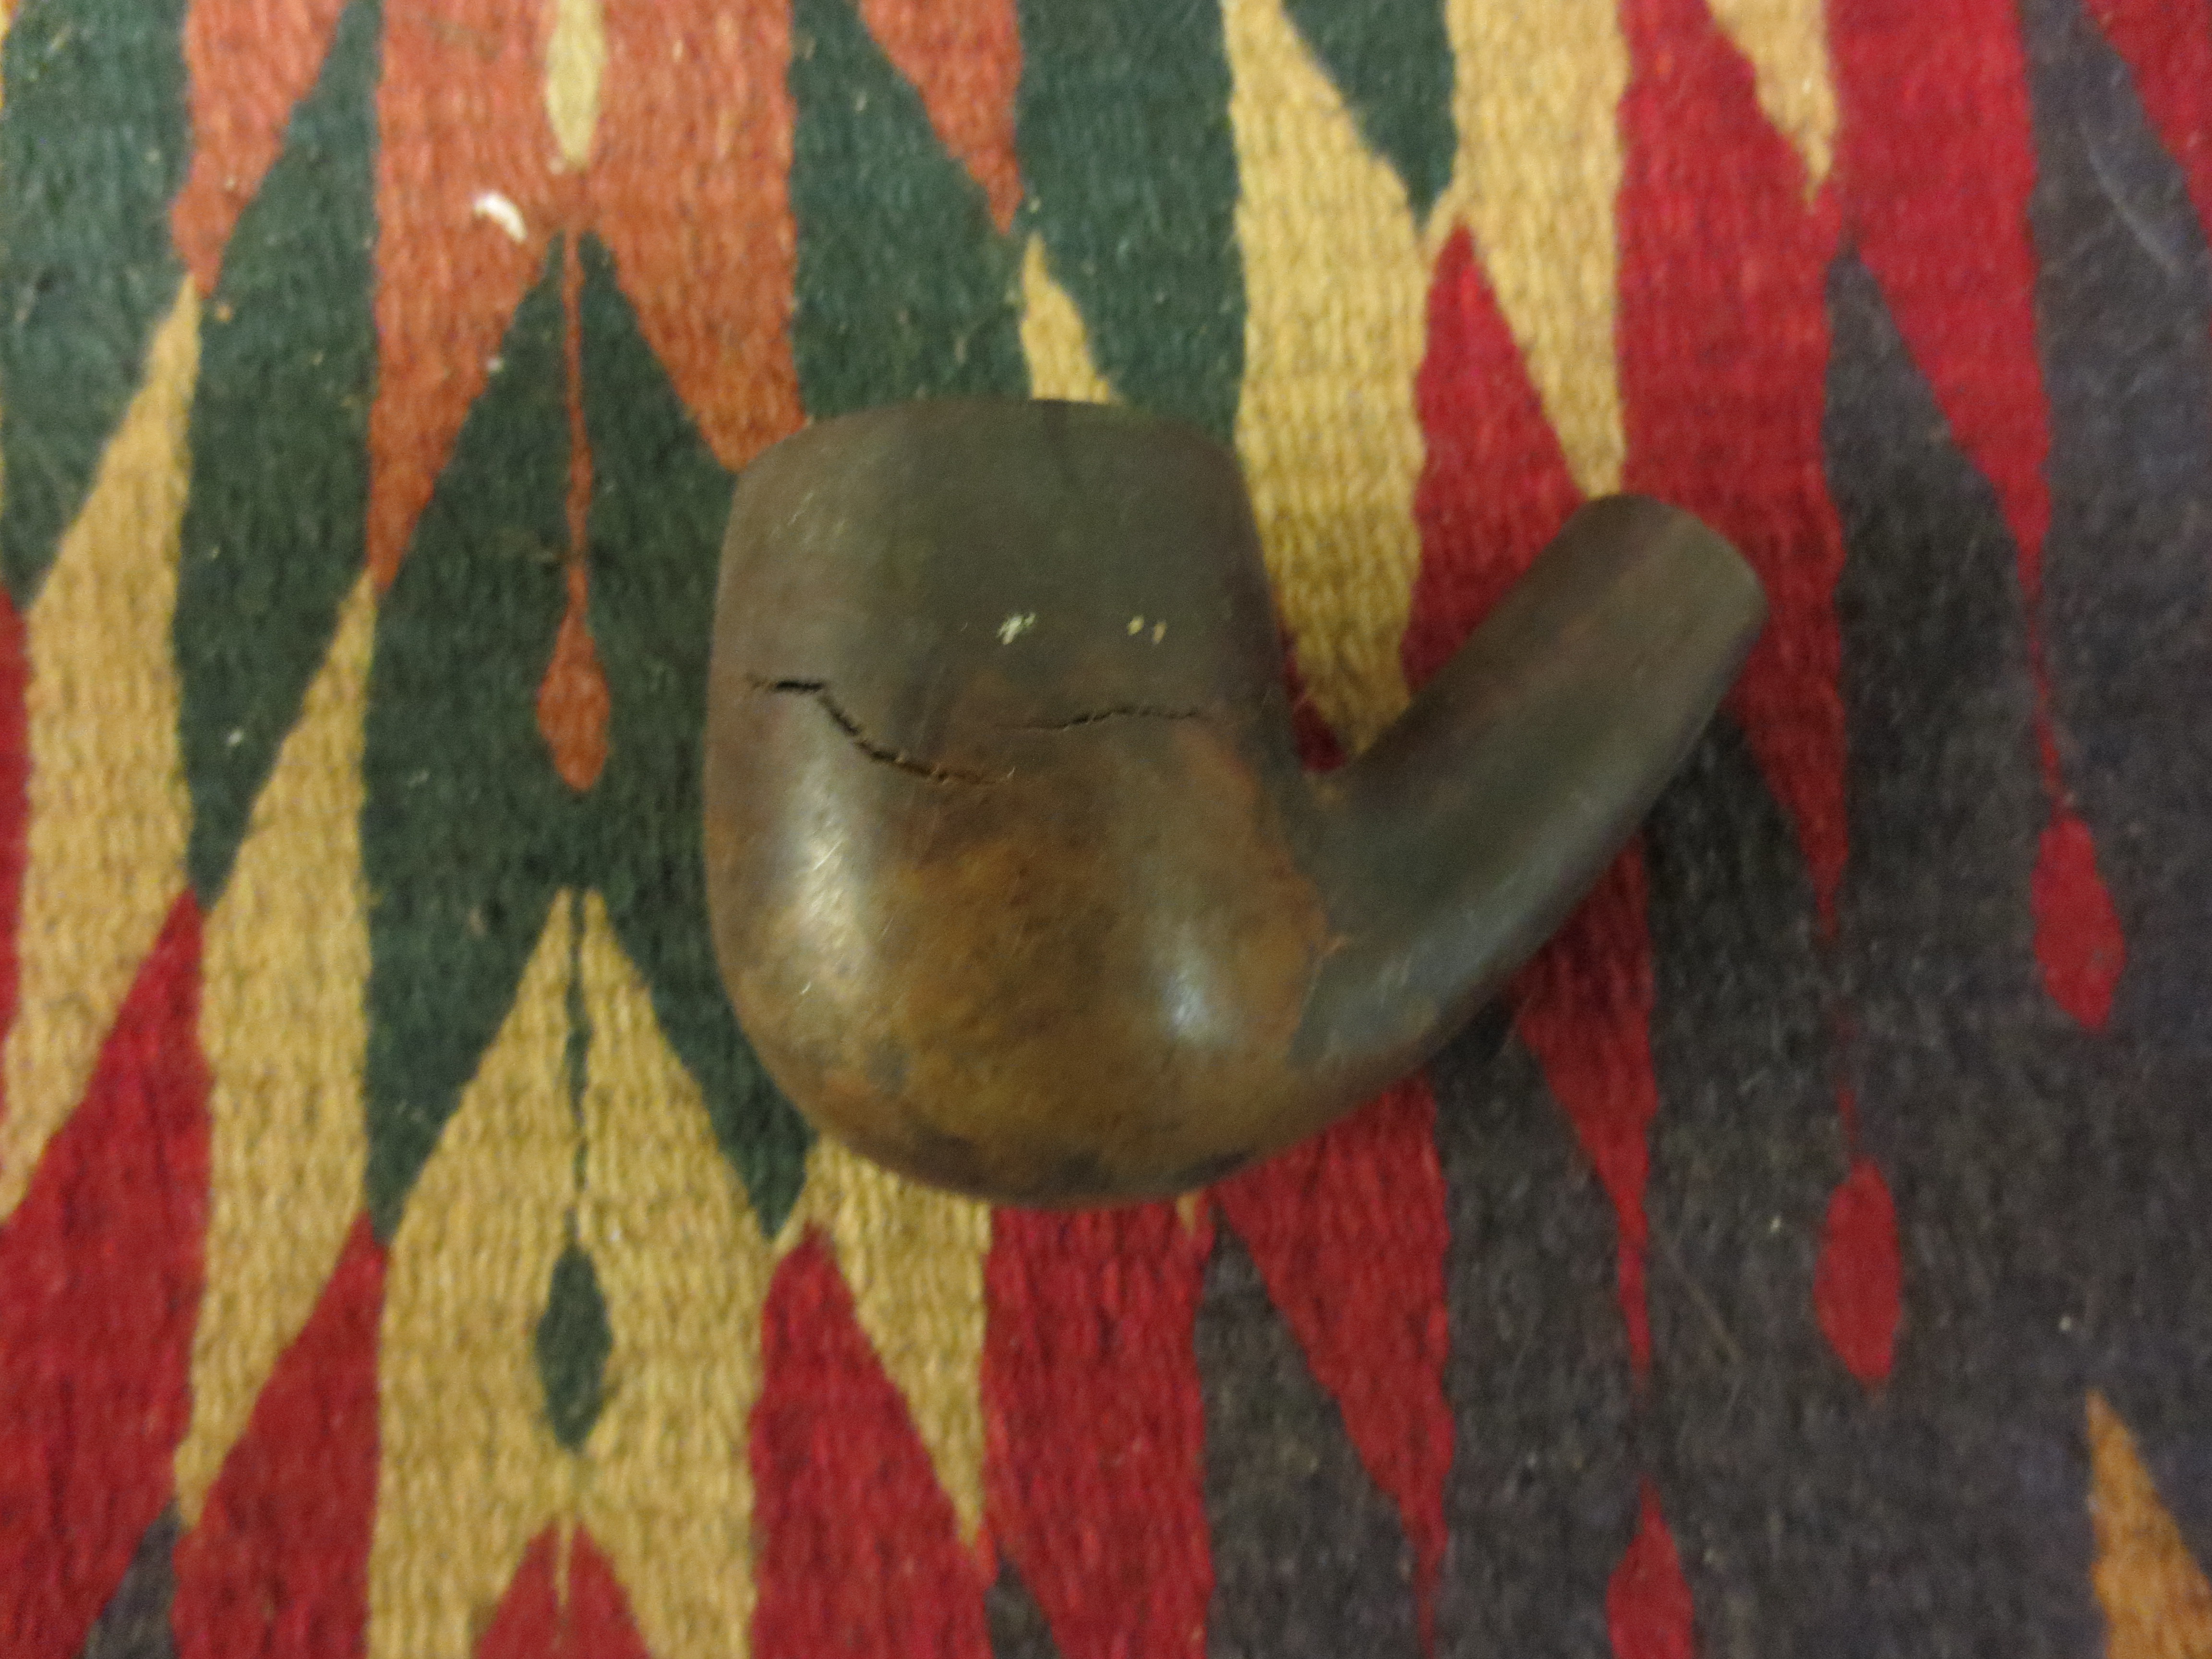
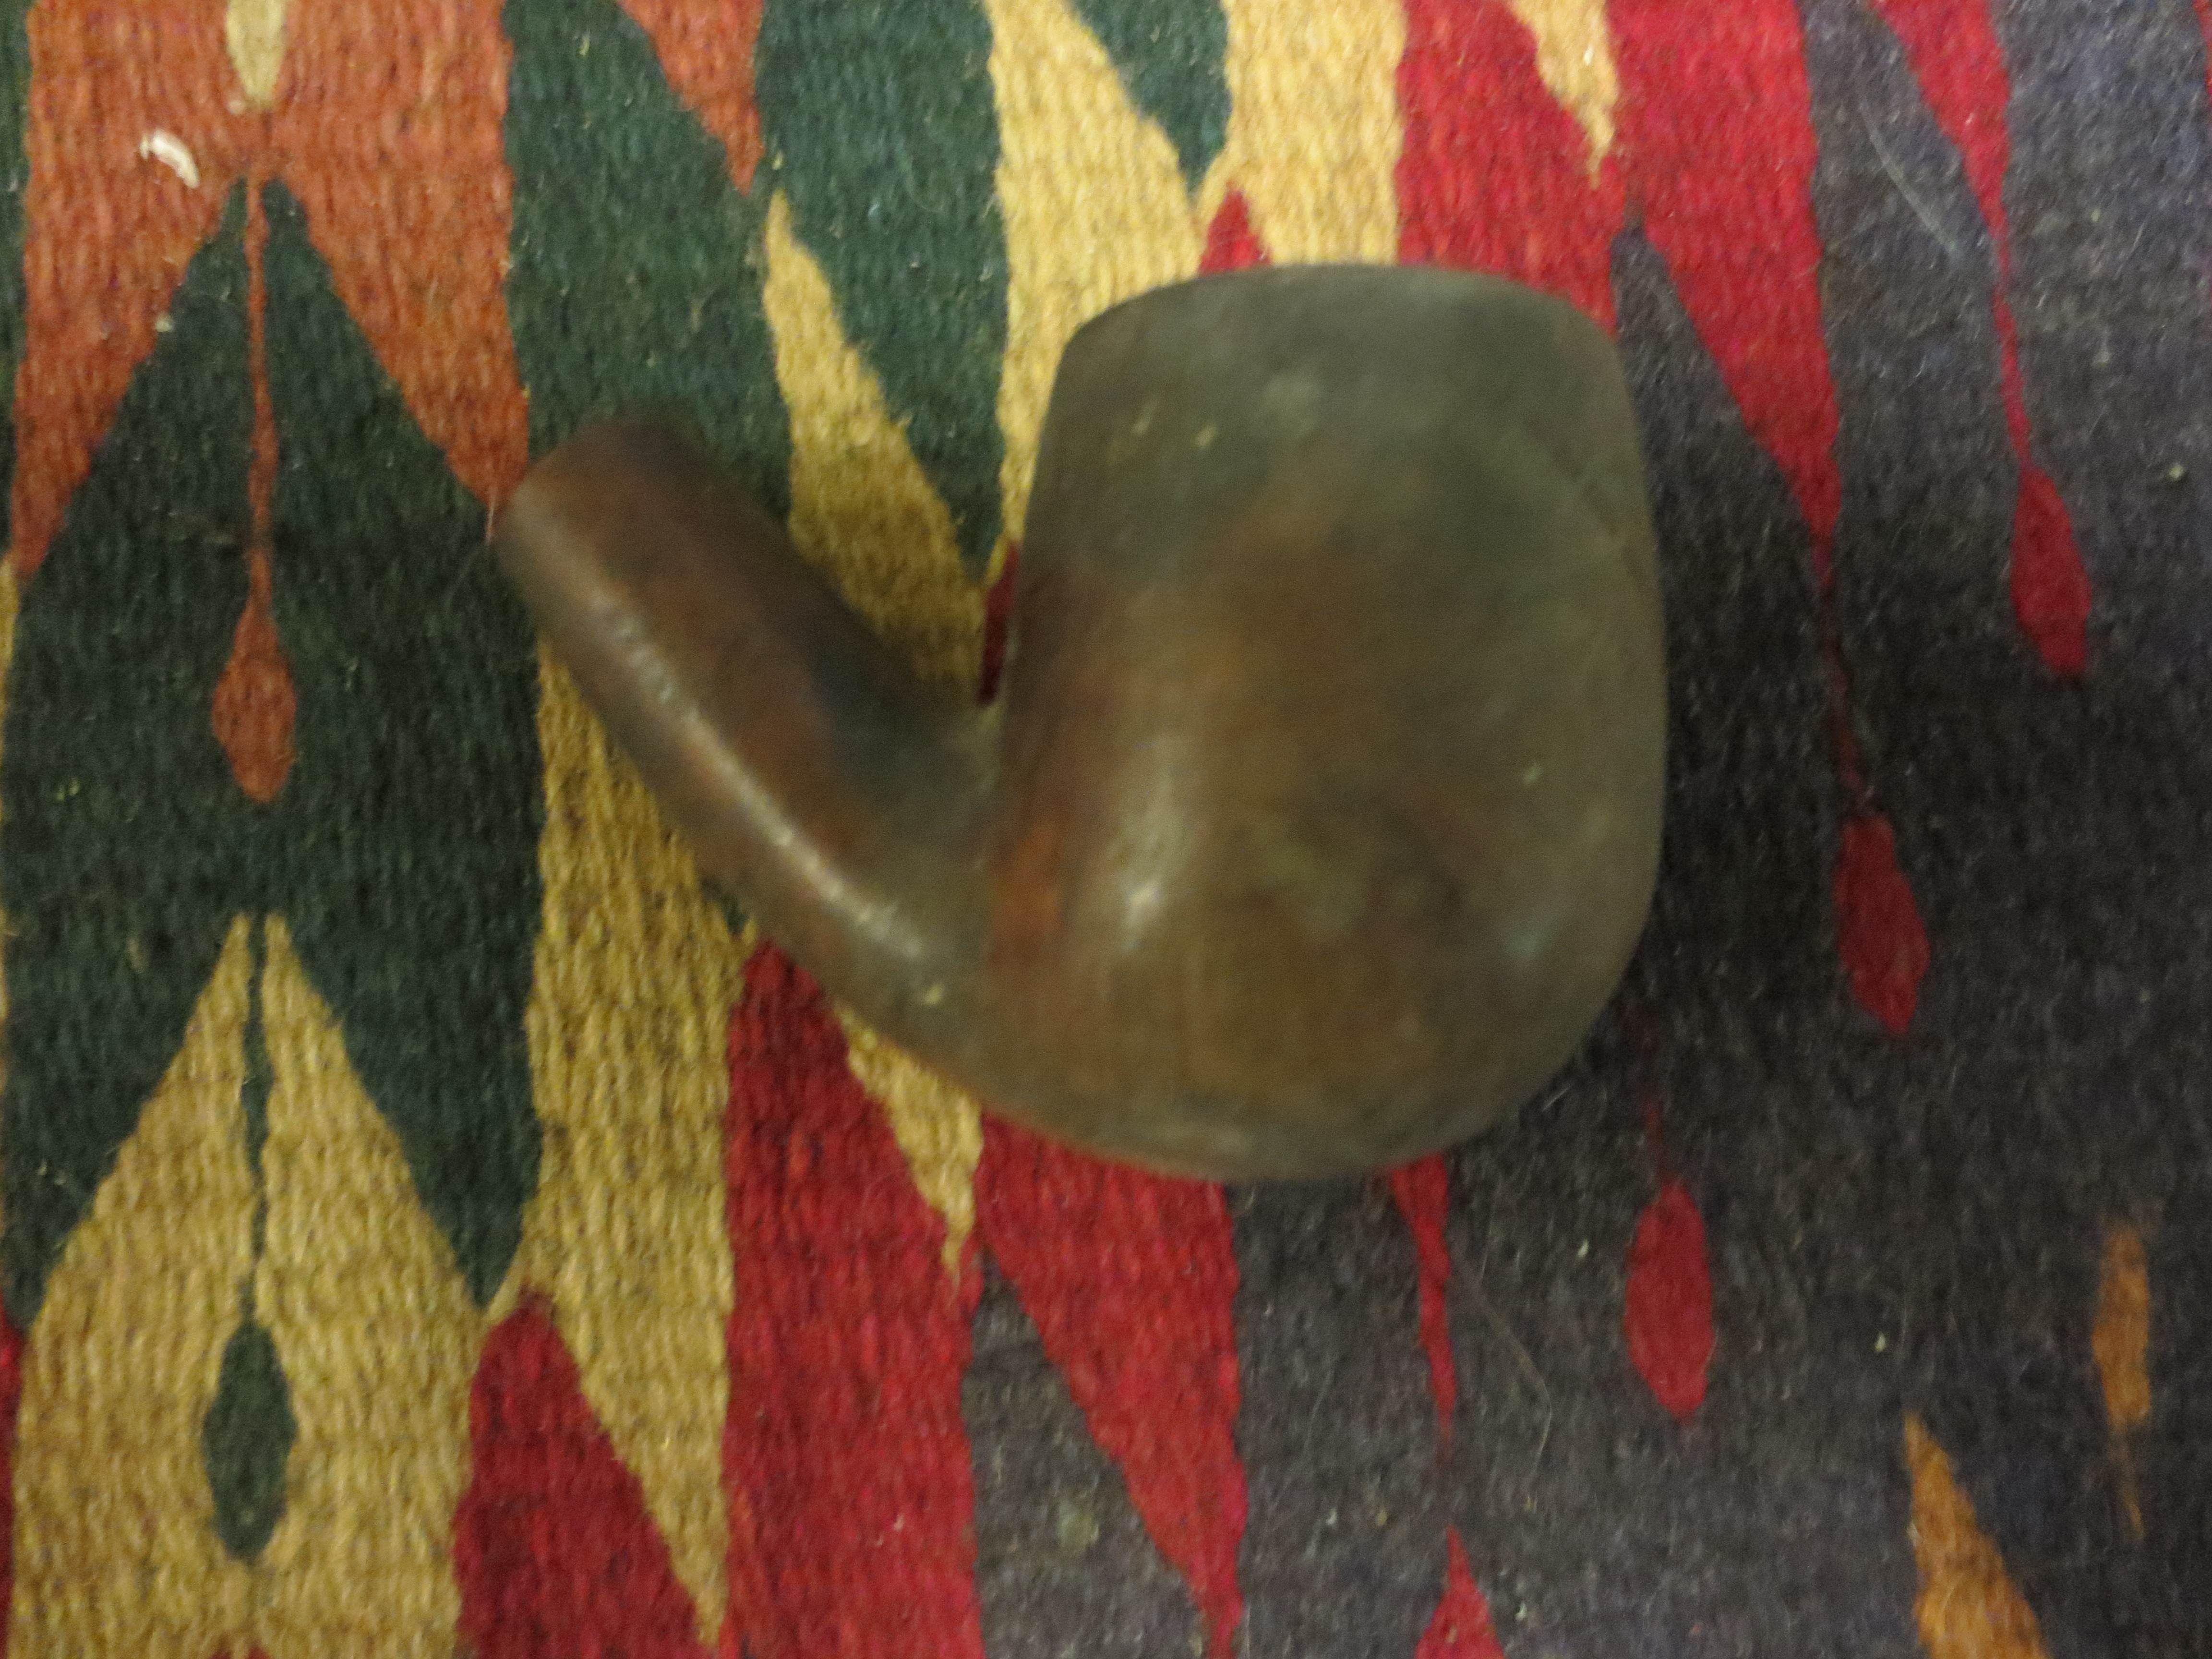
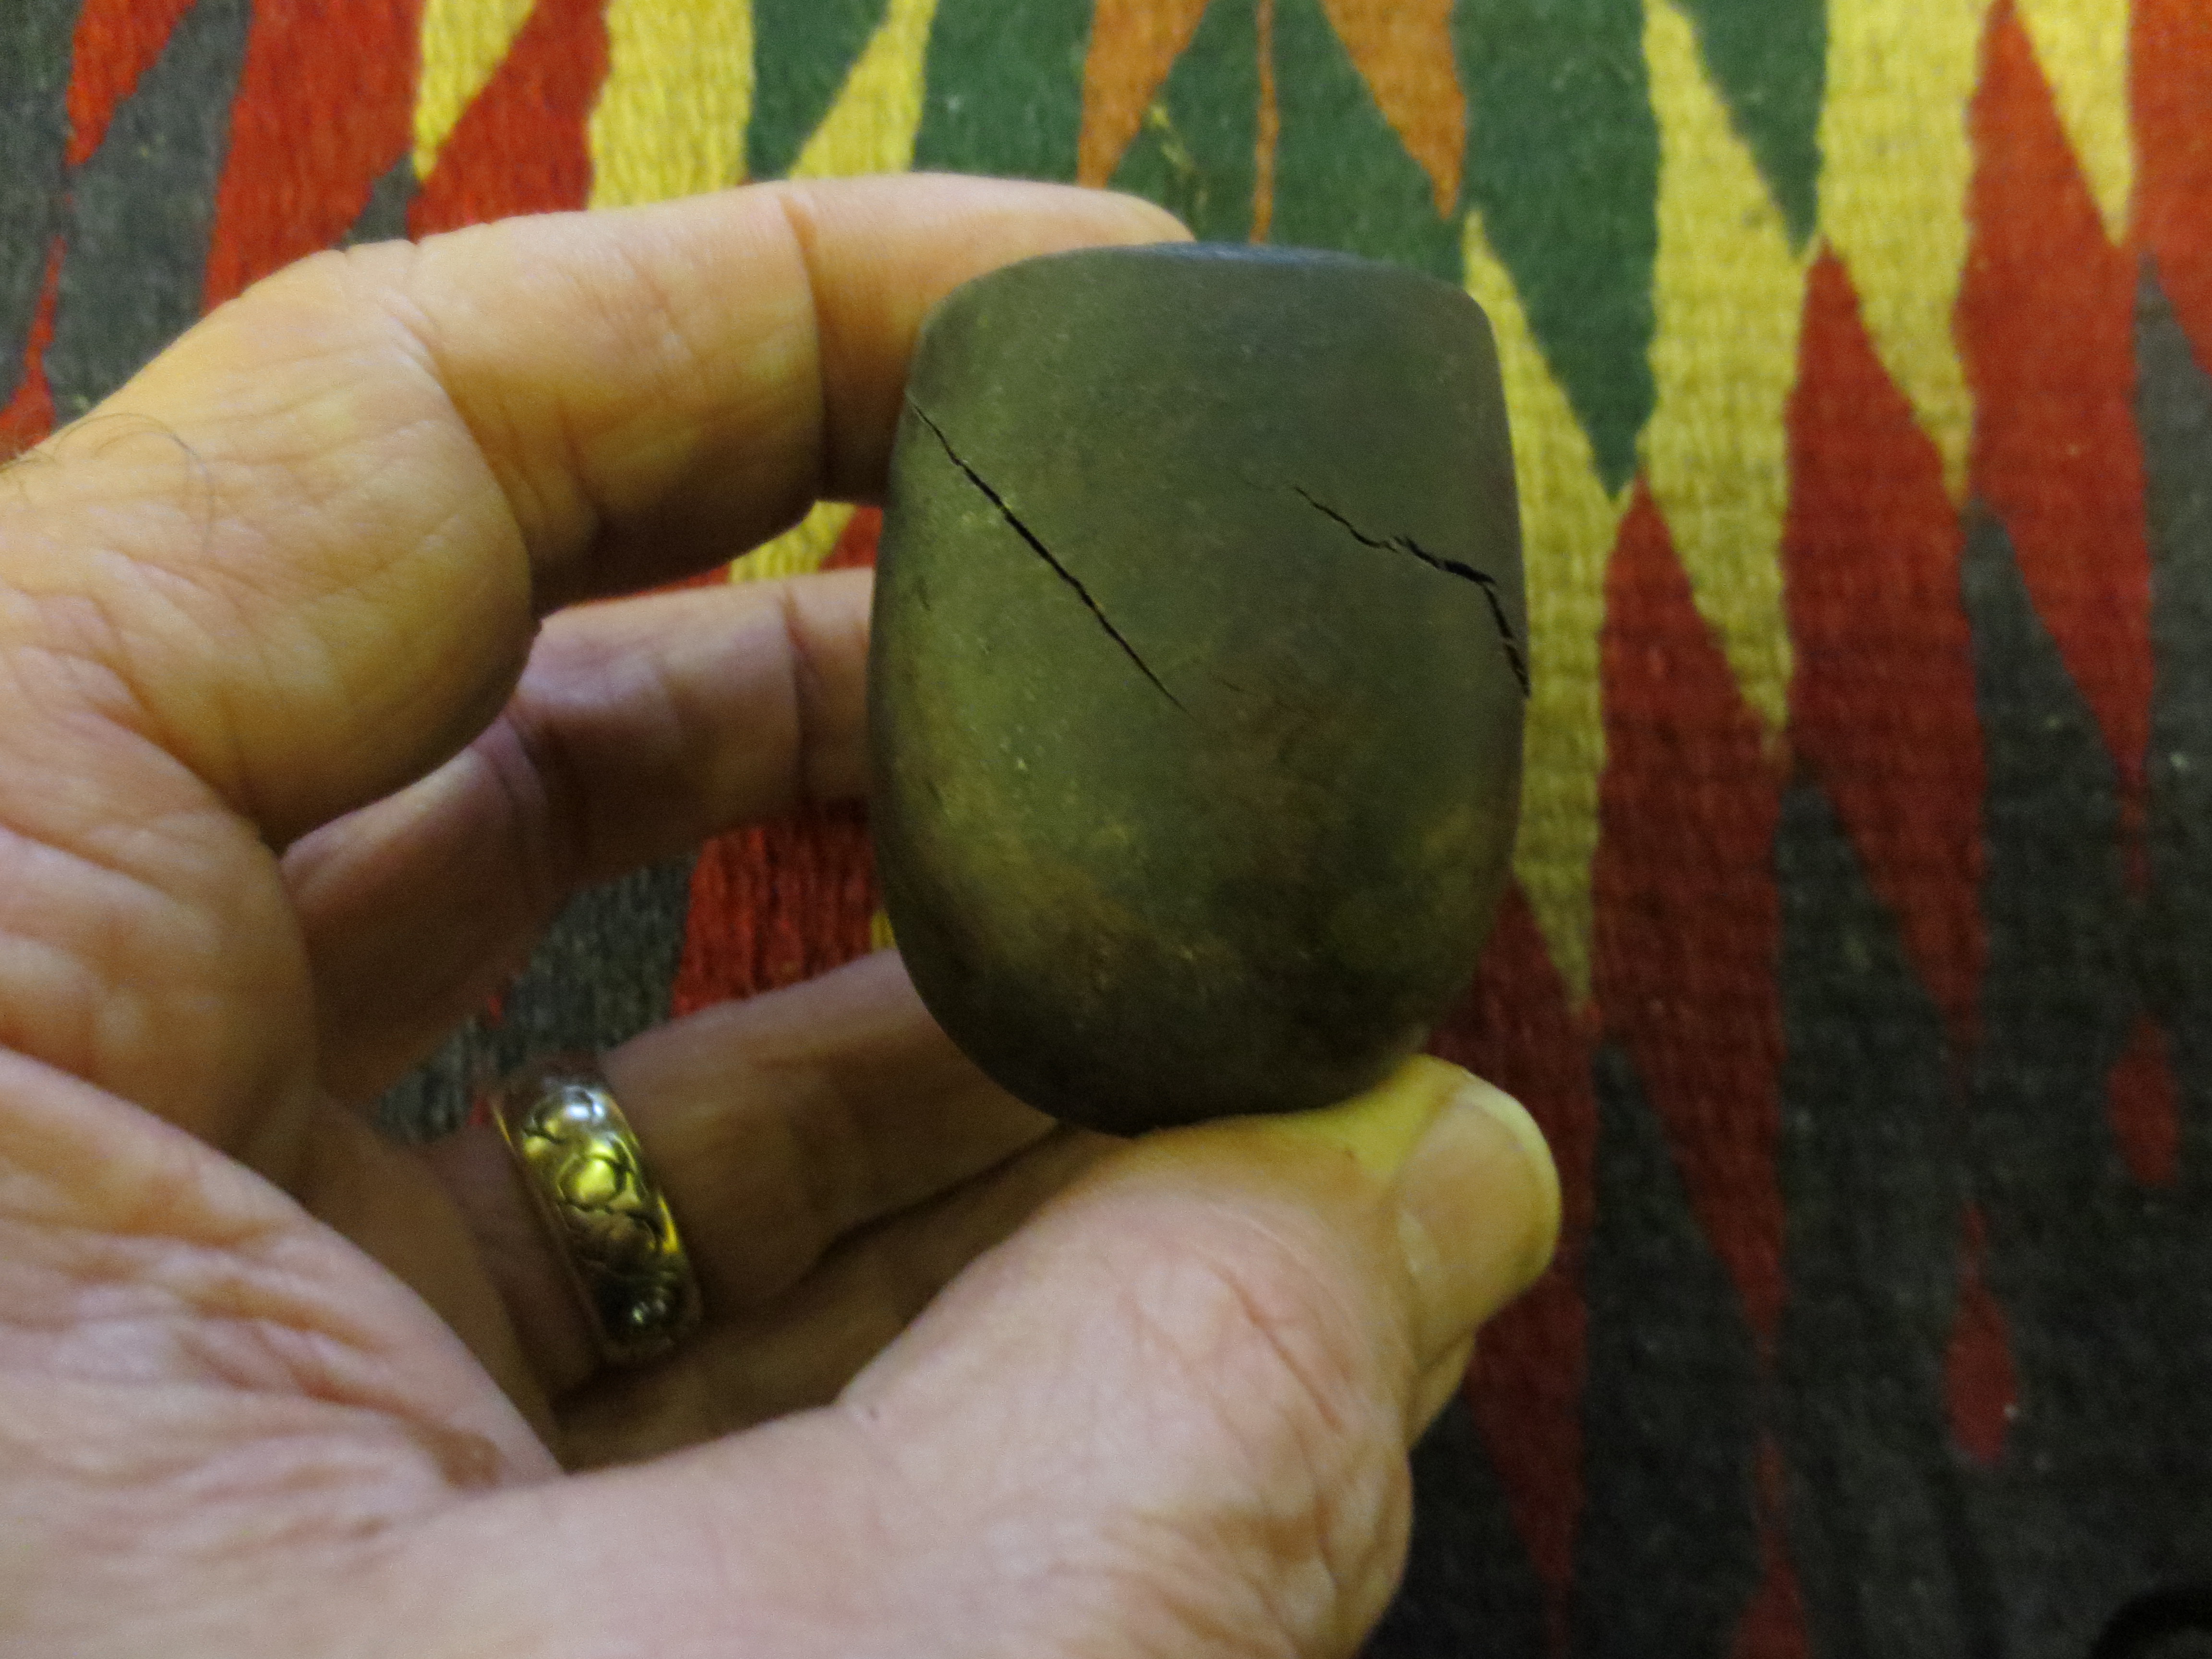
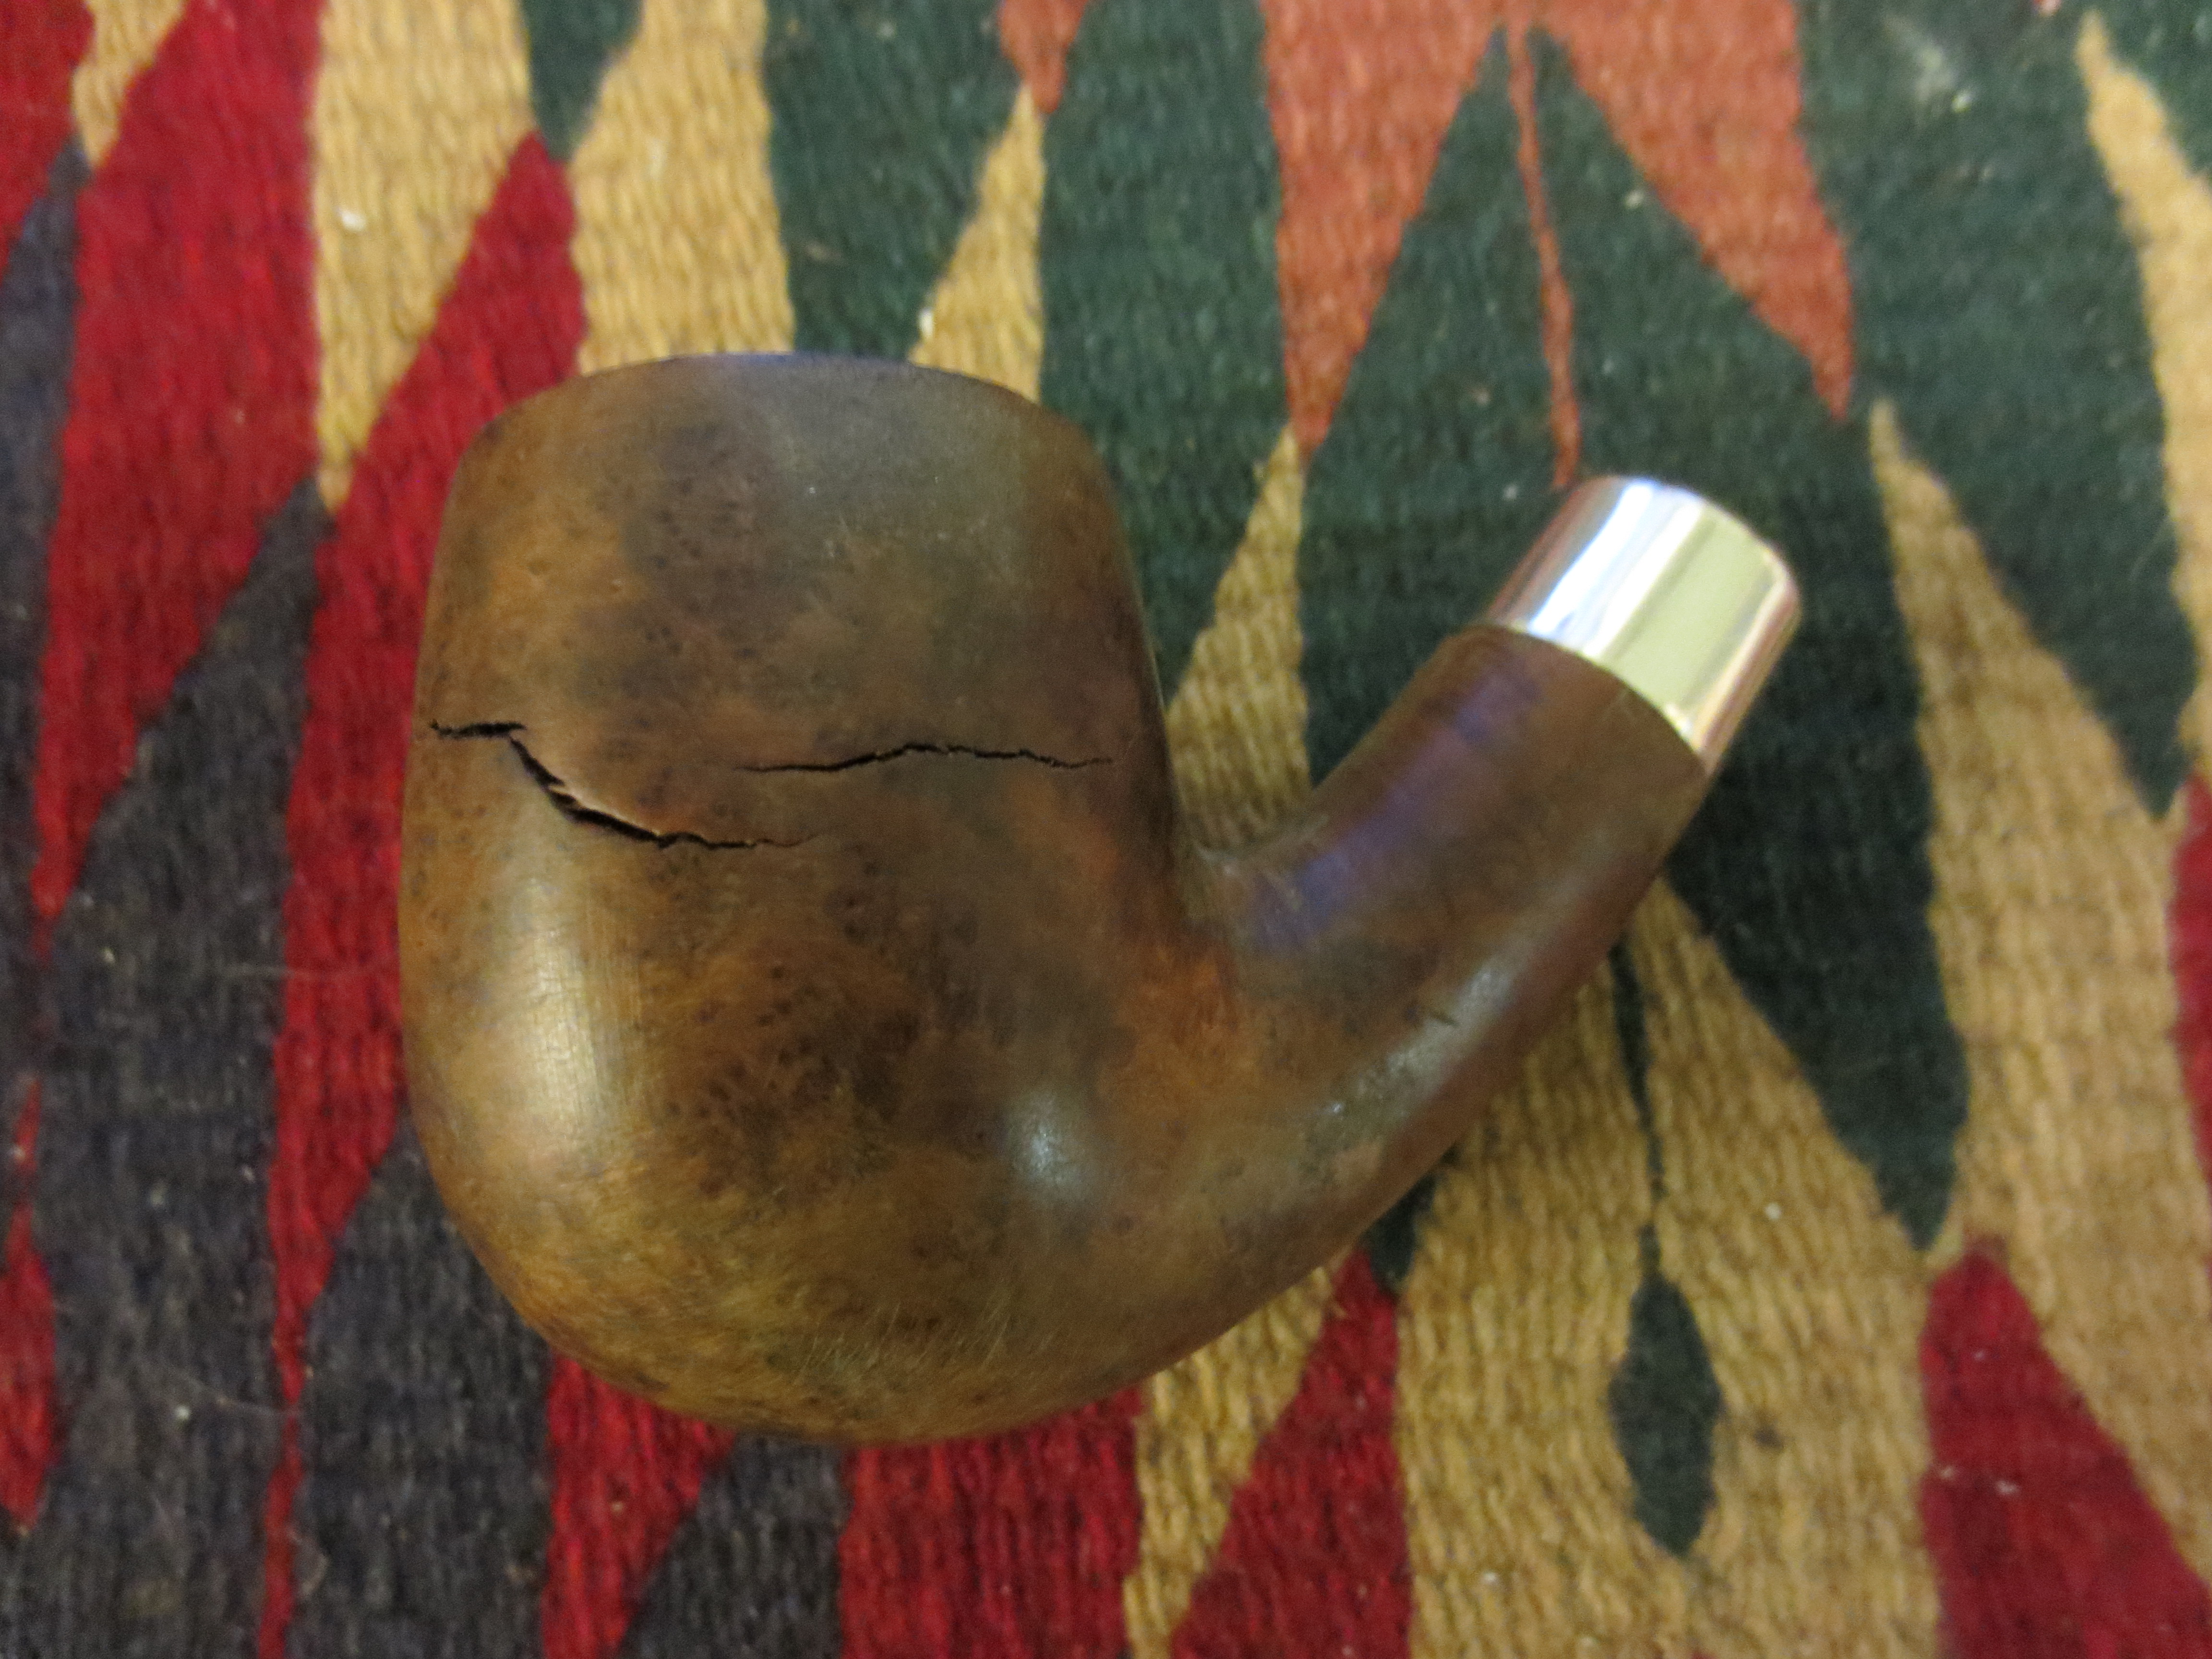
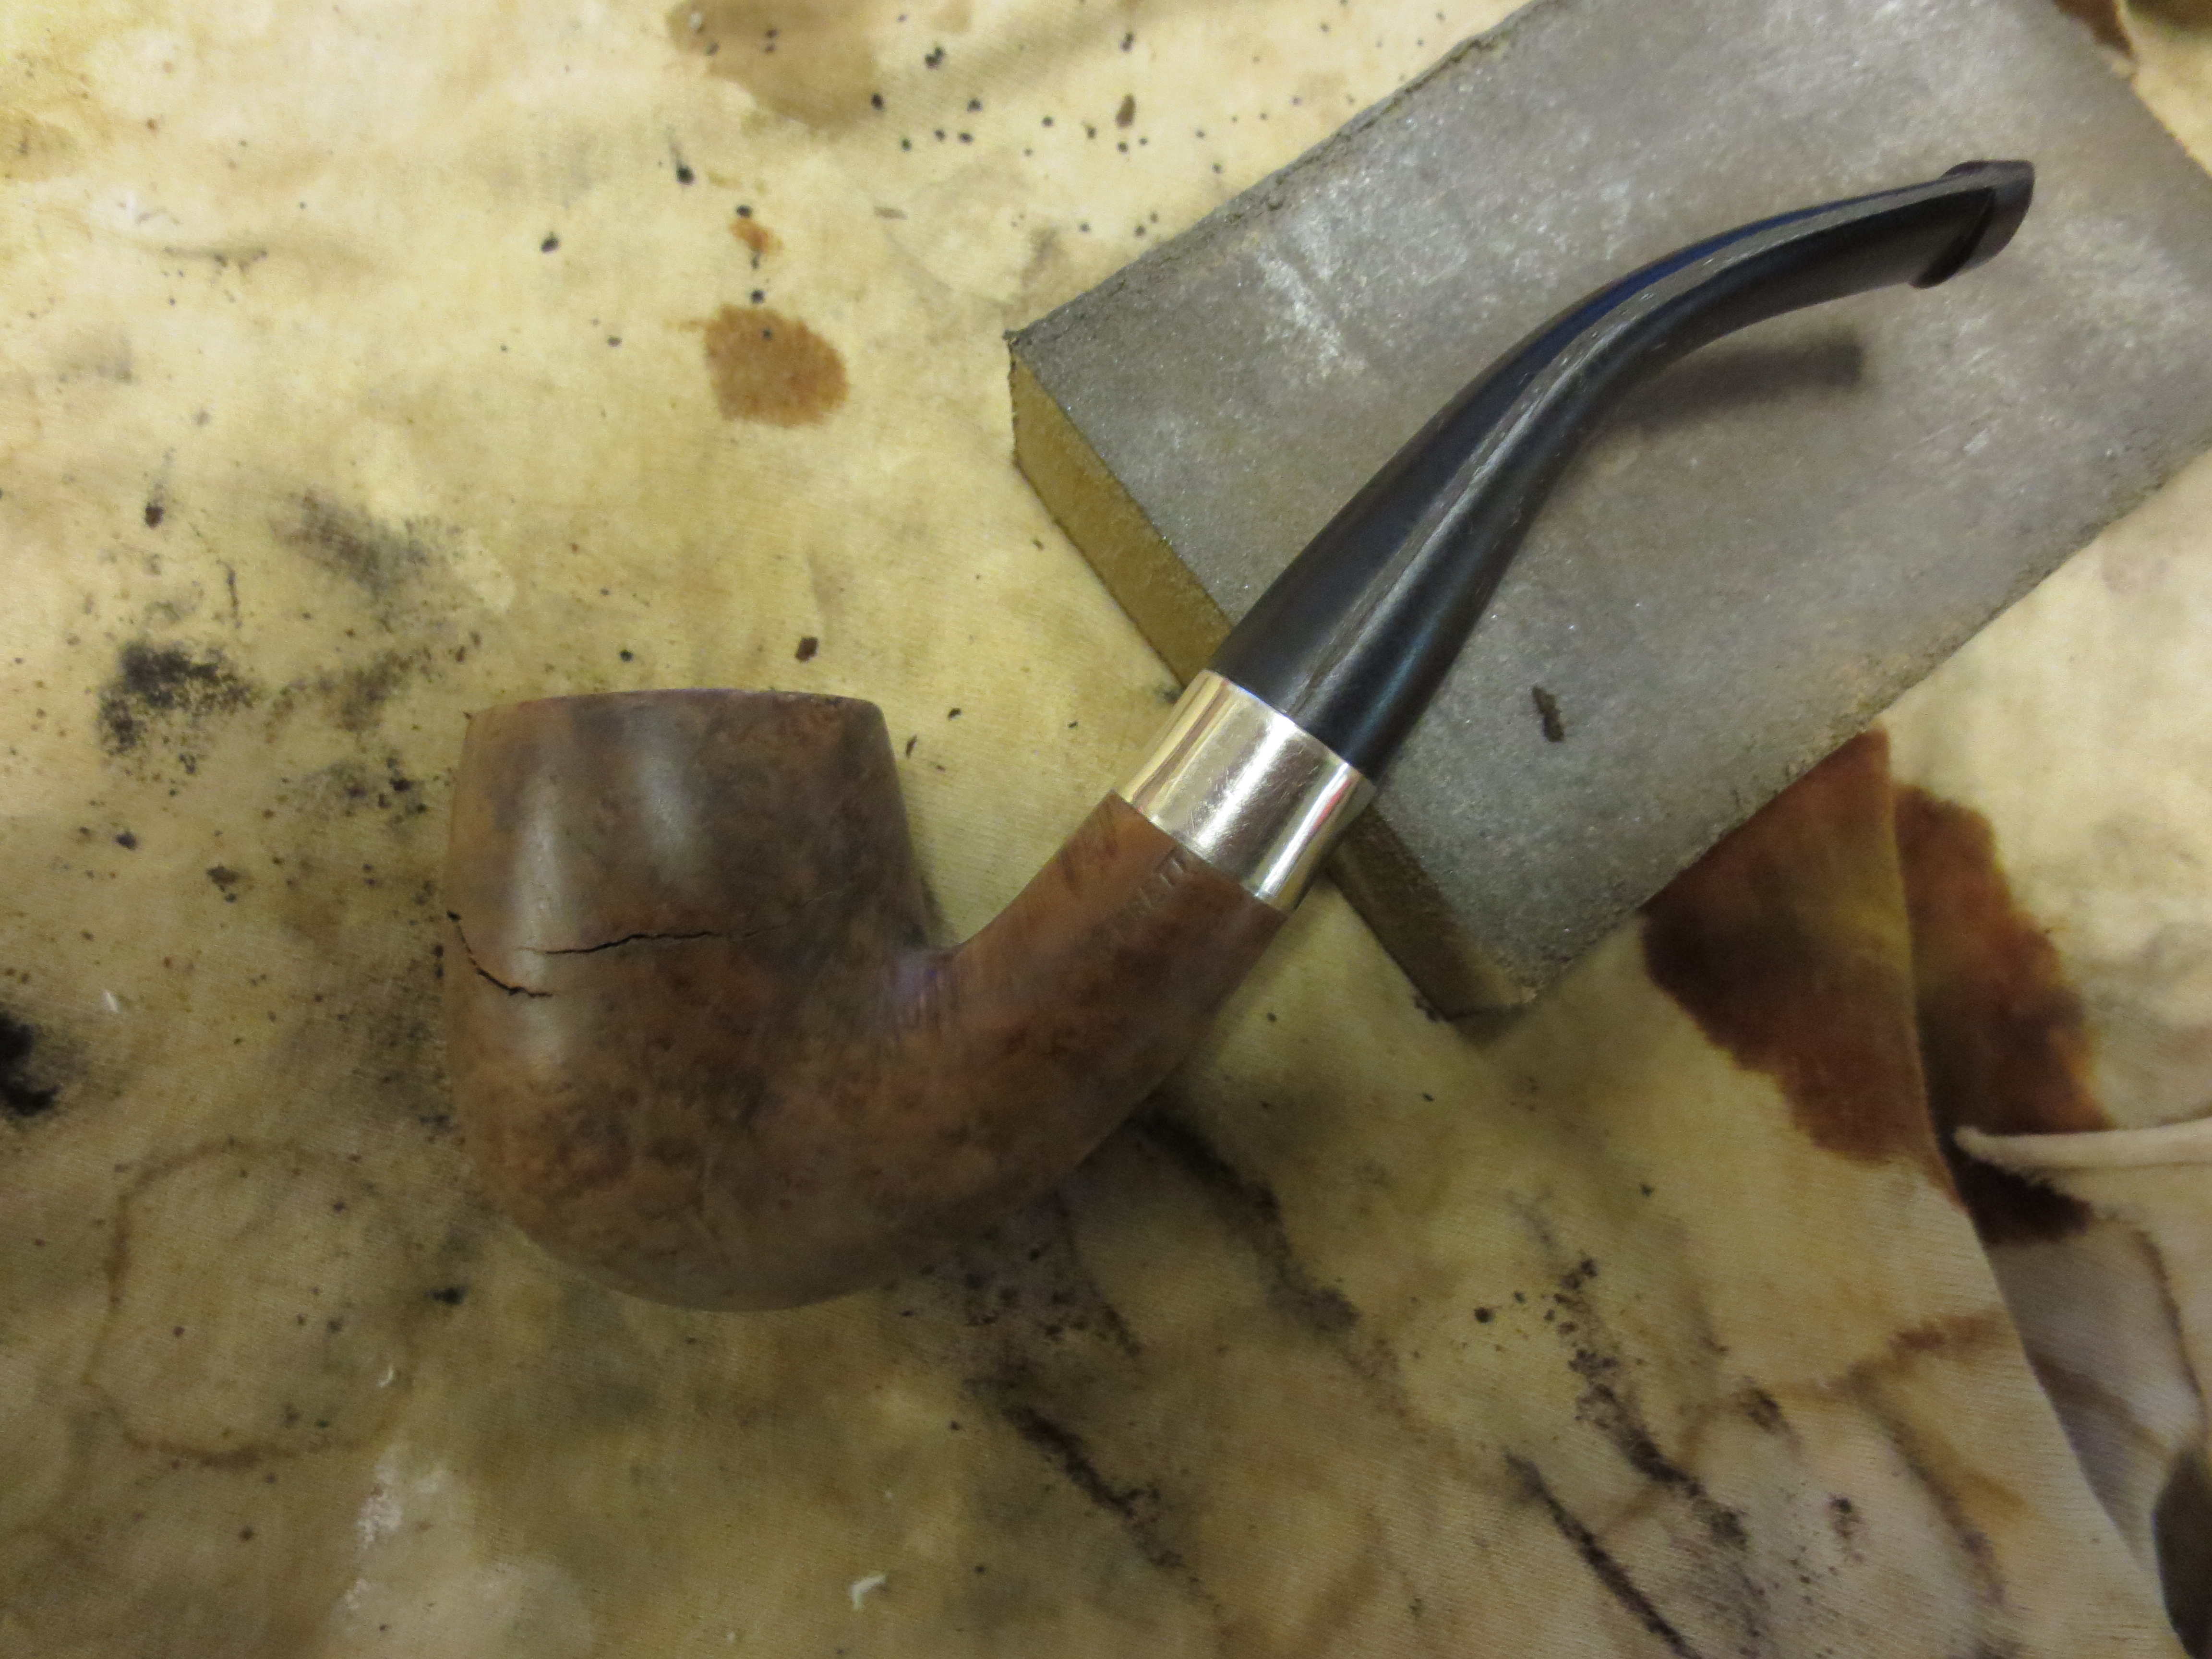
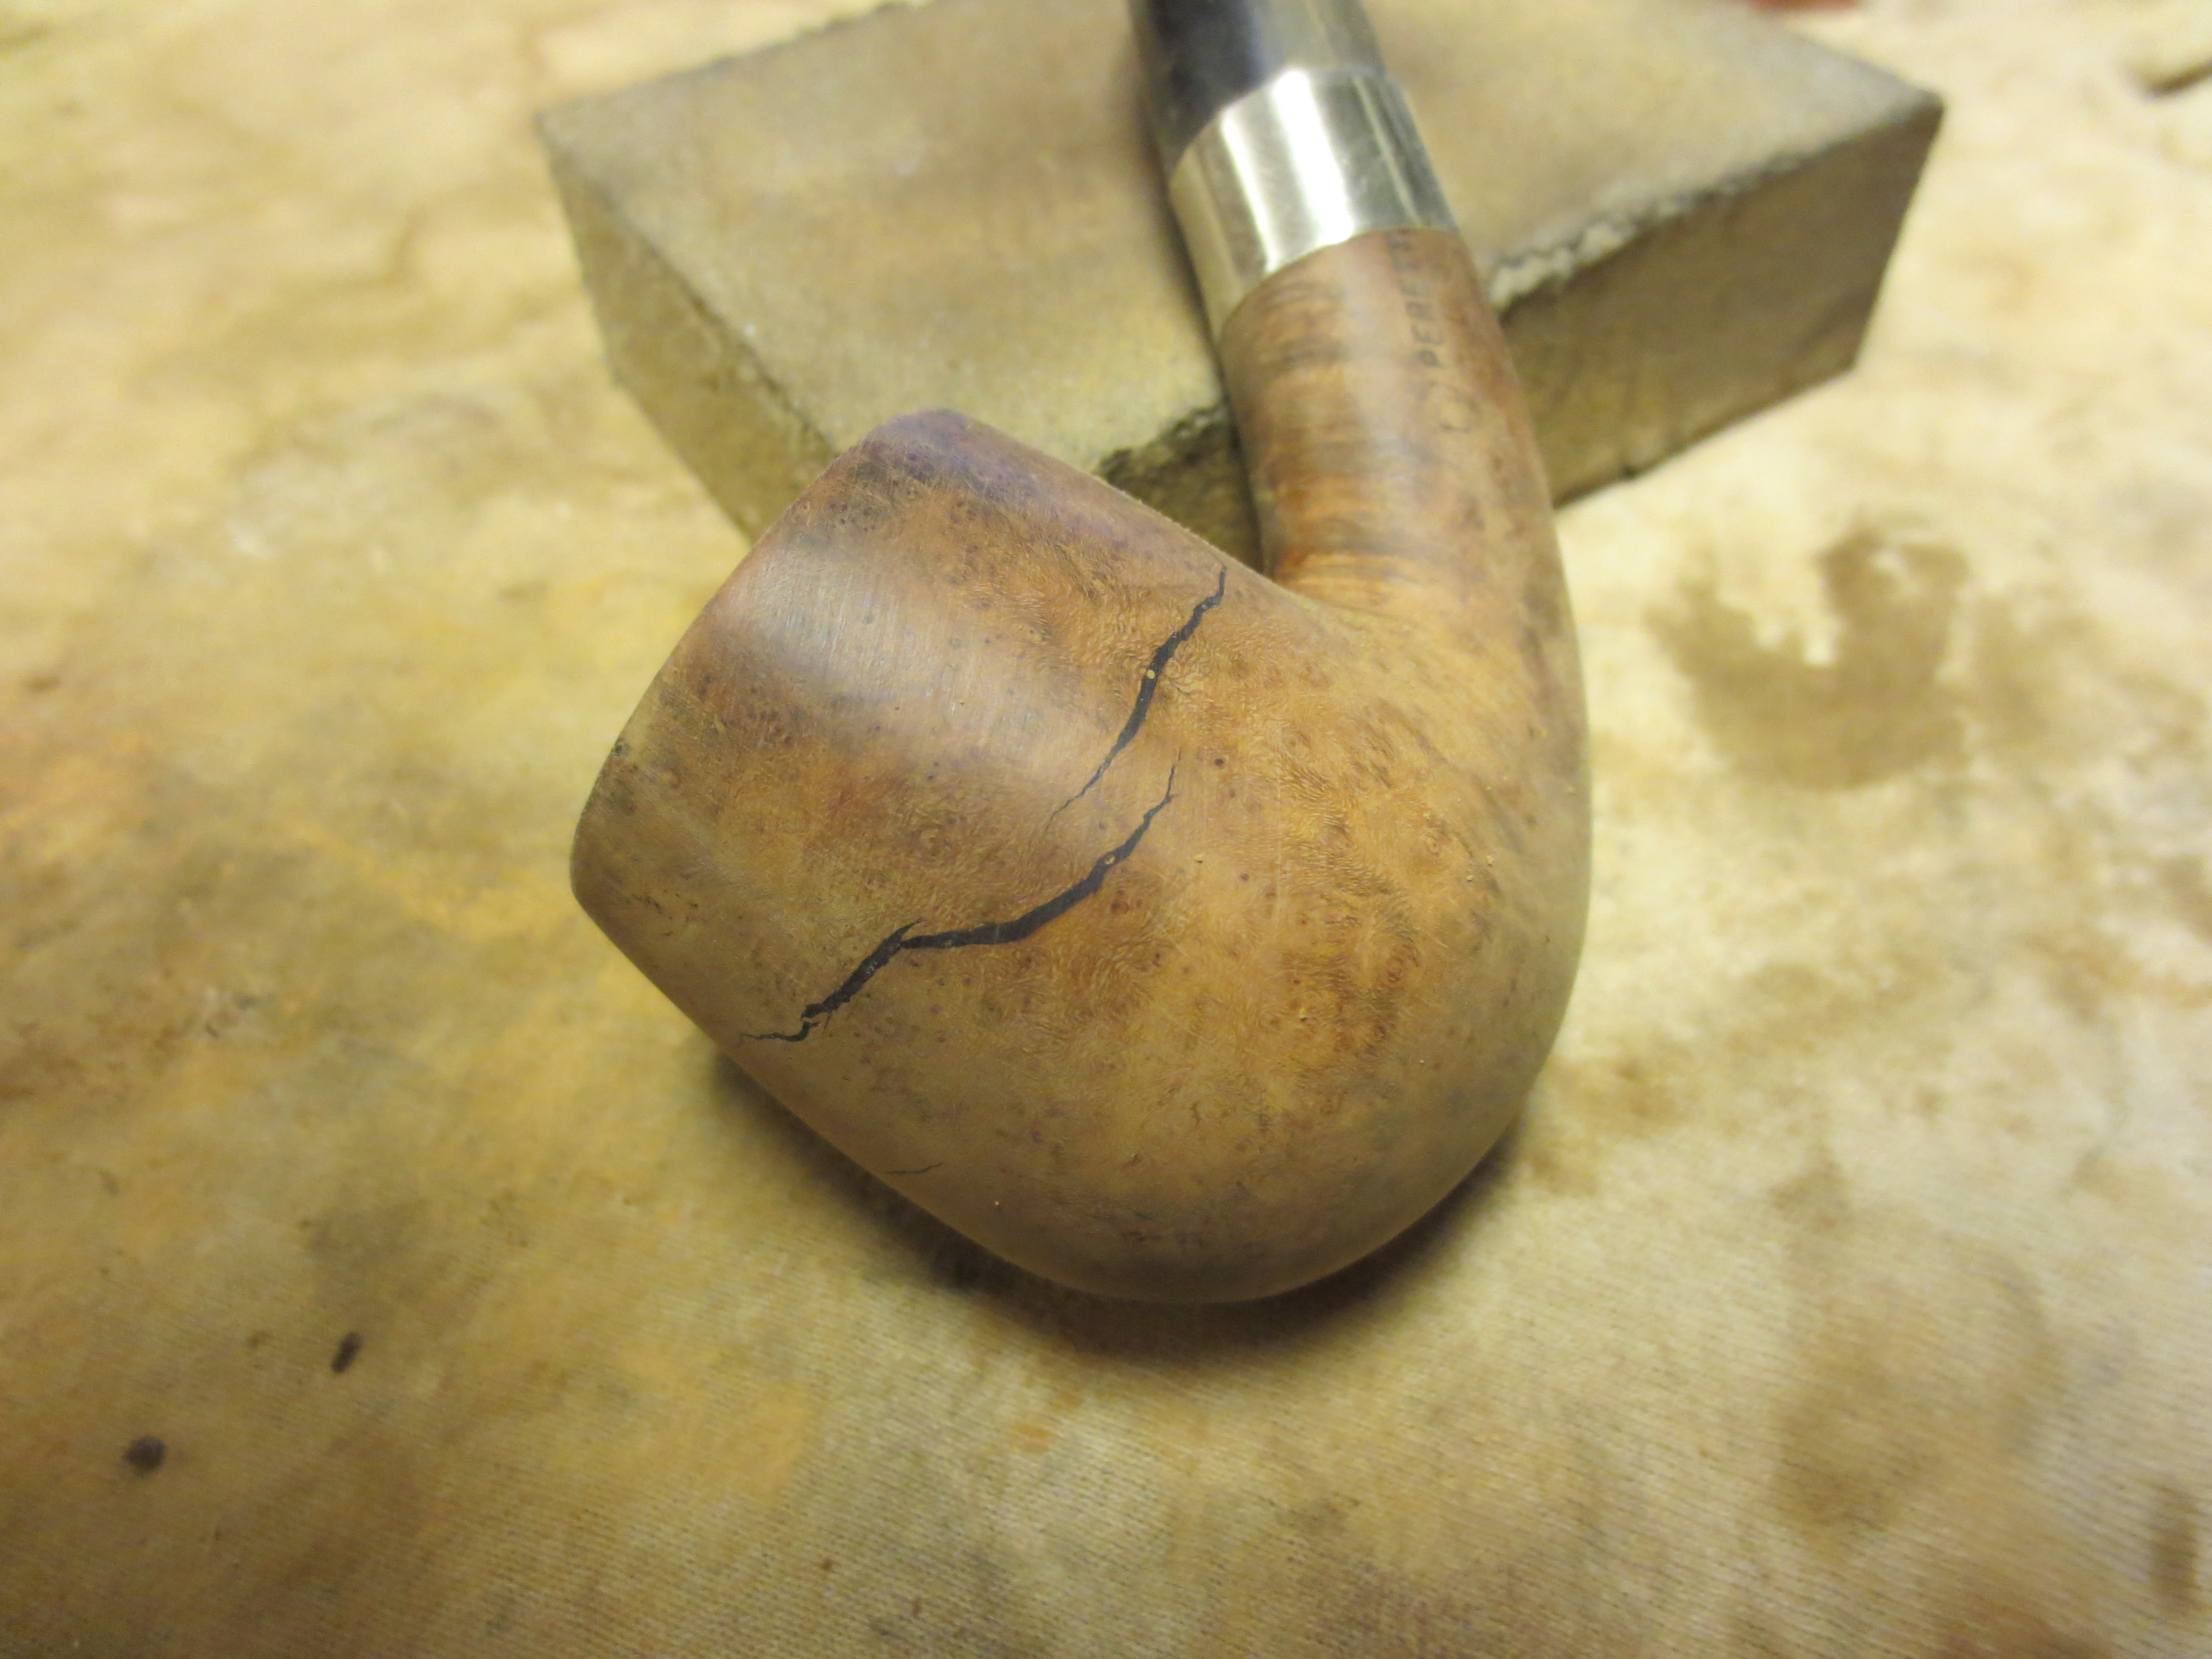
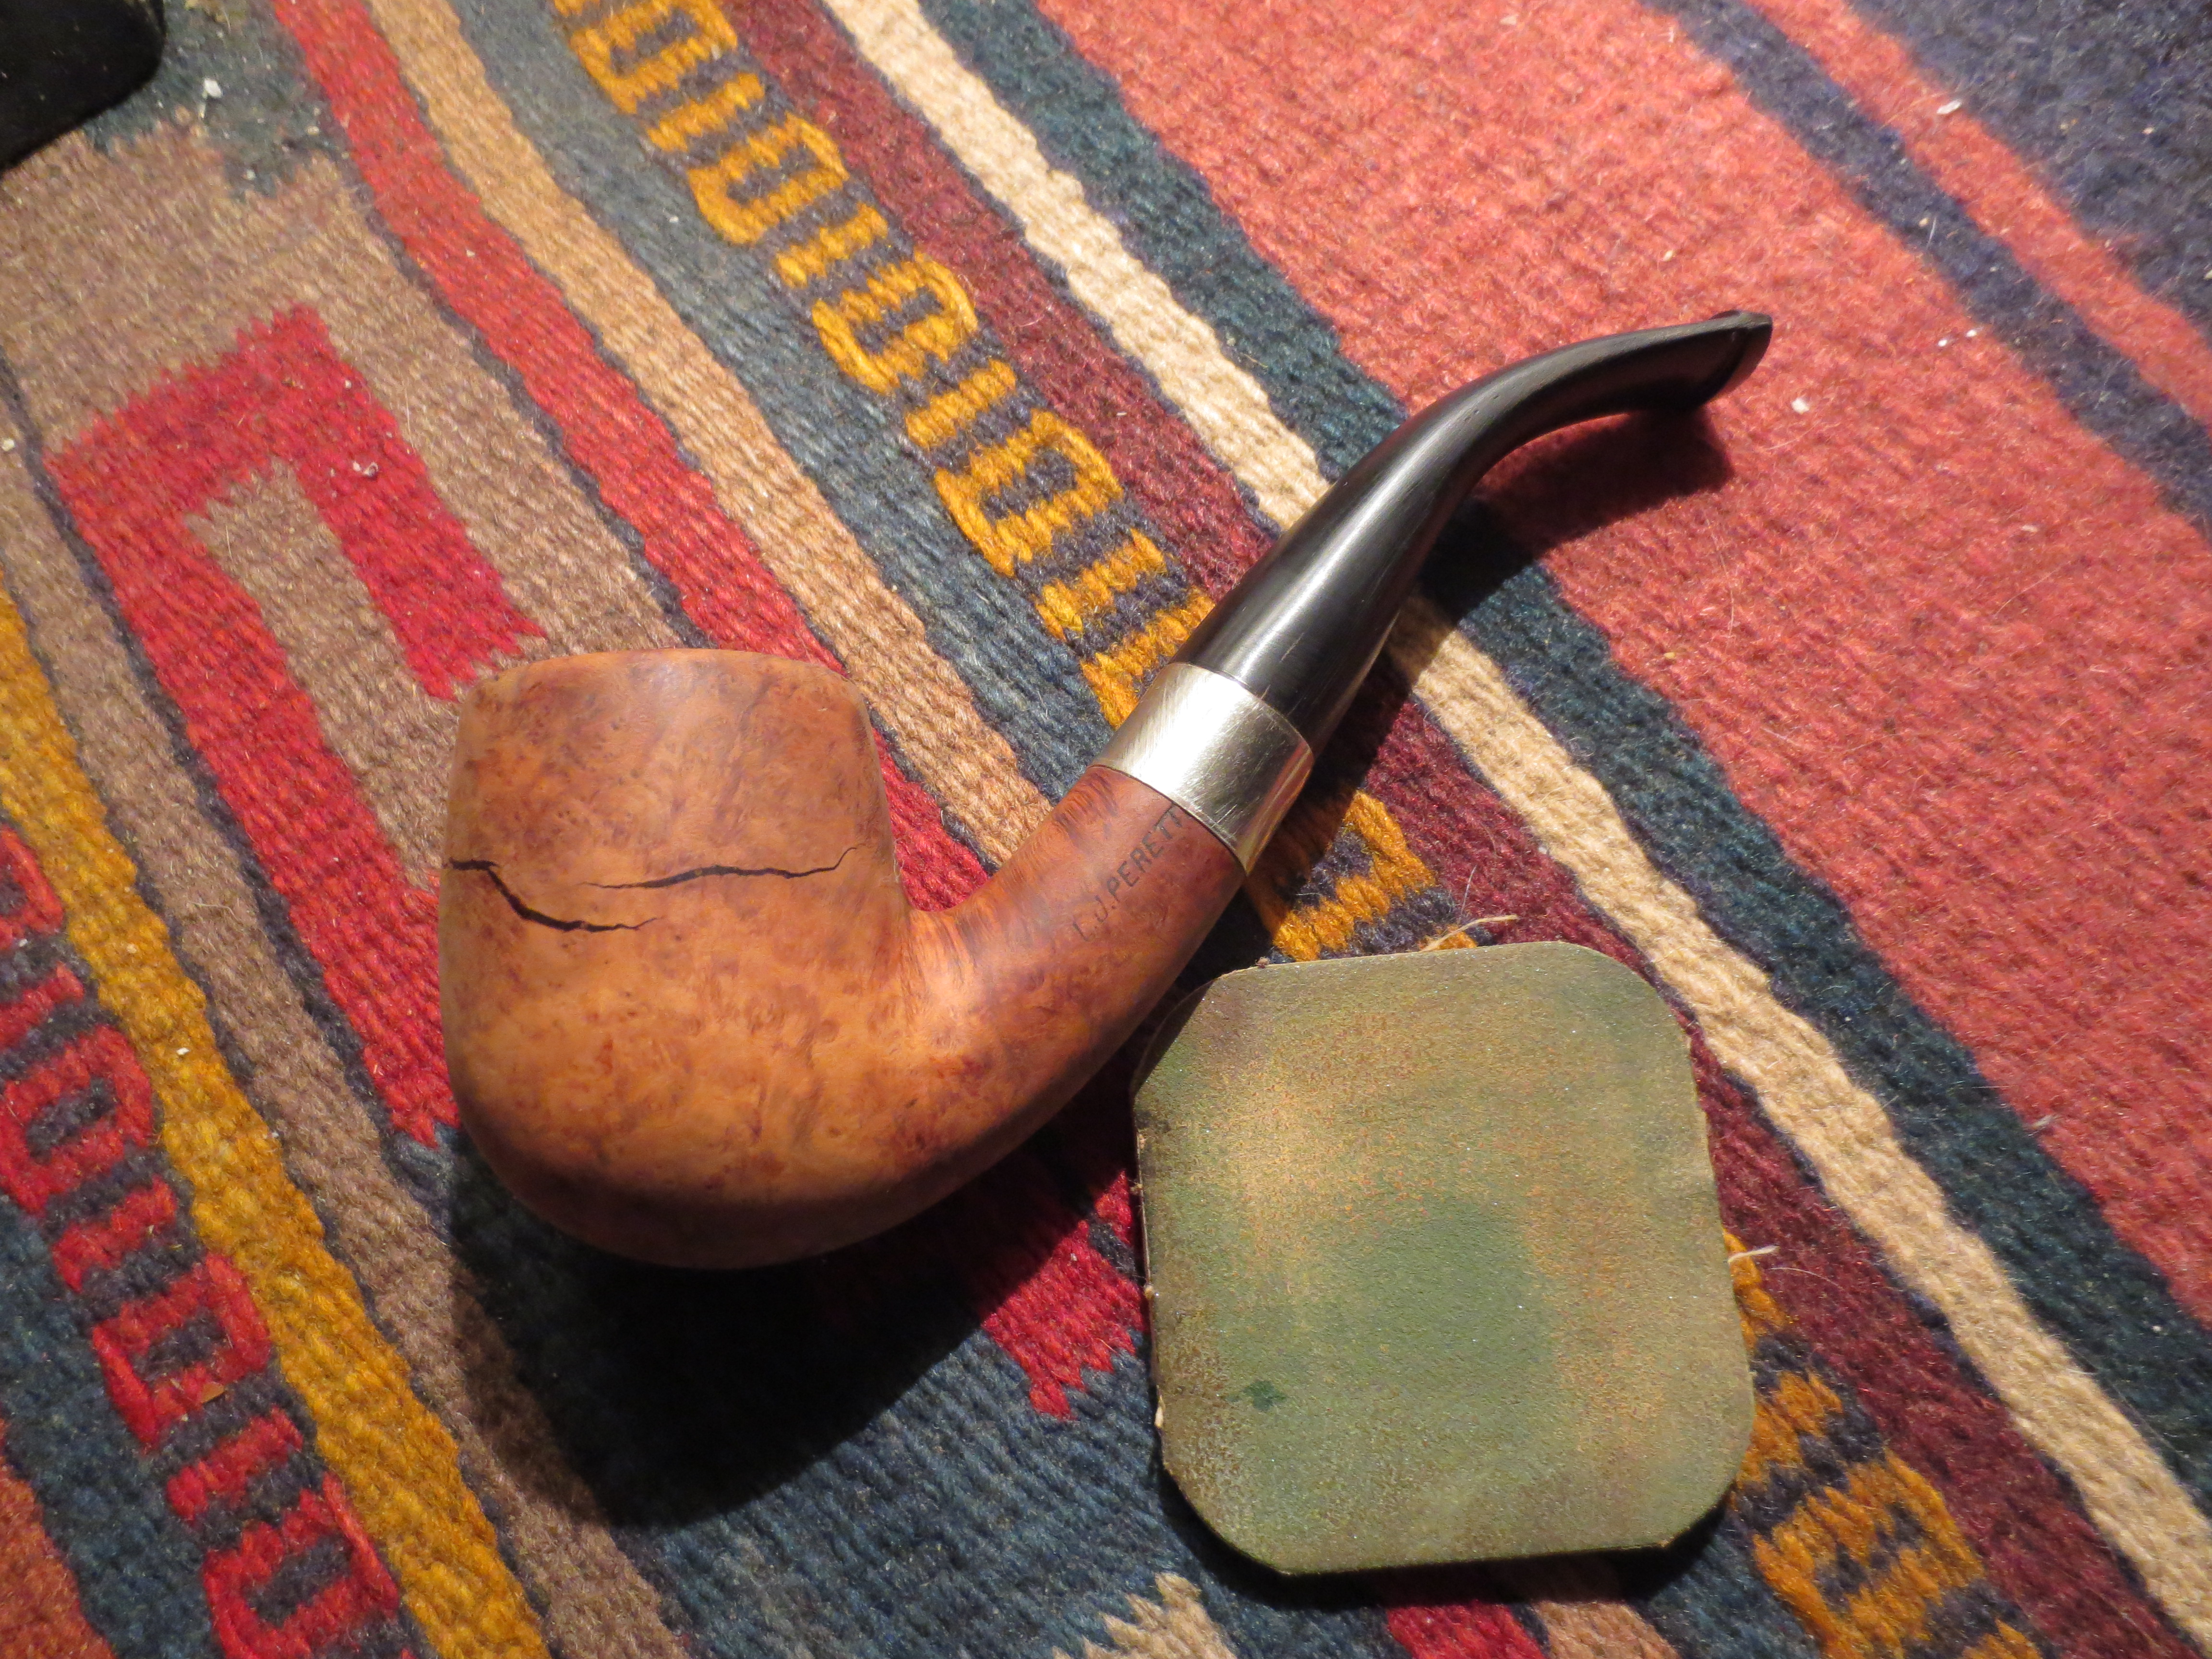
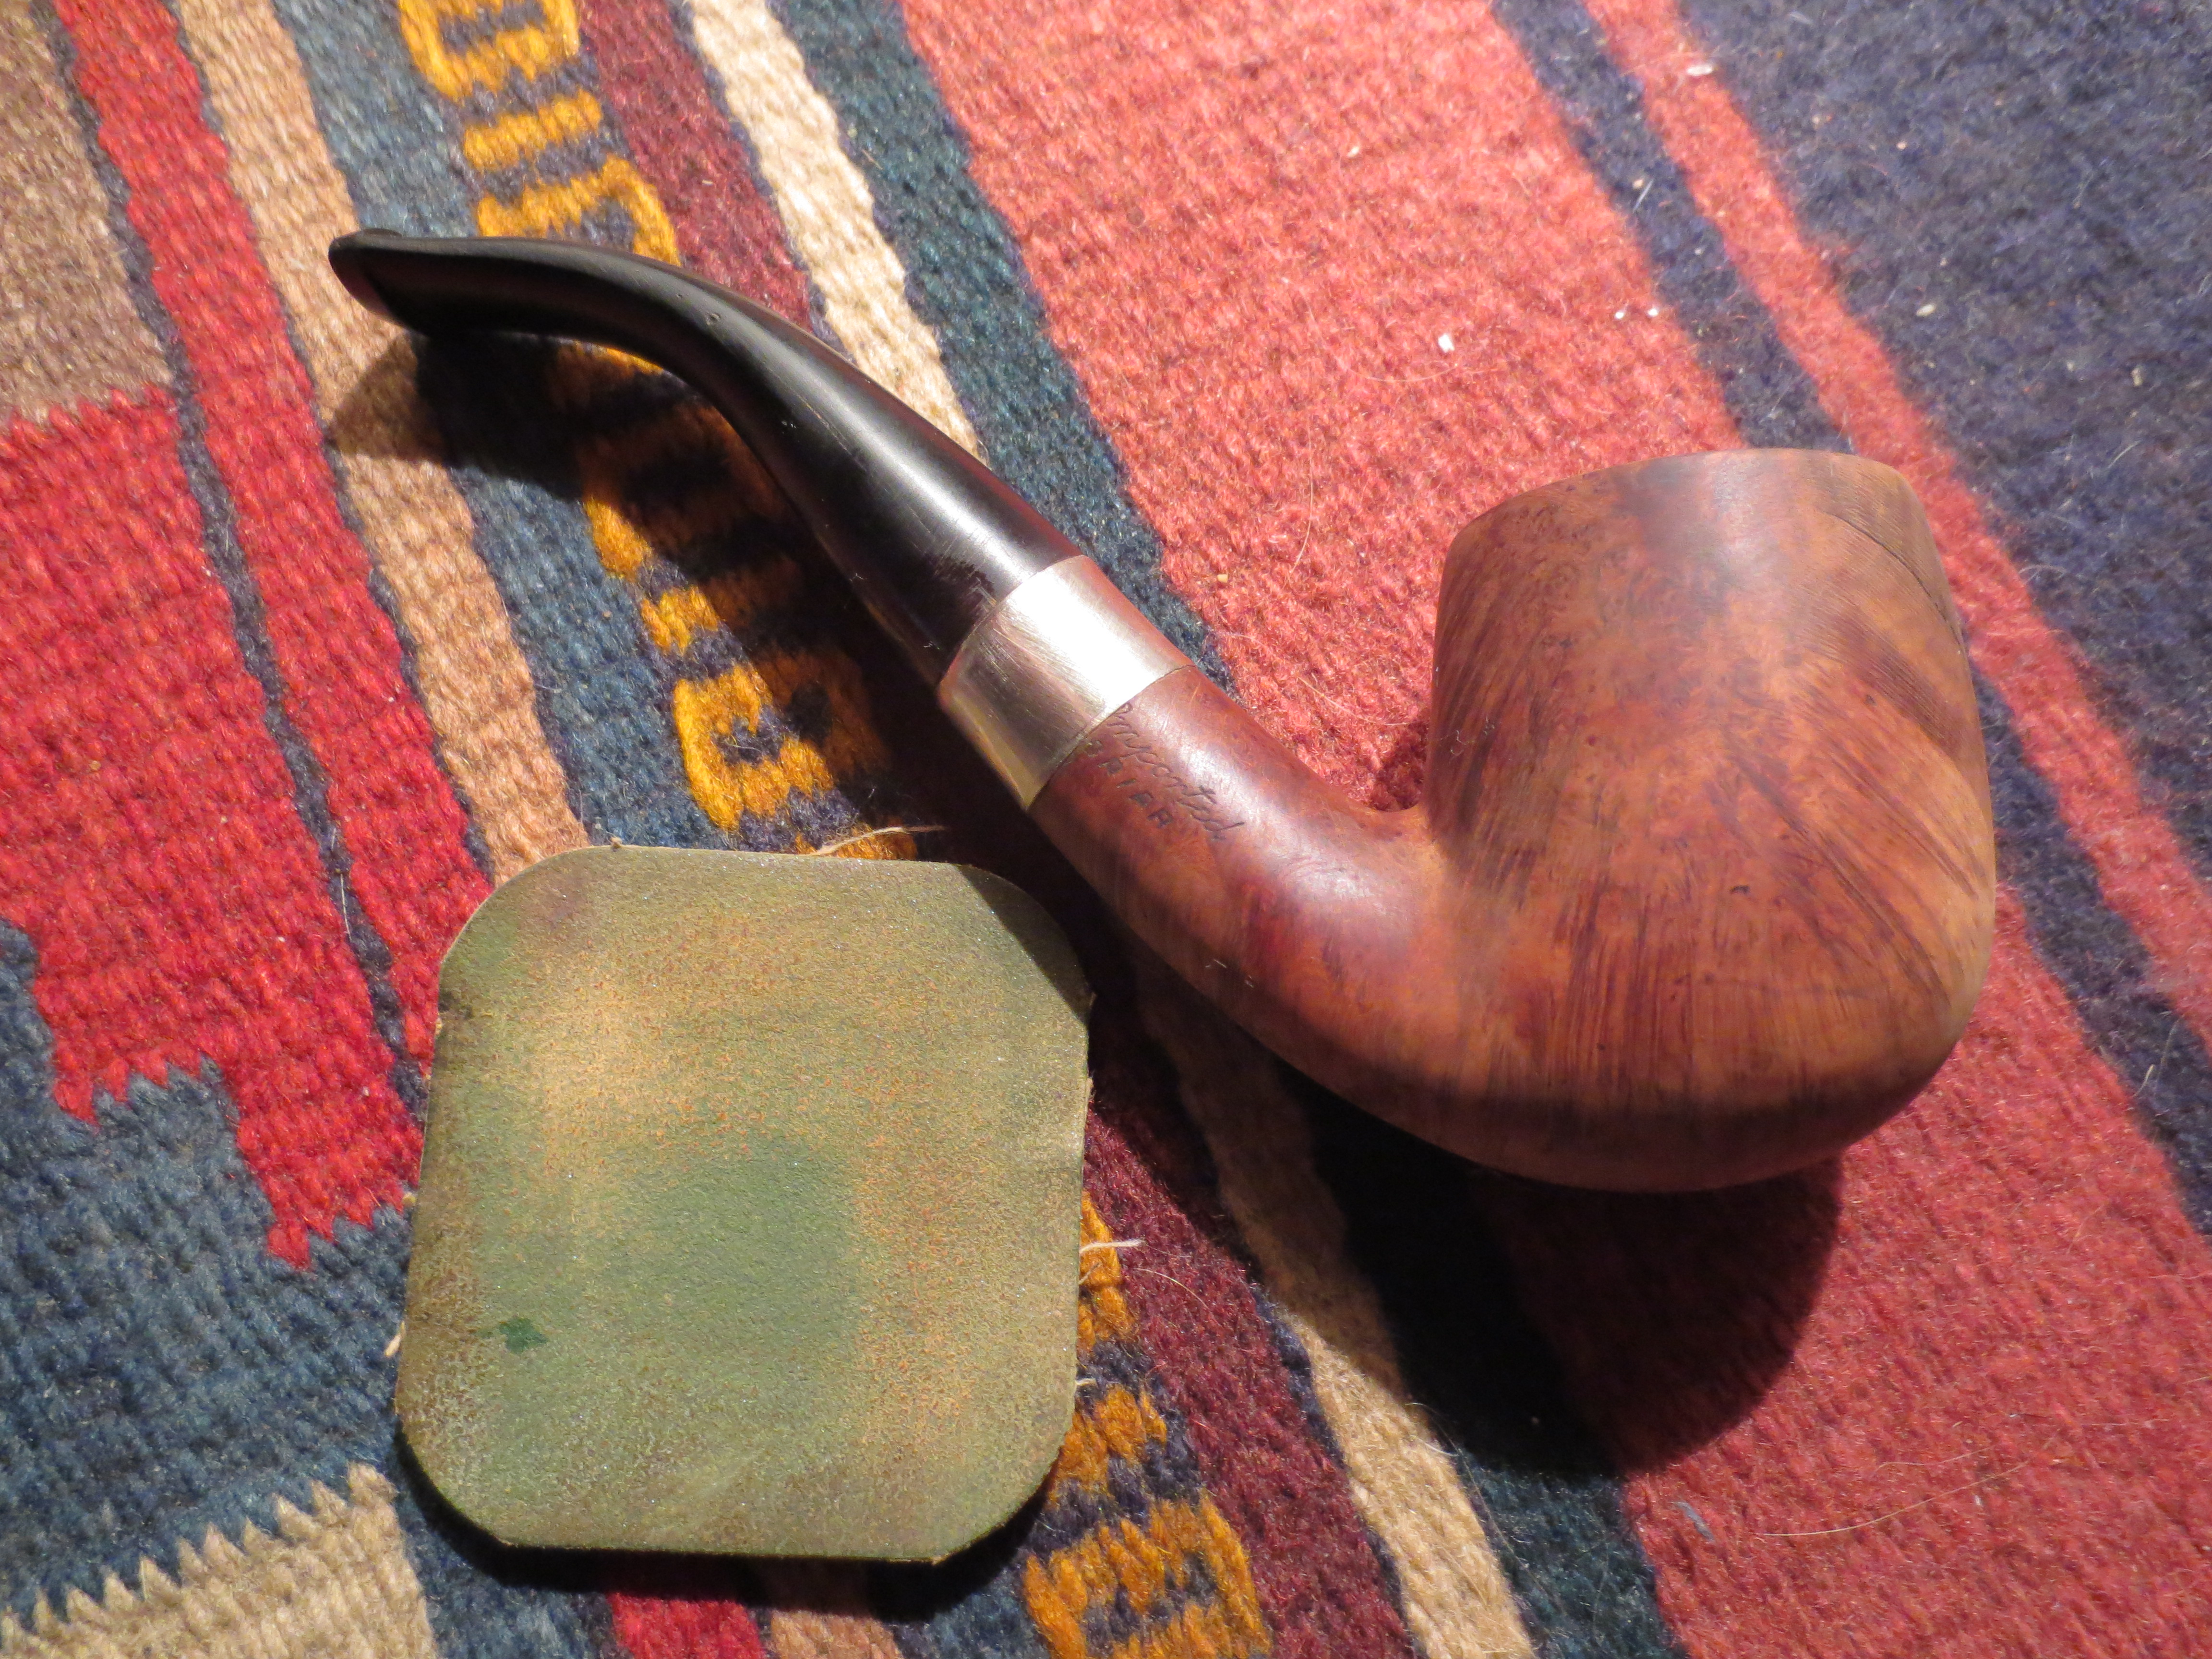
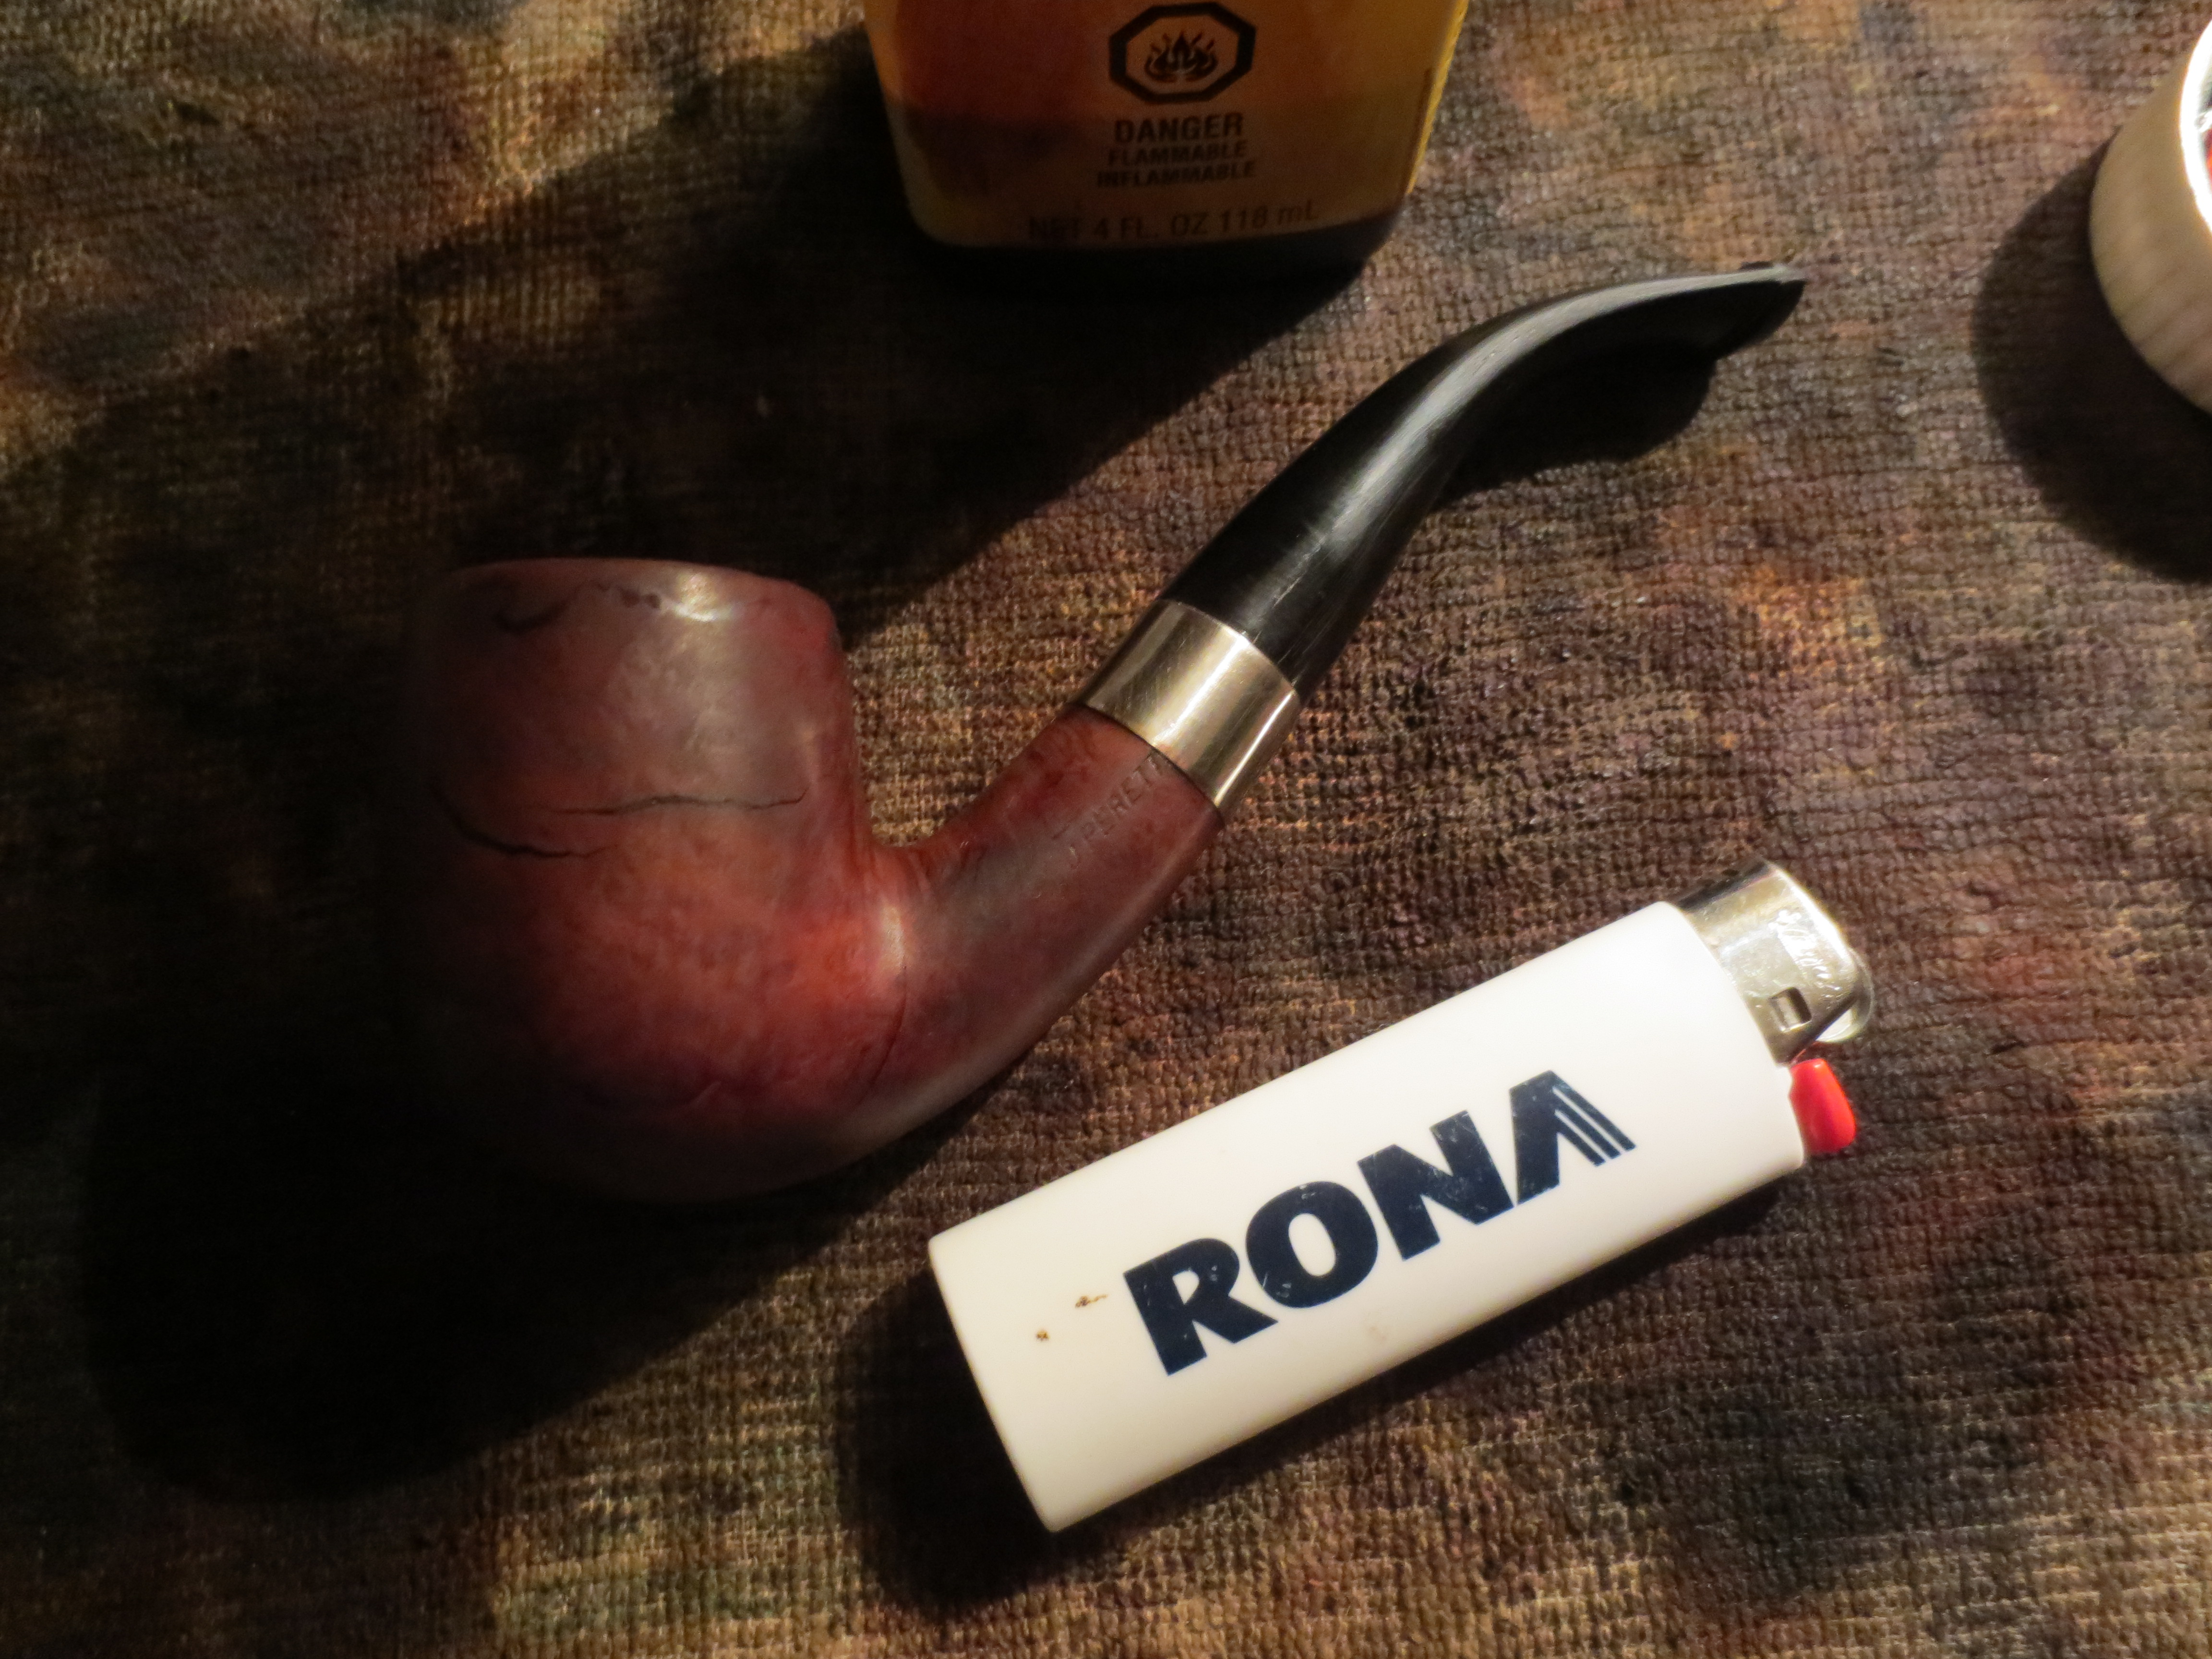
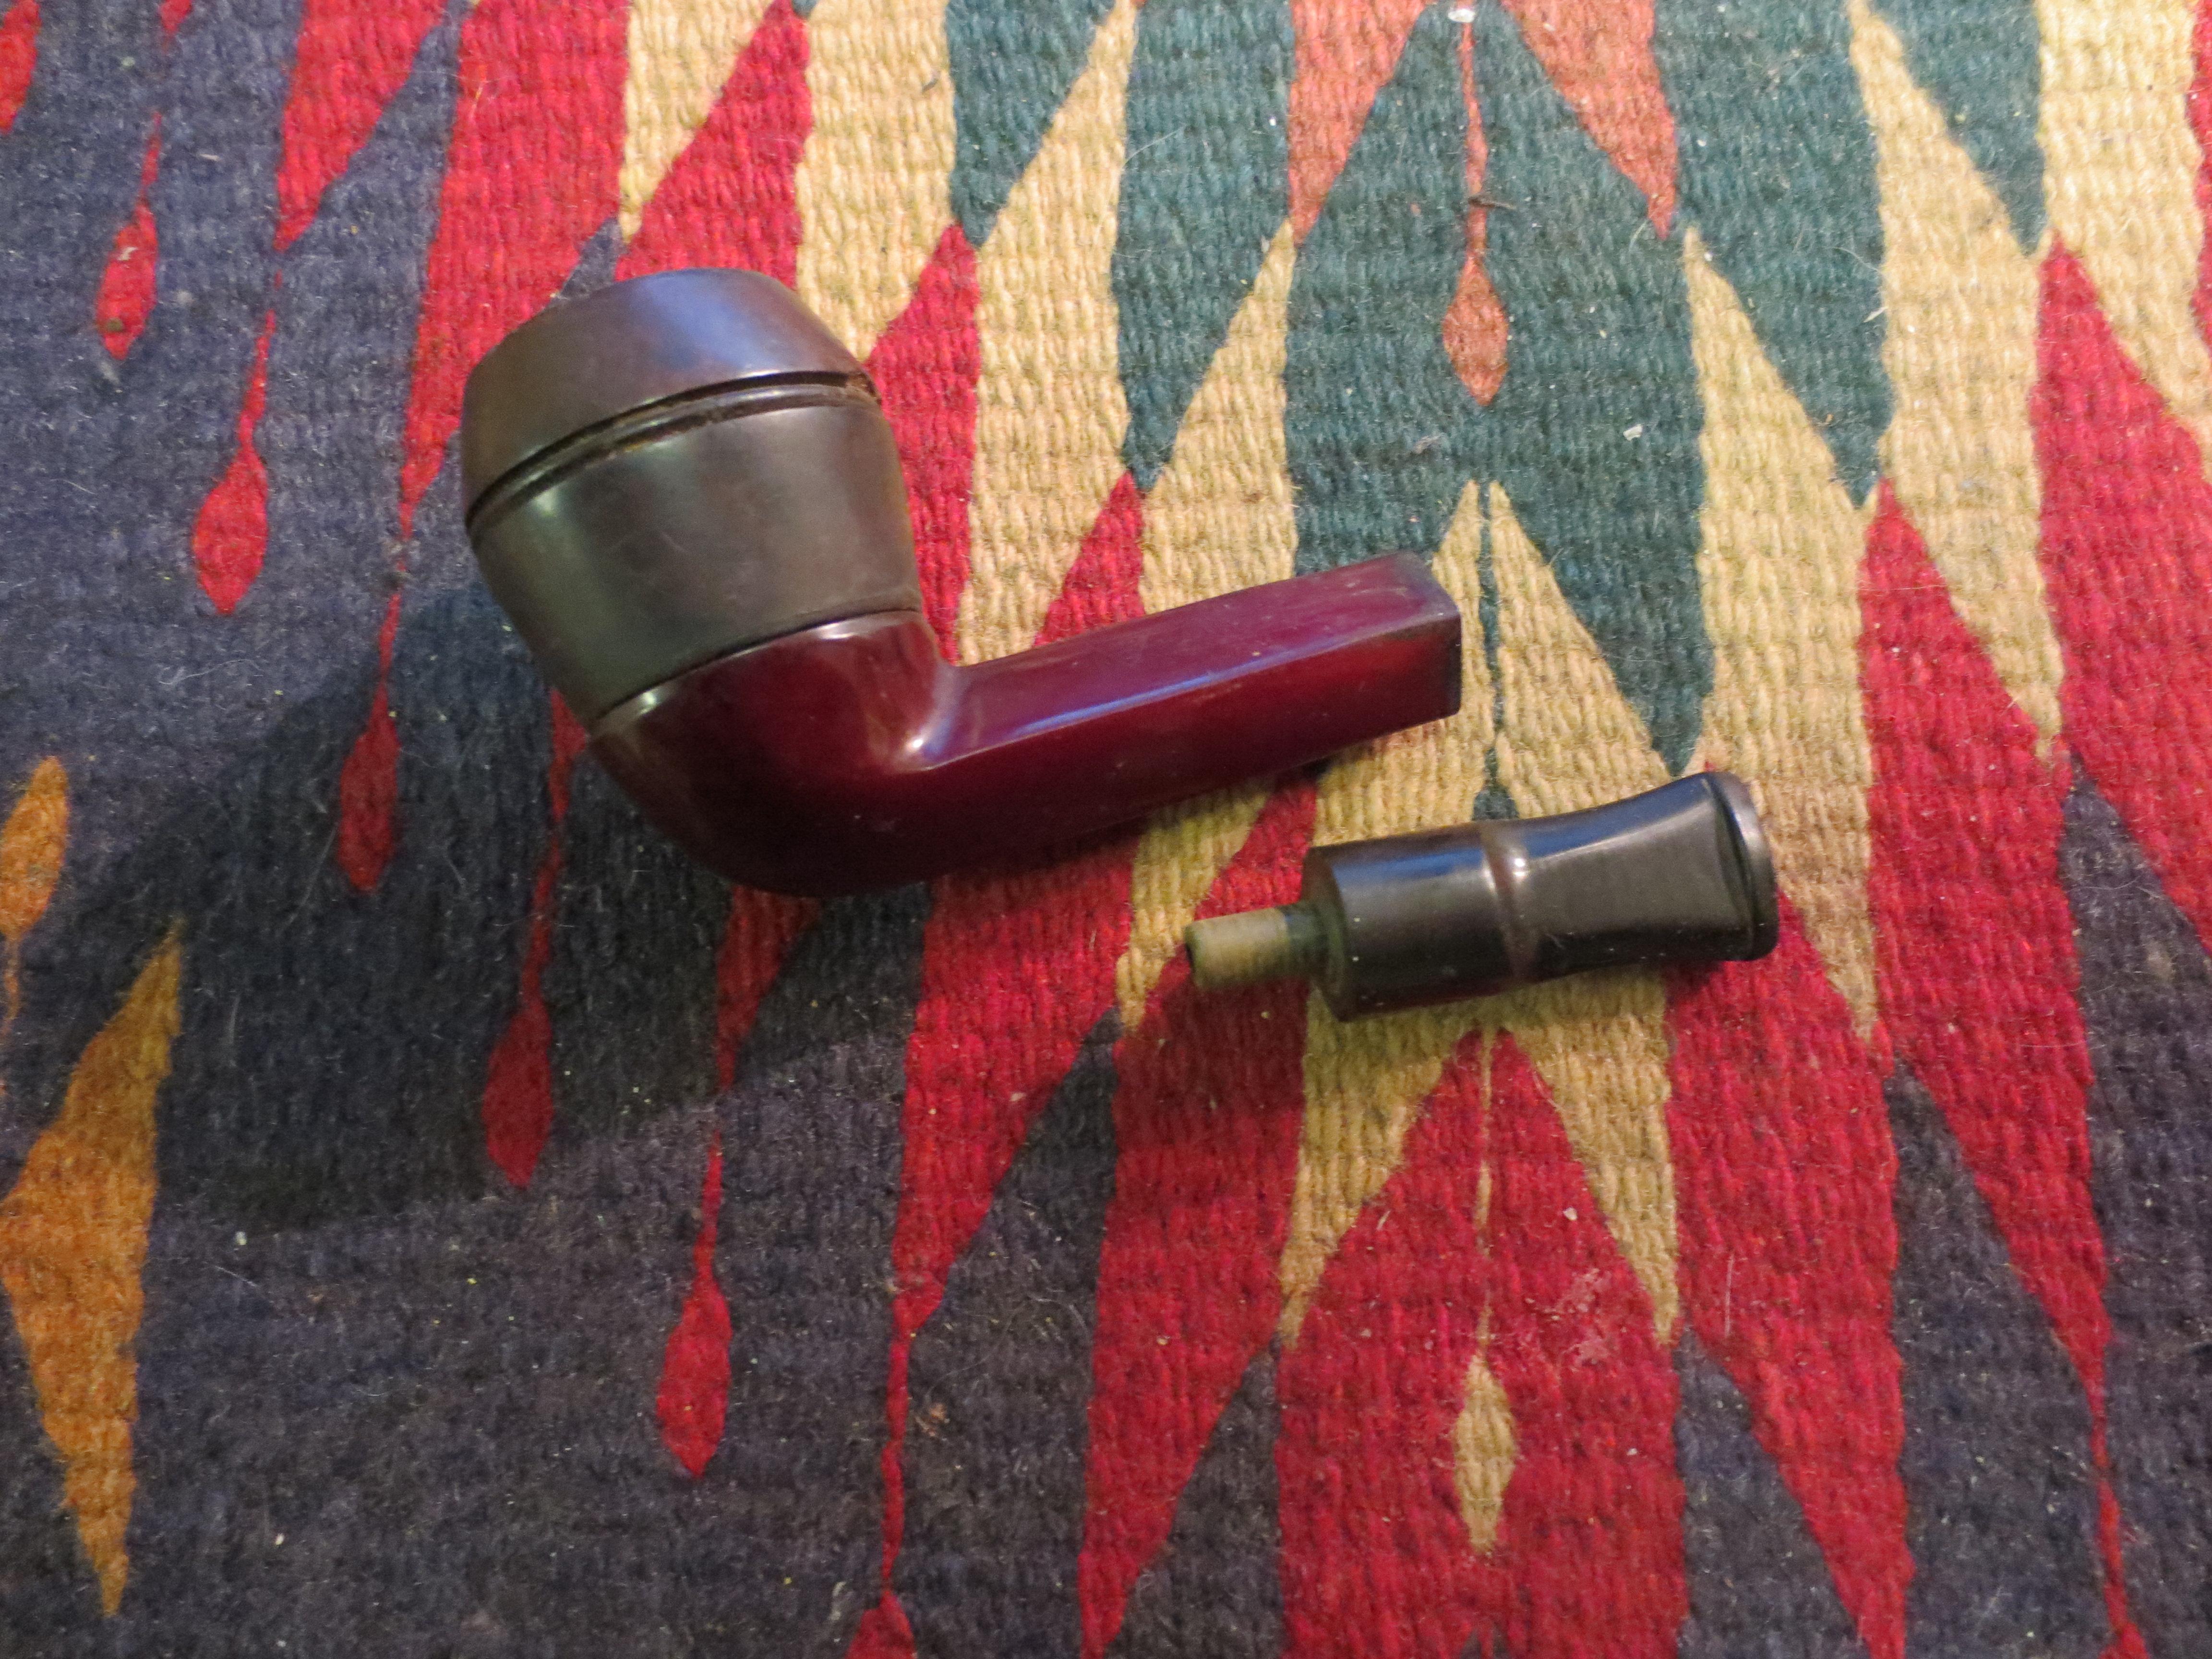
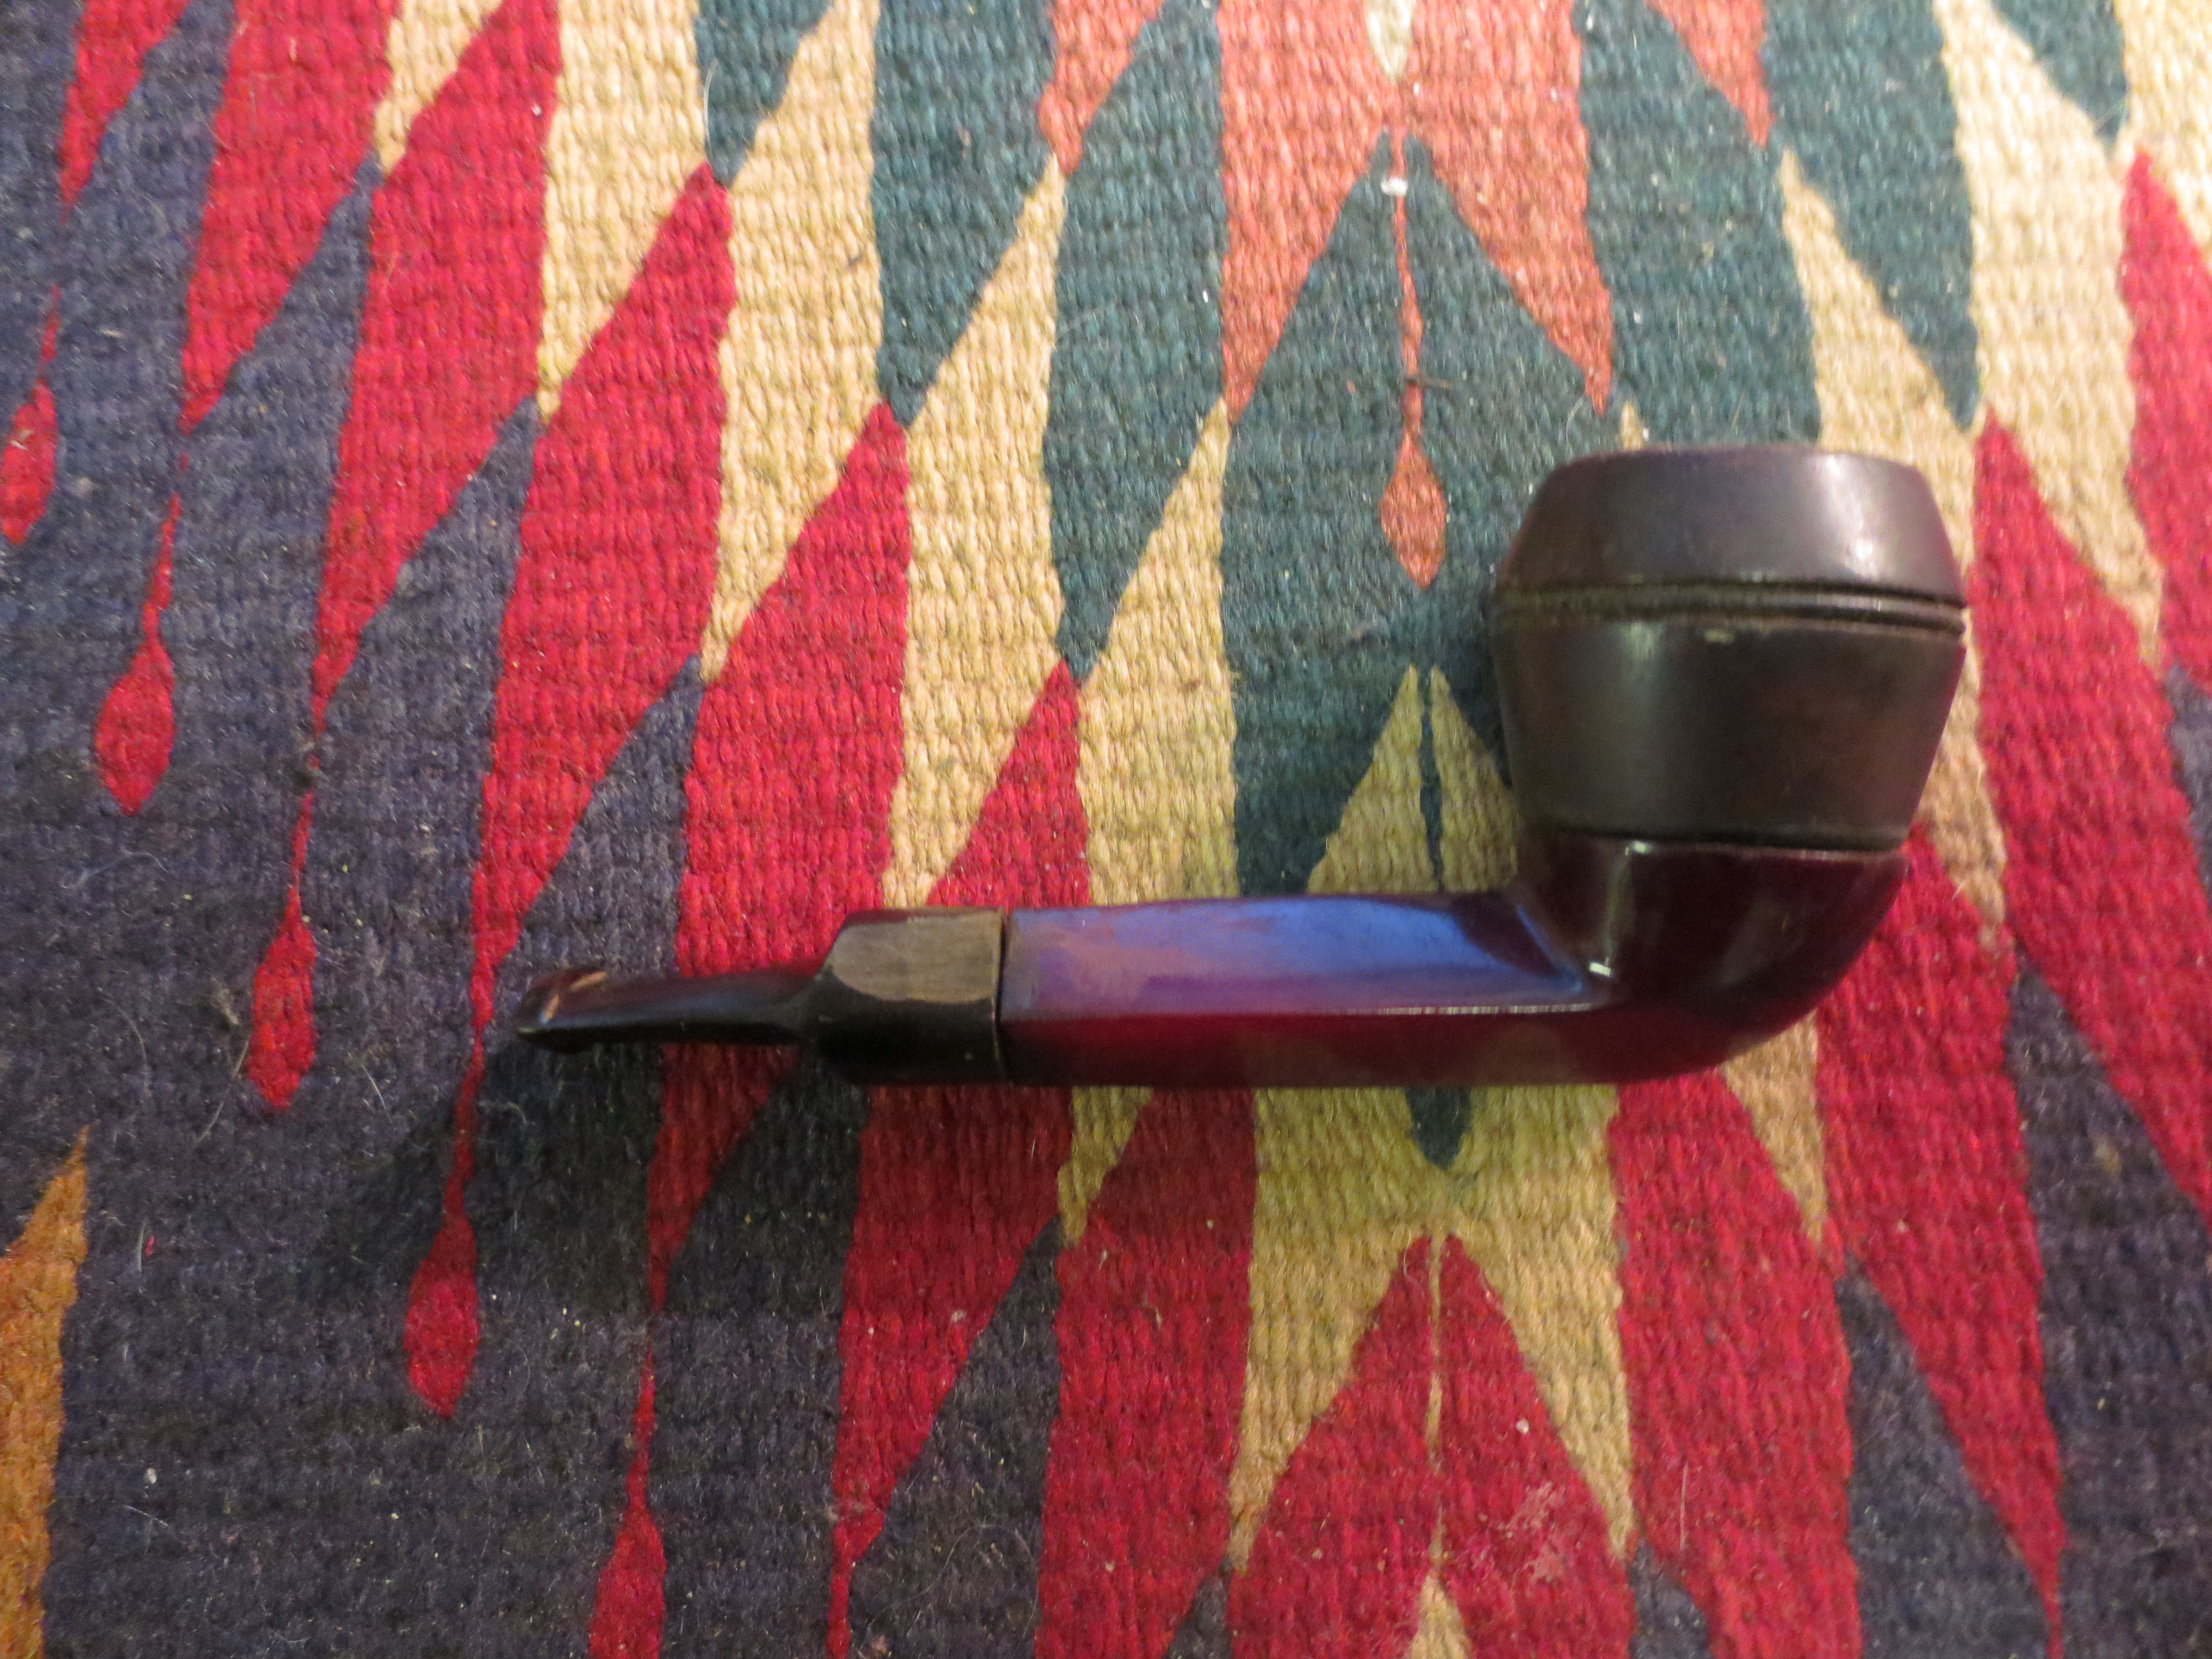
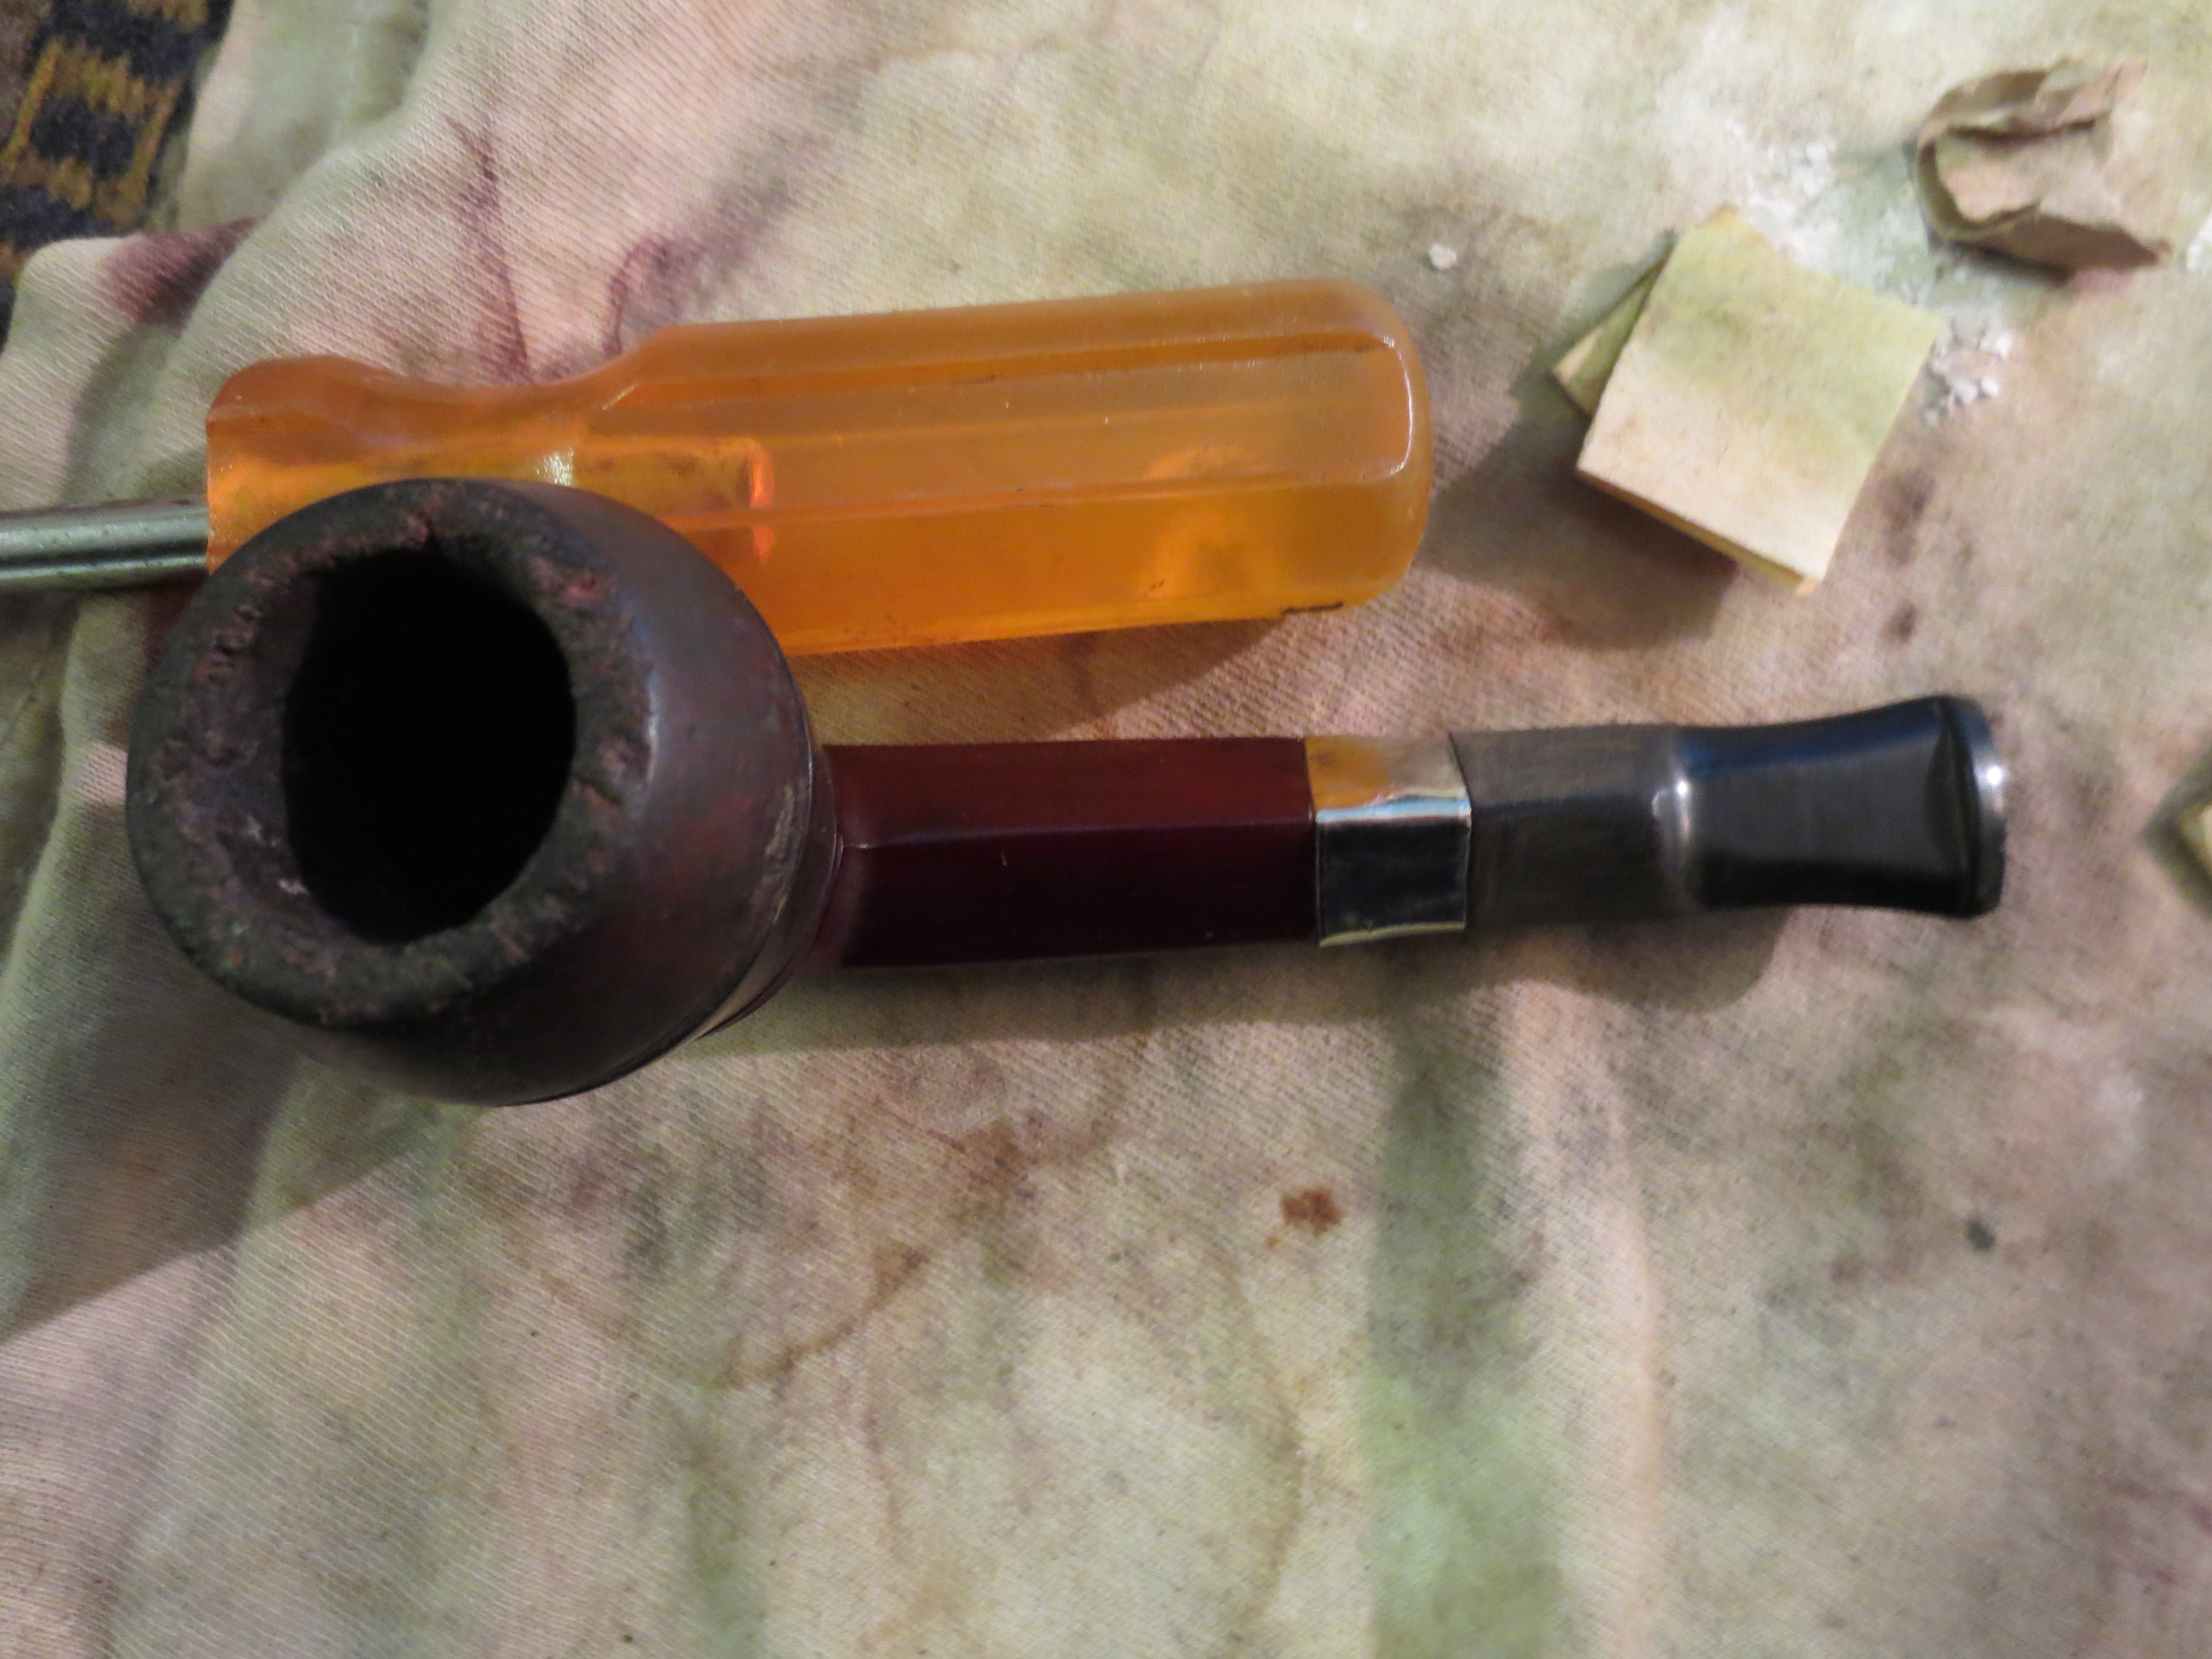
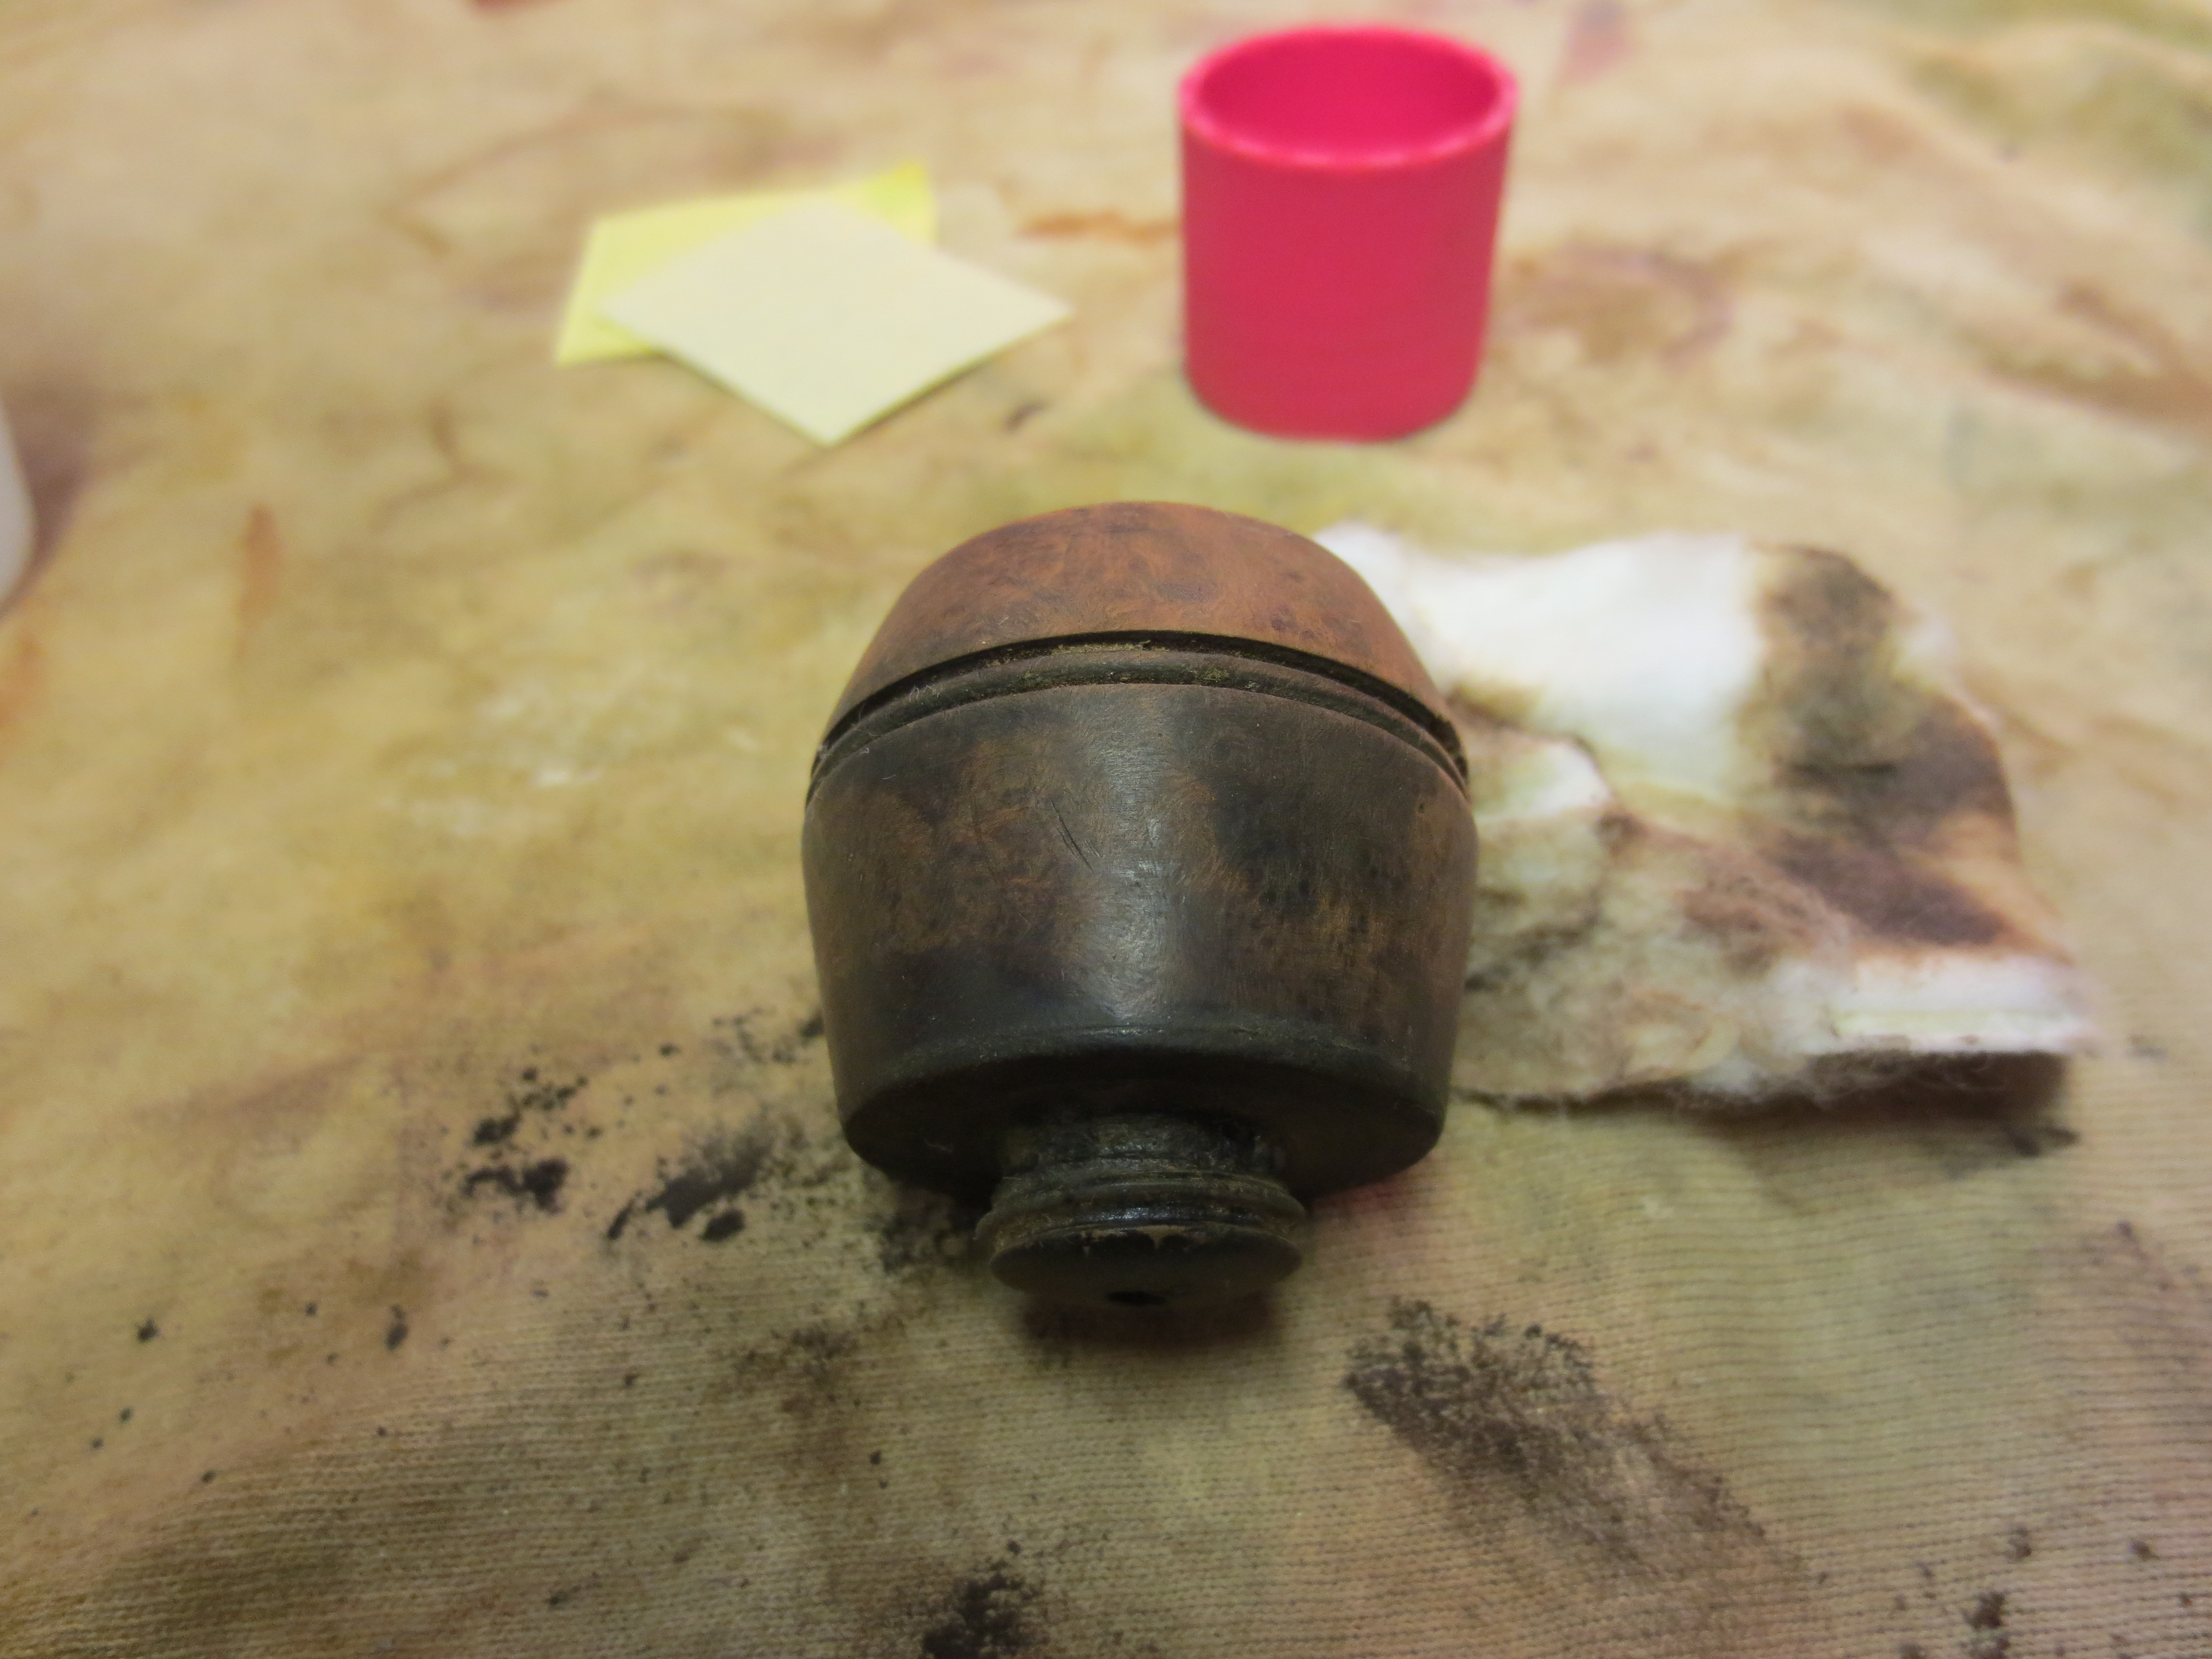
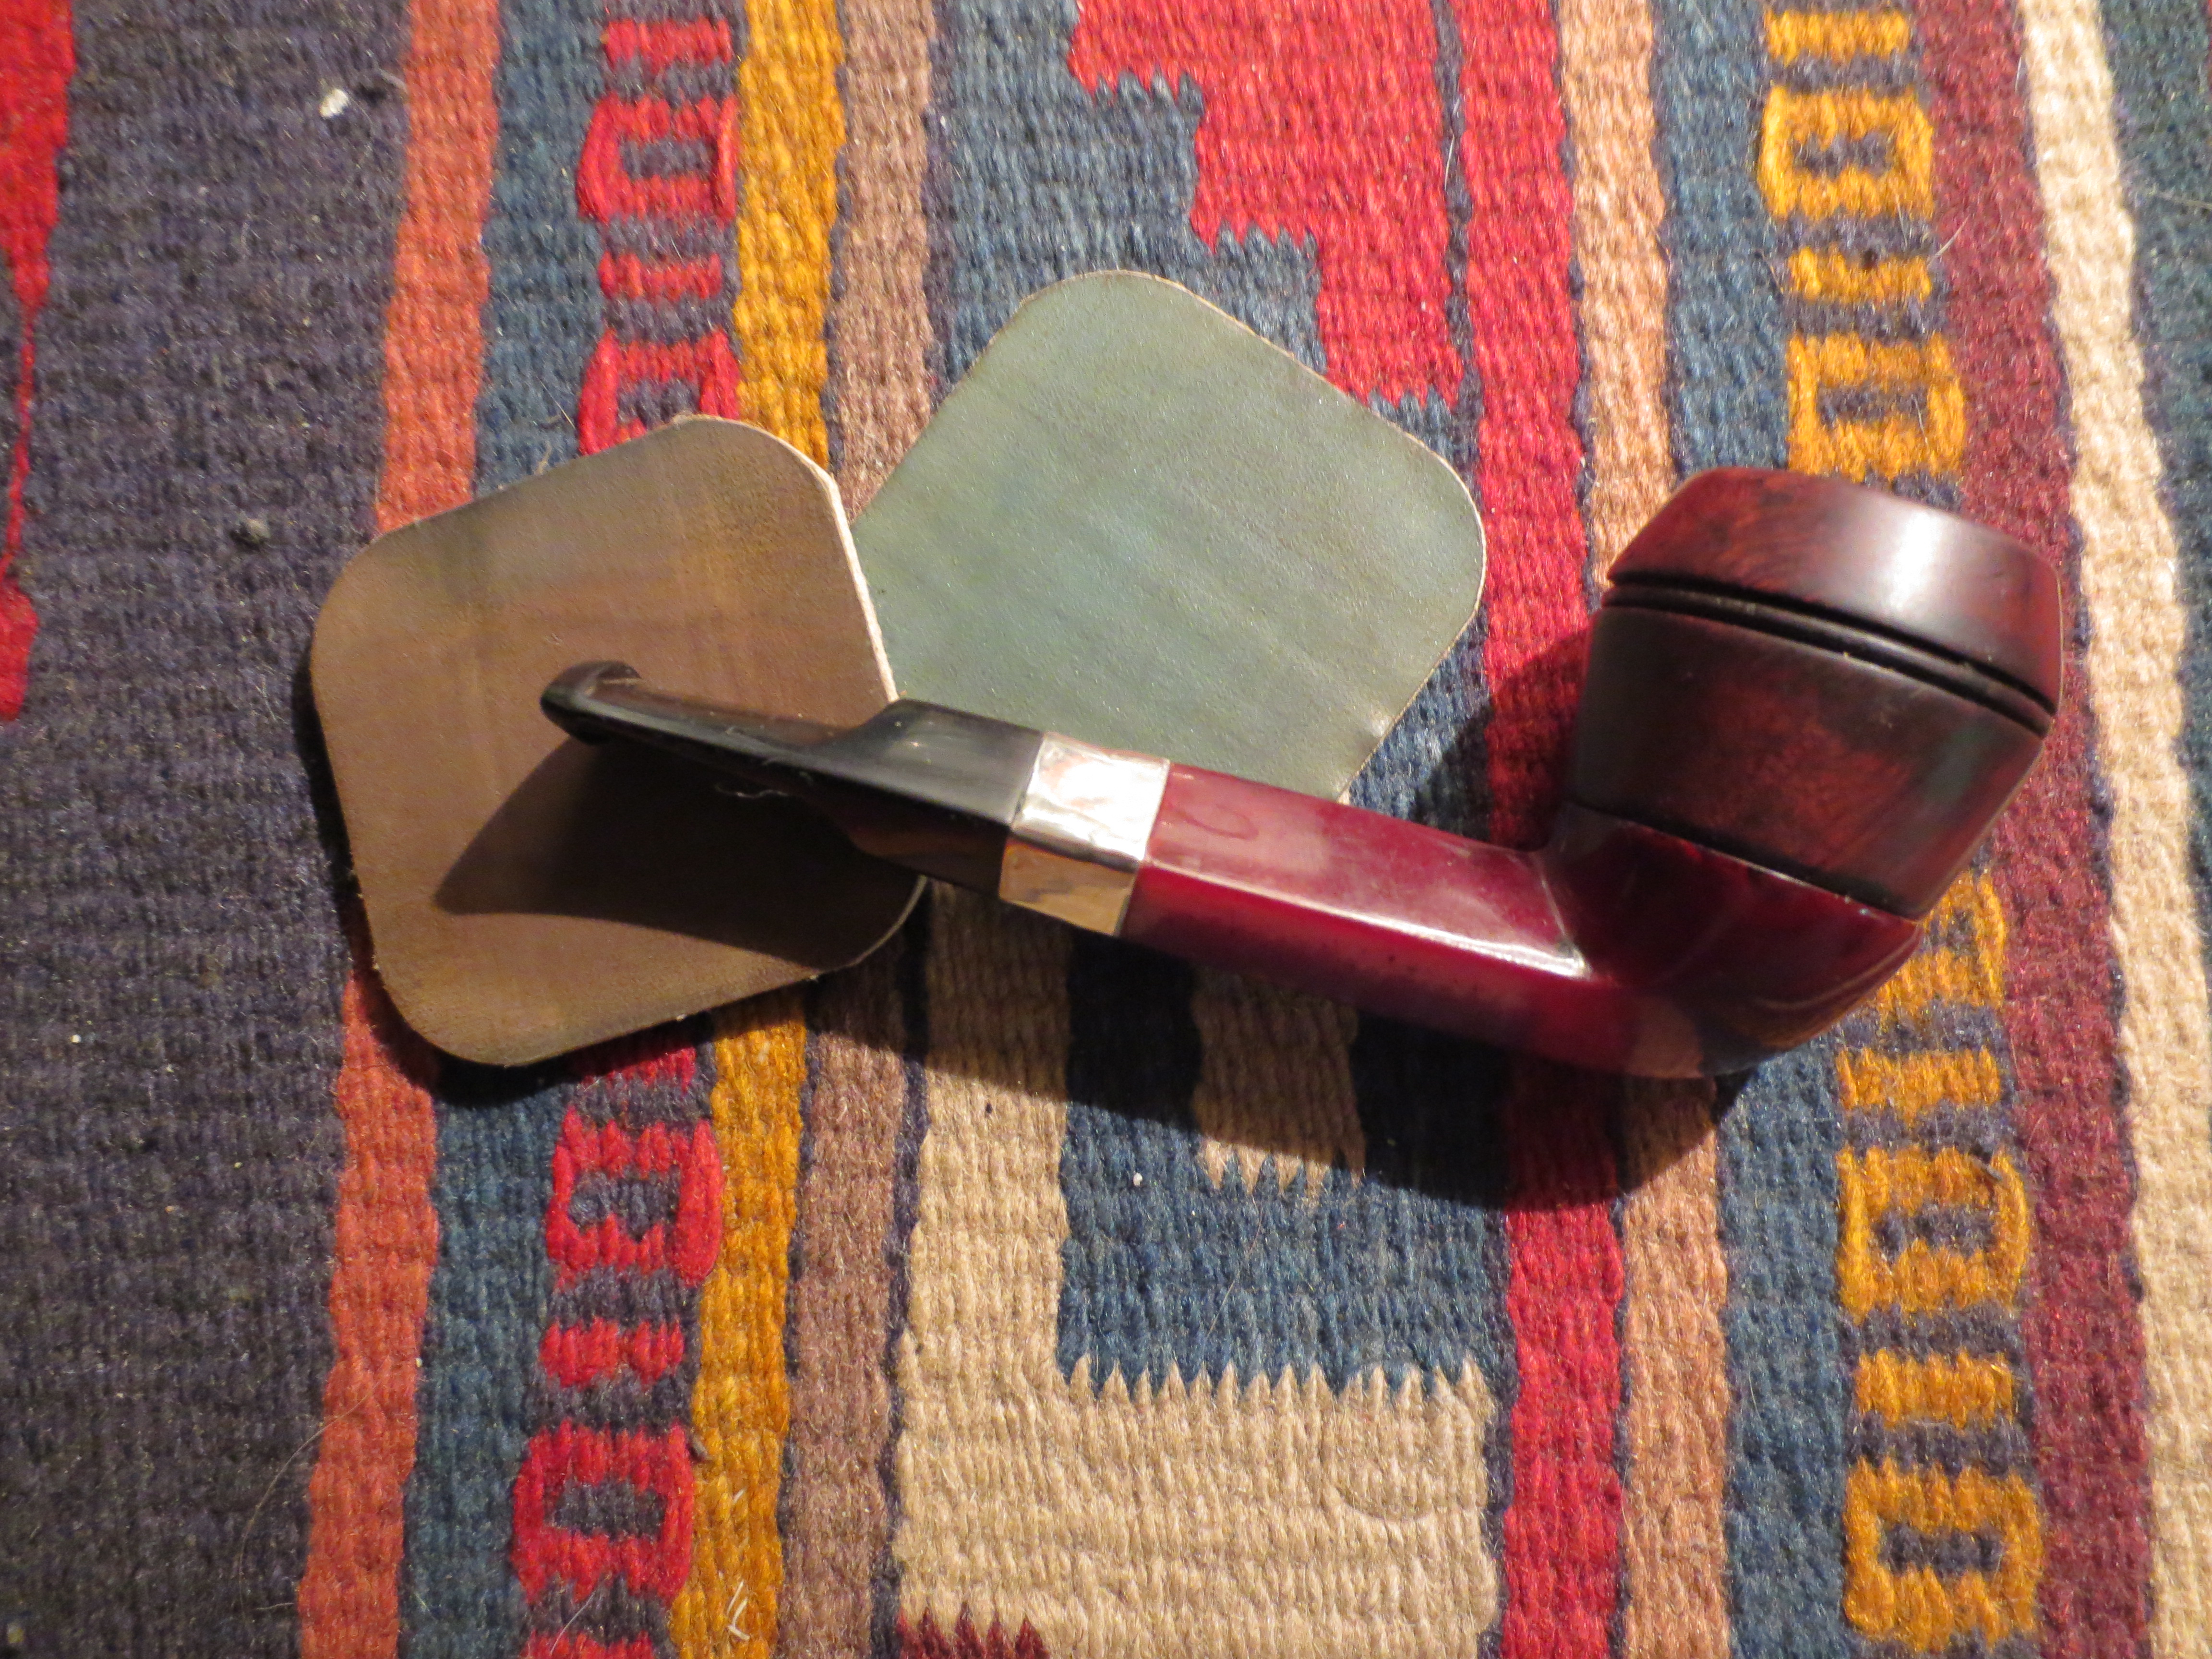
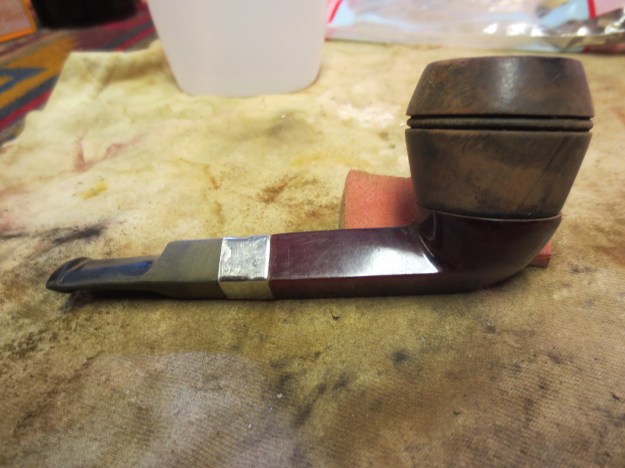
I received the Bakelite bowl base in a lot that I picked up on EBay. At first glance I figured I would trash it and not worry about working on it at all. However, I tend to be drawn to working on things that others would throw away so I decided to see what I could do with it. The two bowls pictured below are threaded and both fit the base. The Dublin like bowl, once on the base, was too narrow for the base but the bulldog bowl fit well. It was packed with a cake and there were chips out of the double line band around the bowl. The bowl rim was damaged and the finish was absolutely shot with dark black stains in the briar all around the bowl where the thumb and fingers held the bowl. The Bakelite shank had the WDC in a diamond stamped on it. The ornate band that usually adorned the shank as well as the metal washer like band on the top of the bowl base was missing. The shank had a broken metal tenon stuck deep within it. The surface had scratches in it but none of them were too deep.
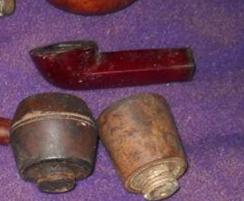
Bakelite bowl base and two potential bowls before beginning the process of refurbishing.
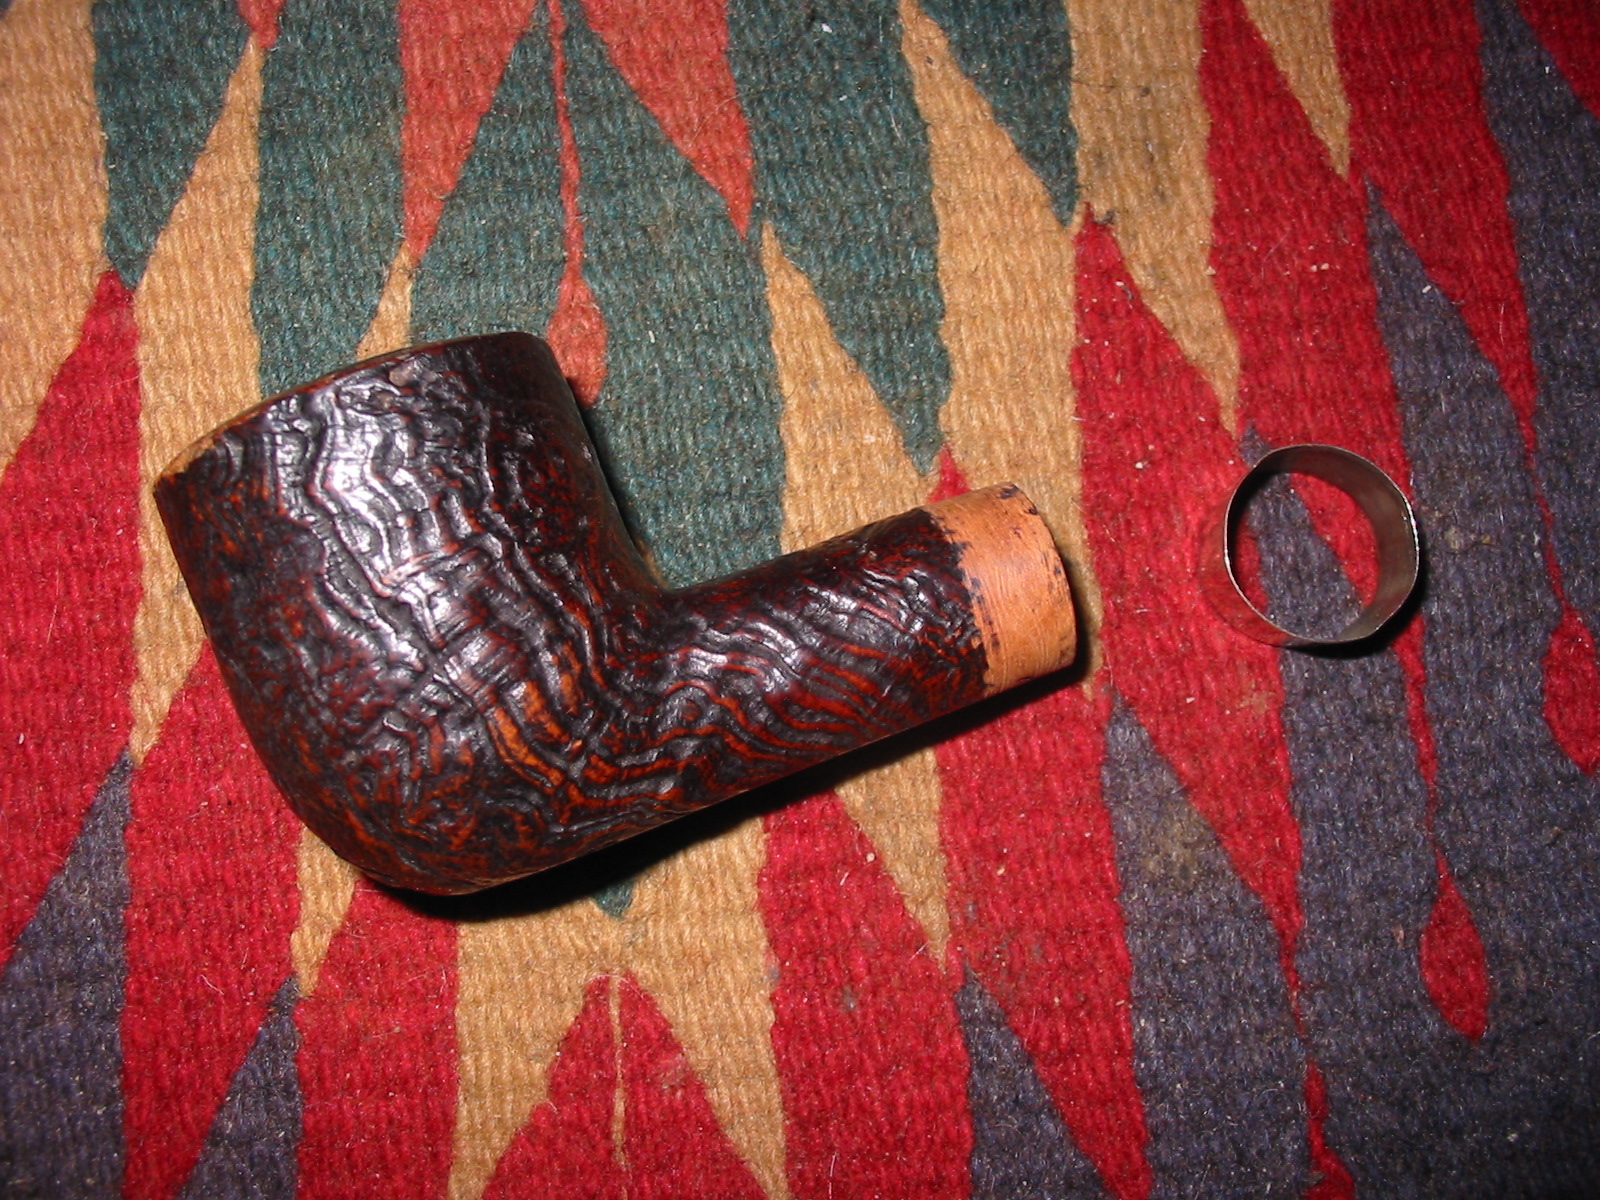
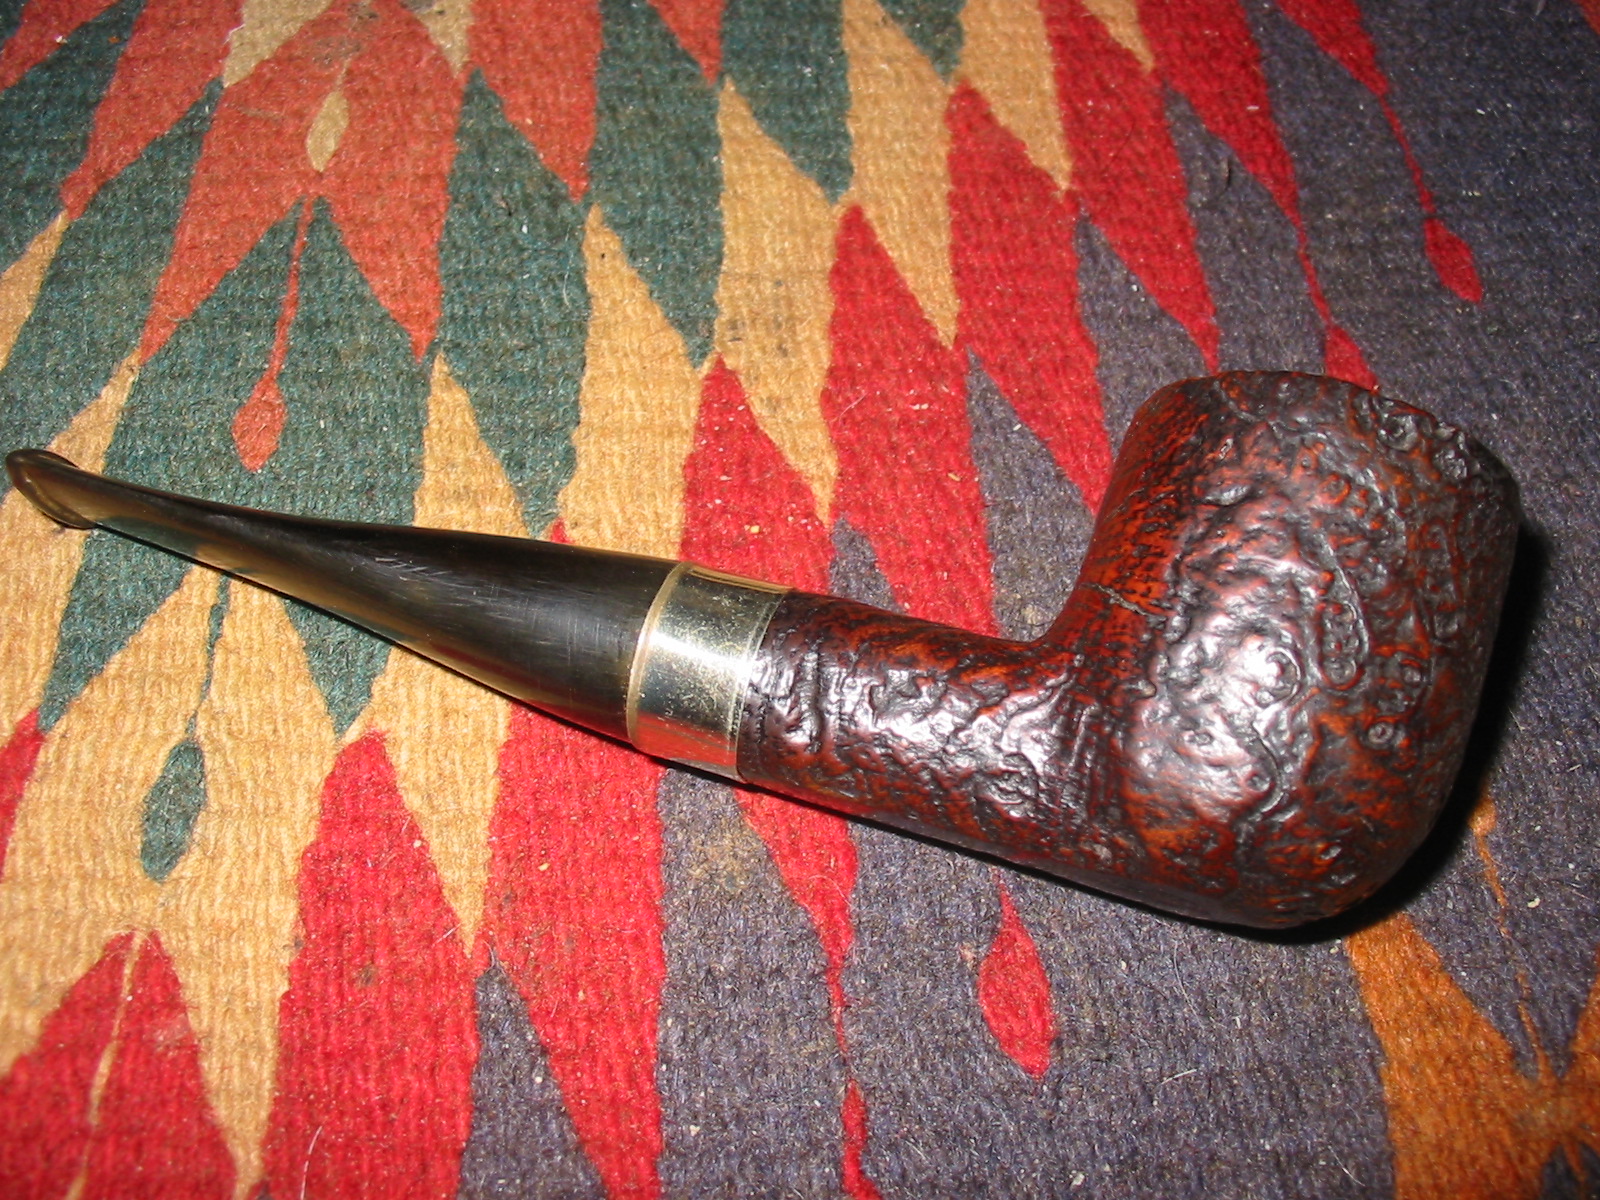
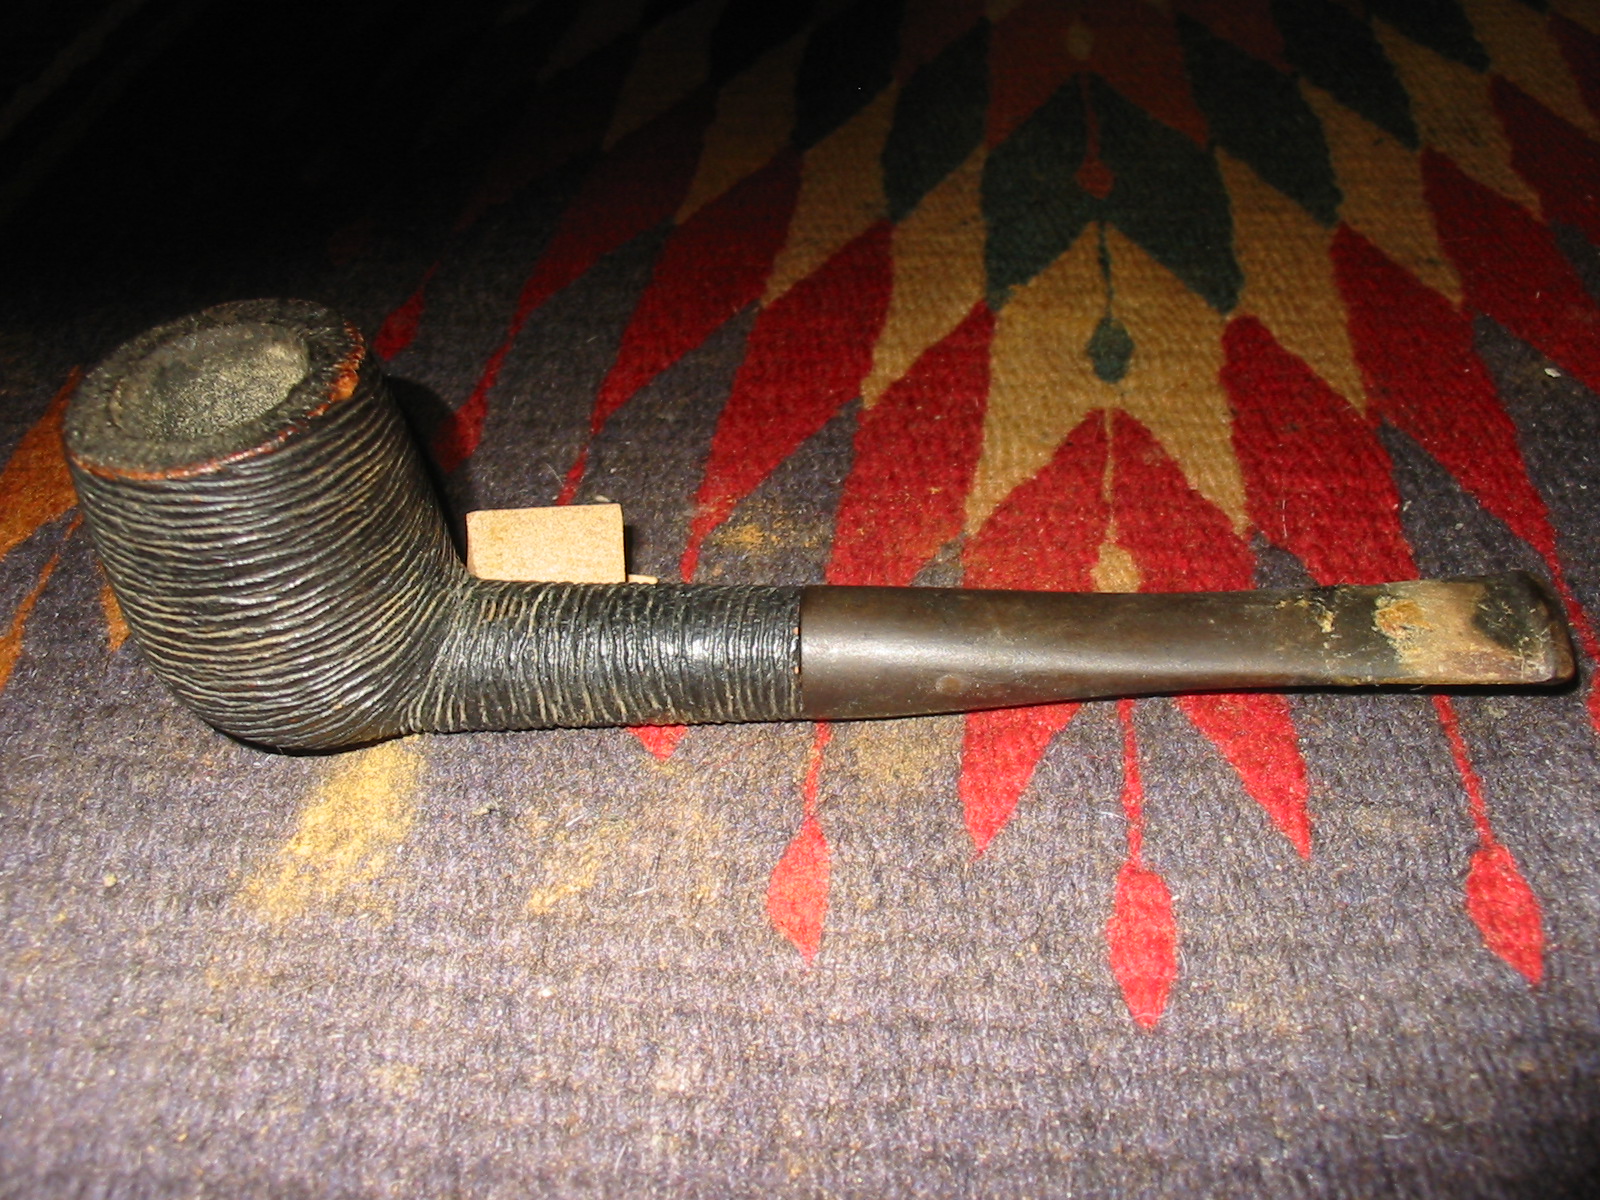
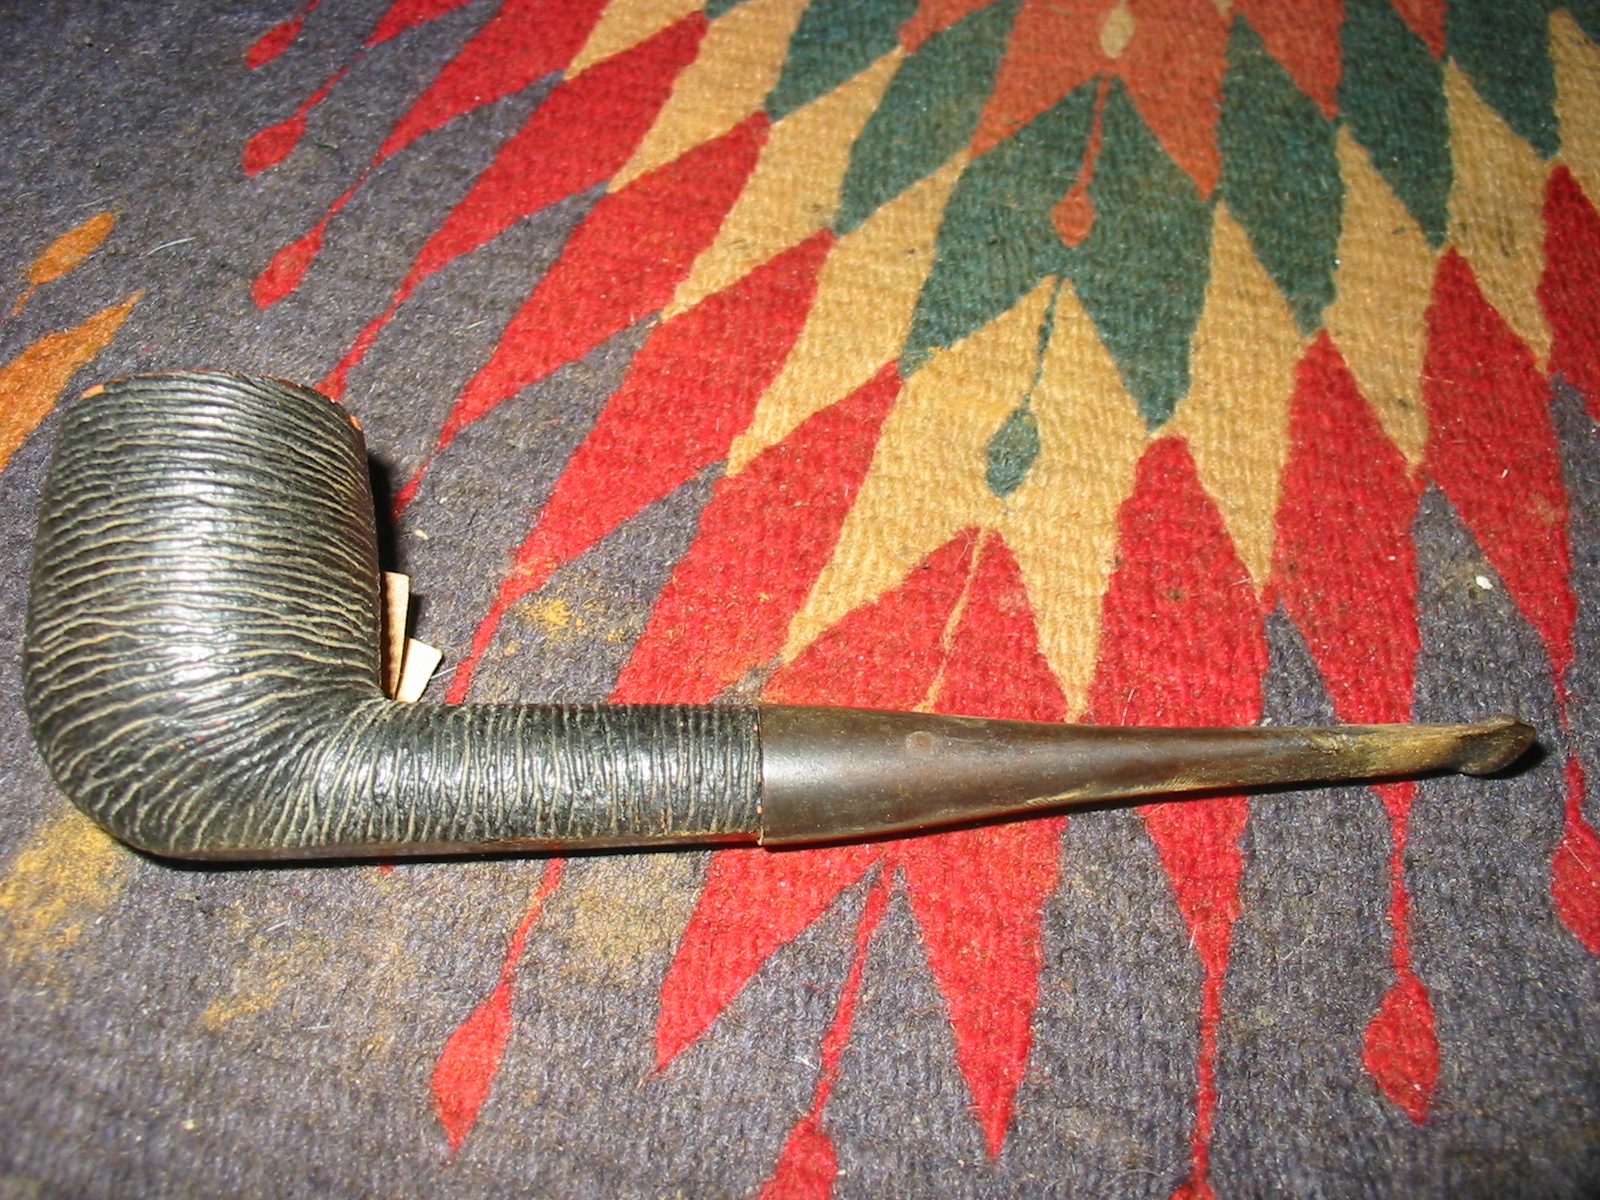
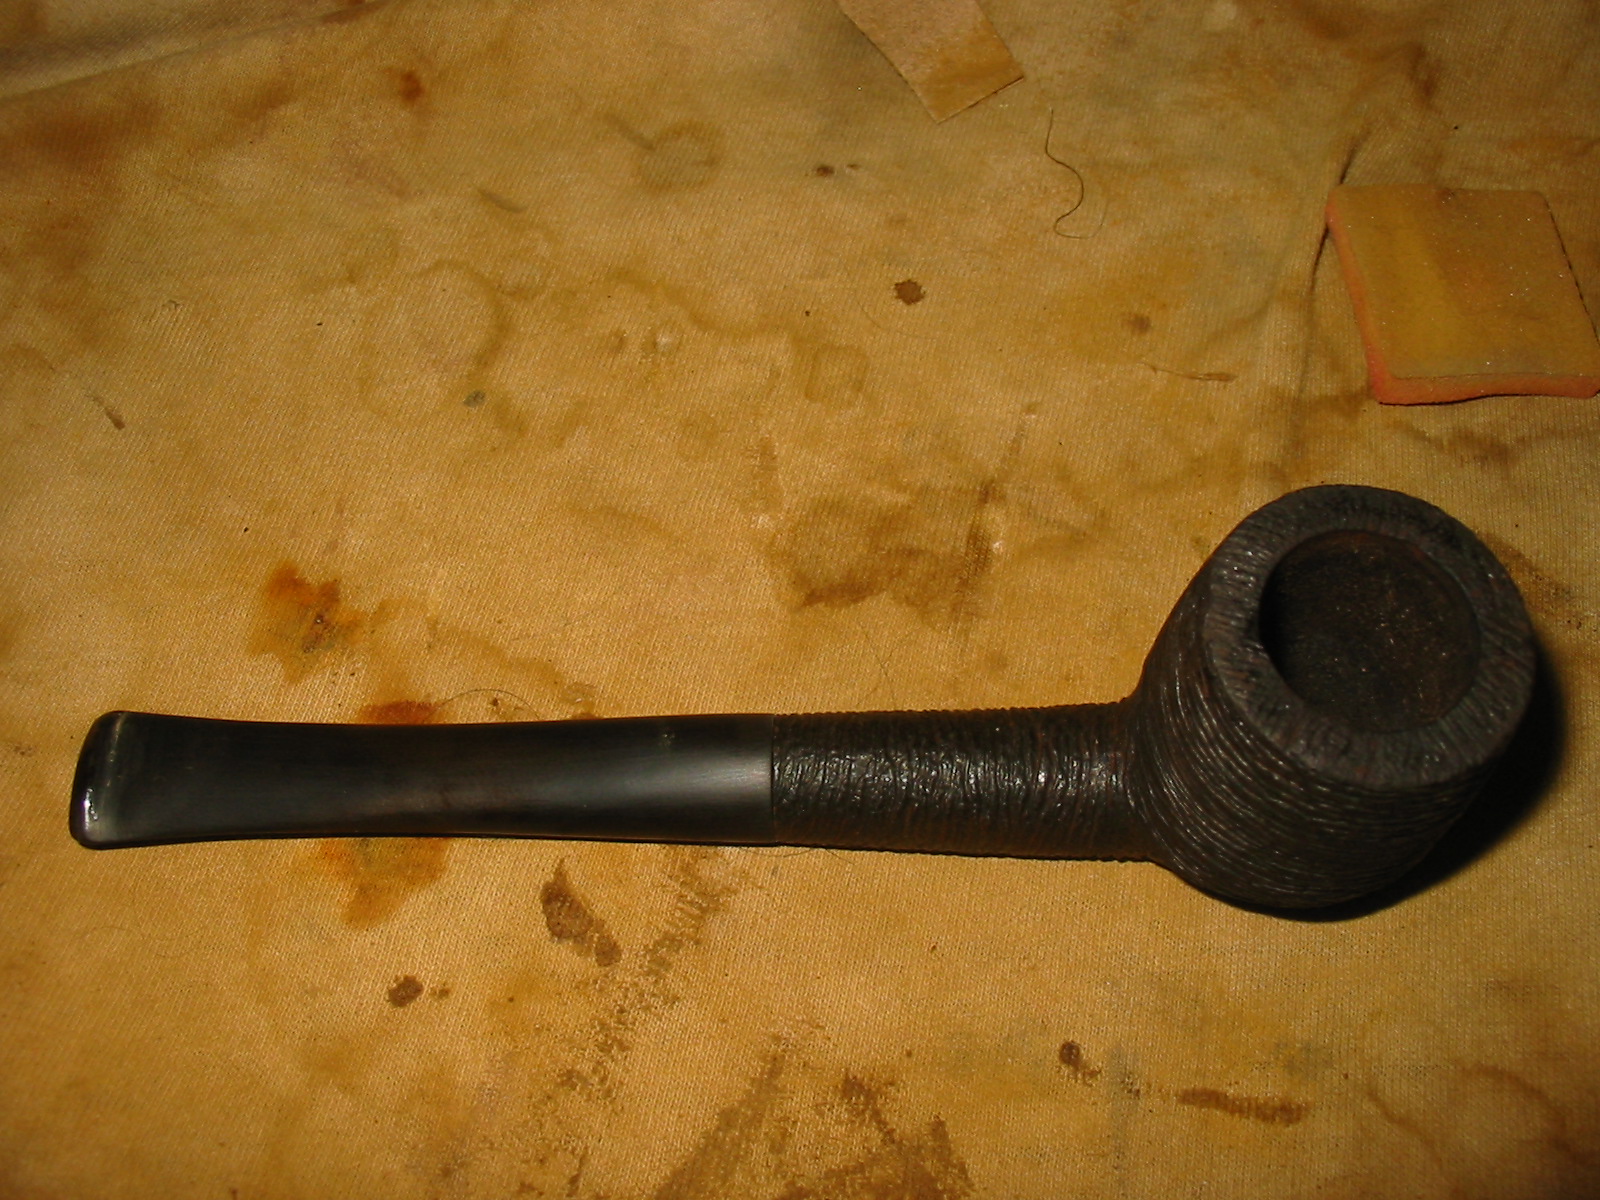
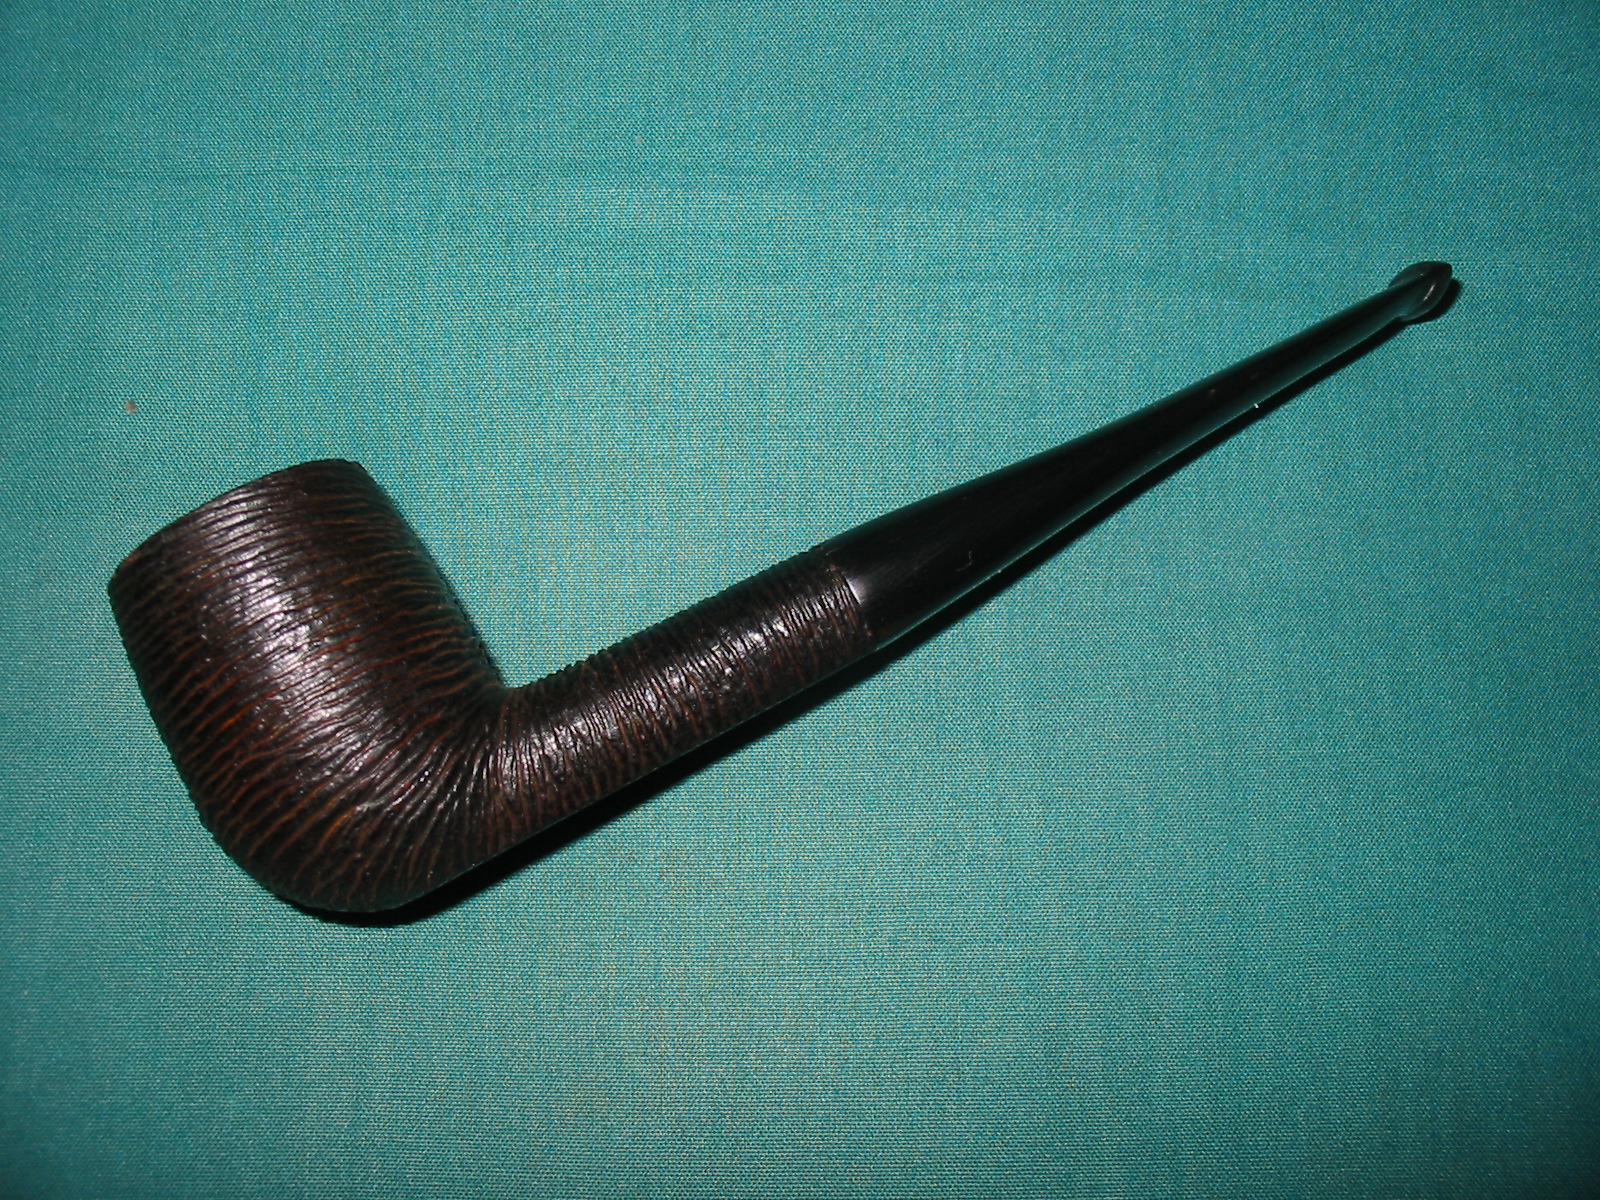
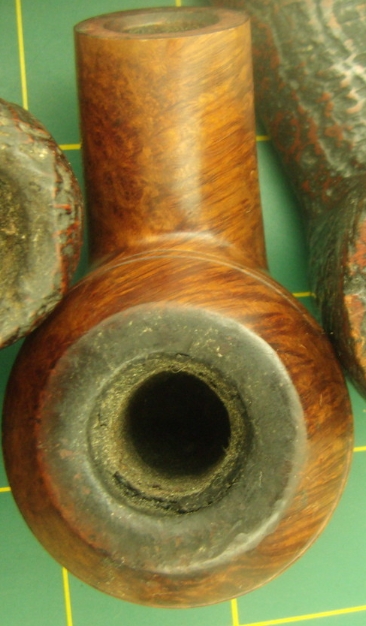
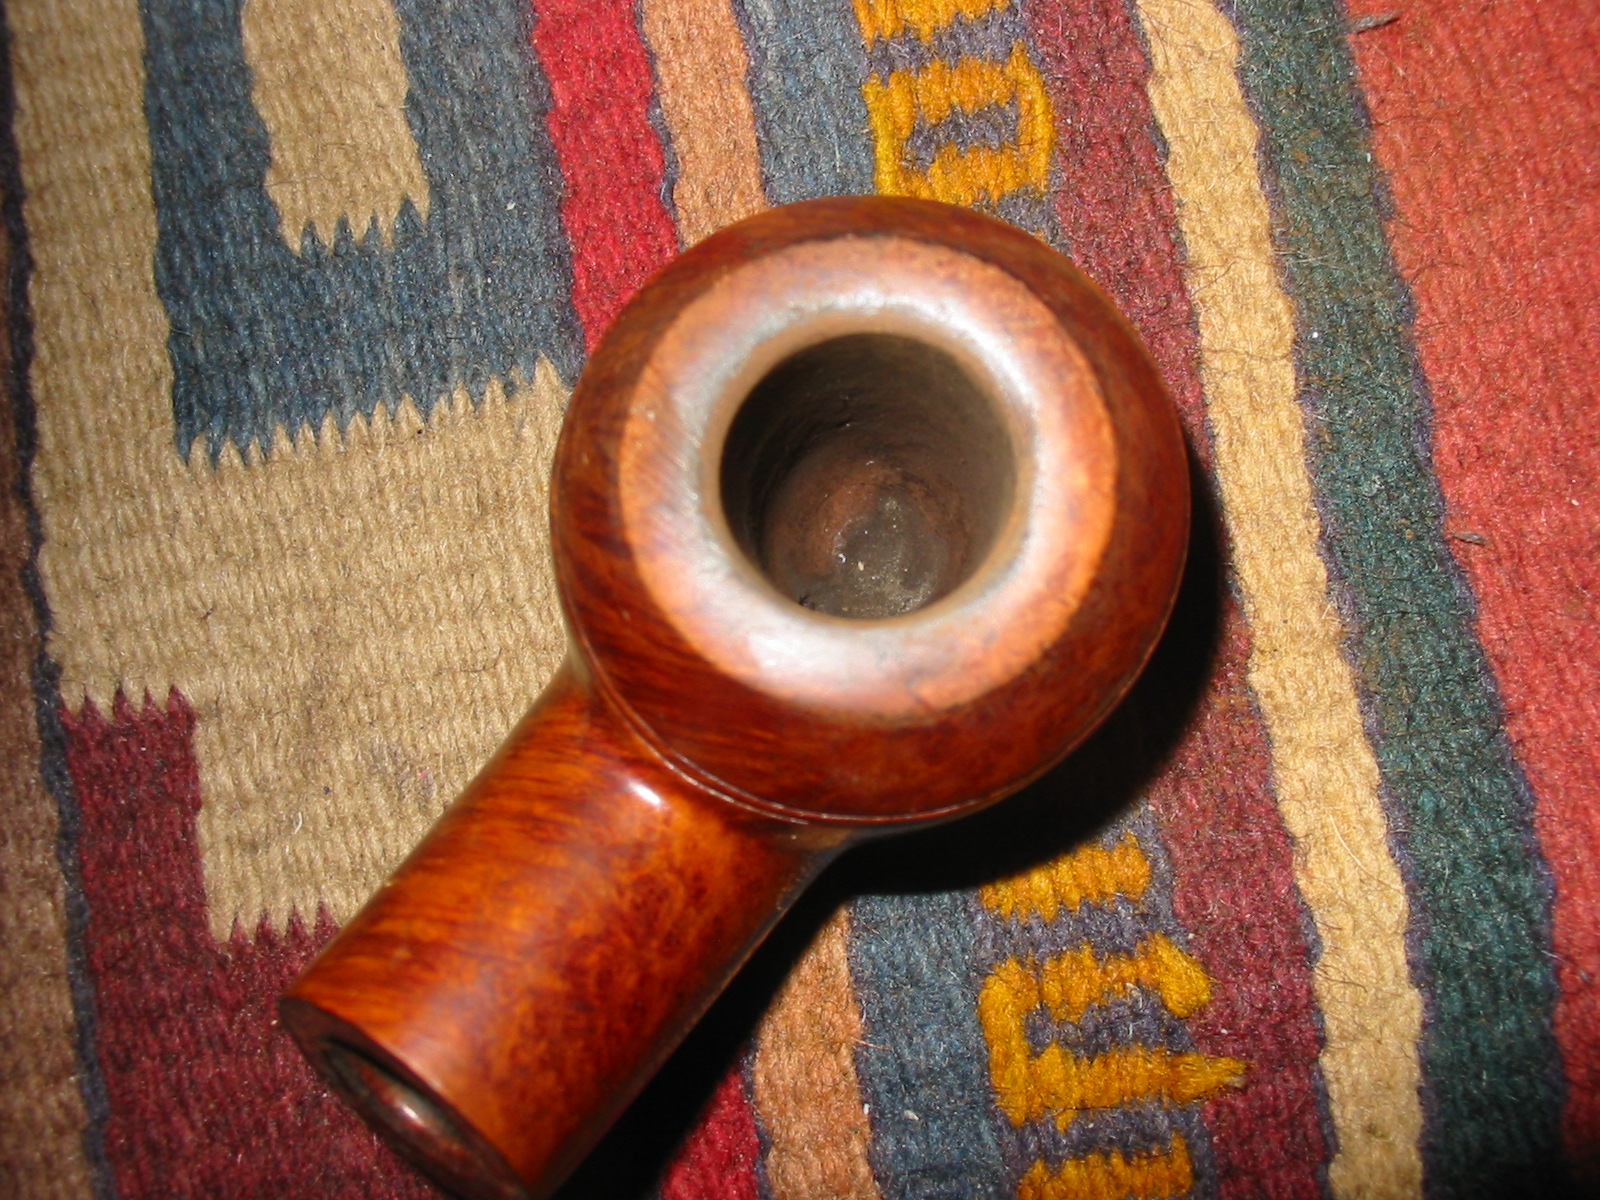
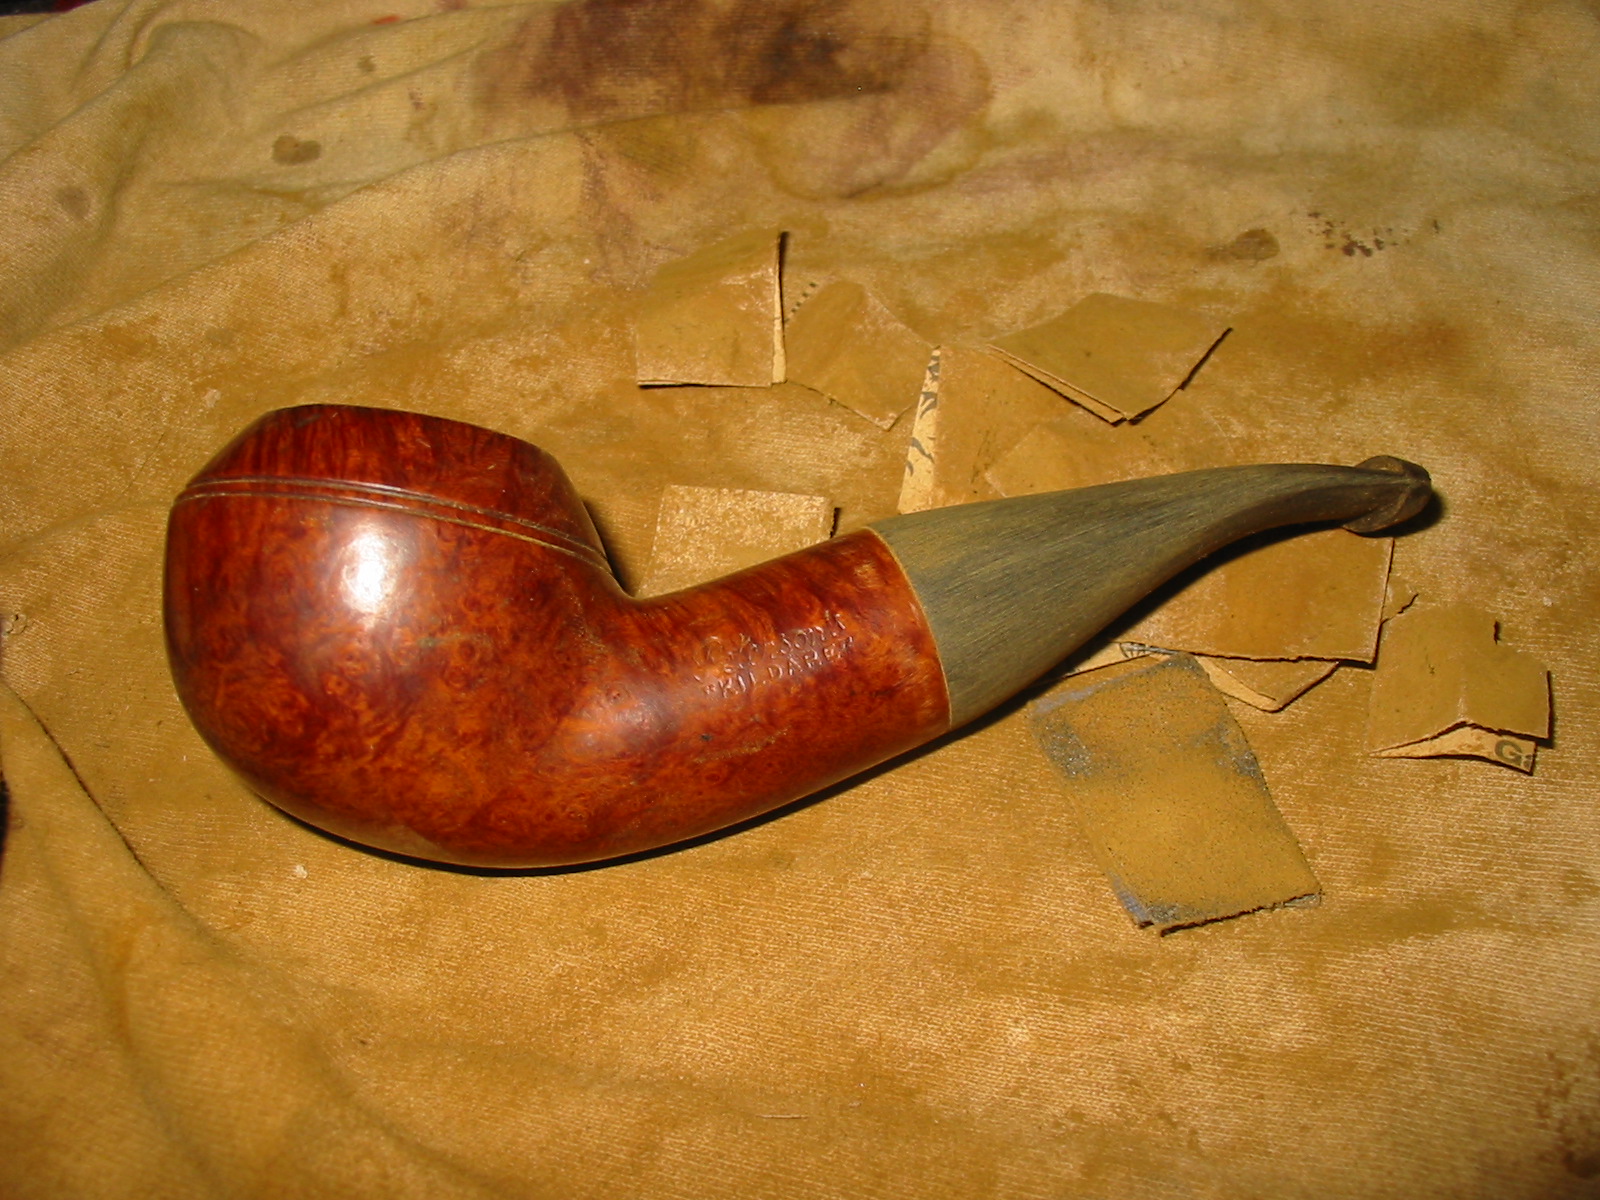
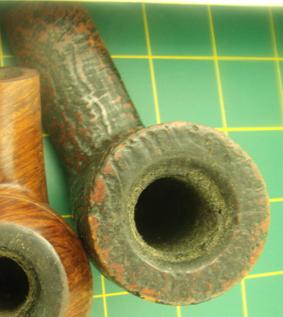
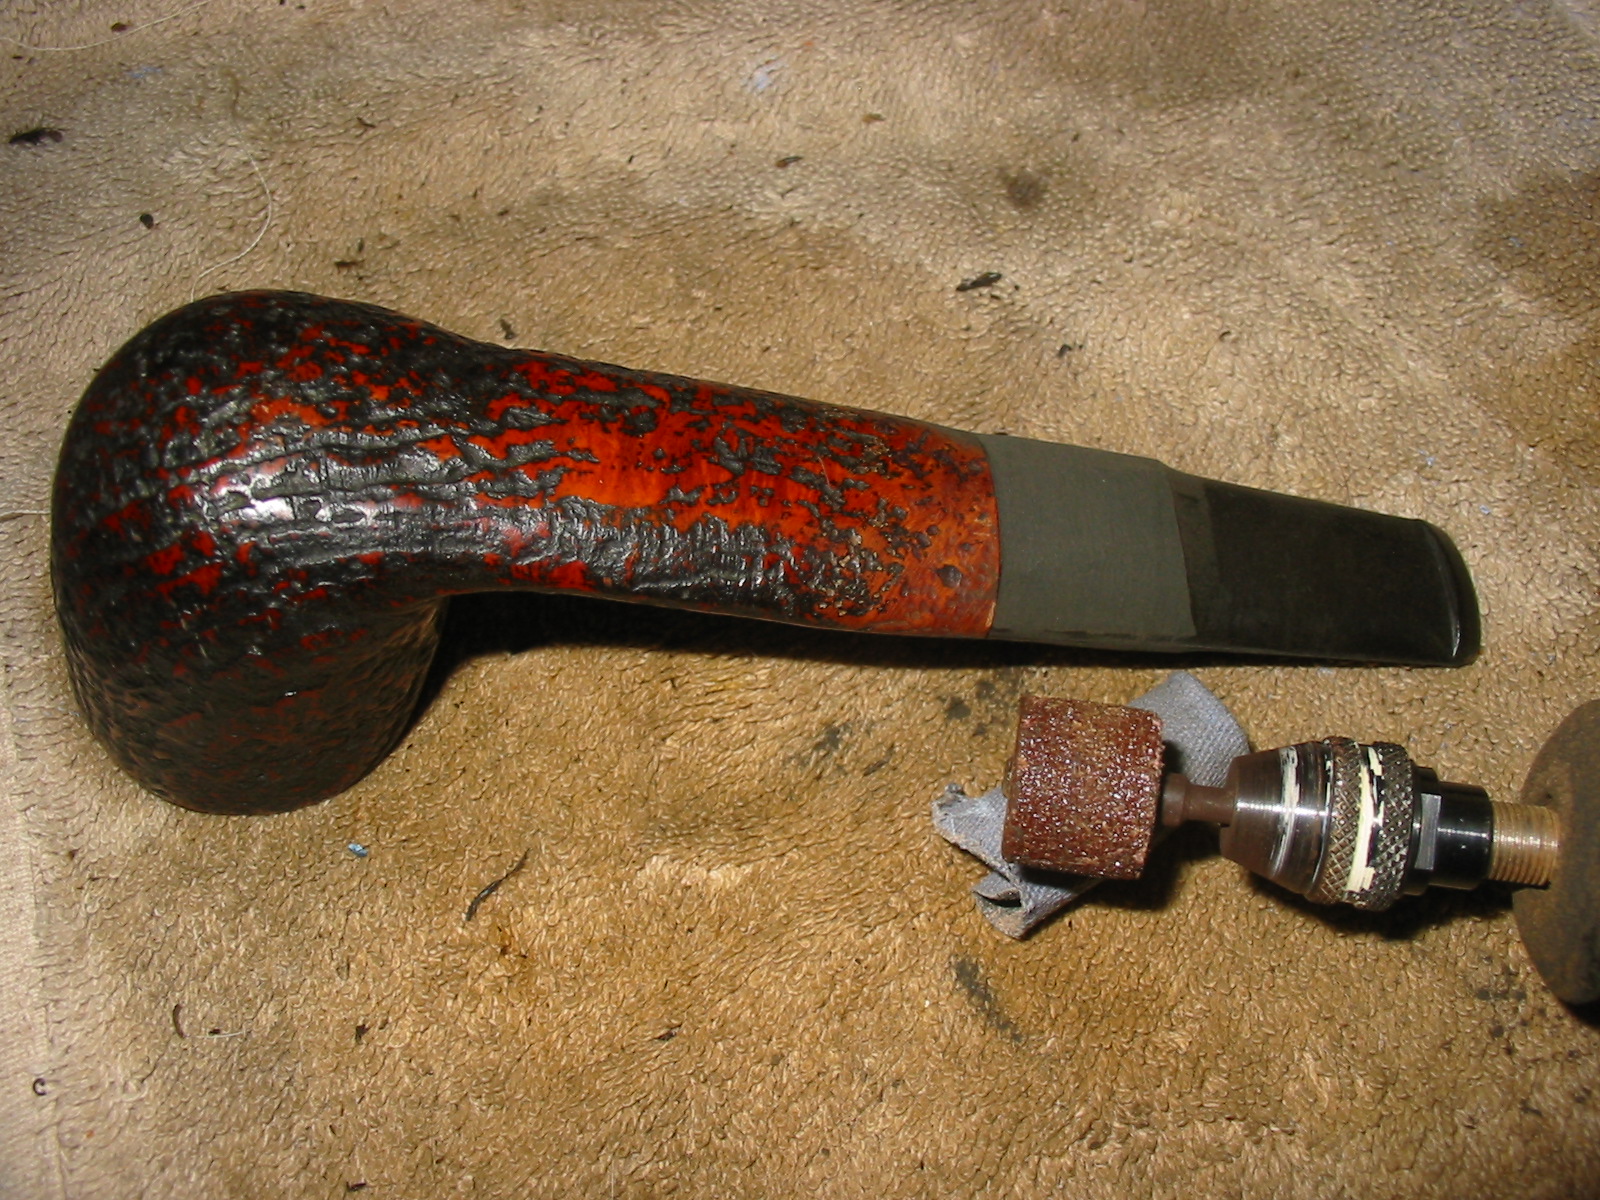
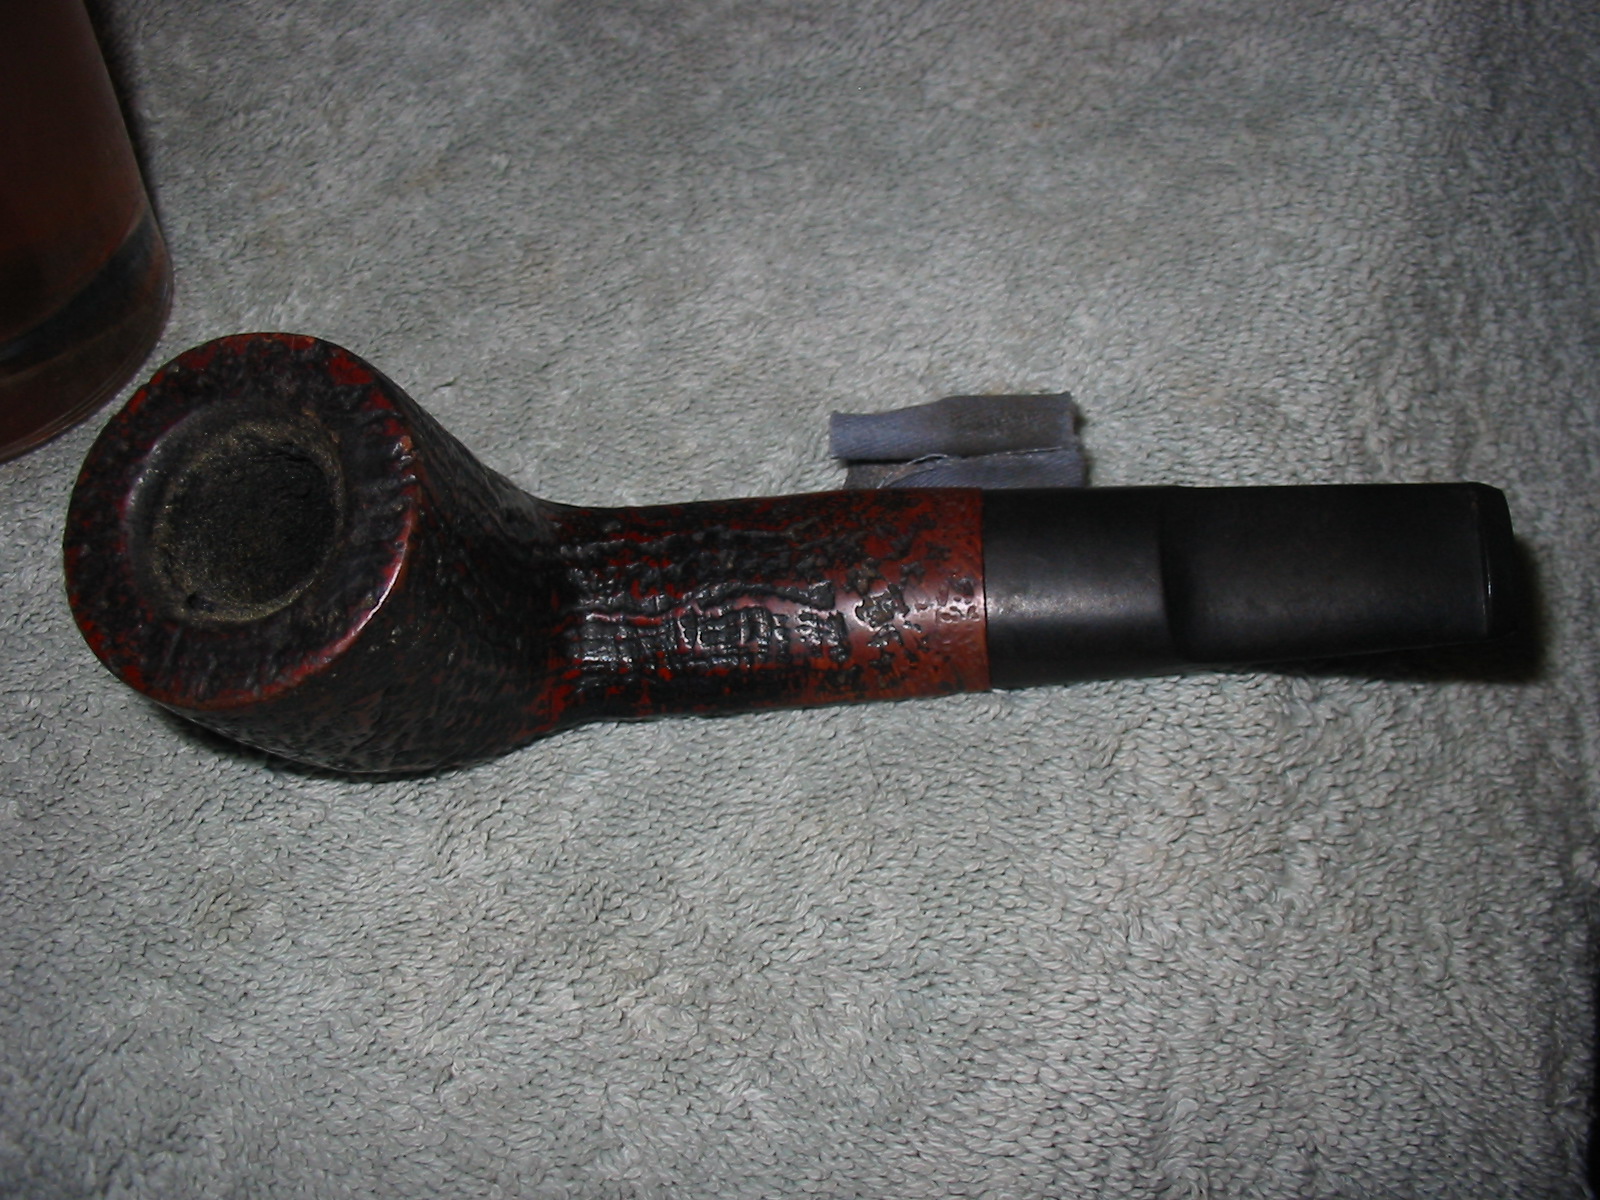
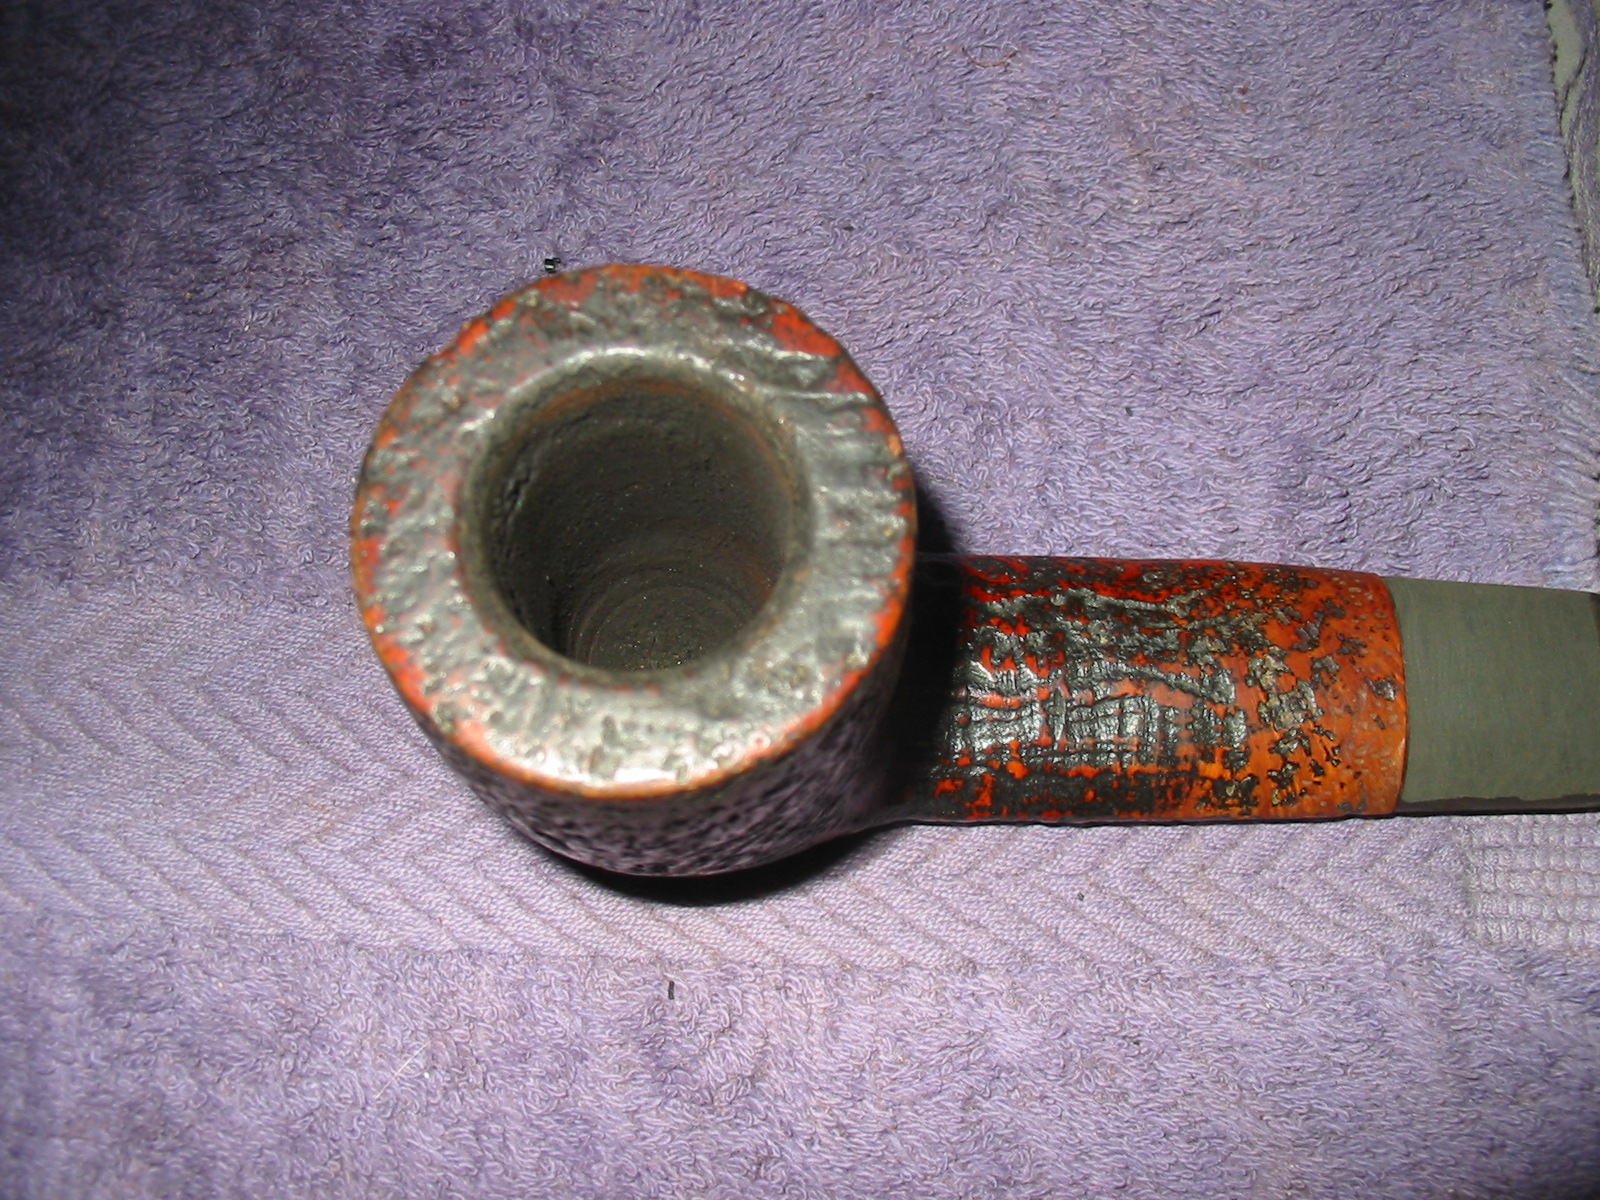
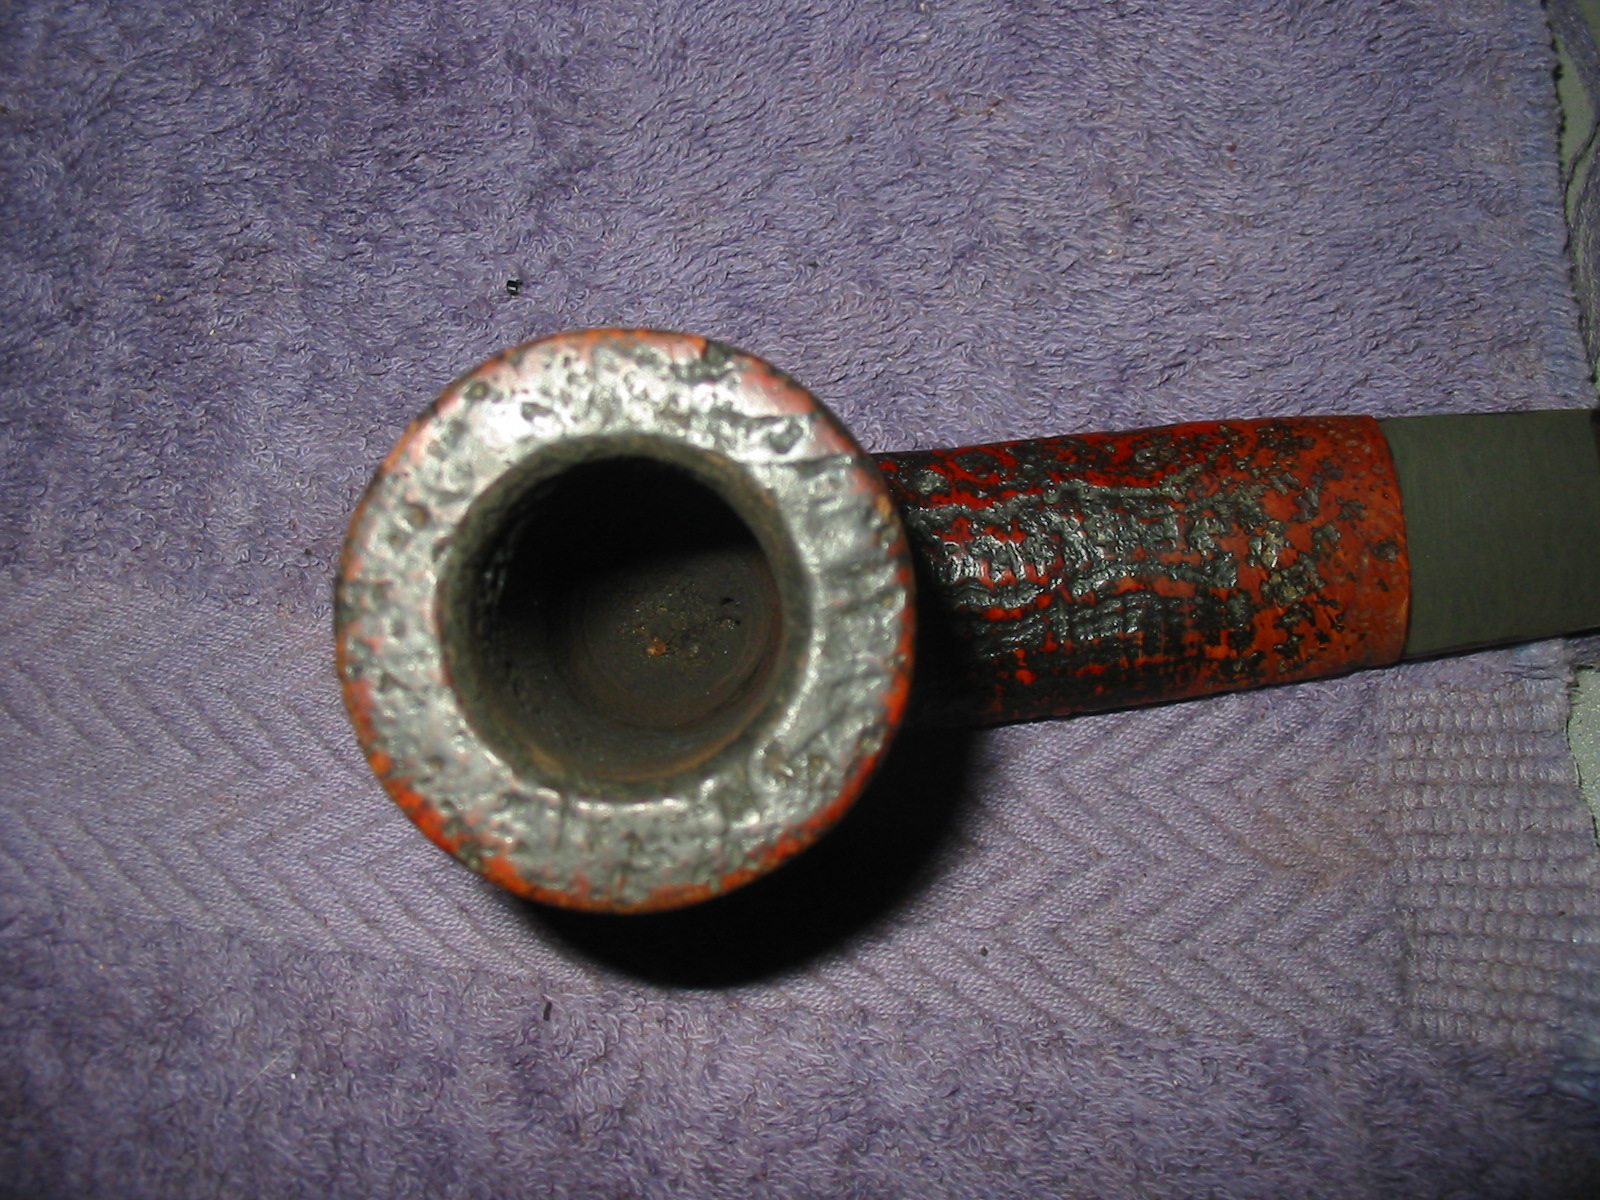
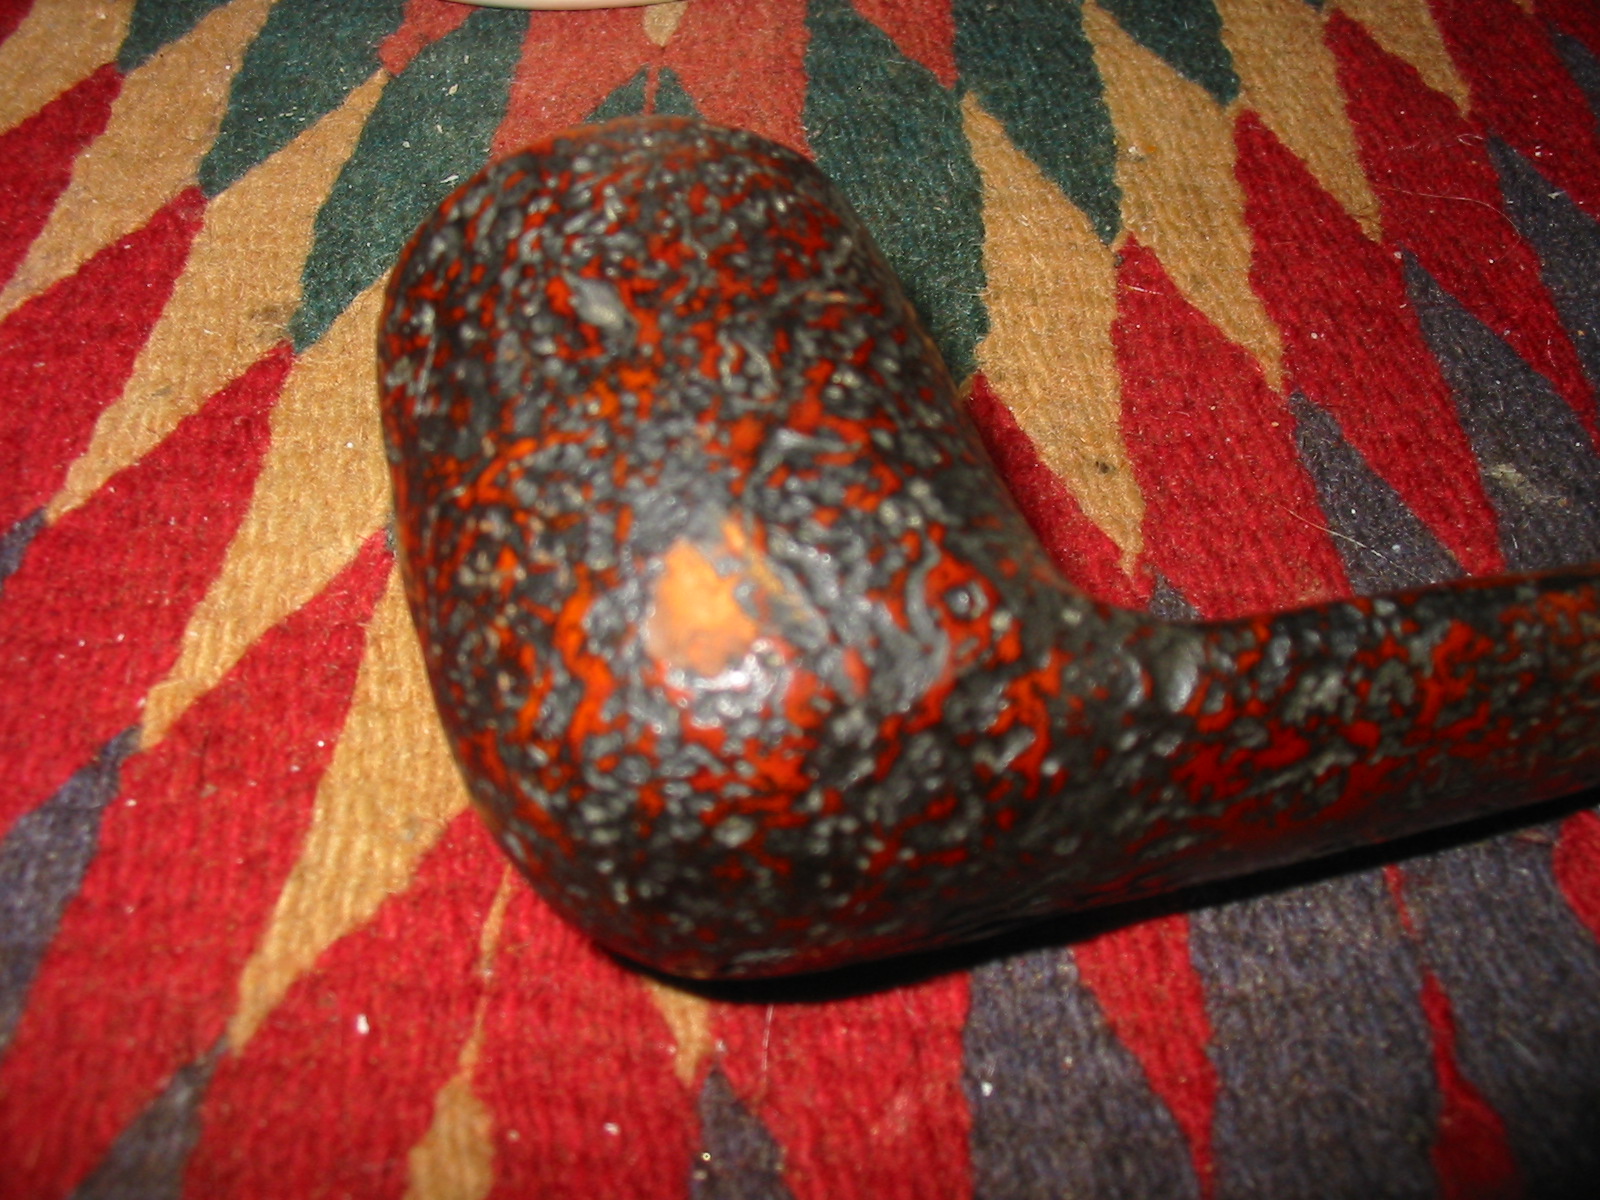
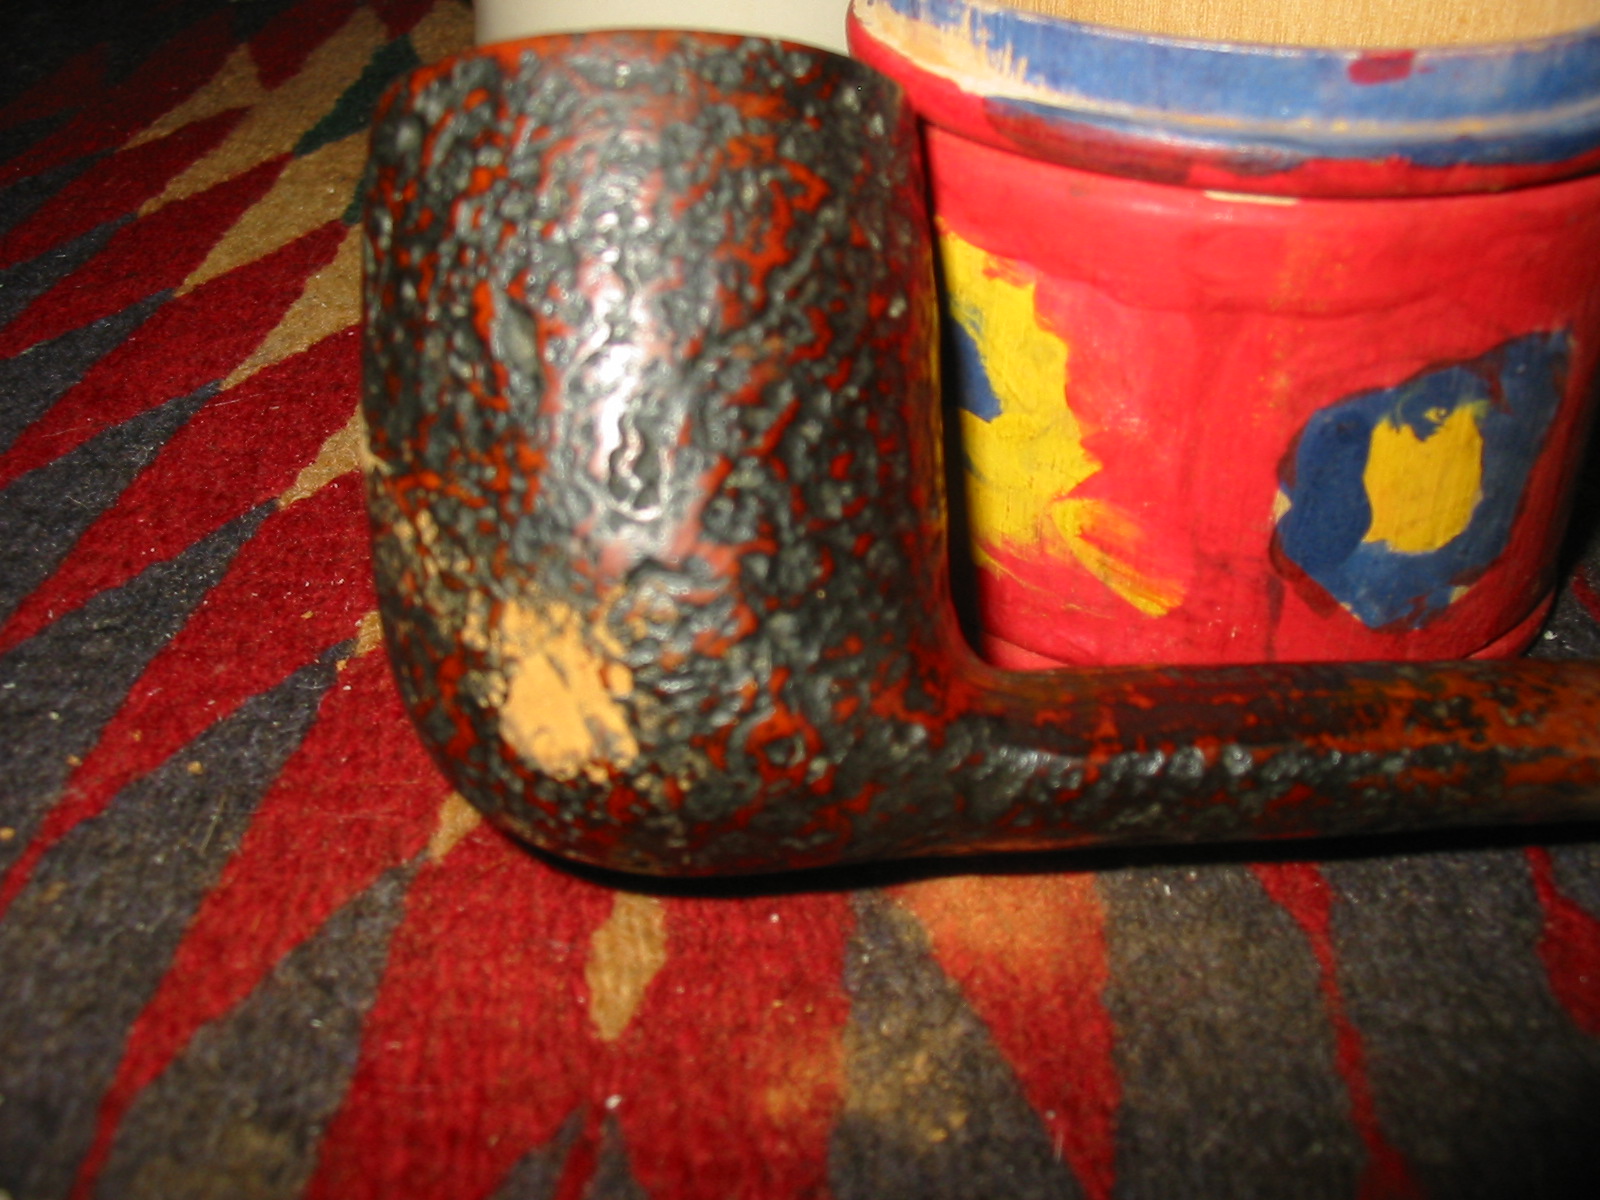
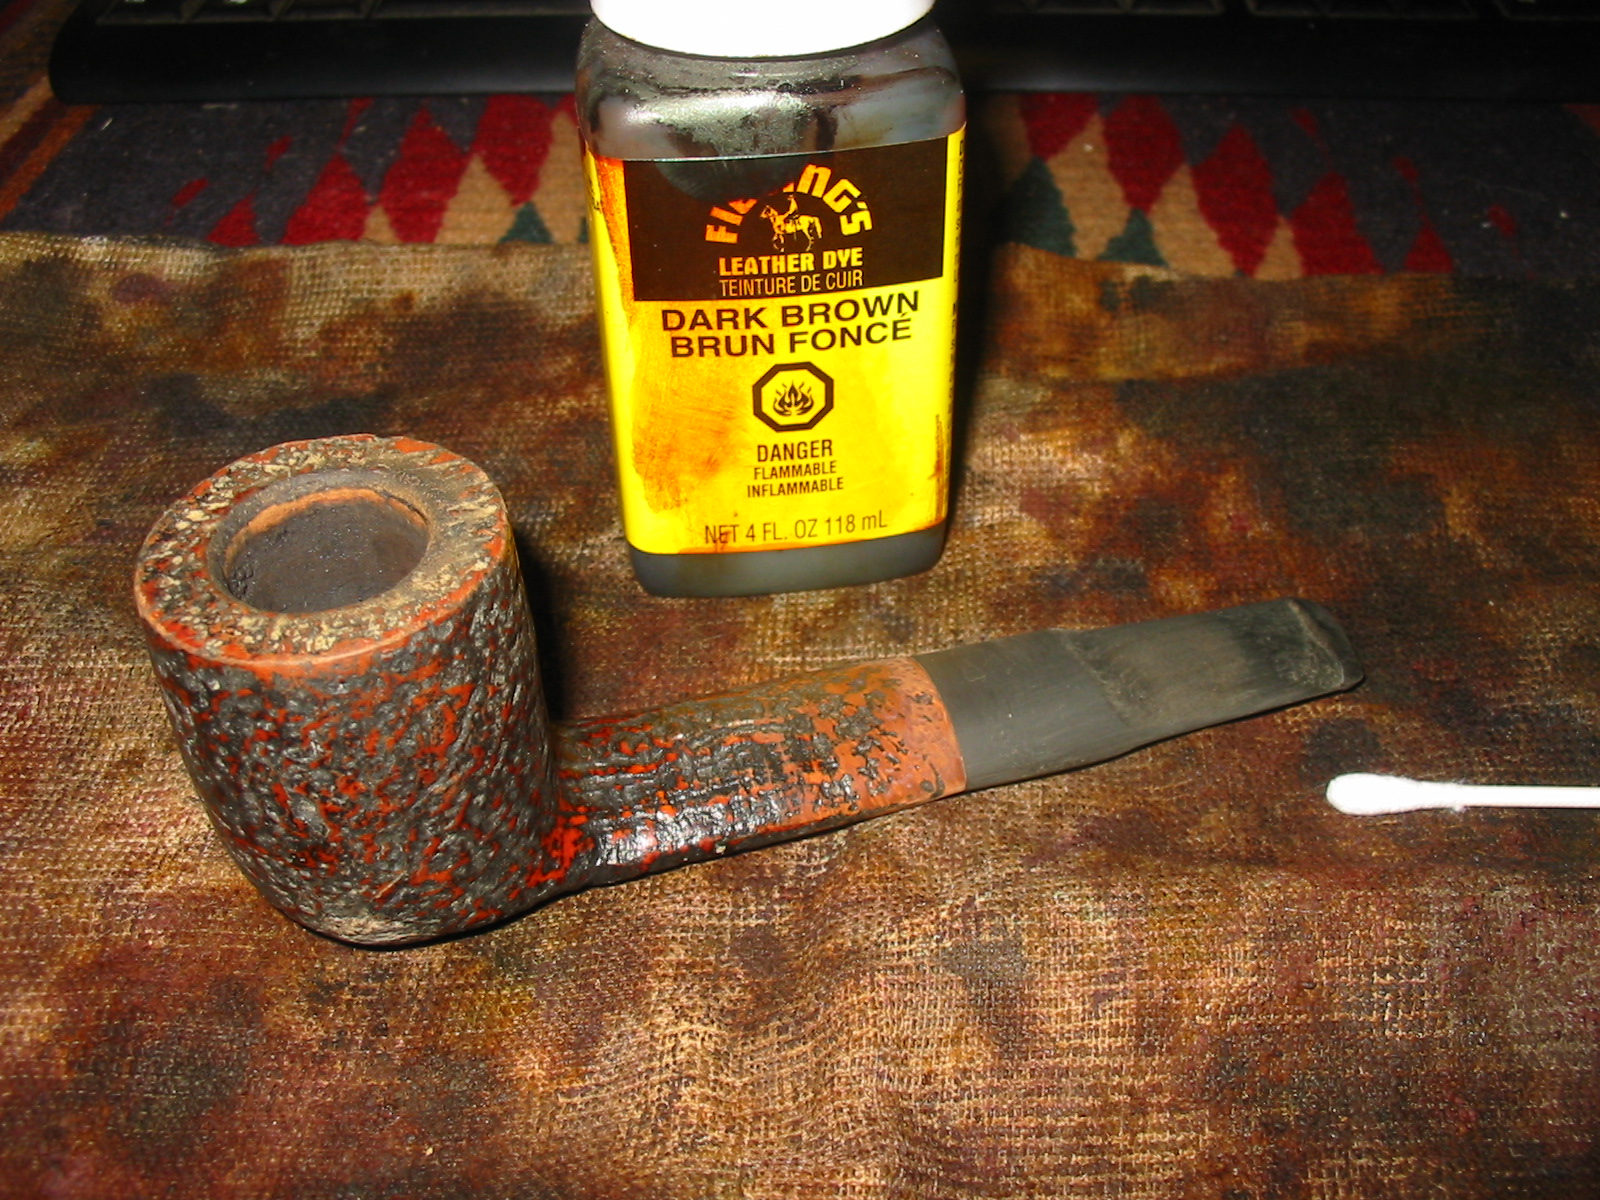
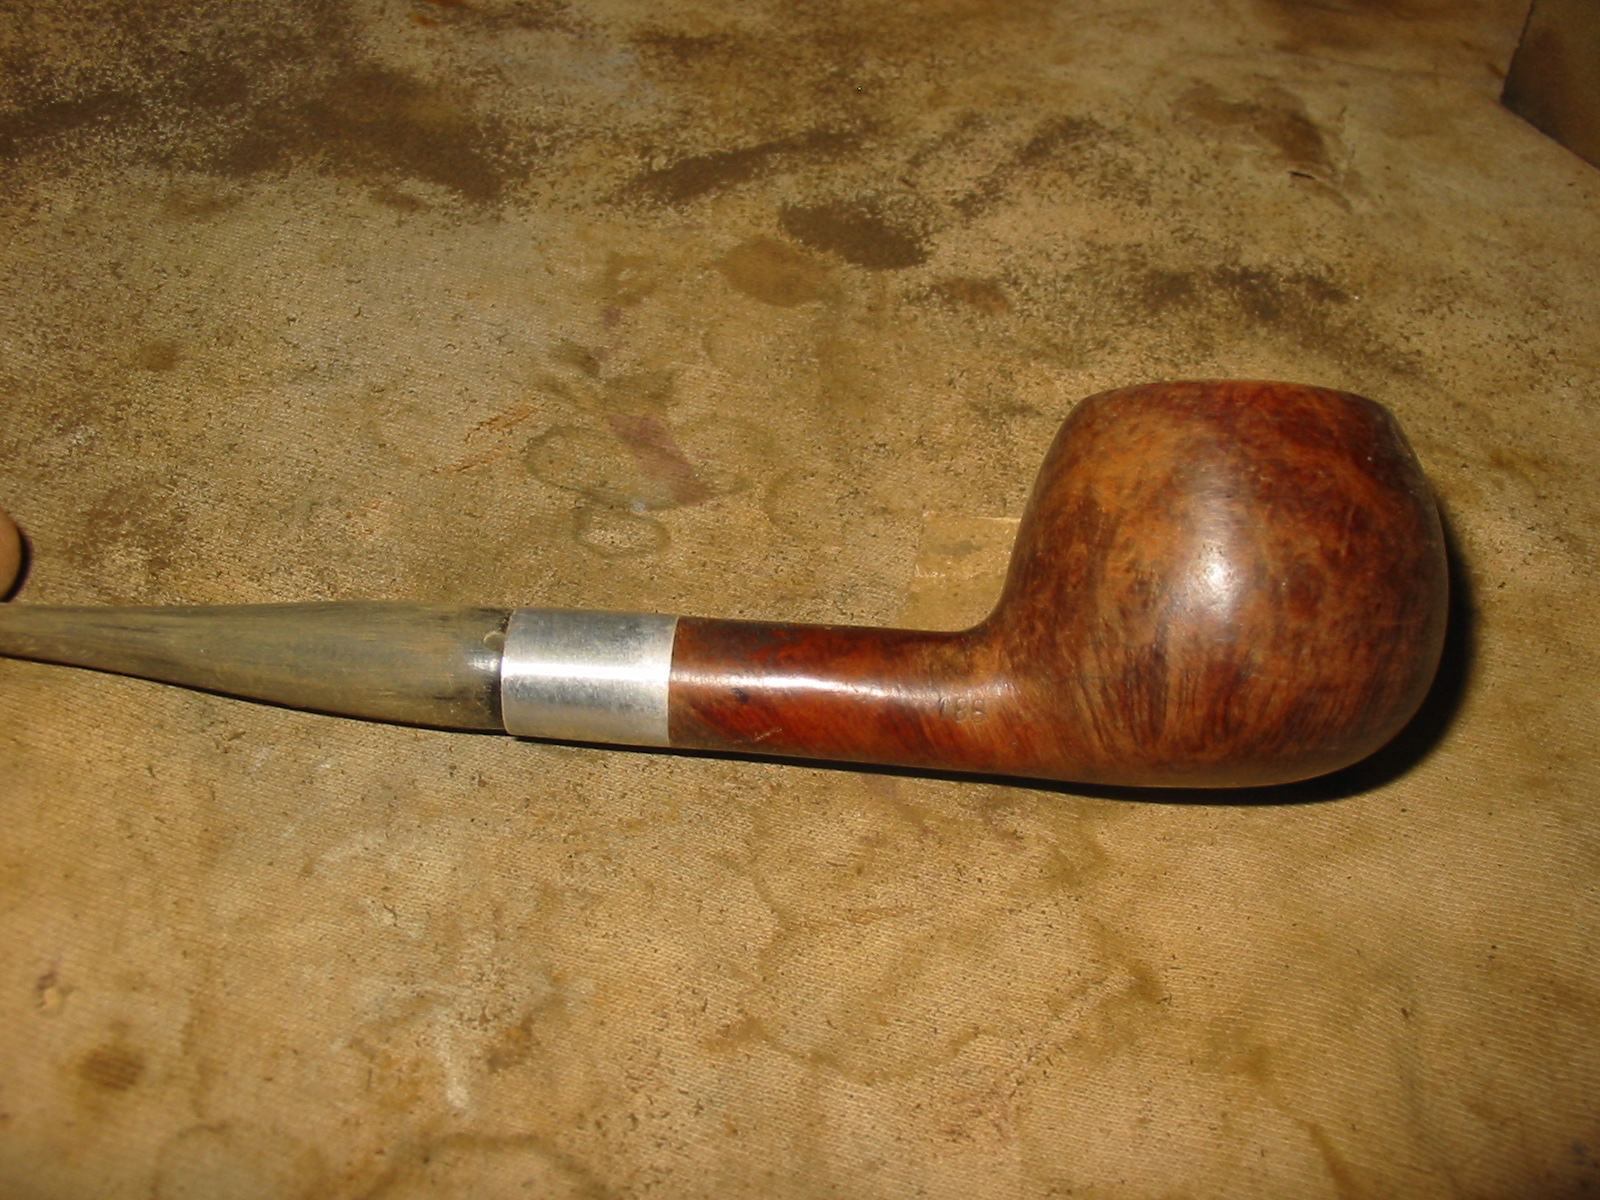
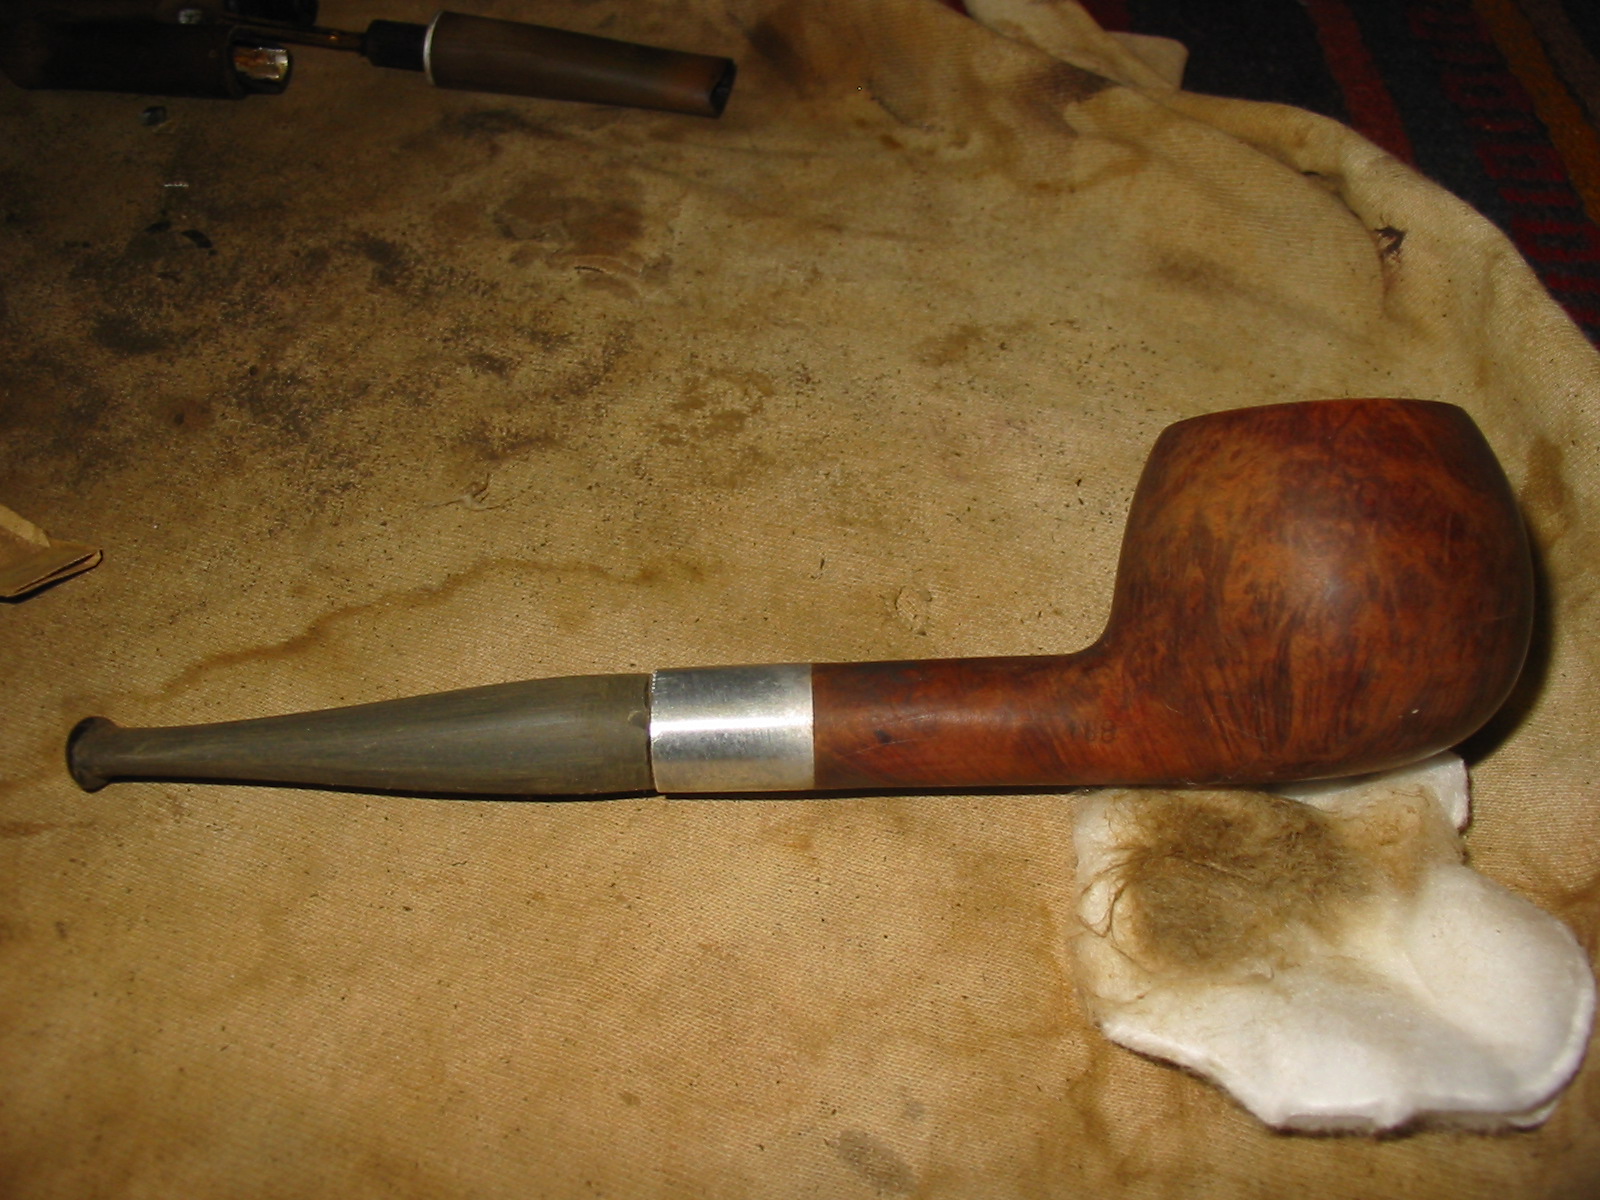
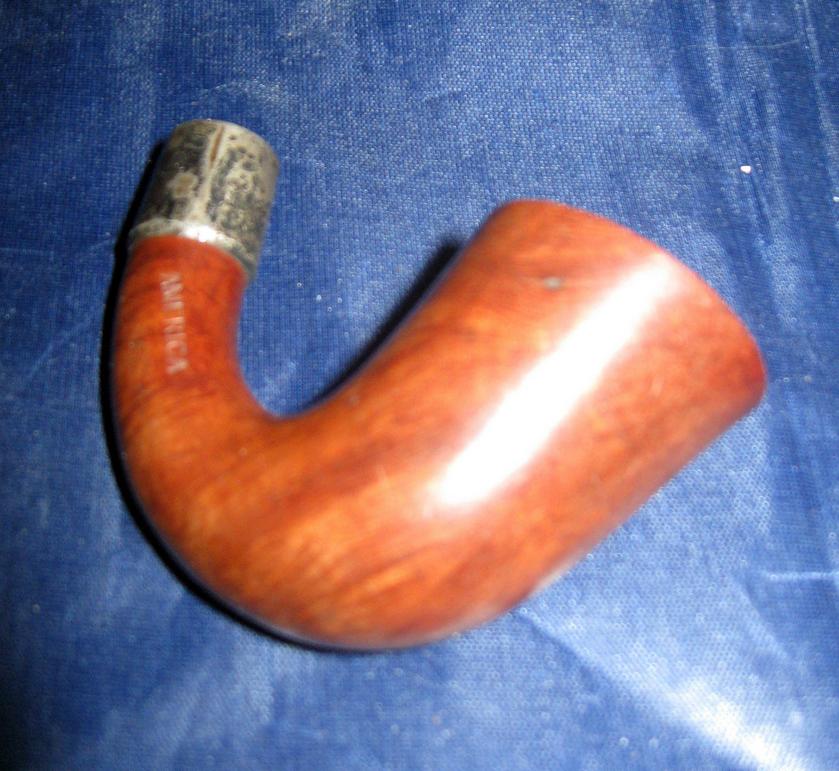
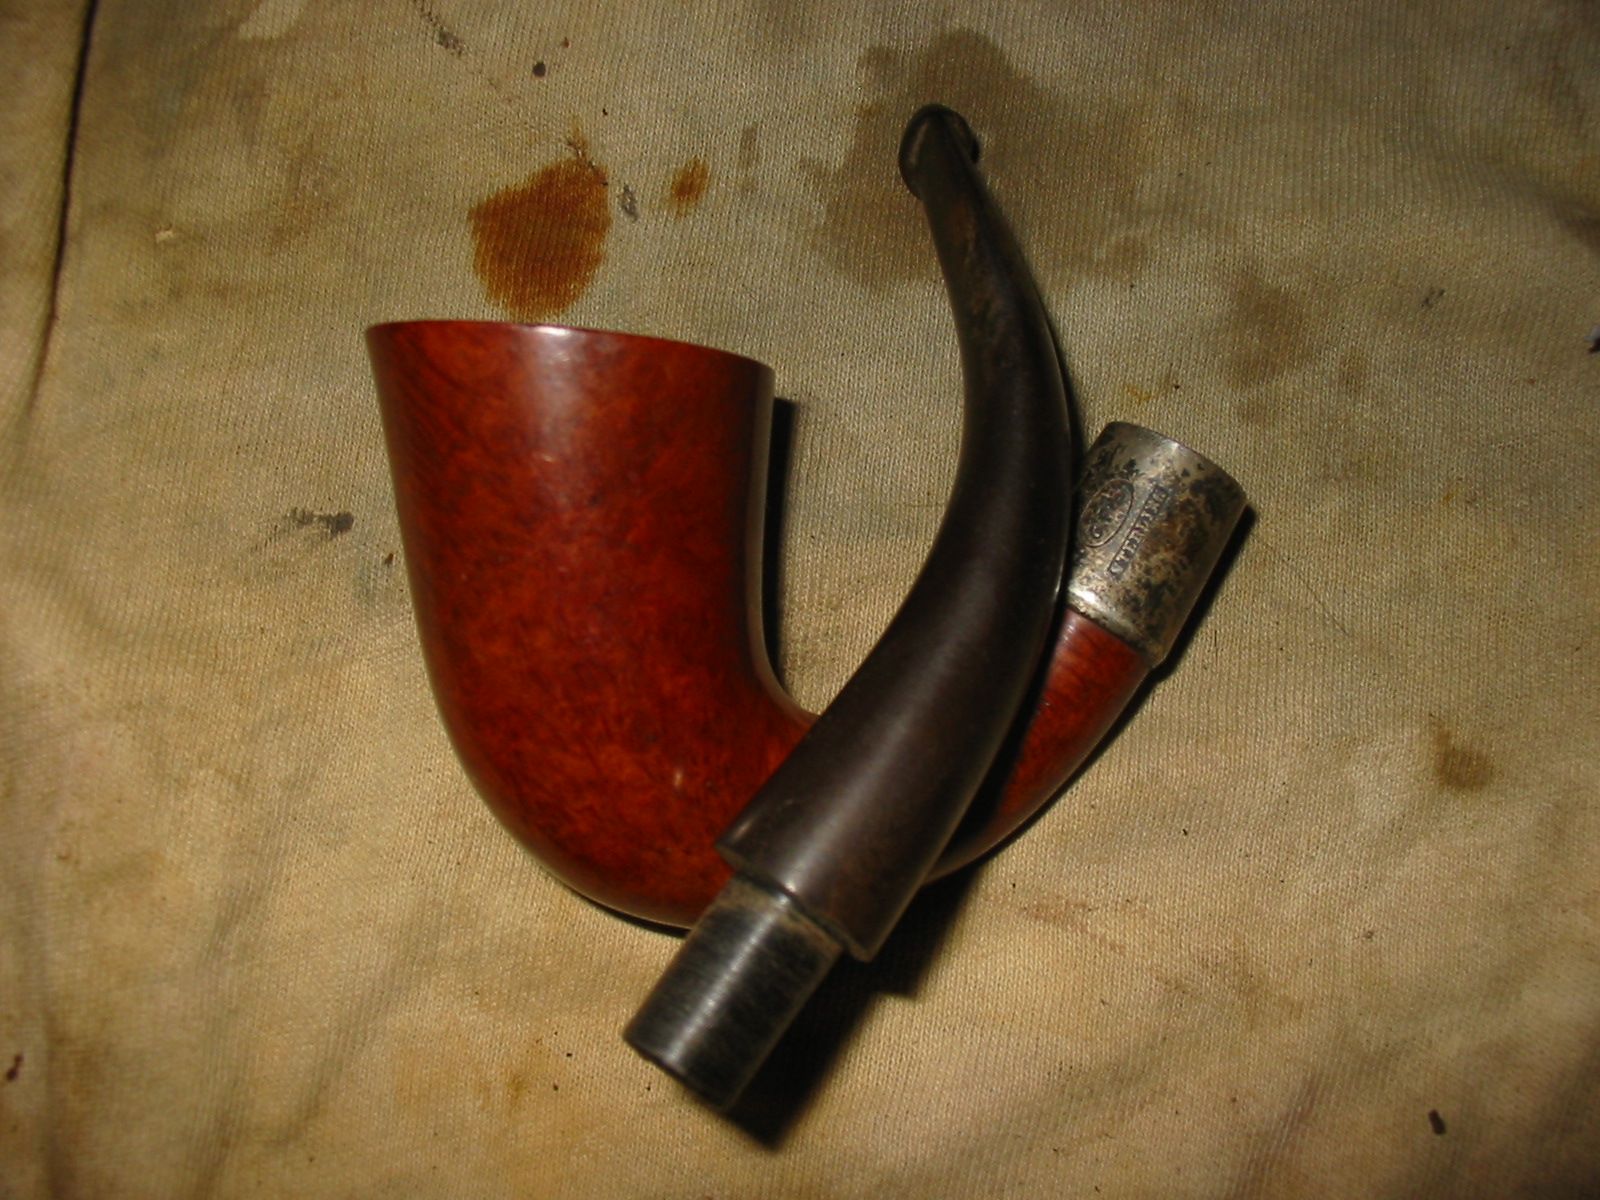
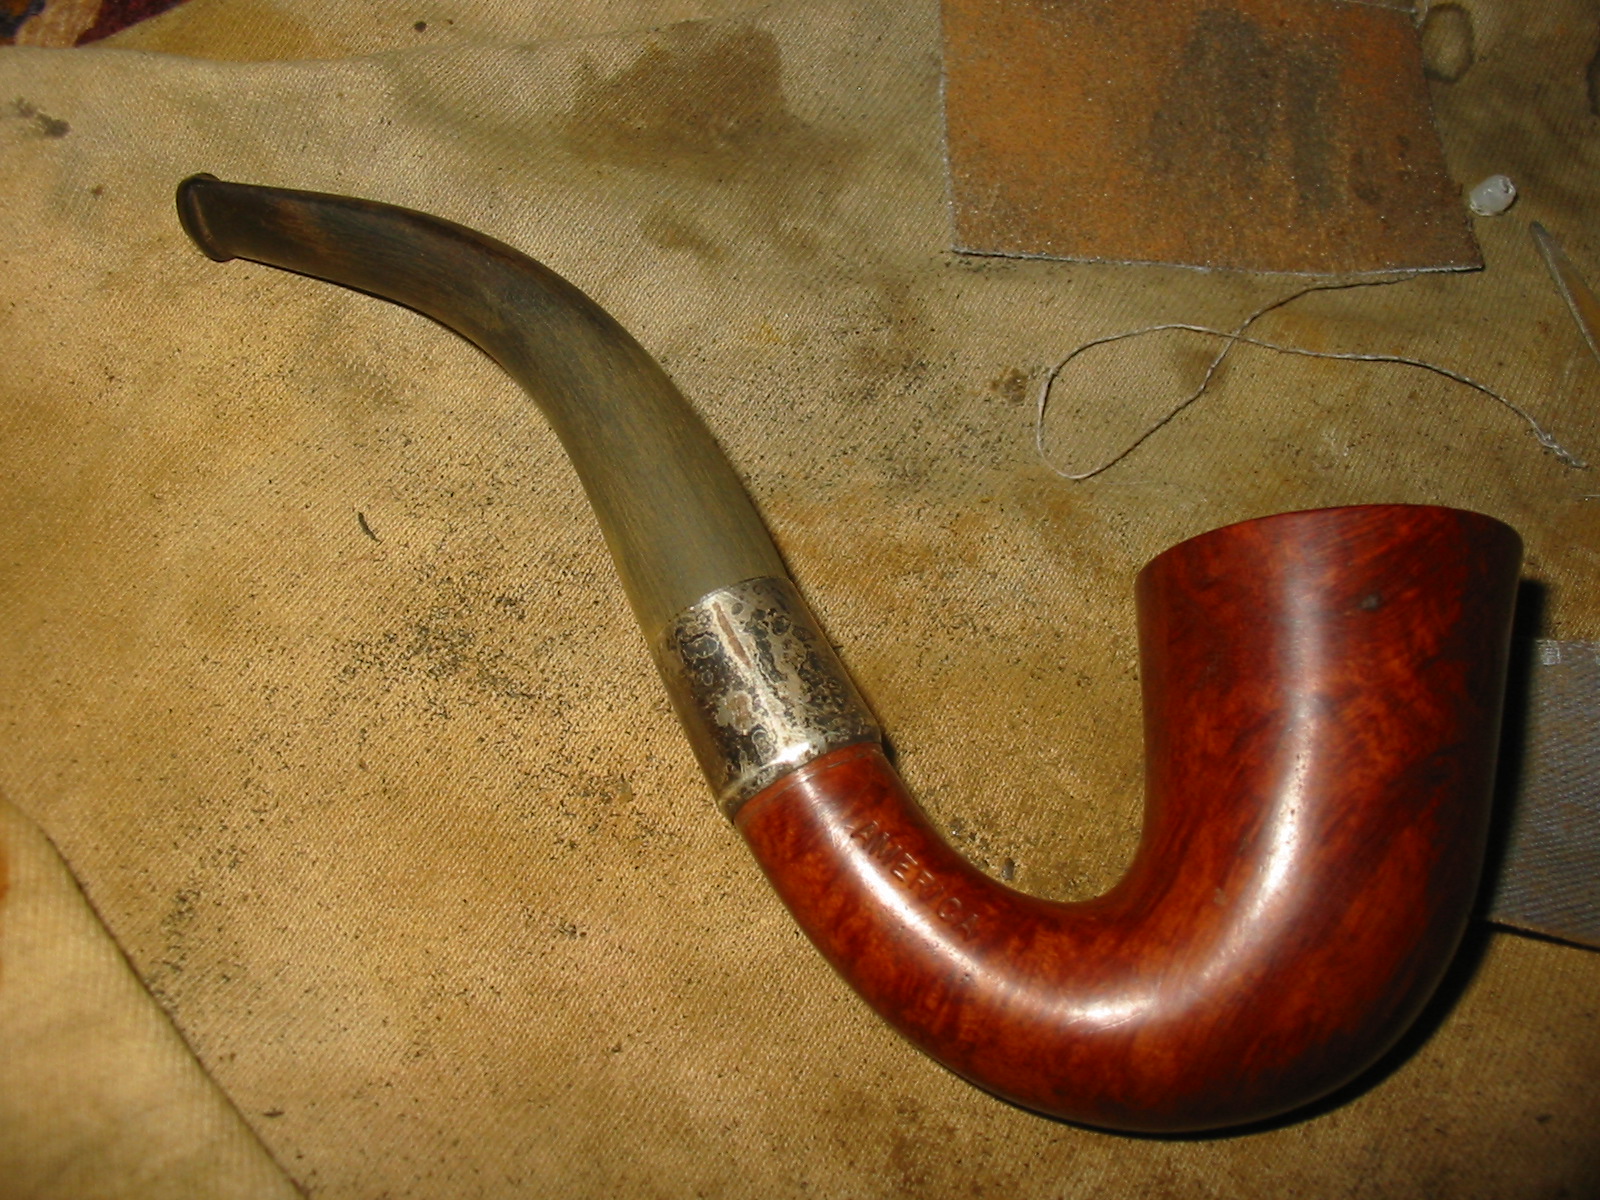
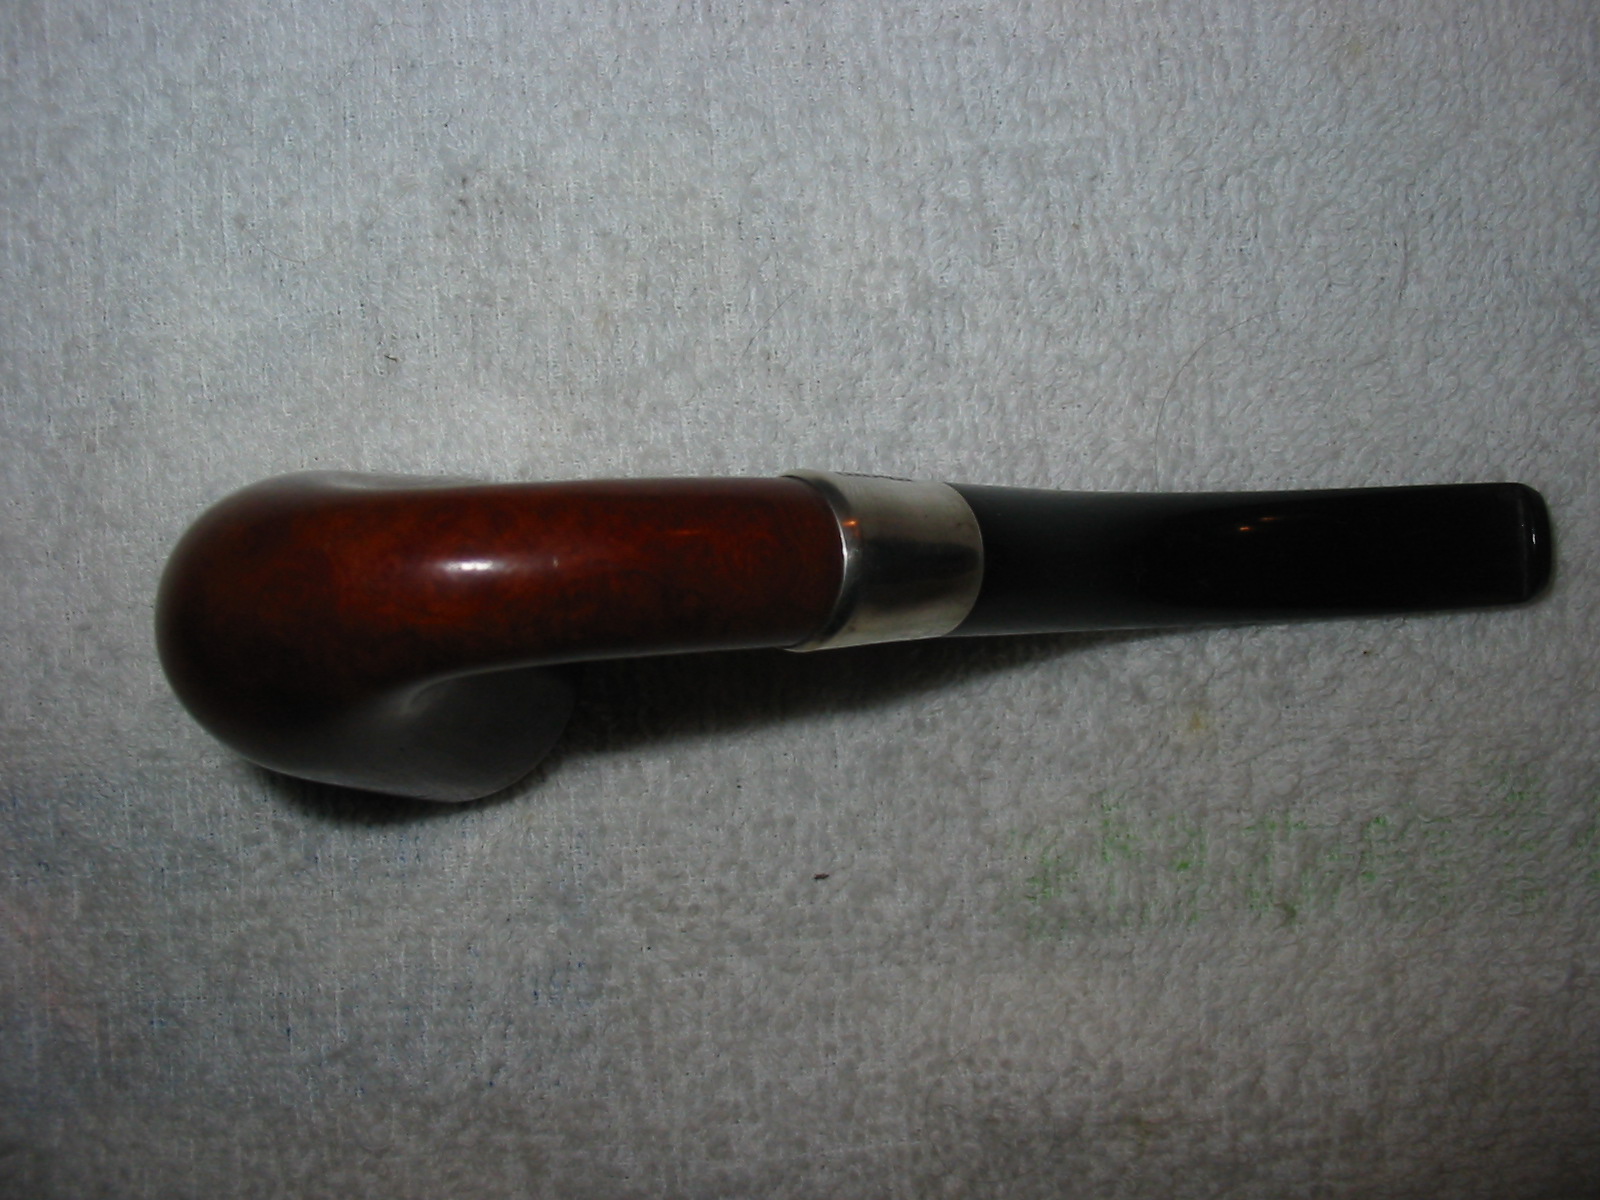
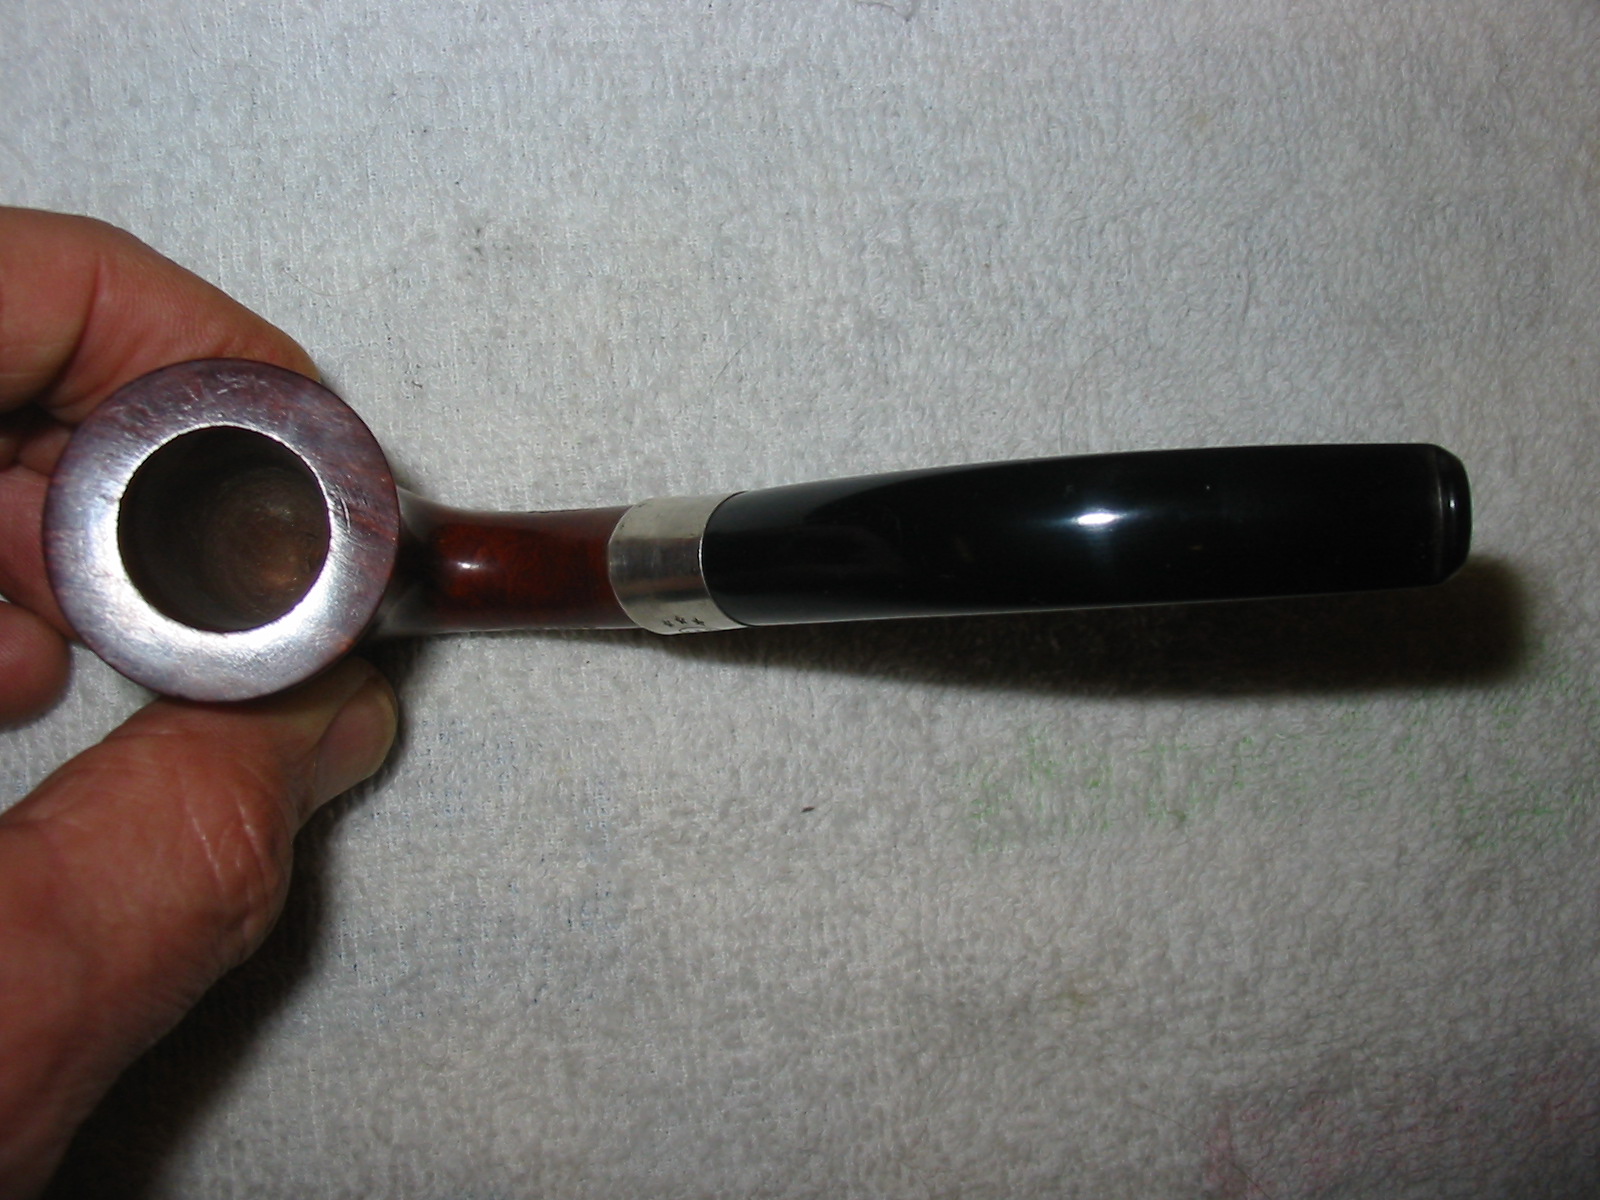
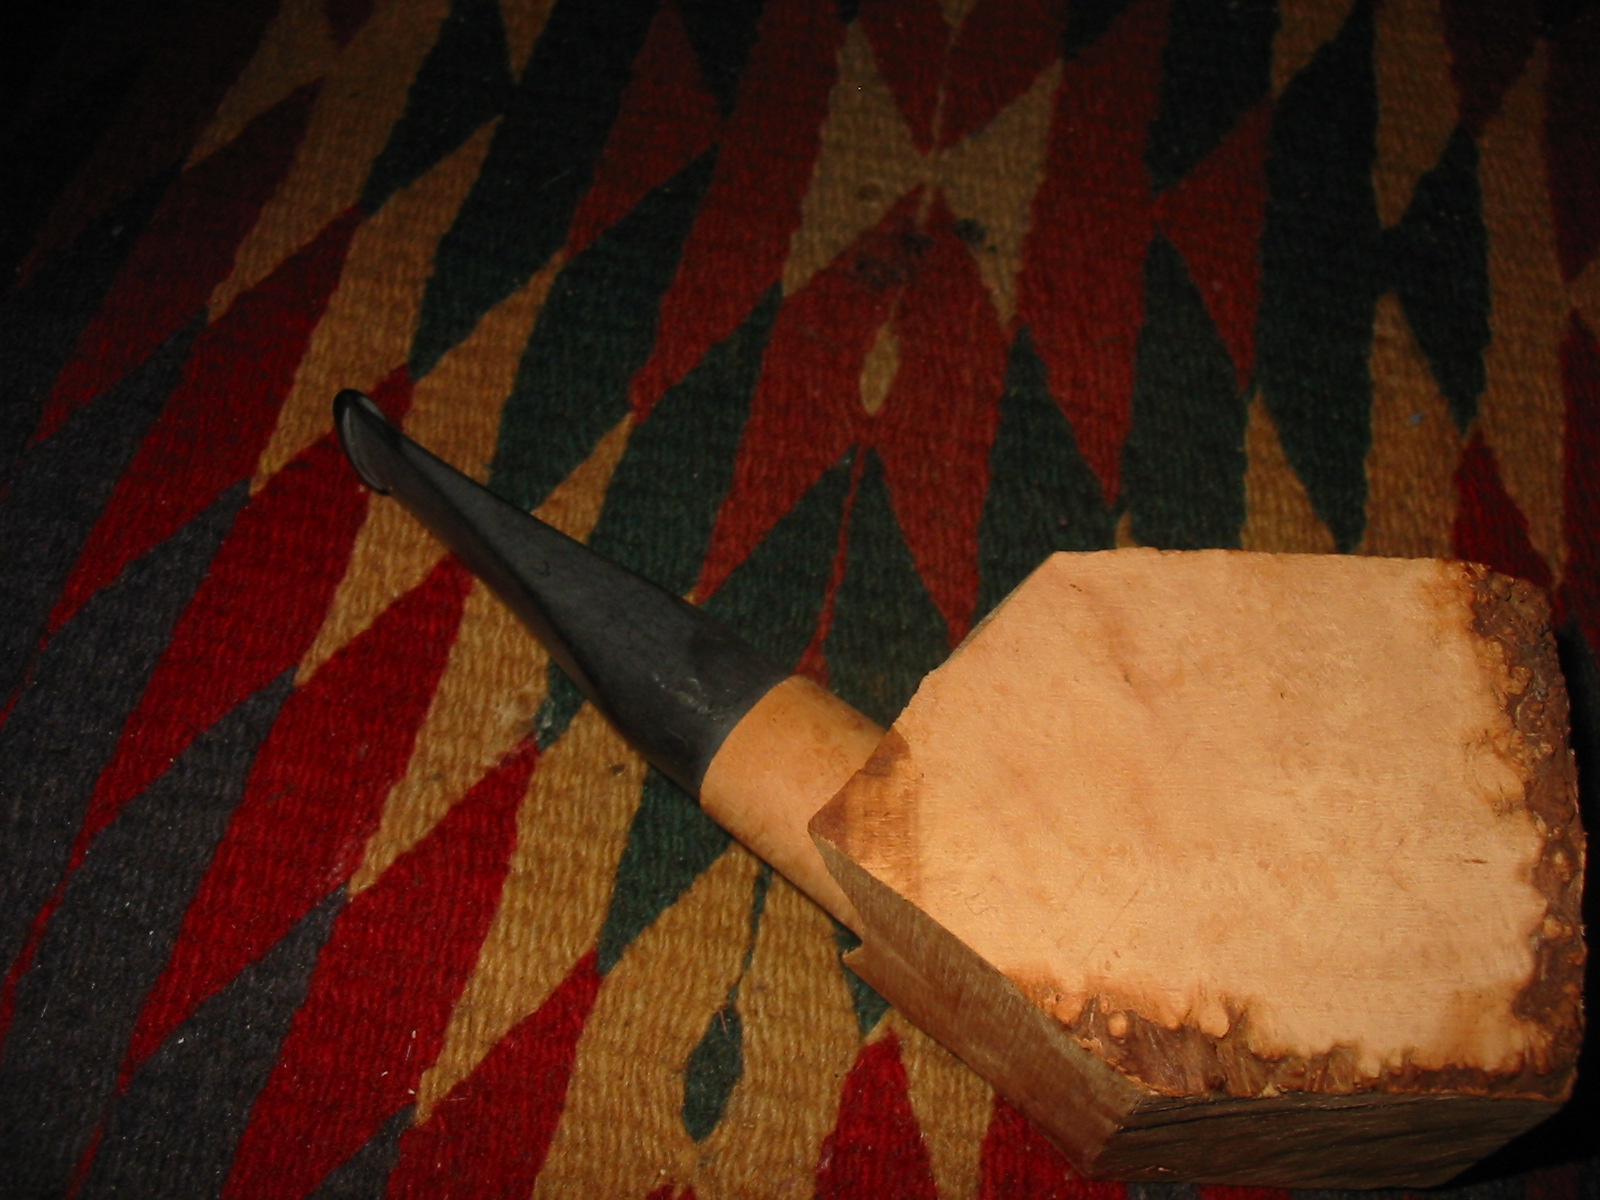
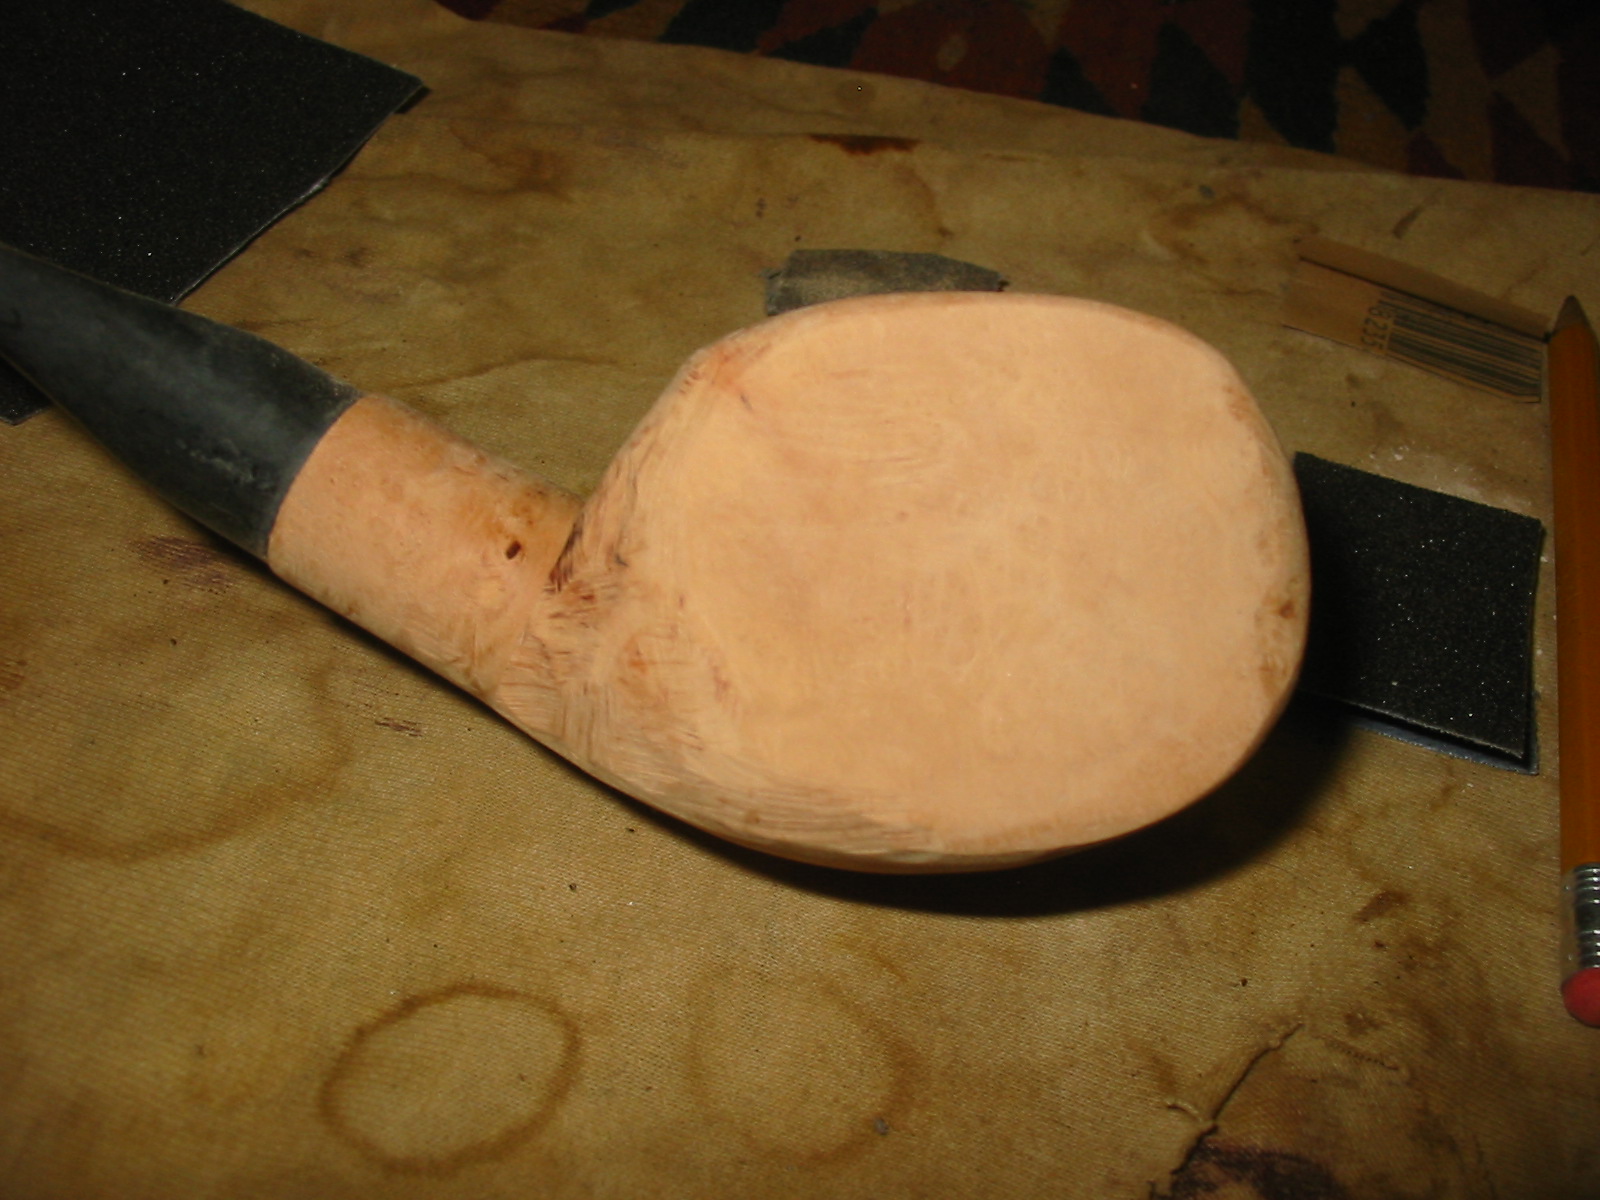
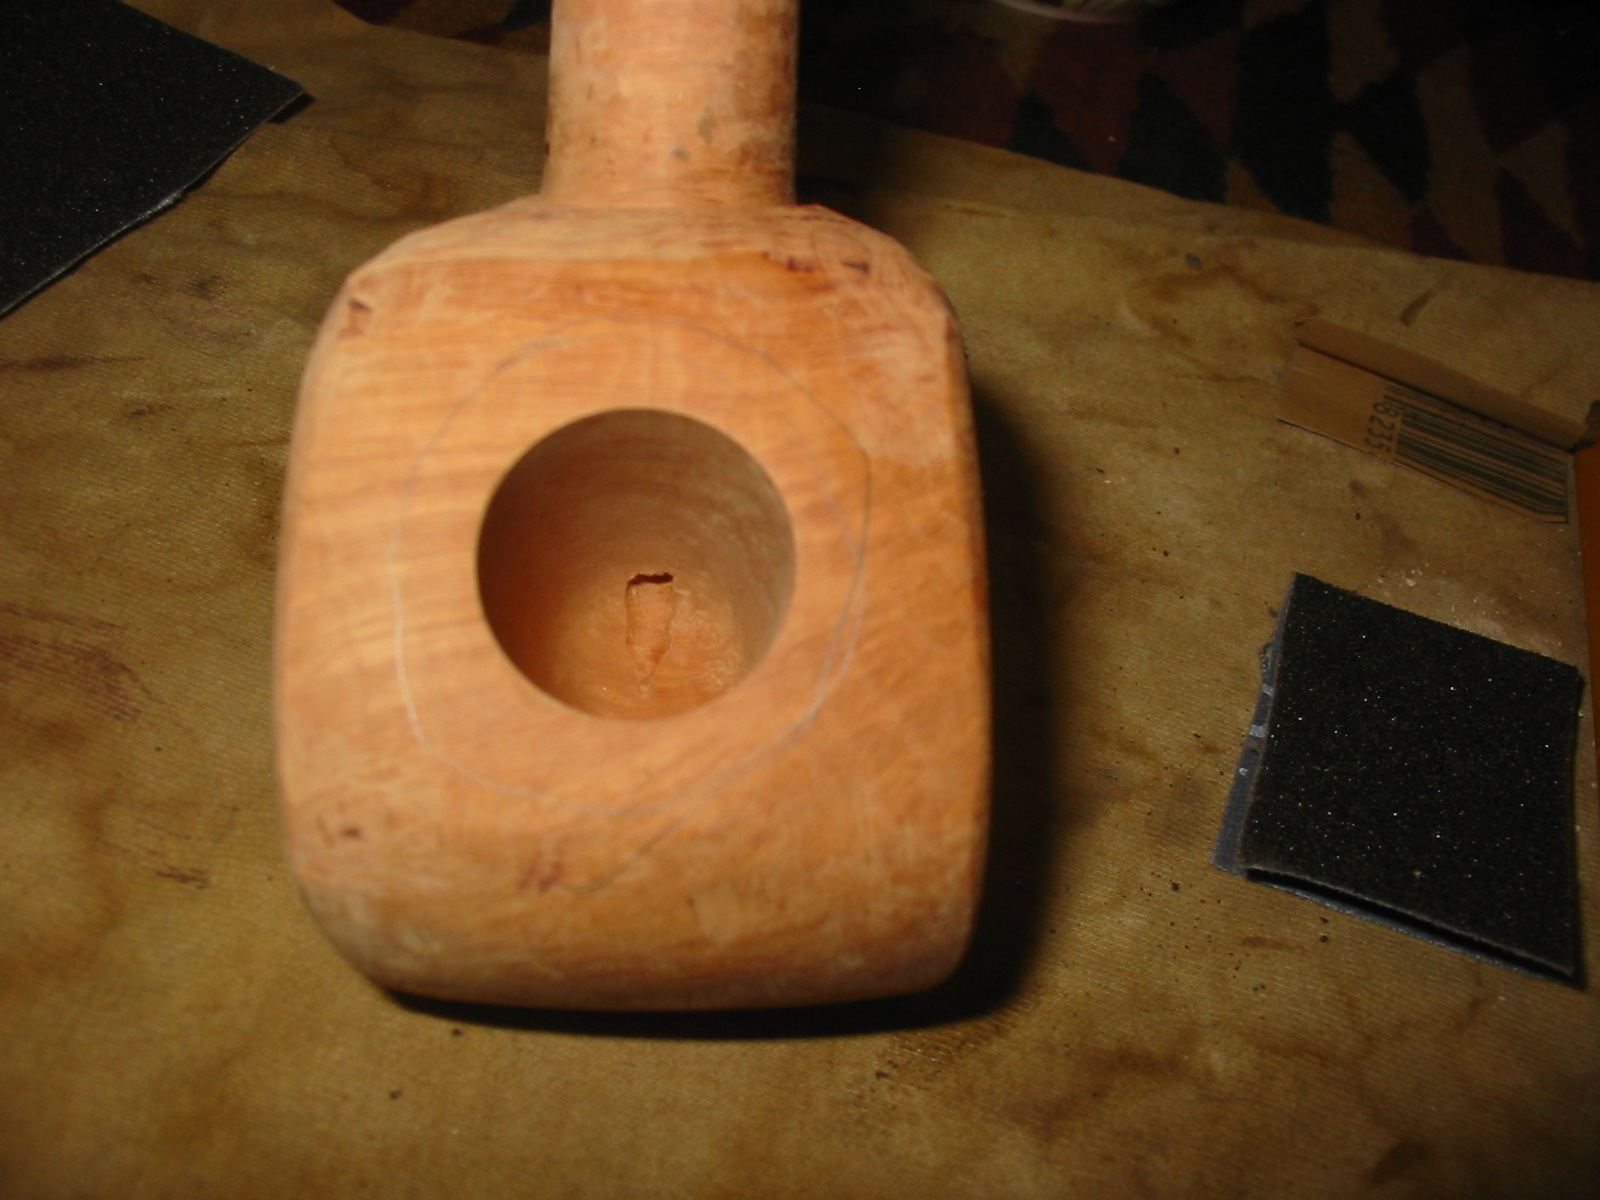
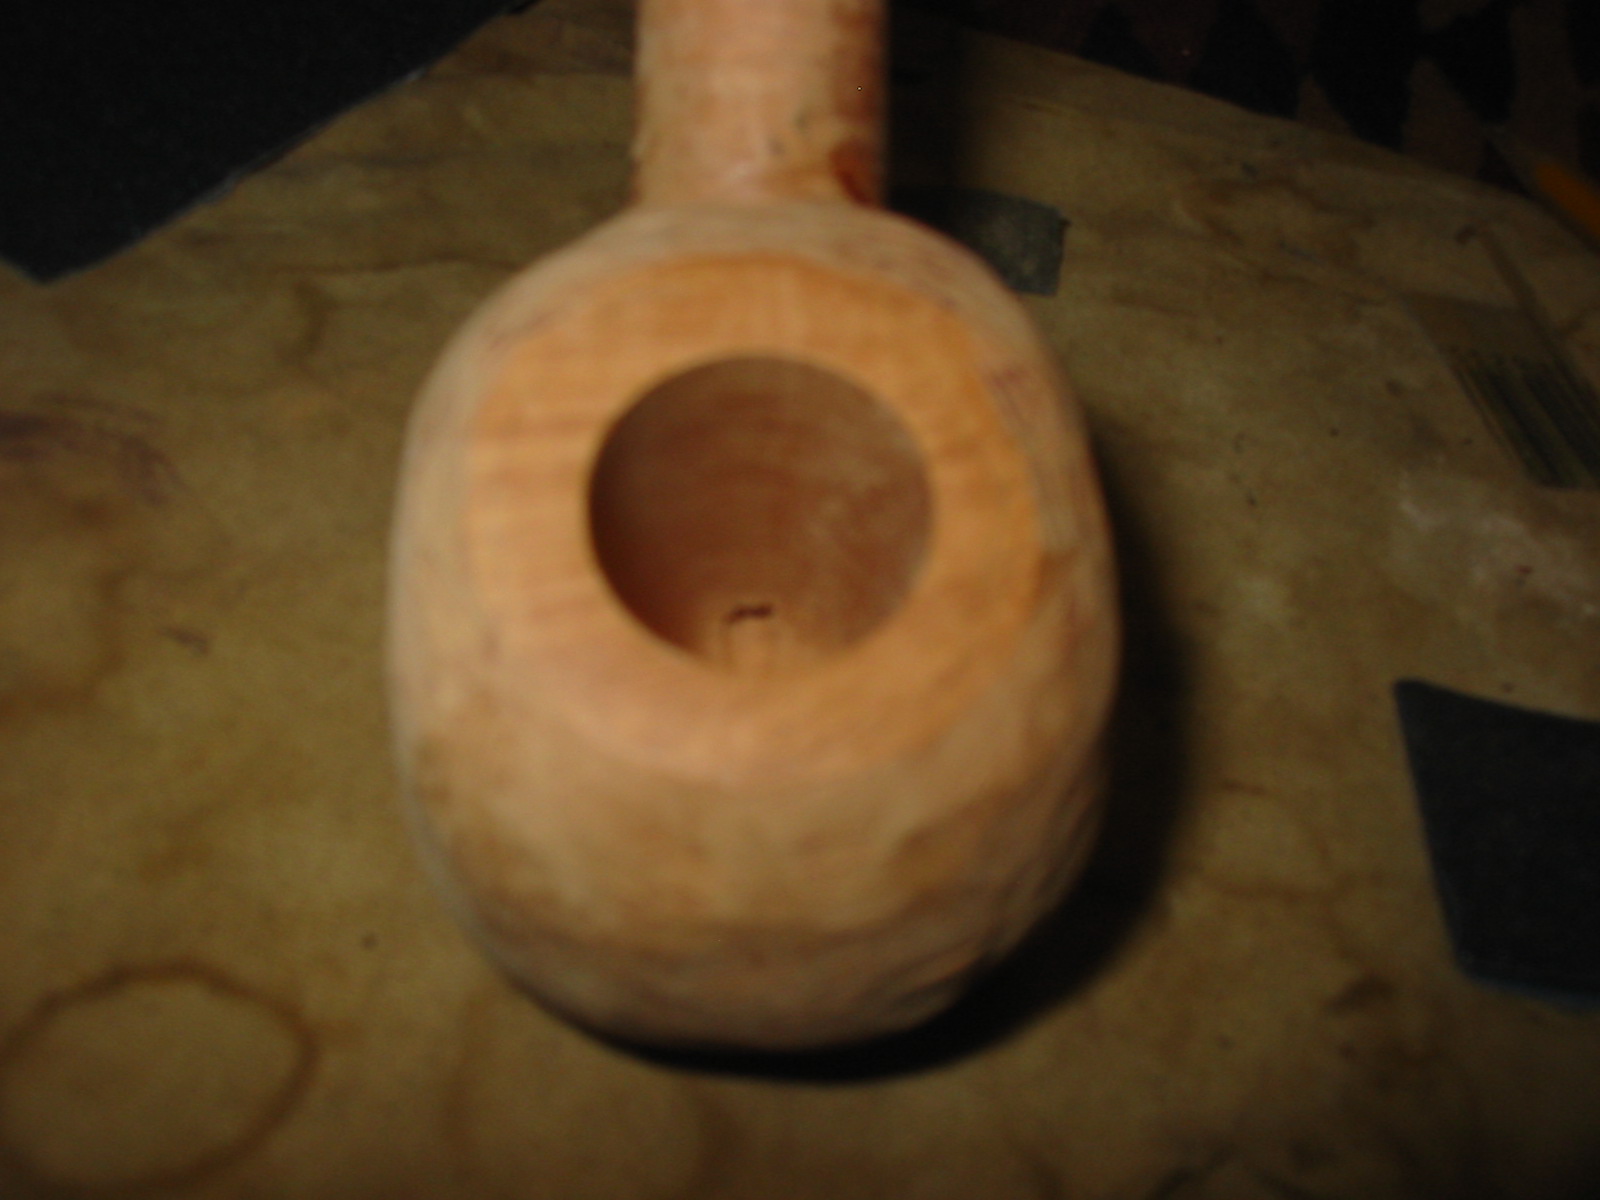
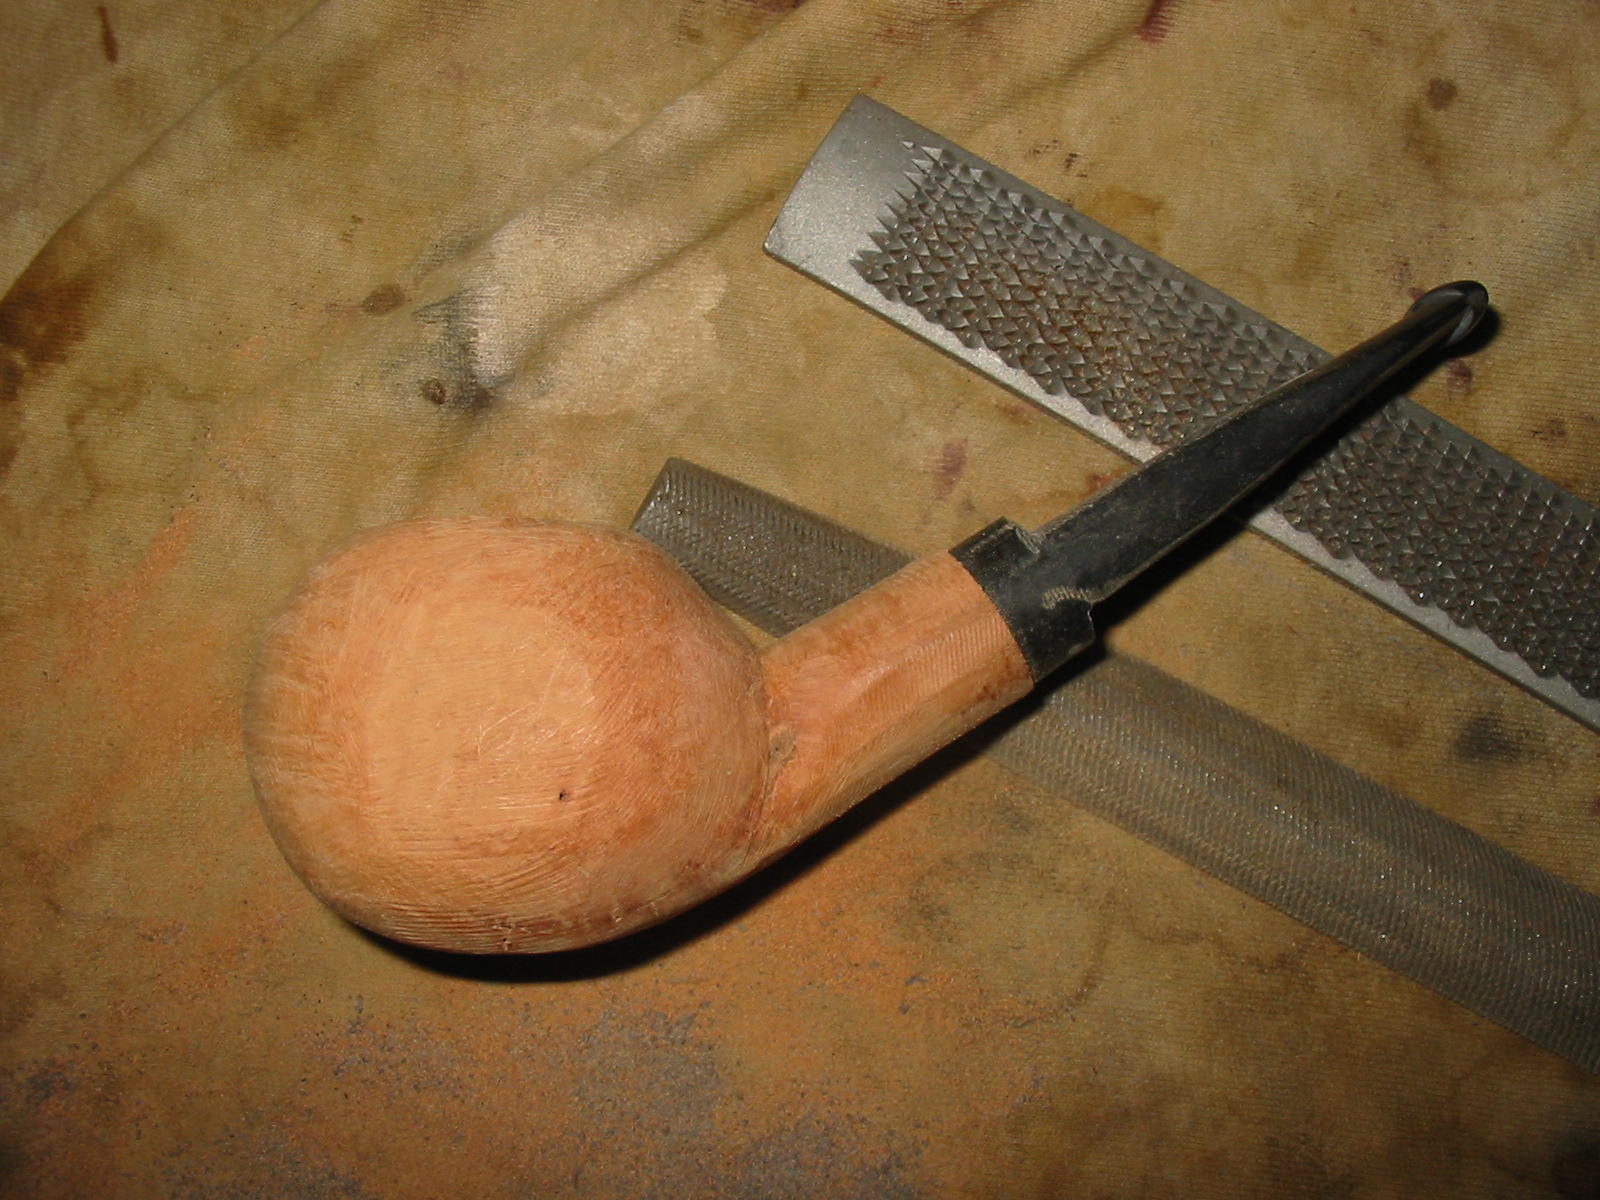
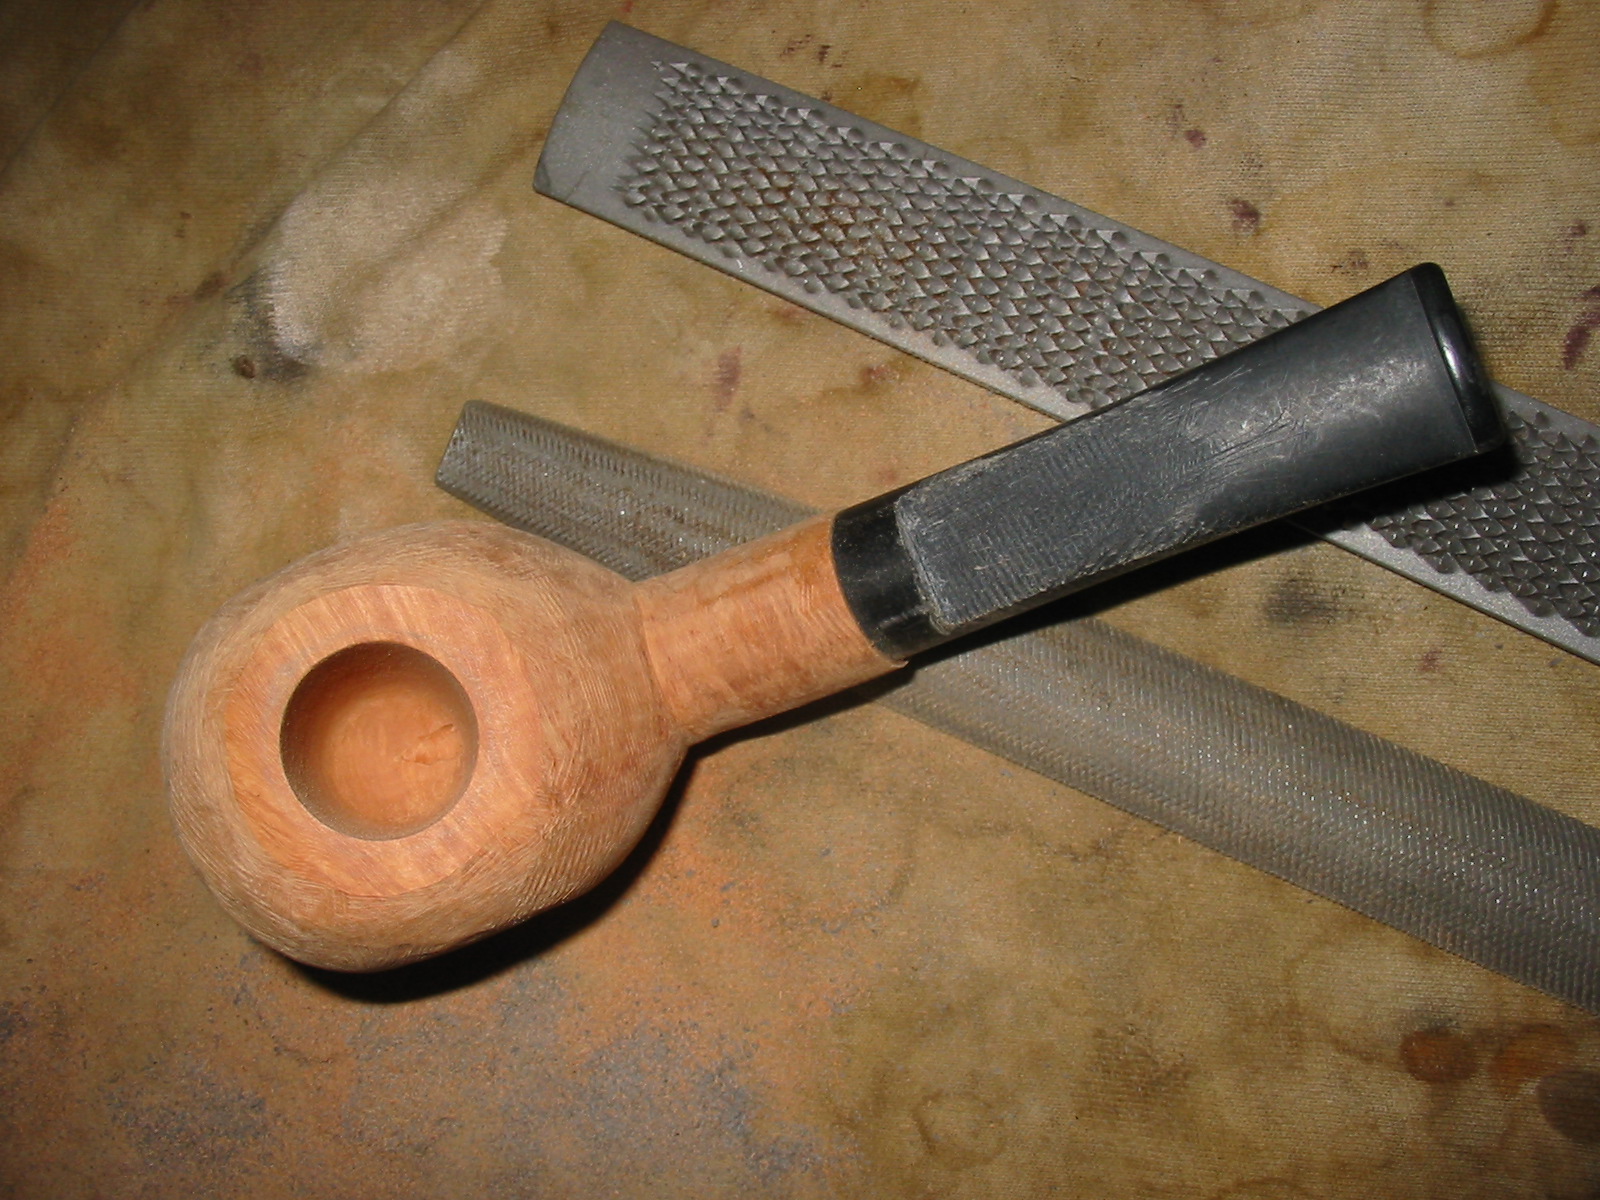
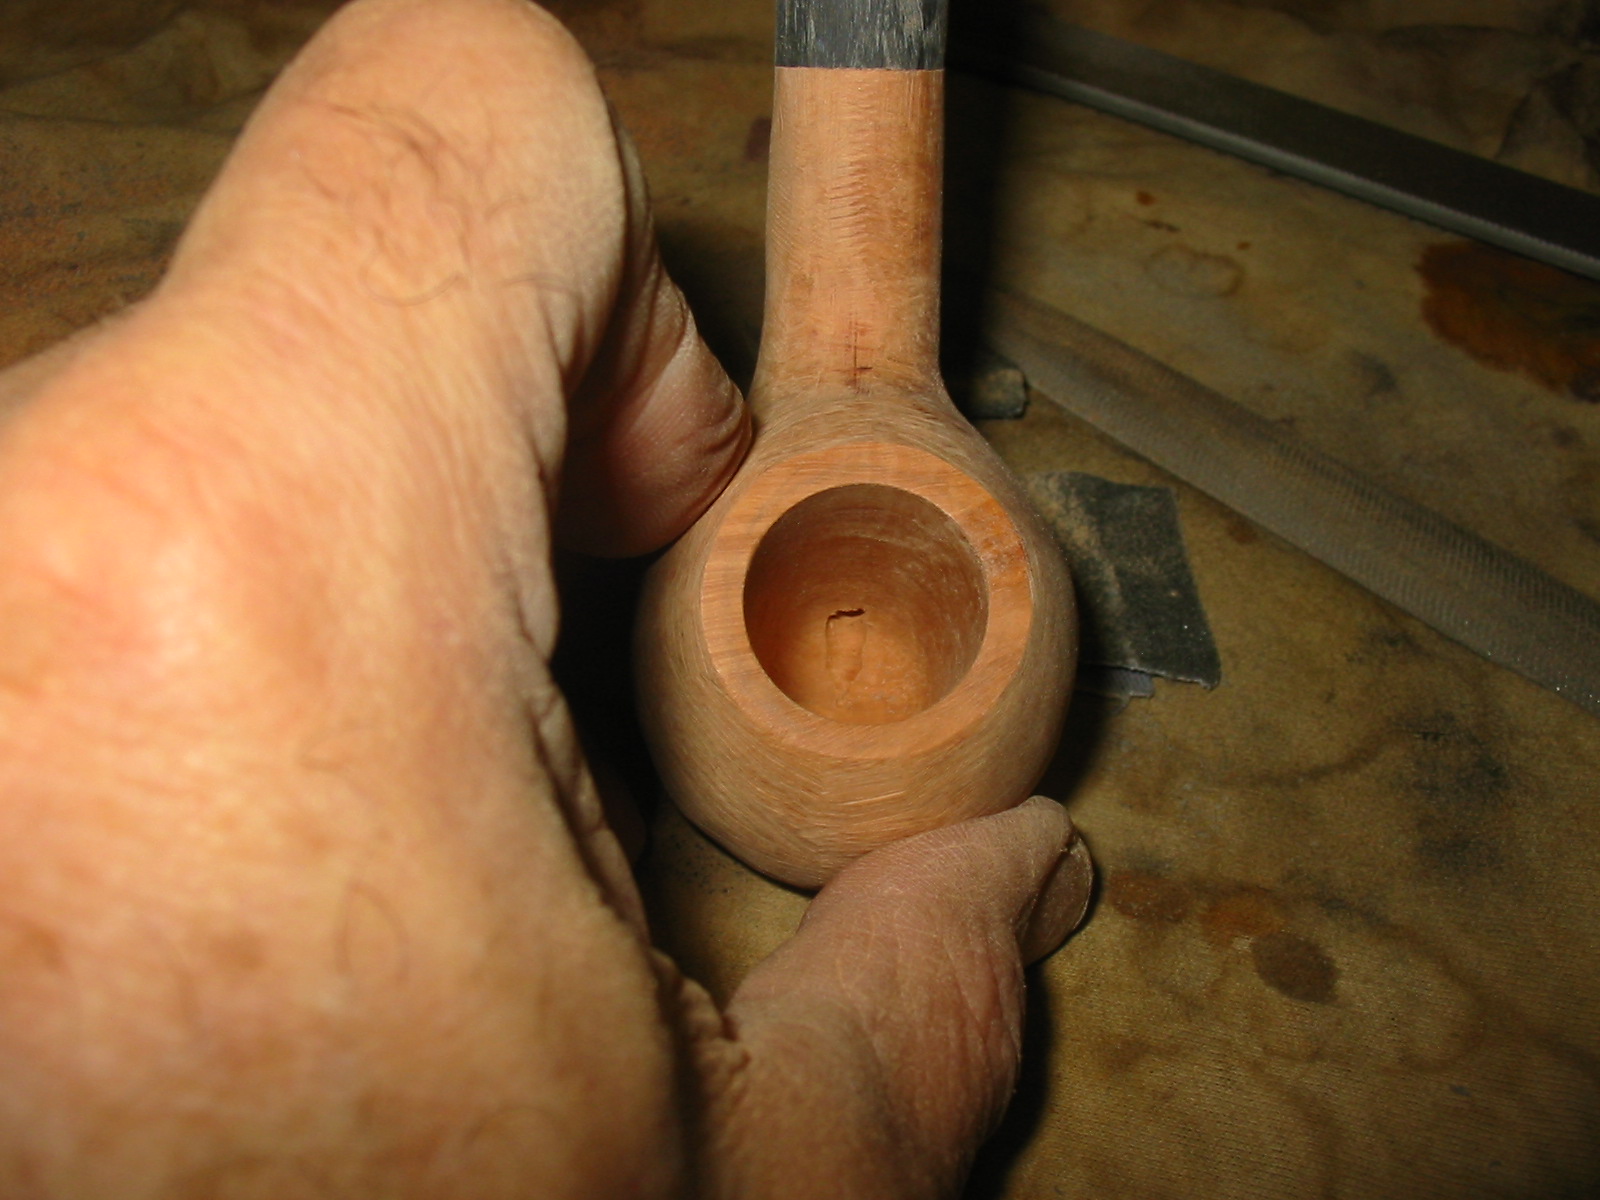
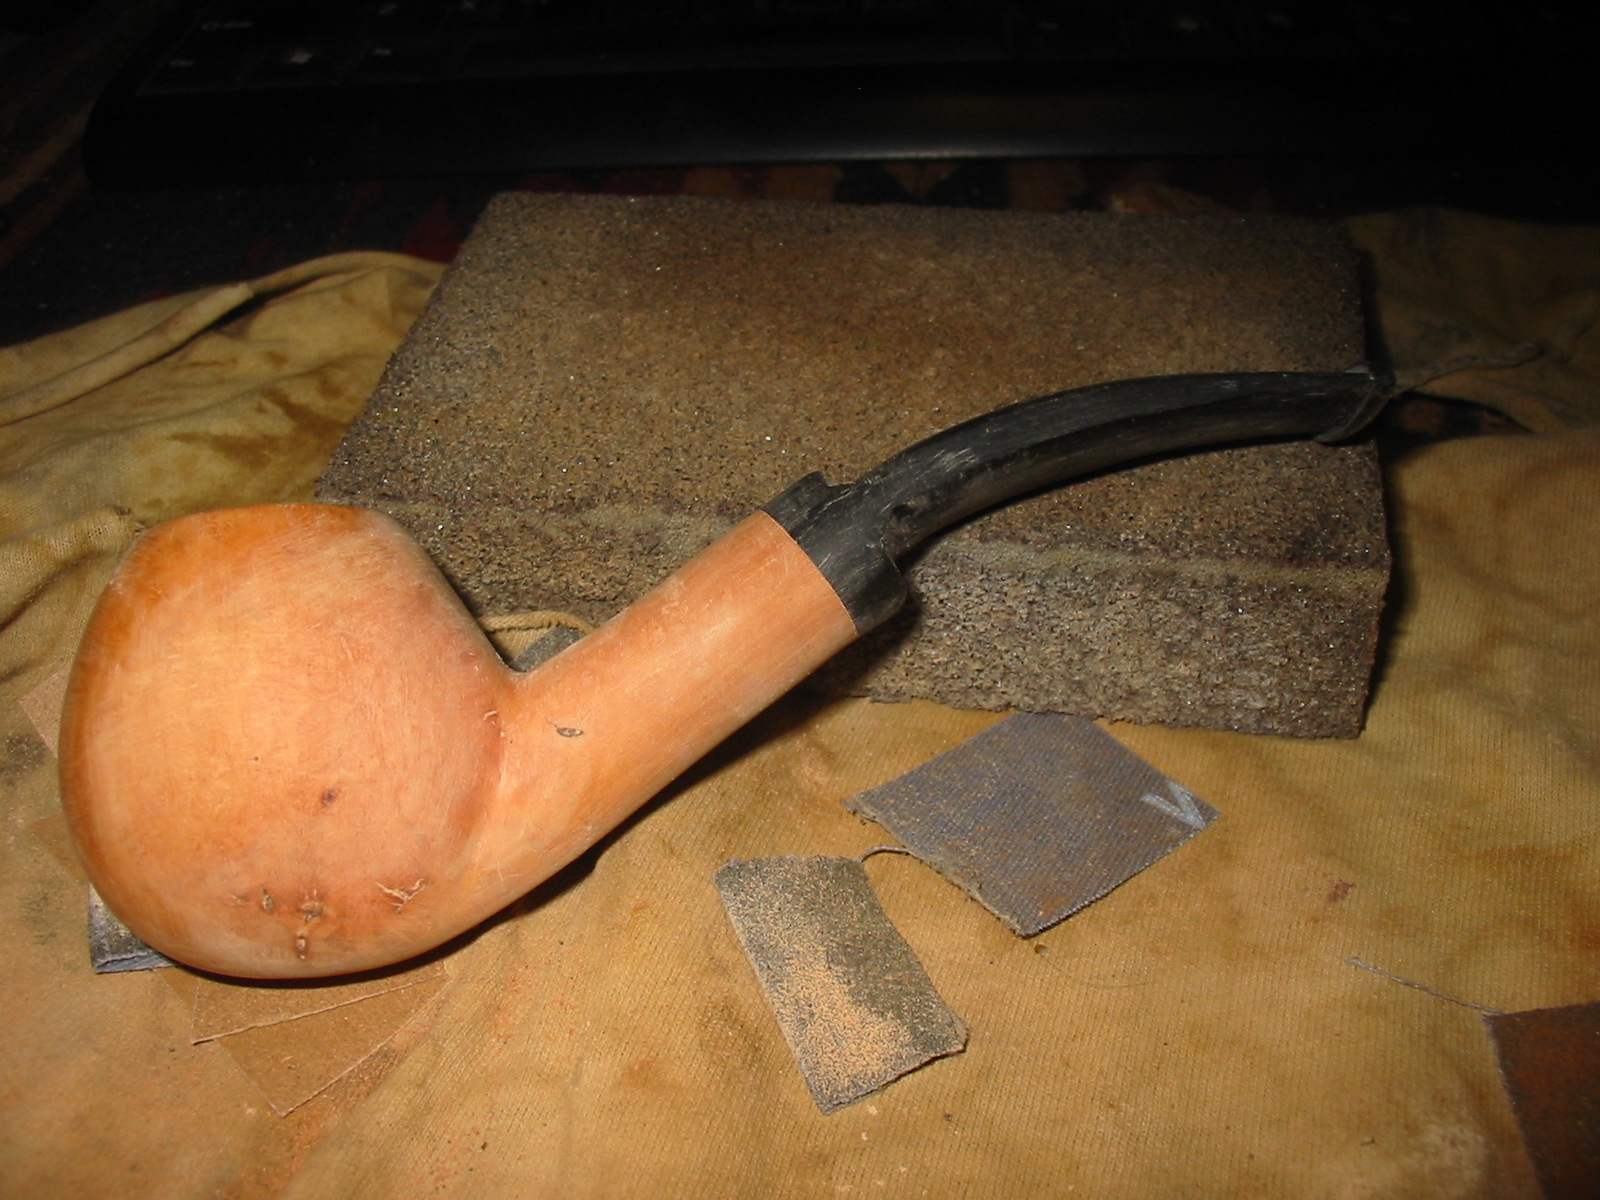
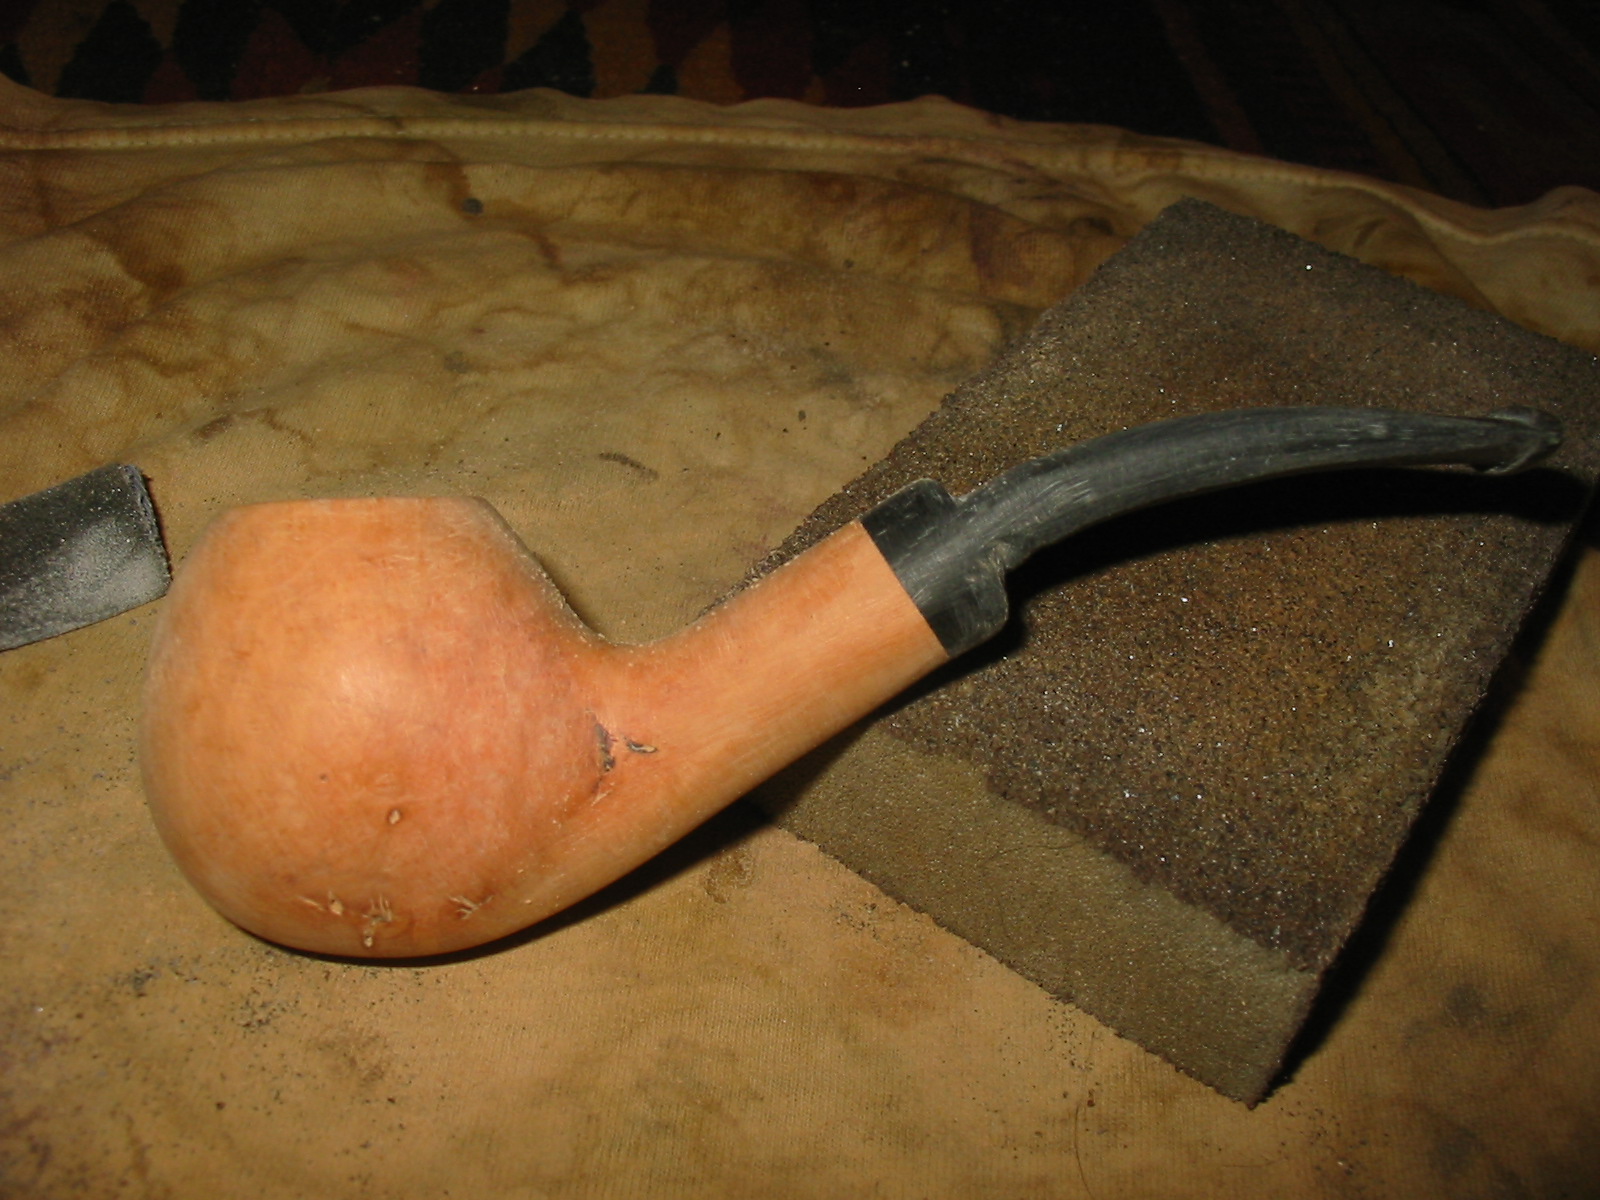
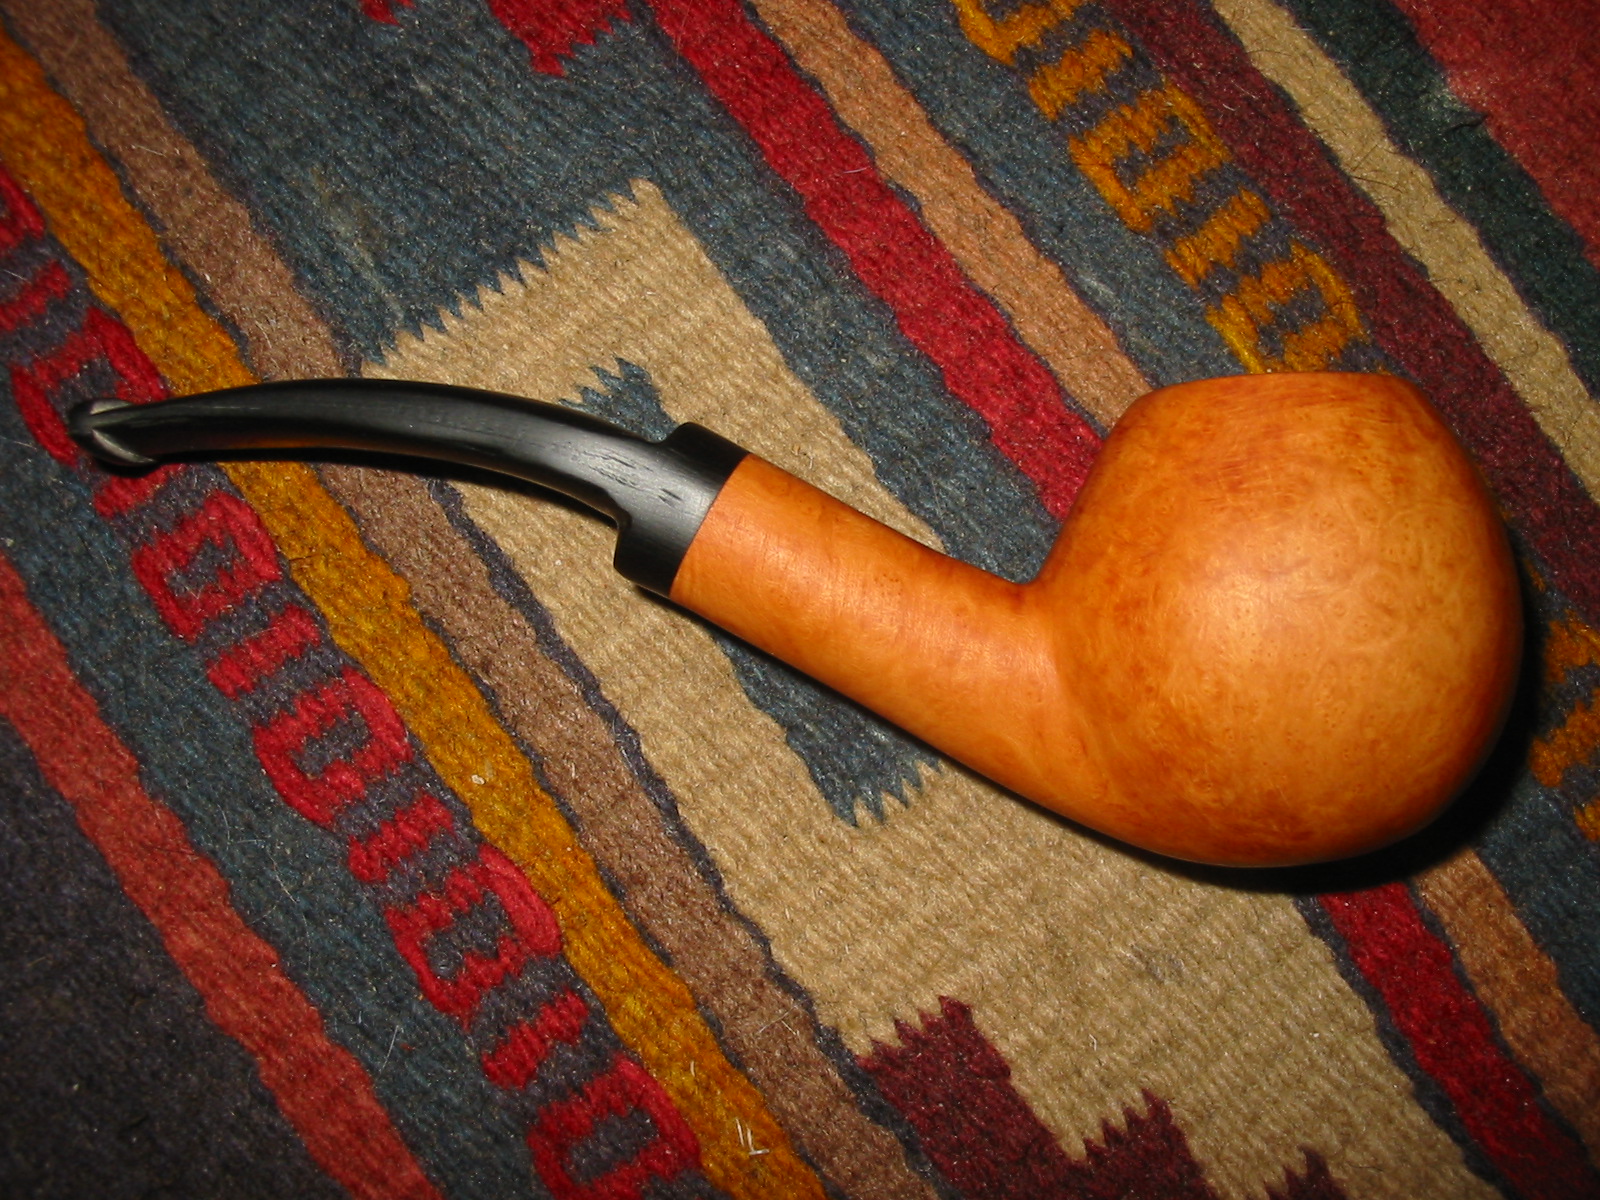
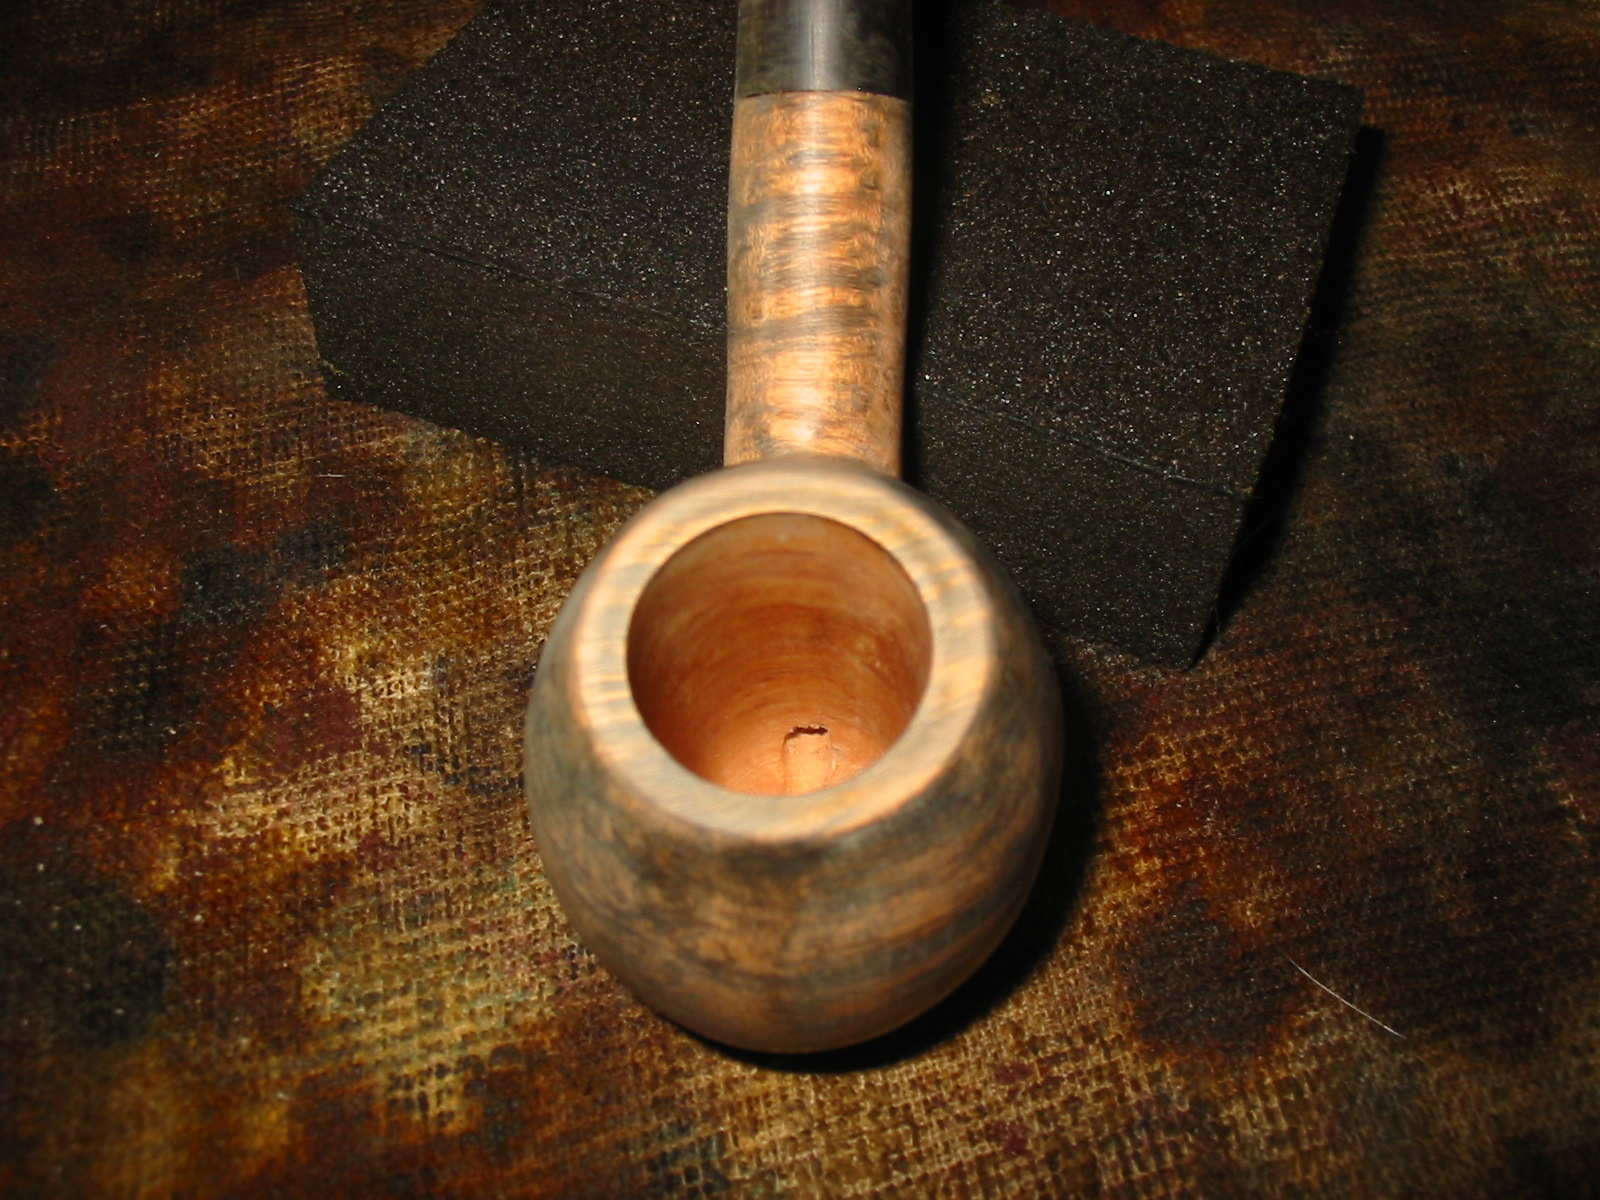
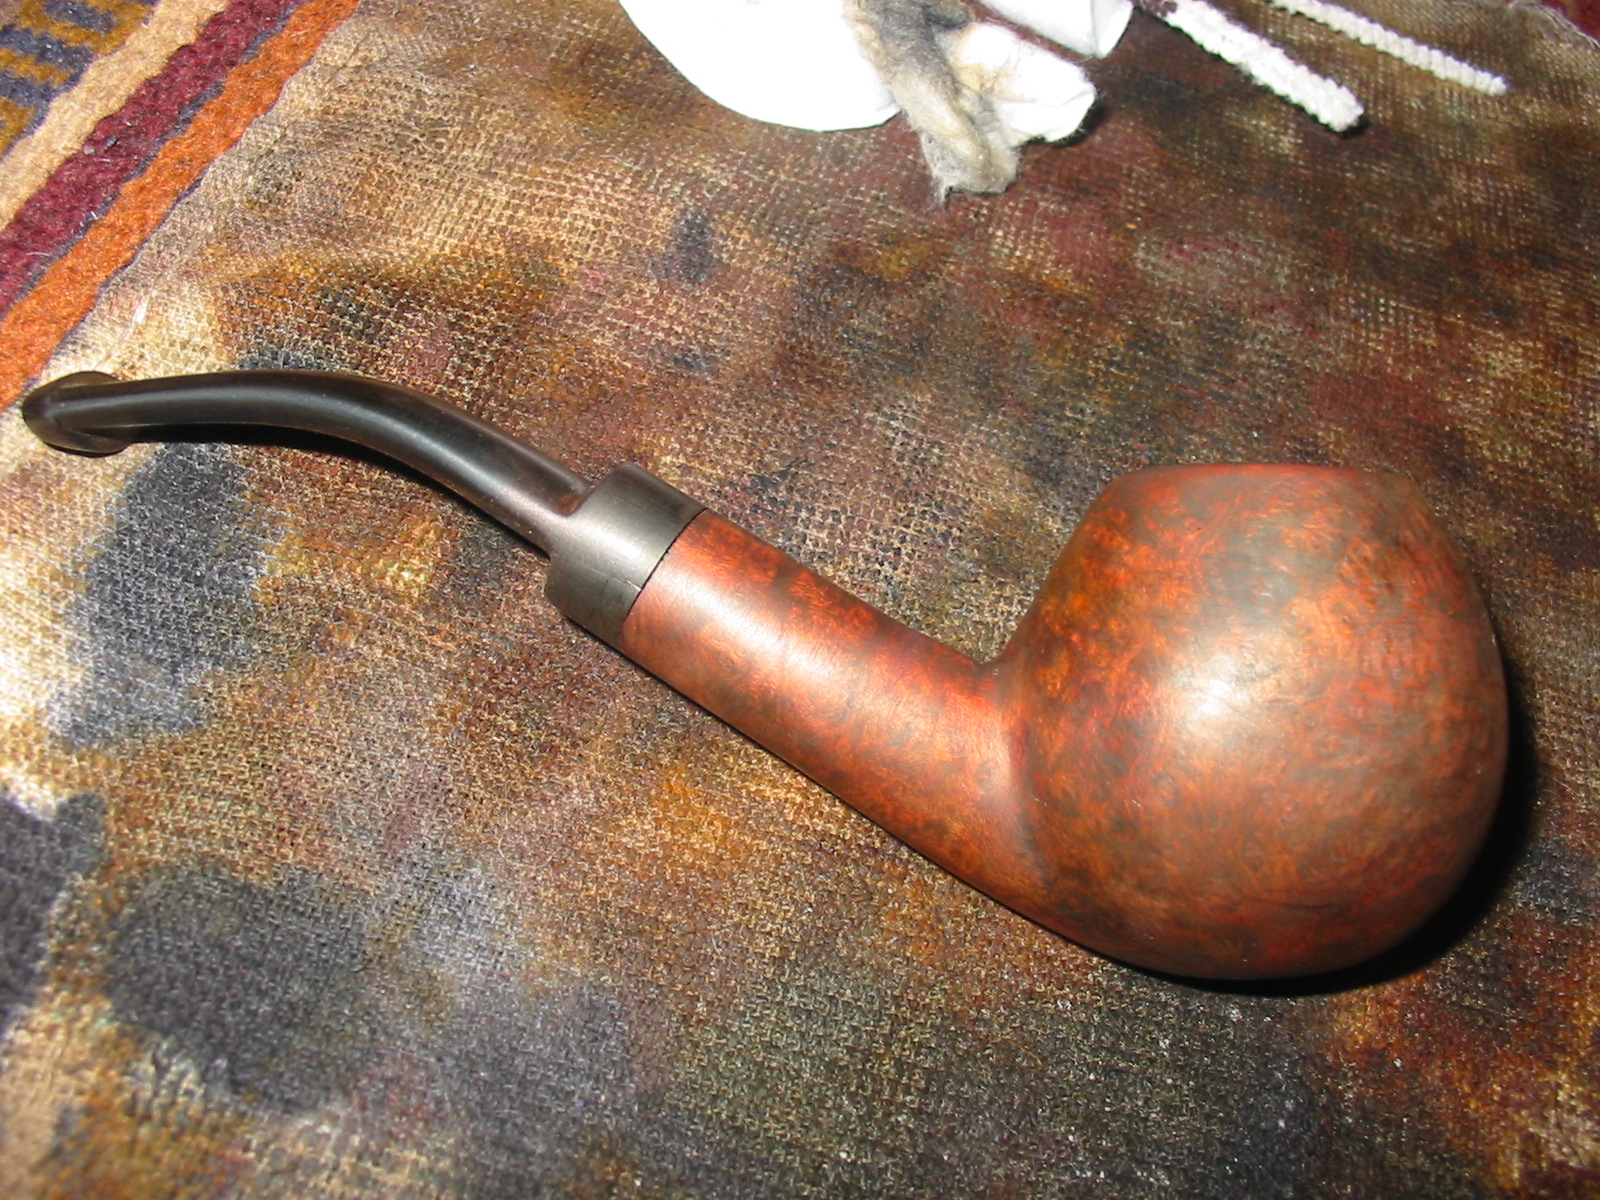
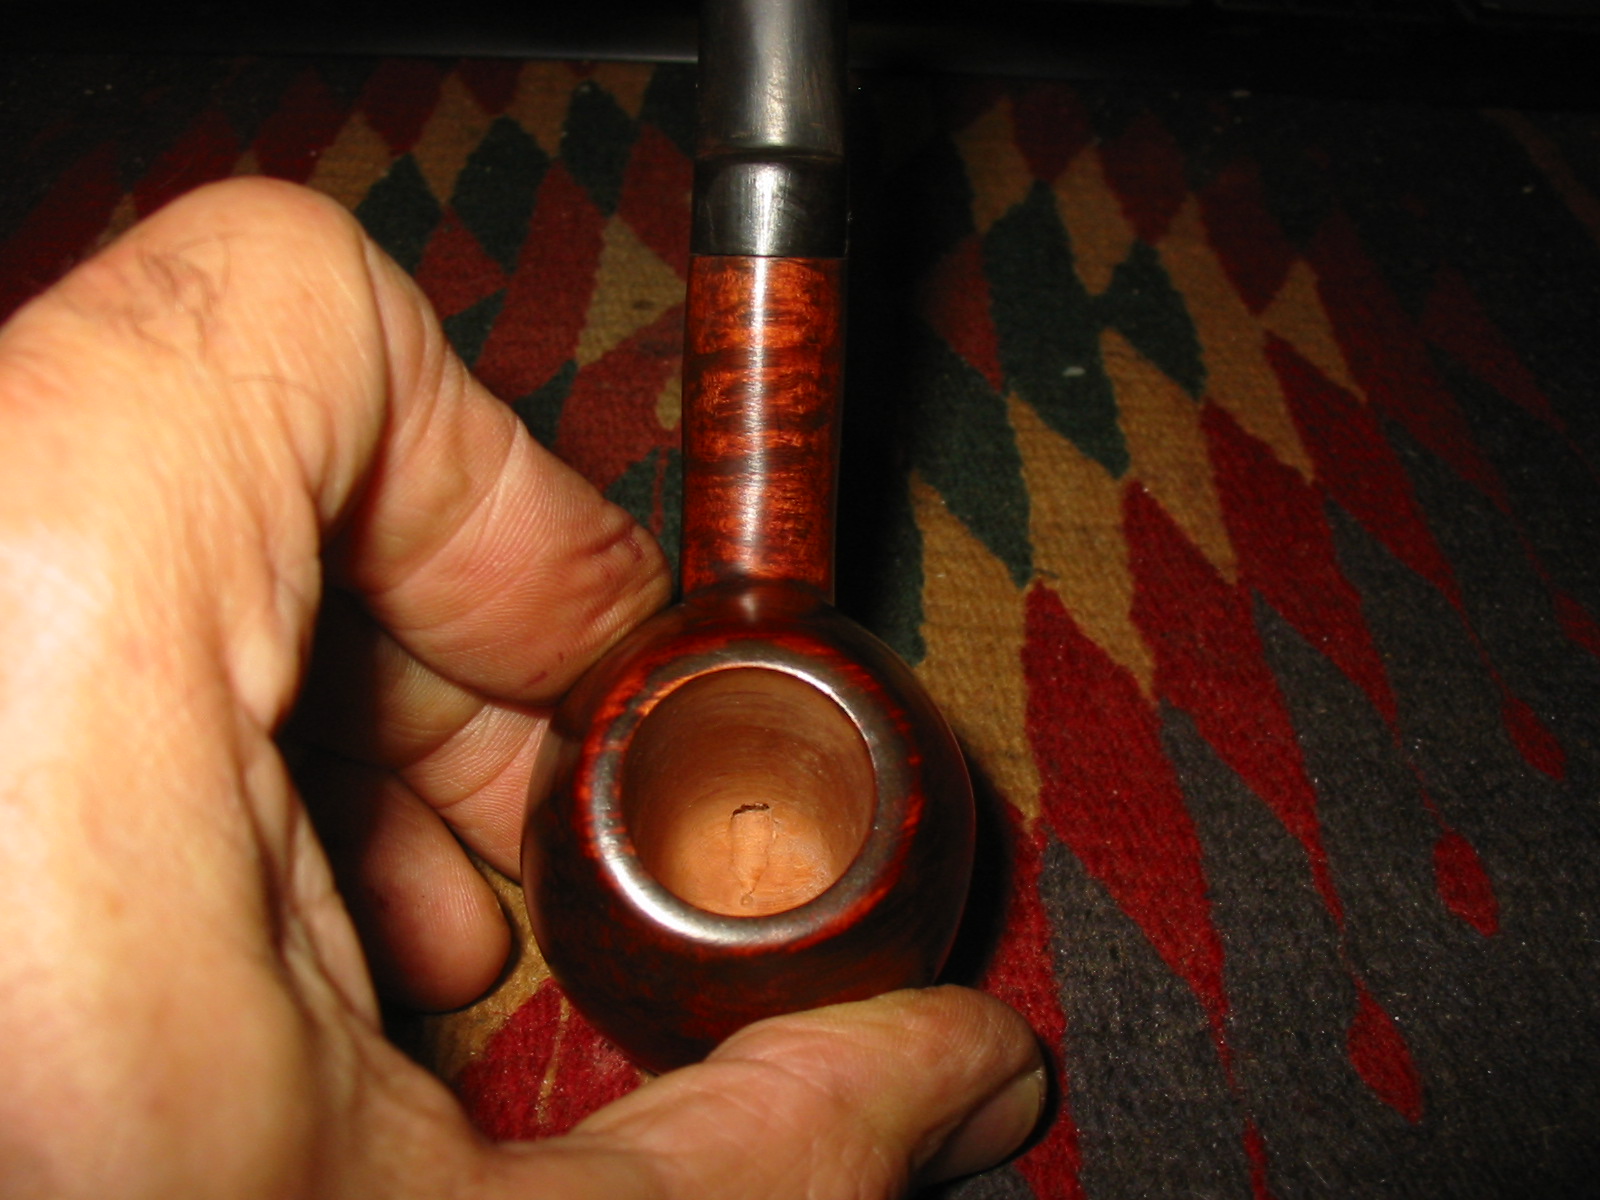
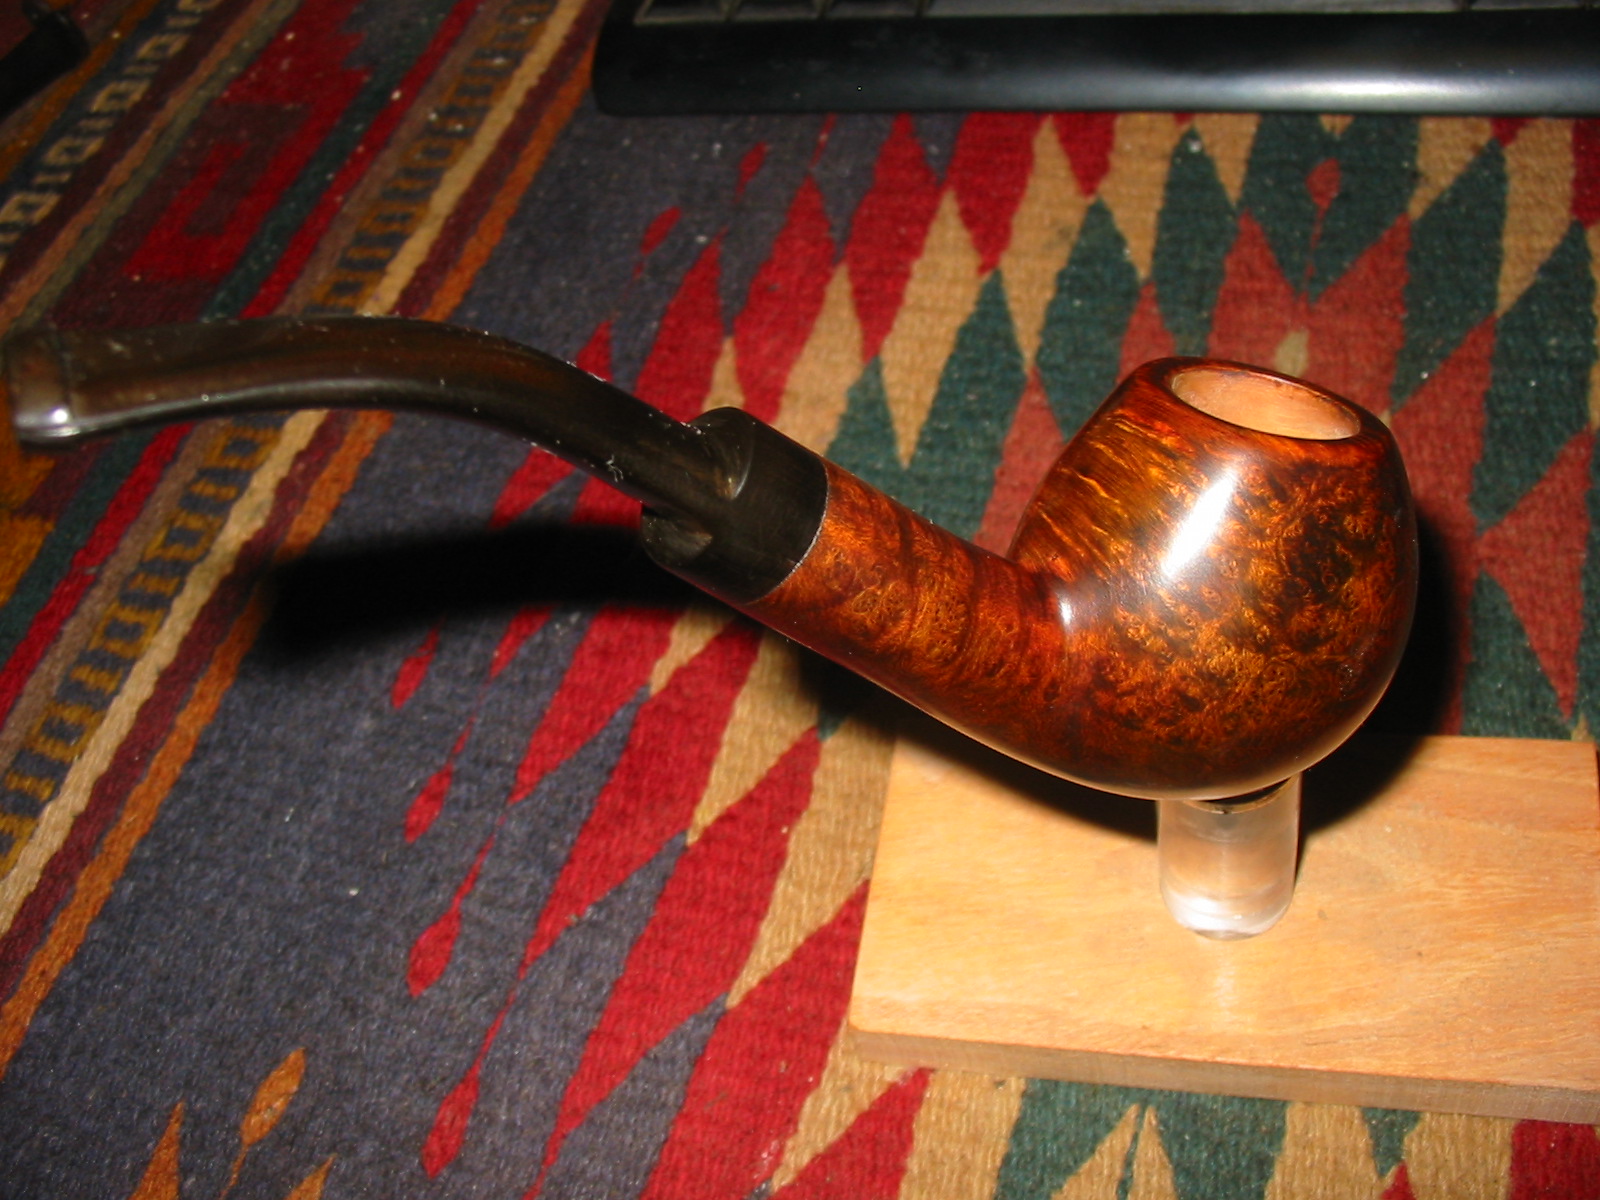
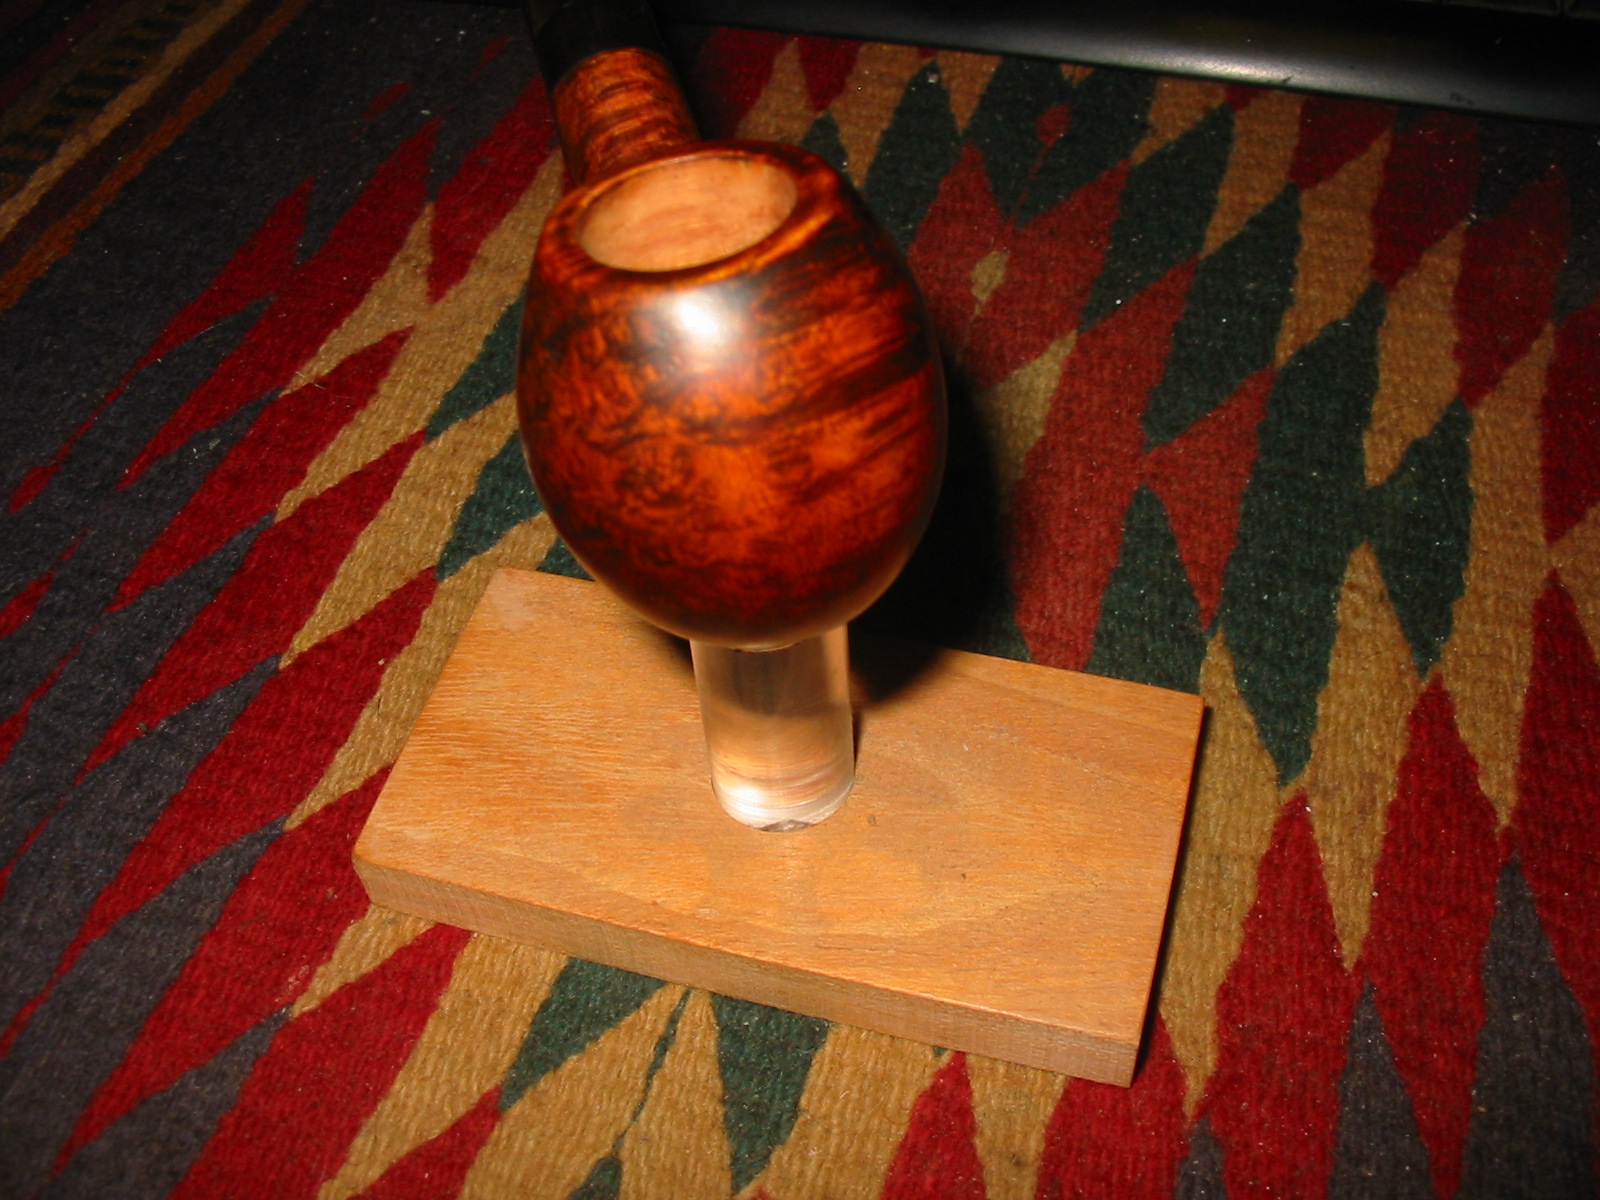
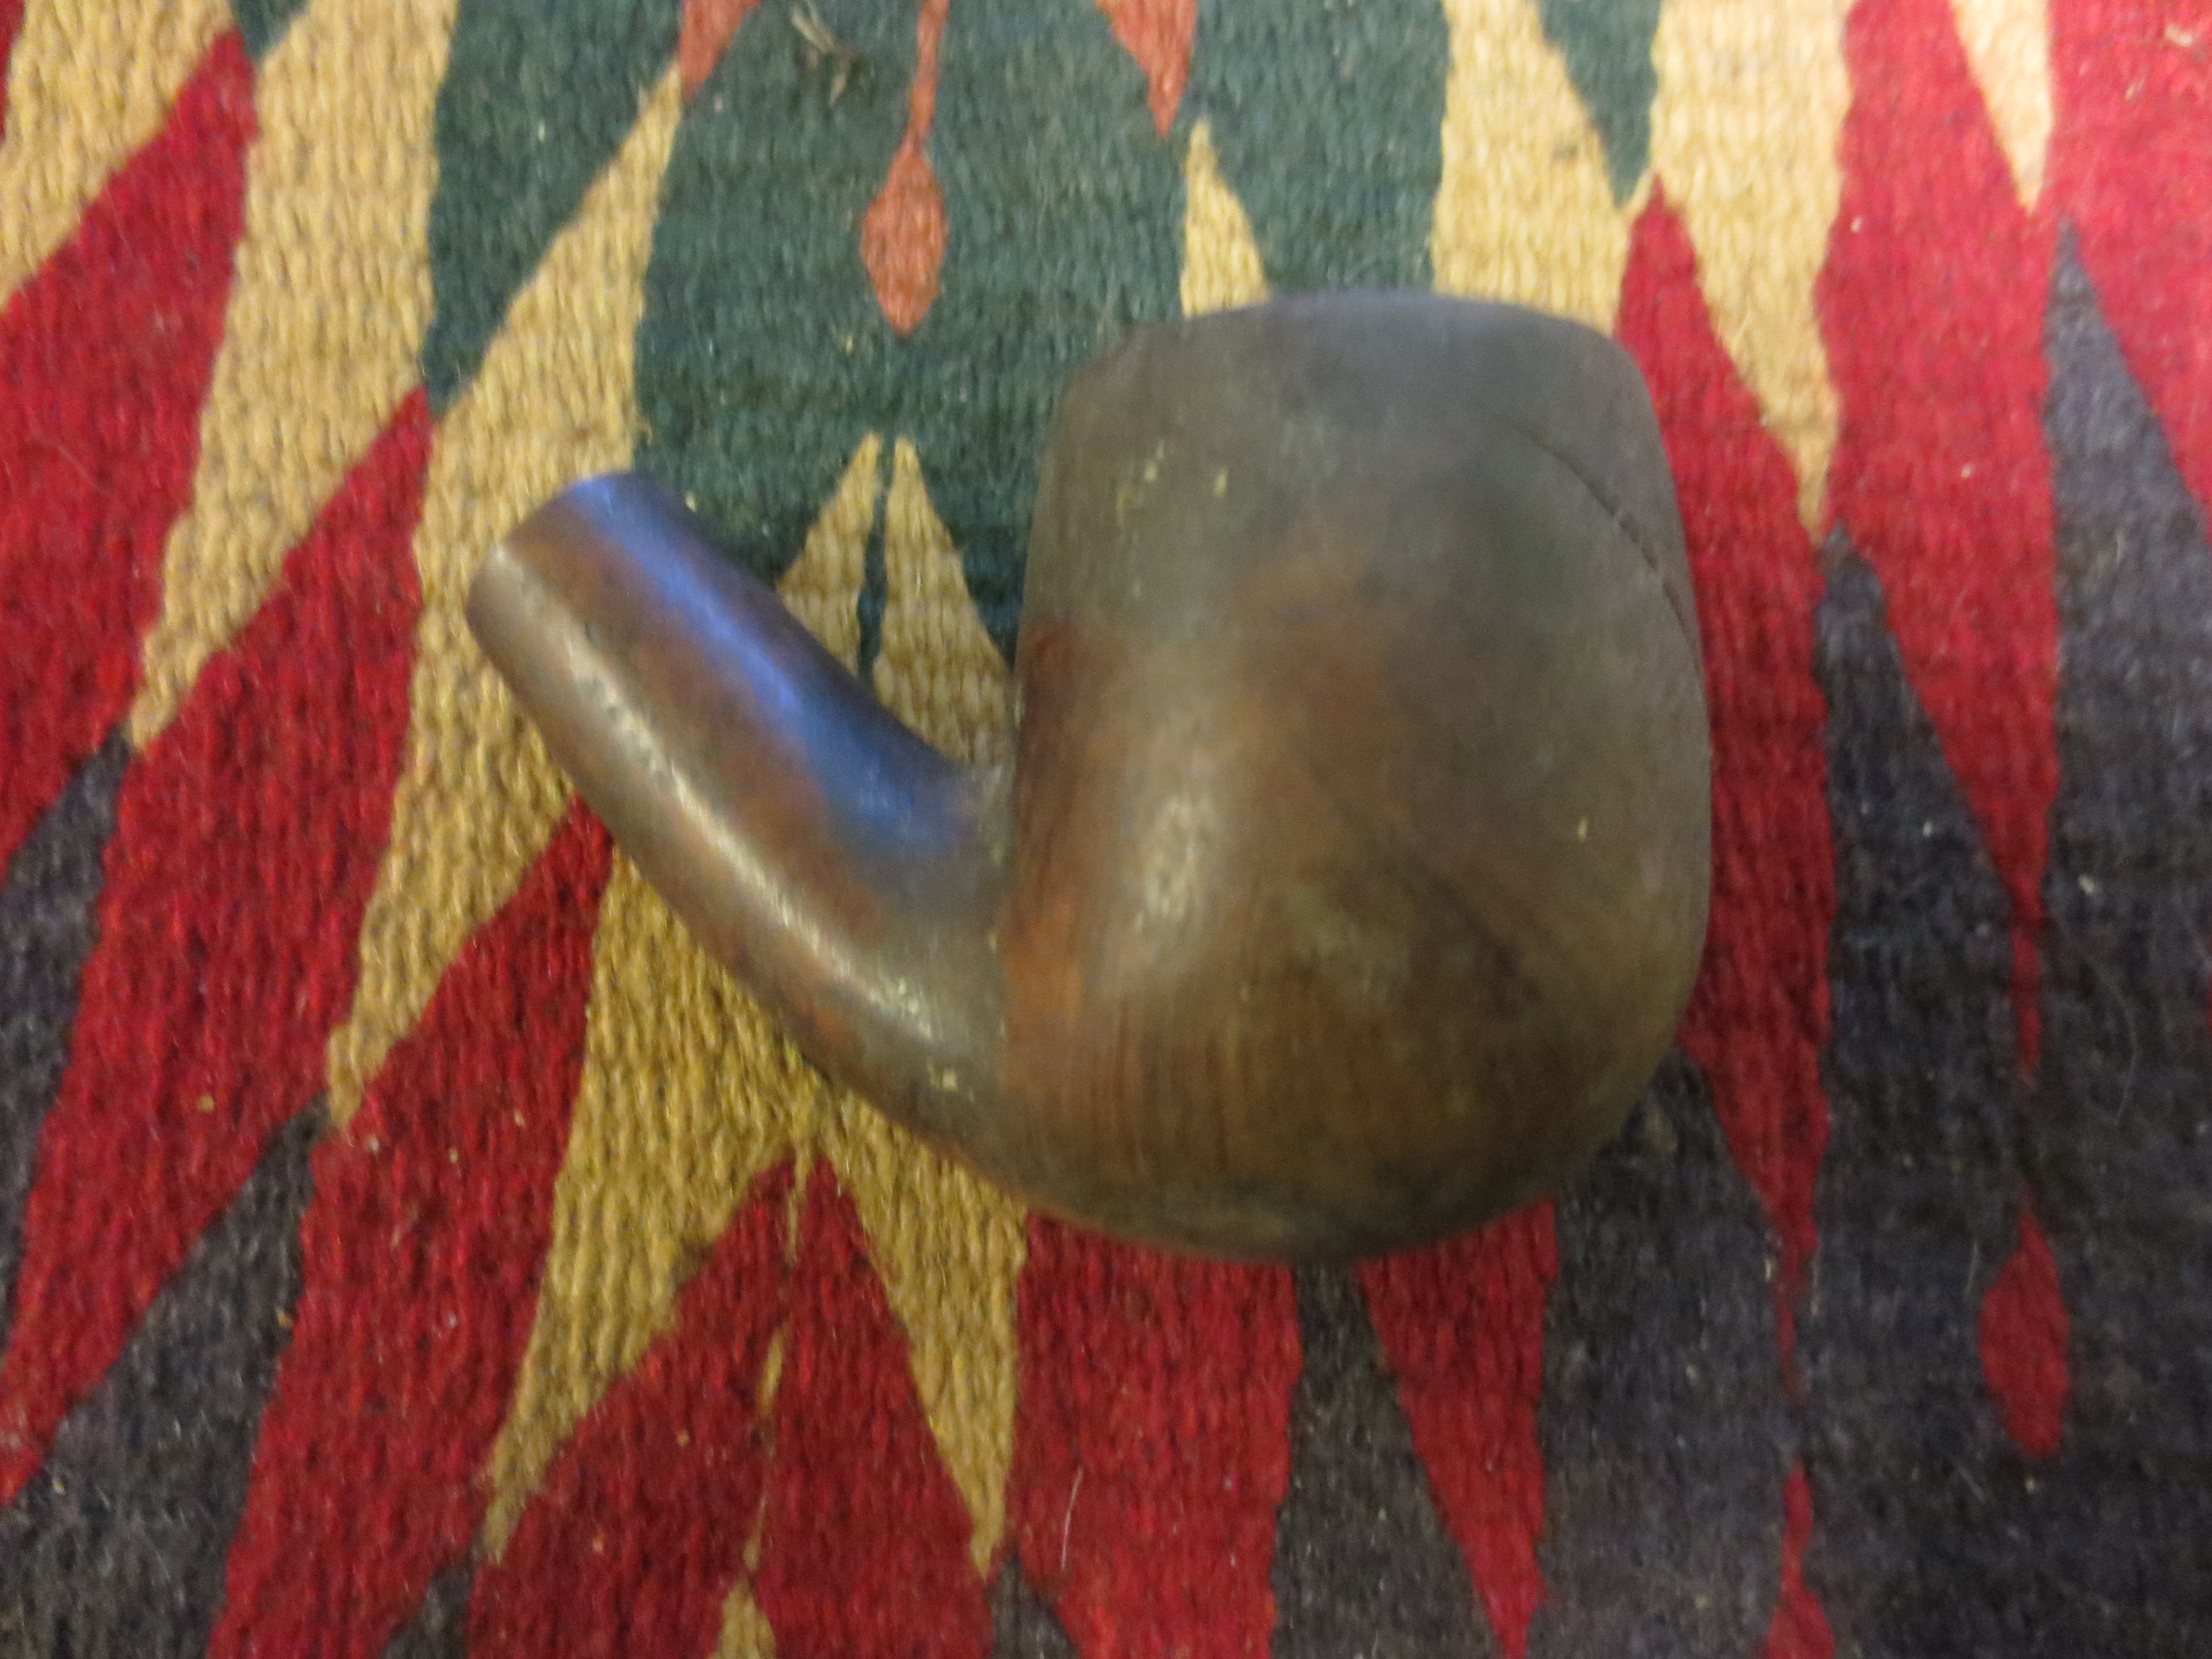
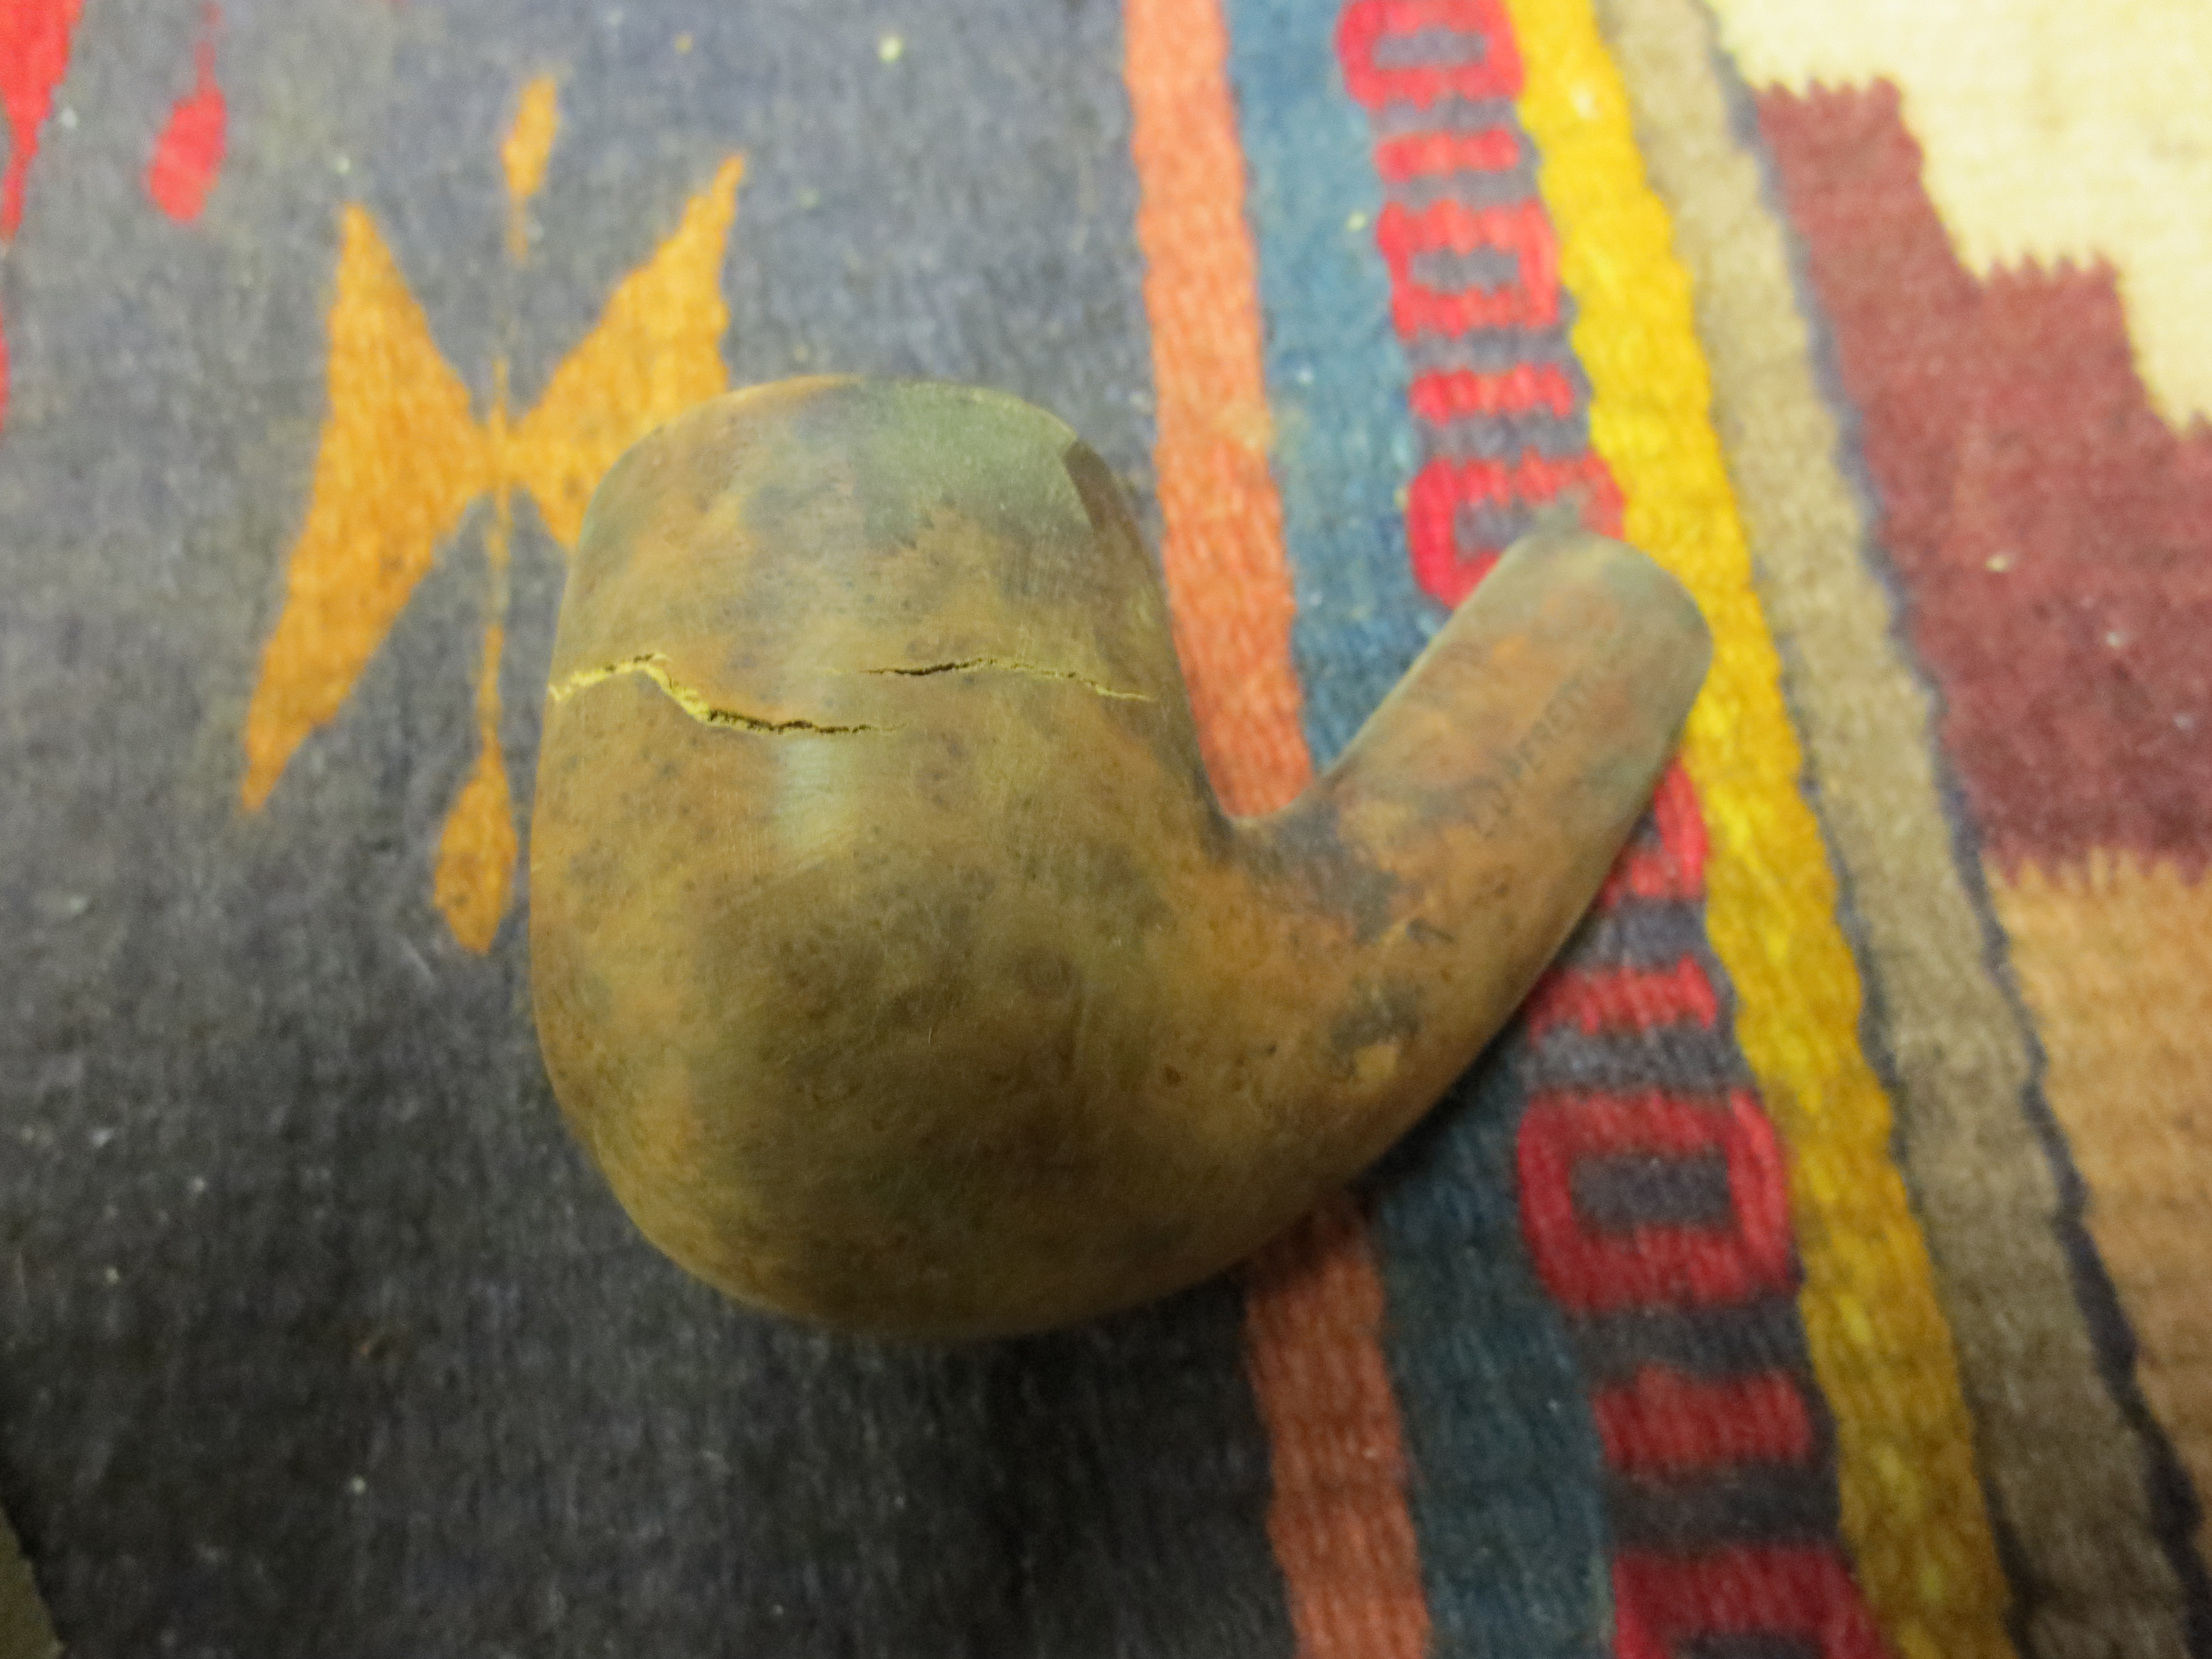
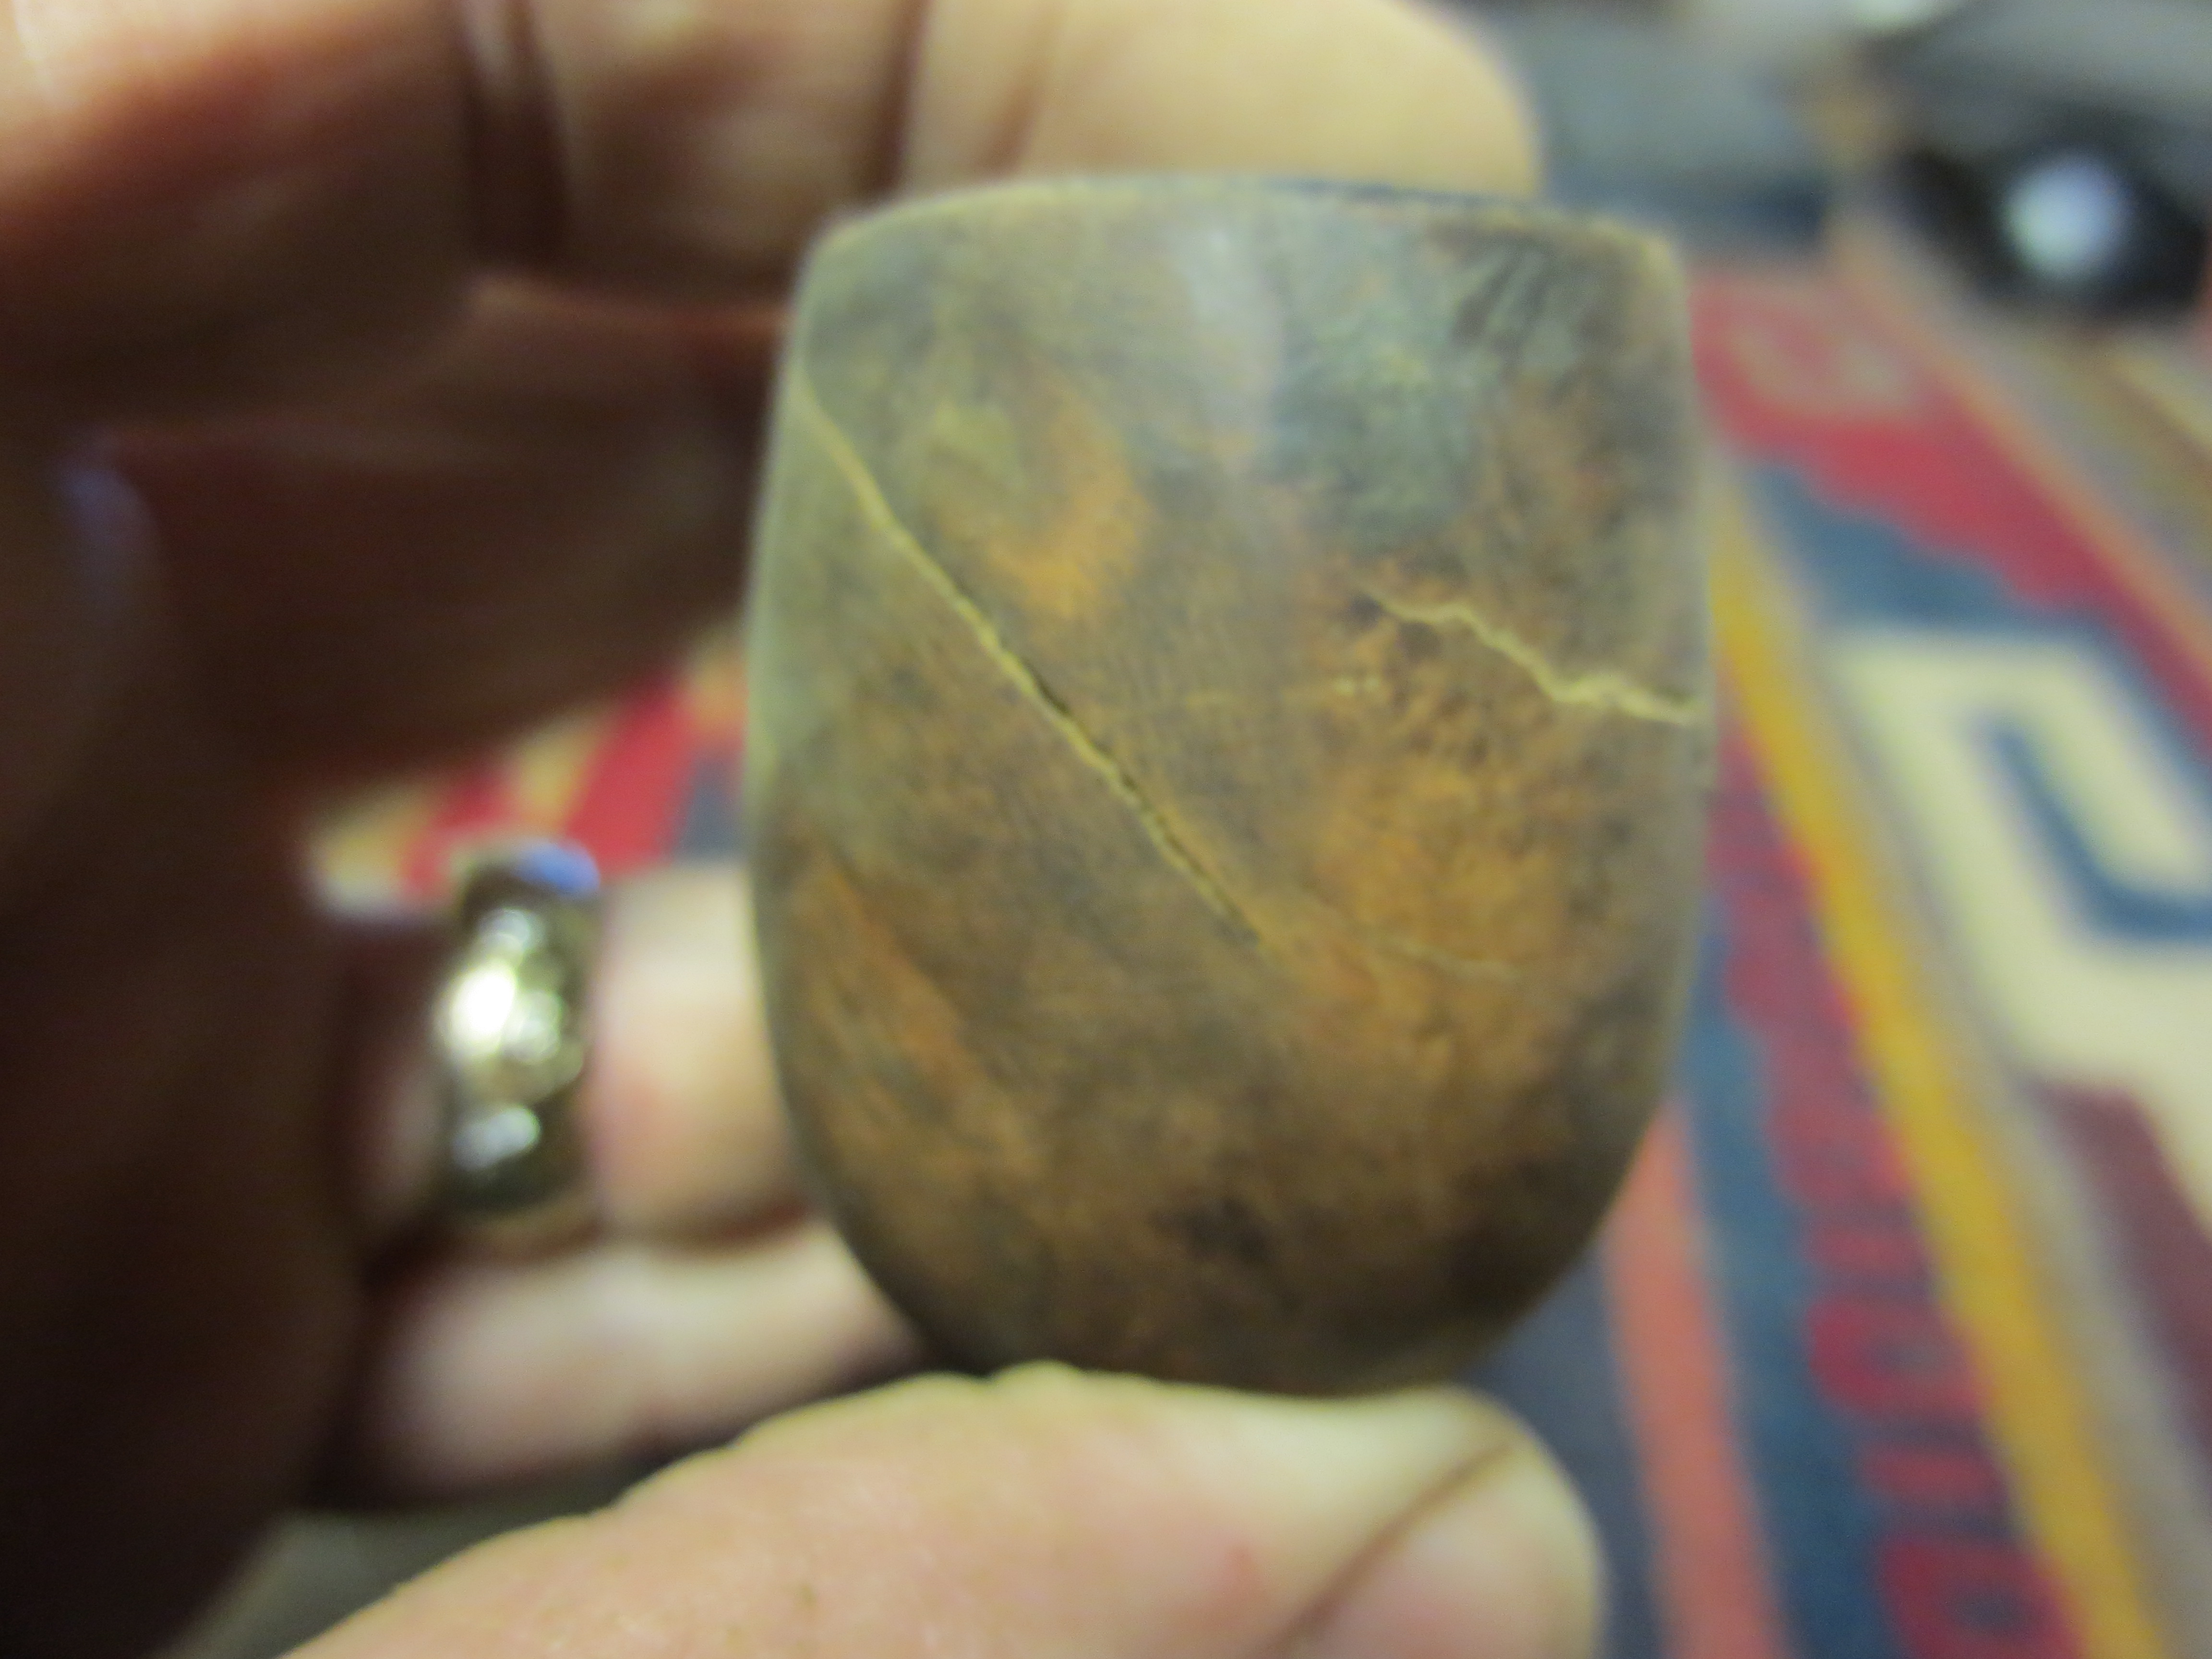
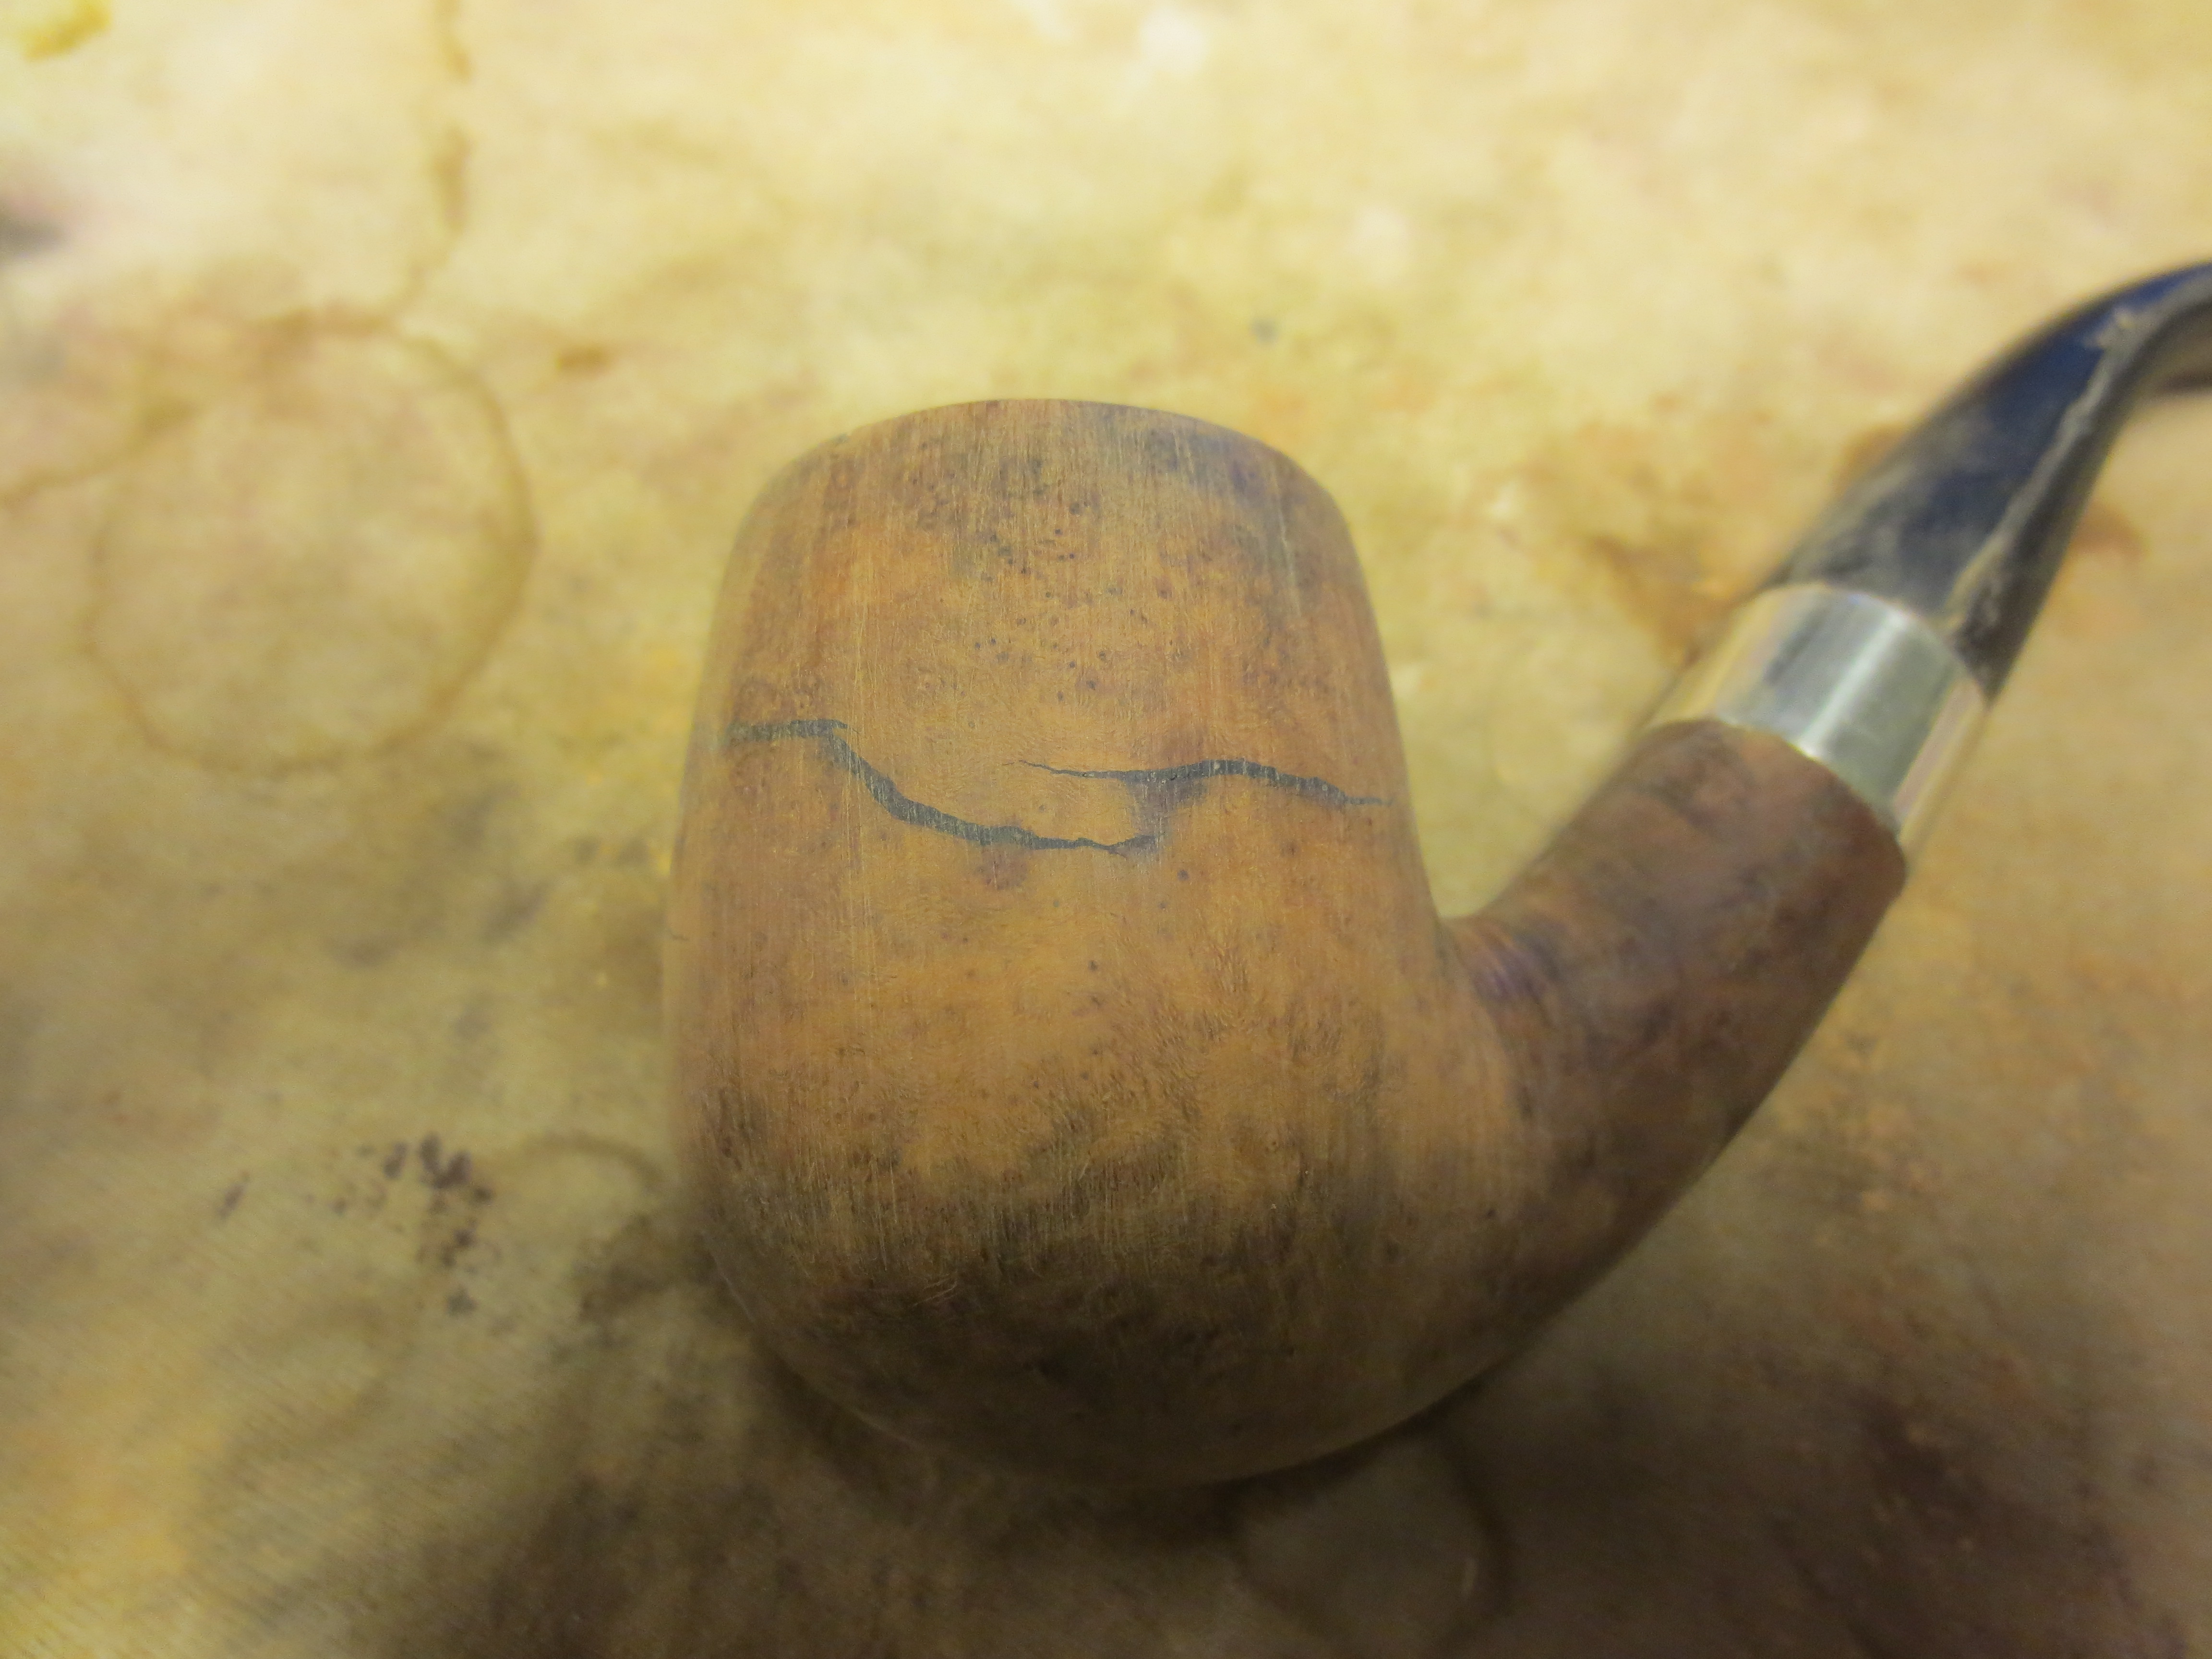
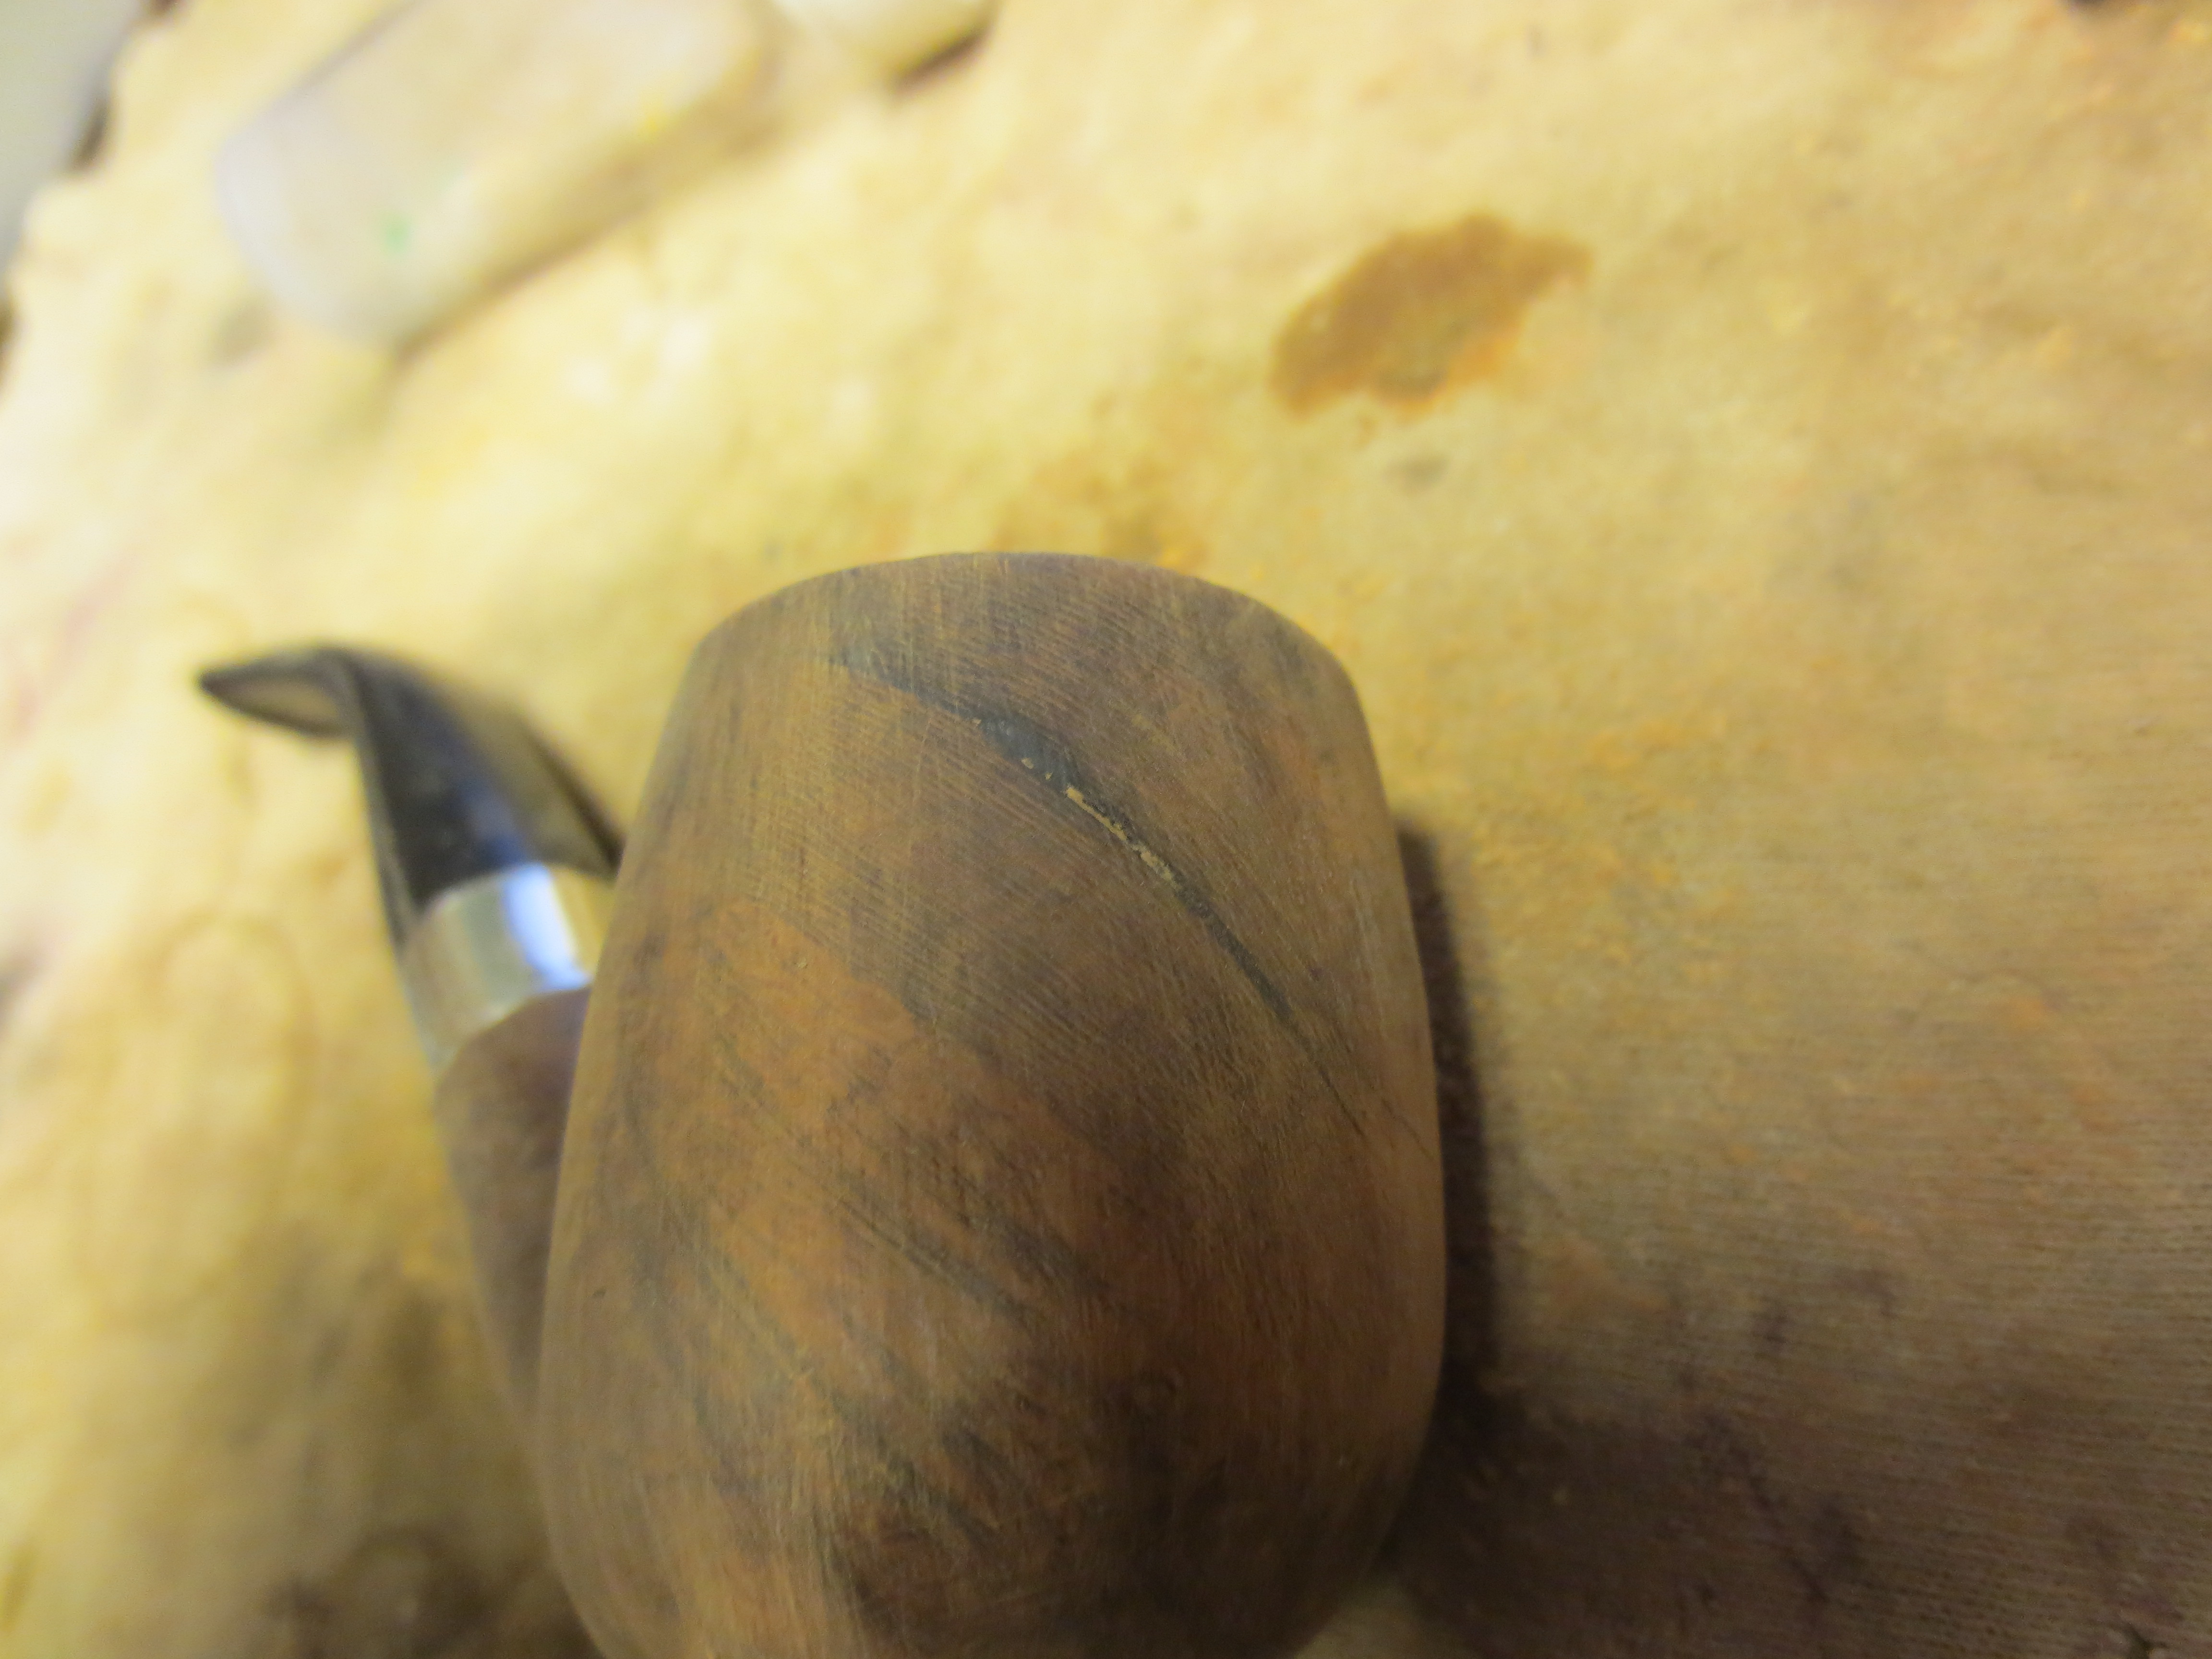
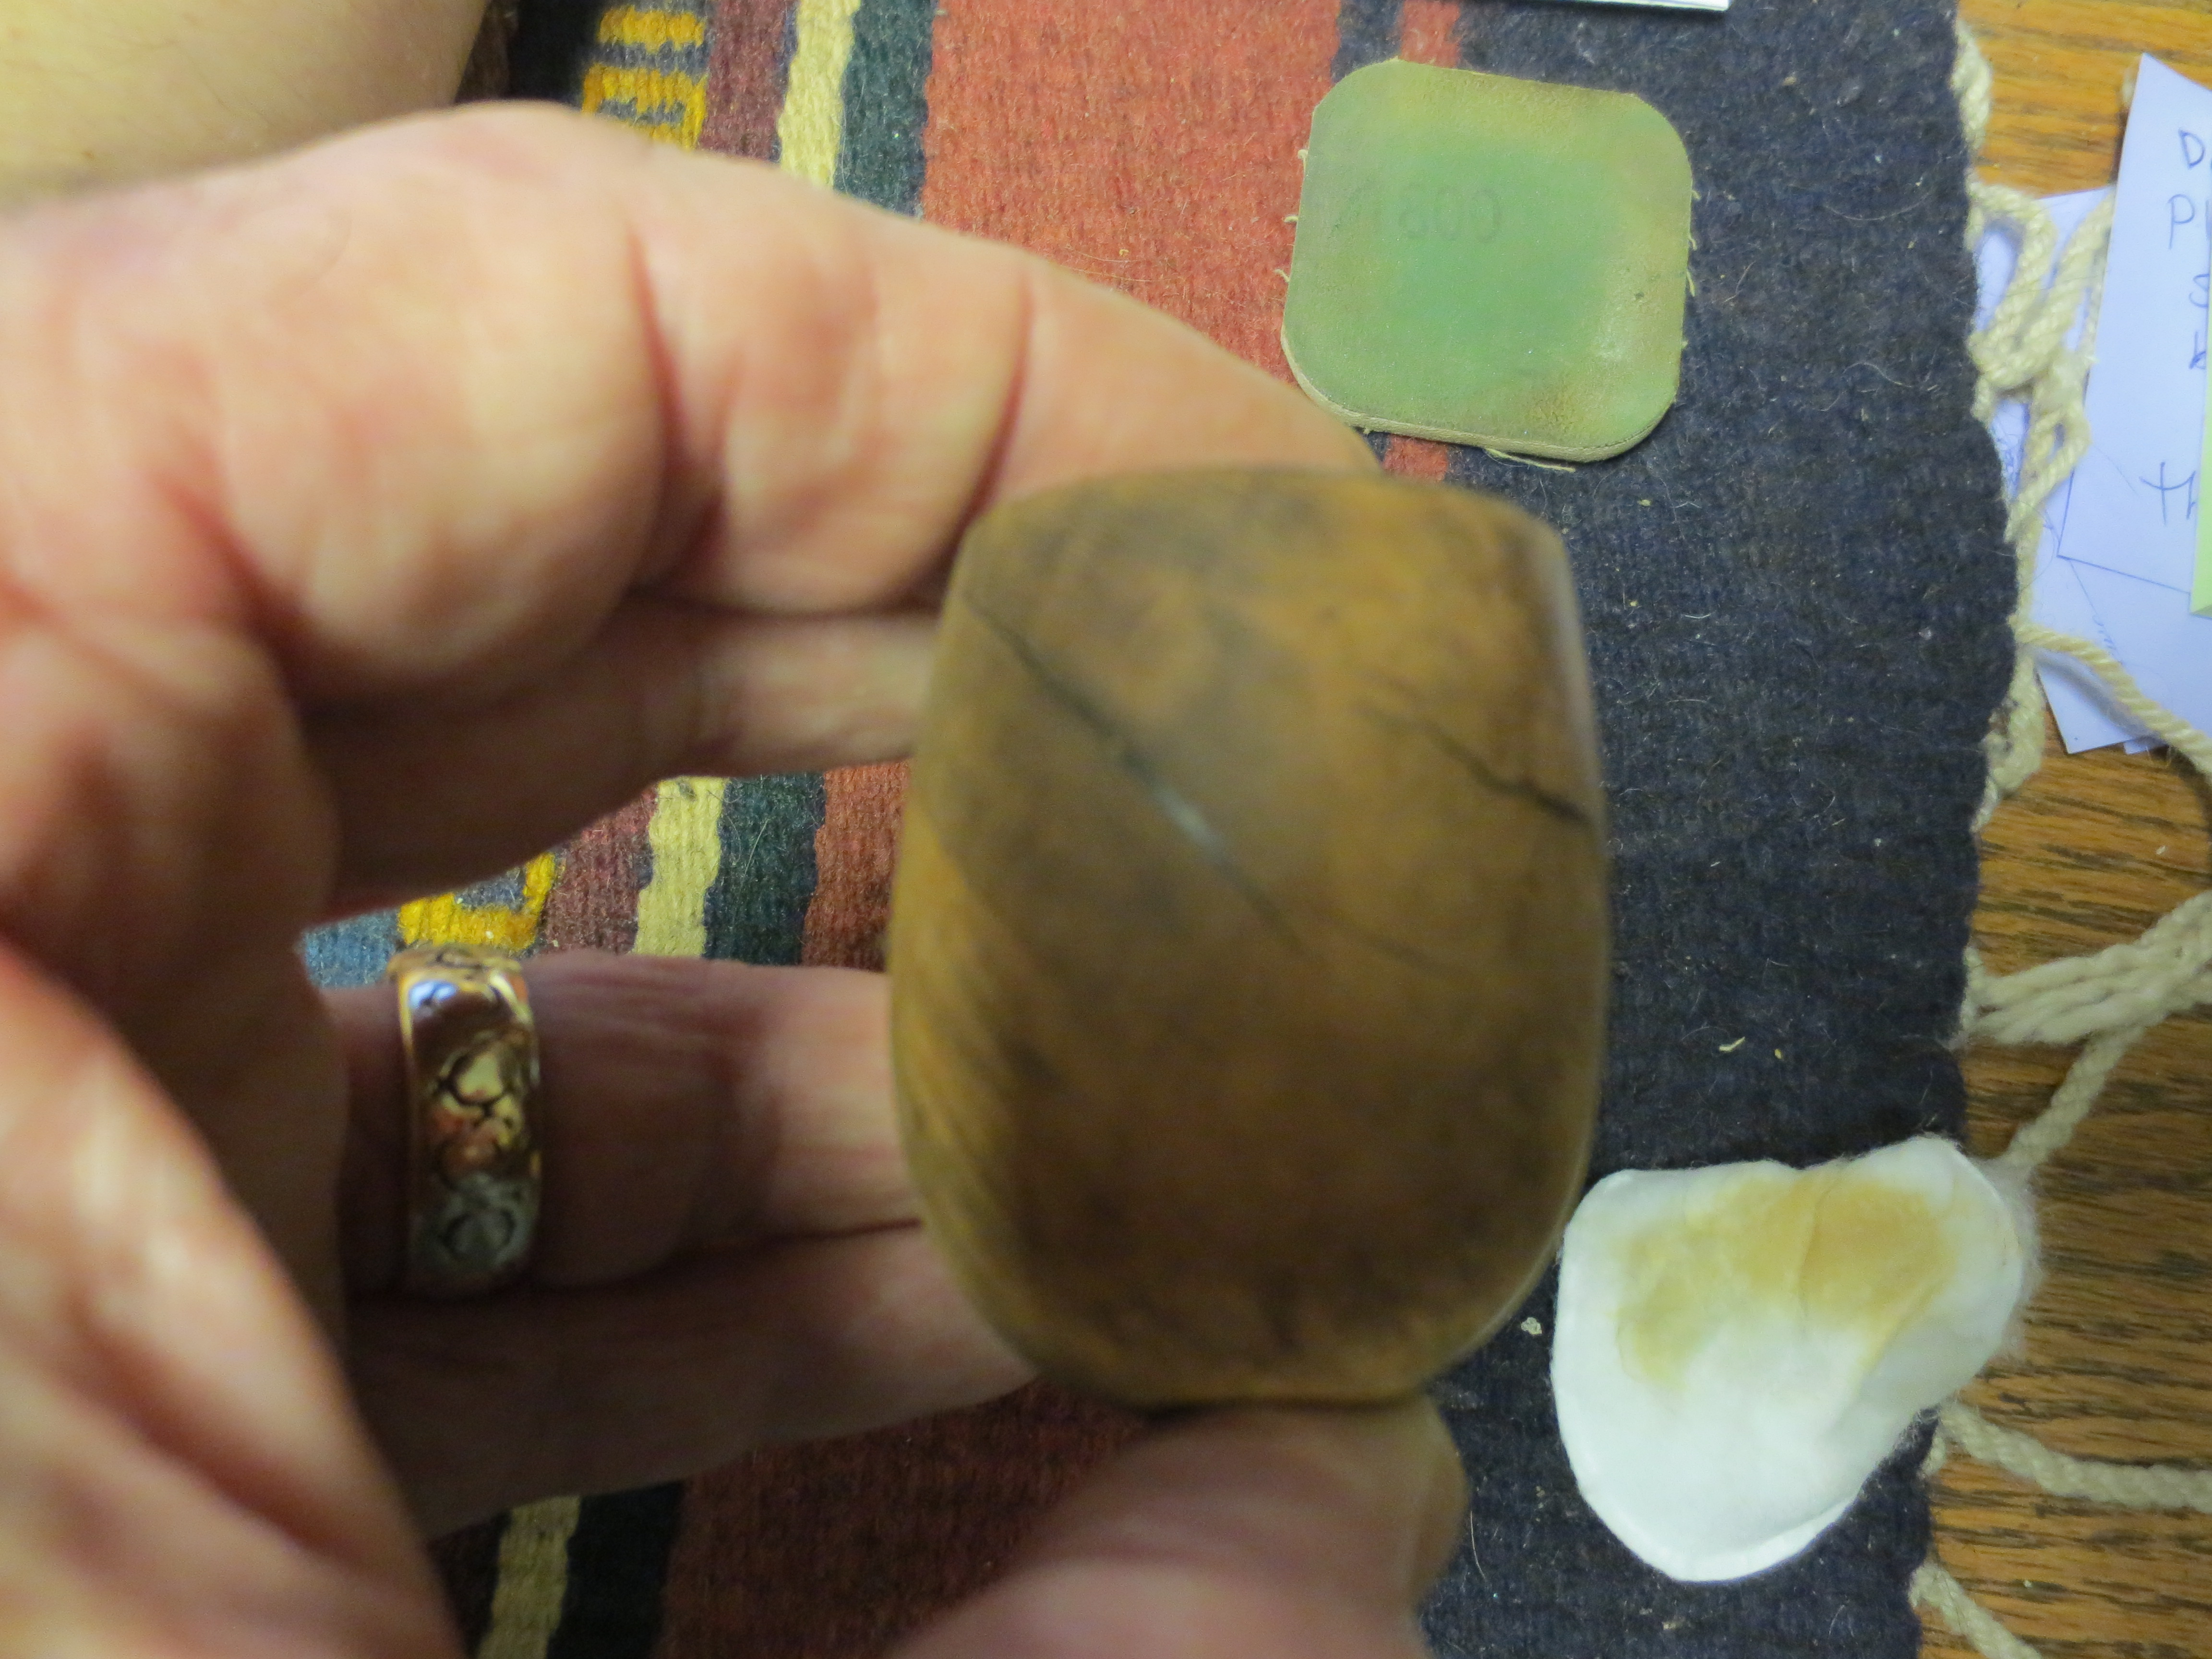
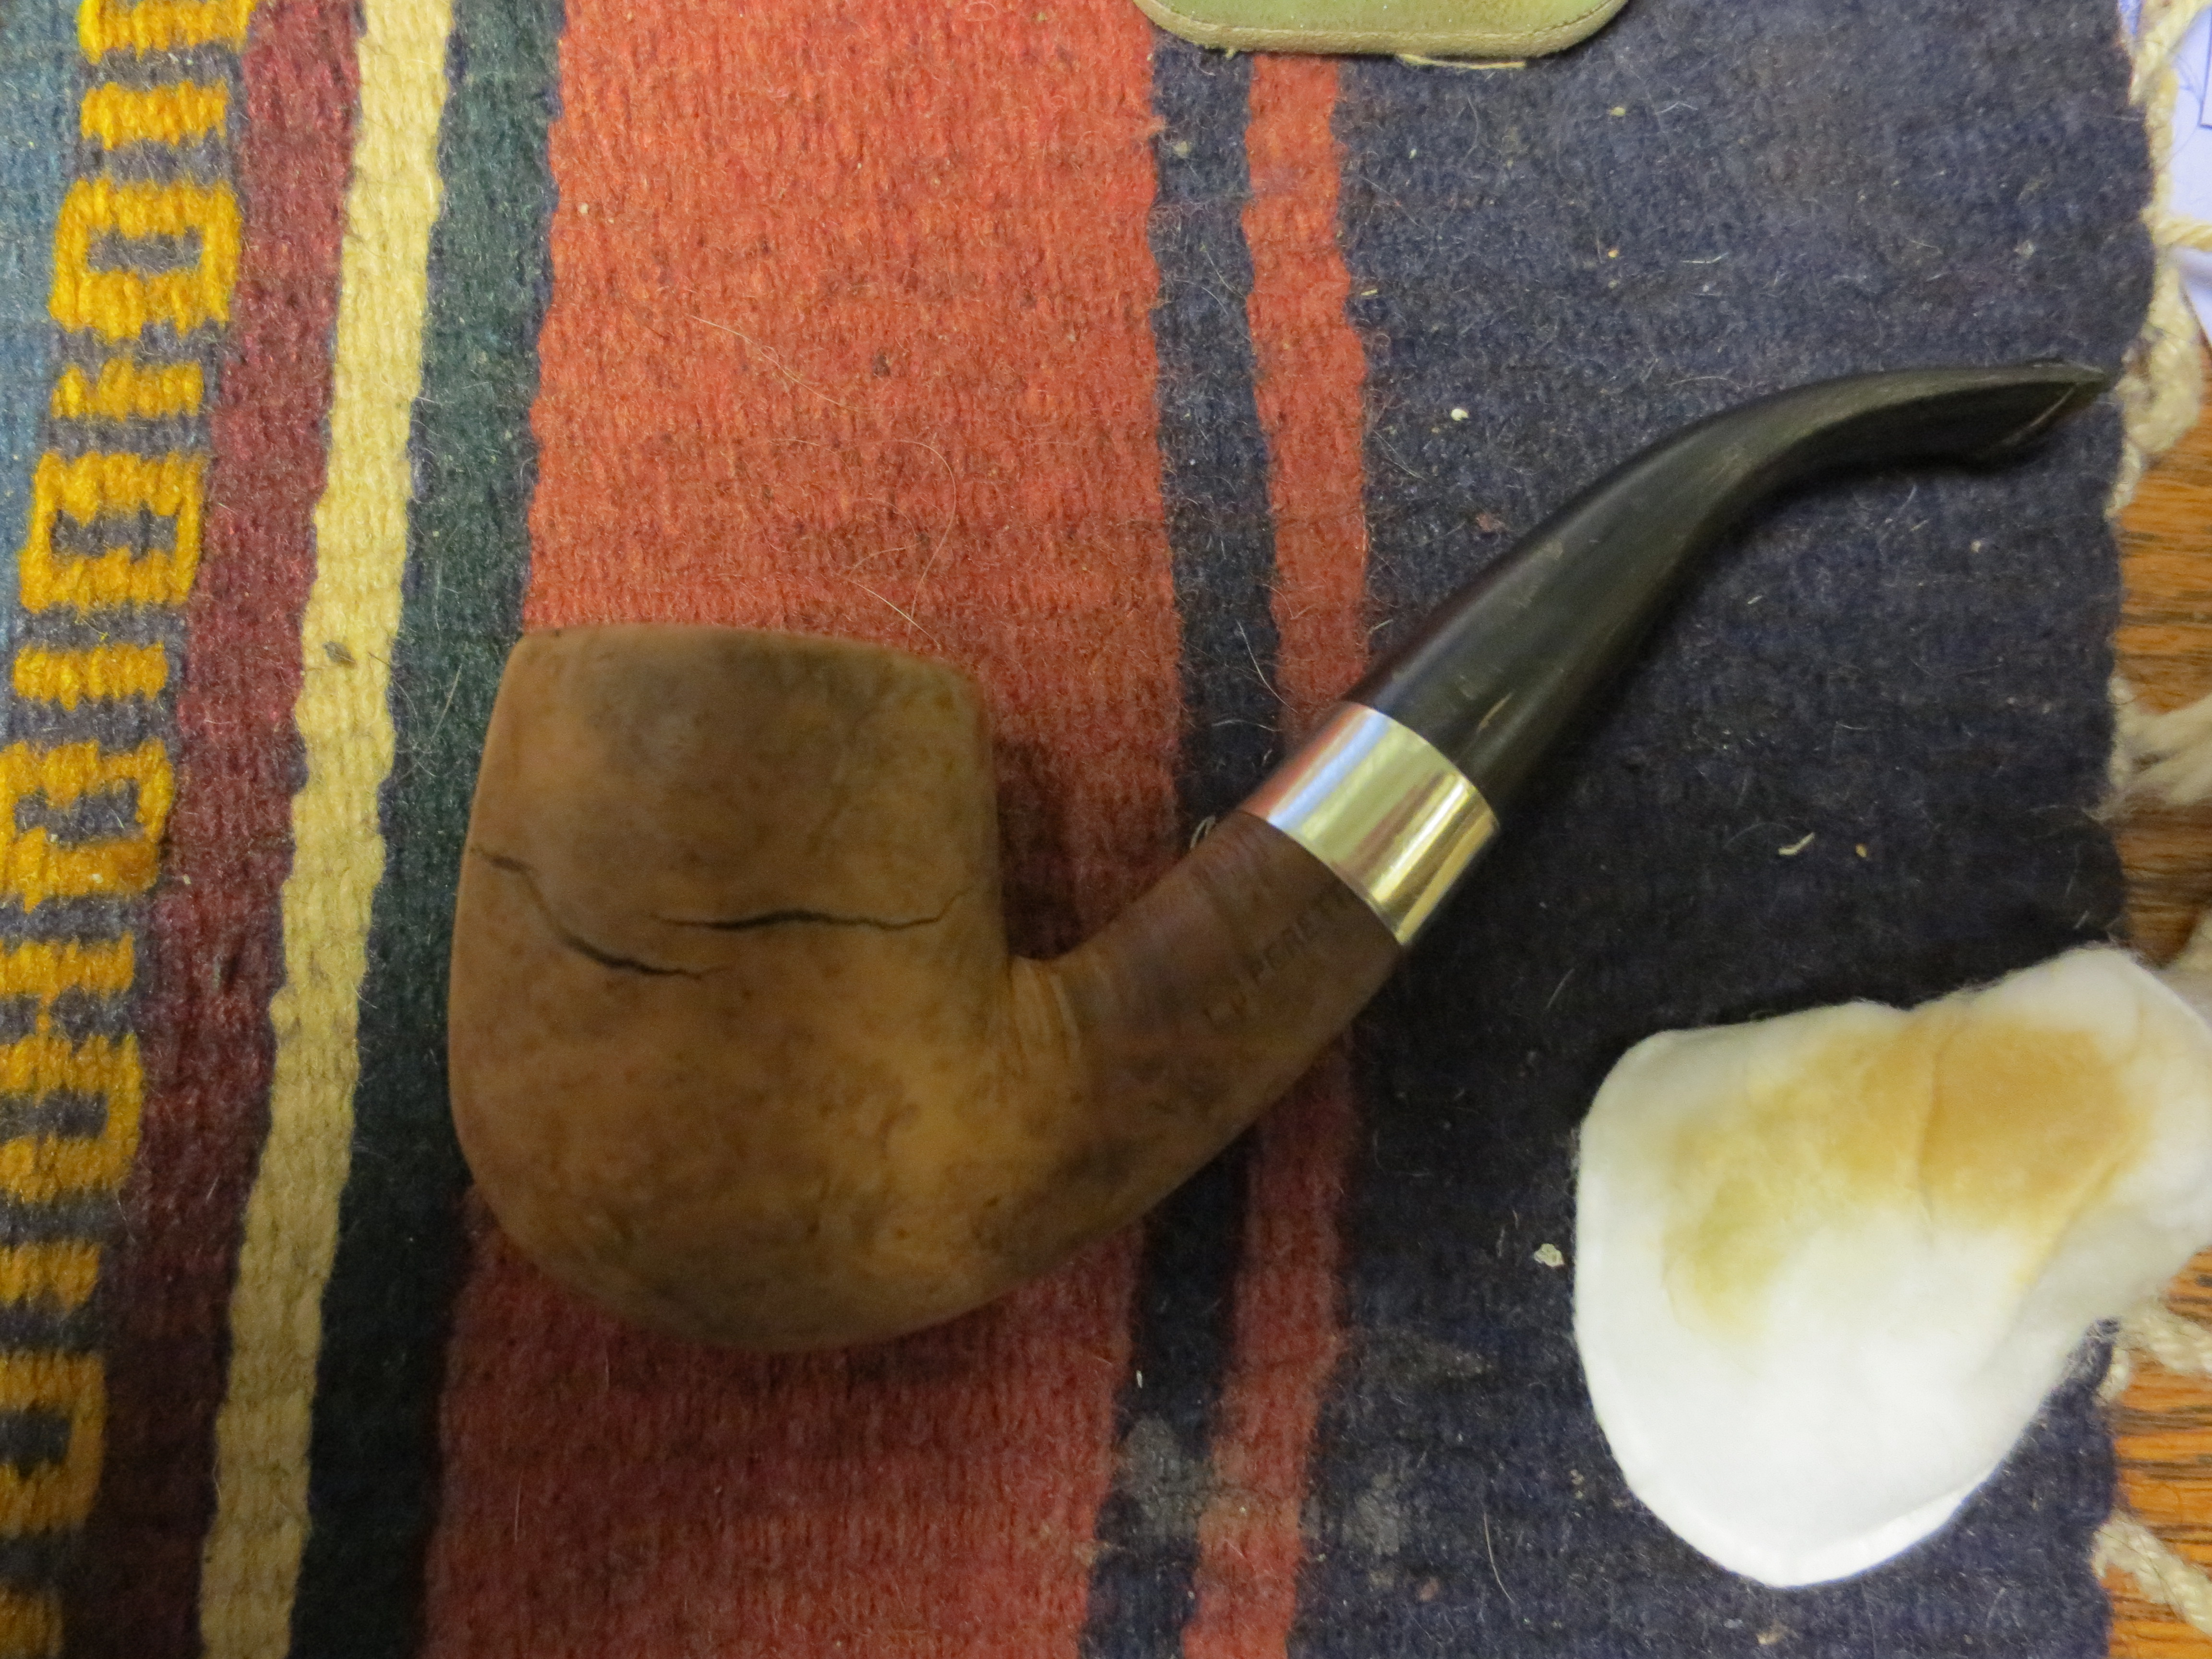
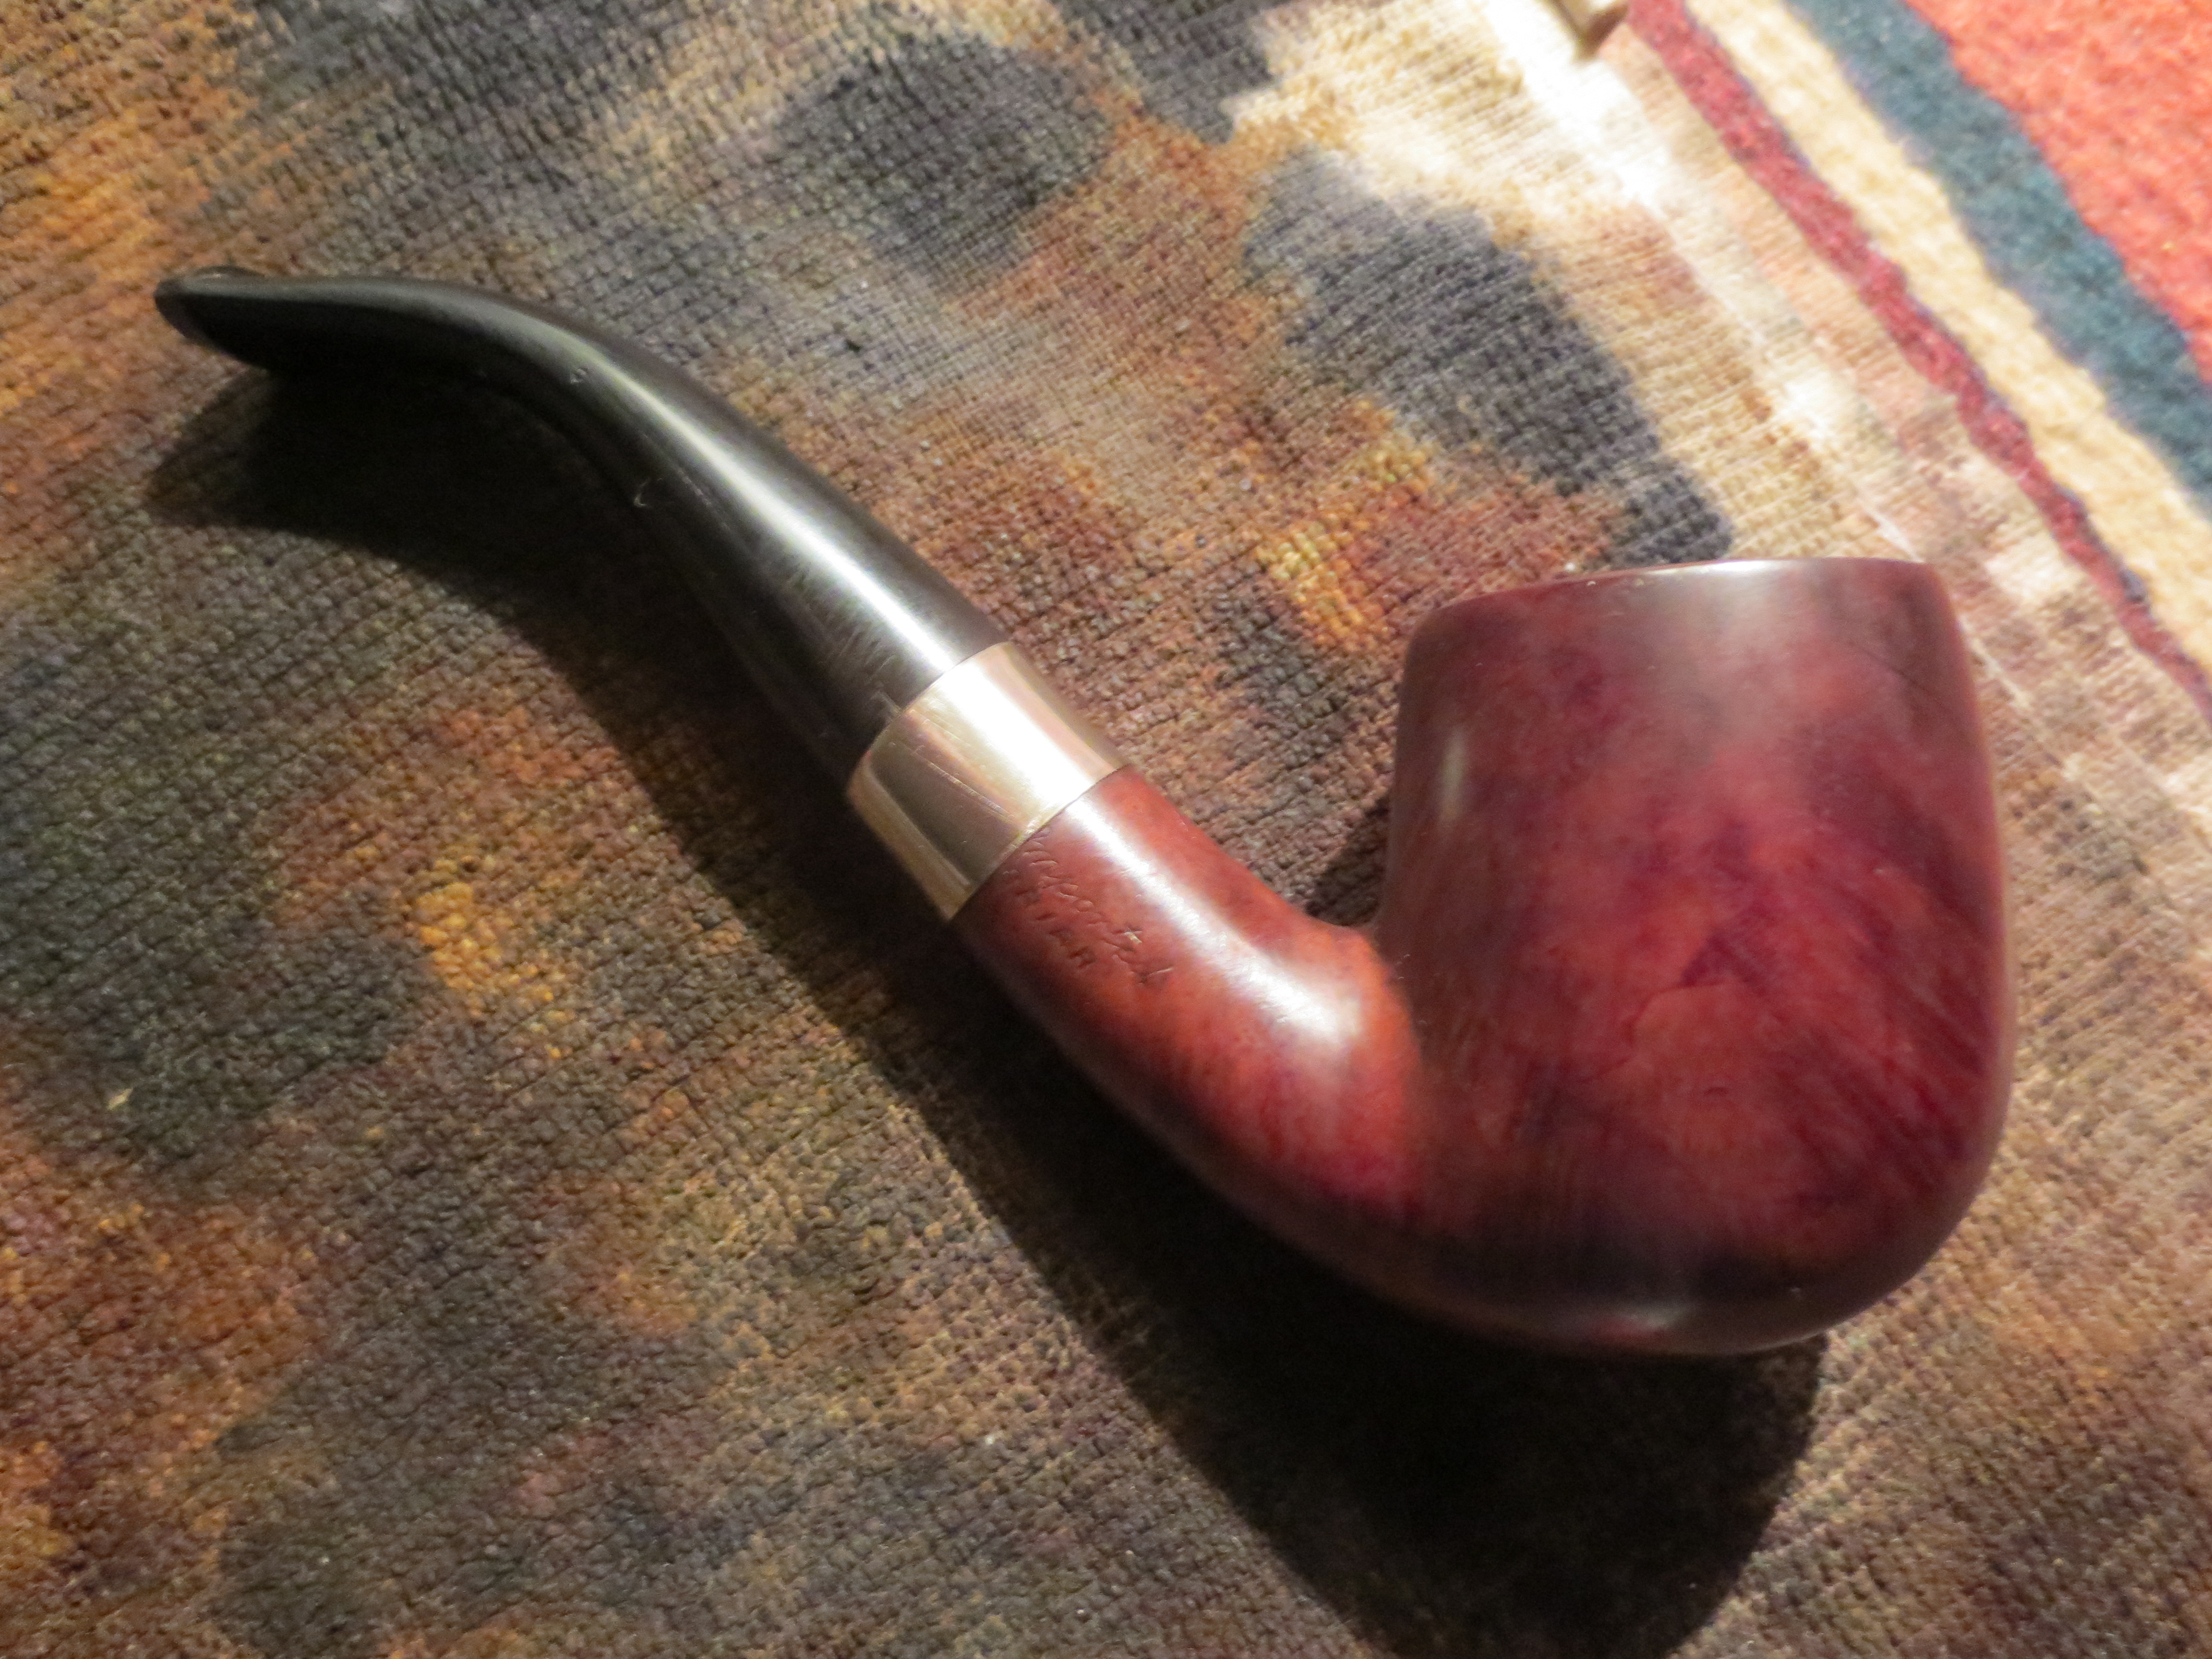
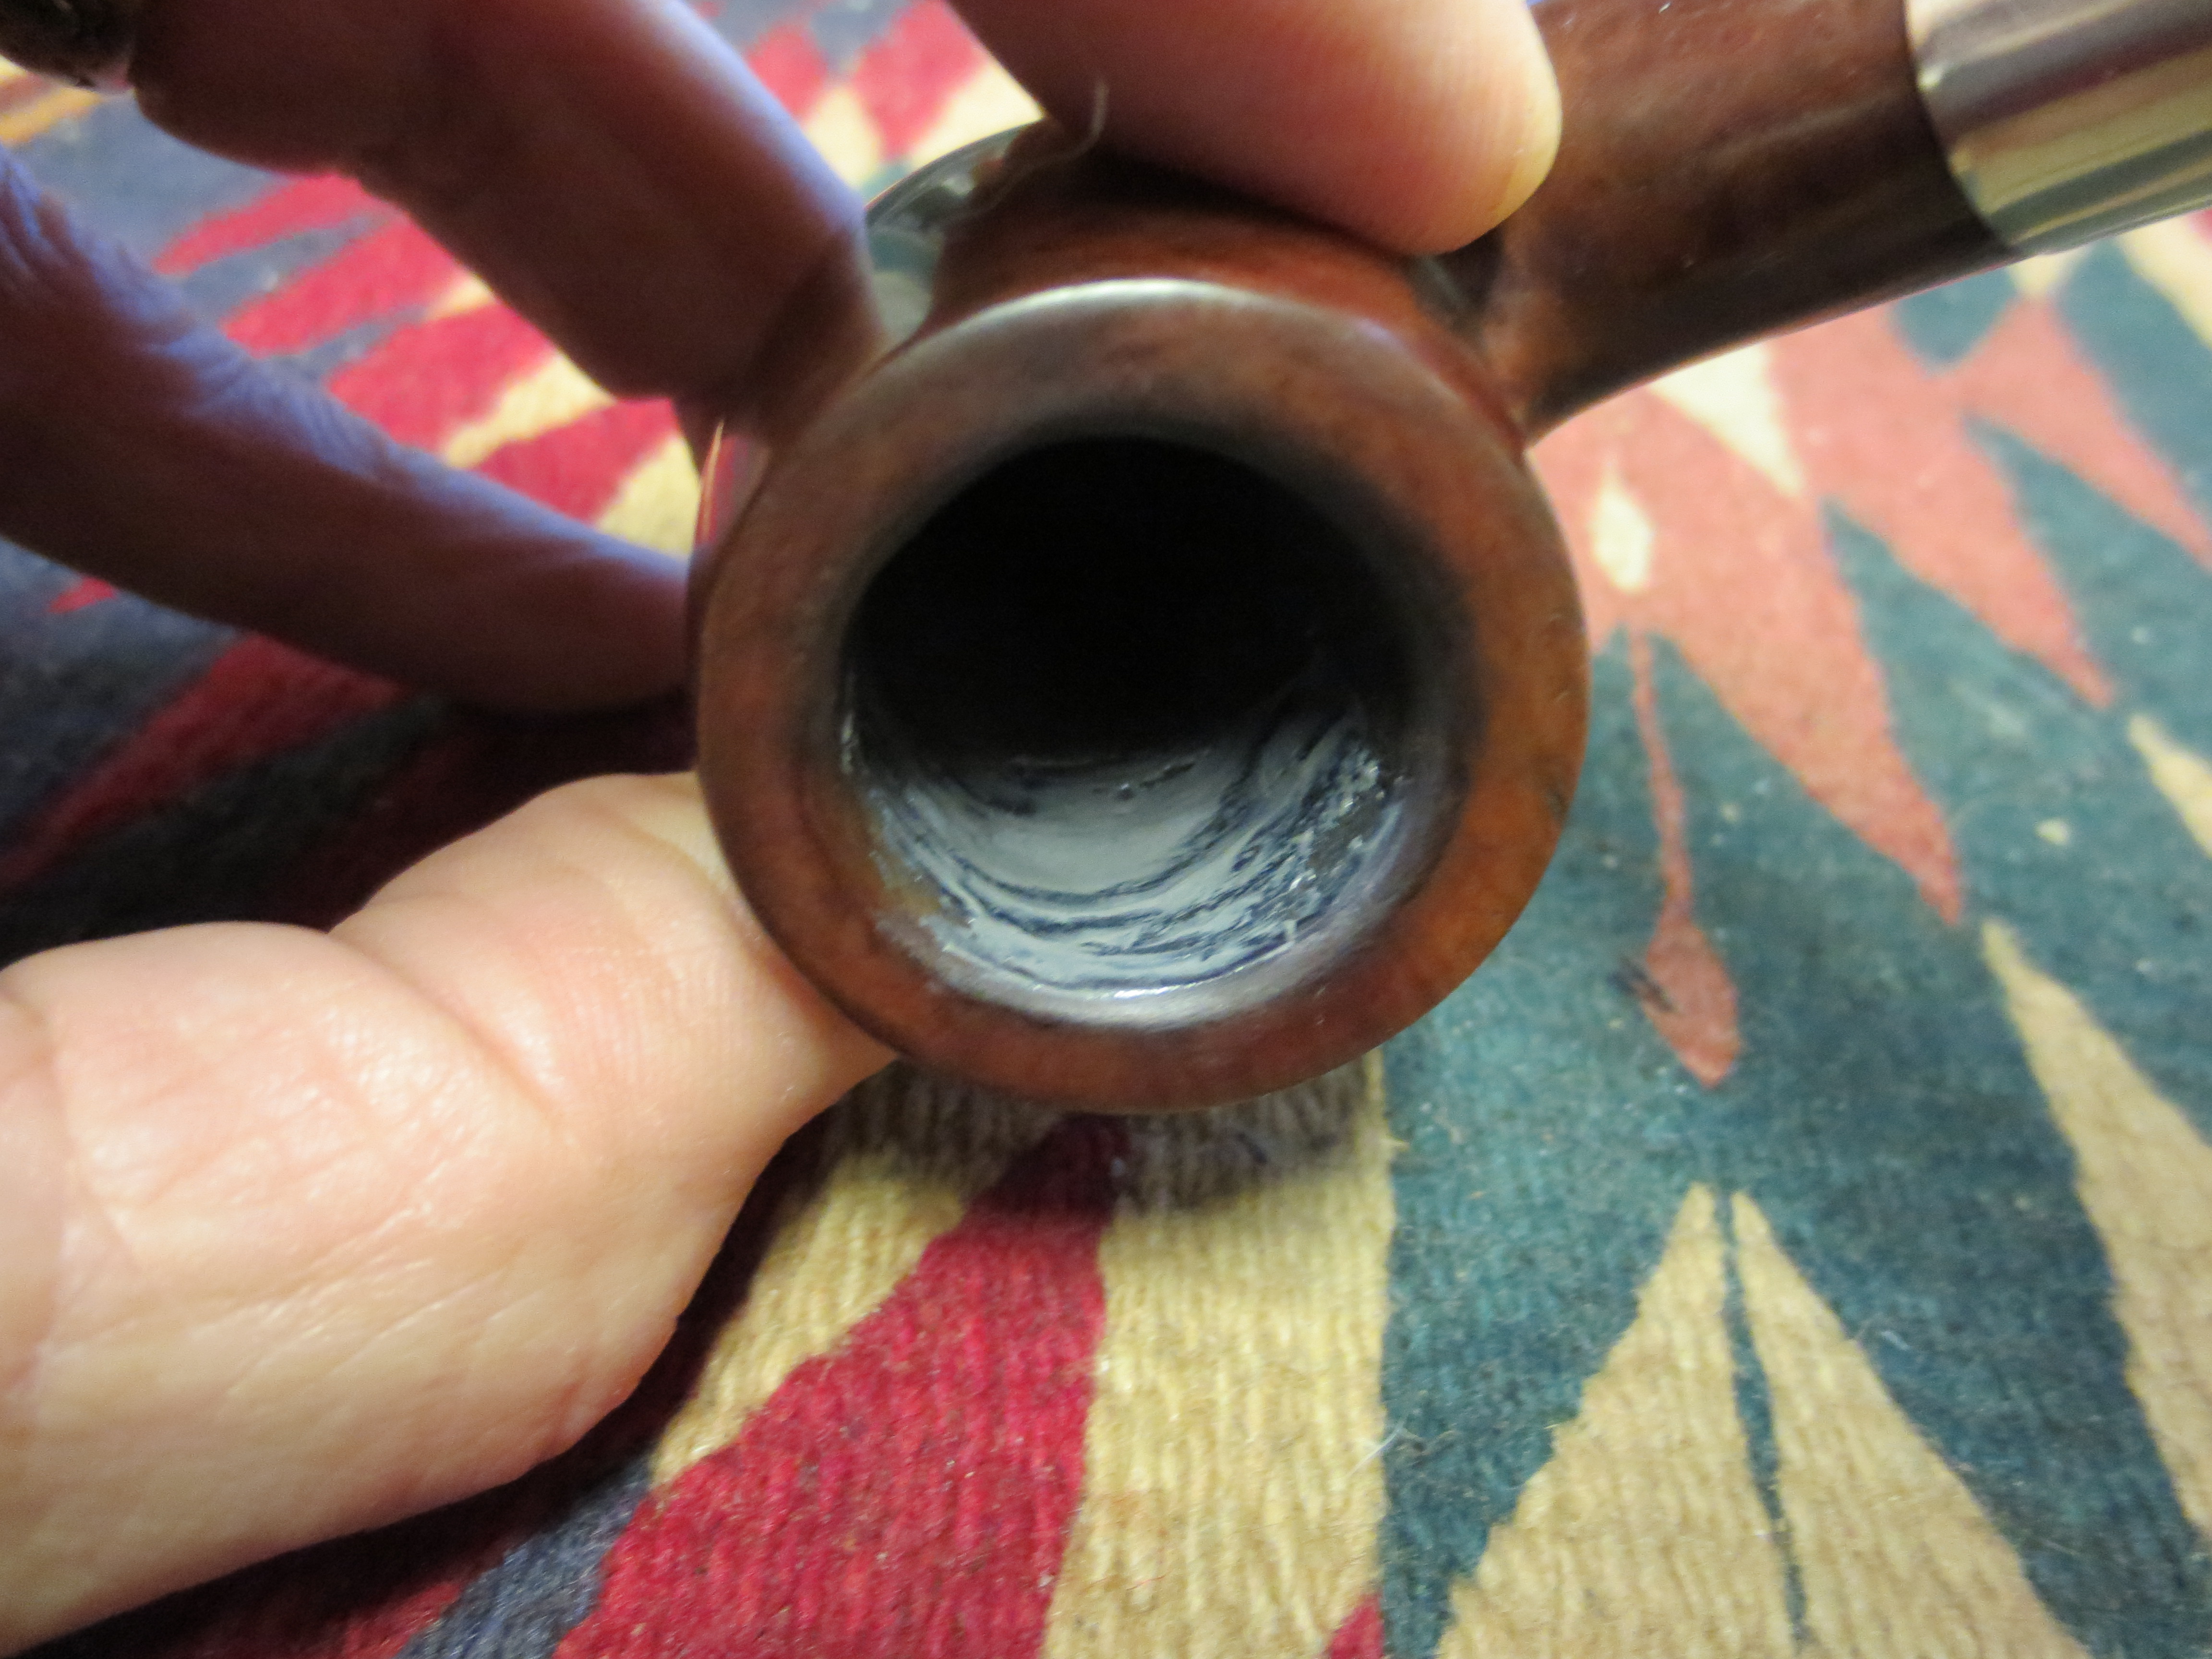
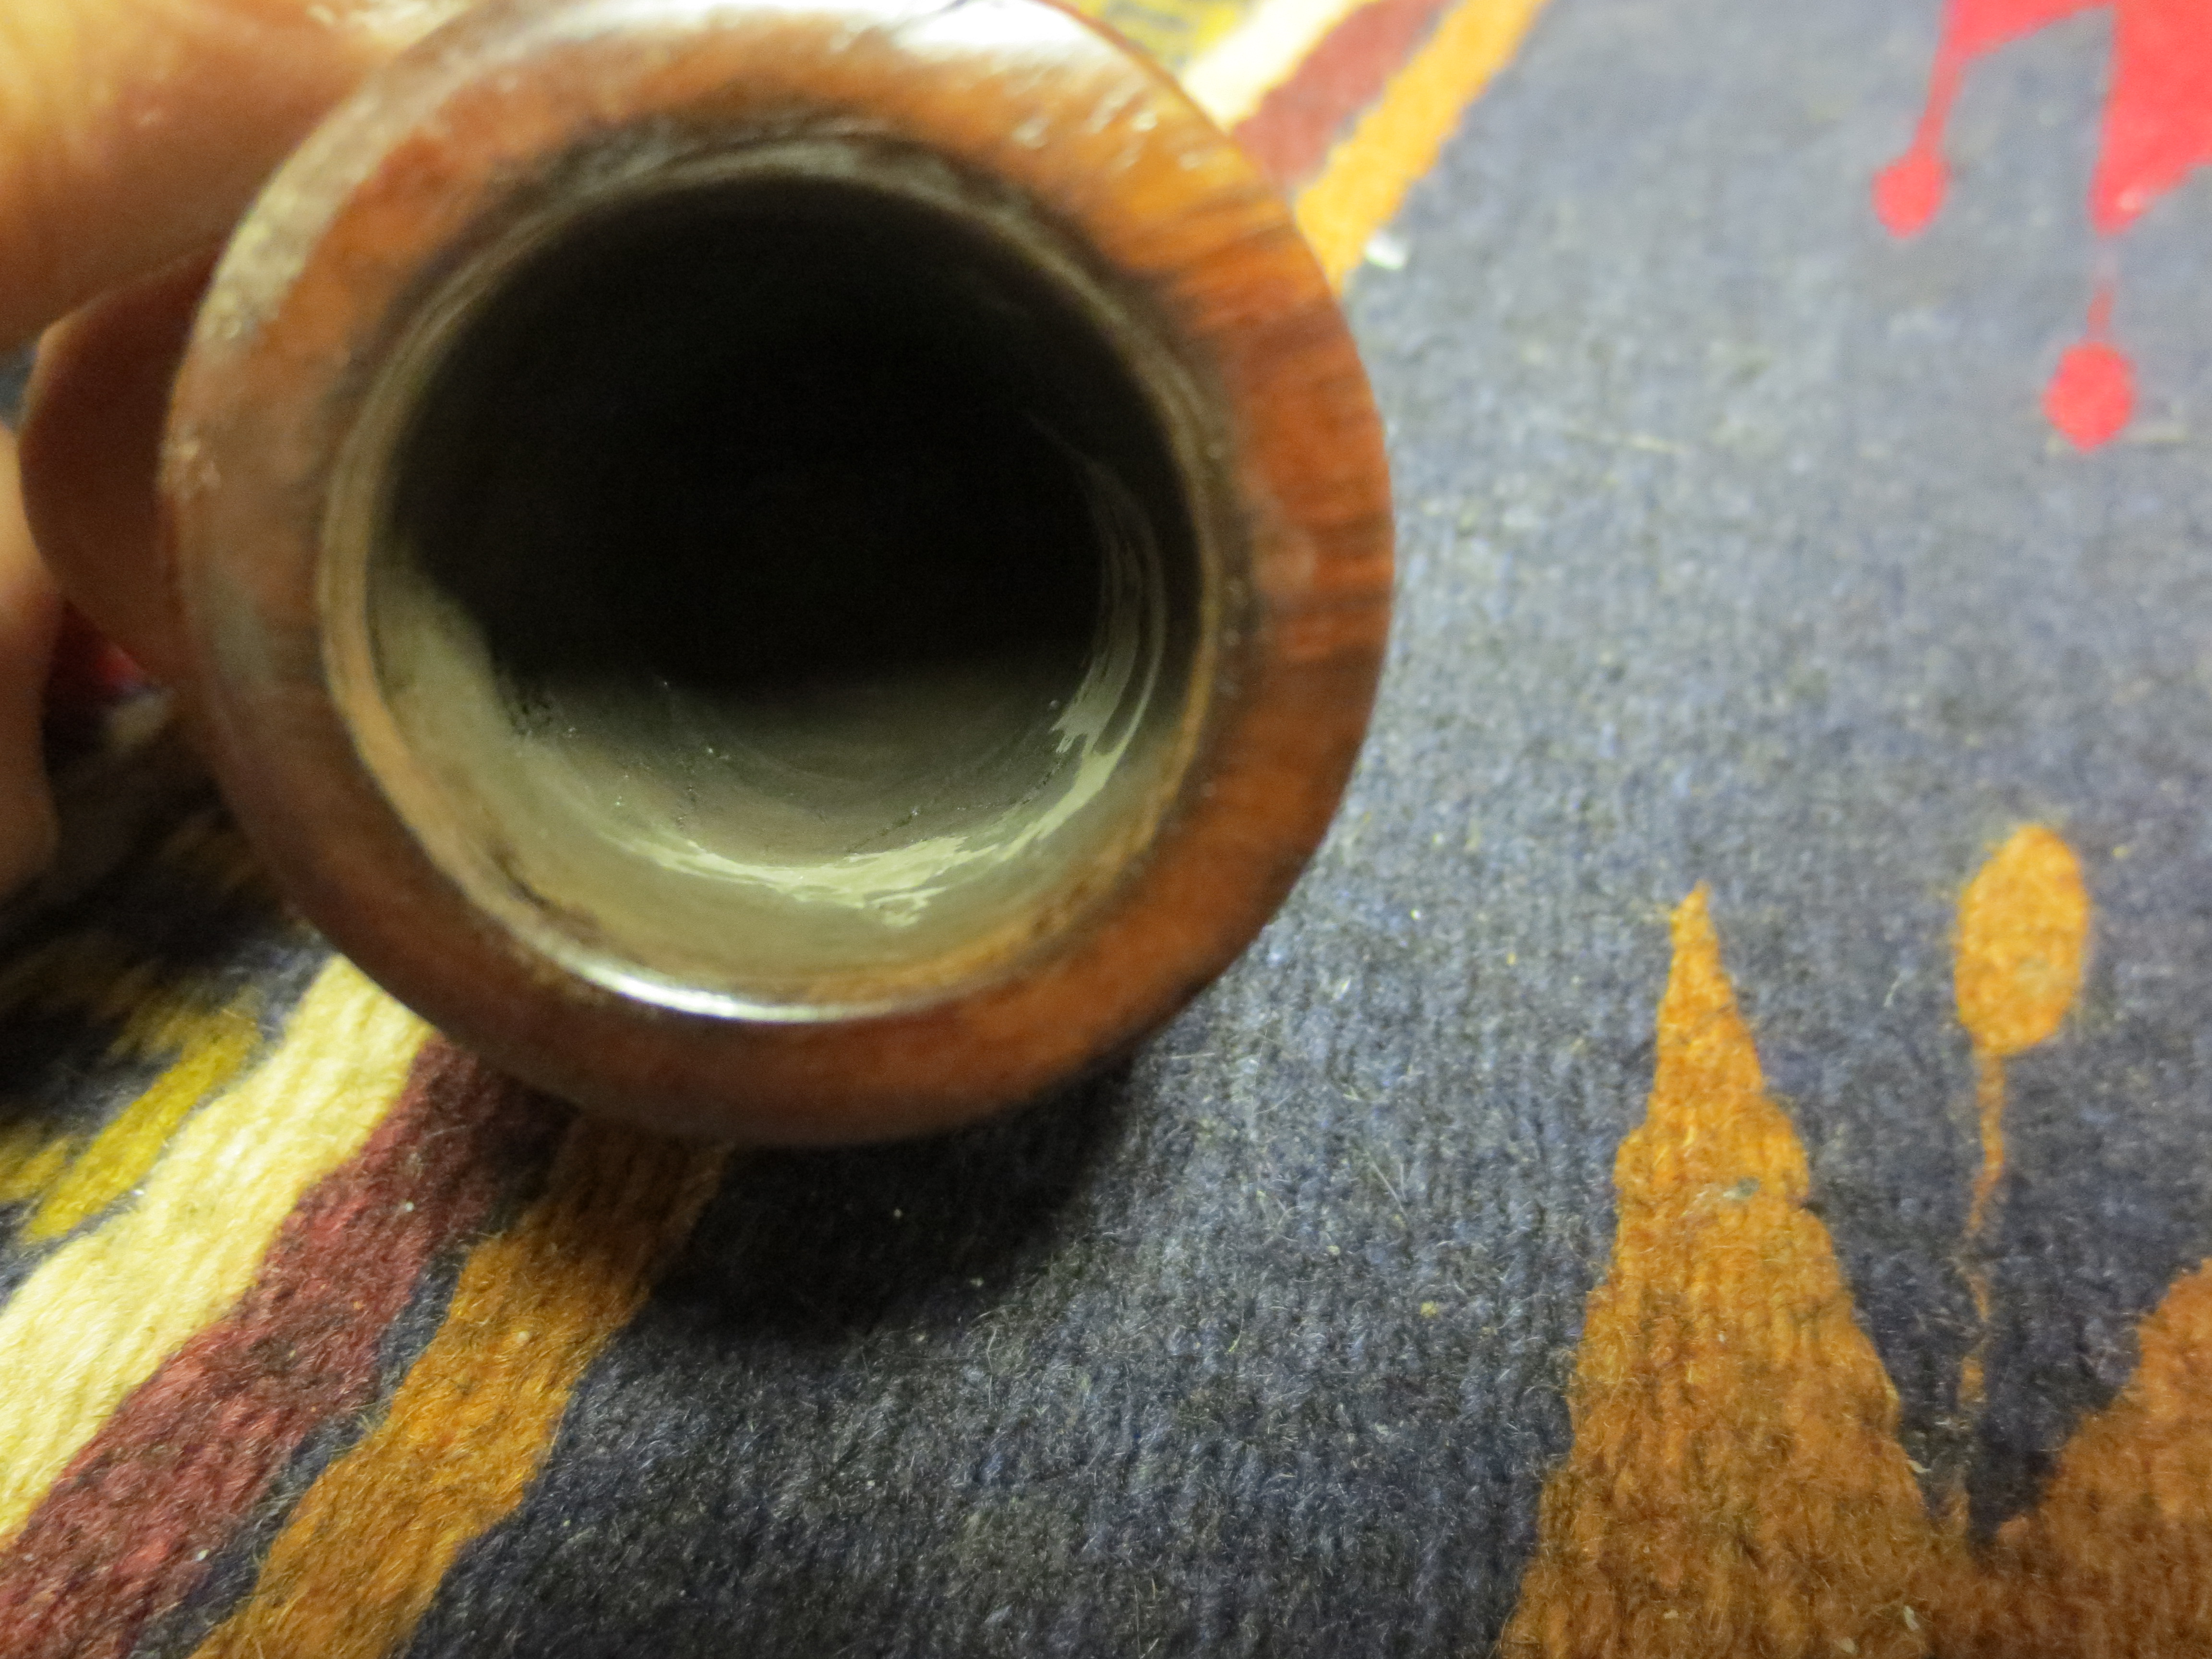
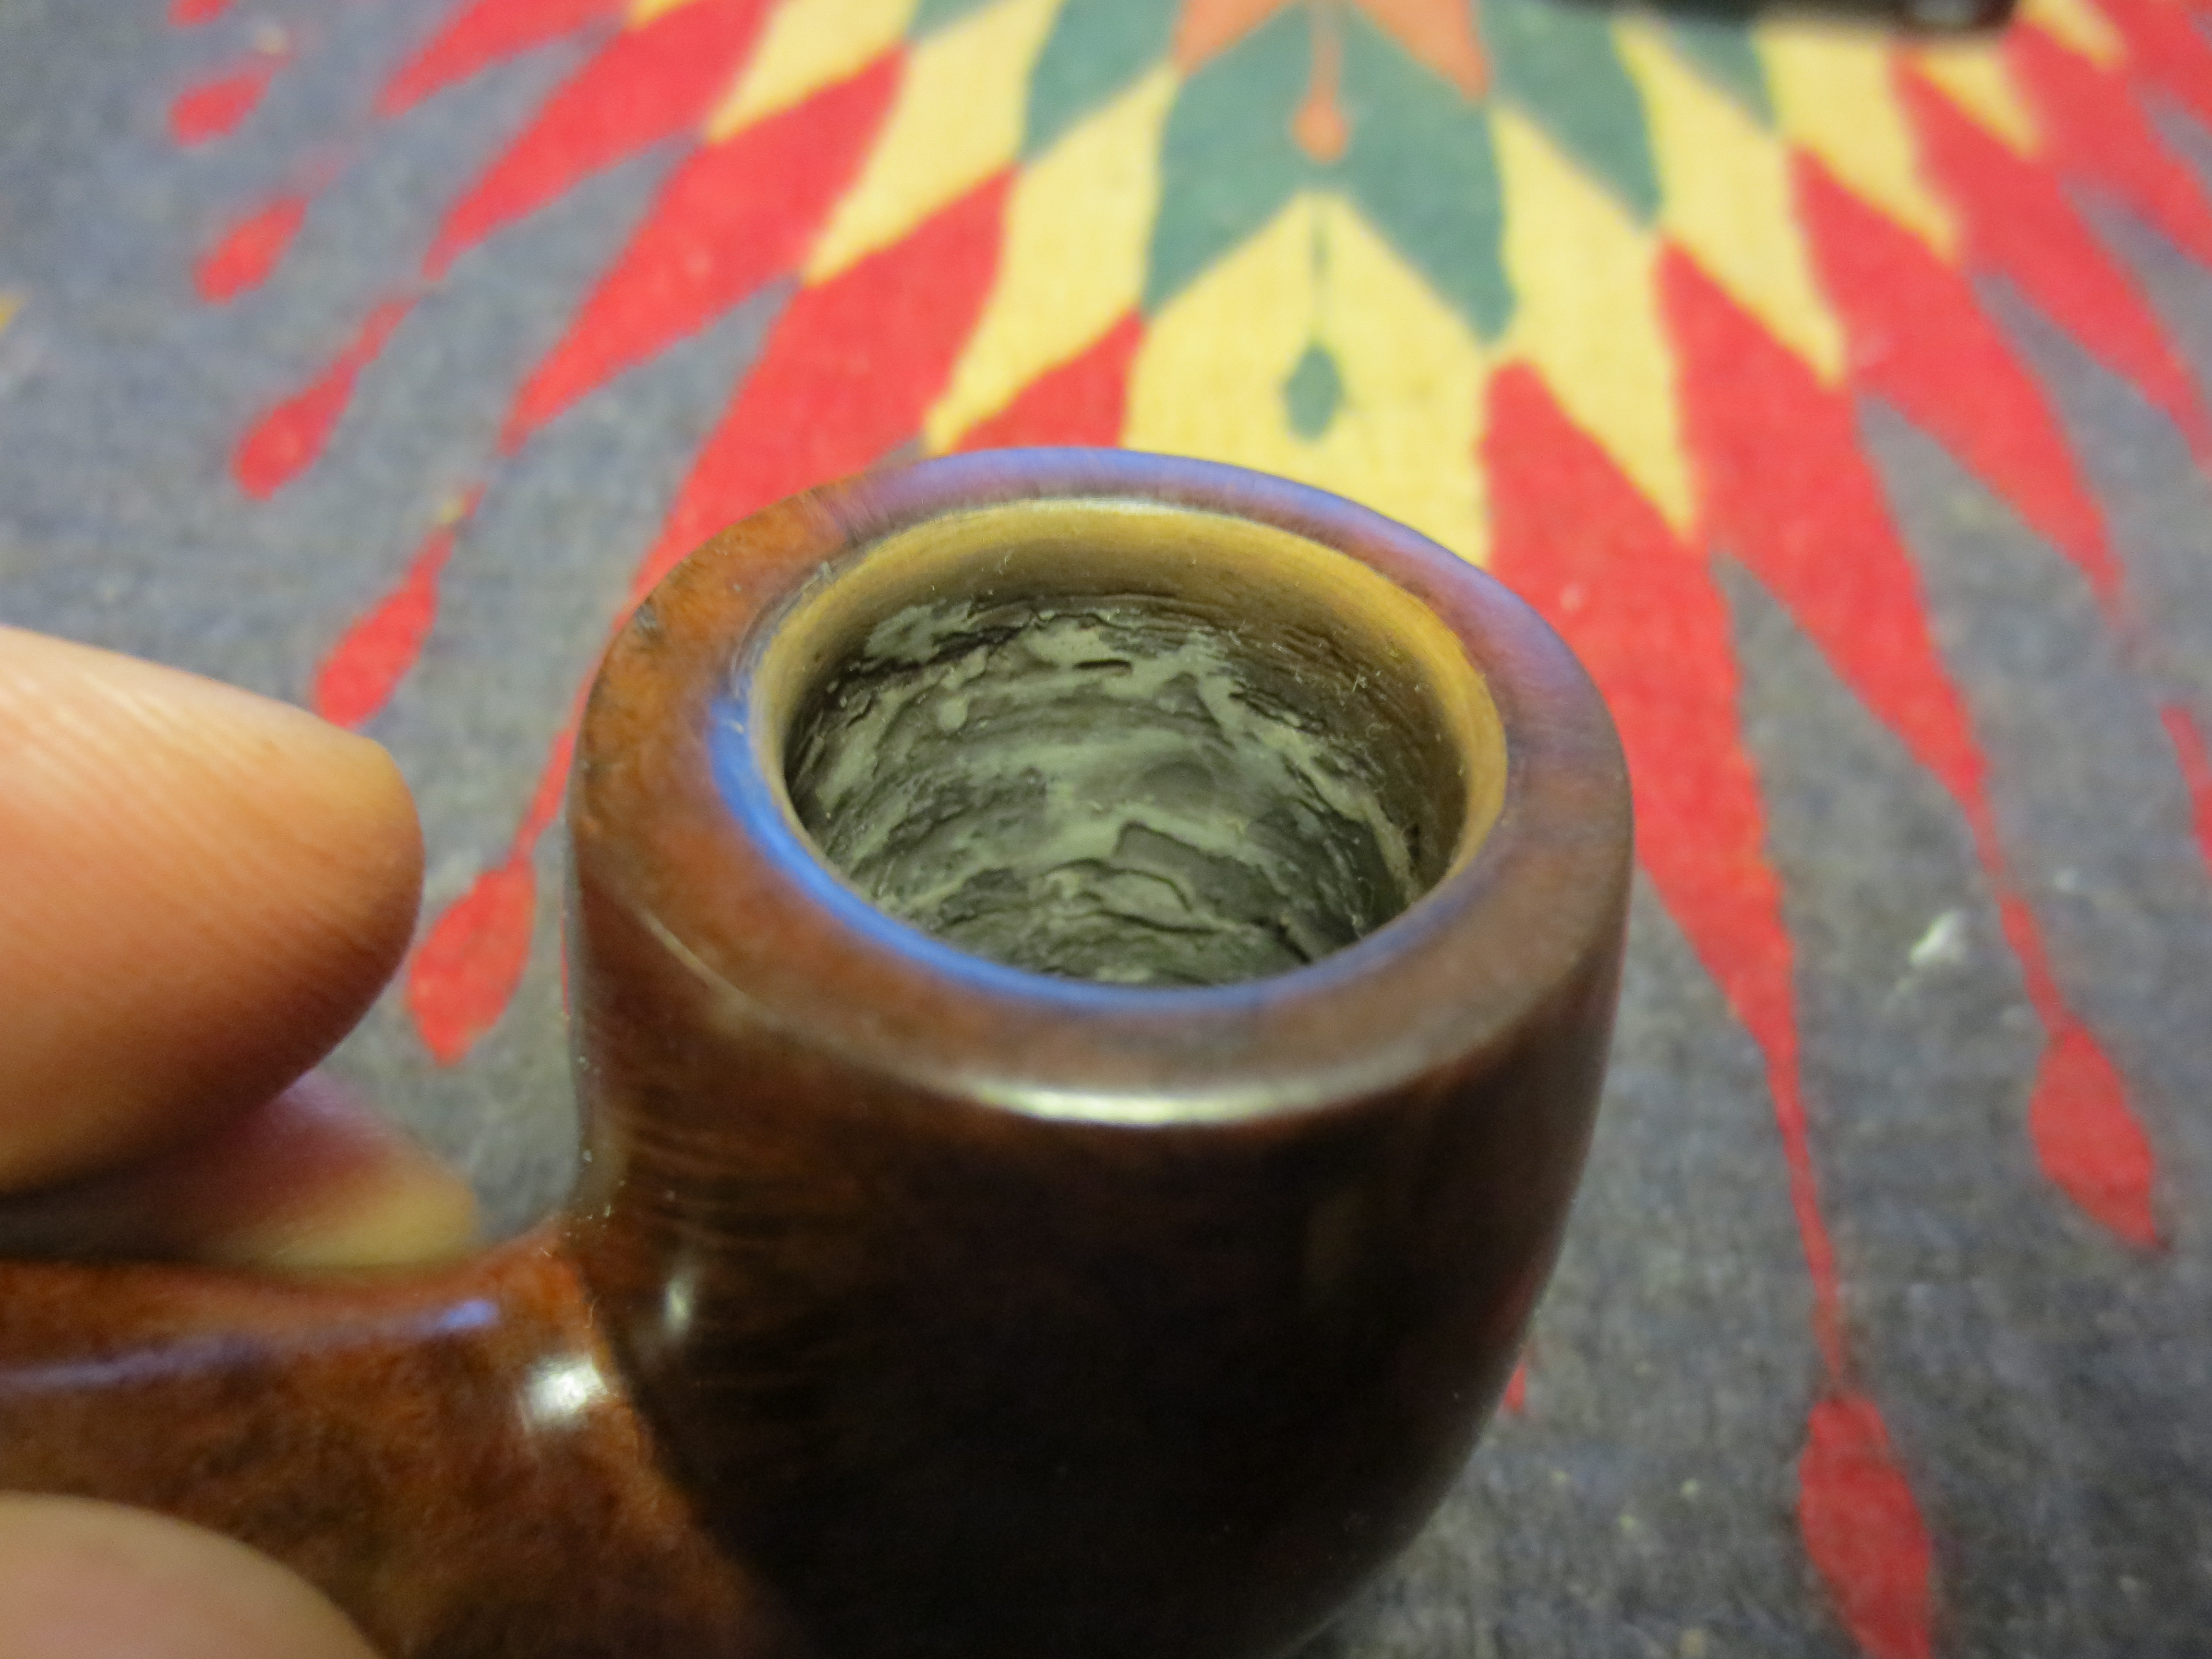
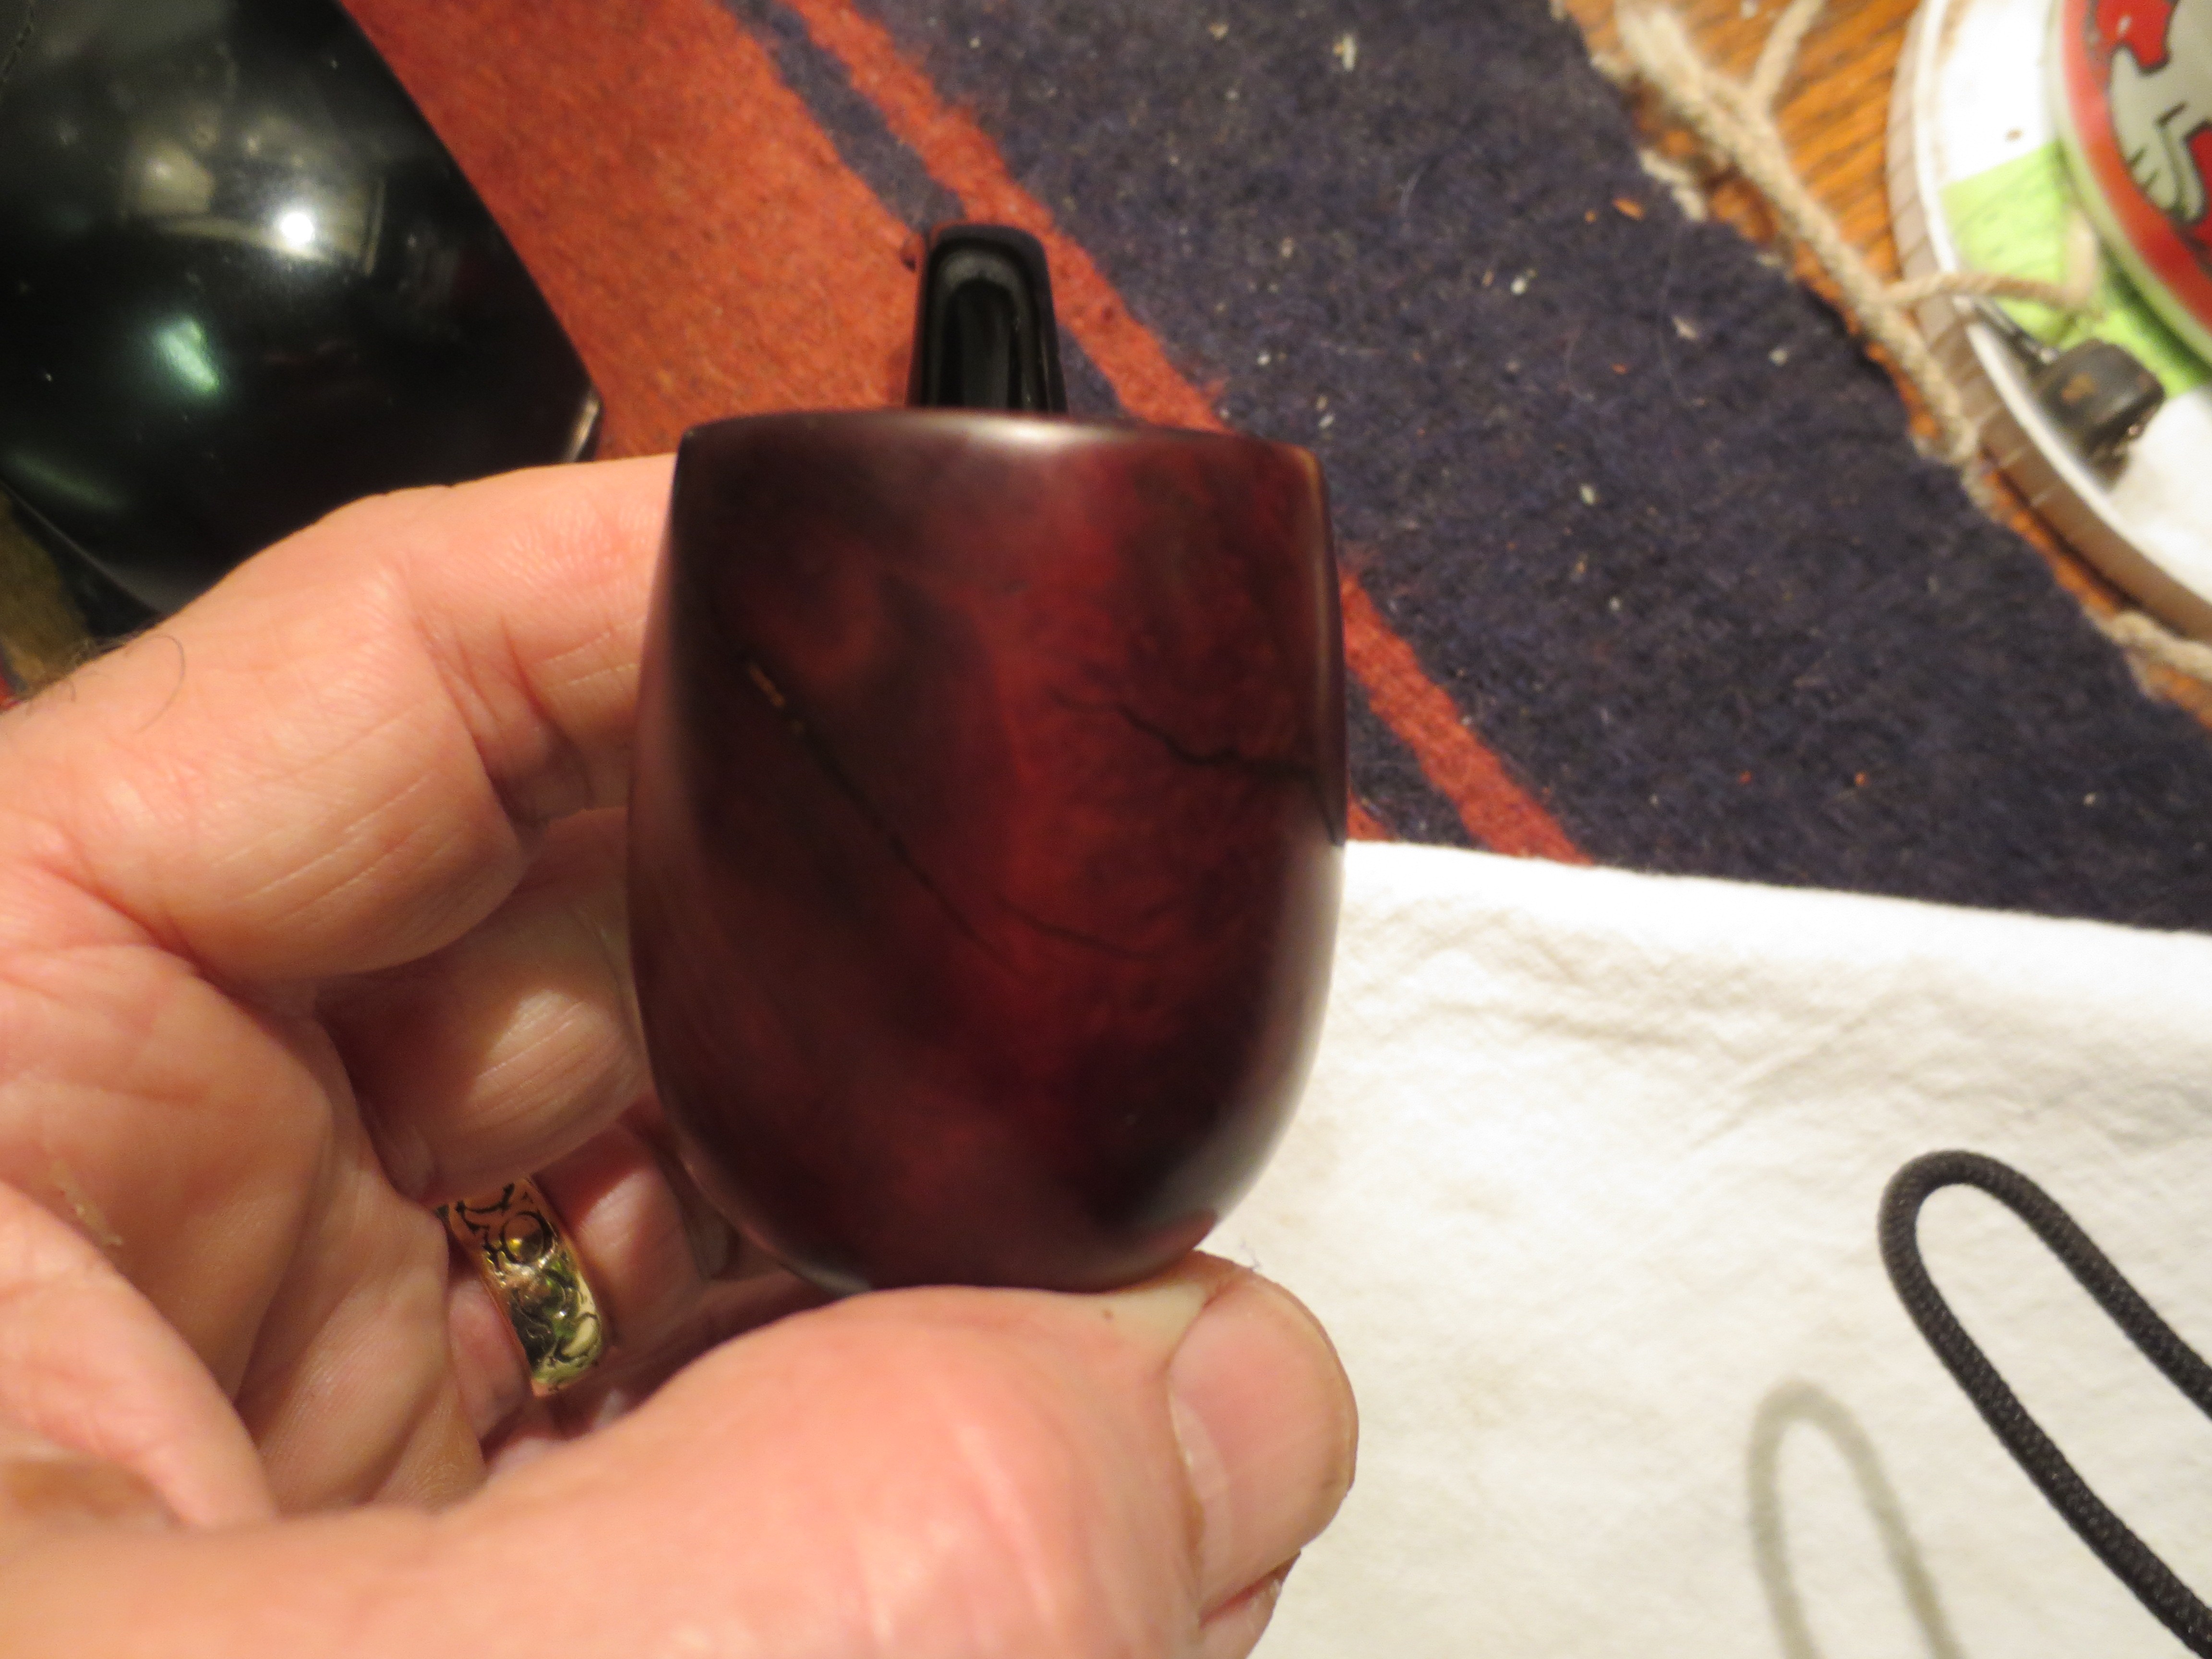
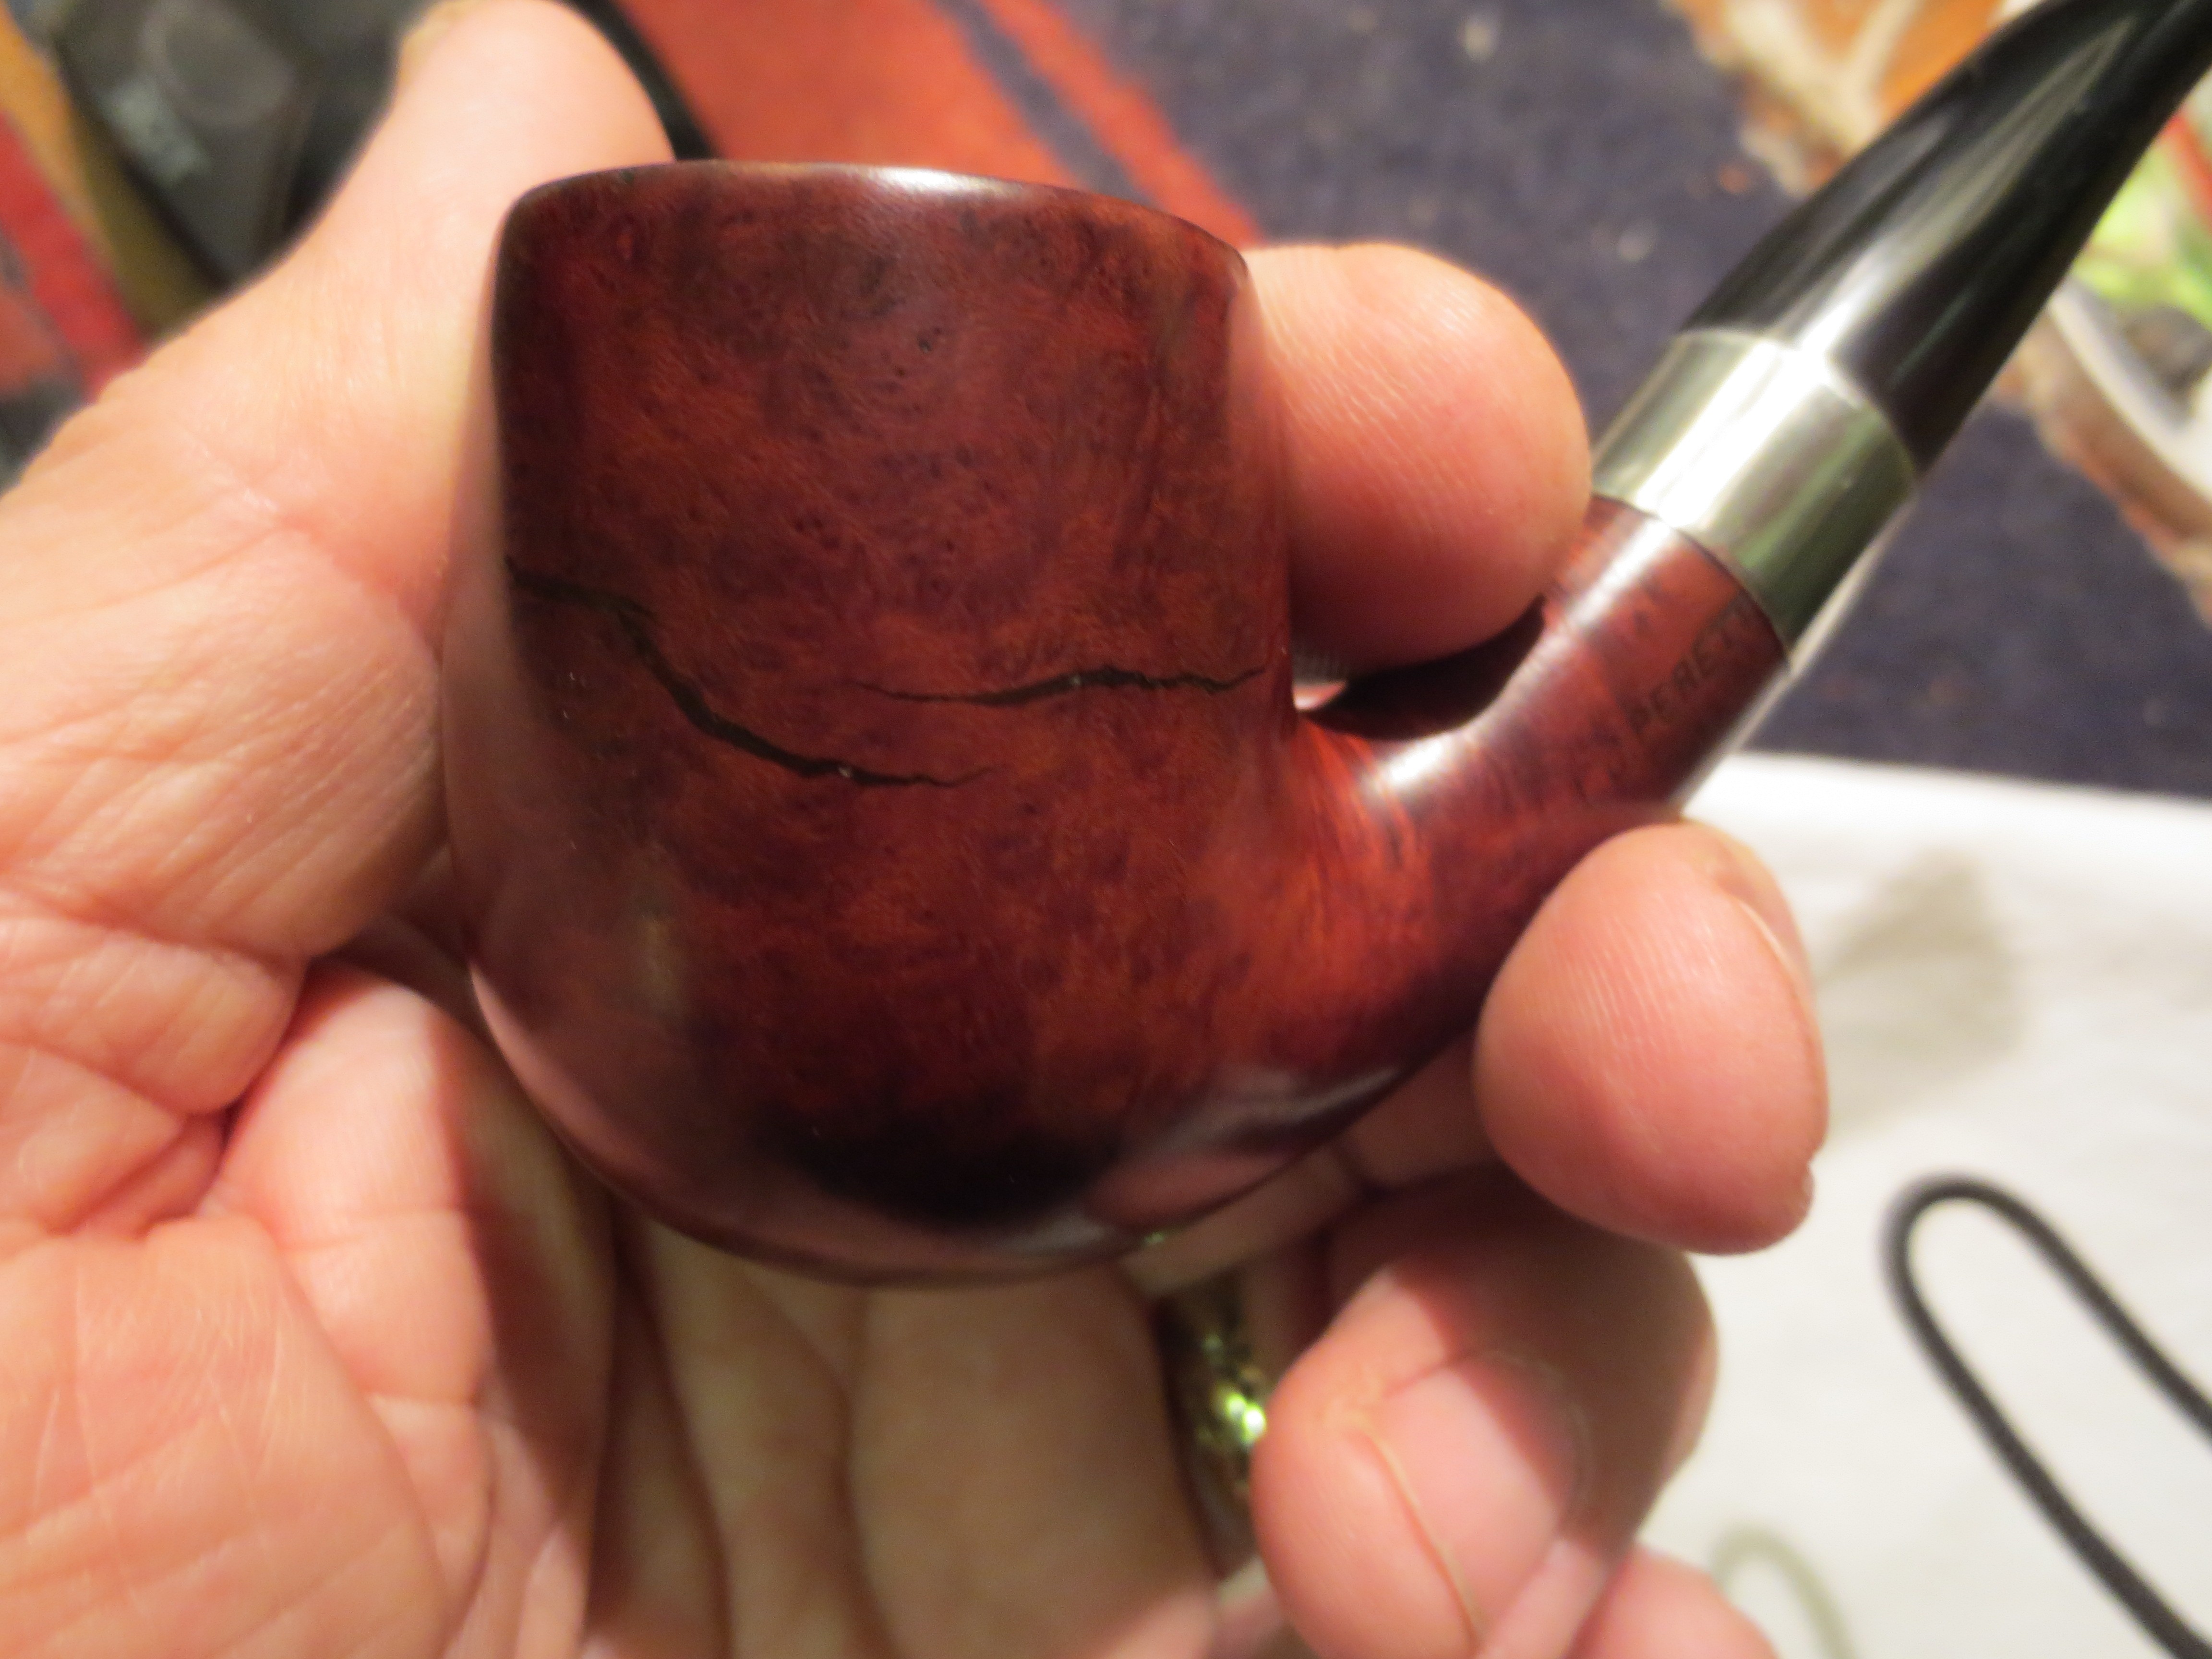
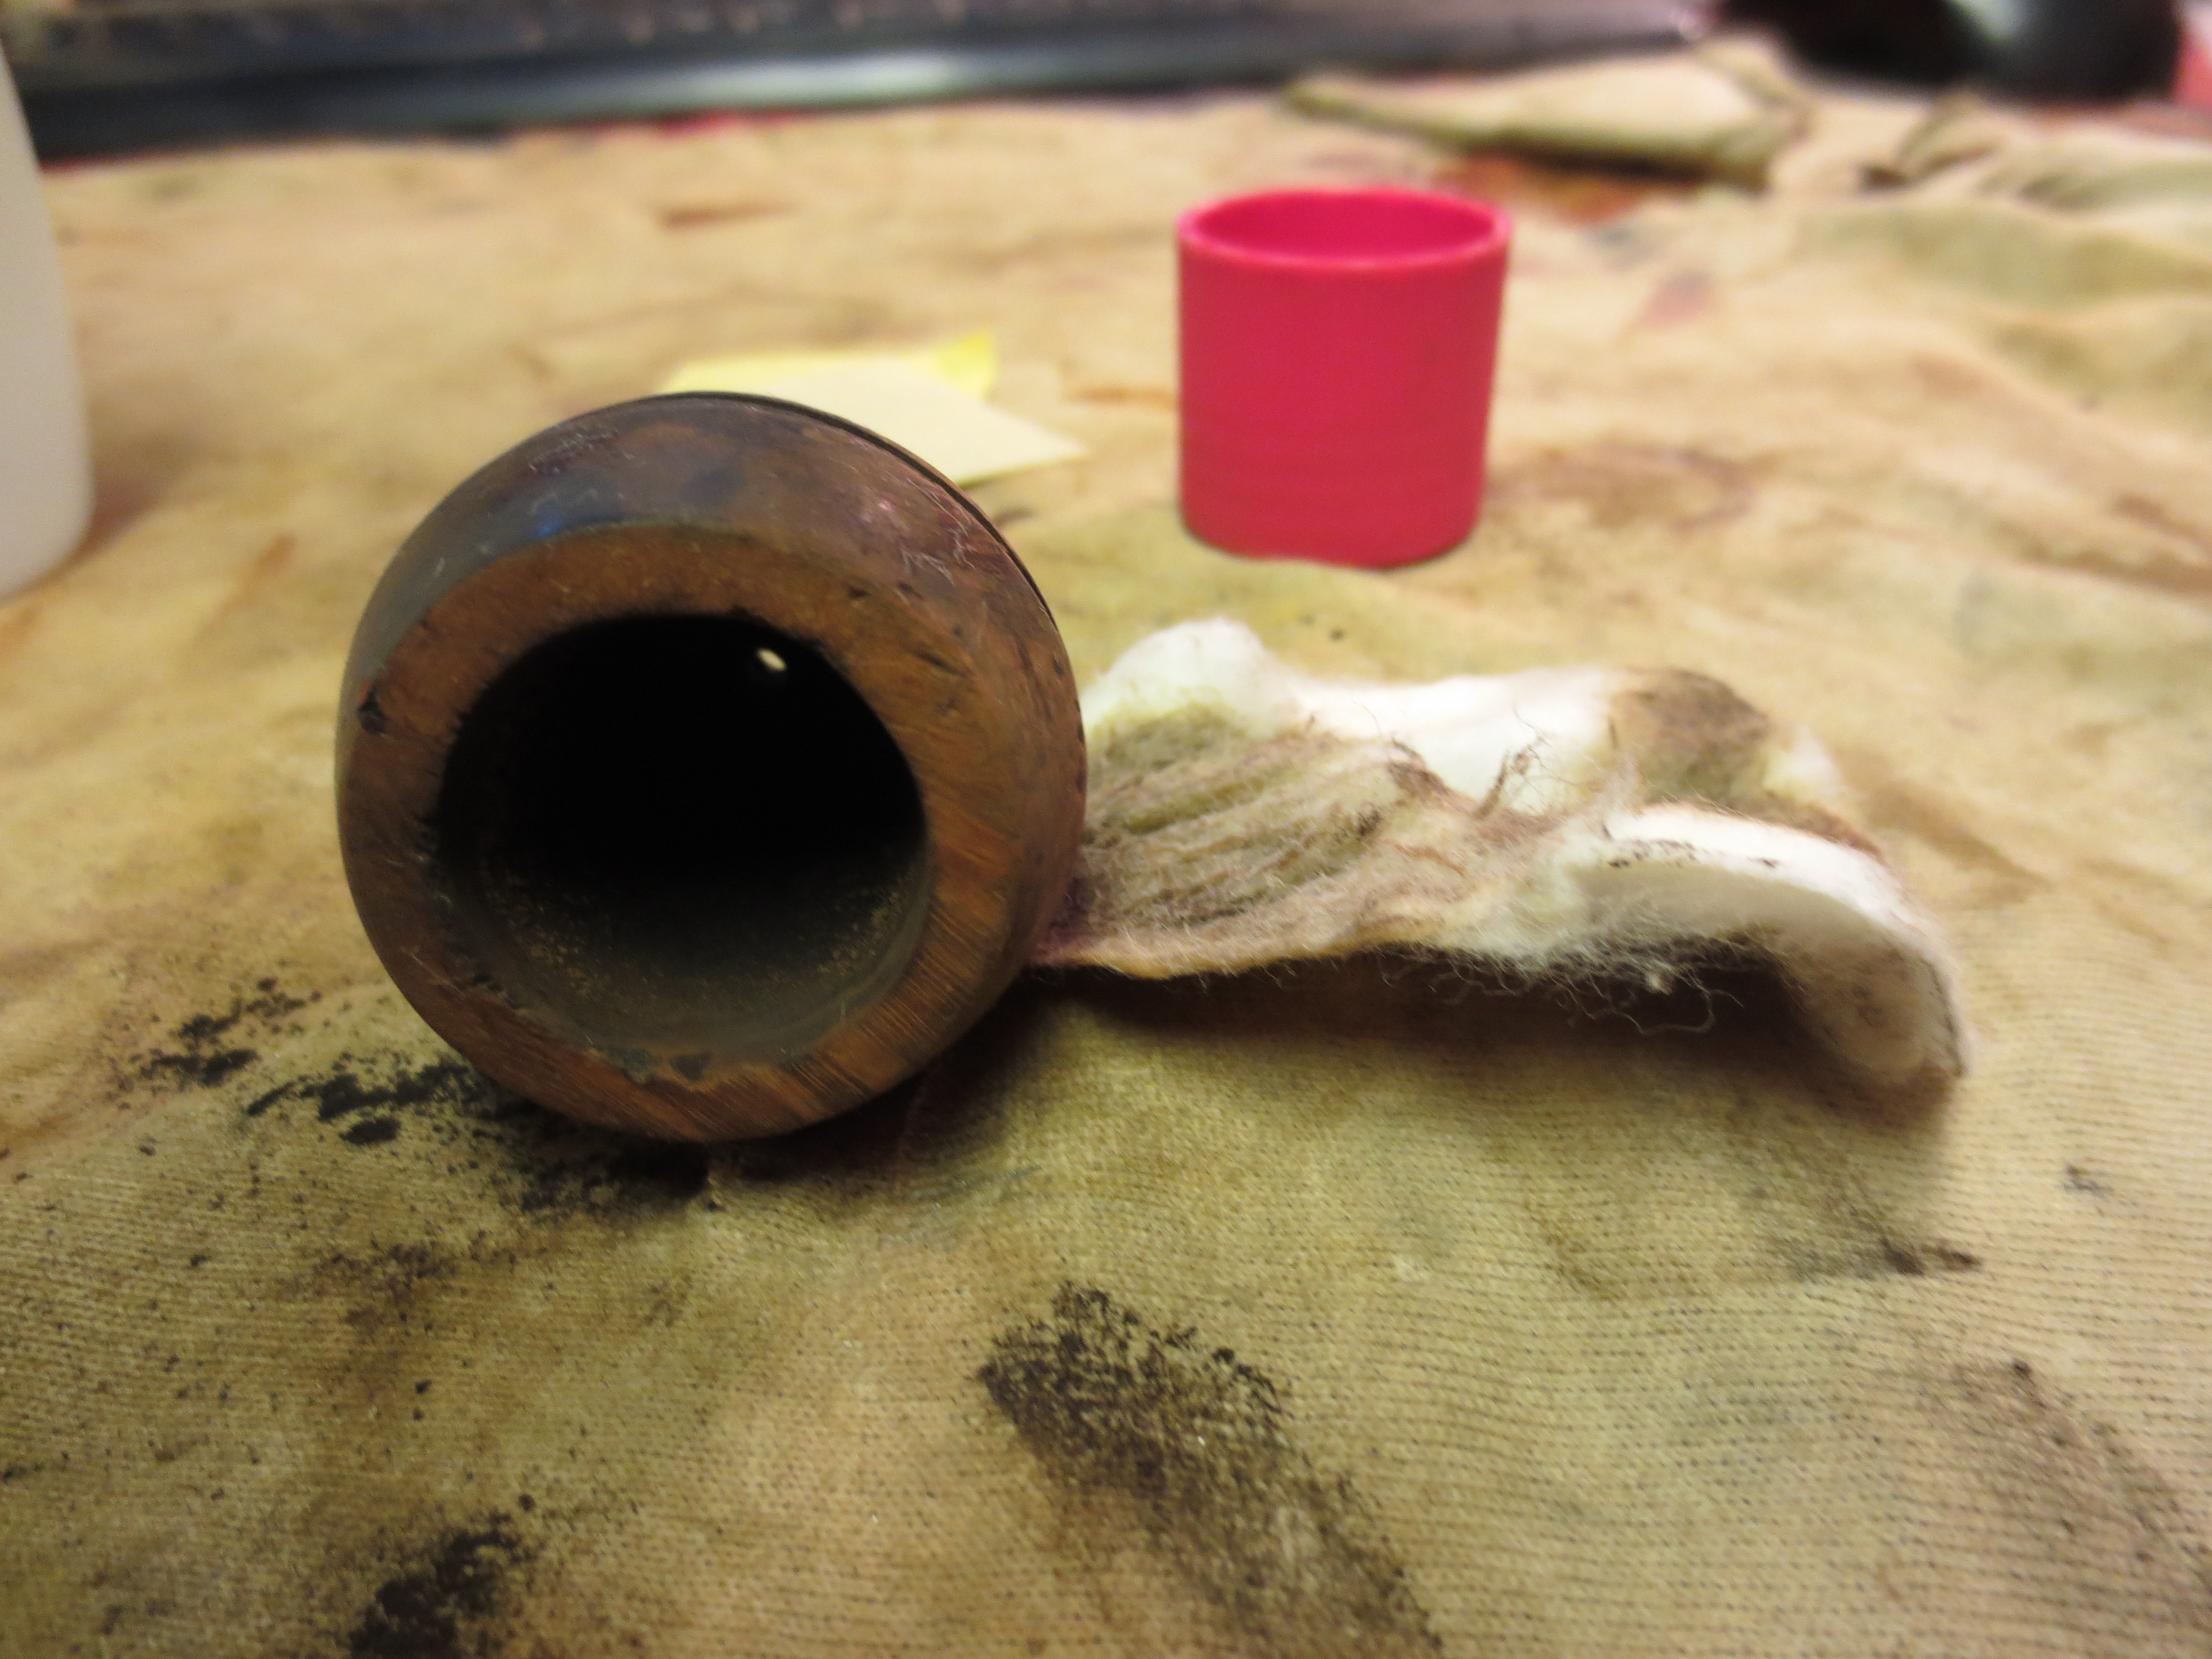
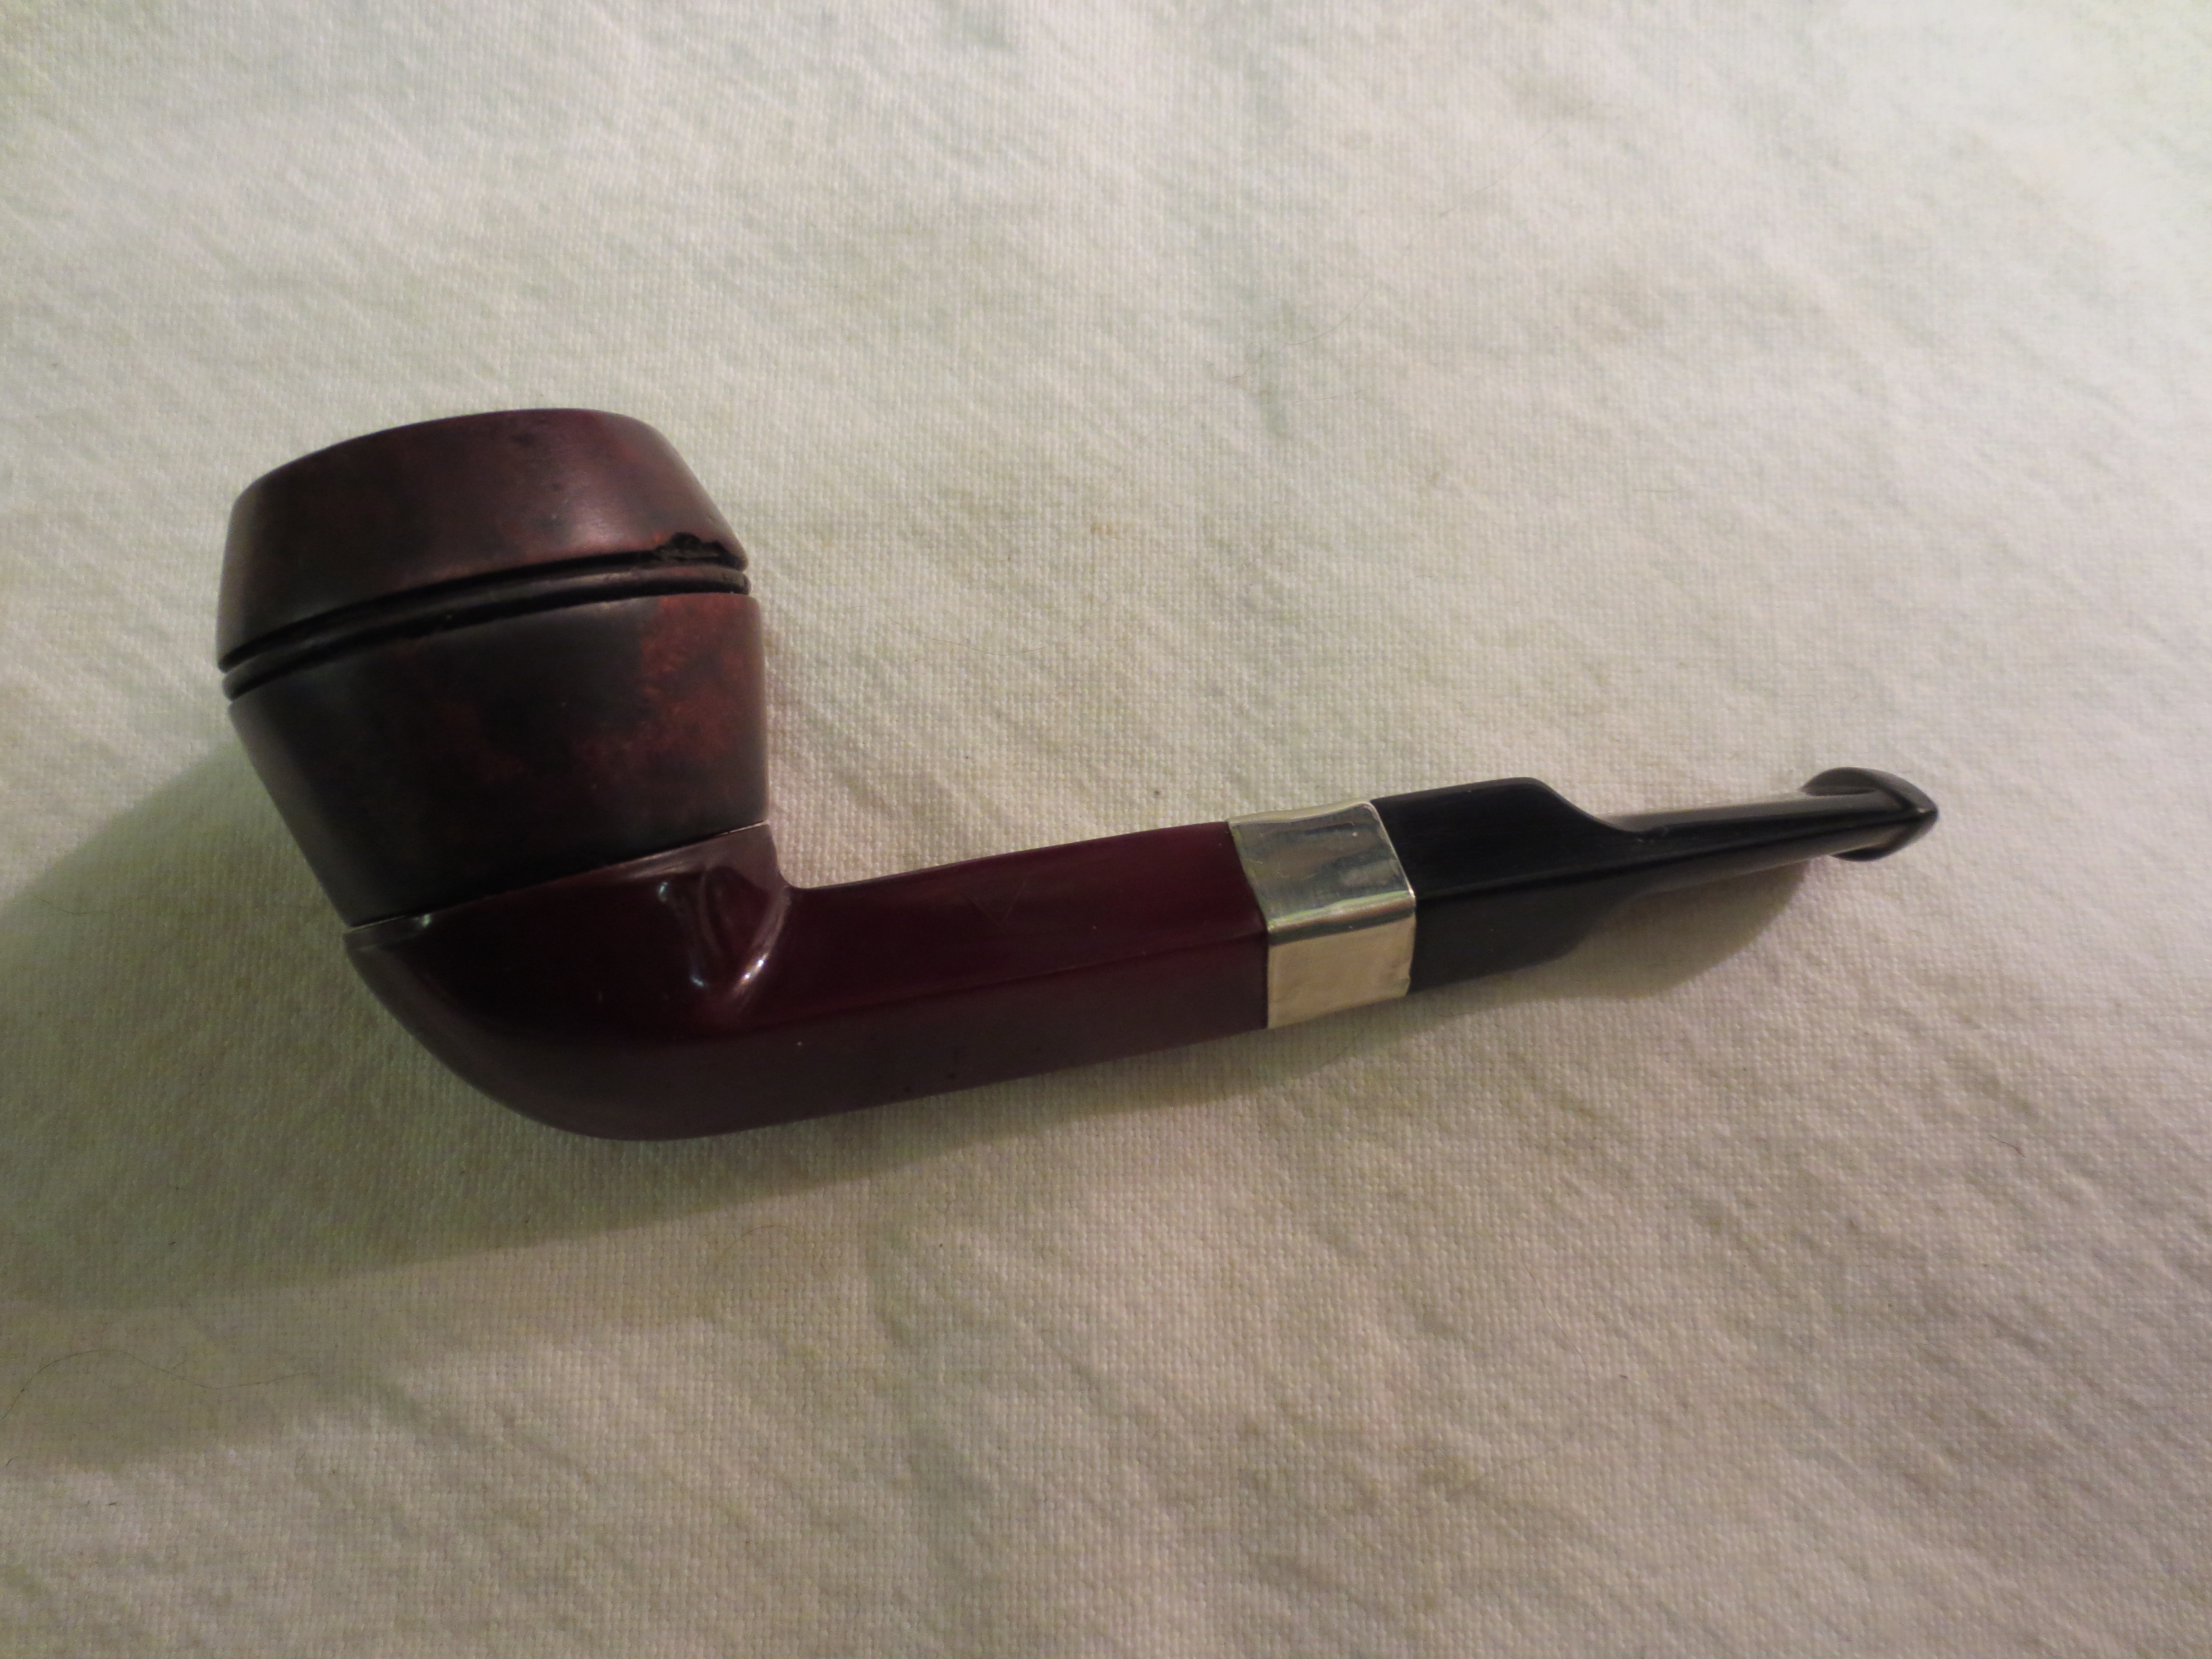
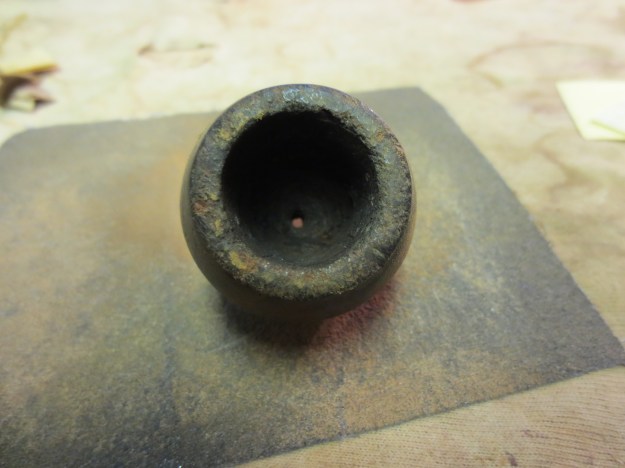
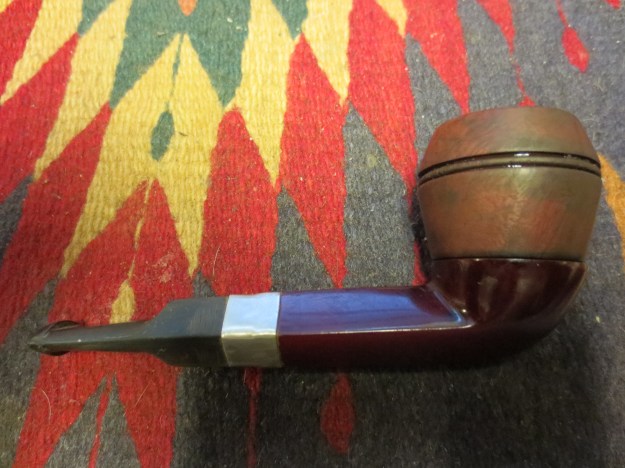
The bowl is pictured below. You can see the thickness of the cake and the rough surface of the rim where a previous owner had damaged it when emptying the bowl. The second photo shows the exterior damage and the finish on the pipe. I reamed the bowl to clean out the cake. I decided to take it back to bare wood and start over with the cake. I checked the bowl for cracks and damage but surprisingly there were none to be found. Eventually I would top the bowl.

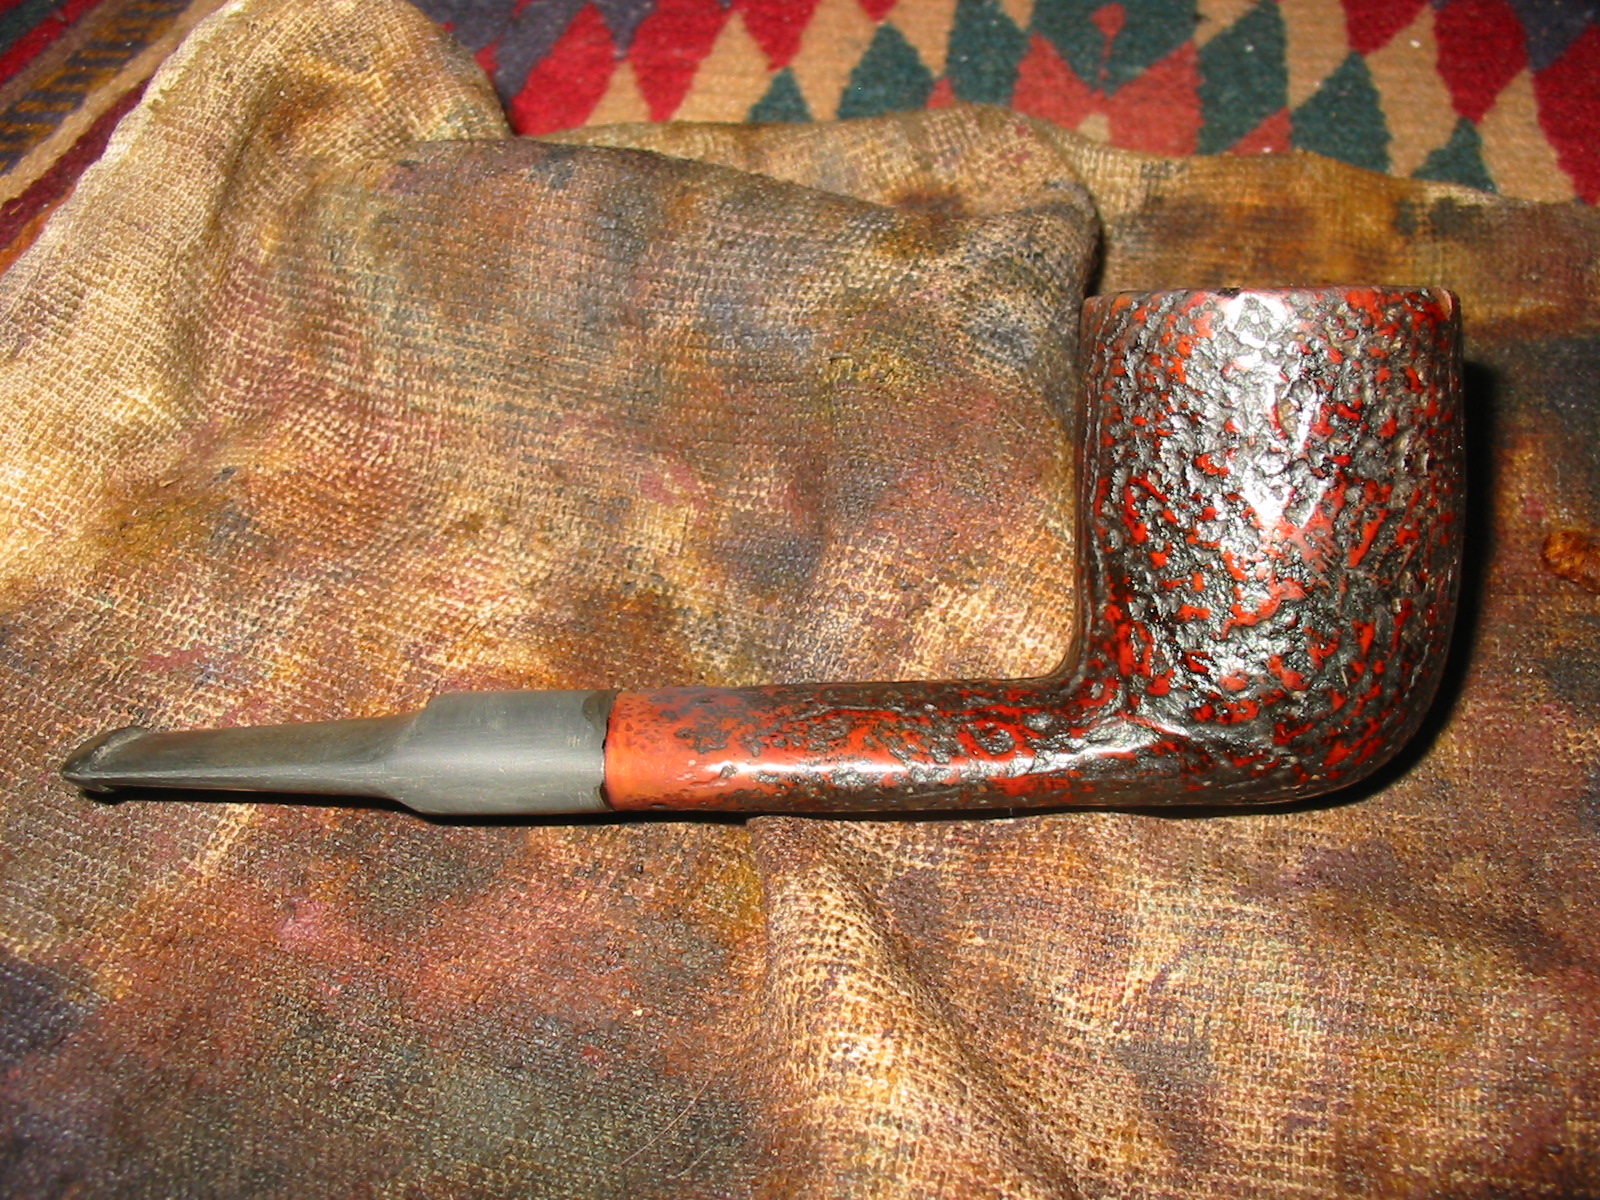
SIde view of the bowl before refurbishing.
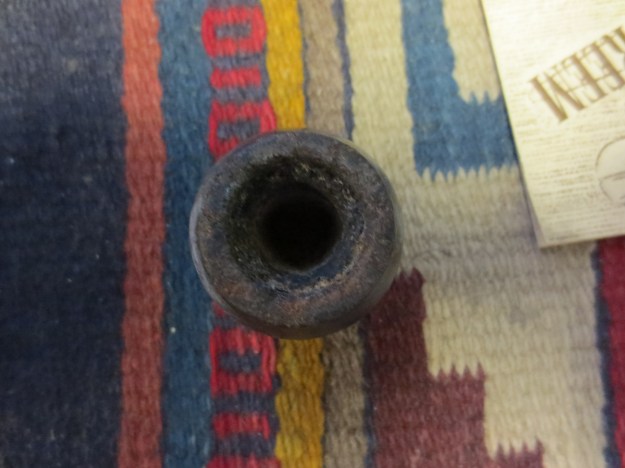
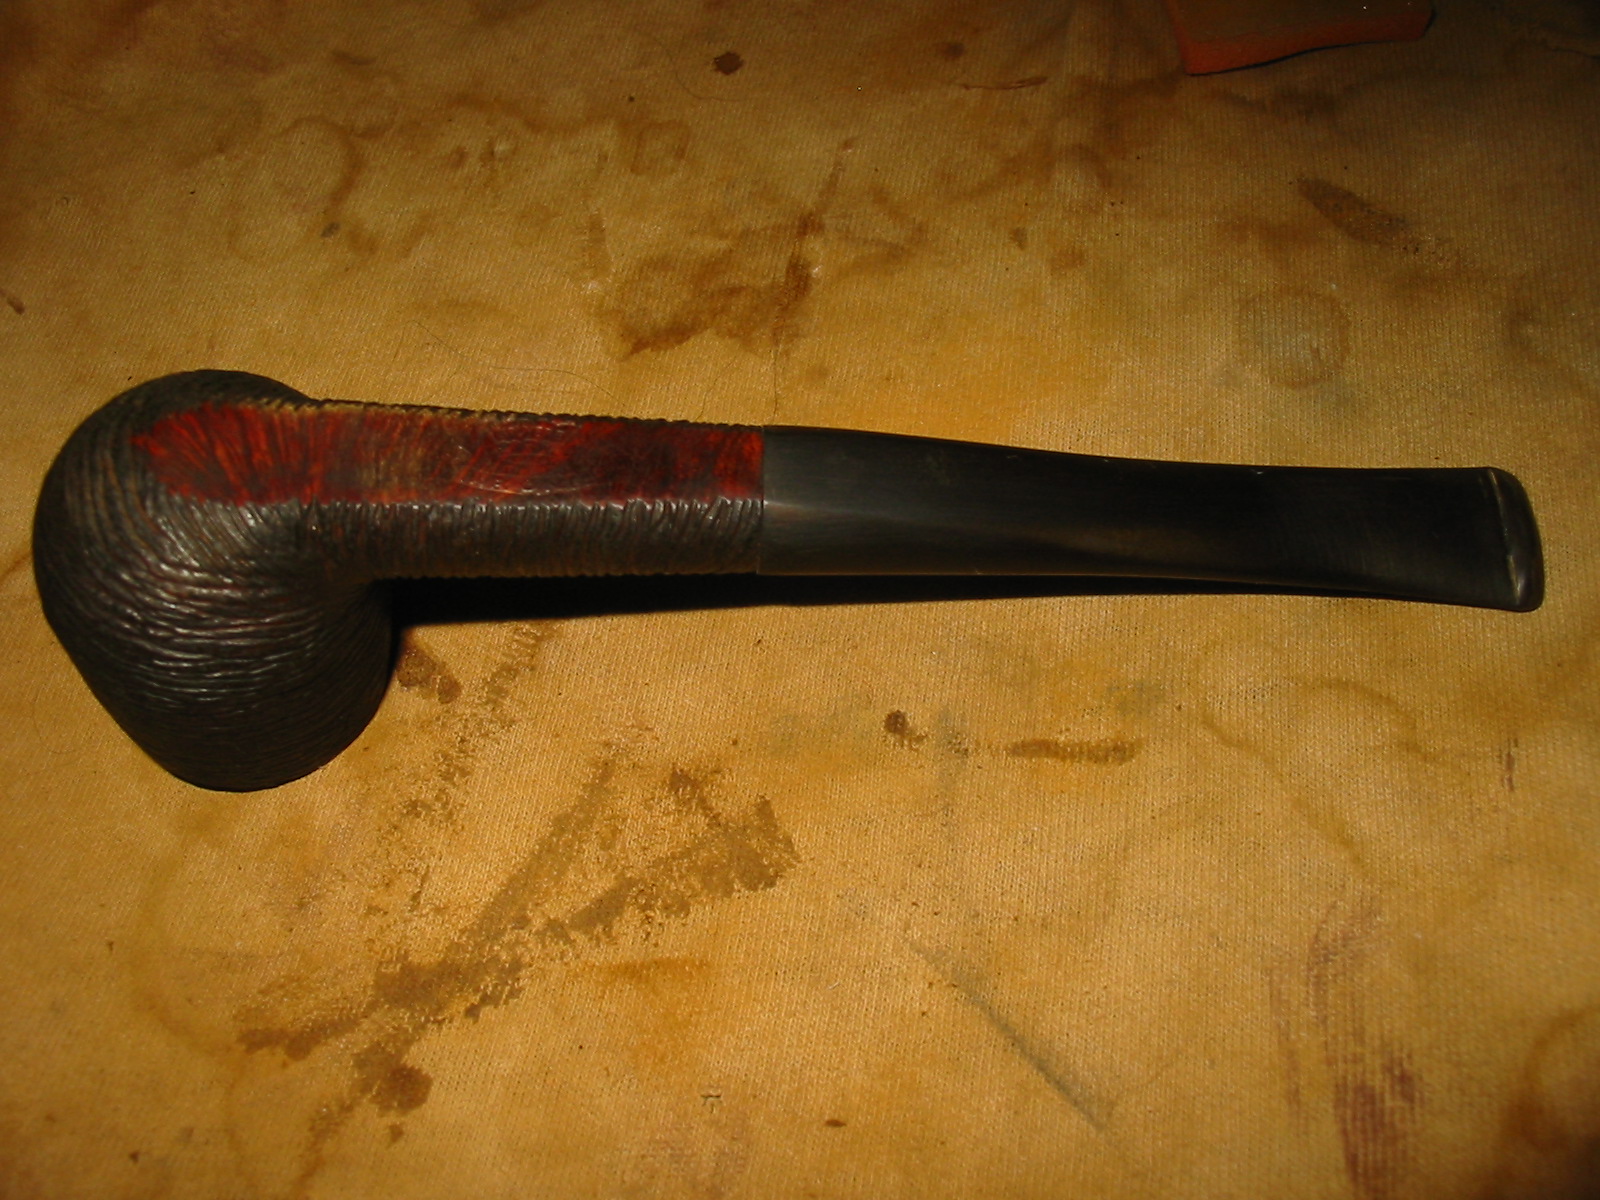
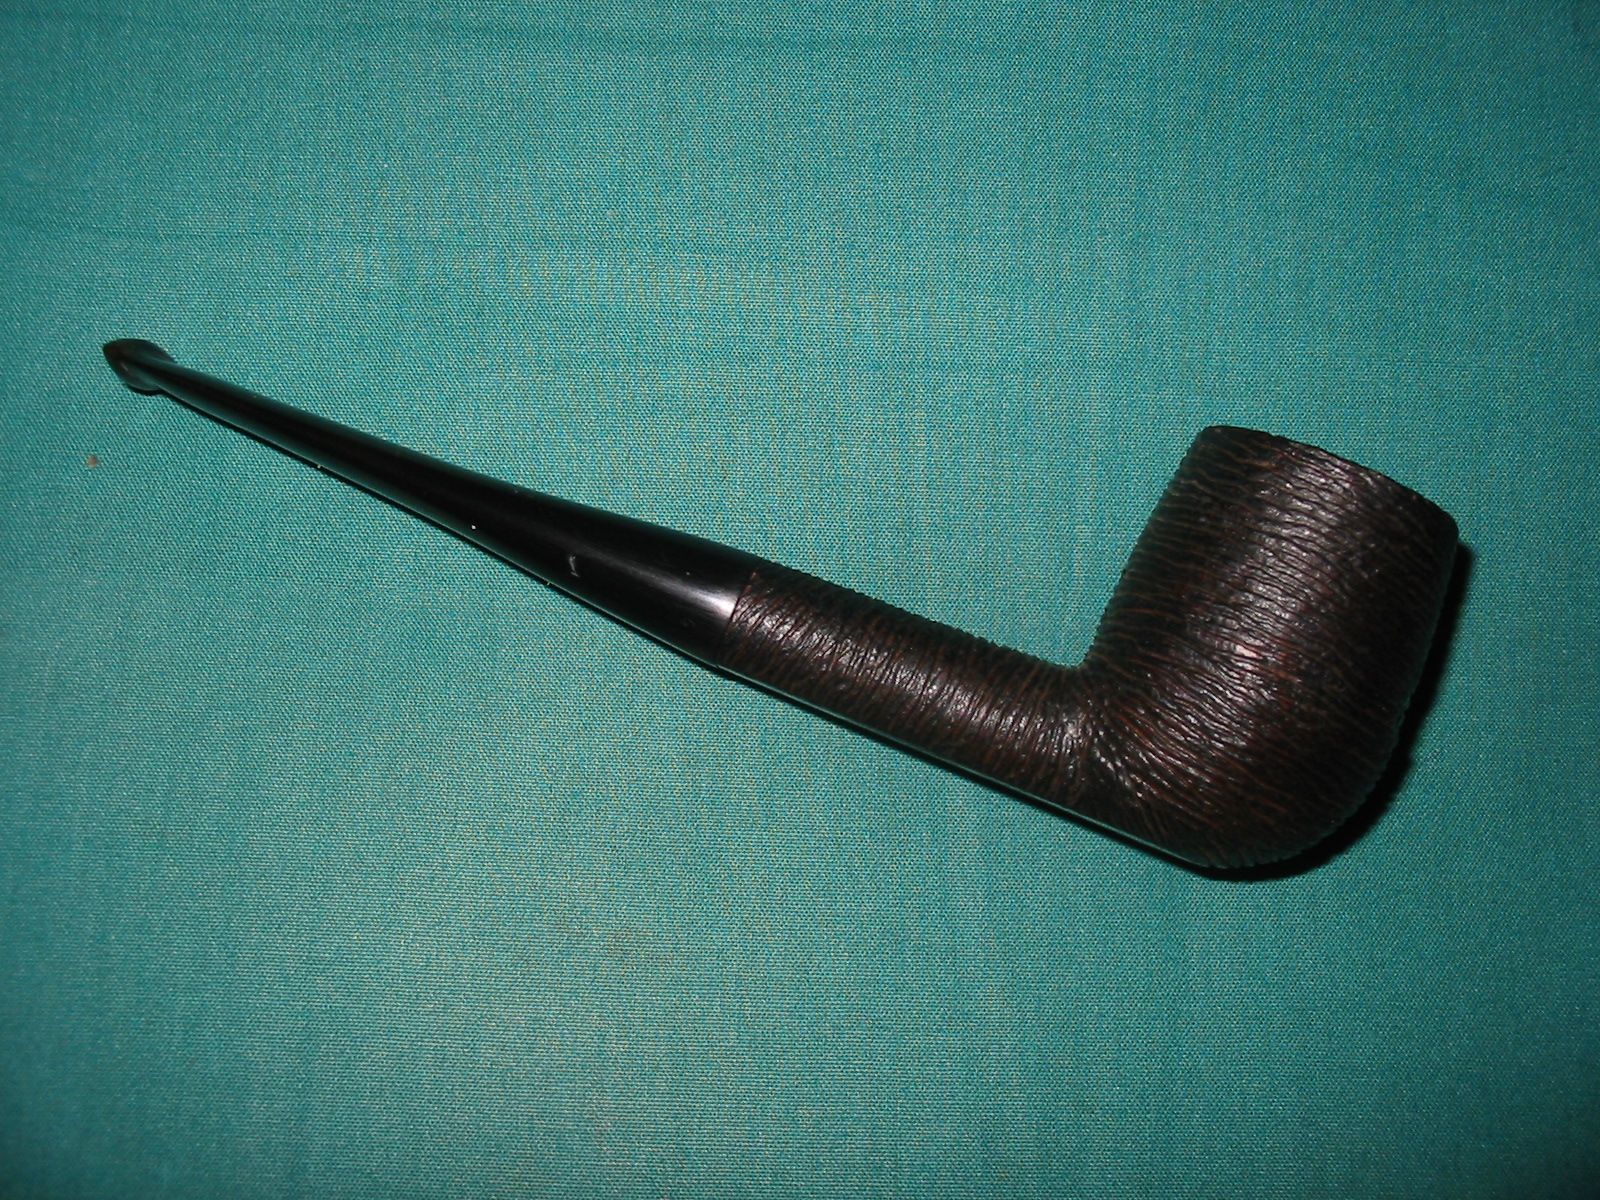
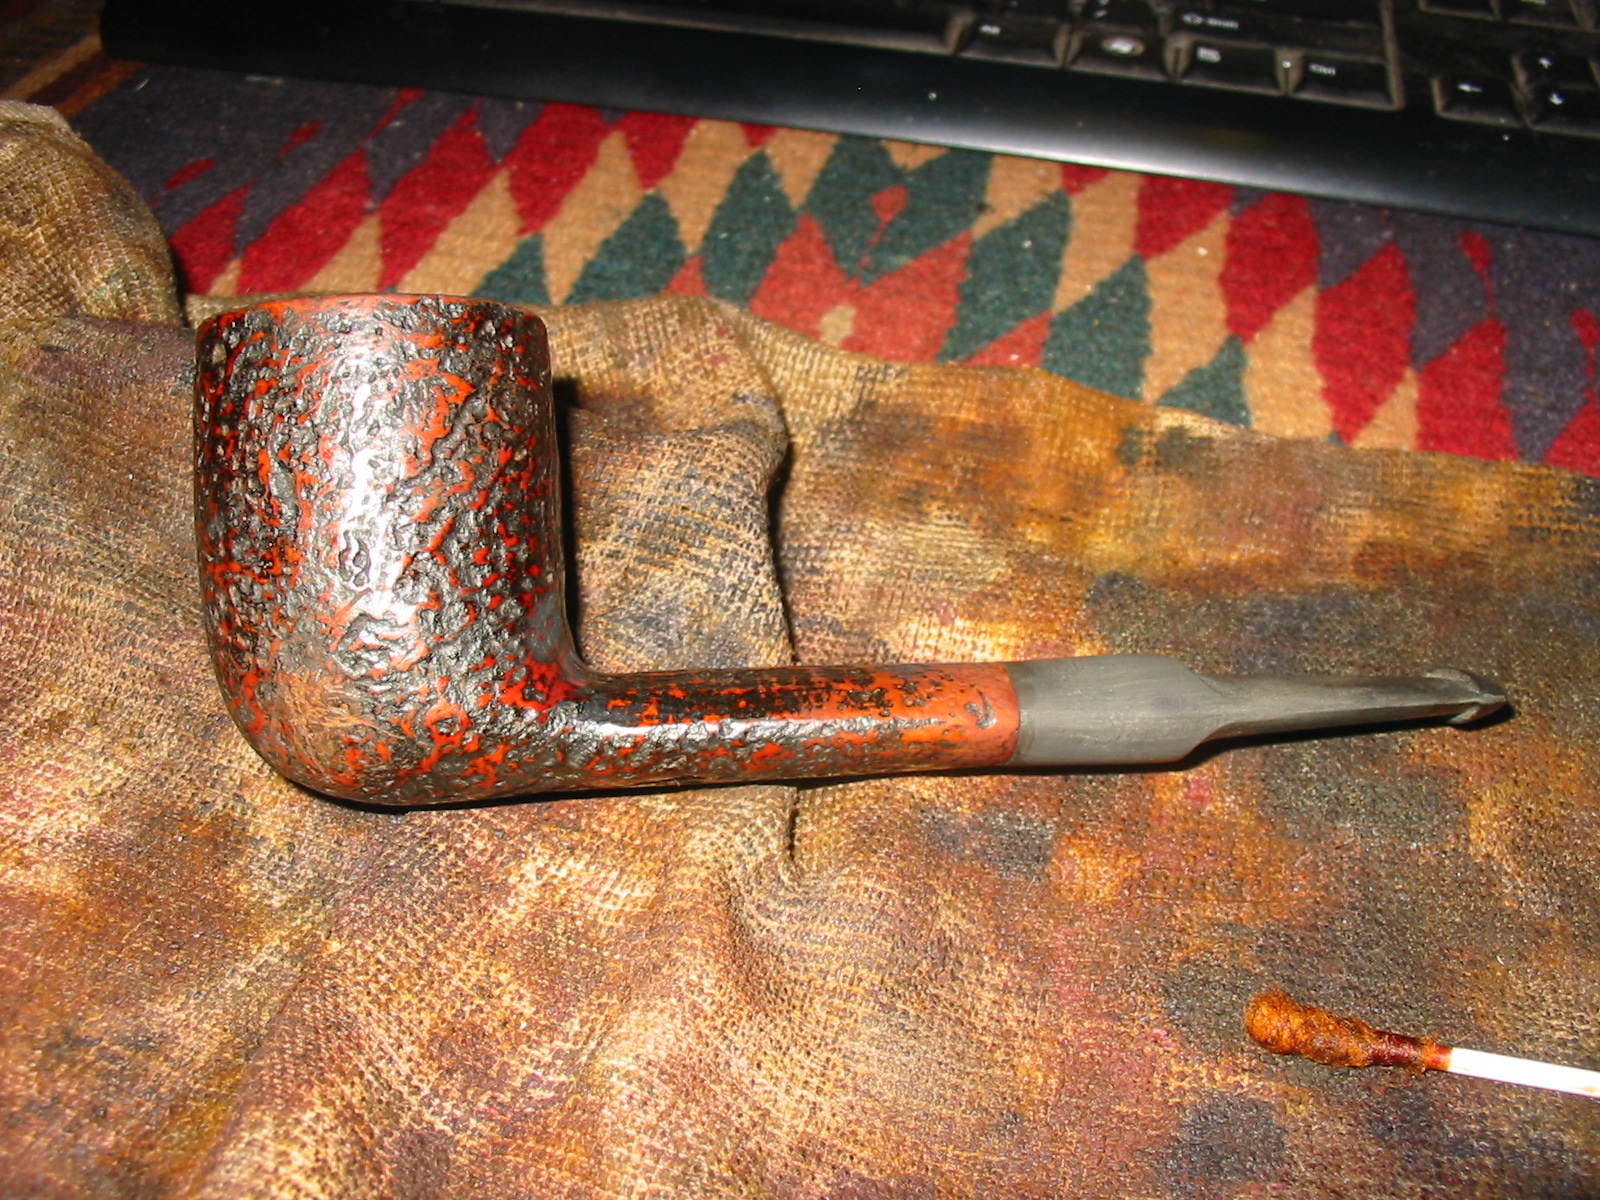
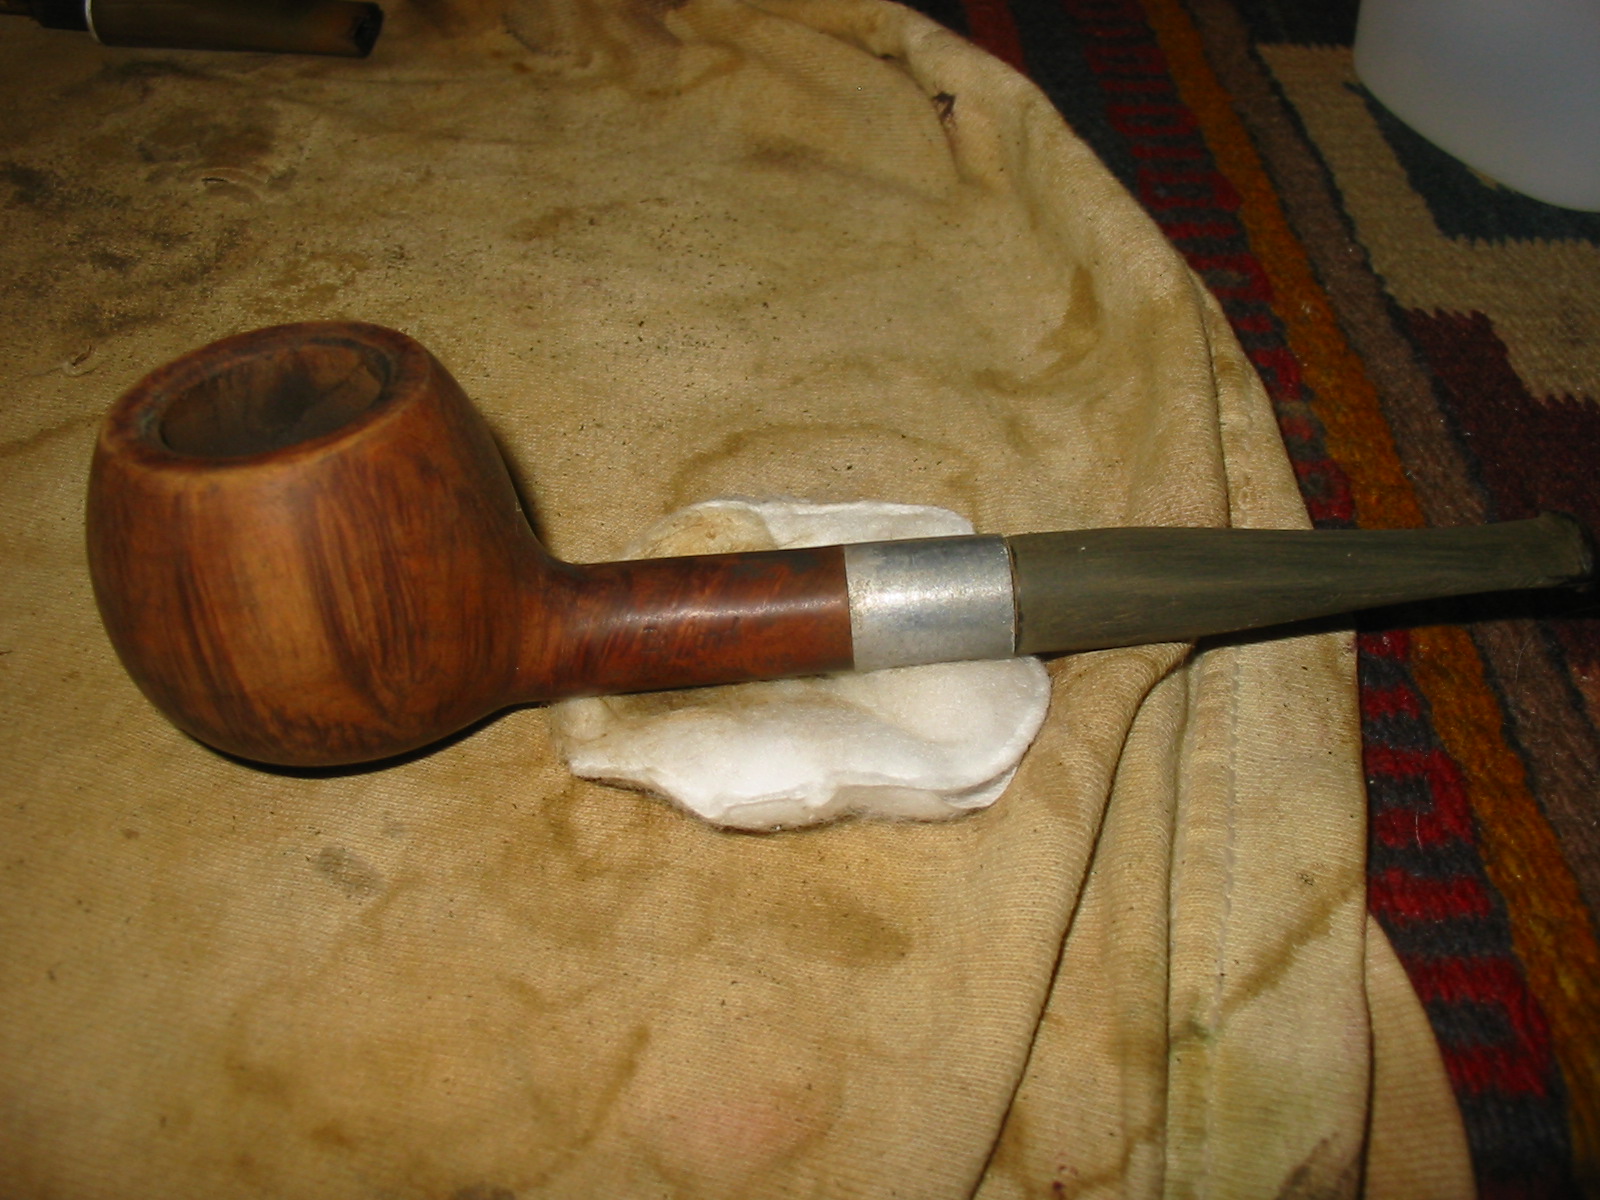
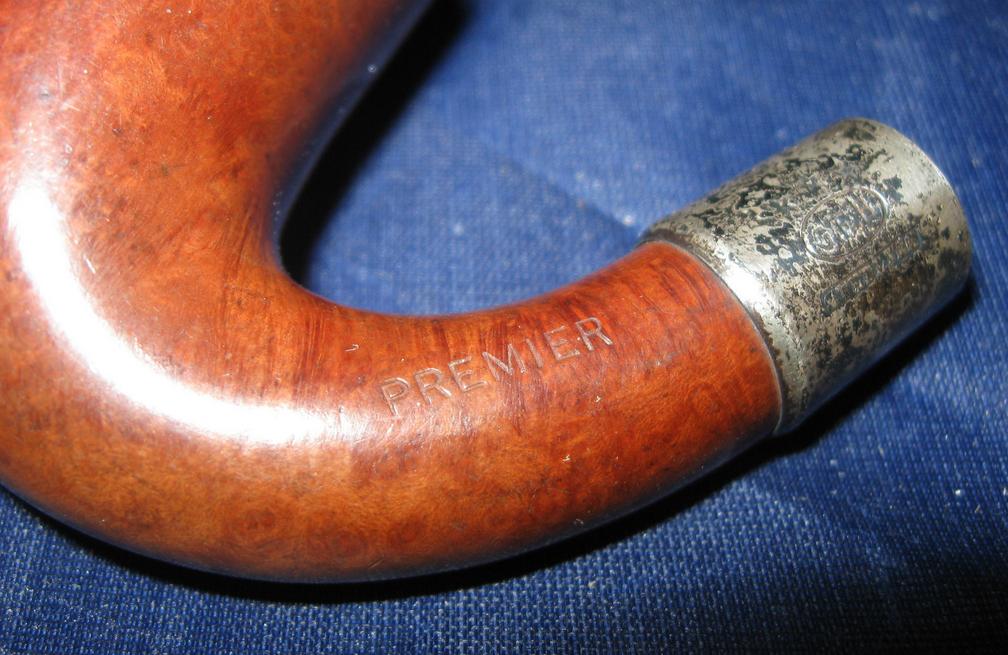
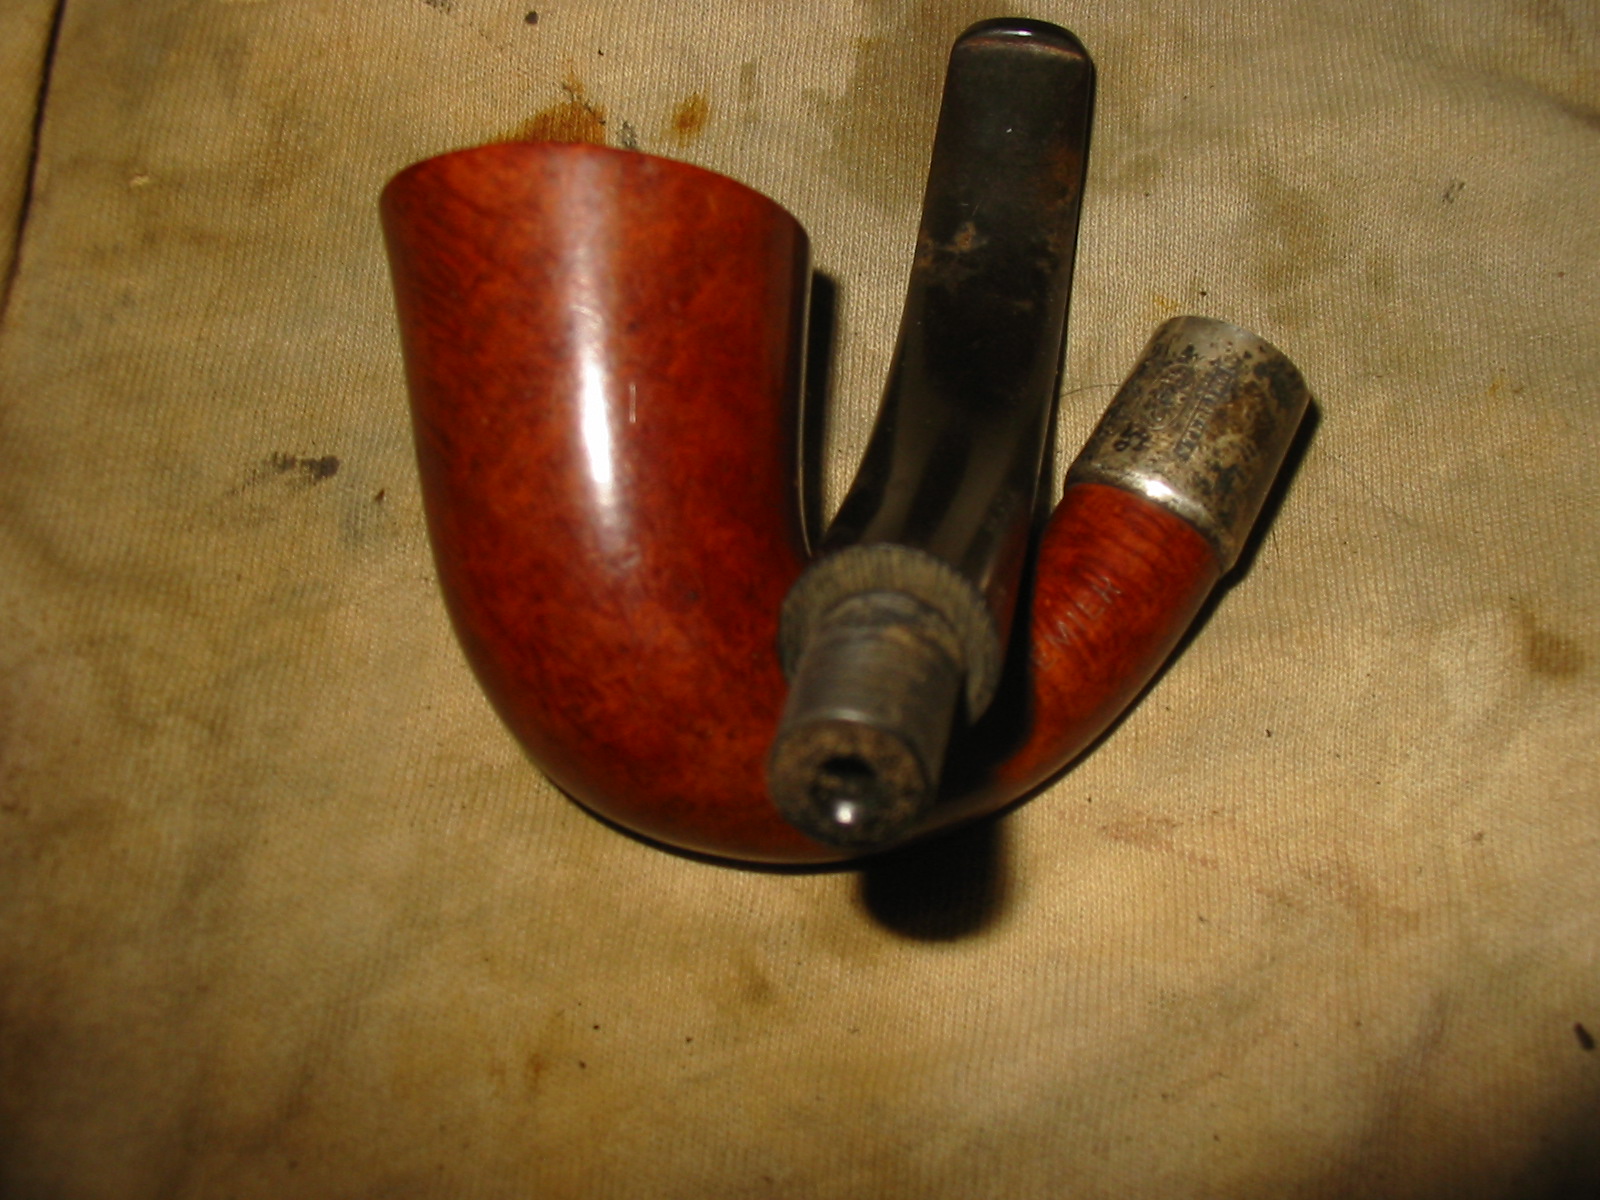
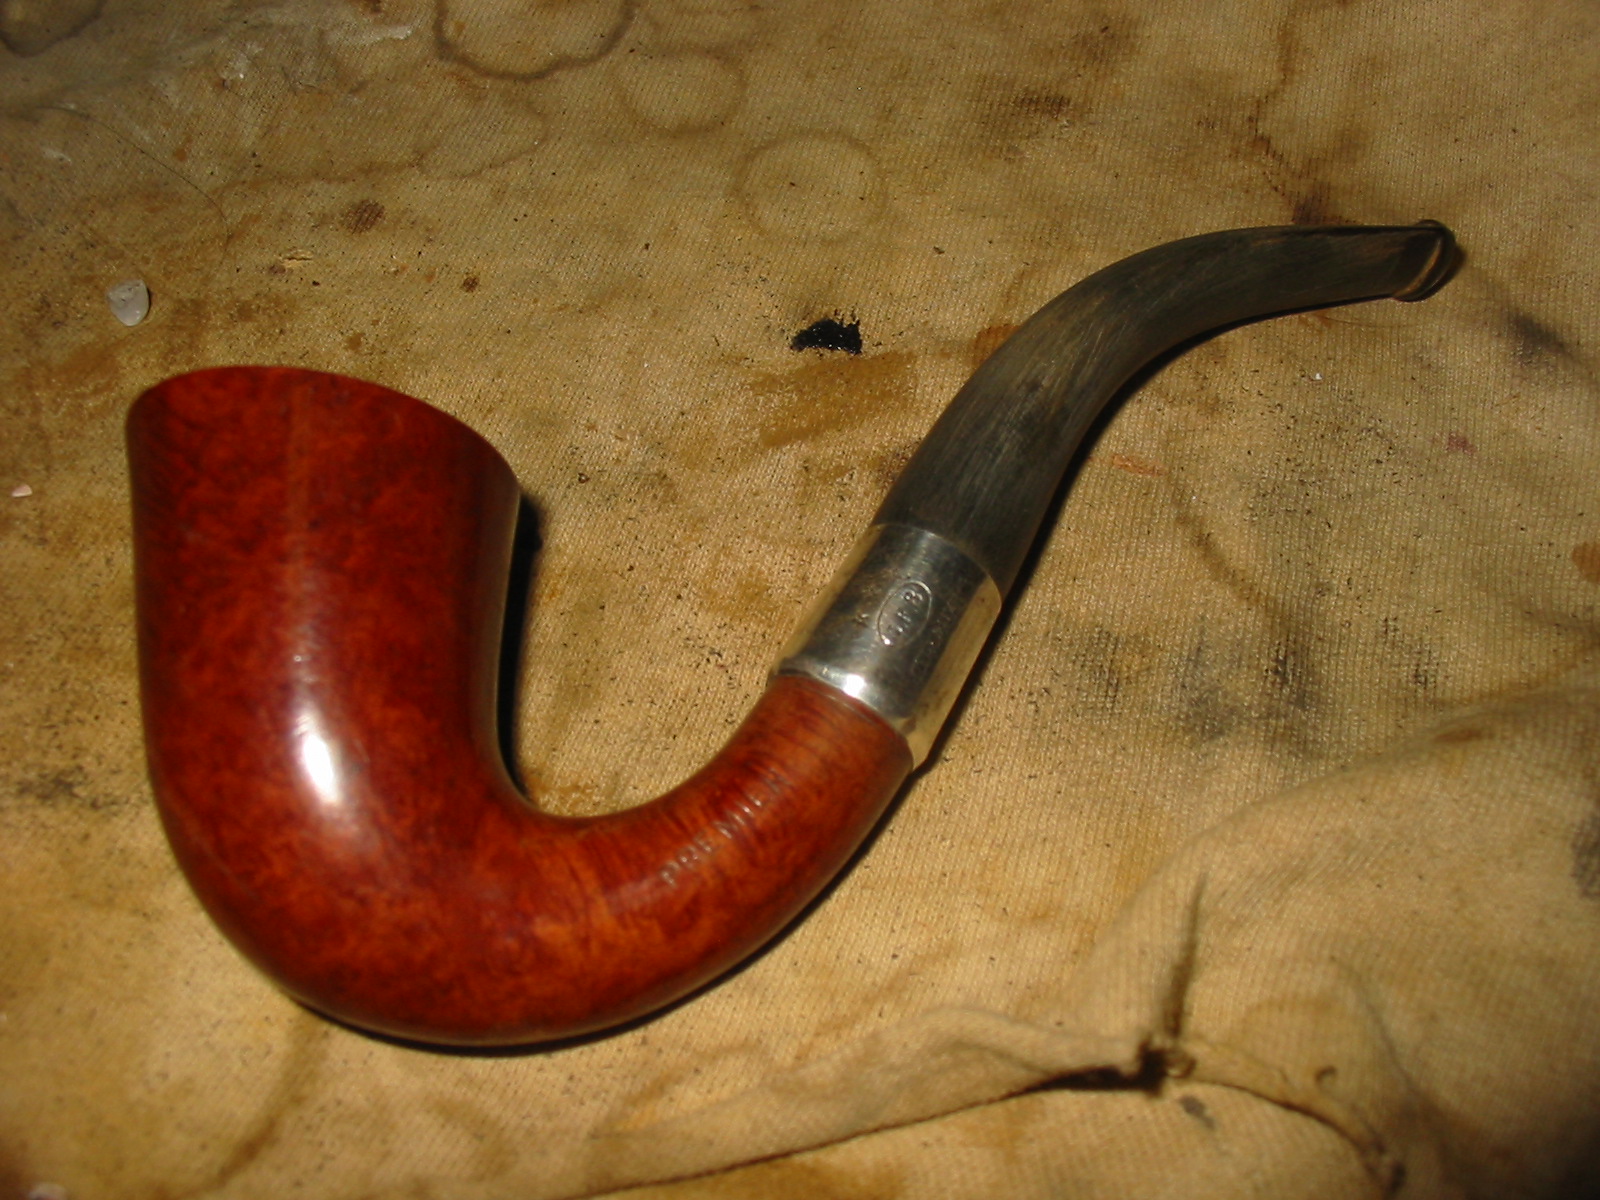
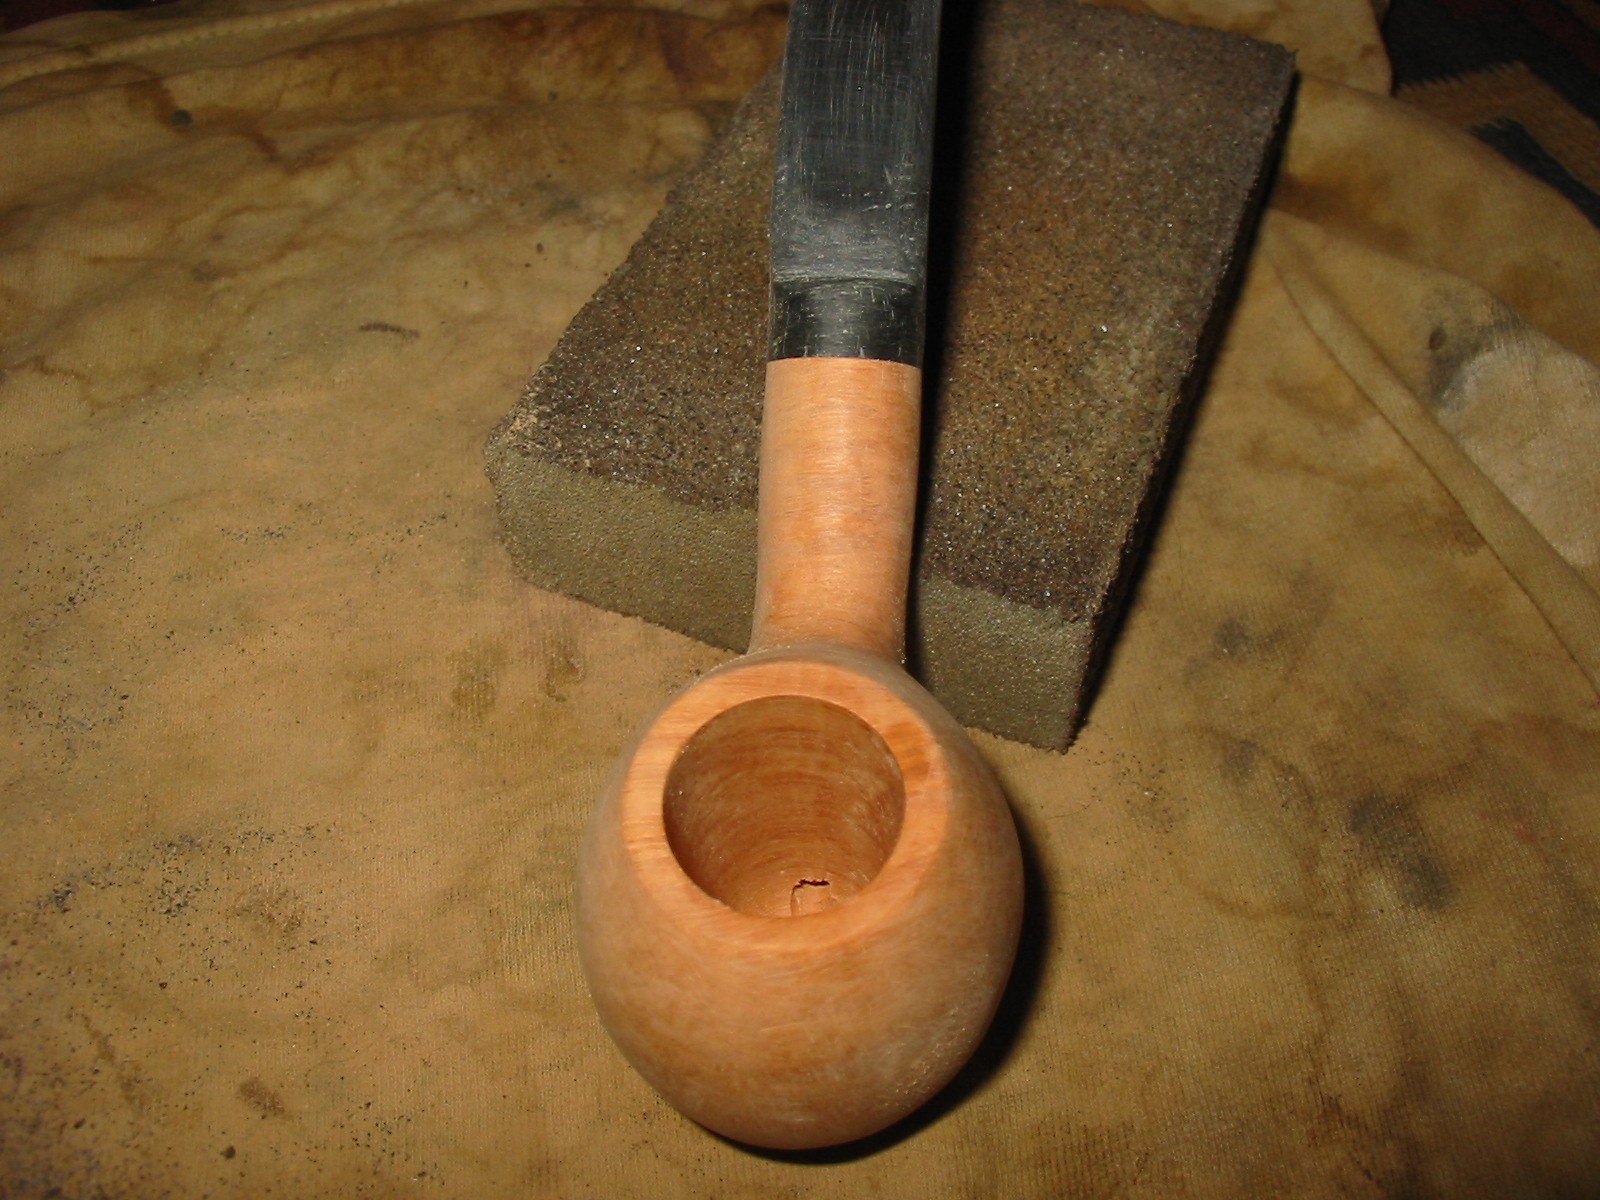
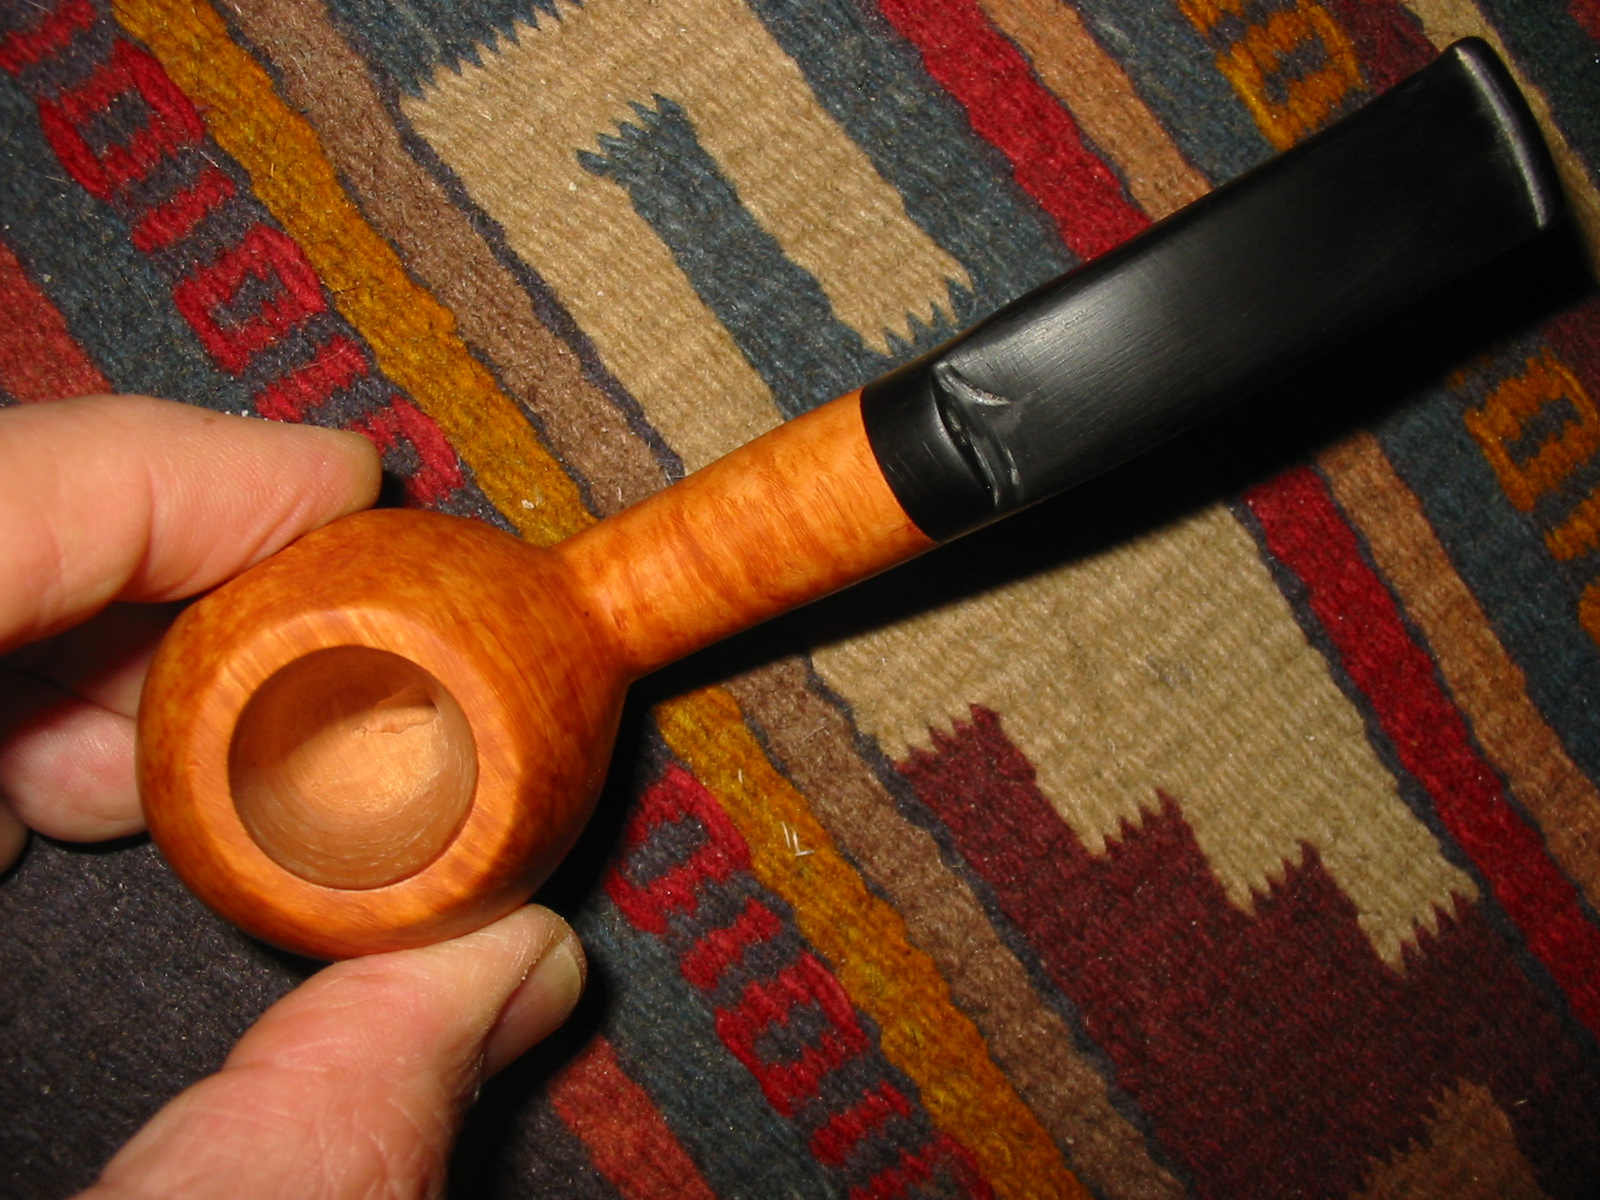
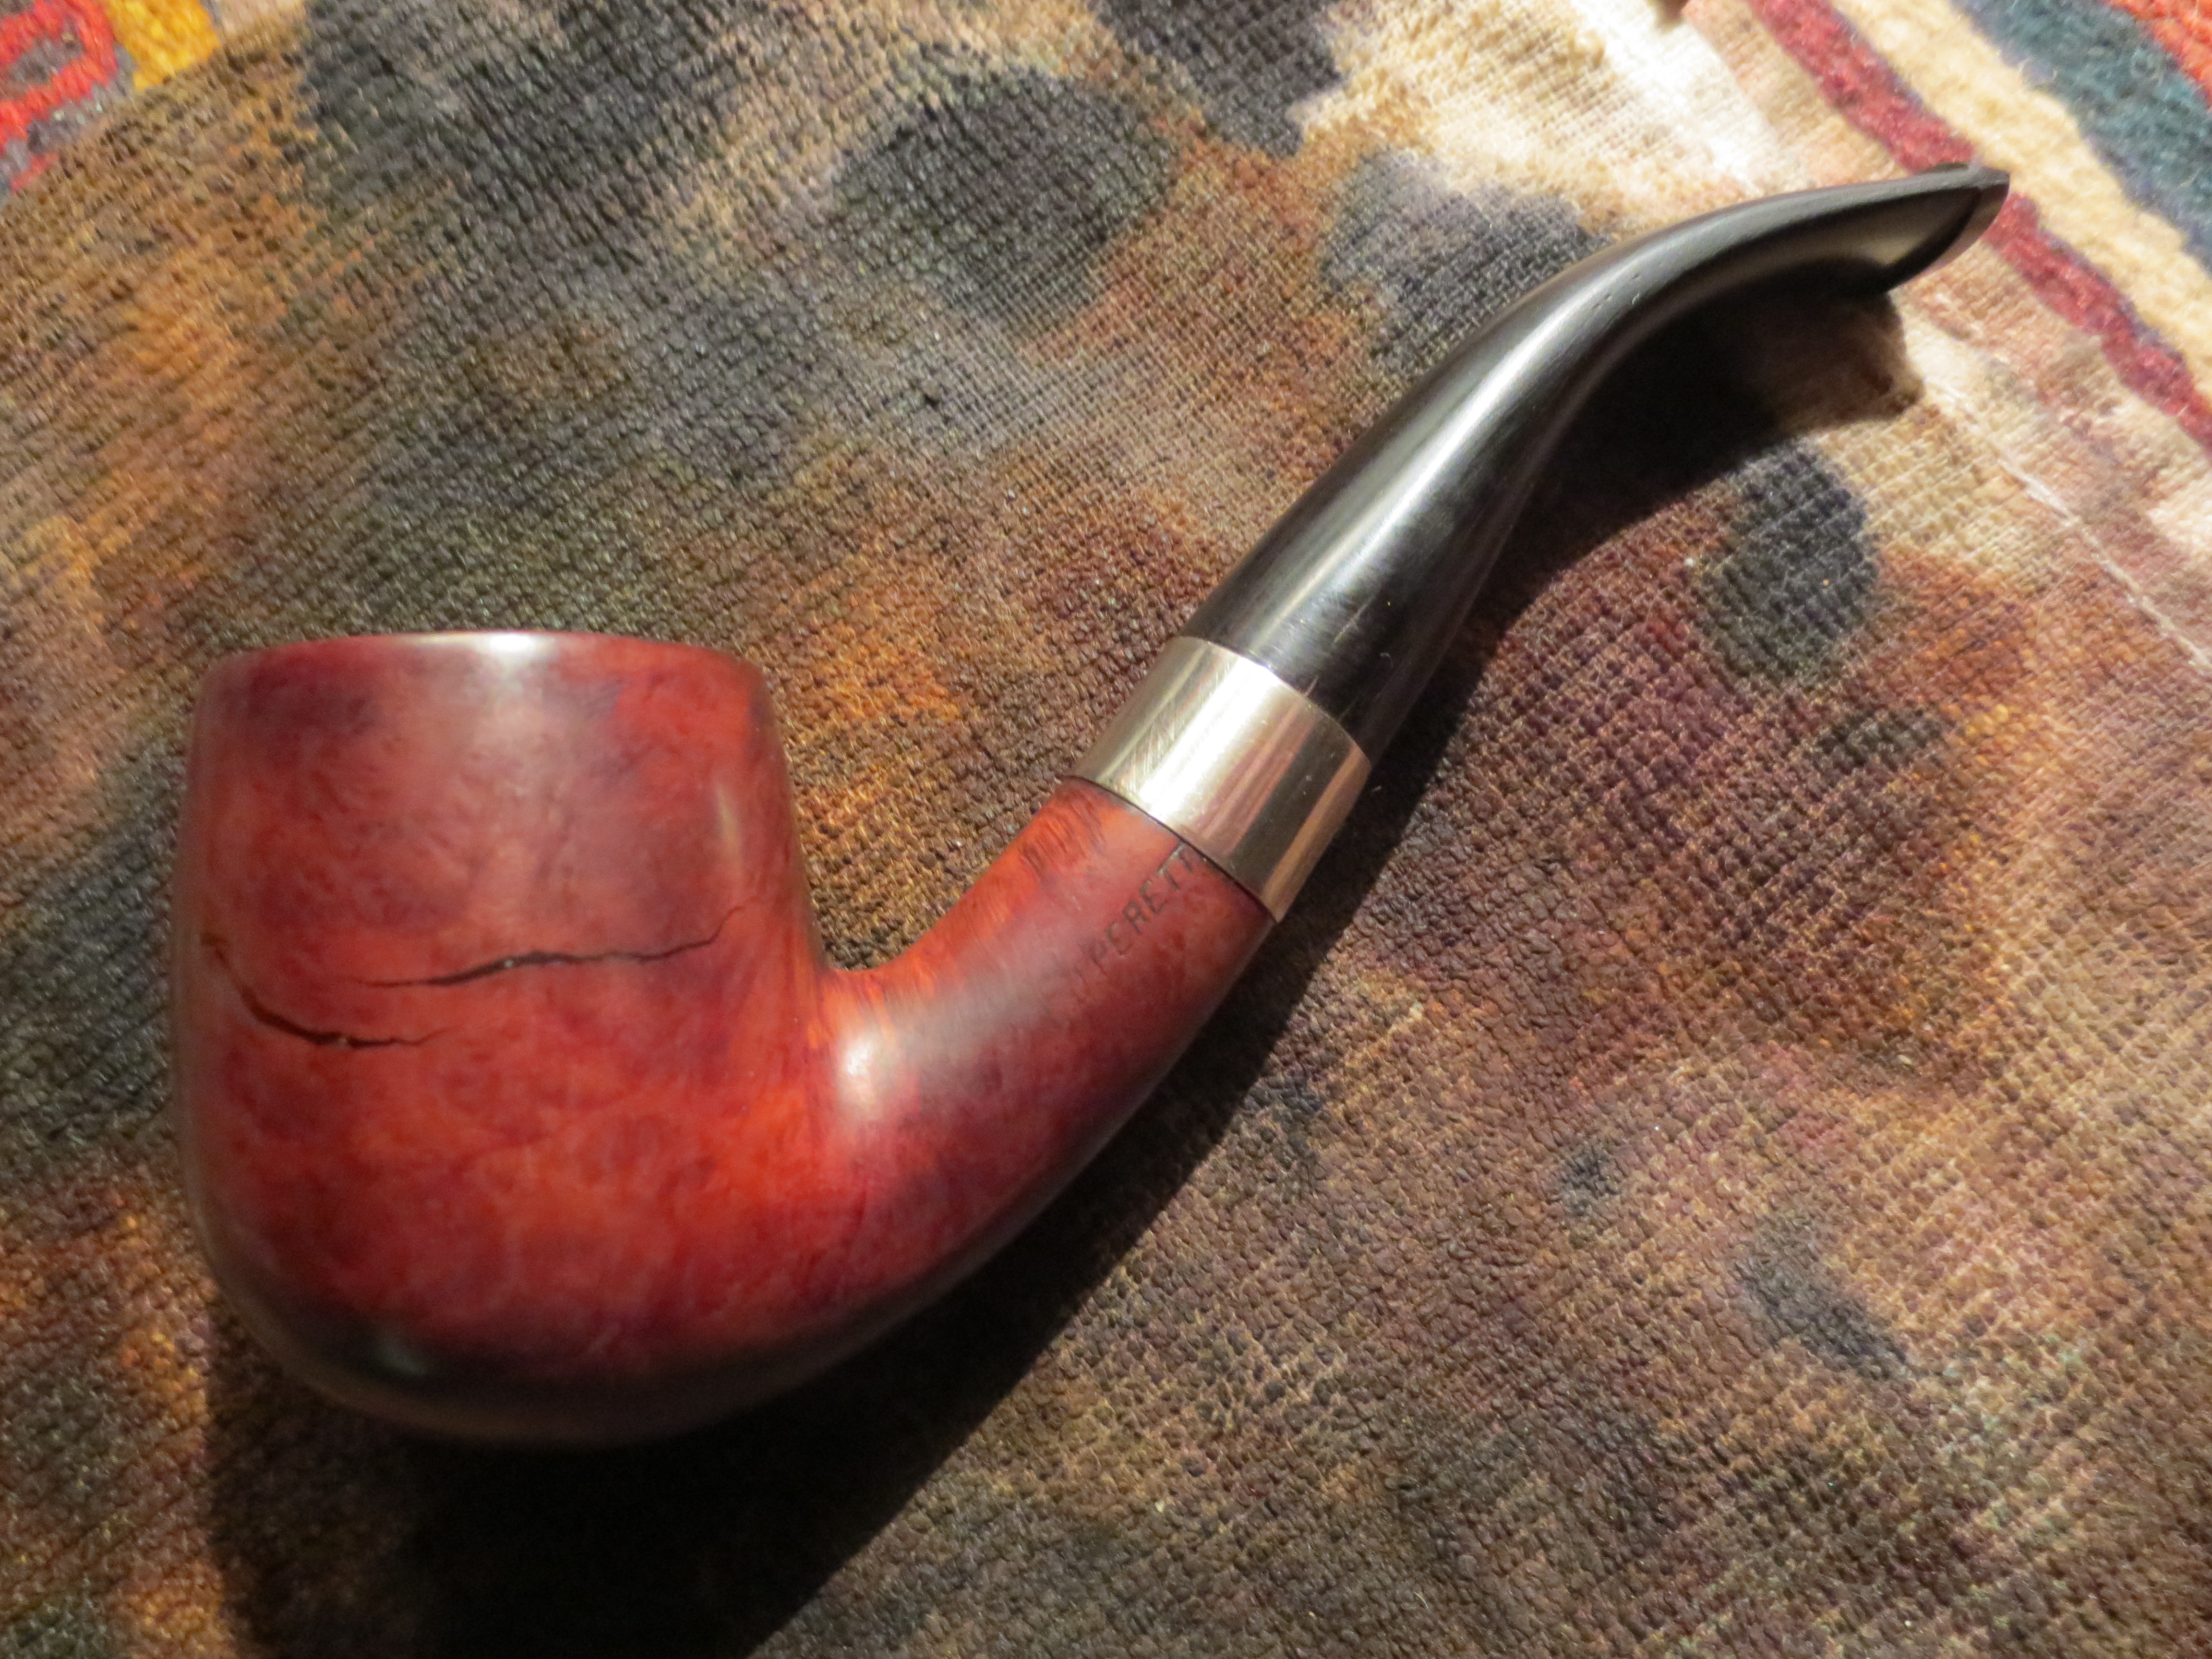
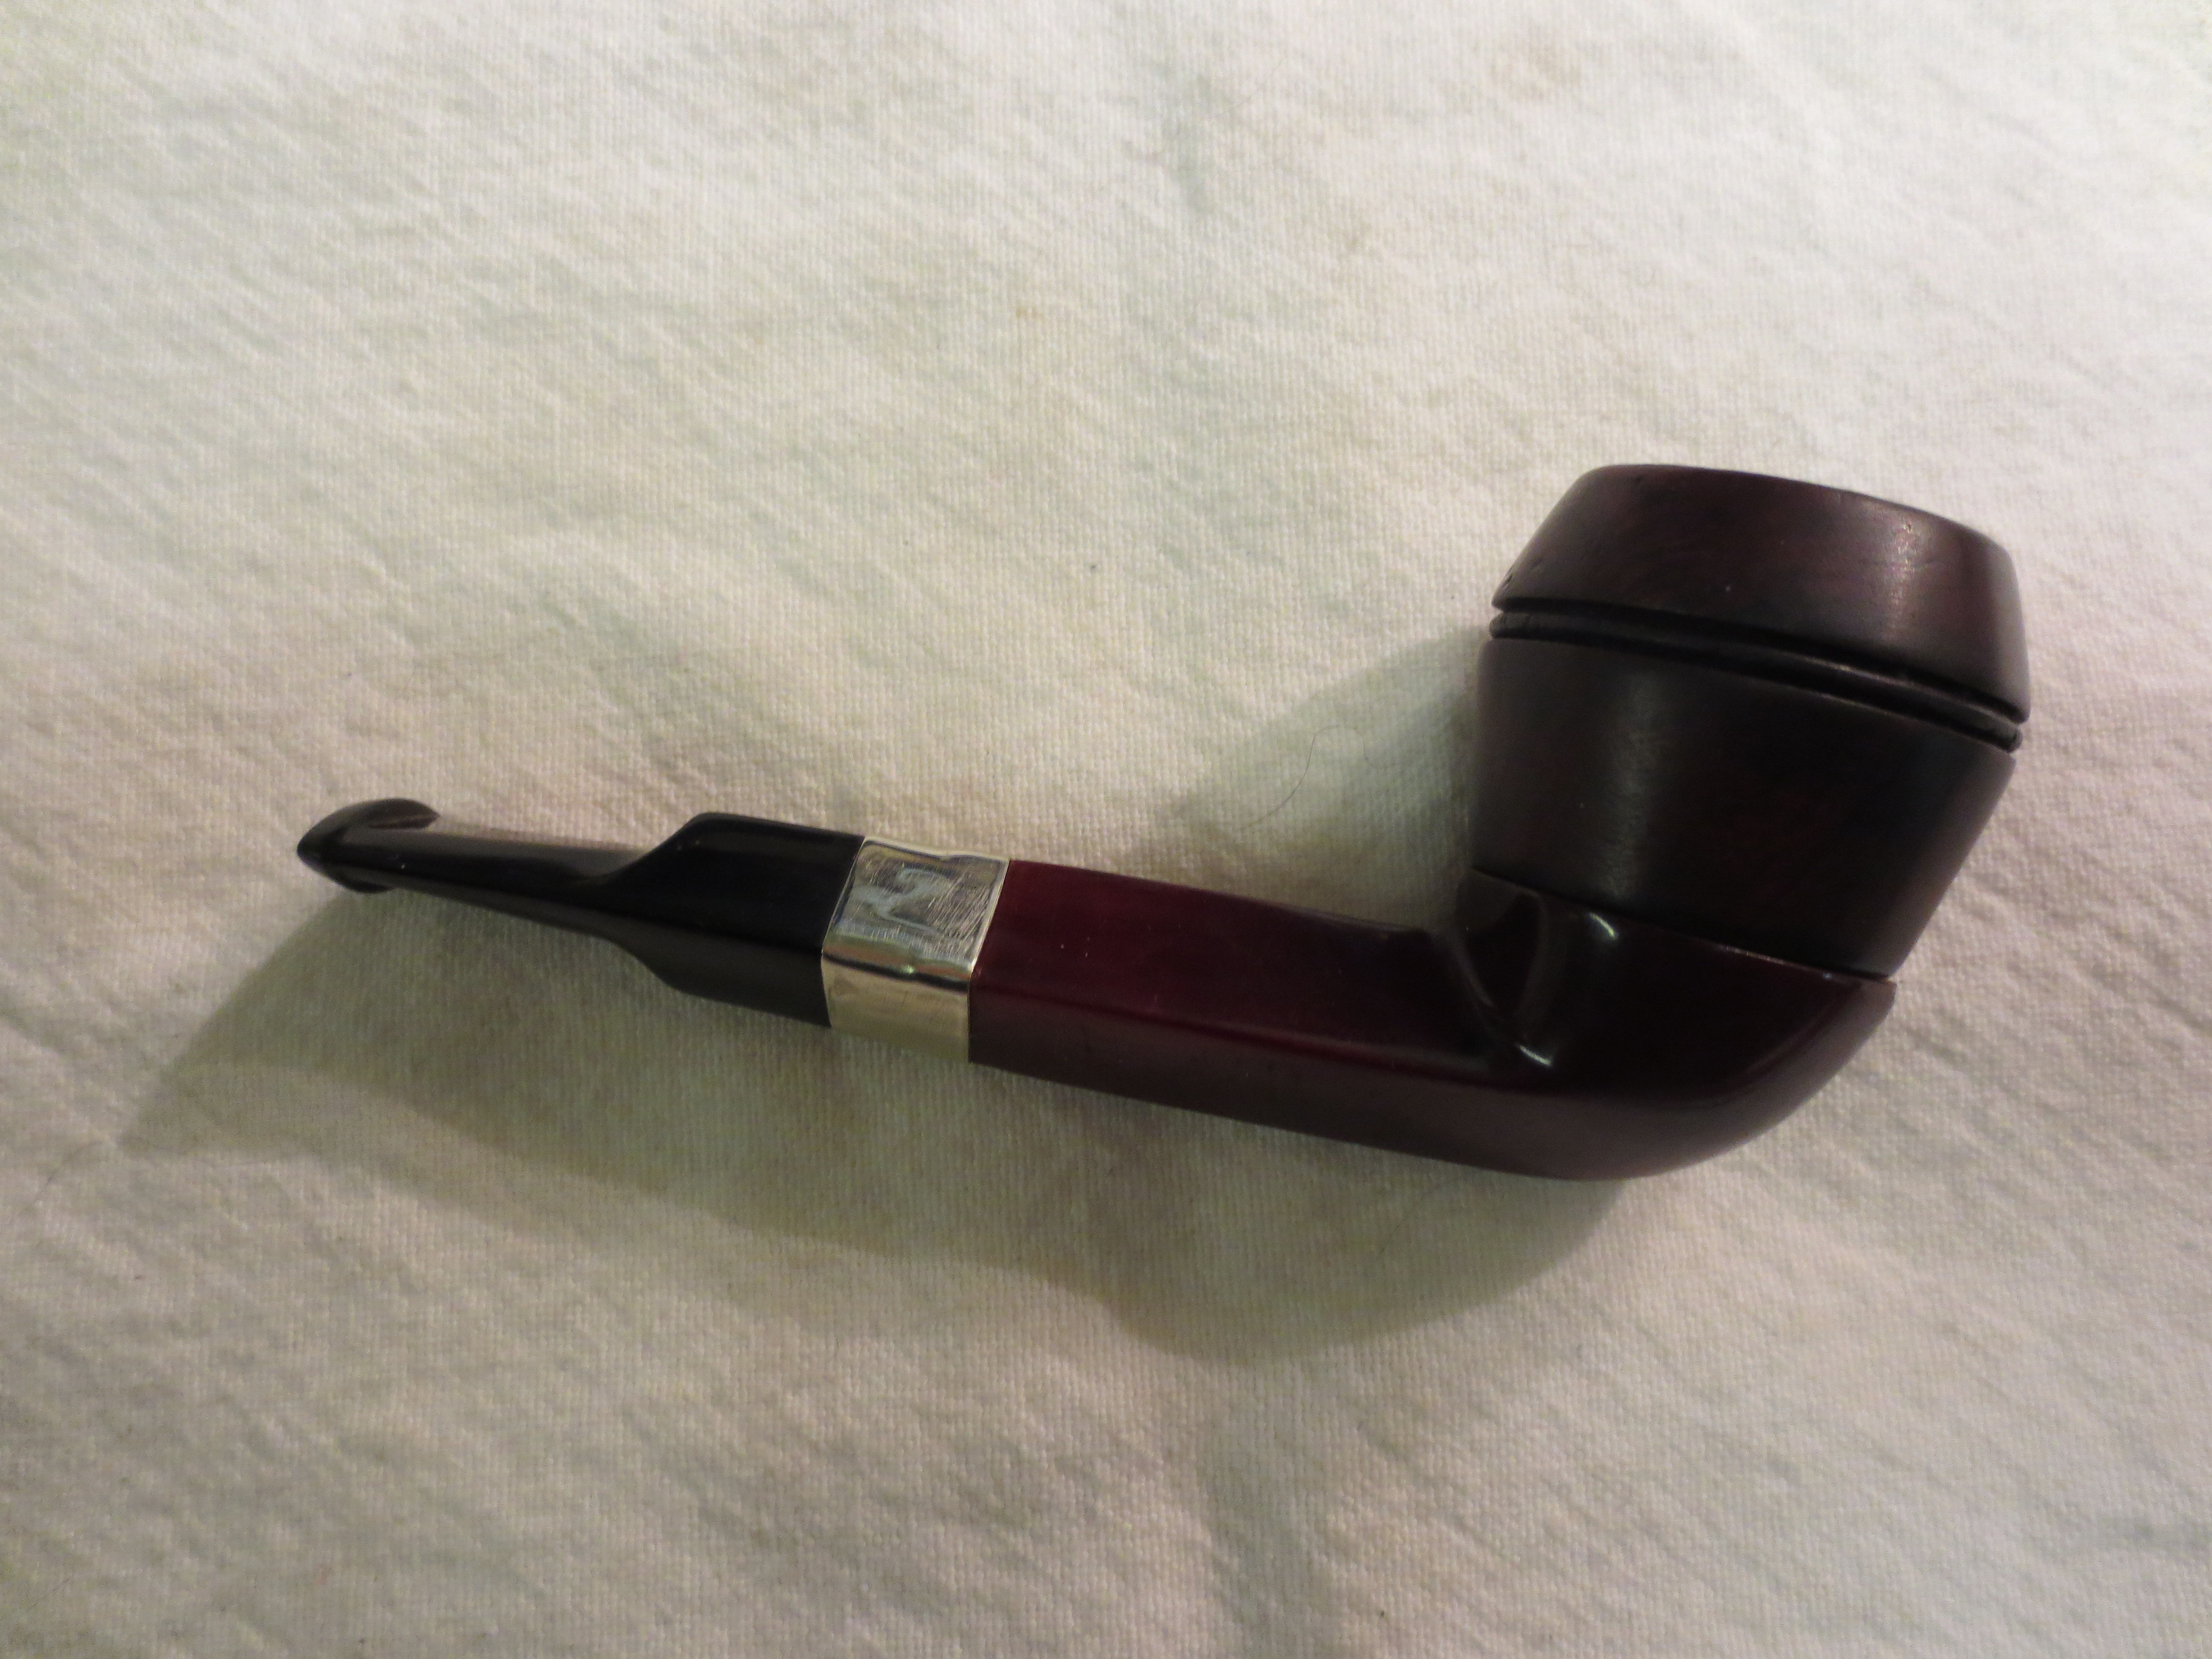
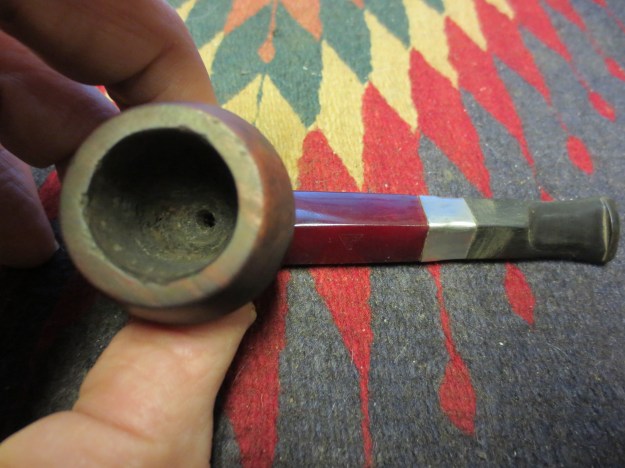
Top view of the unreamed pipe bowl showing its condition before cleaning
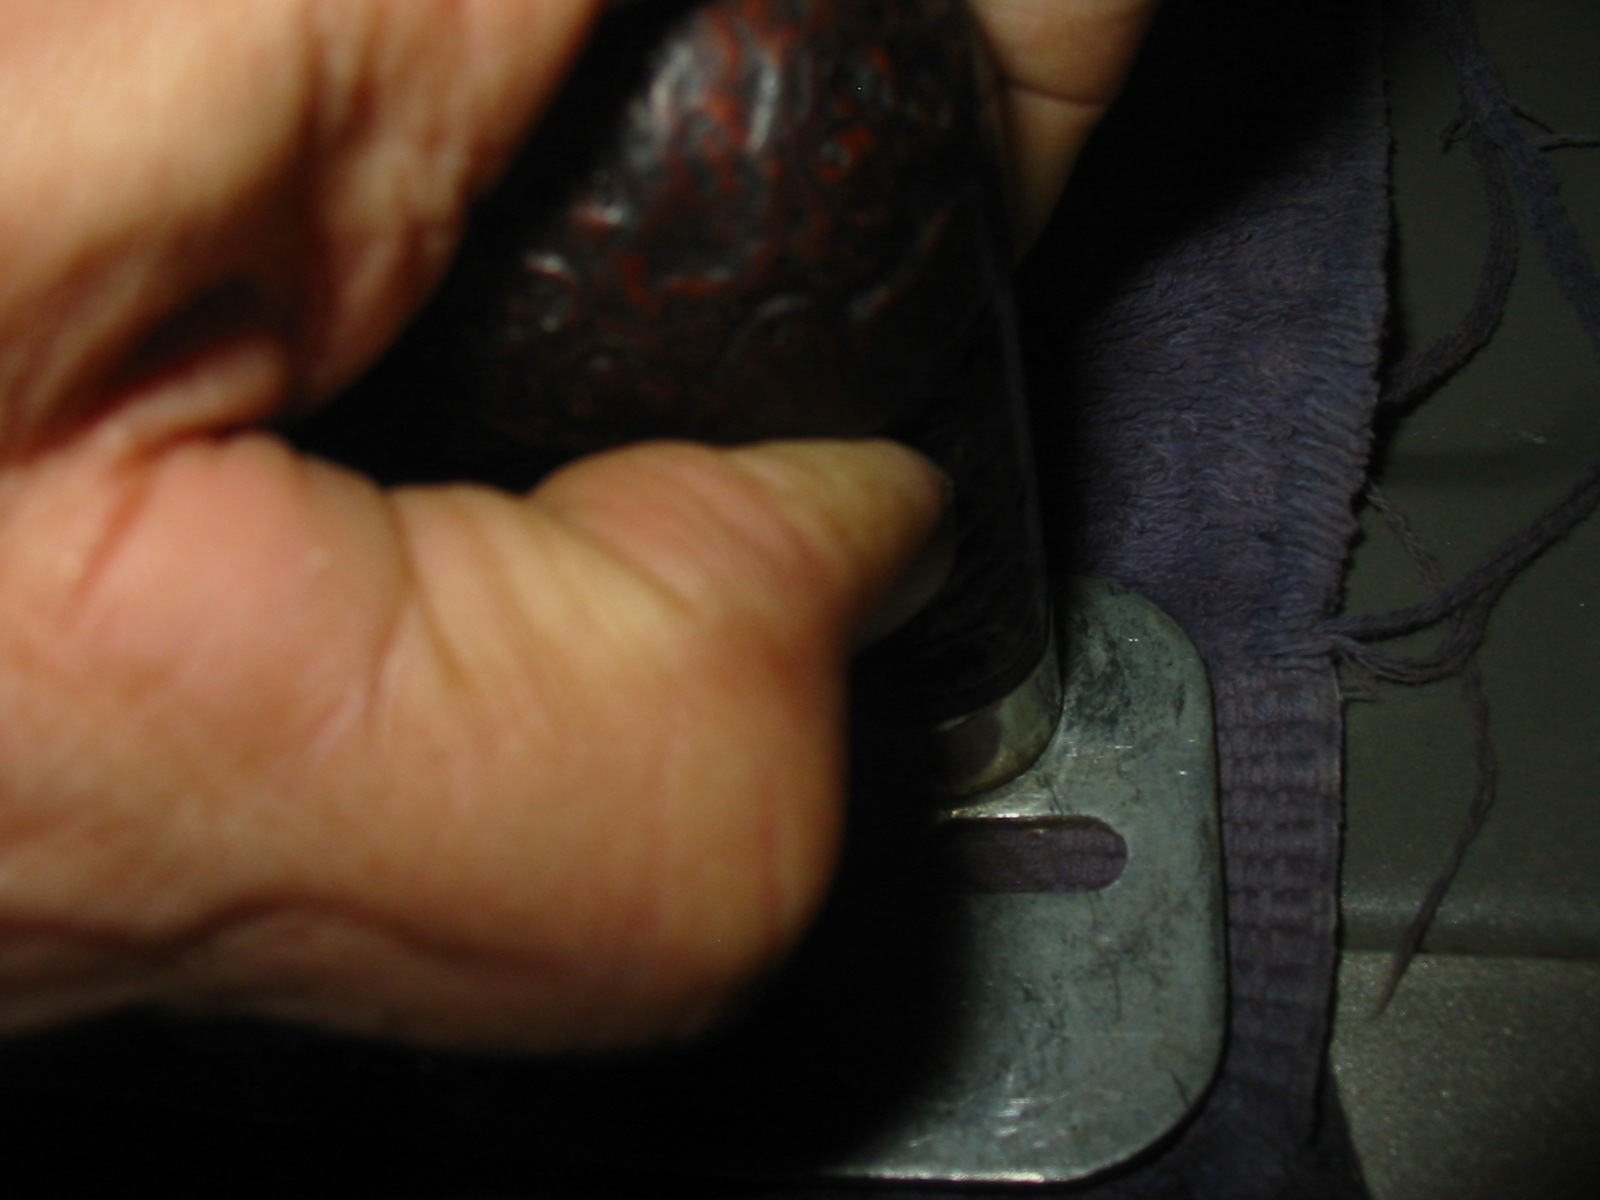
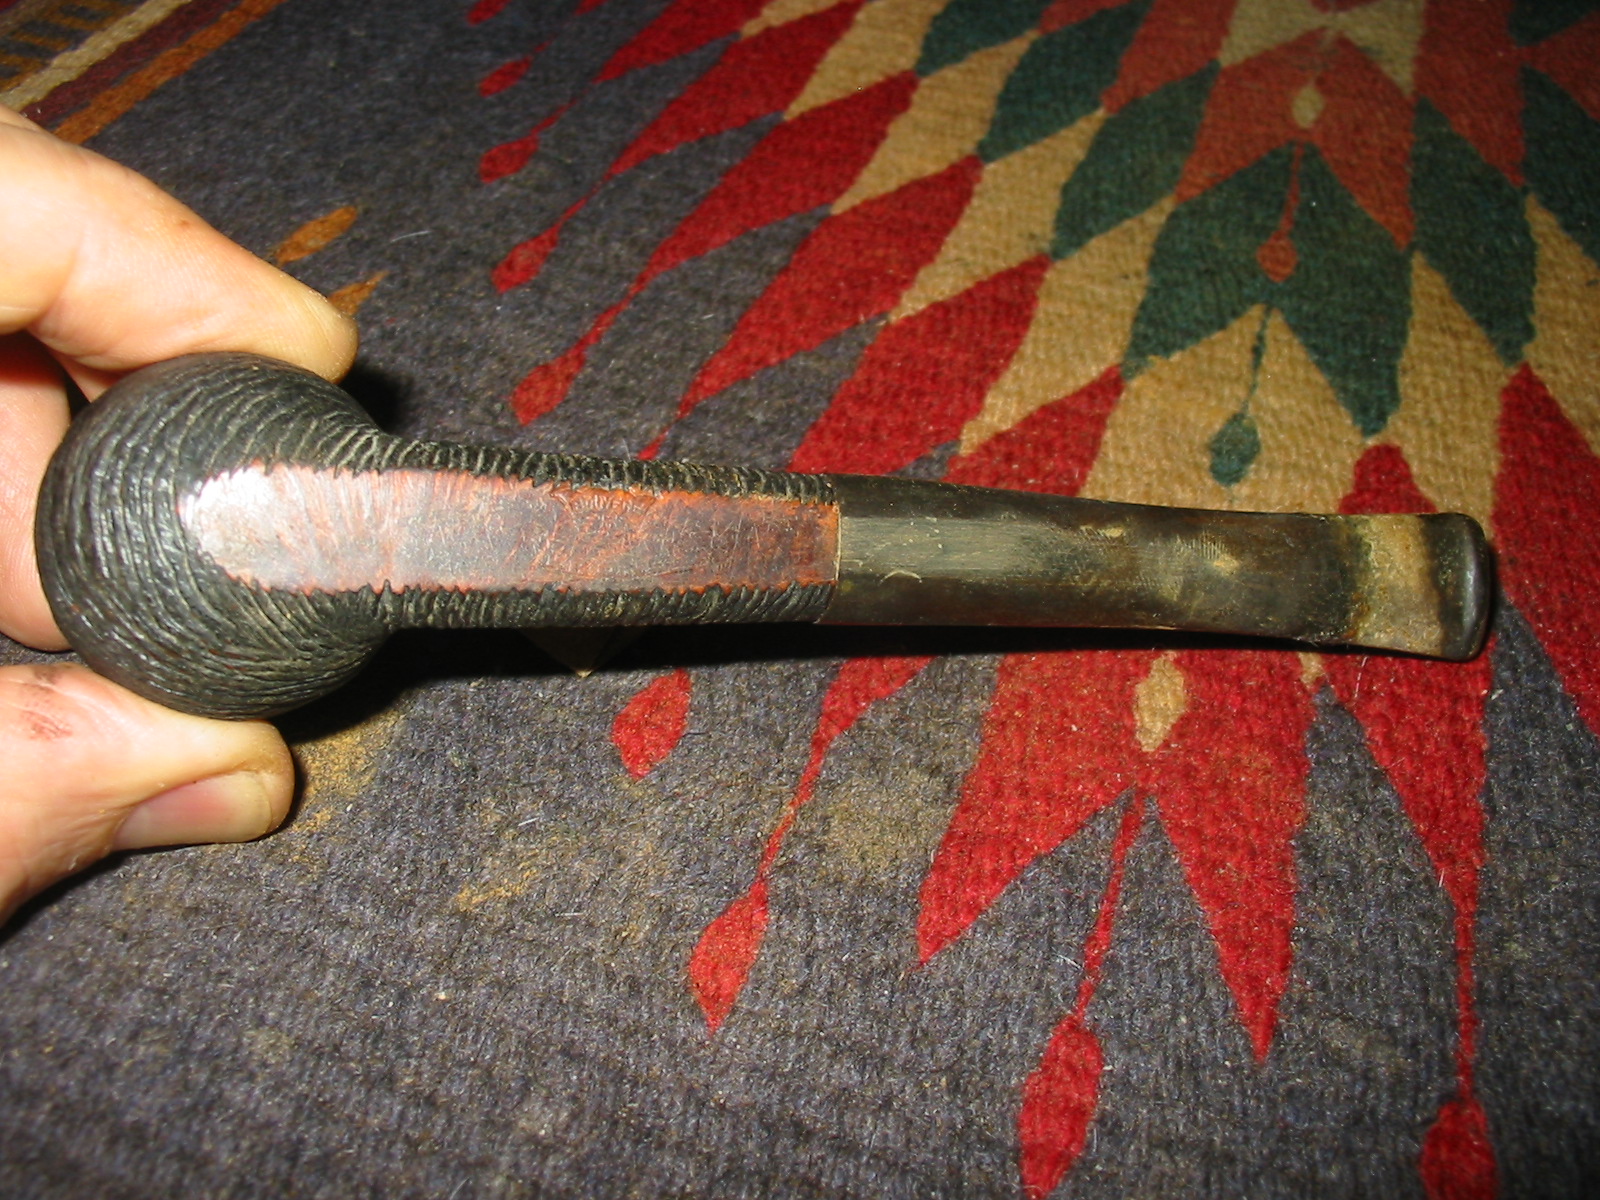
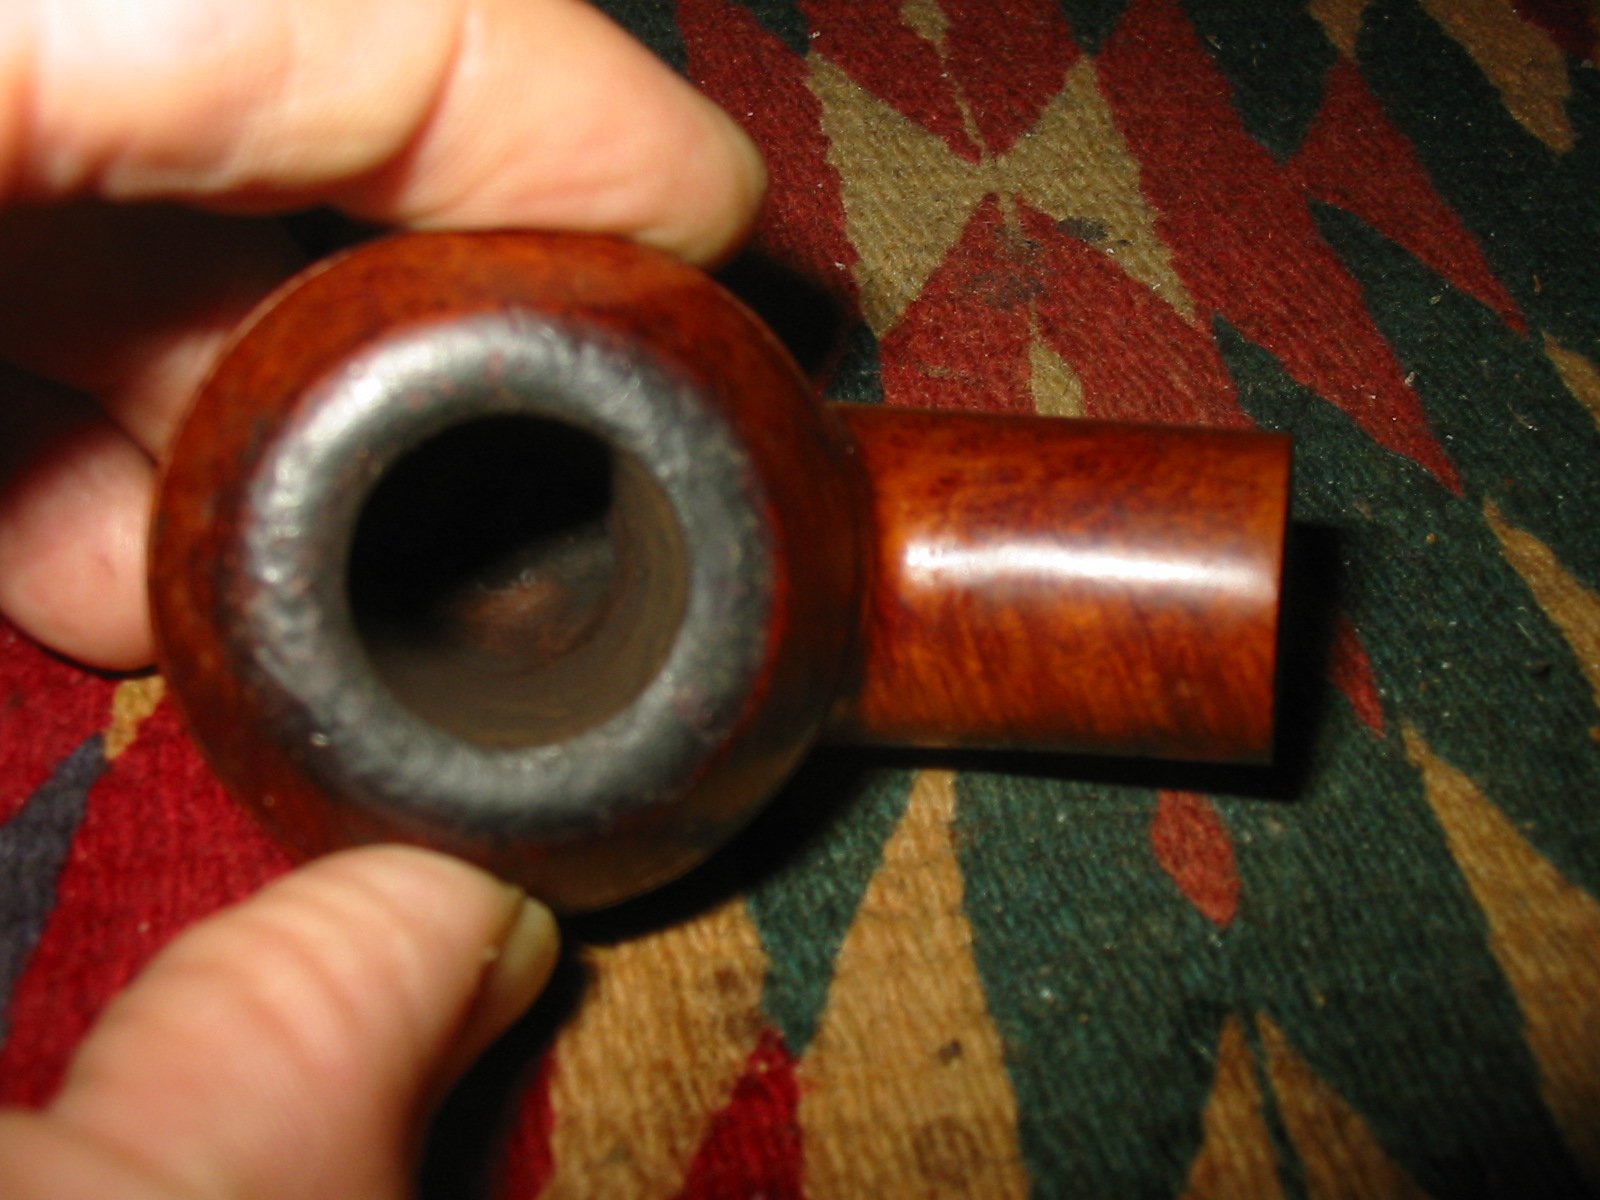
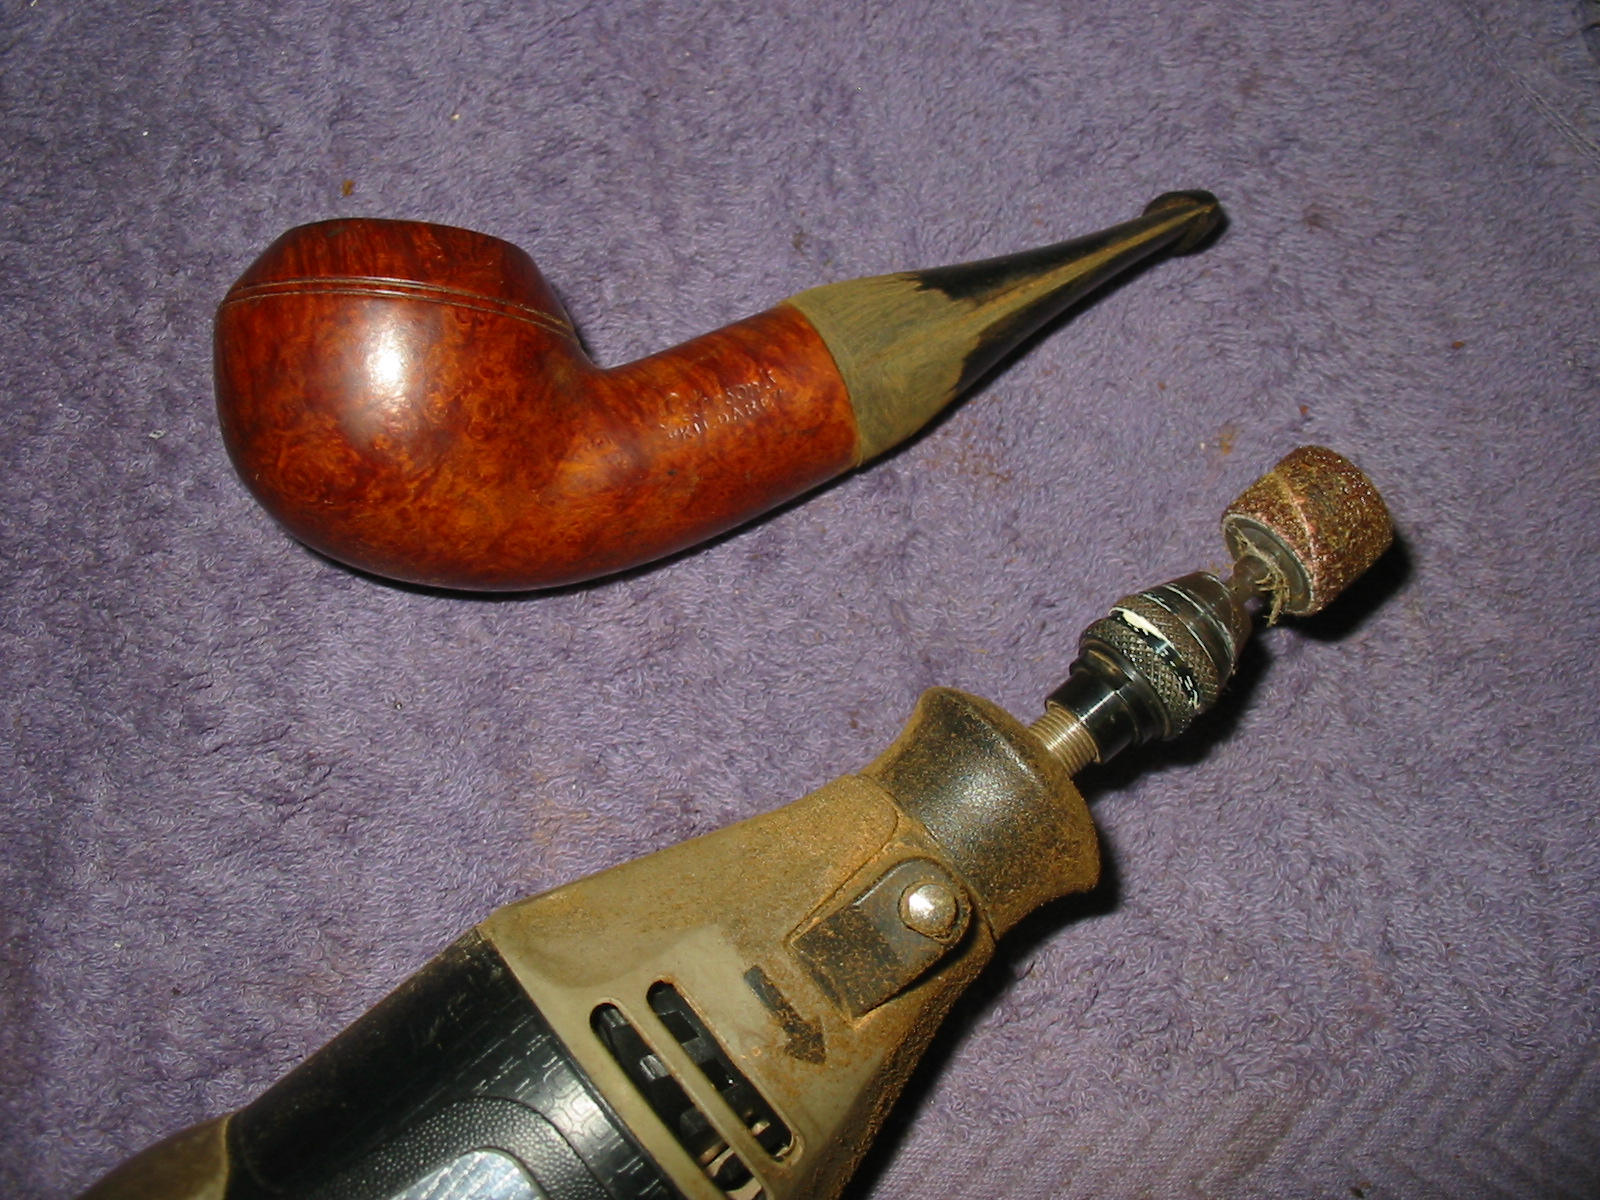
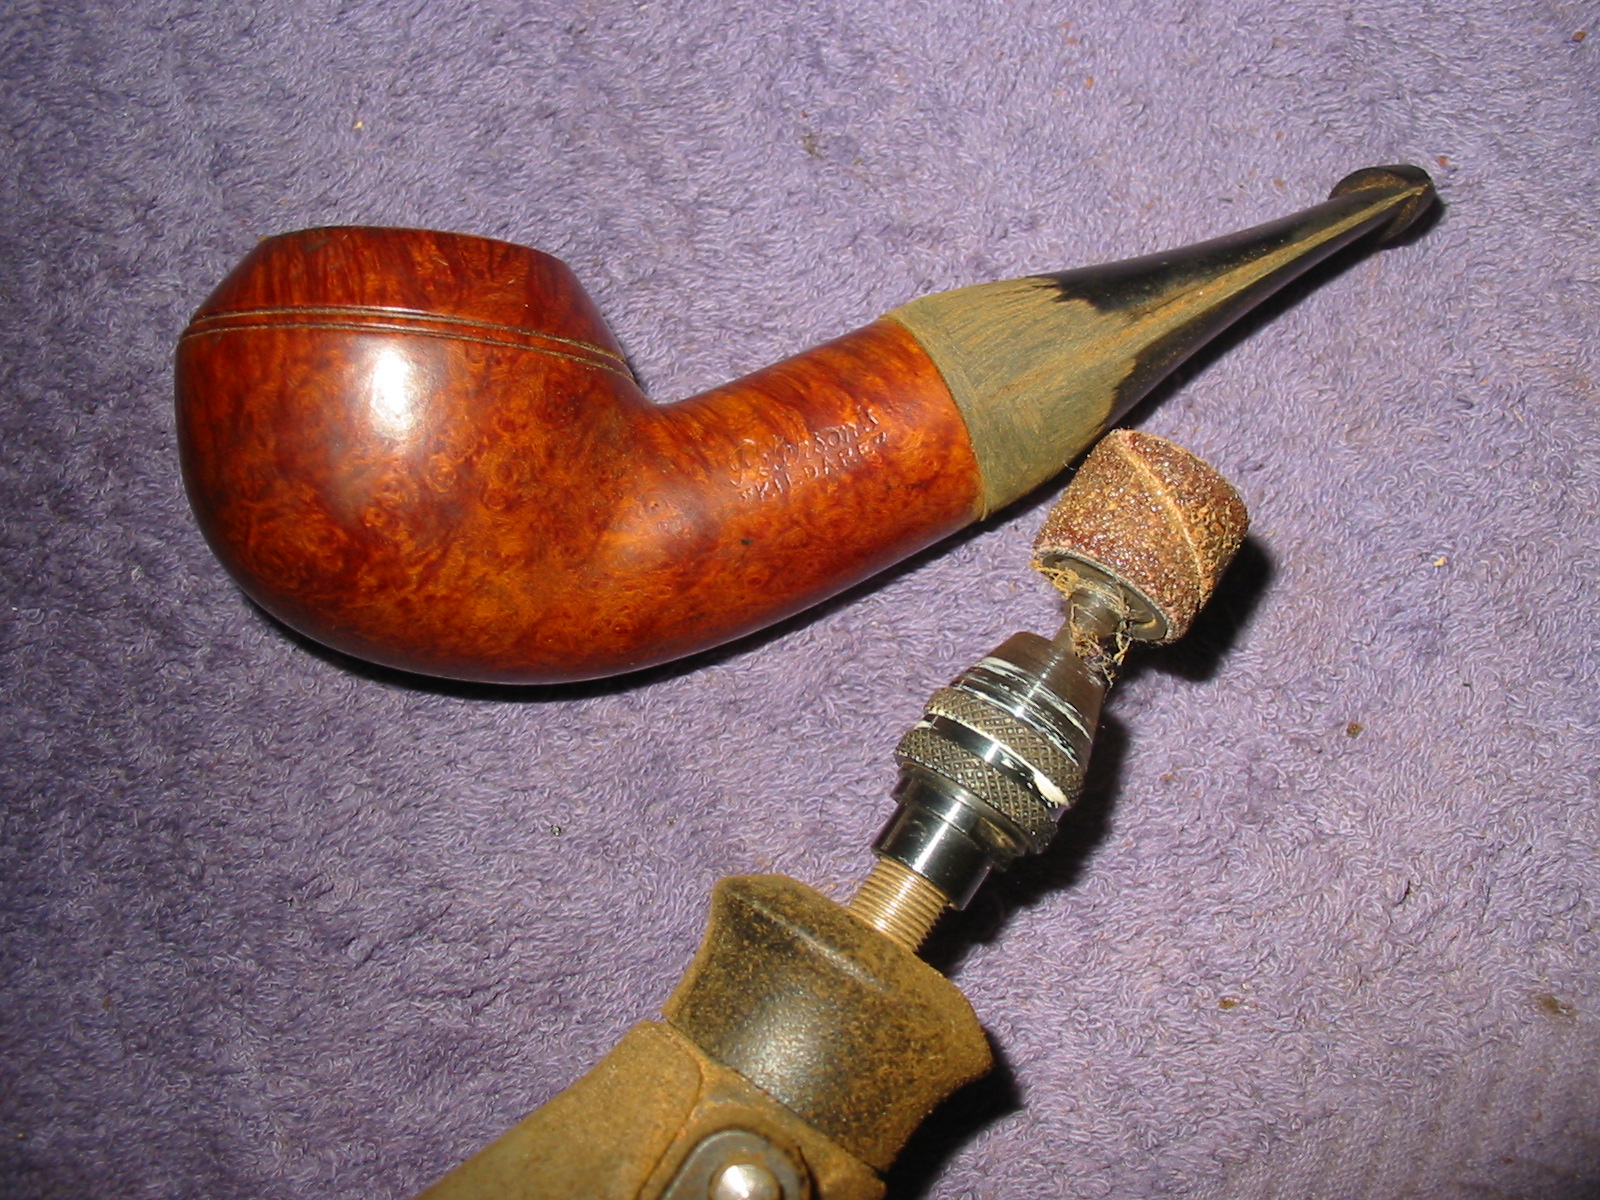
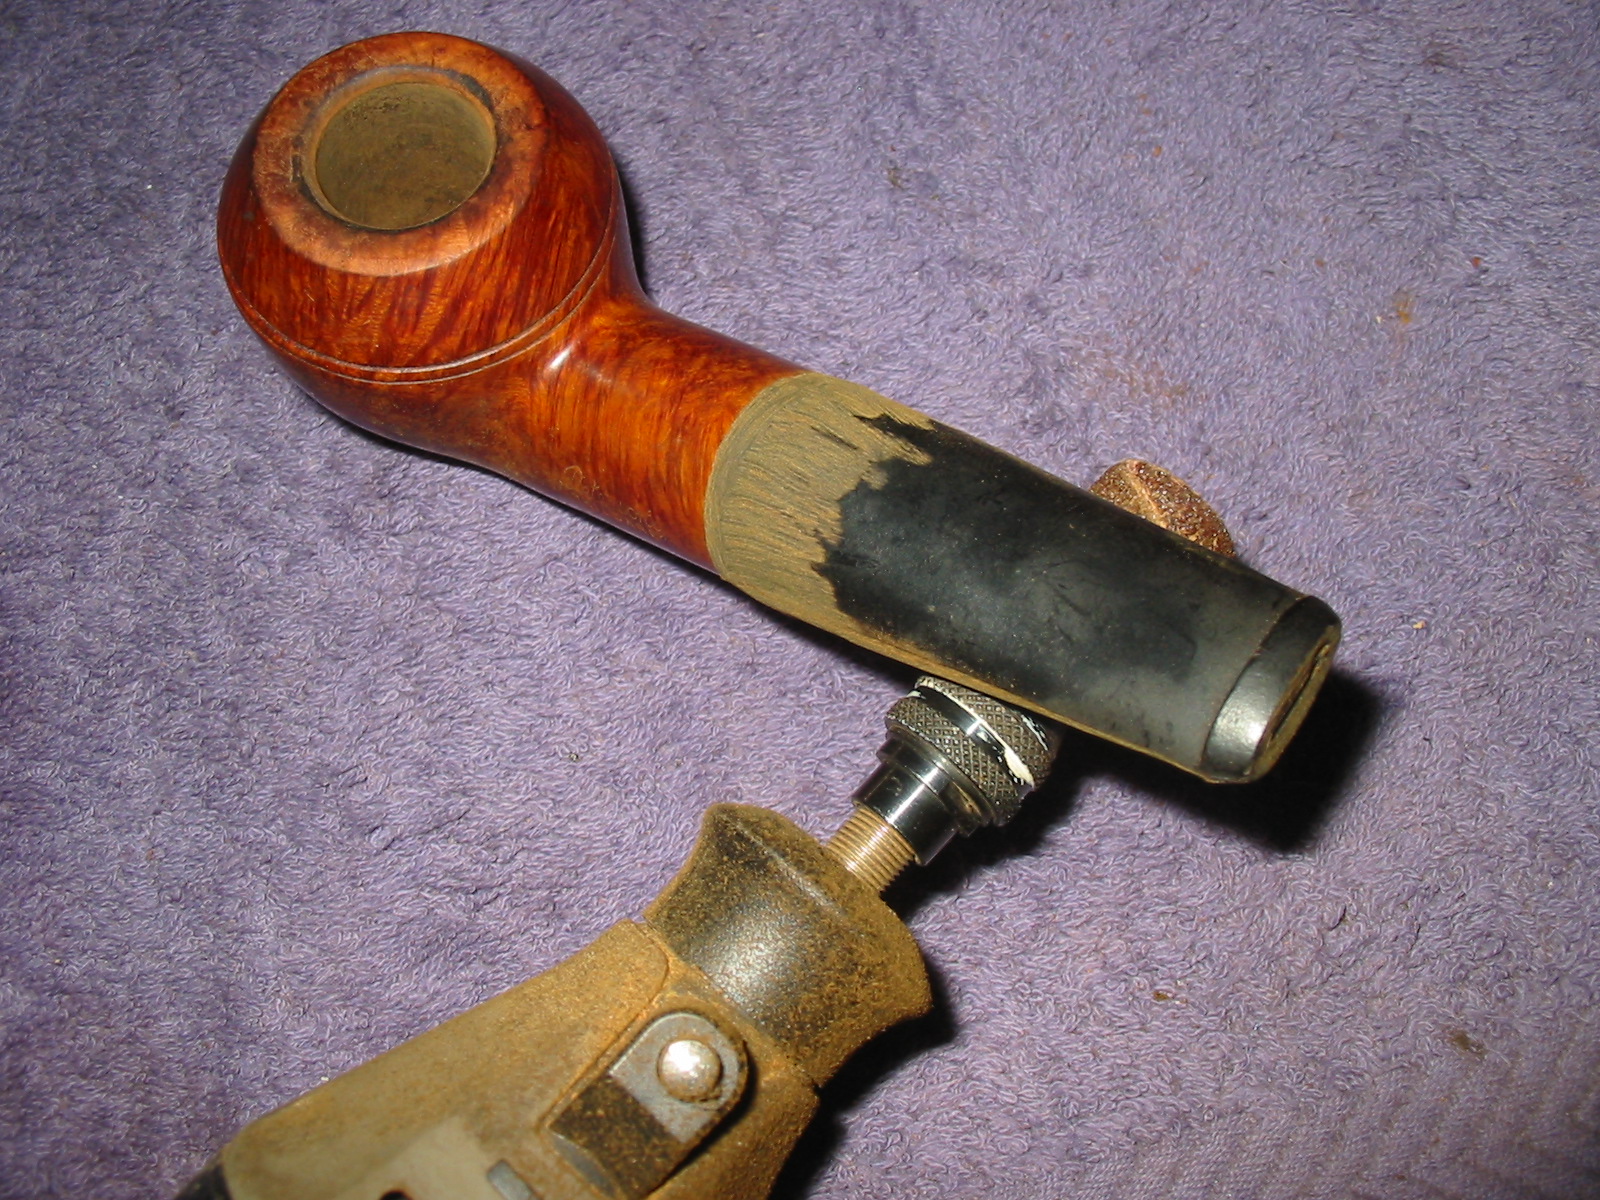
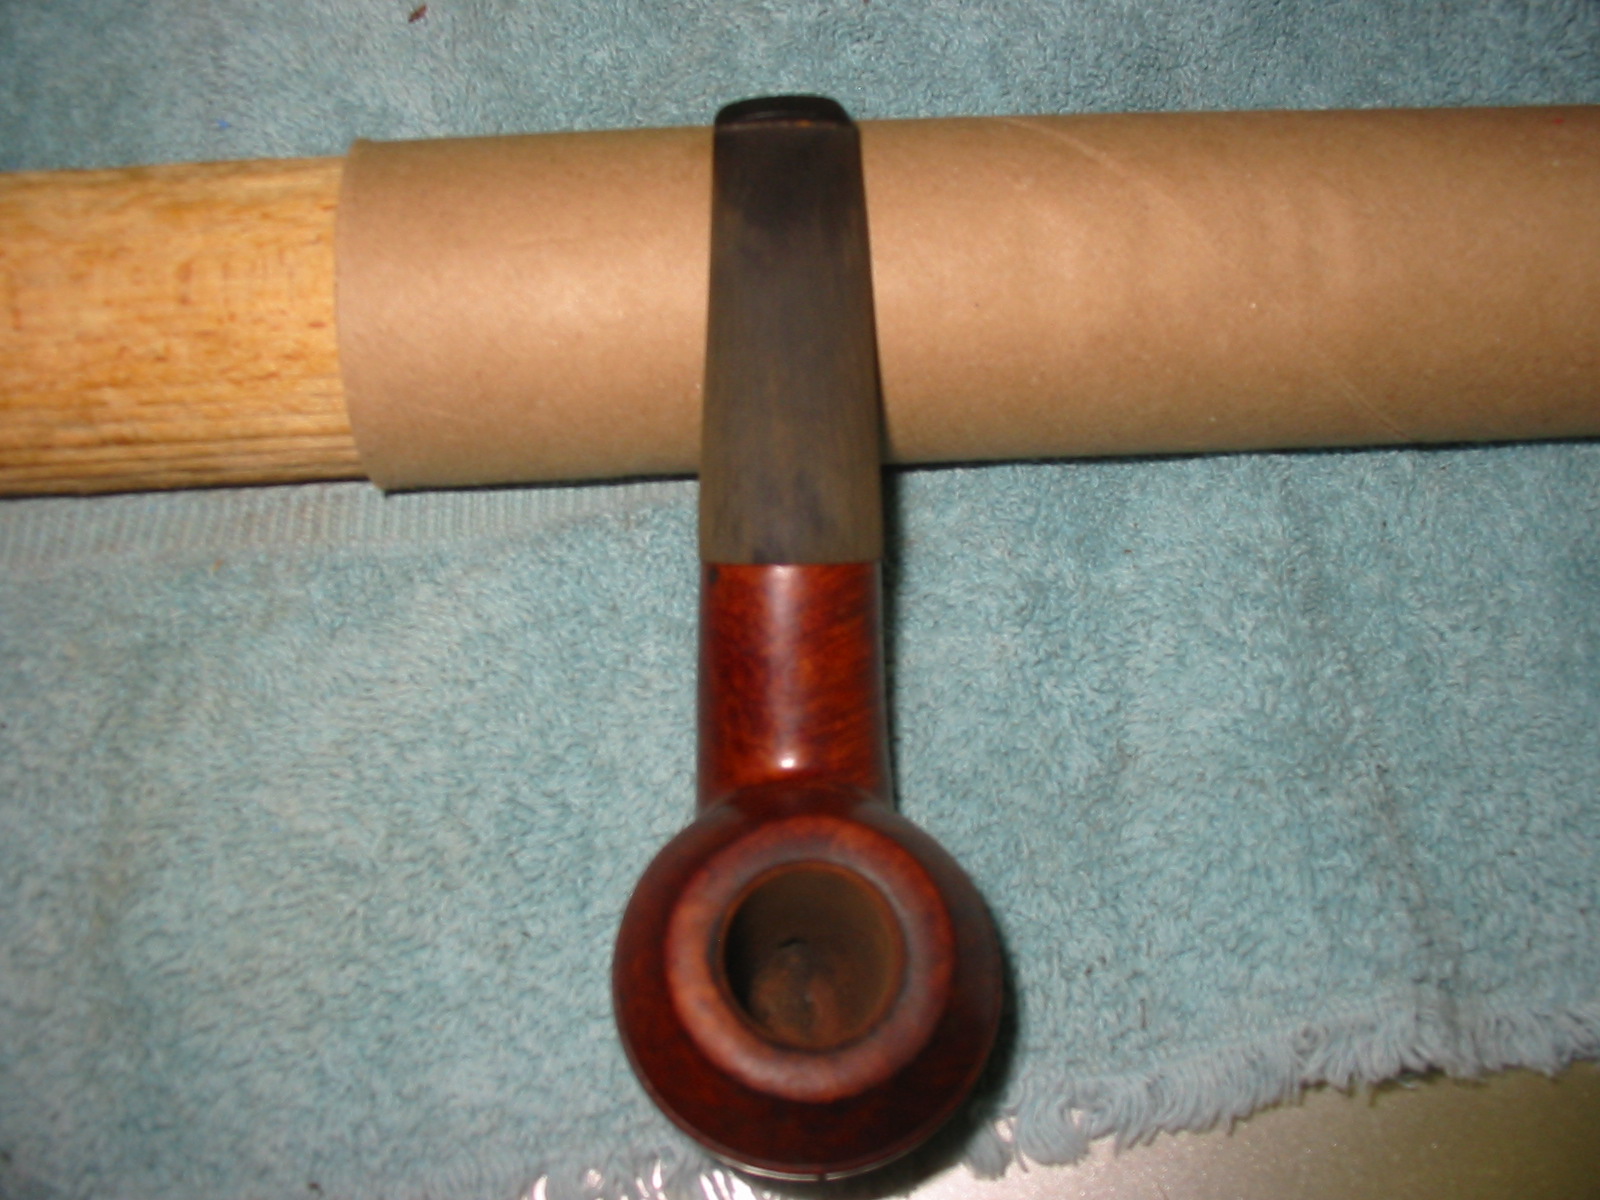
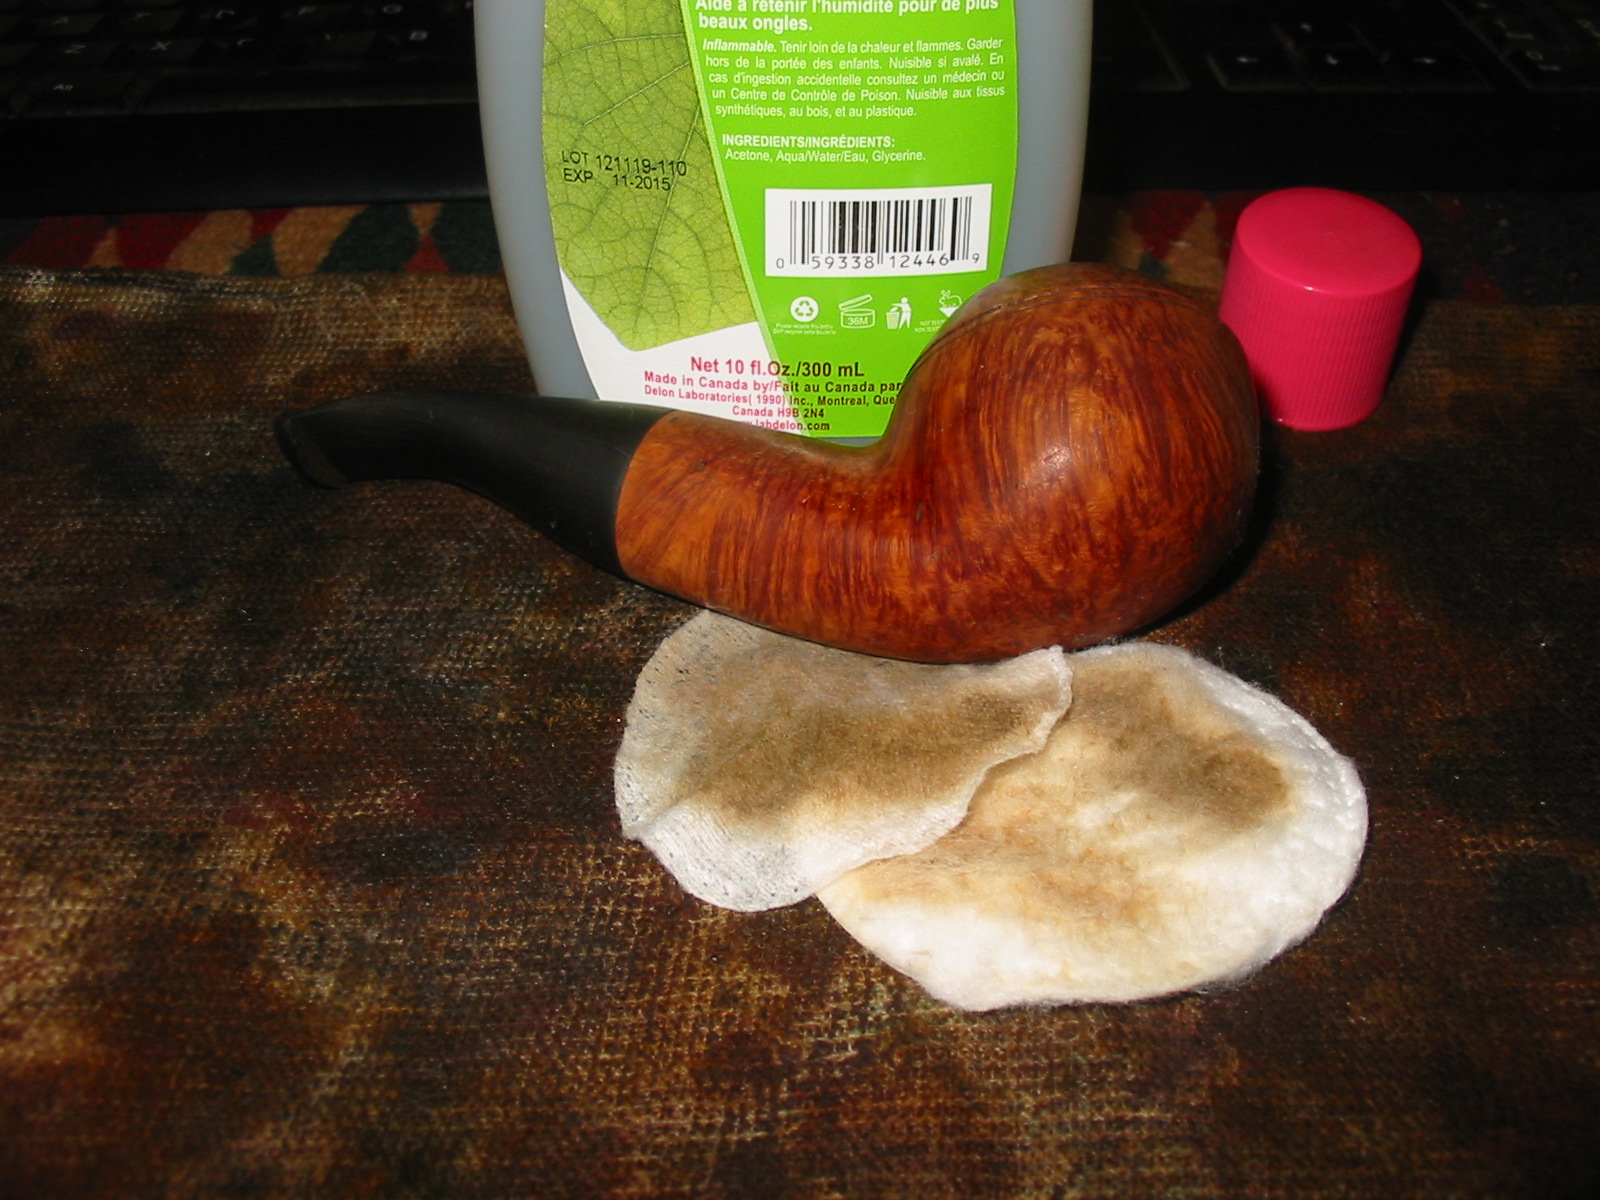
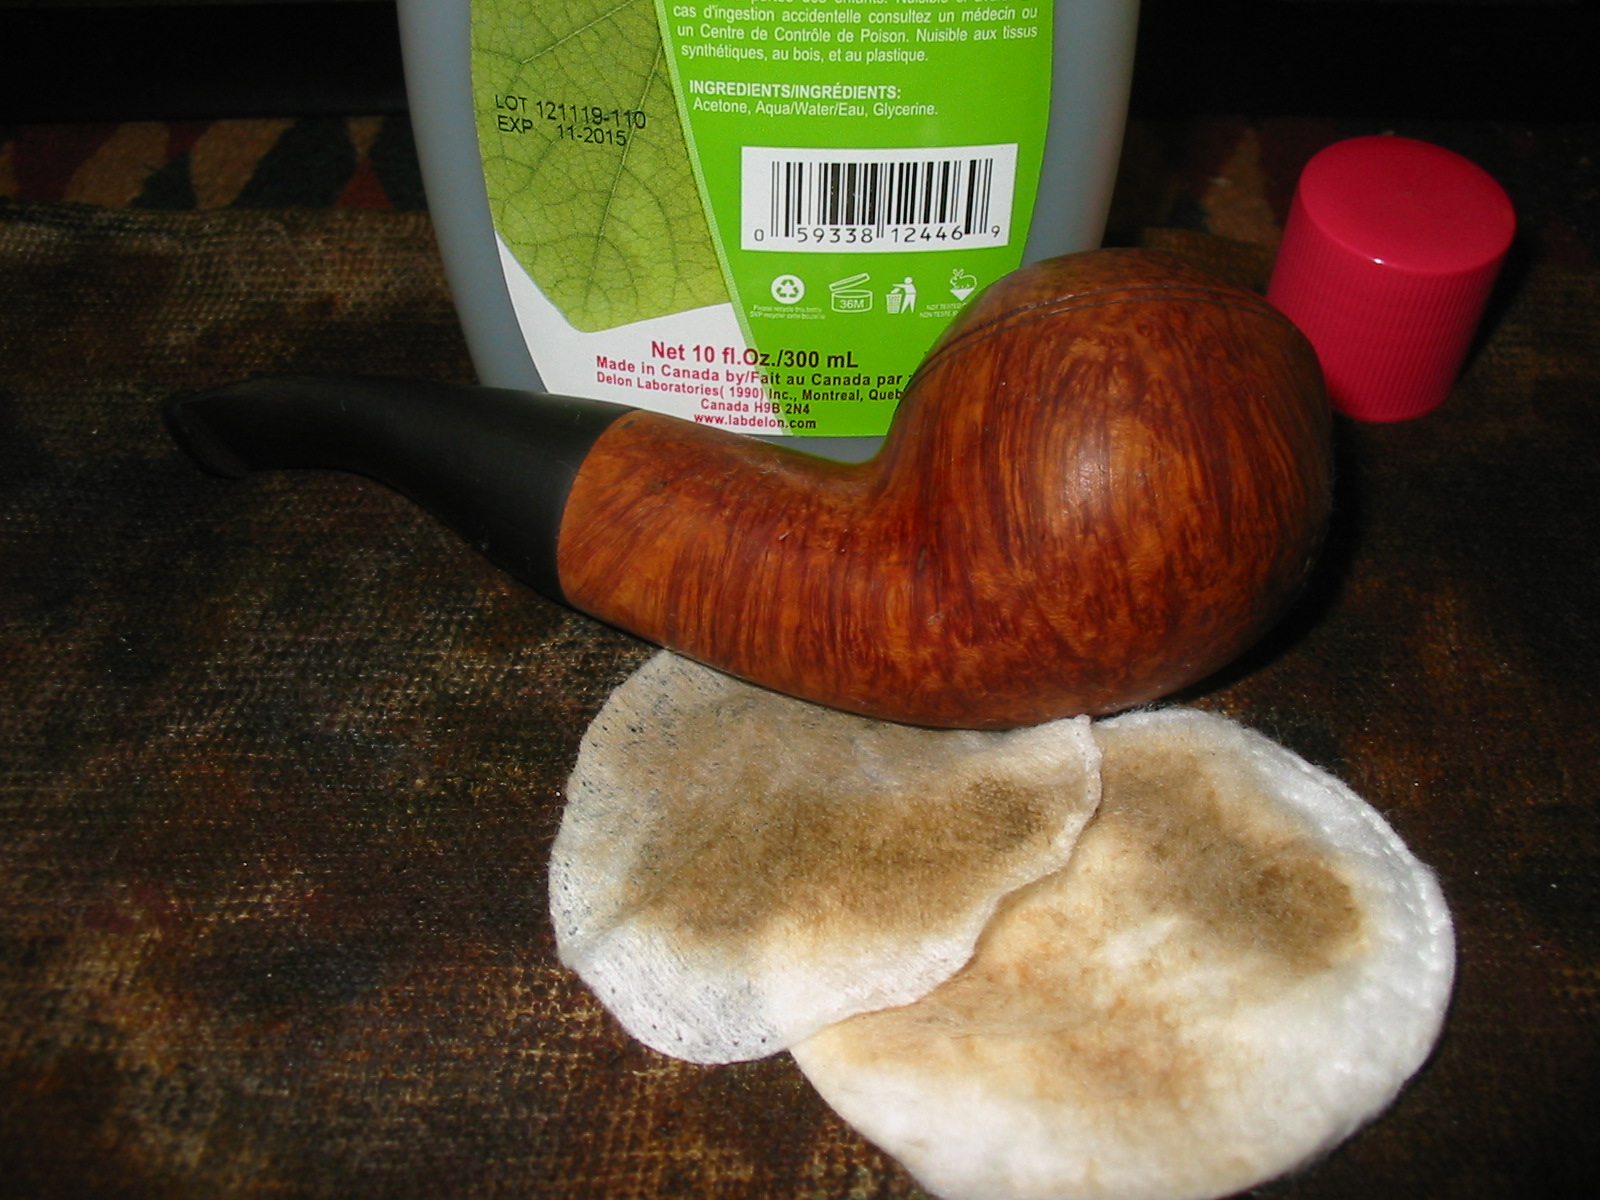
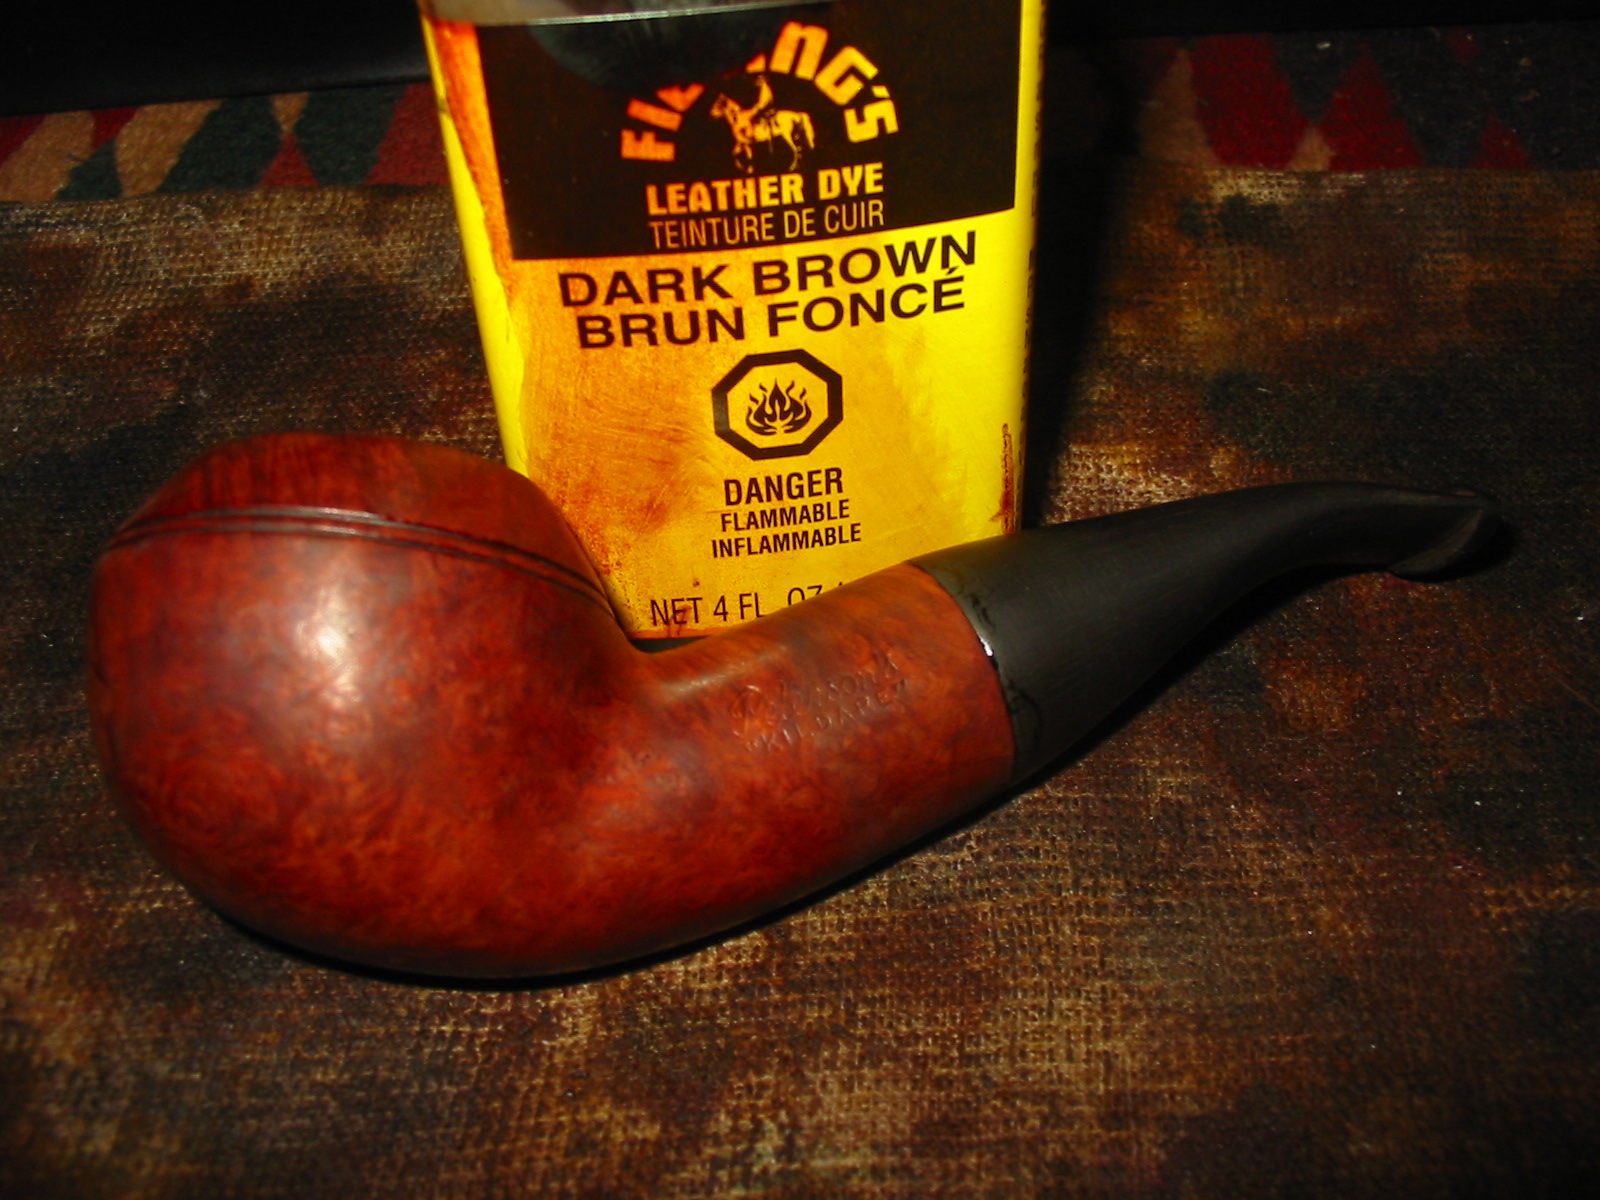
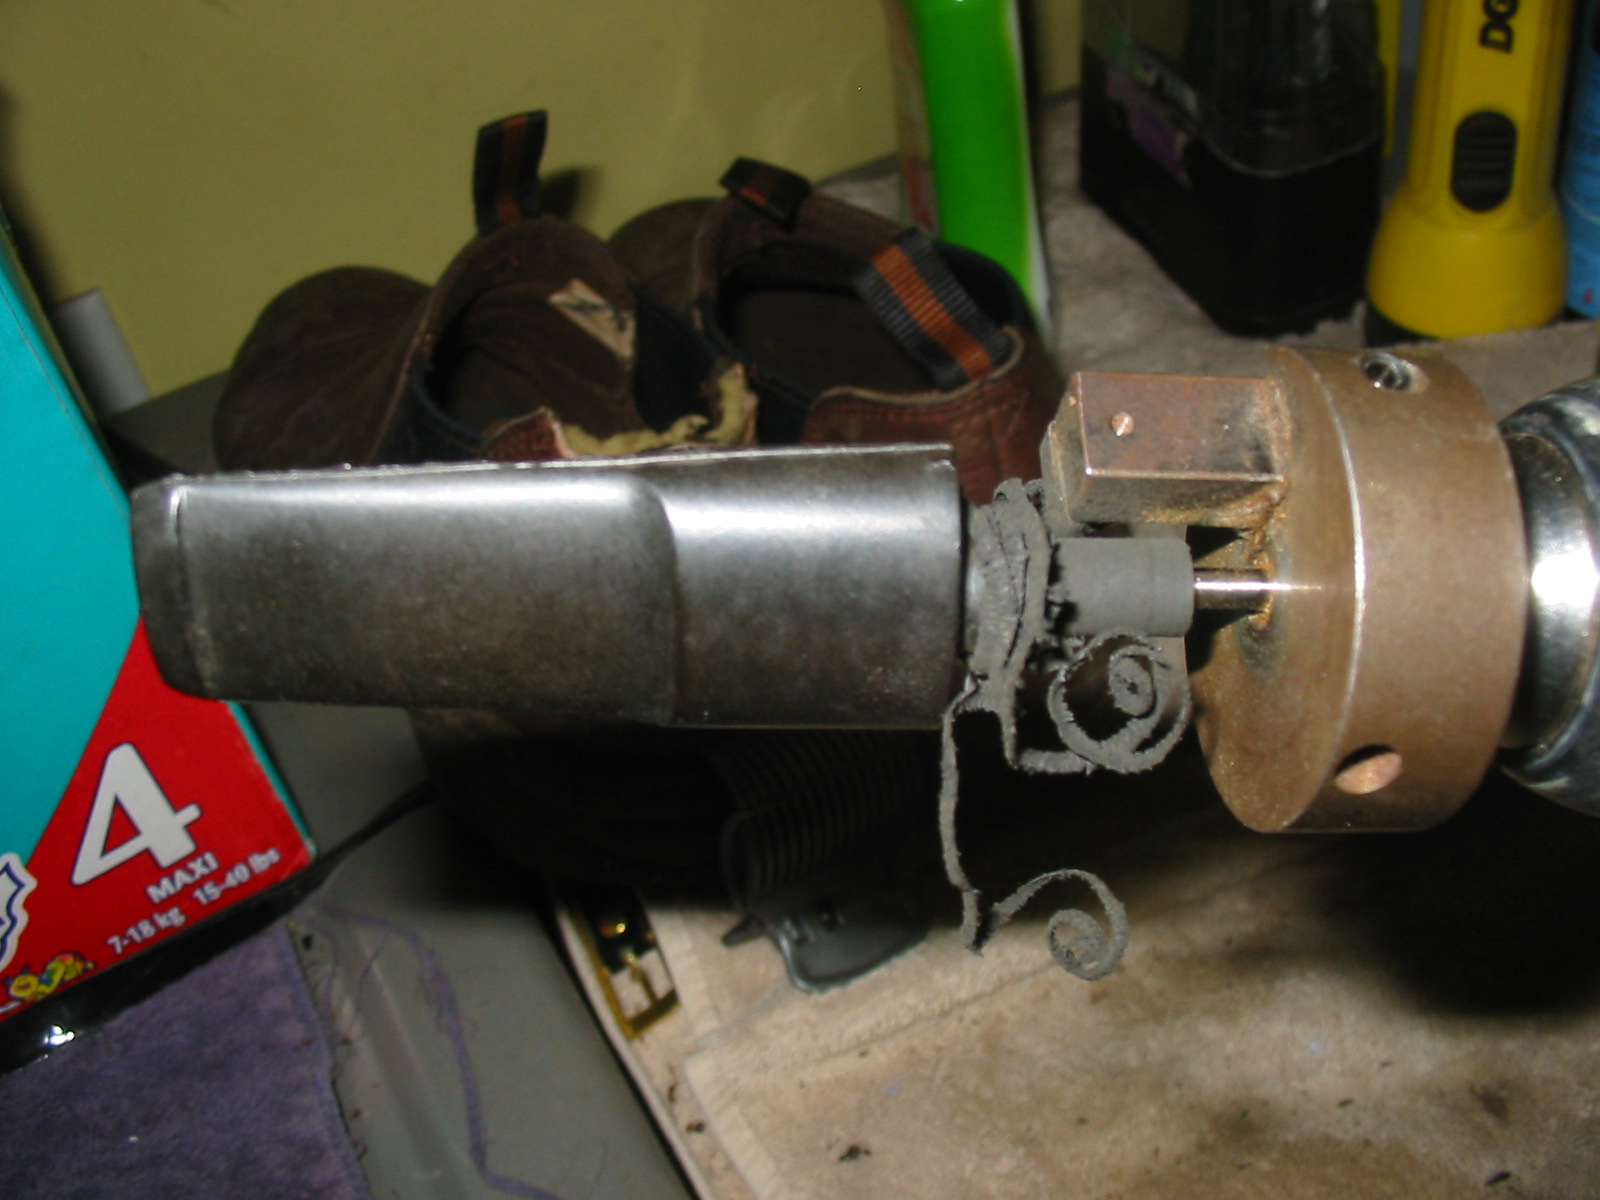
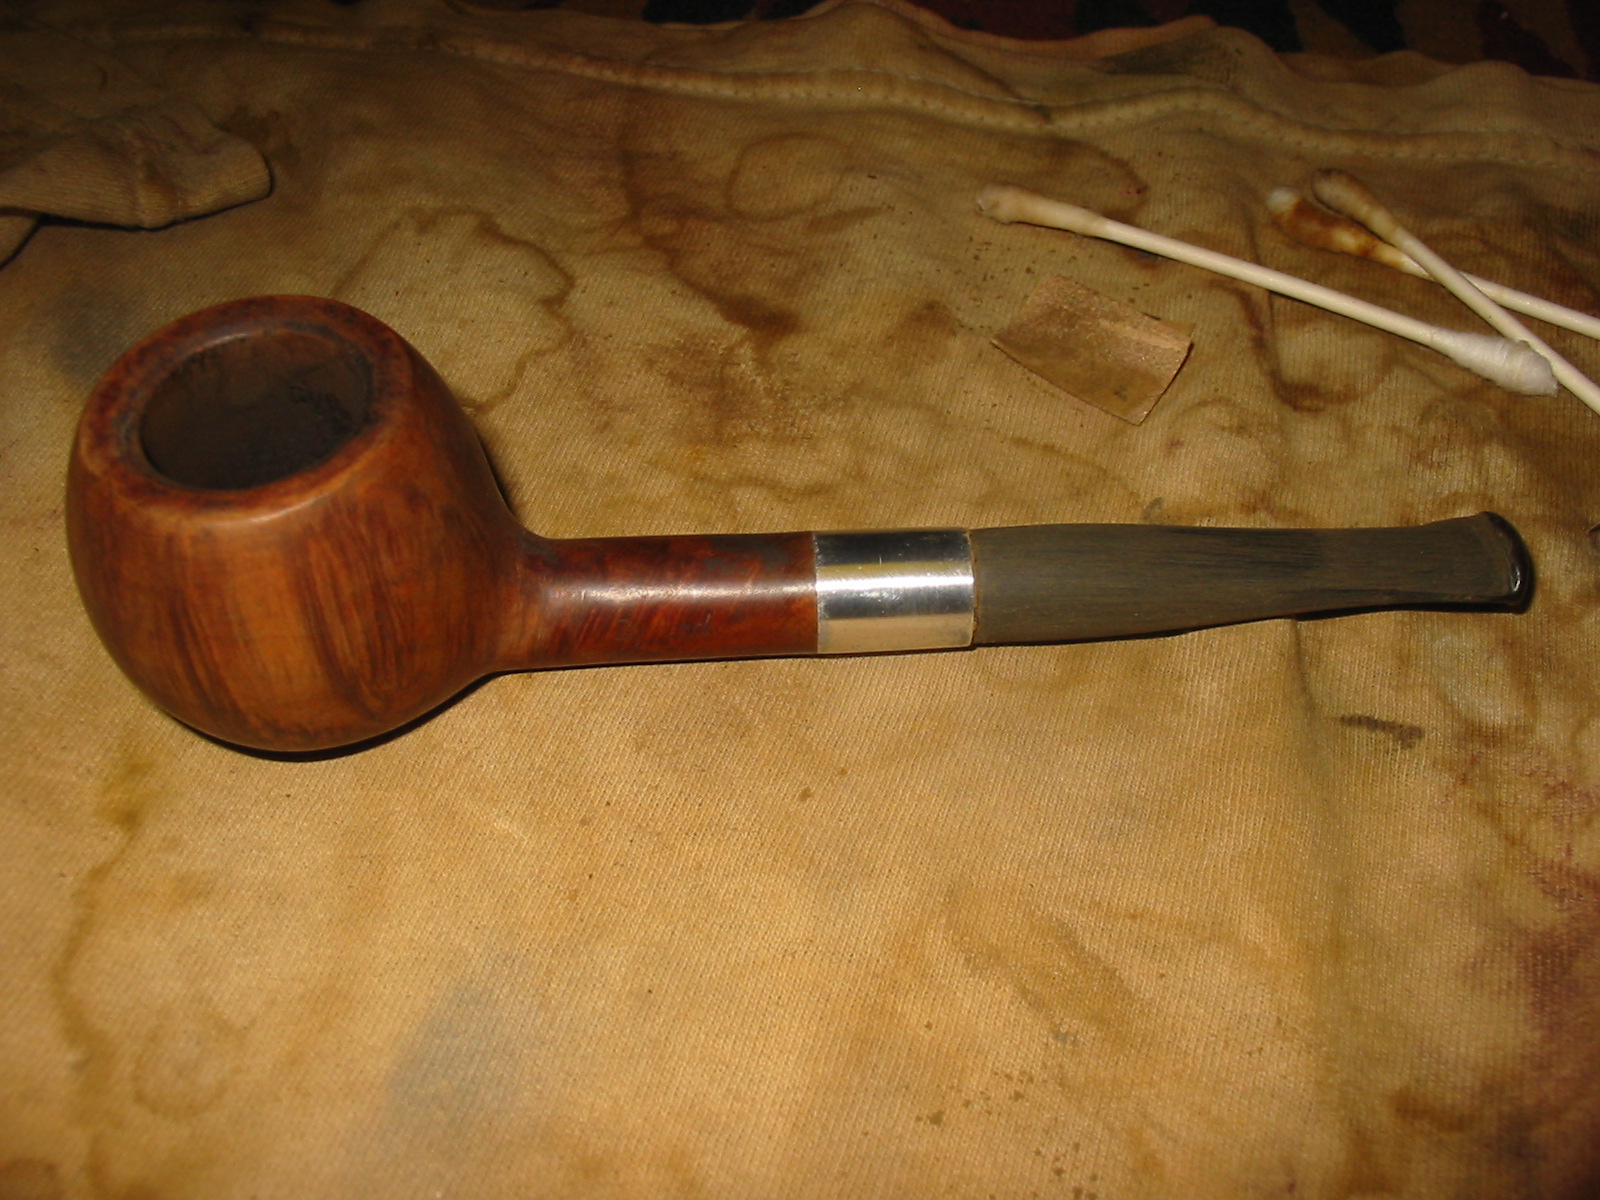
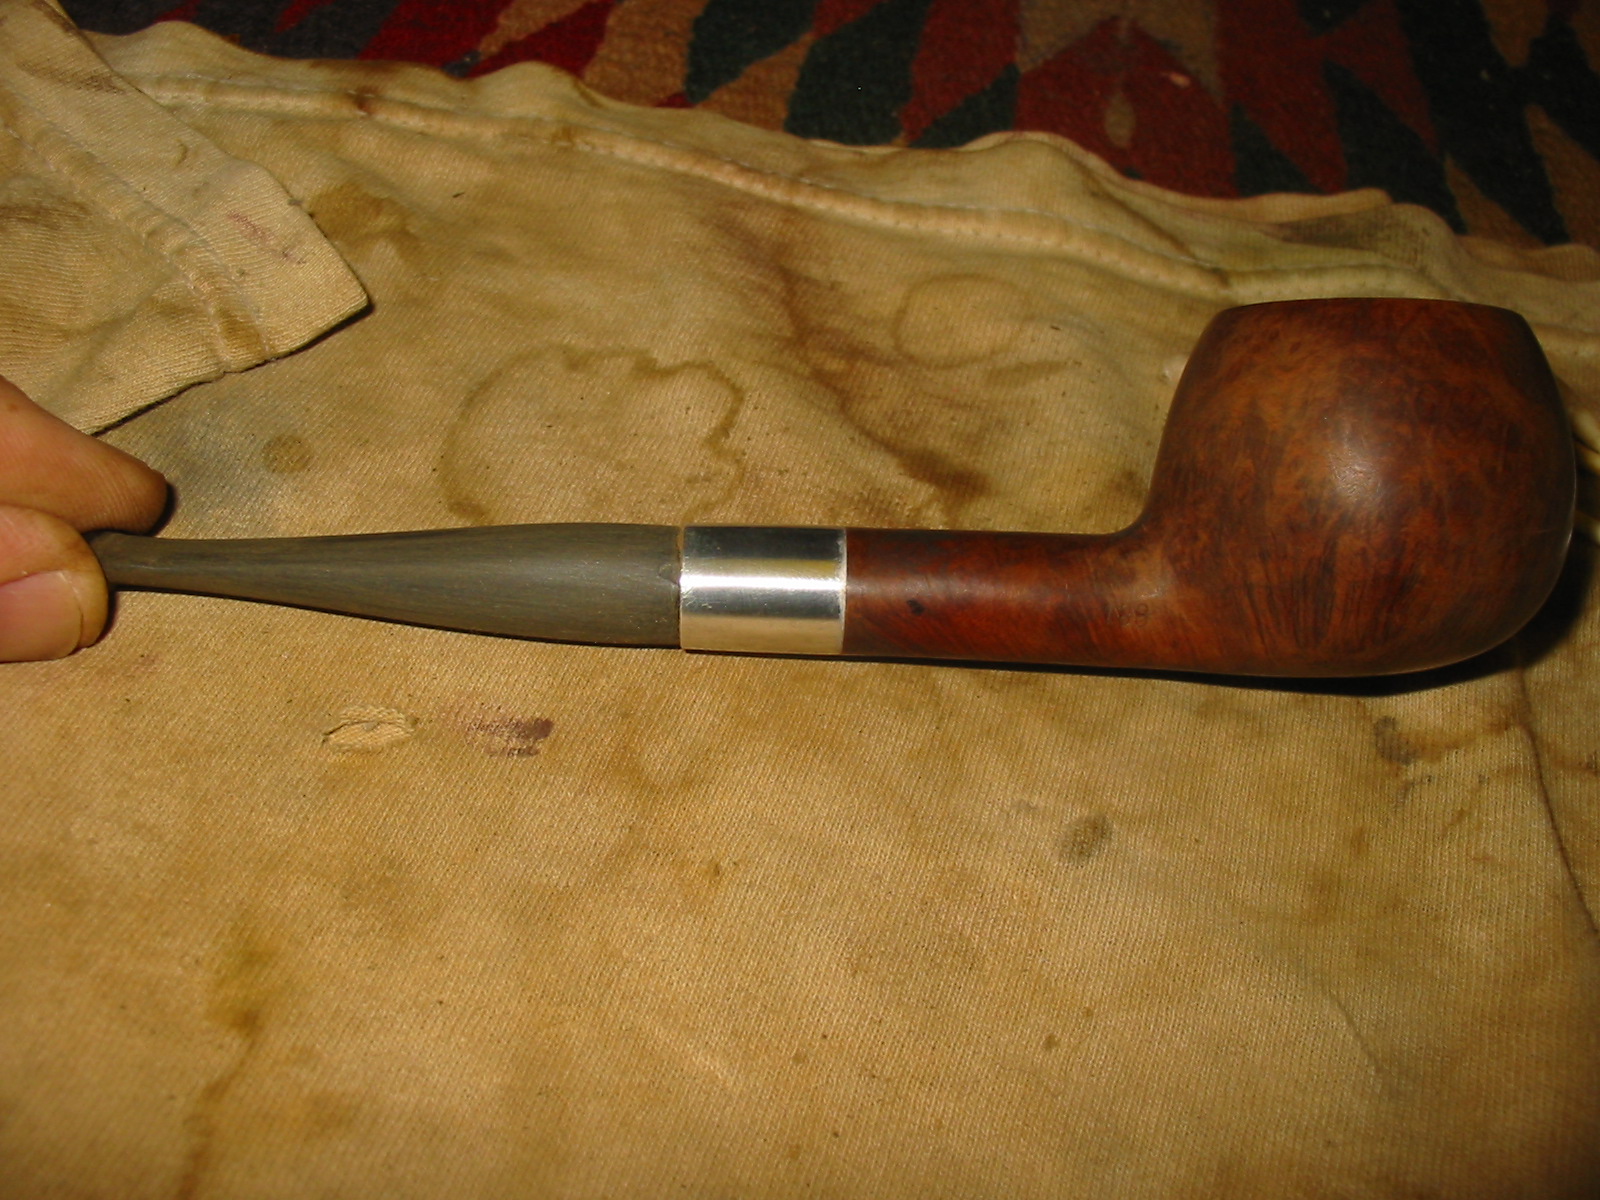
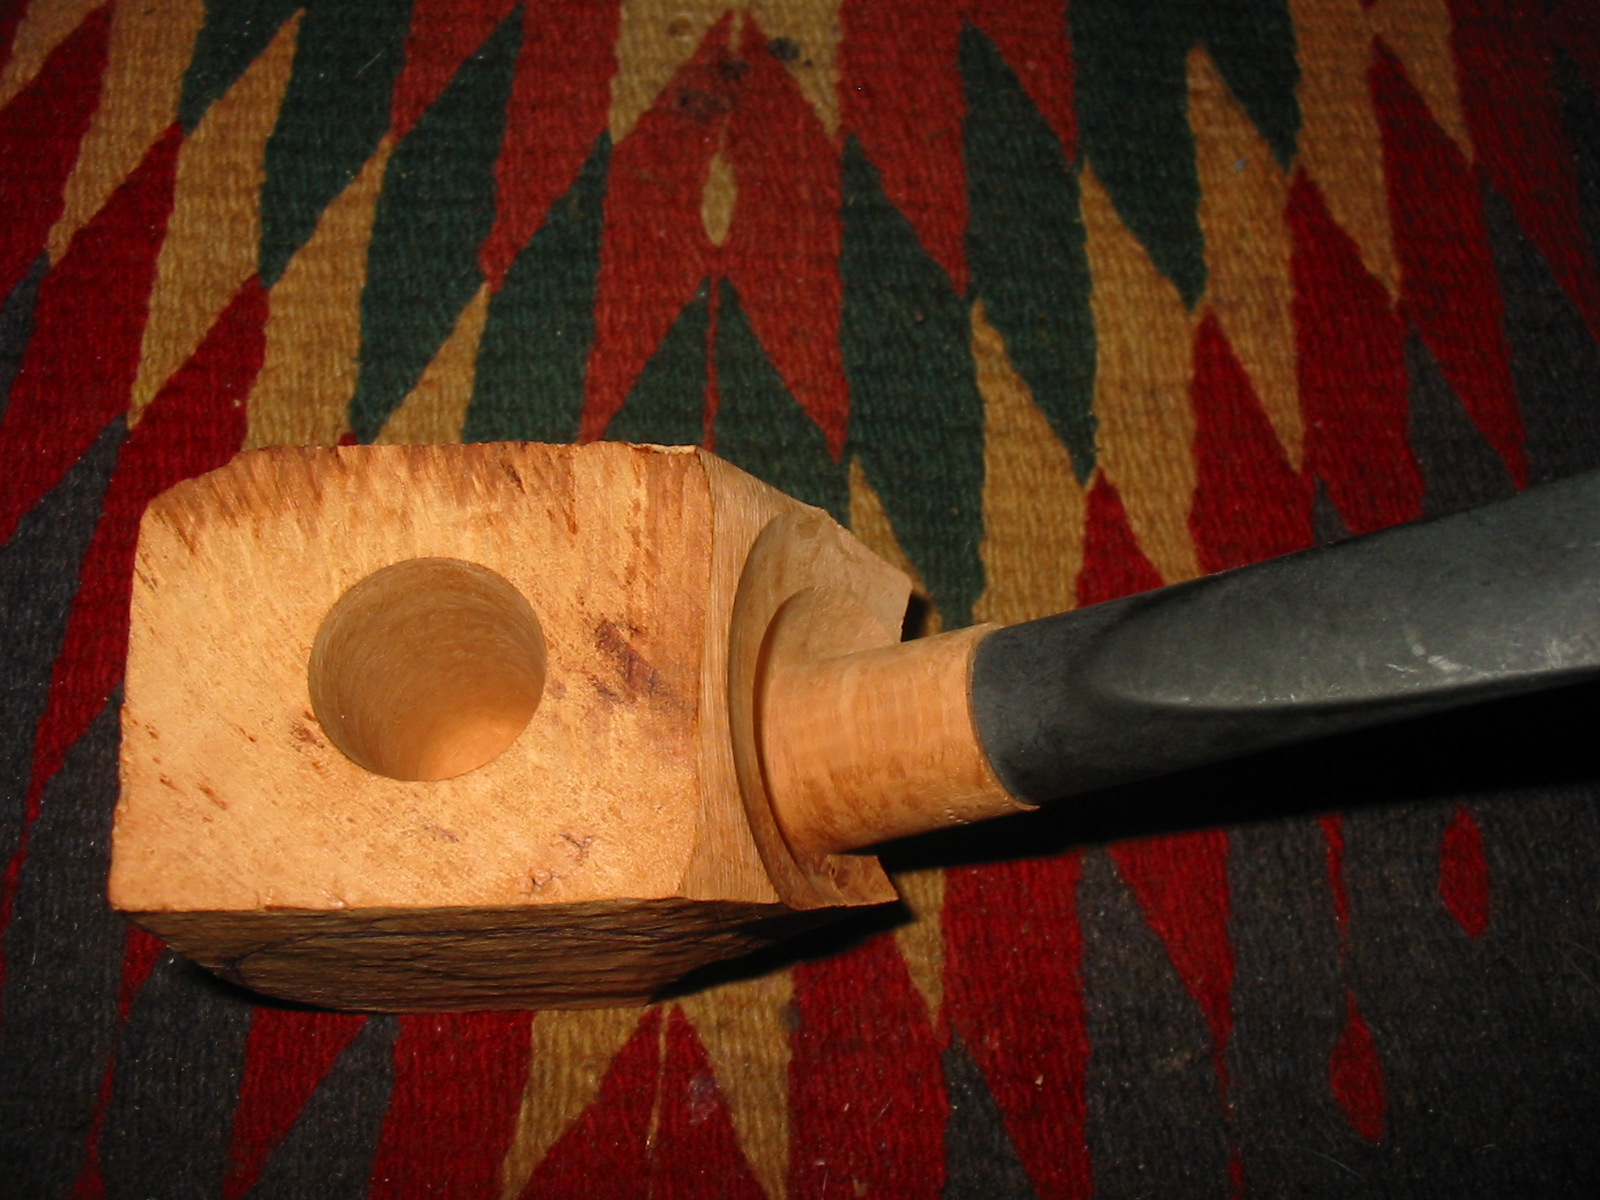
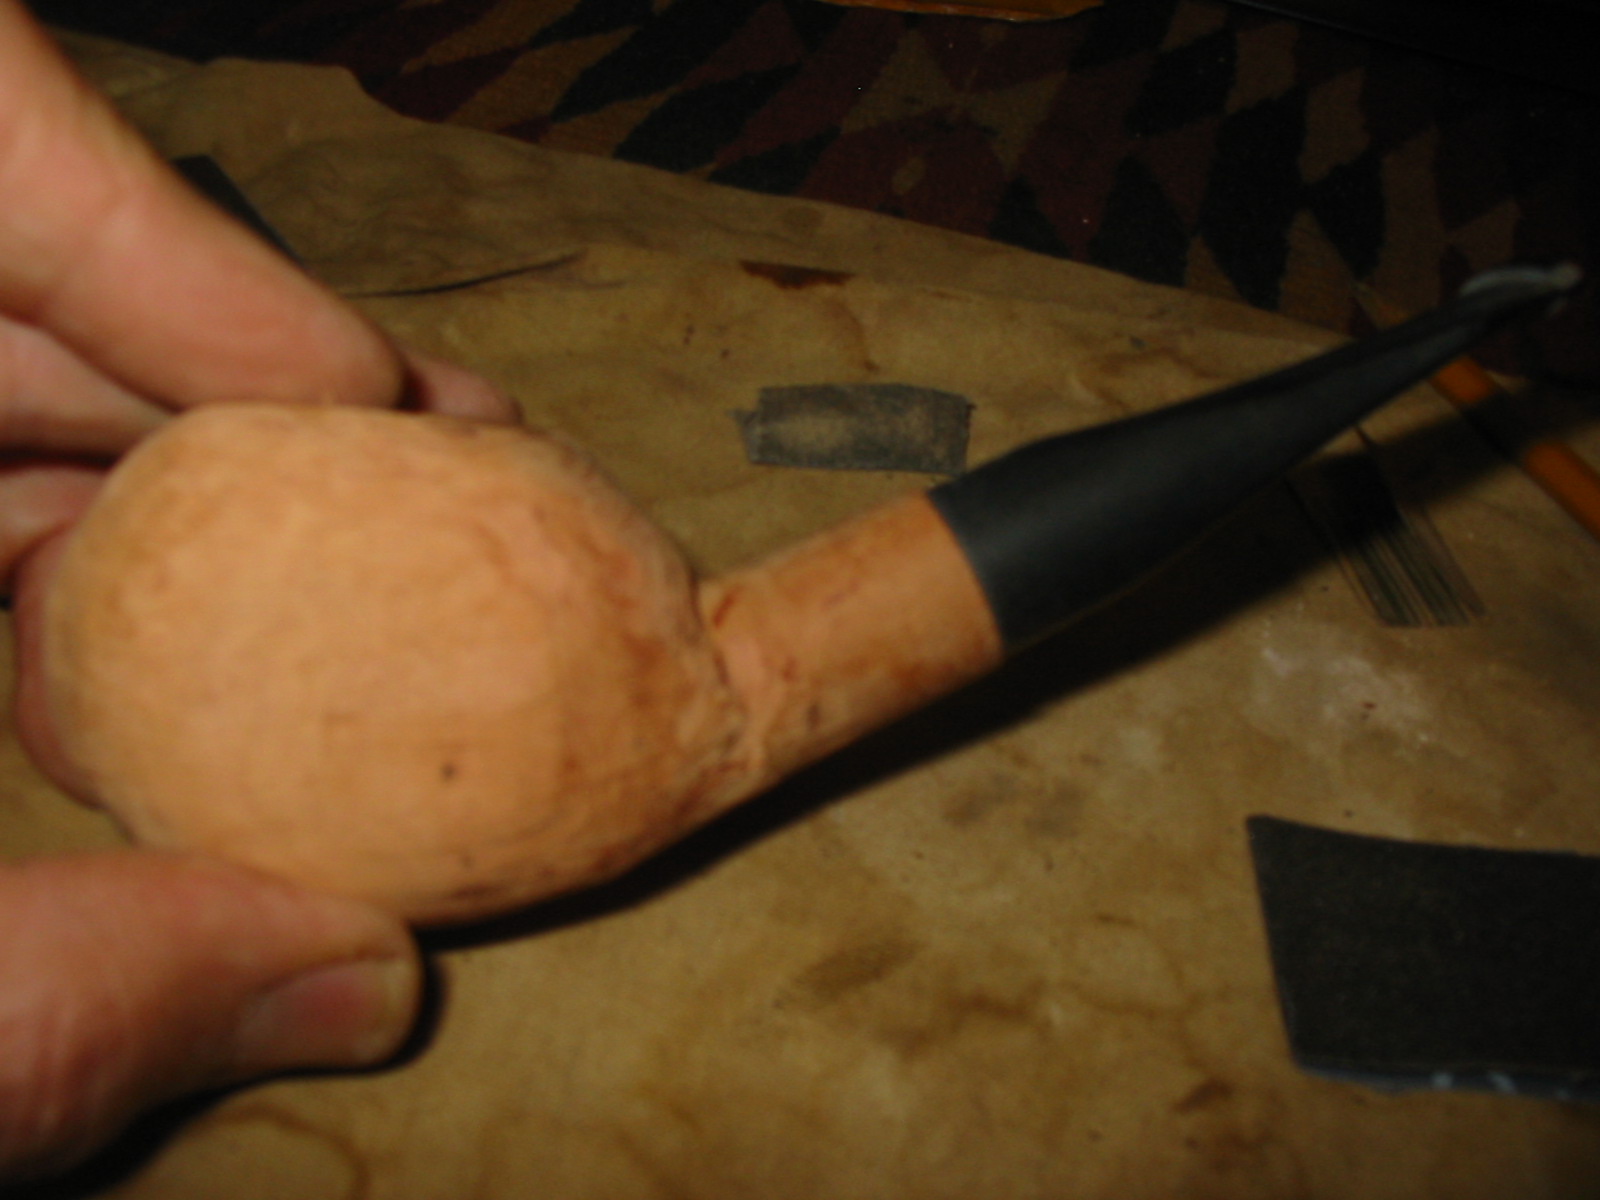
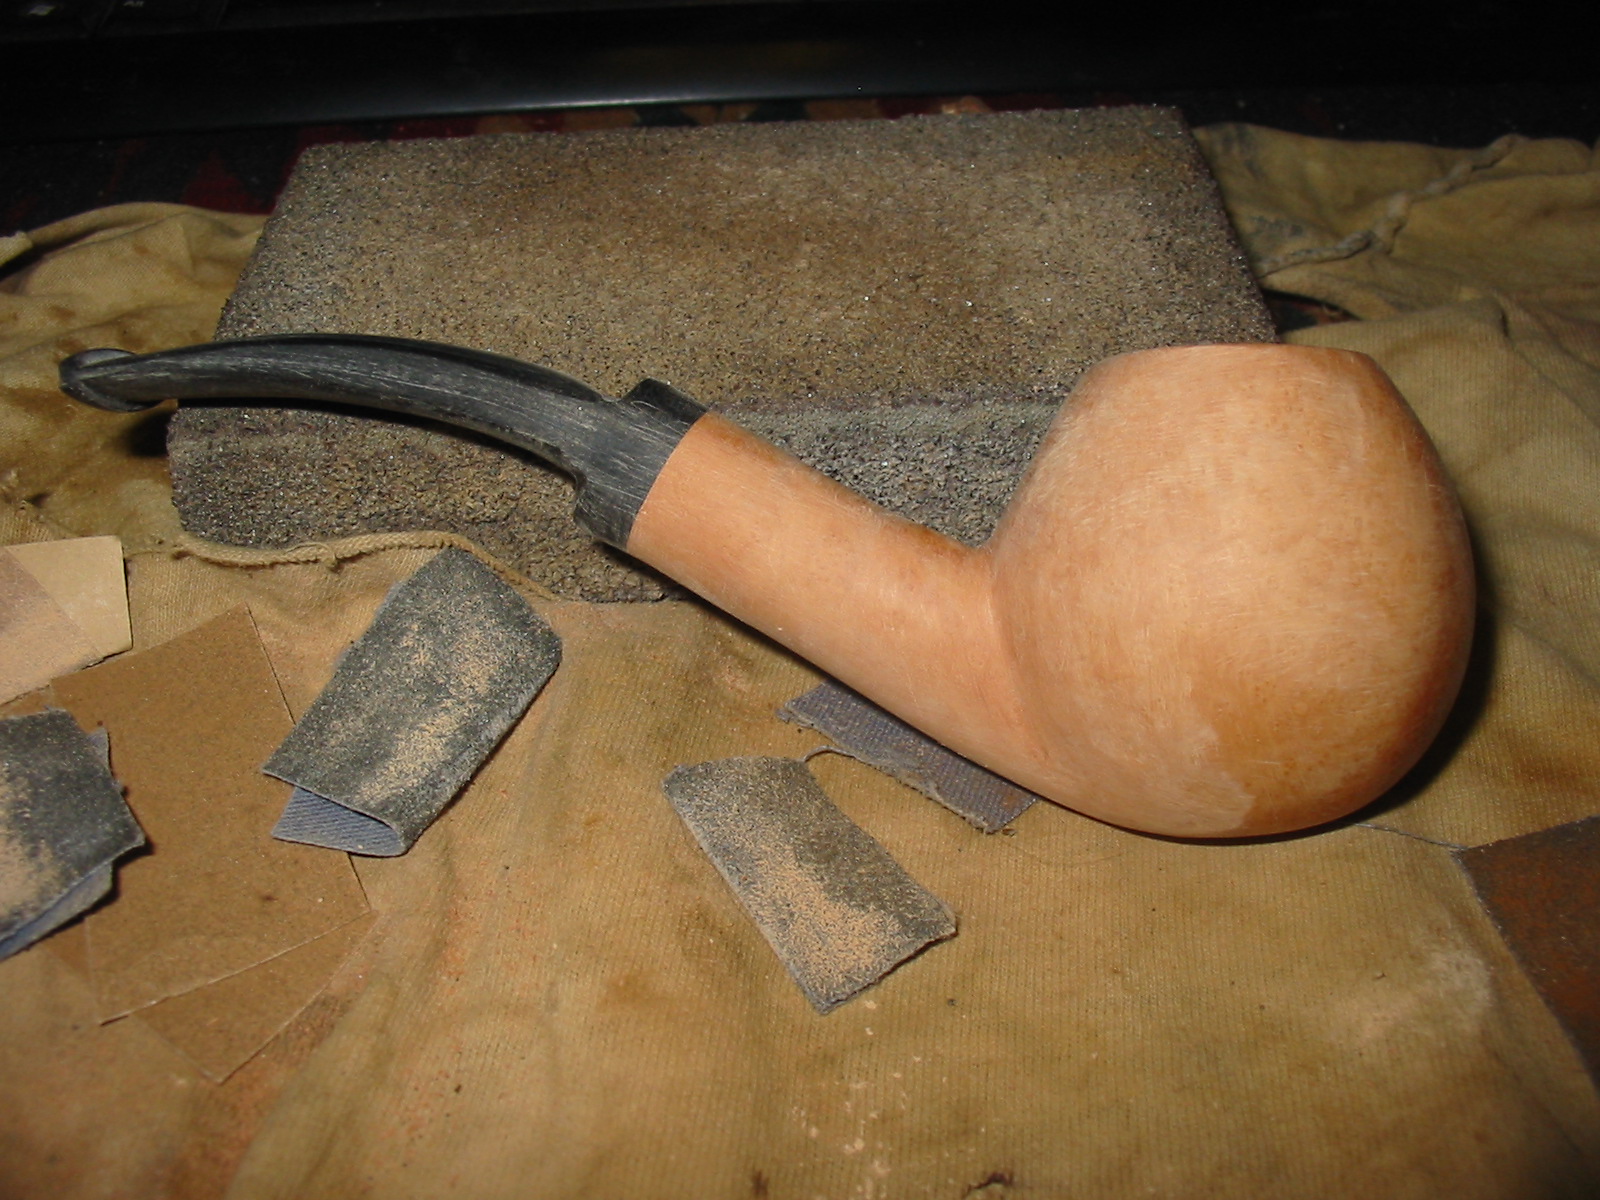
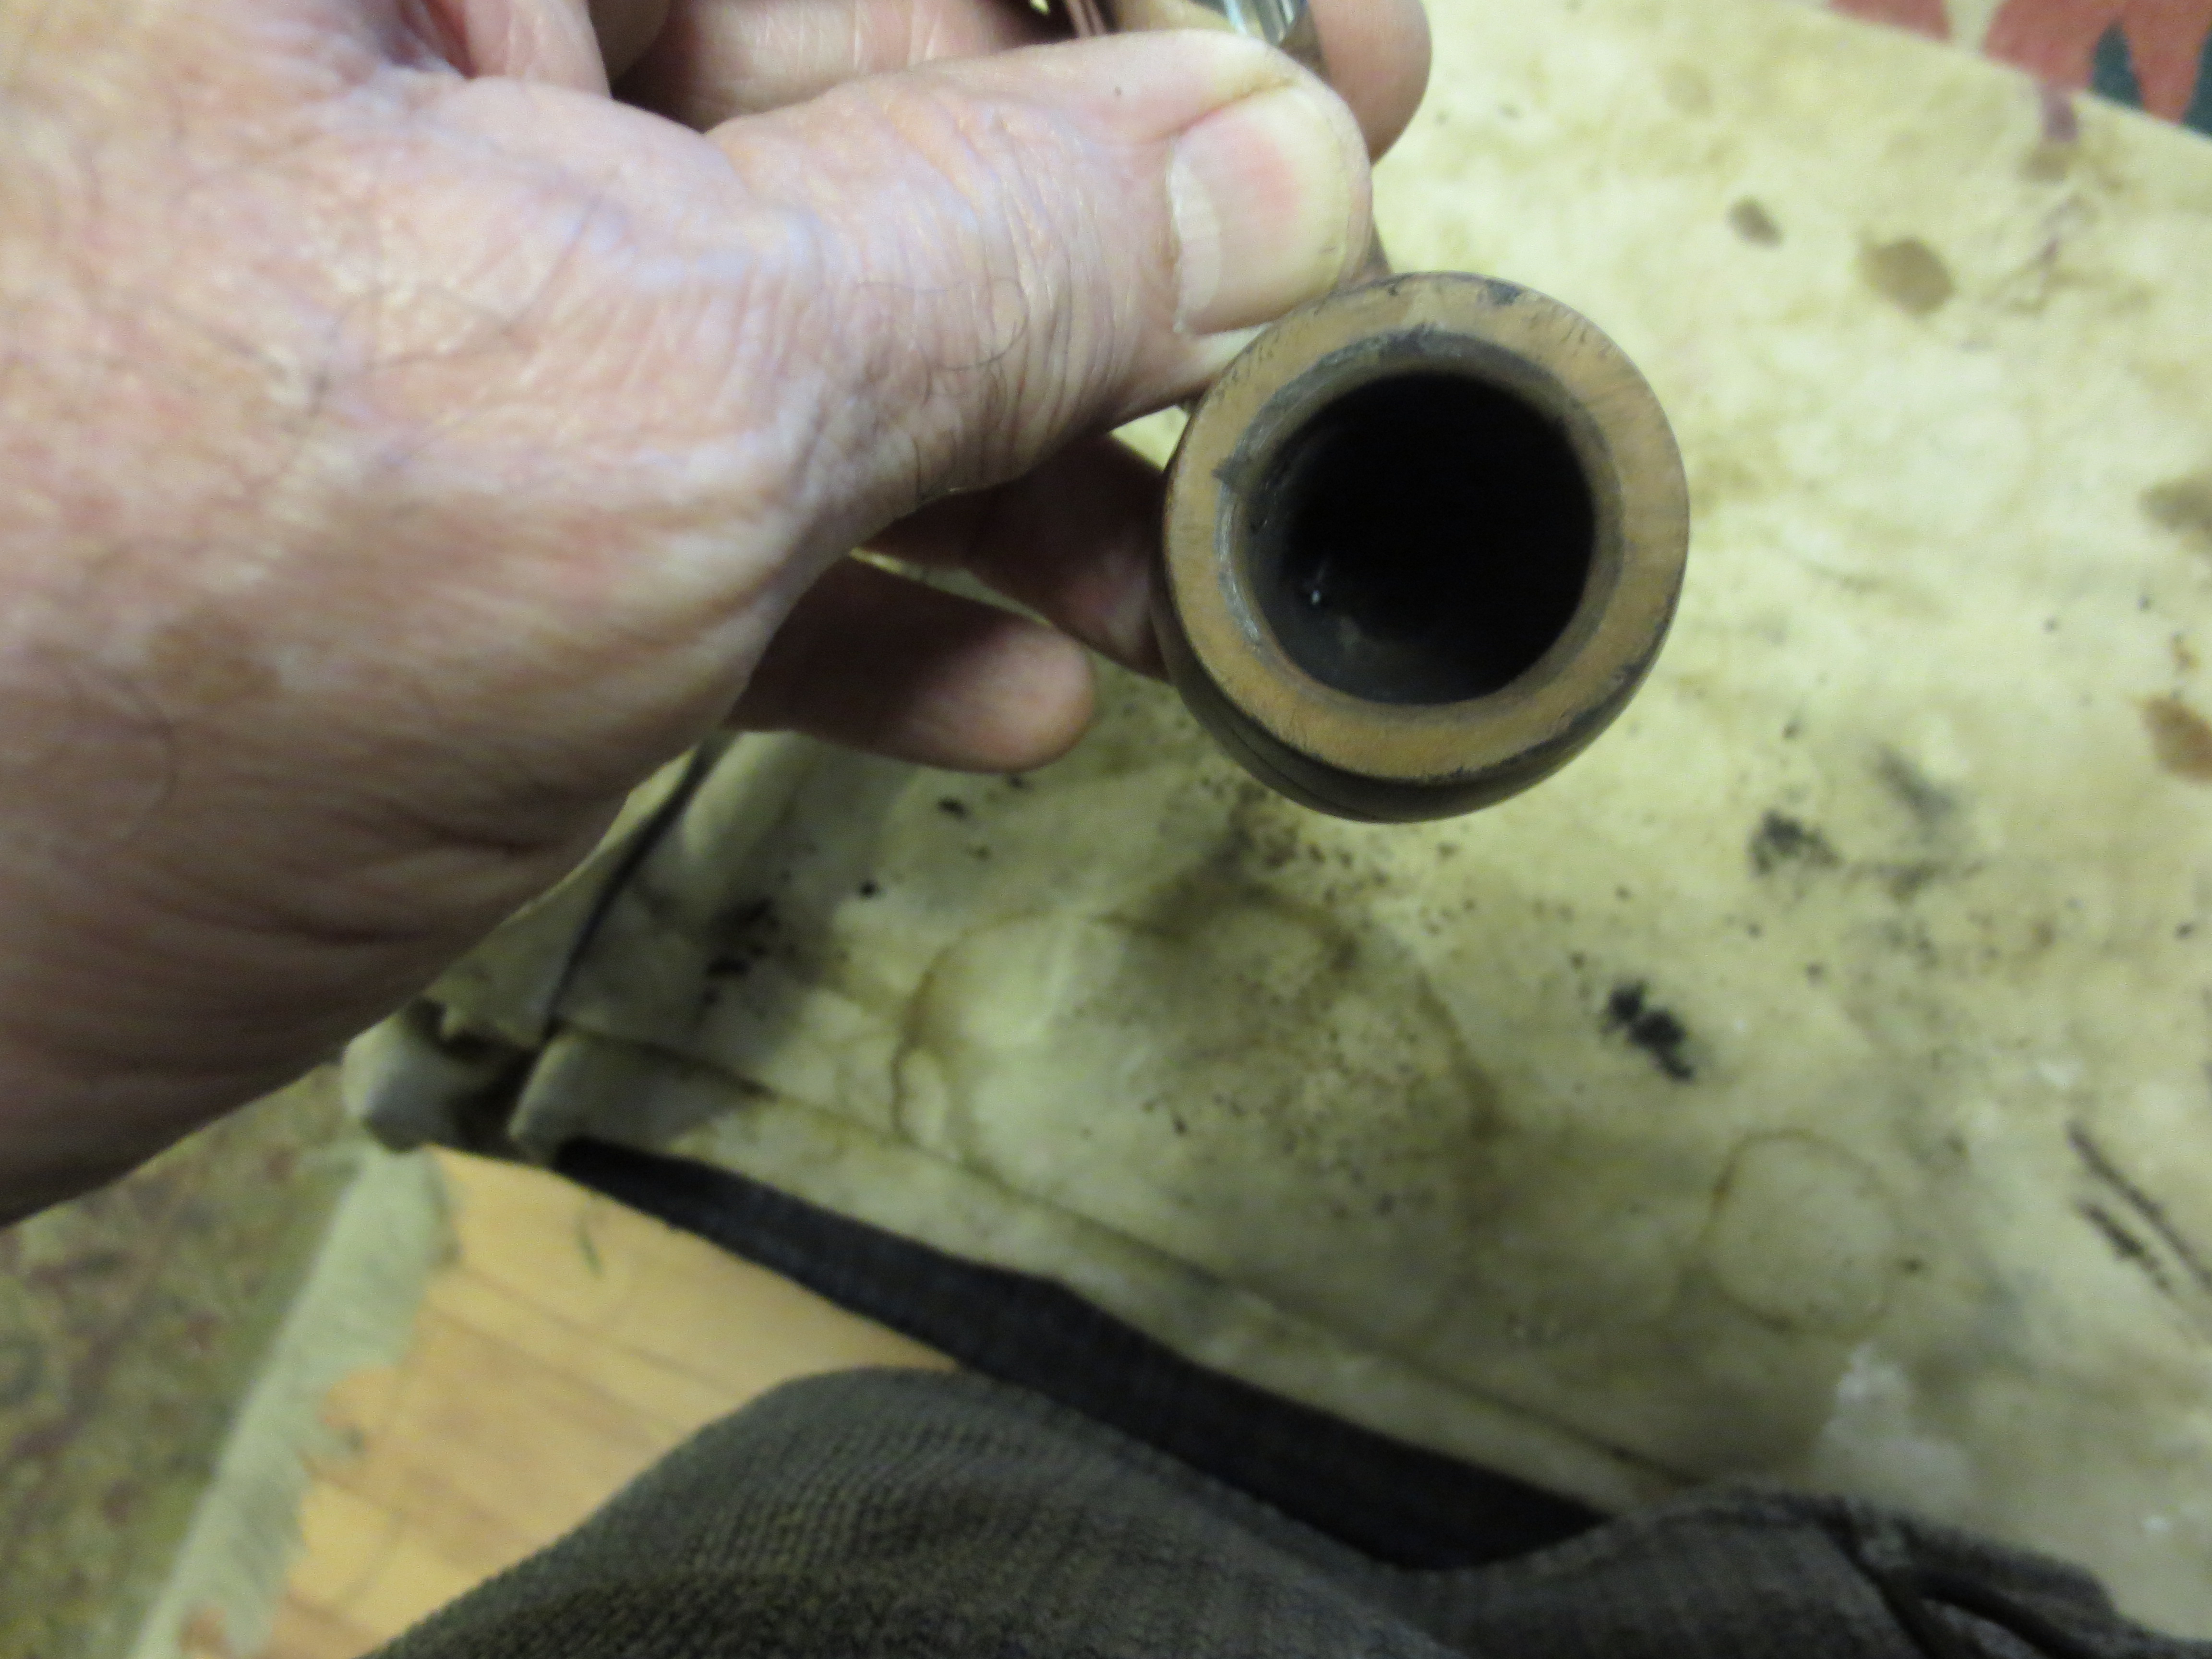
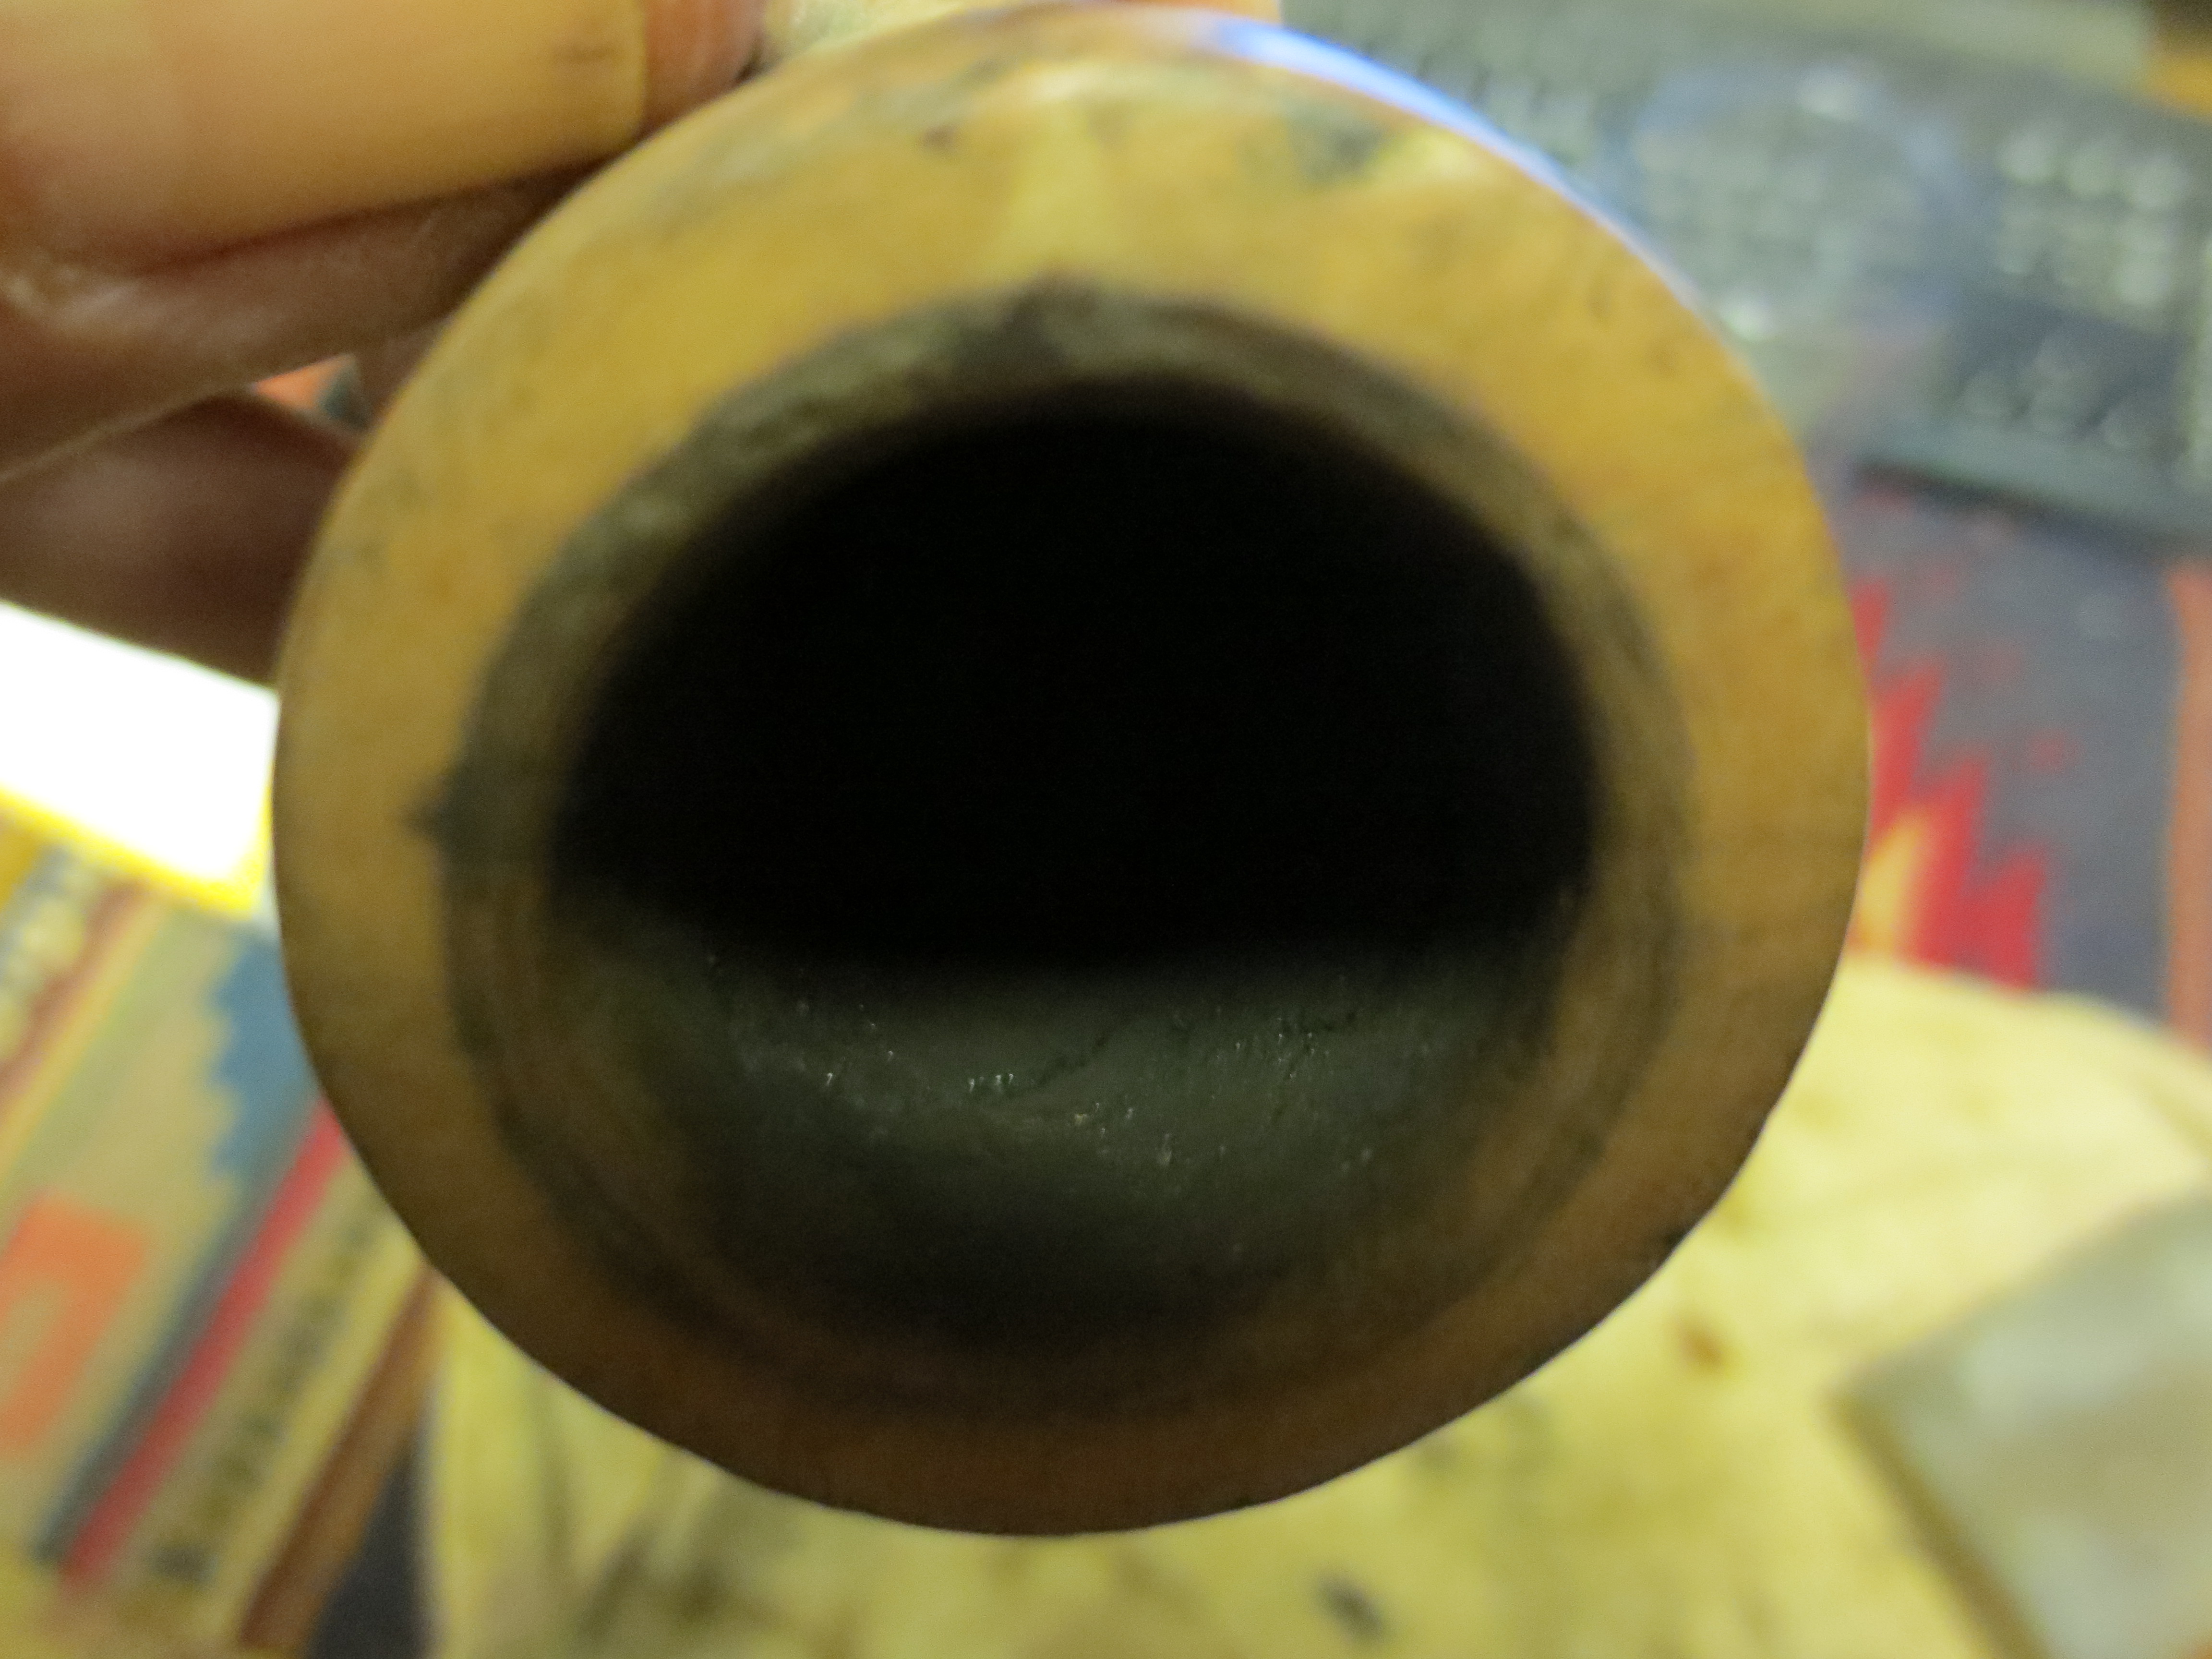
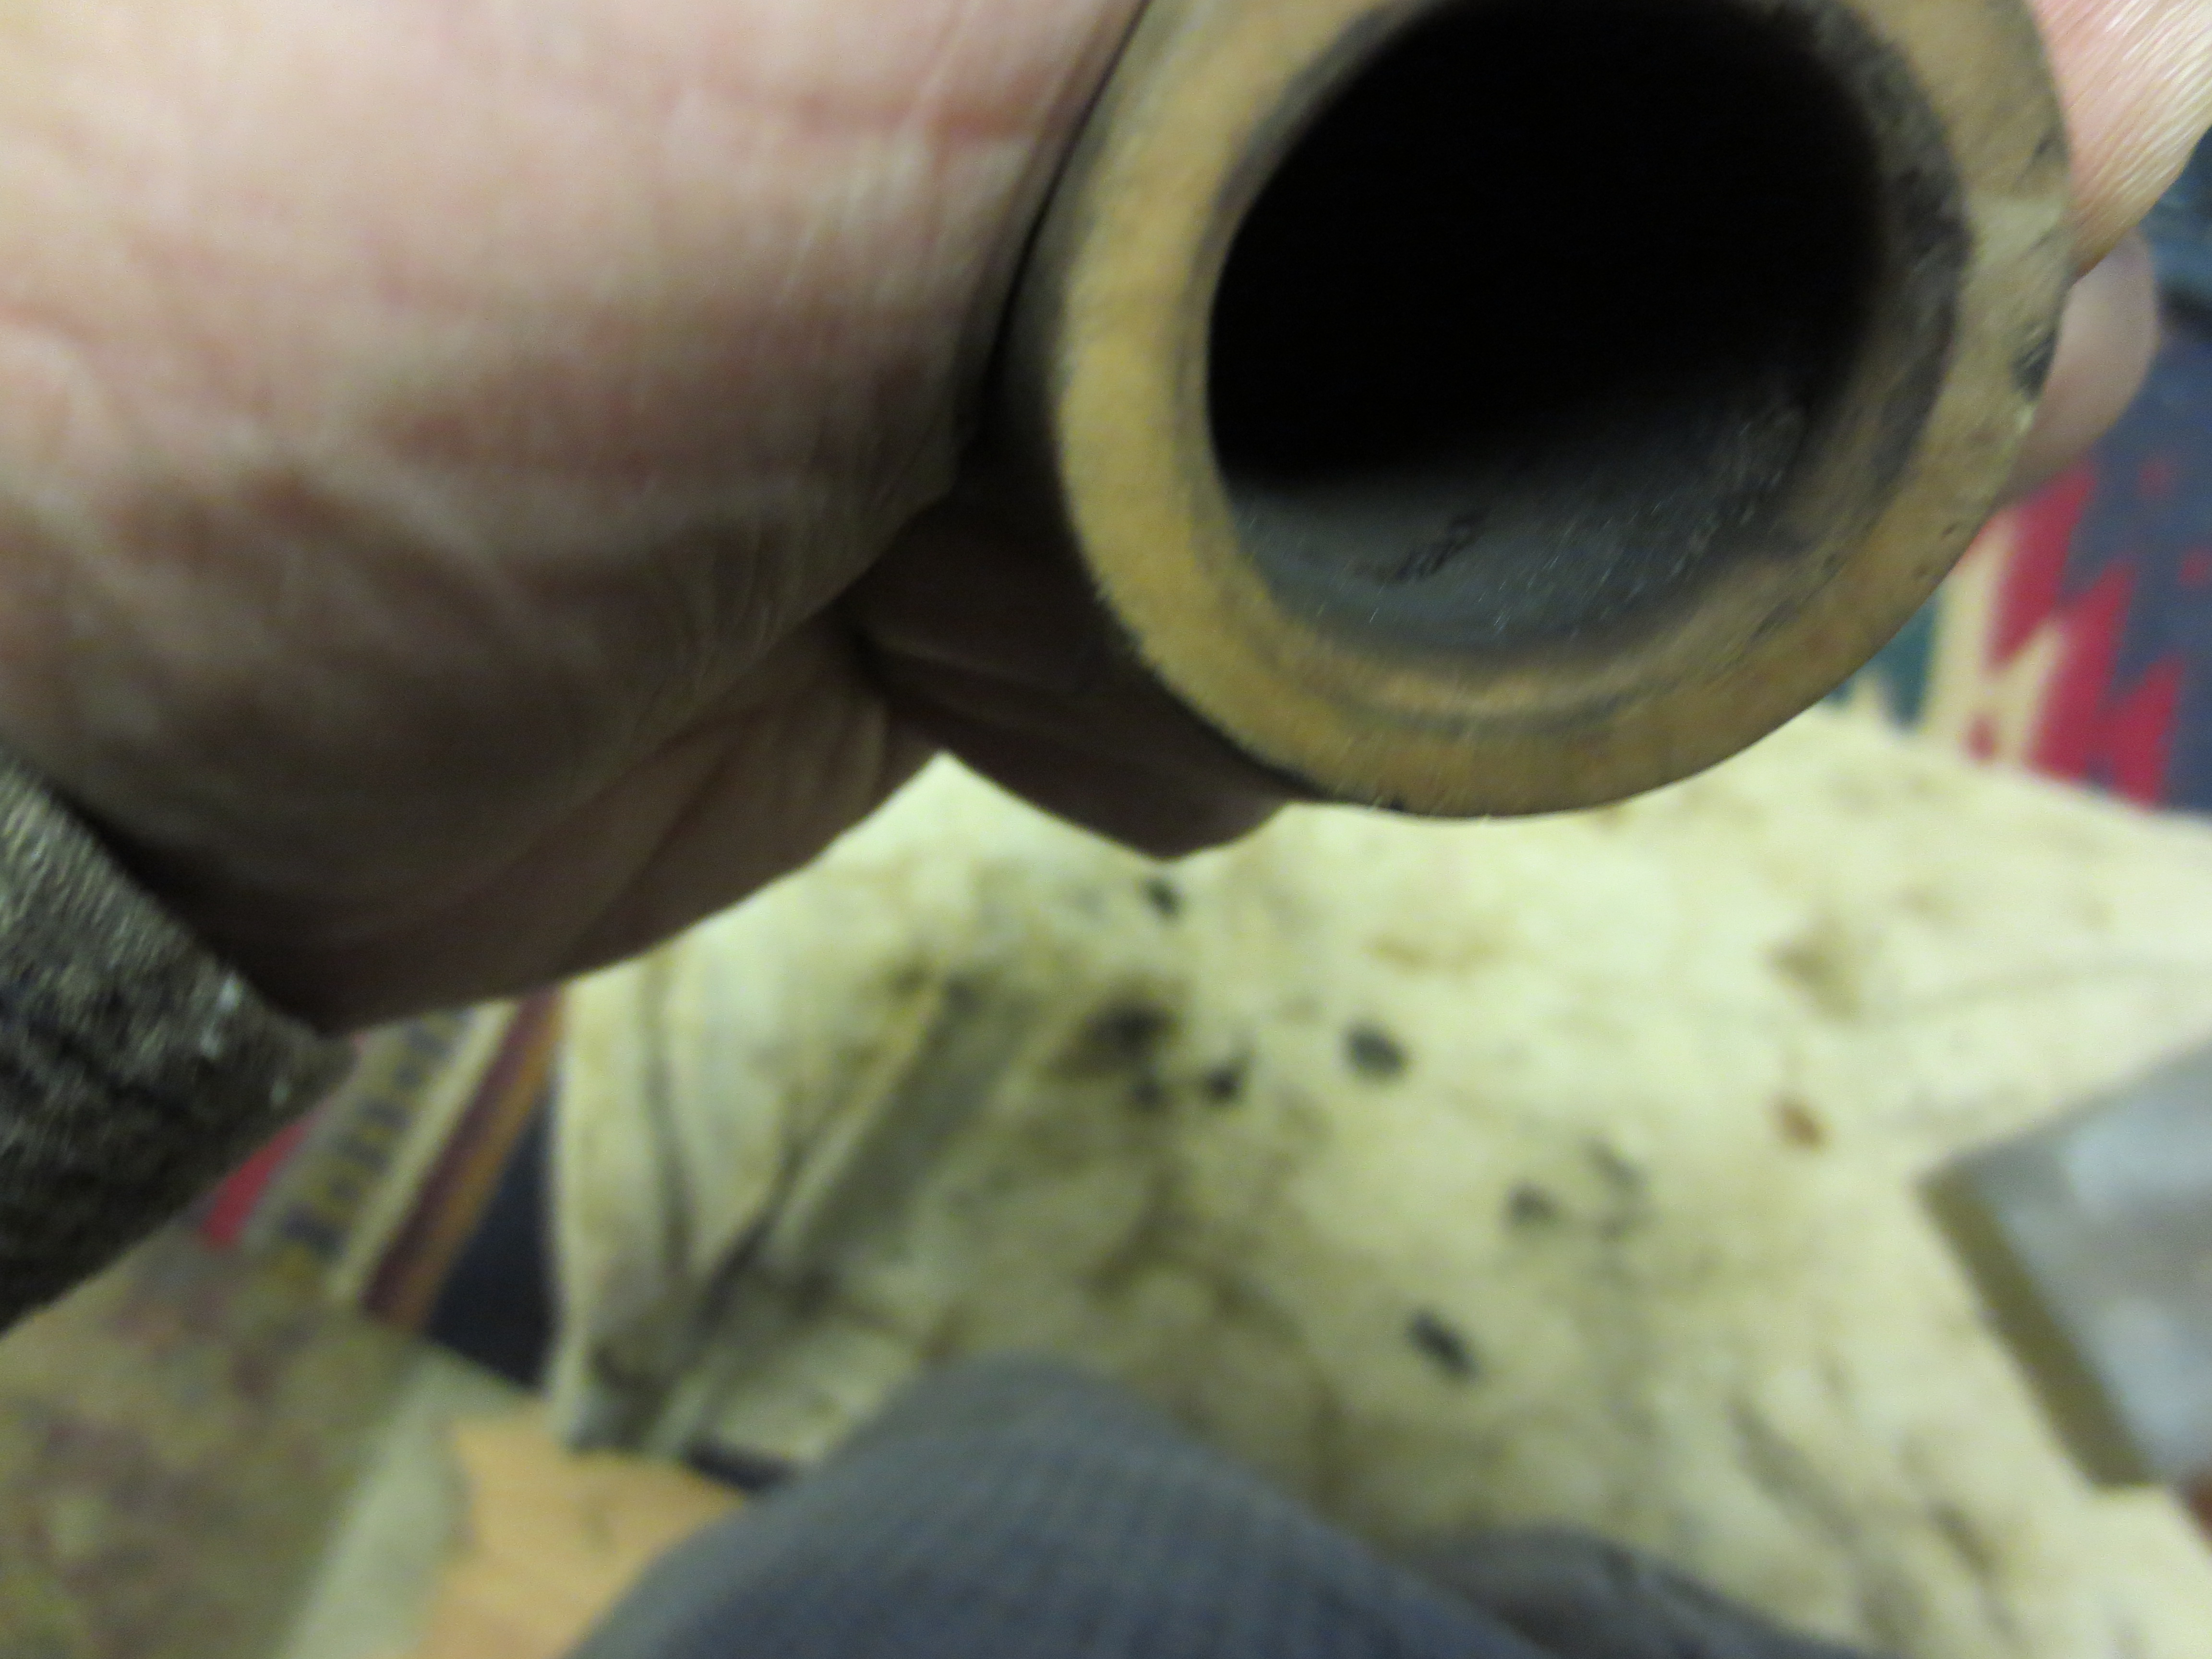
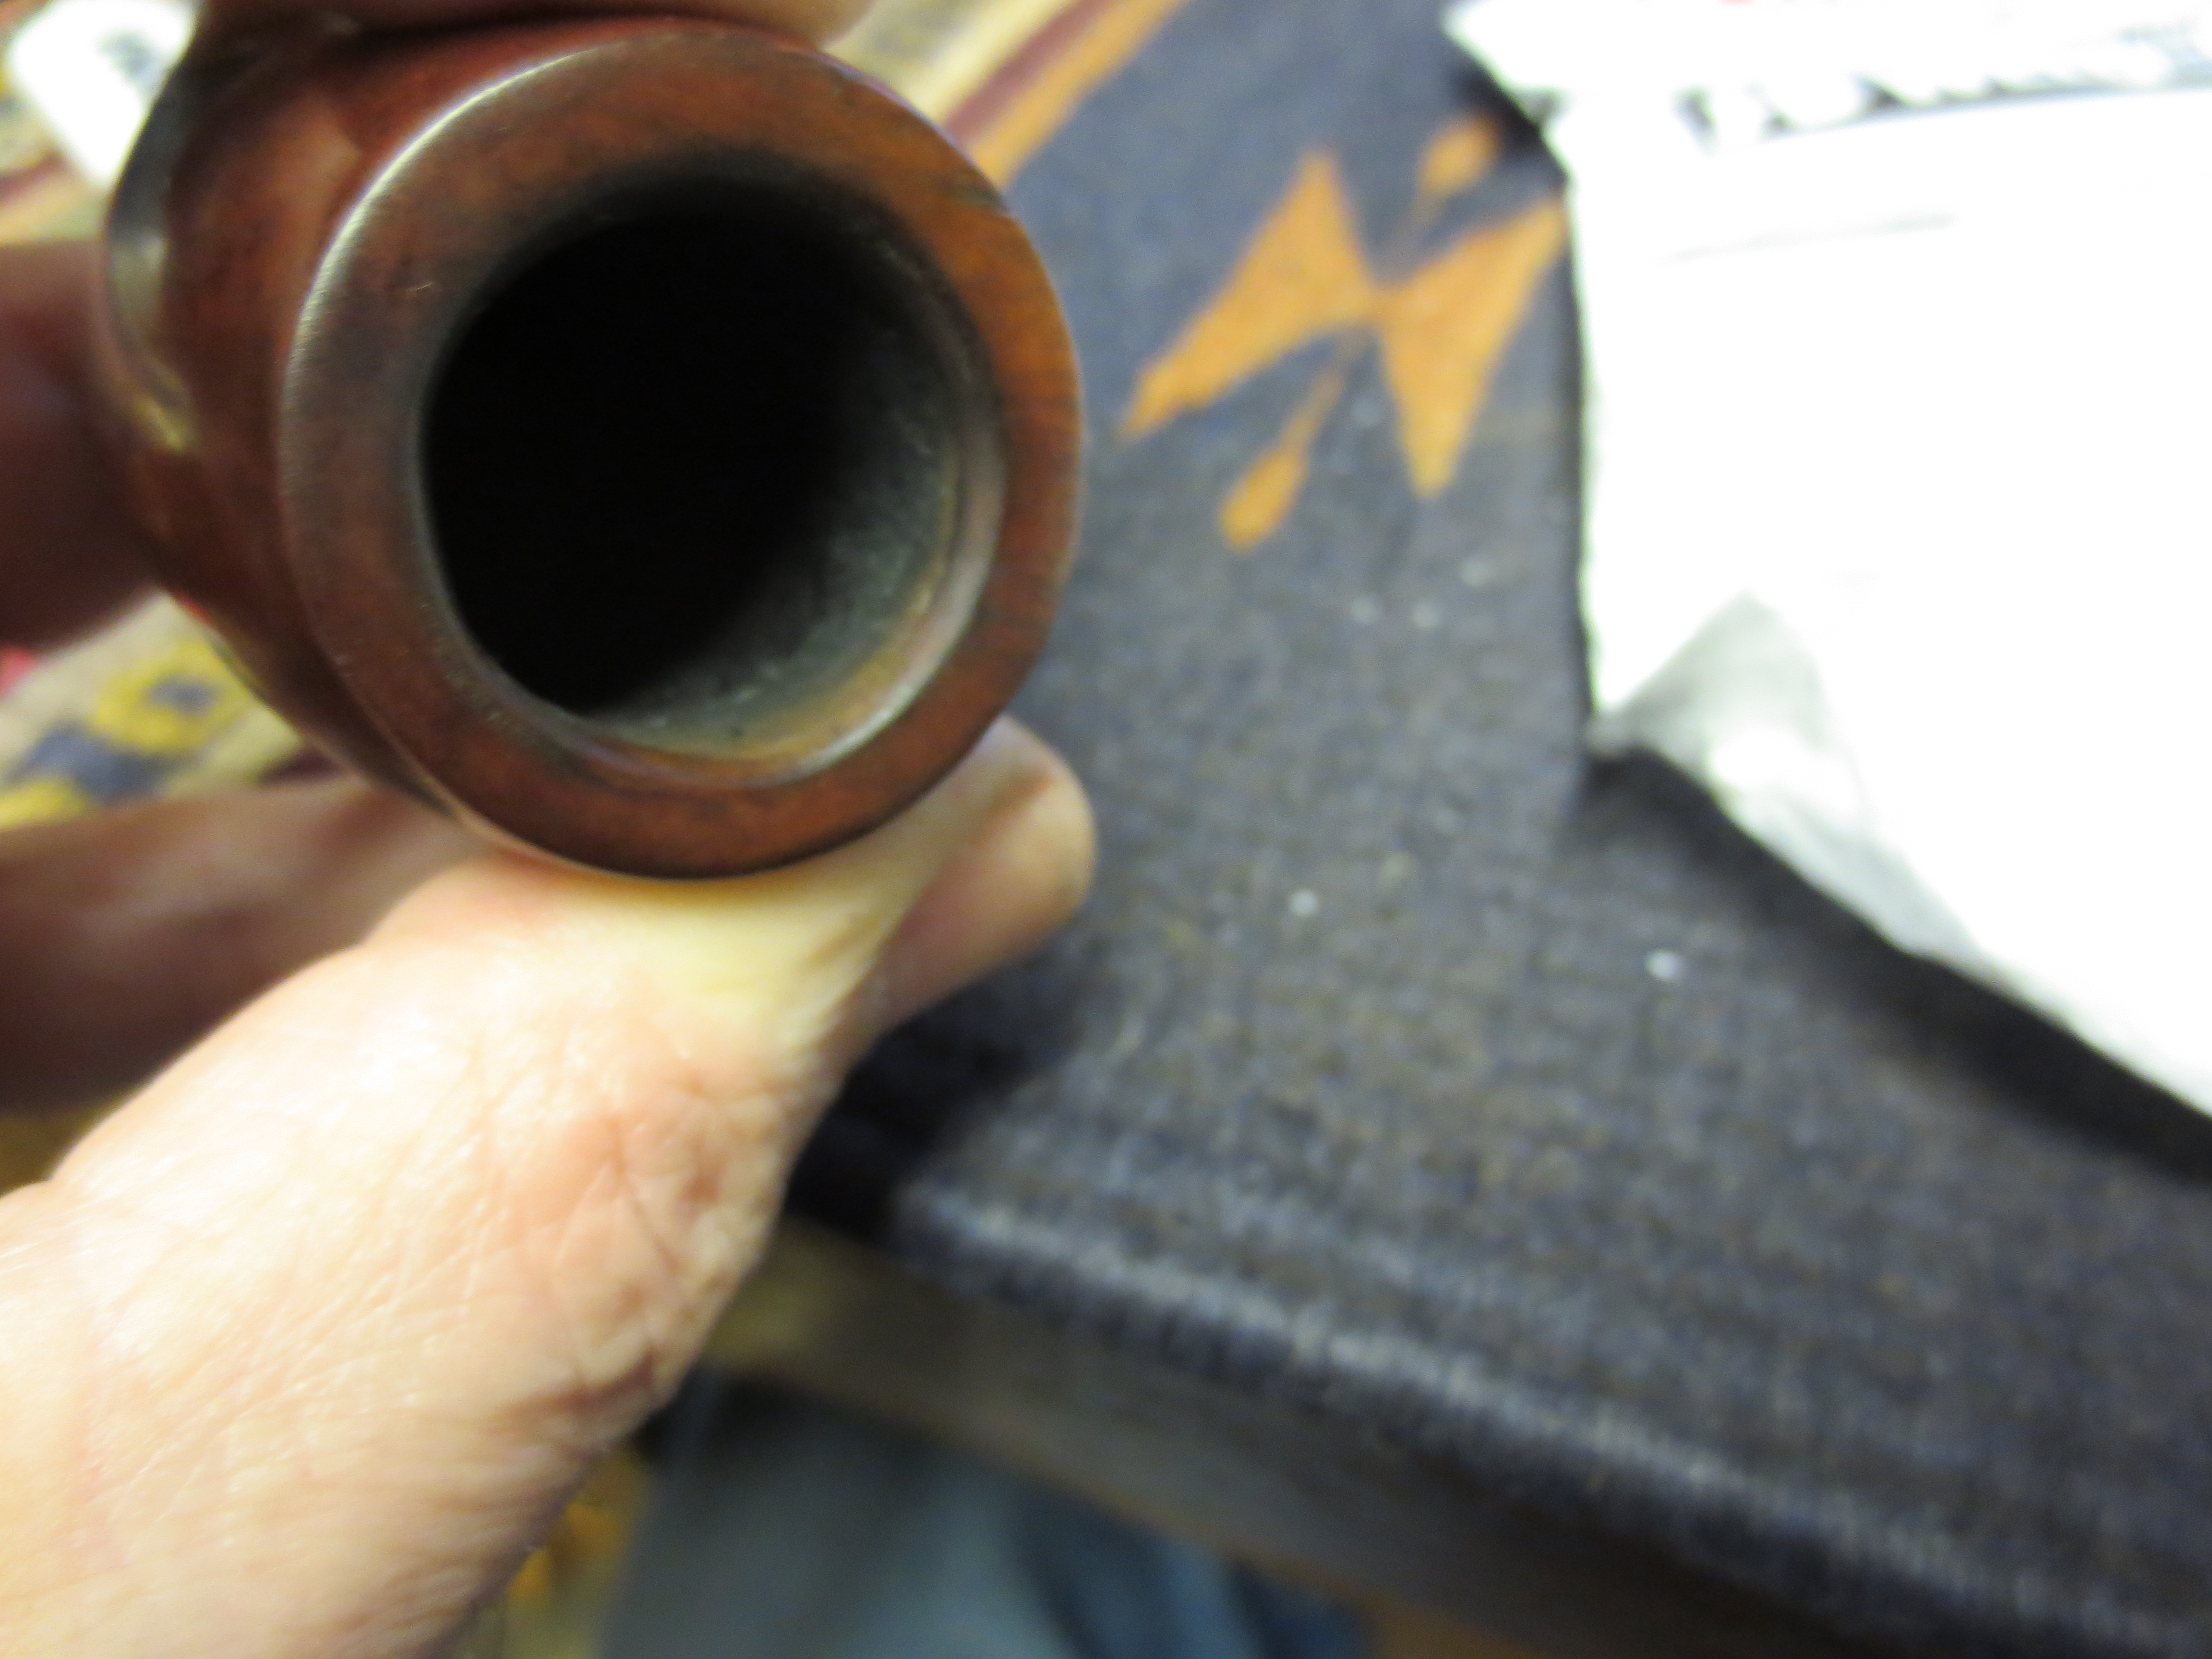
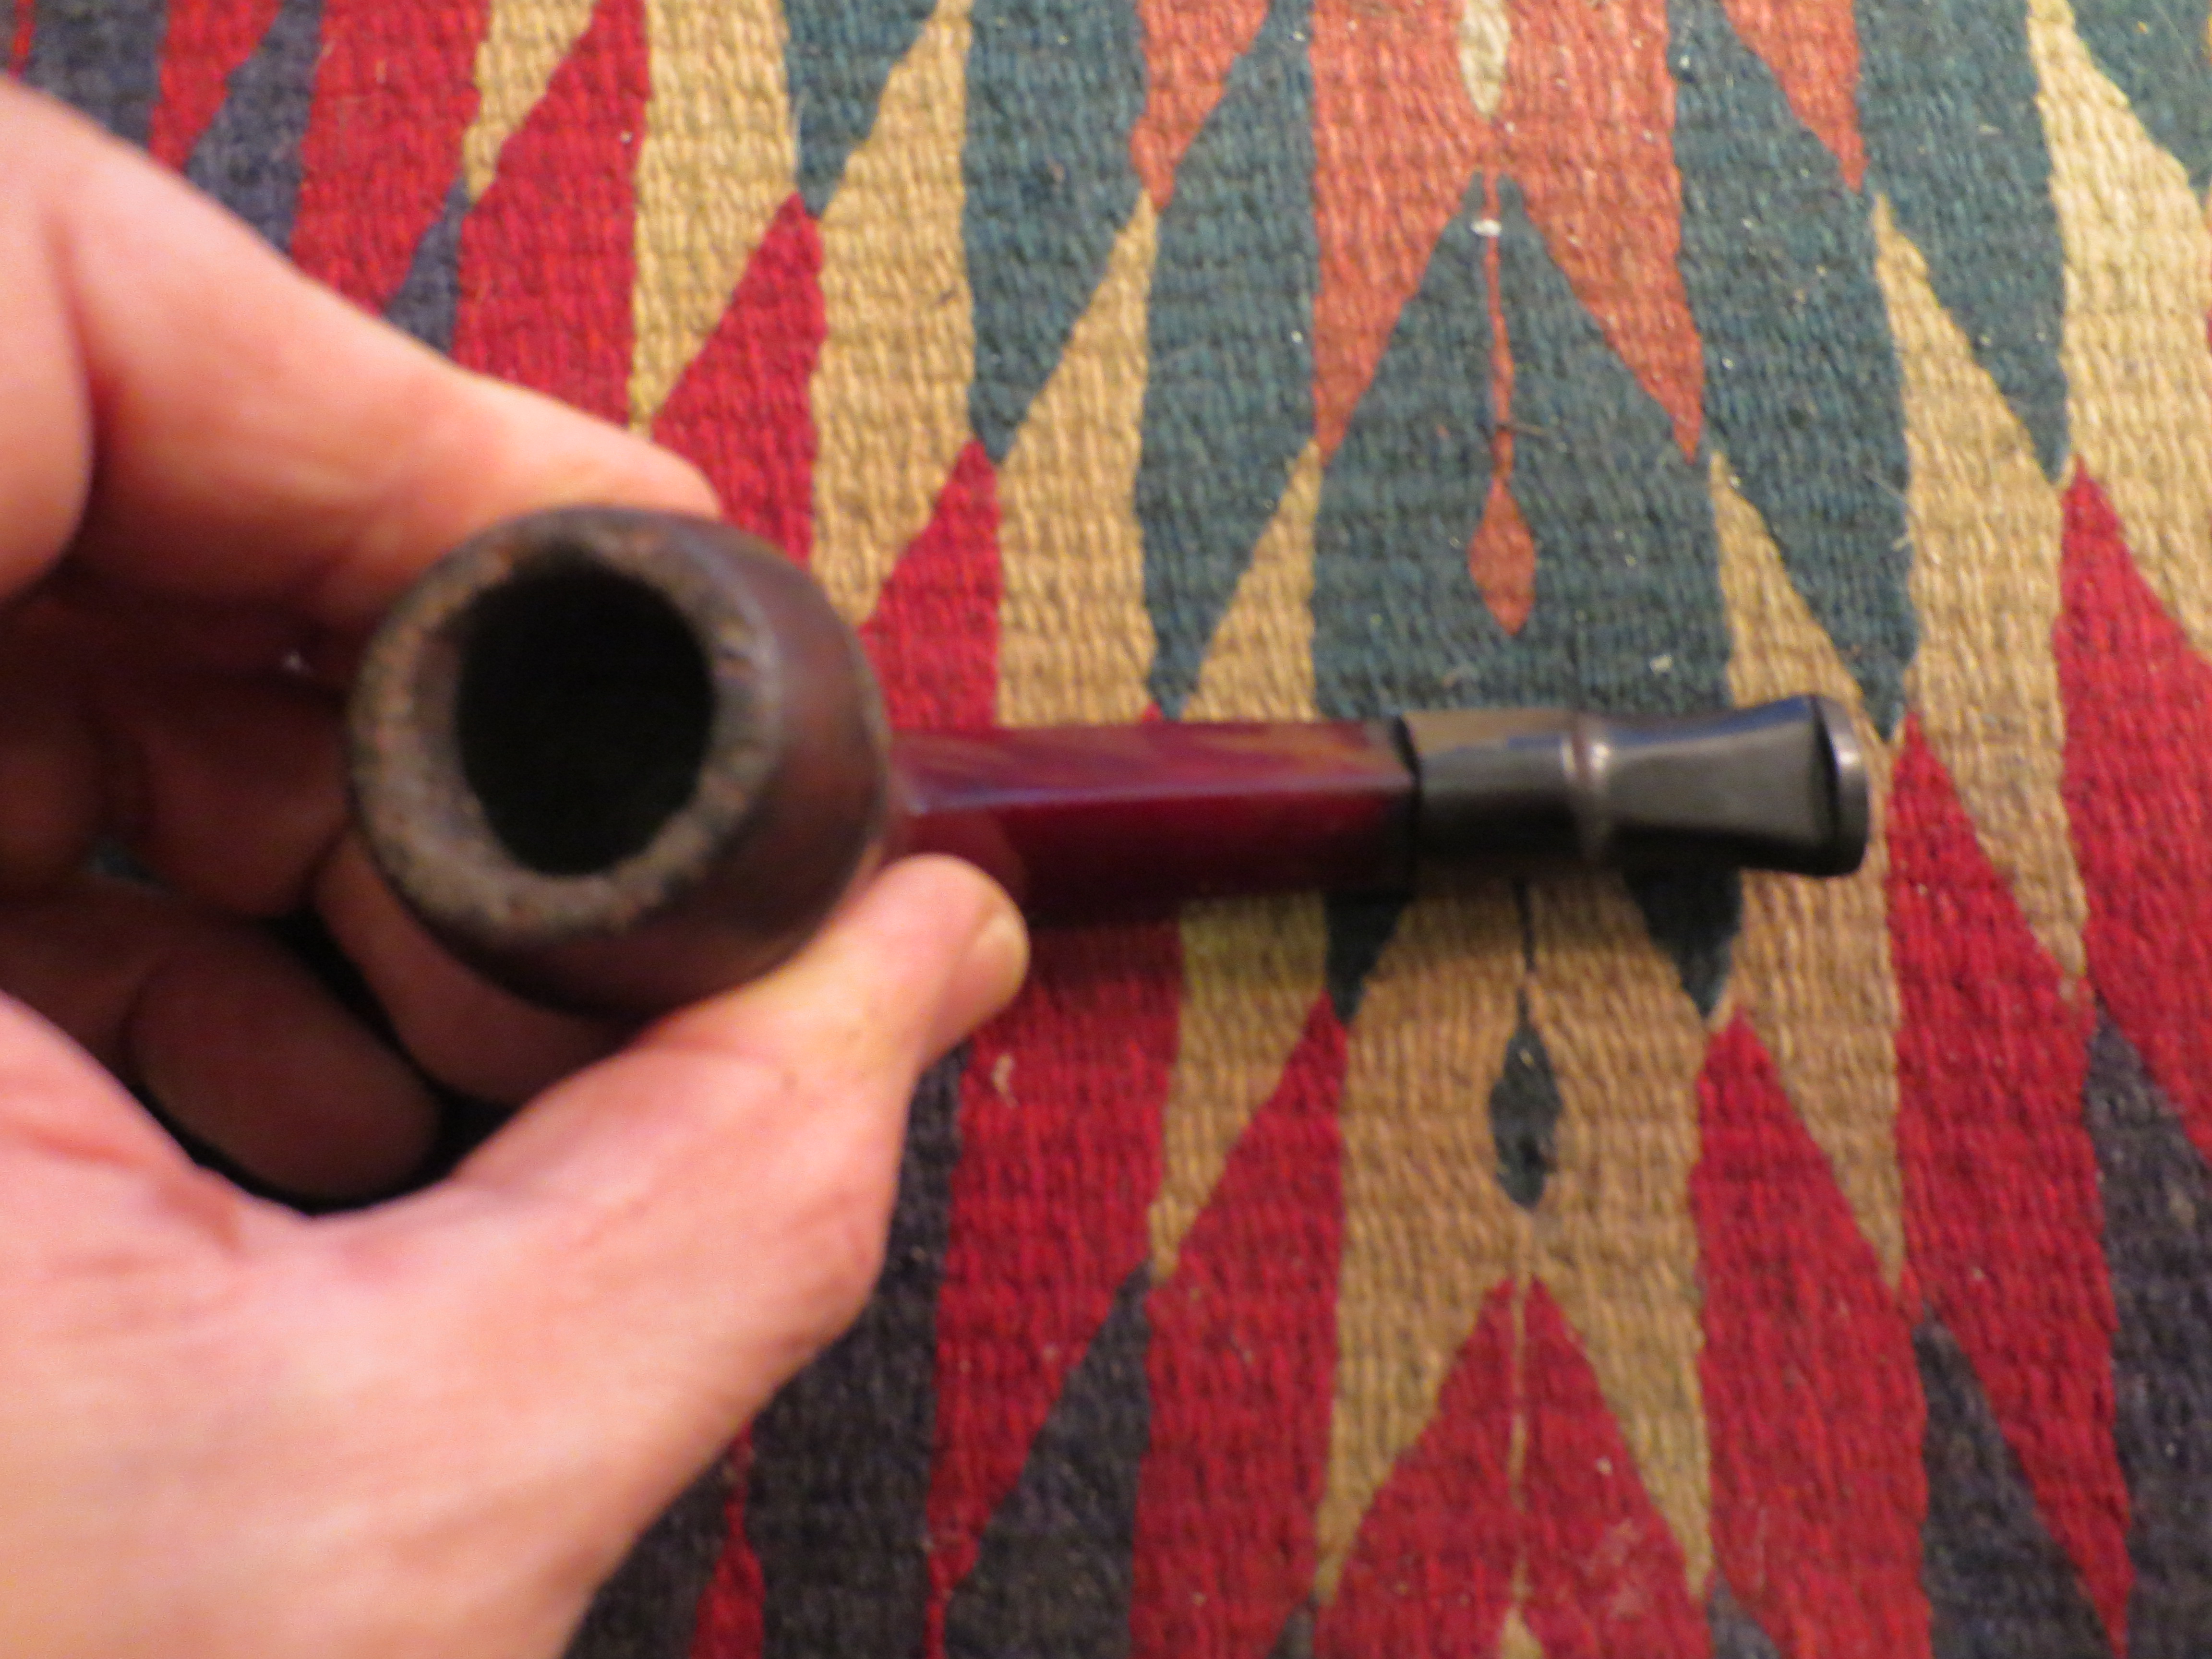
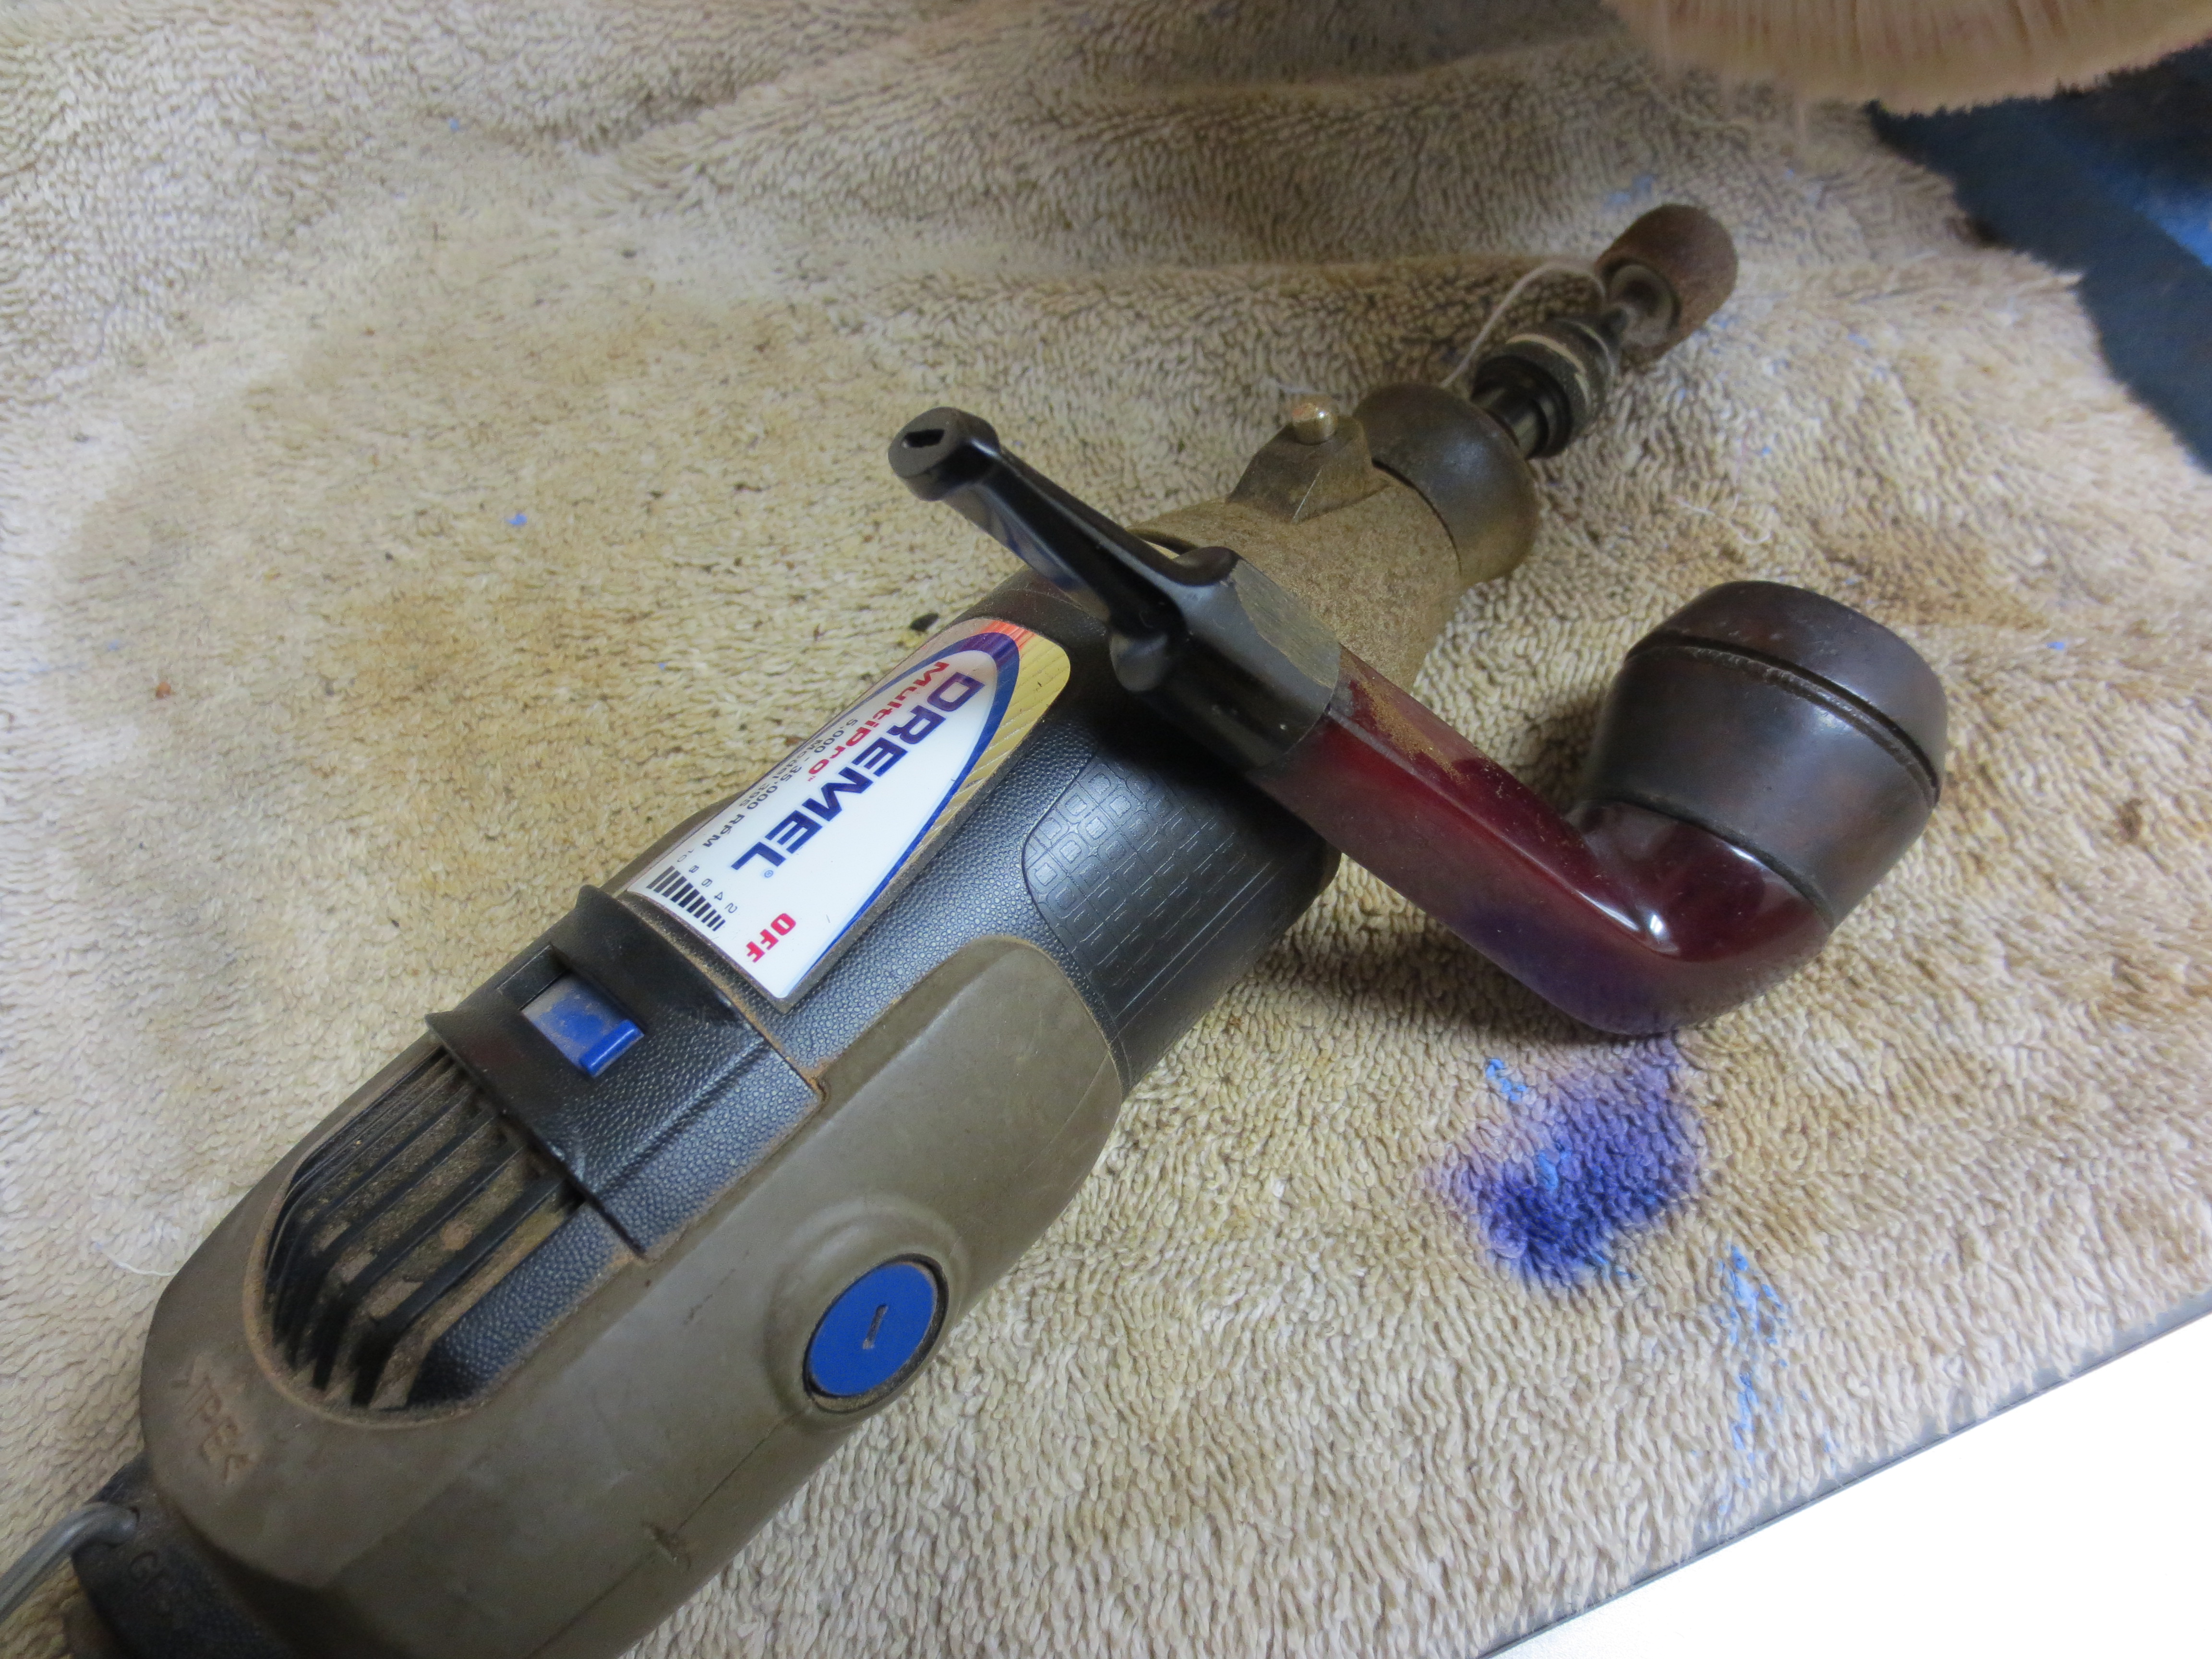
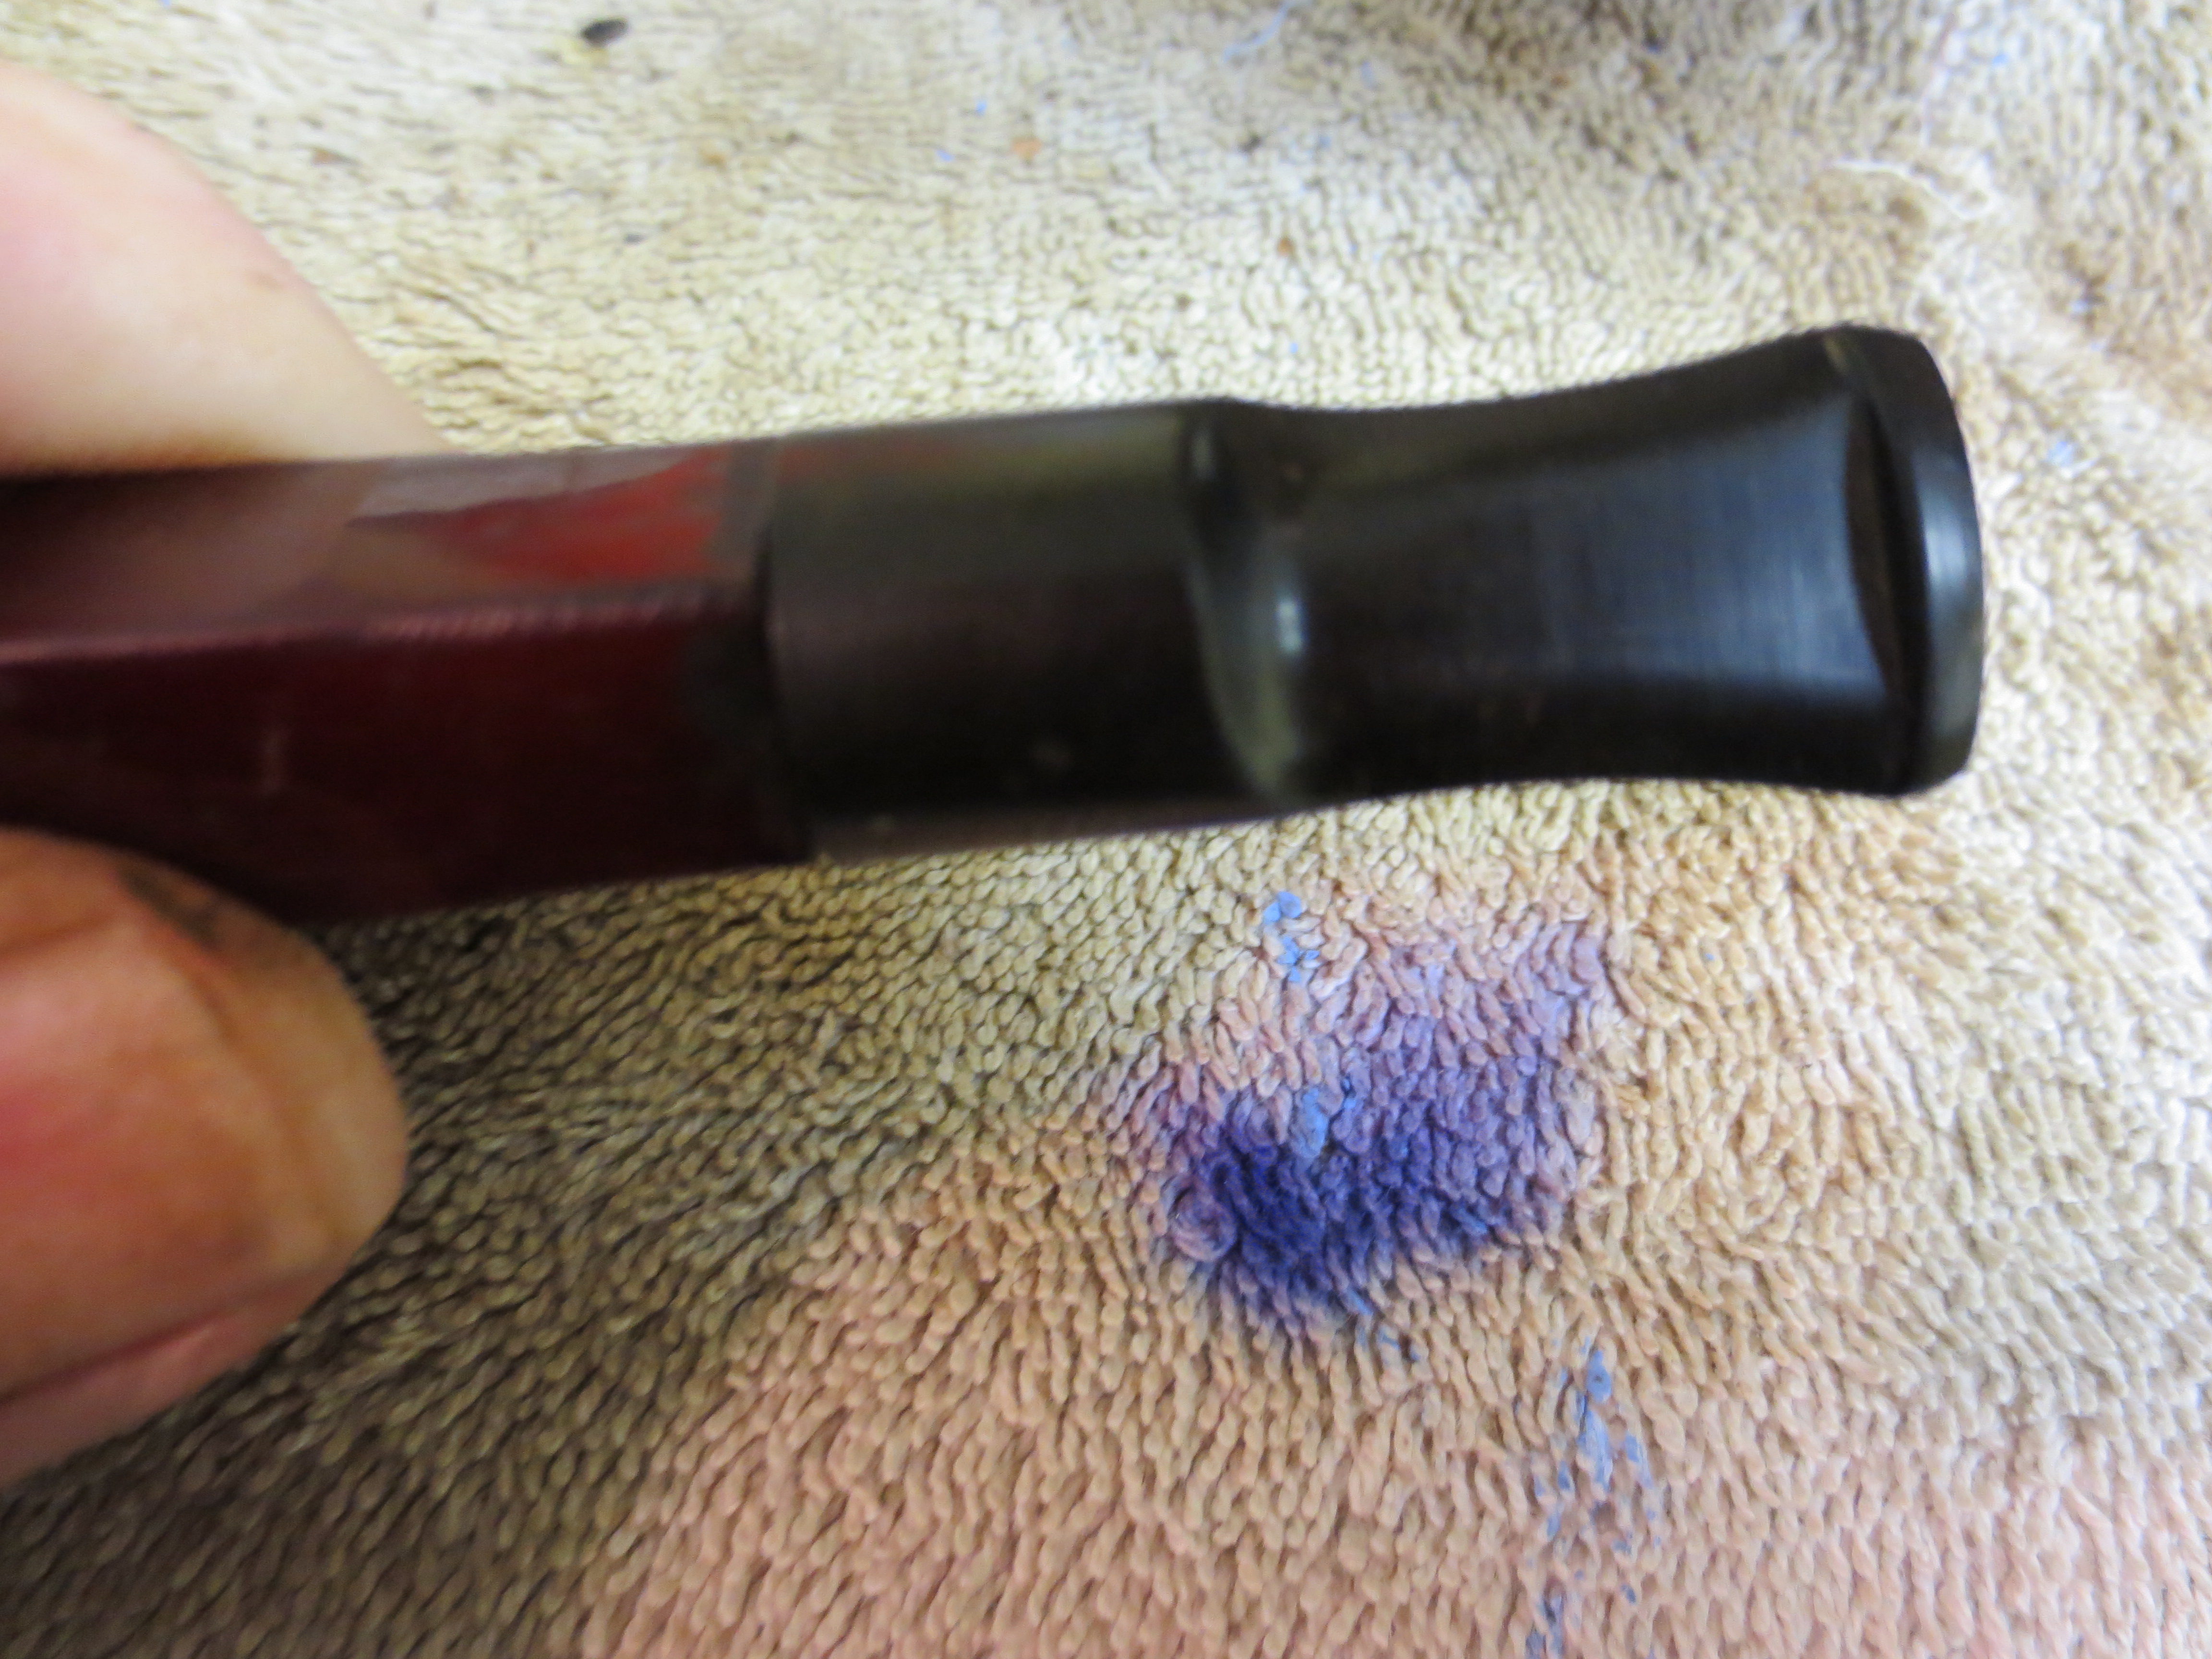
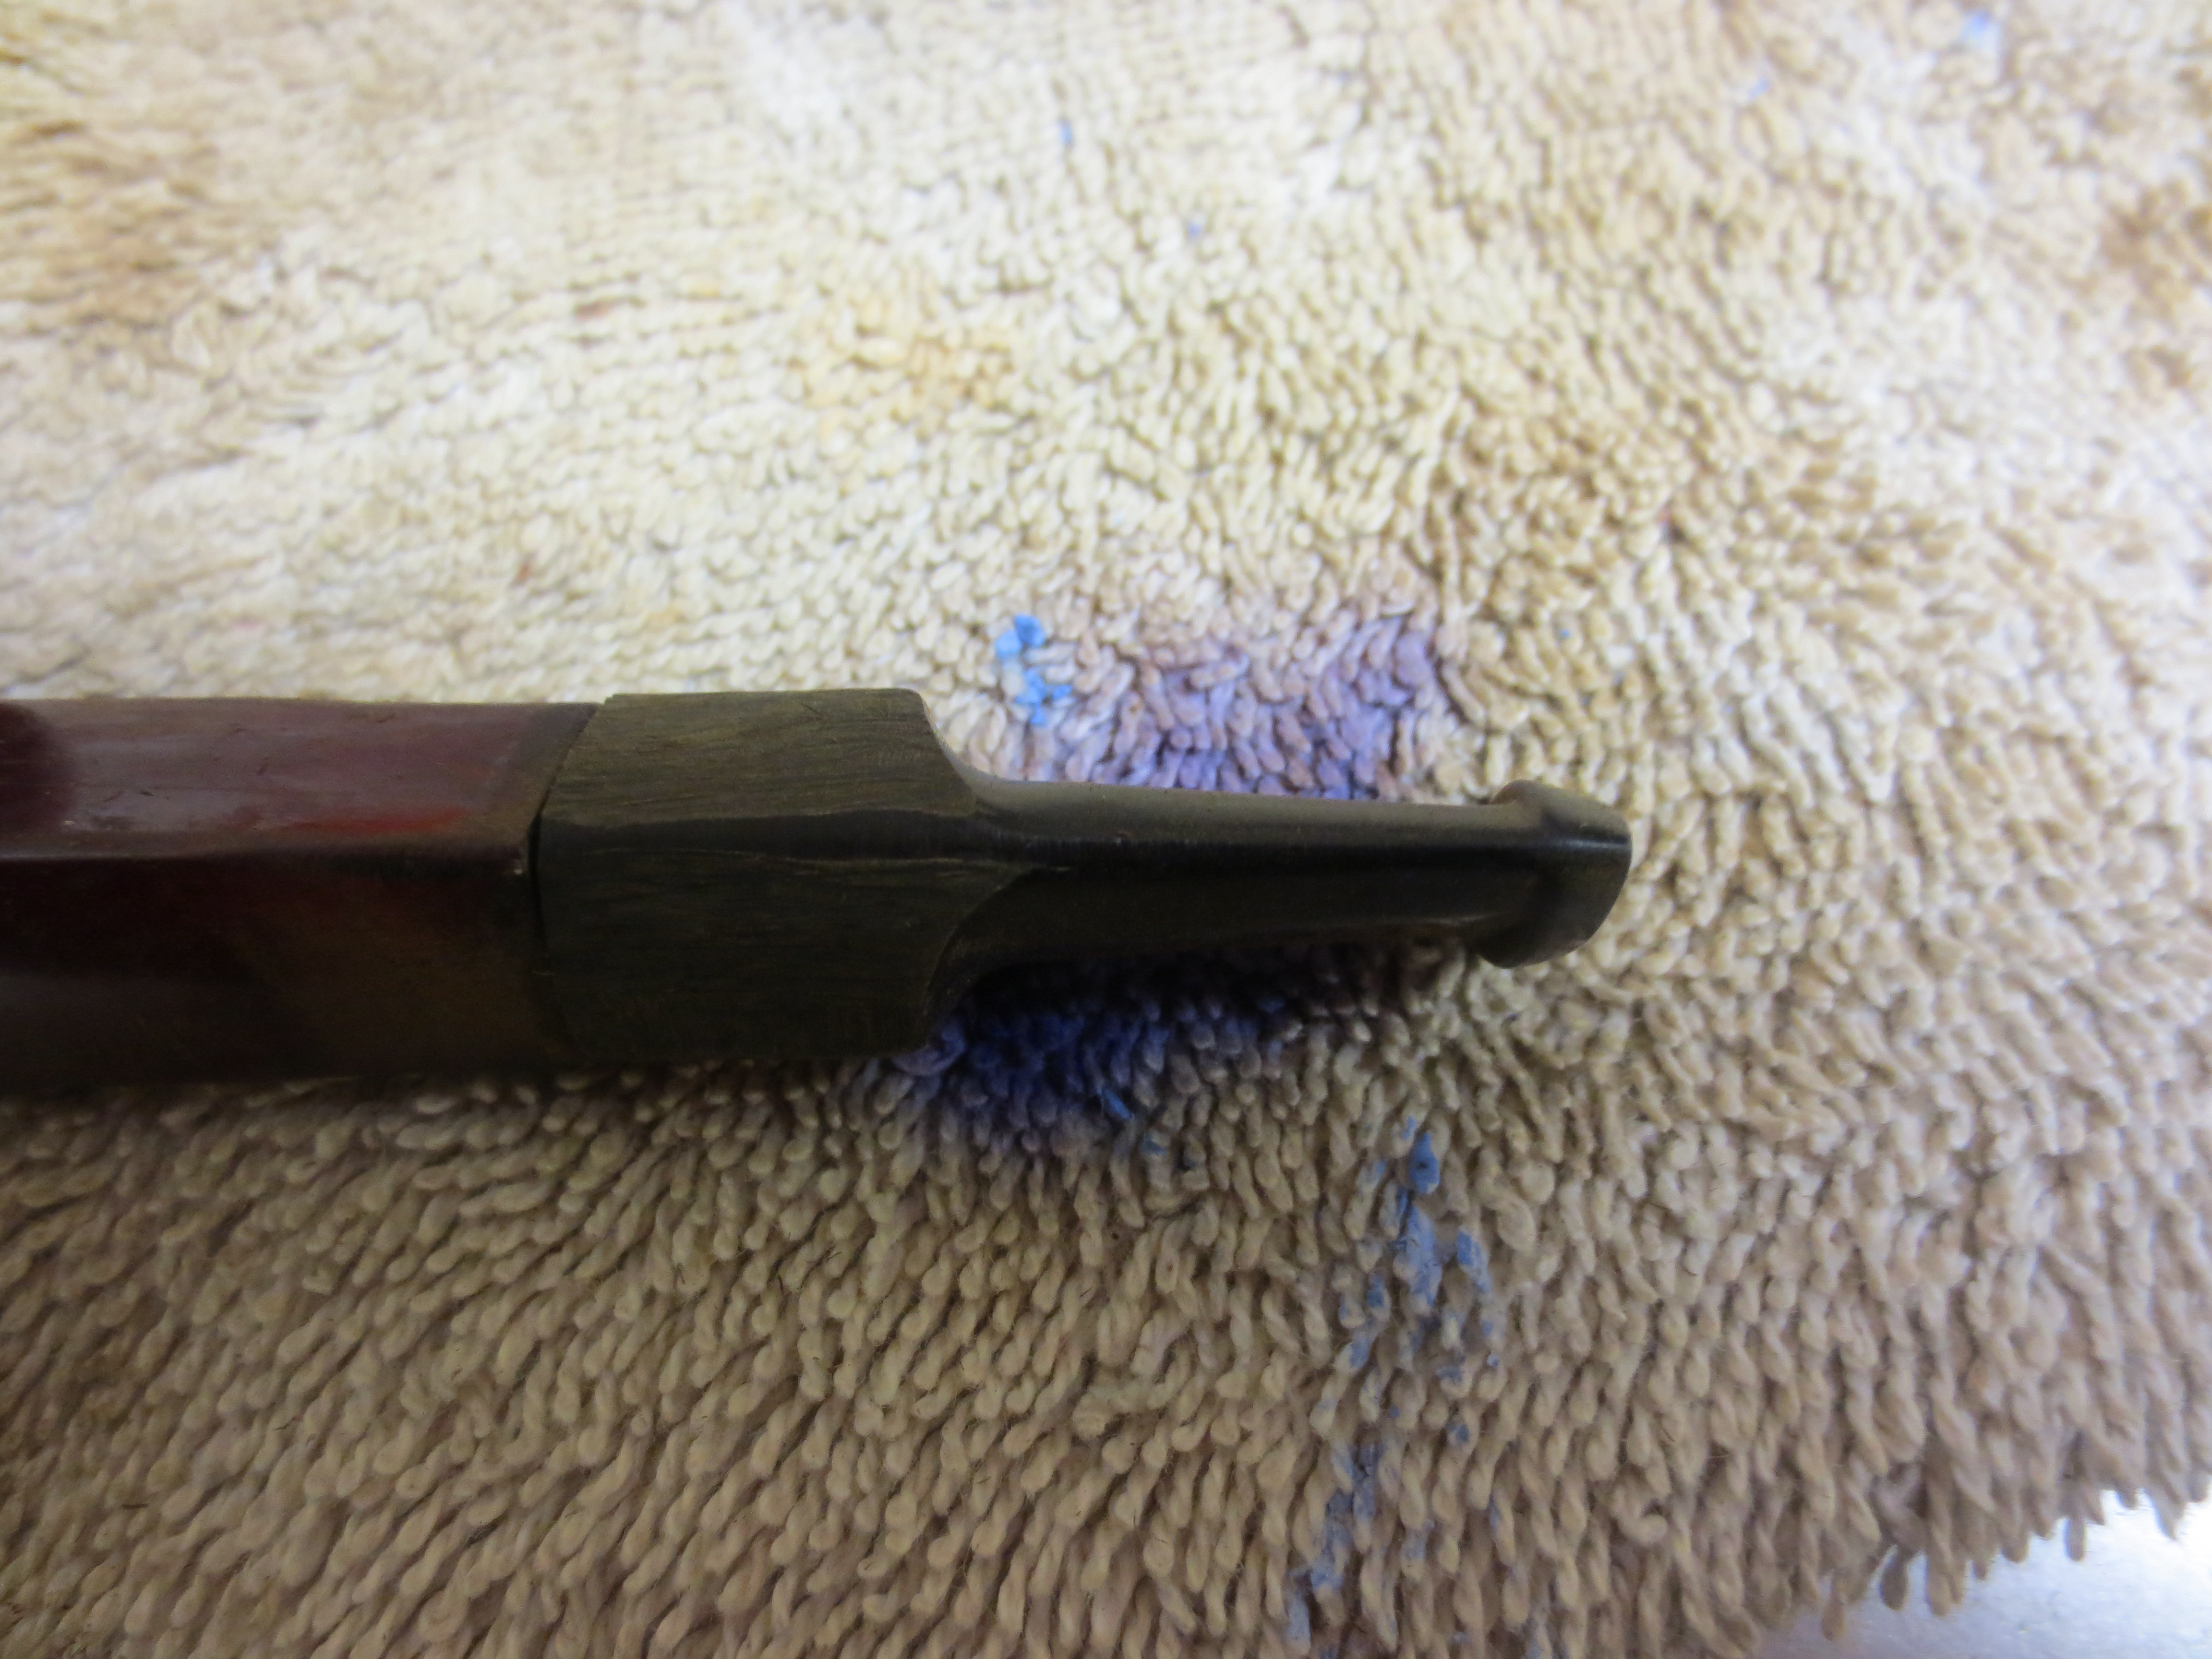
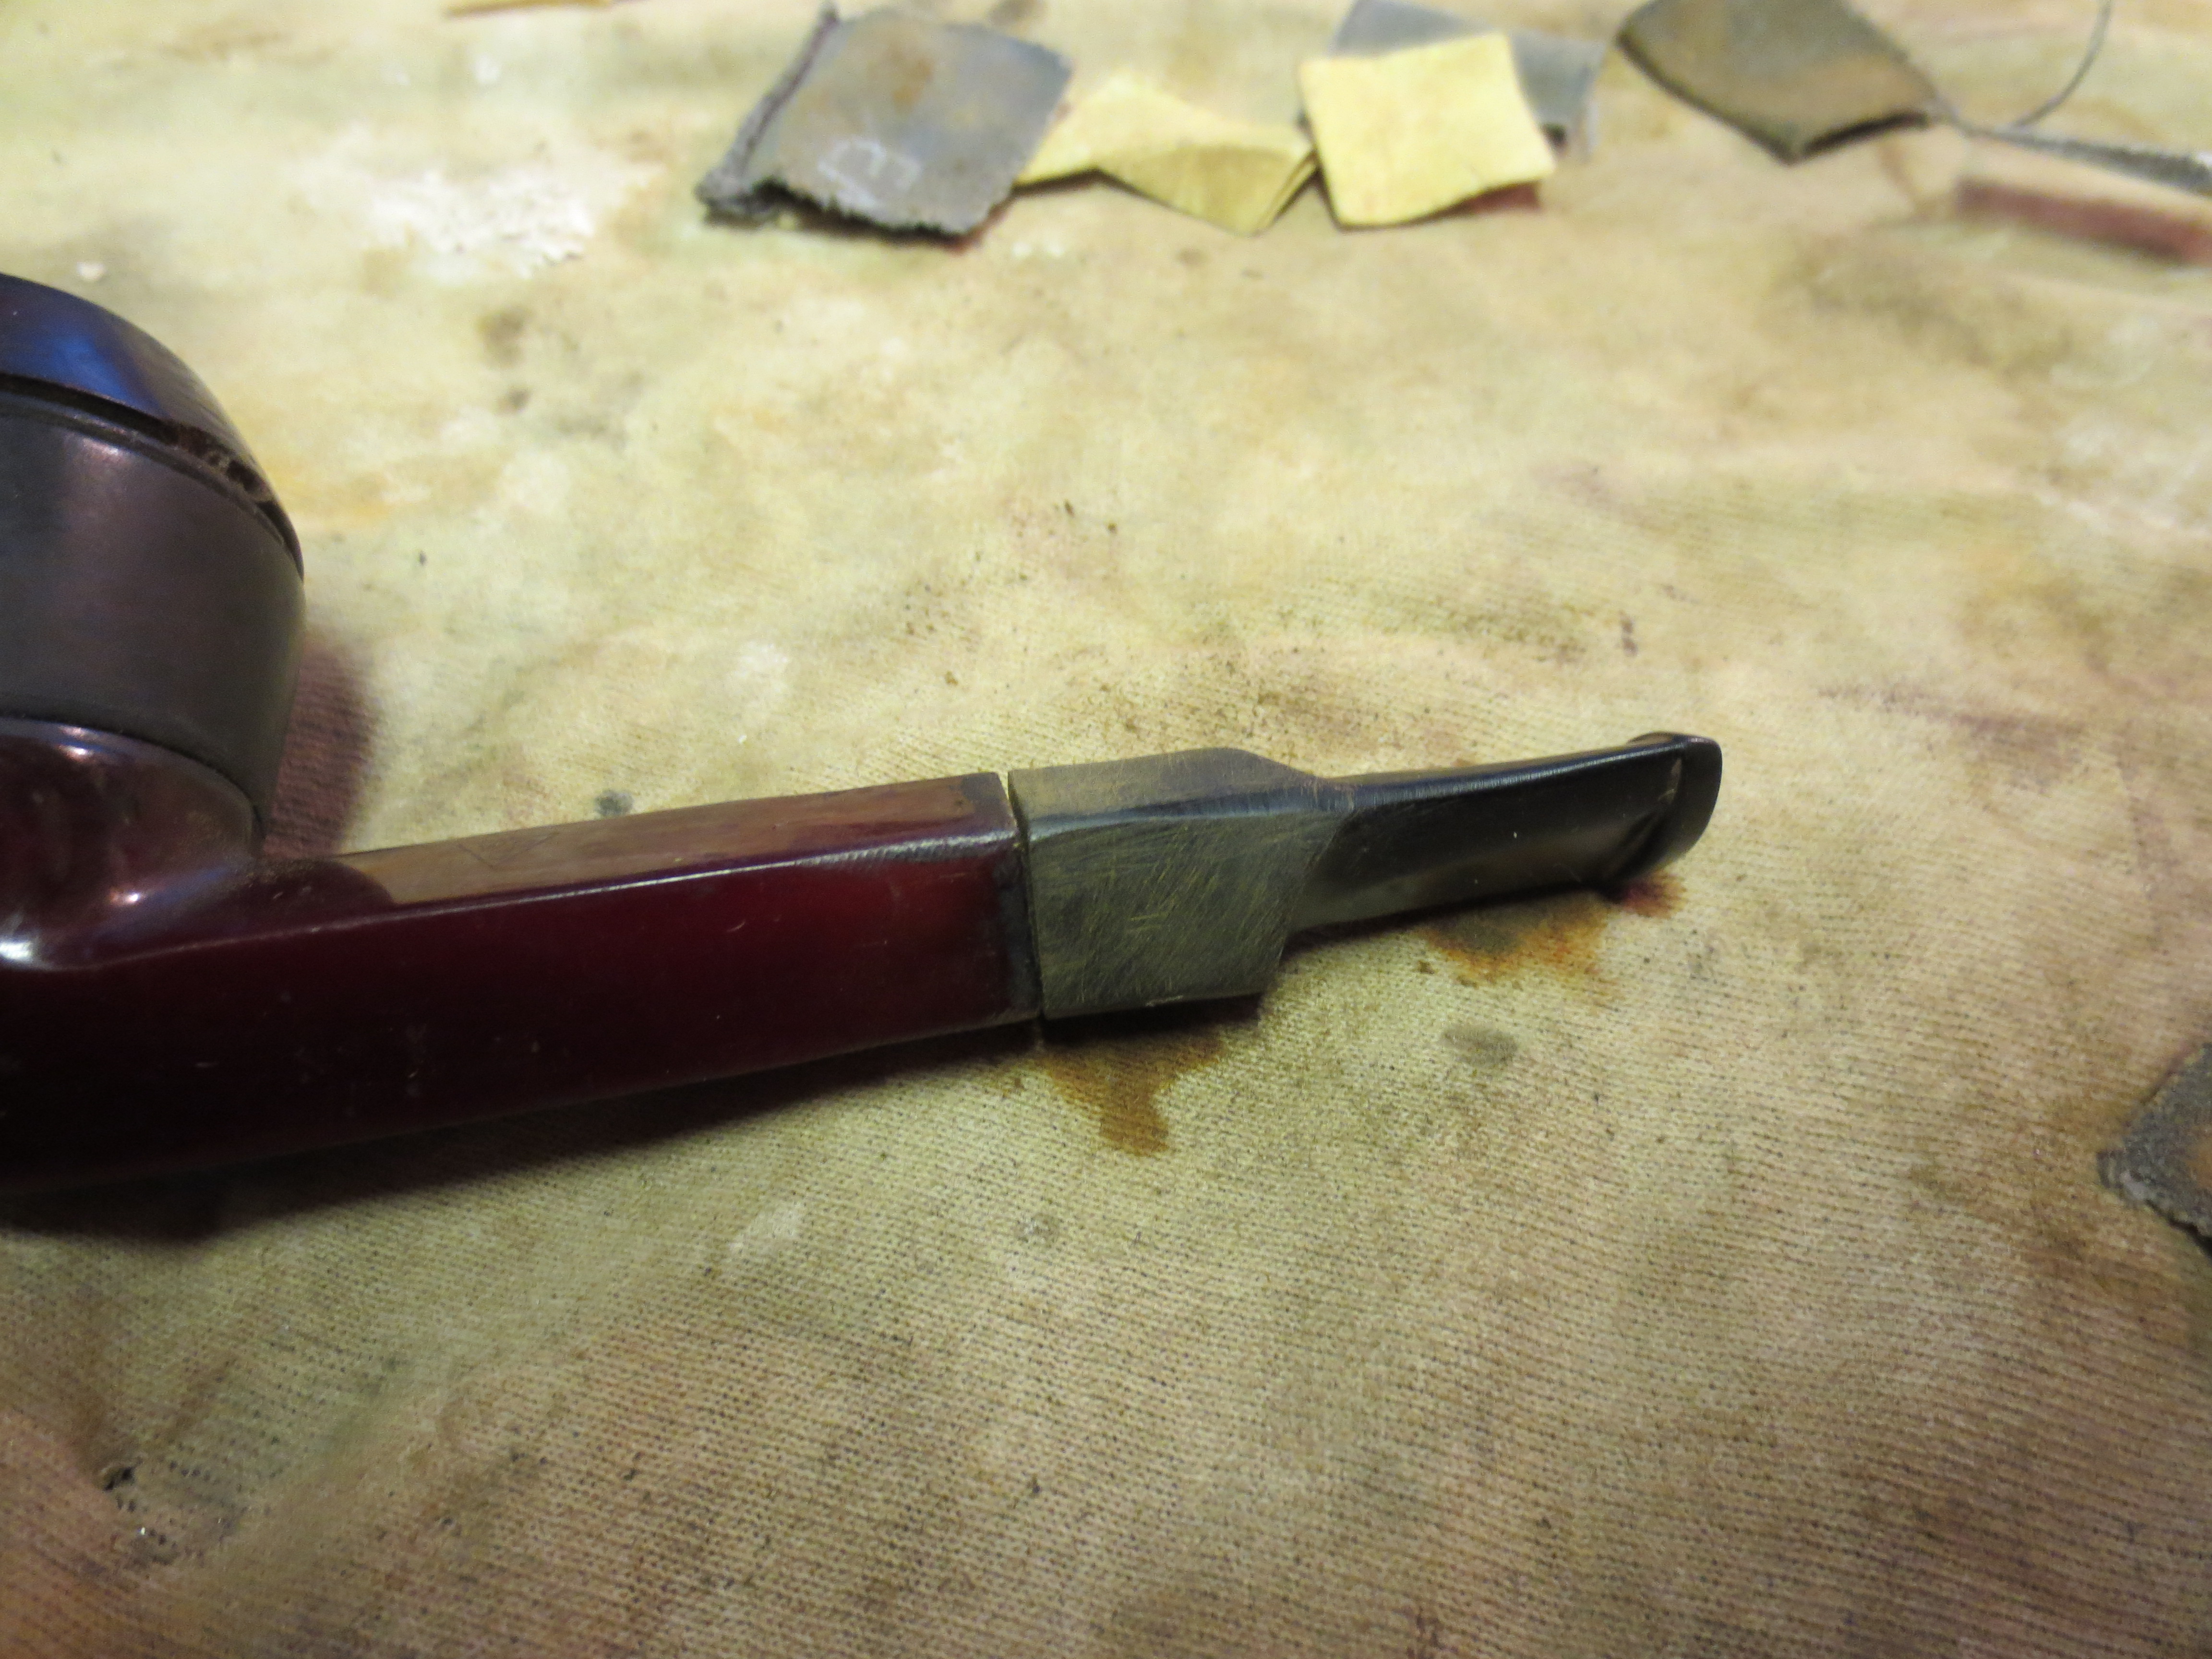
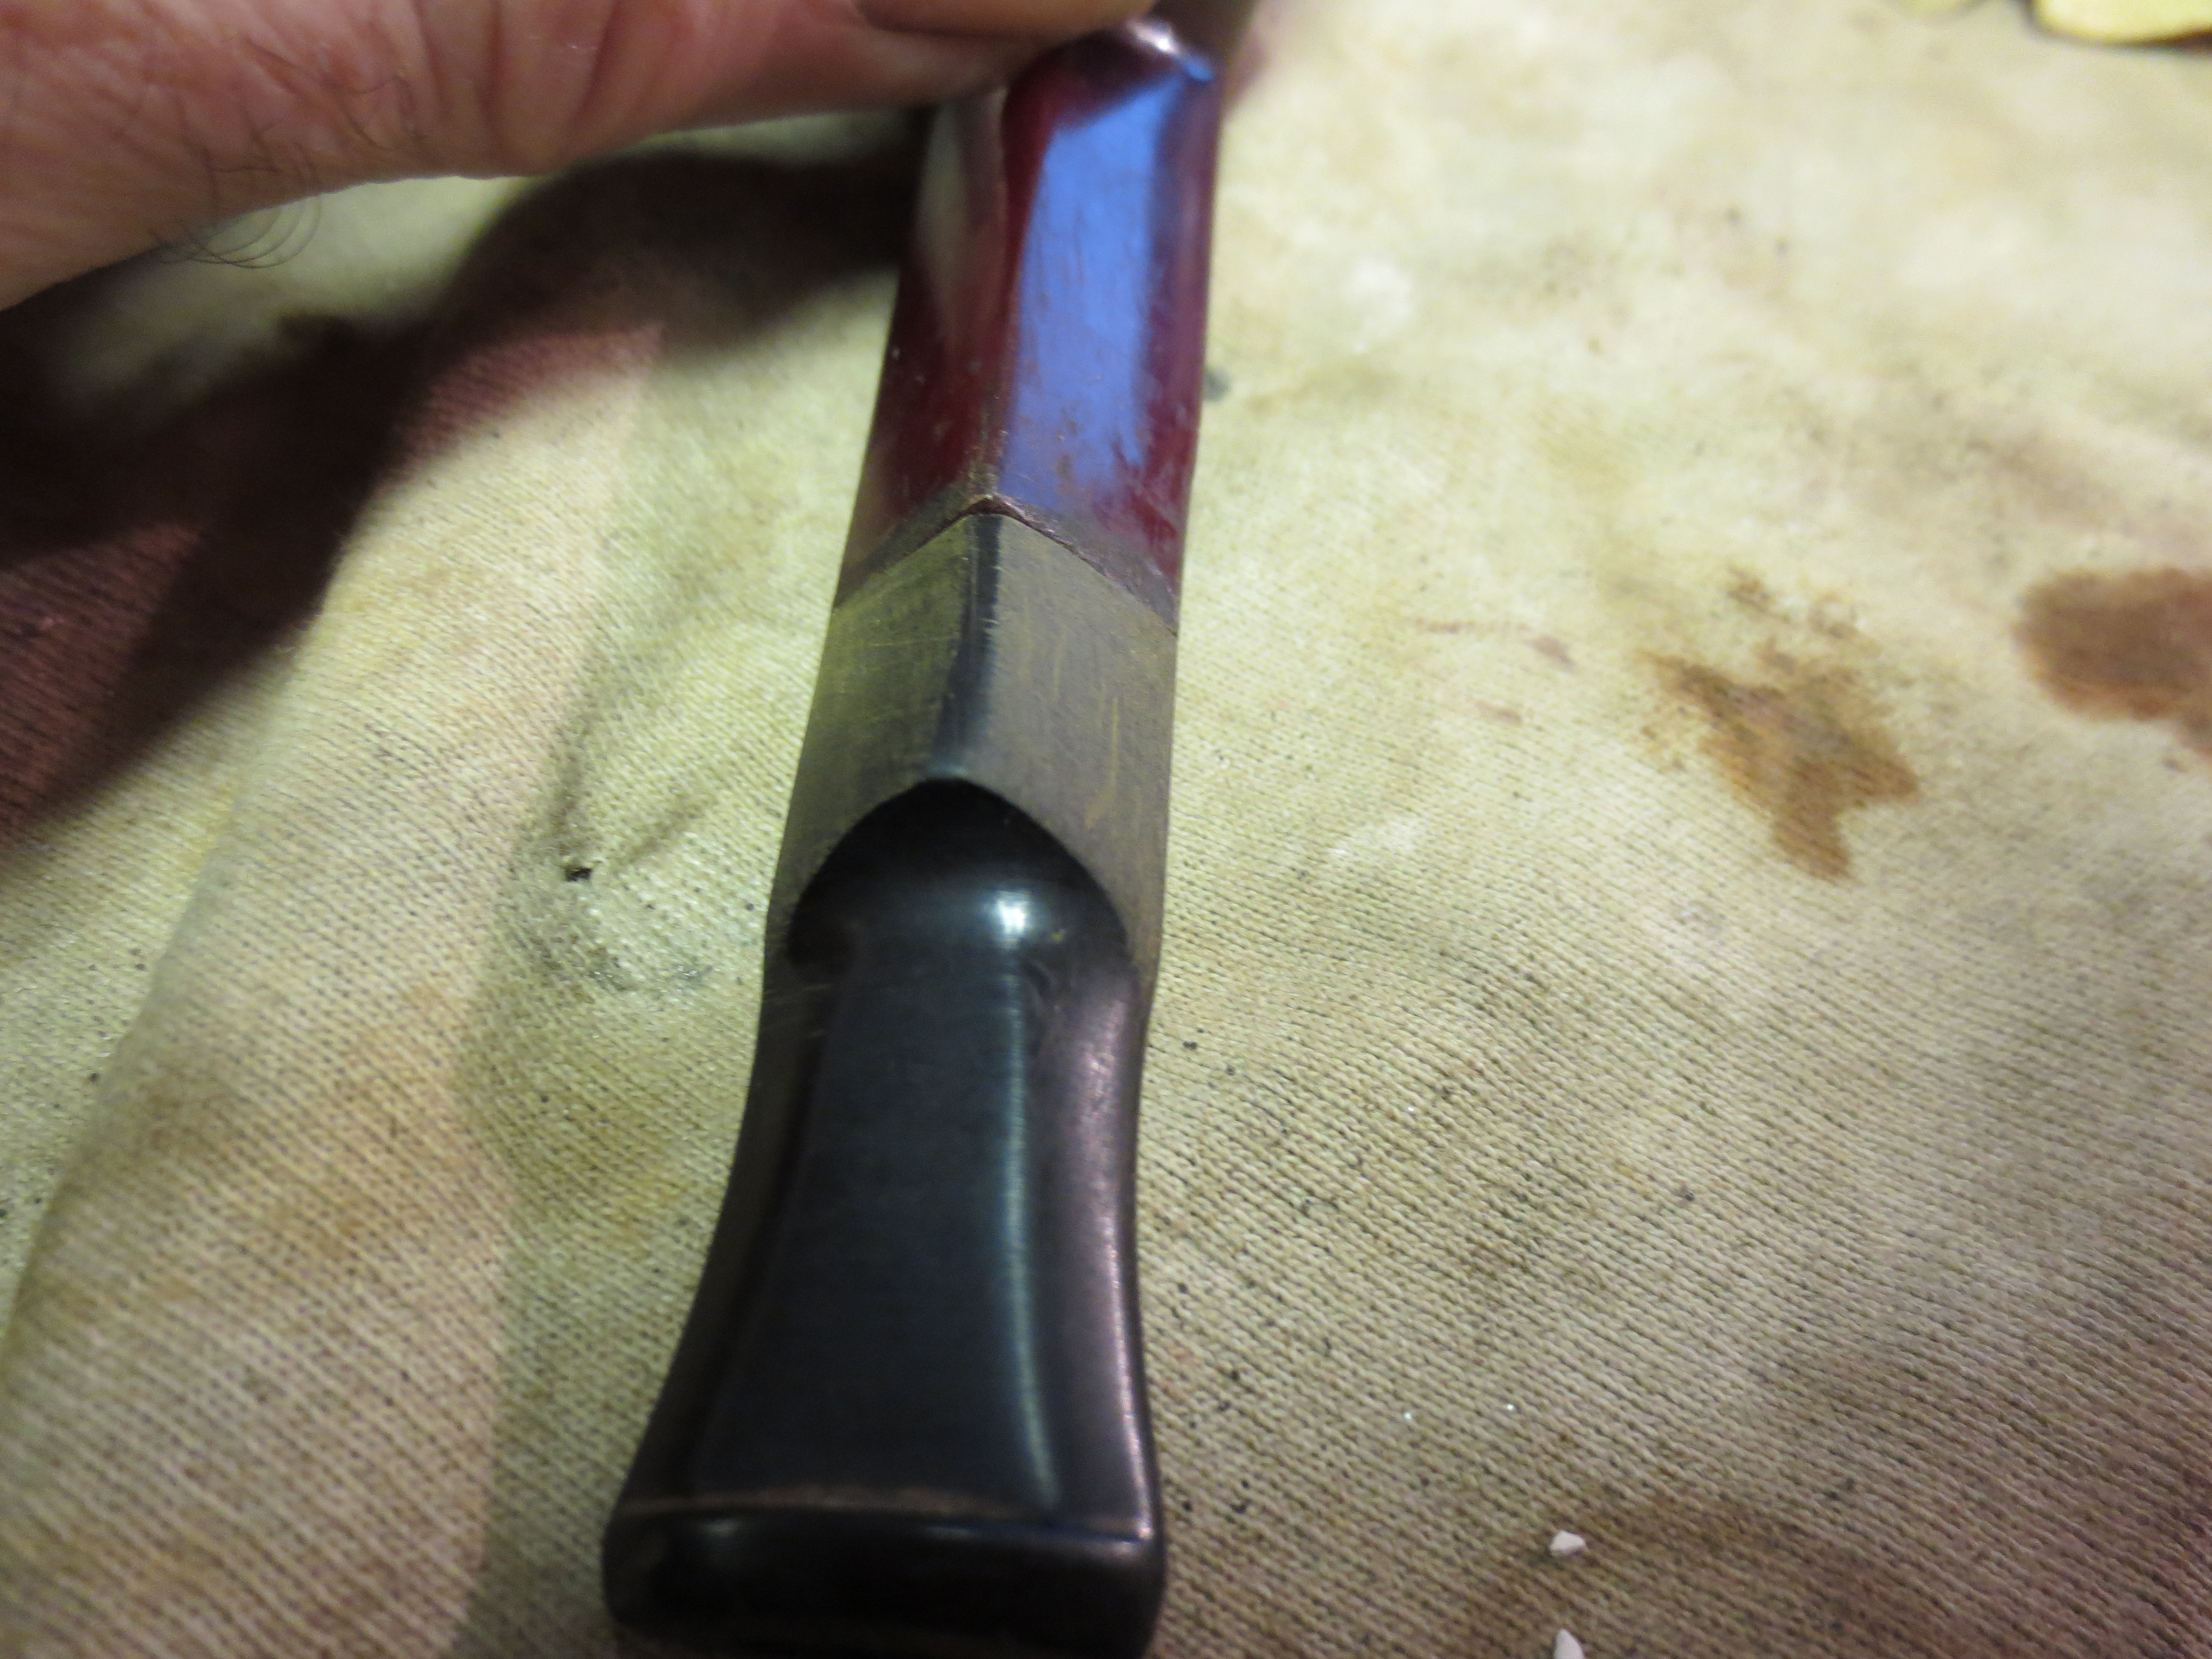
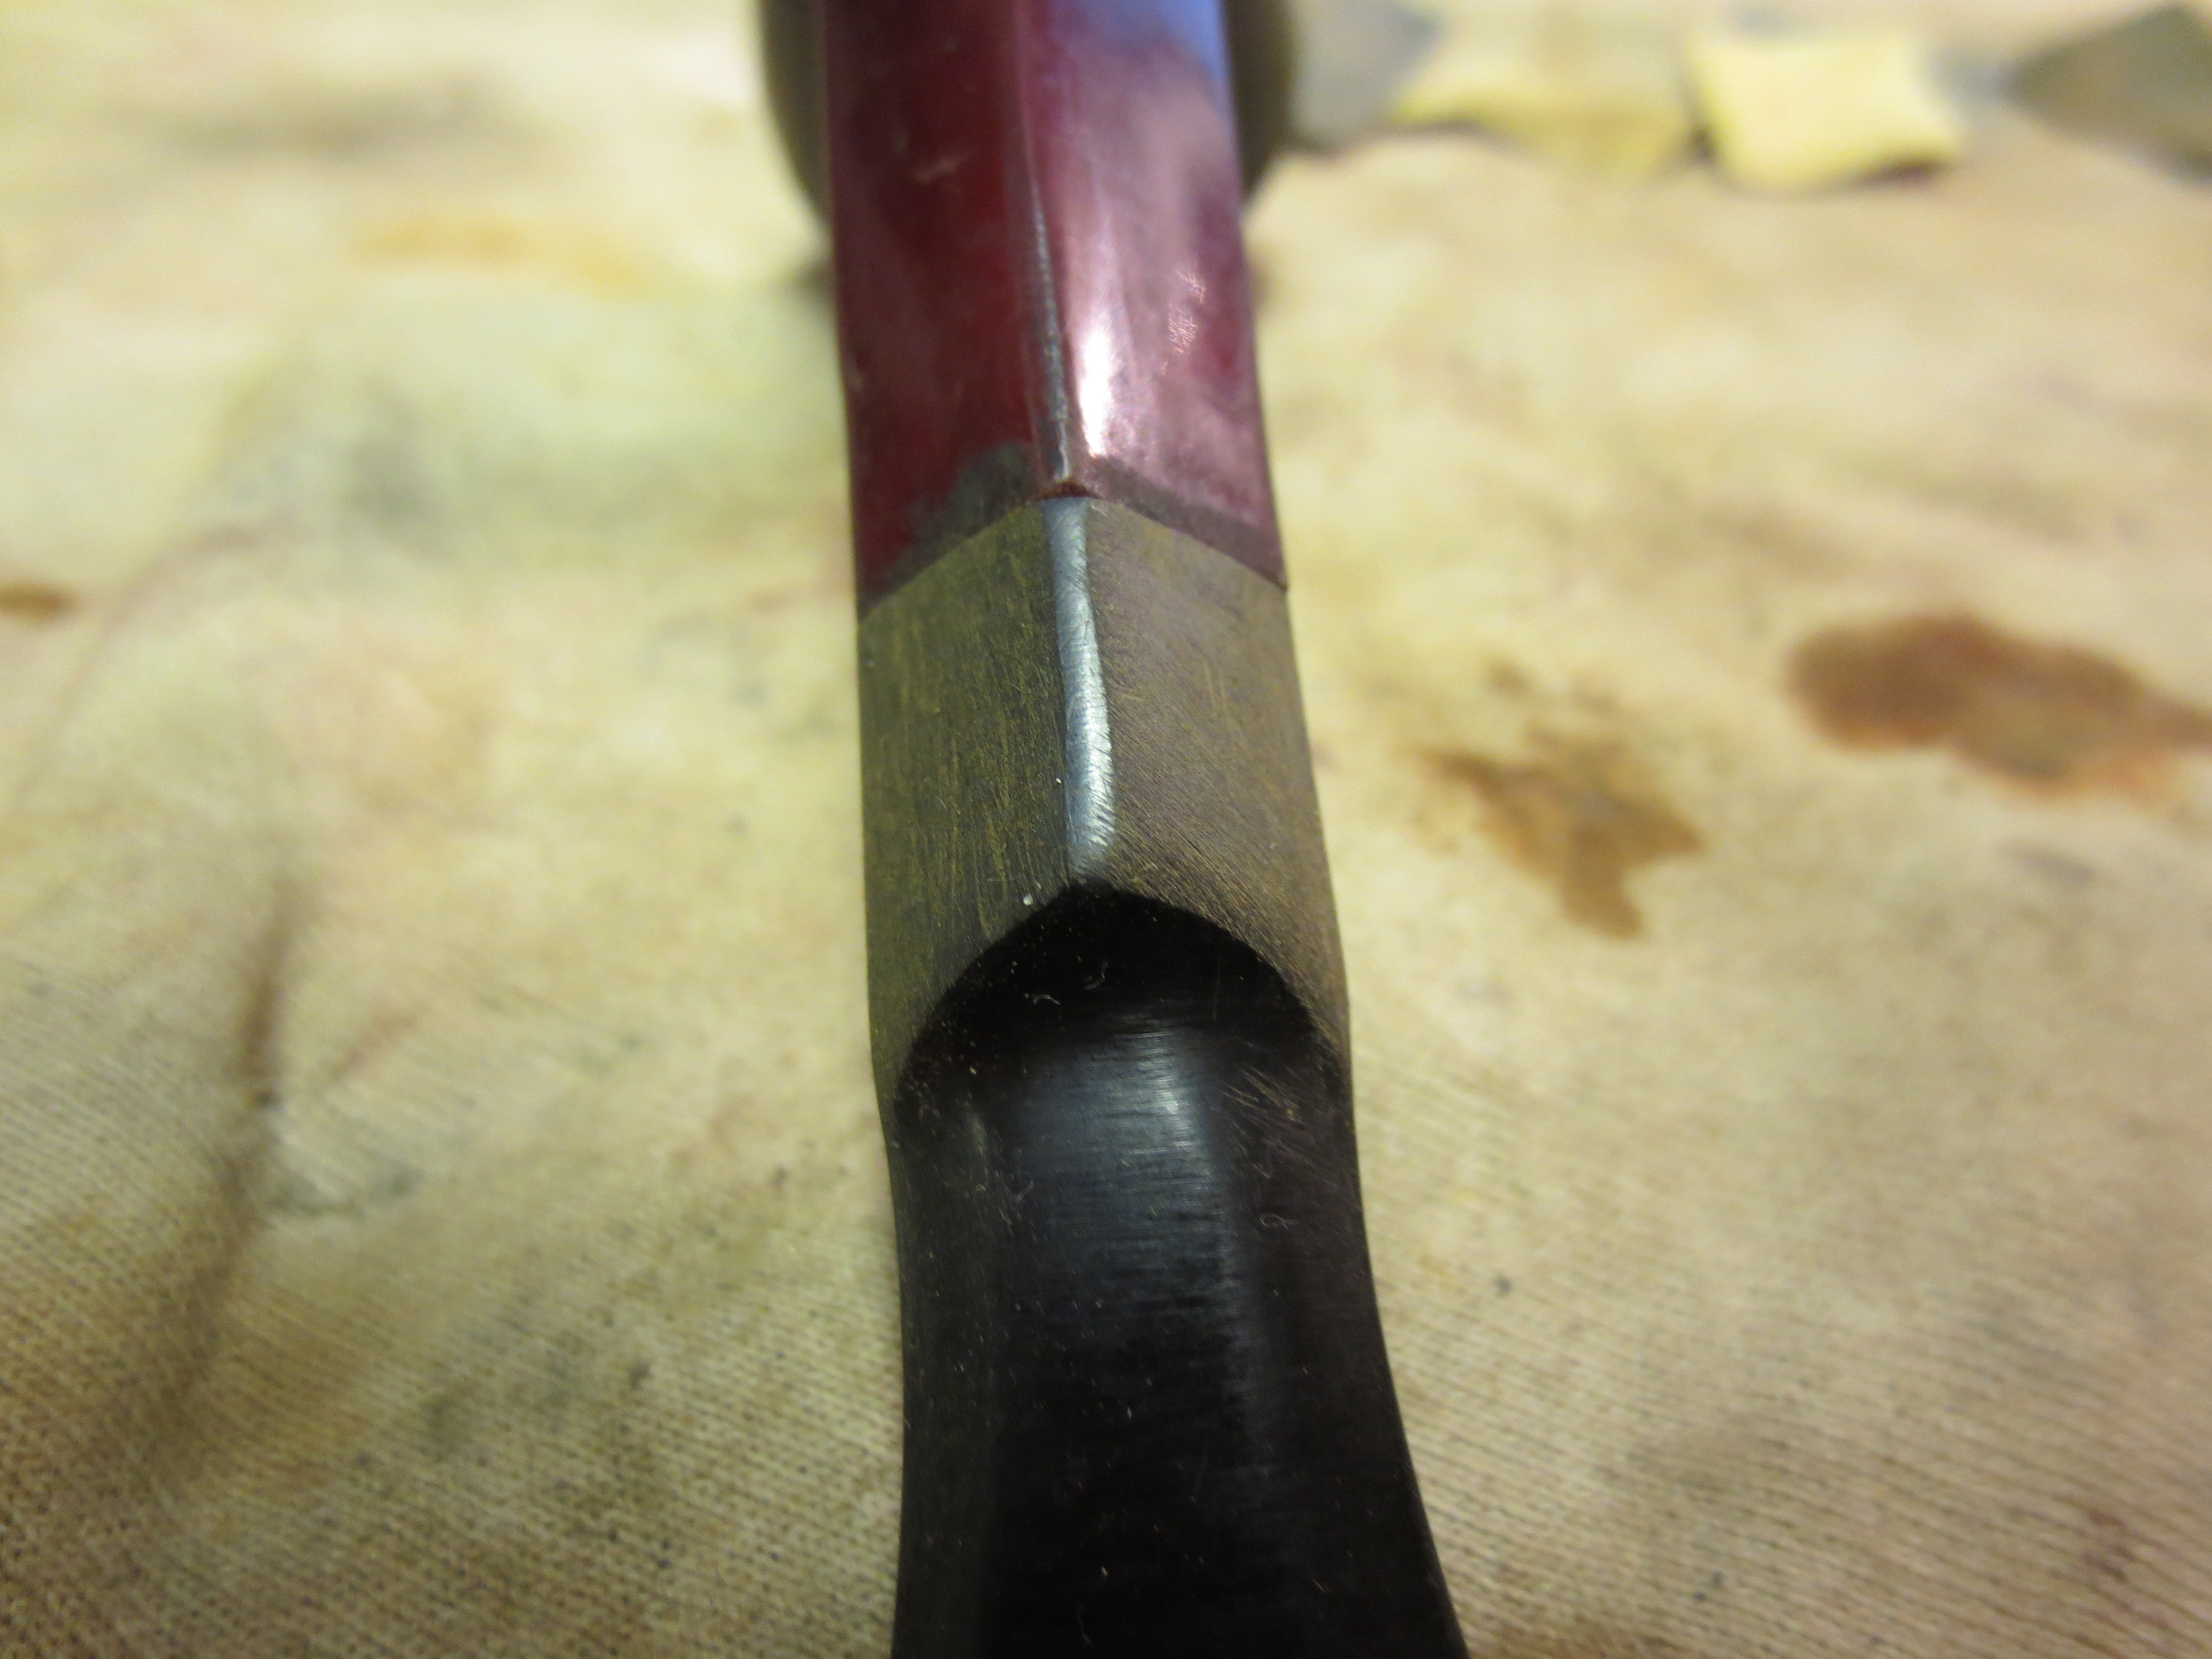
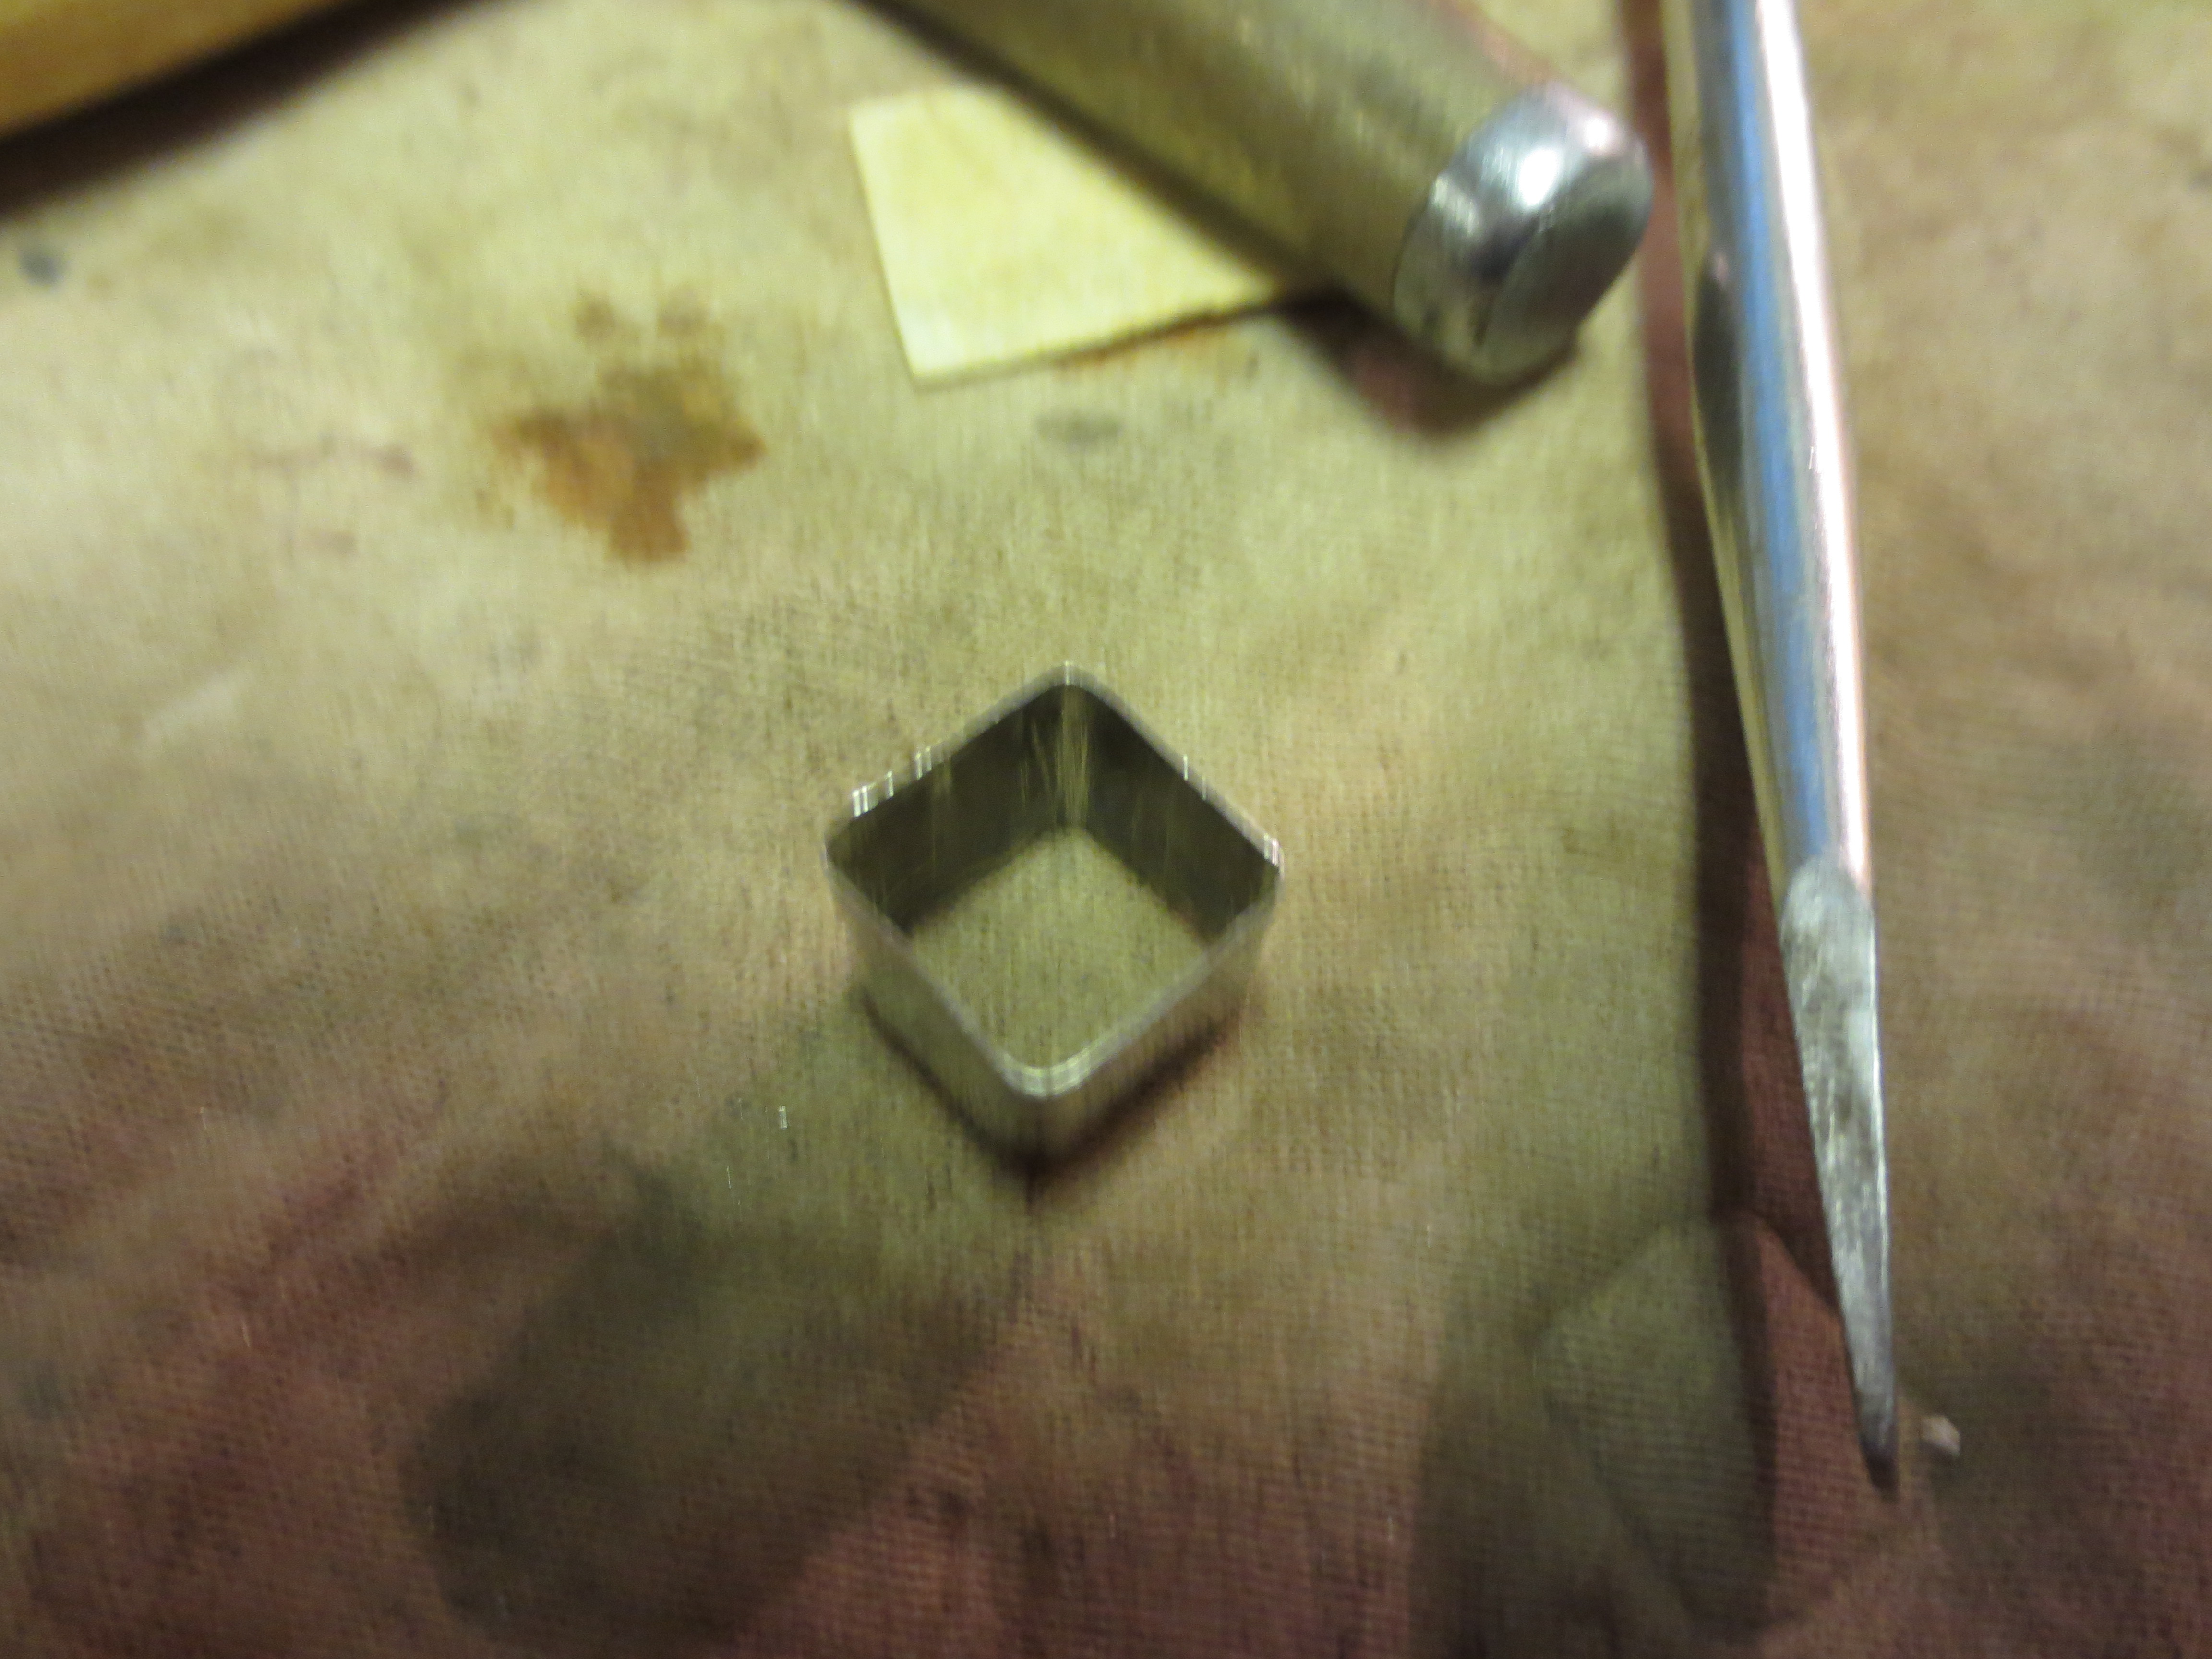
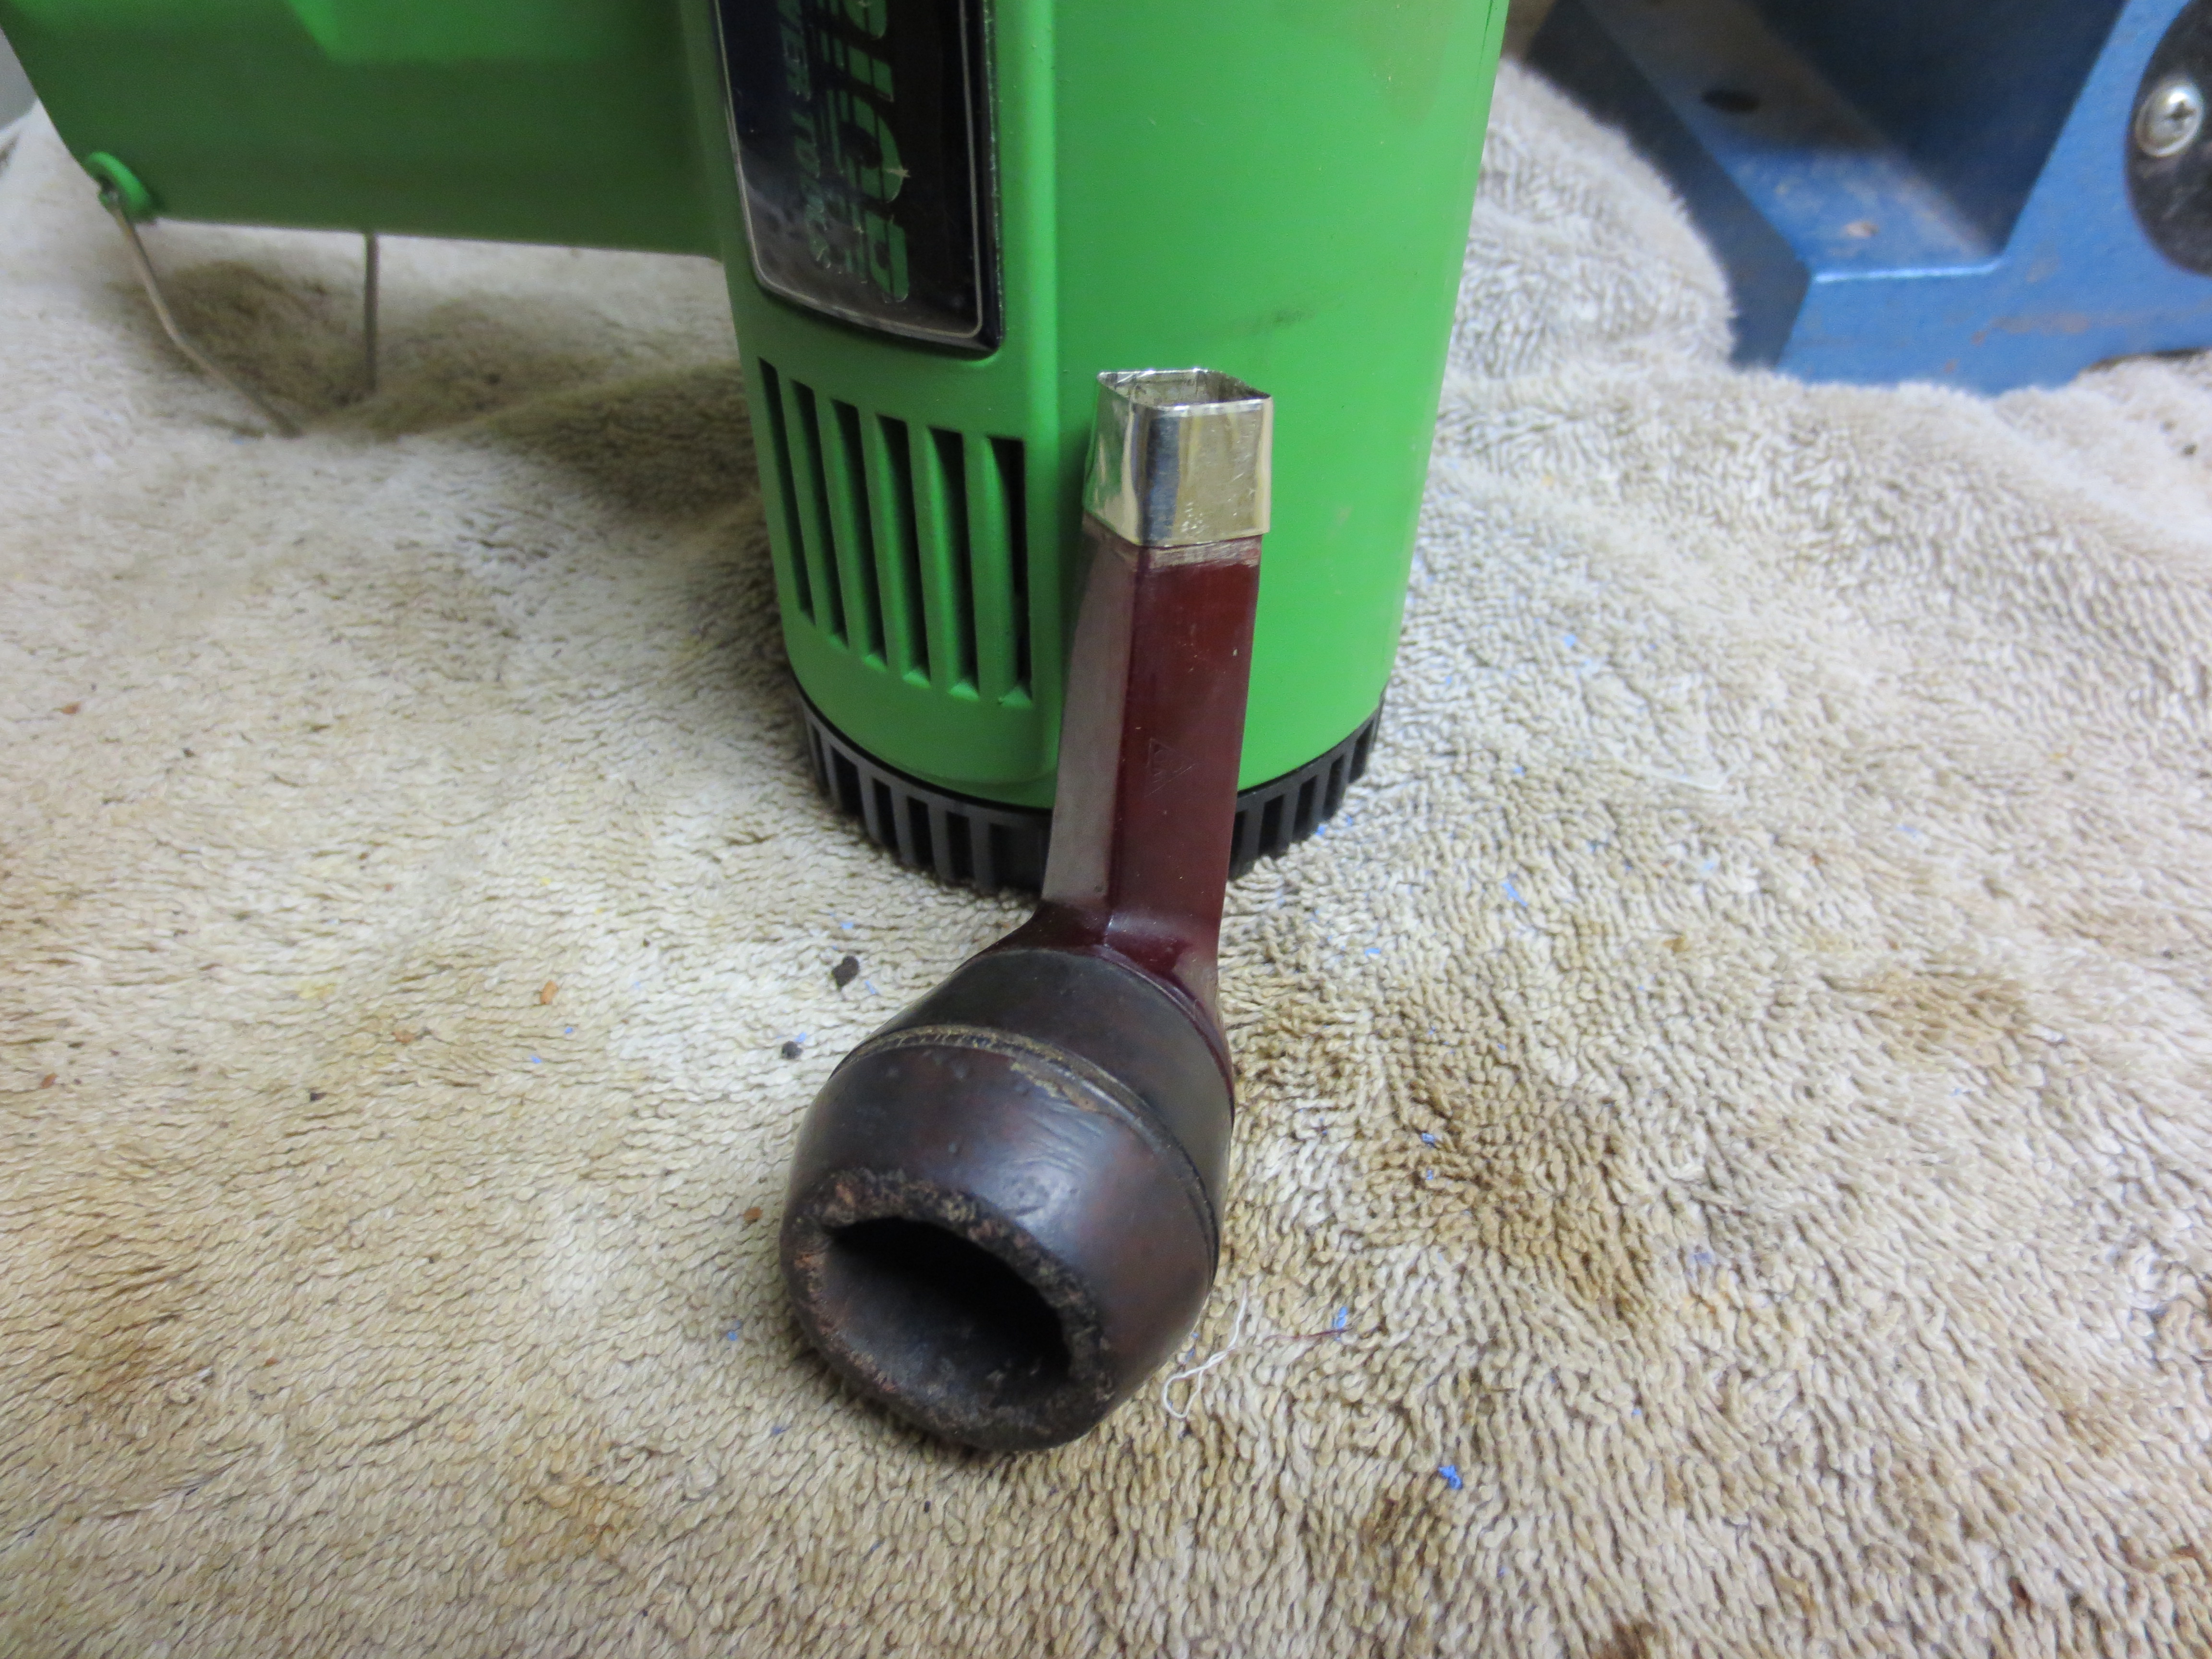
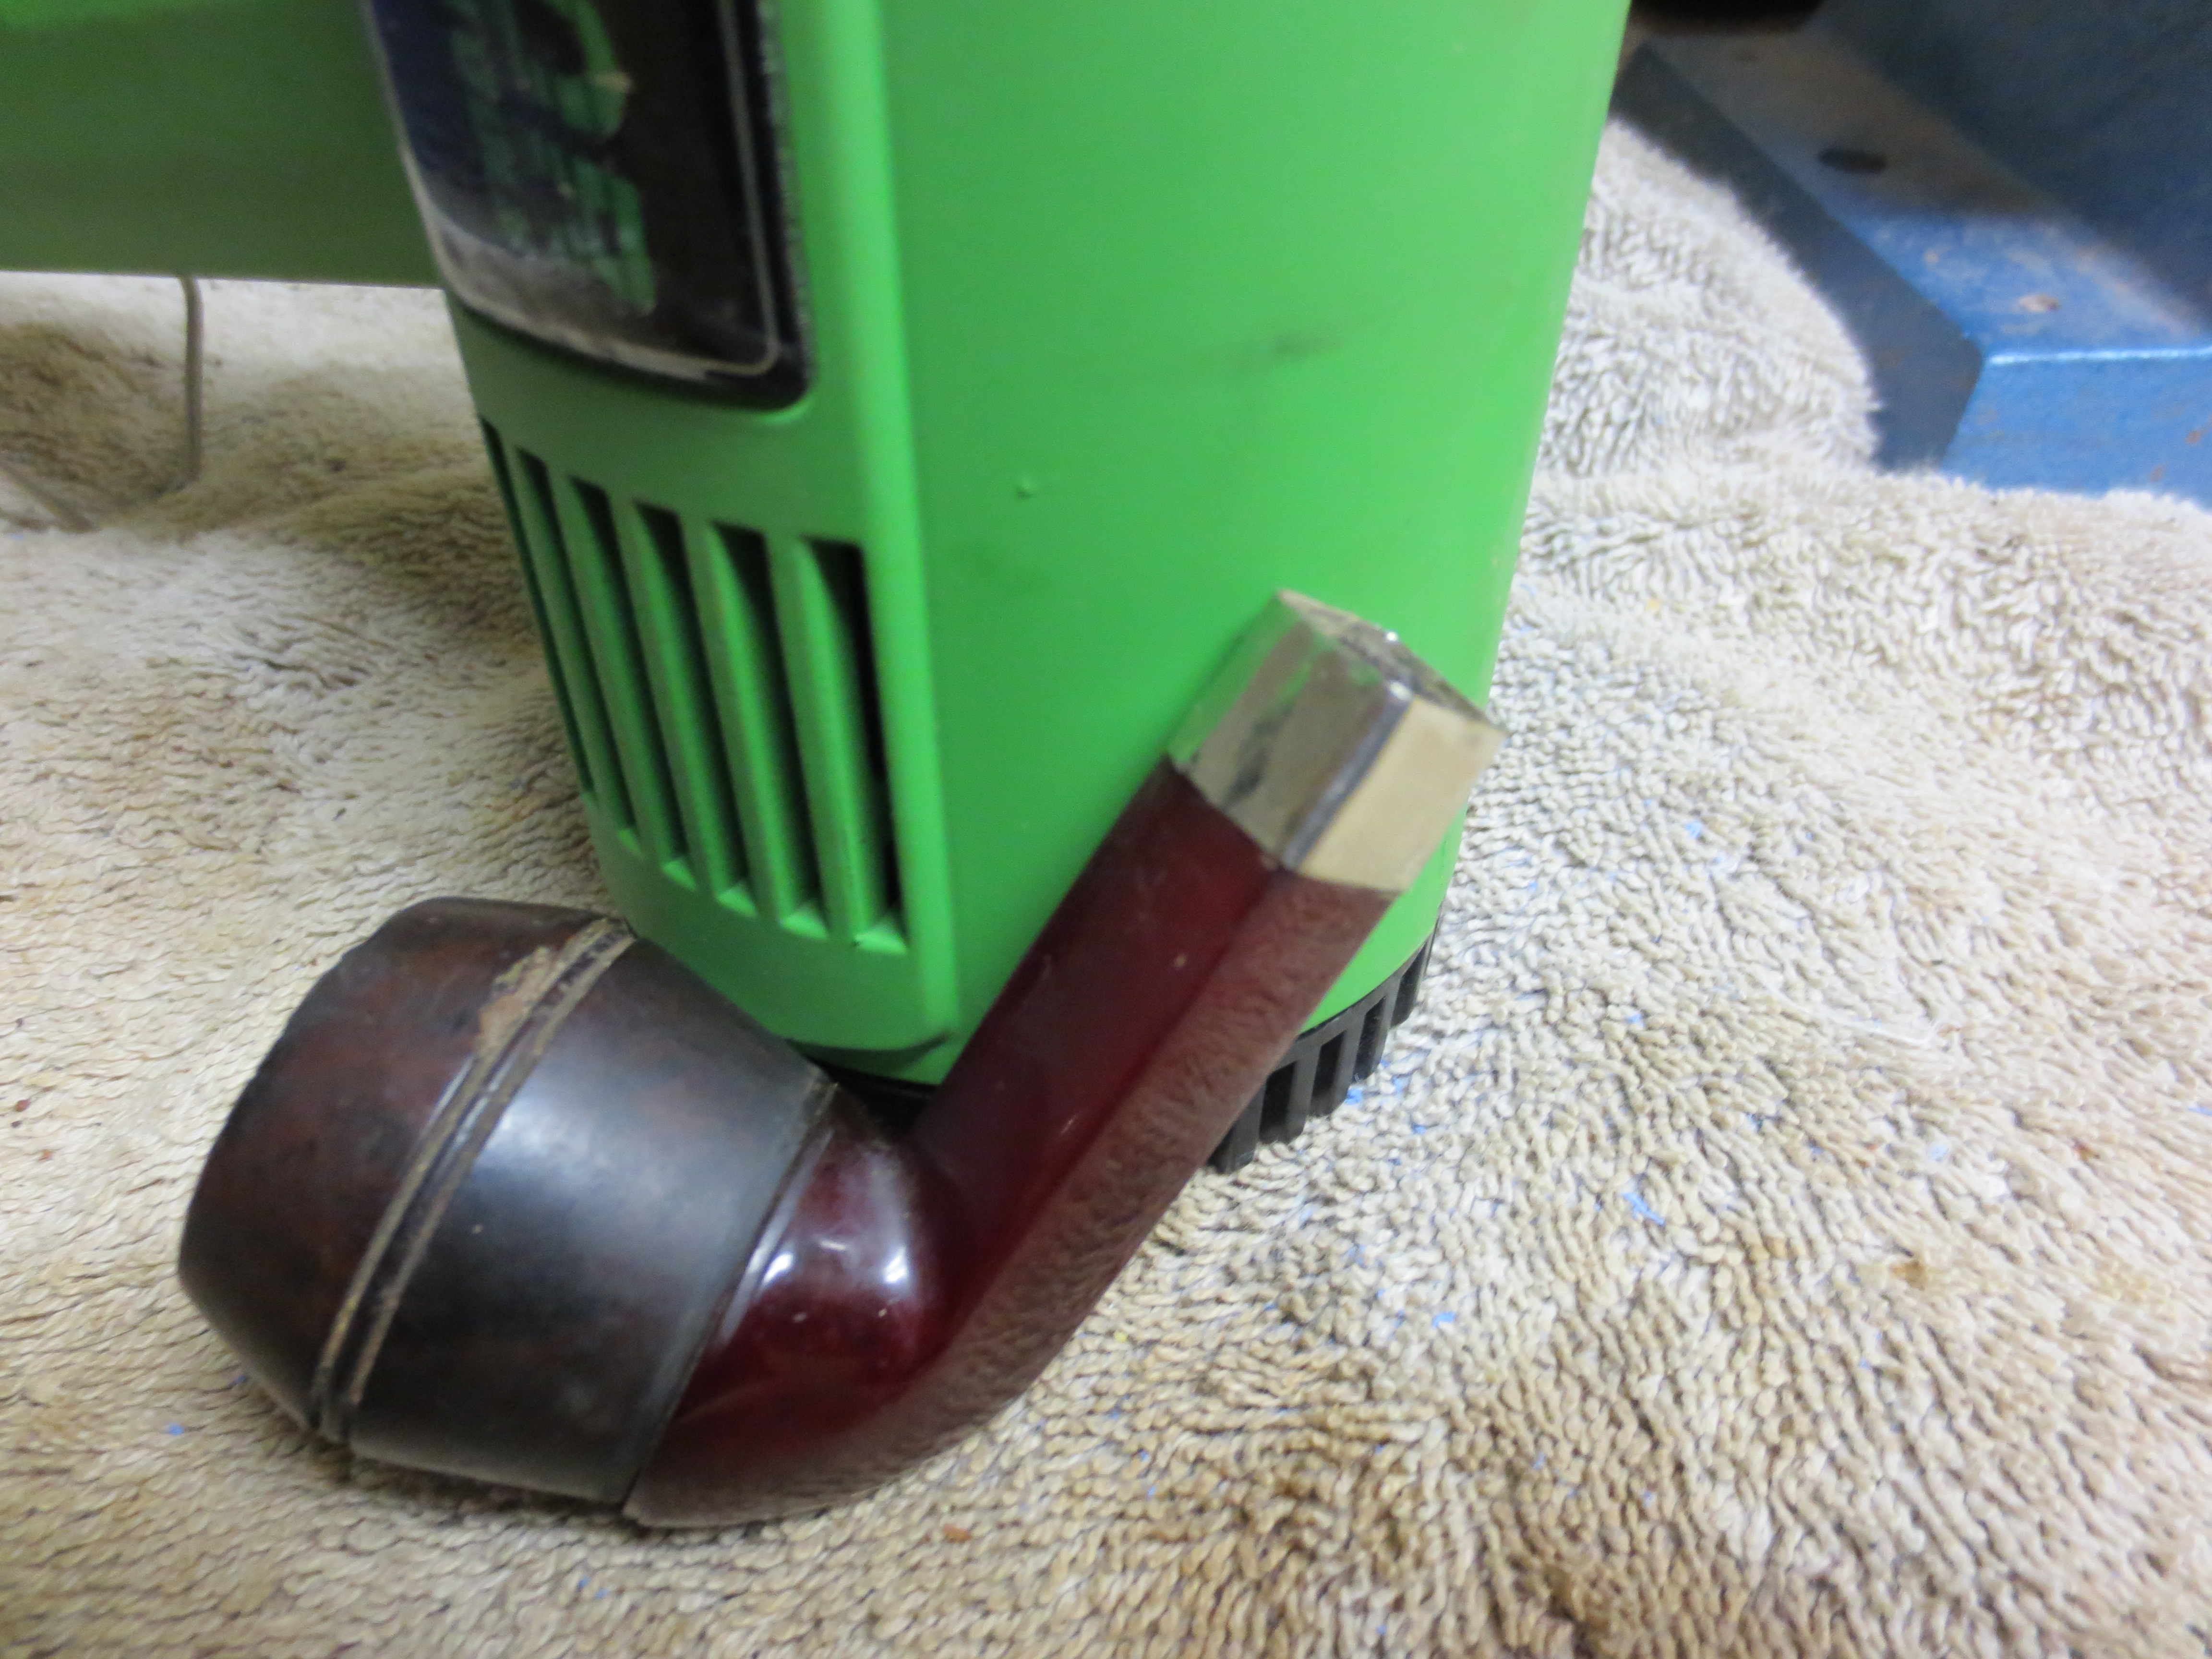
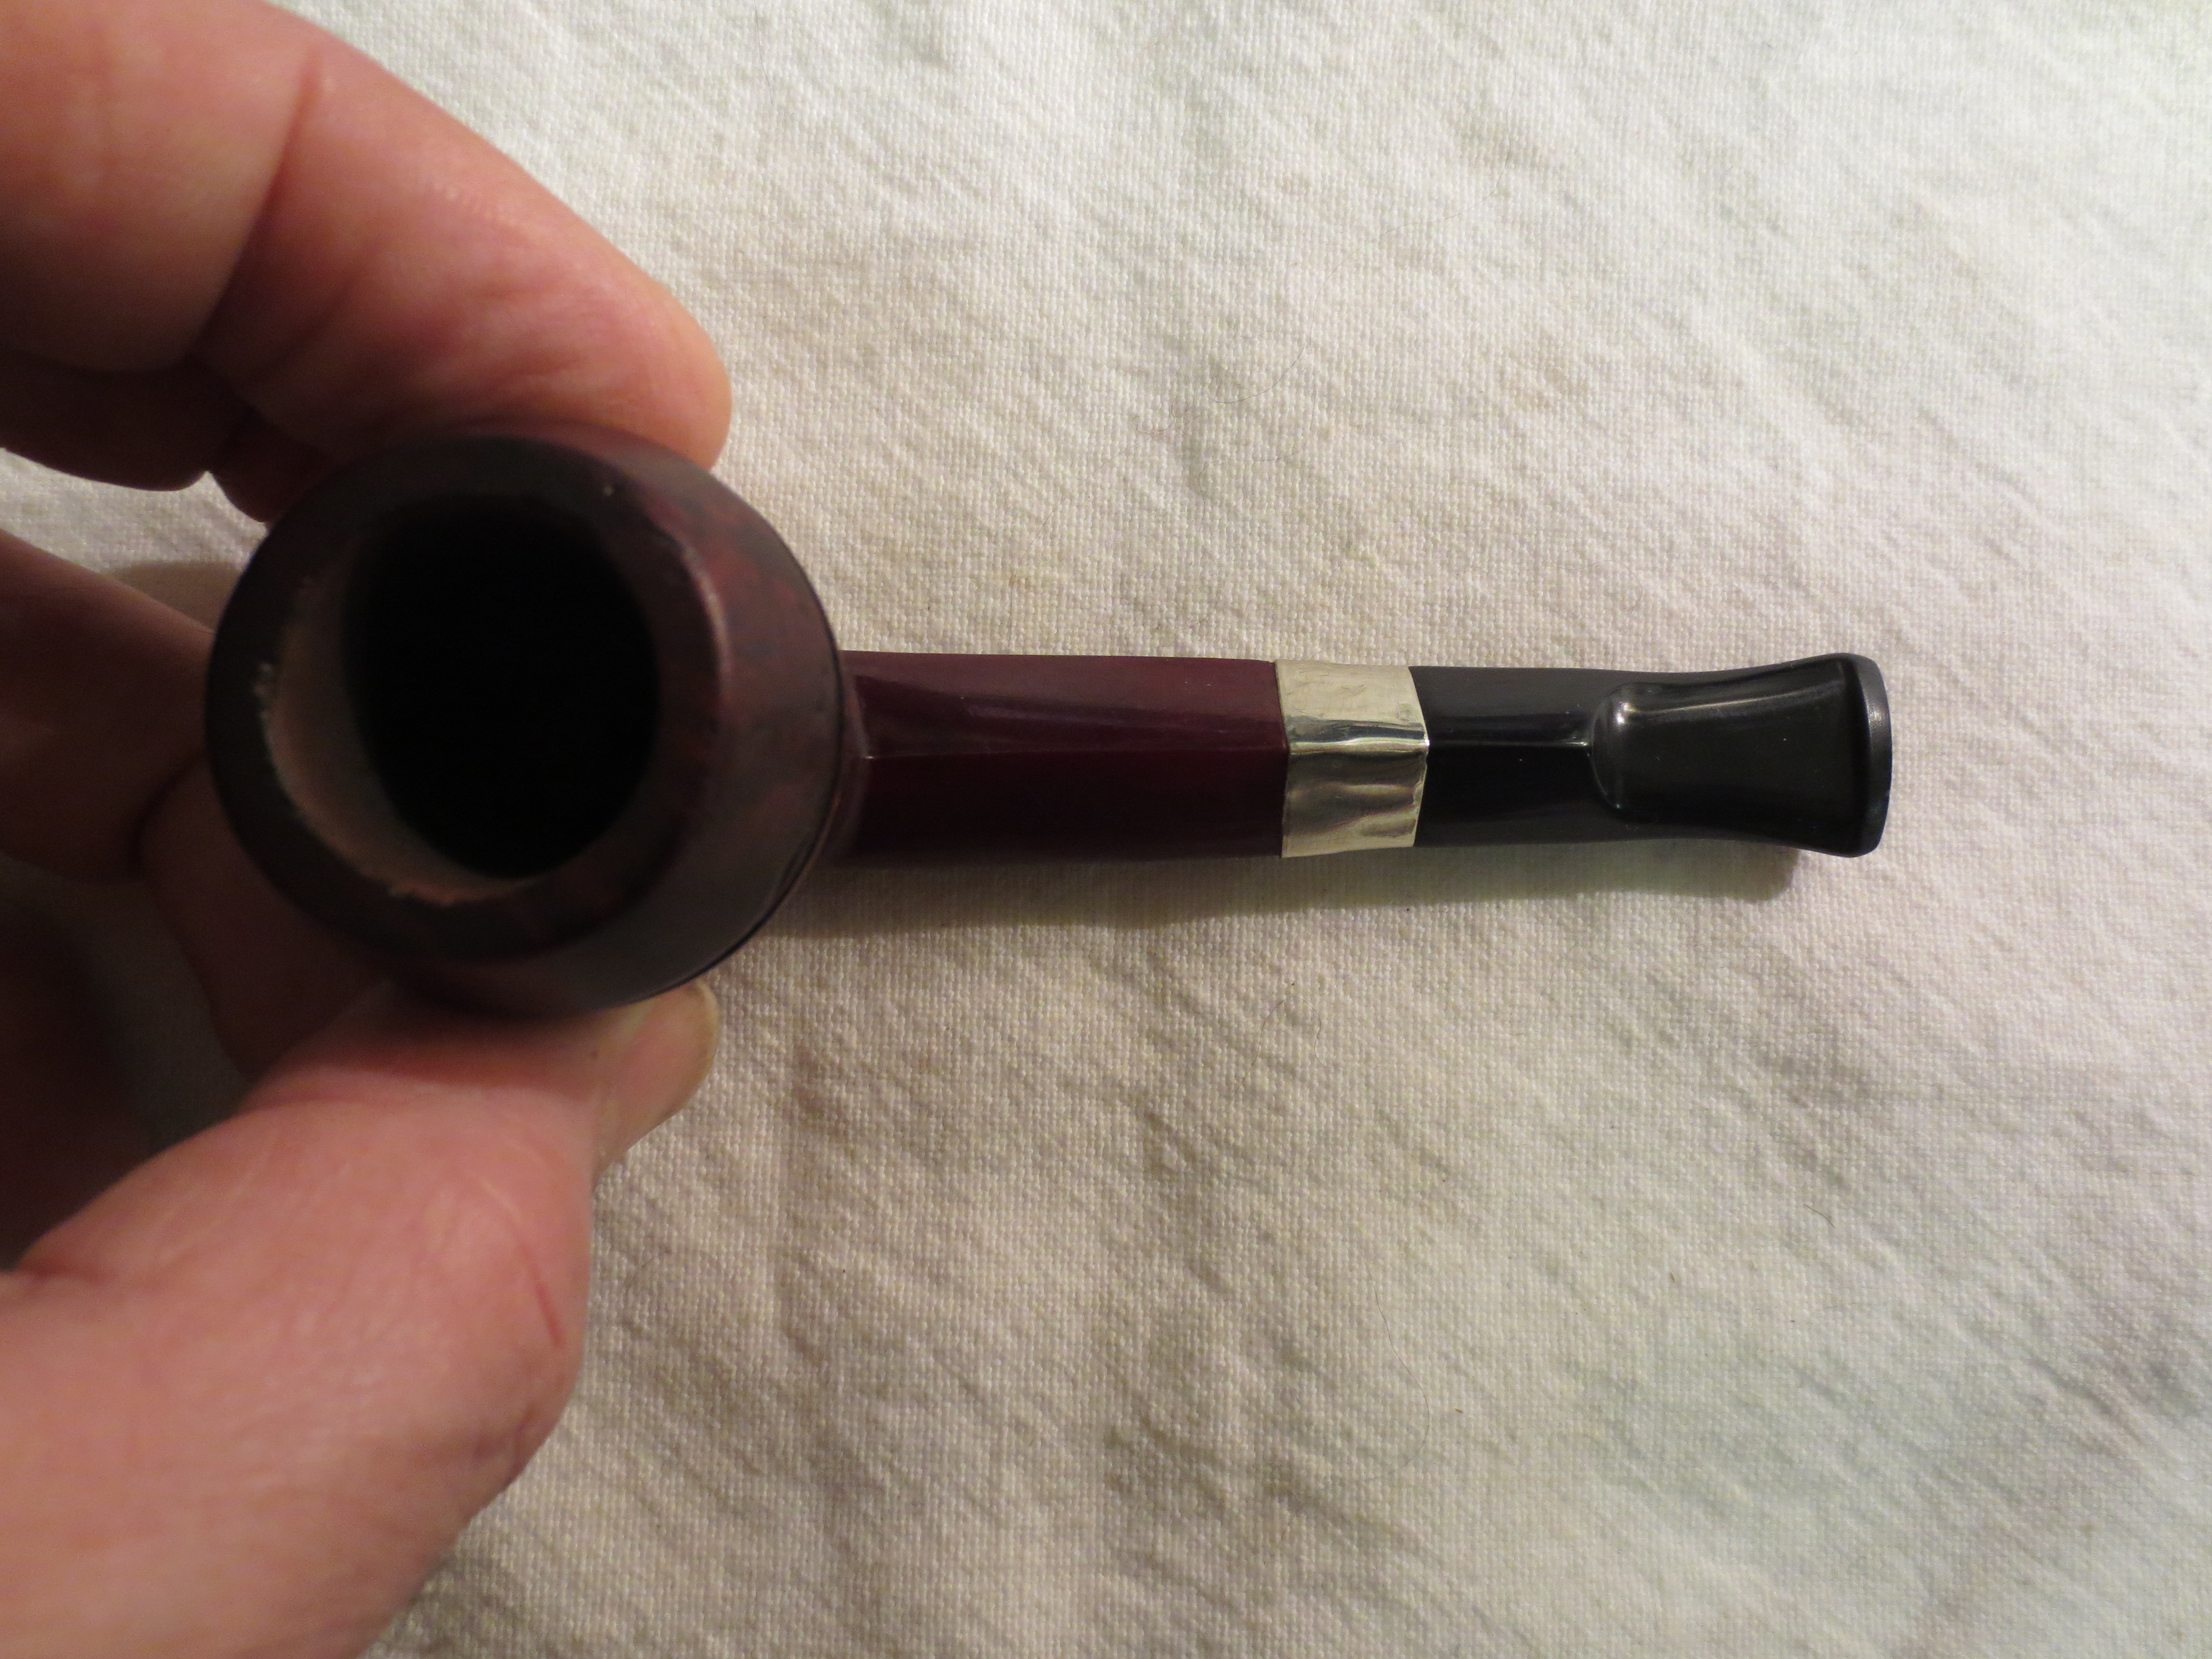
I wiped the bowl down with acetone on a cotton pad, used a dental pick to clean out the grooves and screwed bowl on the base to get an idea how the pipe would look. I also wiped down the bowl base with Everclear to clean off the grime and buildup on that surface. I went through my can of stems in search of a diamond shaped stem that would finish out the look of the pipe. I came up empty-handed so I chose a round stem of the right diameter and length that I could shape to fit the shank. I drilled out the shank to remove the metal tenon and also to open the diameter of the mortise. The original stem had been a screw on one and the metal mortise and the metal tenon were firmly welded together so the drill was the only way to remove it. I opened it as wide as possible while still leaving enough material on the shank to maintain strength. I turned the tenon with the PIMO tenon turning tool and then a Dremel to bring it to the correct size for the new shank. The next two photos show the stem and the fit of the stem to the shank.

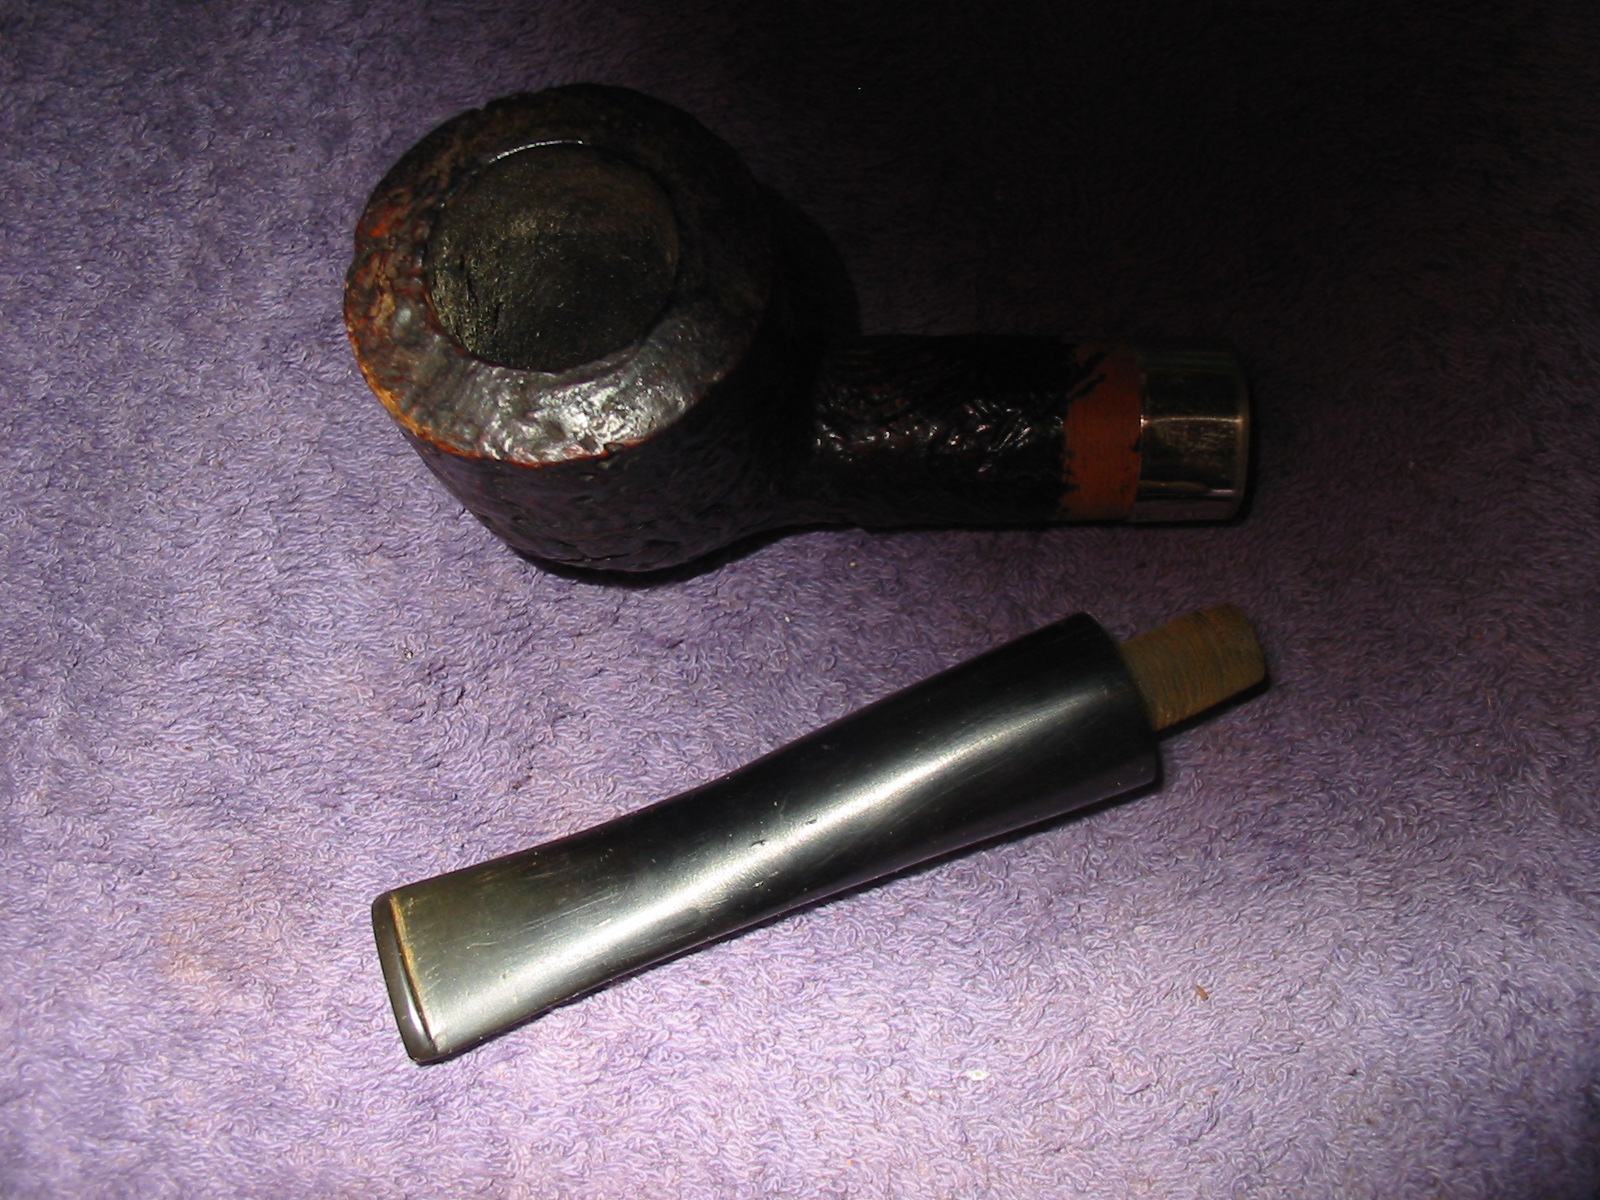
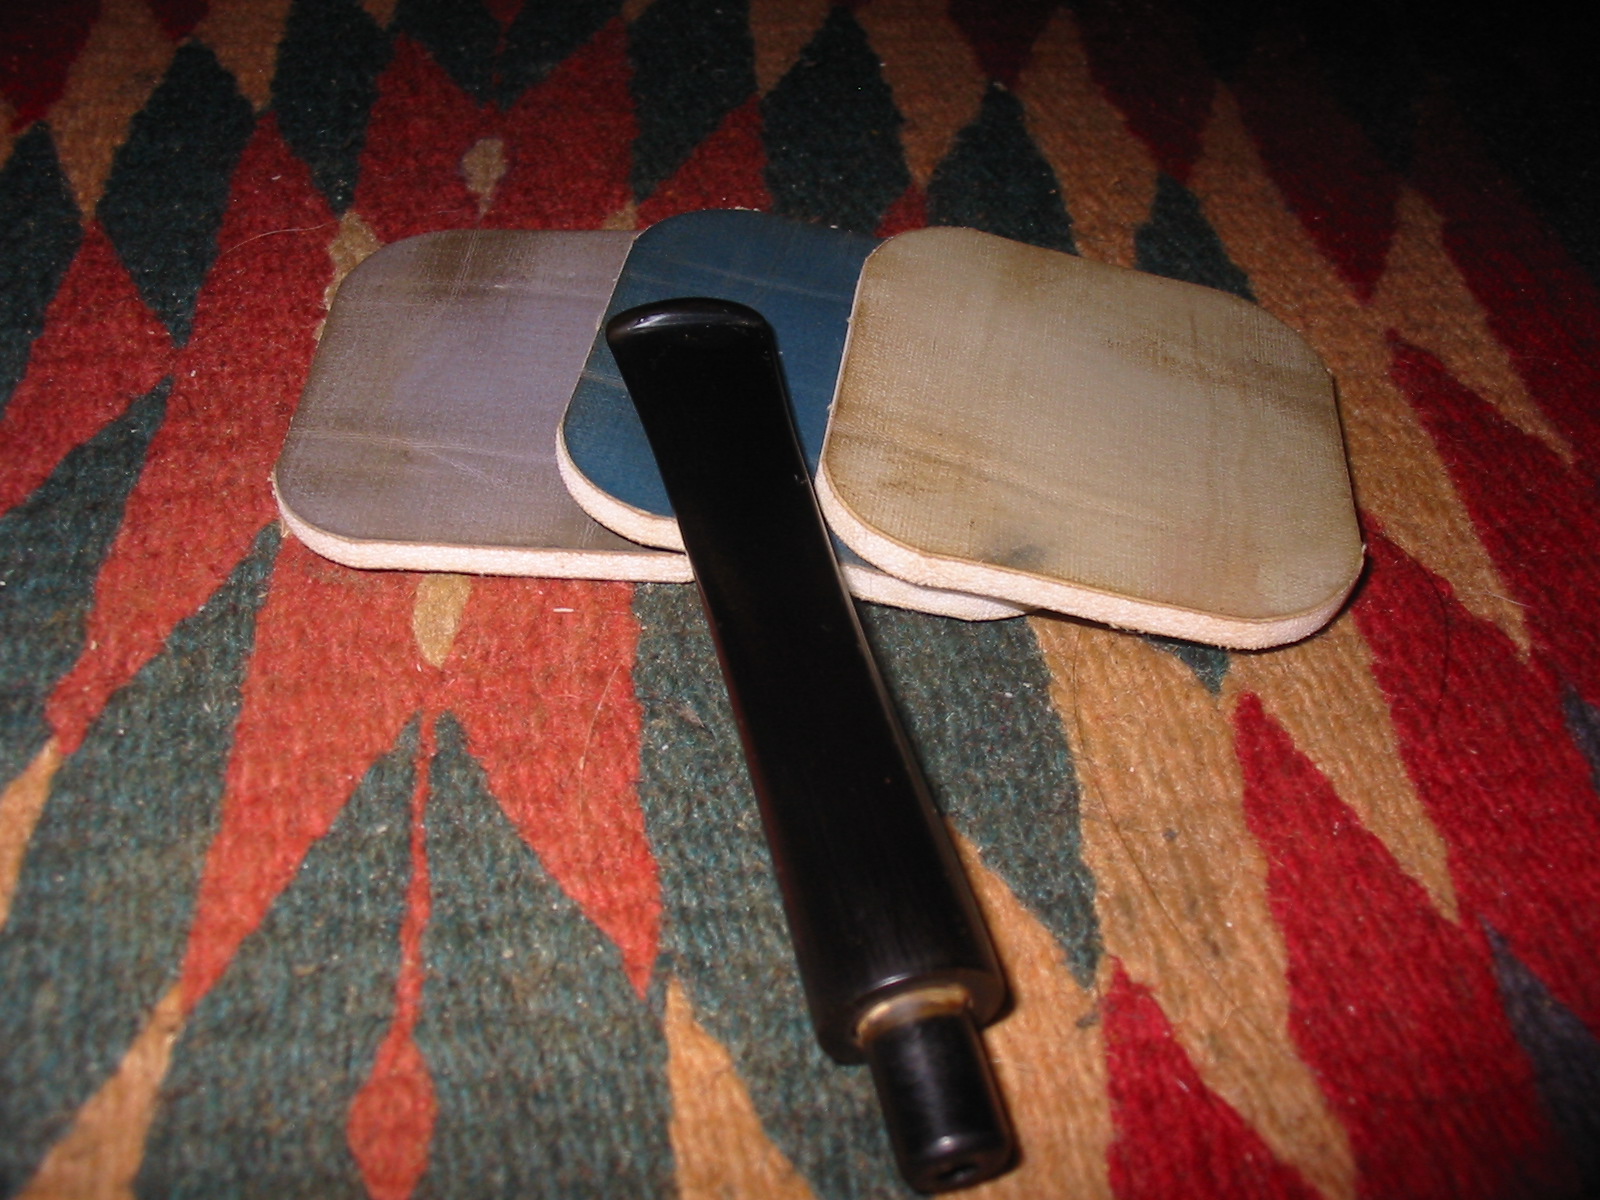
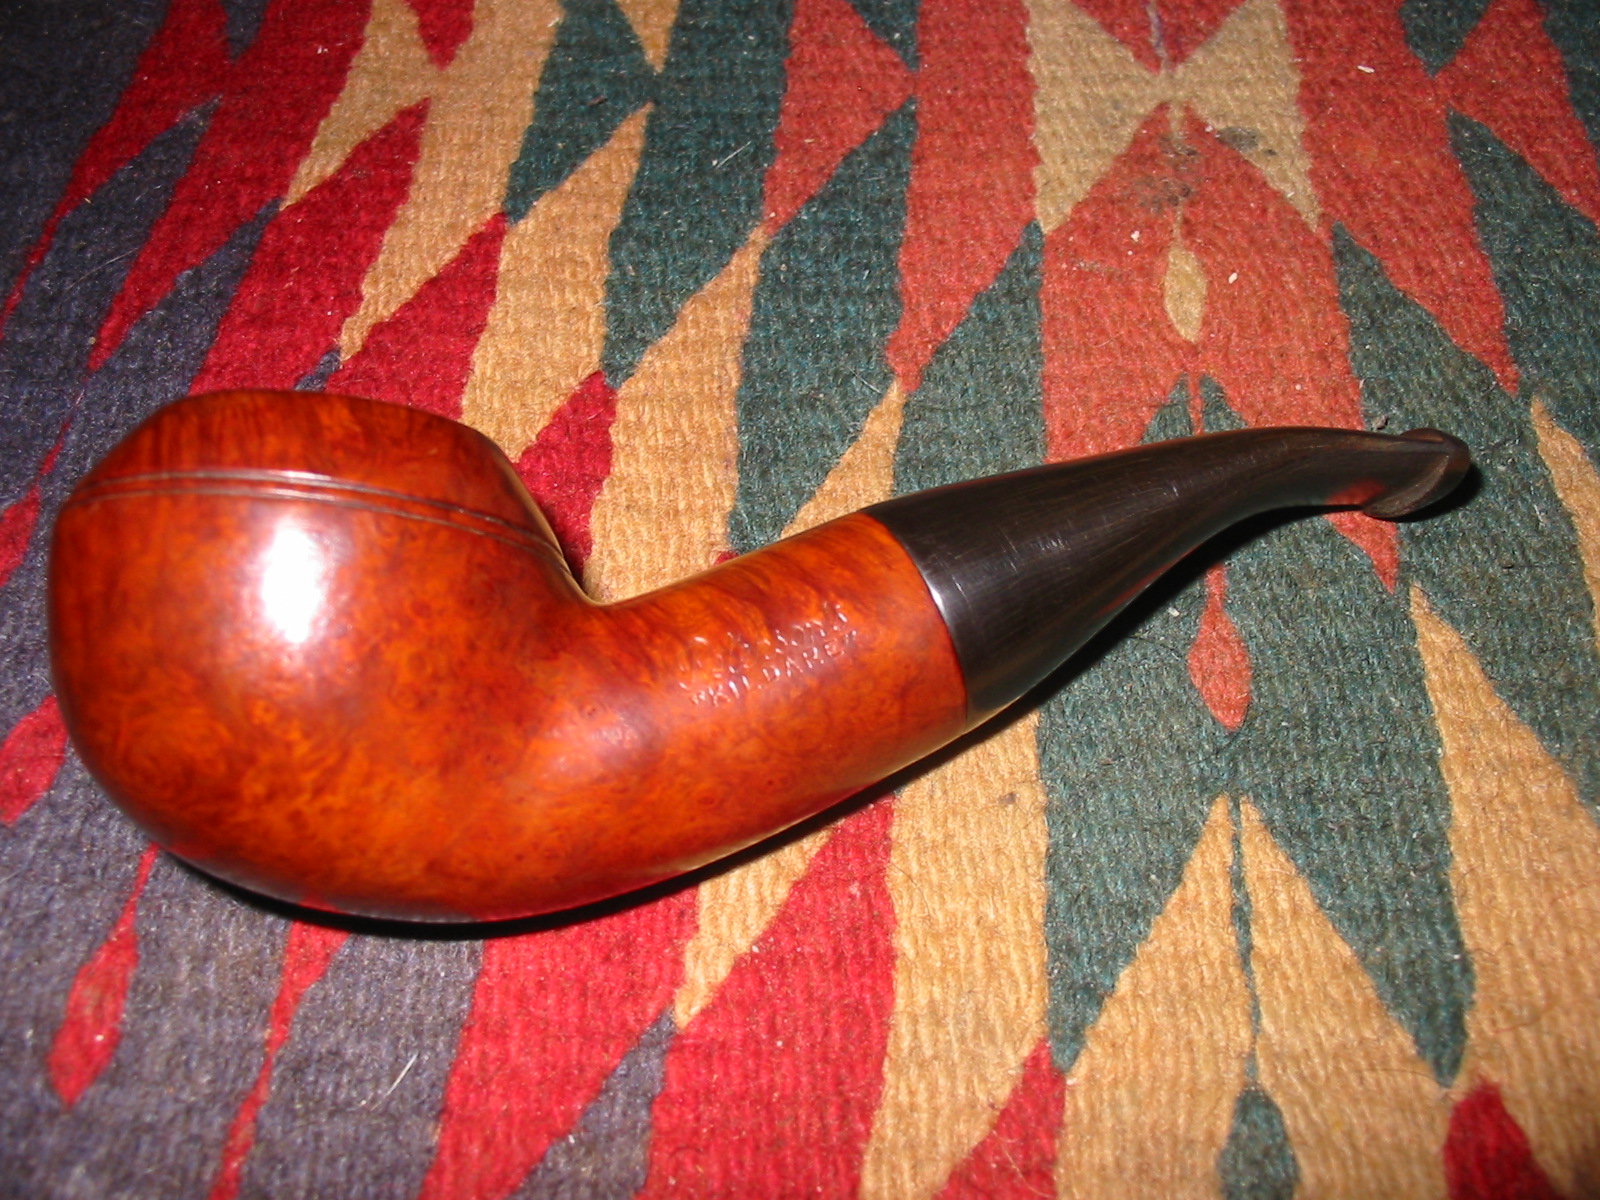
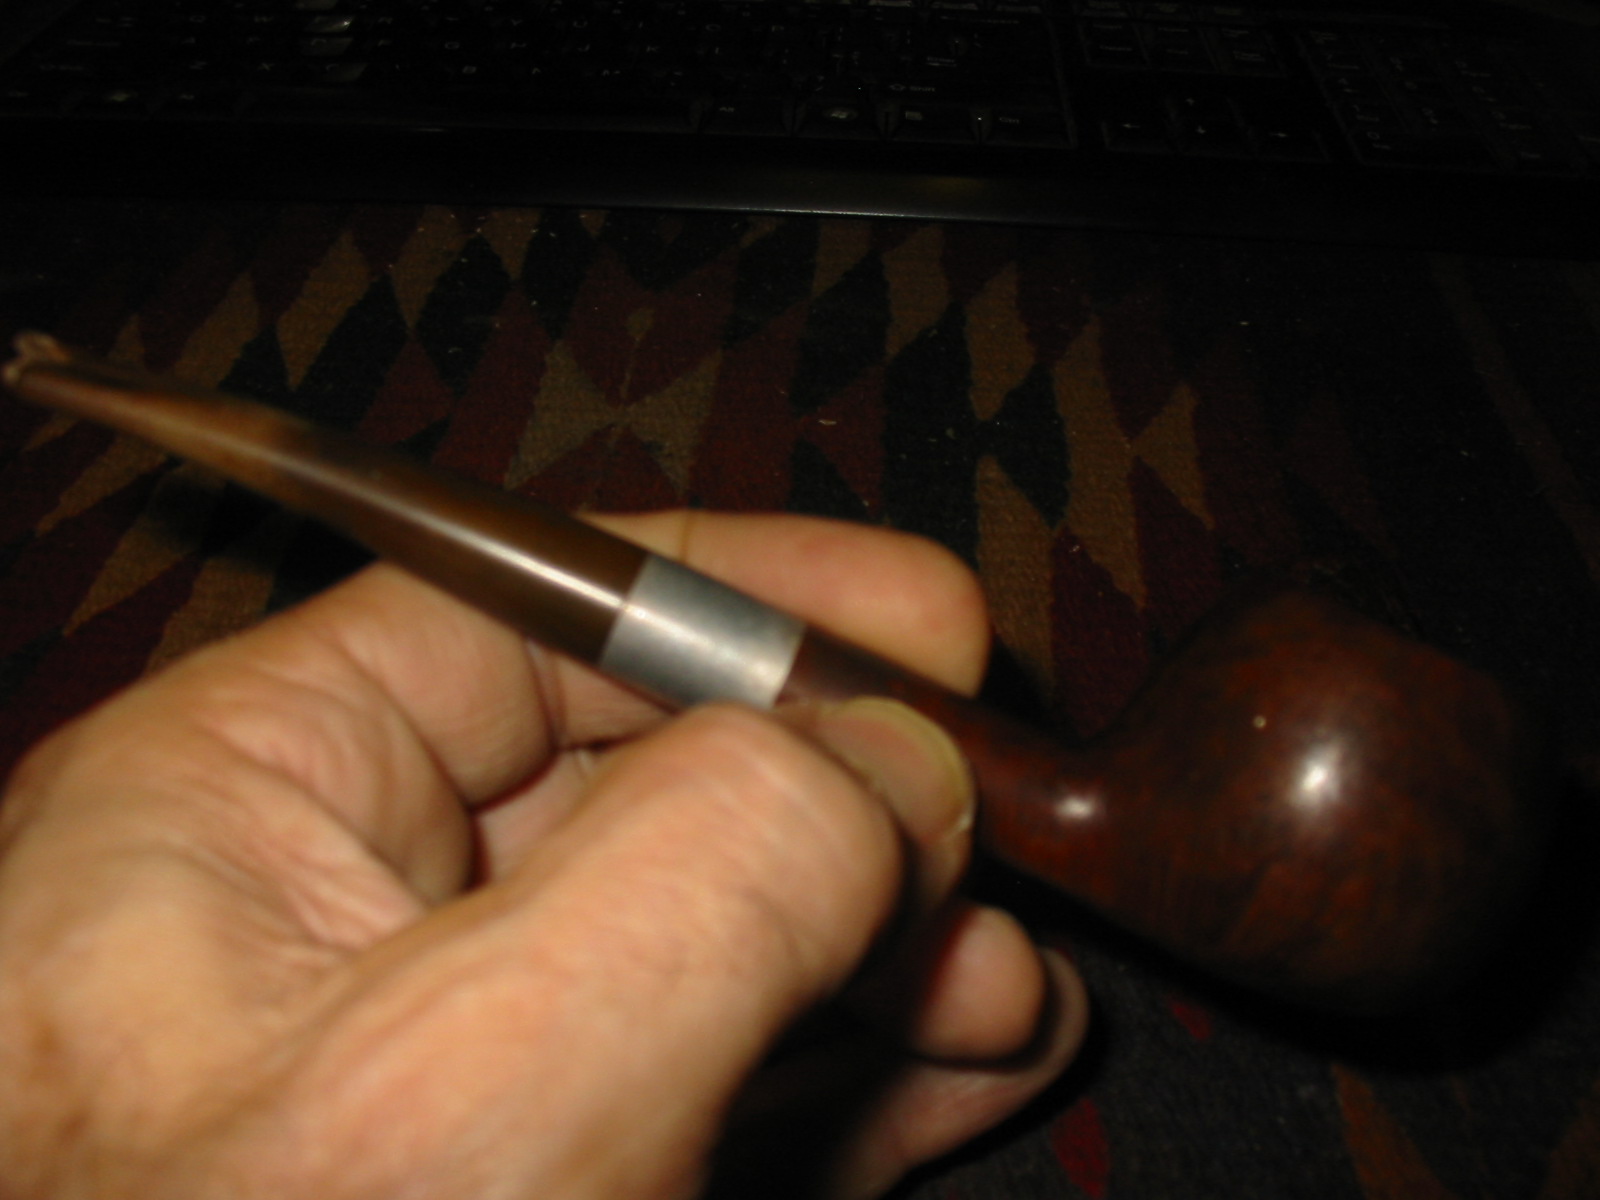
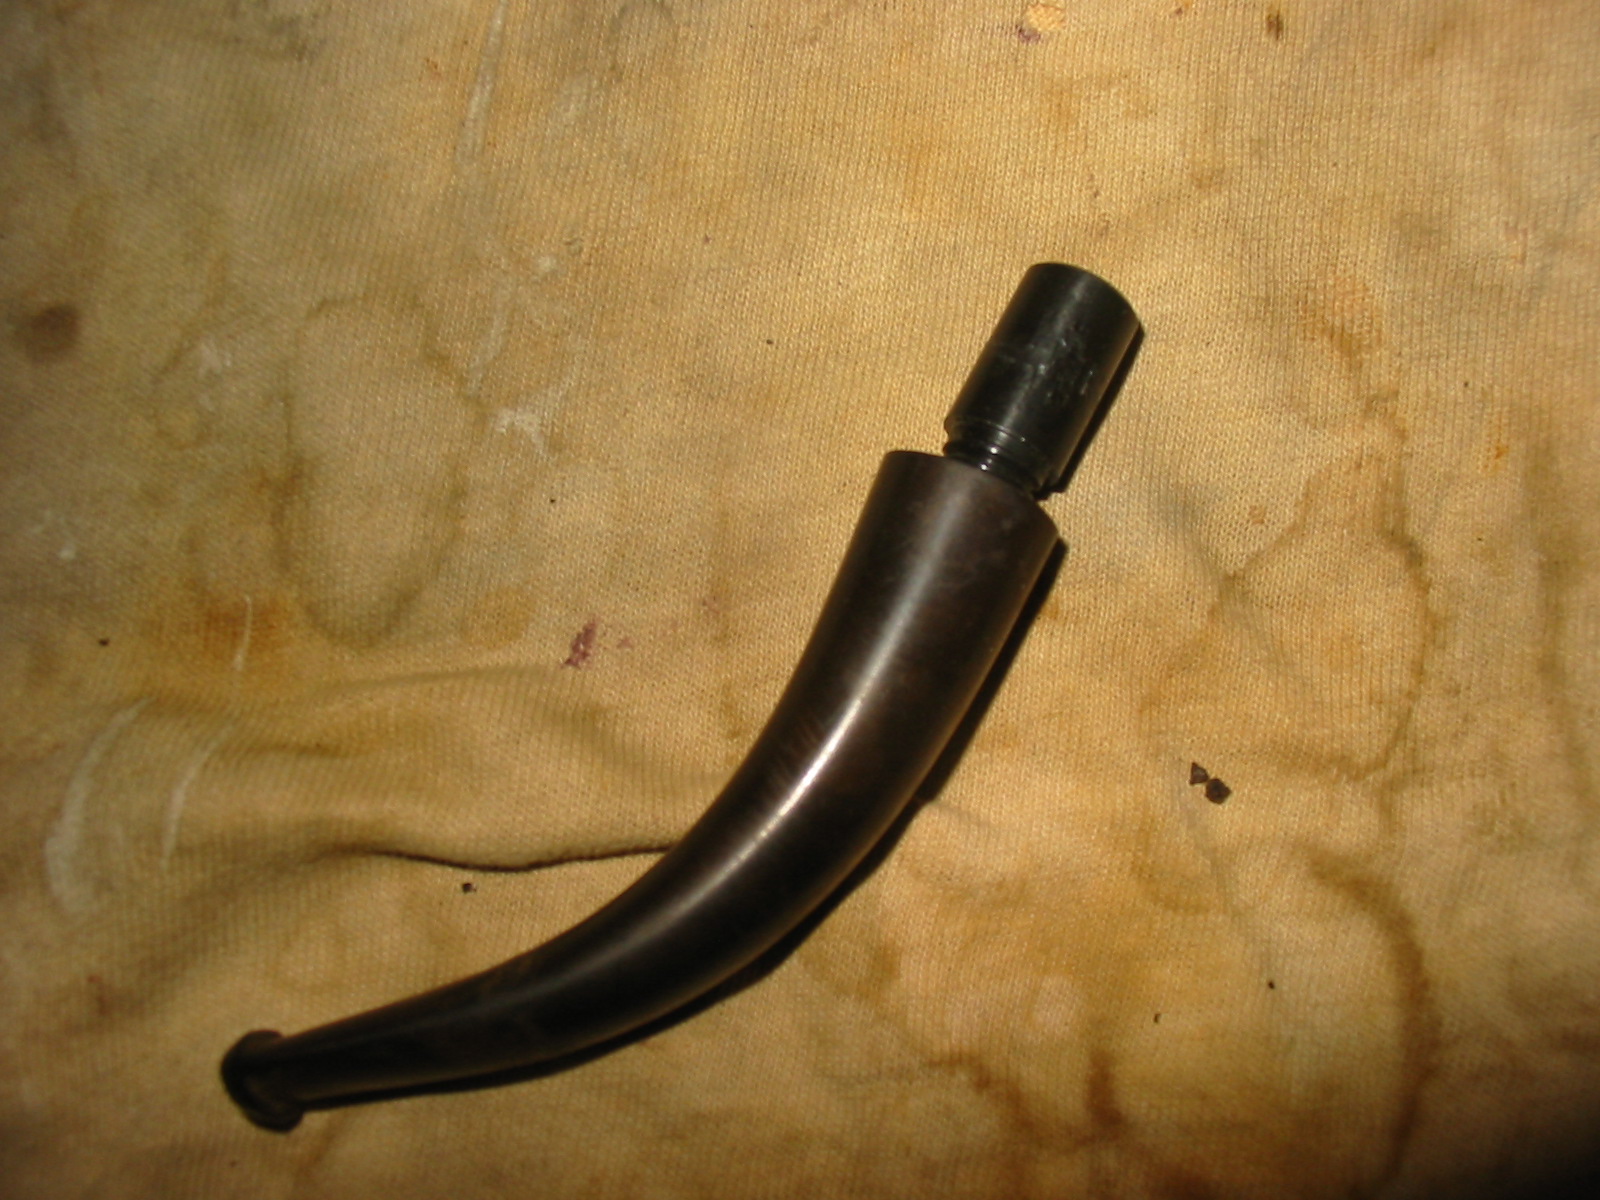
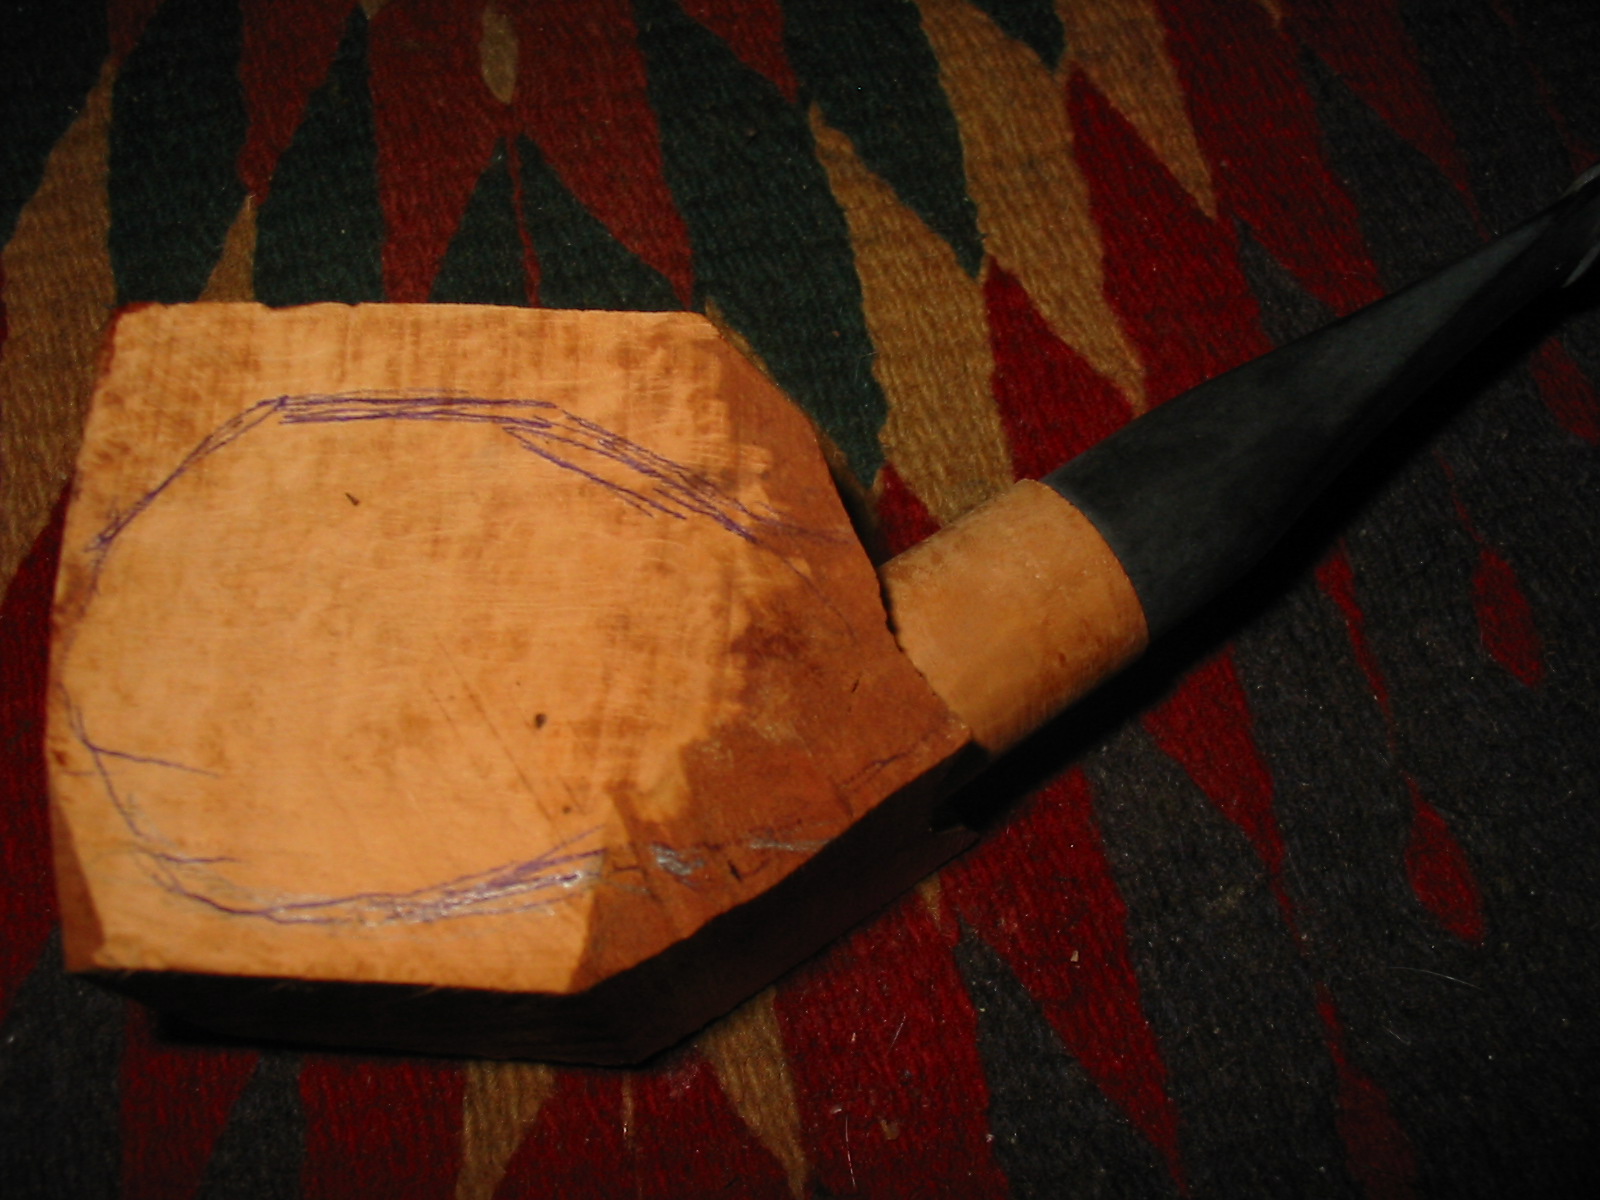
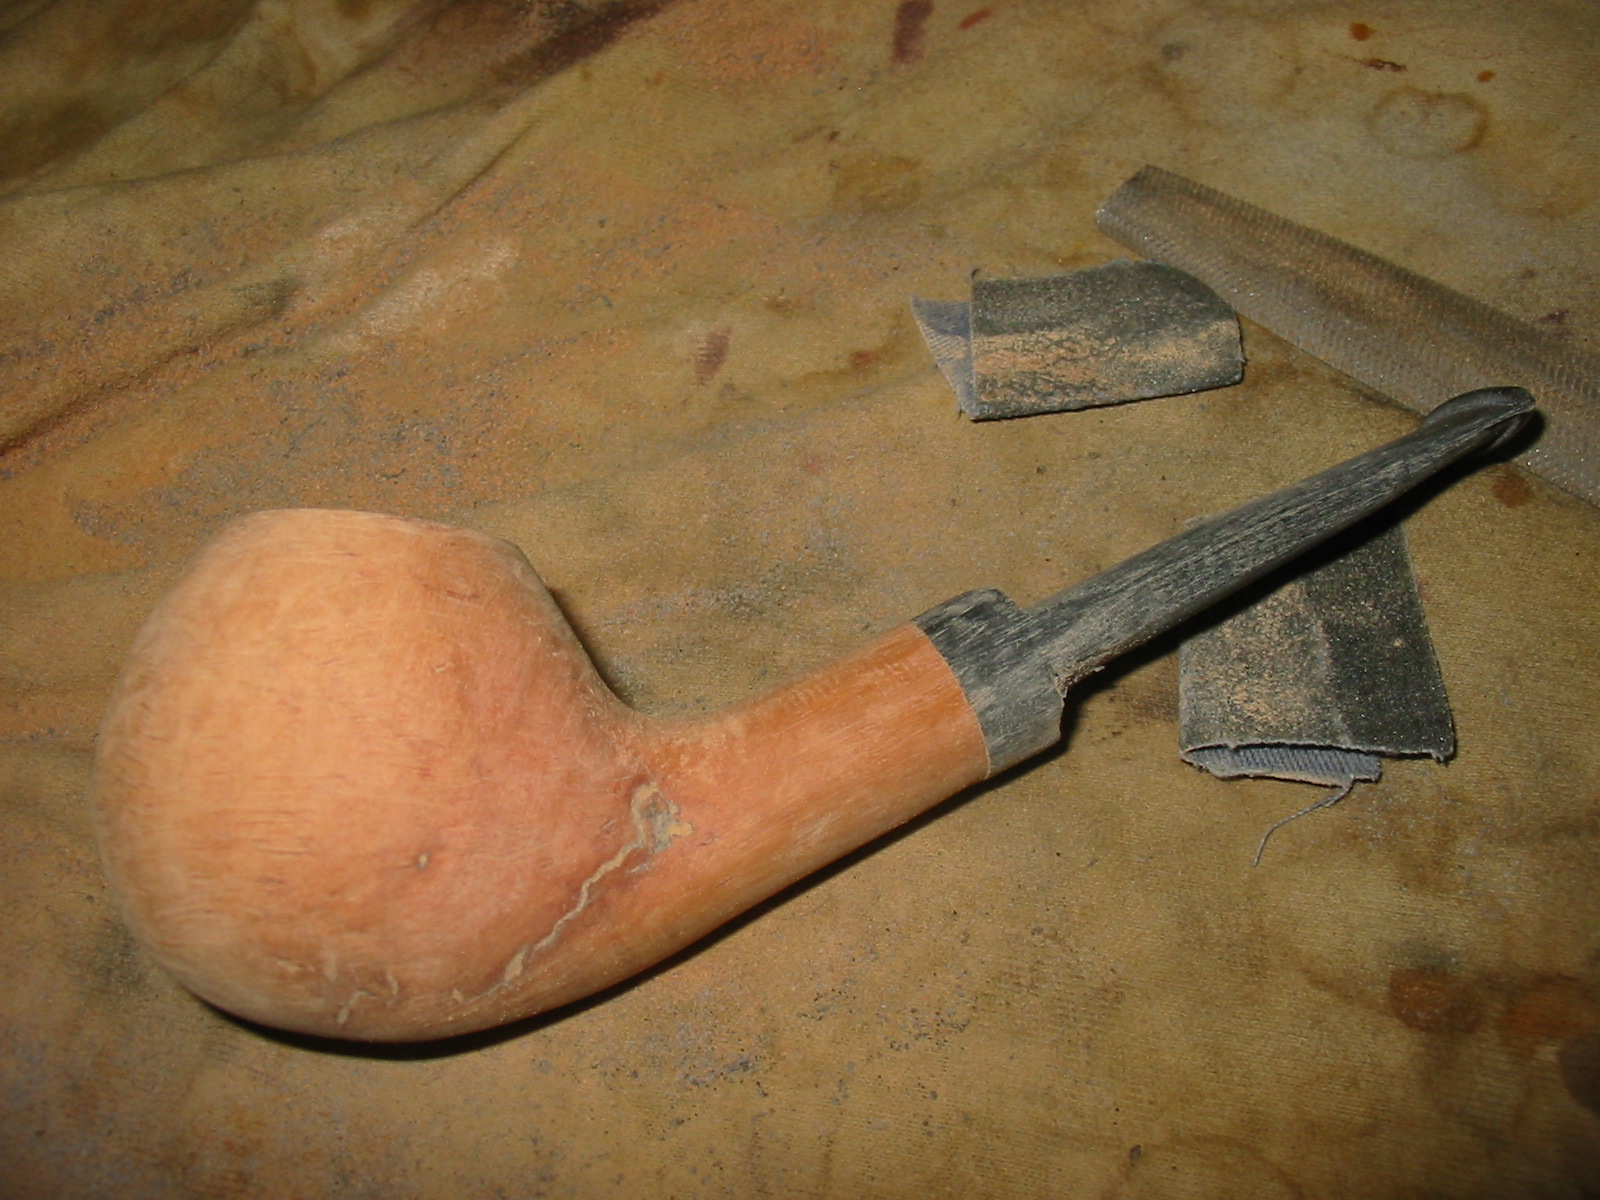
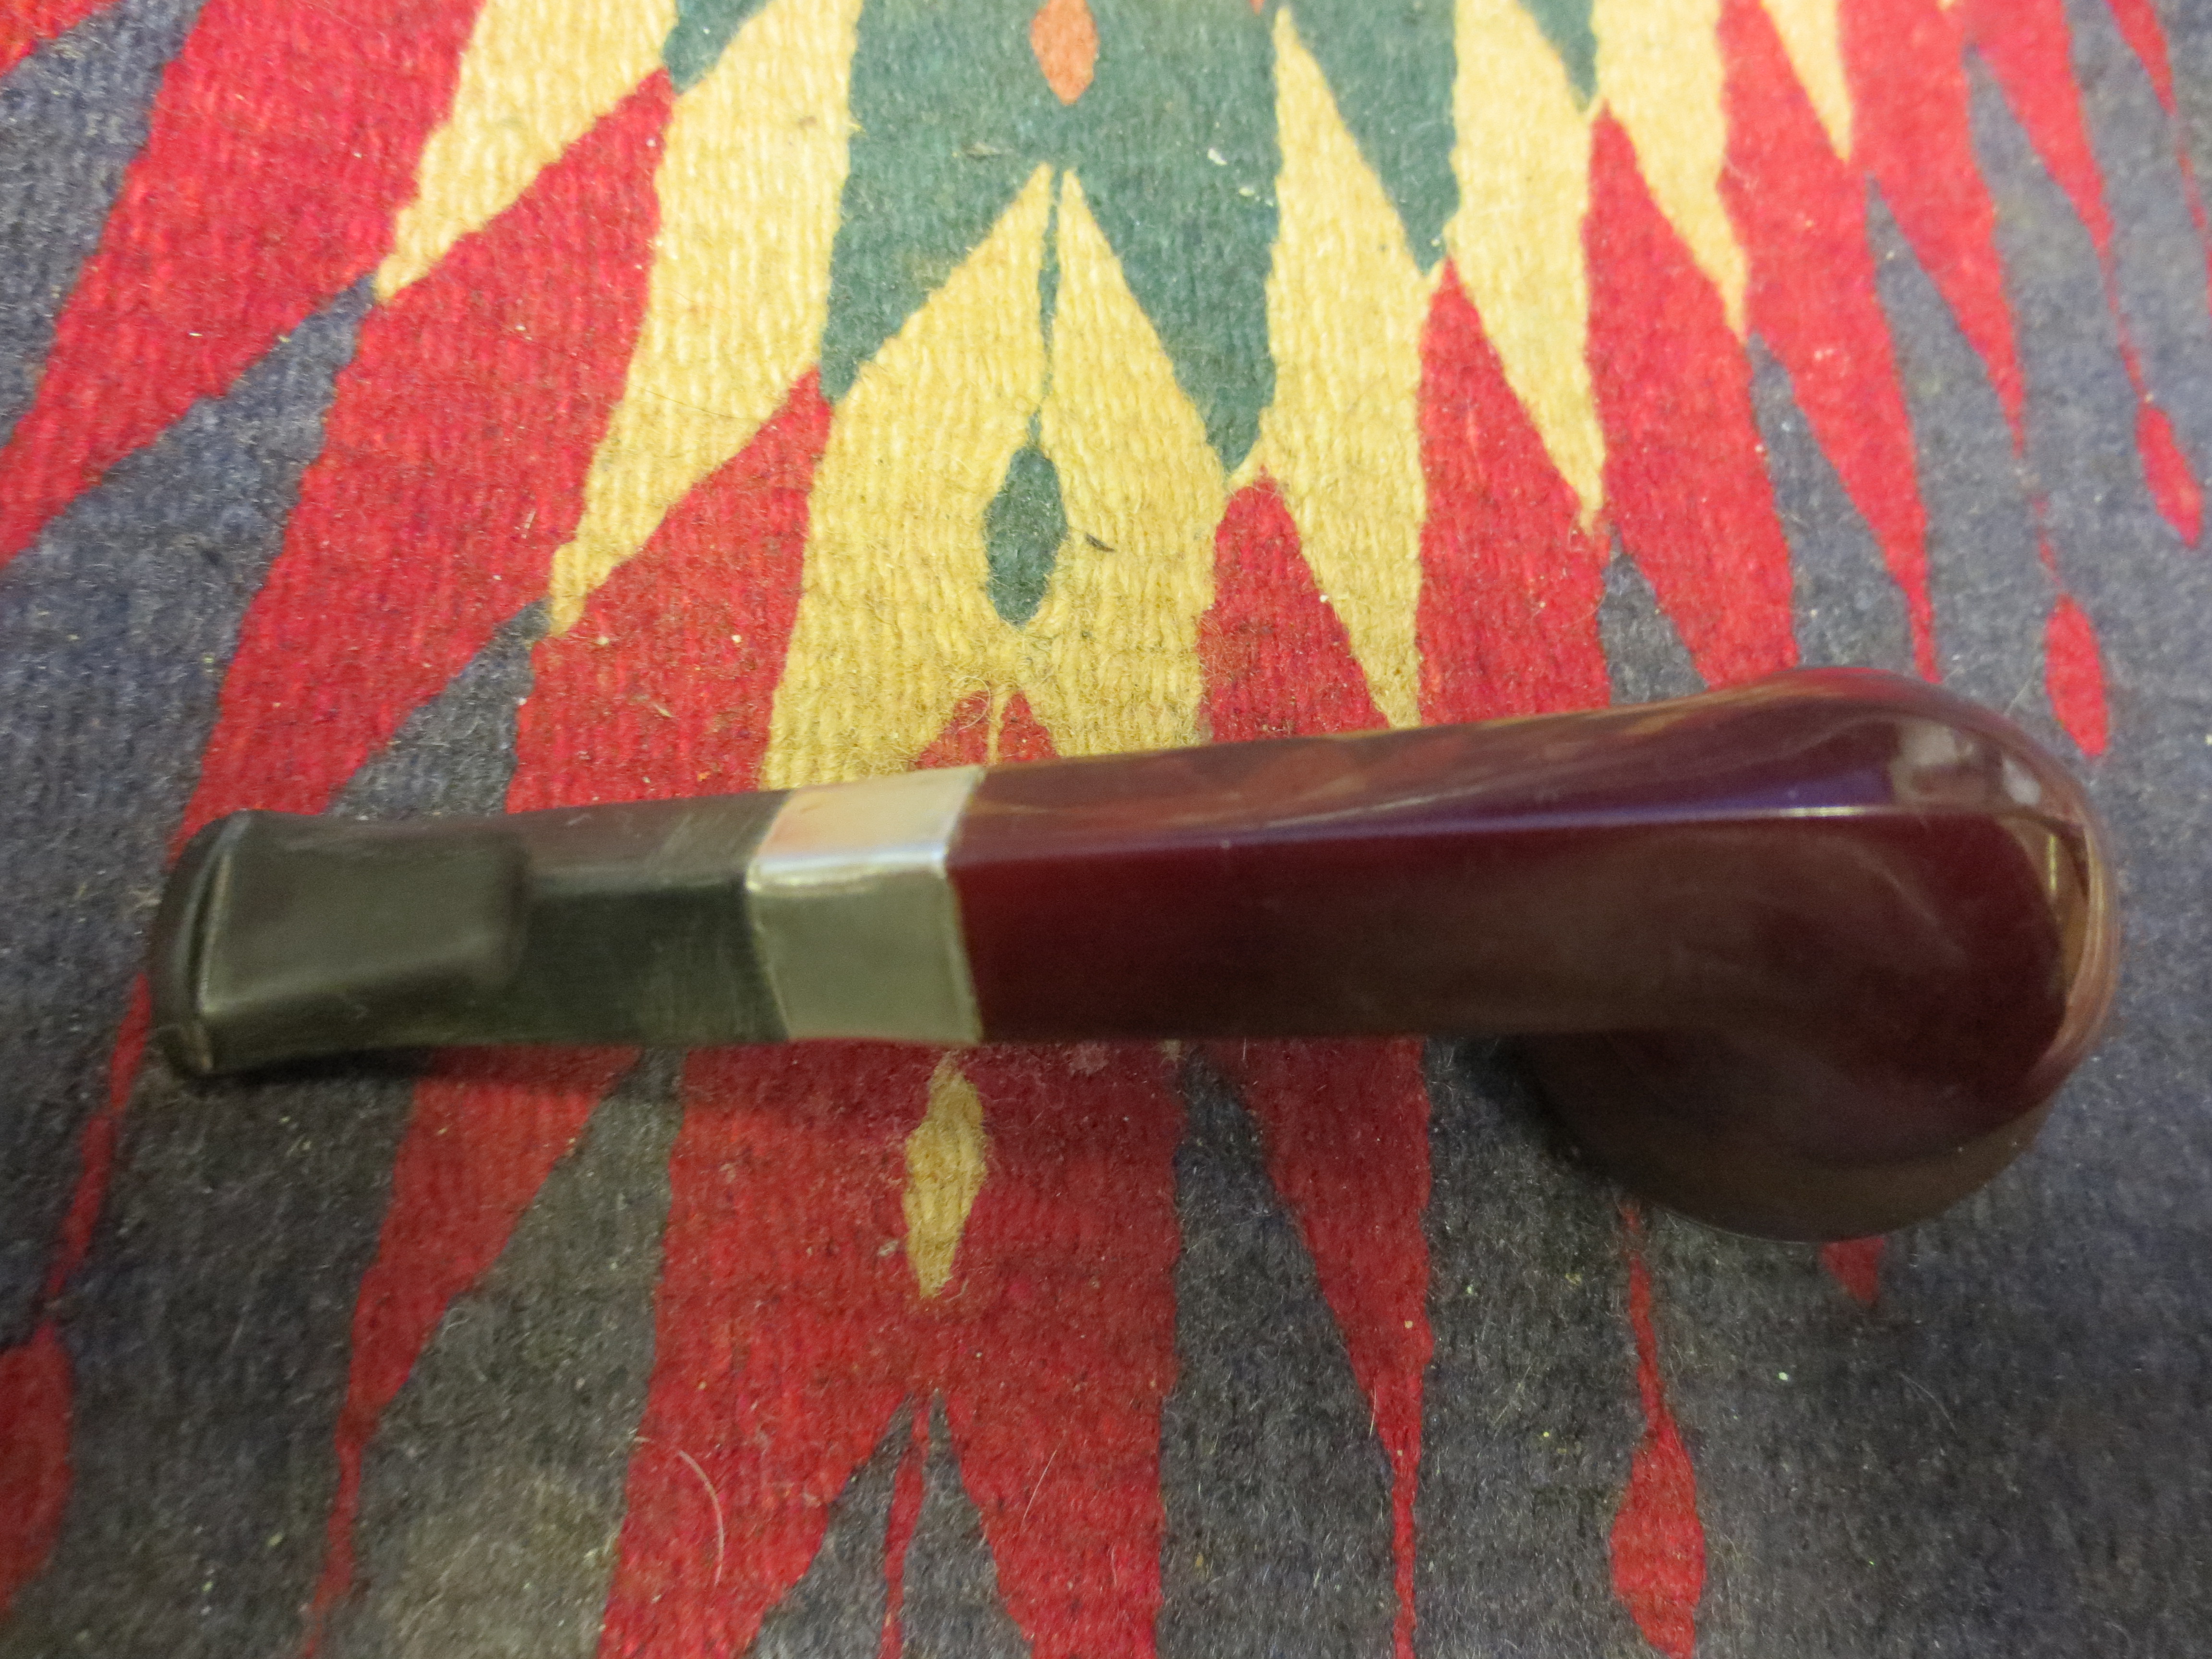
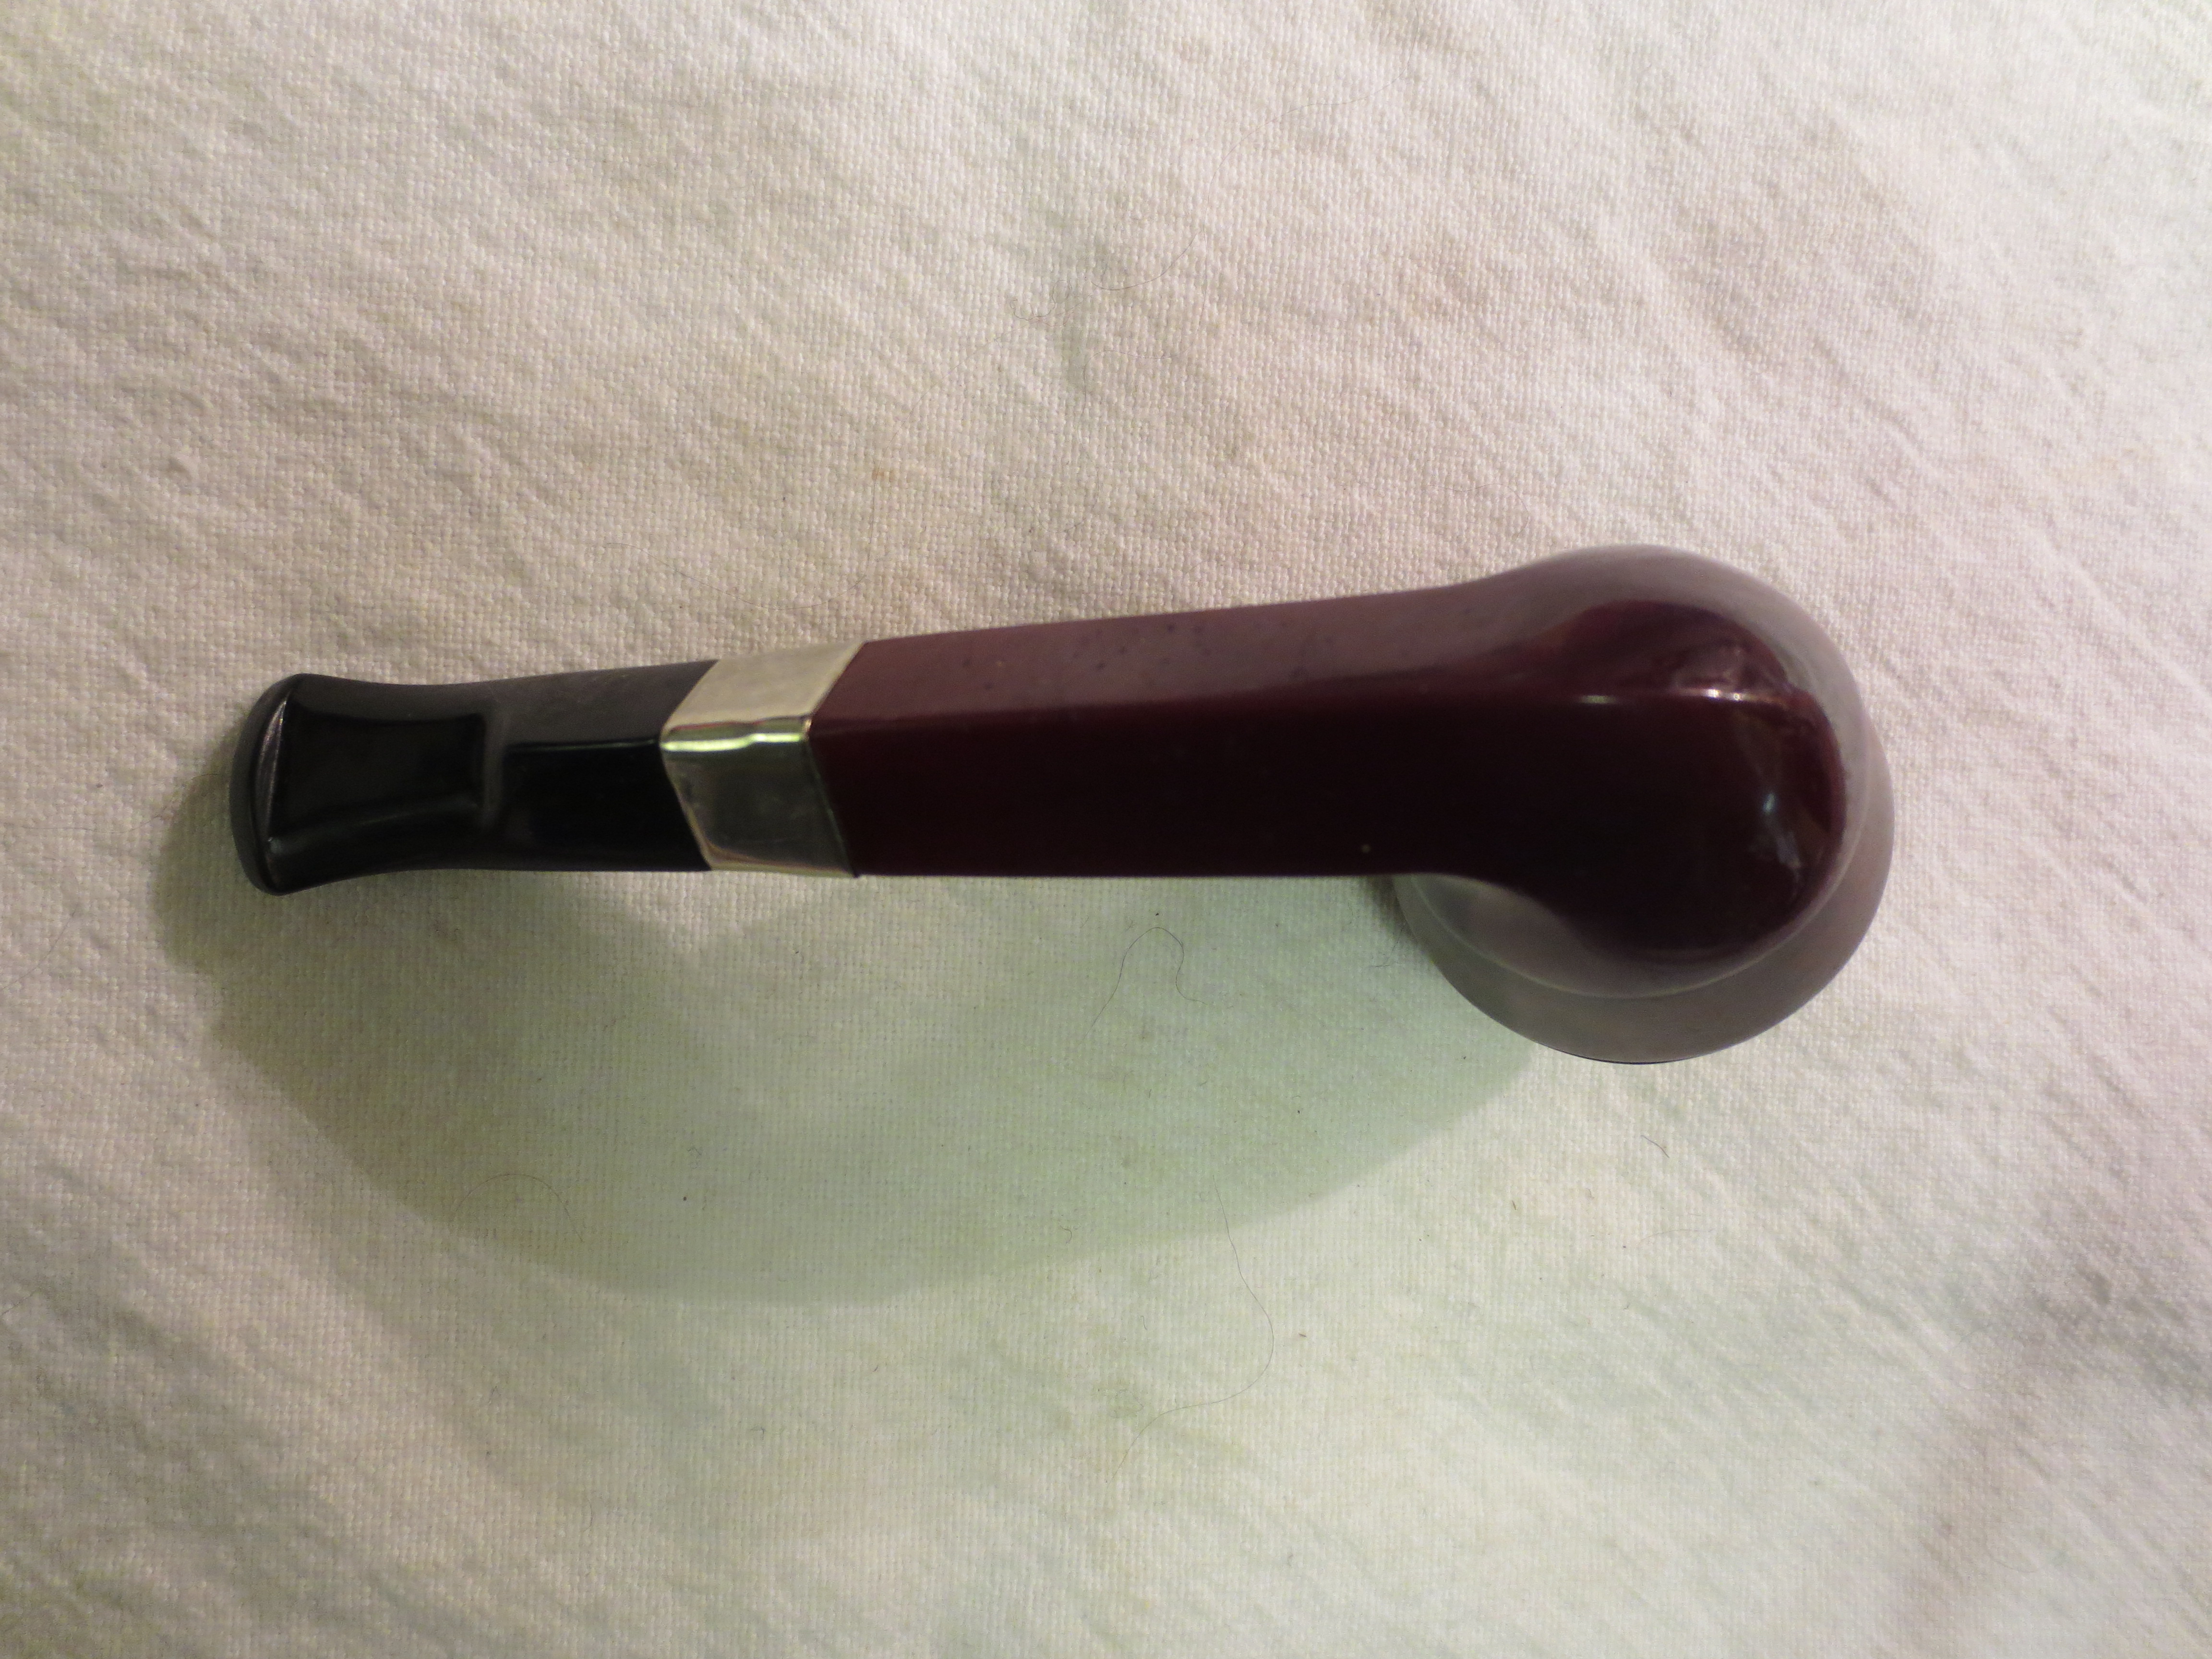
WDC base in need of a diamond shaped stem. Necessity is the mother of invention. I used a round Lovat stem.

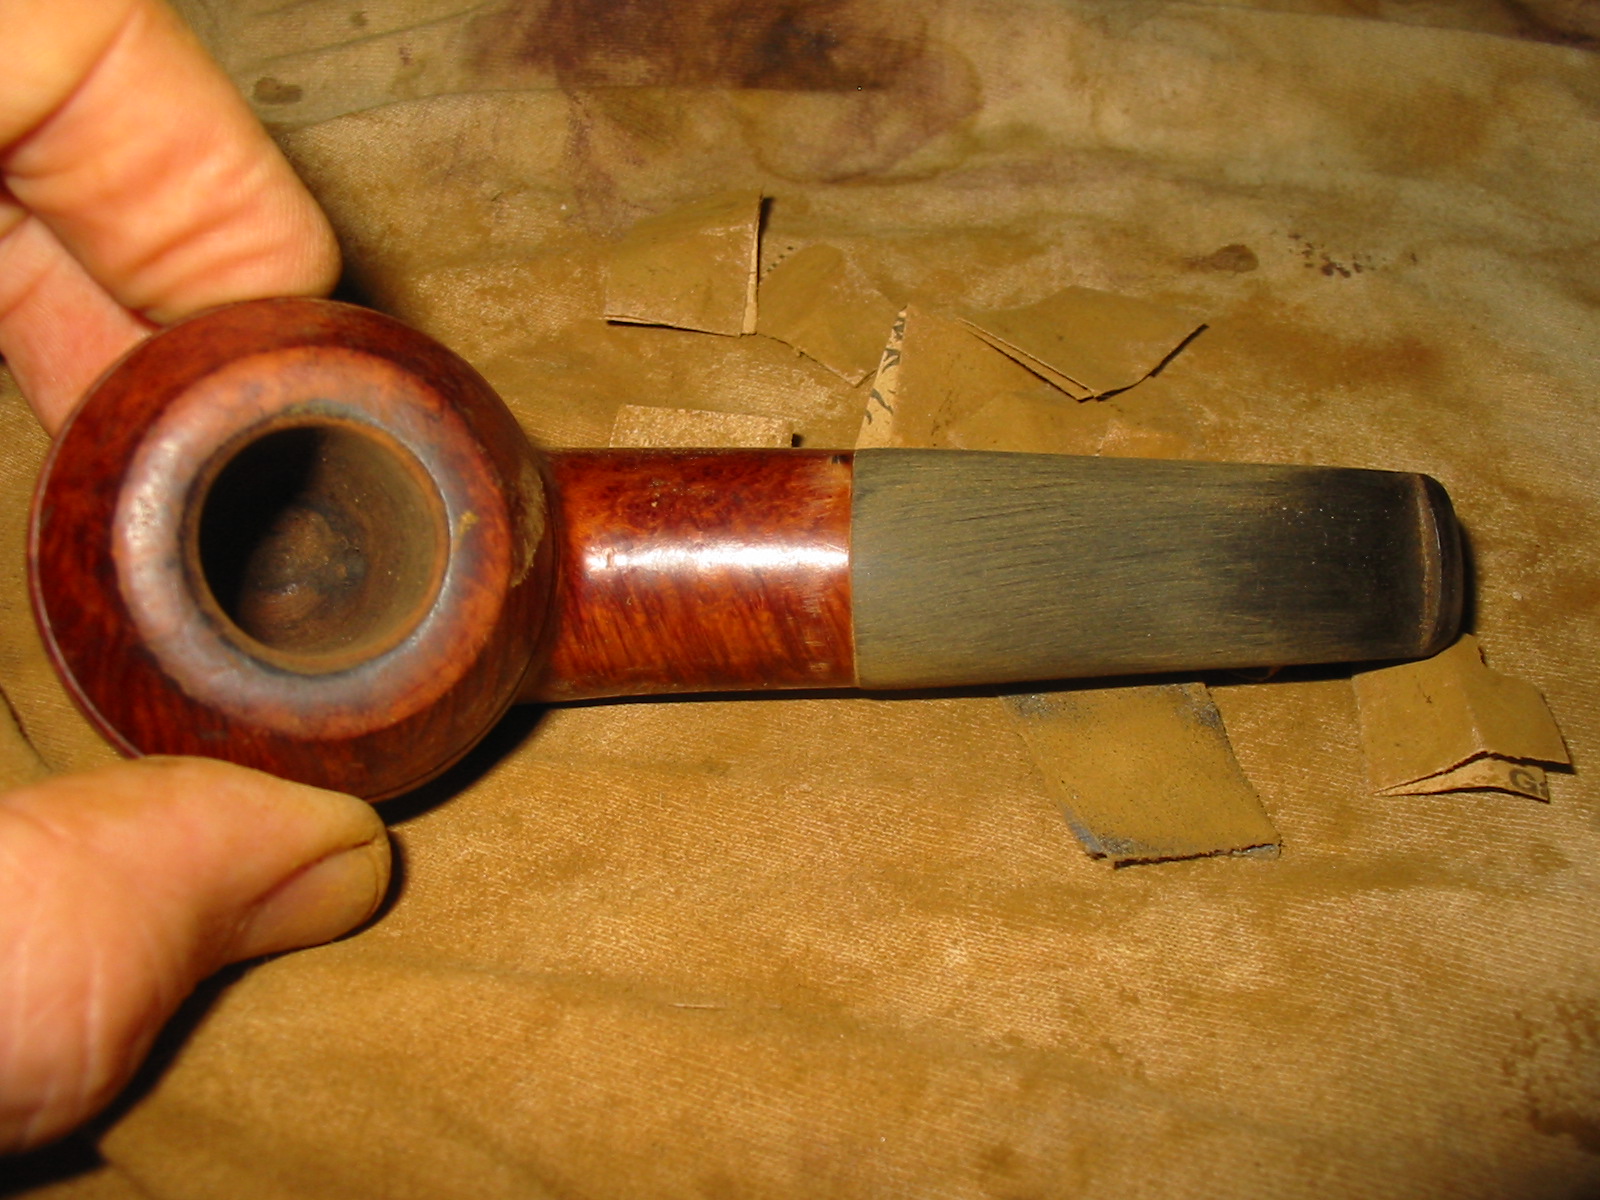
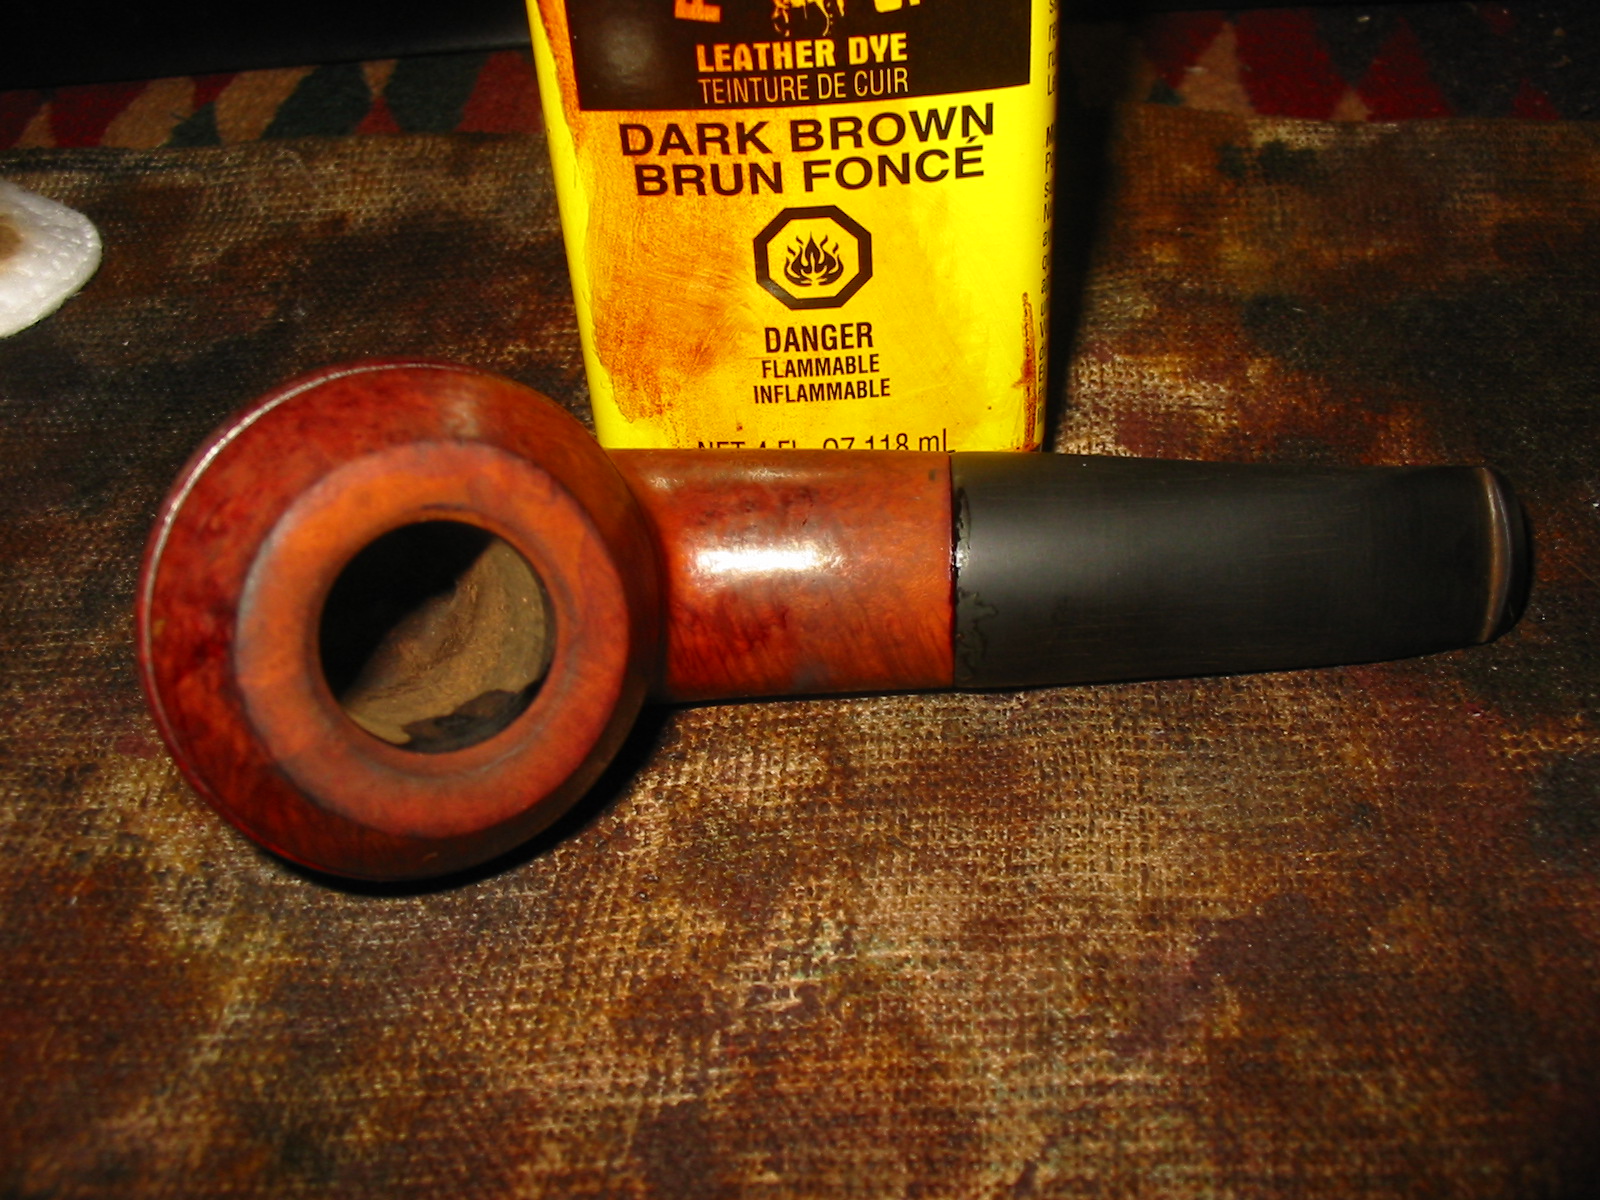
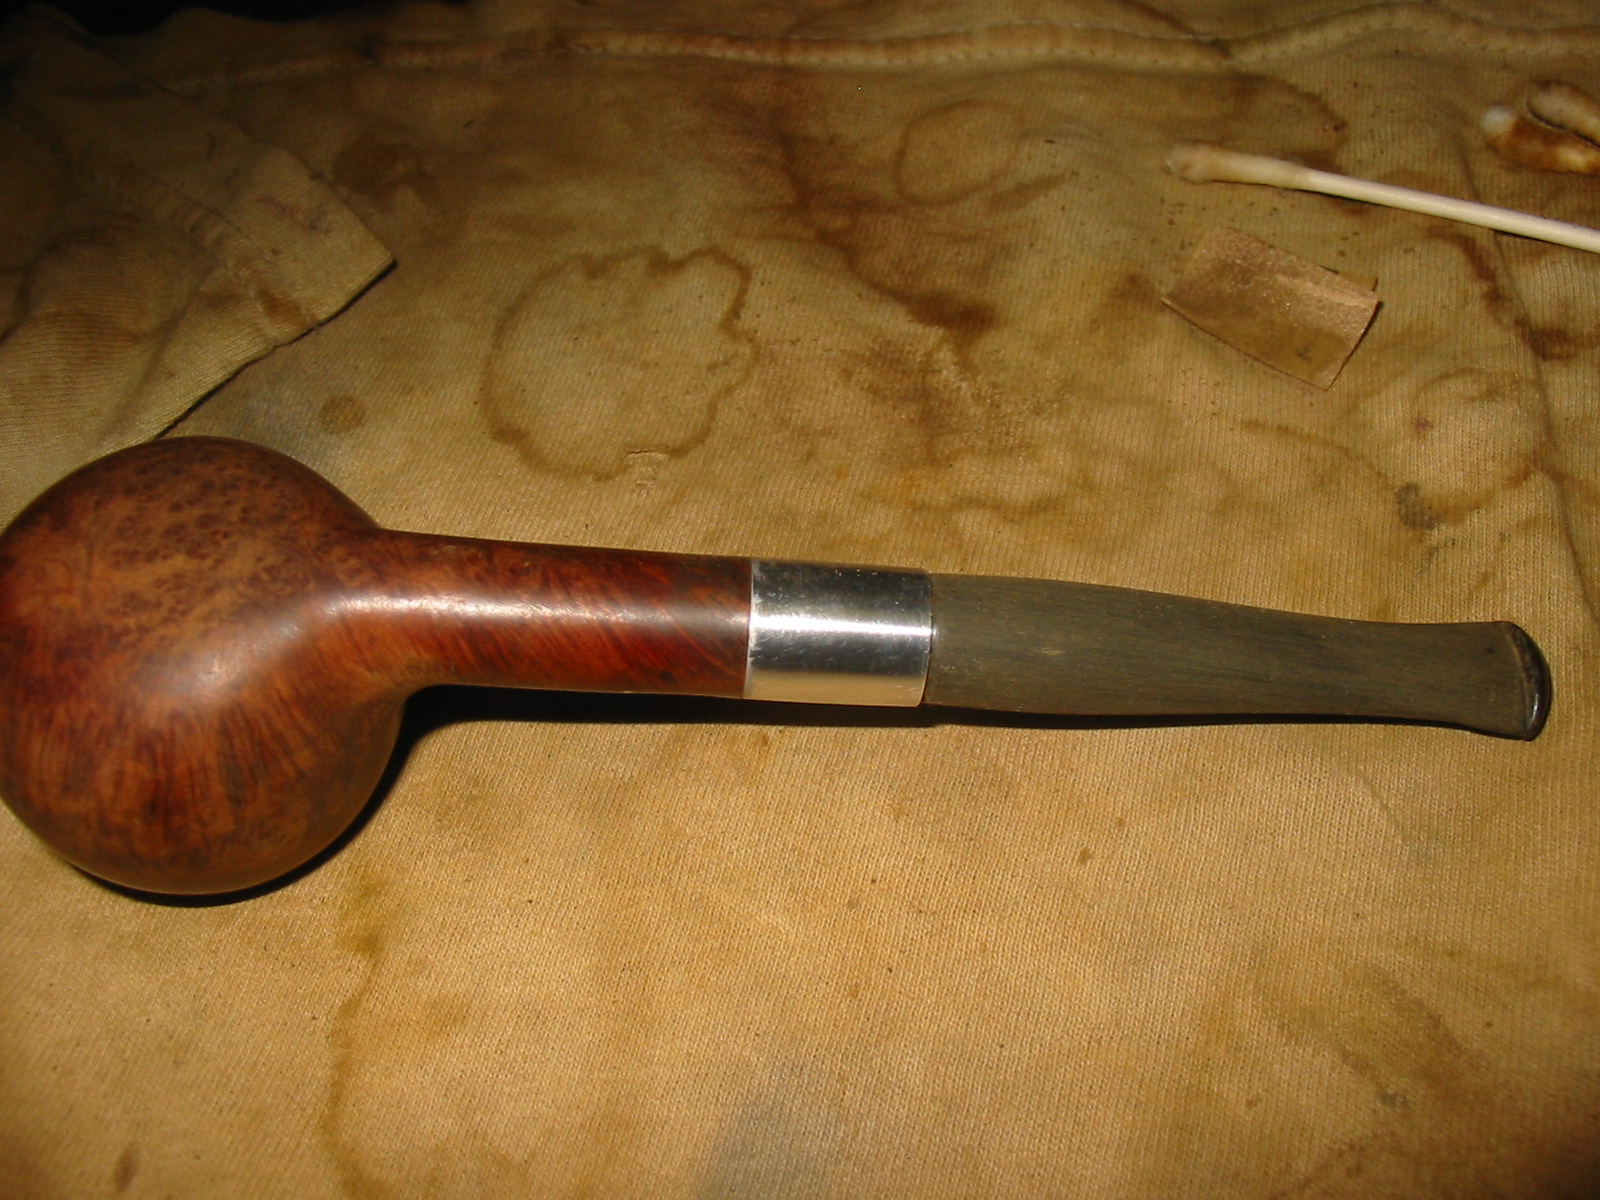
I turned the tenon to fit the mortise and then inserted the stem against the shank.
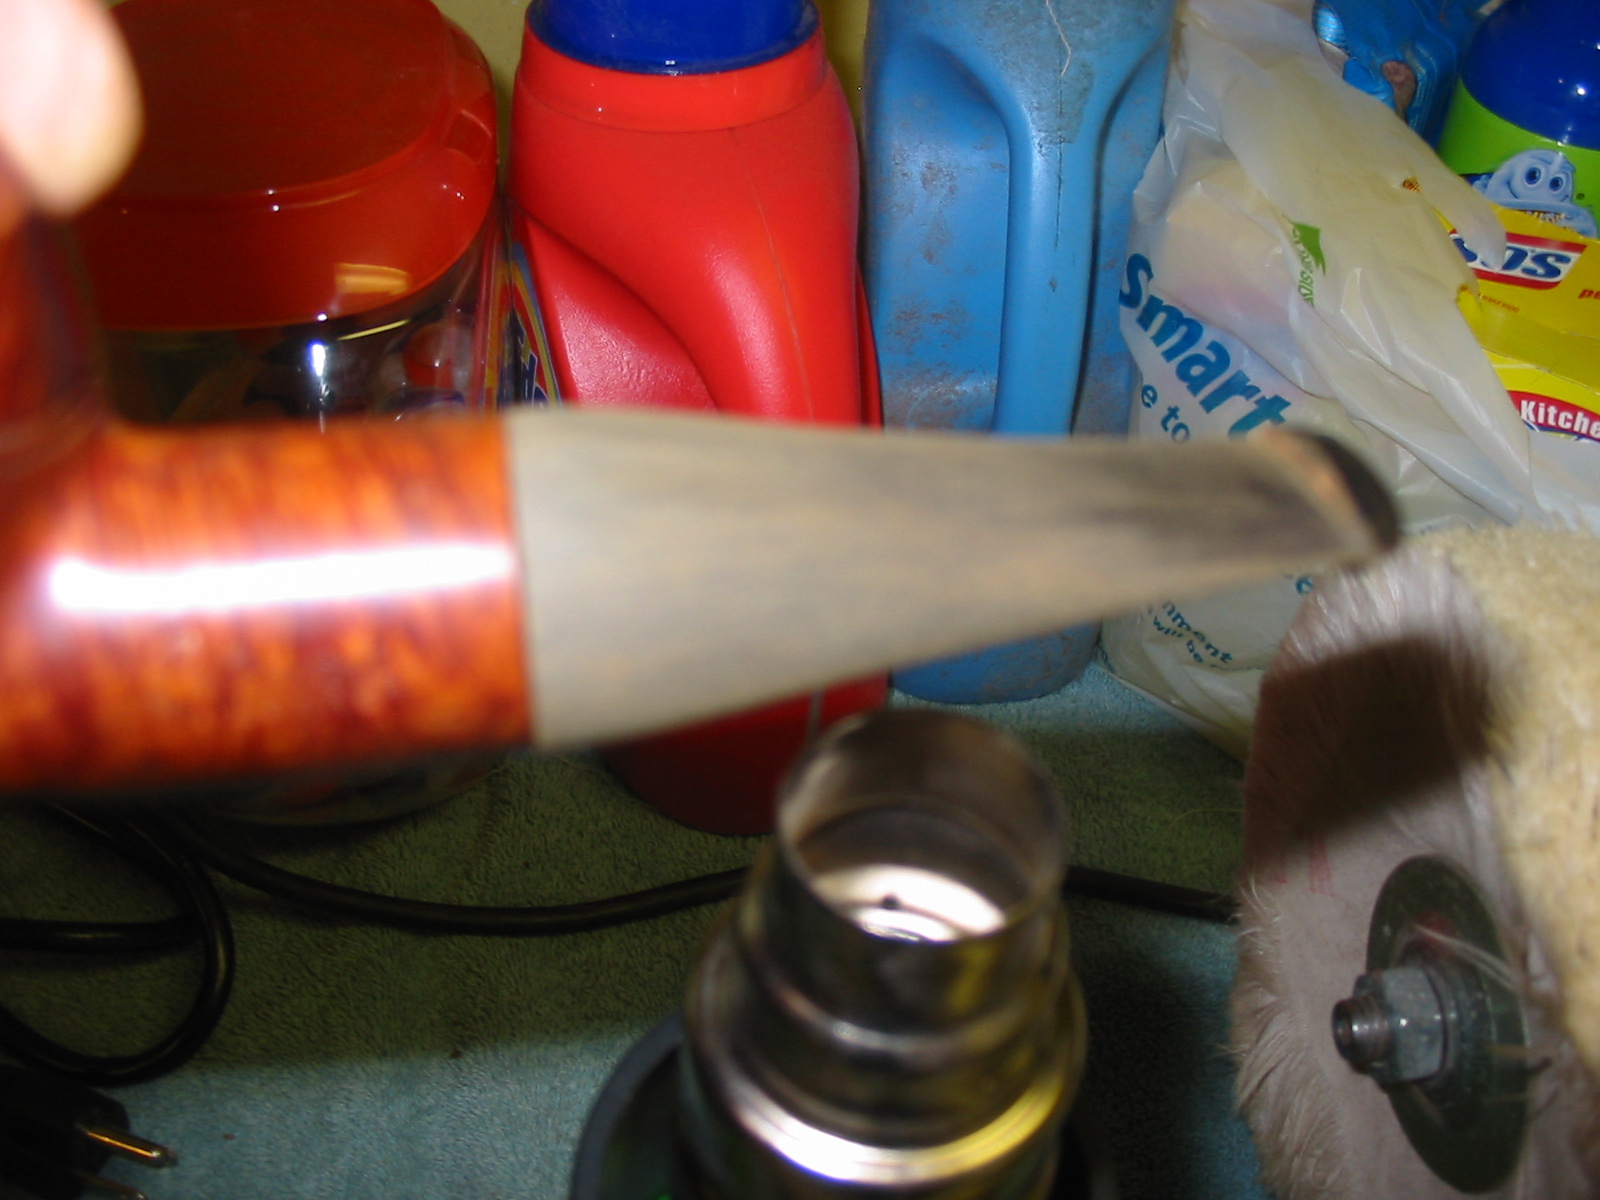
Now I needed to shape the stem and remove material to transform the round saddle bit to a diamond saddle bit. I used a Dremel to cut the basic shape in the stem. I proceeded from side to side with the stem on the shank to make sure to match the angles of the shank. I wrote a post on the process for the blog and posted that earlier. You can read about the details of that process on this link
https://rebornpipes.wordpress.com/2013/04/15/shaping-a-diamond-shaped-stem-from-a-round-one/ The next eleven photos give a quick look at the shaping work on the stem. It took time and I had to be careful to not damage the shank when I was using the Dremel and sanding drum on the stem.

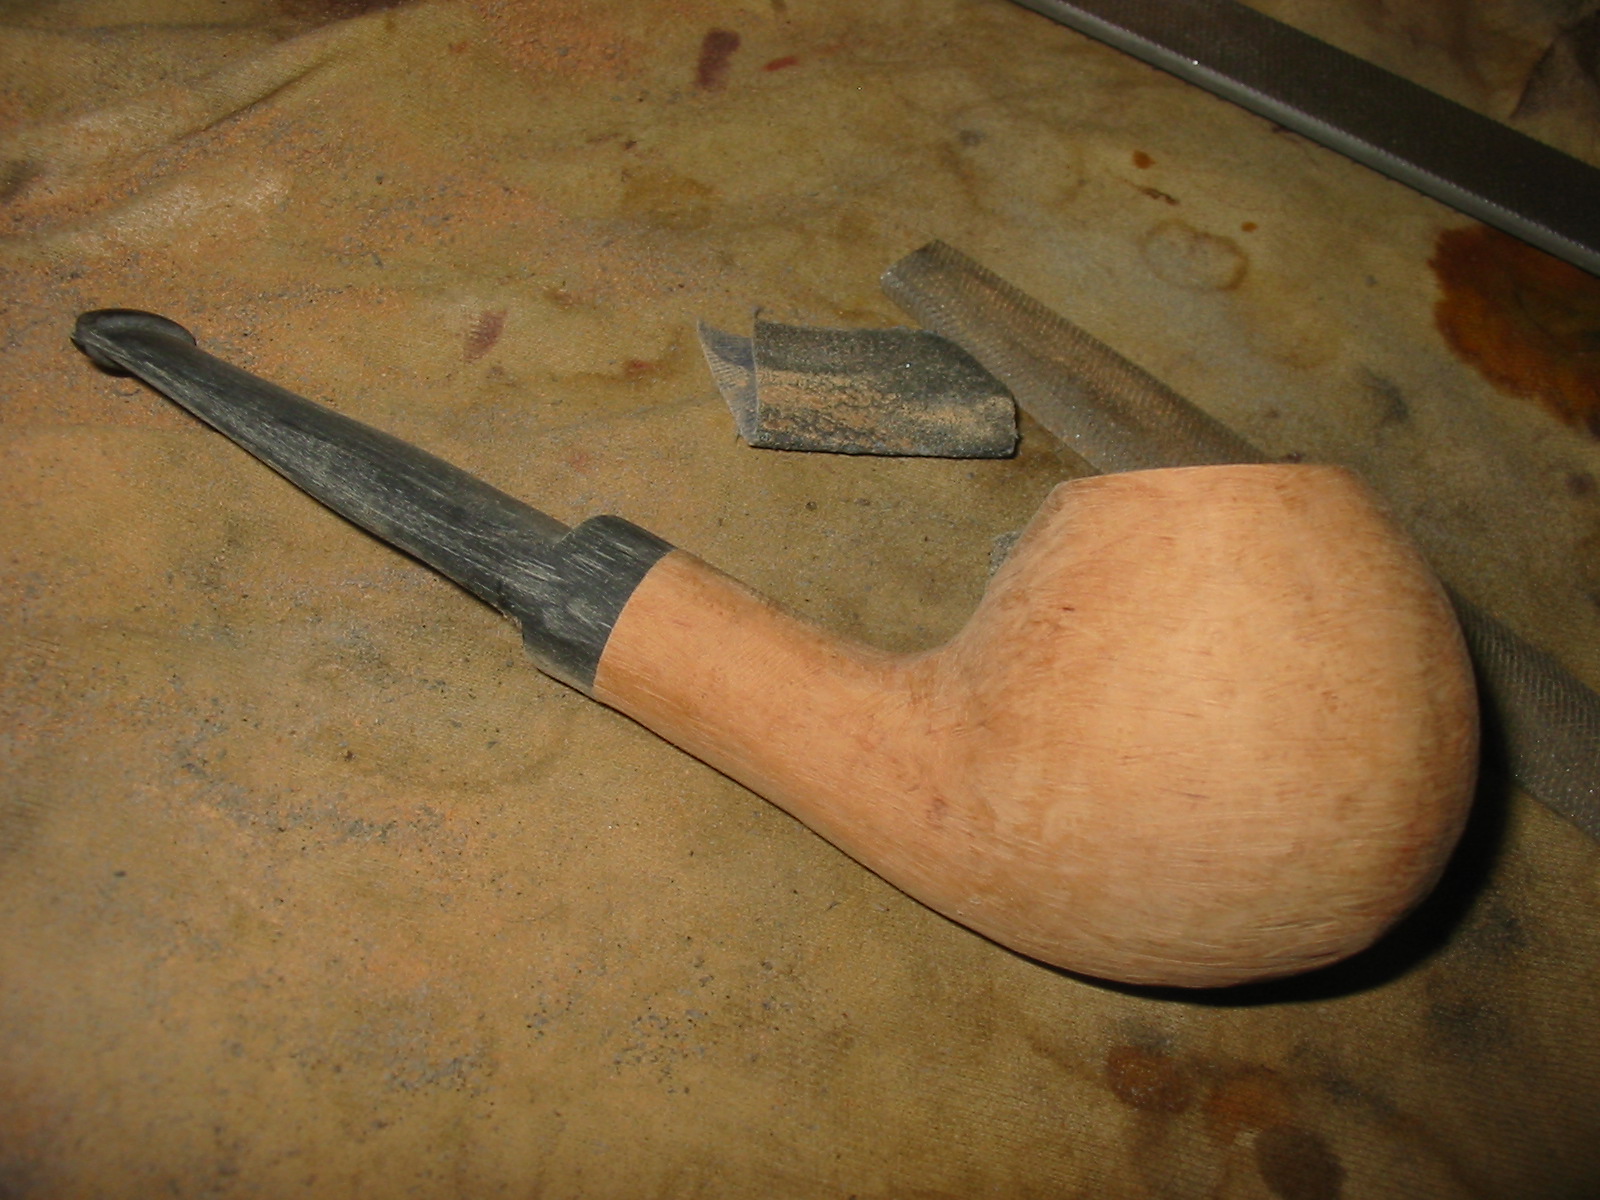
Figure 3 I used a Dremel to shape the stem to match the diamond angles of the shank. I worked on one side at a time.

Figure 4 Pipe resting against the Dremel with a sanding drum. Shaping progressed quite quickly. This picture shows one side beginning to take shape.

5 Top view of the shank. Both sides of the round stem are beginning to take on the shape of the shank.

Figure 6 Top view after more shaping with the Dremel.

Figure 7 Bottom view before the Dremel did its work.

Figure 8 Left side view after the first side has begun to take shape.

Figure 9 Bottom view after both sides have begun to take shape.

Figure 10 Right side view of the stem after it began to take shape.

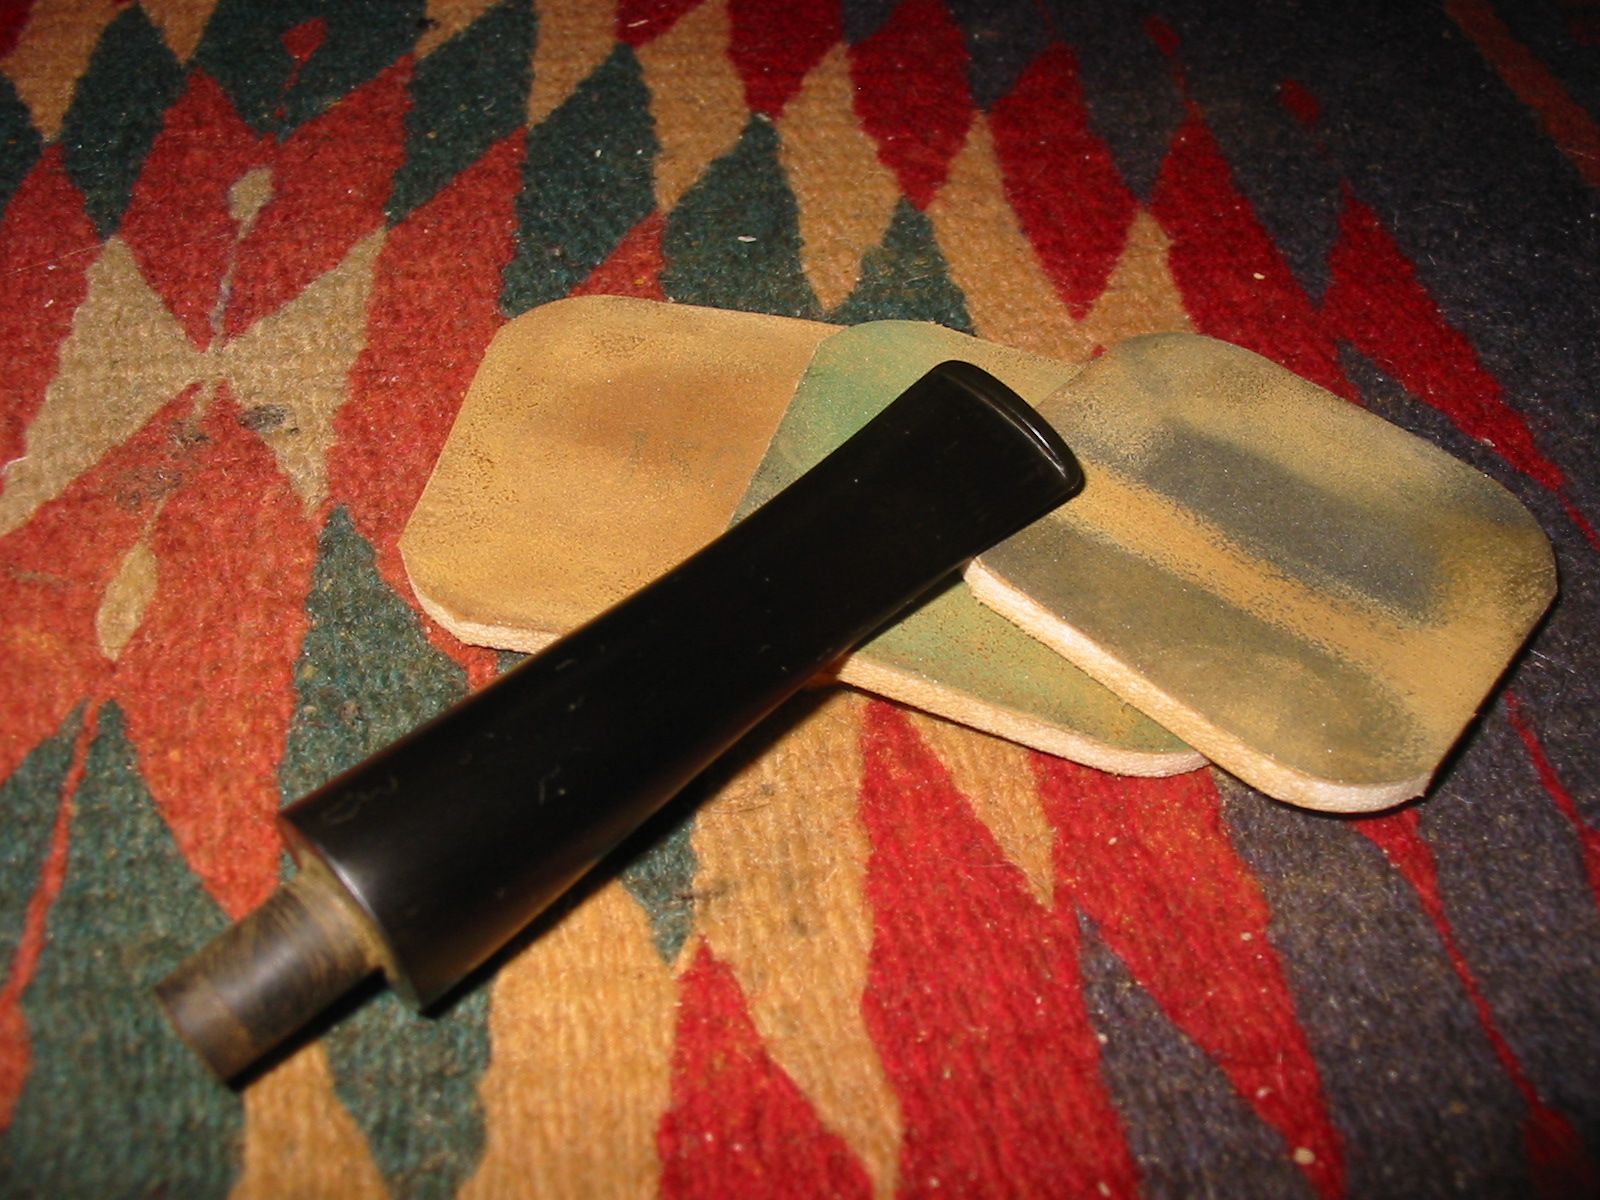
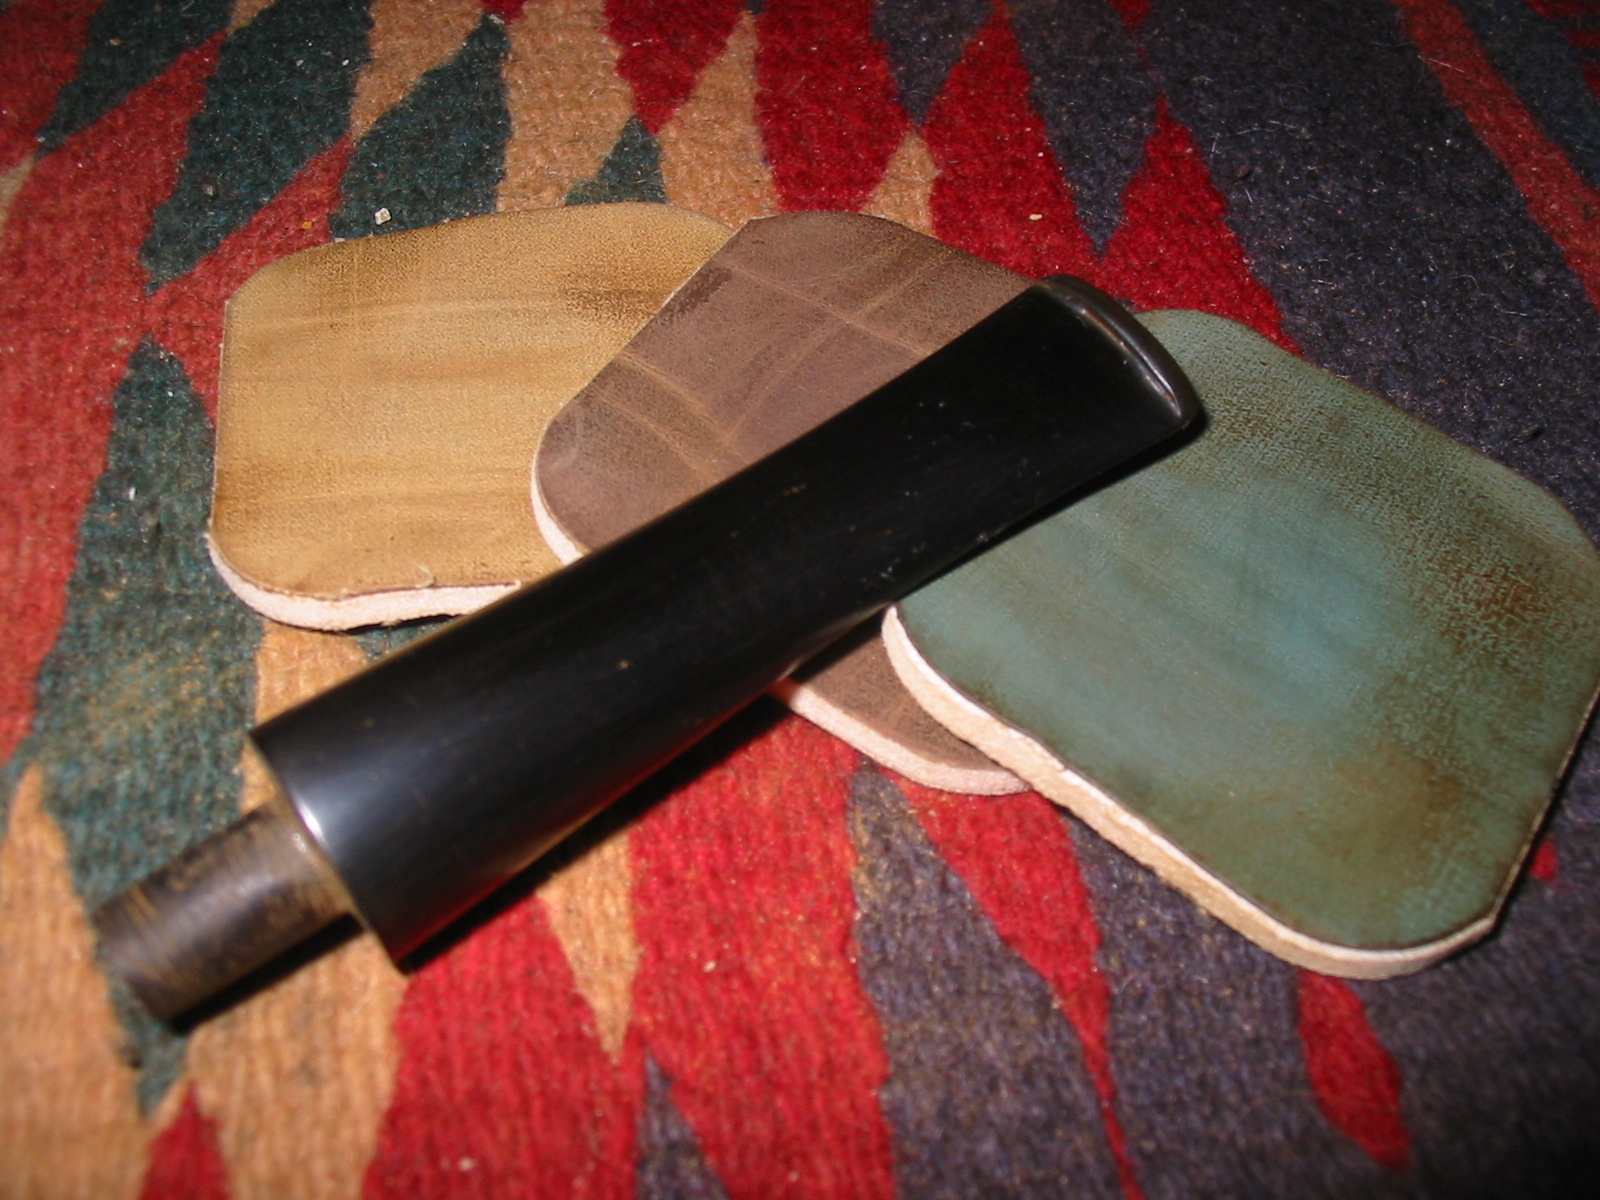
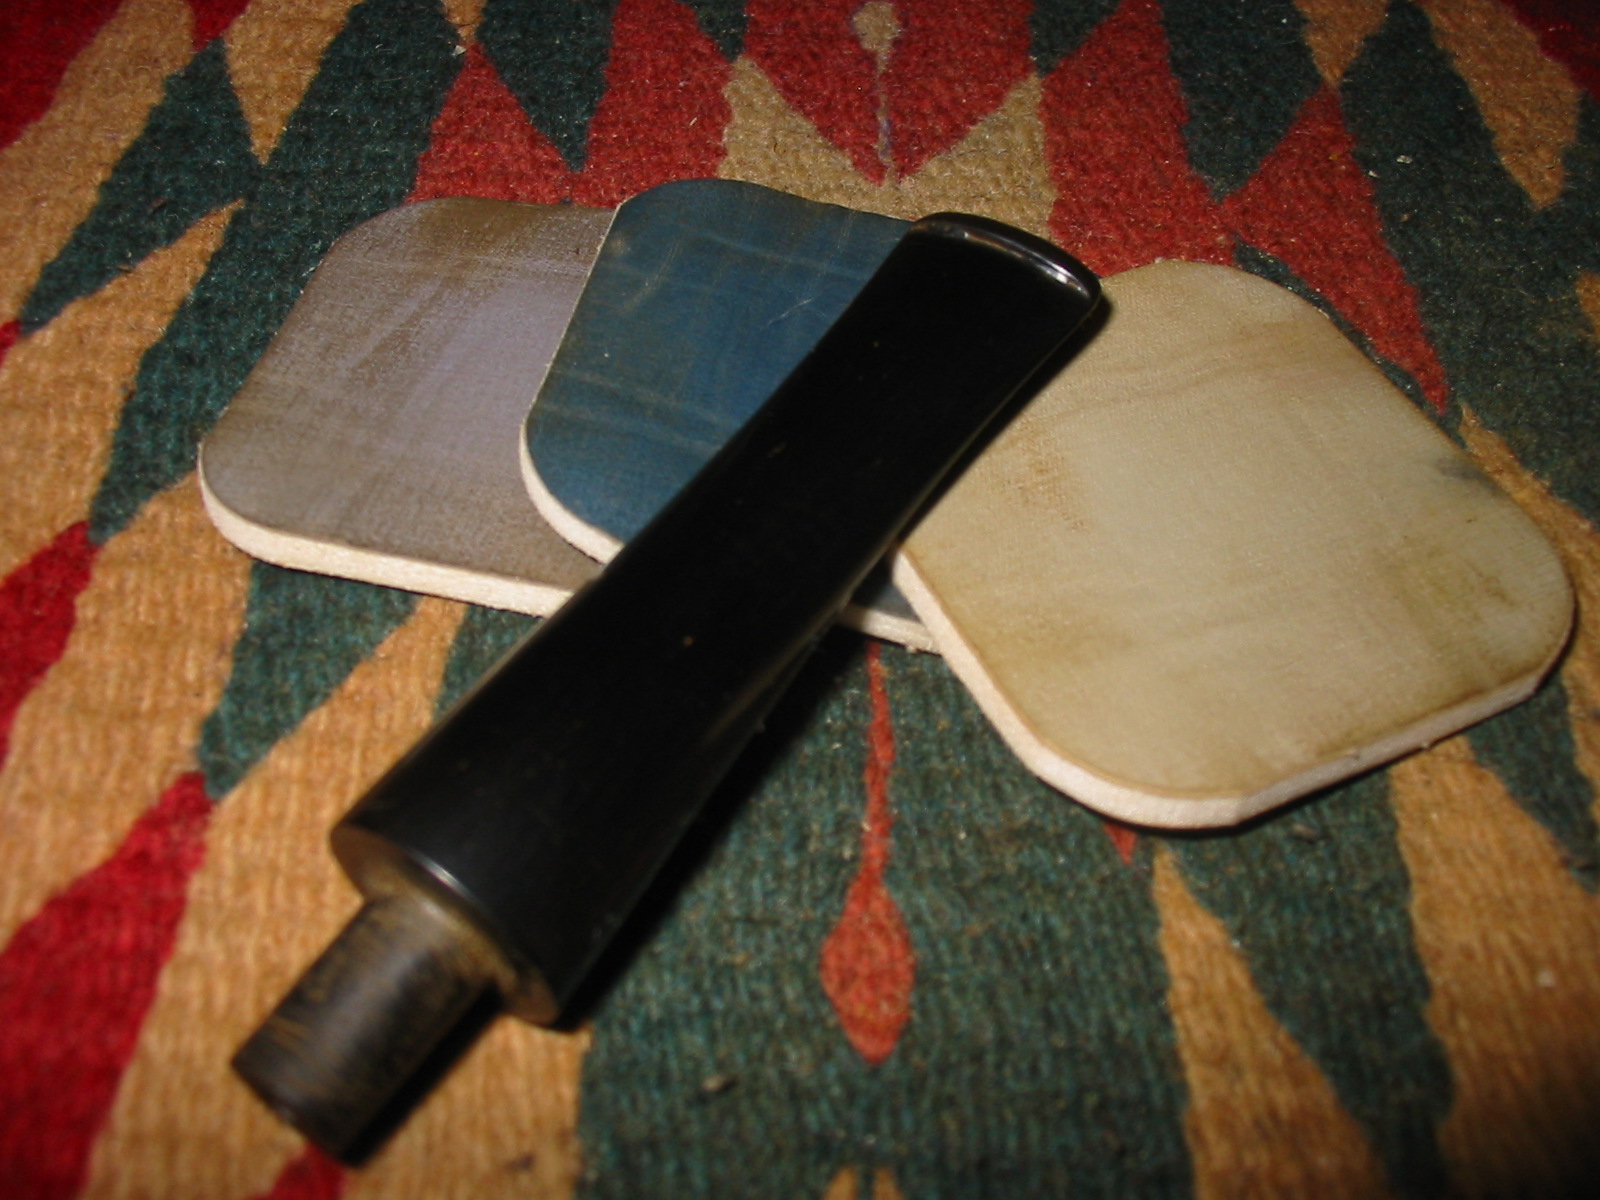
Figure 11 Back to the worktable and the hand sanding.

Figure 12 Hand sanding continues.

Figure 13 Hand sanding continues.
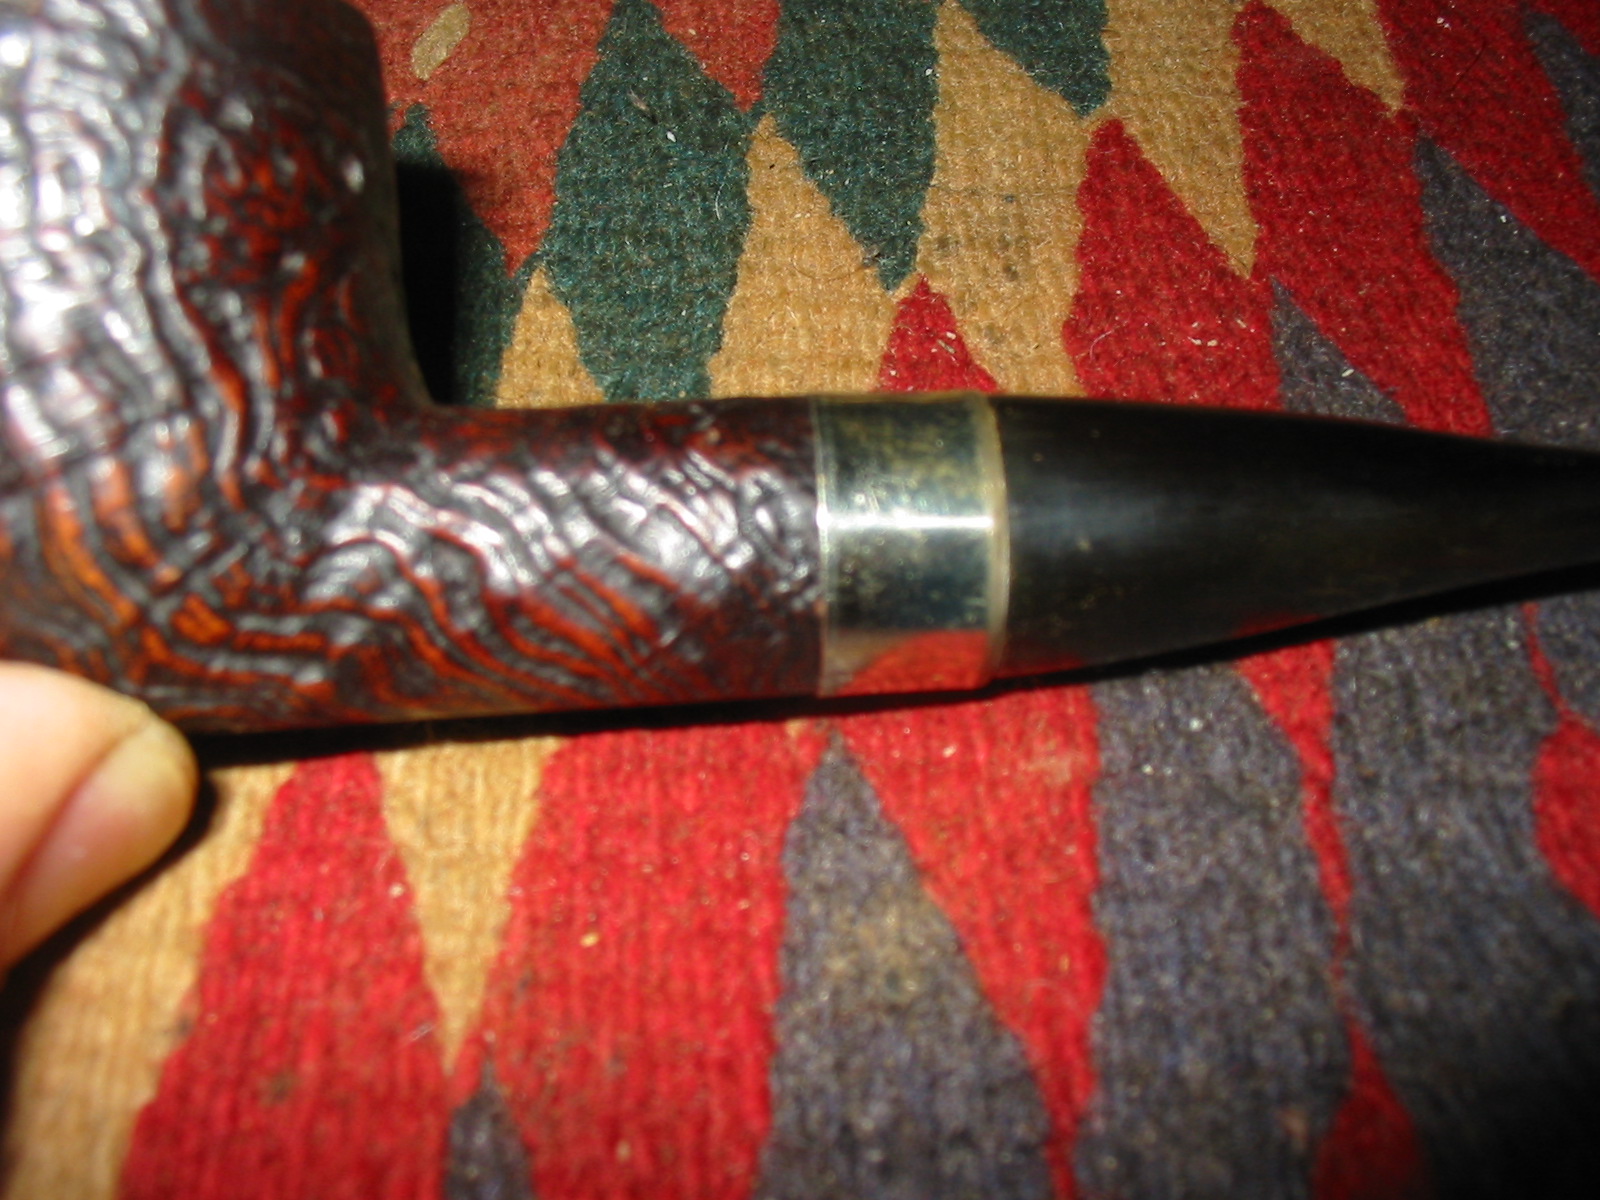
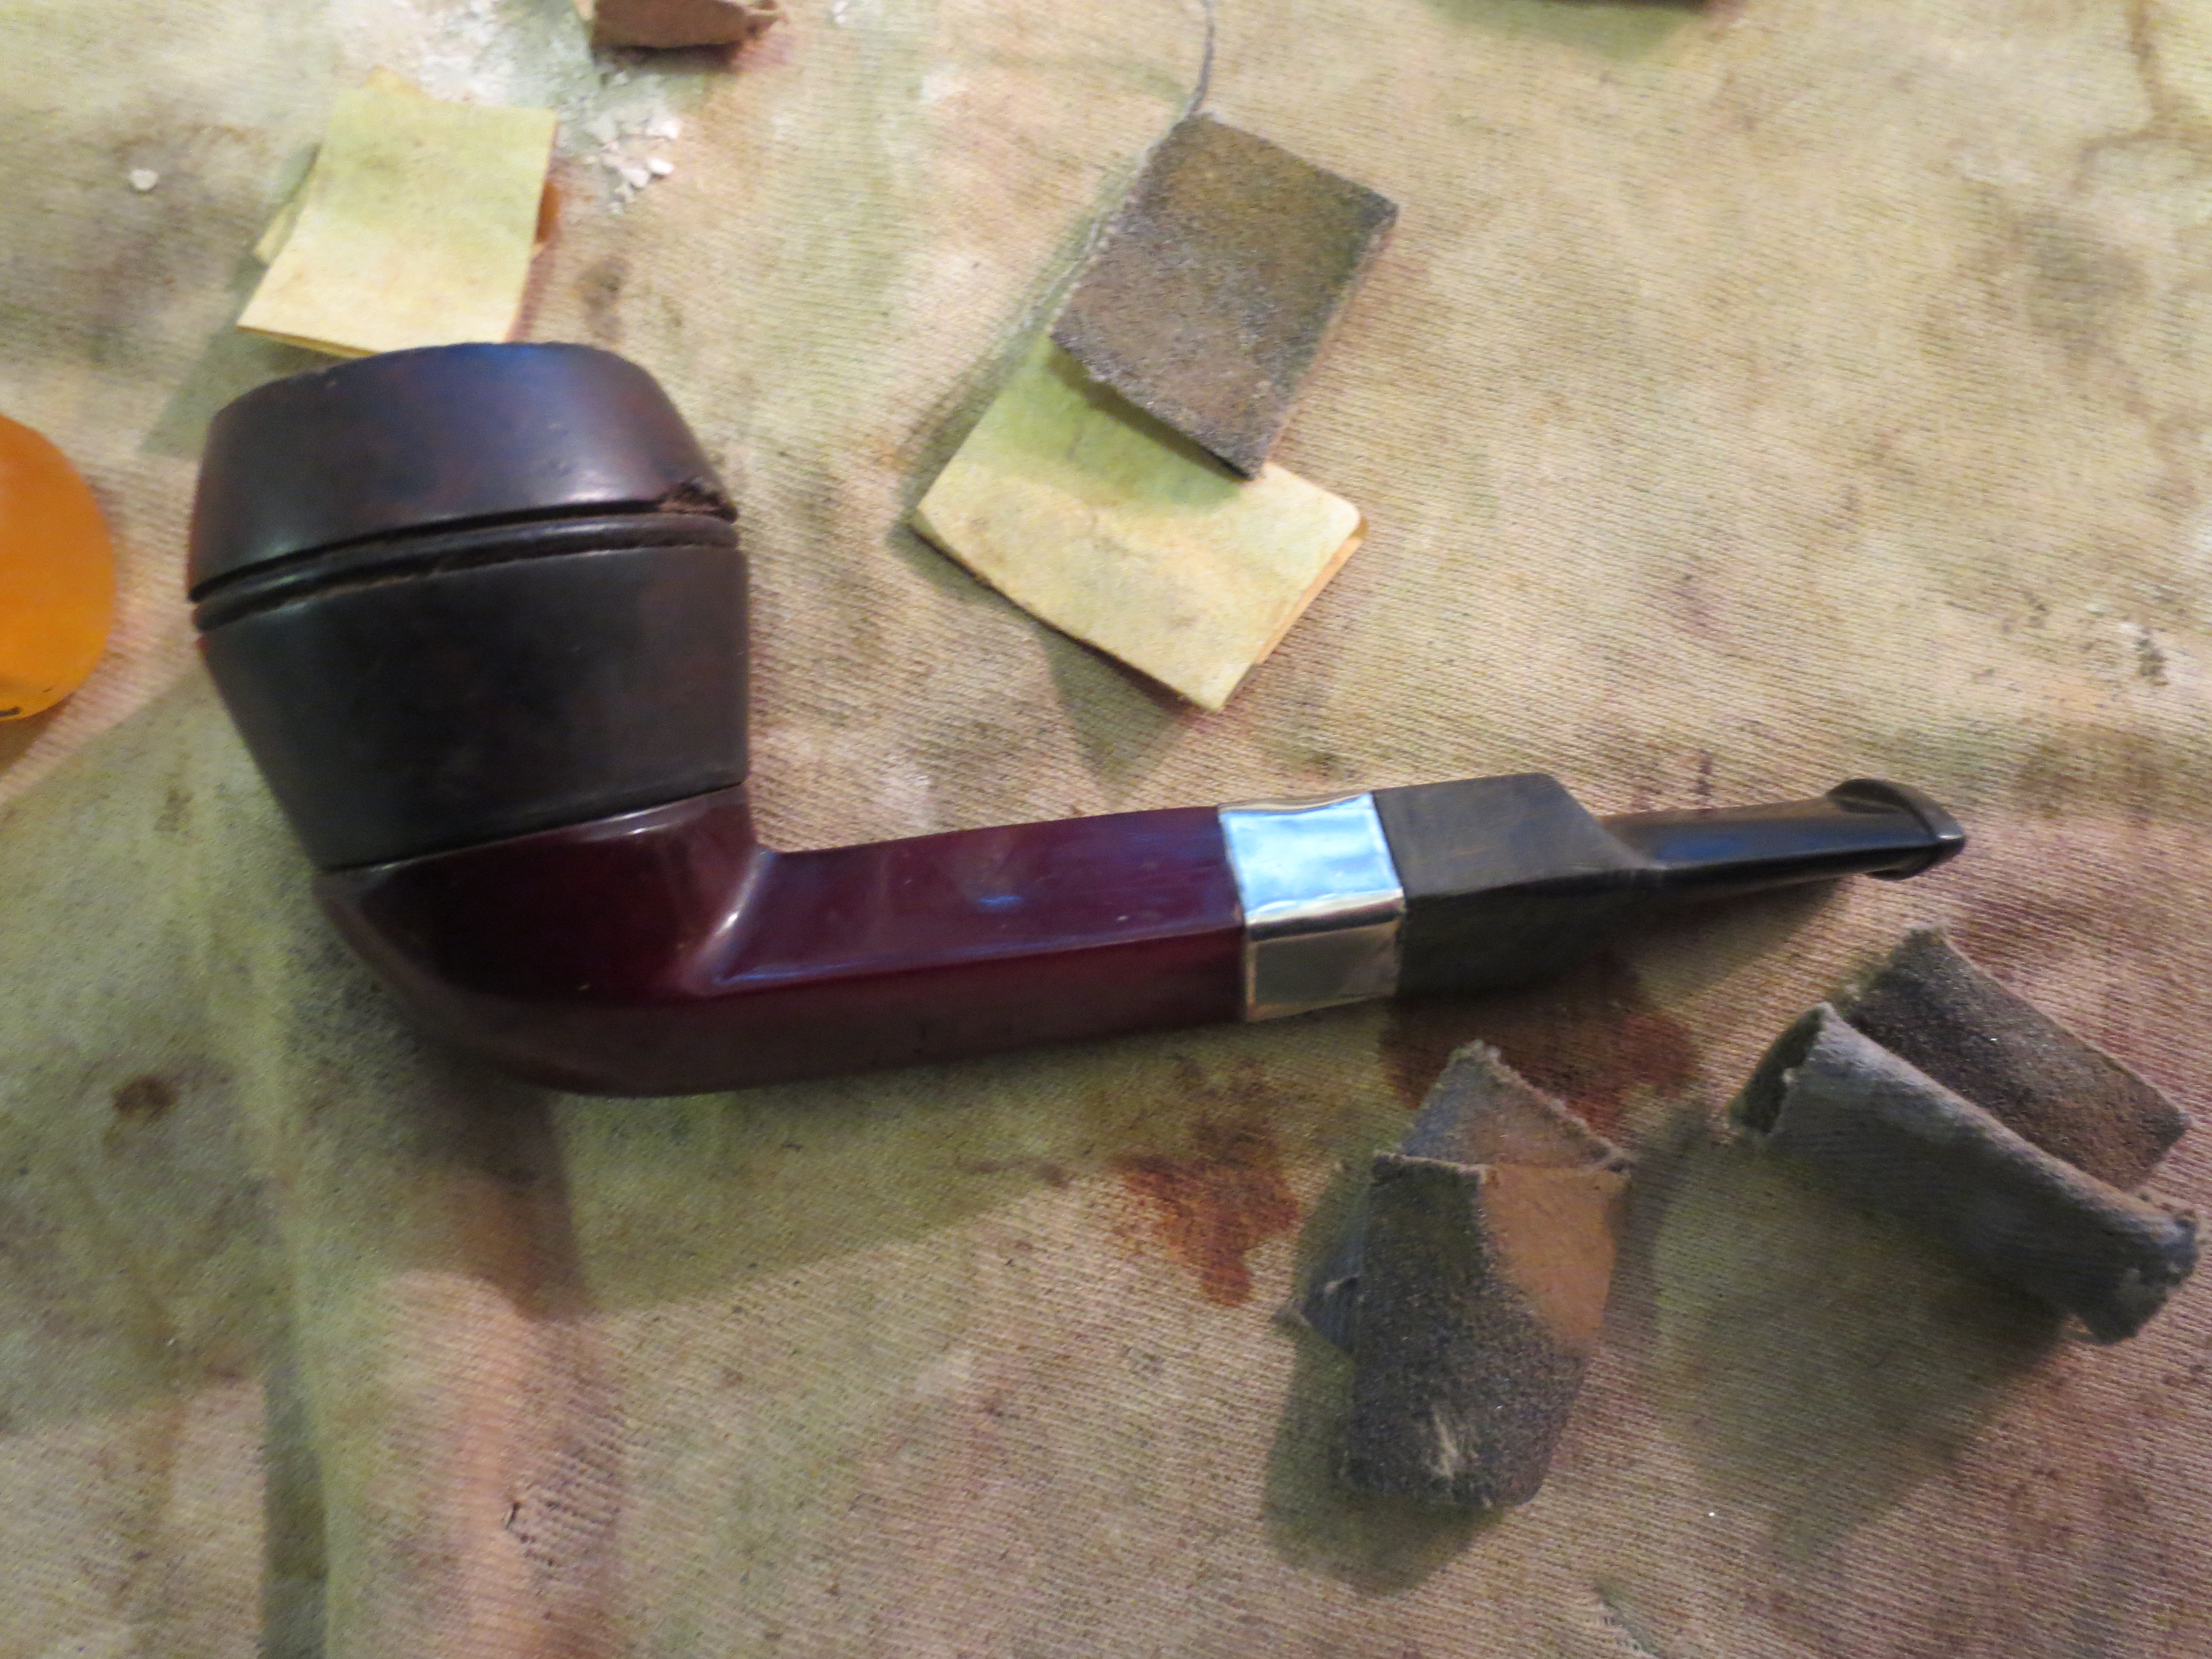
The original shank had sported an ornate band and the stain in the Bakelite showed the marks of the band. I did not have any ornate bands in my collection of bands so I chose instead to band it with a nickel band. I shaped the band to fit, beginning with a round band. This took a bit of fussing to get the shape and fit correct. I have written that process up in detail in a previous blog post as well. You can read about the process at this link
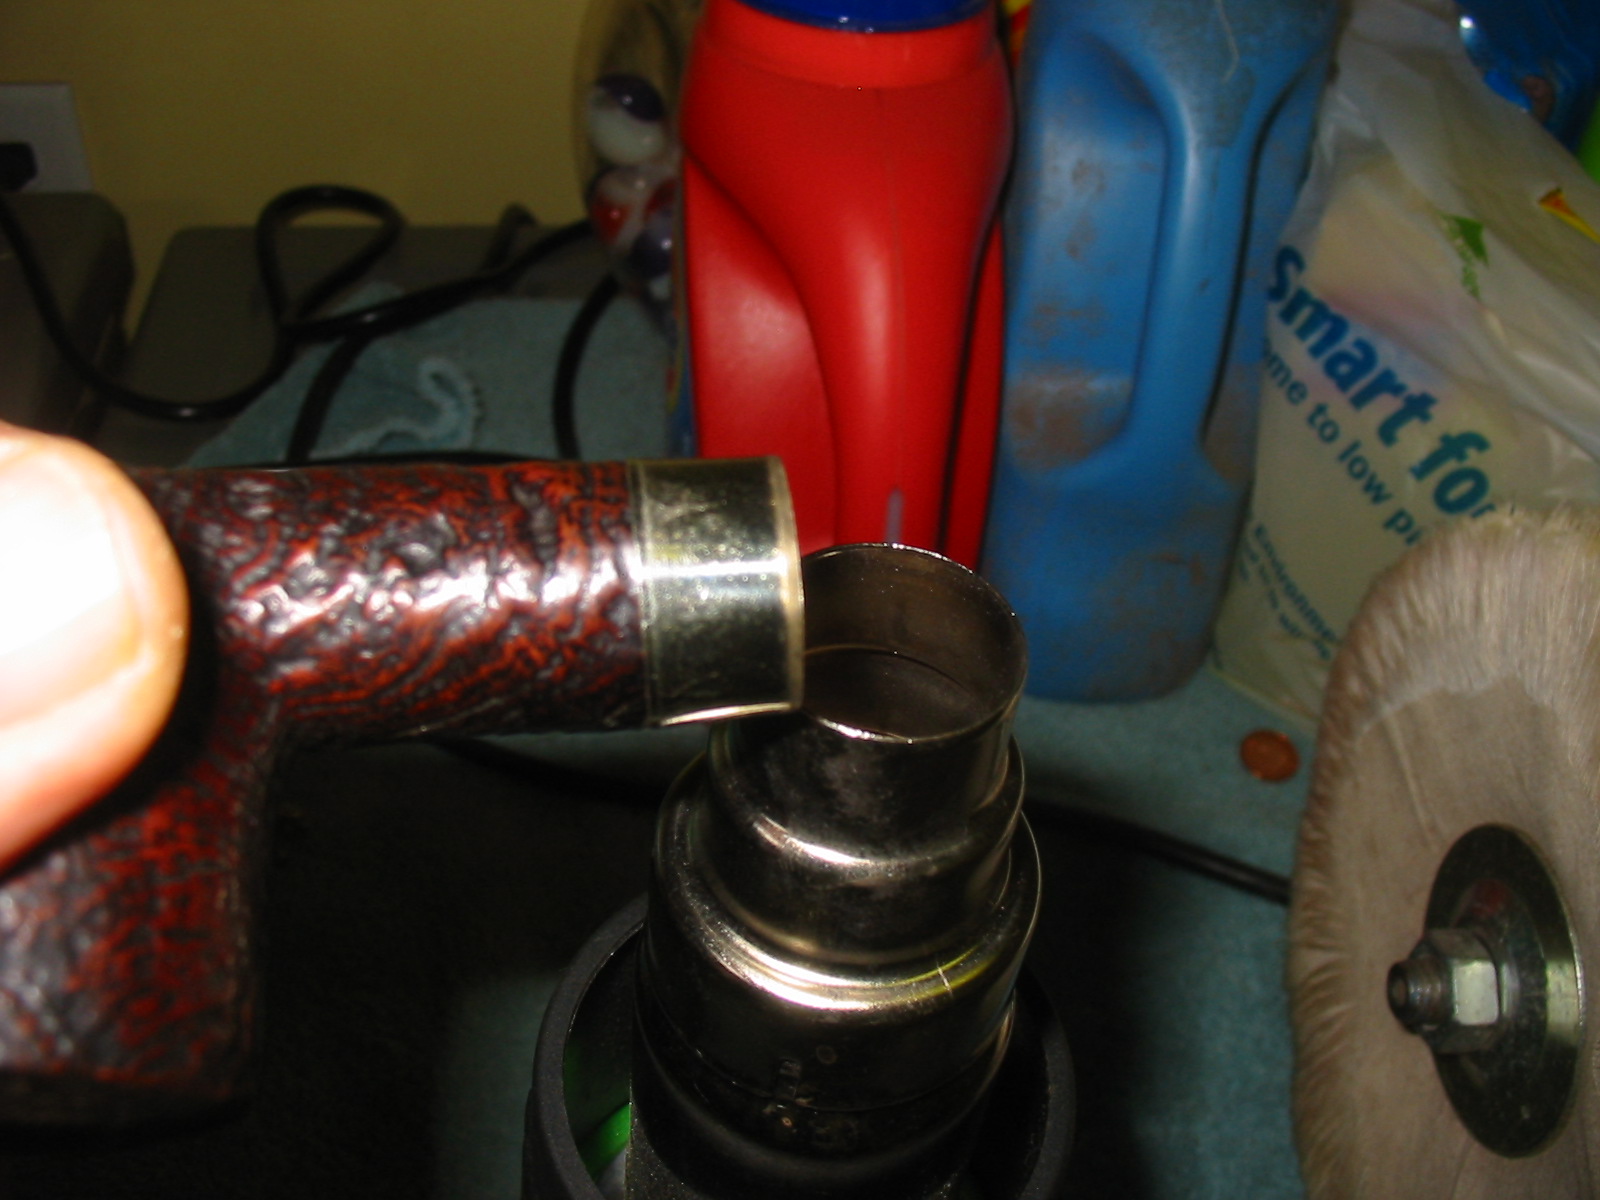
https://rebornpipes.wordpress.com/2013/04/15/shaping-a-round-metal-band-to-fit-a-square-or-diamond-shank/ Once the band was shaped correctly I heated it with a heat gun until it was pliable and then pressure fit it on the shank of the pipe. The next series of five photos show the process I used to pressure fit the band on the shank. Once it was in place I carefully used my furniture hammer to flatten the band against the shank.

The square is done

Fitting a nickel band on the shank

Fitting a nickel band on the shank

Nickel band fitted on the shank

Nickel band fitted on the shank
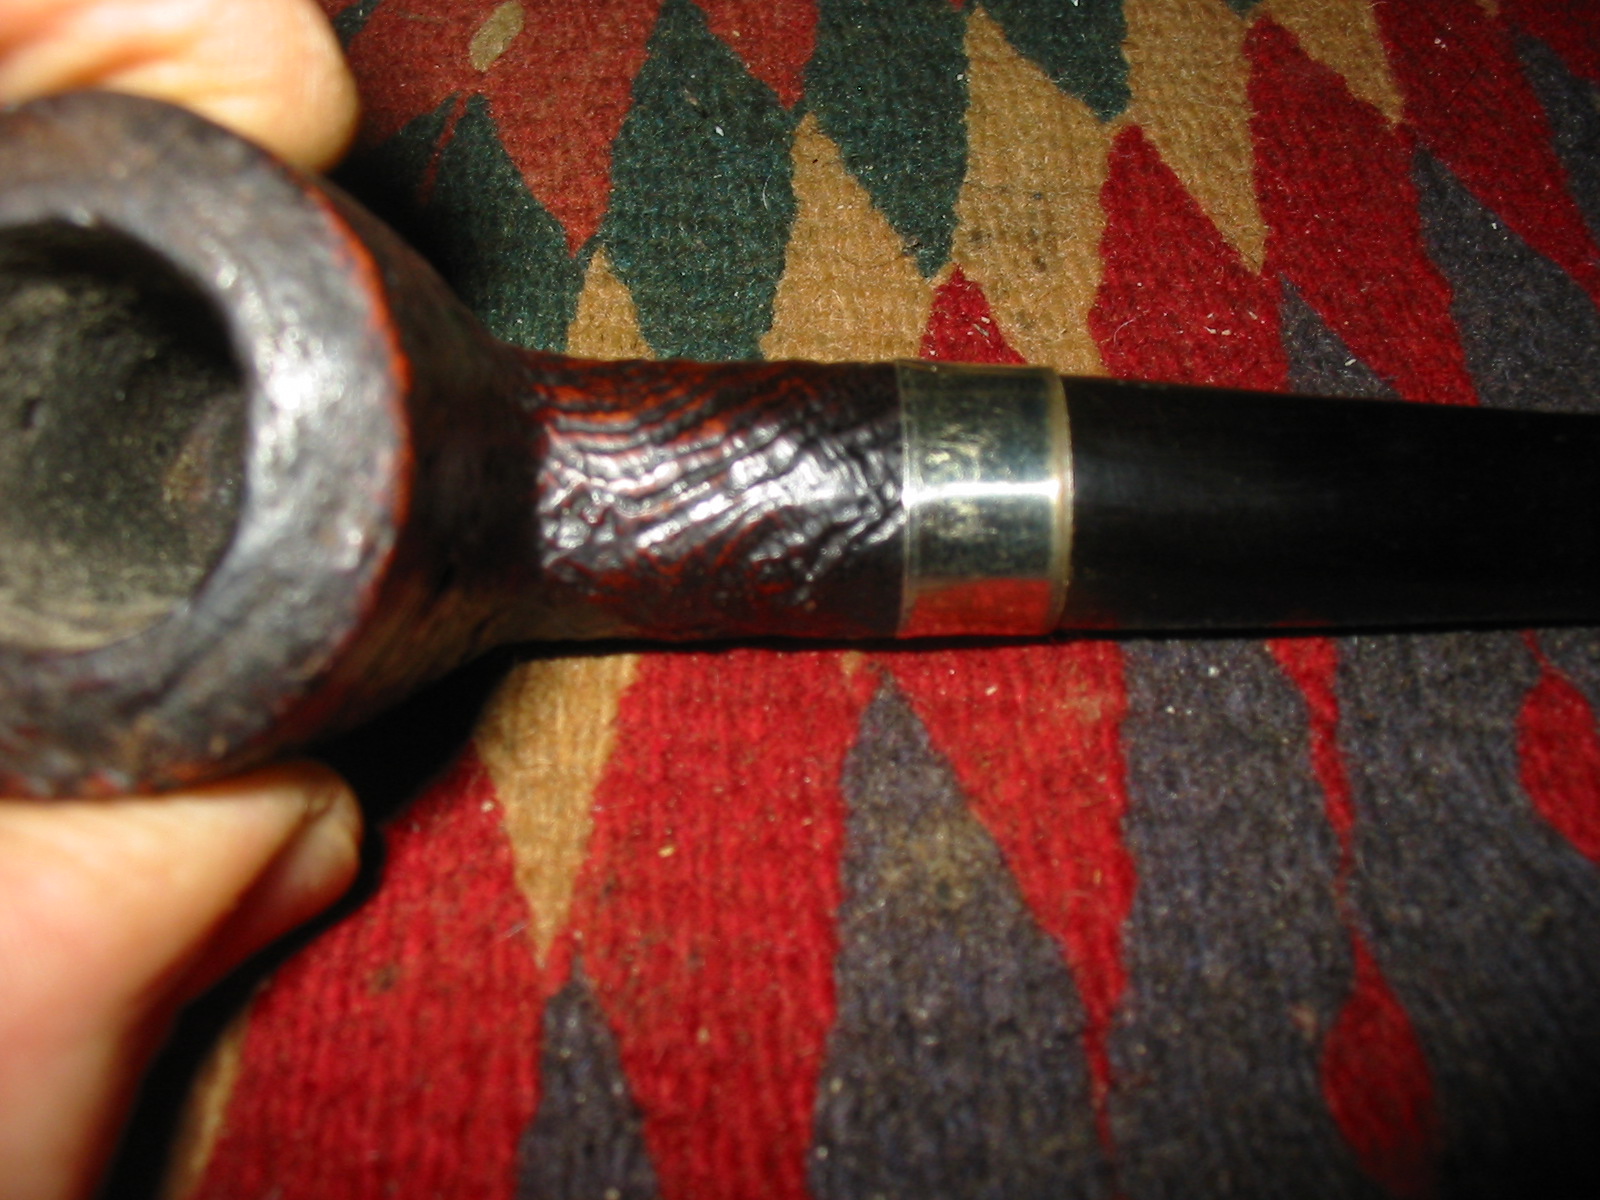
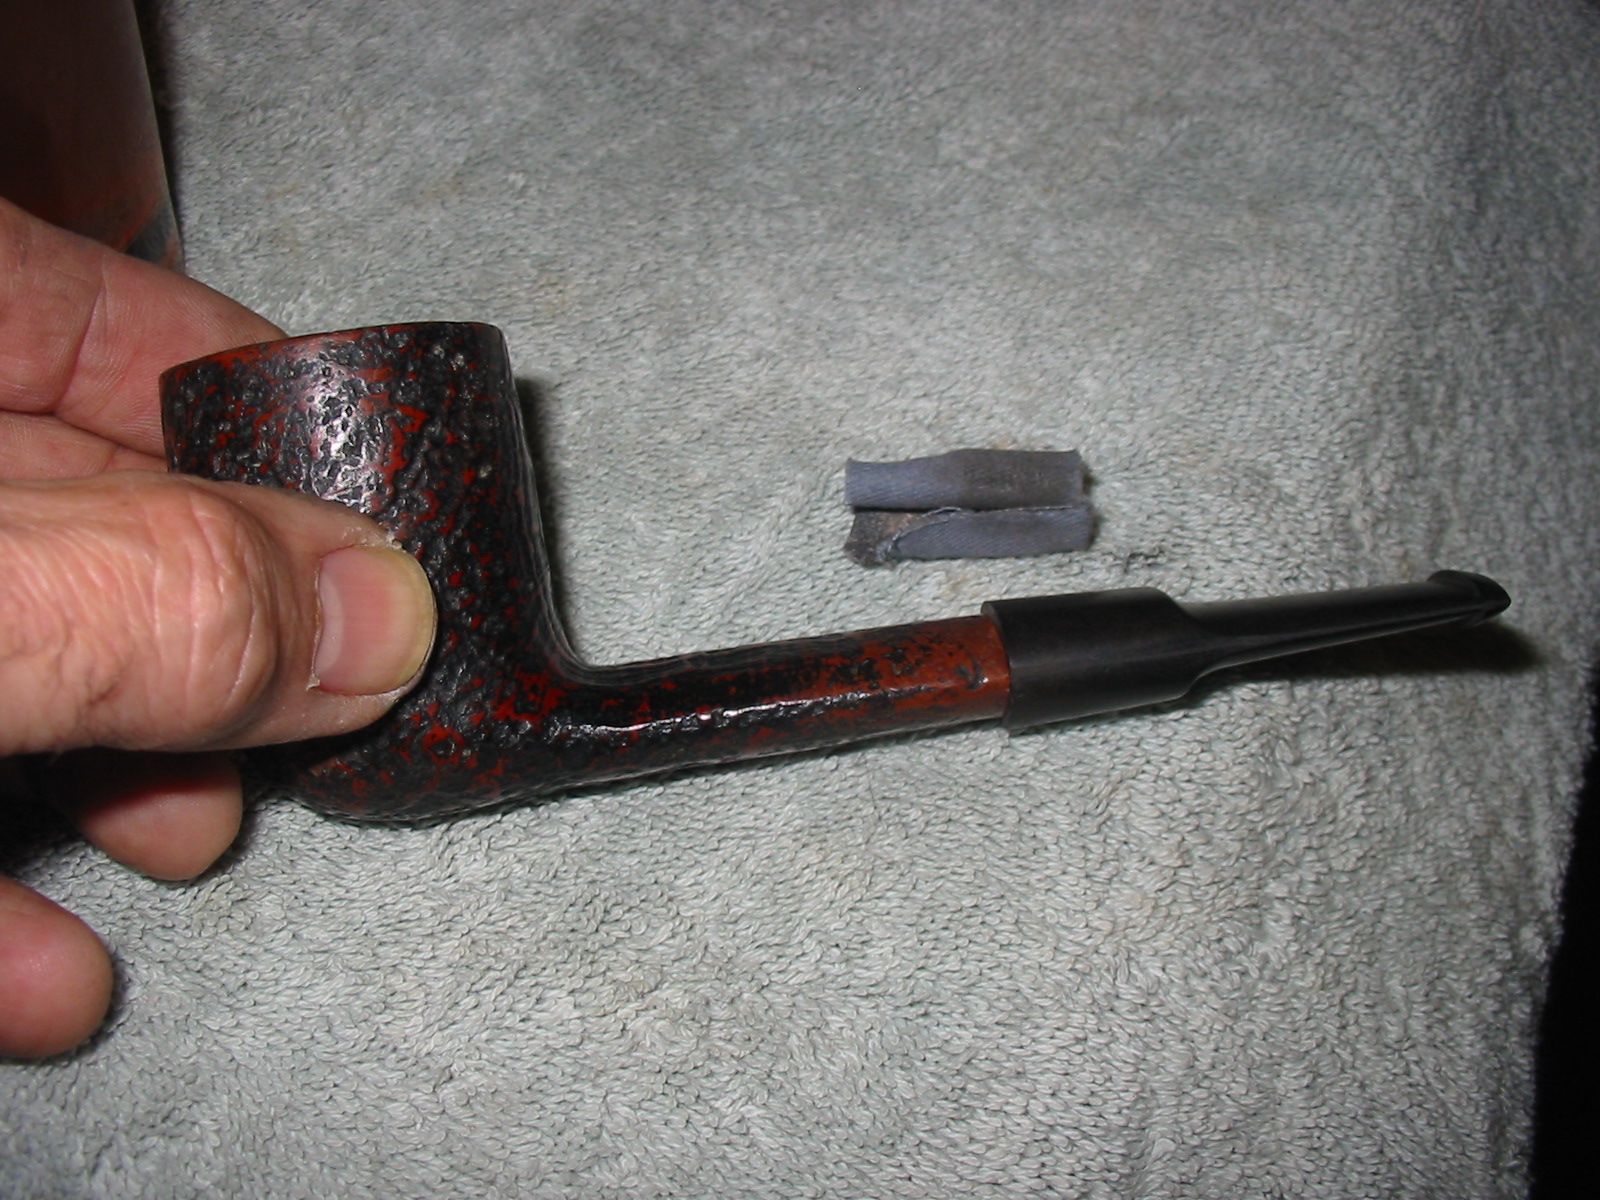
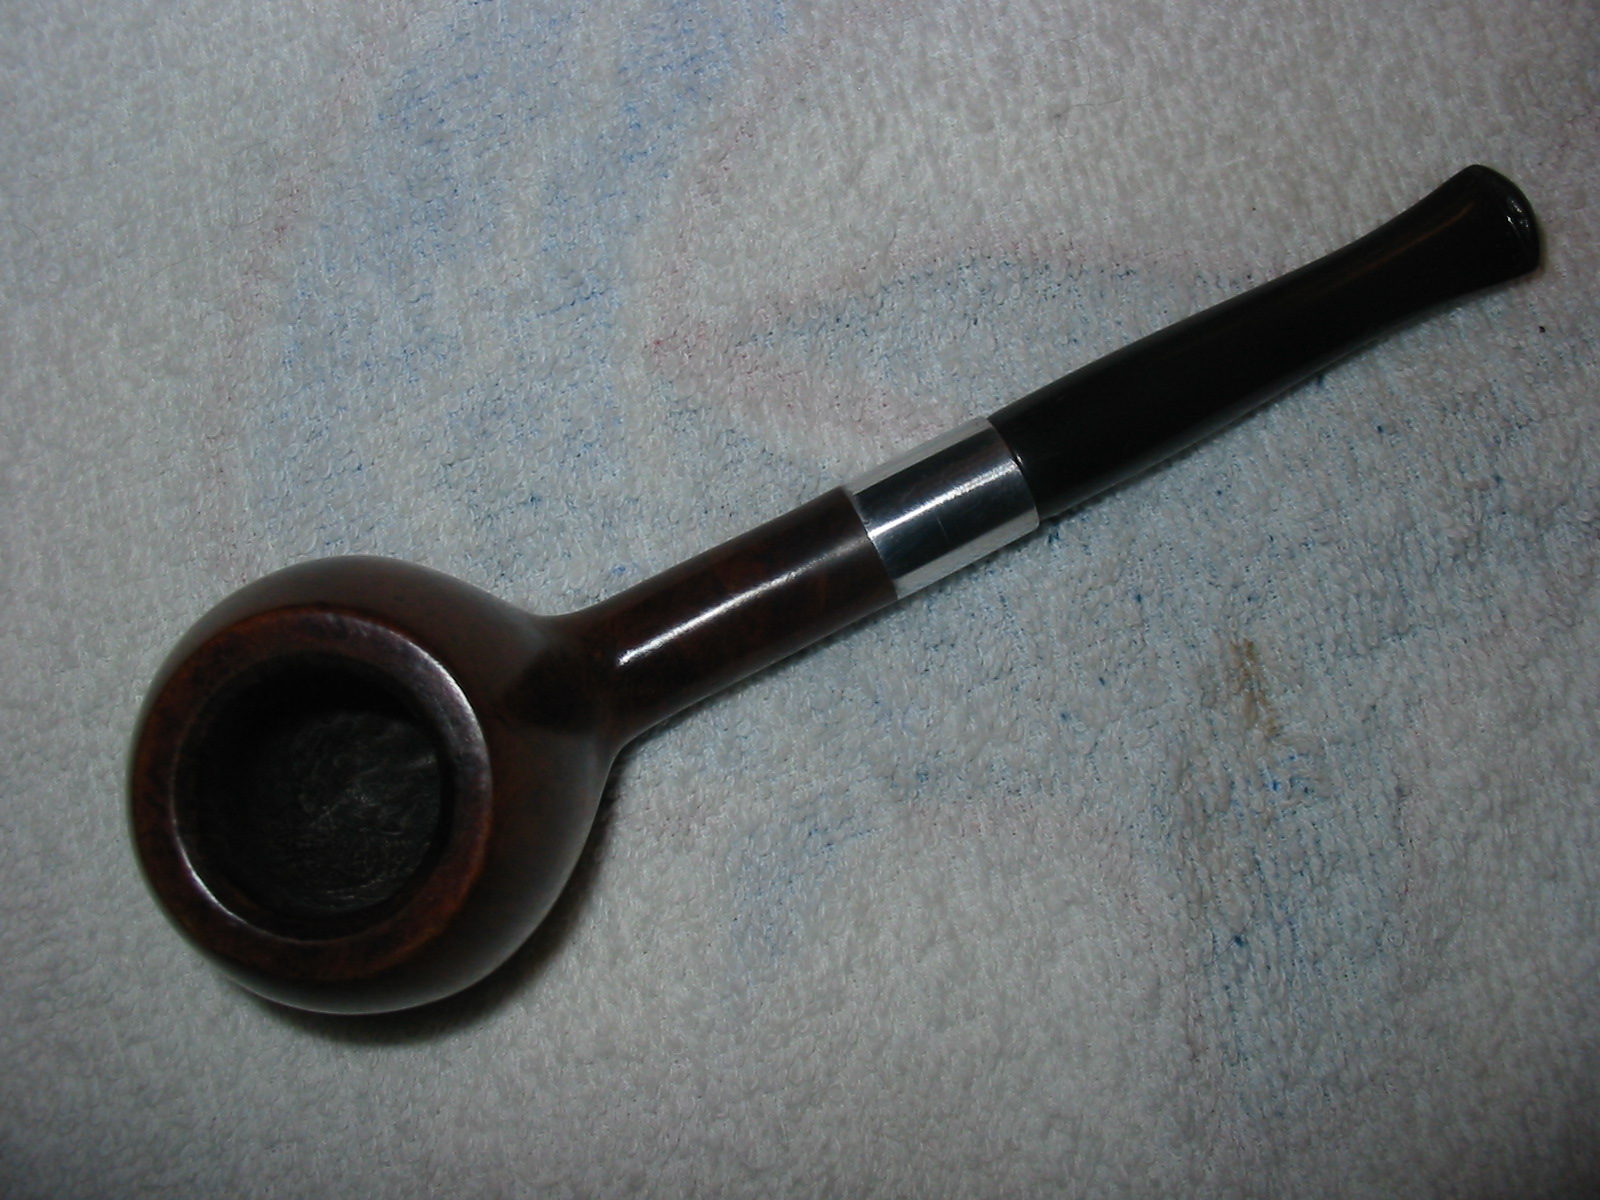
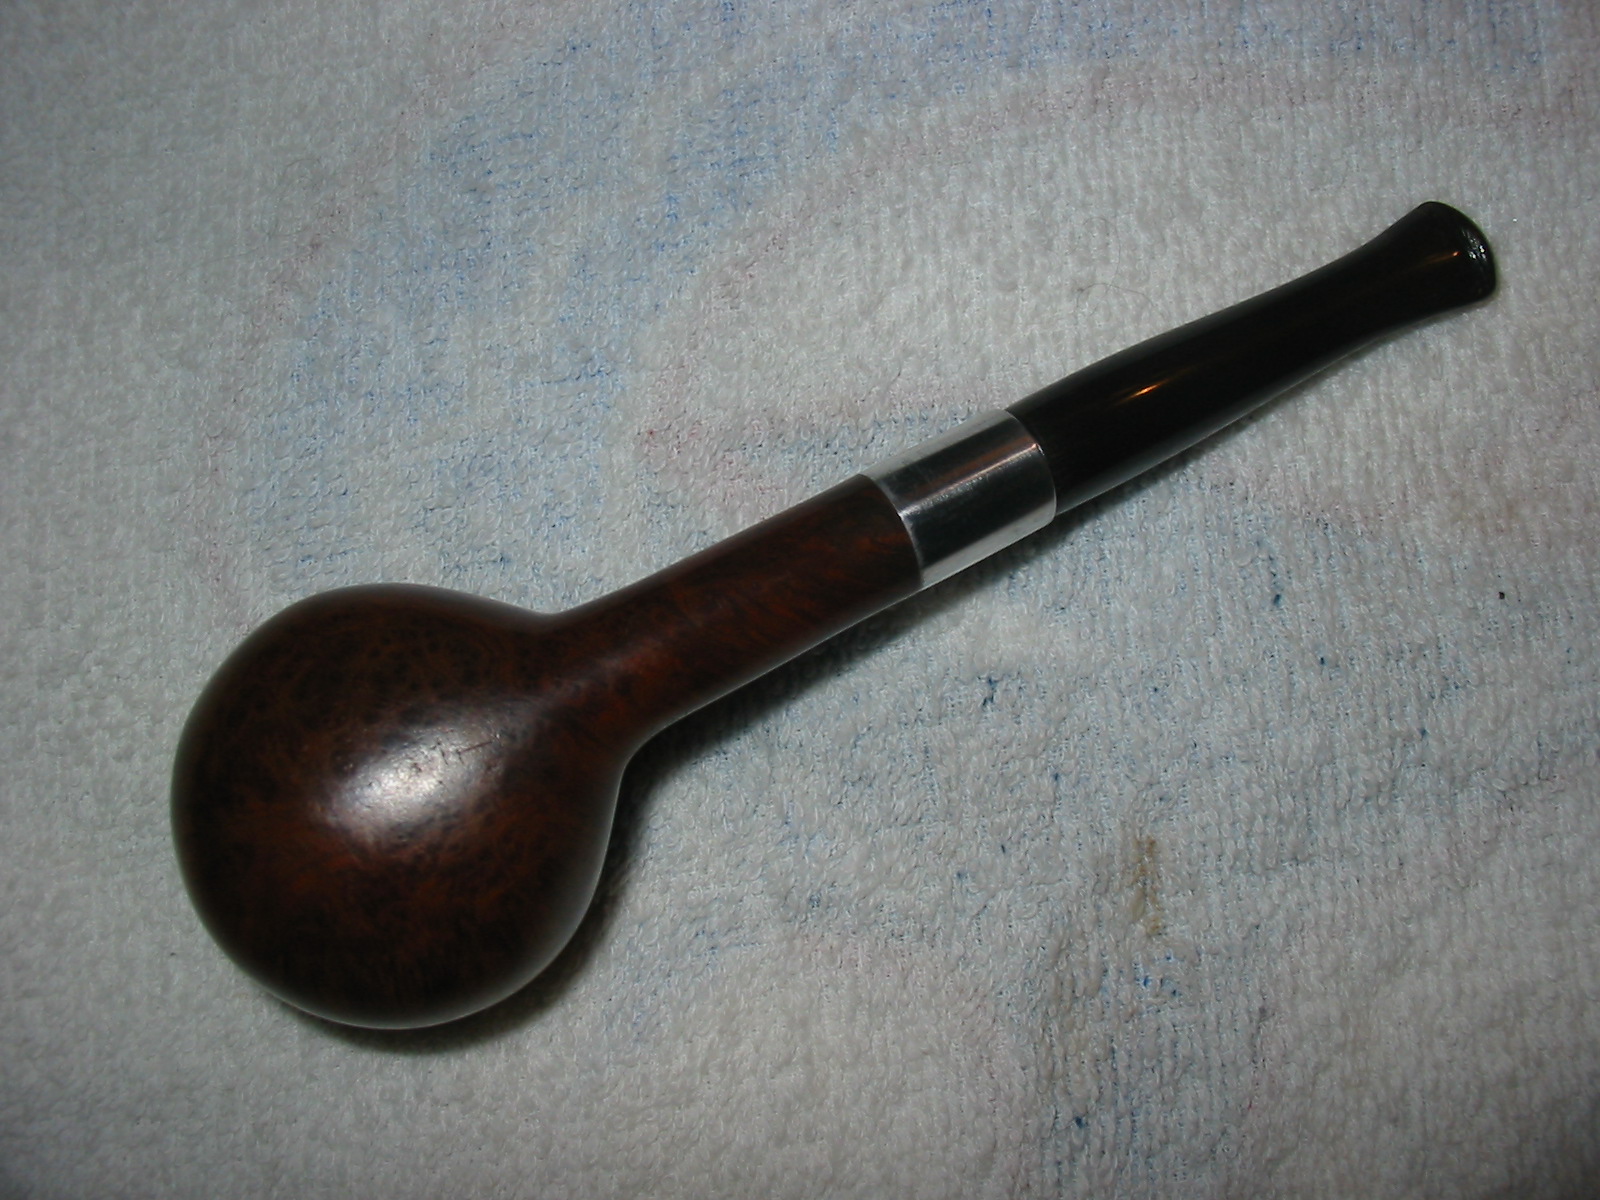
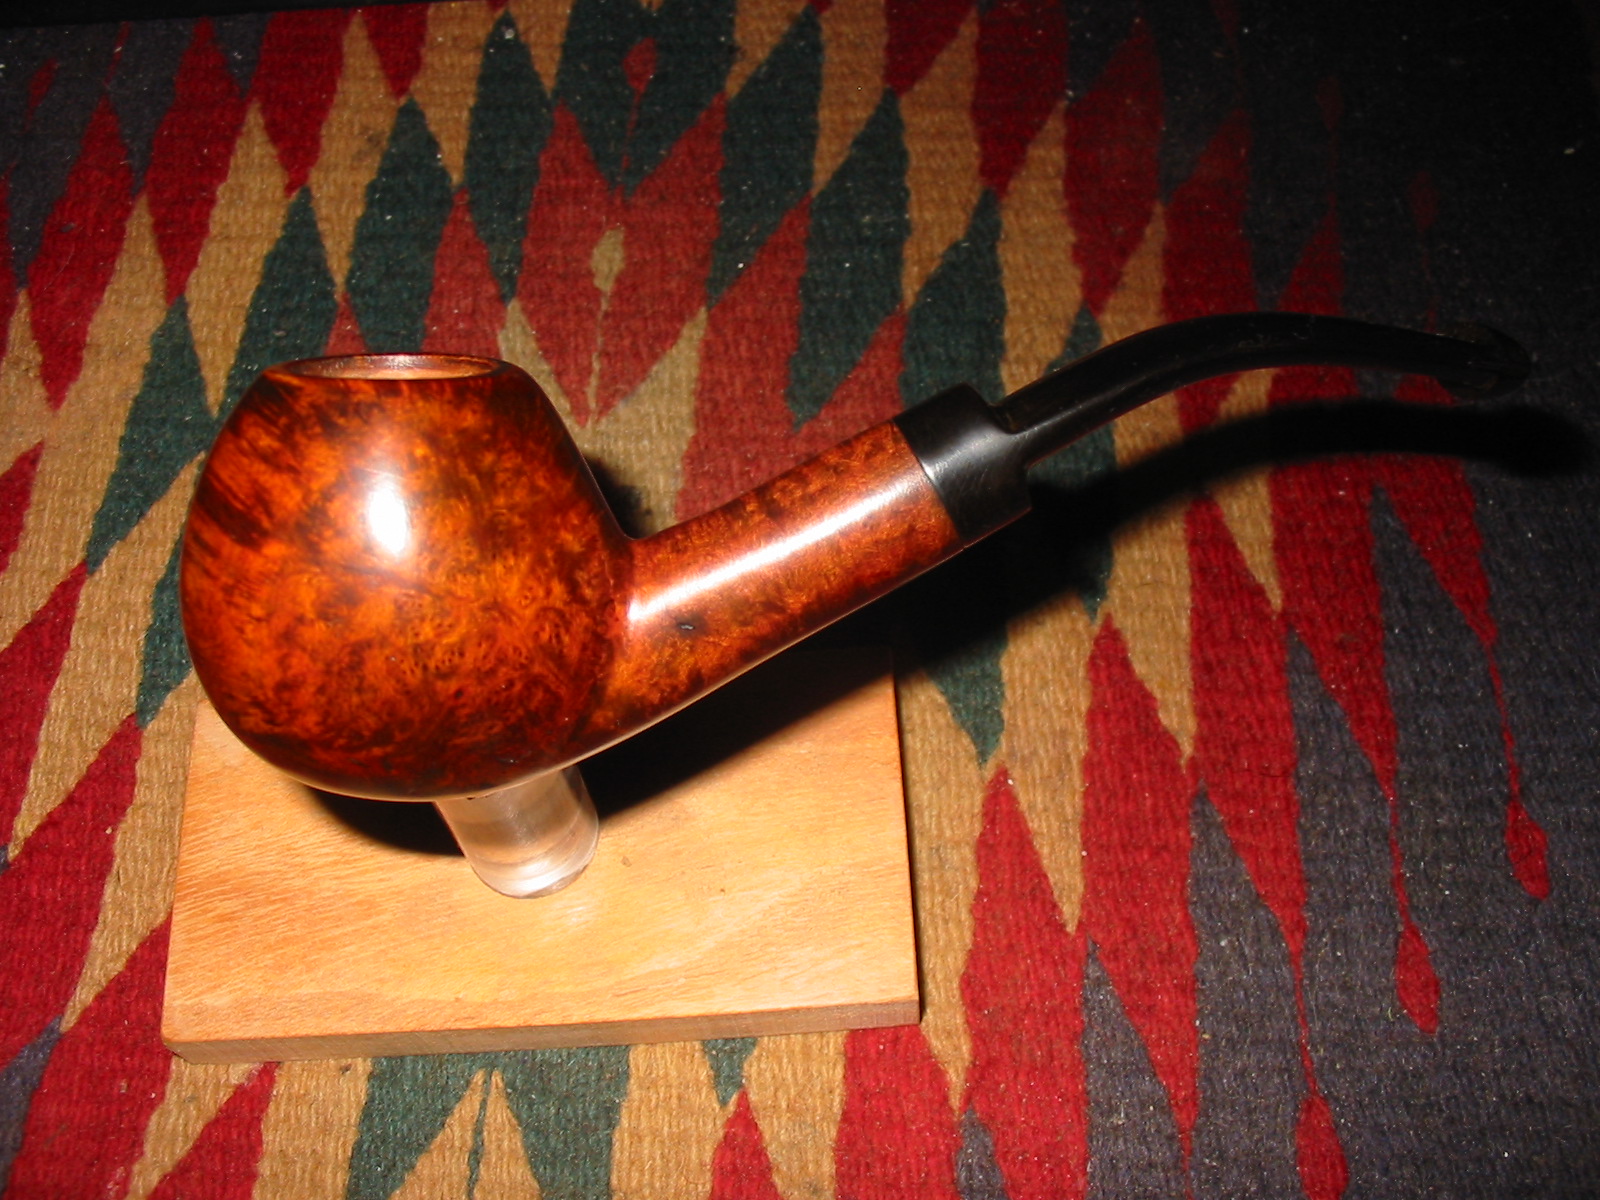
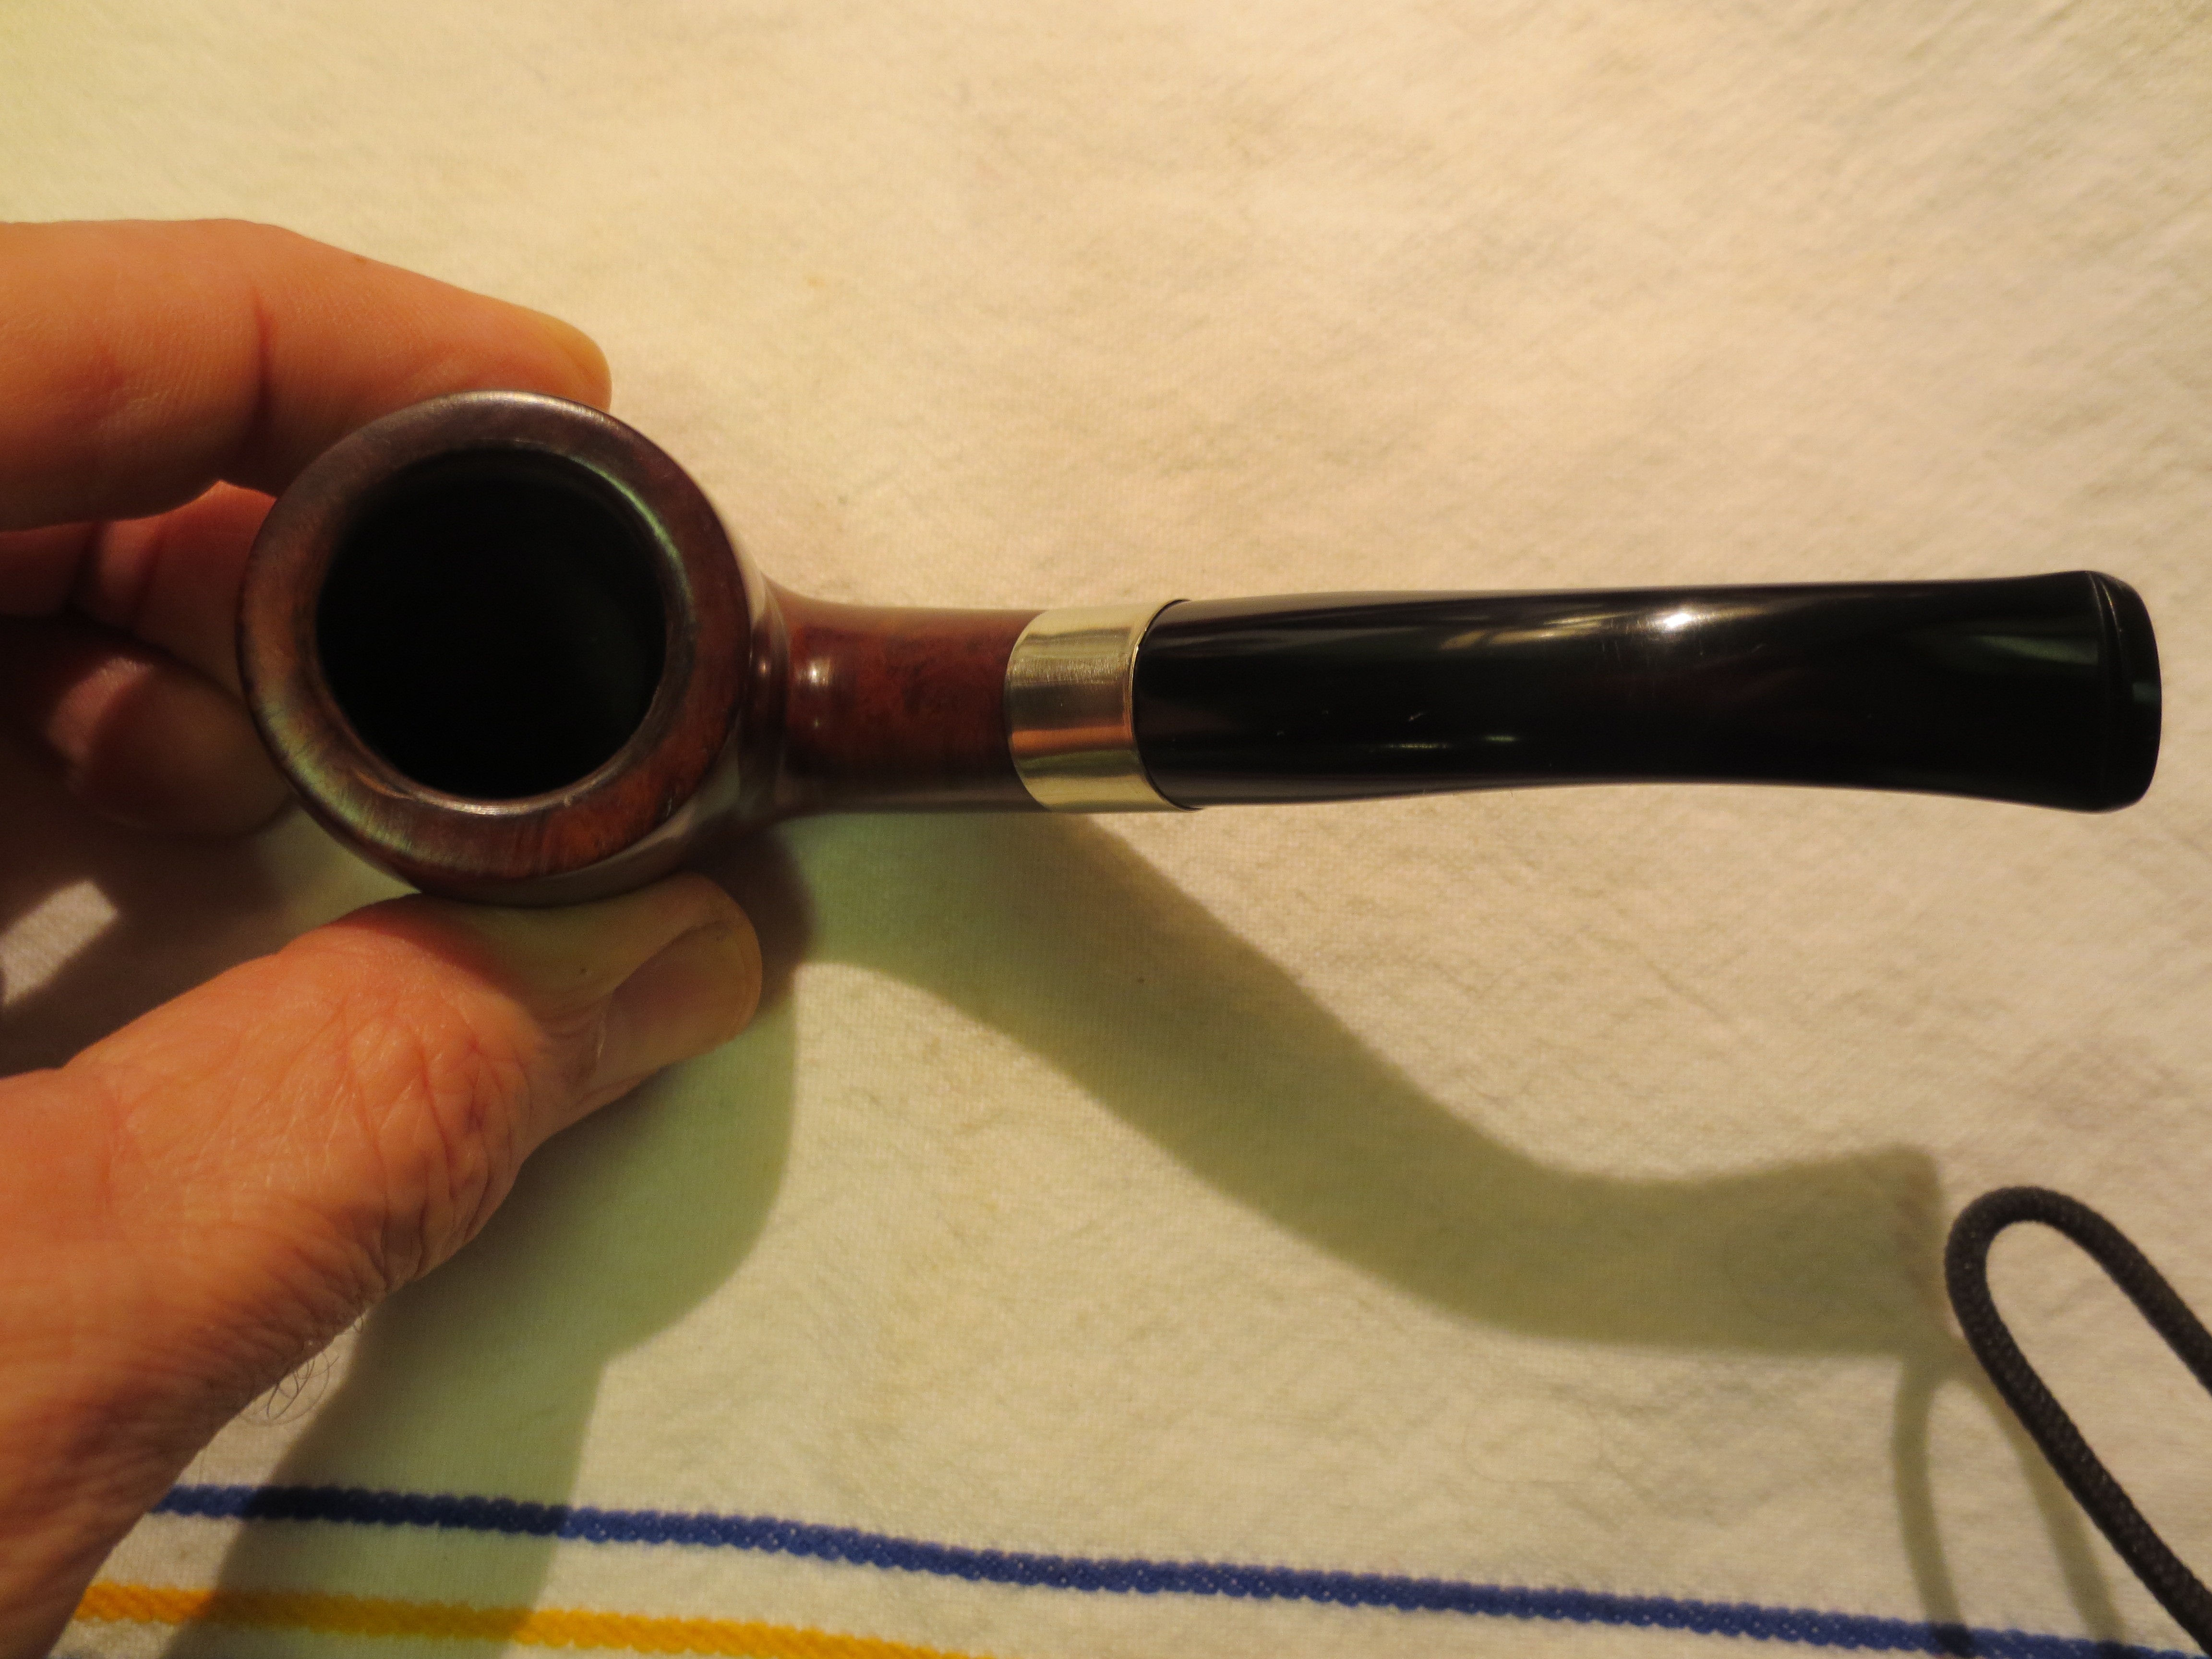
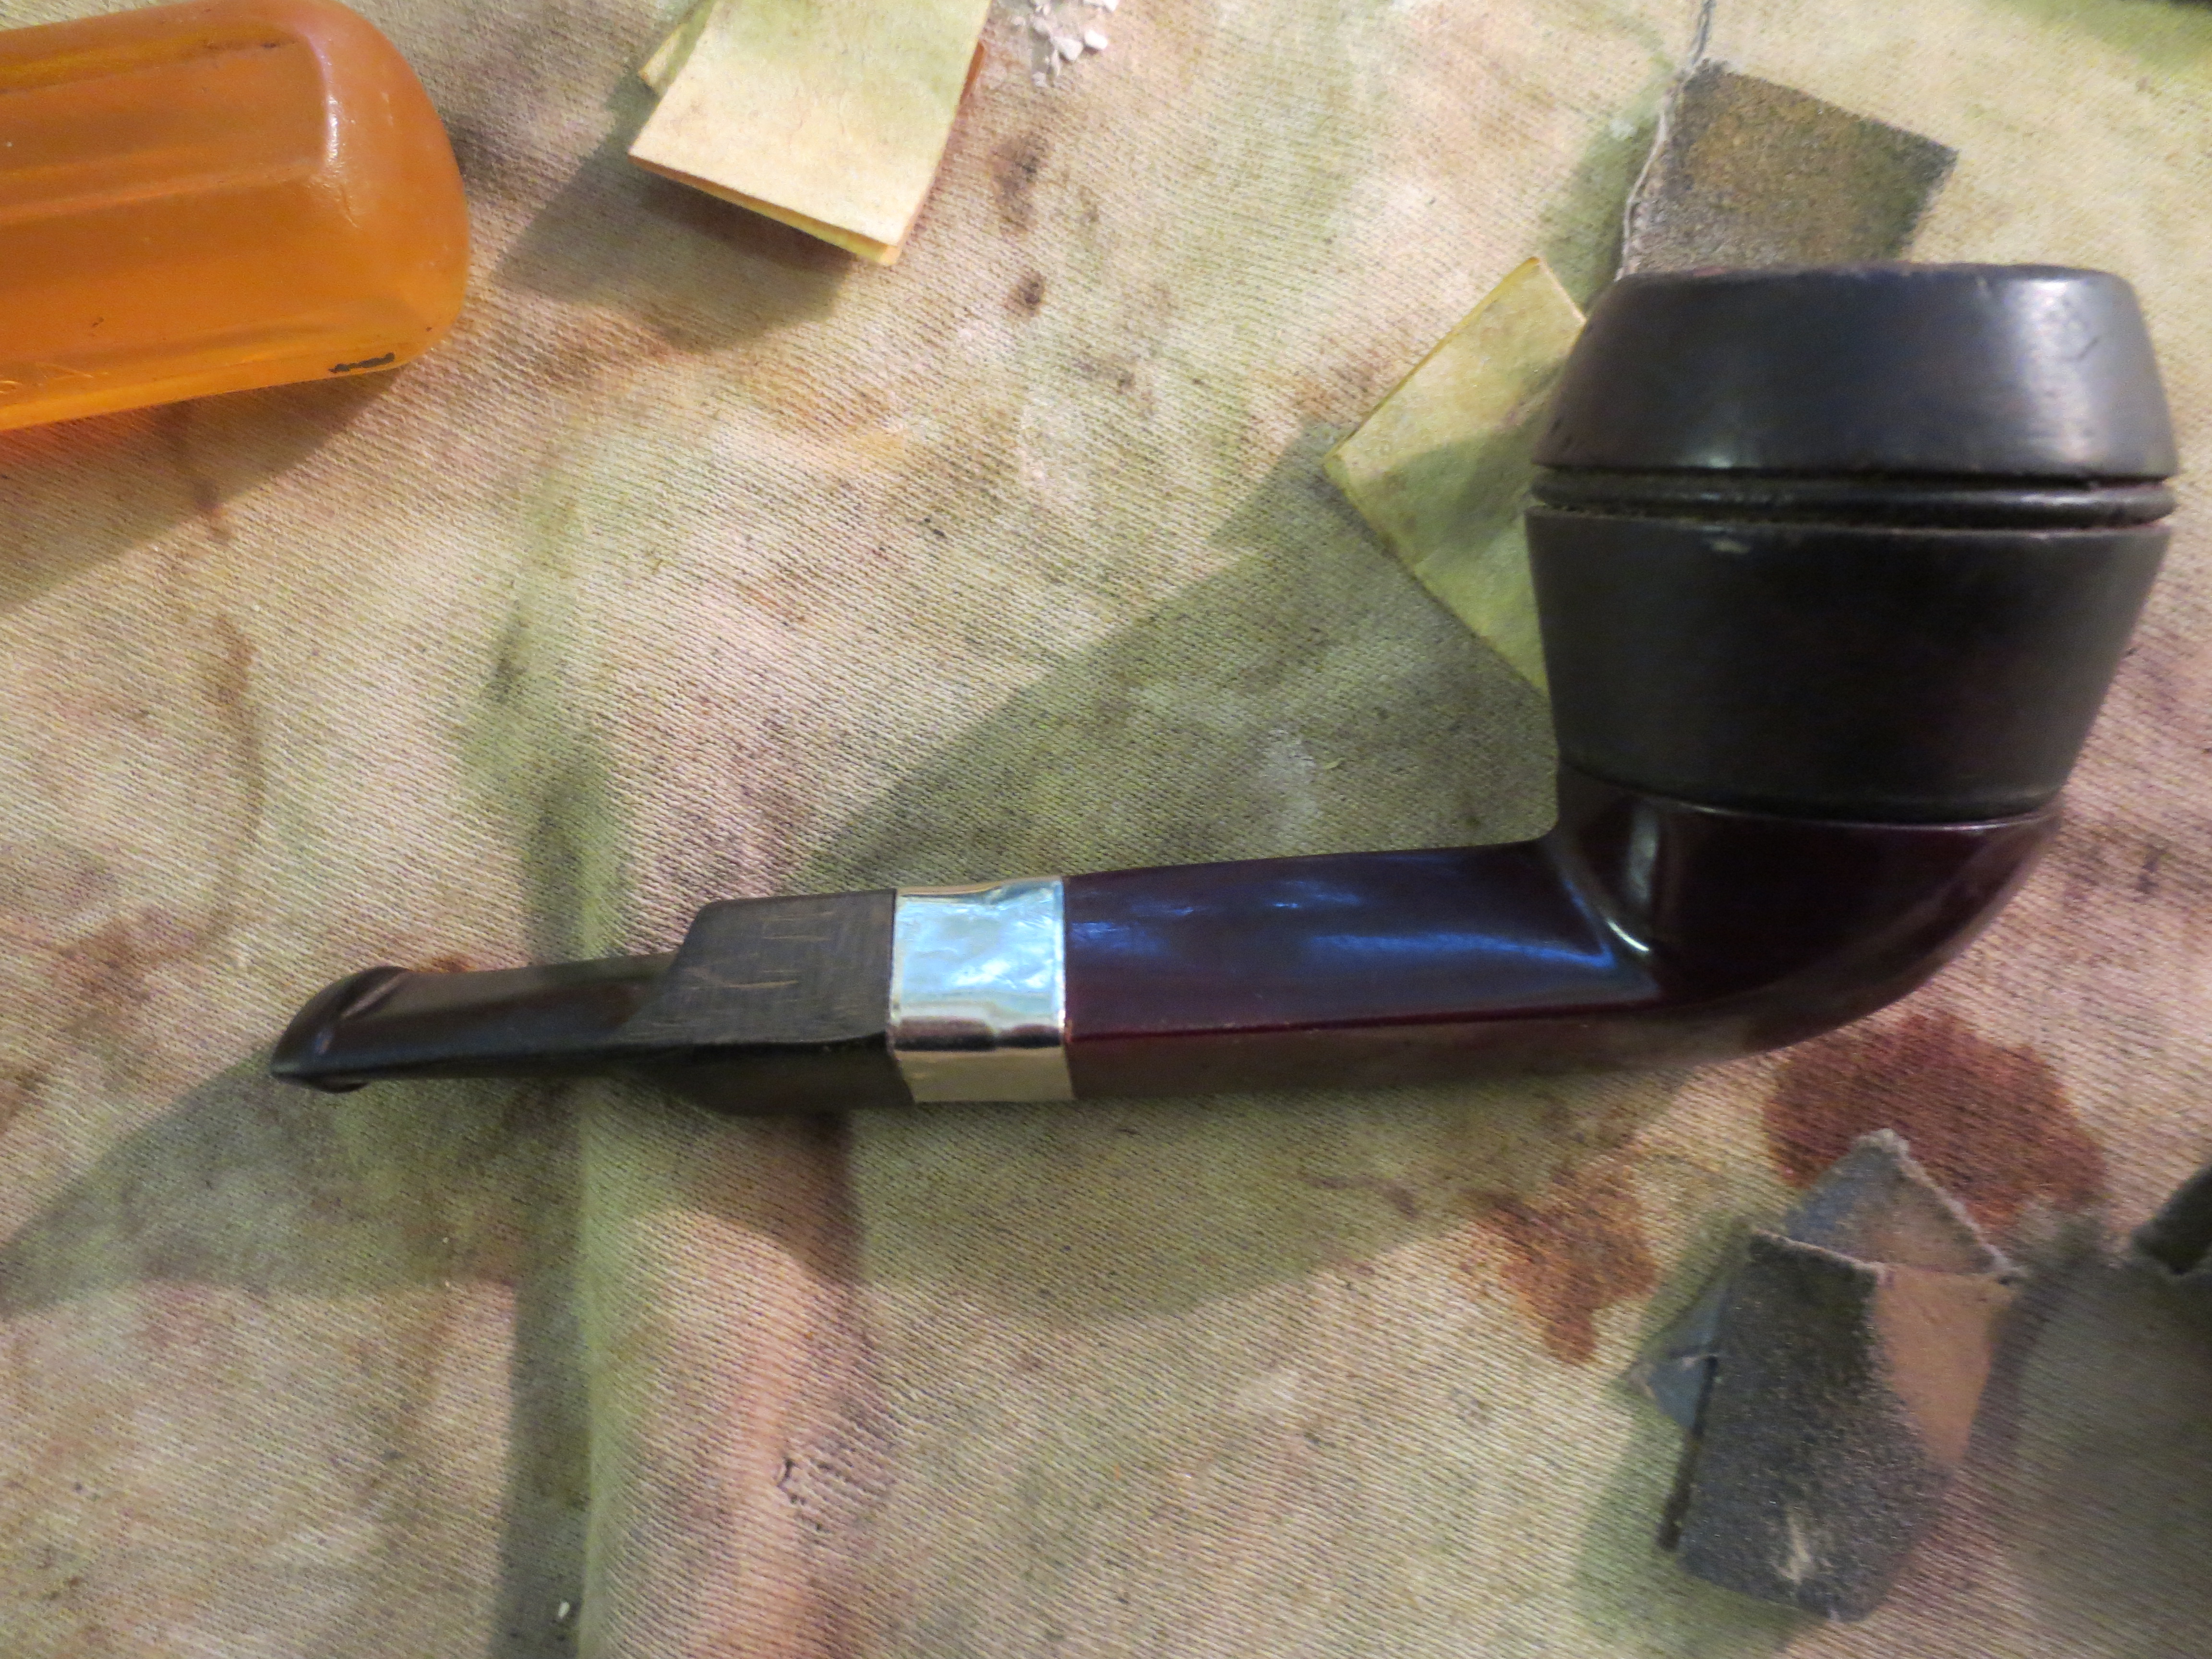
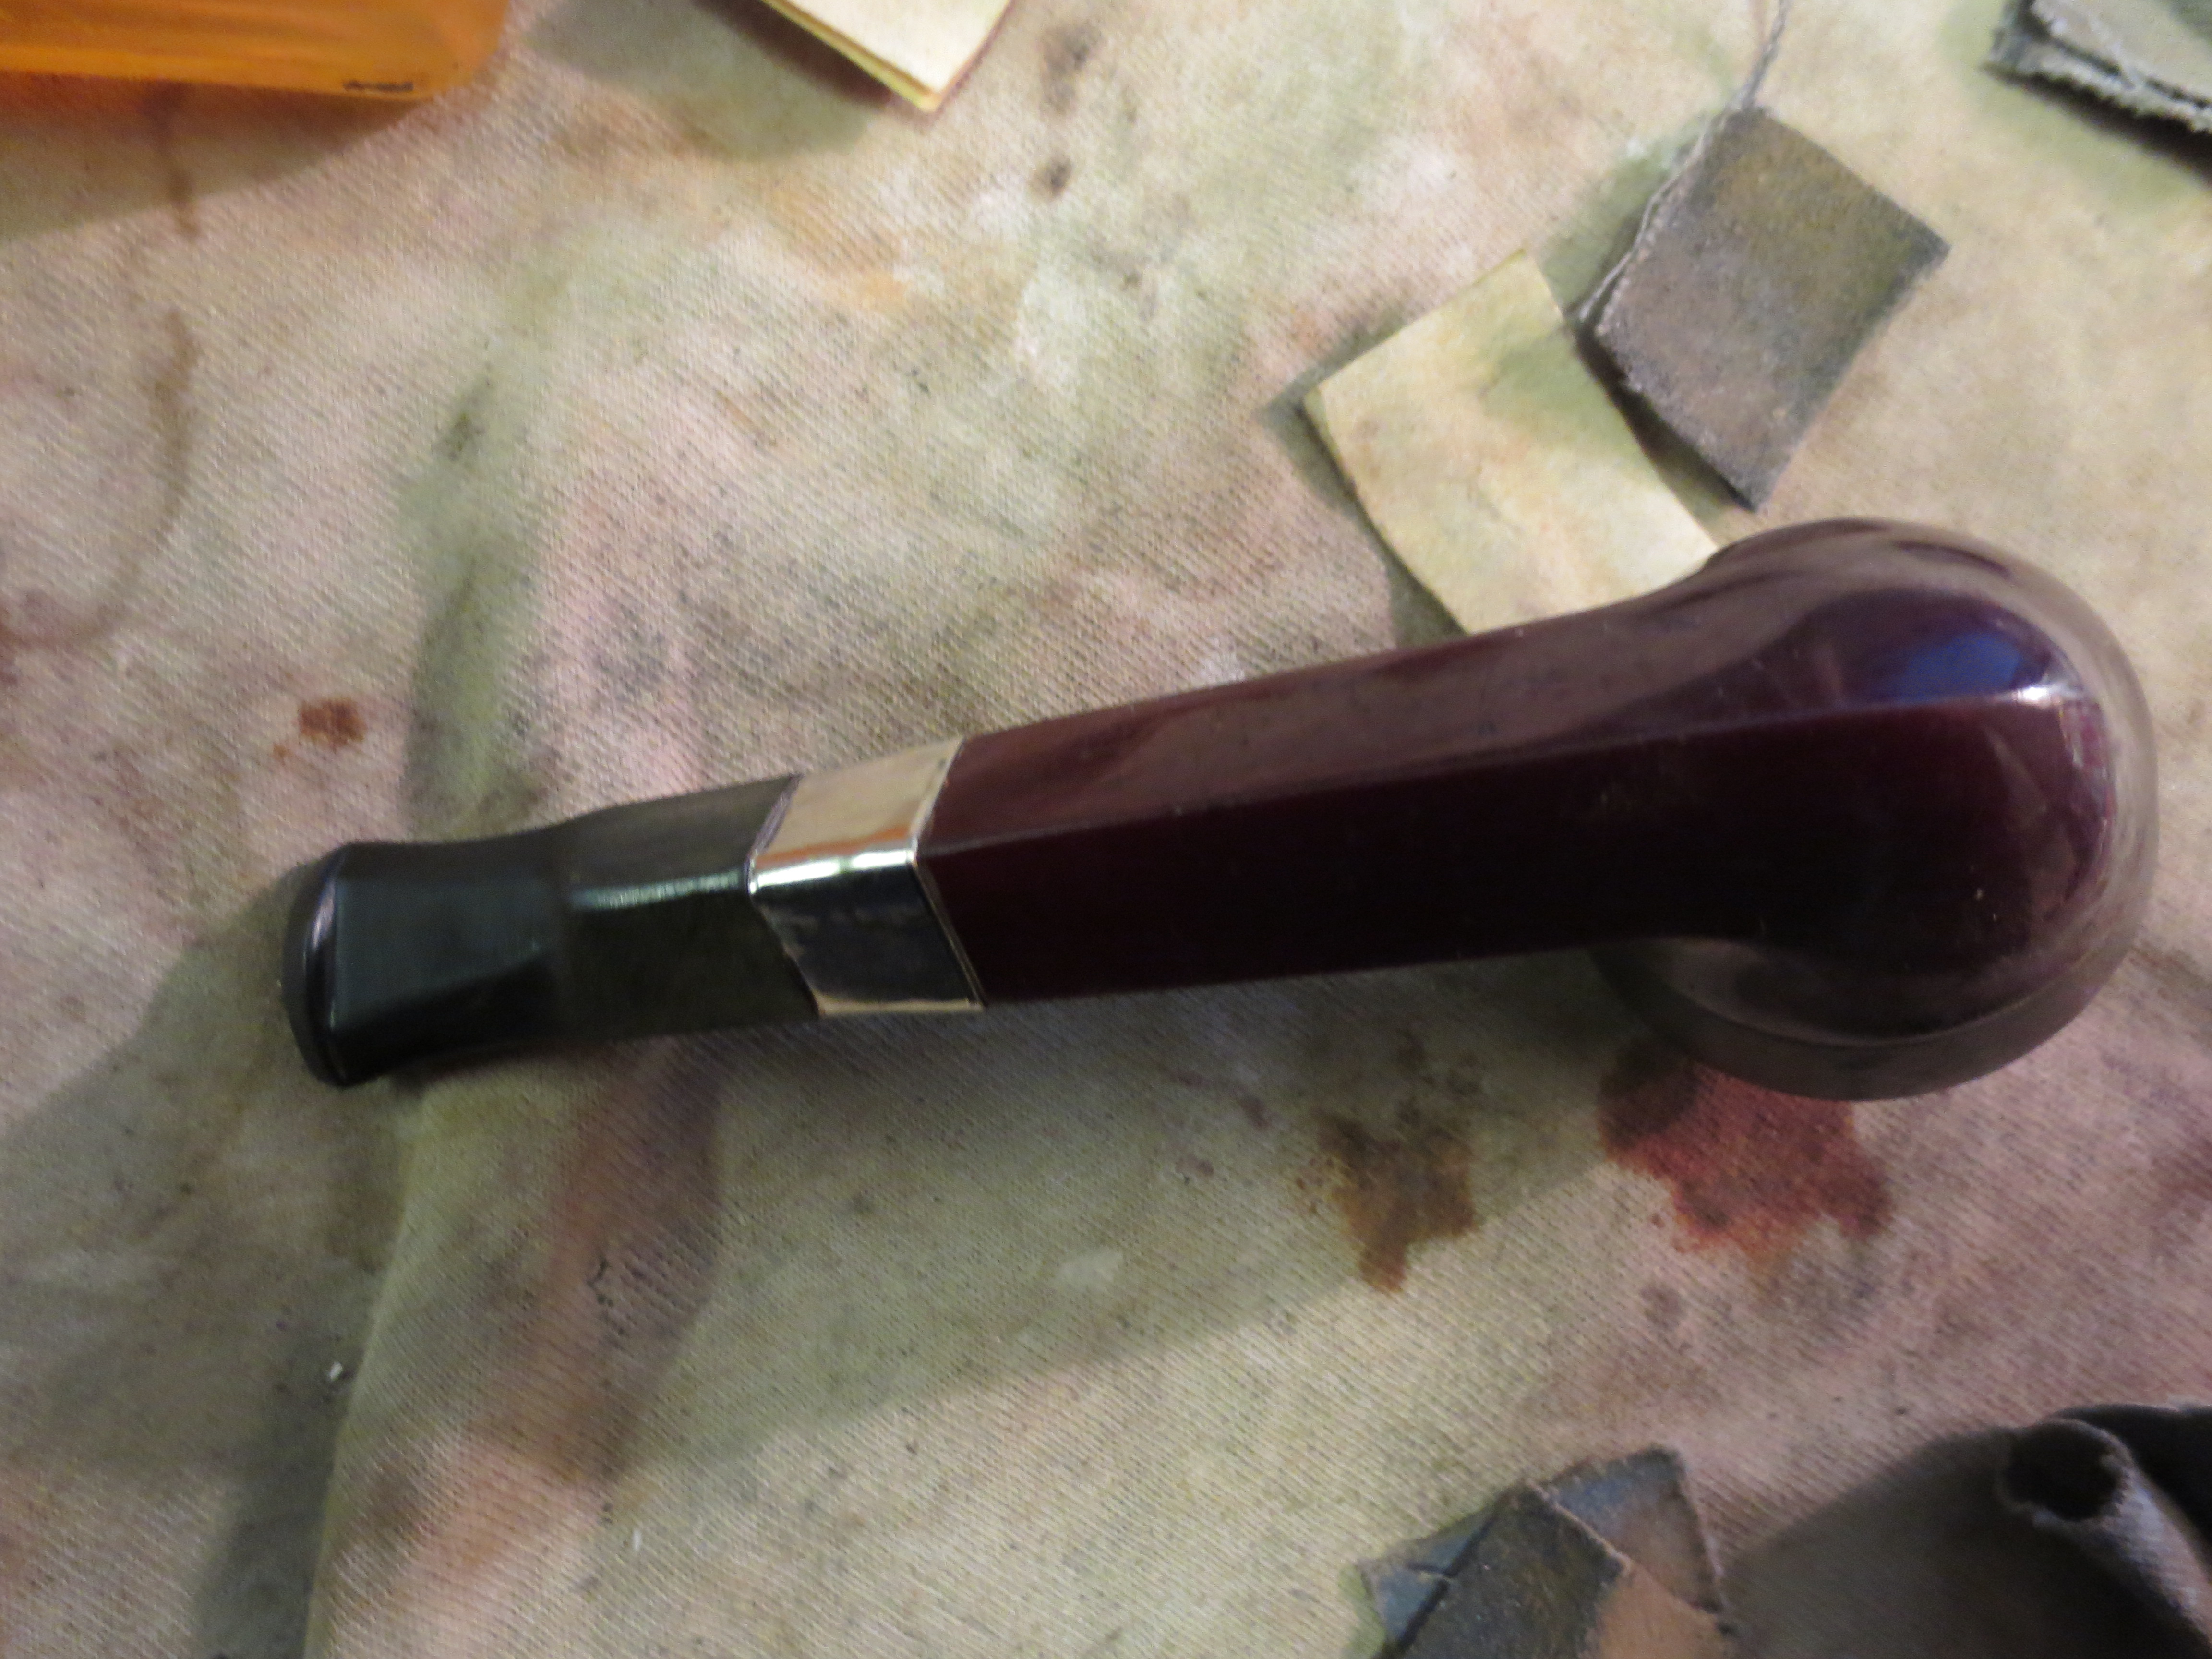
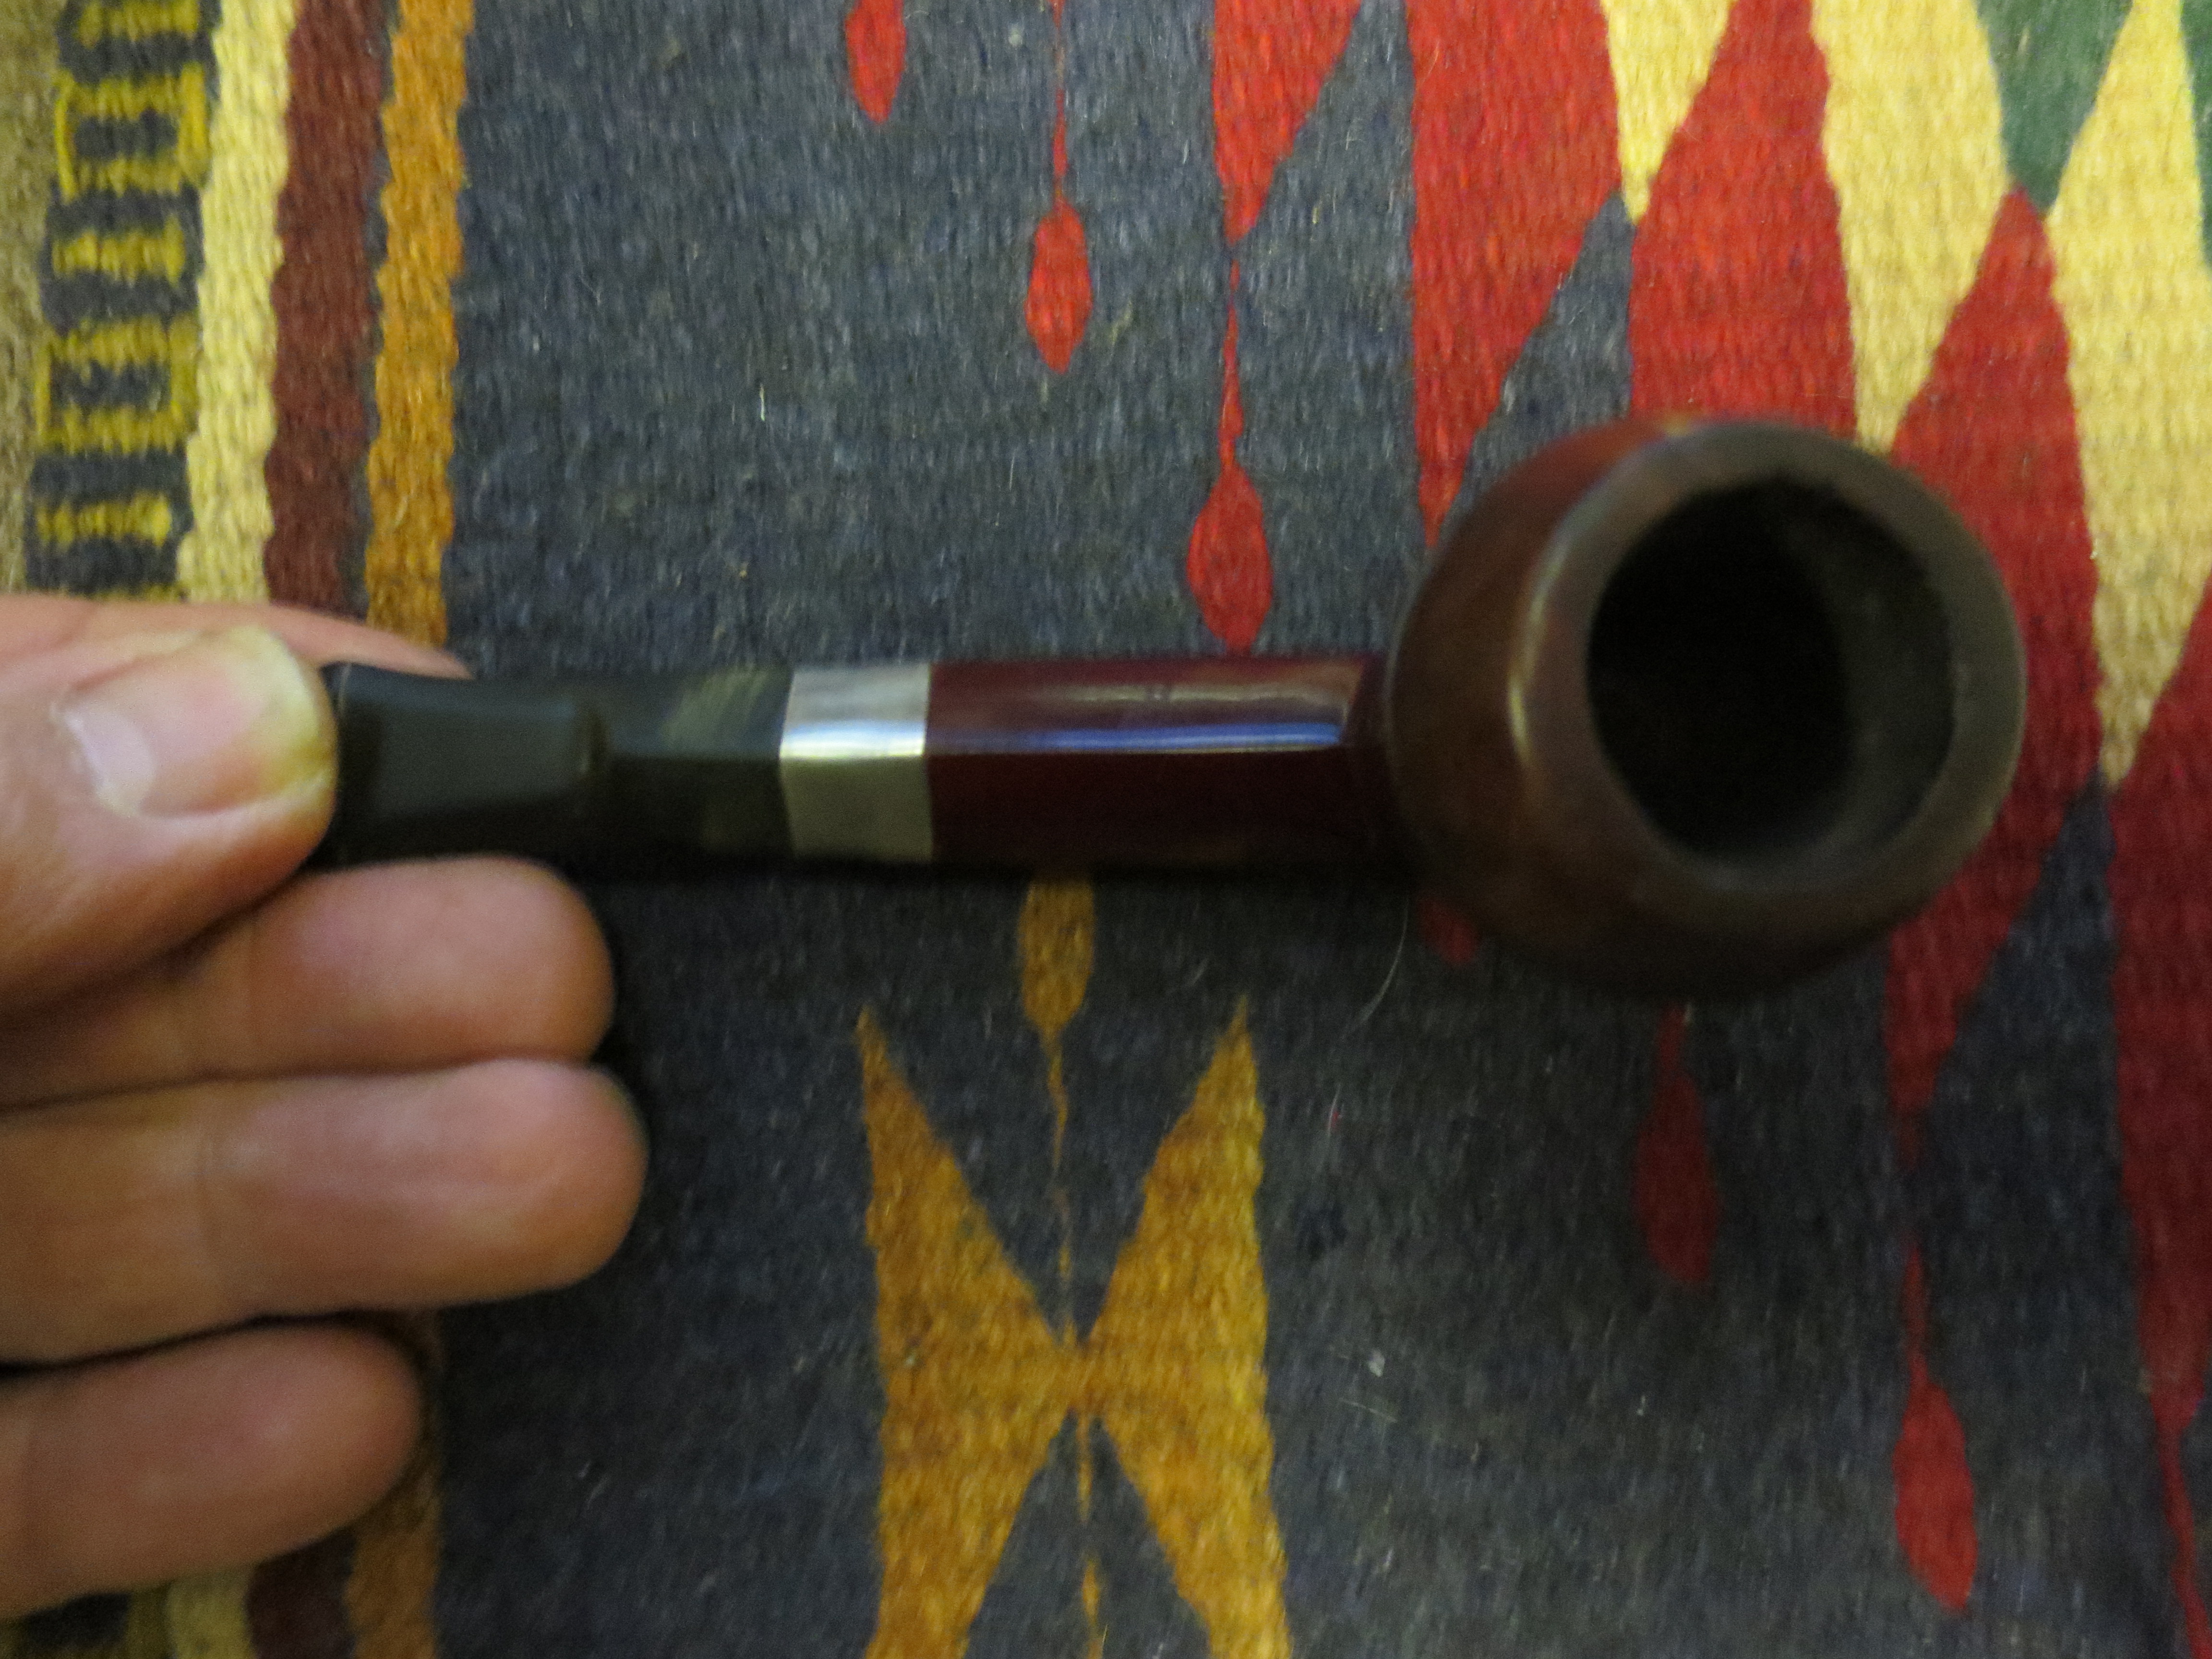
The next series of four photos show the newly shaped stem in place on the banded pipe. There was still a lot of work to do on the pipe including cleaning the internals and reworking the bowl and rim but the overall look of the “new” pipe is intriguing.

New band and stem in place.

New band and stem in place

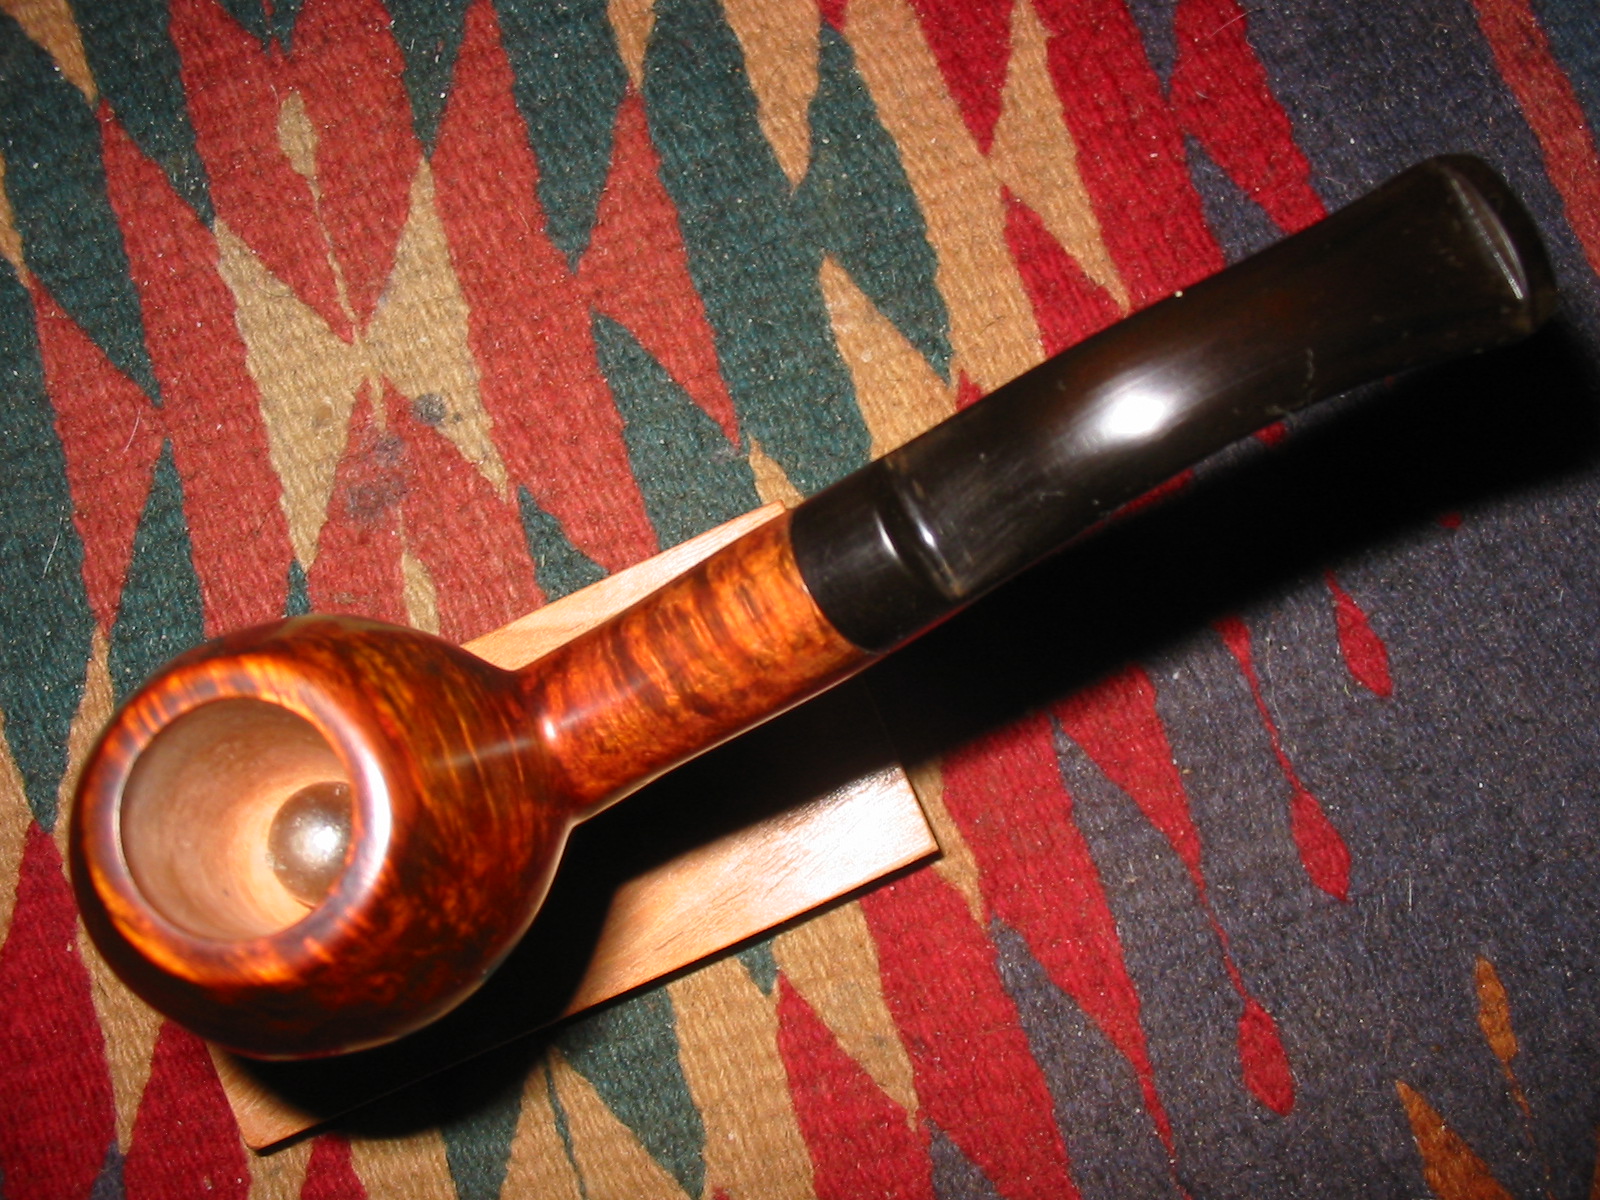
Bottom view of the newly banded and stemmed pipe

Top view of the new band and stem
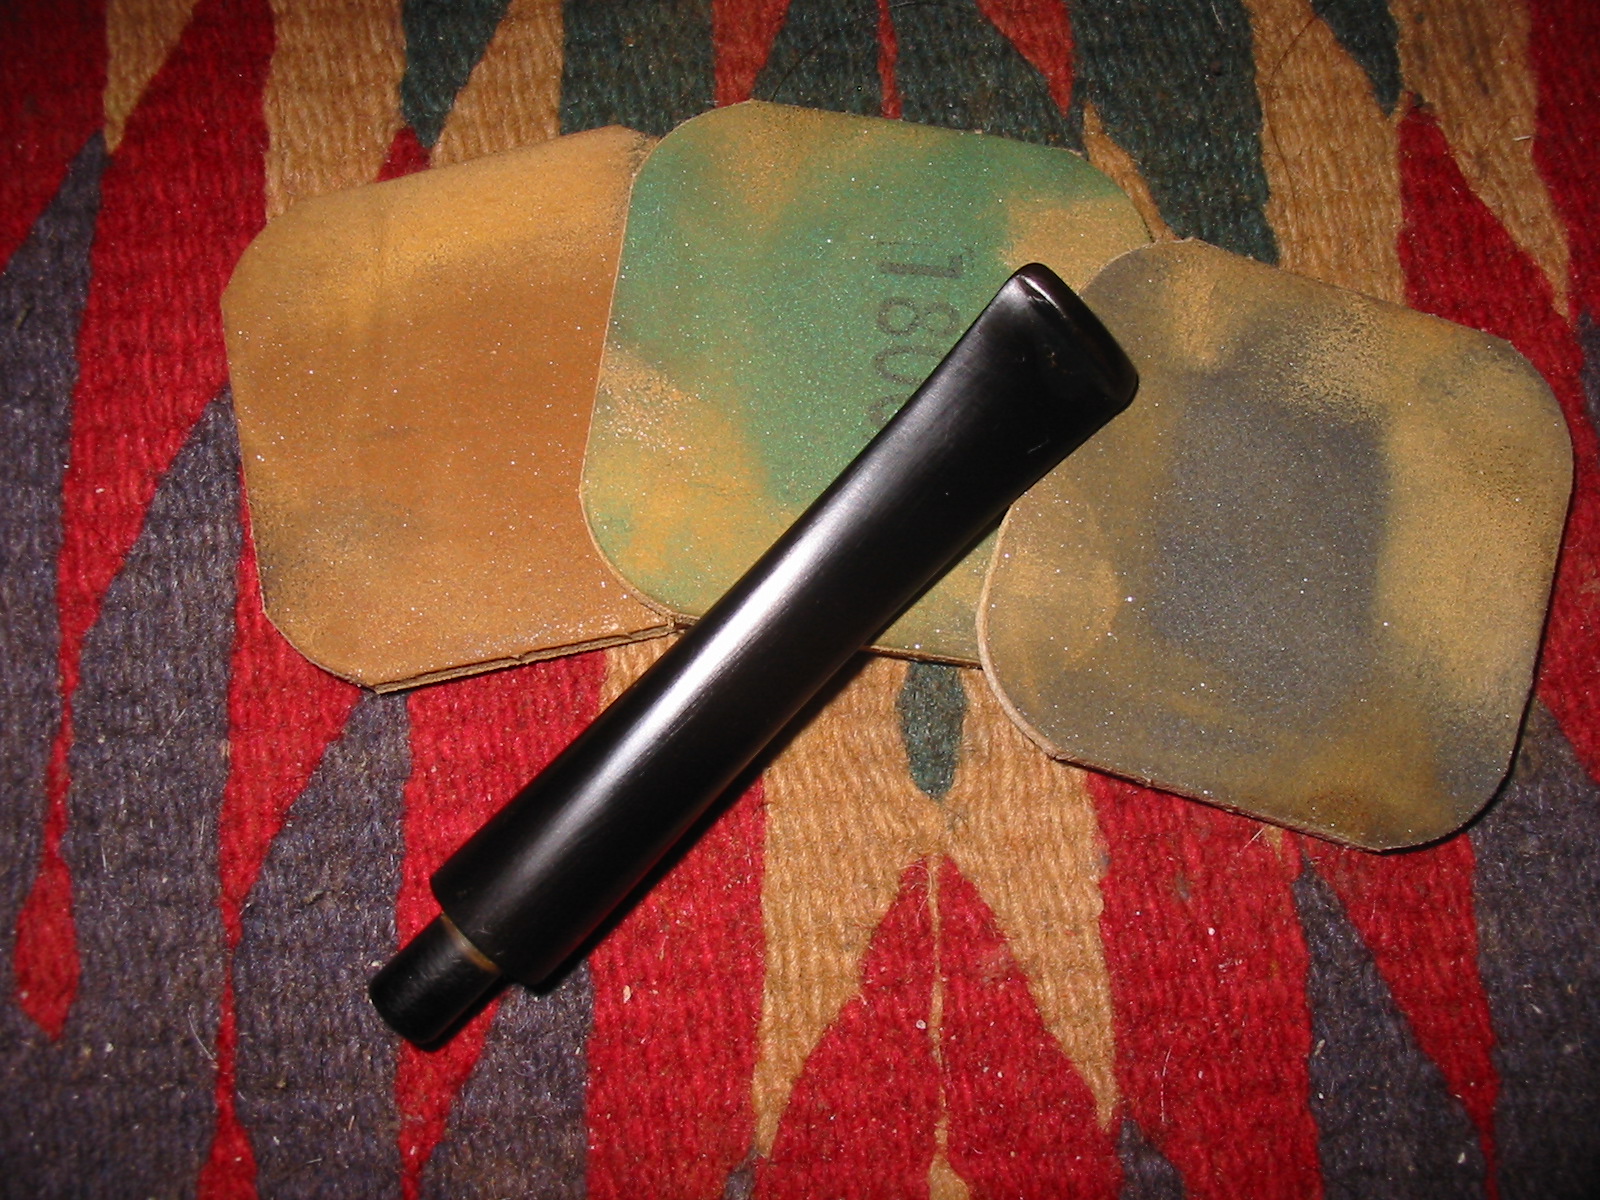
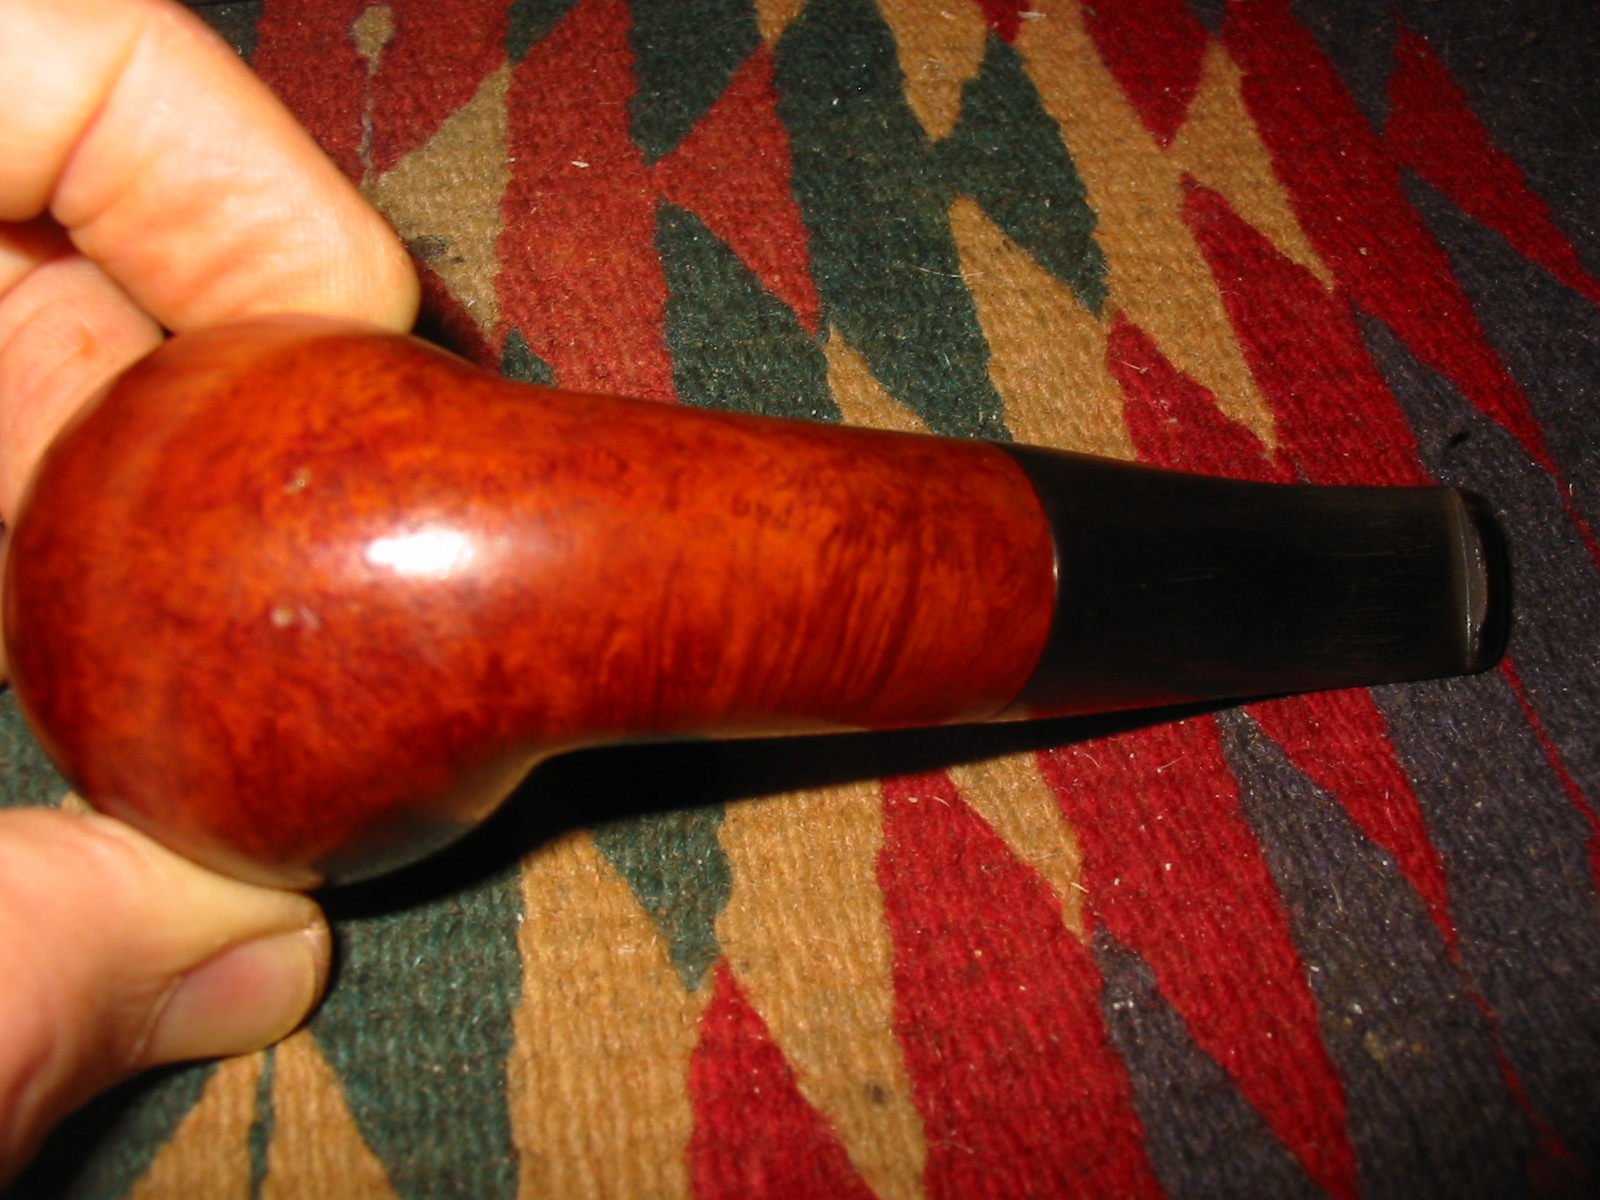
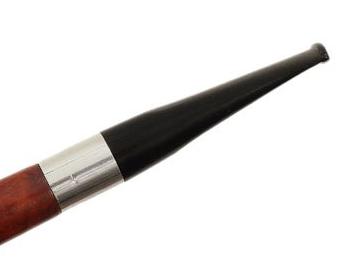
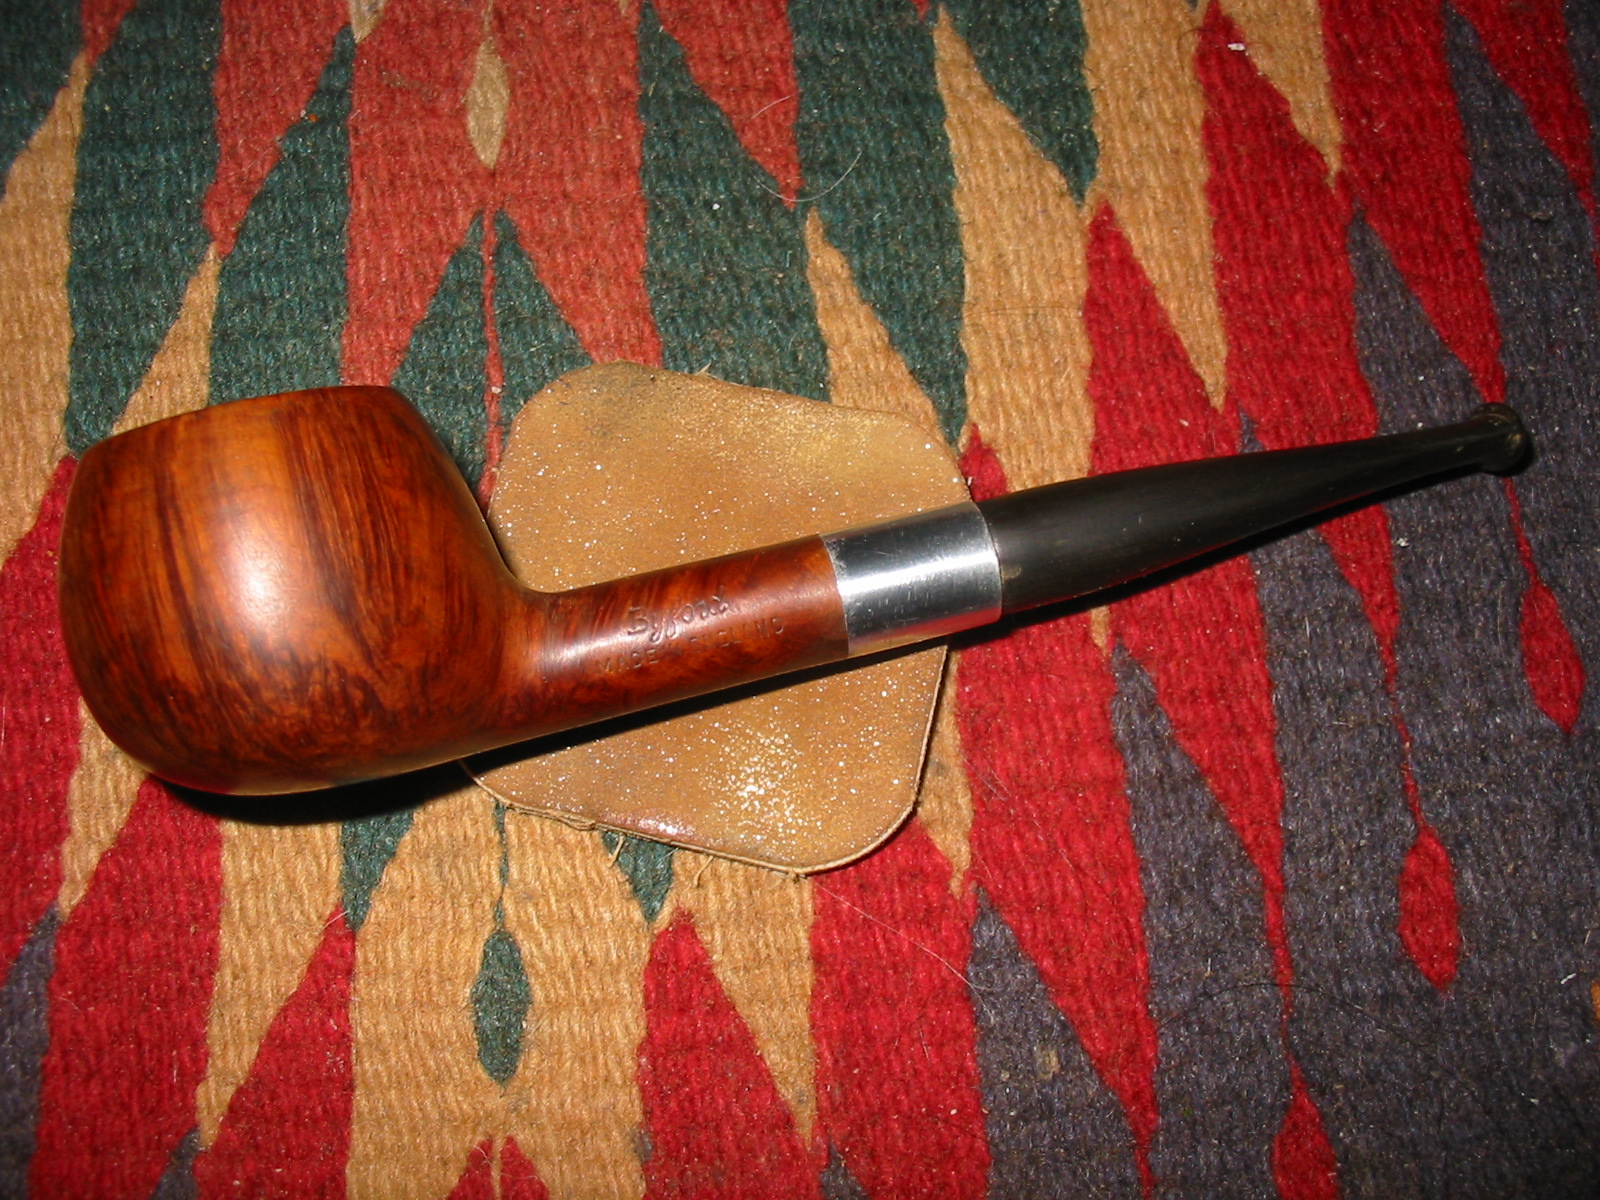
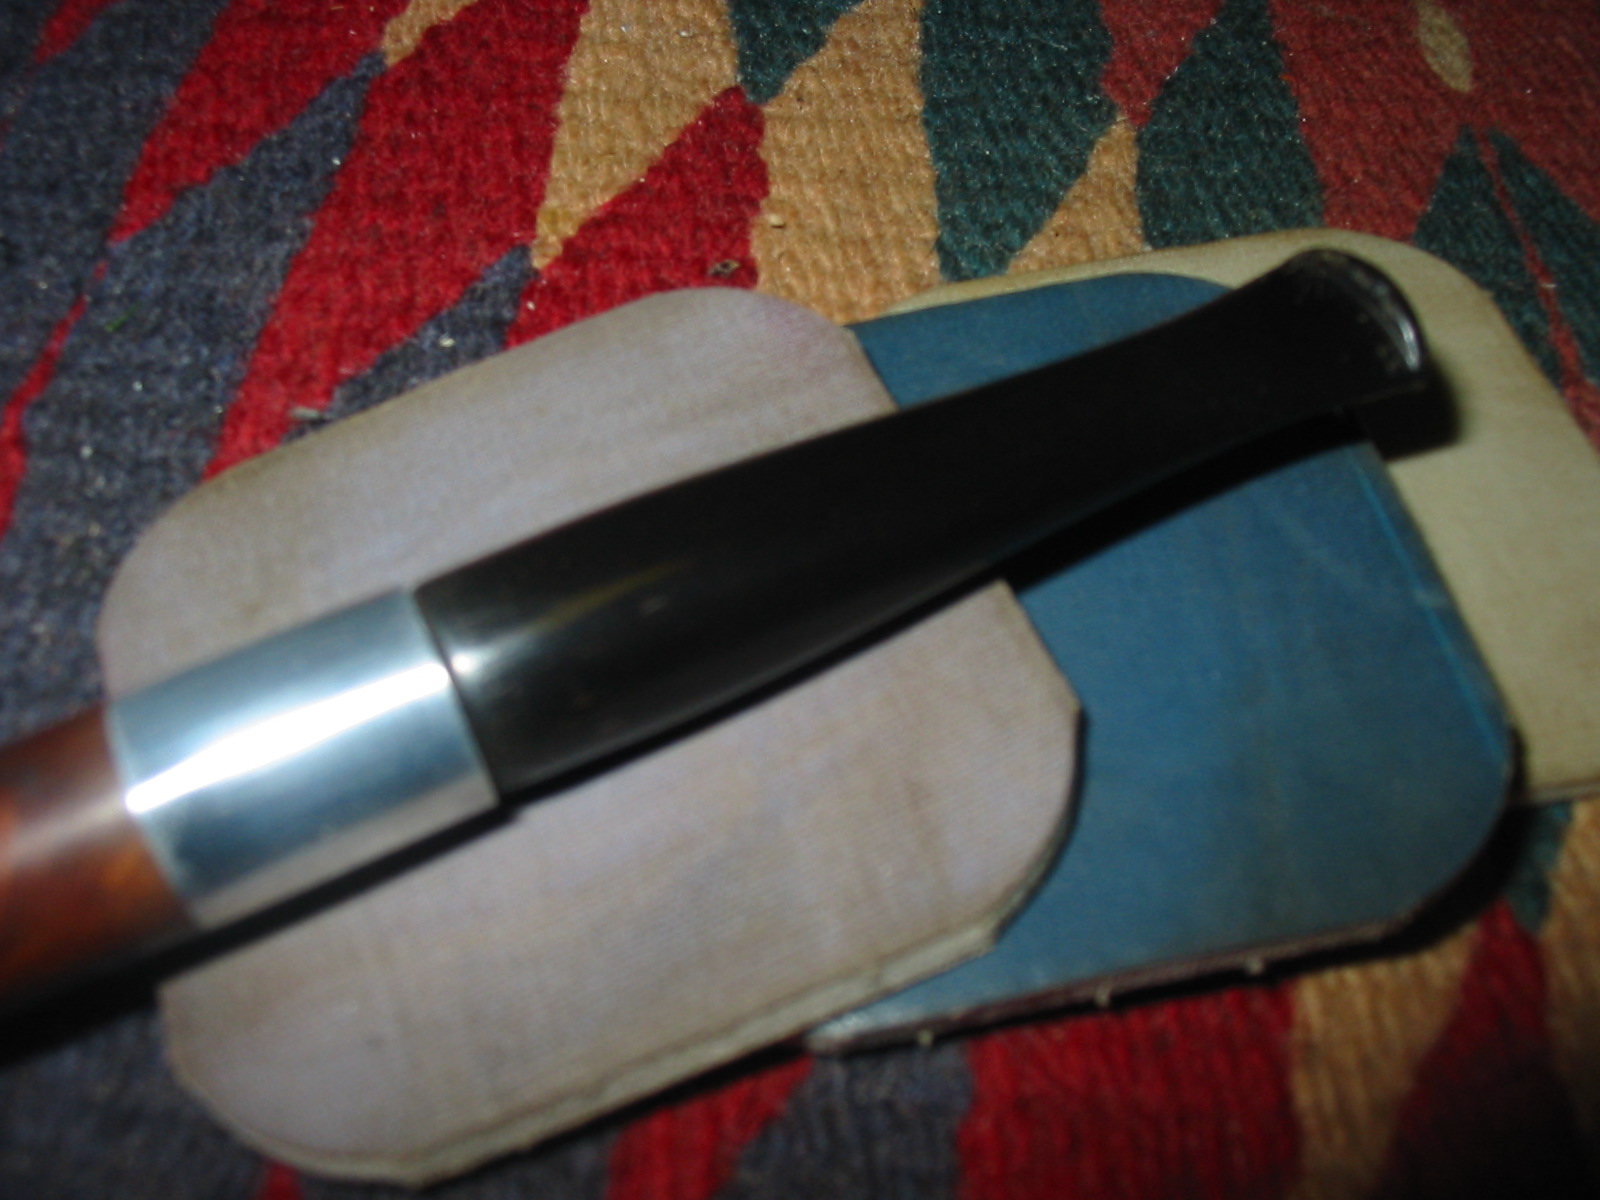
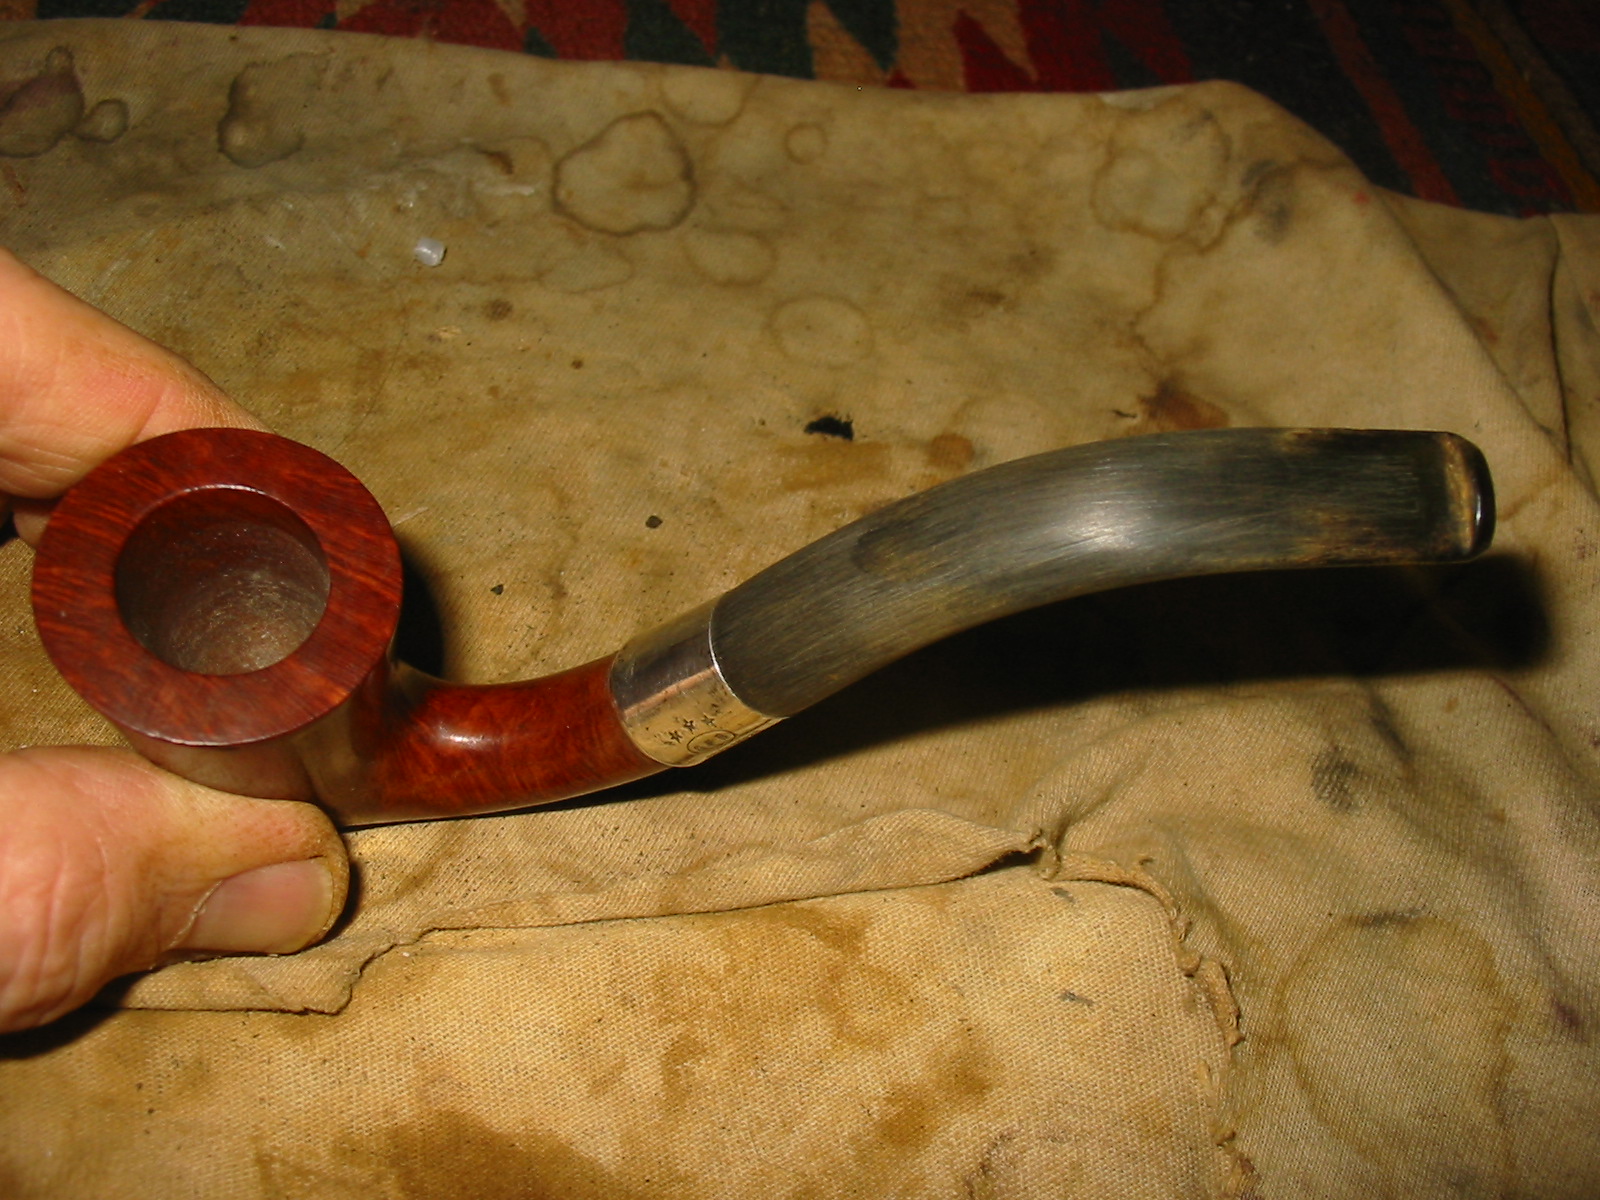
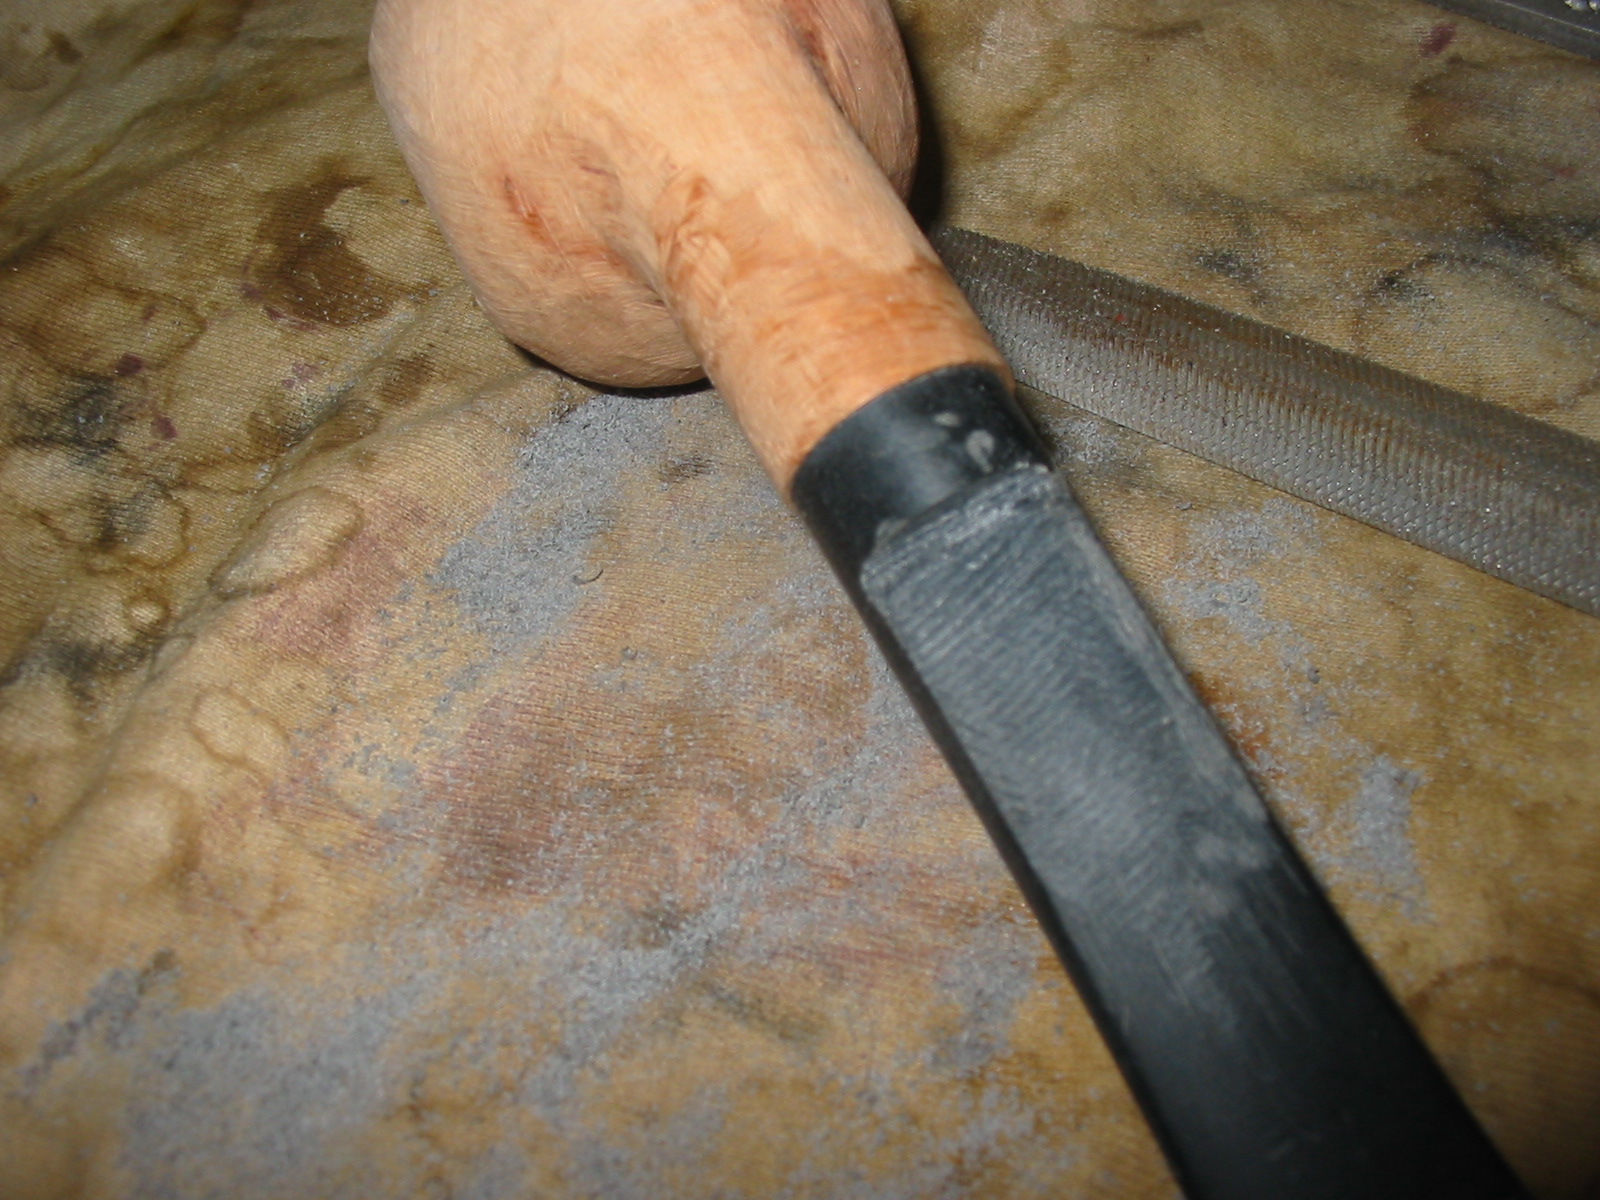
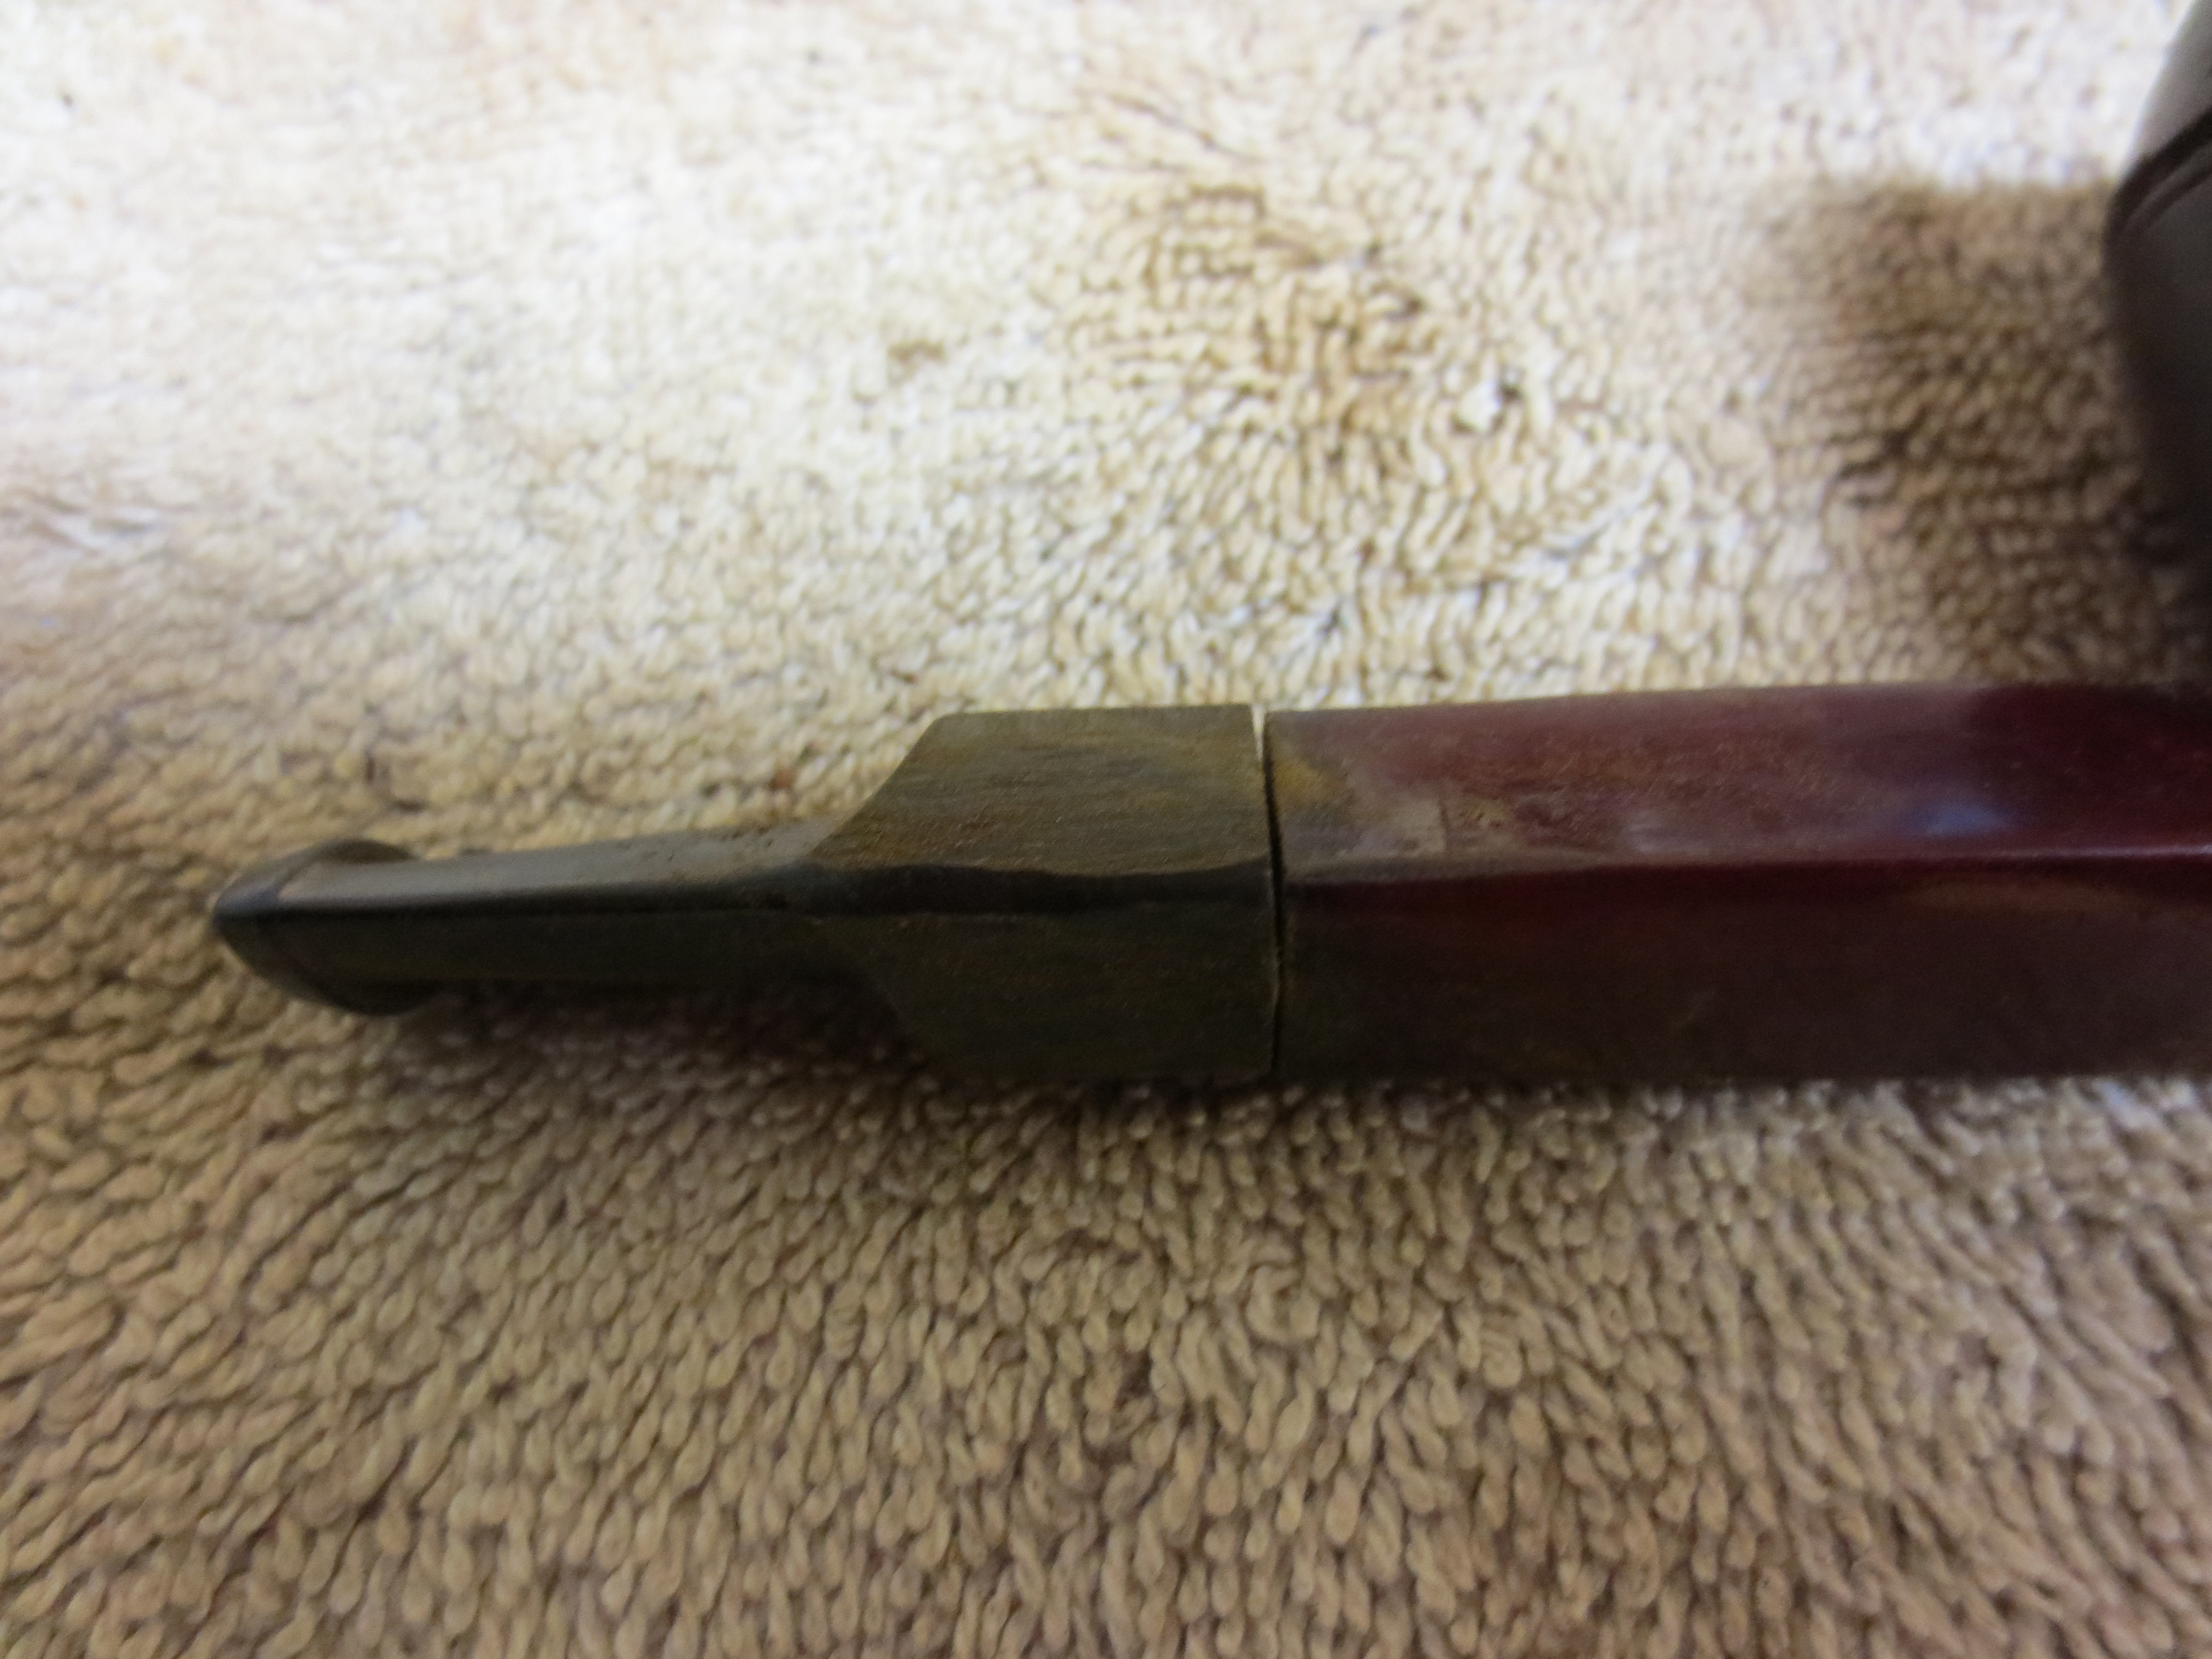
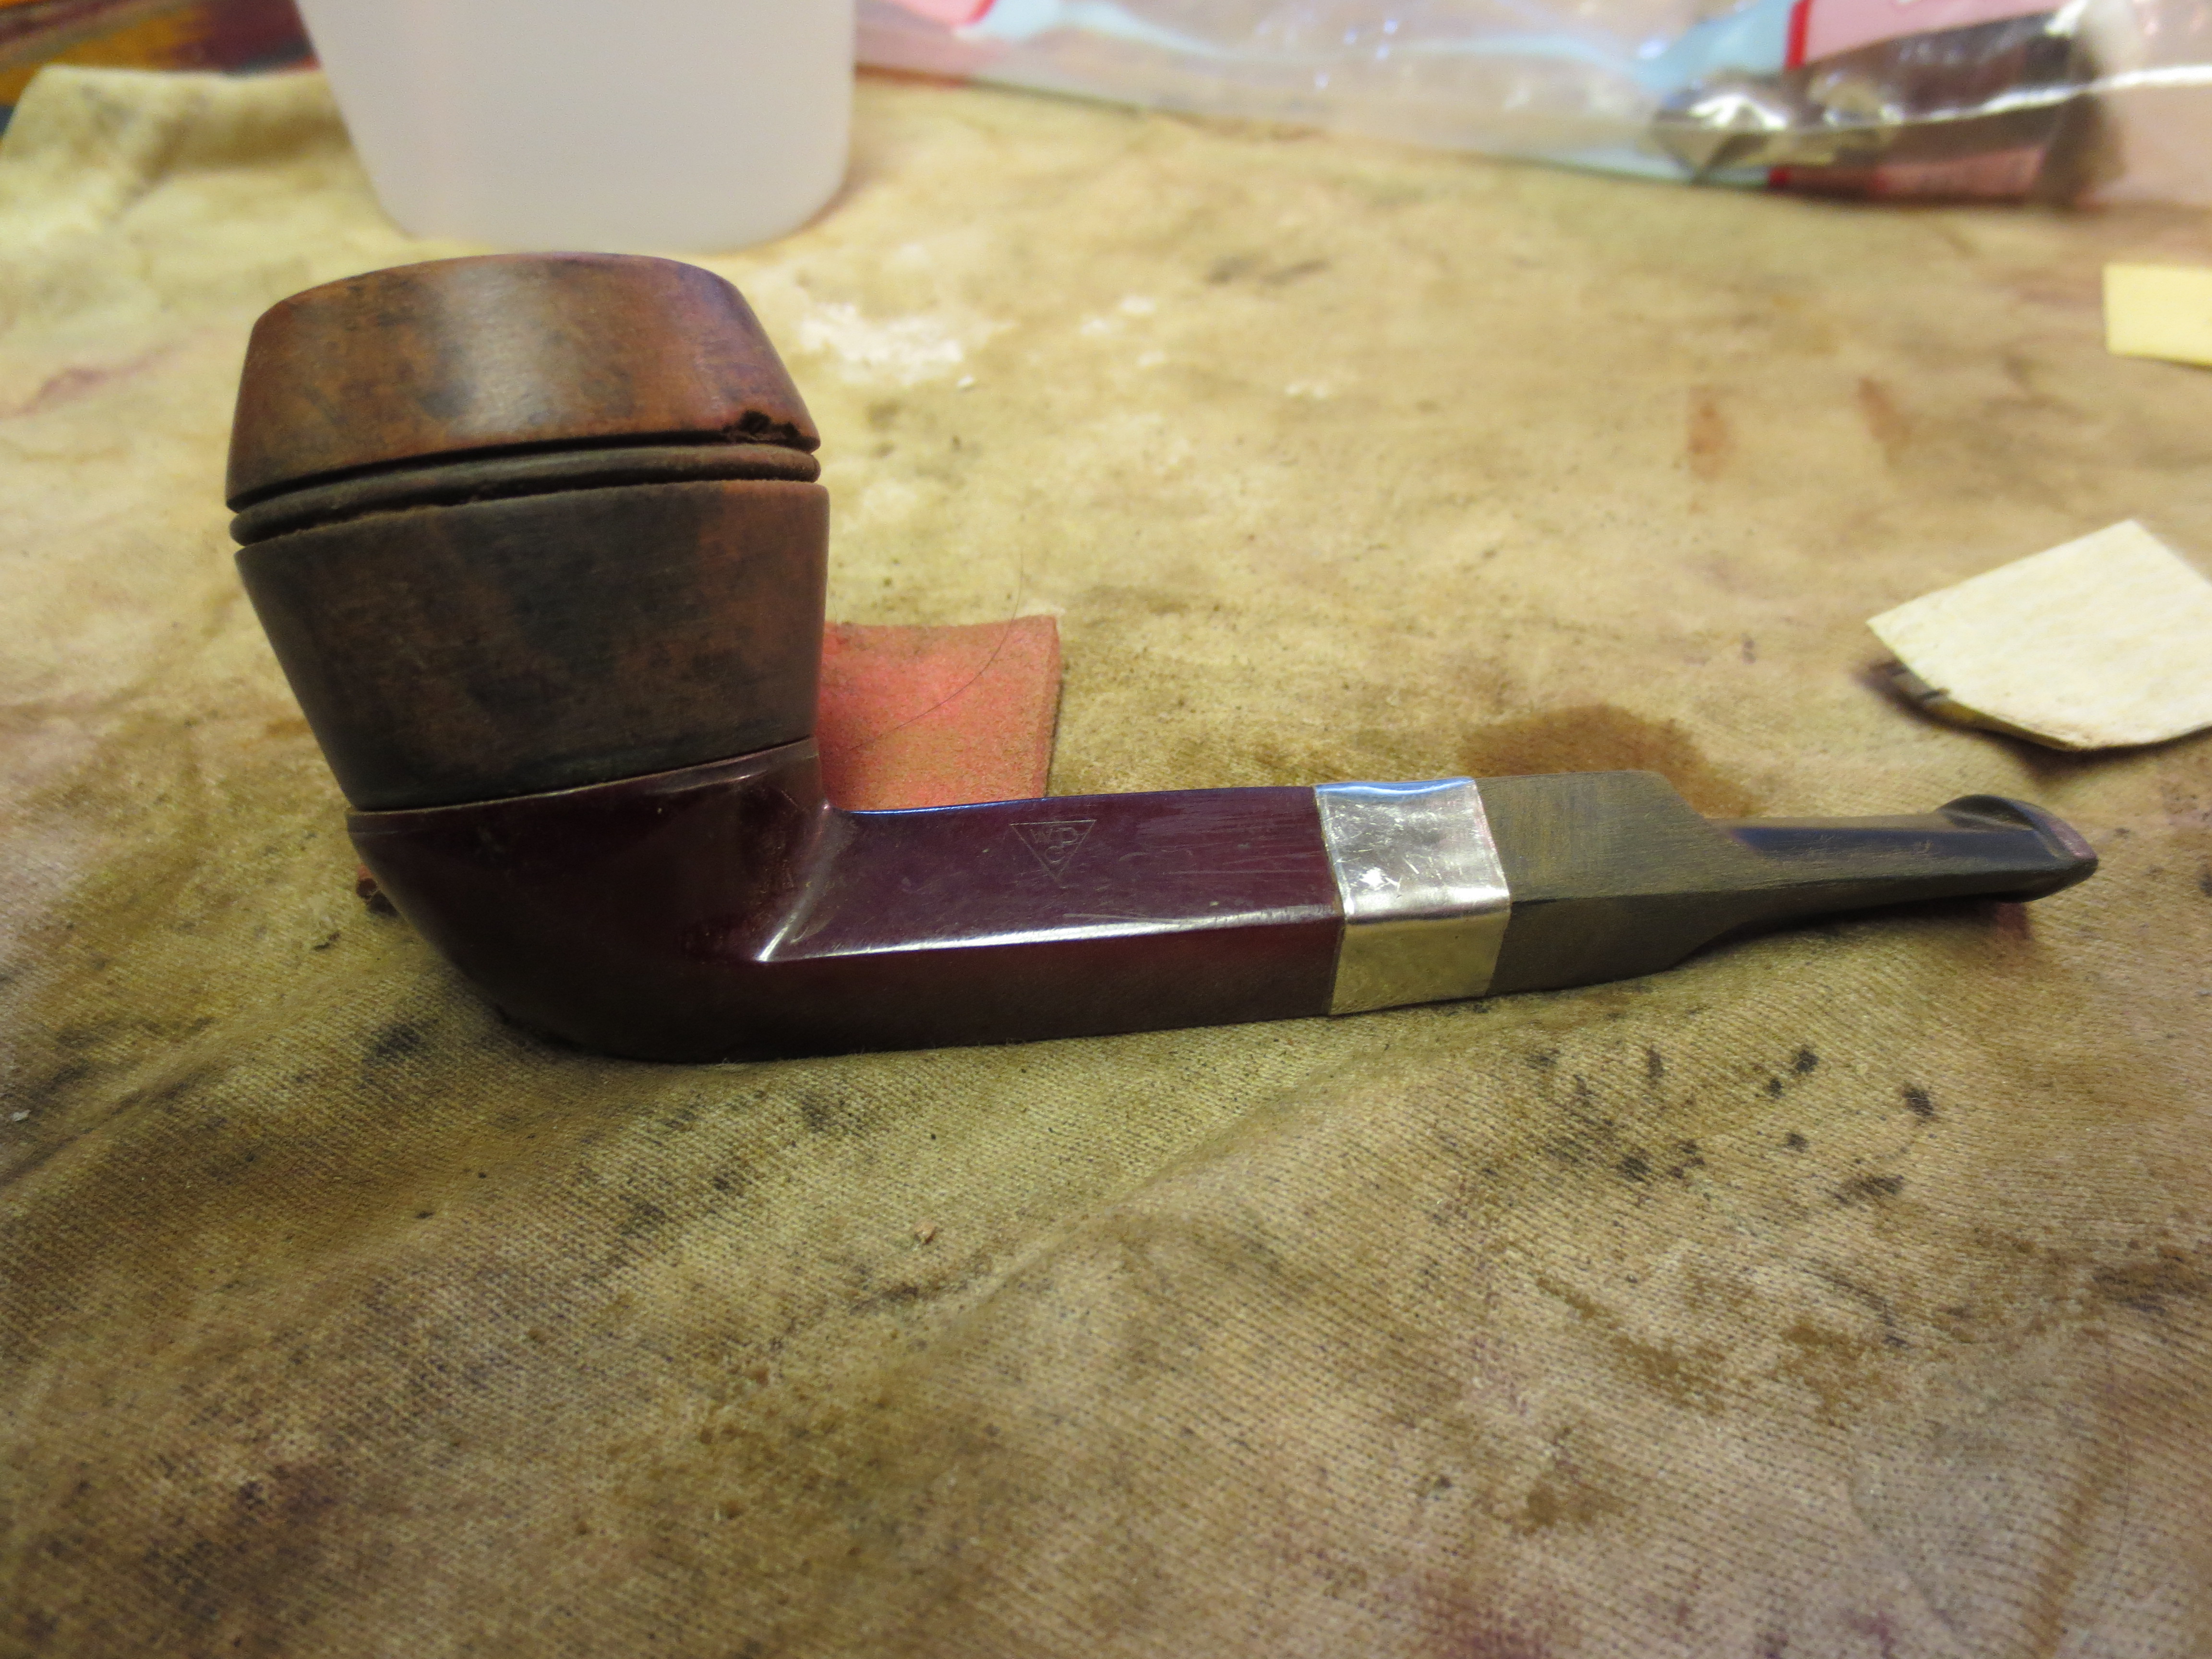
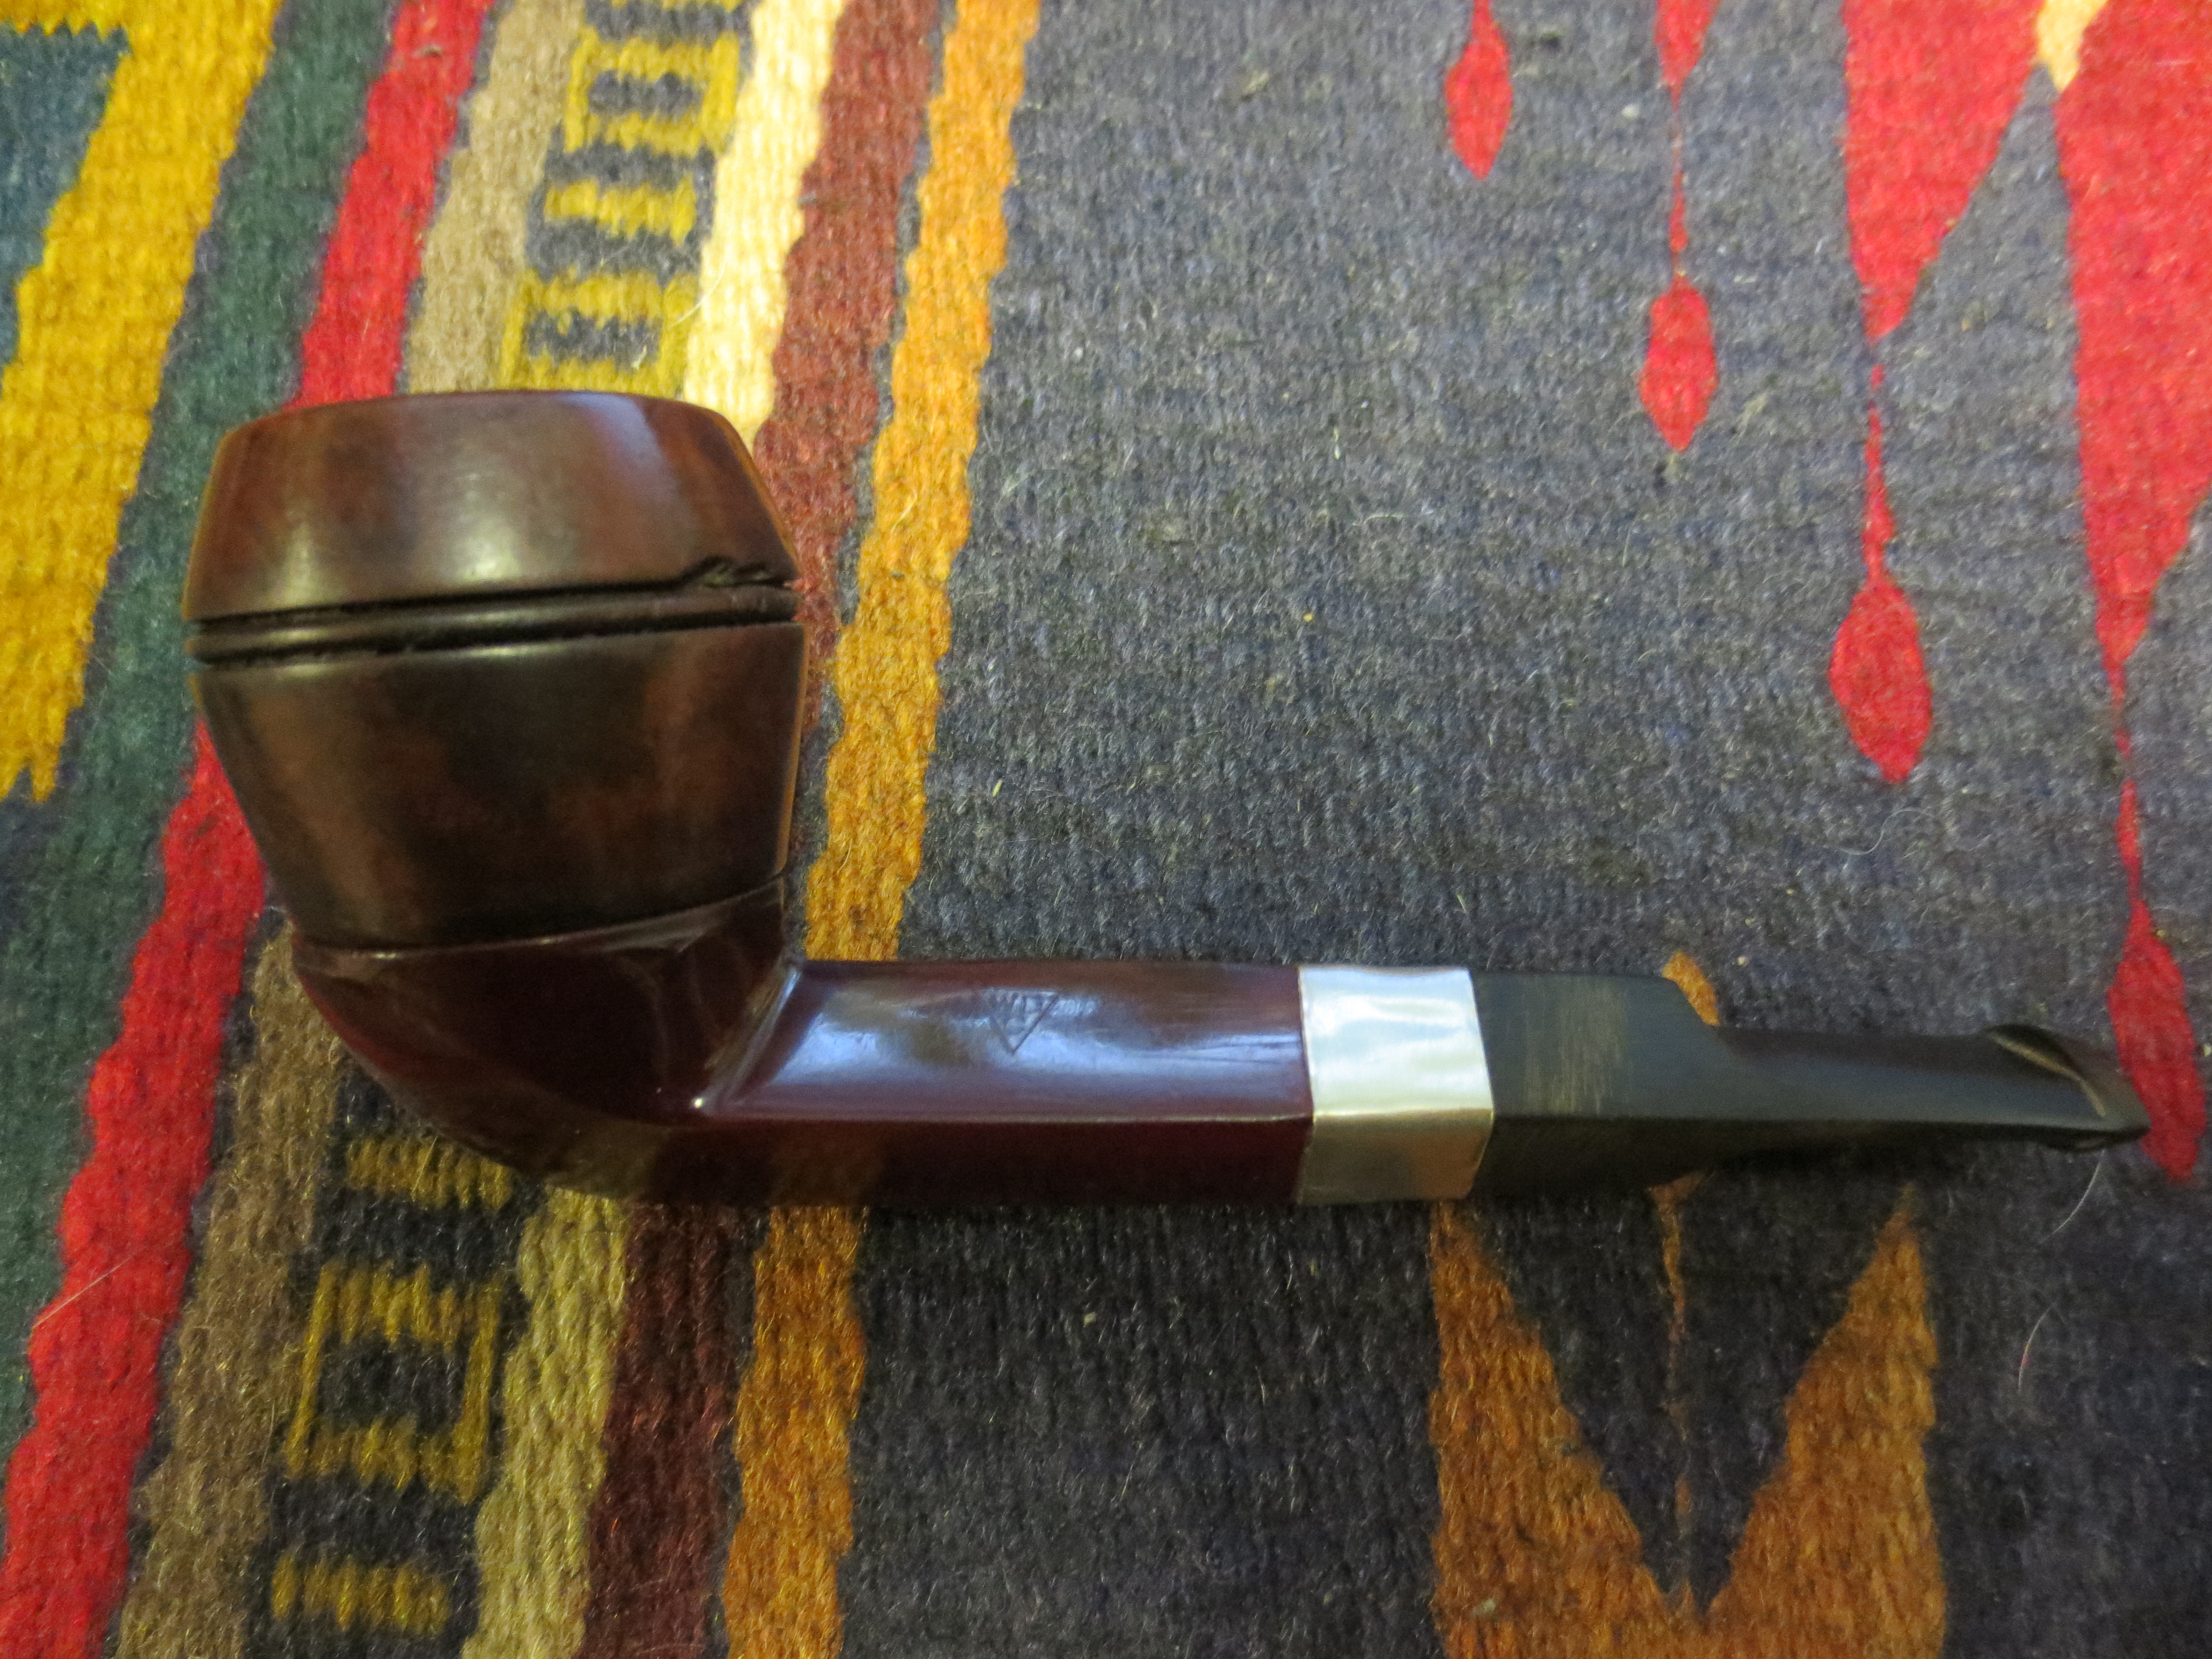
I have included one photo below to give you an idea of the shape of the new stem. I remove a lot of vulcanite to get it from its original round shape to the diamond shape pictured below. The fit and the angles match the shank perfectly. These older pipes are tricky to fit a diamond stem on because none of the sides of the diamond are the same dimensions. Each one is just slightly different so you have to do the fitting work with the stem in place on the shank.

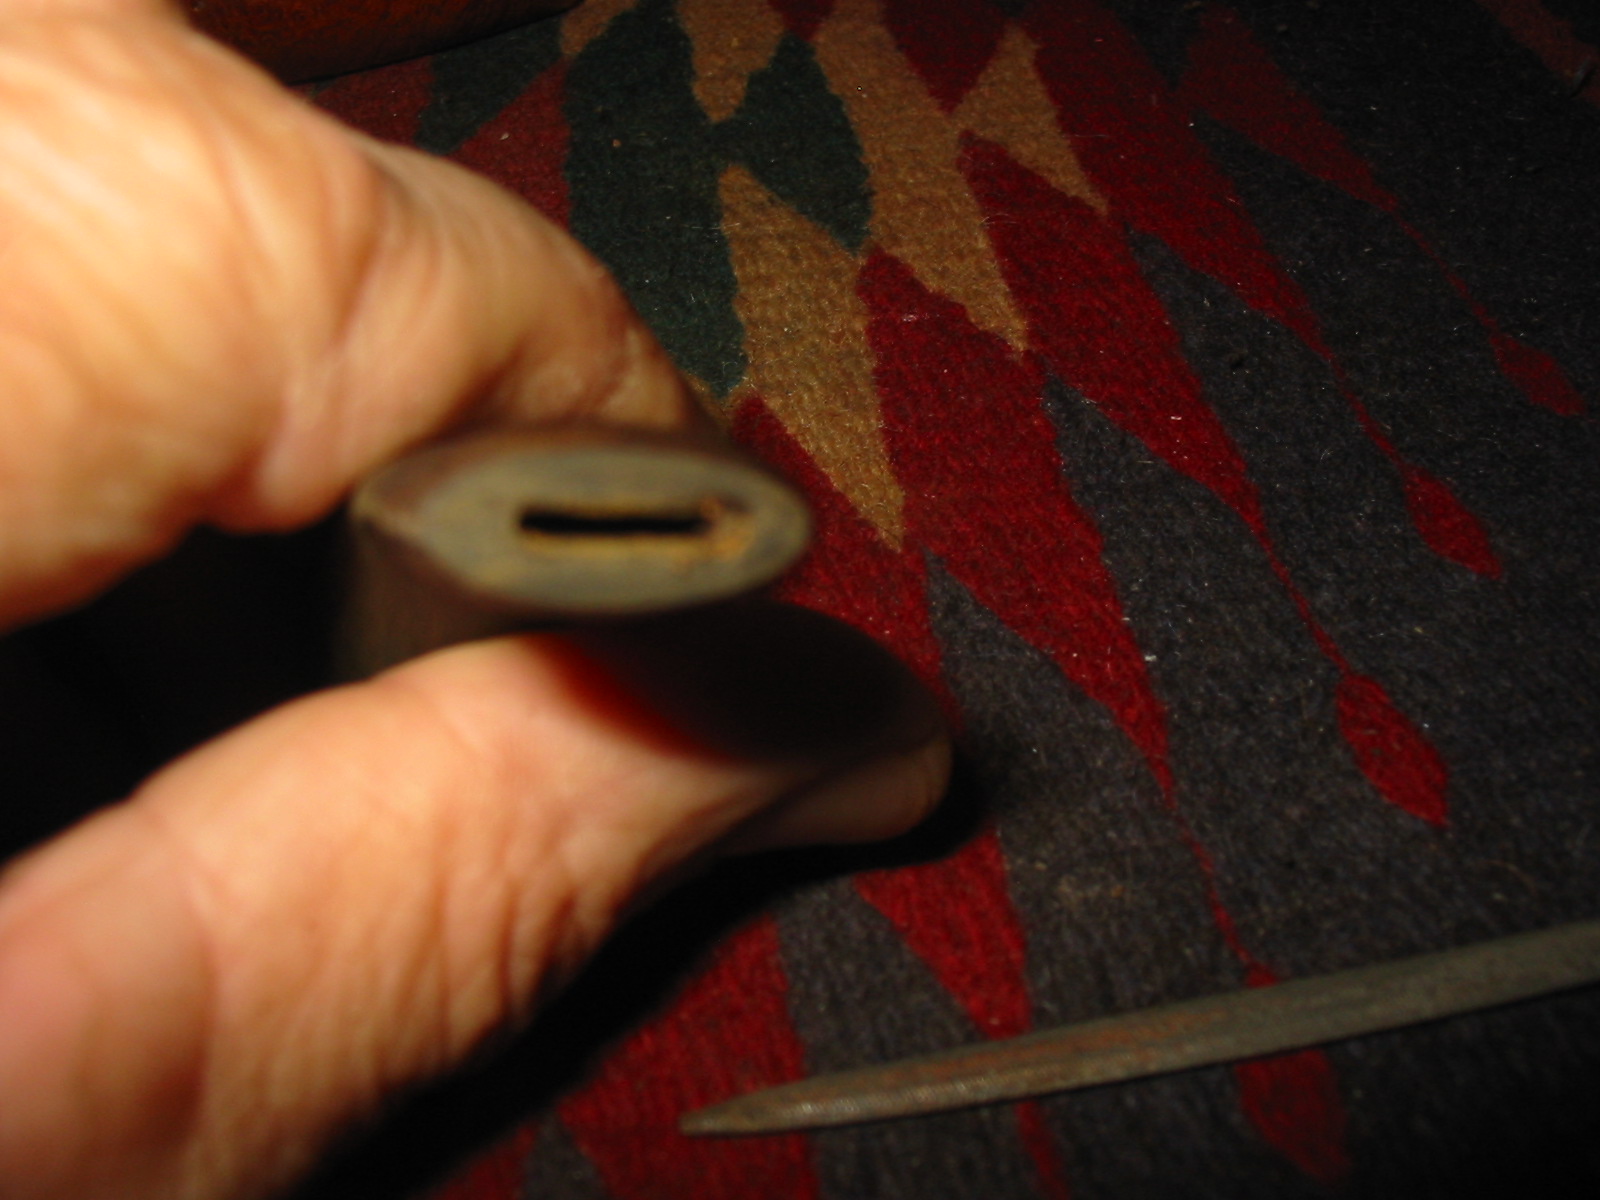
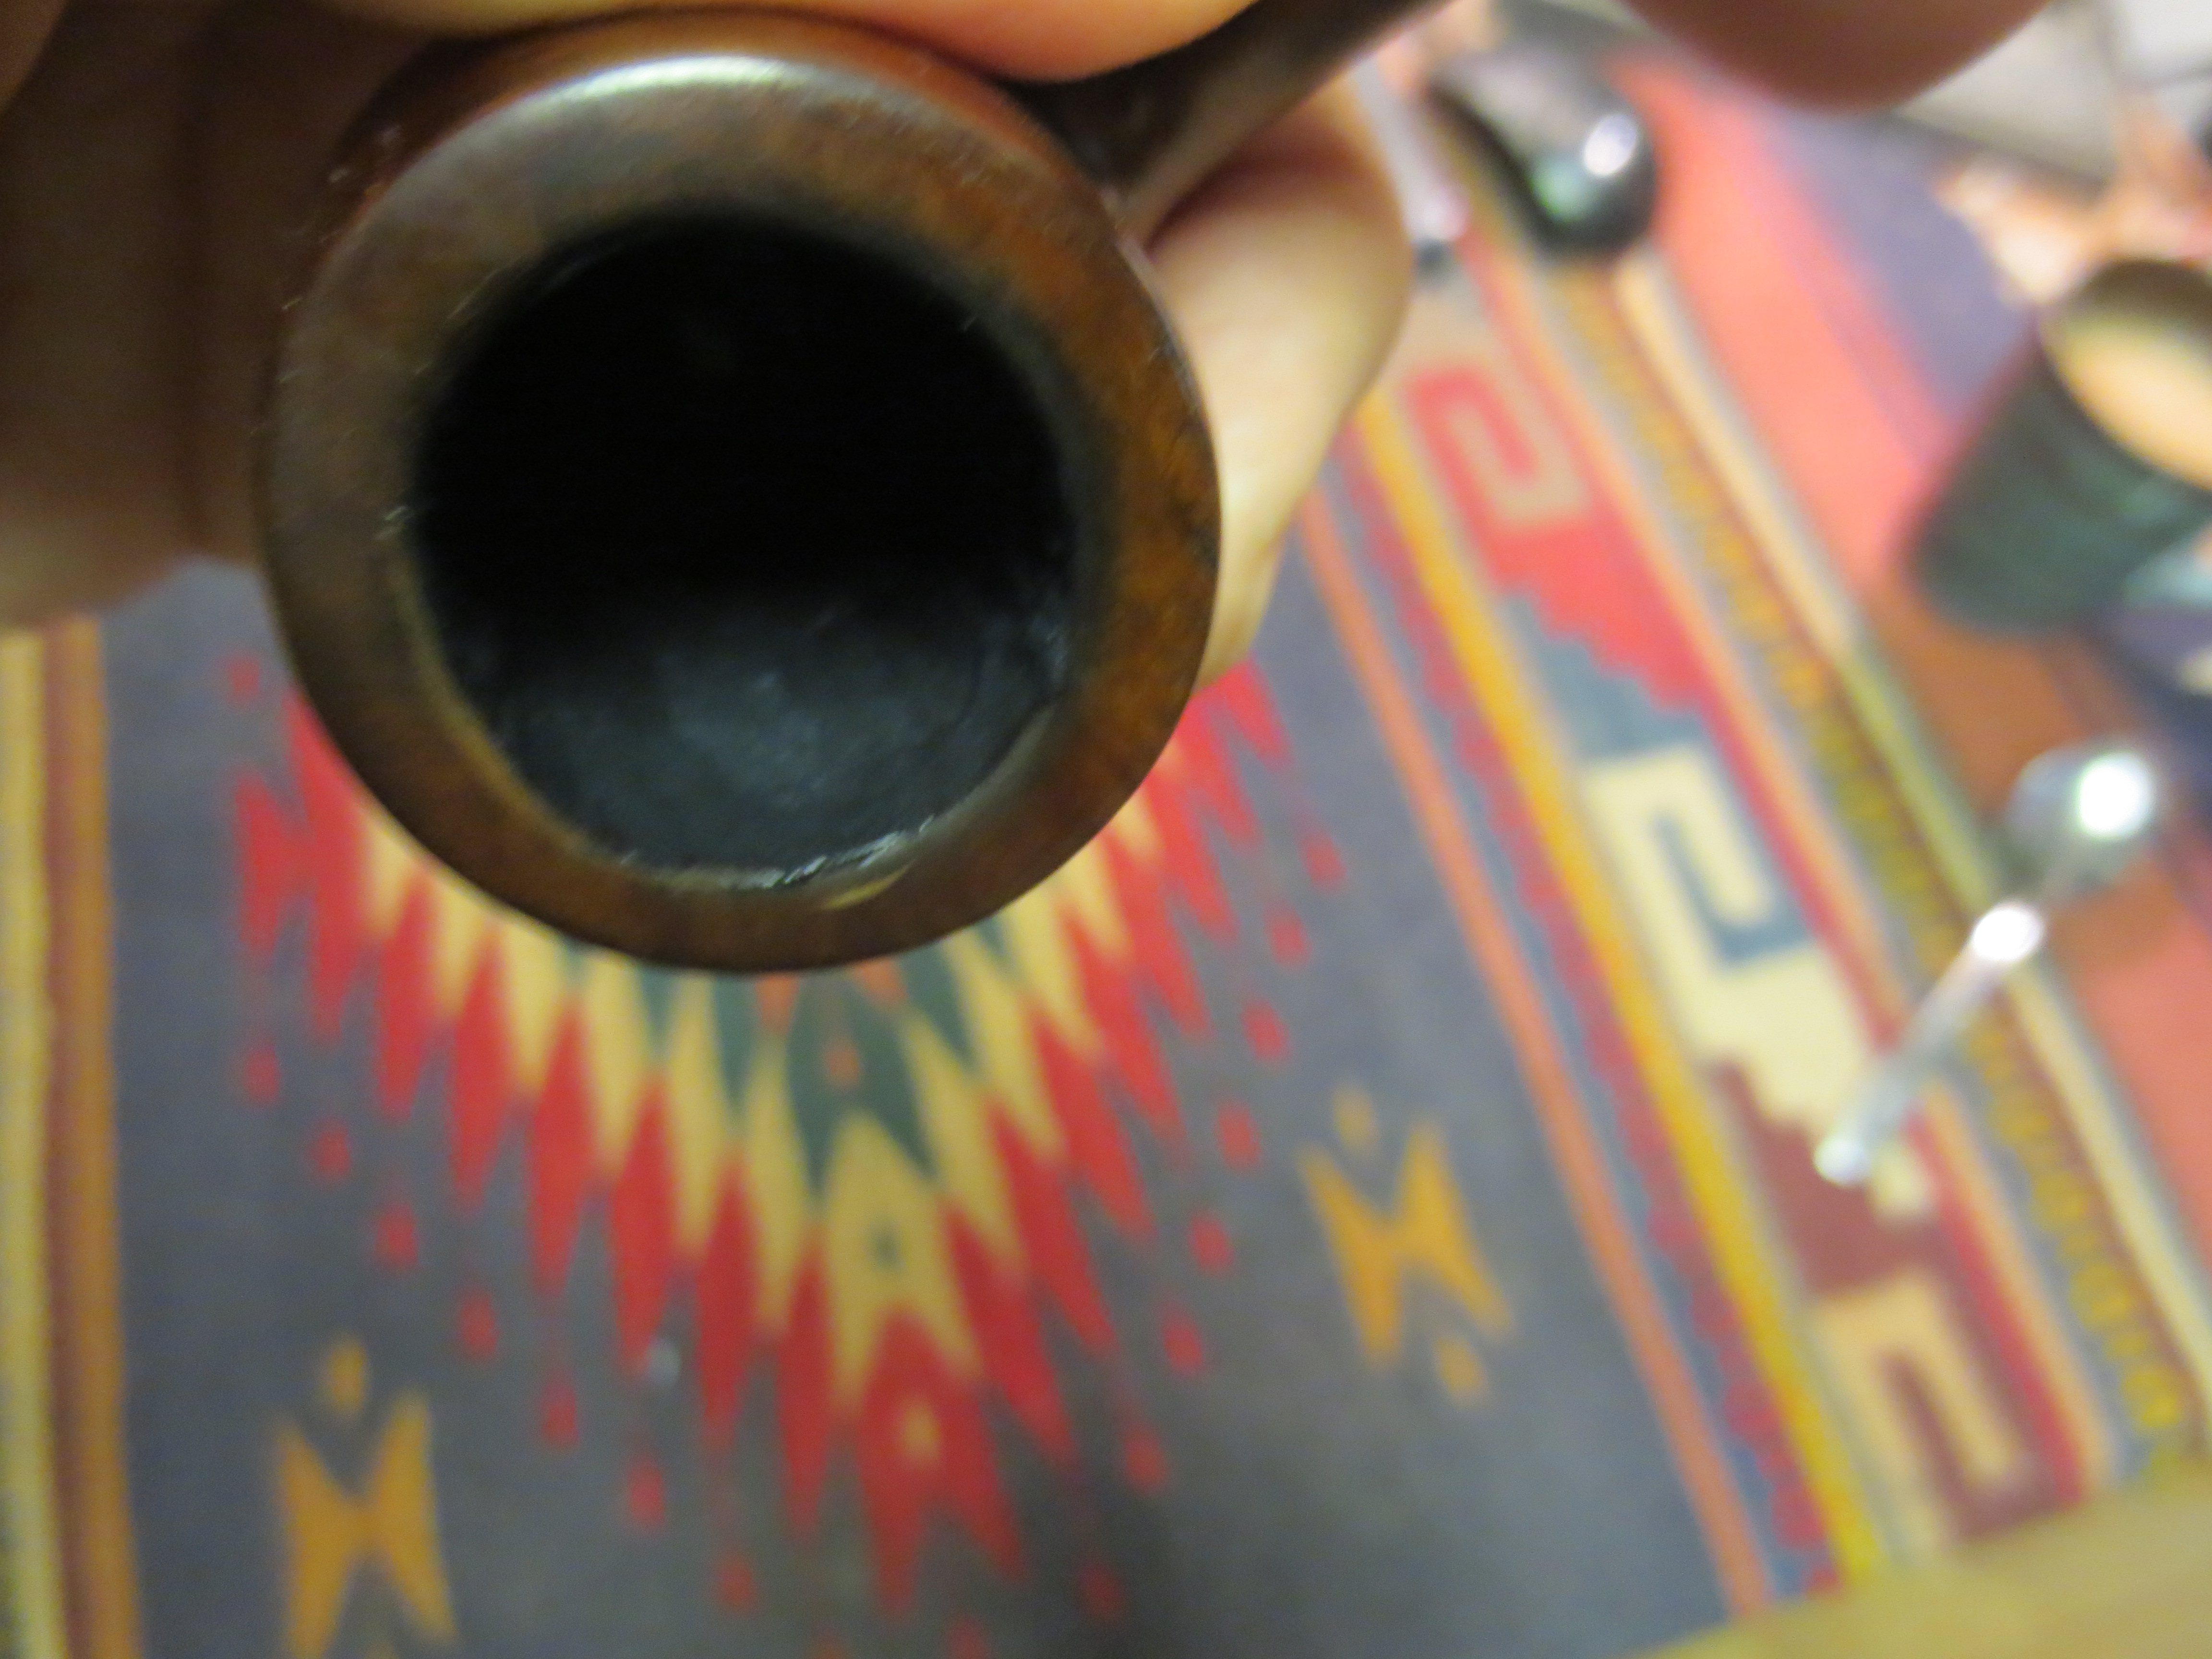
View from the tenon end of the diamond stem at this point in the process.
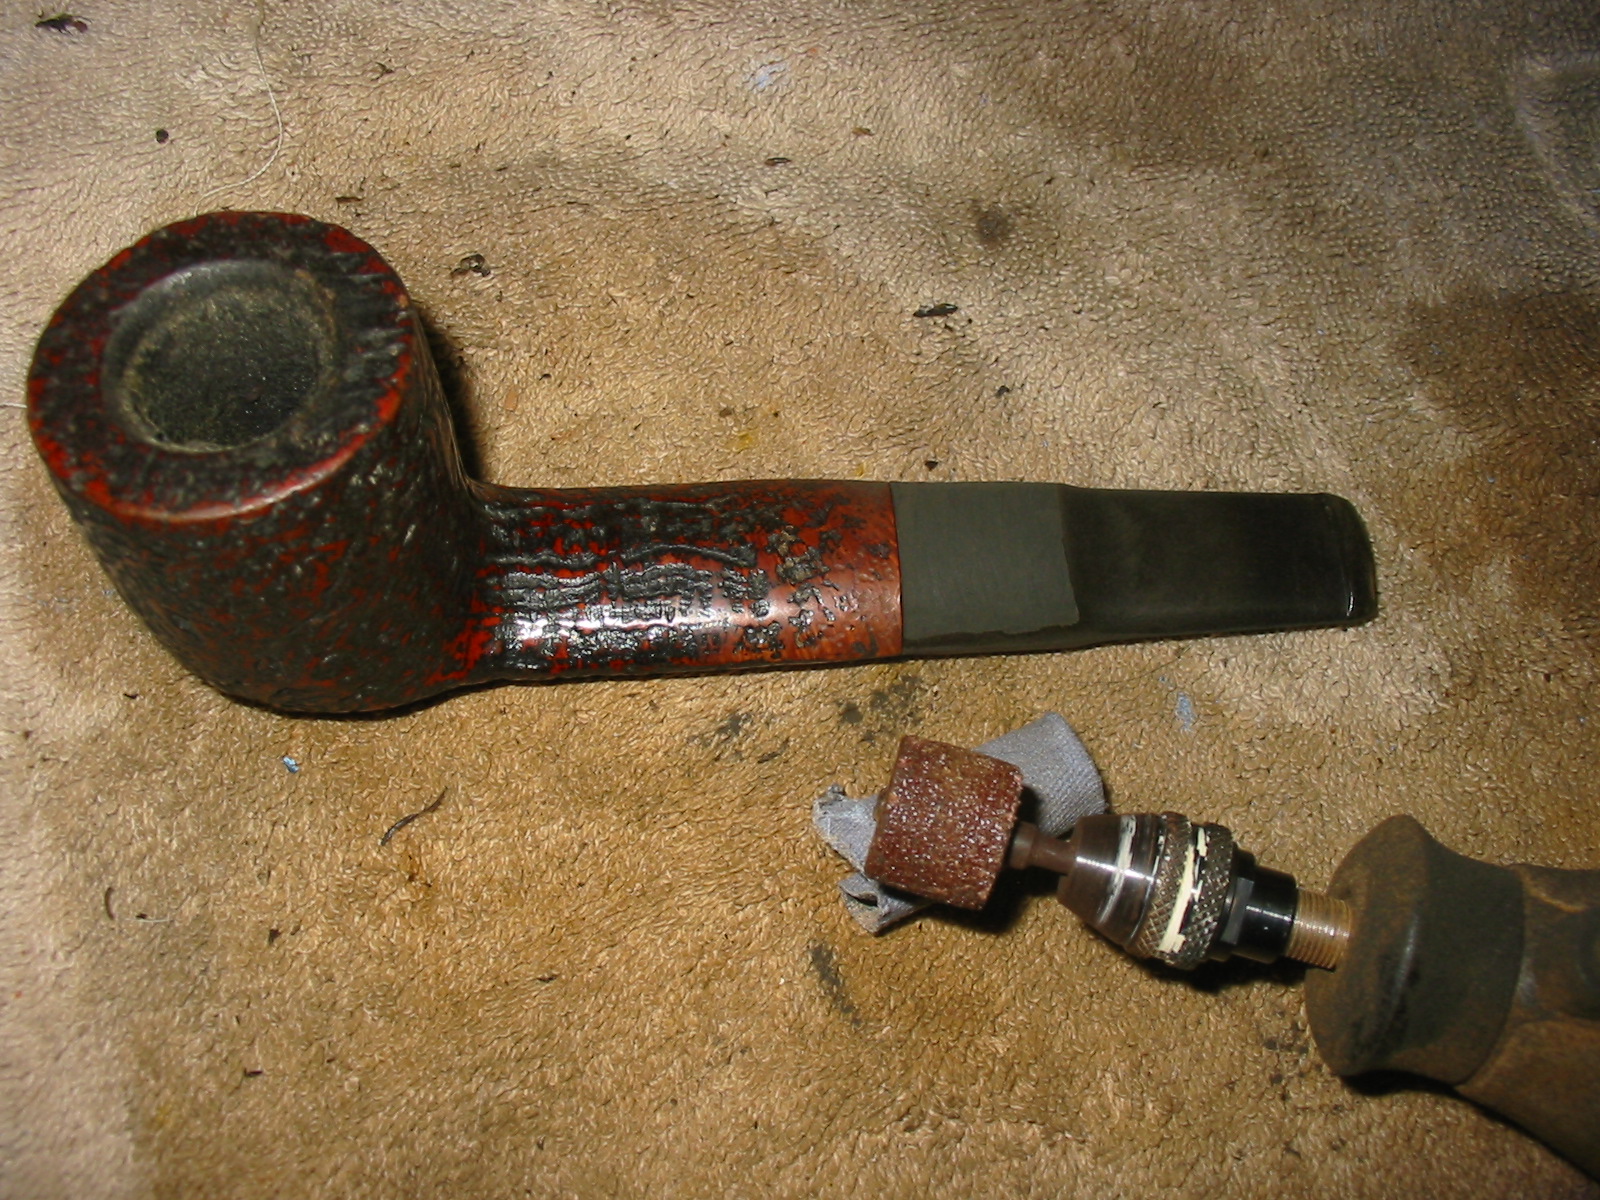
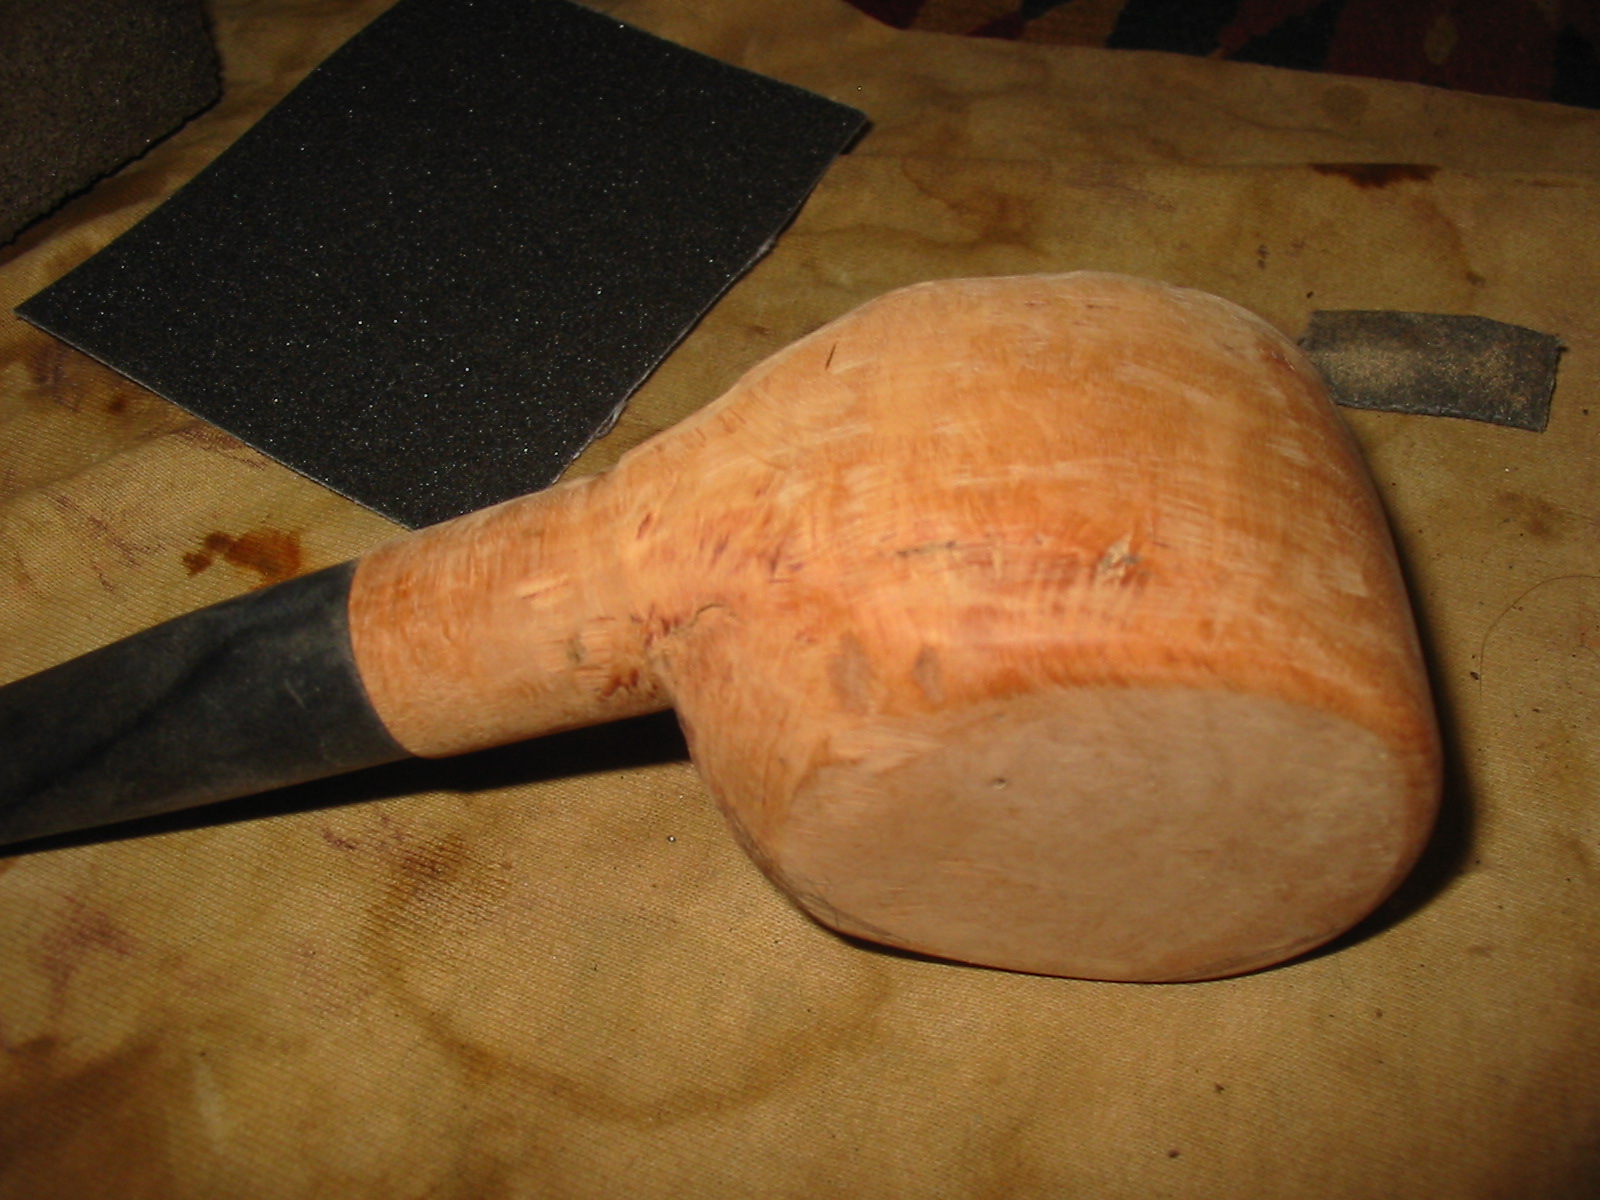
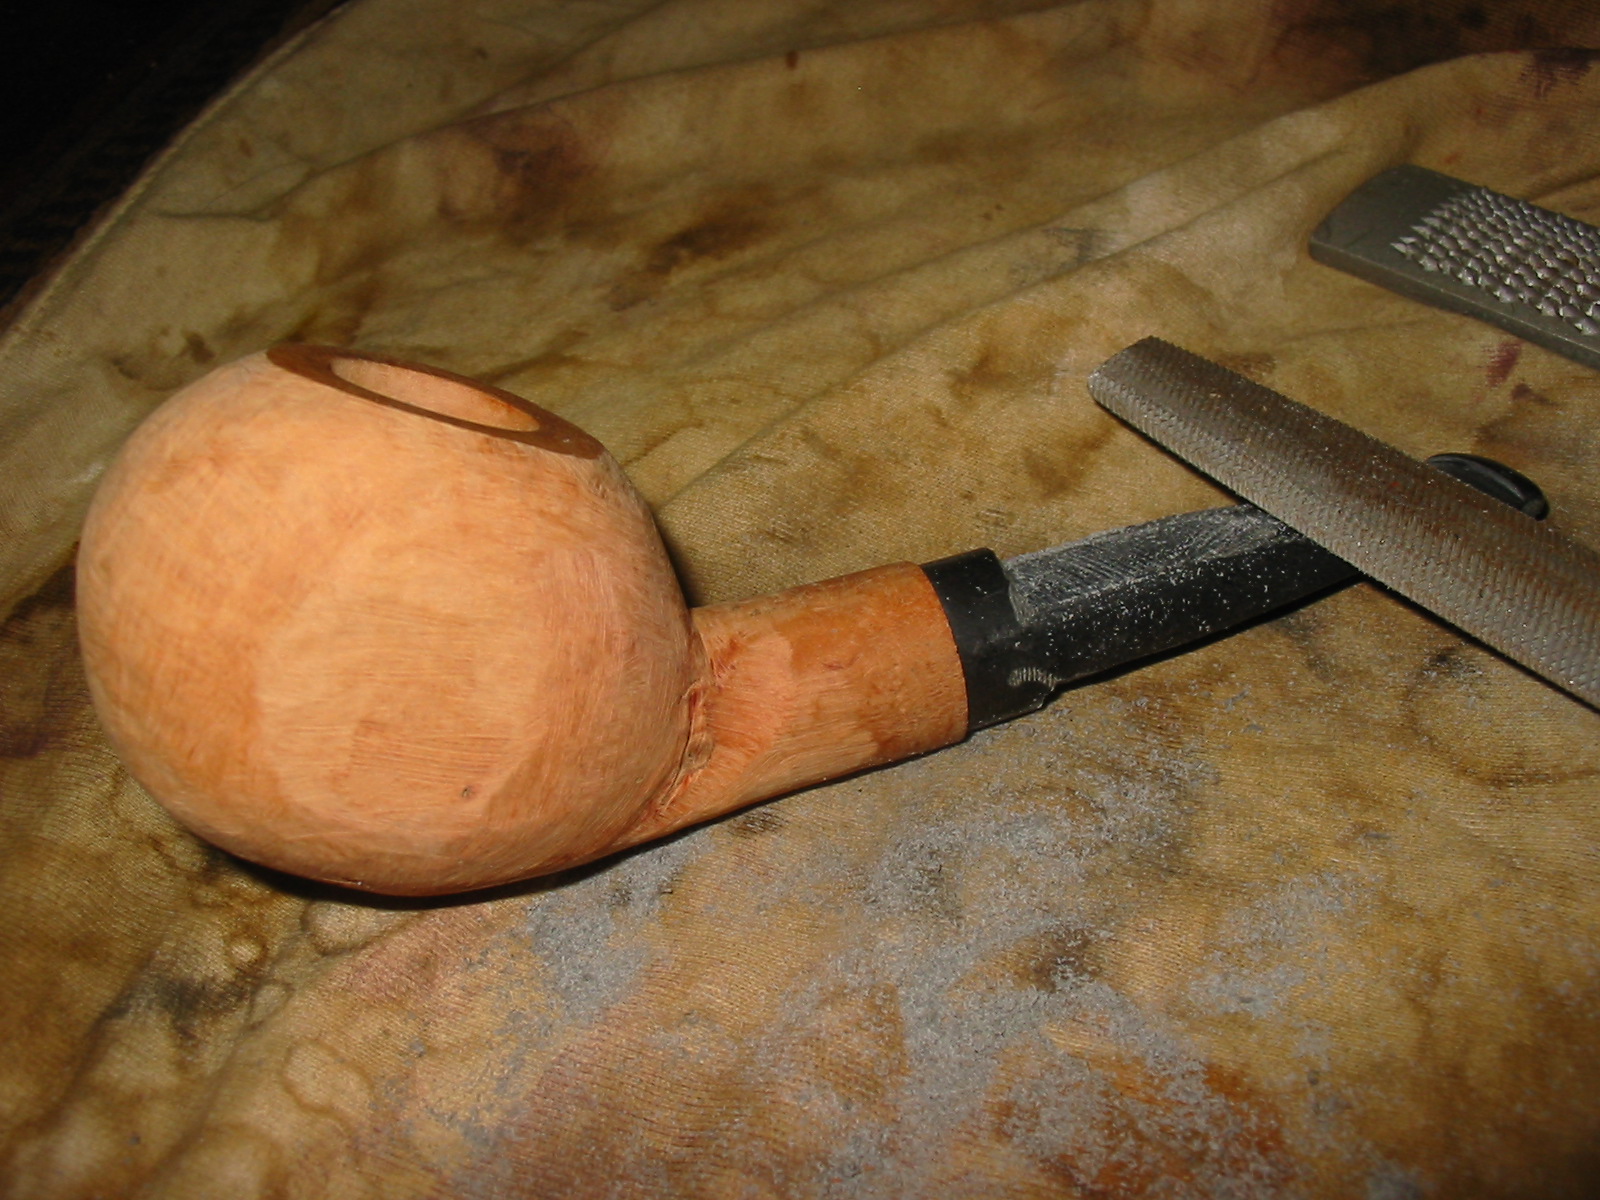
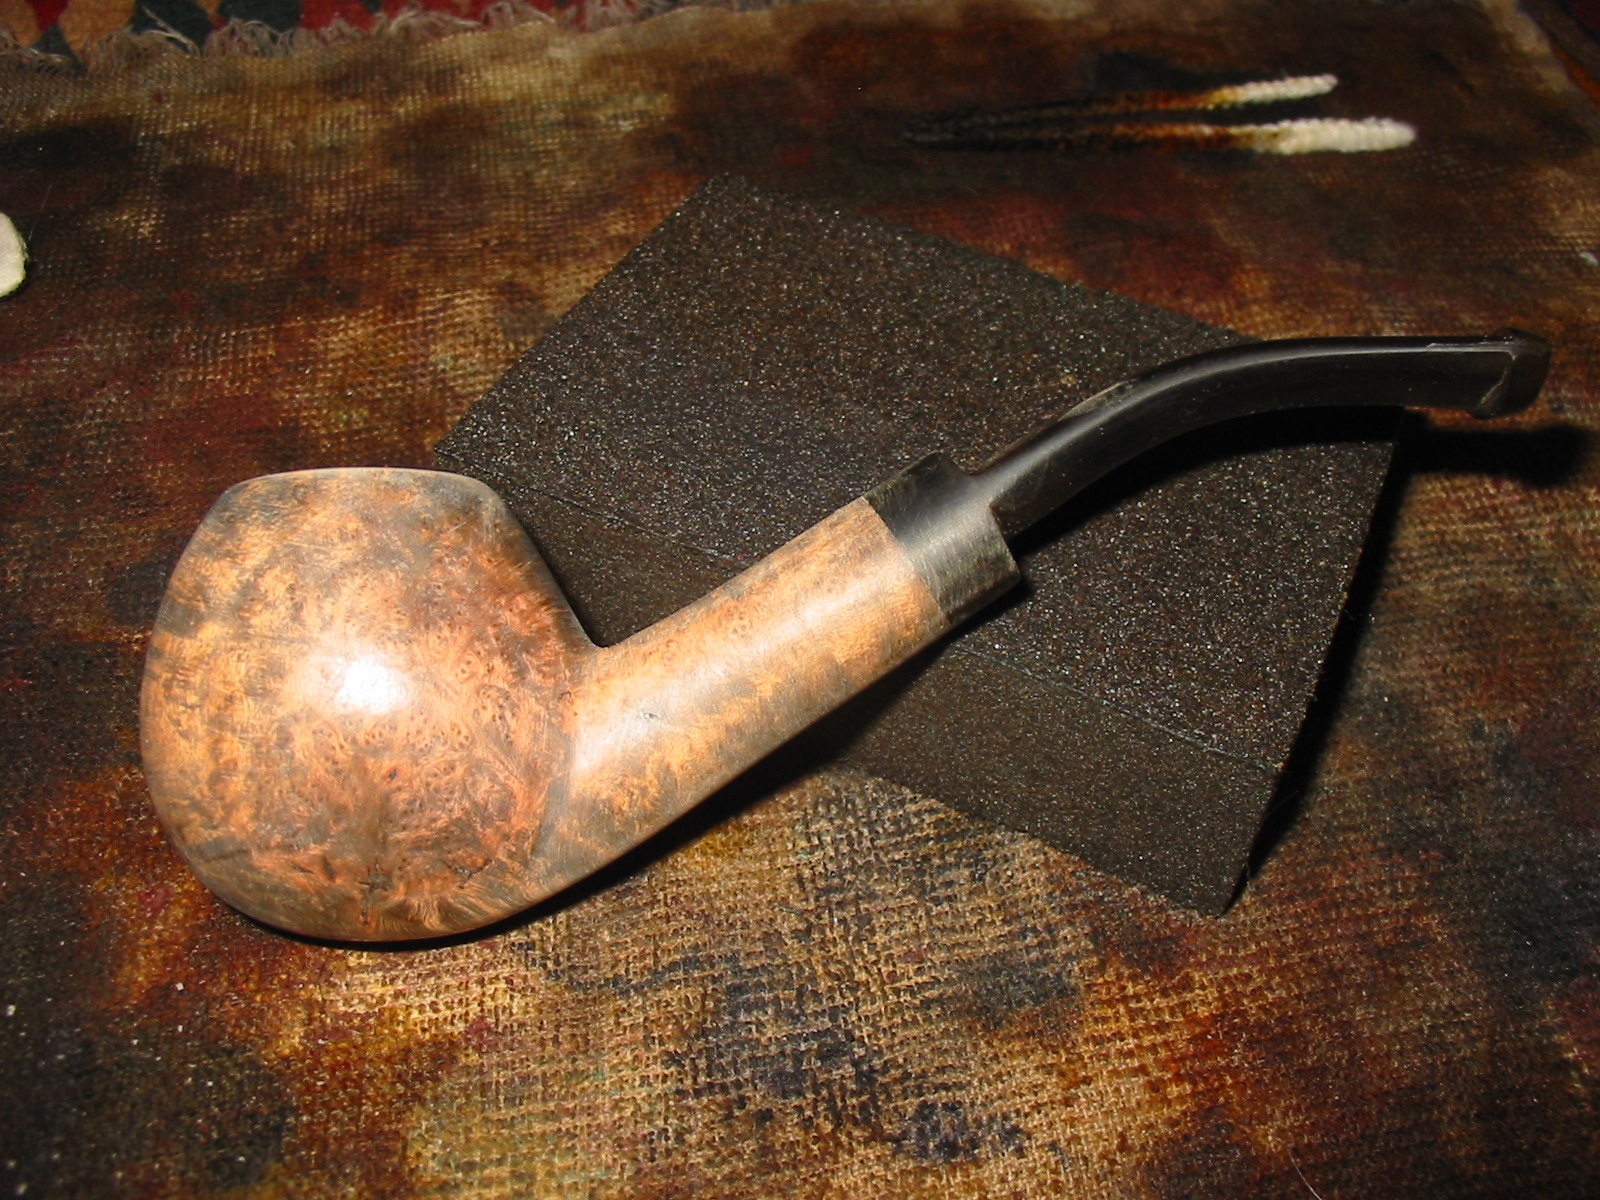
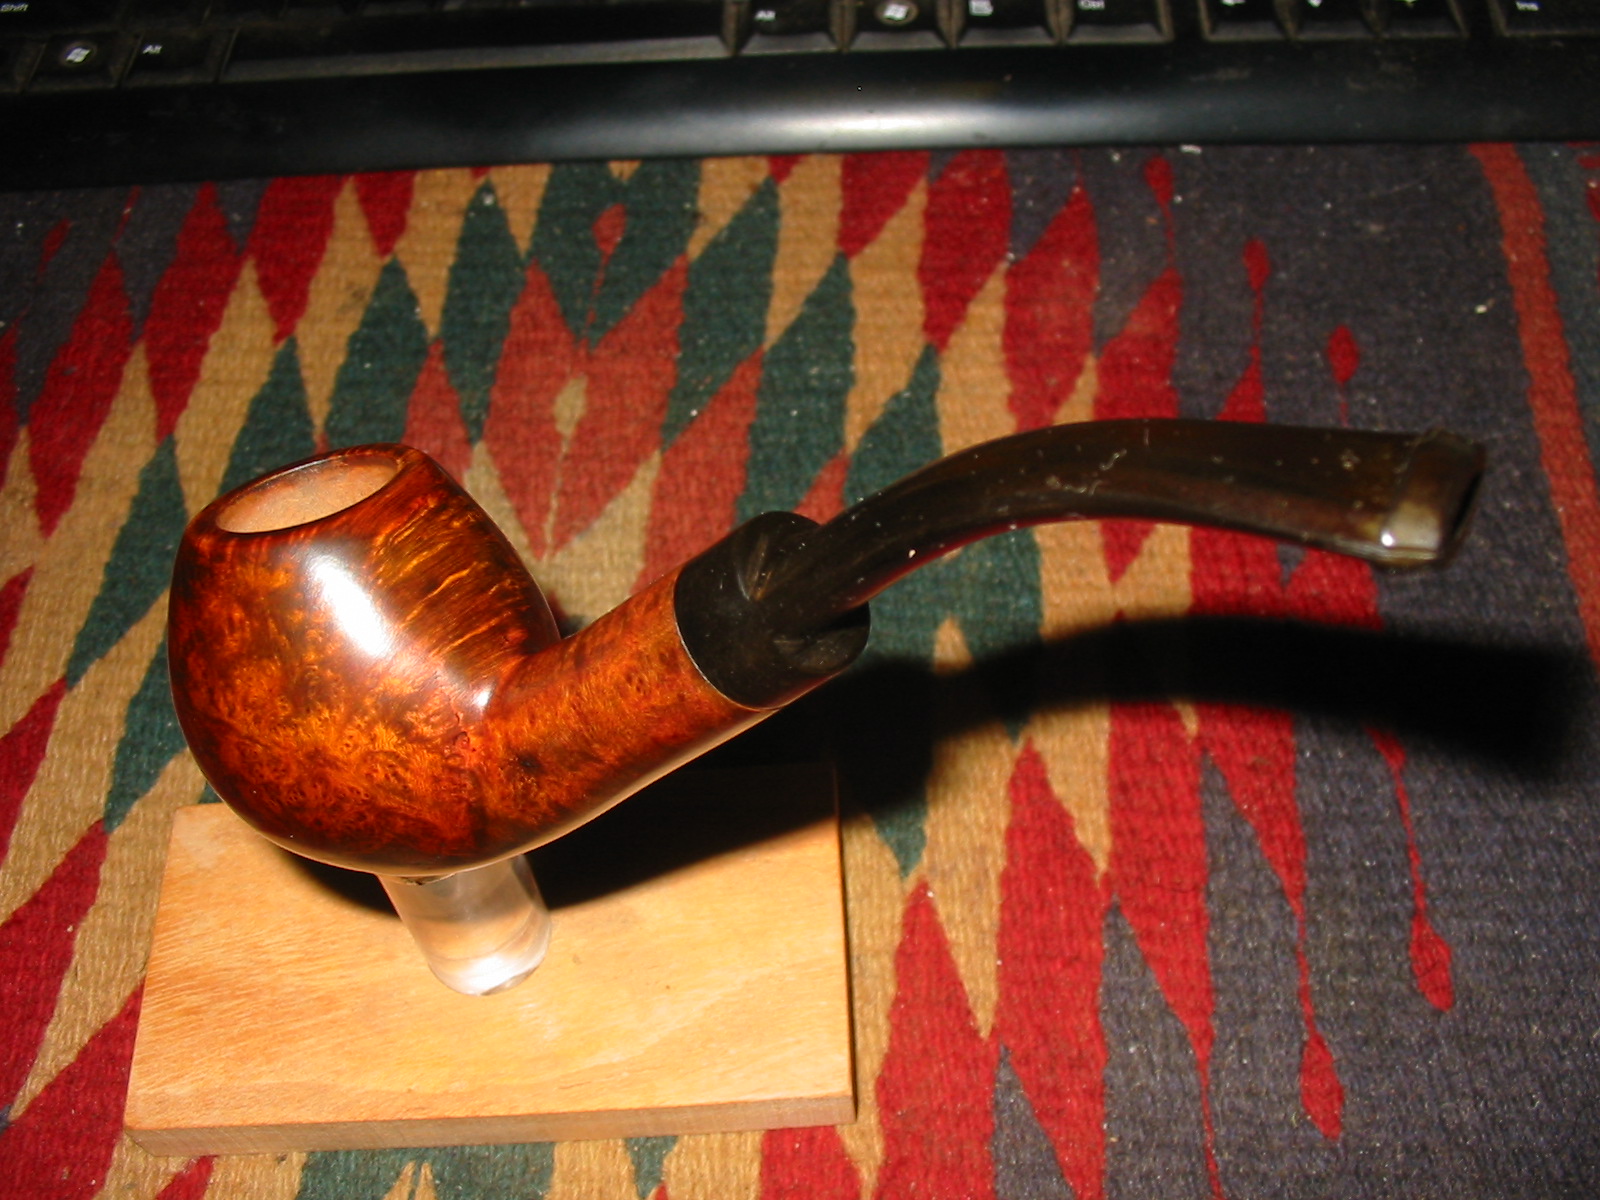
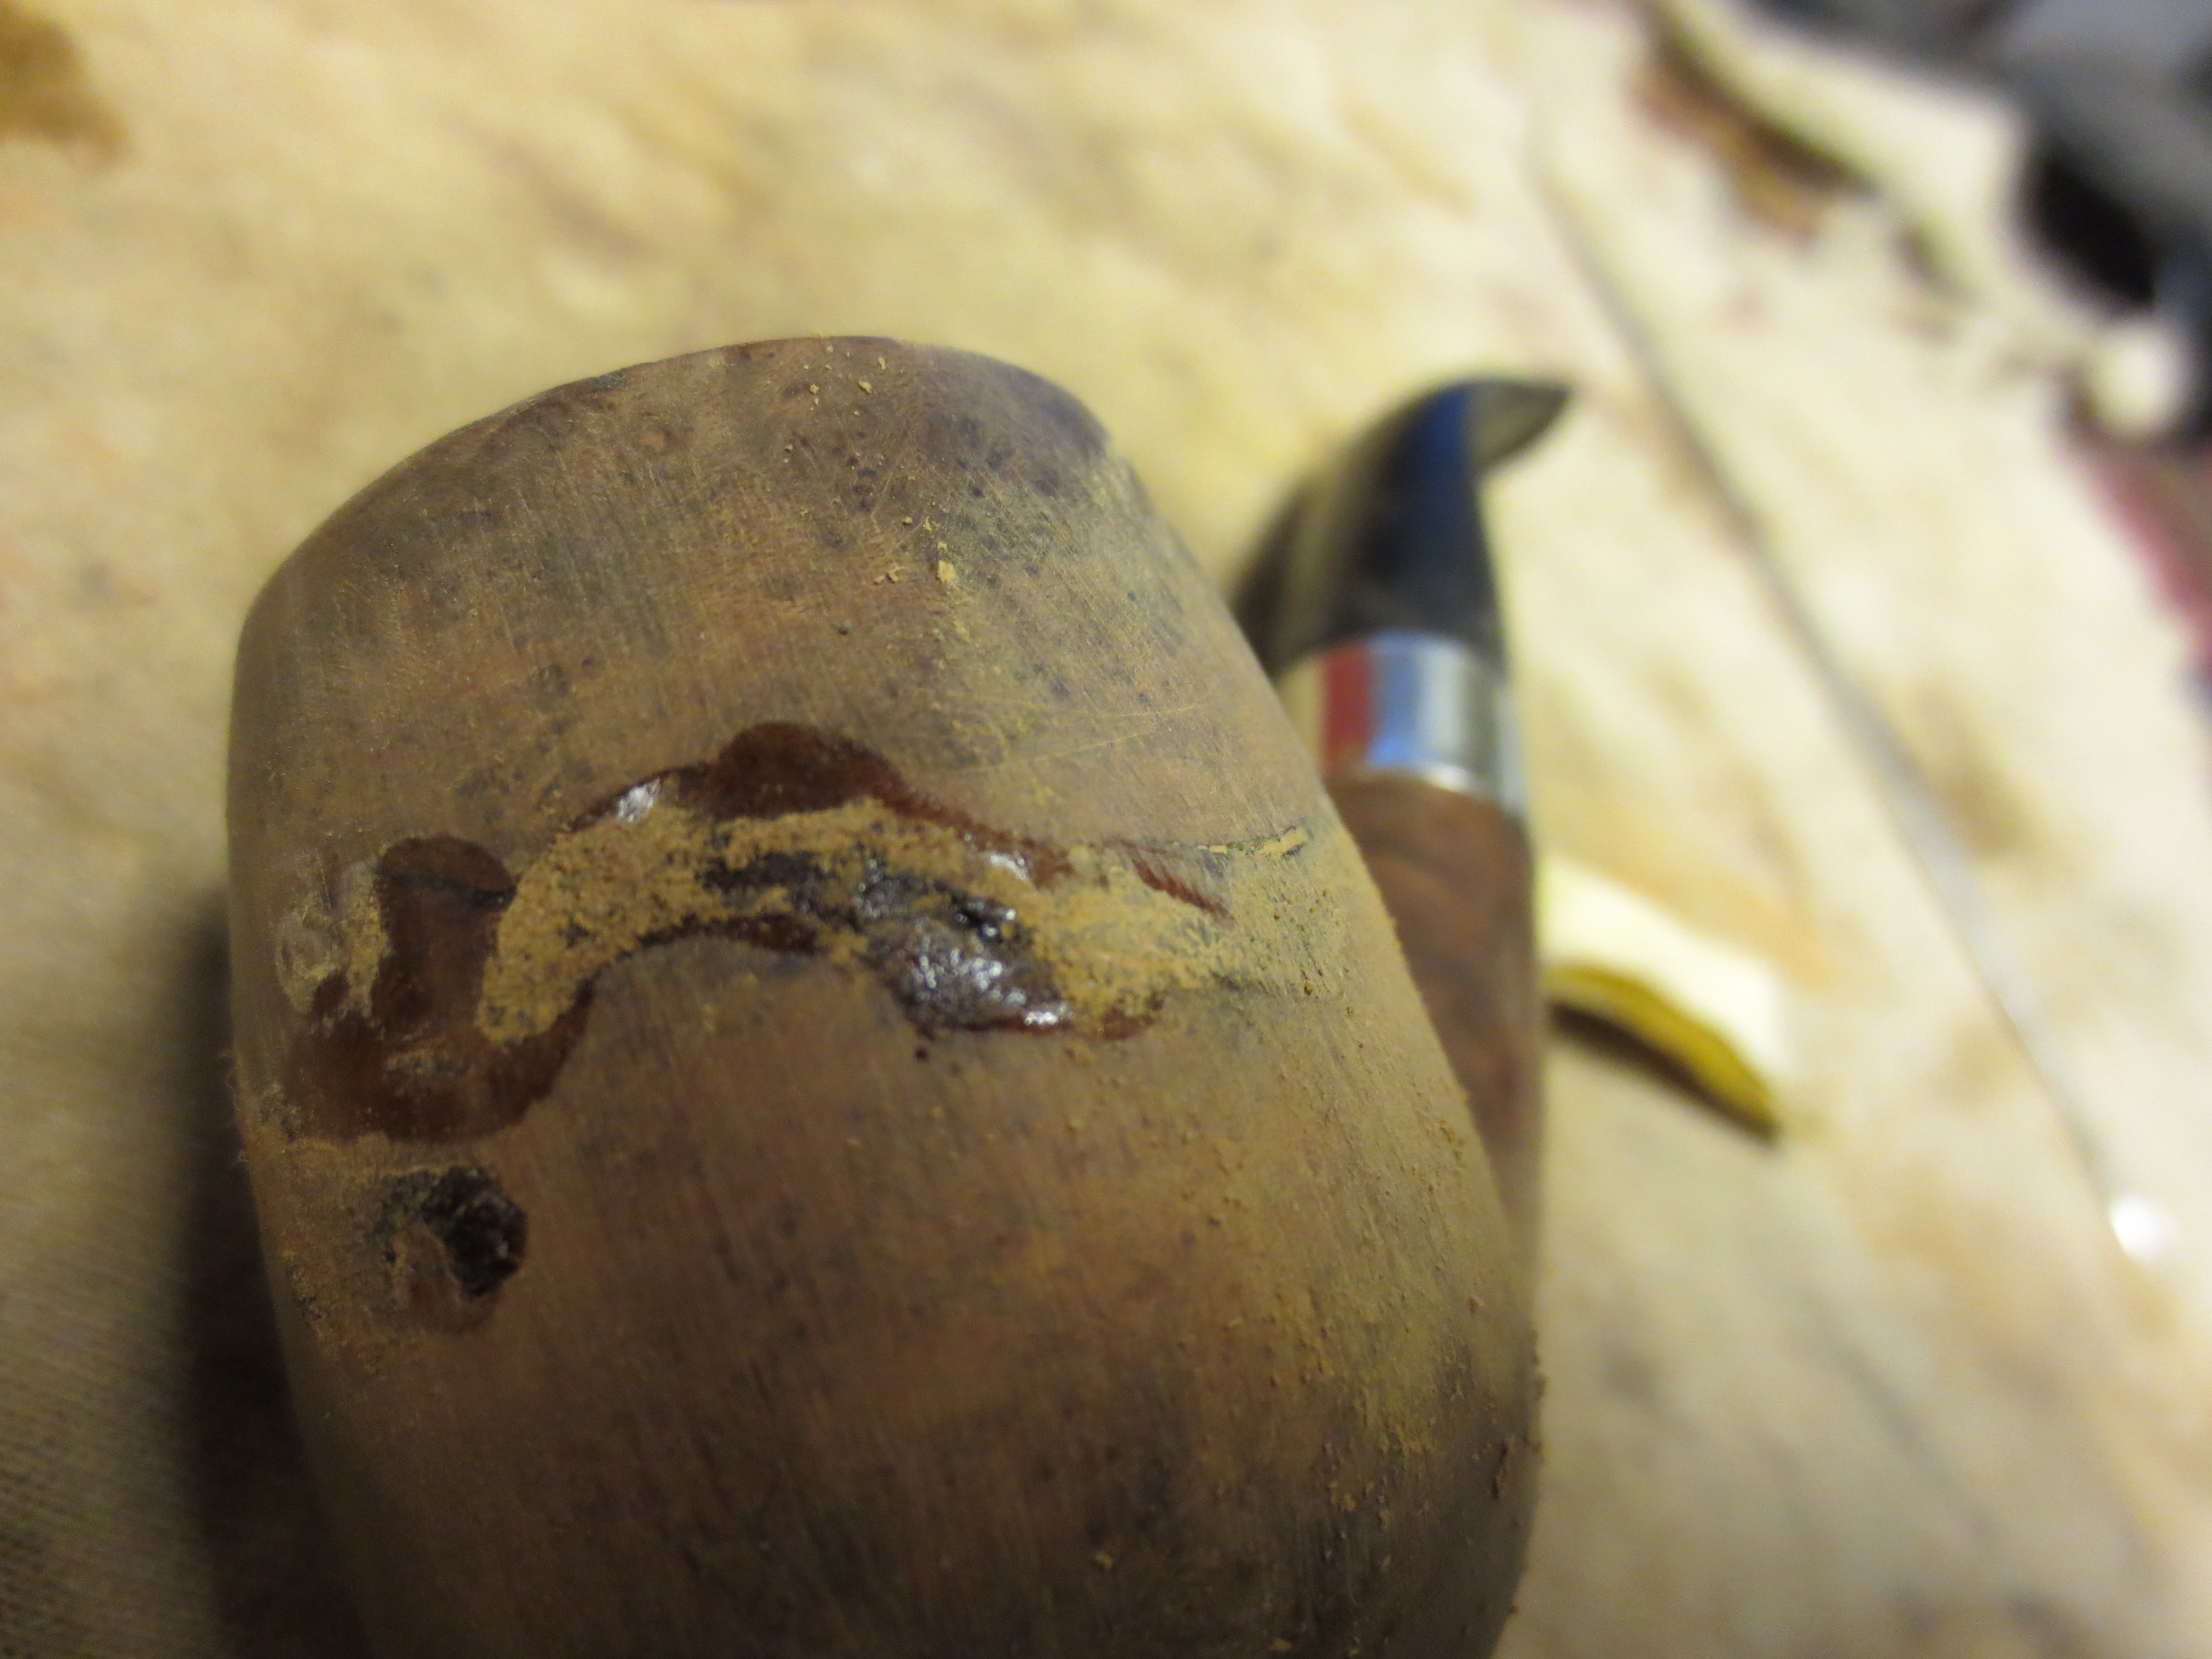
With the stem fitting correctly it was time to tackle the bowl. I set up my board and emery paper so that I could top the bowl. The first photo shows the set up. The second photo shows the state of the bowl rim when I started the process.

Set up for topping the bowl
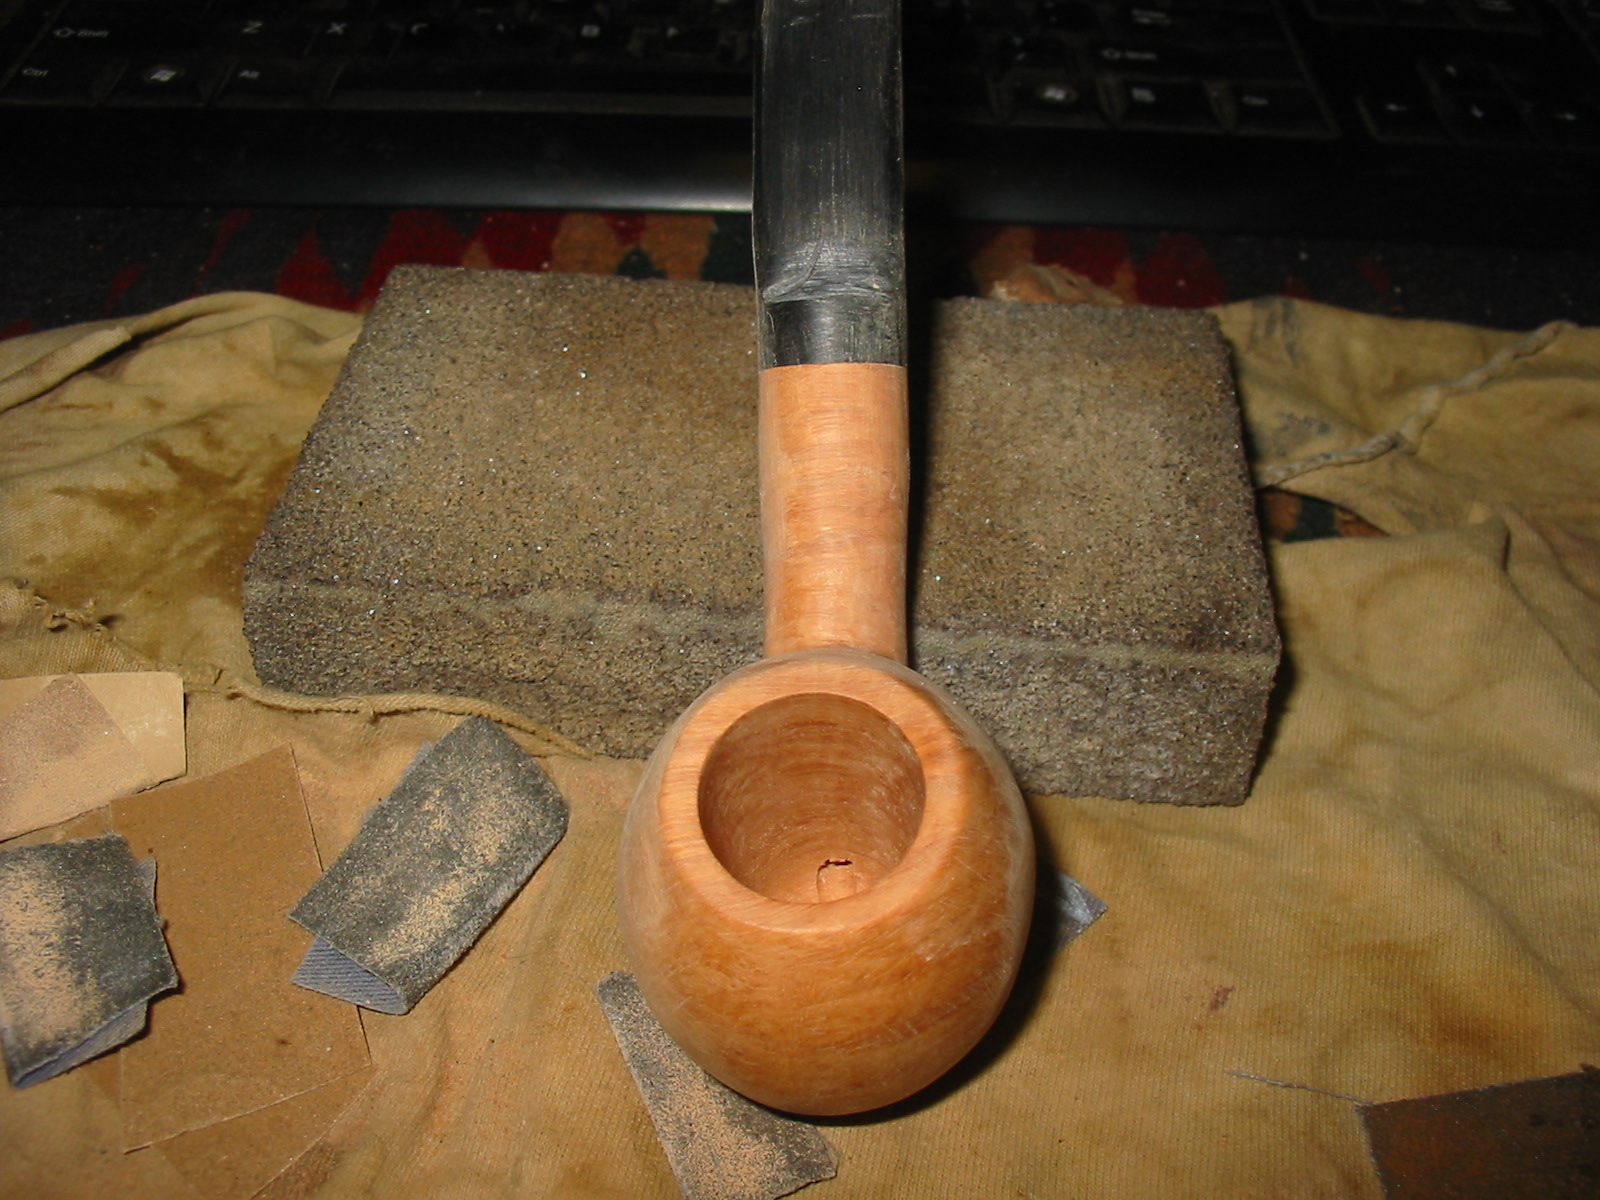
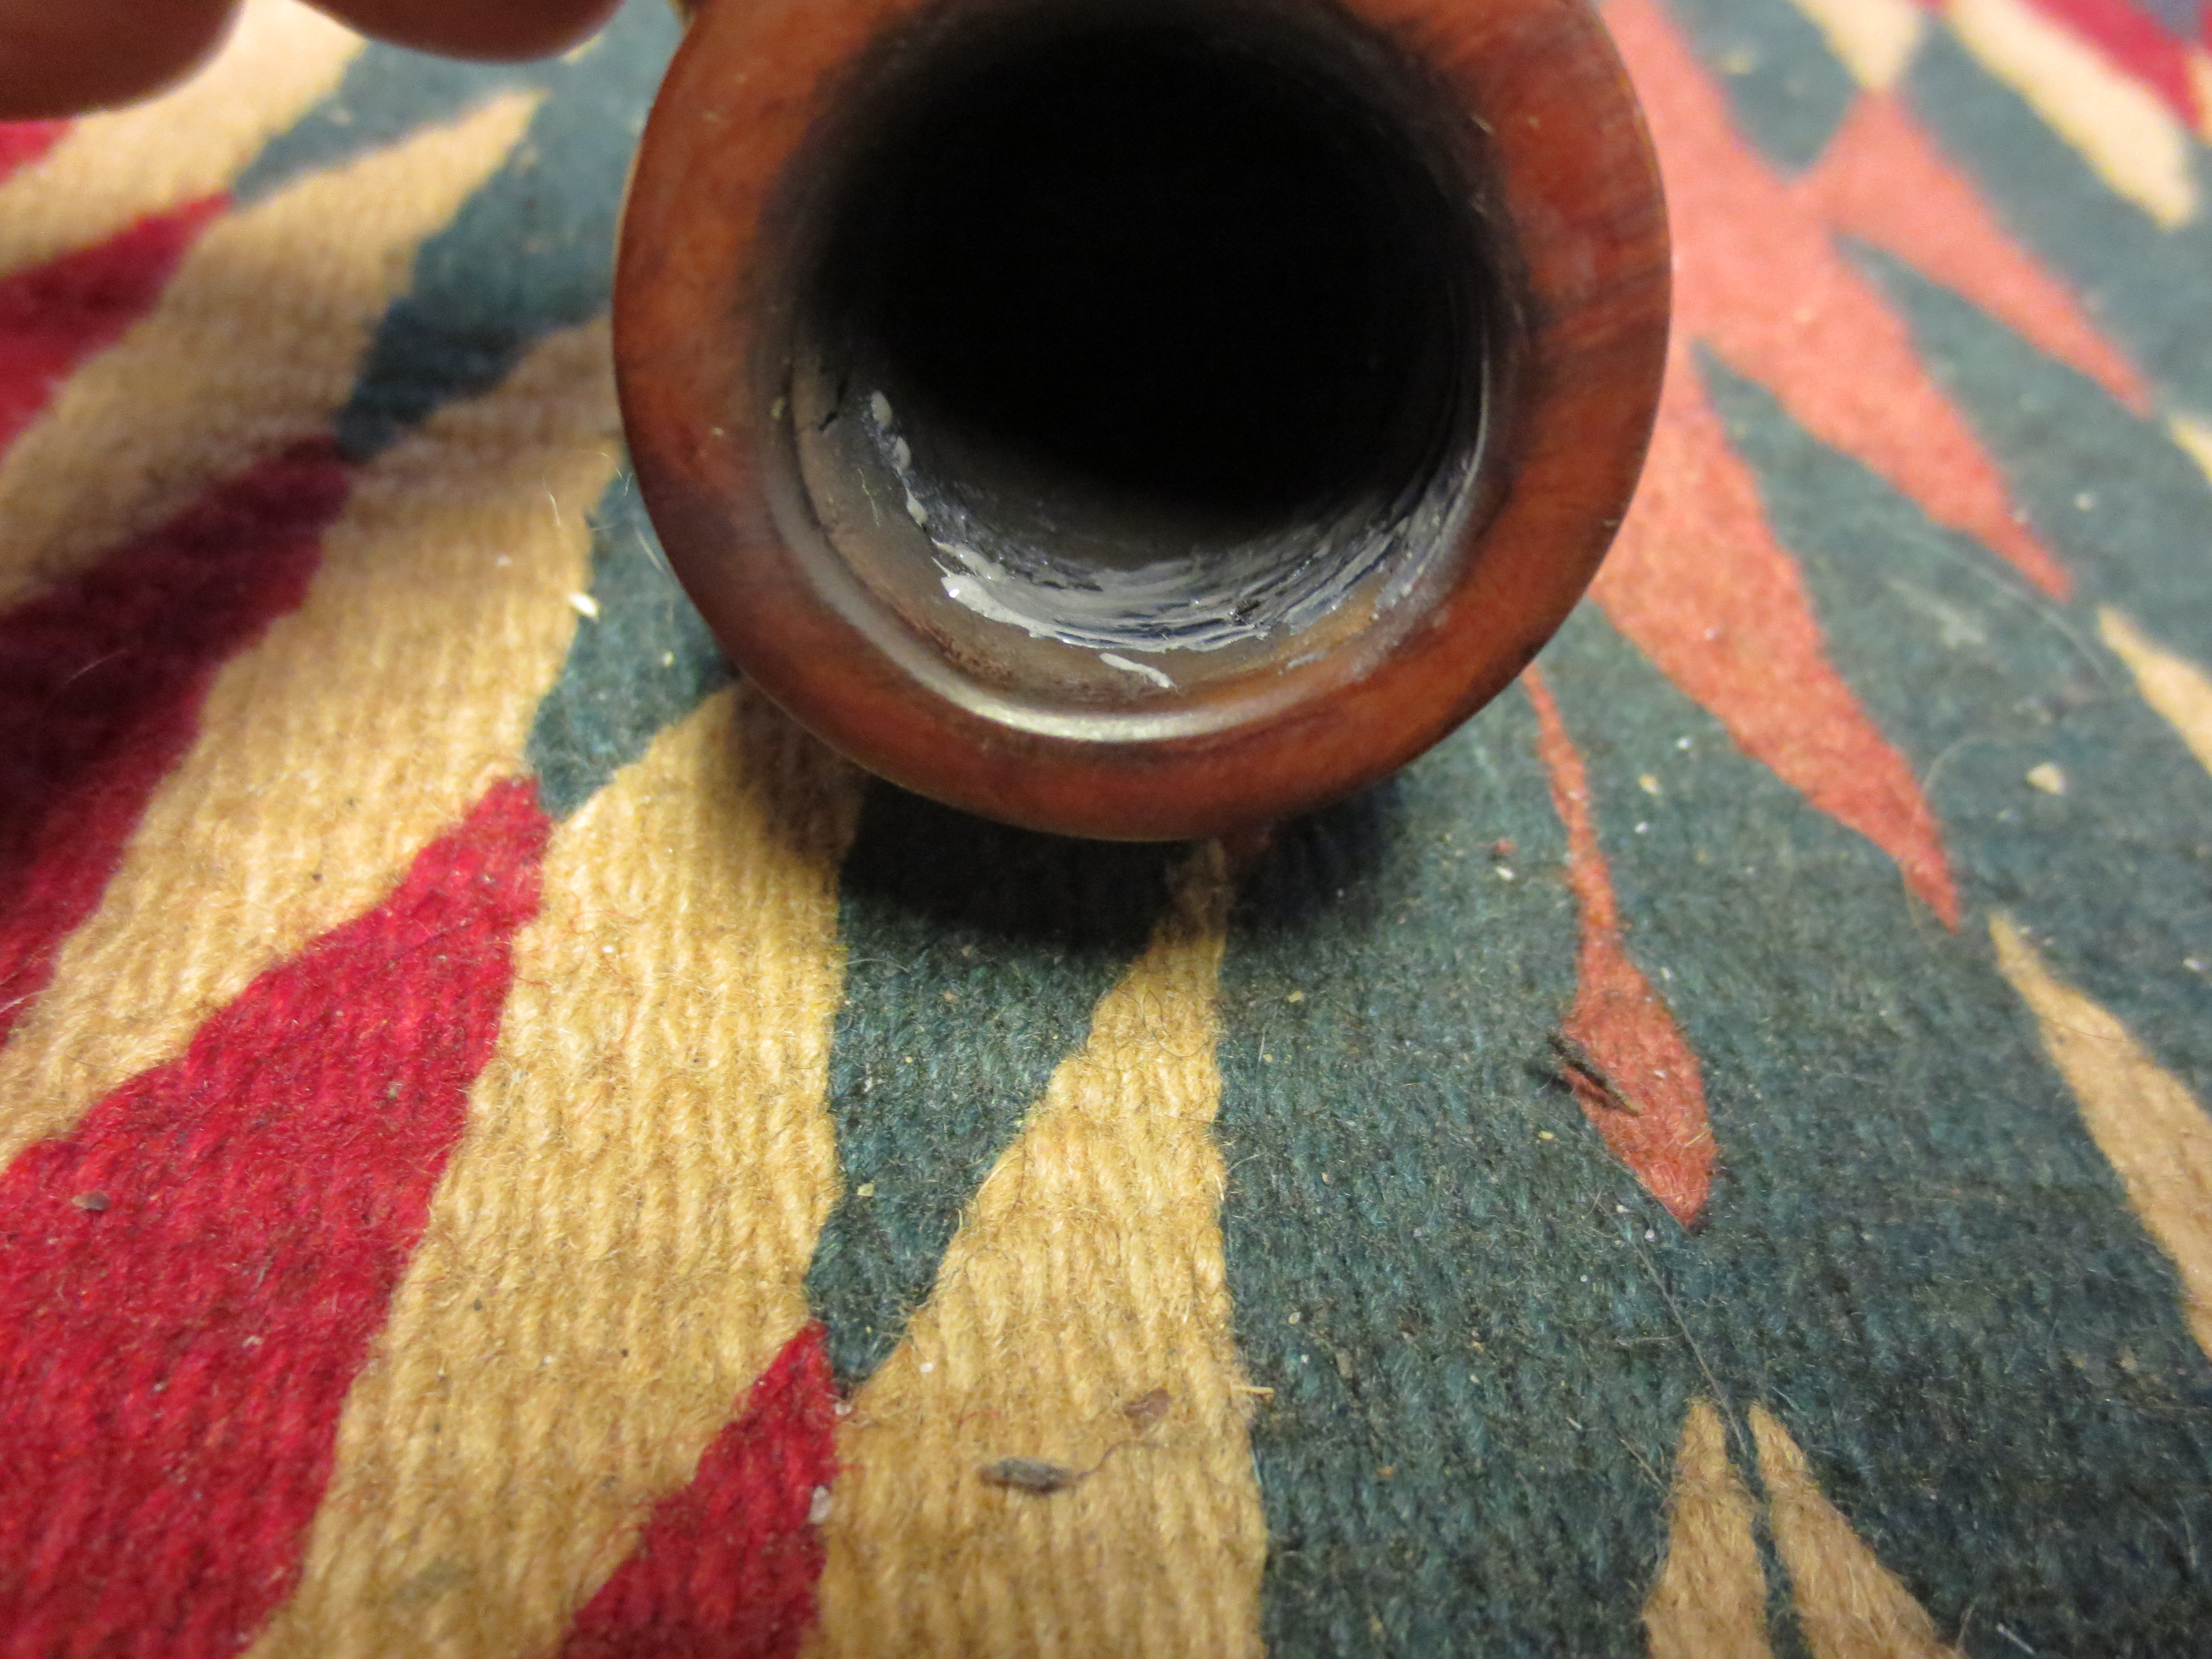
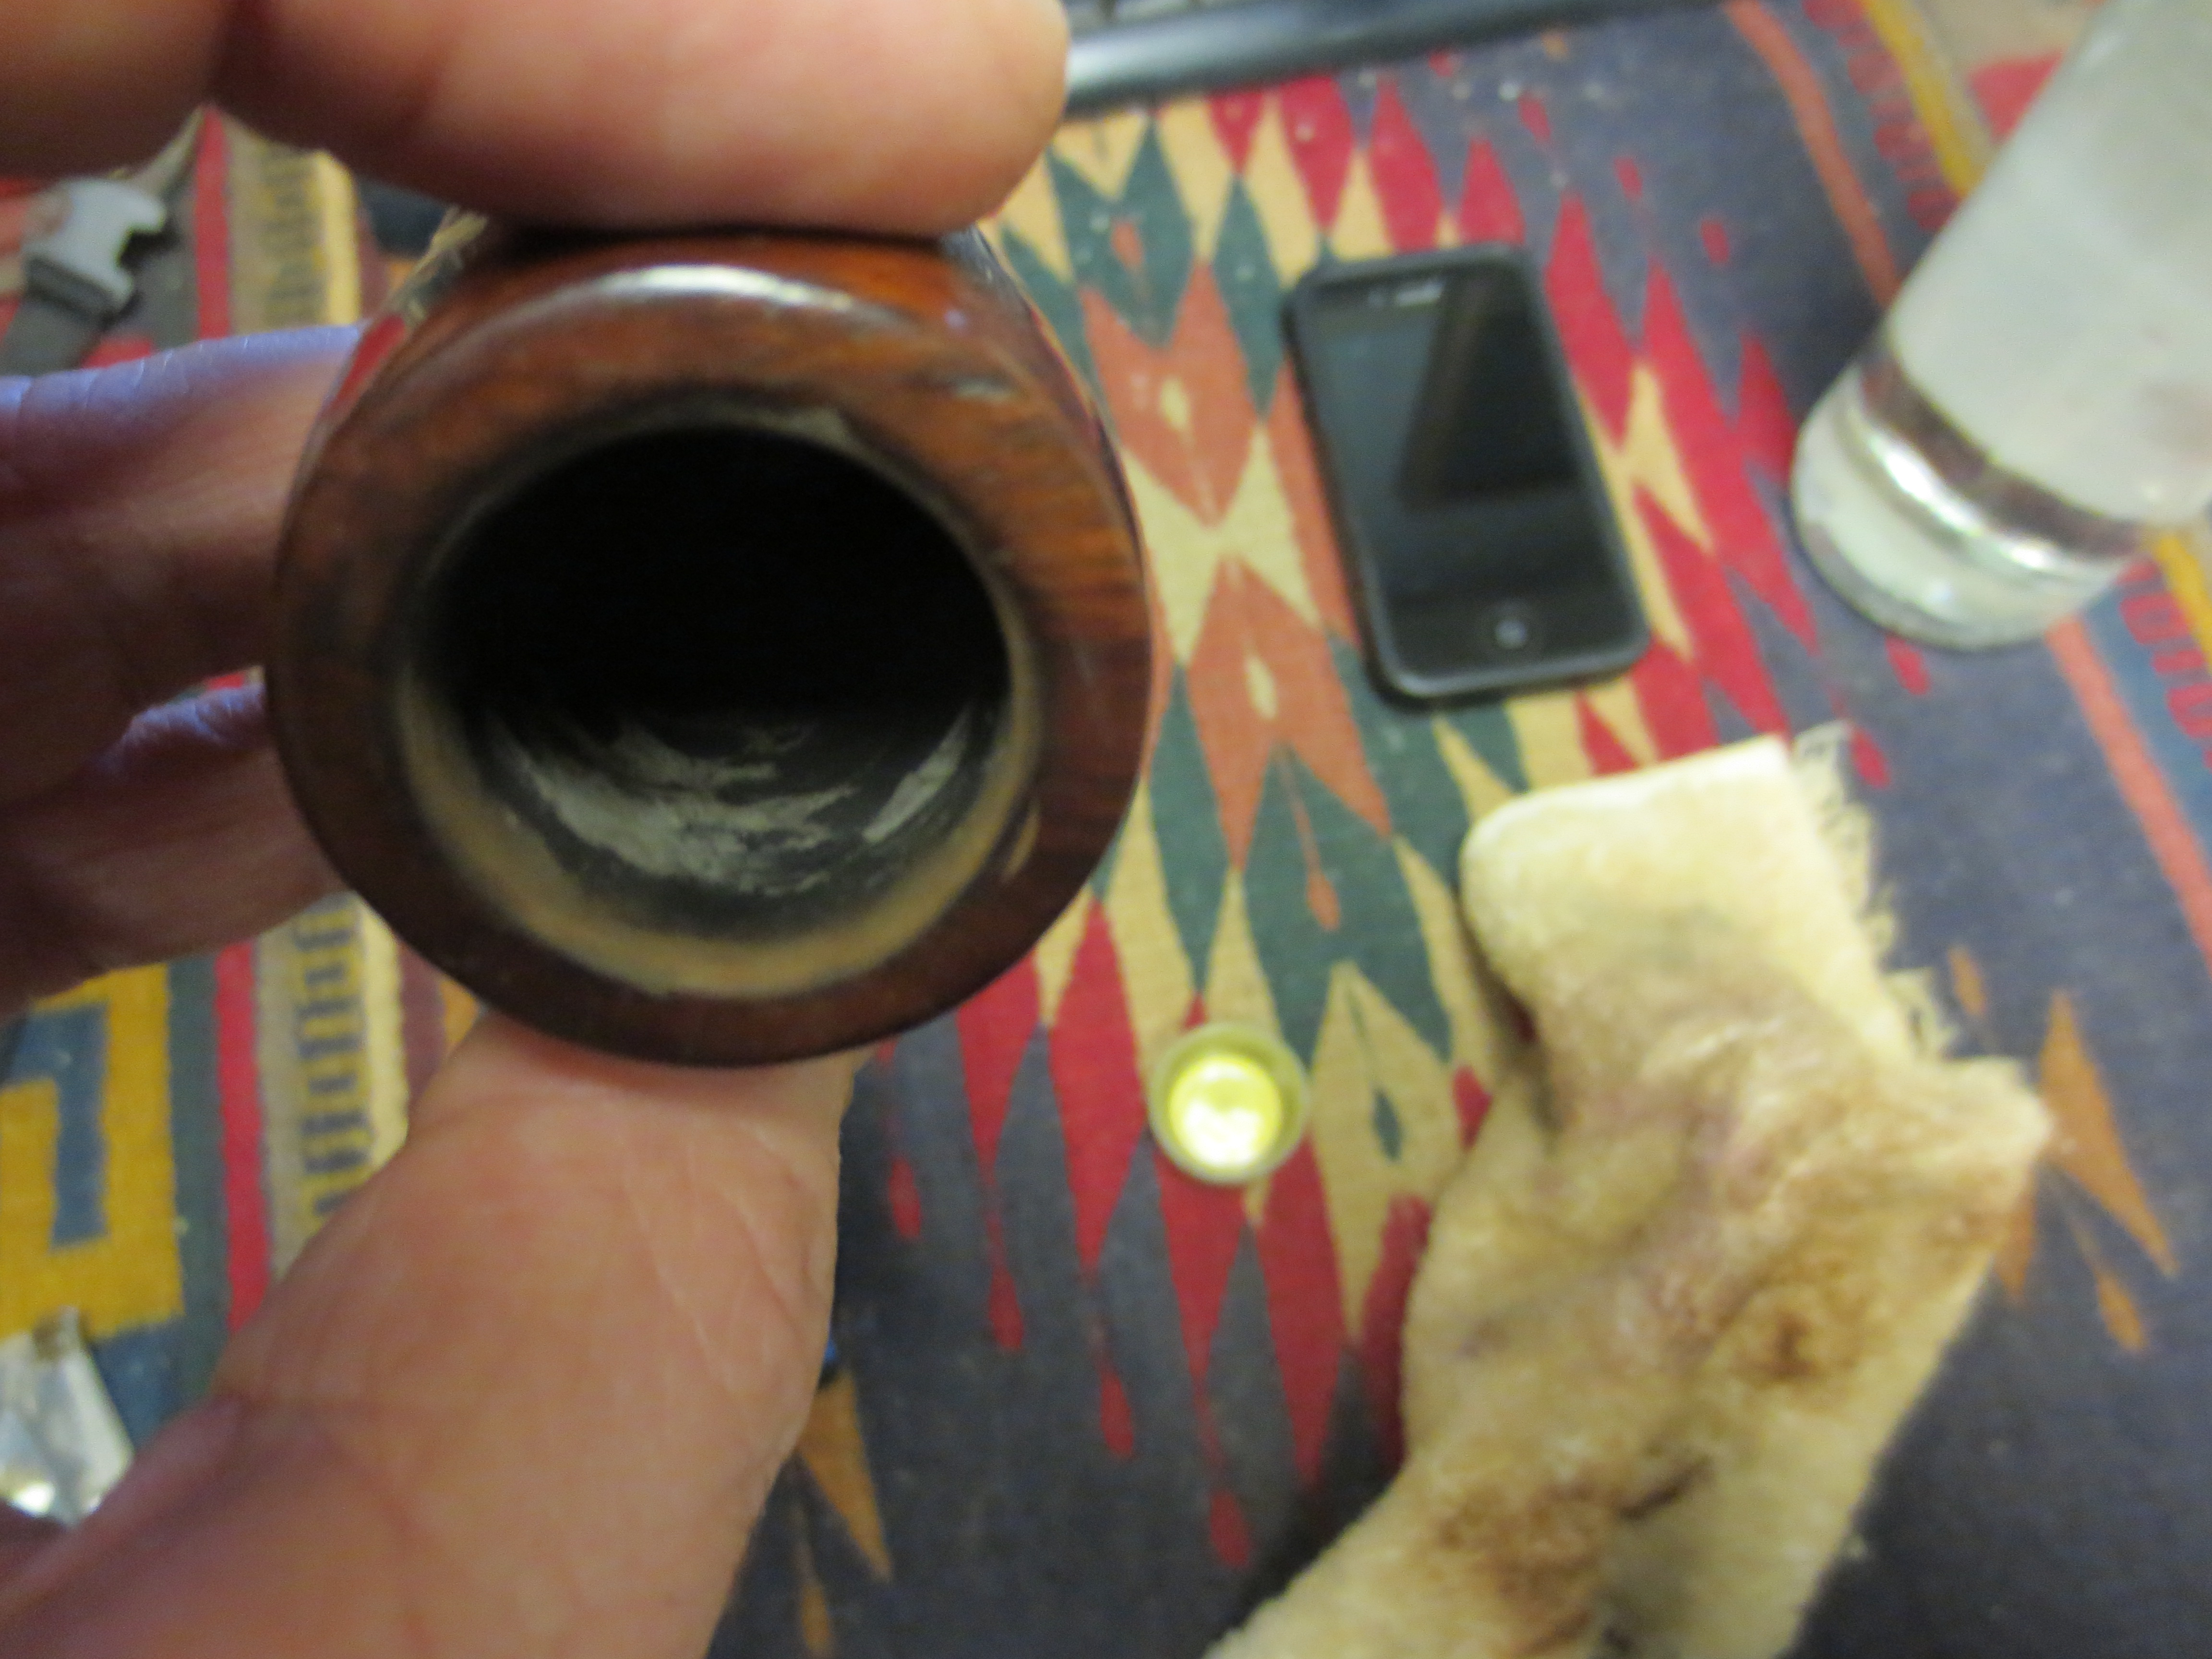
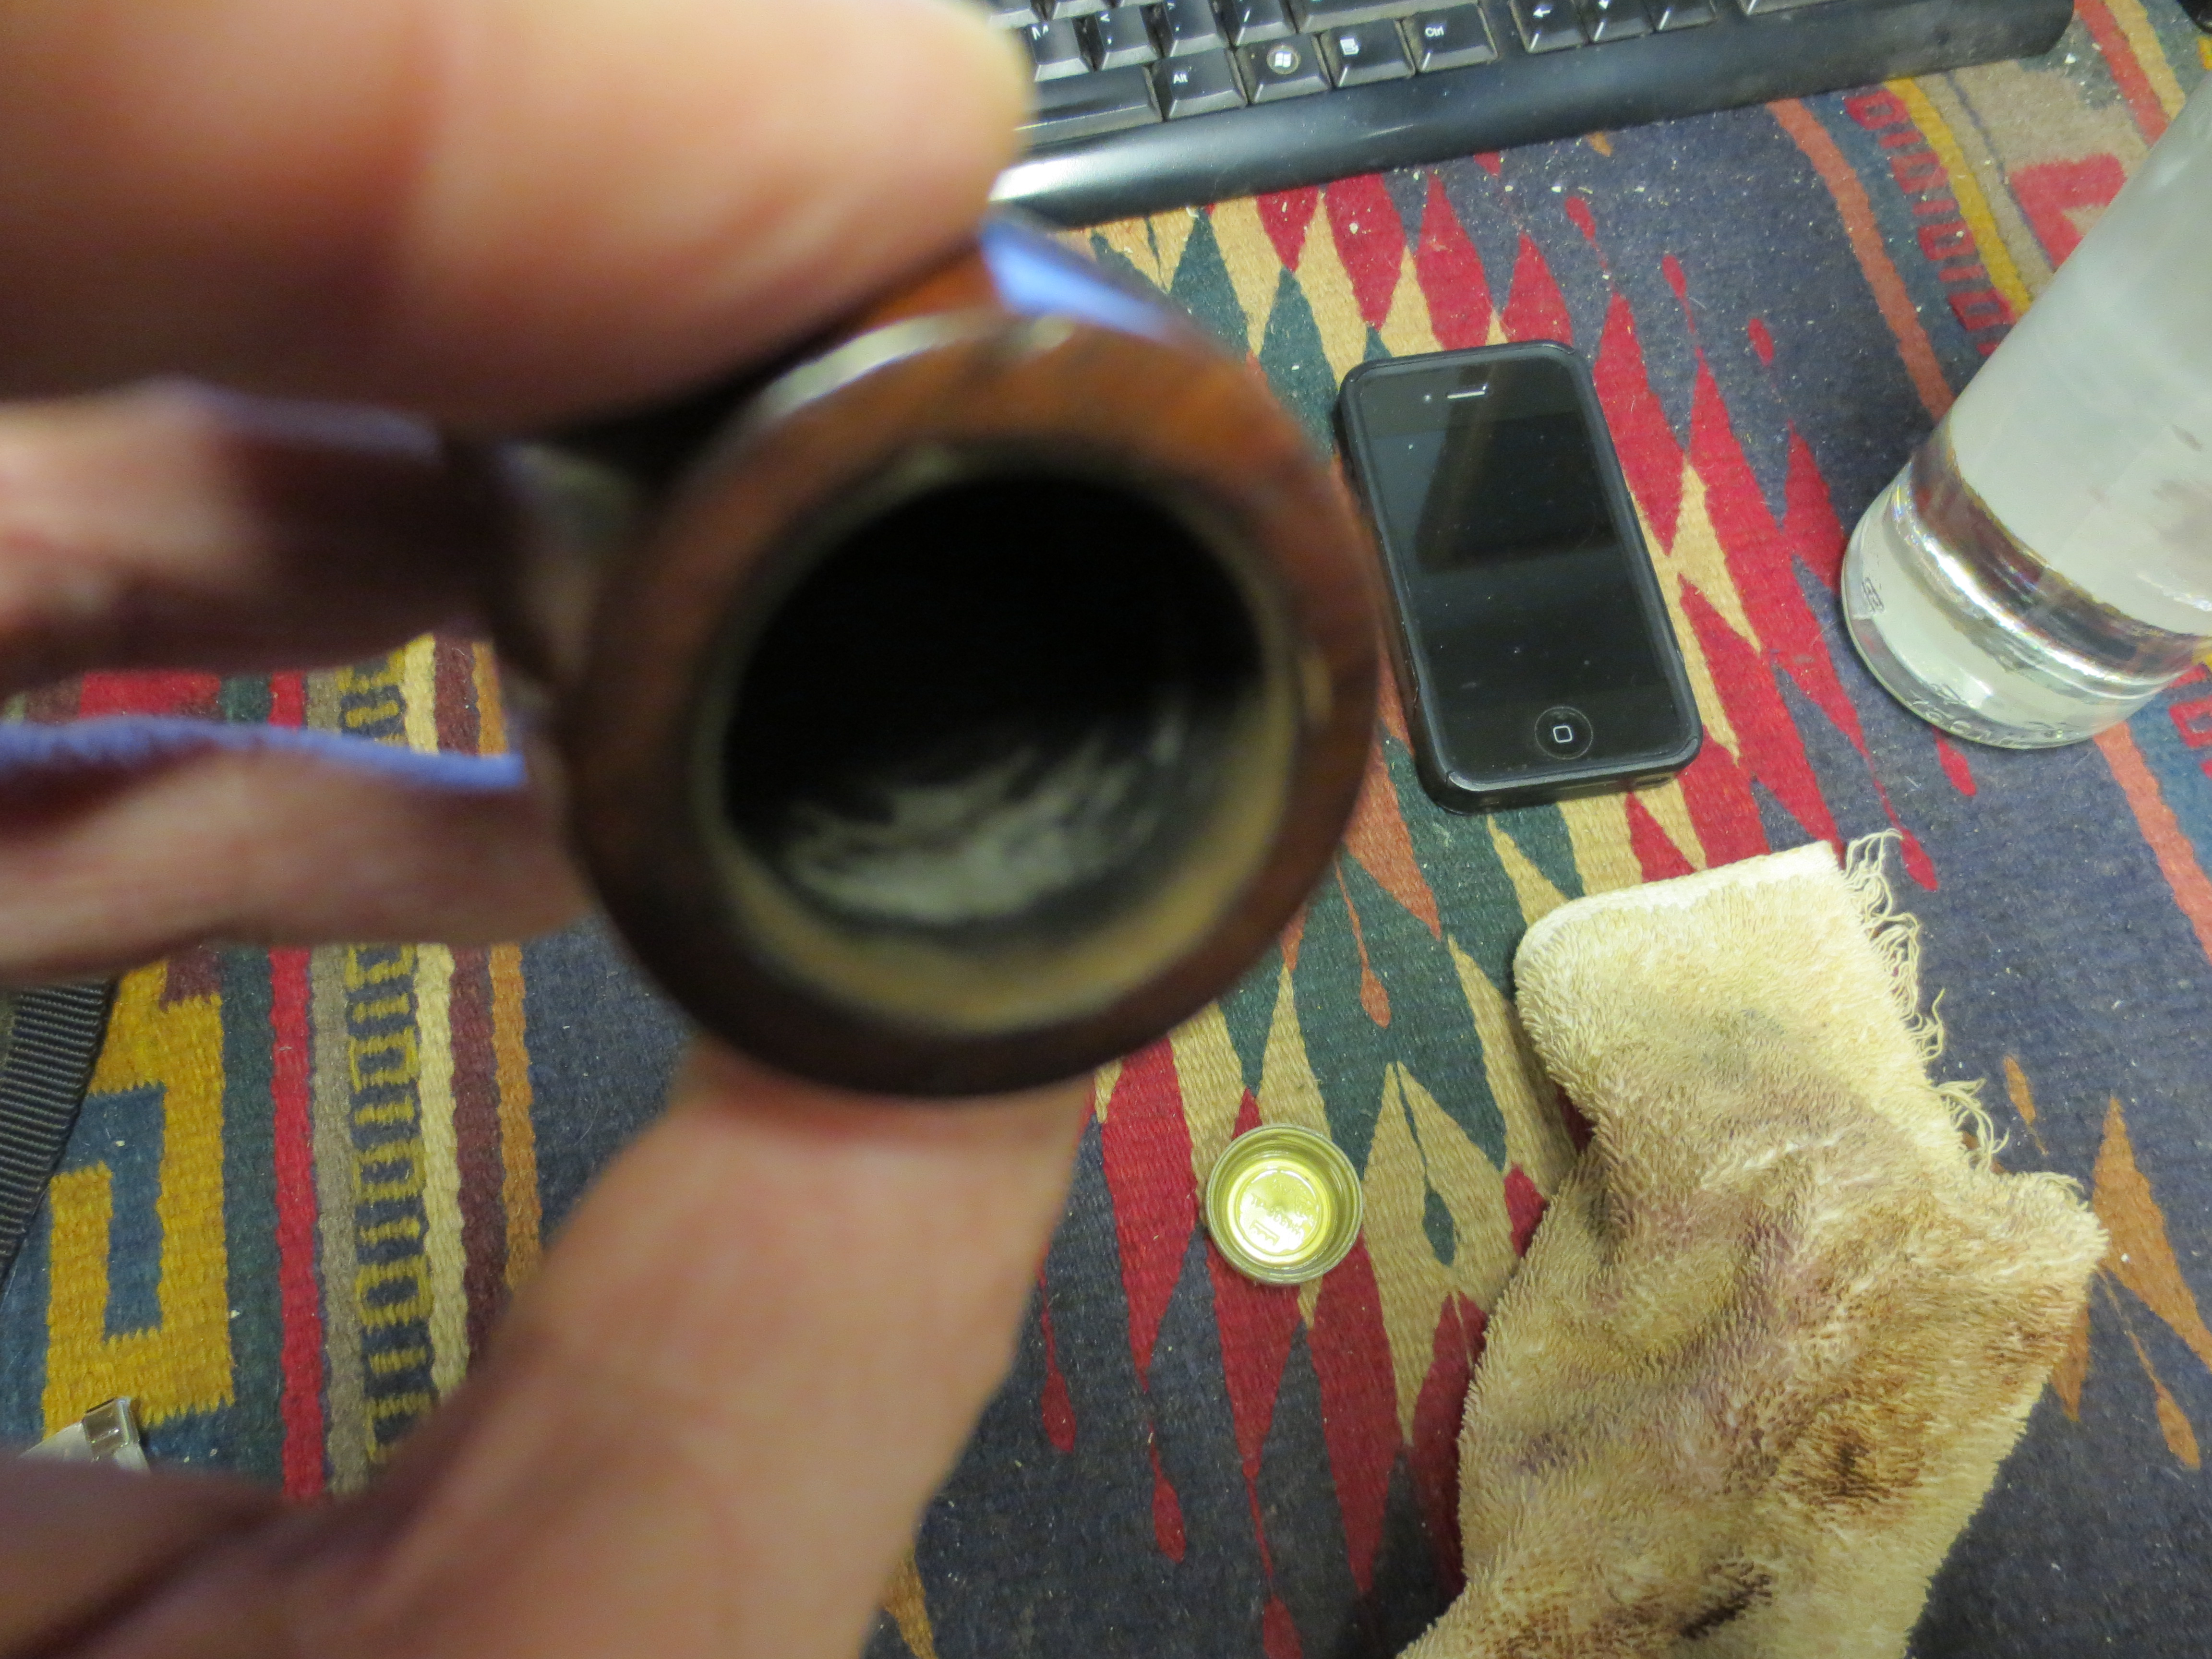
Reamed and ready to top
Once I had it topped I decided to wipe it down with acetone on a cotton pad to remove the finish and the grime from the topping. The next three photos show the clean bowl and the topped bowl. The finish work would take some time but the bowl was ready to move on to the next stage of rejuvenation.

Wiping down the bowl with acetone

Wiping down the newly topped rim with acetone

Wiping down the bowl with acetone
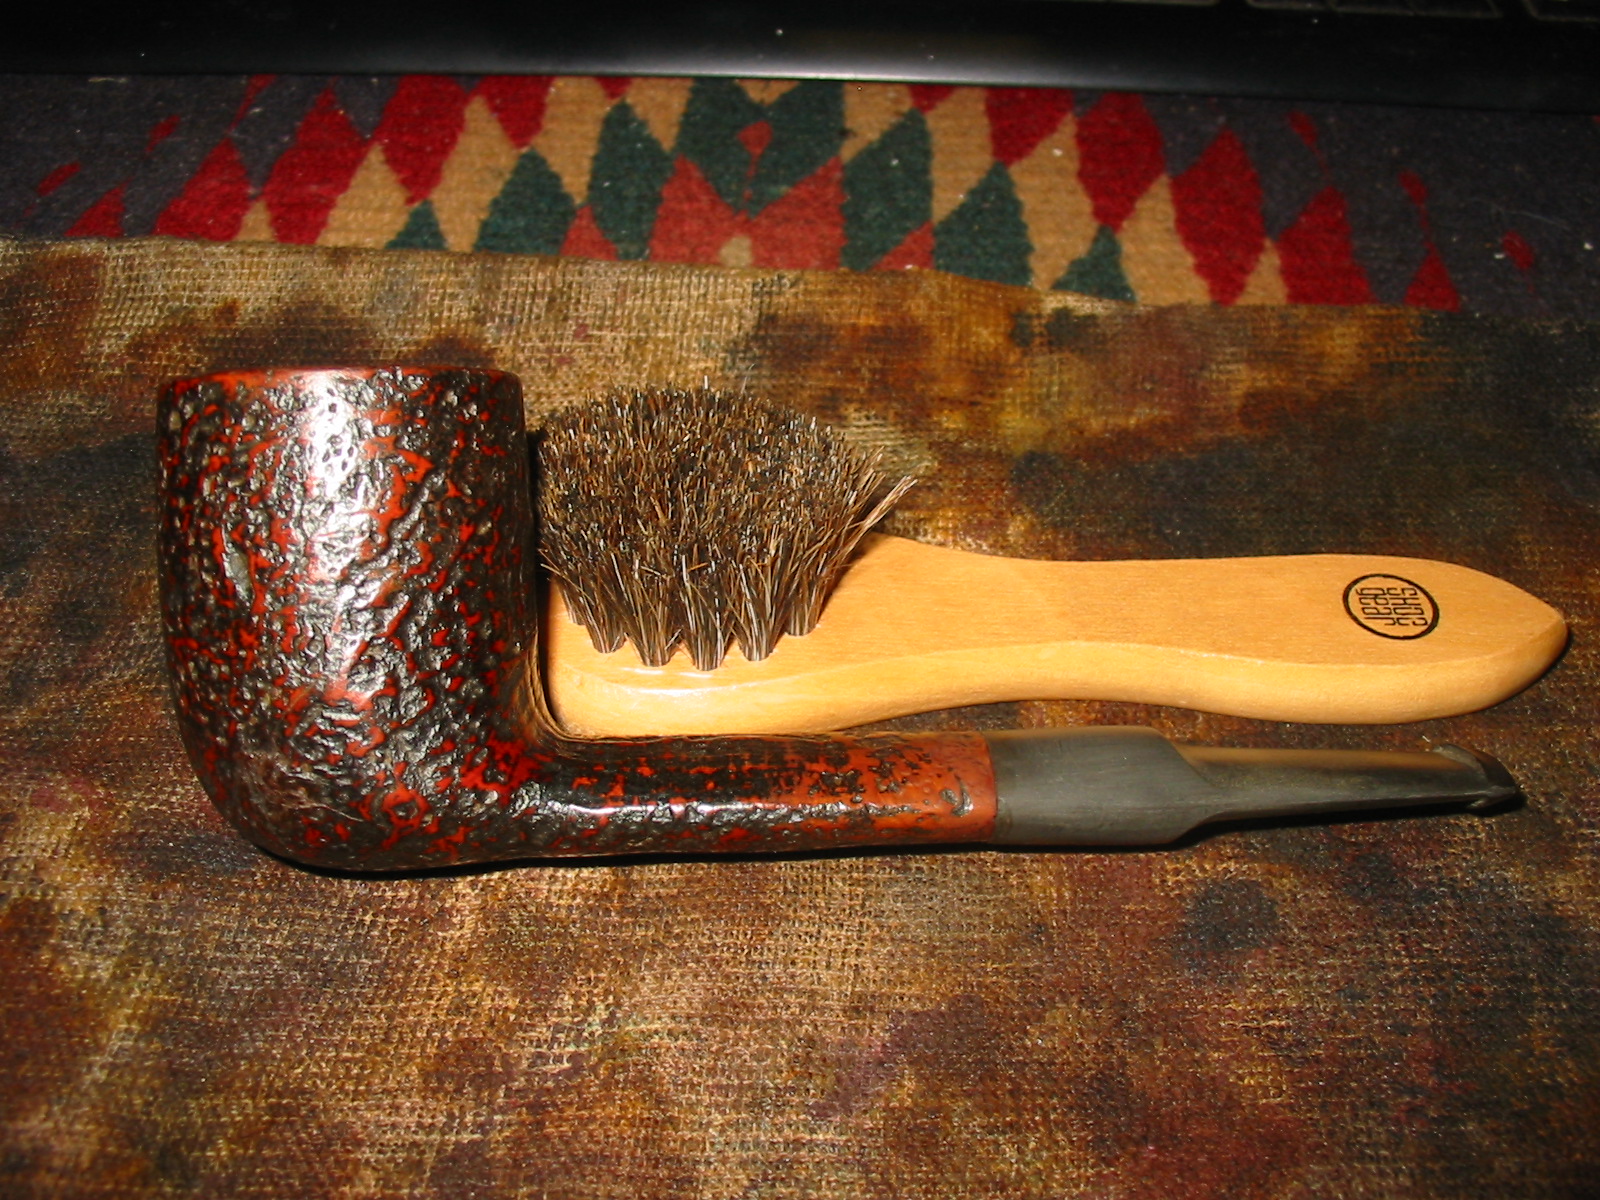
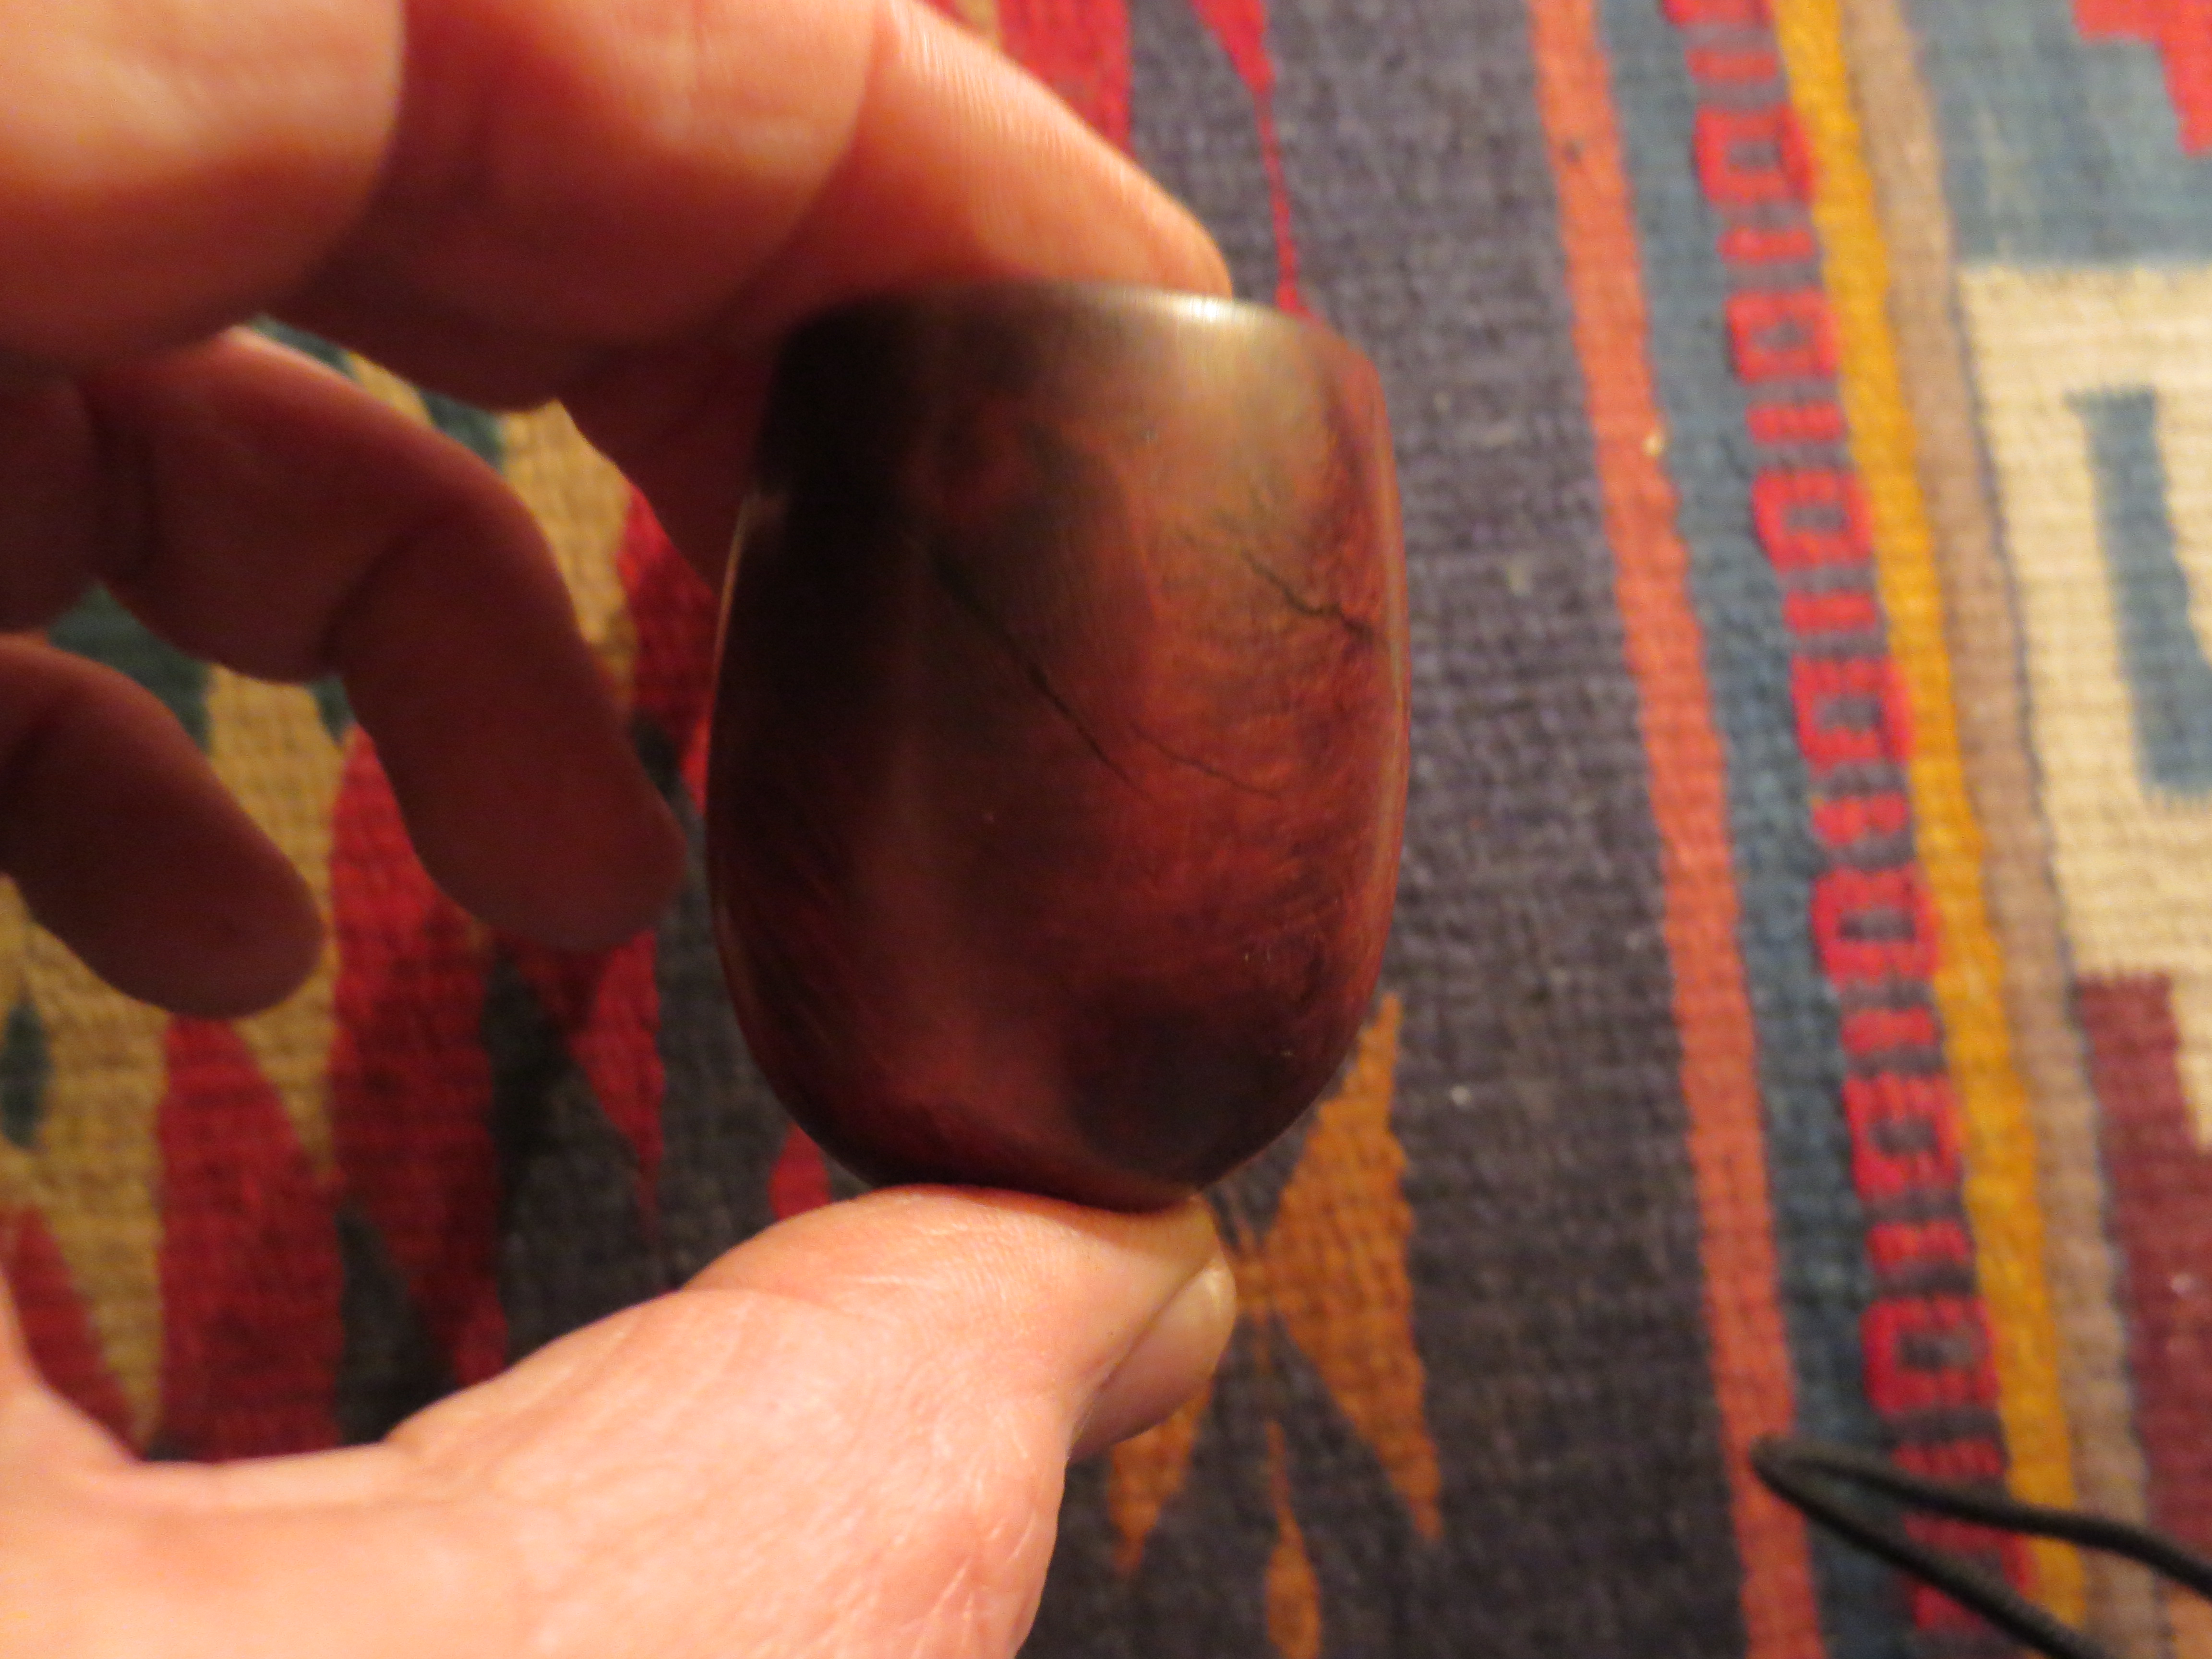
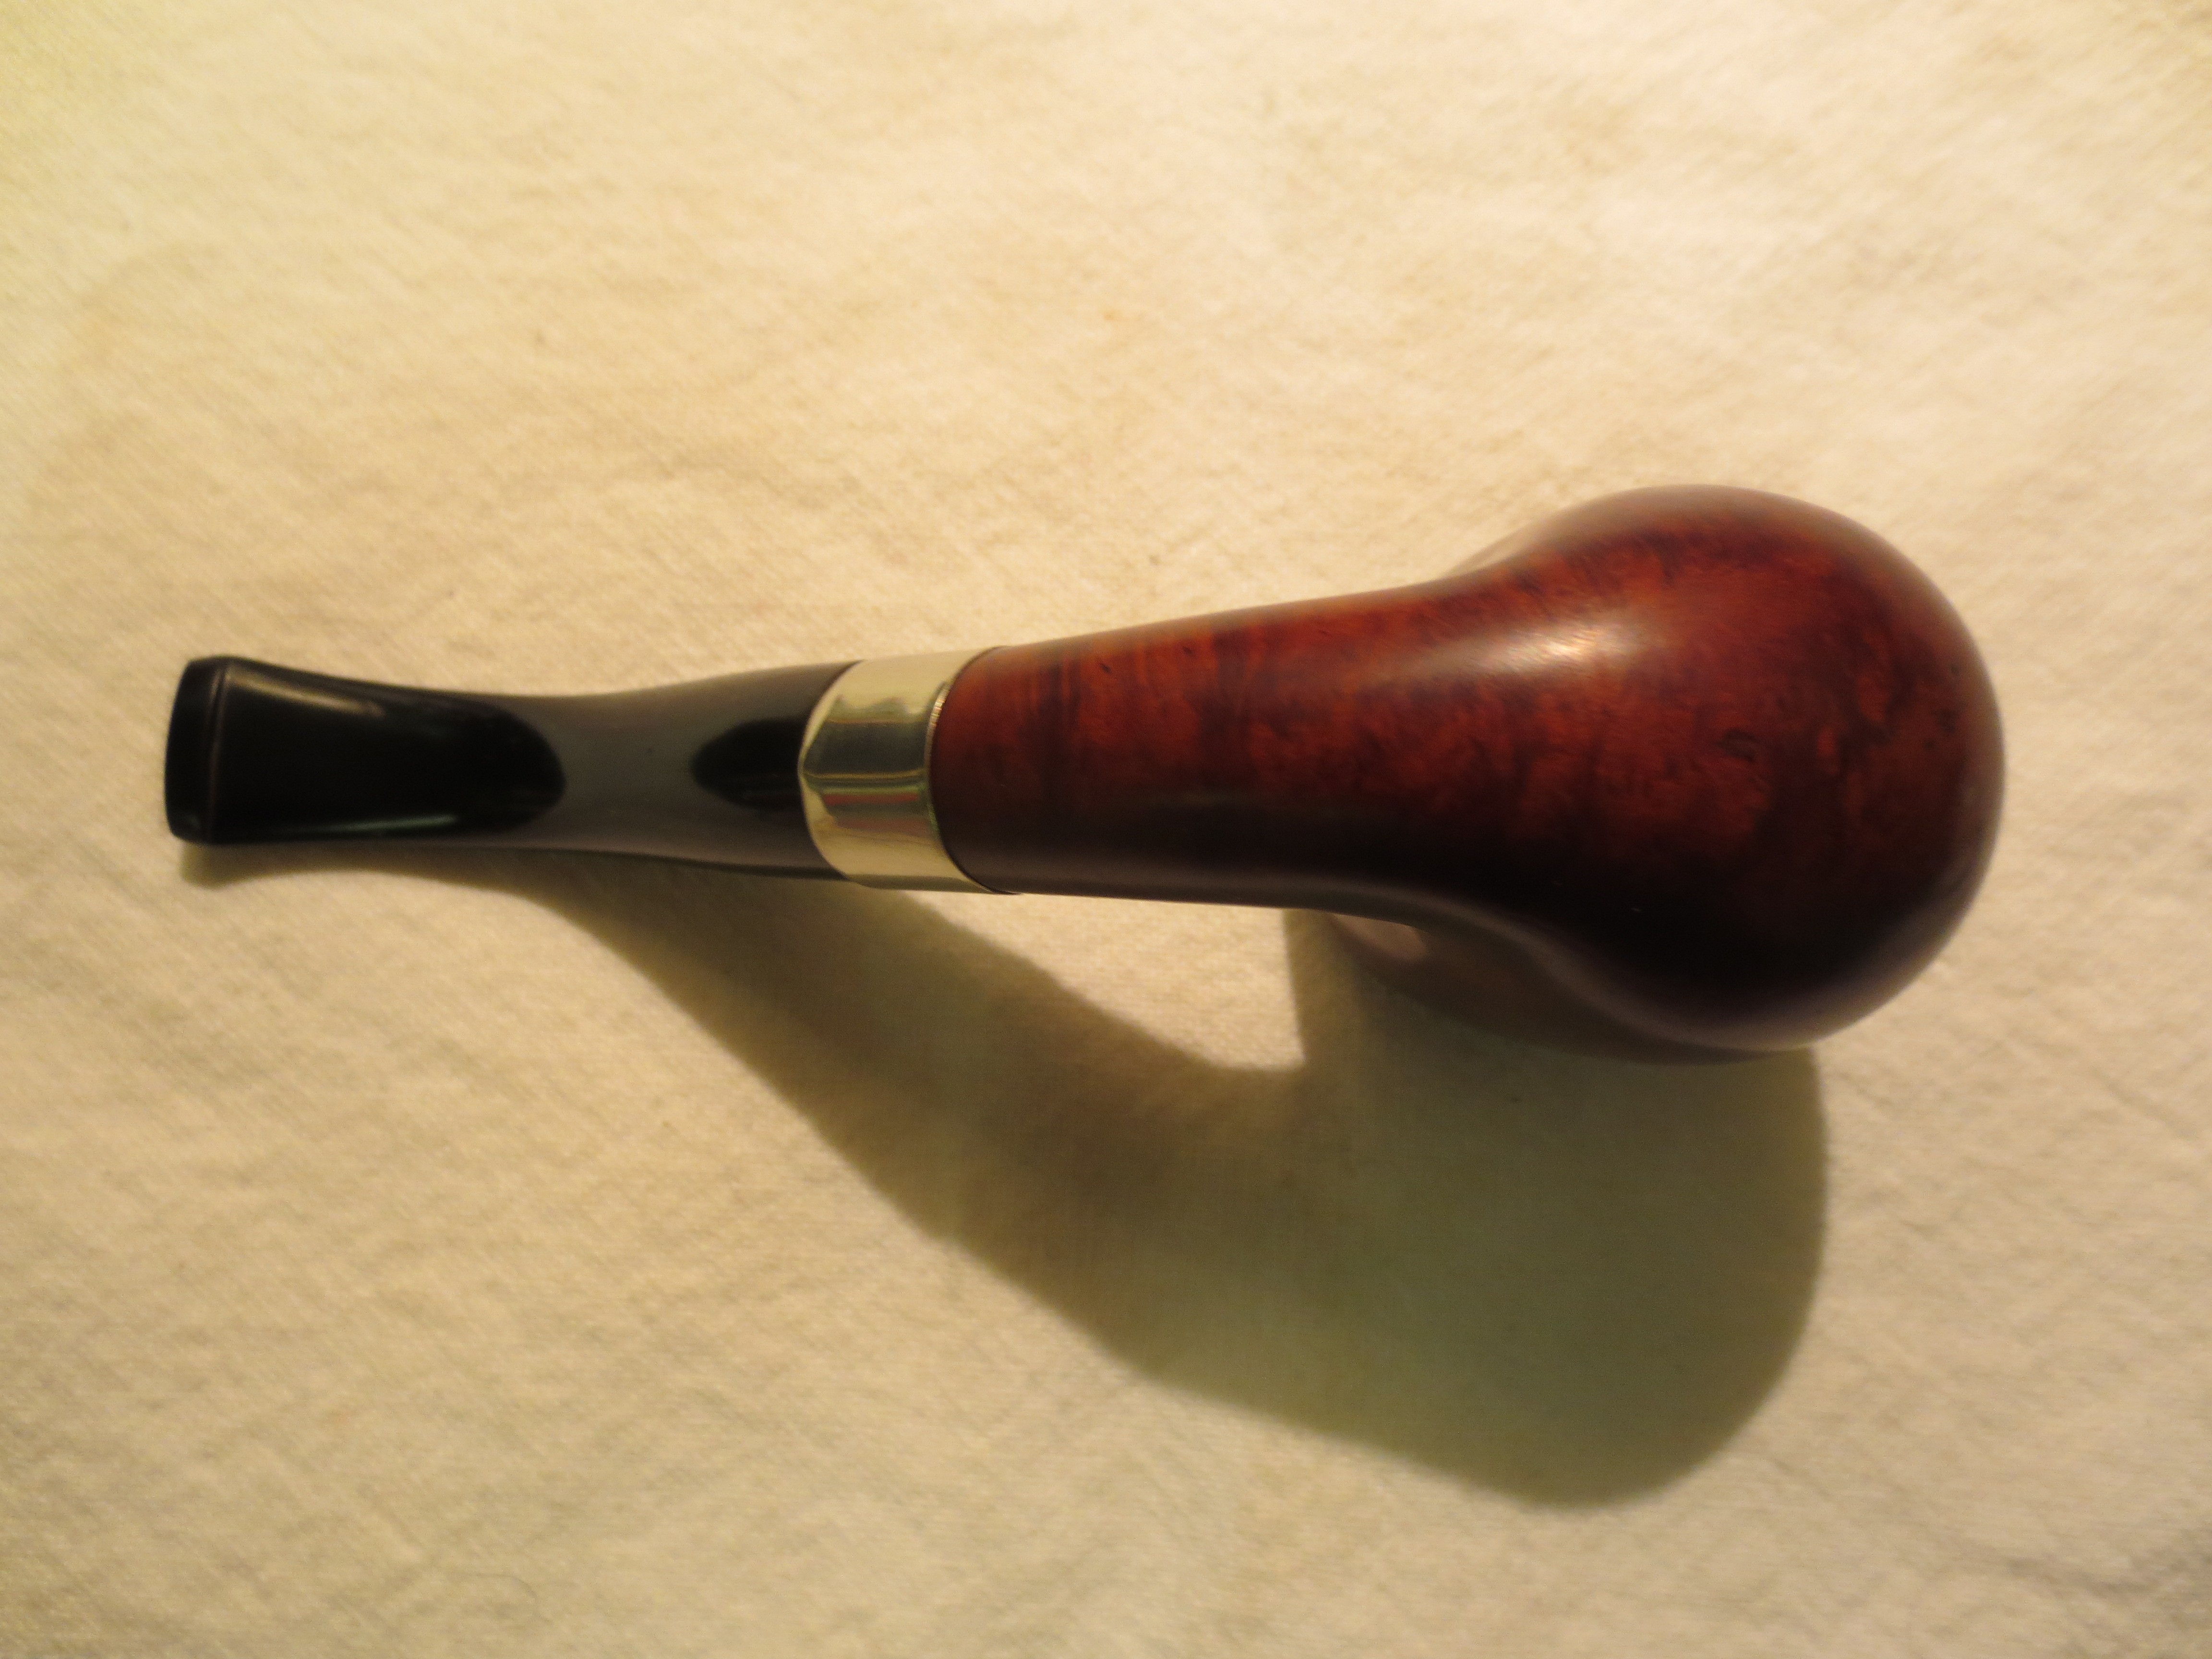
I sanded the bowl with 240 and 320 grit sandpaper and finished sanding with a fine grit sanding sponge. The next two photos show the cleaned and prepped bowl ready for staining. The dark oil stains on the sides of the bowl would not come out. I wiped the bowl down with repeated washings of acetone and the surface was clean. I also sanded the stem with the sanding sponge while I worked on the bowl.

Bowl sanded, in place and ready to stain.
Bowl in place, sanded and ready to stain.
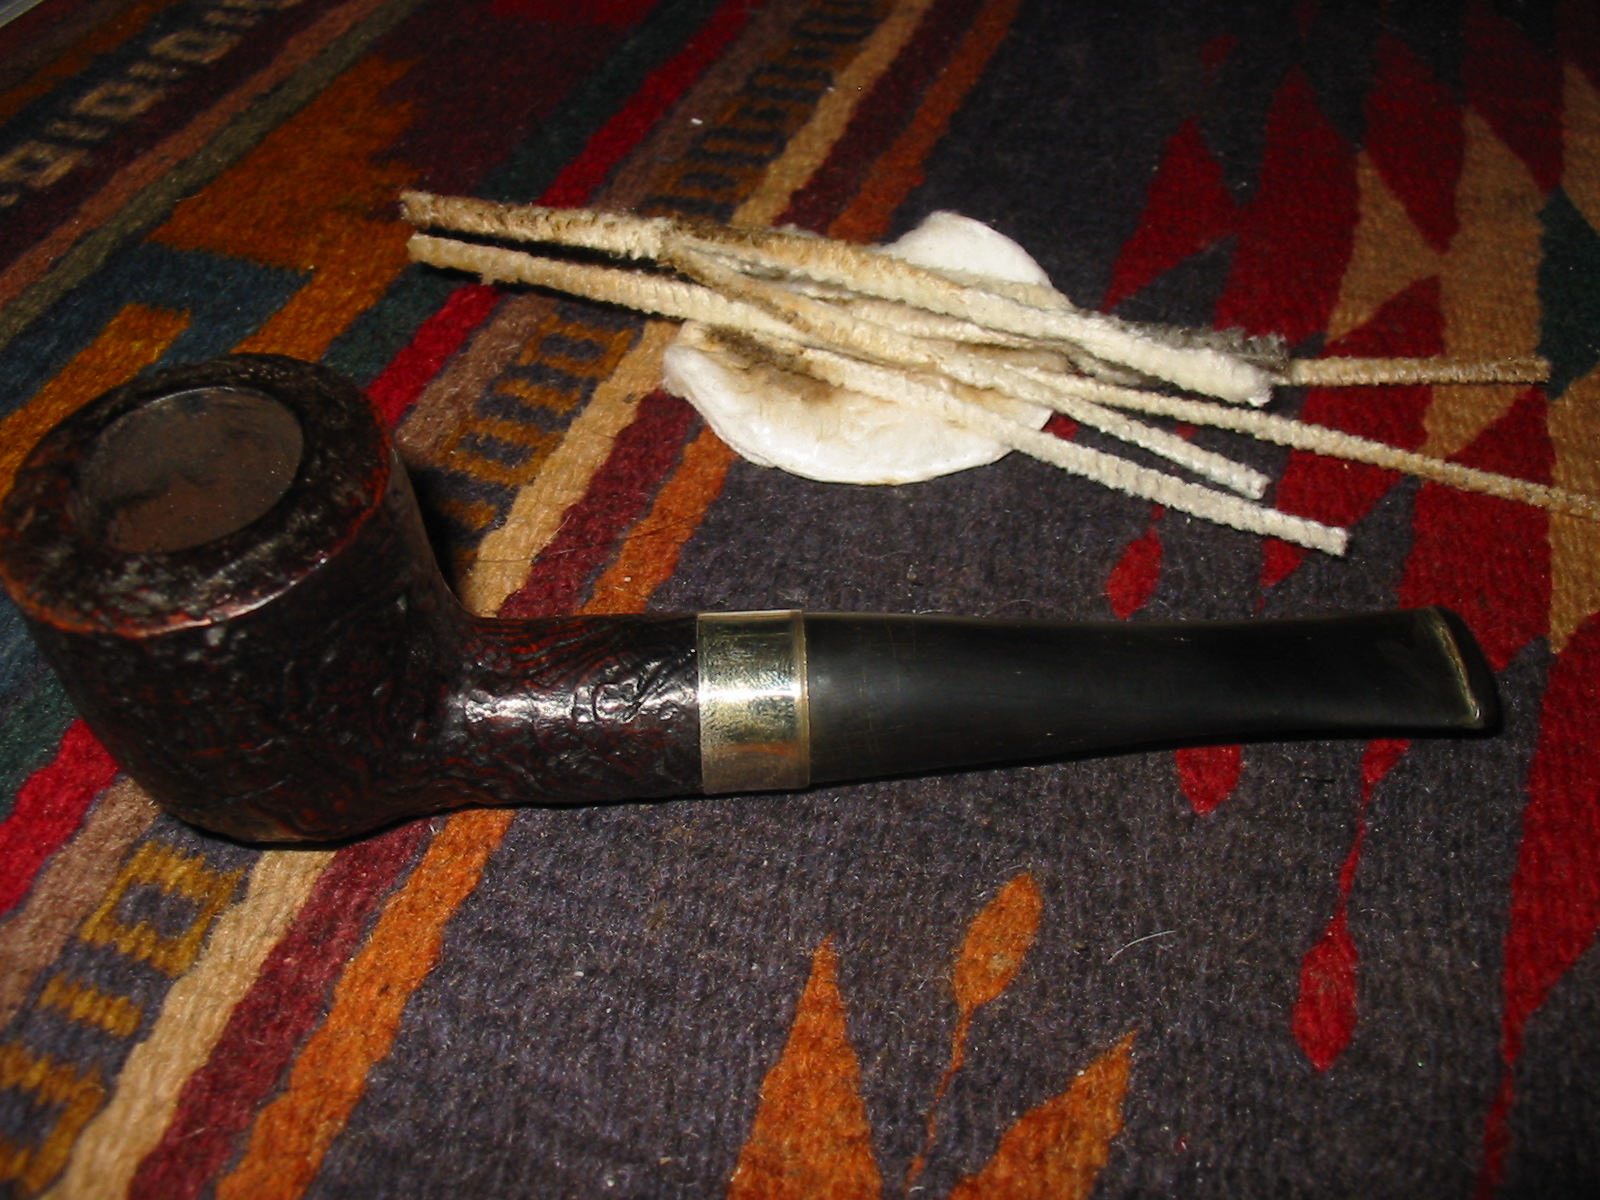
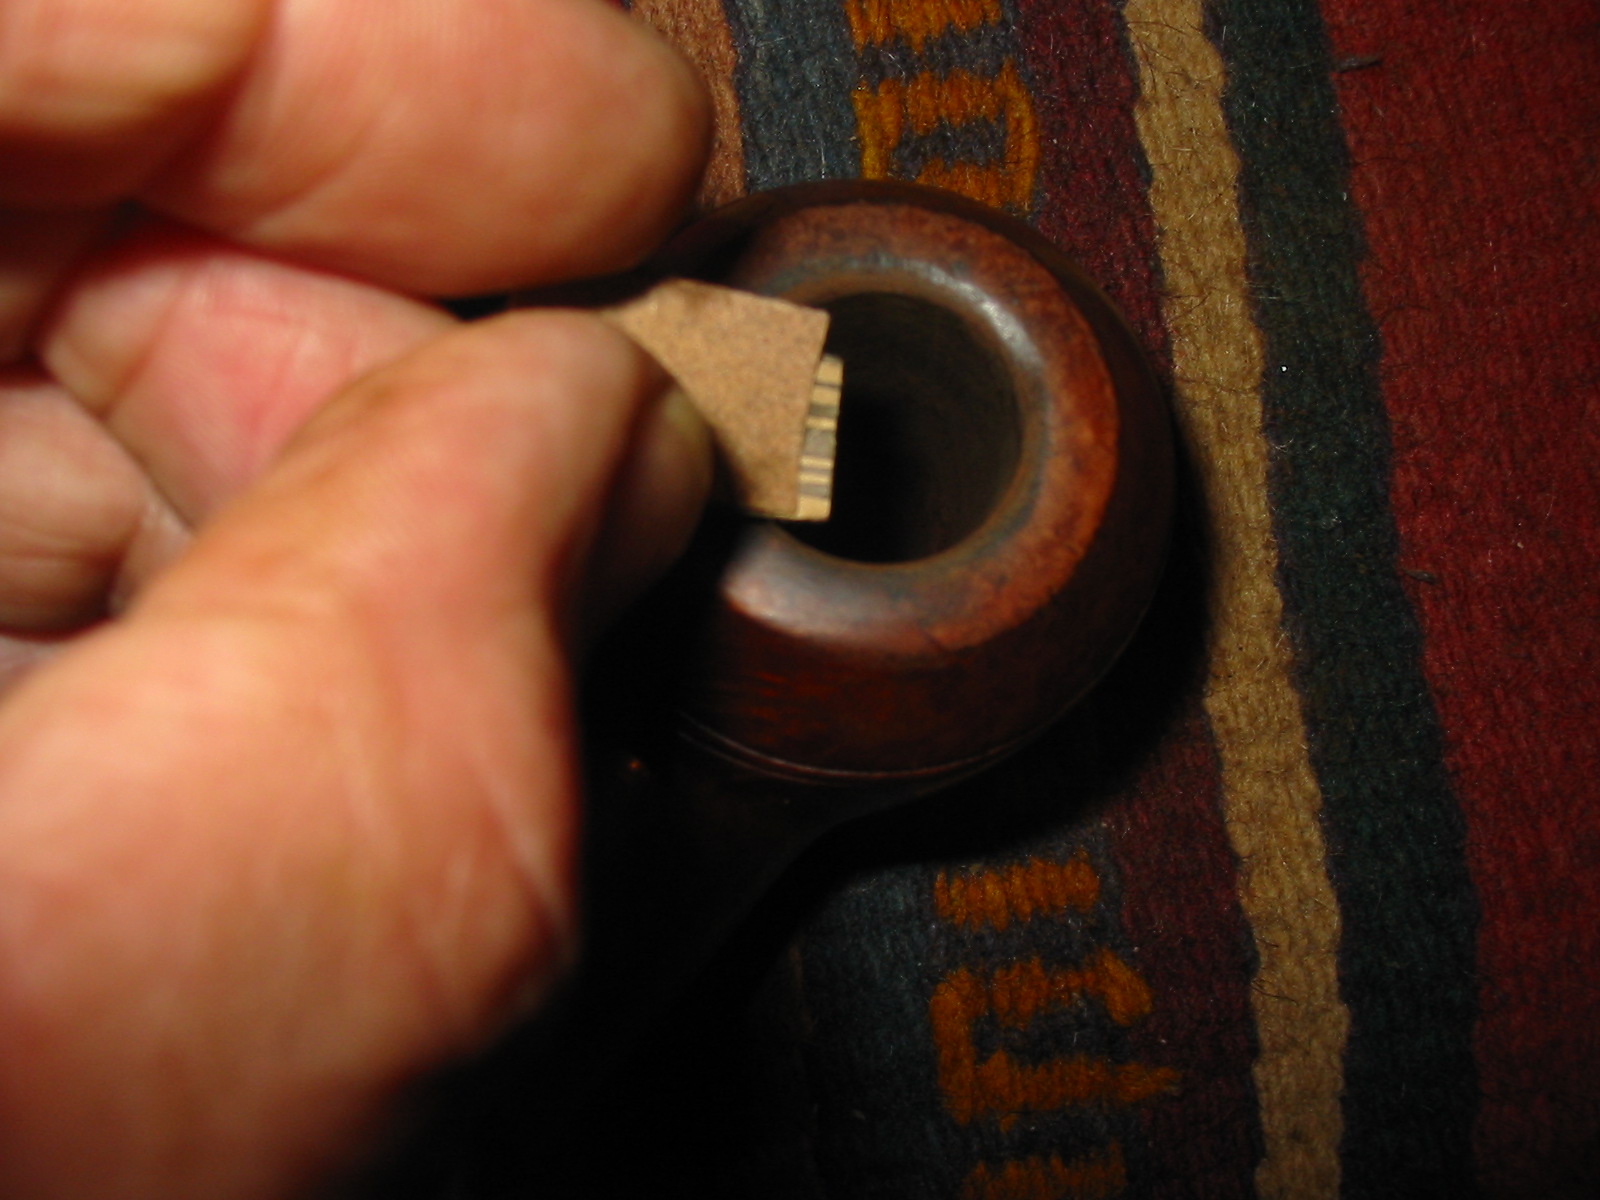
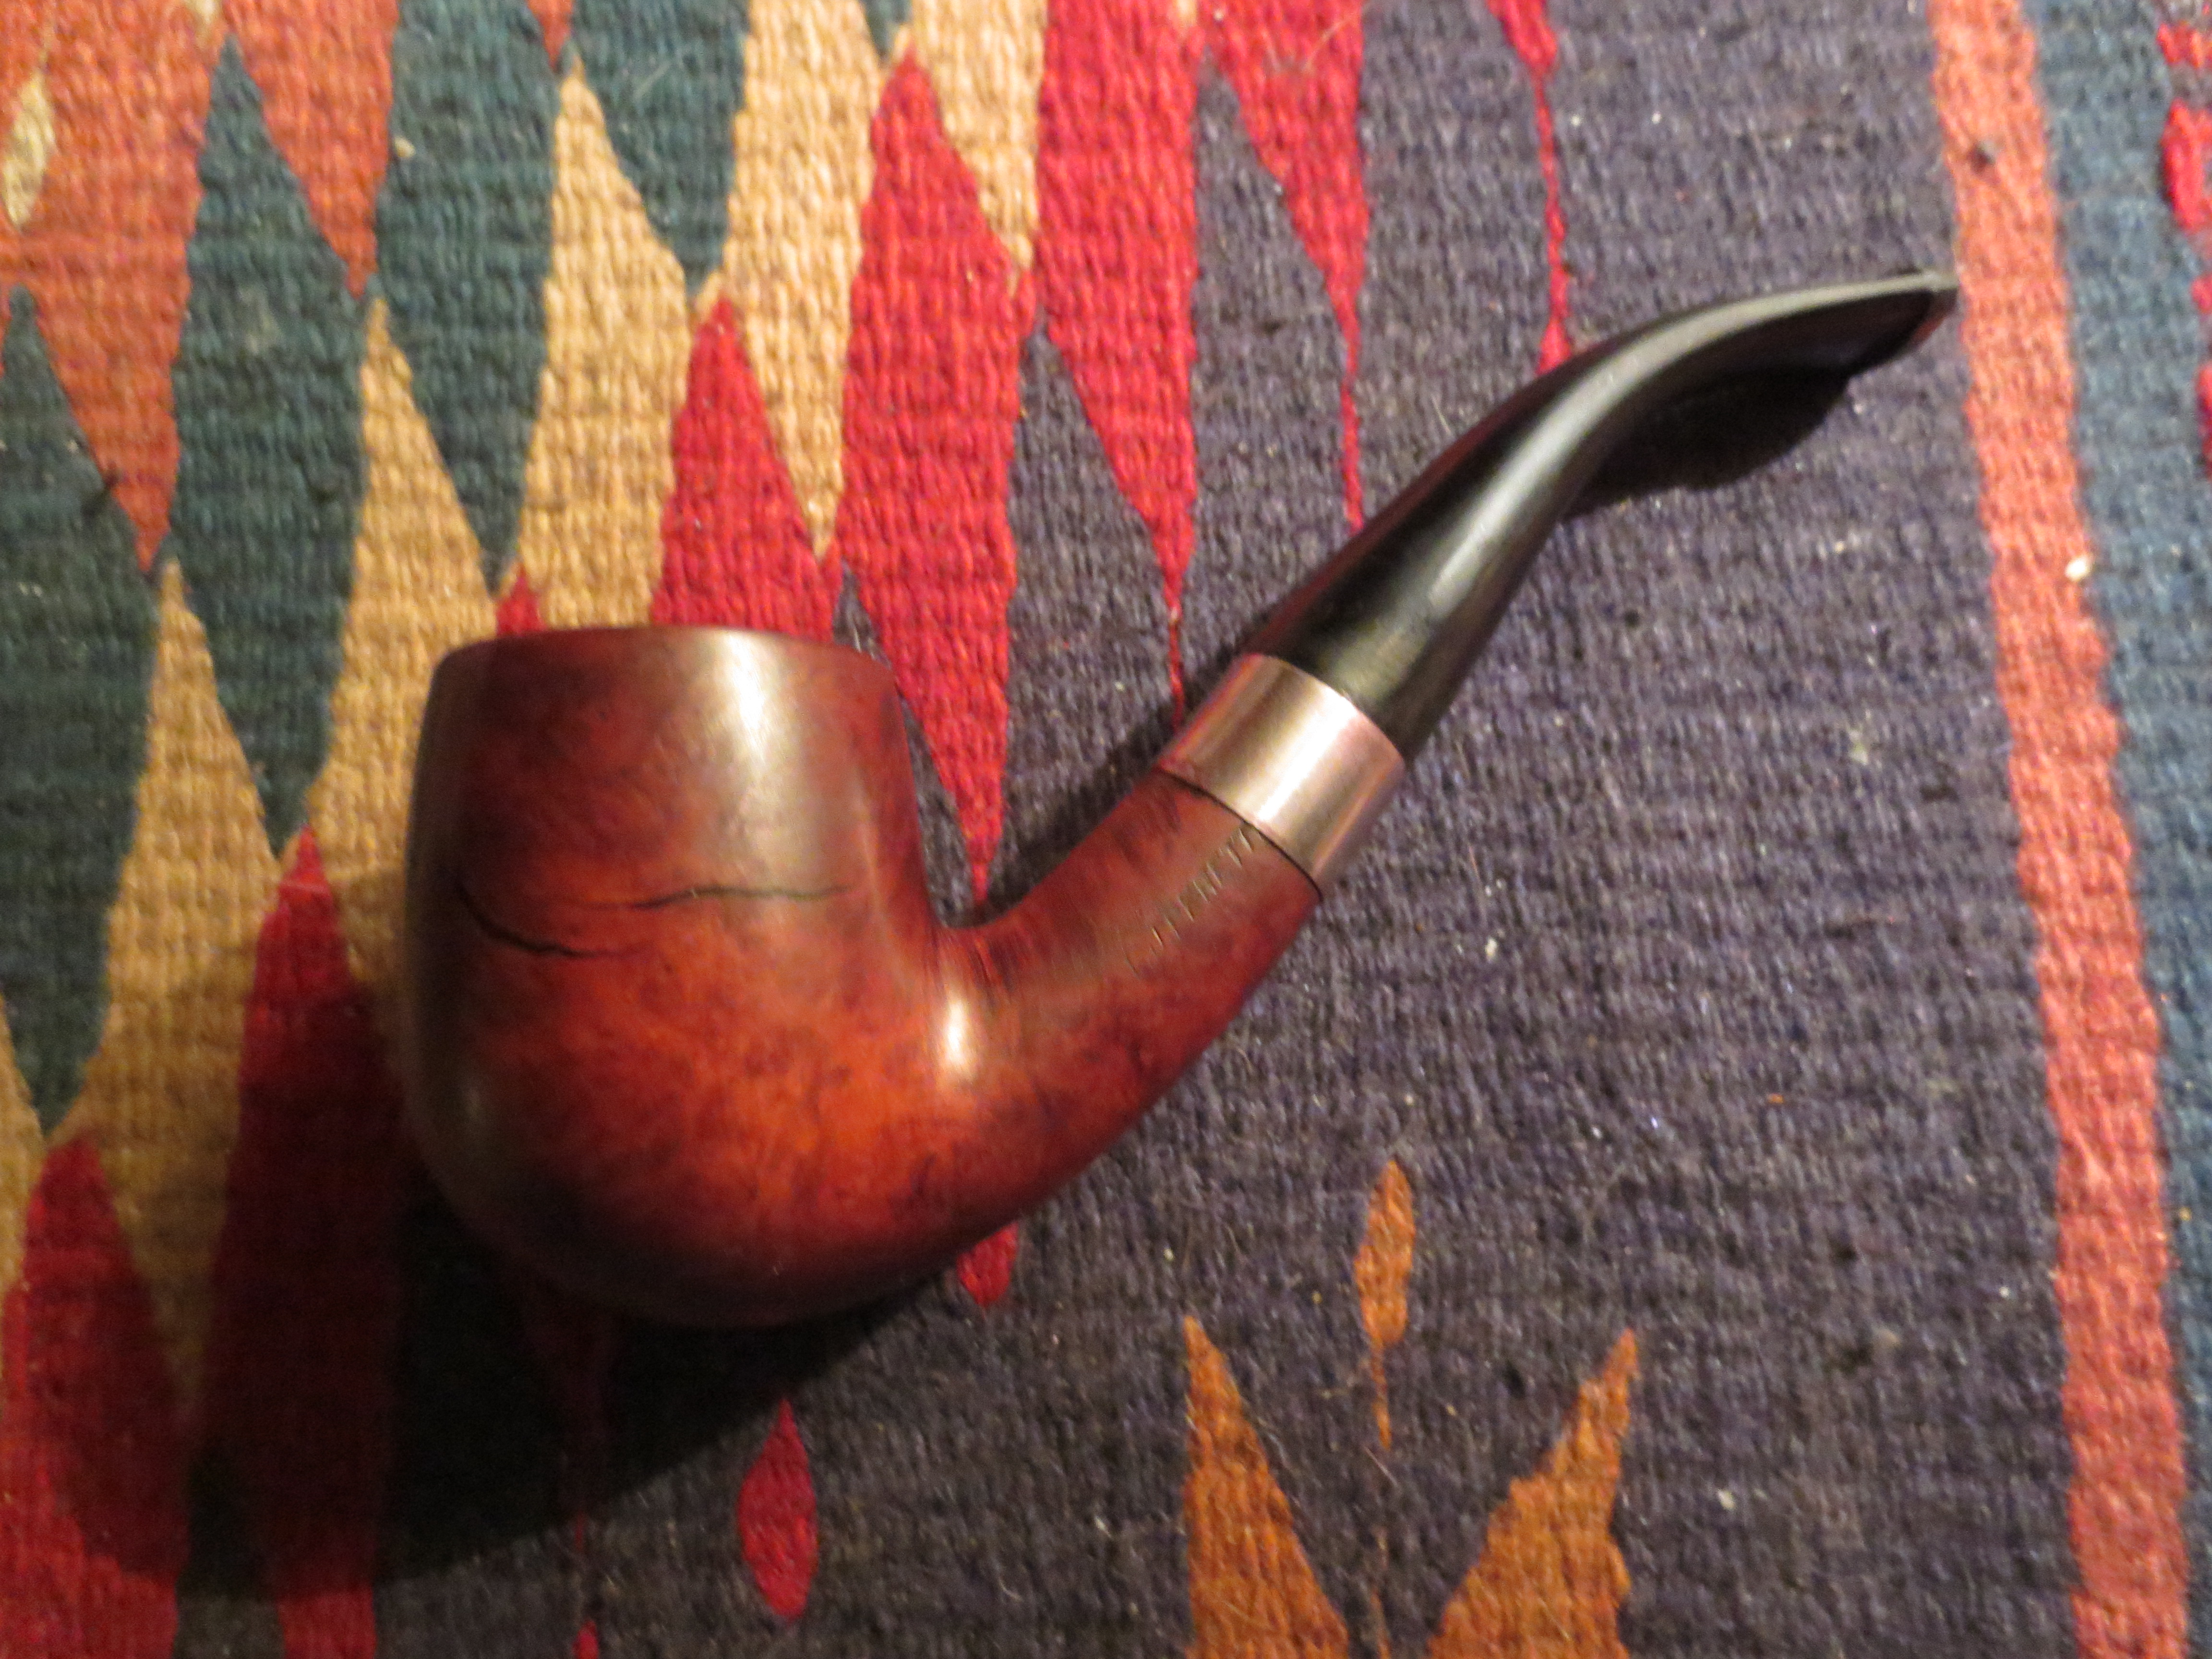
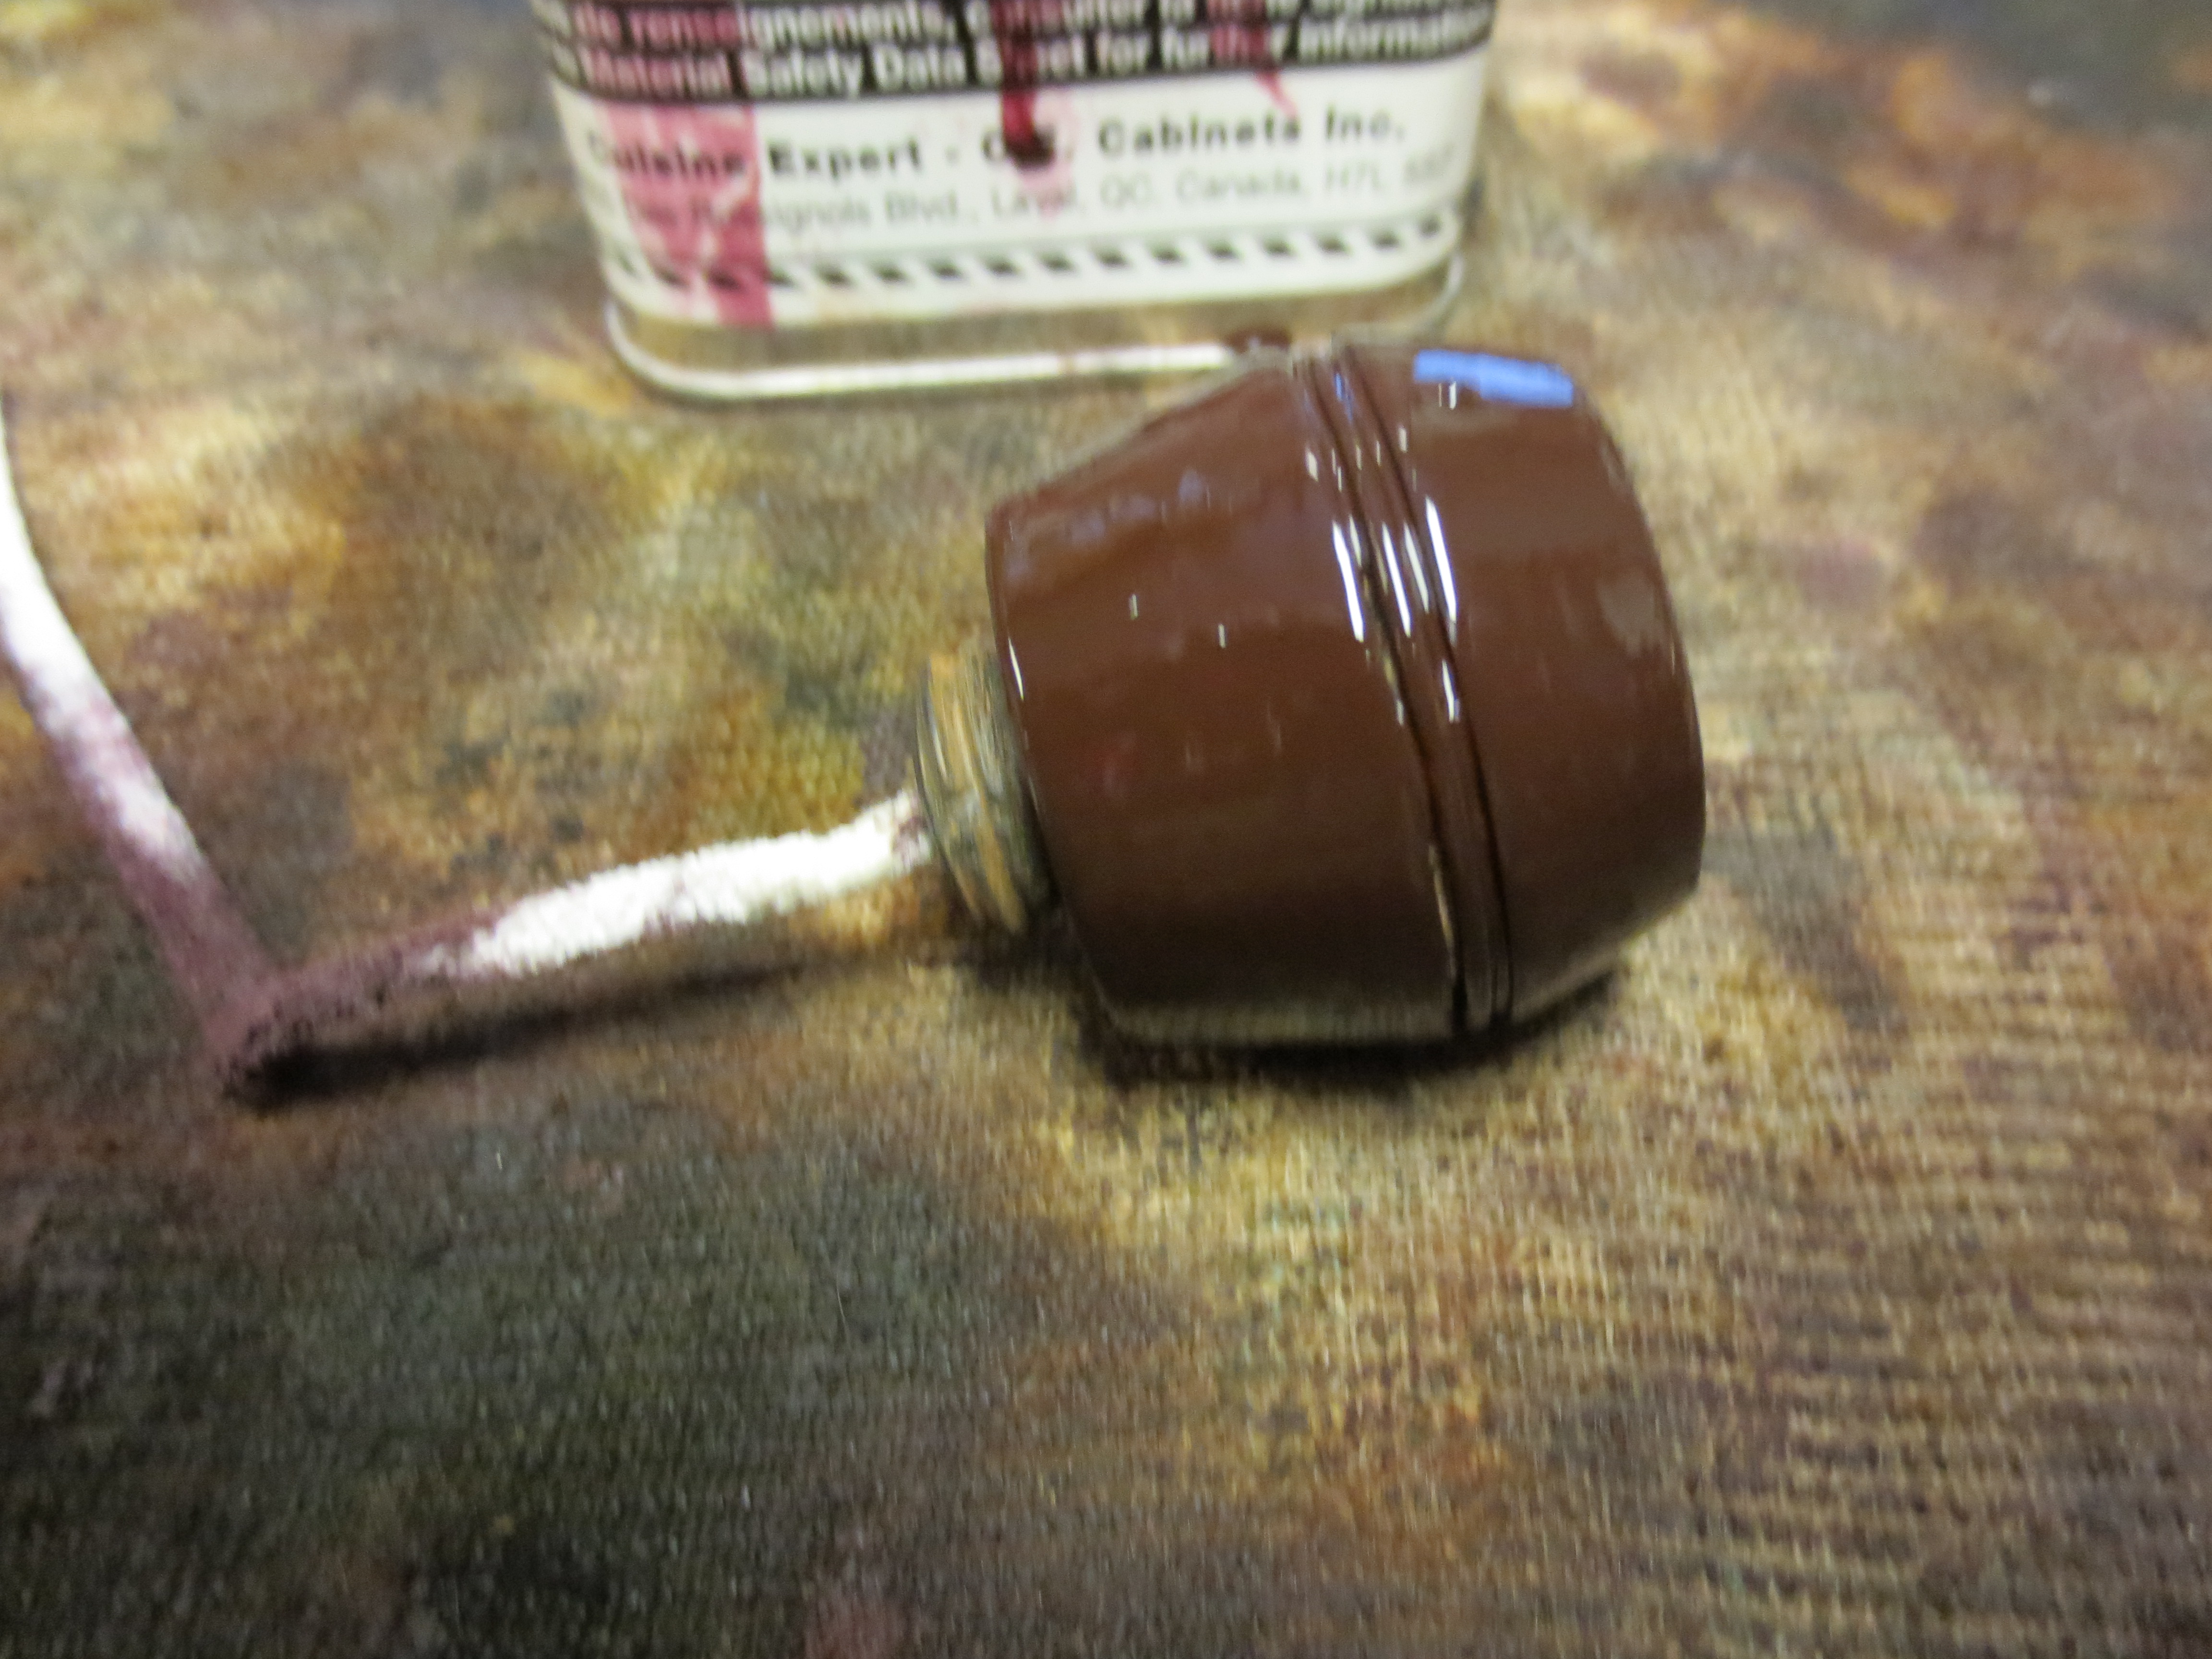
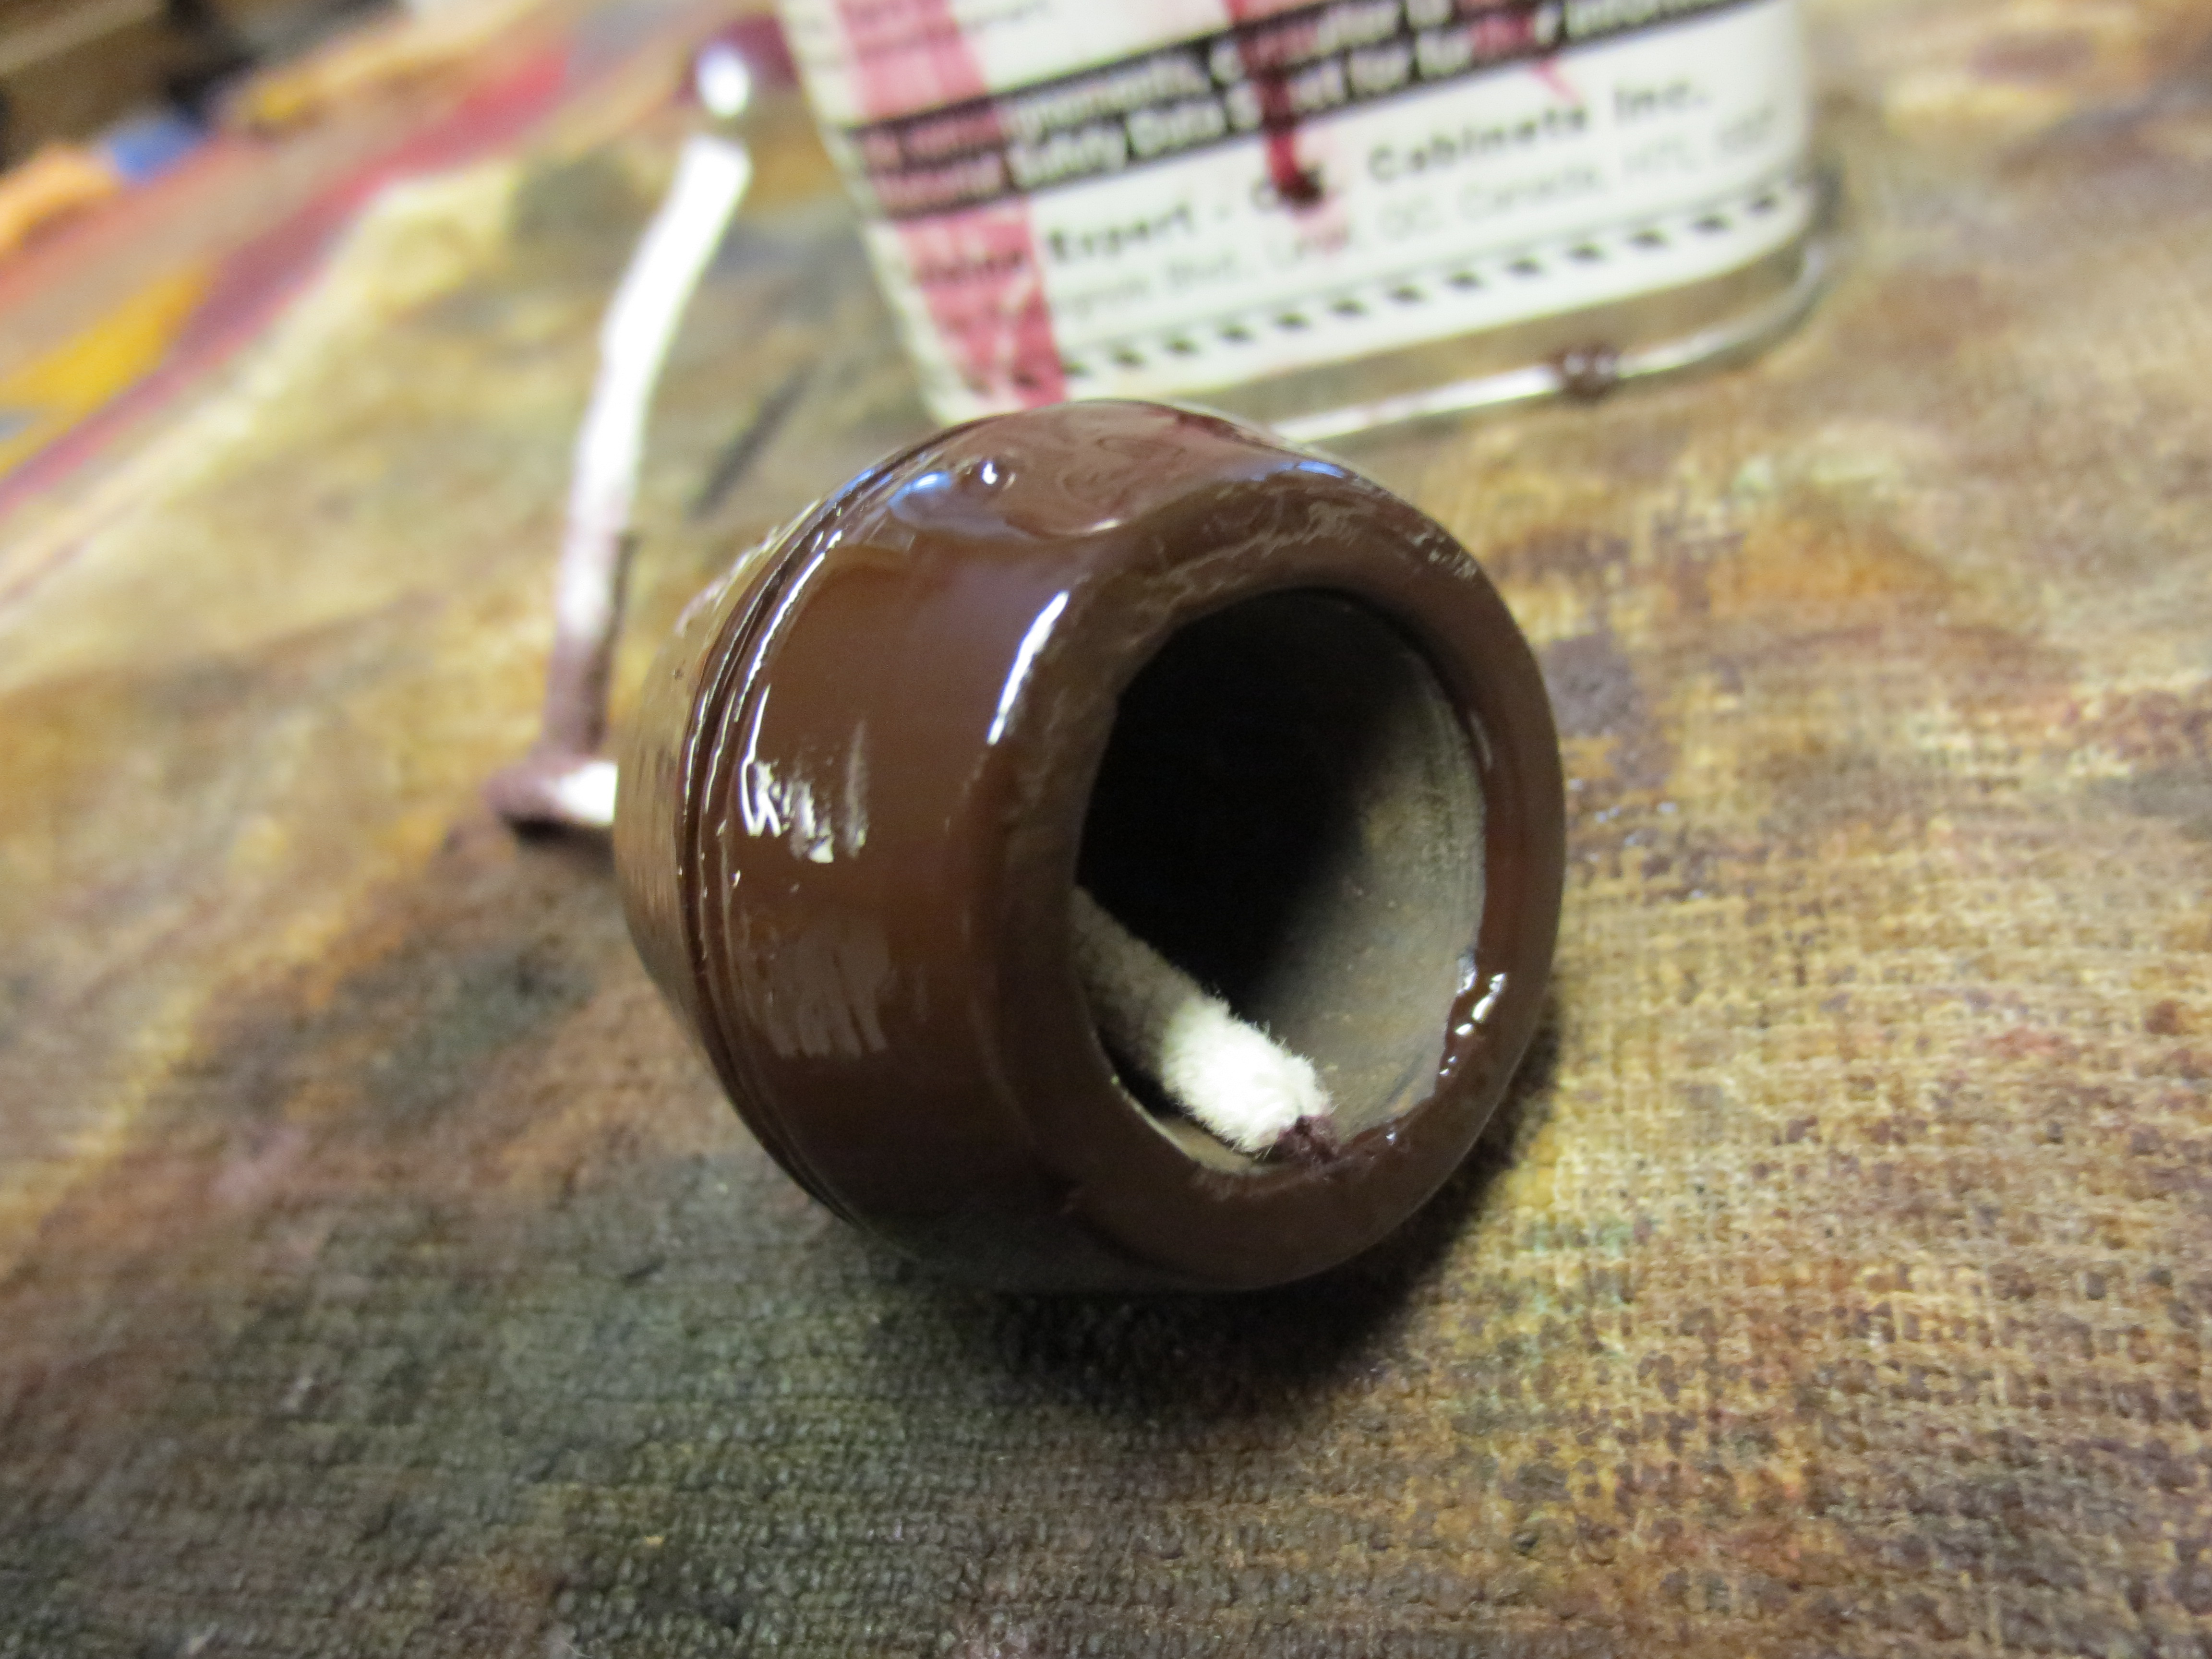
I decided to restain this old timer with an opaque oxblood aniline based stain. I wanted the opacity so that the dark stains would be minimized beneath the new stain and would eventually be blended in through smoking the pipe. I applied the stain and then flamed it. After flaming I hand buffed it to remove the excess stain. I also used a cotton pad and a dental pick to clean out the grooves on the bowl.

Stained with oxblood stain.

Stained with oxblood stain.
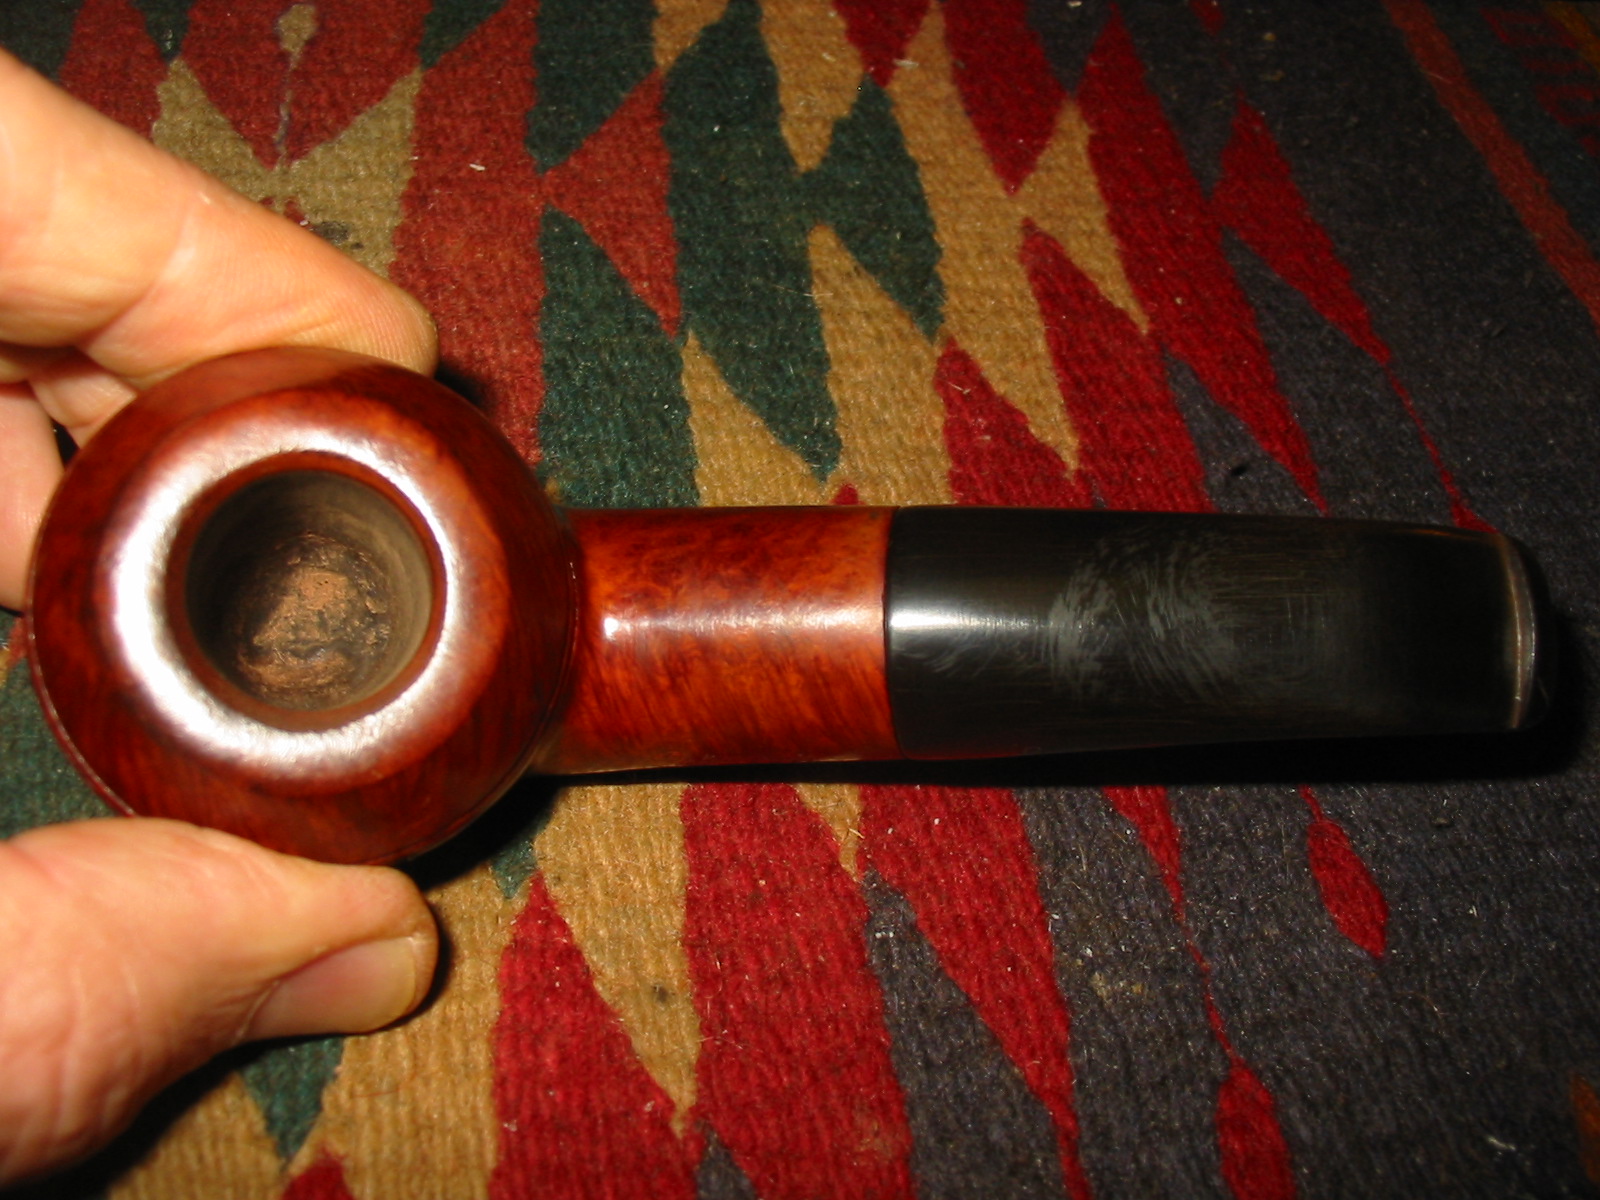
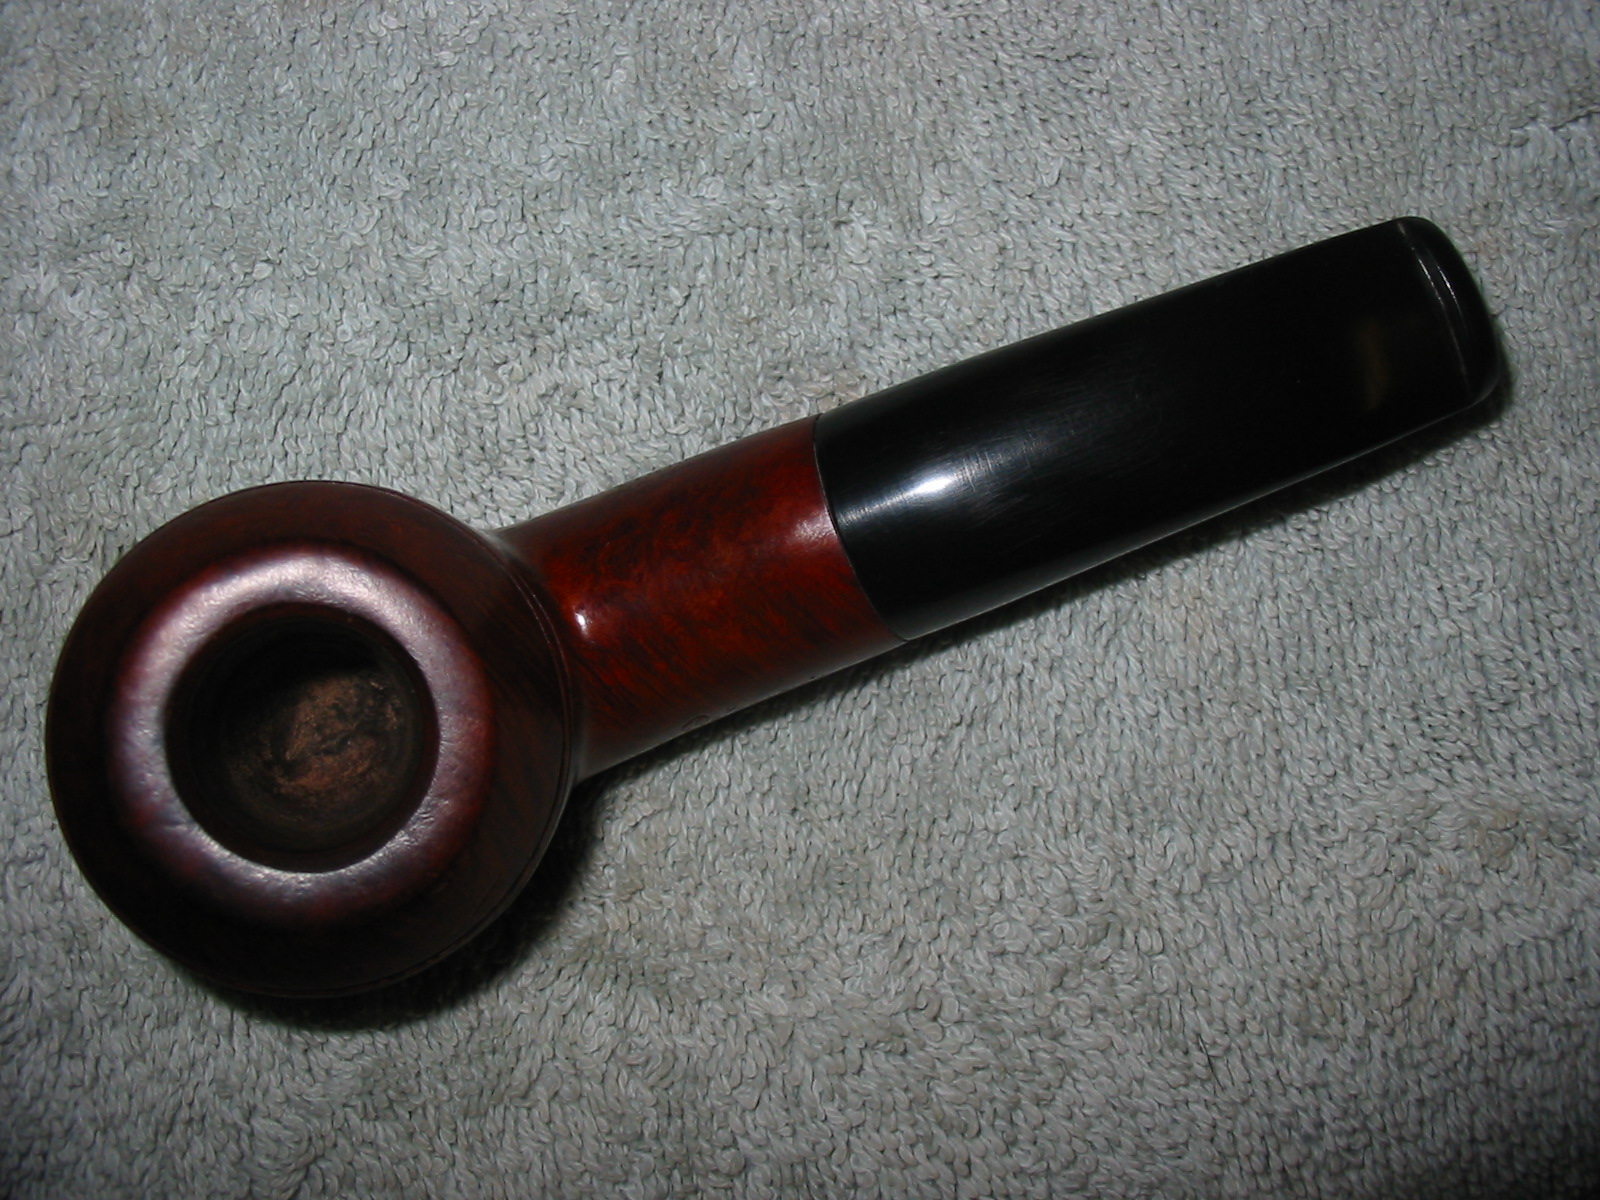
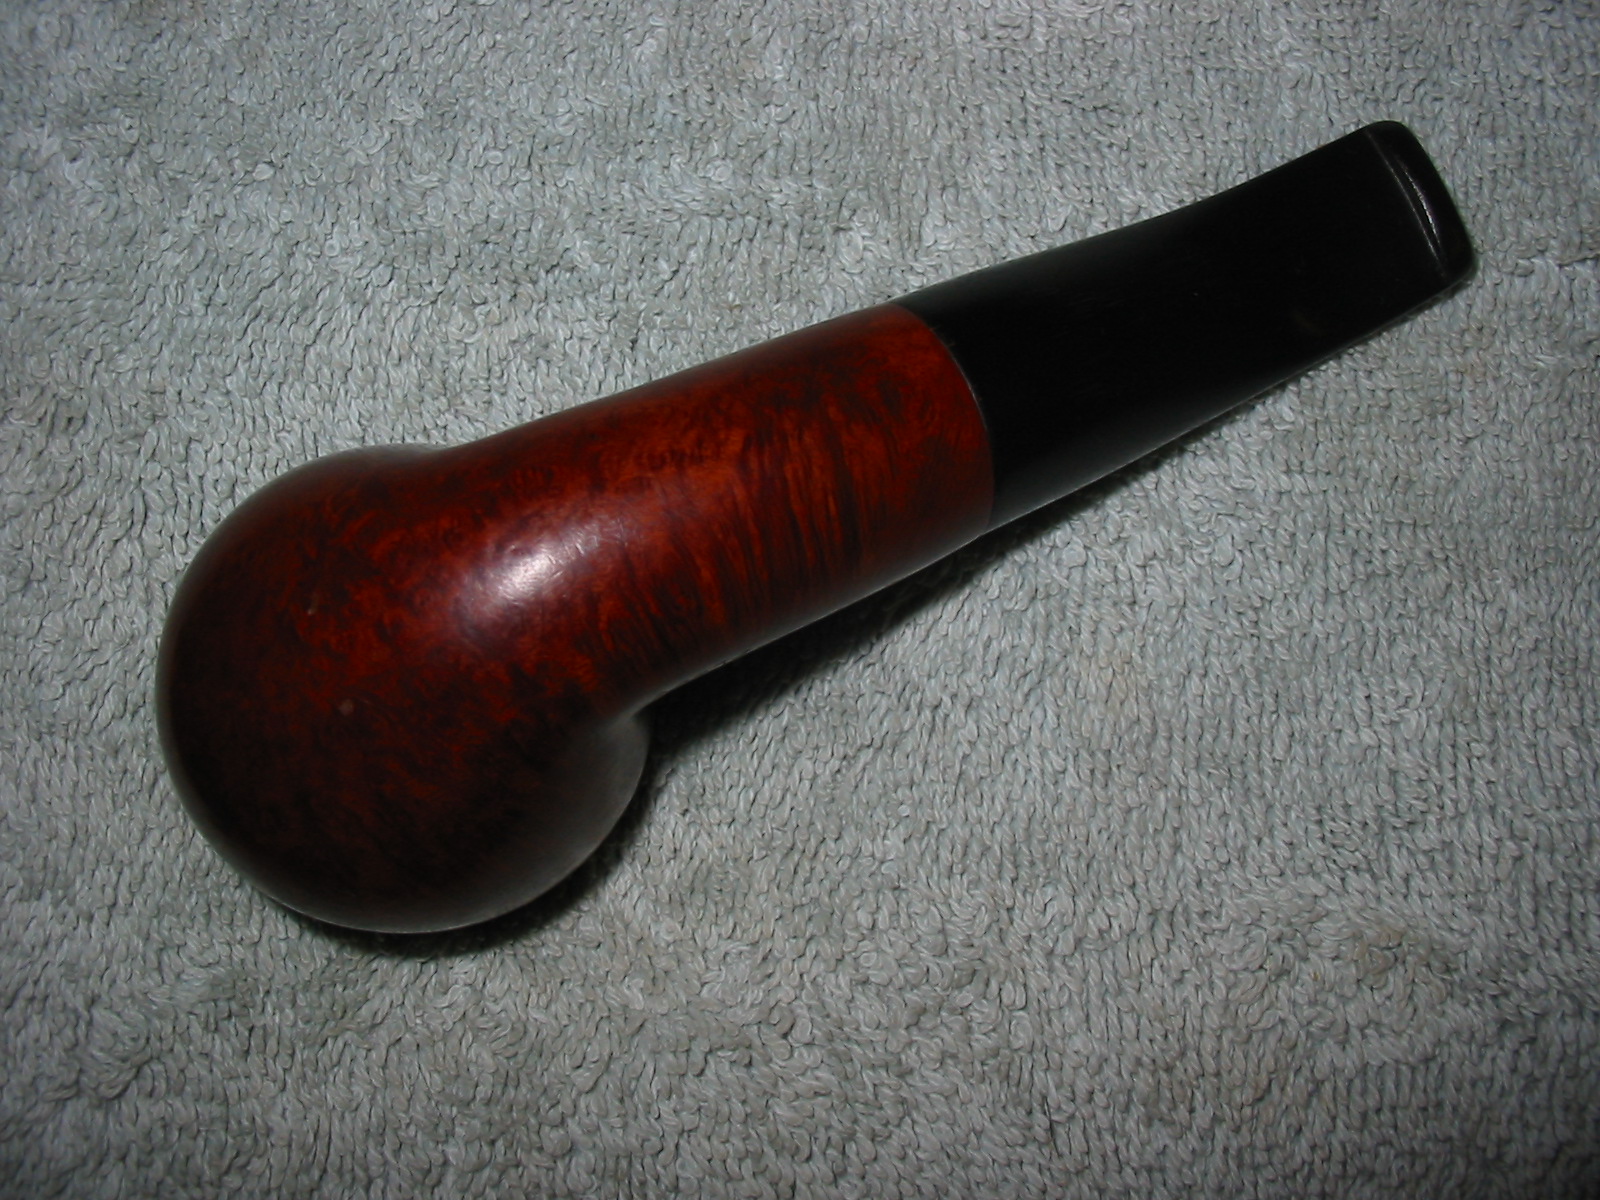
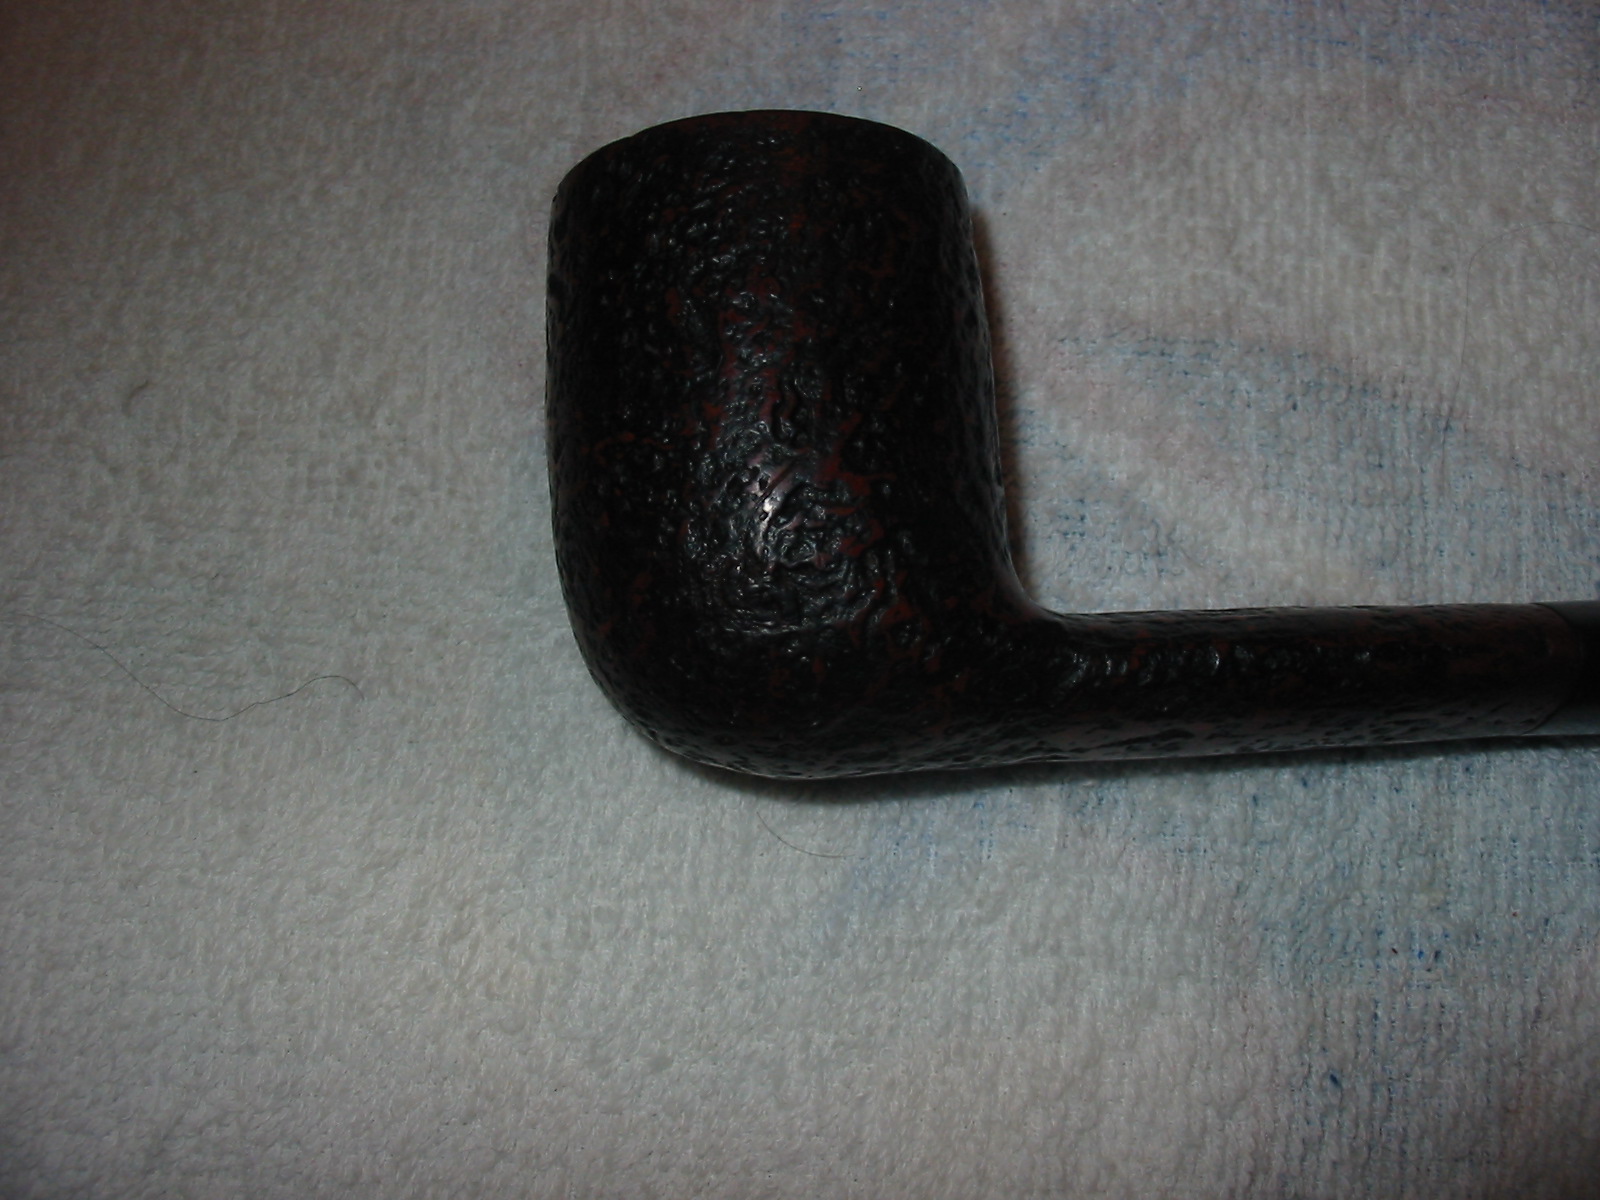
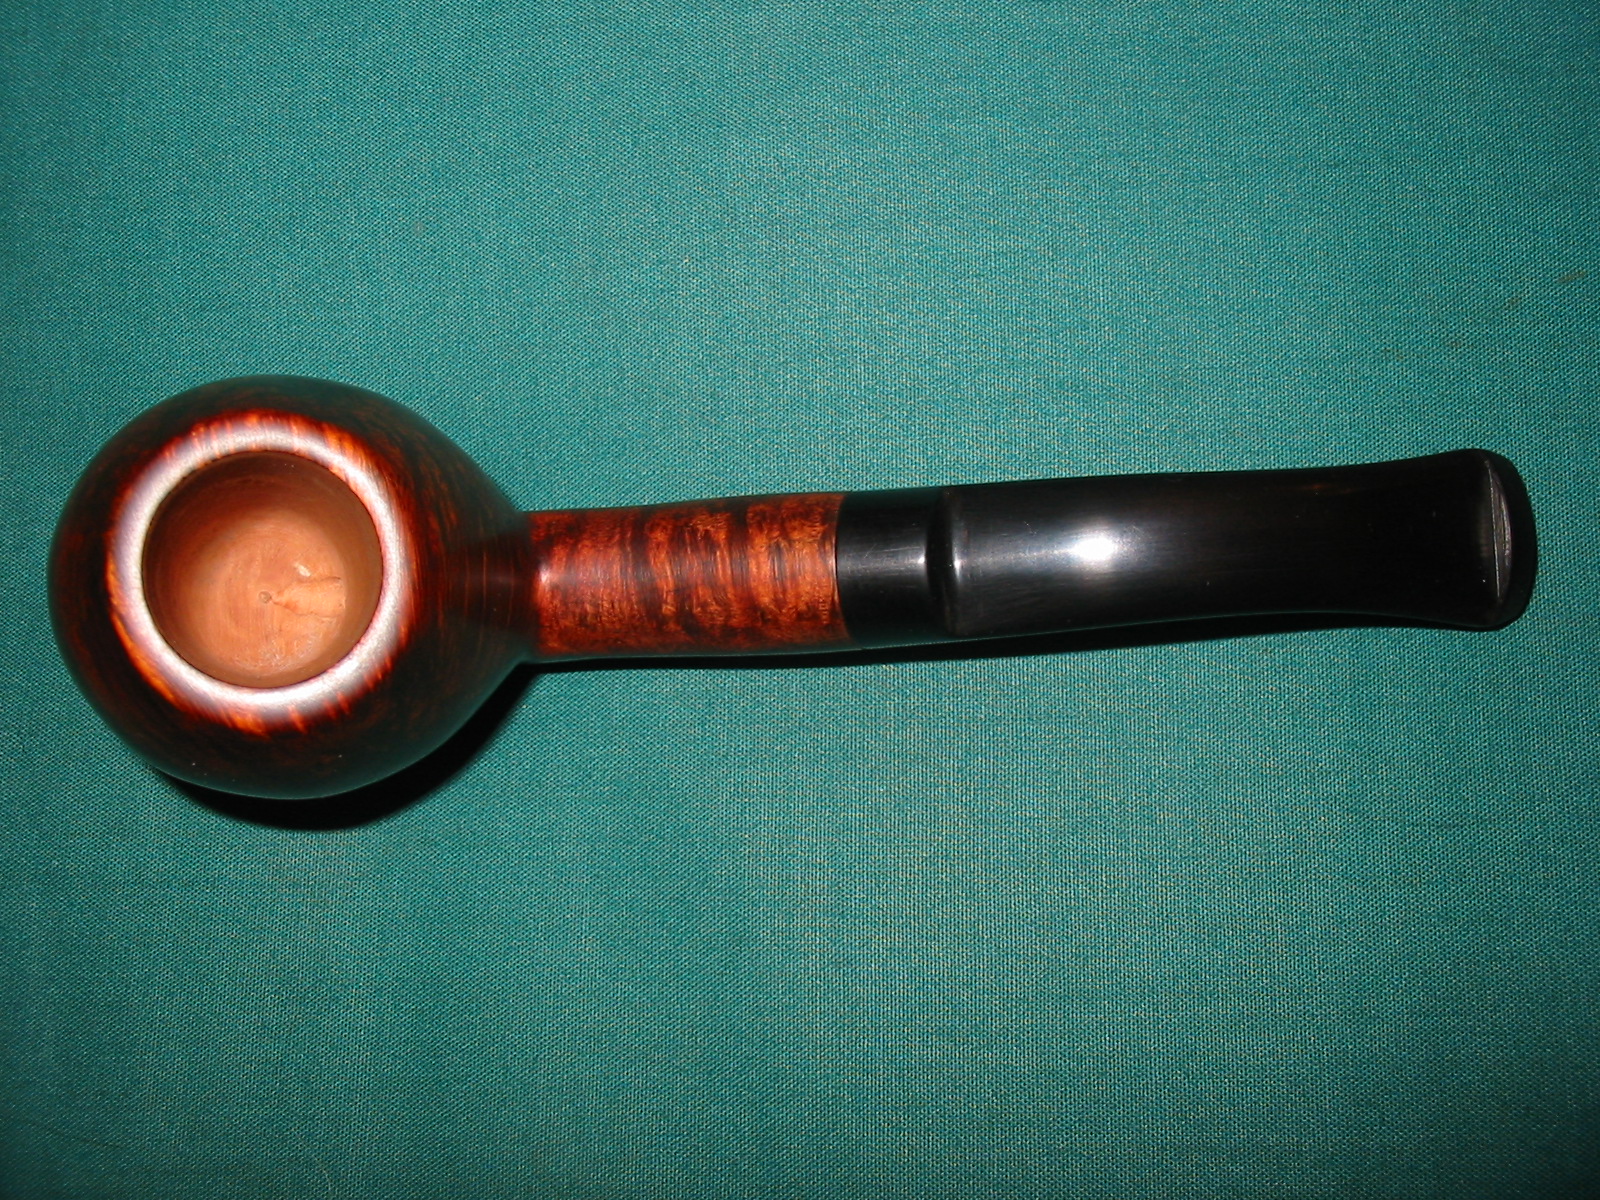
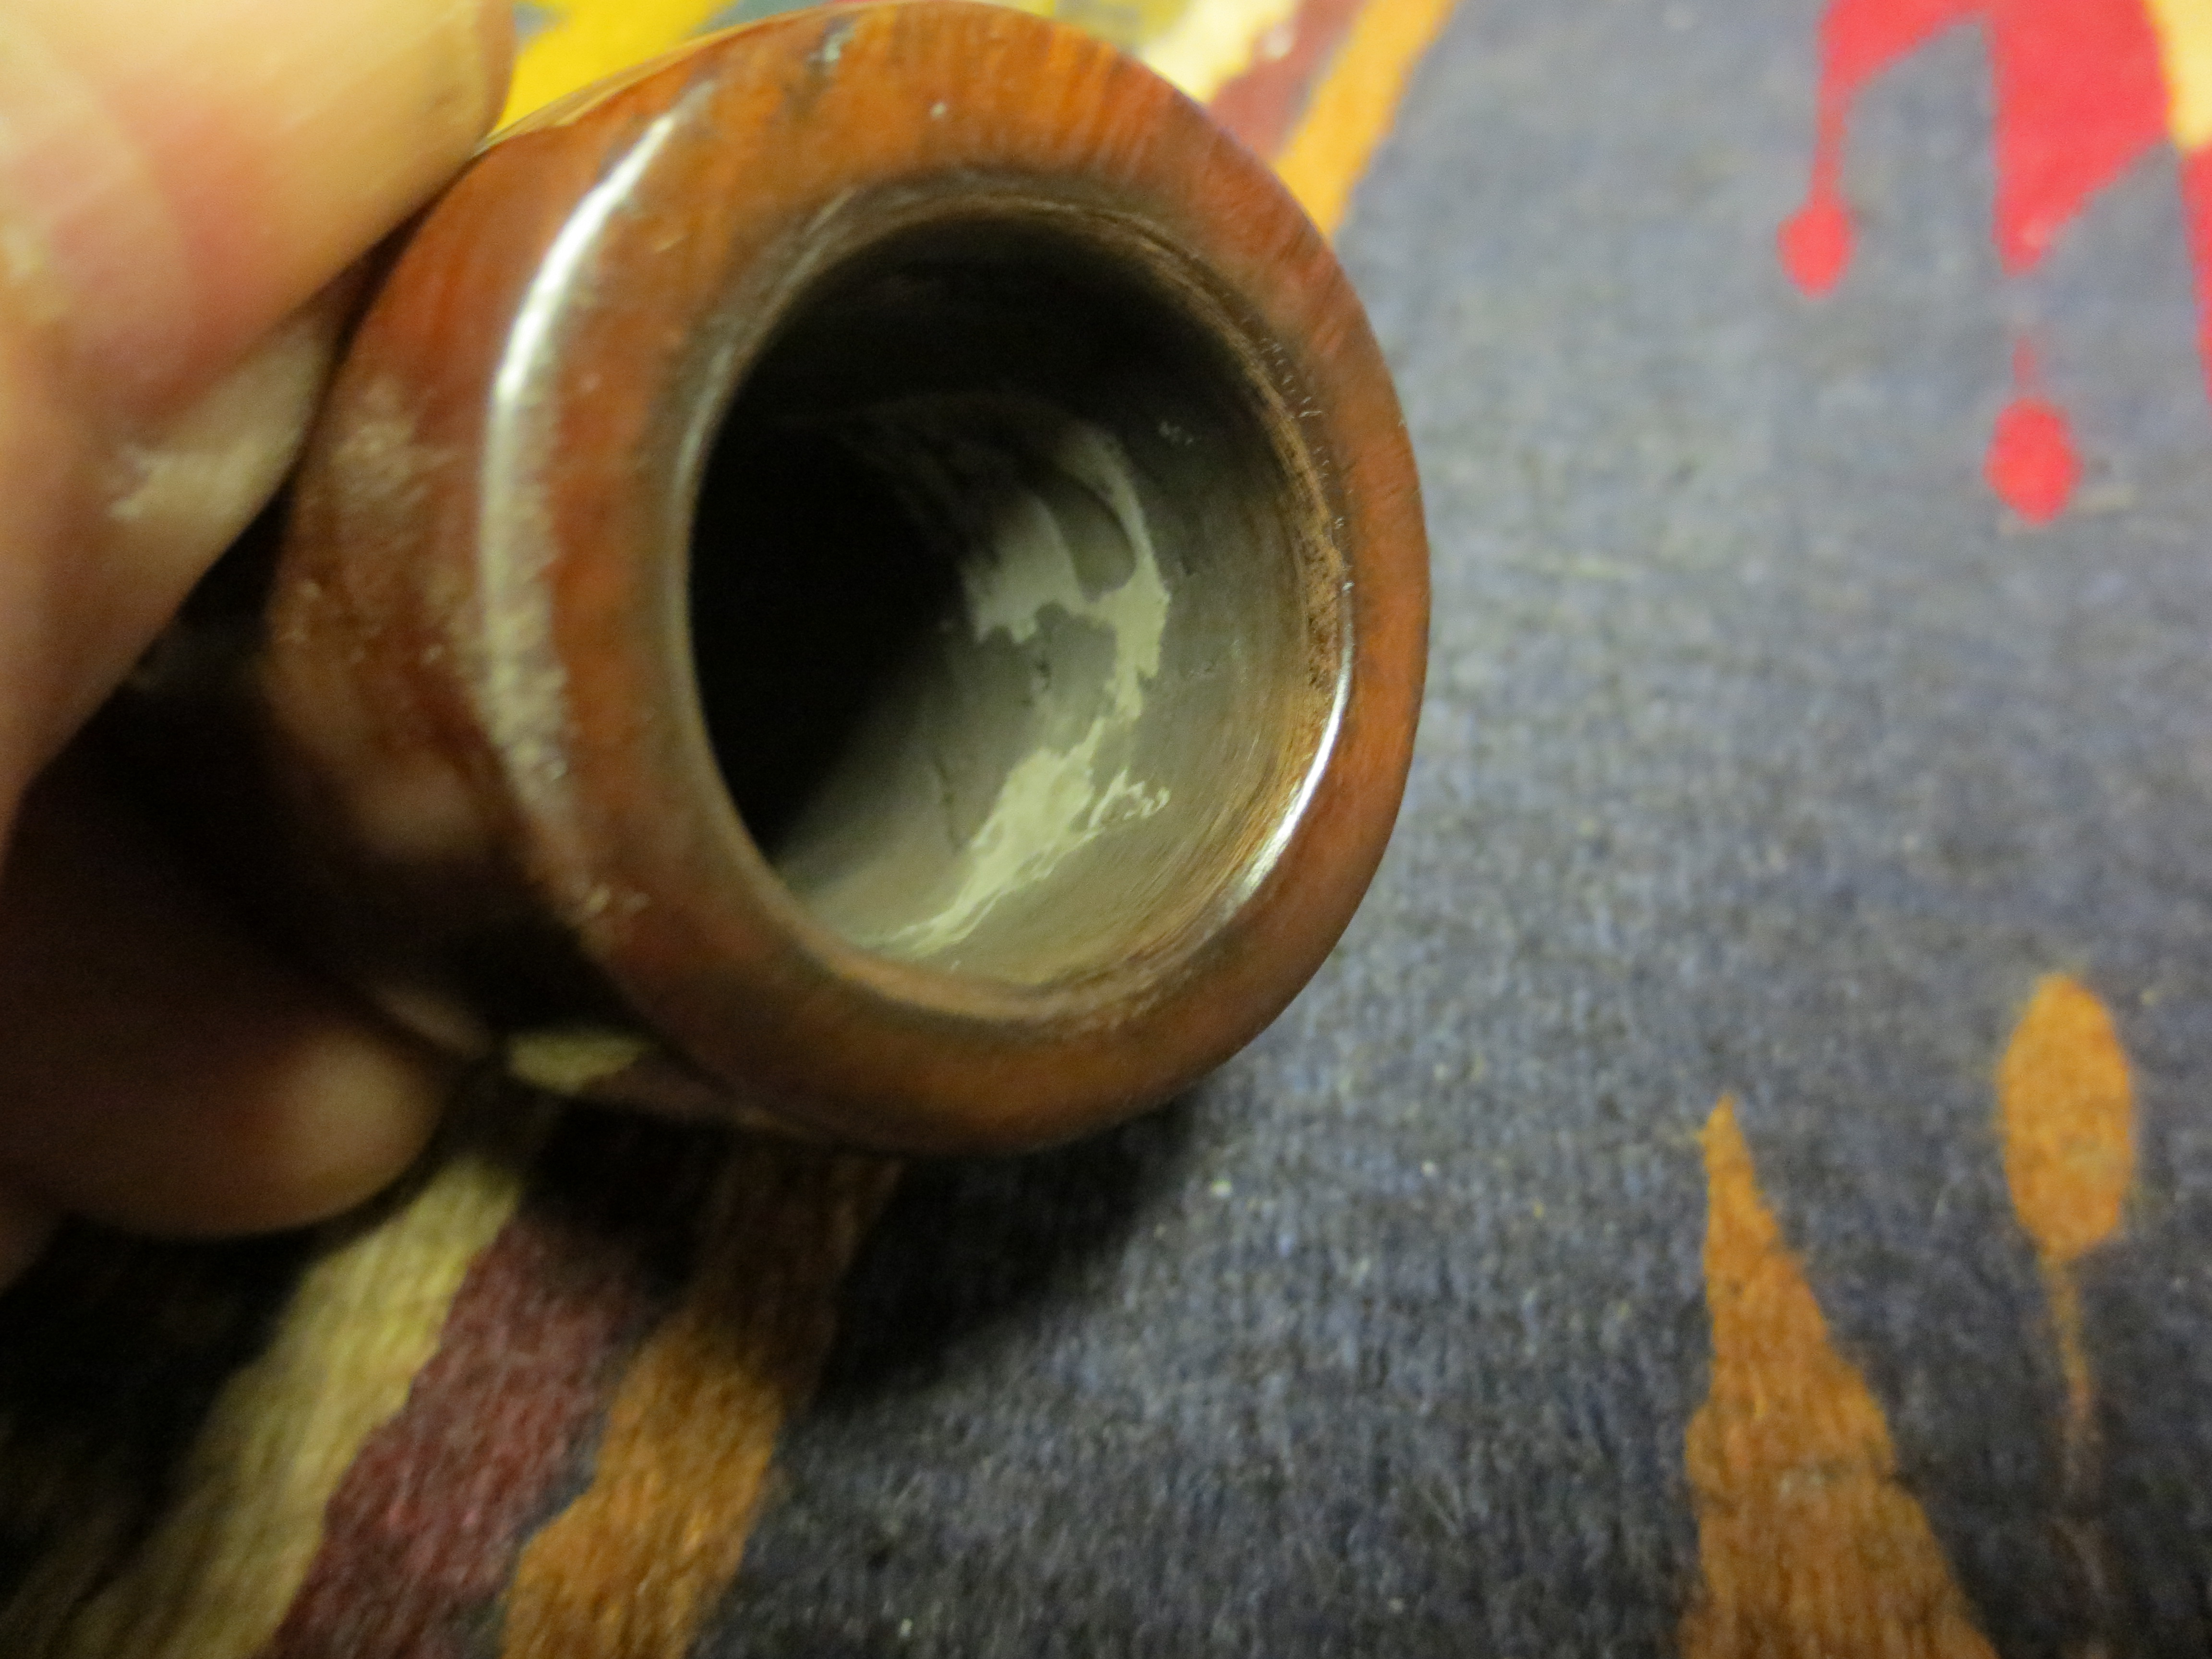
The next series of four photos shows the hand buffed bowl in place on the pipe base. The finish was matte at this point and still needed to be taken to the buffer to raise the shine. The third photo shows the rim. The surface is smooth but there is still damage to the inner edge of the rim. I chose to leave that without reworking it too much. I did not want to change the roundness of the inner bowl and decided that I could live with the nicks in the inner edge.

Left side of the pipe with a hand buff on the newly stained bowl.
Right side of the newly stained bowl with a hand buffed surface.
Top view of the hand buffed newly stained bowl.

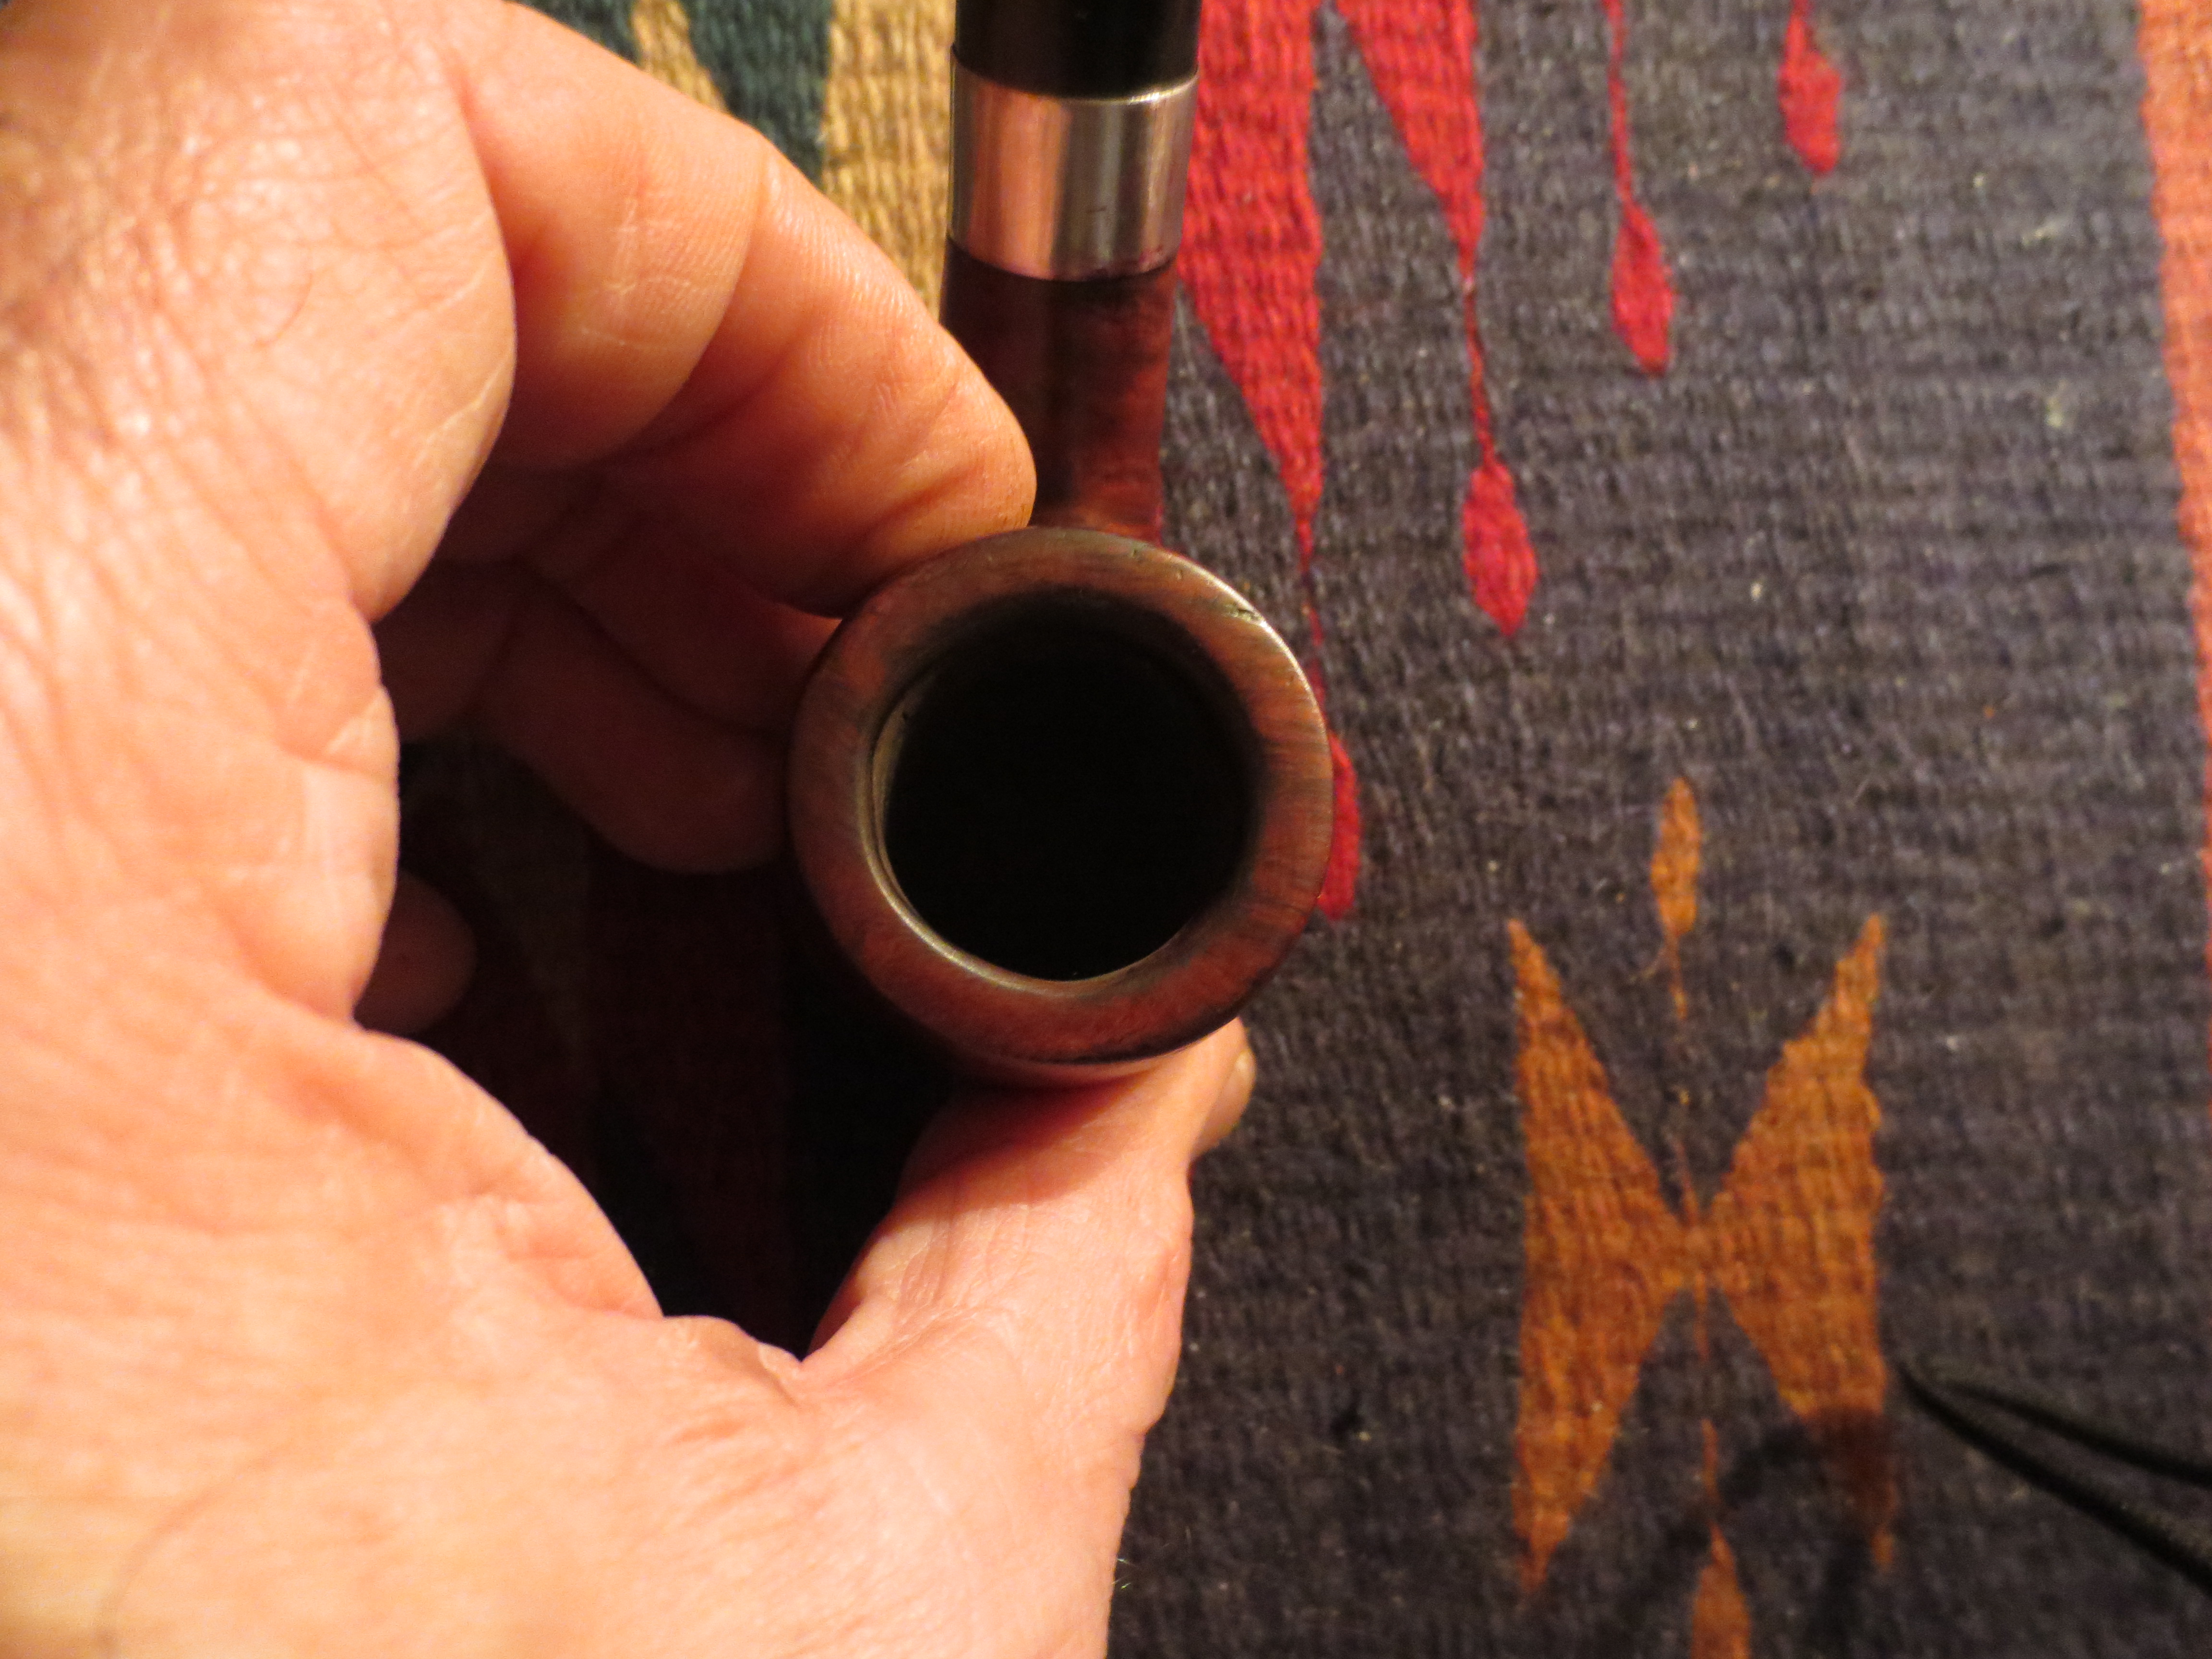
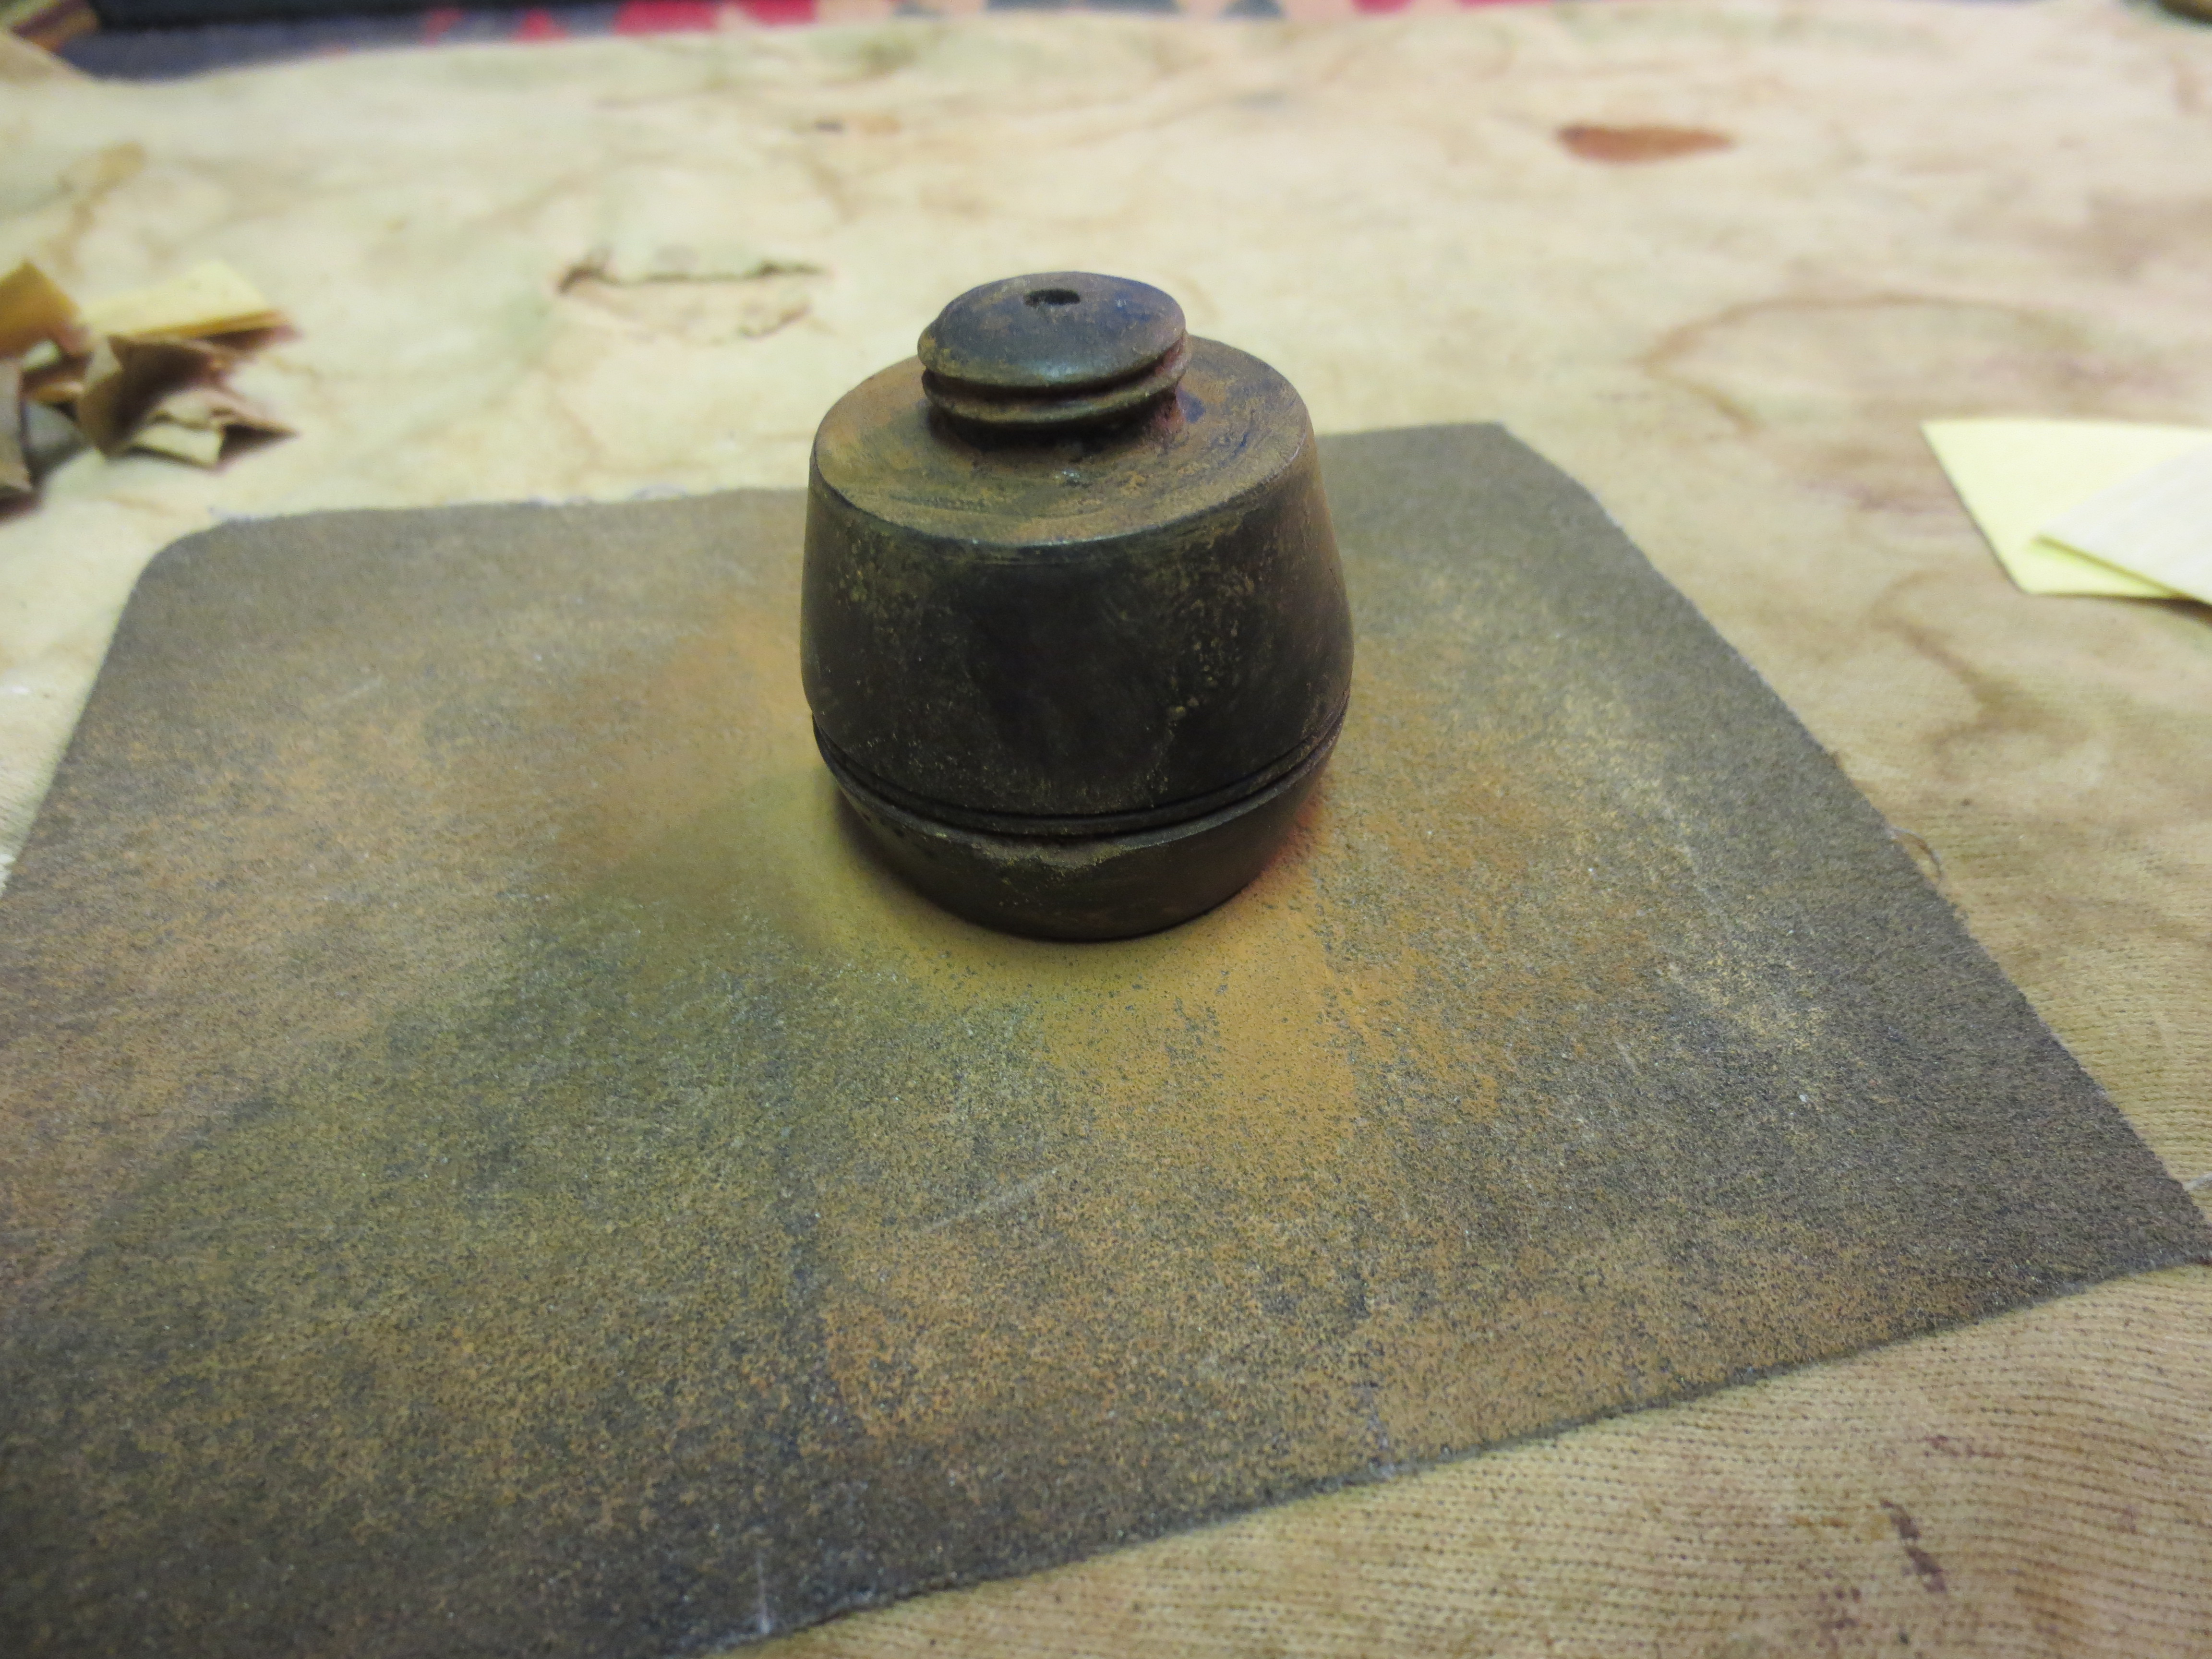
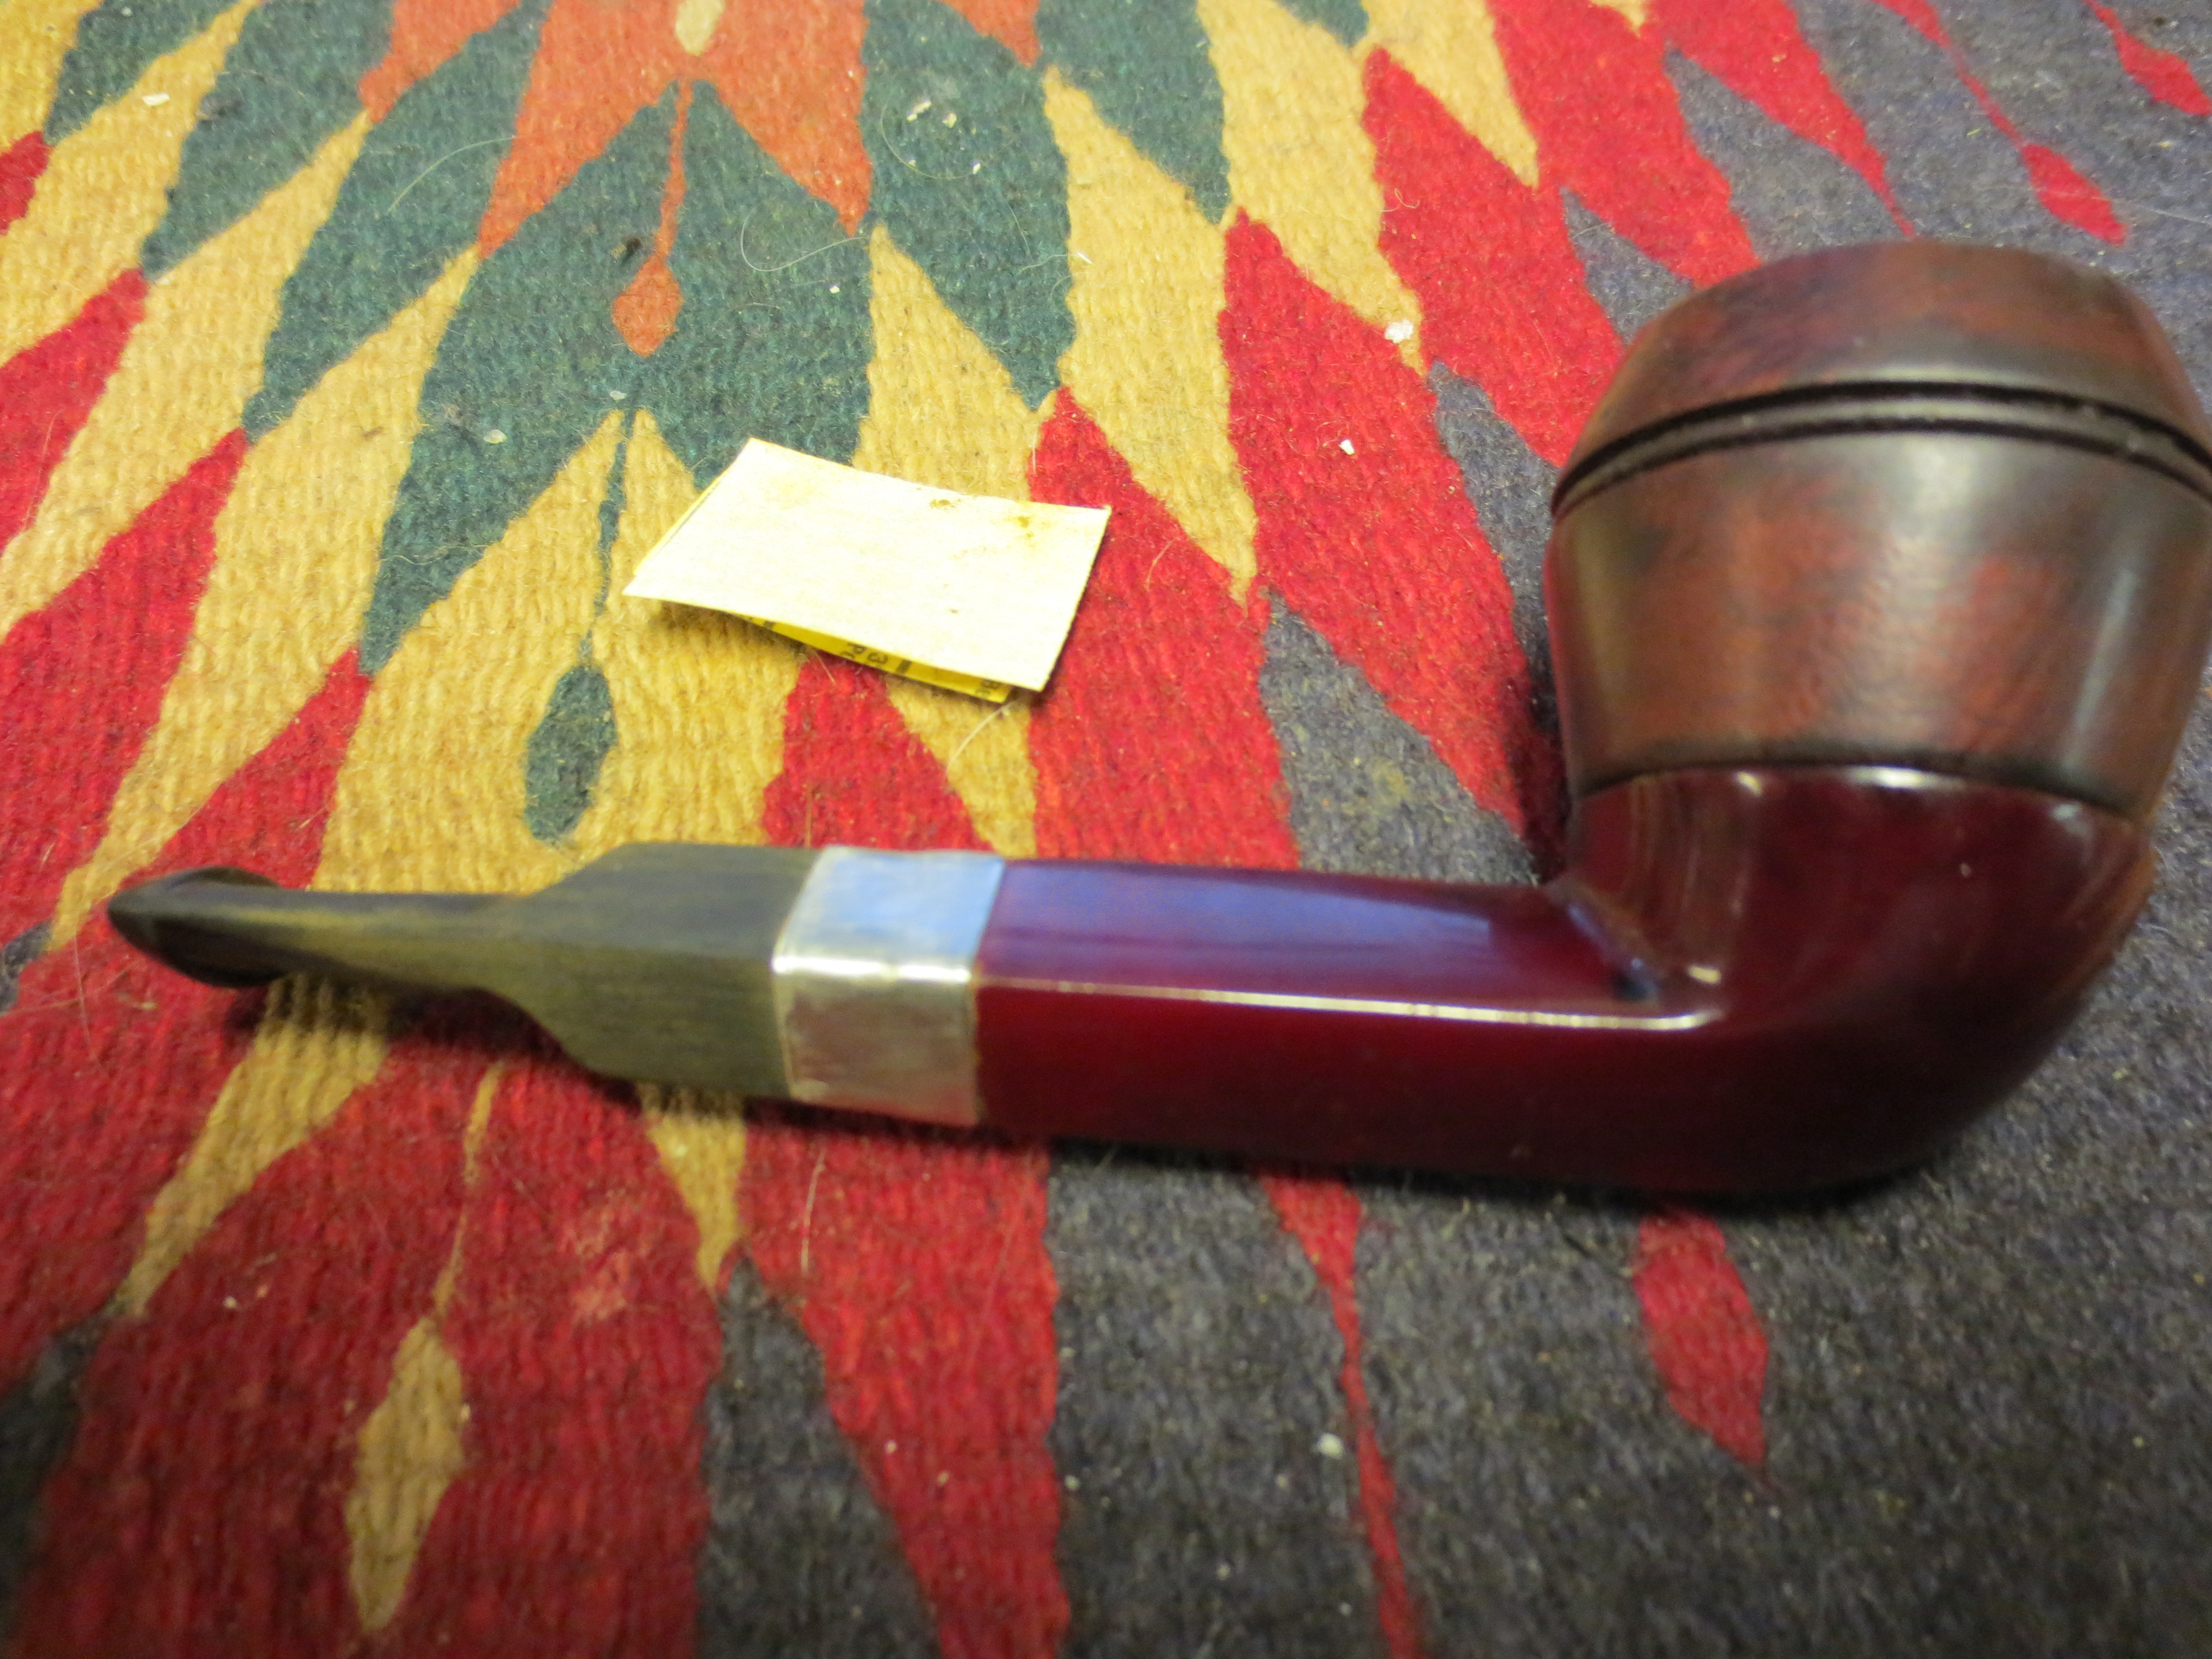
View of the underside of the bowl and Bakelite bowl base.
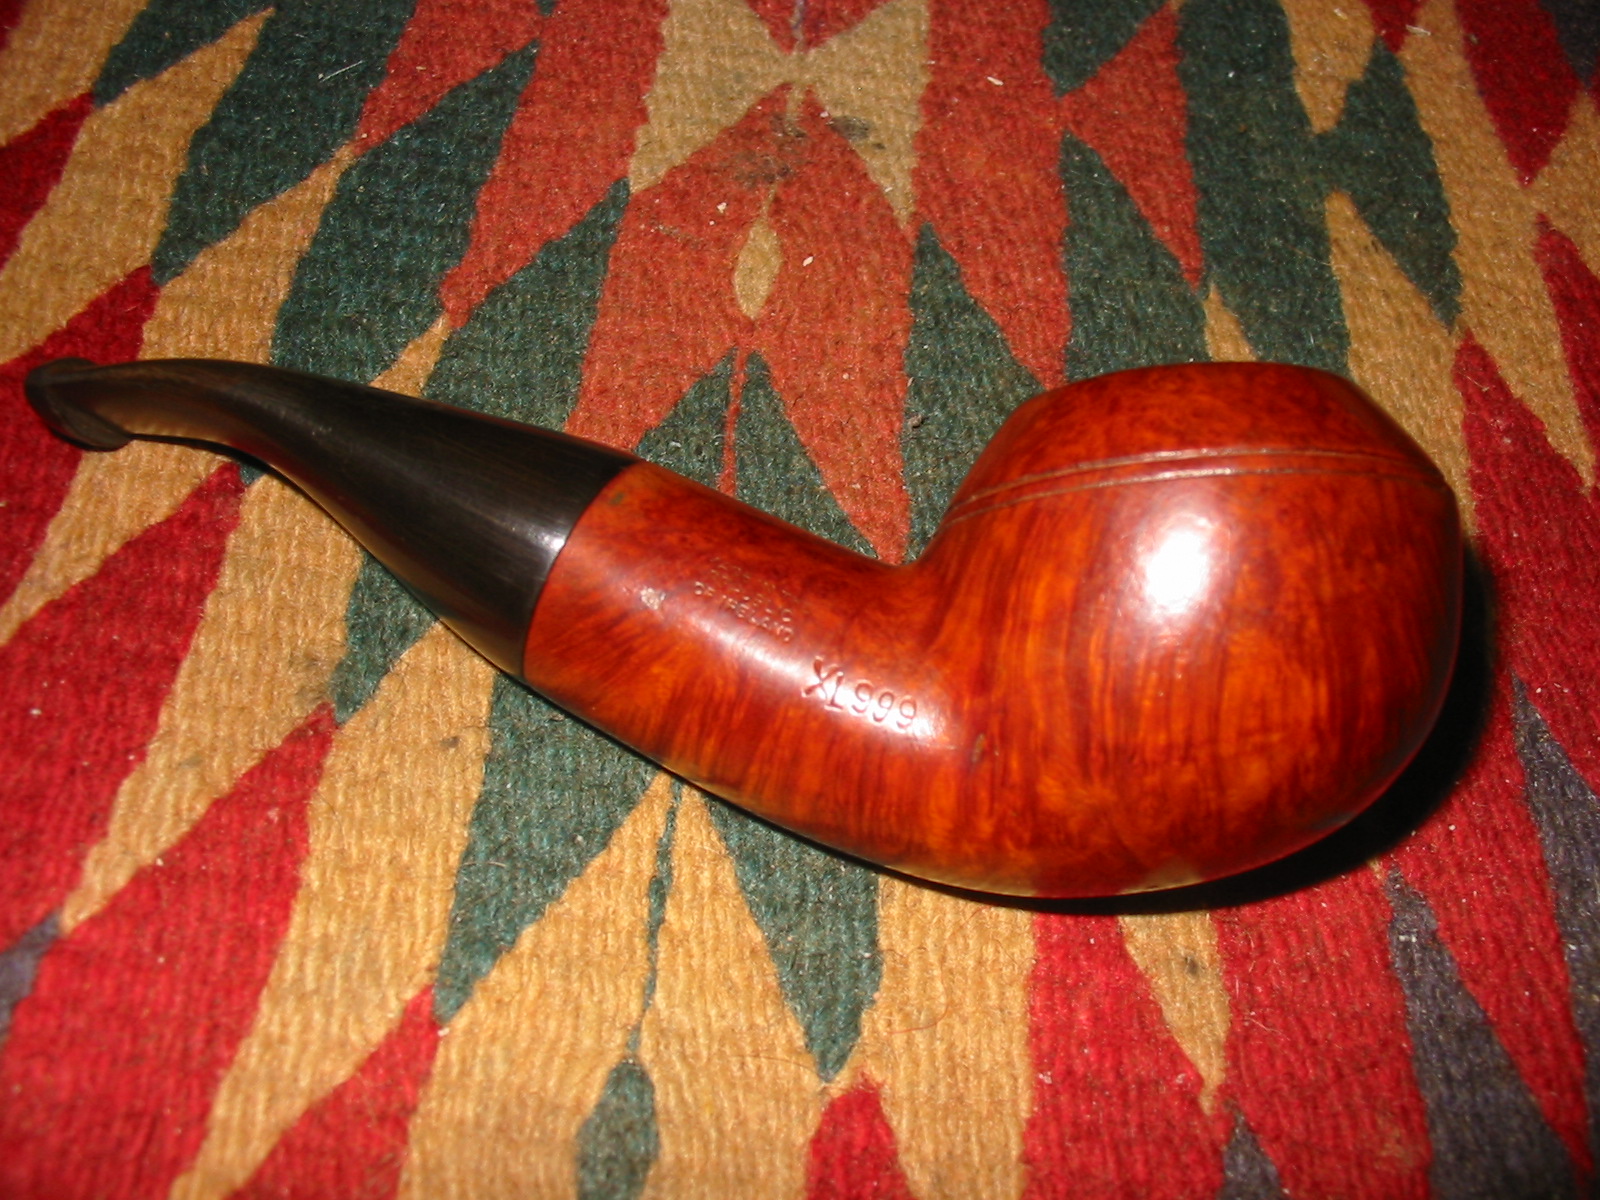
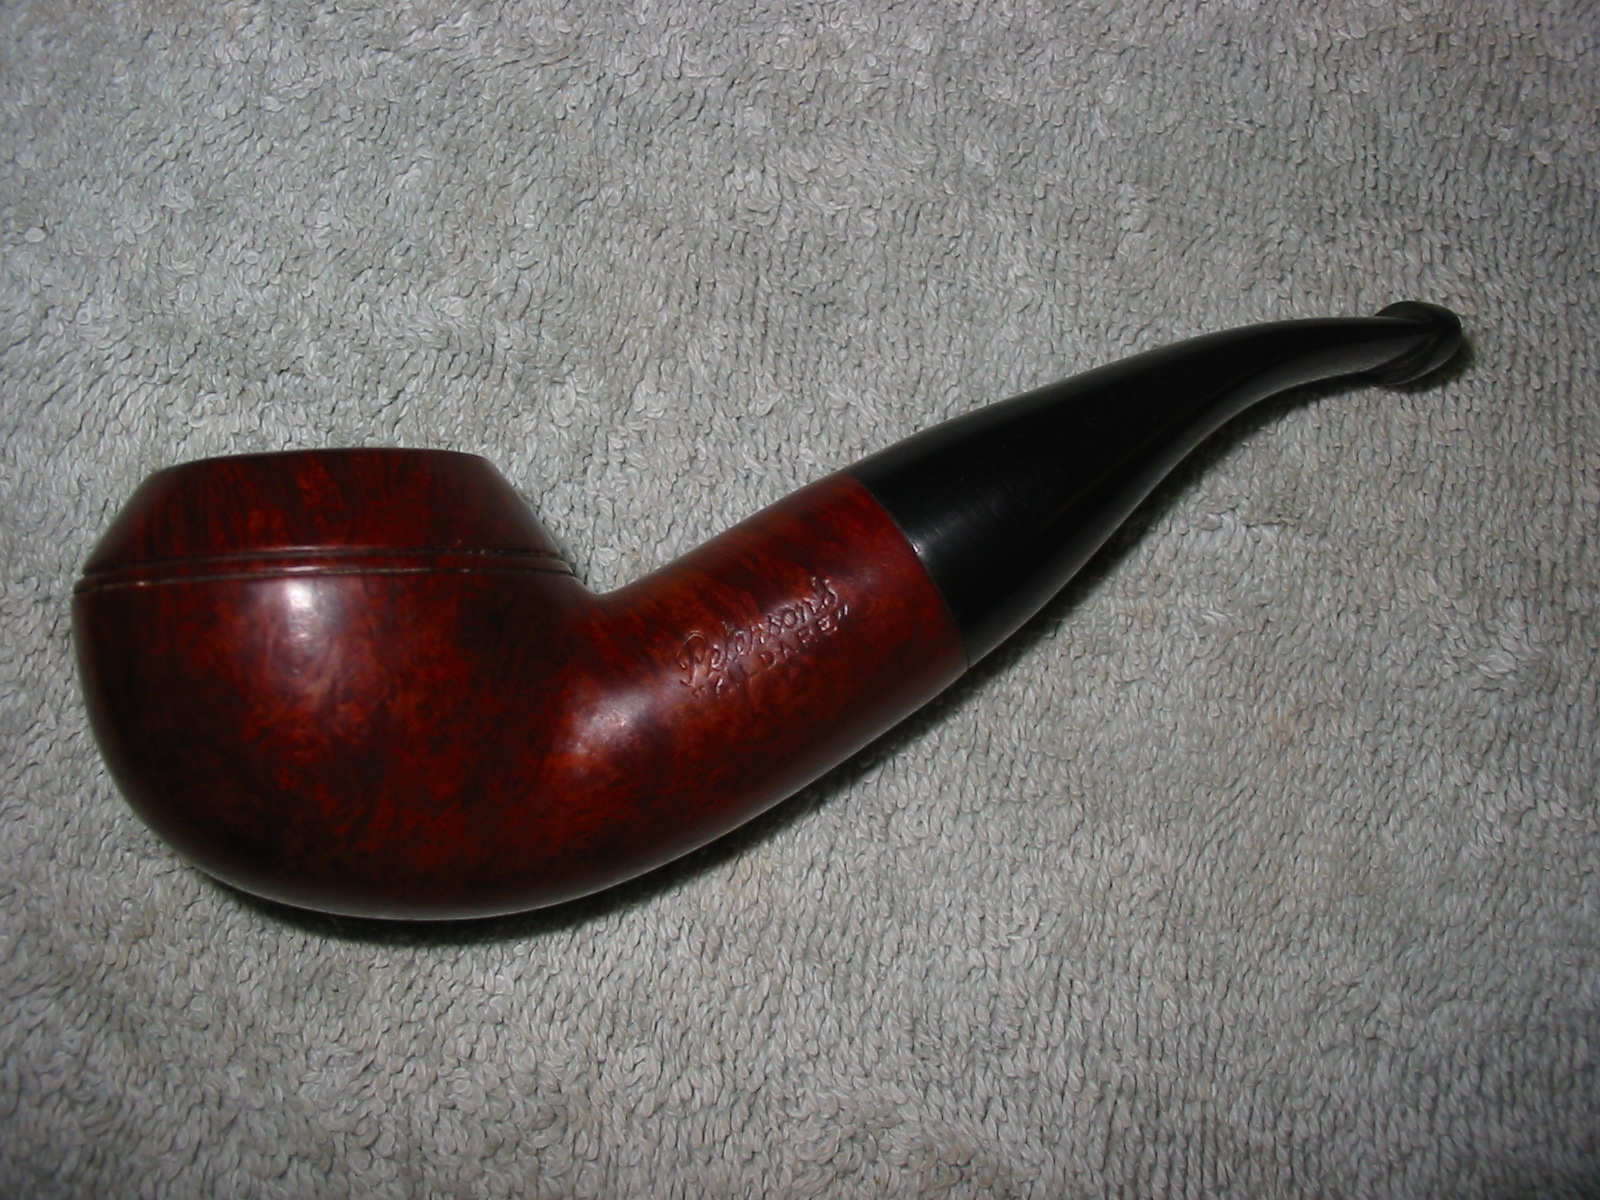
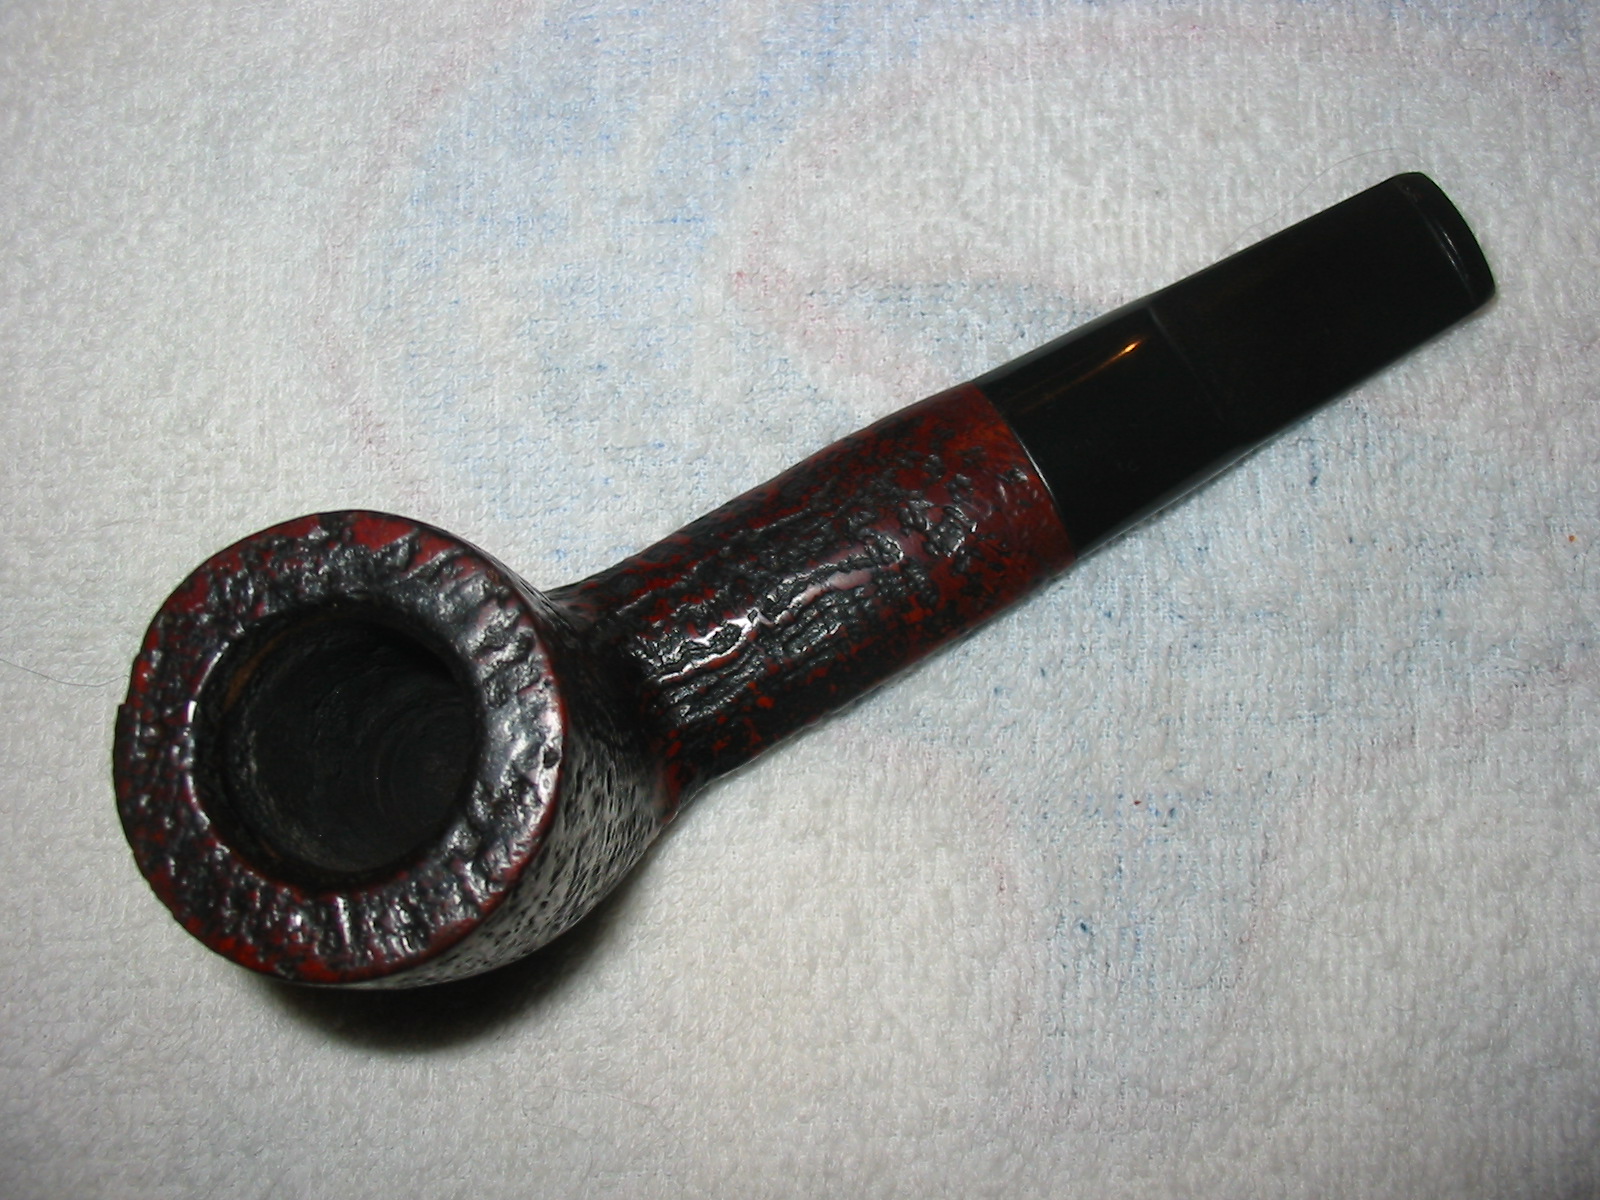
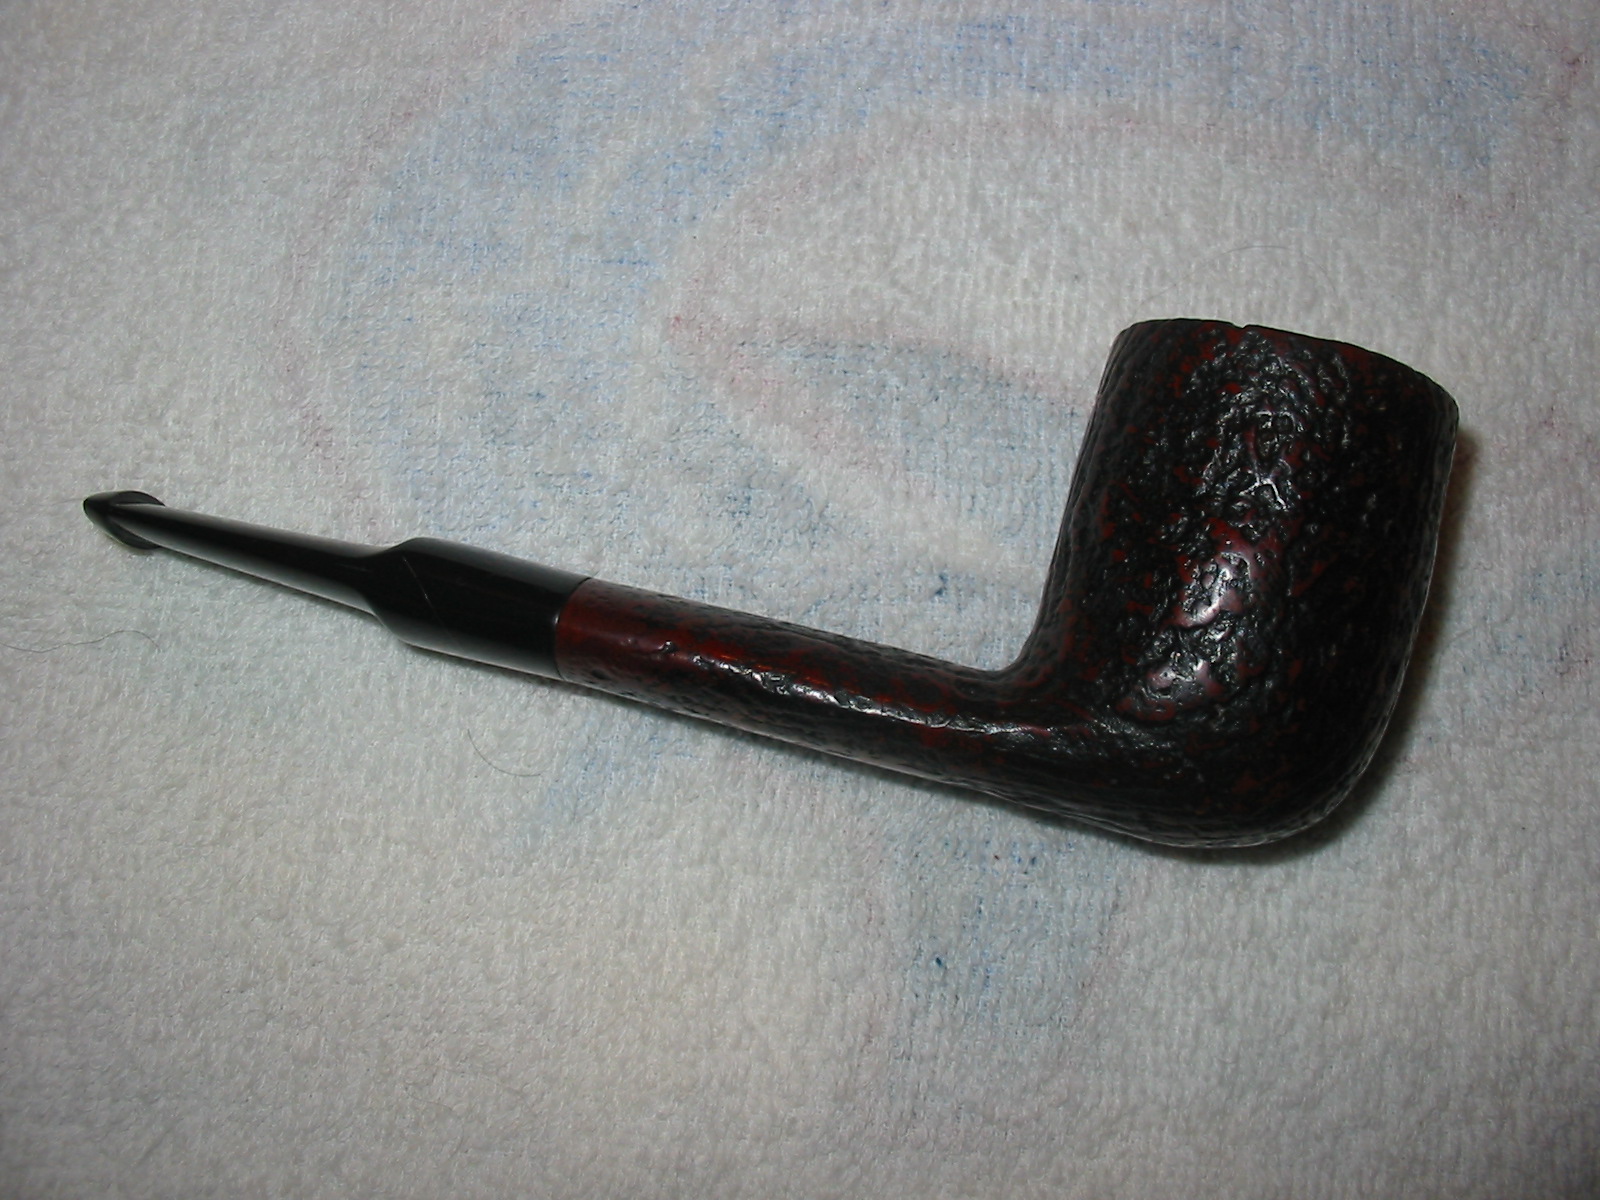
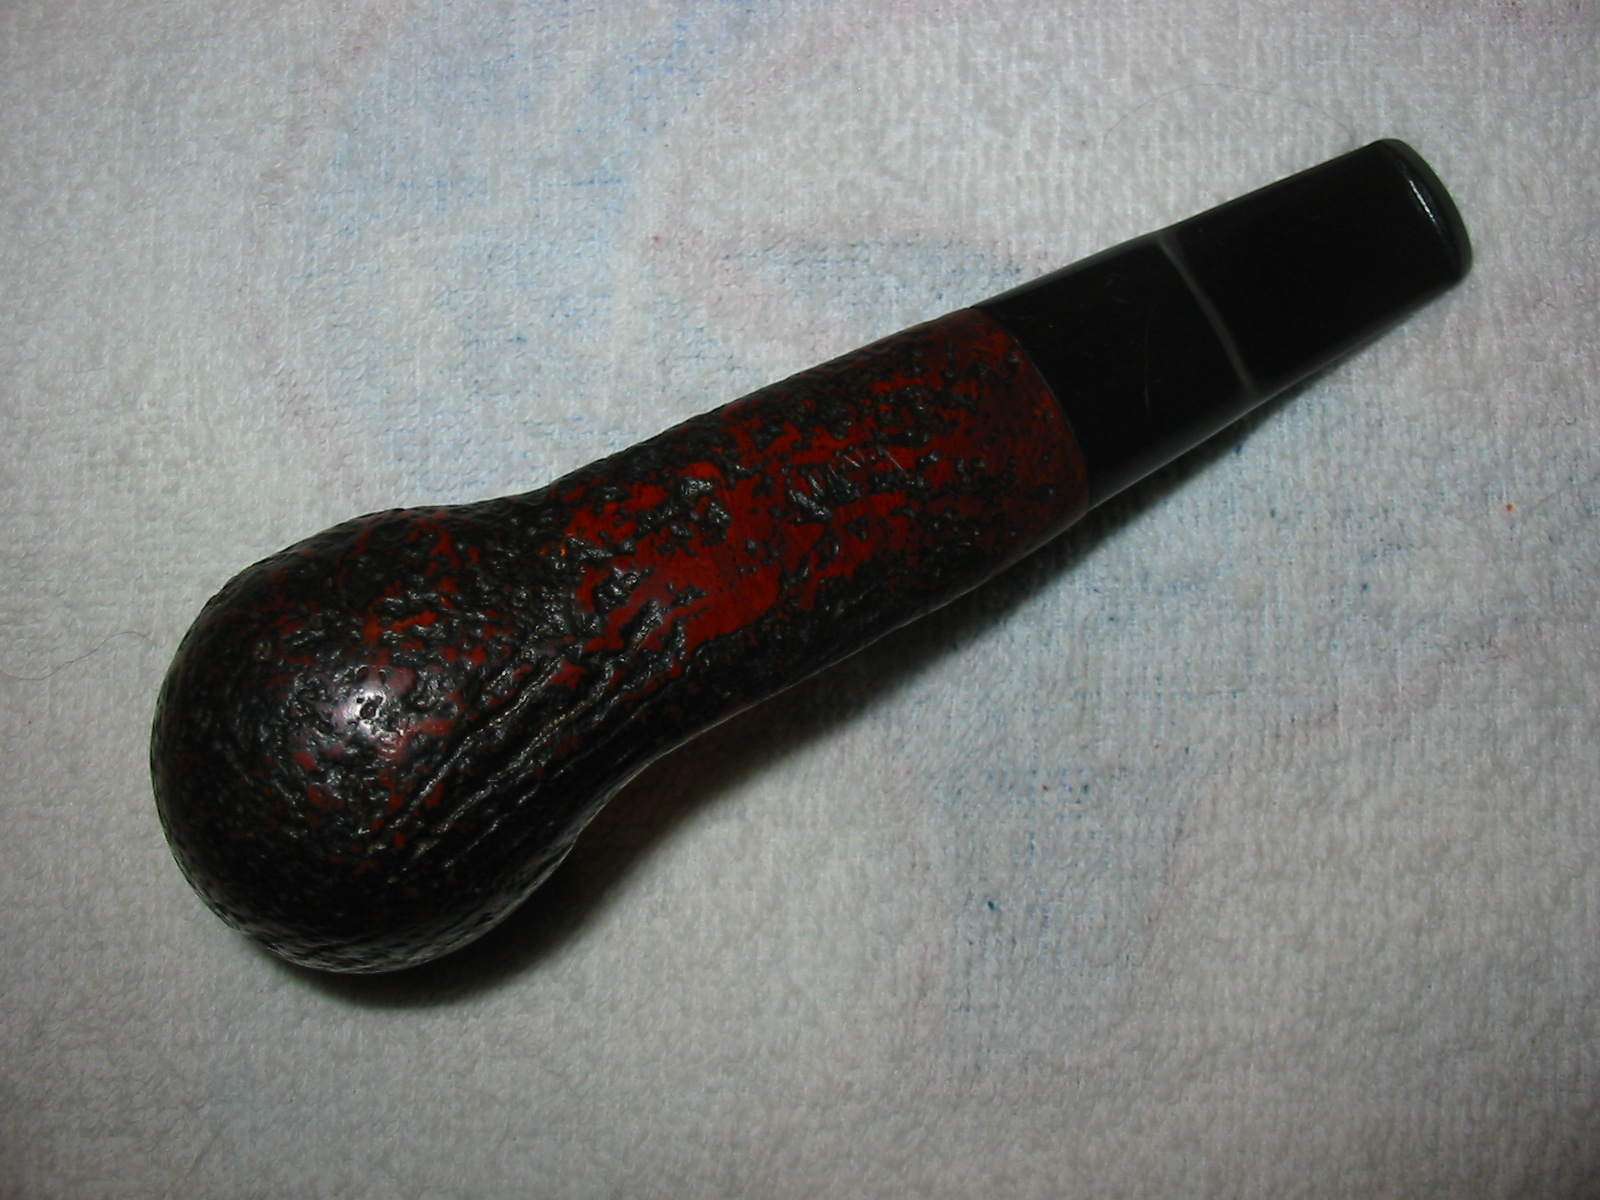
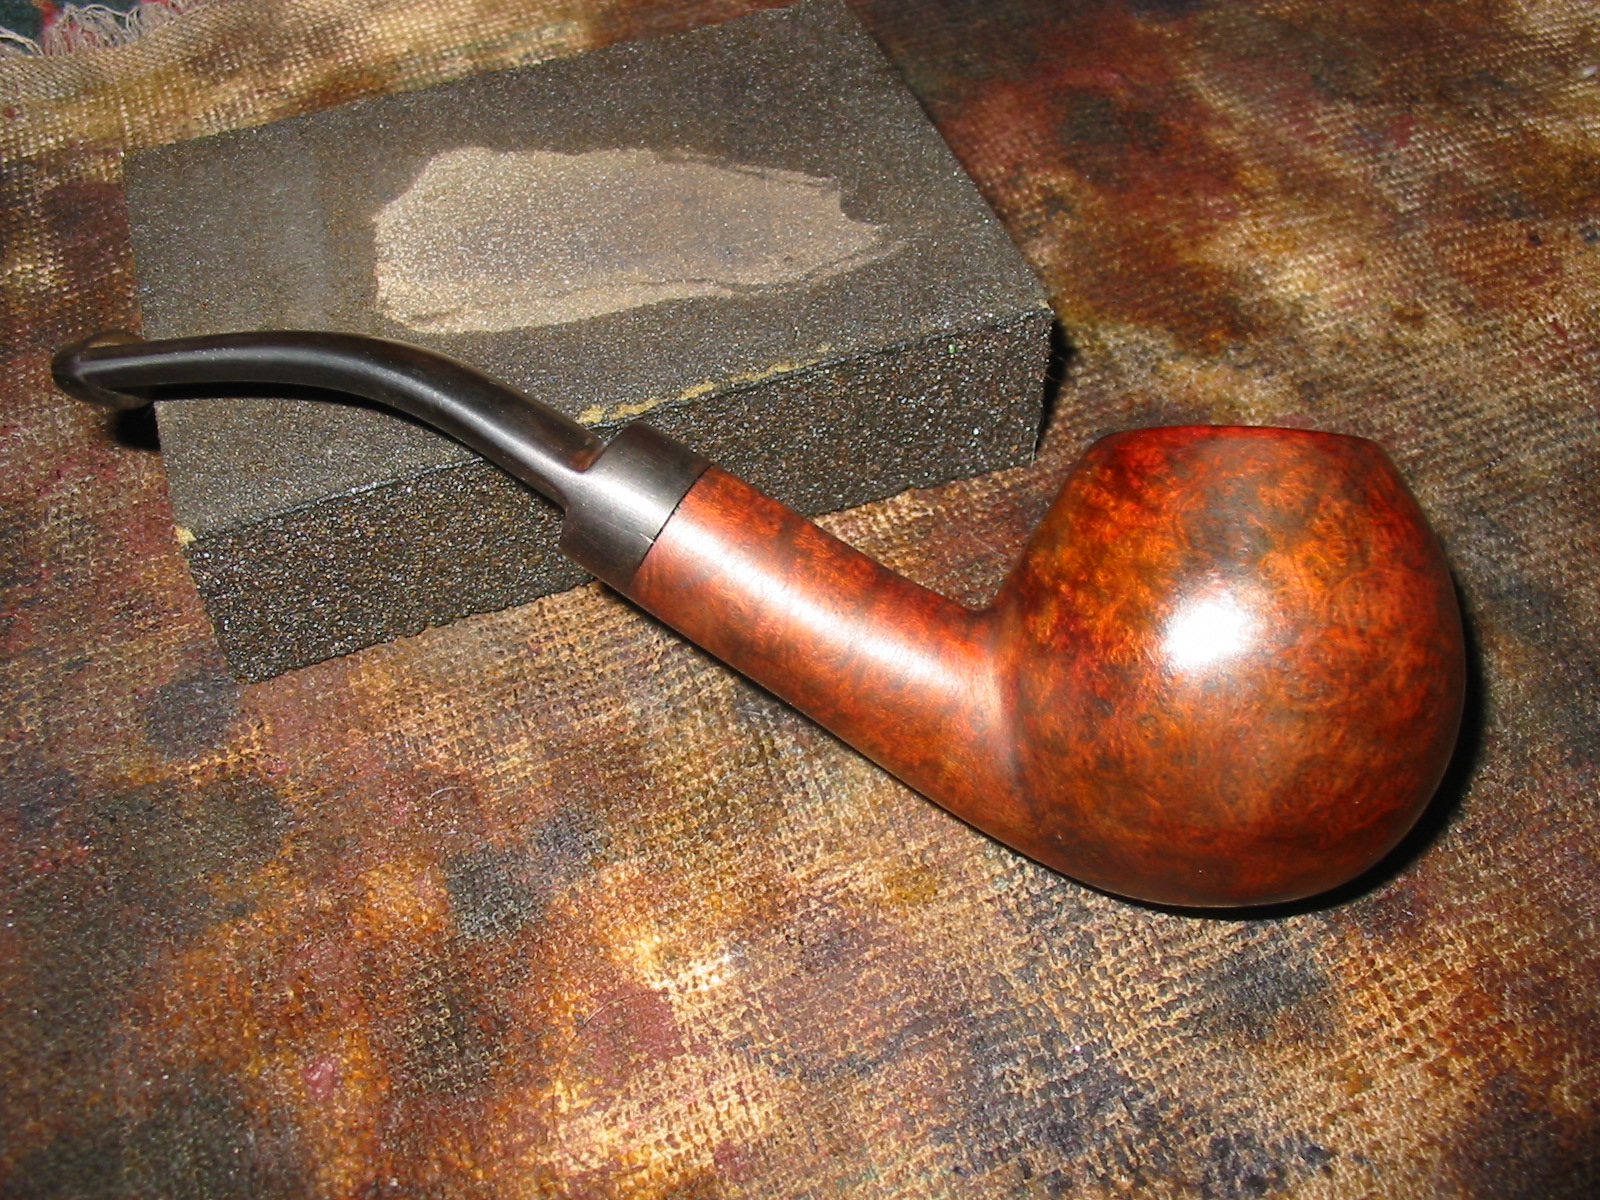
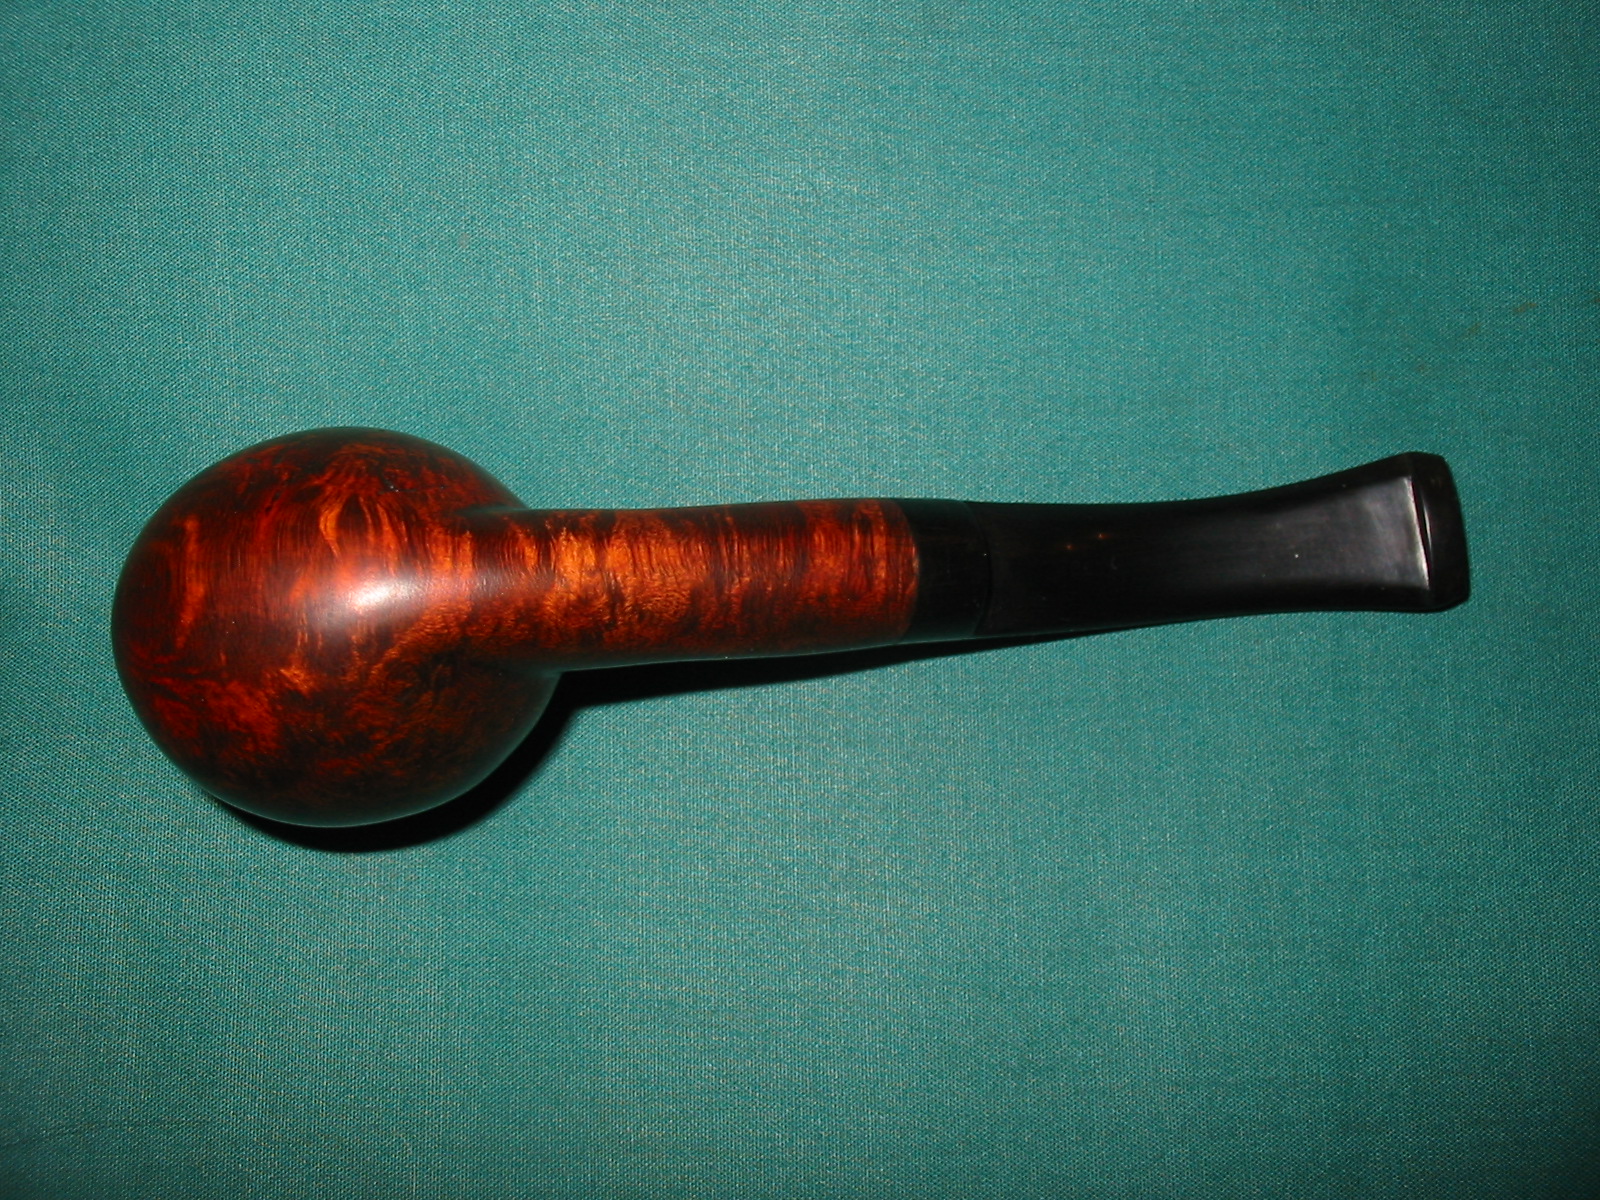
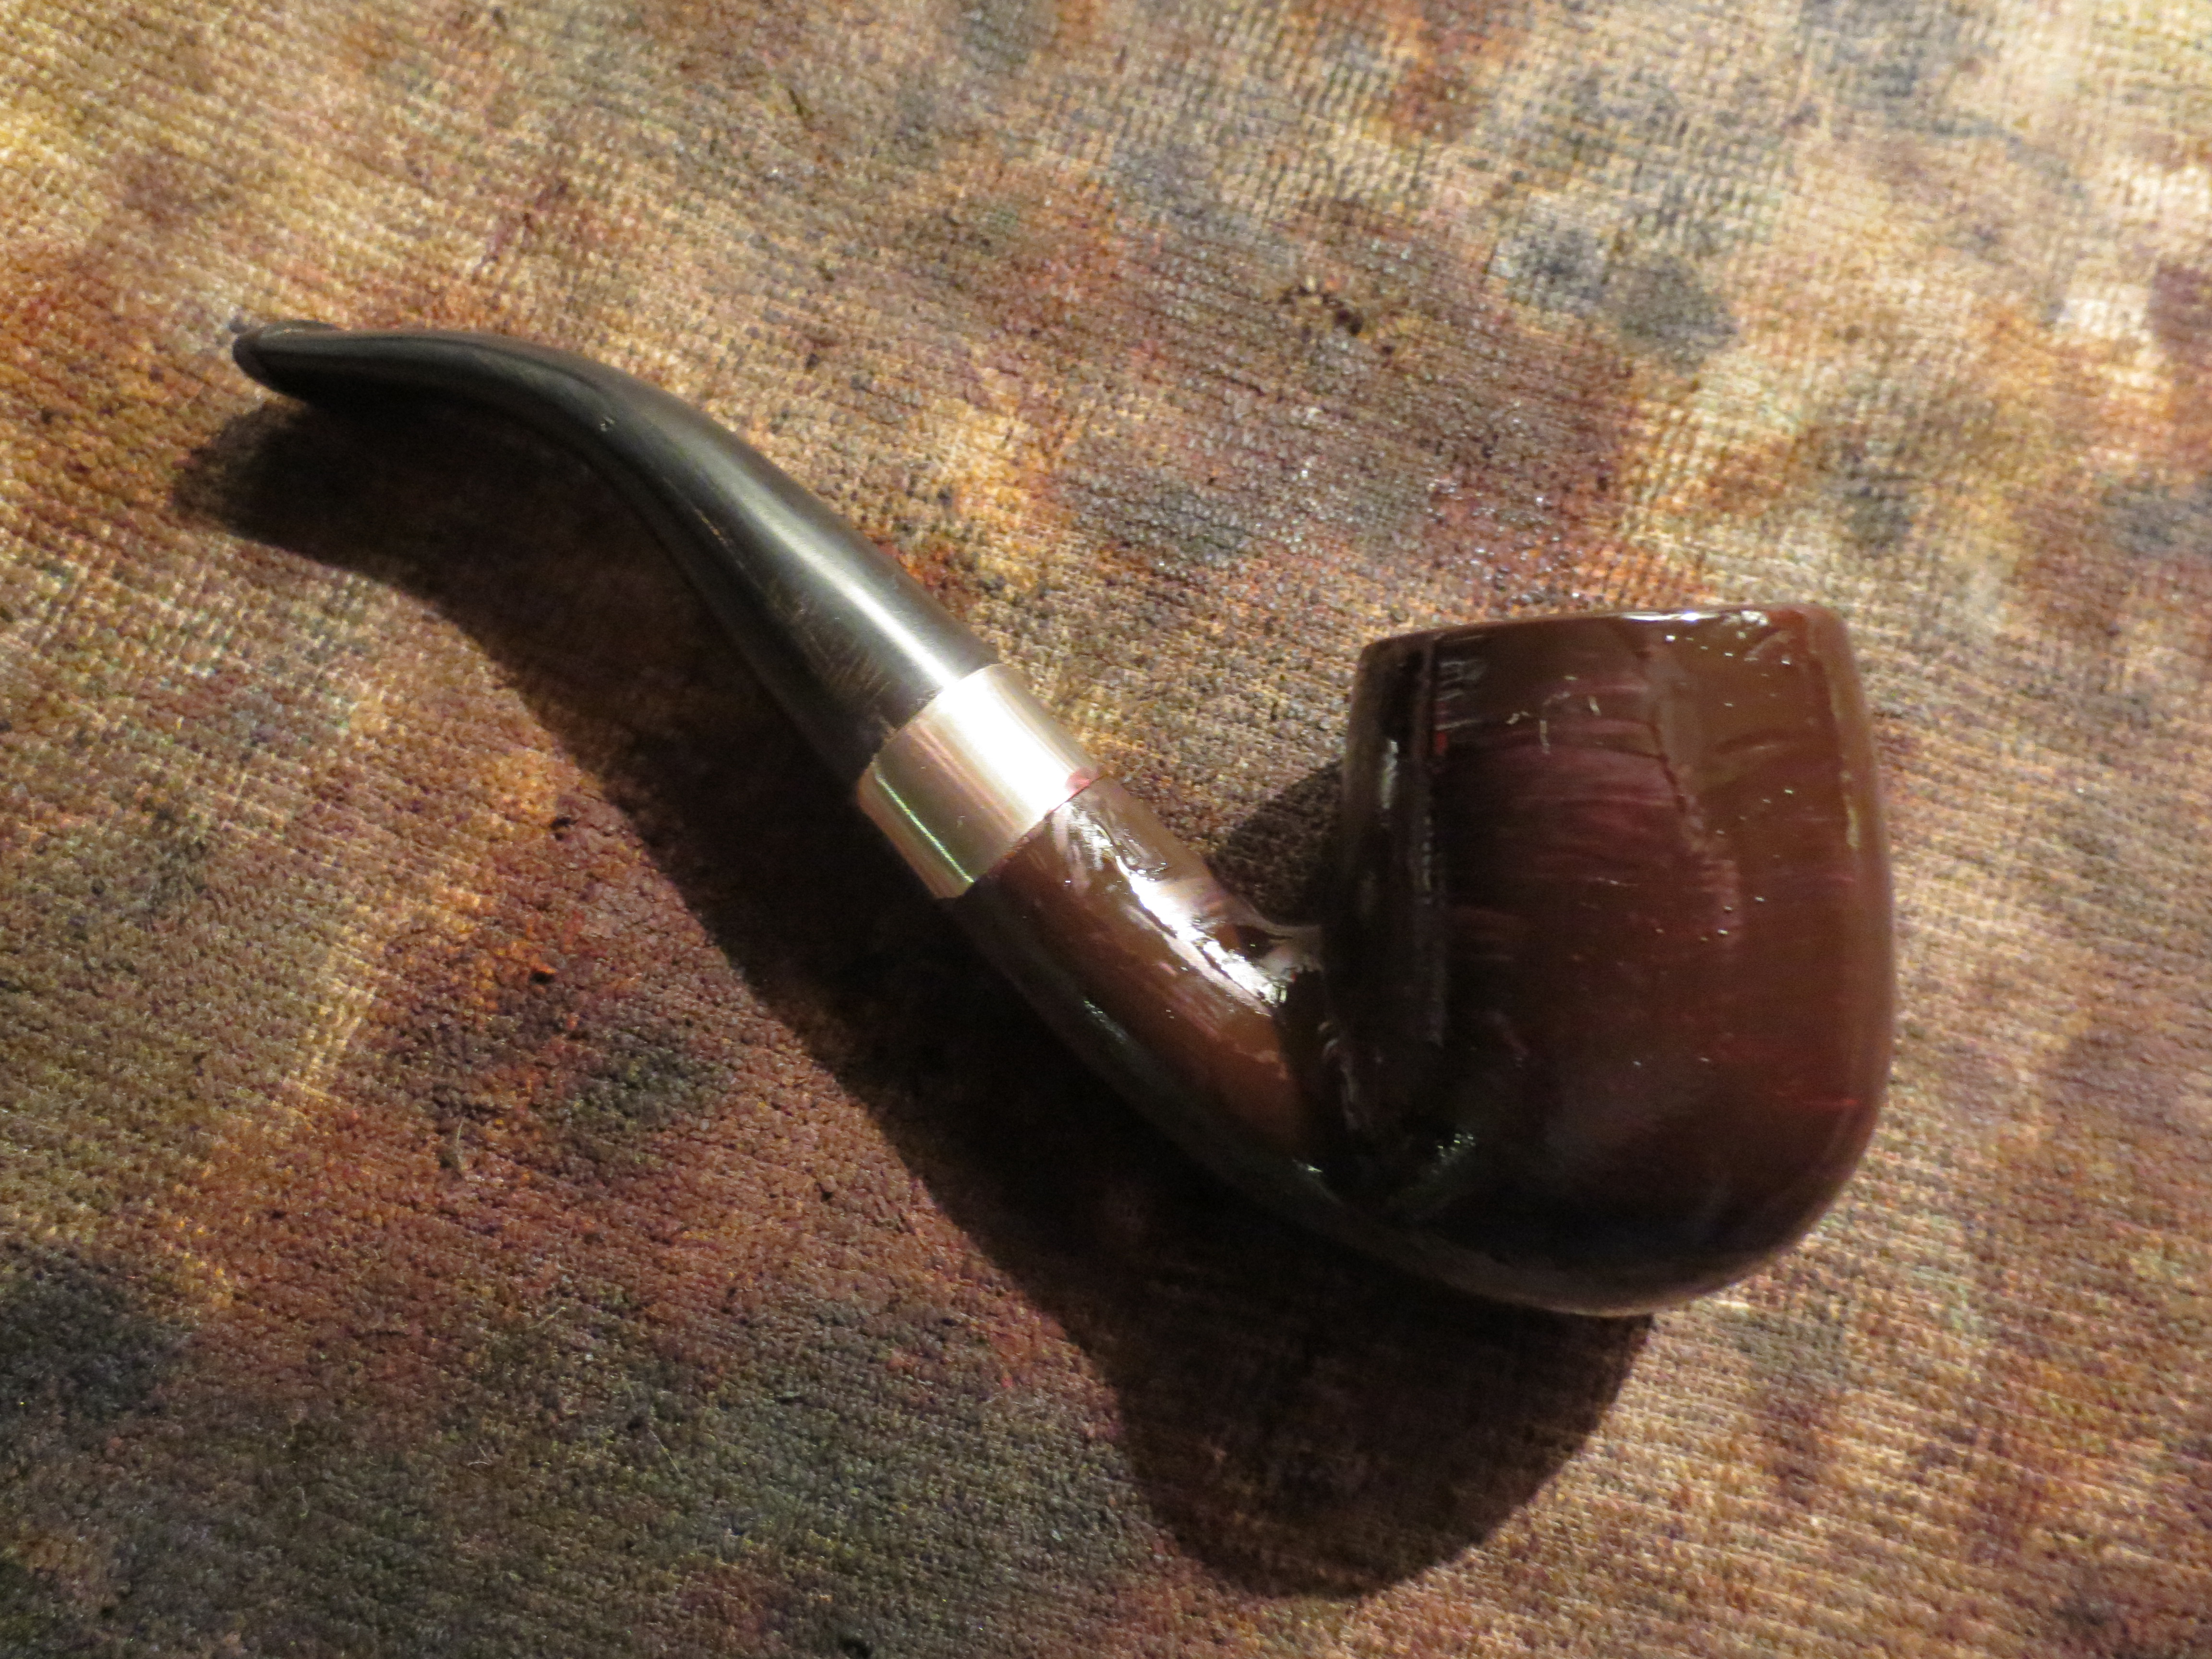
The next three photos show the pipe after I had buffed it with White Diamond. The bowl shines and the dark marks around the bowl show faintly beneath the finish but add a flair of character to the old pipe.

Buffed with White Diamond

Buffed with White Diamond

Buffed with White Diamond
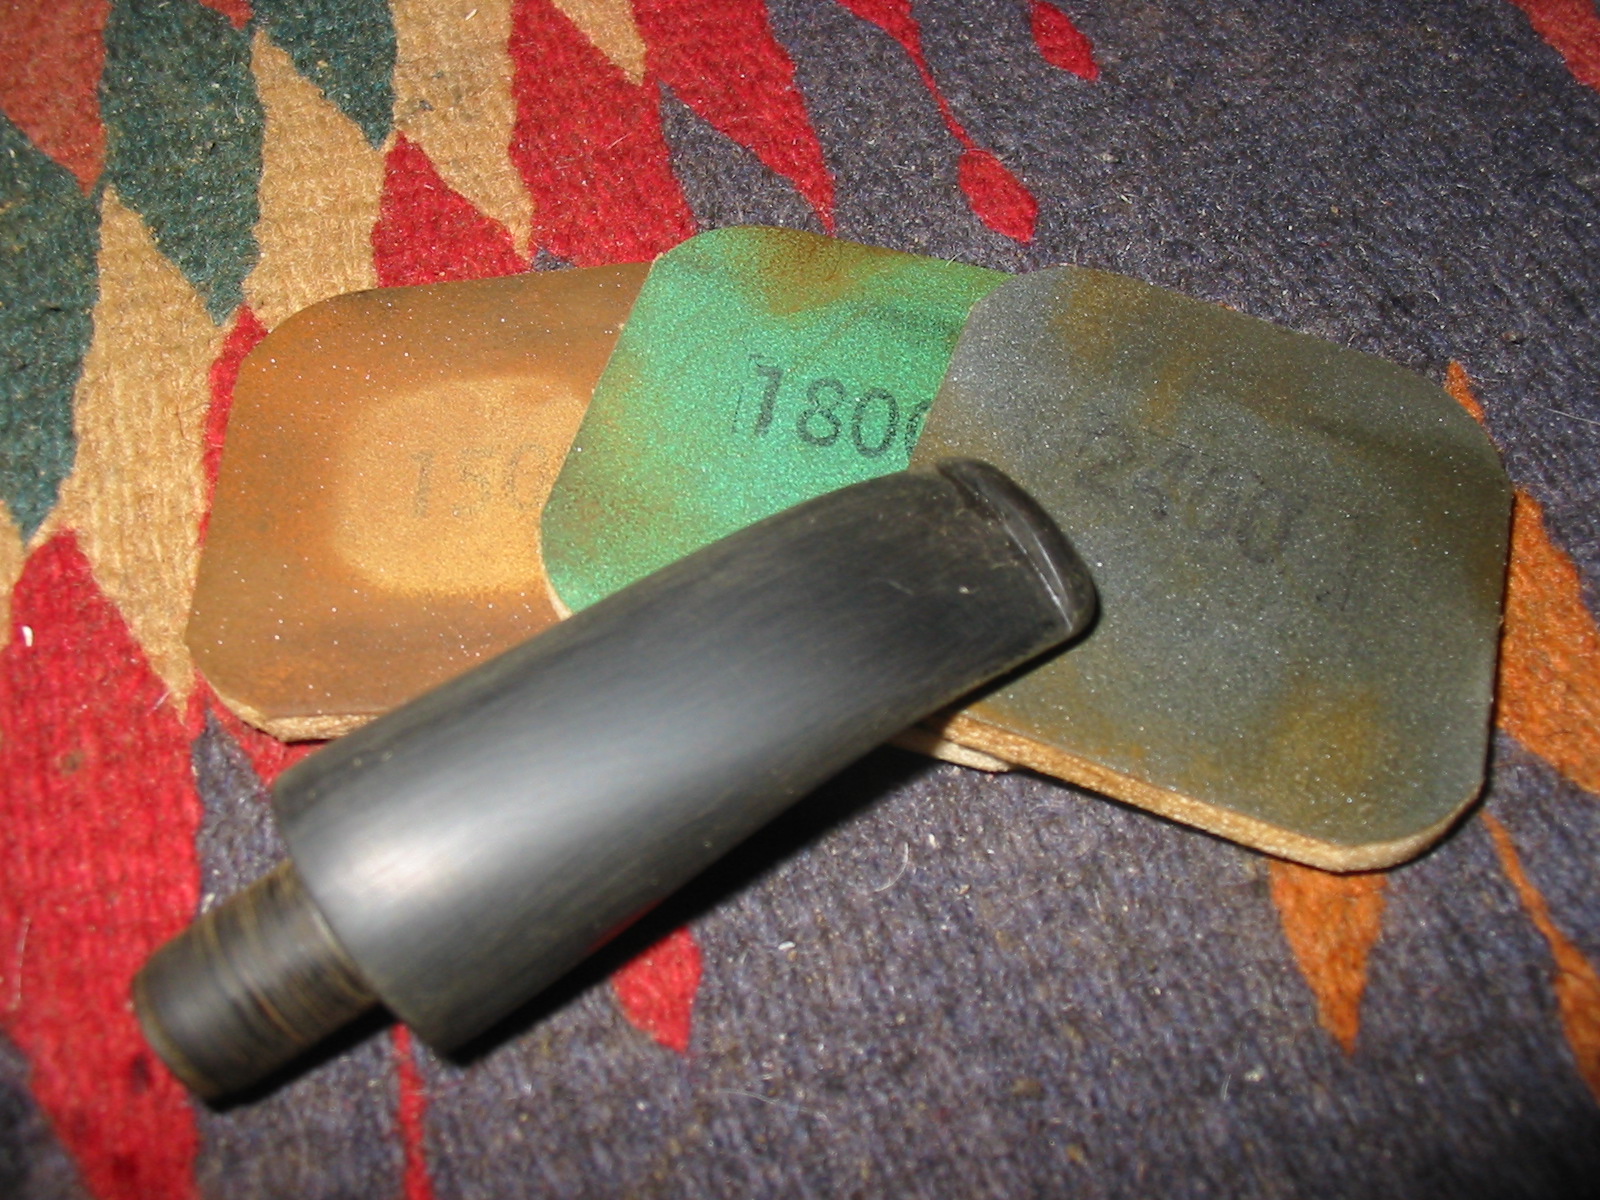
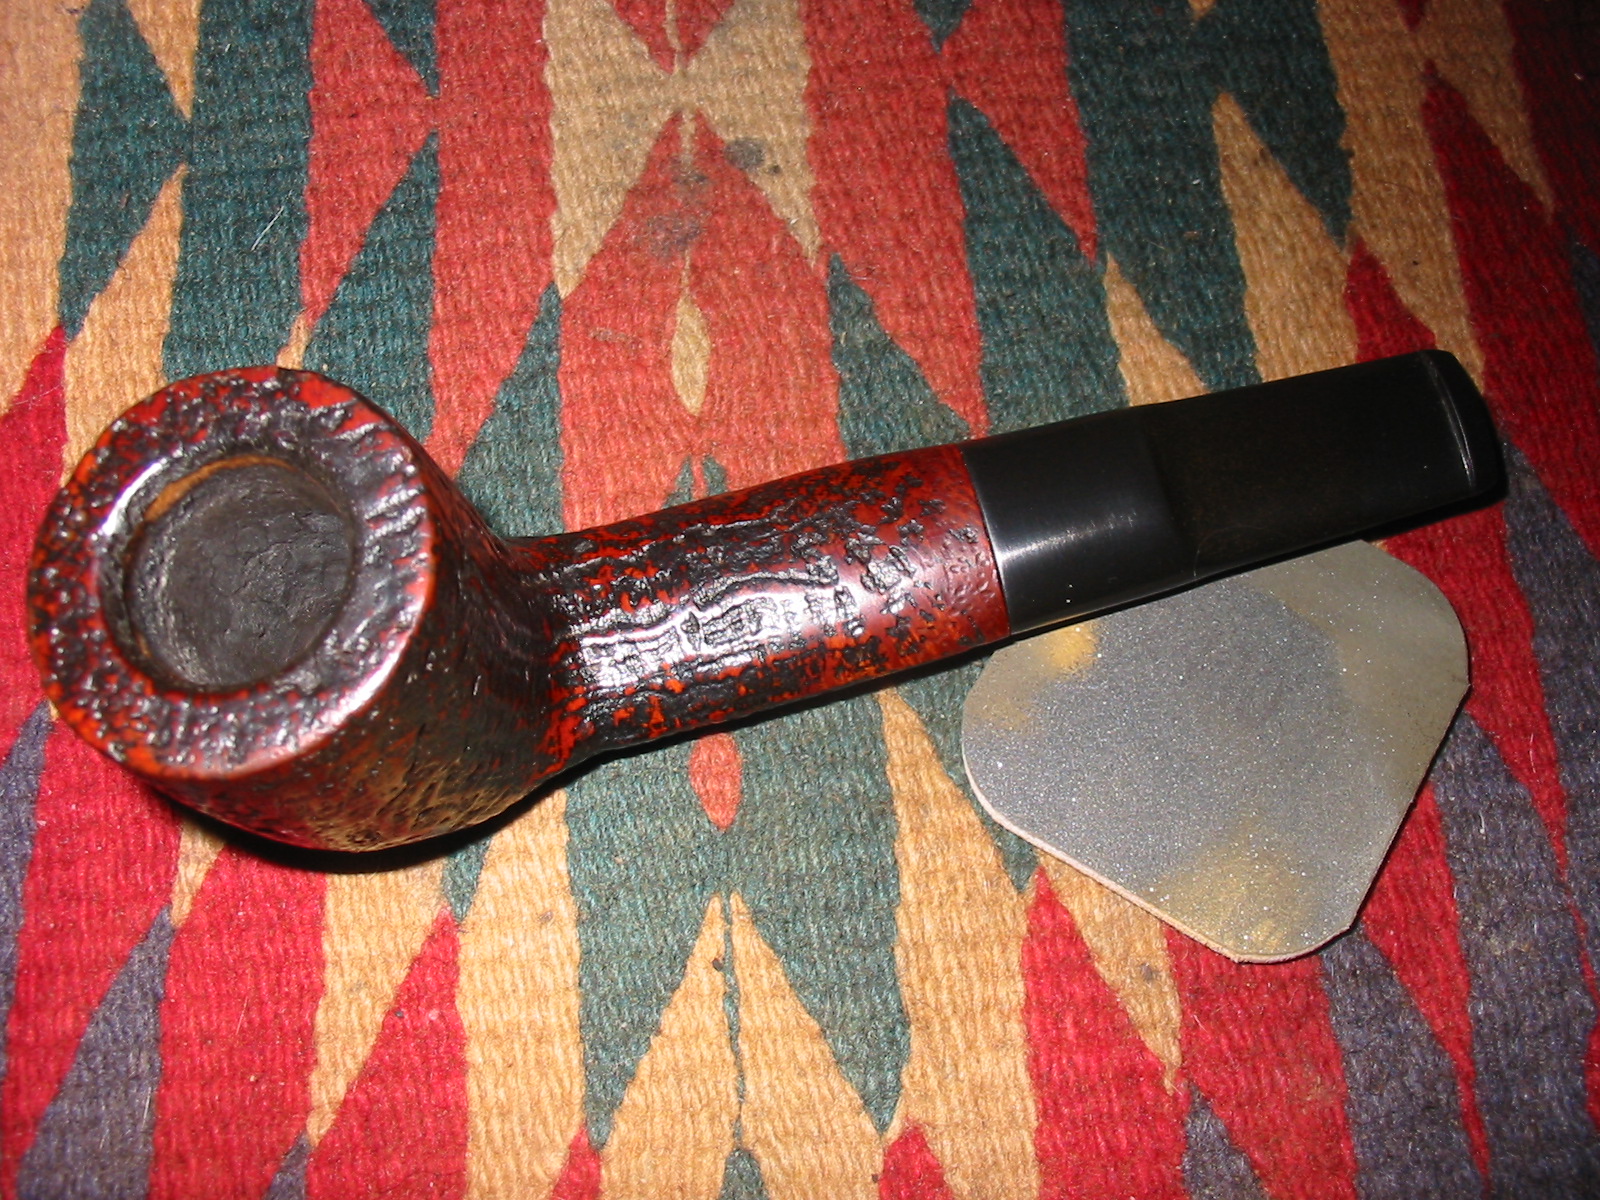
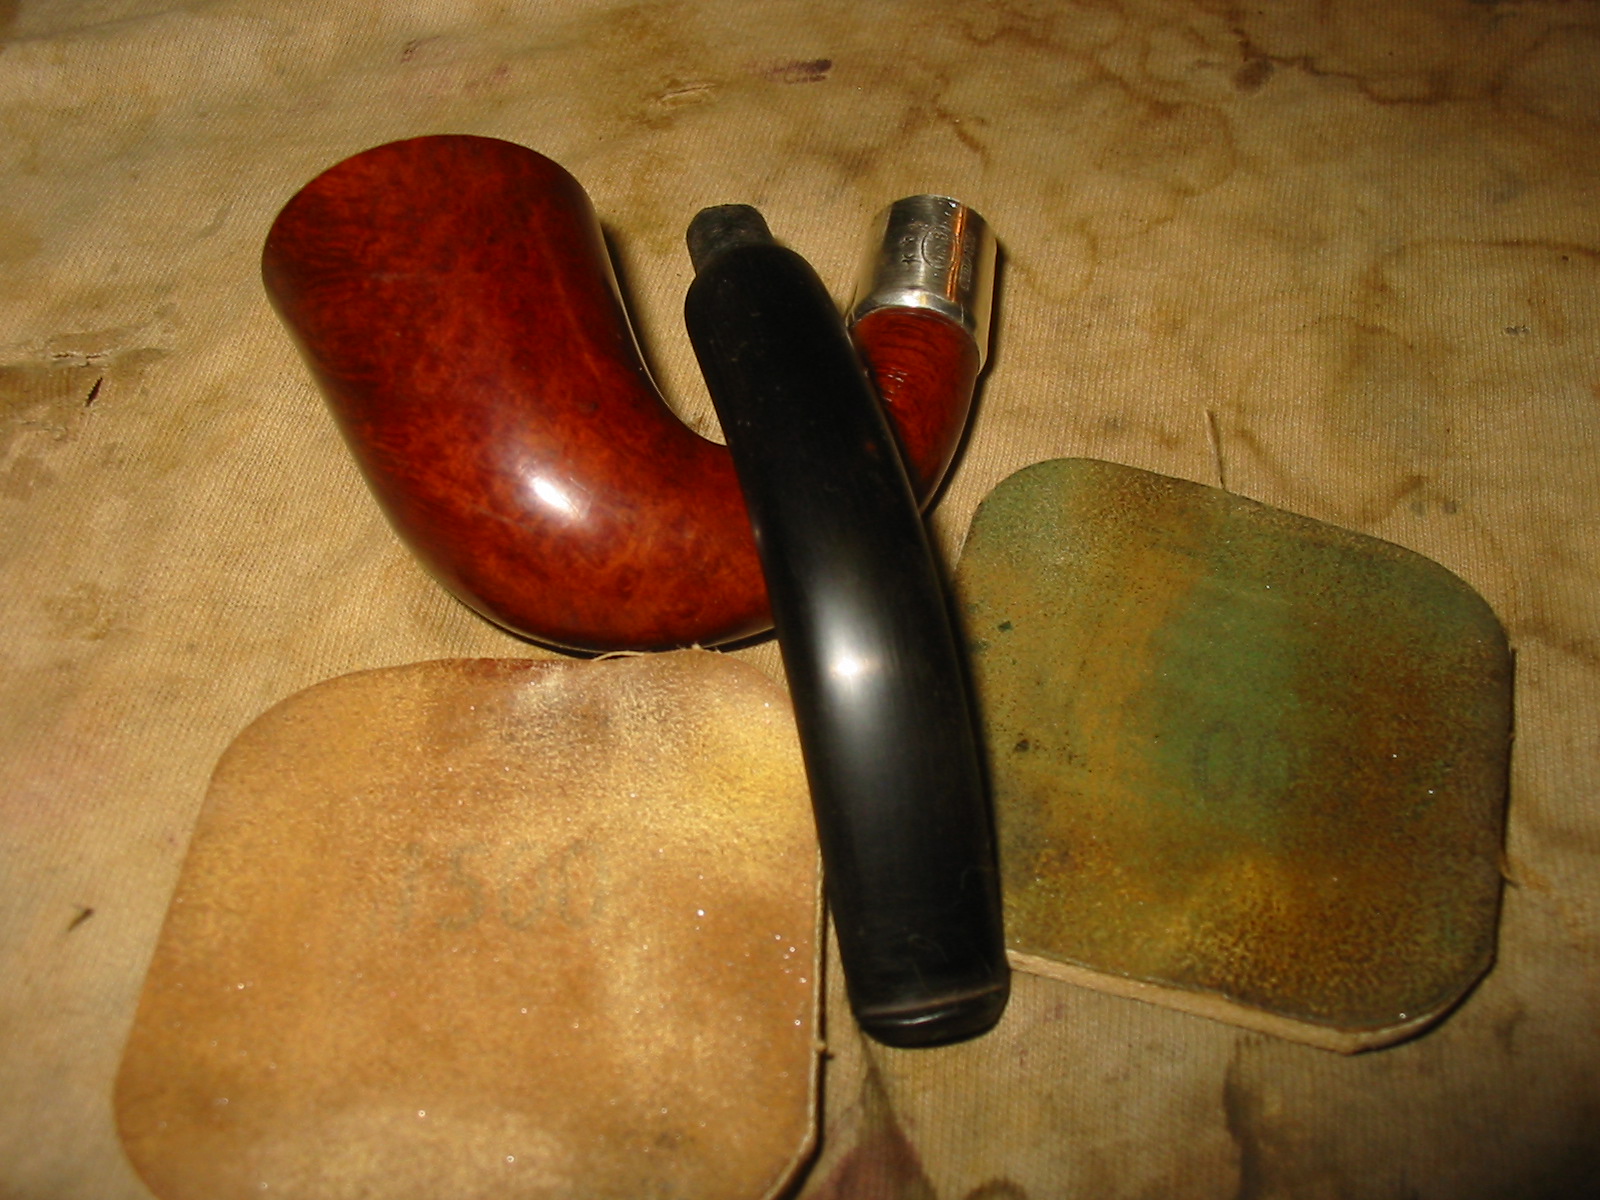
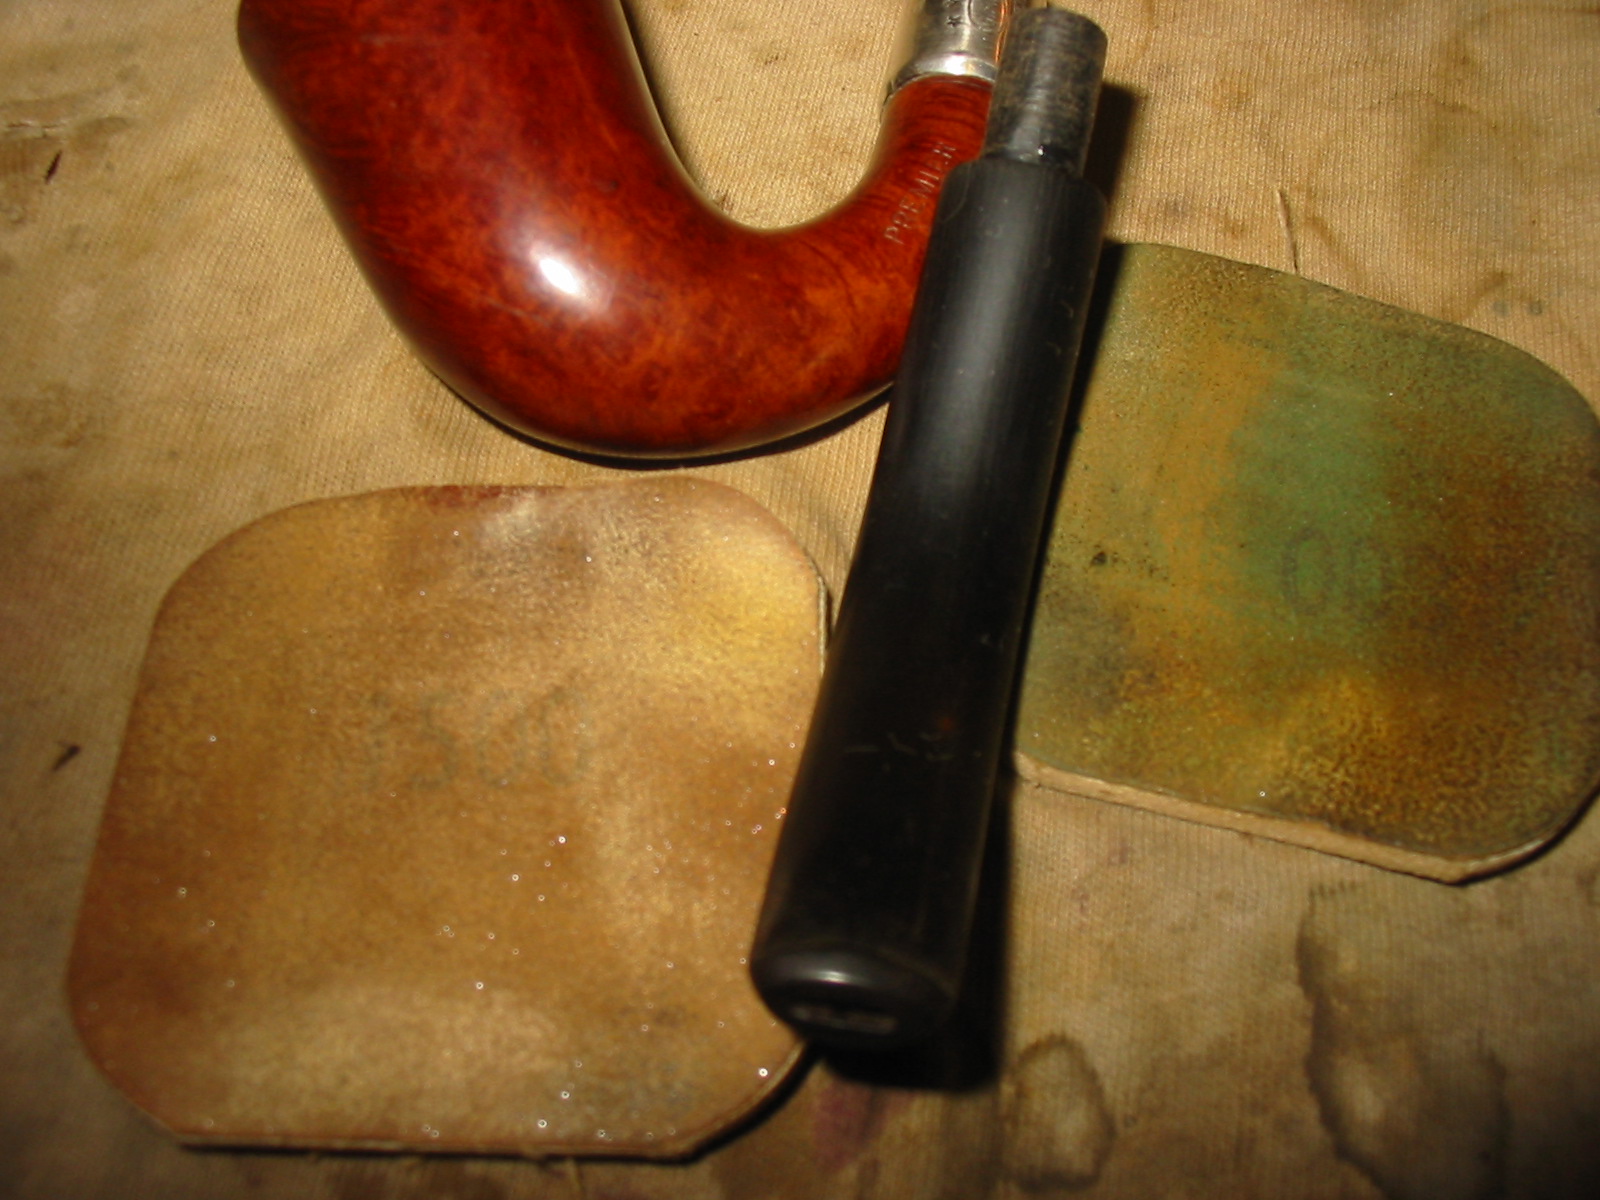
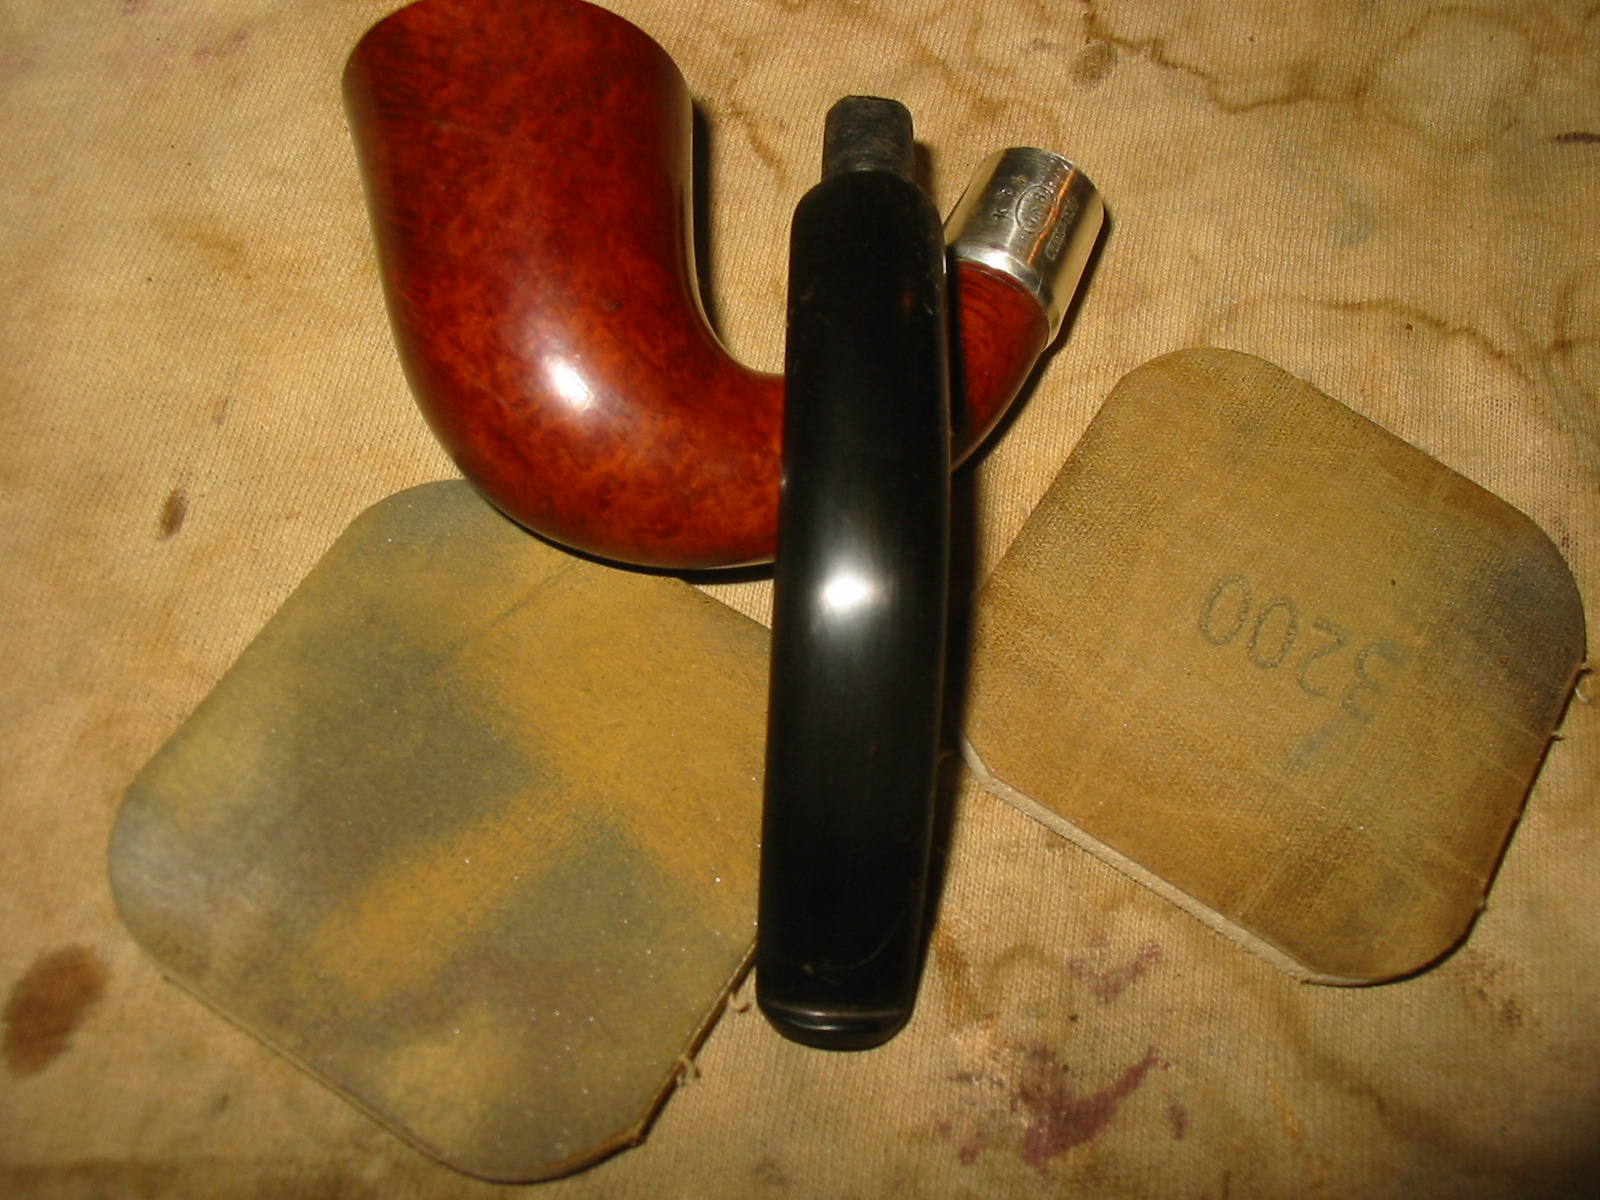
The next series of three photos are included to give an idea of the polishing process that went into bringing the stem work to completion. Again I invite you to read the post mentioned above on the transformation of a round saddle stem to a diamond shaped one to understand the full work that the shaping took to bring it to this place.

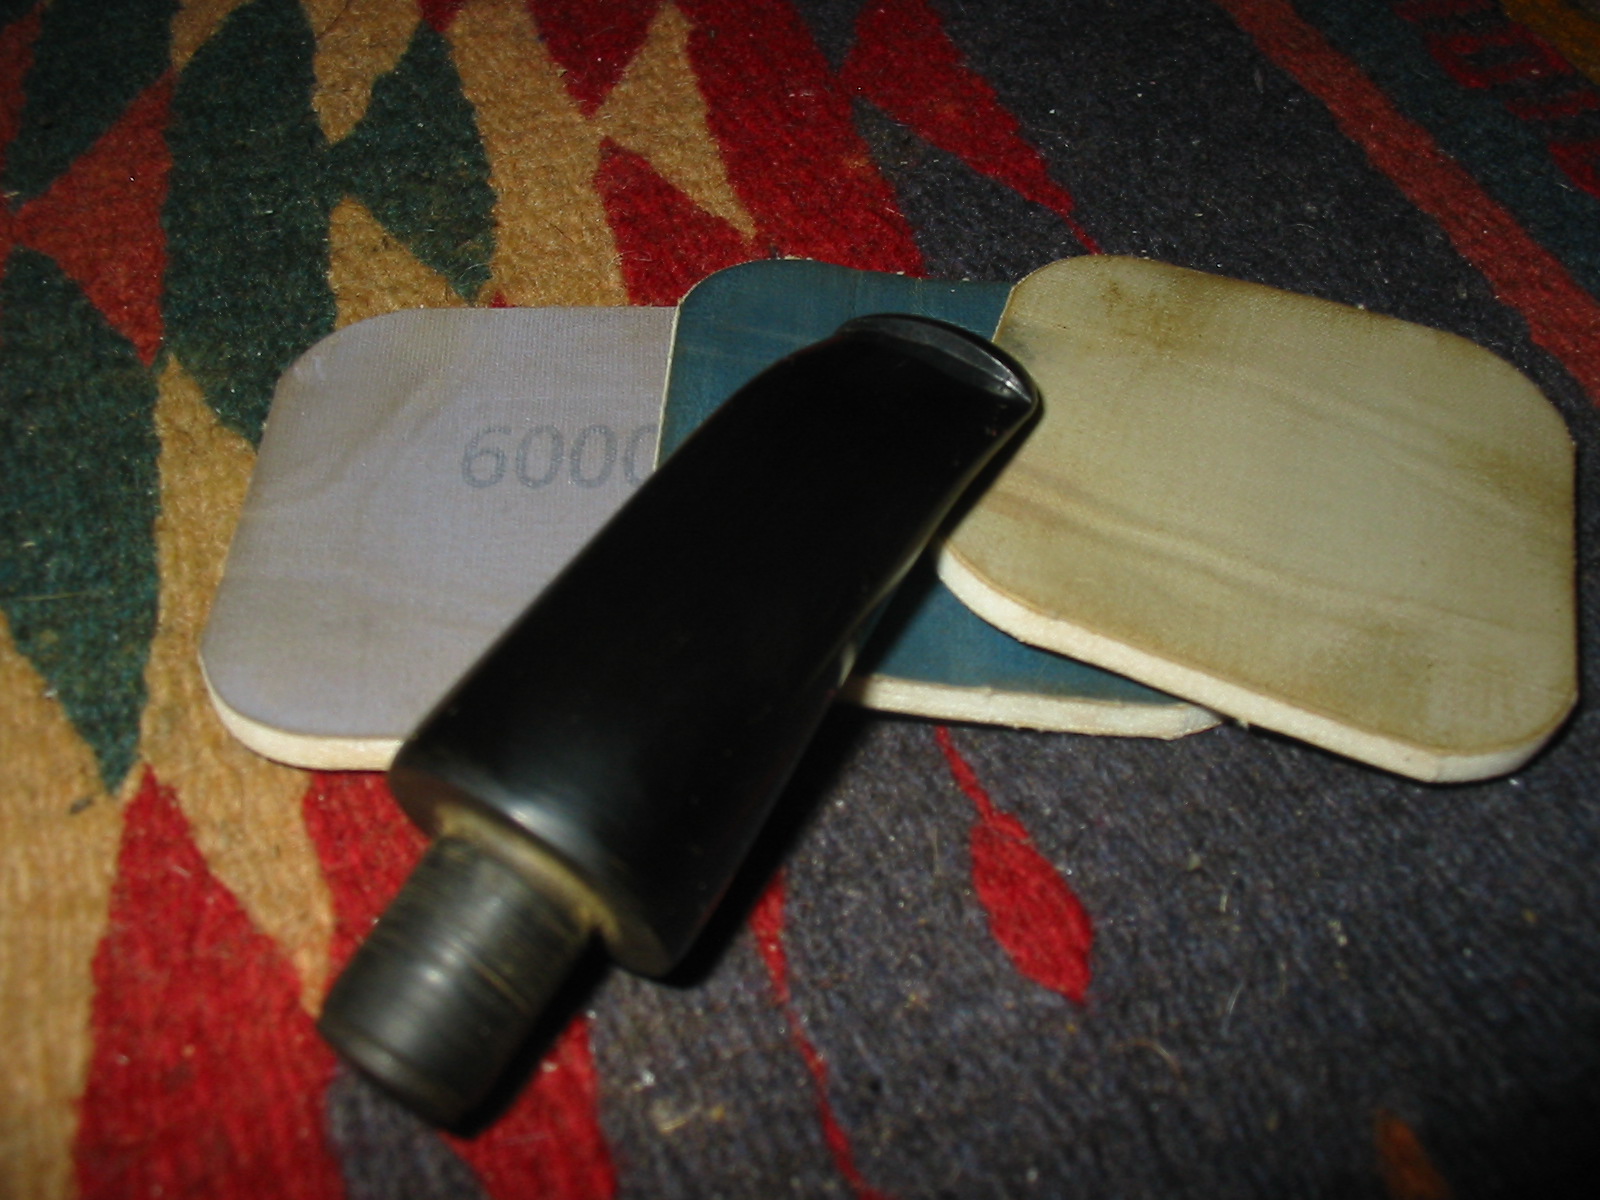
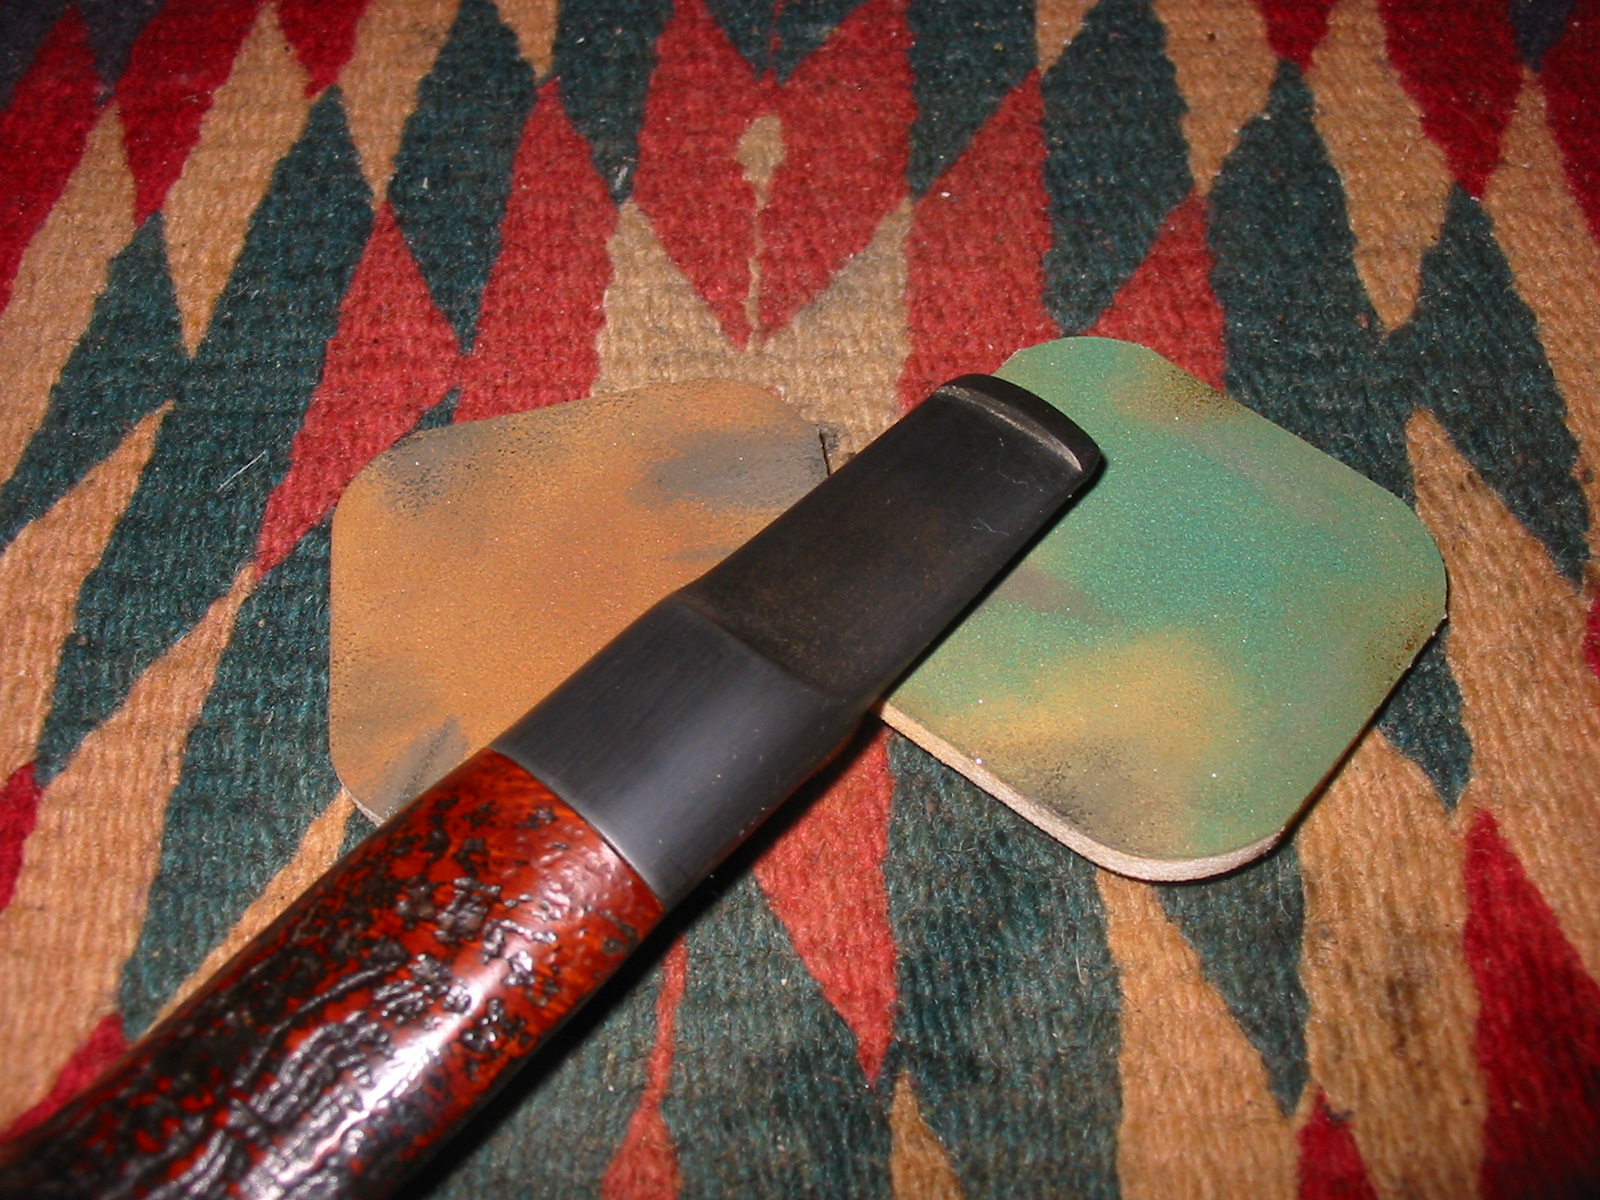
Stem sanded with 320 grit sandpaper

Stem sanded with 320 grit sandpaper

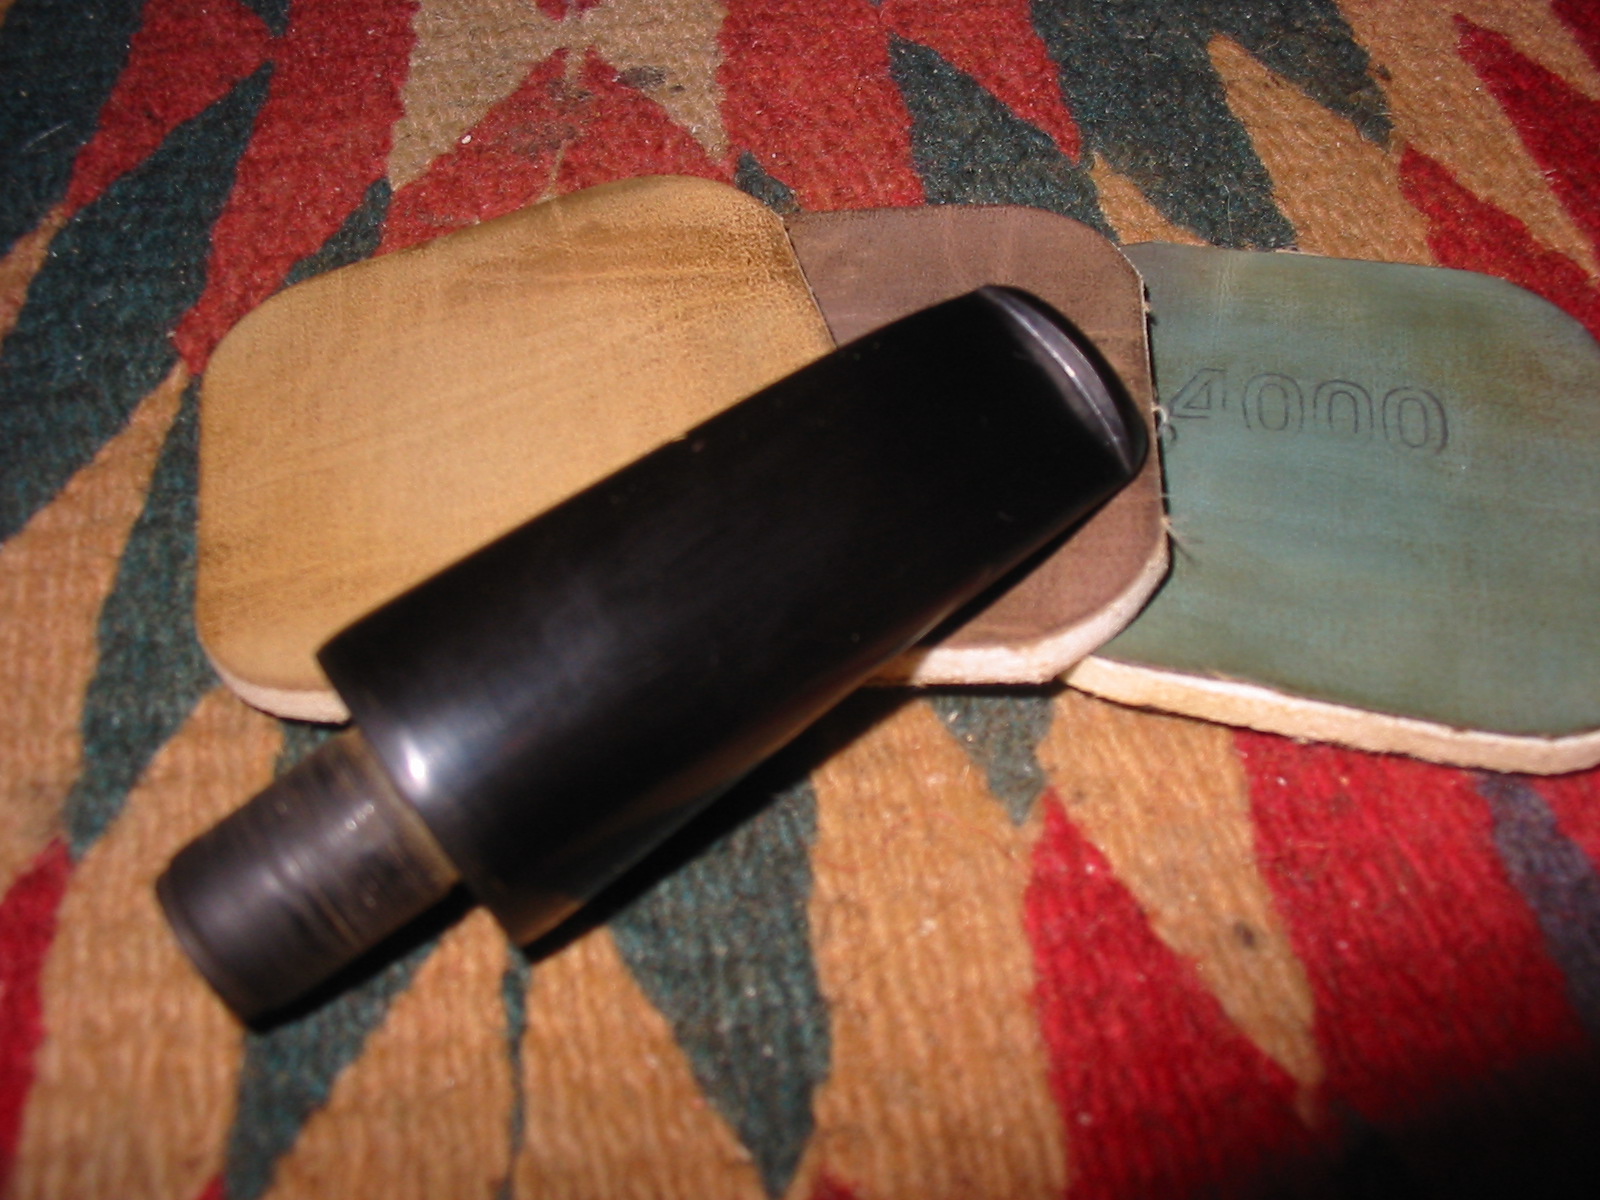
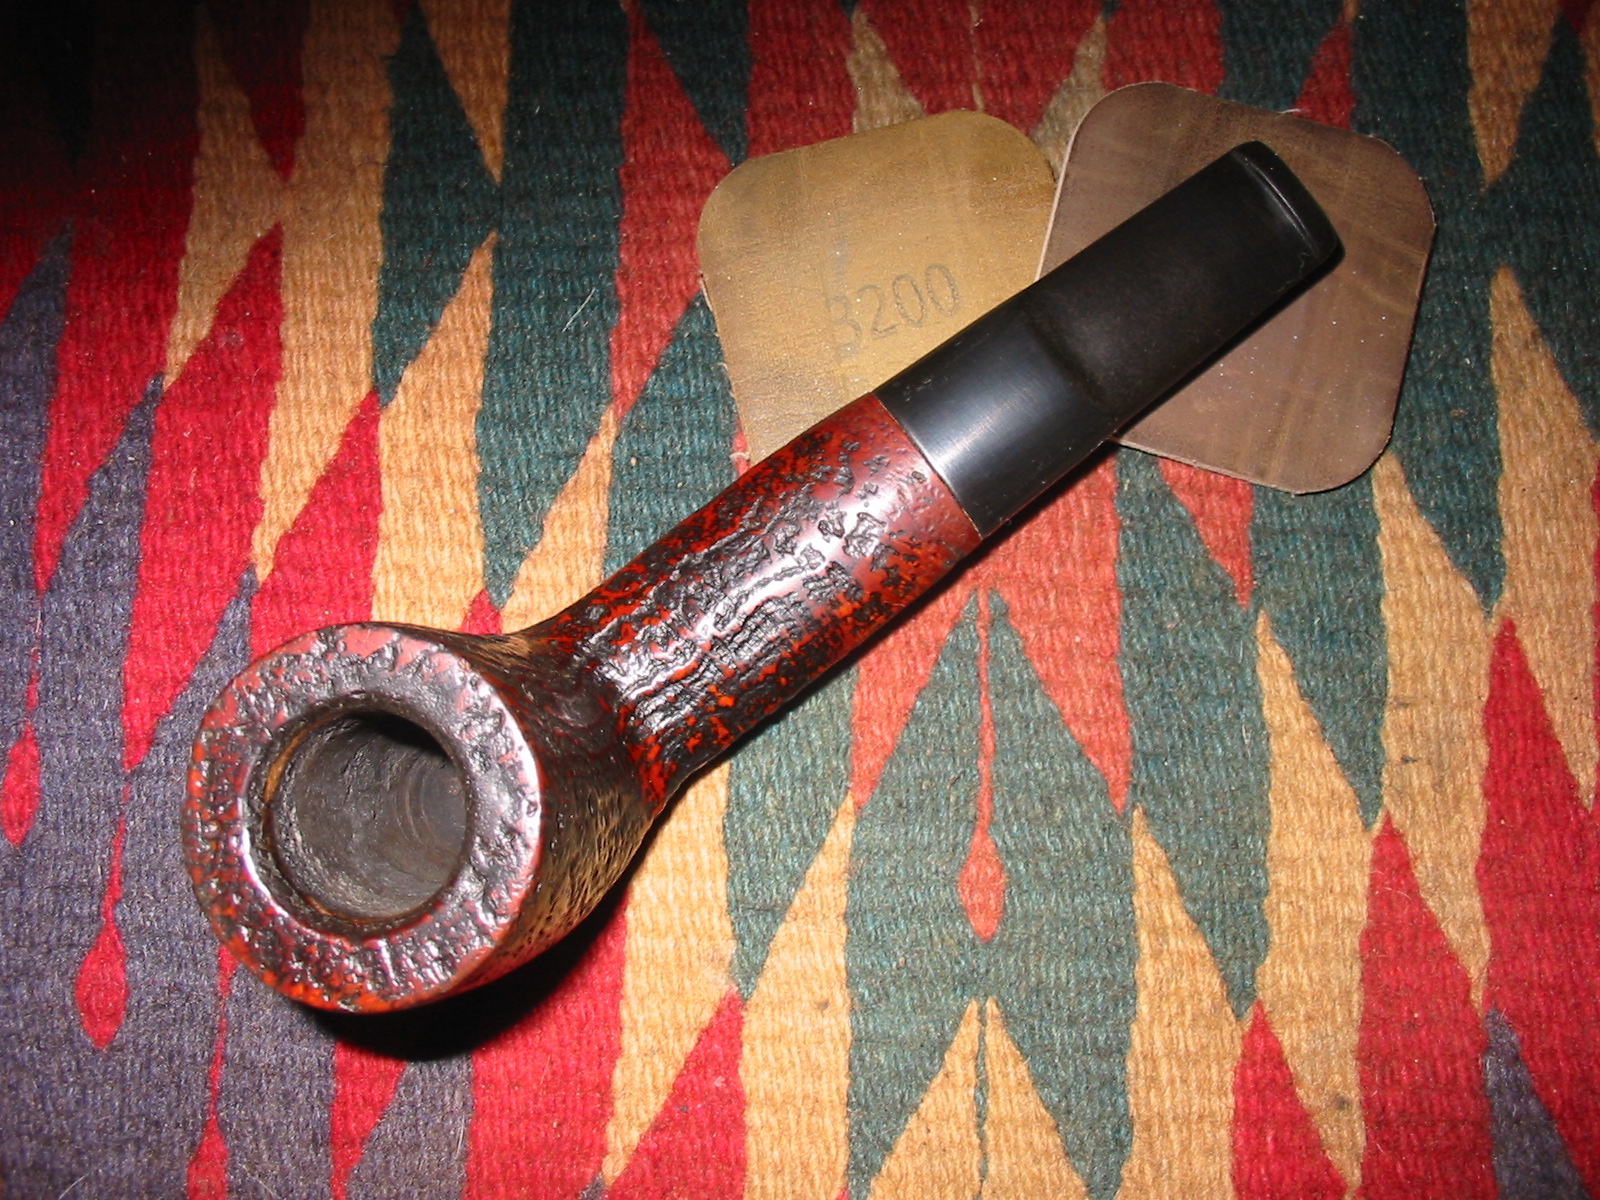
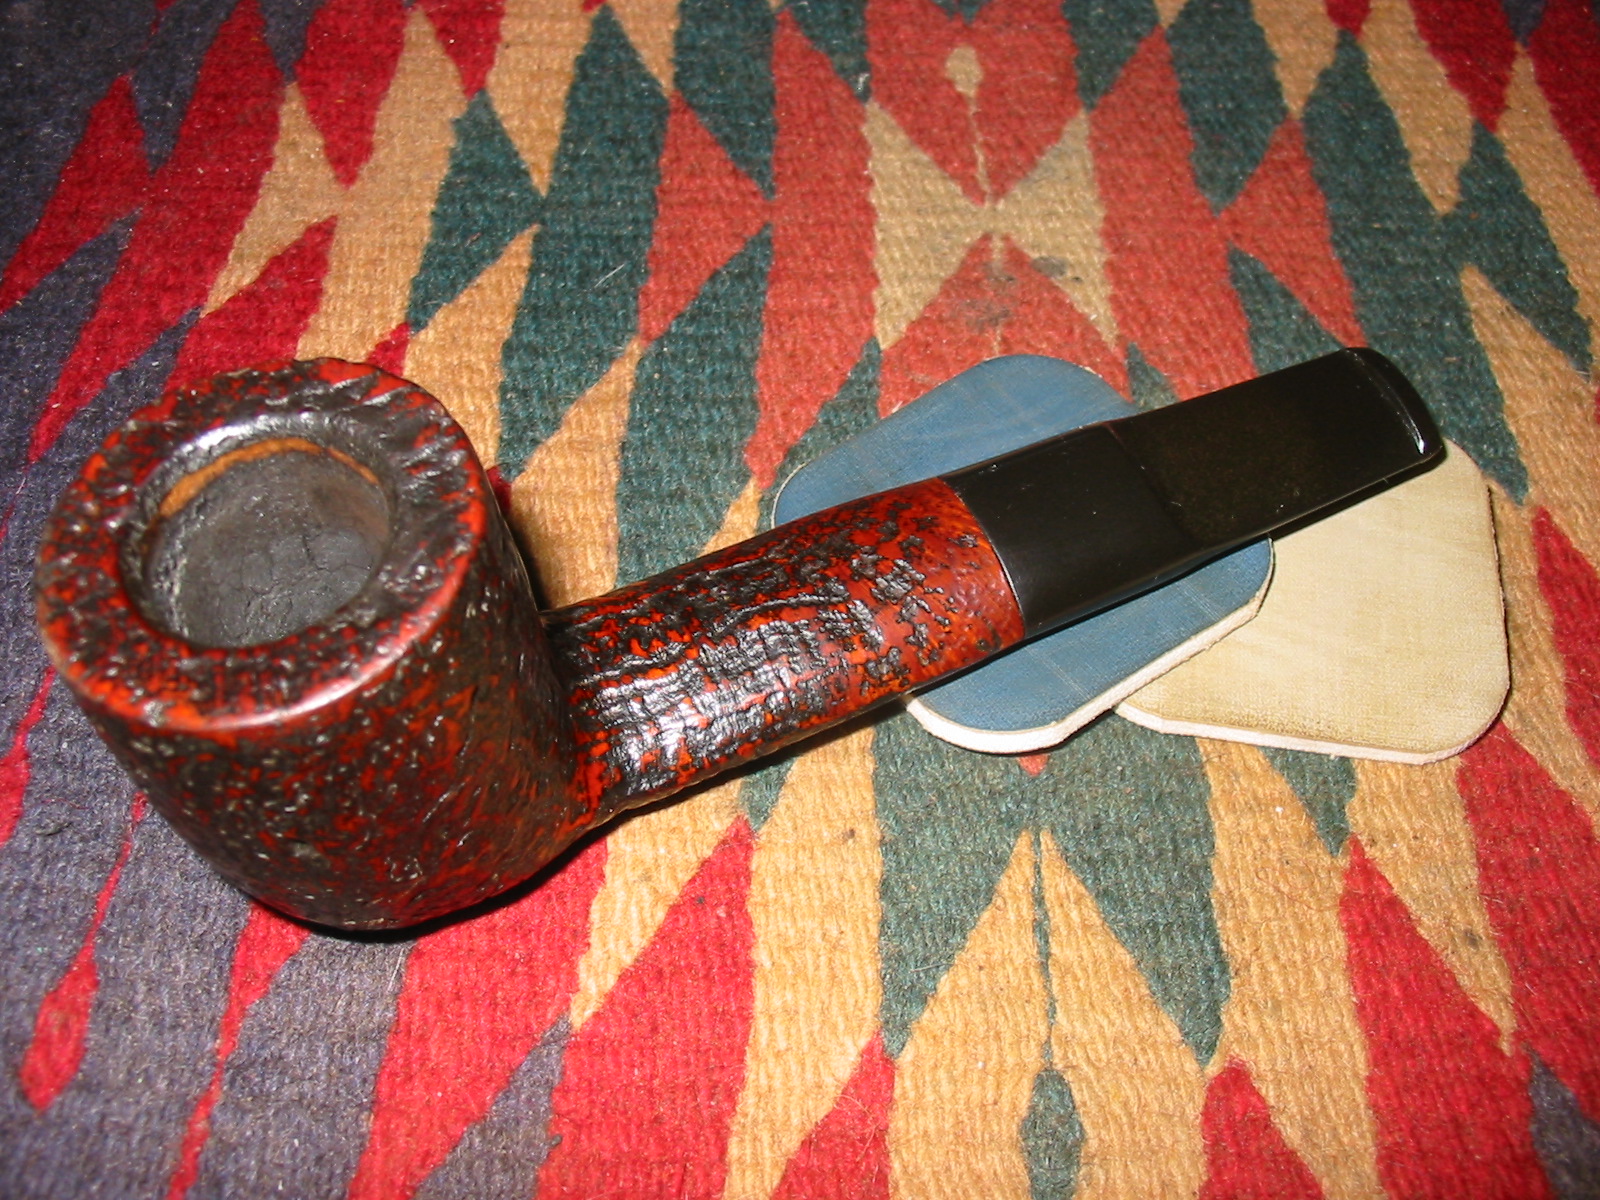
Stem sanded with micromesh sanding pads
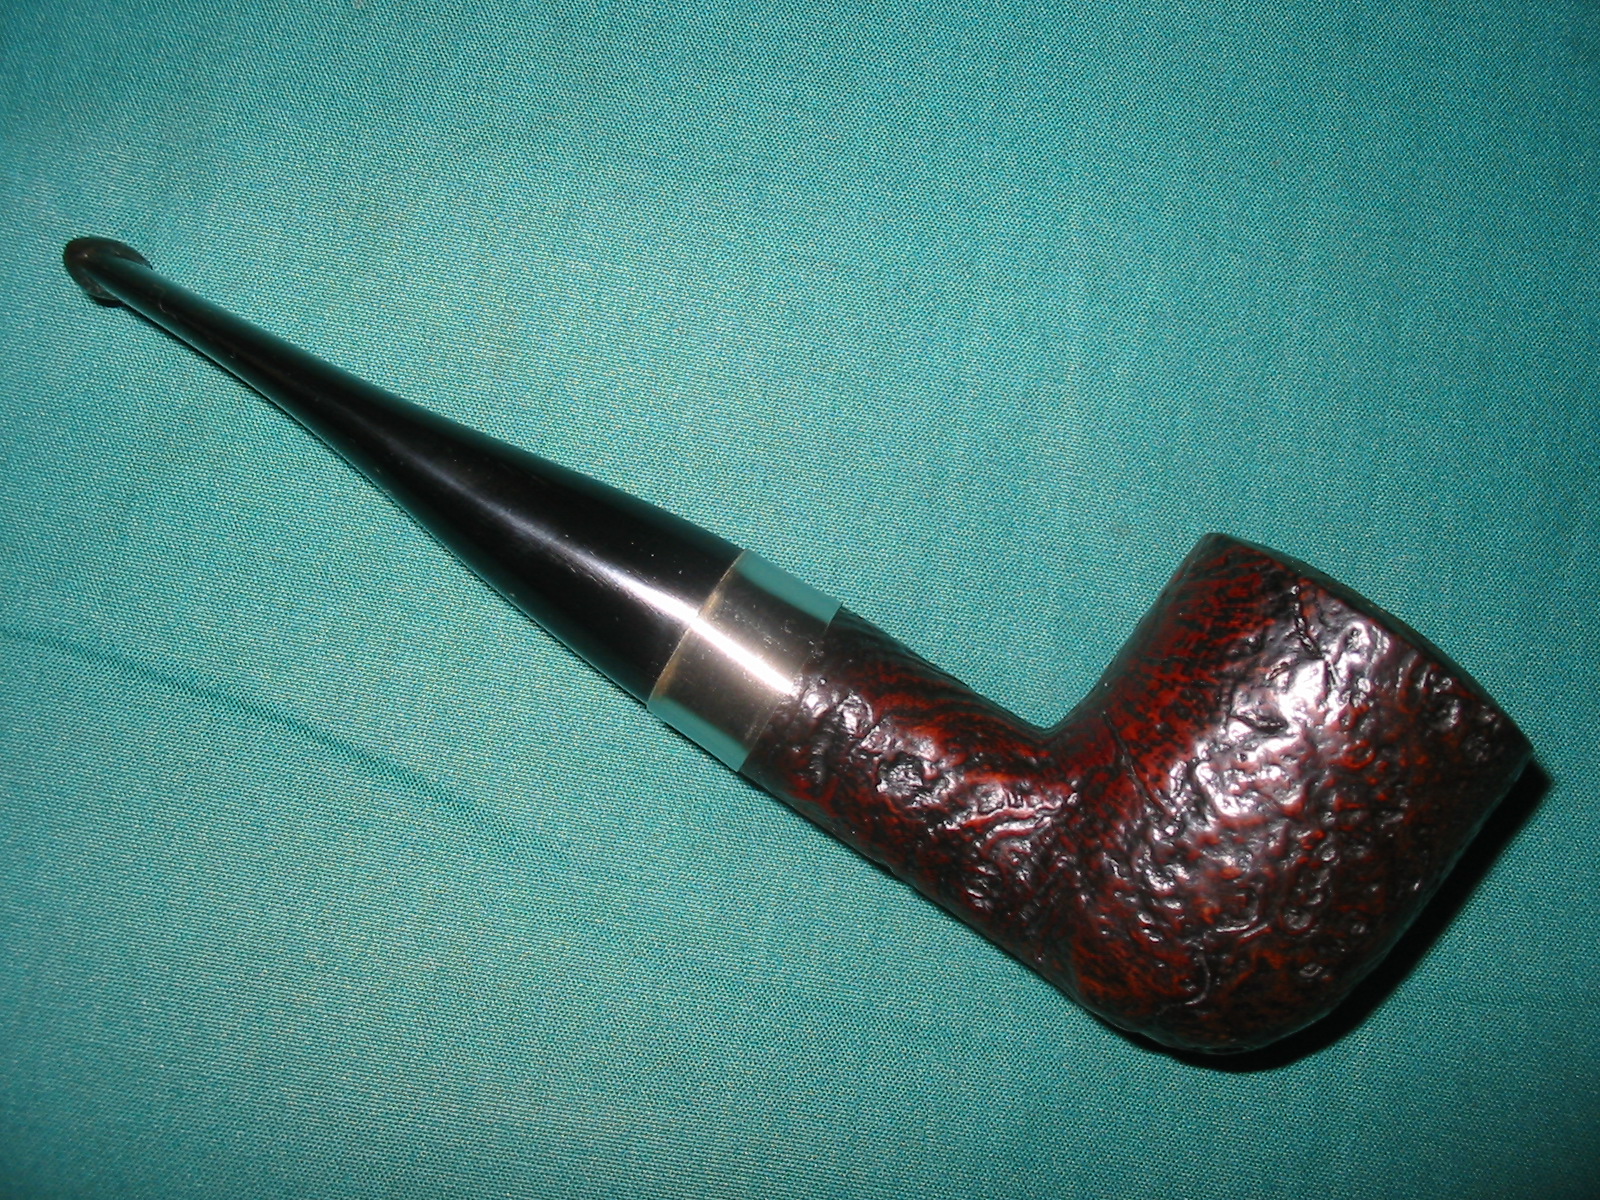
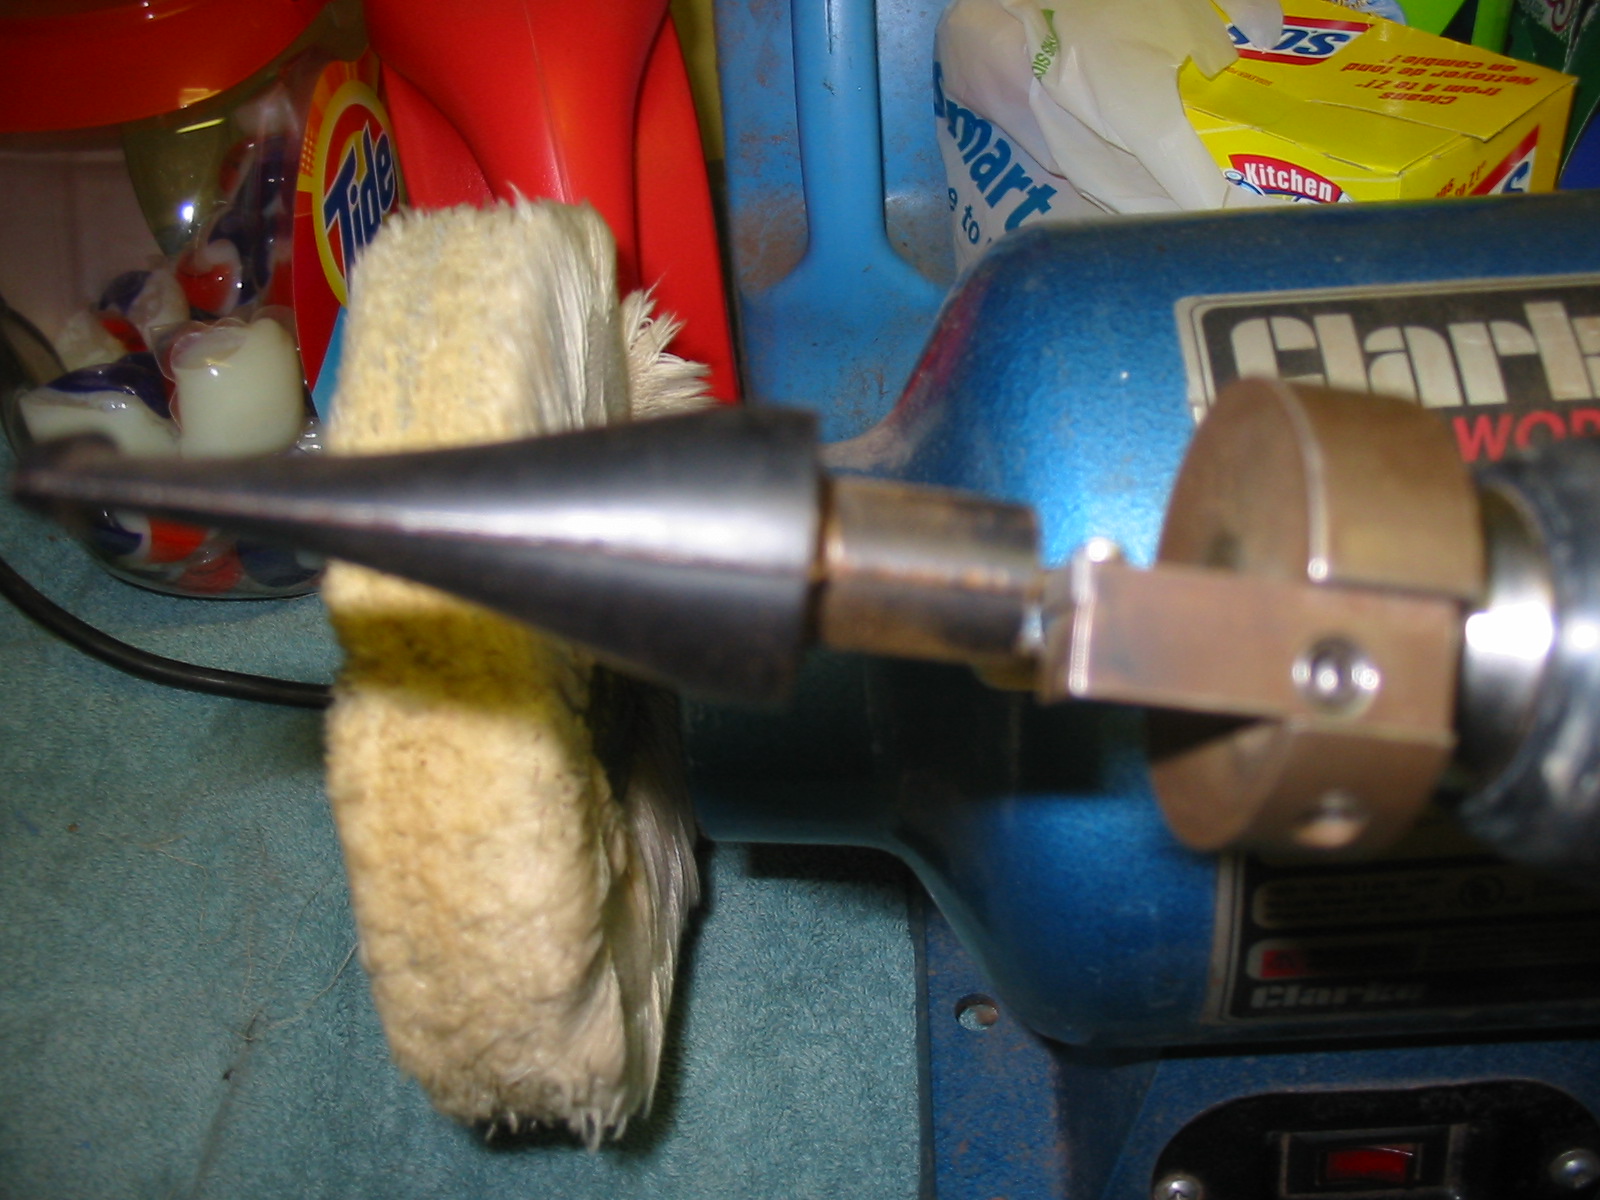
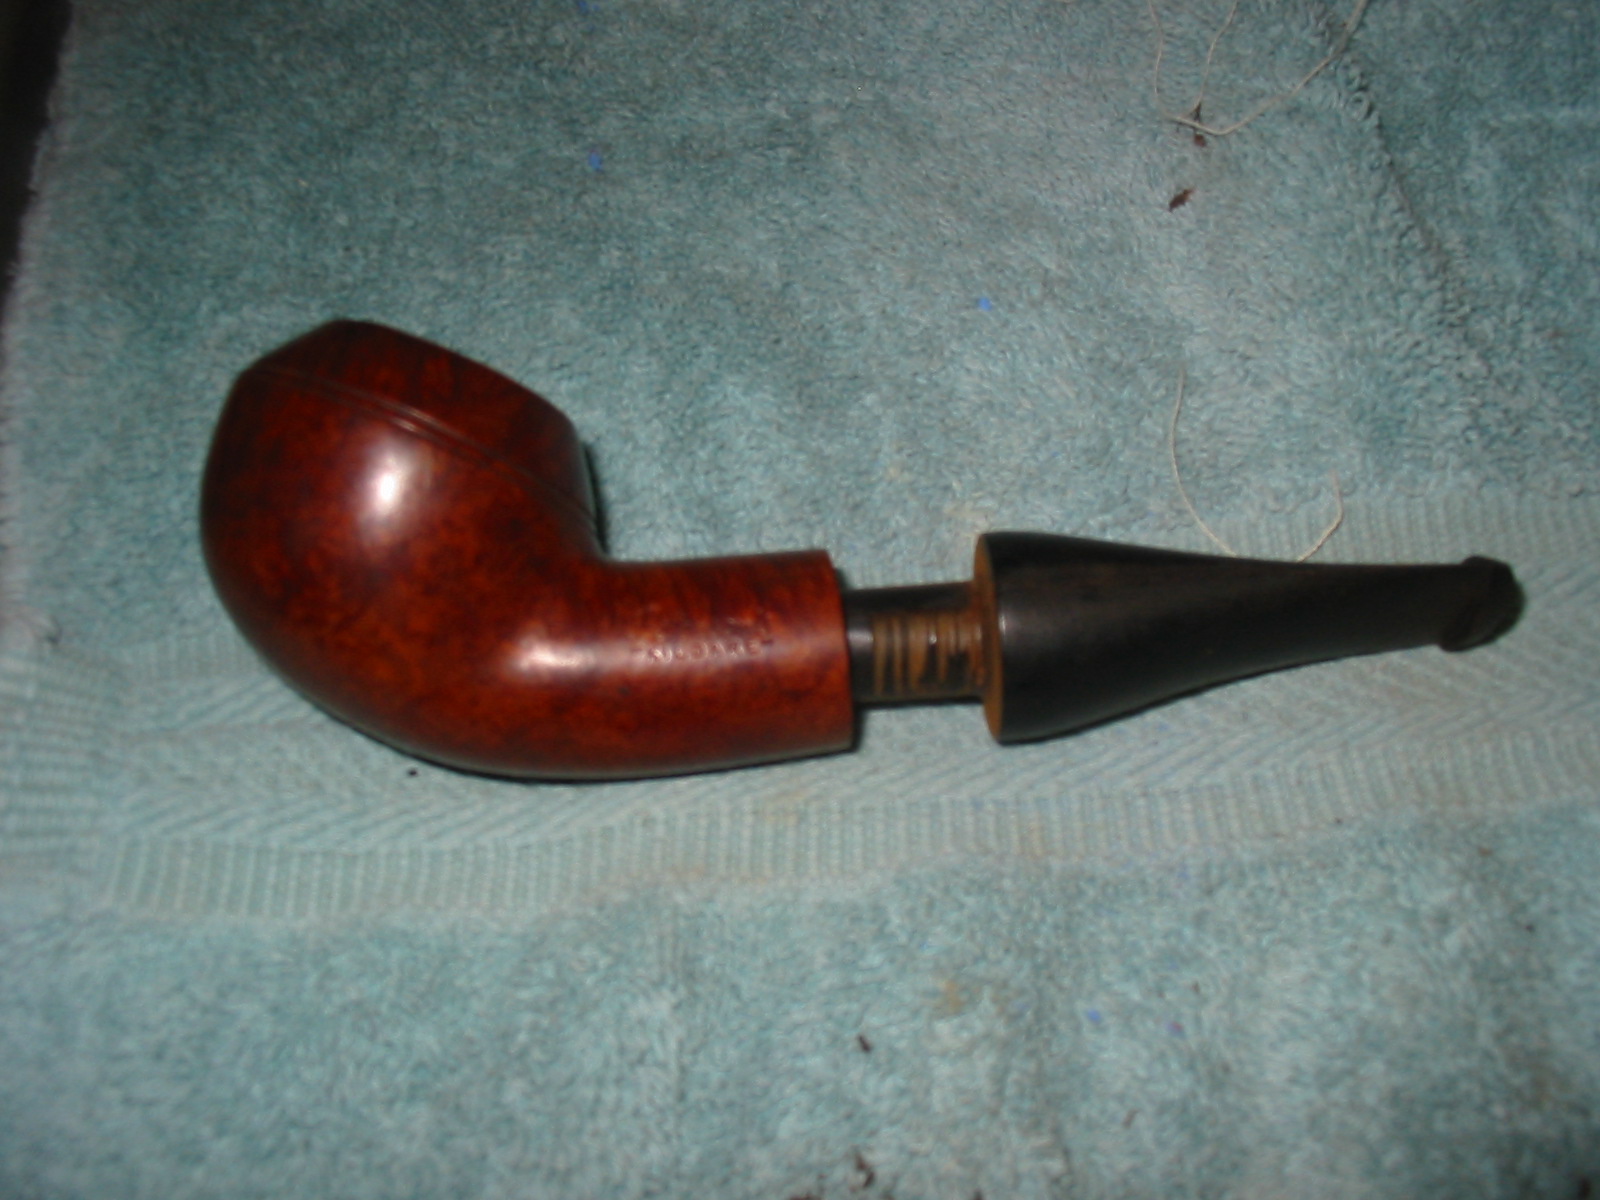
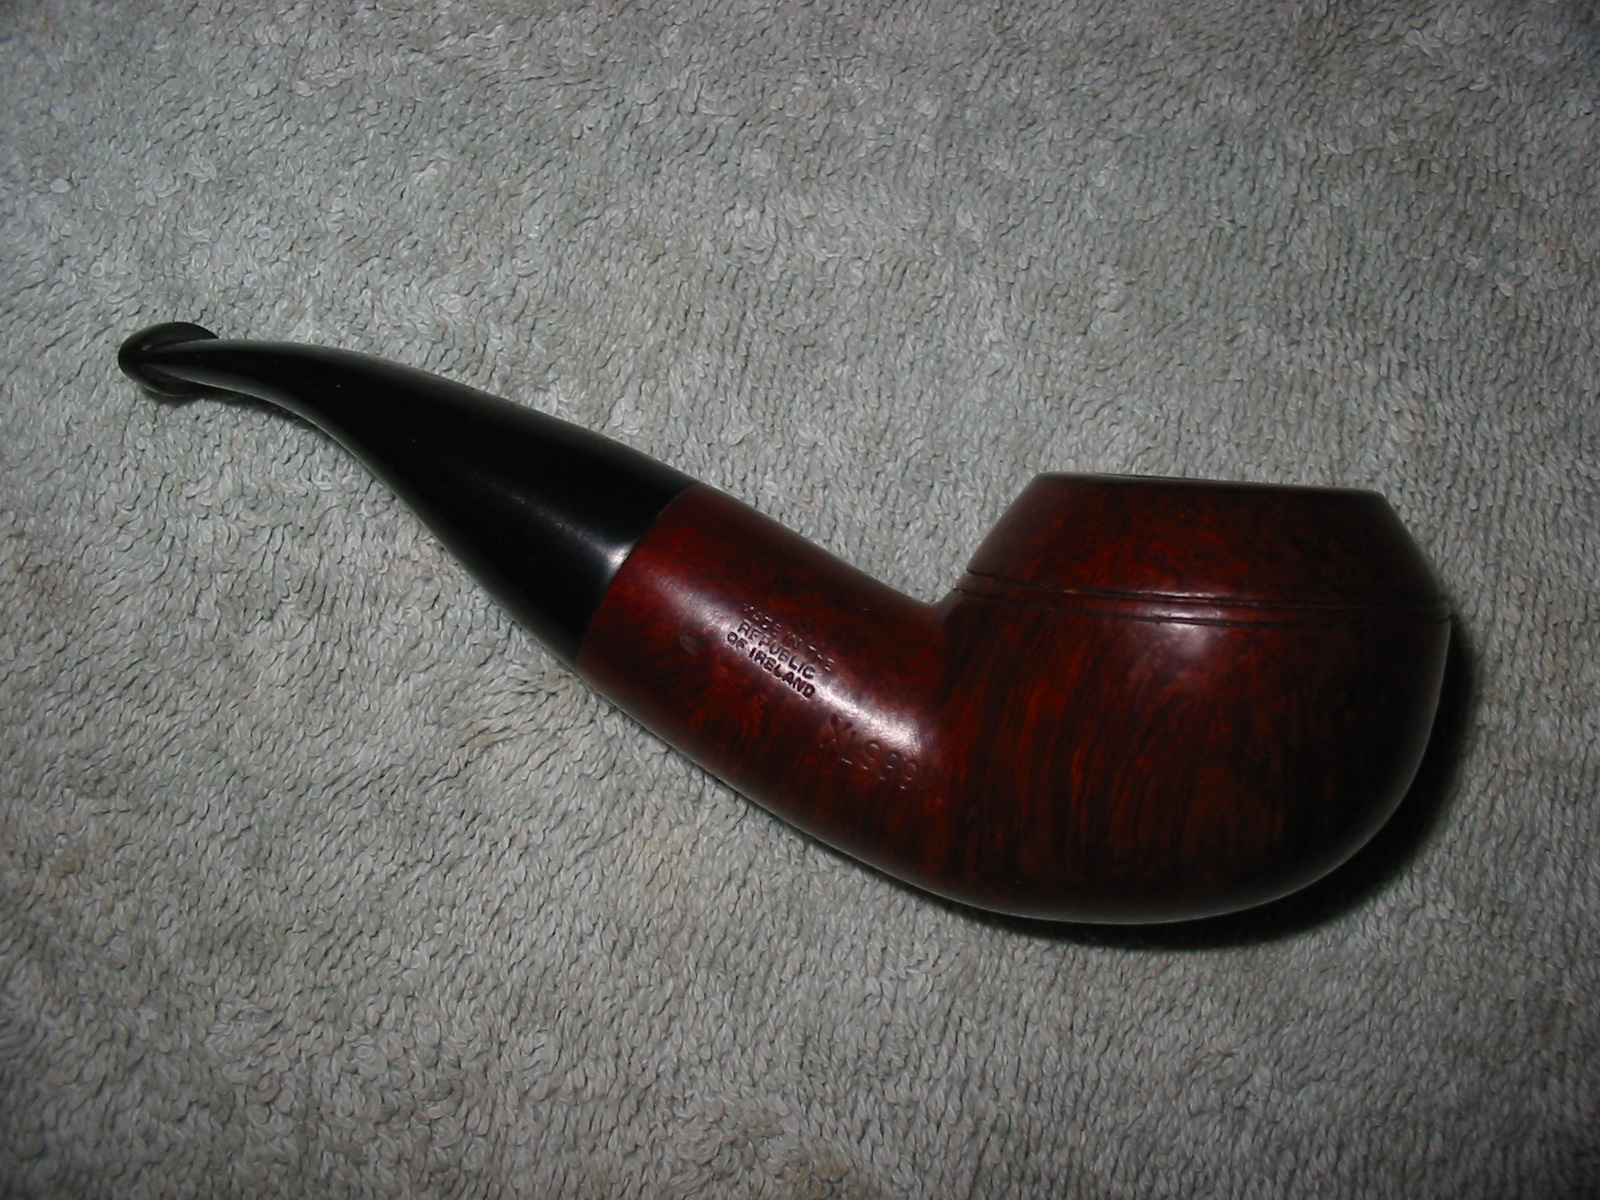
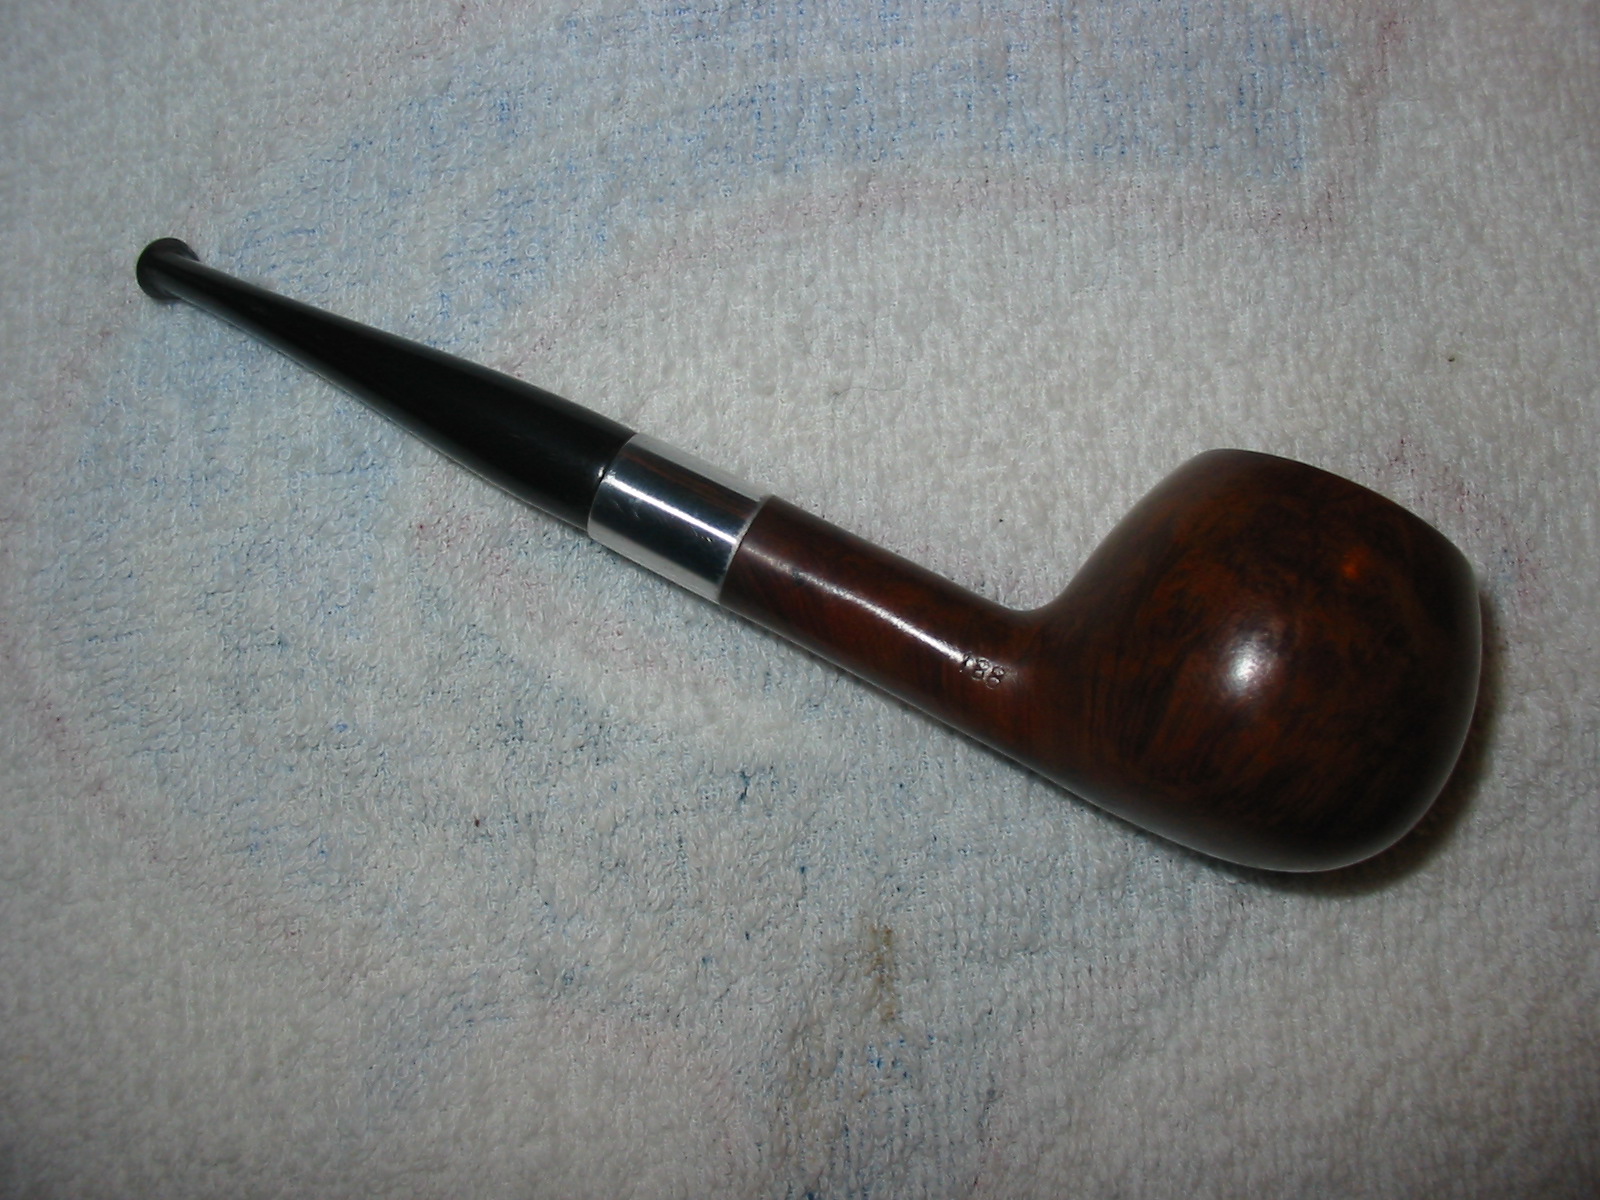
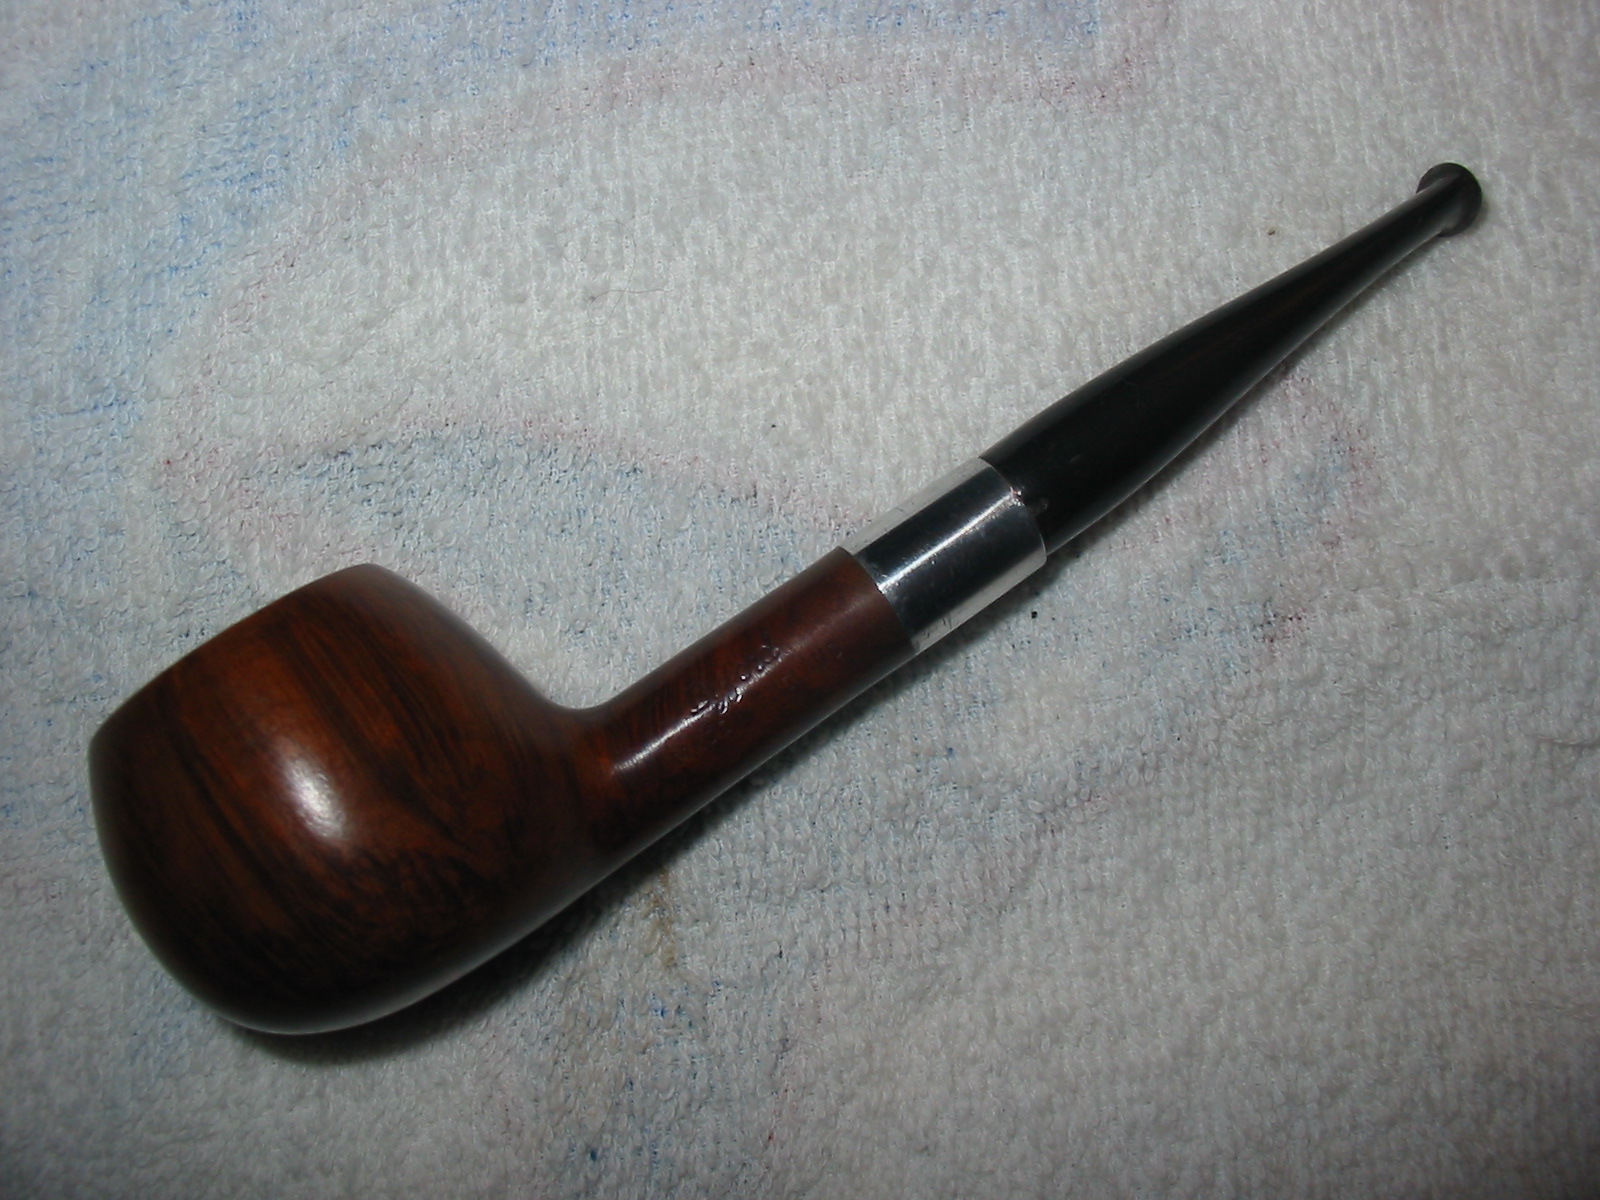
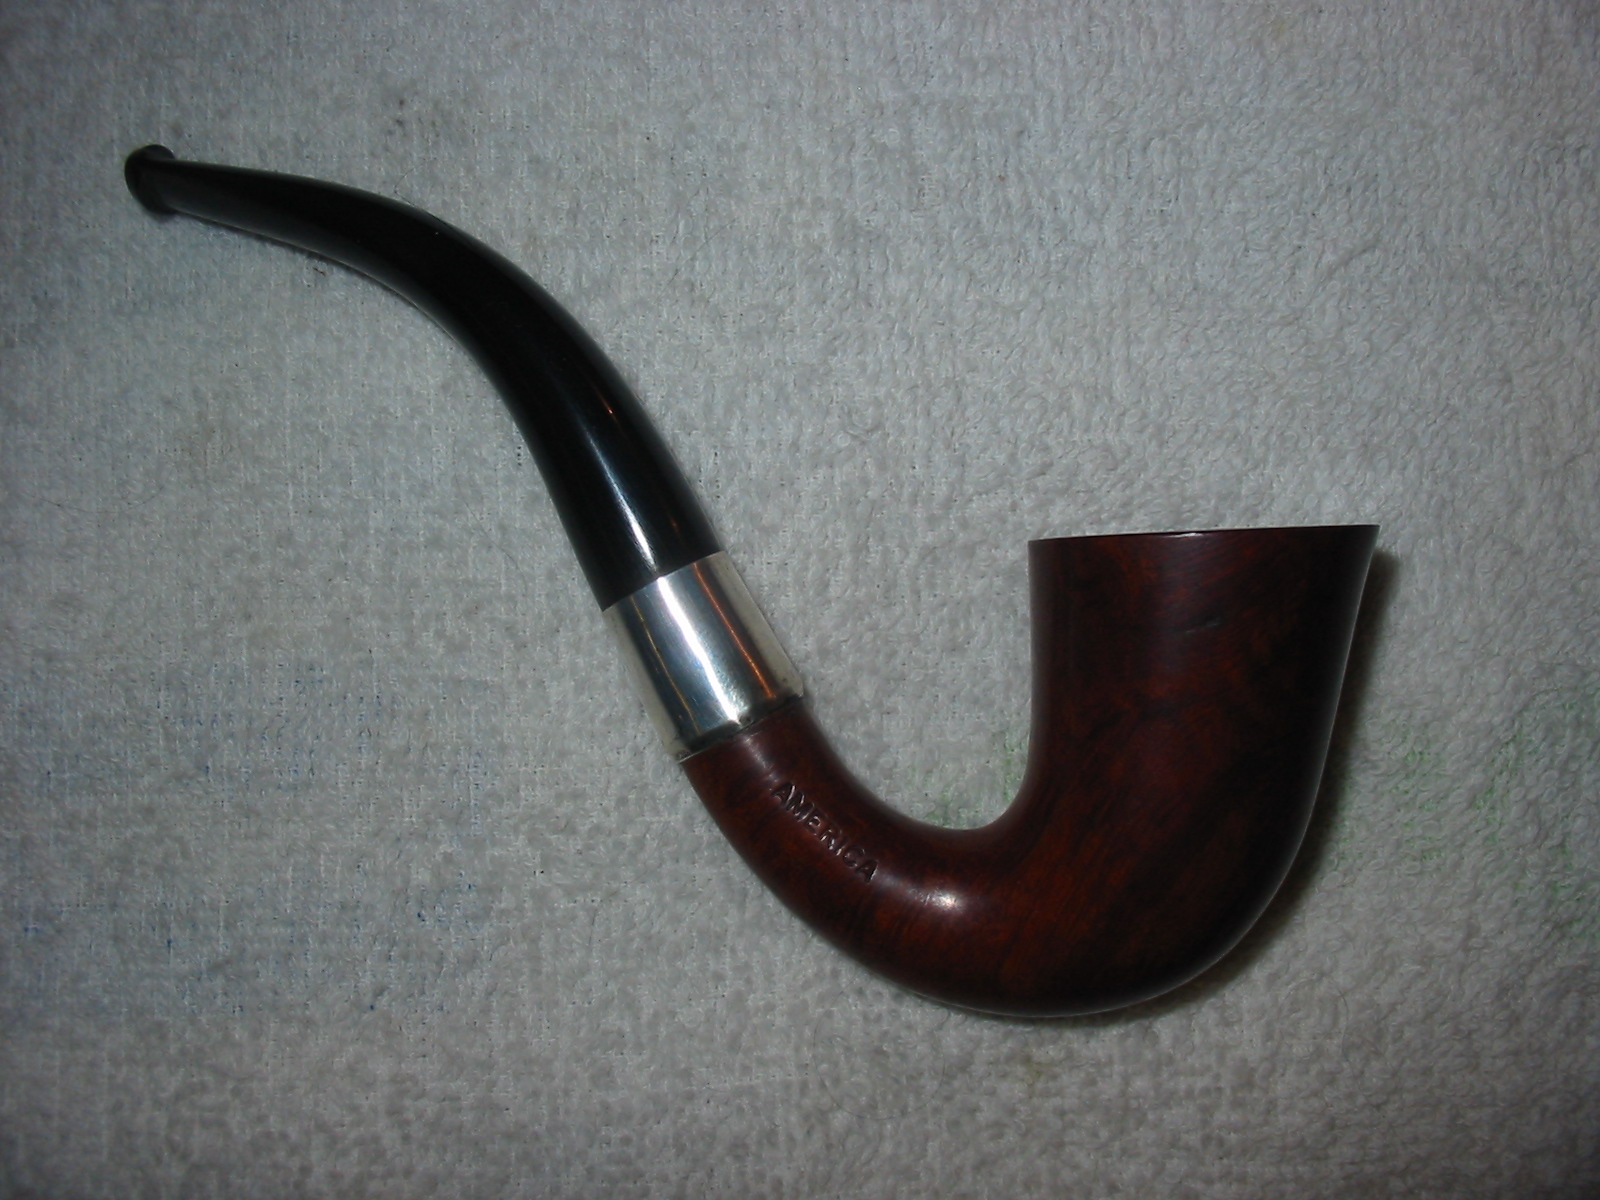
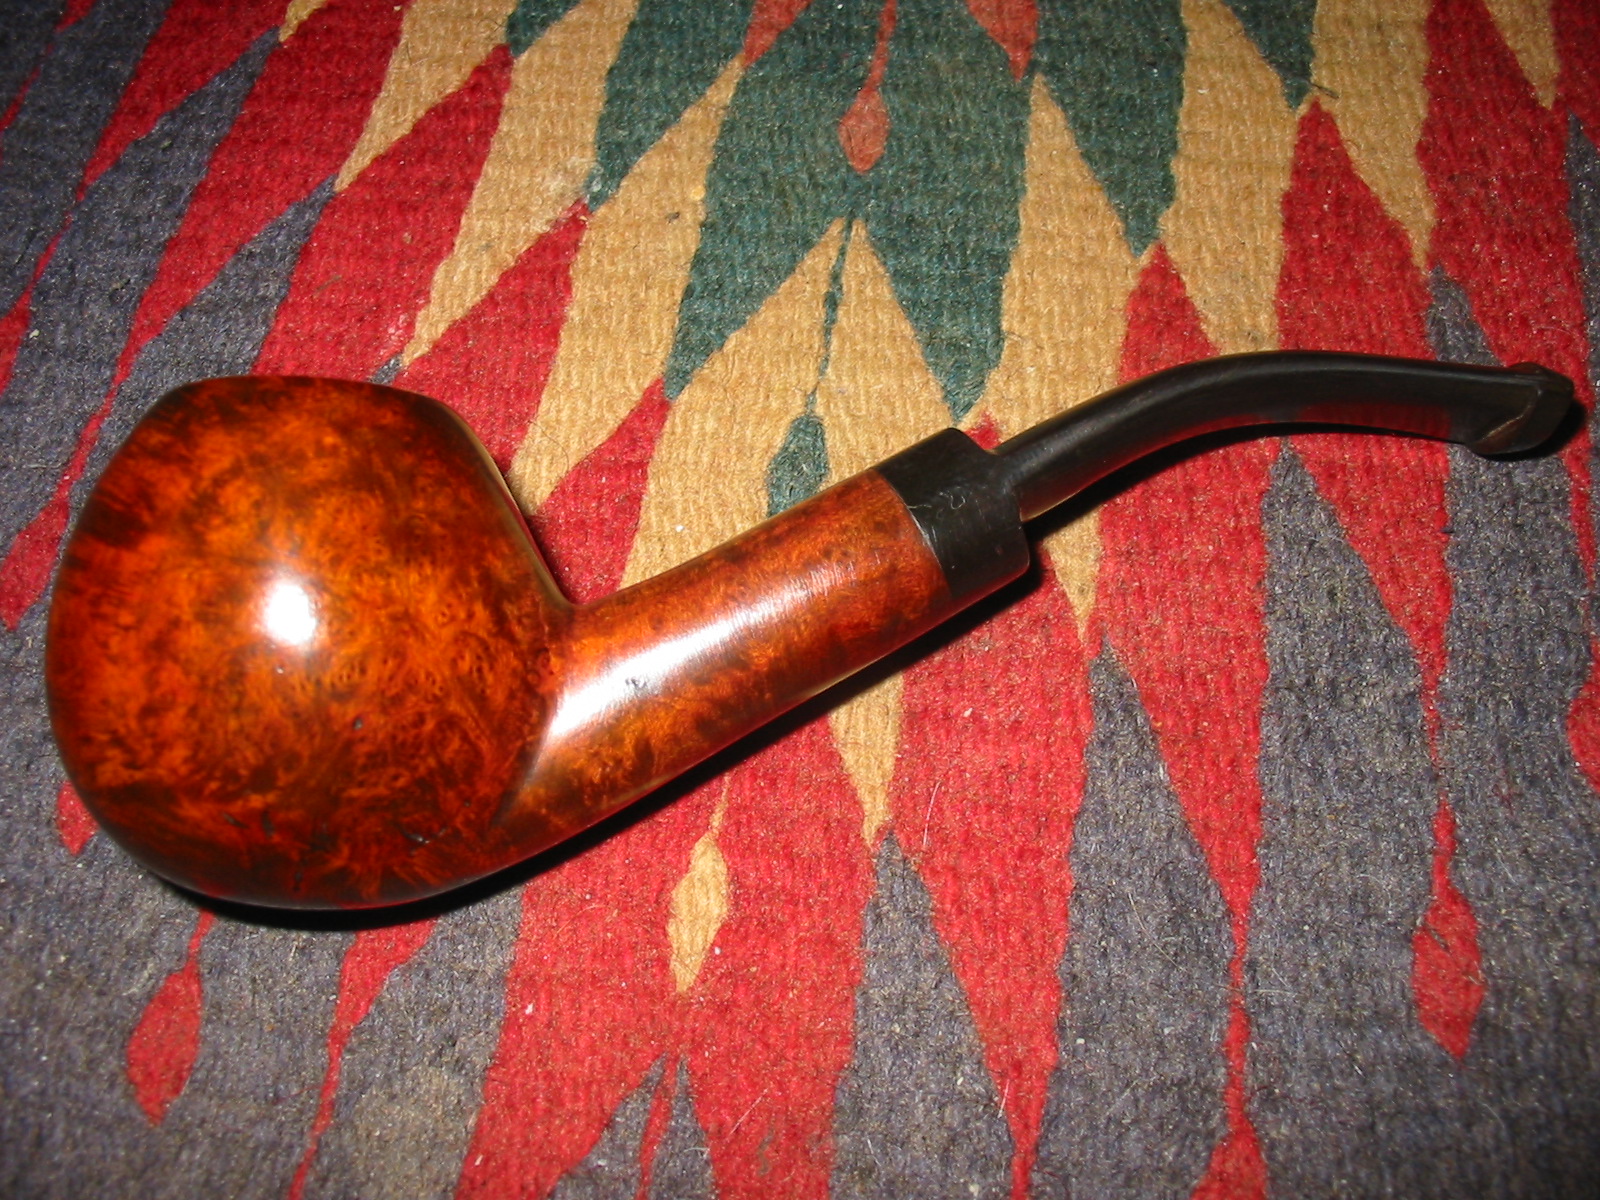
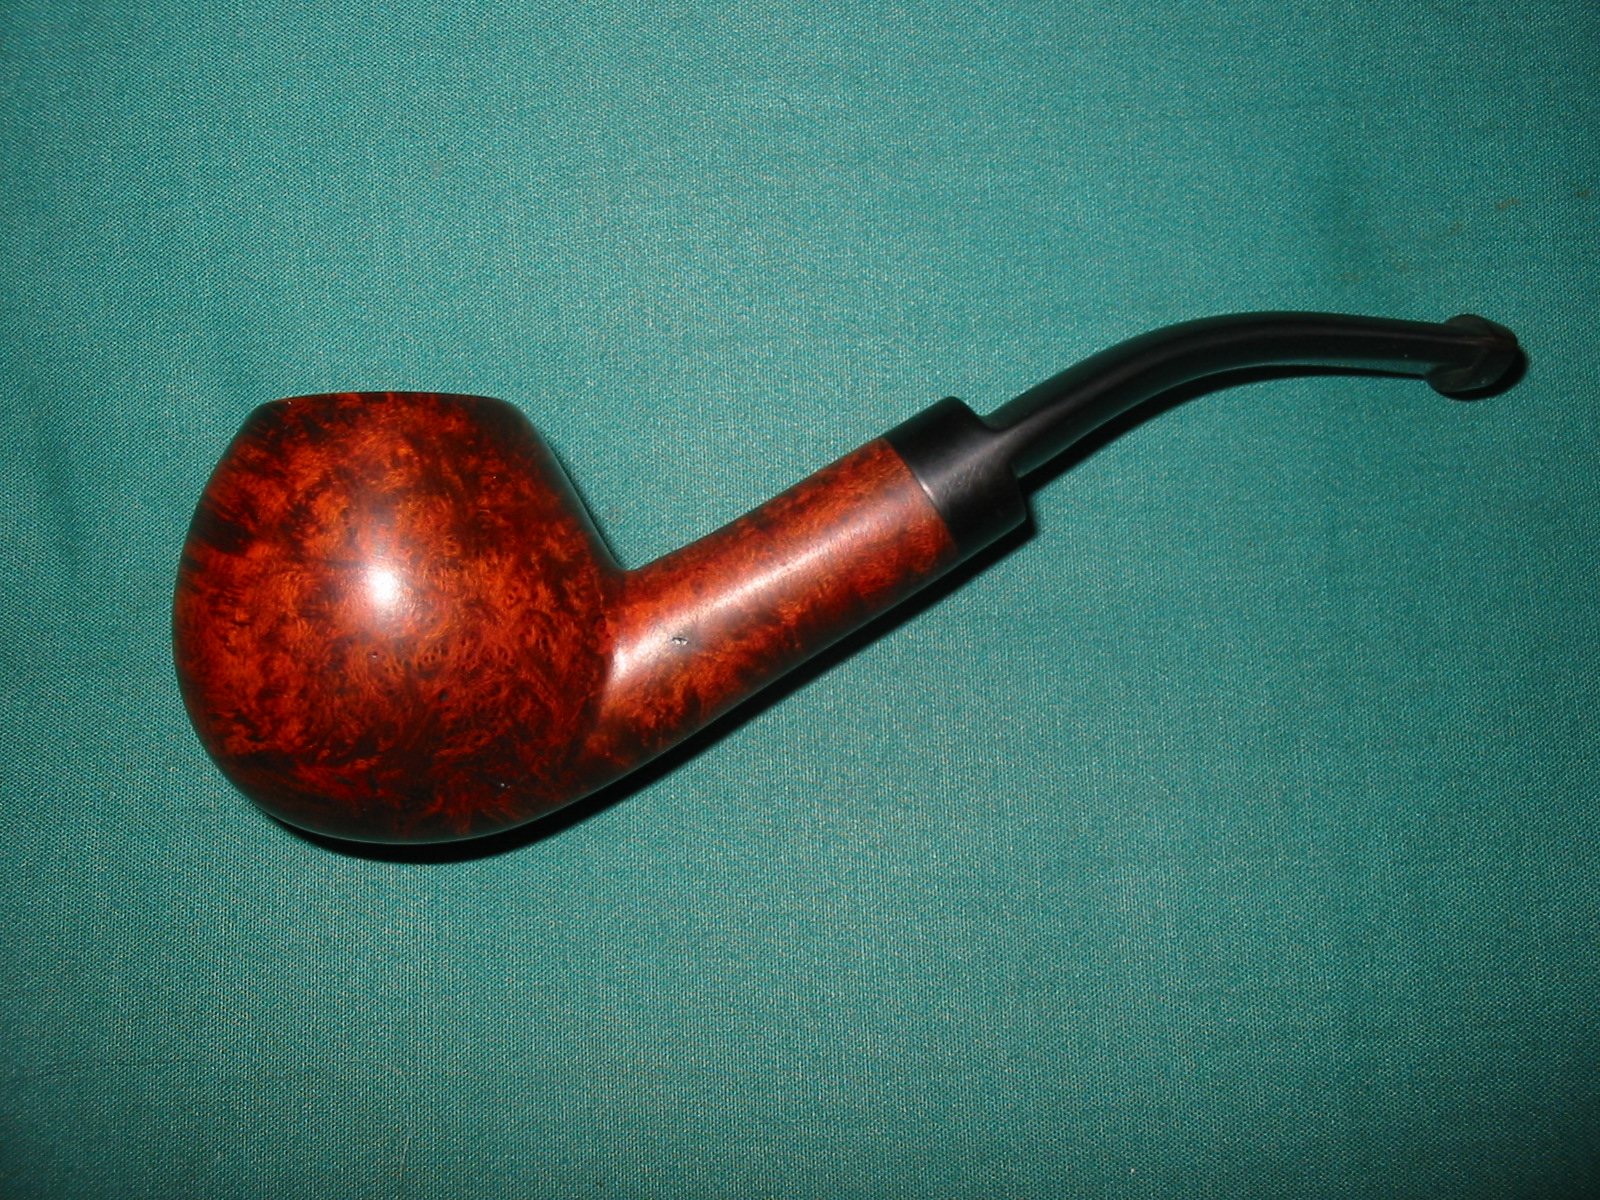
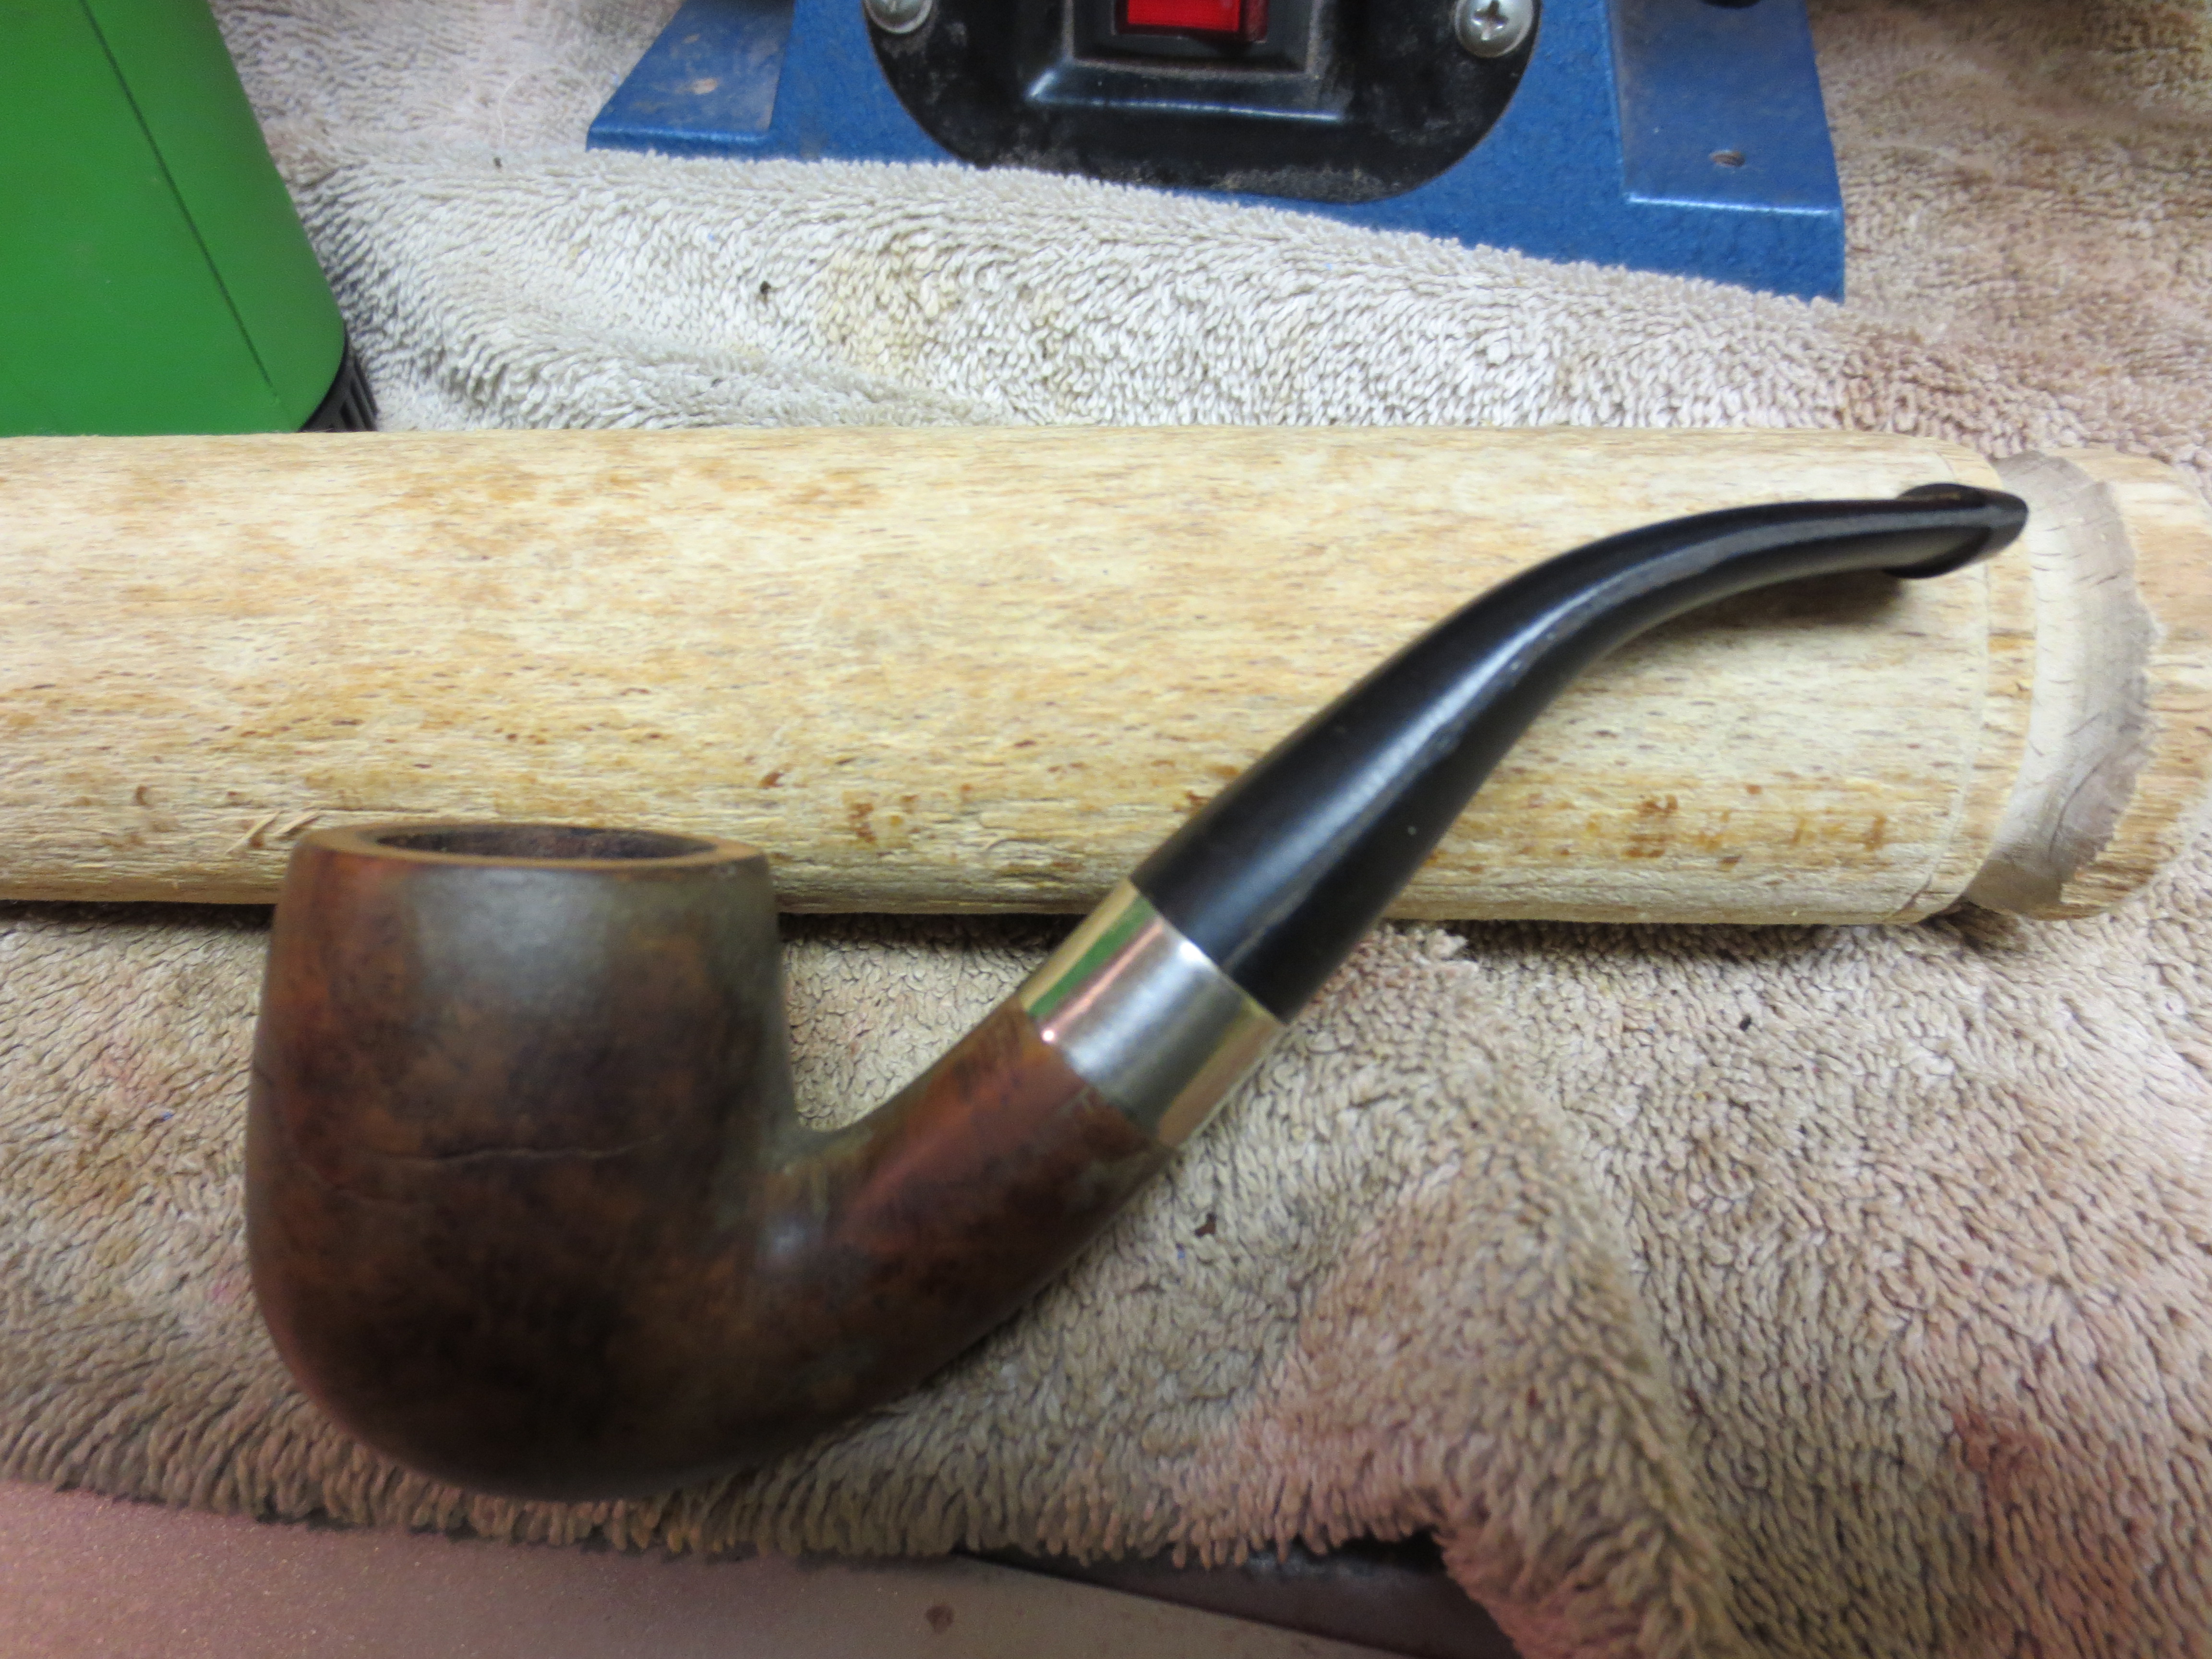
Once I had finished polishing the stem with the various grades of micromesh from 1500-12,000 grit I took the pipe to the buffer once again and buffer the entirety with White Diamond and then gave it multiple coats of carnauba wax to protect it and to give it a deep shine. The next series of four photos show the finished pipe. It is ready to load up with a favourite tobacco and be gently sipped in the solitude of an afternoon on the porch.